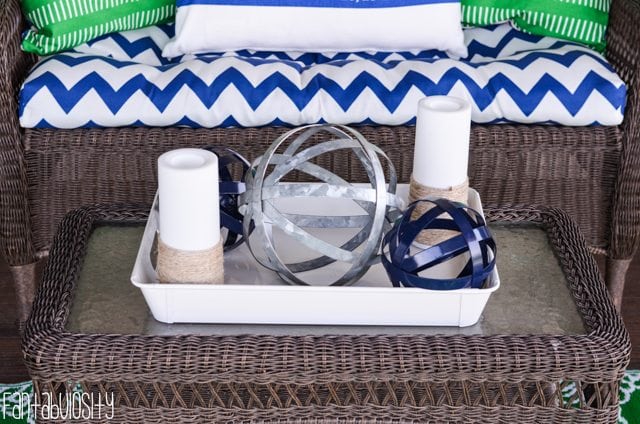
I’m not the “craftiest,” person. BUT… I try to do a little here and there, if I REALLY want something. {And if it doesn’t take up a lot of time I don’t have.} So when I looked everywhere for a candle for my patio, and came up empty handed, it was time for a little nautical candle DIY!
If you saw Part 8 of our home tour, you should have seen the two candles I had on the centerpiece tray on my coffee table. I promised you all that I would post a DIY tutorial on how to make those ASAP. So… here it is.
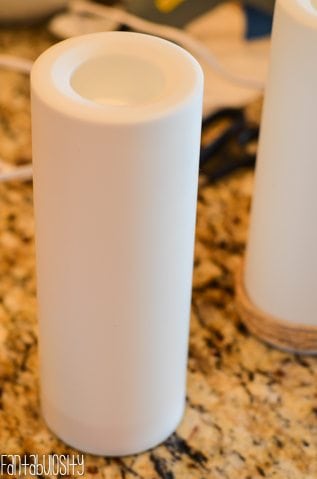
The candles were bought from Target, and they were just plain white, LED lights.
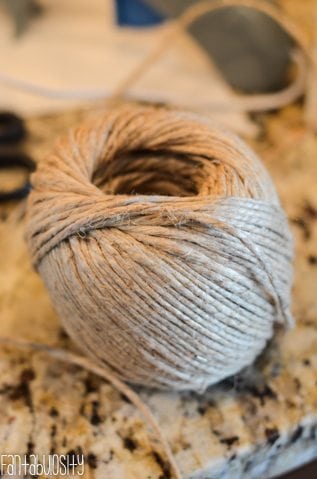
I grabbed my twine and hot glue tool…
and put a little dab of glue at the very bottom of the candle. I wasn’t sure how far up the candle I would go with the twine, so I didn’t pre-cut it.. {I just pulled from the roll as I went.}
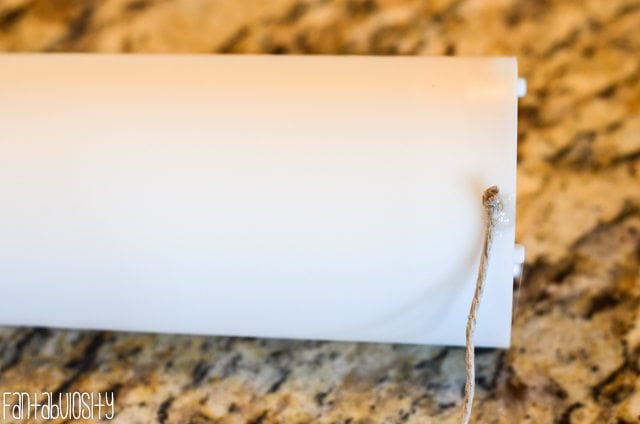
I carefully wrapped the candle with the twine, making sure not to overlap, laps. When I would wrap it around a few times, I would shove the twine down to the bottom.
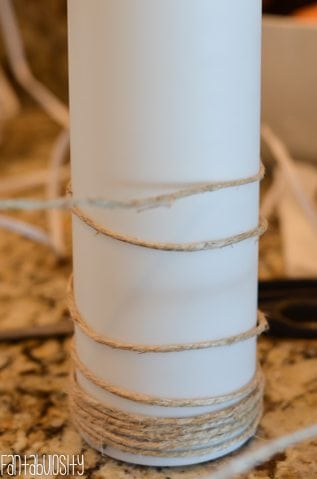
After about every 5 “wrap-arounds,” I would add another dab of hot glue to secure the twine.
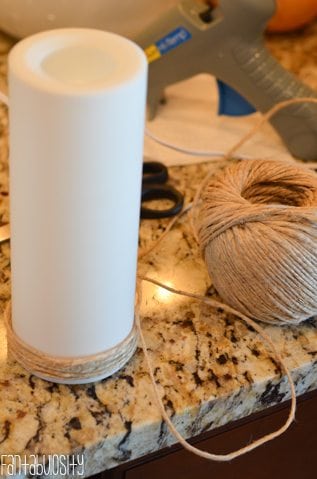
When I reached the height that I wanted the twine to stop, I simply cut the twine, added one last dab of glue, and it was complete!
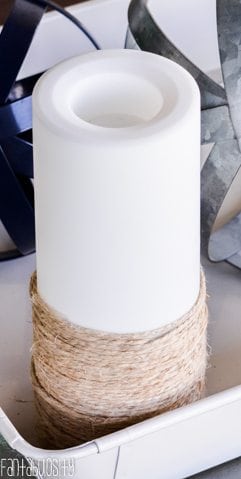
Easy as can be! So I achieved the nautical look, and it was super quick and super easy!
Remember that I used an LED candle. I’m sure this wouldn’t go over well with real candles that you plan to “light,” and even with the LED candles that may get “hot,” when turned on. That twine could go up in flames pretty quick I’m sure!
Thanks for coming by, and until next time…


Comments
No Comments