

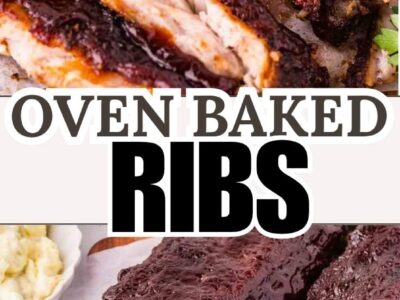
Oven baked ribs come out fall-off-the-bone tender without a smoker, a grill, or a decent weather forecast. Two racks of baby backs, a foil-lined sheet pan, and a low oven do the whole job.
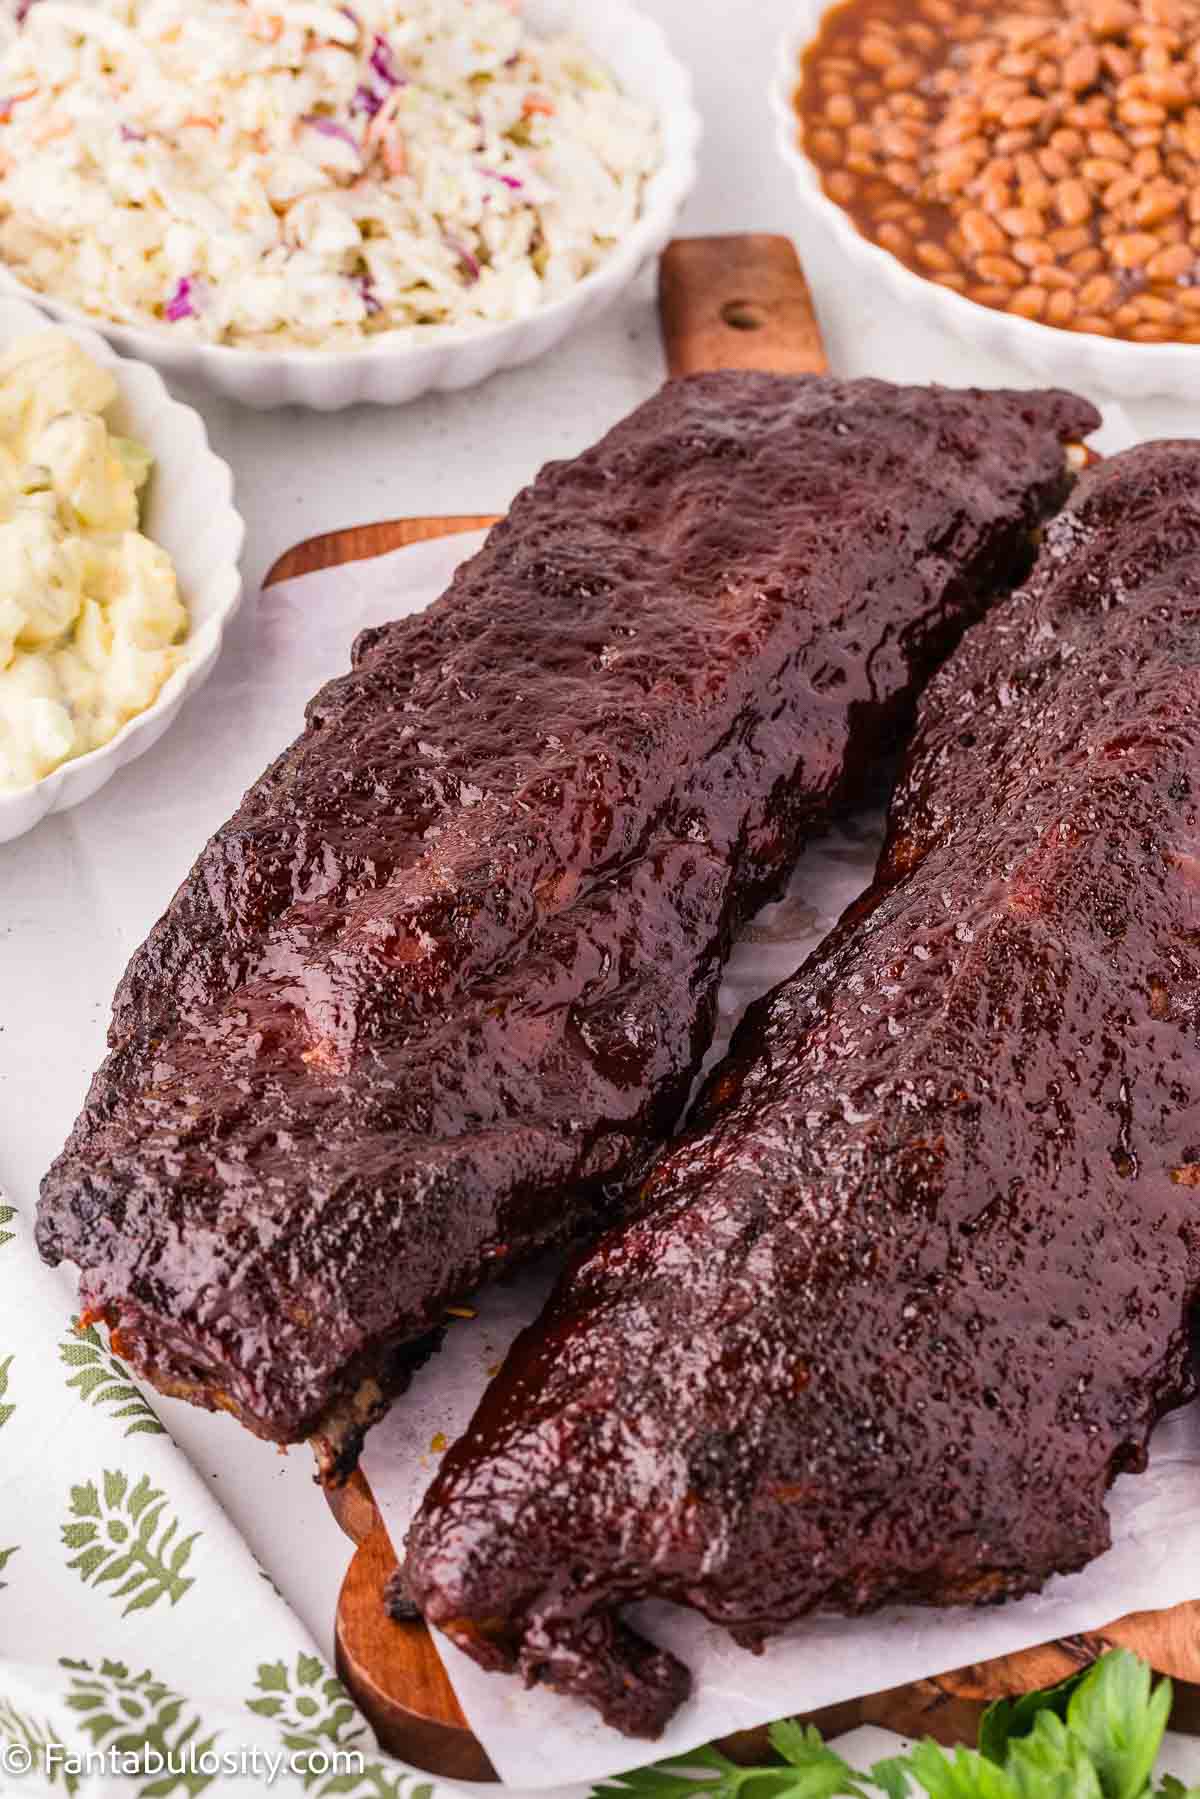
An Easy Rib Recipe That Tastes Like It Came Off a Smoker
The method is simple. Baby back ribs get a heavy coat of homemade rib rub, bake covered at 275°F until the meat pulls back from the bones, then get sauced and finished at 400°F so the BBQ sauce turns sticky and caramelized around the edges. Most of that time is hands-off.
Low and slow is what does the tenderizing. At 275°F the connective tissue melts into gelatin instead of squeezing the meat dry, and the tight foil seal traps every bit of steam. You never add liquid to the pan. The ribs release plenty on their own.
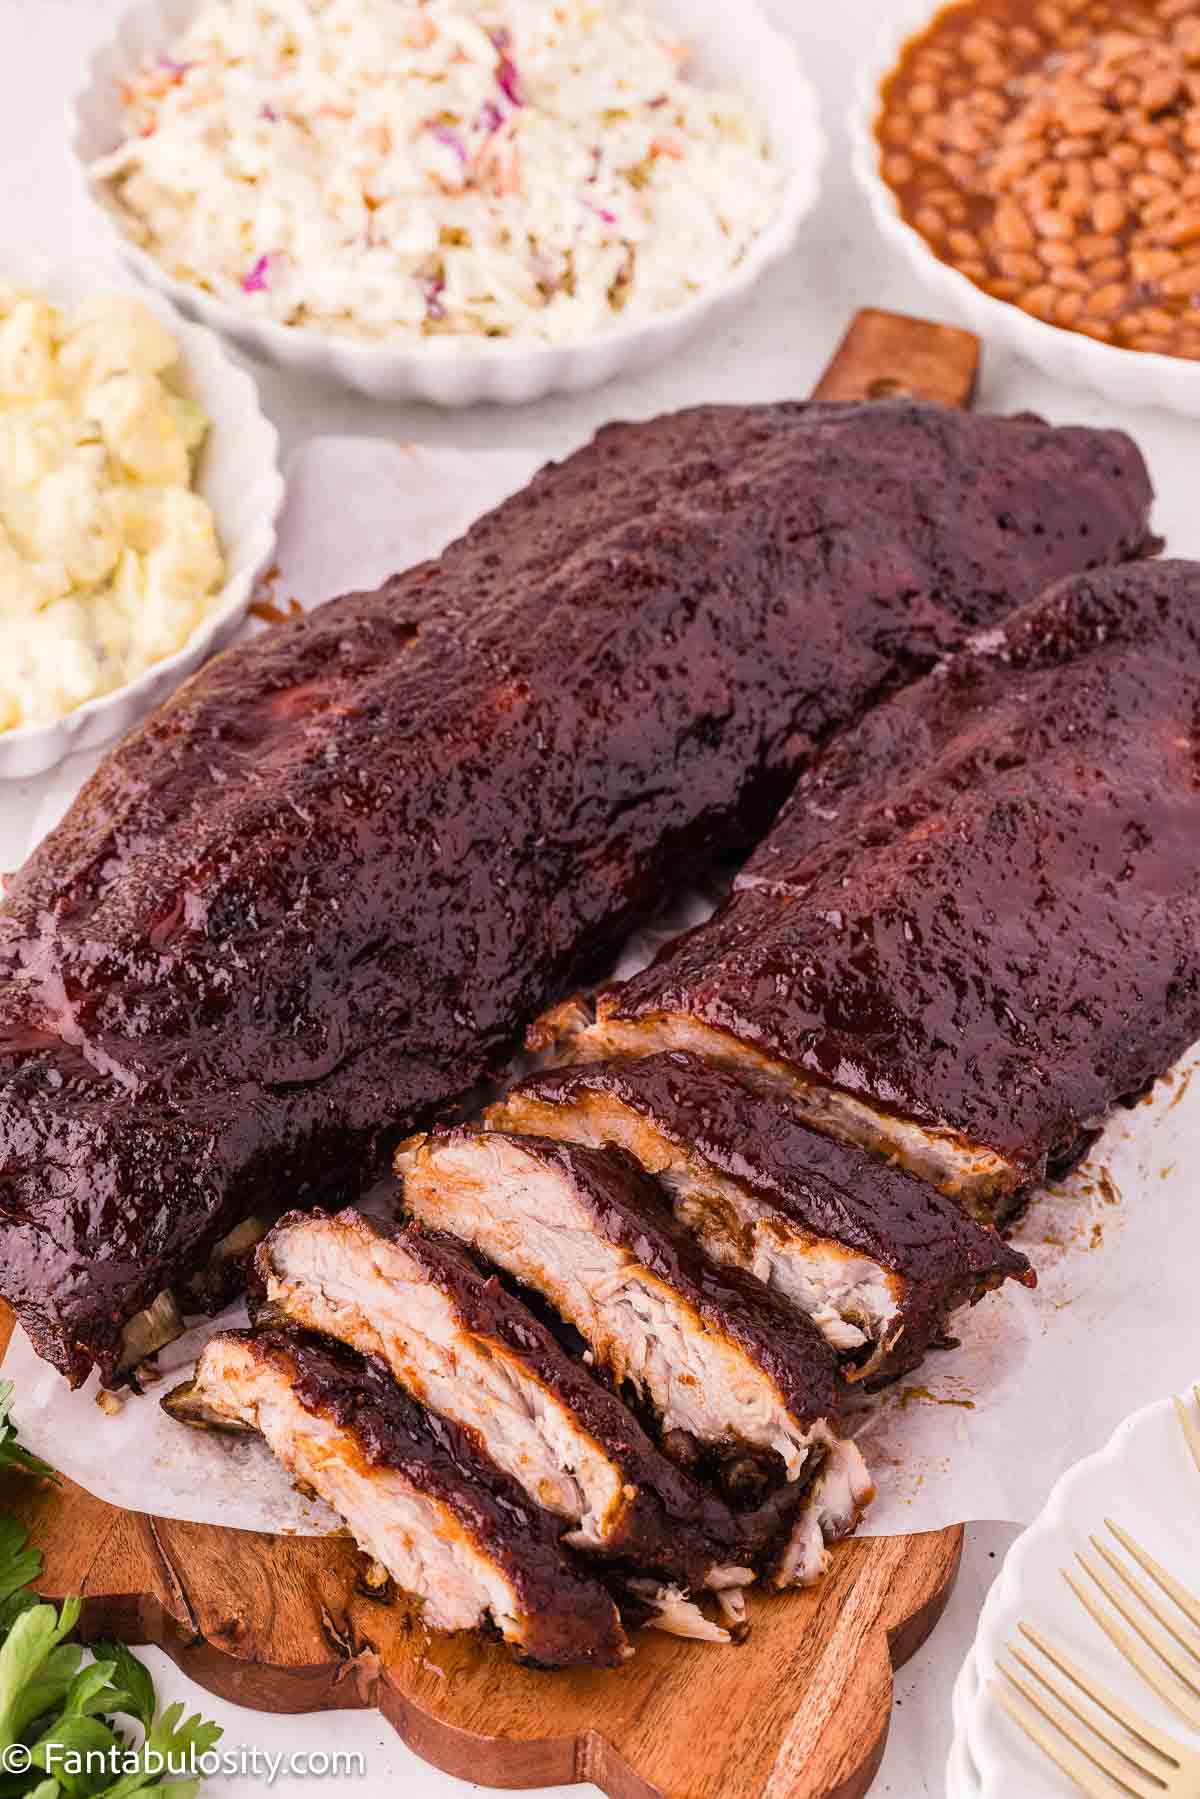
This is the recipe I make in January when the grill is buried, and honestly, it is the one I reach for in July too. Serve them with Dr. Pepper baked beans, a bowl of coleslaw, and some Amish potato salad and you have a plate that tastes like a summer cookout no matter what month it is.
FAQs
Baby back ribs take about 2 ½ hours covered at 275°F, plus another 30 to 35 minutes uncovered at 400°F once they’re sauced. Thicker racks can need an extra 20 to 30 minutes in the covered stage, so check for tenderness before you move on.
No. The ribs release plenty of moisture as they cook, and the tightly sealed foil keeps it in the pan. Adding liquid waters down the rub sitting on the meat.
Cover the pan tightly again and return it to the 275°F oven for another 20 to 30 minutes before checking. Racks vary a lot in thickness, so some just take longer. Keep the temperature where it is instead of raising it.
Yes, though they’ll need longer than baby backs because they’re bigger with more fat and connective tissue. Use the same method and let tenderness tell you when they’re ready instead of the clock.
Meat-side up. That keeps the heavily seasoned side on top through the whole low and slow bake and makes it easy to sauce them once the foil comes off.
You don’t have to, but the ribs are better when you do. The membrane doesn’t soften in the oven, it keeps the seasoning off the meat, and it gets papery. It takes about a minute per rack.
Absolutely. If two full racks won’t fit comfortably, cut them into halves or smaller sections. Arrange them in a single layer instead of stacking so they cook evenly.
I wouldn’t. This recipe was built for bone-in baby back ribs. Country-style ribs are a different cut of pork and need a different method and timing.
That’s normal. The ribs release fat and juices under the sealed foil. Pour it off before you sauce them, or leave it, whichever you prefer.
Yes. Cut the rub and the mustard in half for a single rack. The bake time stays about the same, since tenderness depends on the thickness of the rack rather than how many are in the pan.
Yes, and it’s a good way to do it. Bake through the covered stage a day ahead, cool the racks, and refrigerate them wrapped. The day of, sauce them and finish uncovered at 400°F for 30 to 35 minutes. Add a few minutes since they’re going in cold.
Ingredients
See the recipe card below that has the printable, full ingredient list and instructions.
For the Rib Rub:
- ½ cup dark brown sugar – Gives the ribs that classic sweet BBQ flavor.
- 2 tablespoons smoked paprika – Brings the smoky flavor you would normally only get from a grill.
- 1 tablespoon fine sea salt – Seasons the meat and ties the other spices together.
- 2 teaspoons coarse ground black pepper – Adds little peppery bites throughout.
- 2 teaspoons garlic powder – Builds the savory base.
- 2 teaspoons onion powder – Rounds out the savory base.
- 2 teaspoons chili powder – Adds depth and a mild chili flavor rather than heat.
- 2 teaspoons dry mustard – Adds tang and sharpness to balance the brown sugar.
- 1 teaspoon unsweetened cocoa powder – Adds richness without any chocolate flavor.
- 1 teaspoon ground cumin – Layers in a little more smoky flavor.
- 1 teaspoon dried oregano – Adds a subtle herby note in the background.
- 1 teaspoon celery seed – Adds a savory, slightly earthy flavor.
- ½ teaspoon ground allspice – Adds warmth that pairs with the brown sugar.
- ½ to 1 teaspoon cayenne pepper – Adds the heat. Use less for mild, or leave it out.
For the Ribs:
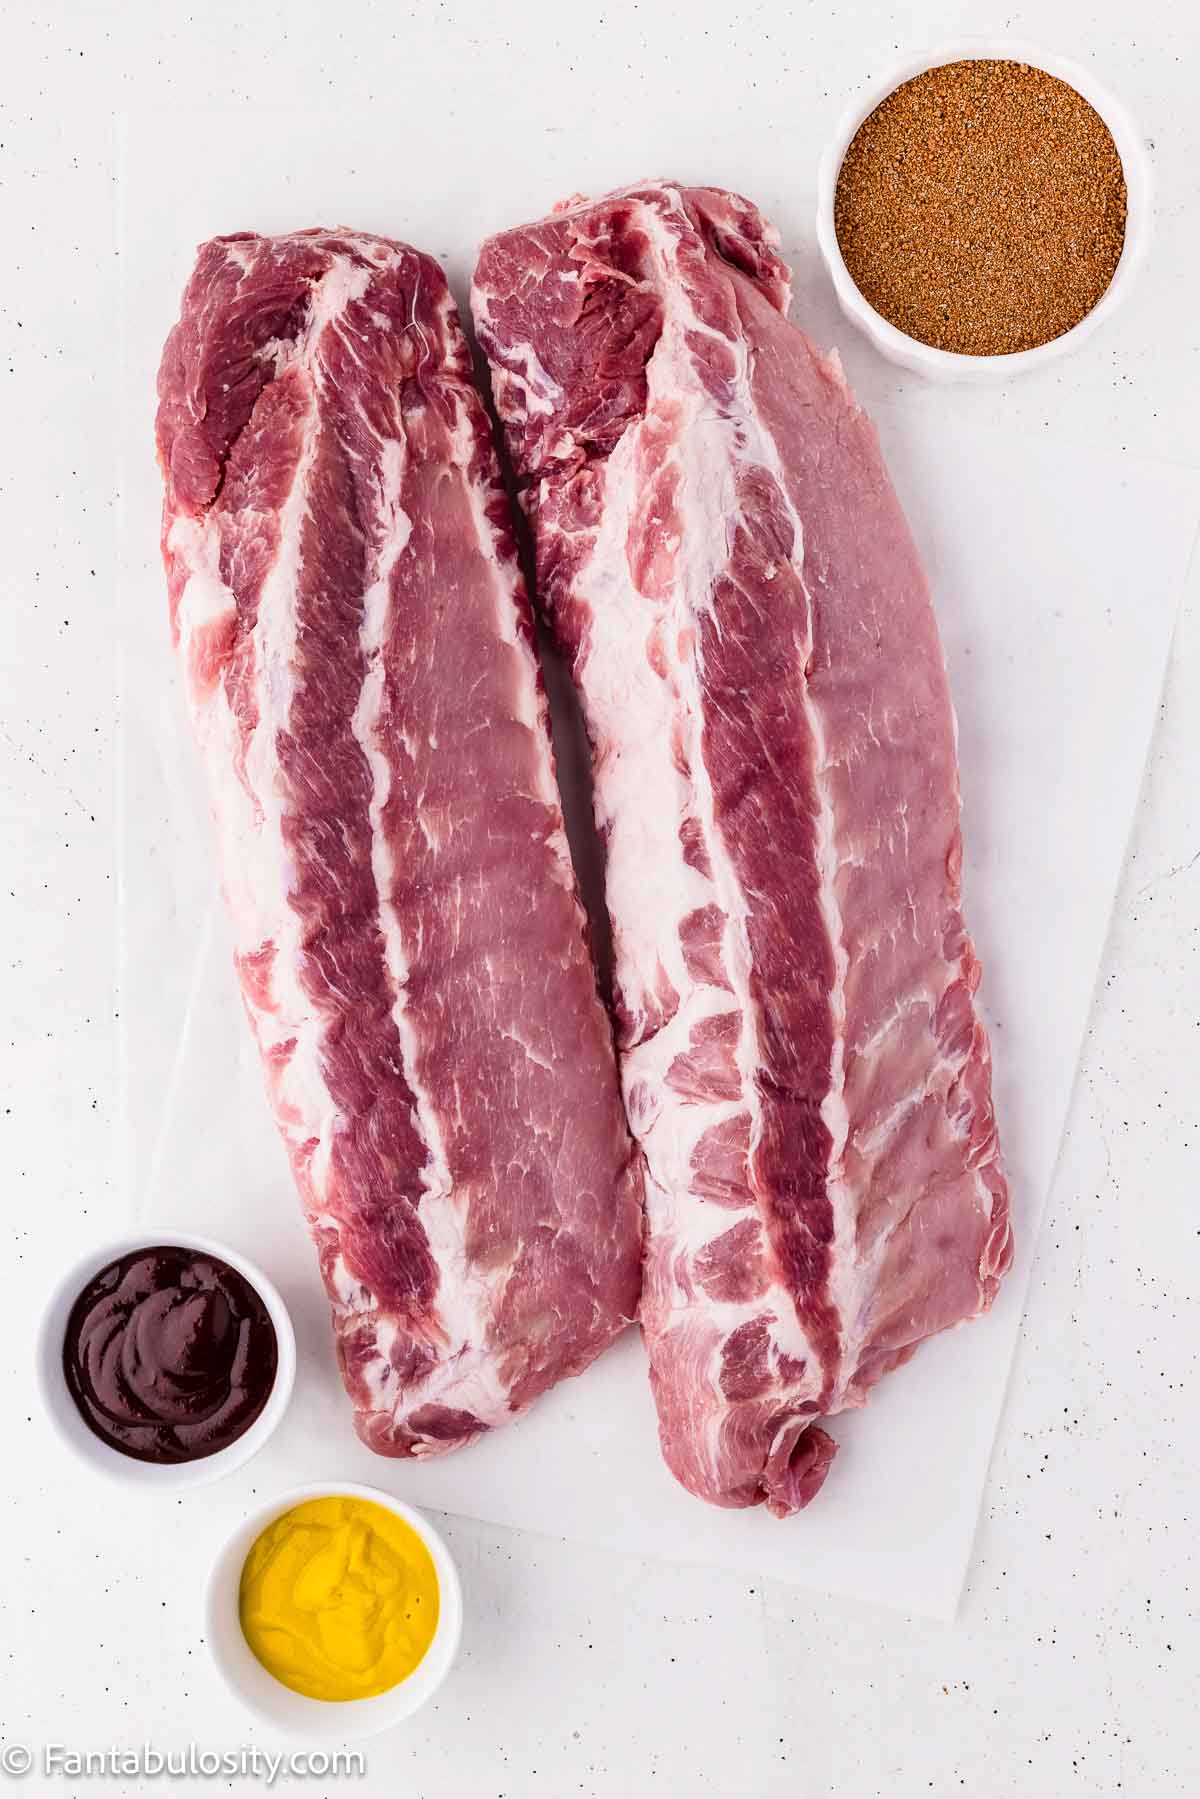
- 2 racks baby back ribs (about 3 to 3.5 lbs each) – Naturally tender and quicker to cook than bigger cuts.
- ¼ cup yellow mustard – Acts as a binder so the rub sticks in an even layer. It will not taste like mustard.
- 2 cups BBQ sauce – Use a thicker sauce so it clings to the ribs and turns sticky instead of running into the pan.
Instructions
- Heat the oven to 275°F and line a large rimmed baking sheet with heavy-duty foil.
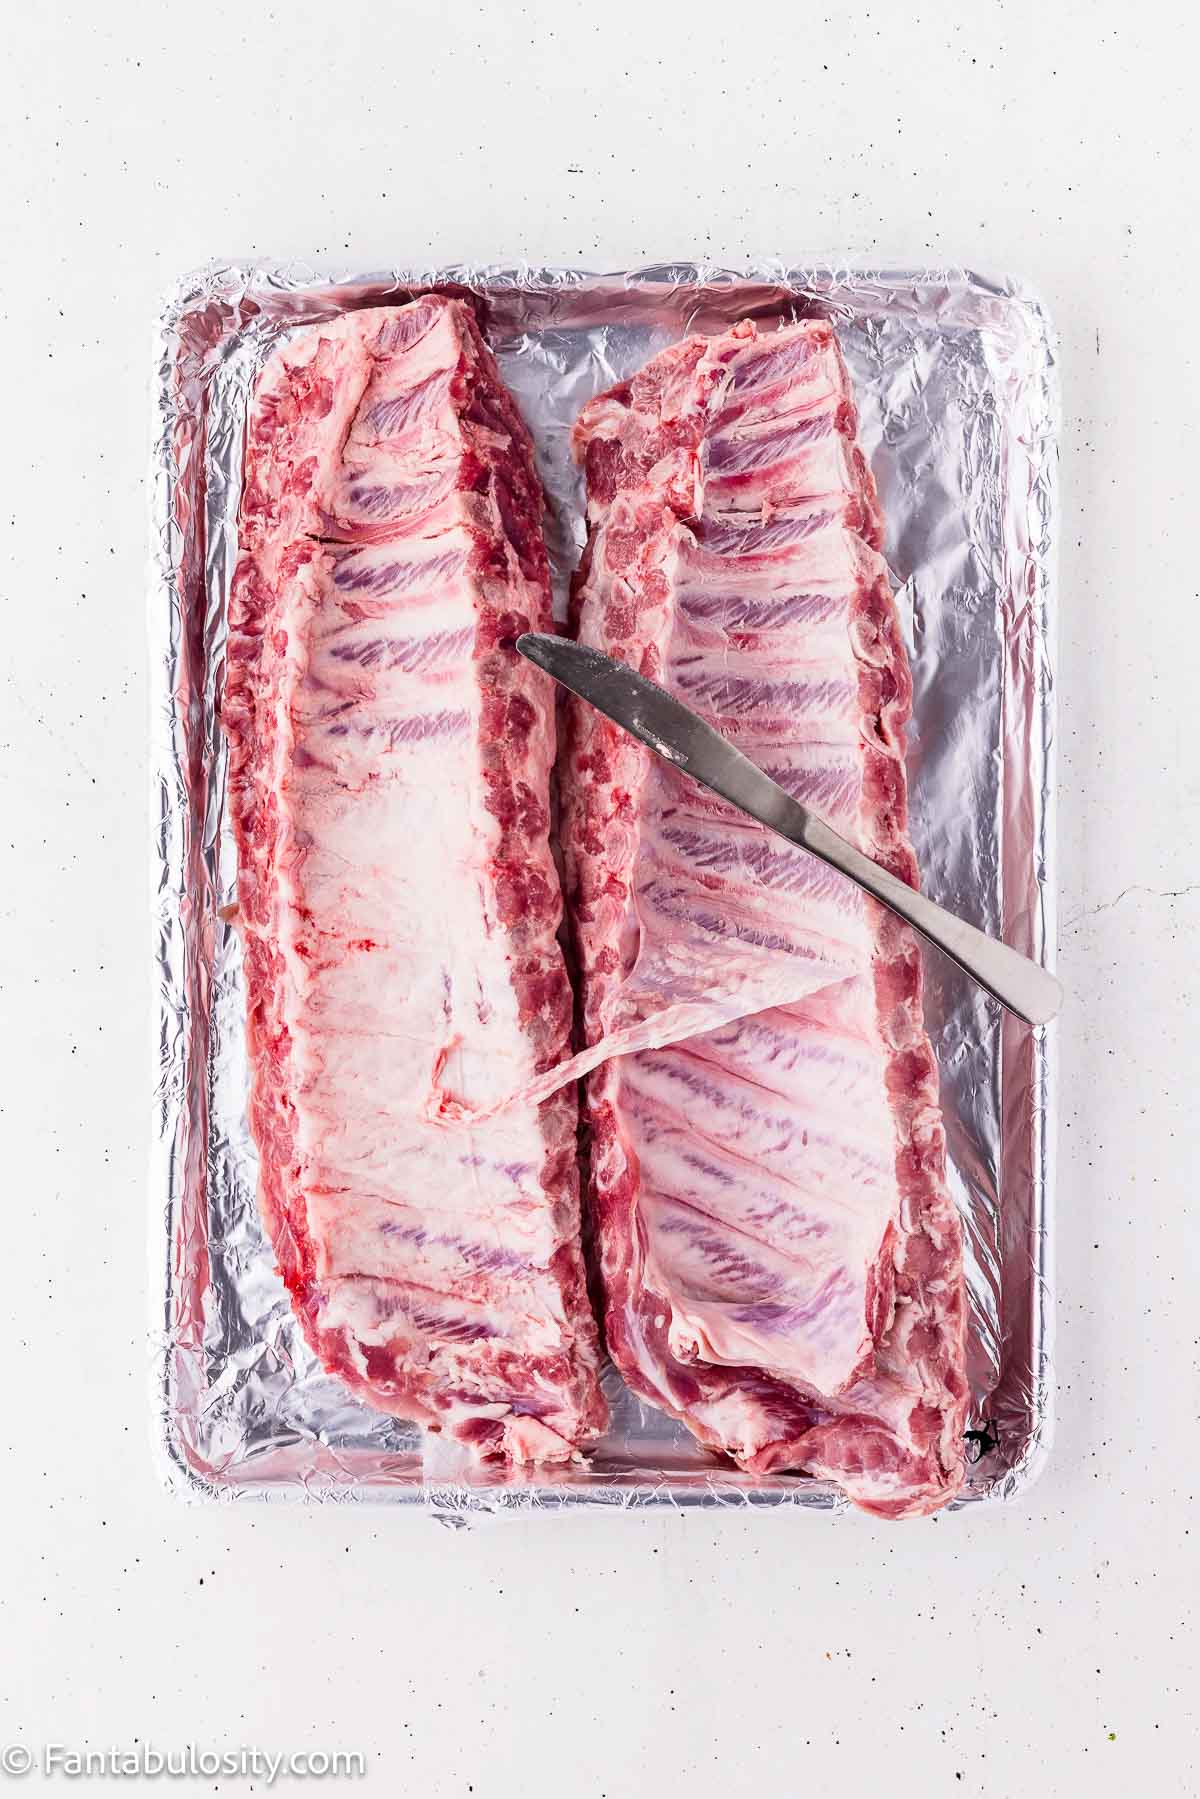
- Set the ribs on the pan bones up. Work the tip of a butter knife under one edge of the membrane until you can lift a corner, grip it with a paper towel, and peel it away from the rack.
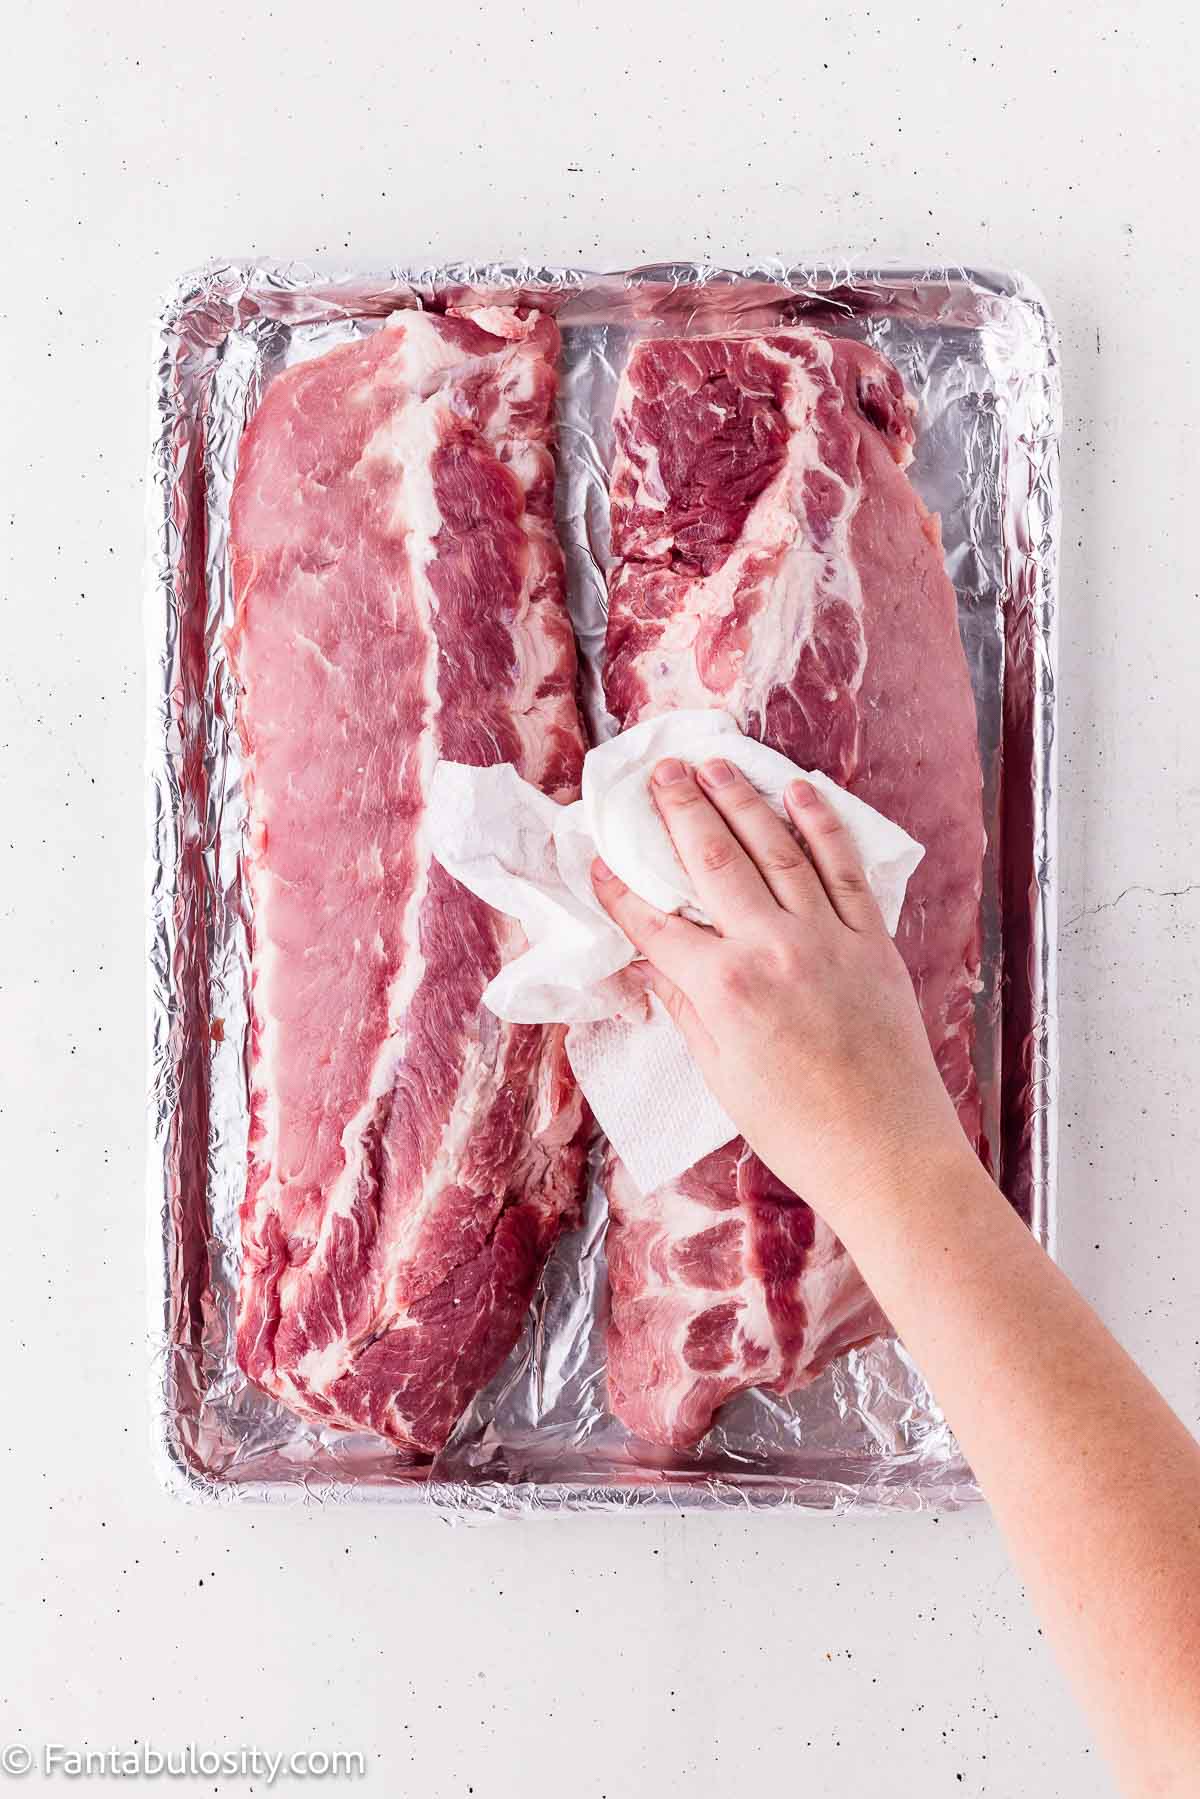
- Blot the ribs with clean paper towels, especially anywhere moisture has collected.
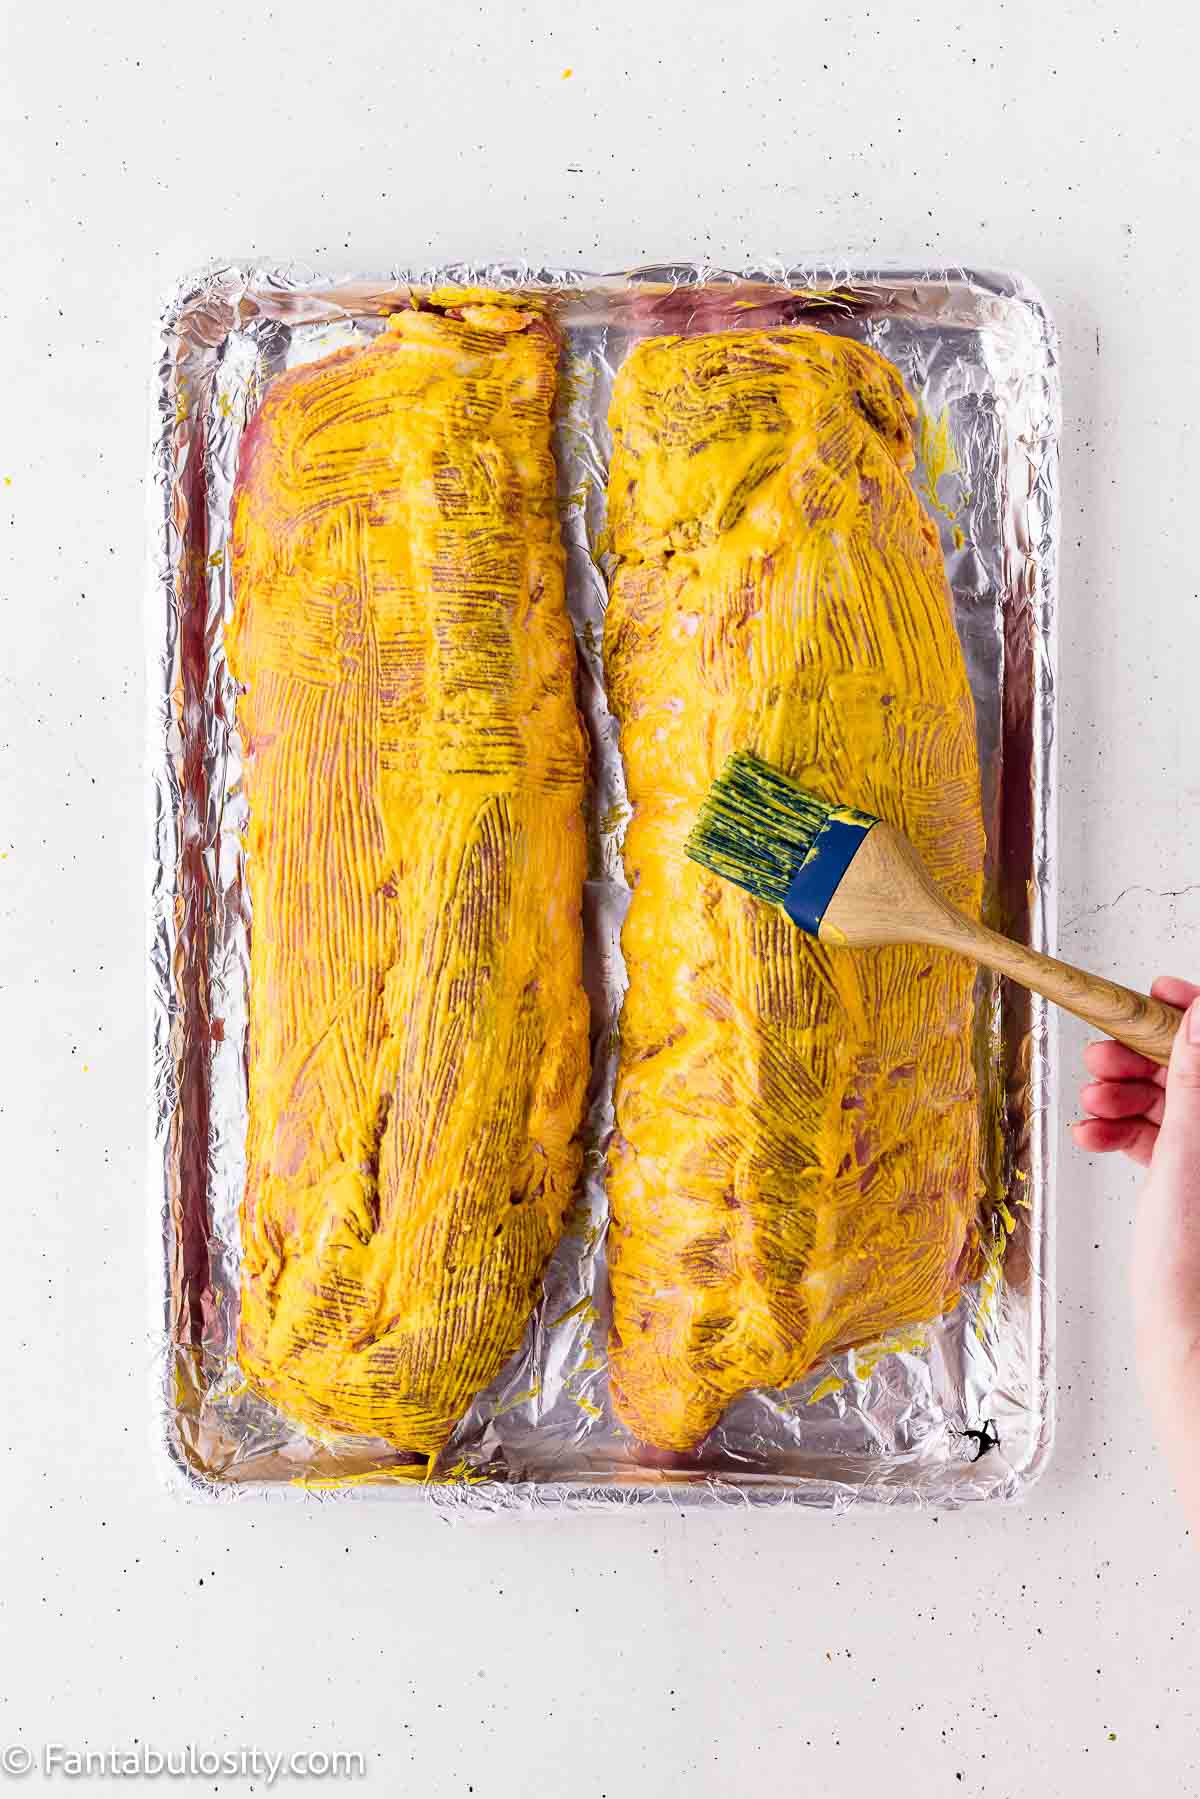
- Brush a light coating of yellow mustard across the front and back of each rack.
- Mix the rub in a medium bowl, breaking apart any packed clumps of brown sugar so the color is even all the way through.
- Coat both sides of each rack. Instead of rubbing back and forth, press the seasoning firmly onto the meat so a thick layer stays in place.
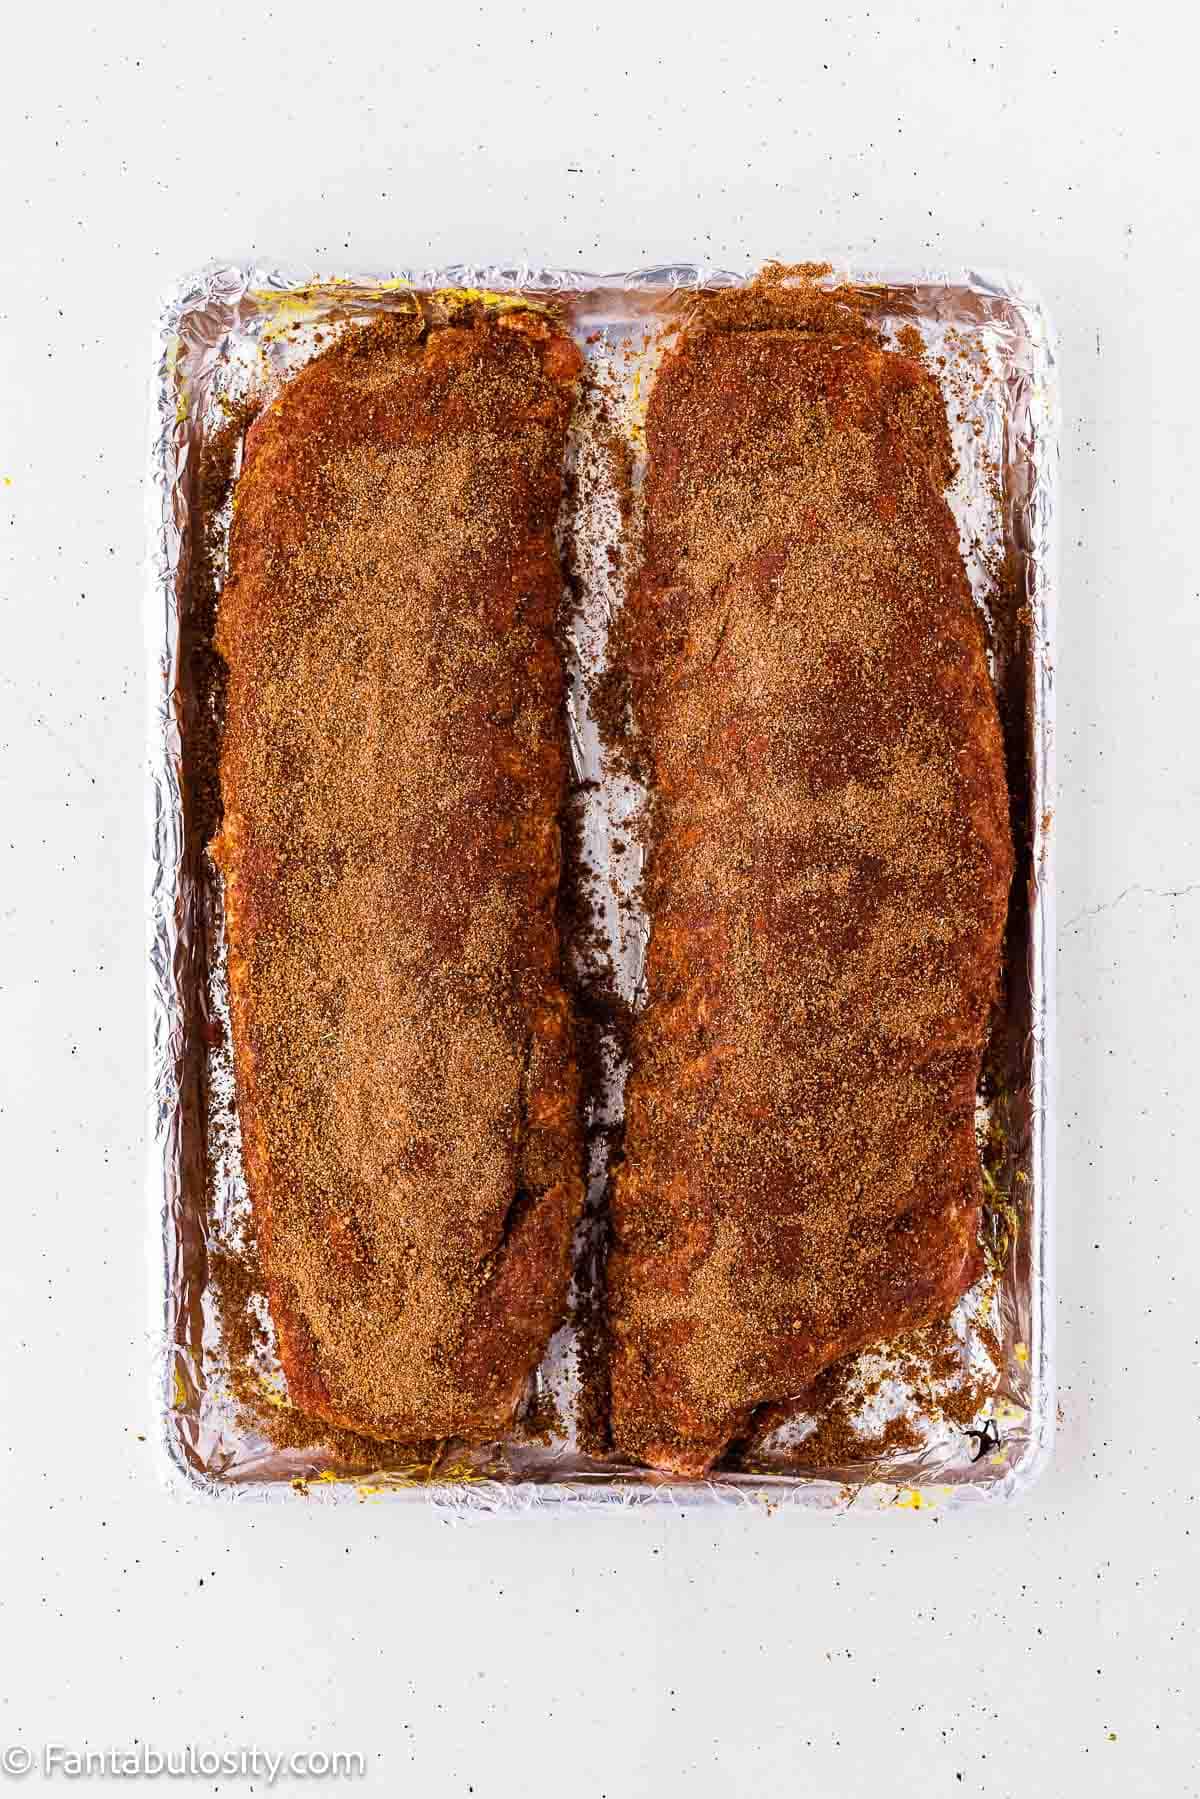
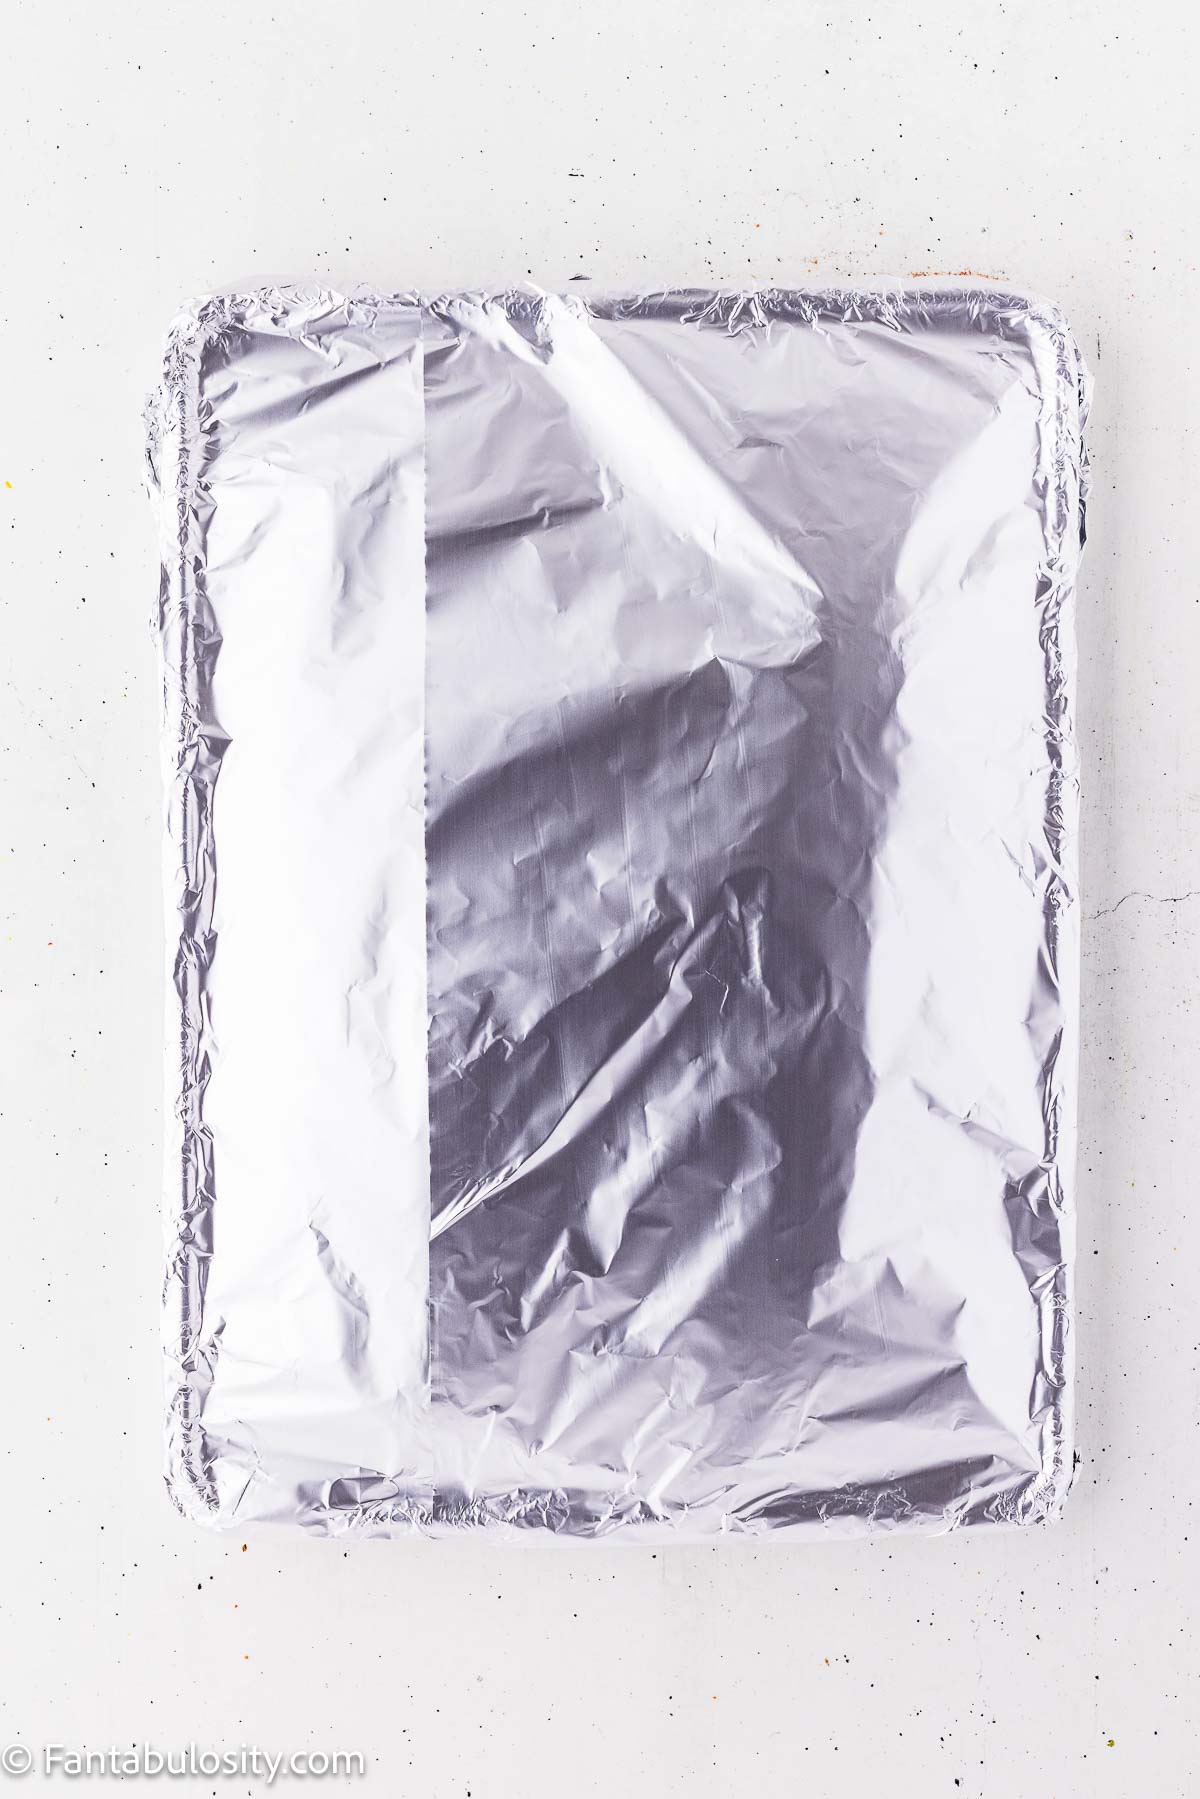
- Position the ribs meaty side up, lay foil over the whole baking sheet, and crimp it firmly around the rim.
- Bake at 275°F for 2 ½ hours, undisturbed. Do not add any liquid.
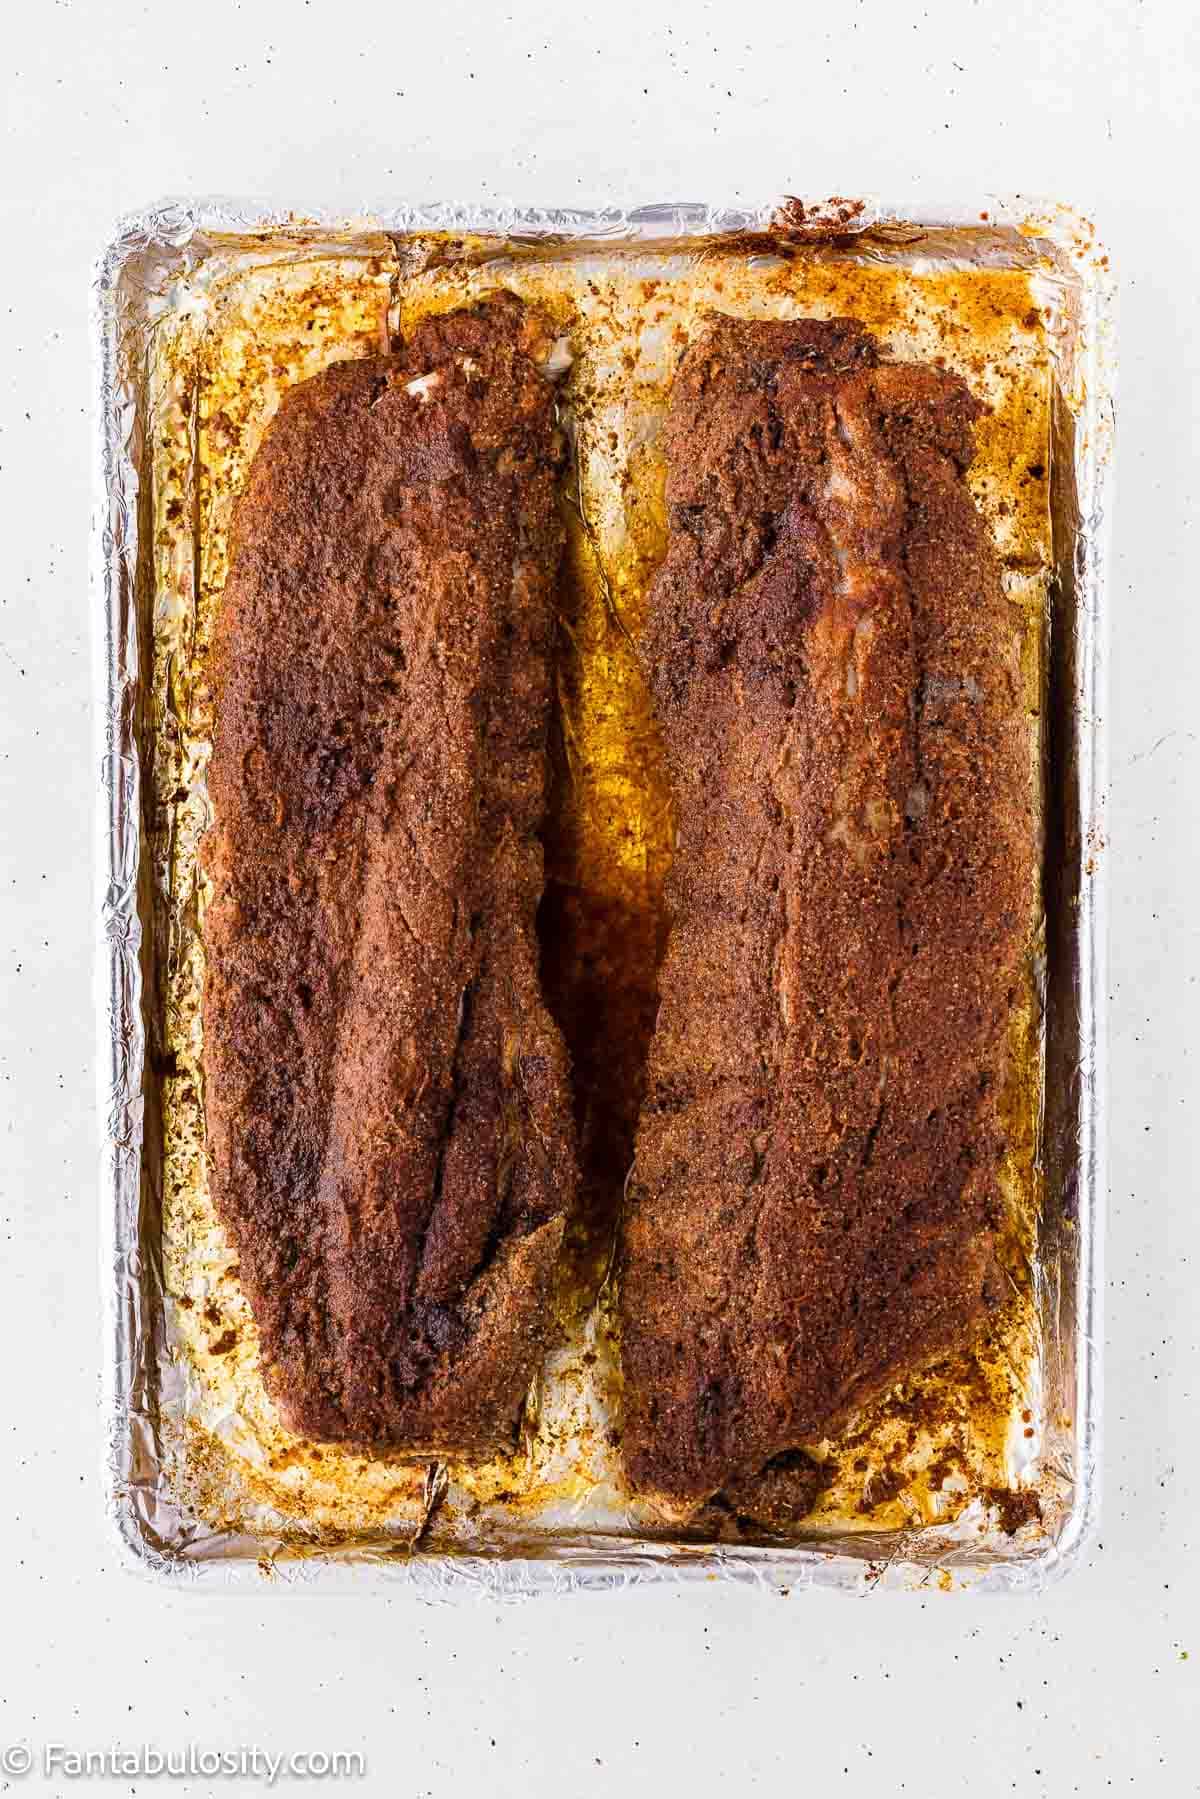
- Peel back the foil carefully, watching for hot steam. There will be liquid in the pan, and you can pour it off or leave it.
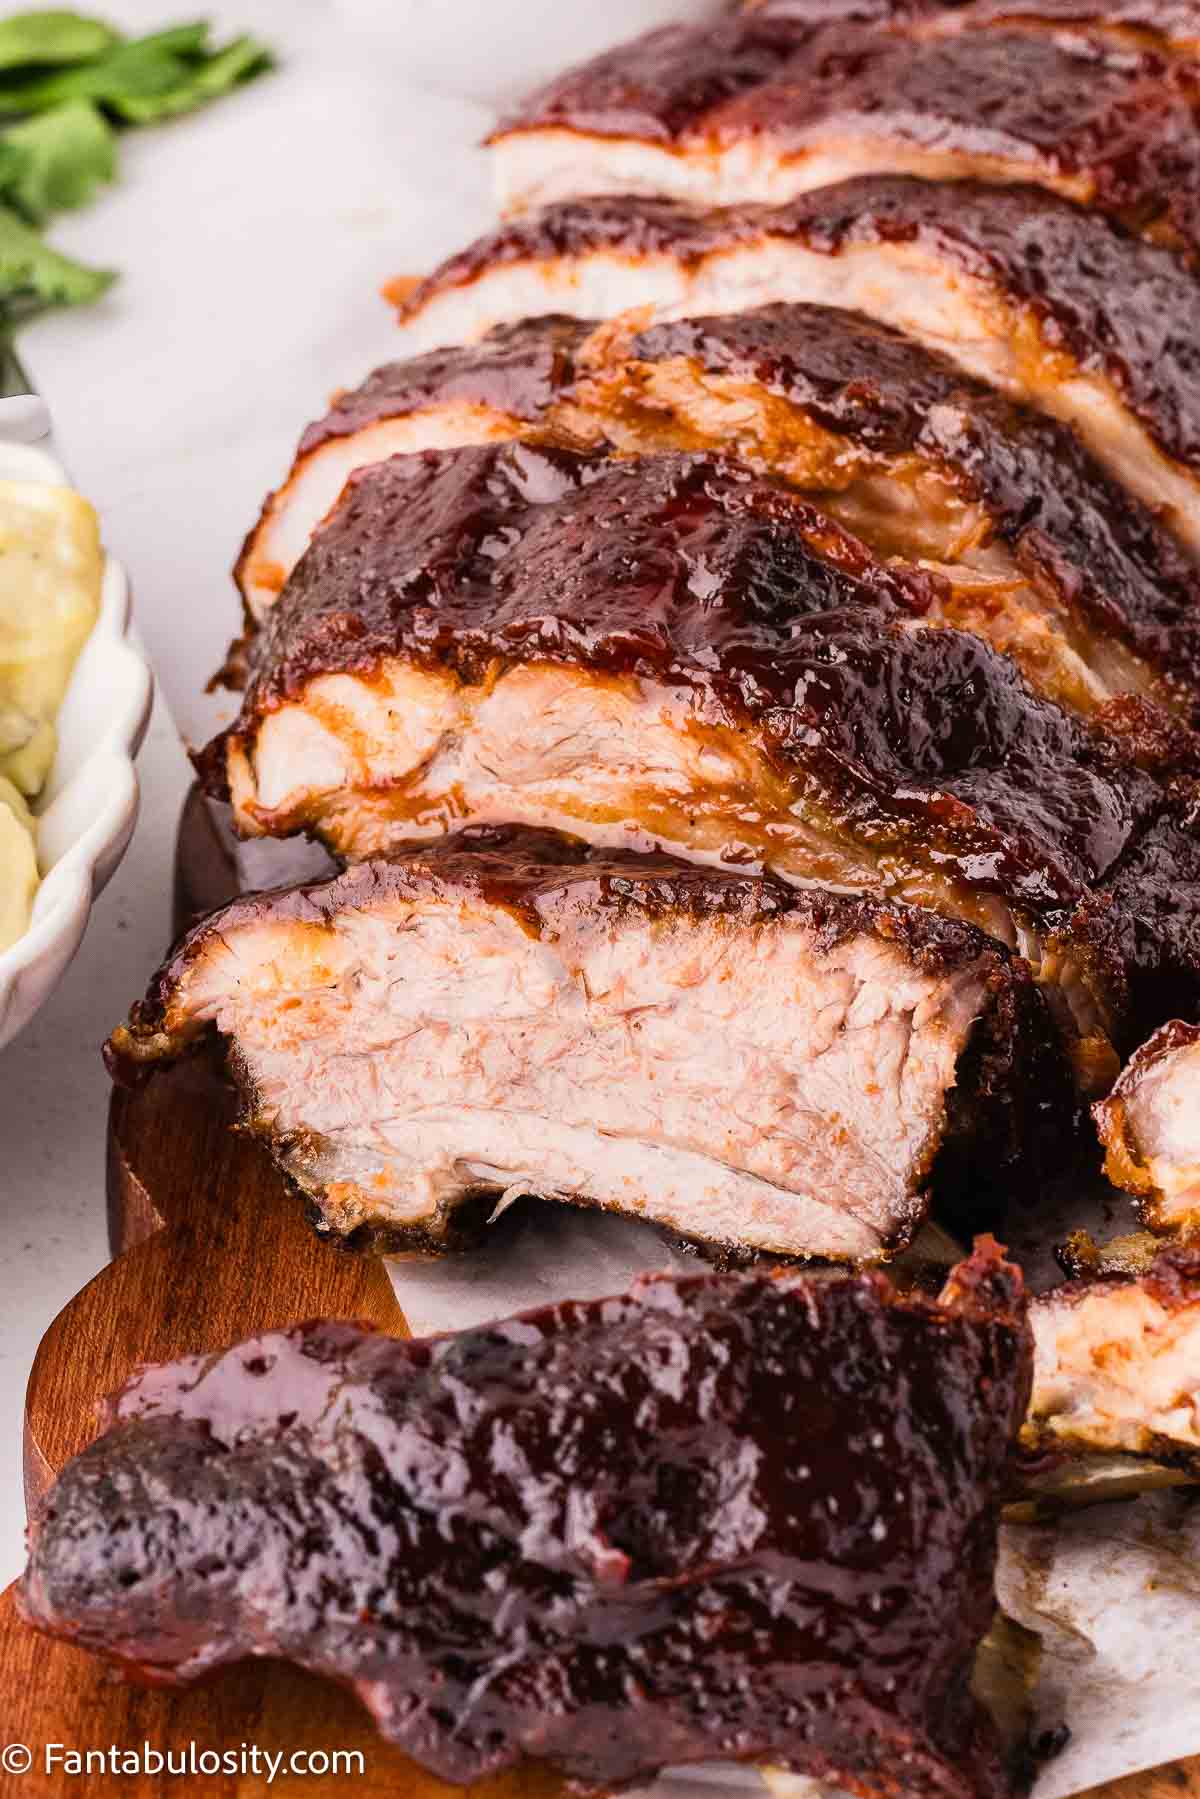
- The meat should be pulling away from the tips of the bones, and a toothpick slid between two bones should pass through without resistance. With a thermometer, look for 195 to 205°F.
- Racks that still feel firm need more time. Reseal the pan and give them another 20 to 30 minutes before checking again.
How to Sauce and Finish the Ribs
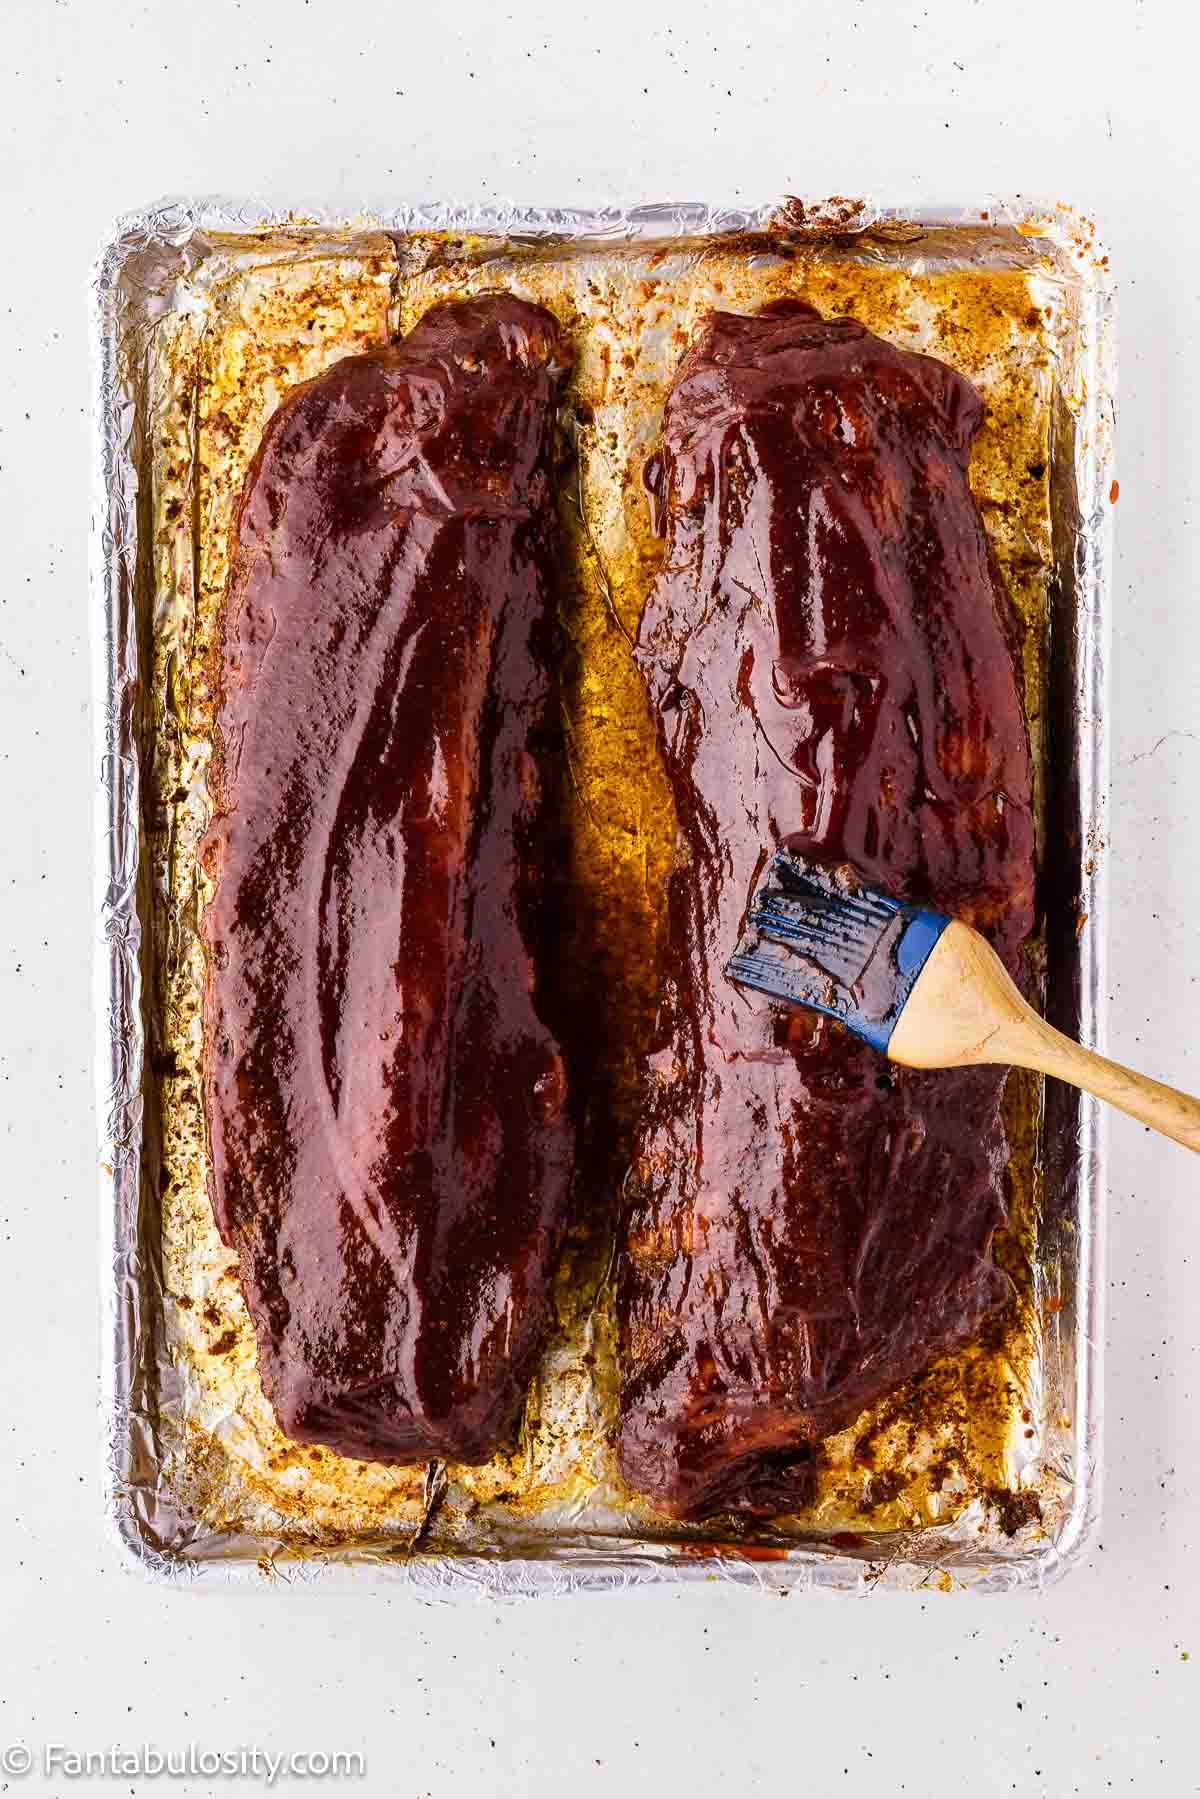
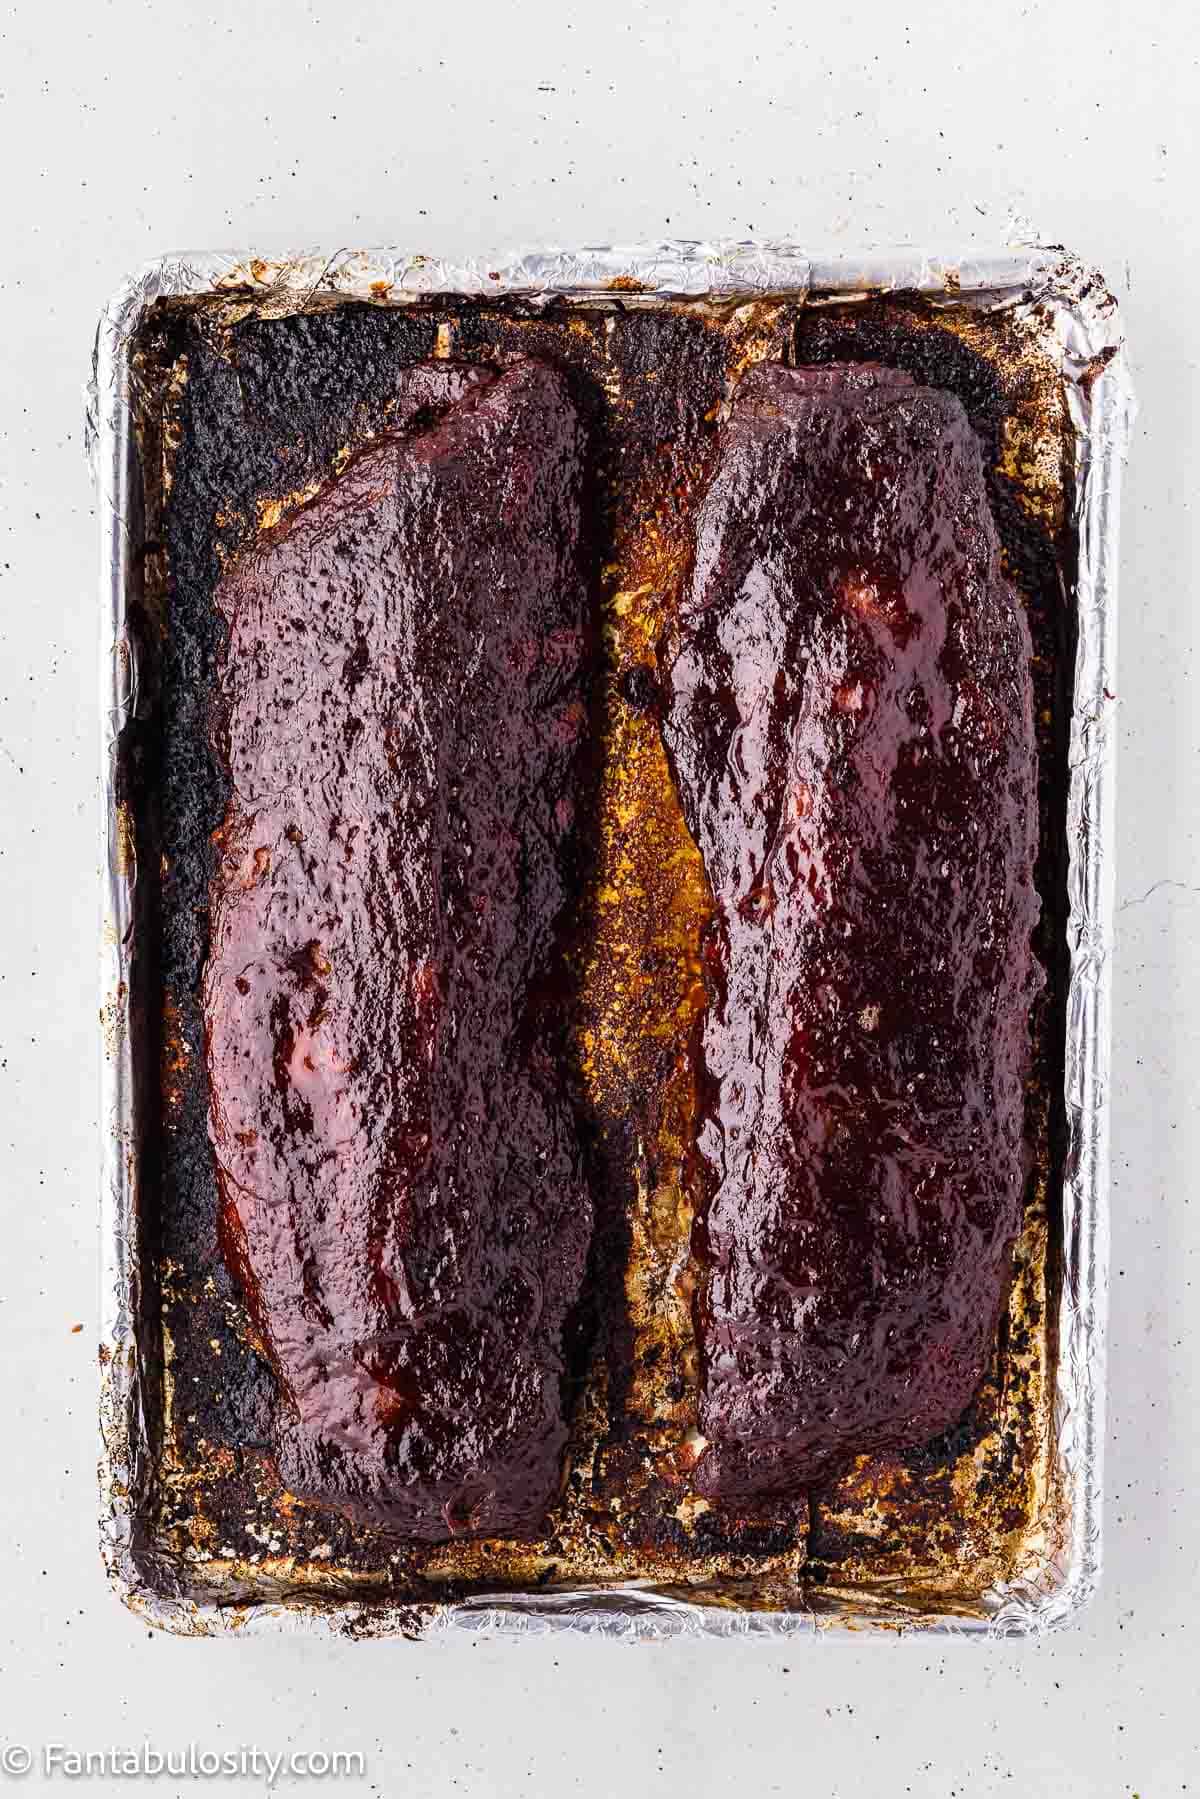
- Turn the oven up to 400°F. While it heats, brush ½ cup of BBQ sauce over the top and sides of each rack.
- Return the ribs uncovered and bake 15 minutes. Add the remaining sauce and bake another 15 to 20 minutes, until the glaze is sticky and caramelizing at the edges.
- For deeper color, broil 3 to 4 minutes and stay right at the oven. Ribs go from caramelized to scorched fast.
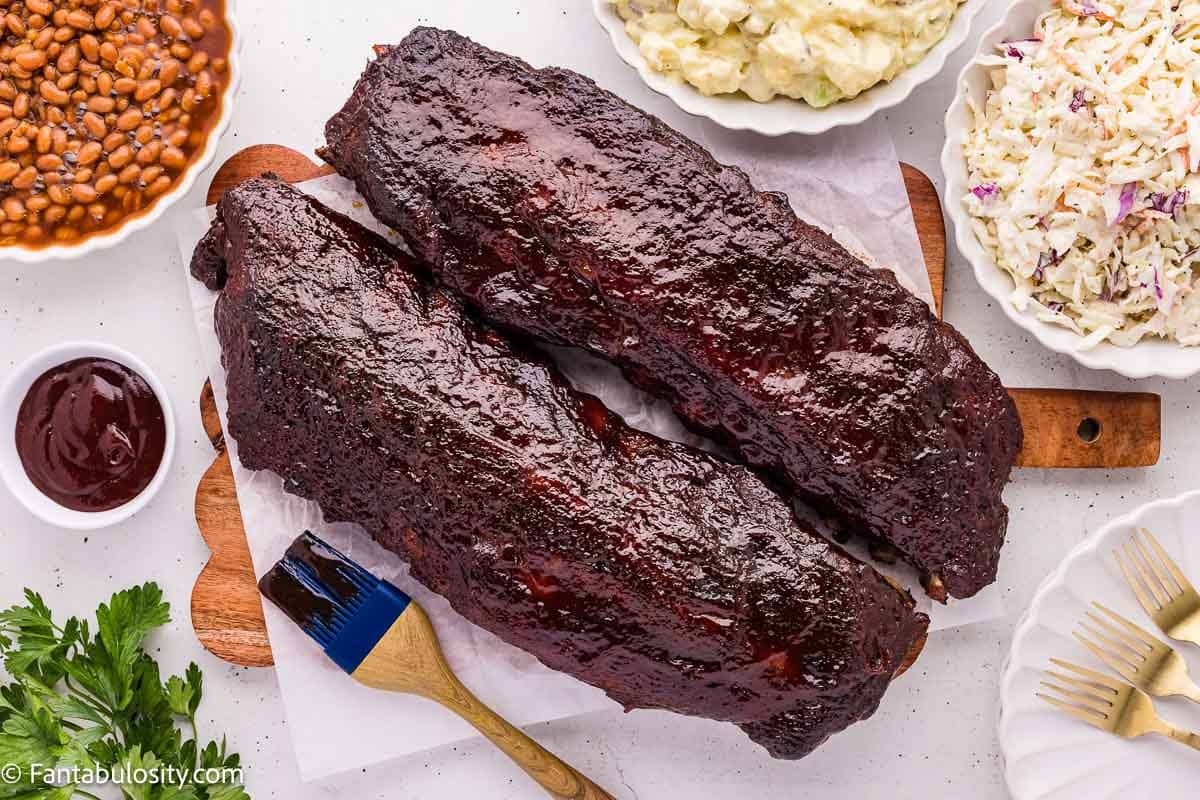
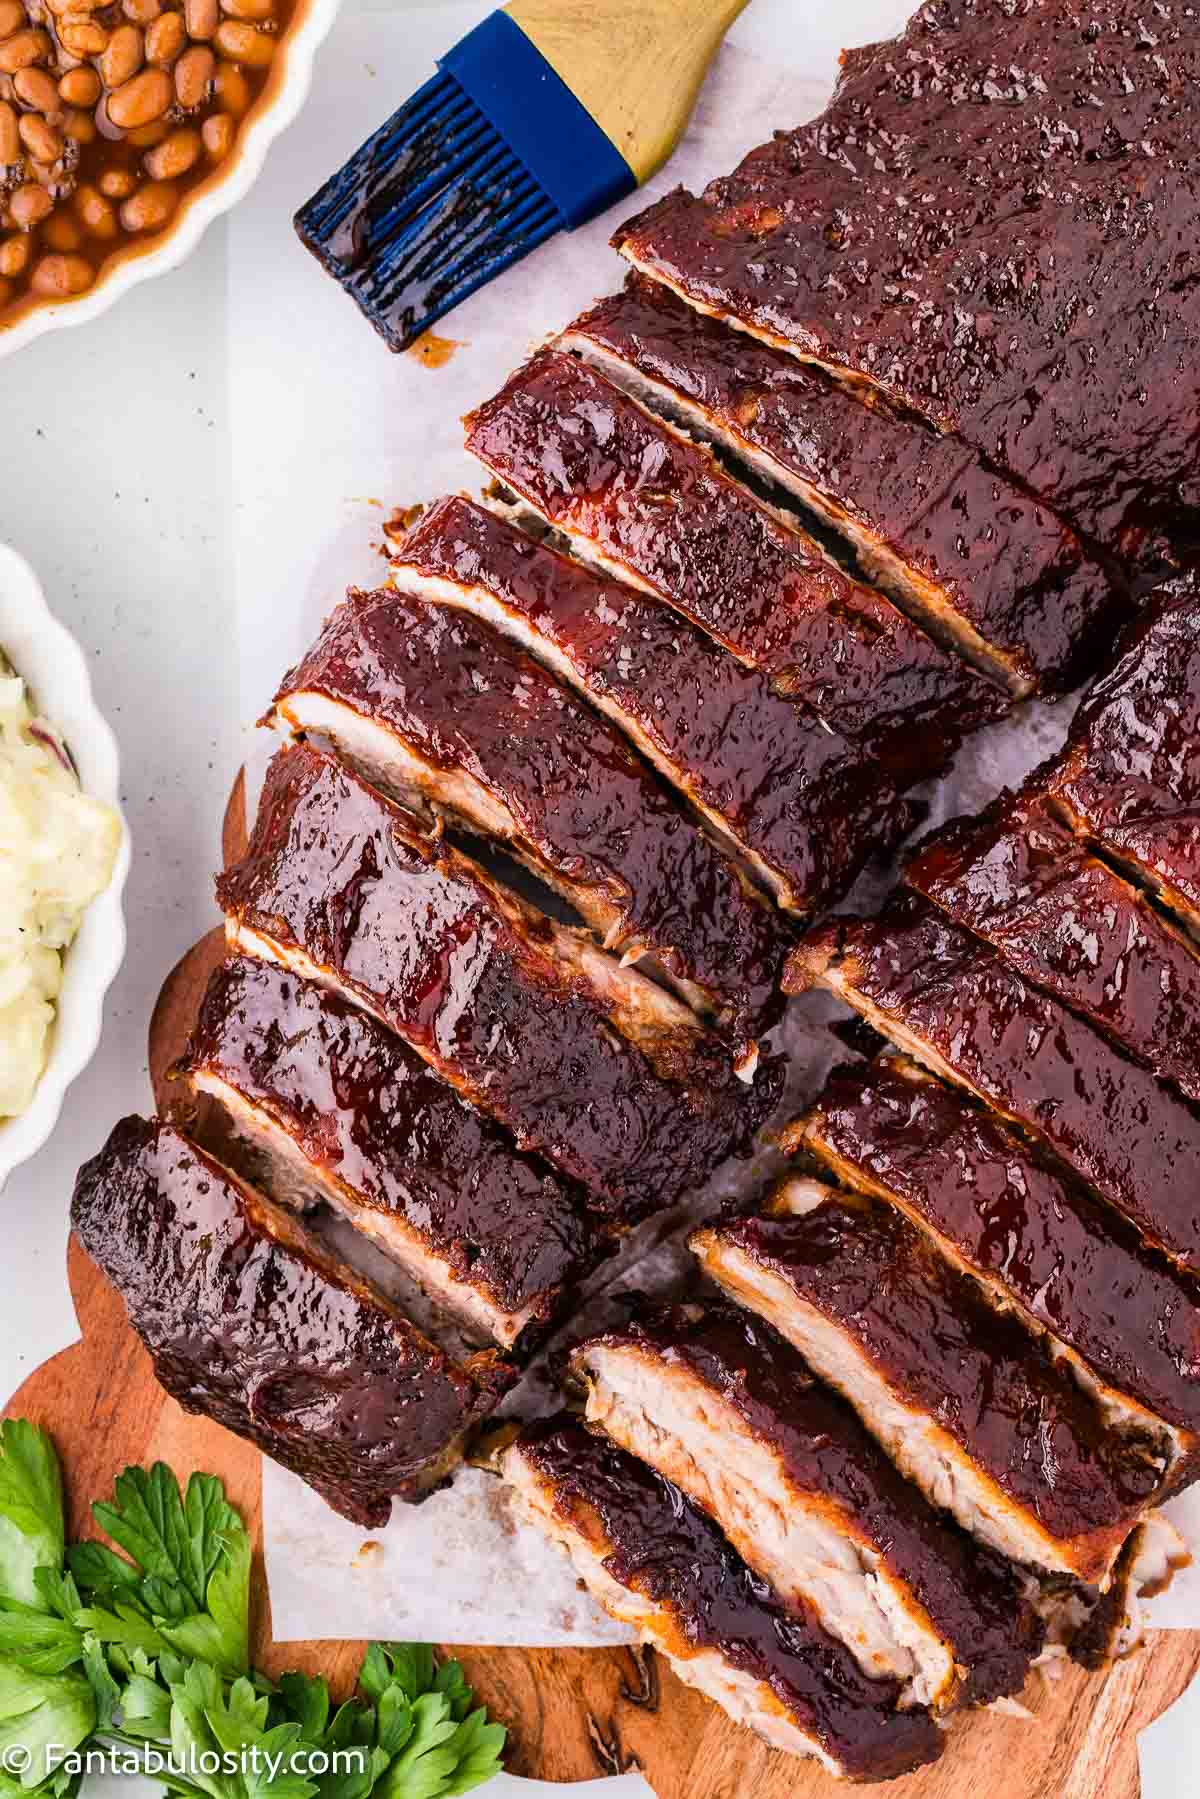
- Let the racks rest 10 minutes before cutting between the bones.
Tips
- Take the membrane off. It does not break down in the oven, it blocks the seasoning, and it turns papery. This one step makes the biggest difference in the finished ribs.
- Crimp the foil tight. A loose seal lets steam escape, and steam is what makes these tender.
- Judge doneness by feel, not the clock. Two racks of the same weight can finish 30 minutes apart. Lift one end with tongs. A finished rack sags and the surface starts to crack.
- Sauce in two rounds. One coat before the hot bake and one partway through builds a real glaze. All at once and it stays thin.
- Spare ribs and St. Louis-style work too. They are larger with more connective tissue, so plan on a longer bake and go by tenderness.
- For dry ribs, skip the sauce entirely, finish uncovered at 400°F for 15 to 20 minutes, and sprinkle on a little extra rub as they come out.
- Leftovers keep 3 to 4 days in the refrigerator. Reheat covered at 300°F with a thin layer of sauce brushed on first.
More Recipes
If ribs are on the menu, these round out the plate.
- Dry Rub for Ribs
- Chipotle Apple Butter Grilled Ribs
- Pork Steaks in the Oven
- Dr. Pepper Baked Beans
- KFC Coleslaw Copycat
- 3 Bean Salad
Recipe
Oven Baked Ribs
Ingredients
Rib Rub (makes about 1 ¼ cups)
- ½ cup dark brown sugar packed
- 2 tablespoons smoked paprika
- 1 tablespoon fine sea salt
- 2 teaspoons black pepper coarse ground
- 2 teaspoons garlic powder
- 2 teaspoons onion powder
- 2 teaspoons chili powder
- 2 teaspoons dry mustard
- 1 teaspoon unsweetened cocoa powder
- 1 teaspoon ground cumin
- 1 teaspoon dried oregano
- 1 teaspoon celery seed
- ½ teaspoon ground allspice
- ½-1 teaspoon cayenne pepper adjust to taste
Ribs
- 2 racks baby back ribs about 3 to 3.5 lbs each
- ¼ cup yellow mustard
- 2 cups BBQ sauce use your favorite thick sauce
Instructions
- Heat the oven to 275°F. Cover a large rimmed baking sheet with heavy-duty foil to make cleanup easier.
- Place the ribs on the pan, bones up, and blot away surface moisture with paper towels. If the membrane is still intact, work the tip of a butter knife underneath one edge until you can lift enough to grab. Hold the loosened piece with a paper towel, then peel the membrane away from the rack.
- Make the rib rub by adding the dark brown sugar, smoked paprika, sea salt, black pepper, garlic powder, onion powder, chili powder, dry mustard, cocoa powder, cumin, oregano, celery seed, allspice, and cayenne to a medium bowl. Stir thoroughly, breaking apart any packed pieces of brown sugar so the spices are evenly distributed.
- Blot the ribs again with clean paper towels, especially anywhere moisture collected while you prepared the seasoning. Brush a light coating of yellow mustard across the front and back of each rack.
- Coat the ribs generously on both sides with the rub. Instead of rubbing it back and forth, press the mixture firmly onto the meat with your hands to leave a substantial layer of seasoning in place.
- Cover and bake. With the ribs positioned meaty side up, lay foil over the entire baking sheet and crimp it firmly around the rim. Transfer the covered pan to the 275°F oven and leave the ribs undisturbed for 2 ½ hours.
- Check for tenderness. Carefully peel back the foil, watching for hot steam. There will be some excess liquid, and you can pour it off now or leave it in the pan. The meat should be beginning to pull away from the tips of the bones, and a toothpick or knife inserted between two bones should pass through without much resistance. If you are checking with a thermometer, look for an internal temperature around 195-205°F. Racks that still feel firm need more time. Reseal the pan and give them another 20-30 minutes at 275°F before checking again.
- Sauce the ribs. When they have reached the desired tenderness, raise the oven temperature to 400°F. While the oven heats, brush ½ cup BBQ sauce over the top and sides of each rack.
- Finish uncovered. Once the oven reaches 400°F, return the ribs to the oven with no foil. Bake for 15 minutes, then add the remaining BBQ sauce. Cook an additional 15-20 minutes, until the sauce has thickened into a sticky glaze and begins to caramelize around the edges. For even more caramelization, switch the oven to broil for 3-4 minutes. Stay close to the oven during this step, because the ribs can go from caramelized to scorched quickly.
- Rest the ribs for 10 minutes before slicing.
Notes
Nutrition
Nutritional information is based on third-party calculations and should be considered estimates. Actual nutritional content will vary with brands used, measuring methods, portion sizes and more.
Comments
No Comments