Sliced Caramel Apples on a Stick: If you’re like me, I’m always looking for activities for my kids to do, especially around the holidays and when it comes to Halloween… candy apples and this pumpkin patch recipe are our faves!

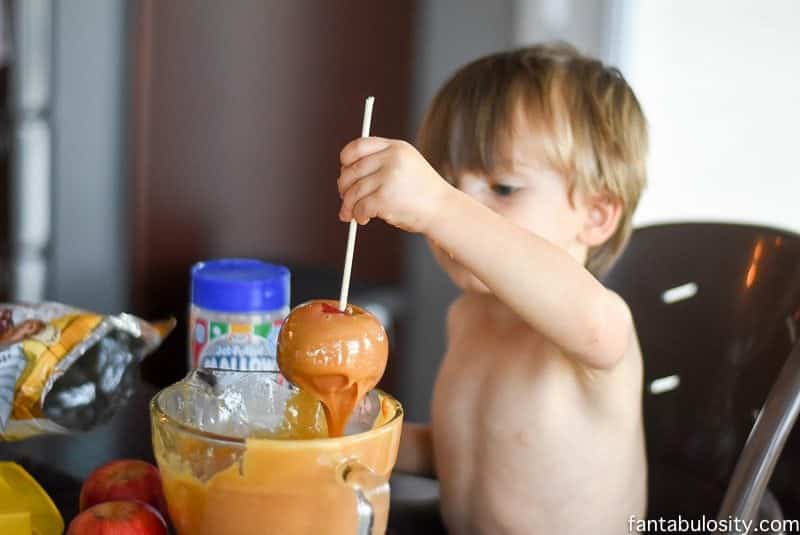
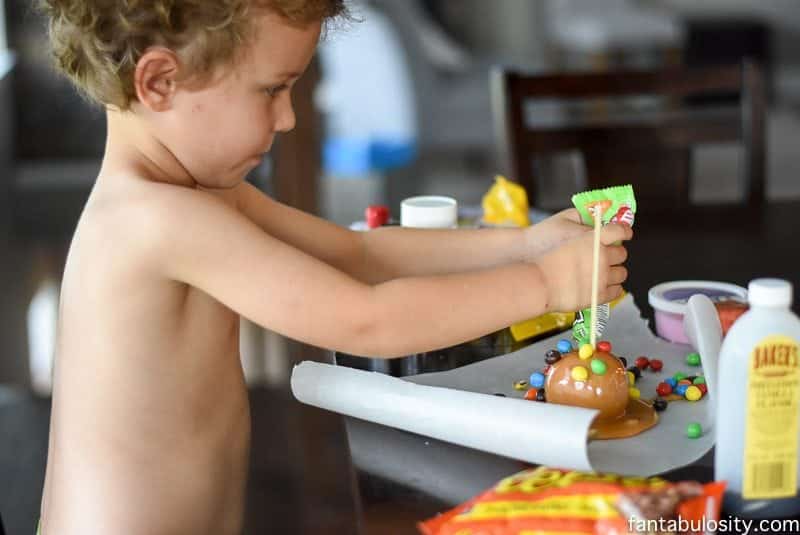
We started the tradition of making homemade caramel apples back in 2015, when my kiddos were just little bitty (as seen below) and even years later, they still love it! I truly hope to carry this tradition on for years to come because it’s a great way to keep them entertained and to share a moment in the kitchen together.
Why you’ll love making caramel apple slices instead of the whole apple:
- Slices are so much easier to handle for small hands (perfect for kiddos) and are such a fun treat!
- It’s a much better way to decorate them, flat, as opposed to whole apples that are round and toppings can easily slide off when dipping the entire caramel apple.
- Many more opportunities for different flavors! Instead of decorating one whole apple with the same toppings, many different varieties can be made with individual slices, making different caramel apple pops!
Items Needed:
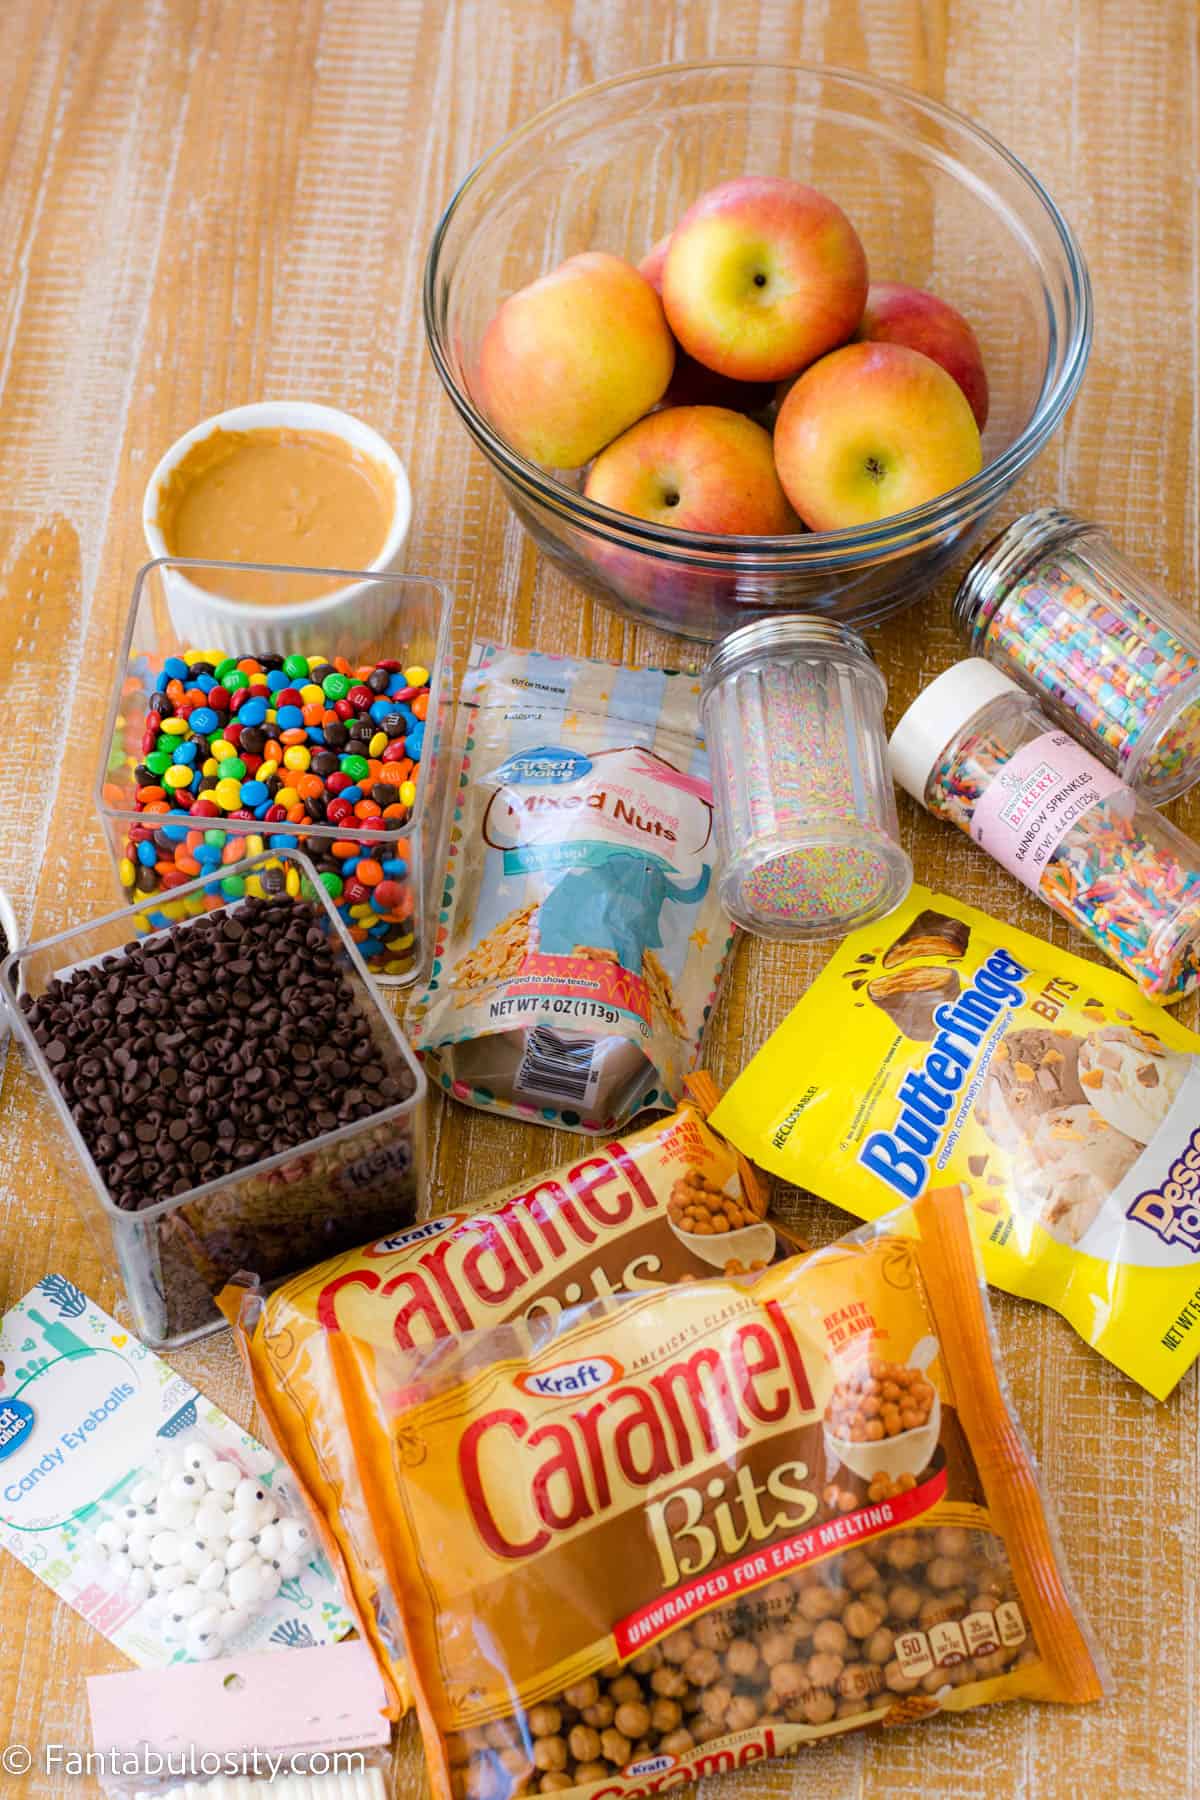
- Apples (as many as you’d like but we a bag of caramel bits, we had caramel left over after using a whole bag of apples, which was about 8!)
- Caramel candies or caramel bits for easy melting (so you don’t have to unwrap all the caramels)
- Toppings: This is where it gets fun! See topping ideas below!
- Water for melting the caramels (check directions on package for amounts)
- Lollipop sticks, popsicle sticks or wooden skewers
- Wax paper: This comes in so handy when placing the apples on it, so it doesn’t stick when dry.
- Wet Paper Towels: Because let’s face it… we’re playing with caramel so it will get on our hands and it will be easier to have these ready to go!
How to Make Caramel Apple Slices
For easy caramel apple slices, simple follow the steps below in this easy recipe:
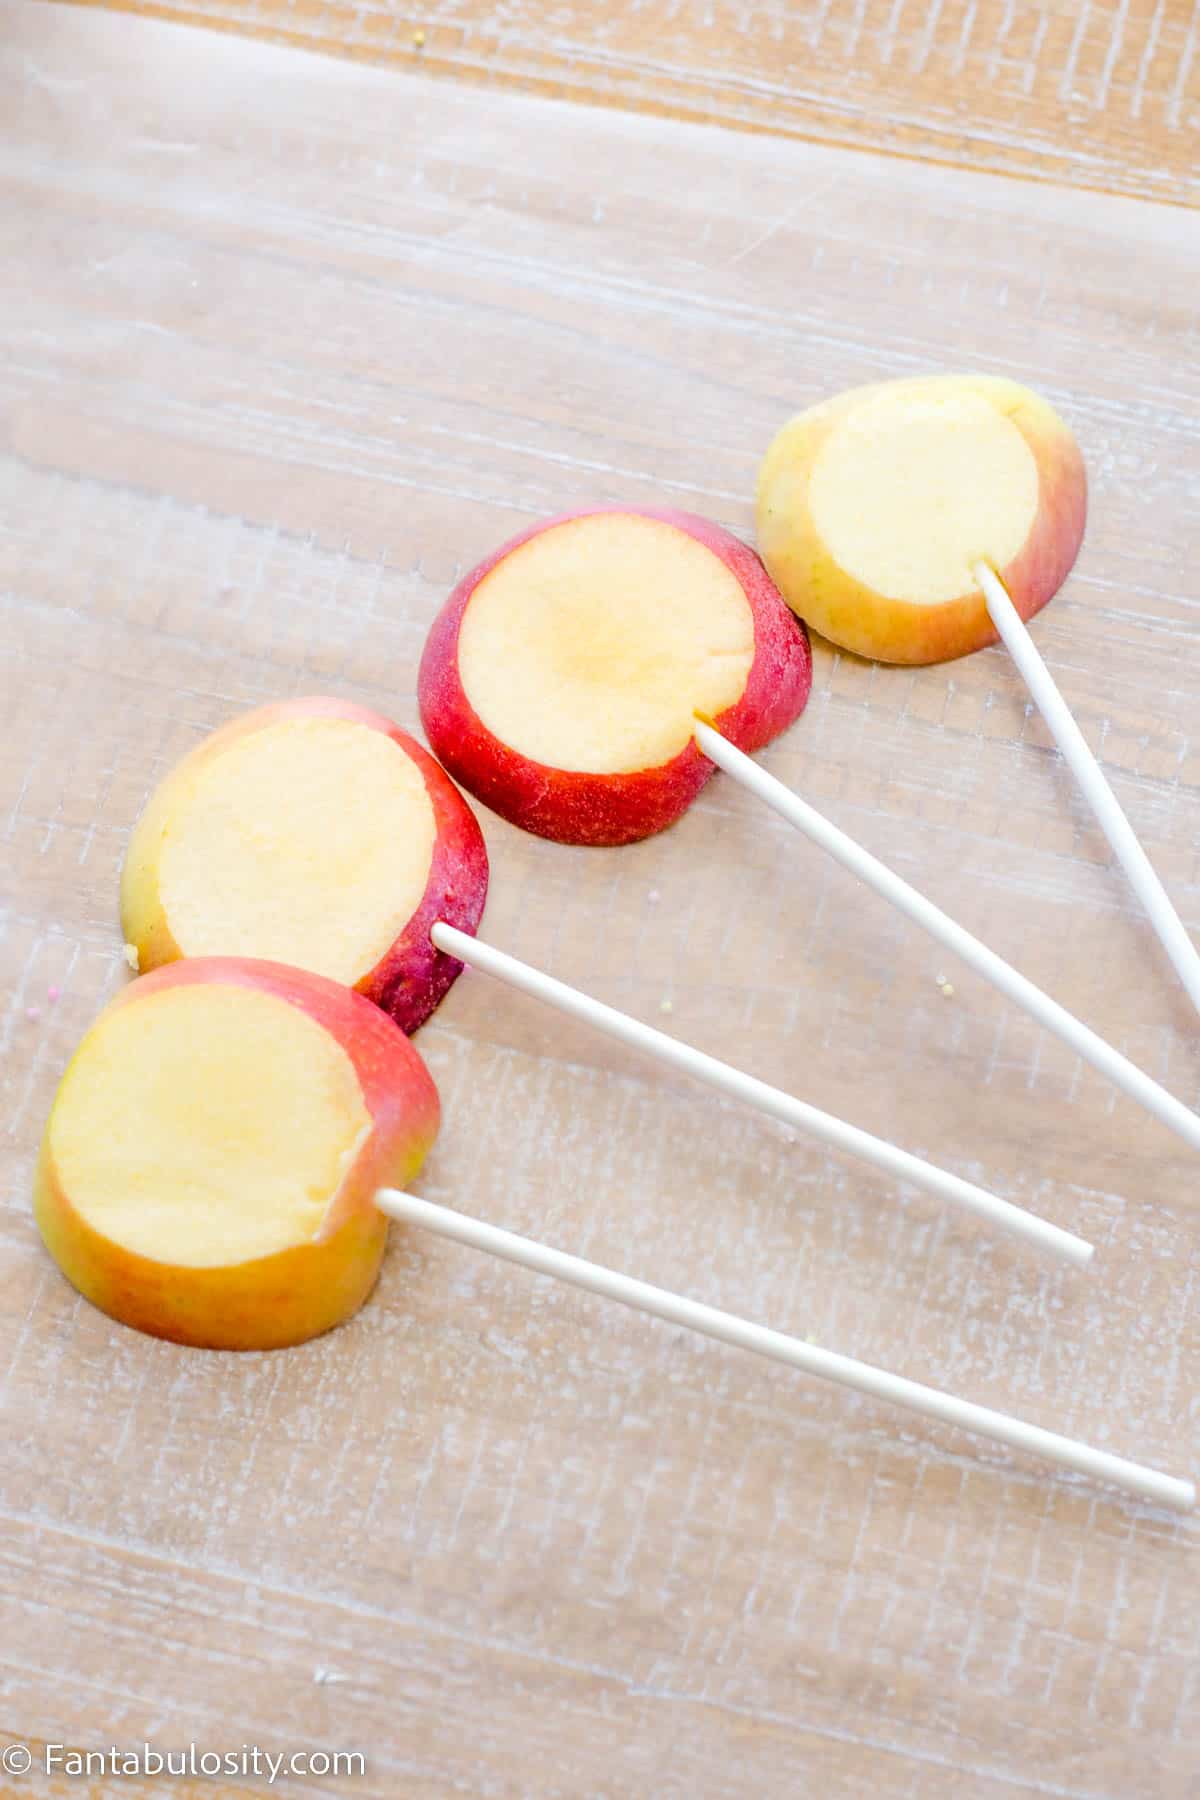
- First, wash, slice, and allow apple slices to dry. You’ll want to make sure your apple slices are thick enough for a stick to be inserted in to the sides, without pushing through the white part of the apple.
TIP: I run water over the apple slices after cutting them, to prevent browning. However, you want to make sure your slices are dry before dipping in caramel or the caramel will not stick. Some use a little lemon juice mixed in water to soak the apple slices to prevent browning as well, if slicing them ahead of time.
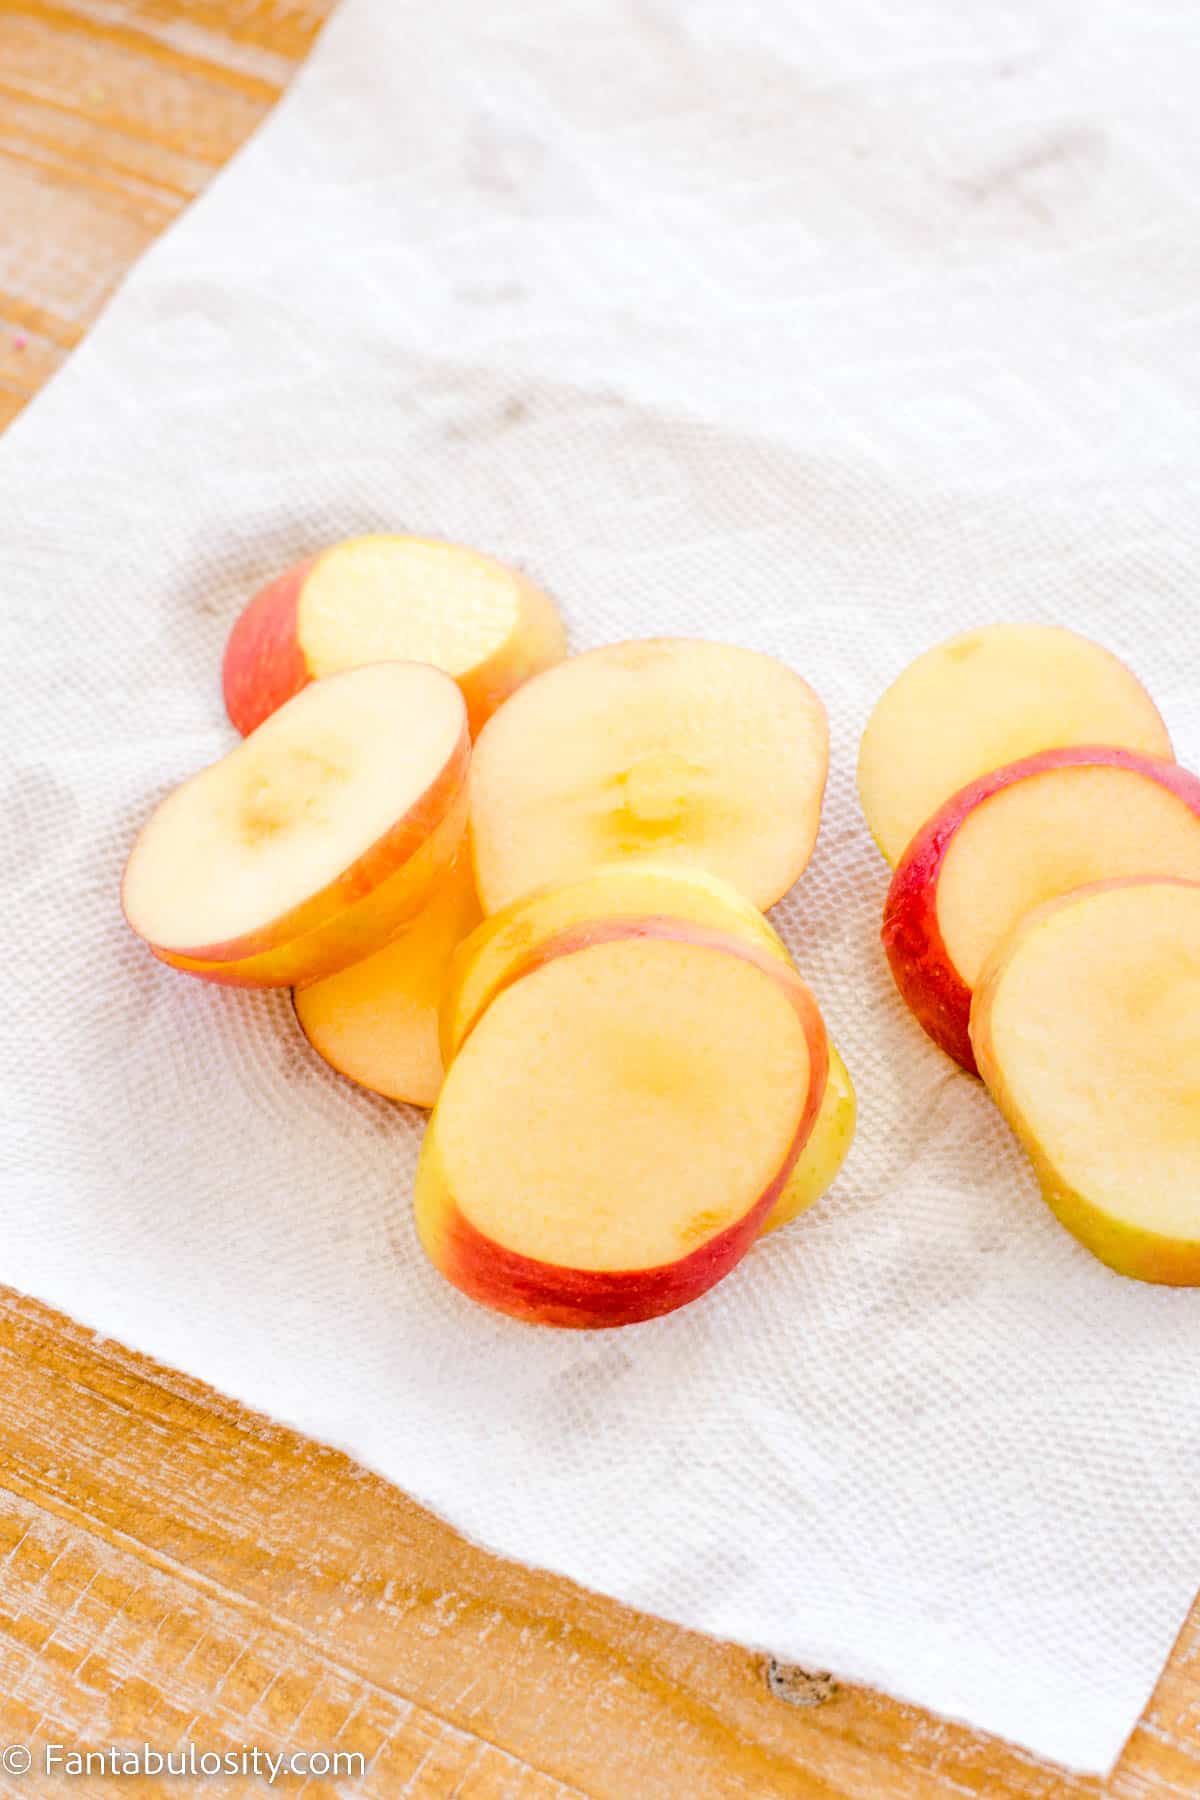
- Next, insert a stick in to the center side of each apple slice
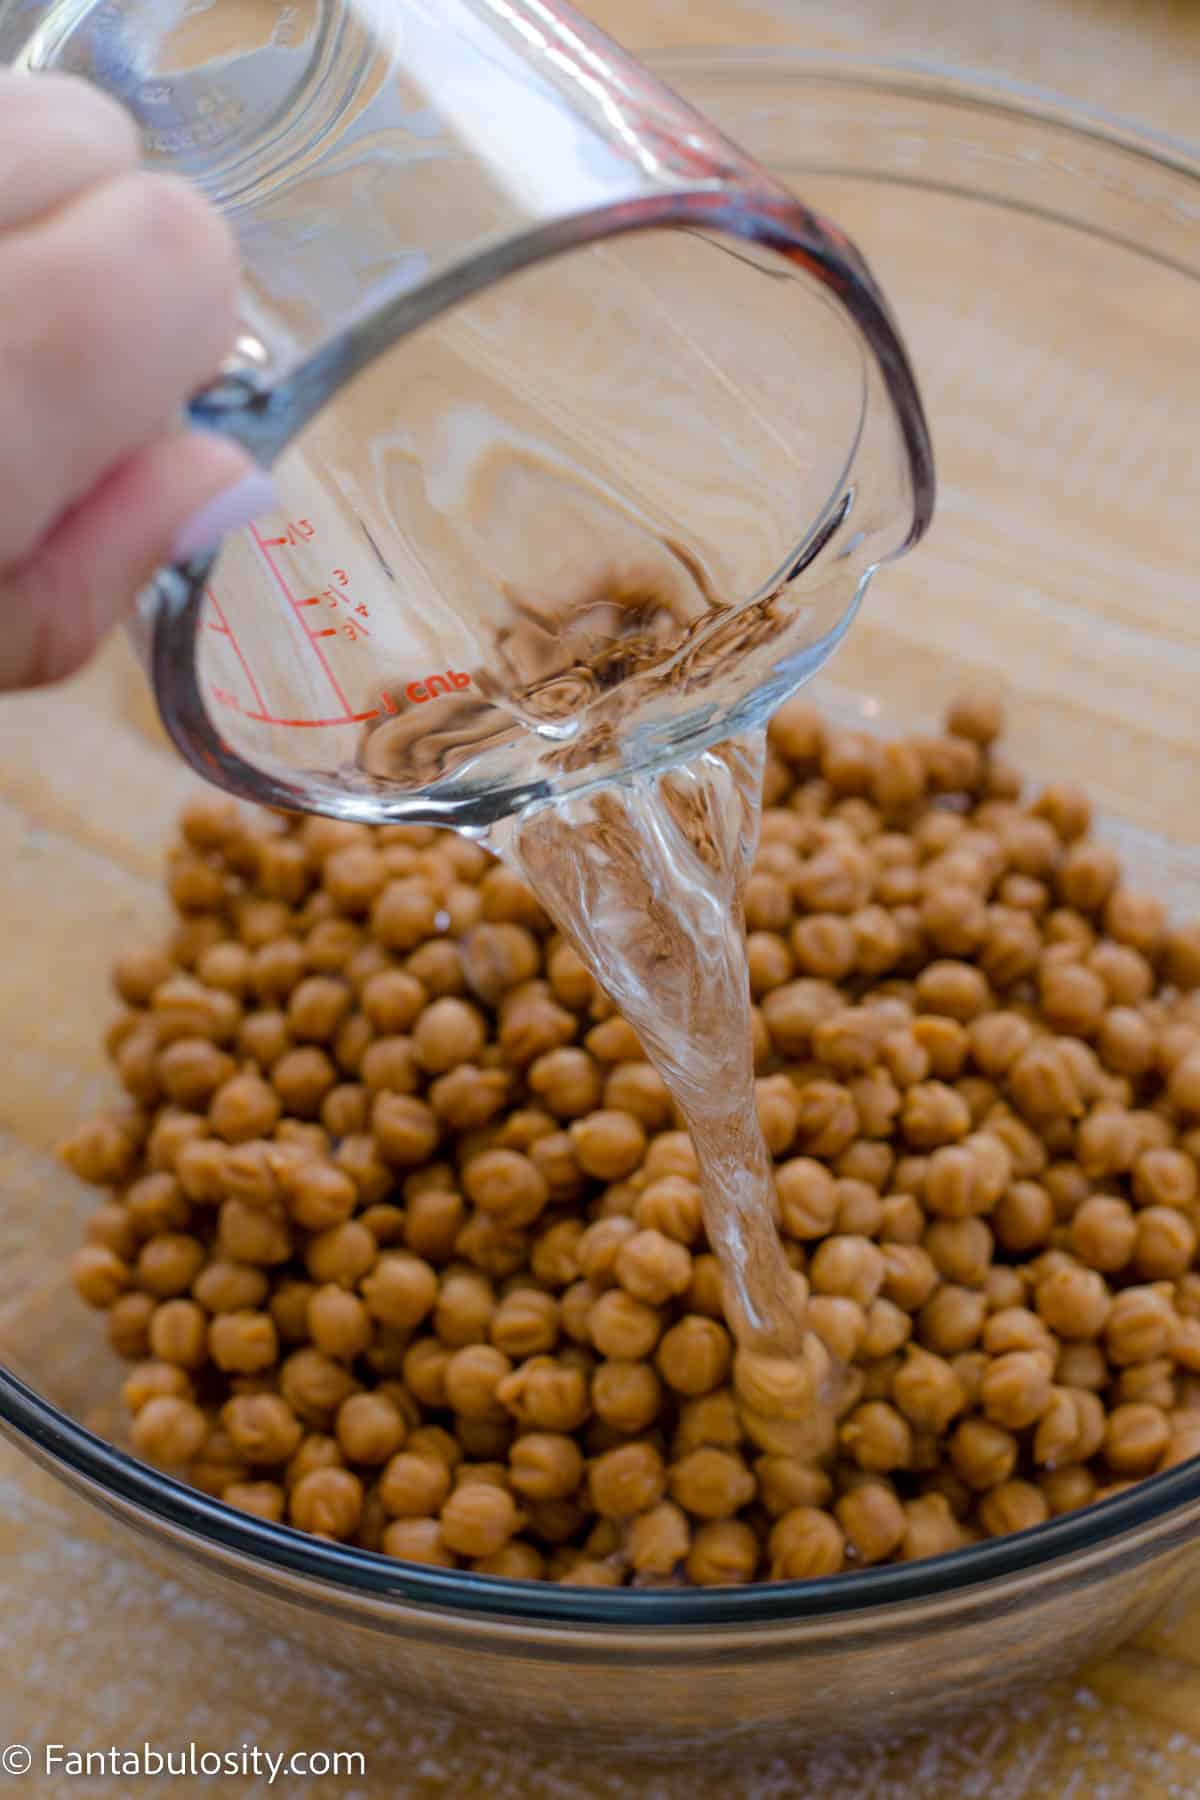
- If using caramel bits, simply follow the instructions on the bag for melting the caramel. You will more than likely need to add water to these as well.
If using individually wrapped caramels, there should also be directions on the packaging for how to melt them. However, if there are not, you can unwrap each piece of candy, place them in a large glass mixing bowl, and add about 2 tablespoons of water (or milk for creamier caramel) for melting. Melt the caramels in the microwave in 1-minute intervals, stirring between, until melted. (Be careful not to overcook caramel.)
You may also prefer to melt the caramel on the stove top, using a double boiler but I found the microwave to be our favorite method.
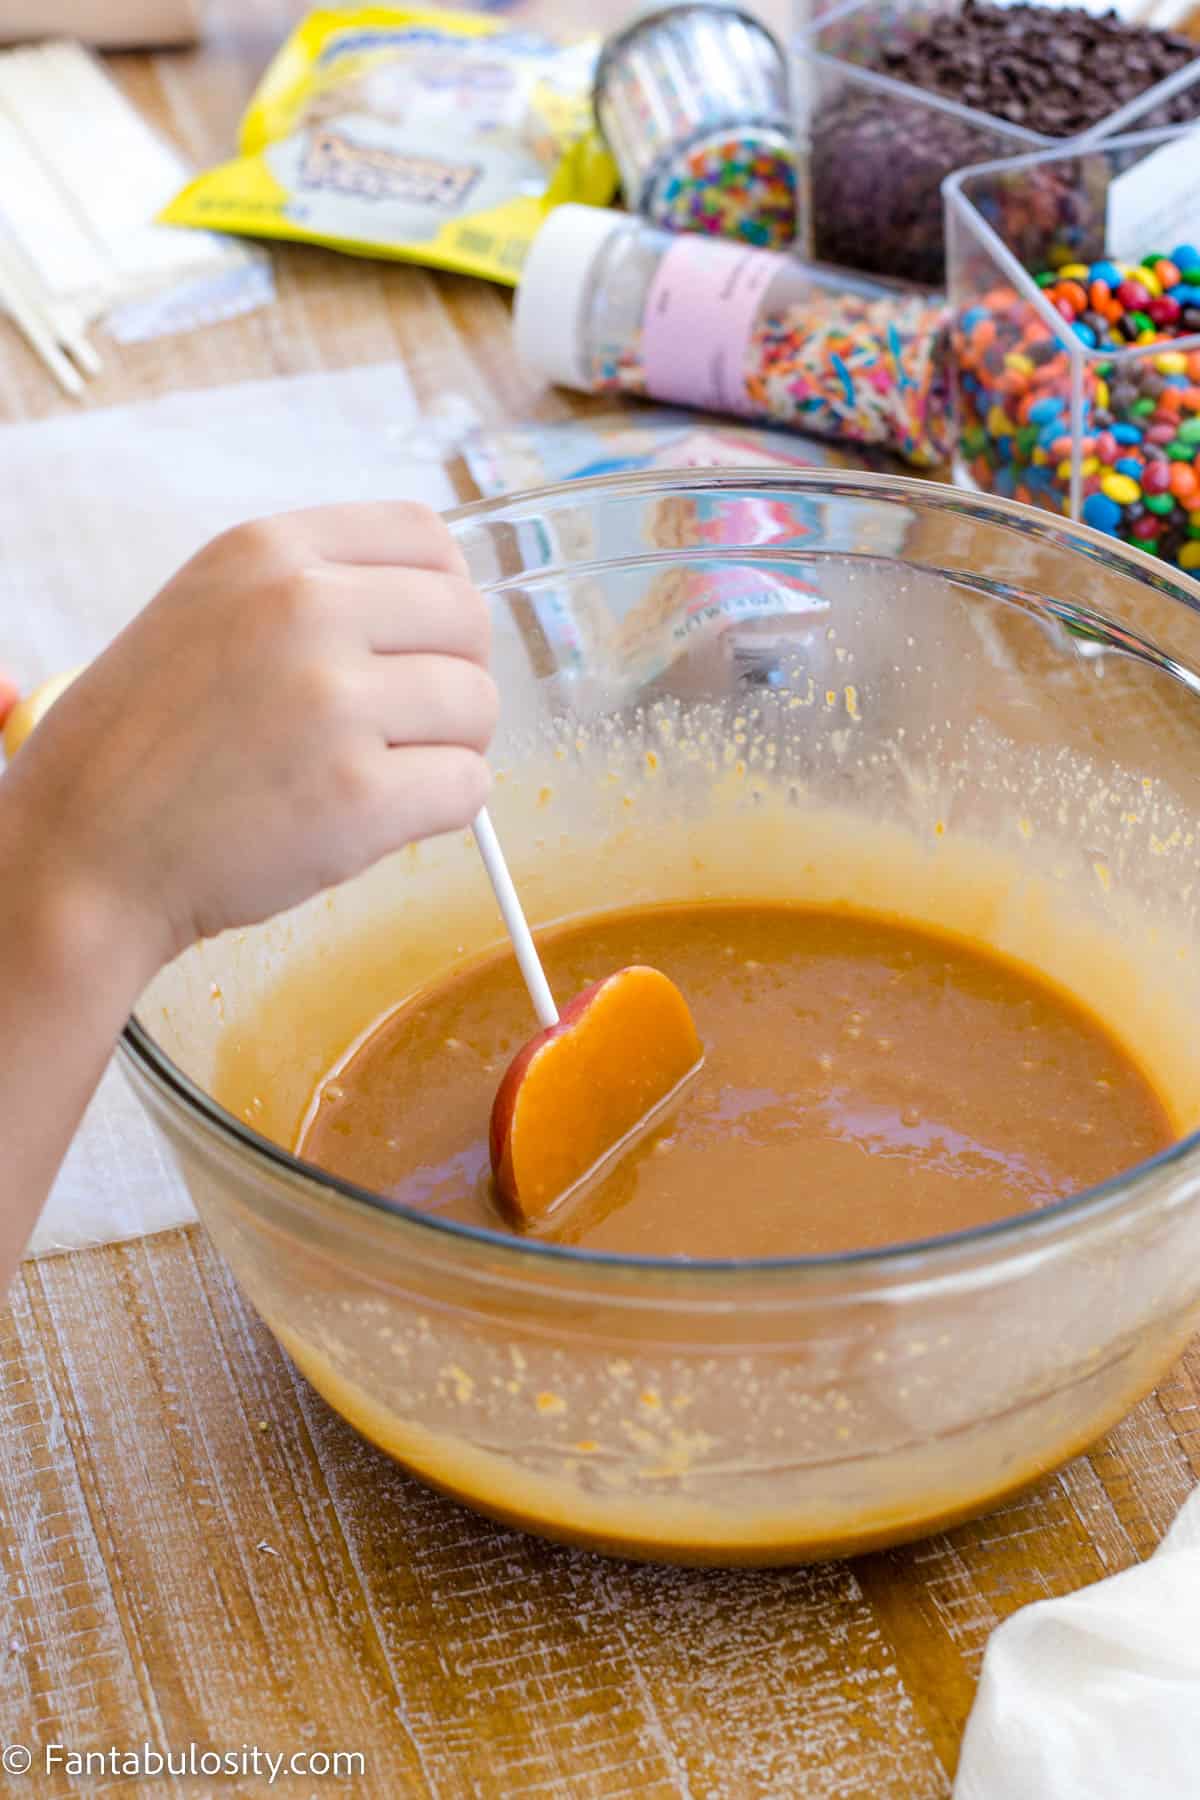
- When the caramel has melted, the apples are ready for dipping! Simply grab an apple slice that’s on a stick, and dip in the bowl of caramel, making sure at least one side is covered. (Or both sides of the apple if you prefer!)
- Lift up the apple above the bowl, and allow the excess to drip off, before placing on wax paper.
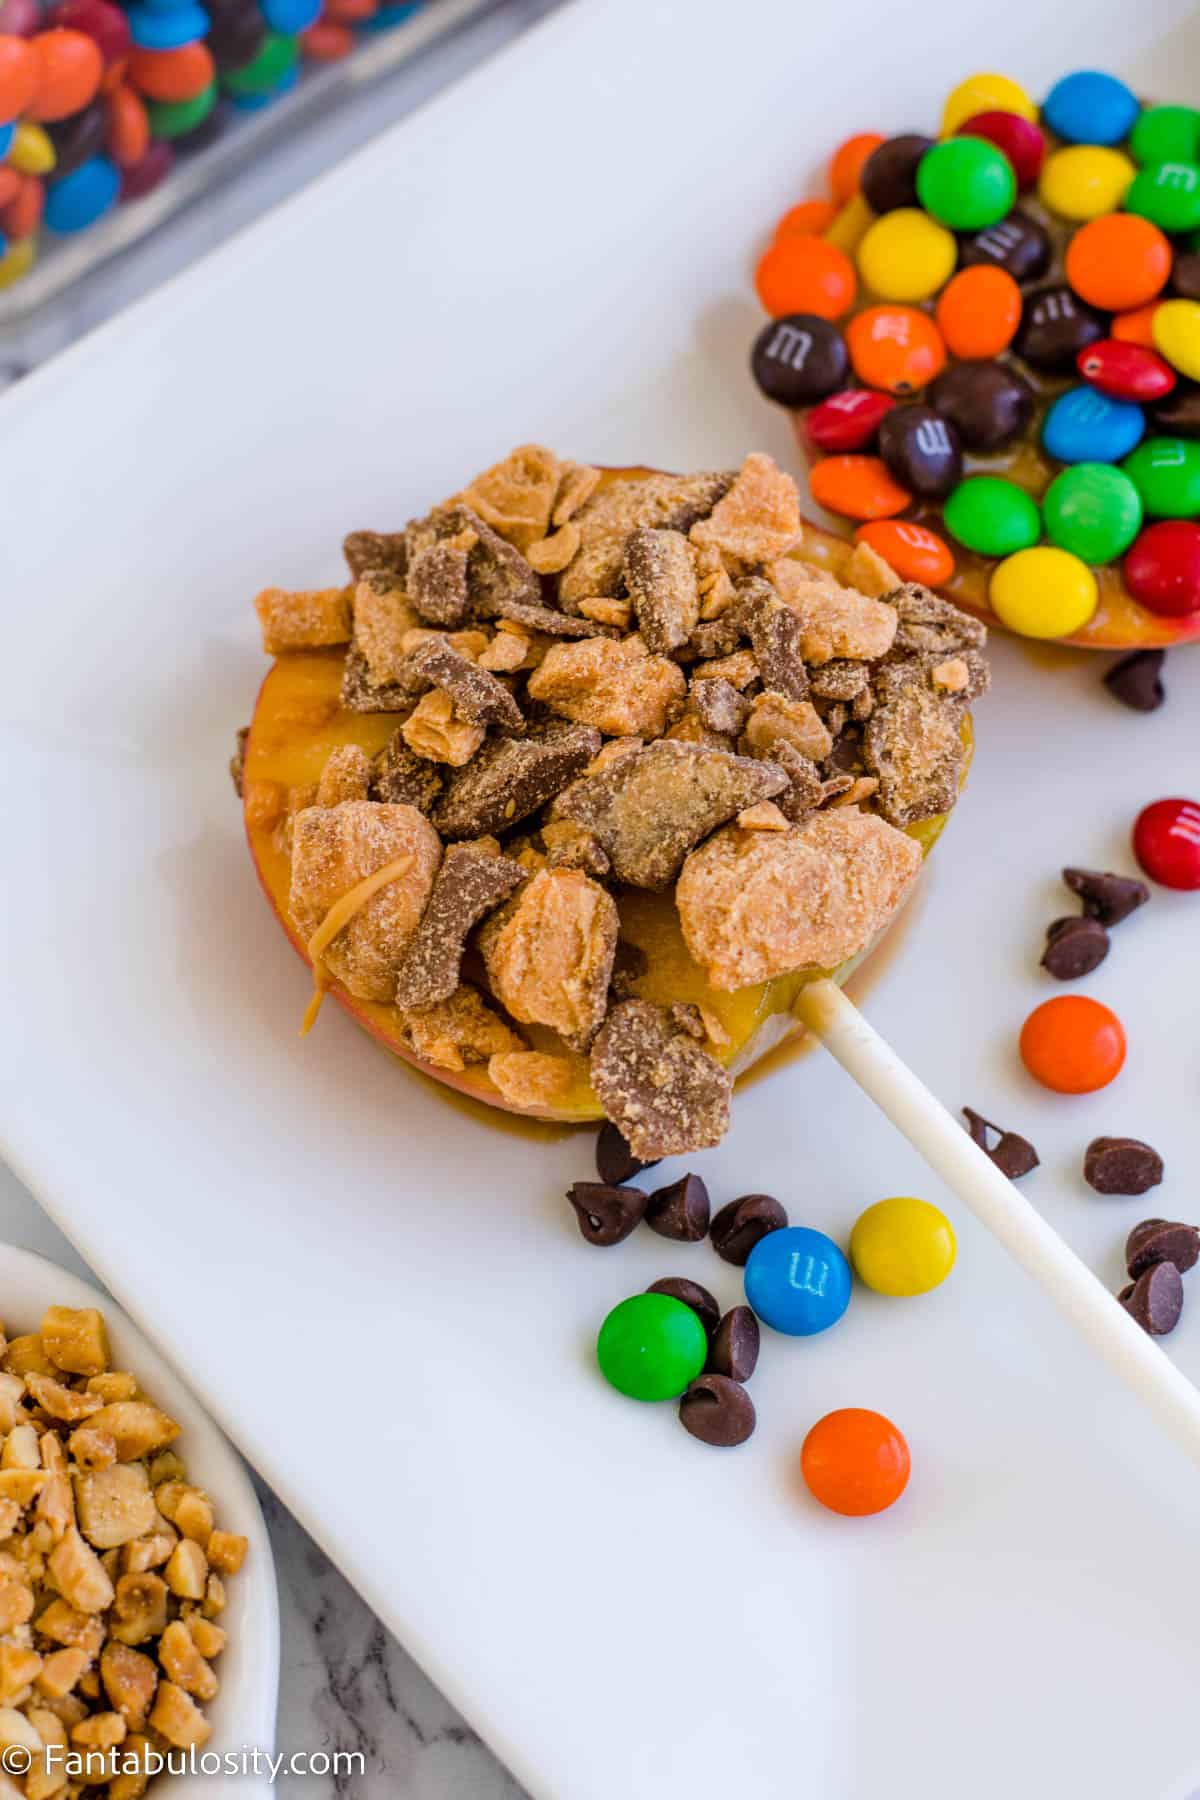
- Once dipped, place on a sheet of wax paper. (You can even place the wax paper on a cookie sheet, baking sheet or sheet pan, for easy transporting.) Shortly after, start adding your favorite toppings. (We allow each apple slice to cool a few seconds to prevent as many toppings from sliding off, even though, as you can tell, when the kids are involved… toppings are going to go everywhere anyway.)

- Allow caramel apple slices to dry for about 15 minutes, and enjoy!!

Caramel Apple Topping Ideas
Have so much fun with choosing toppings for your adorable caramel apple slices! Here are some of our favorite ideas:
- Candy (M&M’s, Reese’s Cups, crushed candy bars)
- Cookies (Oreos, Biscoff, Sugar, etc.)
- Peanut Butter (Melt to make more a drizzle)
- Chocolate fudge, chocolate drizzle or Caramel Drizzle
- Chopped nuts (Make sure to check the ice cream topping section at the store for the perfect kind!)
- Mini Marshmallows
- Sprinkles
- Mini Chocolate Chips
- Candy Eyes (for that Halloween fun!)
Substitutions and Variations
You can absolutely change things up if you prefer for this fun fall treat. For instance:
- Instead of melted caramel, you may have fun using melted chocolate!
- Using milk instead of water in the caramel can create a more creamy caramel.
- Different types of apples – You can use whichever crisp apples you think are the best apples! We used Fuji but you can use any kind that you like! Red Delicious, pink lady, and even Granny Smith Apples or other tart apples are fun to use too!

How to Store Caramel Apple Slices
We recommend storing any leftover apples in the refrigerator, in a single layer. Leaving them out at room temperature will cause the apples to turn brown, and the caramel will begin to thin out and spread out.

Related Posts
If you love an easy recipe for fall, you’re going to love this caramel apple dump cake! It’s so easy, so comforting and so delicious! Or, try these caramel apple nachos for an easy fun twist on a classic! We have a lot of great fall recipes here on the blog for you to browse for the time of year, that the whole family will love!
If your kids are loving this for Halloween, then they’ll also love these no bake mummy Halloween treats!
📖 Recipe

Sliced Caramel Apples on a Stick
Equipment
- 32 lollippop sticks wooden skewers or popsicle sticks
- large glass mixing bowl or microwaveble bowl
Ingredients
- 8 apples
- 11 ounces caramel bits or caramel candies
- water or milk for creamier caramel
- preferred toppings see post for ideas
Instructions
- First, wash, slice, and allow apple slices to dry. You'll want to make sure your apple slices are thick enough for a stick to be inserted in to the sides, without pushing through the white part of the apple.
- Next, insert a stick in to the center side of each apple slice
- If using caramel bits, simply follow the instructions on the bag for melting the caramel. You will more than likely need to add water to these as well. I microwaved ours for 1 minute, stirred, and then microwaved one more time and then were melted.
- When the caramel has melted, the apples are ready for dipping! Simply grab an apple slice that's on a stick, and dip in the bowl of caramel, making sure at least one side is covered. (Or both sides of the apple if you prefer!)
- Lift up the apple above the bowl, and allow the excess to drip off, before placing on wax paper.
- Once dipped, place on a sheet of wax paper. Shortly after, start adding your favorite toppings.
- Allow caramel apple slices to dry for about 15 minutes, and enjoy!!
Notes
Nutrition
Nutritional information is based on third-party calculations and should be considered estimates. Actual nutritional content will vary with brands used, measuring methods, portion sizes and more.




jess says
this was the perfect party dessert to make with my guests and allow them to personalize them however they wanted to! thank you for sharing
Julia says
Caramel Apple!!! This recipe is super easy! My 10 year was able to make them with ease and decorate them her way. Thanks for the recipe!
Katie says
This makes eating a caramel apple so much easier! Plus you get more toppings per slice than usual, which is definitely a bonus!