This shop has been compensated by Collective Bias, Inc. and its advertiser. All opinions are mine alone. #BoursinCheese #CollectiveBias
How to Make a Cheese Board: Ideas, presentation and display. It’s all about trial and error, moving and adjusting, to make this easy appetizer something to be proud of.
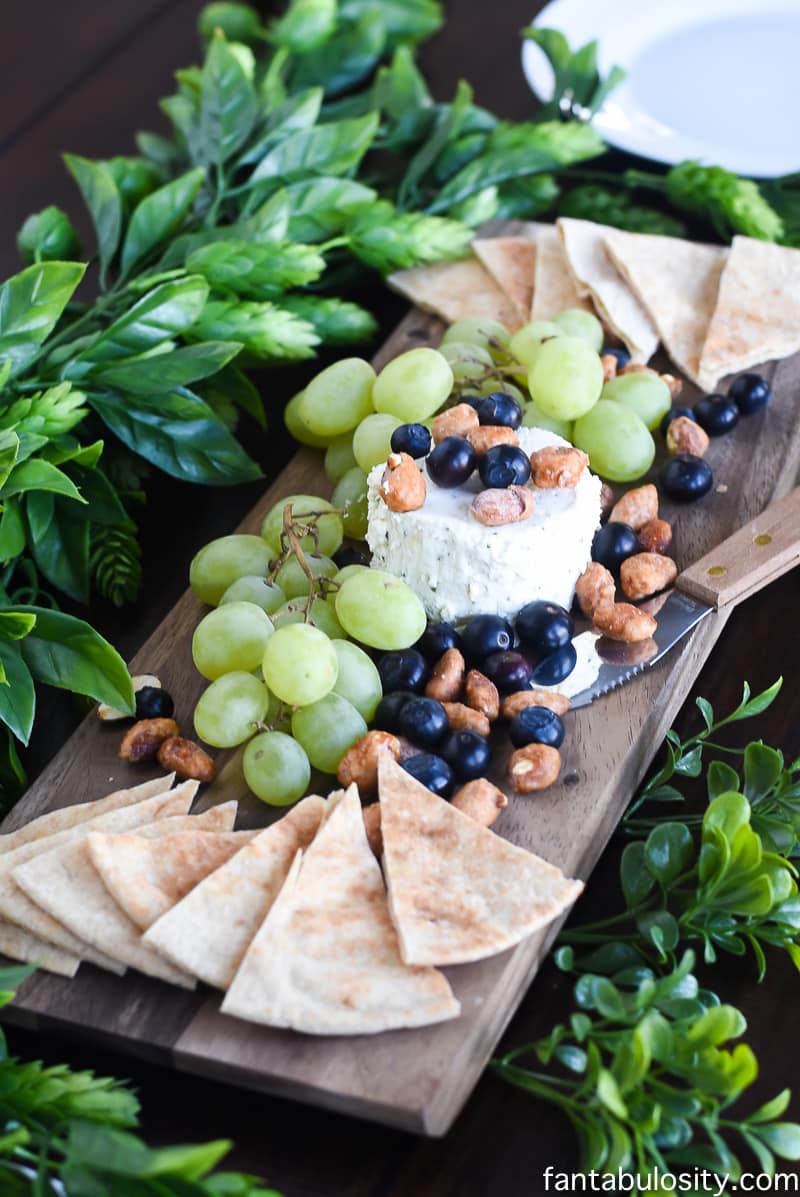
On party day, or if hosting in our home for a holiday, my menu is ALWAYS something that can be quickly created, so I can allot time to decorate and prepare for the guests.
You’ll also love this brie with maple syrup recipe to serve on your cheese board!
I’m not the type that likes to stand in front of the oven all day. So I always keep quick recipes and menu items in my “food bank,” like this cheese board.
So many times, I’ve been asked,
Jessica, how do you do that? How do you make the cheese board look so good?
You all, my secret is trial and error. (Plus a little color never hurts either.)
How to Make a Cheese Board
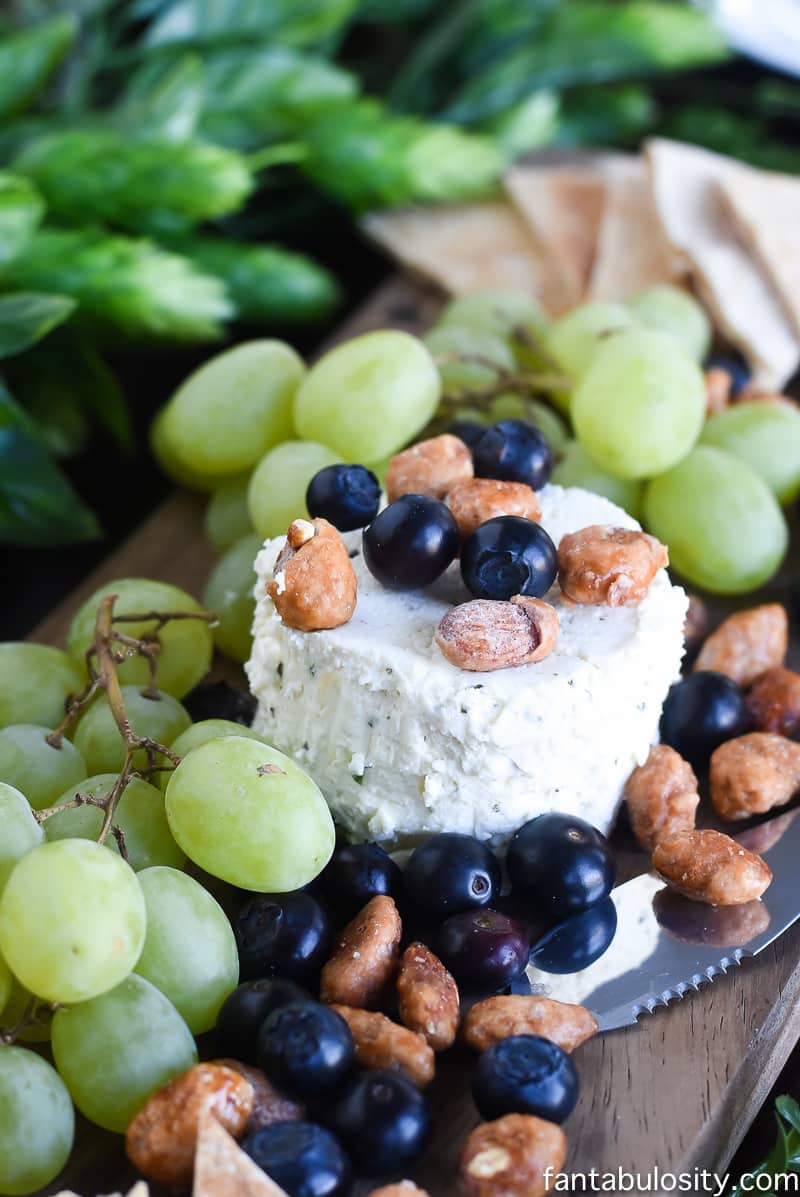
Start with the Hero: The Cheese
It all starts with the cheese… the hero!
I usually try to find a cheese that most people would like, and not get too crazy with it, to appeal to most taste buds.
Cheese like this Boursin® Garlic and Fine Herbs, is a good choice because it is a creamy, crumbly cheese, that spreads easily, and has an AMAZING flavor…enough to eat by itself!
Pair it some of the items I mention below, and you’ll have yourself a spread that no one can resist!
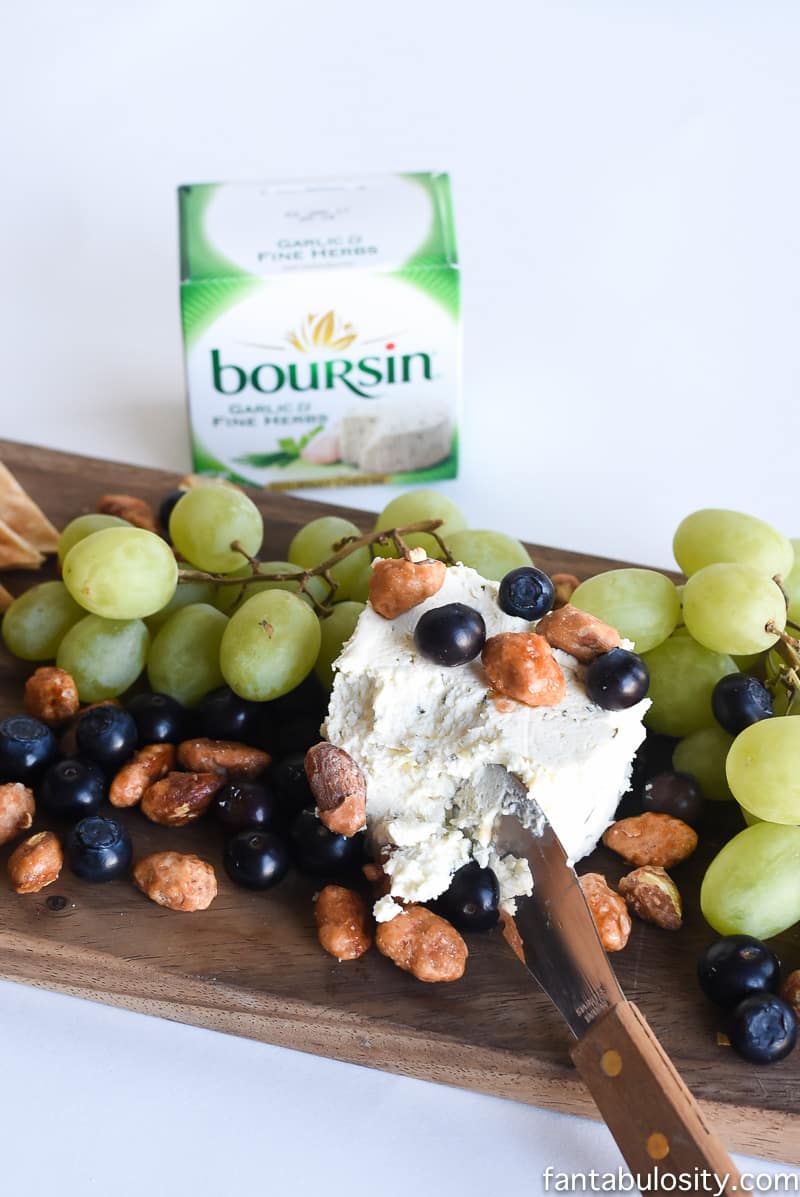
Grab the Carbs:
Next, layer different types of bread around the cheese, or on the outside edges of the board.
In the video below, you’ll see how I changed it up to achieve different looks. Don’t be afraid to rearrange! I use pita bread a lot, but will occasionally add crackers or french bread for a variety.
A Fruitful Touch:
Then, fill the board or plate with fruits that are in season, or that match the current tablescape or party decor if possible.
But of course, any colors of fruits will do! Just make sure they’re “finger-food,” type fruits that are easy to grab and snack on through hors d’oeuvres hour, or throughout the evening. (So no fruit that turns brown quickly. Here I used blueberries and grapes. They matched the greenery party tablescape, and fit right in.
A Little Crunch:
My sweet, sweet husband, teases me every night about how I can’t sit and snack without picking a “crunchy,” food. So the same goes for my cheese board. I’m a huge lover of different textures when it comes to recipes and food styling.
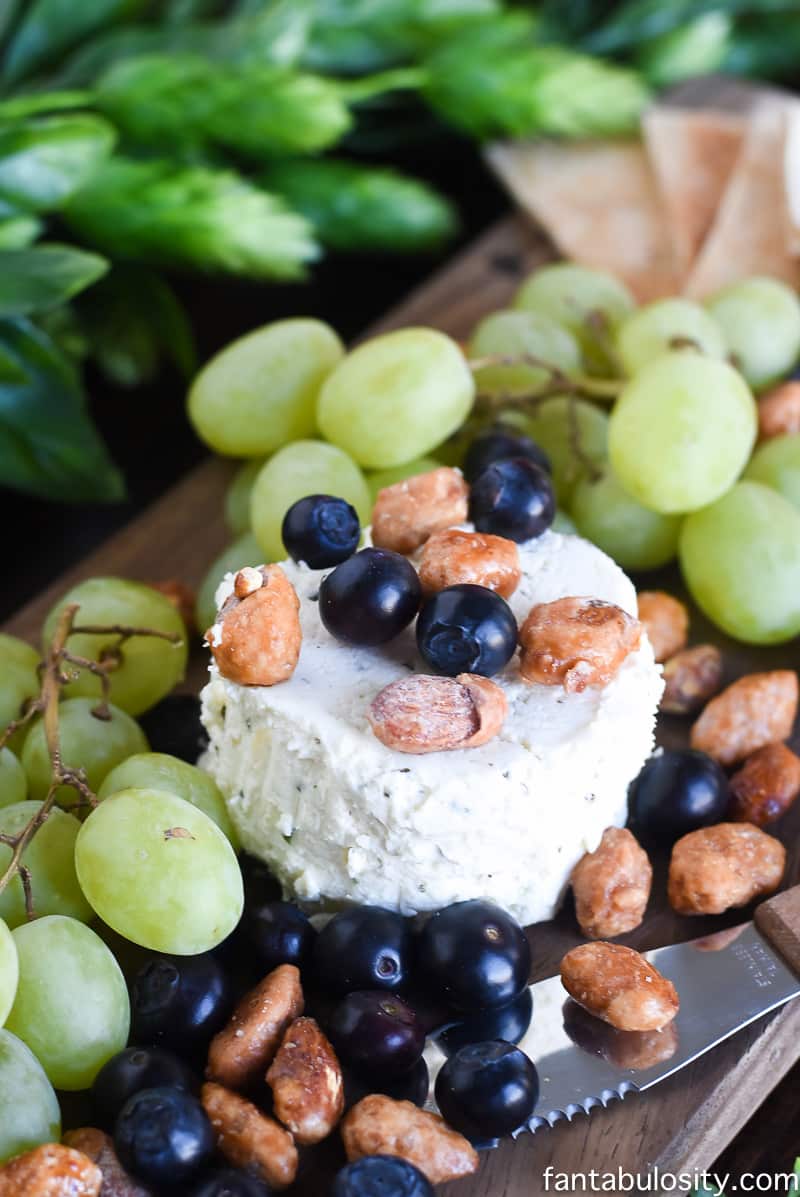
So by adding nuts, it gives it JUST the crunch it needs. Spice it up a bit, and add a fun-flavored nut, with a sweet or salty flavor.
Visual Learner?
More of a visual learner? Me too. So while styling this cheese board, I captured how I arrange it, and reposition, to achieve the perfect look!
See how easy that is!? There’s really no right or wrong way, (unless you’re wanting to be super incredibly fancy and proper, but I never really have a need for that type of presentation) so this works just fine for us!
I hope you give it a try. Remember that when it comes to making a cheese board, keep it simple. Simple and easy can look beautiful too!
A big thank you to Boursin® for sponsoring this post.


Rachel says
Yum! Cheese boards are my favorite! I’ve never tried making one on my own but it doesn’t seem too tough!
Jessica says
Not tough at all!! Thank you for coming by!!! XO