As a mom, who always wants “frameable,” photos of her children and family, and a beginning “blogger,” I had a Nikon Camera on my wishlist a couple of years ago. I was so excited to get it in the mail, yank it out of the box, and start taking AH-mazing photos…
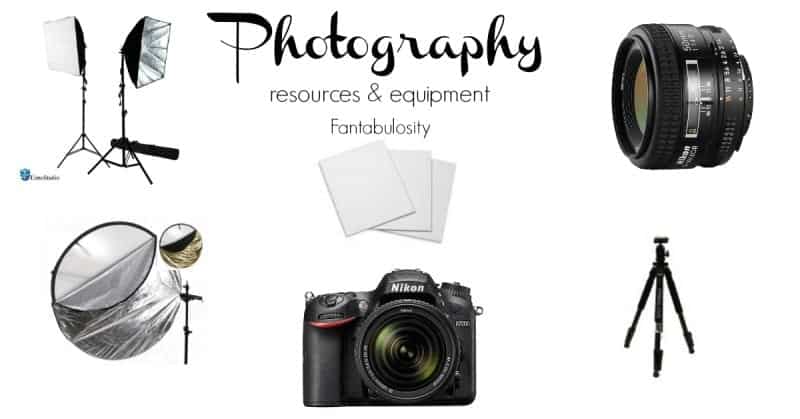
So… I got it in the mail, yanked it out of the box, and it DID NOT take amazing photos. Lol.
I’ll admit.
I thought most of the reason fabulous looking photos came out the way they did, was all because of the fancy-schmancy camera. Yeah… no.
I immediately switched the dial to “auto,” and went about my way of snapping some images. They came out…well… “ok.” They were still better than my iPhone camera, but I still felt like something was missing.
I was so incredibly frustrated for so long. But I didn’t give up. Why? Because I kept telling myself that if other’s could do it… I could too. (Cliche, yes. But honest, yes.)
In the Beginning:
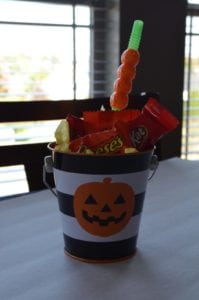
This is my camera fresh ‘outta the box, and one of my first photos, without knowing any tricks of the trade. Yuckola.
So I started “Googling,” and looked on Pinterest for:
- “How to take better photos with a DSLR camera.”
- “Photography Tips”
- and whatever else I could think of, to help me take better pictures.
After all of my research, time, & money… I’ve compiled my own notes to help you out on your photography journey, whether it’s to take photos of your kids, pictures for your blog, or just to take photos of anything you desire.
My Photography Success Story:
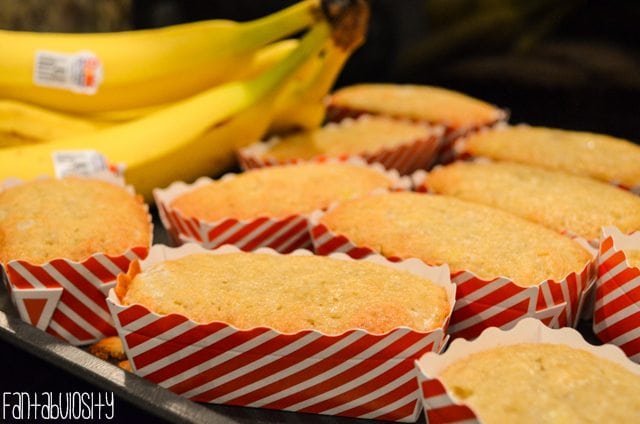
Look at my “before,” photo below, of my Banana Bread recipe. I took this when I first received my new DSLR camera in the mail. Man… I thought I was the bomb. Blah…
Ahhhh… But I’m so happy to show you my “after,” photo of my Banana Bread… just a year later.
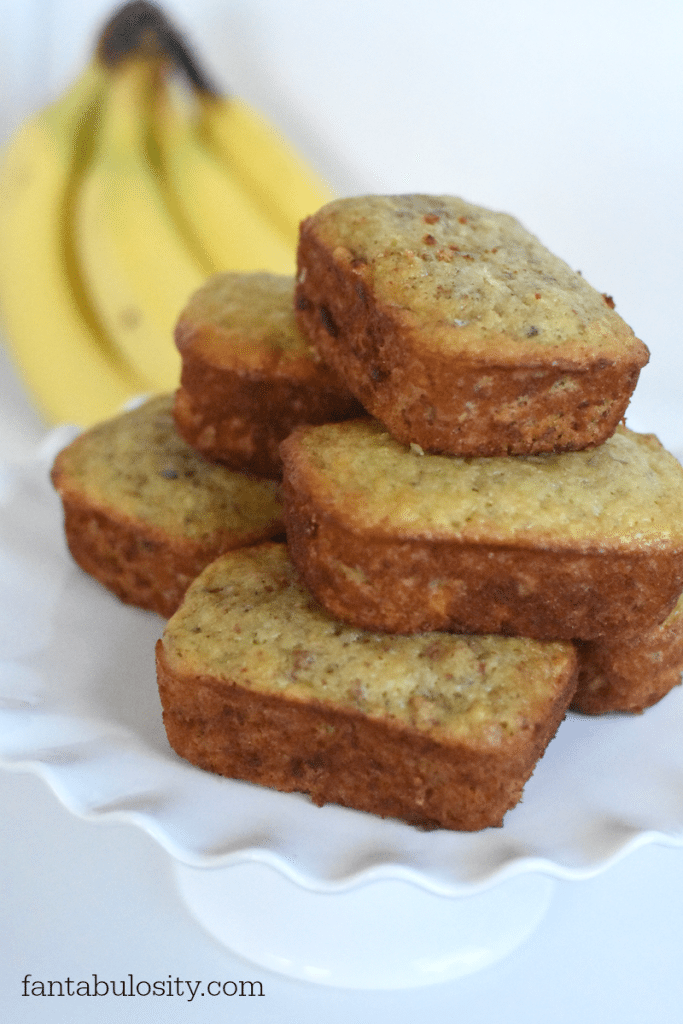
…and two years later, the same recipe, but a little more practice with the camera…
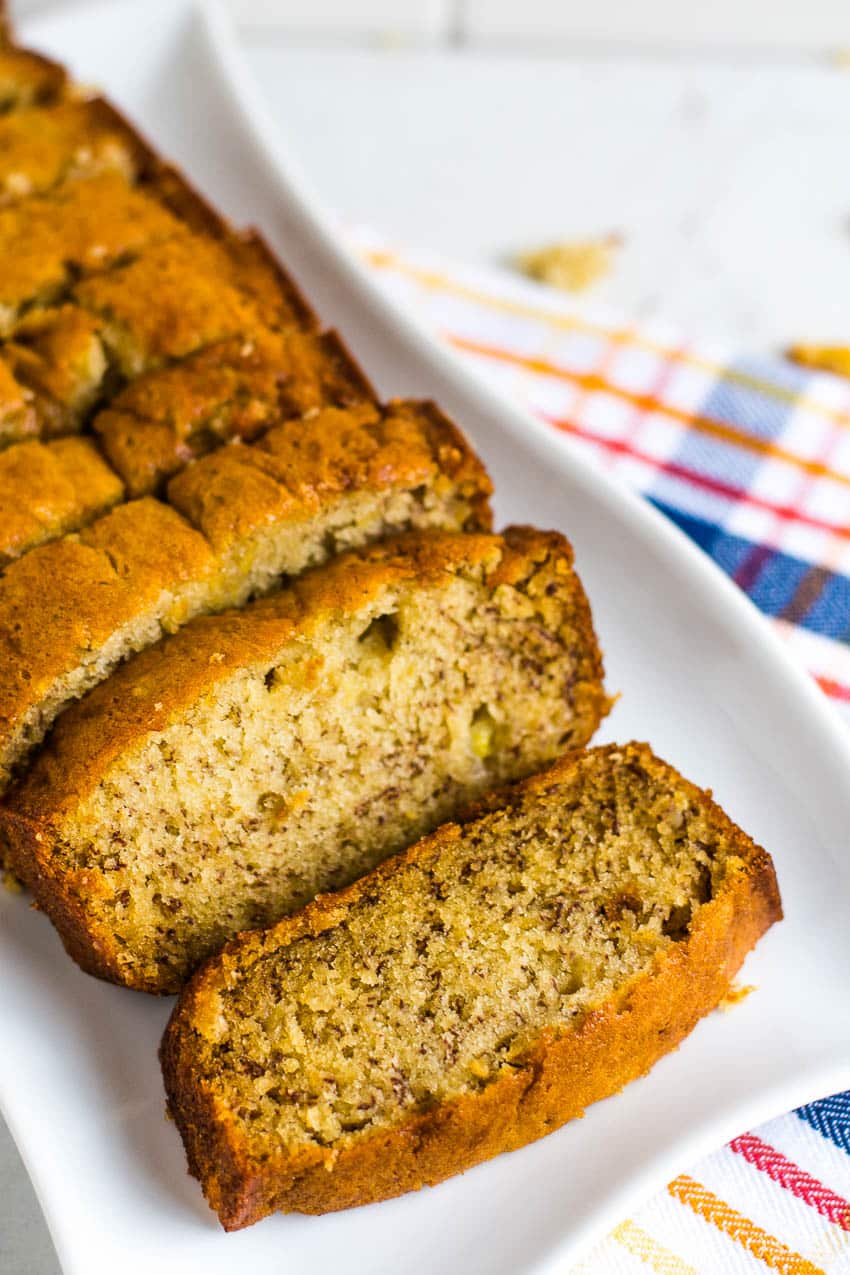 Yes, there’s only a year of difference between the above two photos and a two-year difference between the last two.
So it just goes to show you how much you can improve with determination, the right products, and practice! Is it perfect? No, but is there improvement? You bet. That’s all I could ask for!
My Photography Guide & Resources
Here are my tips for those who want to improve their photos.
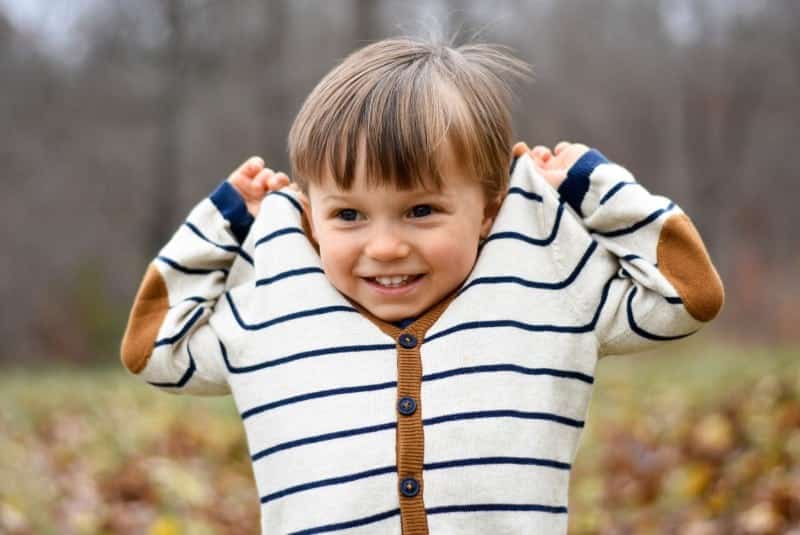
Like, Food Photos…

or even Family Photos…
What I Did to Improve my Photography:
Hands-On:
Find a photographer friend that would be willing (even at a cost) to sit down with you and show you the beginning ropes.
I was blessed enough to have a friend that was kind to take time out of her busy day as a mom, to show me (ahem, a couple of times) how to use the different settings on a camera.
Browse & Pin:
I was determined to take better photos like other bloggers. So I started out watching for photos that I liked, and I’d REALLY study them.
What angle did they take the photo at?
What props & backdrops are they using?
How did they style the food or craft?
I would “pin,” those images, so I could always look back at them and style my “stuff,” close to the way they had it. Plus, I would show my friend these photos, and say, “See here… this is what I want my photos to look like!” and she’d have a better idea of how to teach me.
DSLR Cameras for Blogging
Camera
I’ve recently updated my camera, because my mother in law wanted to buy my old one. (Darn the luck!)
Now, I use a Nikon 7200 I’m.In.Love.
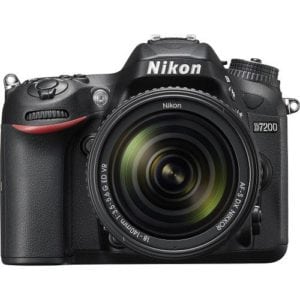
It has wi-fi capability, so you can upload photos right to Facebook, if you want (although I haven’t done this yet, but that’s pretty cool if you ask me.)
BUUUTT…. if you’re not wanting to spend that much just yet, I have the PERFECT option for you, and don’t worry… you won’t be missing out on much at ALL.
More affordable Camera that’s also FABULOUS:
I have a lot of “students,” per-say… that start off with a Nikon 3200, and it works perfectly fine, PLUS it’s a heck of a lot cheaper.
Or you can go with a Nikon 7100 that also has video capabilities.
Take my word for it… even if you don’t think you’ll EVER create videos with it… you probably will. It seems as if everything is going to video, and it may be more important to you, in just a short time.
Camera Lenses
50mm Lens
This is my go-to lens for blog photography, and mostly those family moments that I want to catch too. I love how it captures amazing detail. Focusing on the main object, and then blurring out the back, is my fave-o-rite image. THIS… this made a HUGE difference in my photography. I consider it a must-have for sure. Just make sure the lens that you buy, will work on the camera that you plan to put it on. There are things to consider like auto-focus, the brand, etc.
You can buy the 50mm lens for a camera.
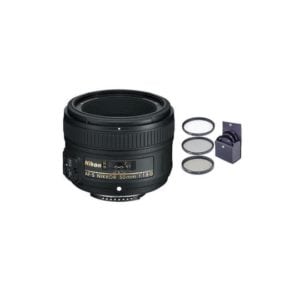
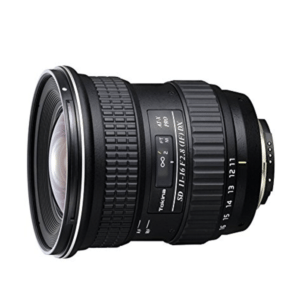
Wide Angle Lens:
Now for my videos, I’ll typically use my wide angle lens. This looks so much better, showing a wider range of the room, and it’s not up close as much as my 50mm lens. I also use this lens to take photos of my rooms on our home tour!
Lens Filters
I didn’t realize how much I’d like these lens filters as much as I do.
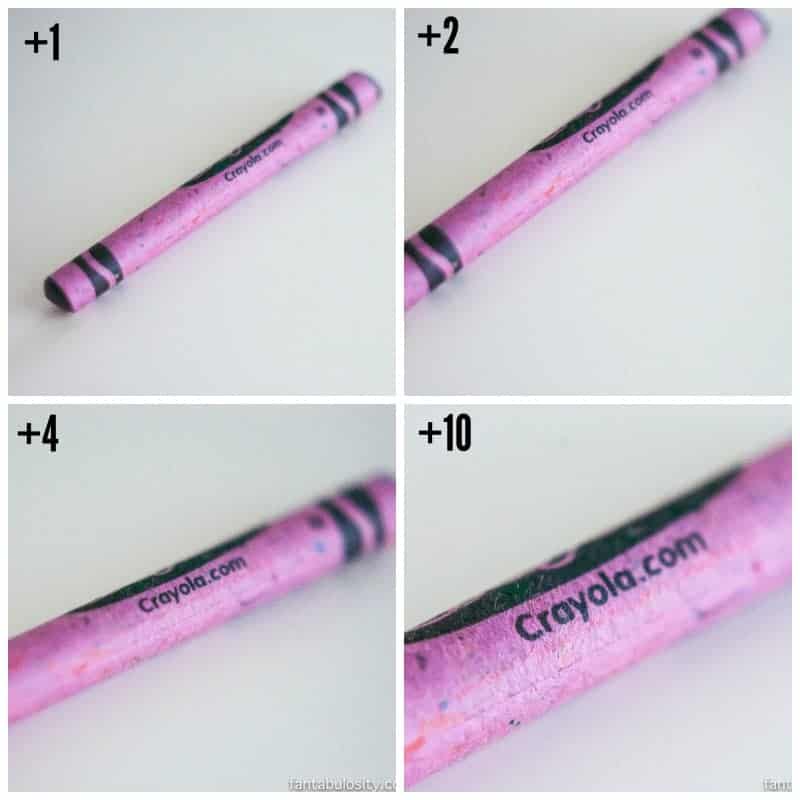
I ALMOST bit the bullet and bought a new lens, to get extra detailed, close-up shots of my food photos. Then, I read about, “lens filters,” to get extra close up shots with the 50mm lens.
Best part?
The whole kit only cost around $10. Yes! I saved a TON of money, and love how they work. Look here below what I mean.
I bought the kit, that comes with 4 filters. +1, +2, +4 and +10. Taking the same photo, same editing, same lens, and just changing the filters… look how much closer I could get to the object. (The word “Crayola,” on the crayon.)
I snagged my lens filter kit on Amazon. Just make sure you get the correct filters, for the correct lens that you have. I totally bought the wrong ones, the first time. Ooops.
Editing Software
Editing Software
Although you may have a fancy camera, editing software is still a necessity. Sometimes you’ll just want the photos a little brighter, cropped, resized, etc. Check out my post,
—-> “A Beginners Guide to Photo Editing,”
where I tell you about what software I use, and what I think about each one.
Props
Before I started blogging, I had an obsession with entertaining.
Ok ok, I still do. But it comes in hand for my blog photography.
I use cake stands, scrapbook paper, dishtowels, etc. as props, just to “add,” a little “umph,” to the photo.
I love buying my props at places like TJMaxx, Pier 1, and of course… Target.
Photography Lighting
Lighting Studio
I actually purchased a lighting kit, to help when natural light isn’t available. I still have to filter it with a reflector, or it looks like I have the “flash,” on, and that’s a look that drives me batty. I also use this for when I’m filming my videos!
Ring Light
This is another light that I’ll use for when I’m shooting videos. It sits in front of me and brightens up my face and straight on.
Reflectors
I’ve purchased a reflector, but honestly… a couple of sheets of white foam board from a dollar store works great.
Tripods
Tripod
I honestly only use my tripod to take photos of my fashion photo reviews and my videos. But… I hear it’s really good to use when taking photos of food, craft projects, etc. Especially if you’re connecting your camera to your laptop during the photoshoot. But I haven’t quite gotten in the habit of doing that yet. I just free-hand taking the photos of other items. It seems easier to me at the moment. This is the tripod for quick set up!
Overhead Tripod
I actually use this boom tripod for overhead shots and videos for blogging. You can read more about how I use this tripod on my favorite video equipment blog post!
Locations
Staging Area
I have a small space in my office where I take most of my blog photos, that is a little white table, and I have 2 white pieces of foam board, that I bought at a dollar store hanging out there.
Sometimes, I use one board for my backdrop, (other times I use the DIY backdrops that I make) and always use one board as a reflector.
The white table serves as a white “floor,” to my images unless I’m using a tile like I mentioned earlier.
I also have this staging area next to a window so I can use the natural light to take photos with. (Natural light is your friend. Not direct sunlight, or dark rooms.)
Yes, Practice
I know, you hate me for saying that. But it’s true. If I didn’t practice, and take a MILLION photos, that I just ended up deleting (thank goodness we no longer have to use film)… I would have never known what worked (what settings) and what didn’t.
I hope that will TOOOTally help you. So go for it.. buy that camera, and get started. Soon, you’ll be addicted to taking photos of everything like I am.
As always, if you have any questions, I’m happy to help. The thing to remember is… I was totally where you are at one point.
I sure have a heck of a long way to go too, but I can totally relate.
