

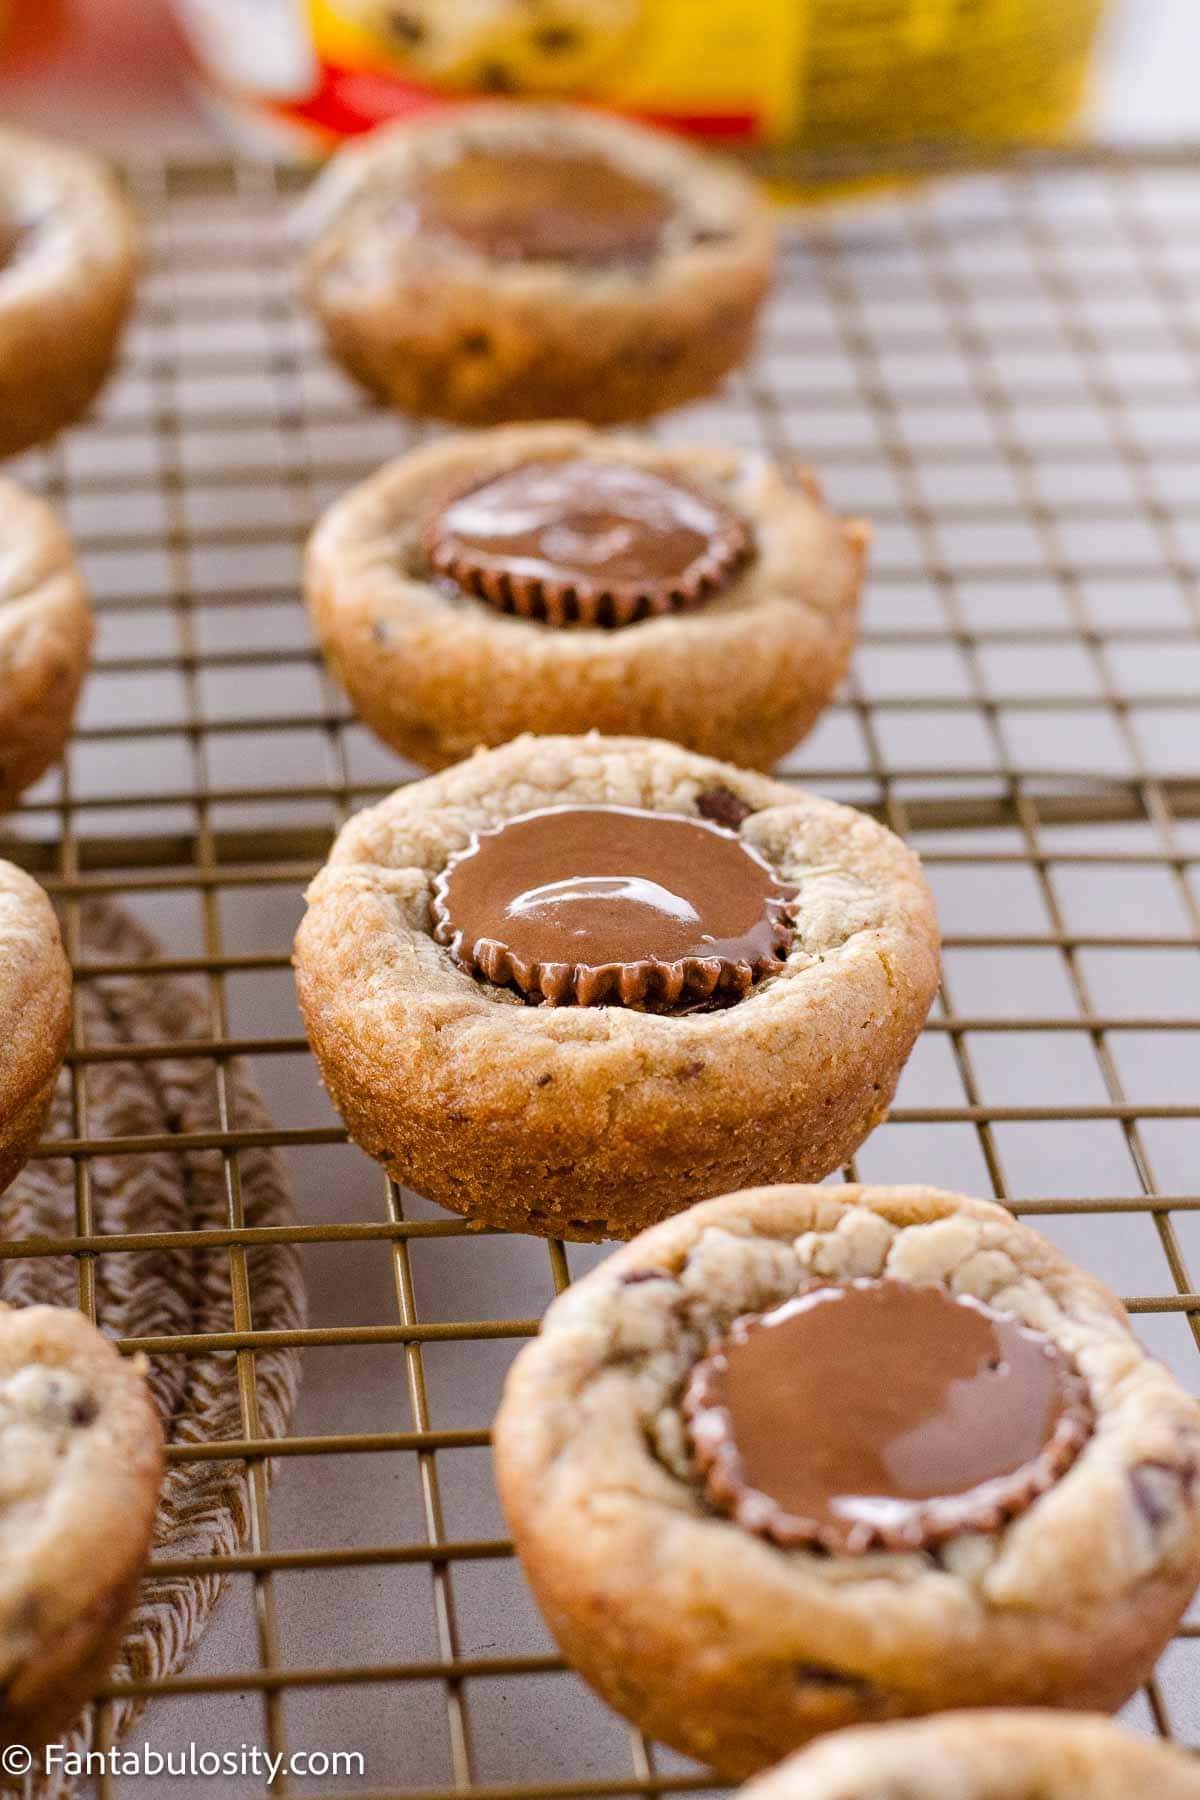
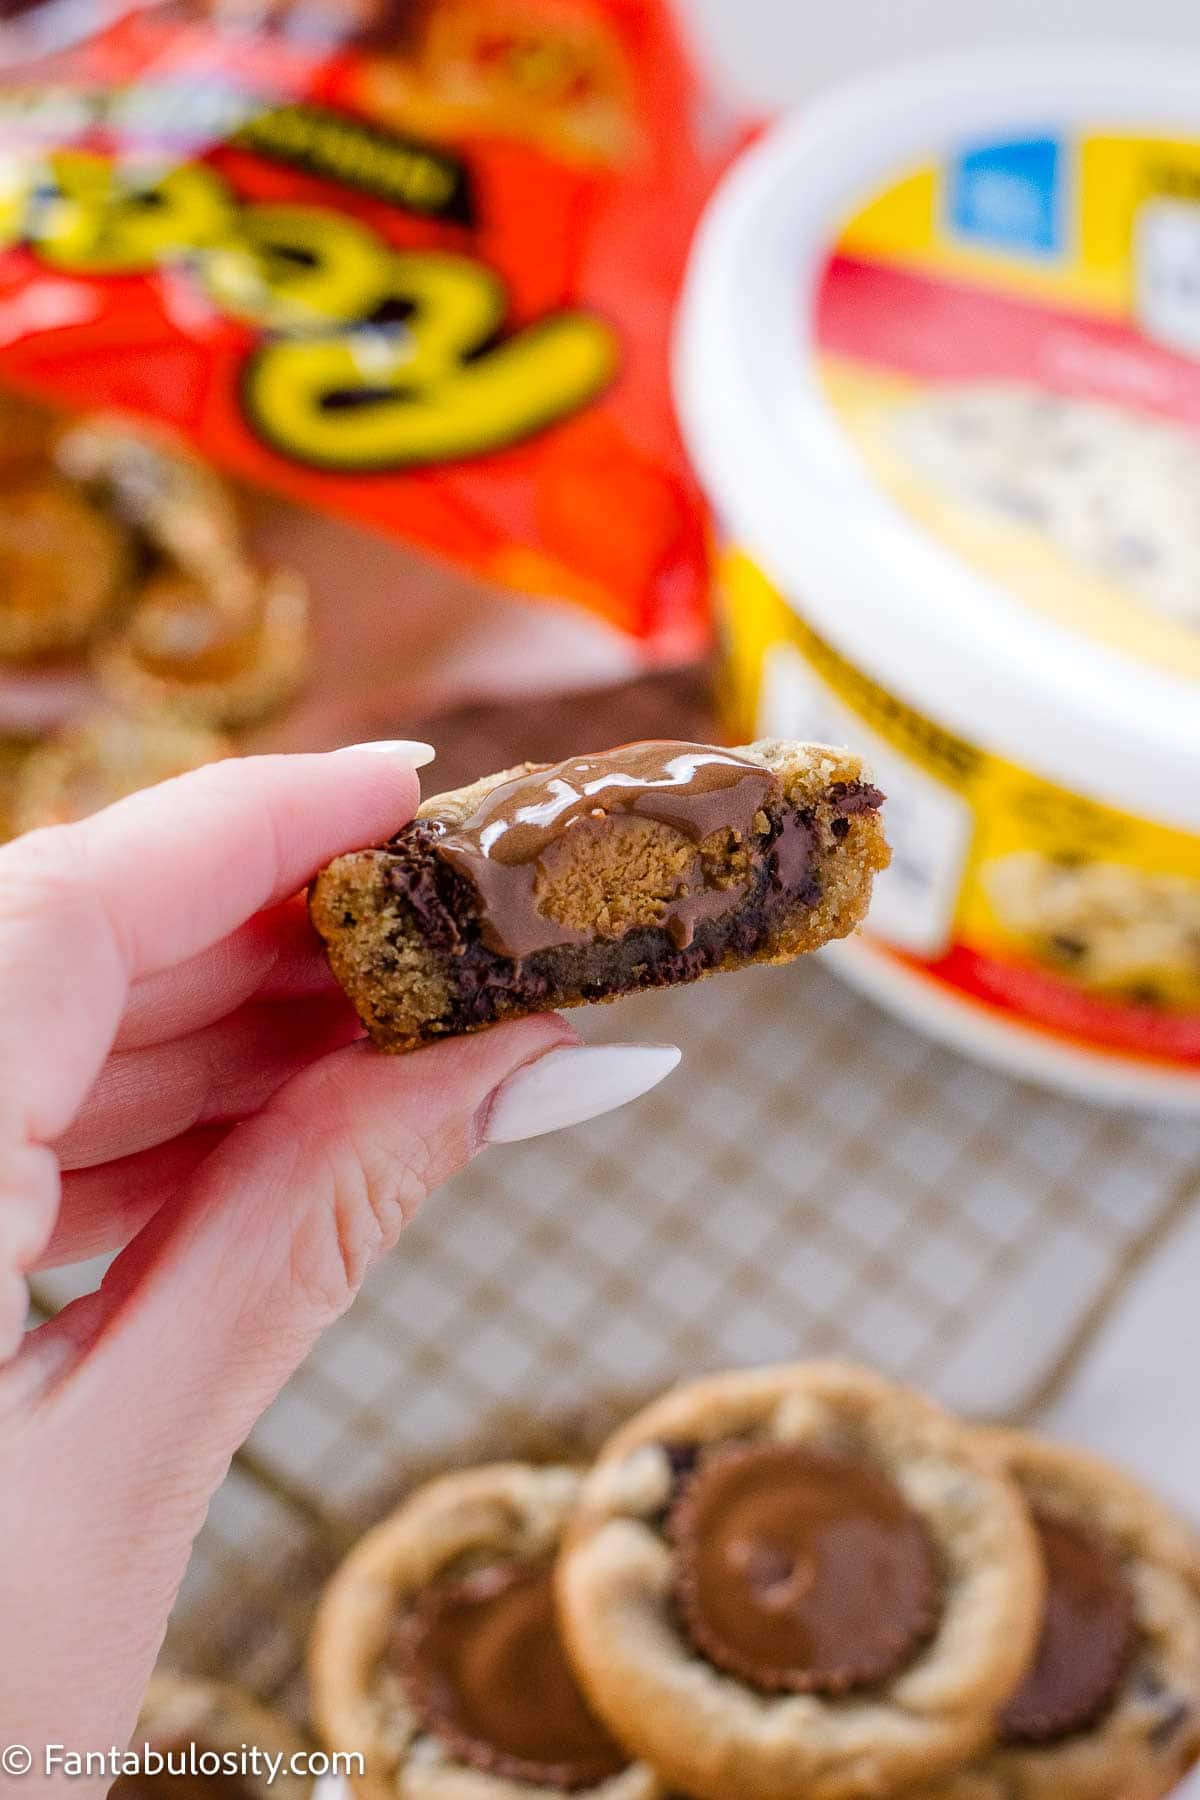
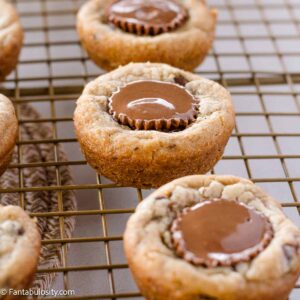
These Peanut Butter Cup Cookies are made using only 2 ingredients and are ready to enjoy in about 15 minutes!
You’ll love using your favorite refrigerated cookie dough, and Mini Reese’s Cups (or your favorite, similar mini peanut butter cup) in this peanut butter cup cookie recipe.
An easy cookie recipe is always great to keep on hand for those last-minute needs or sweet tooth cravings. These no-bake chocolate oatmeal cookies and cake mix peanut butter cookies are favorites around here for quick cookie needs, and now these Reeses Cup cookies are right up there with them!
If you love peanut butter desserts, you’ll also enjoy this popular no-bake peanut butter pie recipe, too, and this peanut butter chocolate dump cake features chocolate and peanut butter for the ultimate flavor combination.
Why You’ll Love This Recipe for Peanut Butter Cup Cookies
- Ingredients – Not only are there just 2 ingredients, but they should be easy to find at any major grocery store.
- Quick – Have unexpected guests? Need a quick dessert to take to someone’s party? These can be ready in 15 minutes!
- Versatile – Use your favorite cookie dough. Whether that’s your favorite cookie dough flavor or your favorite homemade cookie dough.
- For a Gathering – If you're baking for a group, you might also like these desserts for a potluck.
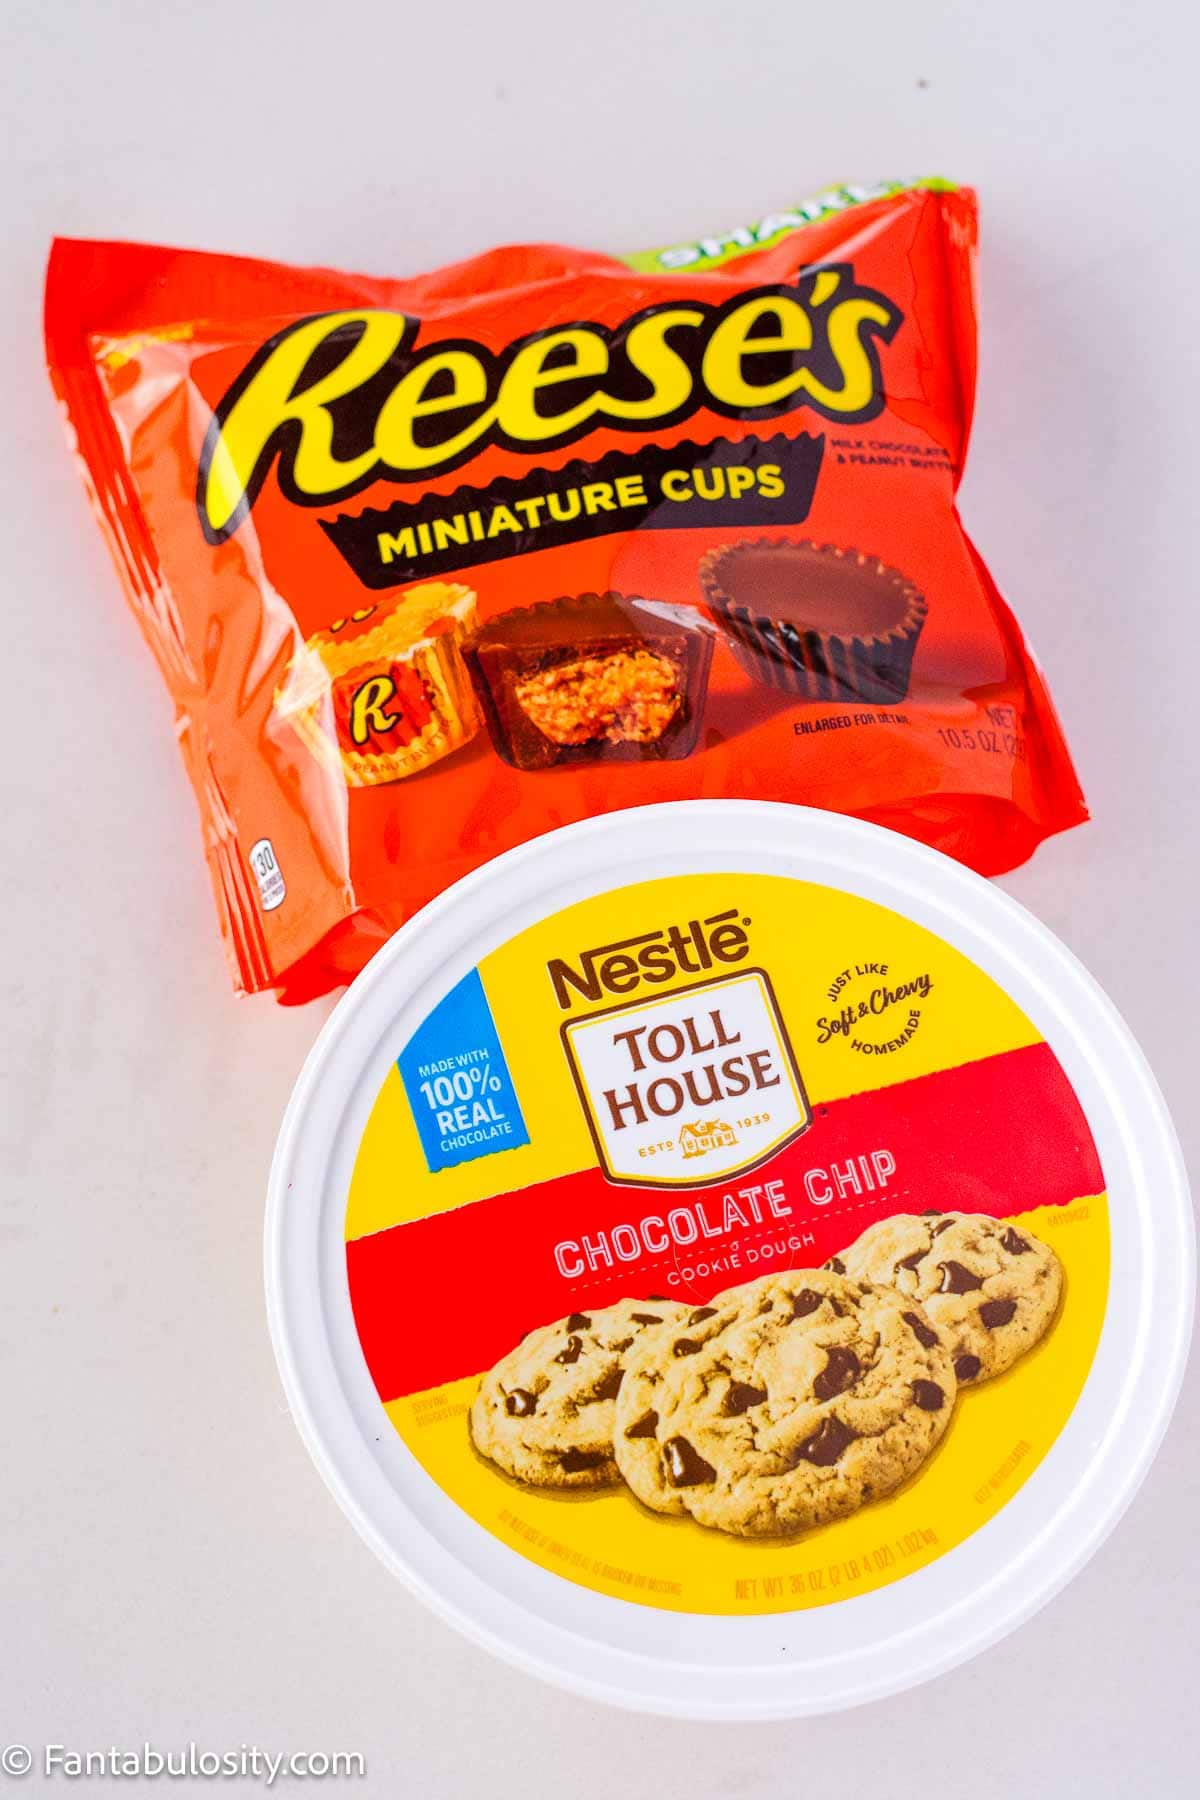
Key Ingredients
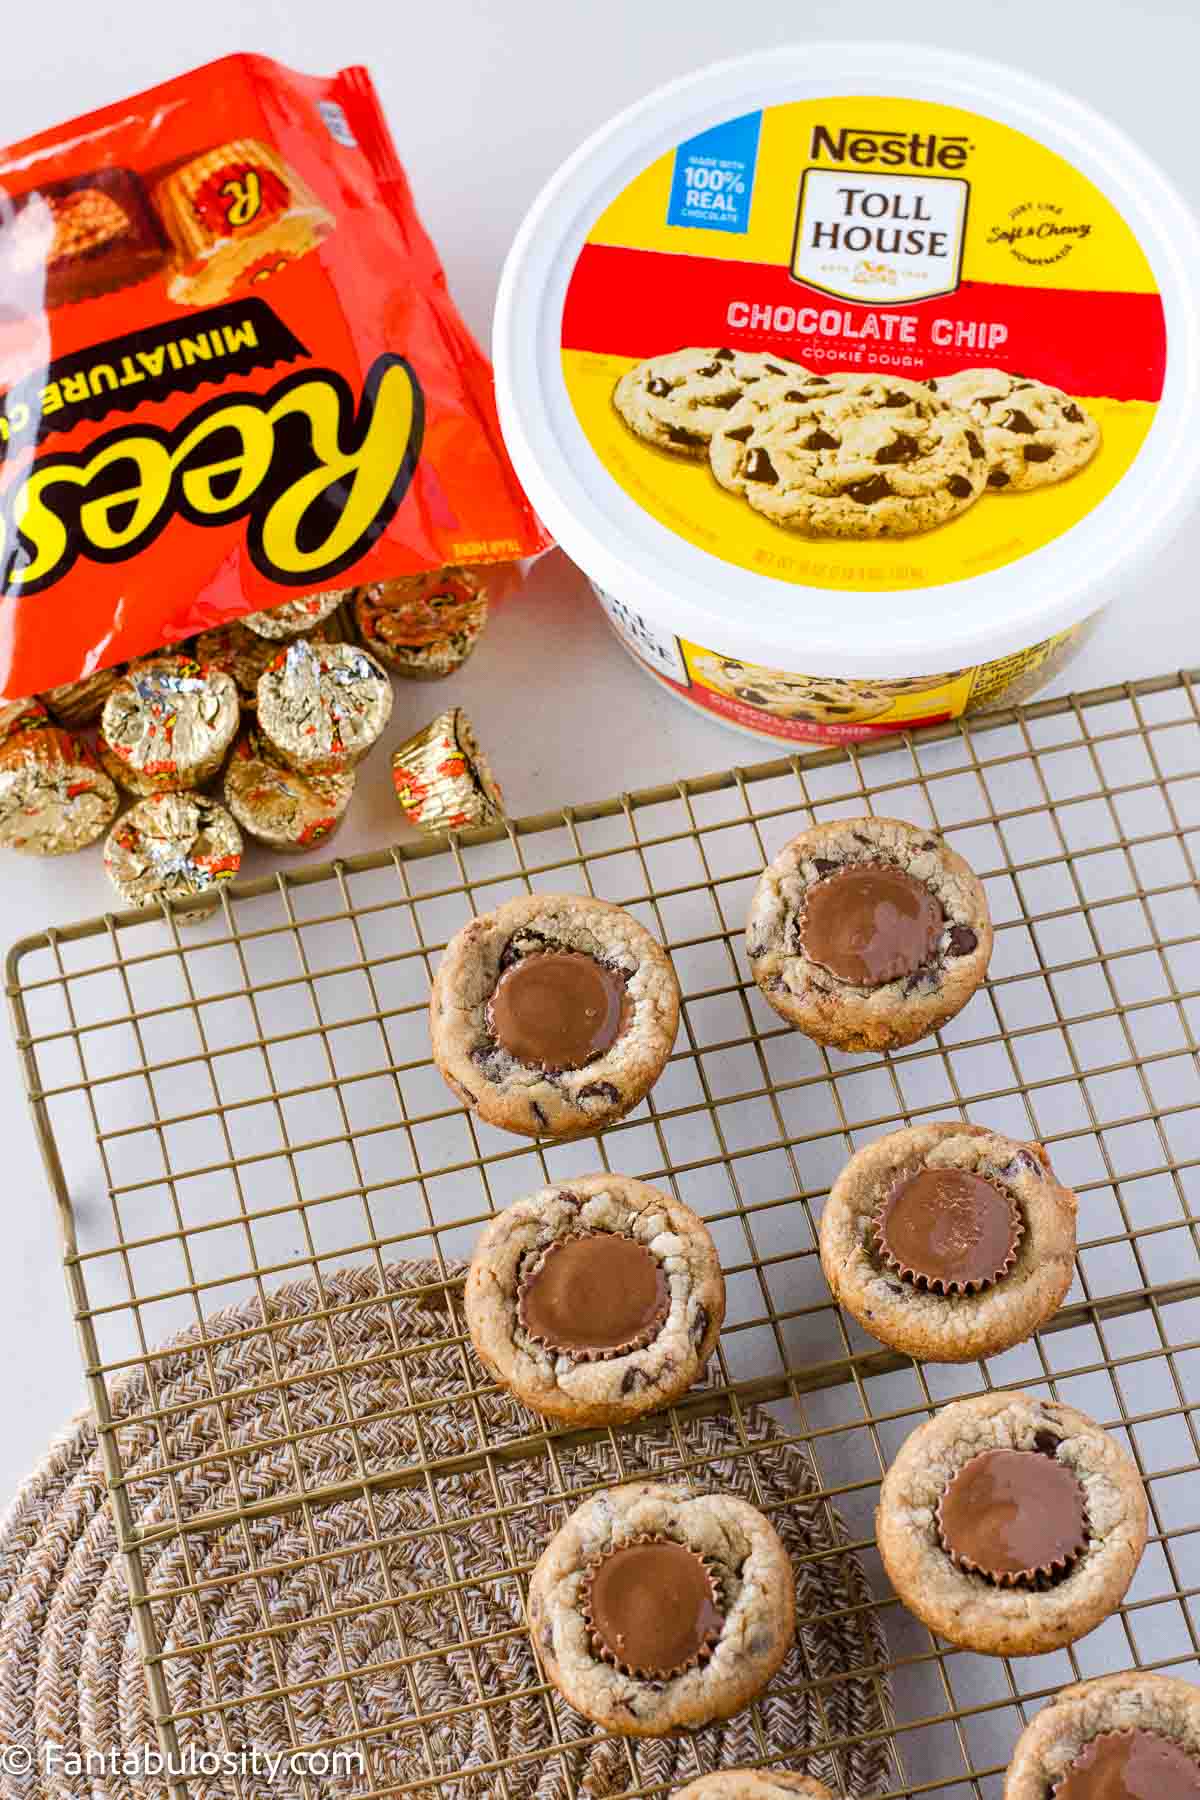
Here’s what you’ll need to make this easy cookie recipe:
Important Note: The amount of cookies this recipe can make, depends on the amount of cookie dough you plan to purchase or use. The tub of Toll House cookie dough that I use makes about 36 cookies, so make sure you purchase enough peanut butter cups to make the amount of cookies you plan to make.
- Chocolate Chip Cookie Dough: You can either use the tub like I do, the roll, or make homemade cookie dough. If you really love peanut butter, making your own peanut butter cookie dough is a great option. Or, sugar cookie dough pairs well with the chocolate peanut butter flavors of the candy too.
- Mini Peanut Butter Cups: I prefer using Reese’s Miniature Cups but you can use your favorite brand or even the regular-size peanut butter cups and chop them up for the center, although do note the appearance of the finished cookie will look different than shown here.
How to Make Peanut Butter Cup Cookies
Begin by preheating the oven to the temperature recommended on the package of cookie dough. In my case, it was 350°F.
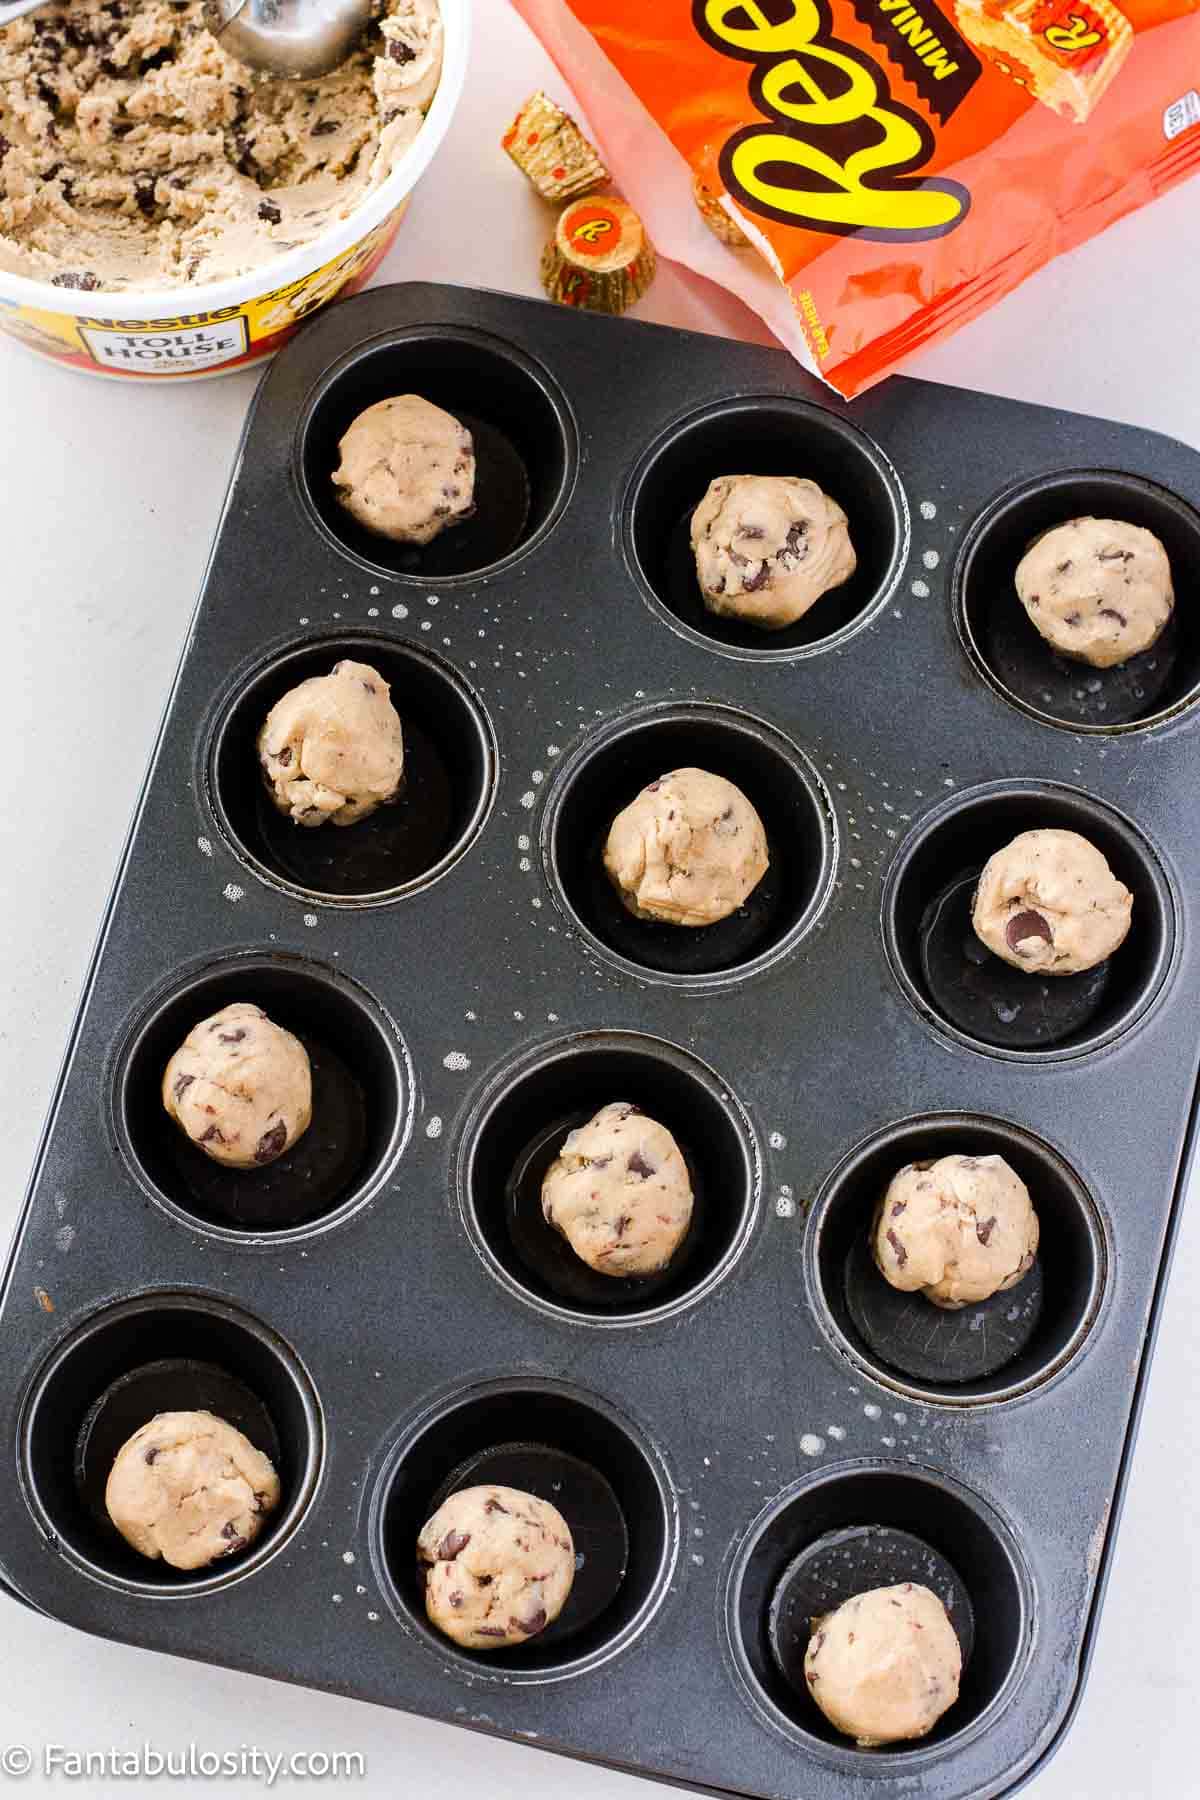
- Spray the cavities of a 12-cavity muffin pan with nonstick cooking spray.
- Scoop out about 2 tablespoons of cookie dough, and roll in to a ball, and place in to a cavity of the muffin tin. Repeat 11 more times.
Tip: You can also use a mini muffin tin. Watch the bake time in case the cook faster.
- Place the muffin pan in the preheated oven, and bake for the recommended time listed on the container of the cookie dough. In my case, this was 12-13 minutes or until golden brown.
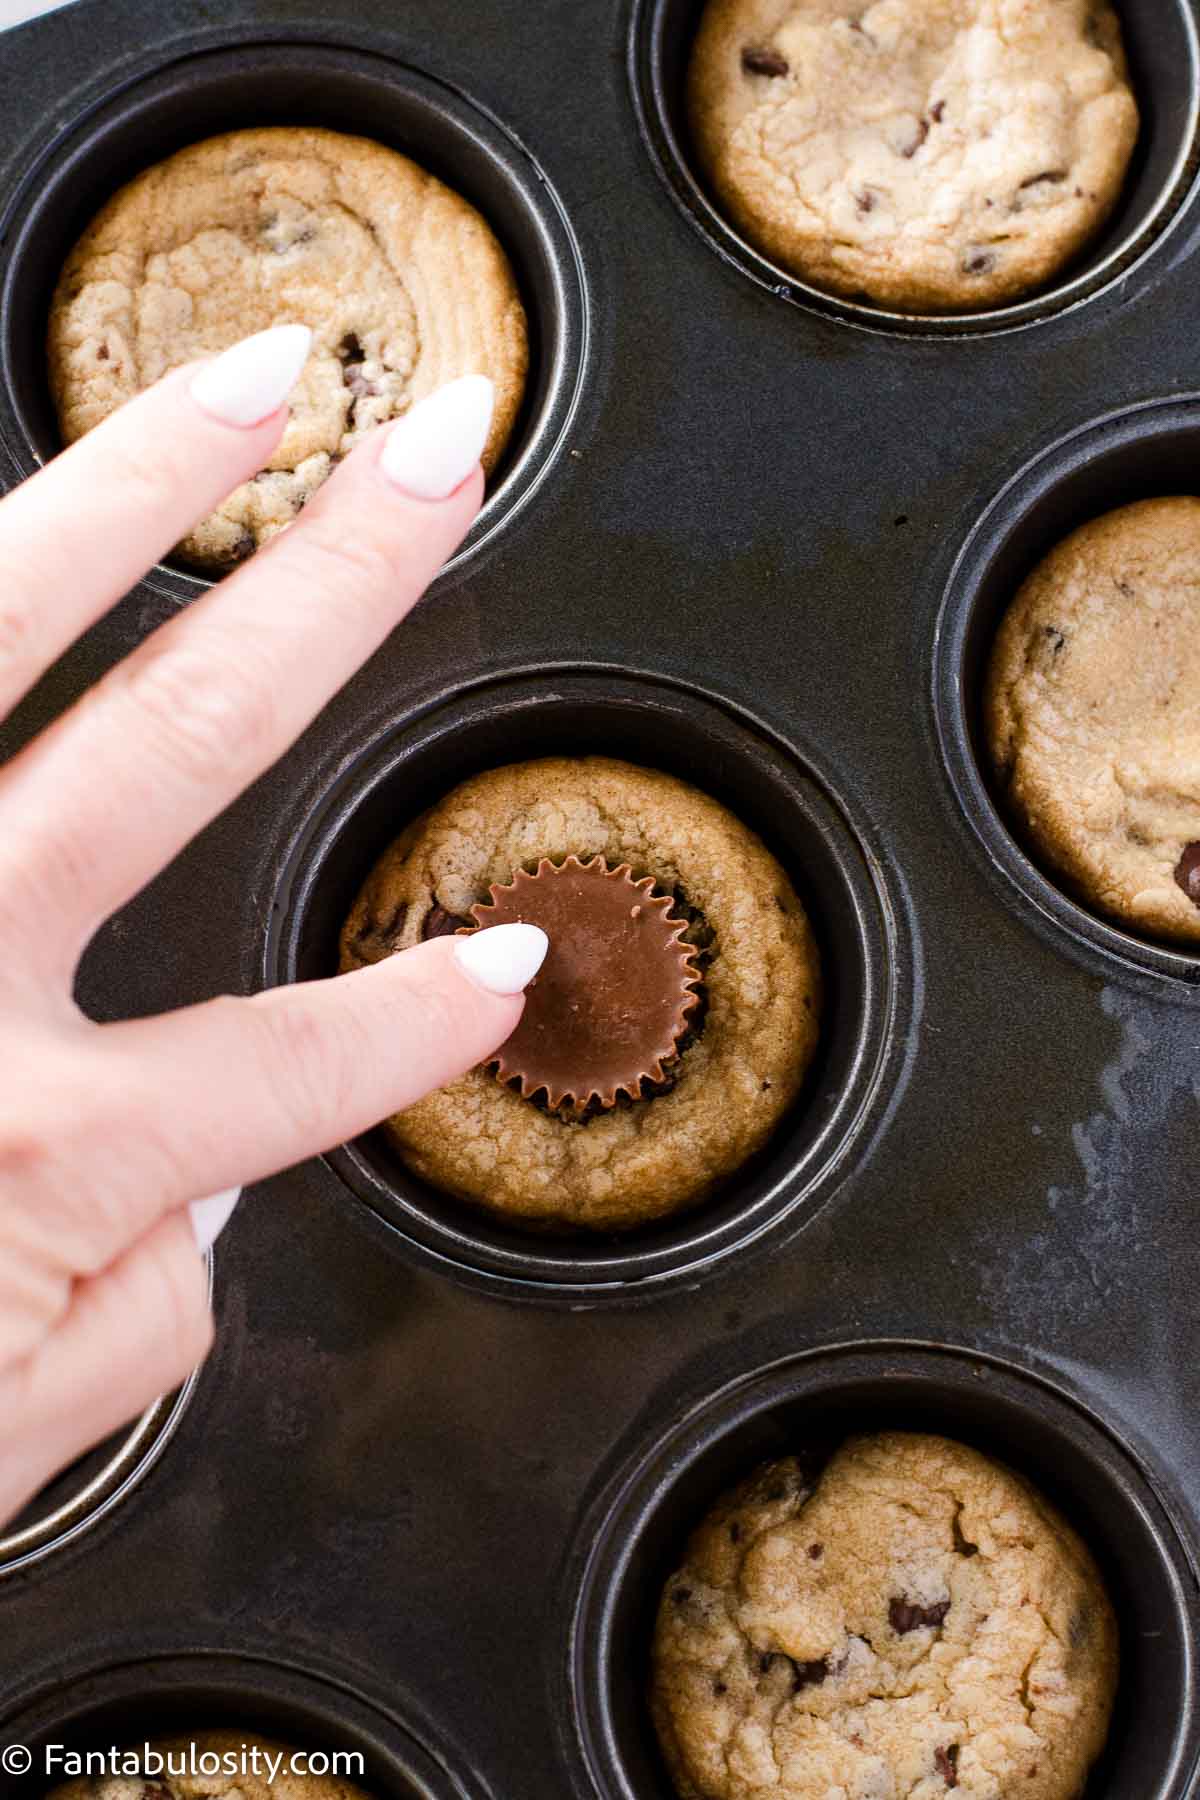
- While the cookies are baking, unwrap 12 mini peanut butter cups and set aside.
- When the cookies have finished baking, place one mini peanut butter cup in to the center of each warm cookie. (You must do this quickly after removing the cookies from the oven, so the peanut butter cup will easily push in.)
- Allow the cookies to cool in the muffin tin until they’re warm enough to touch. Using a spoon, gently remove the cookies from the tin (you may need to gently outline the cookie with the spoon to make sure it doesn’t stick to the pan when lifting out) and lift out each cookie and place on a cooling rack.
Recipe Tips
- Plan ahead: Make sure to unwrap the peanut butter cups ahead of time so the cookies don’t cool off before you can get them inserted.
- Christmas Cookie: These would be amazing for a Christmas cookie exchange with these other Christmas cookie recipes!
- Spray Generously: Make sure to spray the muffin tin, generously before baking, so the cookie cups will be easy to lift out, without breaking them.
Storing Tips
- Leftovers: Store baked peanut butter cup cookies in a sealable plastic bag or in container and enjoy within 4-5 days.
- Freeze: Freeze the unbaked cookie dough according to package directions. You can also freeze the finished cookie recipe once they’ve cooled off. Place in a freezer bag or freezer-safe container for up to 3 months.
Recipe FAQs
They possibly baked too long. Try baking for a shorter amount of time, just until the tops of the cookies look as if they’re turning a slightly, golden brown.
A regular-size muffin tin or mini-muffin tin can be used. The difference between the two will be more cookie on the sides, giving a better cookie-to-candy ratio in a bite when using a regular muffin tin. Where the mini-muffin tin will have more cookie at the bottom instead of surrounding the chocolate candy.
Absolutely. Chocolate candy bars can be chopped up and inserted in to the center instead of Reese’s if desired, such as Snickers, Twix, or your favorite.
Related Recipes
It's simple to make this 2-ingredient cookie recipe! Pin this recipe to save it!
Recipe
Peanut Butter Cup Cookies
Video
Equipment
- oven
- muffin tin
Ingredients
Cookie Ingredients:
- 36 ounces refrigerated cookie dough for baking
- 36 mini peanut butter cups such as Reese's
Instructions
- Preheat oven to 350° F or to the temperature in the directions on the cookie dough container.
- Grease a regular sized muffin tin, generously.
- Scoop about 2 tablespoons of cookie dough, and roll it in to a ball using your hands, and place the ball of dough in to one of the cavities of the muffin tin. Repeat 11 more times until each cavity is filled.(If making more than 12, you may need to refill the muffin tin after the first batch is done. Don't forget to re-spray the pan, and allow the pan to cool before reusing.)
- Bake in preheated oven for the time as instructed on the cookie dough container. In my case it was 12-13 minutes.
- While baking, unwrap chocoalte peanut butter candies so they're ready to insert in to the cookies as soon as you remove them from the oven.
- When cookies are lightly golden brown at the top, remove them from the oven and immediately insert one mini peanut butter cup in to the center of each cookie.
- Allow the cookies to cool in the muffin pan for a few minutes or until they're cool enough to the touch.
- Using a spoon, gently run it around the rim of each cookie, making sure the cookie will detach from the pan easily and lift out and place on a cooling rack. Enjoy.
Notes
Nutrition
Nutritional information is based on third-party calculations and should be considered estimates. Actual nutritional content will vary with brands used, measuring methods, portion sizes and more.


Shannon says
Super easy treat combining two of my favorites! They were great! Fantastic idea
Jessica says
I’m so glad! Thank you so much.
Mar says
Great and easy
Jessica says
Oh good, I’m so glad you think so, thank you!