
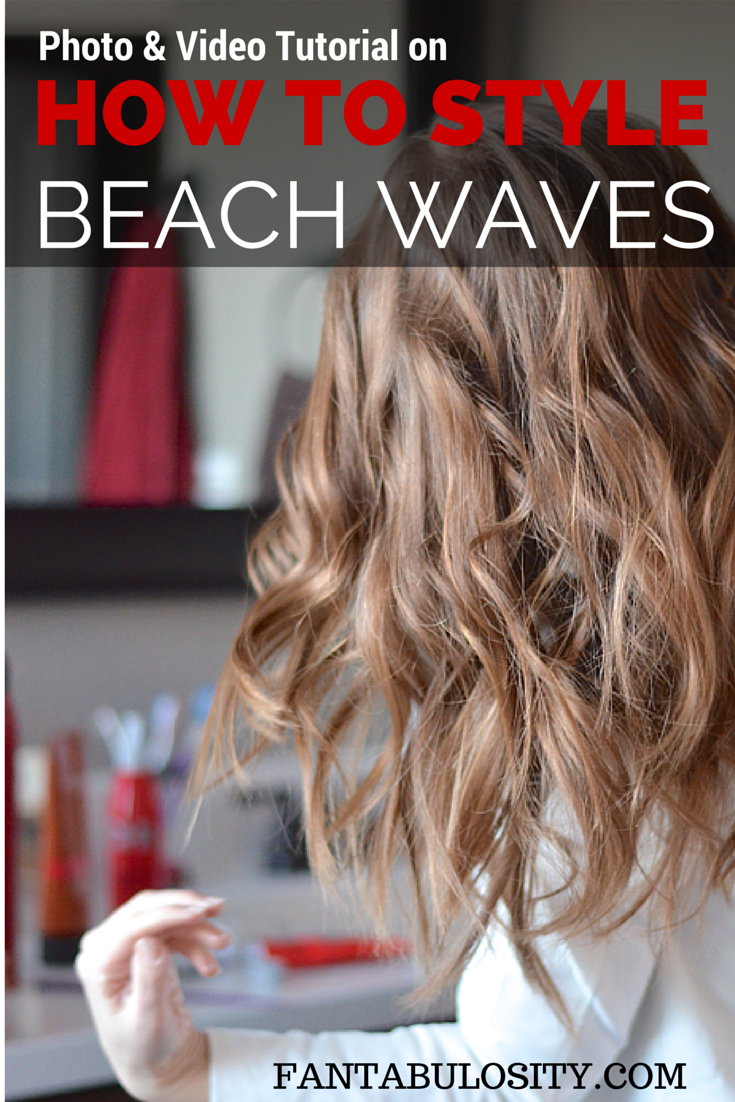
How to Get Beach Waves: A quick 7 easy steps on how I get beach waves with a curling wand, and the hair products that I use!
I couldn’t be more than excited to share with you, How I get beach waves in my hair! I’ve had so many people ask recently if I’d do a tutorial, and since I’m FAR from a hair stylist, I was like, “Whaaaat!? But I don’t know what I’m doing!” But then I realized you may want to see someone do their hair, that’s not a professional, so you can relate! 🙂
How to Get Beach Waves
I’ve provided photos of the step by step instructions of how to do beach waves, but I’ve also included a video tutorial at the bottom of this post, in case you’re a “watch and learn,” kinda person. 🙂
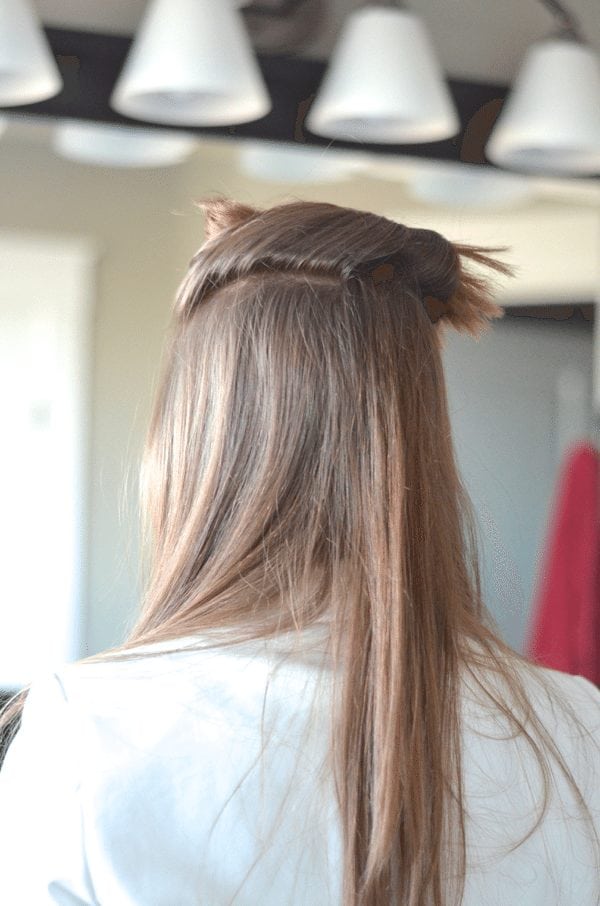
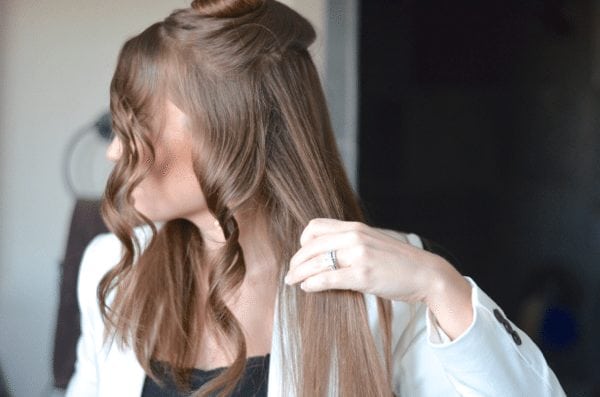
Step 1:
Grab a top layer of hair, and clip it up at the top. You’ll begin curling with the bottom layer.
Step 2:
Spray the entire bottom layer with a heat thermal spray. I use “Chi Iron Guard.” After trying a lot of brands, even being guilty of trying to get by with the generic Sally Beauty brands… Chi Iron Guard is faaar better, in my opinion.

Step 3:
I start by grabbing a one inch section, and brushing through that section, just to remove any tangles or frizz, so I’ll get a “cleaner,” curl.
Grab your pre-heated curling wand. I recommend the Bed Head Curlipops Curling Wand. It’s so easy to use, and even comes with a glove if you want to use it! 🙂
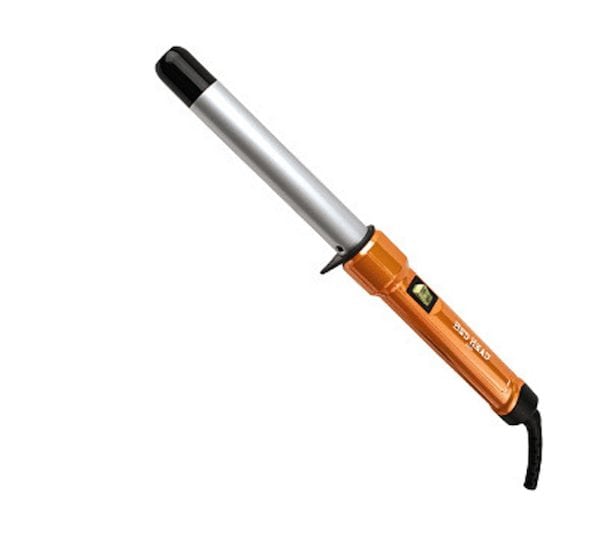
Buy the Curling Wand HERE!
*Note: You will take a different approach when working with the strands that are around the face. So when we move on to the next strand, I’m going to give you a different technique.
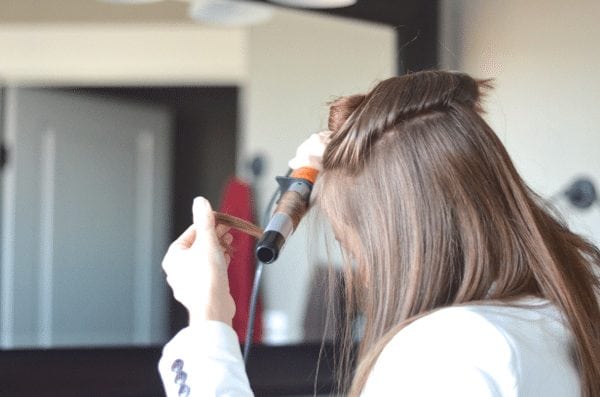
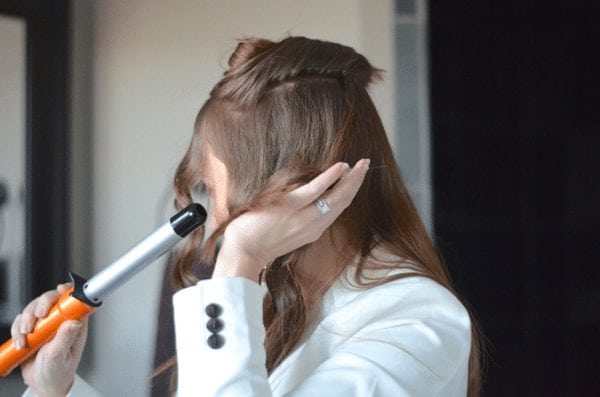
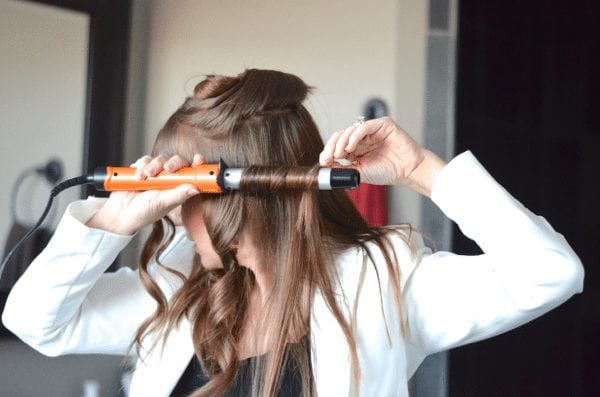
Starting with the first strand that’s by your face:
About half way up (Not all the way at the top, next to your head) you’ll place your curling wand on top of the hair at an angle, and start wrapping the hair around the wand, in an “outter,” motion. (You will be switching back and forth between each 1-inch section.)
When you’re wrapping the hair, don’t overlap the hair. Each time you wrap the hair, make sure it directly touches the wand…not rest on top of the previous wrapped-around hair.
Step 4:
After about 10 seconds, pull the curling wand straight out of the hair, while cupping your other hand underneath the curled hair, holding it for about 5 seconds, allowing the freshly curled hair to cool while it’s still in the “roll.” Gently remove your hand, and let your hair go.
Yeah! Just like that! See that first curl!?
Step 5:
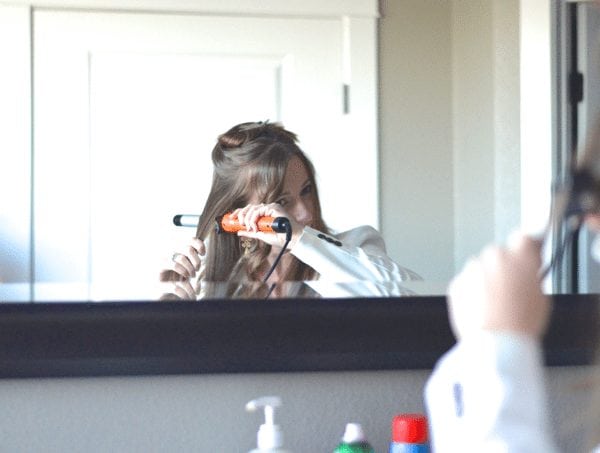
Ok! Very good! Now let’s move on to the next 1-inch strand of hair, and you’ll do it a bit different this time.
Starting at the TOP of the hair (right by the head), place your curling wand UNDER the strand, and wrap the hair around, in an “over,” motion. Keep your wand “straight” in a horizontal position, and not diagonal this time.
Here’s a side view of the way it looks when you’ve wrapped the entire strand around the wand. (I did overlap a bit in this one, and I’ve slapped my hand for that. Ooops.)
Now you have two curls! Look at you go!
Step 6:
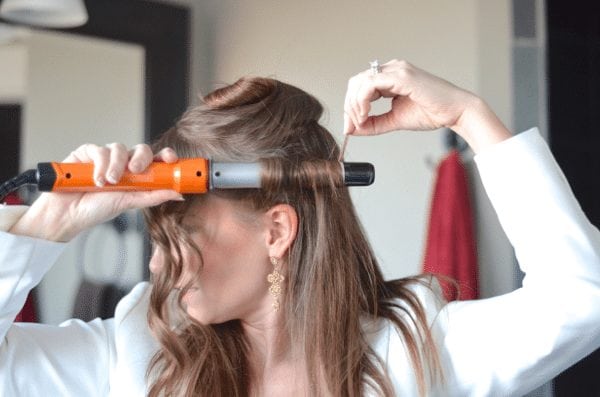
Ok! Now… on the third time, go back to curling it, and place the wand on top of the hair and wrap it around in an “under,” motion. So what you’re doing is changing back and forth after each hair strand, mixing it up, so you’re not doing ever strand in the same motion.
-
- Continue on, going about your business, and finish curling out the entire bottom section of hair.
- When the bottom layer is complete, unclip the top layer, spray with your CHI Iron Guard, and begin curling the top layer of hair, remembering to ALTERNATE going over/under with each strand.
Step 7:
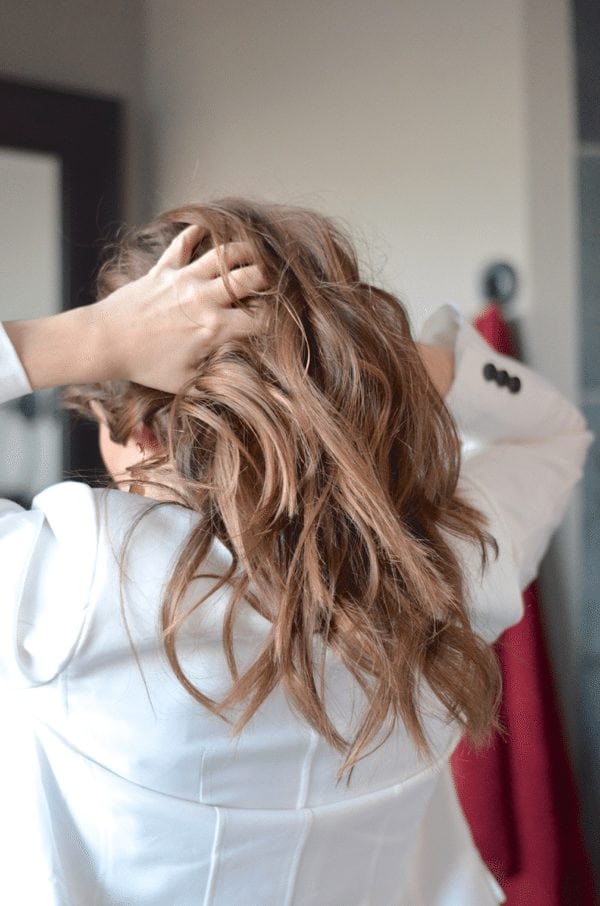
All curled? Excellente! Now… grab a “polish,” like the CHI Pliable Polish that I use, and put about a marble size dab of it in the palm of your hand. Rub your hands together, mixing between the fingers, just to evenly coat,
and start running your hands/fingers through your hair, breaking up the “tightness,” of the curl, and to give your hair a more “pieced,” look, rather than a curled mass of hair. 🙂
This is where I also kind of “flip,” my hair around from side to side, and add volume with my fingers by “teasing,” the hair at the crown of my head, etc.
(You may laugh, but each day, my hair decides if it wasn’t to favor the “left,” or “right,” side of my face; no matter how I style it! So, I let it determine which side it prefers that day, and run with it.) 🙂
(Now don’t look closely below, because I’m sure you can see my “grays,” starting to show up in this “30 something,” head.)
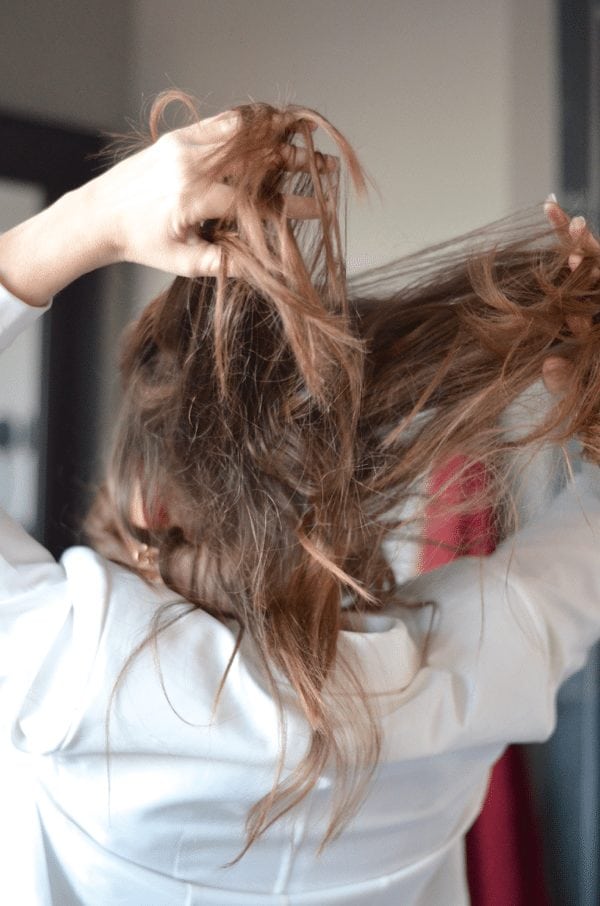
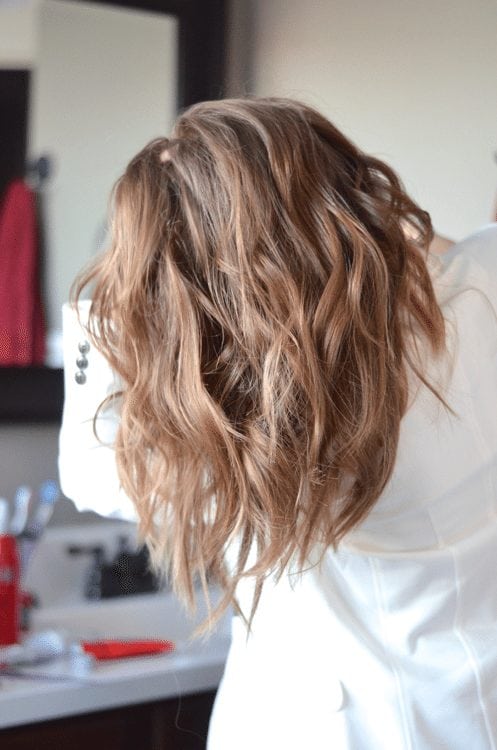
There they are! You have successfully created beach waves in your hair!
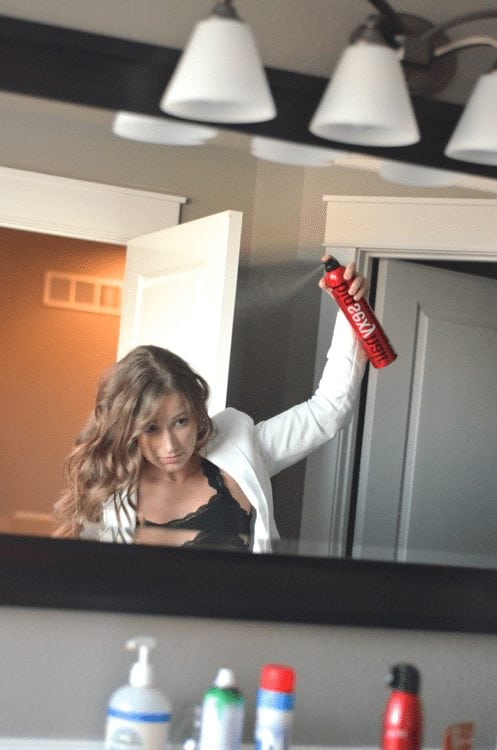
Now I do use hair spray to lock-in the beach waves on my hair. You obviously don’t HAVE to have hair spray to create beach waves, so I didn’t want to make that a step. But… it does hold the wave longer for me, and I LOVE LOVE LOVE using the Big Sexy Spray and Play, because when I “poof,” up my hair with my fingers, when I’m running the Pliable Polish in, I like to “freeze,” that volume that I’ve created.
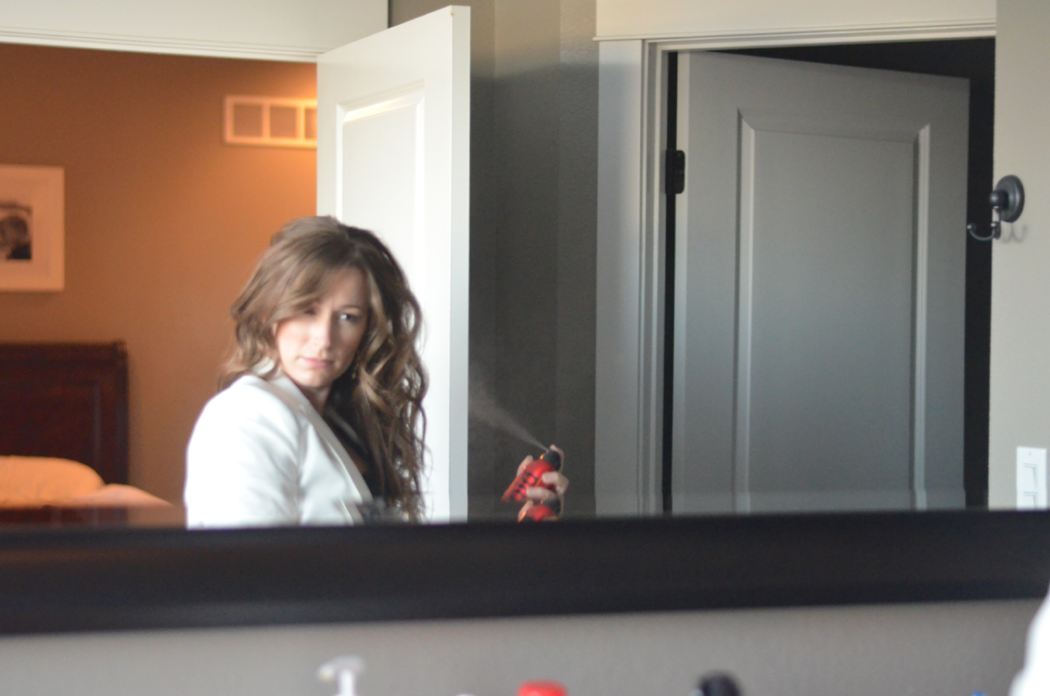
You like that “hair spray,” action shot? Yeah, my helper Brandy was good like that. You should have seen the excitement on her face when she realized she caught that “moment,” in her photo taking process.) 😉
Are you more of a “watch and learn,” kinda person?
Well then I’ve created this video tutorial just for you!
How to Get Beach Waves Video Tutorial
I soooo hope that this was helpful for you, and that you are ready to create beach waves in your hair!
TIDBIT: You may have to reference this a couple of times, before you get the “hang,” of it. So “Pin,” this image below, so you can always reference it!
Thank you for coming by!


Hair Extensions says
This hair style tutorial is a lifesaver! Finally, I can achieve that salon-worthy look at home without spending hours in front of the mirror. Thank you for the step-by-step guide
Nazzish says
Hi what curling iron size did she use
Jessica says
It’s the 1-Inch Bed Head Curling Wand, but I’ve recently used and like the L’ange curling wand better! You can get it HERE!
Mollie says
Would love to see a tutorial on cleaning clutter or de-hoarding our basement b/c we keep everything! We need to either sell our place or add on…but before we do either we must organize and get rid of some things.
Jessica says
OMG totally! A post like that, is RIGHT up my ally and I’d LOVE to do one. I’ll add it to my calendar, especially for the new year. For now… here’s one that I created a little while back that may help. It’s a quick/brief post, but it helps me a lot! http://fantabulosity.com/how-to-declutter-organize-the-harsh-truth/
Alison @ Anchor in the Stratosphere says
Hhaha no I don’t see any grays…but I’ve been gray since 18 so no judgement. 😉 I’ll have to try this!!
Jessica says
Oh good!! Glad the grey cannot be seen! 🙂 Yes do try it!!! Let me know how it goes!
Nikki says
Im so jealous! I have this weird hair that never holds a curl no matter what. I’ve always wanted beachy waves, so I’ll have to try your method.
Jessica says
Yes yes yes! Give it a try! I can’t wait to hear if it works for you!!!