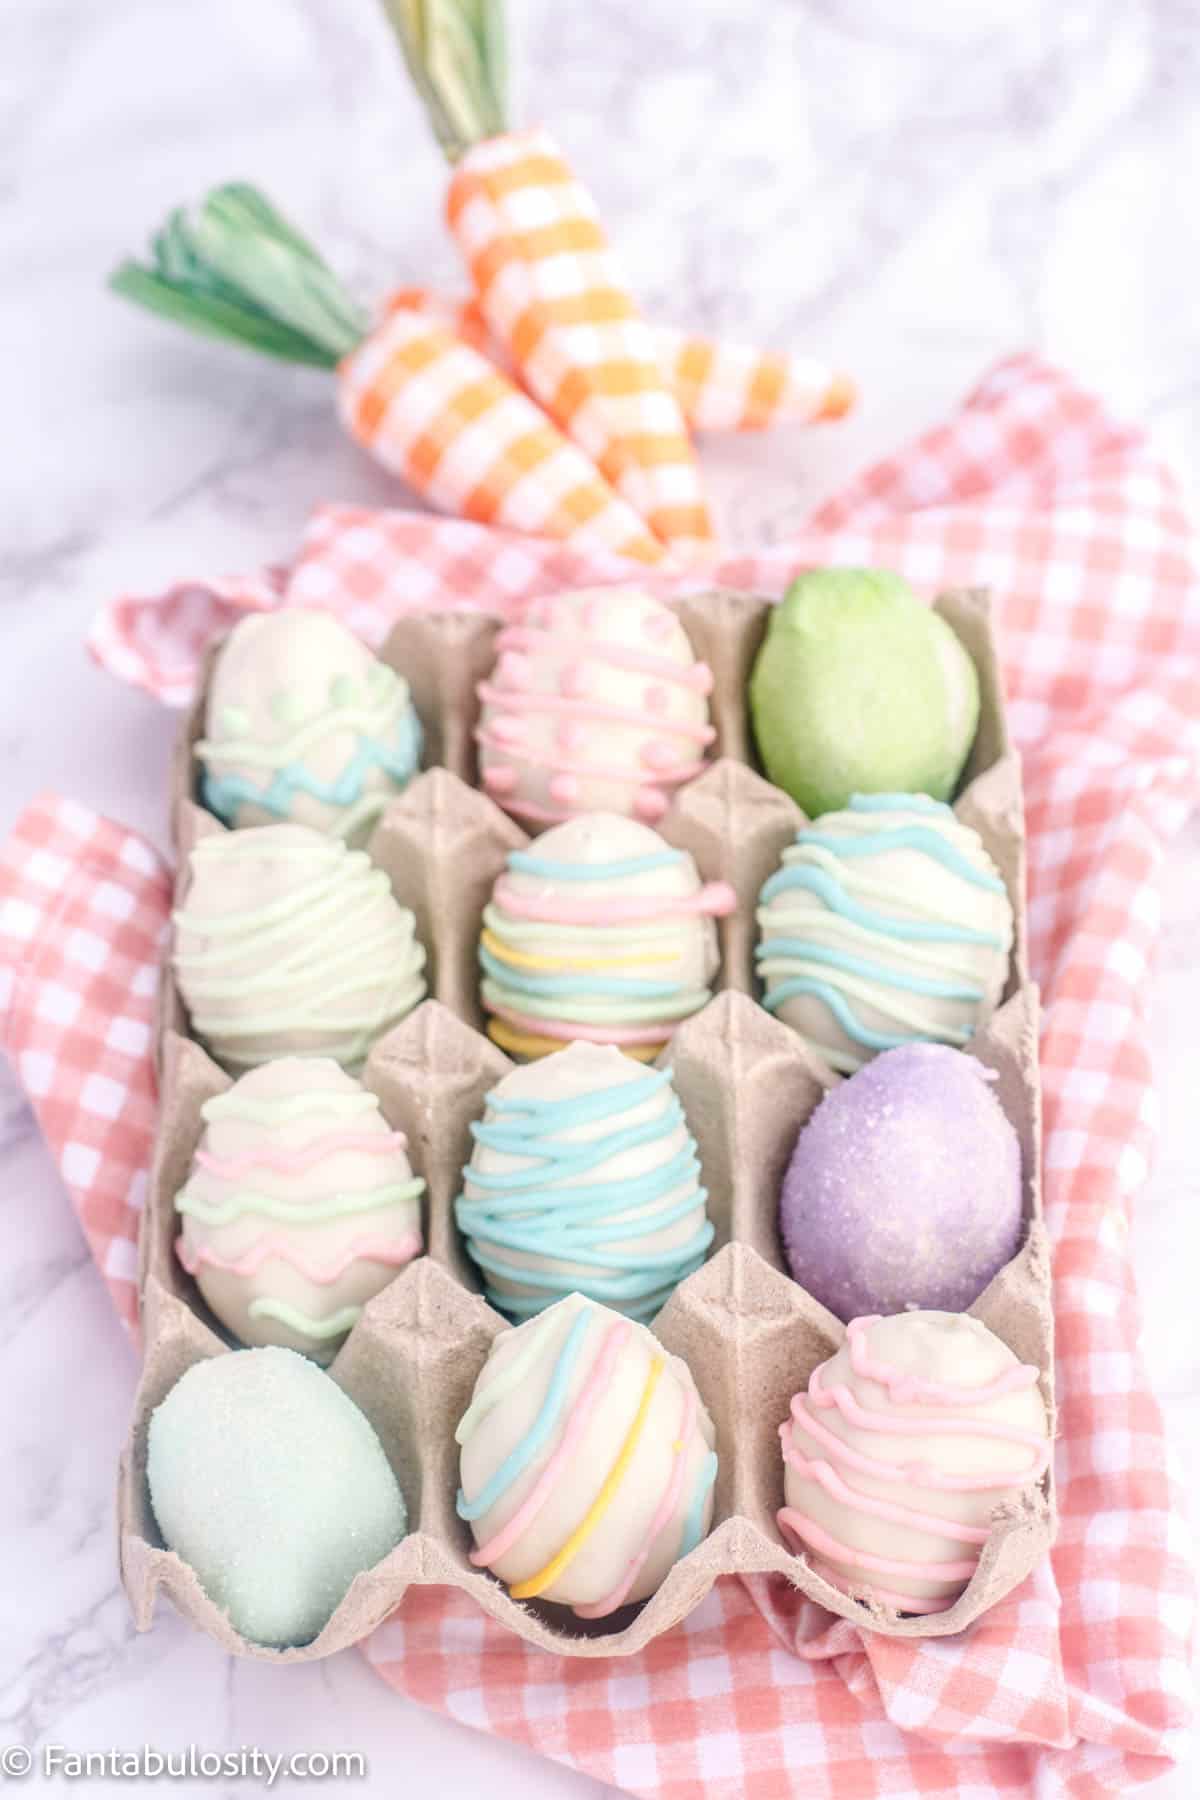
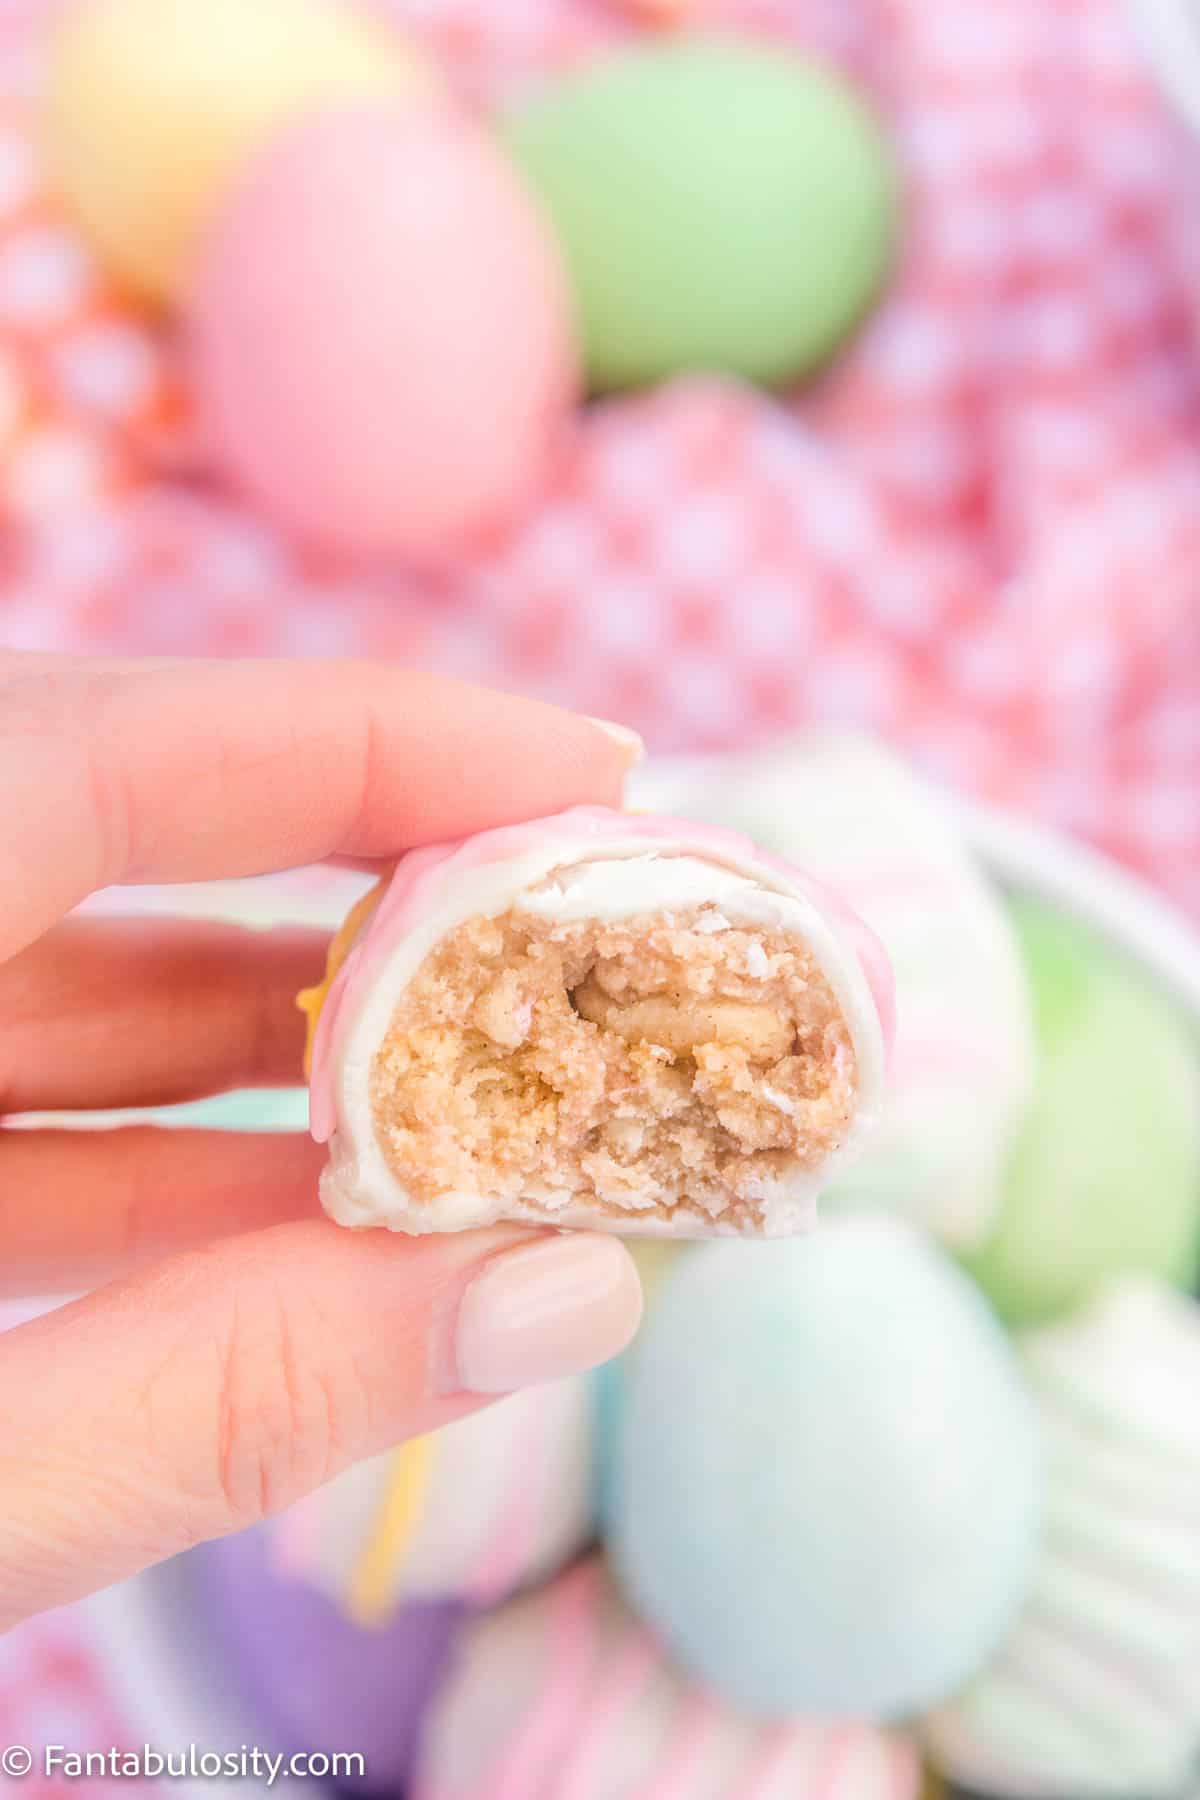
These no-bake egg truffles are adorable for Easter and are made with crushed, frosted animal cookies, cream cheese, and other easy ingredients, making them a delightful holiday dessert idea!
Why You’ll Love These No Bake Easter Eggs
A “no-bake” recipe is always a favorite around here because it usually goes hand-in-hand with “easy recipes“.
Not only is this recipe “easy” but the creaminess of the cream cheese, mixed with frosted animal cookies also make these truffles a crowd-pleaser!
Plus, if you’re in the baking mood, you can make these alongside the mini egg bars, Easter egg nest cookies, or mini egg cookies for treats all around!
Jump to:
Ingredients
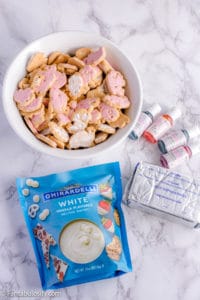
With only 3 main ingredients (not counting any decorating favorites) you can have truffles in no-time!
For decorating, you can use items such as food coloring, sprinkles, sanding sugar, etc. (We used a lot of these for these Easter Oreos that are absolutely adorable too!) See more tips and ideas for decorating, below!
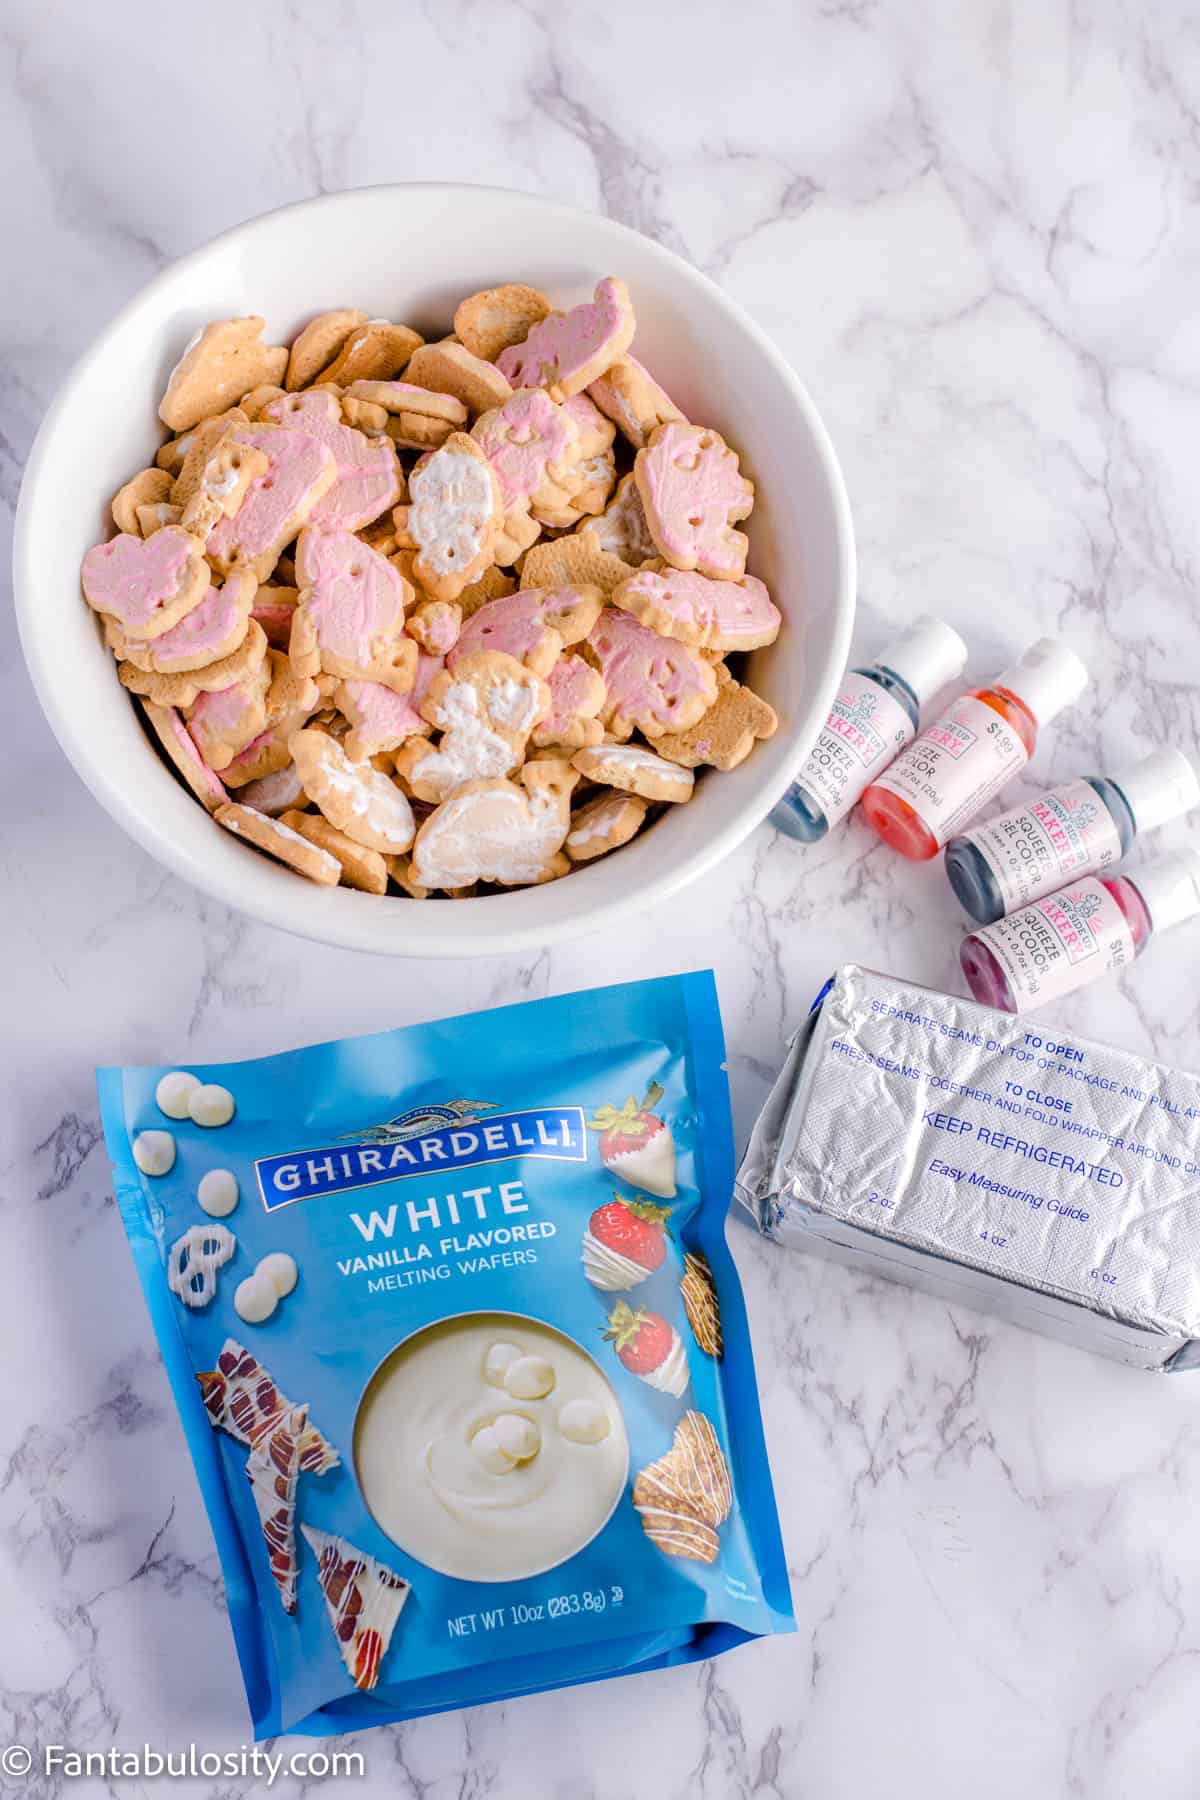
- 14 oz. iced animal cookies
- 8oz. cream cheese, room temperature
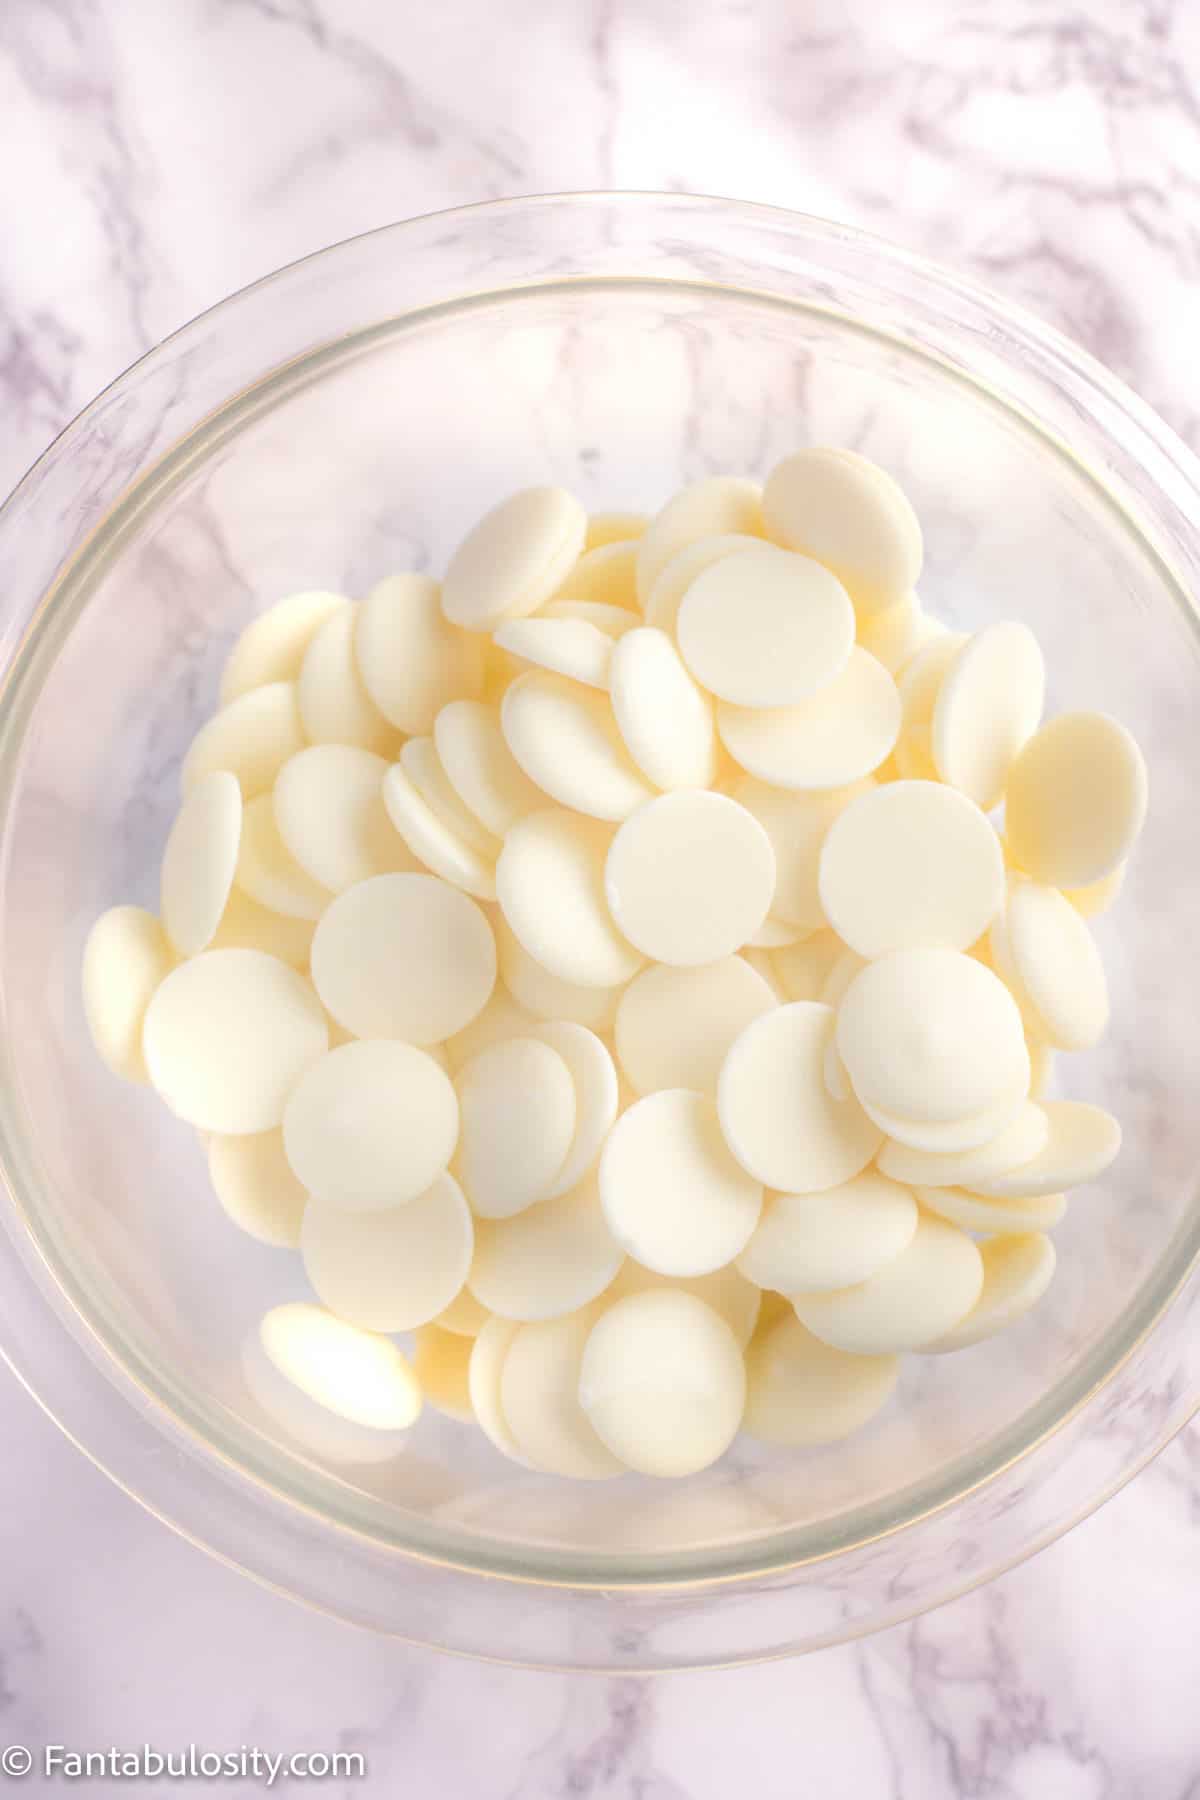
- 2 packages of 14 oz. white chocolate melting wafers (I use Ghirardelli)
- Gel colors, if desired
- Sprinkles or sanding sugar, if desired
See the recipe card at the bottom of this post for full quantities and instructions, all in one place!
Instructions for Easter Egg Truffles
- First, prepare a large baking sheet or something similar, like a platter, by covering it with parchment paper.
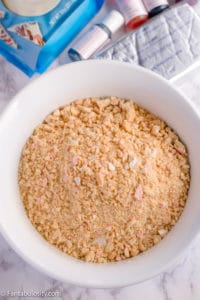
- Next, process animal cookies in food processor or crush cookies placing them in a ziplock bag, rolling over them with a rolling pin until they are in fine crumbs.
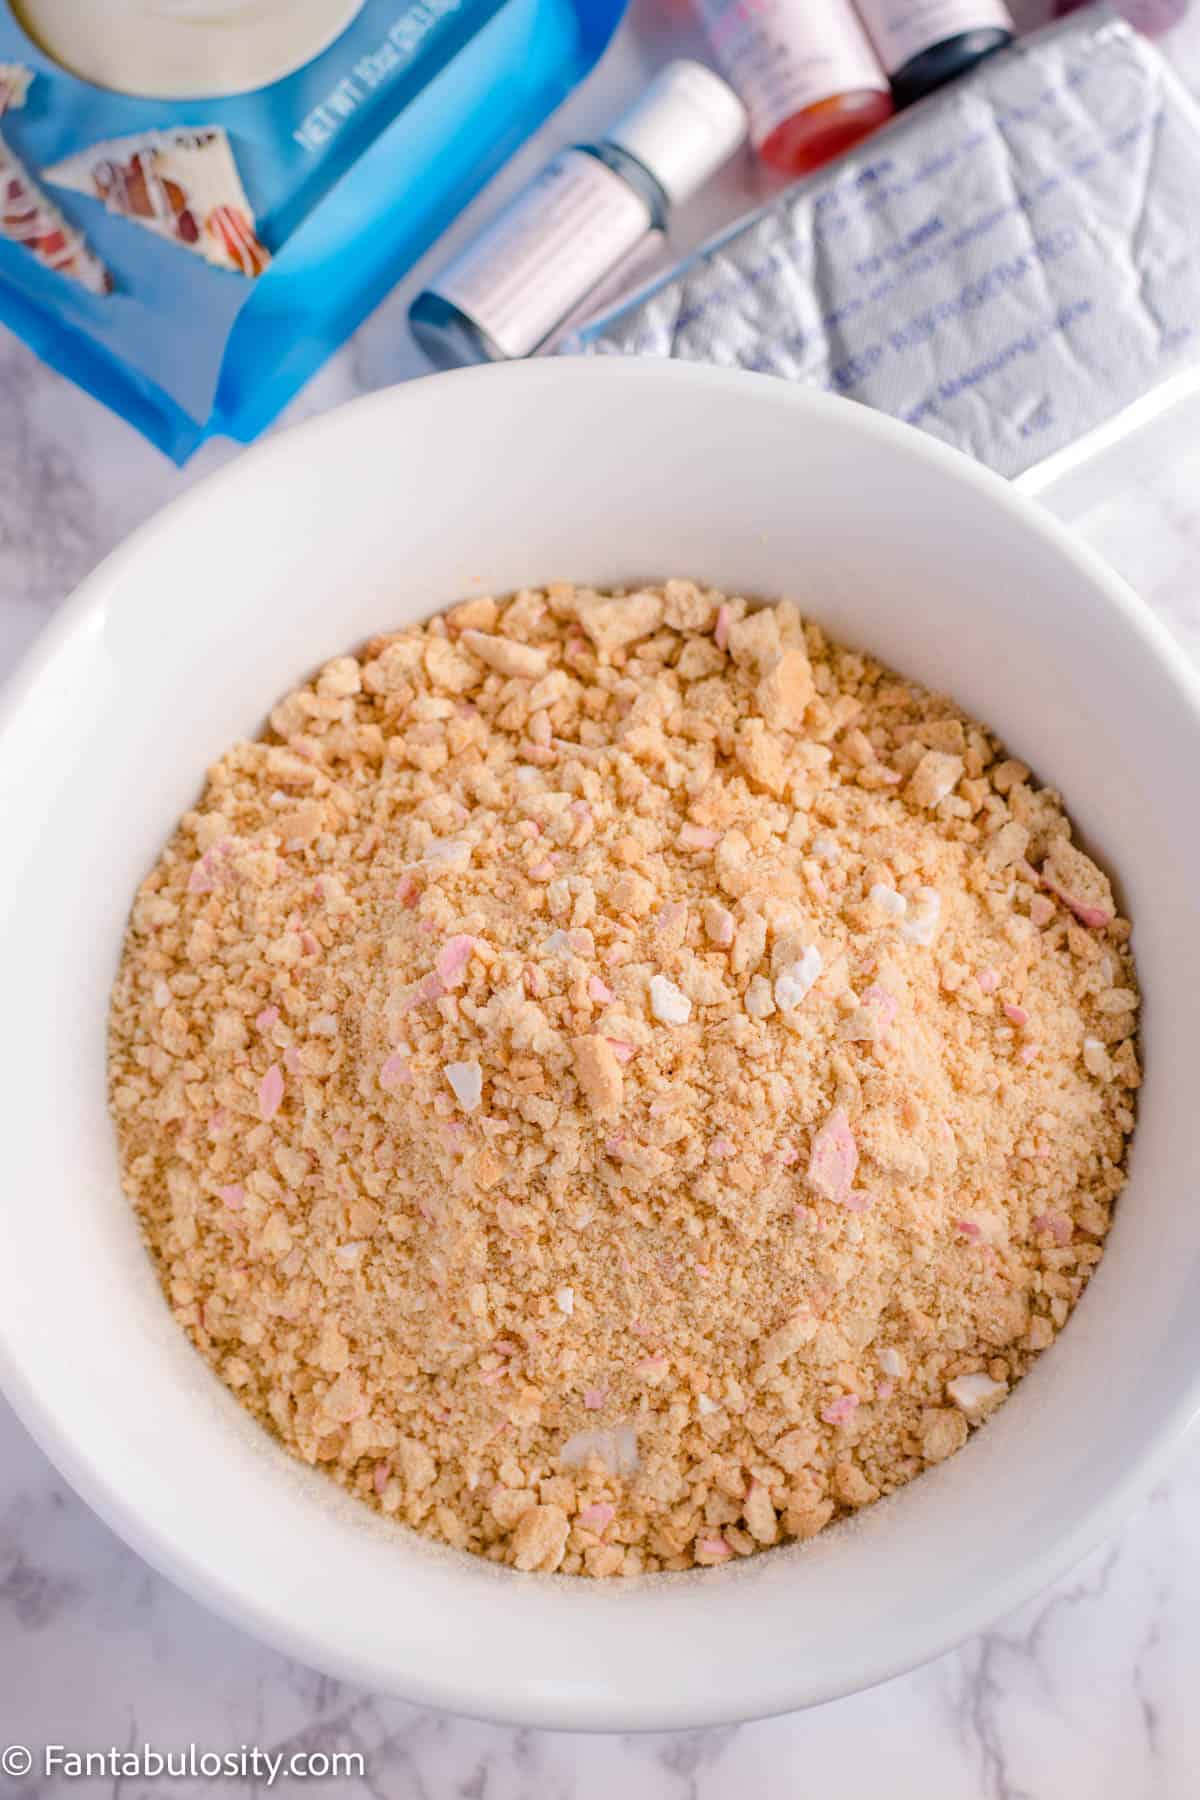
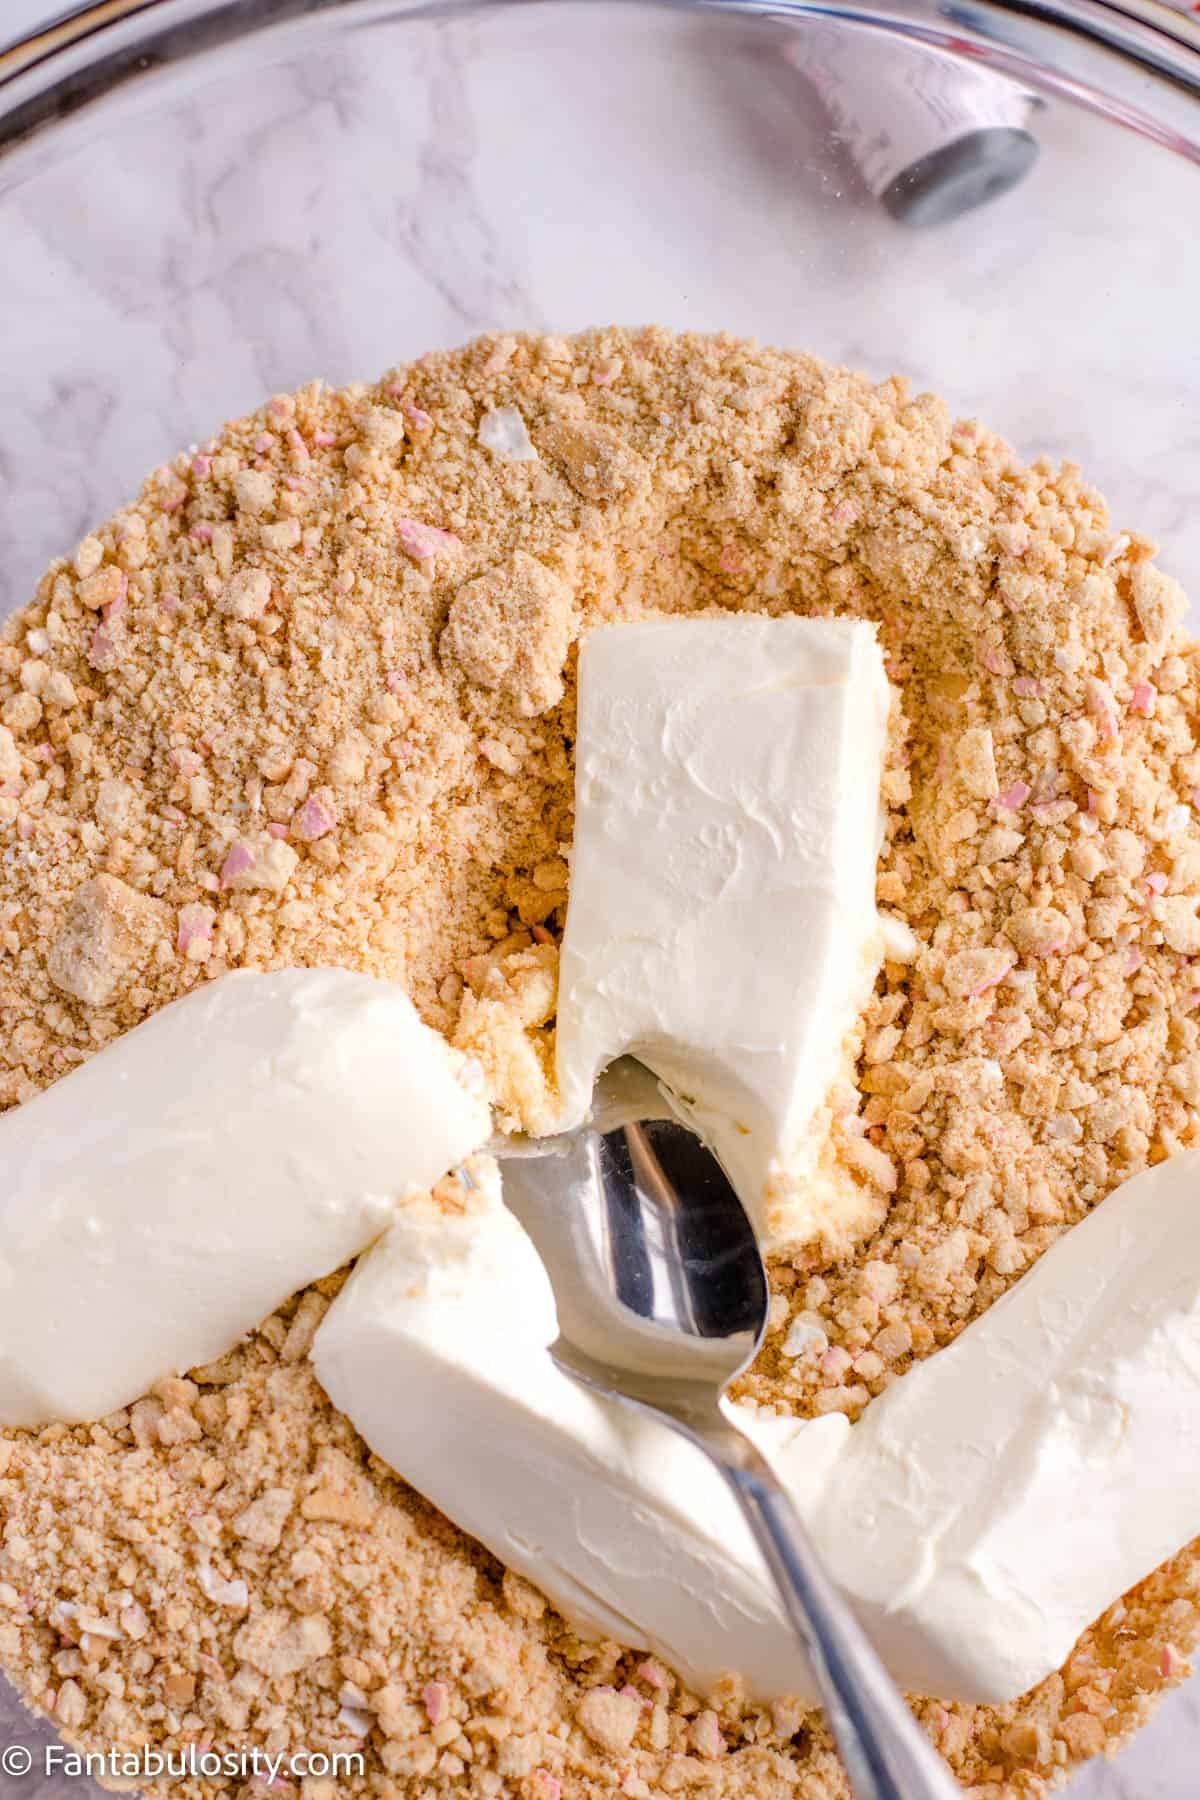
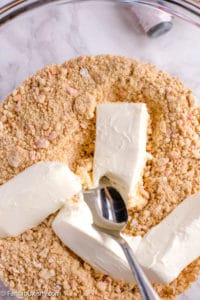
- In a large bowl, mix together the softened cream cheese and crushed cookies until evenly combined.
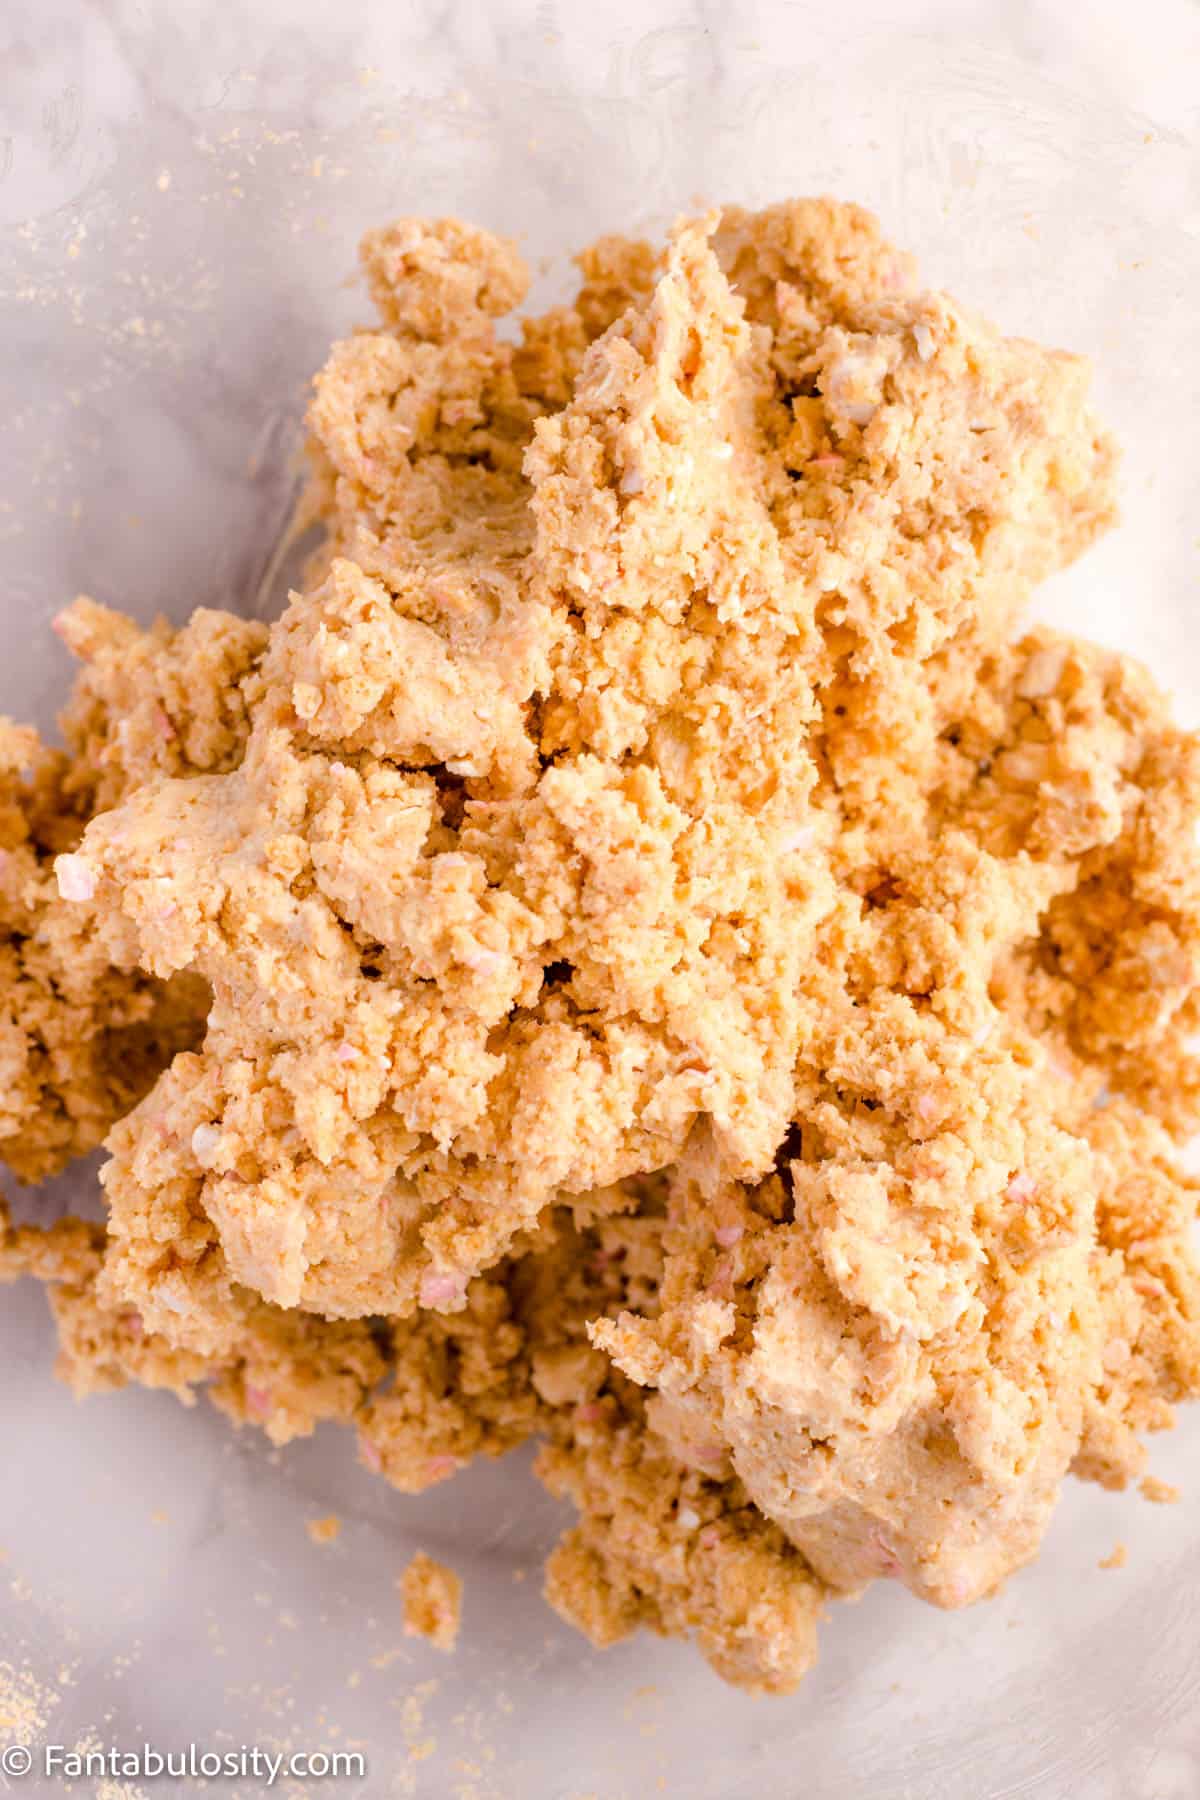
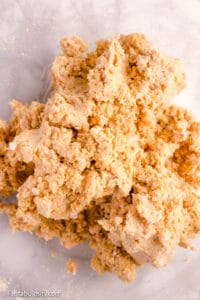
- Grab about a tablespoon of cookie mixture and mash it together with your hands (this is securing the cookie crumbs more in to the cream cheese so it will “hold”.)
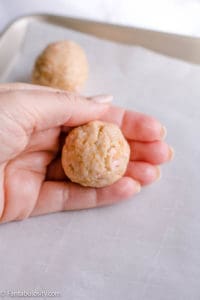
- Next, roll it in to a ball by cupping hands together, and gently move hands in a circle rotation until it it forms a round ball. (See first image below.)
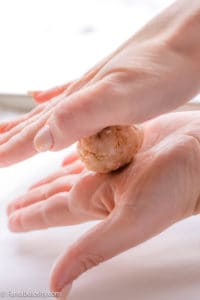
- When in a ball shape, straighten out hands and roll the ball up and down between the two hands to give the “ball” more of an “egg” shape. (See second image below.)
Also, you can also gently pinch the top of the “egg” to give it even more of an egg-shape.
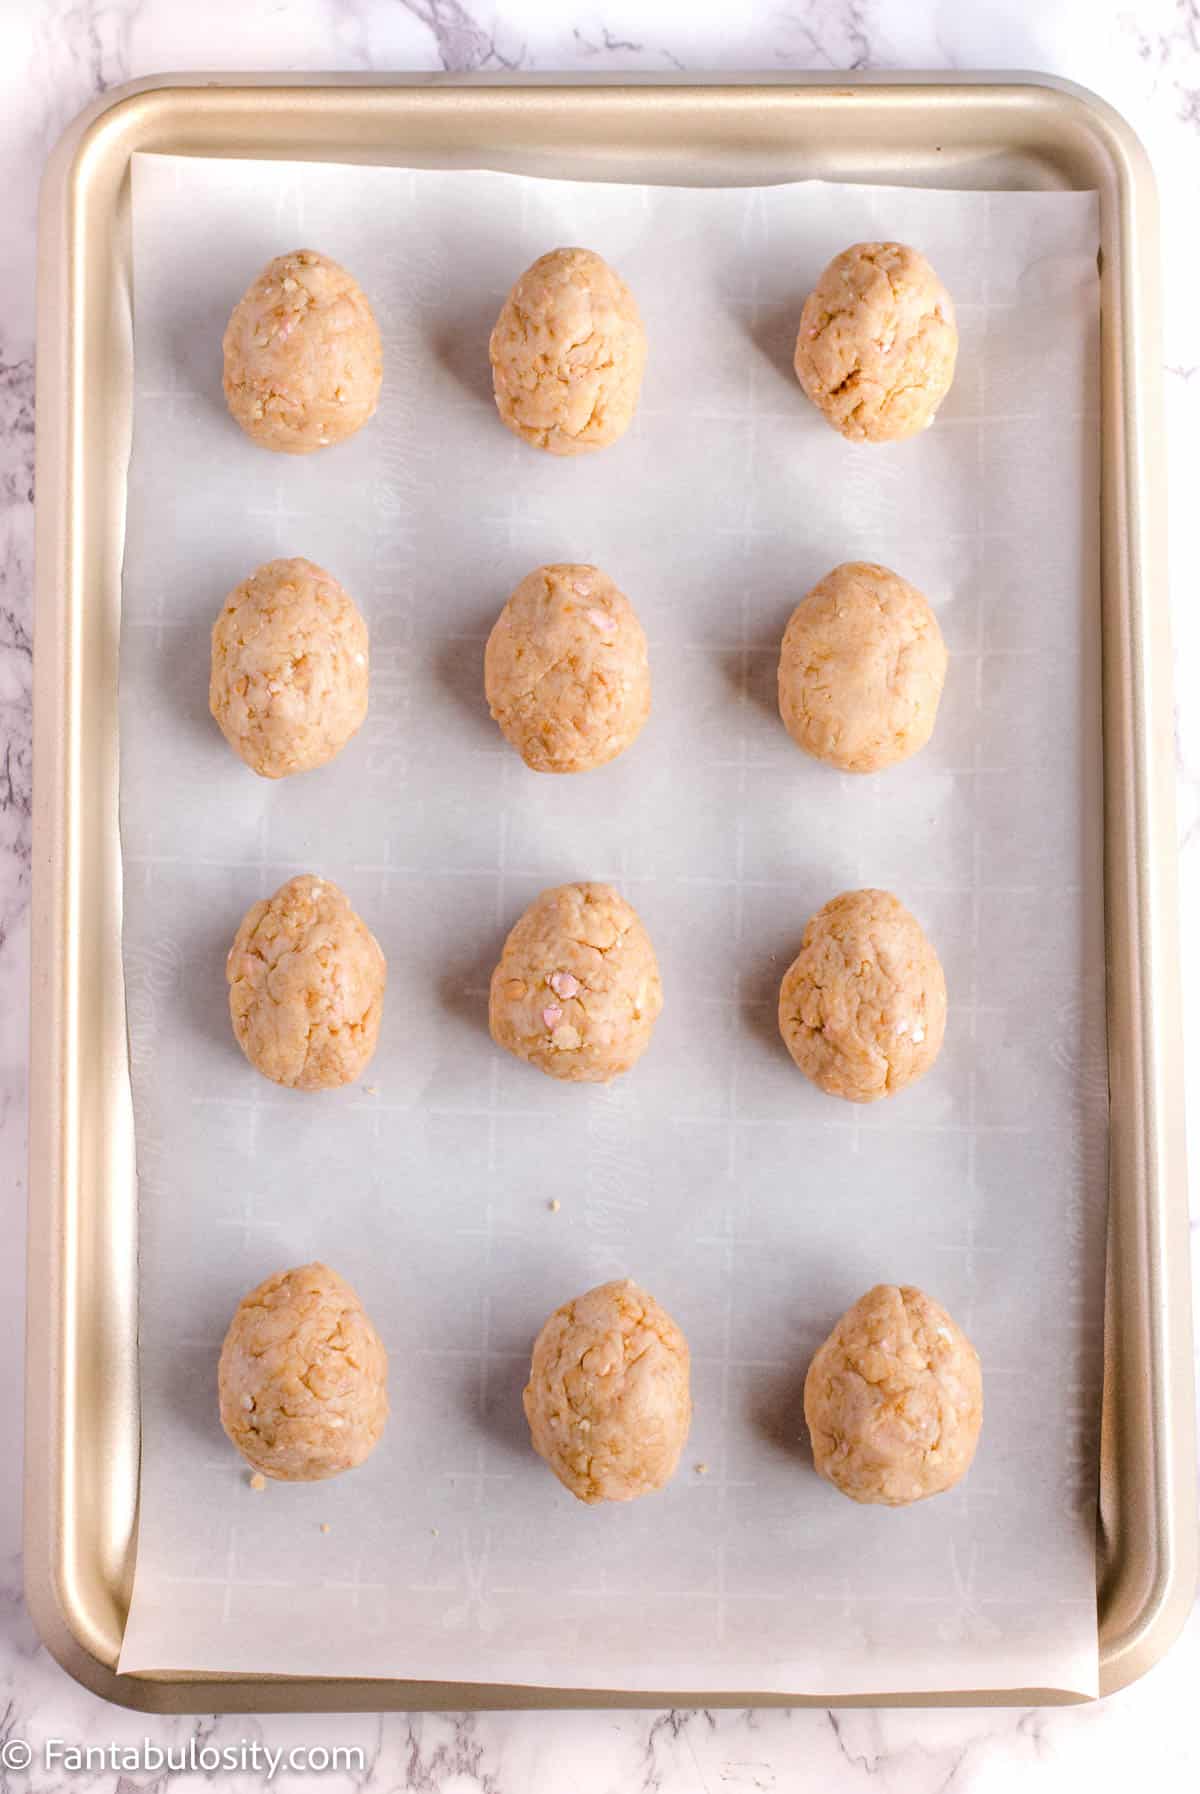
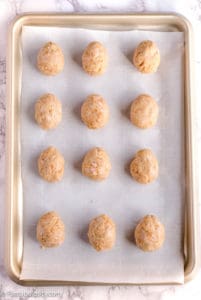
If it does not look like an egg yet, carefully mold with hands in to a shape of an egg. (More narrow at the top and the bottom.) Repeat until all the truffle dough is in the shape of eggs.
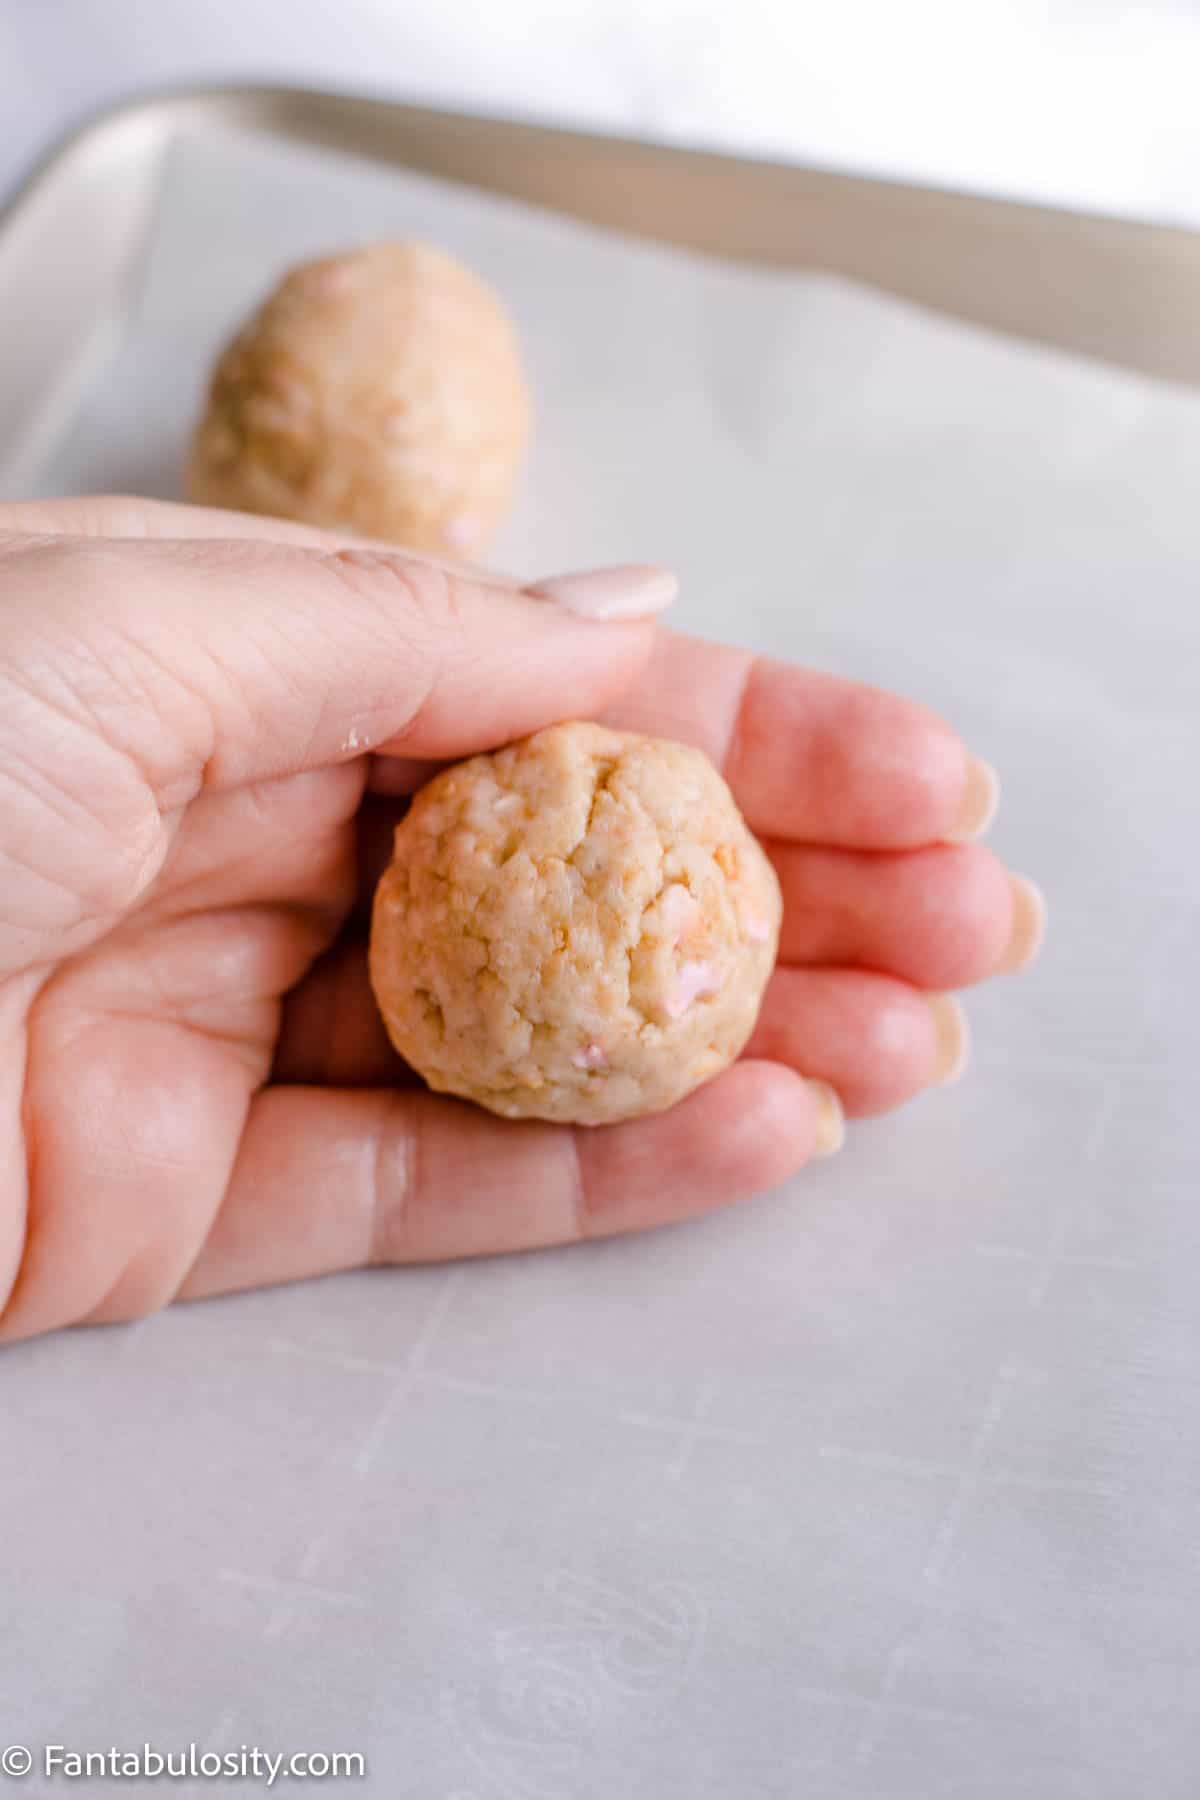
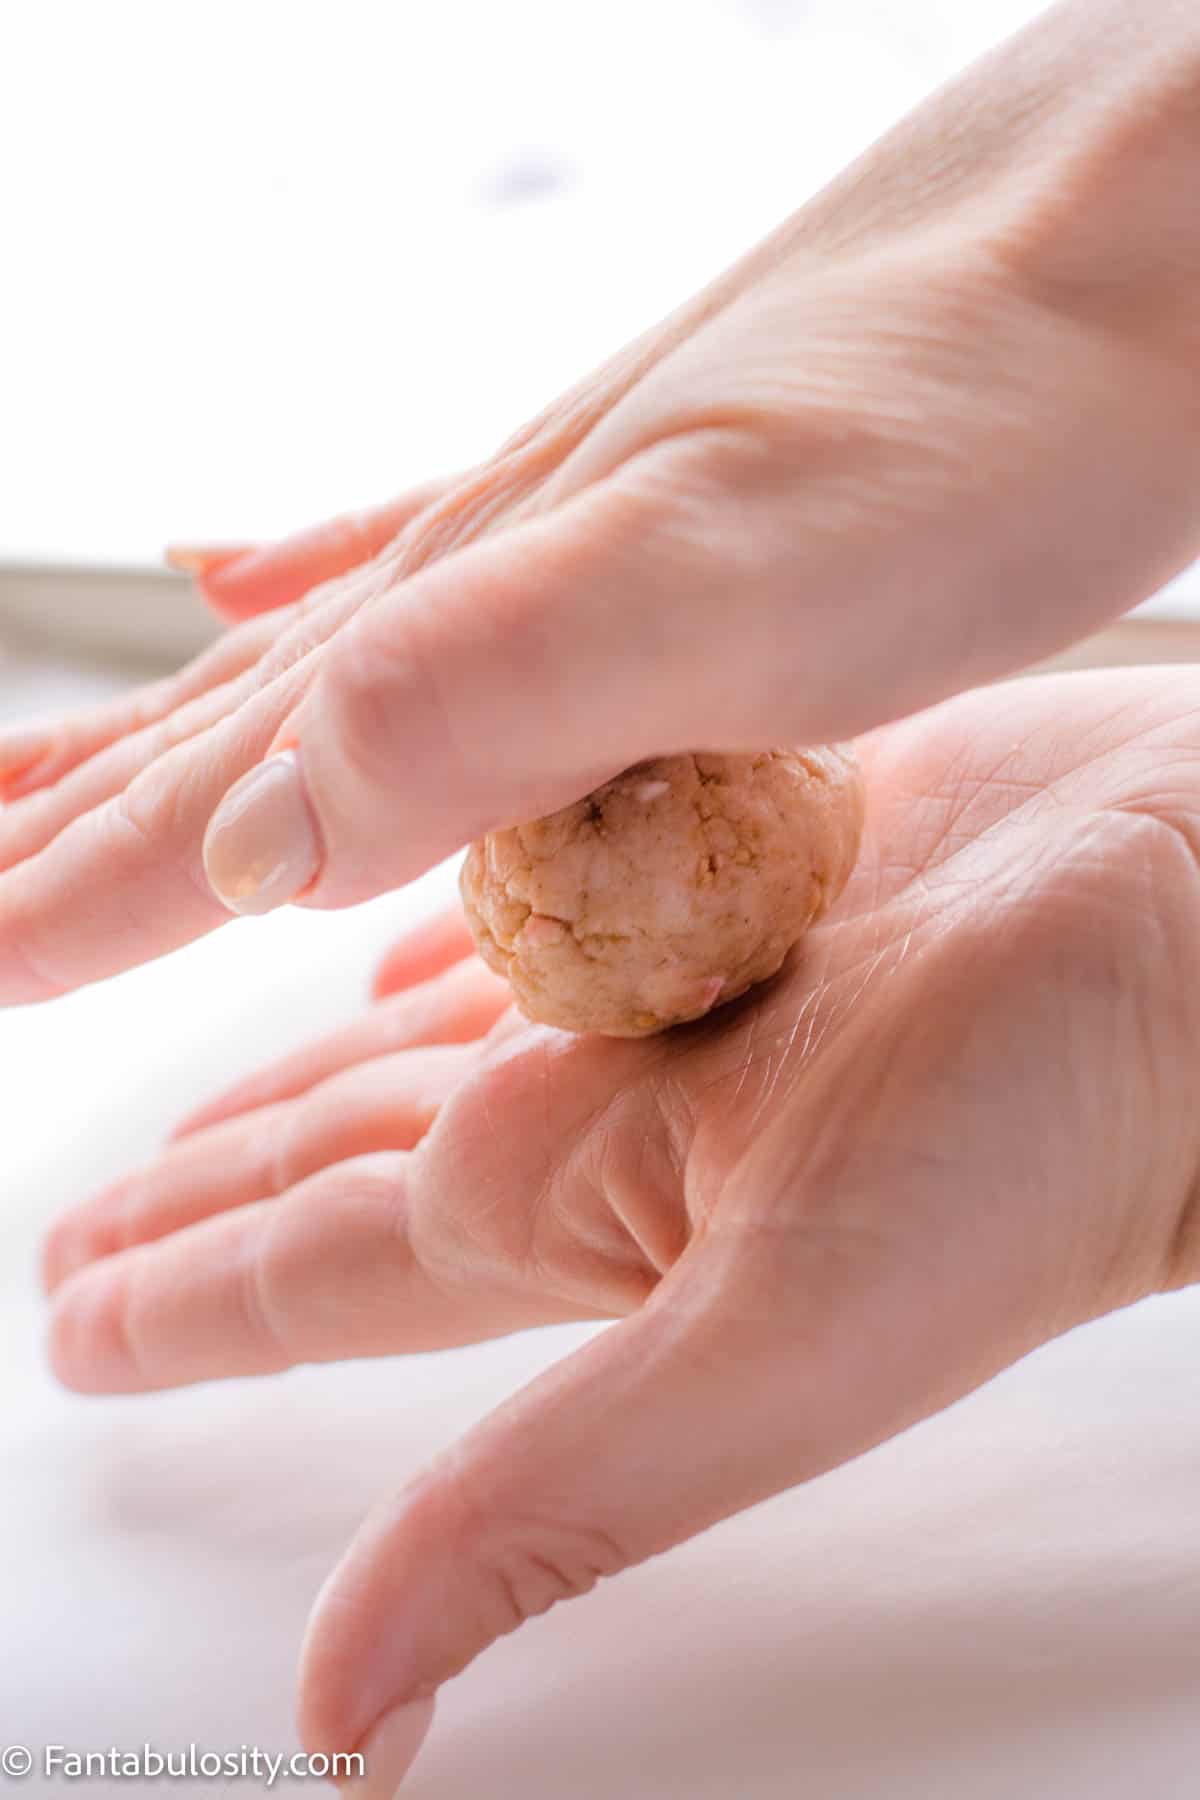
- Once the “eggs” are formed, place them all on prepared baking sheet and refrigerate for an hour.
How to Decorate Easter Truffles
At this point, it’s important to decide how you’ll want to decorate the Easter truffles.
Either covered with white chocolate and then drizzled with colored chocolate, or covered in white chocolate and then coated in sanding sugar. Or, both!
When you’ve decided how you want to decorate them, make sure to have all decorating supplies handy, and ready to go. See more below.
Melt White Chocolate
When it comes to which type of chocolate to use for these, I have a favorite but there are other options too!
Which type of chocolate is best for truffles?
If you ask me, the Ghirardelli white melting wafers are hard to beat! They melt easily but more importantly… they taste waaaaay better than other chocolate melts.
However, you can also use white chocolate baking chips like we used in our pink strawberries, (which we prefer Ghirardelli in those too!) or you can use other candy melts, wafers, almond bark, or chips if that’s what you prefer!
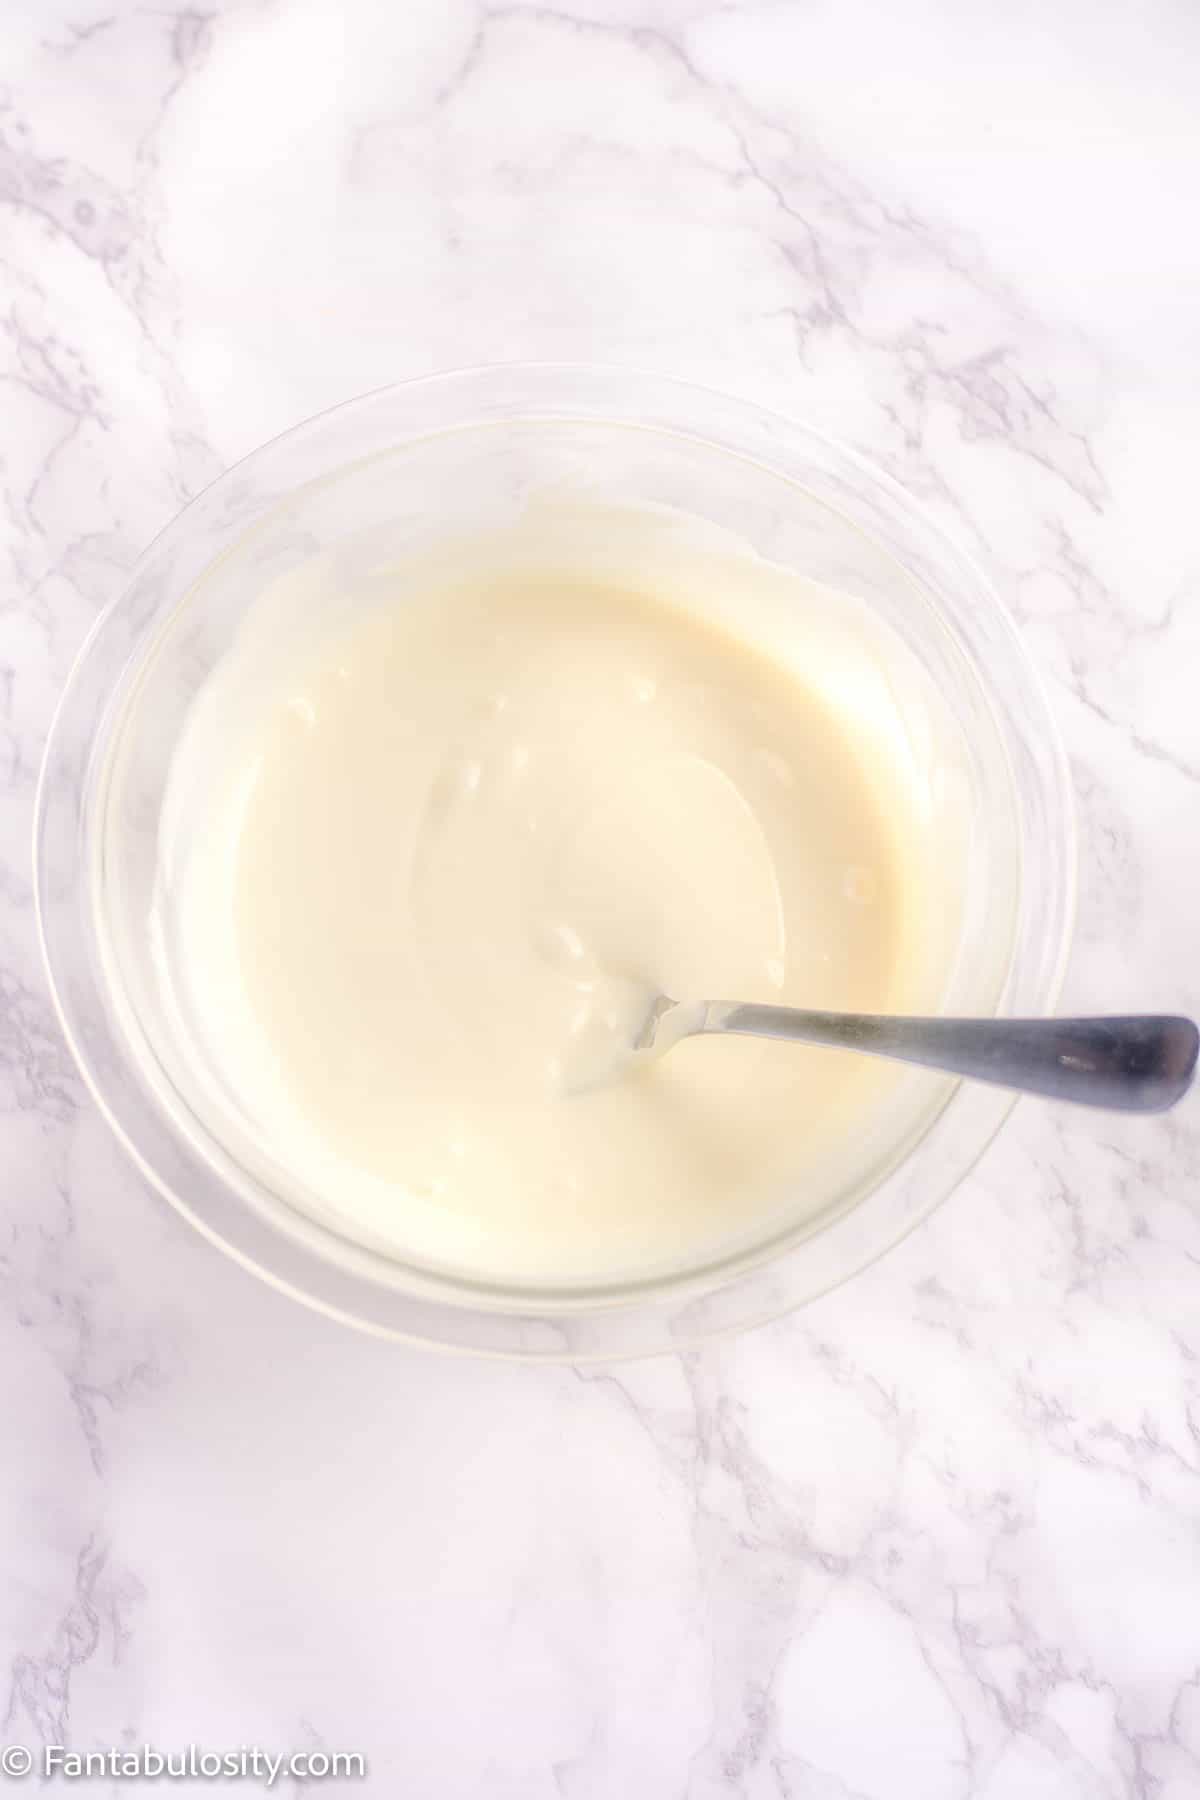
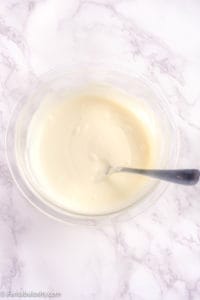
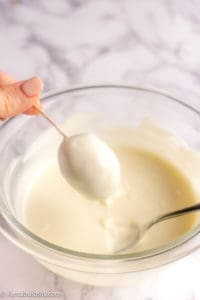
- Make sure to follow (if any) package directions for melting chocolate. However, melting chocolate in microwave on half power for about 2 minutes (or as long as needed until melted), stopping the microwave to stir the chocolate every 30 seconds.
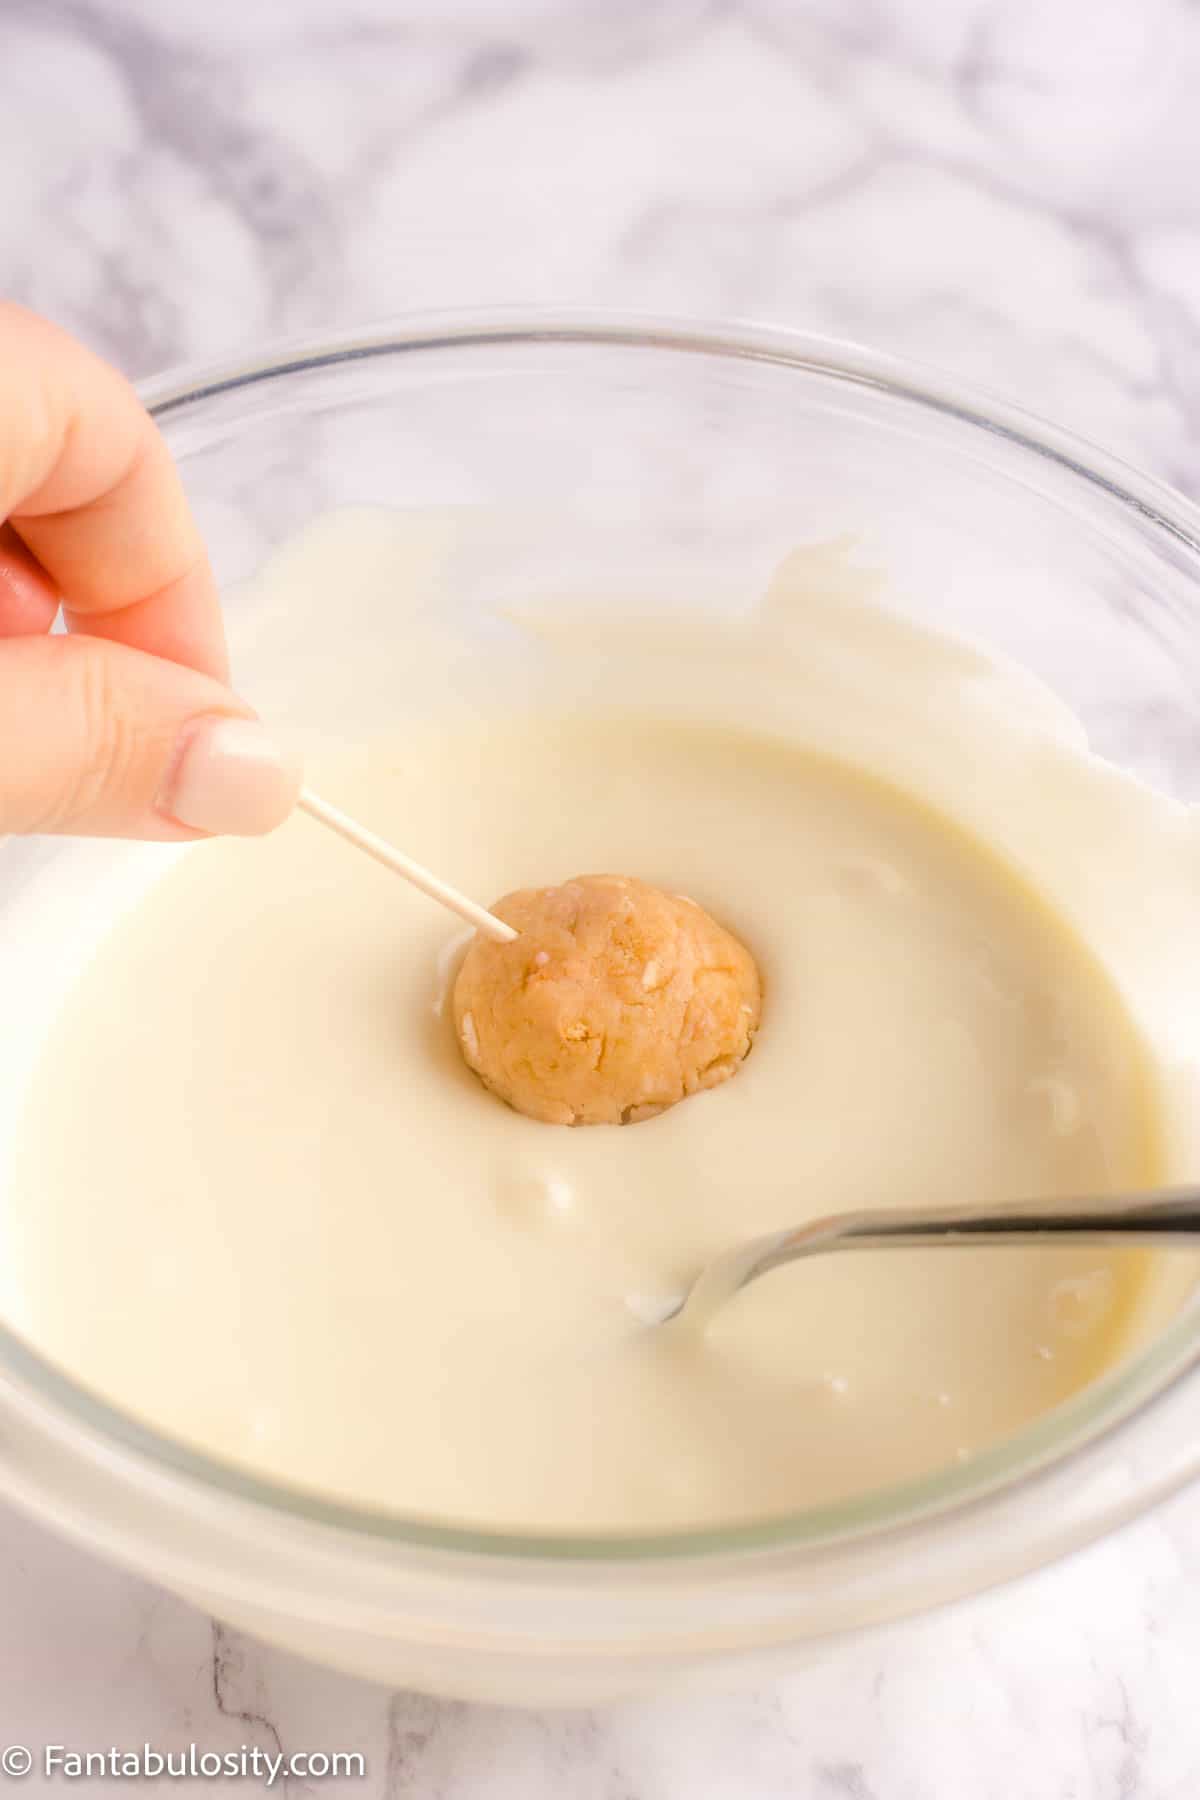
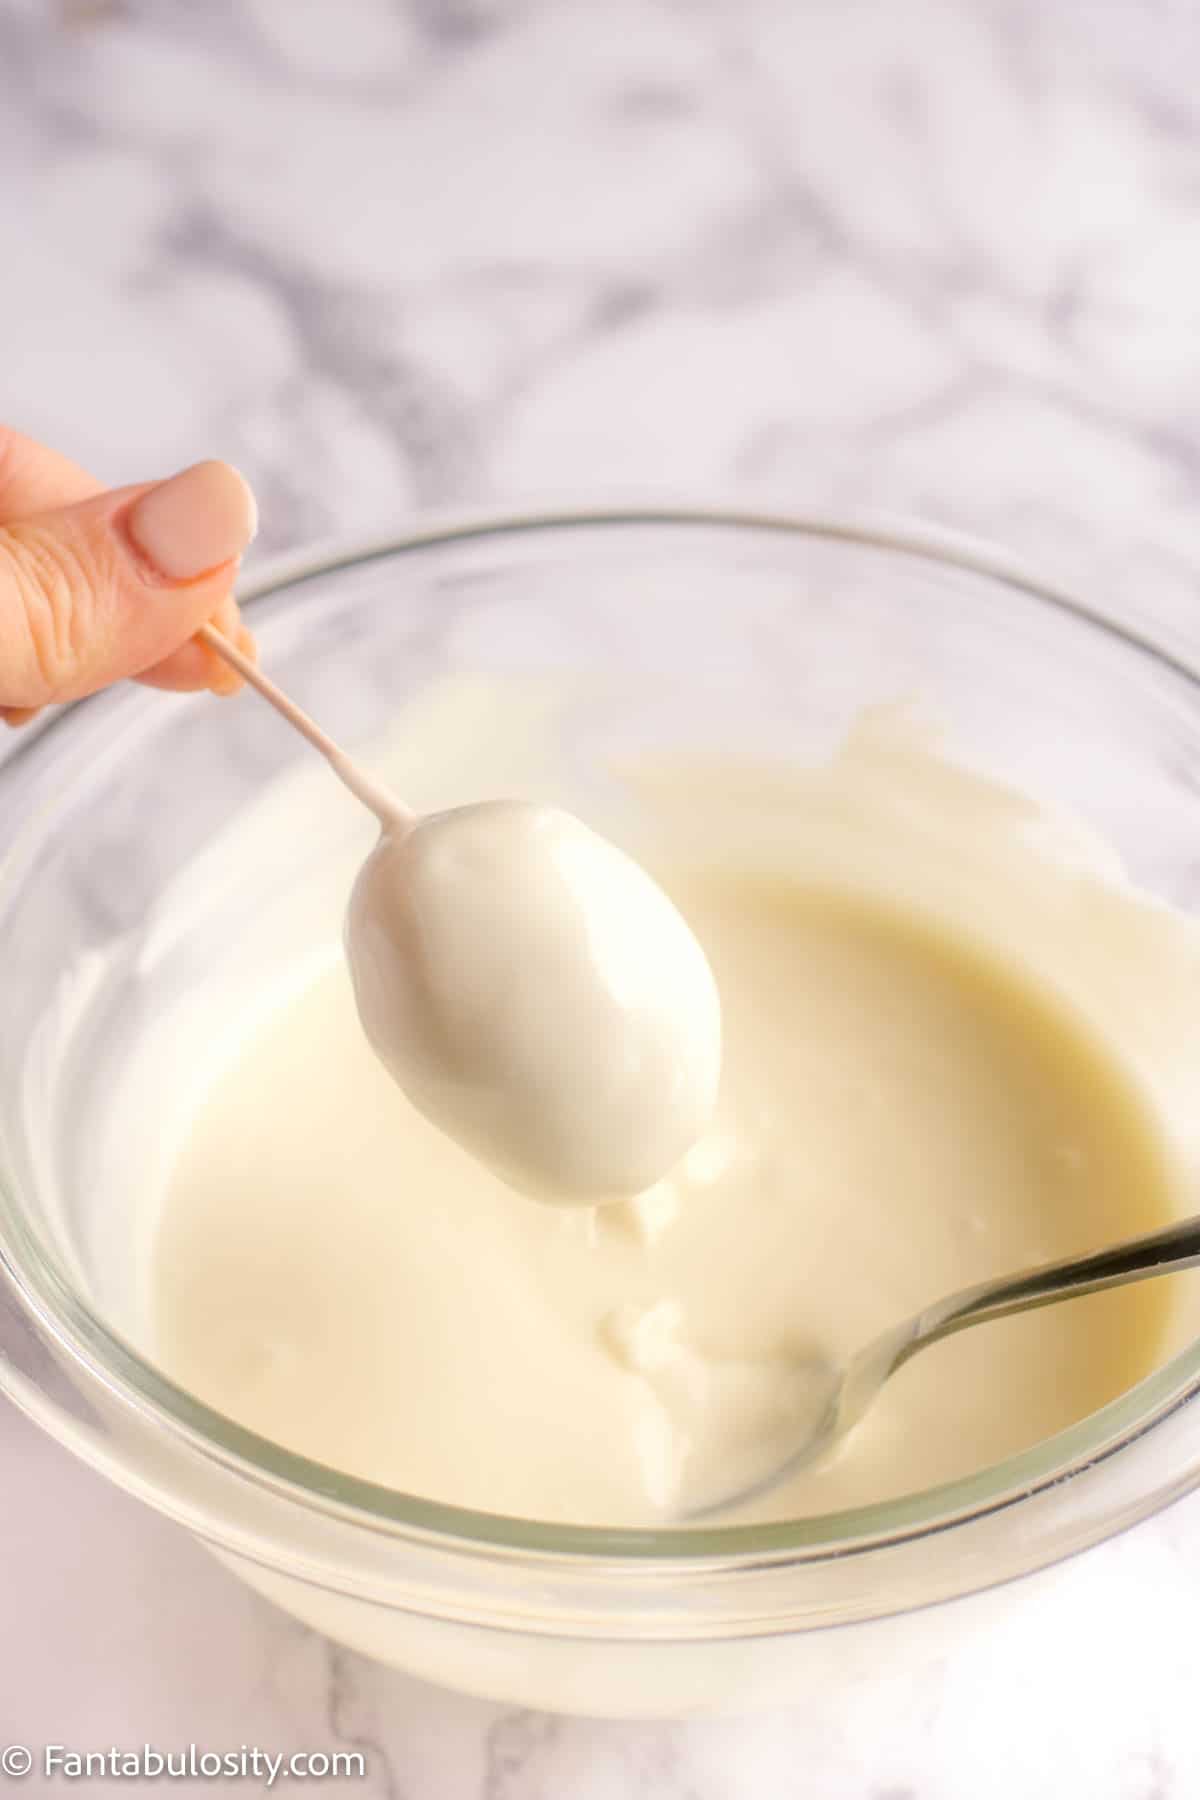
- Remove truffles from the refrigerator and place a toothpick in to one end (top or bottom of the egg) and dip eggs in to melted chocolate and lift back out, allowing excess chocolate to drip off.
(You’ll want to be patient with this, to allow most of the excess to drip off so it doesn’t leave a “pool” of chocolate under the egg when drying.)
Decorating with Sprinkles or Sanding Sugar
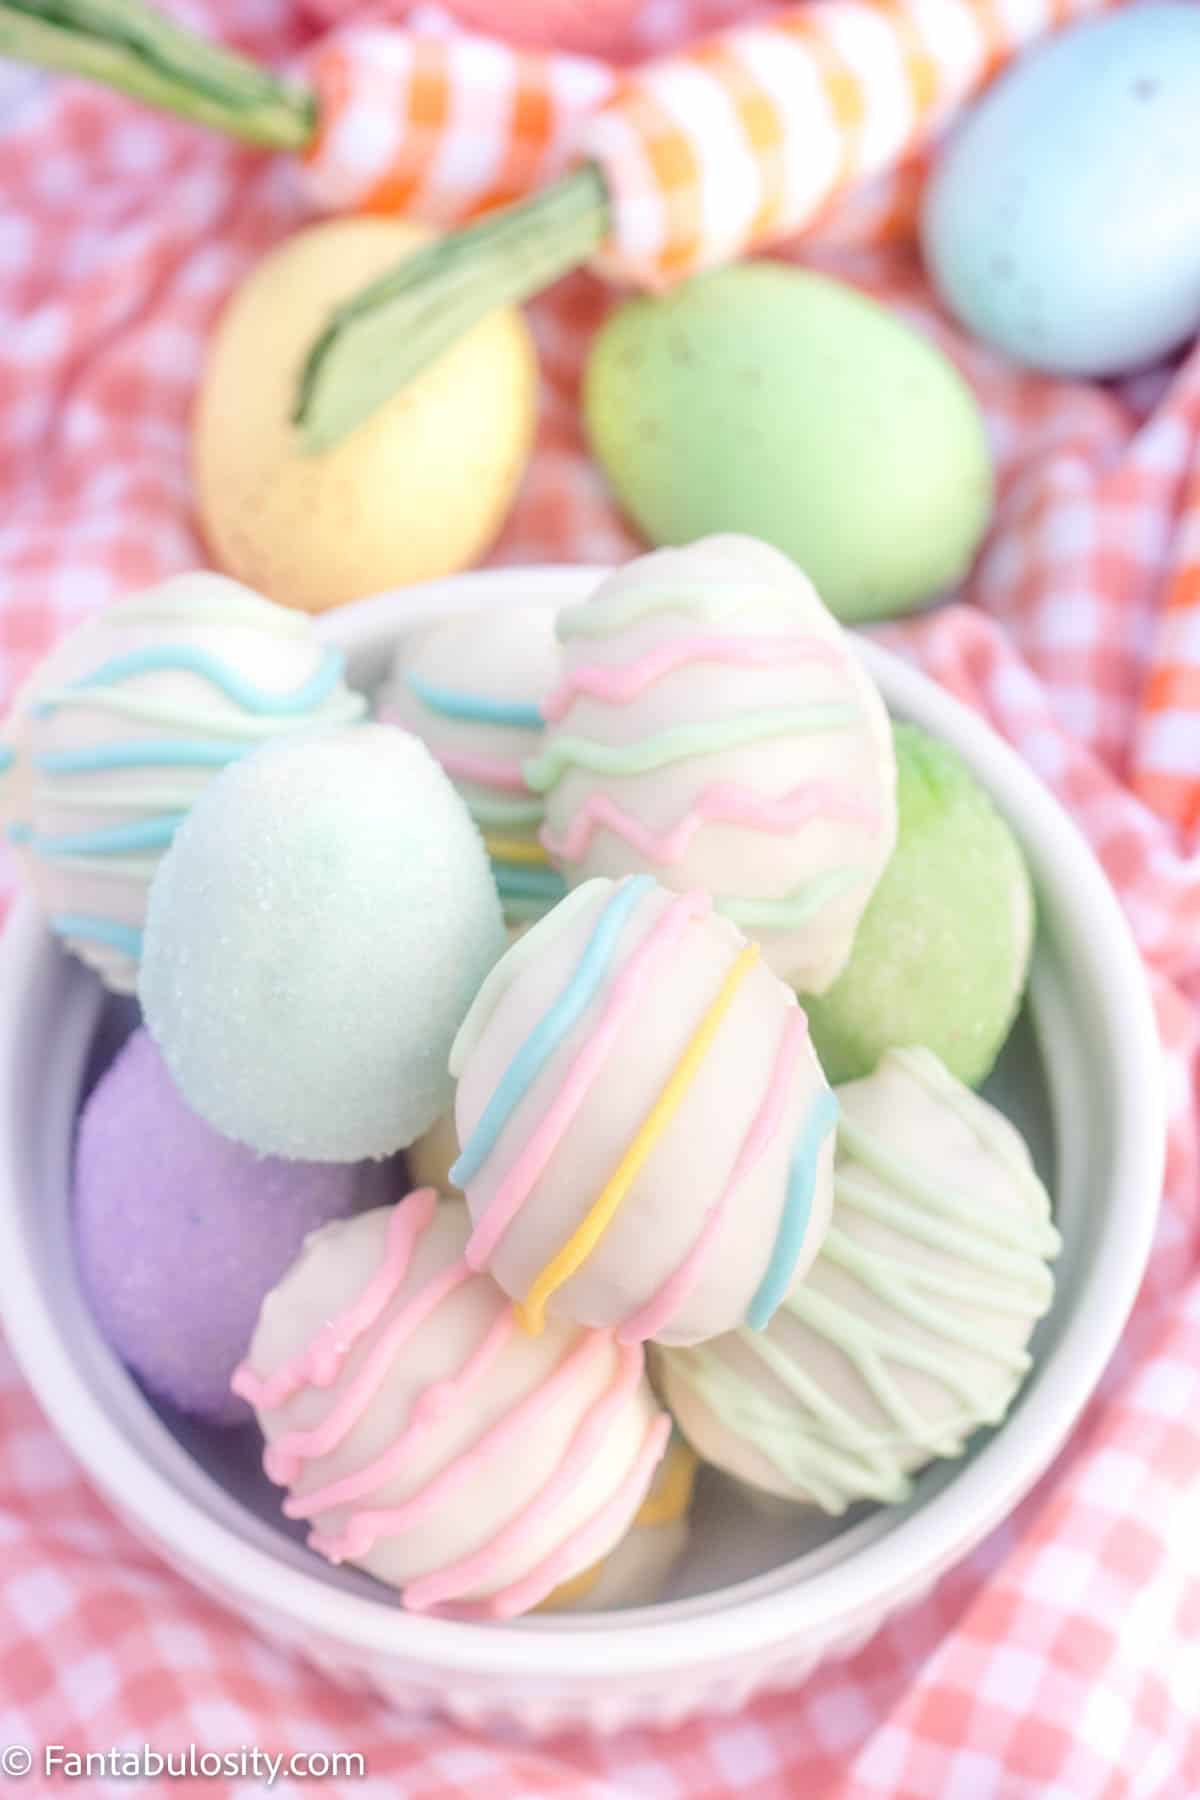
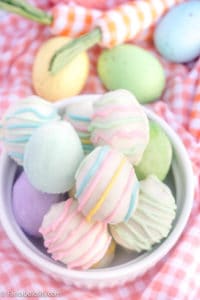
If you’ll be decorating the eggs with sanding sugar and/or sprinkles, (as in the light blue egg in the photo below) you’ll want to decorate the eggs BEFORE the chocolate hardens.
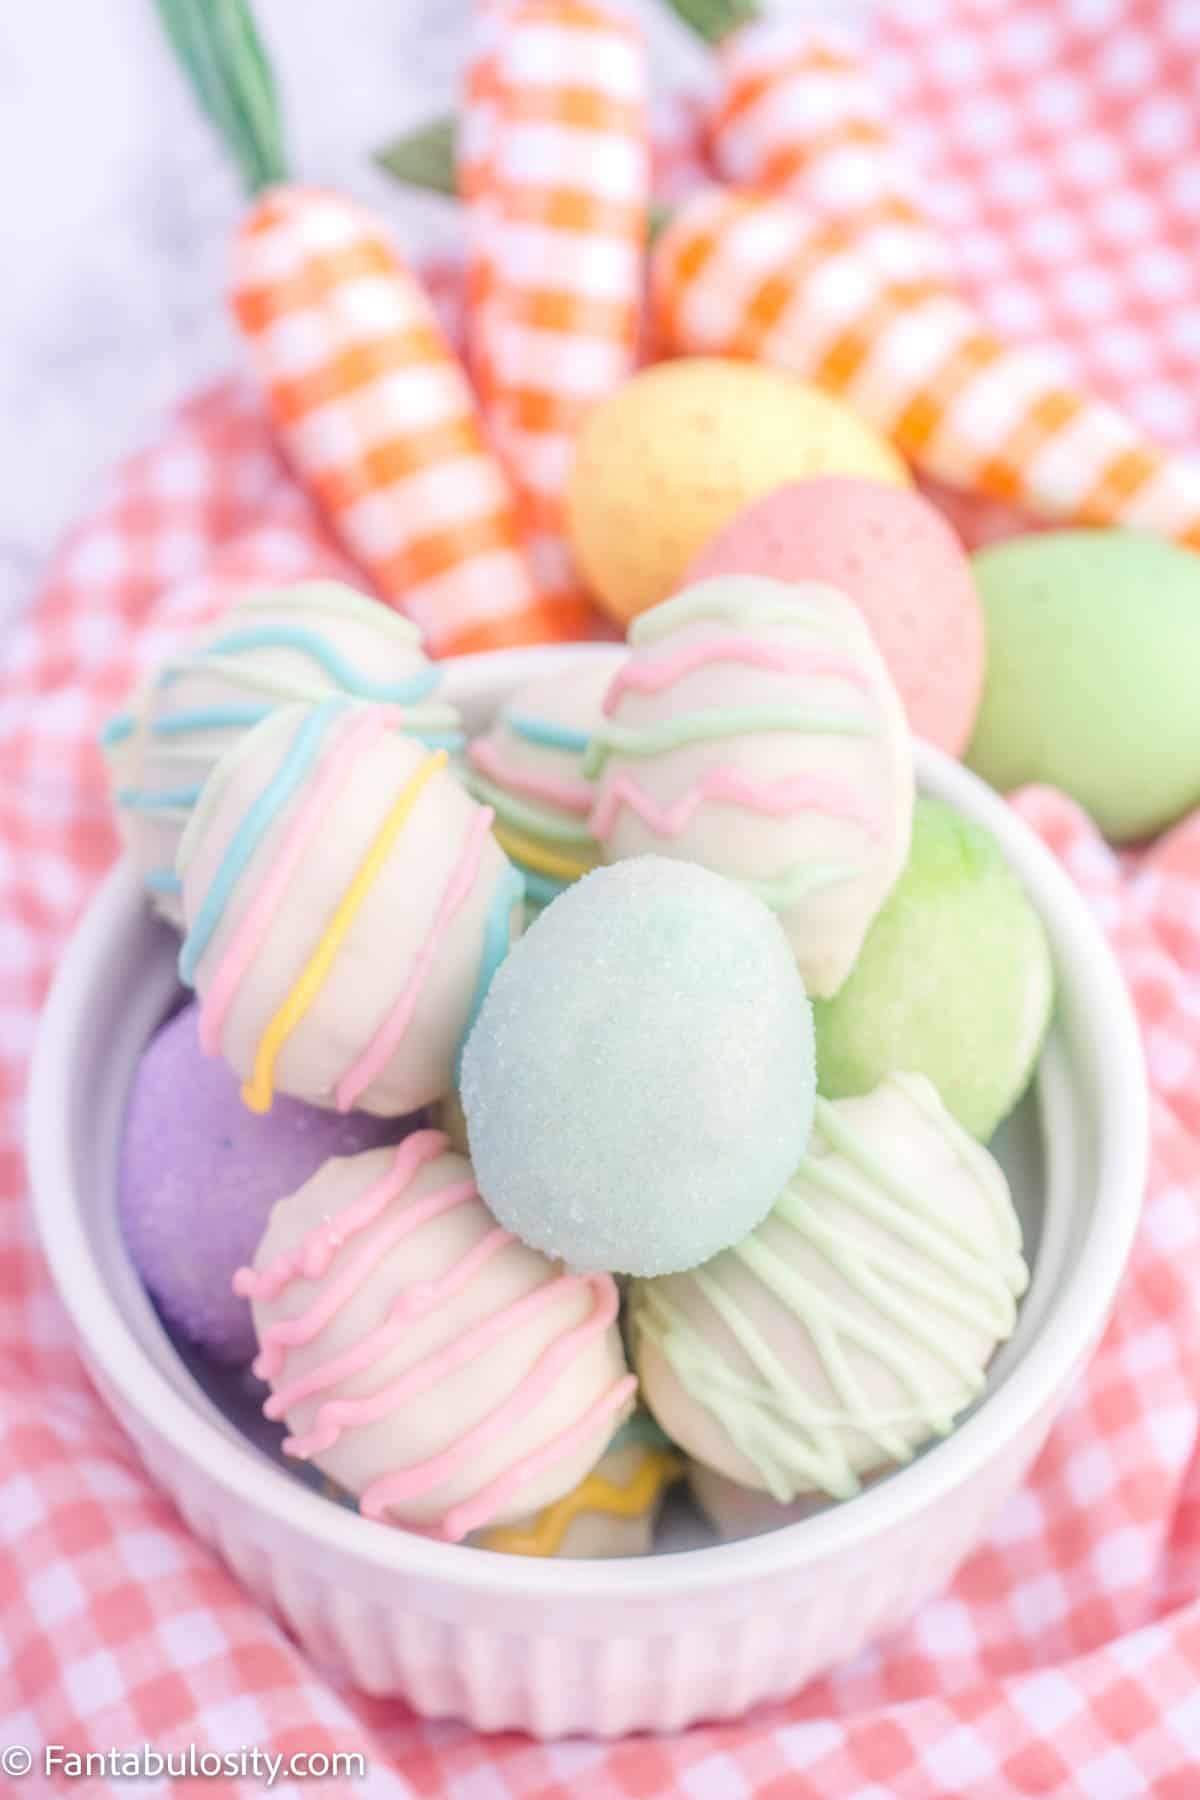
So once excess chocolate has dripped off, you can:
- place eggs on cookie sheet and pour sprinkles/sanding sugar on top (the bottoms won’t be covered this way)
- OR, to cover all of the egg with sprinkles/sanding sugar, hold the chocolate covered egg by the toothpick, over a coffee cup or bowl, and pour decorations over egg, while rotating it, trying to cover each area. Place egg on baking sheet to harden.
Decorating with Drizzled Melted Chocolate
If you’re wanting to leave the eggs white and decorate the eggs with different colors, you can go ahead and cover all of the eggs in white chocolate and place them on the cookie sheet to harden. (You’ll want the chocolate to harden before drizzling on the colored chocolate.)
Once all have been coated in chocolate, place cookie sheet in fridge for 10-15 minutes.
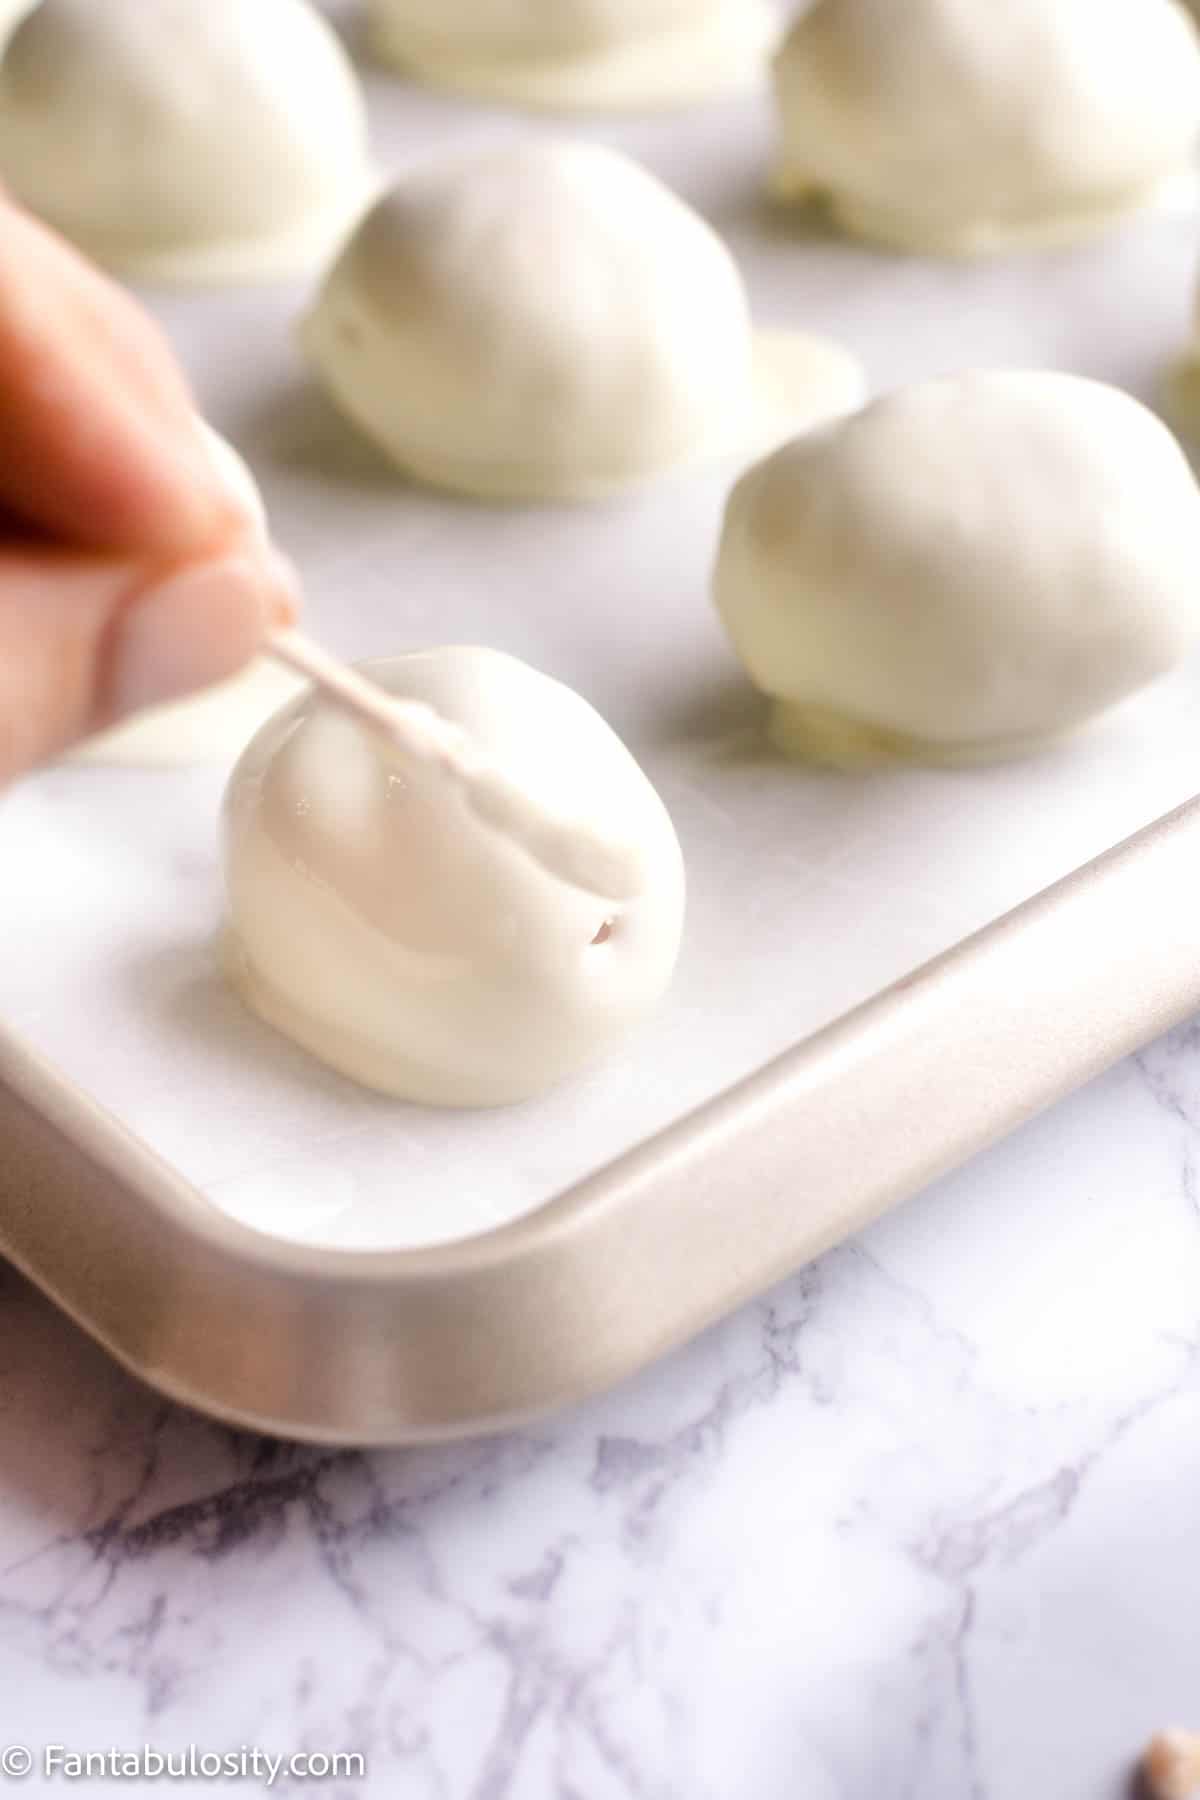
Expert Tip
If you’ll be leaving the eggs white, gently, twist and remove the toothpick from the egg after dipping and smooth a little white chocolate over the toothpick hole, with the same toothpick, before the chocolate hardens. This way, it will cover the hole.
How to Make Colored White Chocolate
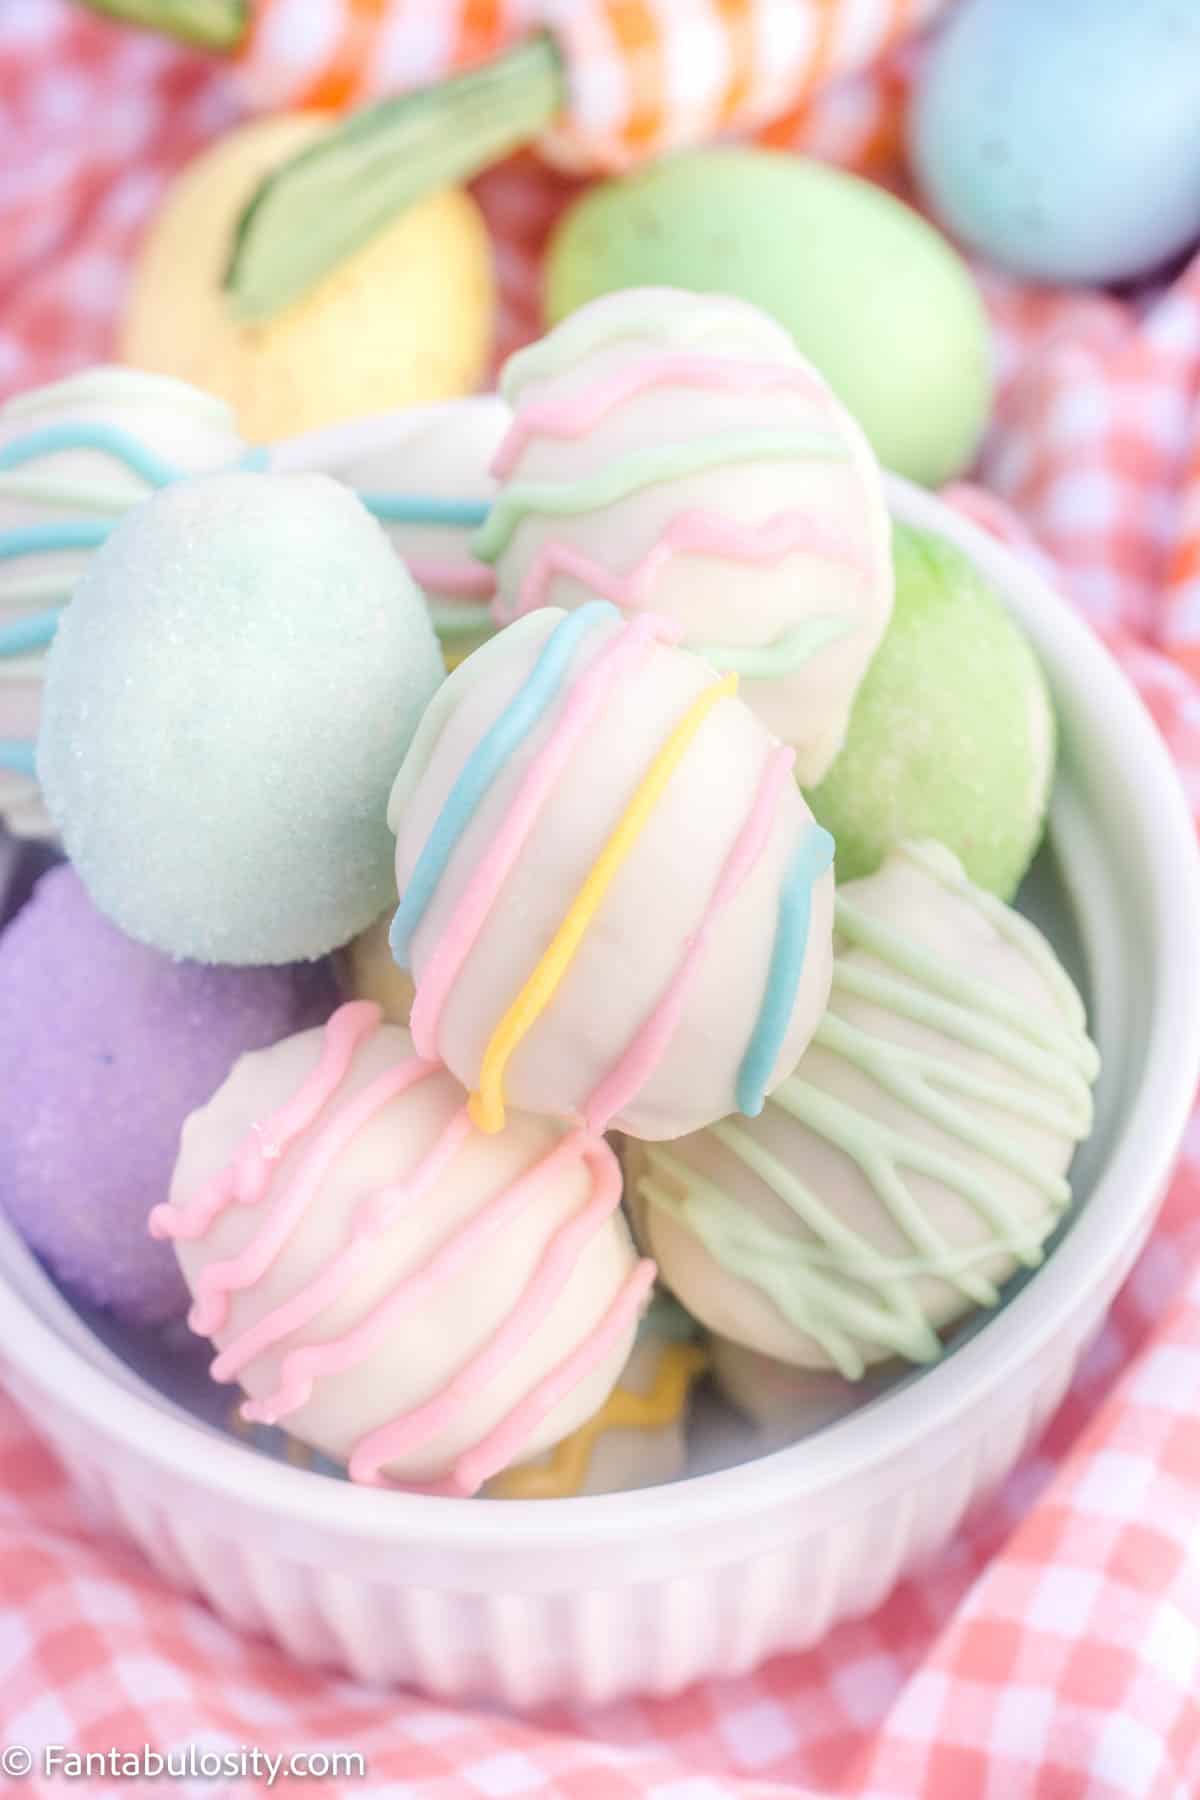
When I made these eggs, I decided on the different gel colors I wanted to use. (Pink, light blue, light green, and yellow.)
So I made sure to get 4 different little bowls, that I could melt the chocolate melts in, and then drop one drop of gel coloring in to each bowl, to make the individual colors.
Doing one color at a time, melt the chocolate, add in the gel coloring, stir and it’s ready to drizzle on the eggs you want to decorate with that color.
After chocolate has hardened on eggs, re-melt any remaining chocolate if needed, and divide it in to small portions to add gel food coloring to to decorate the eggs.
How to Drizzle on White Chocolate
I used piping bags with a #3 piping tip, (bigger or smaller will work too). However, you can also drizzle it from a spoon, or even pour chocolate in to a small zip-top bag, and cut out a small hole in the corner of the bag to act as a piping bag.
NOTE: I only had one #3 piping tip so I cleaned the tip really good after each color and re-used it to drizzle on the other colors.
Substitutions
Truffle Cookies: If you’re not a fan of frosted animal cookies, you can substitute those for regular animal crackers, Golden Oreos for Oreo egg truffles, or even something fun like crushed pop-tarts!
Variations
You can make these for any time of the year! Simply change out the colors for the holiday (think “green” and “red” for Christmas, “black” and “orange” for Halloween, etc.) and simply leave them in the shape of a ball, instead of the extra step of shaping like an egg.
Supplies + Quick Links
Want to purchase most of the items I used? Here’s a quick-link section where you can find almost everything that I used:
- gel colors
- sanding sugar
- Ghirardelli white chocolate wafers
- iced animal cookies
- similar egg cartons (packaging idea for Easter gifts)
Storage
If storing for later, or if you have leftovers, it’s important to refrigerate the egg truffles, due to the insides having cream cheese in them. Store in an airtight container for 3-5 days.
More Easter Ideas
How cute would these look next to Easter Bunny Bark, especially on an Easter Charcuterie Board, and next to these Bunny Butt cookies made with a cake mix?
You’ll love our other Easter inspiration, and even Easter decor ideas for the home! See some of our favorites, here:
📖 Recipe
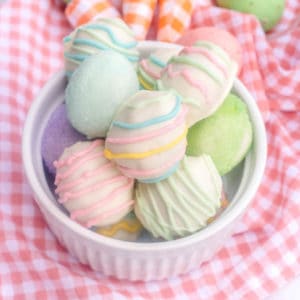
Easter Egg Truffles
Equipment
- toothpicks
- baking sheet or platter to transfer truffles to refrigerator
Ingredients
- 14 ounces iced animal cookies
- 8 ounces cream cheese softened
- 28 ounces white chocolate melting wafers we used 2 packages of 14 ounces Ghirardelli White Chocolate Melting Wafers
- gel food colors if desired
- sanding sugars if desired
- sprinkles if desired
Instructions
- First, gather ingredients and prepare a large baking sheet or something similar, like a platter, by covering it with parchment paper.

- Next, process animal cookies in food processor or crush cookies placing them in a ziplock bag, rolling over them with a rolling pin.

- In a mixing bowl, mix together the softened cream cheese and crushed cookies until evenly combined.

- Grab about a tablespoon of cookie mixture and mash it together with your hands (this is securing the cookie crumbs more in to the cream cheese so it will hold together better.)

- Next, roll it in to a ball by cupping hands together, and gently move hands in a circle rotation until it it forms a round ball.

- When in a ball shape, straighten out hands and roll the ball up and down between the two hands to give the “ball” more of an “egg” shape.

- Once the "eggs" are formed, place them all on prepared cookie sheet and refrigerate for an hour.

Melting Chocolate
- Make sure to follow (if any) package directions for melting chocolate. However, melting chocolate in microwave on half power for about 2 minutes (or as long as needed until melted), stopping the microwave to stir the chocolate every 30 seconds is a common method and how I melted this chocolate.

- Remove truffles from the refrigerator and place a toothpick in to one end (top or bottom of the egg) and dip in to melted chocolate and lift back out, allowing excess chocolate to drip off.(You'll want to be patient with this, to allow most of the excess to drip off so it doesn't leave a "pool" of chocolate under the egg when drying.)

Decorating Easter Egg Truffles
- It's imporant to decide how you want to decorate the eggs before covering them with chocolate. If using sanding sugar or sprinkles, you'll want to decorate before the chocolate hardens. If decorating with colored melted chocolate drizzle, you can wait to decorate after the chocolate has hardened. See full post for tips on how to decorate the eggs!

Notes
Nutrition
Nutritional information is based on third-party calculations and should be considered estimates. Actual nutritional content will vary with brands used, measuring methods, portion sizes and more.





Cara Stokes says
These are so fun and easy to make. Mine aren’t as pretty as yours but the kids loved them!
Jessica says
Awww, well even if they’re not decorated or in the shape of eggs, they’re still delicious!! That’s my favorite part. Haha!
Agnes says
These are delightful!! How I love holiday-themed food, it’s just the best. Thank you!!
Jessica says
Thank you Agnes! That’s so sweet of you!
Allyson Zea says
These are so fabulous! Absolutely love them!
Jessica says
I’m so glad you liked them too Allyson! Thank you for sharing!