
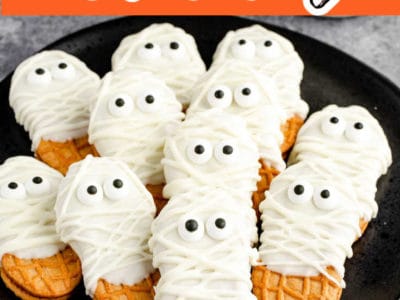
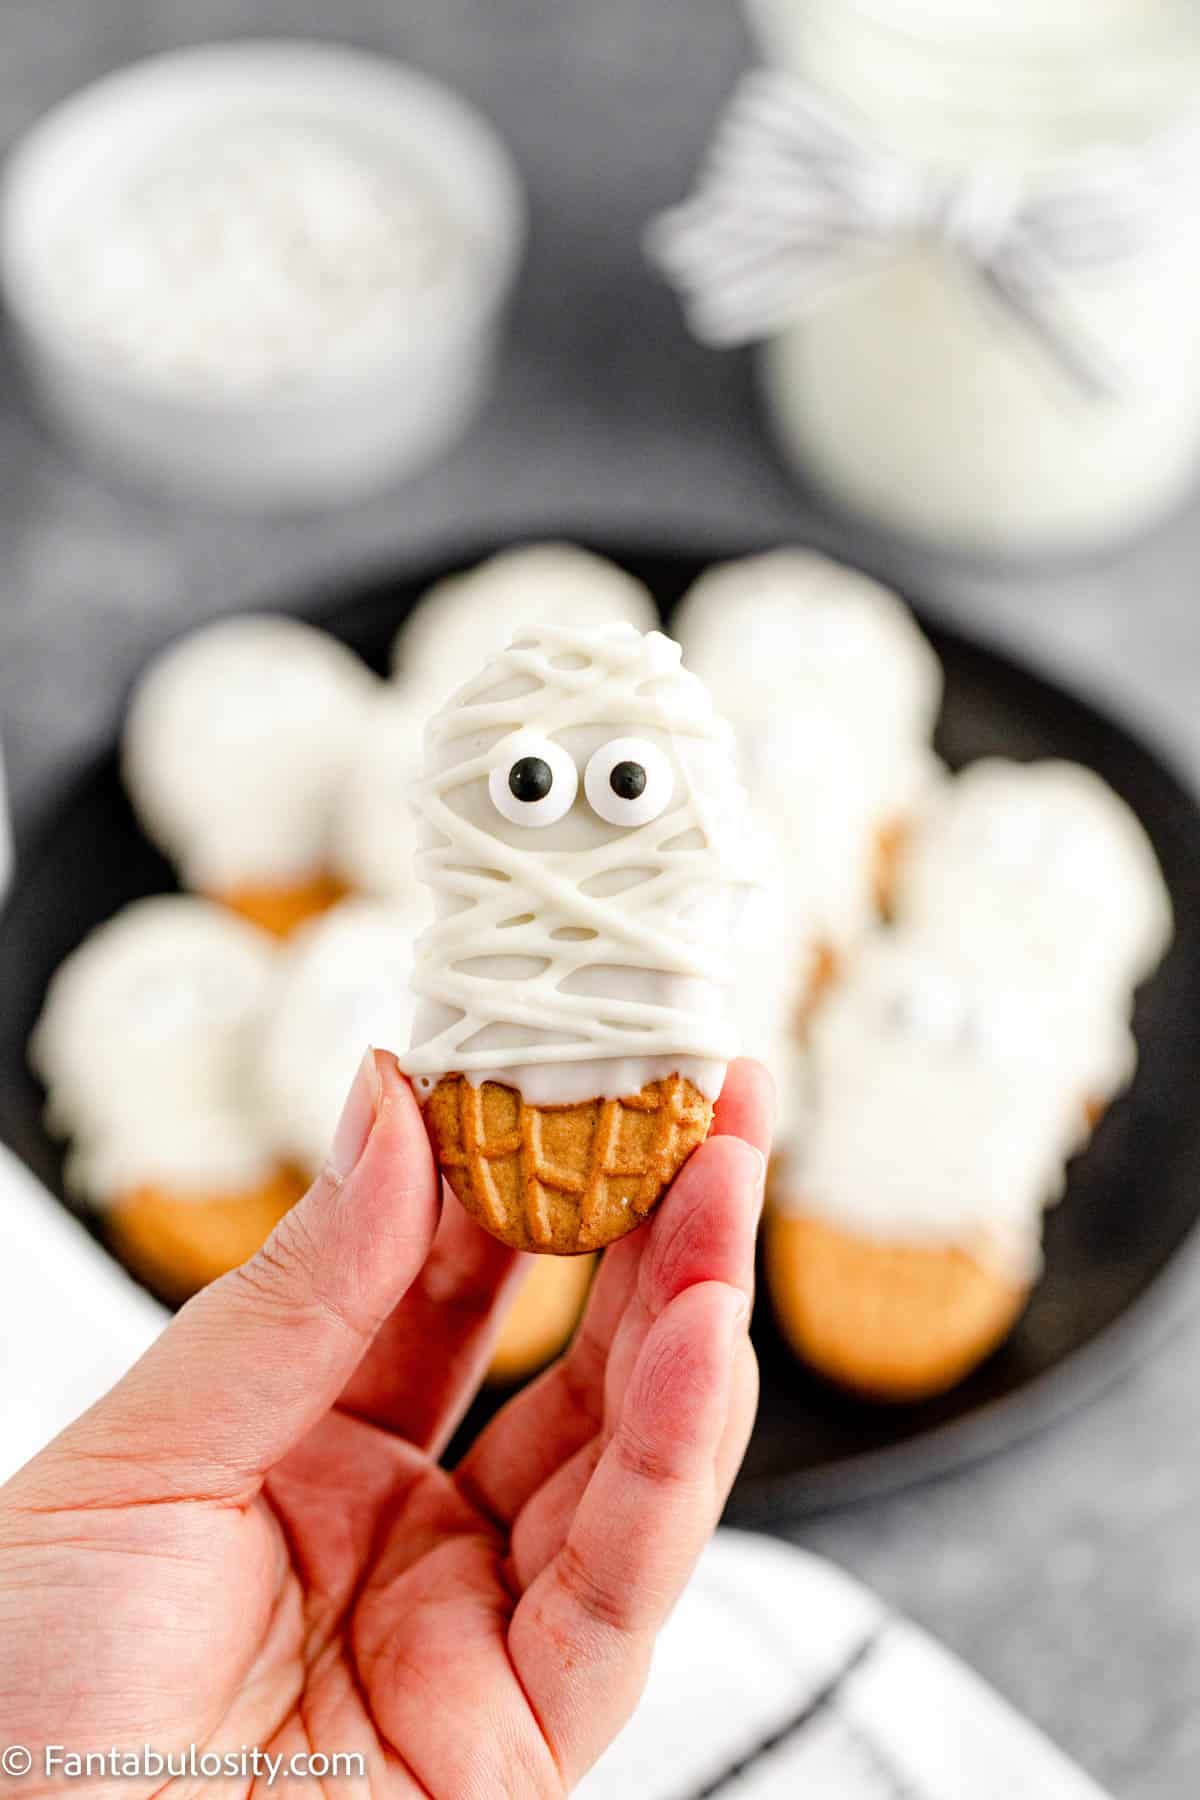
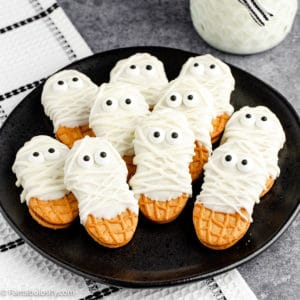
Nutter Butter Mummies: Crunchy peanut butter cookies dipped in white chocolate get an adorable Halloween makeover with candy eyes and white chocolate bandages! These no bake mummy cookies will be a monstrous hit at all of your Halloween parties!

Why You’ll Love These Halloween Cookies
There are only three ingredients that you can grab on your next trip to the grocery store.
Since this is a no bake recipe, your family will have a batch of Halloween treats in no time!
We love recipes that the kids can help with. These adorable Nutter Butter mummy cookies have minimal ingredients and simple steps, a lot like these Oreo mummies. Kids will love to get in the kitchen. My mummy rice krispy treats, and Halloween snack mix are a few more Halloween food ideas that your family will love to make!
Jump to:
Ingredients for Mummy Nutter Butters
With just three ingredients that can be found at your local grocery store, you can have little Nutter Butter mummies ready by snack time!
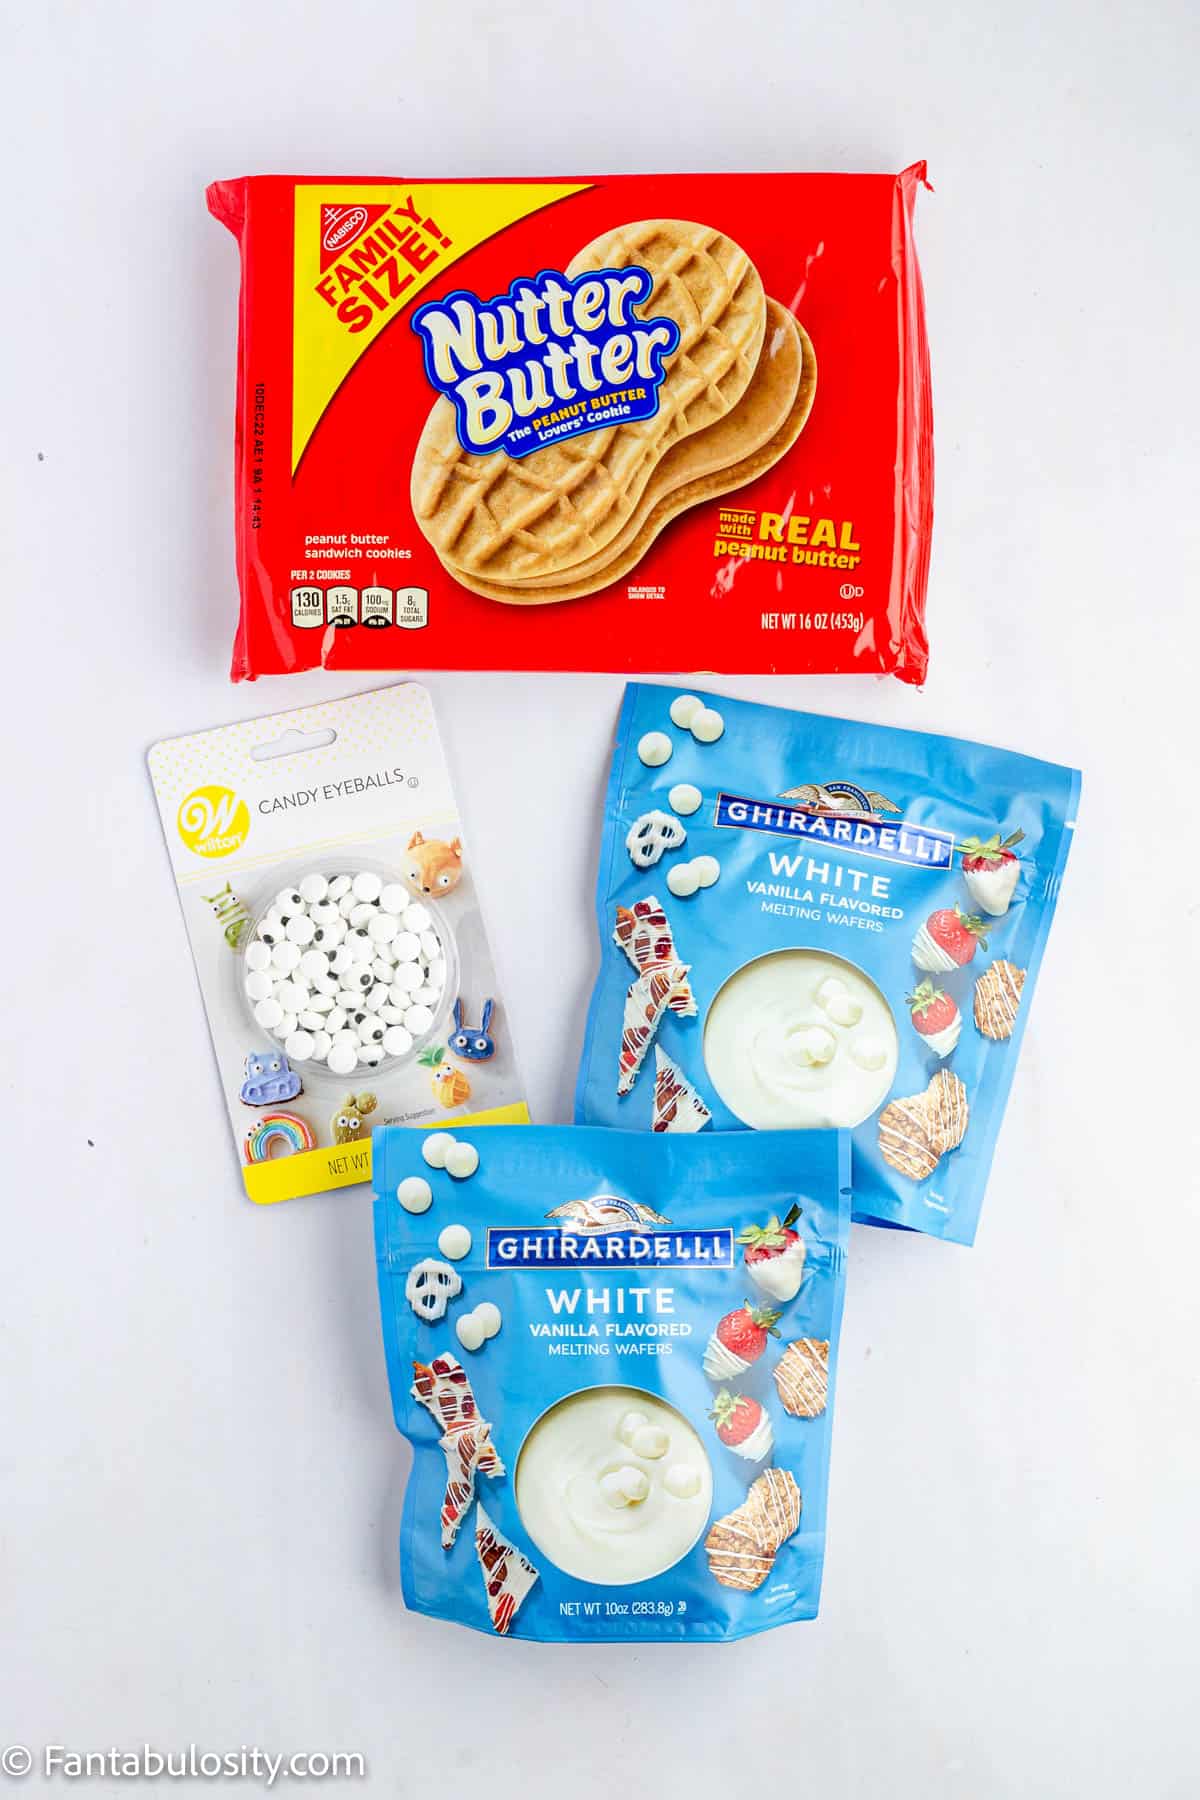
- One family-size package of Nutter Butter cookies
- One package of candy eyeballs
- Two 10 oz. bags of white candy melts
See the printable recipe card below for quantities and step-by-step instructions.
Instructions
- Line several baking trays with parchment paper, wax paper or a silicone mat and set aside.
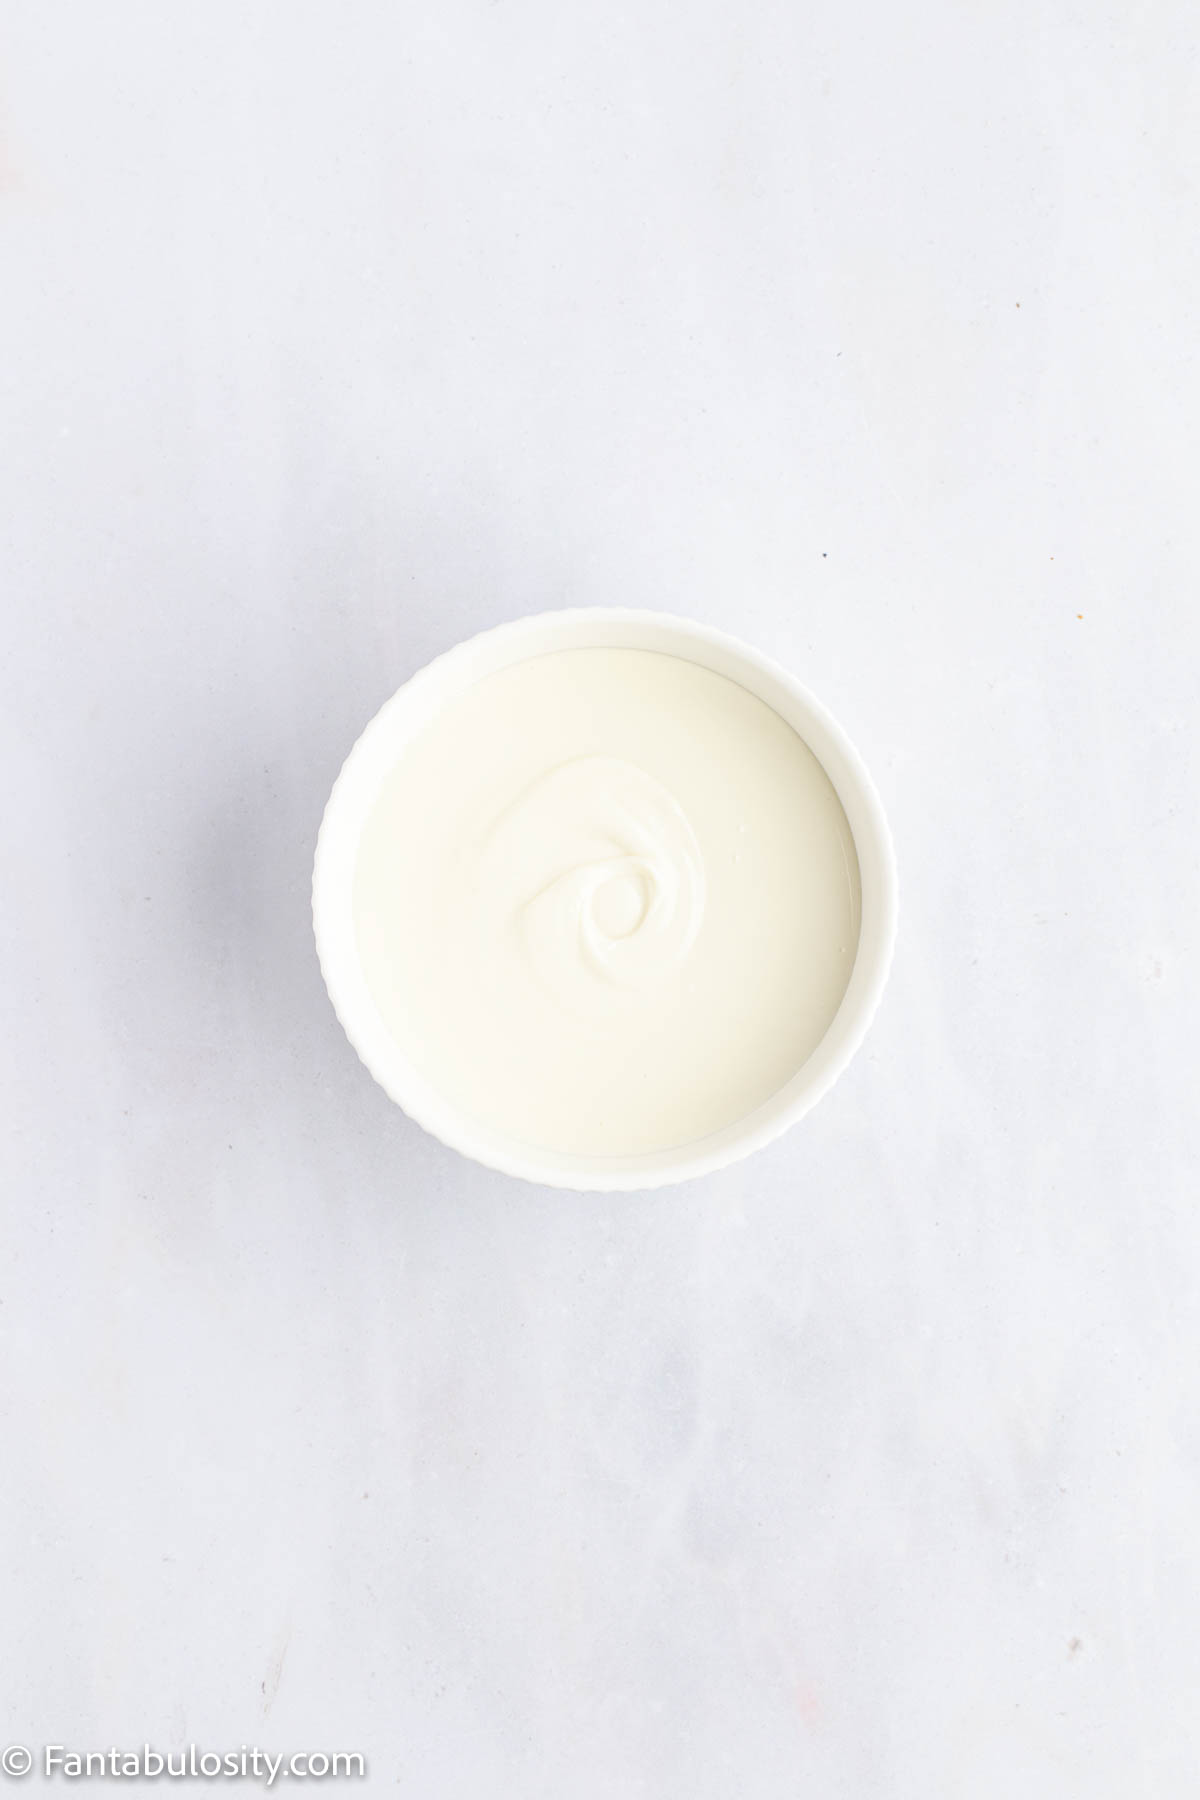
- Place the white chocolate melts in a microwave-safe bowl and heat according to package directions. Continue to microwave until the melted white chocolate is smooth and creamy.
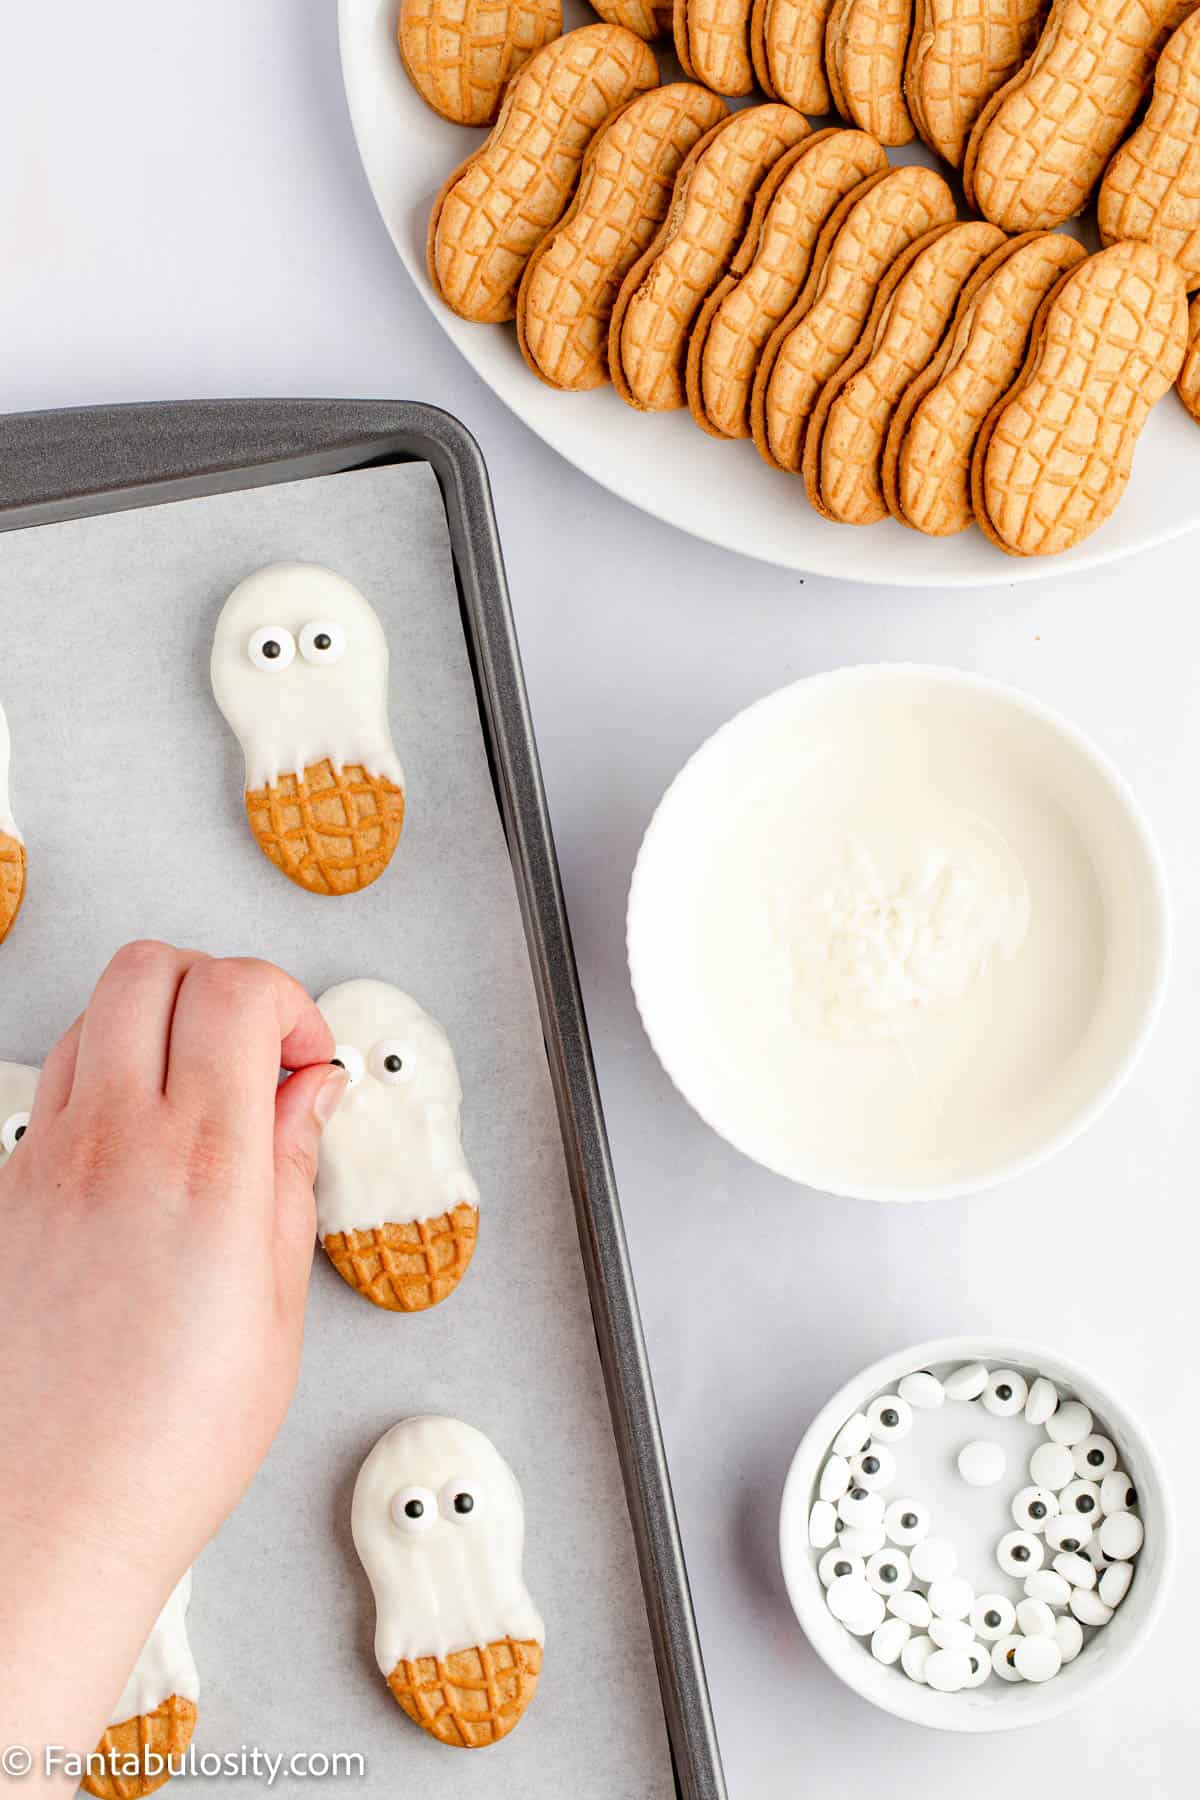
- Dip the Nutter Butters one at a time into the melted chocolate, dipping about ¾ of each cookie. Remove the excess chocolate from the back of the cookies and place the dipped cookies on the baking sheet. Leave a few inches of space between each cookie.
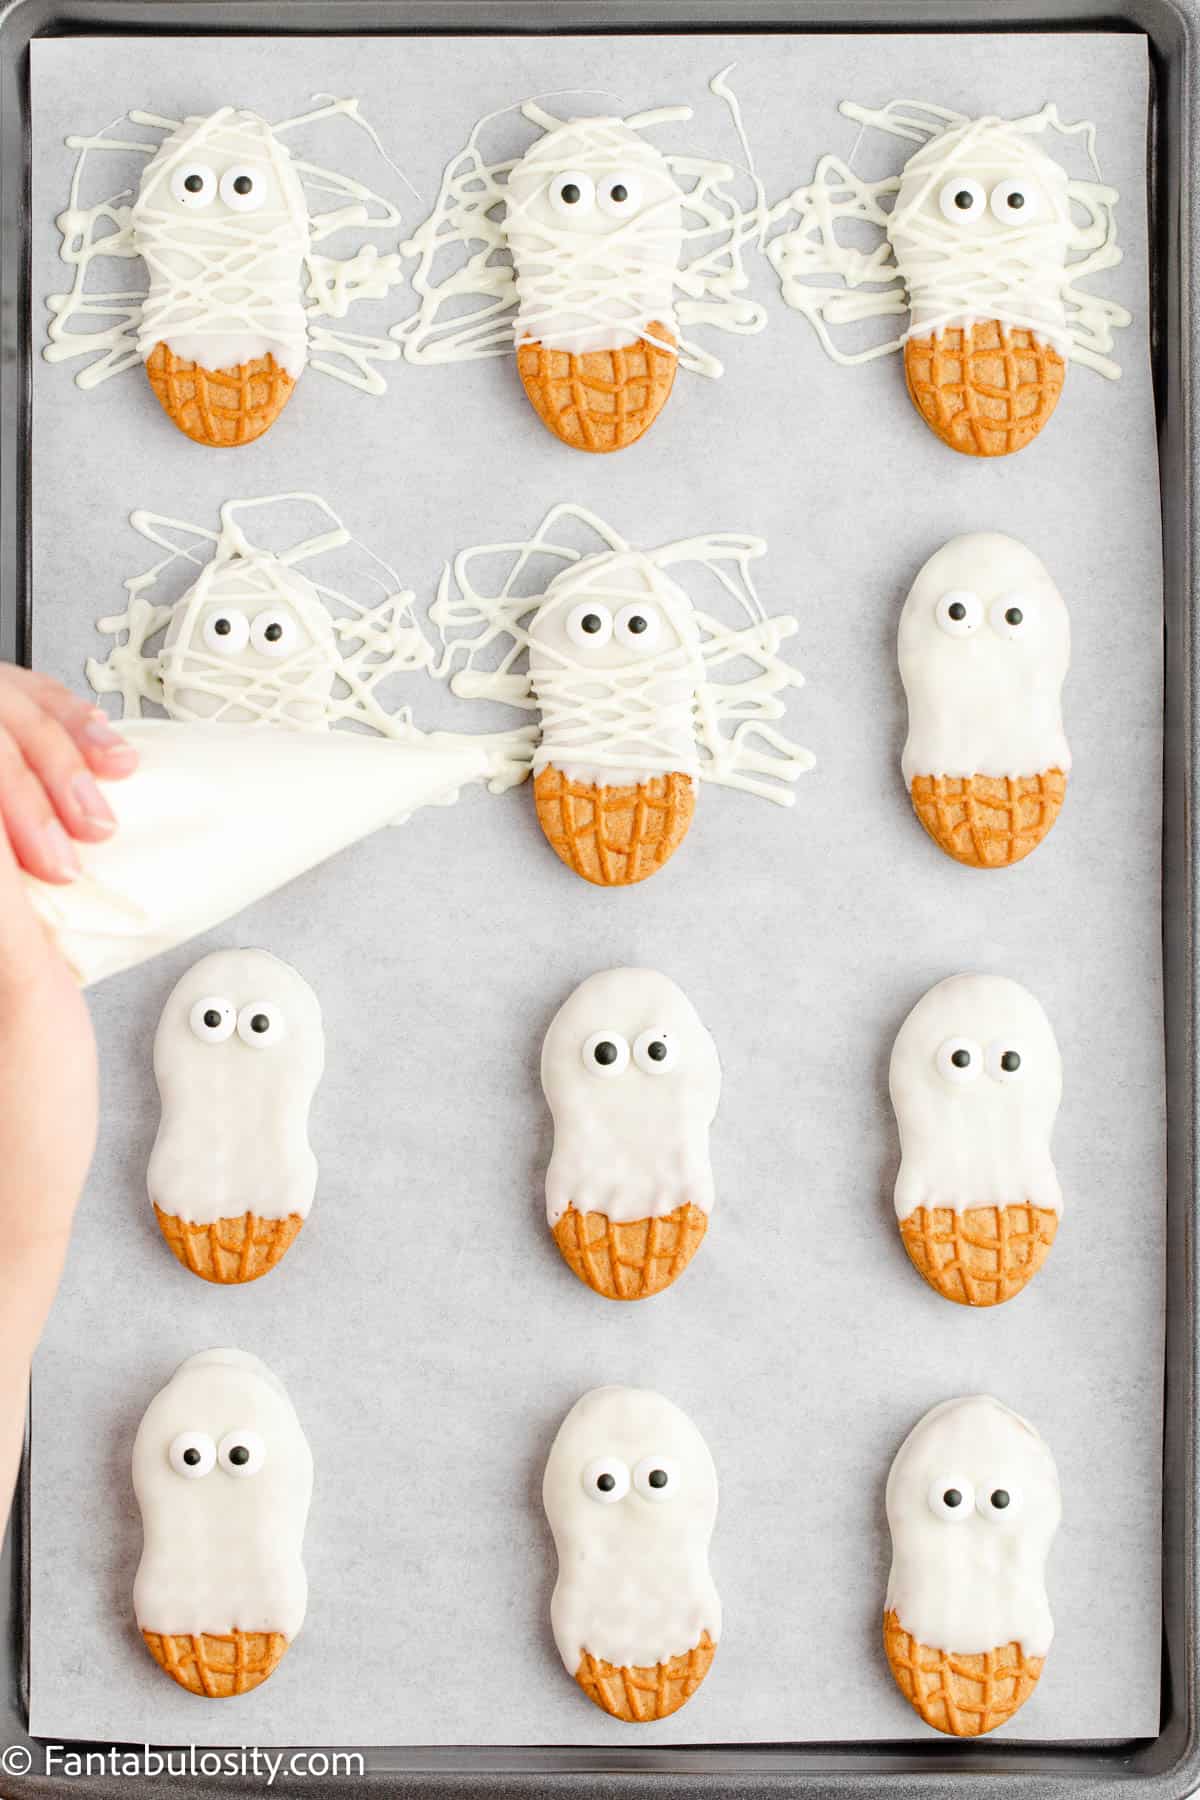
- Add the candy eyes before the chocolate sets. Repeat until all cookies are dipped and have eyes.

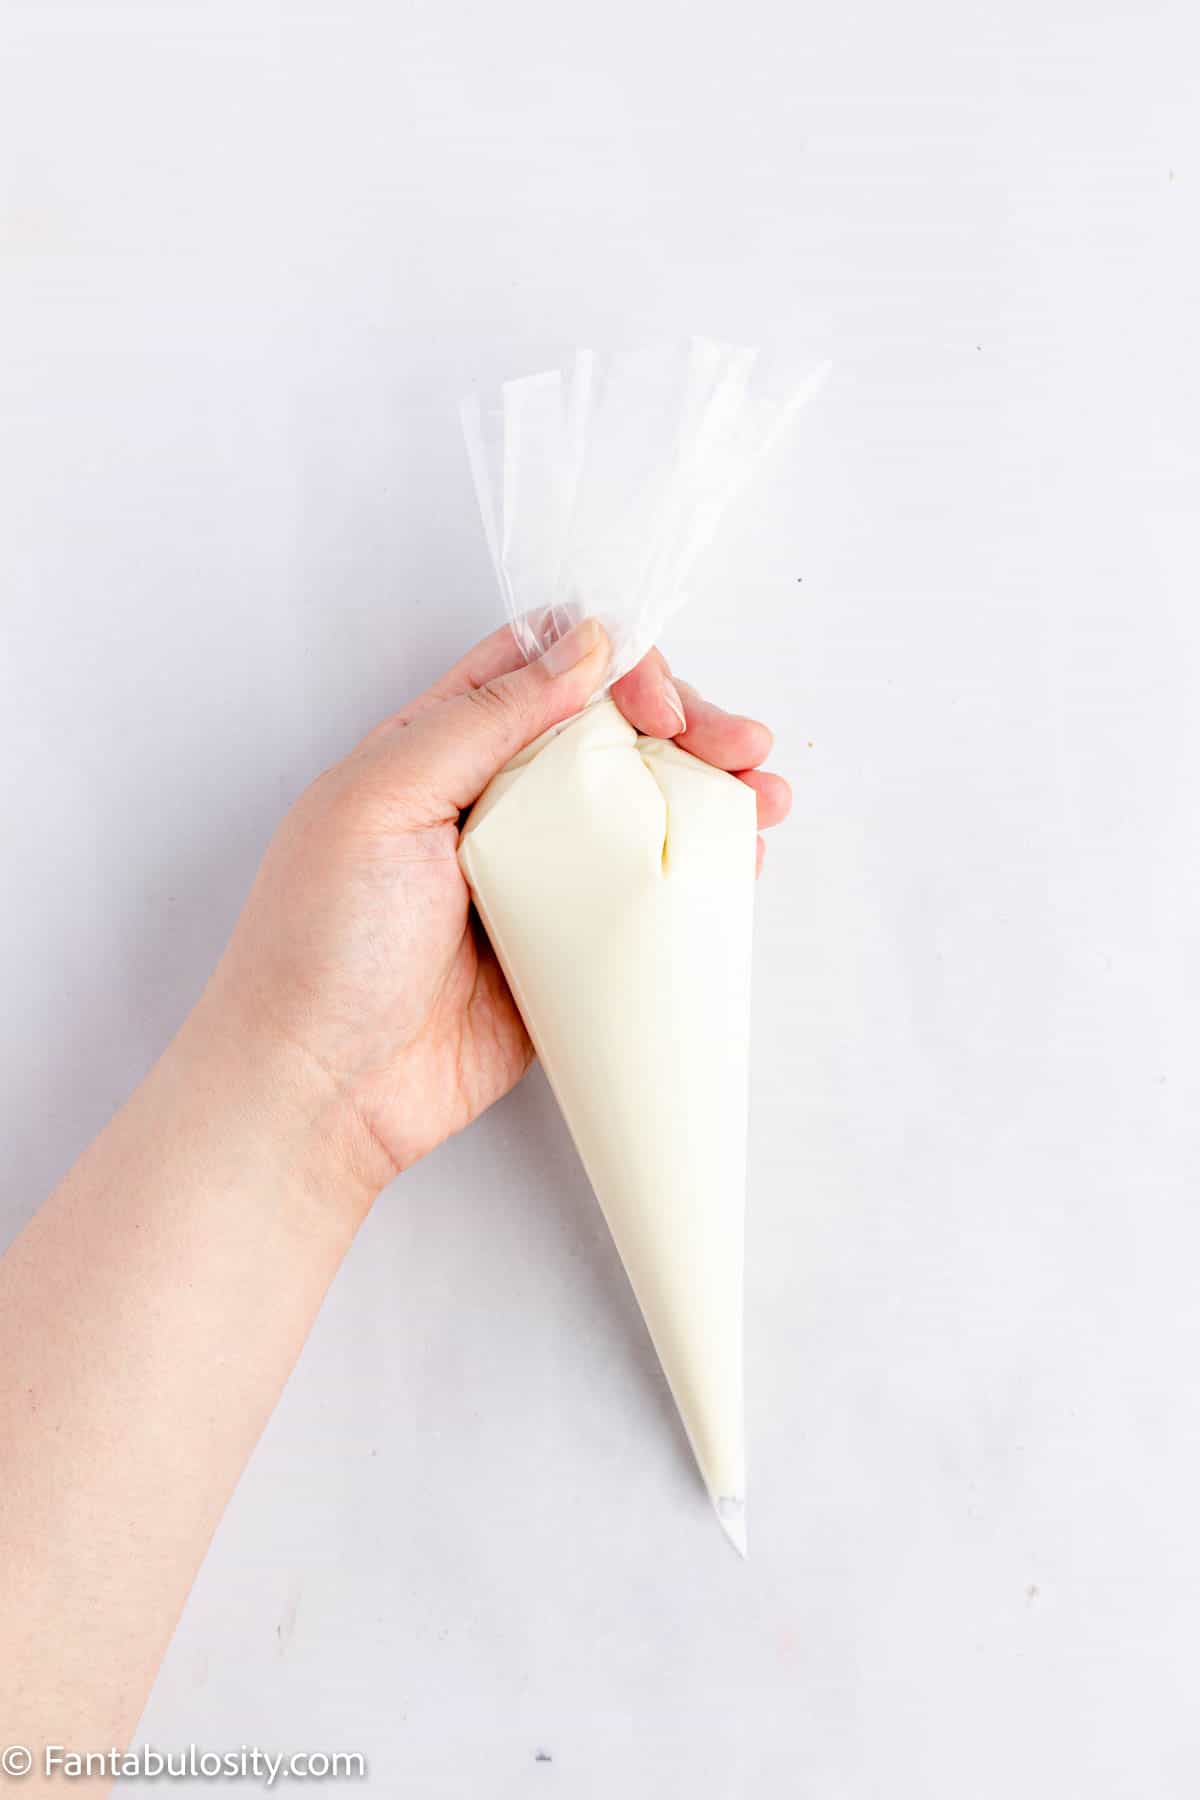
- Microwave the remaining chocolate in the bowl and add more chocolate melts as necessary. Fill a disposable piping bag with the chocolate and twist the bag slightly to close.
Snip the tiniest bit off of the tip of the bag and squeeze gently to make sure the chocolate flows out in a small piped line. This will be used to make the mummy wrap or mummy bandages so you don’t want to cut off too much of the tip of the bag or the bandages will be too thick.
- Holding the piping bag firmly, gently pipe small lines of white chocolate in multiple directions across each coated cookie, avoiding the eyes.
- Place the cookies in the refrigerator for 5-10 minutes to allow them to set/harden.
- Once set, remove the cookies from the fridge and carefully snap off the excess candy-coating pieces from around each cookie. Place cookies on a plate and serve!
Substitutions
Here are a few easy substitutions to fit the ingredients and tools you have on hand.
- Cookies – If you can’t find the Nutter Butters or need an option without peanut butter, we like using Pepperidge Farm Milano cookies since they are the same general shape and size
- White chocolate – You can also use a package of white almond bark or melt white chocolate chips over a double boiler instead of the white candy melts.
- Candy eyes – I found the candy eyes at my local Walmart but you can also purchase them online or try the food crafting section of the craft store. If you can’t find them, you can also use mini chocolate chips for eyes.
Variations
- Ghosts – If you don’t pipe the mummy bandages, you can add a chocolate chip mouth for a batch of little Nutter Butter ghosts.
- Make mummy cookie pops – Insert a lollipop stick or popsicle stick into the cookie filling of each mummy to make a cookie pop. Slip each cookie pop into a cellophane bag and tie with a festive ribbon to make easy favors for your Halloween party!
How to Store Mummy Nutter Butter Cookies
These cookies can be stored in an airtight container in the refrigerator for 1-2 weeks or in the freezer for up to a month. Thaw the frozen cookies in the fridge before eating.
While you can store these cookies in the refrigerator/freezer, the black dots on the candy eyes may smudge or smear due to the condensation in the cool environment. So, we really like to enjoy these the day they are made.

I have a feeling you’ll also love these chocolate-covered Halloween pretzels too!
Did you make this? I’d be so grateful if you left a “star” rating below to let me know what you thought! Then, the next time you need a quick and easy recipe, come back to Fantabulosity to browse all of my easy recipes!
Recipe
Nutter Butter Mummies
Ingredients
- 30 Nutter Butter cookies from a family size package
- 20 ounces white chocolate candy melts
- 1 package candy eyes
Instructions
- Line several baking trays with parchment paper, wax paper or a silicone mat and set aside.
- Place the white chocolate melts in a microwave safe bowl and heat according to package directions. Continue to microwave until the melted white chocolate is smooth and creamy.
- Dip the Nutter Butter cookies one at a time into the melted chocolate, dipping about ¾ of each cookie. Remove the excess chocolate from the back of the cookies and place the dipped cookies on the baking sheet.
- Add the candy eyes before the chocolate sets. Repeat until all cookies are dipped and have eyes.
- Microwave the remaining chocolate in the bowl and add more chocolate melts as necessary. Fill a disposable piping bag with the chocolate and twist the bag slightly to close. Snip the tiniest bit off of the tip of the bag and squeeze gently to make sure the chocolate flows out in a small piped line.
- Holding the piping bag firmly, gently pipe small lines of white chocolate in multiple directions across each coated cookie, avoiding the eyes.
- Place the cookies in the refrigerator for 5-10 minutes to allow them to set/harden.
- Once set, remove the cookies from the refrigerator and carefully snap off the excess candy coating pieces from around each cookie. Place cookies on plate and serve!
Notes
- The white chocolate sets quickly, so you may need to microwave it in 15 second intervals to keep it melted.
- I was able to make about 30 cookies with one package of candy eyes.
- The black dots on the candy eyes smear easily, so I prefer to handle them with tongs or tweezers.
- While you can store these cookies in the refrigerator/freezer, the black dots on the candy eyes may smudge or smear due to the condensation in the cool environment. So, we really like to enjoy these the day they are made.
- If you don’t have piping bags, you can pour the white chocolate into a ziploc bag and snip of one of the corners. Or, use a small spoon to drizzle a small amount of chocolate across the dipped cookies.
Nutrition
Nutritional information is based on third-party calculations and should be considered estimates. Actual nutritional content will vary with brands used, measuring methods, portion sizes and more.


Comments
No Comments