
As part of the Martha Stewart “Make it Martha” program, I received complimentary products to make this DIY craft. Thank you Martha!
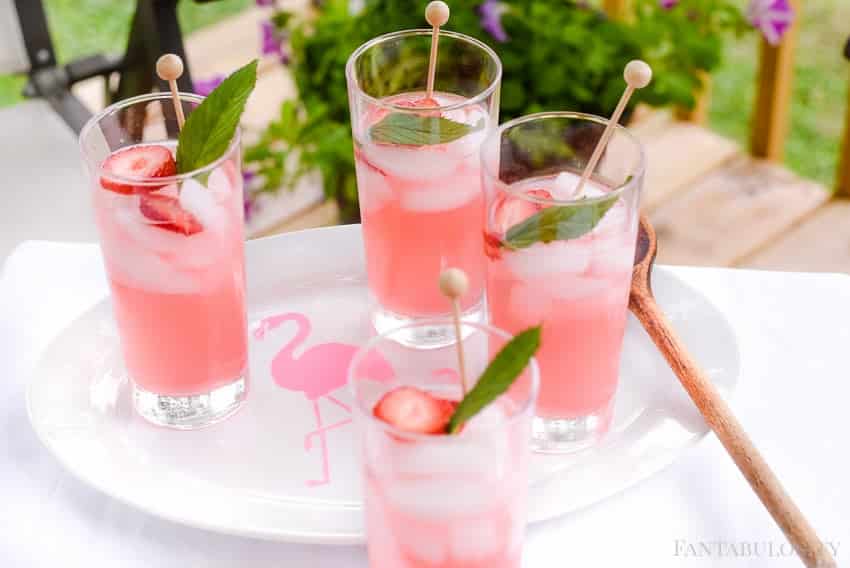
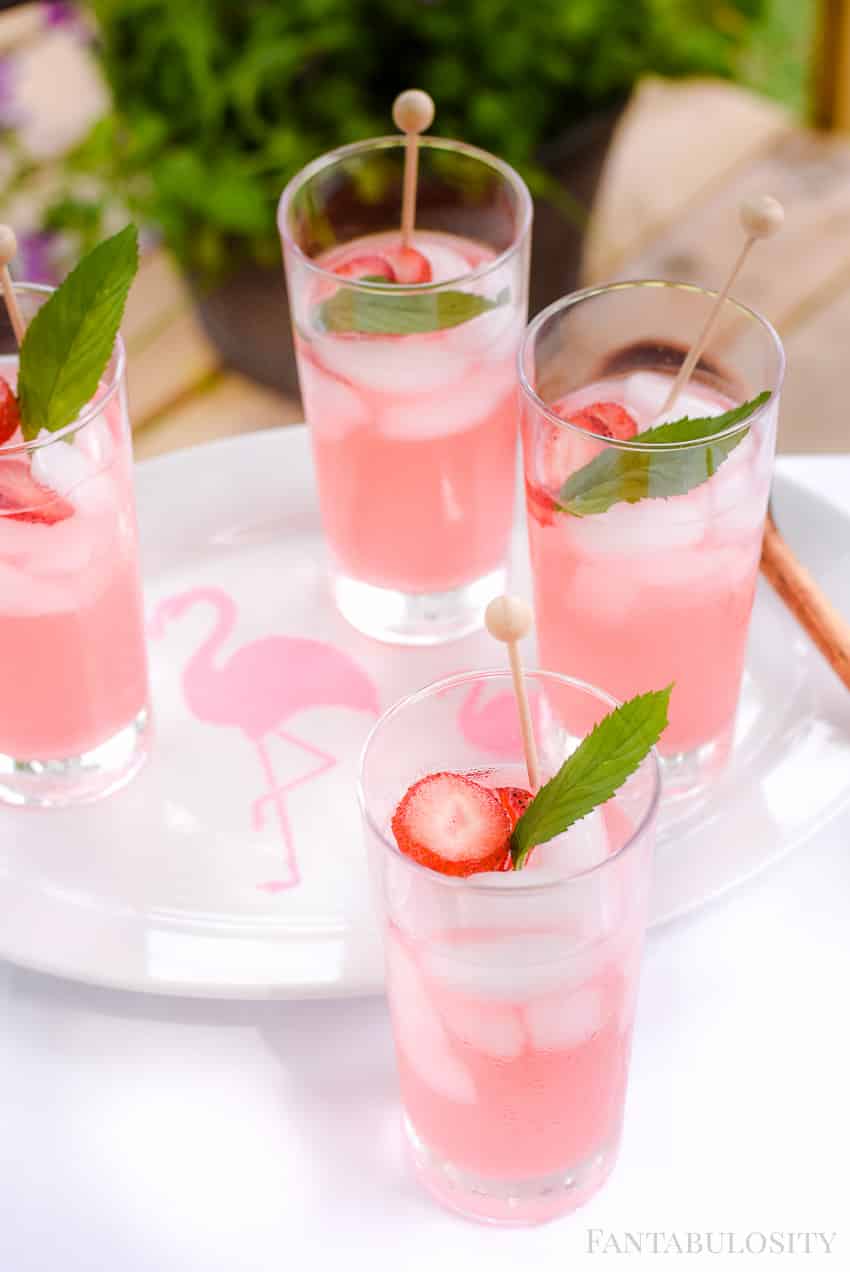
DIY Stencil Drink Serving Tray: Using Martha Stewart’s new line of paints, we created the cutest flamingo serving tray for summer entertaining!
DIY Drink Serving Tray
Since my childhood, I’ve been so infatuated with the creativity of Martha Stewart. She totally encompasses everything I love: DIY, cooking, home decor, flowers, and so much more. So I’m sure you can guess how I did cartwheels when I received the invitation to work with the “Make it Martha” program for Martha Stewart.
I may have jumped up and down, done a twirl, and left my husband saying “Uh, what’s going on, and why are you acting like that?”

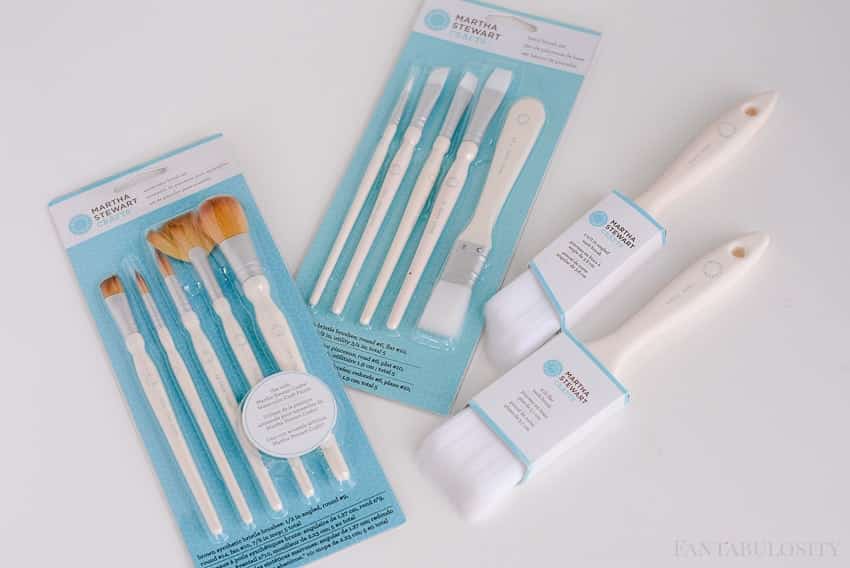
Here’s a peek at some of the Martha Stewart goodies that I’ve received. I canNOT wait to get to crafting a ton of DIY projects with the new line of paints and paint tools at Michaels!
DIY Stencil Drink Serving Tray Tutorial
The first craft I wanted to tackle was this drink serving tray. When the idea came to me, I knew EXACTLY where I was headed. To the FERGUSON FARM. My momma is the ultimate crafter, and she knows her way around a stencil or two. She was a huge help making this project!
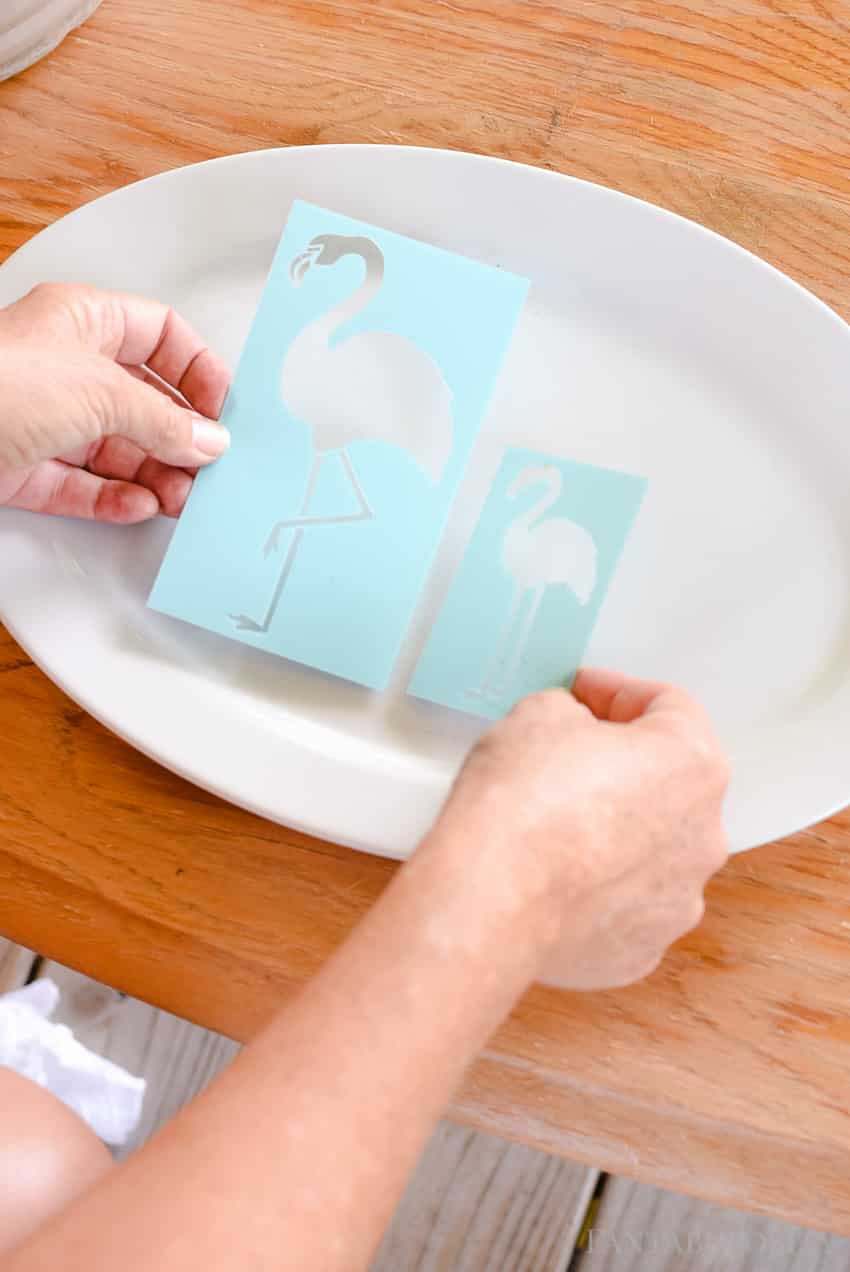
This DIY tutorial was incredibly easy, since I was able to use the new adhesive stencils. Have you used these!? Oh my goodness. The adhesive helps so much with any potential paint leakage, and prevents the stencil from moving around while painting. These were MADE for people like me!
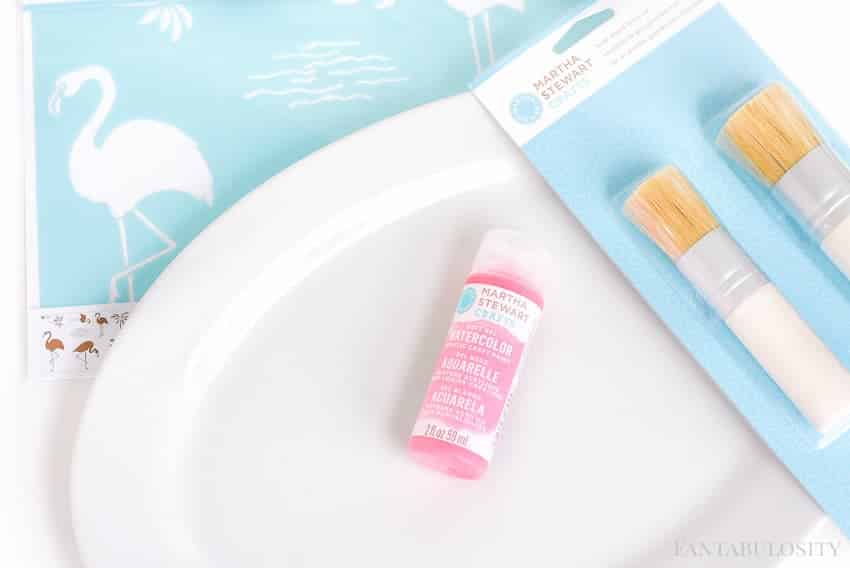
To get started, we used the following:
• White platter/tray
• Martha Stewart Crafts® Soft Gel Watercolor Paint, Pink Dahlia color
• Martha Stewart Crafts® large stencil brush set
• Martha Stewart Crafts® Adhesive Laser-Cut Stencil
• Painter’s tape
• Paper towel
• Paper plate

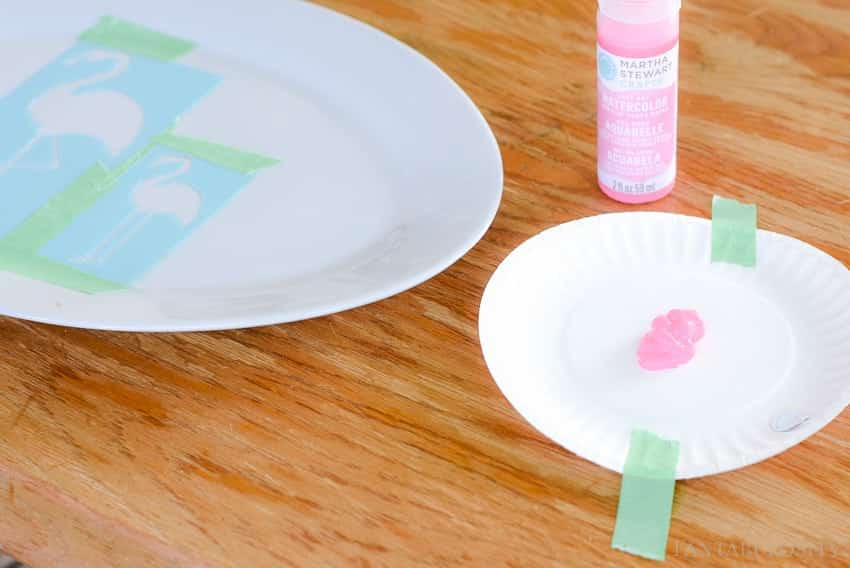
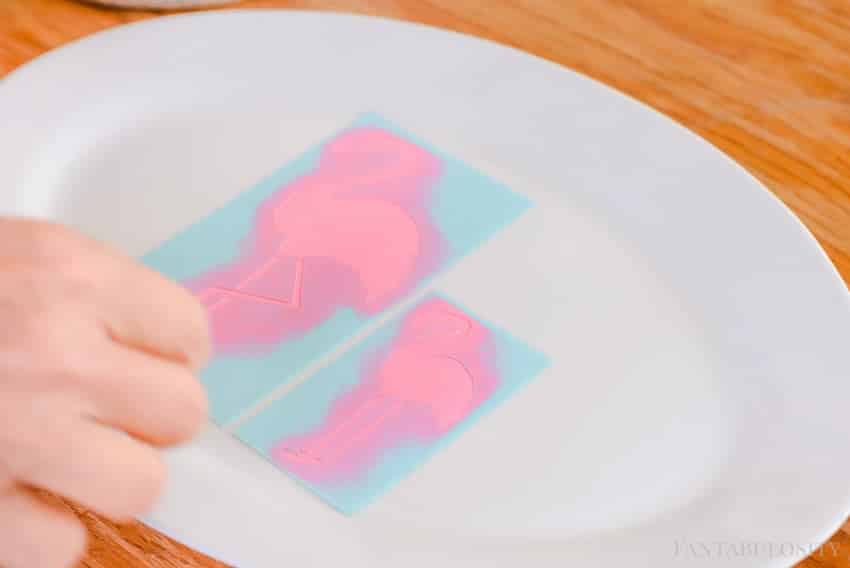
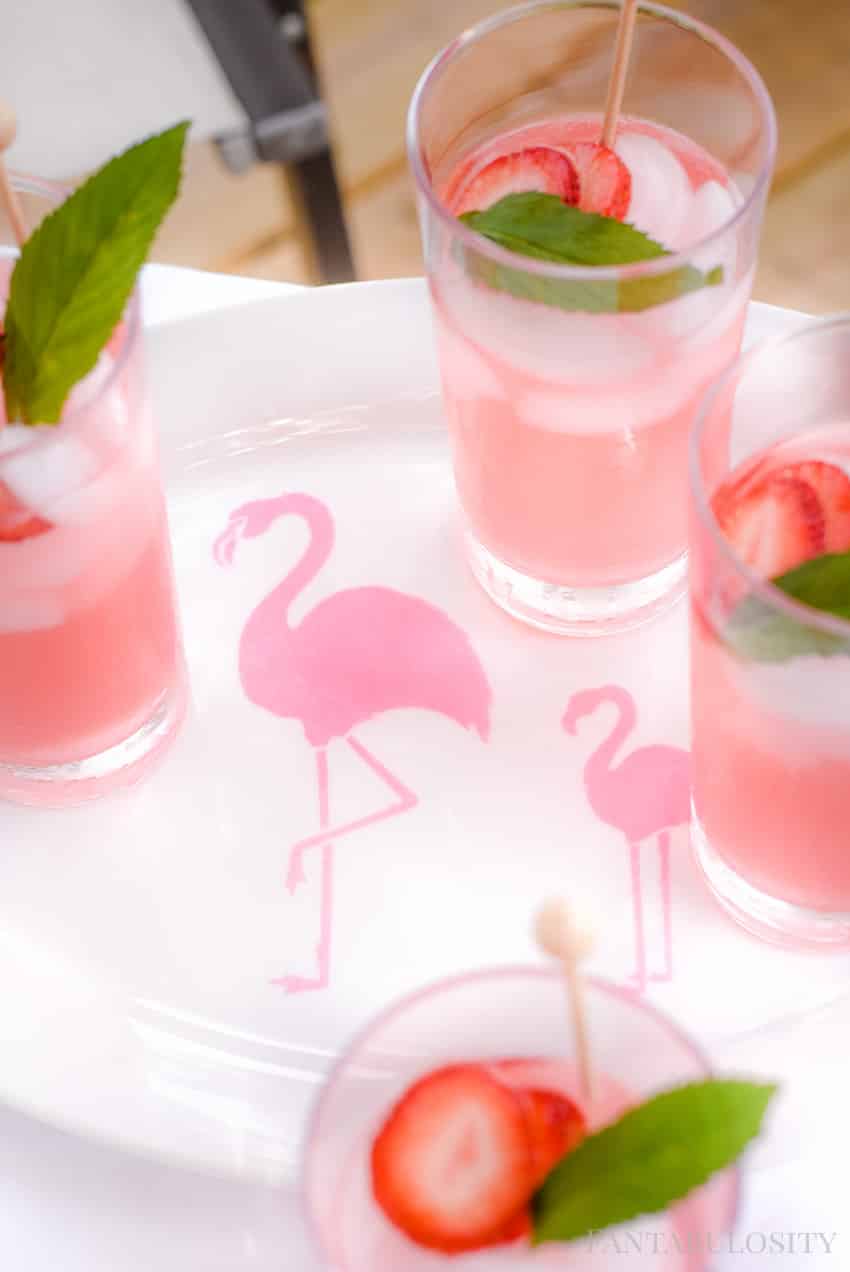
Peel the stencil from the adhesive paper, and place the stencil where you’d like it on the tray. We preferred it centered on ours.
Next, disburse a small amount of paint (a small amount will go a long way) on to a paper plate.
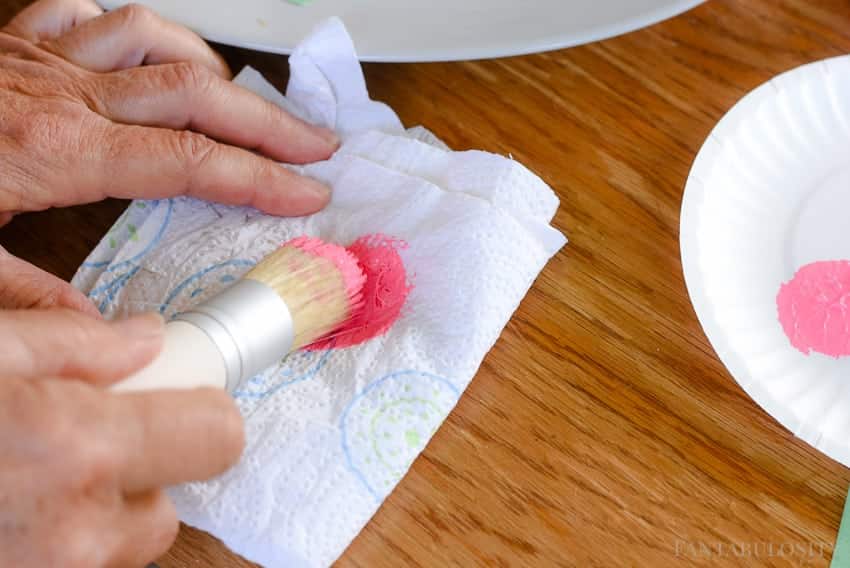
Dab the stencil brush gently into the paint, and blot it on a paper towel, twirling in a circular motion, pushing the paint up into the stencil brush.
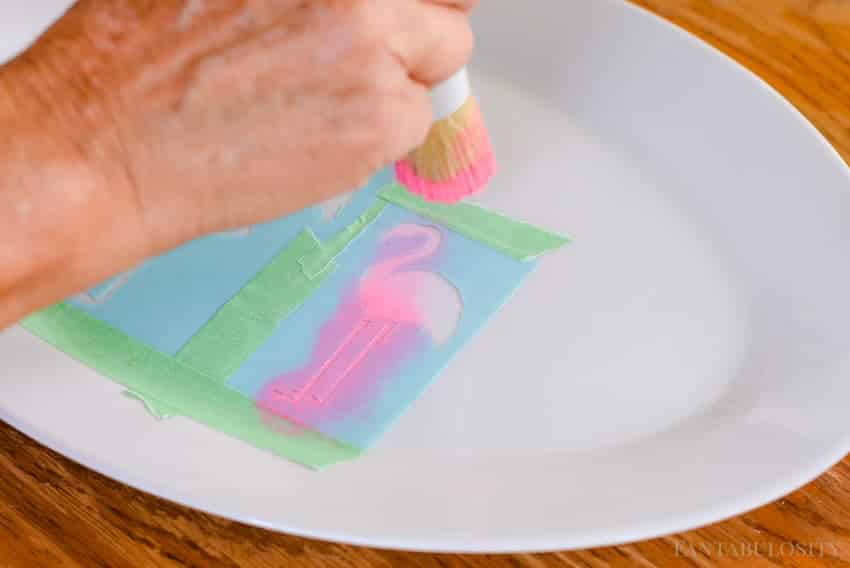
Next, dab the brush onto the stencil, covering the stencil cut-out. Repeat the process until your craft has reached the desired look.
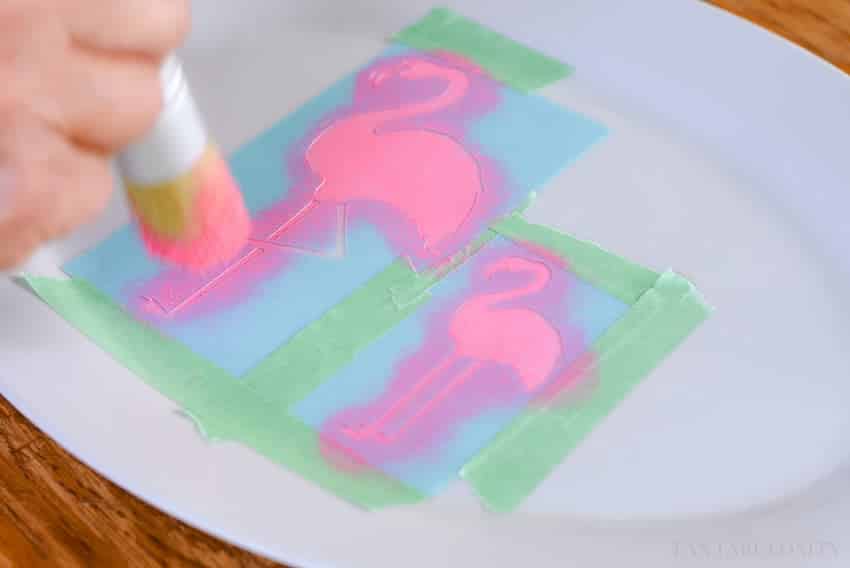
When you’ve finished painting the stencil cut-out, remove the stencil very carefully.
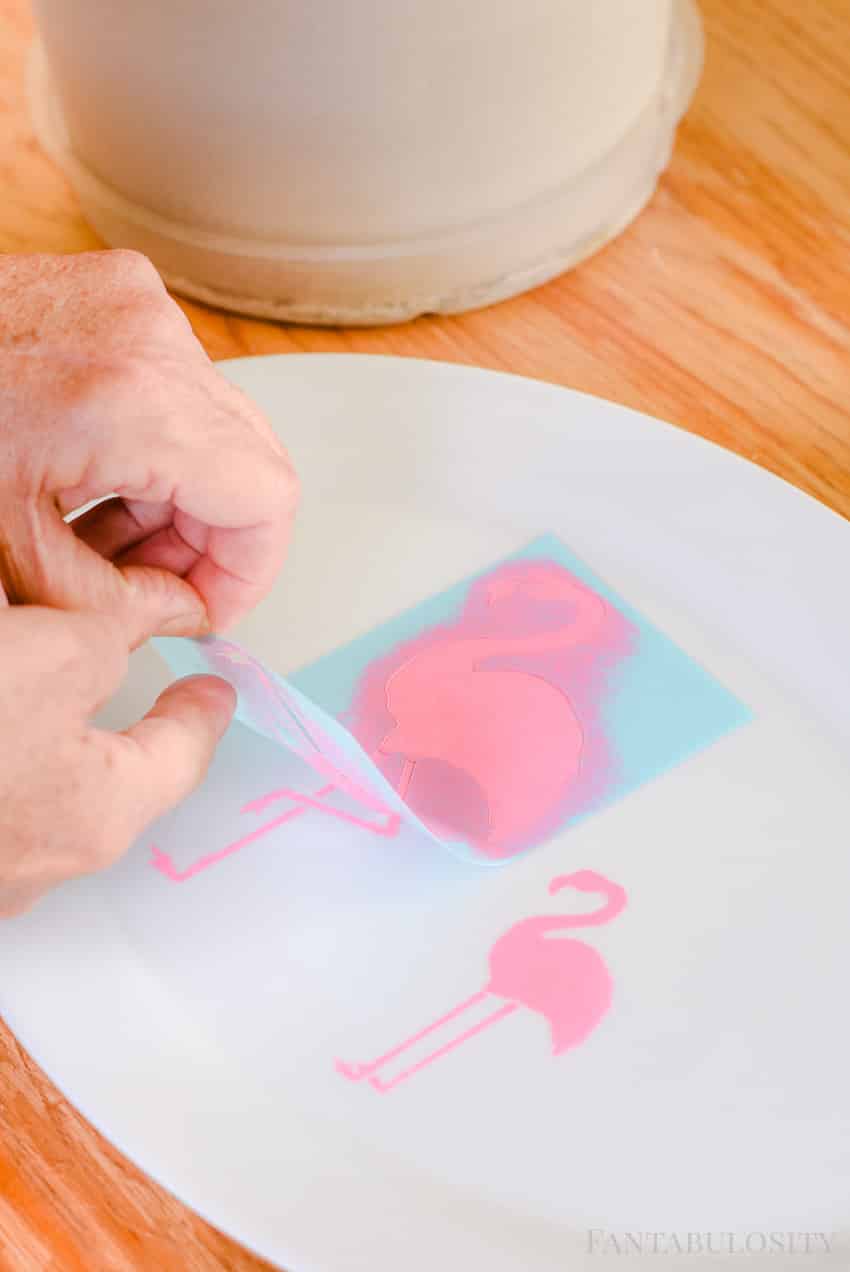
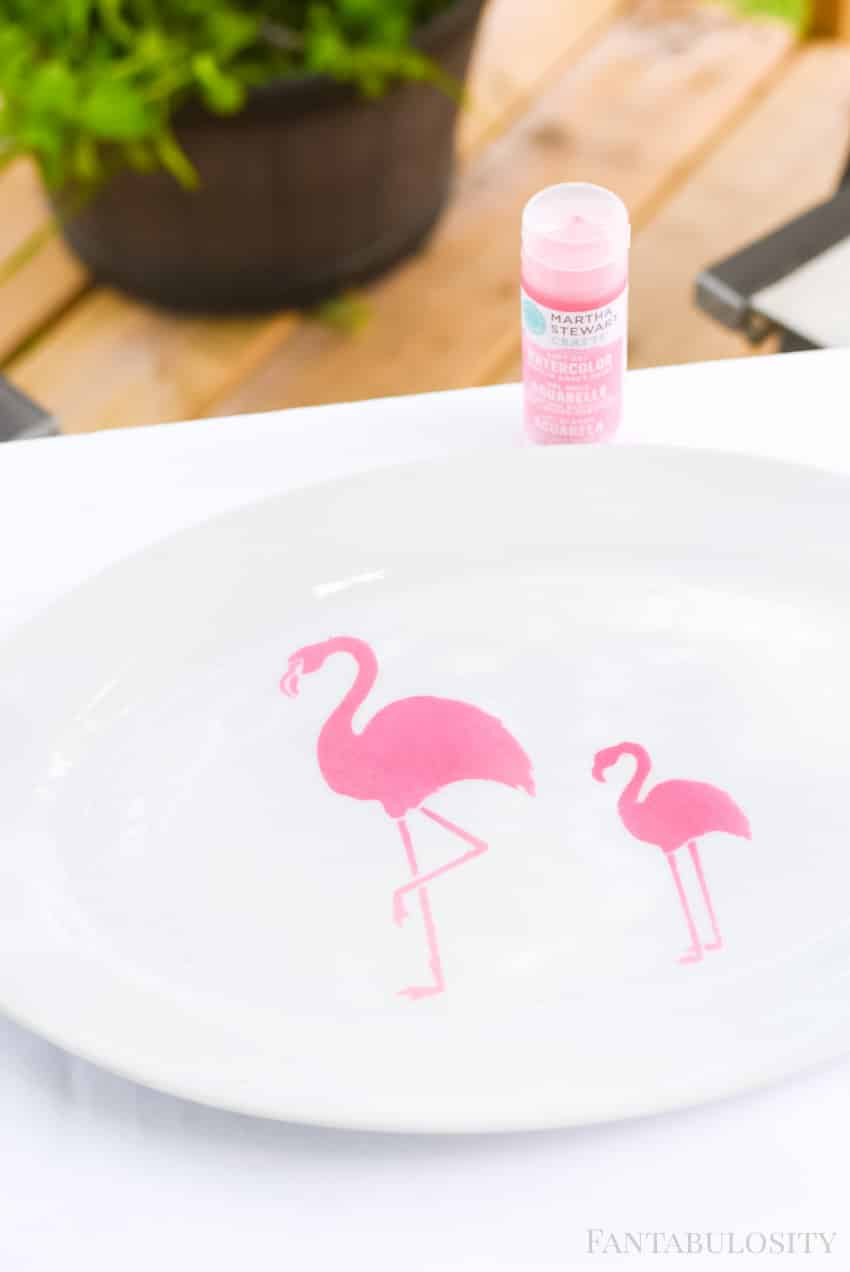
When the paint dries, it’s ready to use!
NOTE: Paint is not dishwasher or food safe!
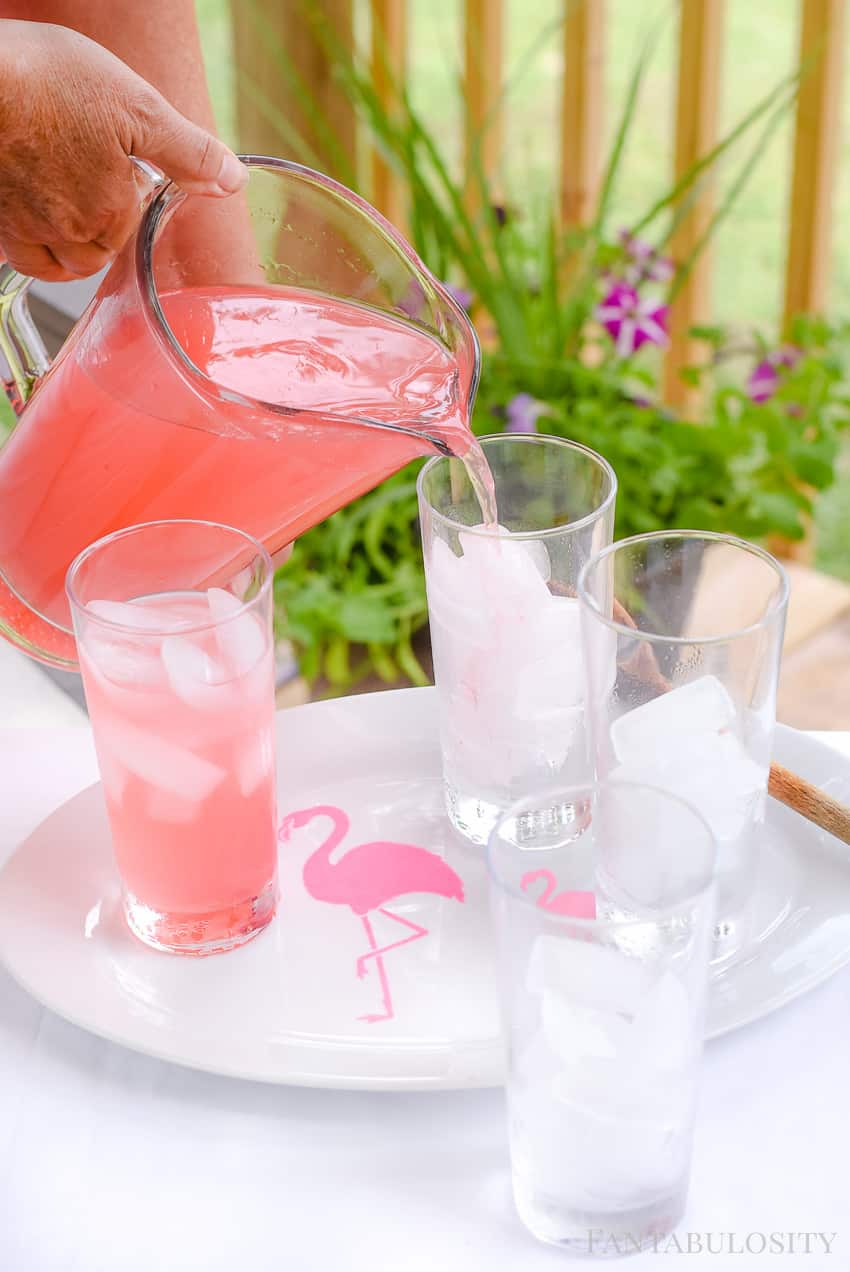
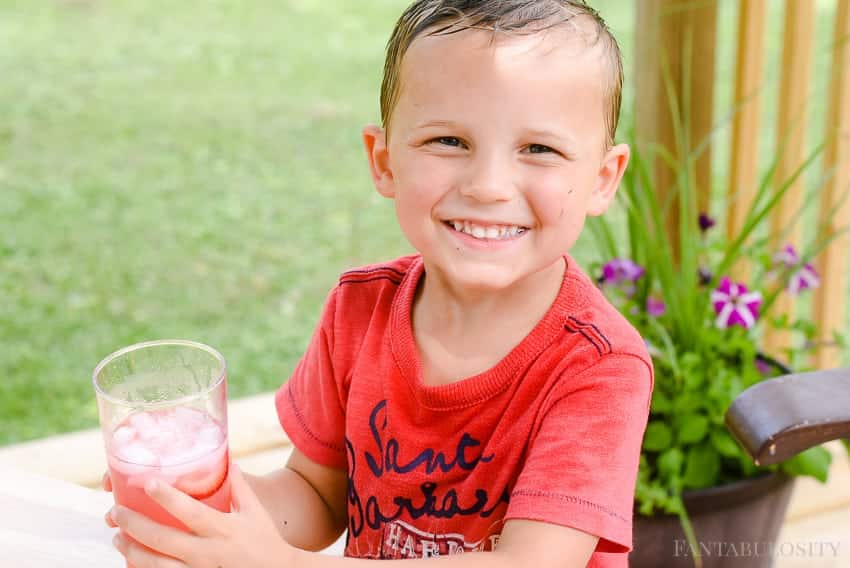
After crafting, the boys took a break from playing in the bubbles and mud, and thought they needed to partake in my little lemonade party.
Martha Stewart Crafts® Line at Michaels
You can find all of the Martha Stewart Crafts® at Michaels.com, that I used on this DIY project here:
Pink Dahlia Martha Stewart Crafts® Watercolor Paint
Martha Stewart Crafts® Adhesive Laser-Cut Stencil, Flamingo
Martha Stewart Crafts® Stencil Brush Set, Large
Thank you!
Thank you so much for coming by! I’d LOVE to hear what you plan to stencil on your drink serving tray! Let me know below in the comments!


Angela says
These are so adorable!!
Jessica says
Aw, thank you Angela!!