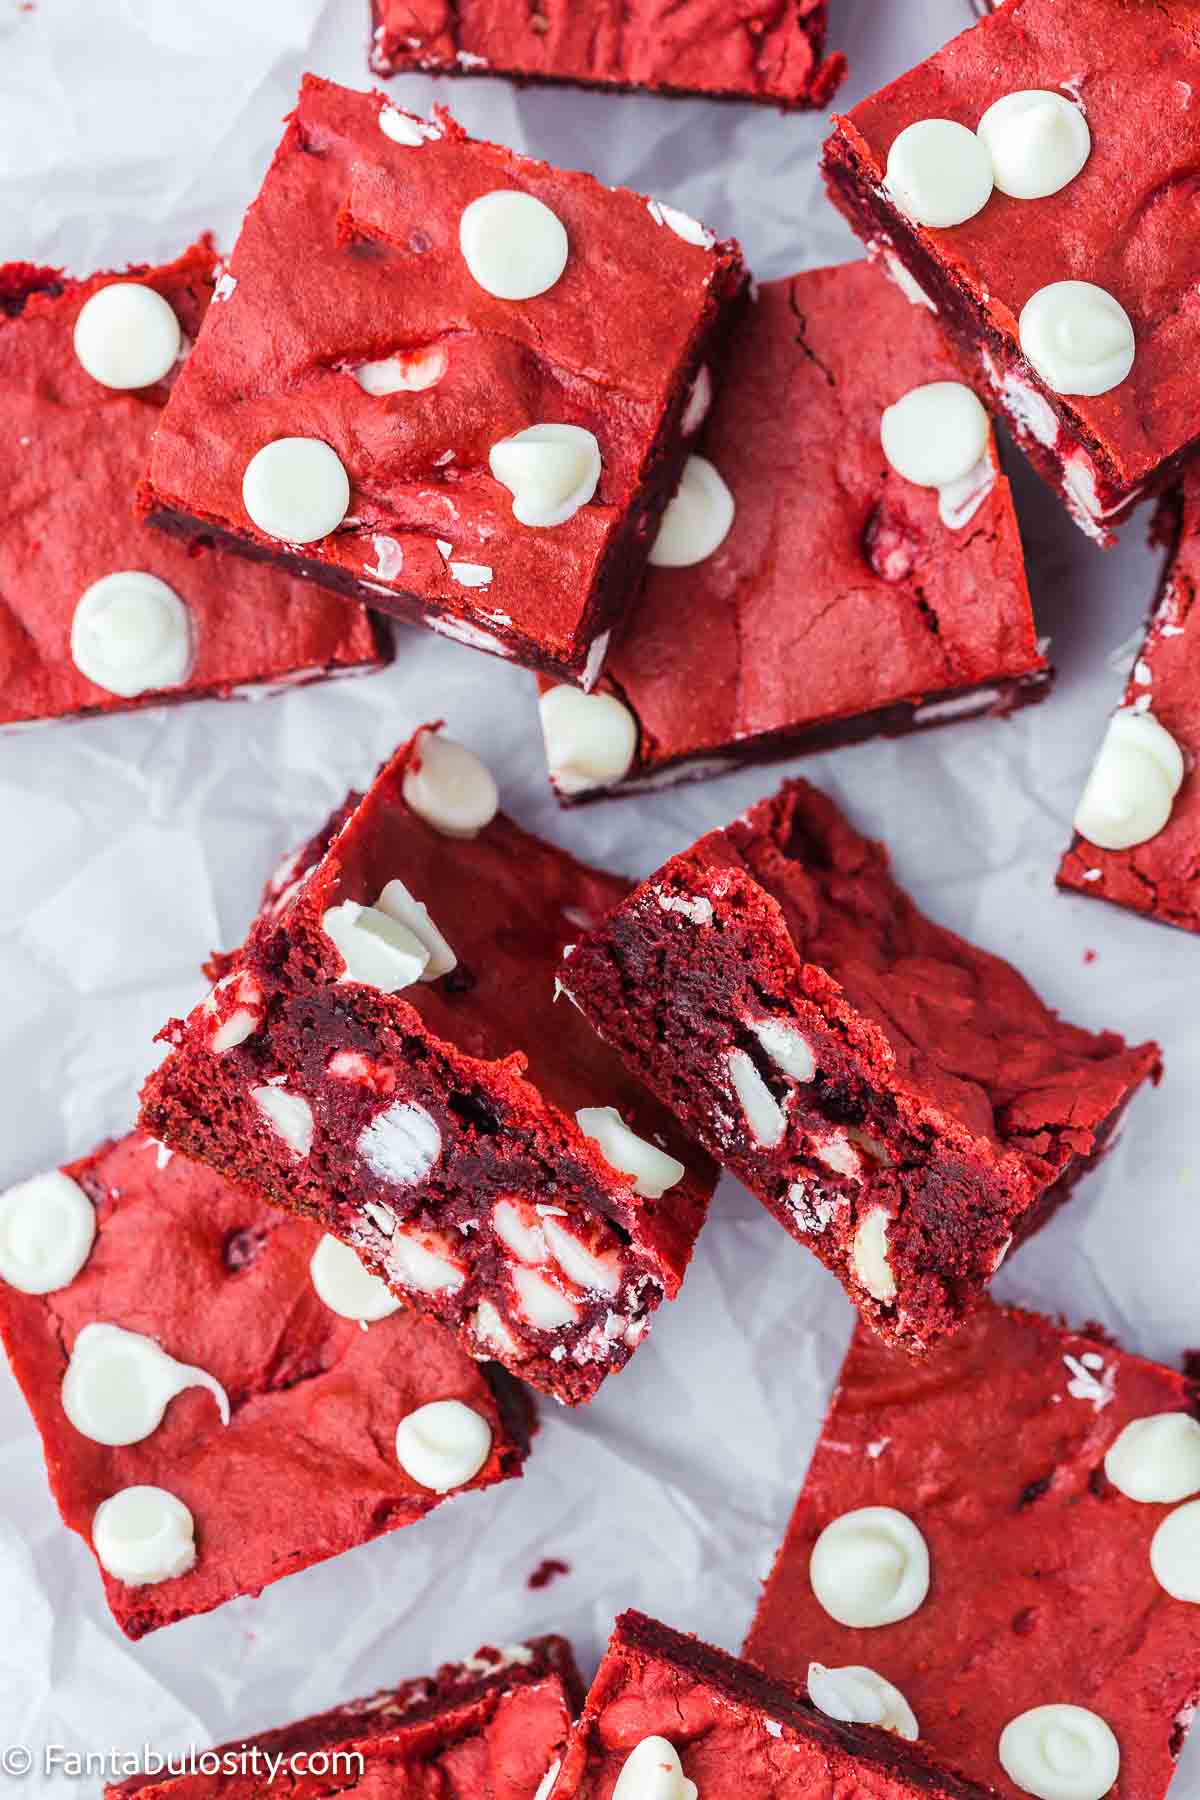
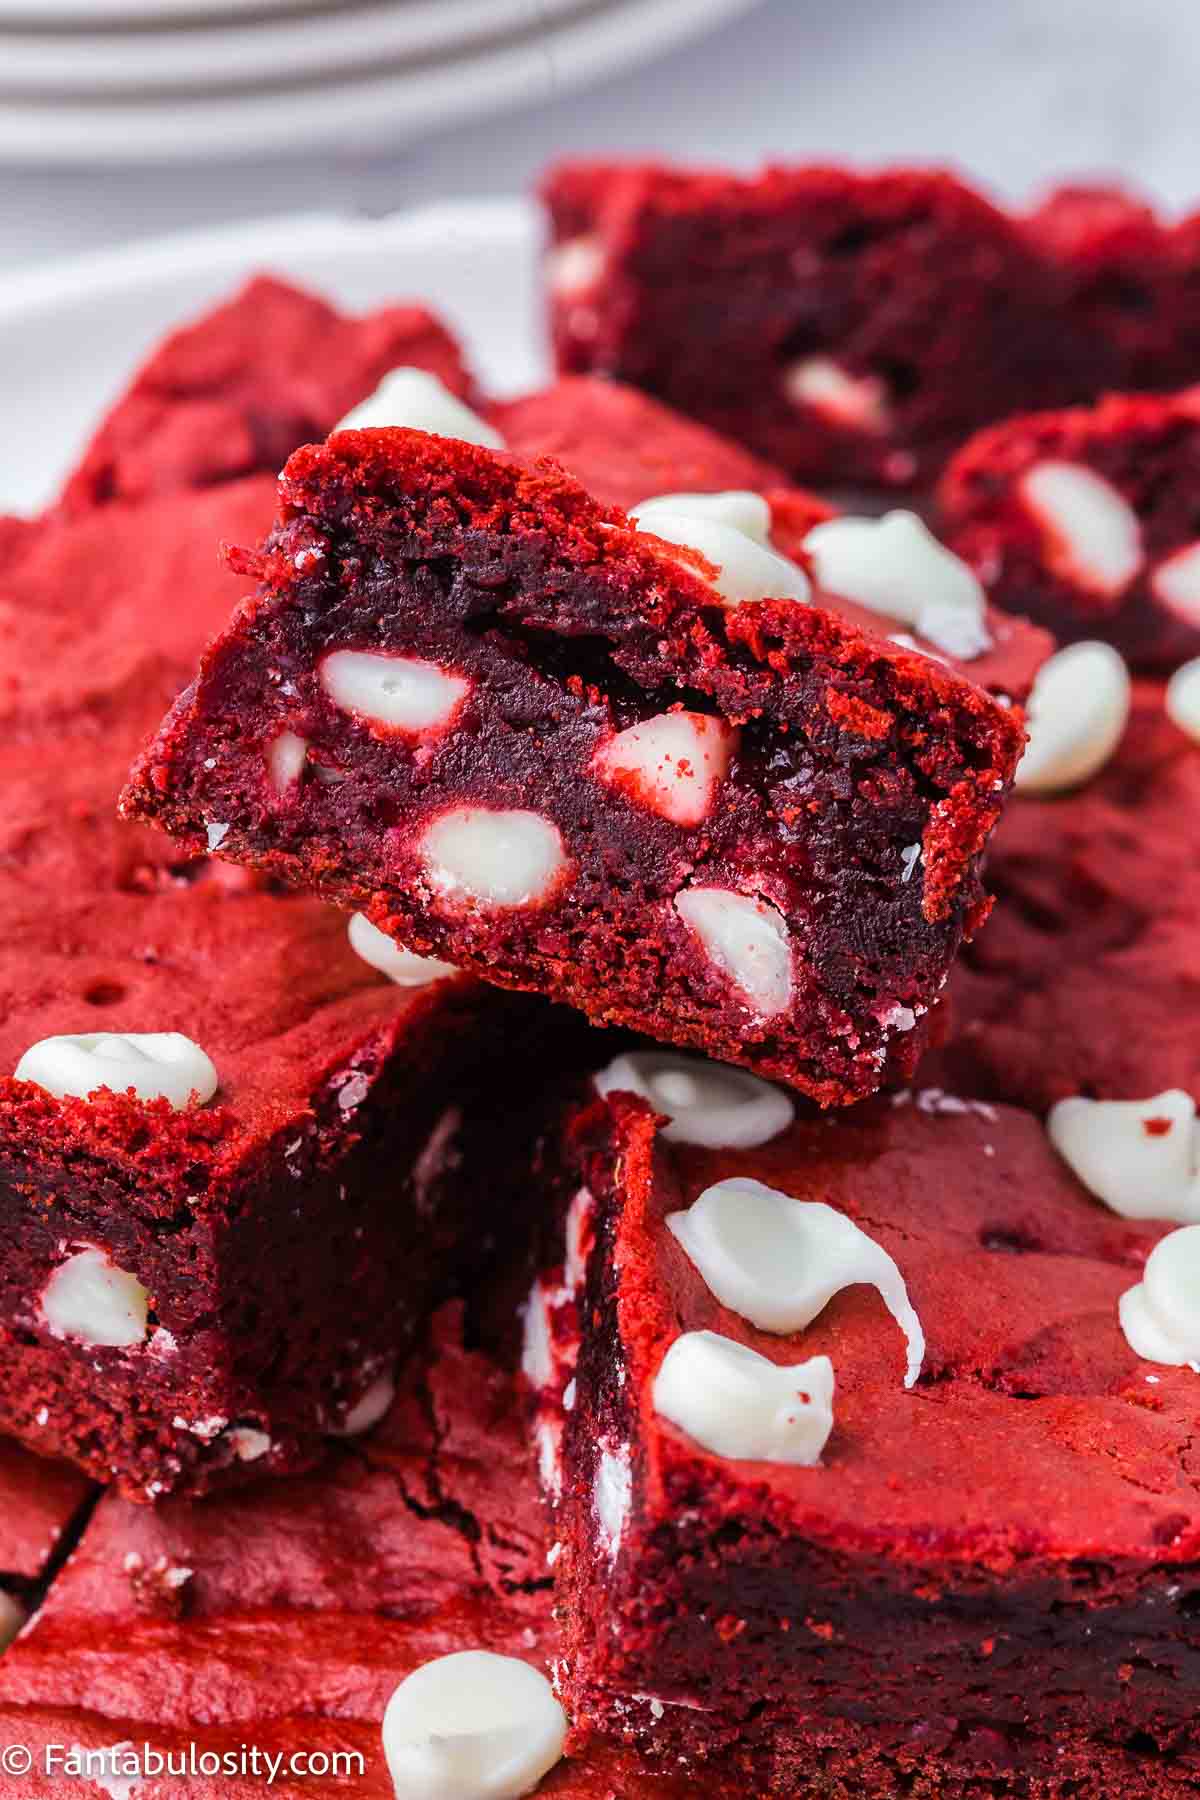
It is SO EASY to make Red Velvet Brownies from a cake mix! You wouldn’t think a fluffy cake could turn into chewy, fudgy brownies, but it is quick and delicious.
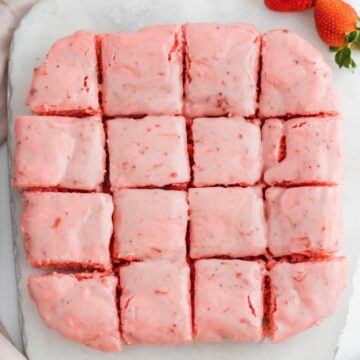
When these strawberry brownies went over so well, we knew that more cake mix brownies had to be made! It may just become your new favorite way to make brownie recipes for an easy dessert.
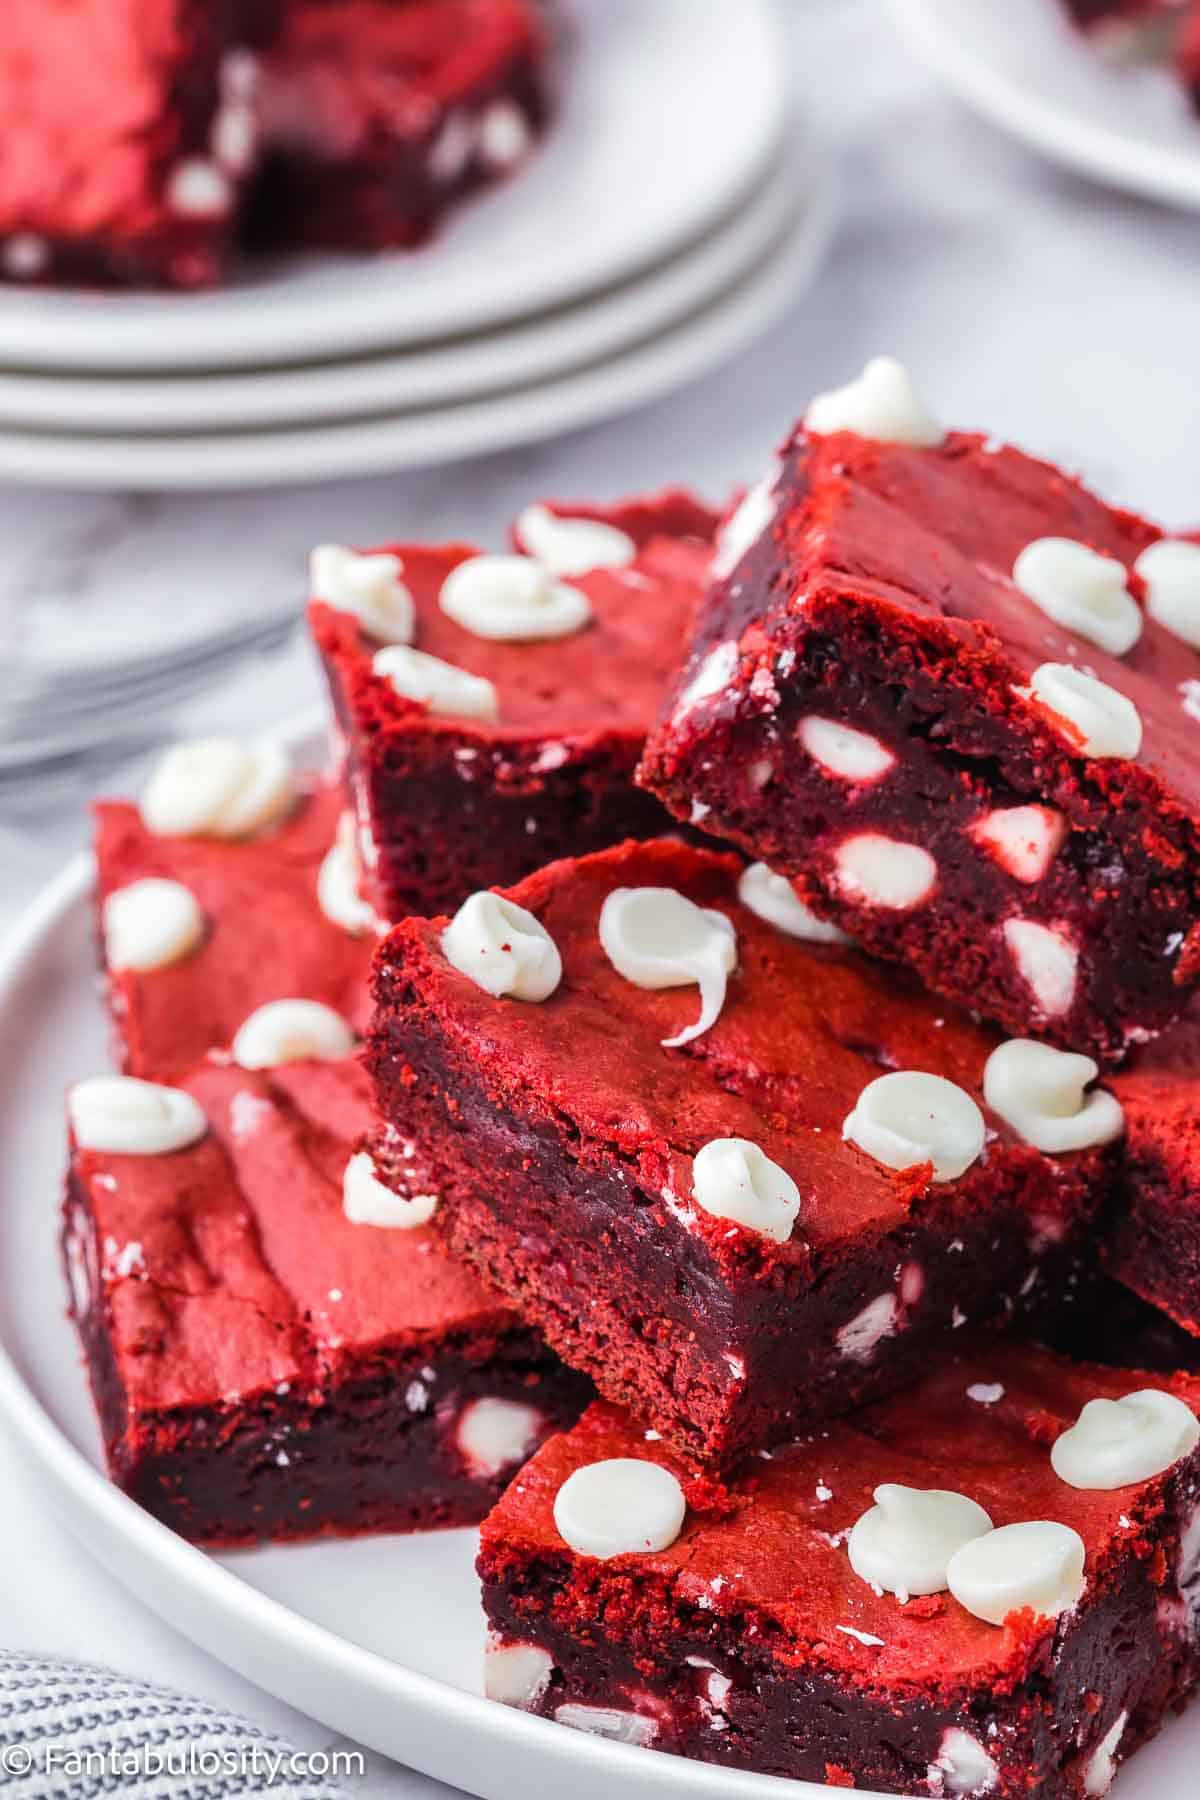
I love using pantry ingredients for desserts. This way you always have something yummy on hand that you just need to mix and bake. Cake mix isn’t just for cake (or brownies!) – you can easily turn a cake mix into an amazing peach cobbler. Another fun classic is making Funfetti Cookies – the kids will love these colorful cookies.
Jump to:
Why You’ll Love This Red Velvet Cake Brownie Recipe
- It uses a few ingredients: With only 5 ingredients, this recipe uses standard baking items you likely always have on hand.
- Make-ahead recipe: Brownies freeze beautifully and retain their texture when thawed, so you can make these well in advance.
- Customize your favorite: Swap out the chocolate or extract to make a new combo you’ll fall in love with.
Ingredients Needed
I’ve highlighted a couple of ingredients below with some relevant notes. Aside from this, the ingredients needed are pretty basic.
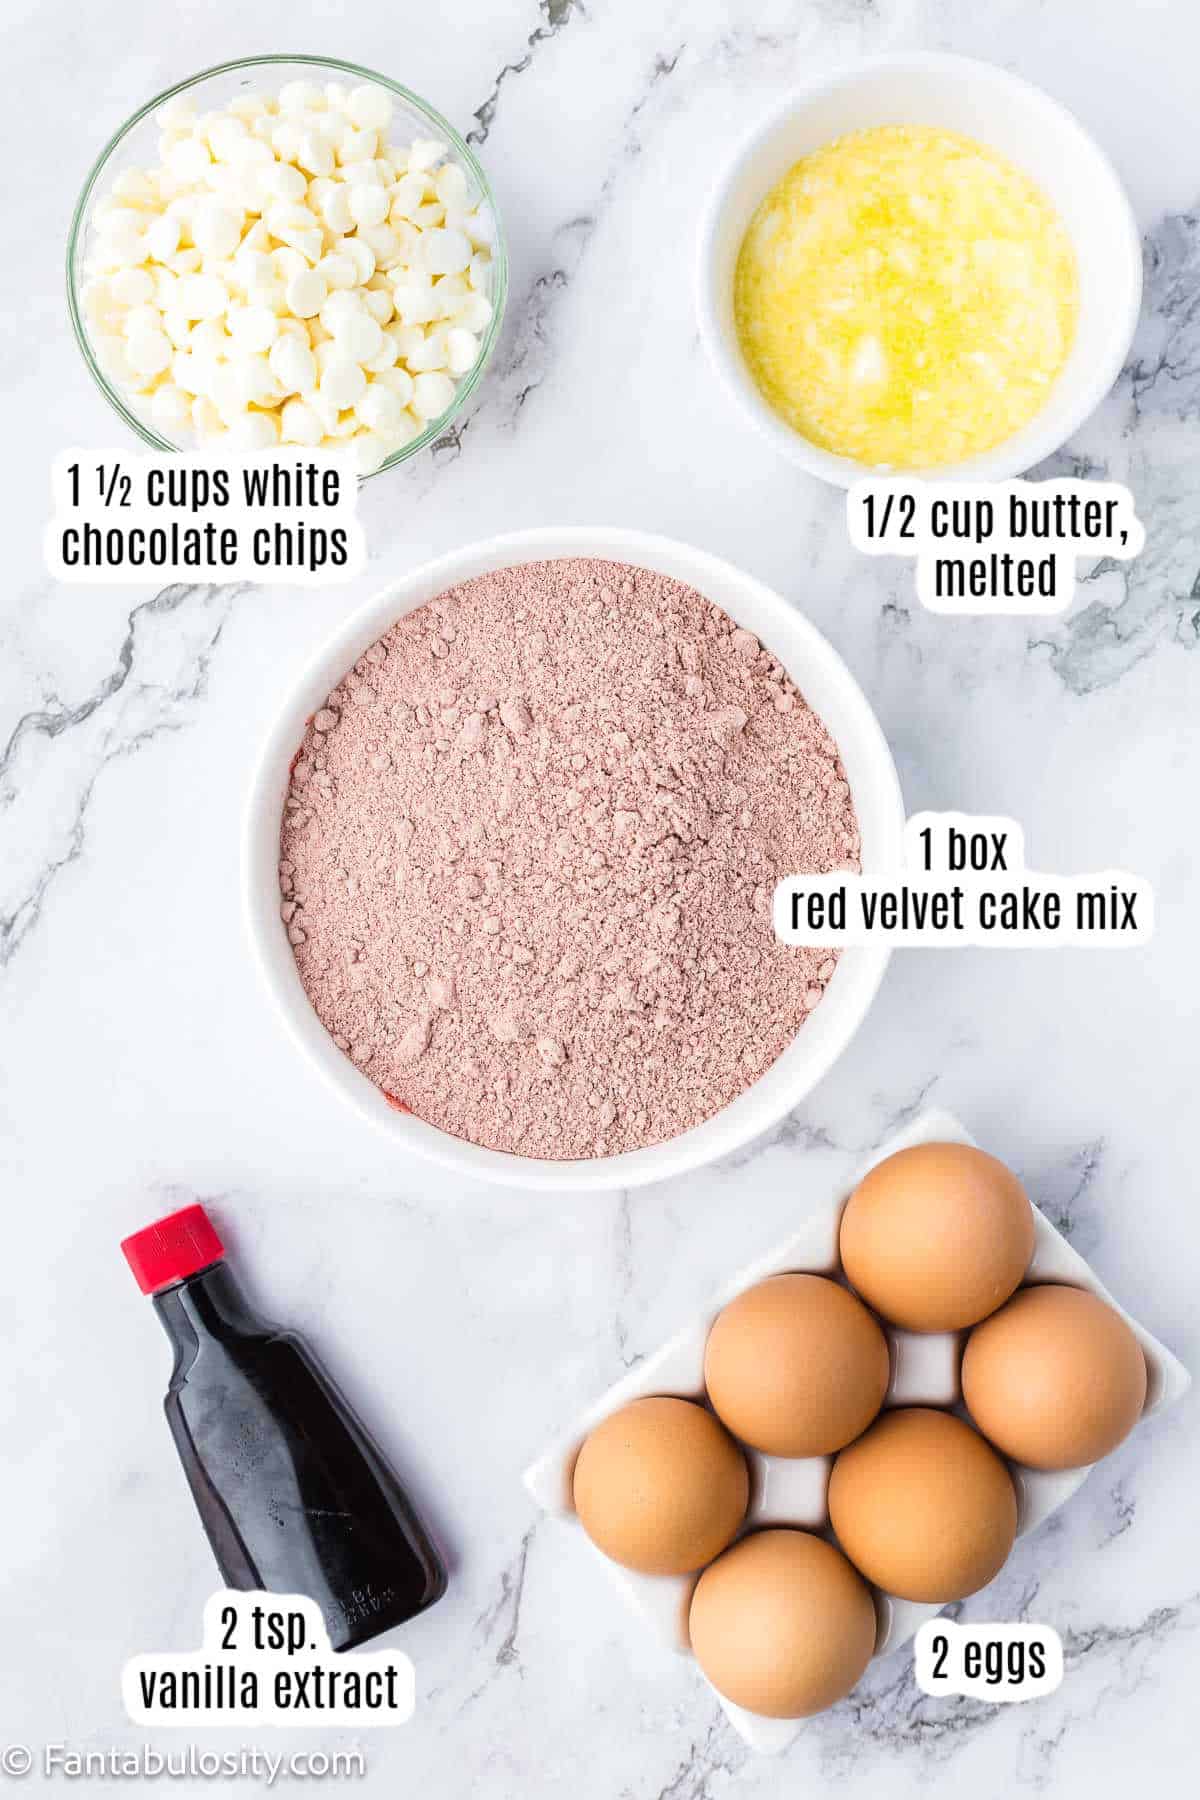
- Cake mix – Look for a standard red velvet cake mix from a brand you enjoy eating.
- Eggs – Room temperature eggs will mix in the best.
- Butter – I usually grab unsalted when baking, but the difference is negligible so use whatever you have on hand.
- Vanilla – A classic flavor to amp up the cake mix.
- White Chocolate Chips – The bright white really pops against the pretty red brownies.
Variations
You can easily mix things up here! Whether you don’t want to go to the store and need to use what you have, or you ARE at the store and see a new flavor of cake, grab it and go.
- Mint Chocolate – Try Devil’s Food for super dark brownies, and add in mint extract with chopped candy canes. (Or we use a brownie mix for these mint brownies.)
- Autumn Fun – Grab a spice cake mix plus cinnamon baking chips.
- Plain Jane Vanilla – Nothing’s boring about classic vanilla when mixed with dark chocolate chips.
- PB Chocolate – Chocolate cake plus peanut butter chips? Yes, please! Chocolate peanut butter brownies are hard to beat!
- Frosting – Another great option is to stir in all the white chocolate, then top with your favorite cream cheese frosting once cooled.
How to Make Cake Mix Red Velvet Brownies
Line your baking dish with parchment paper, making sure to leave an overhang. This is key to removing the entire pan of brownies for easy slicing. Preheat the oven before beginning.
*Be sure to see the recipe card below for the full ingredients list & instructions!*
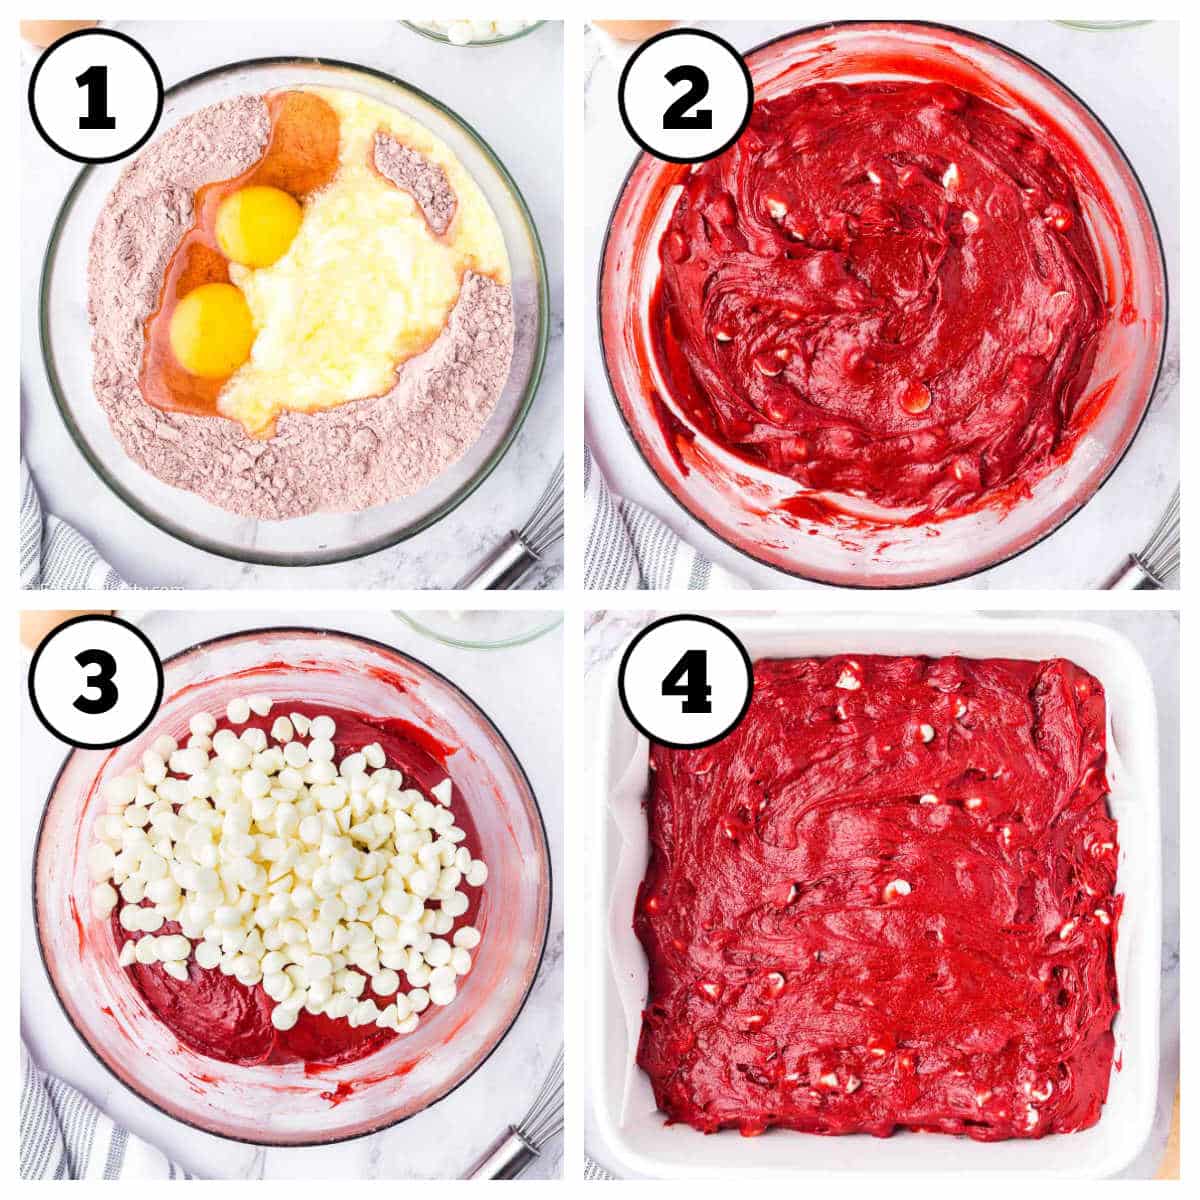
STEP 1. Mix it up. Add all ingredients except the chocolate chips to a large mixing bowl (Image 1).
Tip: Make sure you let your melted butter cool down before adding to the mix. You don’t want it to cook your eggs!
STEP 2. Combine well. Mix well until fully combined. (Image 2). This is a super thick batter and you want it to be smooth and all one color.
STEP 3. Chips and bits. Add in all but a handful of chips and stir to combine (Image 3).
STEP 4. Spread and top. Spread the thick batter in the prepared baking pan and smooth over the top. Add the remaining chips on top (Image 4).
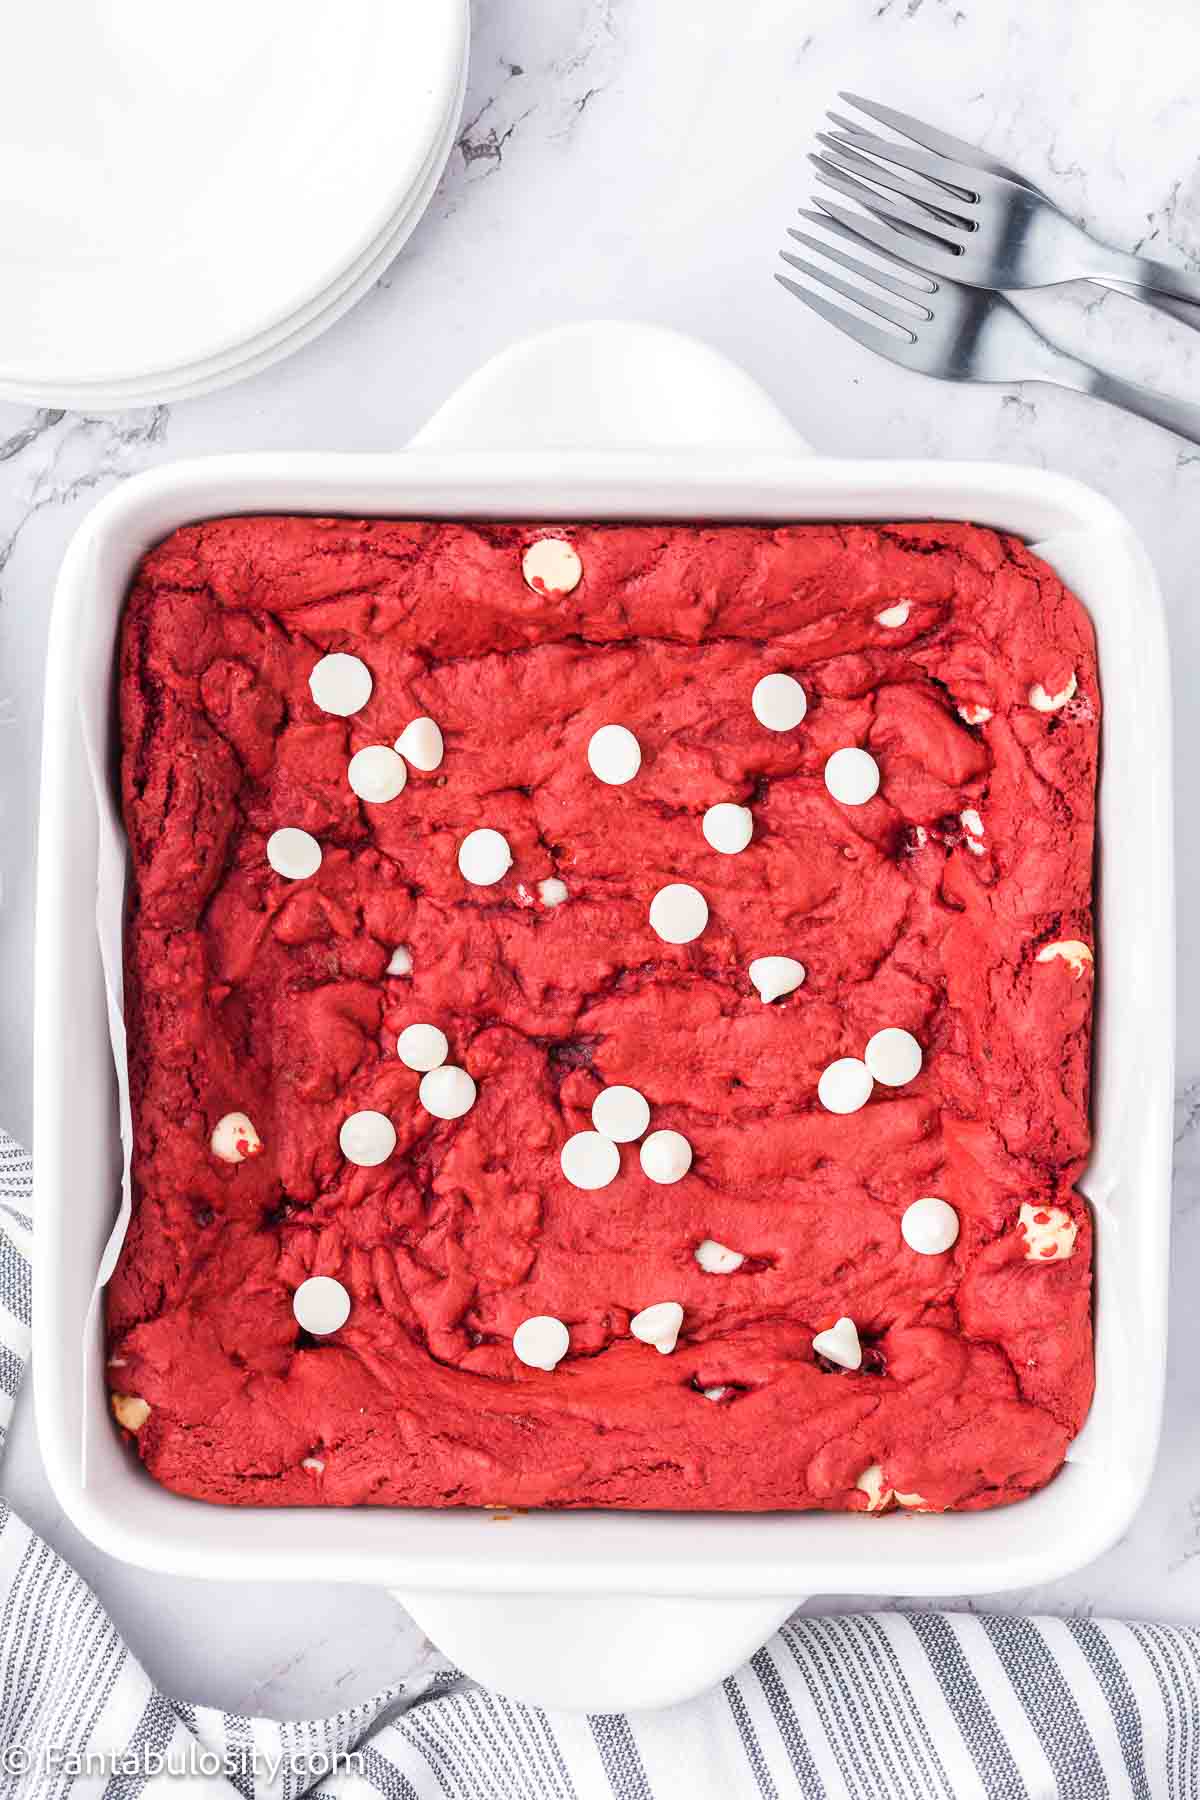
STEP 5. Bake. Bake until the top is no longer shiny and wet. You can check with a thermometer. Let cool before slicing.
Tips for Red Velvet Cake Brownies
- Line your pan. It’s much easier to cut neat brownies outside of the pan – and the best way to achieve that is with a paper sling to lift the brownies out.
- Correct temperature. Make sure your butter and eggs are at room temperature. If the butter is too hot the eggs are in peril and if the eggs are too cold, they don’t mix in as well.
Recipe FAQs
It’s not completely necessary, but it makes for a better presentation. To ensure they won’t stick in the pan, I prefer to line with parchment and leave an overhang to remove the entire baked tray at once. This will make for easier cutting on a cutting board! If you prefer, you can grease the pan really well and slice in the pan.
Dense or fudgy brownies often contain more fat and almost always start with melted butter for proper texture. Some recipes might even add an extra egg yolk to the whole egg. If you prefer lighter brownies that are more like cake, these will generally have a bit more flour than dense brownies, and oftentimes baking powder is added.
Cake mix contains more leavening agents, to ensure the texture is light and fluffy. However, we are using fewer eggs than the box calls for when making cake, which counteracts some of that action. This gives us the best fudgy texture we want!
Storage
- Countertop. Once the red velvet cake brownies have cooled completely, cover the baking dish with plastic wrap or slice the brownies and transfer them to an airtight container. Store them on the counter for up to 4 days.
- Refrigerator. If you want your brownies to last a little longer, allow them to cool to room temperature before slicing them into squares. Transfer the brownies to an airtight container and store them in the fridge for up to 1 week.
- Freezer. Wrap each individual brownie in a layer of plastic wrap followed by a layer of aluminum foil. Seal the brownies in a large Ziplock bag and store them in the freezer for up to 3 months. Allow the brownies to thaw at room temperature before diving in.
Did you know that you can make brownies in the Instant Pot too? It’s true! If you have an Instant Pot, you should give this Instant Pot brownies recipe a try too.
More Boxed Mix Delights
Did you make this? I’d be so grateful if you left a “star” rating below to let me know what you thought! Then, the next time you need a quick and easy recipe, come back to Fantabulosity to browse all of my easy recipes!
Recipe
Red Velvet Cake Brownie Recipe
Ingredients
- 1 box red velvet cake mix
- 2 teaspoons vanilla extract
- 2 eggs room temperature
- ½ cup butter melted and cooled
- 1 ½ cups white chocolate chips
Instructions
- Prep. Preheat the oven to 350 degrees F and line an 8 X 8-inch baking dish with parchment paper. Alternatively, ditch the parchment paper and opt for non-stick cooking spray instead.
- Make the batter. Mix together the cake mix, vanilla, eggs, and butter. Once that’s combined well and smooth. fold in all but a handful of the white chocolate chips. The batter will be thick.
- Bake. Smooth the batter into the prepared baking dish. The batter is very thick so you'll need to smooth it out to the corners and then smooth the top. Bake it uncovered for 25 minutes.
- Check to make sure it's done with a thermometer inserted into the center of the dish, if it has reached 165 degrees f they are baked! If you like your brownies a bit more done you can bake another 5 minutes. Once out of the oven, while still hot, sprinkle the remaining hand full of white chocolate chips over the top.
- Cool. Allow the brownies to cool in the baking dish before slicing and serving.
Notes
- Always line your pan for easy removal!
- Make sure your eggs are room temp for easy mixing.
Nutrition
Nutritional information is based on third-party calculations and should be considered estimates. Actual nutritional content will vary with brands used, measuring methods, portion sizes and more.


Sha says
These red velvet brownies are vibrant and stunning! They gave color to our dessert table! Plus, they are flavorful and chewy.
Samantha says
I needed a quick dessert to take up to our school so when I found a box of red velvet cake mix in my pantry, I knew I had to try these brownies. They were so easy to make a huge hit with my son’s teachers!
Toni says
This is impossible to resist! Everyone at my house loved it! Thanks for sharing the recipe!