
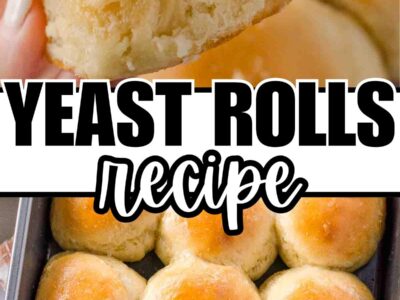
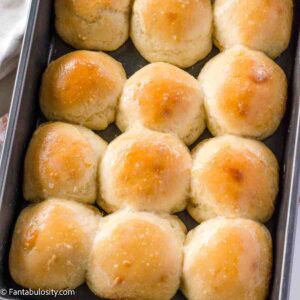
This yeast rolls recipe is one of my favorites because it's straight from my mom's kitchen. They’re soft, buttery rolls that are ready in about an hour. No fancy equipment, no all-day proofing…just simple ingredients and a little bit of love.
There's just something special about baking homemade bread in the oven, isn't there? The smell alone feels like a hug from home. If you've ever been intimidated by yeast dough, don't worry. This version is beginner-friendly and nearly foolproof, even if you've never baked homemade rolls before.
Mom’s Roll Recipe
My mom has been making this yeast roll recipe for years, and come to find out, it was my grandma’s recipe too! So it’s only natural to carry on the tradition in my own home, right? When my mom came to visit a few months ago, she taught me how to make these, and I made sure to get it on video so I could refer back to it to help me know how to make a successful homemade roll recipe. Now, I share that video with you, too! (See below.)
Why You'll Love This Yeast Rolls Recipe
- Quick and easy - from start to finish, these rolls are ready in about an hour.
- Perfect for beginners - no mixer or complicated steps.
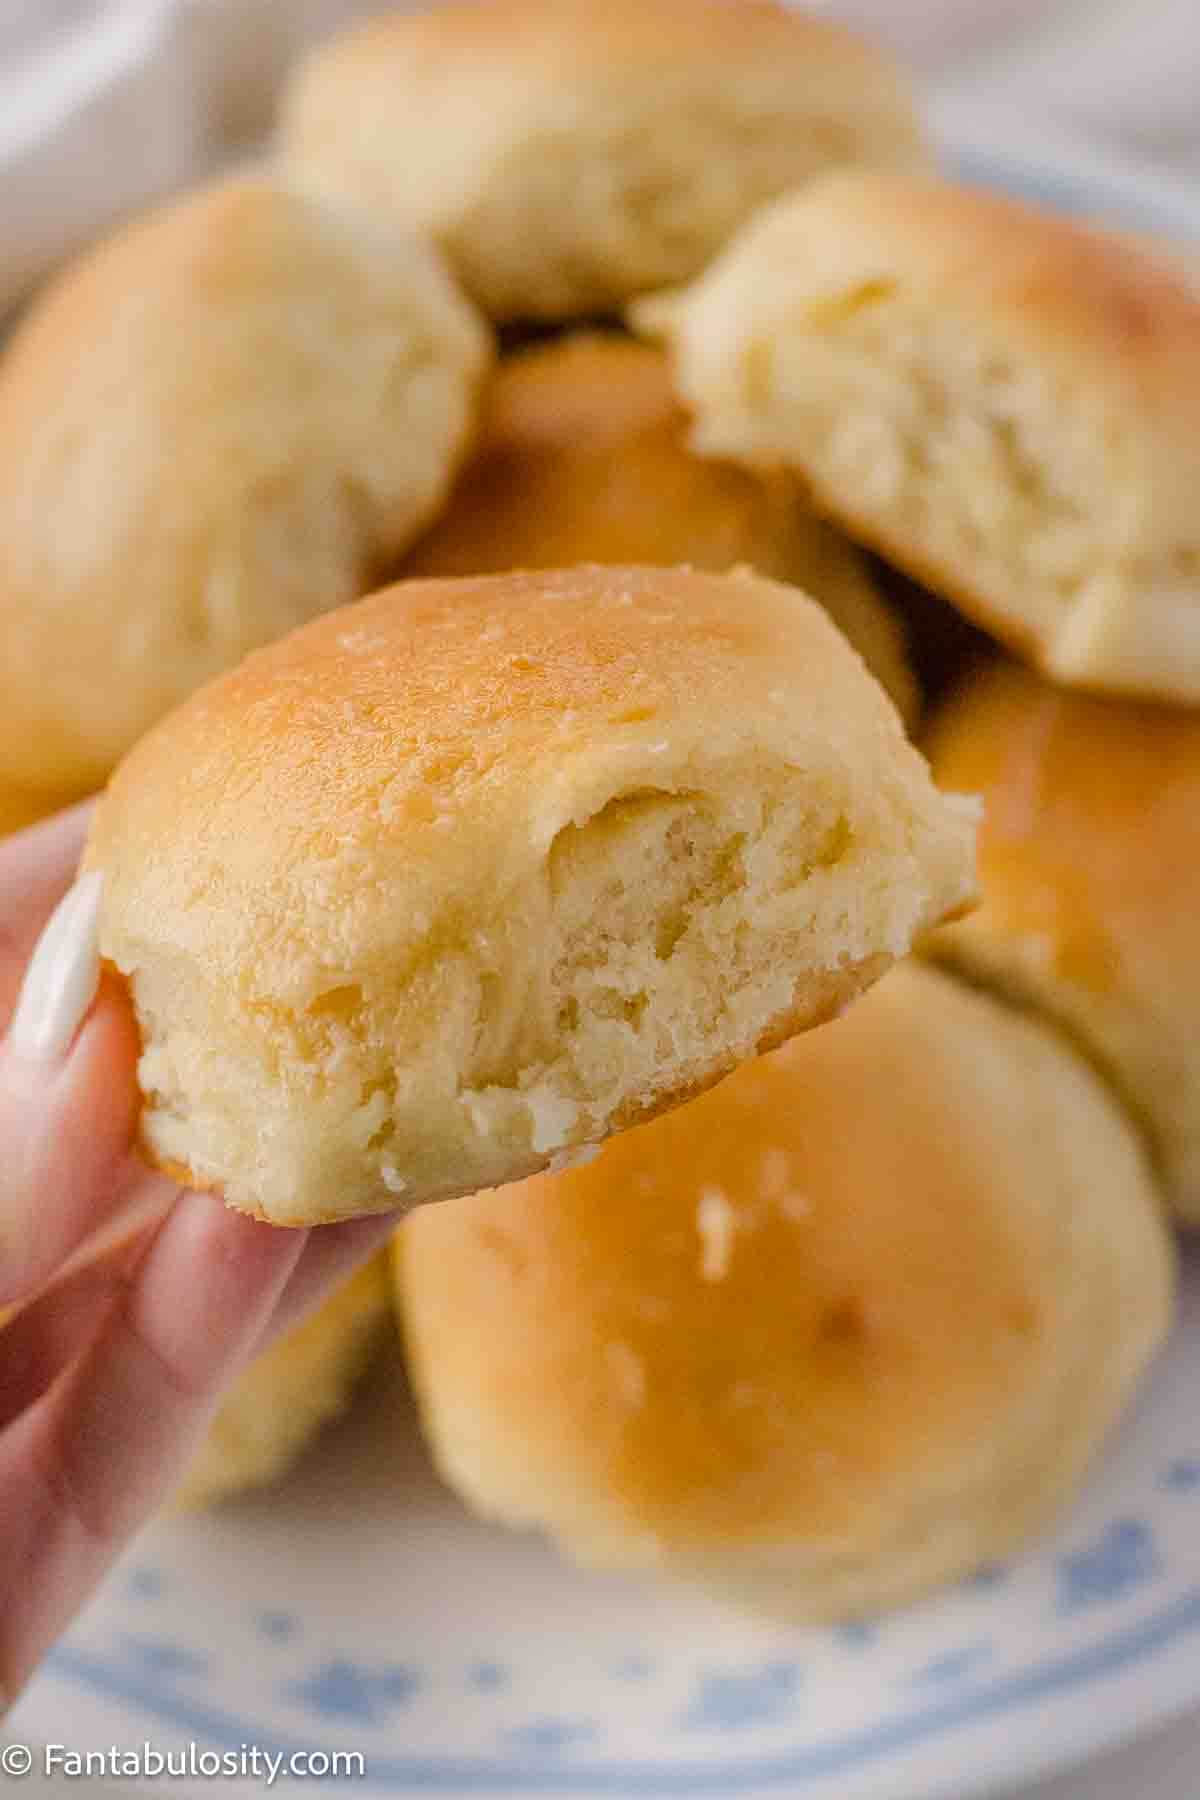
- Soft and fluffy - a tender crumb that melts in your mouth.
- Versatile - perfect for holidays, weeknight dinners, or sandwich sliders.
Ingredients (with Notes)
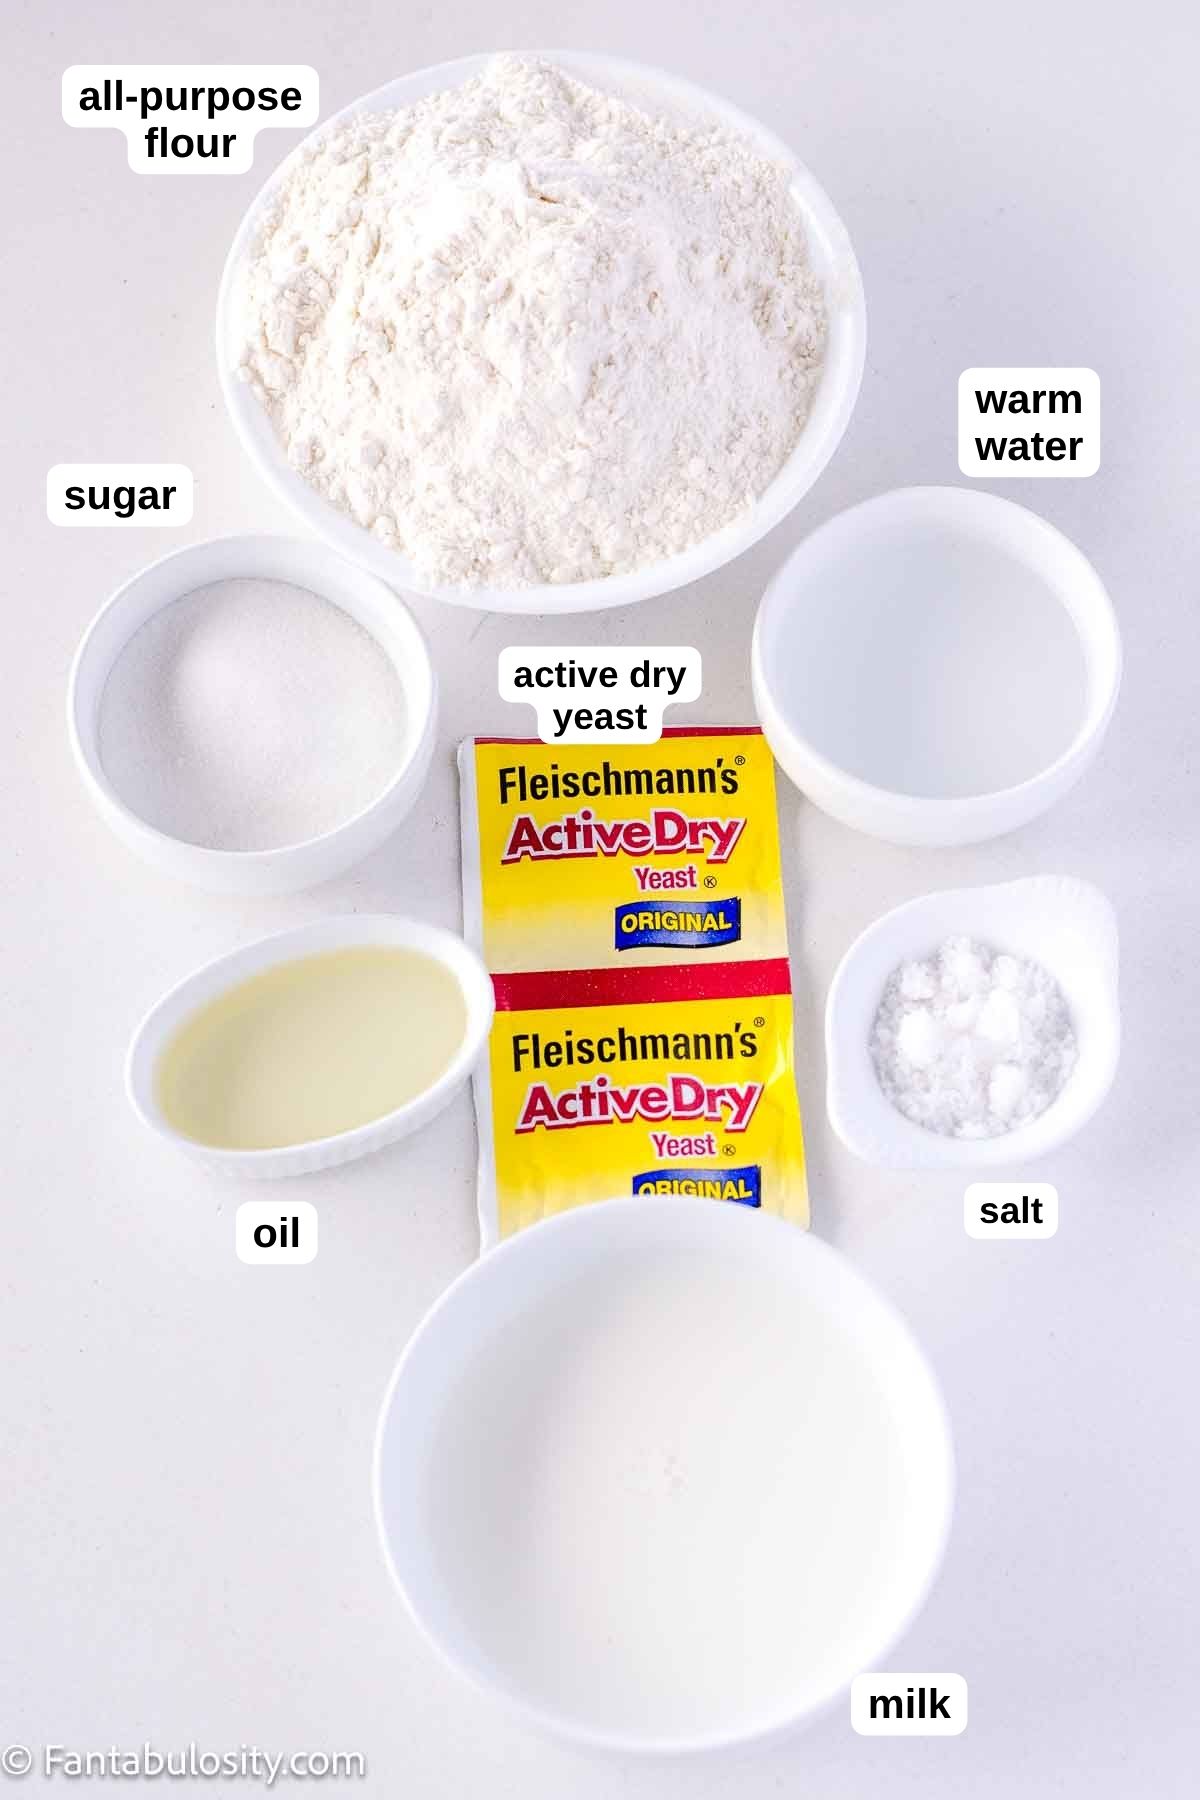
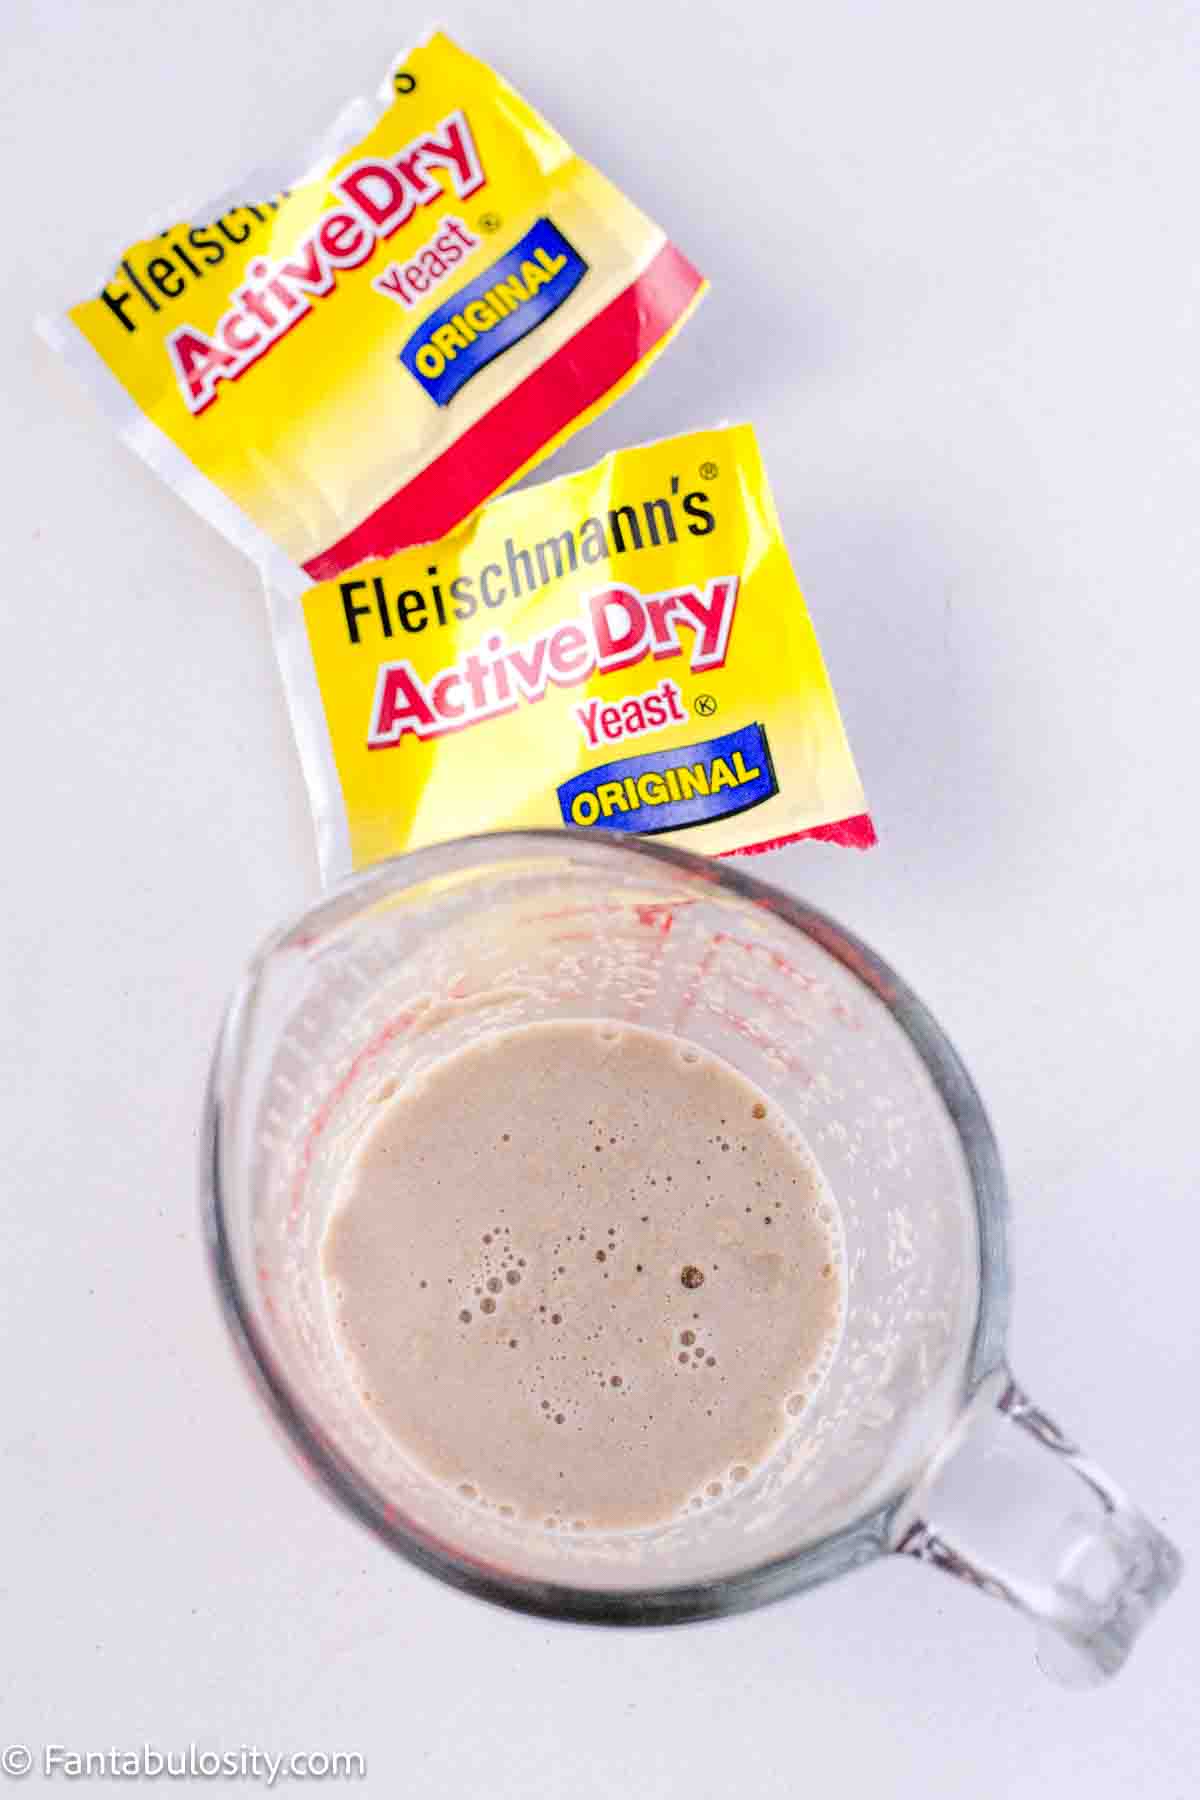
- 2 packets active dry yeast - The star of the show. Make sure your yeast is fresh for the best rise.
- ¼ cup warm water (105-115°F) - Warm, not hot, to activate the yeast.
- 3½ cups all-purpose flour - Start with 3 cups, then add more as needed.
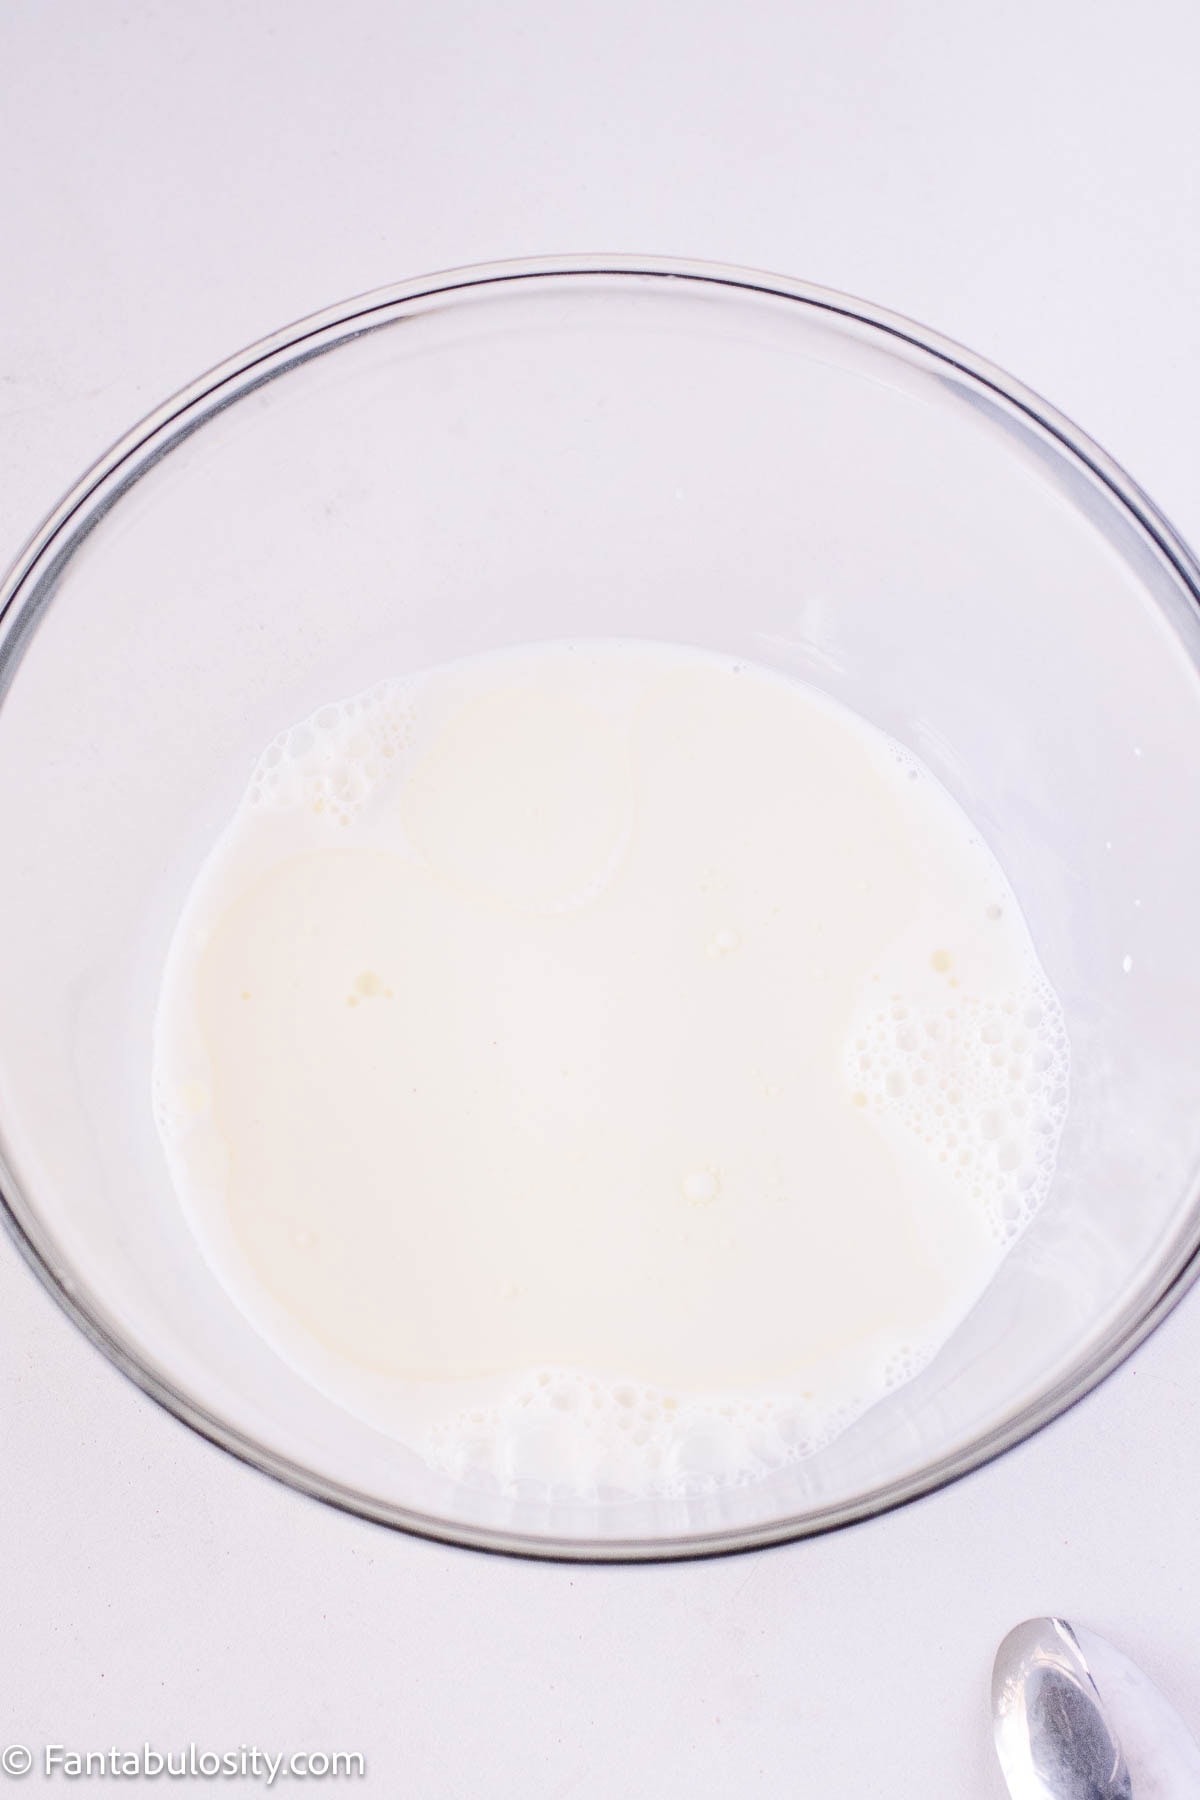
- 1¼ cups milk - Adds richness and softness. Whole milk works best.
- 3 tablespoons sugar - A touch of sweetness that also feeds the yeast.
- 2 tablespoons vegetable oil - Keeps the rolls moist and tender.
- 2 teaspoons salt - Balances flavor.
Instructions
- Activate the yeast
Stir the yeast into warm water (around 105-115°F) and let it sit for about 5 minutes, until foamy.
- Warm the milk mixture
In a large bowl (glass or crock), combine the milk, sugar, oil, and salt. Microwave until warm - again, around 105-115°F - then stir until the sugar is dissolved.
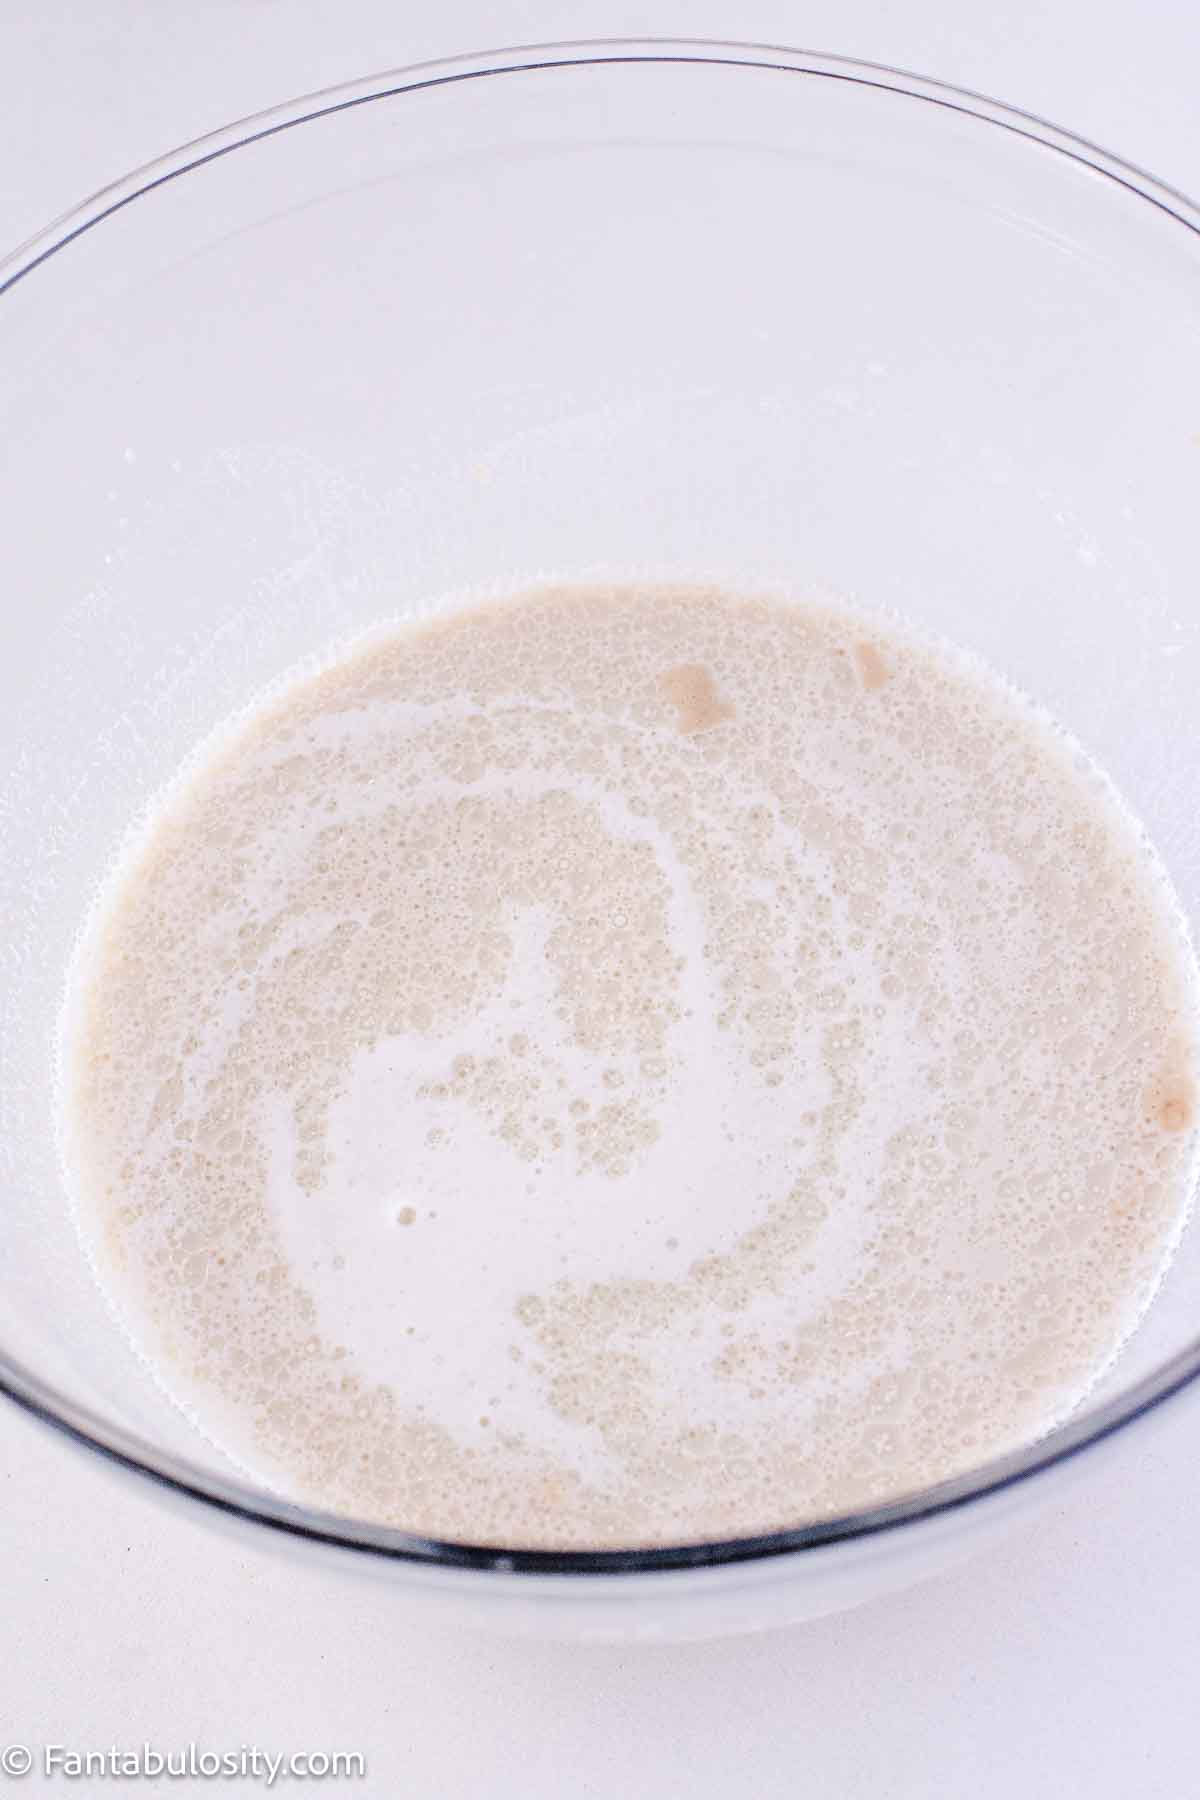
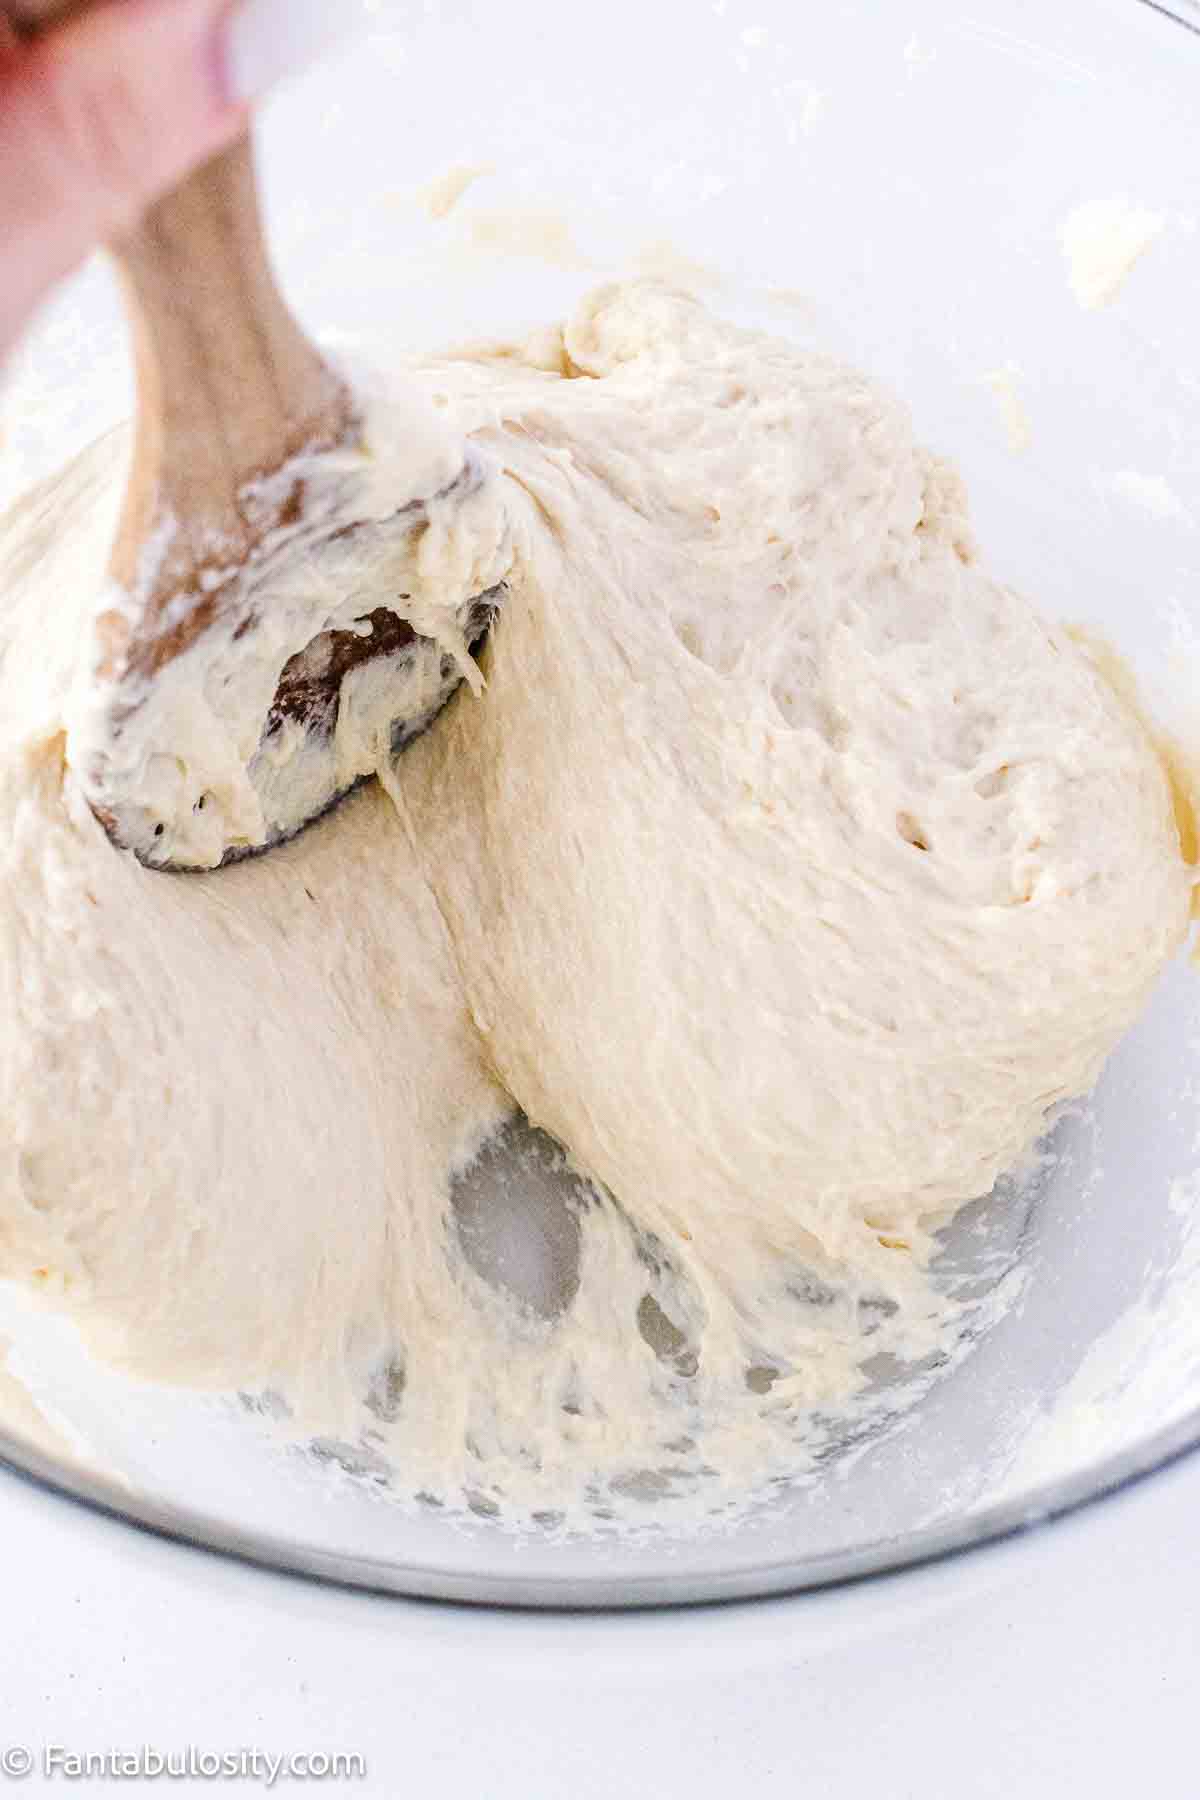
- Combine the yeast and milk mixtures
Pour the softened yeast into the milk mixture and stir to combine.
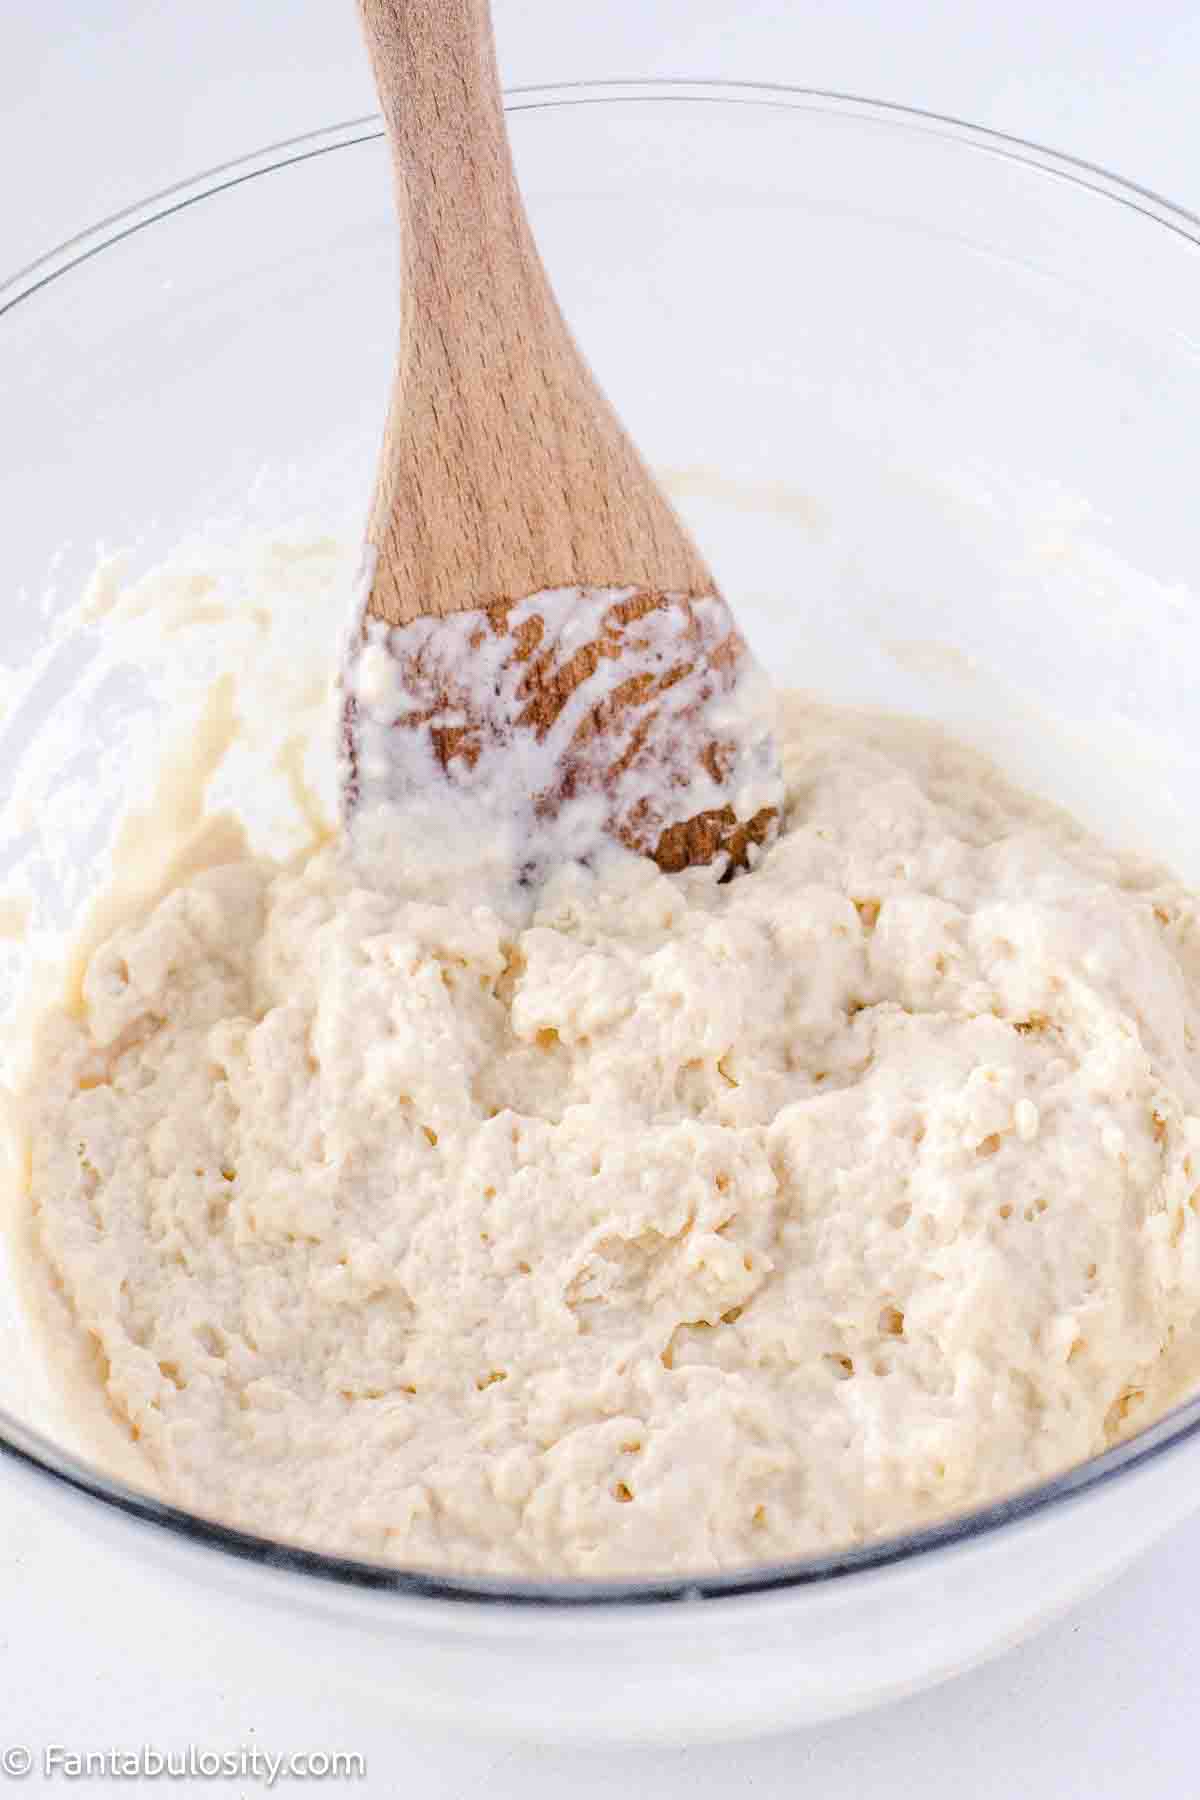
- Add the flour
Stir in 3 cups of flour until fully incorporated. Let the dough rest for 15 minutes because this gives it a head start in rising.
- Prepare your pan
While the dough rests, grease a 9×13 baking dish or pan with shortening, butter, or oil. - Form the dough
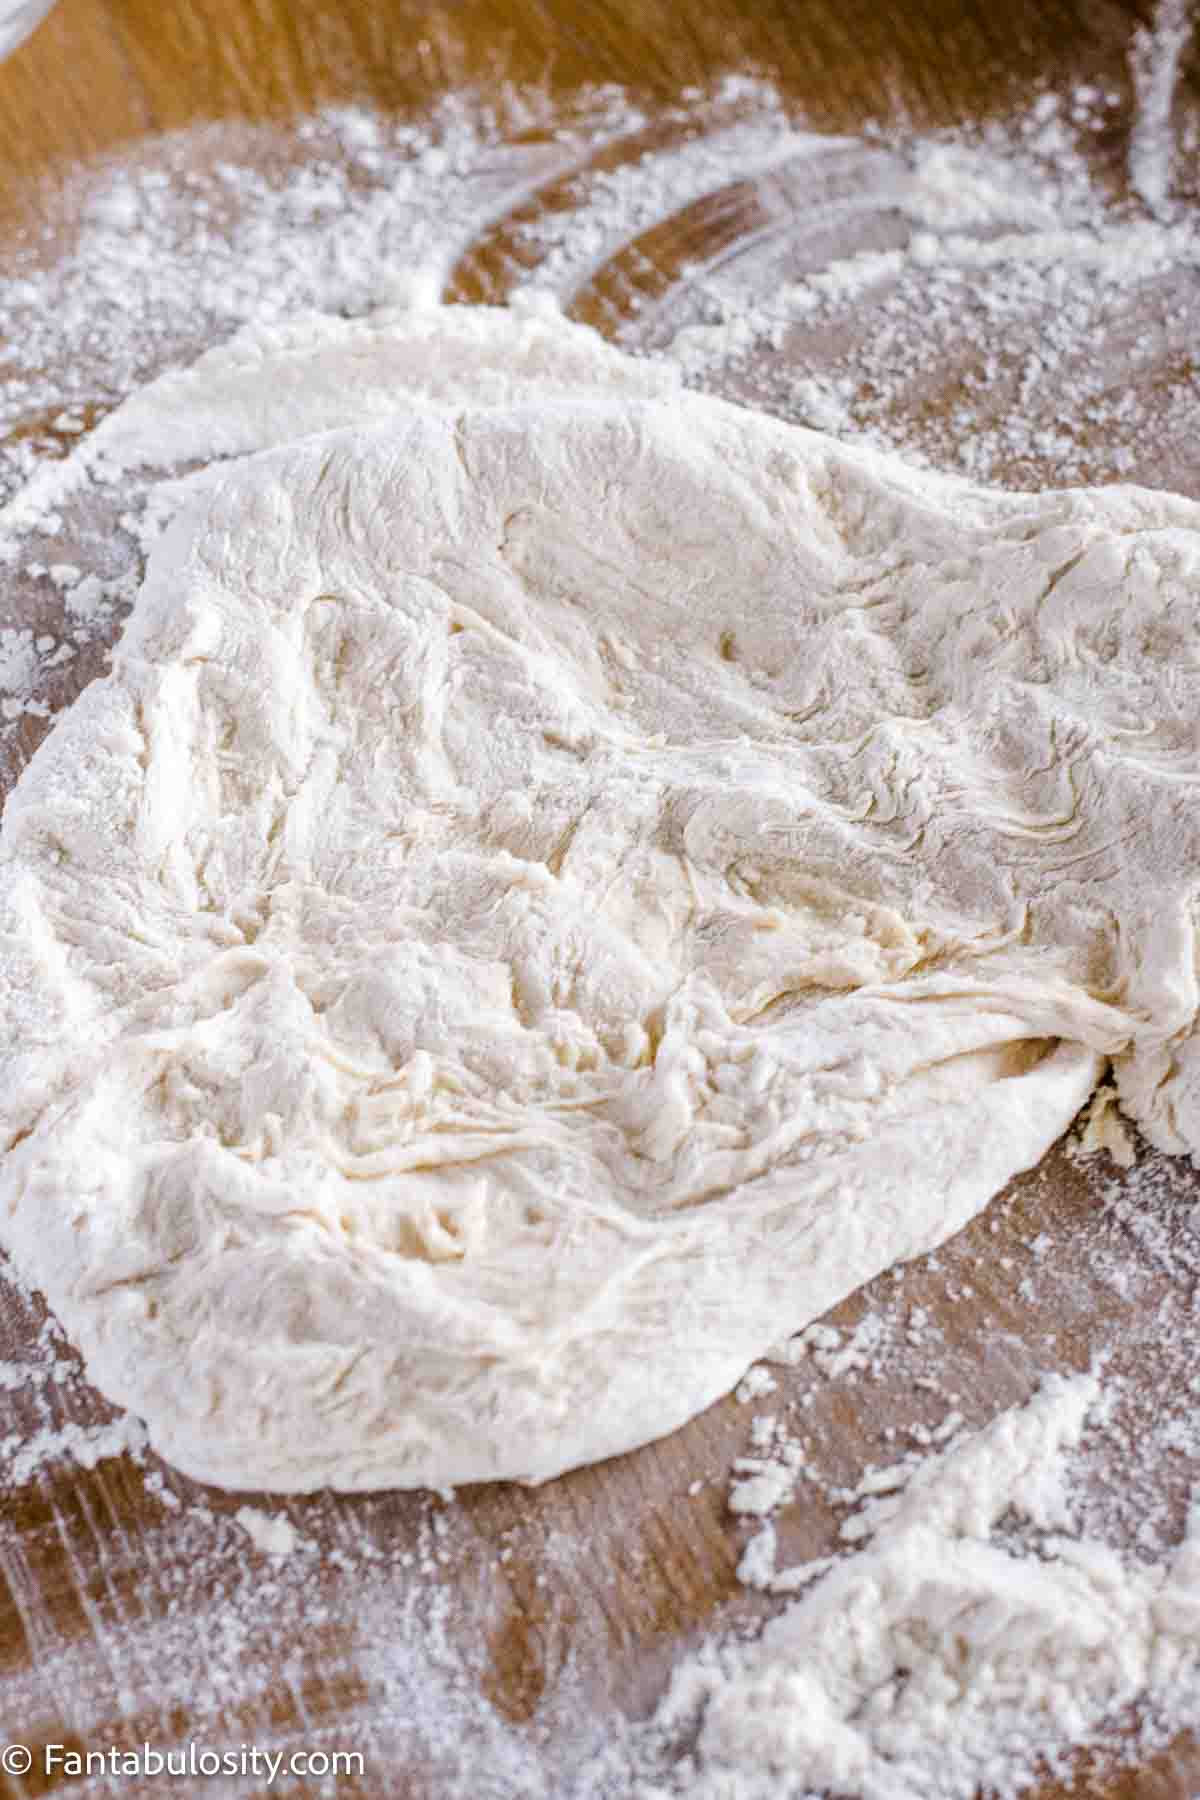
Gradually add a little more flour, a little at a time, until the dough comes together and pulls away from the sides of the bowl. You may not need the full amount. You can use the remaining amount for flouring your surface in next step.
- Knead
Turn the dough out onto a floured surface and knead (work the dough with your hands) for about 3-5 minutes, until it's smooth and soft (but not sticky).
- Shape the rolls
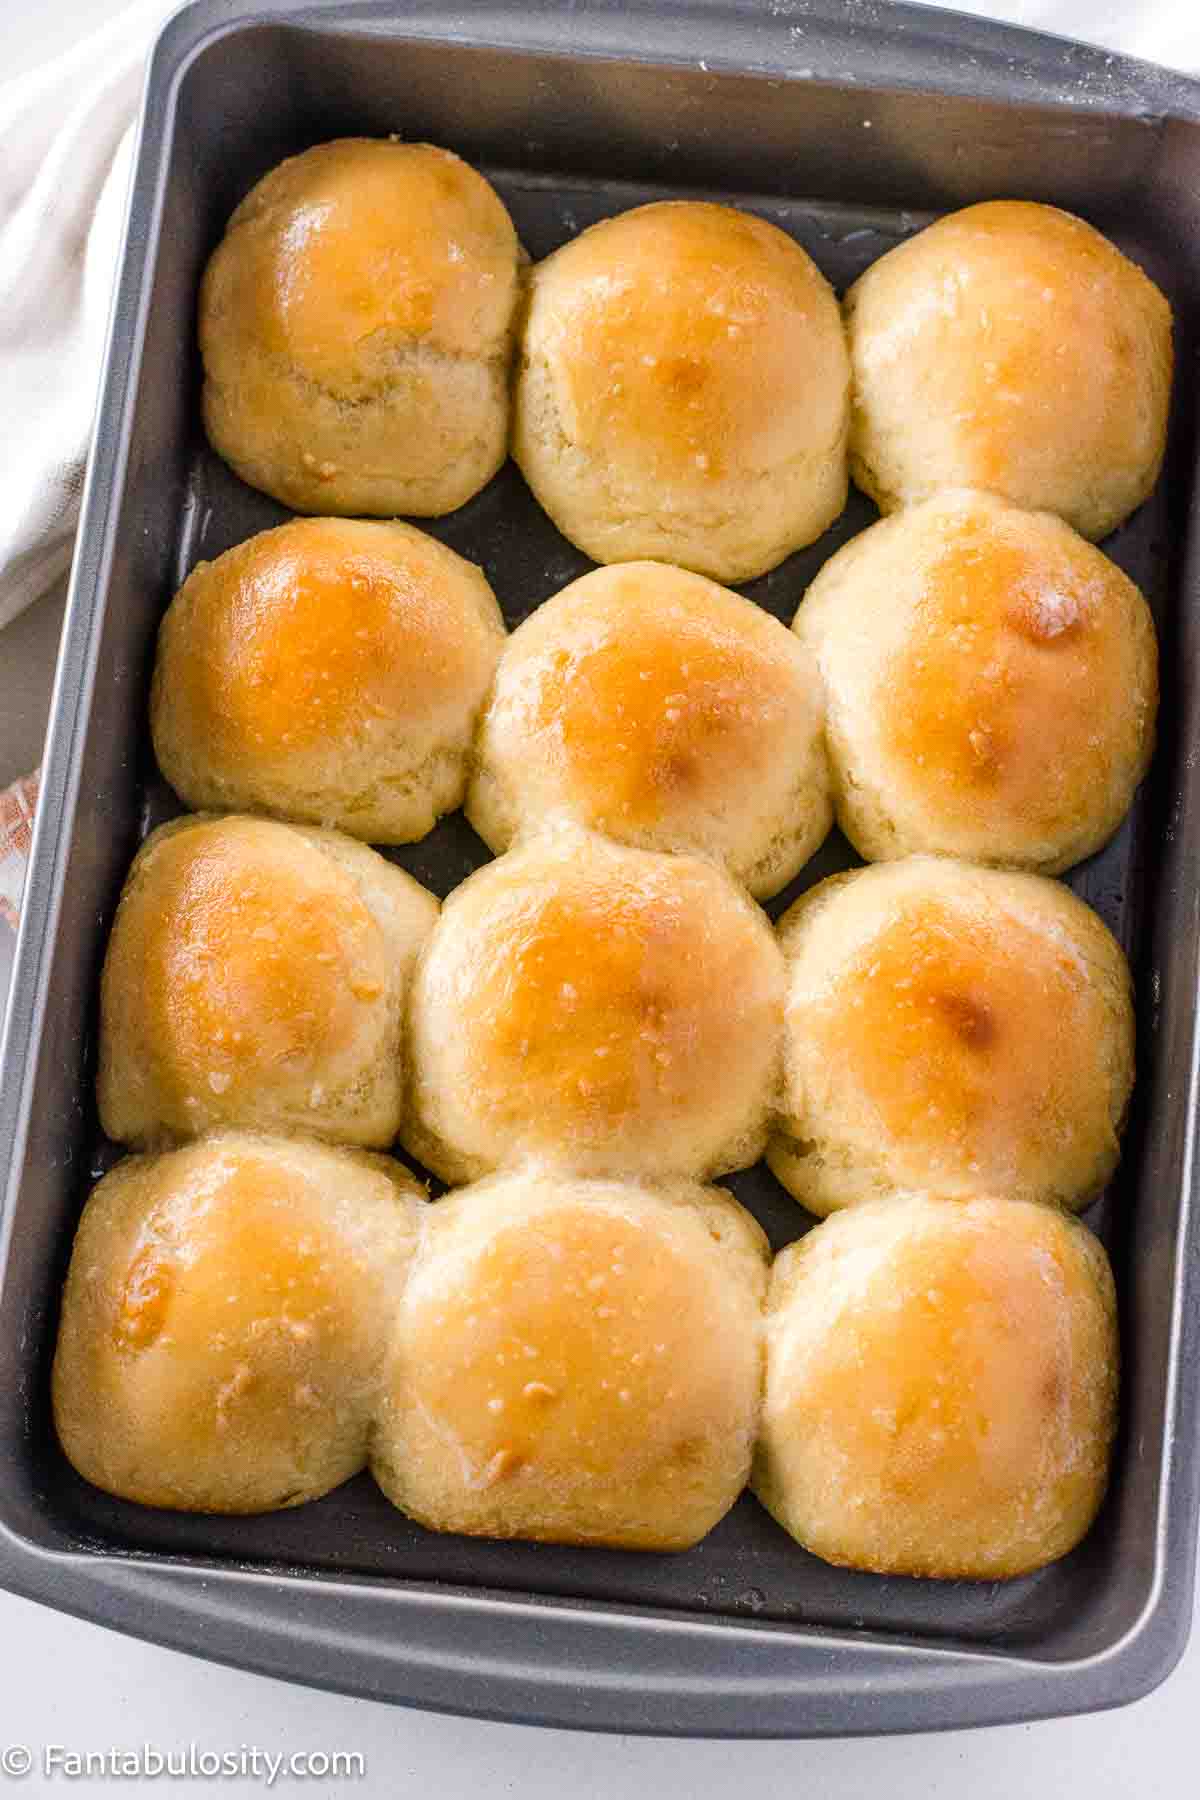
Pinch off pieces of dough and roll them into smooth balls, about 3 inches across. Arrange them in the greased pan.
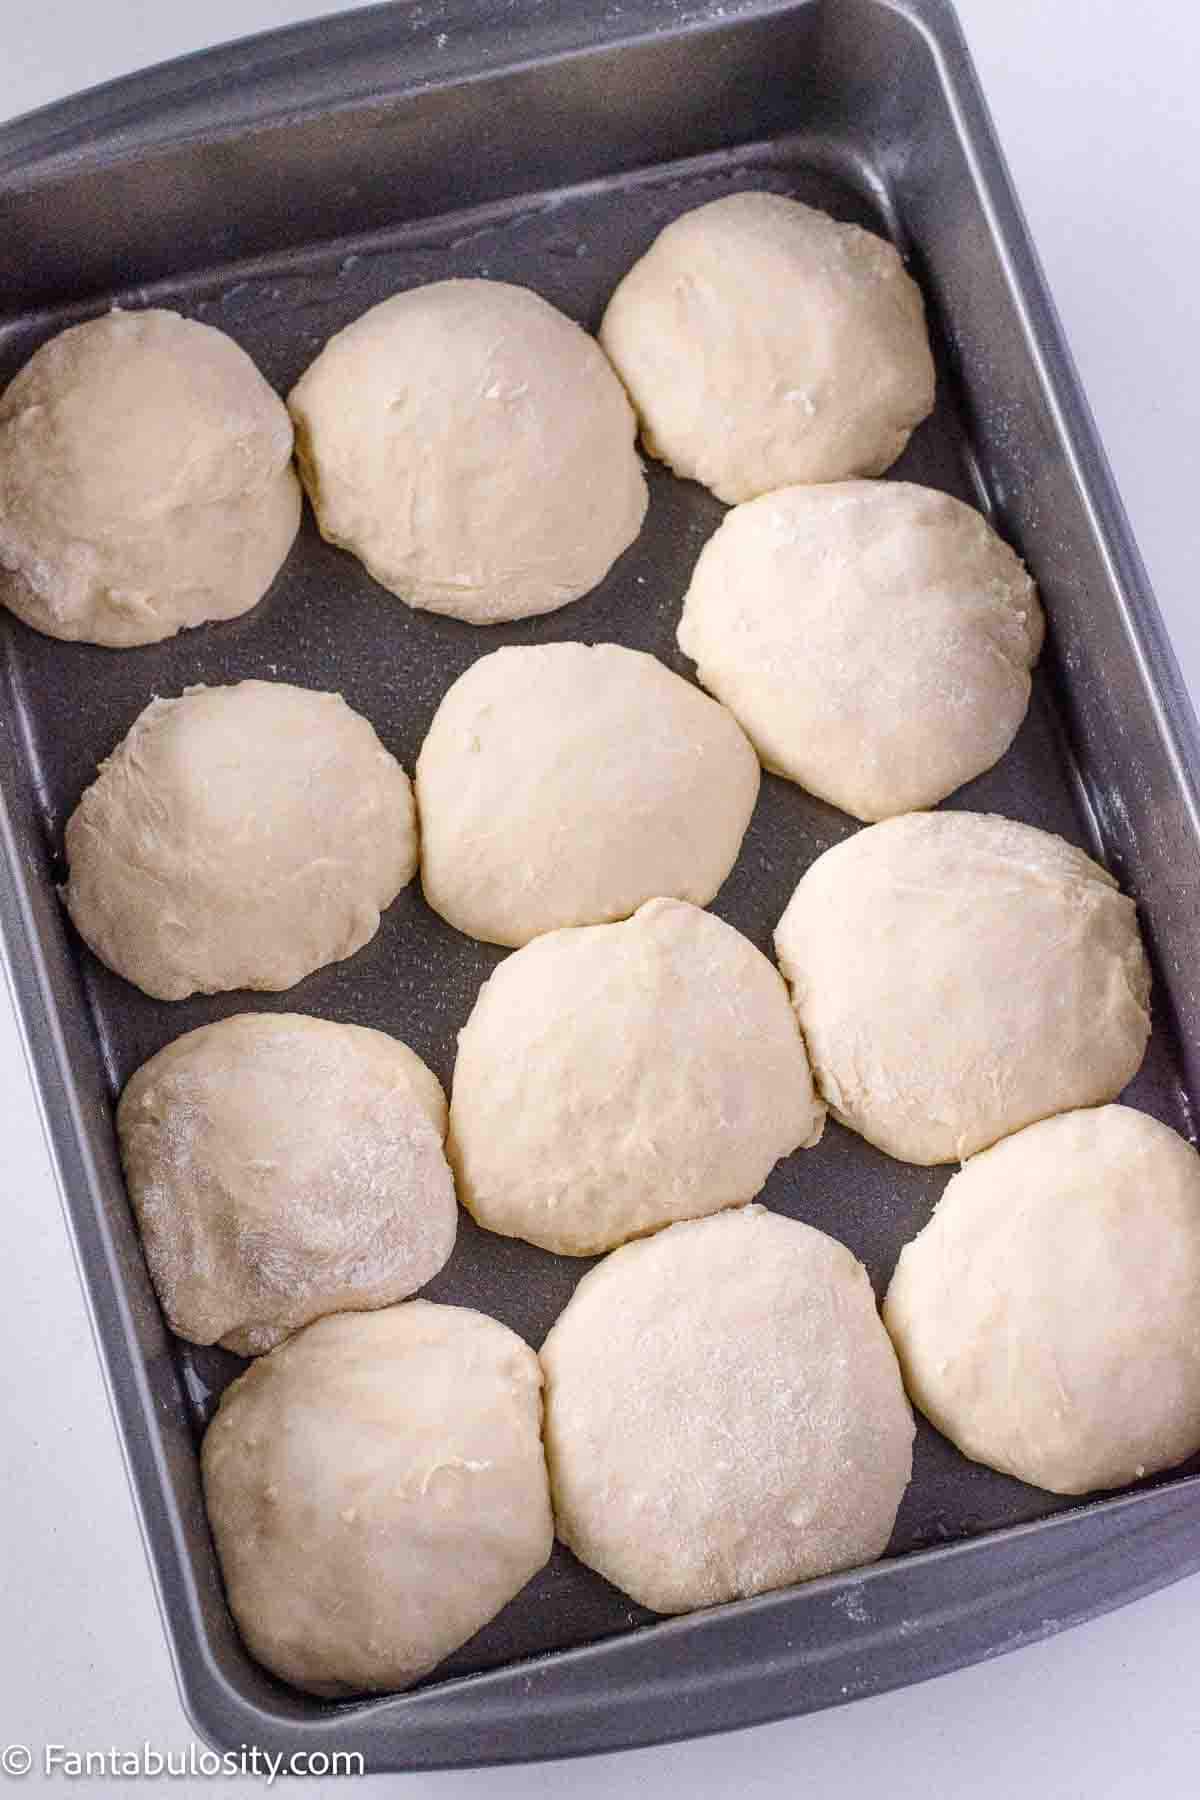
- Let rise
Let the rolls sit for 15-20 minutes while you preheat your oven to 375°F.
(I will usually try to place these somewhere warmer if possible, such as on top of the oven while it preheats.) - Bake
Bake for 18-20 minutes, uncovered until golden brown. If they brown too quickly, cover loosely with foil.
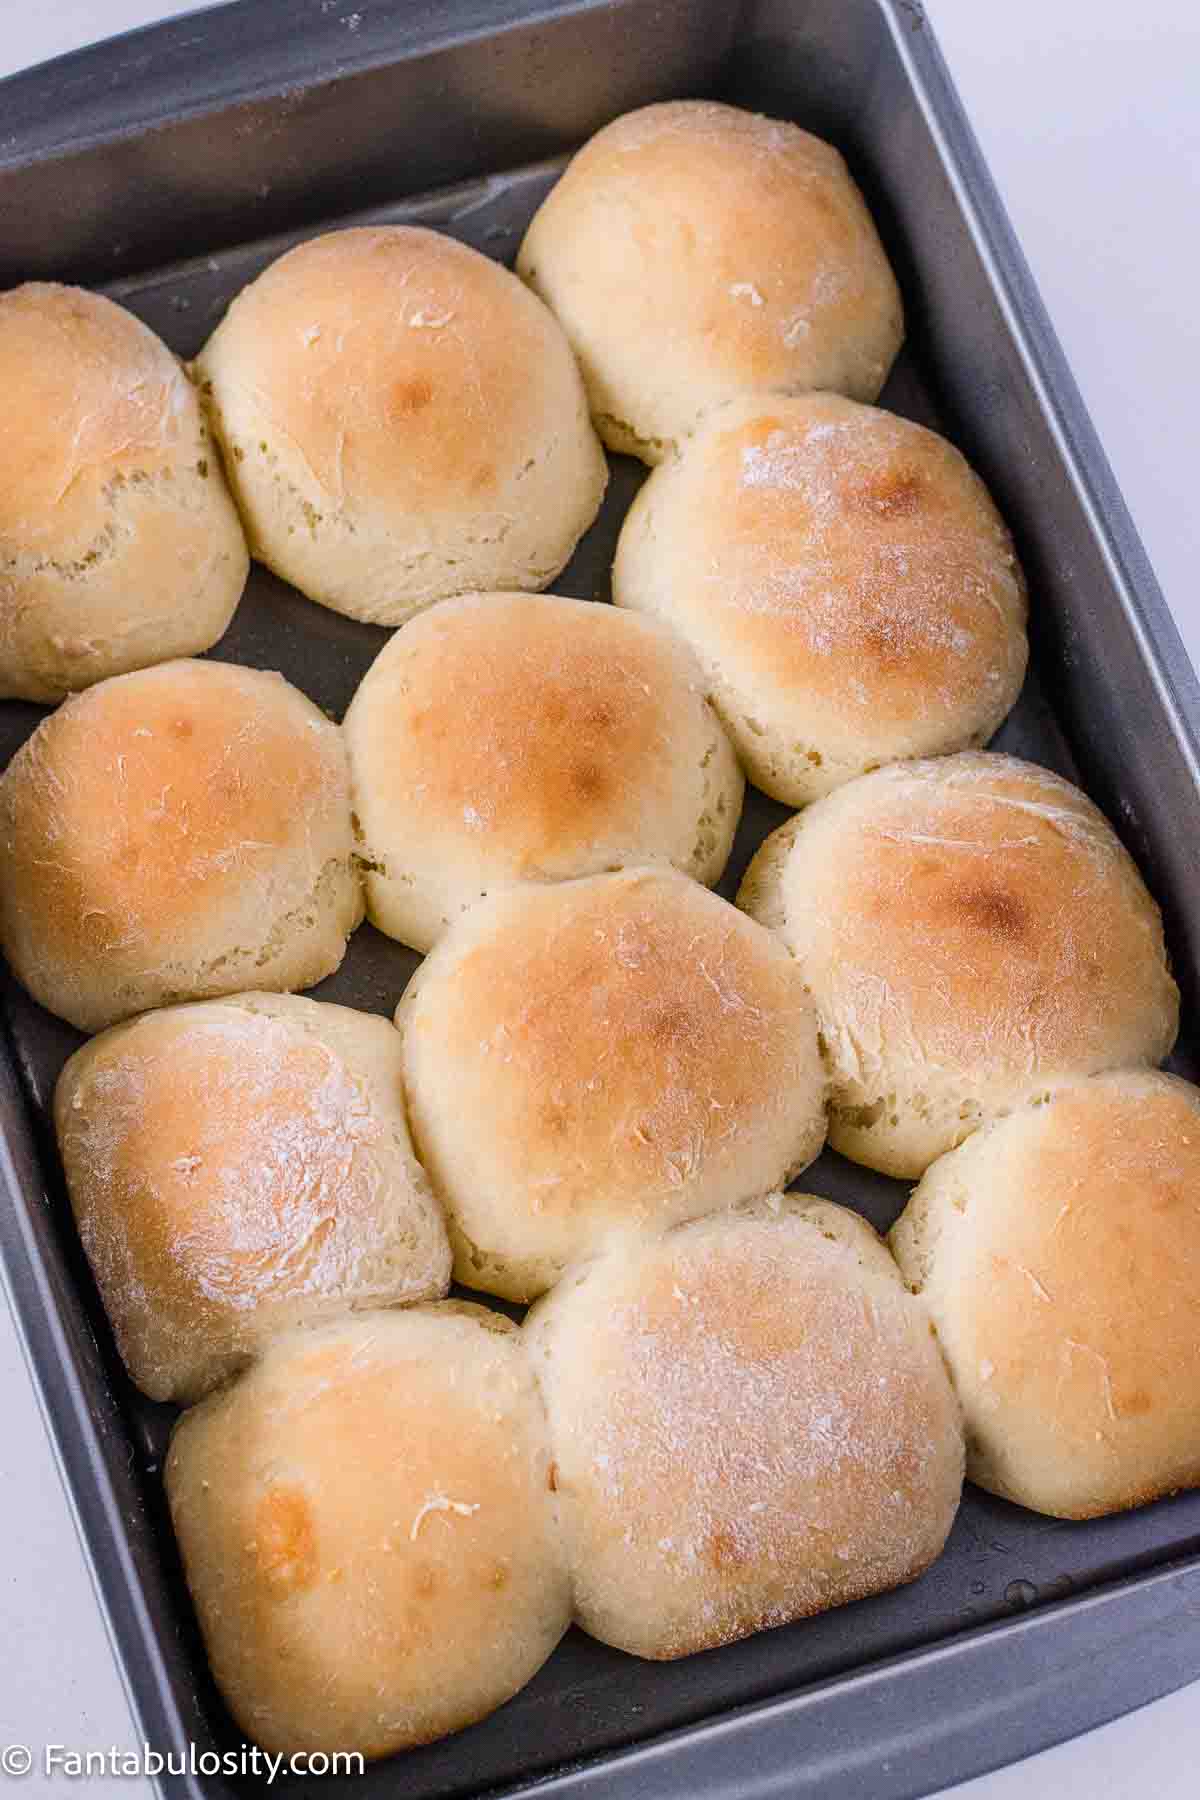
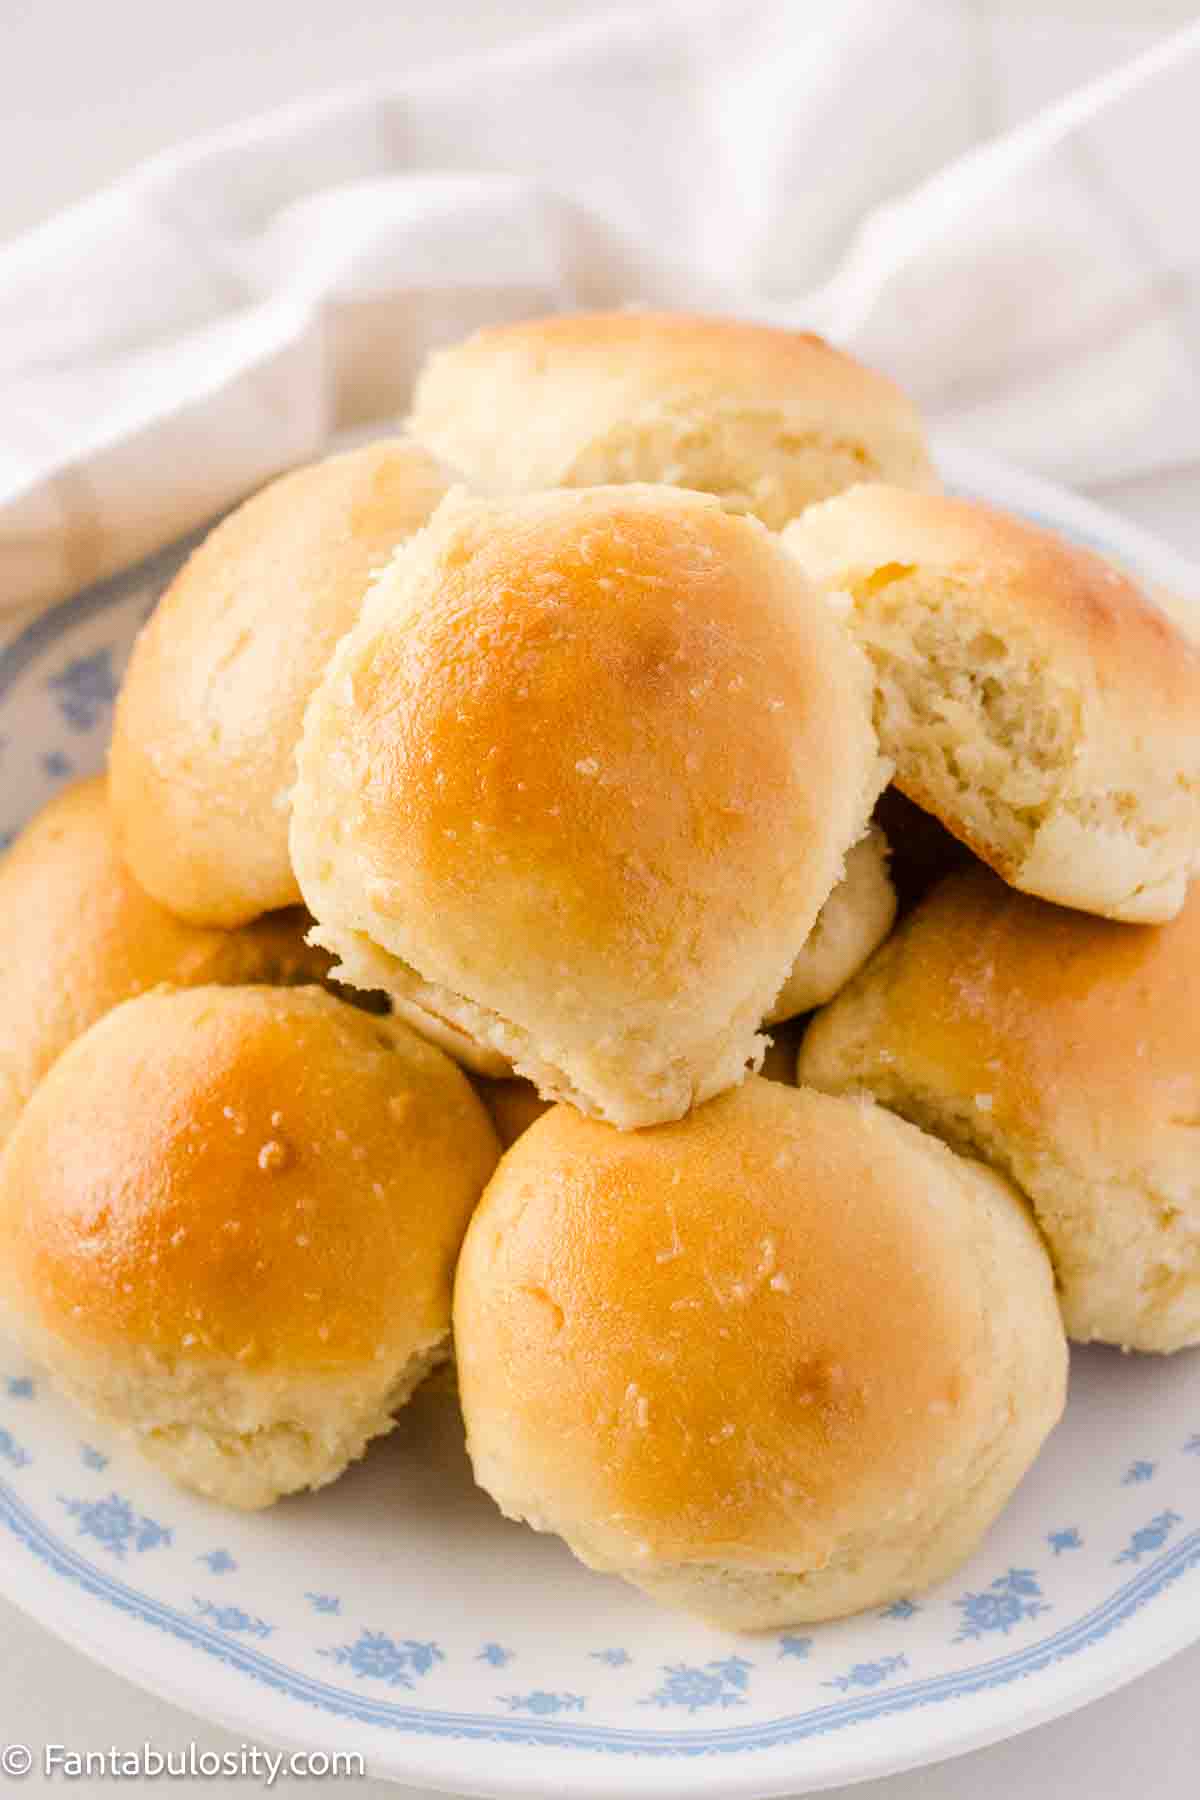
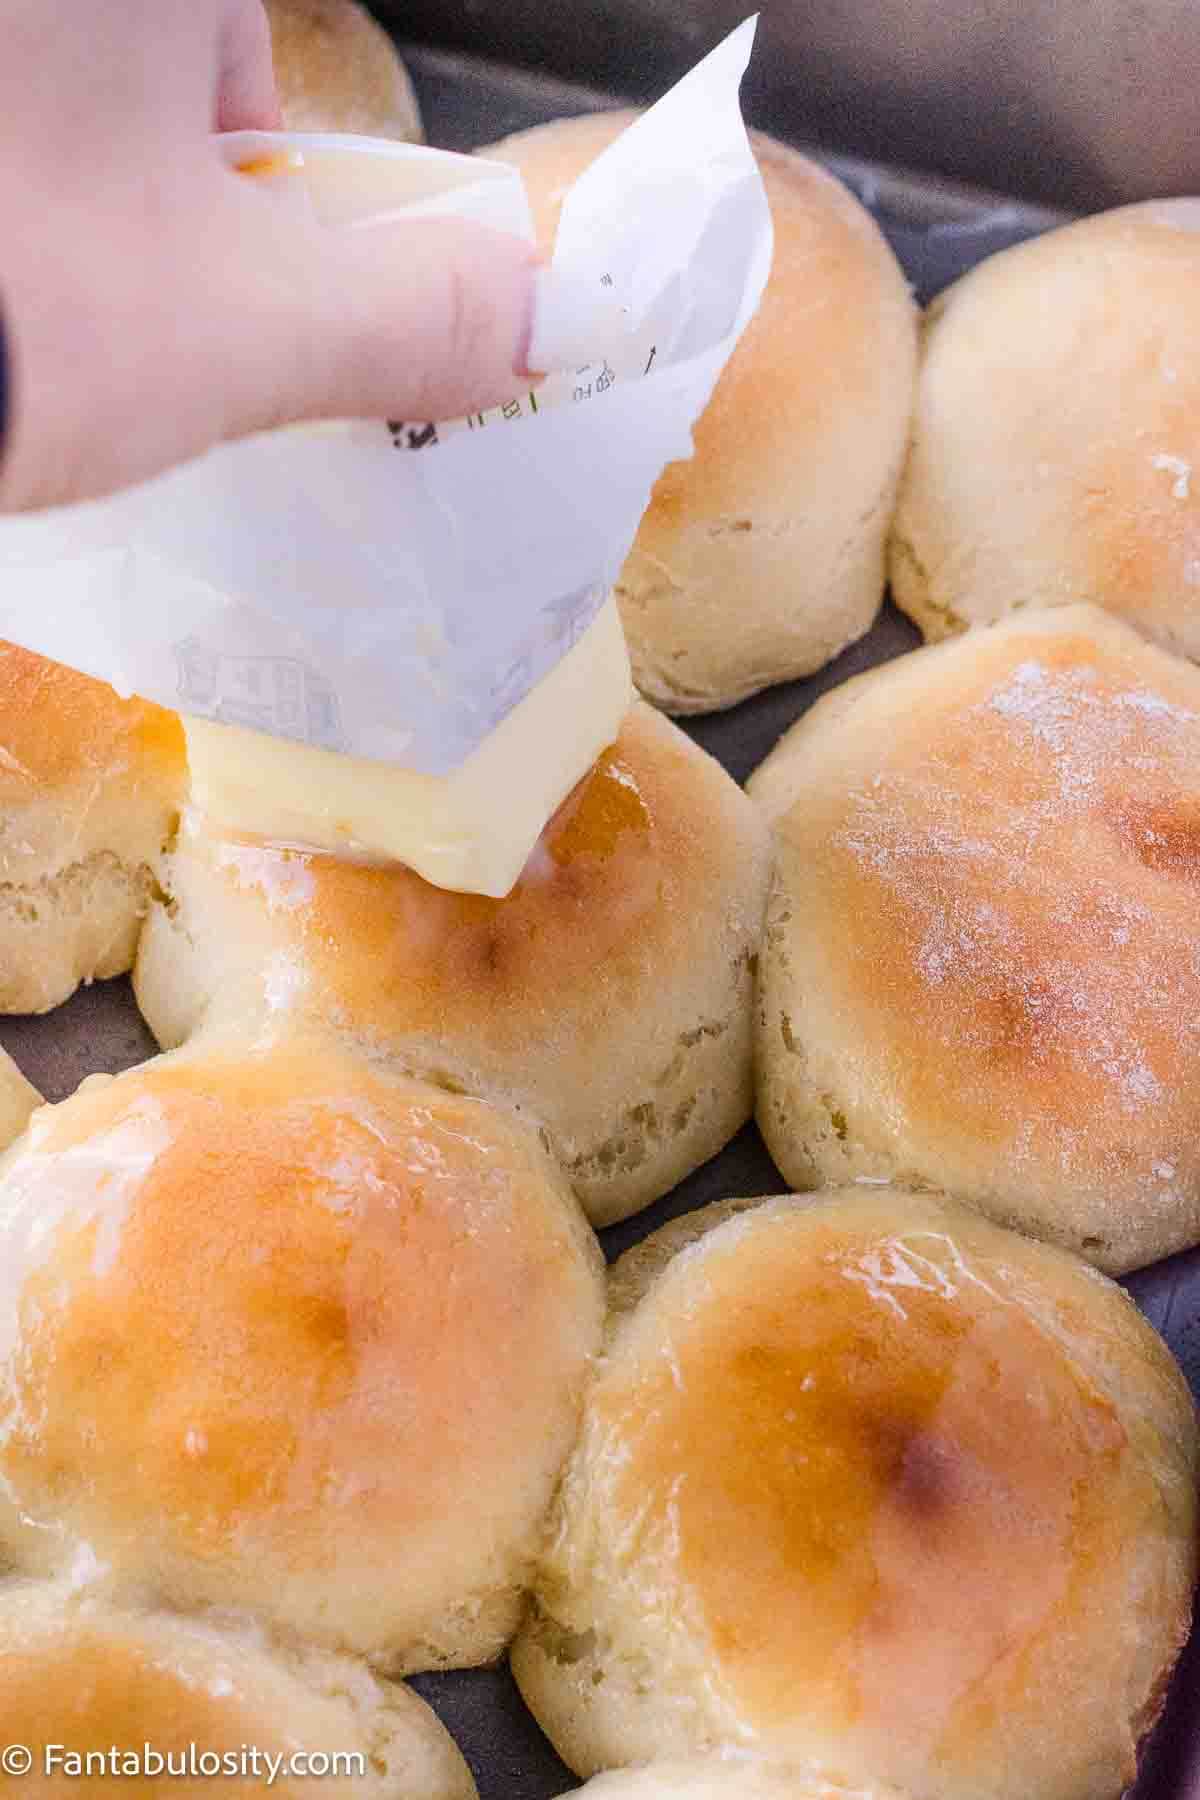
- Finish with butter – Optional
Remove from oven and brush or spread the tops of warm rolls with butter if you’d like. You can also sprinkle Maldon salt on top, which takes these up a whole notch!
Tips for Success
- Check your yeast freshness. If it doesn't foam in the warm water, it may be expired.
- Don't over-flour. Add just enough flour so the dough pulls away from the bowl but stays soft.
- Let the dough rest in a warm, draft-free spot.
- For extra flavor, brush with honey butter or add a sprinkle of garlic powder before baking.
FAQs
Yes. You can make and shape the rolls a few hours ahead, cover them tightly, and refrigerate until ready to bake. Let them come to room temperature before baking though.
Absolutely. Once baked and cooled, wrap the rolls tightly and freeze for up to two months. Reheat in a 300°F oven for about 10 minutes.
Most often, dense rolls mean too much flour was added or the dough didn't have enough time to rest and rise.
Serving Ideas
These homemade yeast rolls are perfect with:
- Sunday dinner roasts or any of my easy soup recipes
- Thanksgiving or Christmas meals
- Ham sliders or turkey sliders
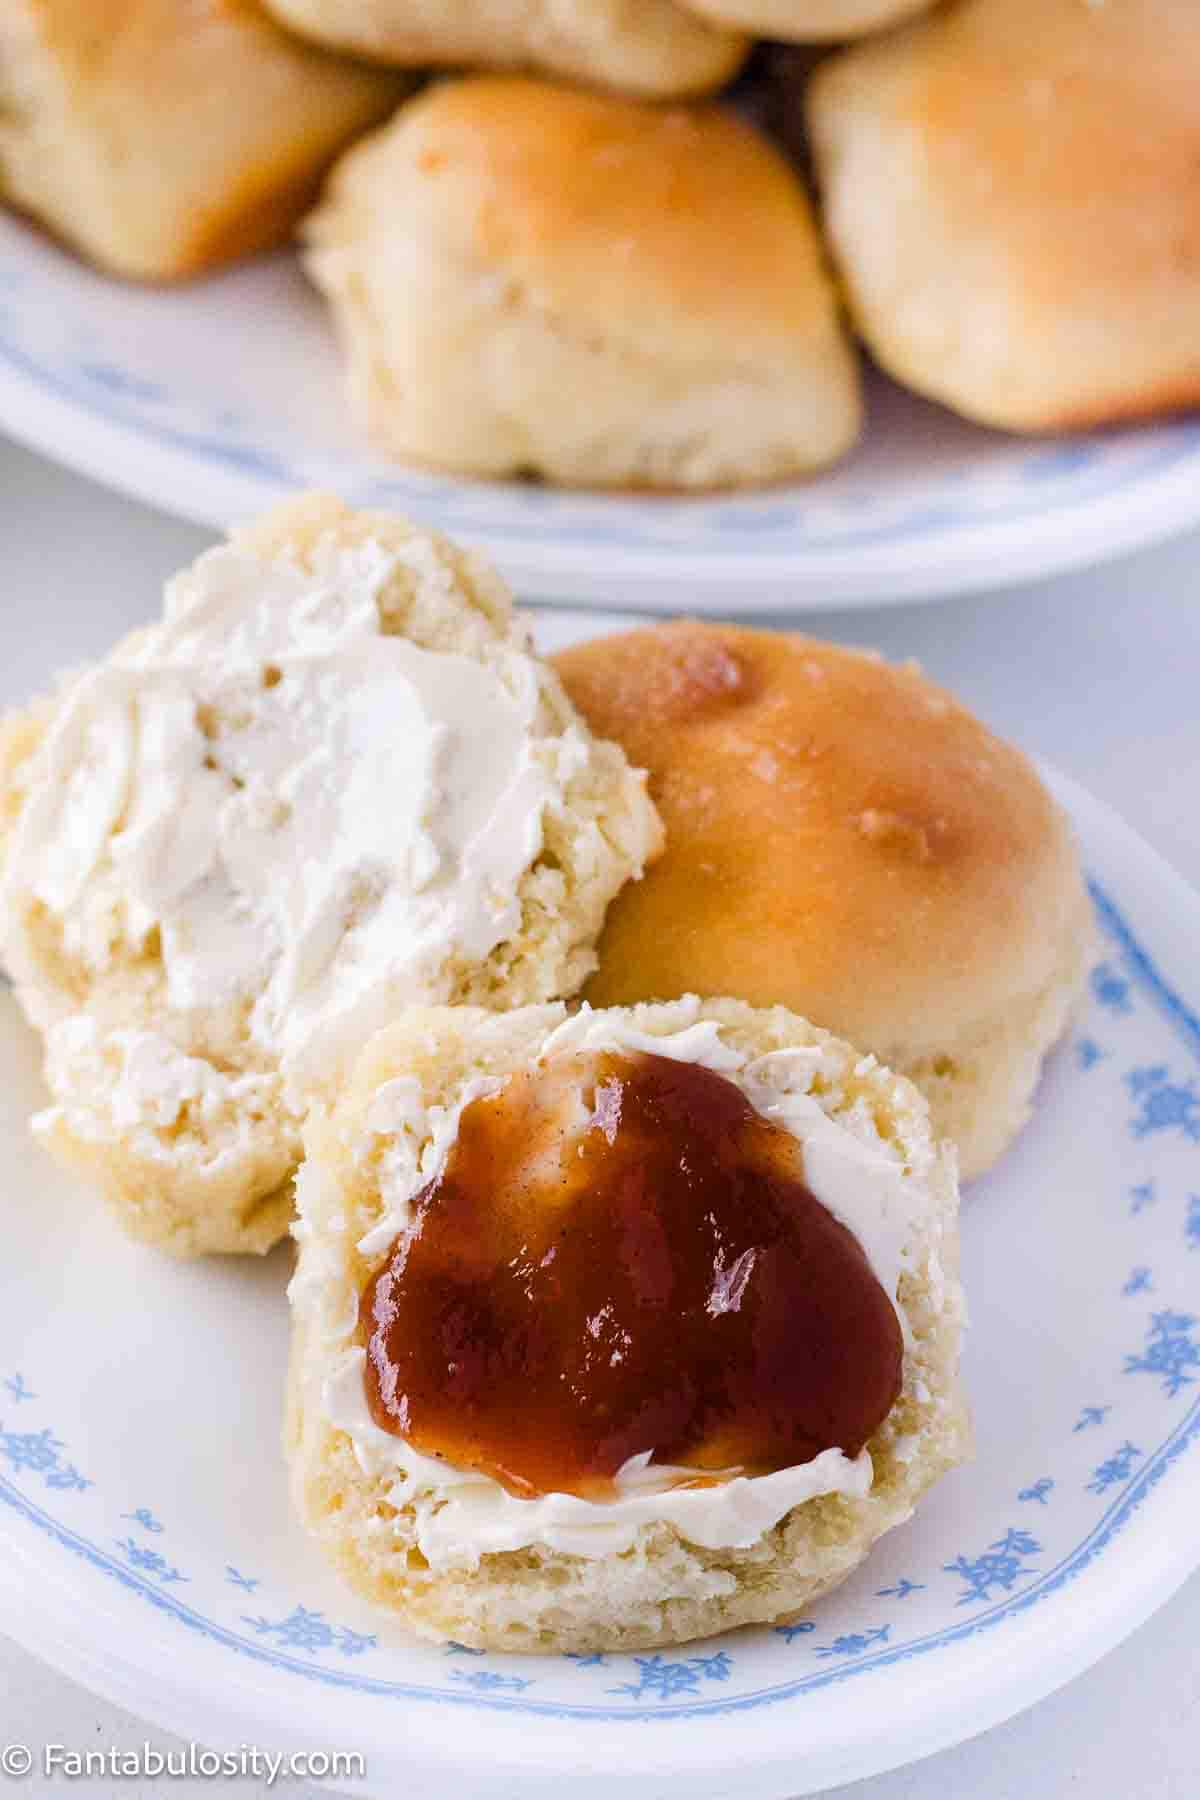
- Homemade raspberry jam, apple butter, or flavored butters
If you try them, let me know how they turn out, and be sure to check out the original; my mom's original yeast rolls recipe here.
Other Vintage Recipes You’ll Love
This yeast rolls recipe is one of those vintage, tried-and-true treasures that never fails. Whether you're making them for a special occasion or just because it's a cozy Sunday afternoon, they'll fill your kitchen with that nostalgic, home-baked smell that's impossible to beat. Here are more vintage recipes you’ll also enjoy:
Recipe
Yeast Rolls Recipe – Ready in an Hour!
Video
Ingredients
- 2 packages active dry yeast (Two, ¼ ounce packages)
- ¼ cup warm water 105-115°F
- 3 ½ cups all-purpose flour
- 1 ¼ cup milk
- 3 tablespoons sugar
- 2 tablespoons vegetable oil
- 2 teaspoons salt
Instructions
- Activate the yeast. Stir the yeast into warm water (water should be around 105-115°F) and let it sit for about 5 minutes, until foamy.
- Warm the milk mixture. In a large bowl, combine the milk, sugar, oil, and salt. Microwave until warm - again, around 105-115°F - then stir until the sugar is dissolved.
- Combine yeast and milk mixtures. Pour the softened yeast into the milk mixture and stir to combine.
- Add the flour. Stir in 3 cups of flour until fully incorporated. Let the dough rest for 15 minutes - this gives it a head start in rising.
- Prepare your pan. While the dough rests, grease a baking dish or pan with shortening, butter, or oil.
- Form the dough. Gradually add a little more of the remaining flour, a little at a time, until the dough comes together and pulls away from the sides of the bowl. You may not need the full amount, and can use extra for sprinkingly on surface in next step.
- Knead. Turn the dough out onto a floured surface and knead for about 3-5 minutes, until it's smooth and soft (but not sticky).
- Shape the rolls. Pinch off pieces of dough and roll them into smooth balls, about 3 inches across. Arrange them in the greased pan. (This should make about 12 rolls.)
- Preheat. Now is a good time to preheat your oven to 375°F.
- Let rise. Let the rolls sit for 15-20 minutes while you preheat your oven to 375°F. I like to place these in a warmer spot (perhaps on top of the oven while preheating.)
- Bake. Bake for 18-20 minutes, until golden brown. If they brown too quickly, cover loosely with foil.
- Finish with butter. Remove from oven and if desired, brush warm rolls with melted butter or use stick butter and turn on the tops of rolls to watch the butter melt down the sides. Then, you can also sprinkle with Maldon salt if desired for a touch of saltiness.
Notes
- Check your yeast freshness. If it doesn't foam in the warm water, it may be expired.
- Don't over-flour. Add just enough flour so the dough pulls away from the bowl but stays soft.
Nutrition
Nutritional information is based on third-party calculations and should be considered estimates. Actual nutritional content will vary with brands used, measuring methods, portion sizes and more.

Timothy Davis says
How would these be, made with gluten-free flour?
Jessica says
Hi Timothy! I haven’t tried these with gluten-free flour, so I’m not for sure exactly. If I give it a try, I’ll be sure to update the post!