Buttery Pie Crust Recipe: This easy pie crust recipe can be used to make any pie recipe (a single crust pie or a double crust pie). With only 6 ingredients, this flaky pie crust is super simple to make and ready for a pie or this savory easy chicken pot pie recipe.
Why You’ll Love This Recipe
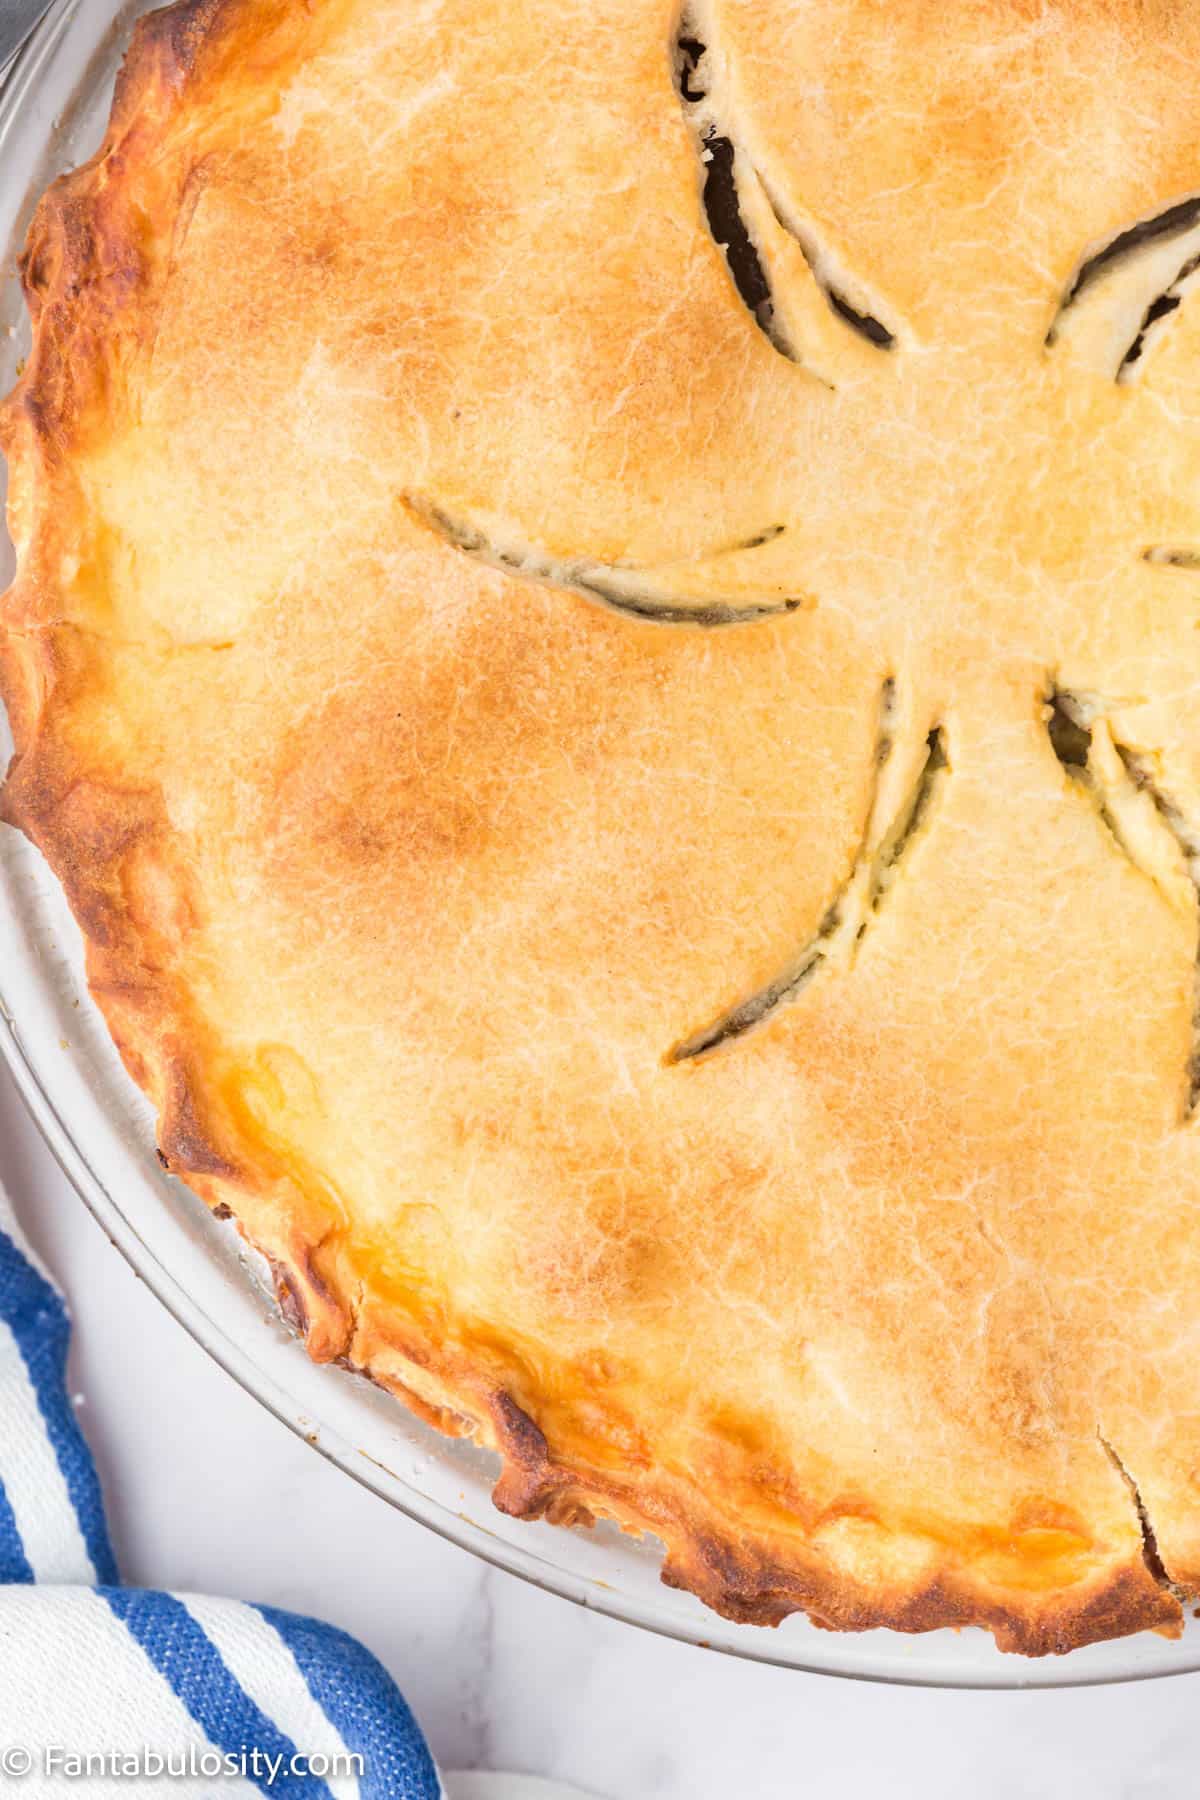
If you’re looking for the best pie crust recipe, this is it! This recipe uses butter to create a flaky, golden pie crust that’s perfect for all your favorite pies! (Especially this egg custard!)
The best part is, you can use this for all your homemade pies – sweet pies (like fruit pies such as this peach and mango pie recipe) and savory pie (think chicken pot pie)! You can even see how to make cookies with a pie crust.
Common Pie Questions
What is the secret to a good pie crust? The questions below should help you uncover all the tips and tricks that can be used to make a pie crust that’s perfect for your tastes!
Is pie crust better made with butter or shortening?
If you’re asking yourself this question, you’re not alone! A lot of people have a strong preference for one or the other.
In my experience, butter makes for a sturdier, flakier crust with a nicer flavor, but shortening makes for a more tender crust that holds its shape better.
What does butter do in a pie crust?
Butter adds flavor to a pie crust (and who doesn’t want that?), but it also helps make the layers light and fluffy. Since butter has a high water content, that water evaporates as you bake and incorporates air into the crust!
Should I brush my pie crust with butter or egg?
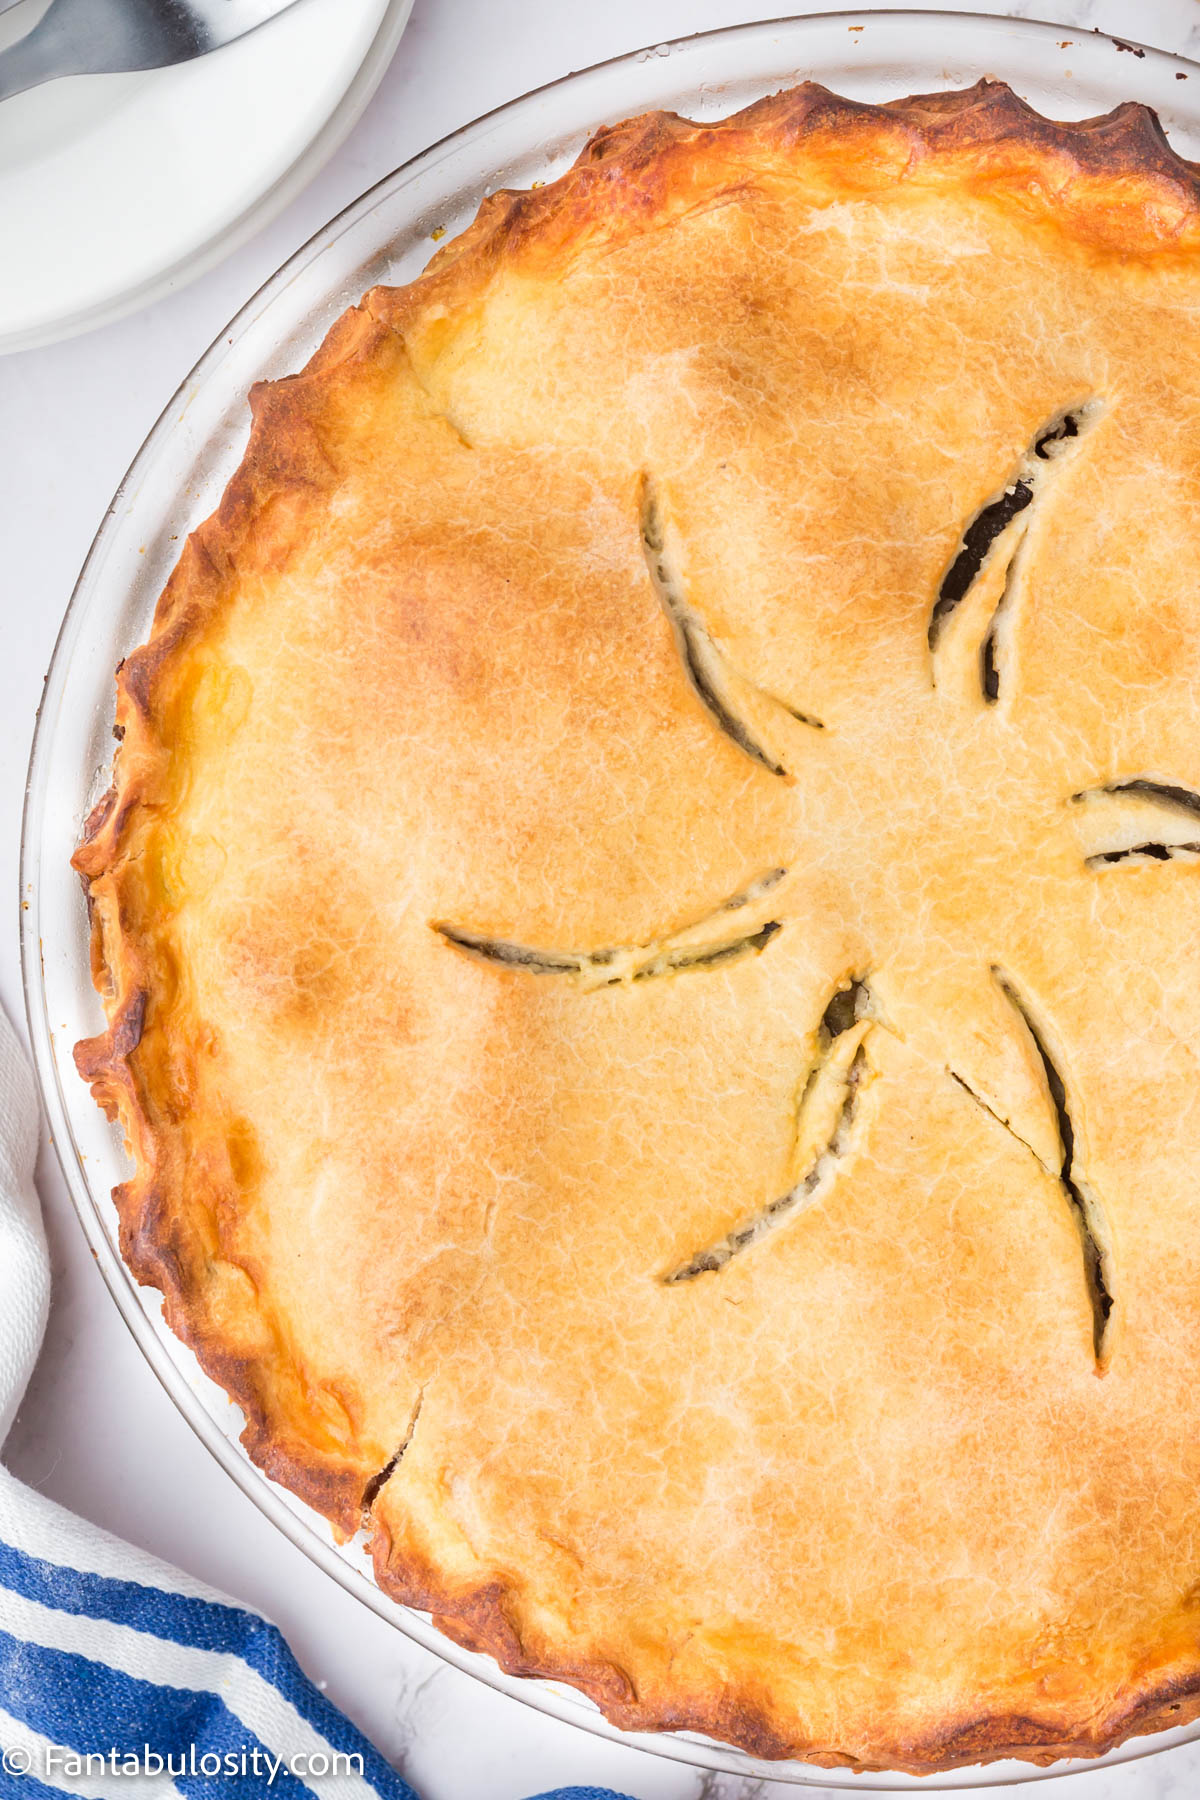
This depends on what kind of crust you are looking to create. If you want a nice golden brown crust, brush the top with an egg wash right before baking.
If you want a deep, golden color and intense shine then an egg yolk wash is best! Mix one yolk with 2 teaspoons of water and brush it all over the top crust of your pie, then bake as directed.
Brushing your pie crust with butter will add a bit of extra flavor, but it doesn’t do as much for creating a crisp golden crust as other washes will. Flavor counts, though, so brush away!
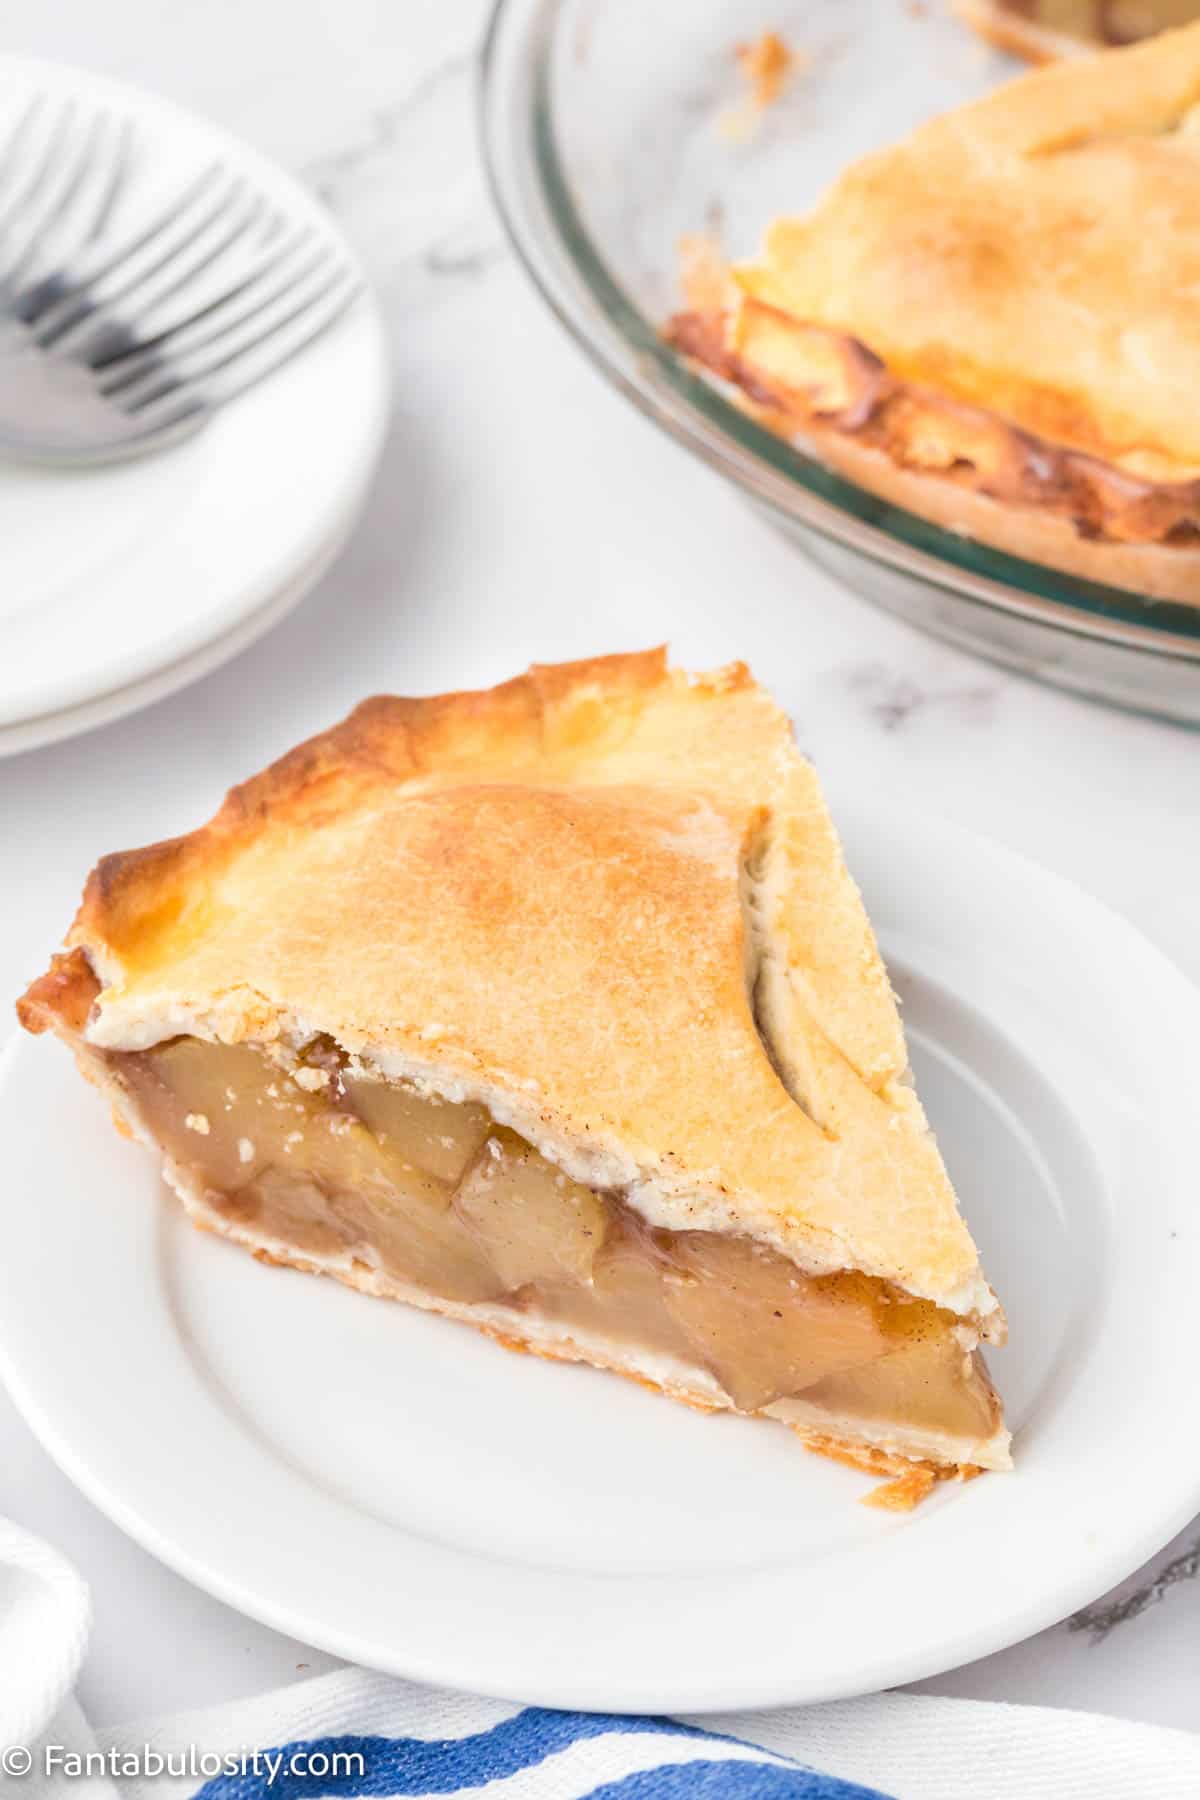
My favorite apple pie crust recipe calls for brushing the crust with milk and then sprinkling it lightly with granulated sugar. There’s really no wrong answer, so feel free to experiment until you find what you like best.
Jump to:
Ingredients
Making this homemade pie crust recipe doesn’t require anything fancy – just a few simple ingredients that you likely have on hand at all times!
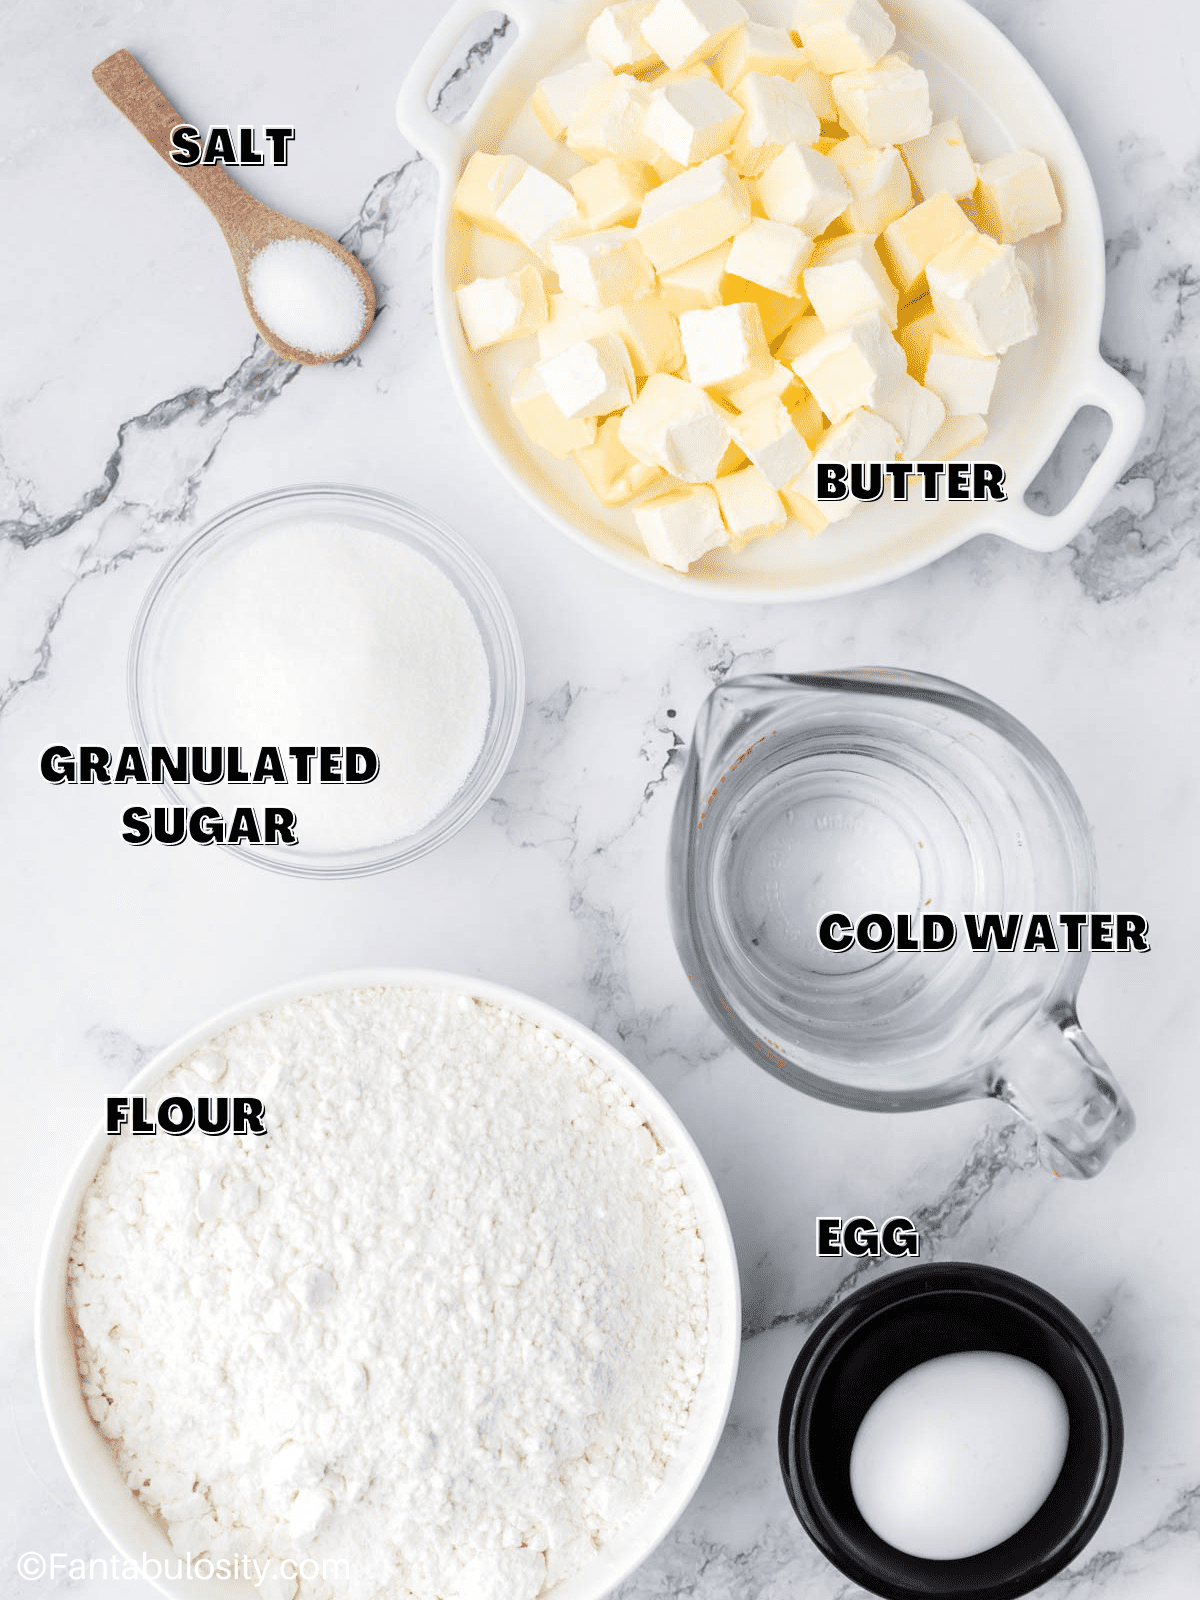
- flour
- granulated sugar
- salt
- butter
- water
- egg
See the printable recipe card below for exact quantities and step-by-step instructions.
Instructions
To Make the Pie Dough
- In a food processor, combine 2 ½ cups flour, 1 tablespoon sugar, and ½ teaspoon salt until well blended.
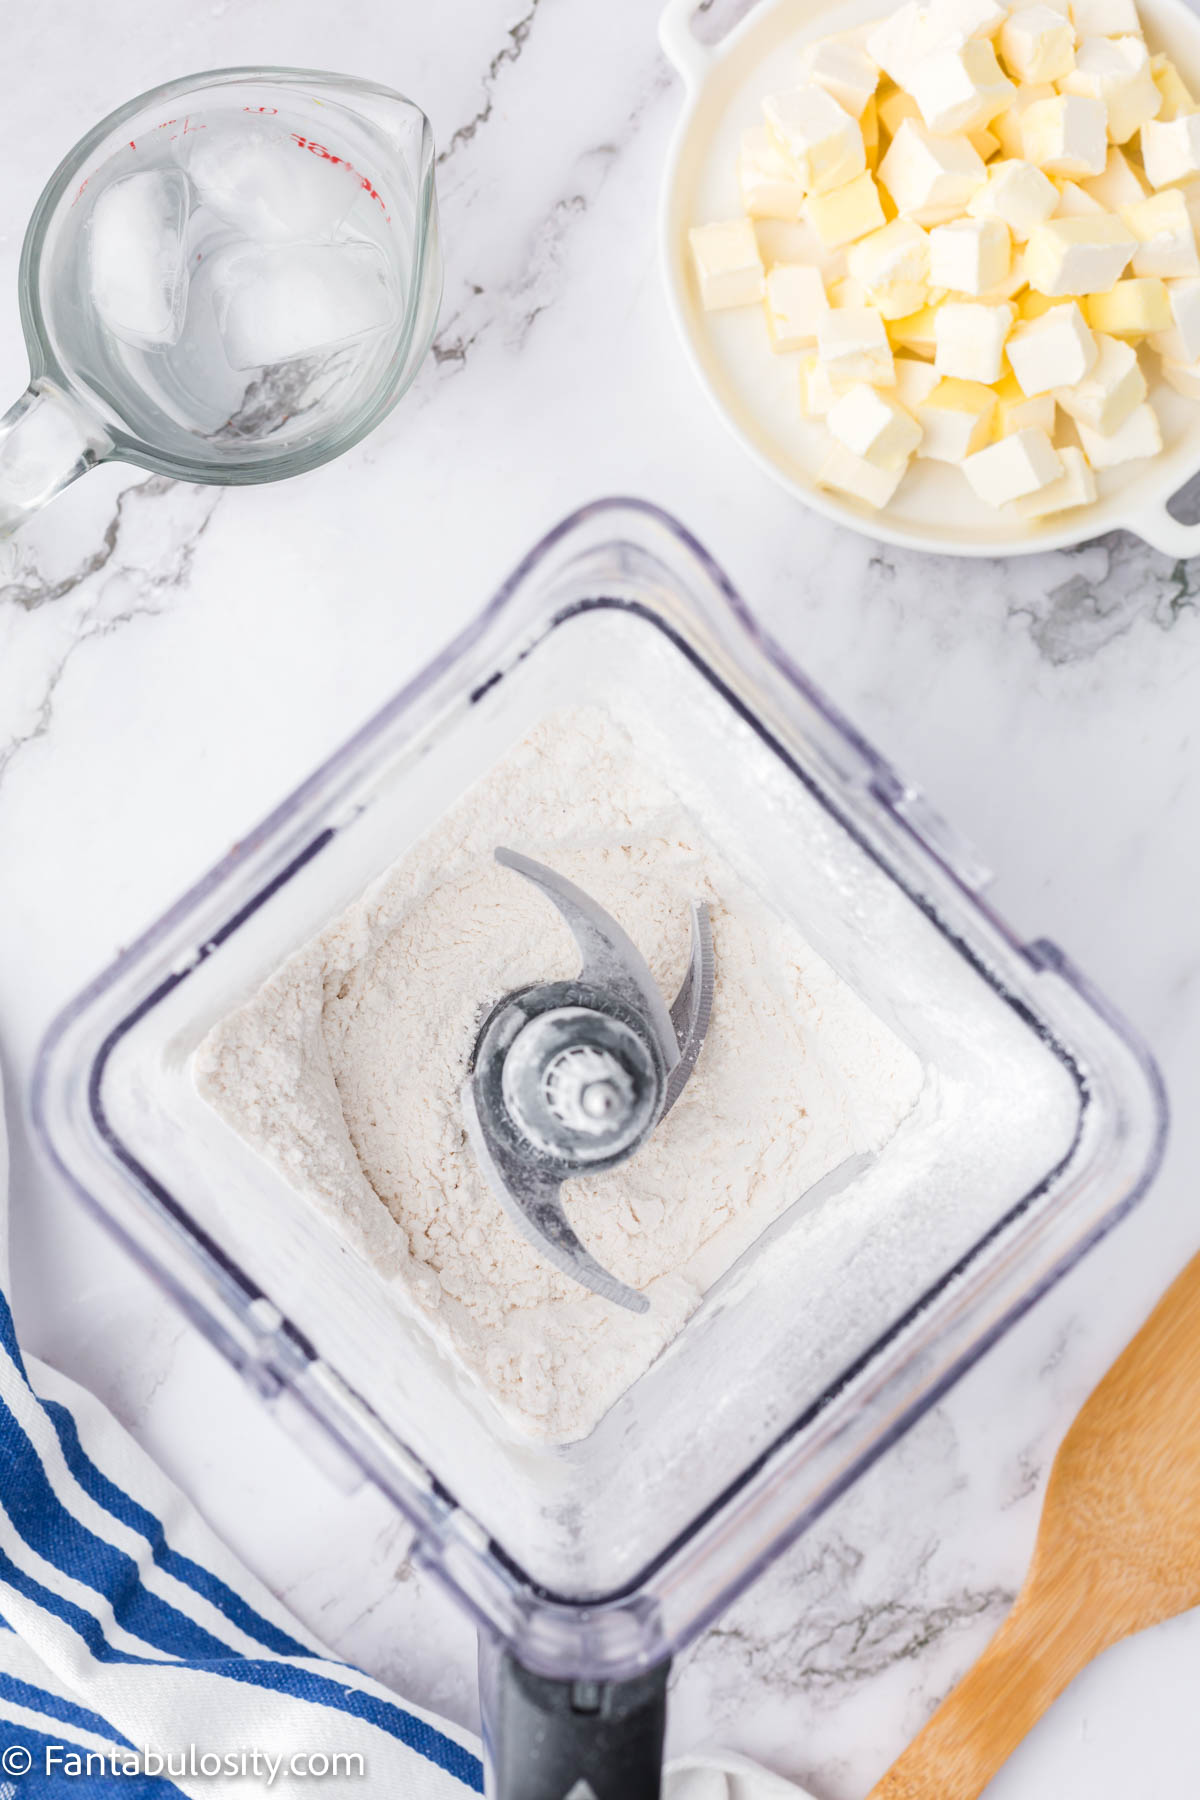
- Add half of your butter (½ cup) to the food processor and blend with the flour mixture. Add the second half (other ½ cup) of the butter and blend again. The mixture should be a powdery sand texture.
The butter should be very cold, if your room is warm you’ll need to place it back into the refrigerator between adding it to the food processor. Room-temperature butter will melt too quickly and the result will be pie crust that isn’t as flaky.
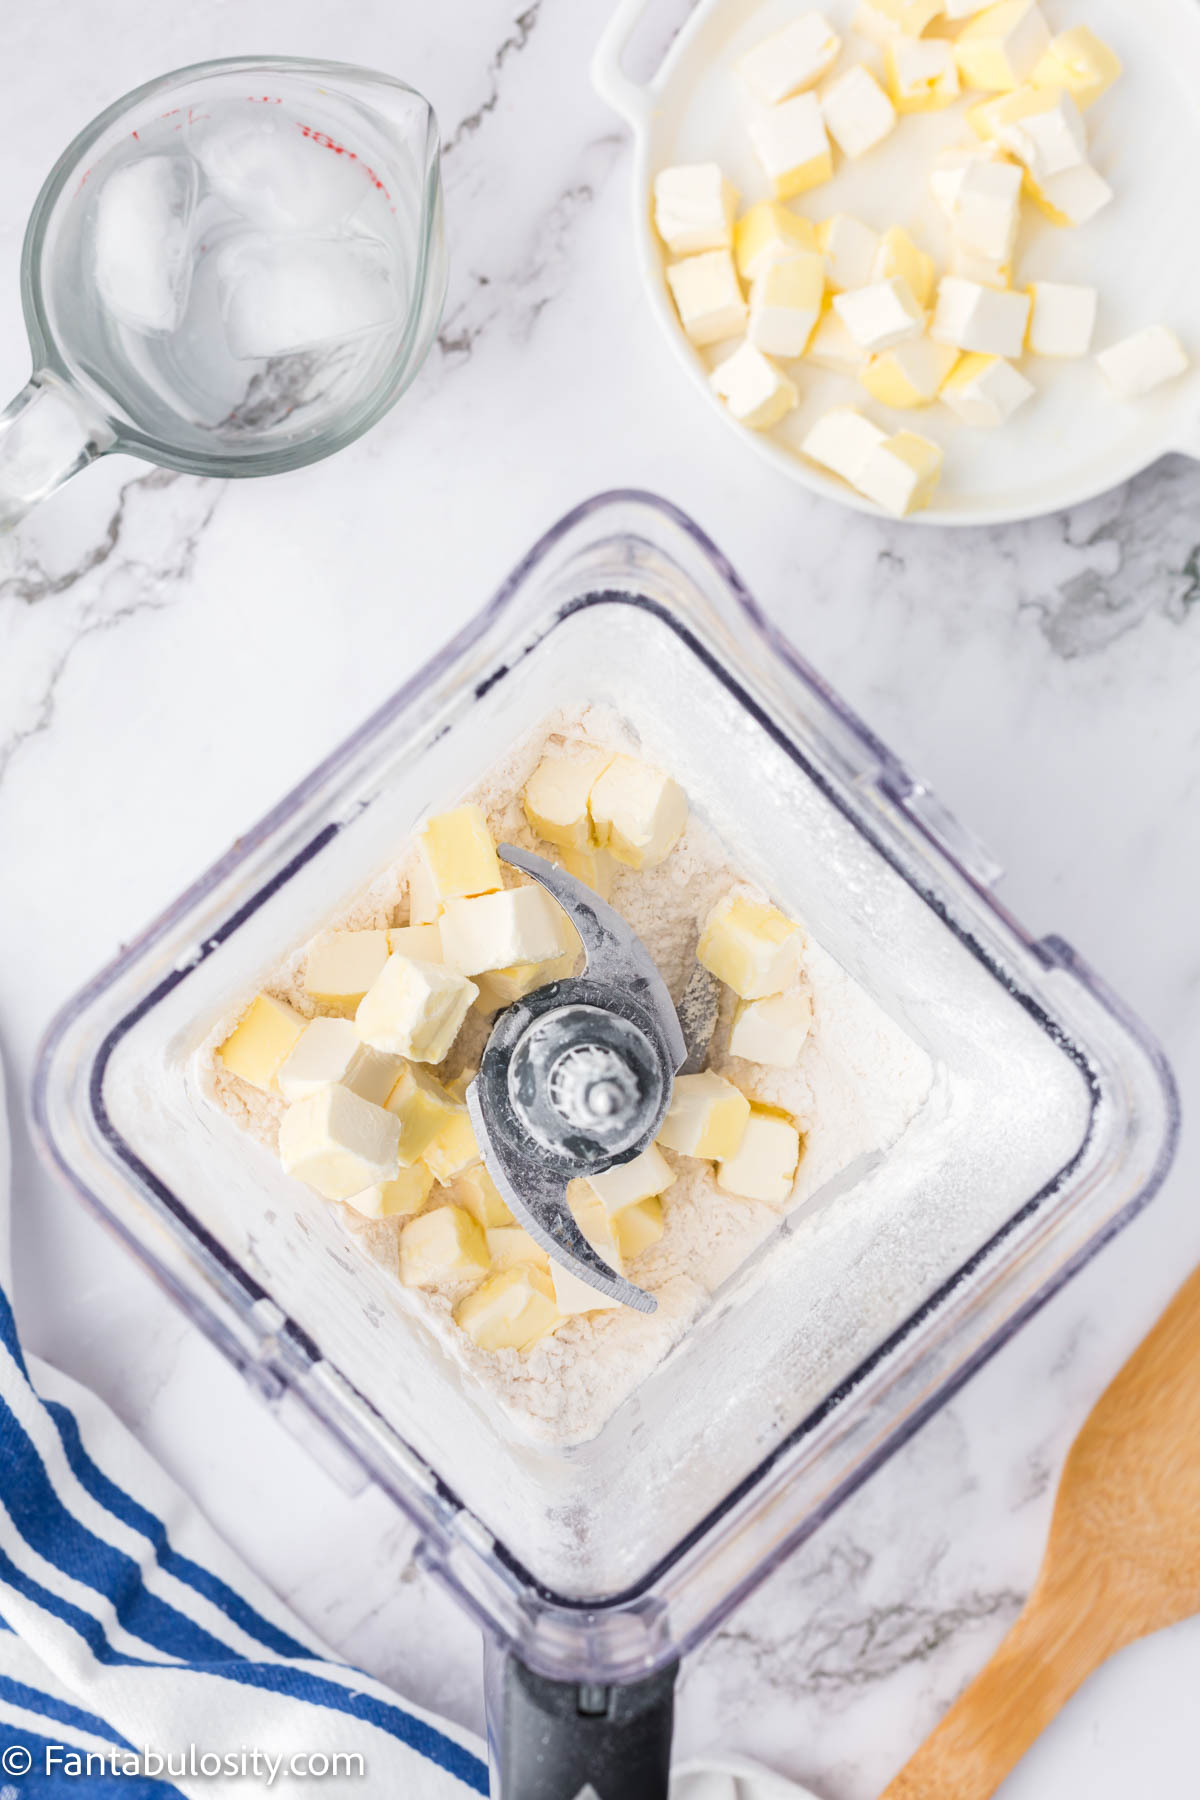
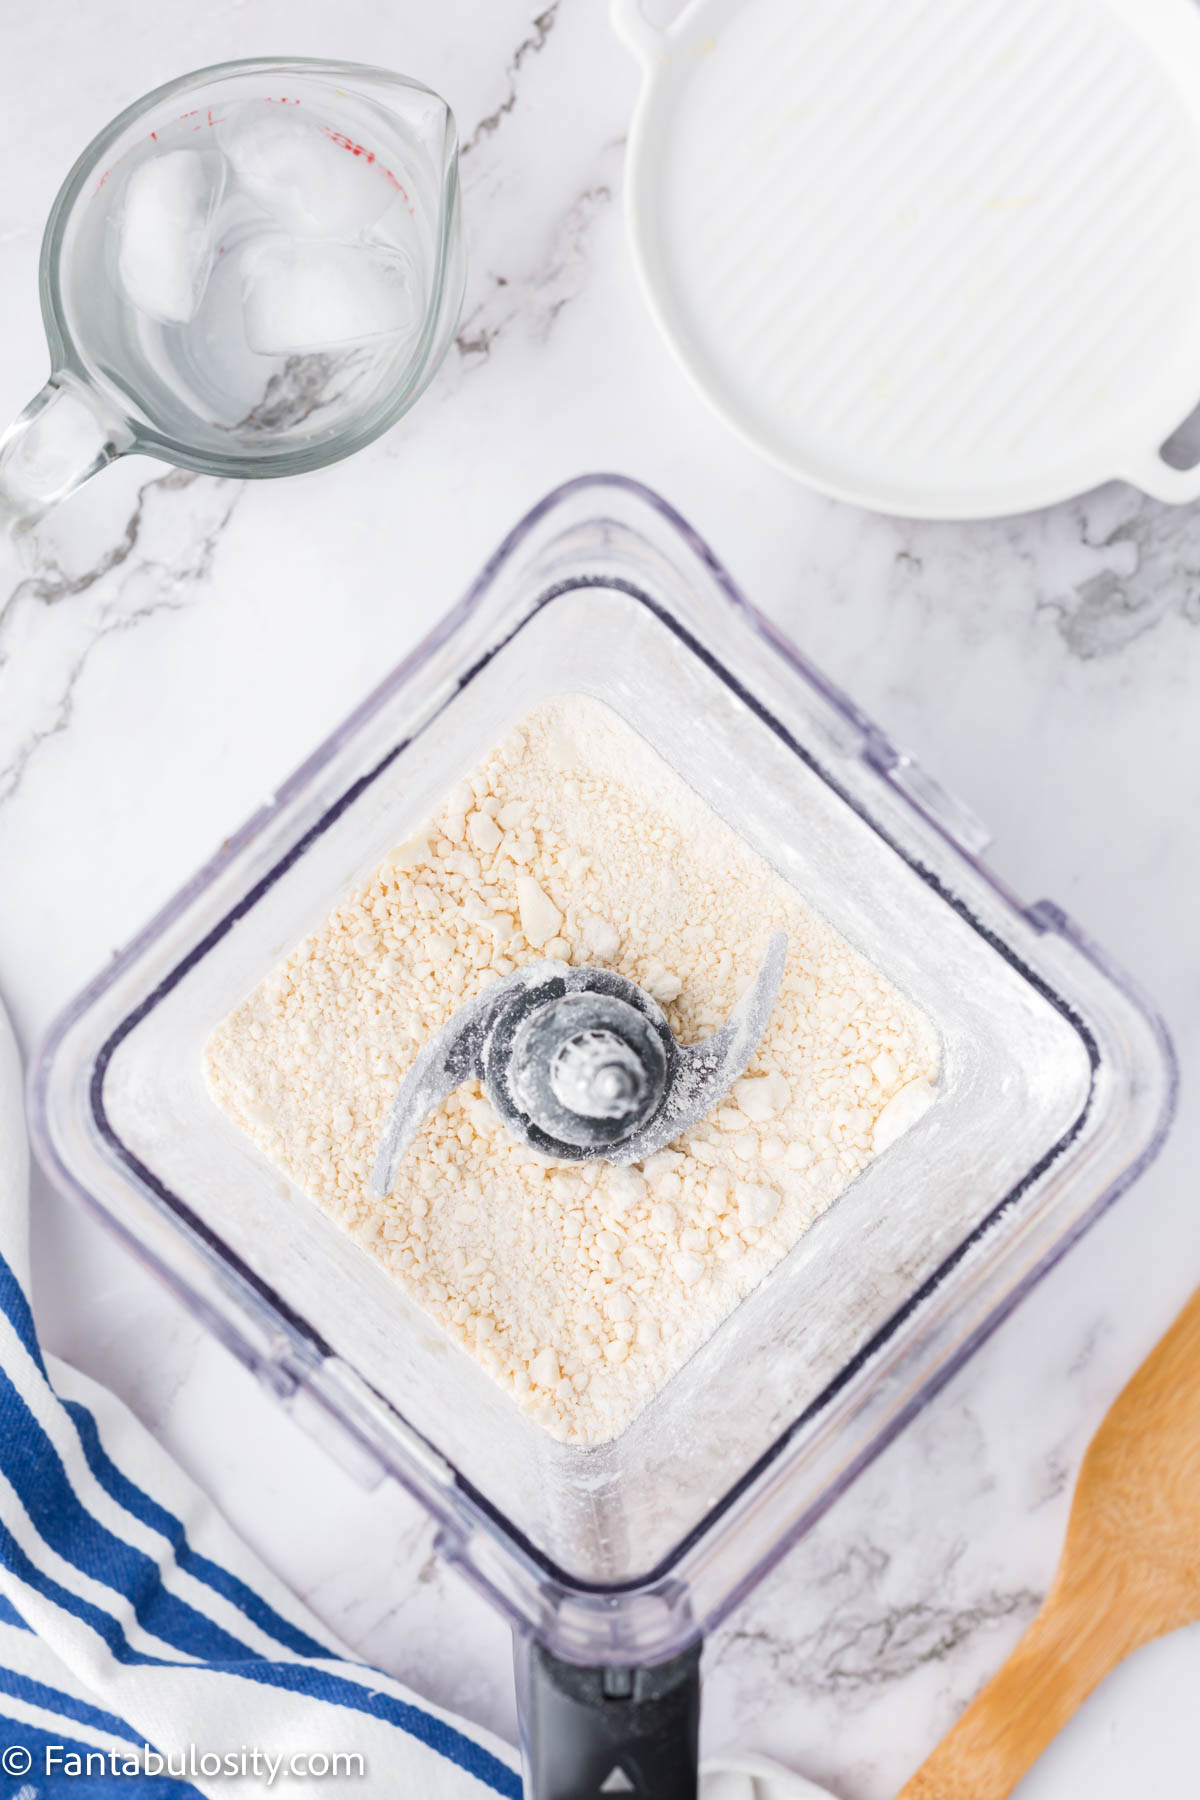
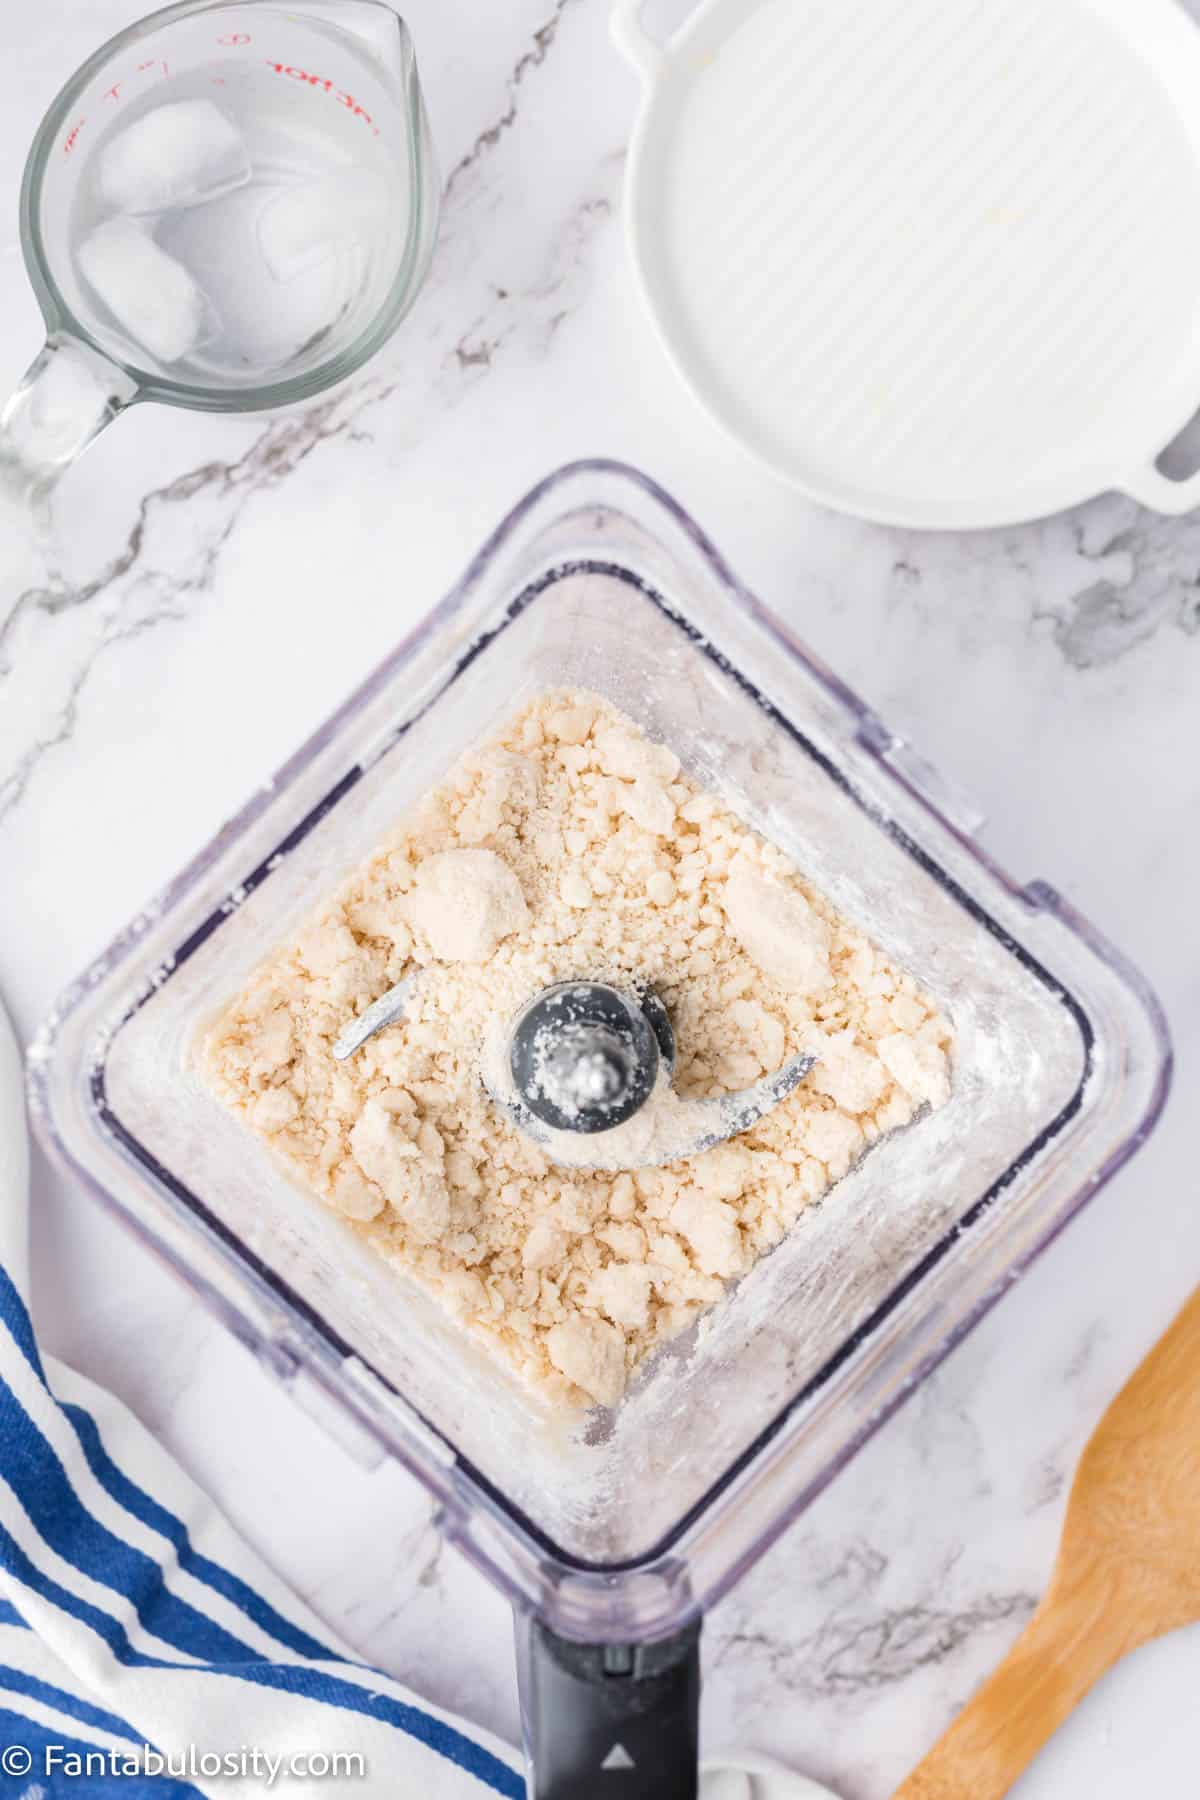
- Add 2 tablespoons of ice cold water into your food processor and blend between each set. Repeat this until the texture of the mixture is a rough crumble and when you pinch it, it holds together.
When this happens, you know you’ve added enough water. This usually takes about 6 tablespoons depending on the type of butter you use. You need the water to remain very cold, add ice cubes to your cup of water if needed.
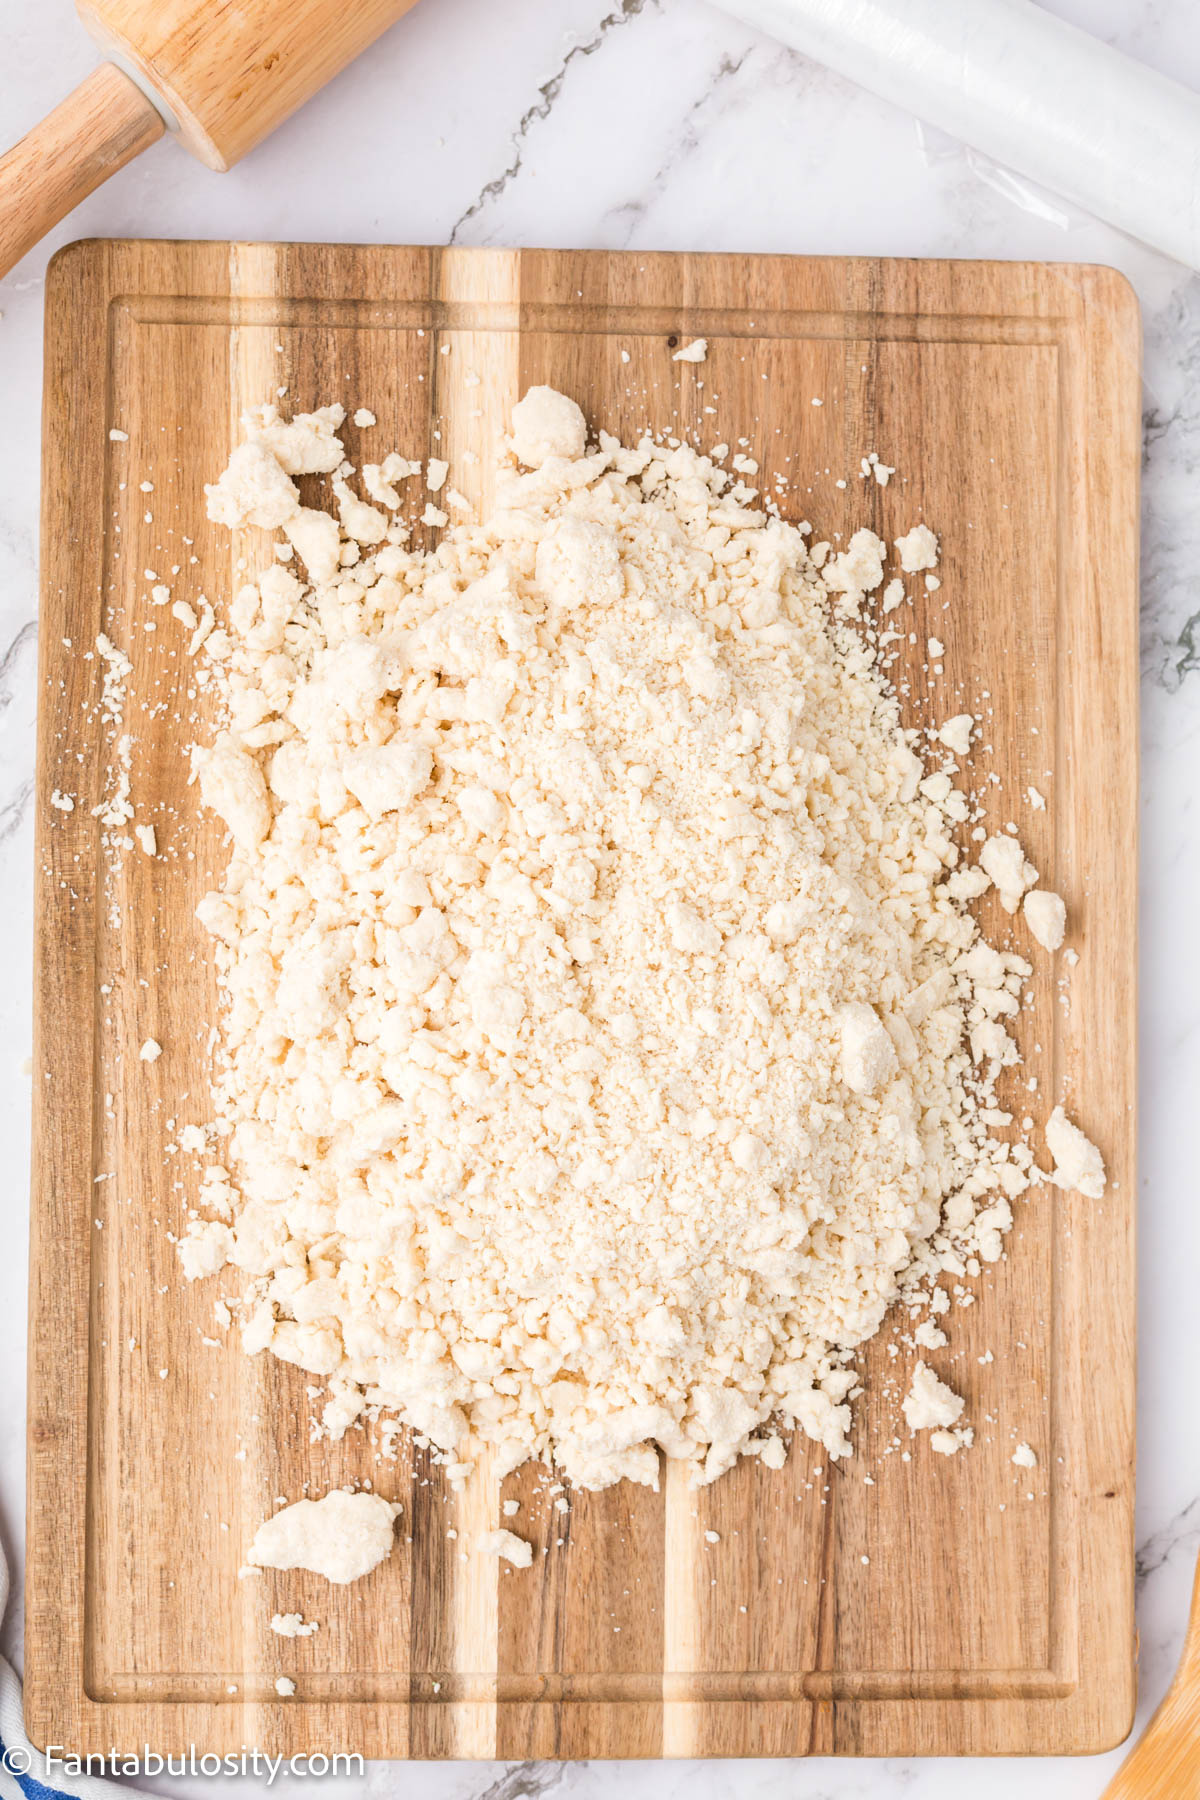
- Pour your pie crust dough mixture onto a flat surface and divide it into 2 halves, one half being slightly larger than the other.
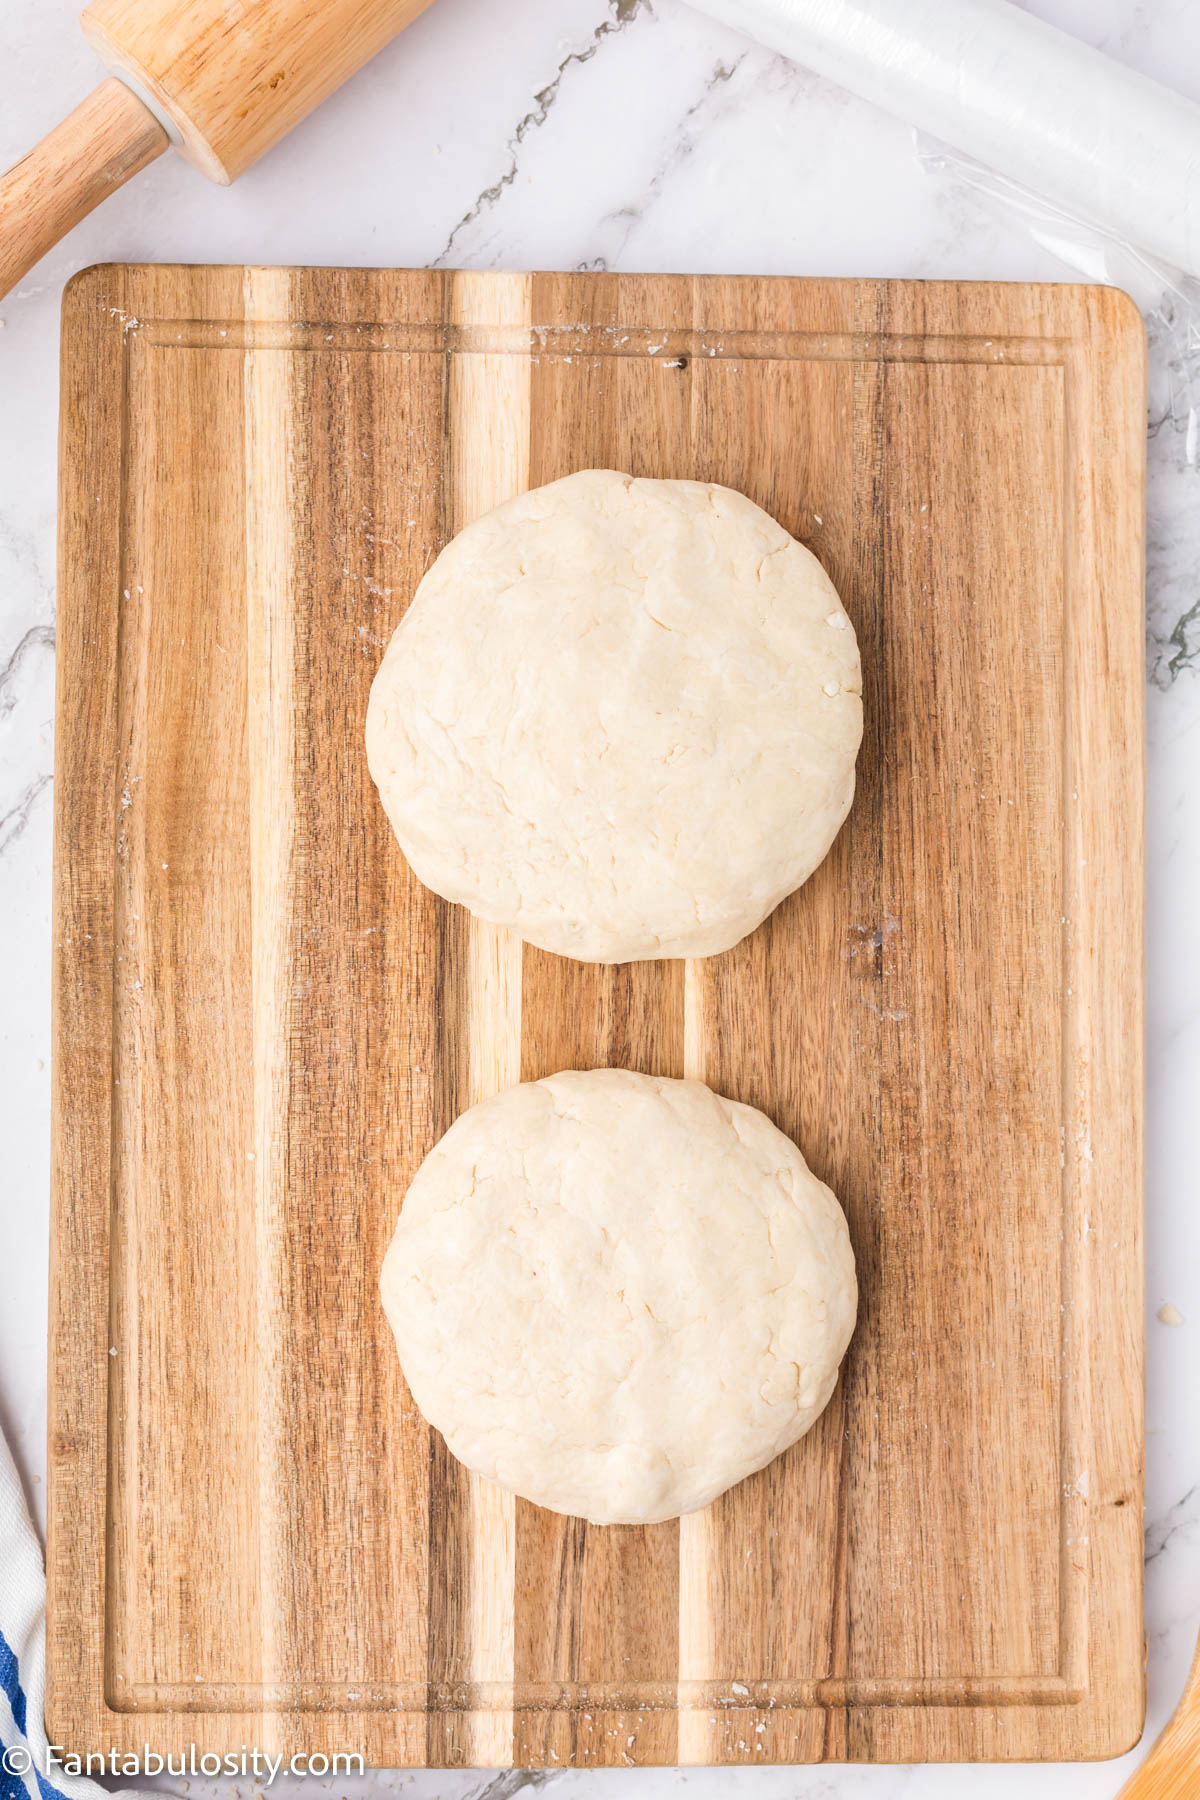
- Form the dough into 2 round disks by squeezing it together and kneading it lightly. Do not overwork the dough or it will become very solid and tough to work with.
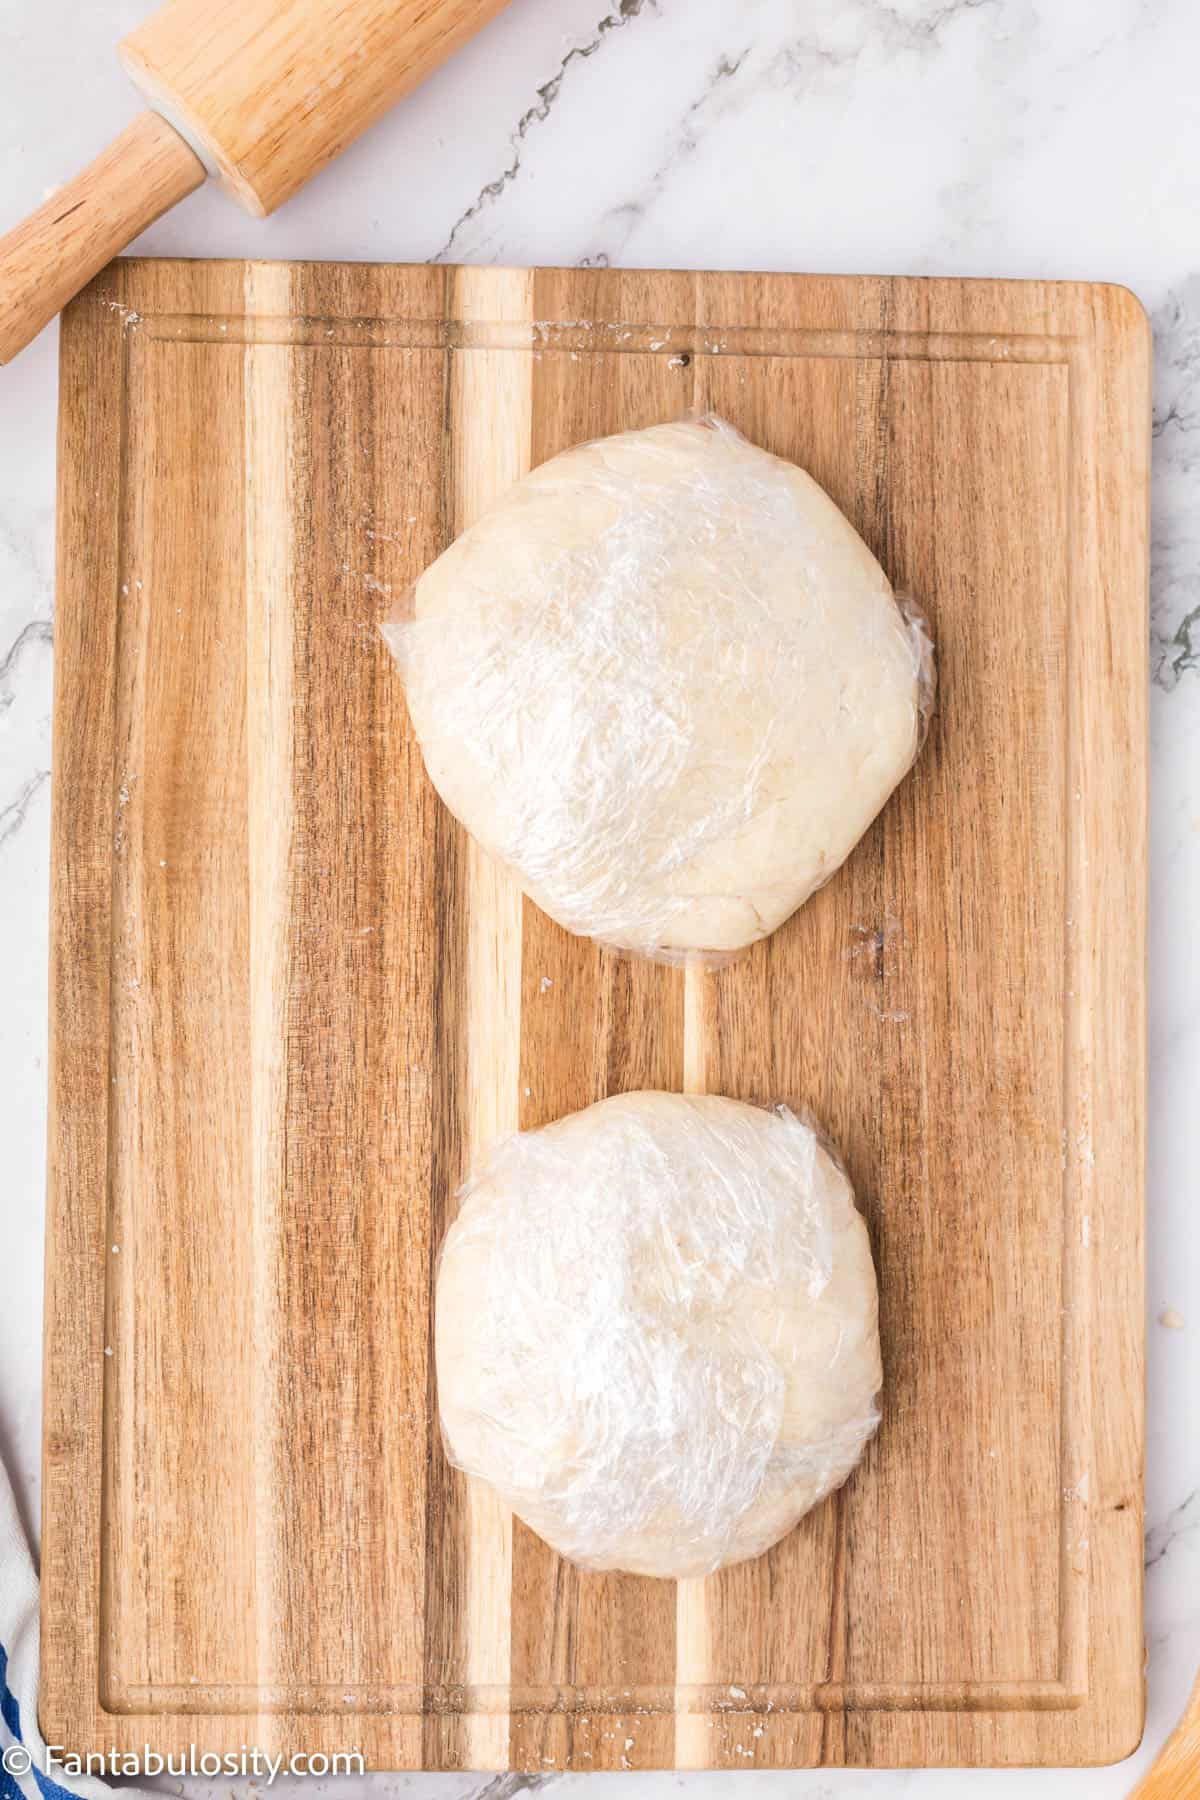
- Wrap your 2 dough disks tightly in plastic wrap making sure that no air is touching the dough. Refrigerate for at least 1 hour. The dough can remain in the refrigerator for up to 48 hours if needed.
- Preheat your oven to 425 degrees and lightly grease a glass or metal 9-inch pie pan. Thick Ceramic pie pans tend to distribute heat unevenly and may not work for blind baking this pie crust.
- Remove the larger disk of pie dough from your refrigerator and let it sit for 5 minutes or long enough for it to become workable but still cold. Sprinkle a flat workspace with flour as well as your rolling pin.
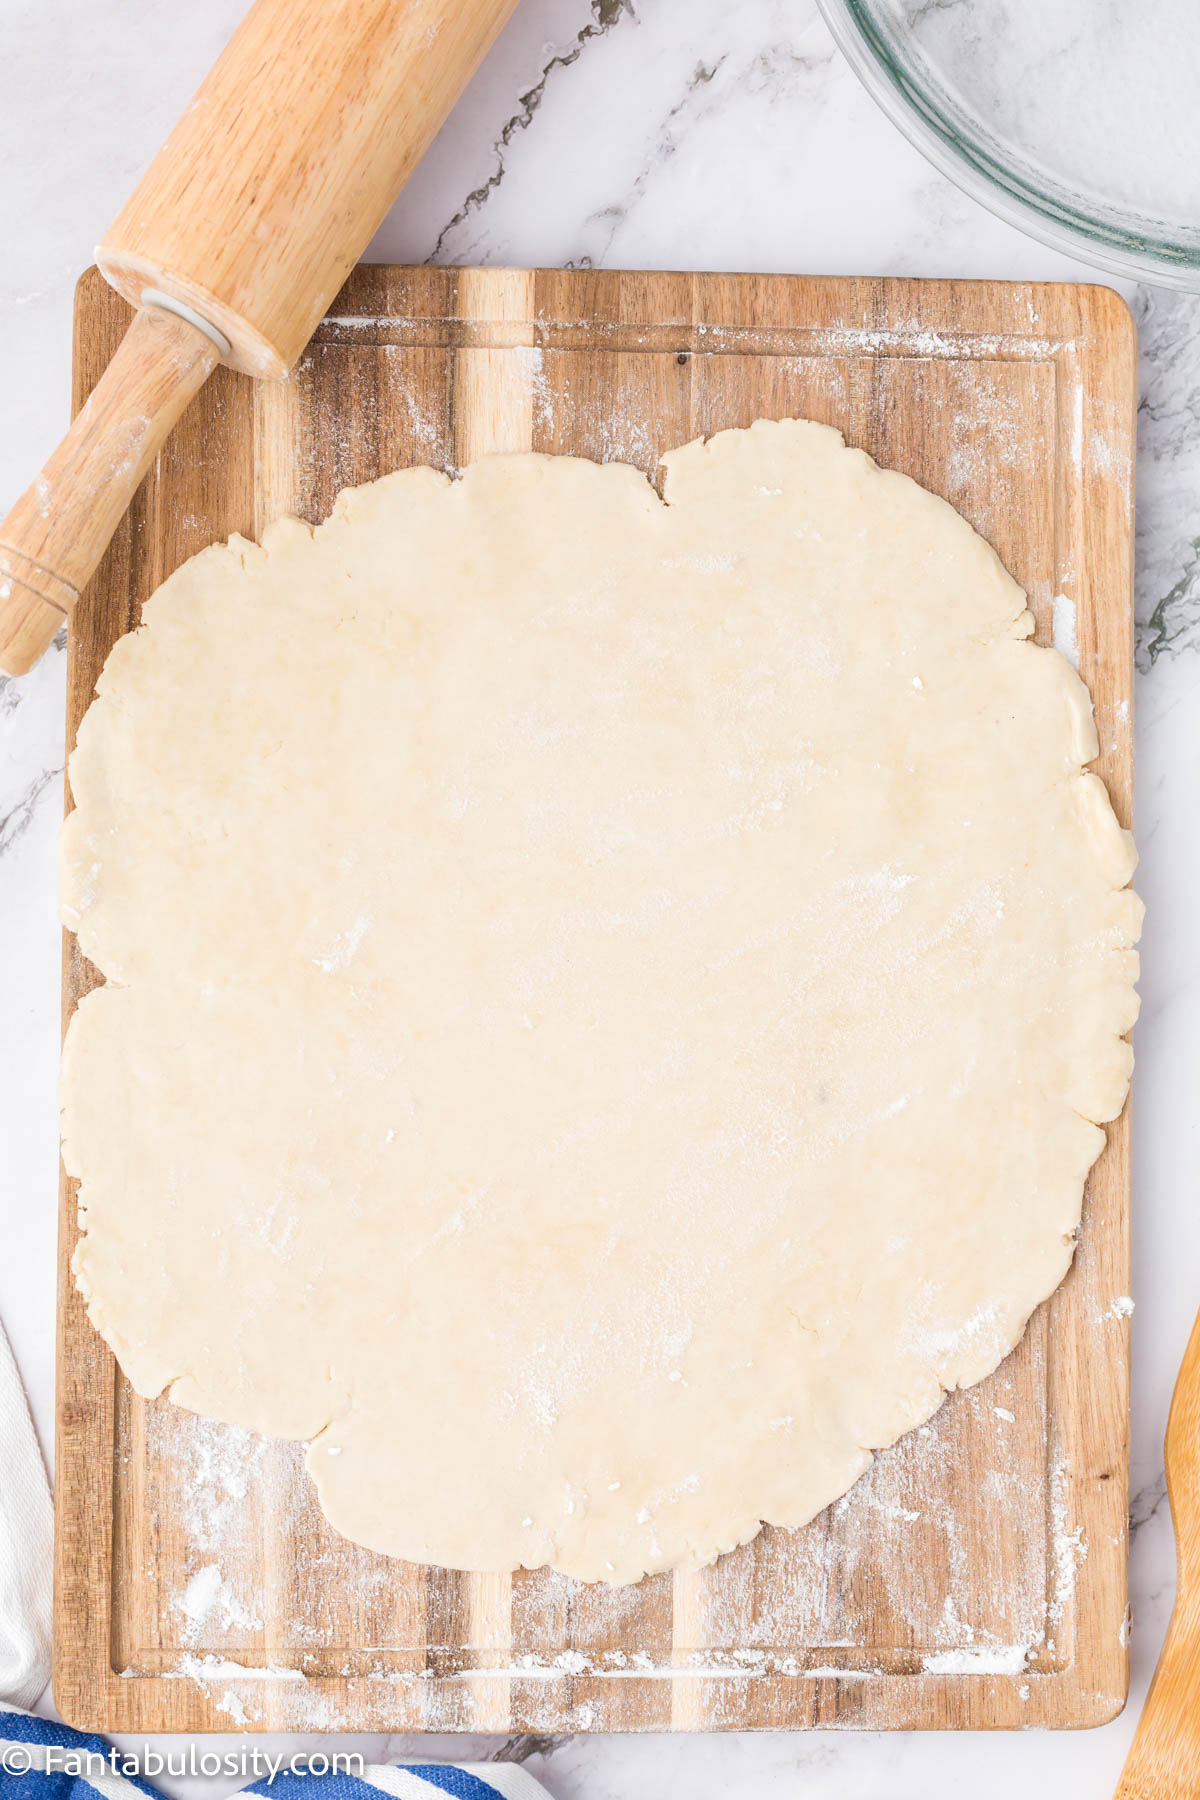
- Starting in the center of the dough disk, roll the dough outward in all directions from the center to the edge until you have a ⅛-inch thick round pie crust.
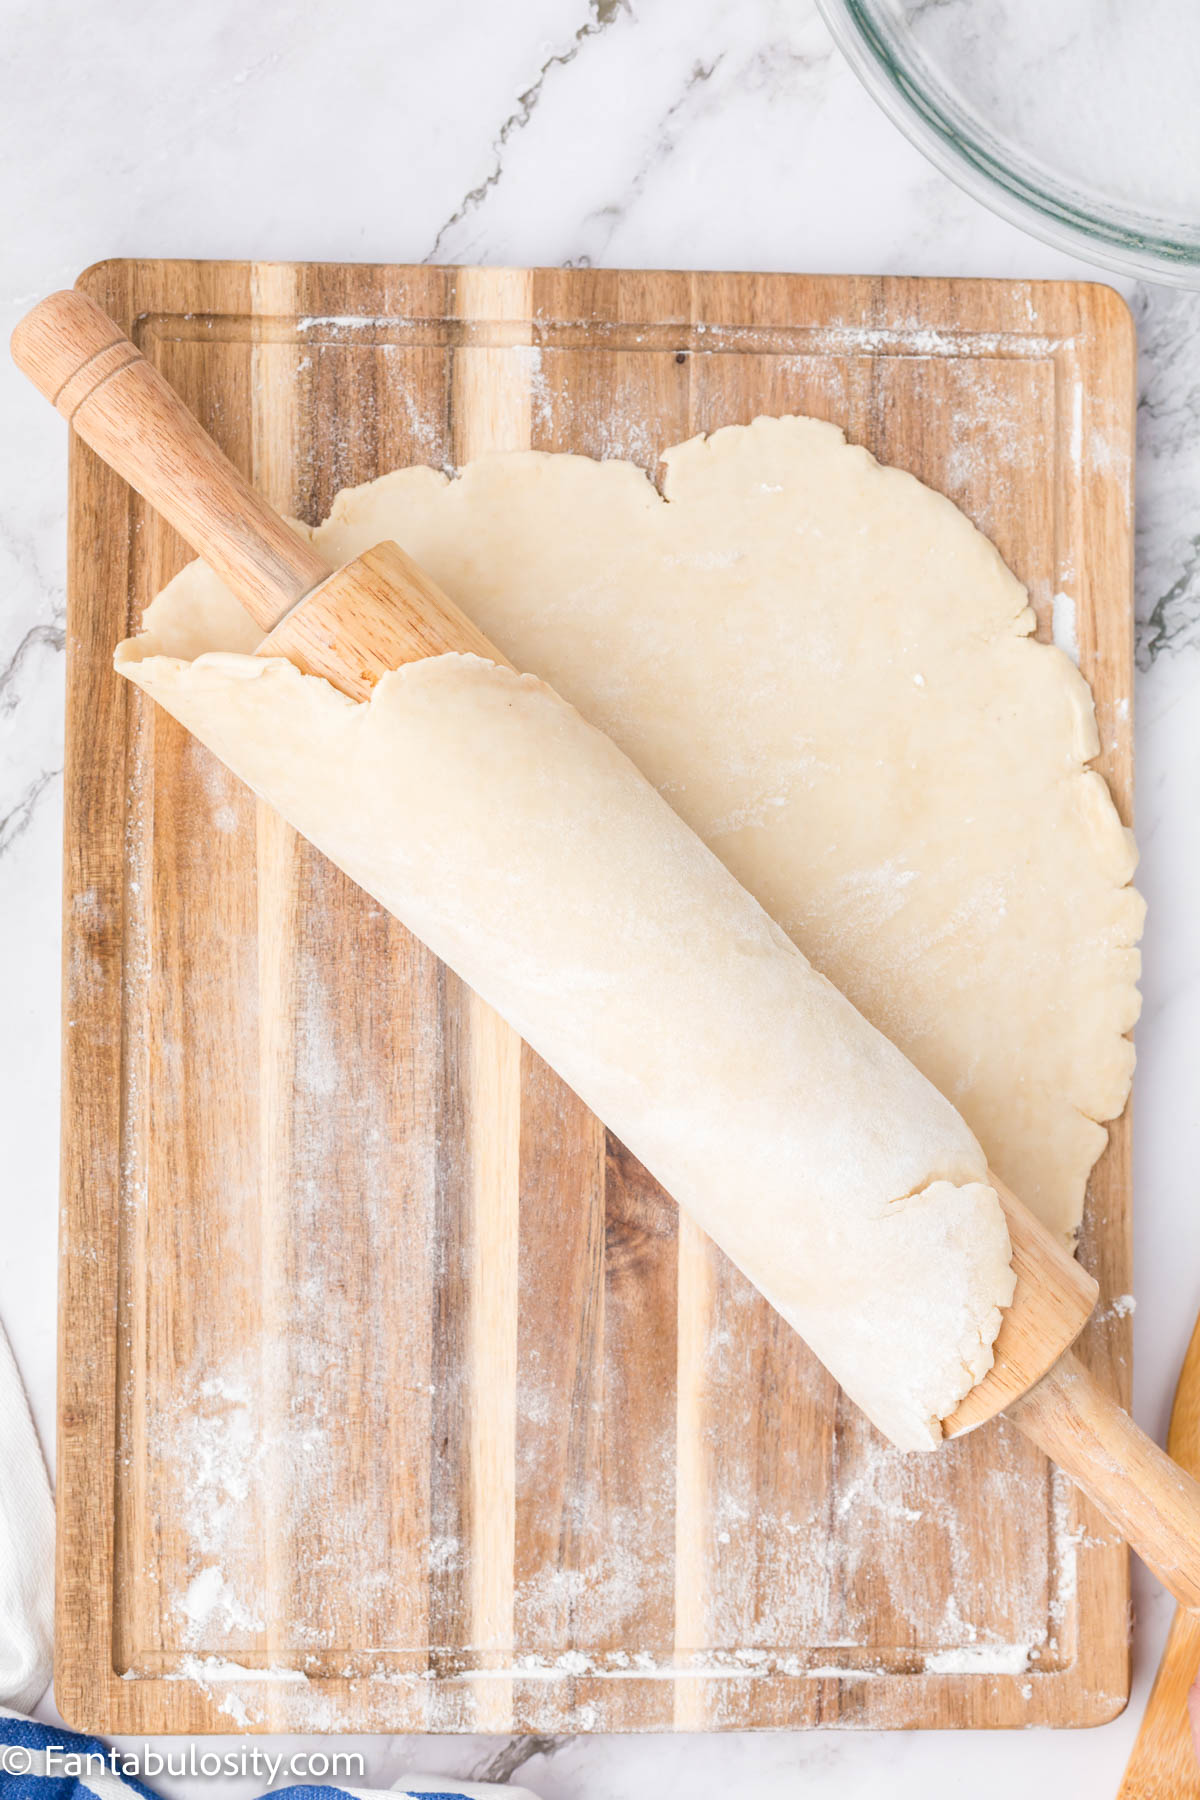
- Place the pie crust over your pie pan using your rolling pin by rolling the pie crust over the rolling pin and allowing it to carry the weight of the pie crust, and then rolling it gently across your pie pan. This will help avoid any stretching or cracks.
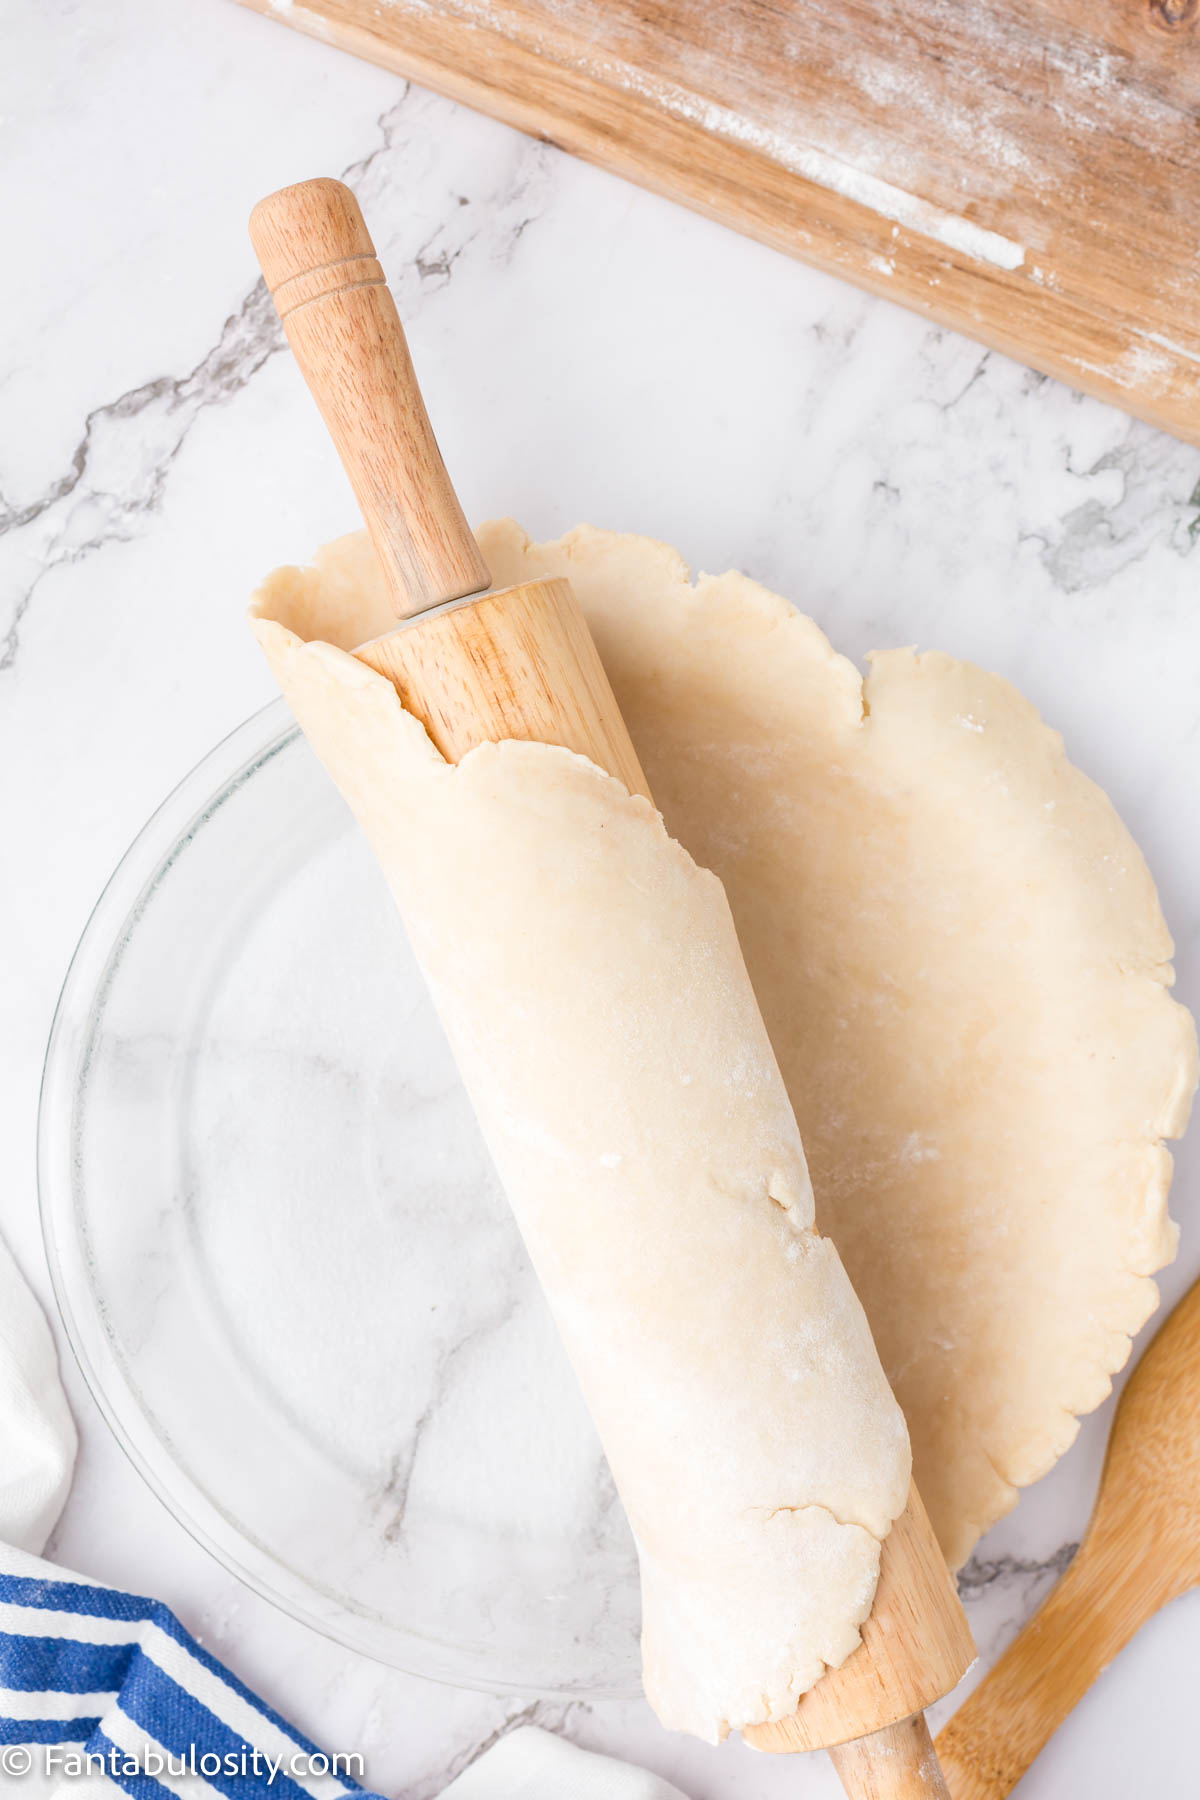
- Gently press the pie crust down into the pie pan, fitting into the crease all the way around. Trim excess pie dough from around the pan with a small sharp knife and with a fork, make small holes around the bottom of the pie crust to allow venting and prevent the pie crust from bubbling up.
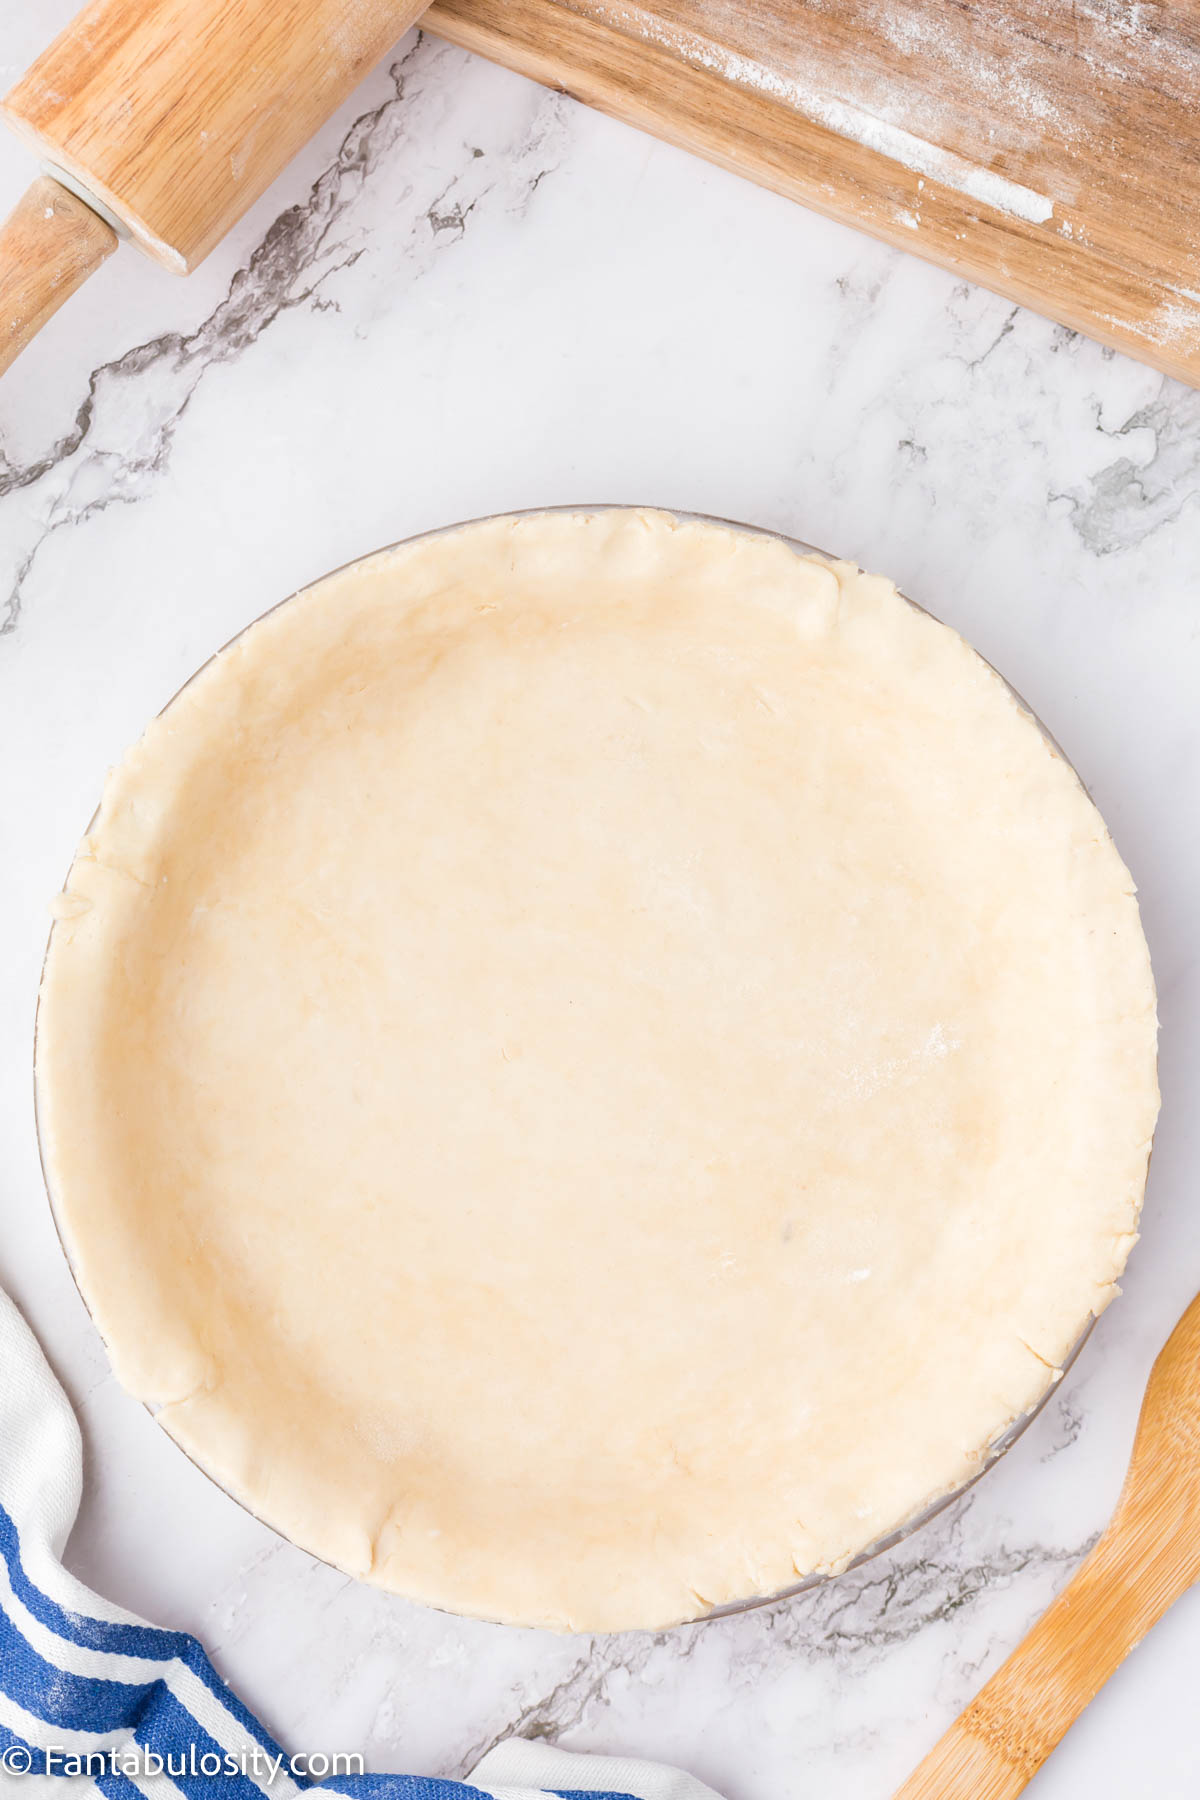
Blind Baking
If your recipe calls for blind baking, preheat your oven to 425°. Roll out your bottom crust dough, line it with parchment paper, and weigh it down (with the weight of your choice). Bake for 20-25 mins, then cool before filling.
(See how to blind bake a pie too!)
For Top Crust
Note: Exact time and temperature will depend on filling instructions for each individual pie.
- Fill bottom of the crust with desired pie filling and preheat your oven by the pie filling instructions.
- Remove the smaller disk of pie dough from your refrigerator and let it sit for 5 minutes or long enough for it to become workable but still cold. Sprinkle a flat workspace with flour as well as your rolling pin.
- Starting in the center of the dough disk, roll the dough outward in all directions from the center to the edge until you have a ⅛-inch thick round pie crust.
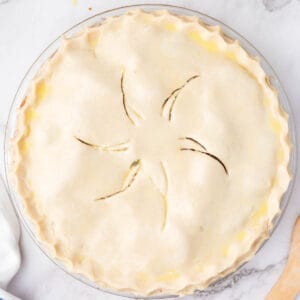
- Place the pie crust over your pie pan using your rolling pin by rolling the pie crust over the rolling pin and allowing it to carry the weight of the pie crust, and then rolling it gently across your pie pan. Vent your pie crust by making slits in the top of the pie, all the way around with a small sharp knife.
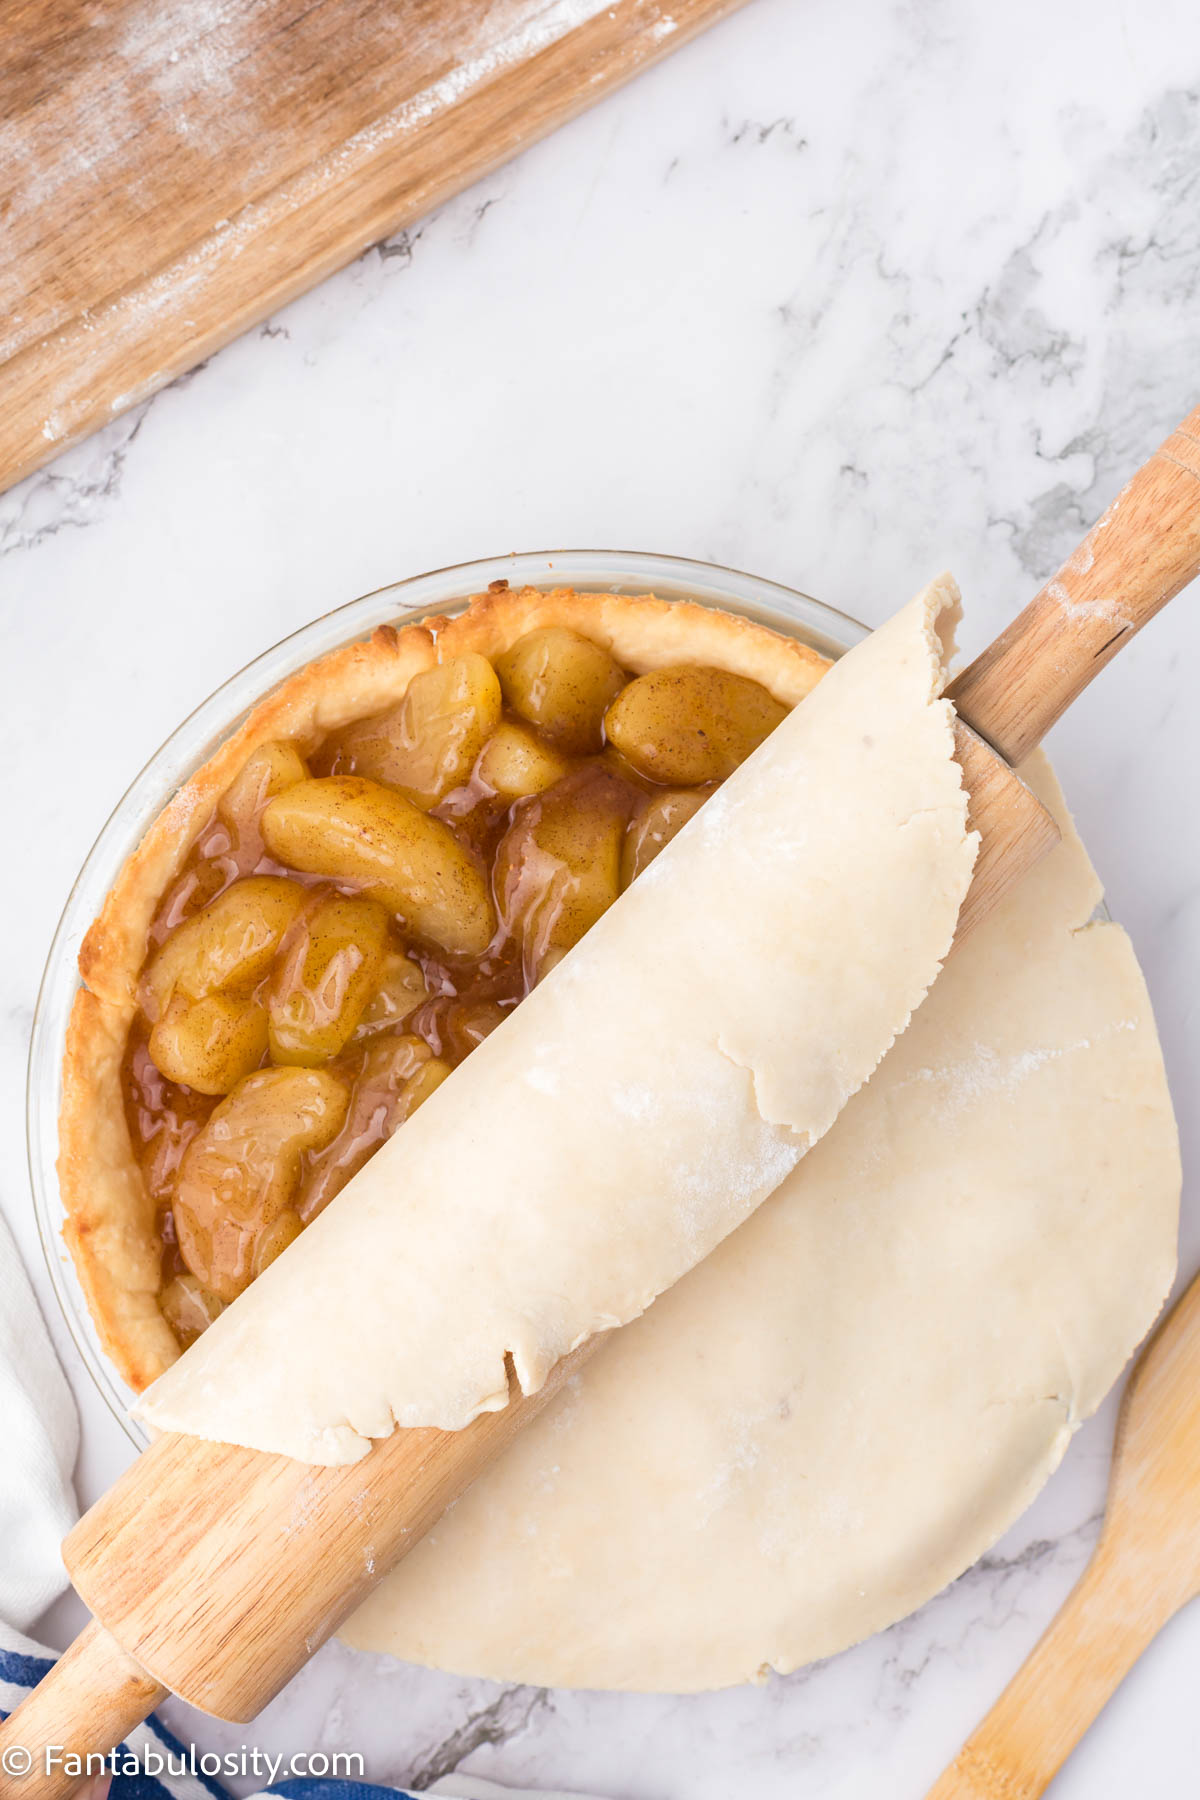
- Trim the excess pie dough from around your pie pan and create a seal around the edge of your pie by rippling and pinching the pie dough between your index finger, thumb, and middle finger.
- In a small bowl, whisk together egg and 1 tablespoon of water. Brush this egg-wash mixture over your pie crust in a thin layer.
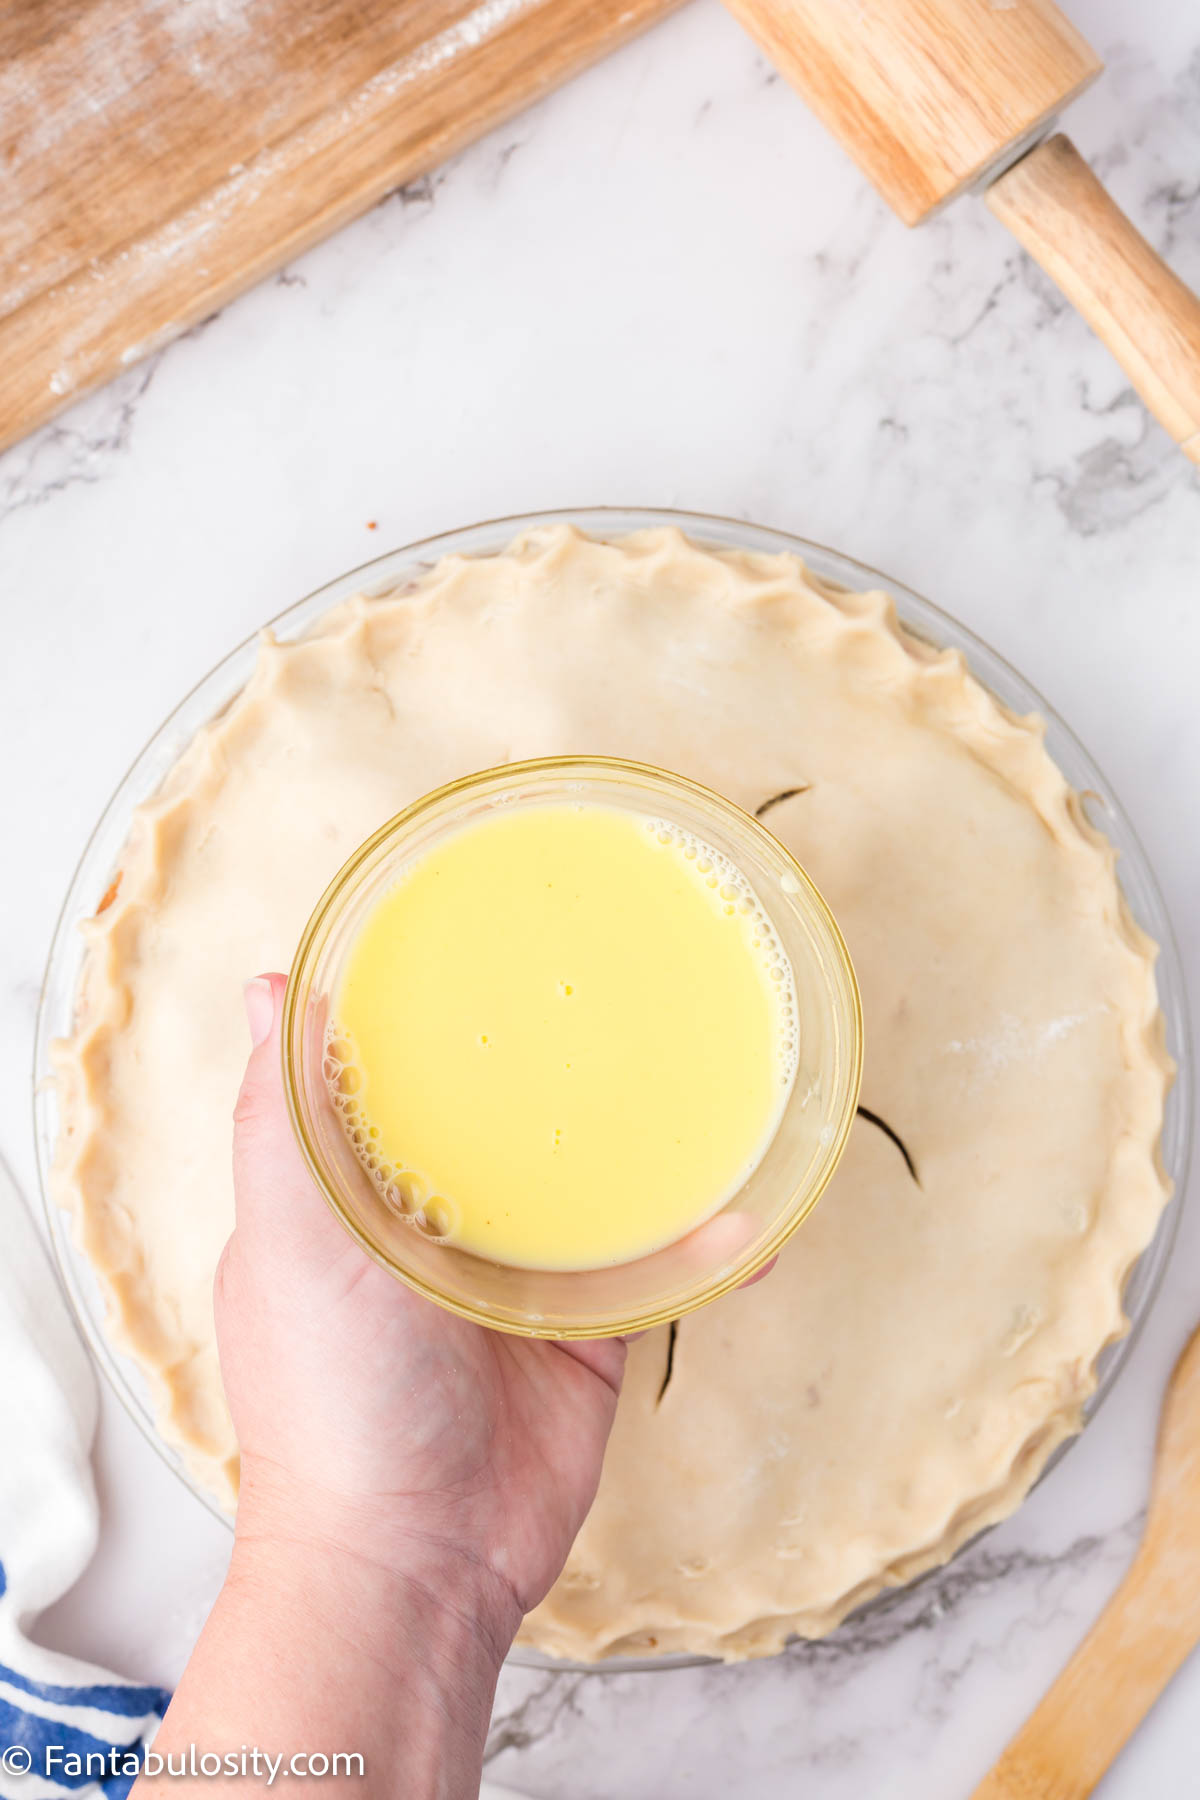
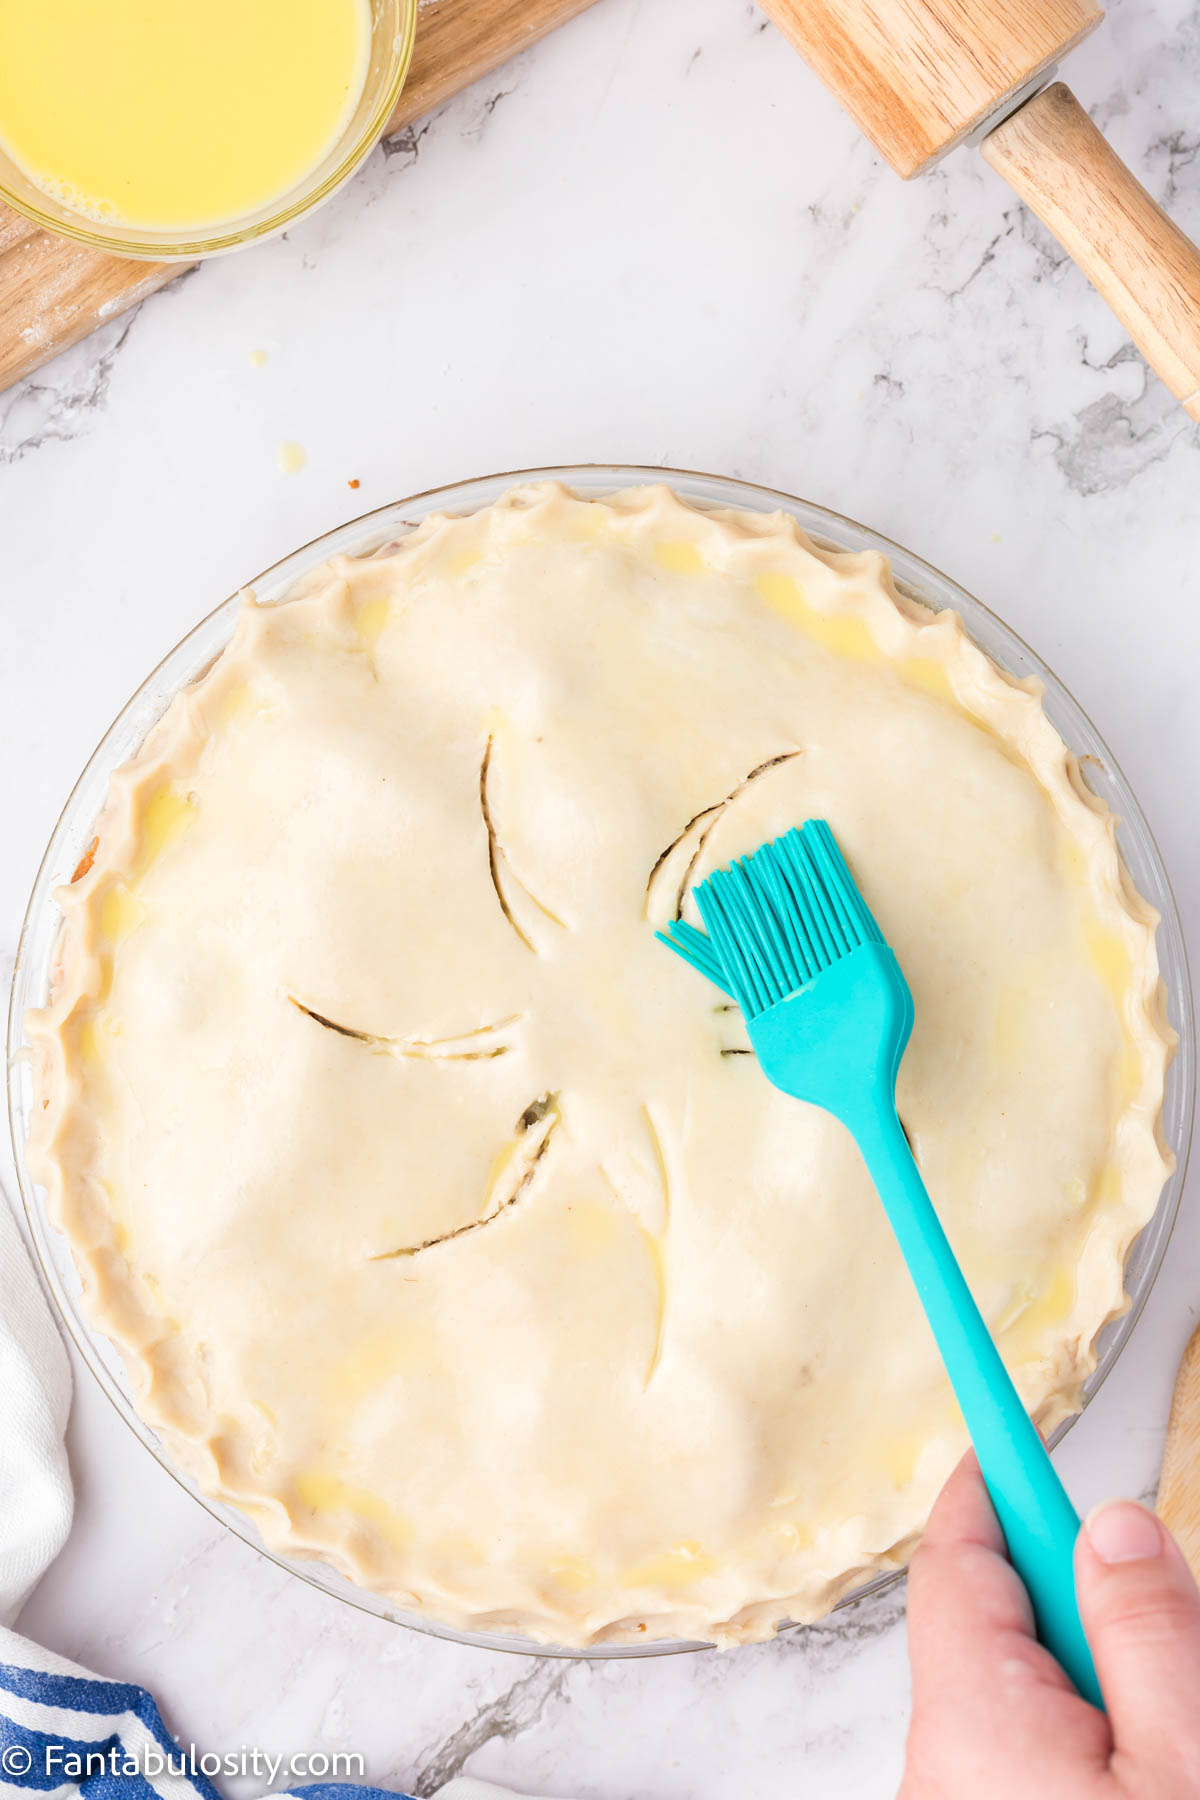
- Bake your pie by the filling instructions or until the pie crust is golden brown. If the edges are browning too quickly, wrap them in aluminum foil or a pie saver.
NOTE: This recipe makes enough dough for a double pie crust recipe. If you only need a bottom crust, you can wrap the other half of the dough in plastic wrap and refrigerate it for a week or put that wrapped dough ball in an airtight, freezer-safe container or bag and freeze it for up to 2 months. When you’re ready to use it, simply thaw it on the counter and continue on with the recipe.
Substitutions
If you need to make your pie crust suit your dietary needs, there are a few changes you can make!
- Dairy-Free – use your favorite dairy-free butter alternative to make this pie crust dairy free!
- Gluten-Free – use your favorite gluten-free flour blend instead of all-purpose flour to make this pie crust gluten-free! We recommend using a blend that contains xantham gum for the best results.
- Egg Free – if you need to omit the egg in this recipe, you can replace it with a cornstarch egg (2 tablespoons of cornstarch blended into 3 tablespoons of cold water will replace one egg).
Equipment
You will need the following supplies:
- 9-inch pie plate (metal or glass)
- Parchment paper
- small knife
- food processor (if you don’t have a food processor, you can “cut in” the butter with a pastry cutter, aka a pastry blender)
- rolling pin
- small bowl
- plastic wrap
Storage
This pie crust can be stored in your refrigerator in airtight plastic wrap for up to 48 hours before baking.
After baking the crust can remain fresh in your refrigerator in an airtight container for up to 5 days and frozen for up to 4 months. The blind-baked crust can also be frozen before adding any filling.
To freeze a pie crust (baked or raw), be sure to make it in a freezer-safe pie dish and then wrap the pie crust (cooled, if you’ve blind-baked it) in plastic wrap and then tin foil before freezing.
Top Tip
Make sure your water and butter are both very cold. The longer it takes your butter to melt in the oven, the lighter and flakier your crust will be!
FAQs
Blind baking a crust means you are baking the bottom of a pie crust so that a soft pie filling doesn’t create a soggy layer. You would usually blind-bake a pie crust if you are using a filling that doesn’t need to be baked, such as fruit filling, pudding filling, or pre-made fillings (although some recipes with cooked filling will ask you to partially or par bake the bottom crust).
You should use a 9-inch pie pan that is made of glass or metal. A ceramic pie pan can be used if not blind baking your pie. The ceramic tend to heat unevenly during the blind baking process.
When adding water to your dough, it should be a smooth texture without cracks. If you have a lot of cracks in your dough you’ll want to slowly add a tablespoon of water at a time until it is smooth and easy to work with. Do not overwork the pie dough, this can make it tough and too thick.
Some things that will cause a pie dough to become thick and tough are:
– Adding too much flour to your workspace. Only add enough flour to avoid the dough sticking to your surface.
– Melted or soft butter. You want your butter to remain as cold as possible throughout the entire process. You can even put your butter in a freezer for 10 minutes before using it if you are working in a warm room.
– Not rolling the dough thin enough. You want to make sure the dough is nice and thin, about ⅛ inch thick all the way around.
Did you make this? I’d be so grateful if you left a “star” rating below to let me know what you thought! Then, the next time you need a quick and easy recipe, come back to Fantabulosity to browse all of my easy recipes!
Related Recipes
Now that you know how to make a butter pie crust recipe, you can use it to make some delicious pies like this easy banana cream pie or this classic pecan pie! Or this butterscotch cinnamon pie recipe.
Recipe
Buttery Pie Crust Recipe
Equipment
- 9" pie pan
Ingredients
- 2 ½ cups flour + more for flouring work surface
- 1 tablespoon granulated sugar + 2 lbs if blind baking
- ½ teaspon salt
- 1 cup very cold butter diced into ½-inch cubes
- ½ cup ice cold water divided
- 1 egg
Instructions
To Make Pie Dough
- In a food processor, combine 2 ½ cups flour, 1 tablespoon sugar, and ½ teaspoon salt until well blended.
- Add half of your butter (½ cup) to the food processor and blend with the flour mixture. Add the second half (other ½ cup) of the butter and blend again. The mixture should be a powdery sand texture.The butter should be very cold, if your room is warm you’ll need to place it back into the refrigerator between adding it to the food processor.
- Add 2 tablespoons of water into your food processor and blend between each set. Repeat this until the texture of the mixture is a rough crumble and when you pinch it, it holds together. This usually takes about 6 tablespoons depending on the type of butter you use. You need the water to remain very cold, add ice cubes to your cup of water if needed.
- Pour your pie crust dough mixture onto a flat surface and divide it into 2 halves, one half being slightly larger than the other.
- Form the dough into 2 round disks by squeezing it together and kneading it lightly. Do not overwork the dough or it will become very solid and tough to work with.
- Wrap your 2 dough disks tightly in plastic wrap making sure that no air is touching the dough. Refrigerate for at least 1 hour. The dough can remain in the refrigerator for up to 48 hours if needed.
- Preheat your oven to 425 degrees and lightly grease a glass or metal 9-inch pie pan. Thick Ceramic pie pans tend to distribute heat unevenly and may not work for blind baking this pie crust.
- Remove the larger disk of pie dough from your refrigerator and let it sit for 5 minutes or long enough for it to become workable but still cold. Sprinkle a flat workspace with flour as well as your rolling pin.
- Starting in the center of the dough disk, roll the dough outward in all directions from the center to the edge until you have a ⅛-inch thick round pie crust.
- Place the pie crust over your pie pan using your rolling pin by rolling the pie crust over the rolling pin and allowing it to carry the weight of the pie crust, and then rolling it gently across your pie pan. This will help avoid any stretching or cracks.
- Gently press the pie crust down into the pie pan, fitting into the crease all the way around. Trim excess pie dough from around the pan with a small sharp knife and with a fork, make small holes around the bottom of the pie crust to allow venting and prevent the pie crust from bubbling up.
Blind Baking
- If your recipe calls for blind baking, preheat your oven to 425°. Roll out your bottom crust dough, line it with parchment paper and weigh it down (with the weight of your choice). Bake for 20-25 mins, then cool before filling. (We wrote an entire blog post dedicated to blind baking pies, so if you need a few more details be sure to head over there and check it out.)
For Top Crust Note: Exact time and temperature will depend on filling instructions for each individual pie.
- Fill your bottom pie crust with desired pie filling and preheat your oven by the pie filling instructions.
- Remove the smaller disk of pie dough from your refrigerator and let it sit for 5 minutes or long enough for it to become workable but still cold. Sprinkle a flat workspace with flour as well as your rolling pin.
- Starting in the center of the dough disk, roll the dough outward in all directions from the center to the edge until you have a ⅛-inch thick round pie crust.
- Place the pie crust over your pie pan using your rolling pin by rolling the pie crust over the rolling pin and allowing it to carry the weight of the pie crust, and then rolling it gently across your pie pan. Vent your pie crust by making slits in the top of the pie, all the way around with a small sharp knife.
- Trim the excess pie dough from around your pie pan and create a seal around the edge of your pie by rippling and pinching the pie dough between your index finger, thumb, and middle finger.
- In a small bowl, whisk together egg and 1 tablespoon of water. Brush this egg-wash mixture over your pie crust in a thin layer.
- Bake your pie by the filling instructions or until the pie crust is golden brown. If the edges are browning too quickly, wrap them in aluminum foil or a pie saver.
Notes
Nutrition
Nutritional information is based on third-party calculations and should be considered estimates. Actual nutritional content will vary with brands used, measuring methods, portion sizes and more.




Natasha says
I’ve been making this recipe ever since I tried it. My family absolutely loves apple pie now that I am making this pie crust. Thank you for another great recipe!
Kristyn says
Perfectly golden & delicious!! I don’t like using any other recipe!! It’s also easy & fool-proof!
Kara says
Oh yum! The butter tastes so much better than shortening, and the egg made the dough so easy to work with.