
As part of the Martha Stewart "Make it Martha" program, I received complimentary products to make this DIY craft. Thank you Martha!
DIY Stenciled Anchor Pillow Cover for Guest Room using Martha Stewart Crafts® paint and stencil. This easy tutorial and craft made decorating a breeze!

DIY Stenciled Anchor Pillow Cover Tutorial
If you’ve been on my home tour, then you may have kicked your shoes off and stayed a while in part 14, the Guest Room.
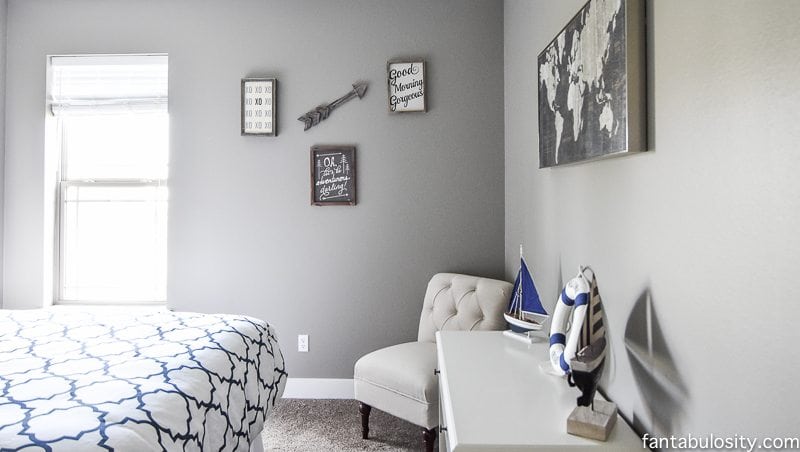
Well in that room, the adorable new chair that I purchased specifically for this space looked incredibly lonely sitting there without a pop of color. So when I saw this anchor stencil, I knew it would be the PERFECT accent on the guest room chair!
If you saw my flamingo drink serving tray that I featured last month, then you know how I run to my momma’s house anytime I want to stencil something. The woman knows her STENCILS. For real. For years I thought you just dip your brush in the paint and fill in the stencil.
Friends, to have the best results with stenciling, there are certain techniques you can follow. With approval from my mom, I get to share with you her favorite stenciling techniques. While tackling this project with my momma, on a warm summer day on her back porch, I captured the process and her pro tips to share with you all today!
DIY Stencil Pillow Tutorial
First, I’ll briefly show you the process of how we made the actual pillow cover, but to get started on the right foot for cutting and measuring your pillow cover, you should really check out this post: Three Ways to Make a Pillow Cover on MarthaStewart.Com.
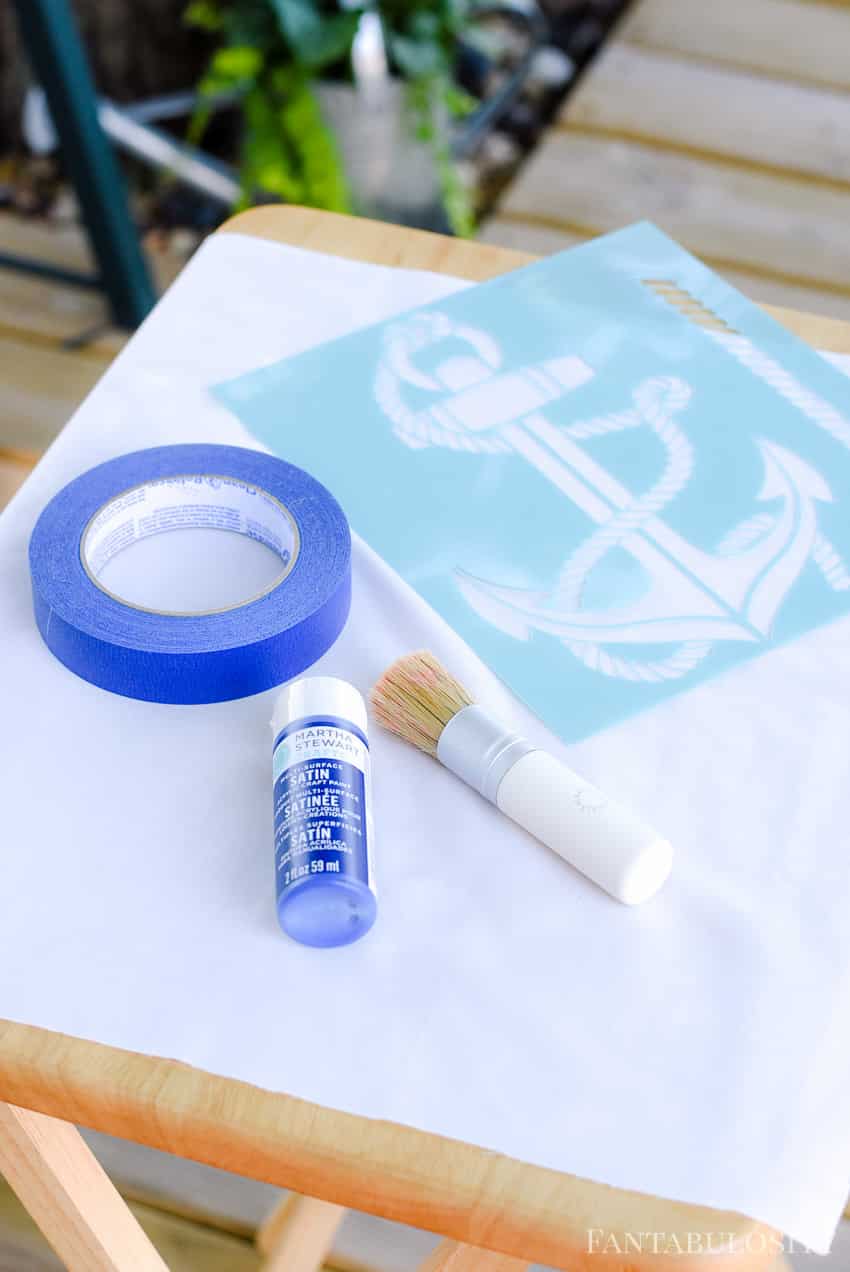
Supplies Needed to Stencil Pillow Cover
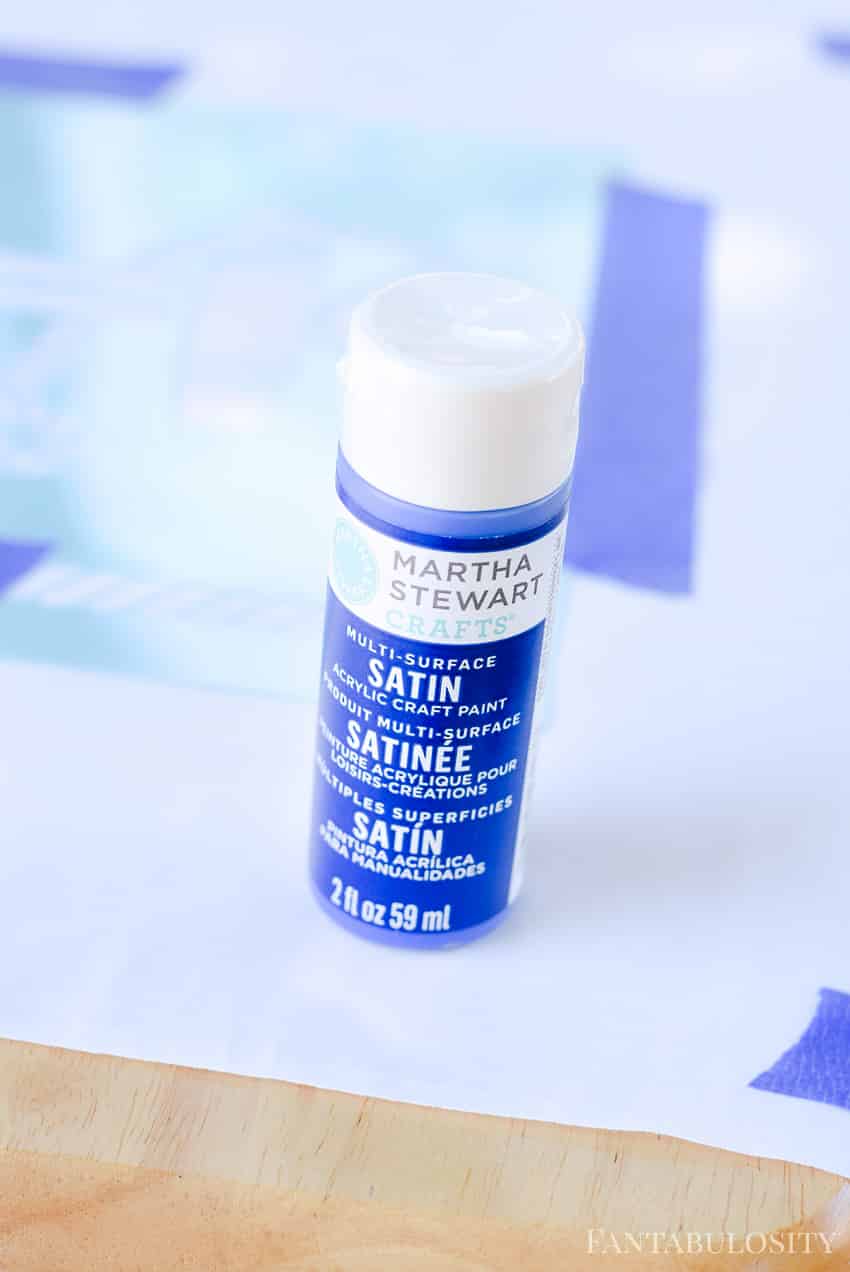
• For this painting project, we used the “Greek Tile” Multi-Surface Satin Acrylic Craft Paint that you can also find on Michaels.com. The variety of colors that you can choose from is incredible.
• Anchor Stencil
• Martha Stewart Crafts® Stencil Brush, Large
• Fabric Cut to Size for Pillow Cover
• Tape Measure
• Painter’s Tape
• Paper Plate
• Pencil
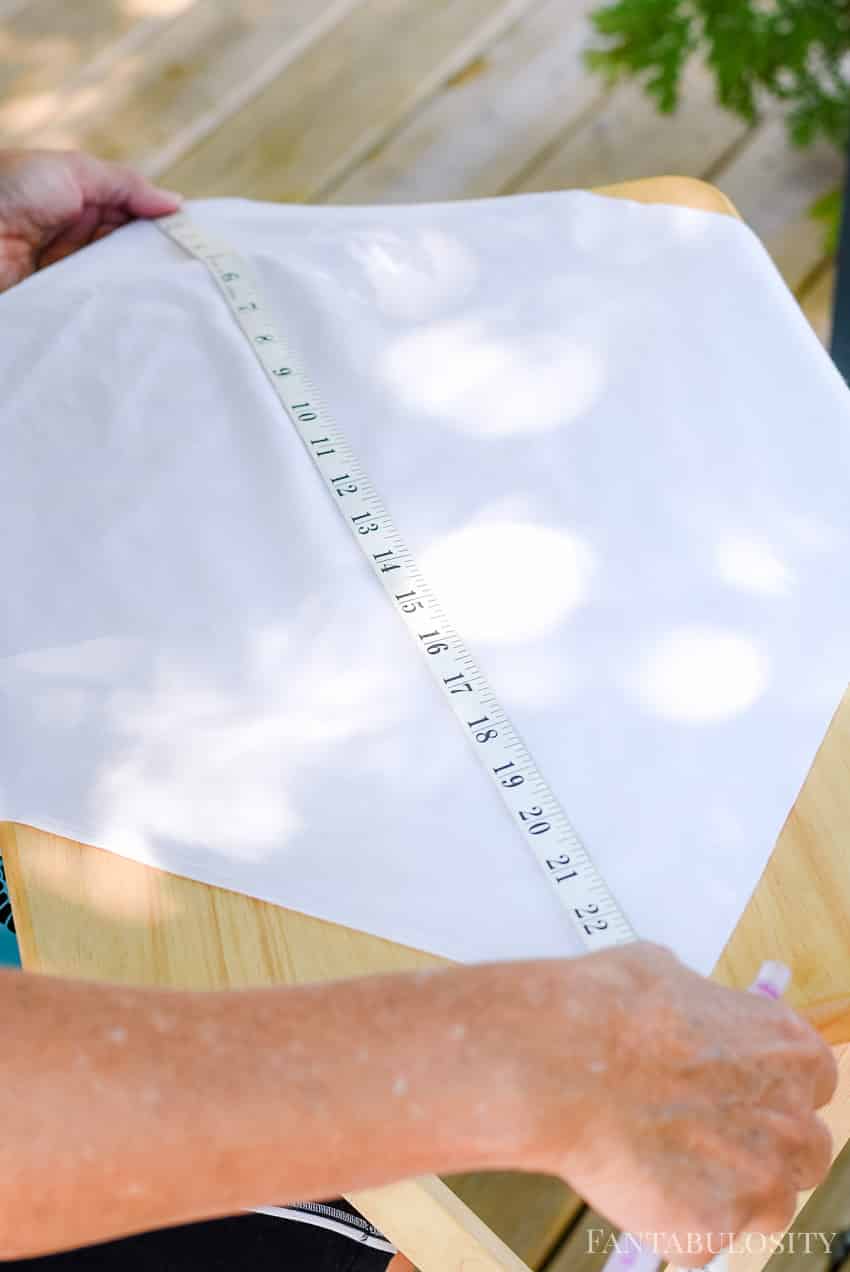
Measure the Center
When you have your pillow cover cut to size (front piece), grab a tape measure and mark where the center of the cover is, and place your stencil in the dead center.
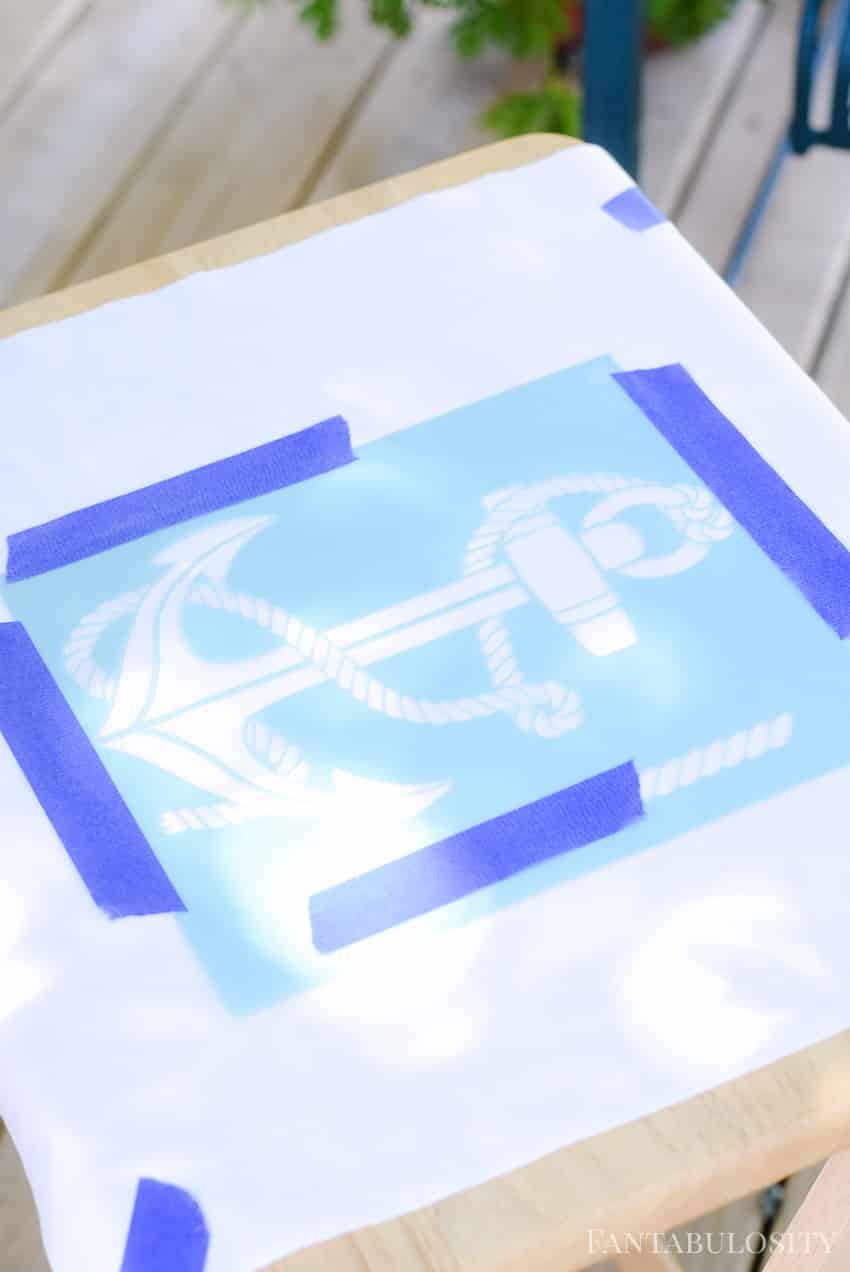
Tape Down the Edges
Using painter’s tape, tape down the stencil so it does not move during the stenciling process.
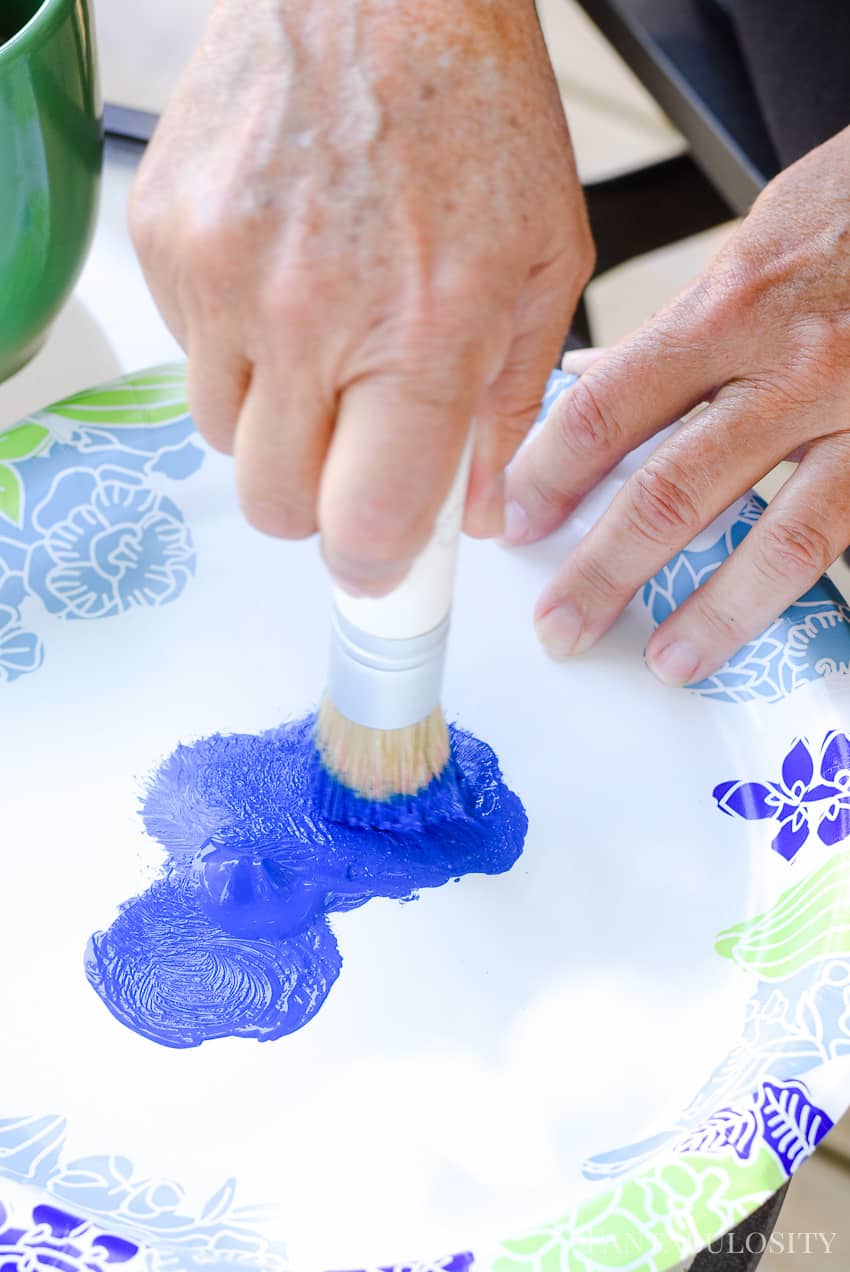
Paint and Dab
Next, pour a small amount of paint on your paper plate. (You’d be surprised that you don’t need as much as you think. So pour a little and you can always add more if need be.)
Using your stencil brush, barely tap your brush in to the paint and move to a clean part of you plate and begin rotating and pushing the brush down to remove any excess paint from your brush. (Having too much paint on your brush can result in the stencil bleeding, so better safe to apply two coats of stencil paint, than sorry.)
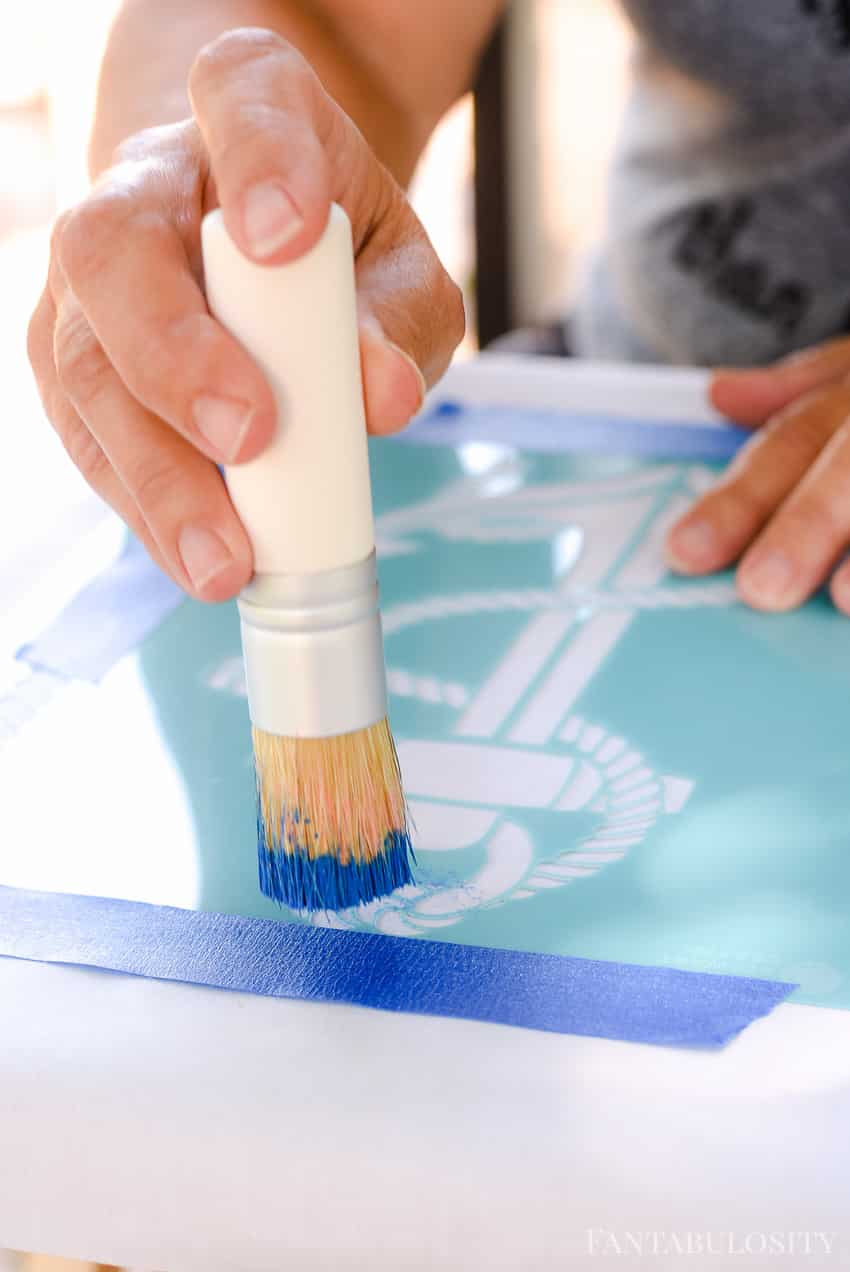
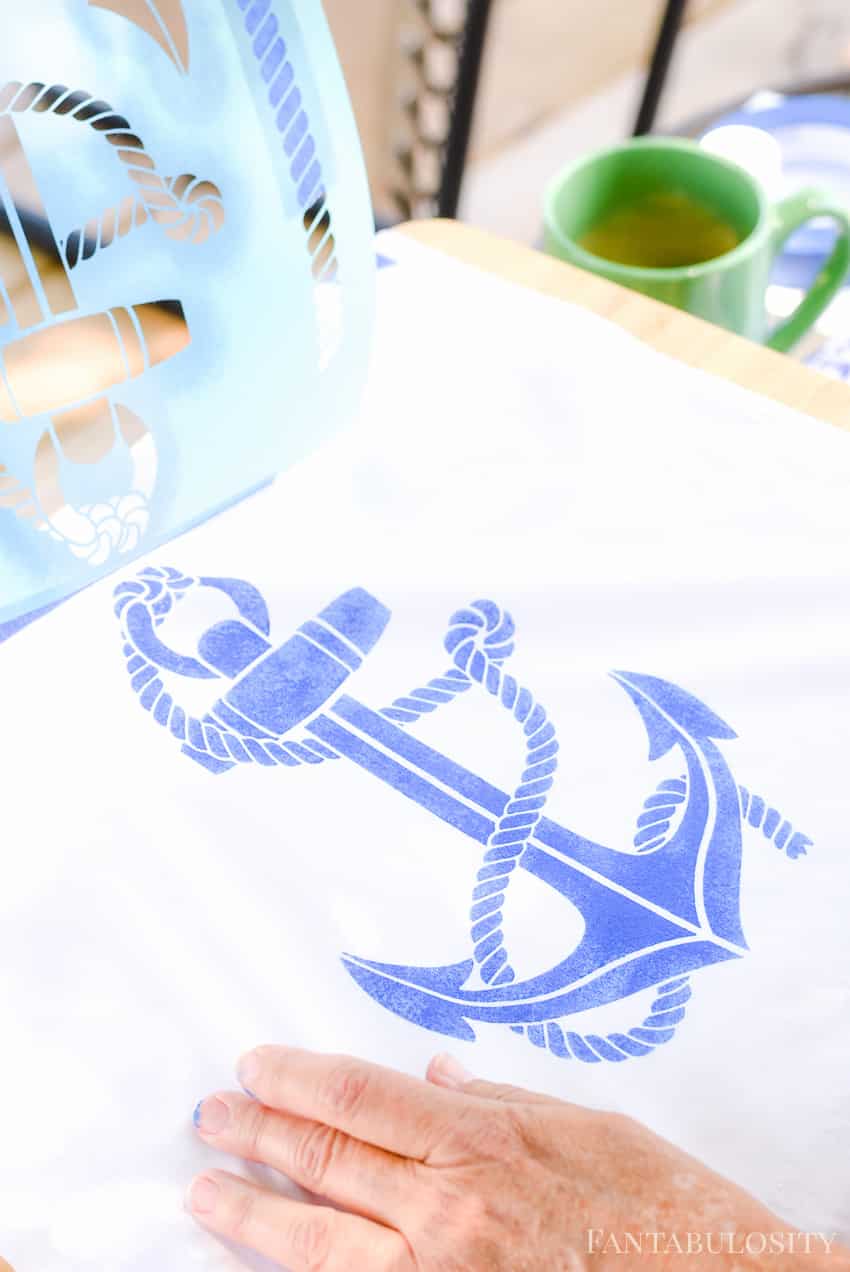
When the paint has moved up inside the stencil brush, take it to your stencil and begin dotting the stencil.
Two Coats
For this craft, we did one coat of paint, and decided to make it darker. So a second coat was applied and then it was ready!
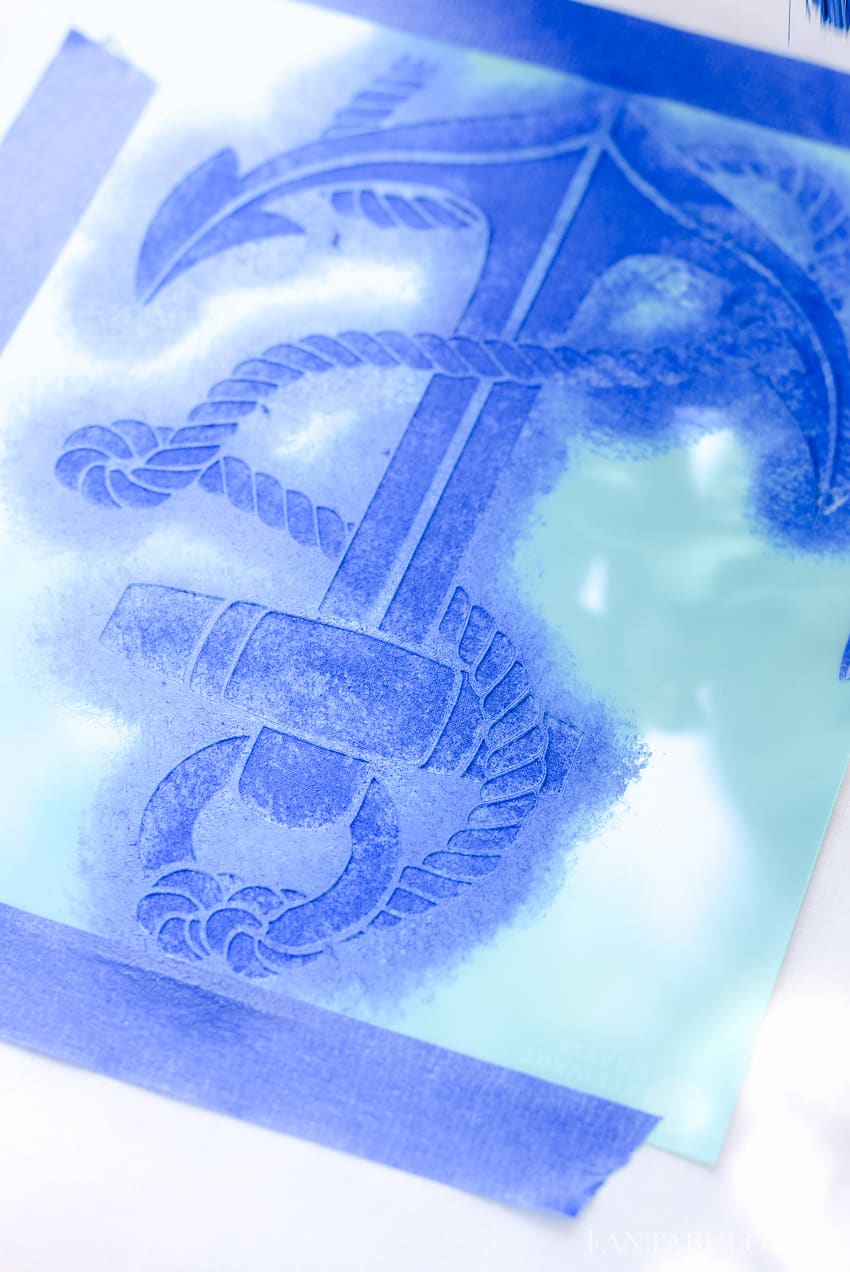
TIP: To check to see if you’re happy with the color darkness of your first coat, barely raise one corner of the stencil to take a peek. This way, if you decide to do another coat, you won’t have to reapply the entire stencil.
Time to Stuff and Sew
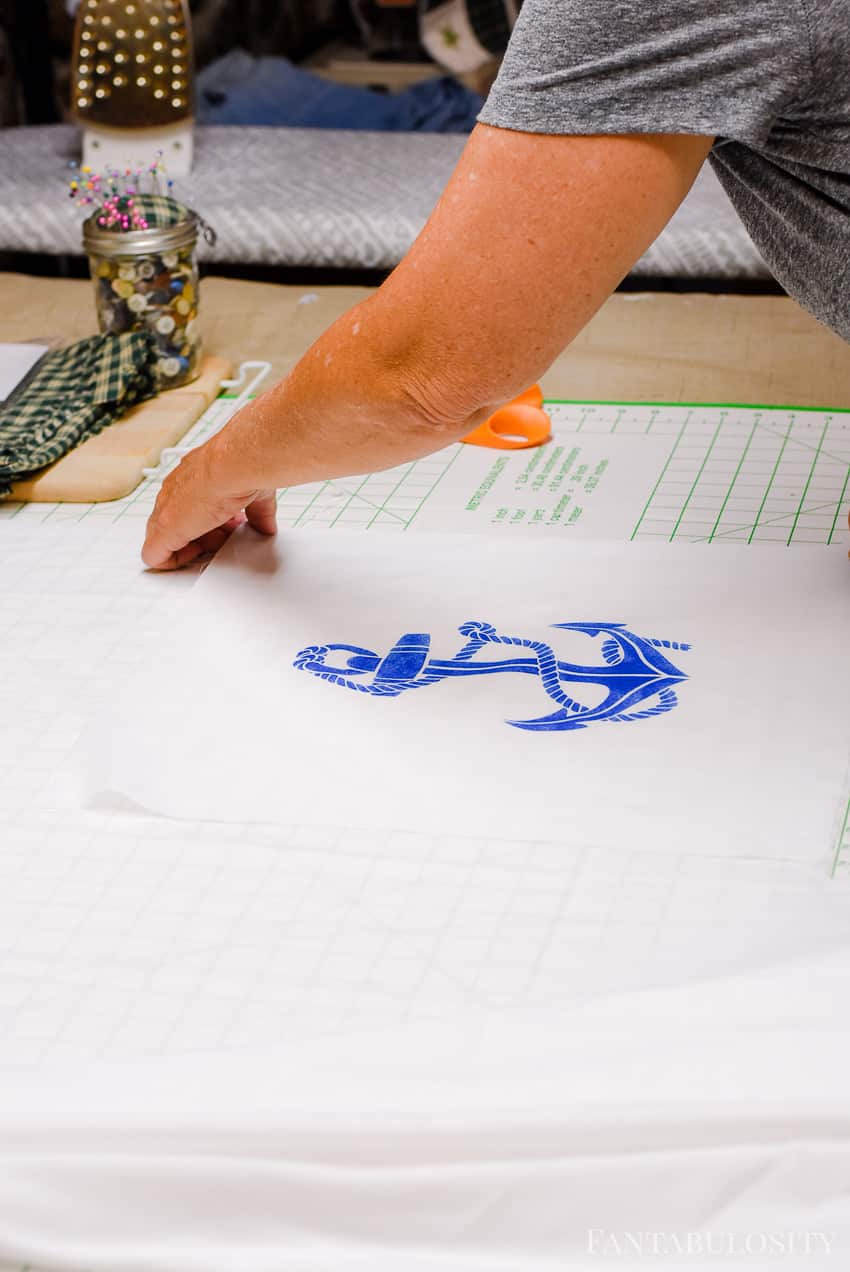
The stencil turned out perfect. Allow to dry (it dries really fast) and then you can move on with the pillow cover!
Remember, to get a FULL pillow cover tutorial, you can find that on MarthaStewart.Com.
Don’t be intimidated. If I can sew a pillow, you can sew a pillow cover. But if my crafty mom is around (like on this day) you better believe I’ll ask for her assistance.
Final Pillow Cover Steps
Next, she measured and cut out the back of the pillow cover to sew to the front that we just stenciled.
(Make sure when cutting your fabric for the cover, you add an inch in measurement, to make the cover one inch larger than the insert. (This way you’ll leave space for sewing the edge and room to stuff.)
Flipping the stenciled cover over, we placed it on top of the other sheet of fabric. You do this so when you sew, the stitching is on the inside of the pillow cover. (You’ll flip the cover inside-out before stuffing with the insert.)
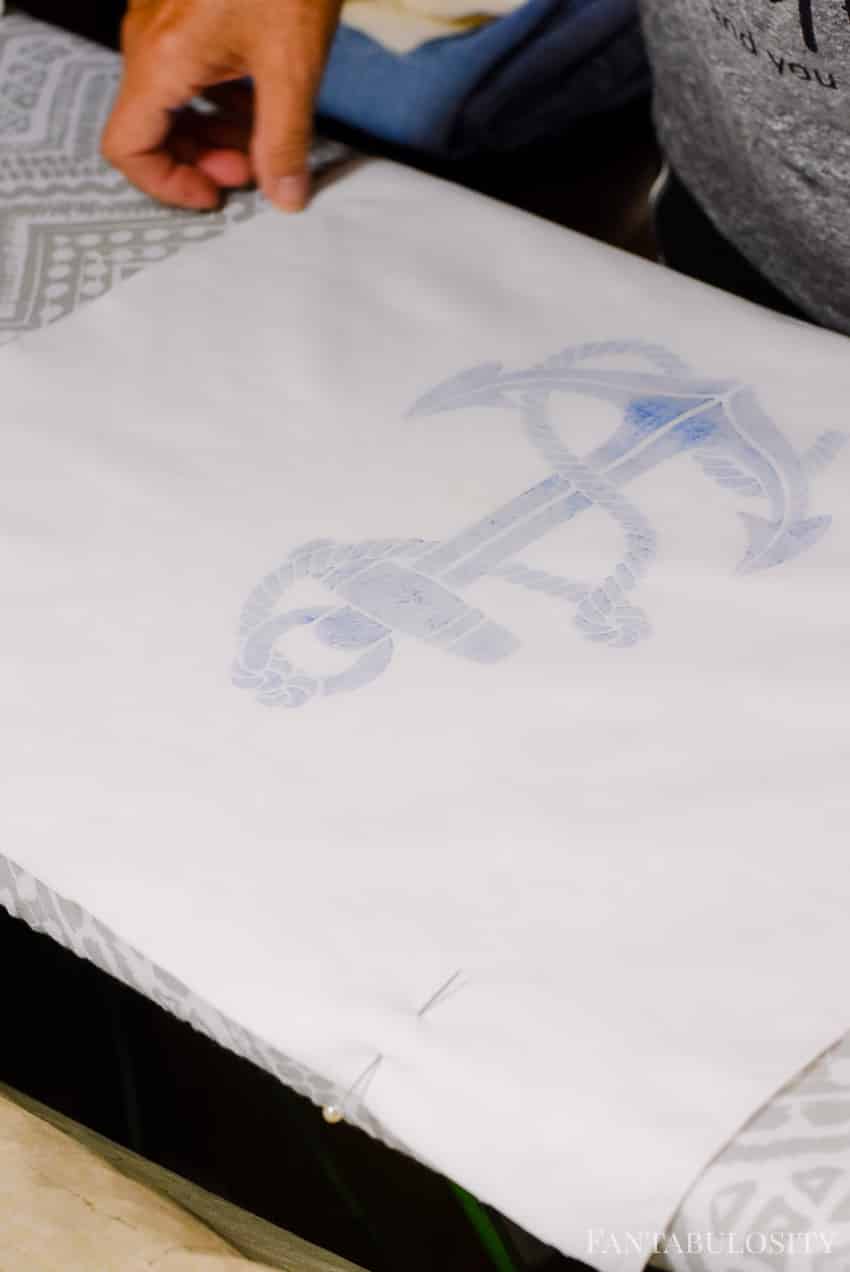
Time to Sew
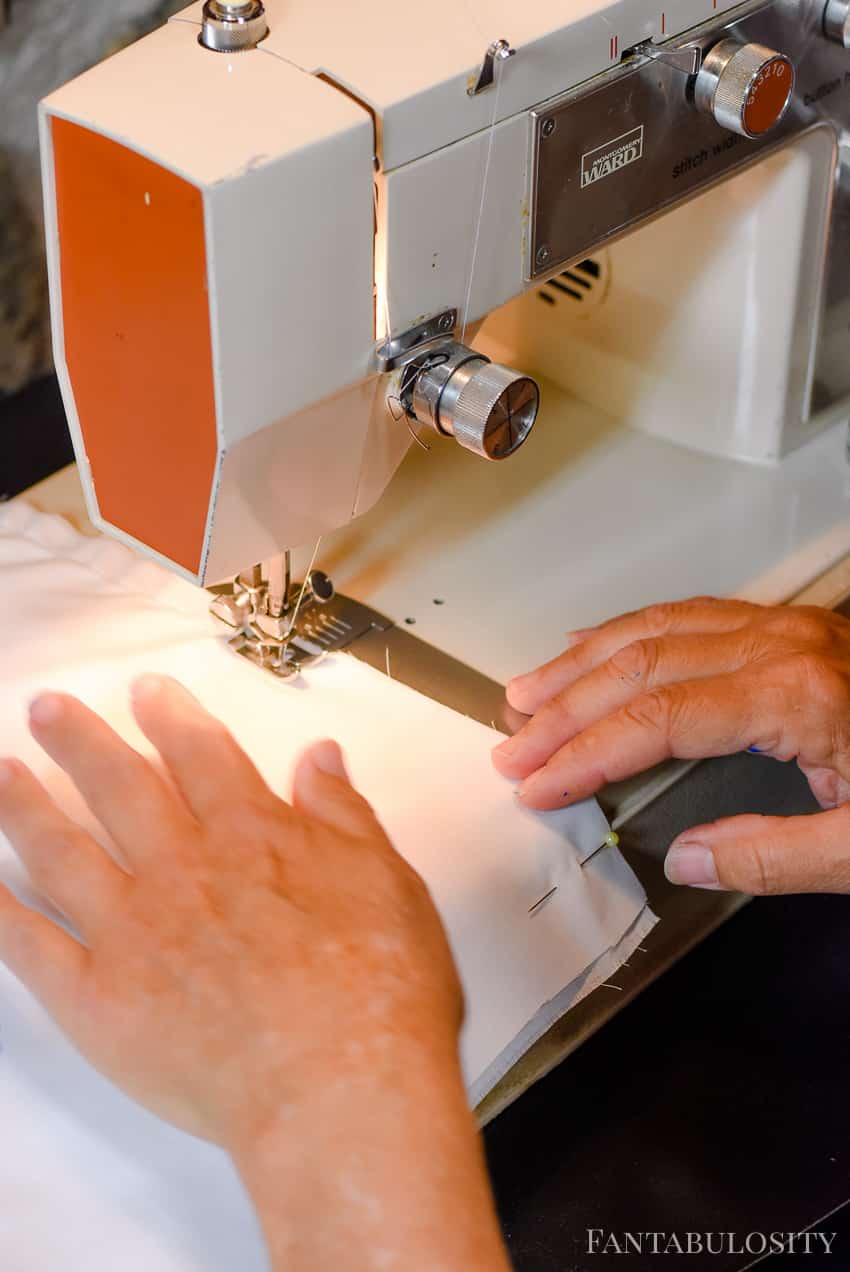
After pinning the edges together, it was time to head to the sewing machine.
I absolutely love her sewing machine. It has been around for AGES and it has so many stories and memories to go along with it. What a champ. I can’t even begin to tell you how many outfits and crafts this thing has made for our family.
Flip It!
Once three of the sides were sewed up (leaving the bottom of the cover open so you can insert the pillow) it was time to flip the cover right-side out and insert that pillow!
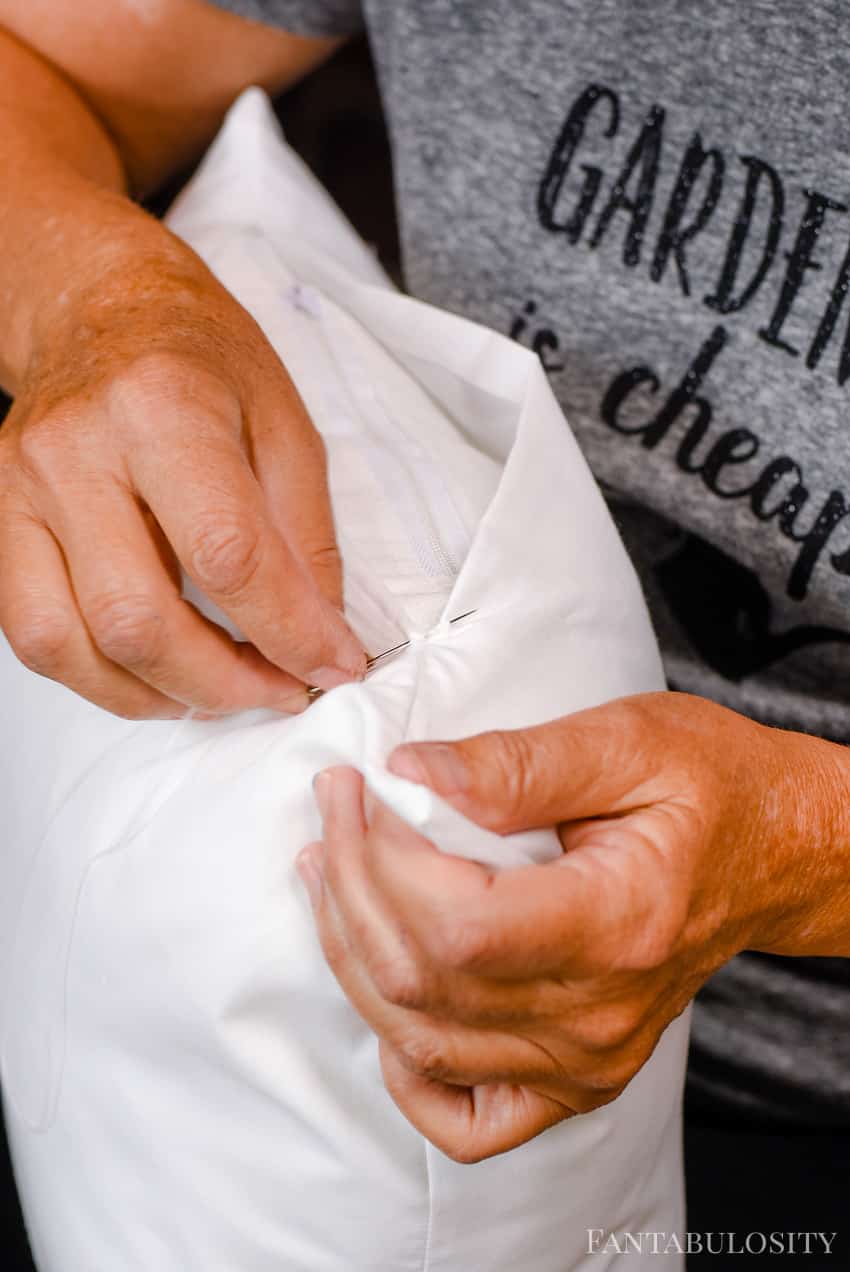
Sew the Gap
Once the pillow insert is in, it’s time to sew up the opening. My mom chooses to hand sew this edge so it has a cleaner look.
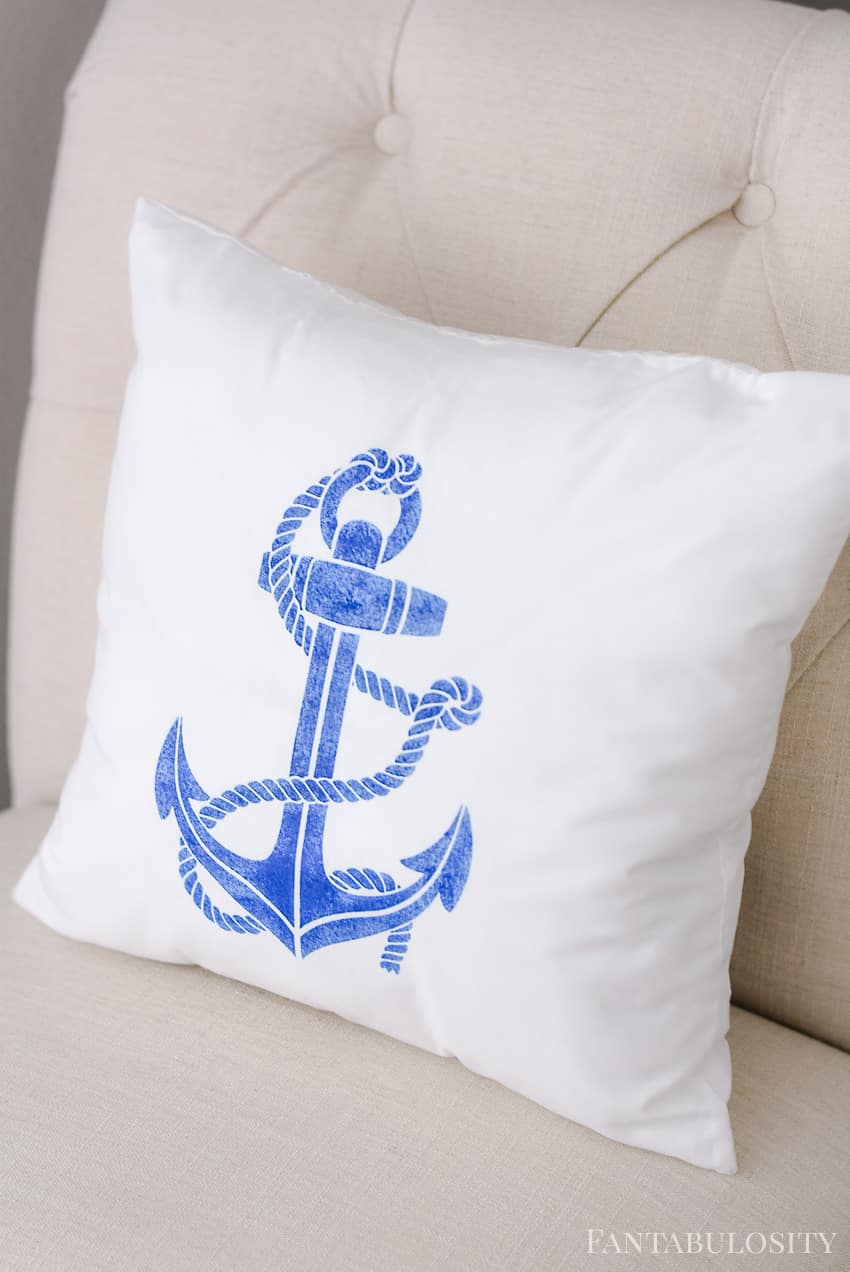
Decorate!
I mean for real. Look how adorable this little craft project turned out to be! Want to know the best part? It was the exact look that I wanted for the bedroom and haven’t been able to find online anywhere.
Another great tip?
My mom found the white fabric that we used at a yard sale. Anytime that she finds white curtains, a tablecloth, or anything in white fabric at a yard sale or flea market… she snags it up, because you never know when you’ll want a white pillow for something!
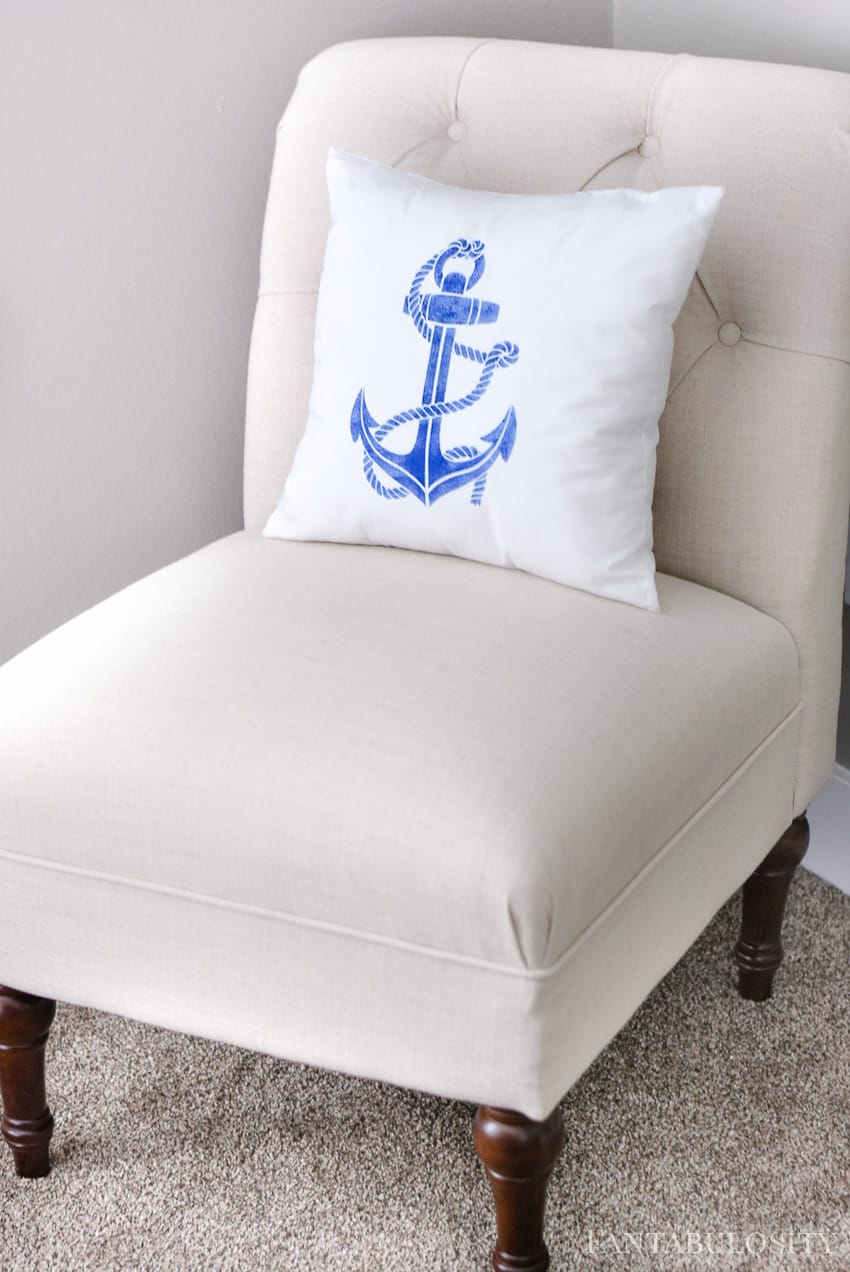
Perfect Pop of Color
This pillow turned out to the best perfect pop of color for the guest room! Now… I’m already thinking of what other pillows can be made with a stencil.
Love DIY Projects
If you love this project to create DIY projects for your home, I think you’re also going to love this Wine Bottle DIY Vase we made, which would look beautiful in your home with your favorite paint colors and flowers!


Comments
No Comments