
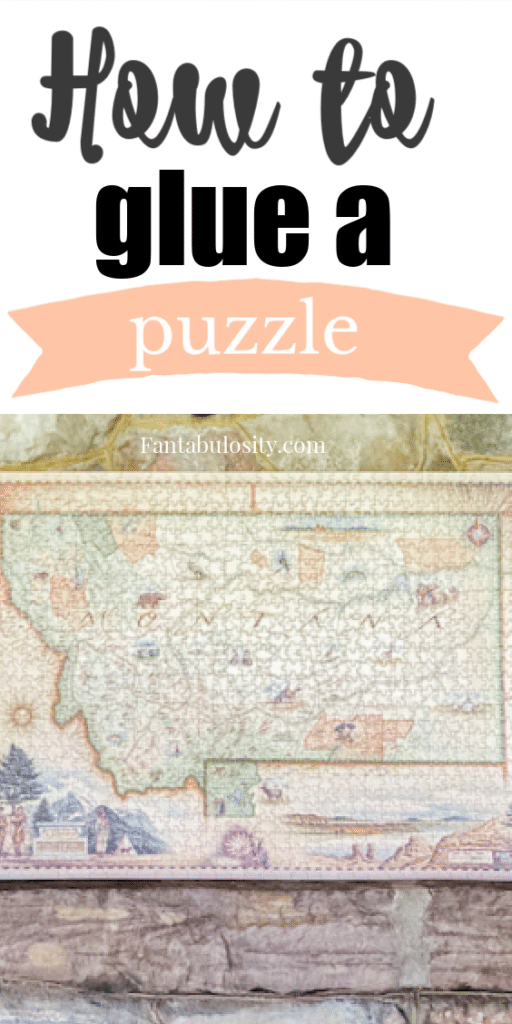
How to Glue a Puzzle: A tutorial on how to safely glue and secure a jigsaw puzzle together! Frame it, gift it, hang it on the wall, or simply store it easily!
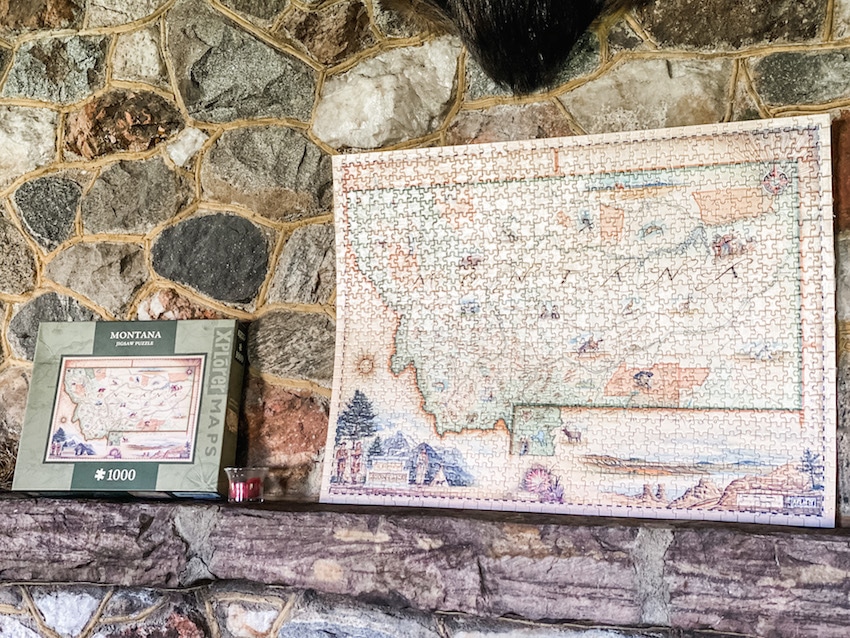
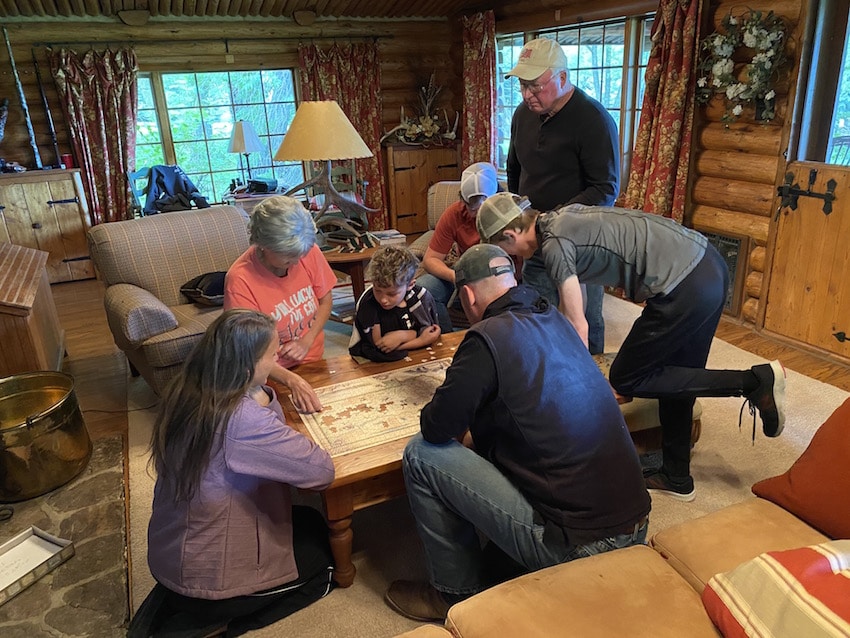
When my sister came to visit us in Montana, she brought the sweetest hostess gift, a jigsaw puzzle.
It was a puzzle of Montana, which was GENIUS because Montana was new to our family but it’s now also a keepsake to remember our incredible summer here, spending time with family and friends.
While they were in, most of the family would crowd around the table and put a few pieces together in the evening or when it was raining out.
I think from now on, this will be my “go-to” hostess gift when we travel to visit others.
If you’re looking for more gift ideas, you’ll love these “gift ideas for her” and these “gift ideas for him“.
How to Glue a Puzzle
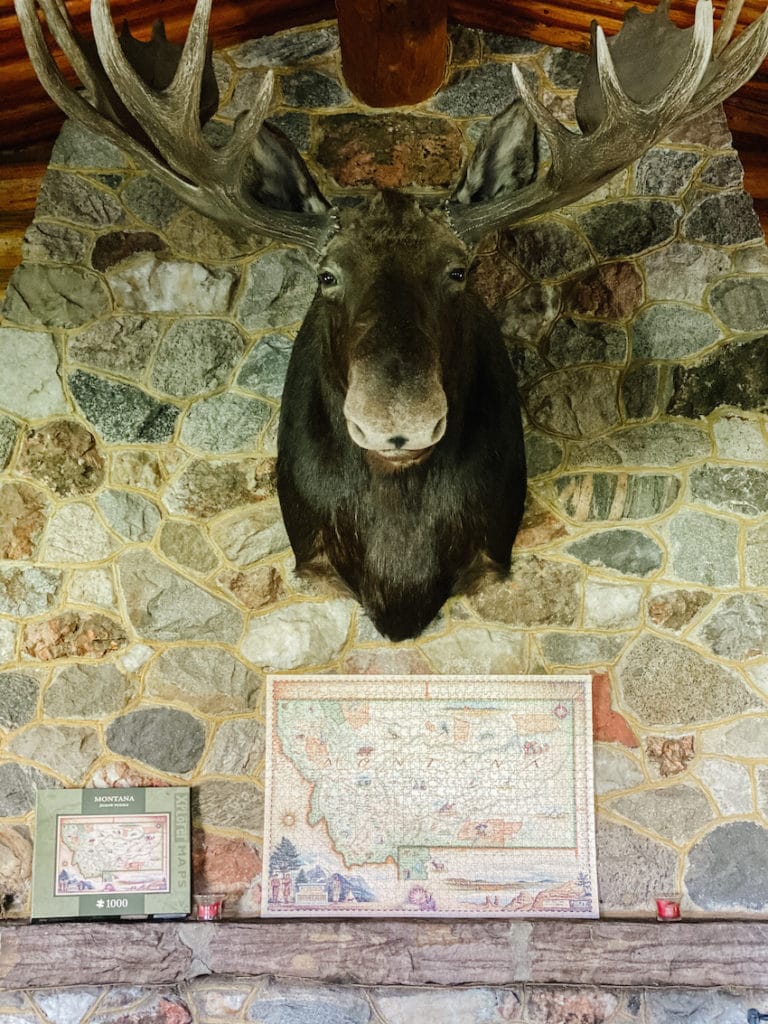
Once the puzzle was together, my oldest was ITCHING to glue it. He was so excited to see the puzzle, complete, and hanging up on the fireplace mantle.
So we made a trip to Target, grabbed a bottle of Mod Podge, and a large presentation board.
Once we got home, we had the puzzle glued and mounted on the fireplace mantle in no time and I wanted to show you how we did it in case you have your own puzzle to glue!
Frequently Asked Questions:
We glued the front AND the back to be safe! If you’re framing the puzzle, you could possibly get away with just the front or the back.
Using a puzzle glue is an option, but Mod Podge can be found in many stores and online, and this tends to be the go-to because it dries clear and holds well!
Two coats should work just fine, but we do three to be safe!
Items Needed to Glue a Puzzle:
- Wax Paper (Or aluminum foil)
- Mod Podge
- Something Sturdy to Place Under Puzzle (I used a hefty piece of presentation poster board.)
- Foam Paint Brush
Notes for Gluing a Puzzle:
- Since the kiddos were helping, I decided to transfer the puzzle from the coffee table in the living area, to the front porch. (No one needs a Mod Podged living room.)
- As you’ll see in my video tutorial below, I used a “presentation” board but this is not a “must”. However, I wanted something sturdy to be able to transfer the puzzle from the coffee table on to wax paper for gluing. We plan to do a lot of puzzles so I figure I can use this over and over and perhaps even for a homeschool project soon.
- When picking out a sturdy piece of board, make sure it’s larger than the puzzle you want to glue.
Instructions for Gluing a Jigsaw Puzzle:
Time needed: 2 hours
How to Glue a Puzzle: A tutorial on how to safely glue and secure a jigsaw puzzle together! Frame it, hang it on the wall, or simply store it easily!
- Wax Paper
Begin by tearing off a piece of wax paper that’s large enough to fit under the puzzle. (The wax paper I used wasn’t wide enough for my puzzle, so I had to rip off two pieces. You may have to do the same!)
- Place Wax Paper on Board
Place the wax paper on top of the sturdy board.
- Transfer the Puzzle on to Board & Wax Paper
Holding the board/wax paper level with the table or surface that you’re transferring it from, carefully slide the puzzle on top of the wax paper.
NOTE: If your puzzle is on the floor, you may not need the board. Try to place the wax paper next to the puzzle and slide it on to the wax paper from there. - Start Gluing the Puzzle
Once the puzzle is safely on the board, you can start the gluing process.
- Foam Brush, Light Coat of Mod Podge
Using a foam brush (you can use another type of paintbrush, but I prefer the foam) dip the brush in to the mod podge. (You can poor Mod Podge on to a paper plate as well, but dipping worked just fine for us.)
- Light Coat – First Coat
Gently brush a light coat of Mod Podge on to the entire top of the puzzle.
- First Coat, Air Dry 30 minutes
Let air dry. Depending on how thick the coat of Mod Podge is, a good wait time is approximately 30-60 minutes.
- Test and Apply 2nd Coat if Needed
Gently test your puzzle (carefully raise up the edges) to see if a second coat is needed. If you have the time and Mod Podge, I say a 2nd coat never hurts.
- Flip to the Back of the Puzzle & Apple Coat of Mod Podge
Once the second coat has dried, carefully flip the puzzle over and apply another coat of Mod Podge to the backside.
- Let Air Dry
Let coat of glue dry and your puzzle should be good to go! (Still being careful not to be rough with the puzzle… because with anything you glue, it could still come apart if forced.)
- Your Puzzle is Ready for Framing or Hanging!
Your puzzle is ready for framing, hanging or storing!
Video Tutorial on How to Glue a Puzzle with Mod Podge
In case you’d also like to watch a quick, 7-minute video on how we glued our puzzle with Mod Podge, you can see that below!
Now, our puzzle leans up on the fireplace mantle and when we move, it can easily go with us!
The next step is to frame it, but we’re waiting for the perfect one!
If you LOVE Crafting and DIY, You’ll Also Love:
- DIY Floral Terrarium
- DIY Sangria Kit – Gift Idea
- Farmhouse Sign Tutorial- “Gather”
Pin this Image to Remember it:


Comments
No Comments