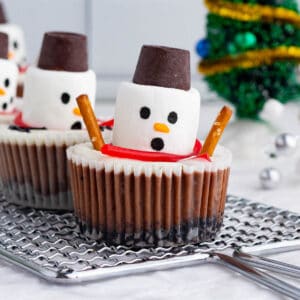
Melting Snowman Cheesecake Cups: A rich cookie crust, creamy chocolate cheesecake and adorable melting marshmallow snowman decorations make these festive holiday treats absolutely irresistible!
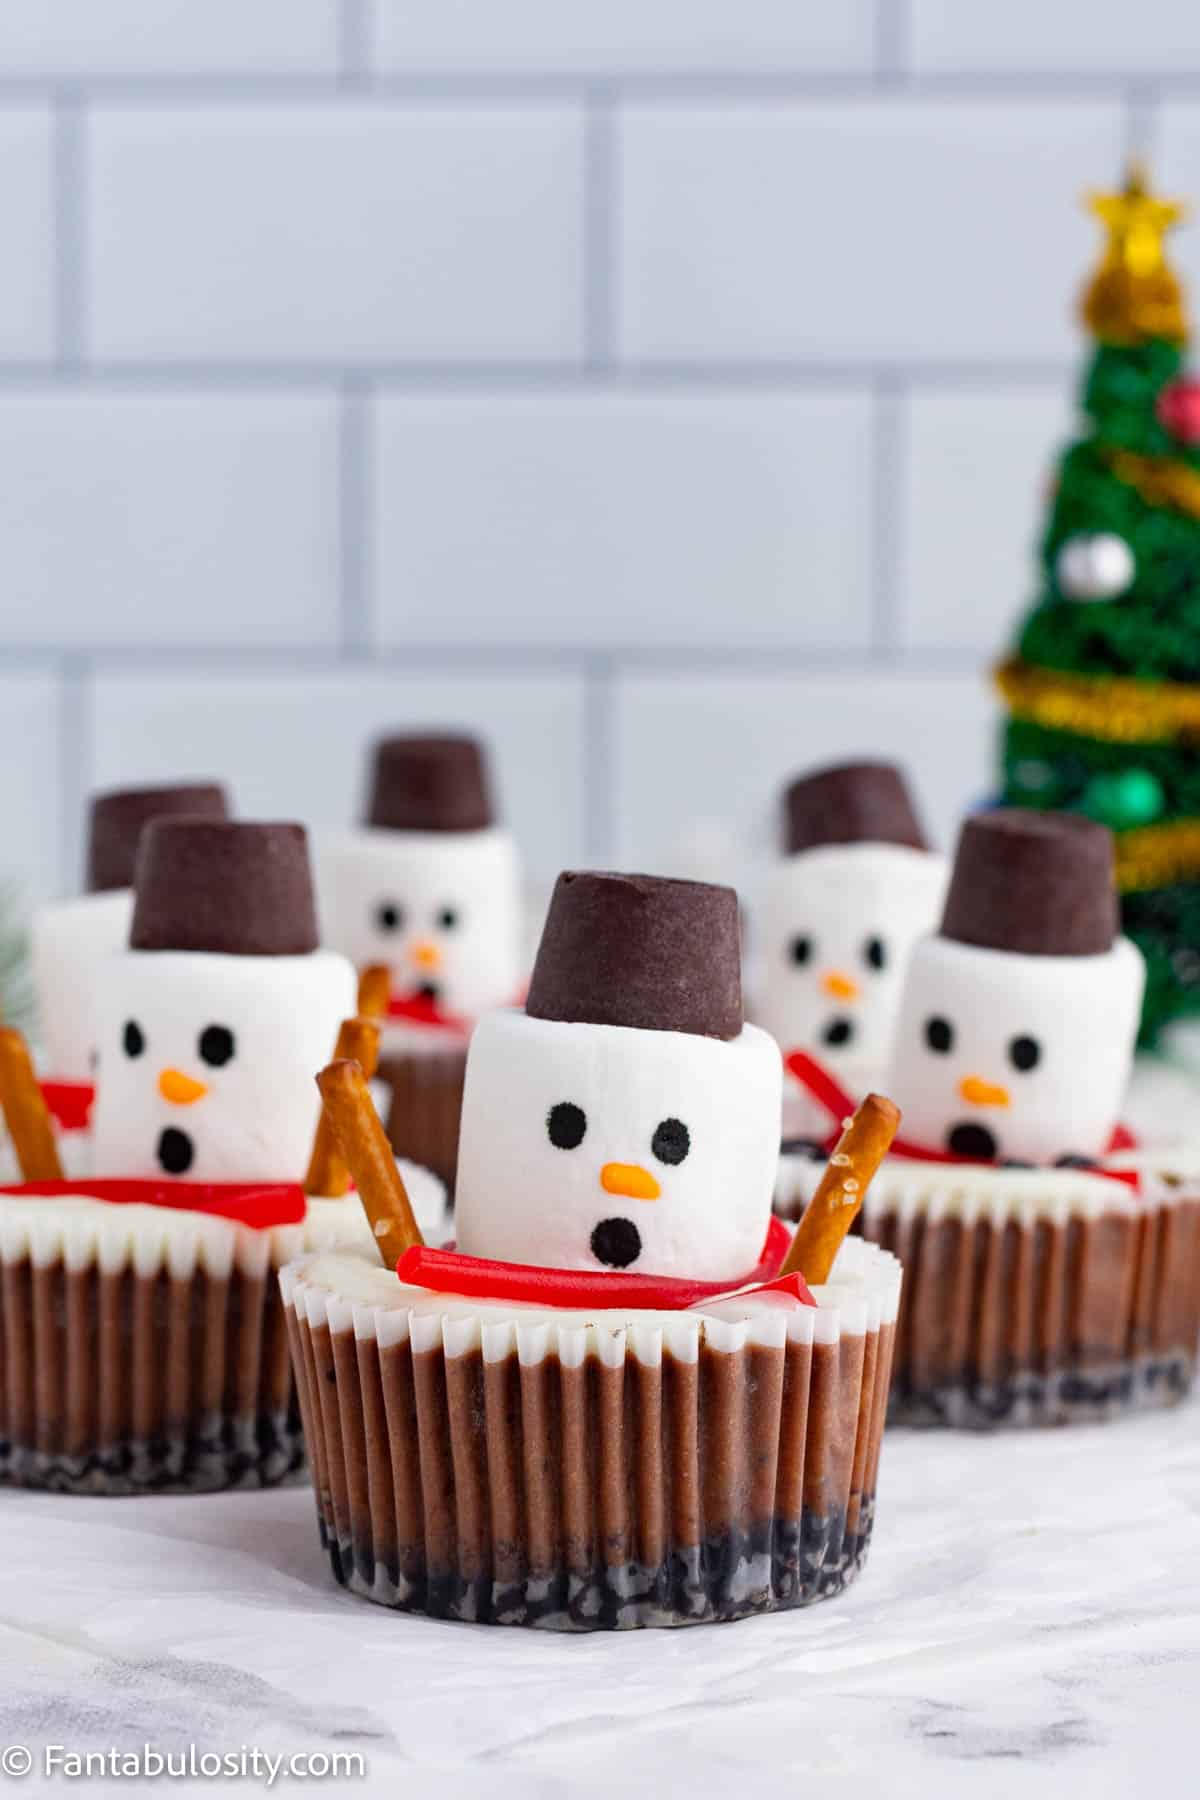
We are no stranger to easy desserts here at Fantabulosity, especially cheesecake. In fact, there are more than a dozen cheesecake recipes! These mini cheesecakes decorated to look like melting snowmen are a great addition to your holiday season baking list! (Check out all of our of no-bake recipes for when you’re in time crunch, too.)
Why you’ll love this recipe
You may have seen similar melted snowman treats like original melting snowman cookies or melting snowman Oreo cookie balls. I’ve even made Nutter Butter snowmen, but this melting snowman recipe is made with homemade chocolate cheesecake!
This is one of my favorite desserts to make with kids for a holiday party! Older children can help mix the cheesecake and melt and pipe the ganache. Little hands can easily draw the faces, add the licorice scarves, the pretzel arms and the candy top hats.
While these are absolutely perfect for any holiday gathering, you don’t have to stop at Christmas. You can make these snowmen cheesecakes all winter long!
Jump to:
Ingredients
A quick walk down the baking aisle of your local grocery store is all you need to pick up the ingredients for this melting snowman recipe.
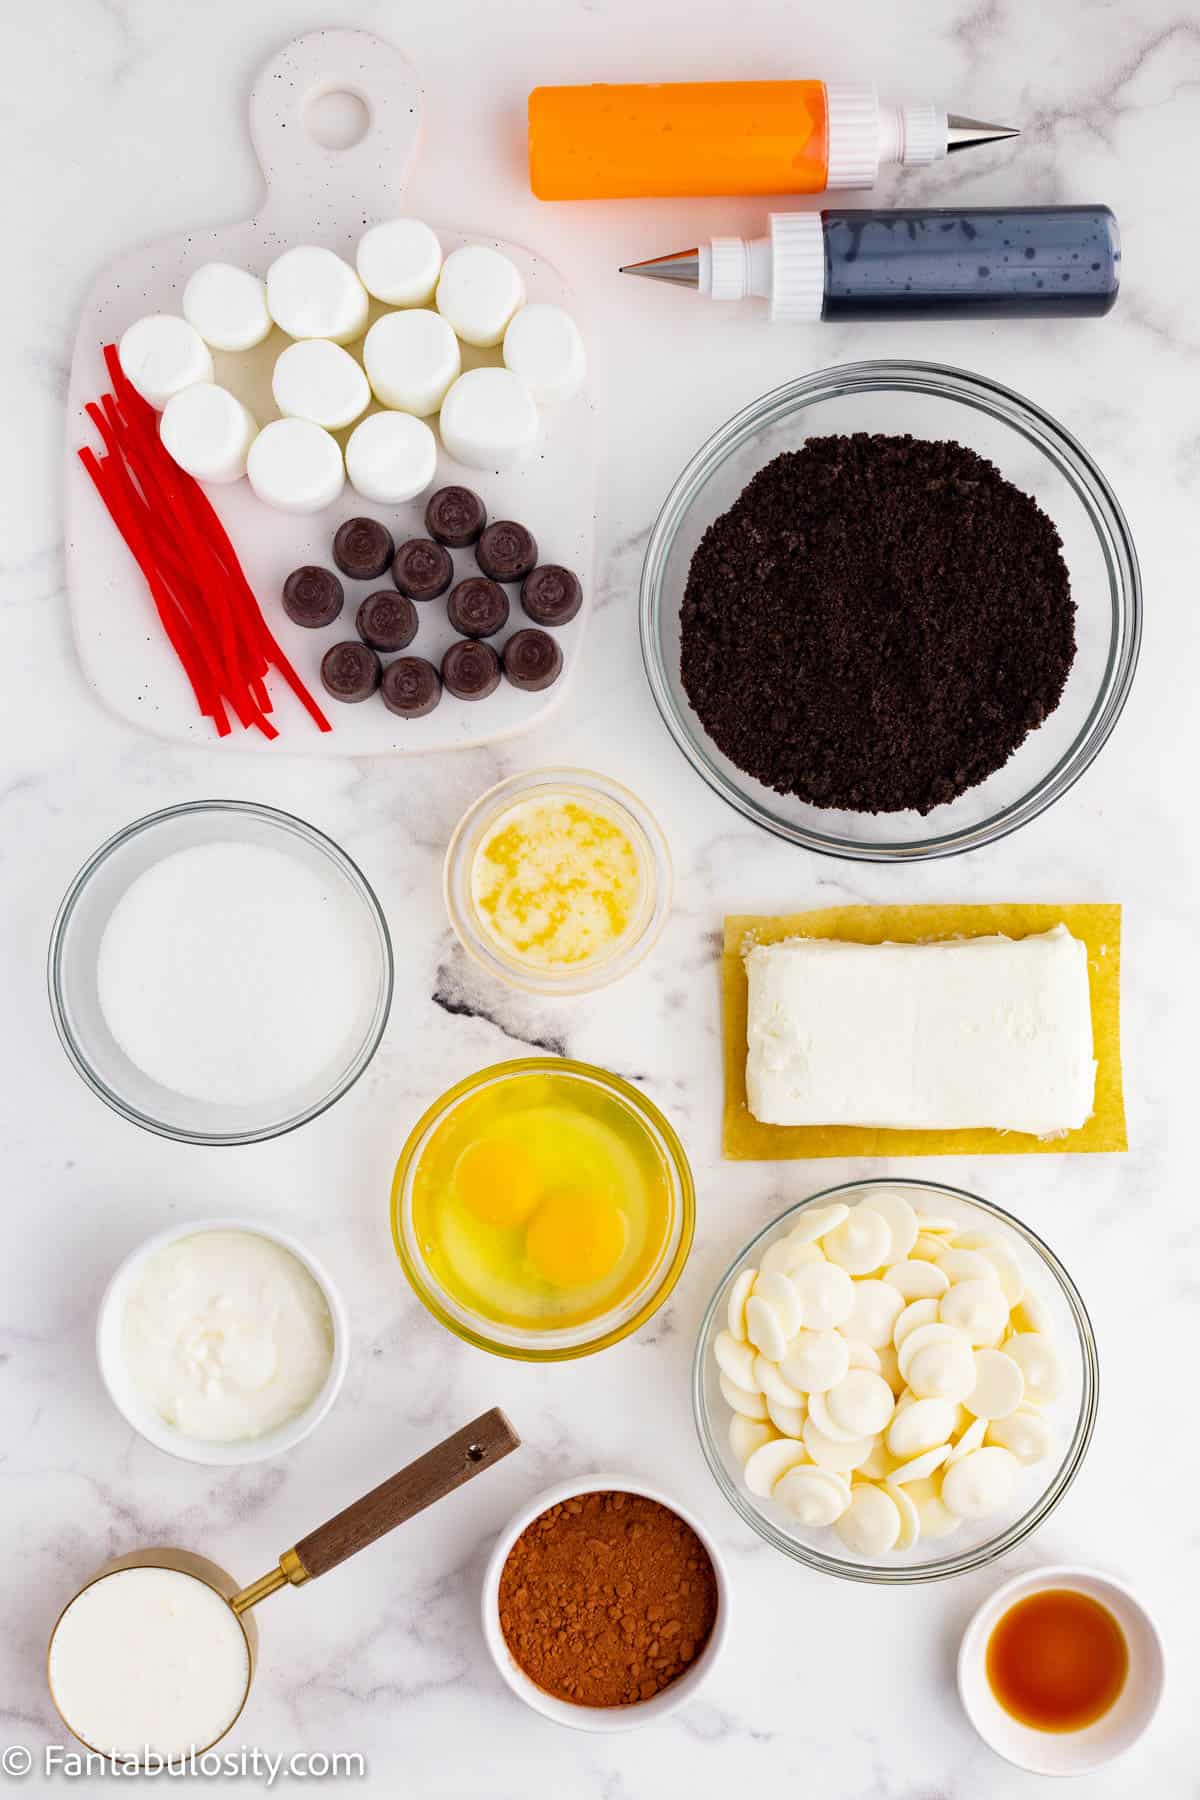
For the Oreo cookie crust
- 2 cups Oreo cookie crumbs
- 10 tablespoons butter, melted
To make the chocolate cheesecake filling
- 2 blocks (16 oz) cream cheese, softened to room temperature
- ⅓ cup granulated sugar
- 2 large eggs, room temperature
- ¼ cup sour cream
- 1 teaspoon vanilla extract
- 6 tablespoons cocoa powder
For the white chocolate ganache
- 2 cups white chocolate melting wafers
- ¼ cup heavy whipping cream
Melting snowman decorations
- 12 jumbo marshmallows
- 12 Rolos, uwrapped
- 12 pretzel sticks
- 12 strands of pull apart red licorice candy
- orange icing
- black icing
See the printable recipe card below for ingredients, nutrition information and detailed recipe notes.
Instructions
With our step-by-step instructions and the photos below, making homemade cheesecake with snowman decorations is actually easier than you think.
To make the Oreo cookie crust
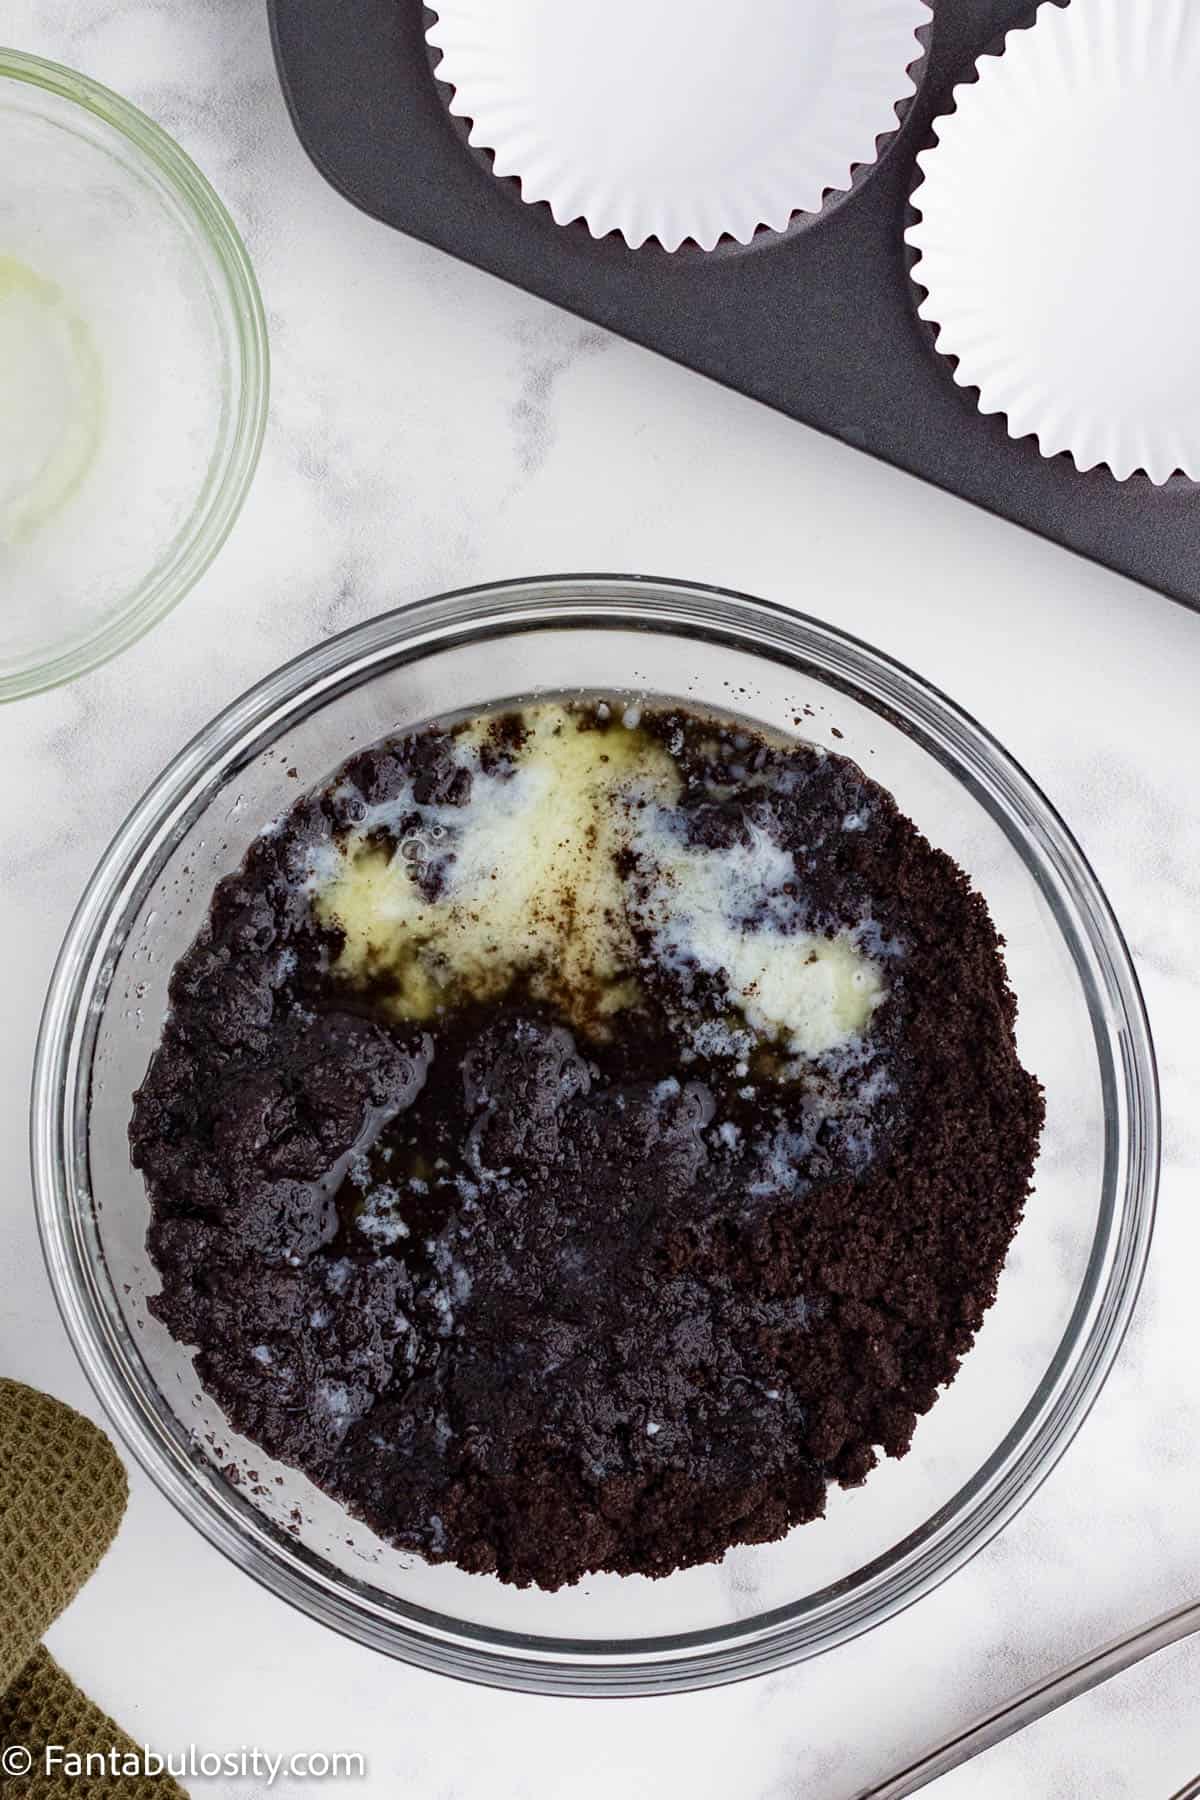
- In a large mixing bowl, combine the Oreo cookie crumbs and the melted butter.
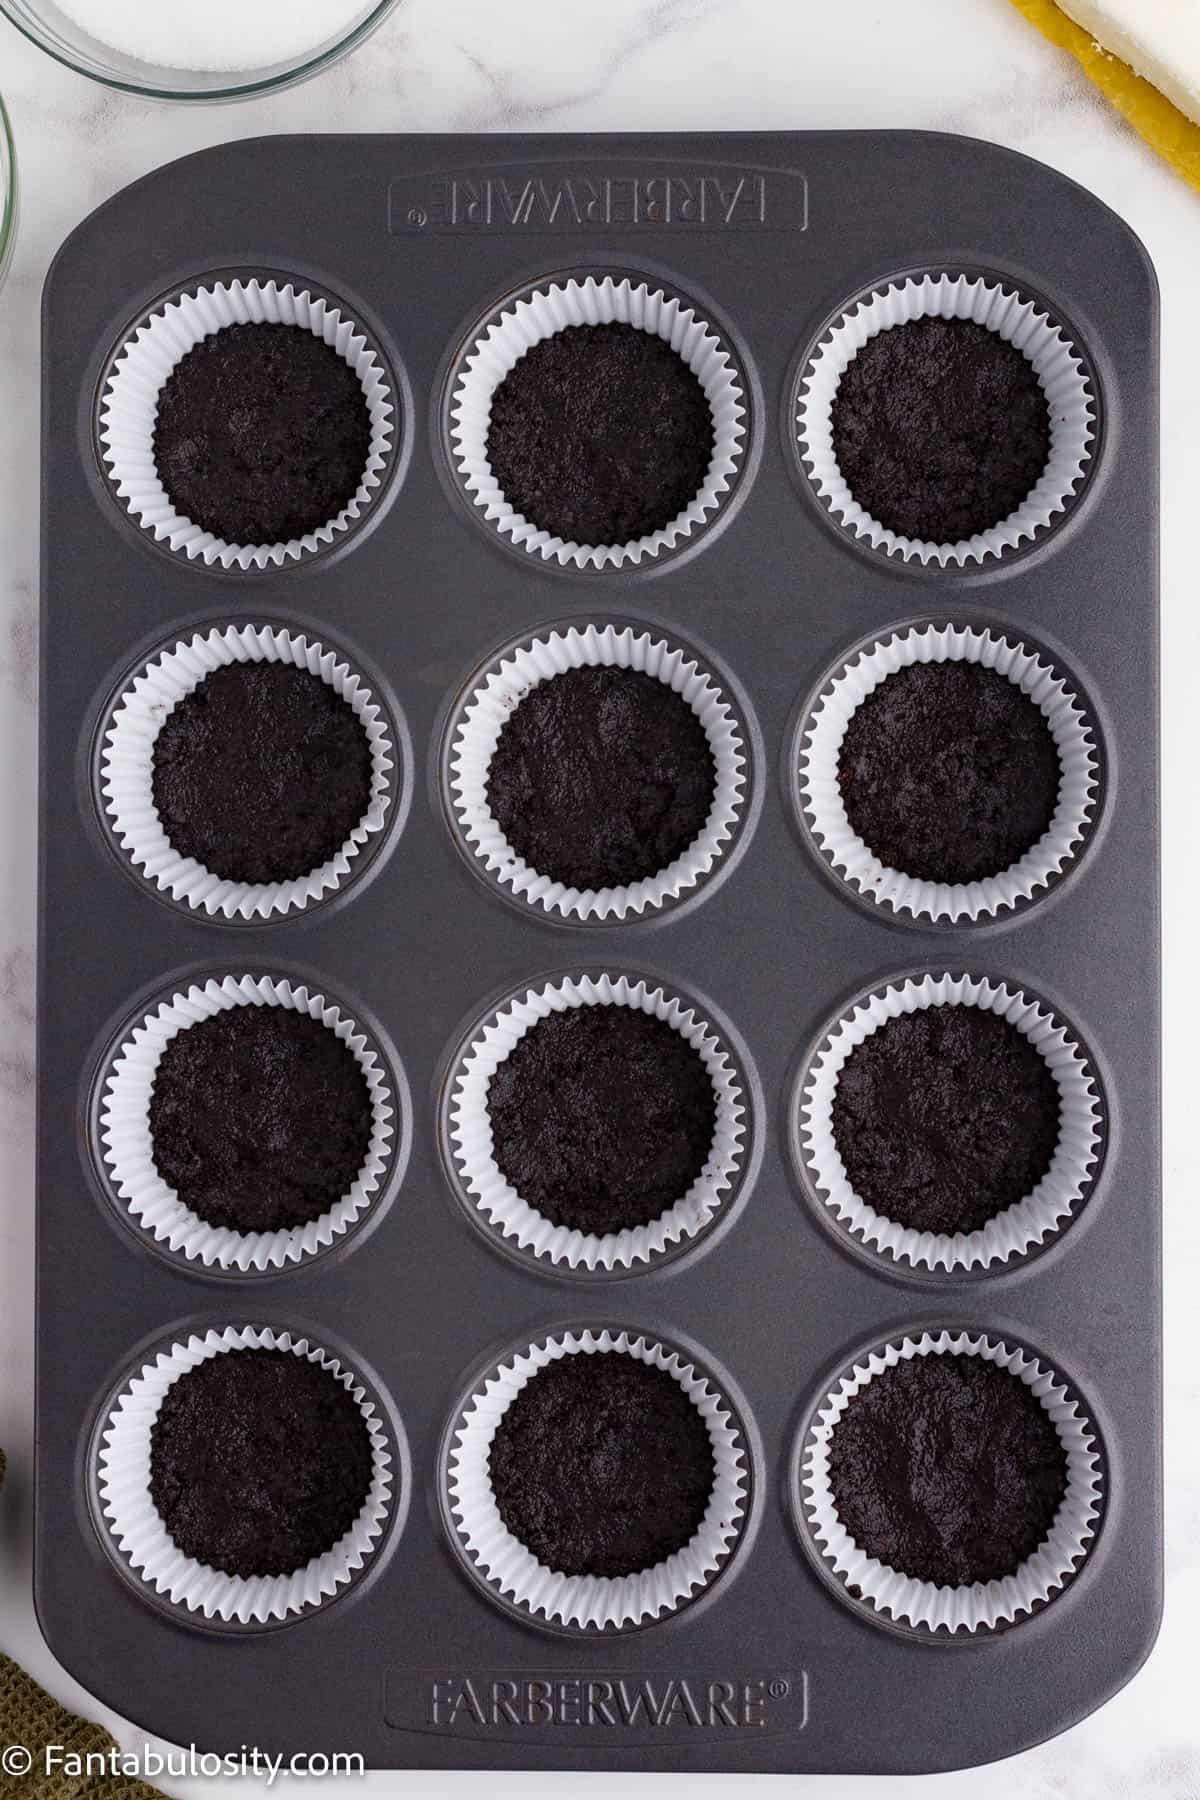
- Then, scoop about 1 tablespoon of the cookie crust mixture into each muffin cup. Use your fingertips to press the mixture into an even layer untl it is firmly packed.
- Bake the cookie crust for 5 minutes and allow it to cool.
- Reduce the oven temperature to 325 degrees F.
For the chocolate cheesecake filling
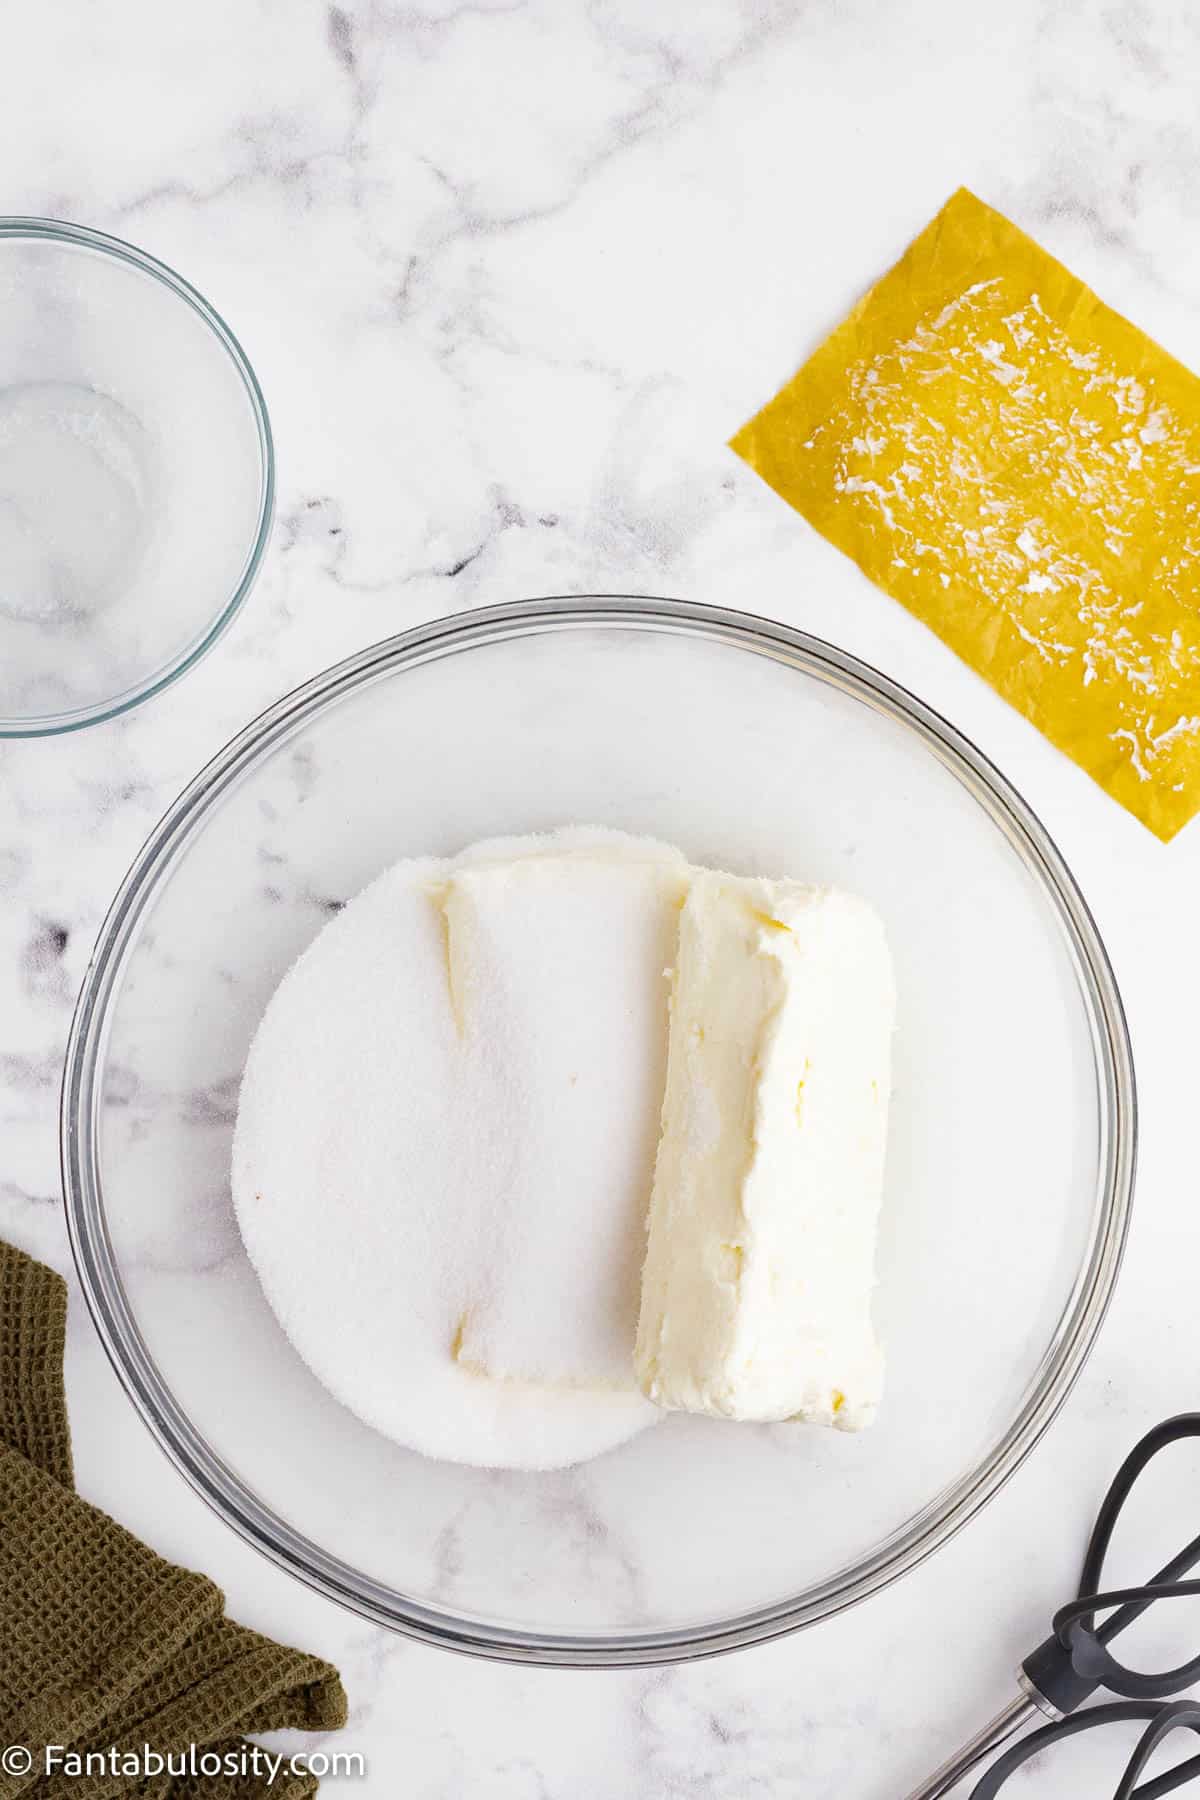
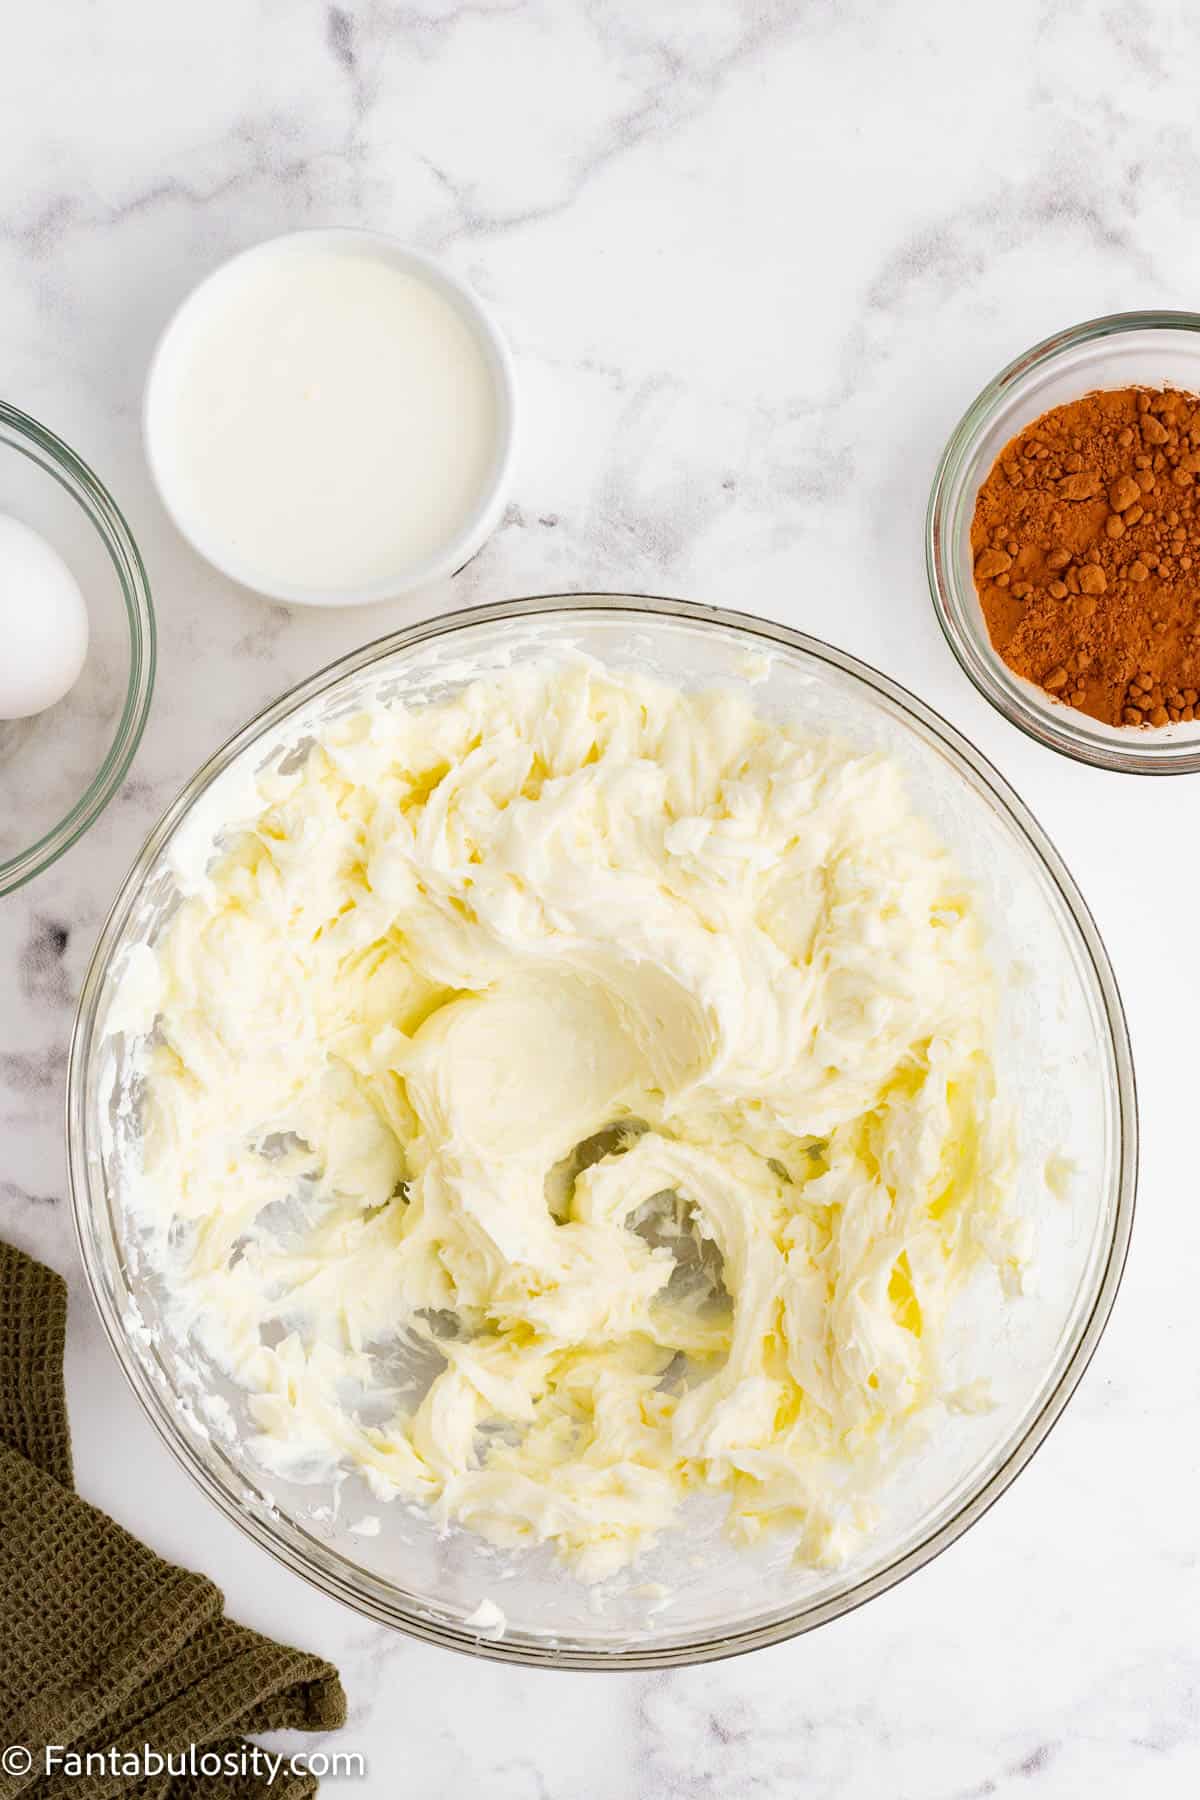
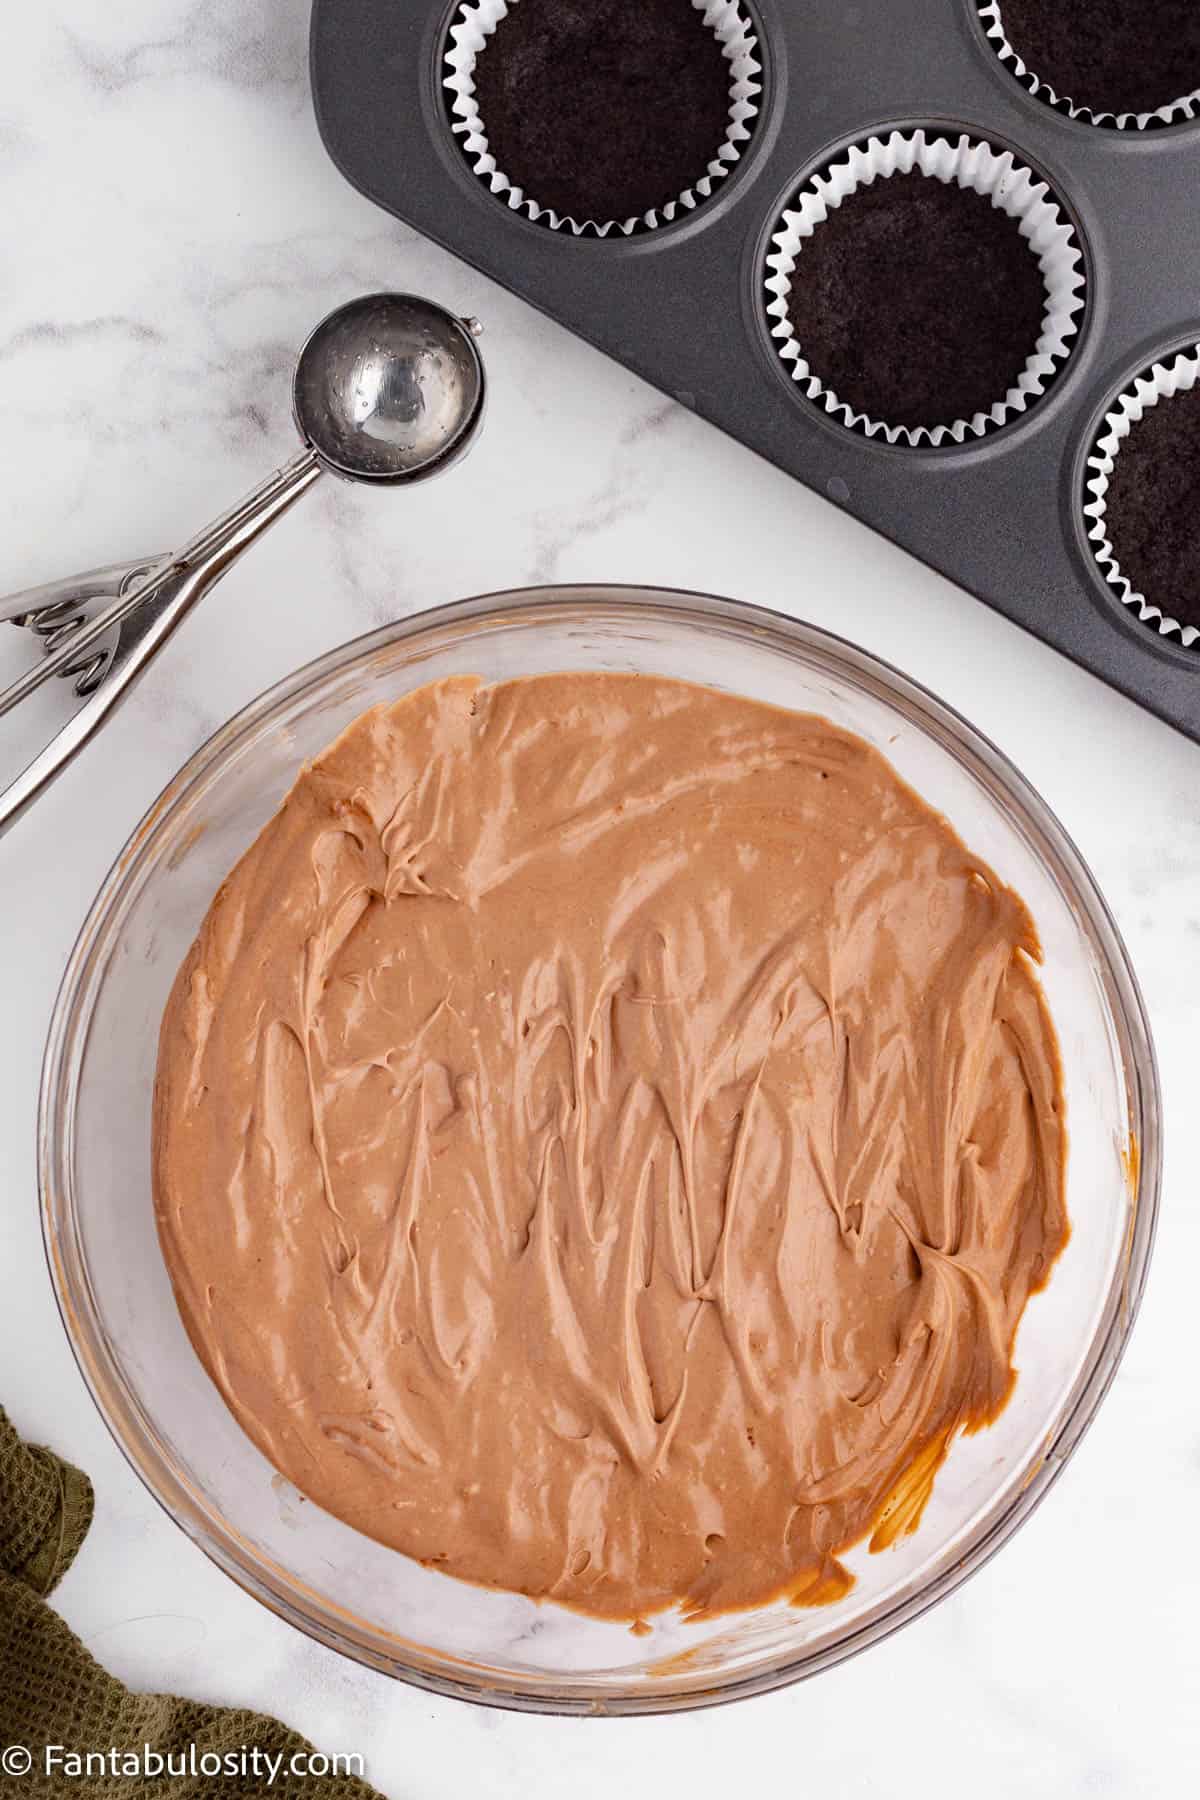
- In another large bowl, mix cream cheese and sugar using a hand mixer on low speed until well combined, light yellow and fluffy.
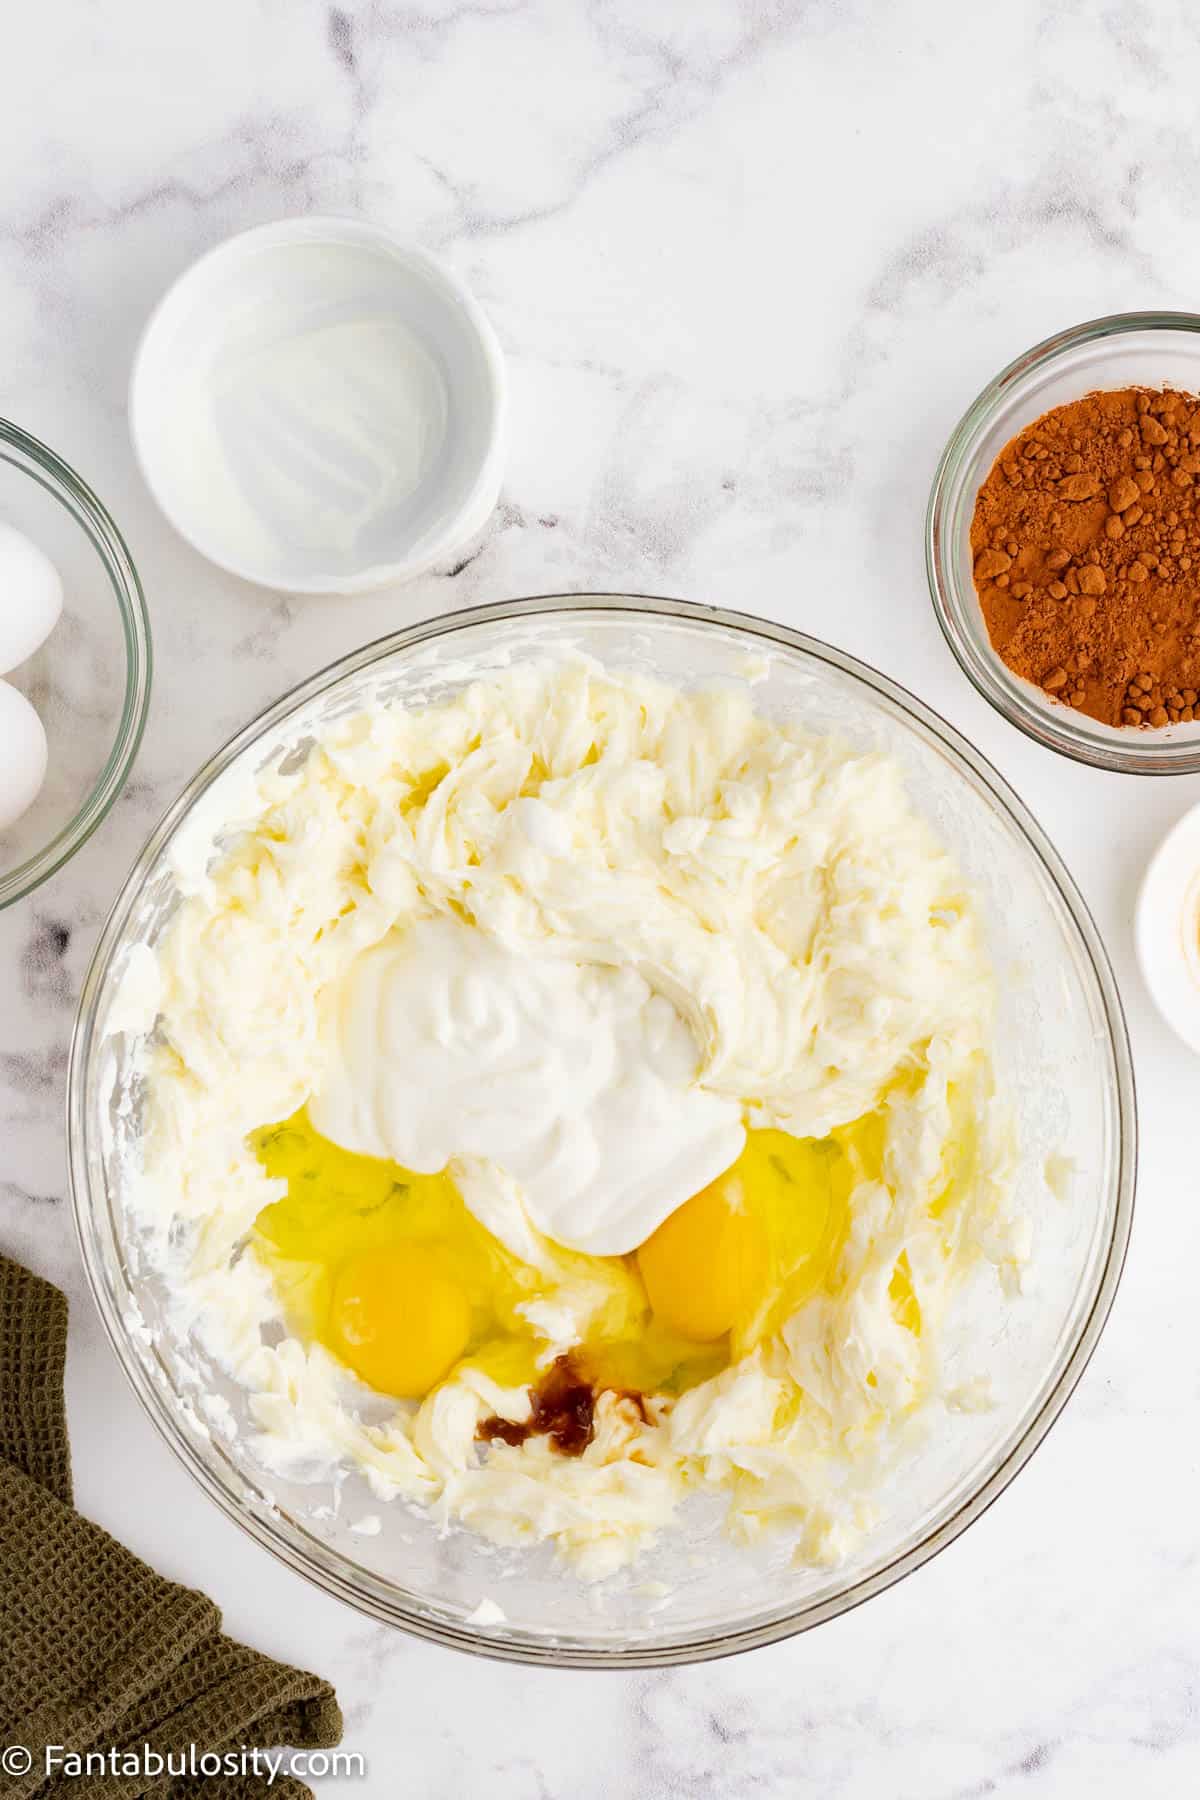
- Now, add the eggs, sour cream and vanilla extract and mix for about 2 minutes.
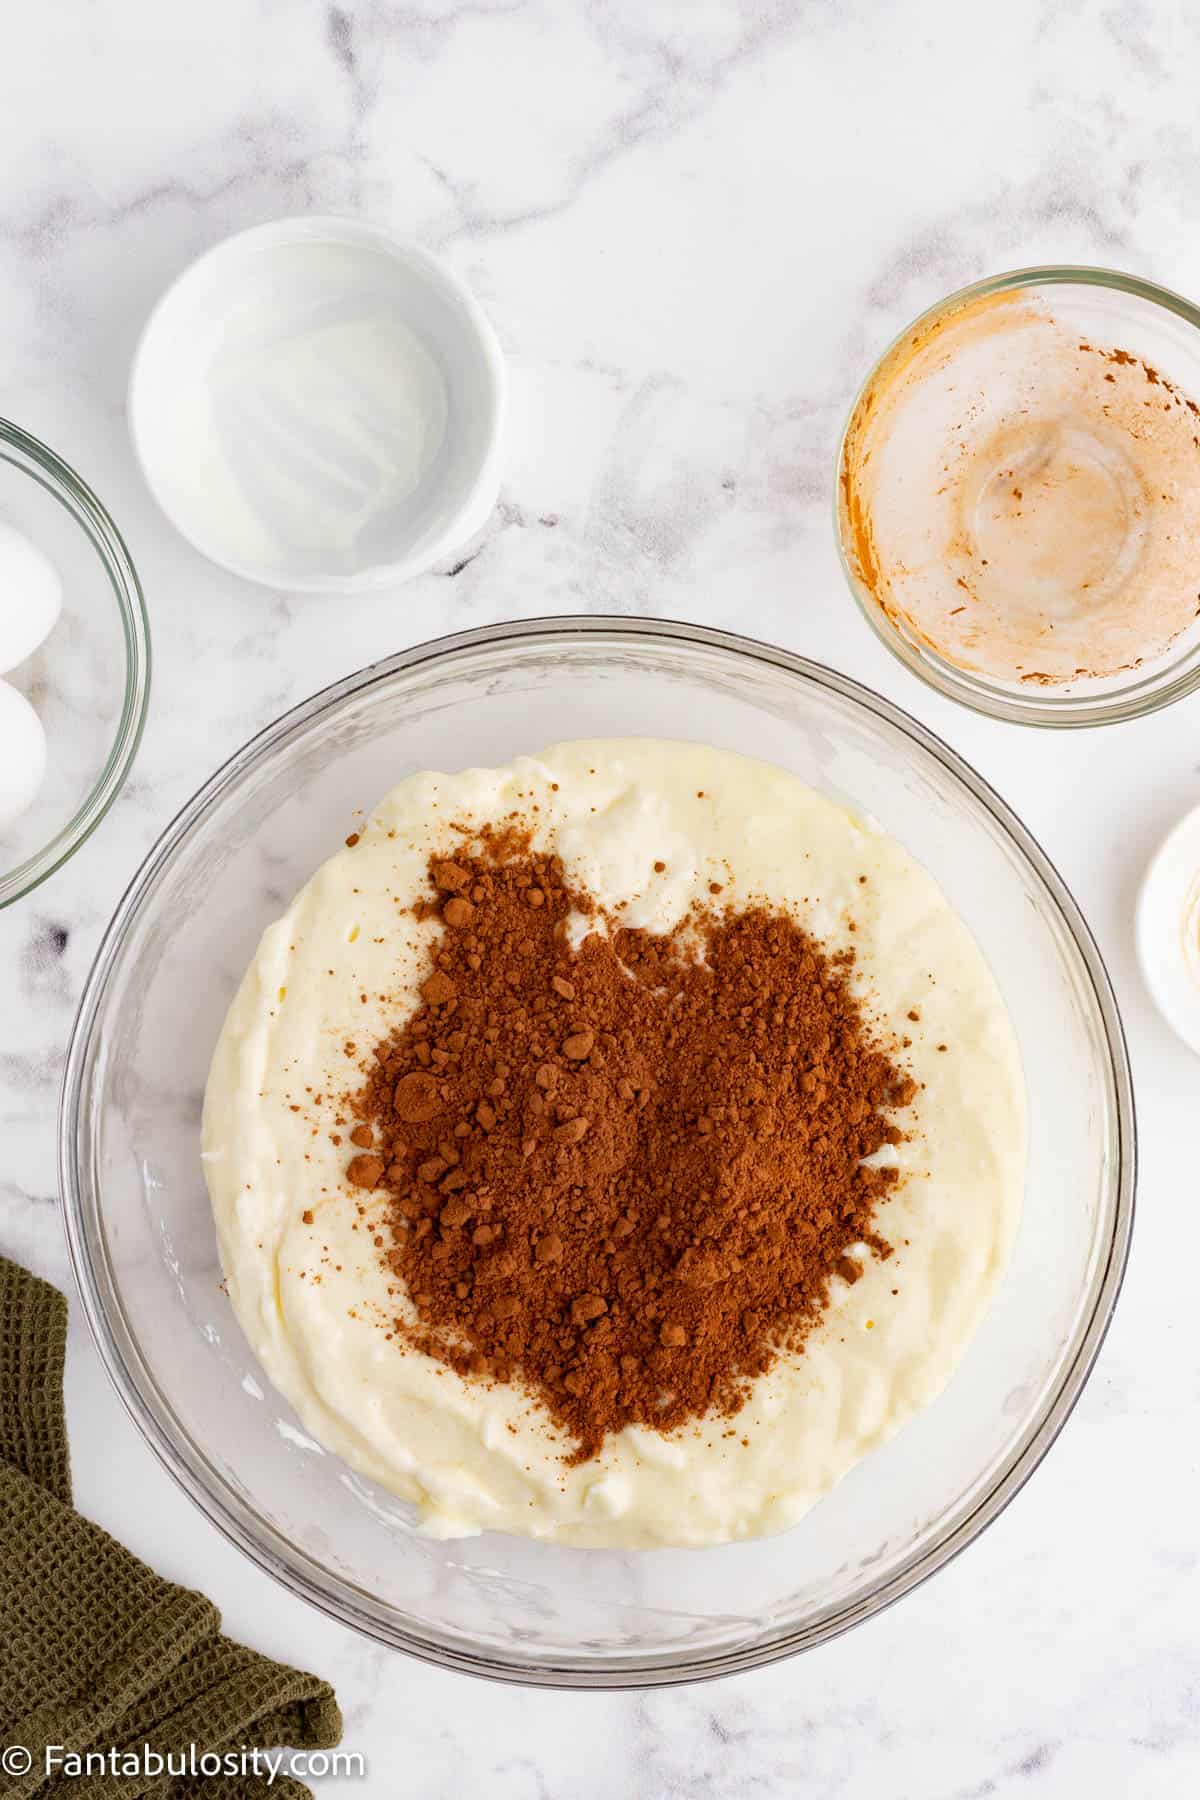
- Add the cocoa powder to the cream cheese mixture and mix well until combined.
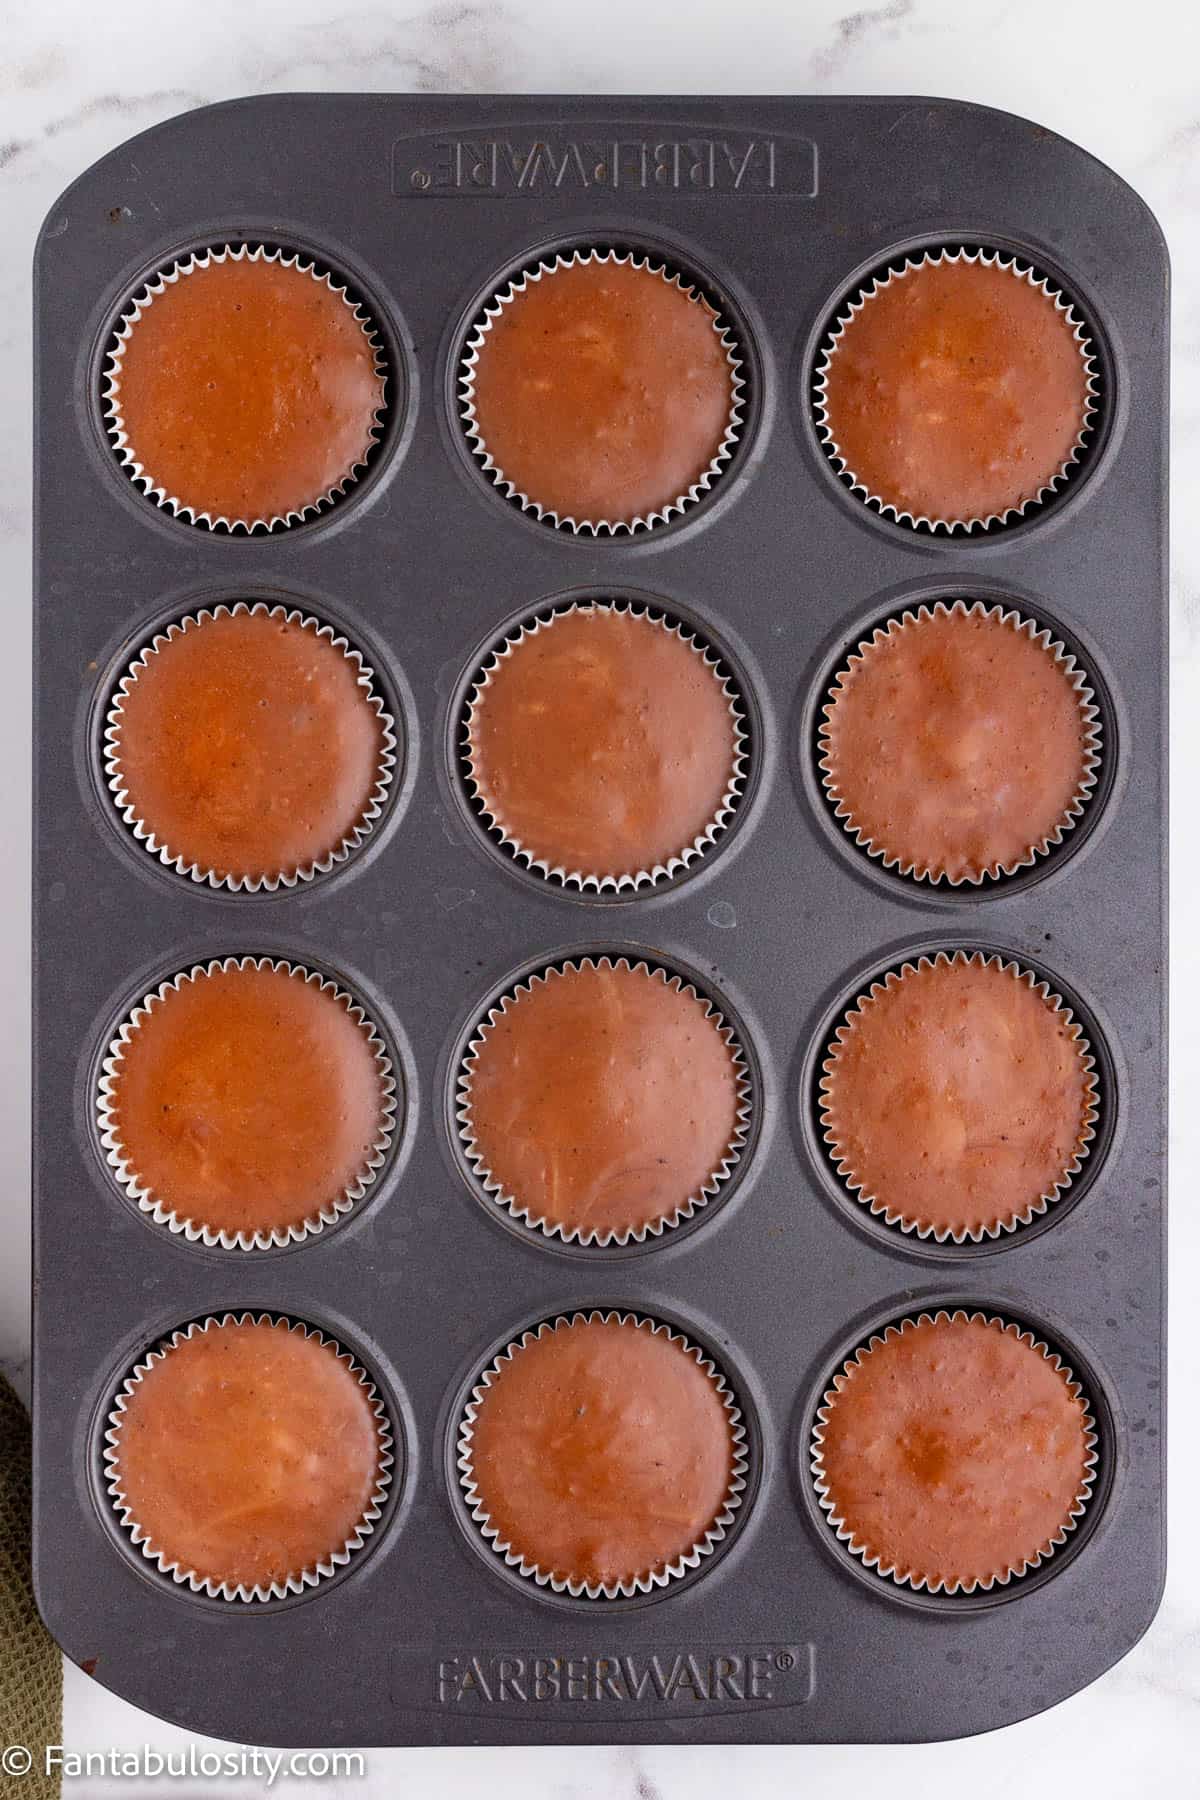
- Next, using a cookie scoop, scoop the cheesecake filling into each cupcake liner until it is full to the top.
- Bake the cheesecake cups for 20-22 minutes.
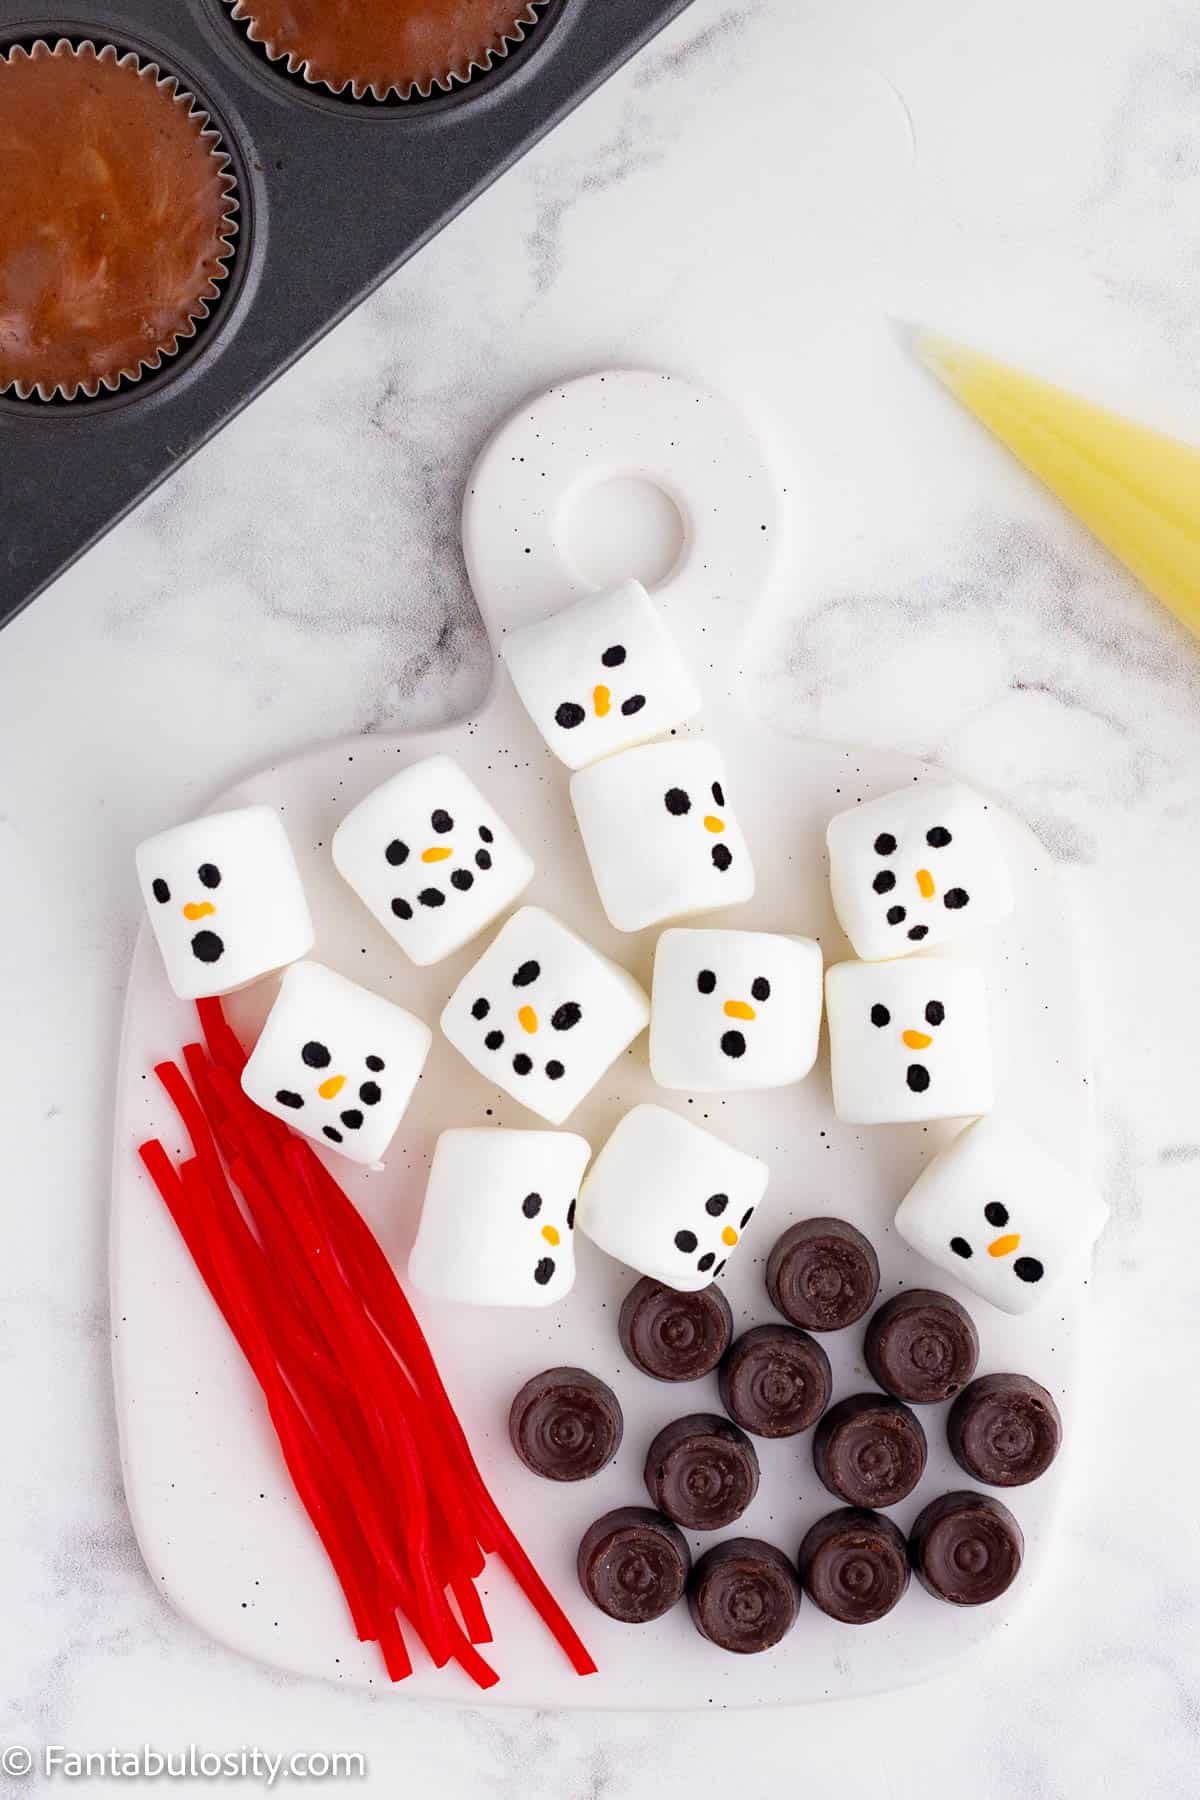
- While the cheesecake is baking, use the black and orange icing to add eyes, a carrot nose and a mouth to each jumbo marshmallow. Set the marshmallow faces aside.
To make the white chocolate ganache
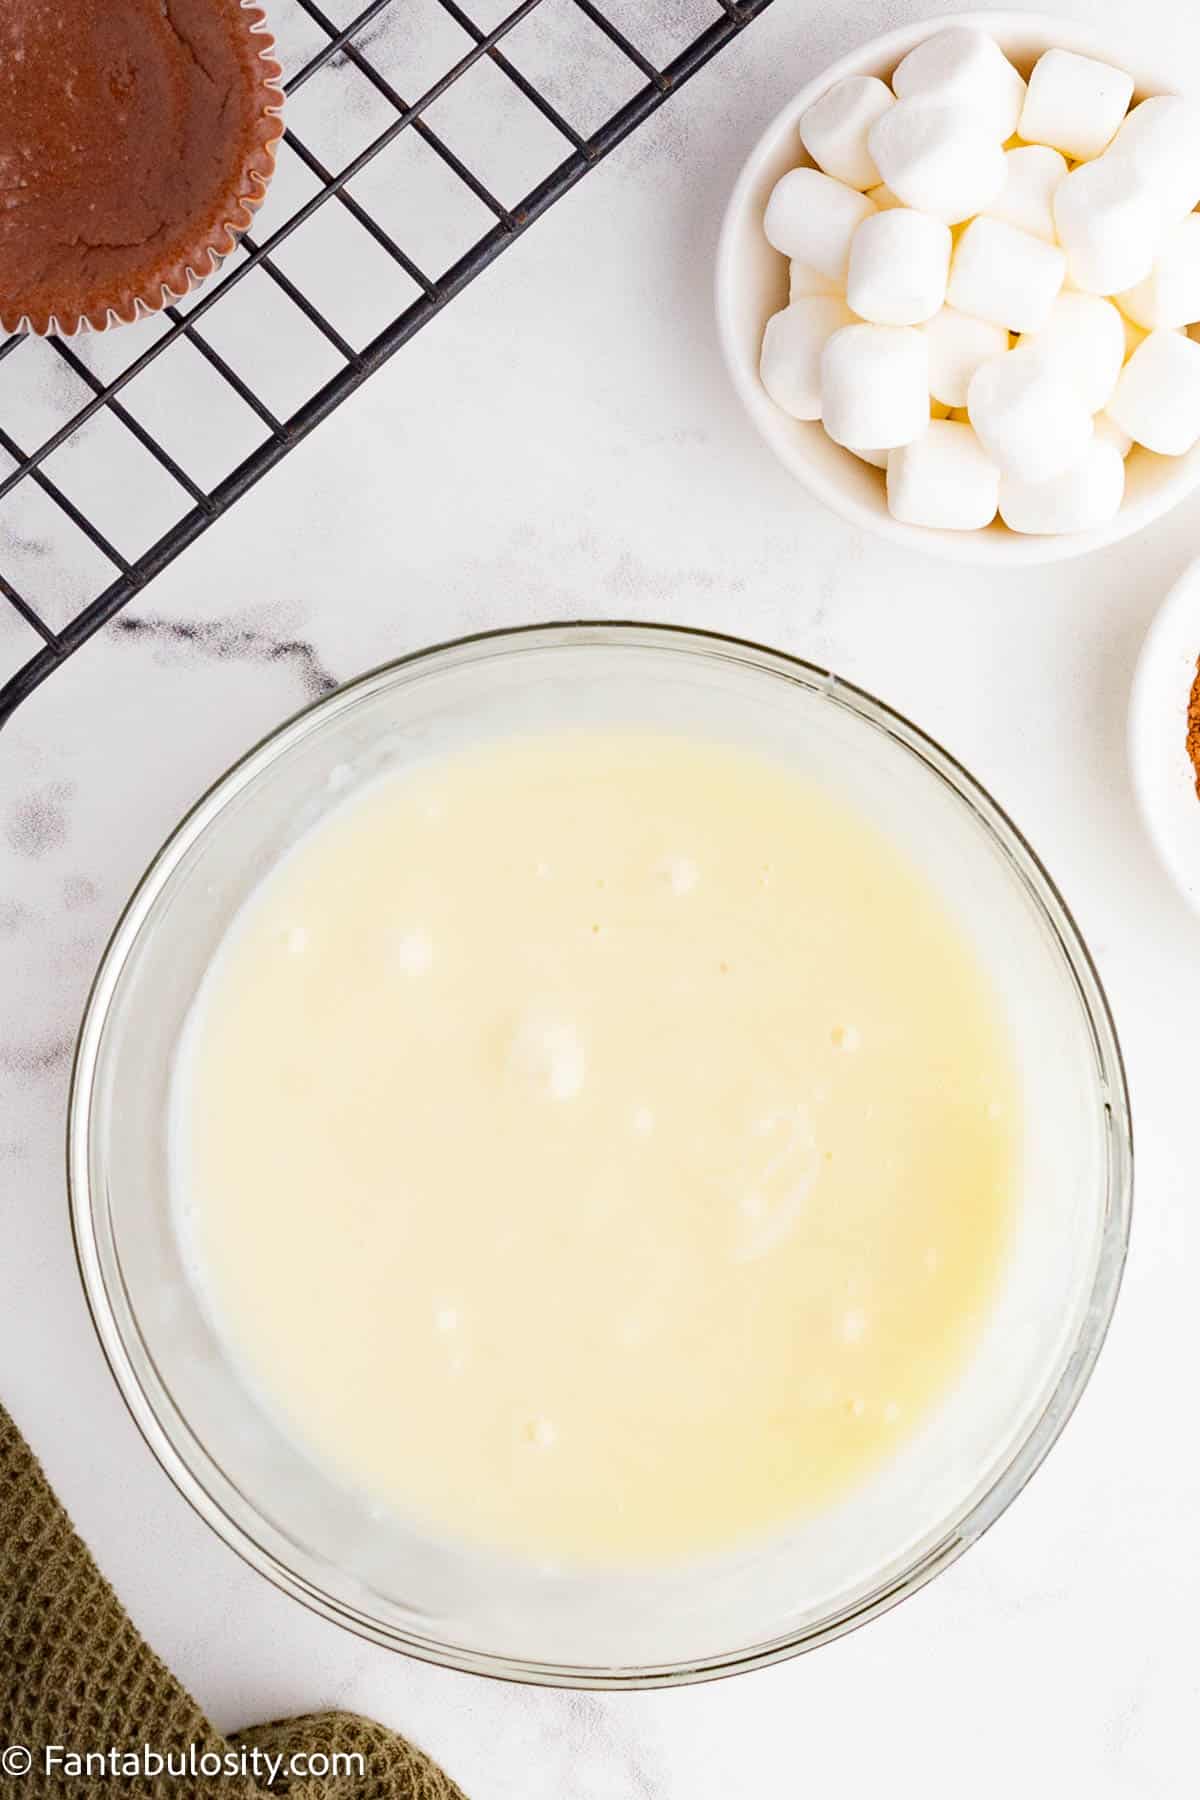
- In a medium mixing bowl, melt together the white chocolate and heavy cream. You can do this in 30 second intervals in the microwave or over a water bath. Continue whisking the white chocolate mixture until the ganache is smooth.
Decorate the melting snowman cheesecake cups
- First, transfer the ganache to a piping bag and pipe ganache onto the top of each cheesecake cup into a smooth circle. (Once you pipe the ganache, work quickly to place the other decorations before the ganache sets.)
- Then, place a marshmallow towards the back of each cheesecake cup with the face looking forward.
- Wrap a strand of red licorice around the marshmallow and cross it in front of the marshmallow for the scarf.
- Now, break each pretzel stick in half and place the halves on either side of the marshmallow to make the snowman’s arms.
- Repeat for each snowman cheesecake cup.
- Next, use some of the icing to attach the Rolo to the top of each marshmallow for a hat.
- Finally, let the cheesecake cups cool and the decorations set. We recommend refrigerating the cheesecake overnight.
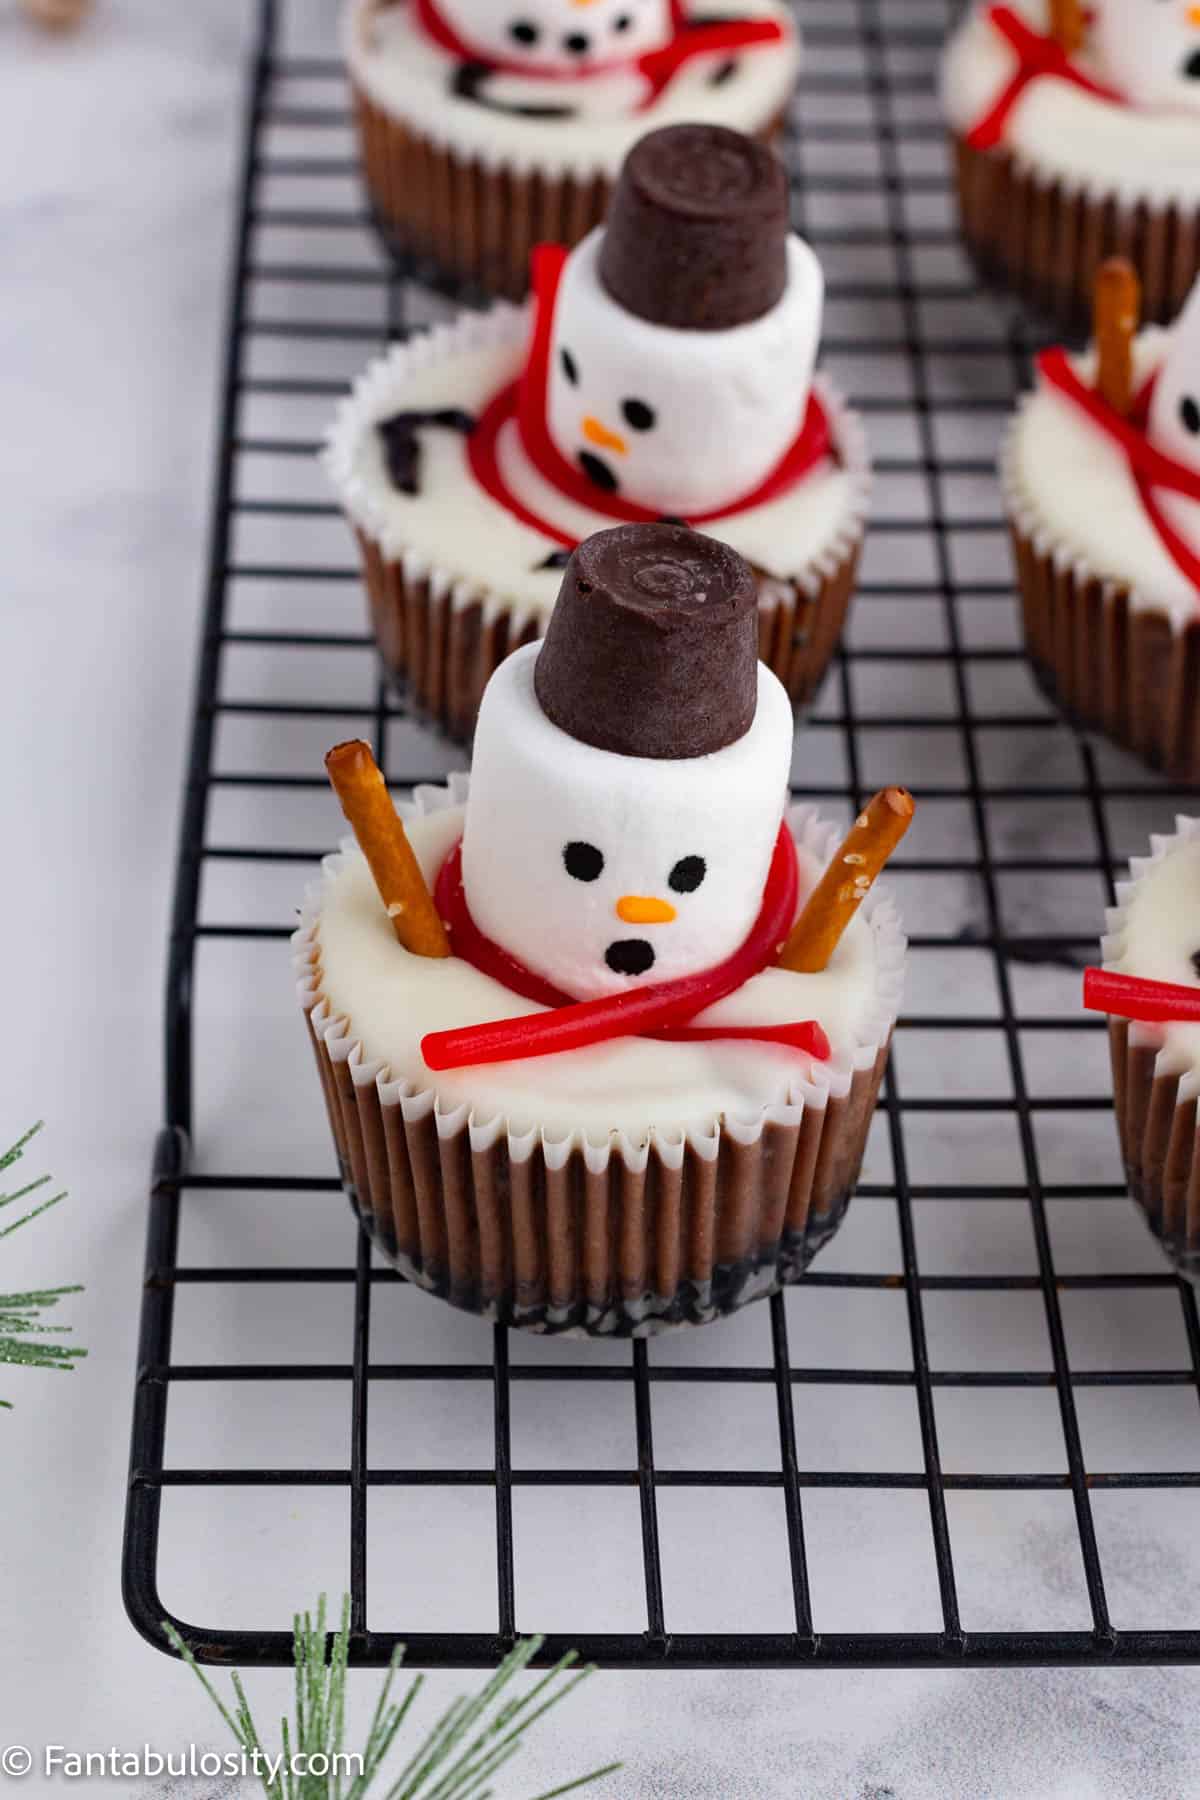
These snowmen cheesecakes are the perfect pairing for a Peppermint Latte or mug of hot chocolate with chocolate melts.
Substitutions & Variations
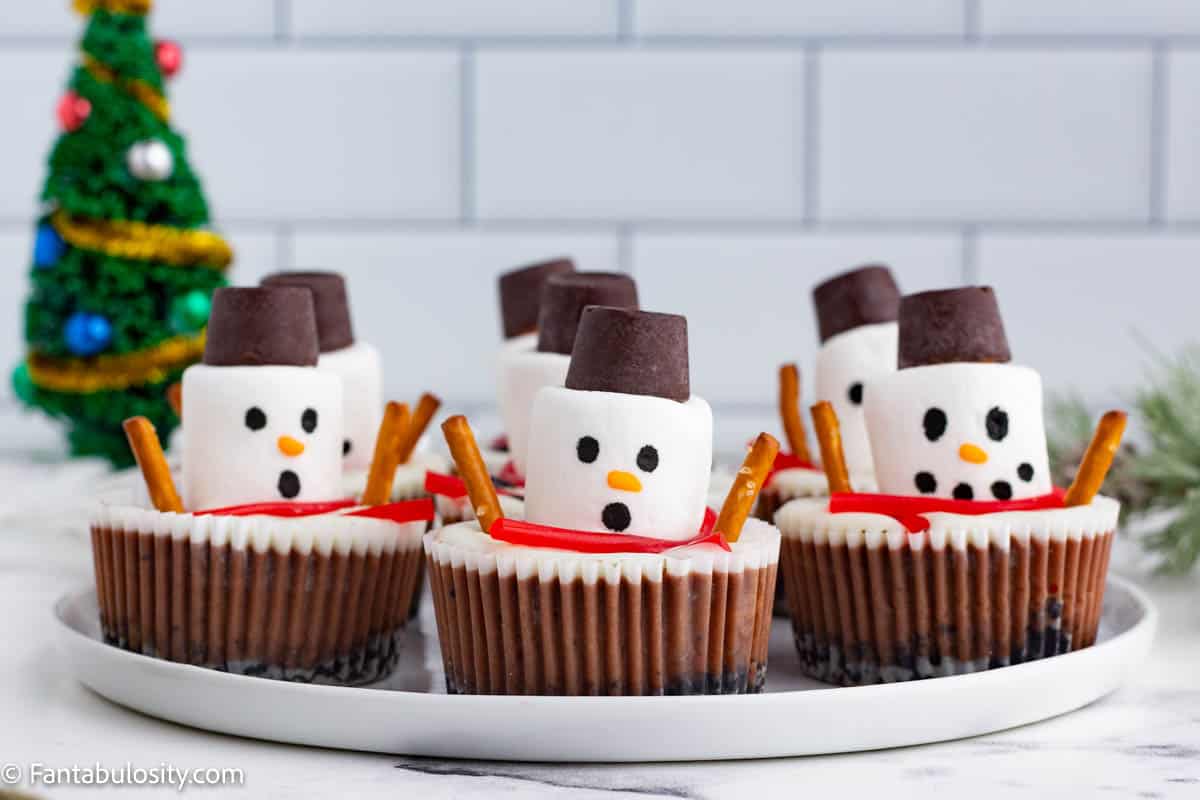
If you need an alternative to an ingredient, prefer different candy or don’t have time to make ganache, here are a few suggestions so these little snowmen make it to your holiday dessert table.
- Use your favorite flavor of Oreos to make the cookie crust. Mint oreos would be delicious to complement the chocolate cheesecake.
- We used white melting wafers for the ‘melted snow’ on the top of each melting snowman dessert, but you can use vanilla almond bark, white vanilla frosting, white candy coating, whipped cream or whipped topping like Cool Whip to create the snow.
- There are a few different ways you can decorate the melting snowmen faces:
- Instead of icing, you can use food safe food coloring markers to draw the eyes and nose on the marshmallow.
- Another option is to use mini chocolate chips, black sprinkles or black jimmies (long sprinkles) for the eyes.
- Orange sprinkles, orange jimmies (long sprinkles) or any small orange candy can be used for the carrot nose.
- Use a mini peanut butter cup or an unwrapped chocolate kiss for the top hat if you are not a big fan of Rolo candies.
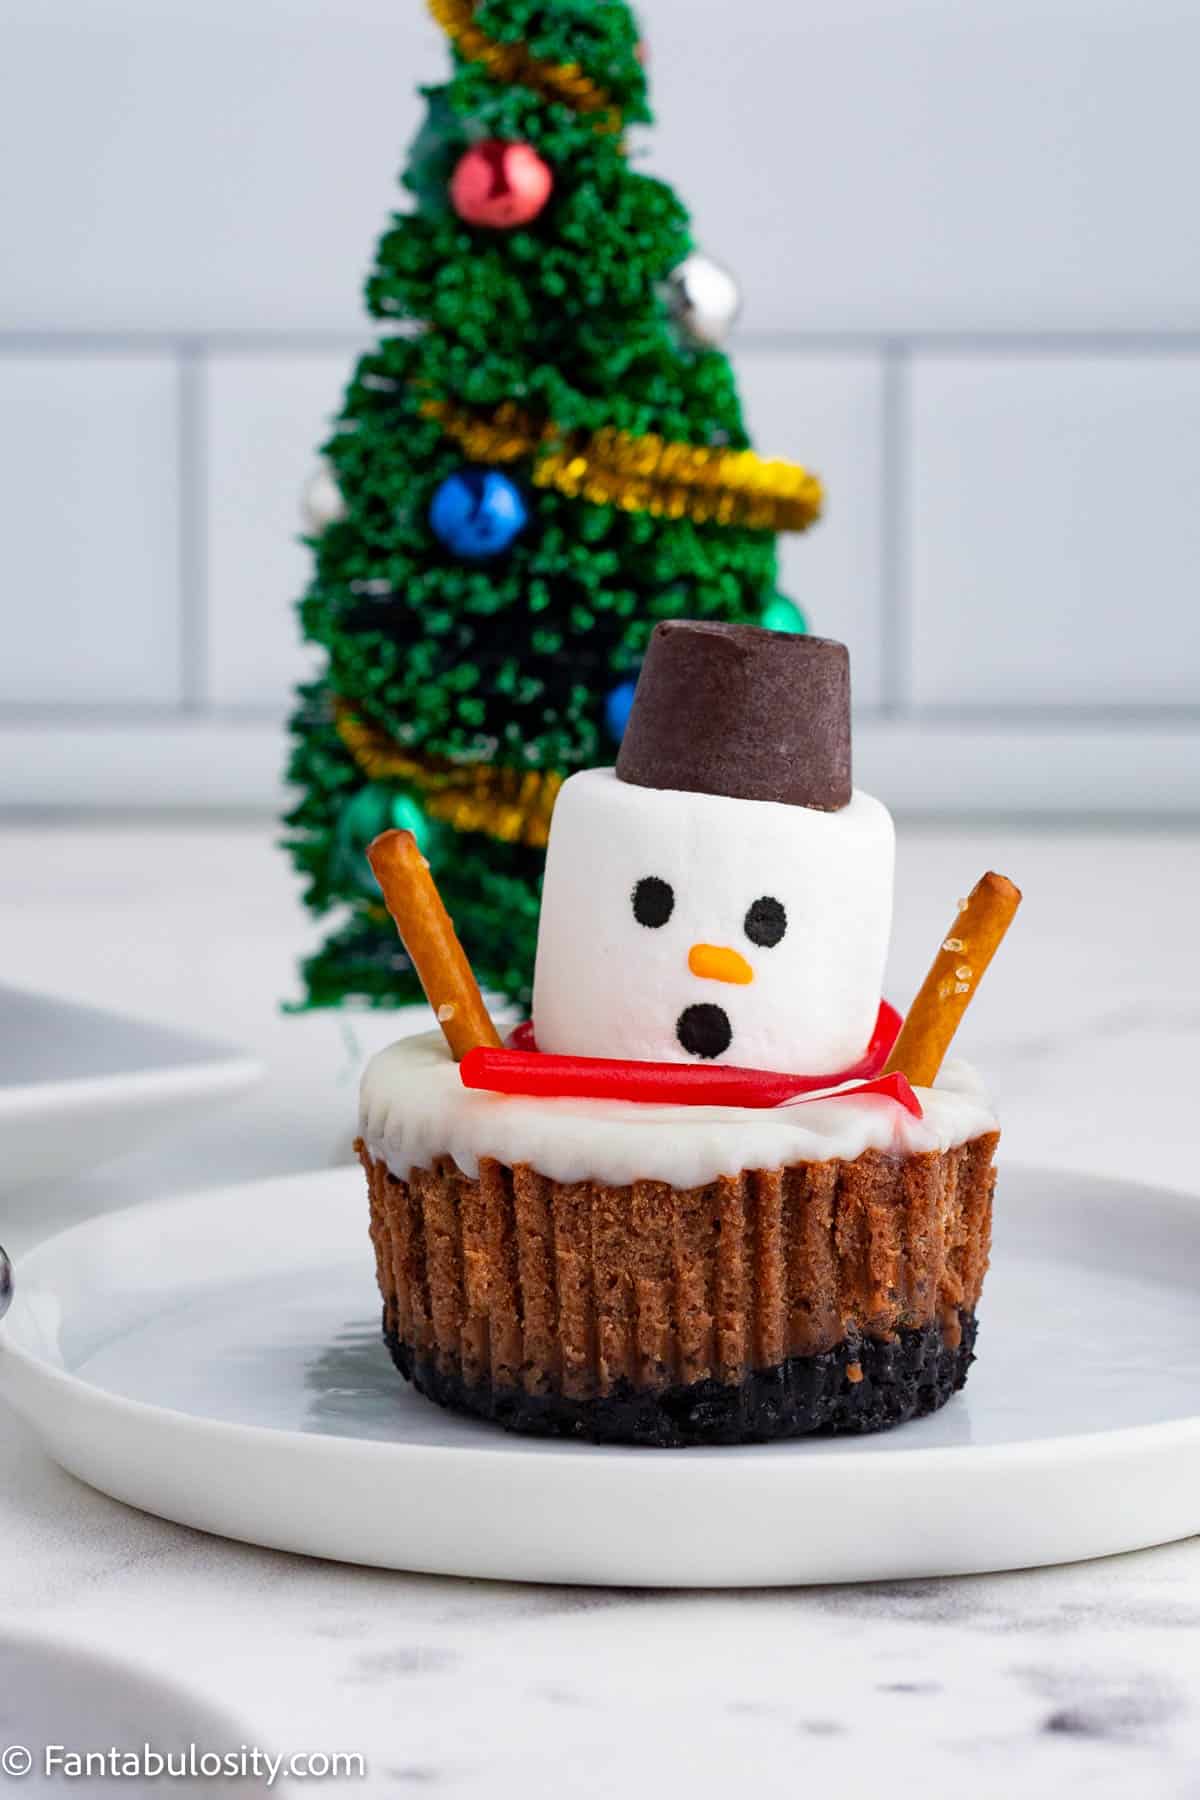
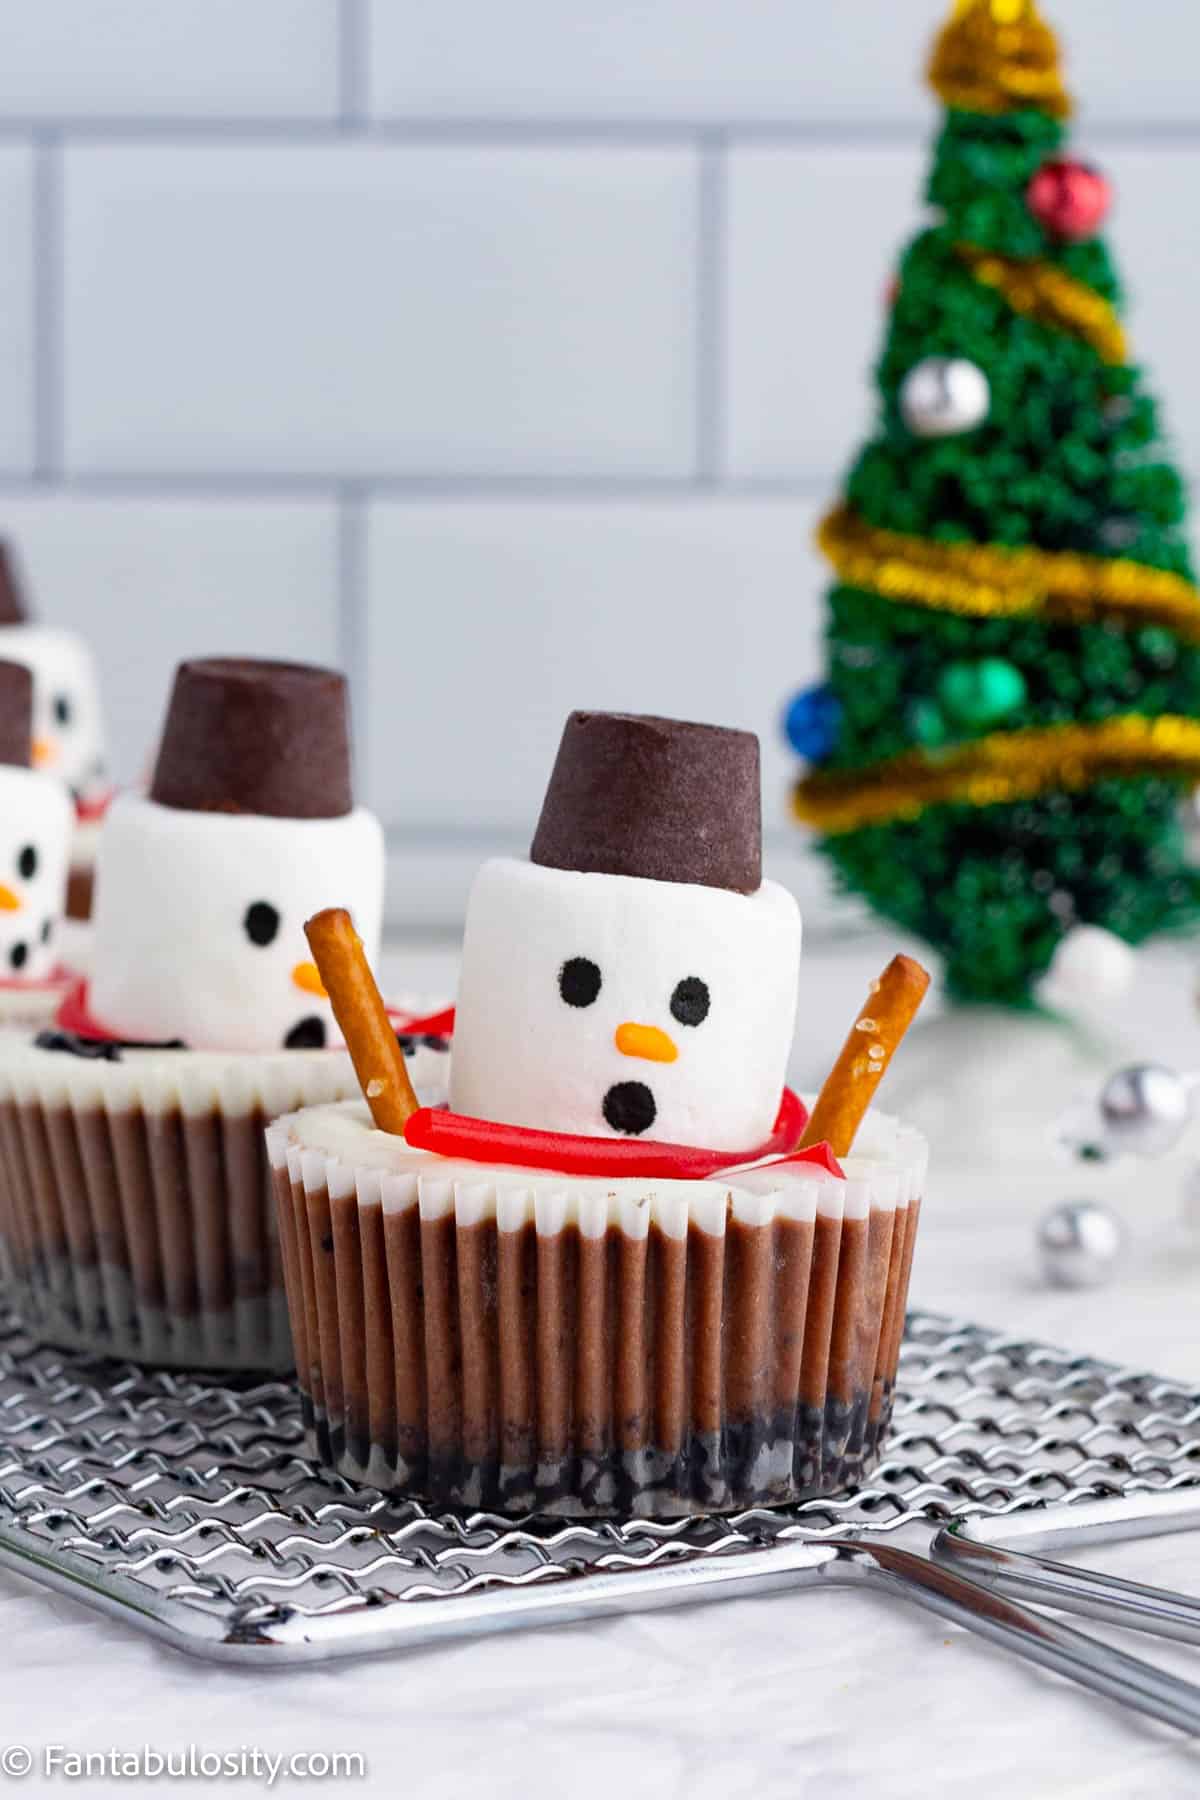
I mean, is there anything cuter than these little guys?! I love that you can see the layers of chocolate Oreo crust, chocolate cheese cake, white chocolate snow all topped with an adorably worried snowman.
How to Store Melting Snowman Cheesecake Cups
You can store these snowman cheesecake cups in an airtight container in the refrigerator for up to 5 days.
To freeze them, place the cheesecake cups in an airtight, freezer safe container and freeze for up to 2 months. When you are ready to serve them, let them thaw and enjoy!
Top tips
- To make Oreo cookie crumbs, whiz the cookies up in your food processor until they are fine crumbs or put them in a large zip-top bag and crush them with a rolling pin.
- To avoid lumps in the filling of this sweet treat, make sure the ingredients are at room temperature.
- Be careful not to overbeat the cream cheese mixture as it will incorporate too much air and cause cracking while the cheesecake bakes.
More Sweet Holiday Treats
If you love holiday dessert recipes as much as we do, then be sure to try our festive Christmas Chocolate Chip Dessert Cheese Ball, these Rudolph cookies, this addictive Christmas Tree Cake Dip and these nostalgic Christmas Cornflake Wreaths!
Did you make this? I’d be so grateful if you left a “star” rating below to let me know what you thought! Then, the next time you need a quick and easy recipe, come back to Fantabulosity to browse all of my easy recipes!
Recipe
Melting Snowman Cheesecake Cups
Ingredients
For the Oreo cookie crust
- 2 cups Oreo cookie crumbs
- 10 tablespoons butter melted
To make the chocolate cheesecake filling
- 16 ounces cream cheese (2 blocks) softened to room temperature
- ⅓ cup granulated sugar
- 2 large eggs room temperature
- ¼ cup sour cream
- 1 teaspoon pure vanilla extract
- 6 tablespoon cocoa powder
For the white chocolate ganache
- 2 cups white chocolate melting wafers
- ¼ cup heavy whipping cream
Melting Snowman Decorations
- 12 jumbo marshmallows
- 12 Rolos unwrapped
- 12 pretzel sticks
- 12 strands pull apart red licorice candy
- orange icing
- black icing
Instructions
- Preheat your oven to 350 degrees F. Line a muffin pan with cupcake papers.
To Make the Oreo cookie crust
- In a large mixing bowl, combine the Oreo crumbs and melted butter.
- Scoop about 1 tablespoon of the cookie crust mixture into each muffin cup. Use your fingertips to press the mixture into an even layer until it is firmly packed.
- Bake the cookie crust for 5 minutes and allow it to cool.
- Reduce the oven to 325 degrees F.
For the chocolate cheesecake filling
- In a large mixing bowl, combine cream cheese and sugar using a mixer on low speed until well combined.
- Now, add the eggs, sour cream and vanilla extract and beat for about 2 minutes.
- Add the cocoa powder to the cream cheese mixture and mix until well combined.
- Next, using a cookie scoop, scoop the cheesecake filling into each cupcake liner until full to the top of the liner.
- Bake the cheesecake cups for 20-22 minutes.
- While the cheesecake is baking, use the black and orange icing to add eyes, a carrot nose and a mouth to each jumbo marshmallow. Set the marshmallow faces aside.
To make the white chocolate ganache
- In a medium mixing bowl, melt together the white chocolate and heavy cream. You can do this in 30 second intervals in the microwave or over a water bath. Continue whisking the white chocolate mixture until the ganache is smooth.
Decorate the cheesecake cups with a melted snowman
- First, transfer the ganache into a piping bag and pipe ganache onto the top of each cheesecake cup into a smooth circle. (Once you pipe the ganache, work quickly to place the other decorations before the ganache sets.)
- Then, place a marshmallow face towards the back of each cheesecake cup with the face looking forward.
- Wrap a strand of red licorice around the marshmallow and cross it in front of the marshmallow for the scarf.
- Now, break each pretzel stick in half and place the halves on either side of the marshmallow to make the snowman's arms.
- Repeat for each snowman cheesecake cup.
- Next, use some of the icing to attach a Rolo to the top of each marshmallow for a hat.
- Finally, let the cheesecake cups cool and the decorations set. We recommend refrigerating the cheesecake overnight.
Notes
- To avoid lumps in the filling, make sure the ingredients are at room temperature.
- Be careful not to overbeat the cream cheese mixture as it will incorporate too much air and cause cracking while the cheesecake bakes.
- You can use food safe food coloring markers to make the face instead of icing.
- Store these melting snowman cheesecake cups in an airtight container and refrigerate for up to 5 days.
- To freeze, place the cheesecake cups in an airtight, freezer safe container and freeze for up to 2 months. When you are ready to serve them, let them unthaw and enjoy.
Nutrition
Nutritional information is based on third-party calculations and should be considered estimates. Actual nutritional content will vary with brands used, measuring methods, portion sizes and more.




Matt says
These are awesome and super creative and festive. Not to mention, these cheesecake cups are delicious. Perfect for a Holiday party!
Melissa says
So cute and so fun to. make – I made these with my kids and they were a hit!
Andie says
These cheesecake cups were so fun to make, and my kiddos loved them. They were delicious!