Scones sometimes get a bad rap for being dry, dense, and plain. But add fresh berries and a quick glaze, and your family will go nuts for these Bisquick Strawberry Scones.
In only half an hour, these strawberry scones will be ready for a delicious breakfast or even fancy brunch, especially for a bridal shower or Mother’s Day.
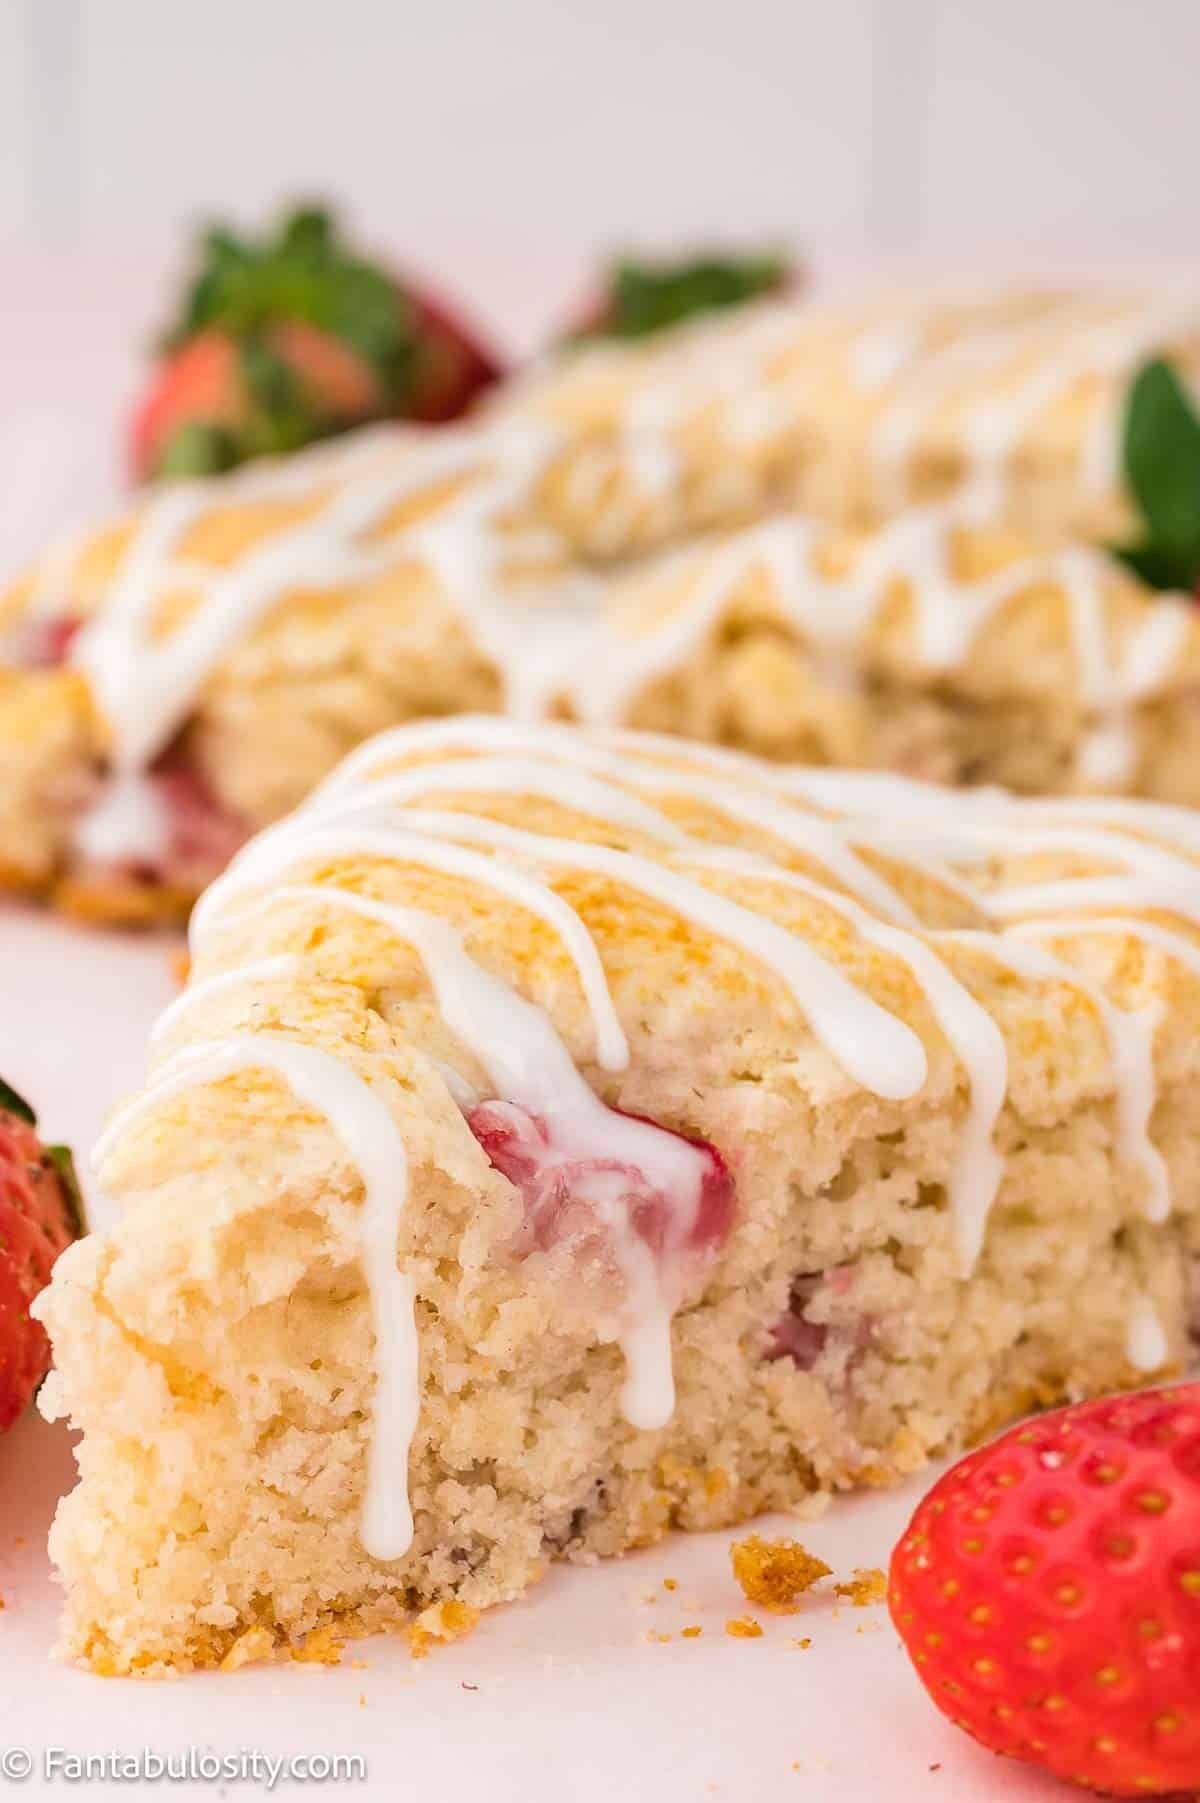
I love scones. They just feel a bit fancy, especially when served on a small plate next to a mug of piping-hot coffee. They are a great option to keep in your recipe box because they come together quickly, unlike yeast bread options.
If you’re all about convenience, add these scones to a brunch spread that includes mini cheater cinnamon rolls with hash brown patties in the air fryer. Want a tart-sweet scone? Cranberry Orange is the perfect pairing.
Jump to:
Why You’ll Love This Recipe
- Kitchen shortcuts: Bisquick isn’t only for biscuits! It’s the perfect scone starter as well.
- Bright and cheery: Using soda gives these berry scones a citrus boost.
- Ready in only 30 minutes: Unlike bread that needs time to rise, scones are a quick biscuit-like baked good that’s ready in no time.
Ingredients Needed
I’ve highlighted a couple of ingredients below with some relevant notes. Aside from this, the ingredients needed are pretty basic.
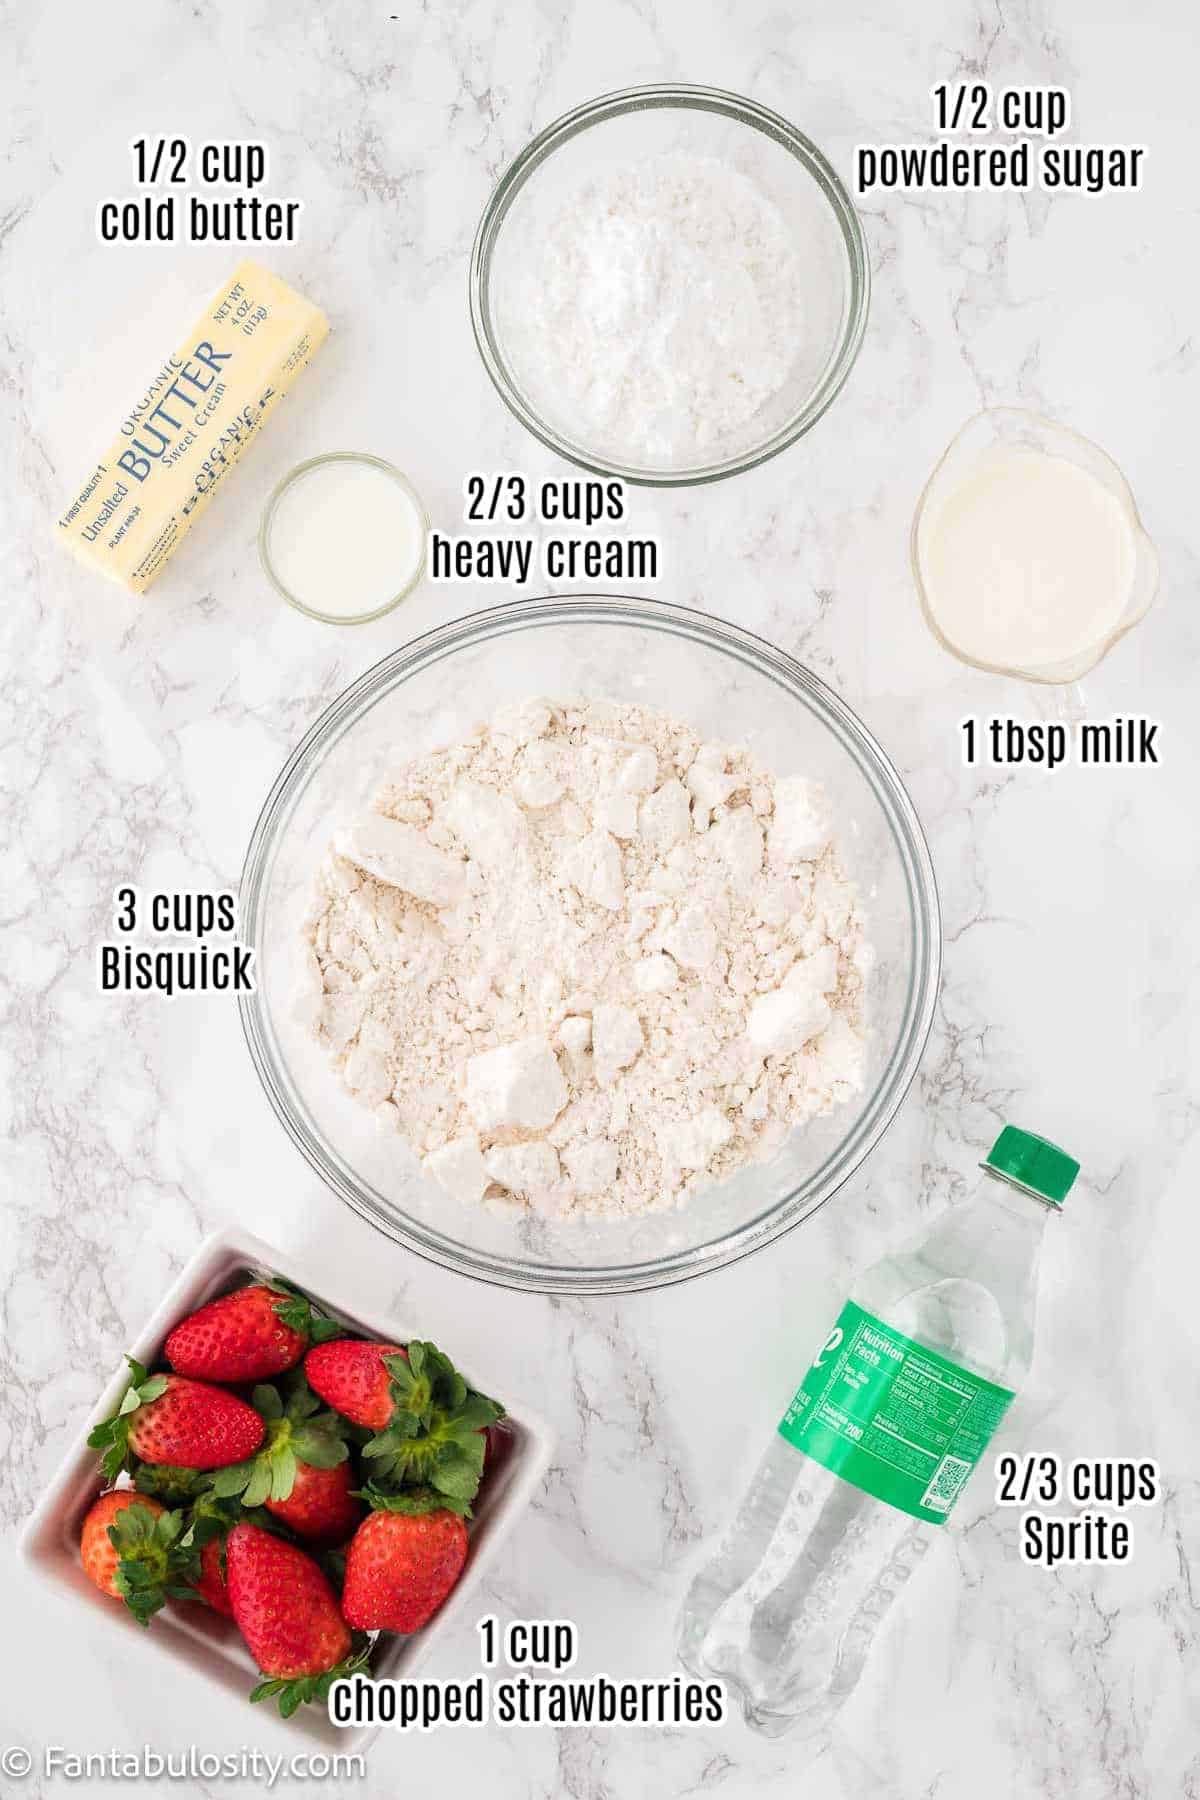
- Bisquick – This is a great kitchen shortcut because it contains your flour, fat, and leavener all in one!
- Butter – I normally use unsalted when baking, but salted works too.
- Soda – Any lemon-lime soda works here, just make sure it is regular and not diet as this is the sugar in the recipe. (It’s not the first time I’ve used soda in a recipe like this. This 7up pound cake uses… you guessed it… 7up!)
- Heavy cream – The thick liquid is necessary here to achieve the perfect dough.
- Strawberries – Dice up fresh strawberries in even pieces so that your scones have berries throughout. Love strawberry flavor? These strawberry brownies (although made with a cake mix) are full of strawberry flavor!
Substitutions
- Berries – strawberries not in season? Use any fresh berry you’d like. If your blackberries are exceptionally large, slice in half before using. Do not use frozen fruit as it will add too much liquid.
Variations
- Swap the glaze – Add a touch of orange or lemon extract to the powdered sugar and then go slow on the milk. This will add a bit of extra flavor.
How to Make Bisquick Berry Scones
Do you stash butter in your freezer like I do? You’re in luck – you can use your butter straight from frozen!
Line a sheet pan with parchment paper to ensure the scones don’t stick as well as don’t spread out of shape.
*Be sure to see the recipe card below for the full ingredients list & instructions!*
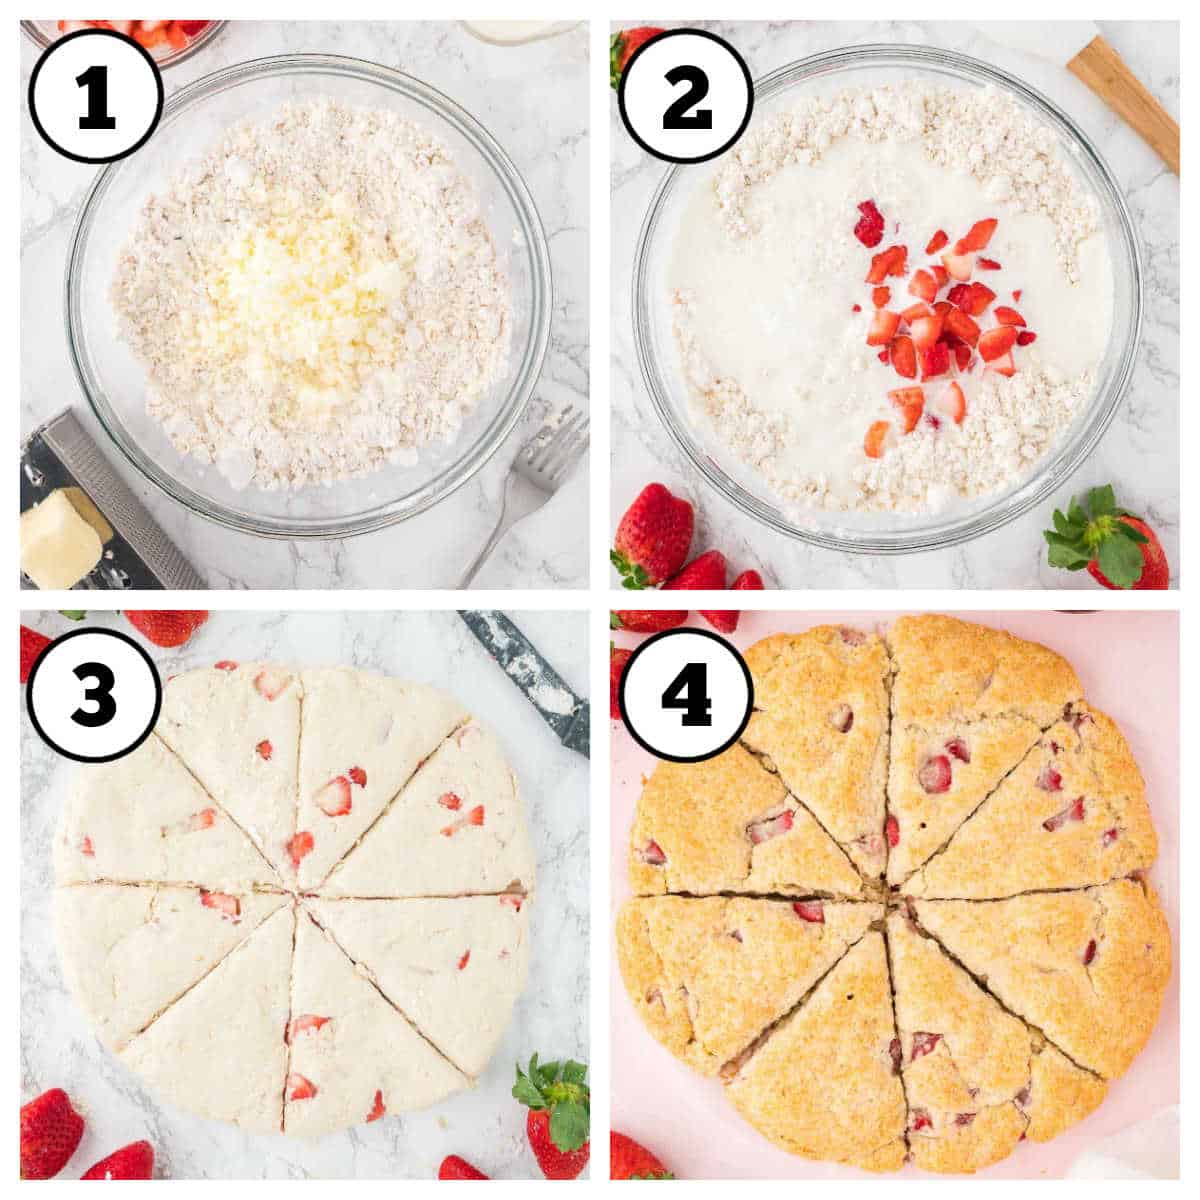
STEP 1. Grate butter. Grate the butter into the biscuit mix in a bowl (Image 1). Gently toss to coat.
Tip: You can even use your butter straight from the freezer! Keeping it cold is key here, and it also grates easier when frozen. So refrigerated or frozen, just make sure not to melt the butter with excessive handling.
STEP 2. Mix. Add remaining ingredients and stir to combine (Image 2). Do not over mix or your scones will be tough!

STEP 3. Shape. Gently pat the dough into a flat disc, about 2 inches thick (Image 3).
STEP 4. Bake. Cut the disc into scones, then bake until golden (Image 4).

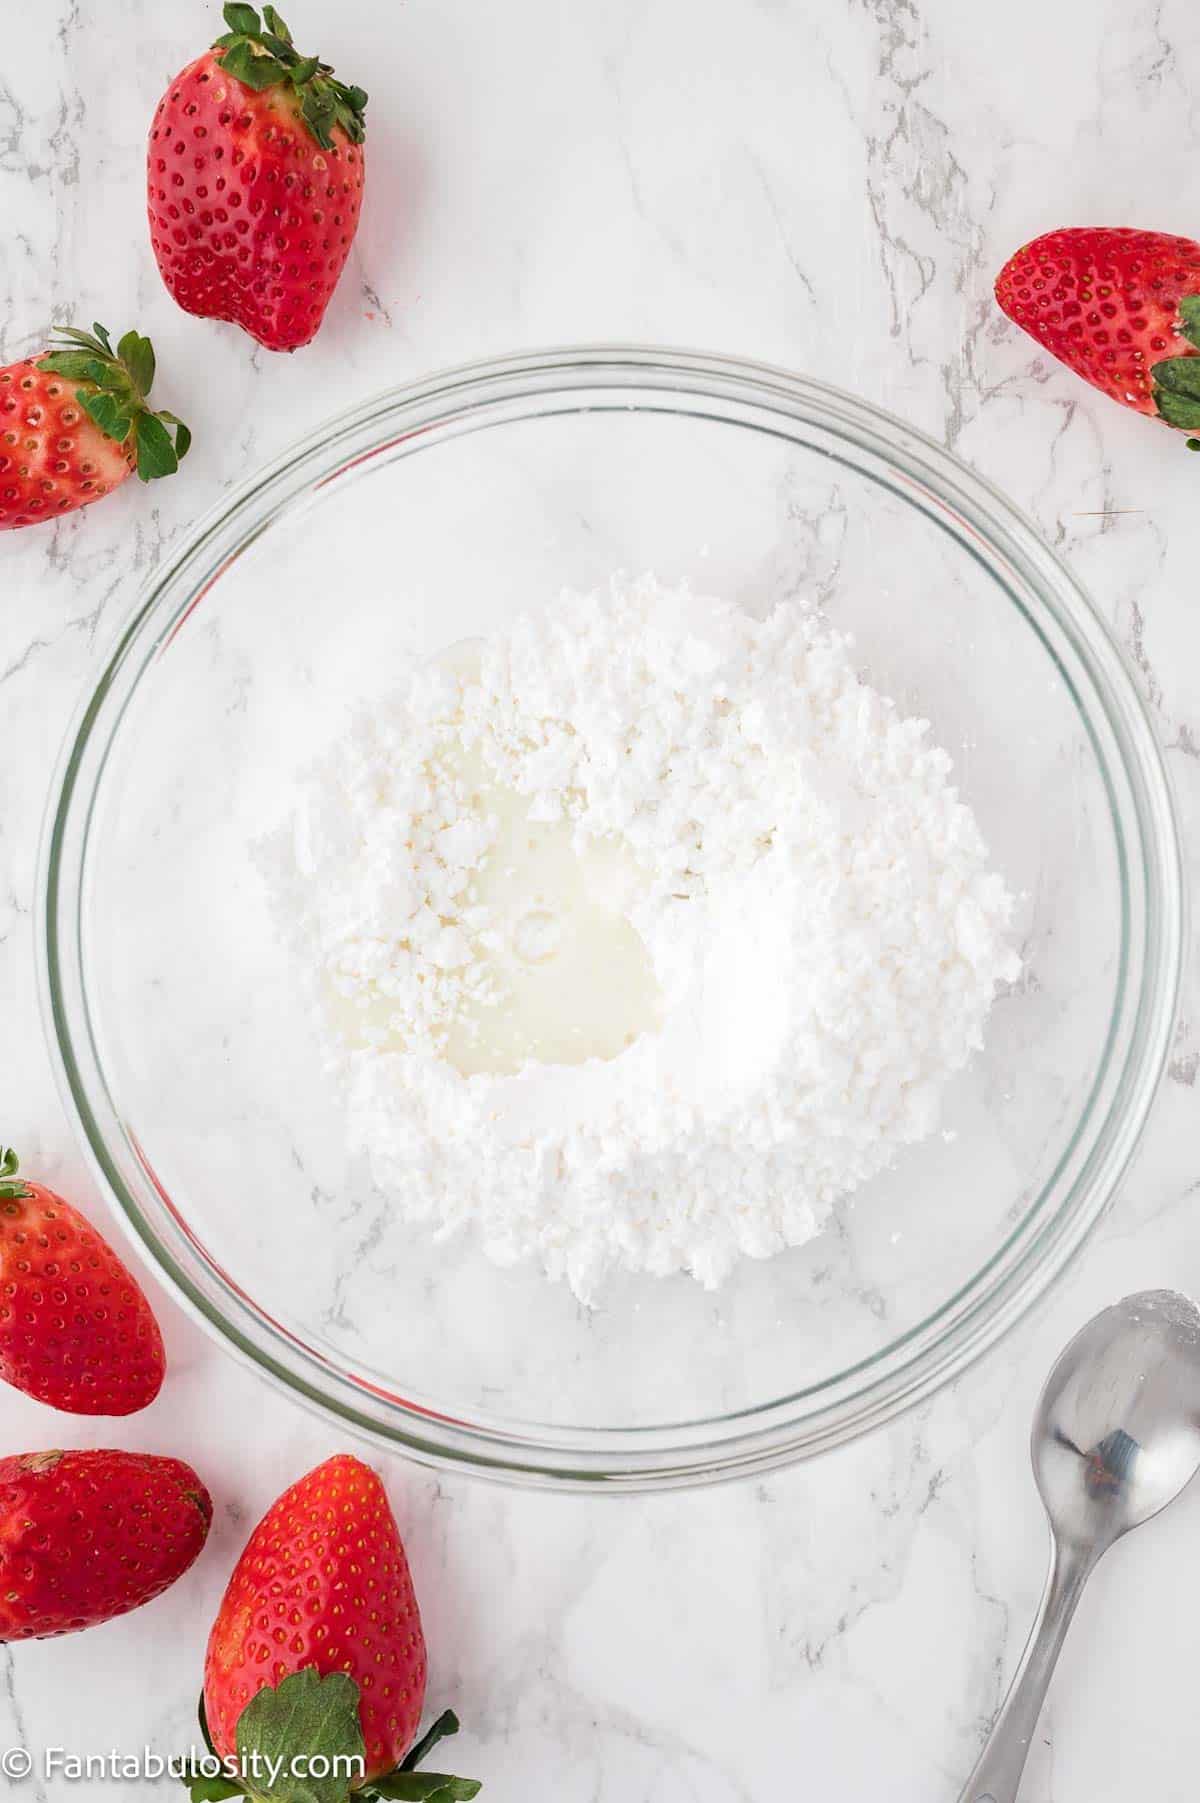
STEP 5. Glaze. If desired, make a simple icing of powdered sugar and milk and drizzle over the top of warm scones.
Recipe Pro Tips
- Allow to rest after baking. Let the scones rest for just a few minutes before adding glaze. This way they are still served warm, but the icing won’t melt right off.
- Correct temperature. While it’s ok if your heavy cream is closer to room temp, the butter absolutely must be cold.

Recipe FAQs
A good scone is moist and flakey, and nothing boring or bland! The key is to use COLD butter and not over-mix or over-bake. Cold butter won’t melt until it hits the heat of the oven, which ensures flakey layers. If your butter is too warm or overworked, it will melt into the dough and your scones will be dense.
I don’t recommend freezing the raw dough here, as the berries will give off excess liquid when thawed, before baking. This makes a not-so-pretty presentation and may ruin the texture. You can wrap baked scones and freeze in an airtight bag.
One of the keys to the best scone texture is a thick, rich liquid. So you can use cultured buttermilk or sour cream in place of heavy cream, but don’t go any lower fat than that. Using reduced-fat milk may make the scones tough and dense.
What to Serve with Strawberry Scones
I always feel better serving a somewhat dessert-like treat next to protein such as scrambled eggs. For meat lovers, throw bacon in the air fryer or sausage patties in the oven! Add more cut fruit on the side and it’s a complete meal.
Storage
Scones are best when warm and fresh, but you can enjoy the next day. Lightly toast in a toaster oven to revive them a bit, then top with butter. If you know you won’t finish them all at once, skip the glaze on the leftovers, otherwise, it will melt off when reheating.
More Baking Recipes You’ll Love
Did you make this? I’d be so grateful if you left a “star” rating below to let me know what you thought! Then, the next time you need a quick and easy recipe, come back to Fantabulosity to browse all of my easy recipes!
Recipe

Bisquick Strawberry Scones
Ingredients
- 3 cups Bisquick
- ¼ cup cold butter
- ⅔ cup heavy cream
- ⅔ cup lemon-lime soda such as Sprite or Starry
- 1 cup chopped strawberries
Drizzle
- ½ cup powdered sugar
- 1 tablespoon milk
Instructions
- Preheat the oven to 350°F.
- Line a baking sheet with parchment paper
- Add Bisquick to a large bowl and grate the cold butter in. Give it a light stir so the butter is evenly distributed throughout and coated in the Bisquick.
- Stir in heavy cream, Sprite and chopped strawberries.
- Do not over mix. If you feel the mixture is too wet from the juice of the fruit you can add more Bisquick until it comes together
- Lightly dust the countertop with some more Bisquick and empty the bowl out onto it.
- Fold the mixture with your hands into a flat disc about 2” thick.
- Cut it into 8 even triangles.
- Place scones on the lined baking sheet and set on the middle rack of the preheated oven.
- Bake for 30-35 minutes or until golden brown.
Drizzle
- Mix the powdered sugar and milk together and drizzle over the scones.
Notes
- You can use any fruit you’d like!
- I don’t recommend freezing the raw dough, but you can easily wrap and freeze baked scones.
Nutrition
Nutritional information is based on third-party calculations and should be considered estimates. Actual nutritional content will vary with brands used, measuring methods, portion sizes and more.








Emily @ My Love for Words says
Those look amazing! Thanks for tweaking the recipe a bit and leaving out the food coloring. I’m all about, “Less is better” too: 🙂
Jessica says
Aw, yay!! You bet!! I hope you get a chance to make them! 🙂