

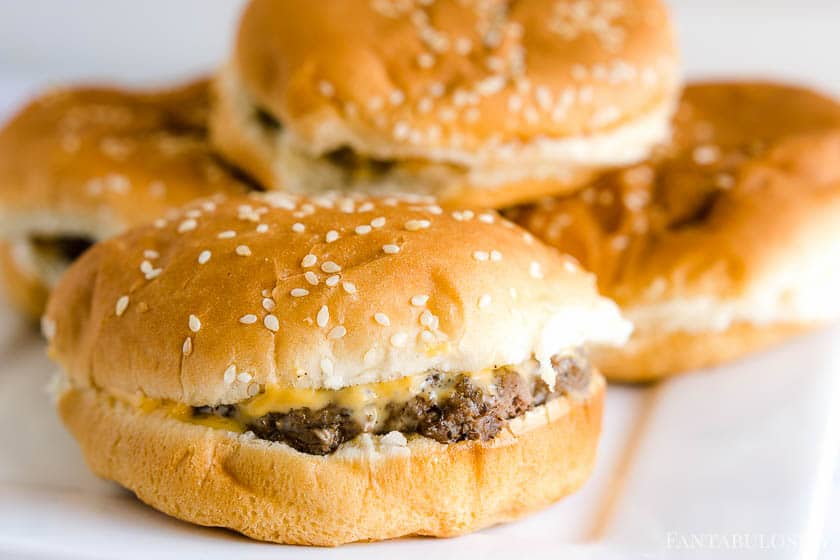
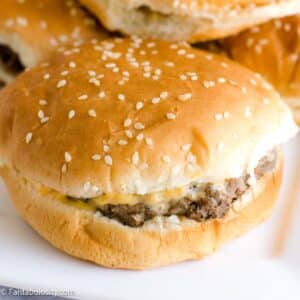
Burgers in the oven have become the favorite way to cook hamburgers by so many readers since first sharing this recipe years ago! This is the original recipe with the aluminum foil trick that makes these ooey-gooey cheeseburgers a favorite! No more messy stovetops from frying burgers.
“Can I cook burgers in the oven?” – It’s asked often!
YES, and let me tell you… it may be your new favorite way to whip up this family favorite dinnertime go-to! (It has only become a favorite way to make these cheeseburger sliders that have become so popular too!)
Not only does baking the burgers in the oven make clean-up a breeze (no splattered grease popping all over the stovetop) but this recipe creates the juiciest burger, and has a trick that will keep you going back for more! (We even bake venison burgers in the oven!)
Featured Comment: I made these burgers today with the special "trick" and let me tell you. Hold on. Sorry I was drooling….. these came out OOEY GOOEY DELICIOUS!!!! – Jeannette Marie Young
It’s incredibly easy to make baked hamburgers… and the best part? With the trick I’ll show you, you can even make these a little in advance in case you’re serving a big crowd, (like for a burger bar) or aren’t exactly sure what time dinner will actually be served.
Jump to:
- Ingredients
- How to Cook Hamburgers in the Oven
- How to Season Hamburgers
- How Long to Cook Burgers in the Oven at 375 Degrees
- The Trick for Melt-in-Your-Mouth Oven-Baked Burgers
- Cooking Hamburgers in Advance
- How to Cook Frozen Burgers in the Oven
- How to Freeze Hamburger Patties
- Toppings for Burgers
- Sides to Go with Burgers
- More Hamburger Recipes You’ll Love:
- More Oven Recipes
- Recipe
- Comments
Ingredients
Here are the basic ingredients for baking hamburgers. The recipe card below includes more tips, seasonings, and toppings ideas.
- ground beef – The ground beef that I use tends to be very lean. If you use a fatty ground beef there could be a lot of grease in the bottom of the baking dish. Some have found that they prefer placing the burger patties on a rack inside of the dish to help prevent the burgers from sitting in a lot of grease.
- salt – See below where I go in to more detail on the type of salt I recommend.
- pepper – See below where I go in to more detail on the type of black pepper I recommend.
- sliced American cheese – Thick sliced cheese is my favorite and recommended.
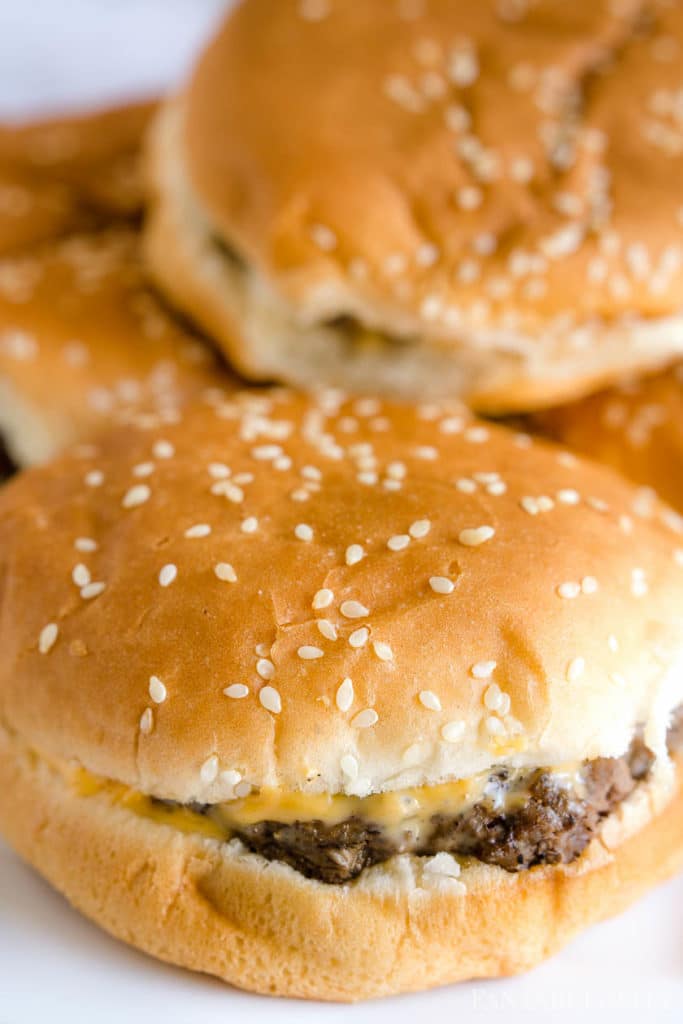
- hamburger buns – You can use your favorite burger buns but I love using sesame buns.
How to Cook Hamburgers in the Oven
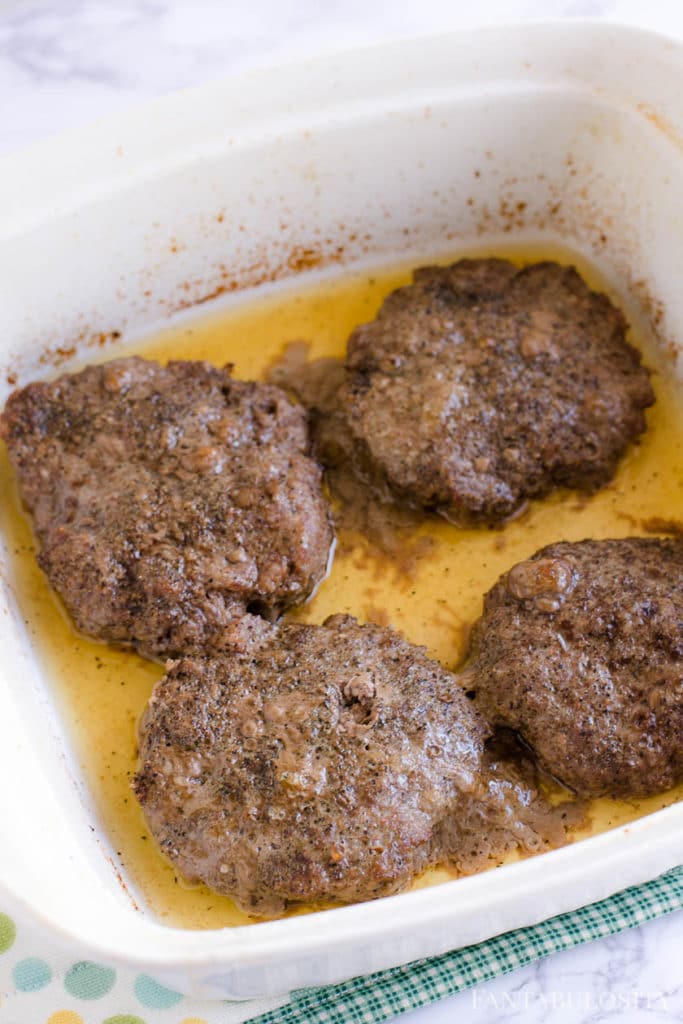
Bake, uncovered in the preheated oven for 20 minutes, or until an inserted thermometer reaches 160 degrees. No flipping required!
Keep reading for step-by-step photos, tips, and the full recipe card
Preheat Oven:
Preheat your oven to 375 degrees, and spray non-stick cooking spray inside of a baking dish, large enough to hold 4 hamburger patties.
Note: When cooking, you can definitely do more at a time if you prefer! Just use a larger baking pan or dish – make sure to use one with raised sides so the juices don’t pour out – and the cooking time will stay the same!
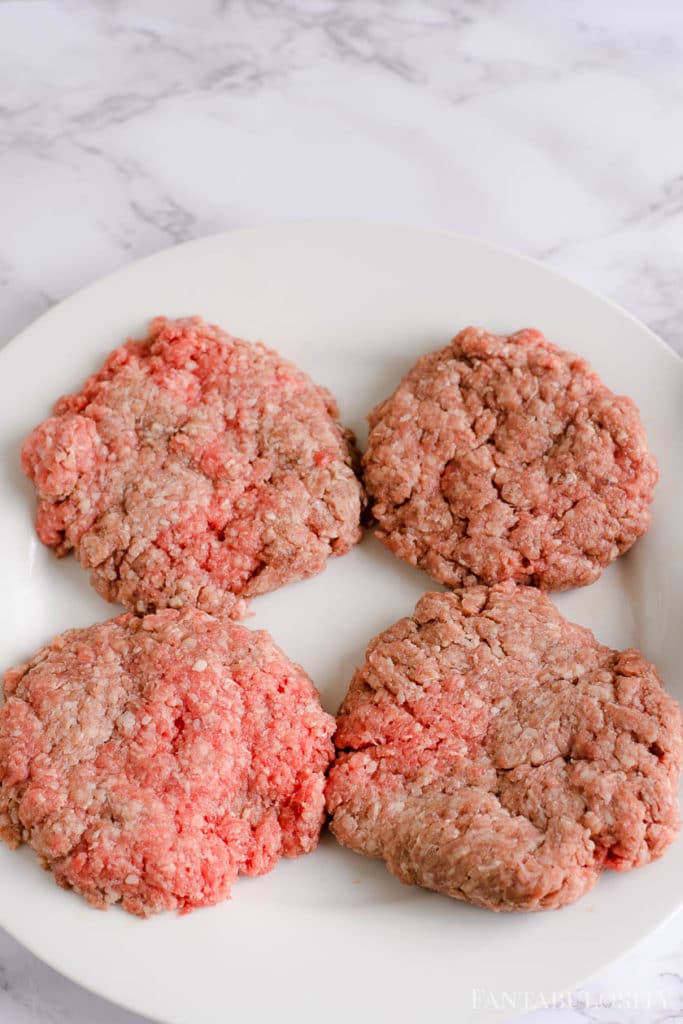
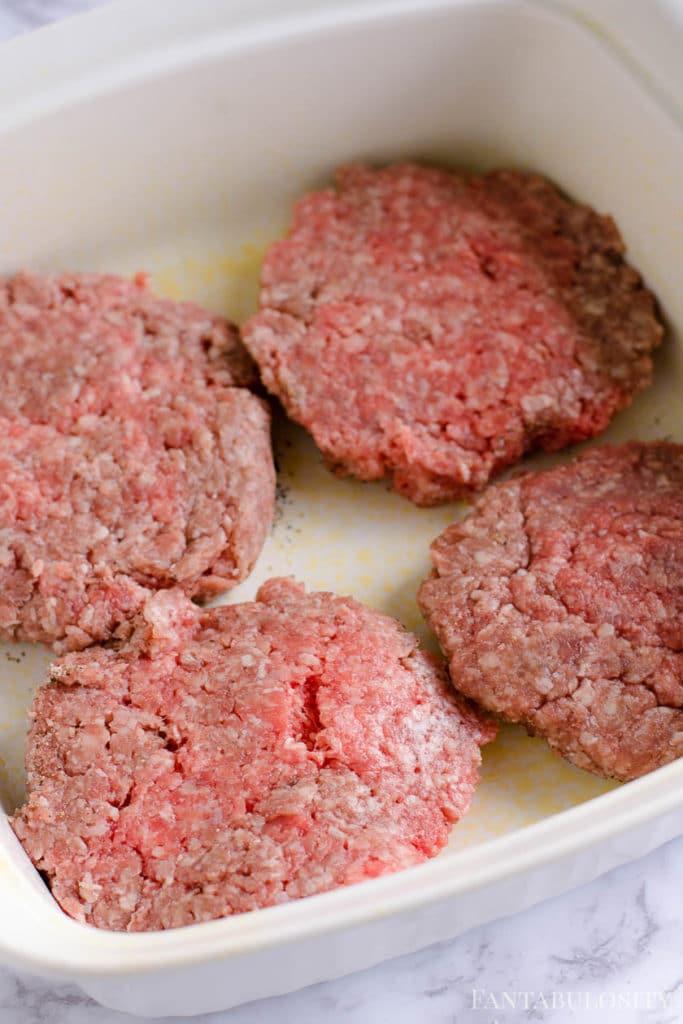
4 Beef Hamburger Patties
Using 1 pound of ground beef, patty out 4 hamburger patties. (Tip: Thaw out another pound of ground beef to make this old-fashioned favorite, Salisbury steak!)
How to Season Hamburgers
In the BEST Cheeseburger recipe, you saw that I love to fry burgers in browned butter for flavoring and use salt and pepper to season.
However, when it comes to baking hamburgers, I prefer to only use salt and pepper.
Feel free to use what you have on hand, or your favorite salt and pepper, but I can’t help but recommend my favorites.
- Fine Grain Himalayan Salt – When I started researching different salts for healthier options, my friend recommended this salt and I haven’t looked back. It is “saltier” so I don’t have to add as much when cooking, but it is also really tasty! I’m a big fan!
However, feel free to use my other favorite, kosher salt, or any type of sea salt/table salt. - Peppercorn Medley – Oh my favorite pepper in all the land! I love using this with the BEST oven baked steak recipe, and anything “beef” related. You’d be surprised at how much flavor this pepper has over regular black pepper. HOWEVER, feel free to use regular ground black pepper too! It’s tasty too!
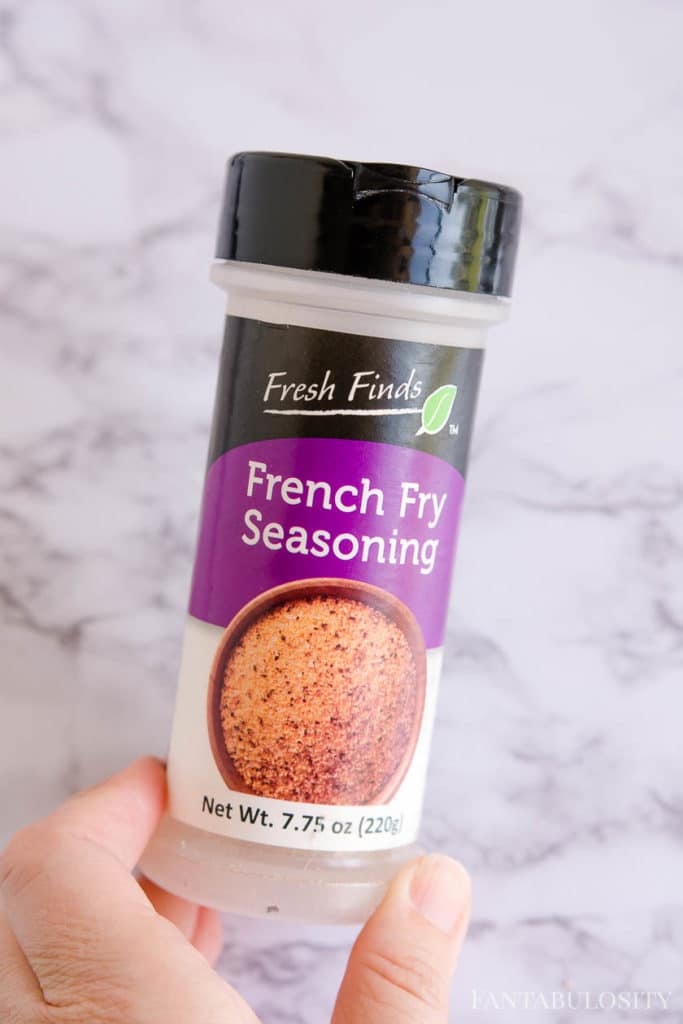
Alternate Seasoning Options
I don’t know what it is exactly, but this seasoning rocks my world, and I love to put it on just about anything. Especially side dishes like my garlic roasted broccoli and the baked potato wedges.
So when I have some on hand, I love sprinkling this on my cheeseburgers too! Just be cautious of adding salt, because seasoning like this can have a lot of salt in it! This seasoning is similar to a seasoned salt but I’ve had so many readers also say that they love sprinkling their favorite meat seasonings on these burgers too.
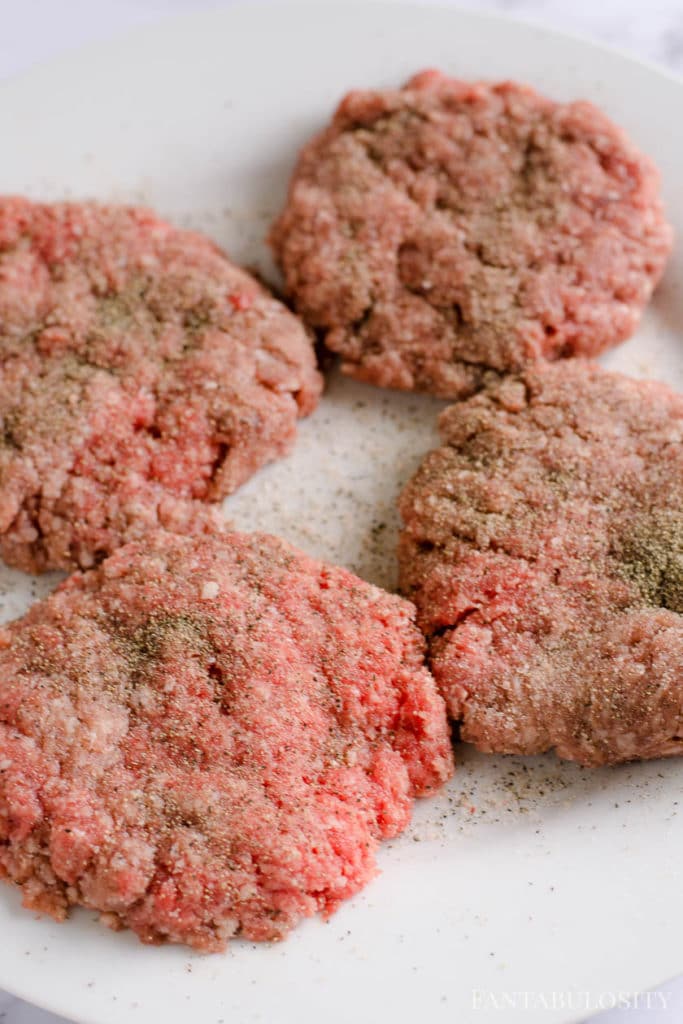
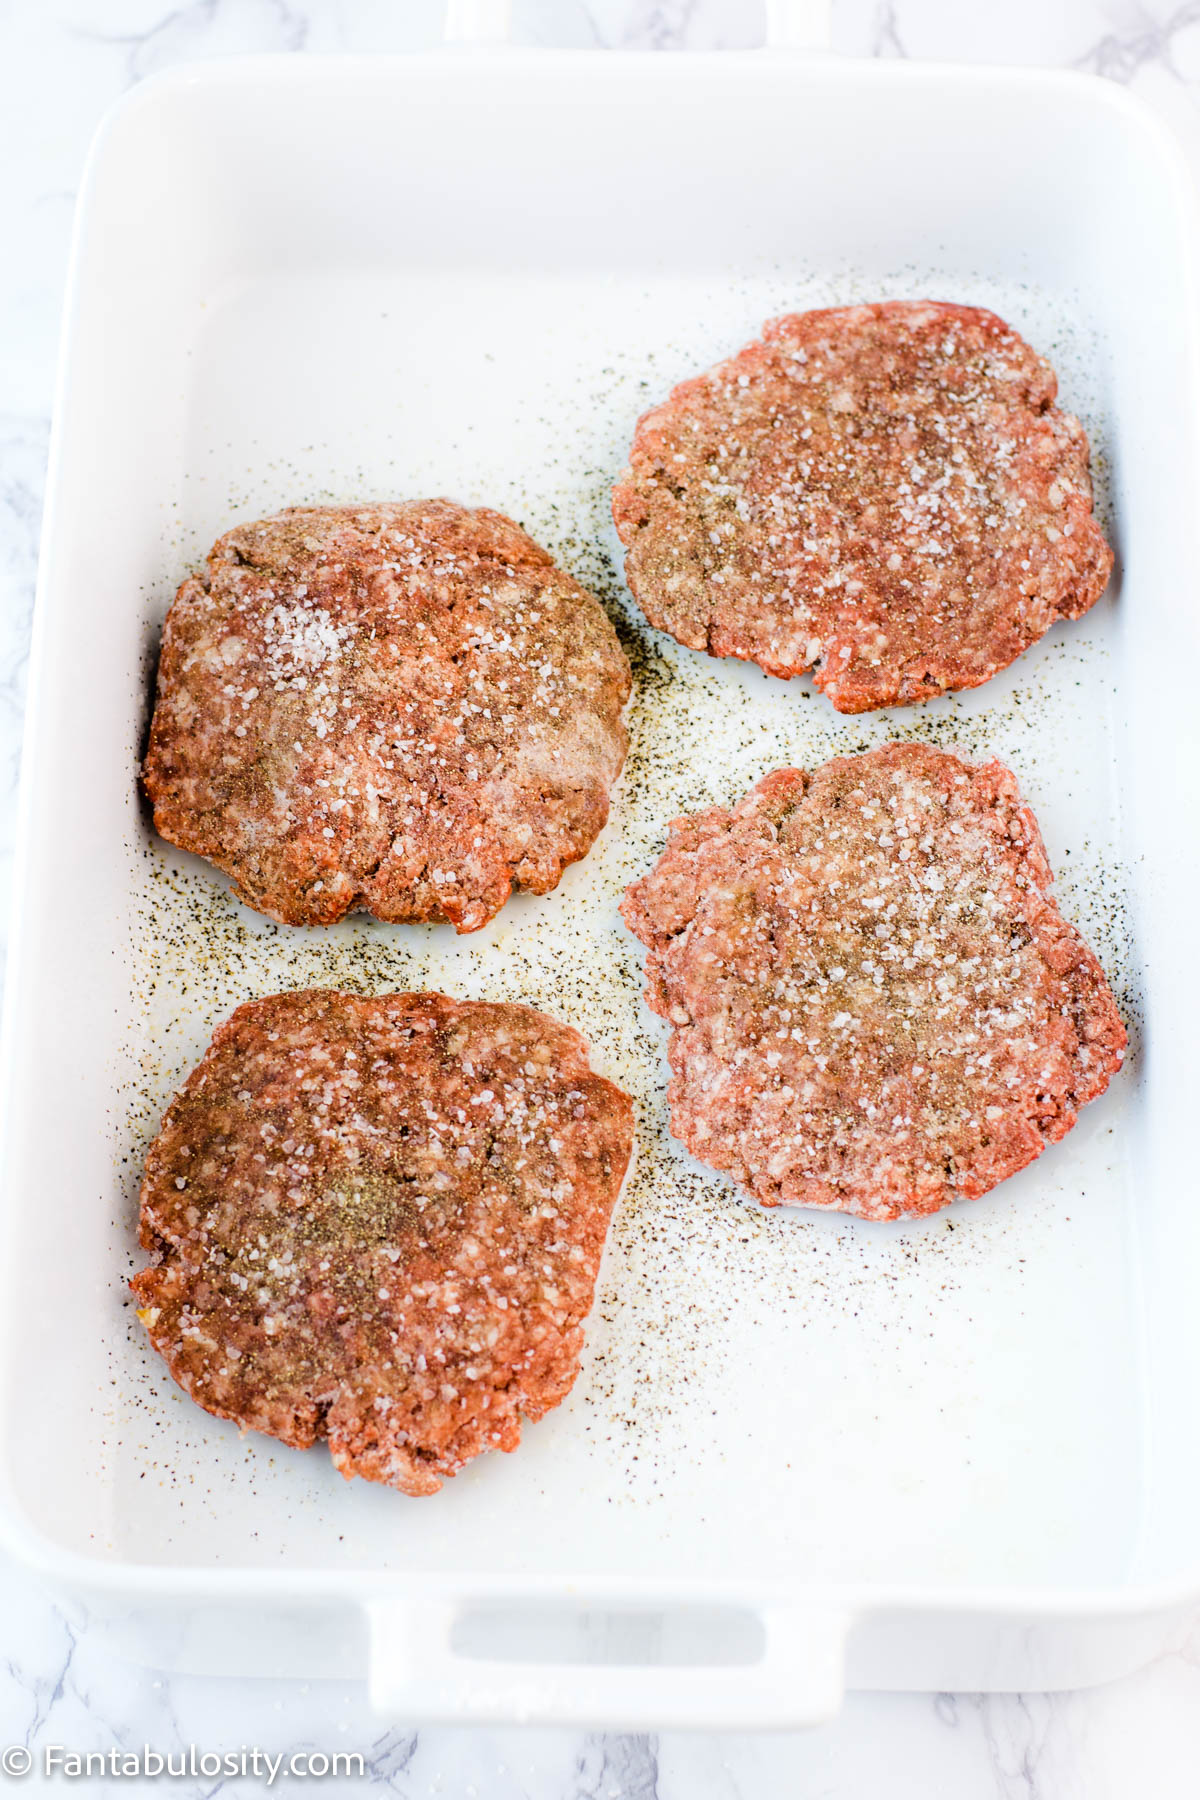
Season on Both Sides
Over the years, I’ve learned that I prefer when burgers are GENEROUSLY seasoned with salt and pepper.
(If I had to guess, I’d say I probably use a total of about 2 teaspoon of salt for the four burgers, and then I just make sure I can SEE black pepper all over my burgers.)
Just when you think it may be too much salt and pepper (because let’s face it… you can always add more, but you can’t really take it away) you can finally actually taste it.
So season as you desire, but if you find that your burgers didn’t have much flavor this time, add a little bit more next time.
When you’ve seasoned one side of the burgers, flip the seasoned side down in to the prepared baking dish and season the other side.
How Long to Cook Burgers in the Oven at 375 Degrees
Bake, uncovered in the preheated oven for 20 minutes, or until an inserted thermometer reaches 160 degrees.
(For the trick that makes all of the difference when cooking burgers in the oven, scroll down! You won’t regret it!)
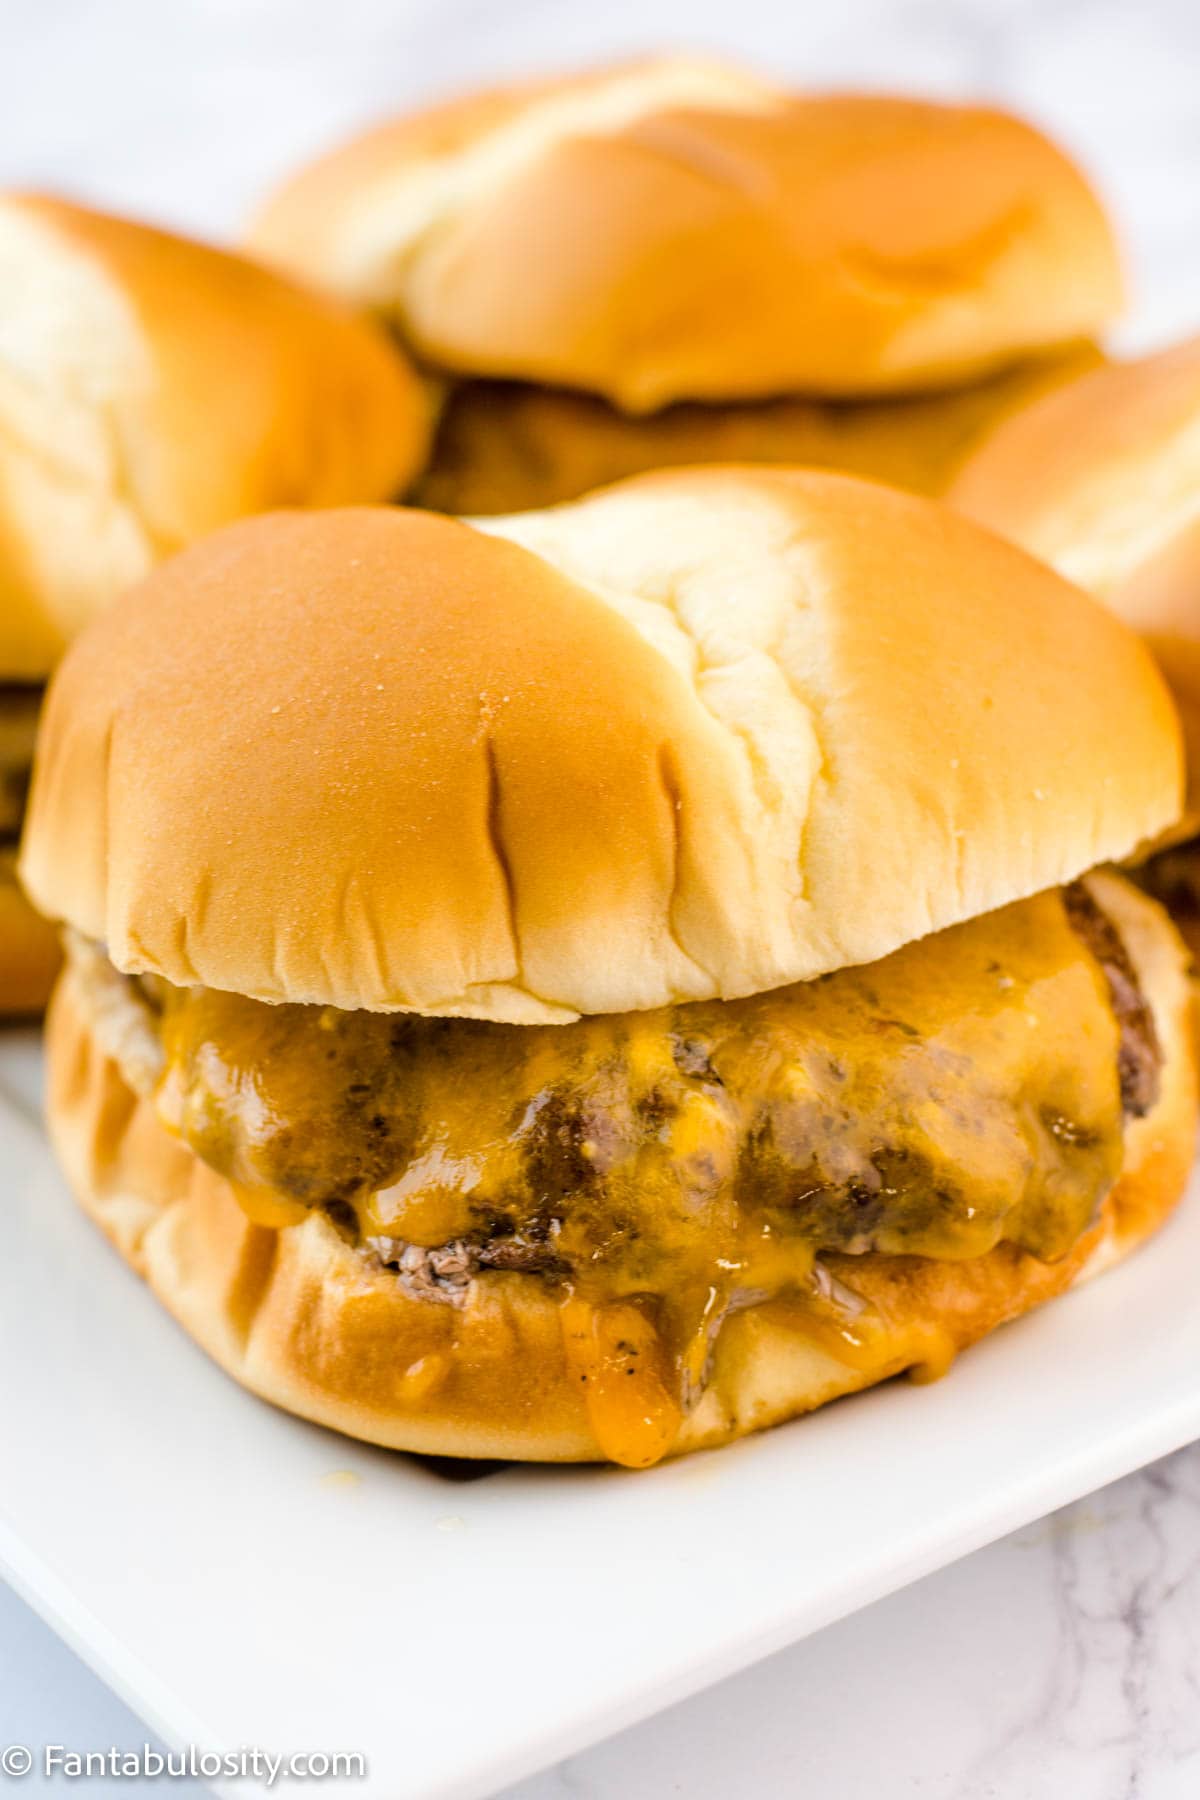
For Cheeseburgers
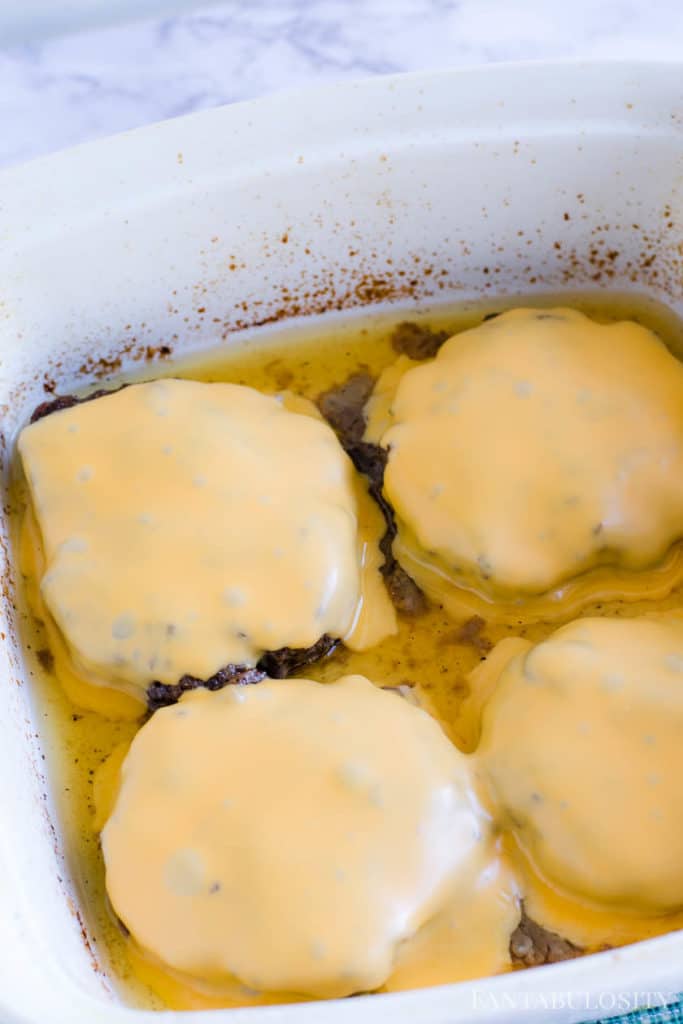
If you love cheese on your burgers, grab a slice of American cheese (or your favorite kind) and place one slice on each burger.
Place back in the oven for about one minute, or until the cheese has melted! (Unless you plan to do the “bun trick” below, and then you can just add the cheese and wait to melt it in the foil.)
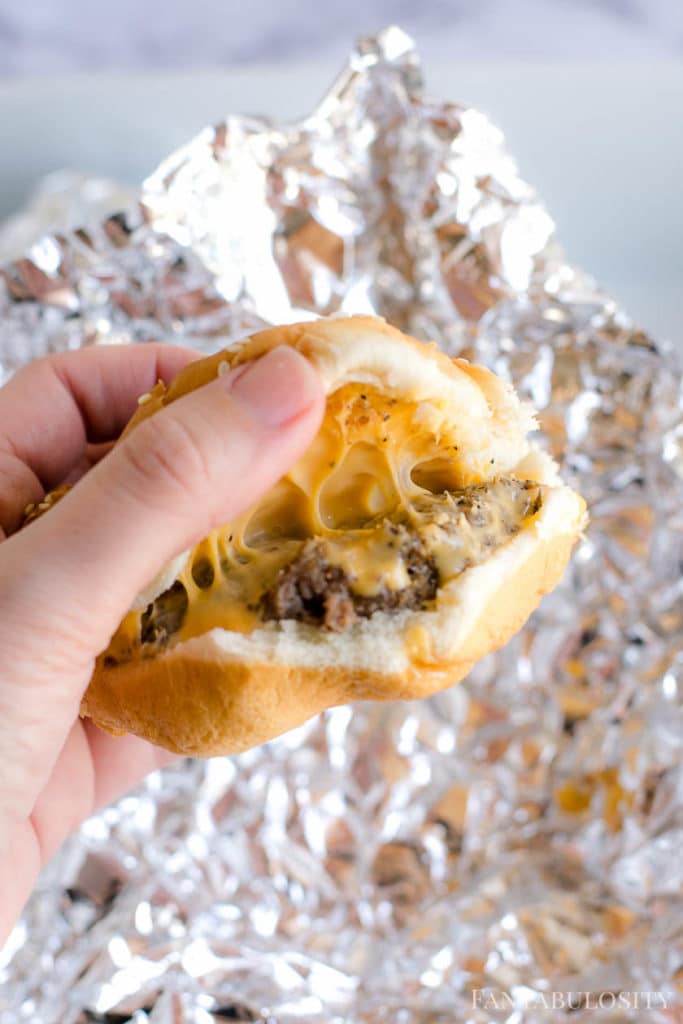
The Trick for Melt-in-Your-Mouth Oven-Baked Burgers
When I started doing this for my burgers, I feel like I changed my family’s burger-lovin’ life.
Tear off 4 squares of aluminum foil (just large enough to wrap each individual burger).

Place the bottom portions of each bun on each sheet of foil, and build the burgers, WITHOUT the extra toppings. Just meat and cheese for now!

Wrap up each burger, and place either in a different baking dish, a cookie sheet or even directly on the oven rack… and let heat in the oven for a 2-3 minutes.
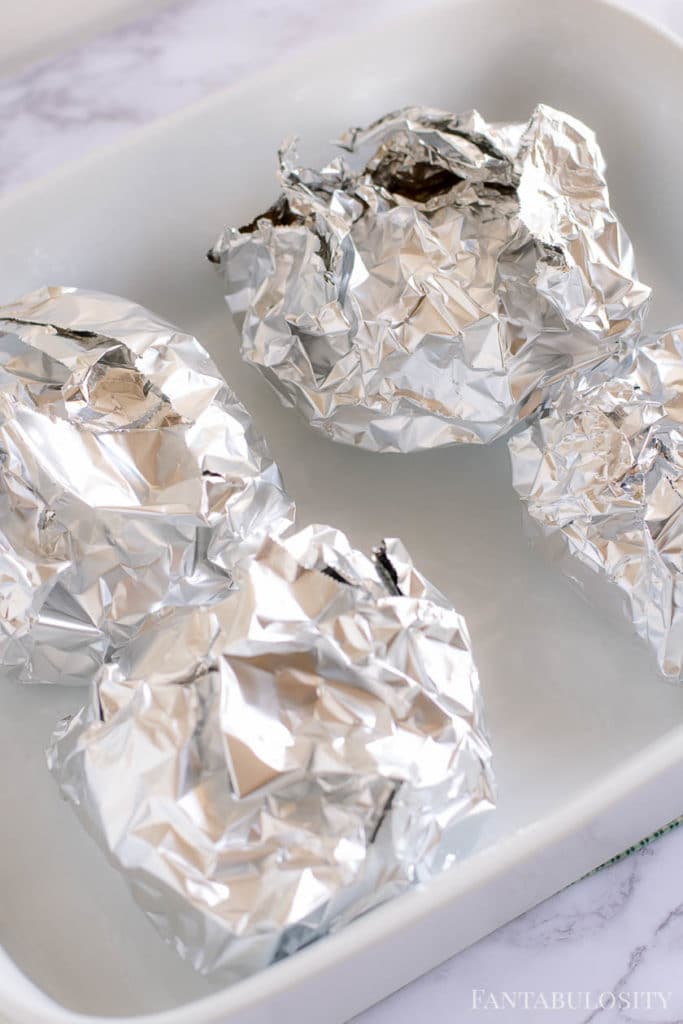
This will allow the cheese and bun to steam/toast, to create the ooey-gooeyness that has become so hard to live without!
Cooking Hamburgers in Advance
If you’re cooking for a large crowd, or just want to make a batch early and keep warm until dinnertime, it’s easy!
Make the burgers like I’ve suggested, and keep the aluminum foil-wrapped burgers in the oven on warm. (Just don’t get the oven too hot, or your buns will get TOO toasty and become hard.) I do this for baking hot dogs in the oven too!
How to Cook Frozen Burgers in the Oven
Yes, you can cook frozen hamburger patties in the oven without thawing them first. This is a great option for busy nights when you forgot to defrost the meat.
To bake frozen burgers:
- Preheat your oven to 400°F.
- Line a baking sheet with foil and place a wire rack on top (optional, but helps grease drip away).
- Arrange frozen hamburger patties in a single layer. Do not stack.
- Bake for 20-25 minutes, flipping halfway through cooking.
- Cook until the internal temperature reaches 160°F.
Frozen burgers typically take about 5-8 minutes longer than fresh patties.
Should You Thaw Burgers Before Baking?
You do not need to thaw hamburger patties before baking. However, thawed patties will cook more evenly and develop better browning.
If cooking from frozen, expect slightly less browning and a little more moisture release during baking.
When Should You Season Frozen Burgers?
Because frozen patties are firm at the start, seasoning won't stick well immediately.
For best results:
- Bake for about 10 minutes first.
- Remove from oven.
- Sprinkle salt, pepper, or seasoning blend on top.
- Flip and season the other side.
- Return to oven to finish cooking.
How Long Do Frozen Burgers Take at Different Temperatures?
At 400°F → 20-25 minutes
At 375°F → 25-30 minutes
At 425°F → 18-22 minutes
Always cook until the center reaches 160°F.
How Do You Keep Frozen Burgers from Drying Out?
- Do not overcook beyond 160°F.
- Flip halfway through cooking.
- Avoid pressing down on patties.
- Let rest 3-5 minutes before serving.
You can also brush lightly with oil before baking to encourage browning.
Can You Add Cheese to Frozen Burgers?
Yes. Add cheese during the last 2-3 minutes of baking so it melts without overcooking the burger.

How to Freeze Hamburger Patties
Freezing hamburger patties is a great way to meal prep and always have dinner ready. Properly freezing them helps prevent freezer burn and keeps the patties from sticking together.
Here's how to freeze burger patties the right way:
- Form ground beef into evenly sized patties.
- Place a small square of wax paper between each patty.
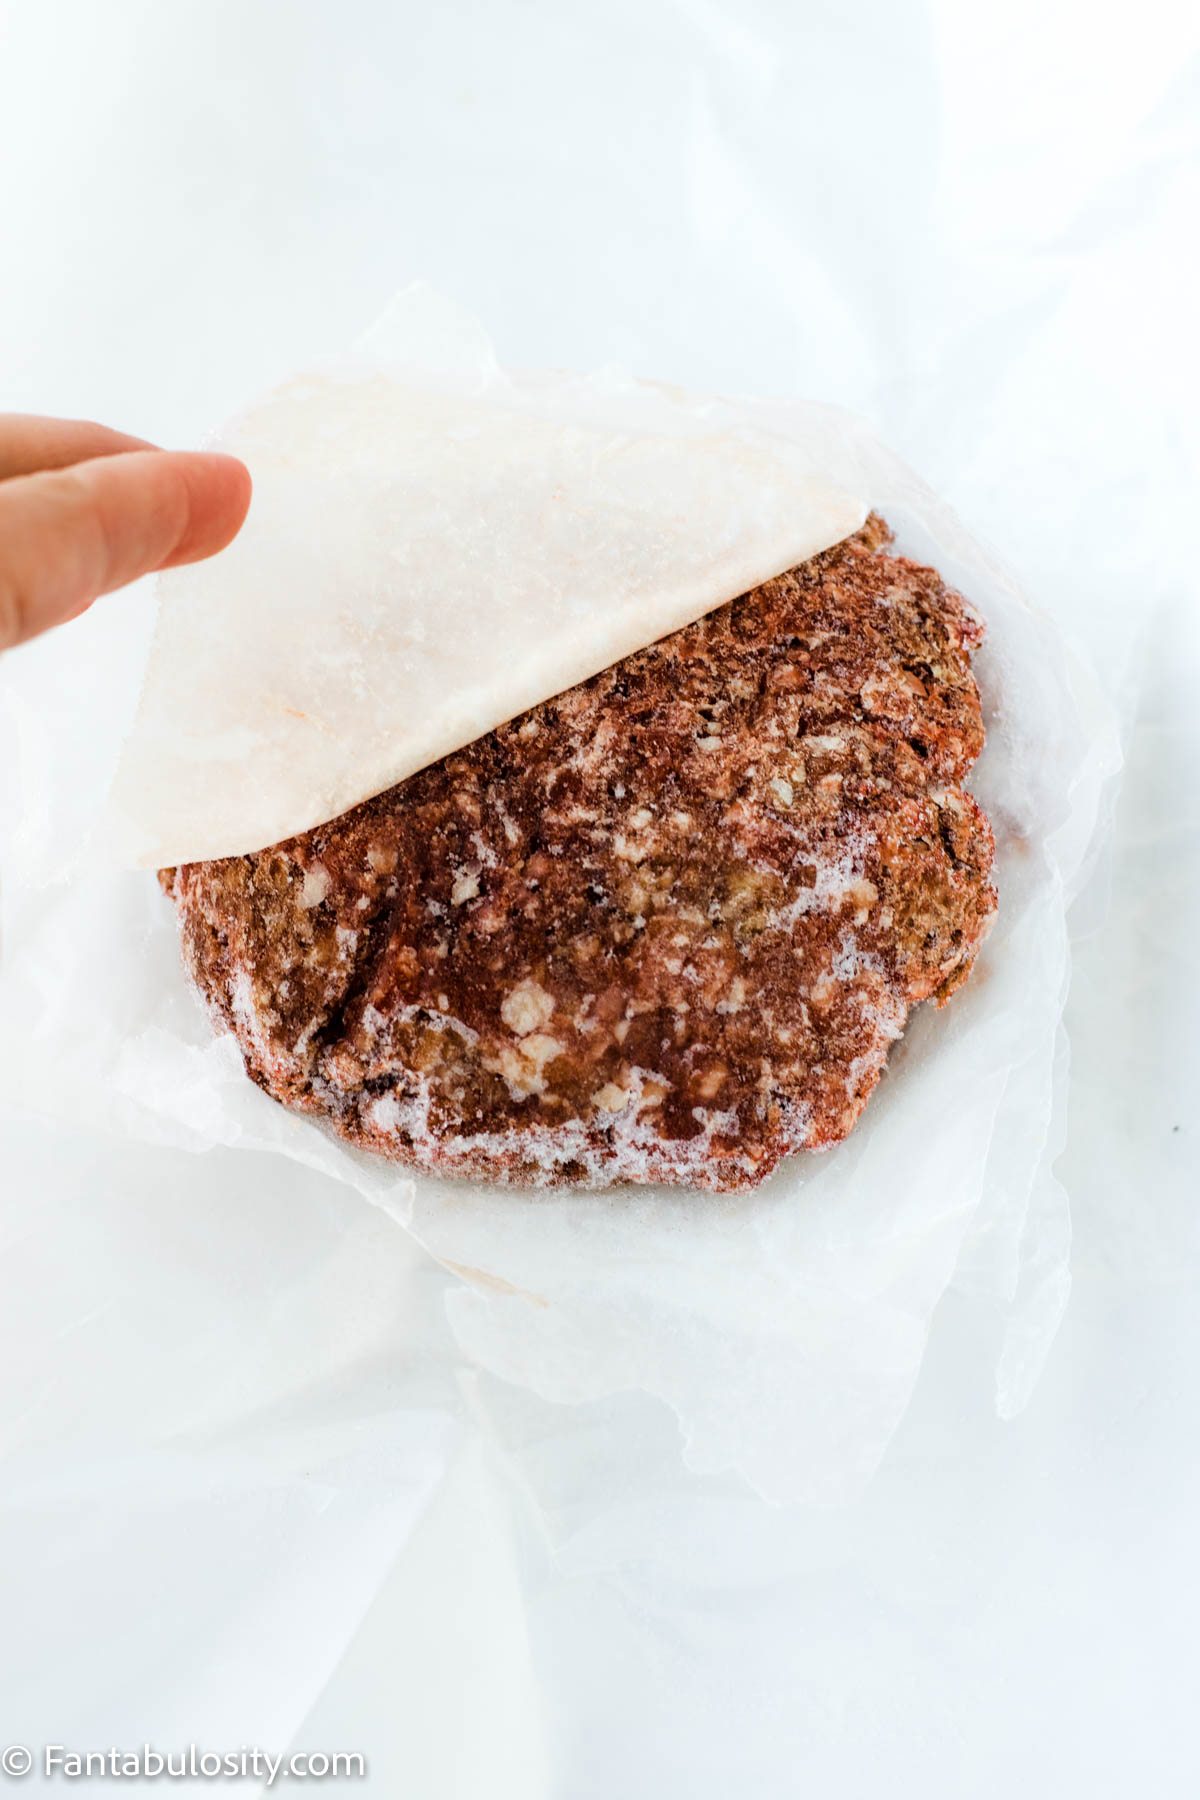
- Stack the patties neatly.
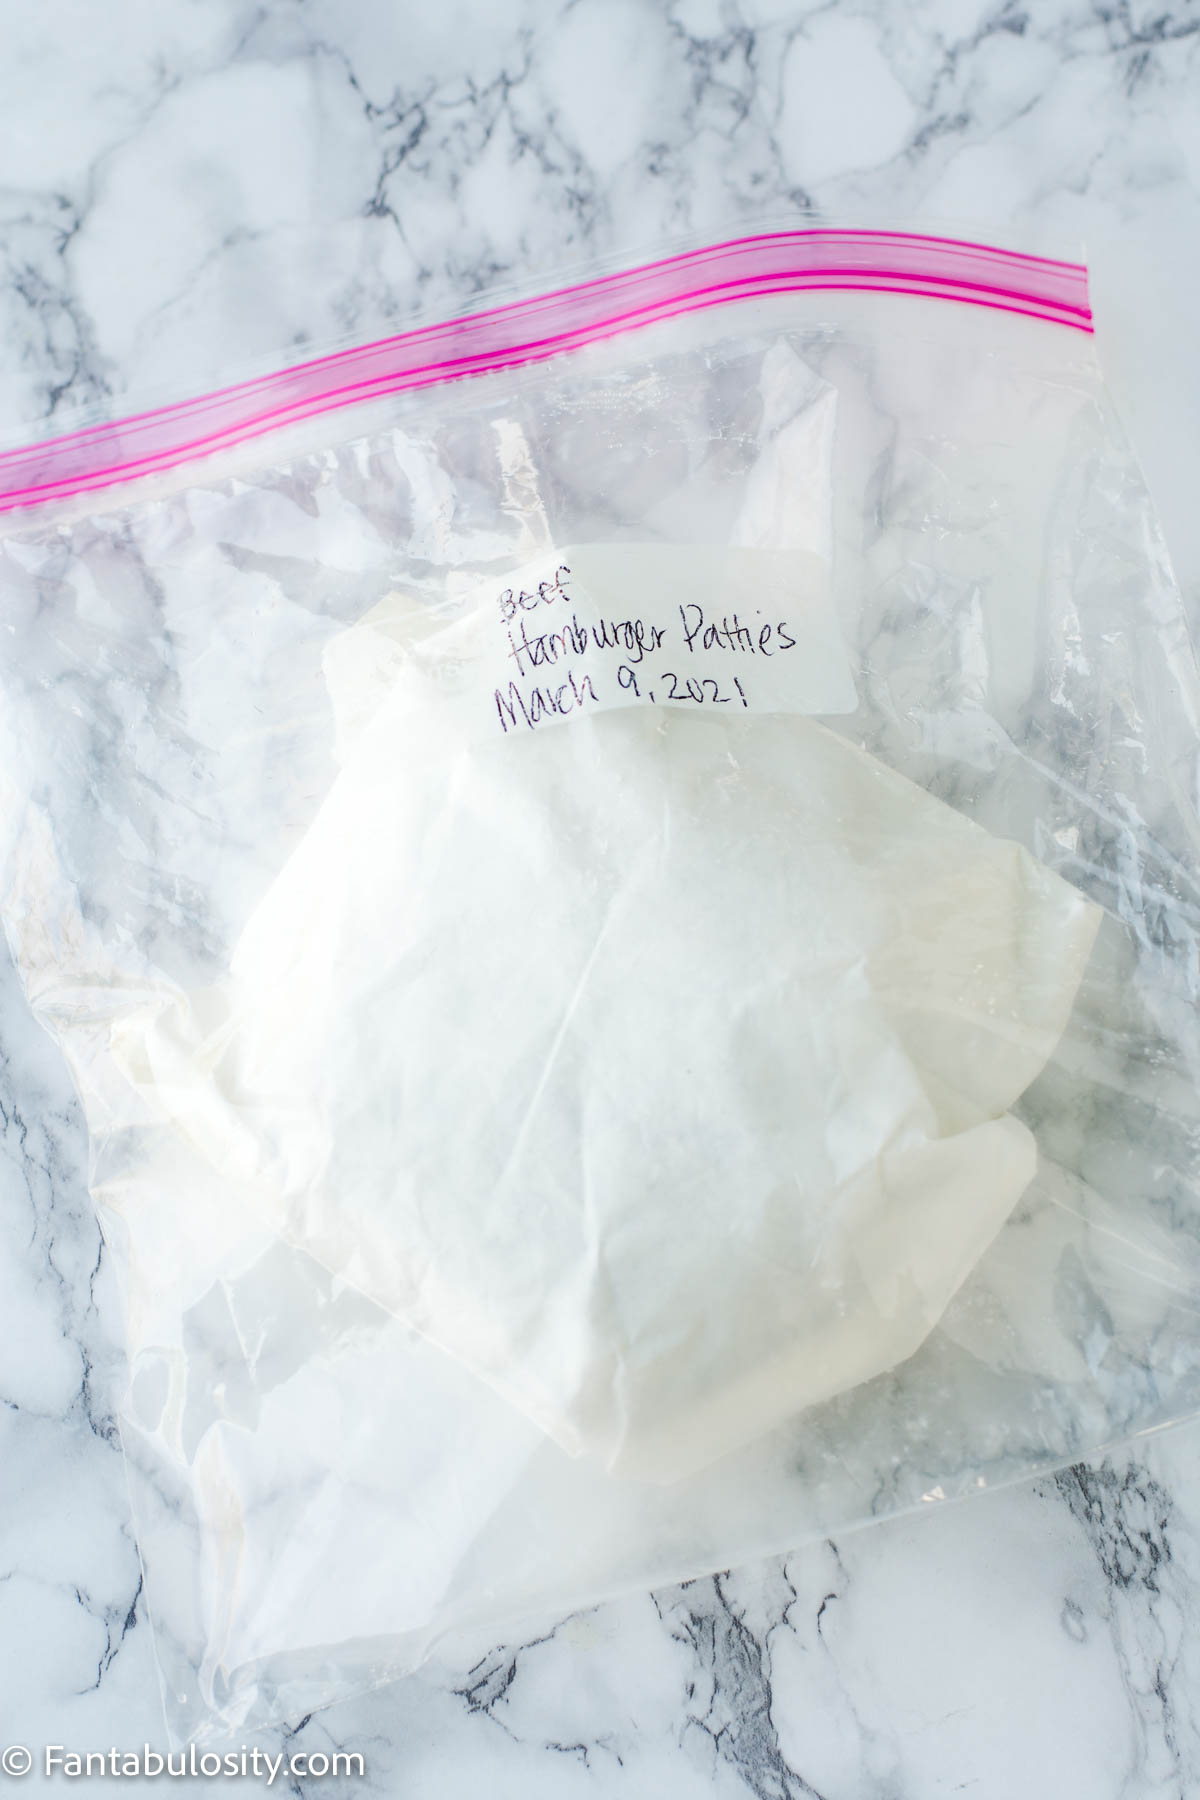
- Place the stack inside a freezer-safe zip-top bag.
- Press out as much air as possible before sealing.
Lay the bag flat in the freezer so the patties freeze evenly.
How Long Do Frozen Burger Patties Last?
Properly stored, raw burger patties can last:
- Up to 3-4 months in the freezer for best quality.
- Longer if sealed tightly, though texture may decline over time.
Label the bag with the date so you can rotate older batches first.
Can You Freeze Cooked Burger Patties?
Yes. Allow cooked burgers to cool completely, then wrap individually in plastic wrap or foil and place inside a freezer bag.
Reheat in the oven at 350°F until warmed through.
Pro Tip for Easy Separation
Using wax paper between patties makes it easy to pull out only what you need without thawing the entire batch.
This also keeps the patties from sticking together once frozen.
Toppings for Burgers
Feel free to top your burgers with your favorite toppings! Honestly, when they’re cooked like this, I love them plain, with just cheese! (Unless I have some of the french fry seasoning that I’ve shared with you, under the recipe.) Although, topping them like a Cowboy Burger is pretty tasty too!
But some of the standard favorite toppings are:
- mustard
- ketchup
- onion
- tomato
- lettuce
- pickles
- mayo
- bacon (you can cook bacon in the oven too!)
- pineapples (Yes! They’re so good on a burger, and we love using them on Aloha burgers too!)
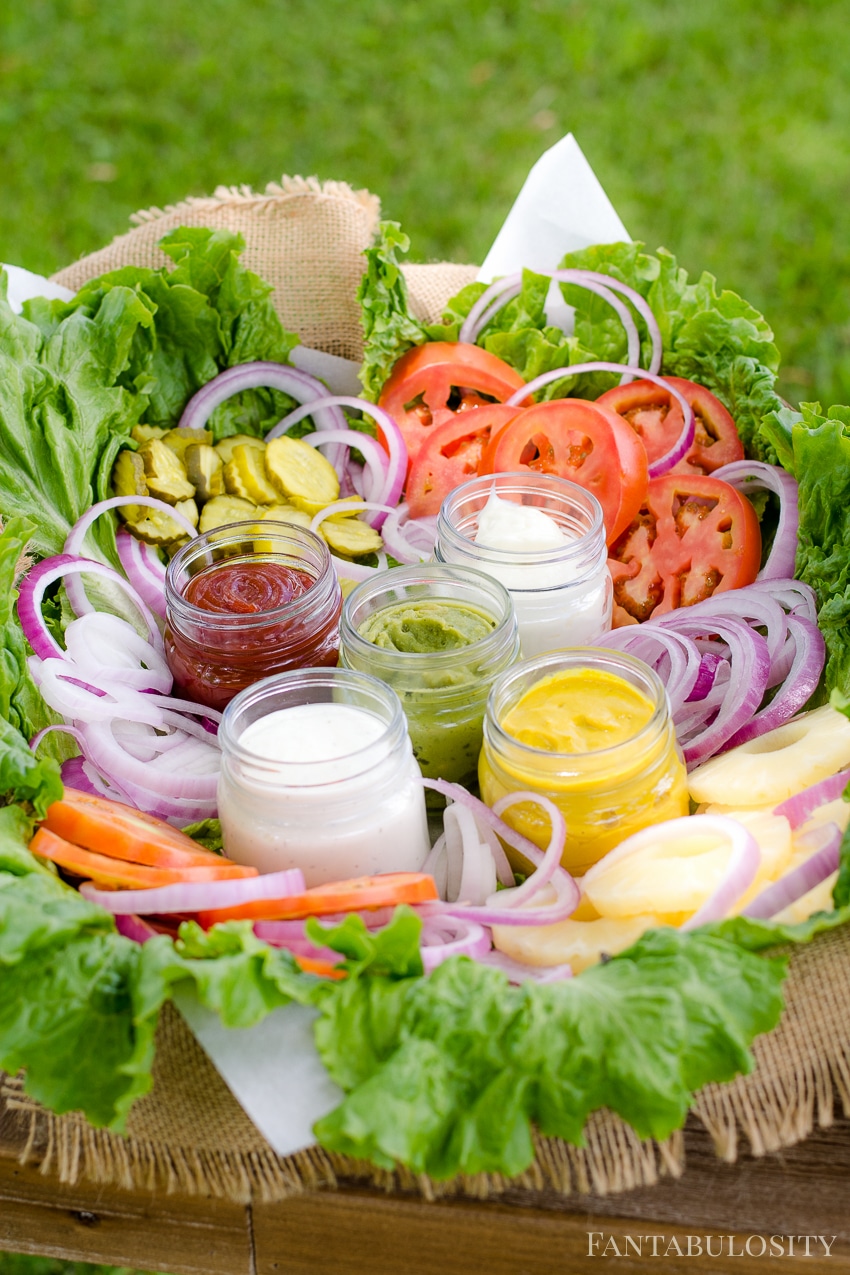
Above photo from the Burger Bar I styled for a party.
Sides to Go with Burgers
Looking for something to serve along with your hamburgers? Here are our favorites:
More Hamburger Recipes You’ll Love:
If you love hamburgers, then you’ll definitely want to see all of the other hamburger recipes that we have. Here are some of our favorites:
Or even if you’re looking for ways to use ground beef, we have suggestions for dinner recipes using ground beef!
More Oven Recipes
If you’re looking for another easy oven protein, see our complete guide on how to cook pork chops in the oven, and also check out these favorite recipes:
Did You Make This?
Snap a pic and hashtag it #Fantabulosity - I love to see your creations on Instagram and Facebook.
Recipe
BEST Burgers in the Oven – With a TRICK!
Video
Equipment
- aluminum foil – optional, for toasting
Ingredients
- 4 beef patties I use 1 pound of ground beef to make 4 patties
- salt as desired – see blog post for tips
- pepper as desired – see blog post for tips
- 4 slices yellow American cheese if desired
- 4 hamburger buns
Optional – For Toasting
- aluminum foil
Instructions
- Preheat oven to 375 degrees and spray baking dish with non-stick cooking spray.
- Generously season one side of the burgers with salt and pepper.4 beef patties, salt, pepper
- Place burger patties in baking dish, spice side down.
- Sprinkle more salt and pepper on each hamburger (or use a preferred seasoning) if you like!
- Bake in oven for 20-25 minutes. (If thinner patties, this may not take as long, so it's best to keep an eye on them. When you no longer see "red" coming out of the top, or on the burgers, it could be time to pull them out of the oven.)
- If desired, place one slice of cheese on each burger and bake an additional minute or until cheese has melted. (Unless you're doing the "bun trick" below and then you can wait to melt the cheese after you've built your burger to place in the aluminum foil.)4 slices yellow American cheese
The TRICK for Ooey Gooey Cheese & a Toasted Bun
- Place a burger patty on a bottom bun, add a slice of cheese, and top with top bun. Wrap each burger in aluminum foil. (Just enough to wrap the burger completely.)4 hamburger buns, aluminum foil
- Place back in oven for 2-3 minutes to allow the cheese to melt in and for the bun to get warm and toasty!
- Serve and top with any toppings desired!
Notes
Nutrition
Nutritional information is based on third-party calculations and should be considered estimates. Actual nutritional content will vary with brands used, measuring methods, portion sizes and more.


Amber says
i had my doubts because it seemed too simple in nature but my burgers turned out amazing! I used 3.5lbs and add two eggs whisked along with a light sprinkle of my own seasoning then I mixed it. After that I patted out the patties and sprinkled salt and pepper on both sides. Baked it on 375 for 22 minutes and added cheese for those last two minutes. Unfortunately I can’t eat carbs at the moment so I wrapped it in lettuce. The burger was so so juicy. I was so proud of myself.
Jessica says
Yum! That sounds great Amber! Thank you so much for sharing what you did and how much you liked it! 🙂
Linda says
Thanks for a great recipe lOVED them! Could I increase the burgers to 8 or 12?
Jessica says
Hi Linda! I’m so glad that you liked them! Absolutely! I make as many that will fit on cookie sheet with sides or a baking dish. 🙂
Virginia Gross says
We’ve made these (the only way now) several times. So delicious, so simple. Thank you for sharing the recipe.
Jessica says
I’m so glad to hear this!! I made them again tonight too! 🙂
Lisa says
Omg my great Aunt Rose used to make burgers in the oven when I was a little girl. Unfortunately she passed before I could get her recipe. This looks a lot like hers. I will be trying tonight. Thank you Jessica for sharing!
Jessica says
Oh my goodness, I really hope this is similar then!!! I’d love it if you’d keep me posted!
Suzanne says
I’m a little concerned about the patties sitting in their own grease. You can even see this in the photo. Wouldn’t it be better to have the patties on a rack?
Jessica says
You can definitely use a rack if you like!
Jolene says
I started using this recipe a while back and it is the only one we use now! Love how easy and juicy they are! My husband would tell you i don’t make them nearly enough. The only thing we do different is switch up the seasoning every once in a while depending on how ambitious I feel that day. But great recipe! Thank you so much for sharing!
Jessica says
Aw, this makes me so happy! Thank you so much for taking the time to come here to leave a comment and a review! So happy you love them!
Tracy Mosier says
I’d like to try this recipe however we need more than 4 patties. If I use 6 patties instead, would it cook the same or does the time and temp need to be adjusted?
Jessica says
Hi Tracy! The directions for cooking/temp will be the same!! Good luck!
Teri says
Absolutely amazing! We have these weekly and usually add some caramelized onions right before serving. Yum!
Jessica says
Mmmm!!! That sounds like a GREAT addition! Thank you so much for sharing and for the 5-star review! 🙂
Nina says
Thank you for this simple yet amazing recipe! My husband now refuses to grill burgers because these are super juicy and delicious and are so easy to make. 🙂 I usually bake a double batch of burgers and save a half (minus cheese) for the next day. They taste just as juicy and delicious reheated!
Jessica says
Haha!!! I love it! But I totally agree… these are MUCH easier and I actually like them better! 🙂 Thank you for taking the moment to leave a review!
Sandi says
Using alittle water to the hamburger mix helps to bind the meat also. I’ve also tried alittle oyster sauce to balance the taste not too much. I’ve also sliced the burger in half for the cheese. In any case, thank you for sharing your recipe. Beats stove top frying and grilling.
Jessica says
Interesting! Thank you for sharing!
Kathy says
I wonder if you can use turkey or chicken meat?
Jessica says
Hello Kathy! I’m sure you could! I have a baked turkey burger recipe as well if you’d like to check that out!
S. Leore says
Burgers tasted good. The buns didn’t really toast though. They just kind of steamed. Did I do something wrong?
Jessica says
Hello! I doubt you did anything wrong! It is more of a “steam” for the bun but the warming of the bun is more of the “toasting” I’d say! I hope that helps!
If you do want more of a crispier bun, I’d suggest placing the top bun on the aluminum foil for a minute or so! I hope that helps!
Emma says
Like the extra step is hearing the buns. But the suggested amount of salt is way too salty. The suggestion of how to make ahead is good but please put some time limits on it as it’s really dangerous to keep food at a warm temperature, whether Rae or cooked, as it’s the perfect temp for bacteria to grow.
Jessica says
Hello Emma! Thank you for your feedback. I’m glad you like the step of heating the buns. Absolutely, everyone’s preferred taste is definitely different. This is why I like to say “salt as desired” in the recipe card. I do mention that I guess I use about 2 tsp of salt for the 4 burgers early on in the post, but that’s because I prefer to sprinkle kosher salt on the burgers, which is a “bigger” grain of salt and most of it ends up in the bottom of the baking dish anyway. Haha!
But yes, I definitely want those making these to use the amount of salt that’s desired… so that may look a lot different for you than others too.
Good idea about using some sort of time limit on keeping them warm. It seems you may know a lot about food safety… do you care to share how long it’s safe to keep them warm?
Cody says
This was absolutely fantastic! I’m 34, I can cook, but not that well. I hate doing it.. i hated making burgers an having to stand there an watch it. This is so much better. Tasted amazing..ty
Jessica says
Oh good!! I’m so glad that you found it helpful and I feel the exact same way about these burgers! 🙂 Thank you so much for sharing! If you don’t mind, I’d LOVE it if you could give the recipe a “star” rating too! It helps me get this recipe out to so many others! 🙂 Thank you again!
Shelly says
I made these tonight, followed the recipe with the exception of adding butter to the top bun (I’m from WI, butter is what we do on our burgers). Sooooooo good! Thank you so much! Even my Culvers lover son loved them.
I so wish I could upload the pic of our burgers.
DELISH!!!!!!!
Jessica says
Hi Shelly! Oh yay!!! I’m so glad to hear this! And adding butter to the bun sounds ah-mazing!! I’ll have to try that. 🙂 We had them again tonight too. So good. Thank you for sharing!!
Tax n me says
I have done my final cooked burgers like this for over 38 years. The newest part is baking in the oven which I will be trying as I hate the greasy clean up stove top grilling or frying creates. I like a slice of pepper jack cheese for flavor.
Jessica says
Yum! We love pepper jack too! I hope you love them!
Michele says
Can you use frozen burger patties thawed?
Jessica says
Hi Michele, yes! That’s perfectly fine!
Misty says
These are so good! I can make them to send with my son for dinner when he goes to his dad’s on Fri nights. Still warm and delicious when he gets there! Thank you for such an easy delicious recipe my kids will actually eat.
Jessica says
I’m SO SO glad it’s helpful. Thank you so much for taking the time to let us know and for leaving a review!
Michelle Witkowski says
I made these burgers last week. They were delicious. My question is how would I reheat the ones I put wrapped in the freezer? I was the only one eating them so I froze three burgers. I put them in the buns with the cheese as directed.
Laura Dennis says
So good and juicy, and easier than grilling! The last step wrapping everything in foil and baking a few more minutes sets it all! Yum.
Jessica says
Yes yes yes!! I totally agree! Thank you so much for taking the time to leave a review and share your thoughts!
Nanette says
I have made these more times than I can count – the only way I prepare burgers now! Follow the recipe exactly and they are perfect. Thanks, Jessica, for a great way to fix burgers!
Jessica says
That is so exciting! Thank you so much Nanette! I’m so glad that you like them too!
Sherry says
I really want to try this but curious about the best beef to use. Would a leaner ratio be better (like a 93/7) or one with a little more fat?
Jessica says
Hi Sherry! I usually only use a pretty lean beef. (We get it from our family farm and it’s leaner than what most store-bought beef is.) However, at the butcher shop the other day, I asked what burger to get for hamburgers (to actually make this recipe for the ranch hands) and he gave me a leaner beef too. So I’d say go with leaner meat! You just don’t want it too lean because you want some of the fat to hold the burgers together. 🙂 I hope that helps!
Ashley says
These were amazing! So gooey and yummy. My boys said this is a must in our weekly rotation.
Jessica says
Aww!! Yay! I’m so glad that you all loved them too. Thank you for taking the time to share with us!