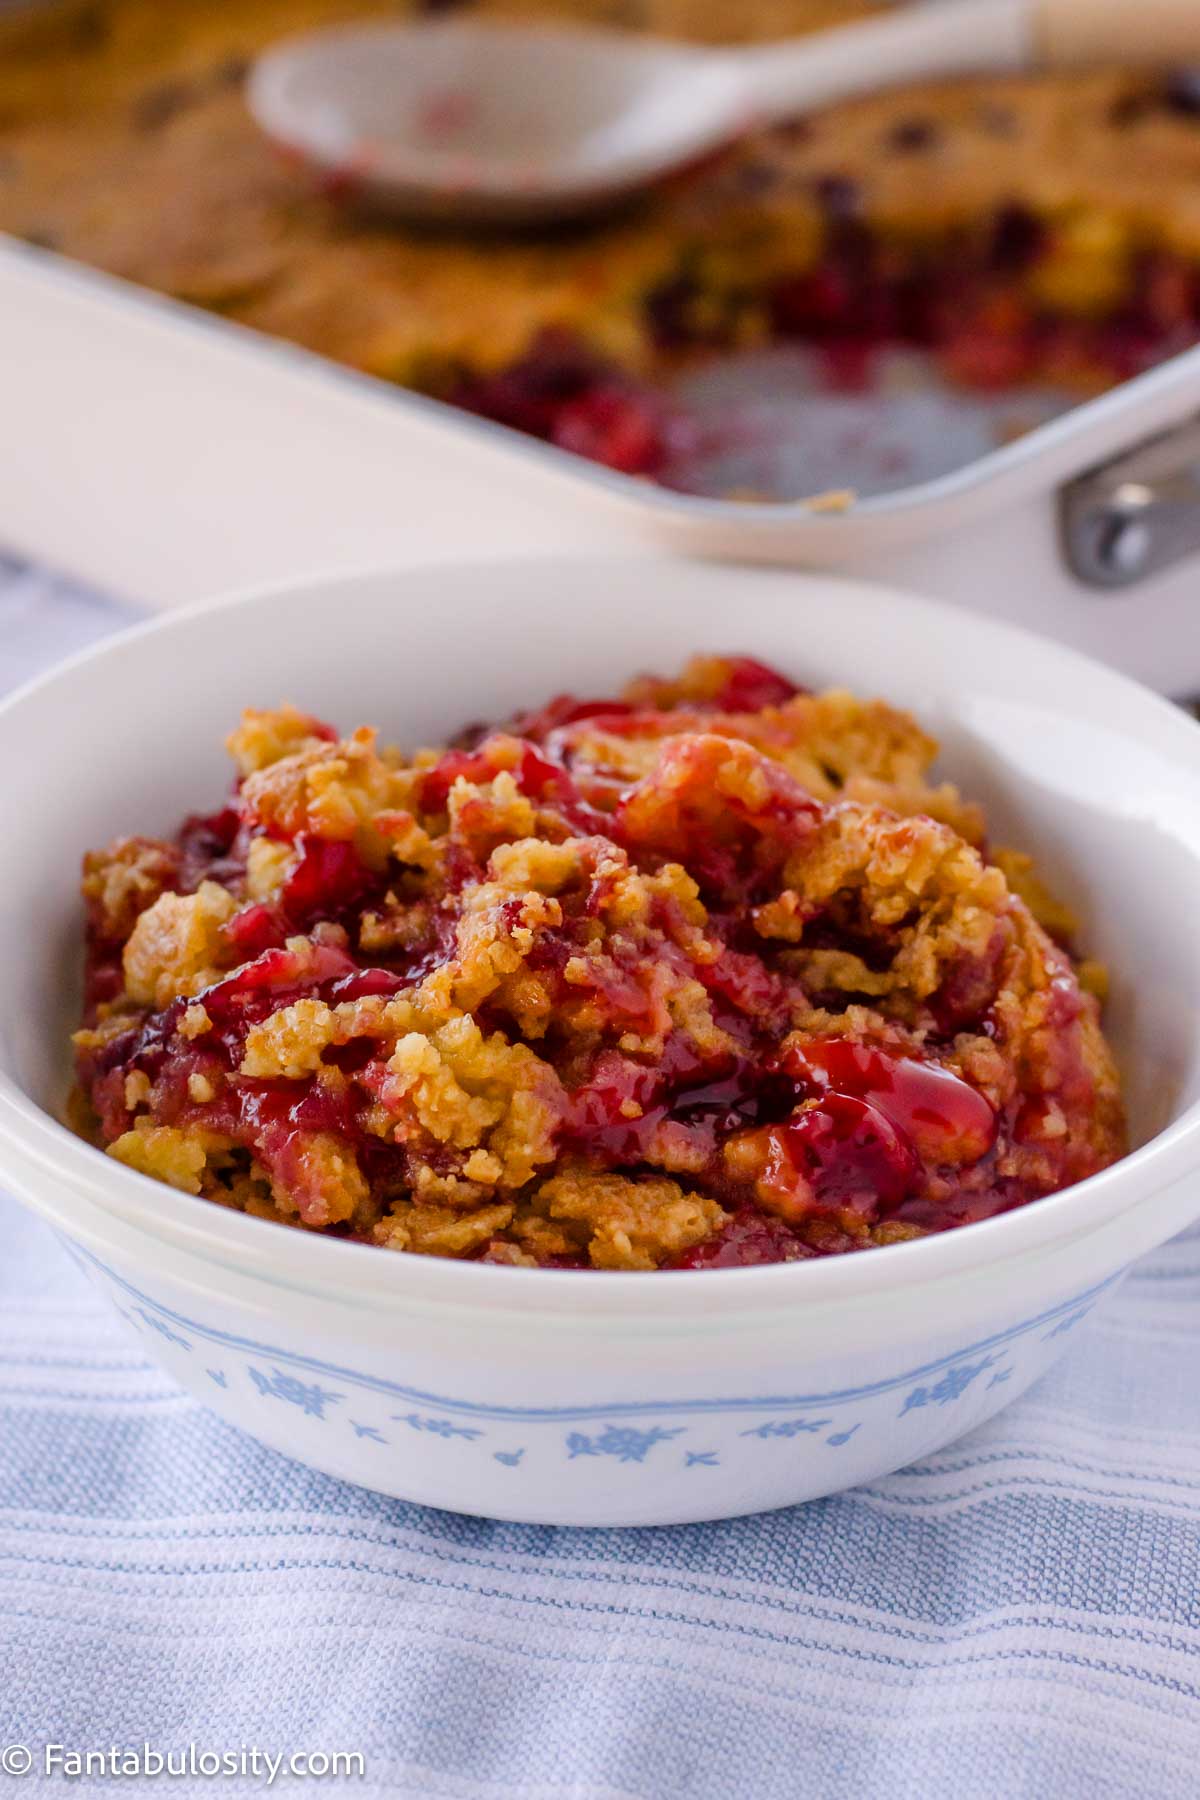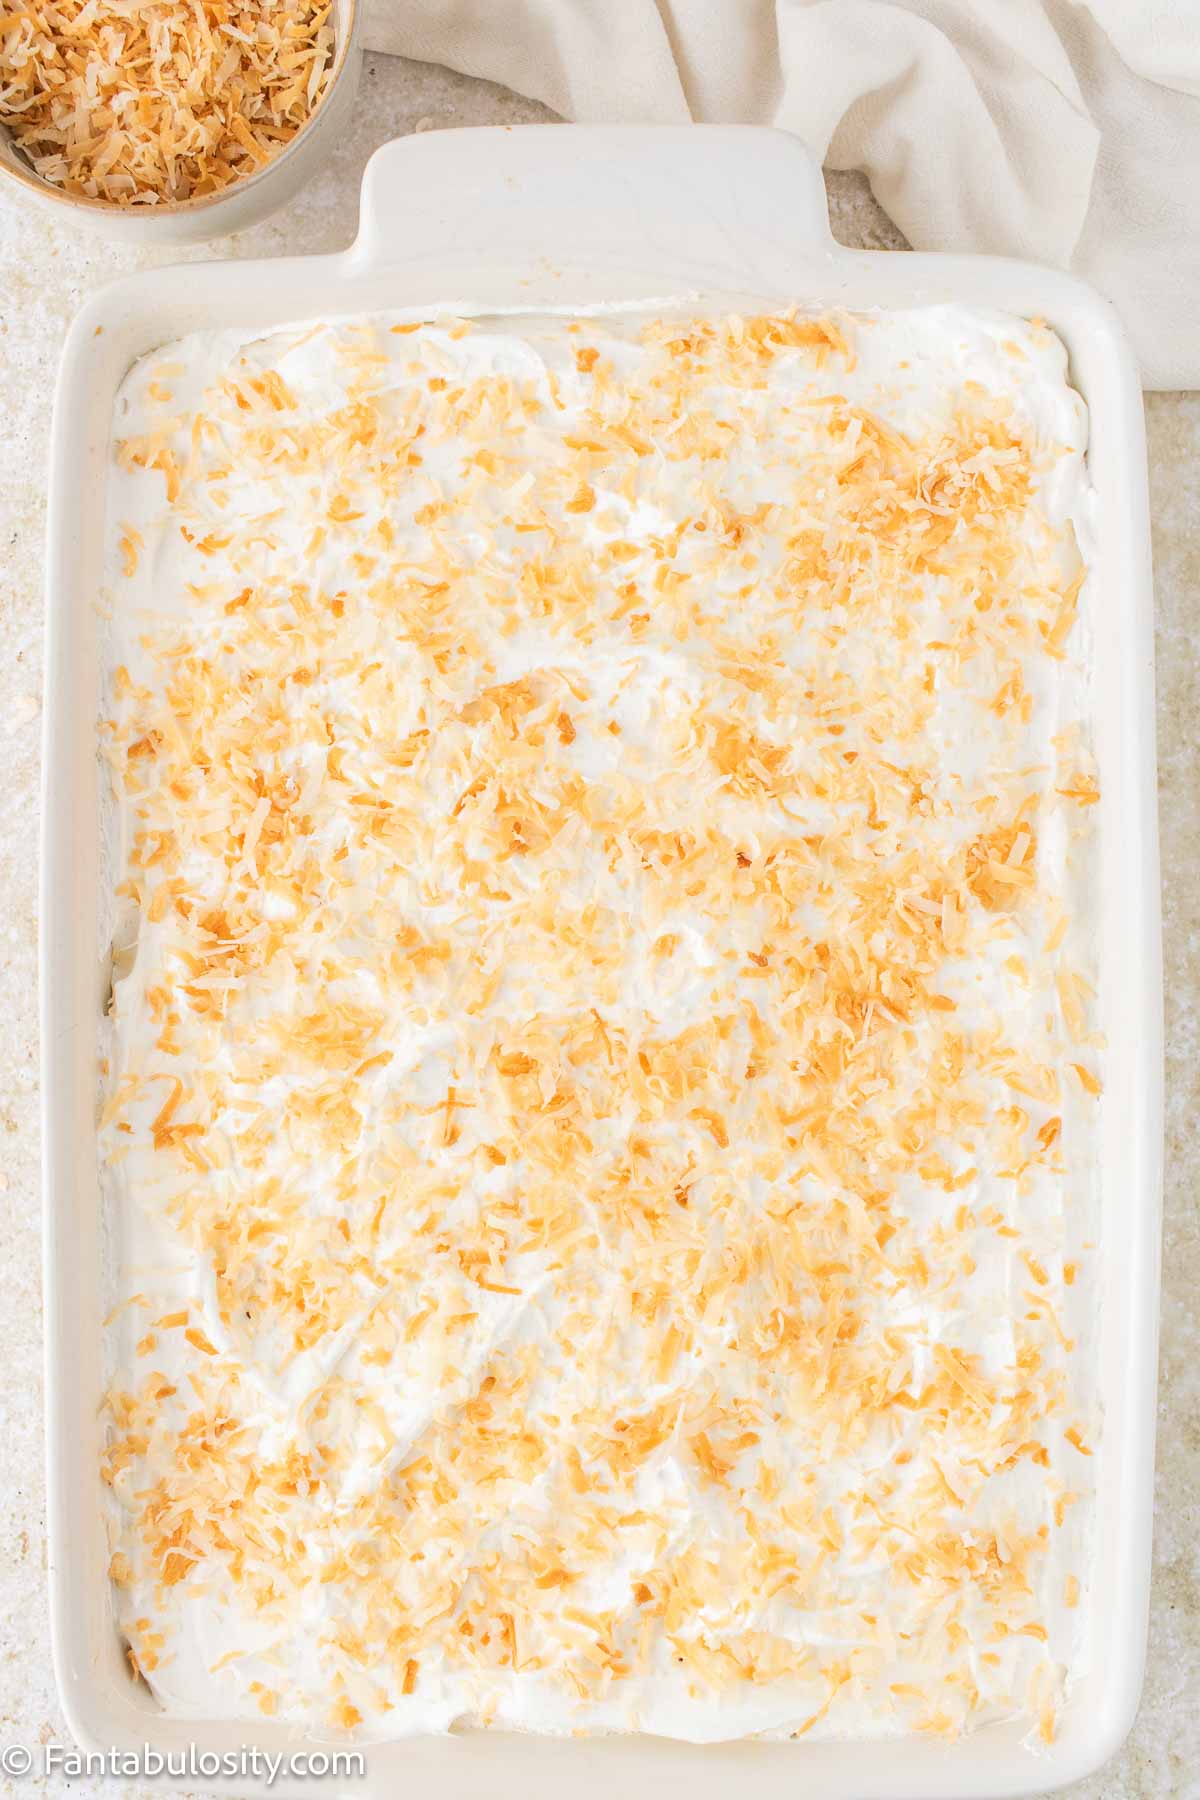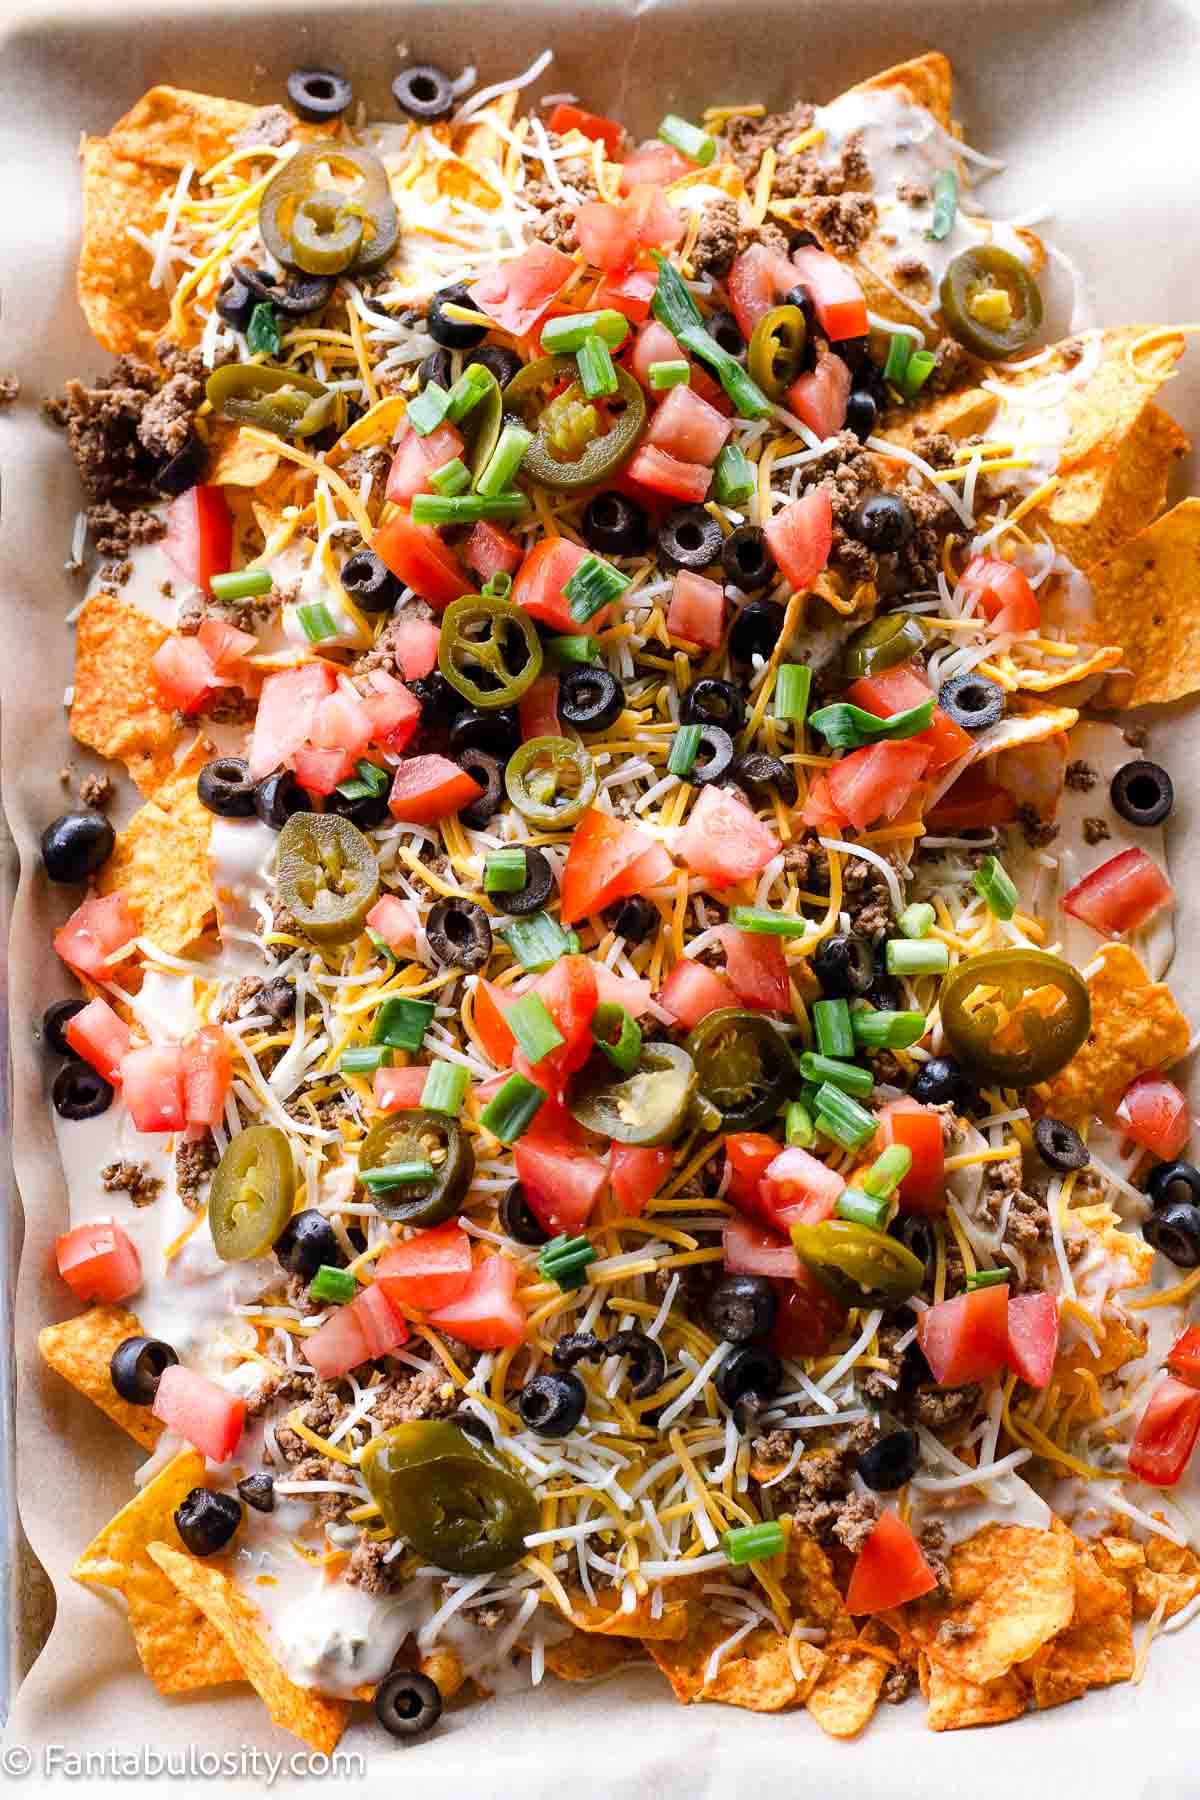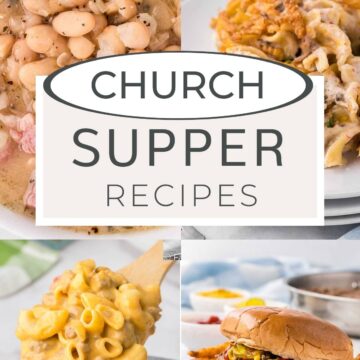
Church supper recipes are the kinds of meals that show up on long folding tables beside casseroles, slow cookers, sheet cakes, and baskets of rolls.
These are dependable, crowd-friendly recipes made with simple ingredients that are easy to serve, easy to share, and comforting enough to bring people back for seconds.
The Kind of Recipes That Always Show Up First
Church supper recipes became favorites for a reason. They're practical, filling, affordable, and made to feed a group without making cooking feel complicated. Casseroles, creamy chicken dishes, slow-cooked meats, potluck sides, and hearty desserts became staples because they worked well for gatherings and could be counted on to turn out every time.
Even now, these recipes still show up at church suppers, family reunions, holiday gatherings, school events, and neighborhood potlucks because they're familiar, comforting, and easy to make for a crowd.
Many of these recipes are inspired by handwritten recipe cards, community cookbooks, fellowship hall dinners, and the kinds of meals families have shared around tables for generations. They're simple, nostalgic, and exactly the kind of recipes people still look for when they need something dependable to bring and share.
What Makes a Good Church Supper Recipe?
The best church supper recipes usually have a few things in common:
- Simple, affordable ingredients
- Easy preparation
- Recipes that feed a crowd
- Familiar flavors people recognize
- Dishes that travel and serve easily
- Comfort food recipes that work for gatherings and potlucks
These are the kinds of recipes that fit just as well at a weeknight family dinner as they do on a crowded potluck table.
Crowd-Favorite Main Dishes
These hearty main dishes are the kinds of recipes people pile onto their plates first at church suppers, potlucks, and family gatherings.
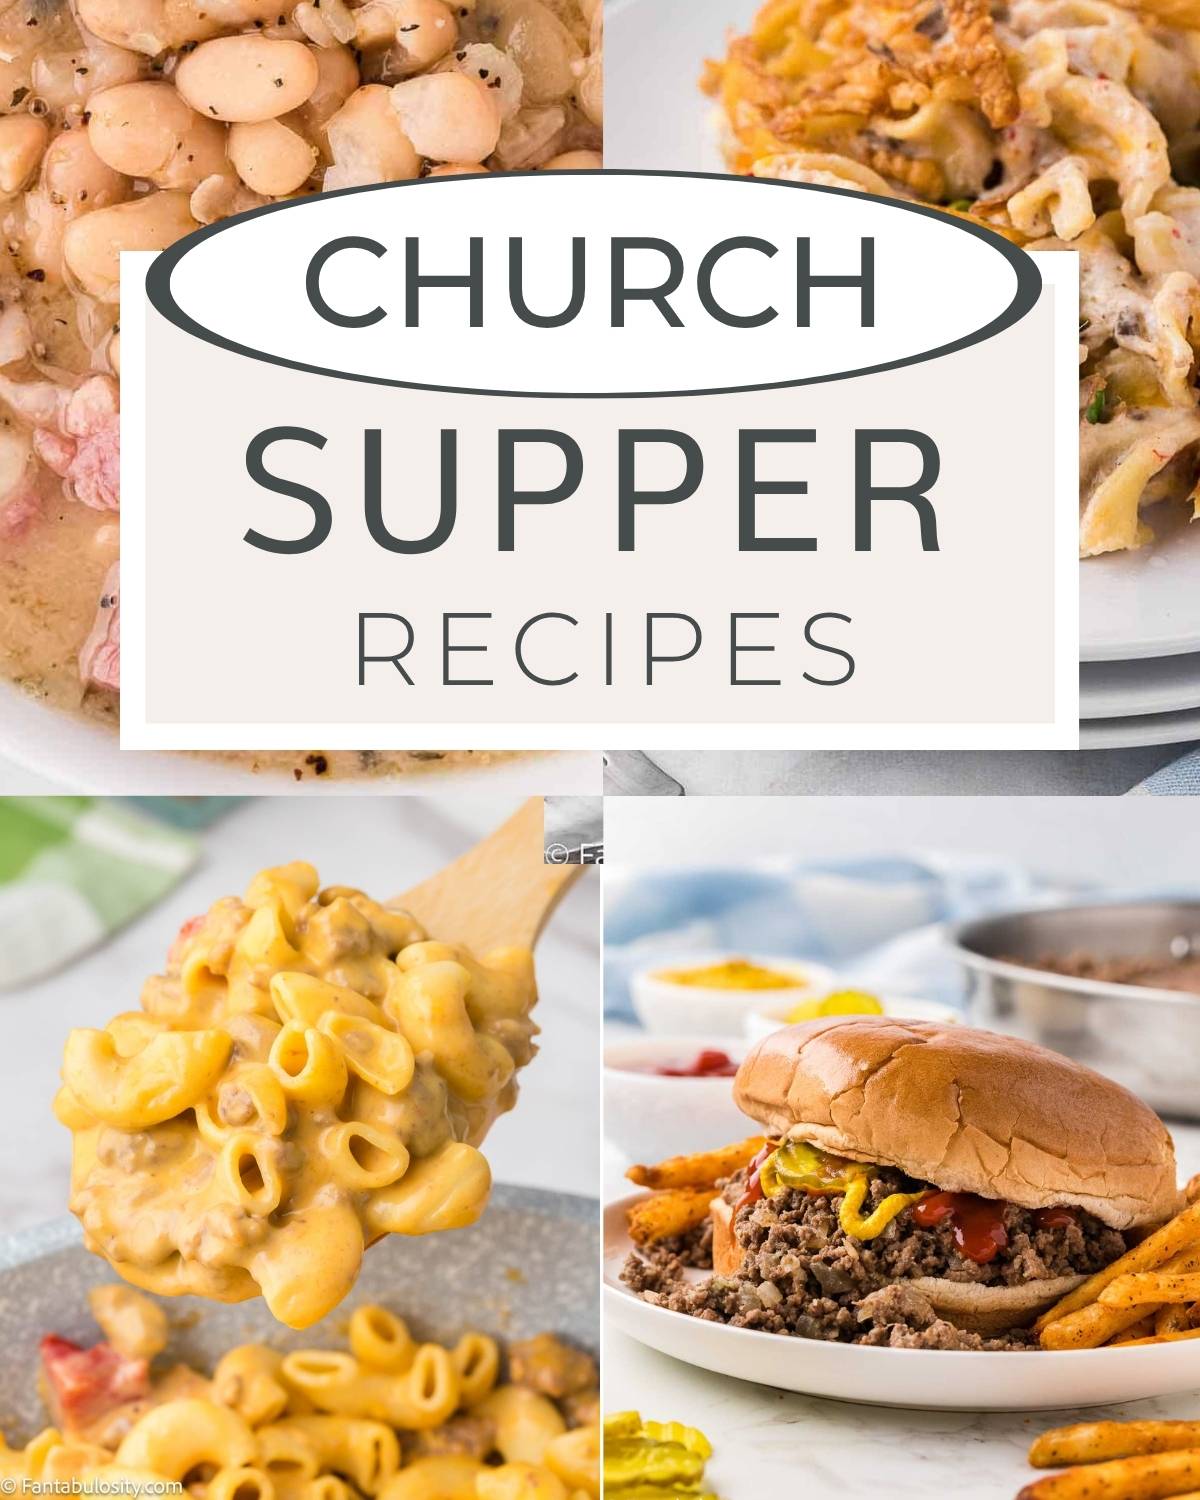
Dutch Oven Pot Roast
Tender beef cooked low and slow with vegetables until rich, hearty, and fall-apart tender.
Dutch Oven Beef Stew
Rich, cozy, and packed with tender beef and vegetables, this is the kind of meal that tastes even better the next day.
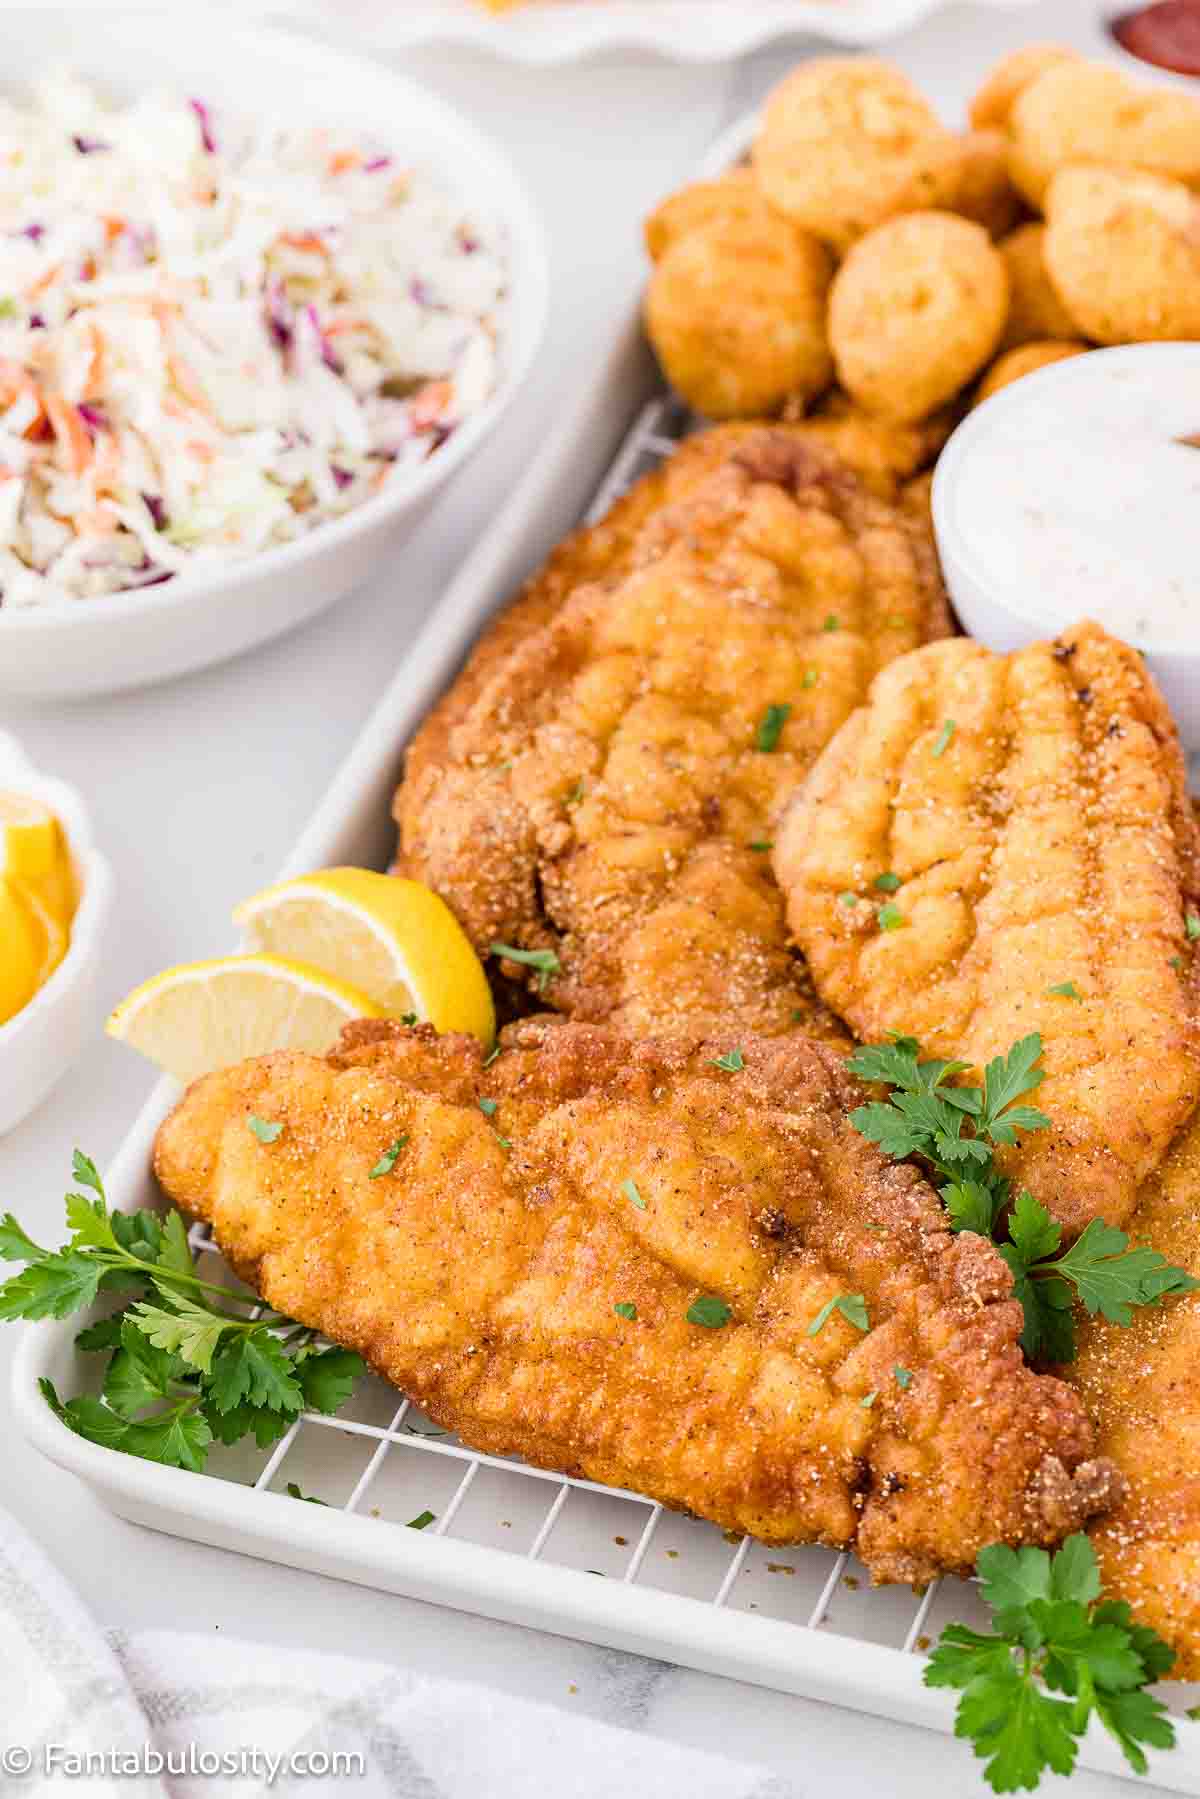
Southern Fried Chicken
A comfort food classic that fits right in at church suppers and family gatherings.
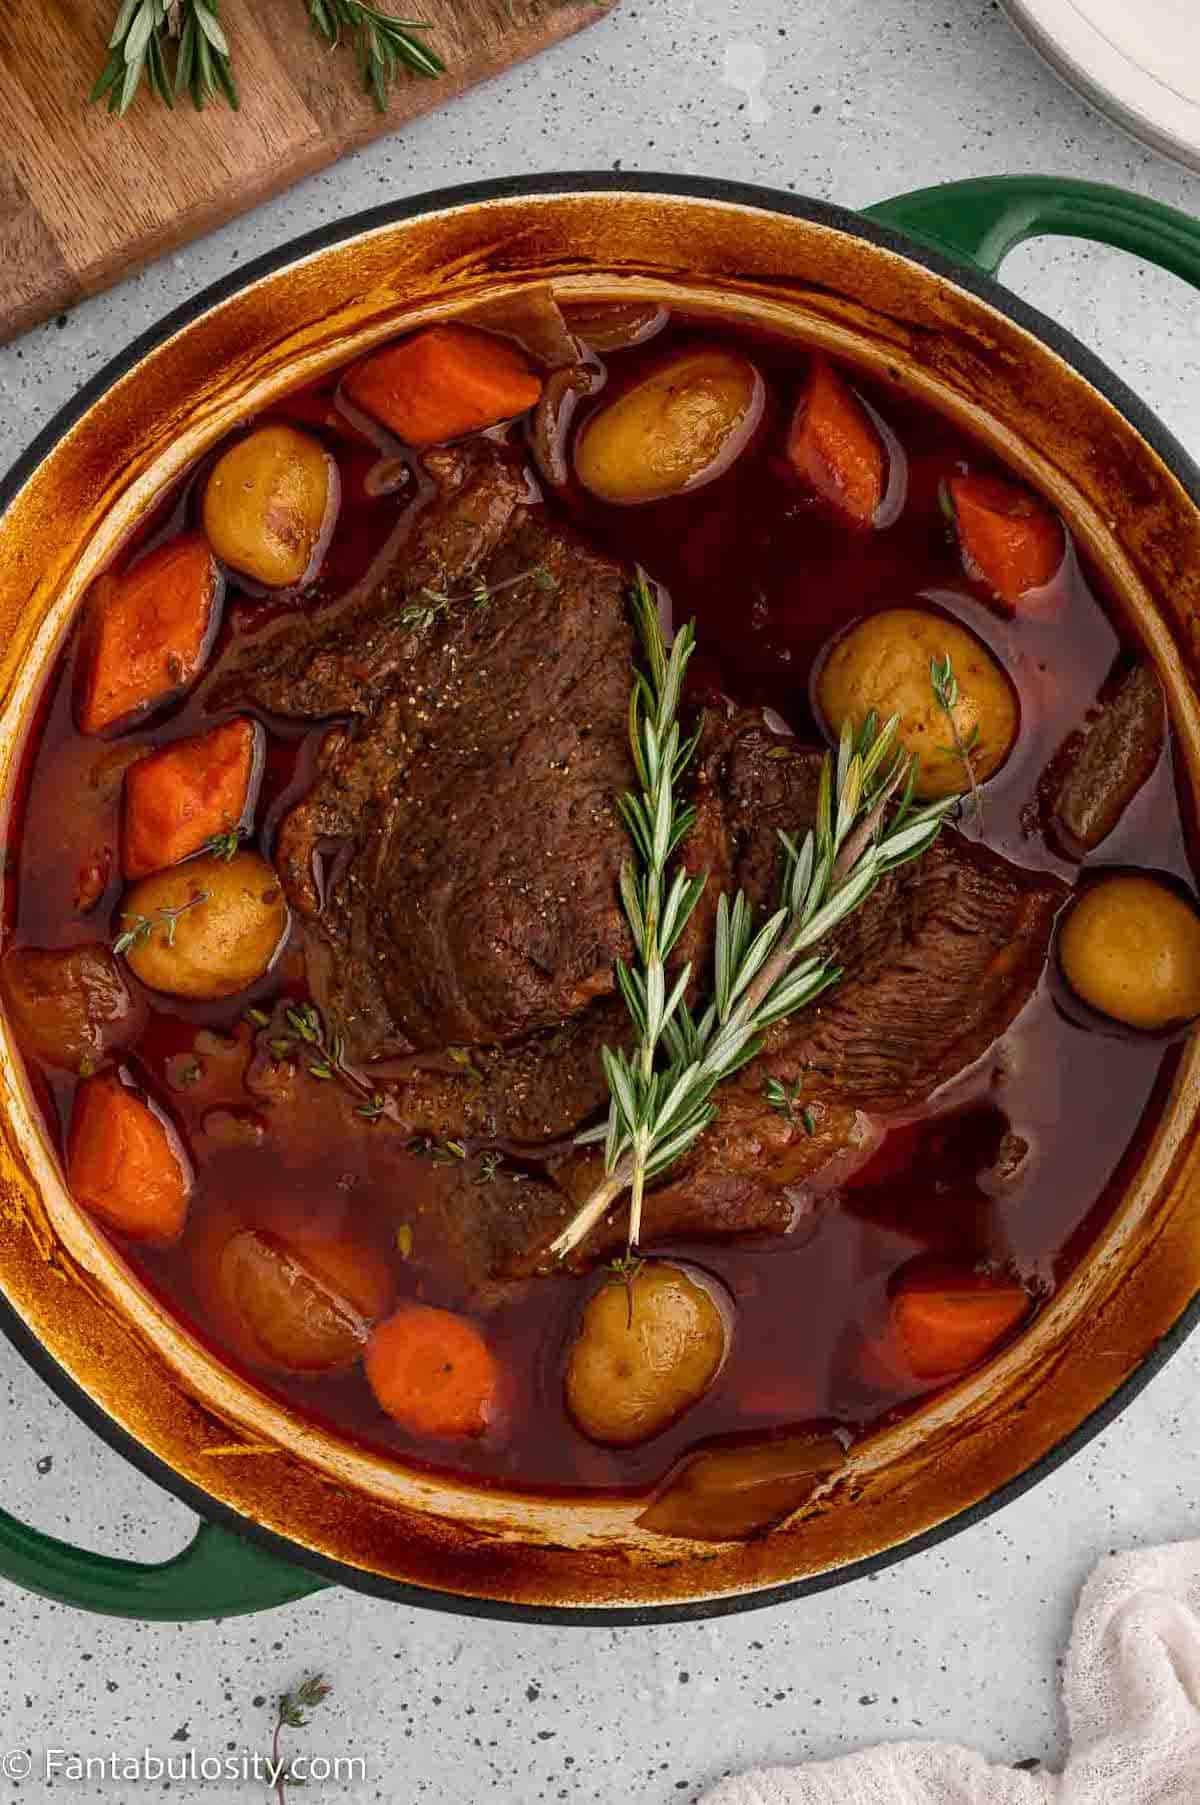
Old-Fashioned Tuna Casserole
Creamy, hearty, and made with simple pantry staples, this old-fashioned tuna casserole is a dependable comfort food favorite for gatherings and family dinners alike.
Cozy Chicken Dinners
These comforting chicken recipes are warm, creamy, filling, and perfect for feeding a family.
Chicken and Dumplings
A classic comfort food recipe with tender chicken and soft dumplings in a creamy broth.
Chicken and Noodles
One of the easiest old-fashioned comfort dinners made with simple ingredients and cozy flavors.
Chicken Pot Pie Casserole
Everything people love about classic chicken pot pie in an easy casserole form.
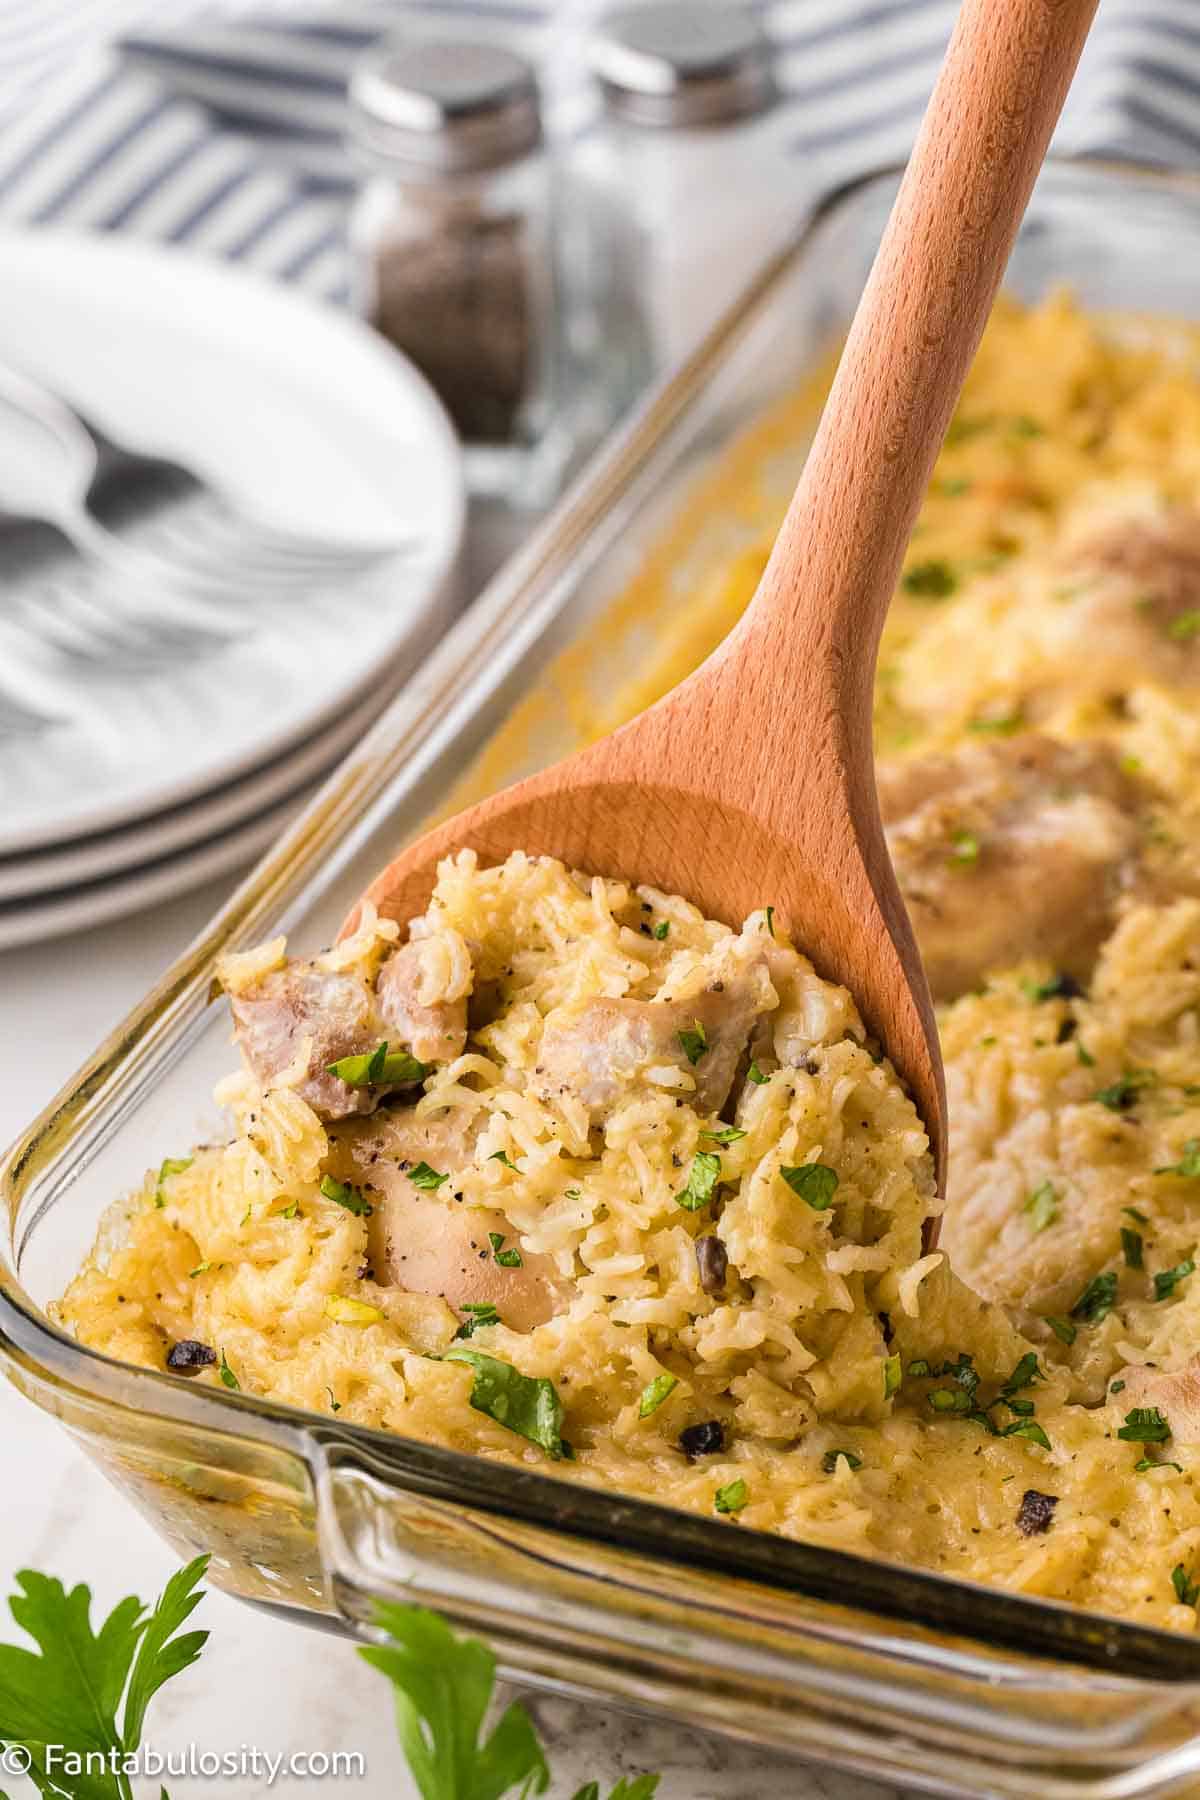
Chicken Rice Casserole
This creamy casserole is easy to make for gatherings, potlucks, or busy weeknight dinners.
Chicken Stuffing Bake
The Stove Top Stuffing makes this delicious and hearty casserole so easy and so flavorful.
Chicken and Gravy
An easy comfort food dinner that works well for feeding a crowd.
Hearty Beef Favorites
Rich gravies, tender beef, and cozy flavors make these classic dinners feel timeless.
Salisbury Steak
Seasoned beef patties covered in rich brown gravy for a comforting old-fashioned dinner.

Slow Cooker Cube Steak
Tender cube steak cooked low and slow in gravy until fork-tender.
Slow Cooker Goulash
A hearty, comforting pasta and beef dinner that's simple, filling, and crowd-friendly.
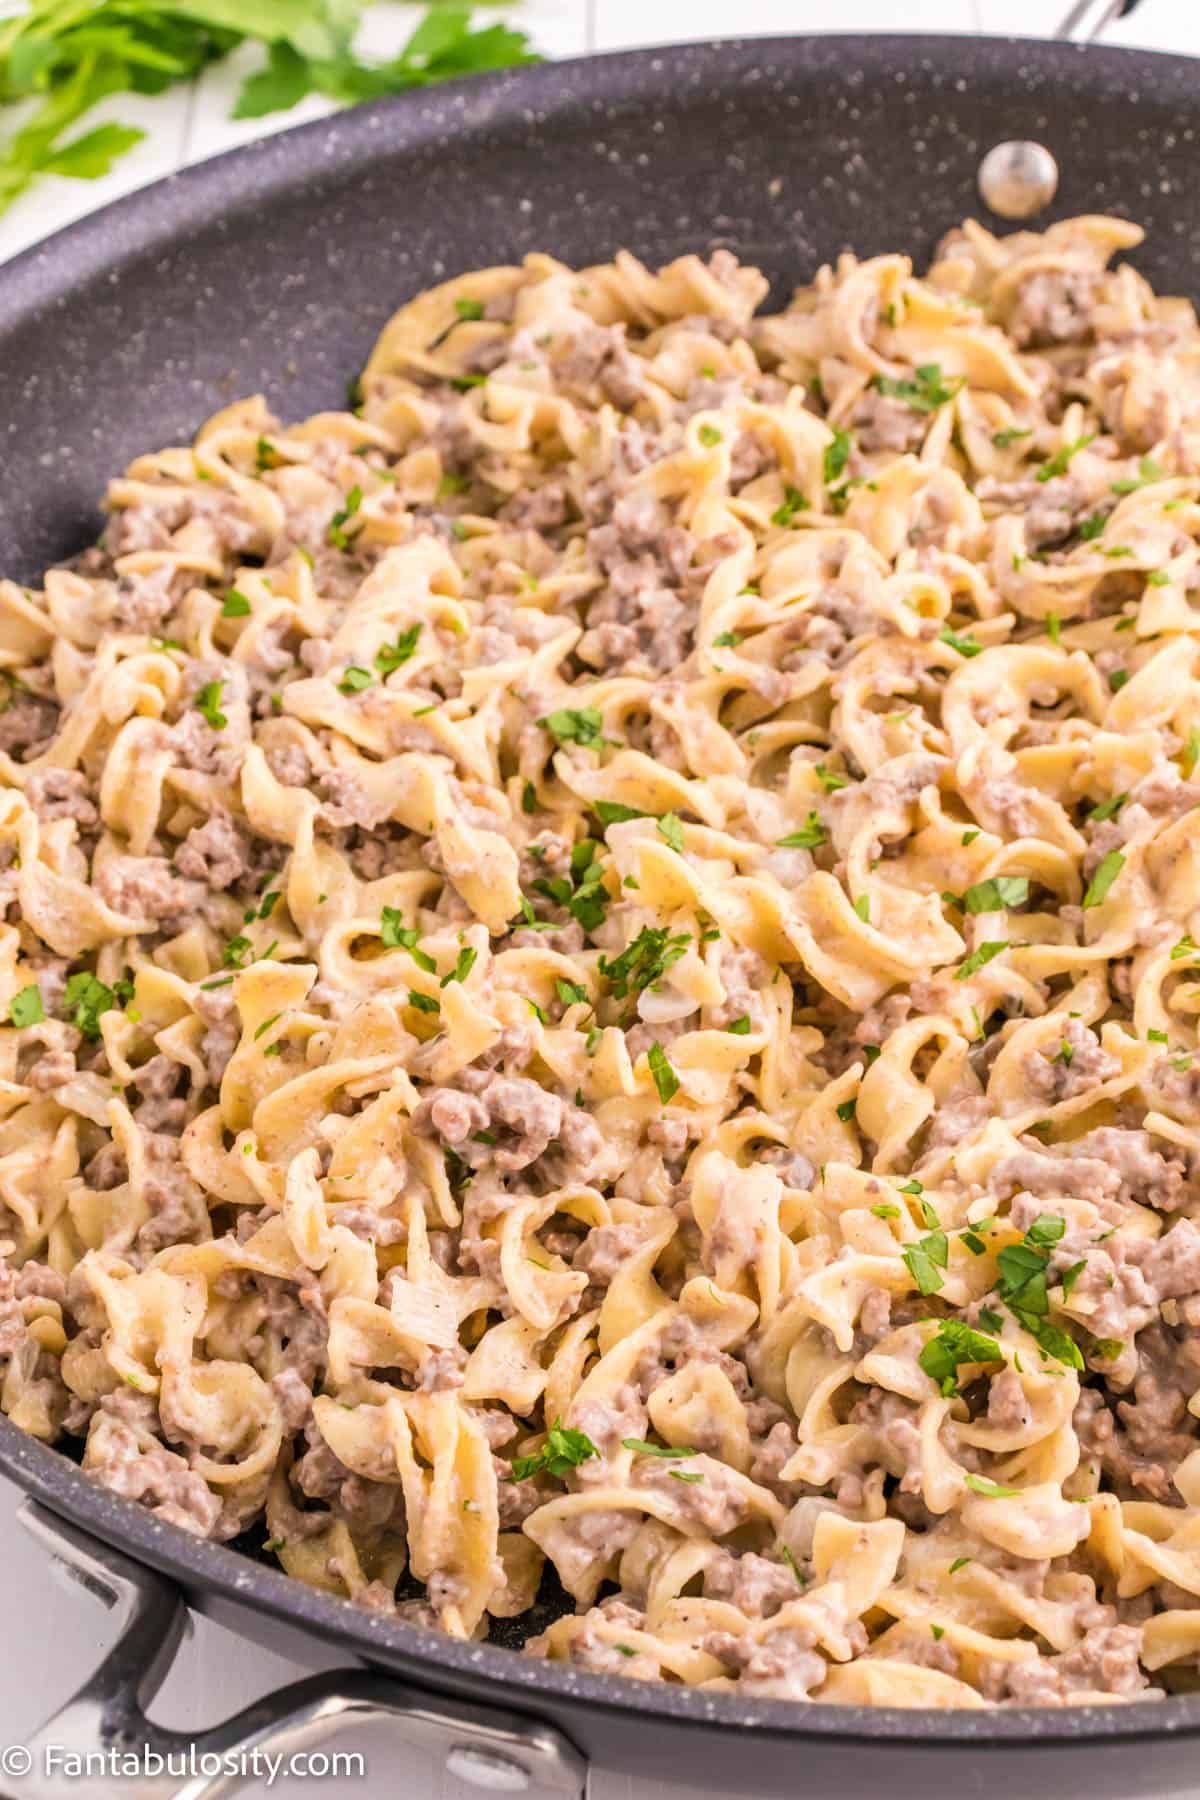
Beef Stroganoff
Creamy noodles and savory beef combine for one of the coziest comfort food dinners.
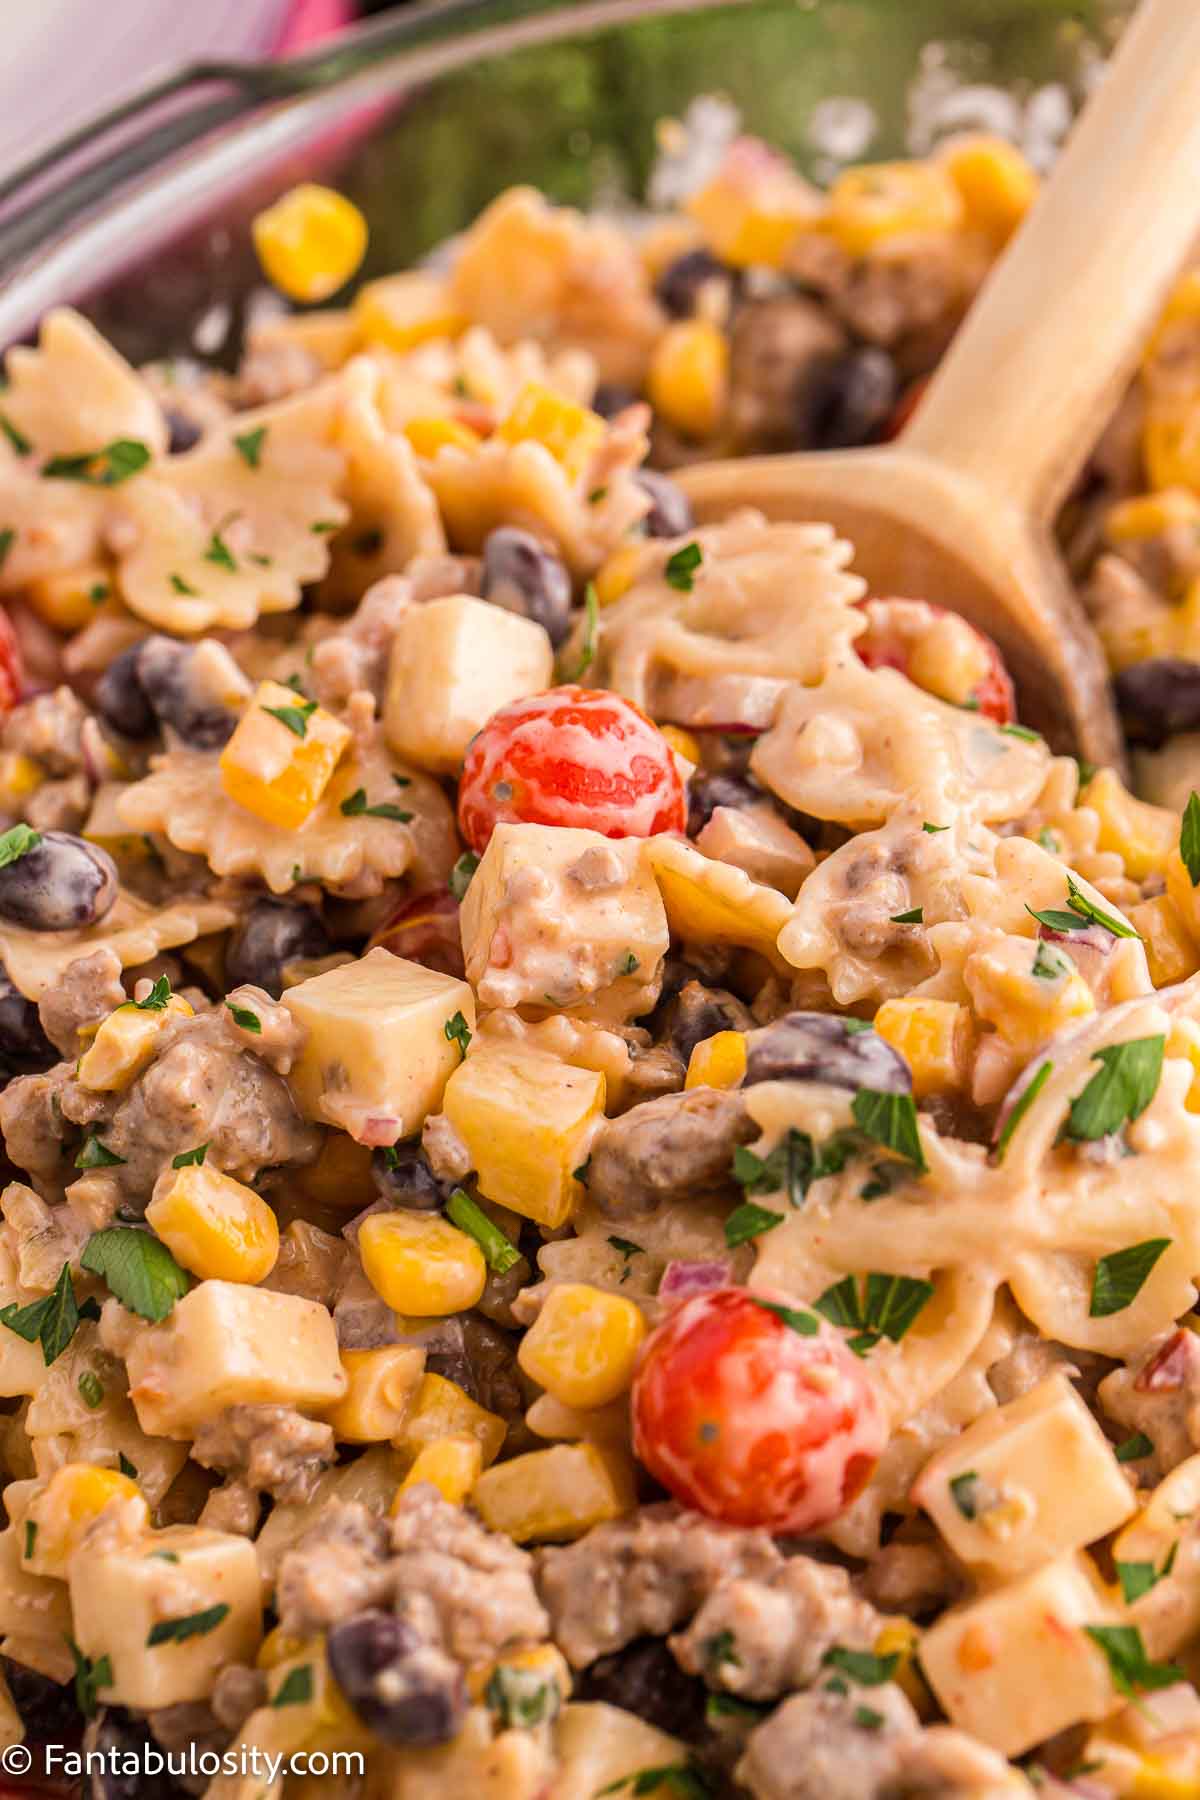
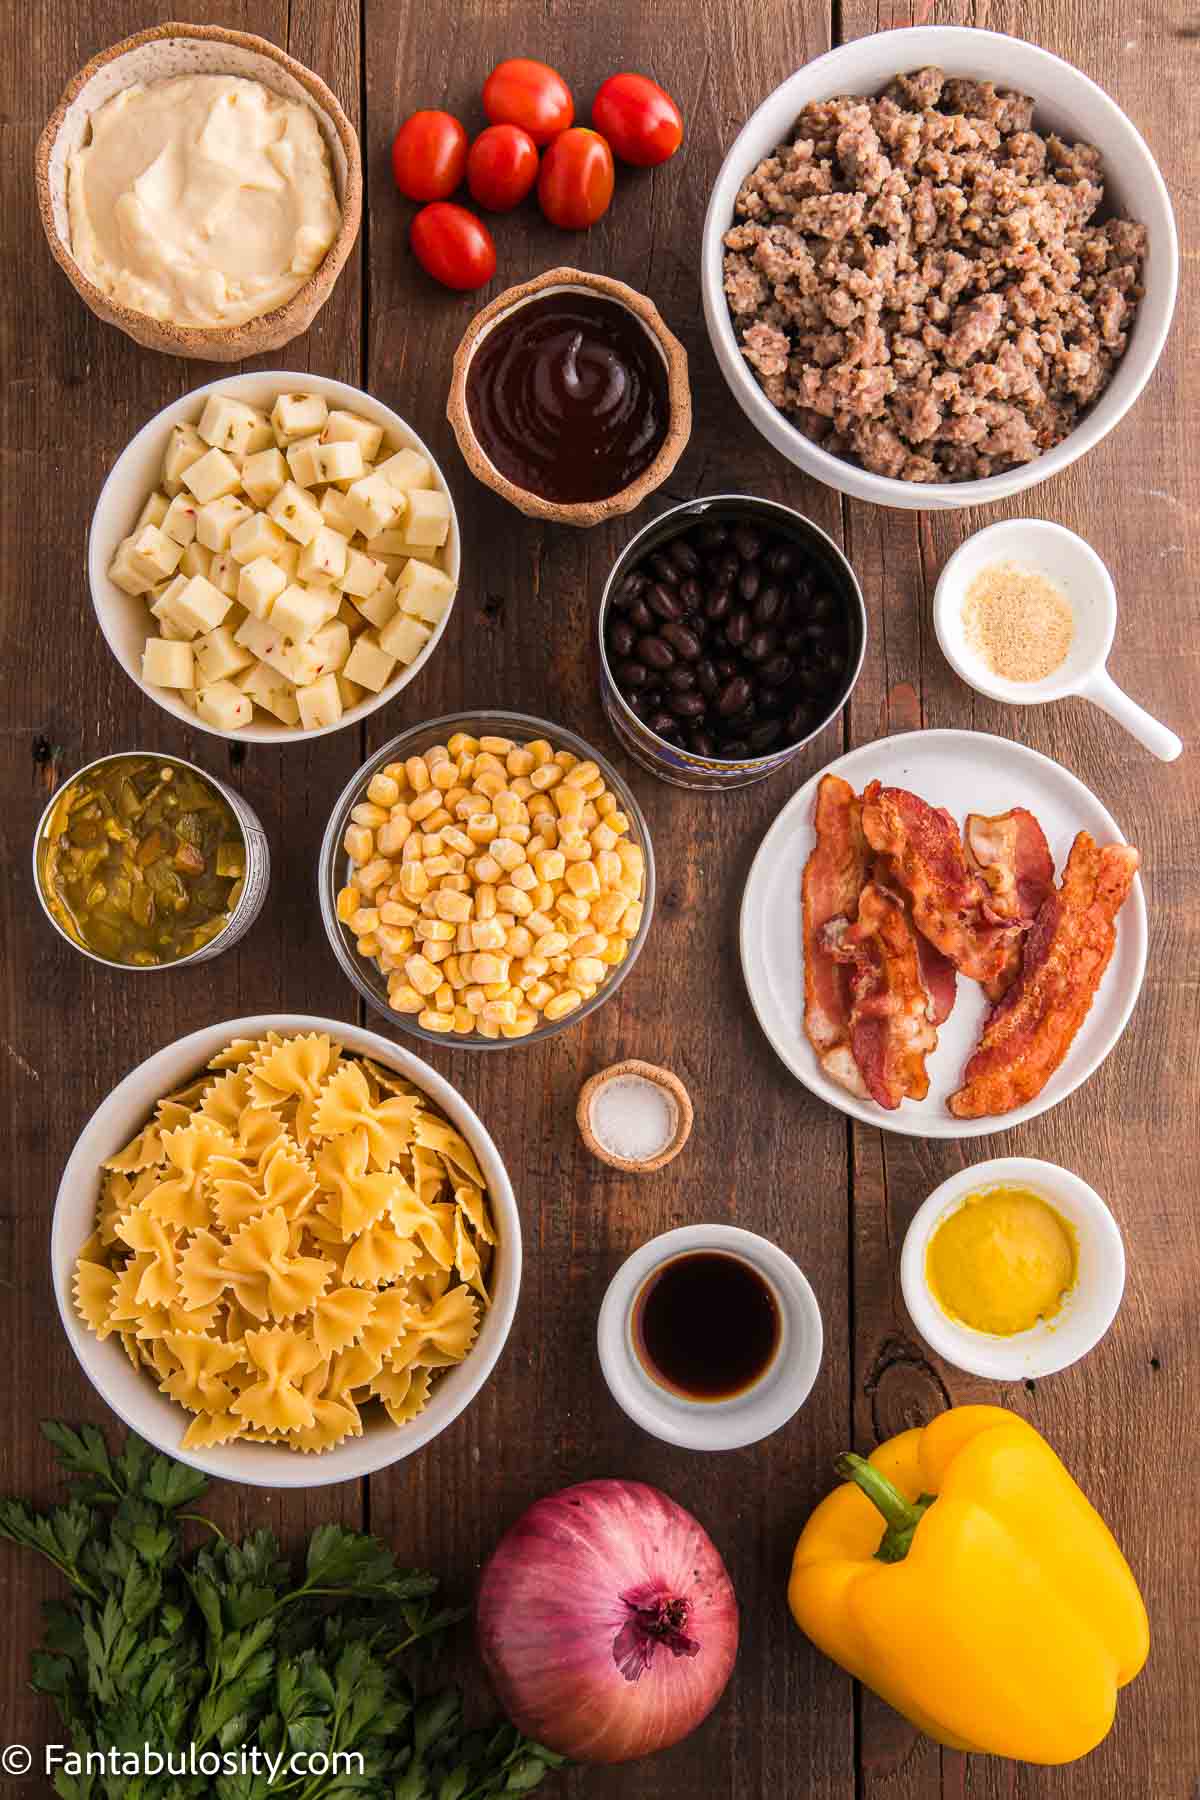
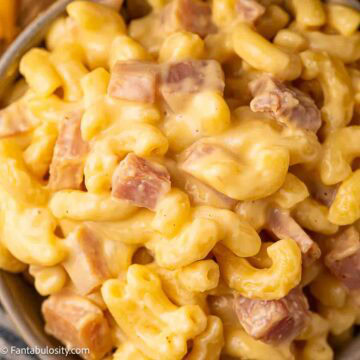
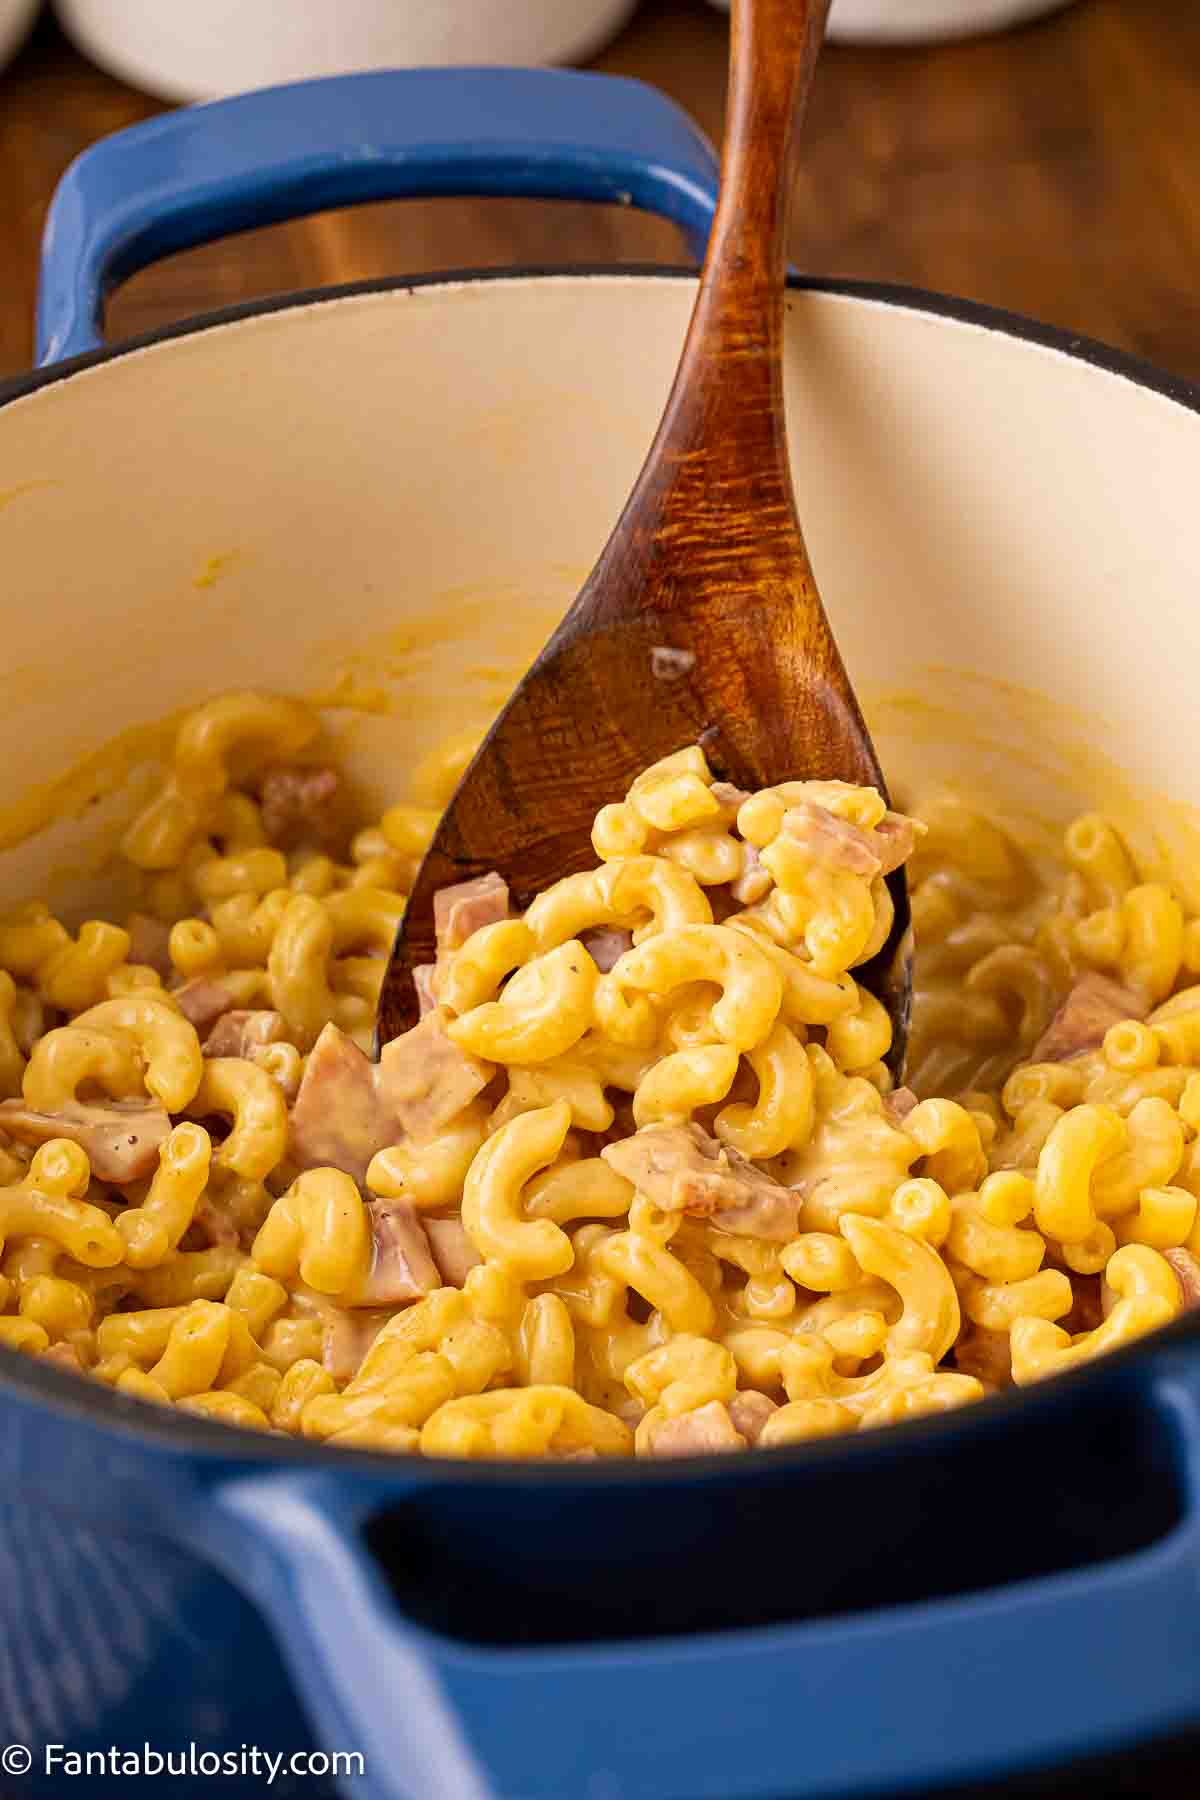
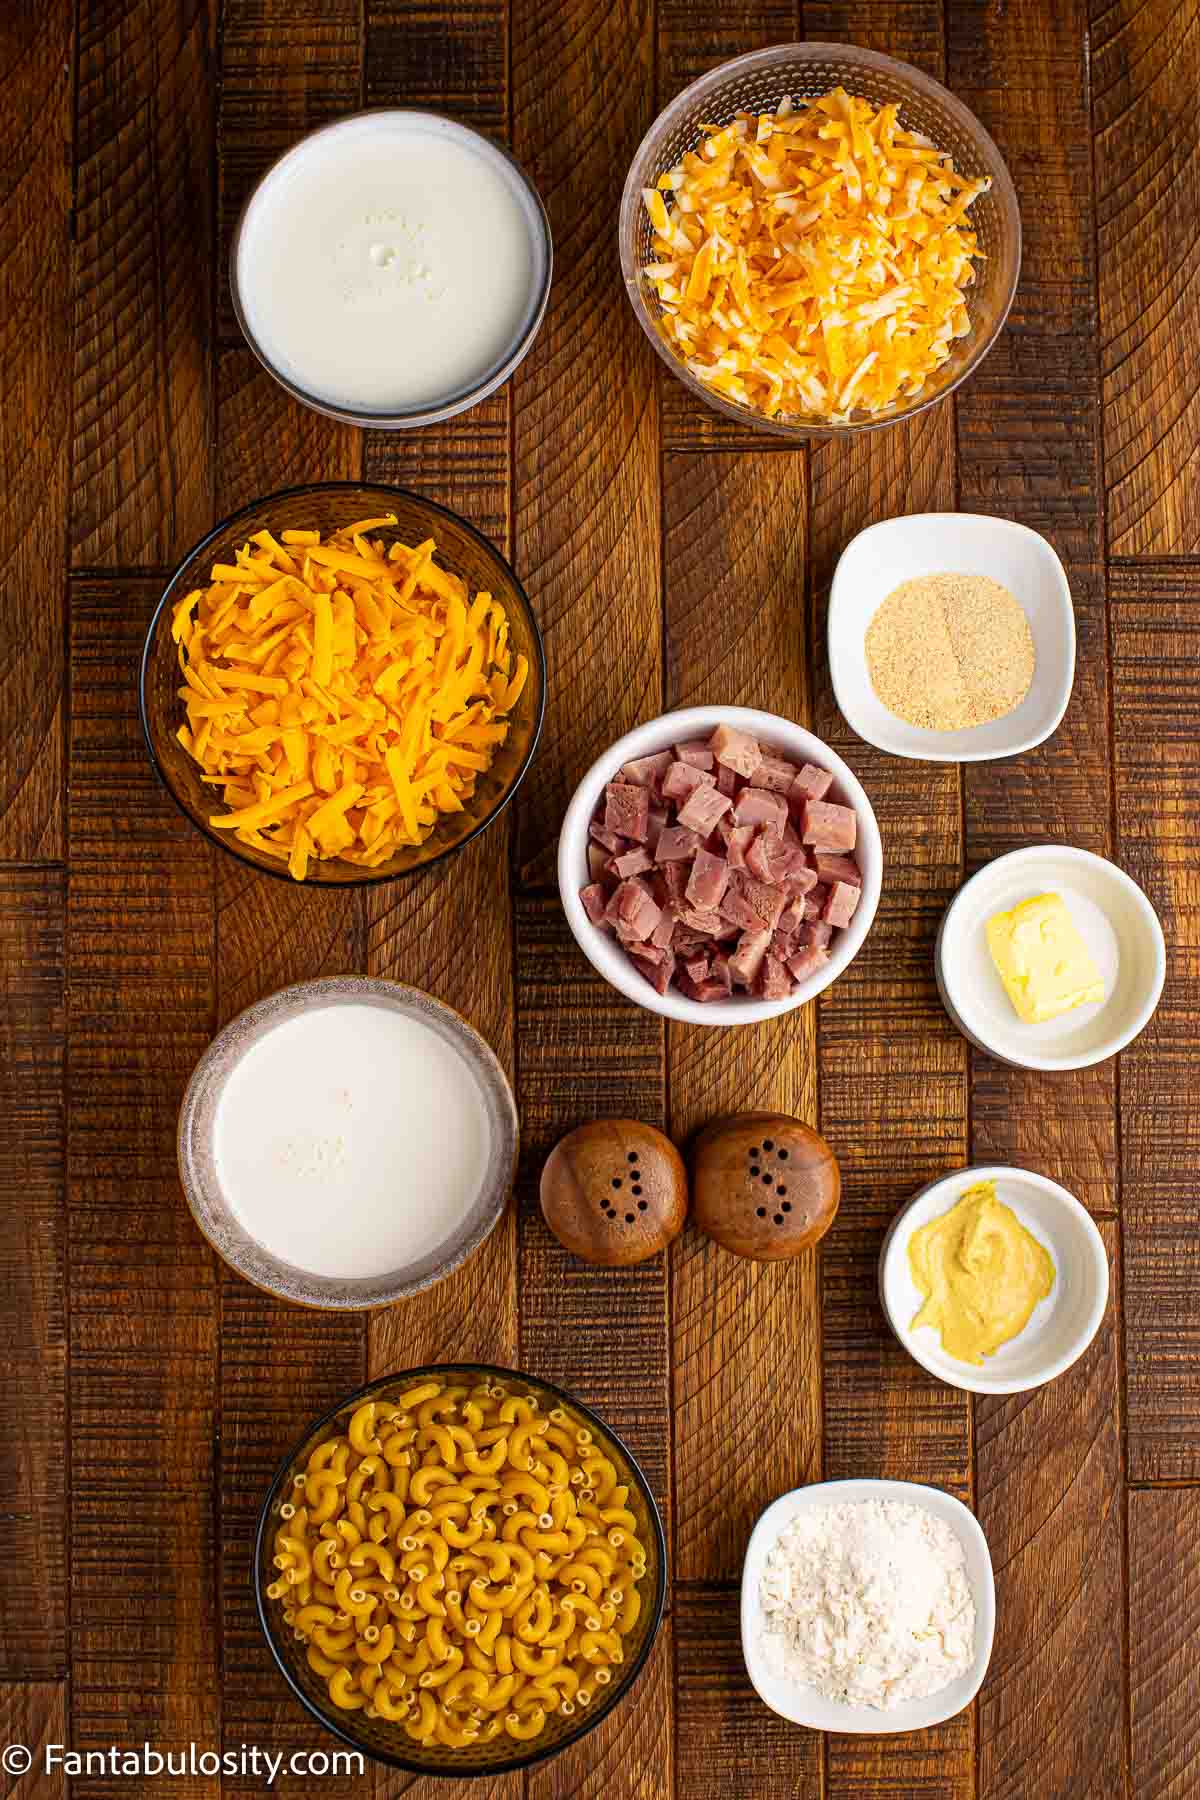
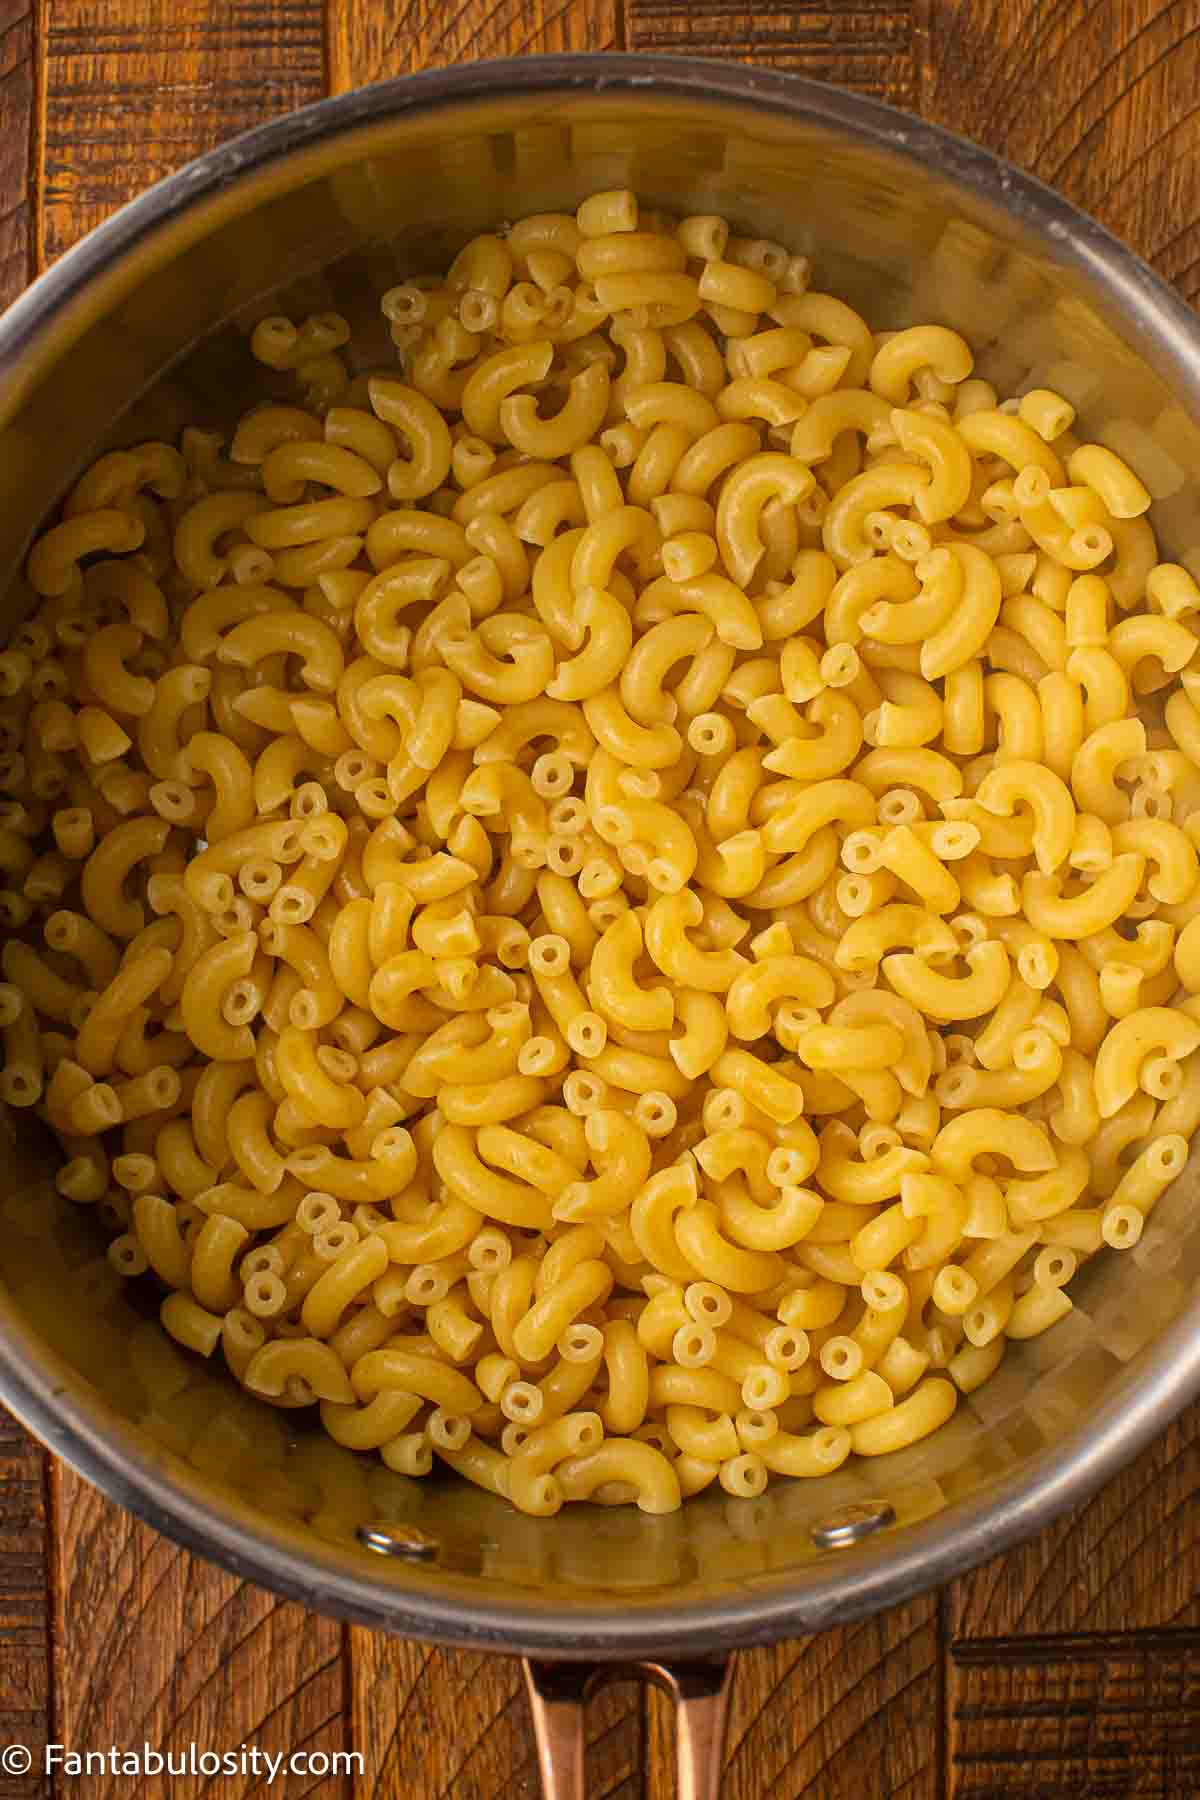
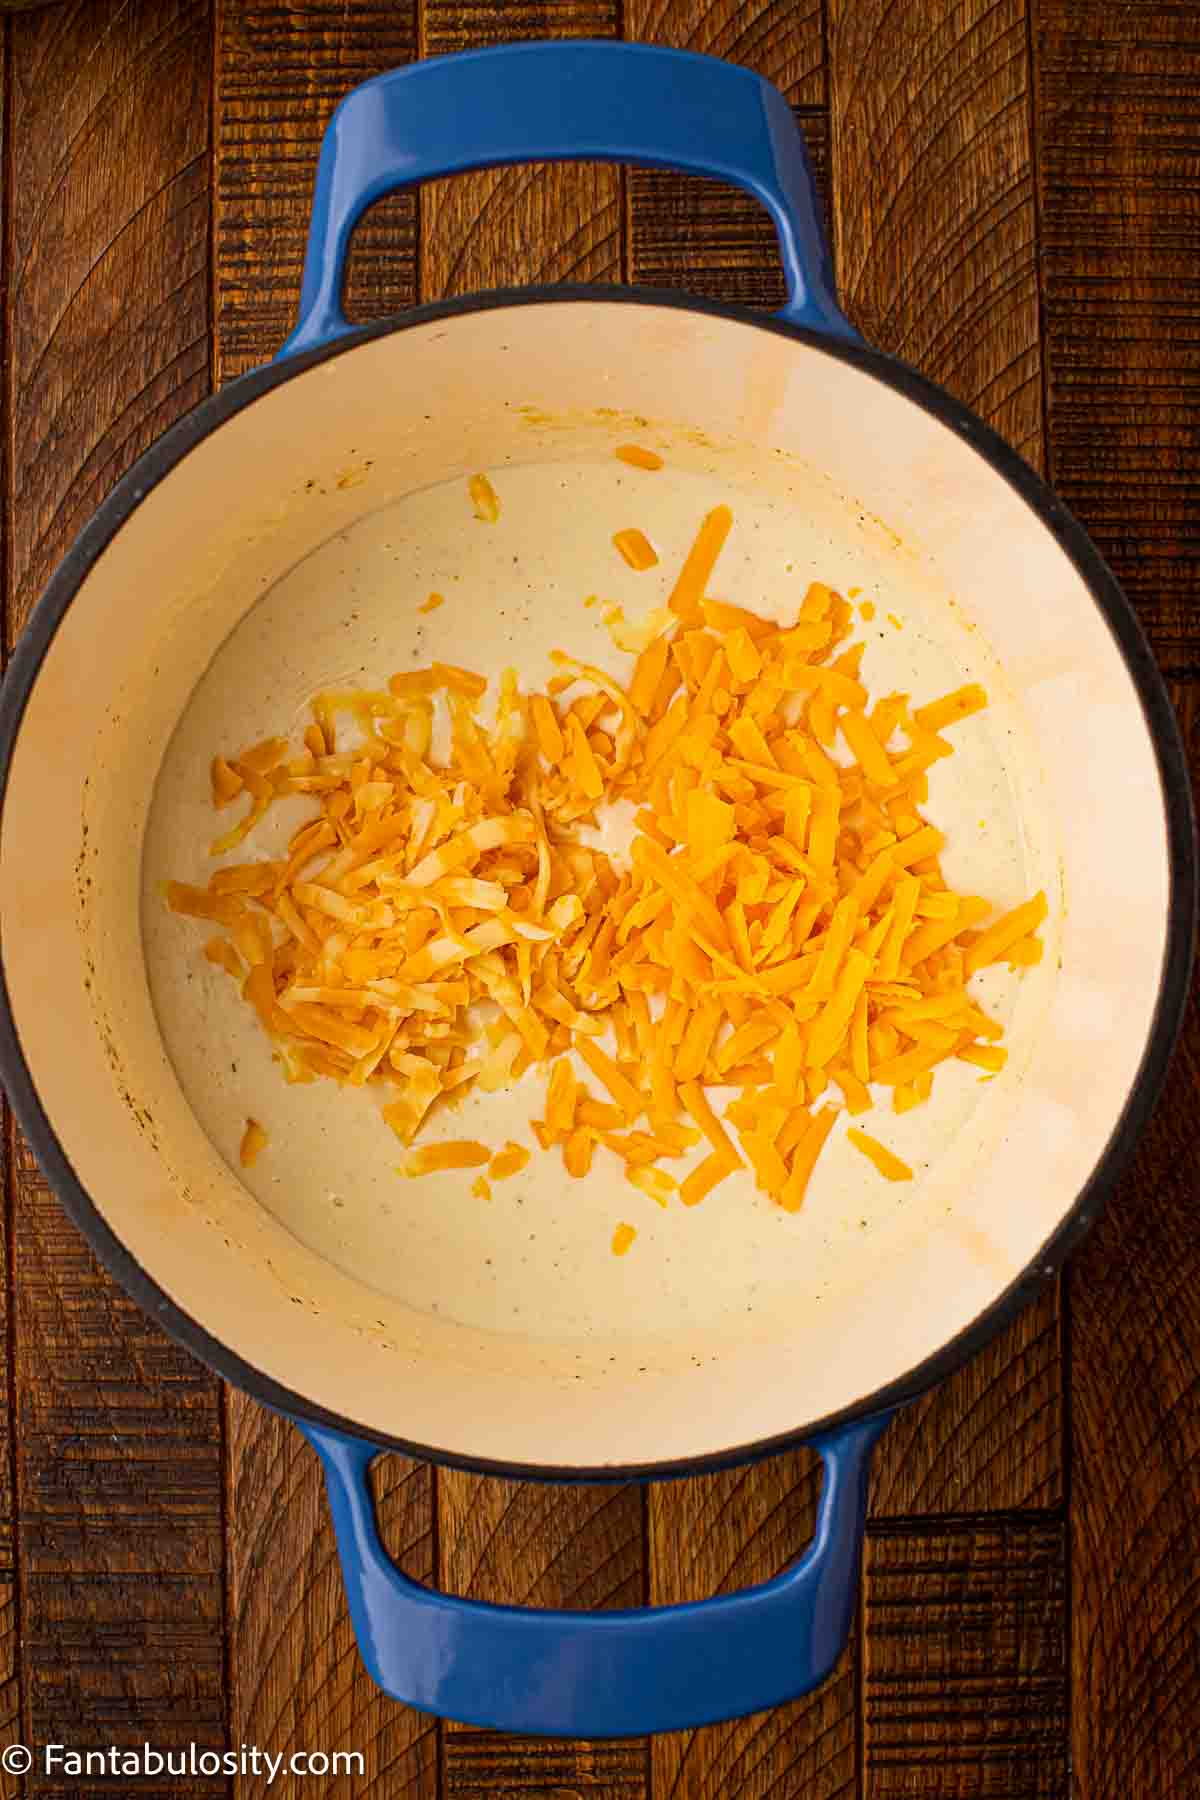
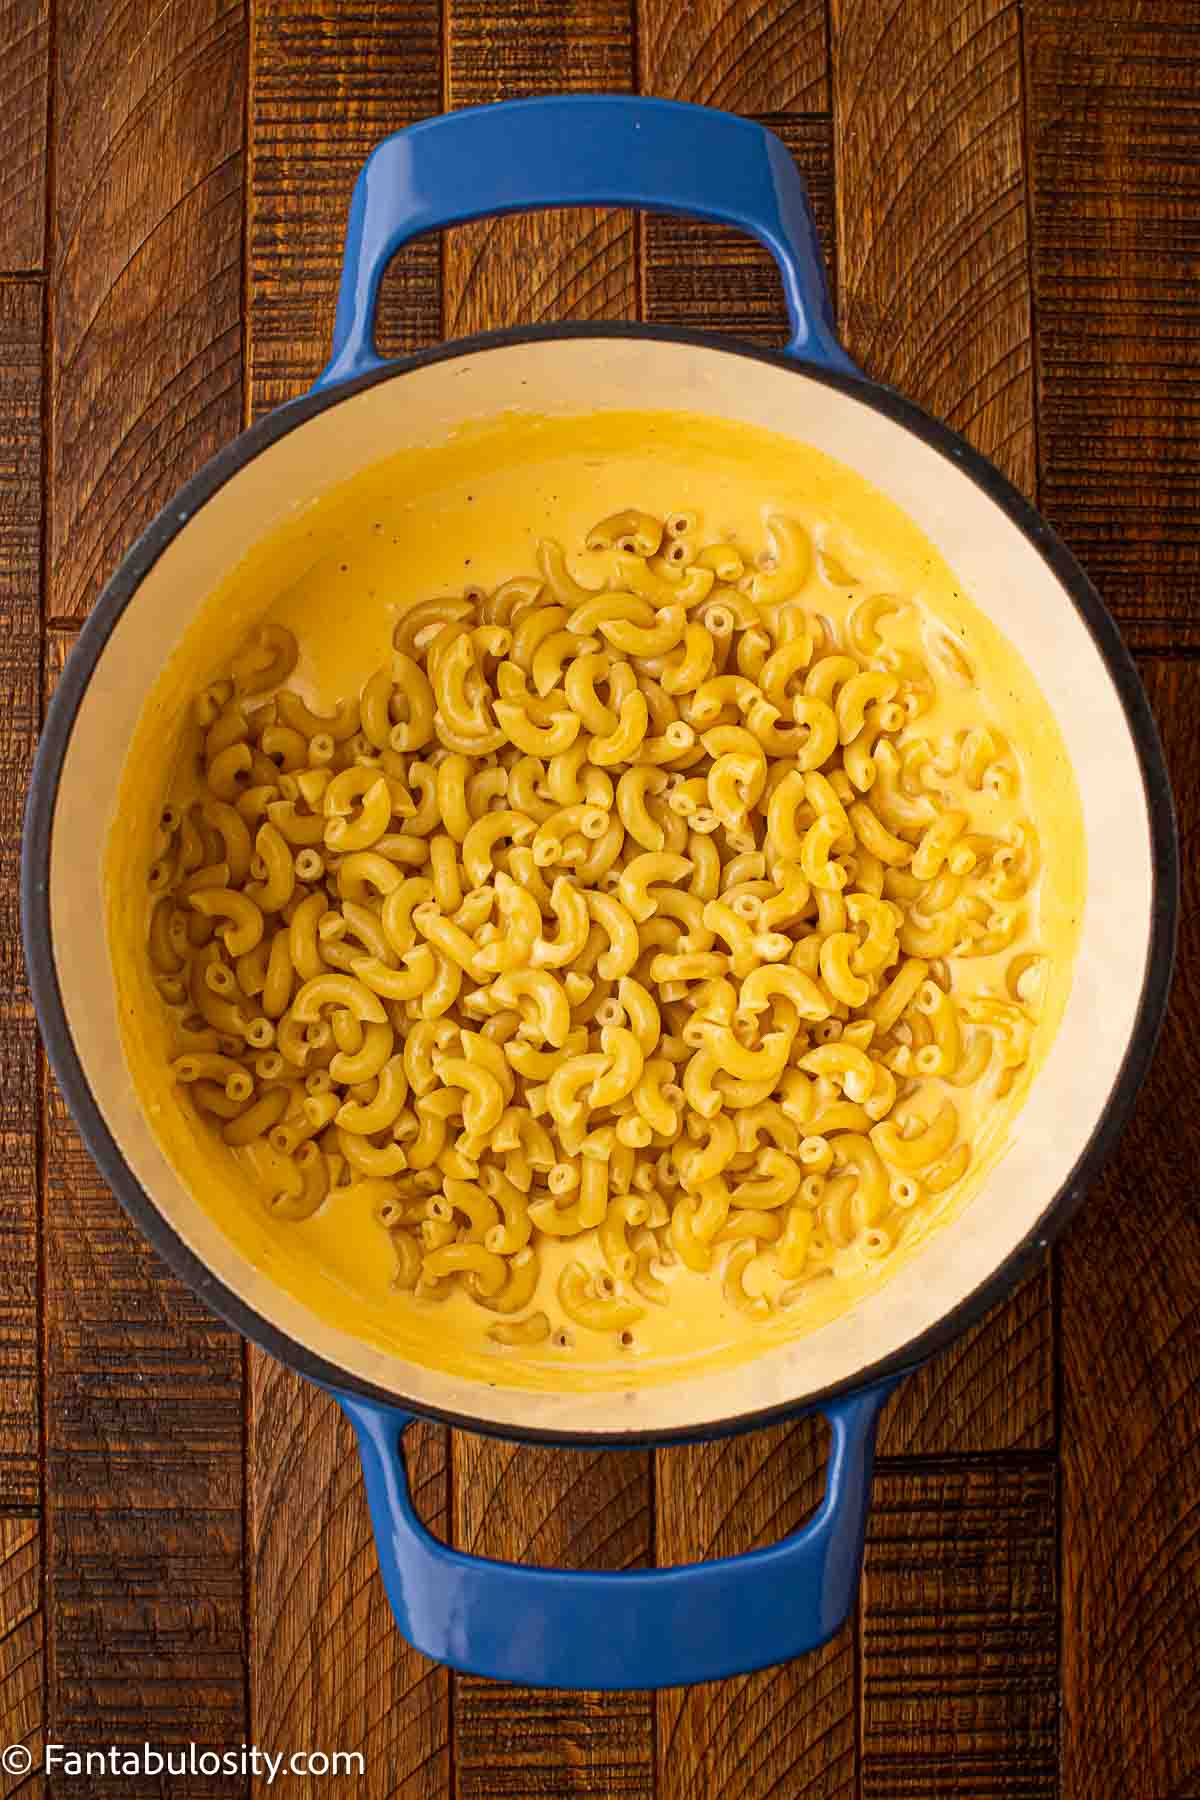
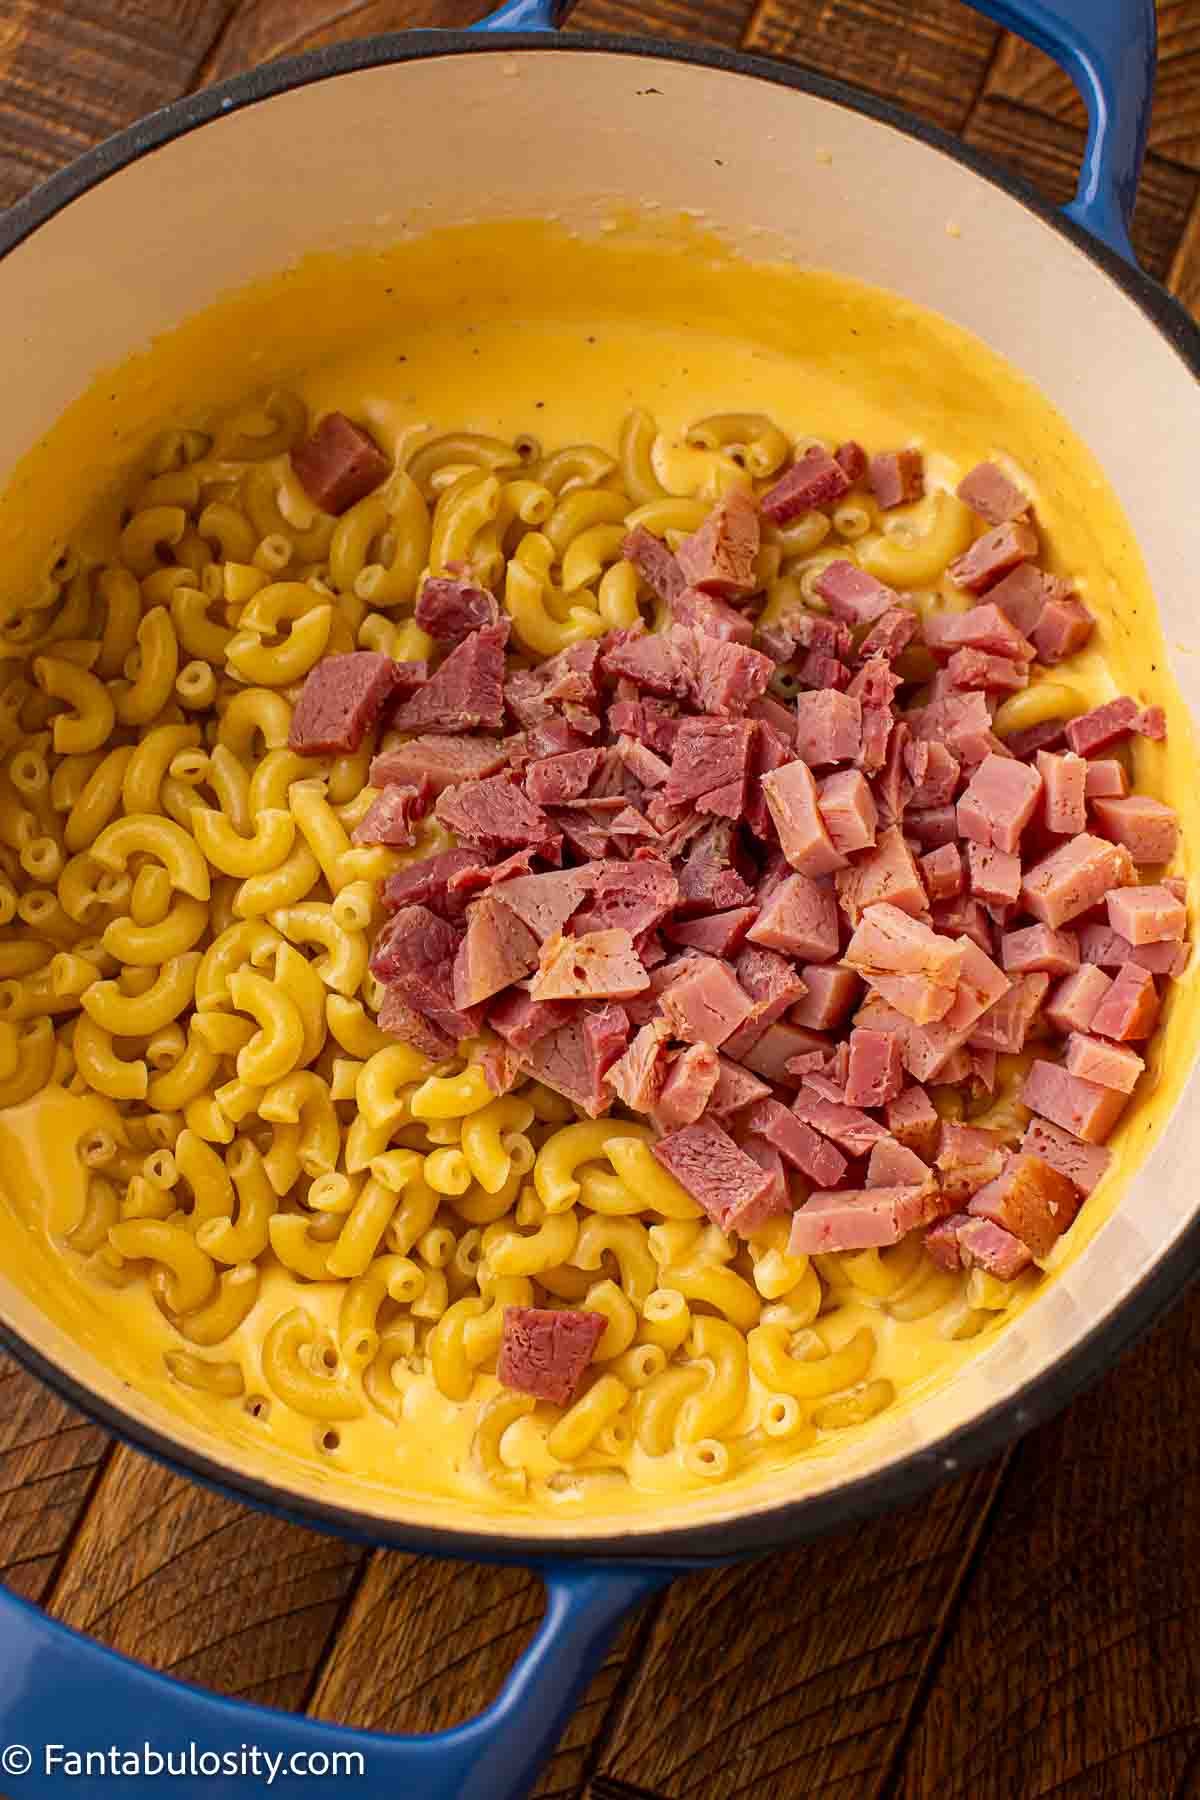
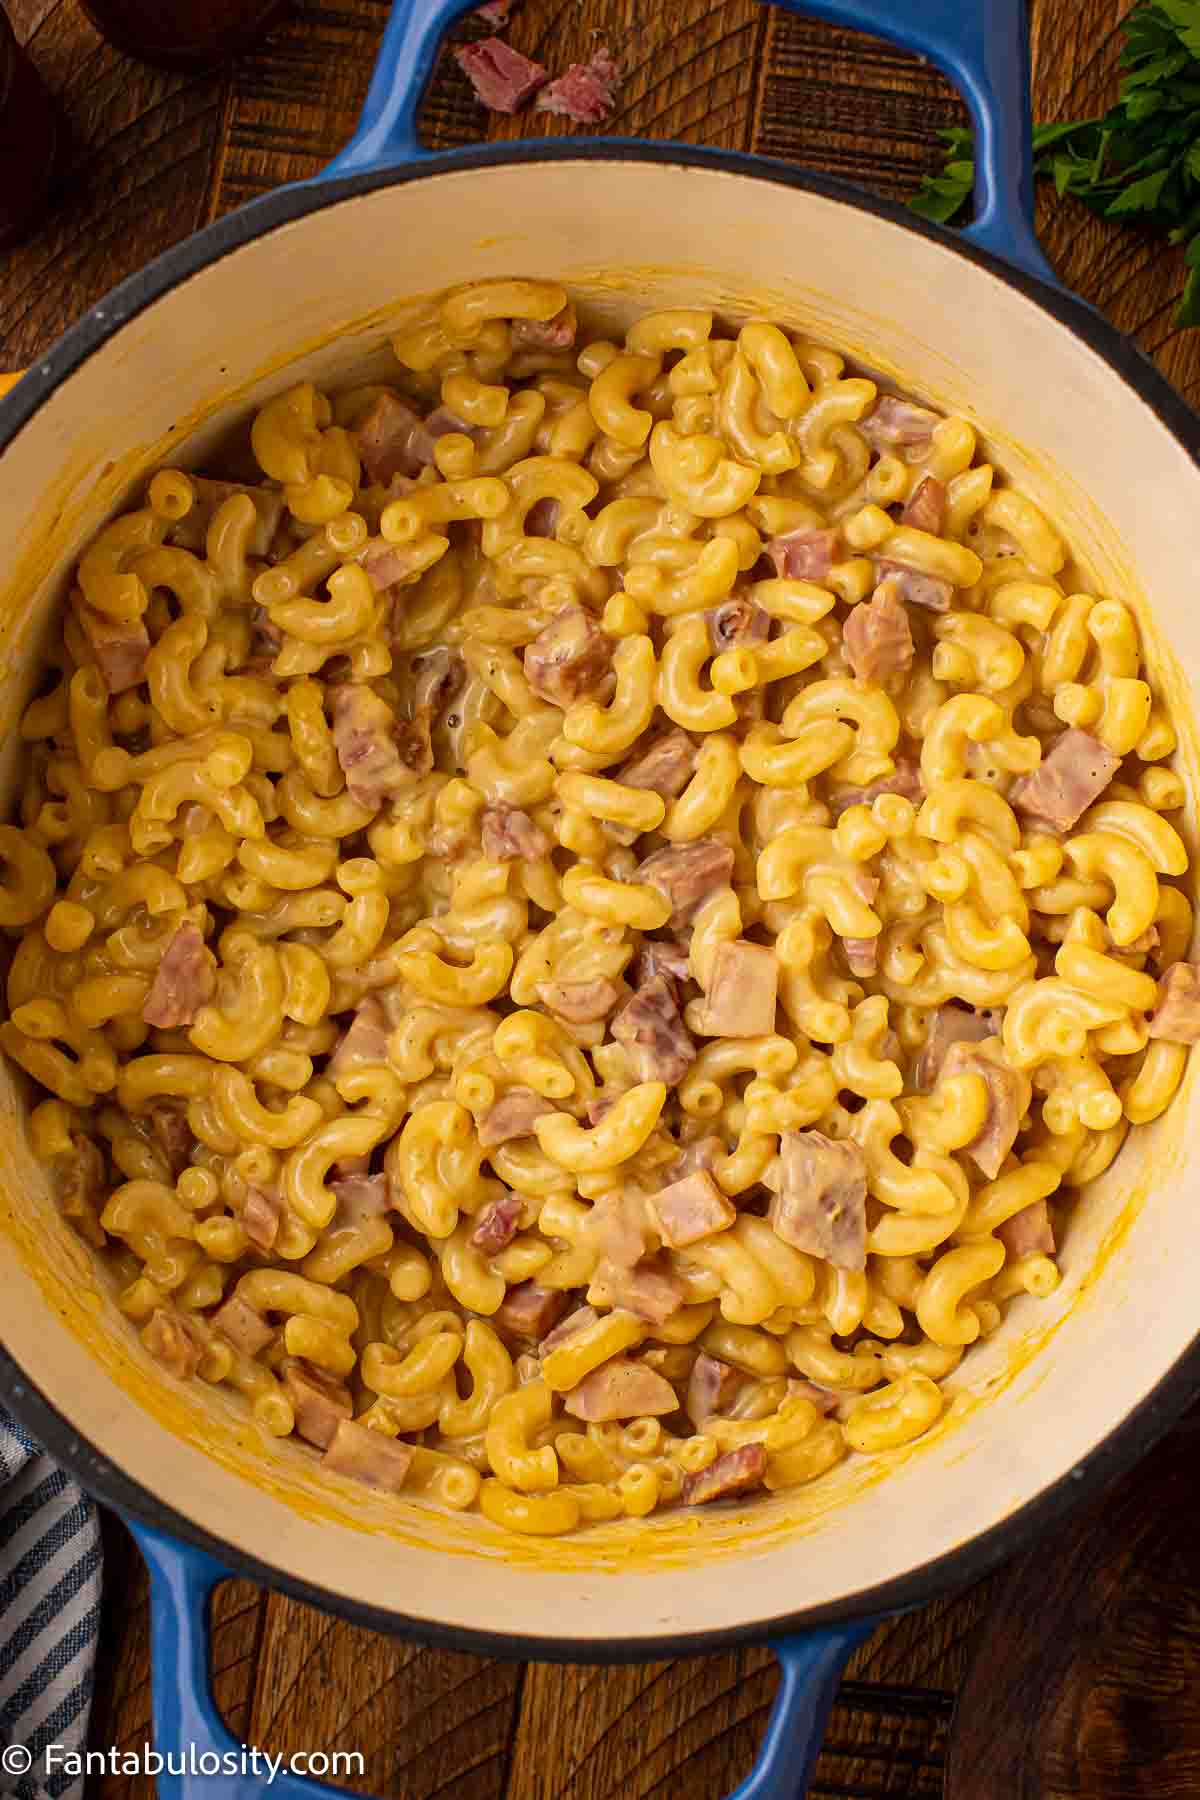
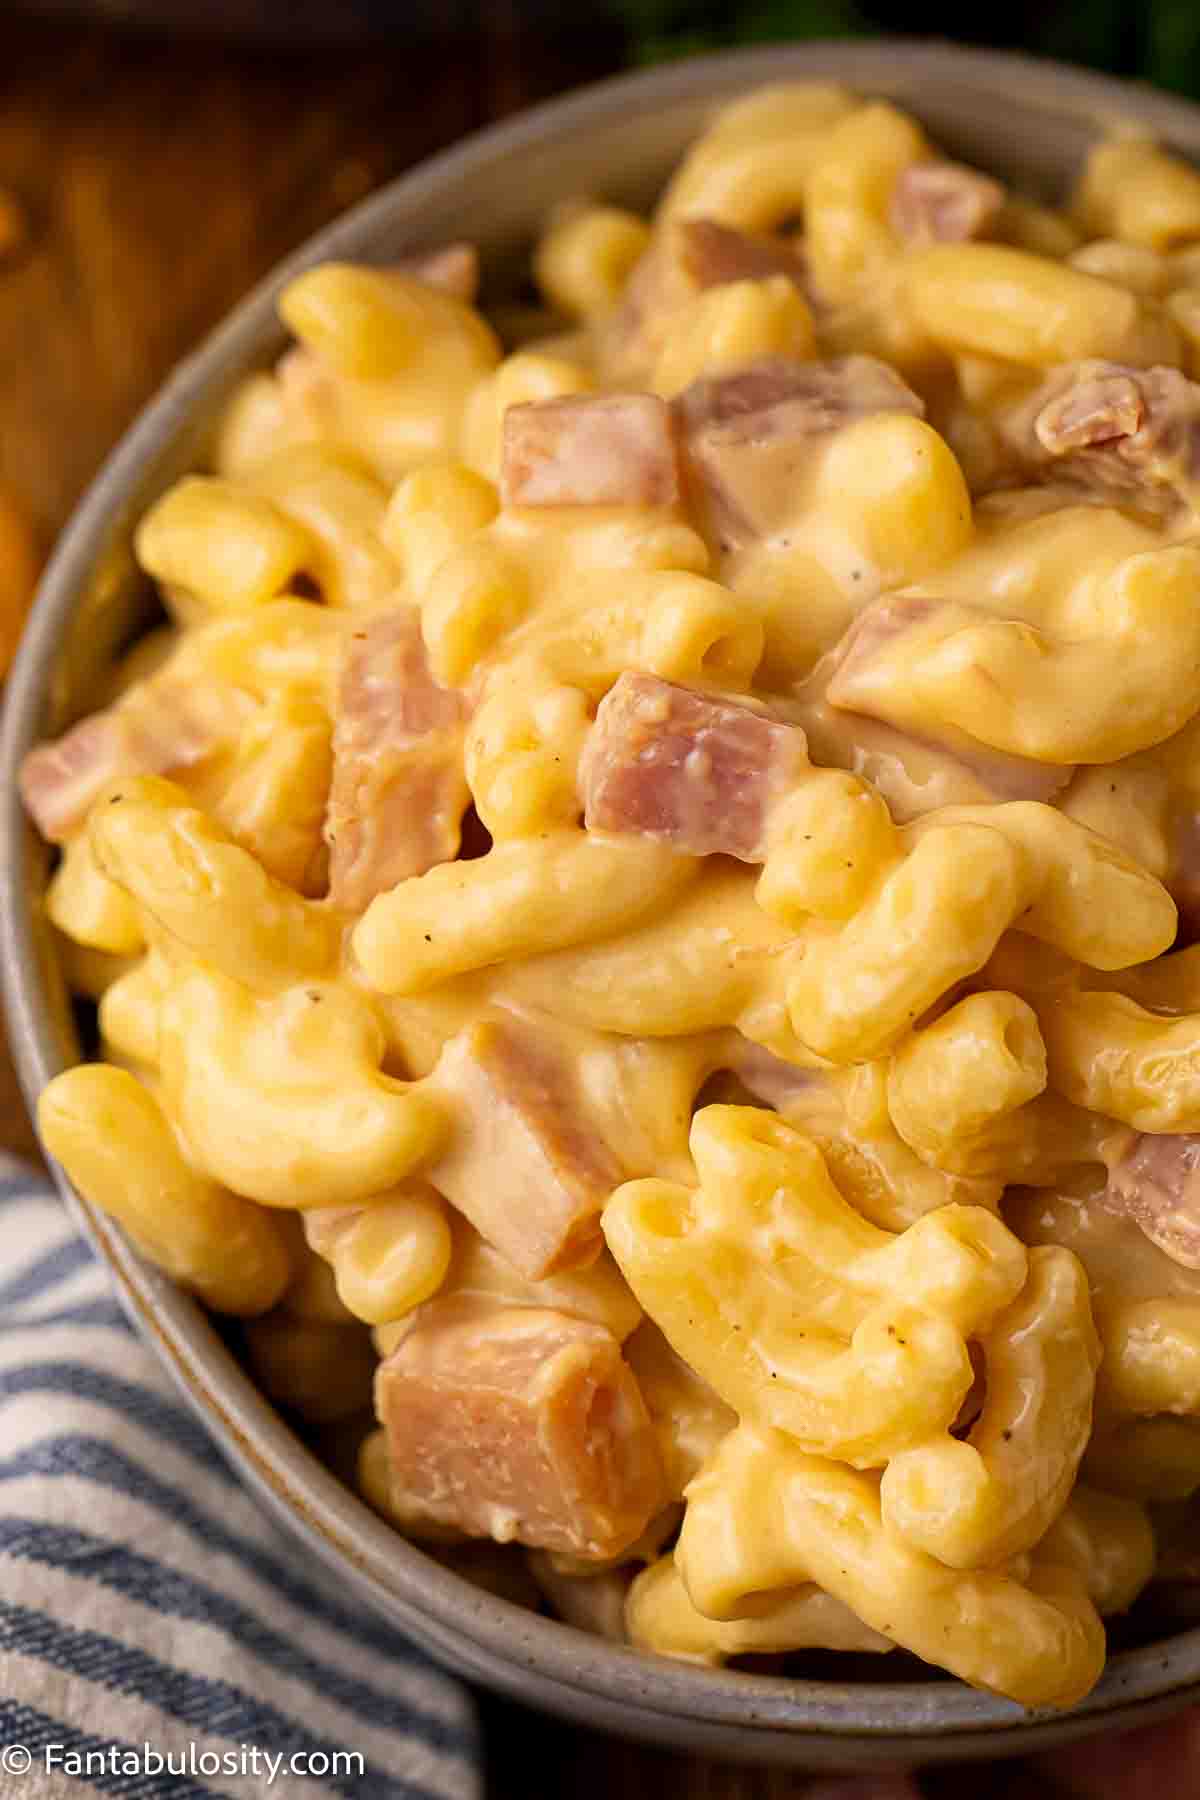
Hamburger Mac and Cheese
Creamy, cheesy, and hearty enough to feed a crowd, this hamburger mac and cheese is the kind of simple comfort food that fits right in at church suppers and family gatherings.
Potluck Favorites
These simple meals prove comfort food doesn't have to be expensive to be satisfying.
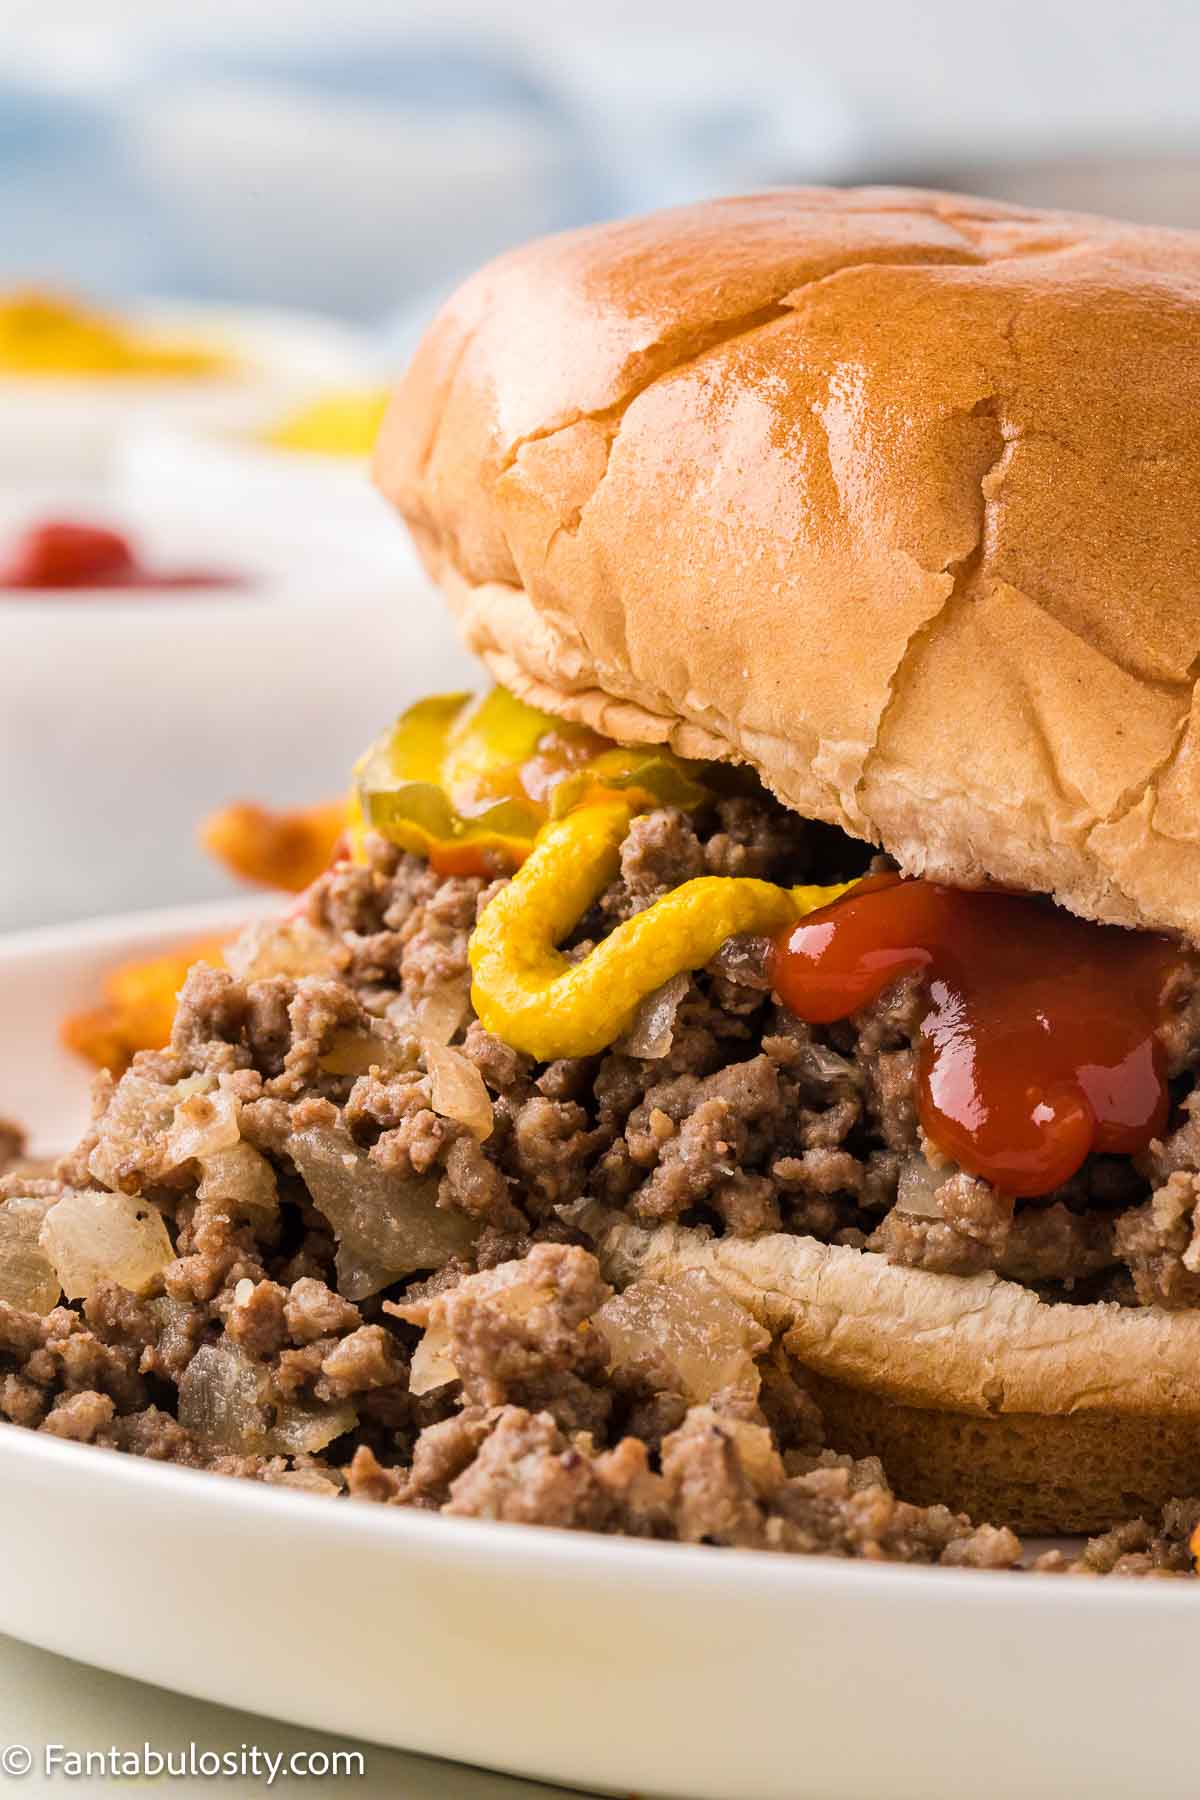
Maid Rite Sandwiches
Loose meat sandwiches with simple seasoning that feel straight out of an old diner menu.
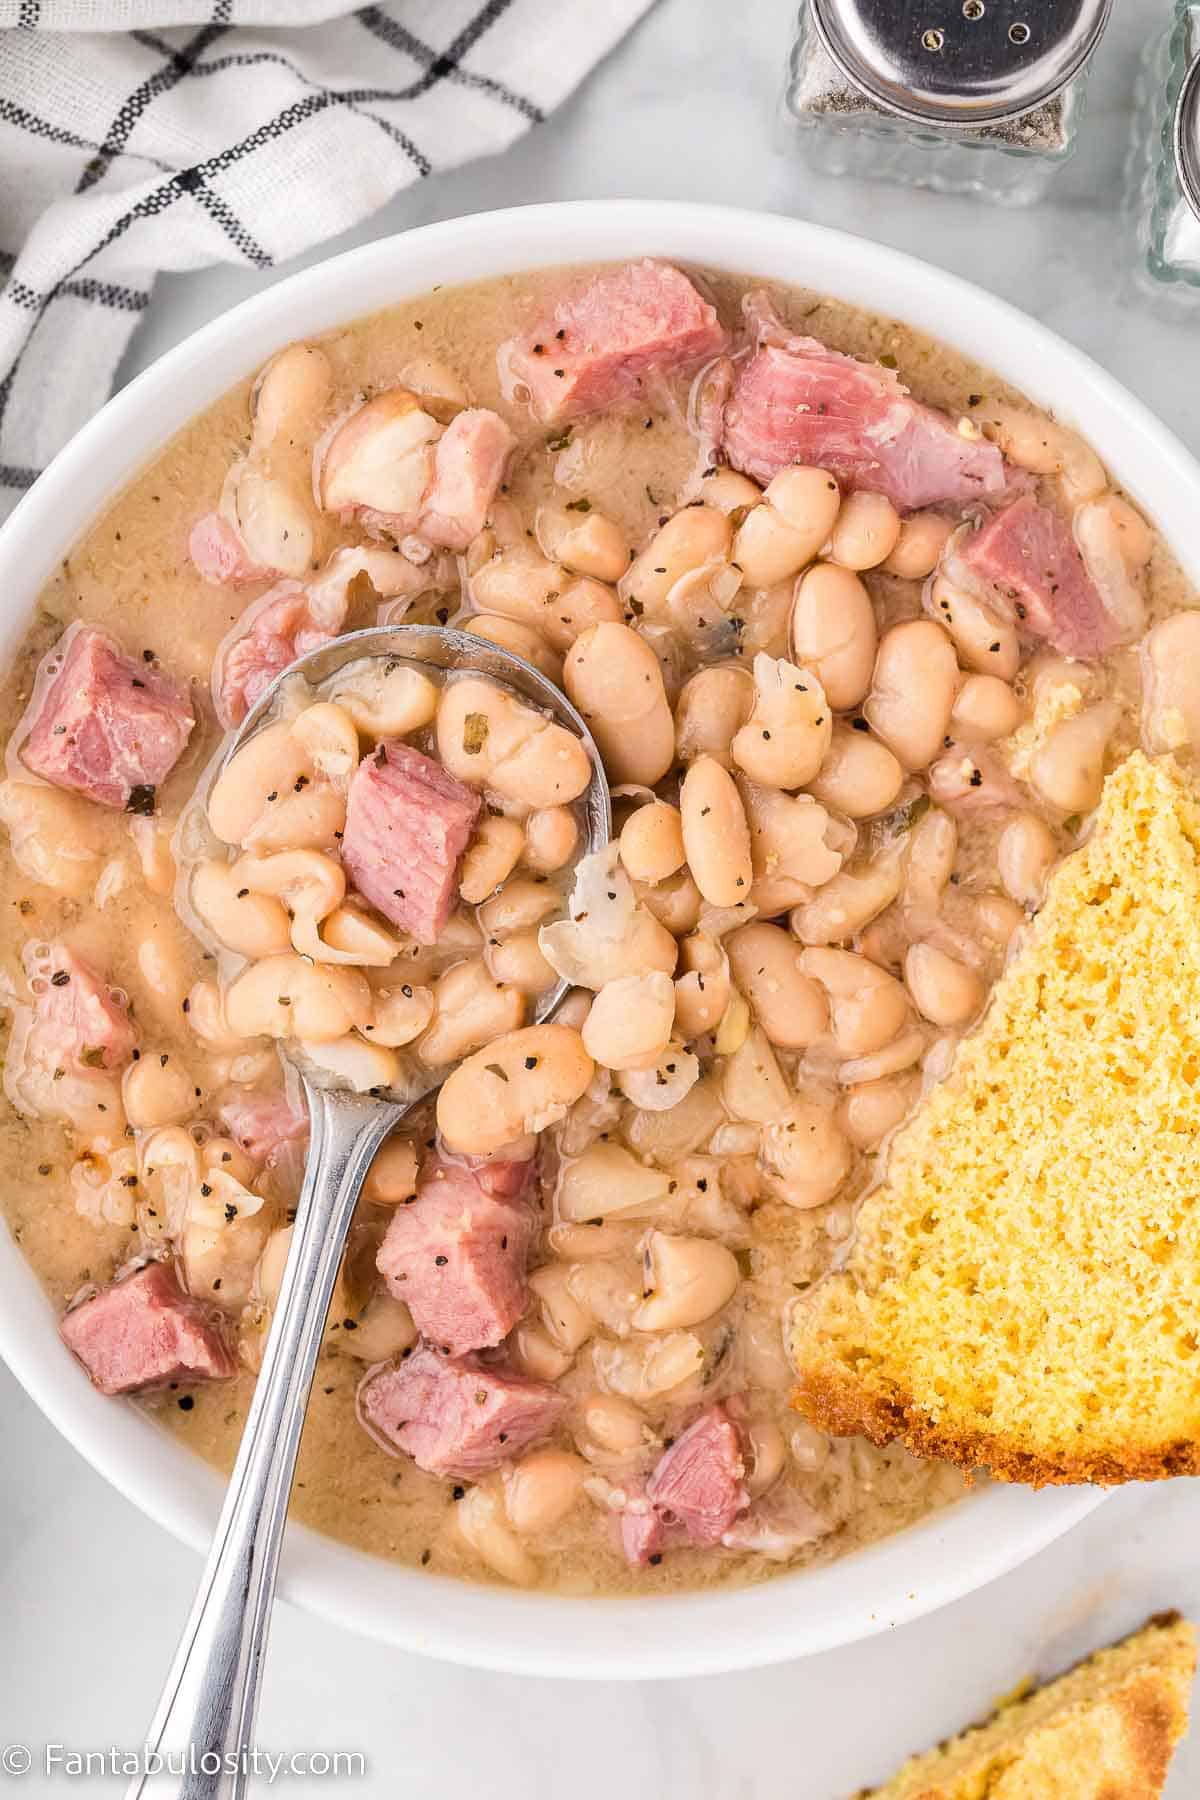
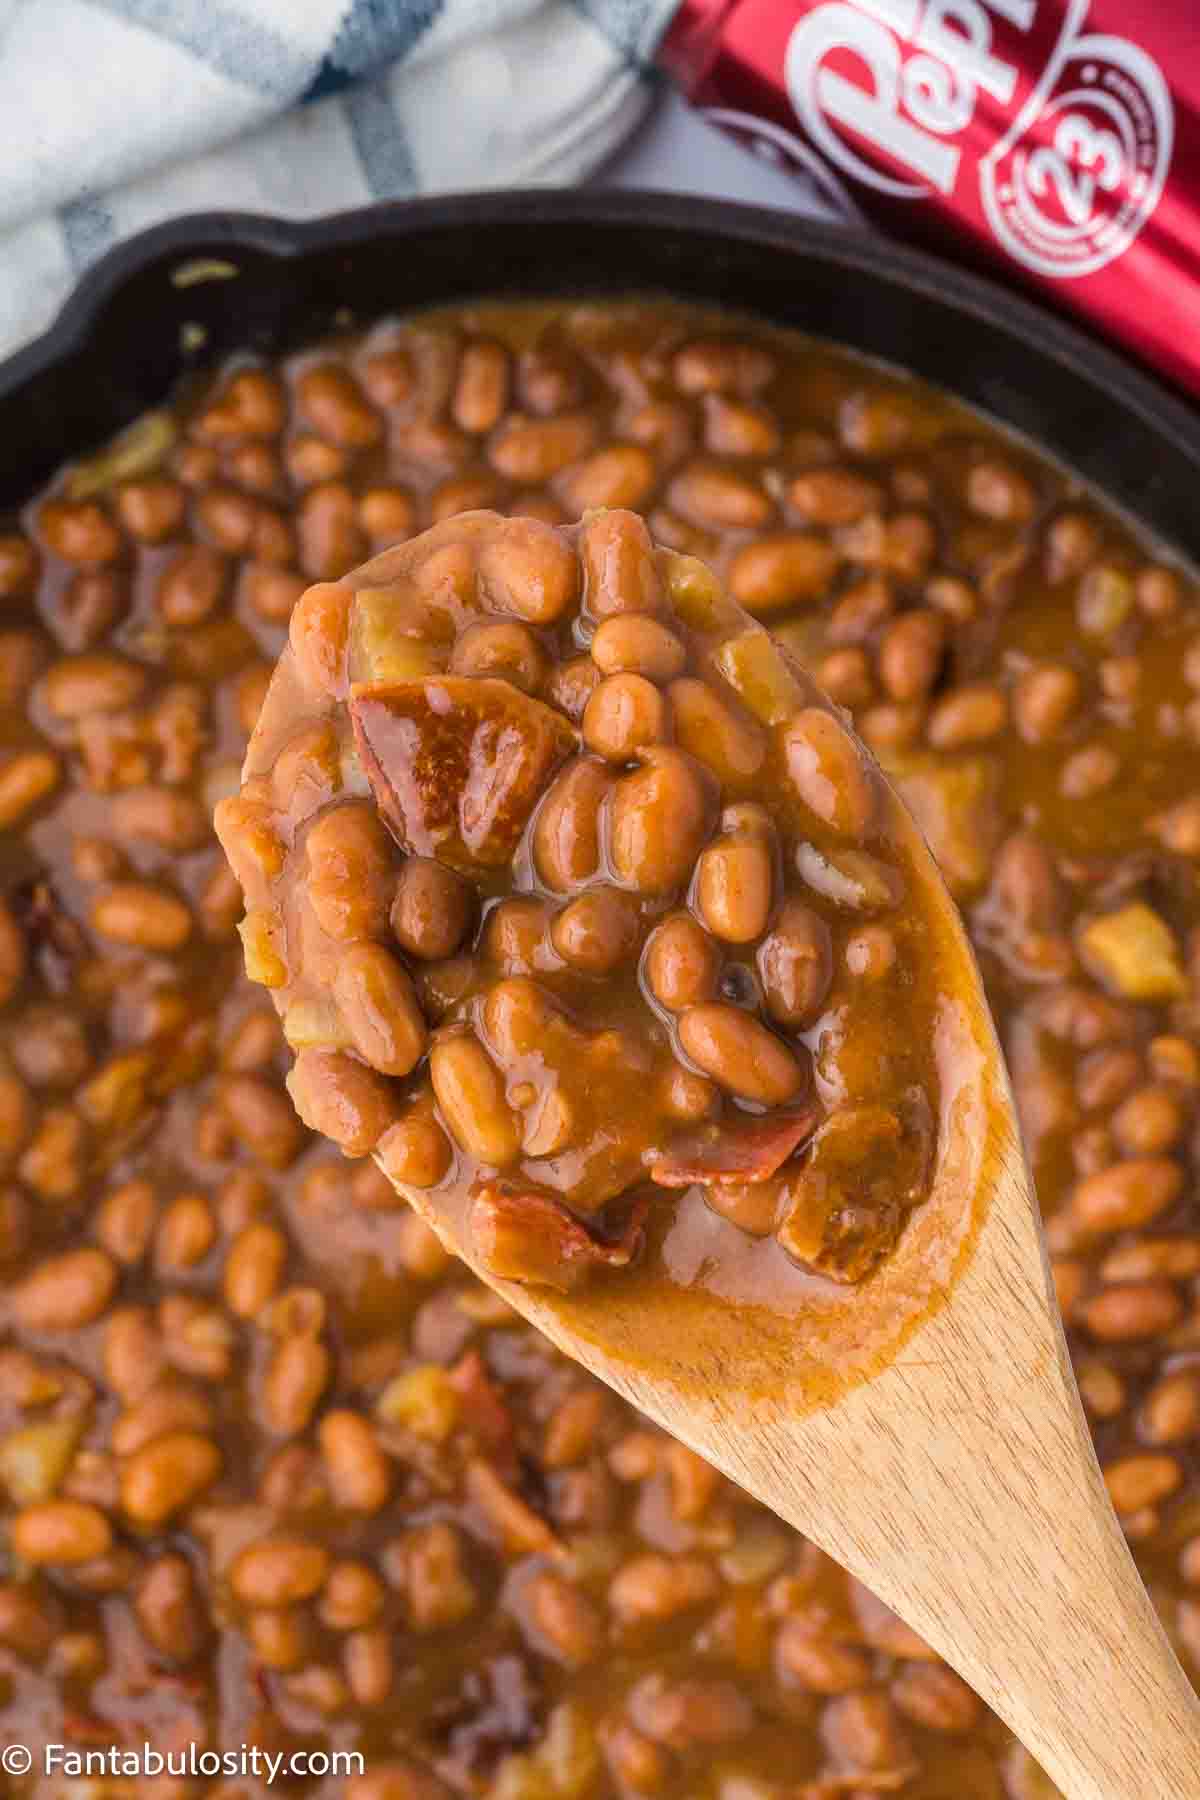
Ham and Beans
A hearty, cozy dinner made with simple ingredients and classic flavor.
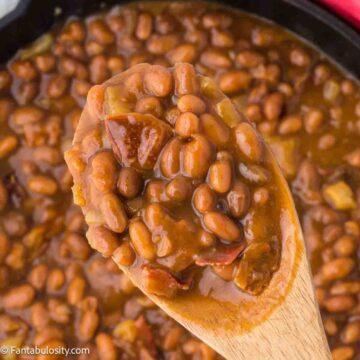
Beanie Weenies
An old-fashioned comfort food favorite that's simple, nostalgic, and surprisingly satisfying.
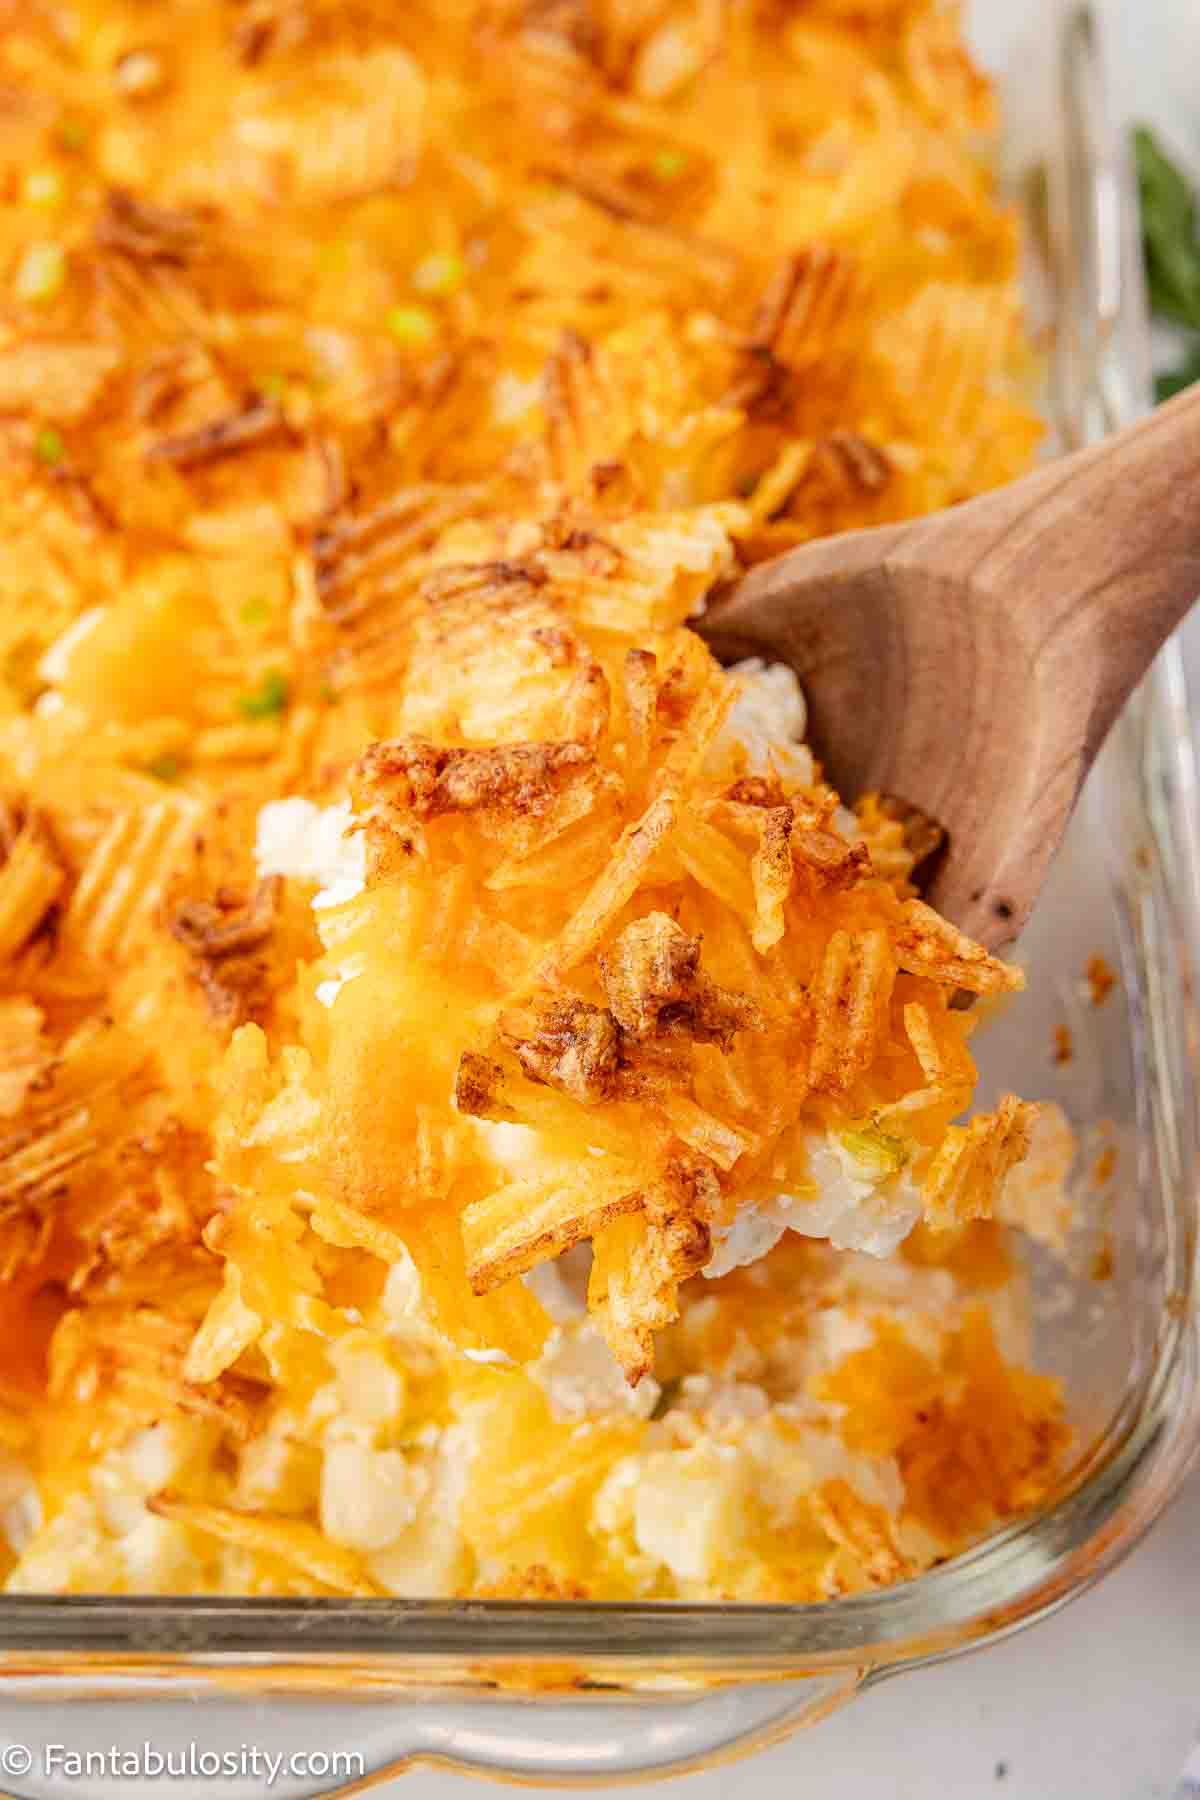
Hamburger Hashbrown Casserole
Creamy, cheesy, and hearty enough for a busy weeknight dinner.

Stove Top Stuffing Meatloaf
A shortcut comfort food dinner that still delivers classic meatloaf flavor and texture.
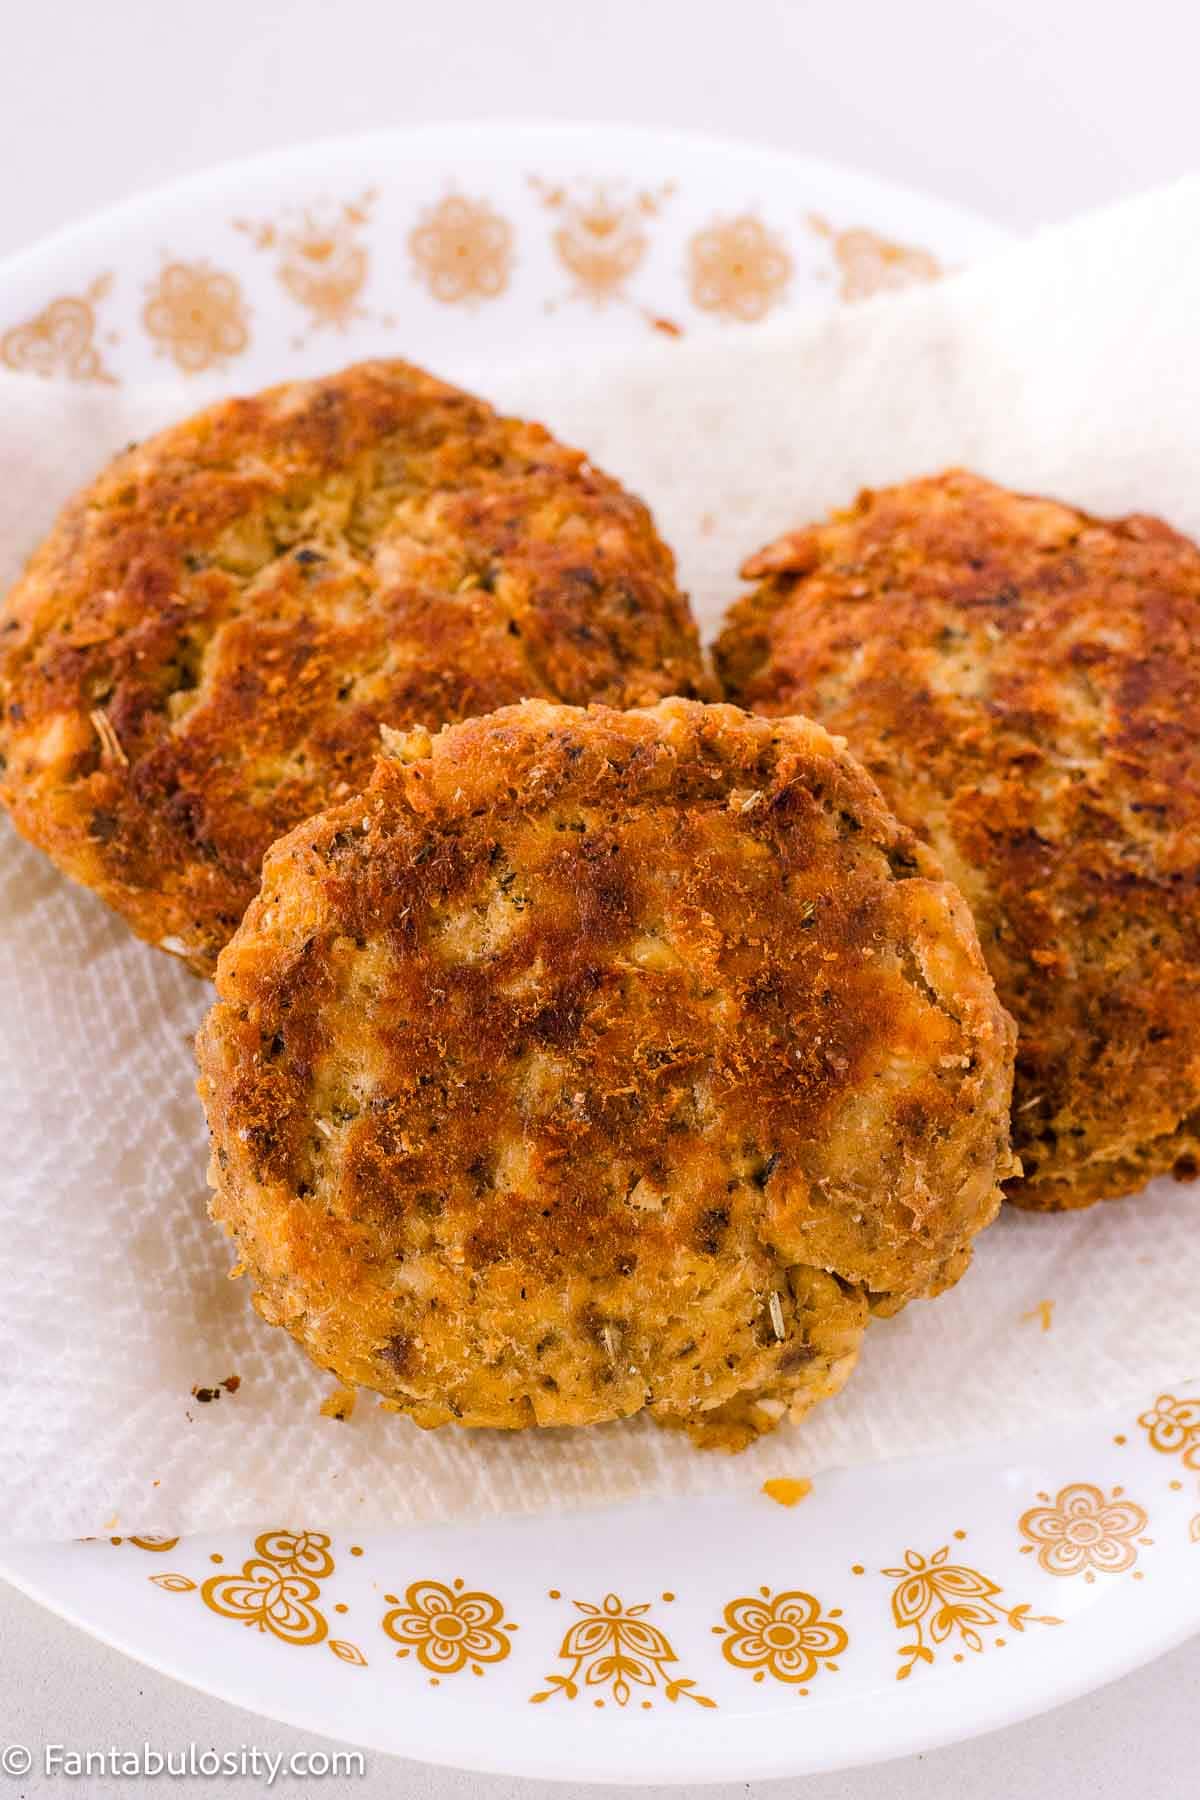
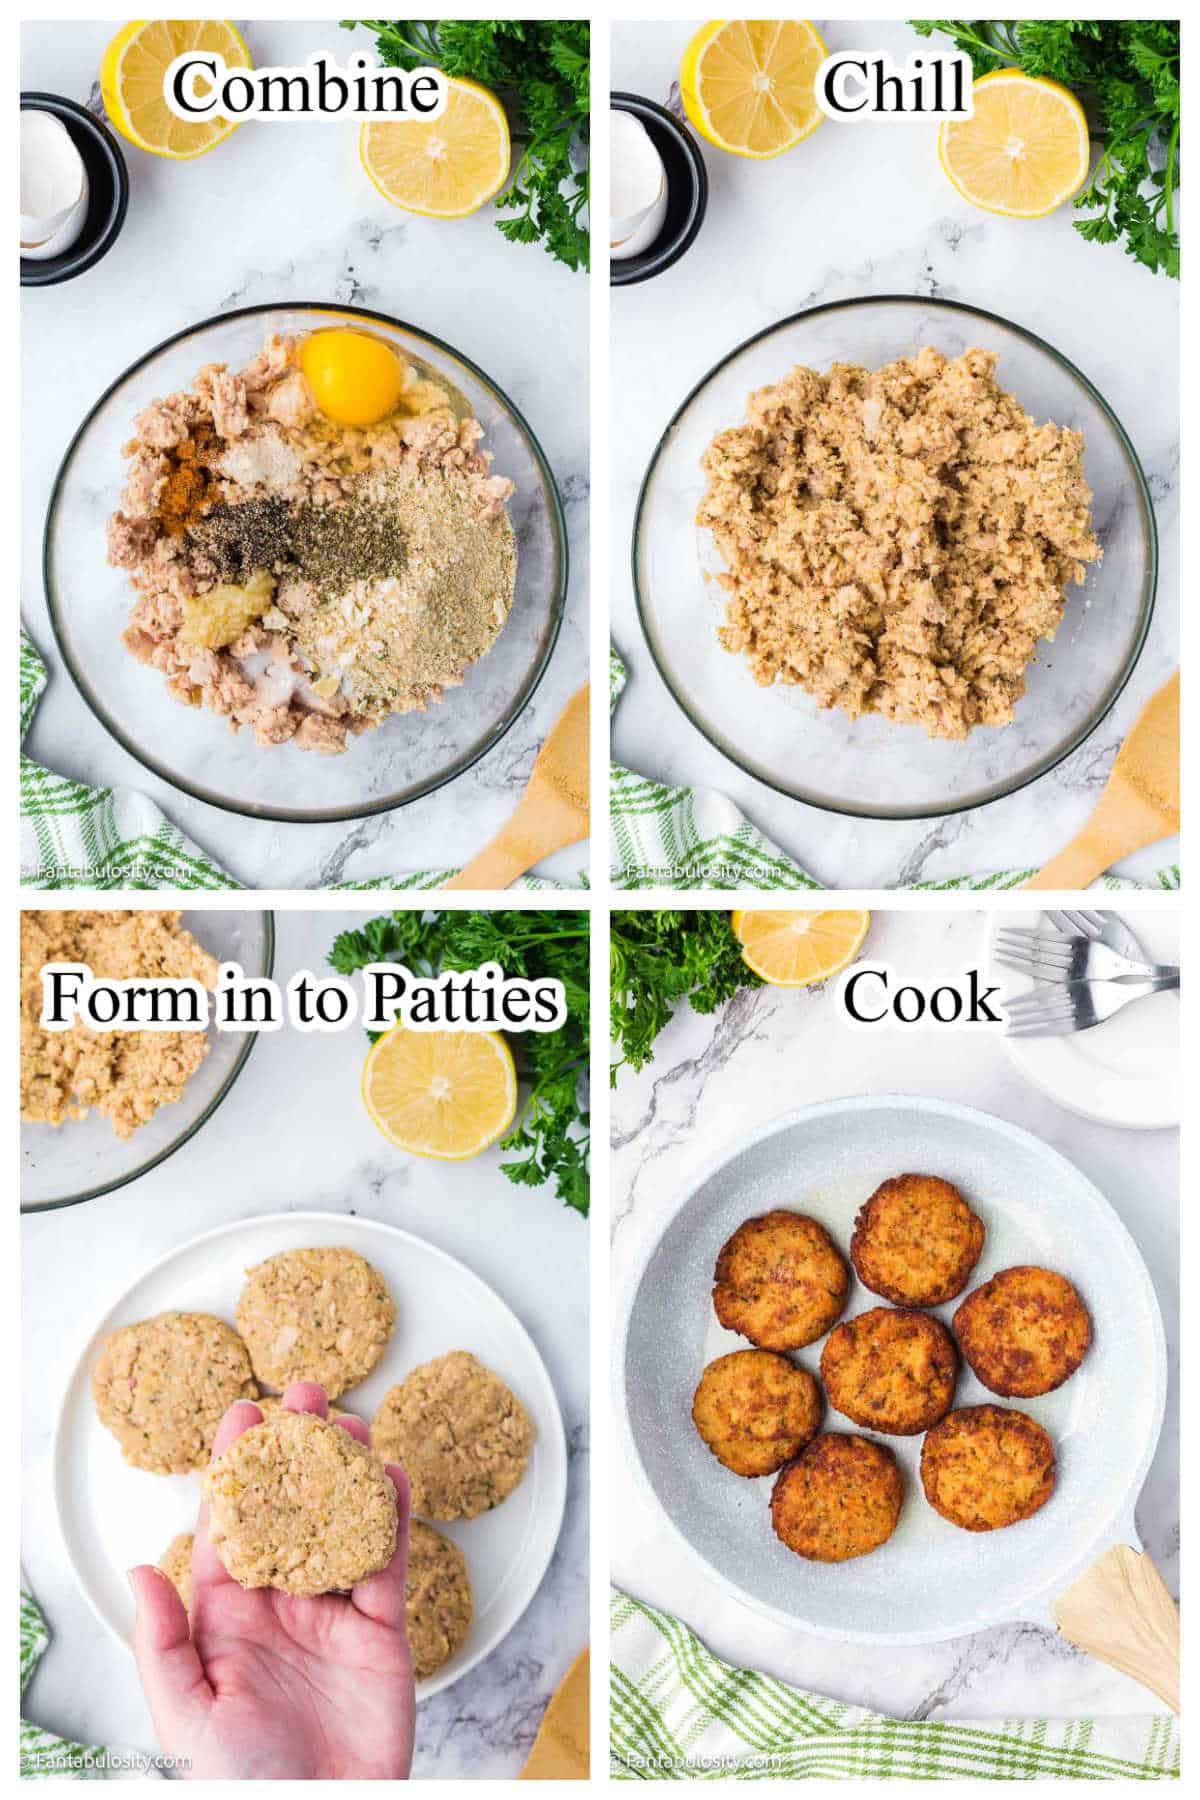
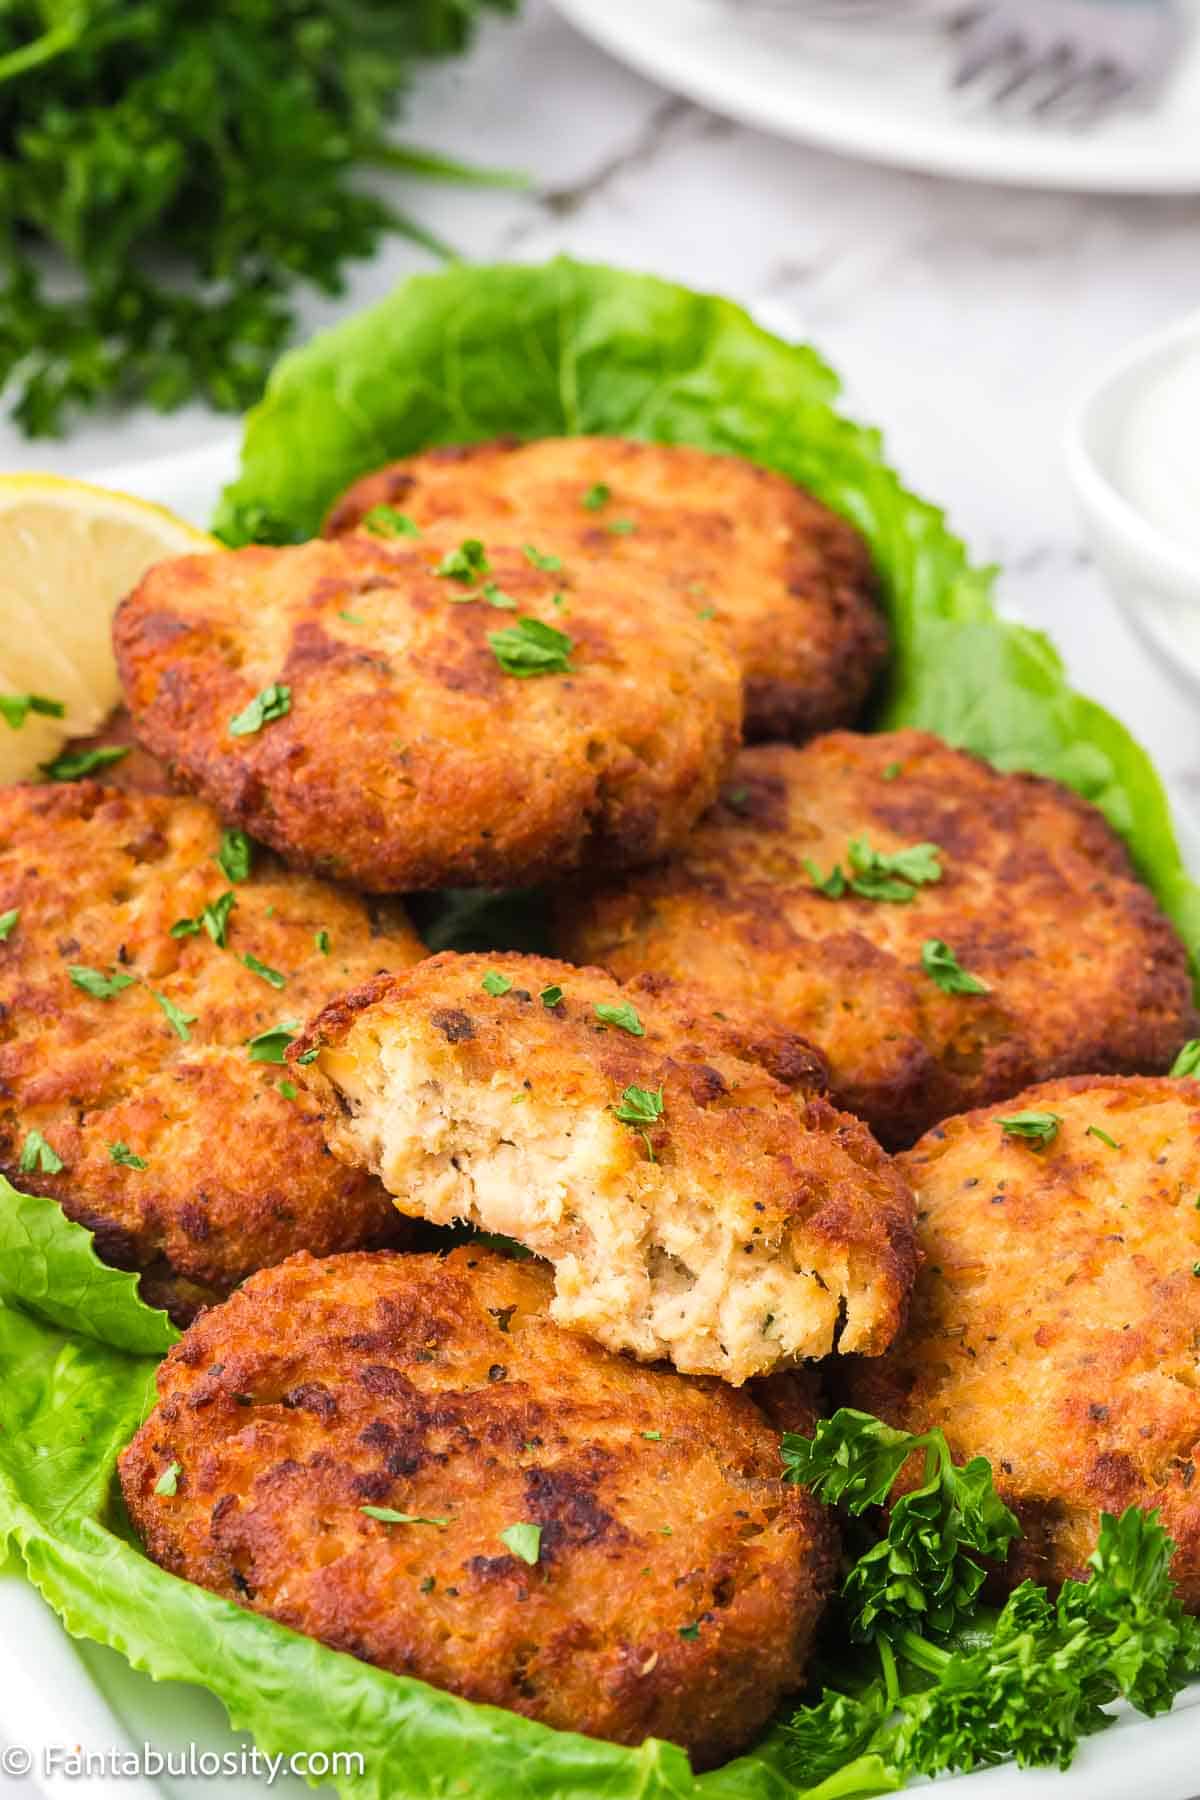
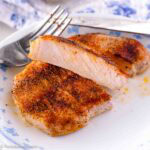
Salmon Patties
Crispy on the outside and tender inside, these old-fashioned salmon patties are made with canned salmon and simple ingredients for an easy, budget-friendly dinner.
More Church Supper Recipes Coming Soon
This collection will continue growing with more classic comfort food recipes like:
- Swiss Steak
- Beef Tips and Gravy
- Creamed Chicken and Biscuits
If you love nostalgic comfort food recipes made with simple ingredients, be sure to bookmark this page and check back often for new additions.
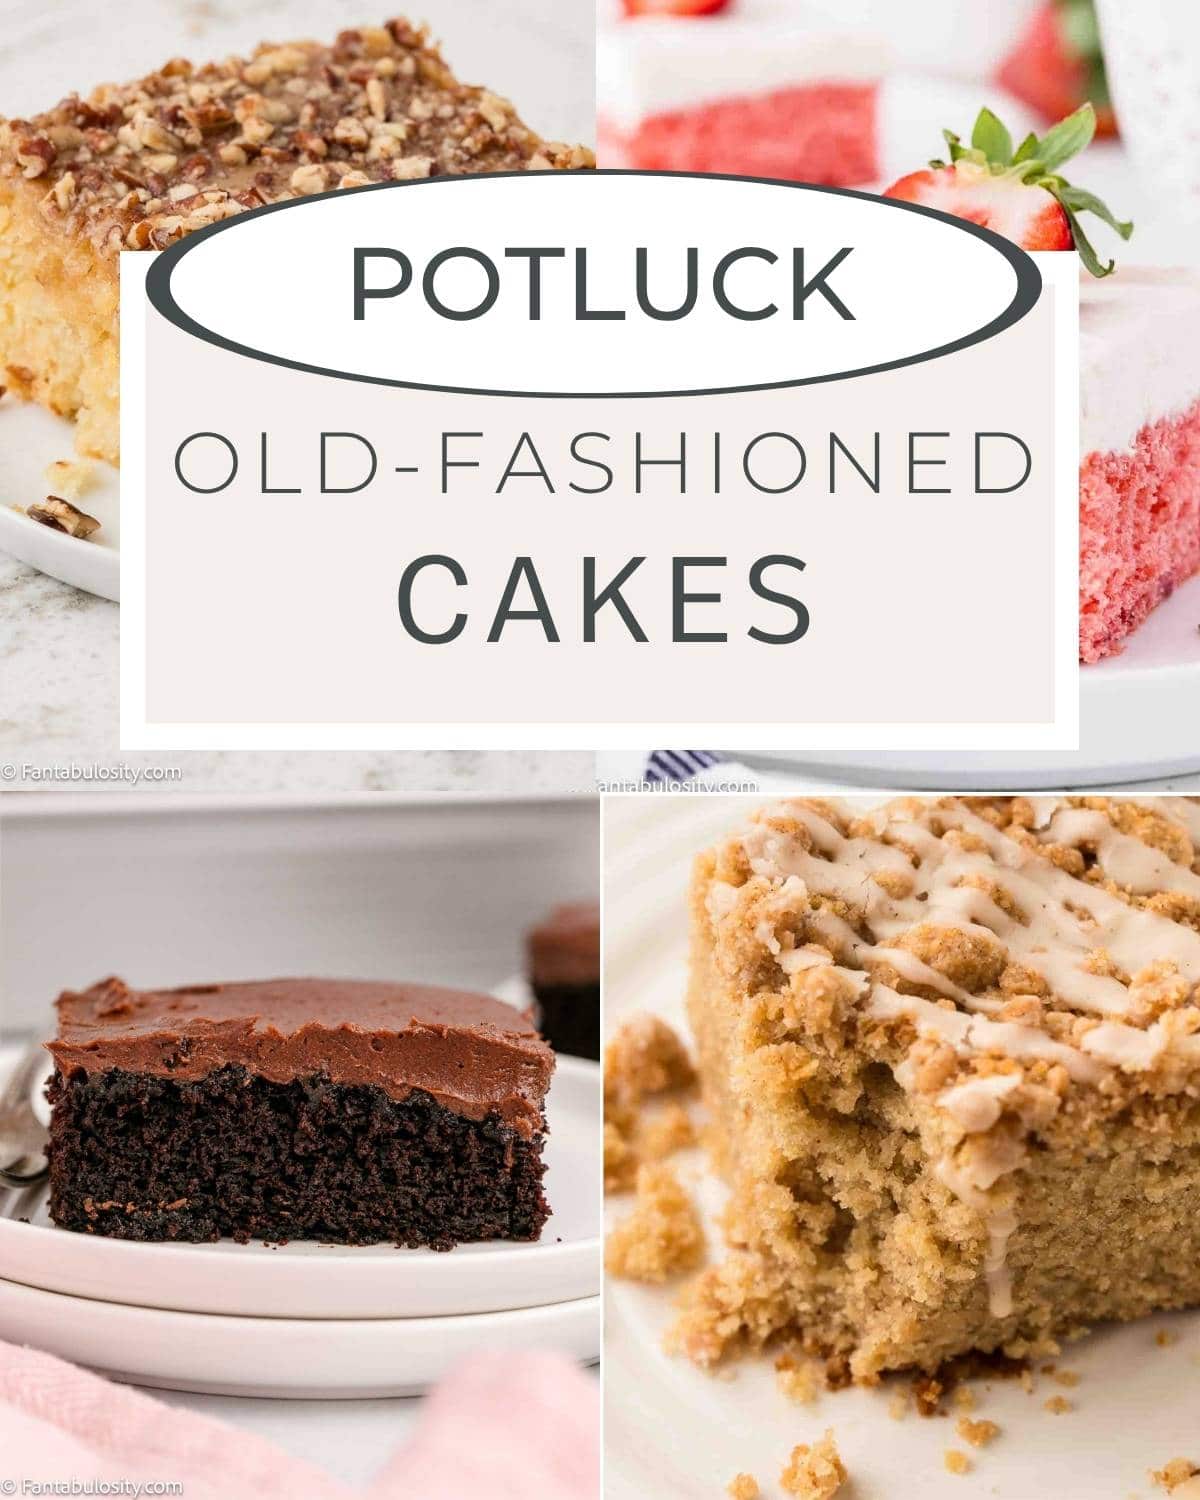
More Comfort Food Recipes You May Love
If you love nostalgic comfort food, potluck recipes, and old-fashioned favorites, these collections are worth browsing too: