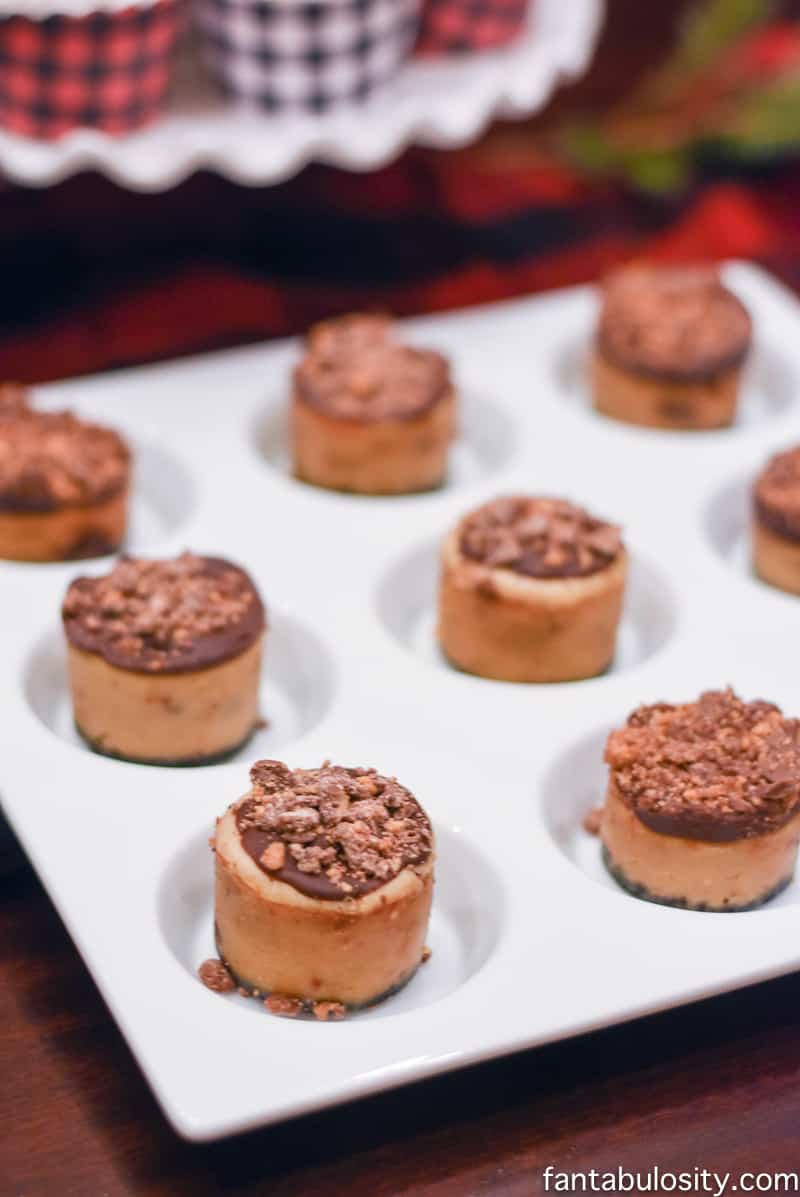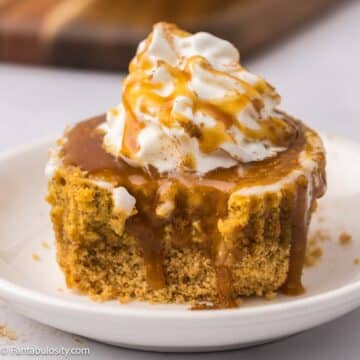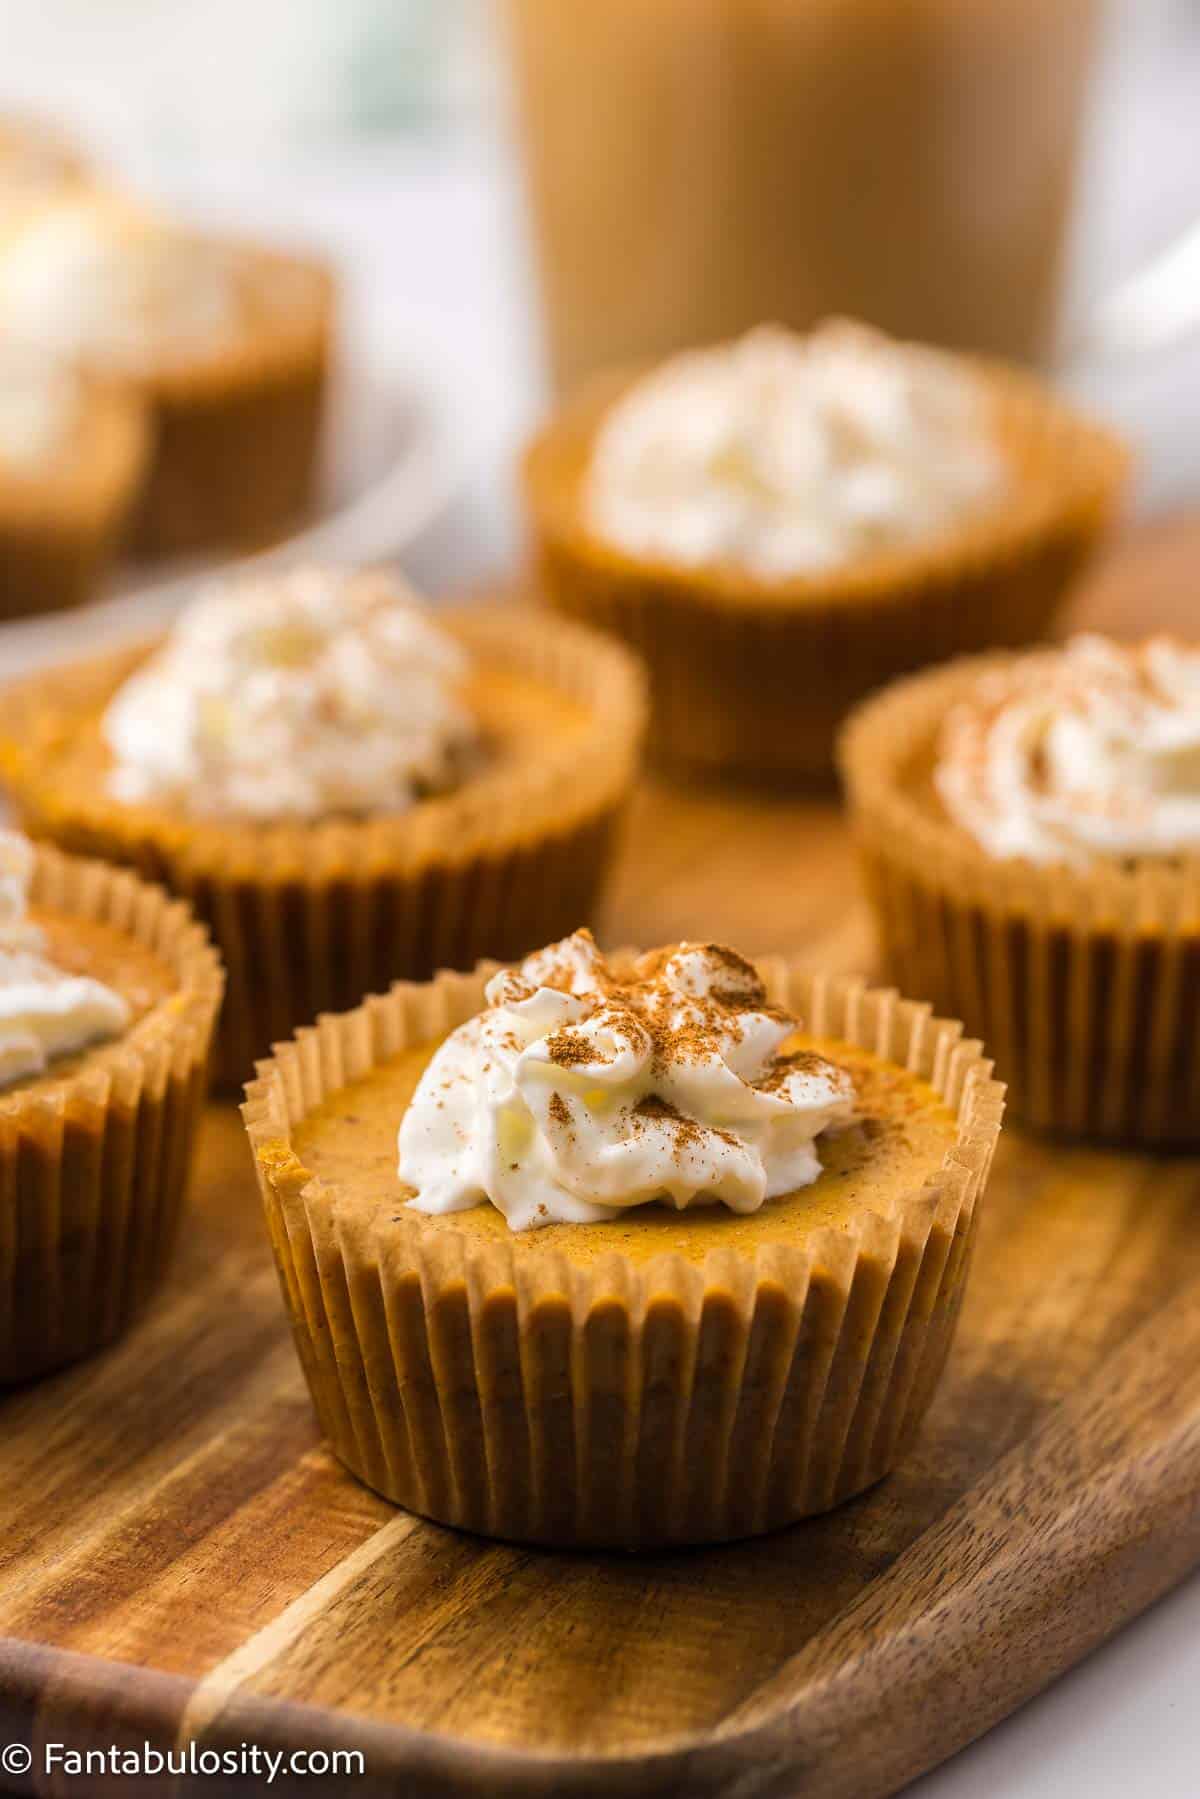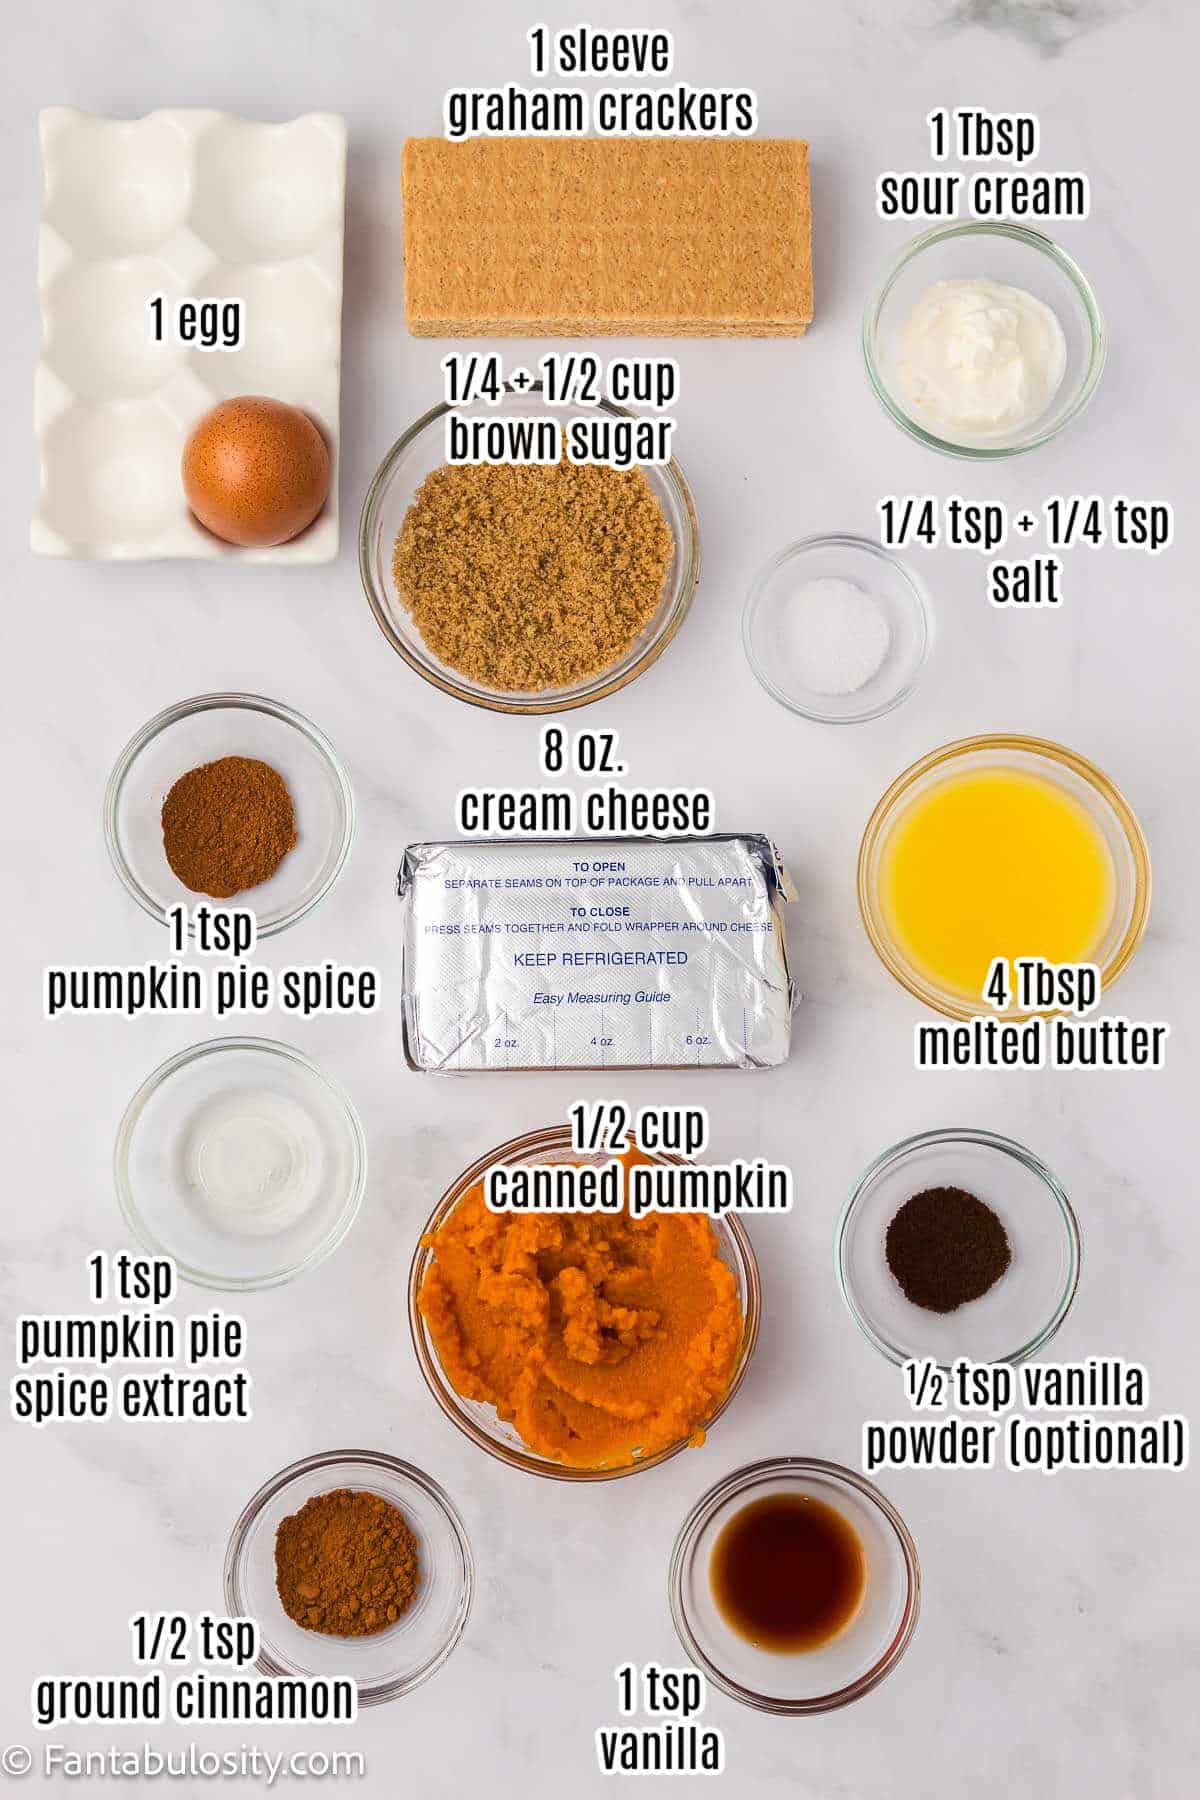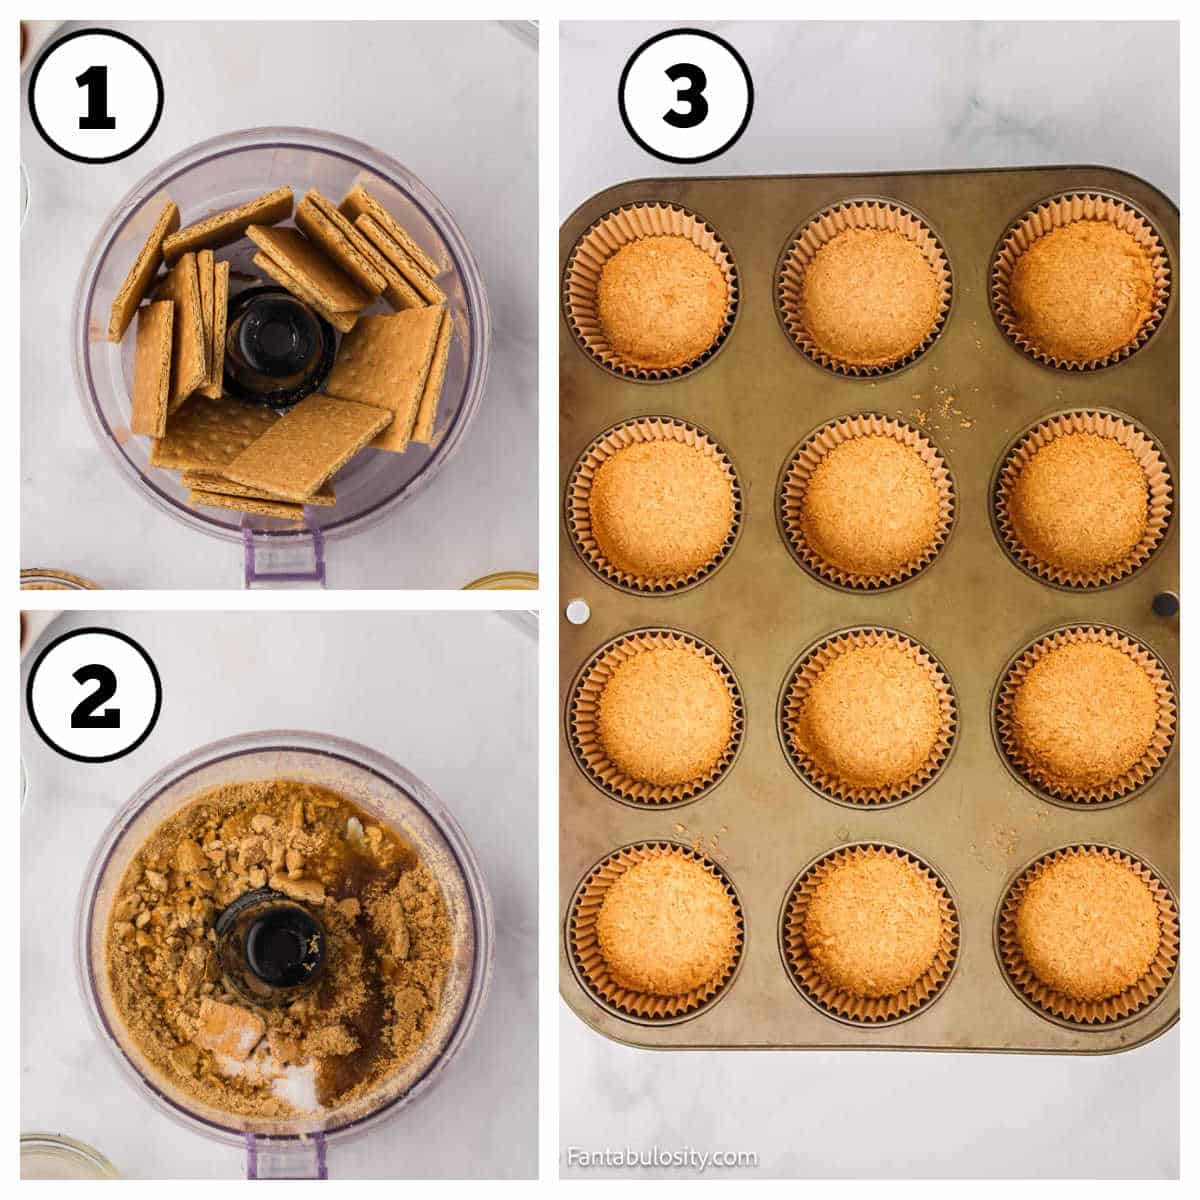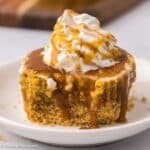
No Bake Mini Cheesecakes: A shortcut method to make delicious little cheesecakes, where you can use your favorite toppings and pie fillings, with an optional cheesecake filling from scratch.
Post originally published in 2016, updated in 2023.
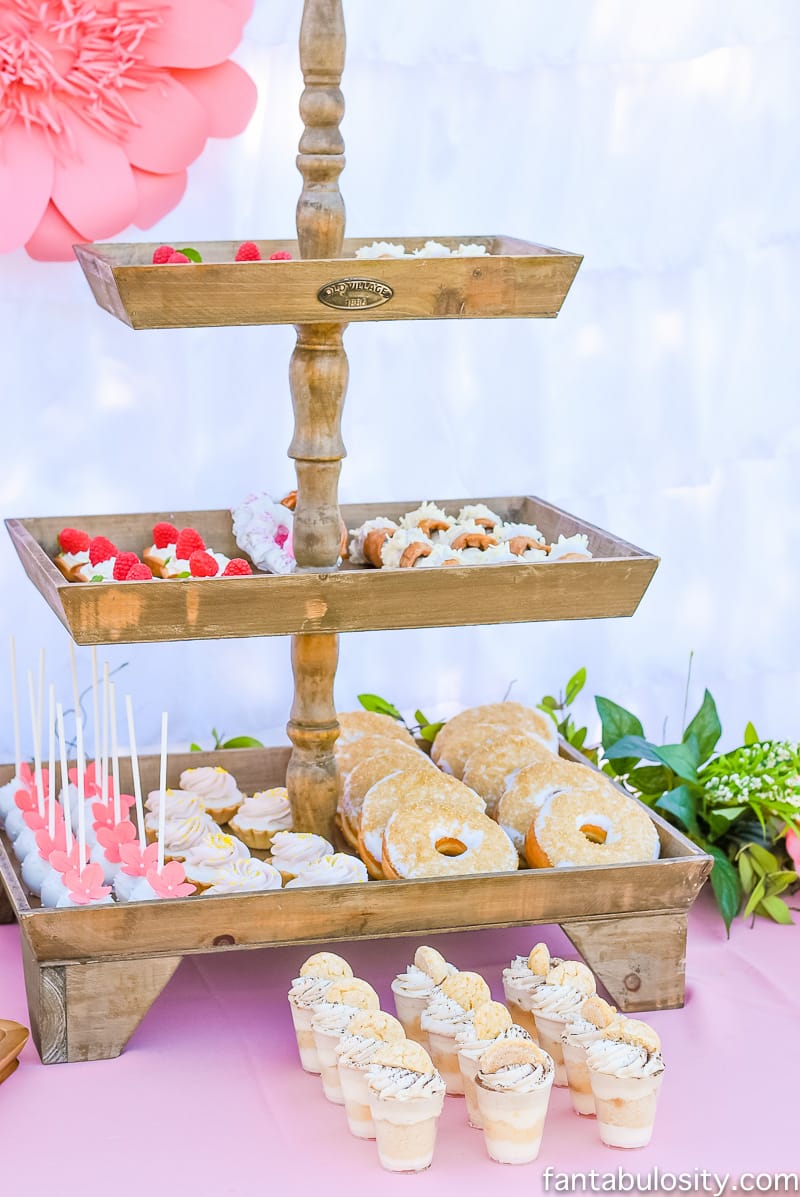
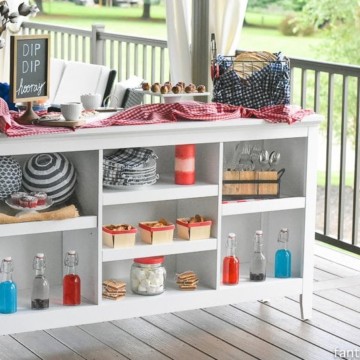
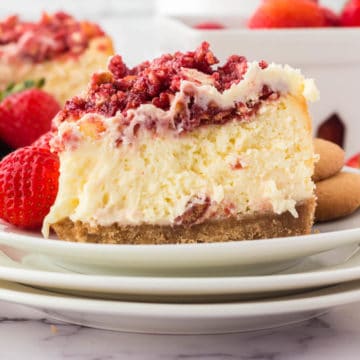
When it comes to no bake recipes, these little individual cheesecakes are the perfect dessert for something quick after dinner or classy enough if you’re hosting a party, especially during the summer months! (But if you’re hosting a party, this walking dessert is a great idea too!) Or, this cherry yum yum is a great alternative if you are looking for a layered cherry cheesecake, though it does require a quick baking of the crust.
Now, if you’d prefer to make a whole, no-bake cheesecake, make sure you check out our Oreo Nutella Cheescake, this No Bake S’mores Cheesecake and this Oreo Cheesecake, too!
[feast_advanced_jump_to]Why This Recipe Works
- No skills required: If choosing the pre-made filling and storebought mini graham cracker crusts, it’s really just a matter of putting the ingredients together! (However, even making the cheesecake filling from scratch, STILL makes this an easy recipe that beginners can be comfortable with.)
- Make-ahead: If hosting, or just wanting to make a dessert ahead of time, this is a quick dessert idea that can be made in advance and stored in the refrigerator until ready to enjoy!
- Ready in only 5 minutes: If you’re using the pre-made filling, and using the storebought mini graham cracker crusts, this is ready to eat within just a few minutes!
Ingredients Needed
There are a couple of options to make mini cheesecakes, and I’ll be sharing how to make these with the simplest way (pre-made ingredients) and you’ll also see how to make the cheesecake filling from scratch if desired, too.
Ingredients For Shortcut Mini Cheesecakes
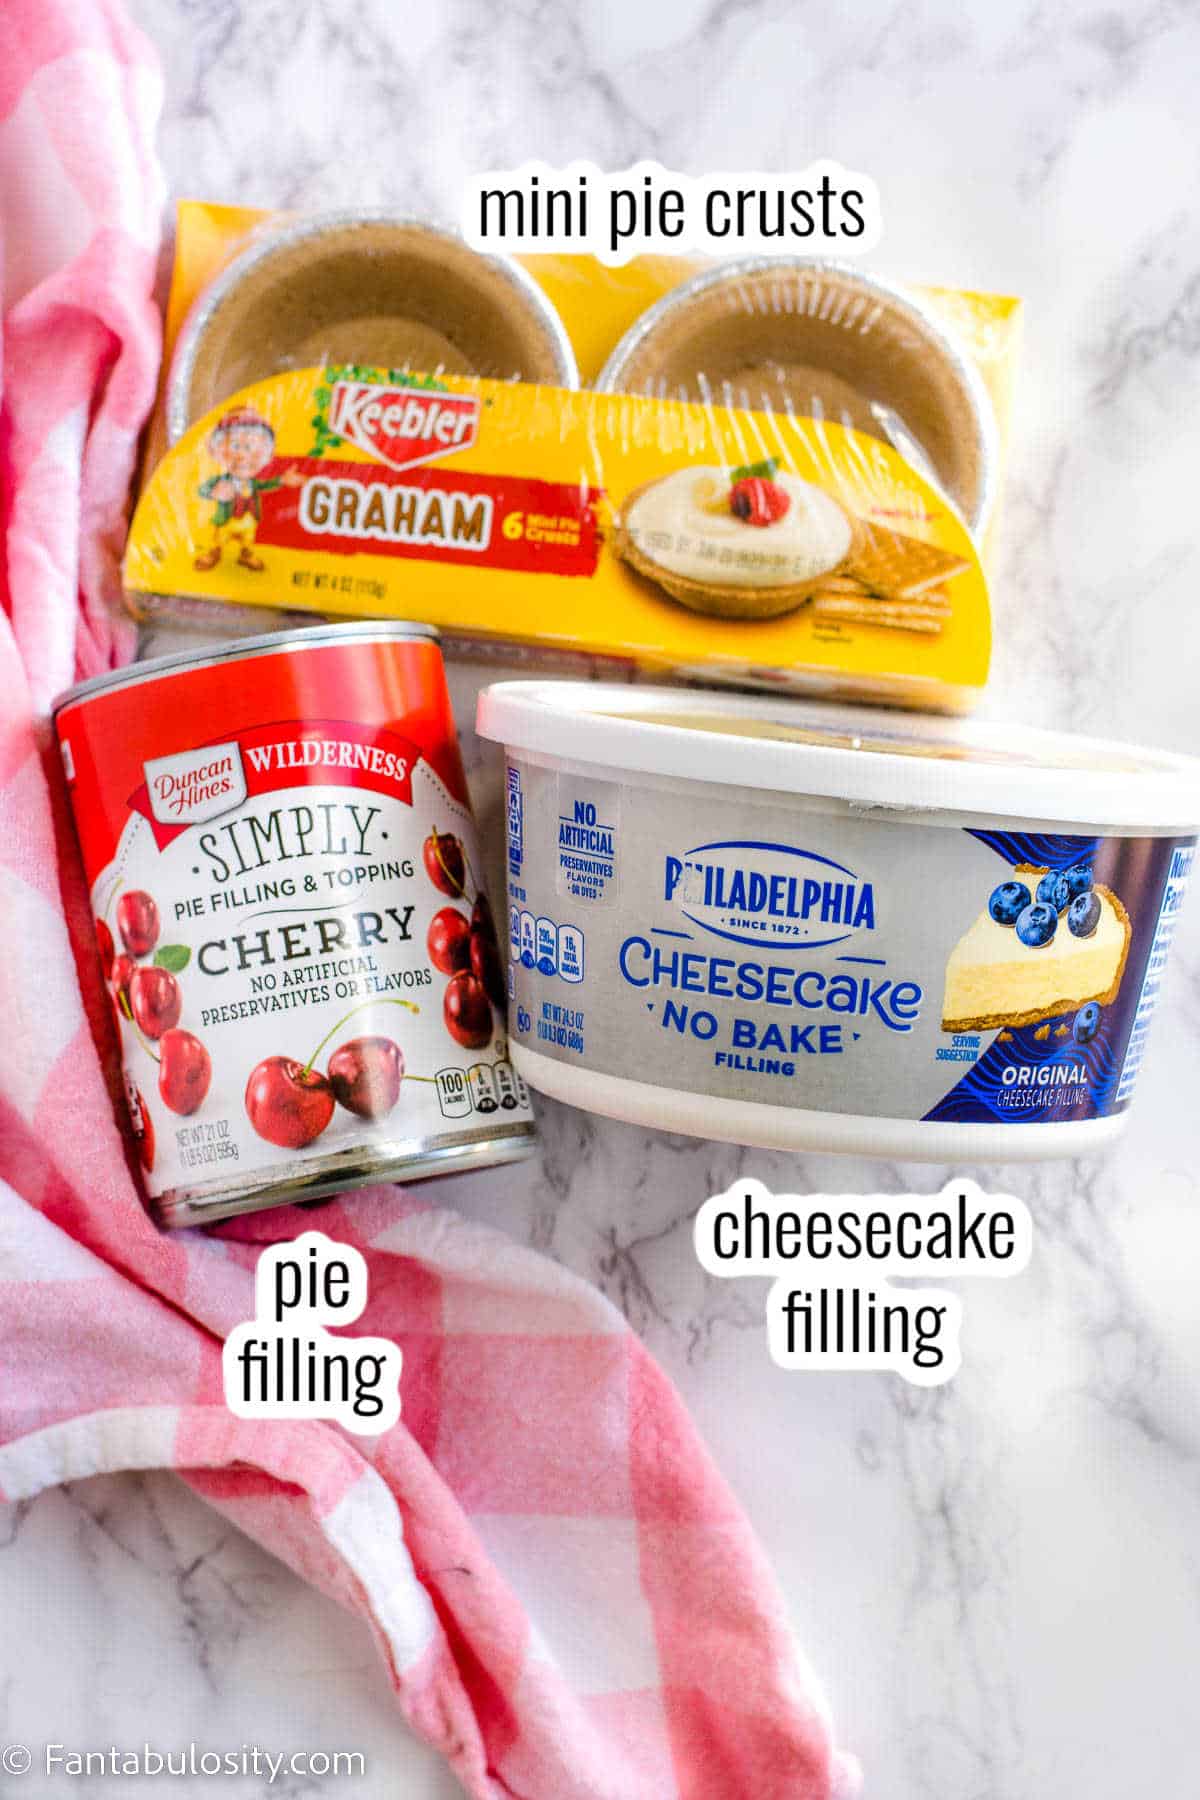
- A Tub of No-Bake Cheesecake Filling – If you can find this in the refrigerator aisle of your grocery store, it’s a great shortcut for cheesecake recipes. Sometimes it can be hard to find but when you do, it’s lovely. It’s made by “Philadelphia” and I haven’t seen it offered by anyone else – but there may be generic brands that are just as good.
- Mini Graham Cracker Crusts – Sometimes you can find these in the baking aisle in the grocery store.
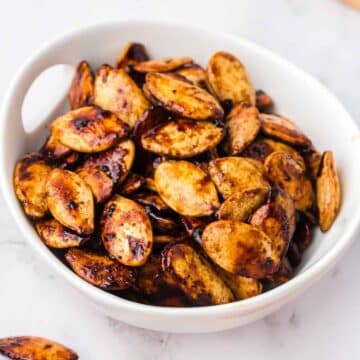
- Canned Pie Filling – What I love about this is that you can mix and match your favorite flavors. Apple, cherry, blueberry… pick your favorite or offer a variety!
From Scratch Cheesecake Filling
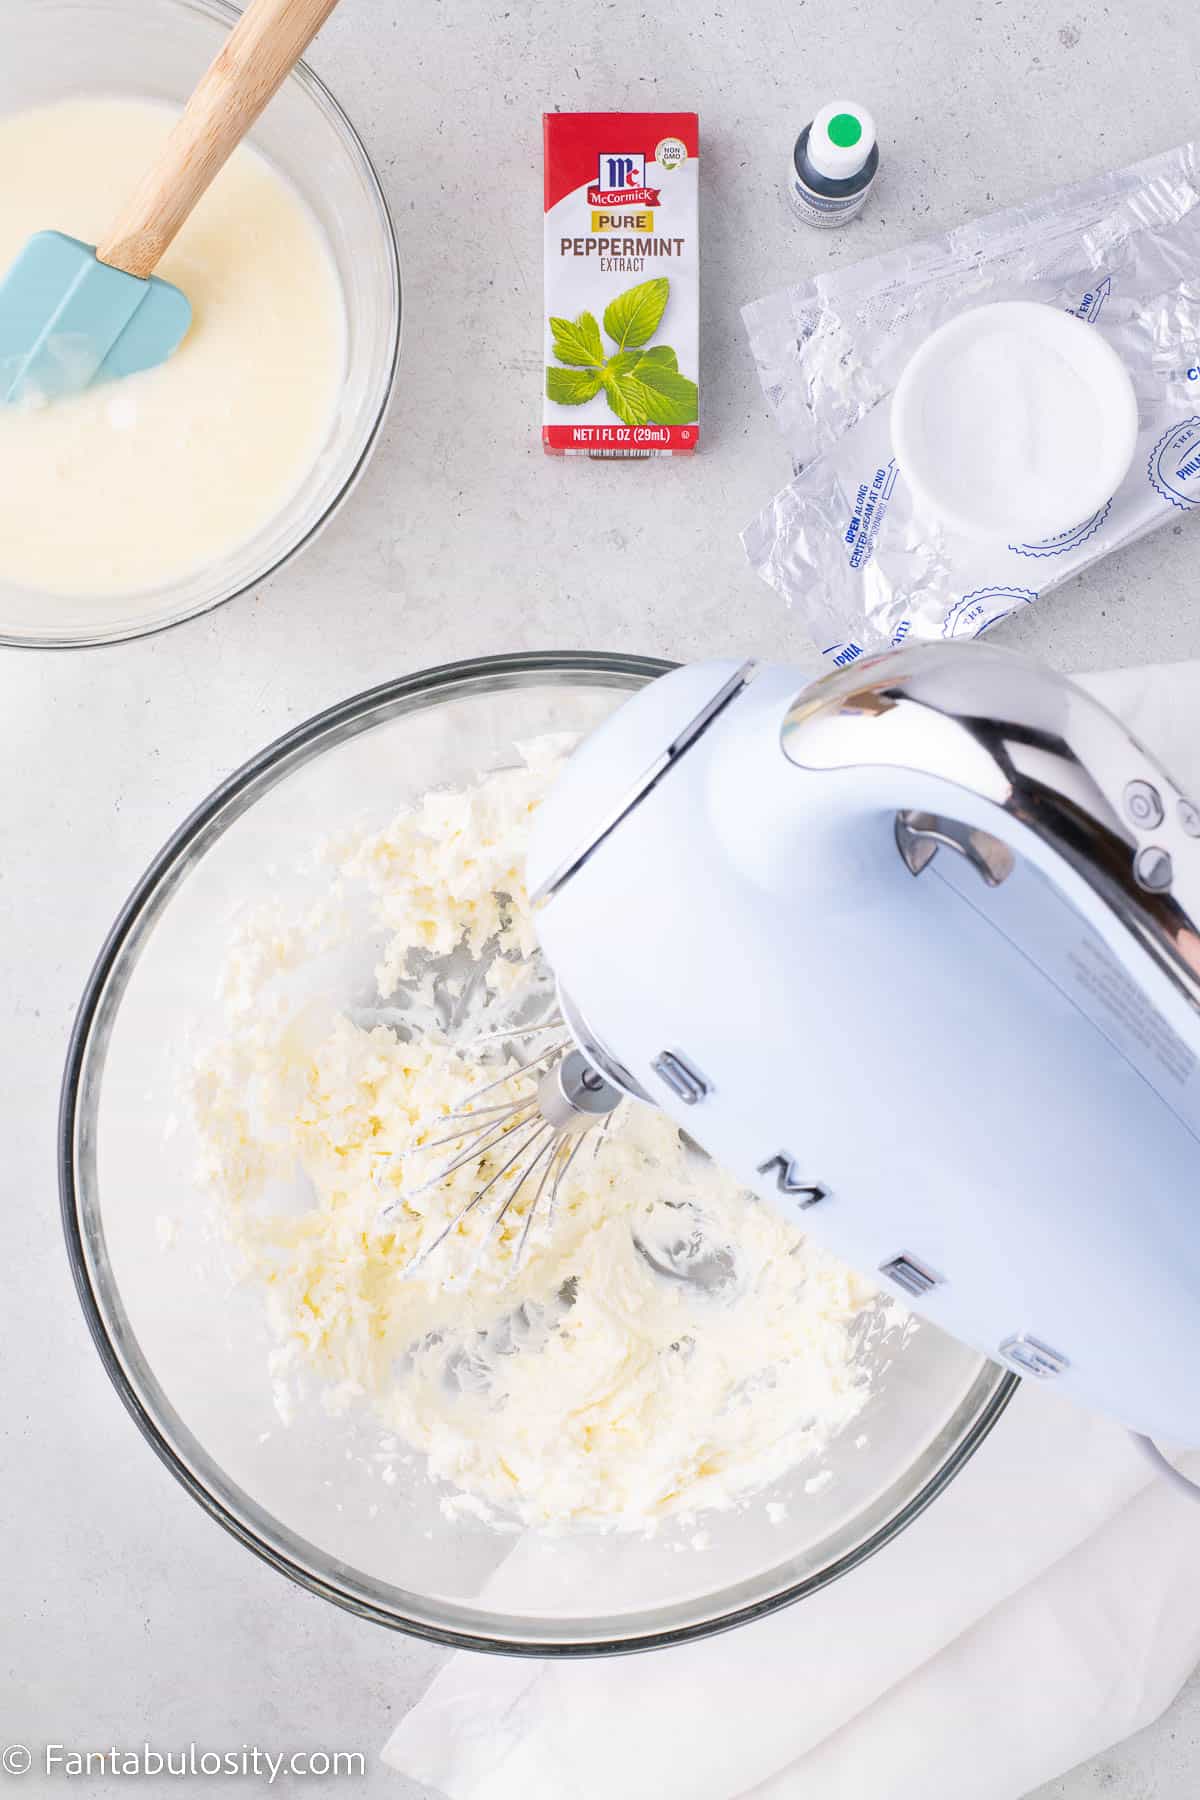
If you prefer to make your cheesecake filling from scratch, or you can’t find the pre-made cheesecake filling at the store, you’ll just need a few ingredients to whip this up, and don’t worry… it’s still super easy to make!
- 8-ounce package of cream cheese, softened
- 14-ounce can of sweetened condensed milk
- ⅓ cup lime juice
- 1 teaspoon vanilla extract
How to Make No-Bake Cheesecake Filling from Scratch
To see how to make this cheesecake filling from scratch, see the full instructions in our No Bake Cherry Cheesecake recipe.
Then, simply use the filling to fill your mini graham cracker crusts.
NOTE: Make sure to allow time for the cheesecake filling to “set” in the crusts, in the refrigerator for 2-3 hours. (No need to allow time for chilling if using pre-made cheesecake filling.)
Substitutions
Sometimes substitutions are necessary because of ingredients that are unavailable or needed for dietary restrictions. Here are some suggestions that can help:
- Graham Cracker Crusts – if you want to make your own mini graham cracker crusts, you can make them using a muffin pan and cupcake liners.
– Preheat oven to 350 degrees (unless freezing crusts to set instead).
– Line a 12-cavity muffin pan with cupcake liners.
– Simply mix ¾ cups graham cracker crumbs, ¼ cup melted butter and 2 tablespoons of granulated sugar together in a bowl. Pour about 1 tablespoon of crumb mixture in to each cupcake liner.
– Bake for 5-10 minutes or place in the freezer for 10 minutes. Fill with cheesecake filling as instructed. This makes 12 graham muffin-size cracker crusts. - Pie Filling- you can use whatever flavor of pie filling you prefer, or top your cheesecake with different toppings. (See topping suggestions below.)
Topping Suggestions
If you’d like to use different toppings for your cheesecakes, here are some of our favorite topping suggestions that may be helpful:
- Pie Filling – canned cherry, blueberry, strawberry or apple.
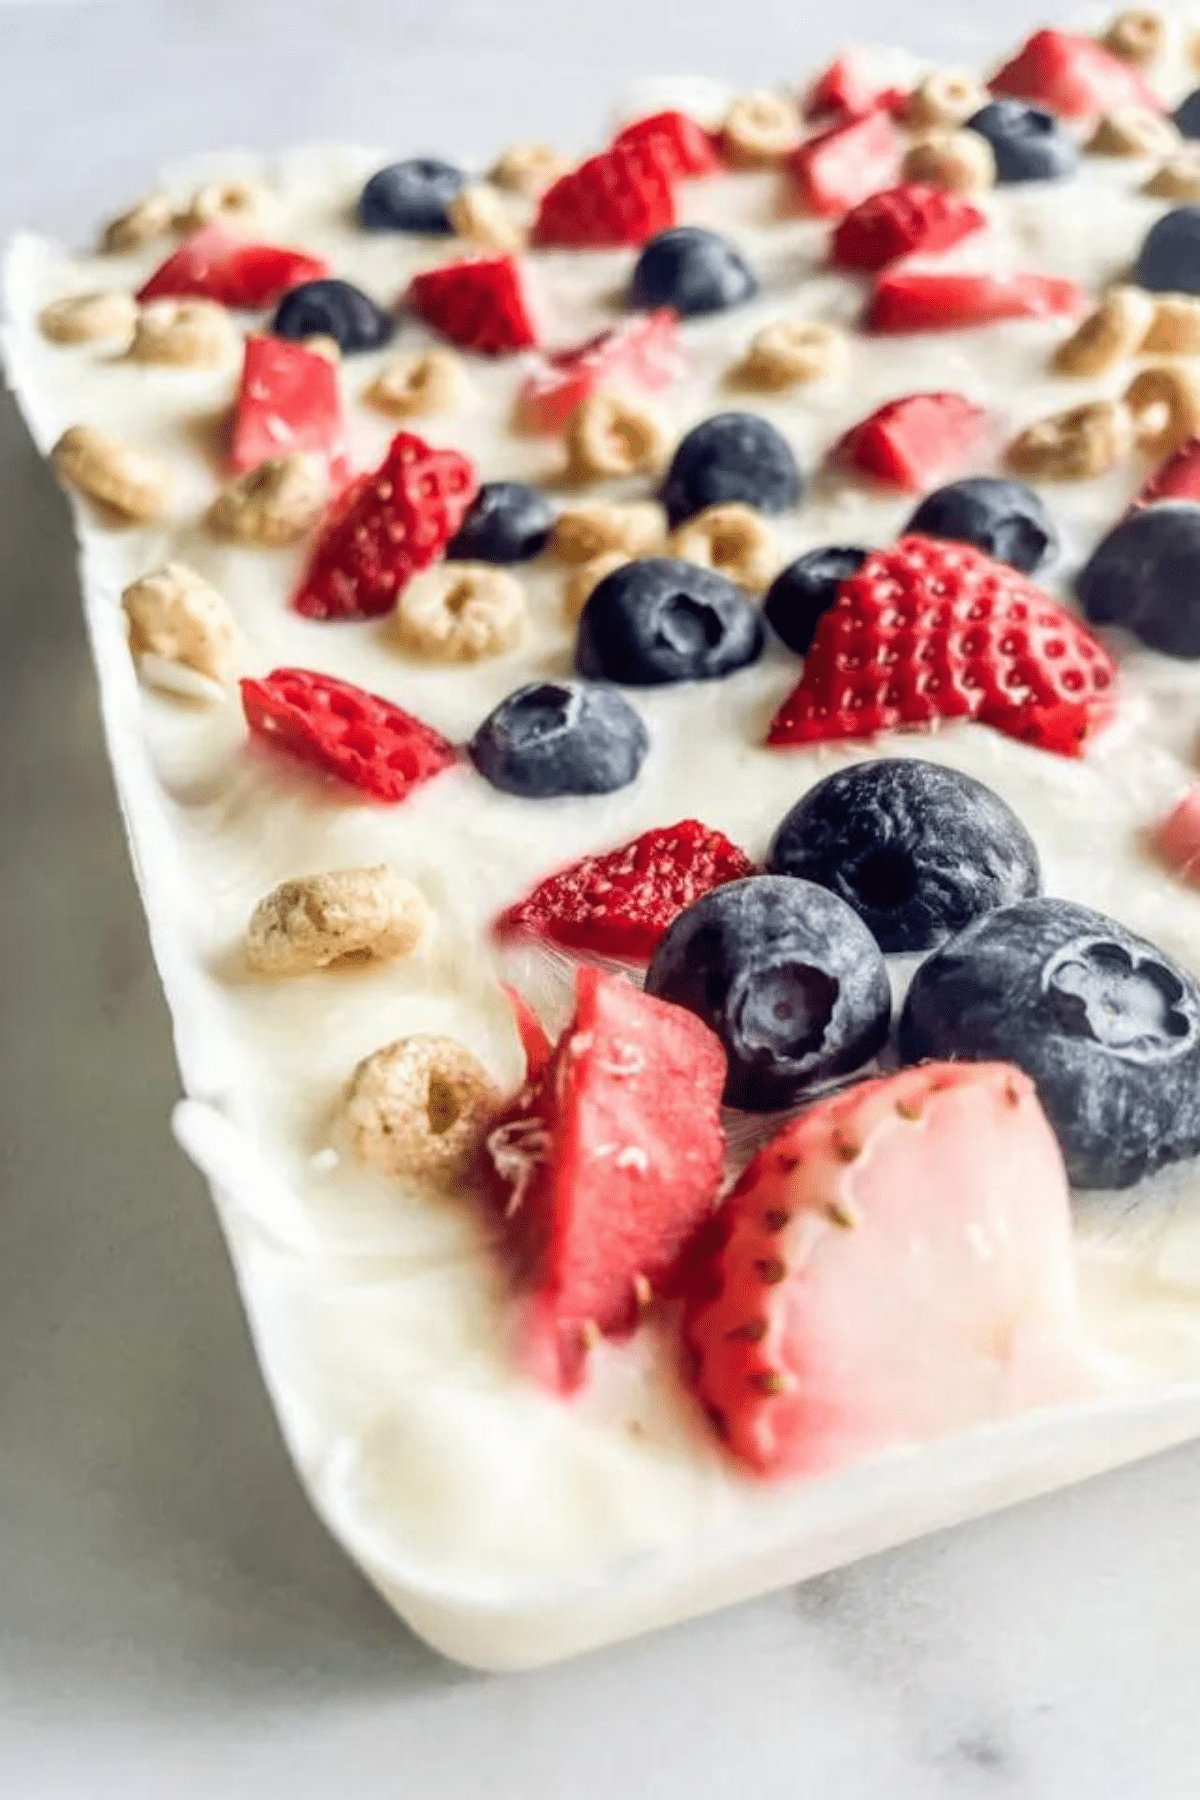
- Fresh Fruits – peaches, blueberries, strawberries, raspberries.
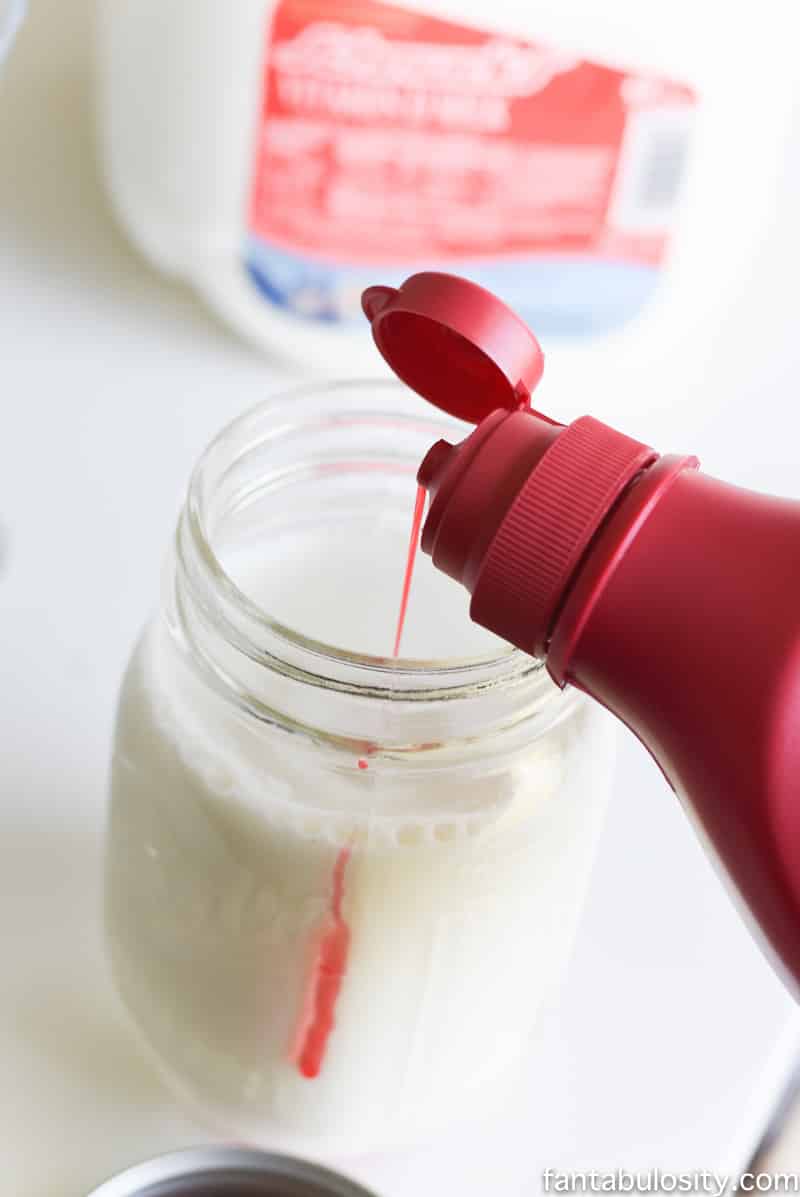
- Syrups – chocolate syrup, caramel, strawberry.
- Candies and Sweets – chocolate chips, nuts, crushed candy bars, crushed cookies.
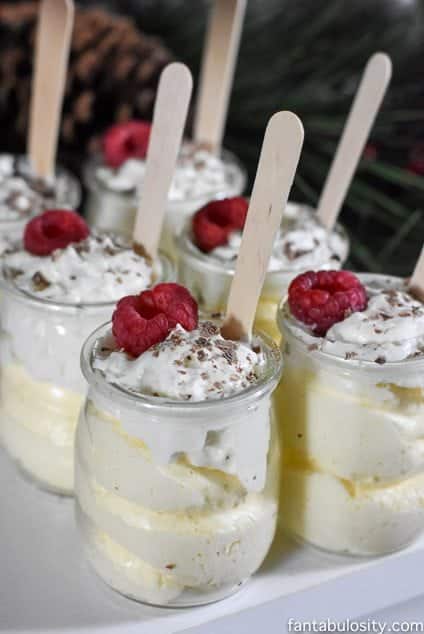
- Whipped Cream – Cool Whip or homemade whipped cream on top can be a great option too.
How to Make These Mini No Bake Cheesecakes
If using the shortcut method, this no bake dessert only consists of two steps:
- filling the graham cracker crusts with cheesecake filling
- topping with your favorite toppings (if desired).
I suggest making these ahead of time if serving a large meal. That way they’re done, can be chilled and can be pulled out of the refrigerator and served when ready.
*Be sure to see the recipe card below for the full ingredients list & instructions!*
Gather your ingredients, and if using homemade, from-scratch ingredients as mentioned above, prepare those at this point, then proceed with step one.
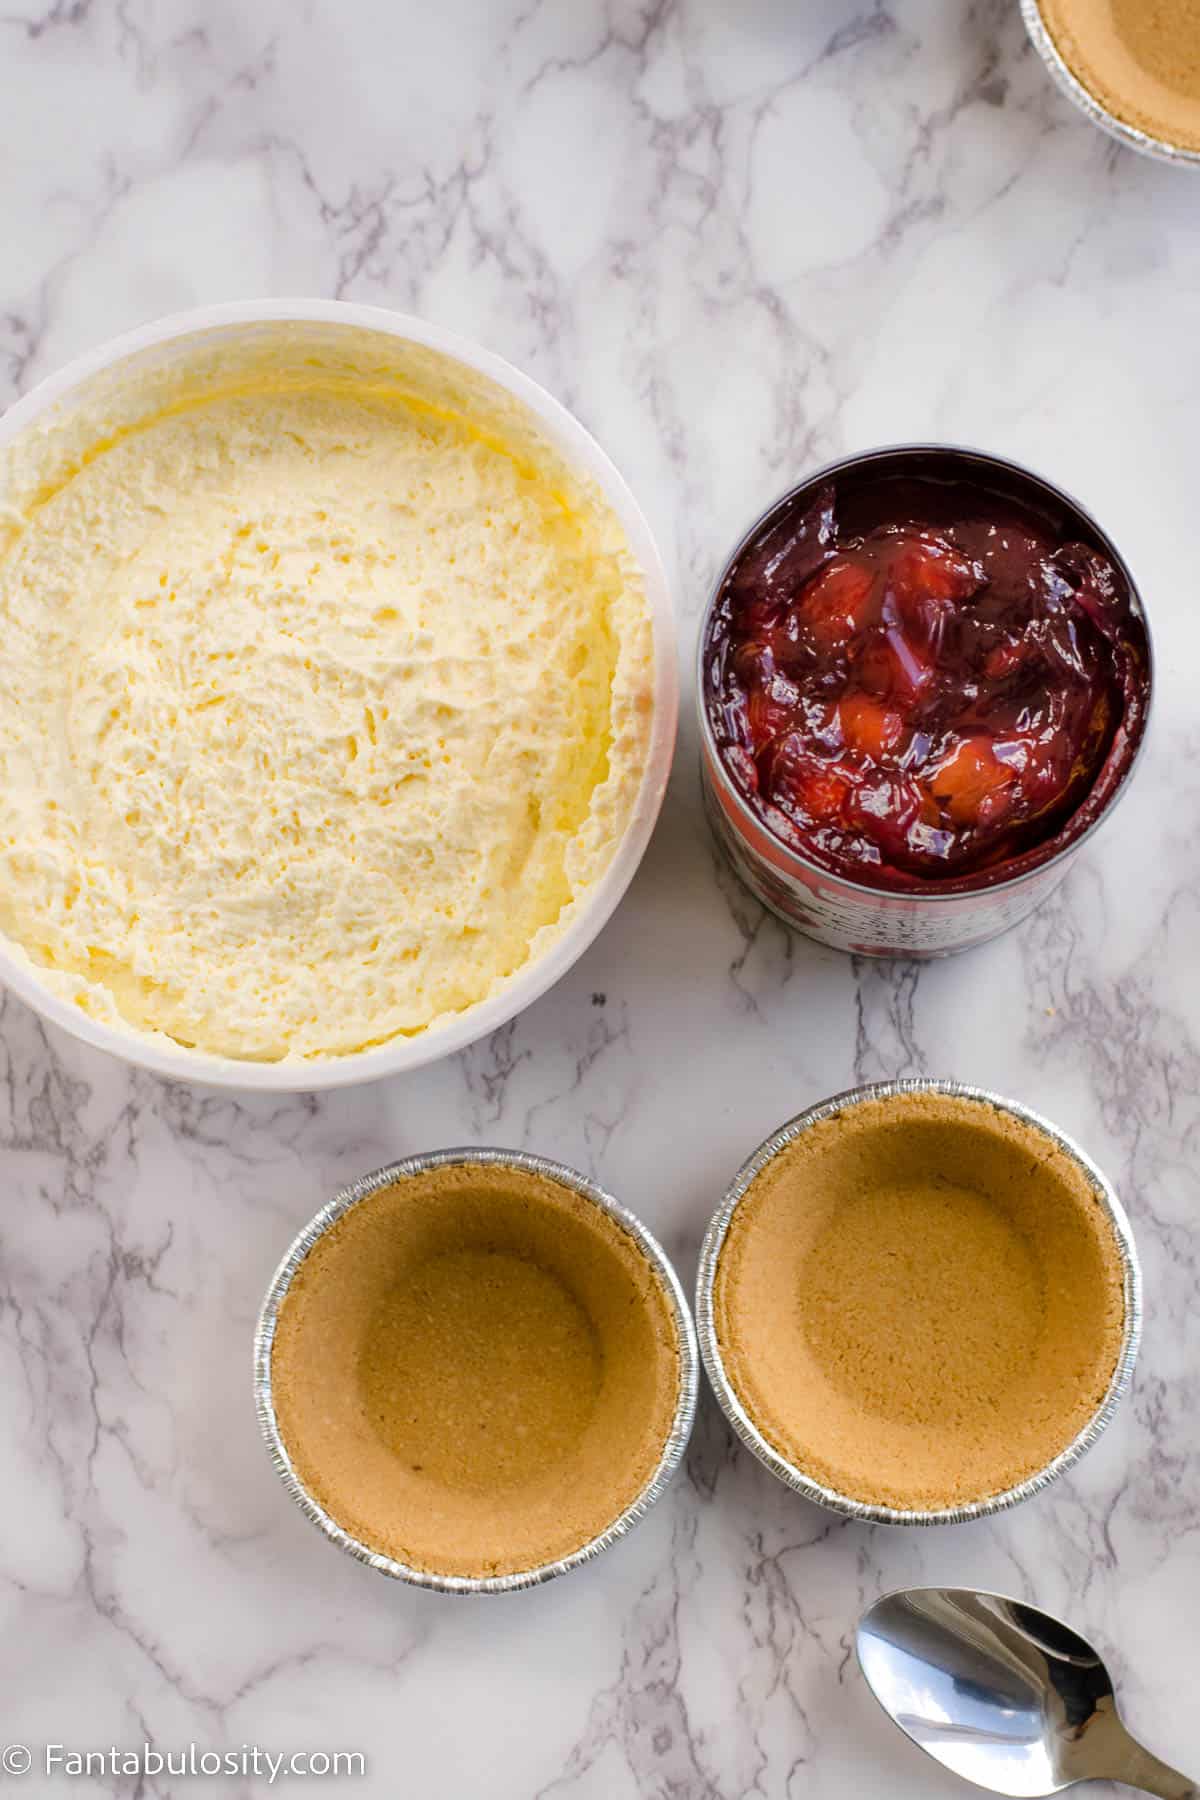
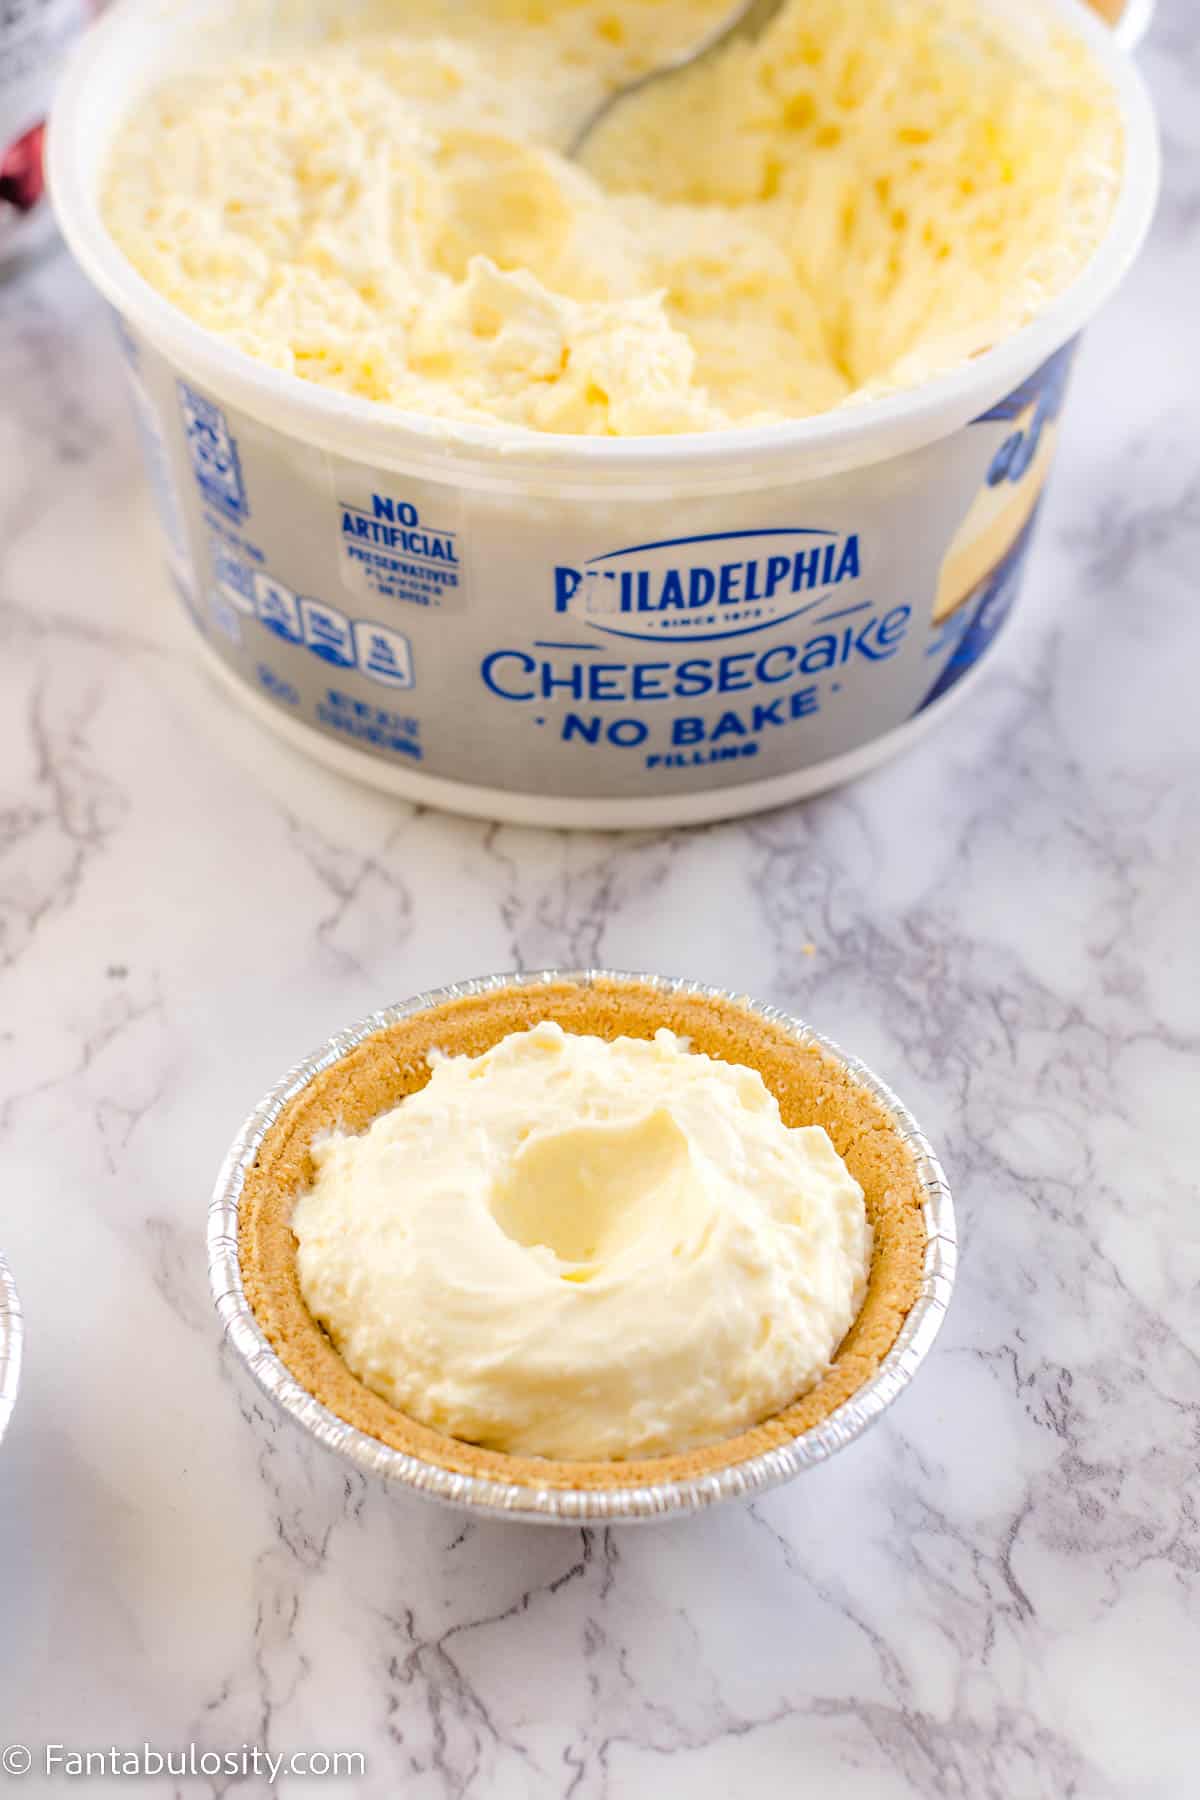
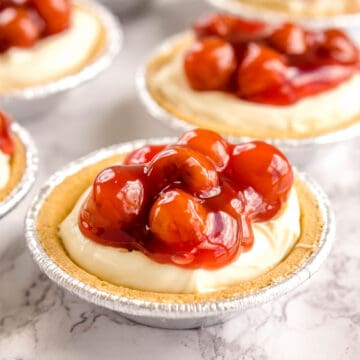
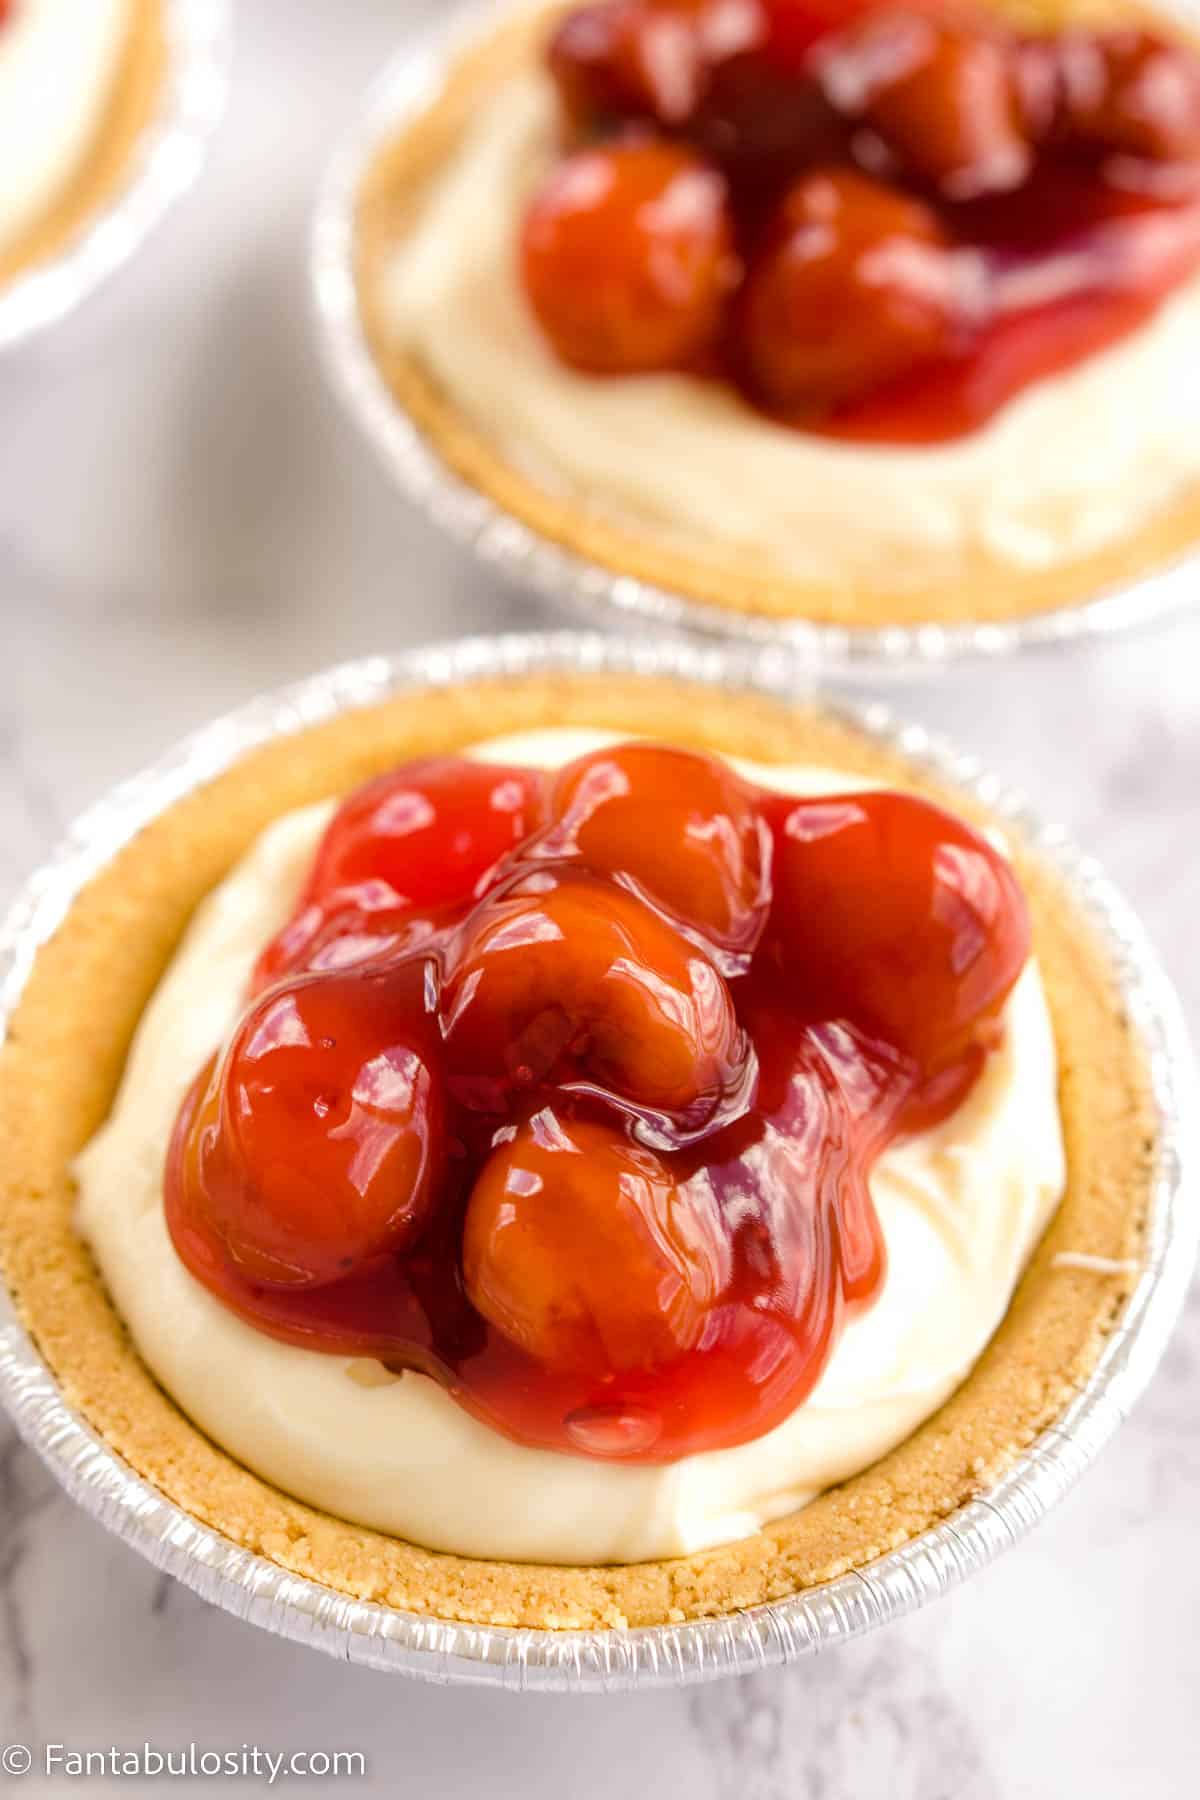
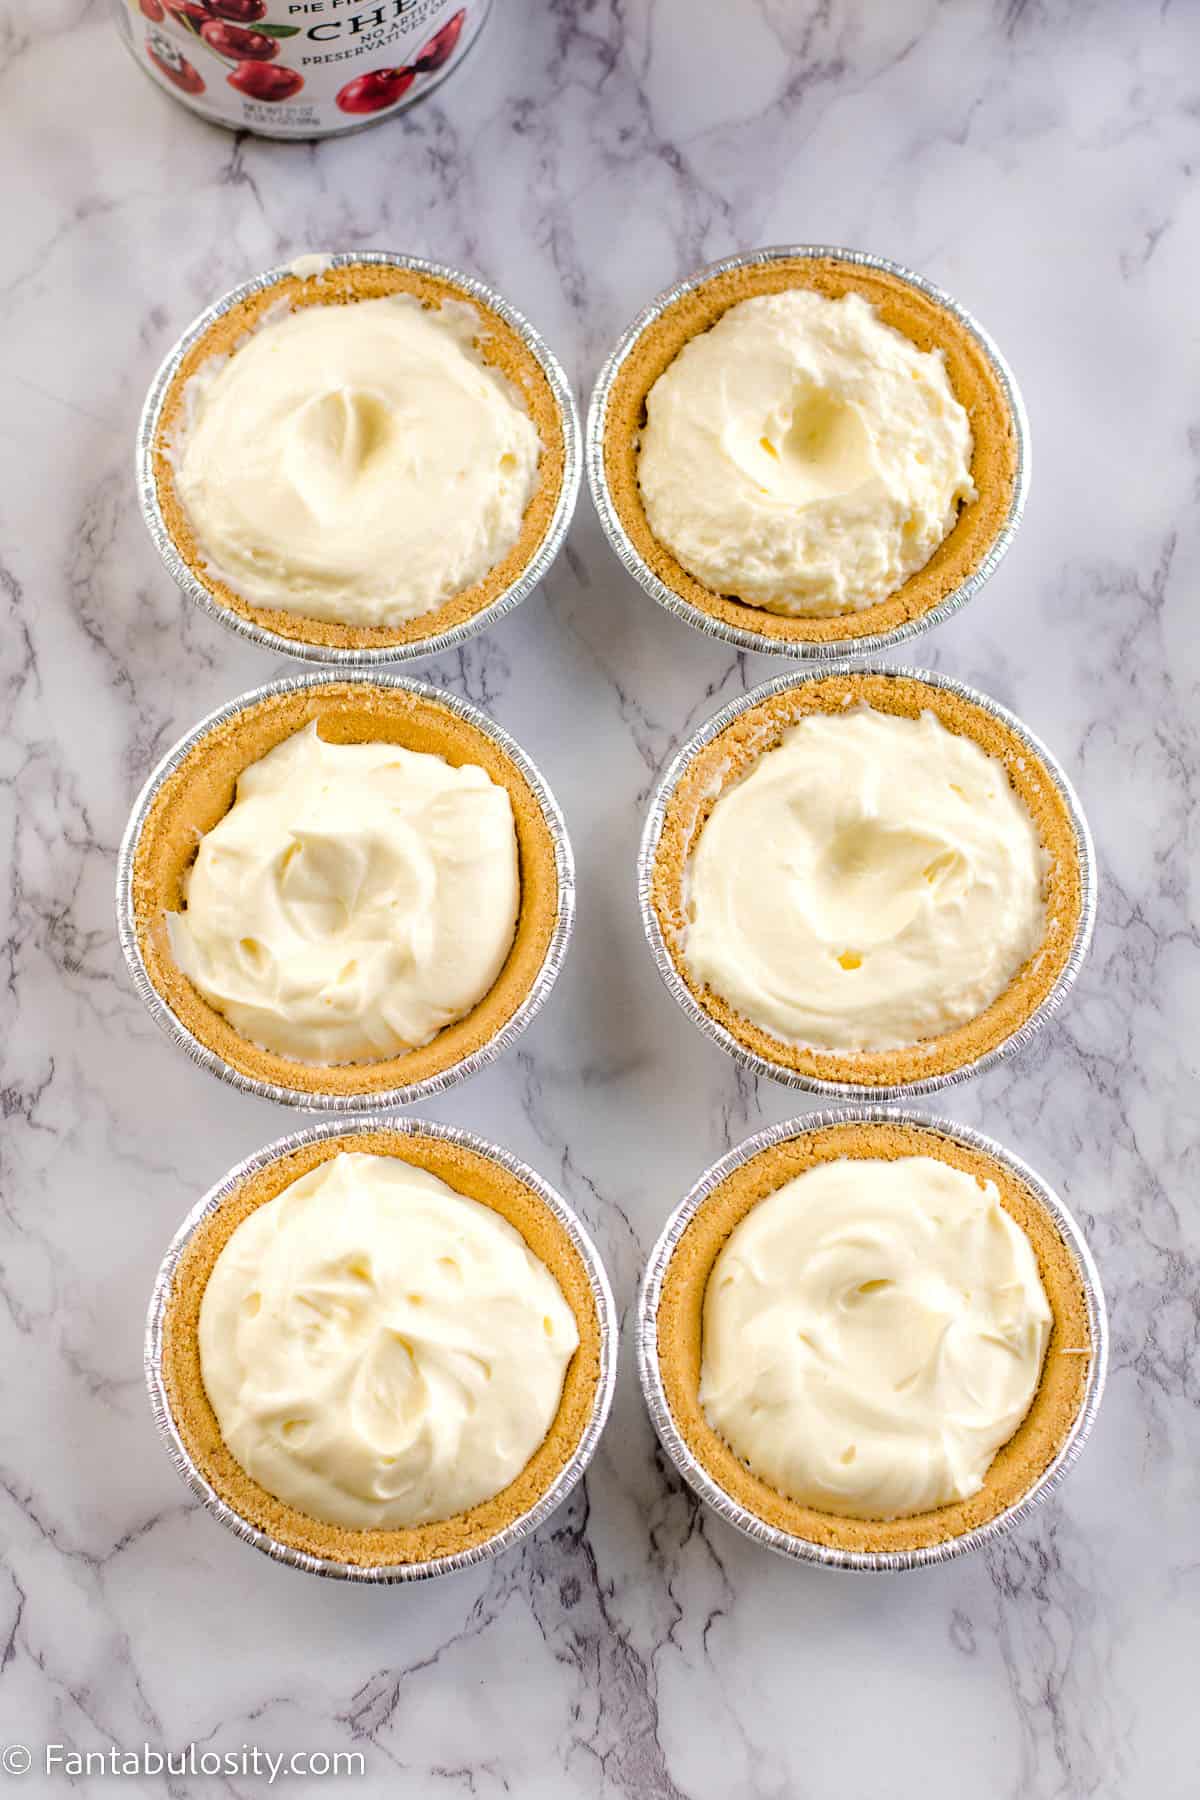
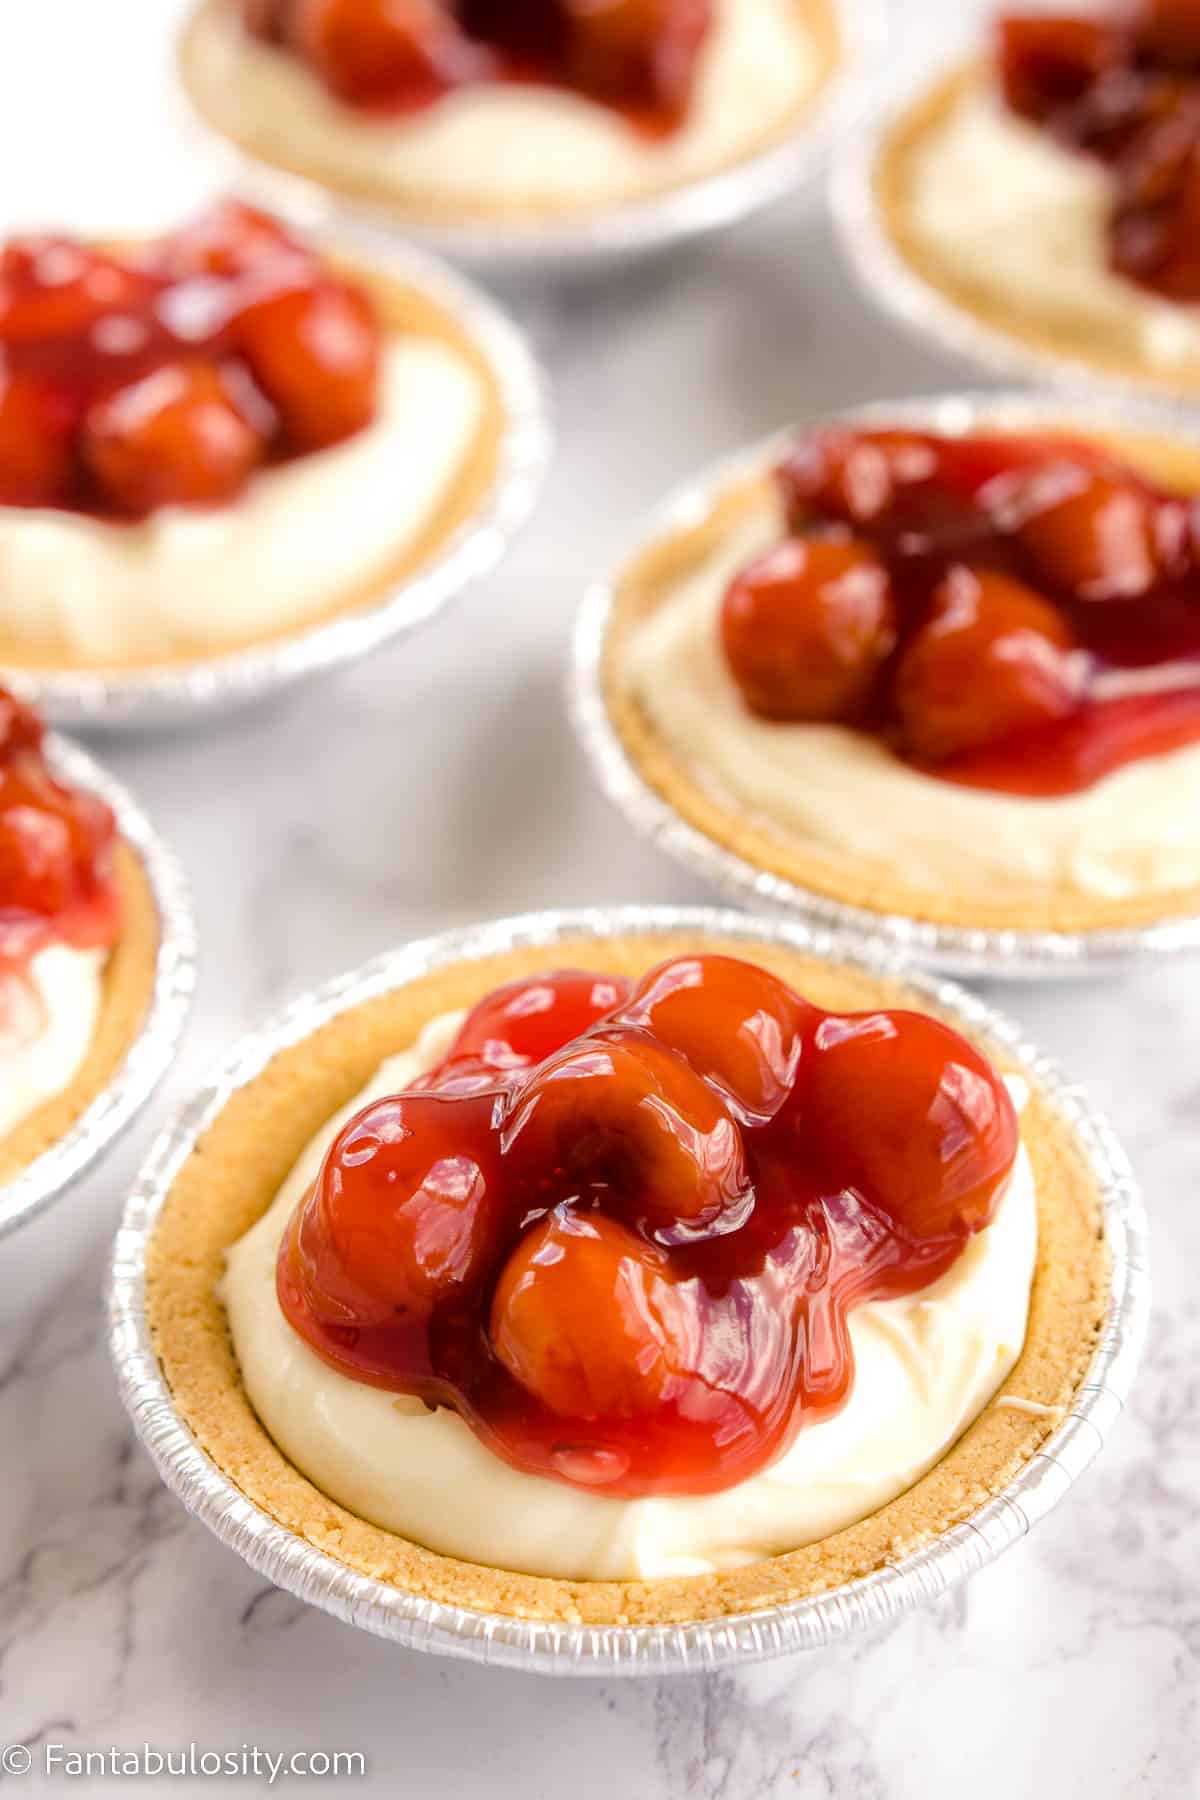
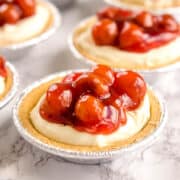
STEP 1. Unwrap crusts, open cheesecake, and toppings. Begin filling graham cracker crusts with about ¼ cup of cheesecake filling, or desired amount. (Image 1).
TIP: Create a cavity, by pressing down in the center of the cheesecake filling with a spoon, to allow the pie filling, or your desired topping to sink in to, to prevent overflowing (Image 2).
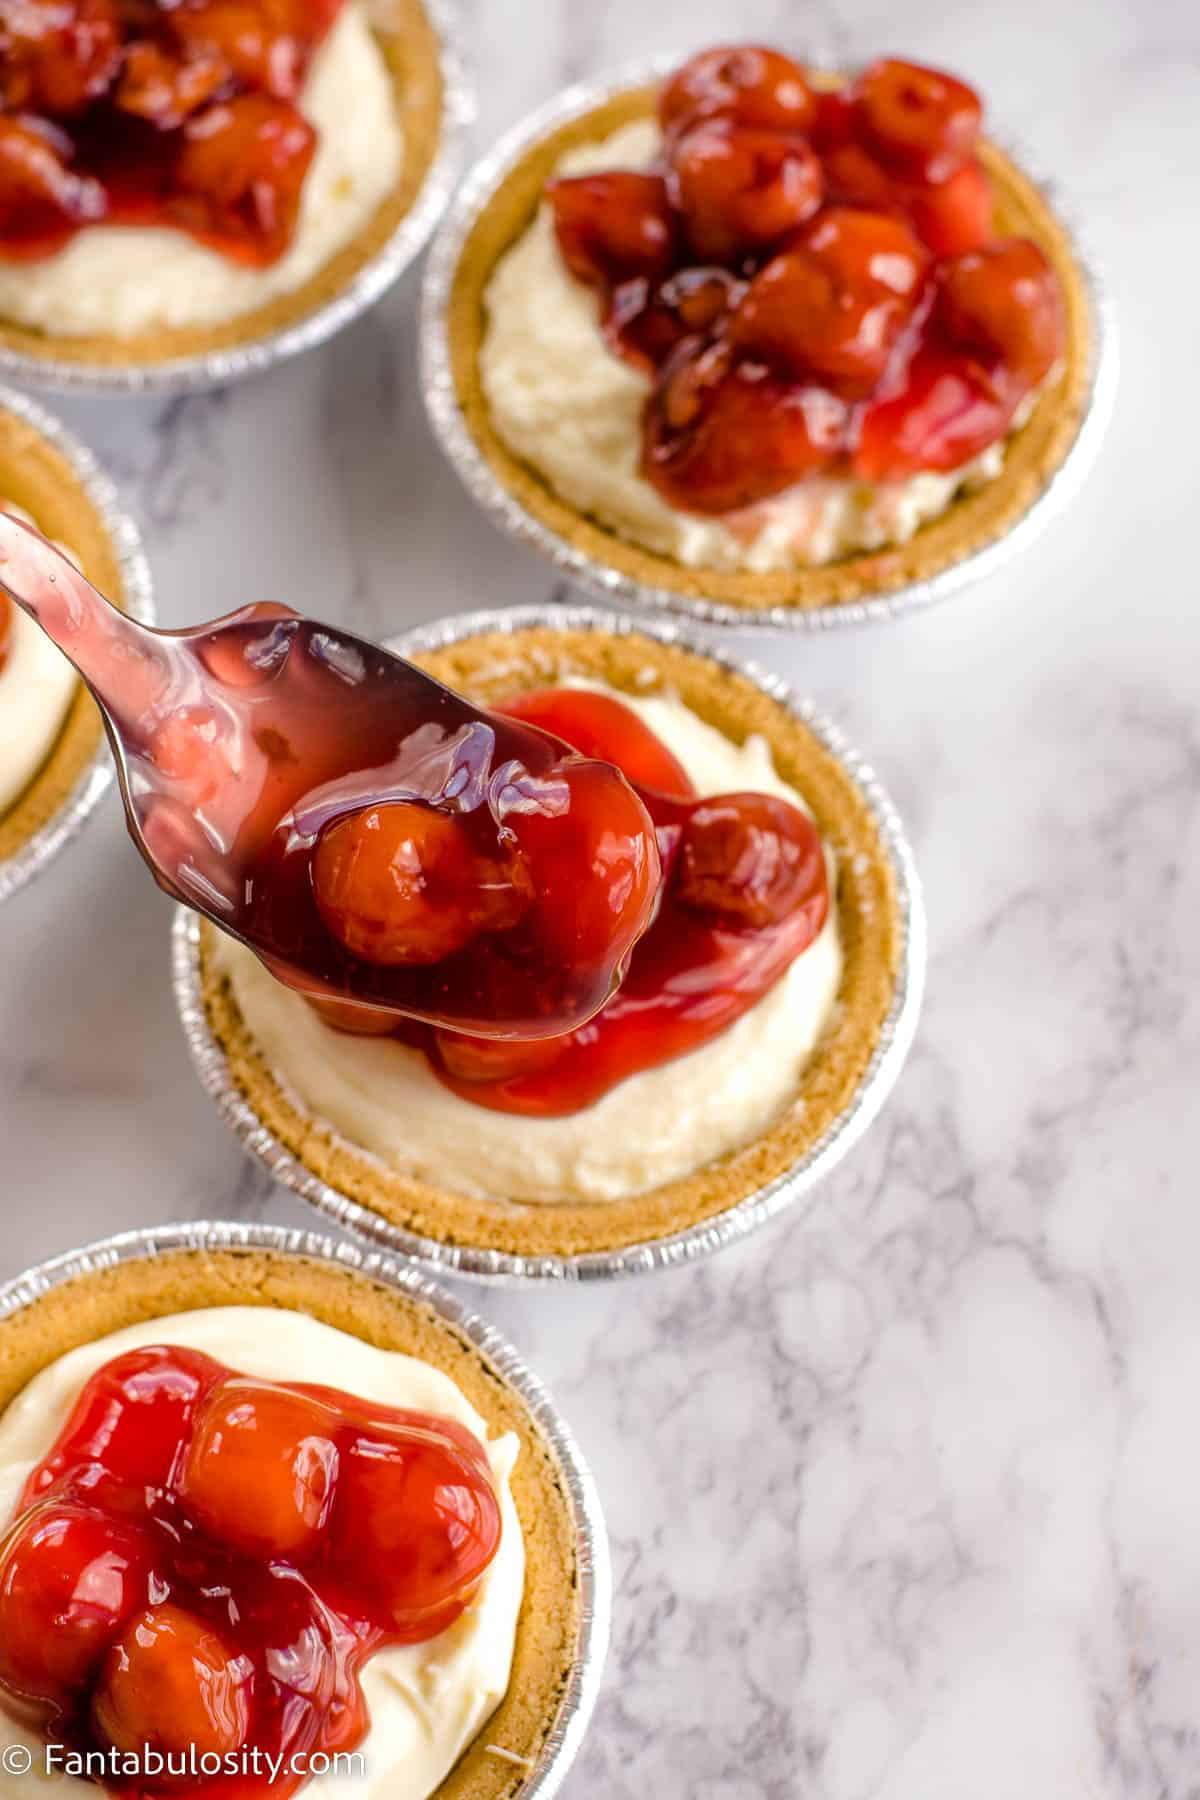
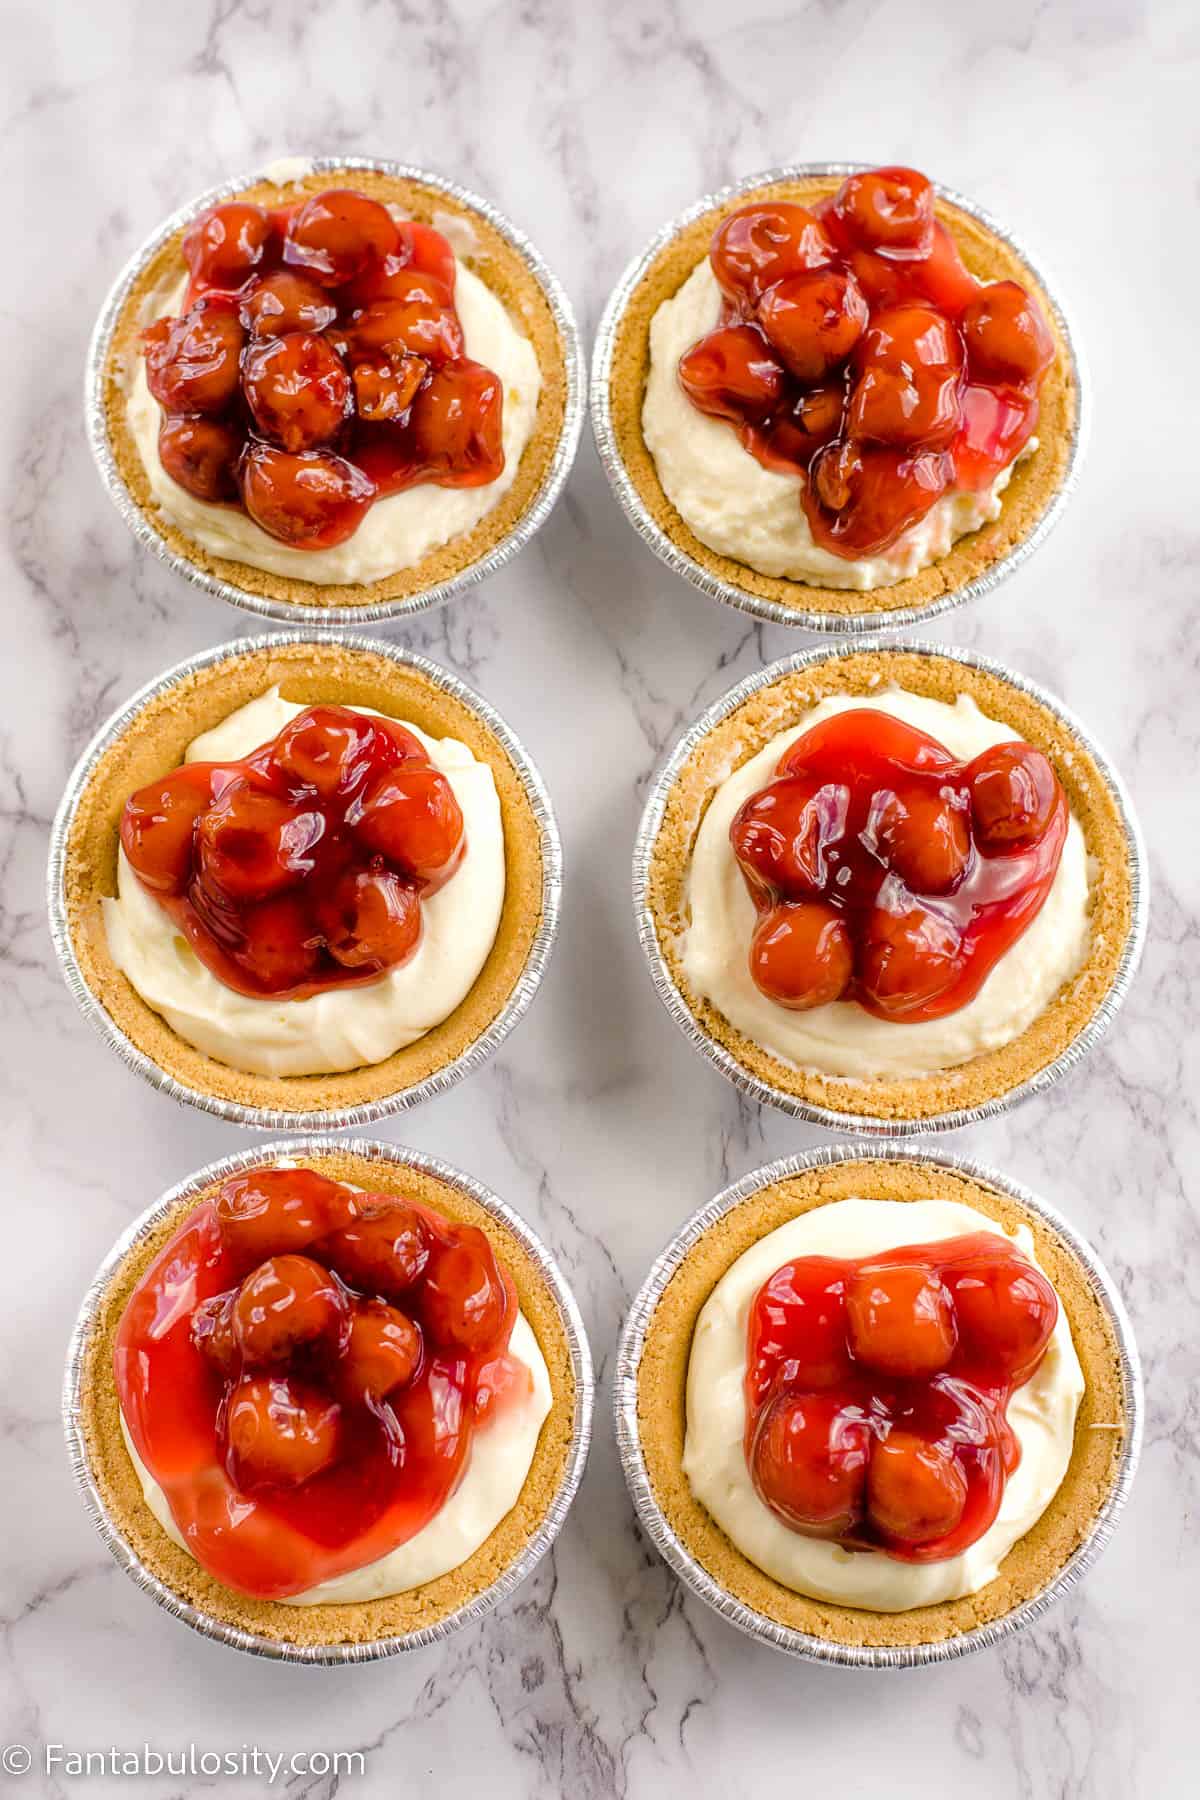
STEP 2. Top with Topping. Once all graham cracker crusts are filled (6 of them, or the amount you’re making) start spooning on the pie filling. In this case, we used cherry pie filling, straight from the can but you can use whatever you prefer!
STEP 3. Chill or Serve. If enjoying right now, they’re ready to eat! If serving later, store the cheesecakes in the refrigerator until ready to serve.
TIP: If storing in the refrigerator for later, place the cheesecakes in a large container or on a rimmed baking sheet for easier storage. You can cover them with a lid or with plastic wrap to prevent refrigerator flavors from absorbing as much.
Recipe Pro Tips
- Up-Level Pre-Made Ingredients: Don’t be ashamed for using shortcuts to make a delicious dessert. However, if you want to dress up this easy dessert, using different pie fillings on different cheesecakes, top with whipped cream, and sprinkle with fancy toppings such as chocolate curls.
Recipe FAQs
It depends on which texture you prefer. They’re both delicious, however a baked cheesecake tends to have a more dense texture, where a no-bake cheesecake has a fluffy, airy, texture.
No-bake cheesecake filling is more fluffy and airy than a baked cheesecake, so if a firm, no-bake cheesecake is desired, it’s best to allow 6-8 hours, overnight for the cheesecake to chill, to make sure it reaches a firmer texture. However, since it’s a no-bake recipe, it won’t achieve the firmness a baked cheesecake will.
It definitely has the flavor of the cheesecake you’re used to, although the texture could be slightly different.
Storage
Store any leftover or made-ahead cheesecakes in the refrigerator for up to 5 days. If using storebought cheesecake filling, it’s best not to freeze, as it doesn’t hold up well from freezing.
More Cheesecake Recipes You’ll Love
If you love cheesecakes, baked and no-bake, we think you’ll love these reader favorites:
Did you make this? I’d be so grateful if you left a “star” rating below to let me know what you thought! Then, the next time you need a quick and easy recipe, come back to Fantabulosity to browse all of my easy recipes!
Recipe
No Bake Mini Cheesecakes
Ingredients
- 6 mini graham cracker crusts or see post for mini graham cracker crust recipe
- Storebought no bake cheesecake filling or use this no bake cheesecake filling recipe
- 1 can pie filling we used cherry
Instructions
- Fill mini graham cracker crusts with about ¼ cup of cheesecake filling, creating a cavity in the center with a spoon.
- Top with a spoonfull of your favorite flavor of pie filling, or your favorite toppings. (See post for more topping ideas.)
- Serve and enjoy or chill in the refrigerator until ready to serve.
Notes
– Preheat oven to 350 degrees (unless freezing crusts to set instead).
– Line a 12-cavity muffin pan with cupcake liners.
– Simply mix ¾ cups melted butter, ¼ cup melted butter and 2 tablespoons of granulated sugar together in a bowl. Pour about 1 tablespoon of crumb mixture in to each cupcake liner.
– Bake for 5-10 minutes or place in the freezer for 10 minutes. Fill with cheesecake filling as instructed.