Dip bar ideas are one of the easiest ways to serve snacks at a party without a lot of prep. Whether you're hosting a game day, holiday, or casual get-together, a dip bar lets guests mix and match their favorites and keeps things simple.
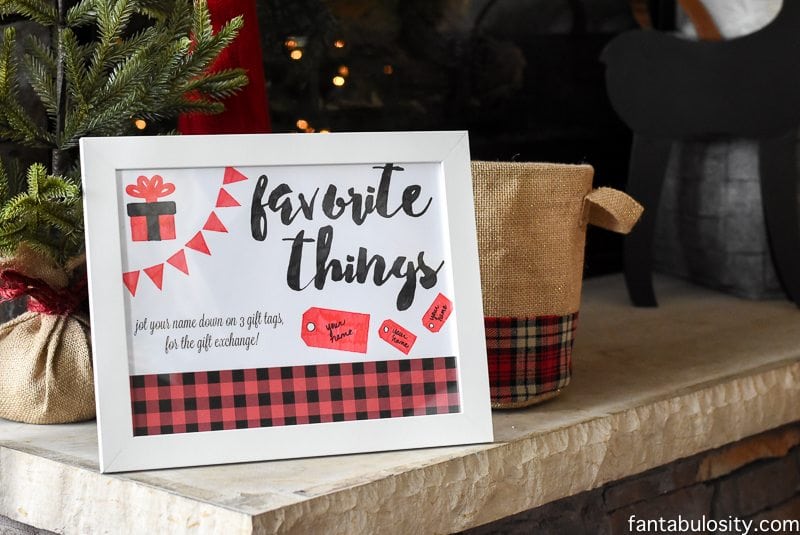
An Easy Party Food Idea Guests Love
A dip bar is perfect when you want something low-effort but still fun. With a few store-bought dips and simple snacks, you can create a spread that feels inviting without spending hours in the kitchen.
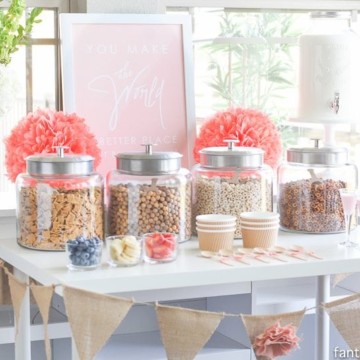
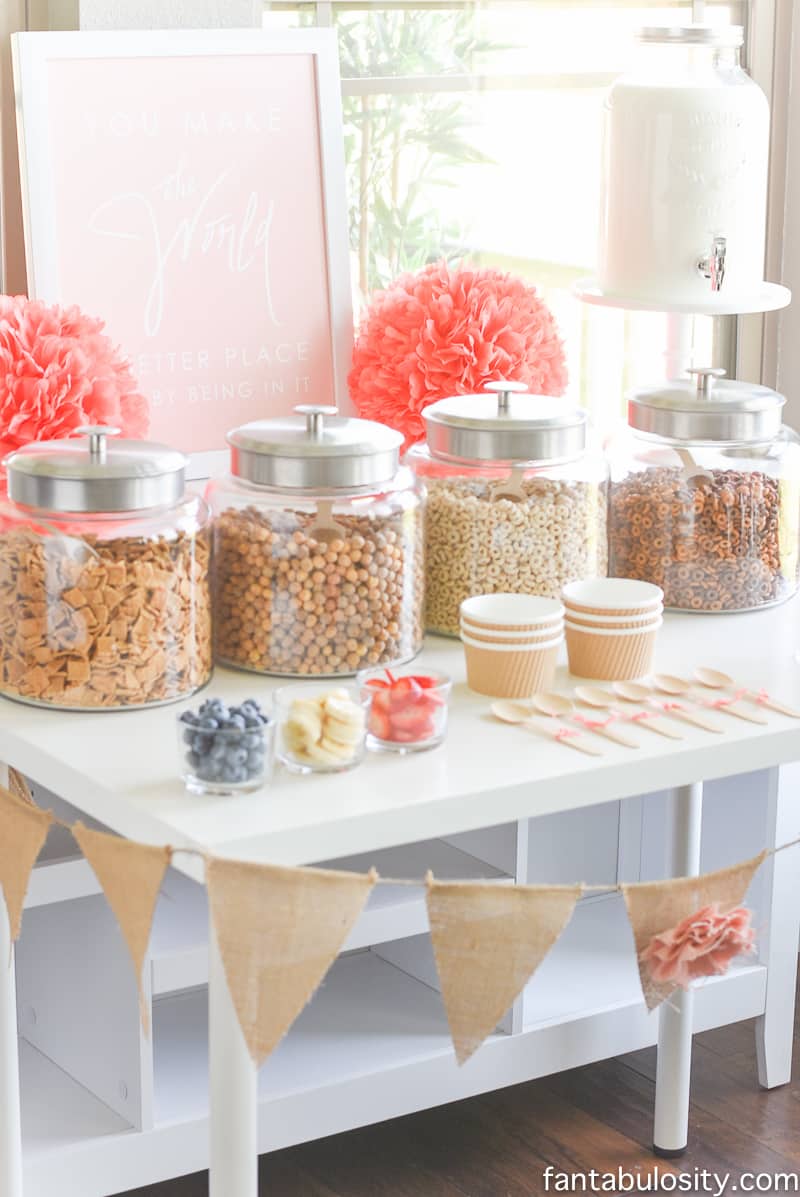
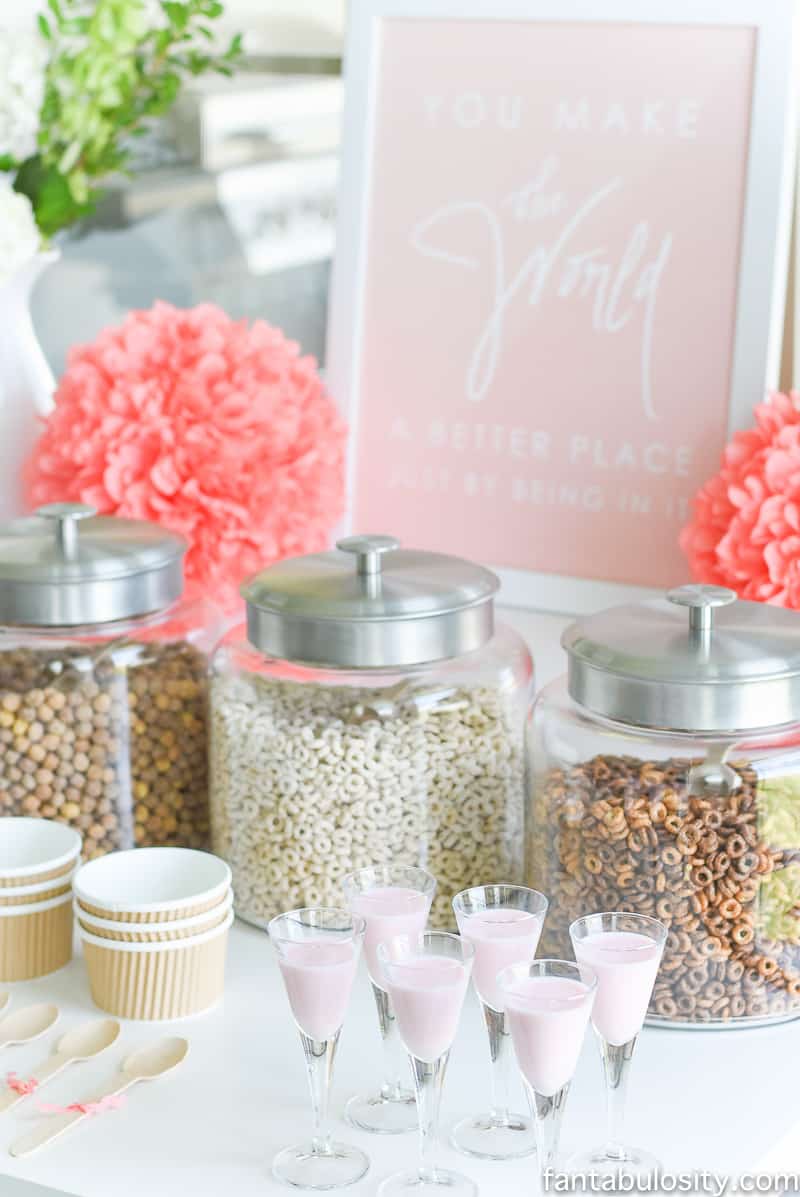
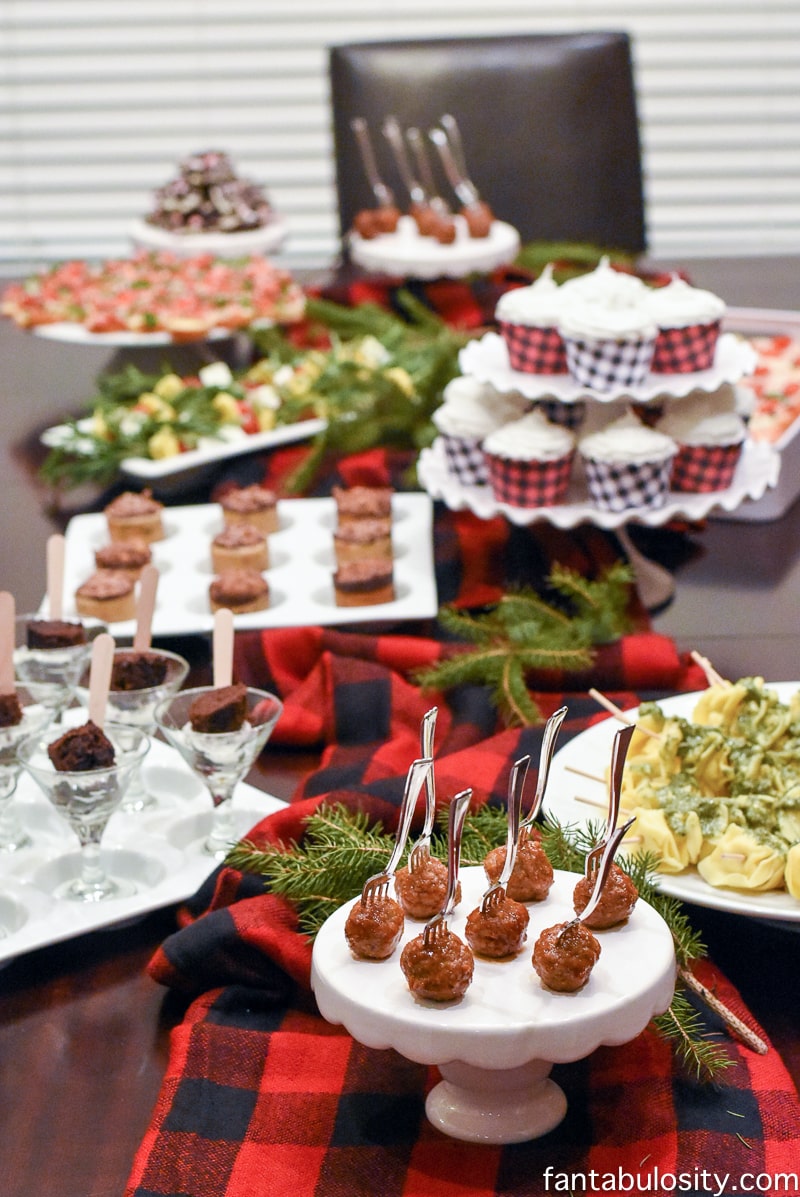
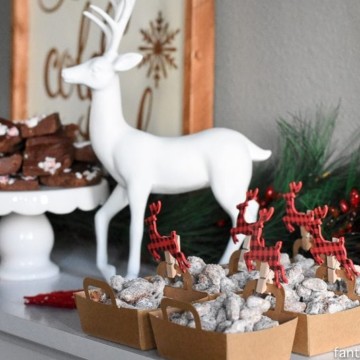
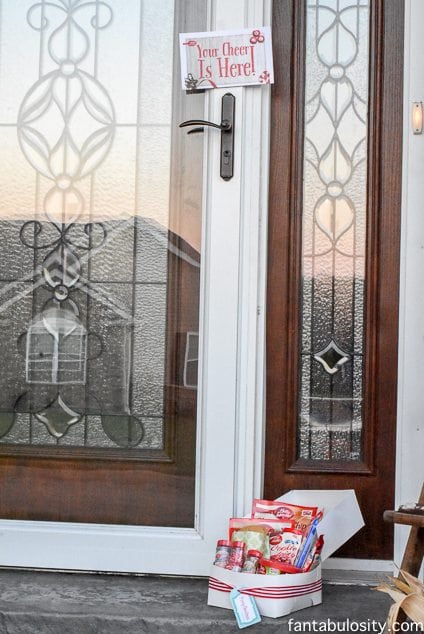
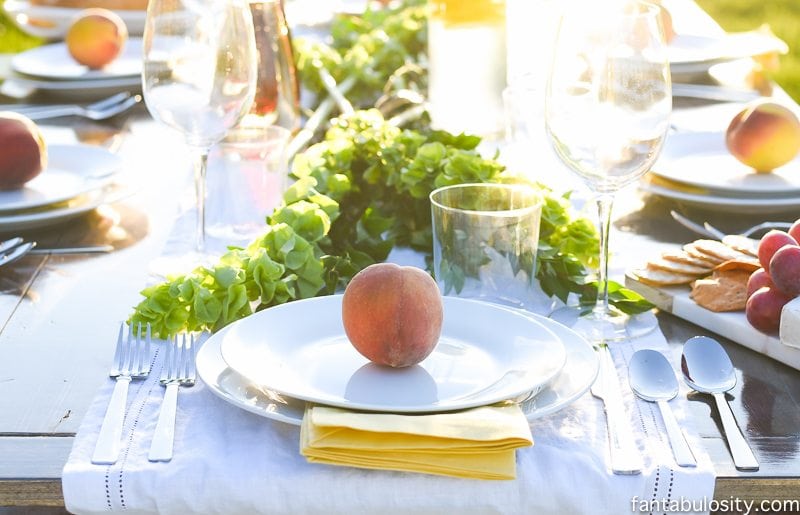
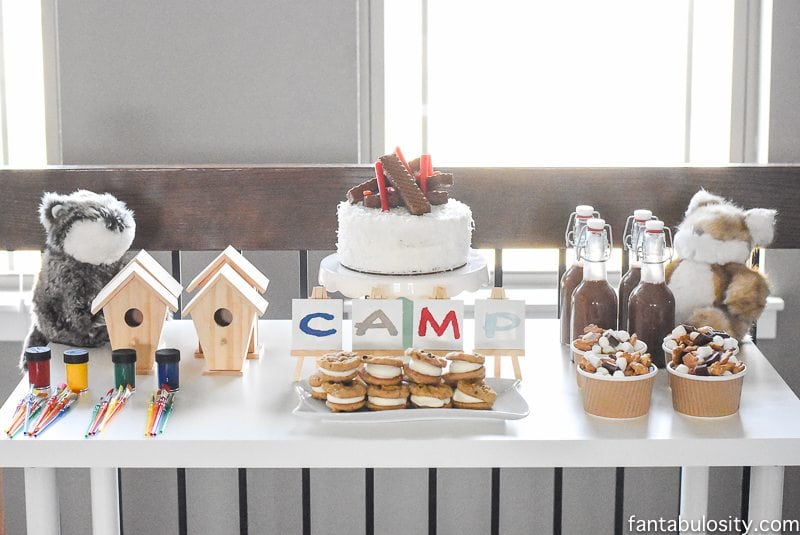
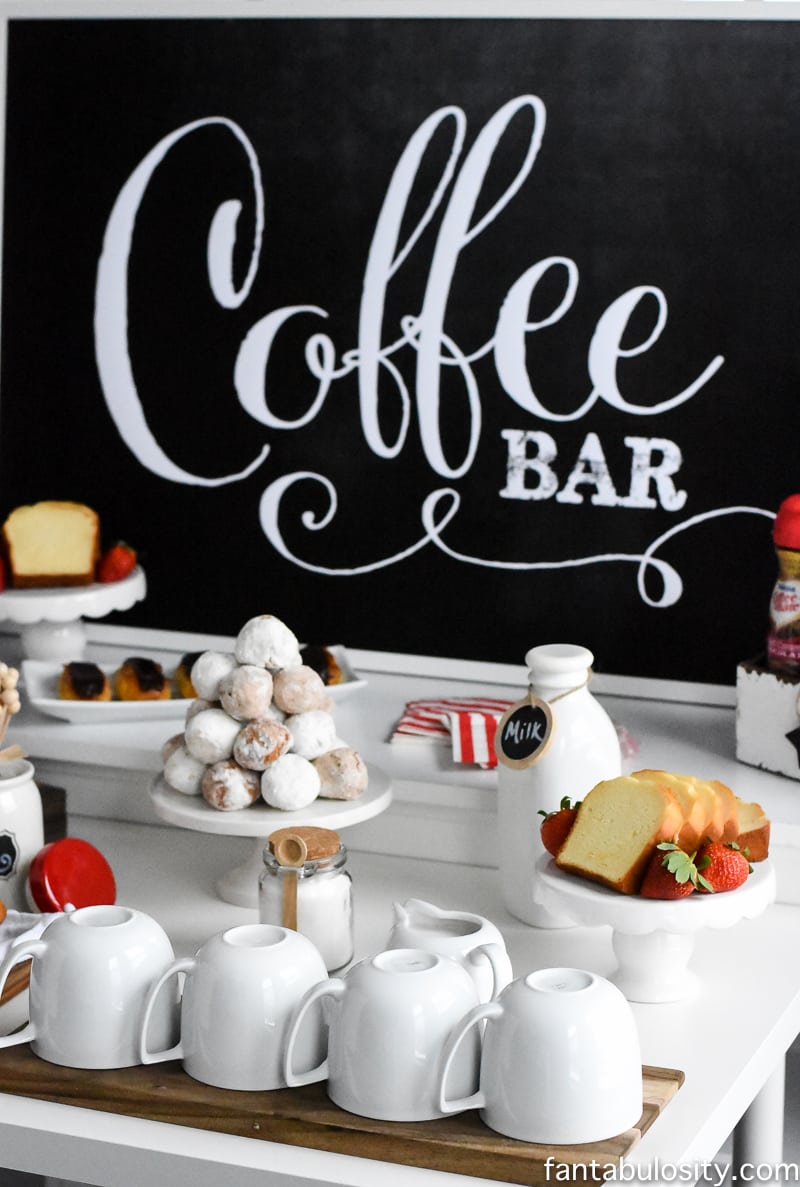
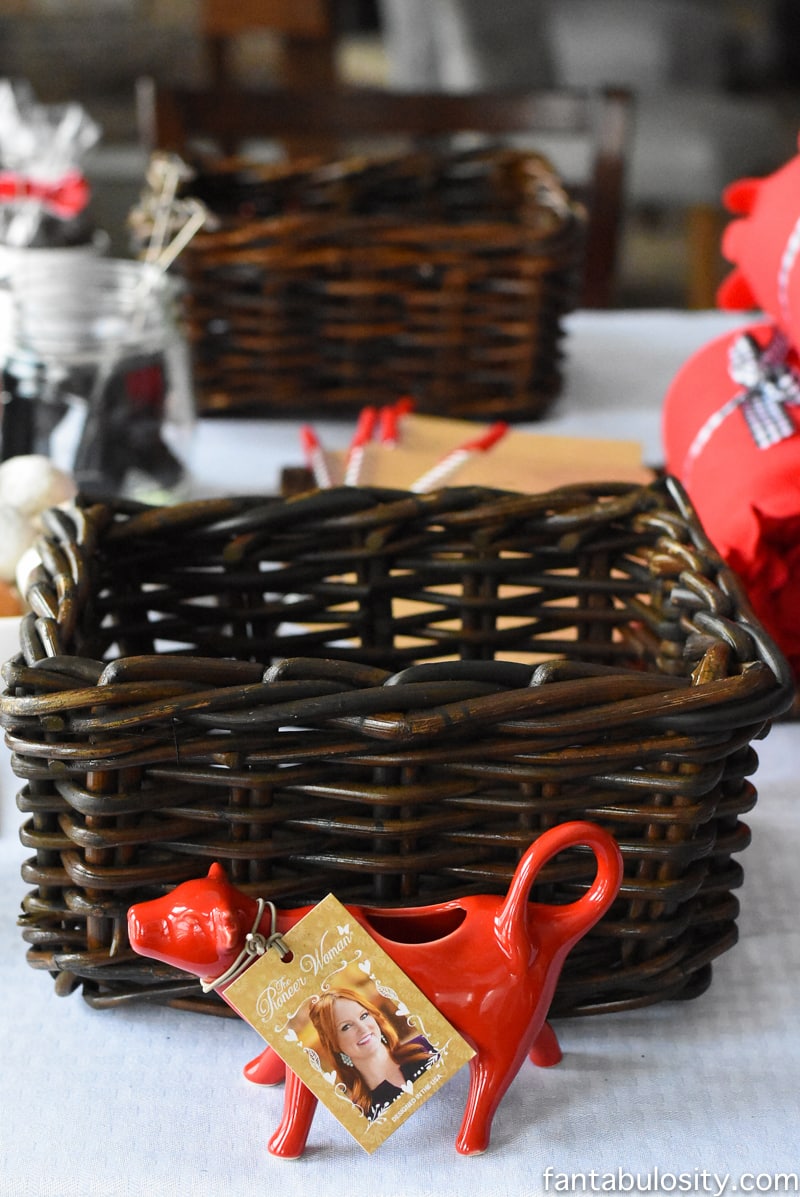
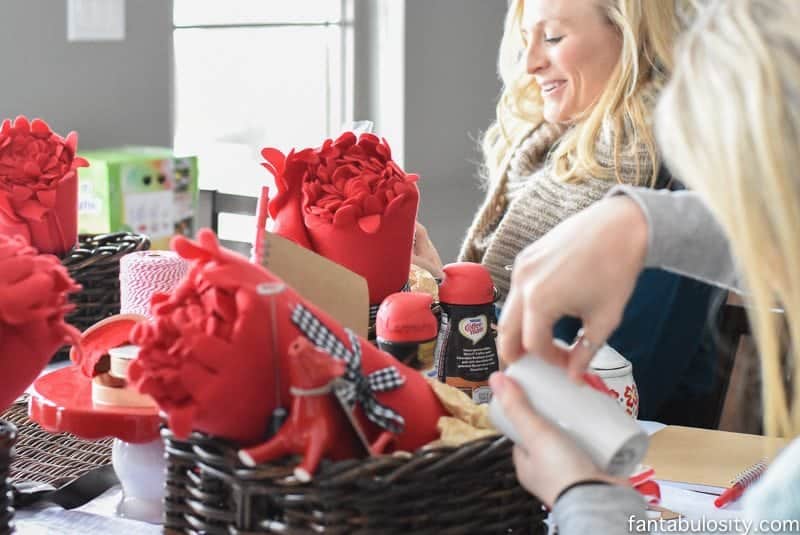
As a hostess, I’m always looking for simple ways to serve food to our guests, and setting up a decorated-designated “spot,” for the event, is something that guests LOVE! It’s inviting, and if your guests are like ours… they tend to crowd around the food anyway, so you might as well spruce it up a bit, right?
Besides, who doesn’t love a good food bar at a party!?
What to Put on a Dip Bar
Dips
- Ranch dip (like this jalapeno ranch dip)
- Spinach dip
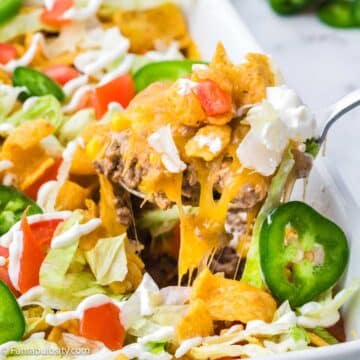
- Queso (Smoked queso or Rotel Dip)
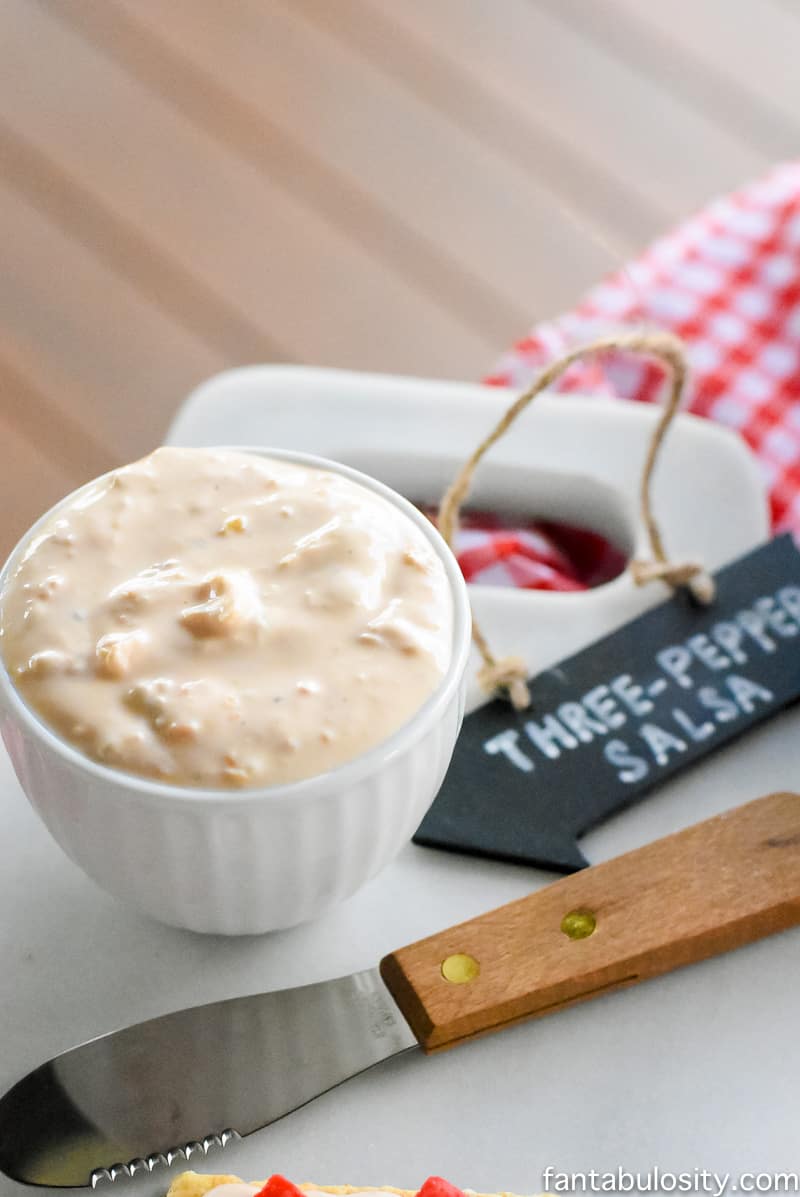
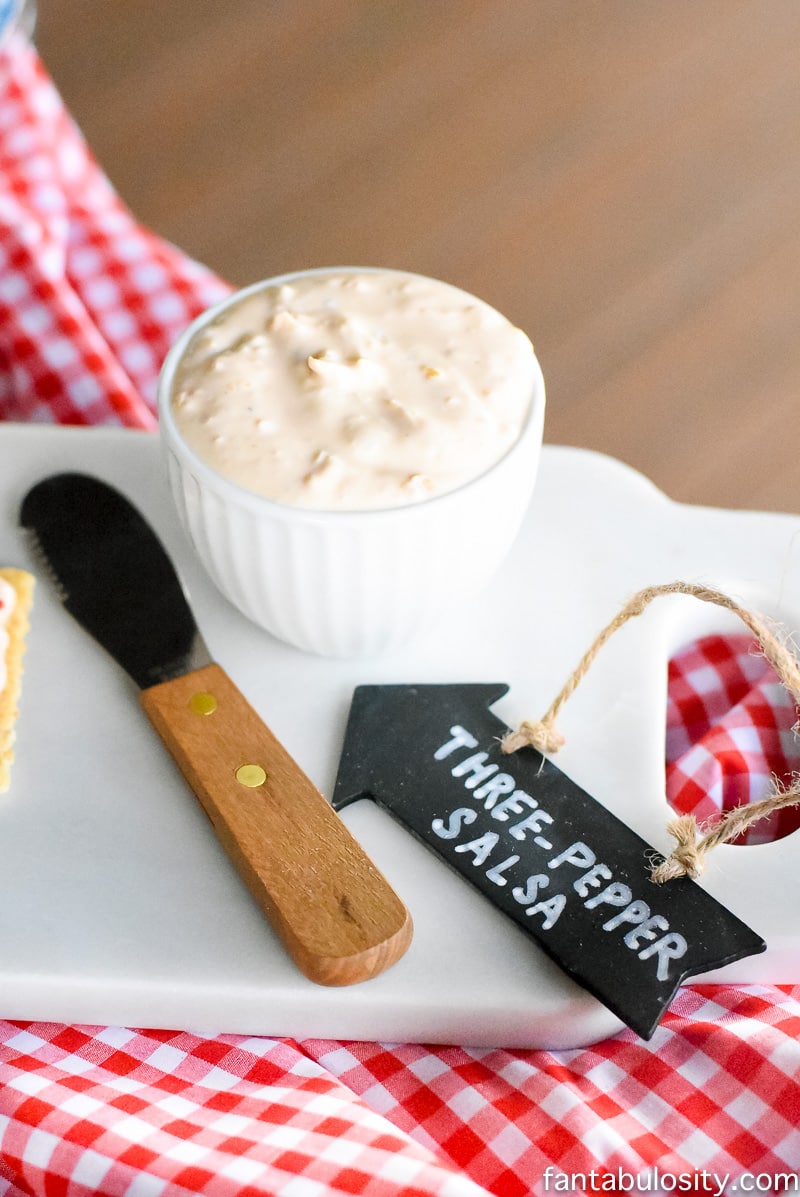
- Salsa (This Rotel Salsa recipe is so easy!)
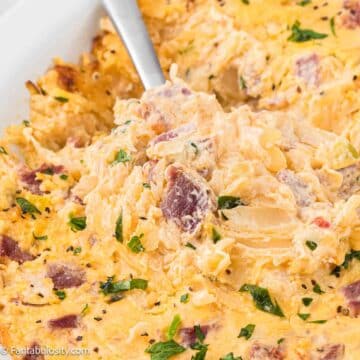
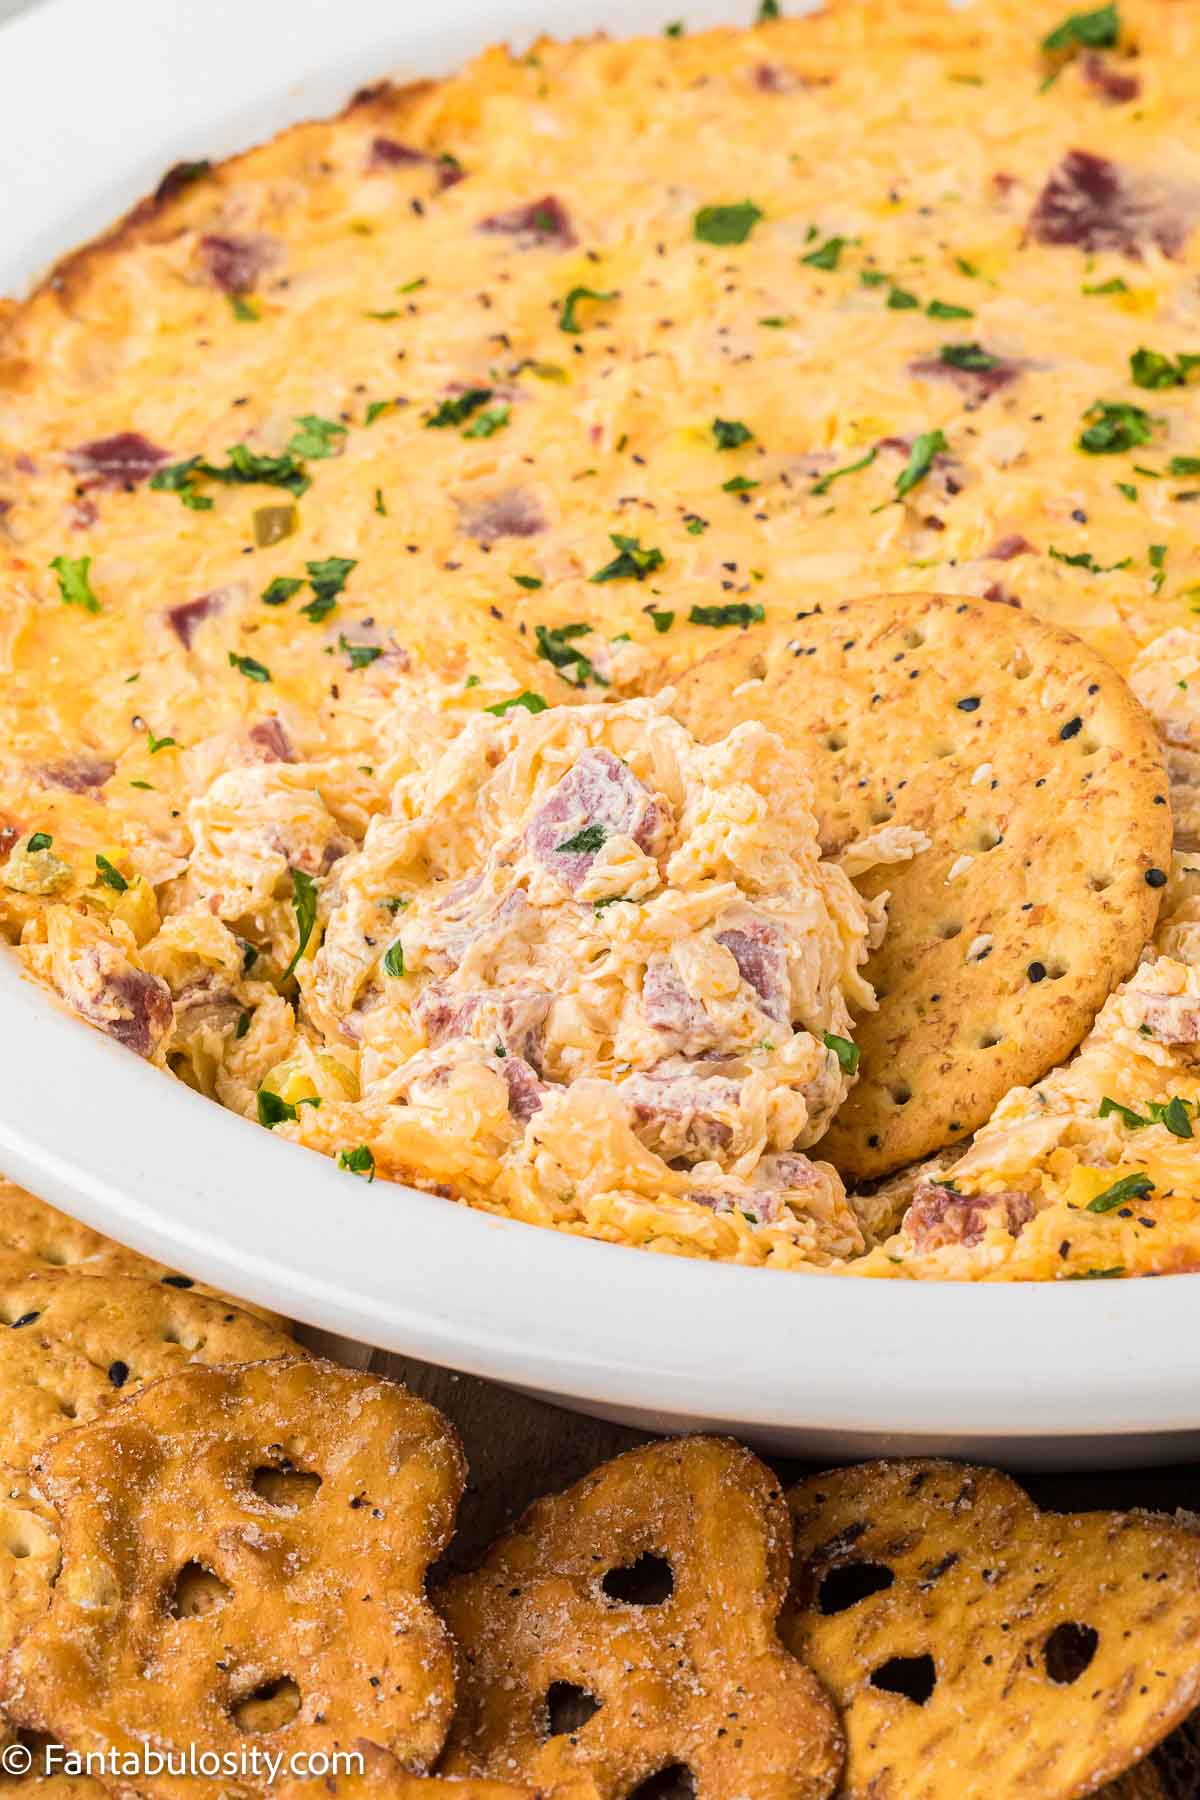
- Blue cheese dip or this Cold Blue Cheese Buffalo Dip
Dippers
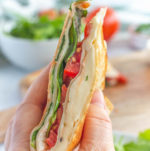
- Chips
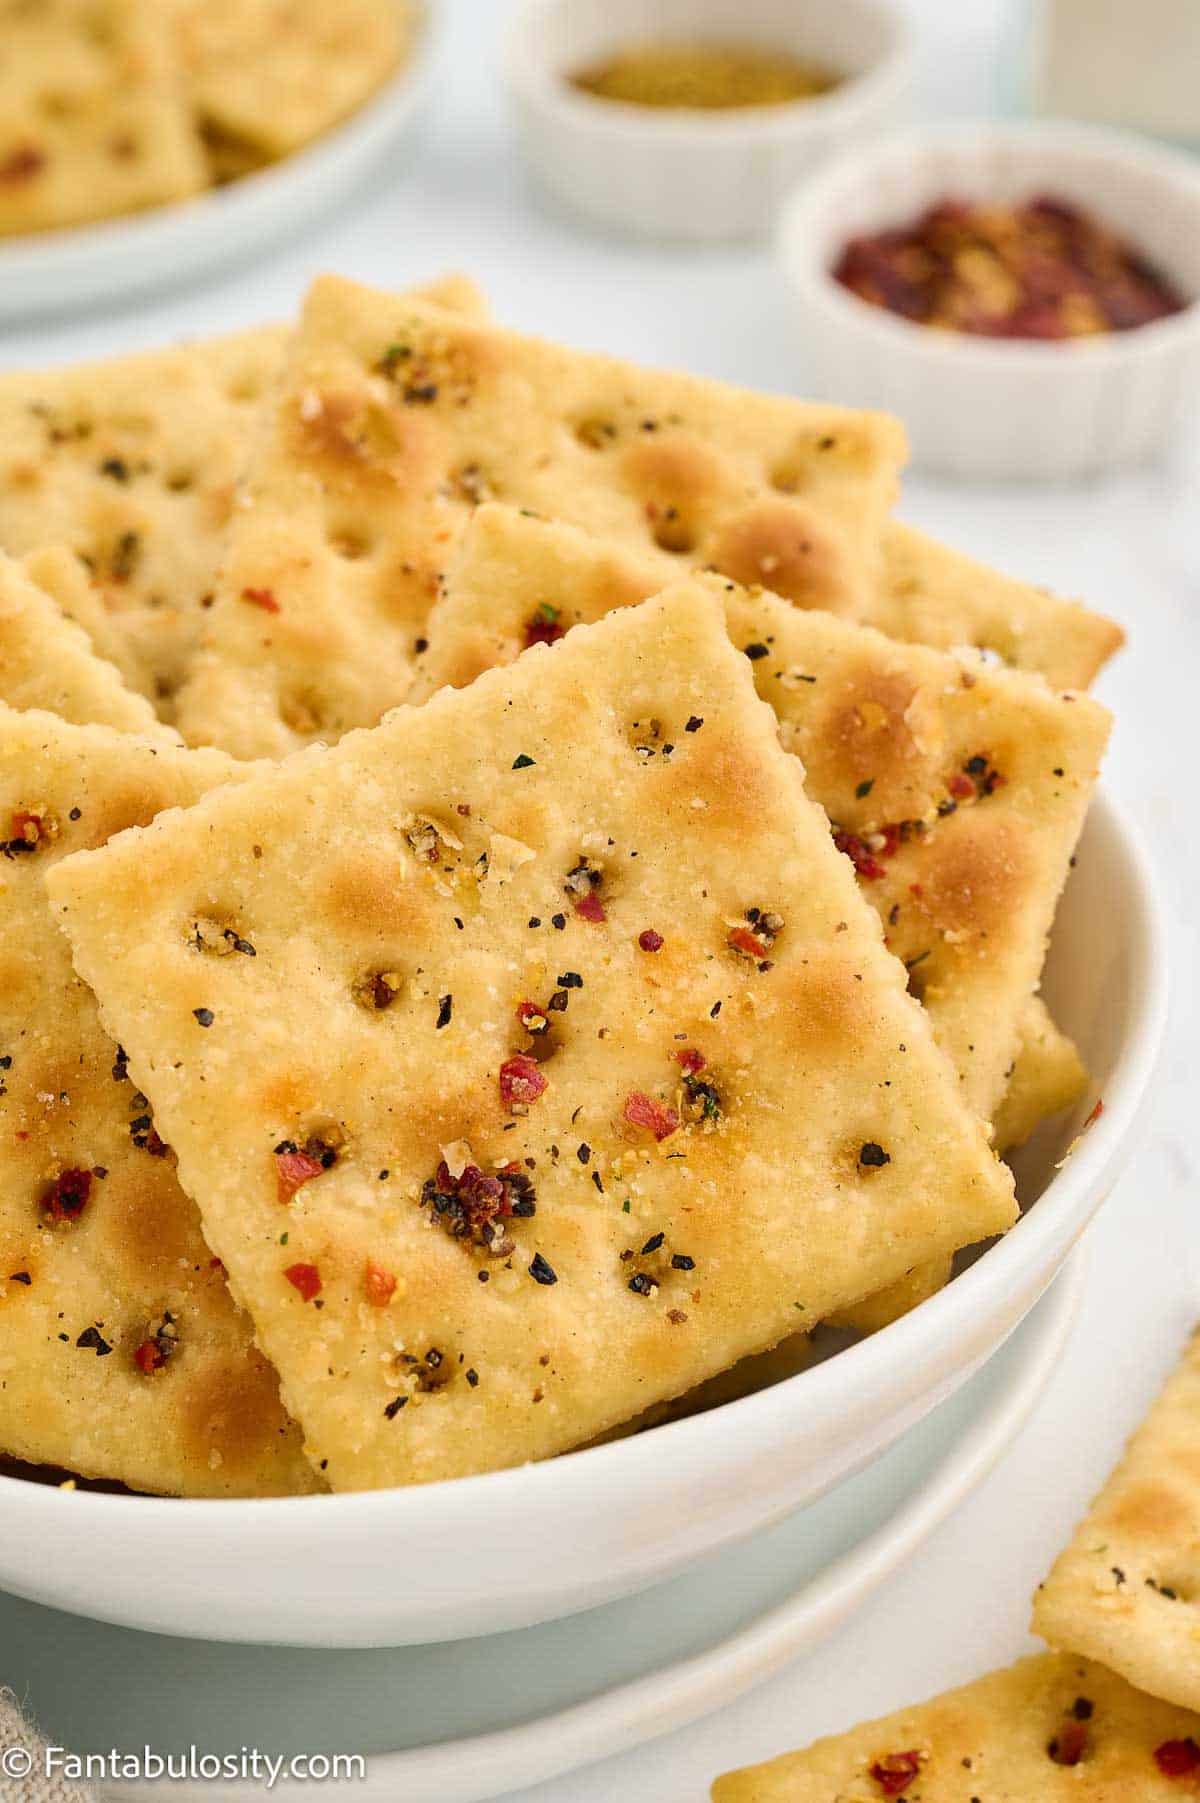
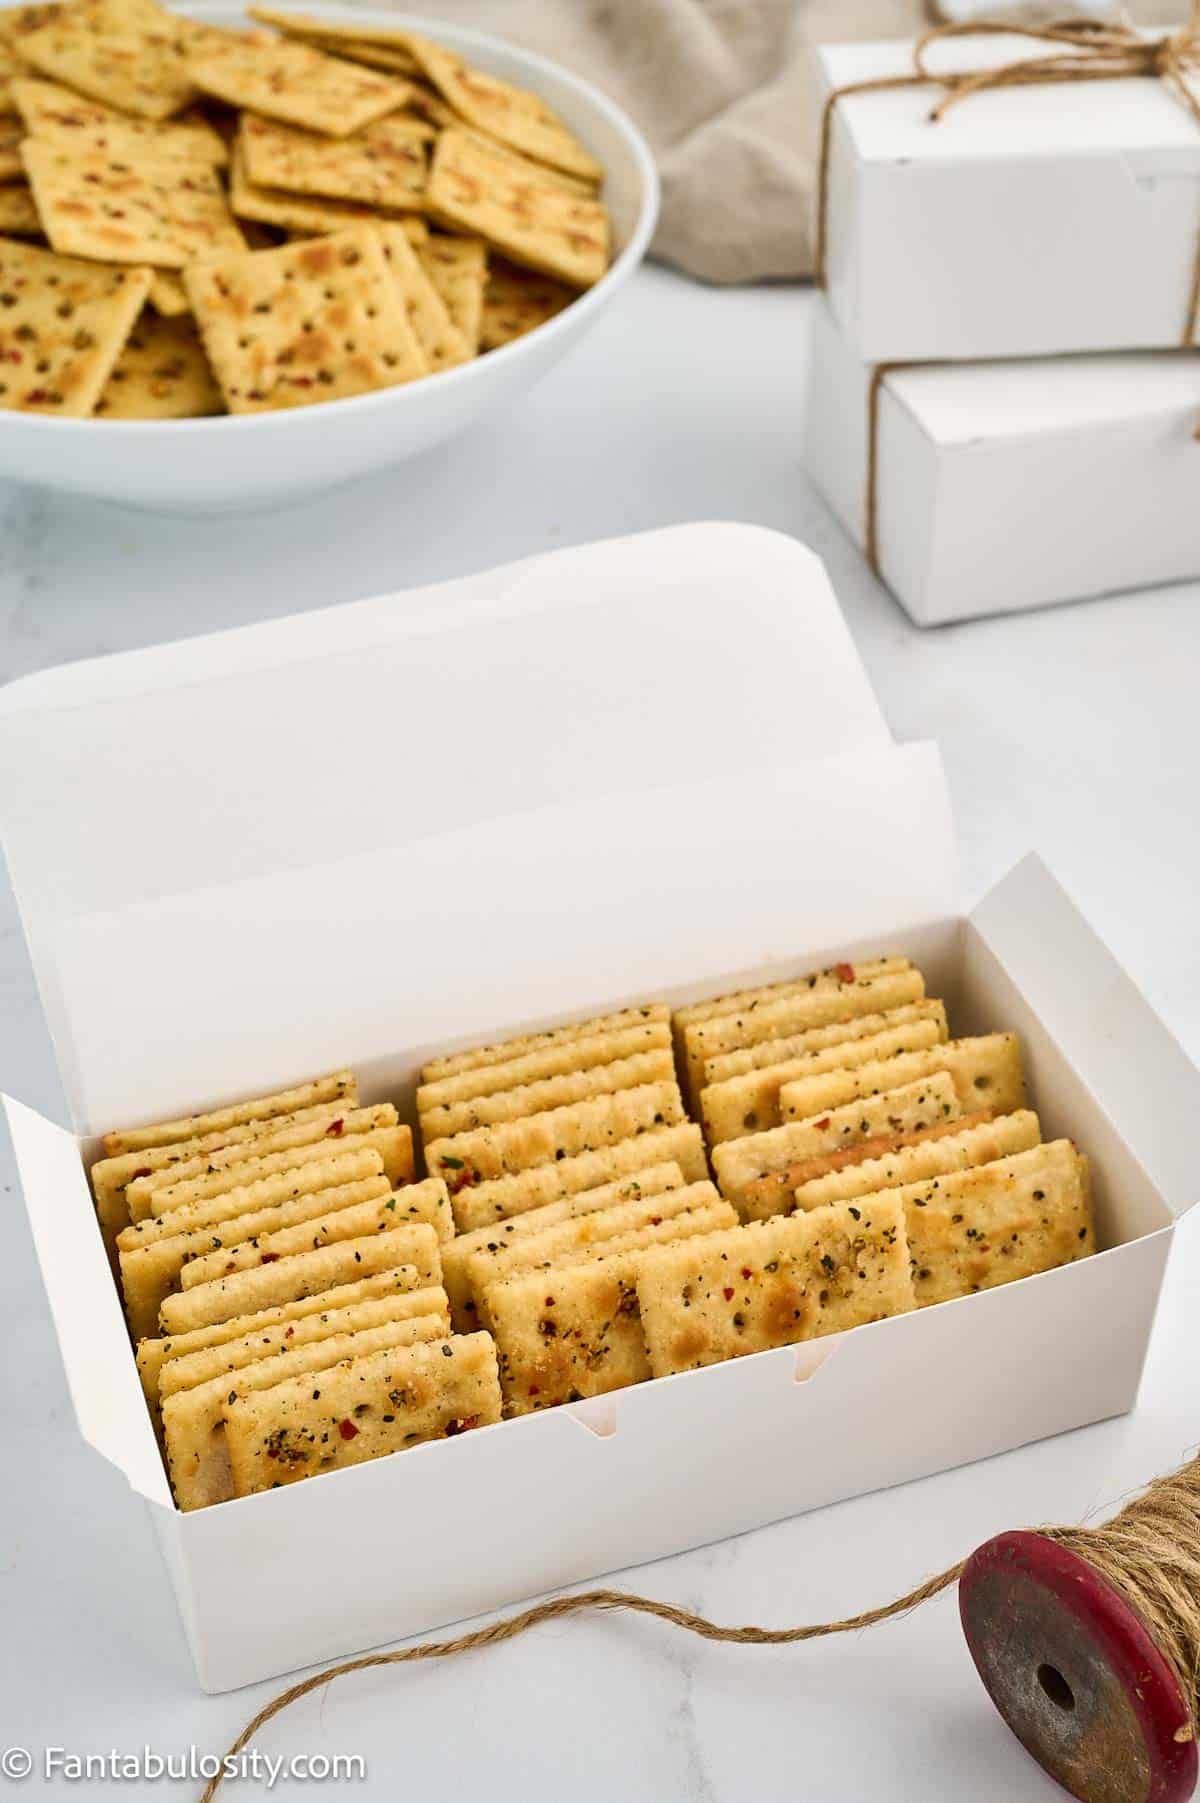
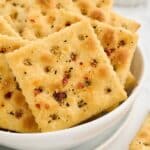
- Crackers
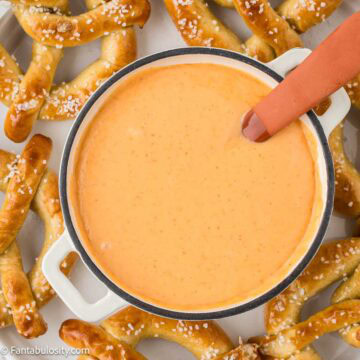
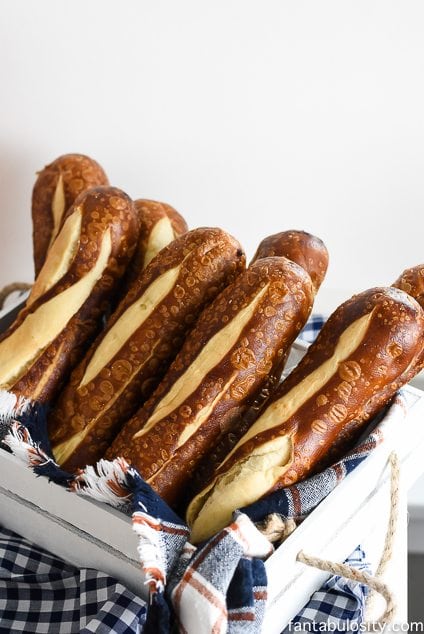
- Pretzels
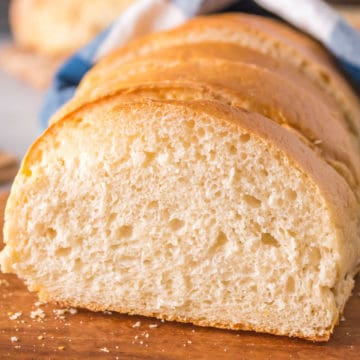
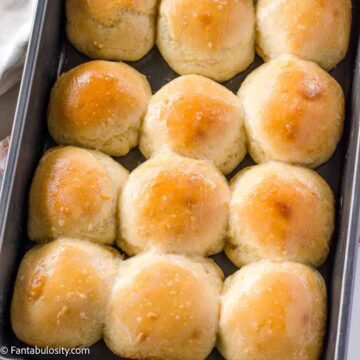
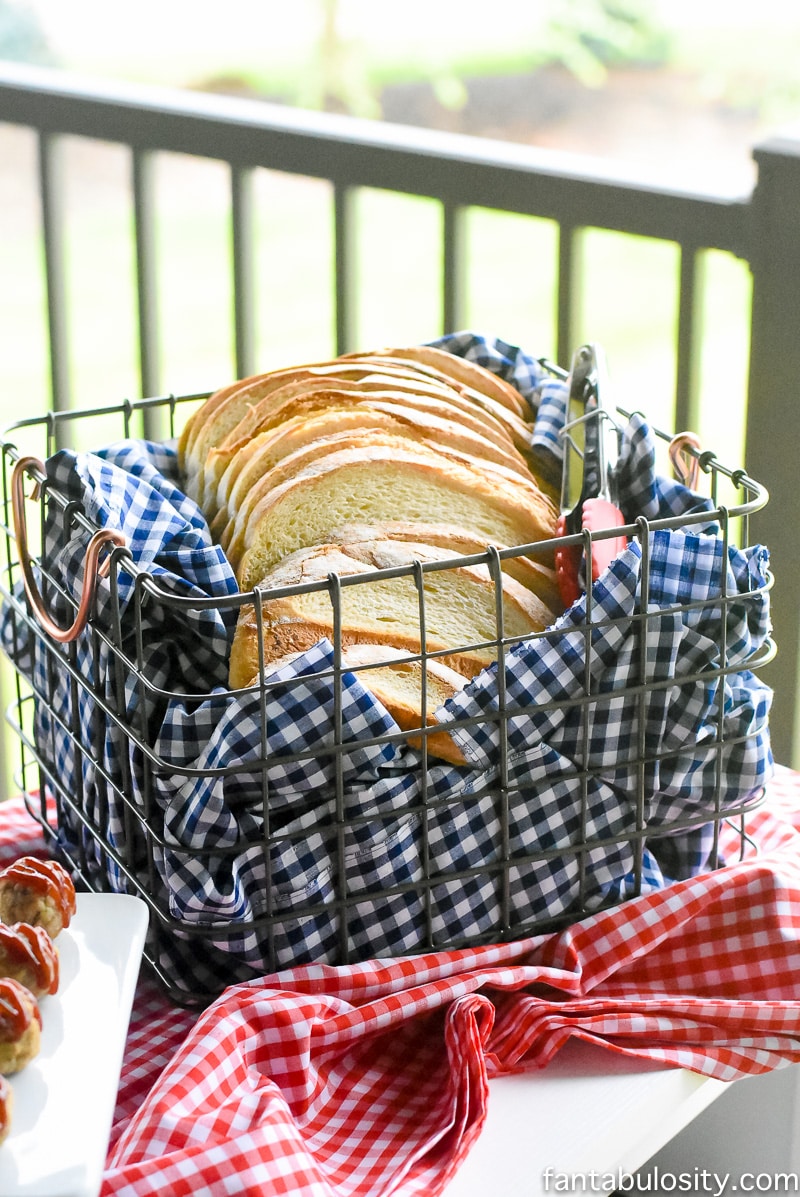
- Bread cubes
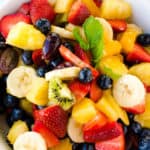
- Fresh vegetables
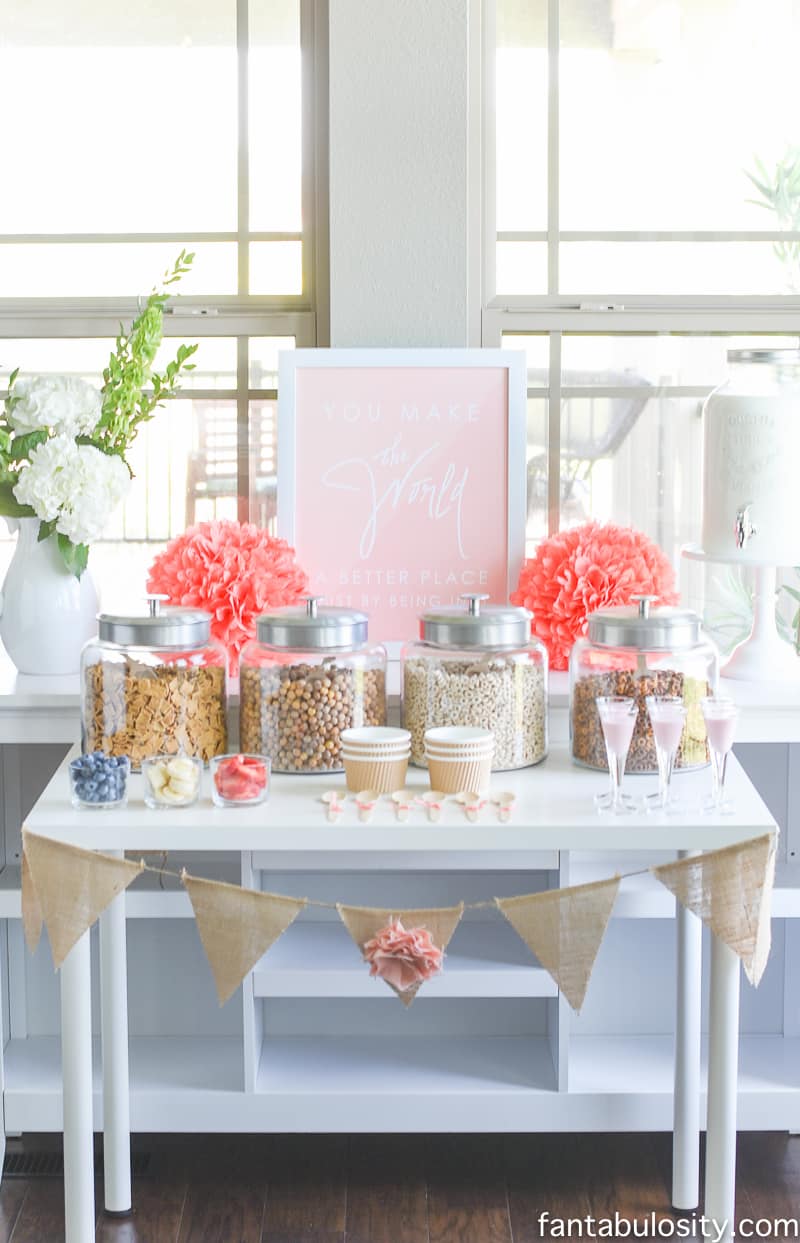
How to Set Up a Dip Bar
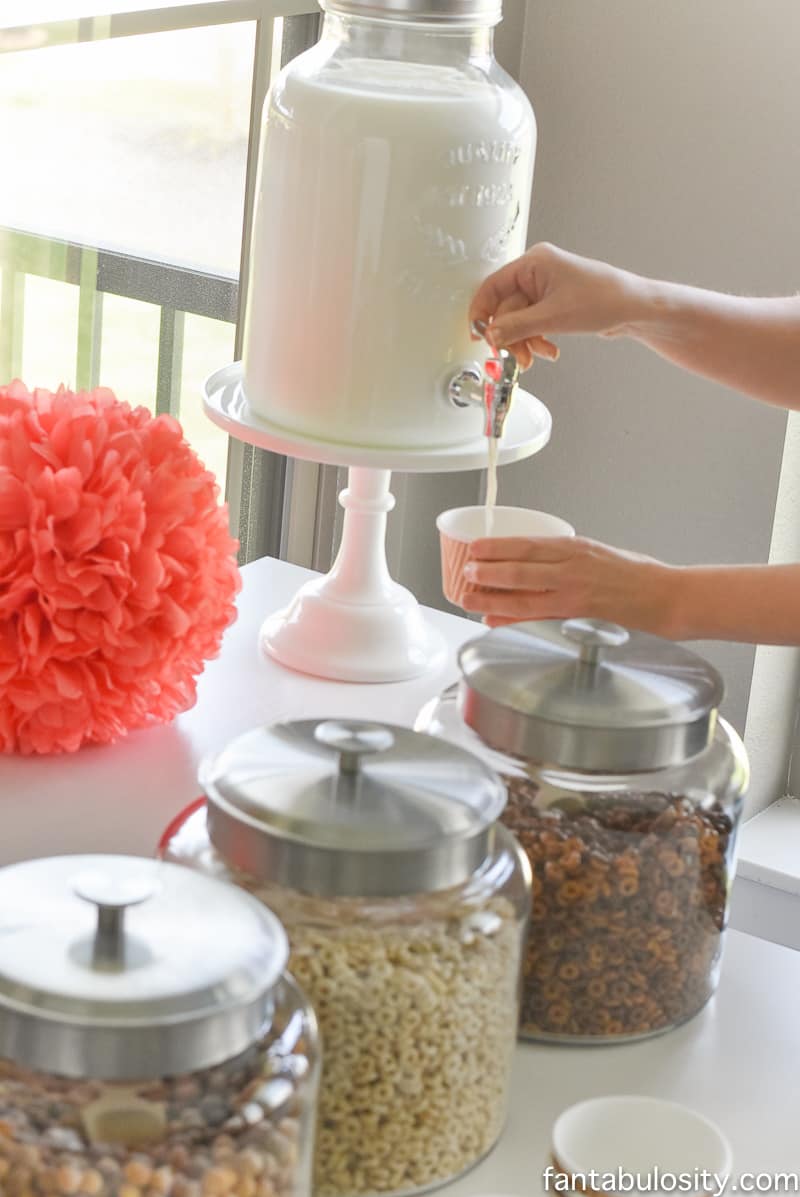
- Keep it simple and easy to grab
- Group dips together
- Place dippers nearby
- Use small bowls for easy access
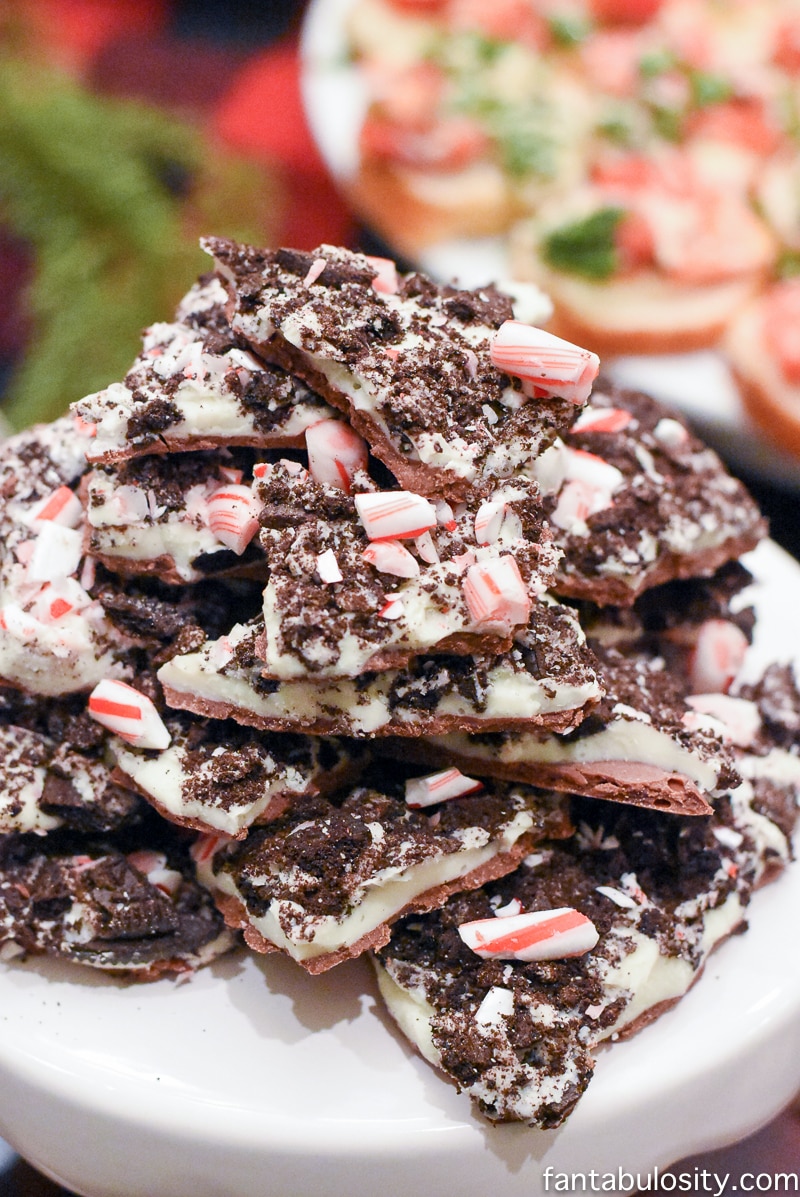
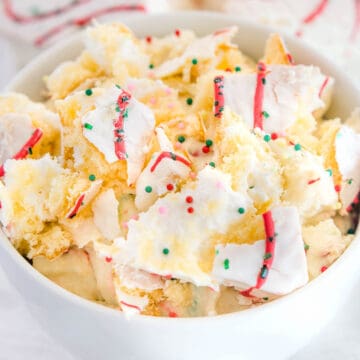
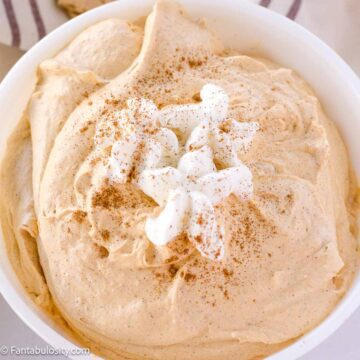
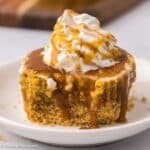
For a dessert dip, it would be amazing to serve this red, white, and blue dessert dip on this bar, too!
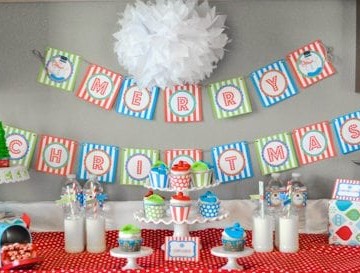
More Food Bar Ideas for Parties
If you love this idea, you may also enjoy:
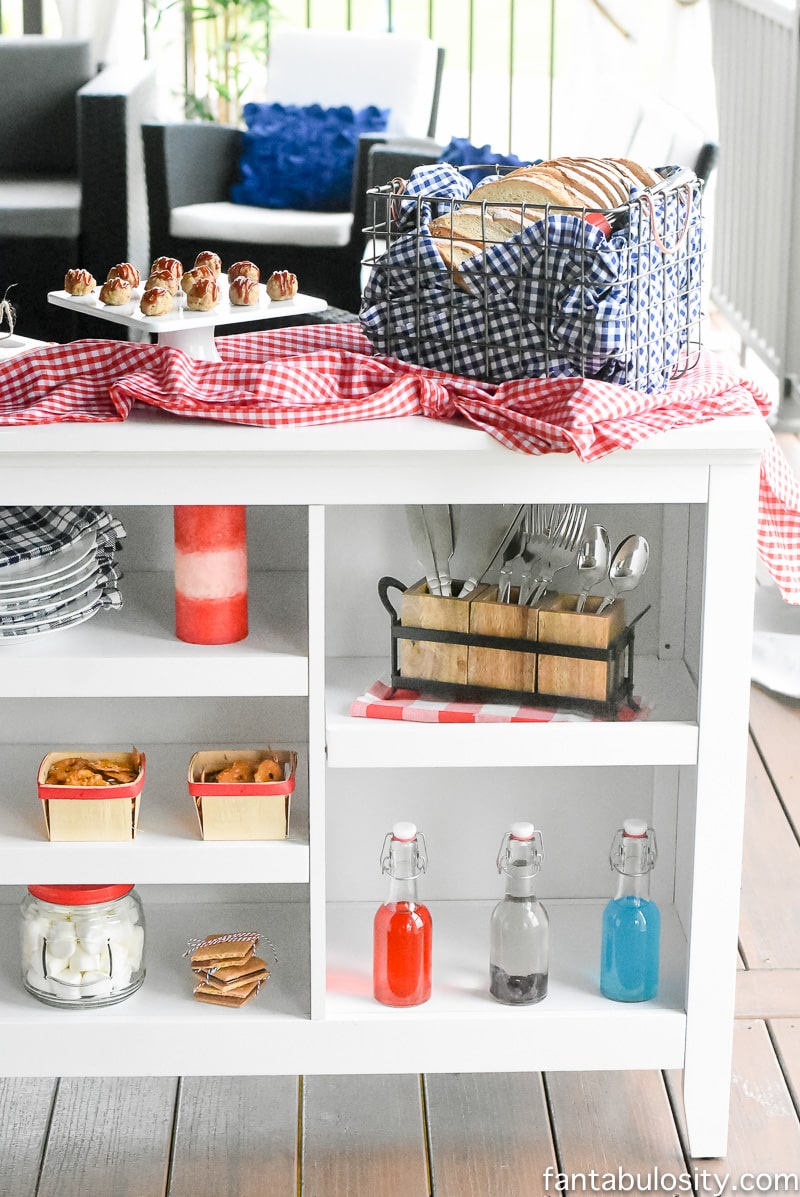
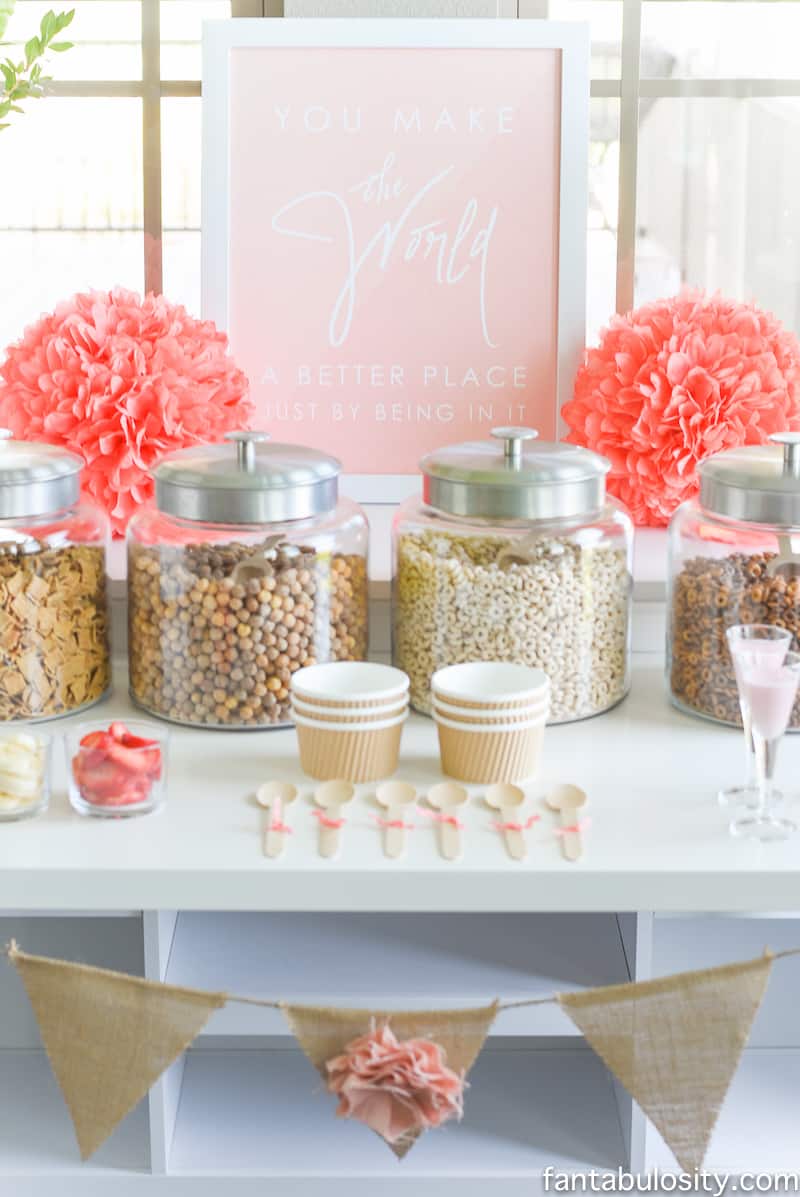
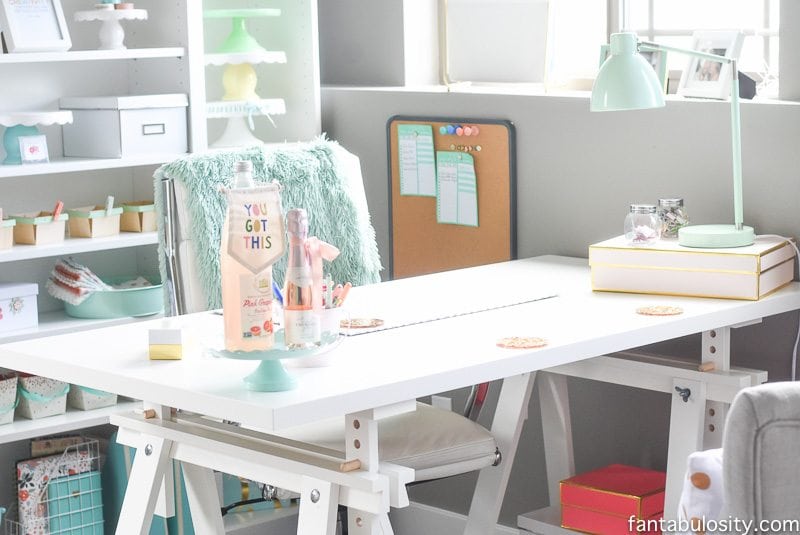
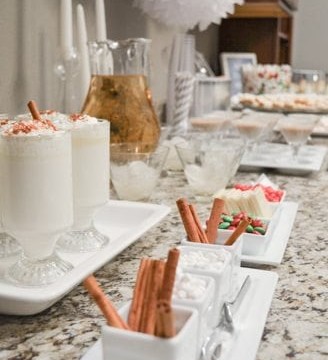
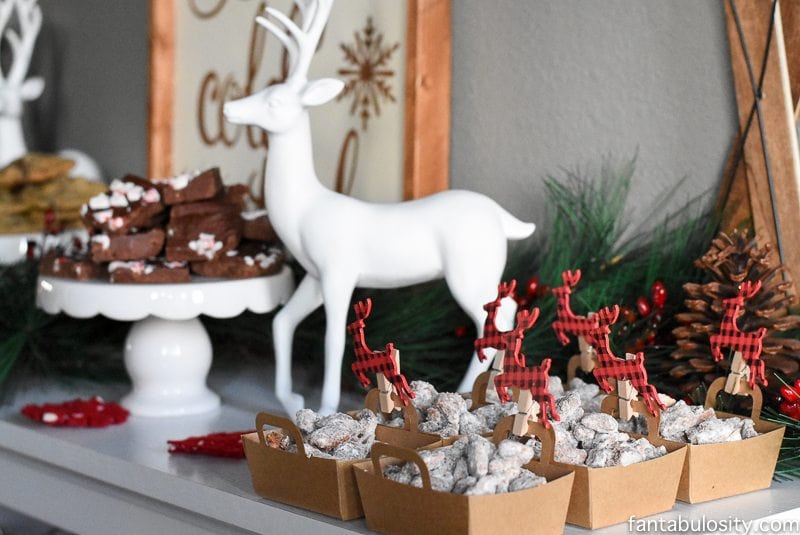
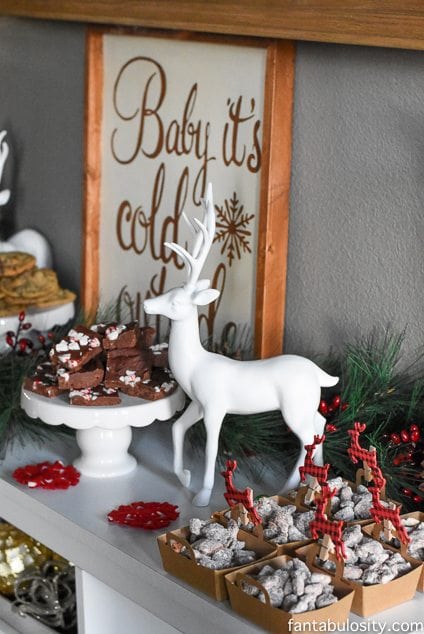
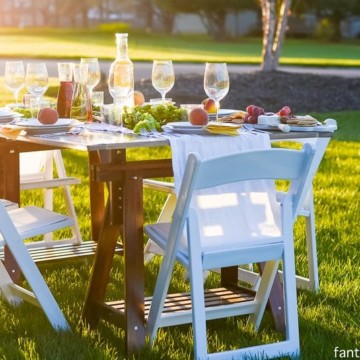
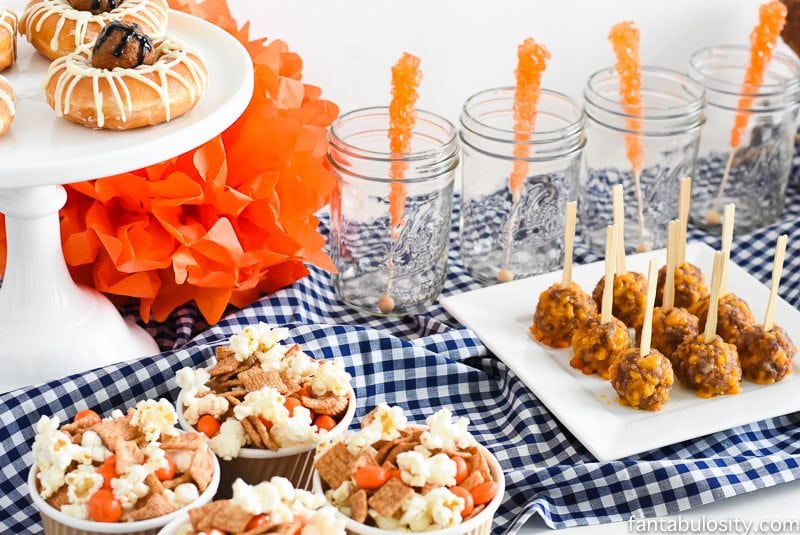
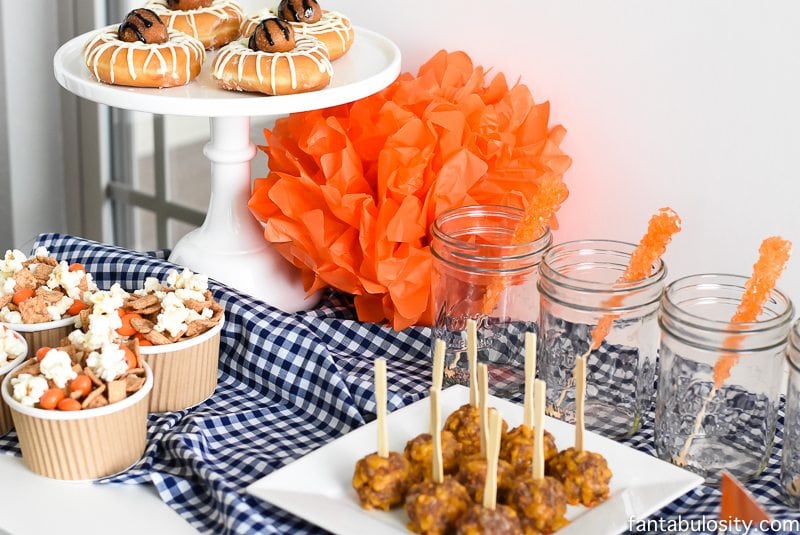
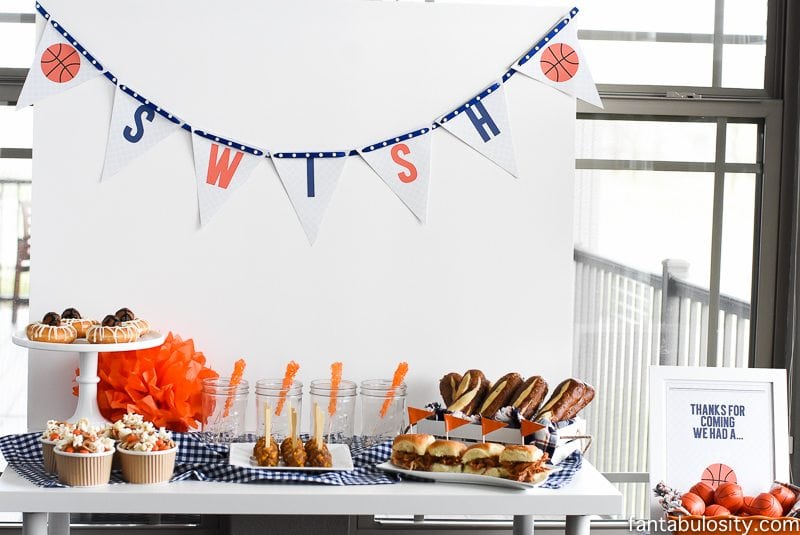
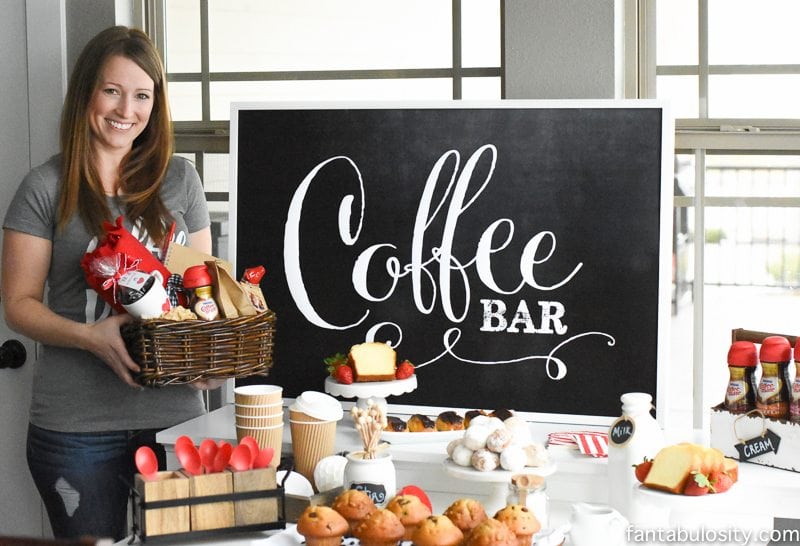
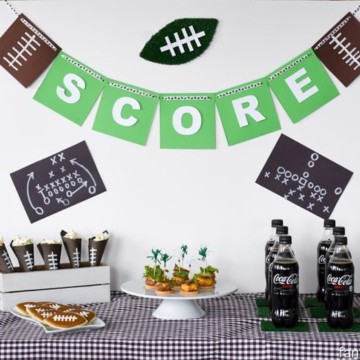
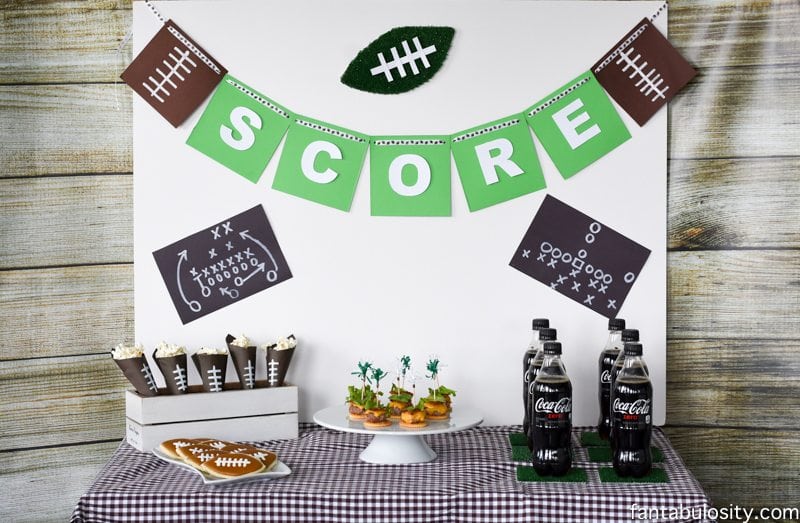
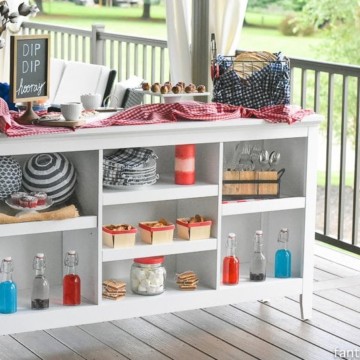
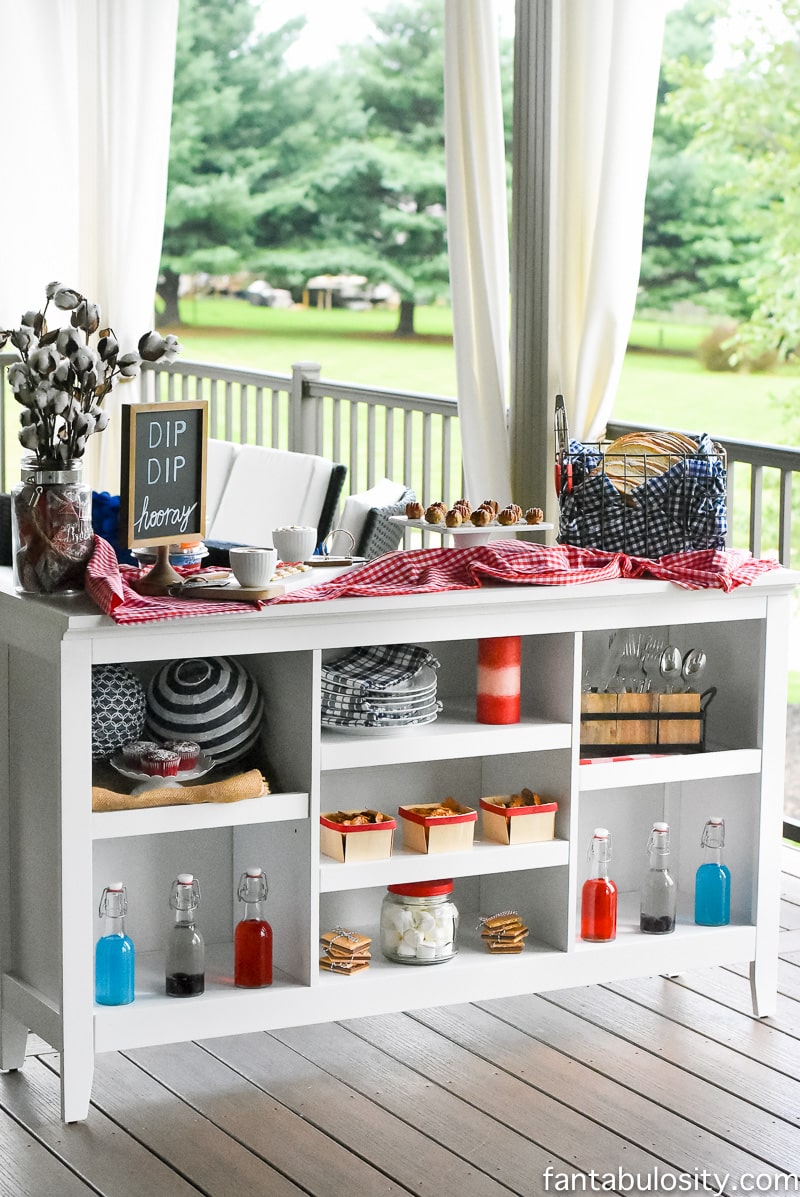
It’s Labor Day! The perfect excuse to decorate with the red, white & blue! However, a dip bar can be created and served any time of the year! Indoors or out. Designate a table (or bookshelf like I did here) and fill it full of dips, snacks, and any coordinating decor to match your theme or event purpose.
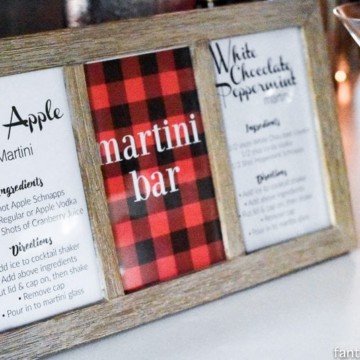
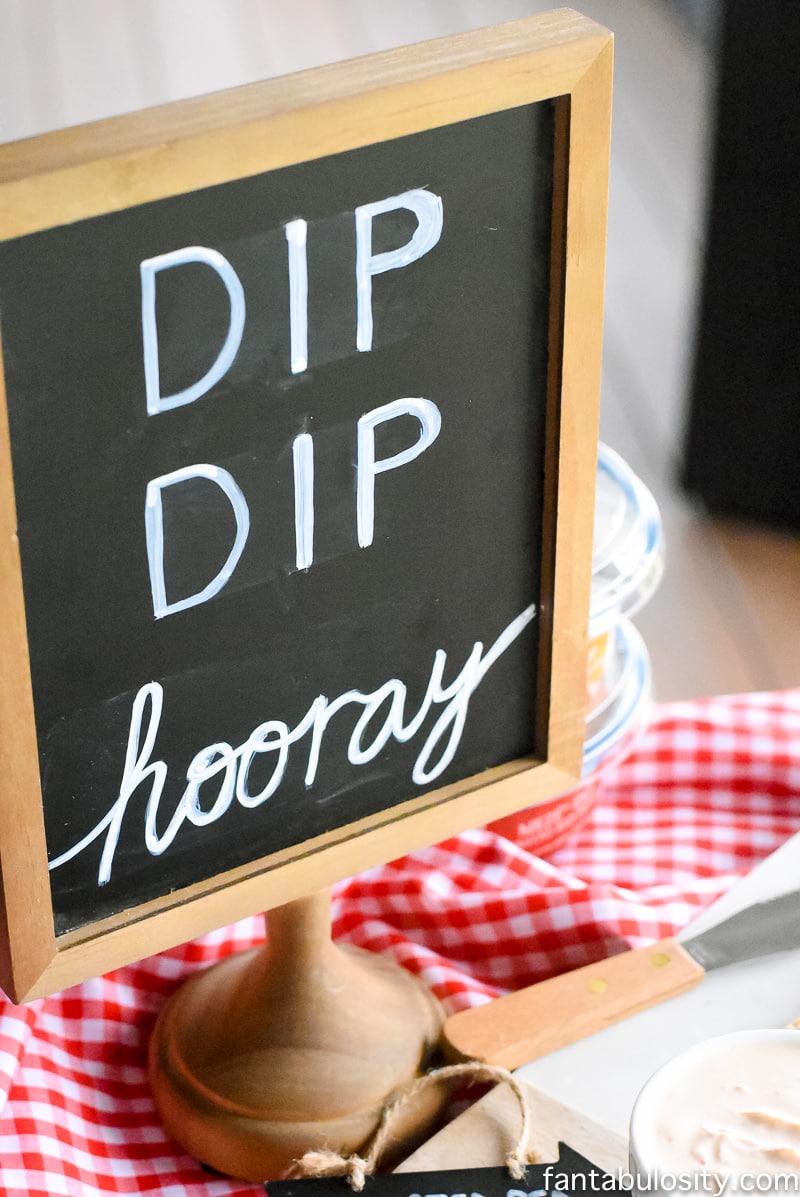
A Dip Bar
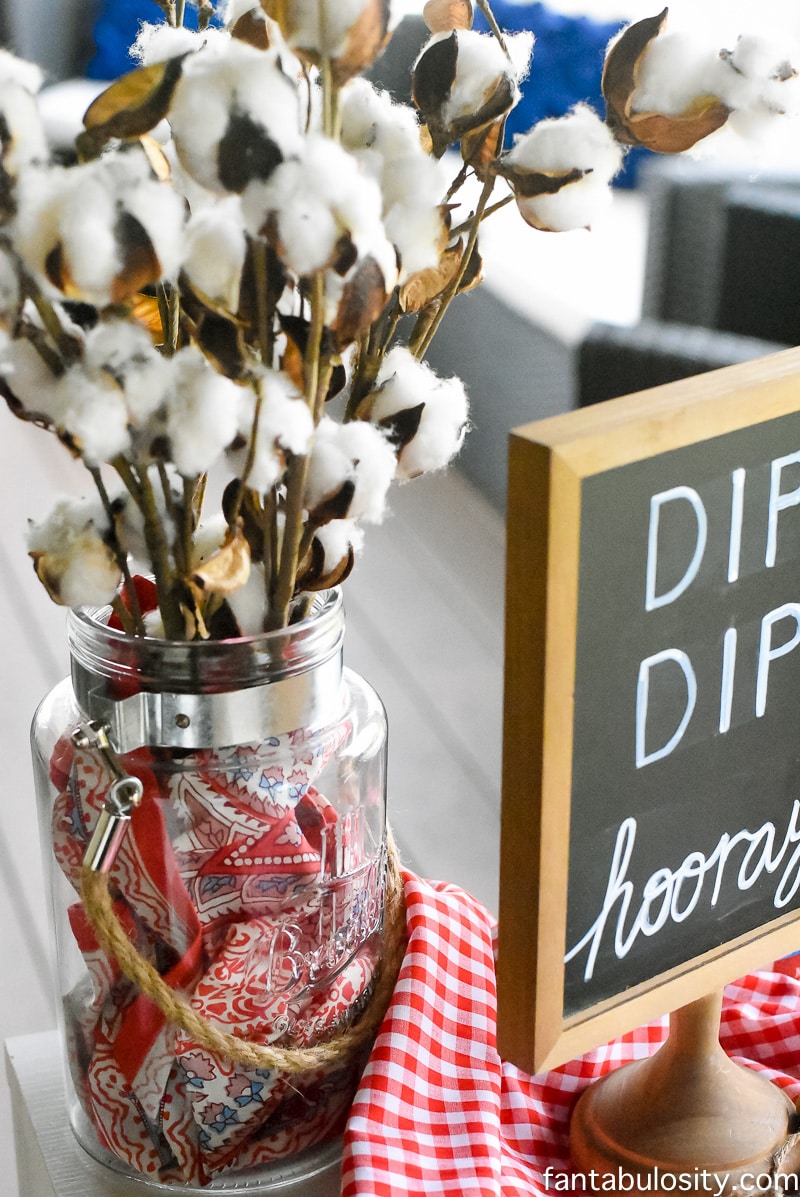
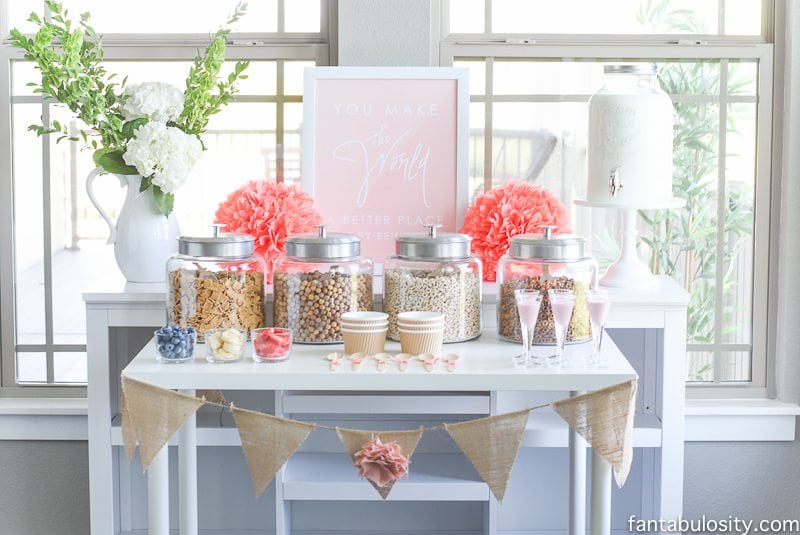
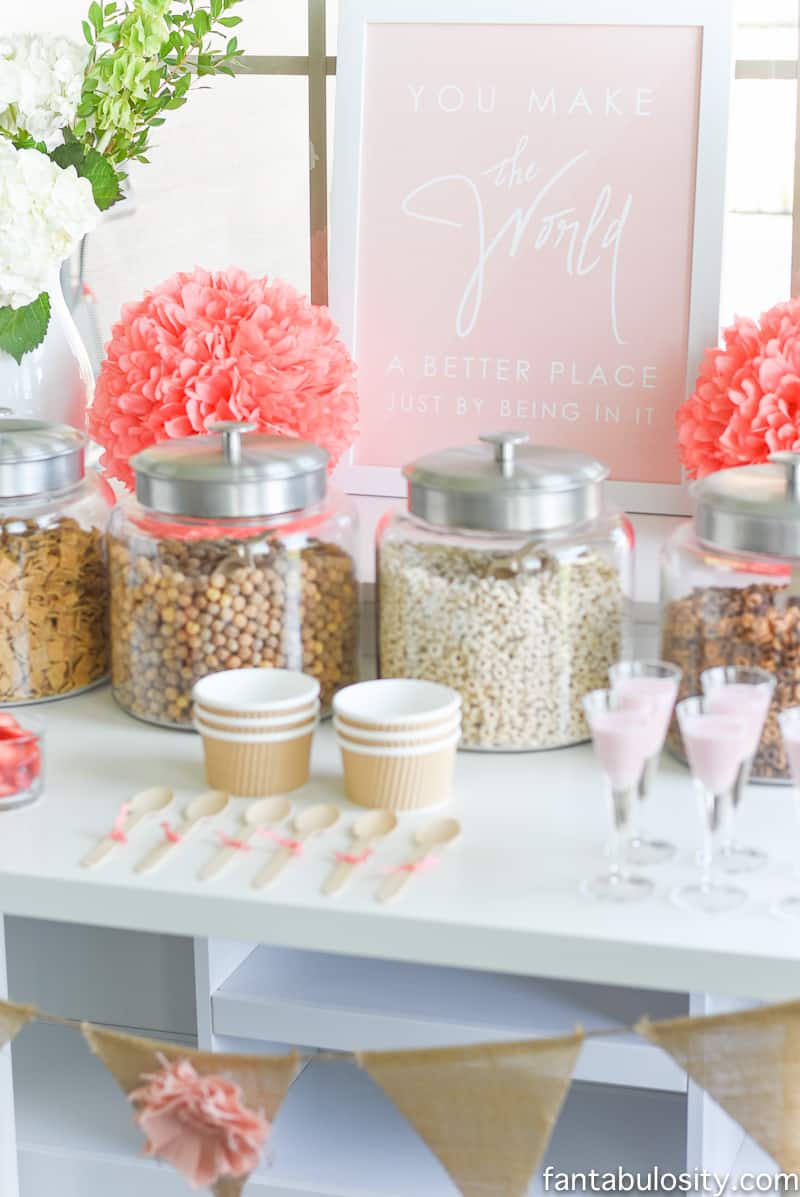
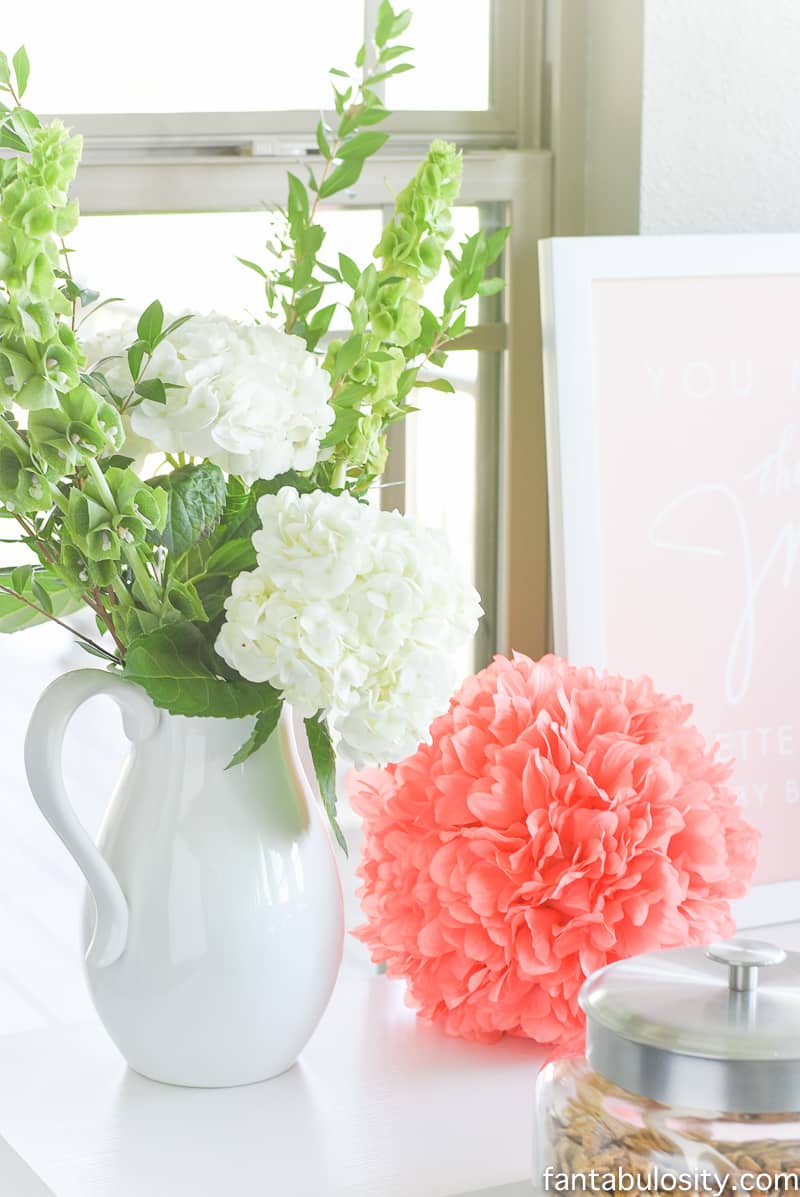
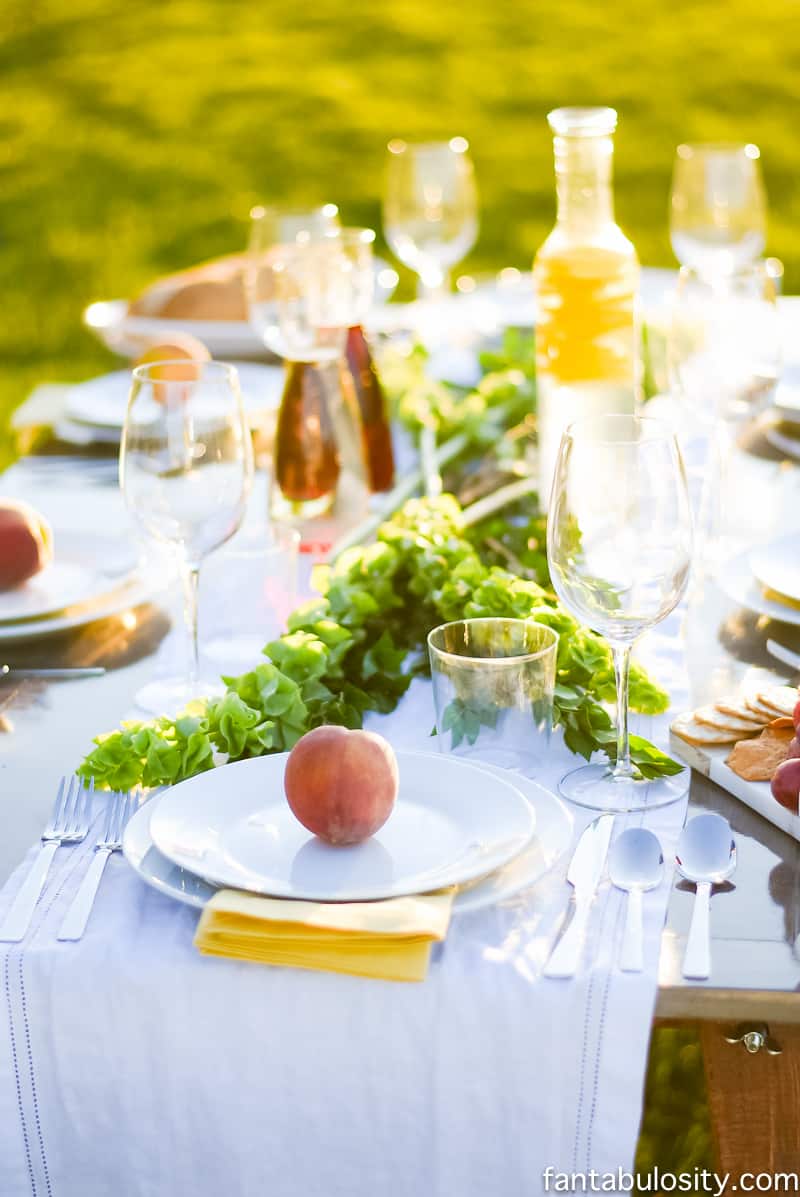
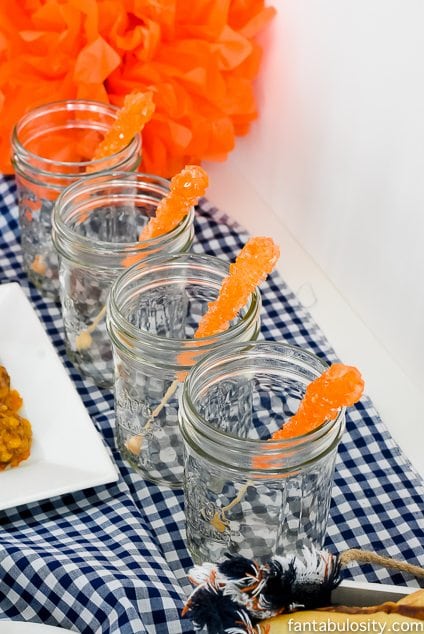
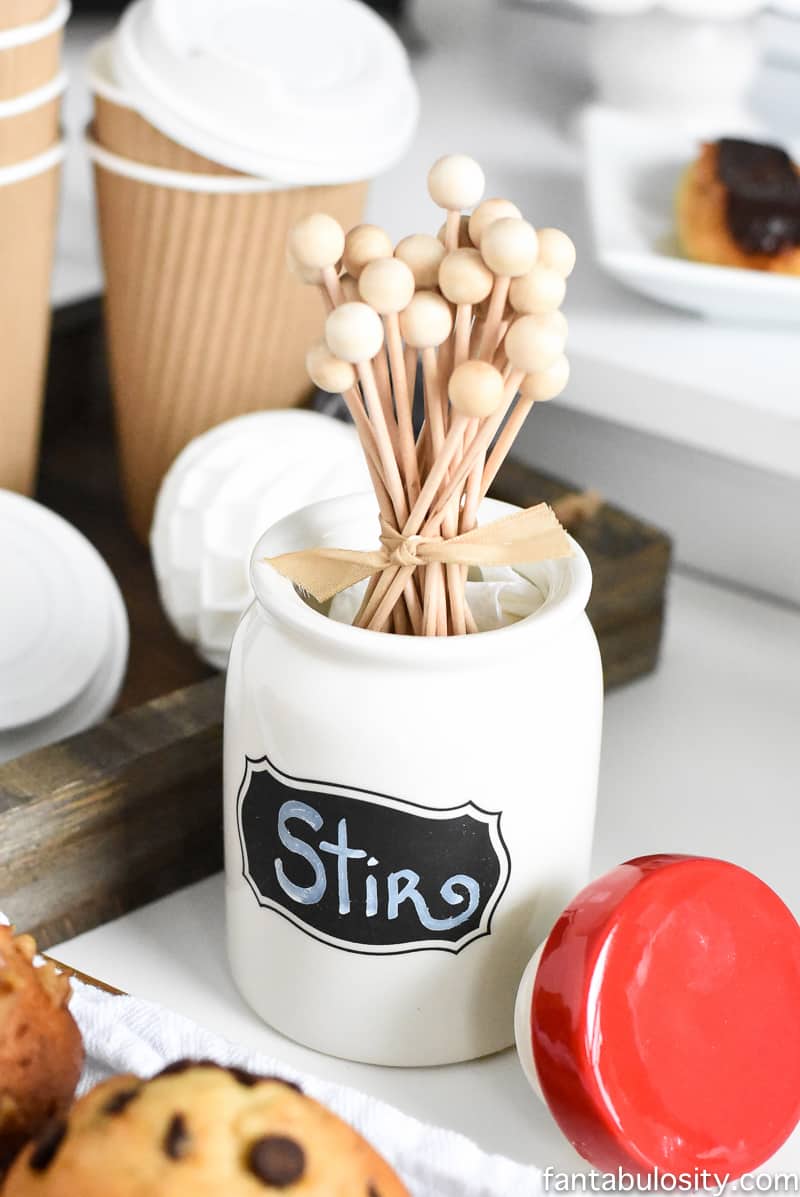
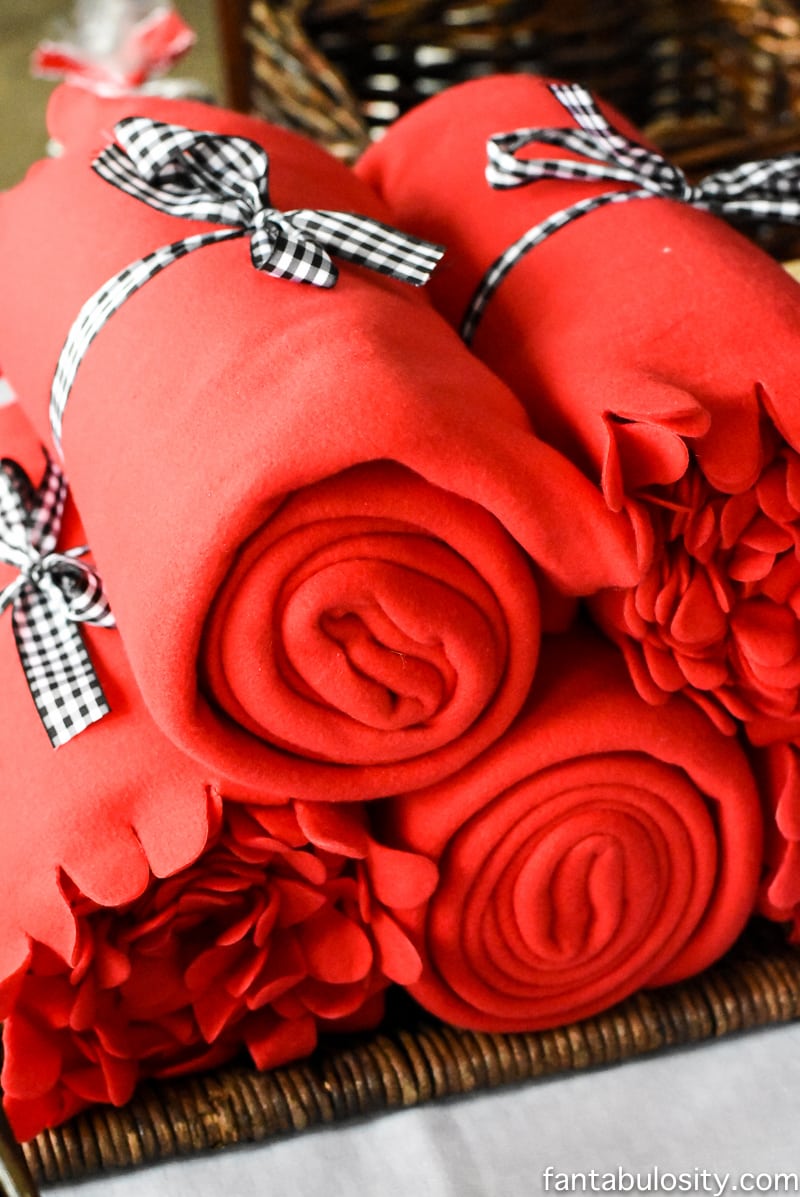
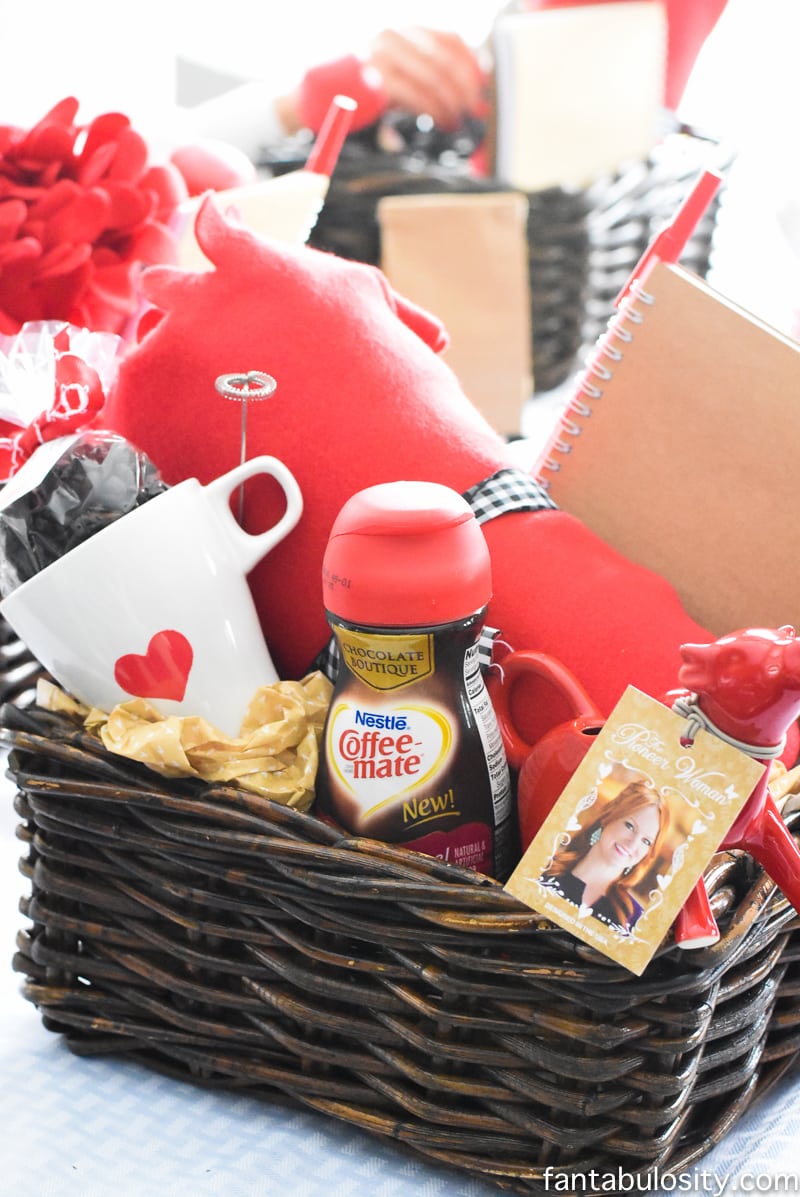
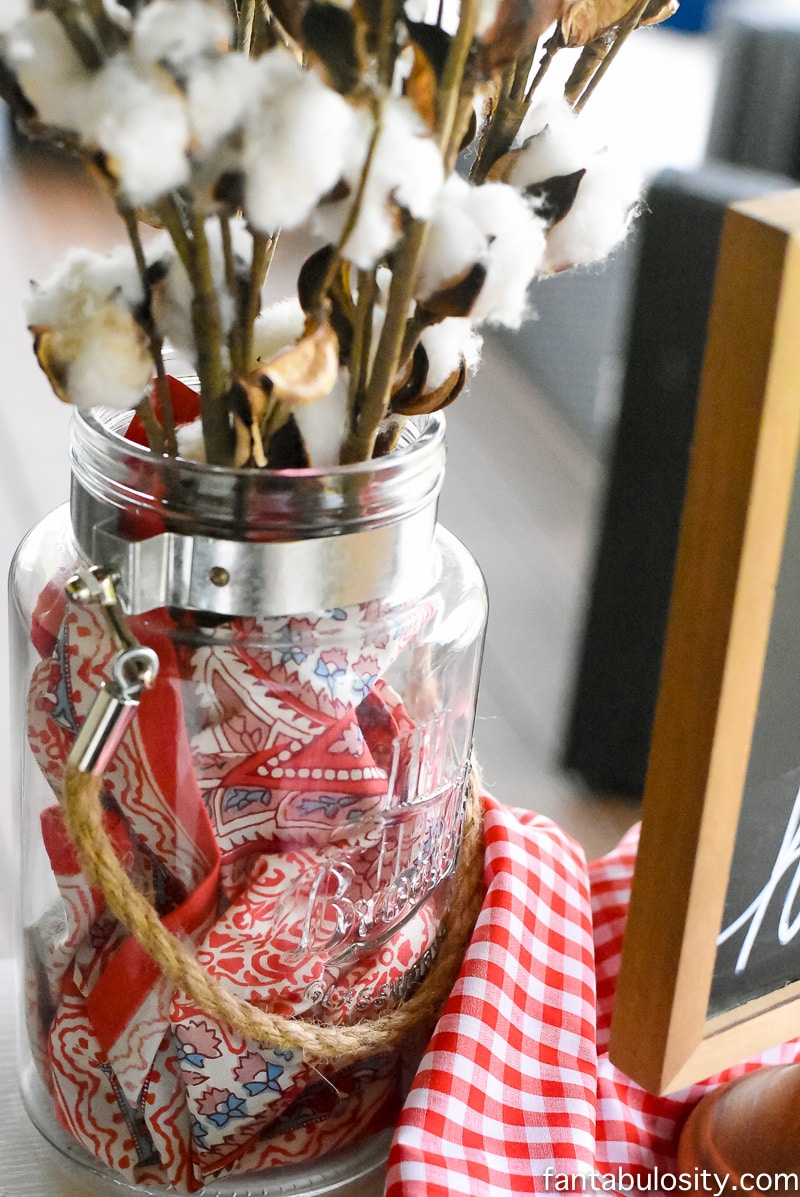
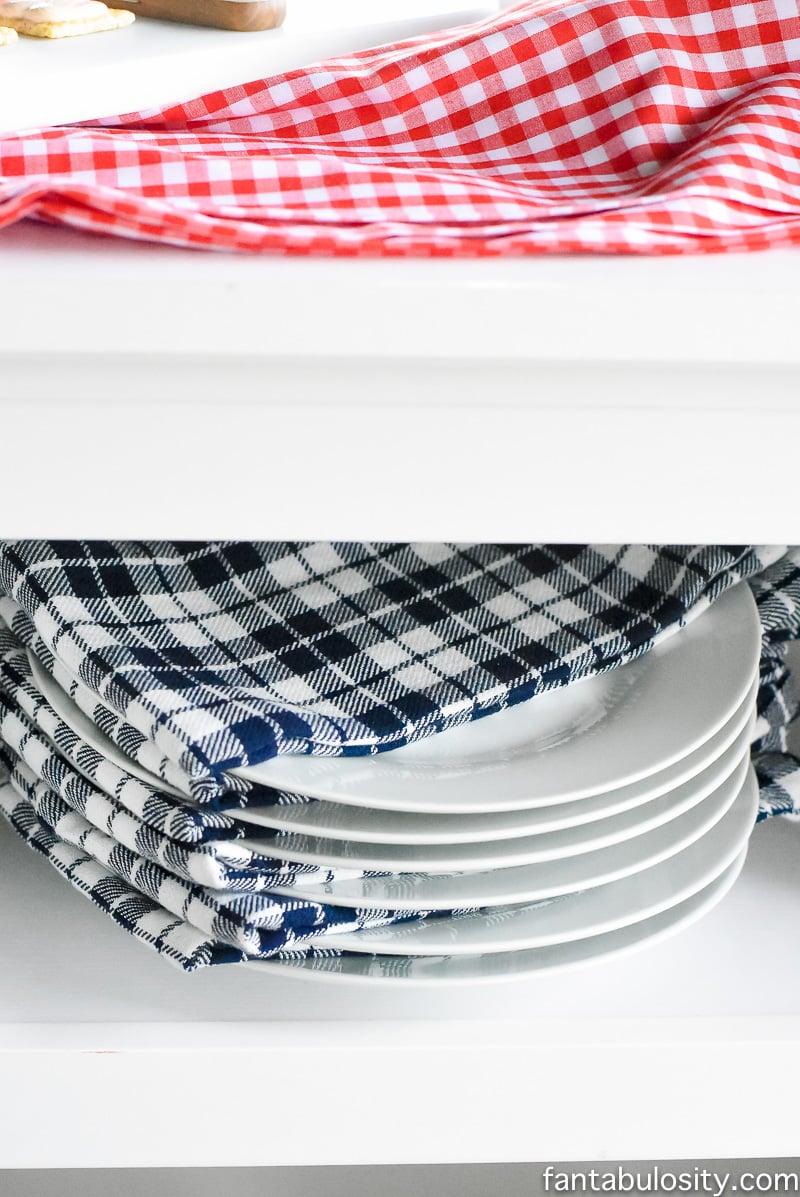
Styling Tip: Have a napkin or dishtowel that matches your party color scheme? Fill a vase with a napkin, to give it the “filler,” look, all while adding a little extra color!
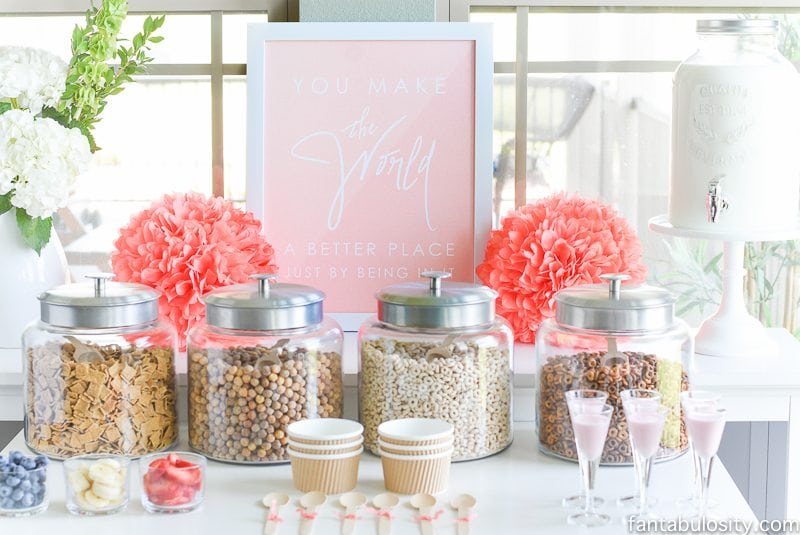
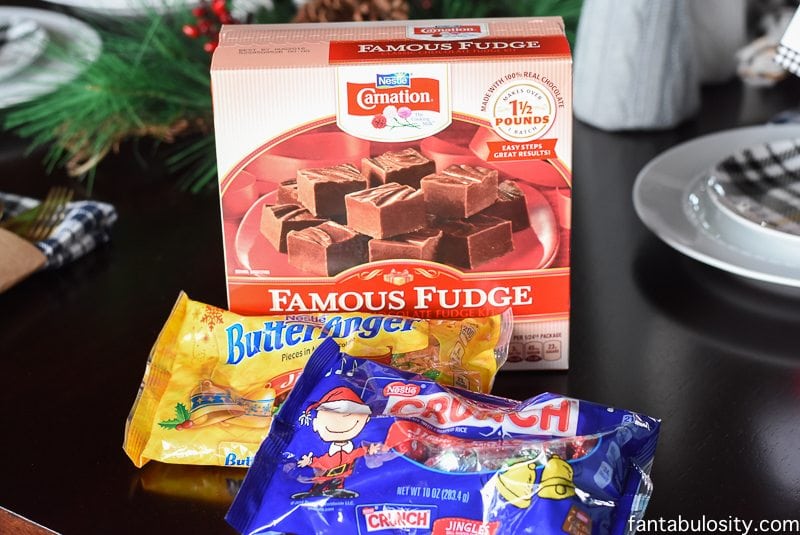
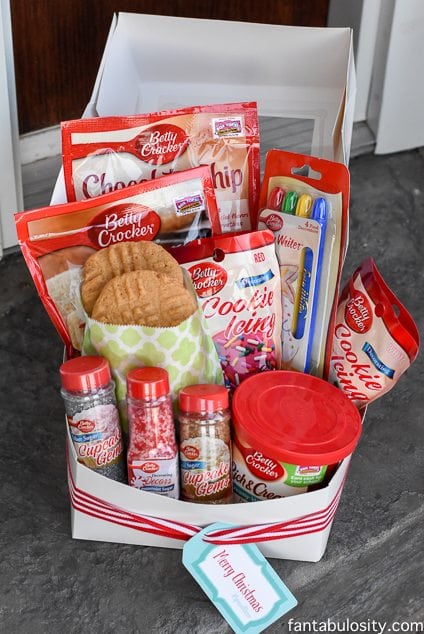
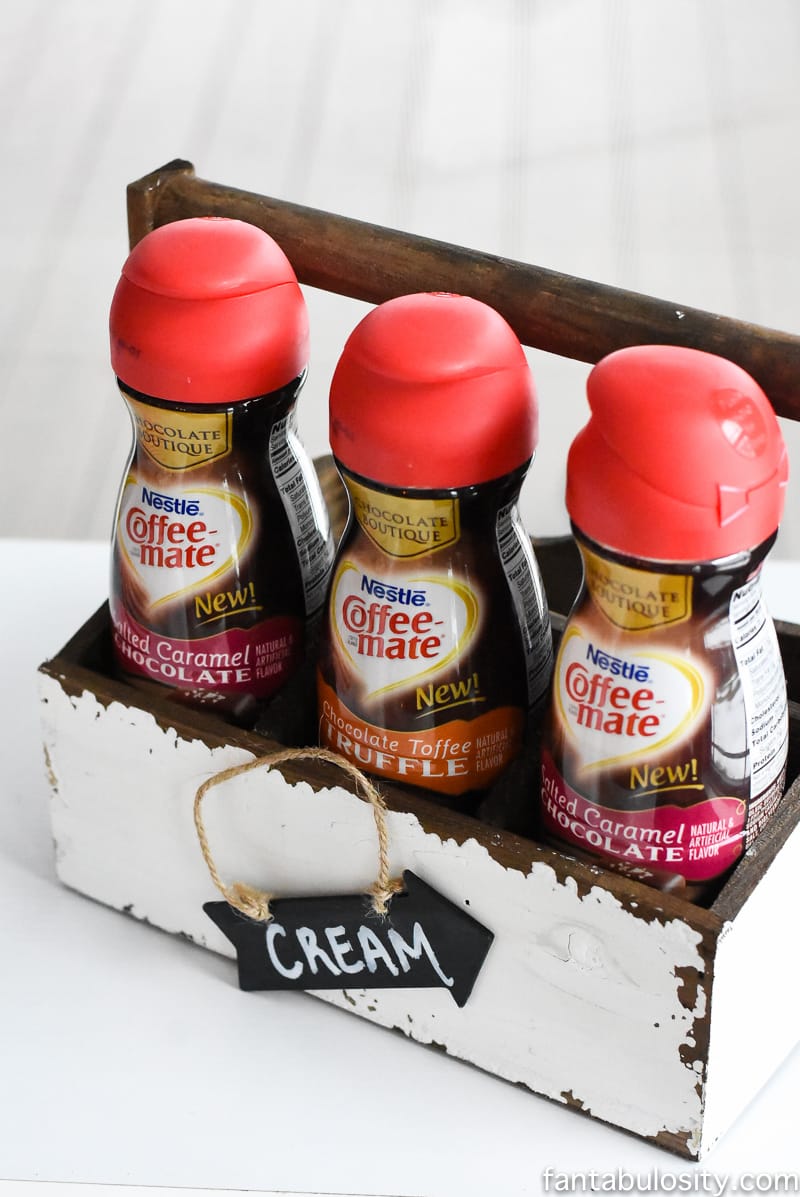
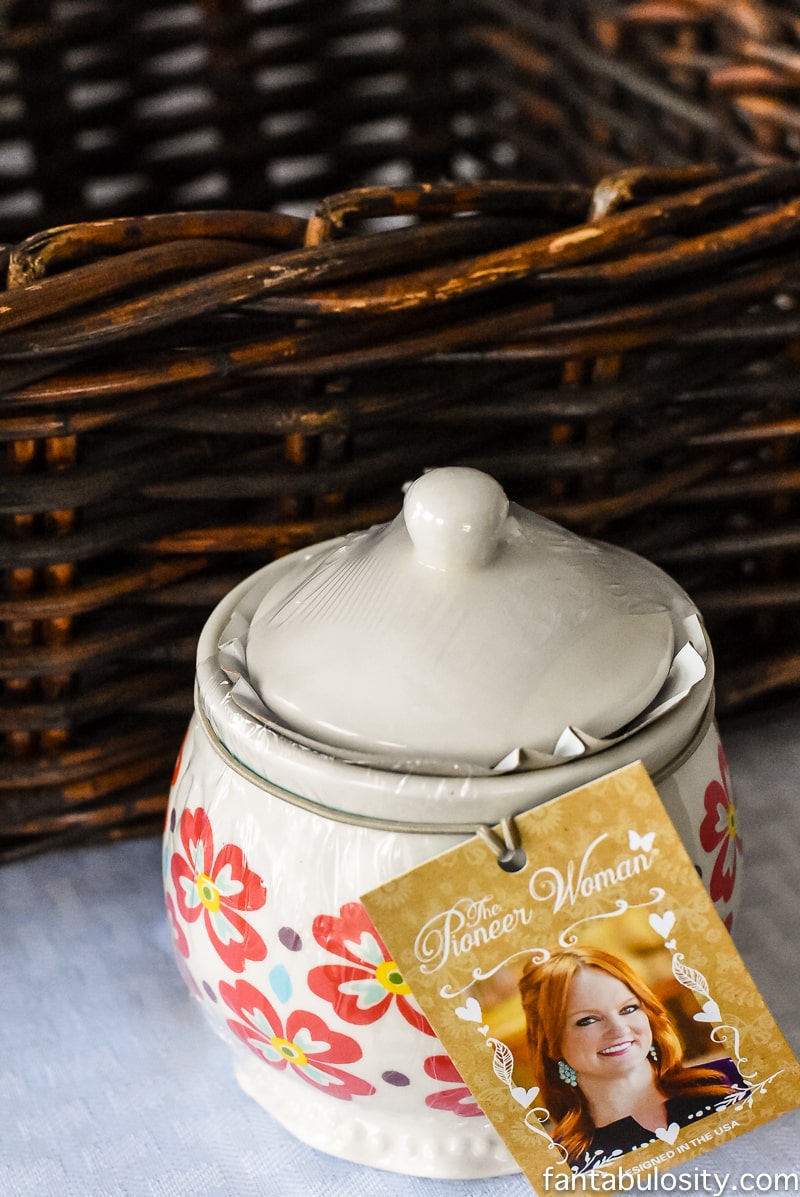
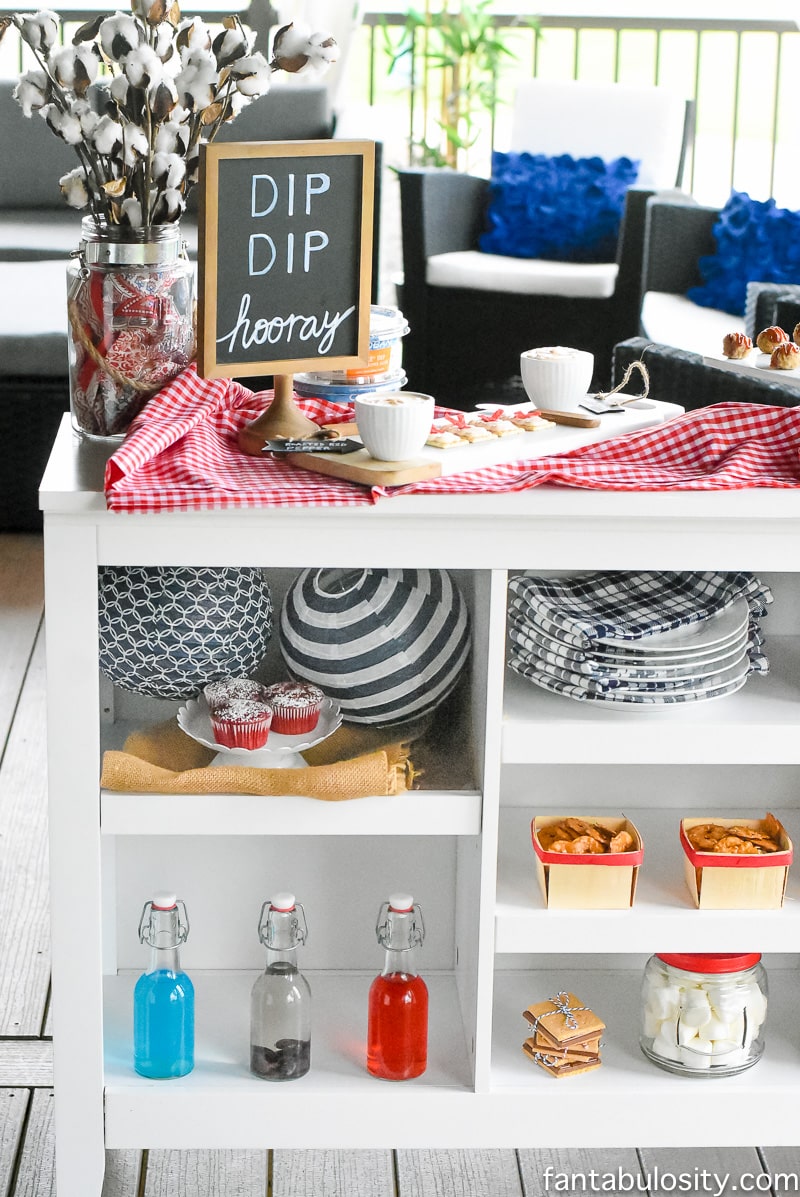
Pre-Made Dips:
To keep things SUPER simple with this dip bar, I knew buying pre-made dips was the answer – except for this blue cheese dip. (You just can’t find anything in the store as good as this one!)
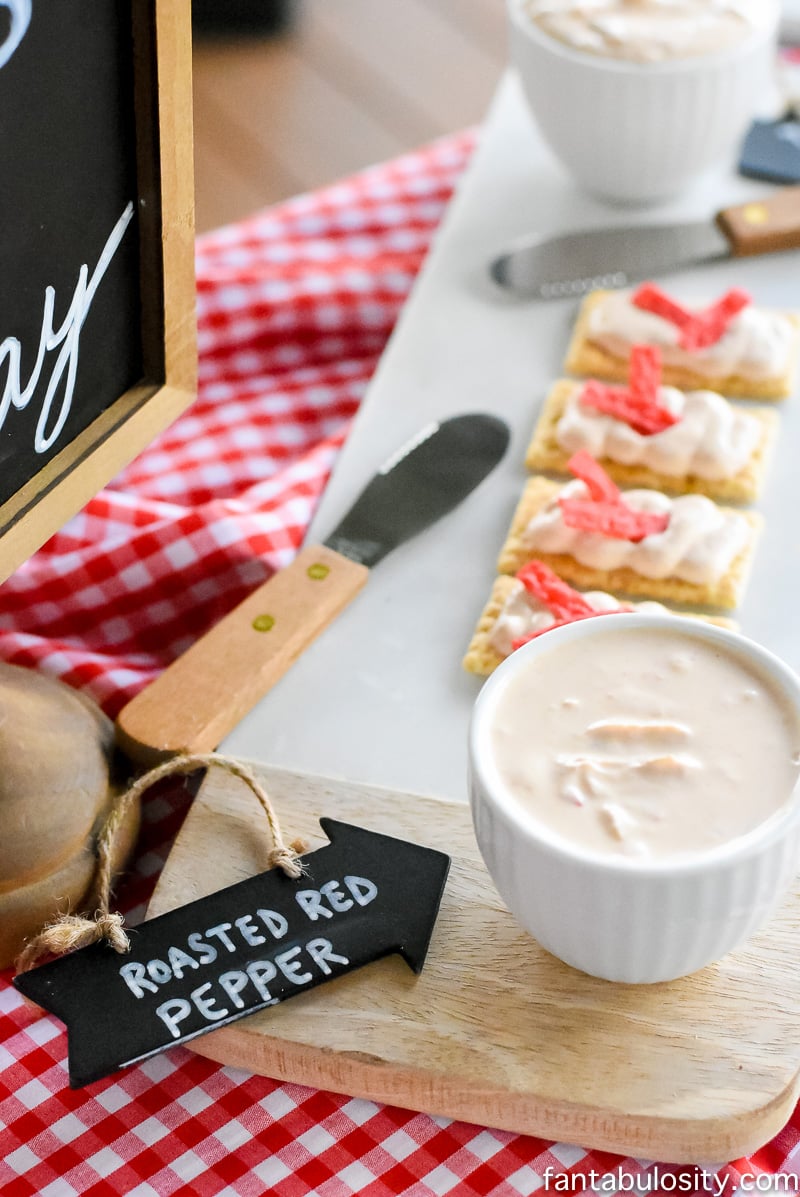
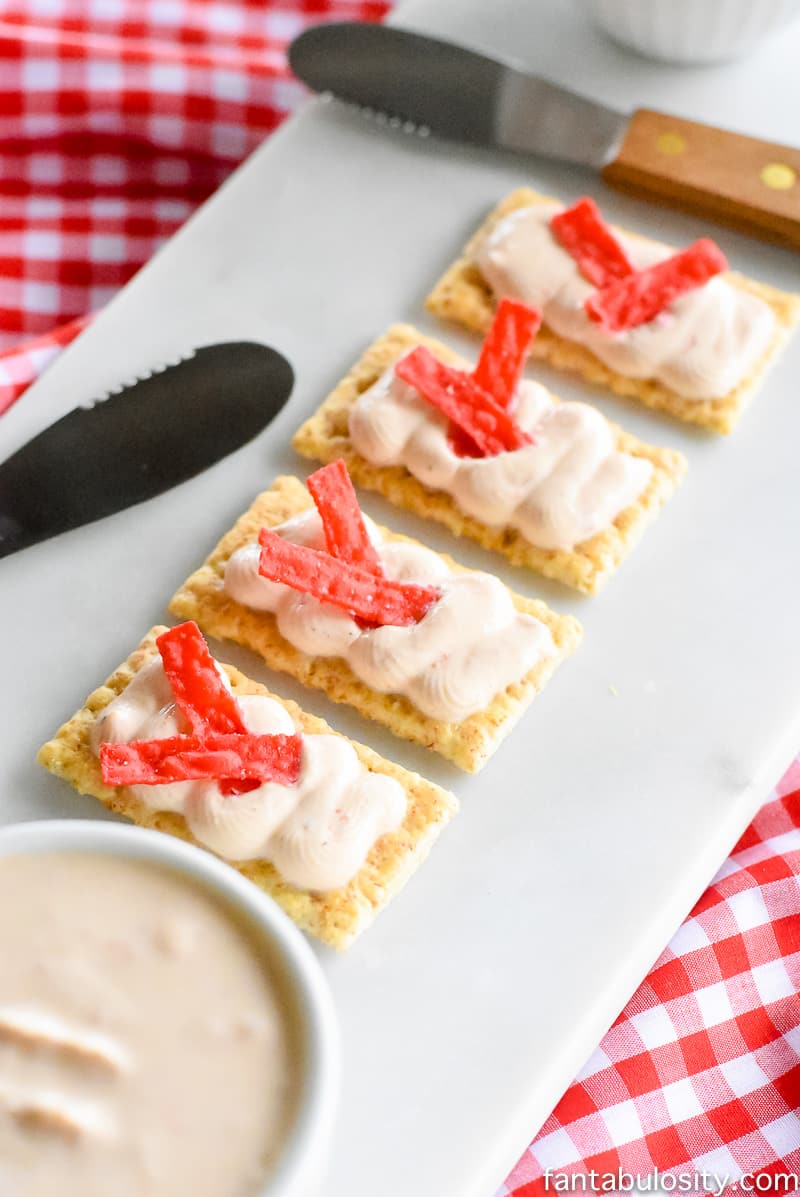
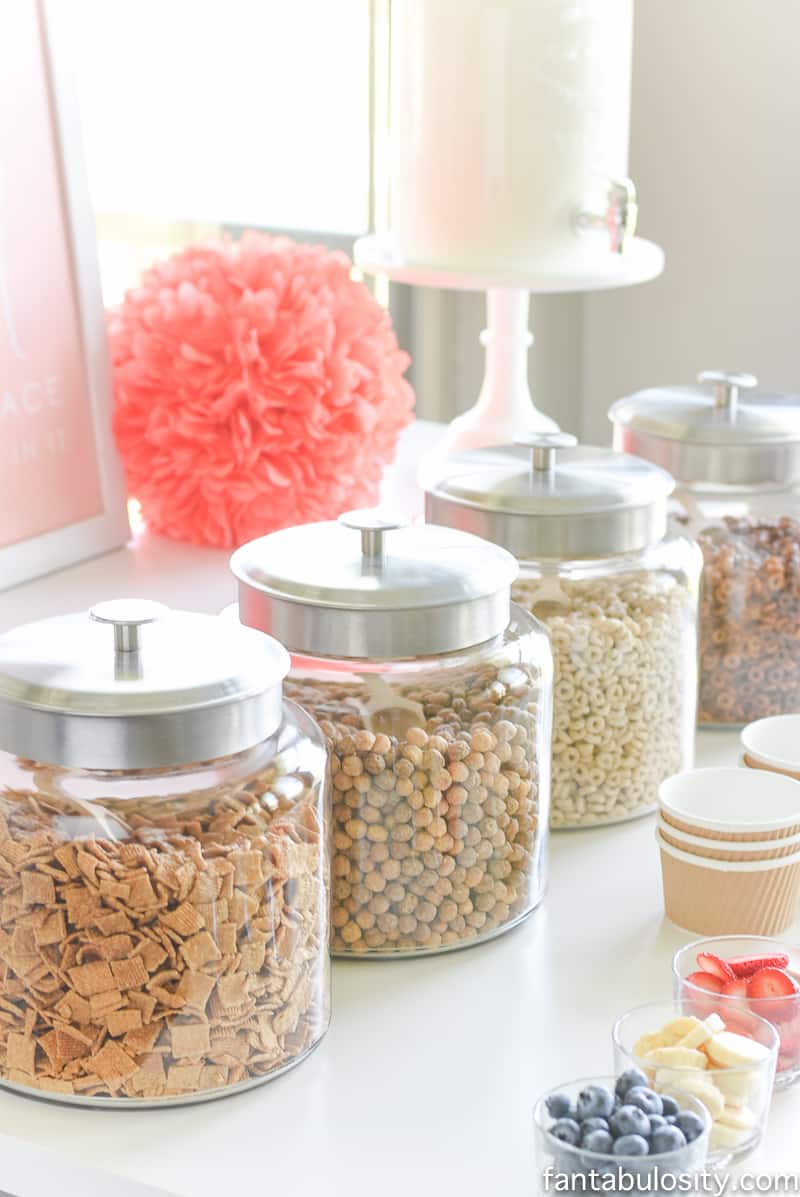
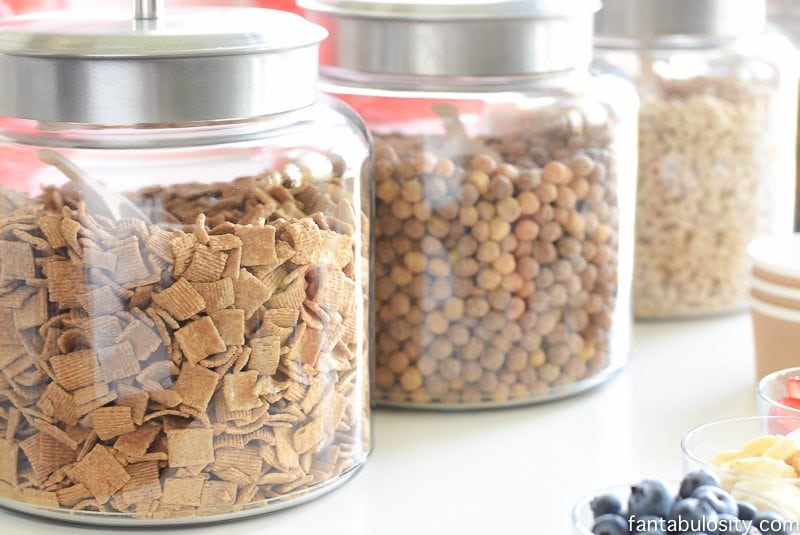
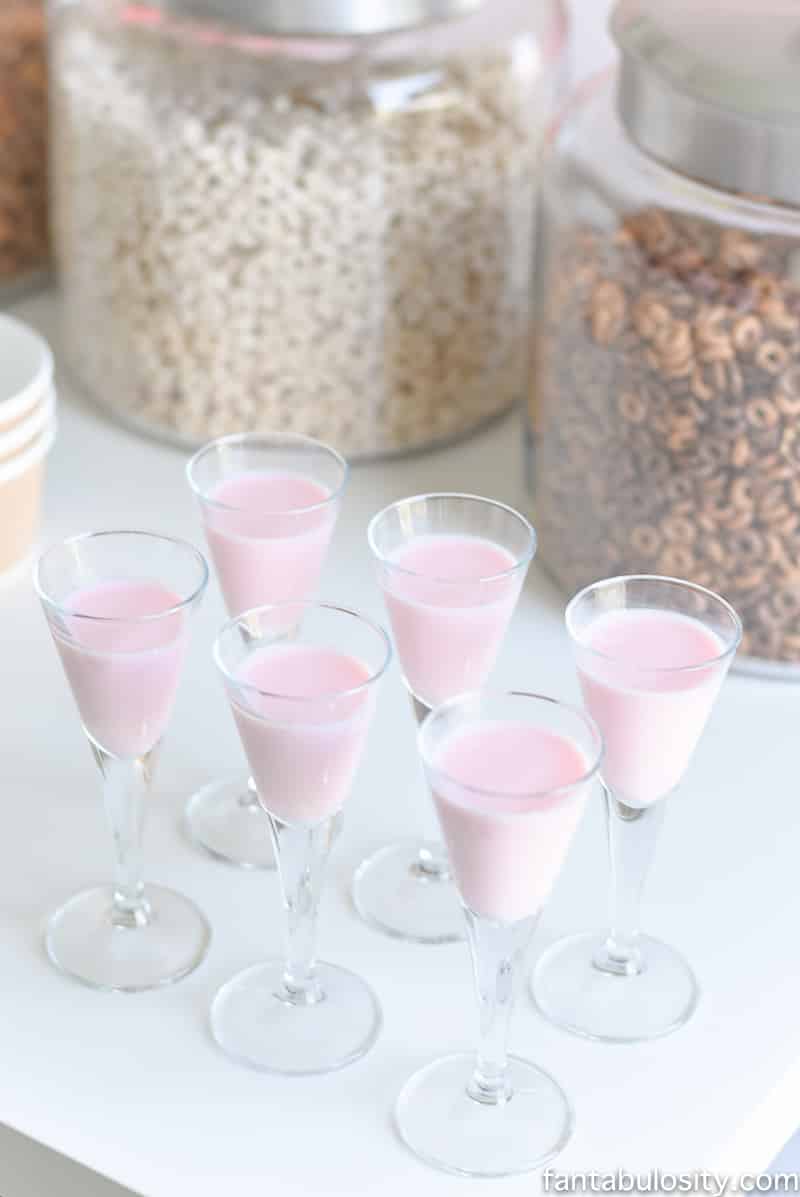
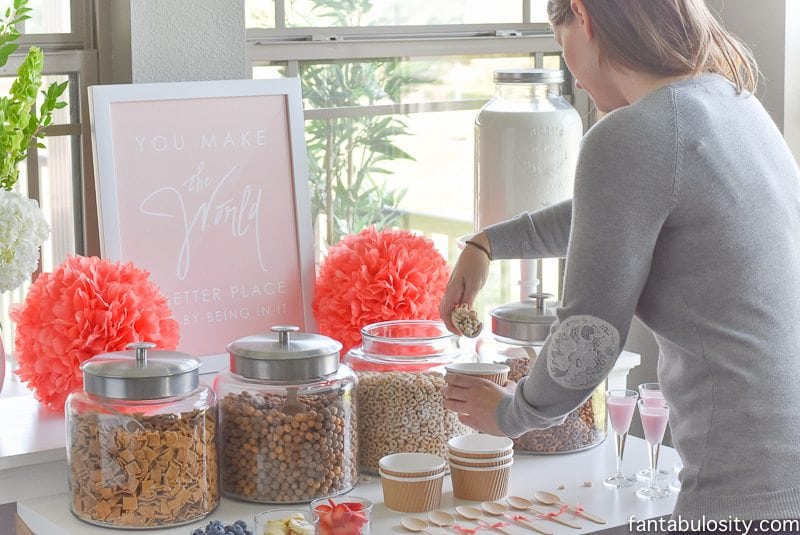
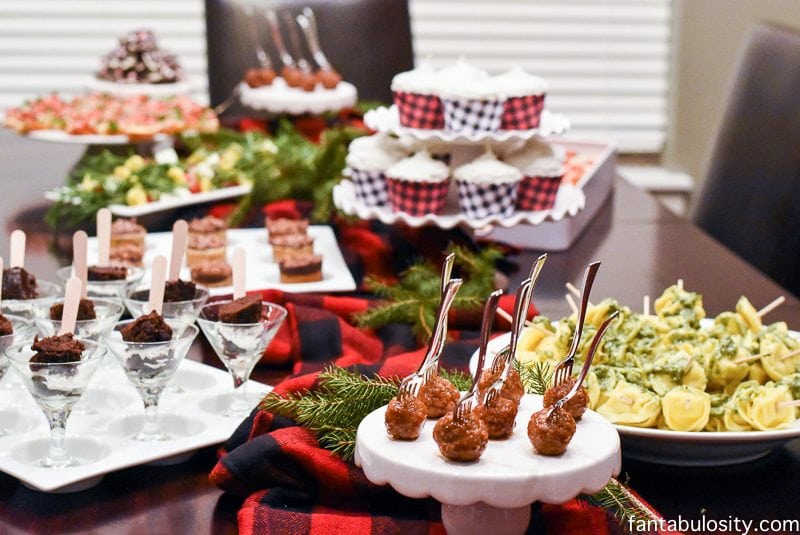
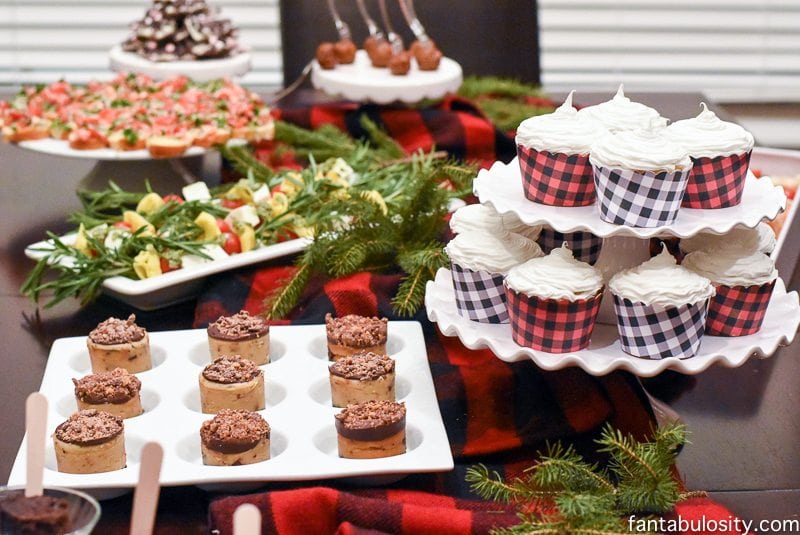
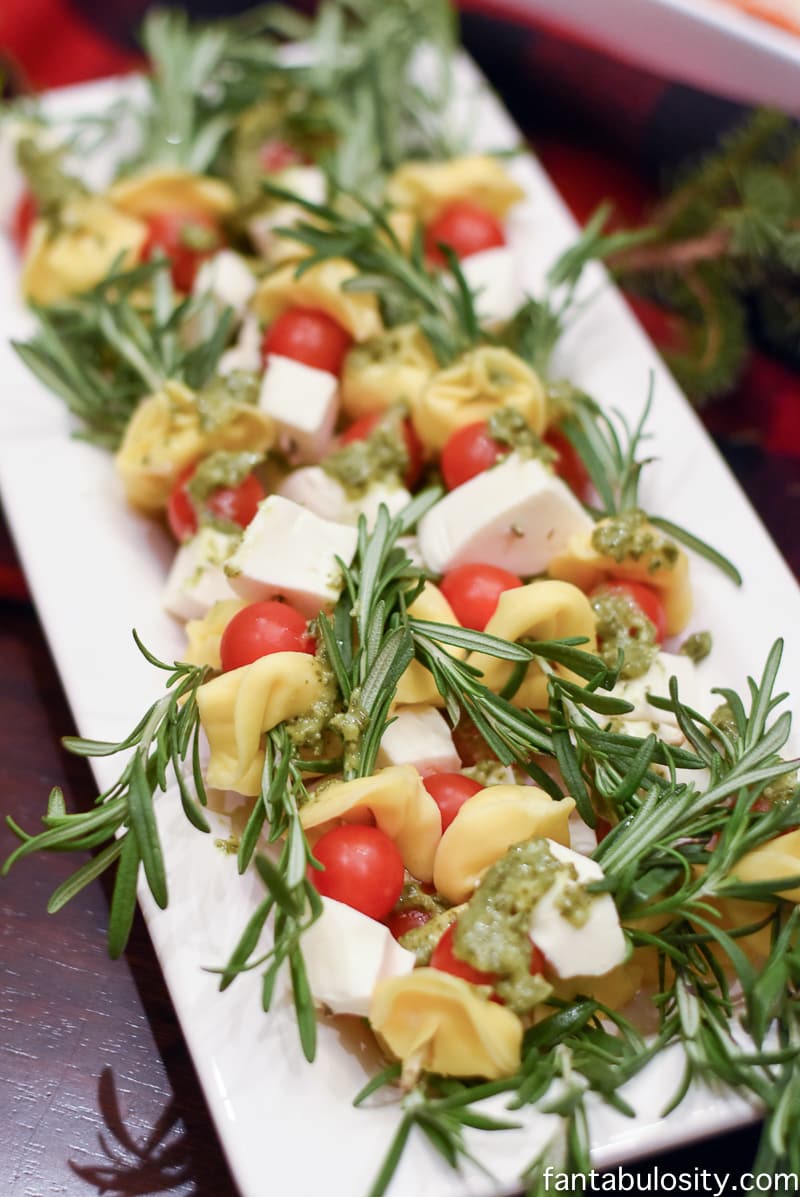
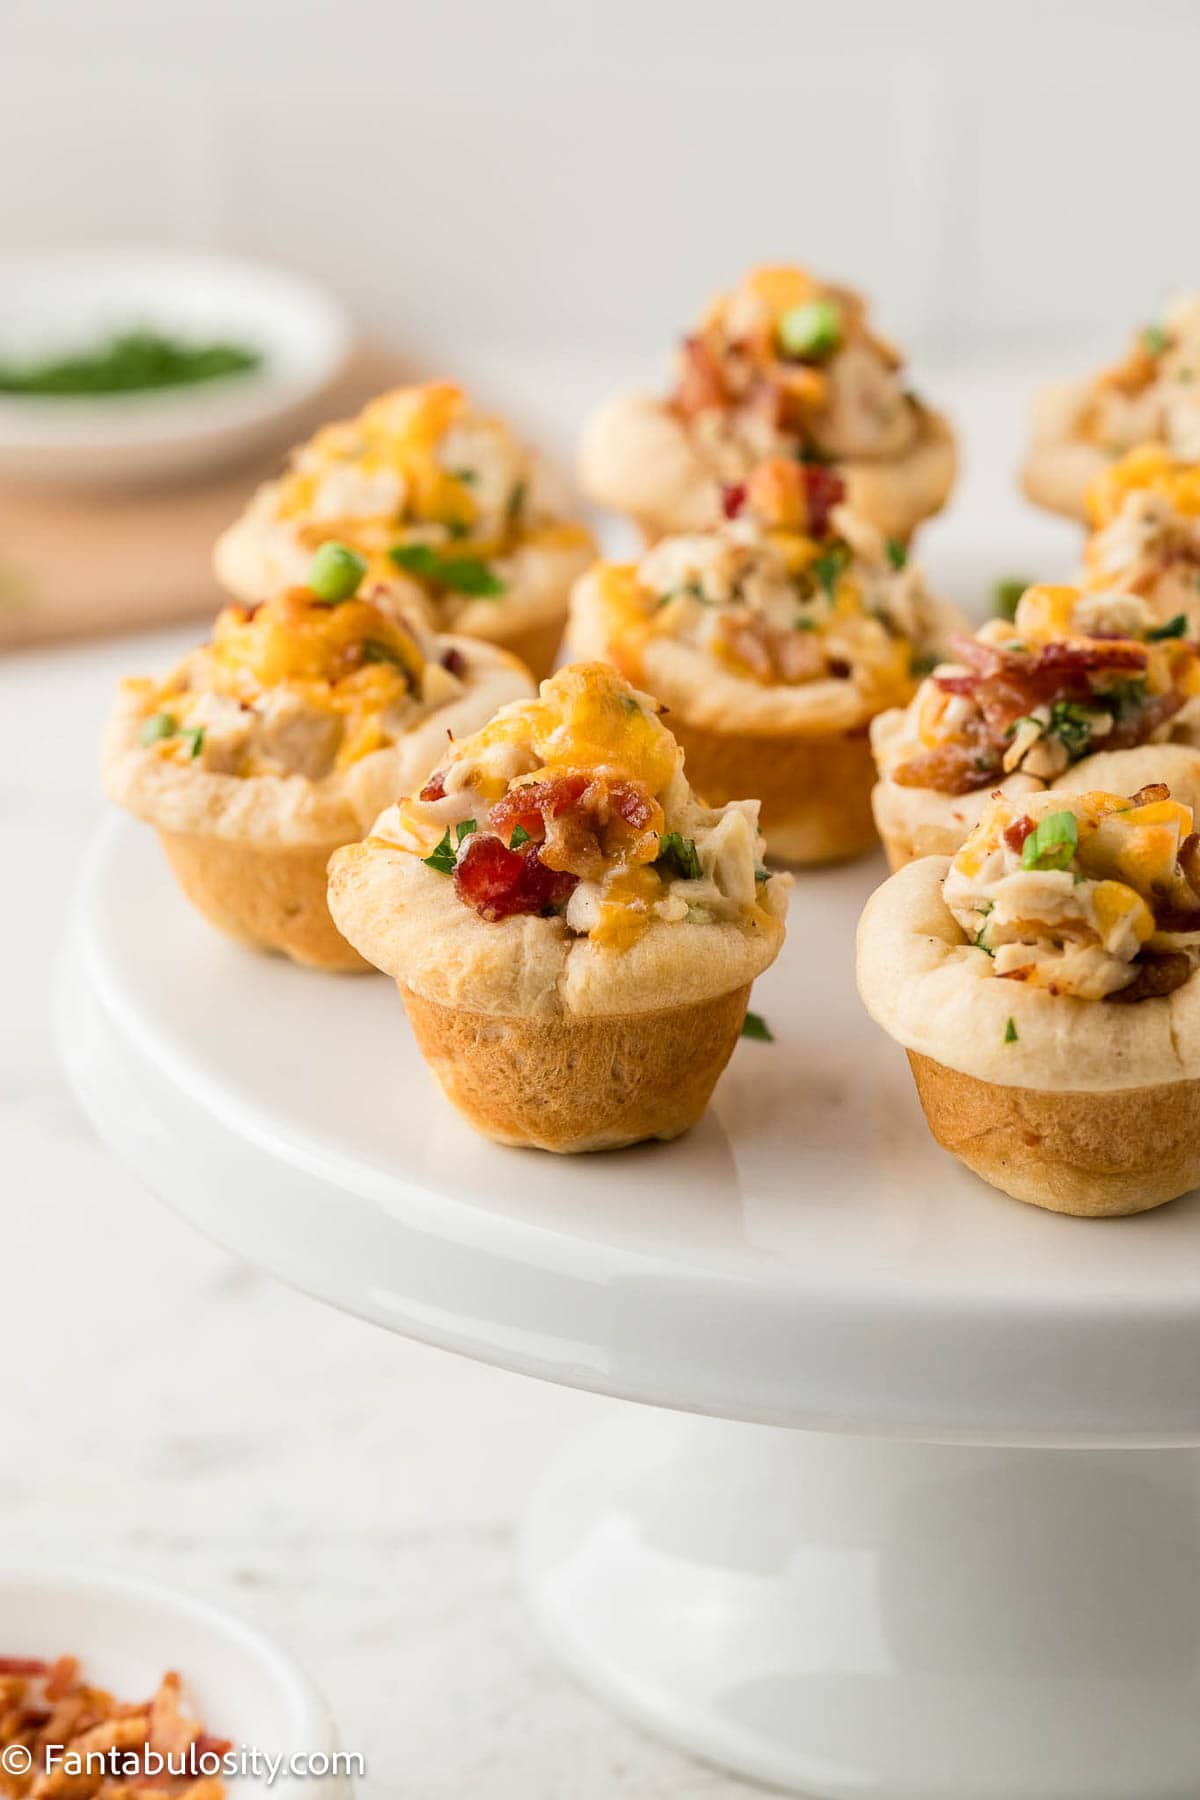
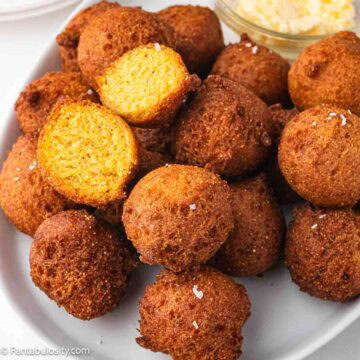
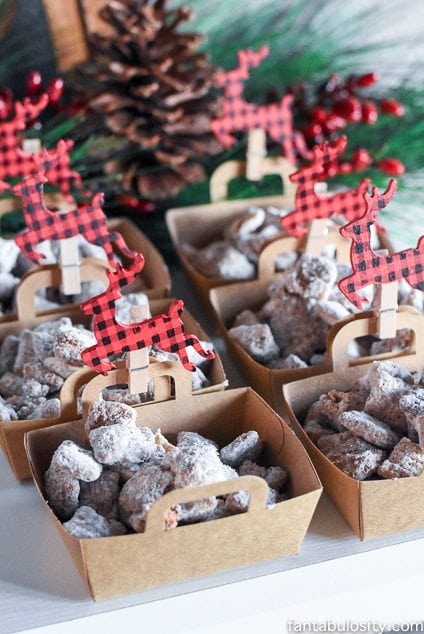
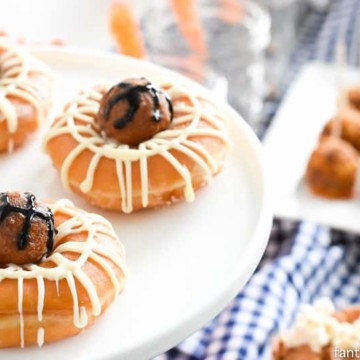
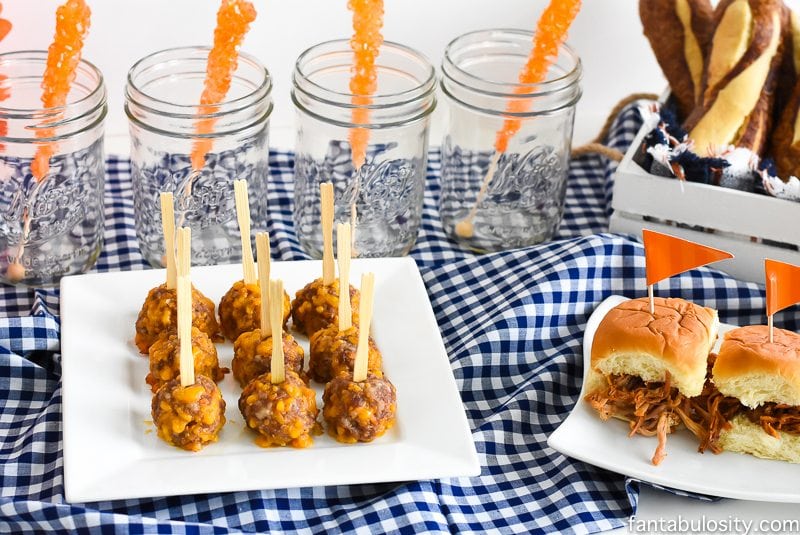
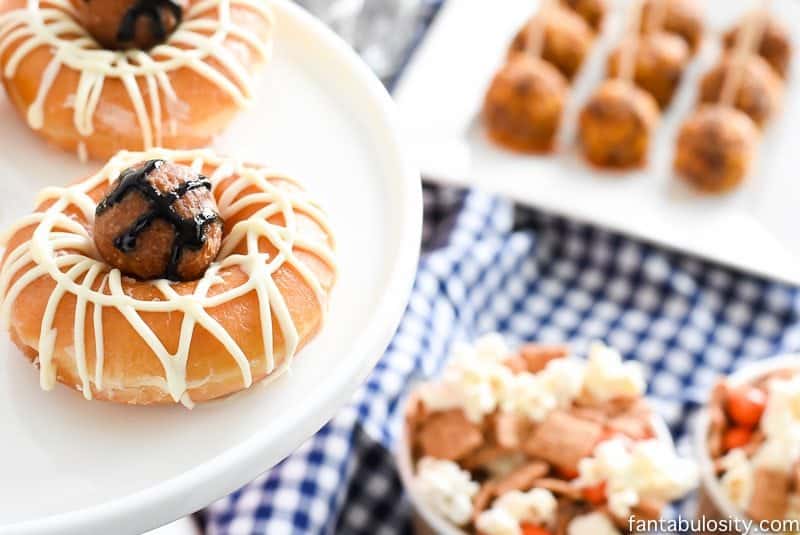
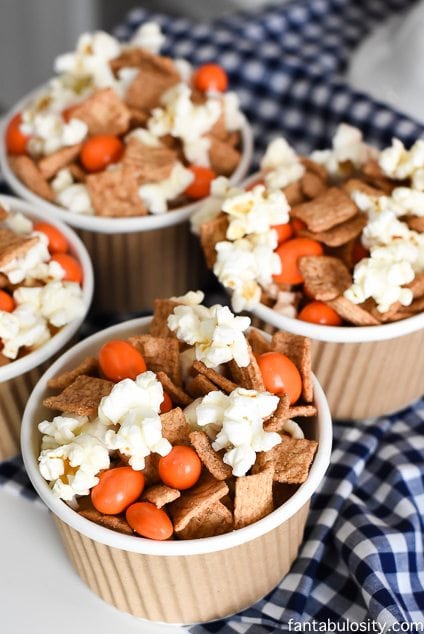
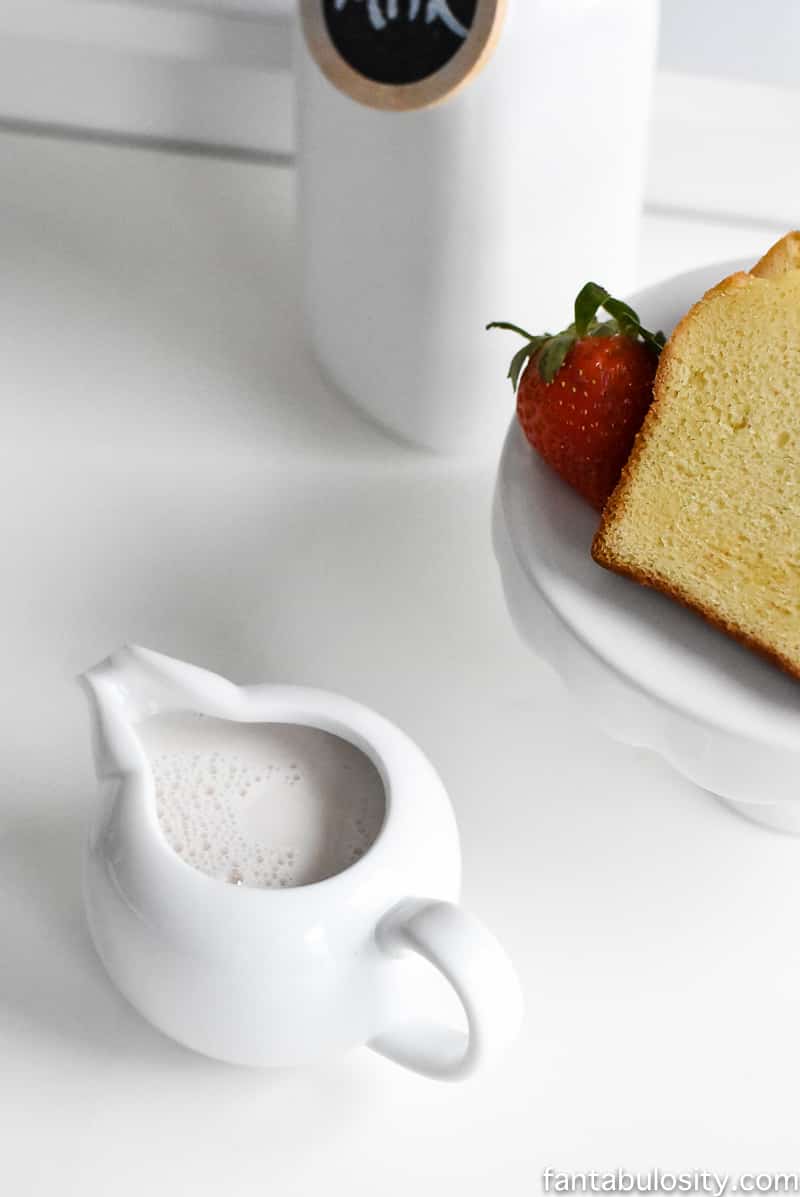
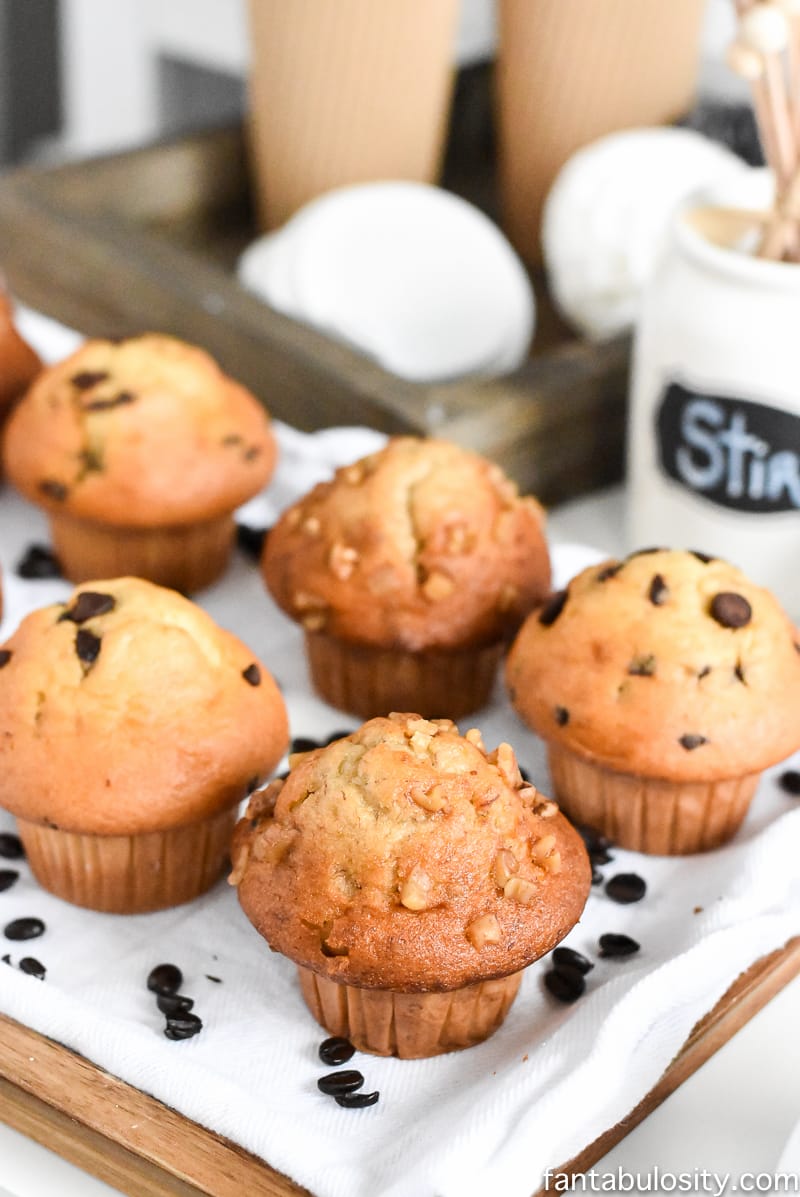
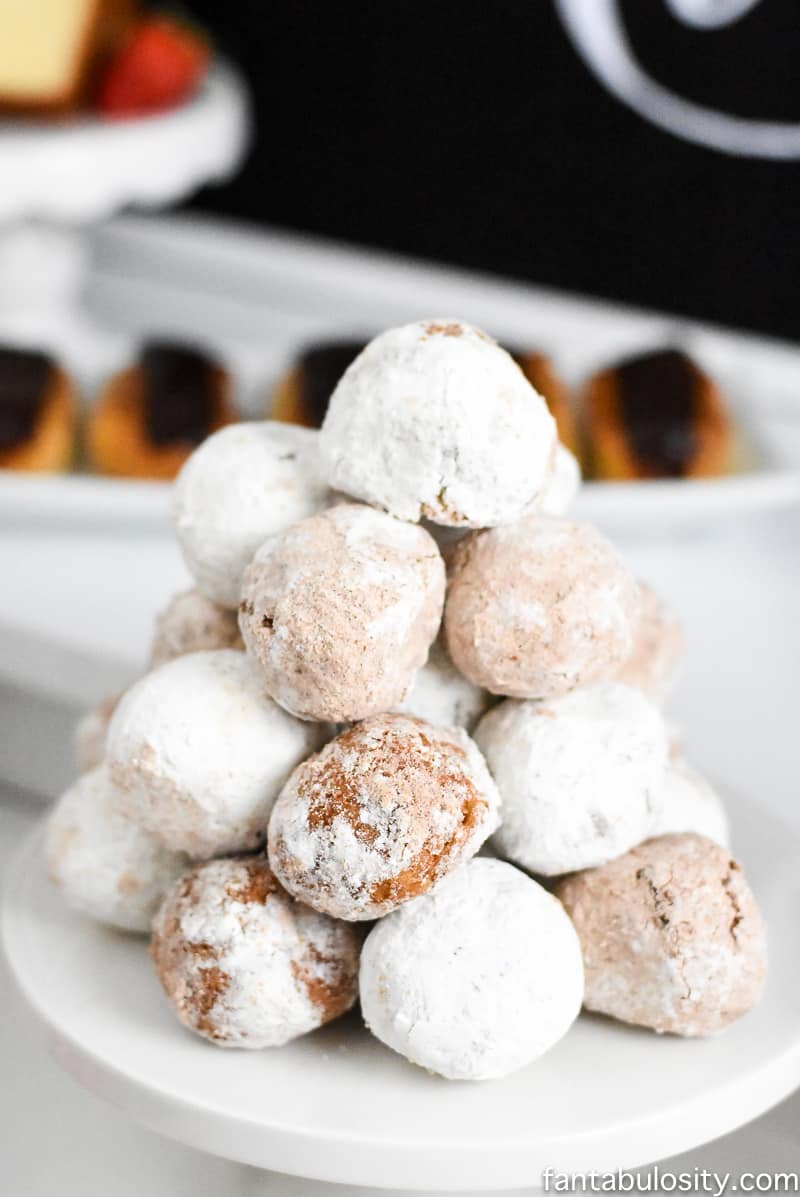
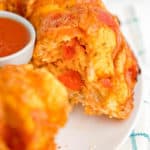
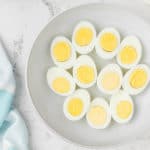
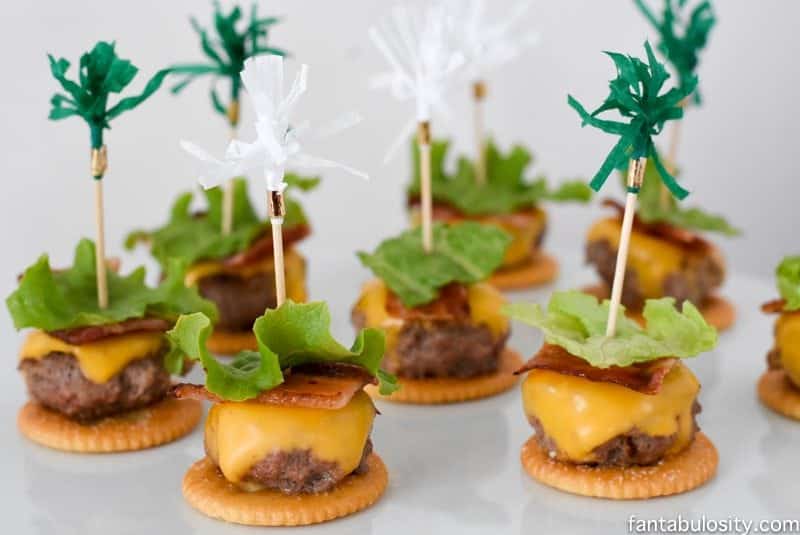
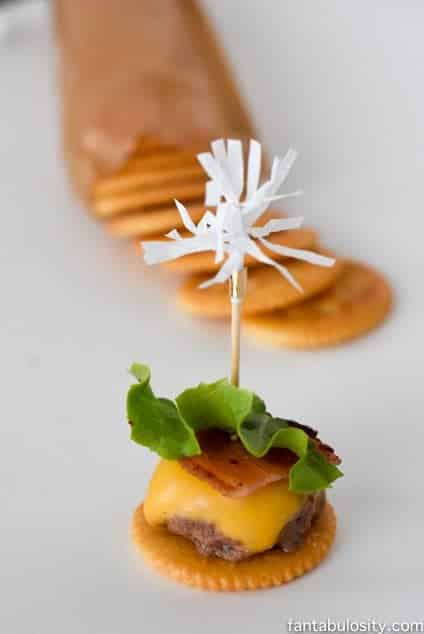
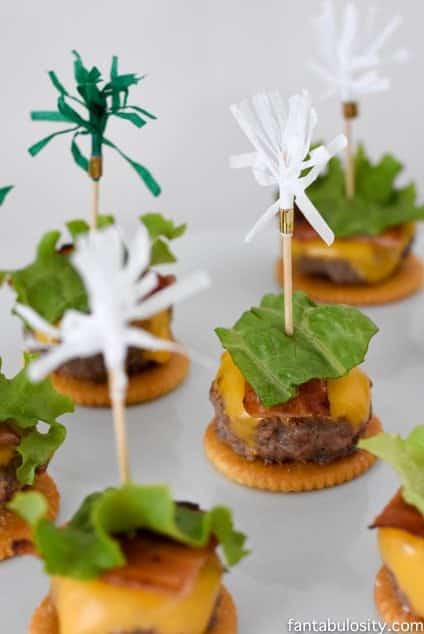
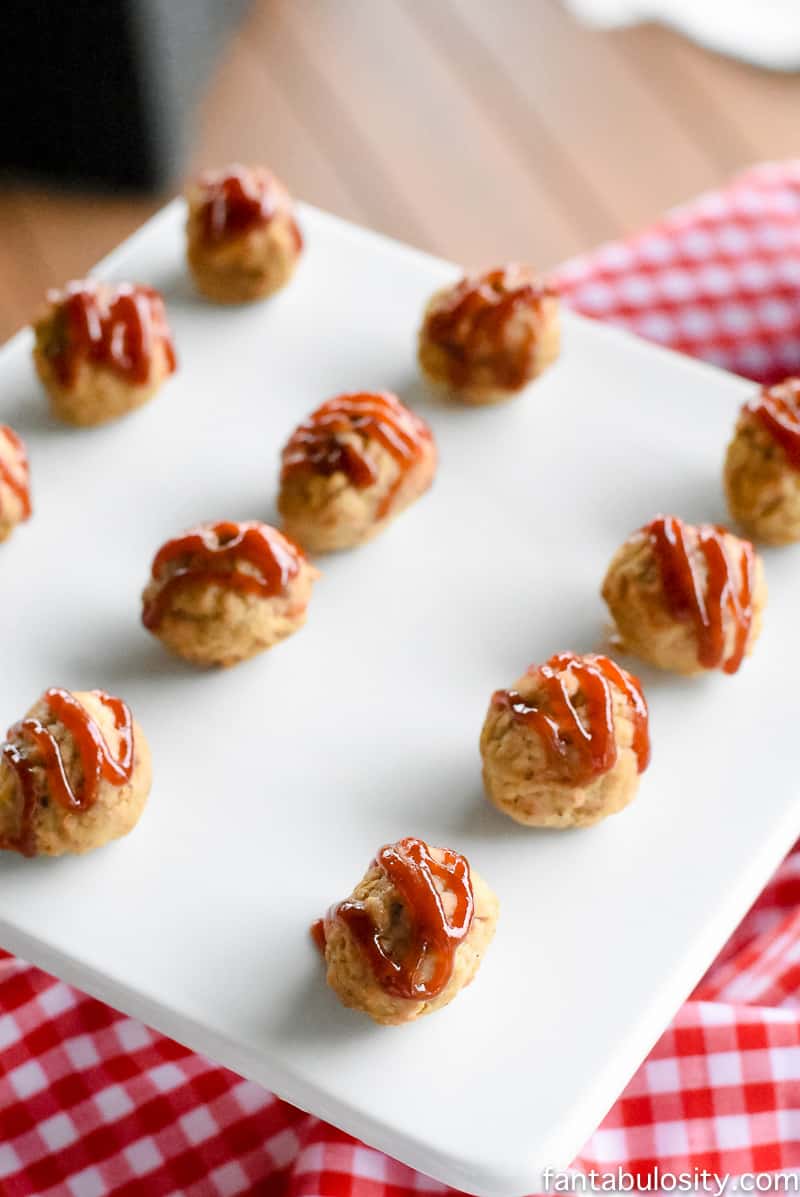
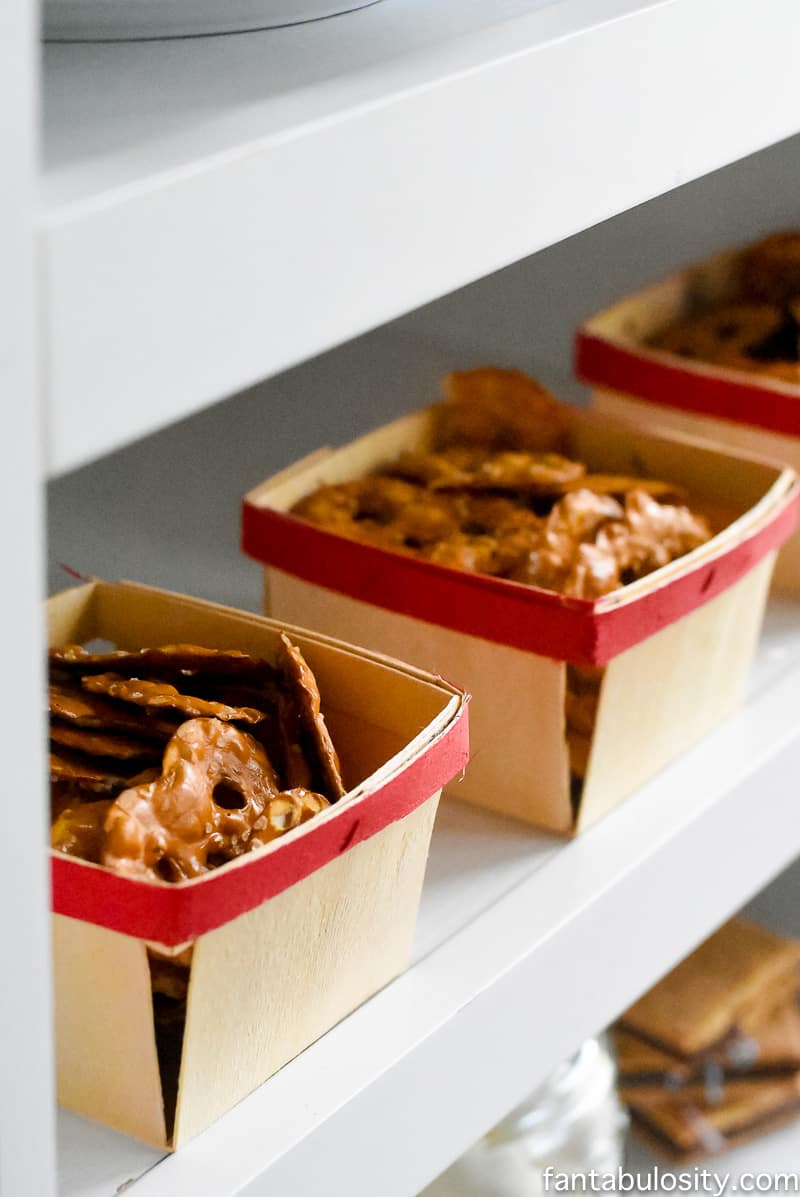
Bite Size Snacks to Dip:
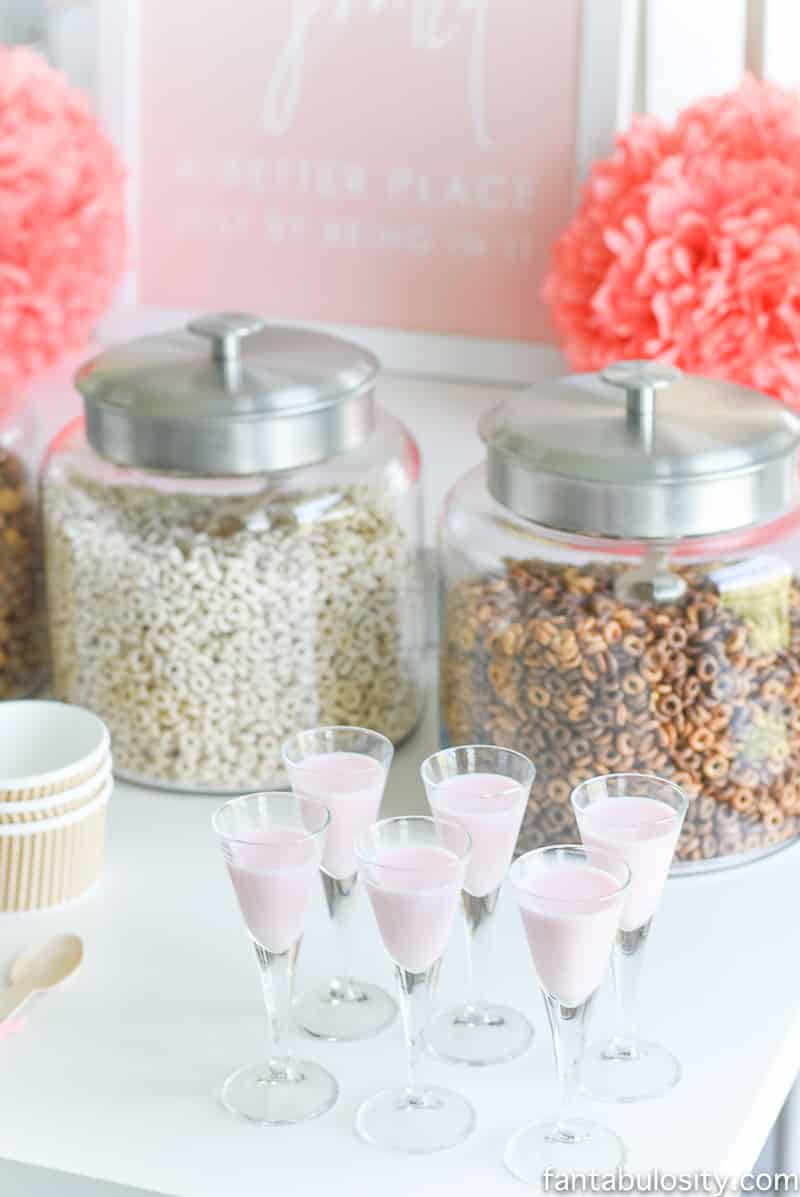
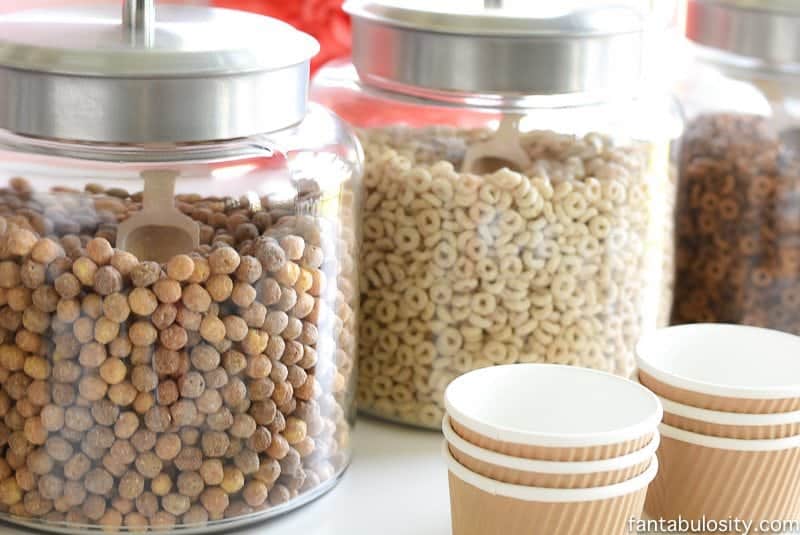
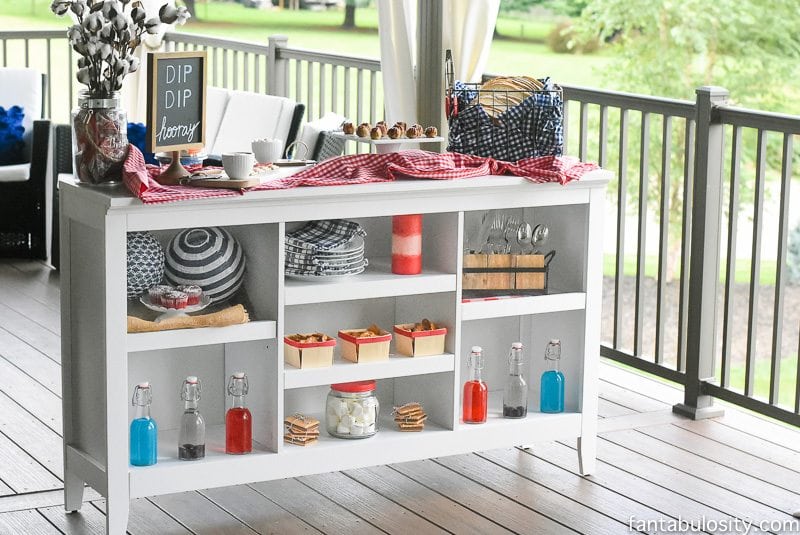
Fill your dip bar with items that can be dipped, and you’ll keep your guests busy snacking, all without having to serve and cook up a large meal. Yay for more time to visit with your guests!
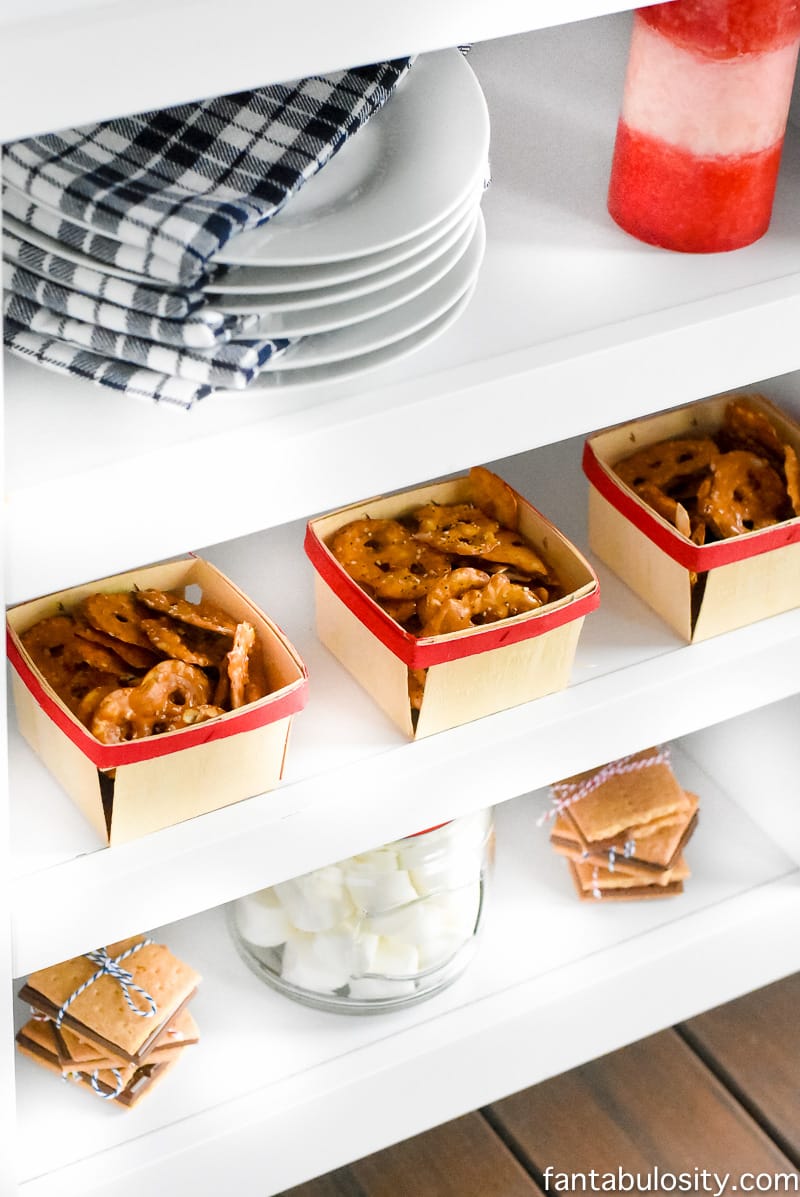
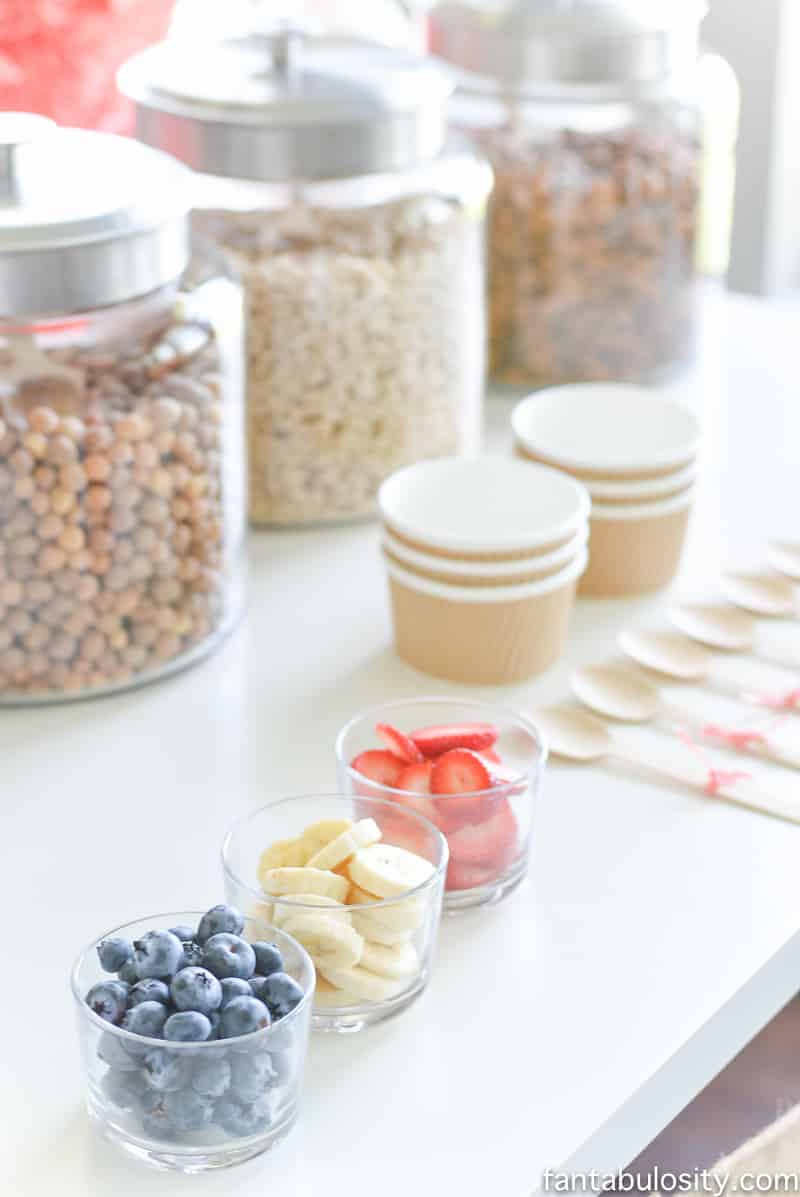
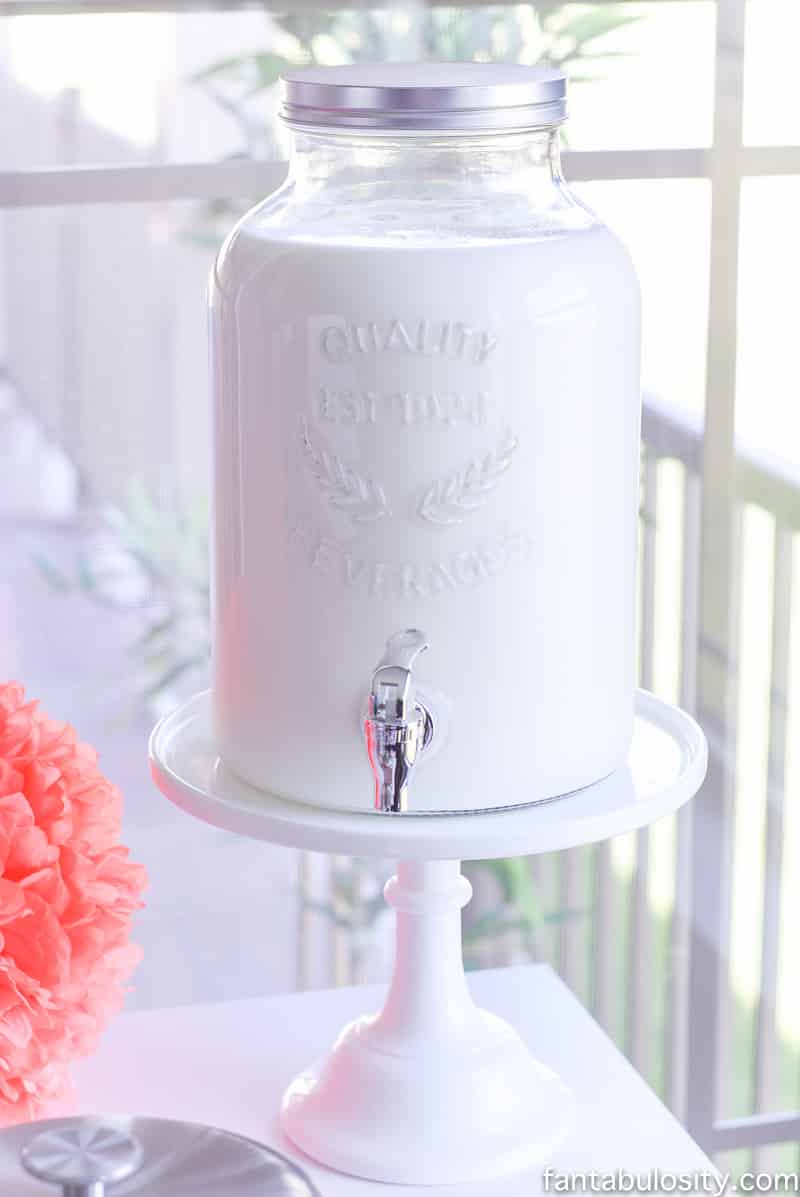
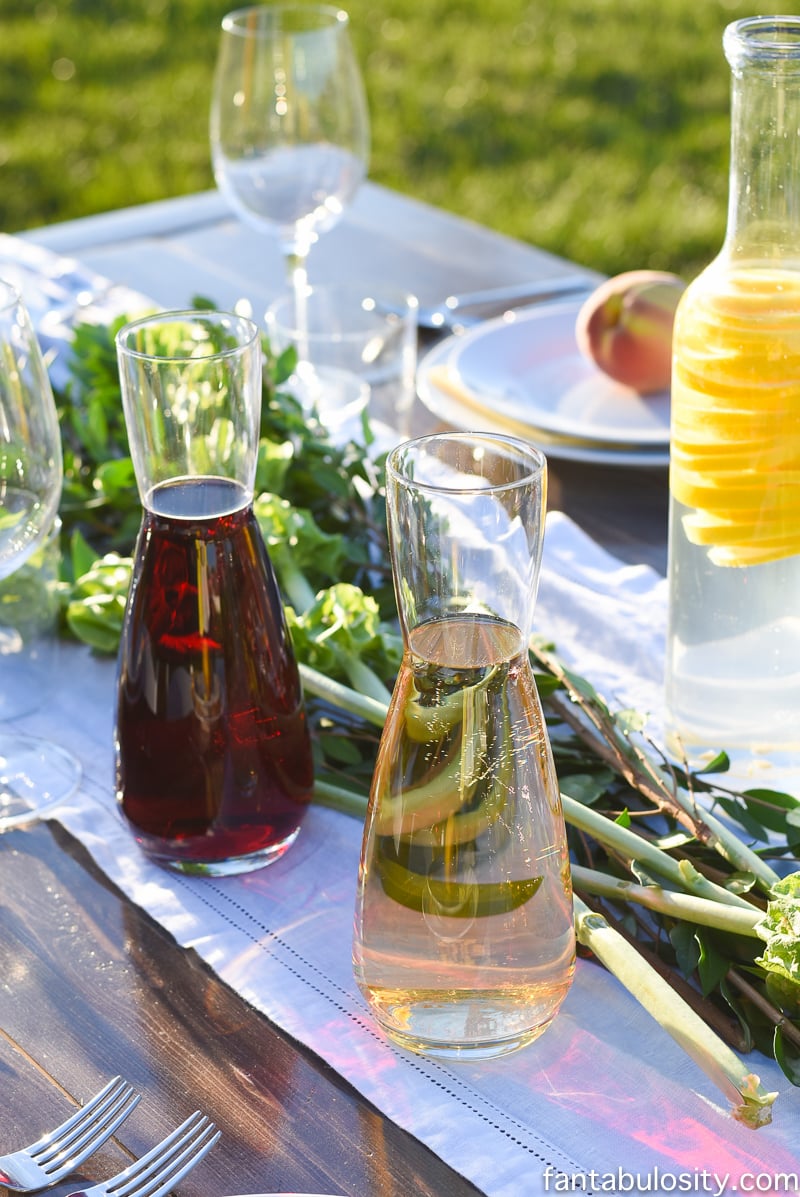
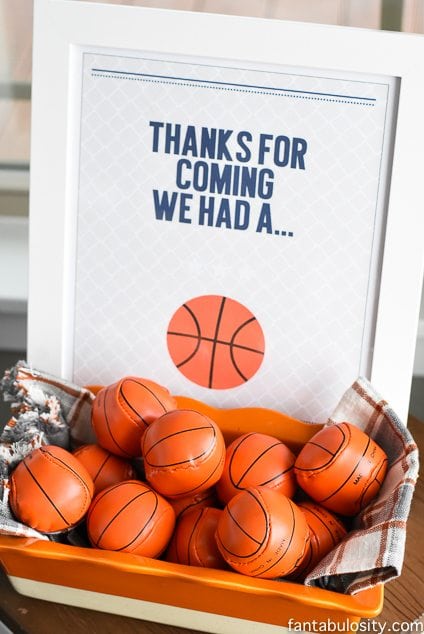
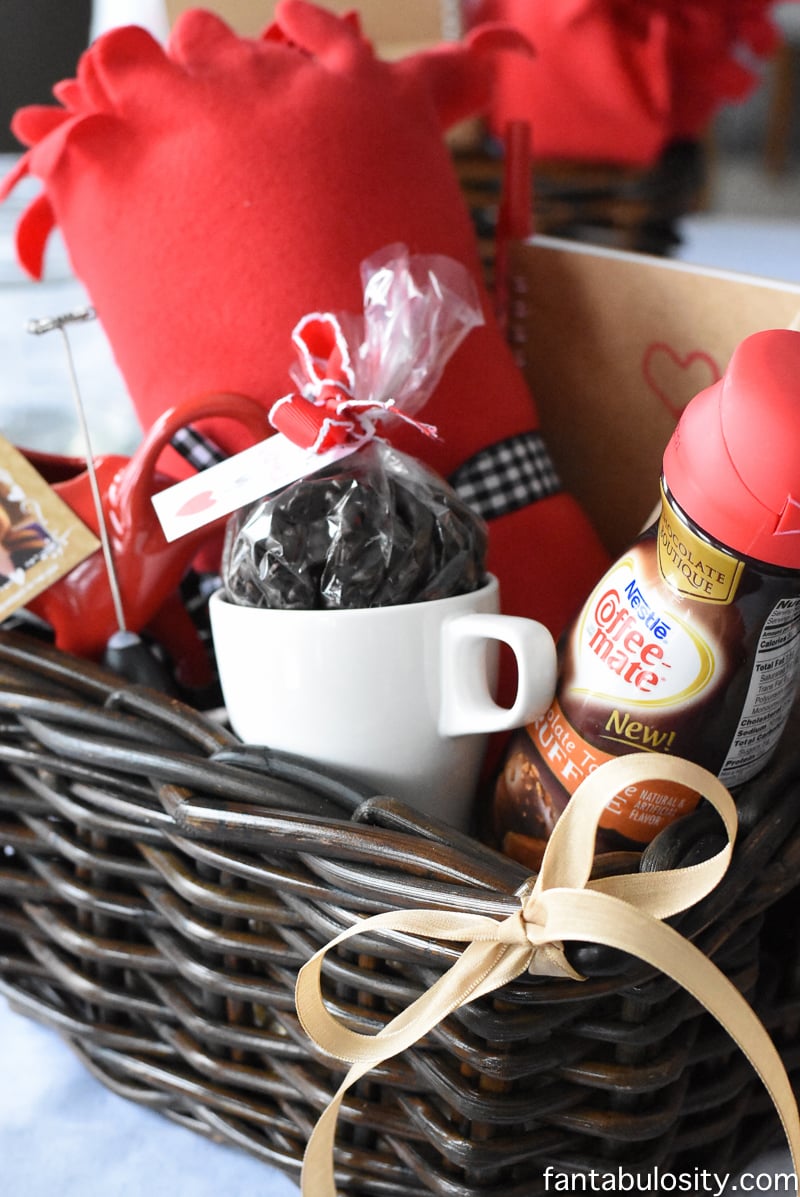
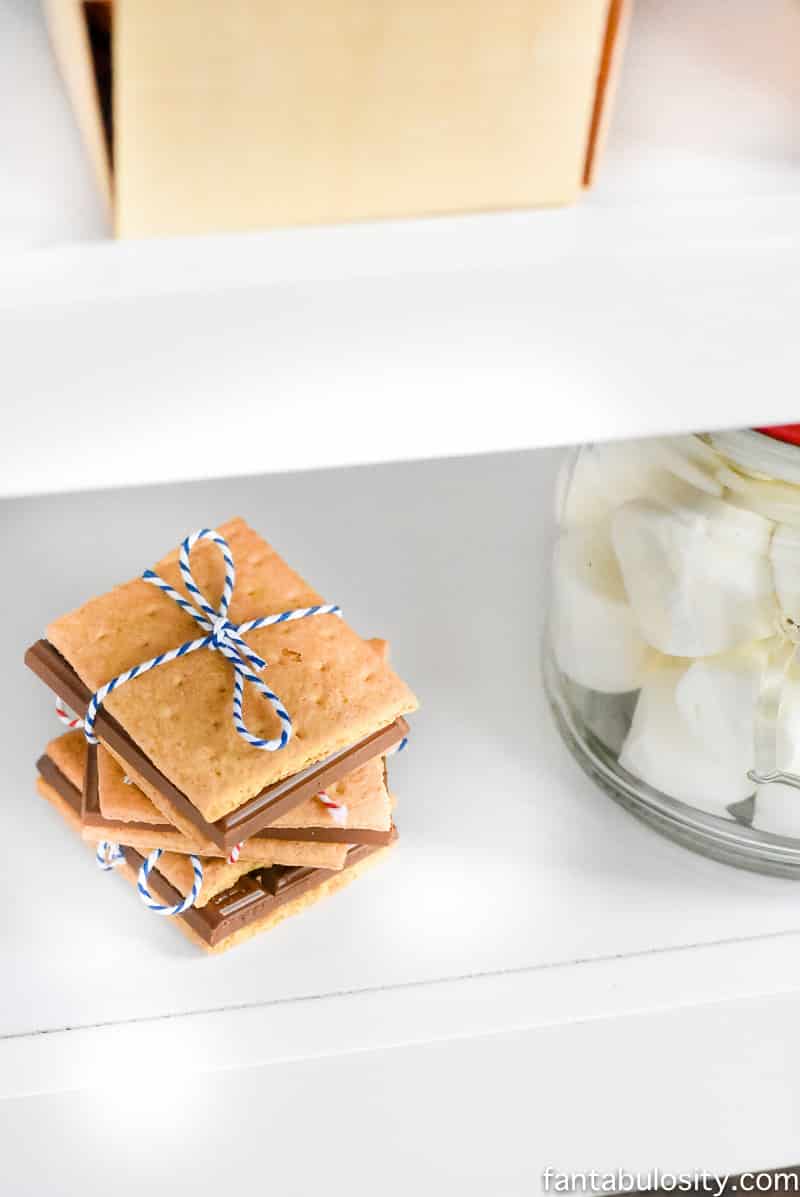
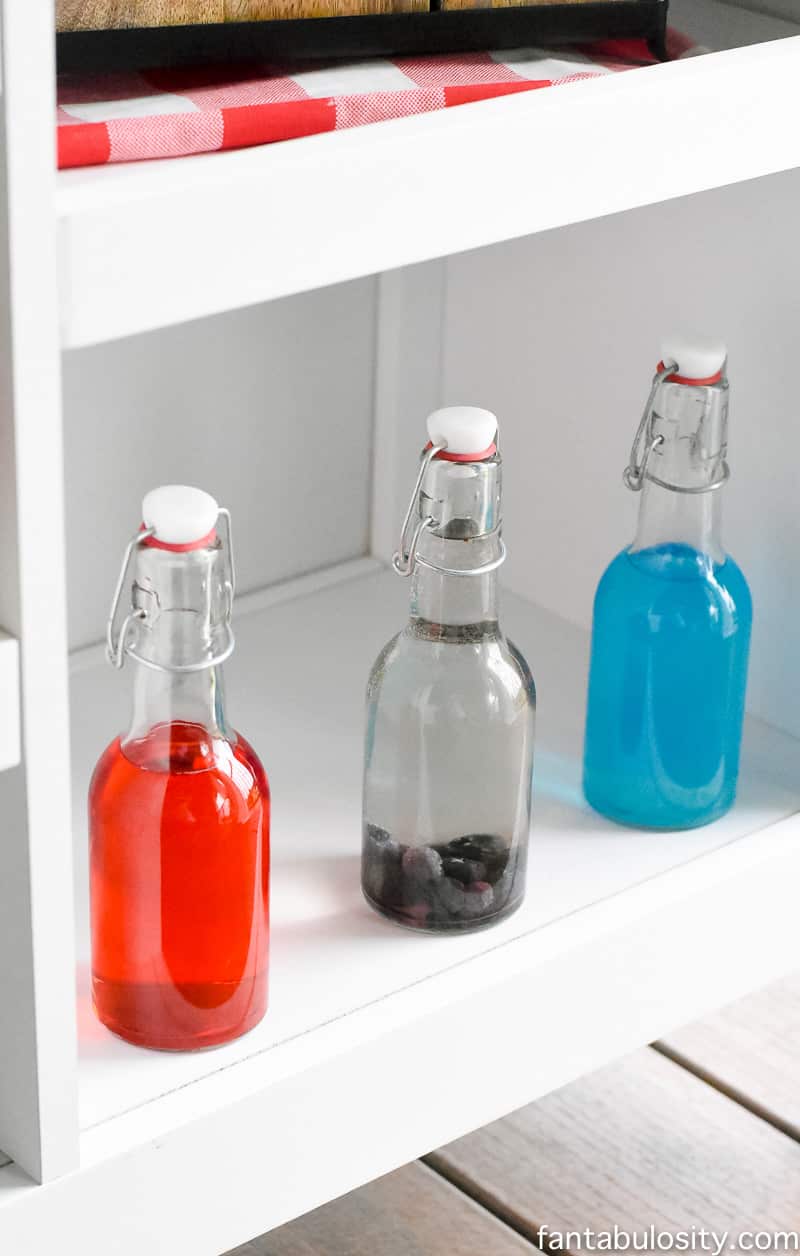
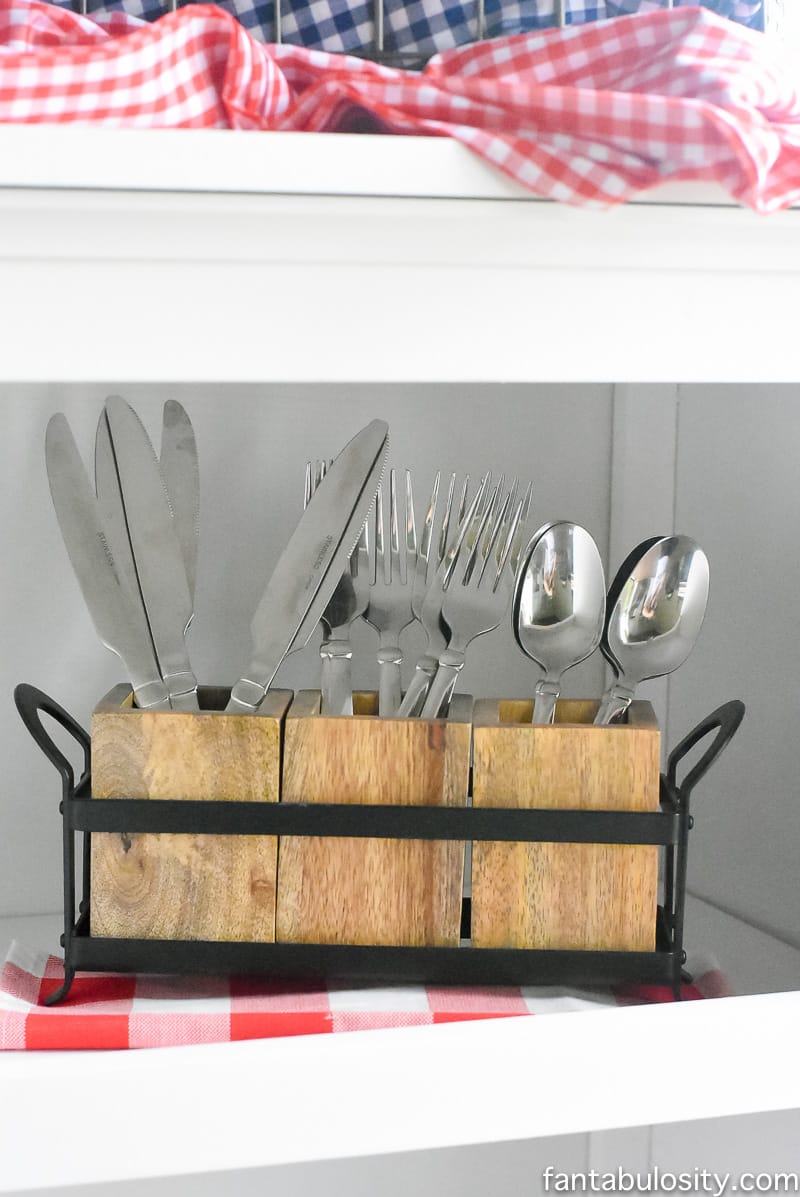
You can also fill your dip bar with goodies that they guests may need, so they can easily serve and help themselves. Items like cocktail plates, napkins, silverware, drinks, and of course… dessert.
If you’re doing a red, white and blue theme, you’ll also love this flag dessert pizza we love making!
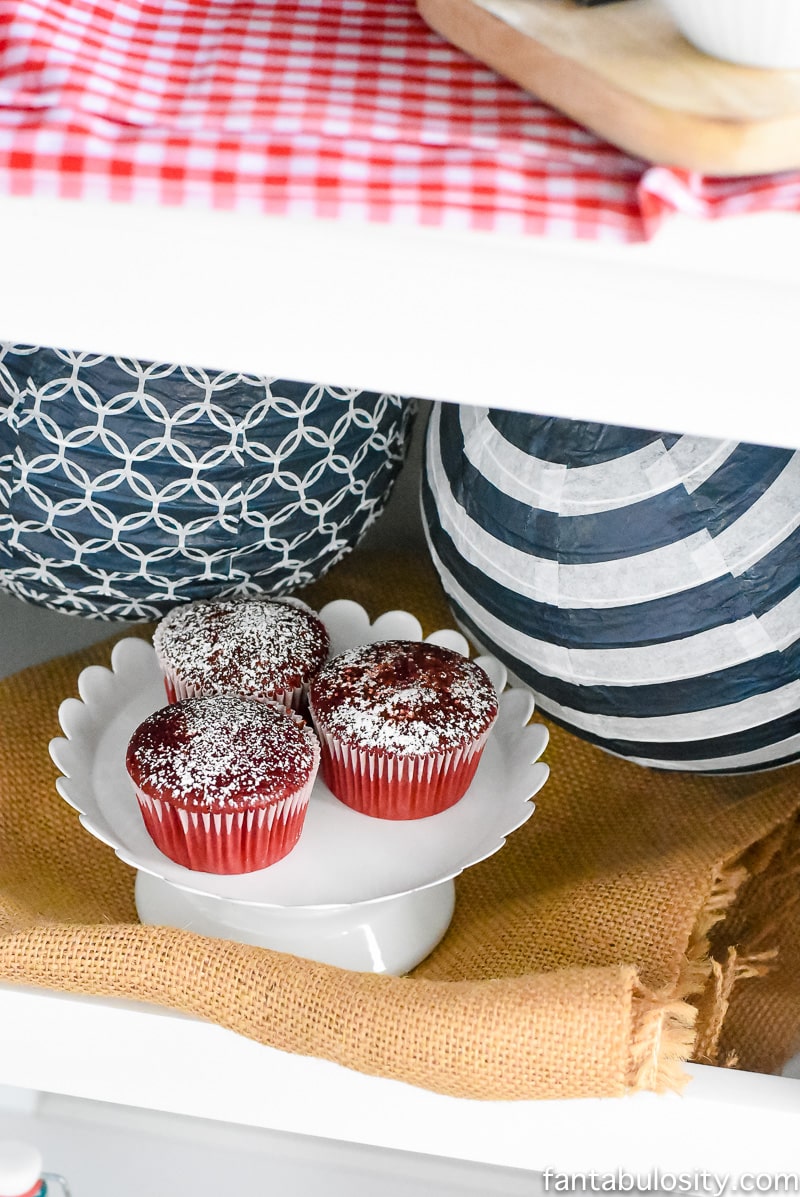
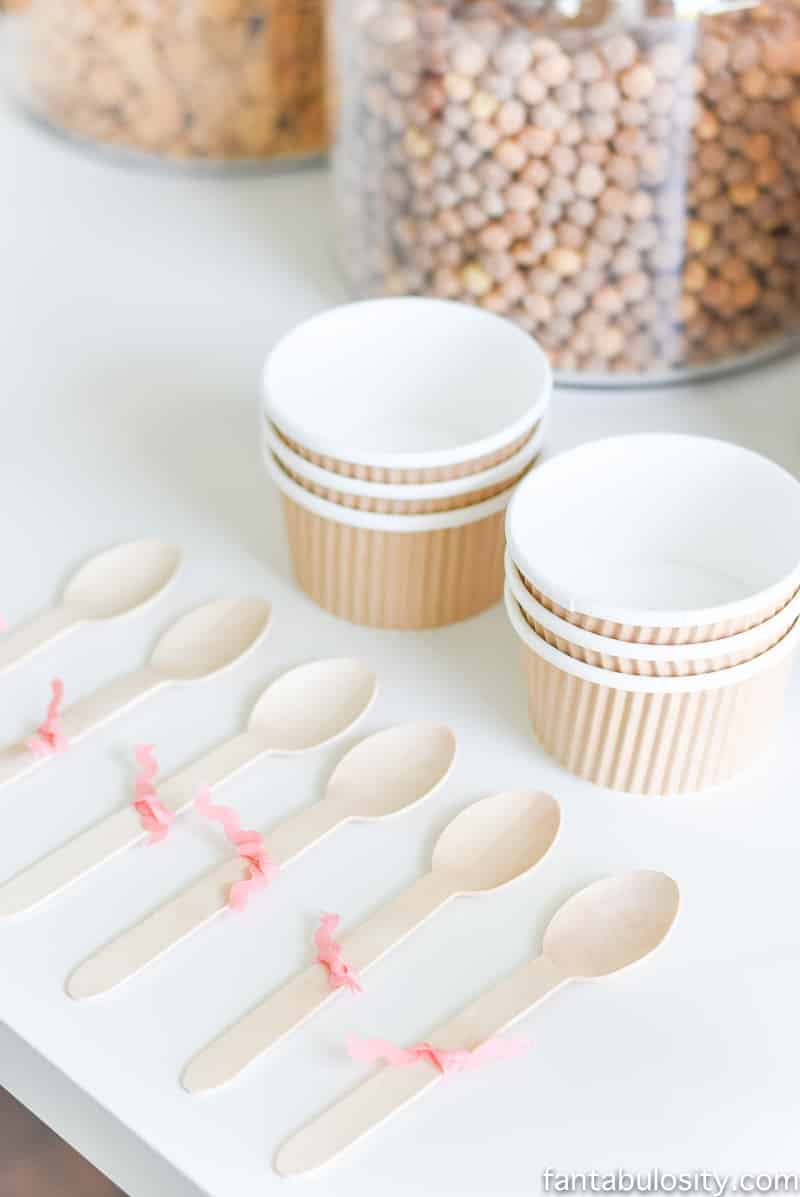
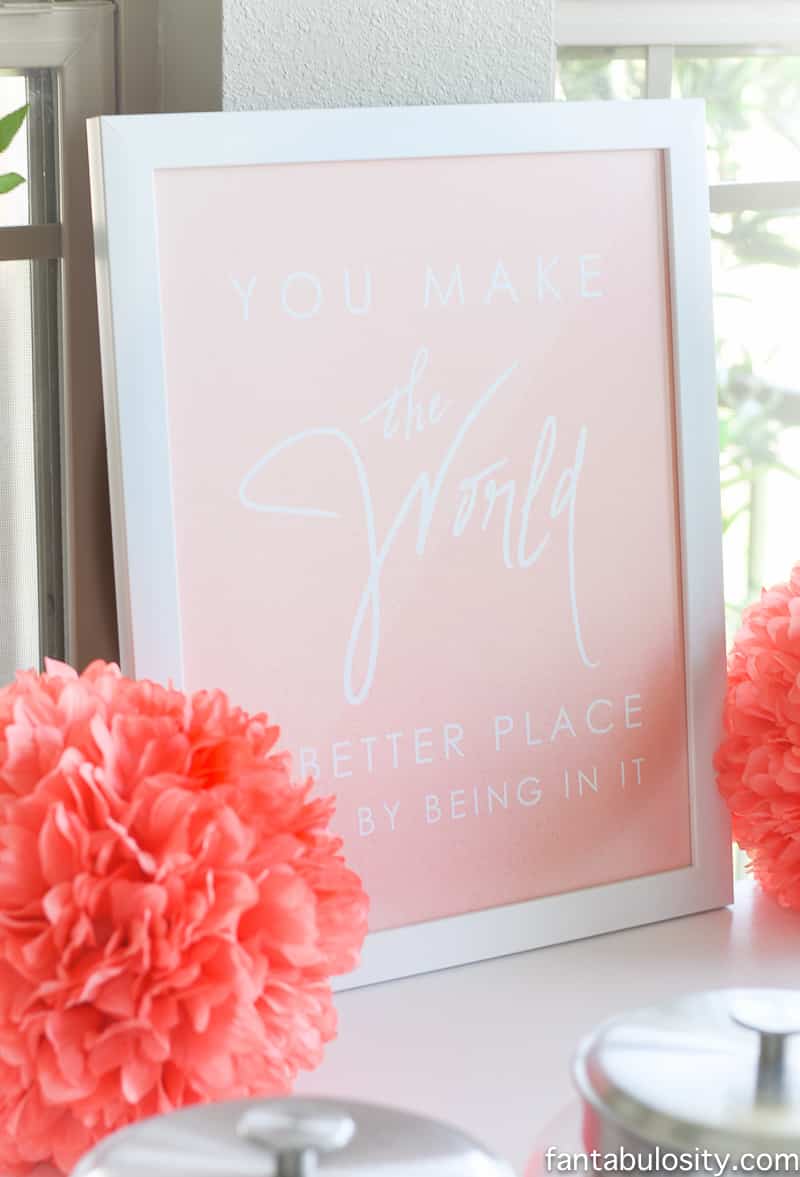
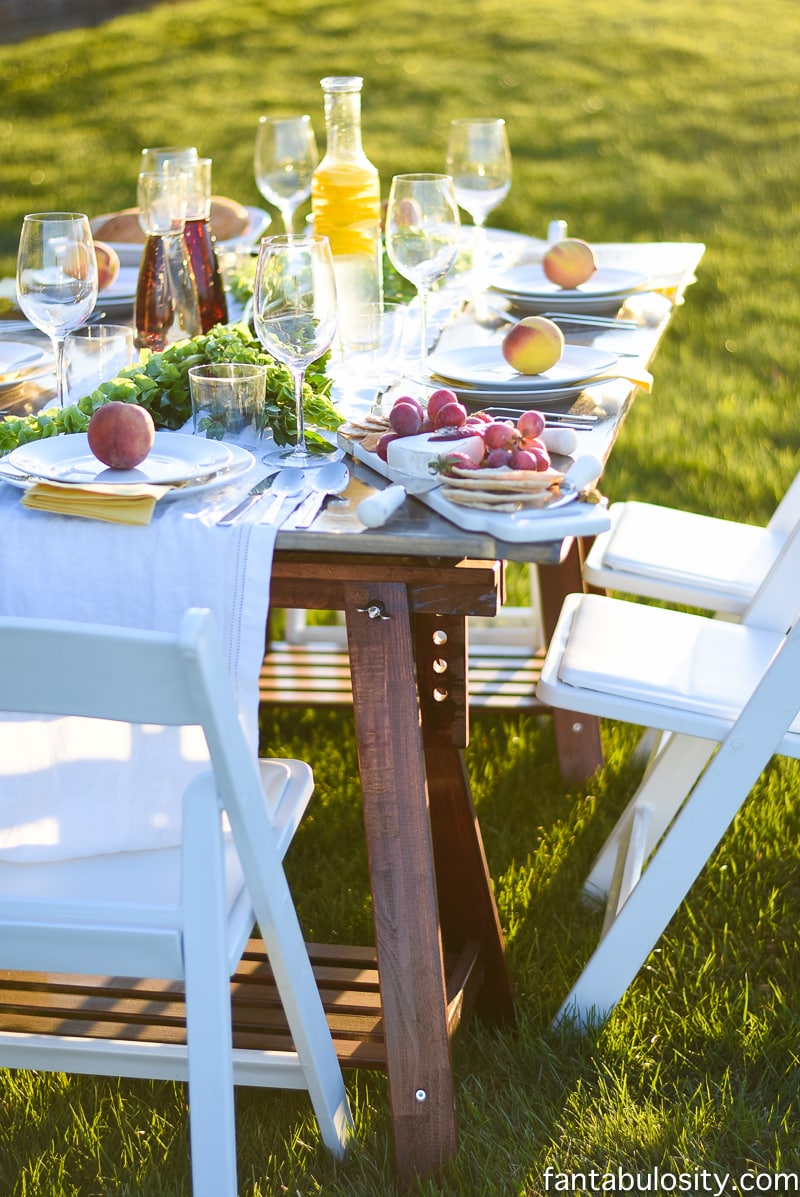
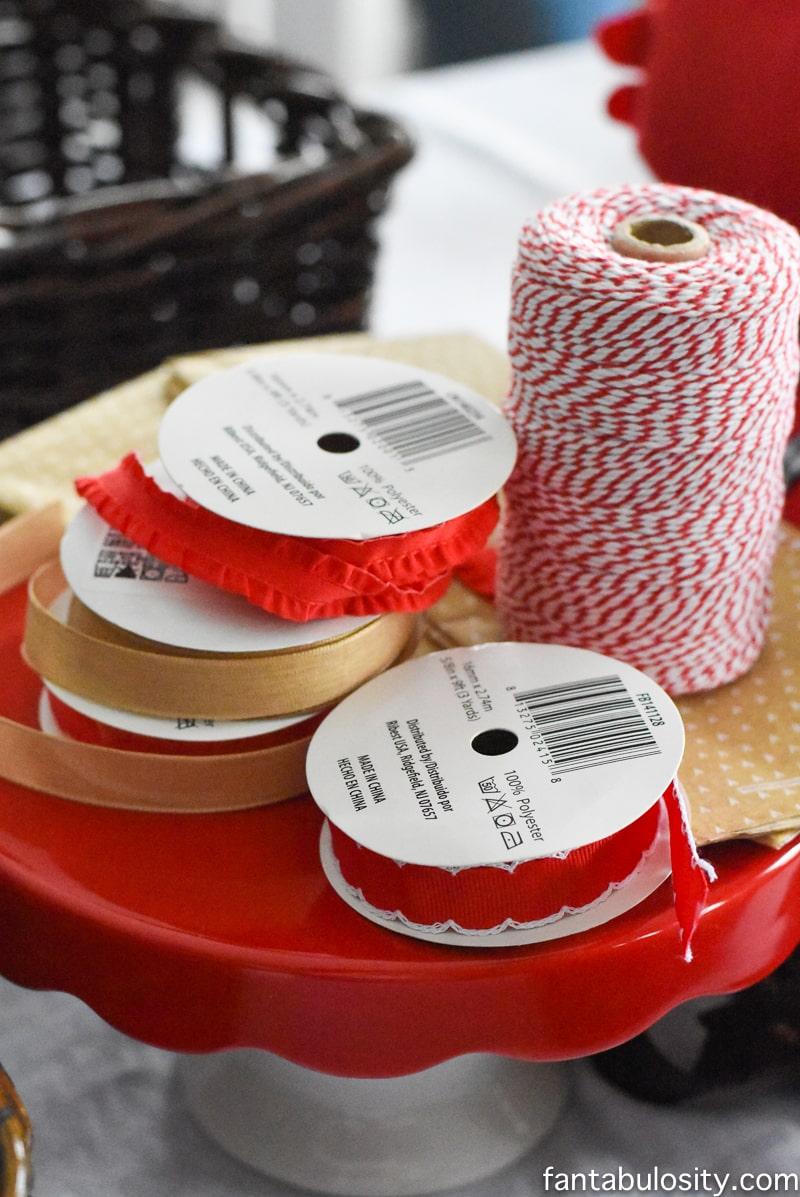
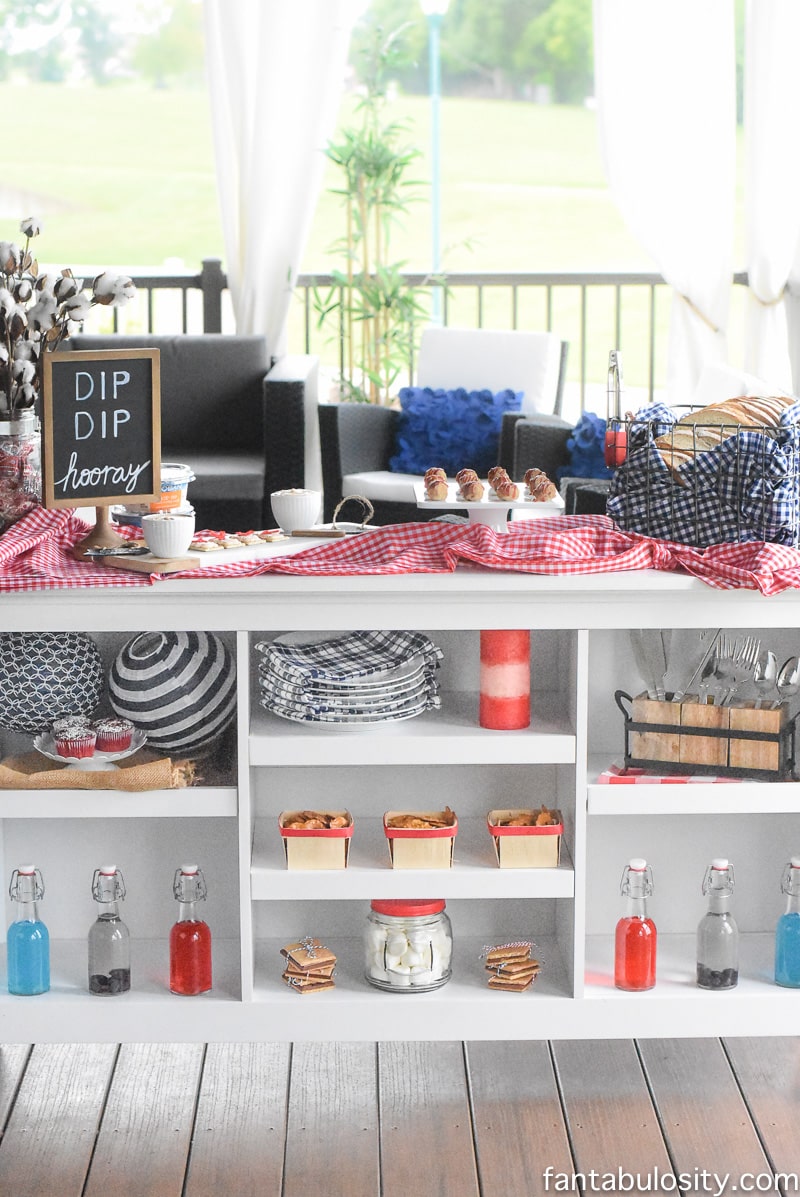
Fantabulous Hostess Tip: Don’t fret over trying to decorate a dip bar. Take a close look at the one I have styled here. It’s simply using things around the house, (including my obsession with fabric and fun napkins) to style a table that I normally use in my foyer. Plan a color scheme, and start looking around the house for items that would match the theme! Before you know it, you’ll have more items to use, than you thought!
I hope you’re inspired to entertain this Labor Day. Keep it simple and enjoy your guests! No one likes a stressed hostess!