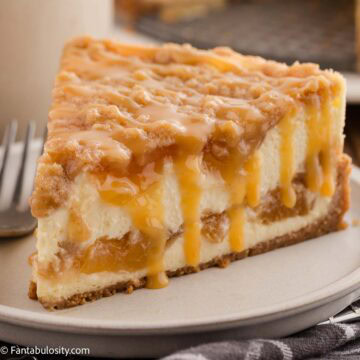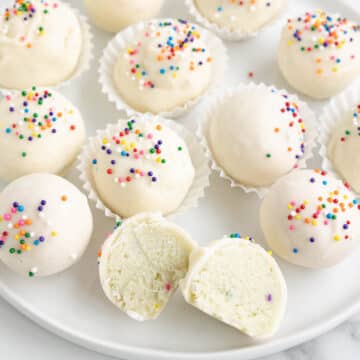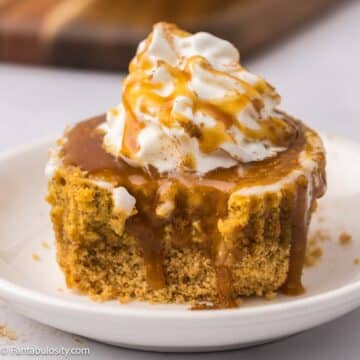
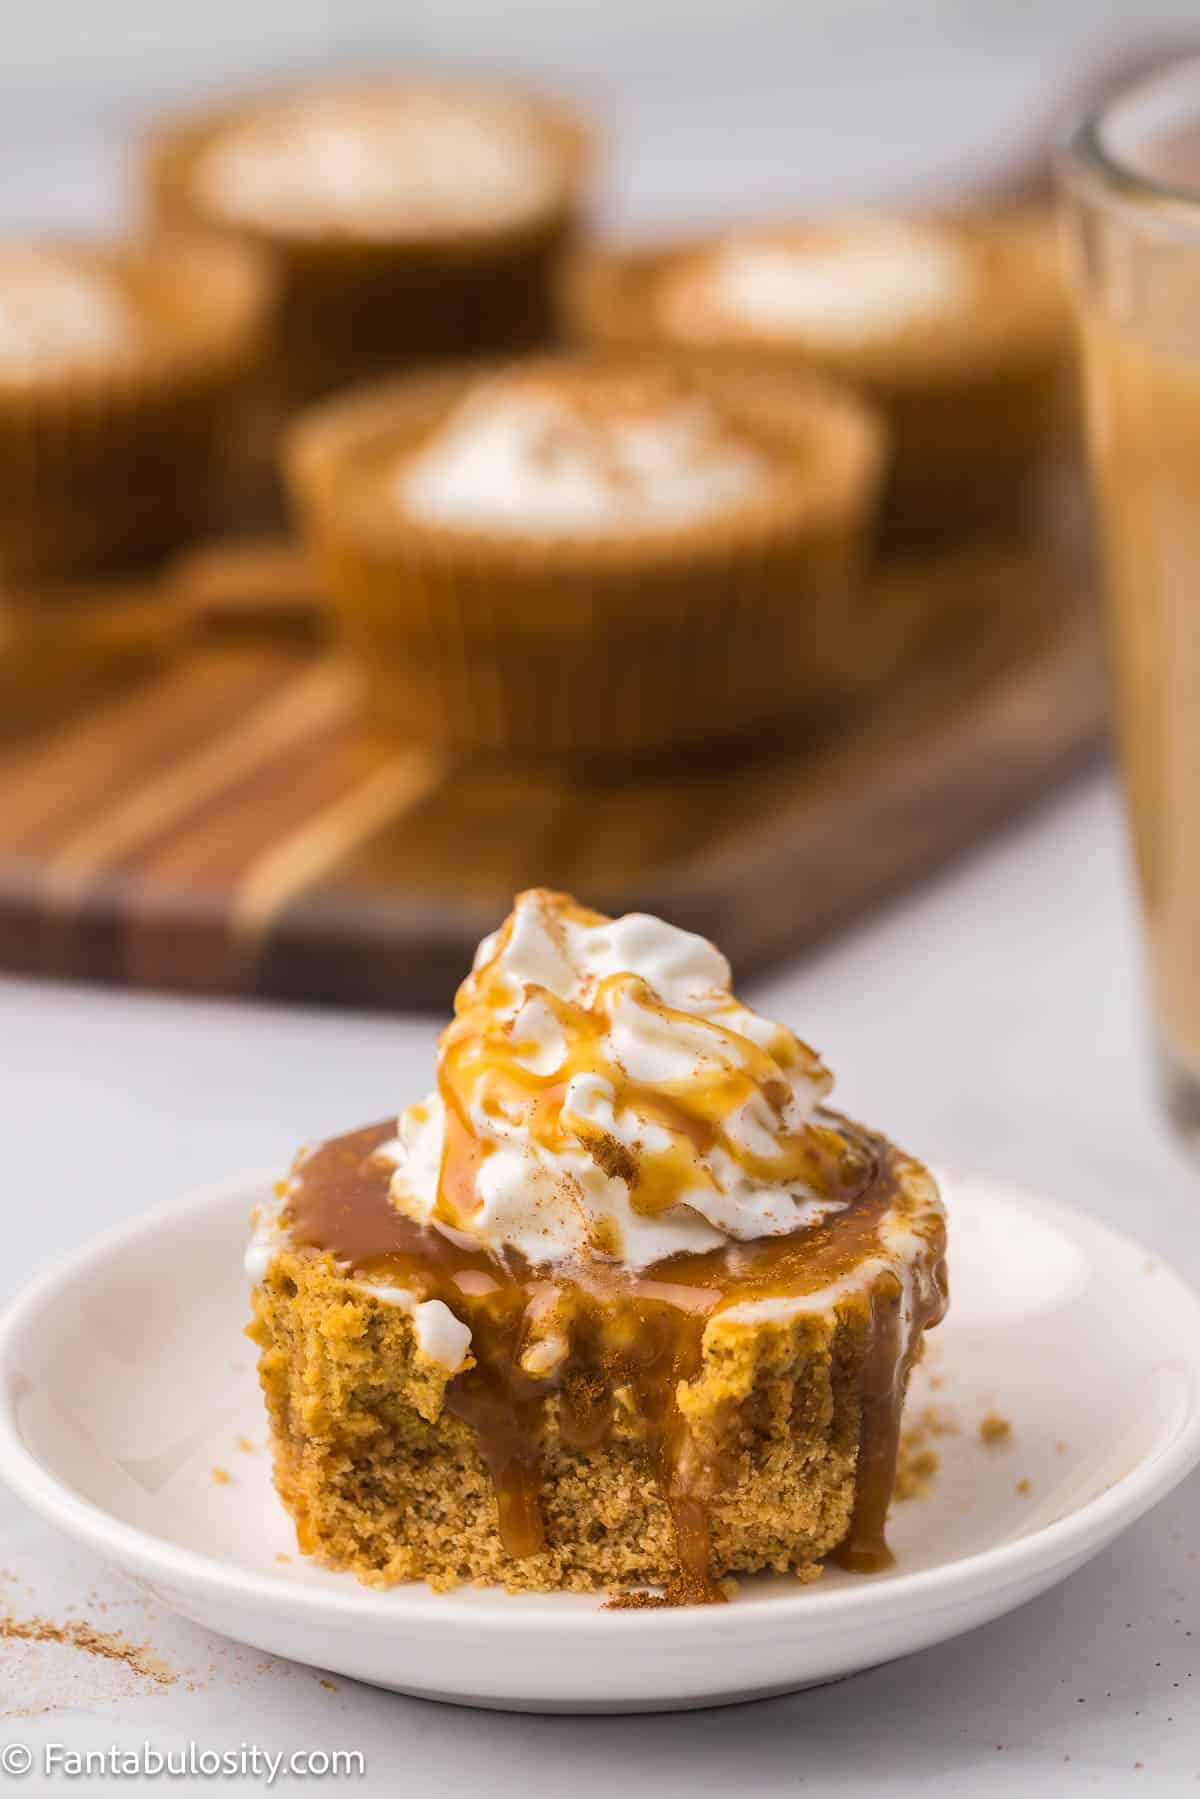
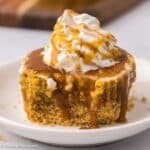
Pumpkin Cheesecake Bites: There is no dessert more “fall” than pumpkin pie and these deliciously bite-sized pumpkin cheesecake bites will give your traditional pumpkin pie a run for its money!
Halloween and Thanksgiving are two holidays where pumpkin seems to be the star of the show, so we wanted to make sure you were fully prepared with all things pumpkin, and this pumpkin cheesecake recipe will fit the bill!
Post originally created in December 2015, and republished and updated in October 2023, with a new recipe.
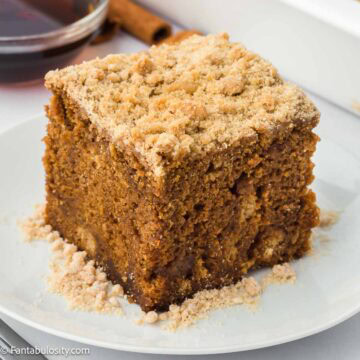
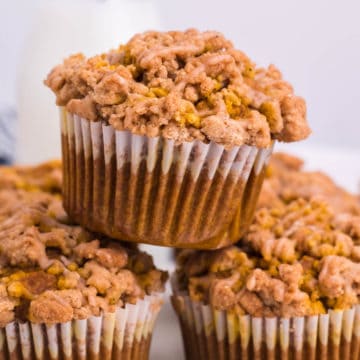
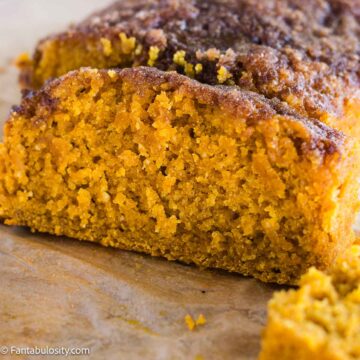
Can’t get enough of fall pumpkin desserts? Me either. I think you’d love these Pumpkin Cheesecake Bars as well as this Pumpkin Poke Cake!
[feast_advanced_jump_to]Why You’ll Love This Recipe
- It uses easy-to-find ingredients: All of the ingredients listed for this perfect fall dessert recipe are easy to find and you might already have most of them in your pantry!
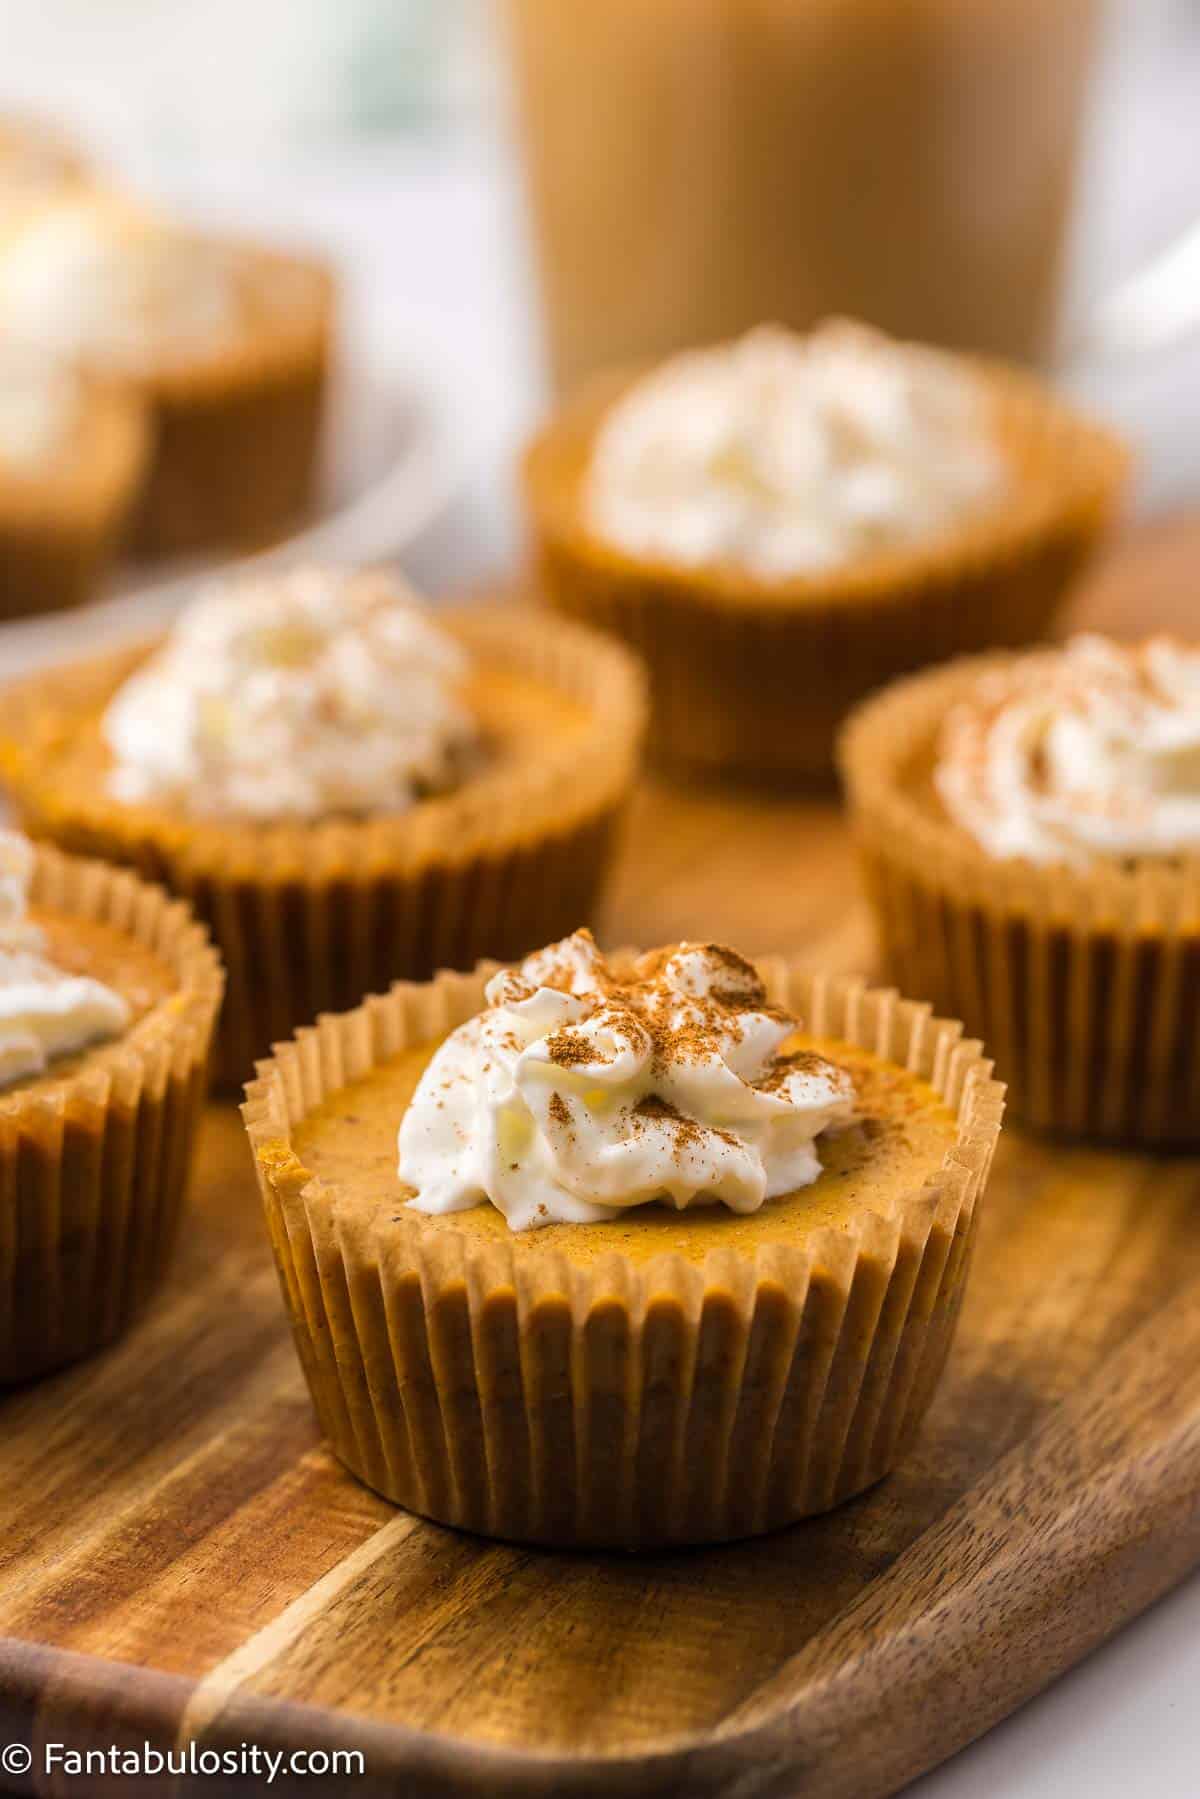
- New take on a classic: These pumpkin bites pack in all of the flavors of traditional pumpkin pie into a delicious bite-sized serving with a yummy classic graham cracker crust.
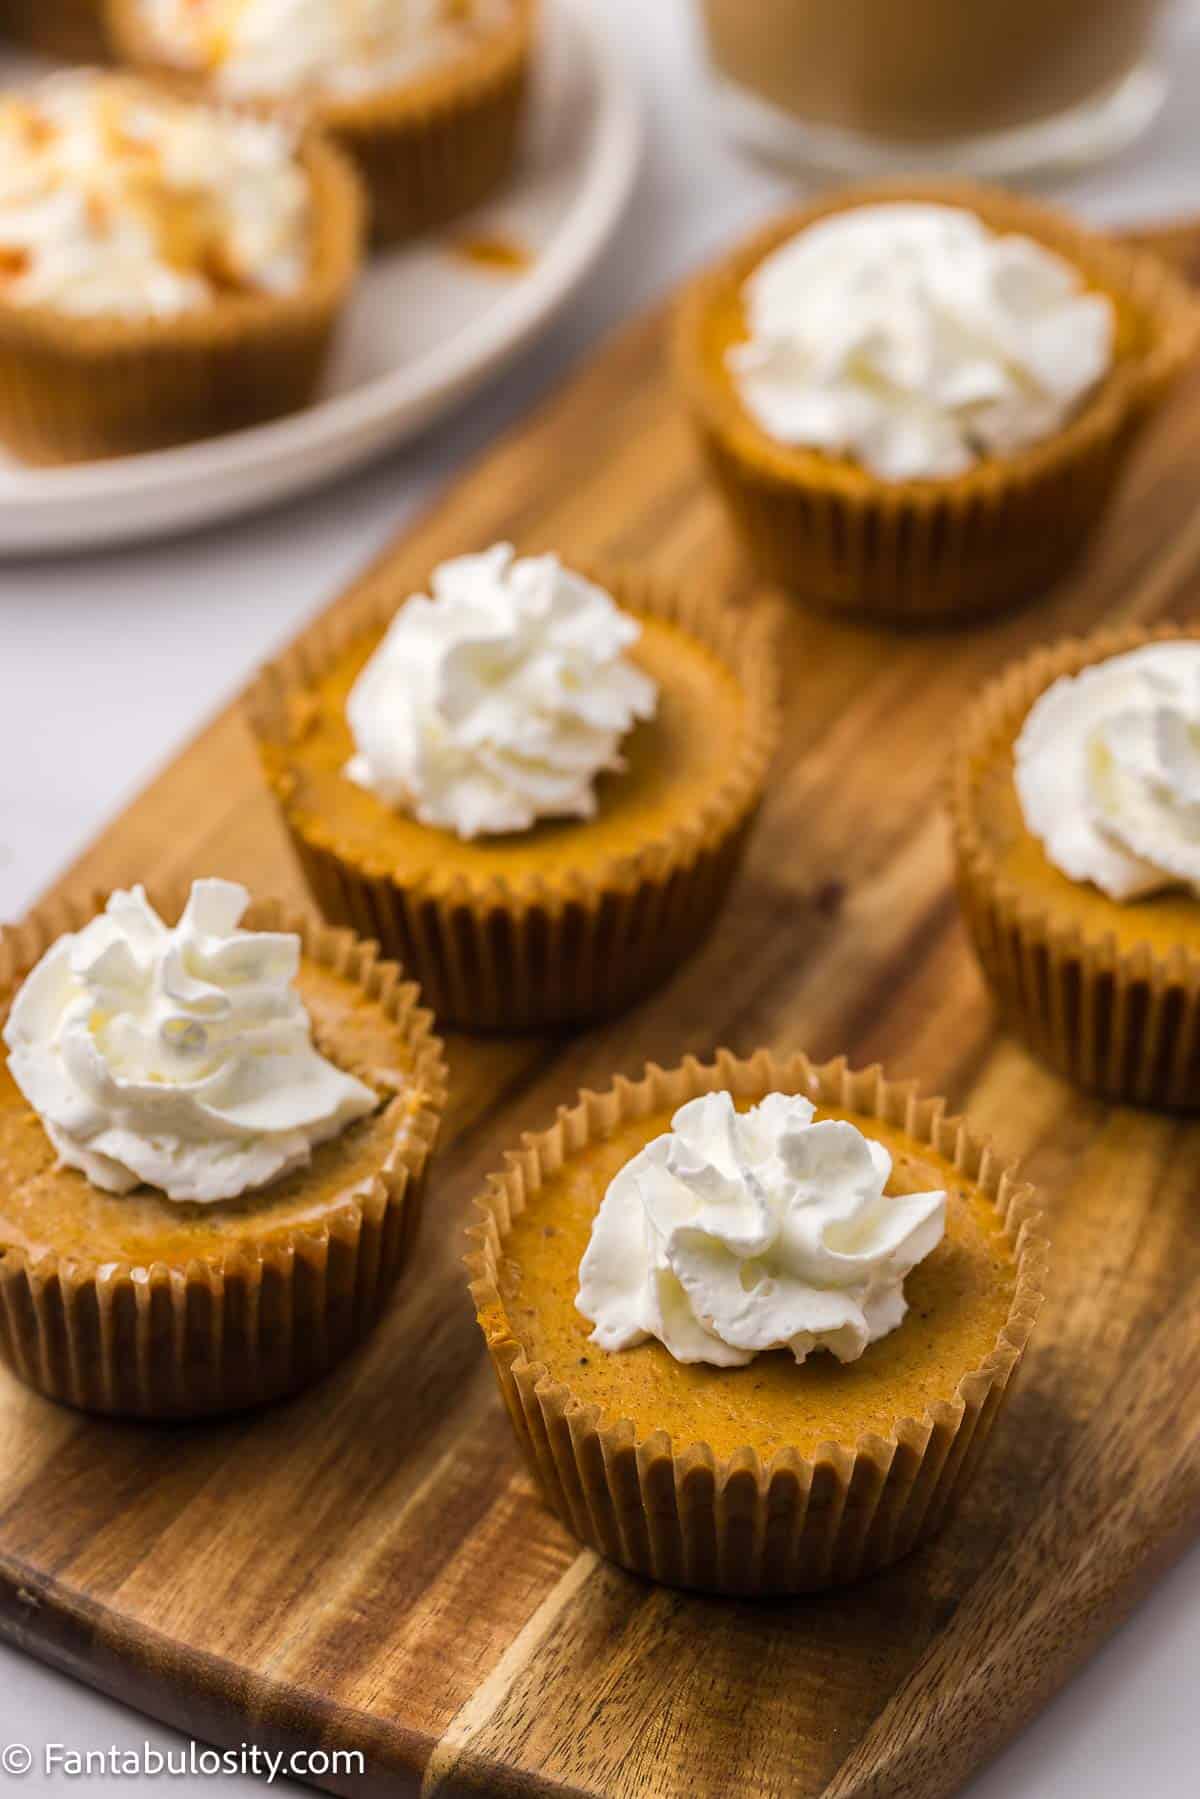
- Topped to perfection: Top these delicious cheesecake bites with whipped cream and caramel for a yummy treat.
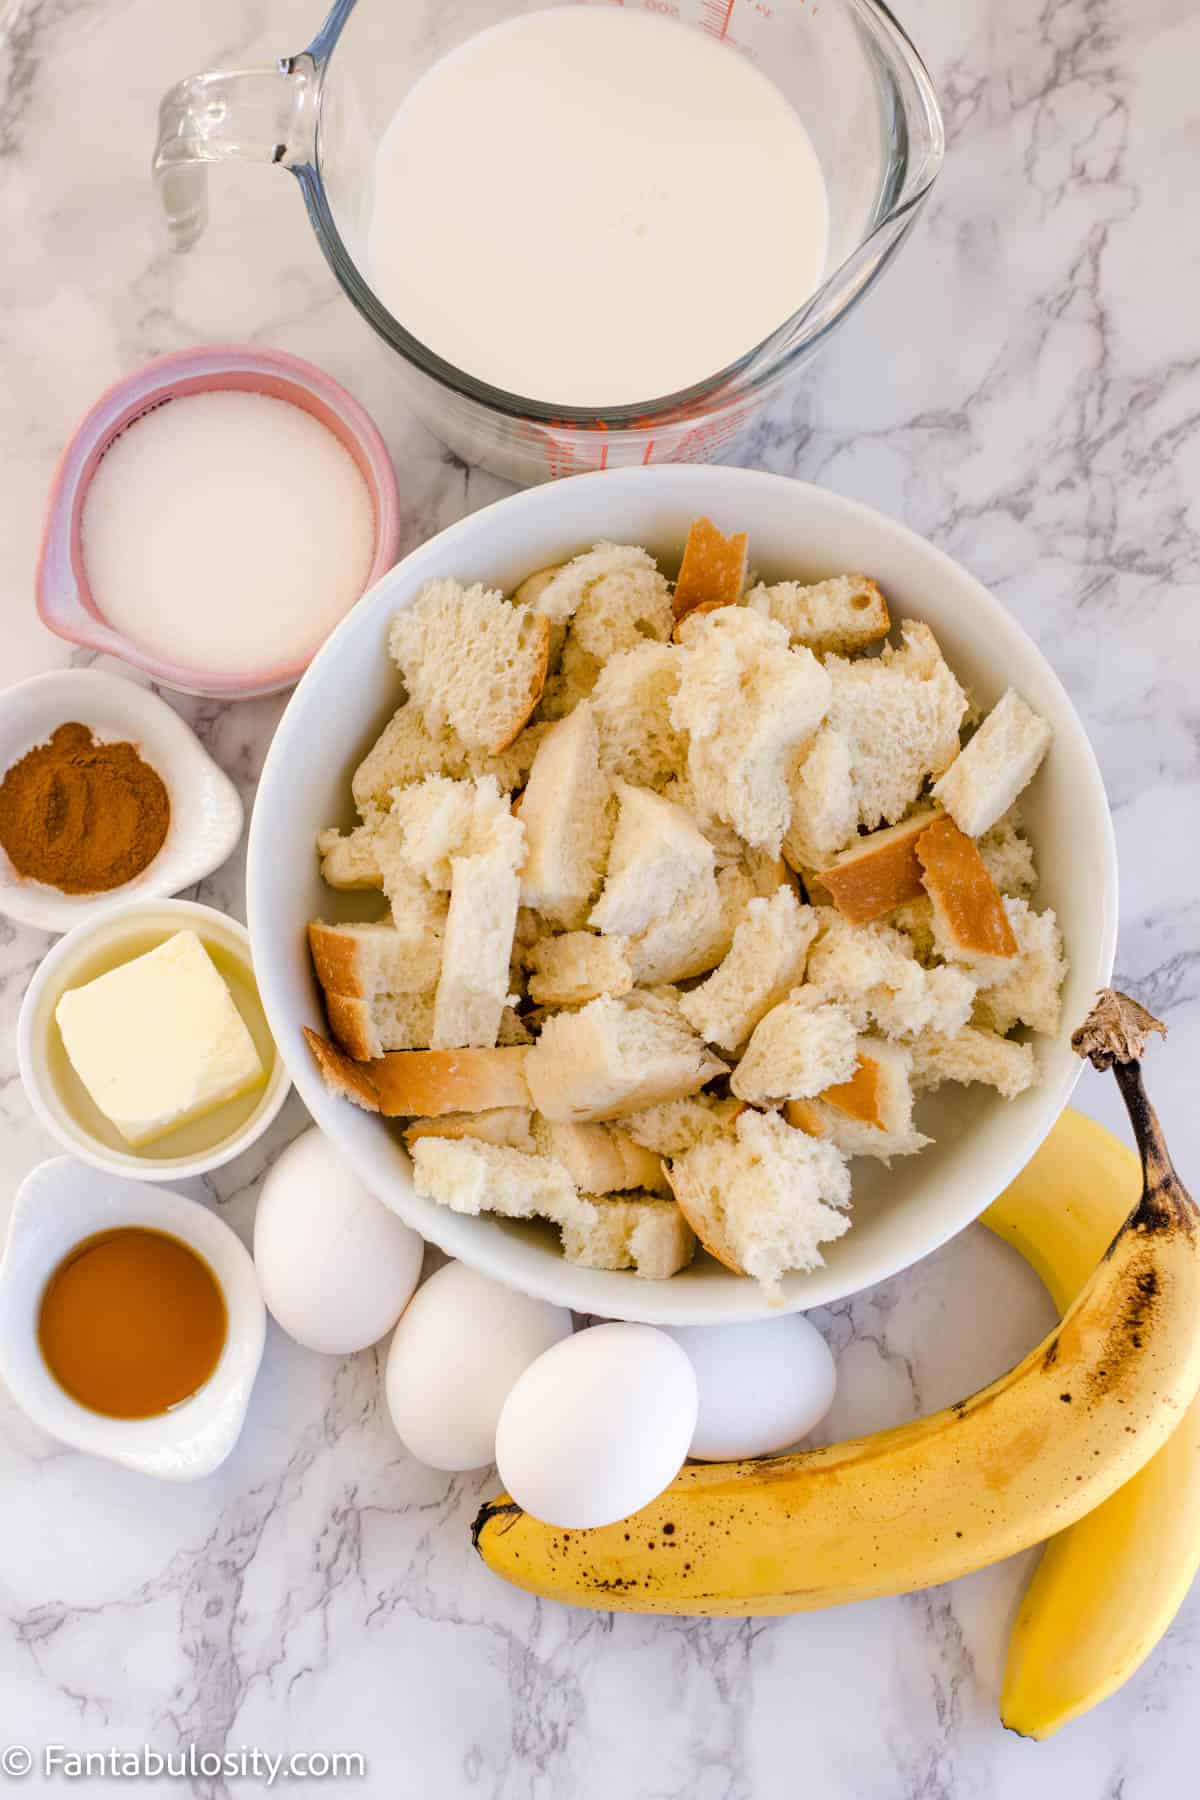
Ingredients Needed
I’ve highlighted a couple of ingredients below with some relevant notes. Aside from this, the ingredients needed are pretty basic.
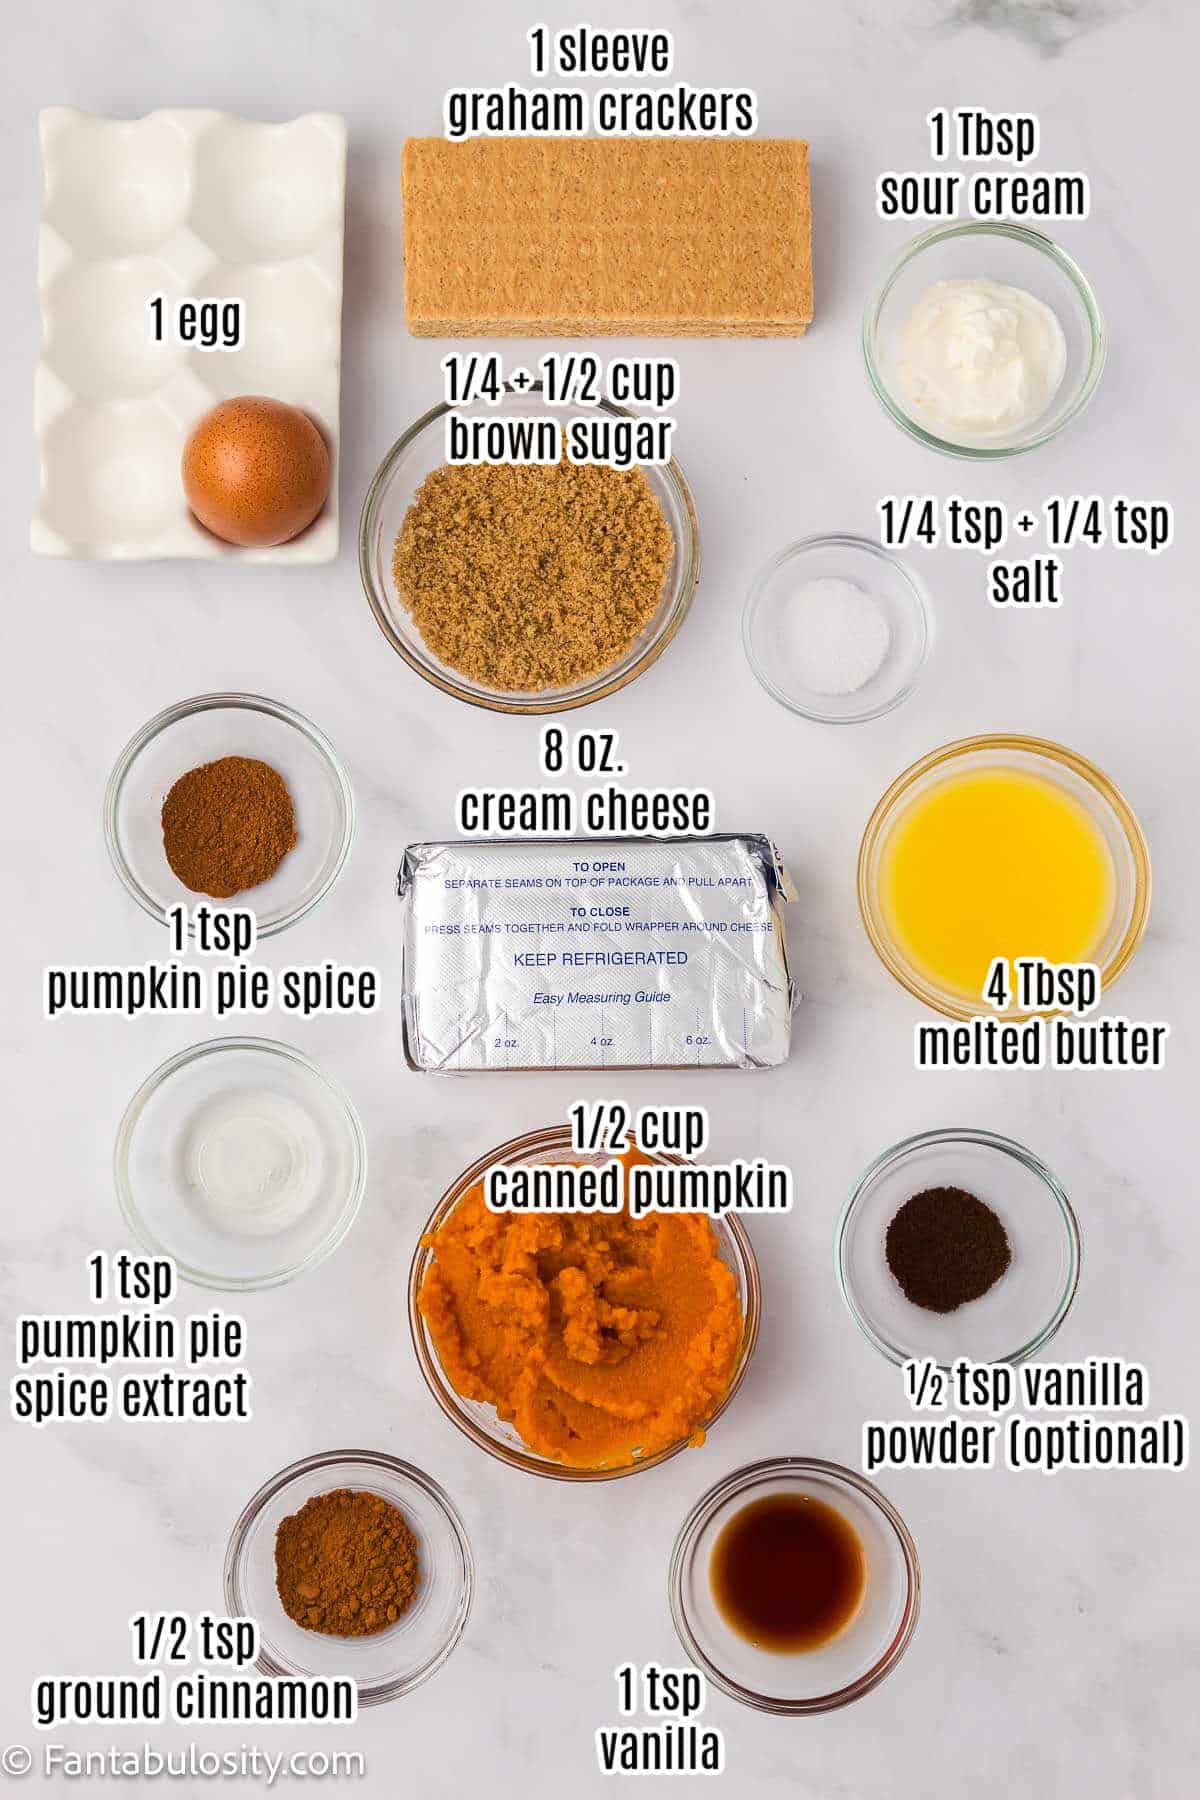
- Canned Pumpkin – We suggest traditional canned pumpkin puree for this recipe.
- Pumpkin Pie Spice Extract – This is what really brings that pumpkin flavor to these yummy pumpkin cheesecake bites.
- Sour Cream – The combination of cream cheese and sour cream is what makes for a luxe cheesecake flavor.
- Cream Cheese – Using room-temperature cream cheese will make the process so much easier. If the cream cheese is chilled I recommend beating the cream cheese for a few minutes before adding the brown sugar.
Substitutions
Sometimes substitutions are necessary because of ingredients that are unavailable or needed for dietary restrictions. Here are some suggestions that can help:
- Pumpkin Pie Extract – If you cannot find this ingredient, feel free to skip it. If you do not have pumpkin pie spice extract, increase the amount of pumpkin pie spice to 1 tsp.
- Vanilla Powder – The vanilla bean powder can be left out, the powder gives the cheesecake an added vanilla flavor you can double the amount of vanilla extract. Again, if you cannot find this ingredient, feel free to skip it.
- Butter – I use unsalted butter, you can substitute salted butter or margarine. If using, reduce the salt by half.
Variations
I used a standard-sized cupcake pan for this recipe, you can use a mini cupcake pan. Reduce the baking time to 15-20 minutes.
Also, if you’d like, you could turn this recipe into a large single cheesecake instead of bites. Instead of the muffin tin, use a large springform pan or 9-inch cake pan for the cheesecake shape!
How to Make Pumpkin Cheesecake Bites
Making this mini pumpkin cheesecake recipe is so easy.
These Pumpkin Cheesecake Bites are broken into 3 components:
- making the crust
- making the cheesecake filling
- baking to perfection
We suggest making this recipe ahead of time as it does need to set for 2 hours after baking, so keep that in mind!
*Be sure to see the recipe card below for the full ingredients list & instructions!*
First up, grease and line a mini cupcake pan with mini cupcake papers, and then preheat the oven to 350 degrees. Now to make the crust!
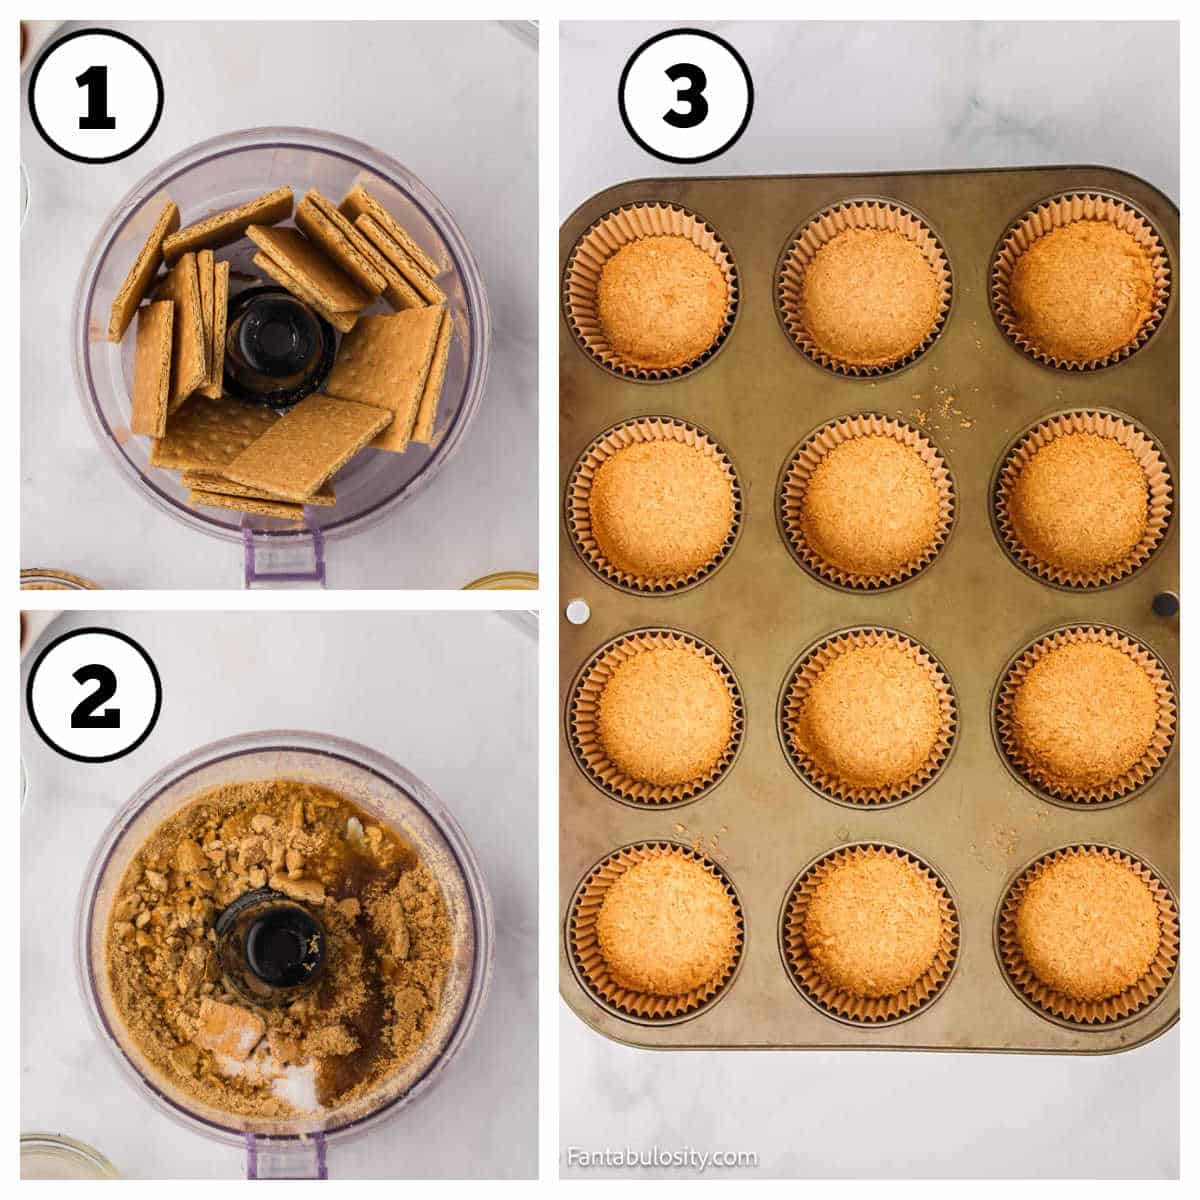
STEP 1. Crush the graham crackers. Add the graham crackers to the bowl of your food processor, and pulse to slightly break up the graham crackers to become graham cracker crumbs. (Image 1).
Tip: If you do not have a food processor, do not worry! You can also throw the Grahams into a plastic bag and crush them with a rolling pin.
STEP 2. Combine. Add the brown sugar, salt, and butter and pulse until the graham crackers are coarse crumbs. (Image 2).
Tip: If you are not using a food processor, add the graham crackers to a large bowl and mix together with the above ingredients.
STEP 3. Form and Bake. Add a small amount of the graham cracker mixture to the cupcake pan. It's about 2 tablespoons if using a standard-size muffin pan or about 2 tablespoons if you're using a mini muffin pan. (Image 3).
Using a measuring cup or your fingers, press them down so the crumbs are packed down and secure. **If they're not packed down enough the crust will crumble when baked. Bake at 350 degrees for 8 minutes.
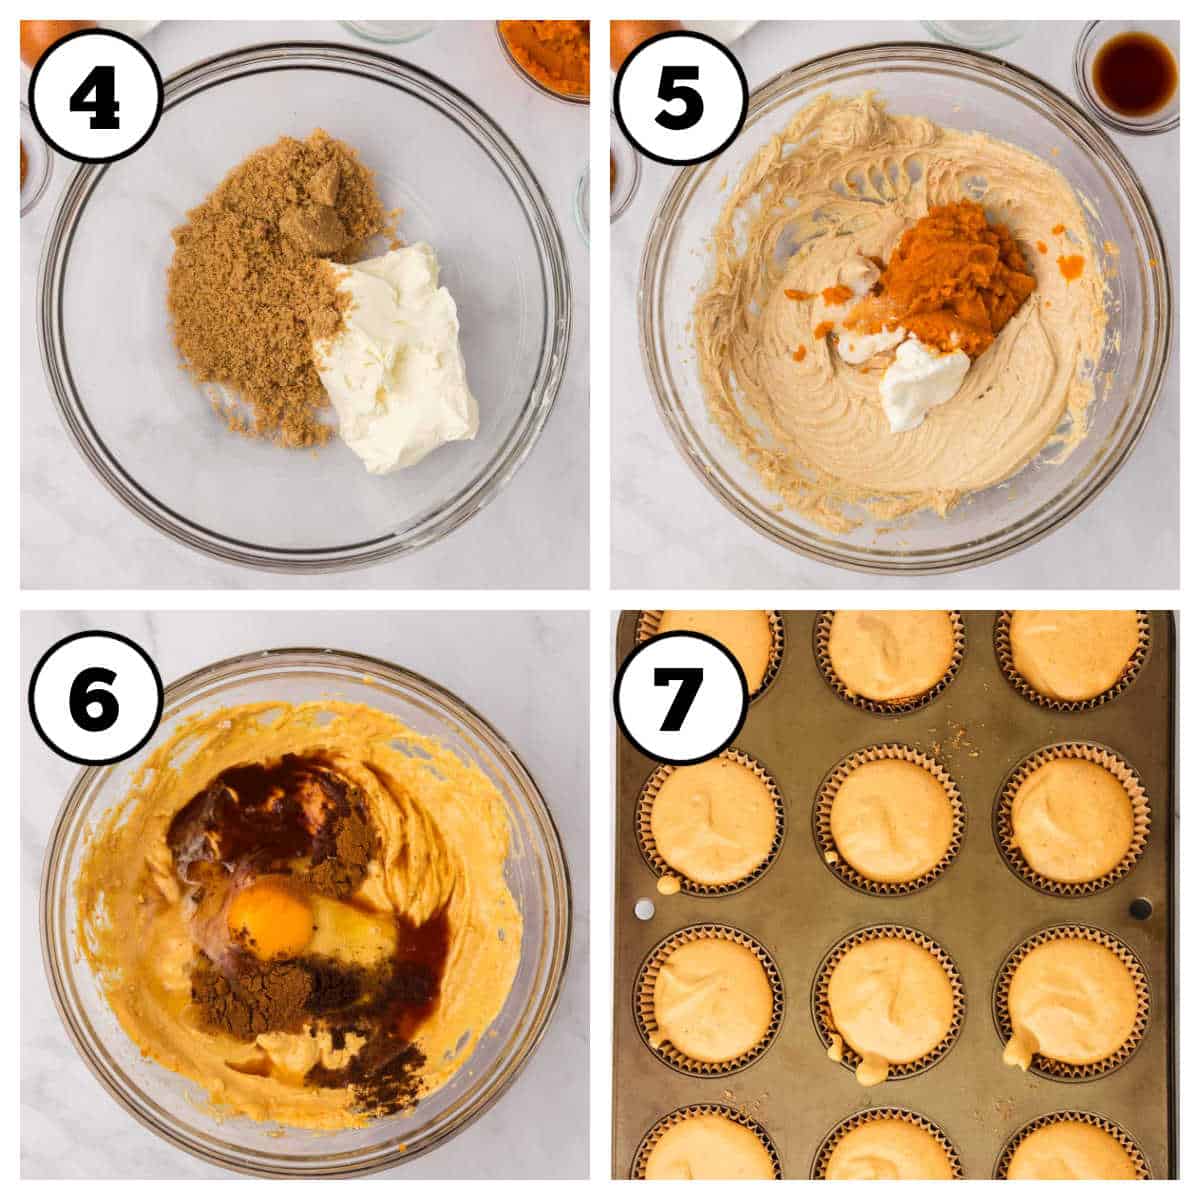
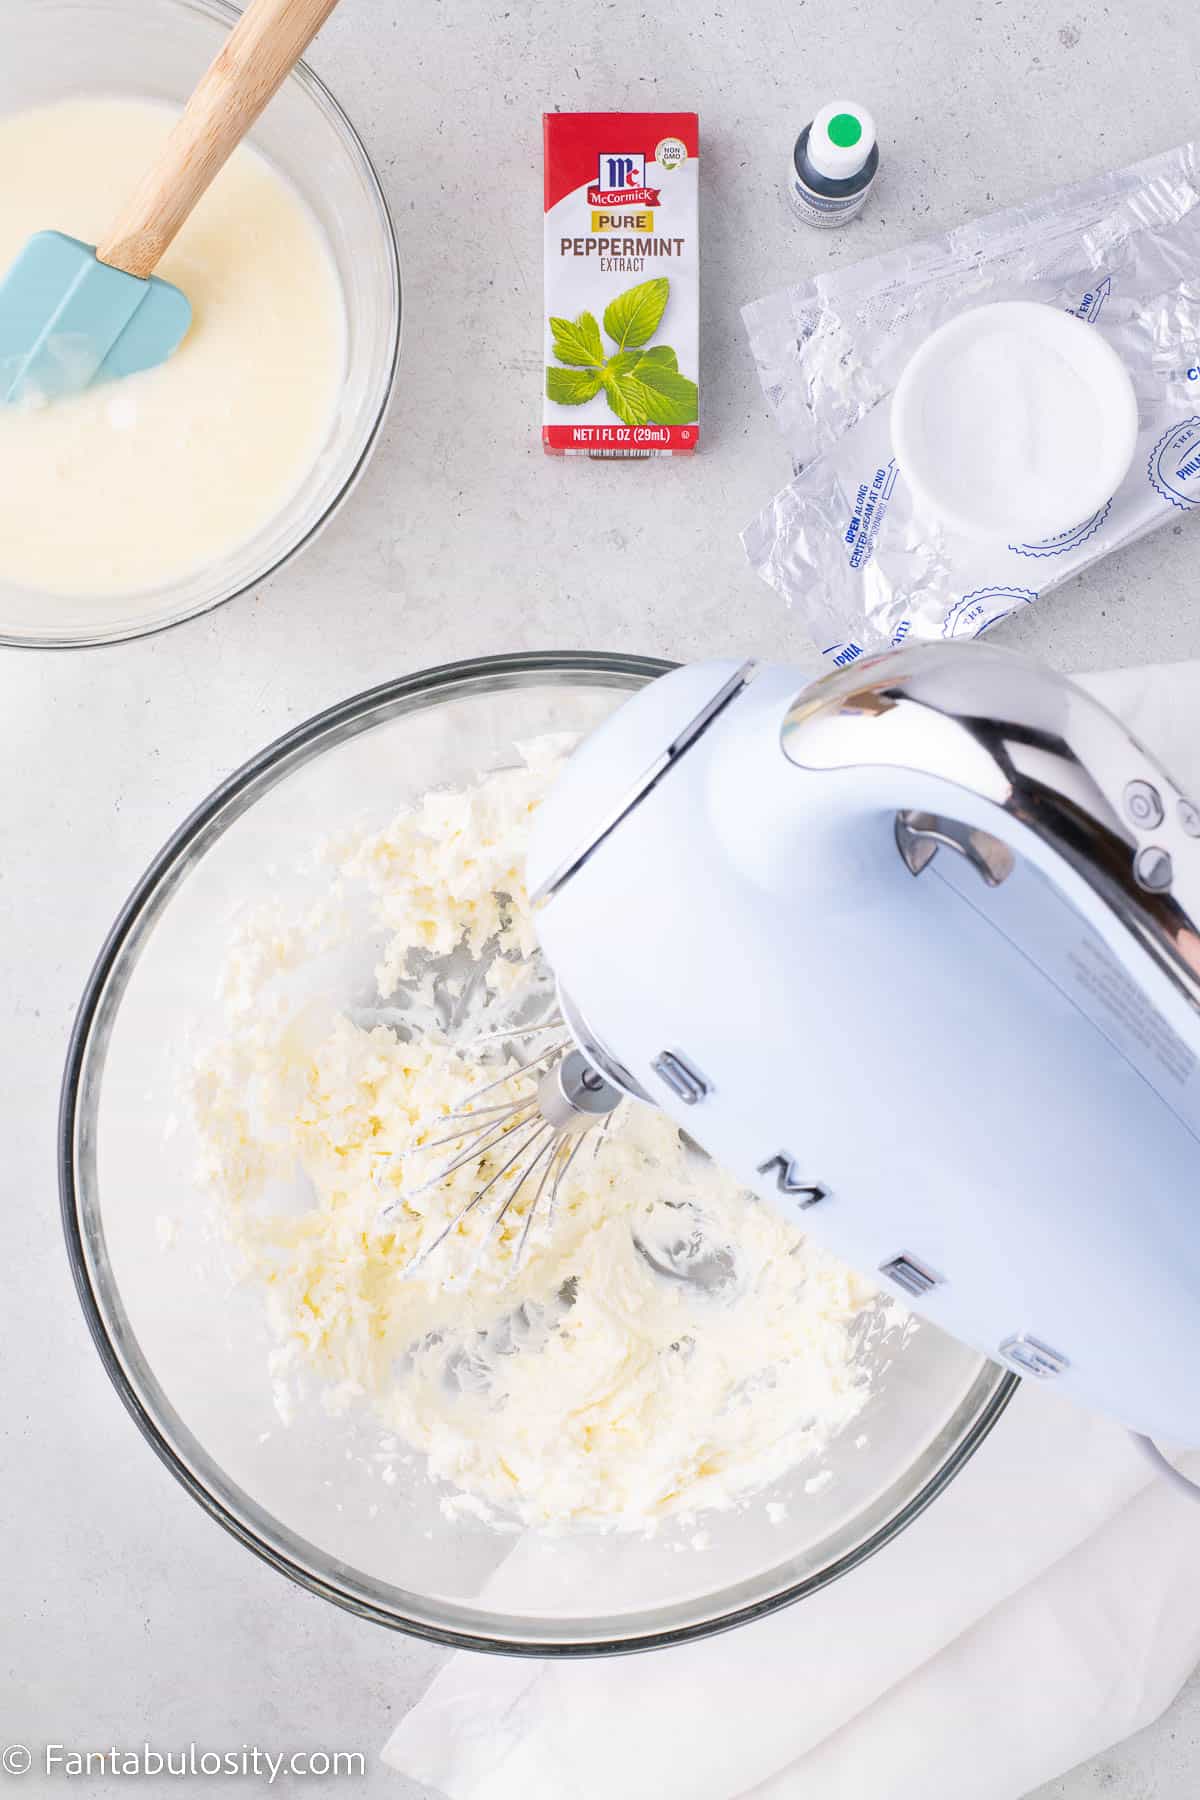
STEP 4. Start the Cream Cheese Mixture. While the crusts are baking add the cream cheese and brown sugar to a bowl and using an electric hand mixer beat until it's light and fluffy, about 3 minutes. You could also use a stand mixer. (Image 4).
STEP 5. Continue the Cheesecake Filling. Add the pumpkin, sour cream, and salt. Beat until well combined making sure to scrape down the sides of the bowl so all of the ingredients are well incorporated. (Image 5).
STEP 6. Finish Up the Filling. Add in the egg, vanilla, vanilla powder, pumpkin pie spice extract, cinnamon, and pumpkin pie spice. Beat well so all of the ingredients are well combined. (Image 6).
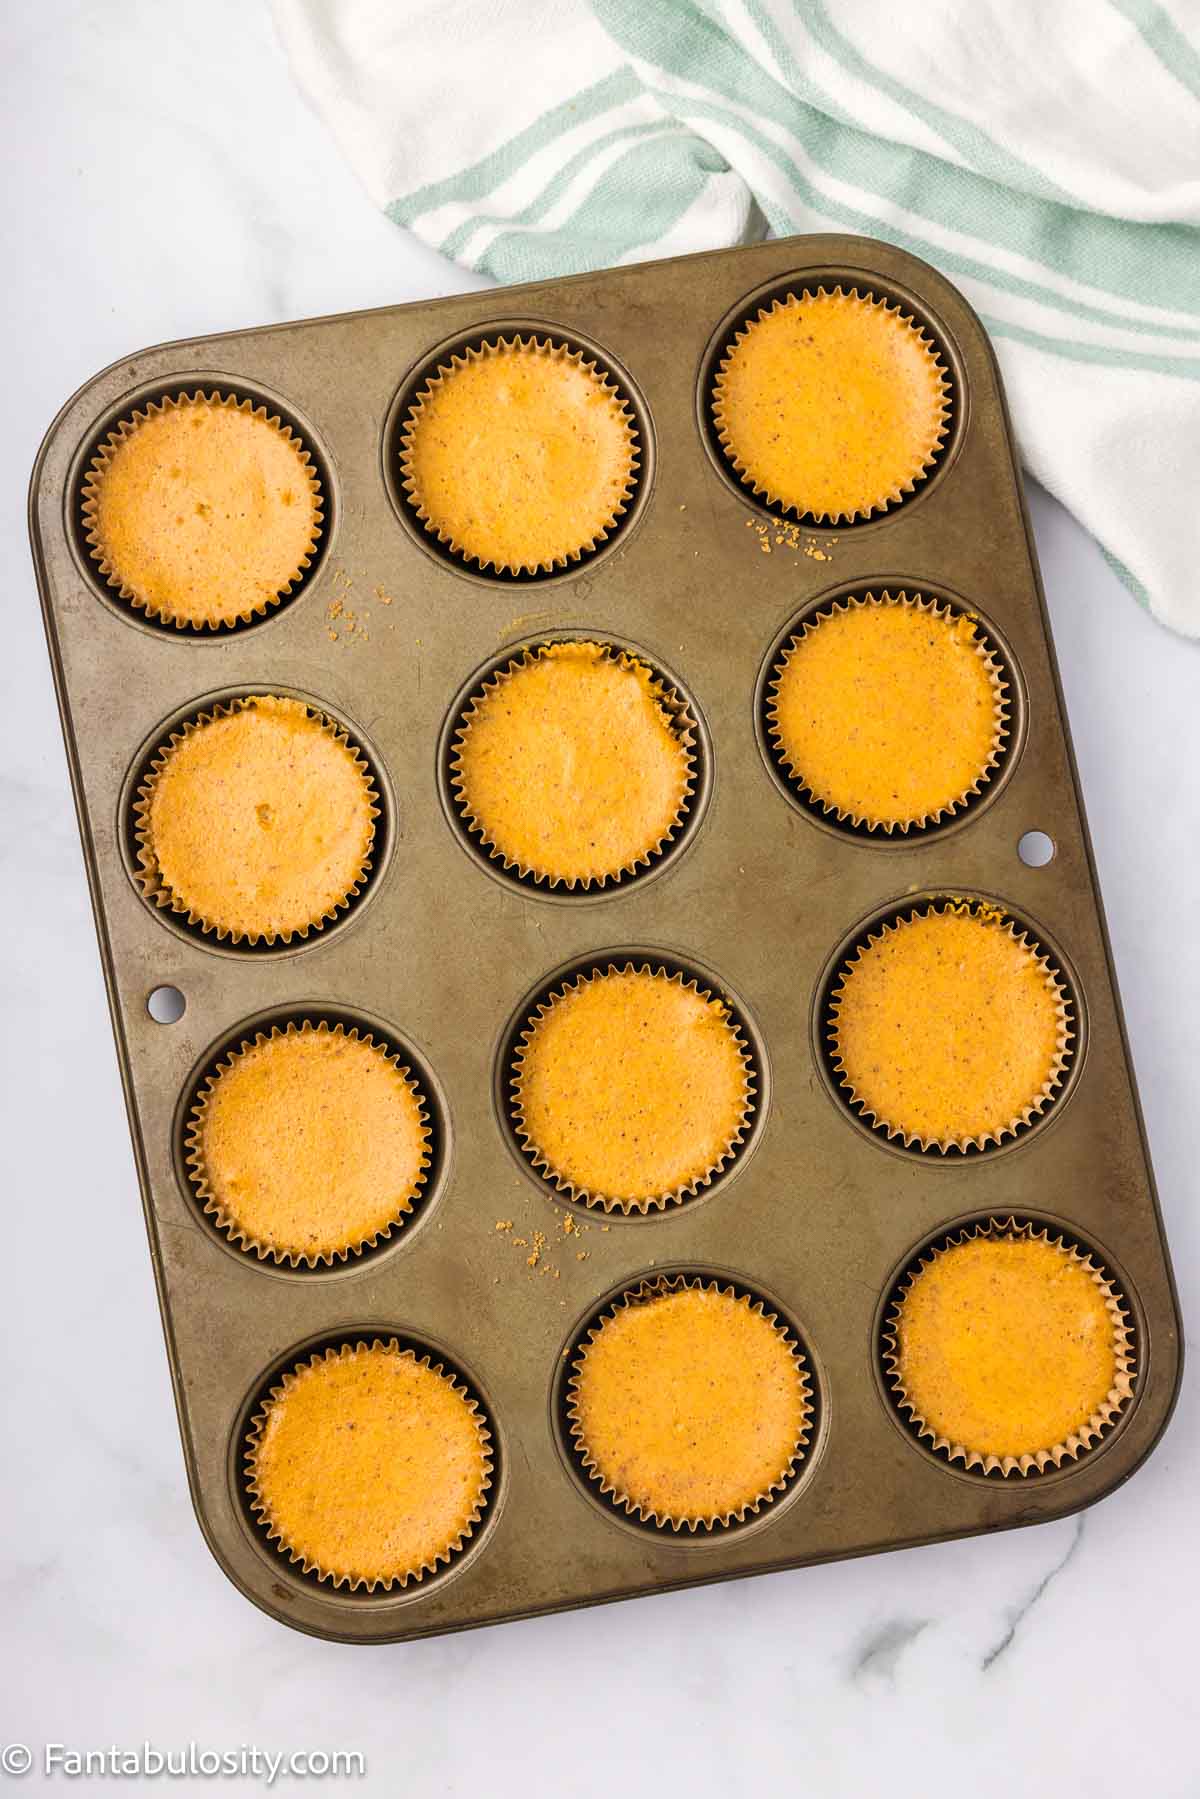
STEP 7. Distribute Into Cups. Evenly distribute the pumpkin pie cheesecake filling onto each of the crust-lined cups. (Image 7).
STEP 8. Bake Pumpkin Cheesecake Bites. Place the muffin tray on a baking sheet with some water (this will act as your water bath). Bake cheesecakes at 350 degrees for 25-30 minutes or until the cheesecake has set completely.
STEP 9. Cool. Allow them to cool for about 45 minutes then refrigerate for 2 hours or until overnight.
Recipe Pro Tips
- Allow to fully cool and set. This recipe is best after cooling and chilling for 2 hours.
- Correct temperature. Make sure that the cream cheese is at room temperature and soft for this recipe to turn out.
Recipe FAQs
I tested this recipe by baking the cheesecakes without a water bath and cracking did happen! Make sure to bake them using a water bath. That's as simple as adding water to a baking sheet and placing the muffin tin on top.
To make pumpkin spice seasoning, all you have to do is combine ground cinnamon, ground nutmeg, ground ginger, allspice, and cloves in a bowl.
You can top your mini pumpkin cheesecakes with a variety of delicious options, such as whipped cream, caramel sauce, chopped candied pecans, a dusting of cinnamon, or even a drizzle of melted white chocolate for an extra touch of sweetness.
Using cupcake liners makes it much easier to remove and I really recommend using them.
To make the best cheesecake, start with a graham cracker crust, blend a creamy and well-seasoned cheesecake filling, bake it in a water bath for a perfectly smooth texture, and allow it to chill thoroughly in the fridge before serving. The water bath is what prevents cracking!
You can make these ahead of time up to 3 days ahead of time. Be sure to not top them with whipped cream or caramel until you're ready to serve them.
What to Serve with This Pumpkin Mini Cheesecake Recipe
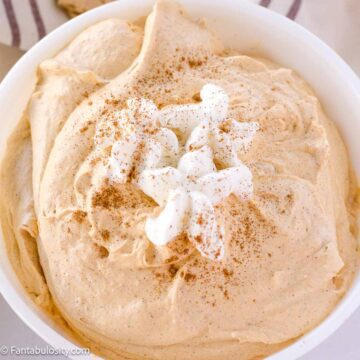
This Creamy Cheesecake Bites Recipe goes well with even more pumpkin deliciousness. Try out this Pumpkin Fluff recipe for a yummy topping!
Storage
Store the mini cheesecakes in the fridge covered with as much of the air removed from them in plastic wrap for up to 4 days.
To freeze, place in a freezer-safe, airtight container, labeled for up to 3 months. Allow them to thaw at room temperature before serving.
More Pumpkin Recipes You’ll Love
Pumpkin recipes will give you that fall feel year-round. Here are some yummy pumpkin-y treats that will bring fall to your kitchen!

Did you make this? I’d be so grateful if you left a “star” rating below to let me know what you thought! Then, the next time you need a quick and easy recipe, come back to Fantabulosity to browse all of my easy recipes!
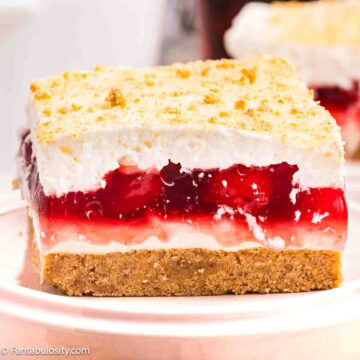
If you’re looking for more of a traditional cheesecake recipe, then you’ll also love this strawberry crunch cheesecake that has become a household favorite!
Recipe
Pumpkin Cheesecake Bites
Ingredients
Graham Cracker Crust
- 1 sleeve graham crackers
- ¼ cup brown sugar packed
- ¼ teaspoon salt
- 4 tablespoon unsalted butter melted
Cheesecake Filling
- 8 ounces cream cheese softened
- ½ cup brown sugar packed
- ½ cup canned pumpkin not pumpkin pie mix
- 1 tablespoon sour cream
- ¼ teaspoon salt
- 1 egg room temperature
- 1 teaspoon vanilla
- ½ teaspoon vanilla powder optional
- 1 teaspoon pumpkin pie spice extract optional
- ½ teaspoon ground cinnamon
- ½ teaspoon pumpkin pie spice
Toppings
- whipped cream (optional)
- caramel sauce (optional)
Instructions
- Grease and line a mini cupcake pan with mini cupcake papers
- Preheat the oven to 350 degrees.
- Add the graham crackers to the bowl of your food processor, pulse to slightly break up the graham cracker.
- Add the brown sugar, salt, and melted butter and pulse until the graham crackers are coarse crumbs.
- Add a small amount of the graham cracker mixture to the cupcake pan. It's about 2 tablespoon if using a standard size muffin pan or about 2 tps if you're using a mini muffin pan.
- Using a measuring cup or your fingers, press them down so the crumbs are packed down and secure. **If they're not packed down enough the crust will crumble when baked.
- Bake the sweet graham cracker crust at 350 degrees for 8 minutes.
- While the crusts are baking add the cream cheese and brown sugar to a bowl and using an electric mixture beat until it's light and fluffy, about 3 minutes.
- Add the pumpkin, sour cream, and salt. Beat until well combined making sure to scrape down the sides of the bowl so all of the ingredients are well incorporated.
- Add in the egg, vanilla, vanilla powder, pumpkin pie spice extract, cinnamon, and pumpkin pie spice. Beat well so all of the ingredients are well combined.
- Evenly distribute the cheesecake filling onto each of the crust-lined cups.
- Place the muffin tray on a baking sheet with some water (this will act as your water bath).
- Bake at 350 degrees for 25-30 minutes or until the cheesecake has set completely.
- Allow them to cool for about 45 minutes then refrigerate for 2 hours or until overnight.
- Top with whipped cream, whipped topping, or caramel and freshly grated nutmeg.
Notes
- I used a standard sized cupcake pan for this recipe, you can use a mini cupcake pan. Reduce the baking time to 15-20 minutes.
- Using cupcake liners makes removing it much easier, and I recommend using them.
- I use unsalted butter, you can substitute salted butter or margarine. If using, reduce the salt by half.
- Using room-temperature cream cheese will make the process so much easier. If the cream cheese is chilled I recommend beating the cream cheese for a few minutes before adding the brown sugar.
- The vanilla bean powder can be left out, the powder gives the cheesecake an added vanilla flavor you can double the amount of vanilla extract
- If you do not have pumpkin pie spice extract, increase the amount of pumpkin pie spice to 1 tsp.
- Wait to top the mini cheesecakes with whipped cream and caramel until you're ready to serve them.