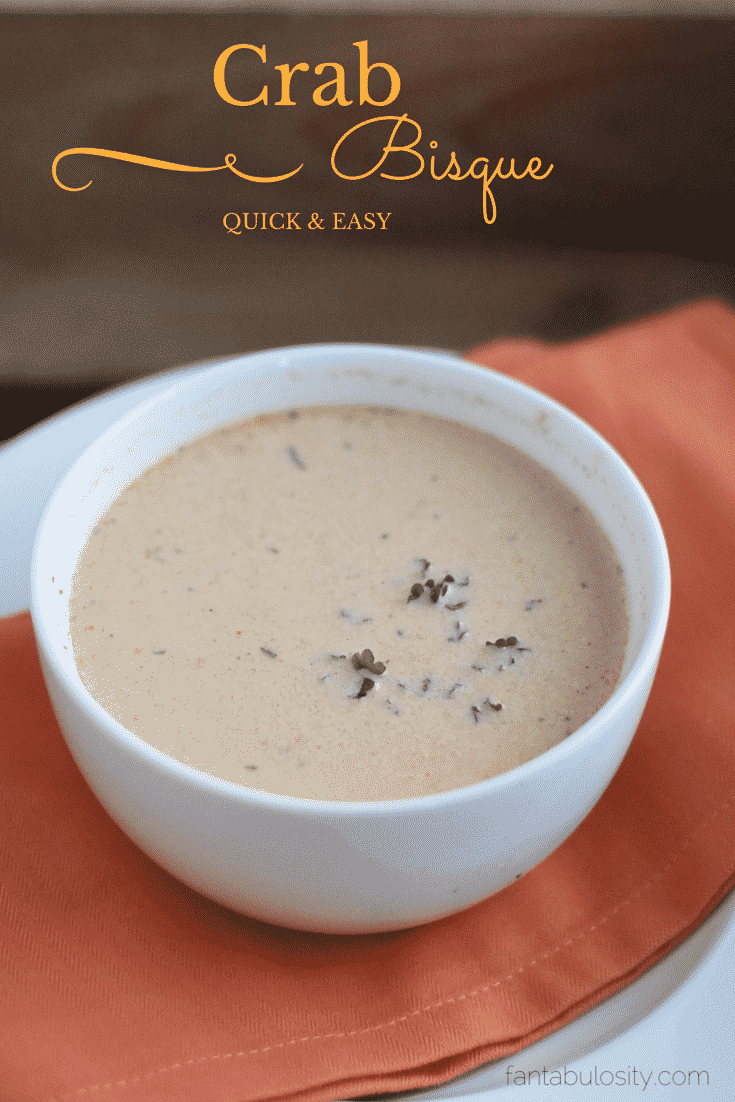
Easy Crab Bisque: A not-so-gourmet, but tastes gourmet, bisque that you can make at home with real crab or imitation crab meat!

My Lobster Bisque recipe has gone a bit “viral,” on Pinterest these last few months, and I can understand why. It is ridiculously good.
So the other day when I went to make it again, I remembered that I had crab meat in the fridge that I needed to use instead.
It was a container that my husband found in the store that had diced, steam-cooked crab meat, ready to go, and we just knew we’d find something to make with it…
and I did…
More recipes you’ll love:
- Best Chicken Noodle Soup
- Taco Soup Recipe
- Loaded Ranch Potato Soup
- Buffalo Chicken Soup
- Easy Lobster Bisque
Easy Crab Bisque
I’ll be honest, over the years and being a food blogger in general… I’ve come across a lot of crab bisque recipes online but they look SUPER difficult to make and require a ton of ingredients.
Are they delicious? I’m sure they are. But if I’m going to spend an arm and a leg on dinner, I prefer to head out to a nice restaurant and have someone make it for me. Ammiright?
So when I decided to whip crab bisque up, I knew I wanted to keep things simple.
I’m so happy to say that this recipe was SO good, and I knew it had to make an appearance here on the blog because I know how much you all love a good, easy, recipe… and especially one that tastes like it took forever in the kitchen. (Especially this clam chowder soup recipe!)
How to Make Easy Crab Bisque
You can find the full recipe with ingredients and instructions at the bottom of this post!
Crab Bisque Ingredients
You can count on this being just like all of the other easy recipes here on Fantabulosity that use everyday ingredients.
This recipe uses: (see the recipe card below for the measurements and instructions!)
- garlic cloves
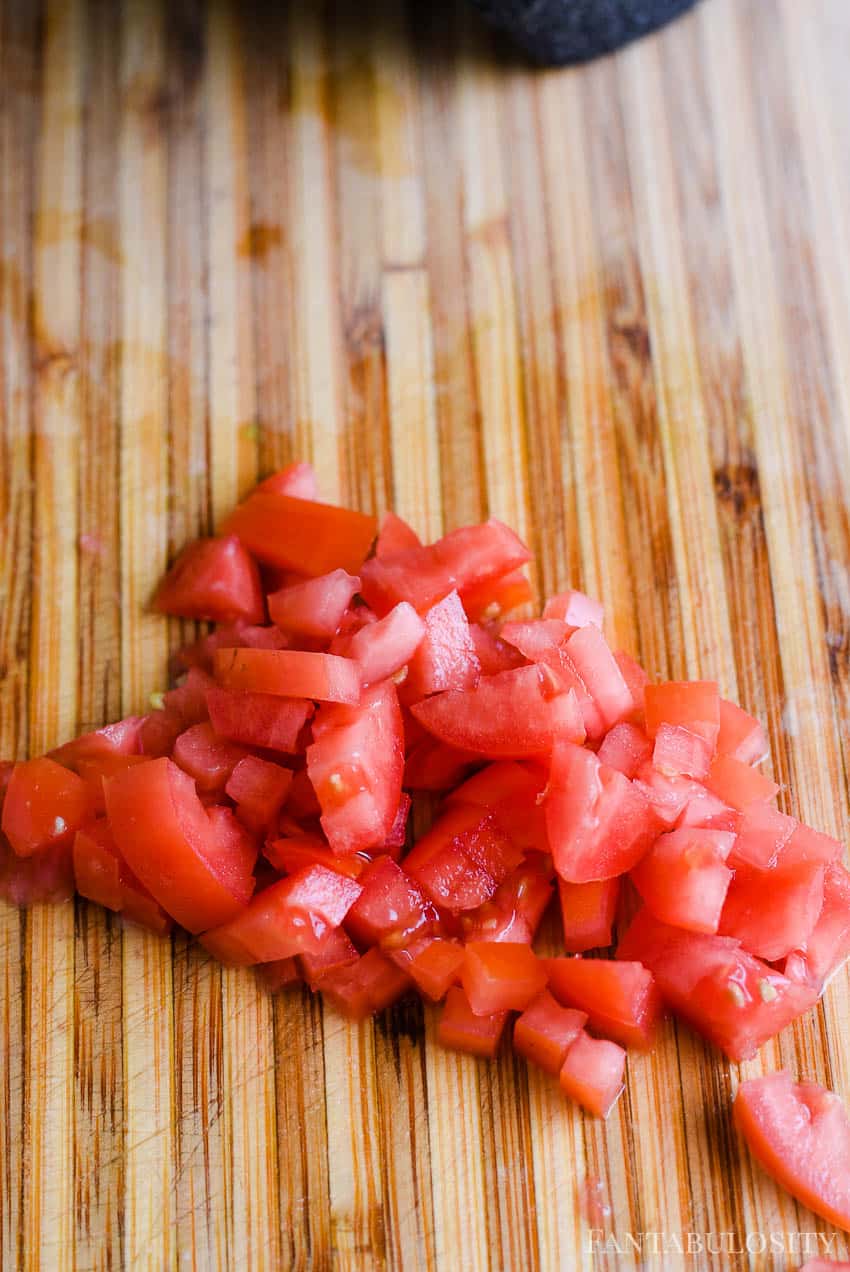
- petite diced tomatoes with juice
- low sodium chicken broth (You could make my homemade chicken broth, and control the sodium.)
- Old Bay seasoning
- black pepper
- crab meat (you can substitute with imitation like we do in this crab pasta bake, but we LOVE real crab meat if we have it)
- heavy cream
- flour & butter for a roux if you want a “thicker” bisque
- fresh parsley chopped, optional
Easy, right? Odds are, you may even have most of the ingredients on hand anyway! That’s perfect for those of you that have crab on hand and you’ve found your way here by searching of a way to use it! Hopefully no need to head to the store before you make this!
How do you thicken crab bisque?
We’re a fan of making a roux to go in the crab bisque, to thicken it a little. And although “roux” sounds like a fancy word, it’s super easy, so don’t worry about that.
I recommend that you start with just a little because you can always add a little more here and there. So starting with about 2 tablespoons of flour and 2 tablespoons of butter, heat them together, stirring, until butter has melted all of the way and the two are mixed evenly.
Next, add the flour/butter mixture to the bisque and let it sit 1-2 minutes until soup thickens.
Still not thick enough? Make another batch of roux and repeat until the bisque reaches it’s desired thickness!
What do you serve with crab bisque?
Our favorite side dish with ANY soup is the BEST Side Salad Recipe. It never disappoints and it compliments a dinner in one of the tastiest ways possible!
But other side dishes that go well with crab bisque too are:
- Apple Salad (more so like a dessert, or it can be invited to the dinner table!)
- Pico de Gallo and Chips
- Caprese Sandwich Recipe
- Drop biscuits with garlic and cheese
Recipe

Easy Crab Bisque
Ingredients
- 1 garlic clove minced
- 2 14.5-ounce cans petite diced tomatoes with juice
- 1 32-ounce carton low sodium chicken broth
- 1-2 Tablespoons Old Bay seasoning to taste
- ¼ cup fresh parsley chopped
- 1 teaspoon black pepper
- 16 ounces crab meat chopped (you can substitute with imitation but I recommend real crab meat)
- 1 pint heavy cream
Optional Roux (if you prefer a thicker bisque):
- 2 Tablespoons flour
- 2 Tablespoons butter room temperature
Instructions
- In a large bowl, add all ingredients, except crab meat heavy cream. Stir together to mix.
- In a blender, pour ⅓ of the soup mixture, and blend for about 5 seconds. Pour into a soup pot.
- Add another ⅓ of soup to the blender, and blend for 3 seconds. Empty into the soup pot.
- Pour remaining unblended soup into the blender. Give one or two short pulses, just barely blending the soup. (you want each ⅓ to blend less and less for a better consistency.)
- Pour remaining soup into the pot. Add the crab meat.
- Cook soup over low-medium heat for about 45 minutes, stirring occasionally.
- After 45 minutes, stir in heavy cream.
Optional Roux (if you choose to omit, skip to last step):
- Heat flour and butter in a small pan until mixed, and then add to bisque. Whisk together and let sit 1-2 minutes until soup thickens.
- Serve immediately.
Nutrition
P.S. I myself like a thicker bisque, so I make about 2 sets of roux to get it to the consistency that I like.
Can you freeze crab bisque?
Absolutely! You can freeze leftovers or make a double batch to freeze and enjoy later.
Freezing in freezer bags or mason jars are great options.
(Just note: when freezing in mason jars, be sure to let the soup cool down a bit and don’t crowd the jars in the freezer, as they’ll need a little room to expand as it freezes. You don’t want to have crab bisque all over the inside of the freezer!)
I so hope you enjoy this recipe and I’d love to hear in the comments below if you made it!
Pin it to Remember it: