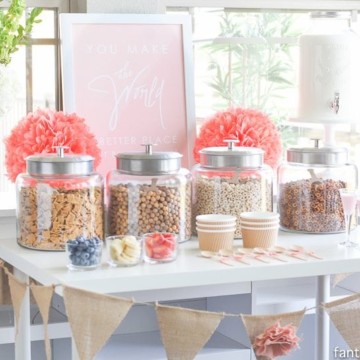
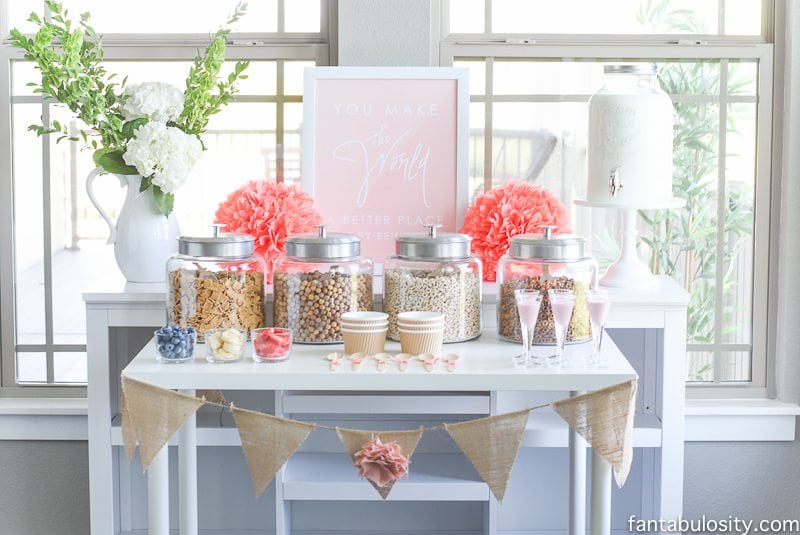
A cereal bar is one of the easiest and most fun food ideas for a party, brunch, or shower. With just a few cereals, toppings, and simple setup ideas, you can create a colorful, interactive food bar your guests will love.
Whether you’re hosting a baby shower, birthday, or weekend brunch, these cereal bar ideas will help you keep things simple and stress-free.
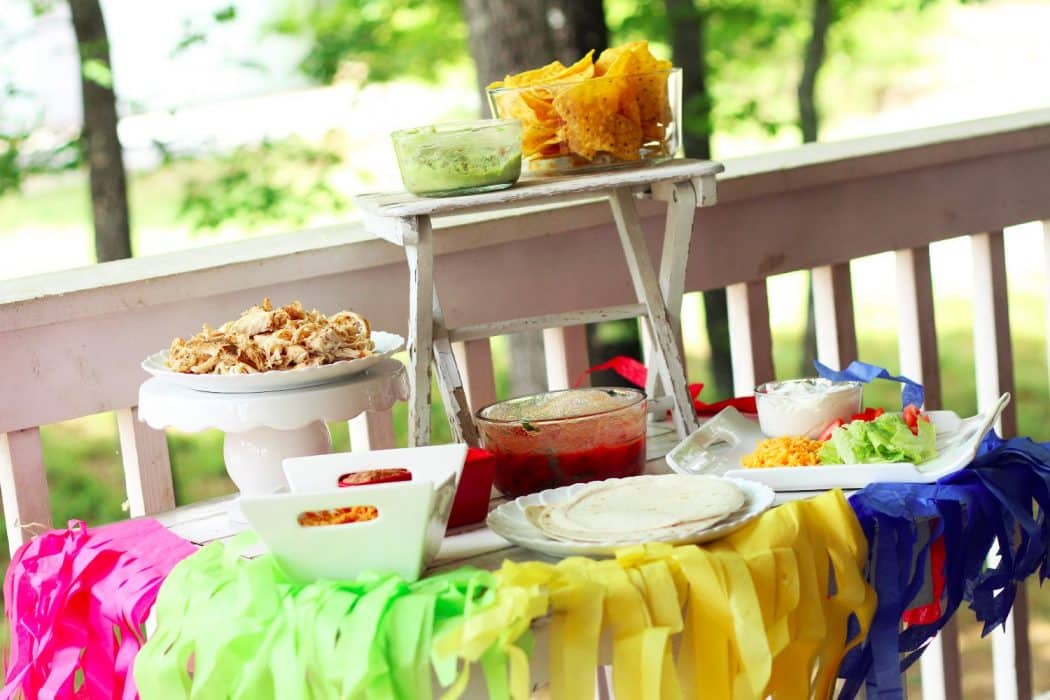
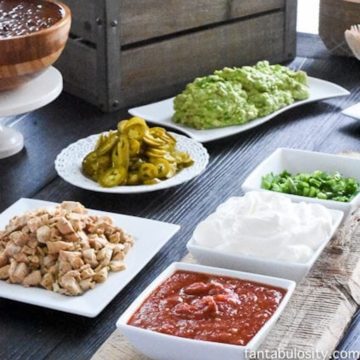
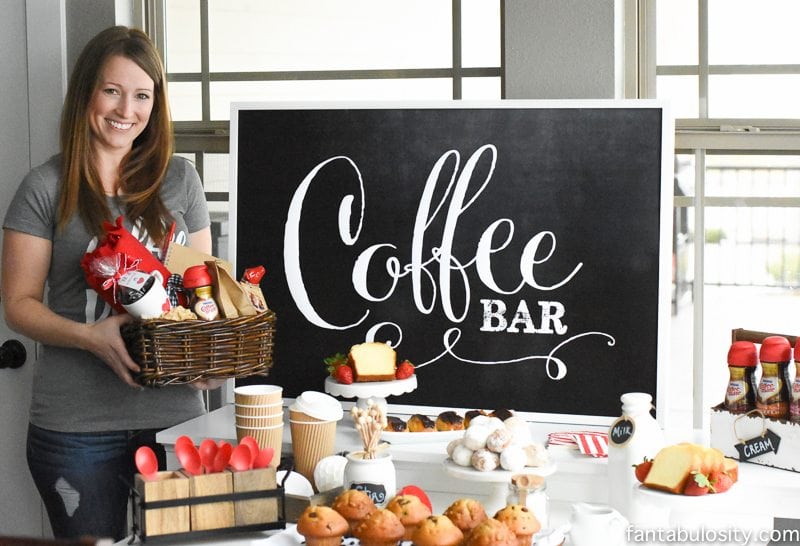
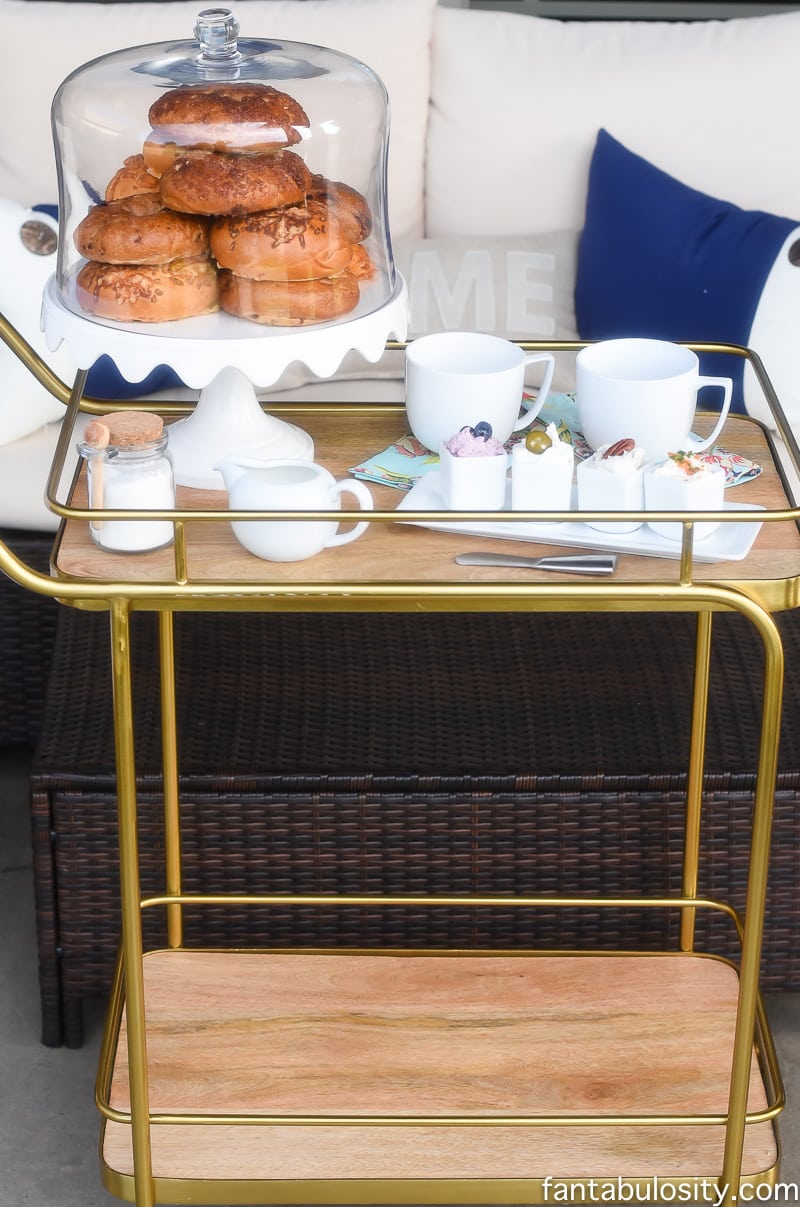
See my other food bars and to host!
What Do You Need for a Cereal Bar?
- Assorted cereals (sweet + classic)
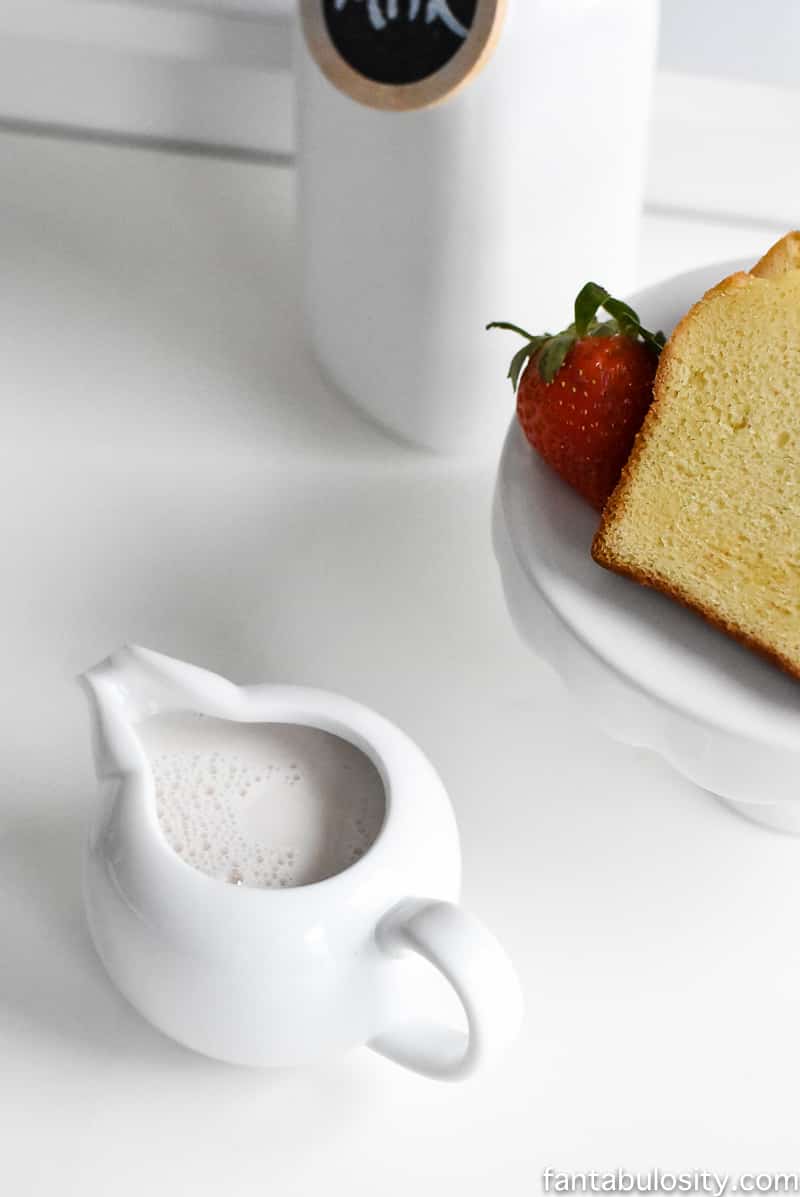
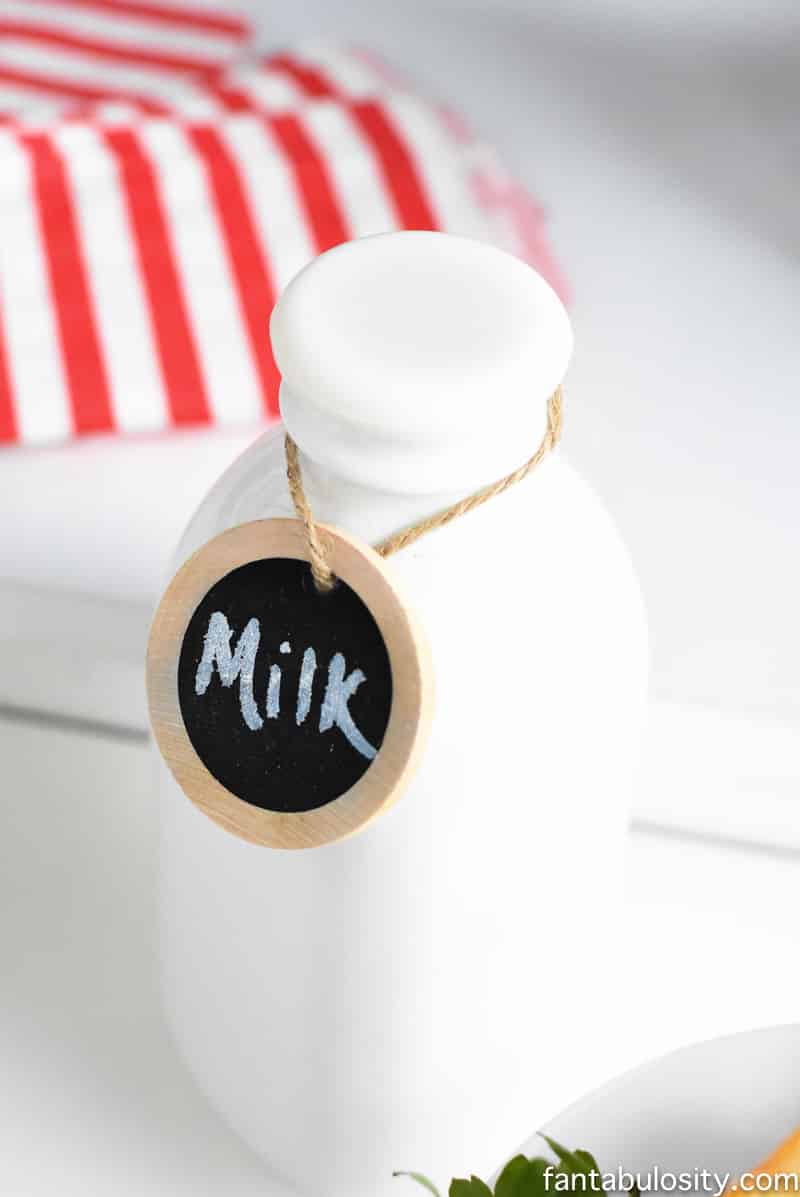
- Milk options (regular, chocolate, almond)
- Toppings (fruit, nuts, chocolate chips)
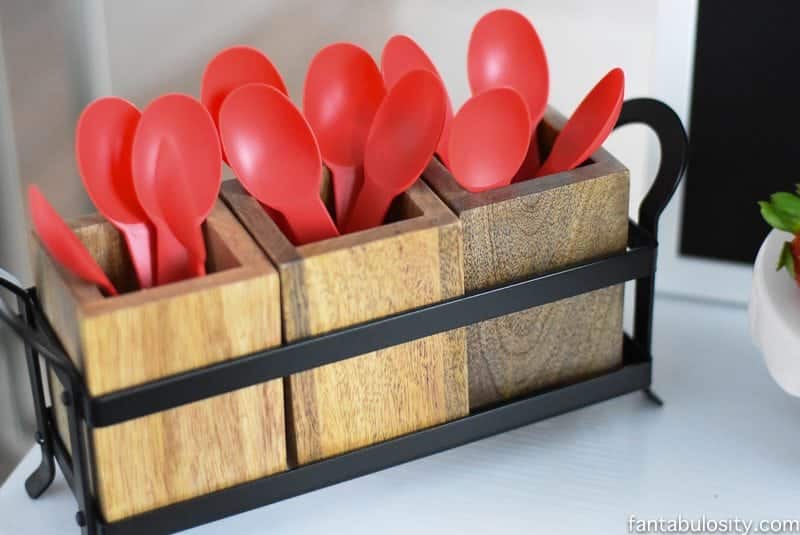
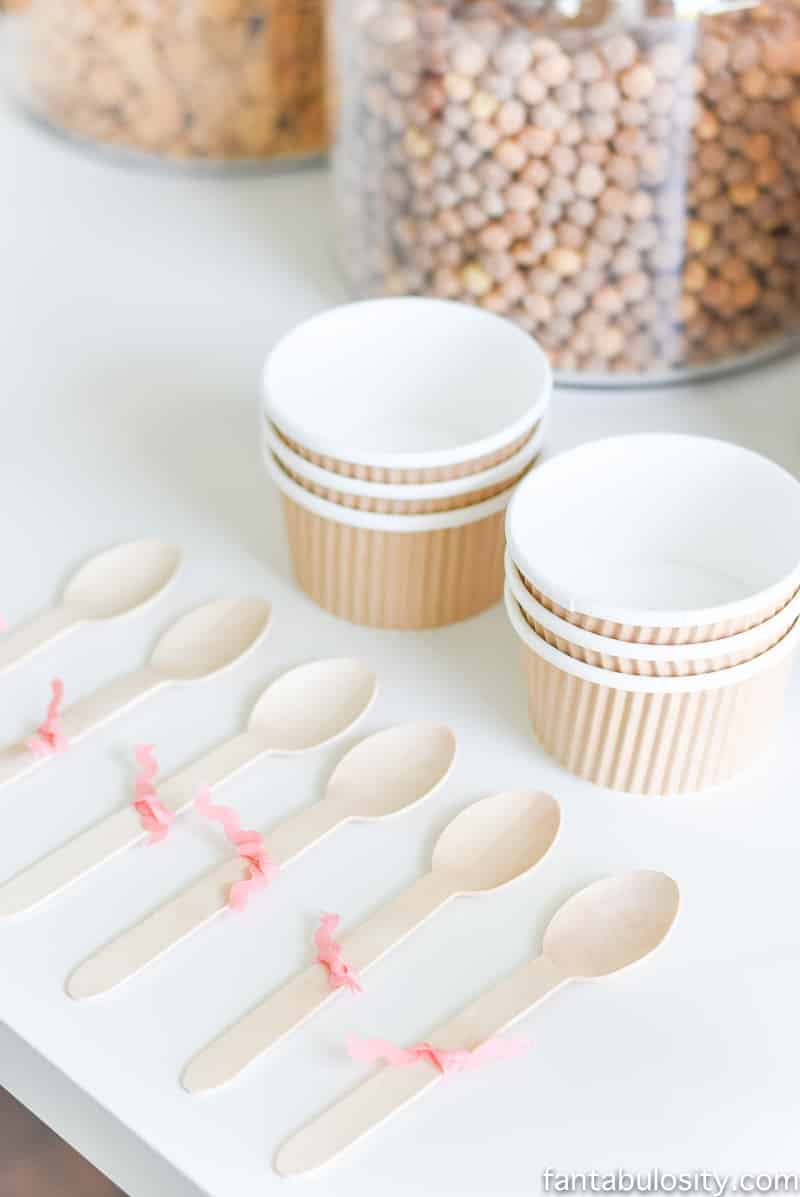
- Bowls + spoons
- Serving jars or containers
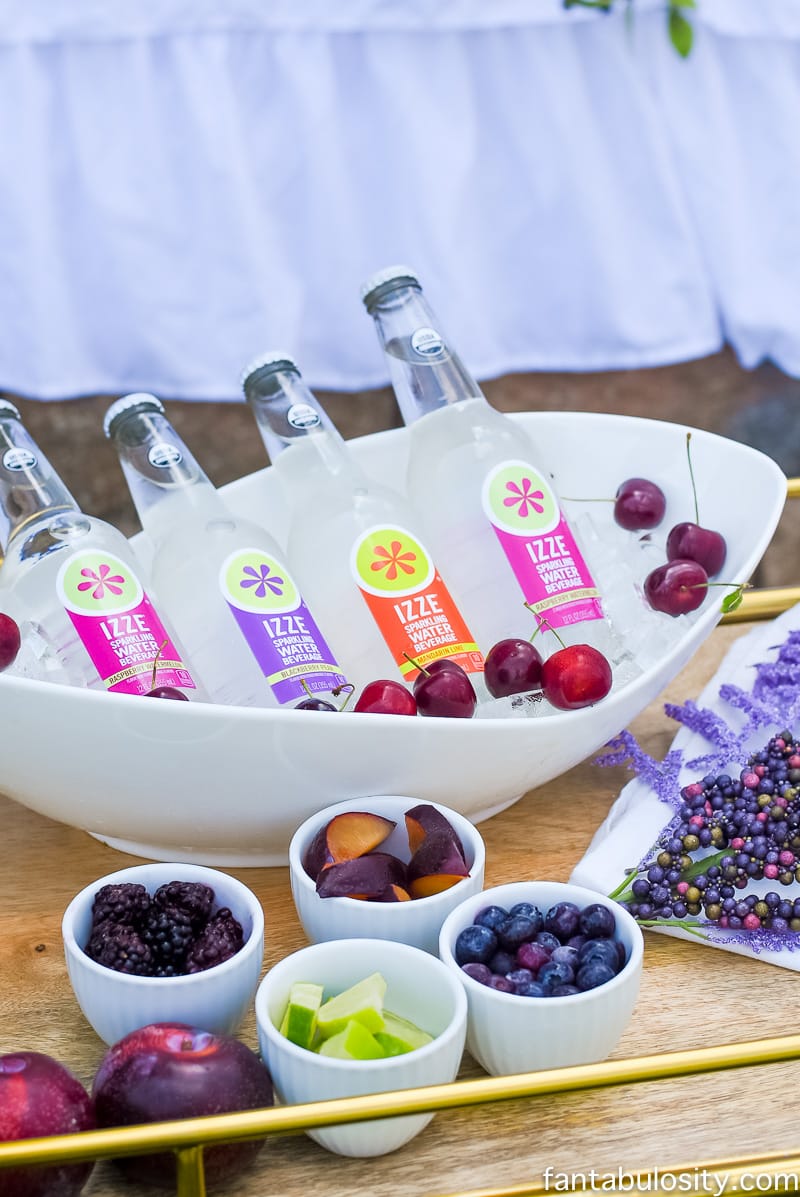
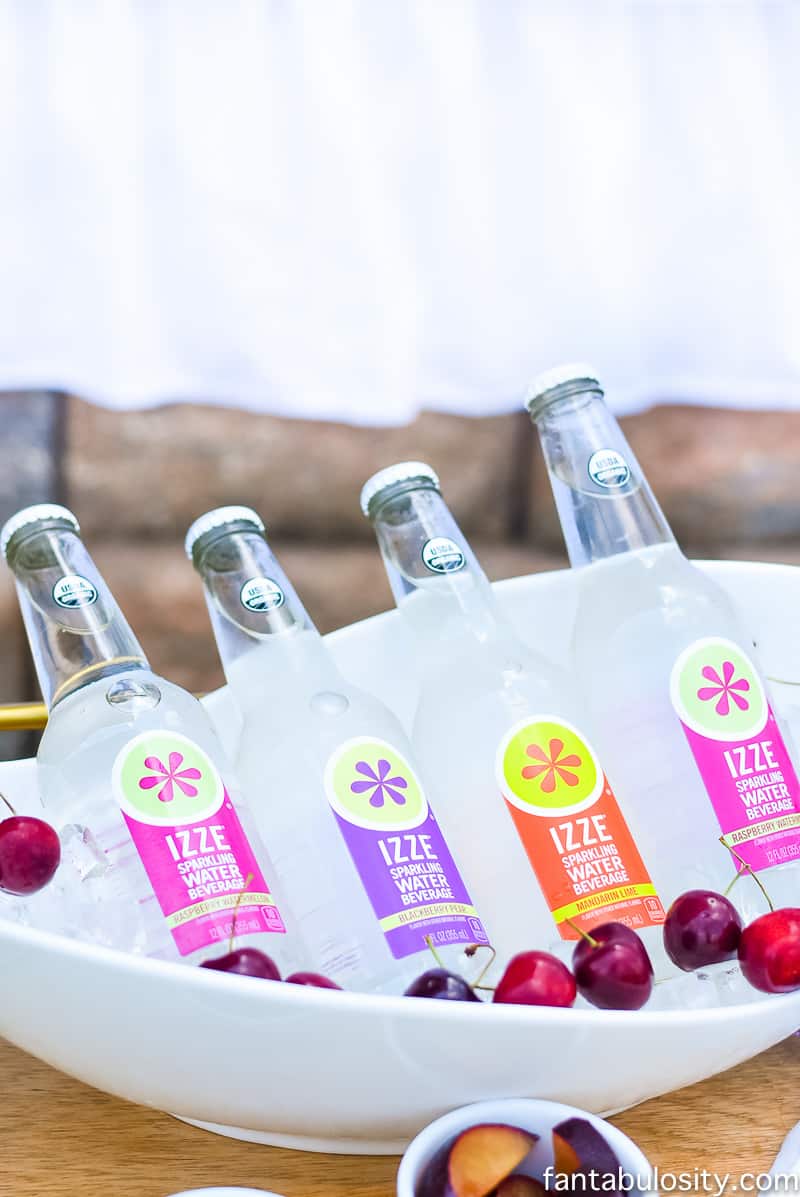
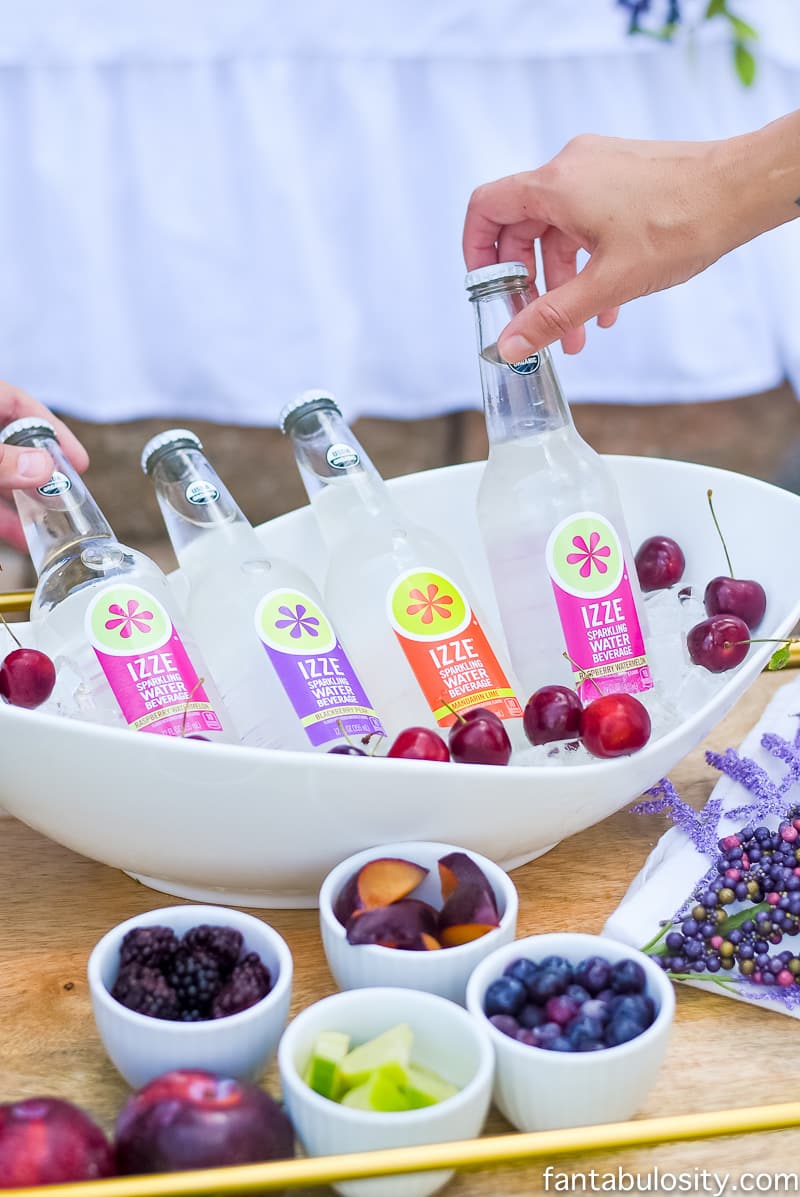
- Beverage station (optional)
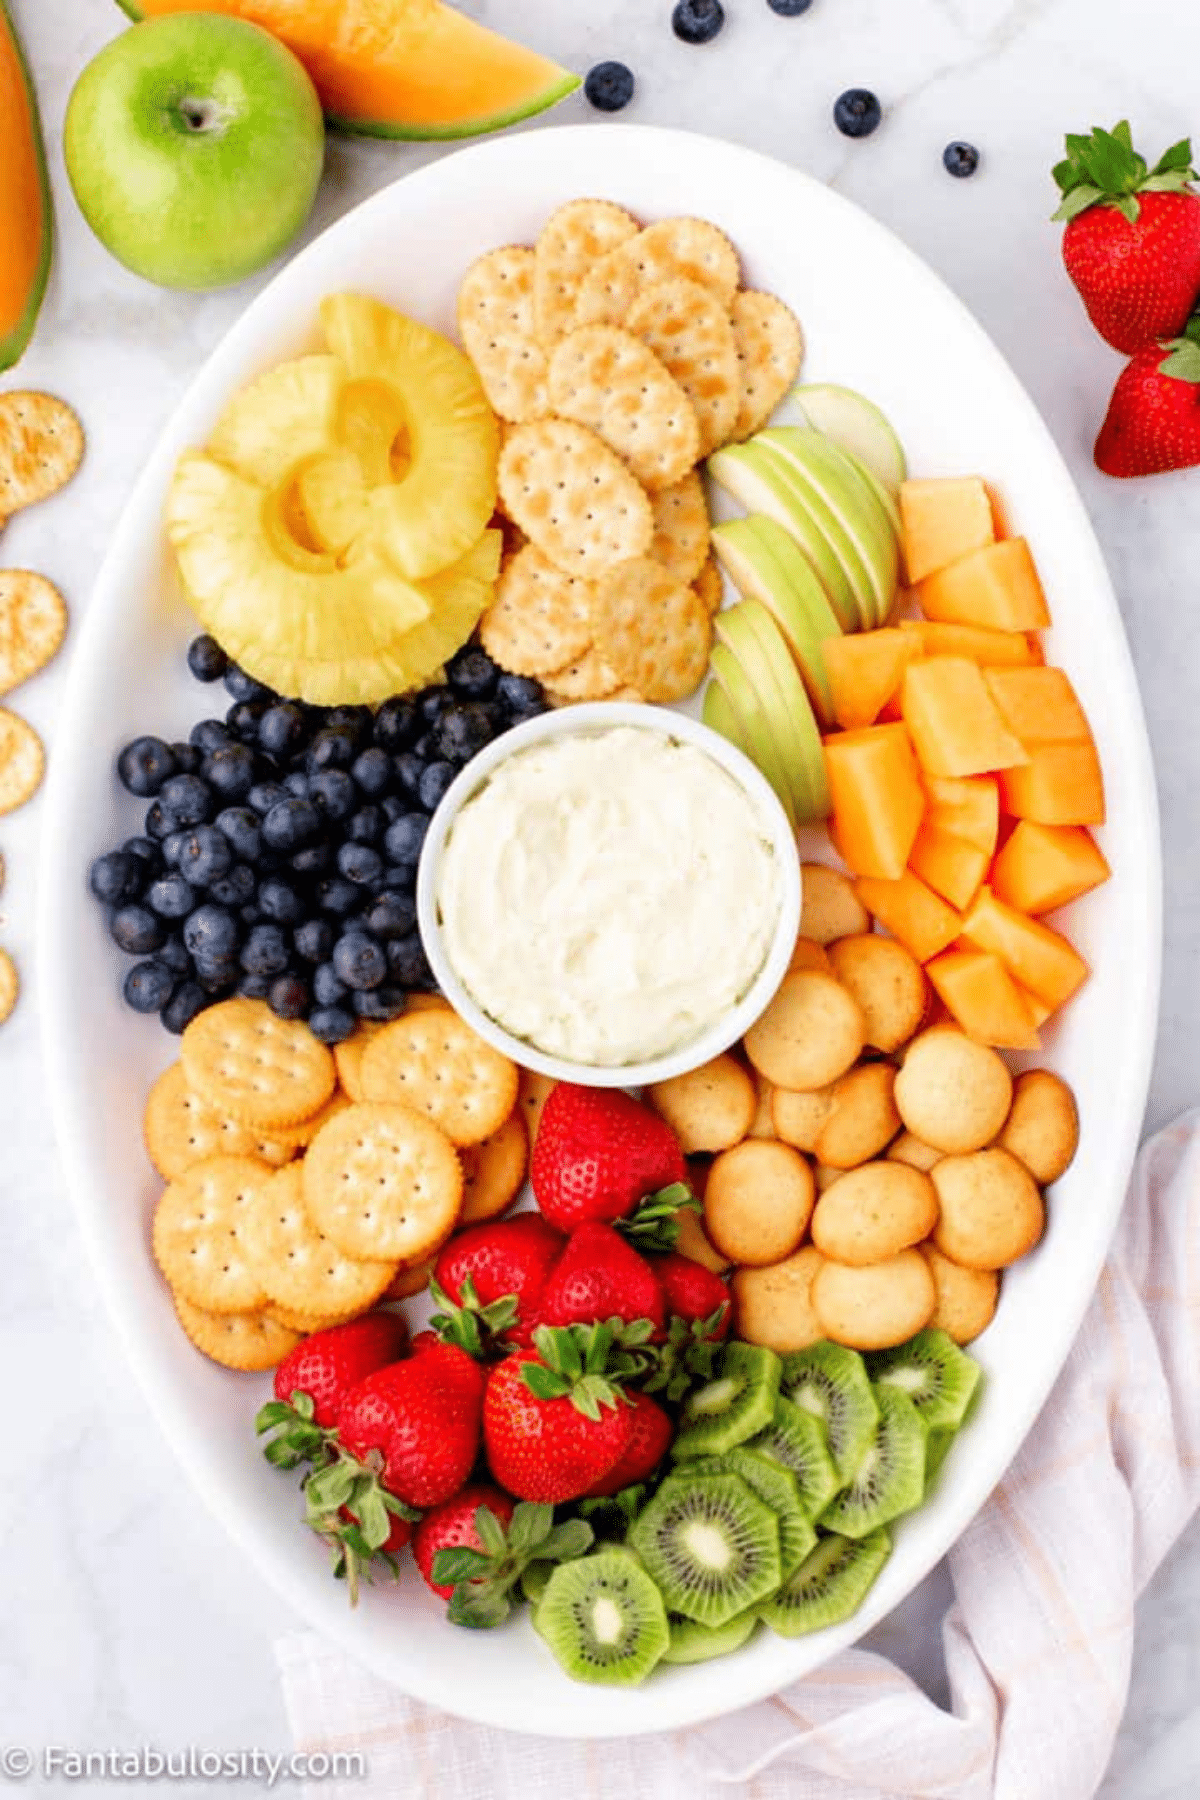
Best Cereal Bar Toppings
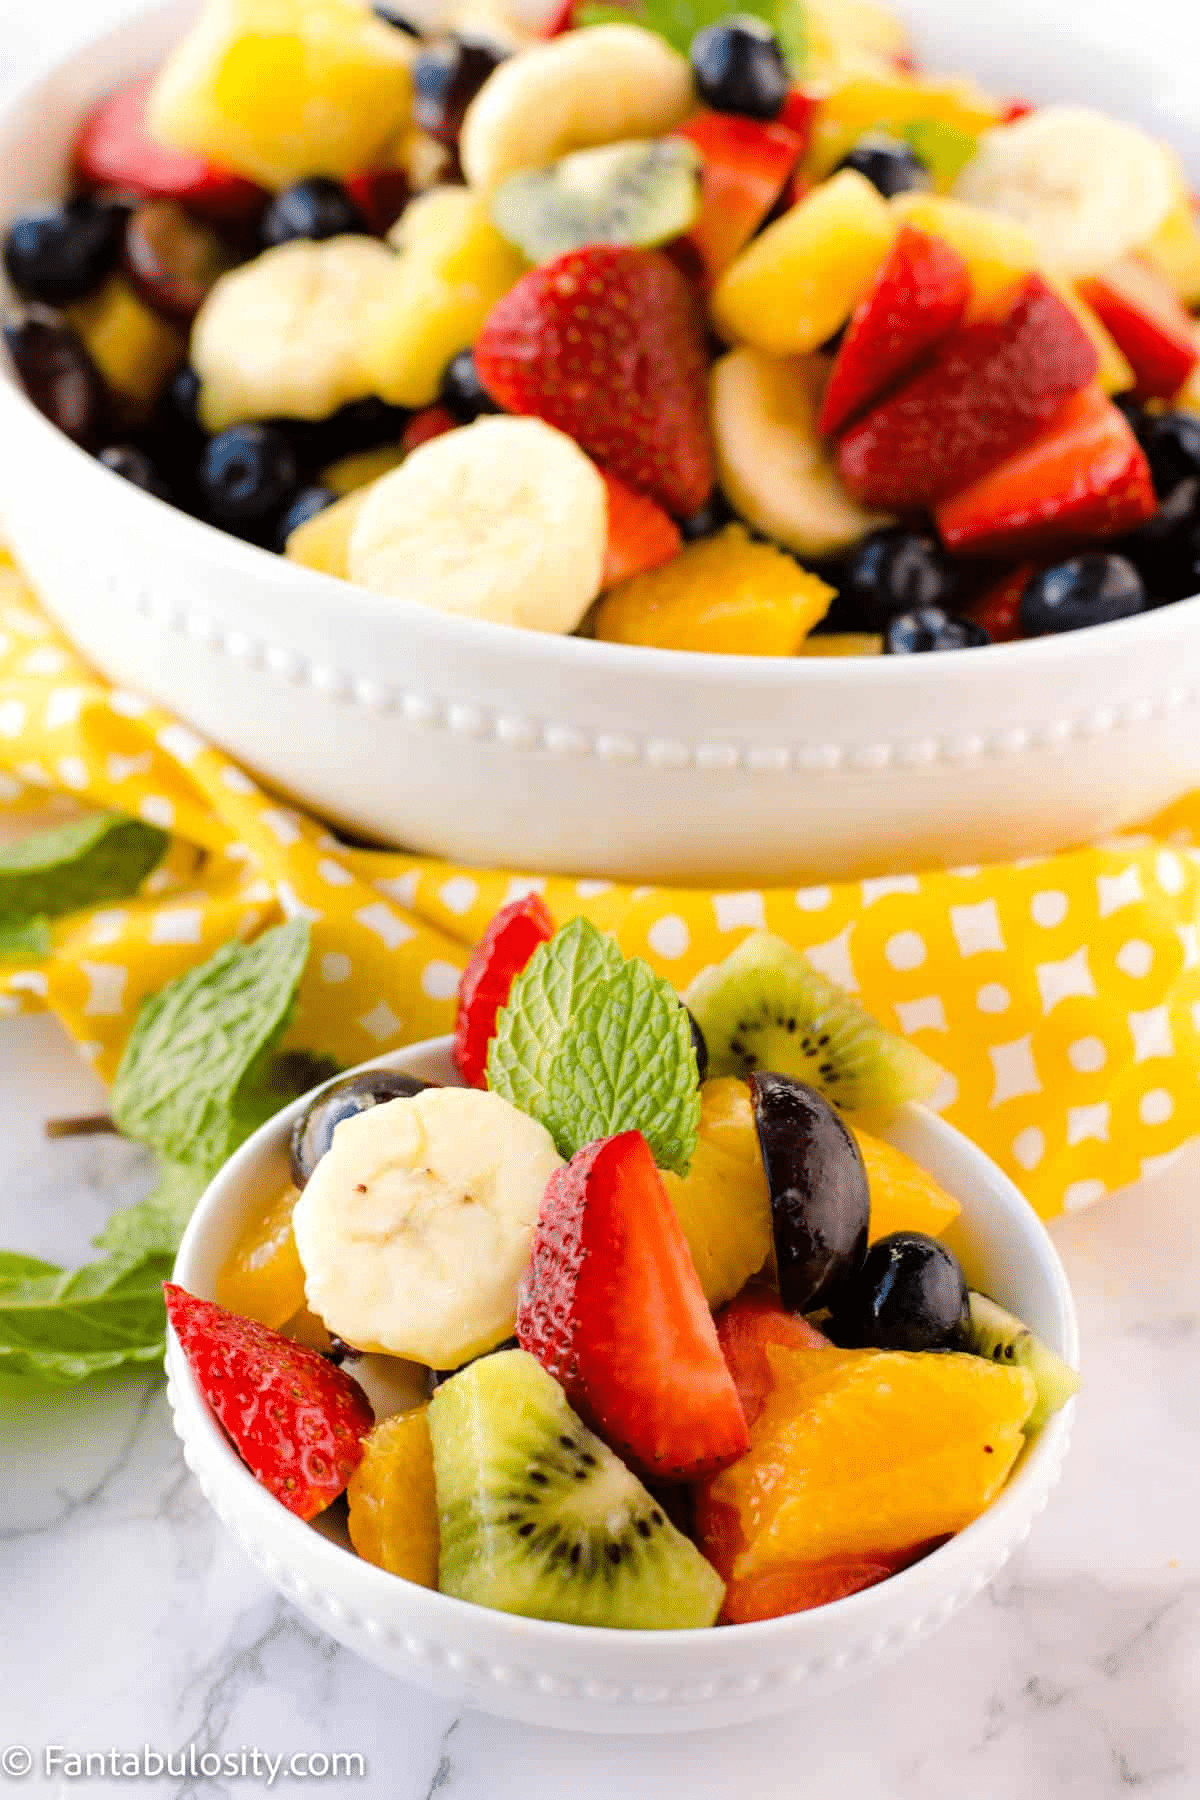
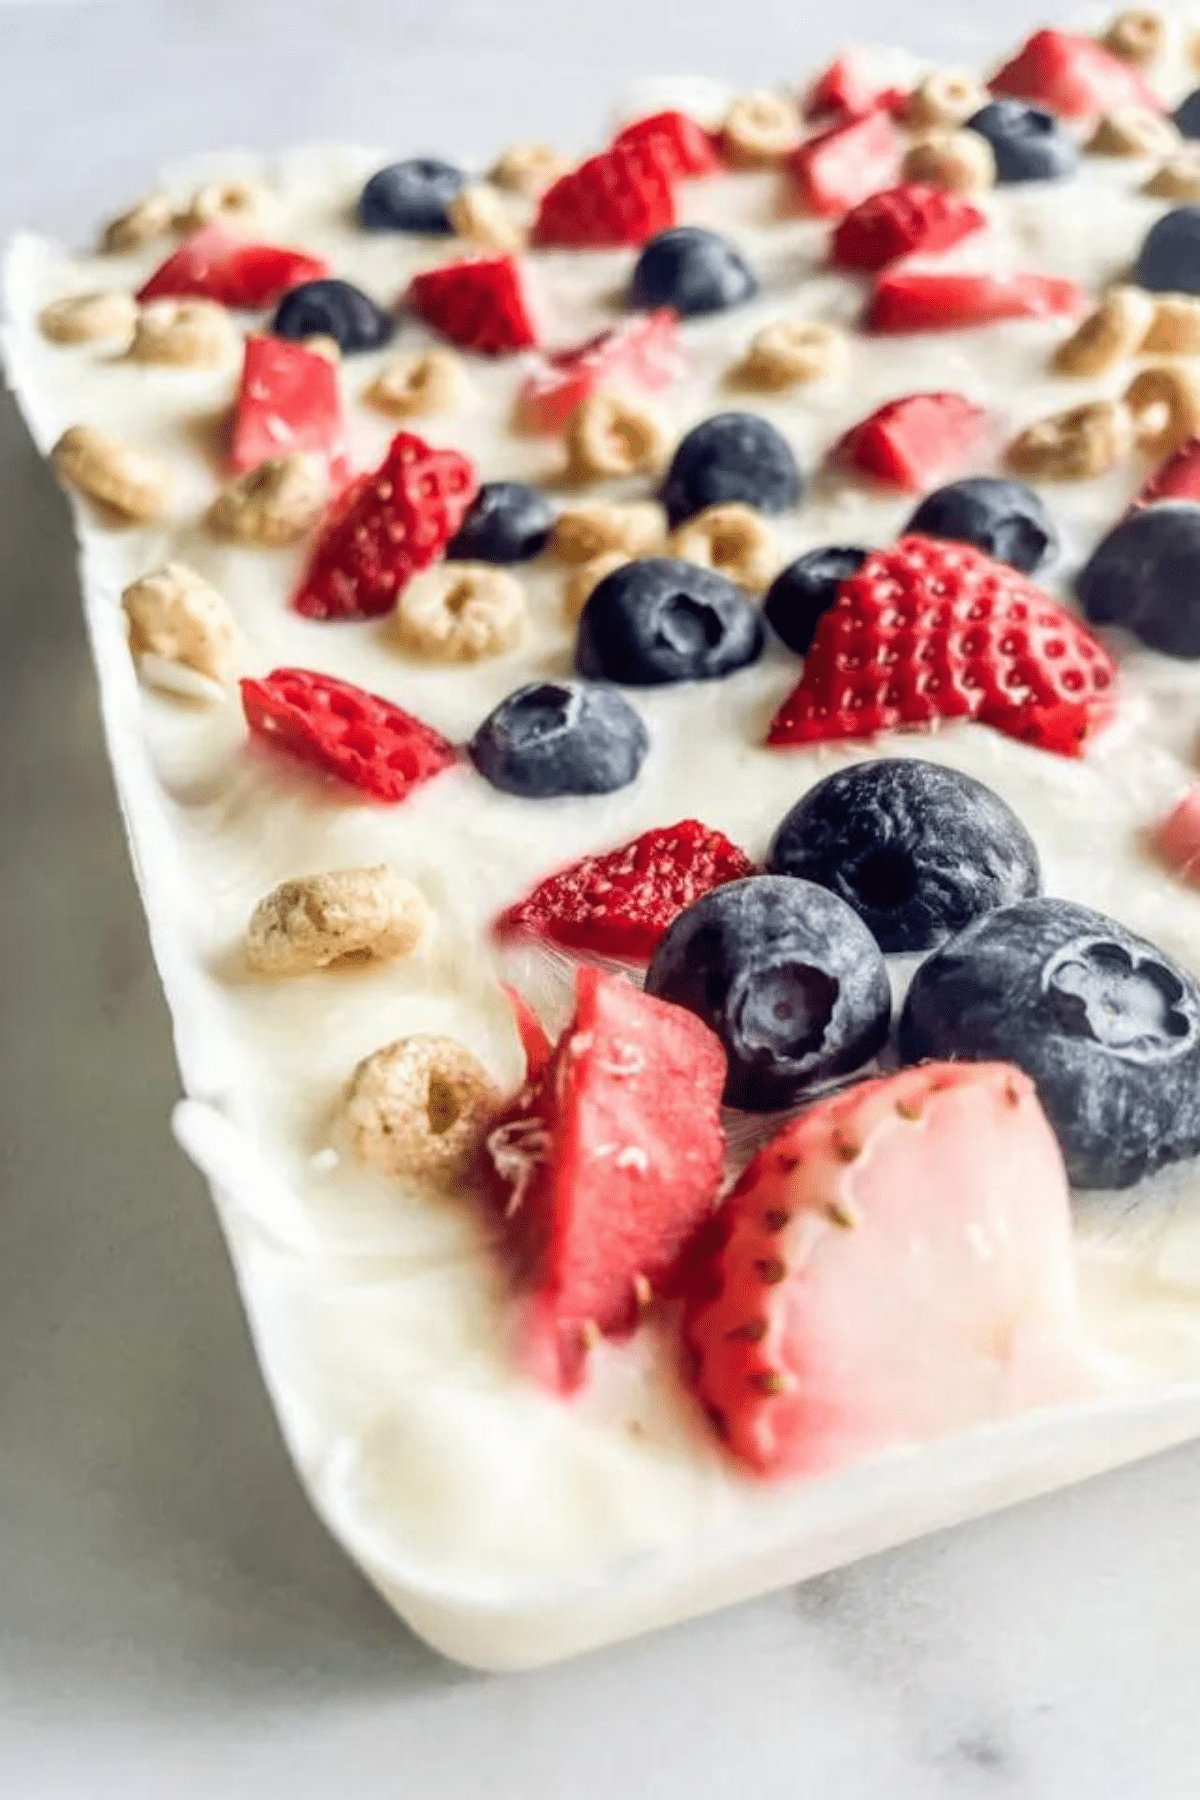
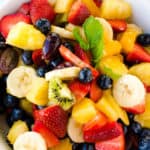
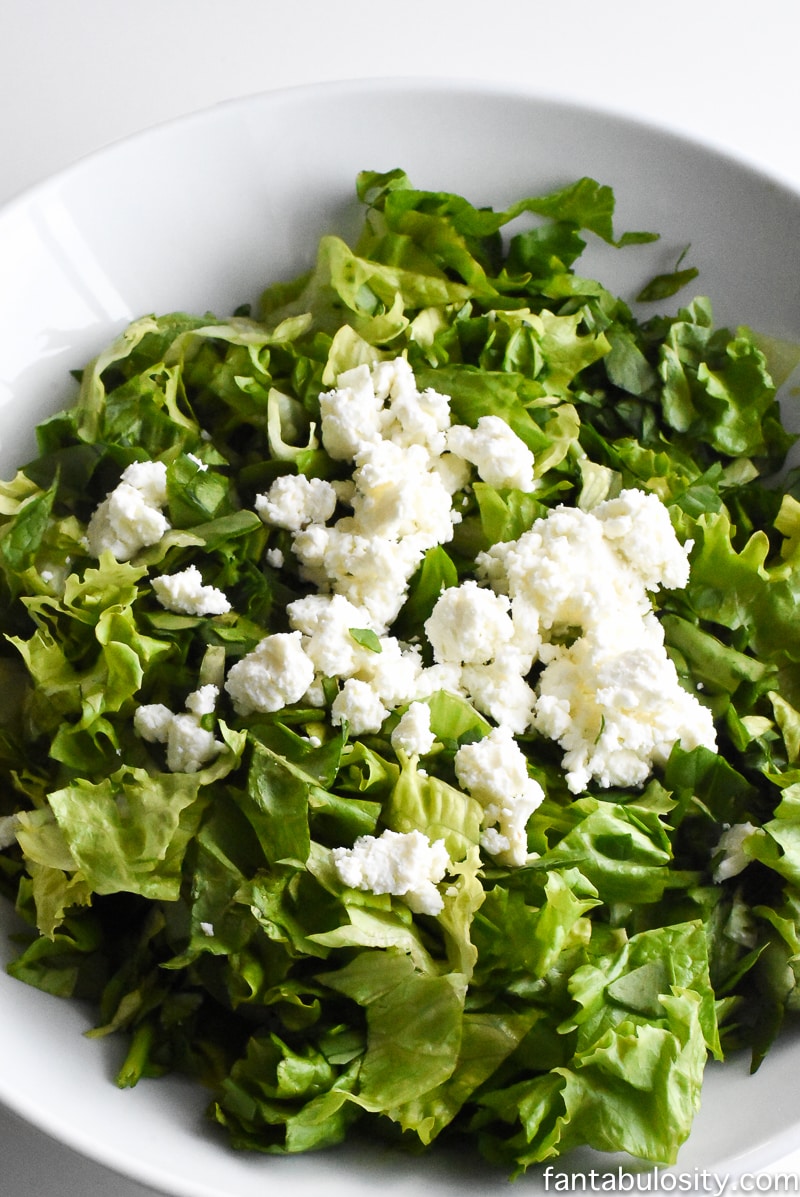
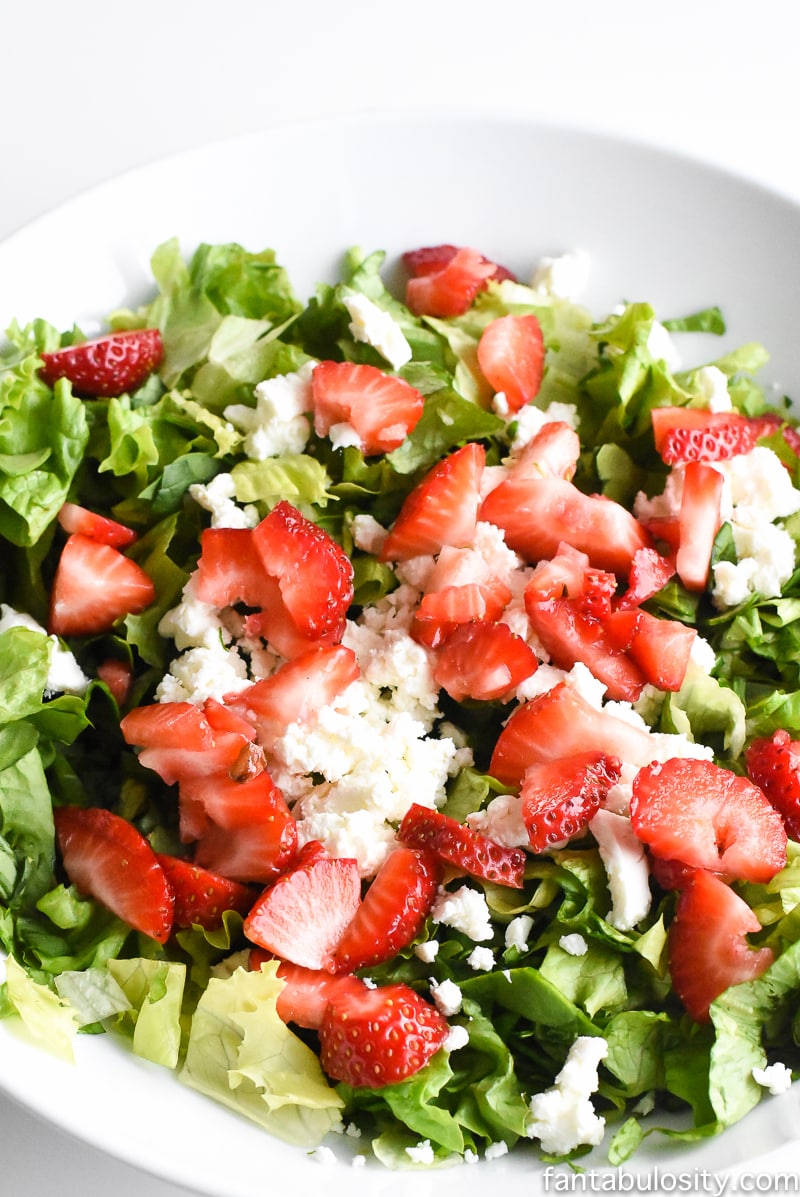
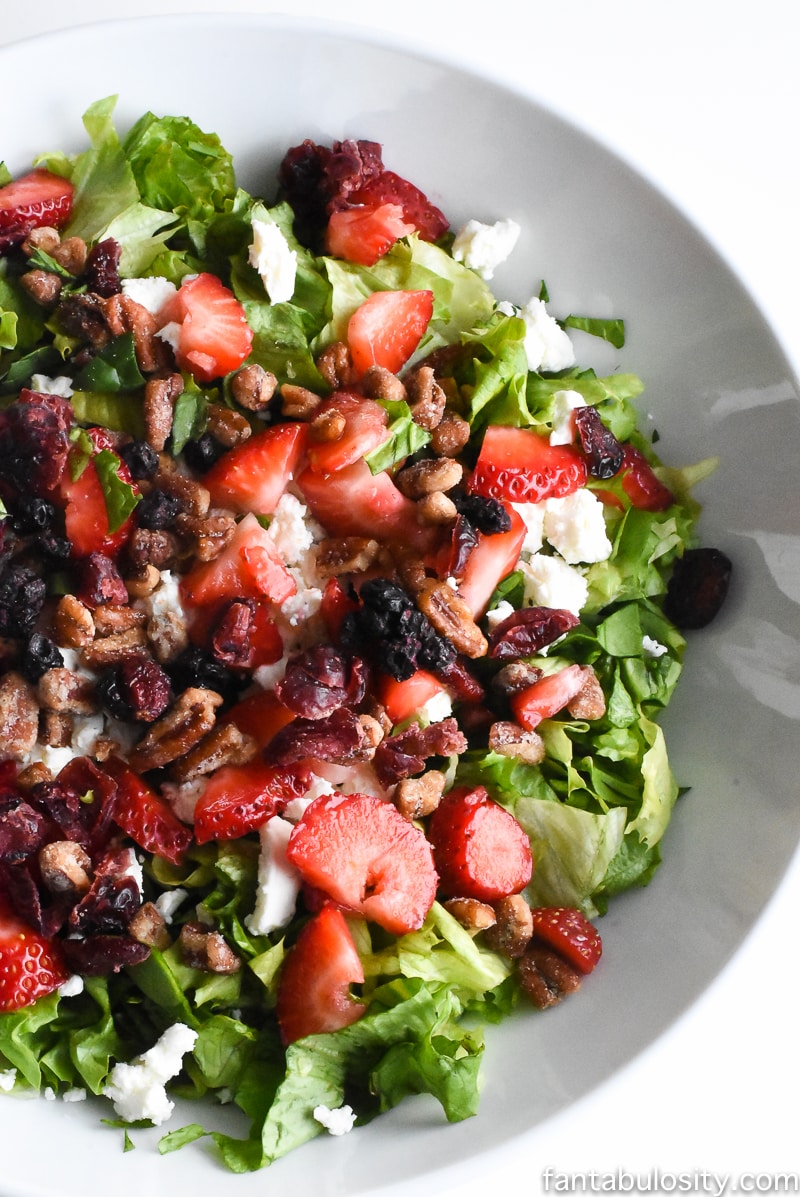
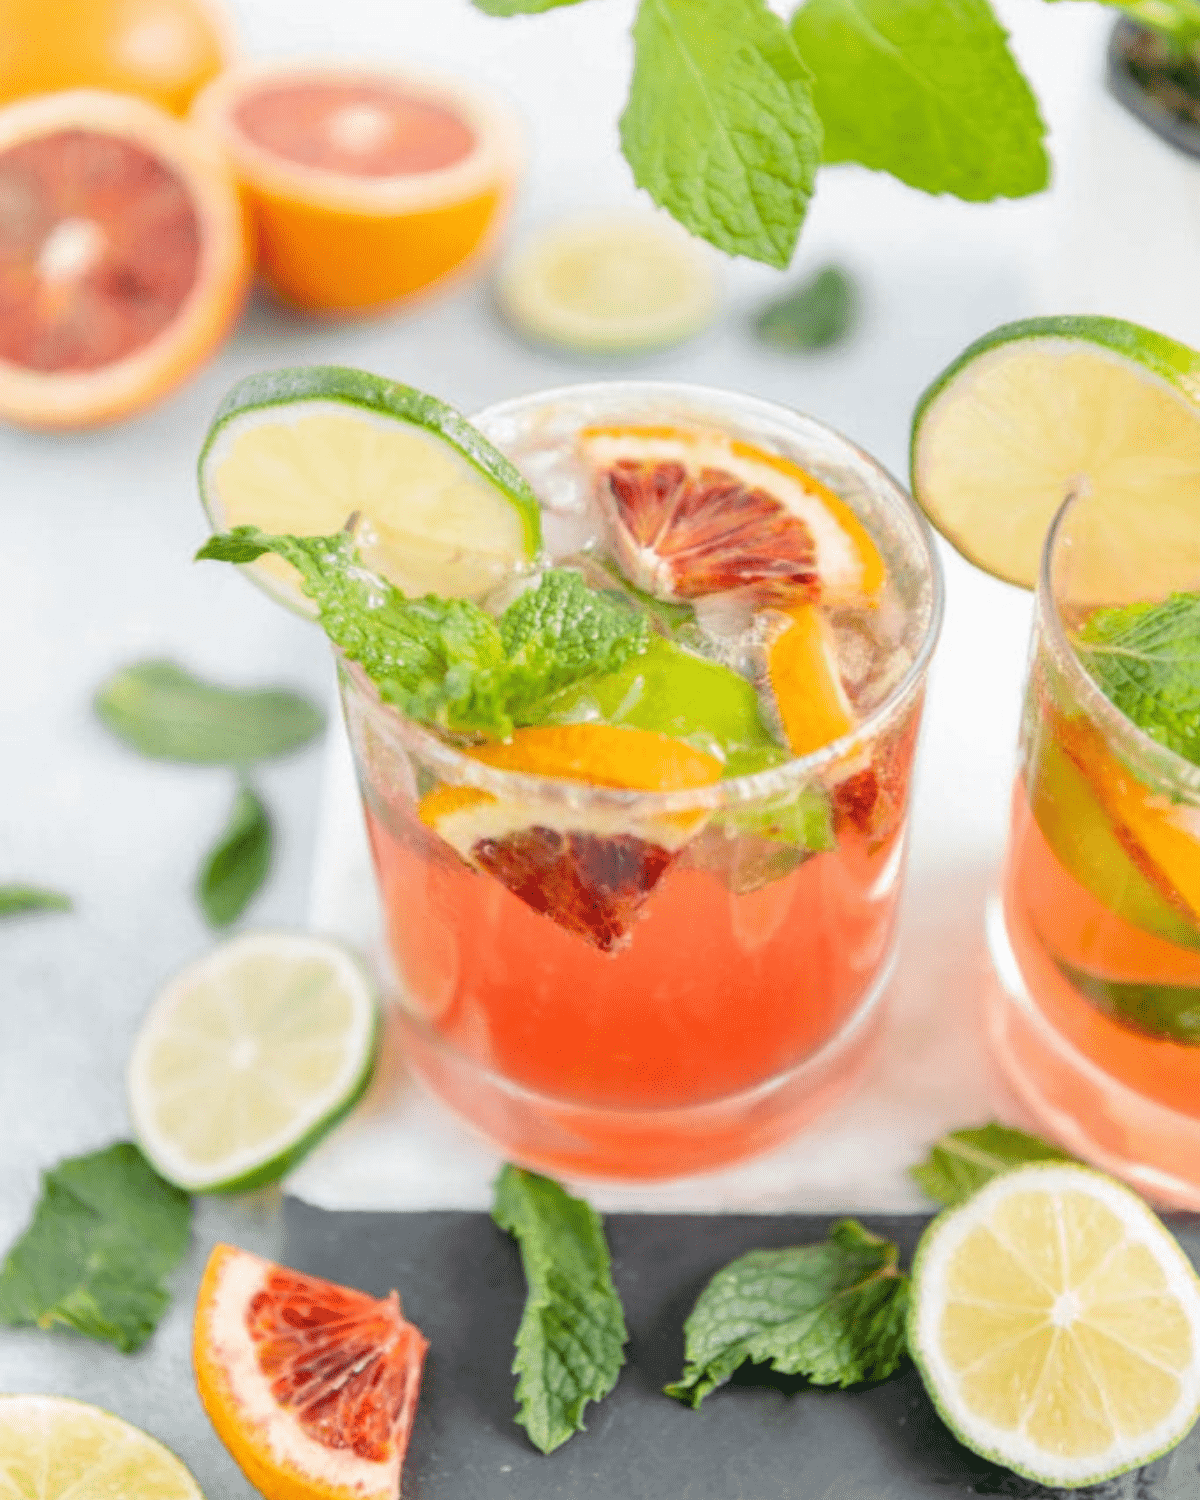
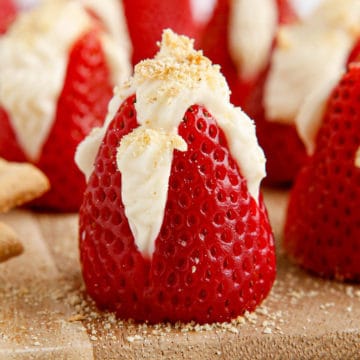
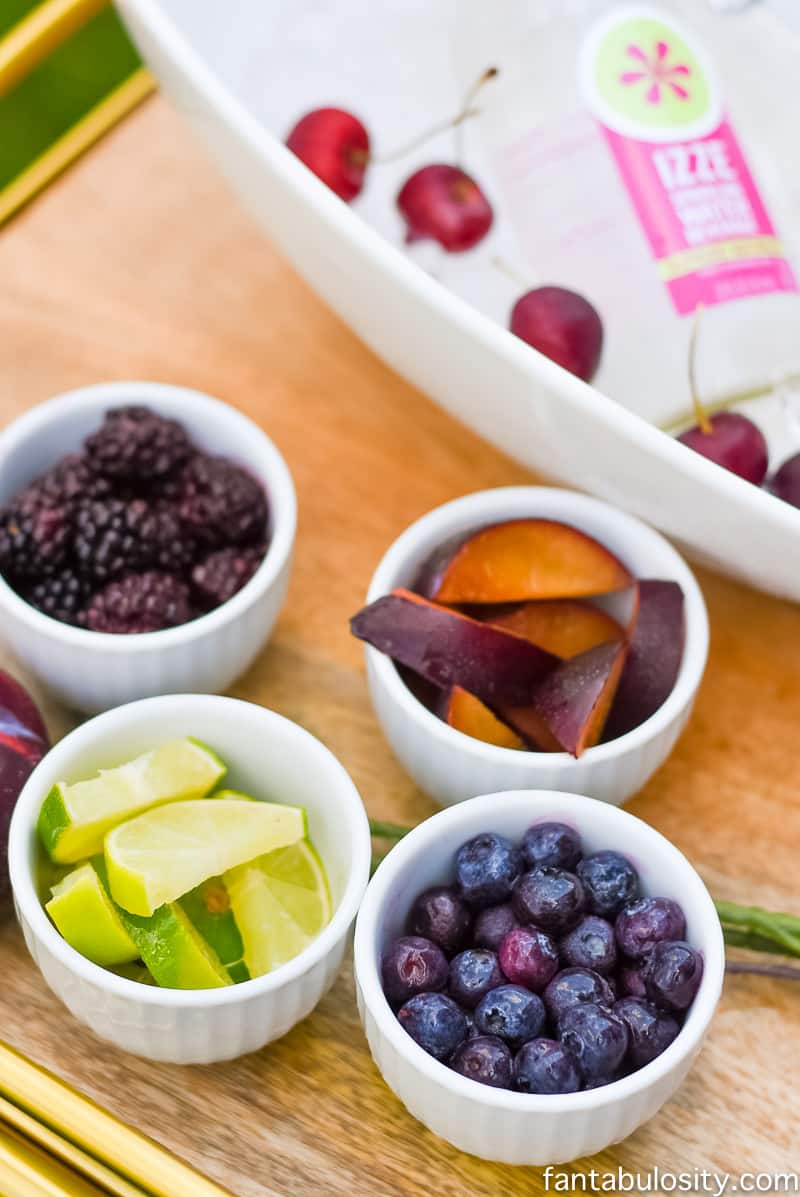
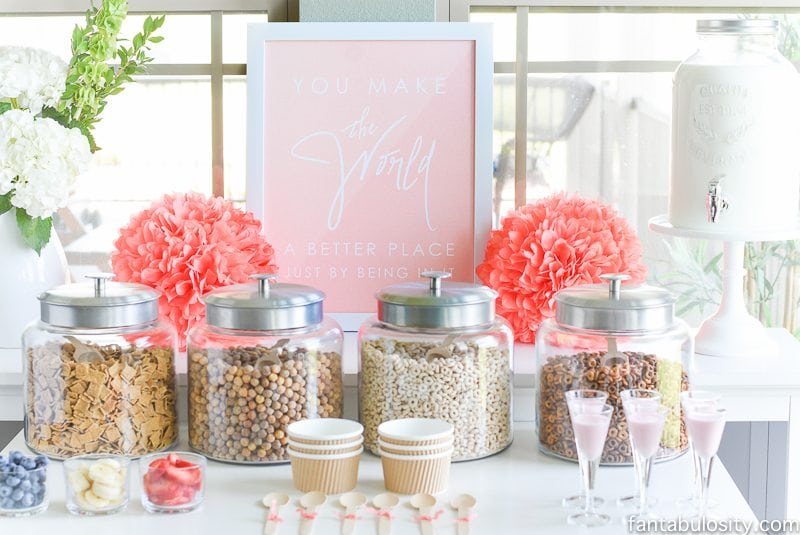
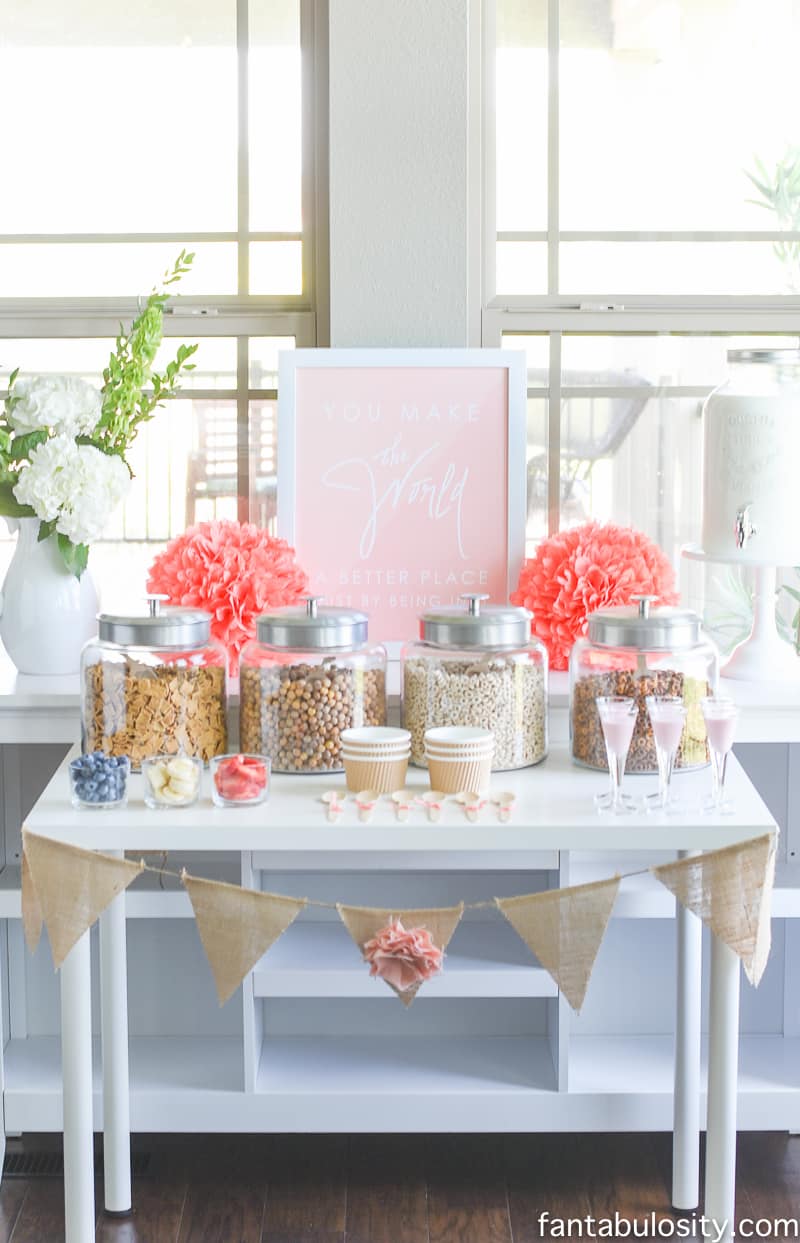
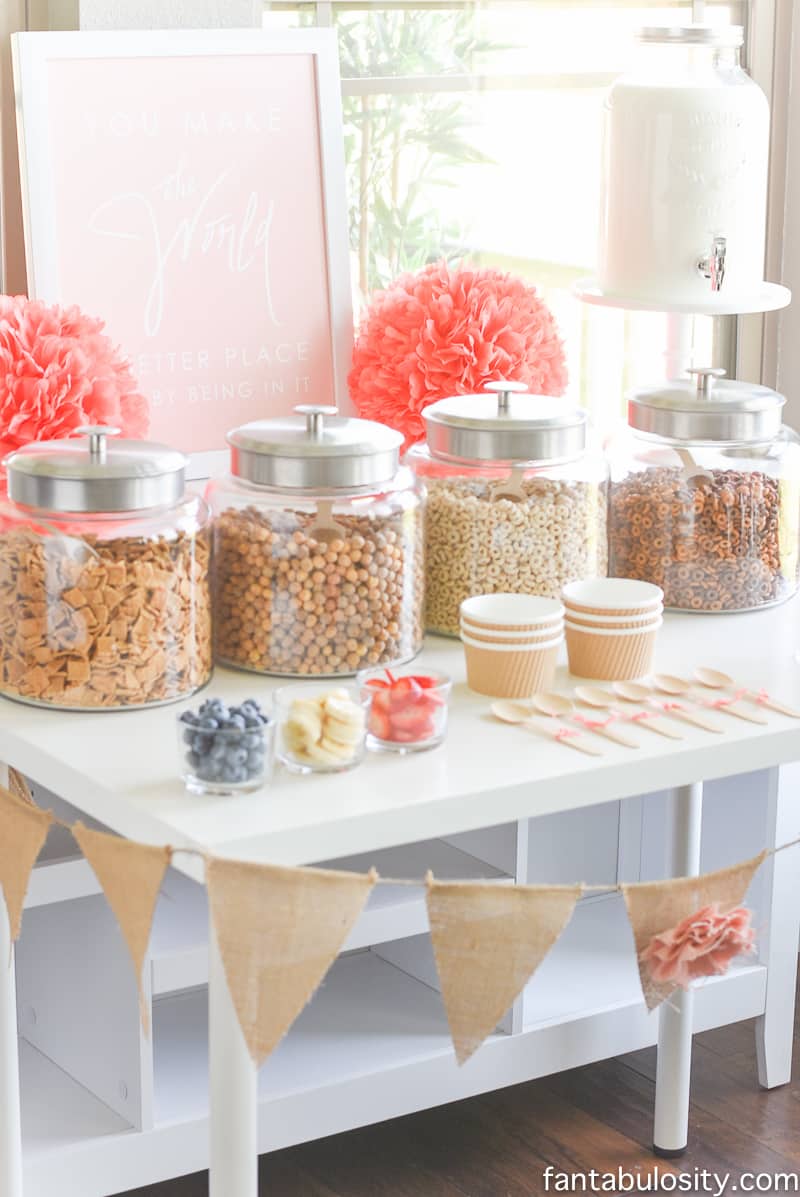
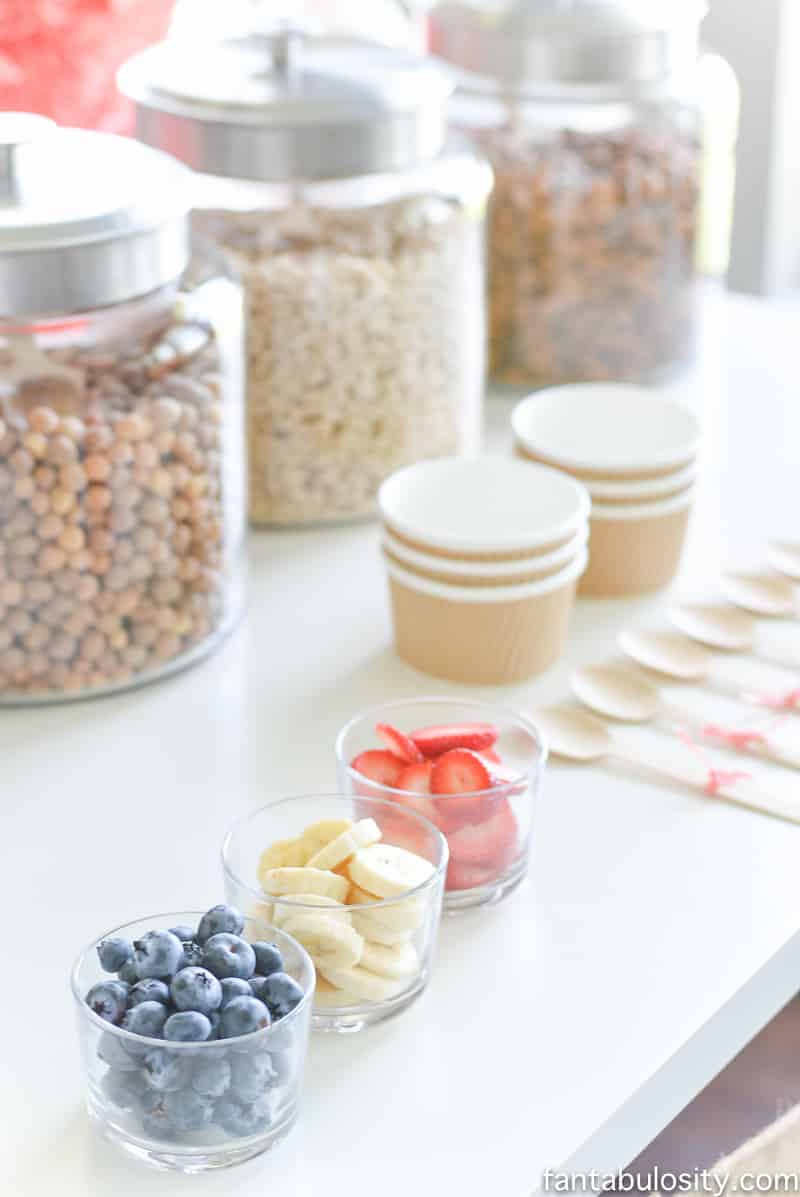
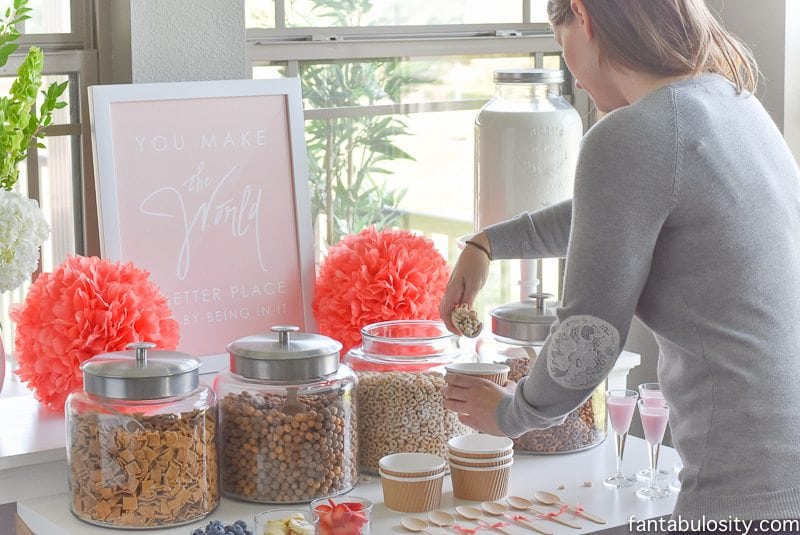
Provide additional fun and tasty cereal “toppings,” for your guests to add to their individual bowls, such as fresh fruits like those pictured here, or I even like to add chopped nuts for an added crunch. It’s a cereal buffet! Let them mix it up, and have fun with a few different creations!
- Fresh fruit (strawberries, bananas, blueberries)
- Mini marshmallows
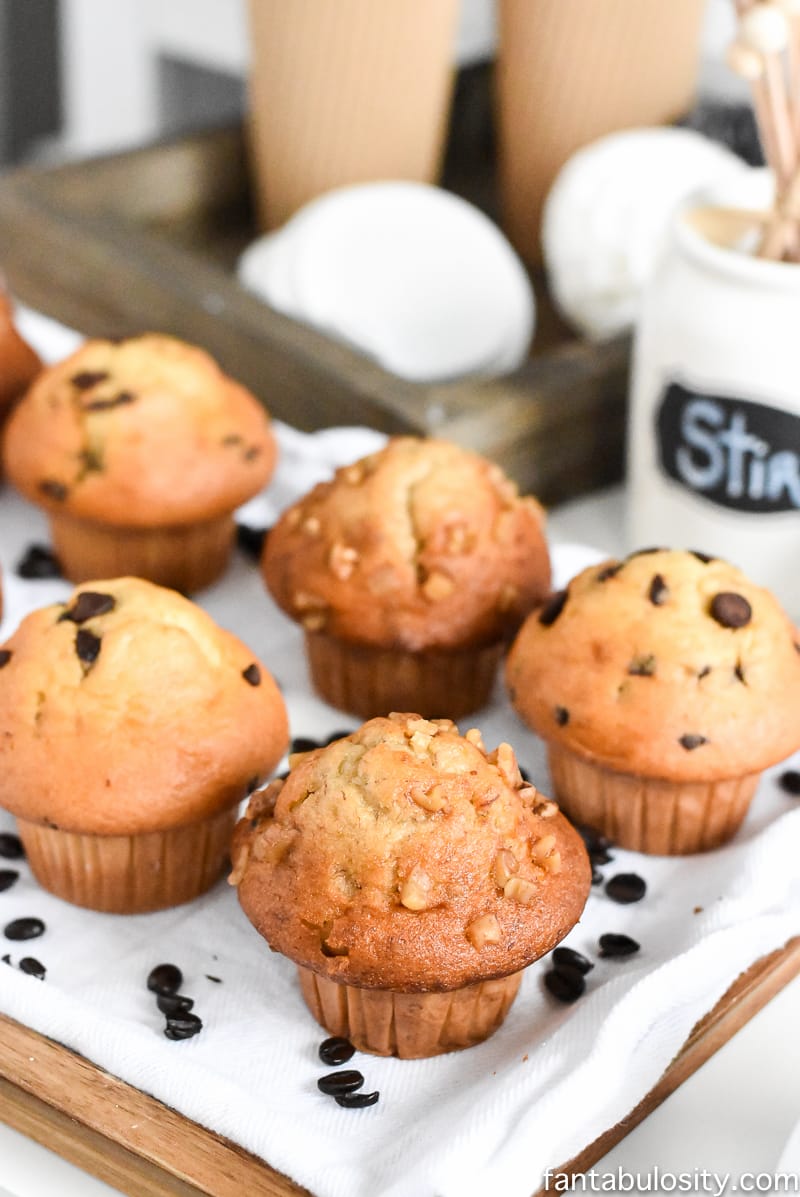
- Chocolate chips
- Nuts or granola
- Coconut flakes
- Sprinkles (for fun parties)
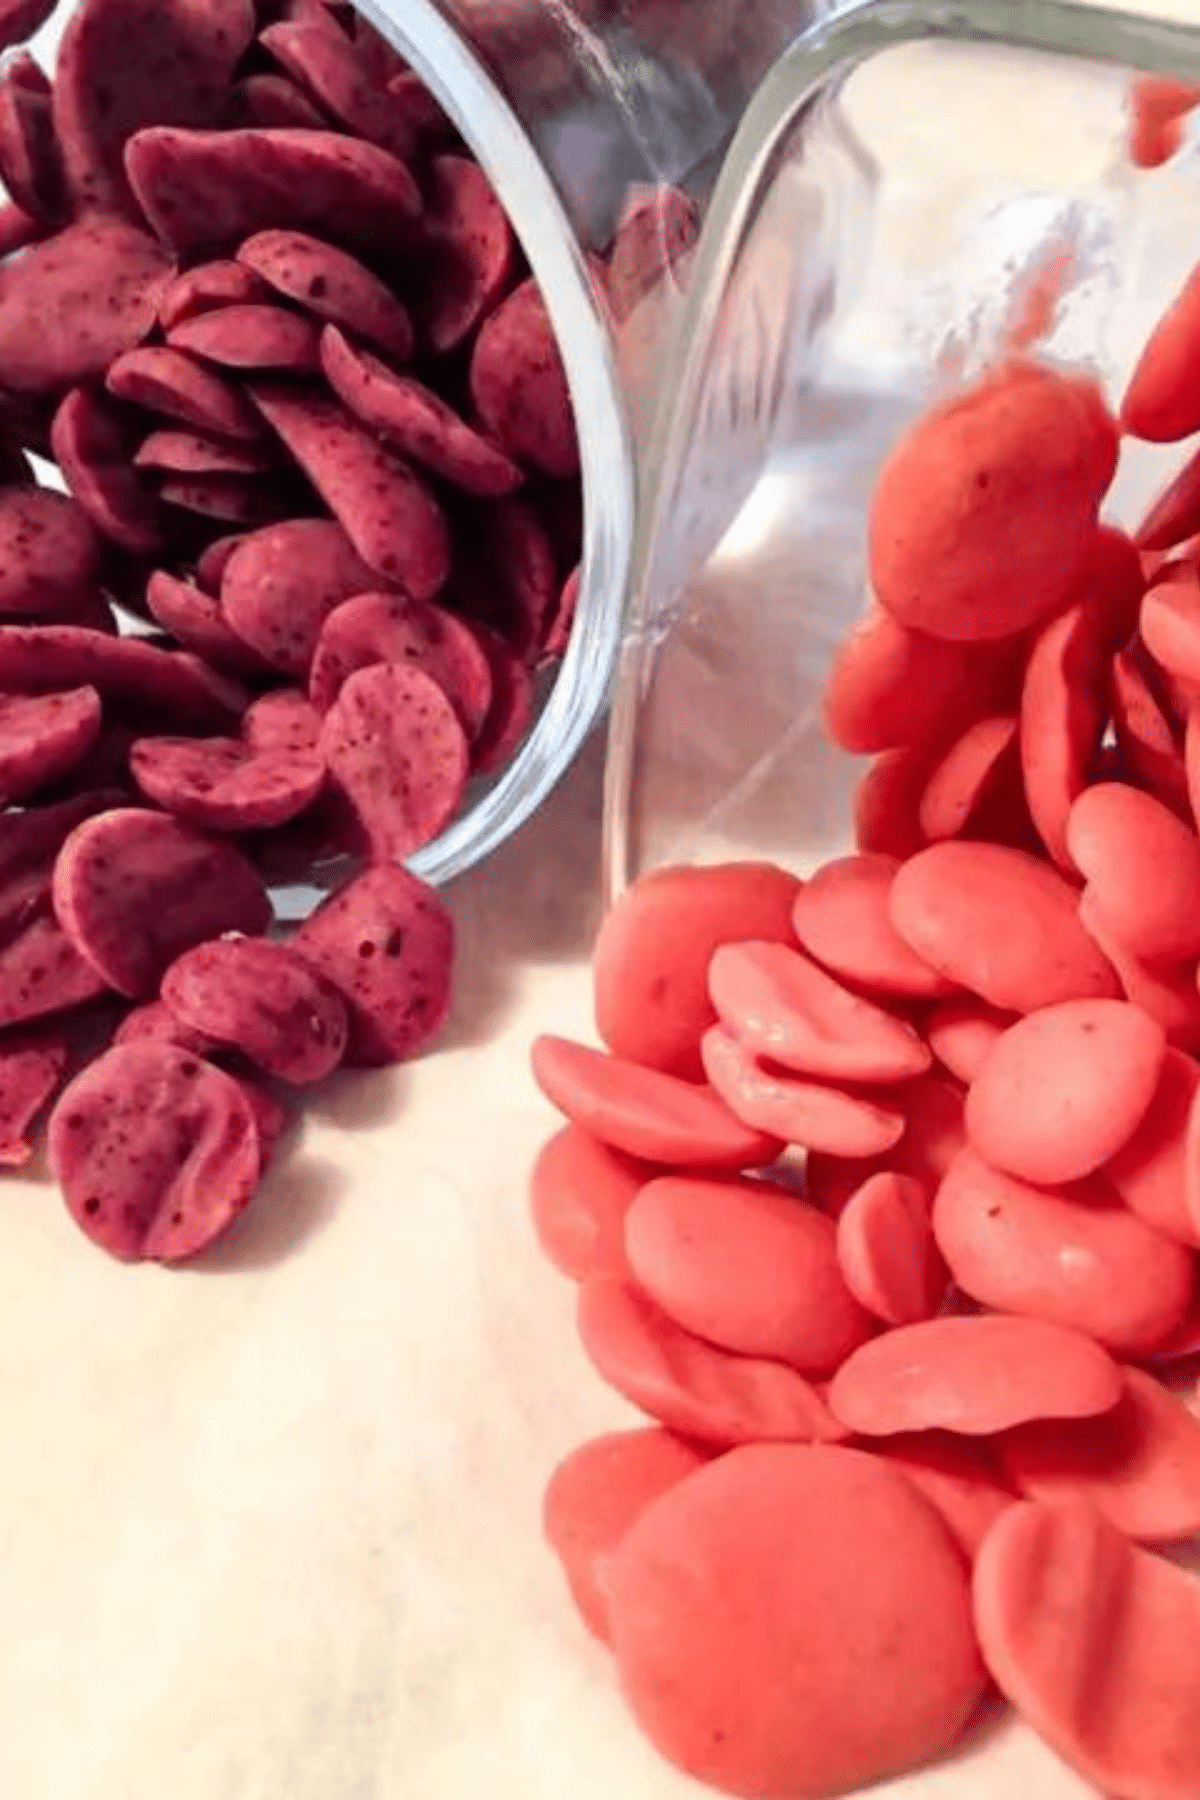
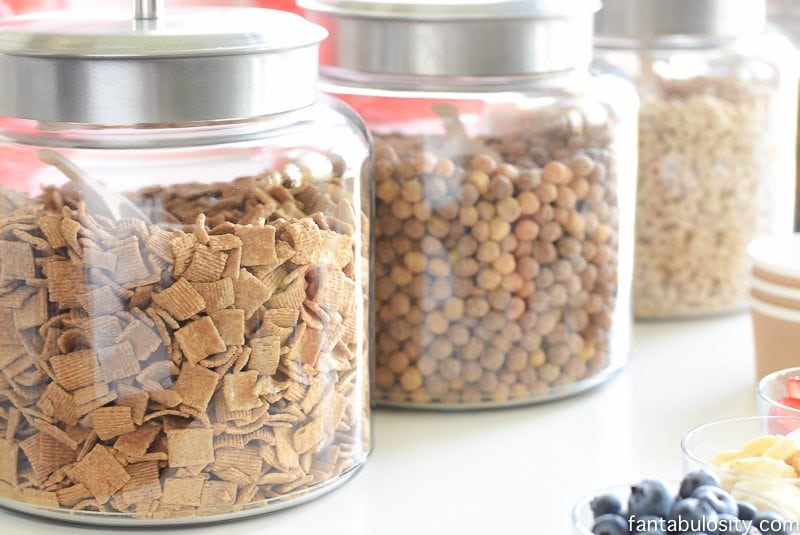
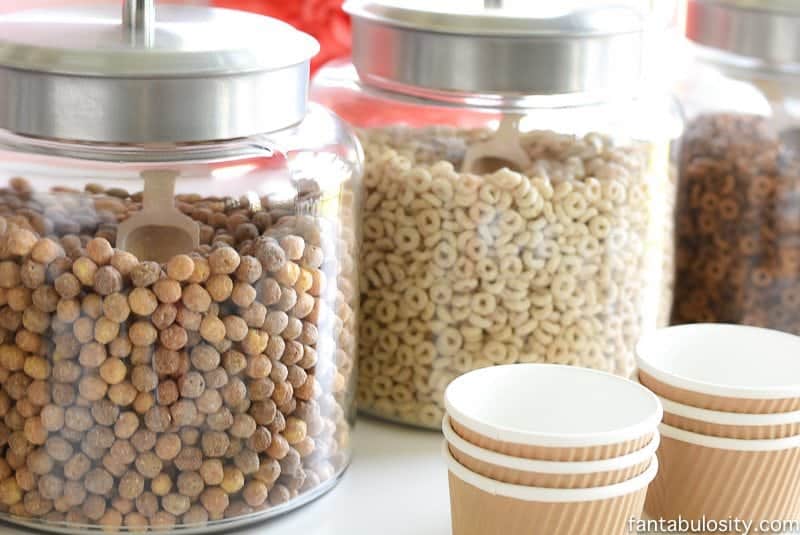
Cereals To Use:
If you’re looking for a natural color palette (which is my all-time favorite color scheme), choose cereals such as I did, like:
Golden Grahams
Reese’s Puffs
Frosted Cheerios
Chocolate Cheerios
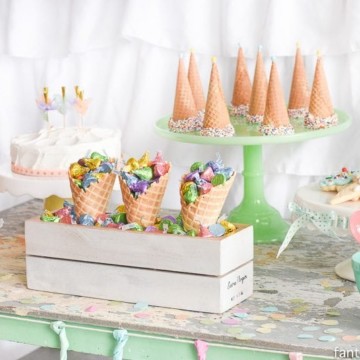
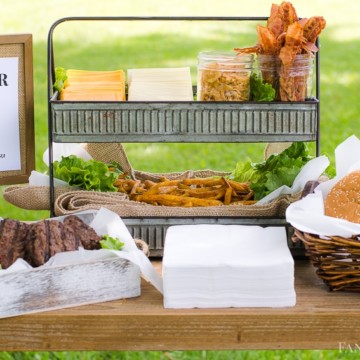
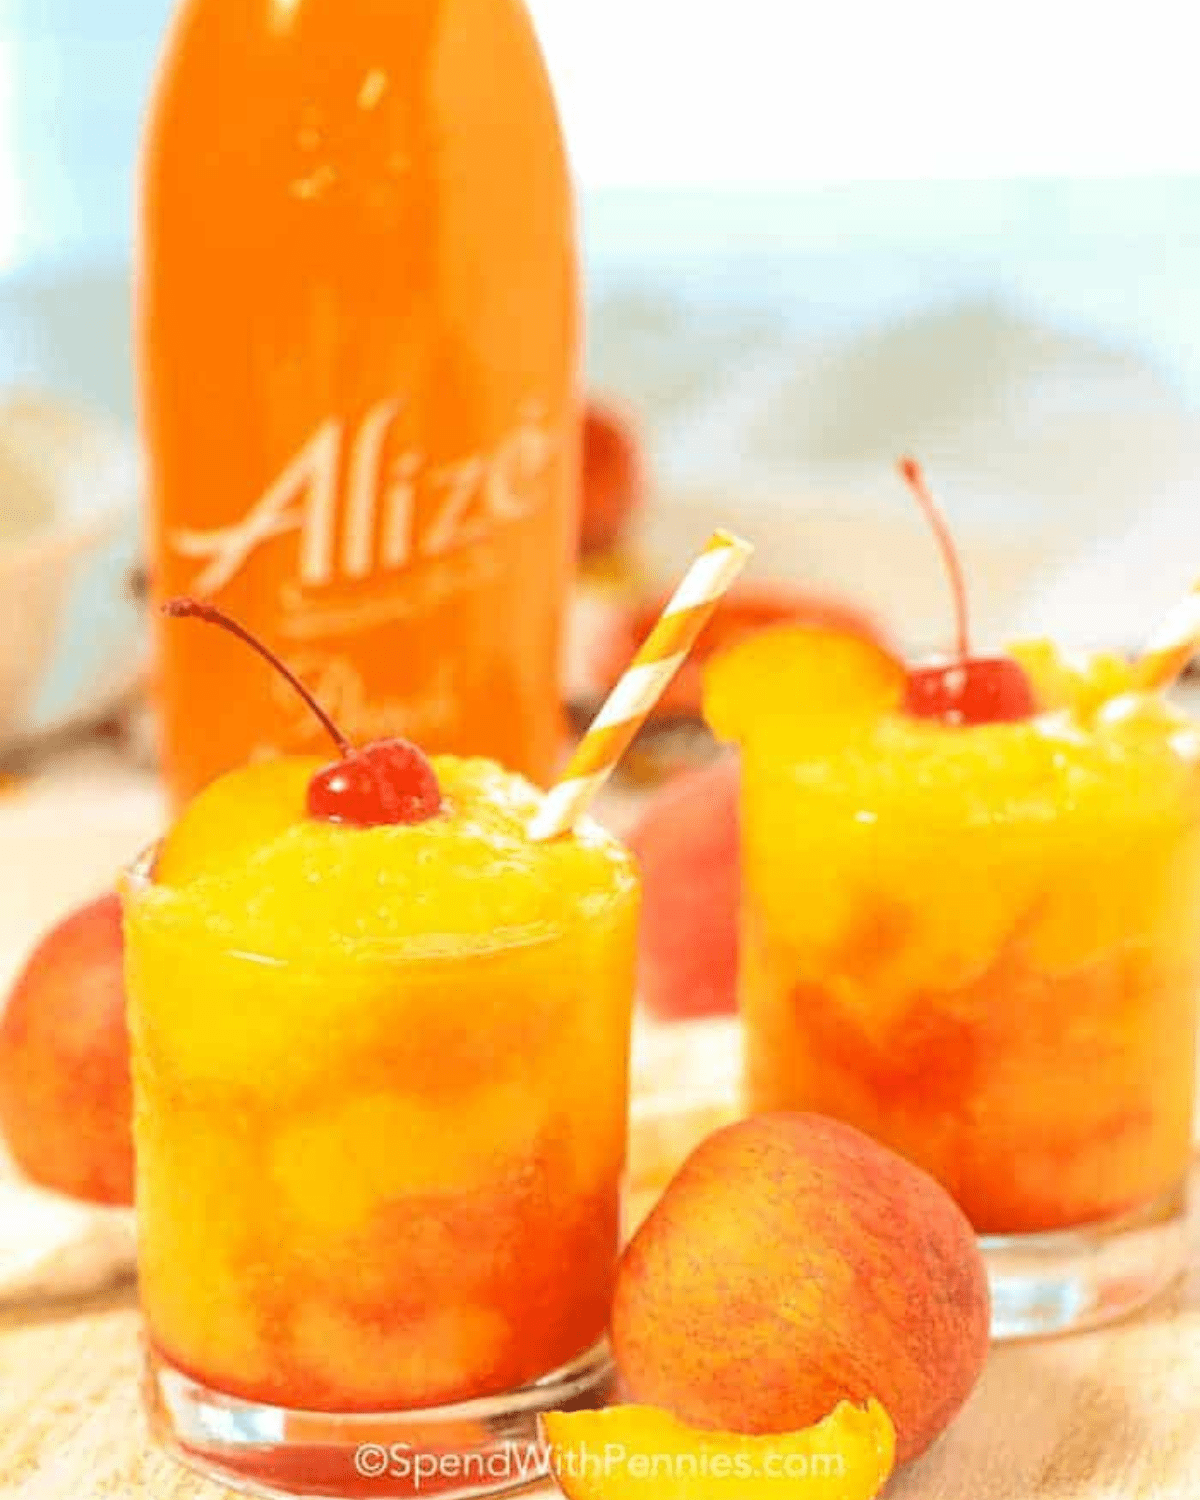
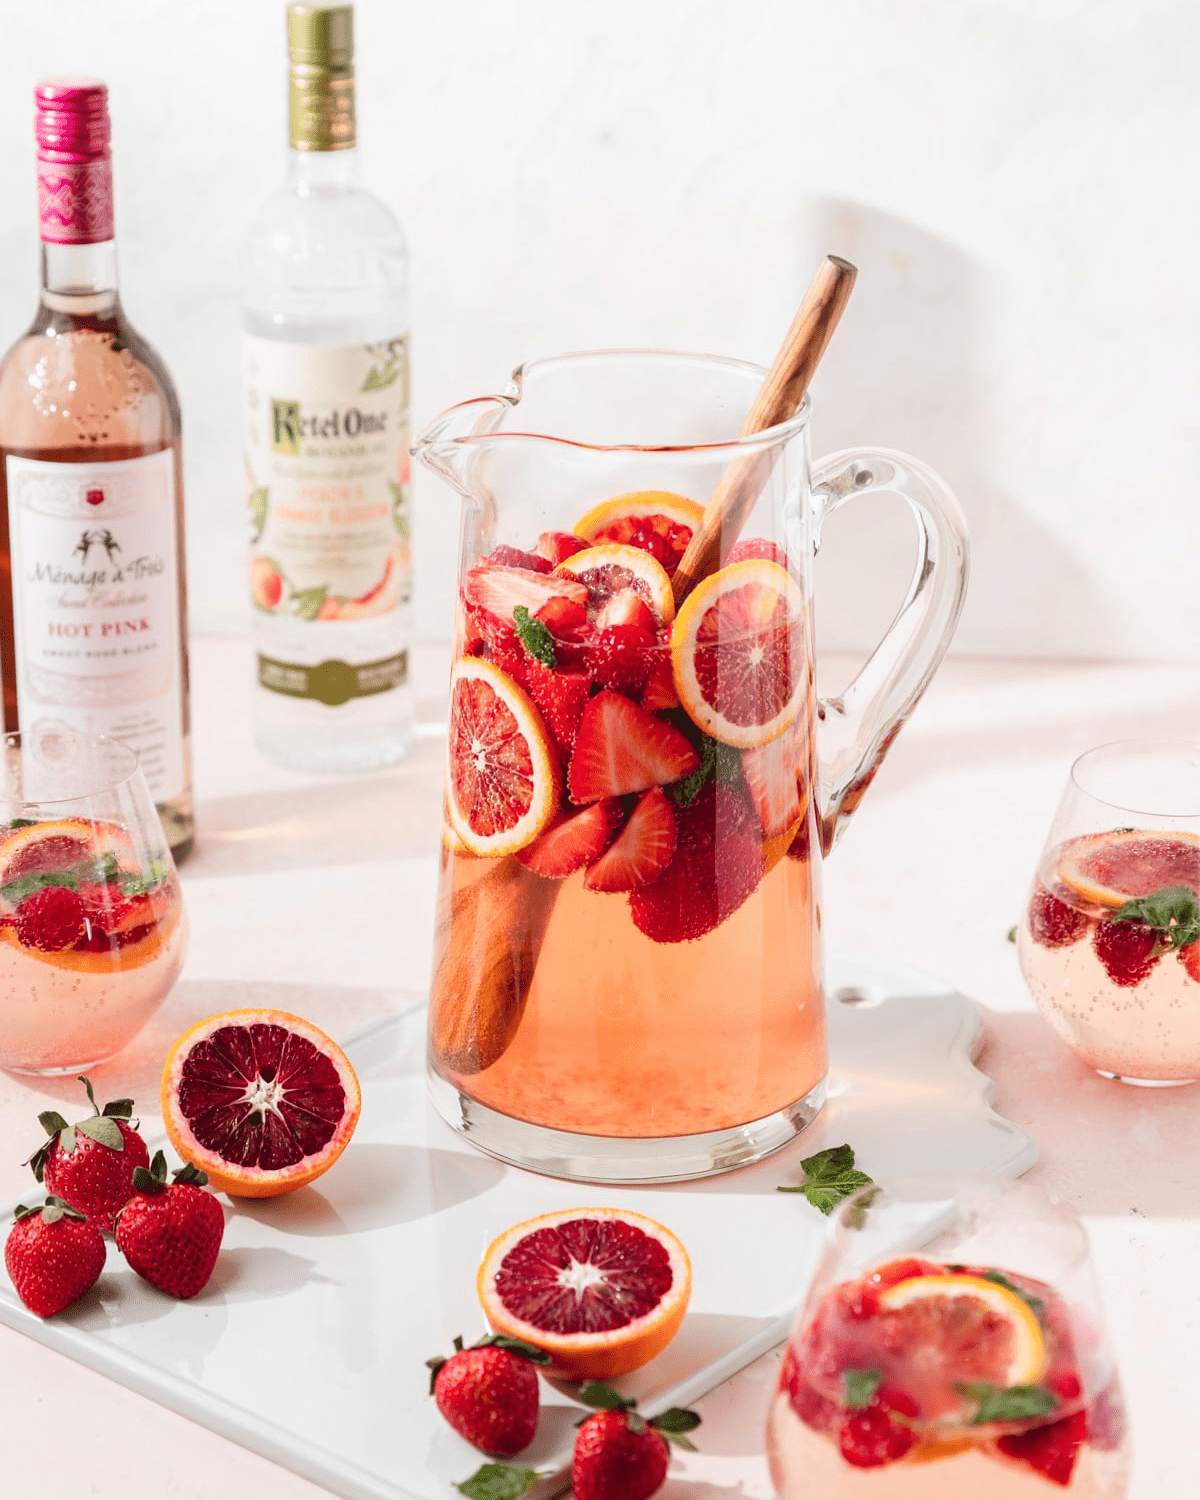
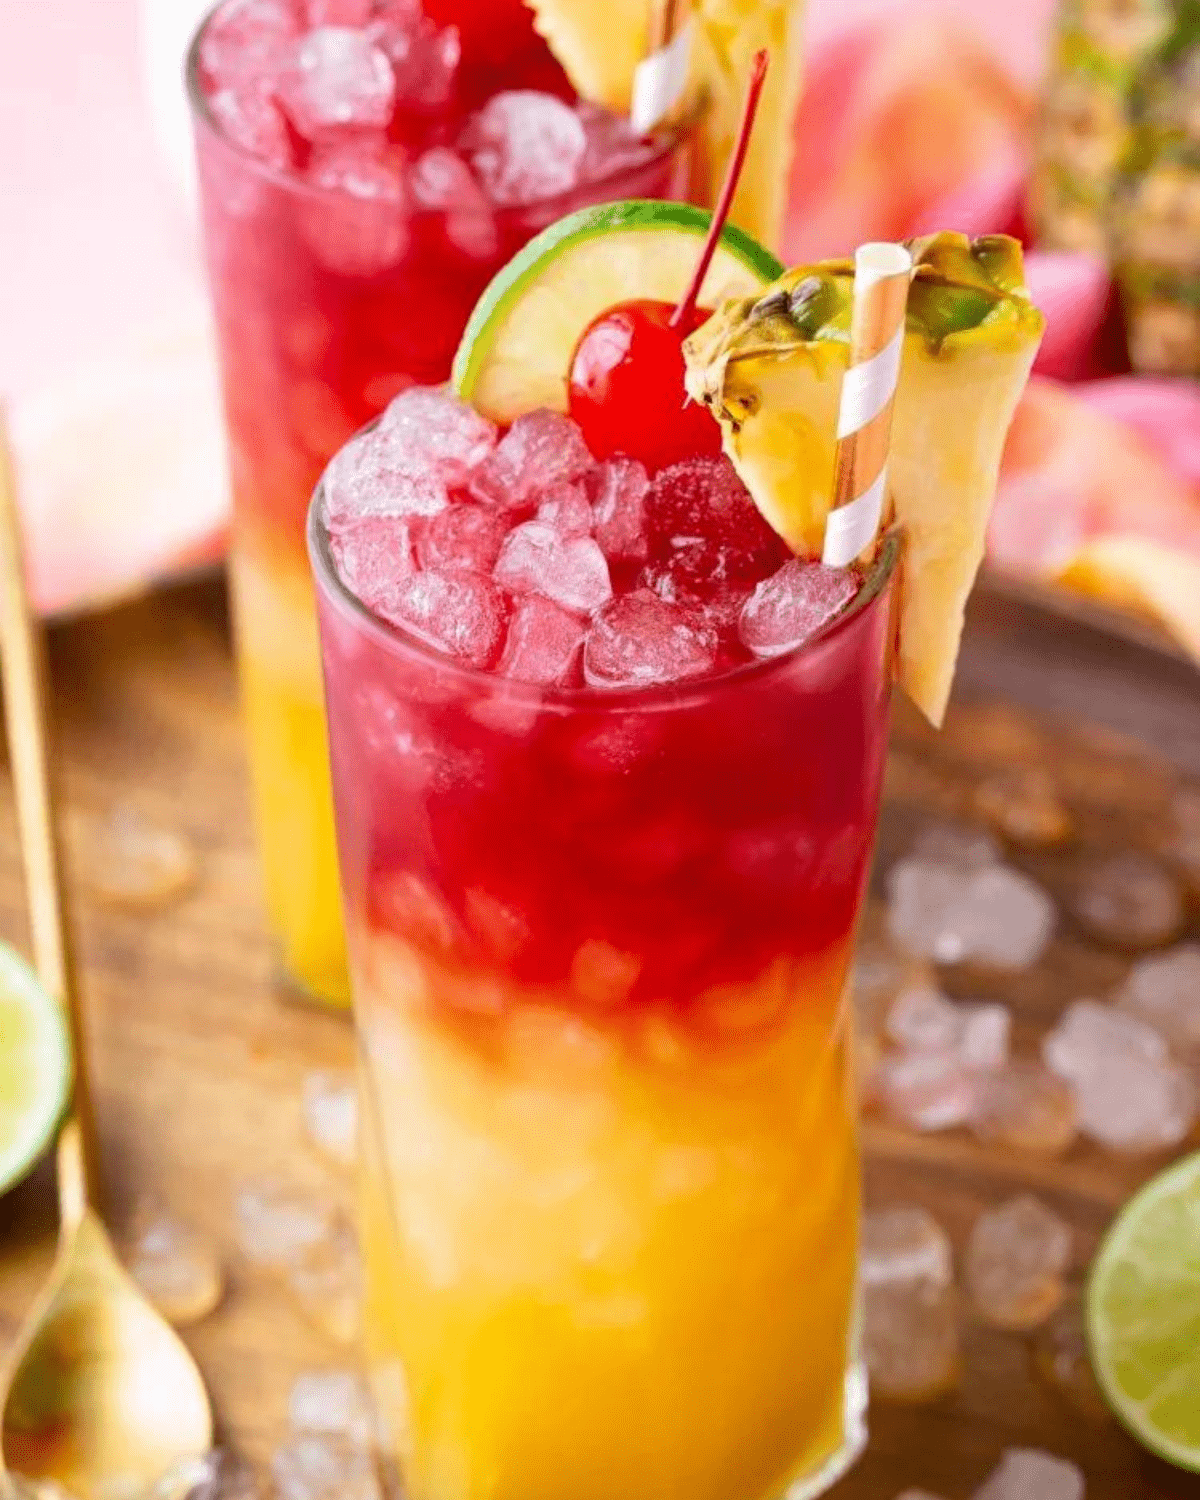
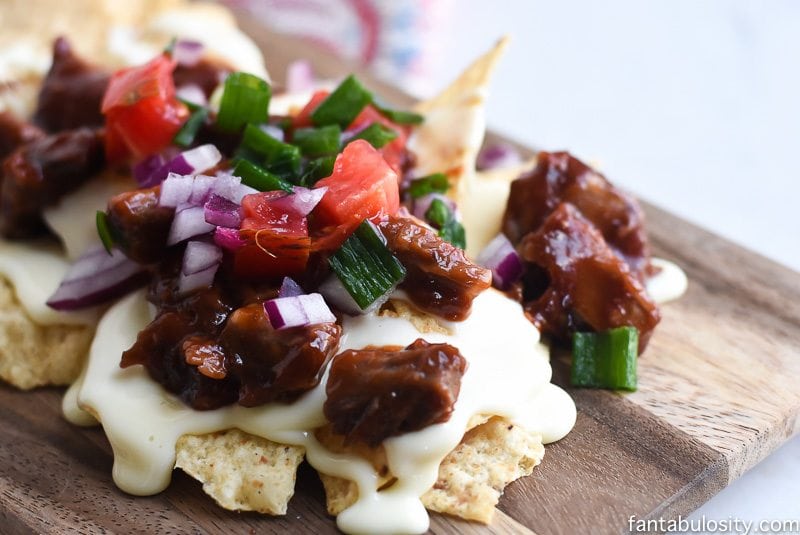
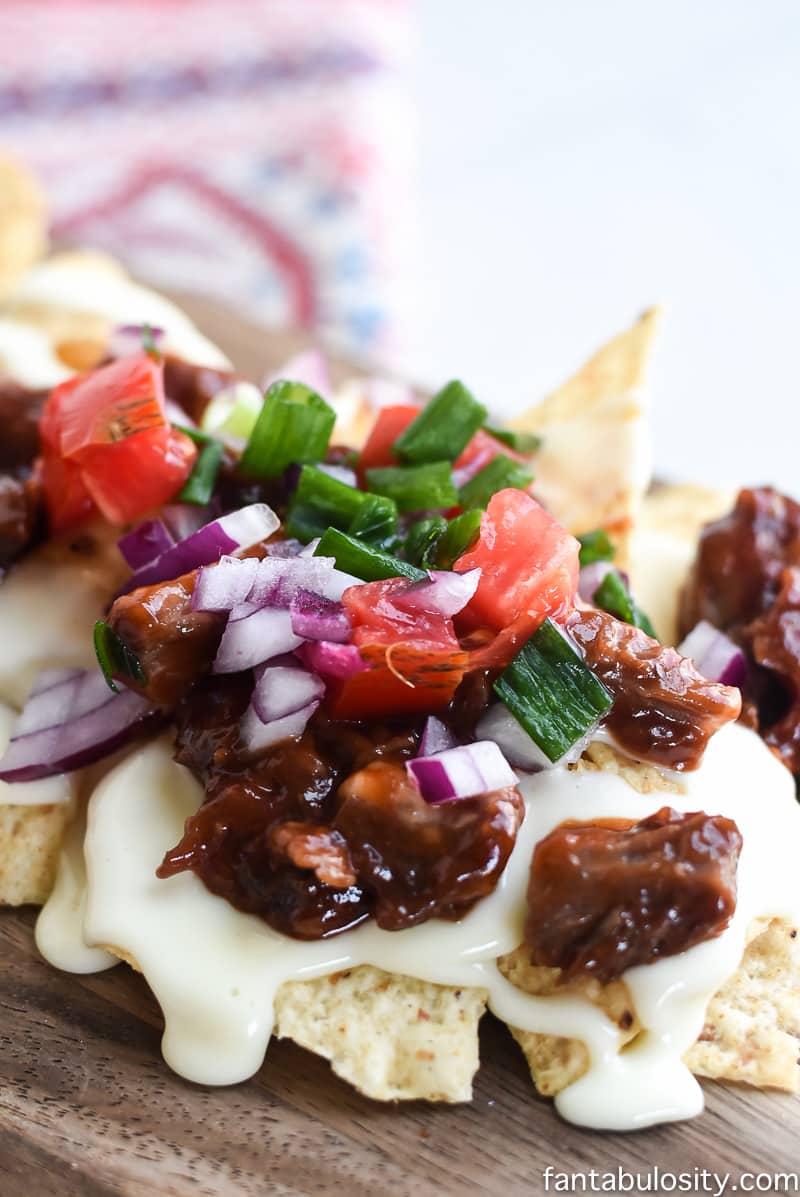
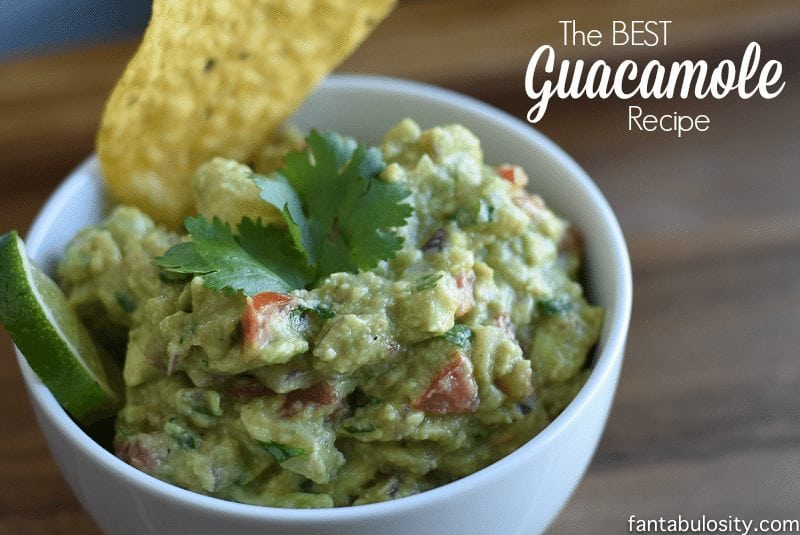
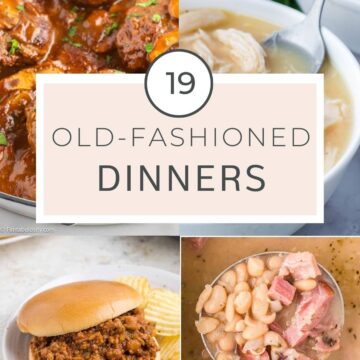
If you love food bars like this one, you’ll also love these:
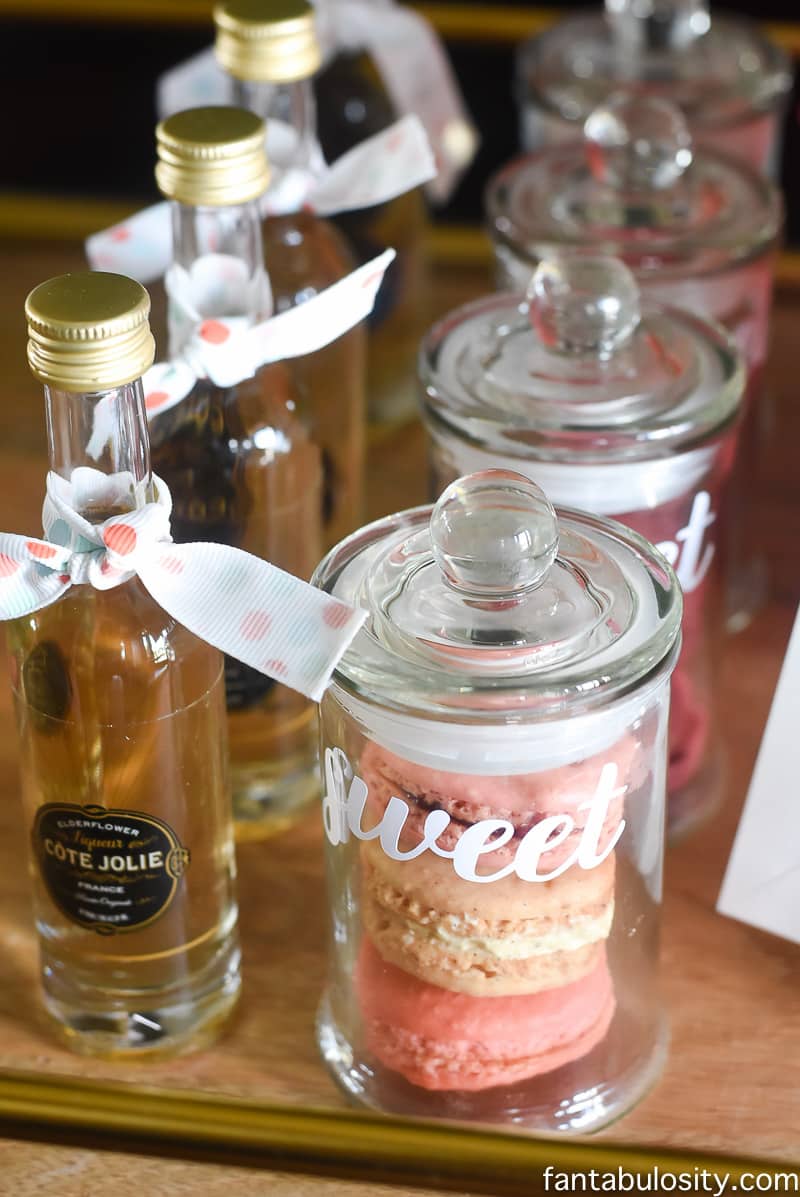
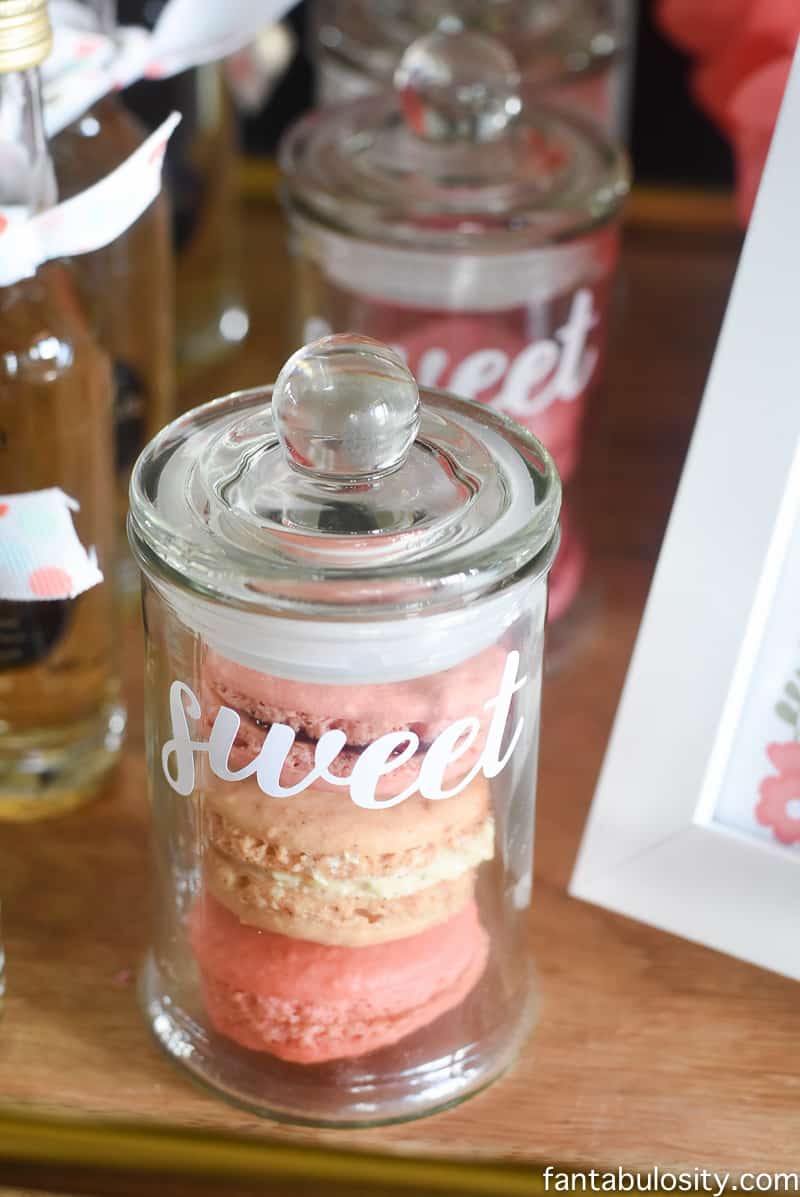
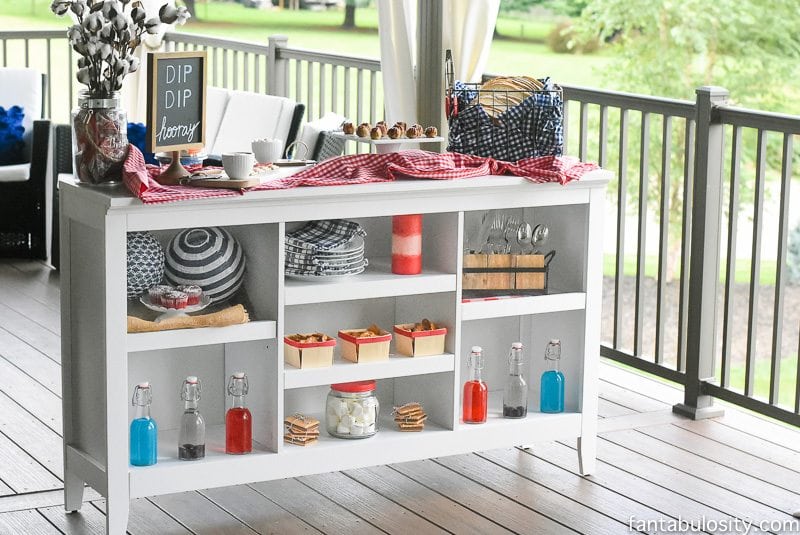
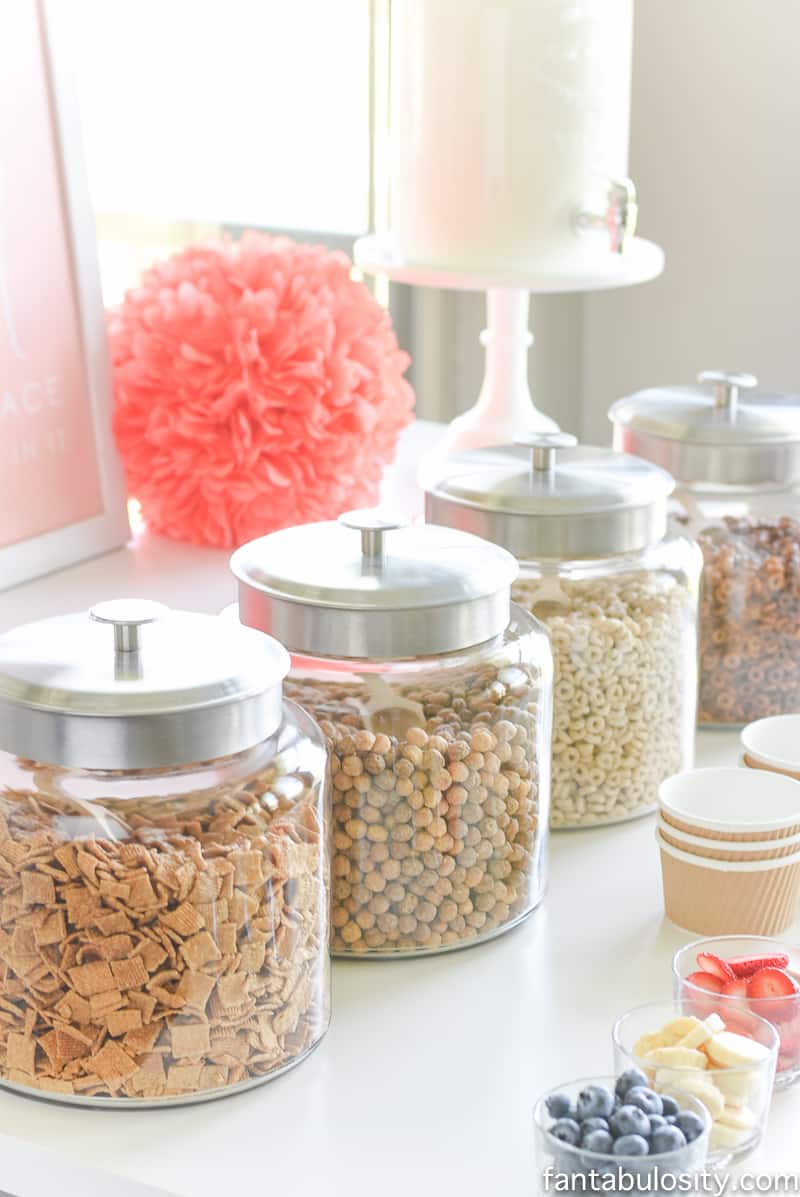
Canisters Used
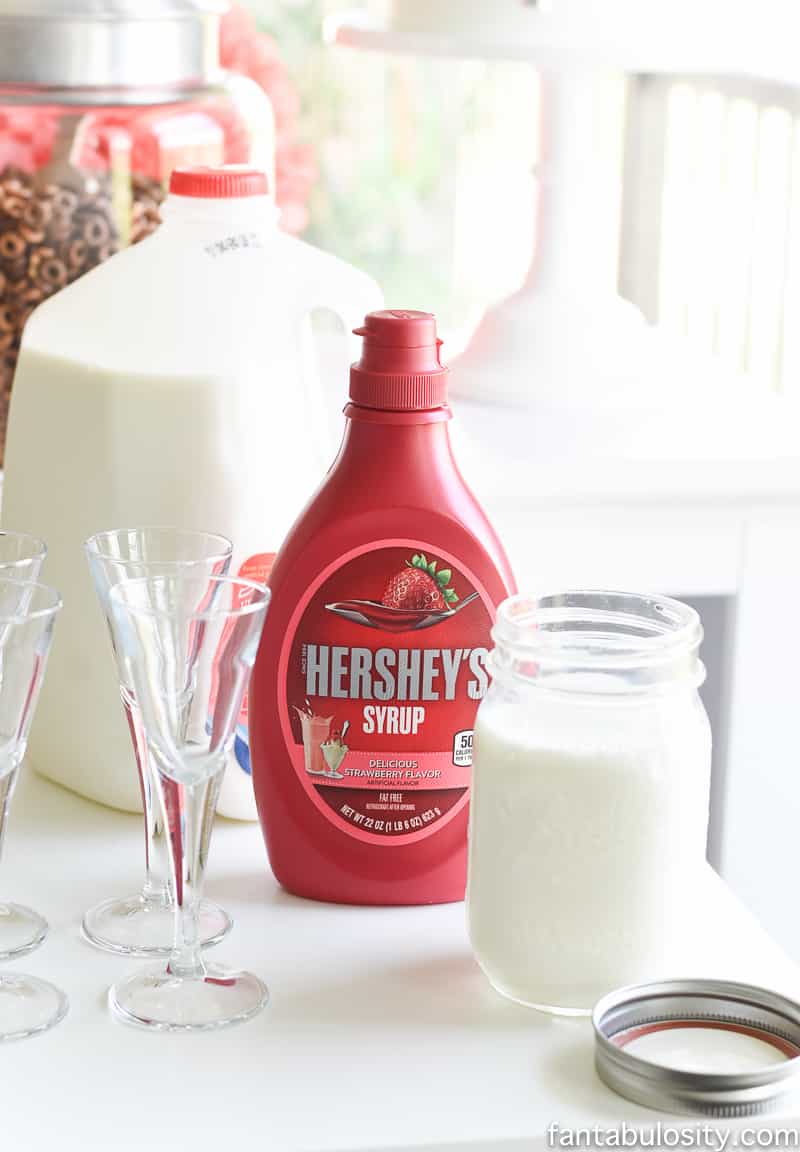
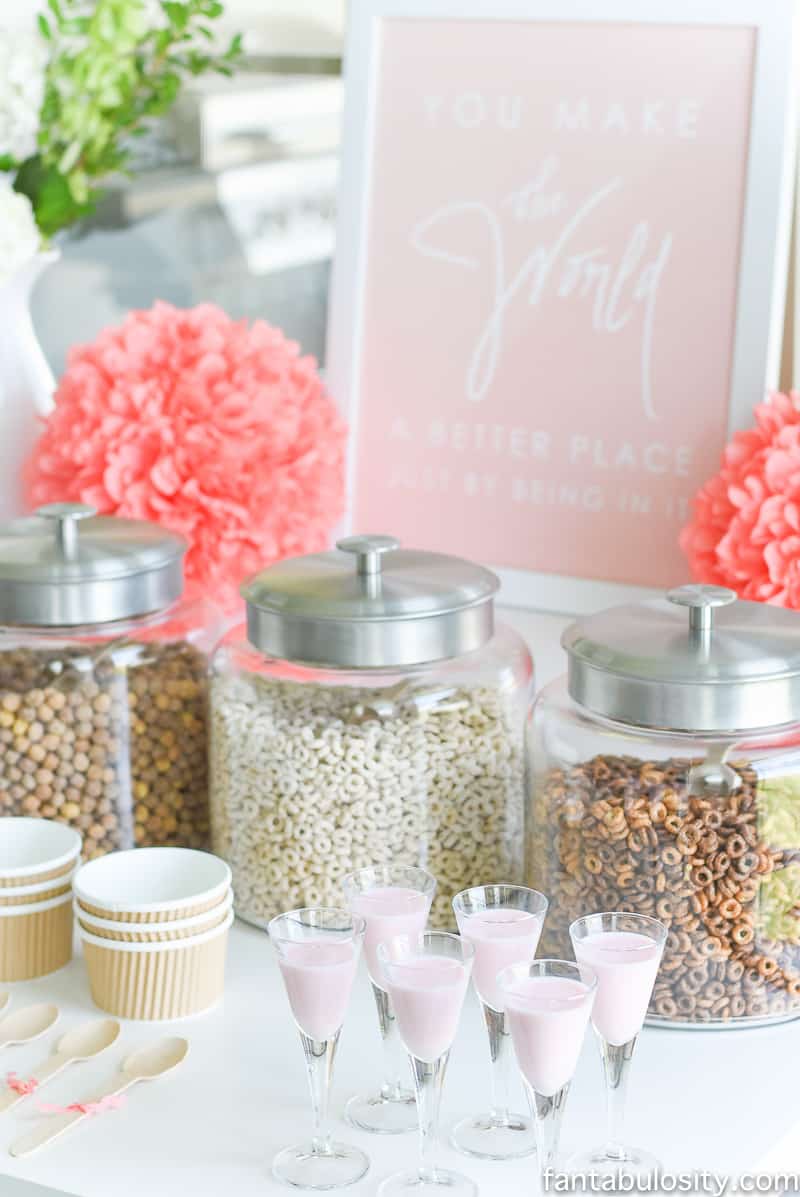
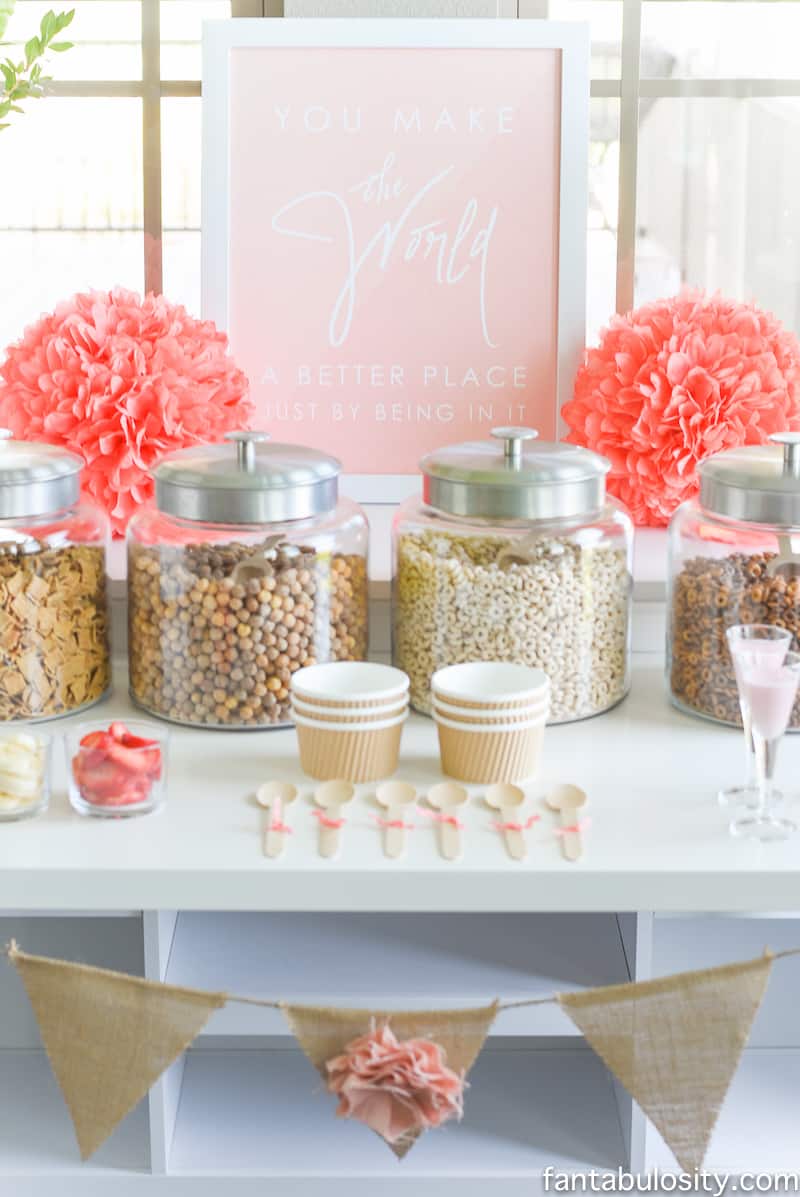
For this cereal bar, I wanted a canister or jar big enough to hold quite a bit of cereal, with a big enough opening for a scoop, so I used these 1.5 gallon jars and they worked perfect!
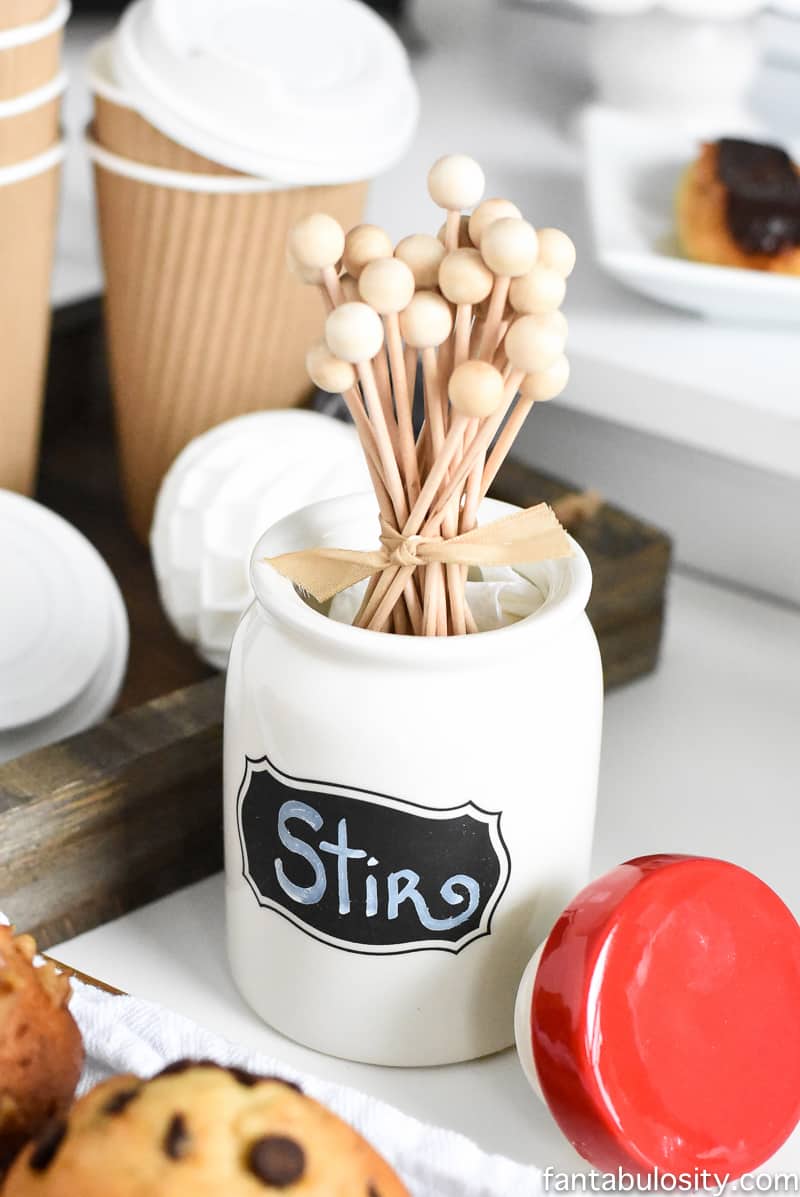
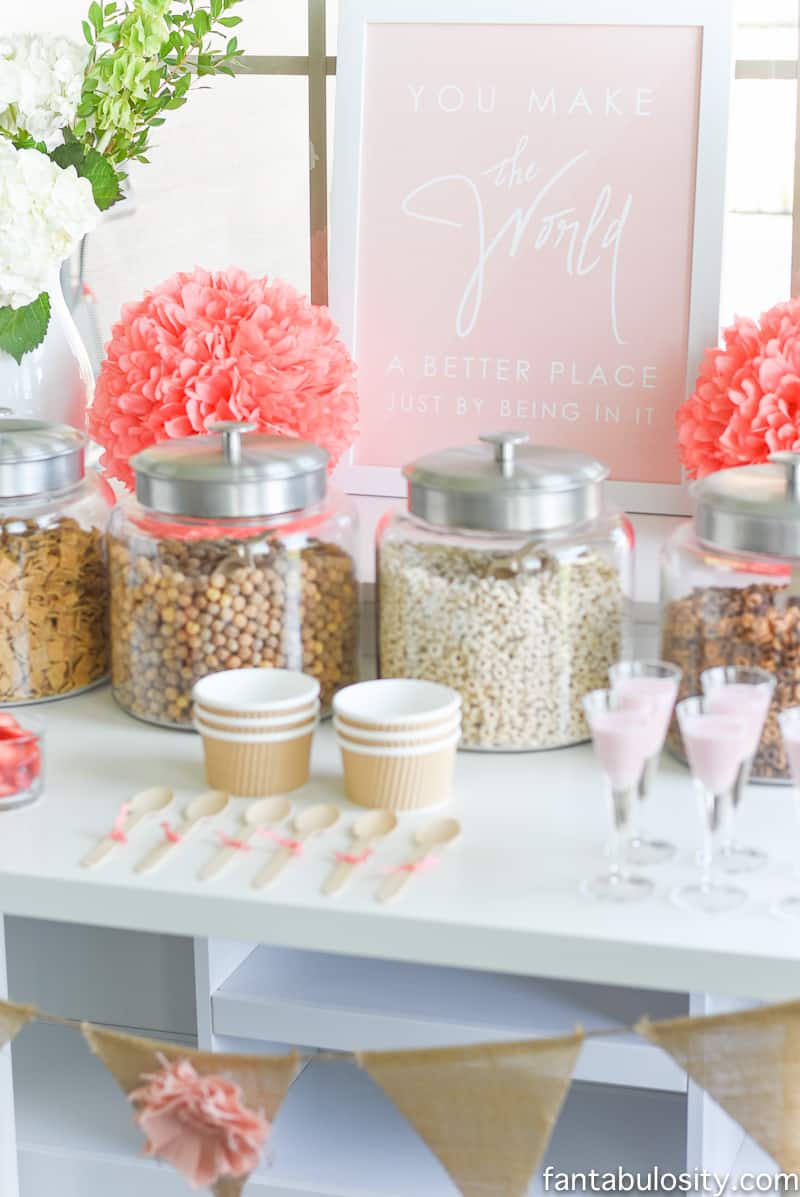
Quick Party Decor Tip: If your table needs a little “pep,” just tie a ribbon around the wooden spoons! It adds the perfect touch to a simple must-have item.
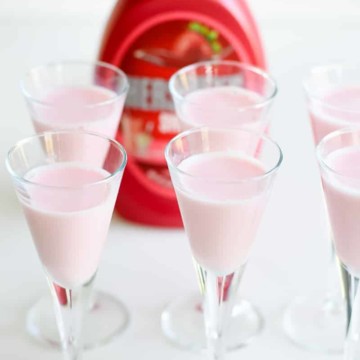
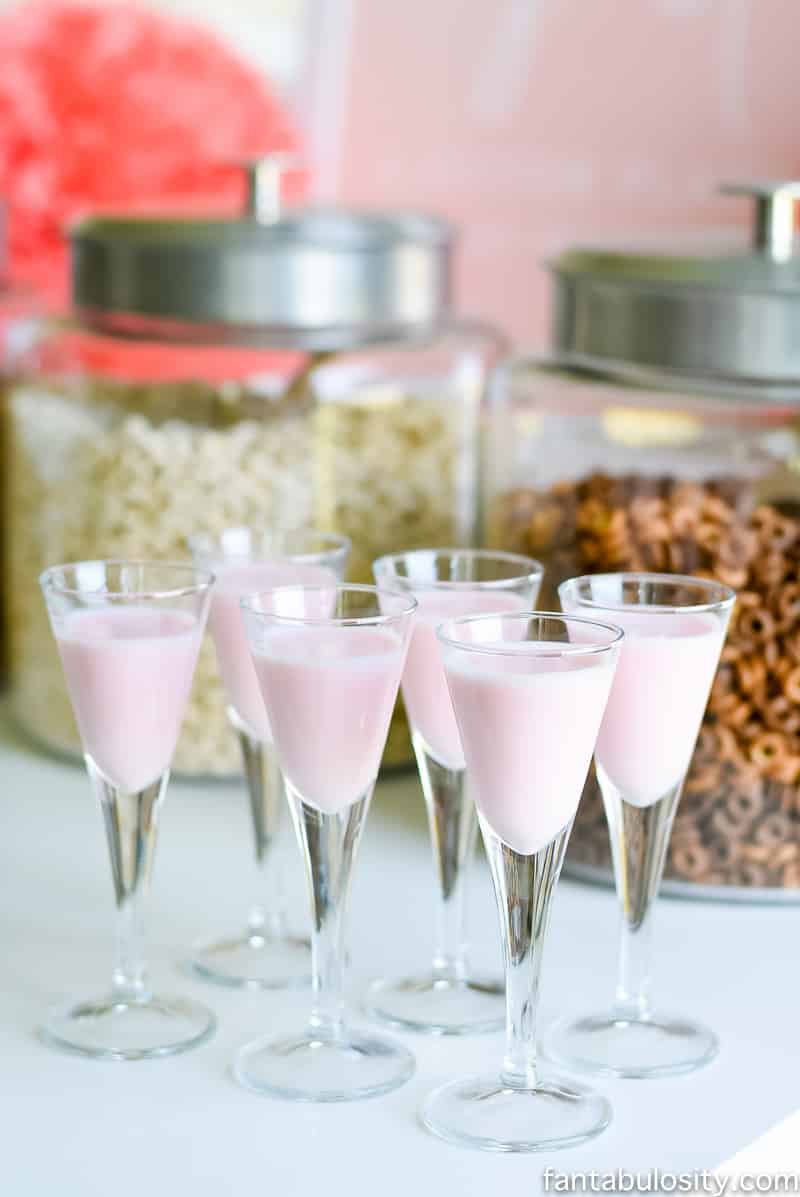
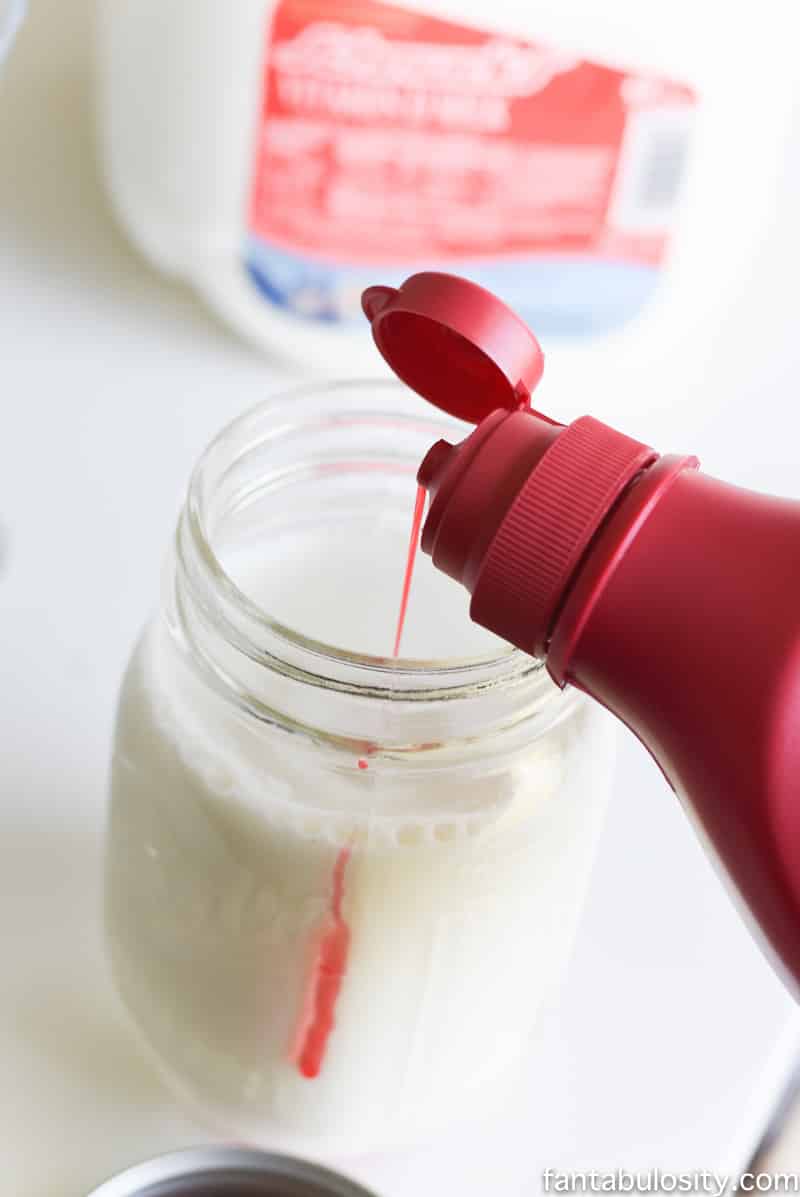
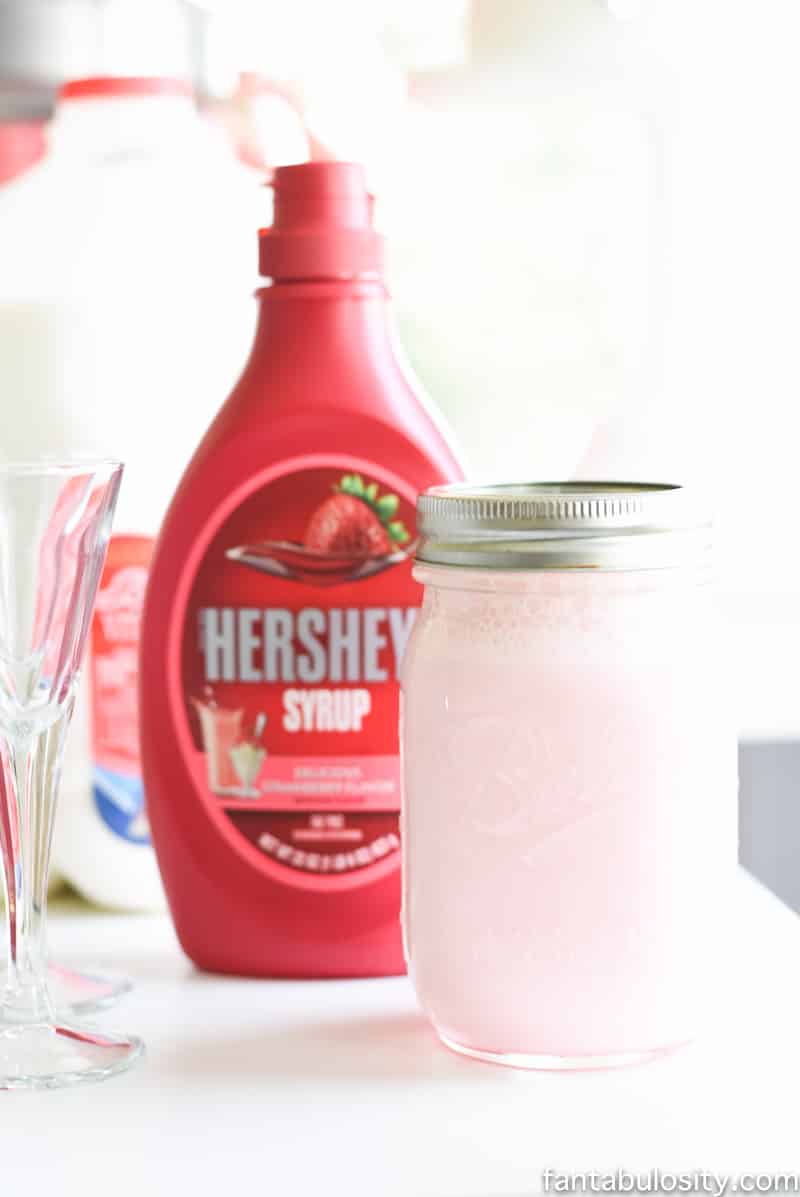
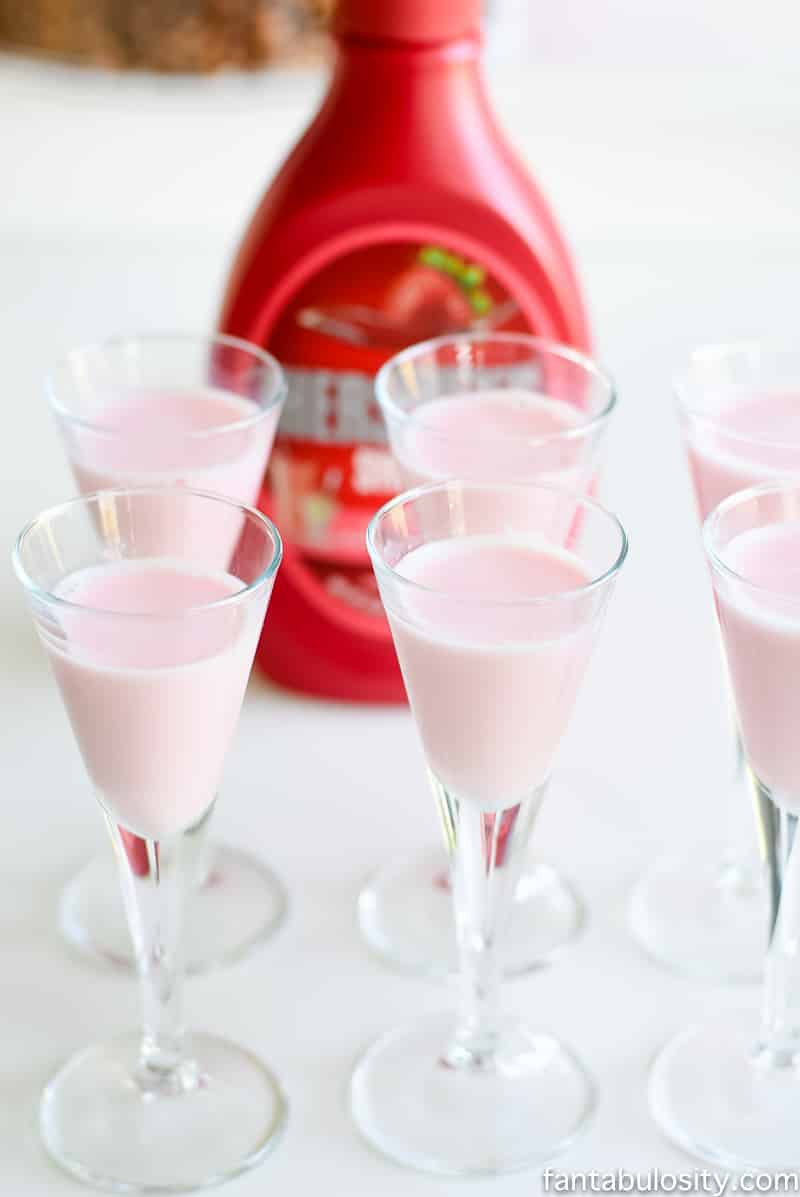
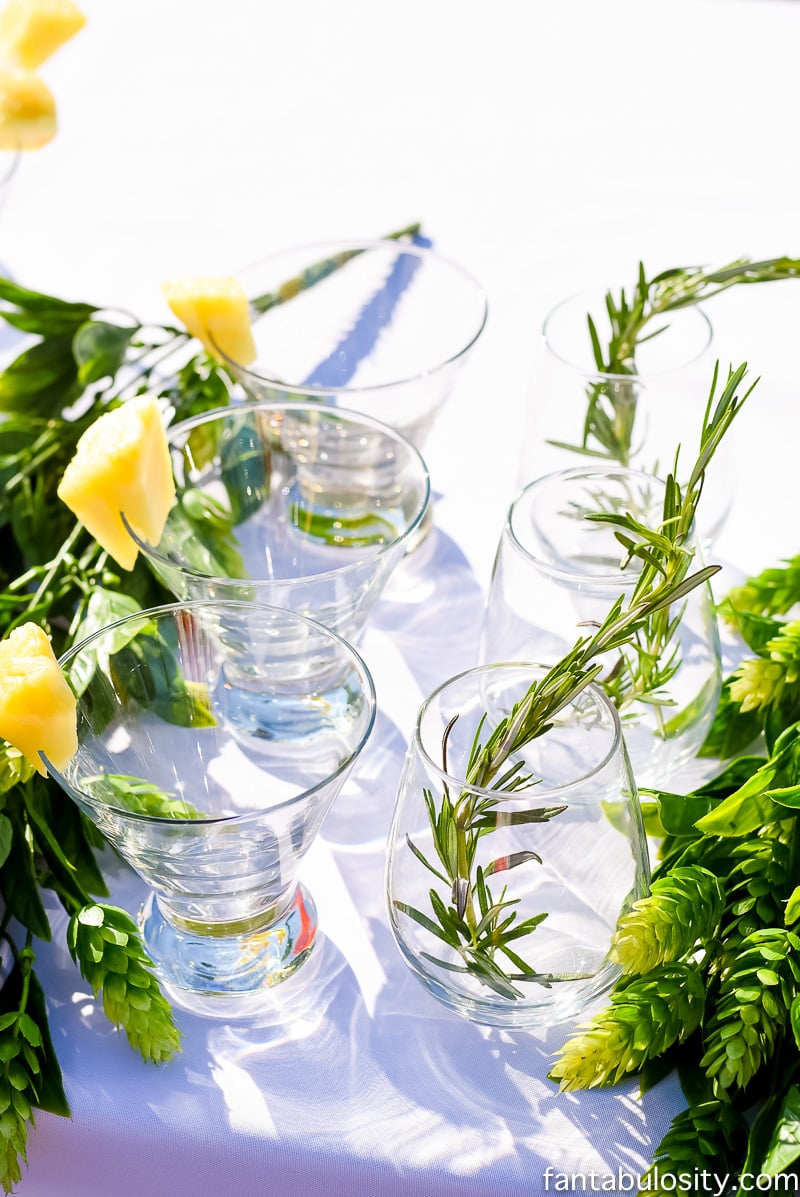
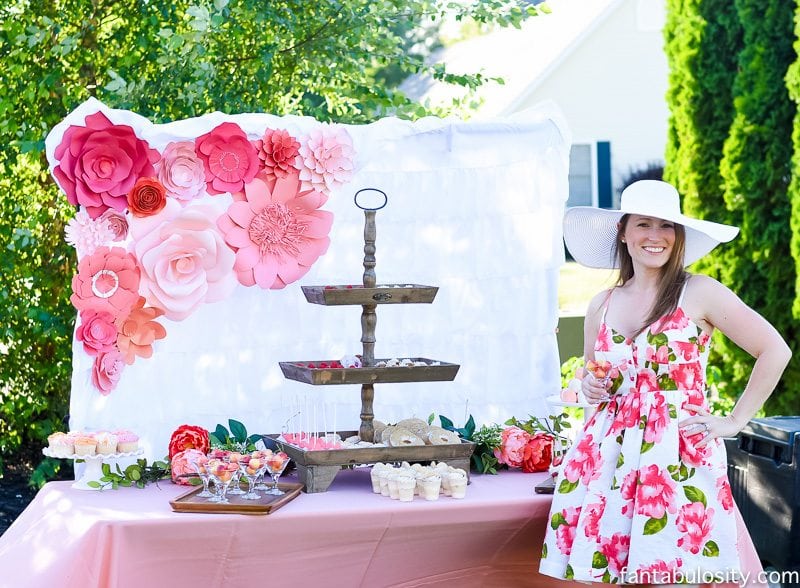
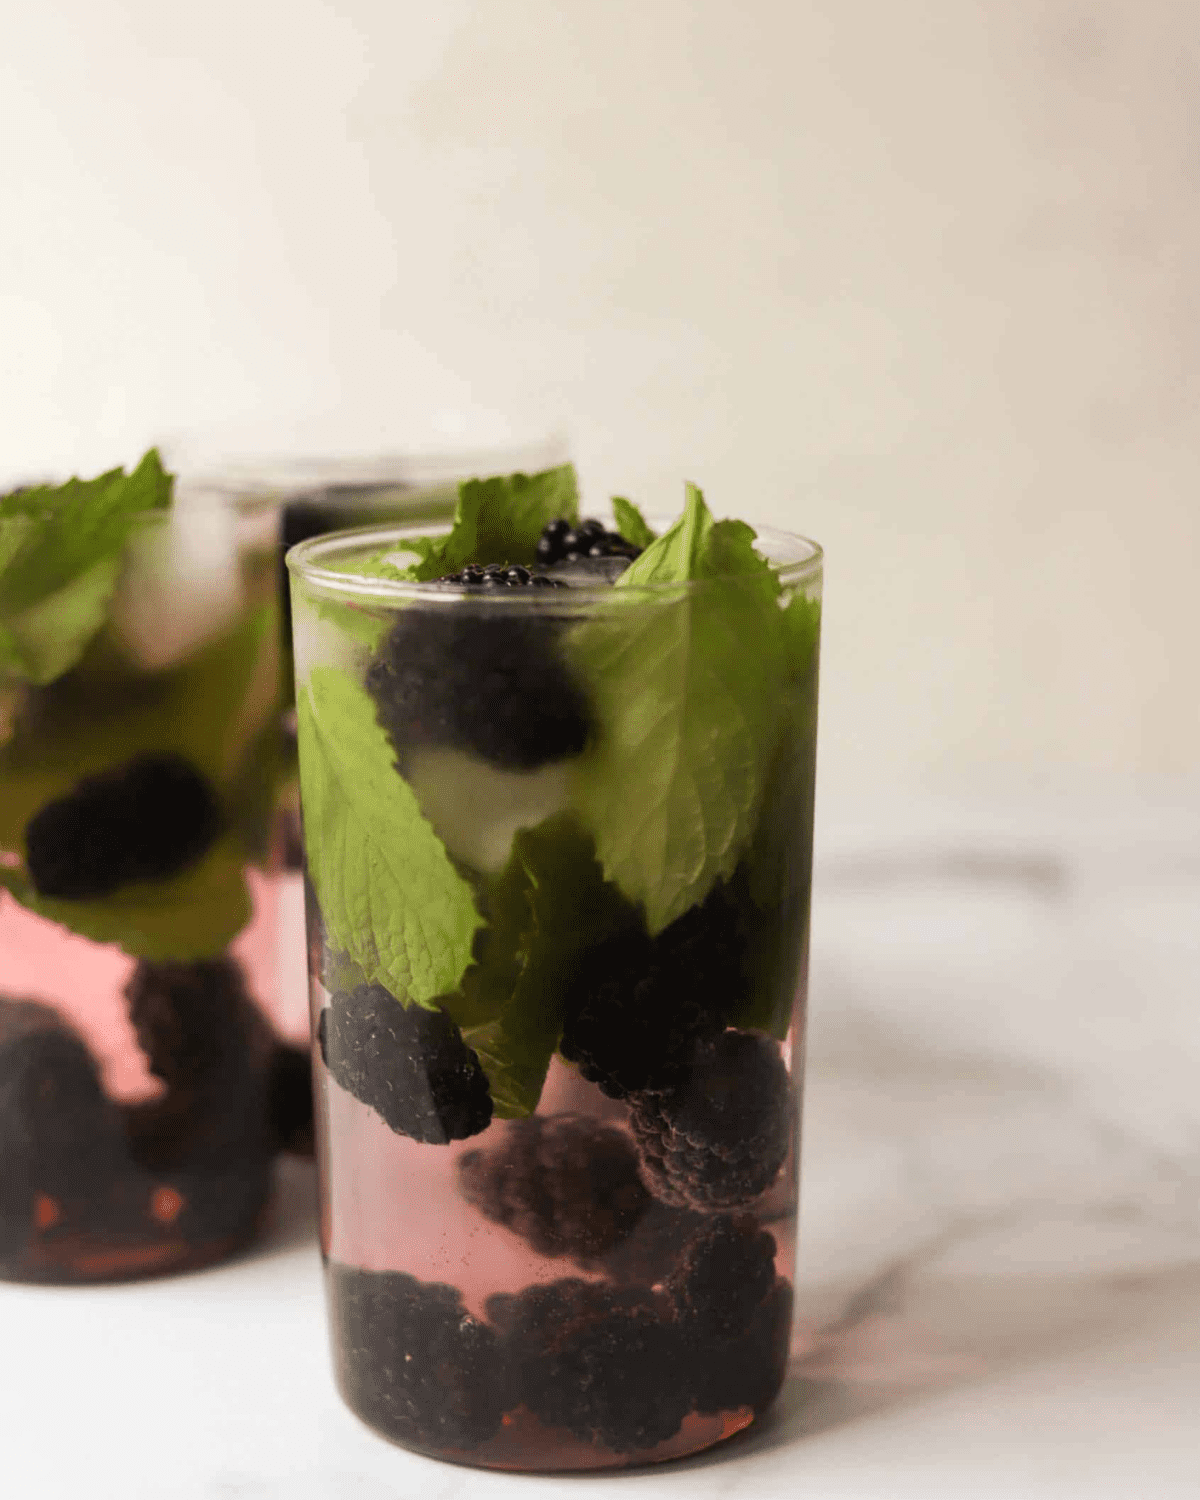
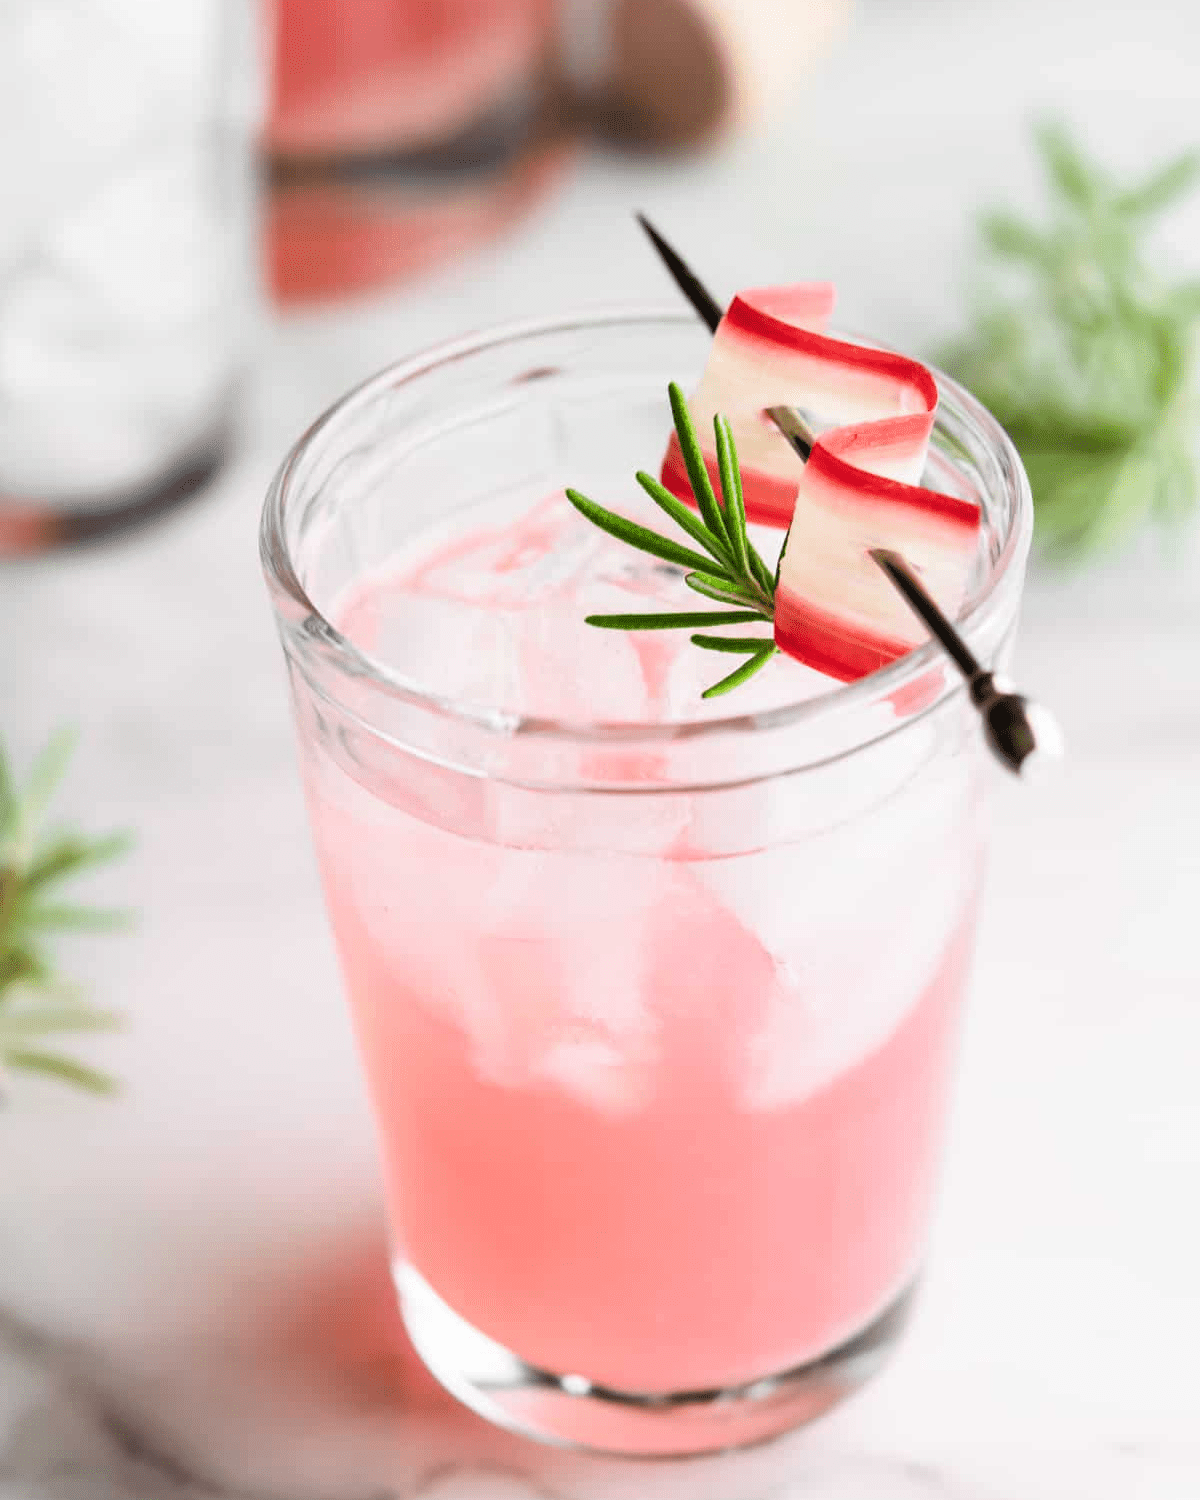
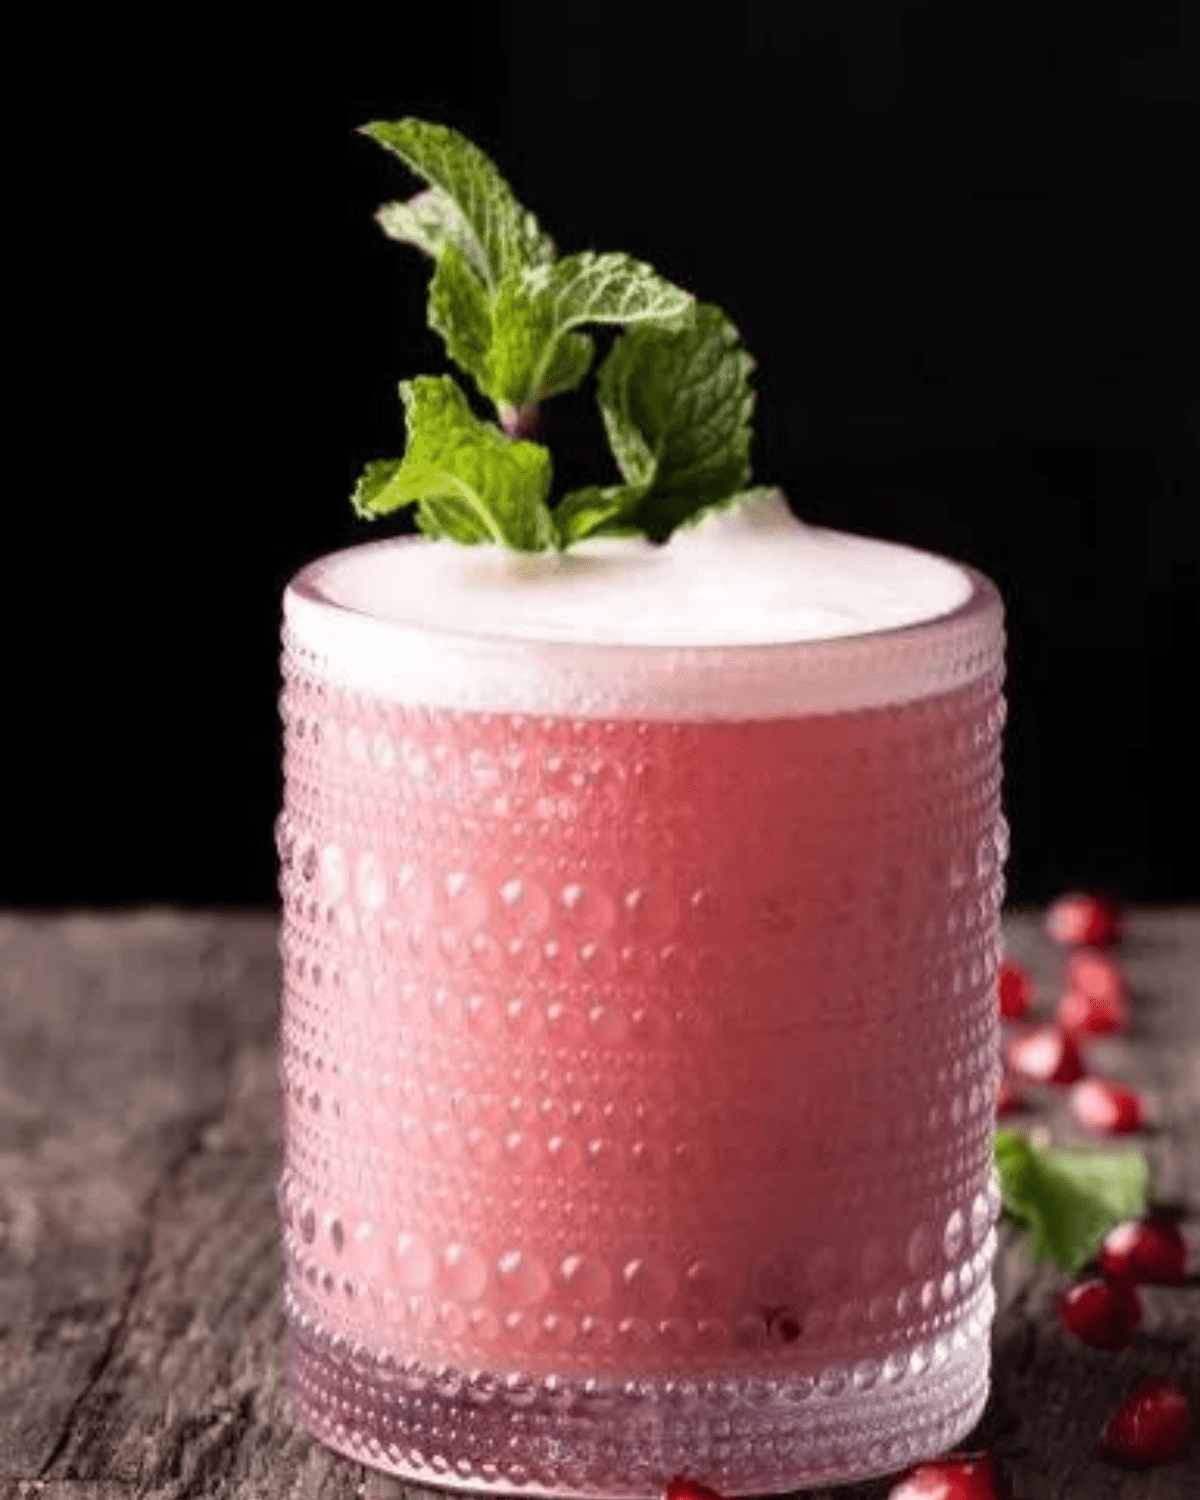
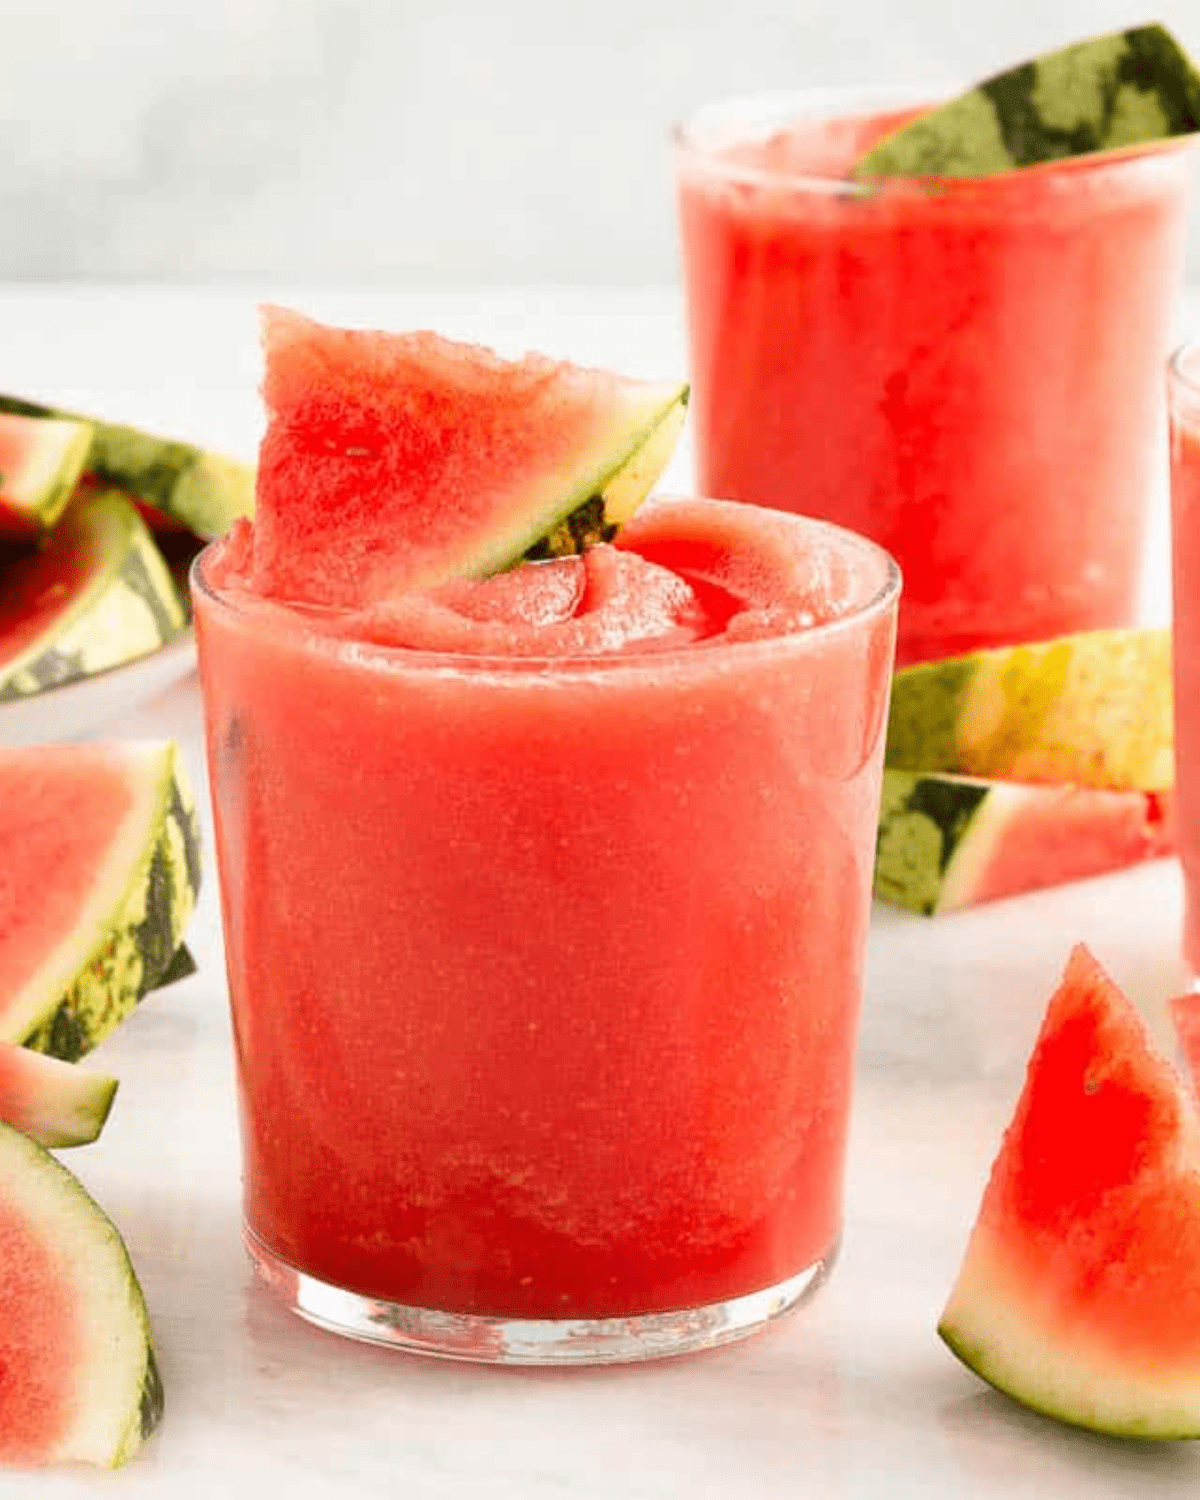
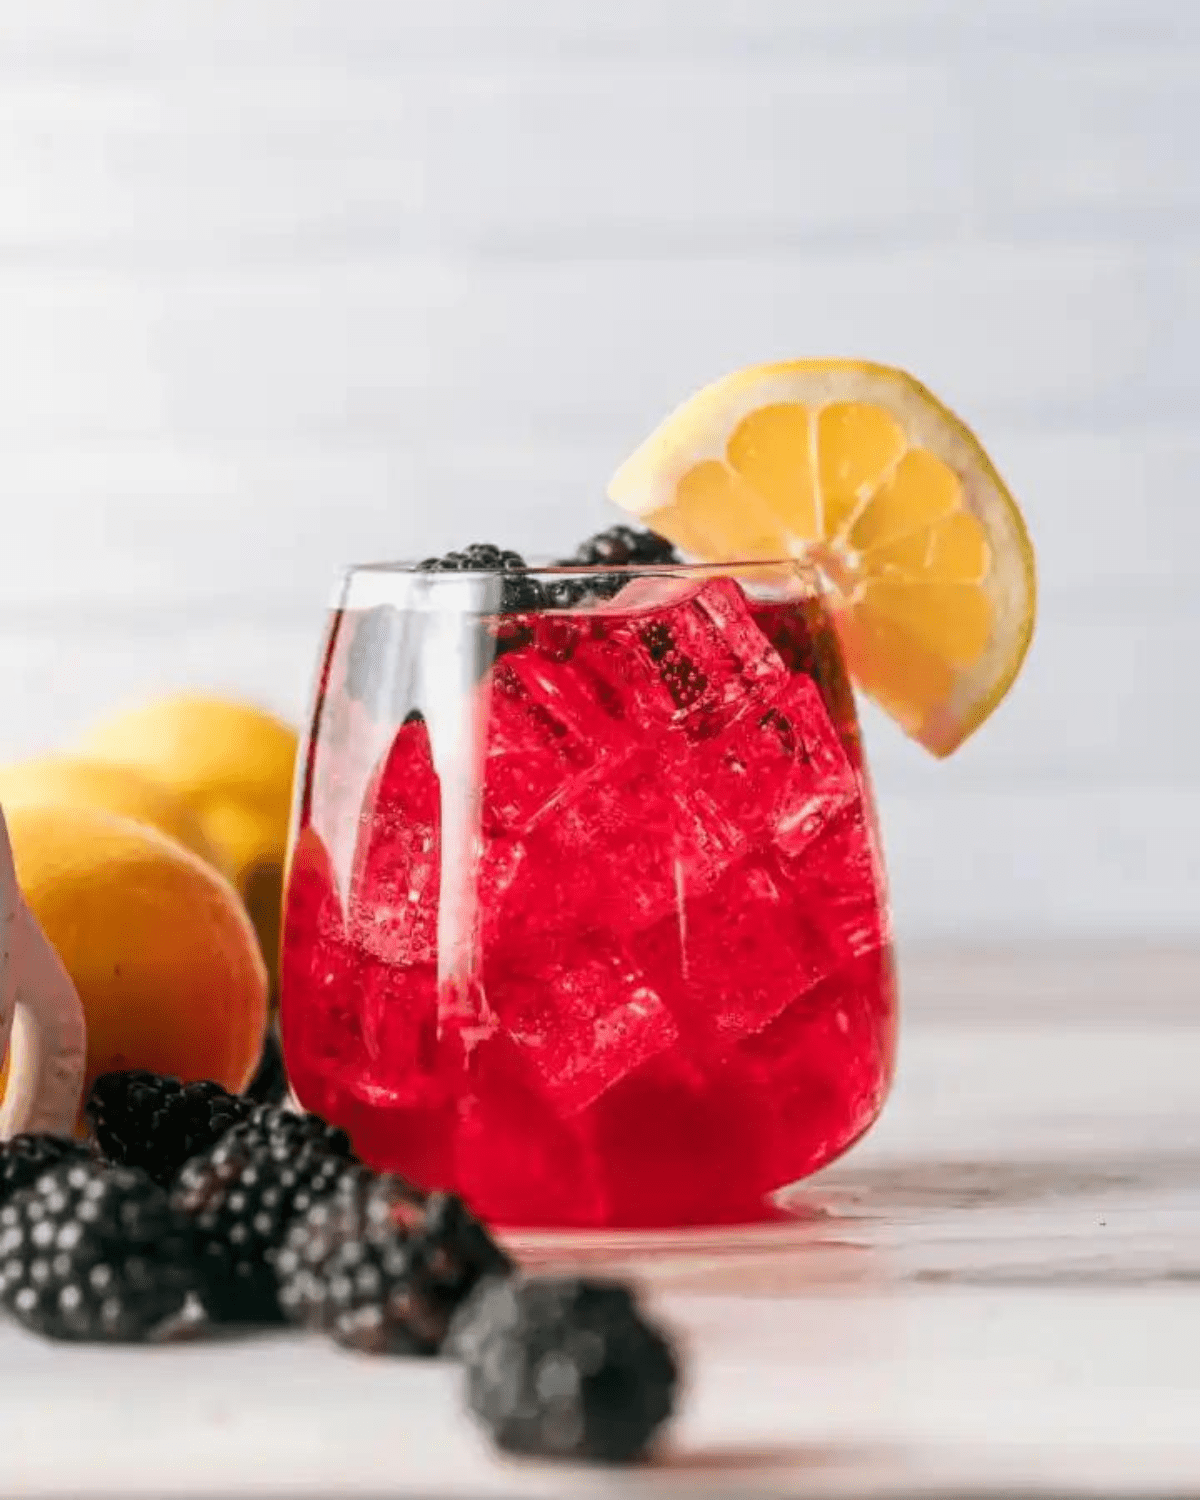
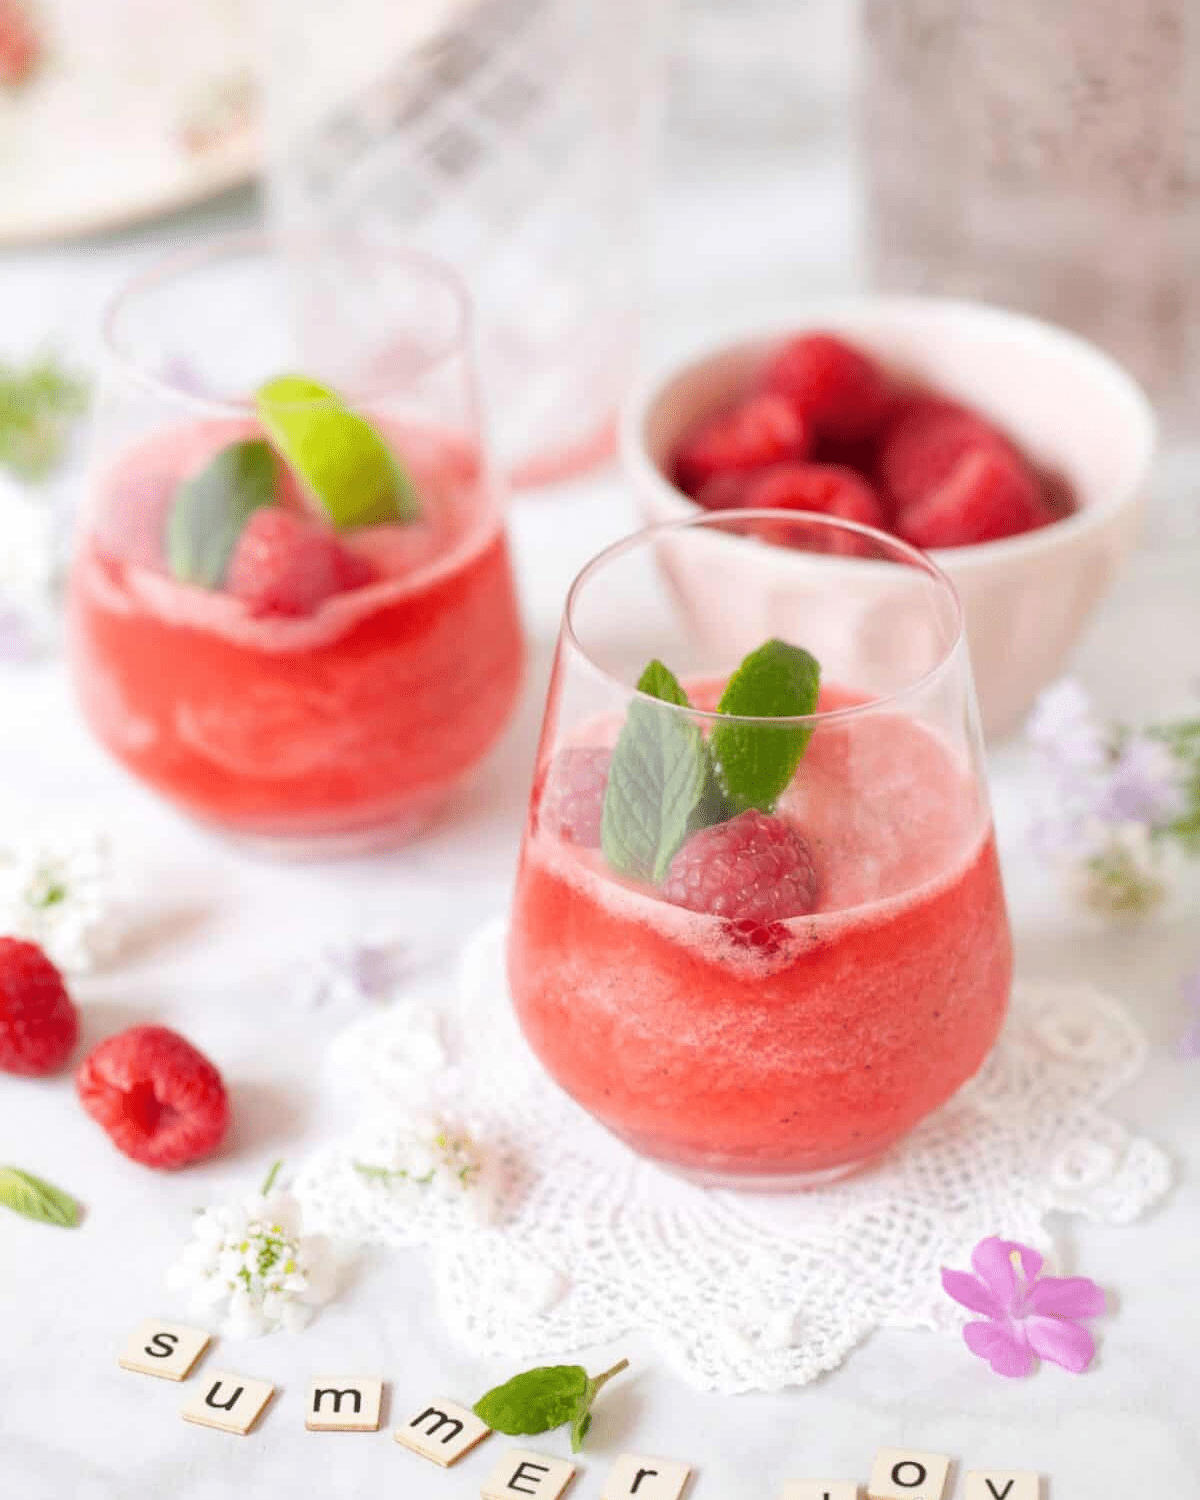
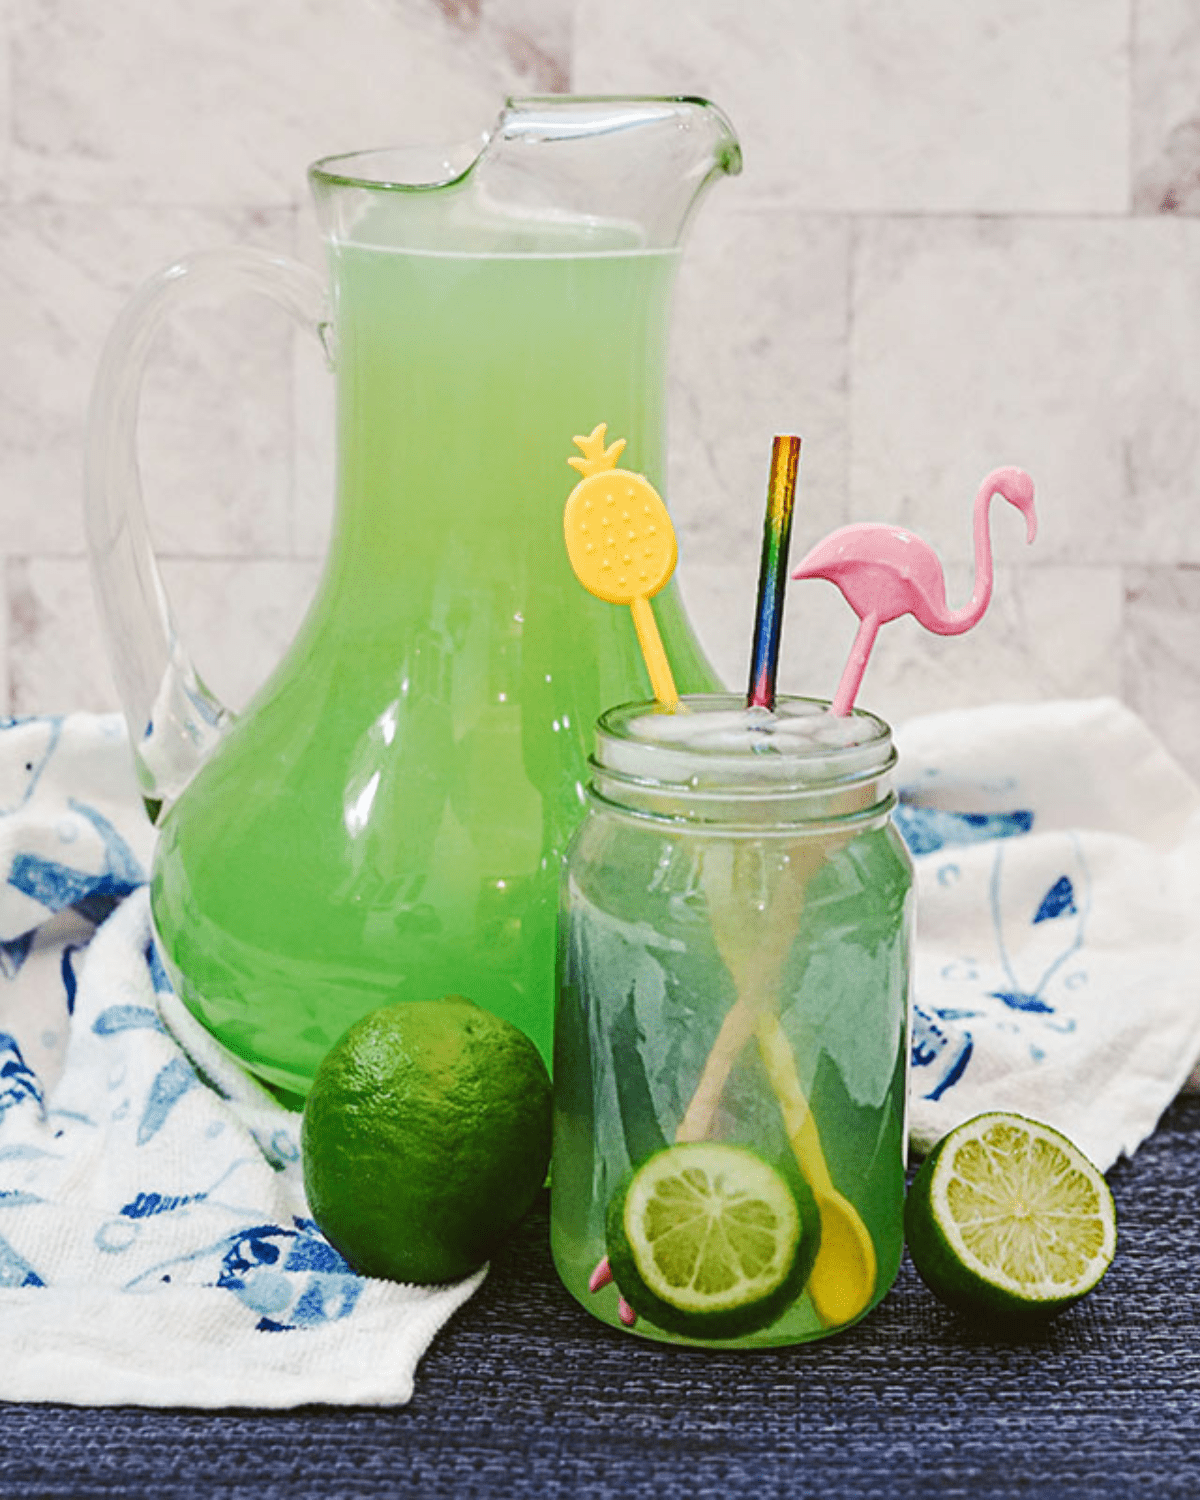
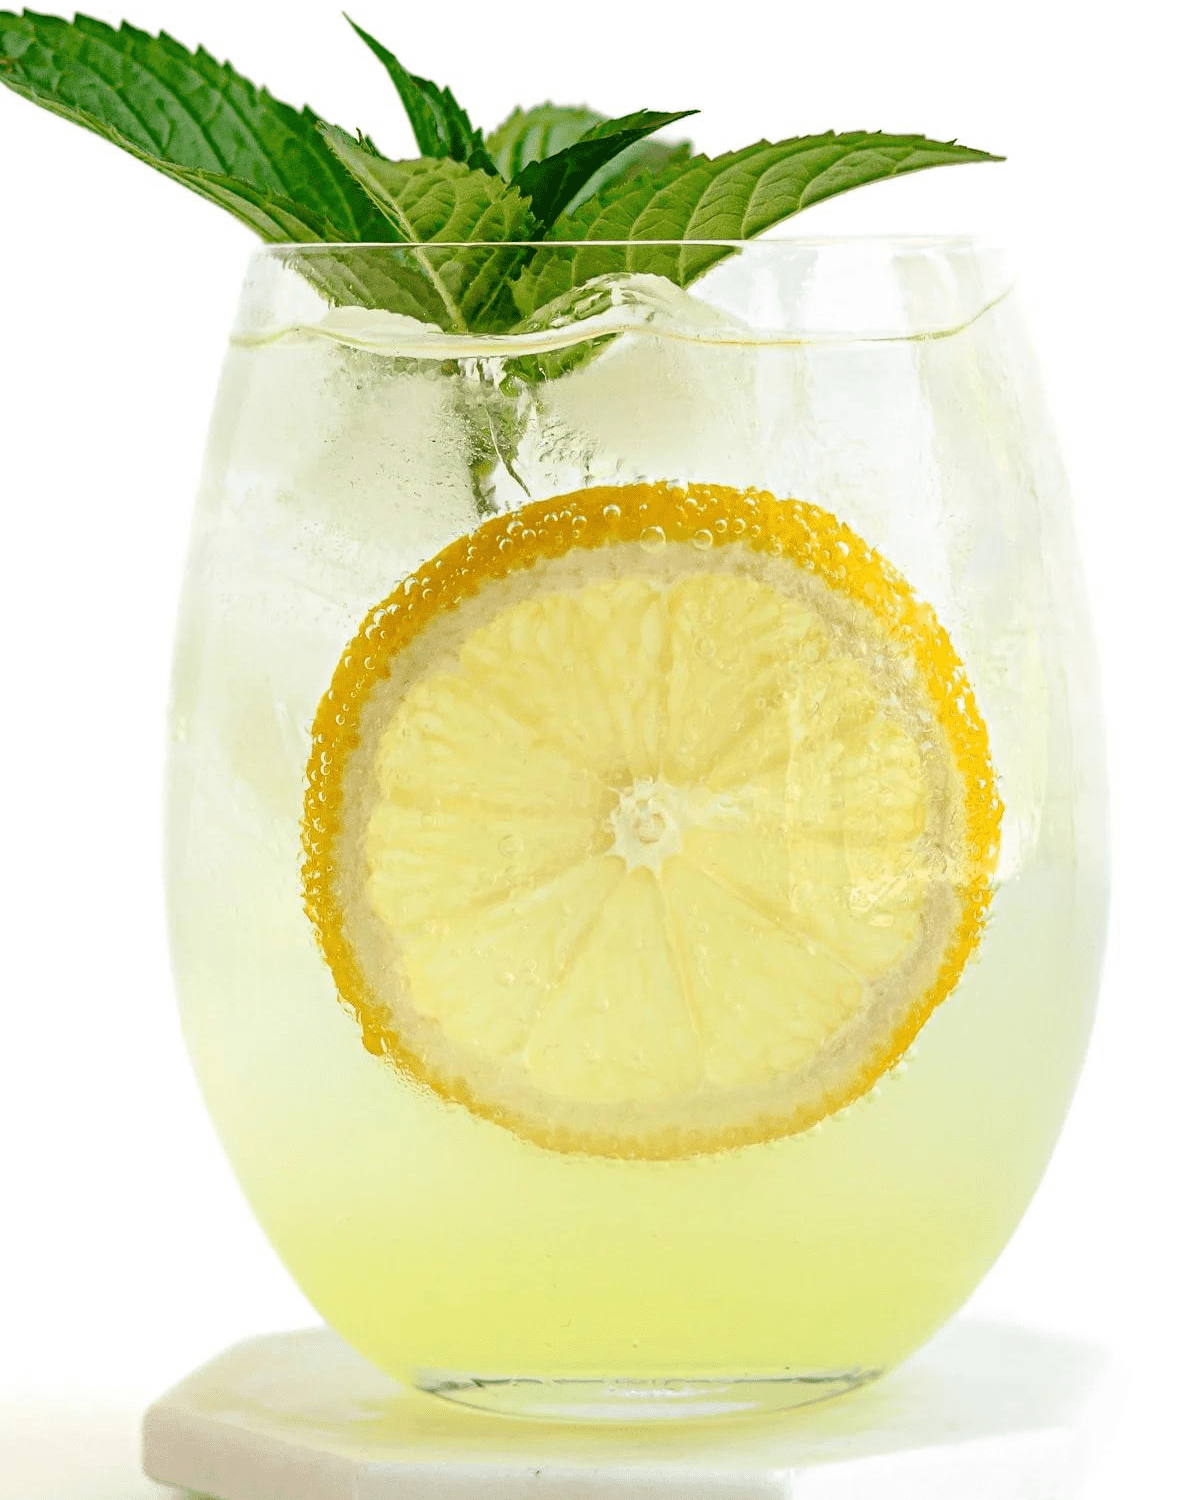
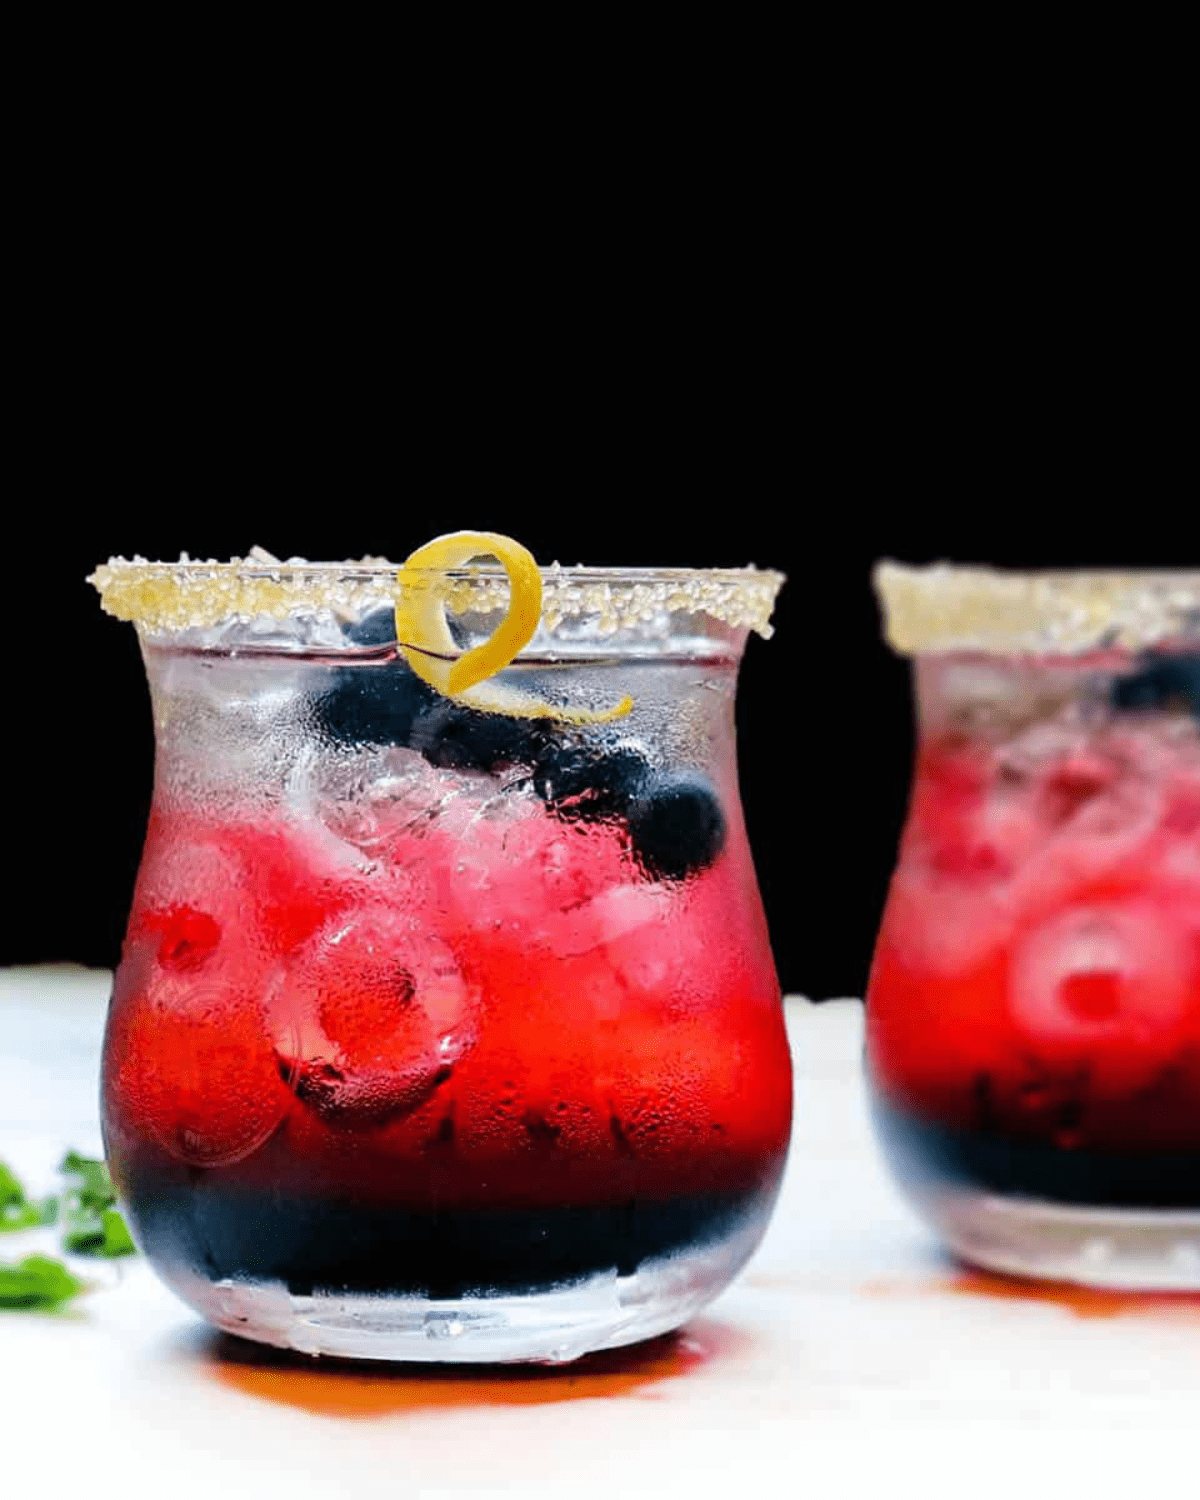
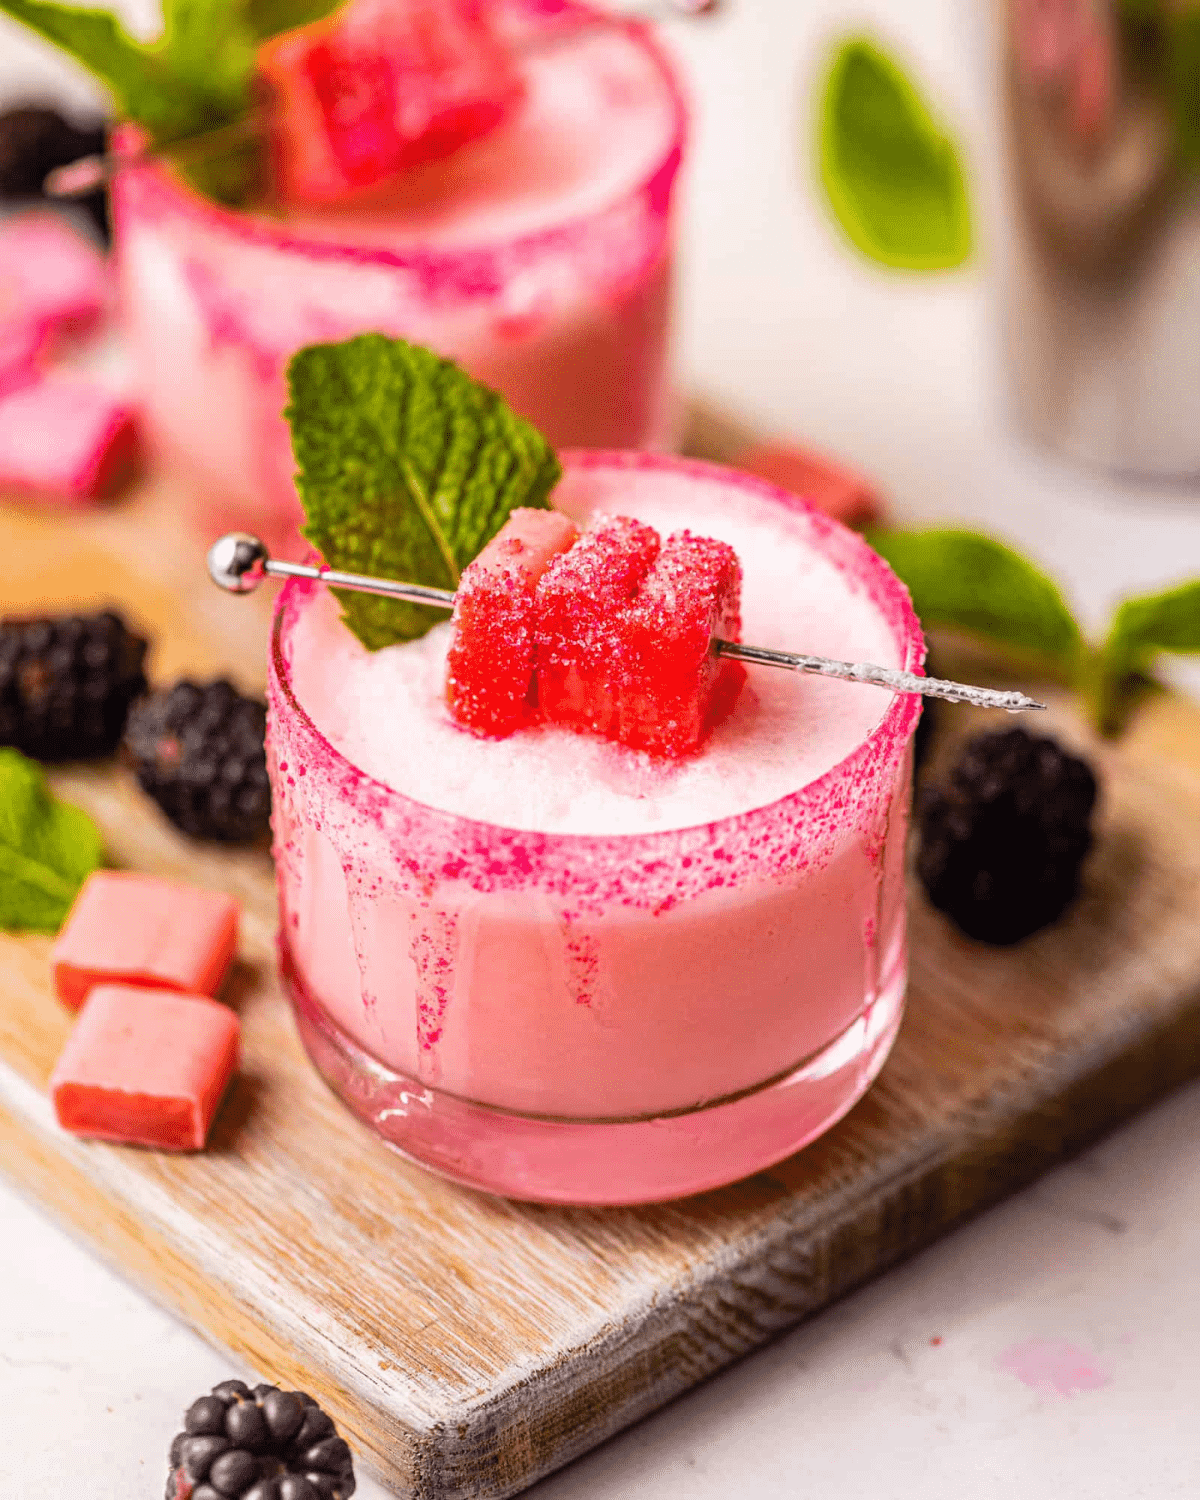
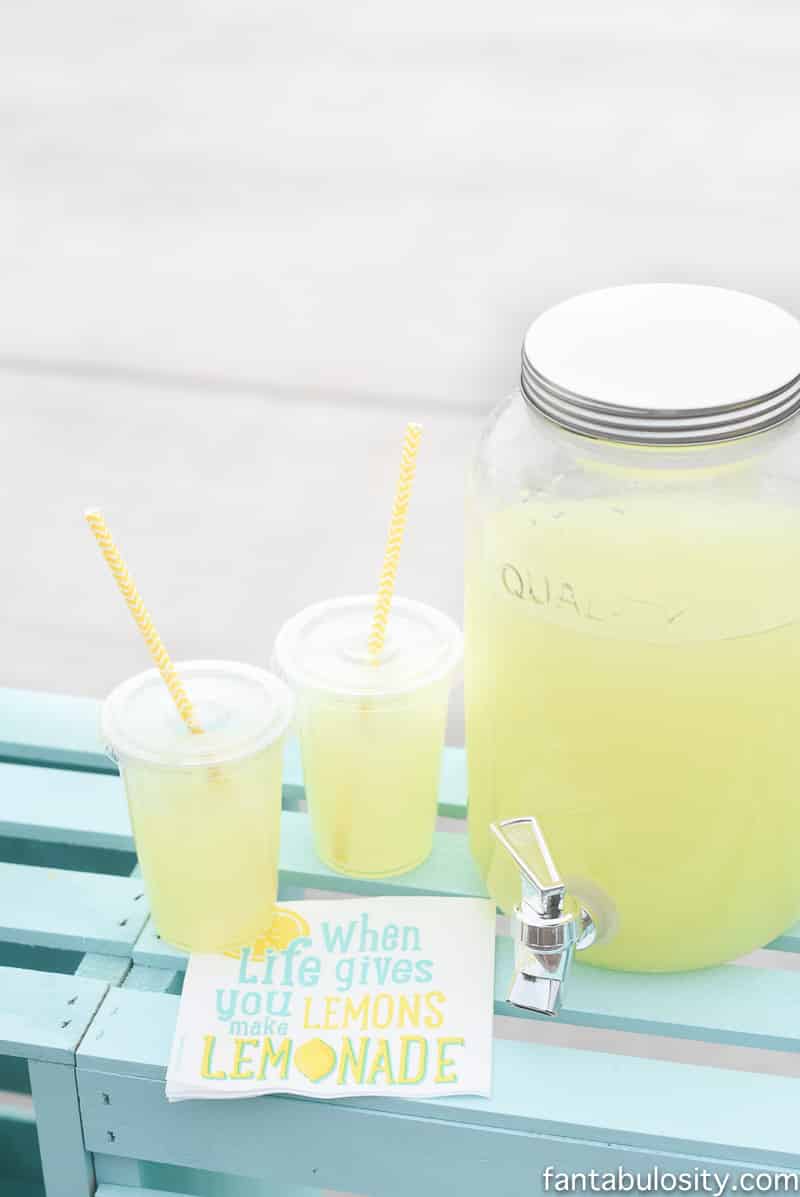
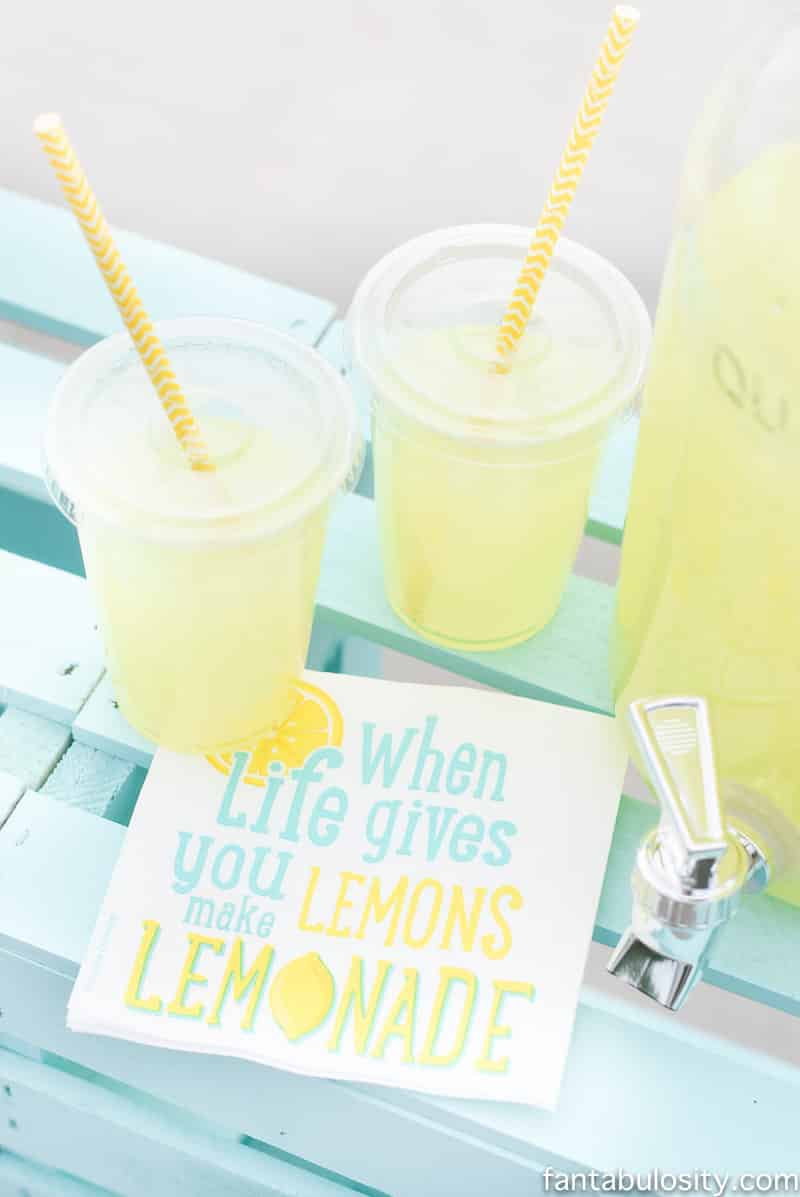
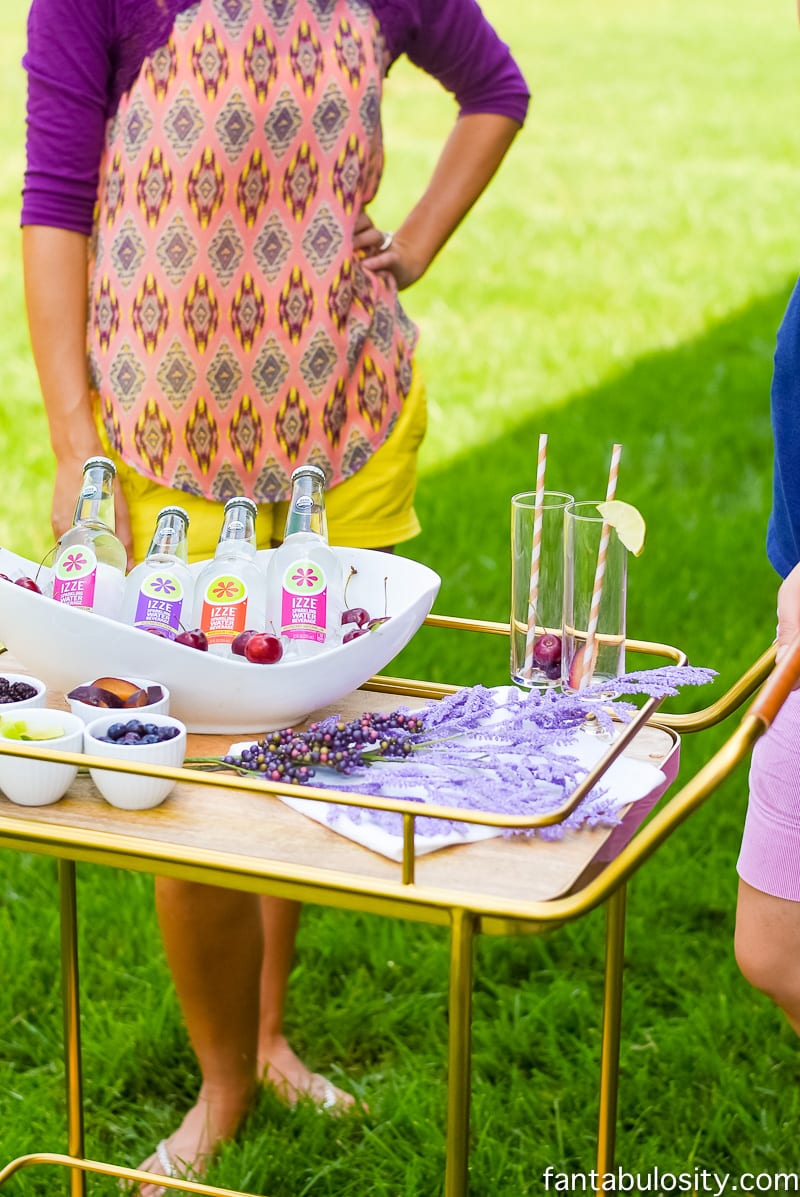
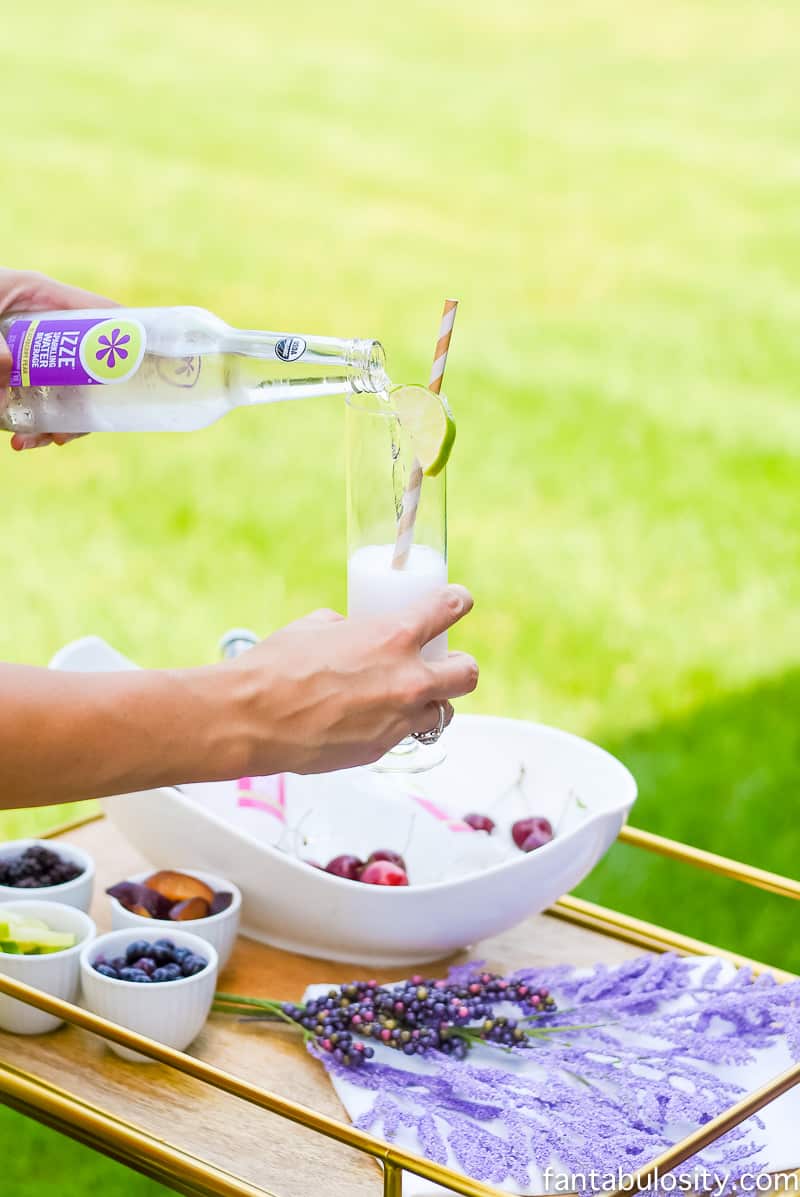
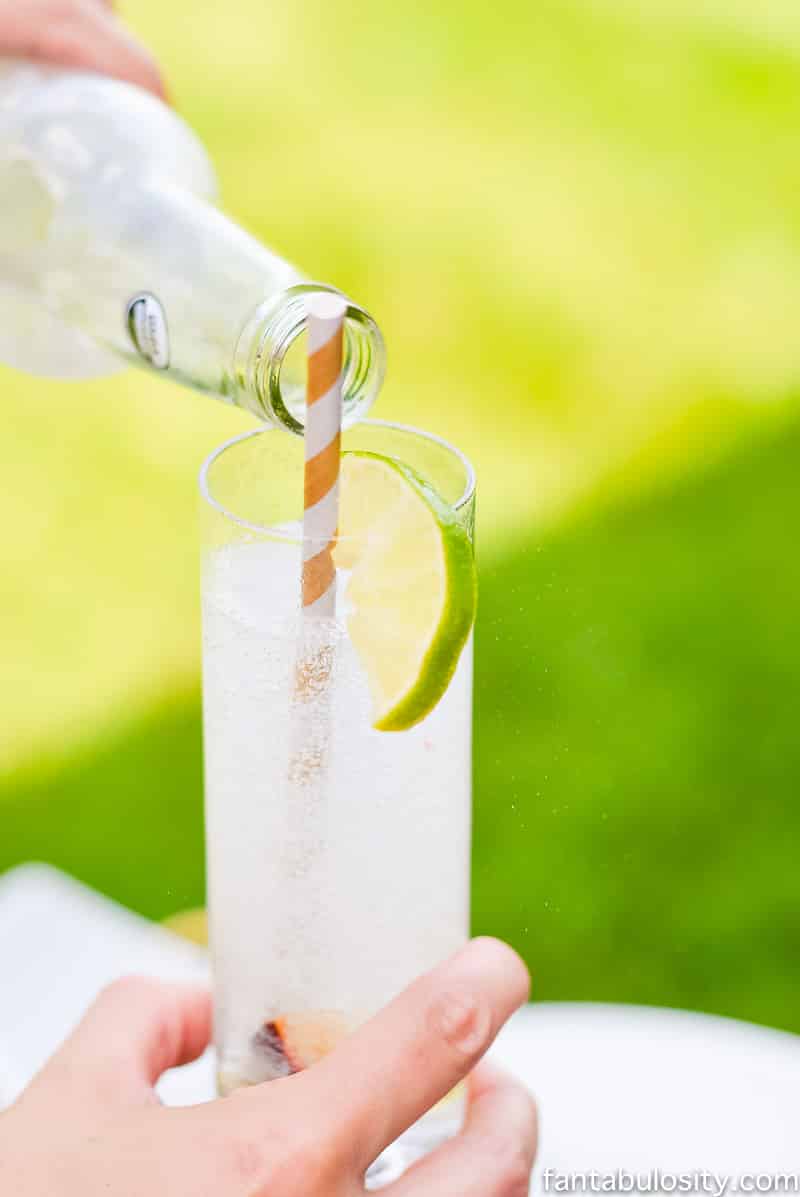
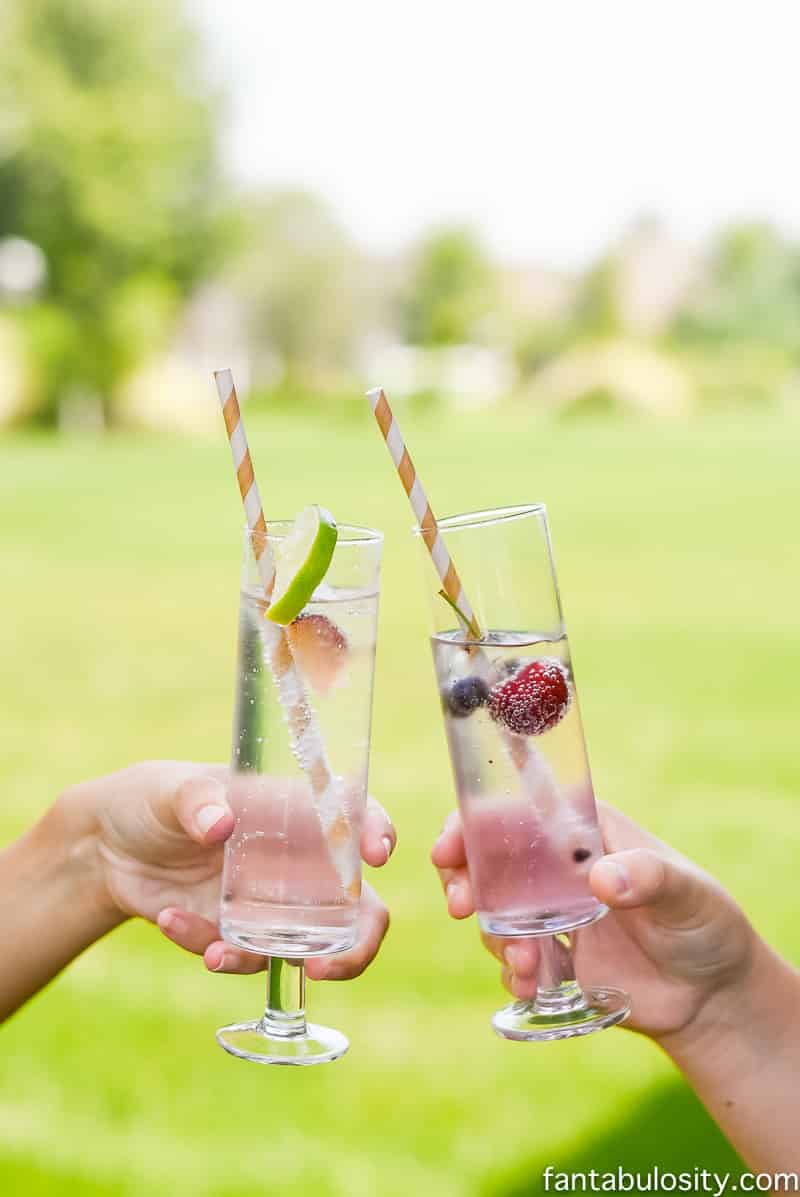
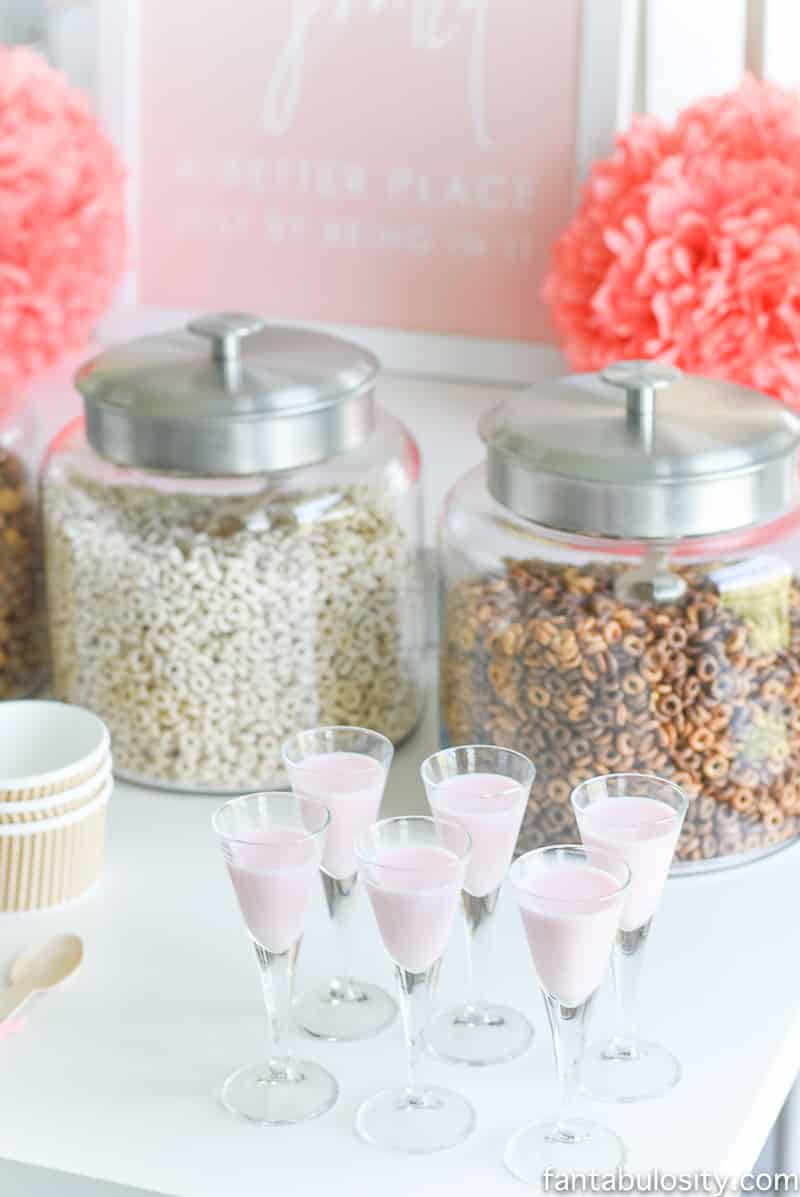
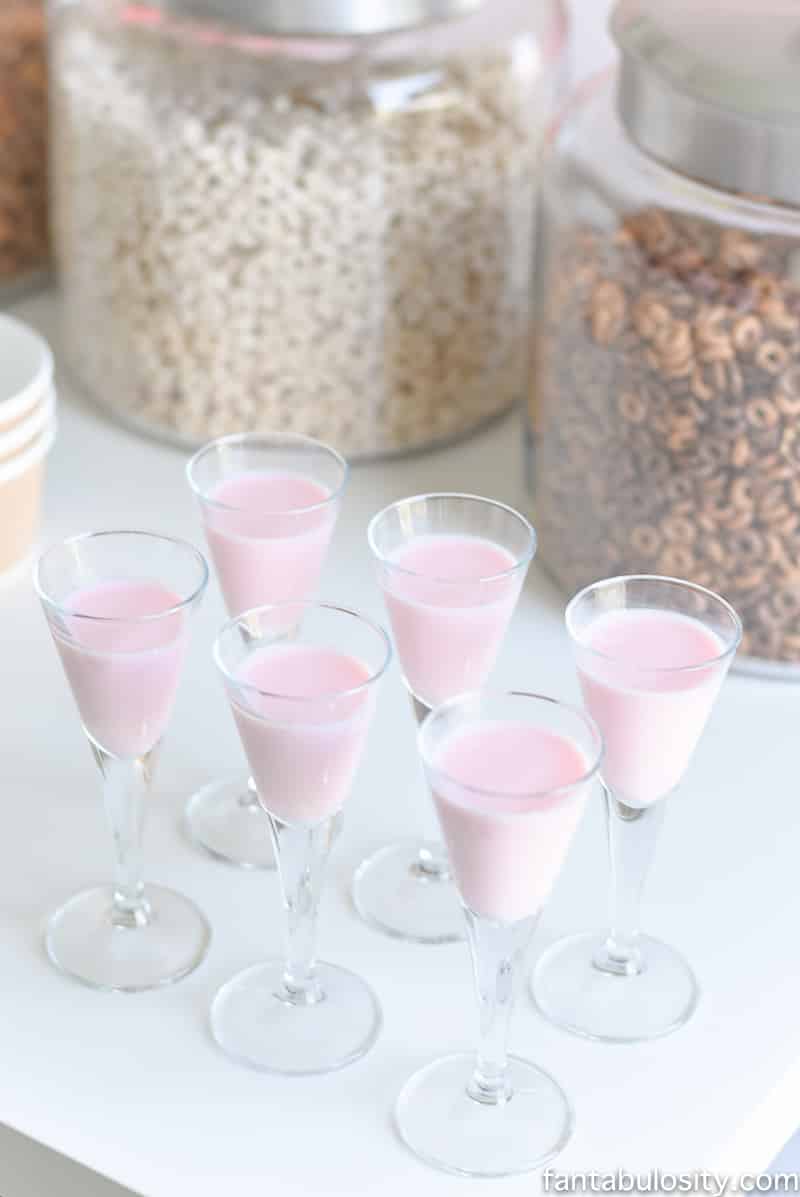
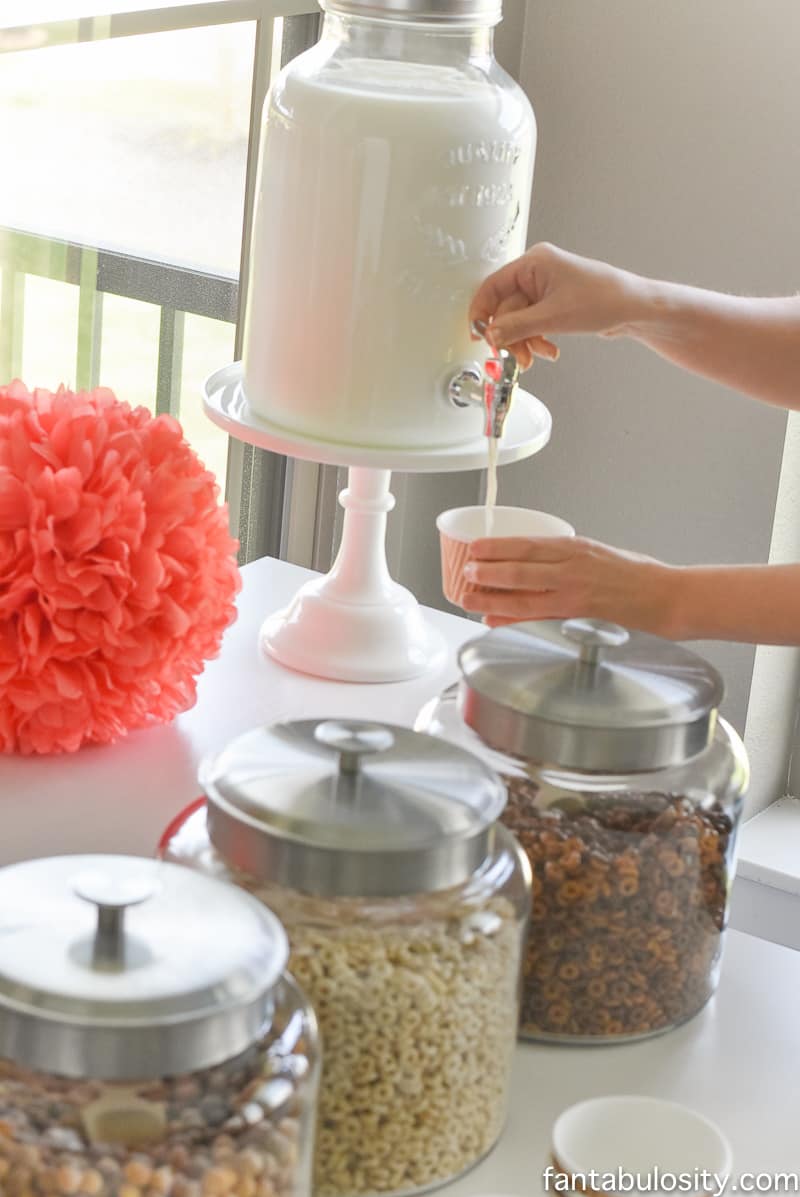
Don’t just display a big store-bought gallon of milk for drinking. Make it festive and let your guests drink out of special occasion glasses! A simple beverage, all of a sudden…is darling. To find out exactly how I made this pink drink idea, you can see it here, along with a lot of other pink drink ideas, for any occasion!
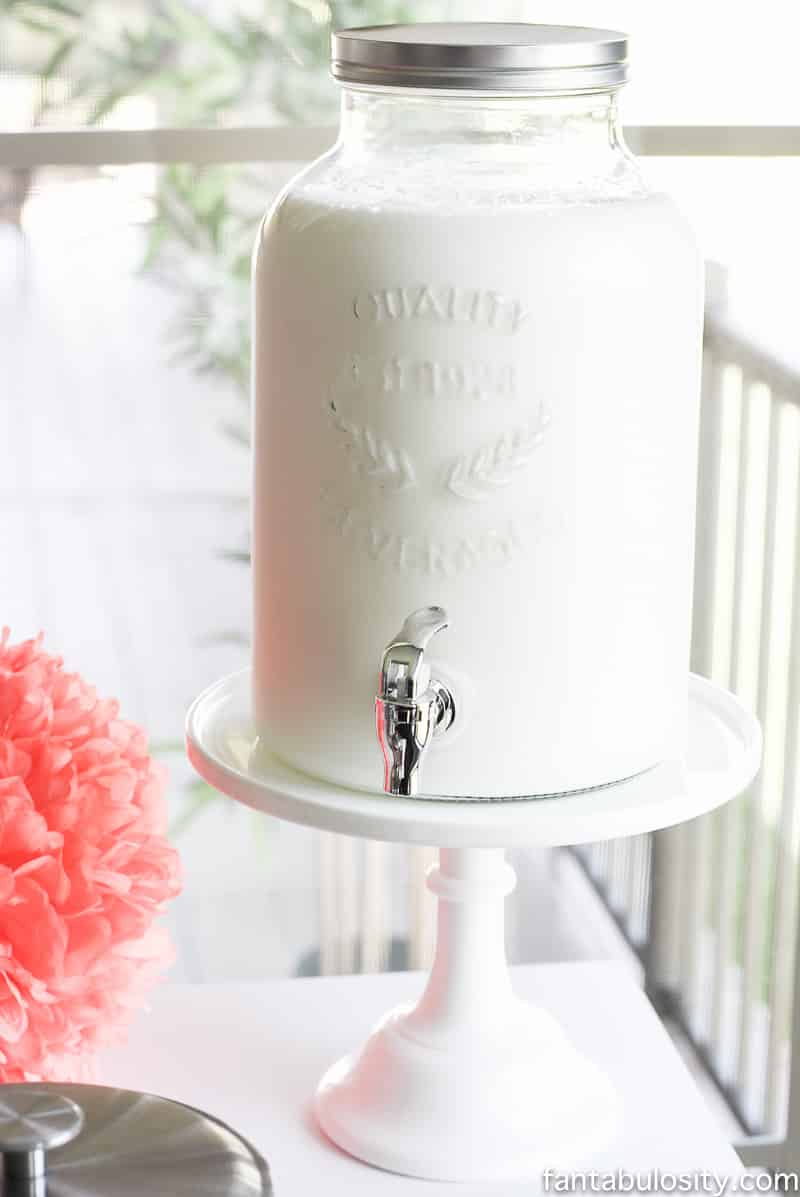
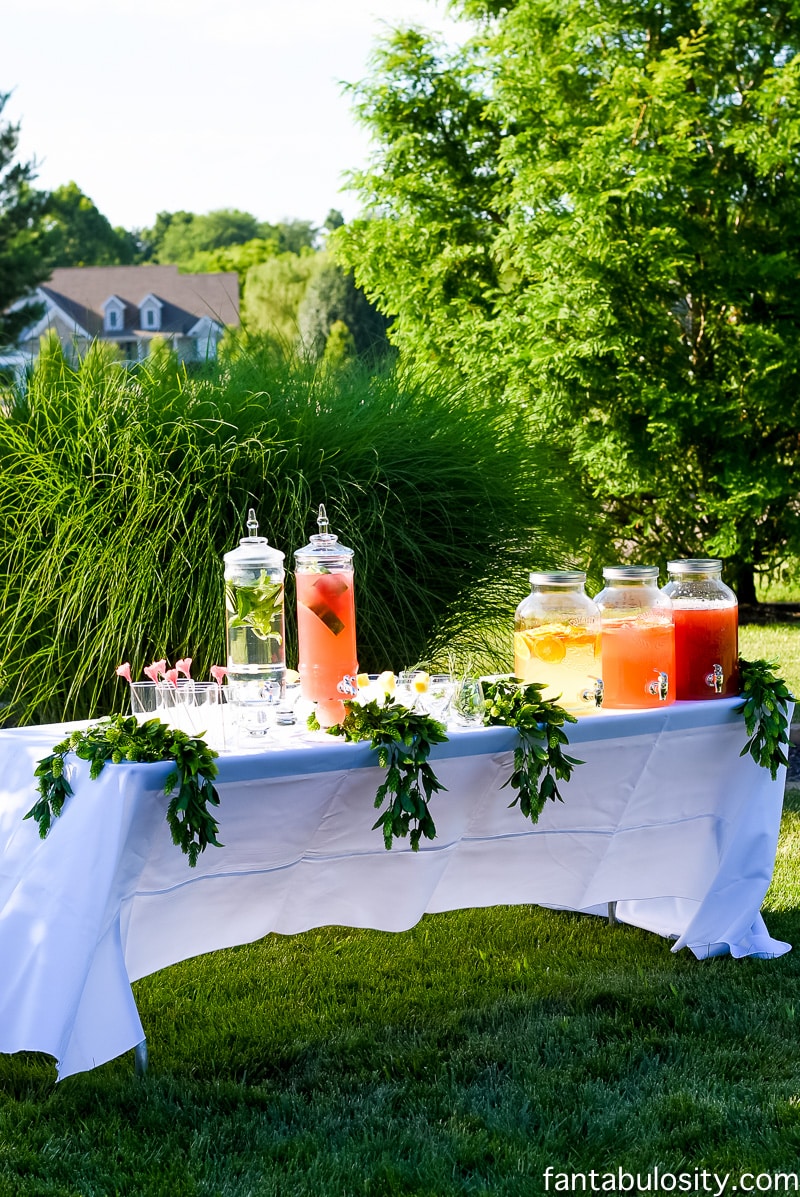
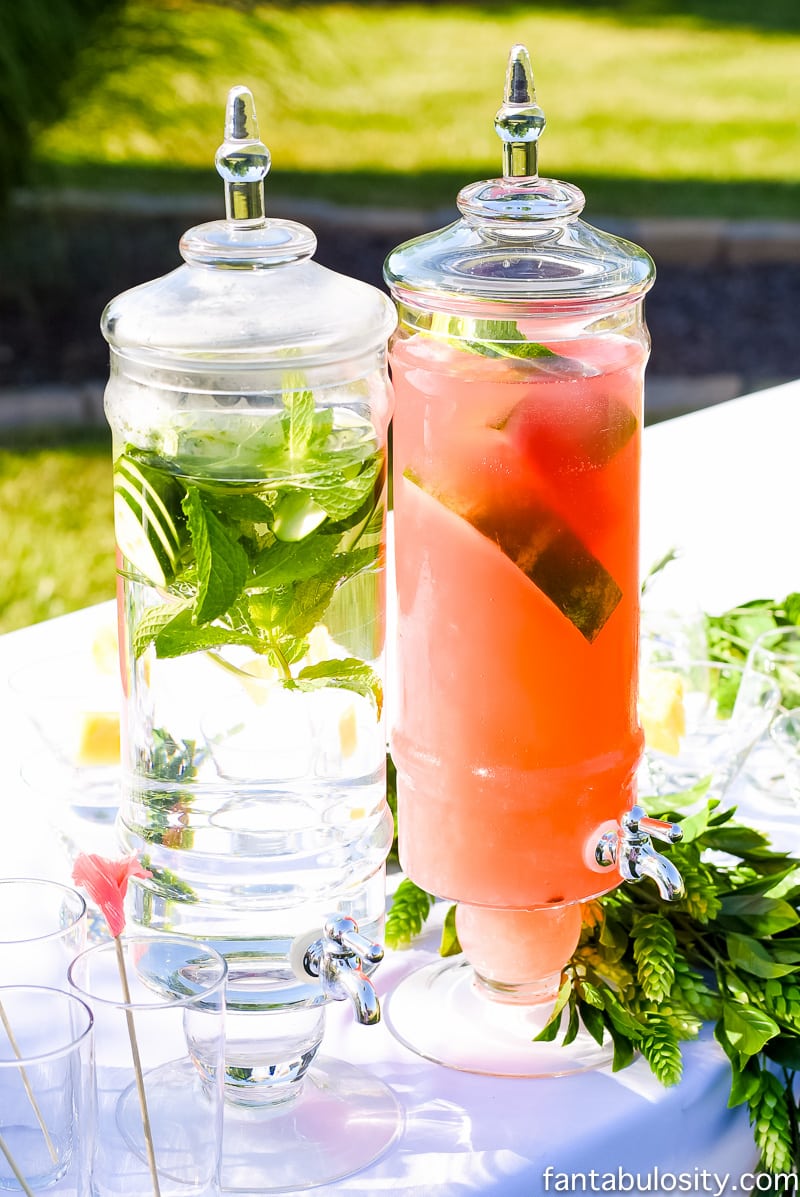
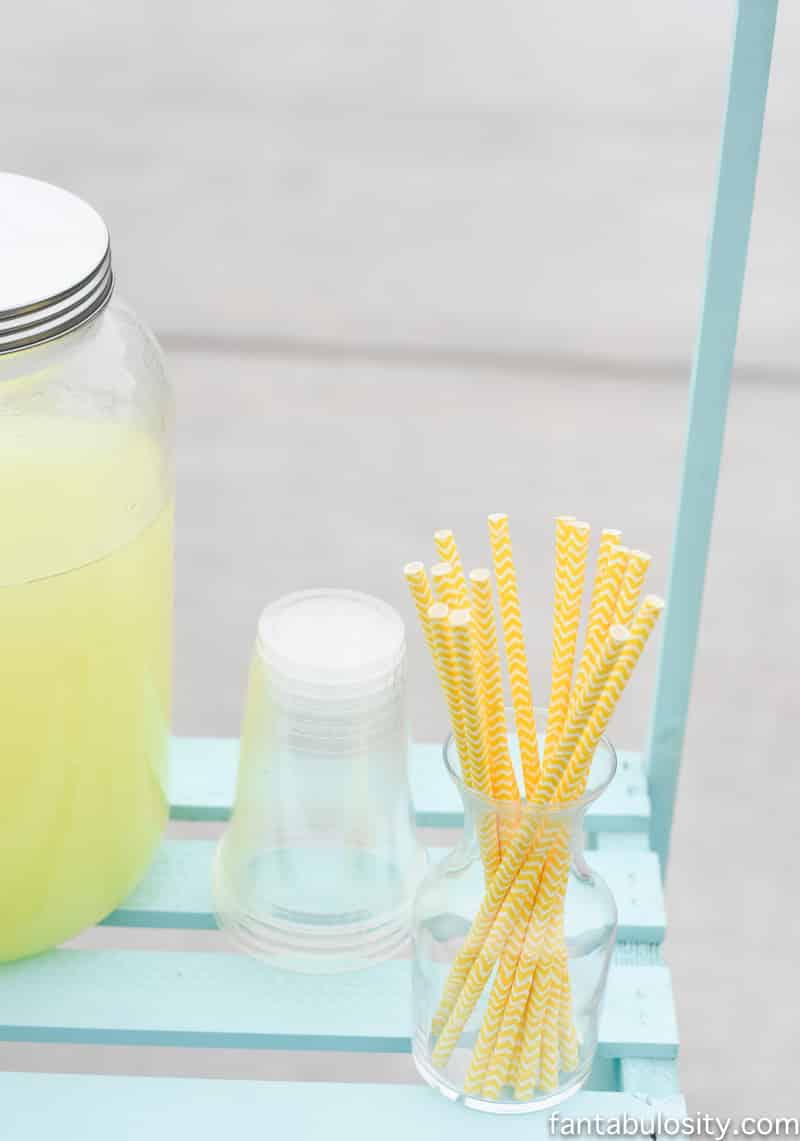
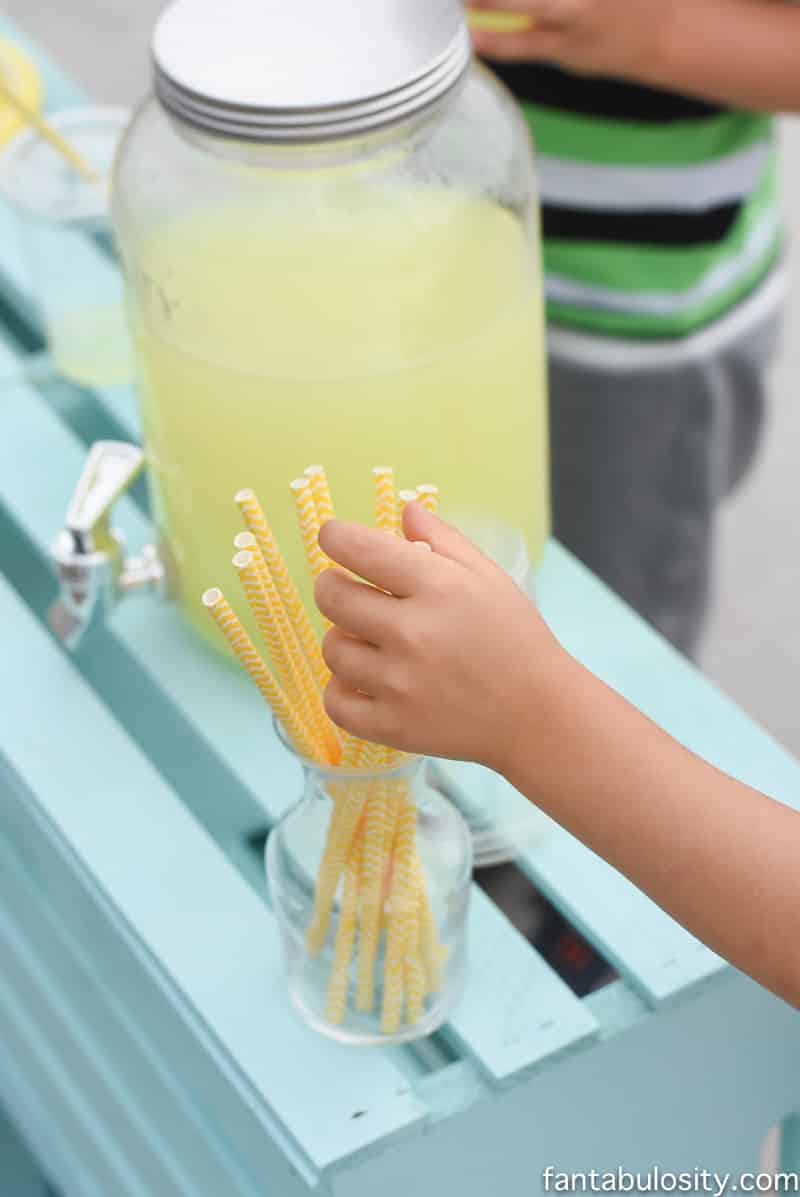
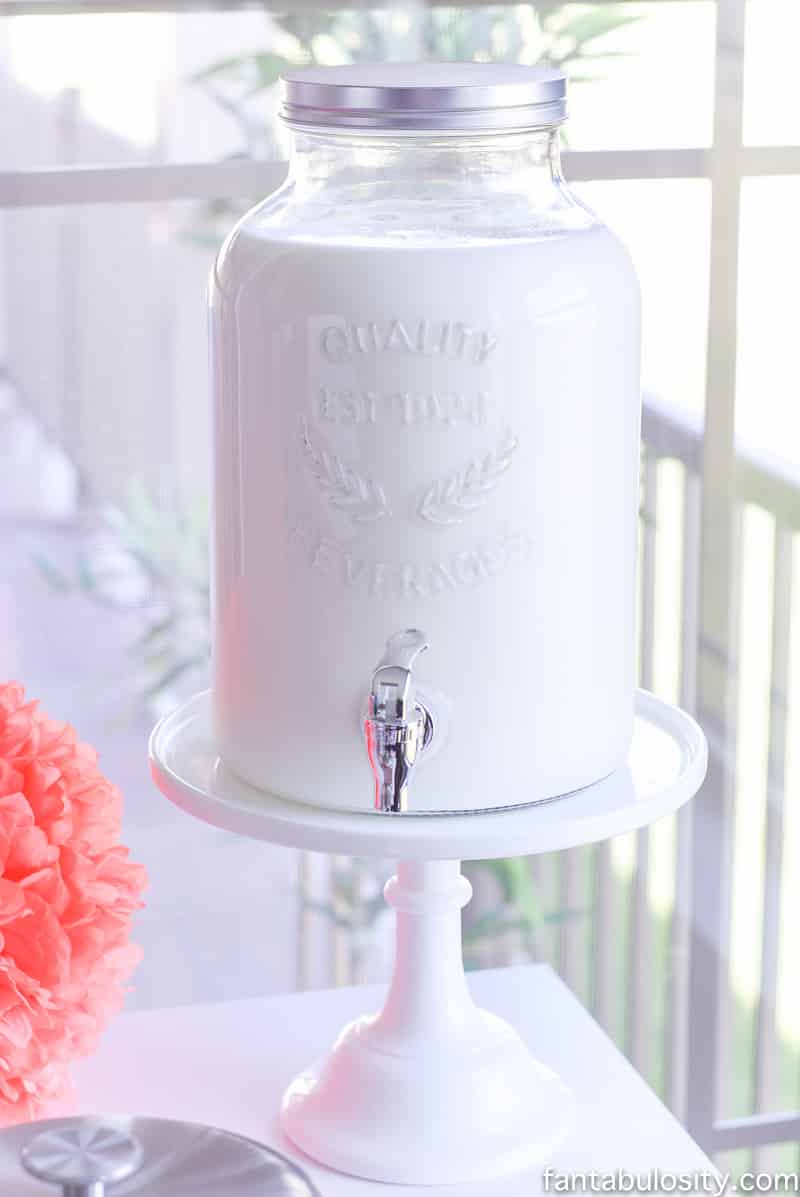
A beverage dispenser adds SO much flair to a table, no matter what party theme. Classy, clean, and easy to use.
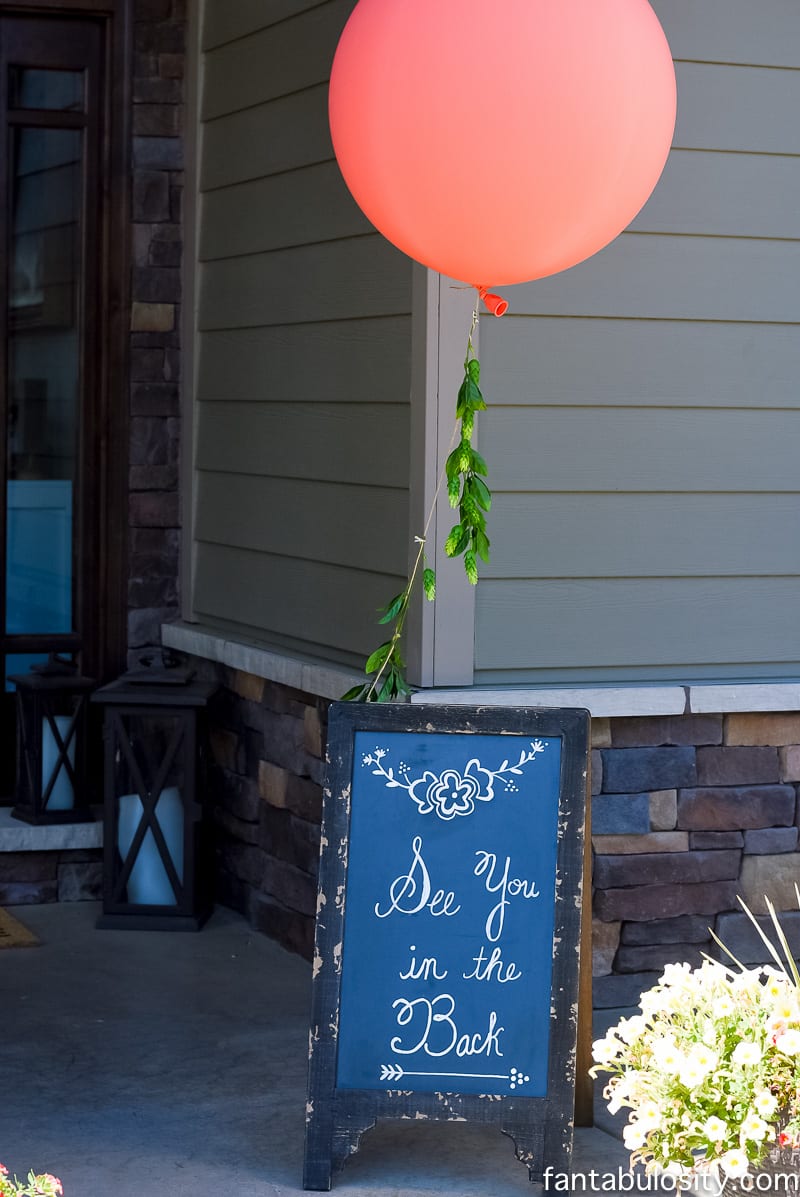
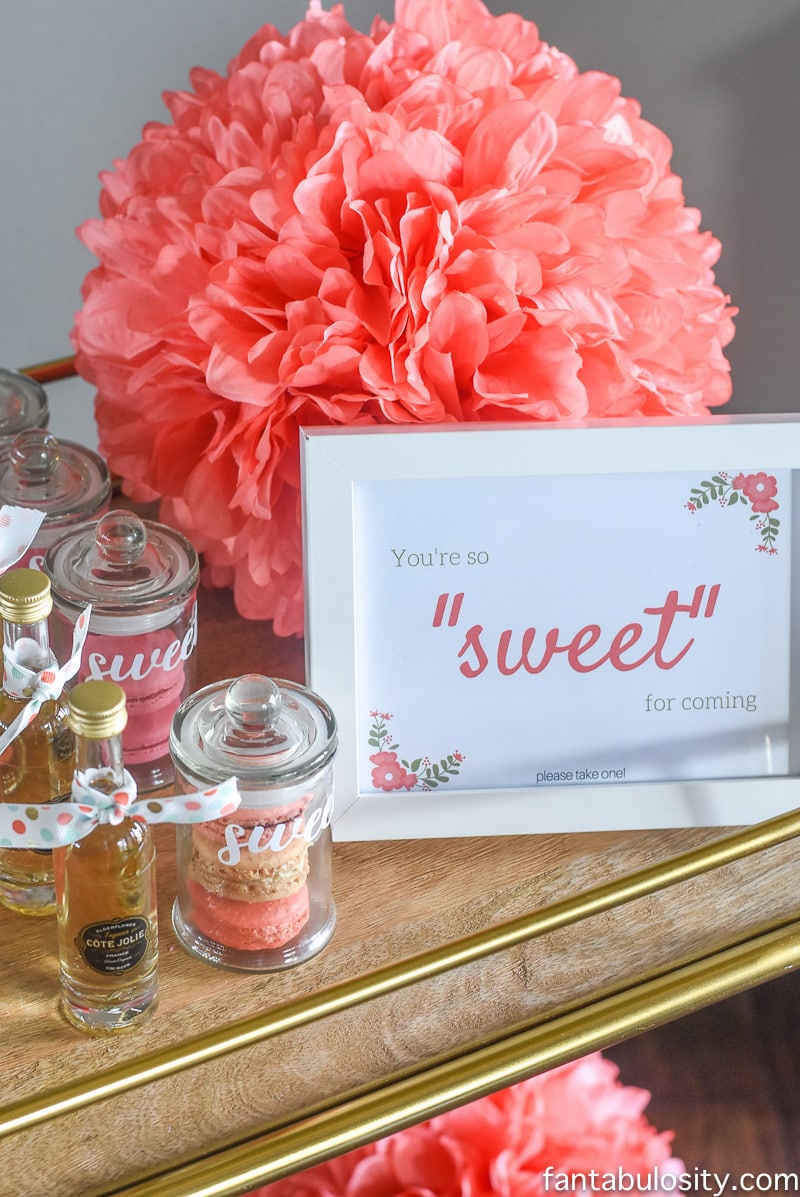
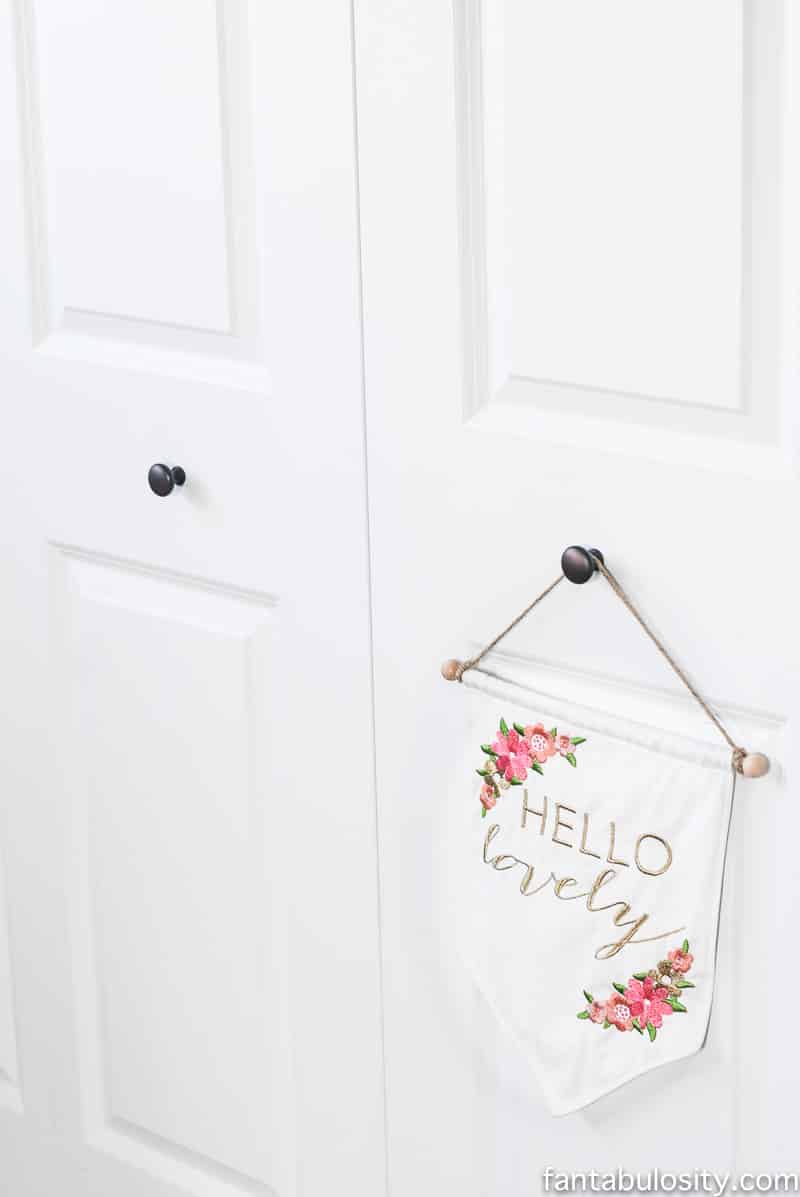
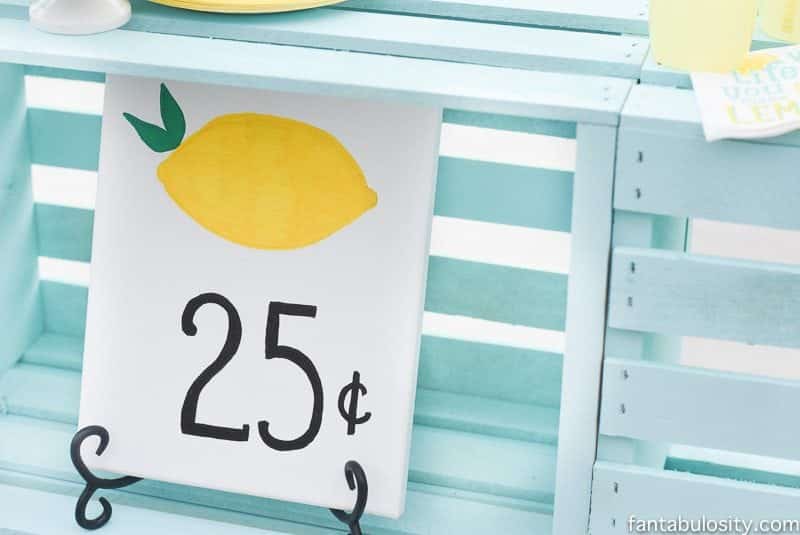
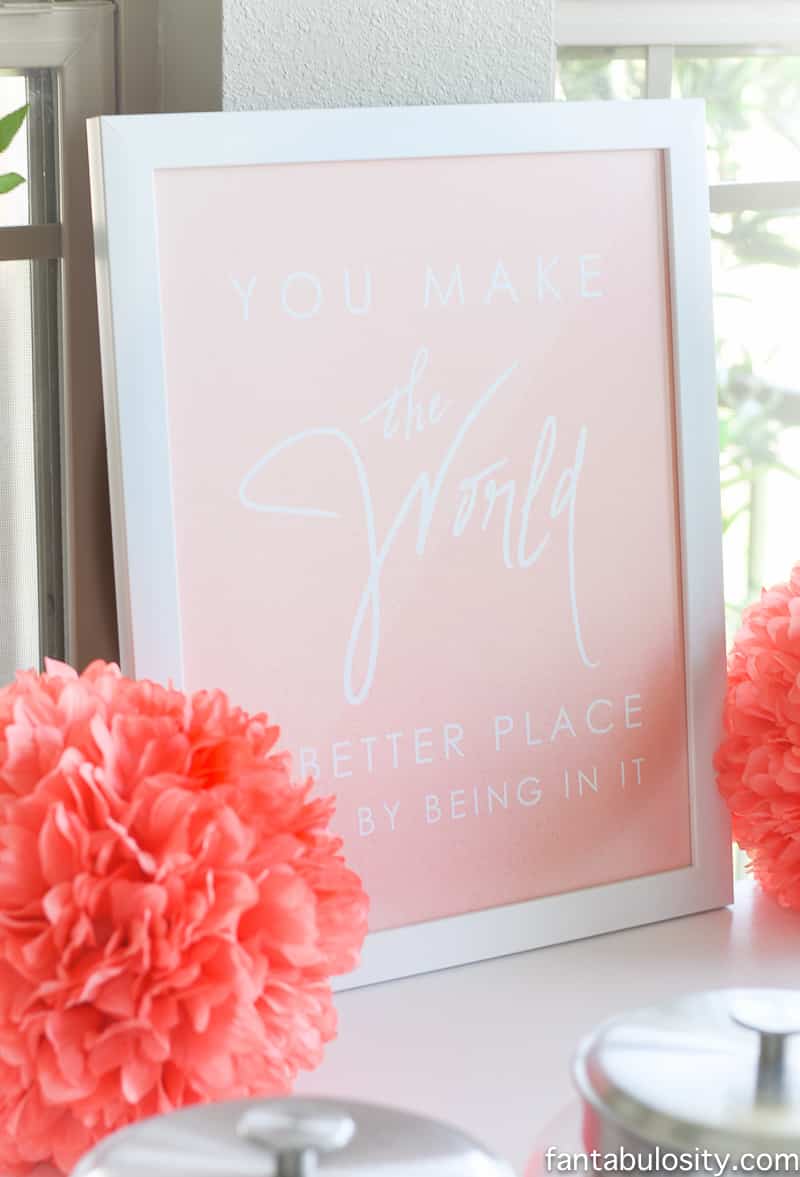
Remember to make your guest of honor feel special… display a sweet message on a sign as a beautiful way to make their heart go pitter-pat.
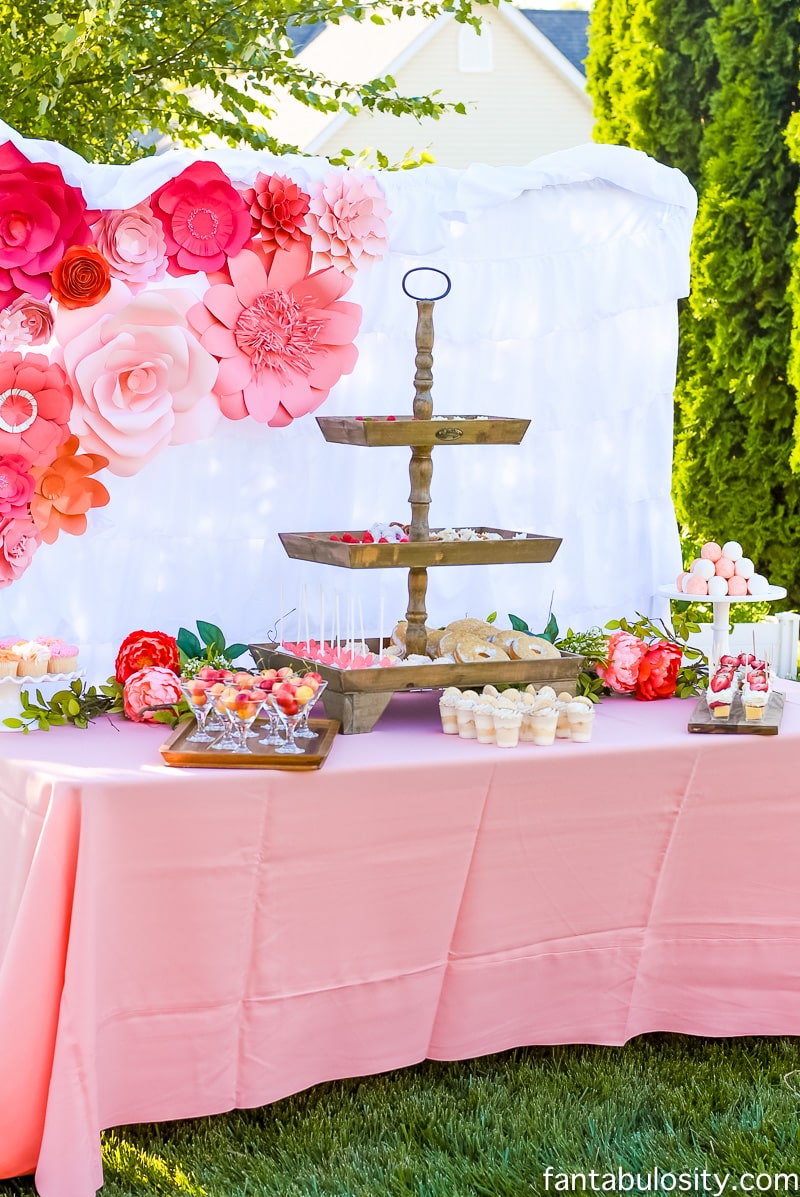
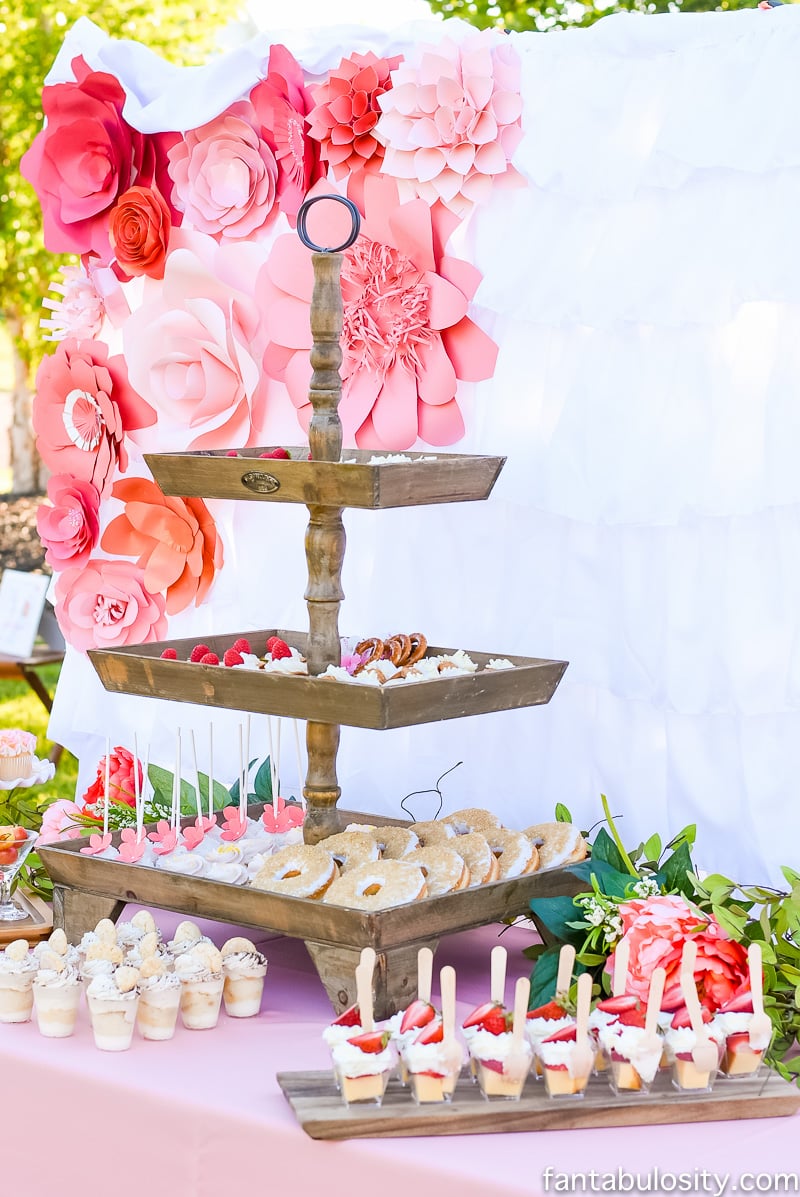
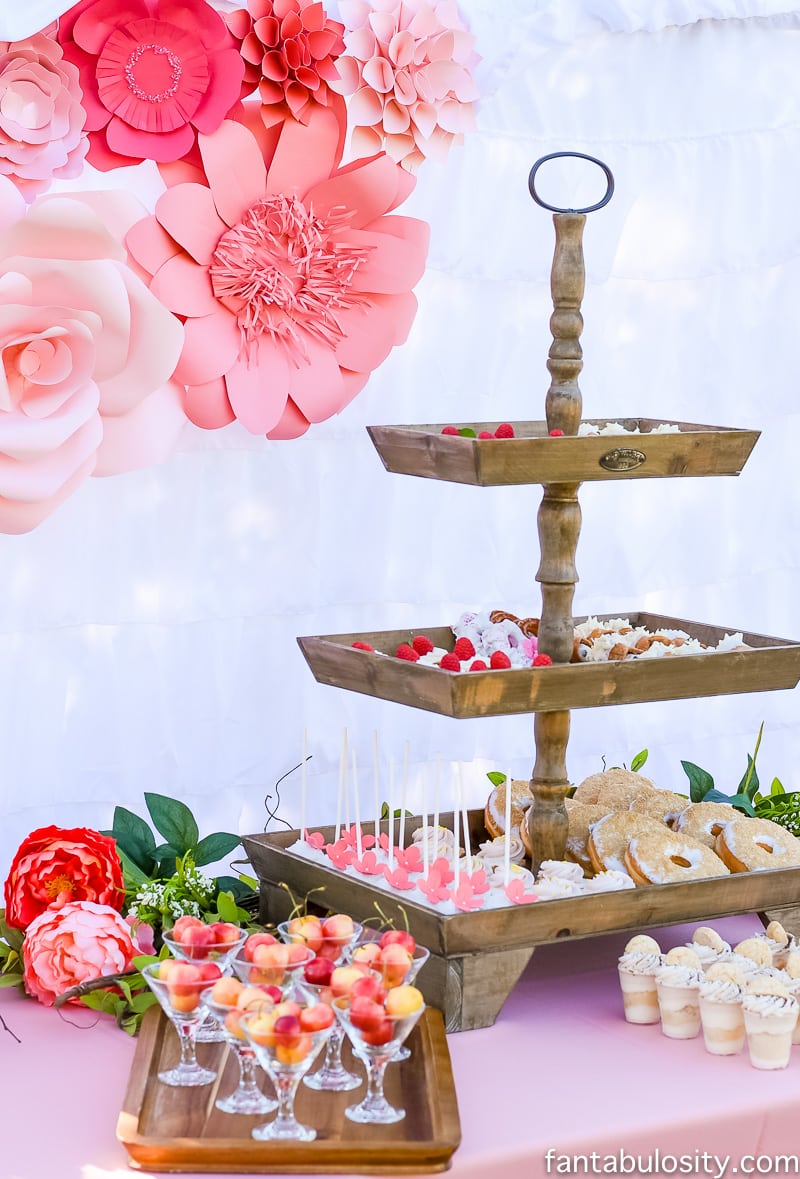
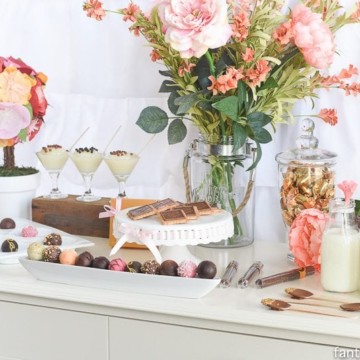
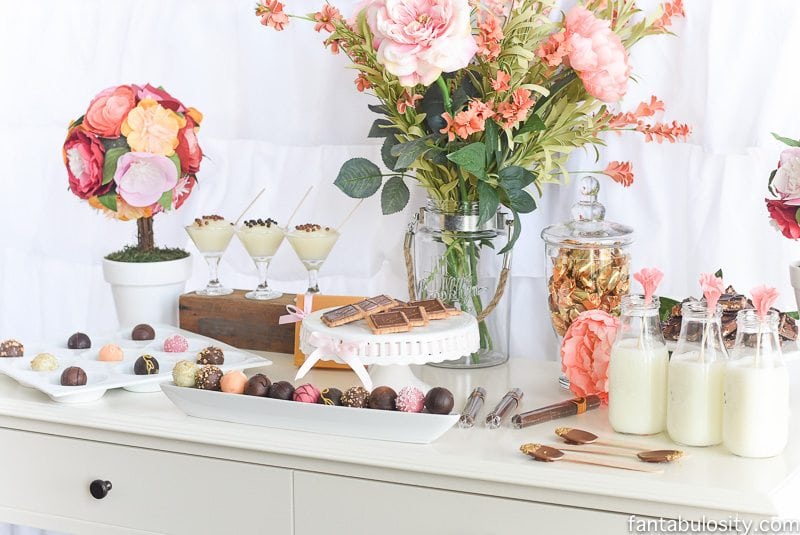
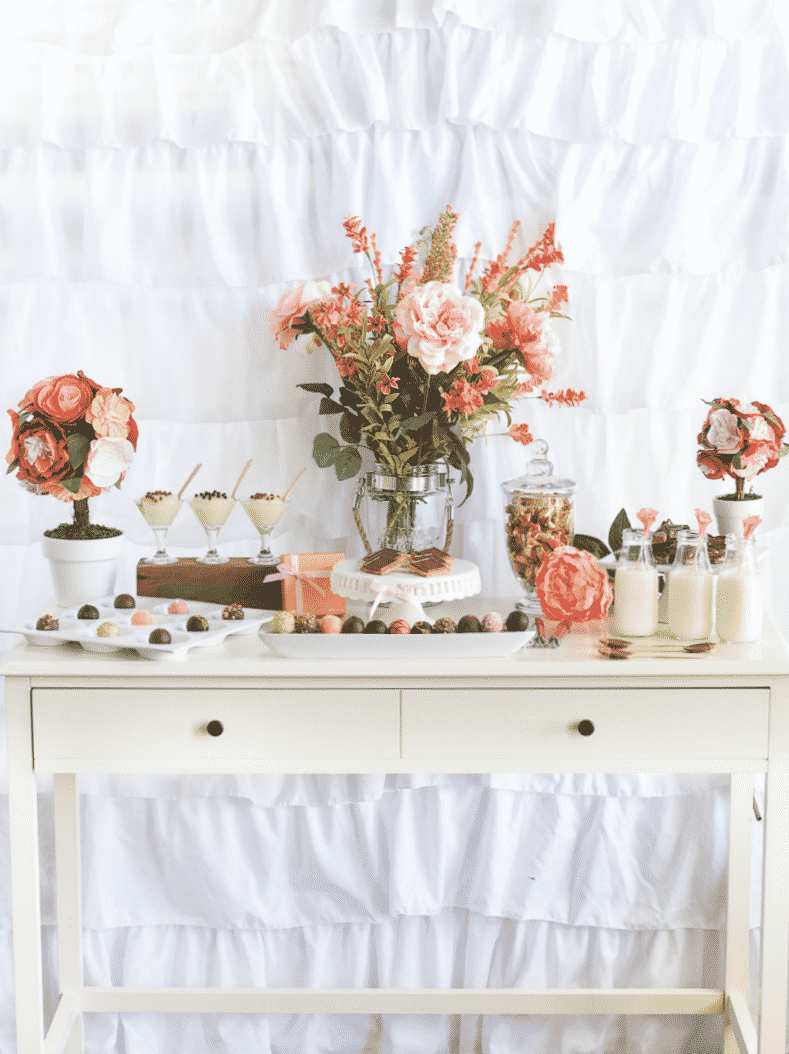
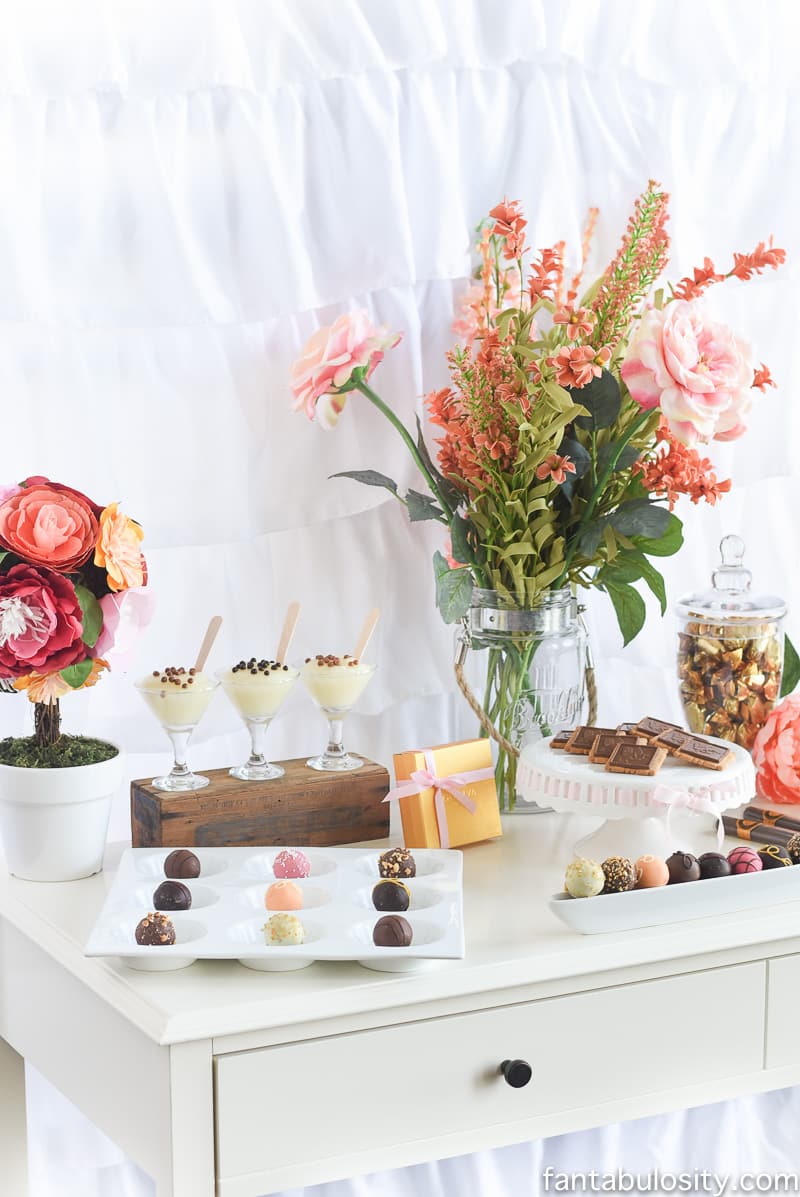
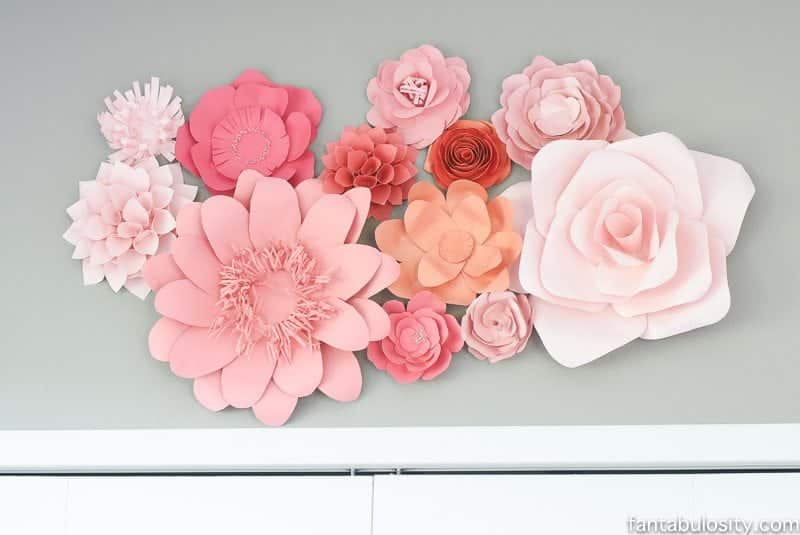
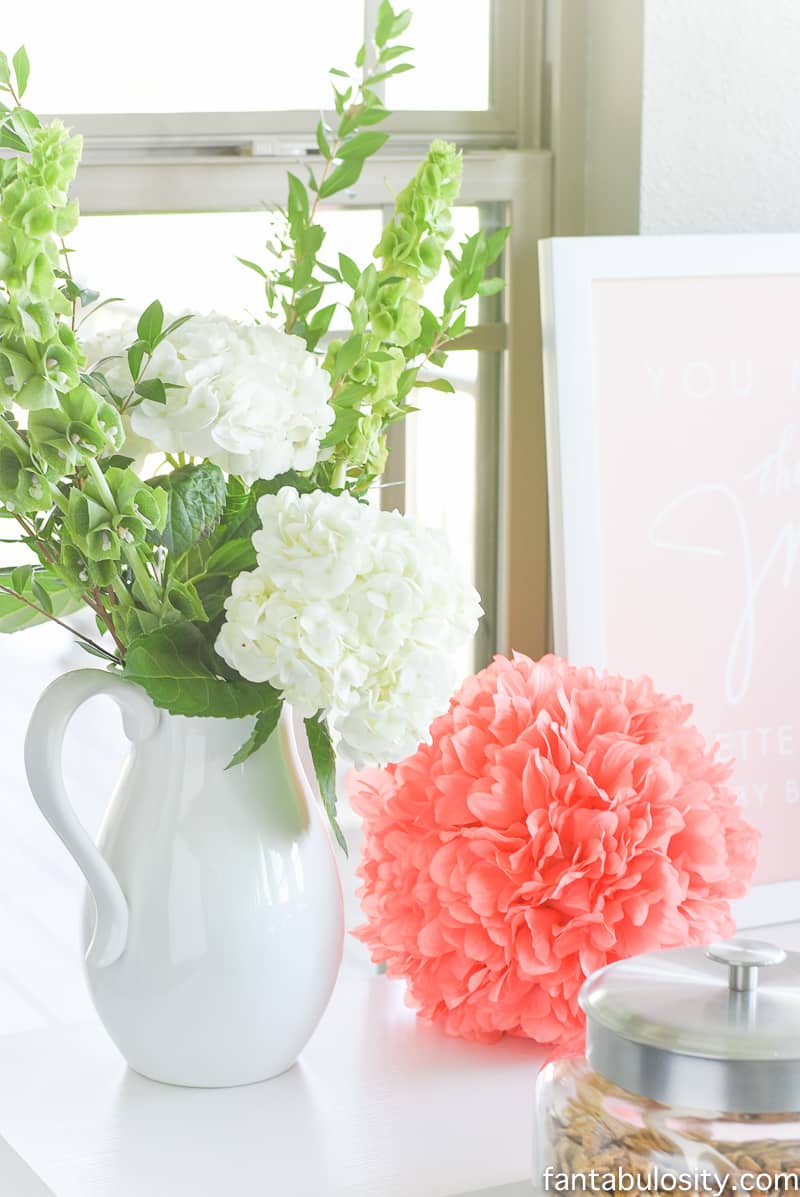
Party Secret Weapon: Fresh flowers! They decorate for themselves. Absolutely beautiful, fresh, and the guest of honor can take them home with them!
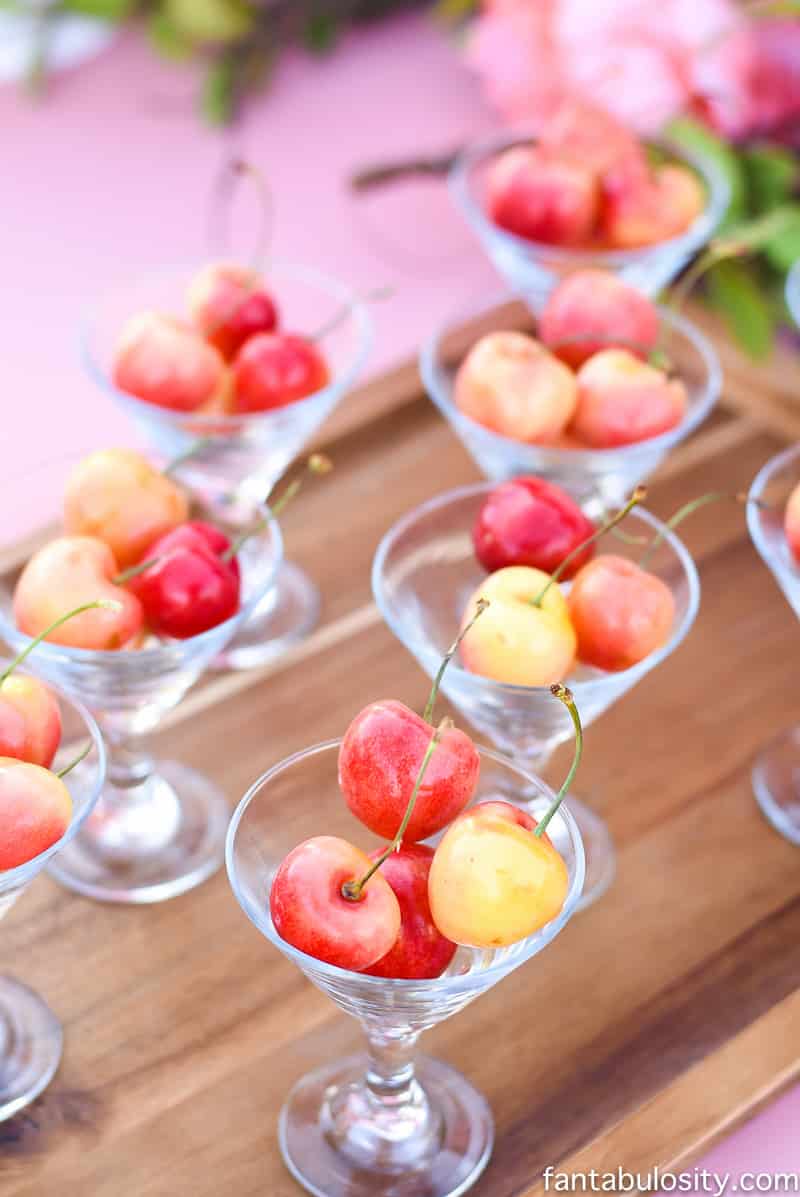
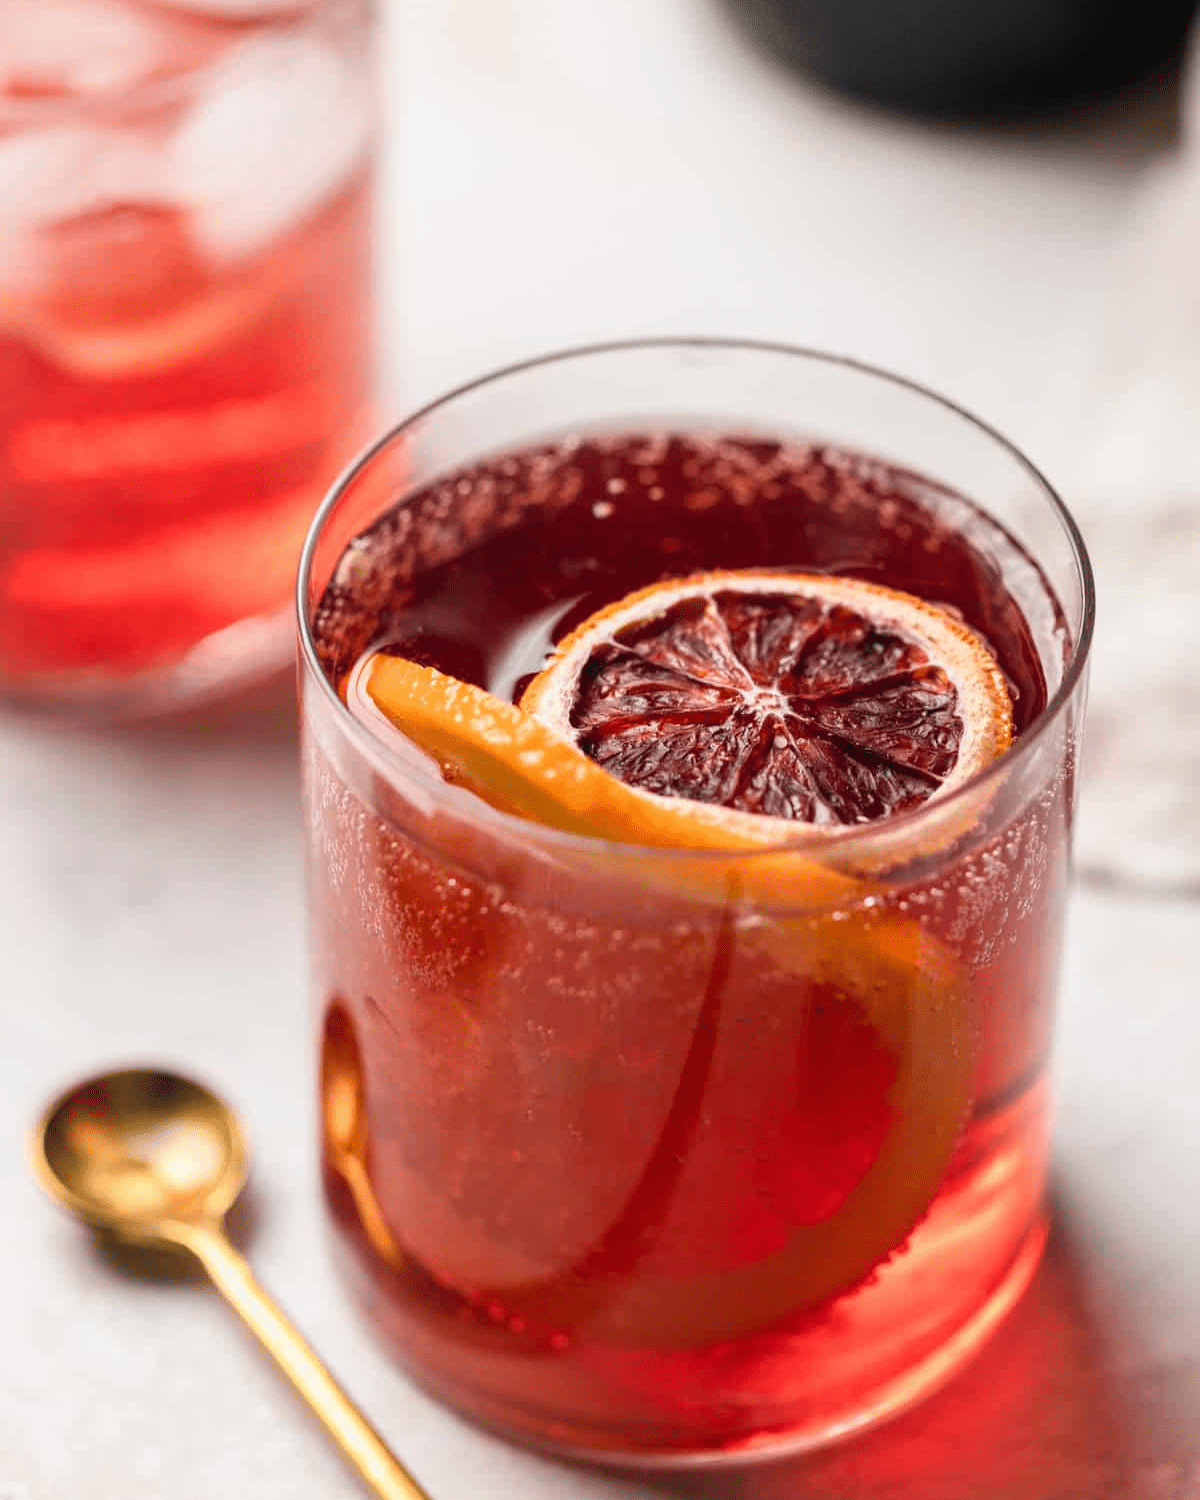
How amazing would it look to have these pink strawberries next to the drinks/cereal on this food bar, too?
Fun To-Go Container Idea
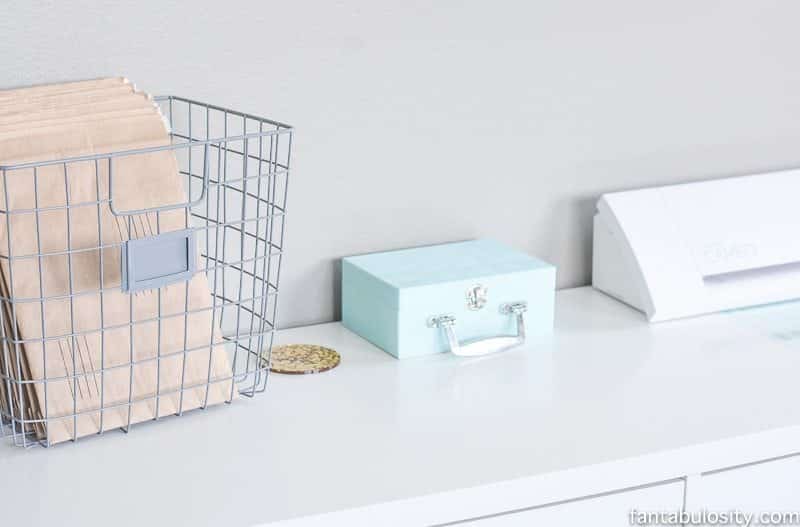
Have guests on the run? Provide to-go containers like paper bowls with lids and disposable spoons.
If you’re not much on cooking or if time is tight, a DIY cereal bar or buffet may just be what you’re looking for to make a splash at your next party!