Bagel bar ideas are one of the easiest ways to serve breakfast or brunch for a group. Whether you're hosting houseguests, a holiday morning, or a casual get-together, a bagel bar lets everyone customize their plate with minimal effort.
A Simple Brunch Idea That Feels Thoughtful
With a variety of bagels, spreads, and toppings, a bagel bar is both easy to prepare and fun for guests. It's a low-stress way to serve a crowd while still offering plenty of options.
Recently for an extremely busy weekend here, I thought creating a bagel bar cart would be scrumptious, super easy, and pretty darn cute for a breakfast idea!
When it comes to food bars, I like setting up a variety of flavors and different options guests can choose from.
With something like bagels, the variety can consist of savory and sweet options like:
- Homemade plain bagels
- Blueberry
- Cinnamon
- Garlic and Herb
- Asiago Cheese
- Chocolate Chip
- Garden Veggie
- Maple and Brown Sugar
…and the list goes on!
What Do You Need for a Bagel Bar?
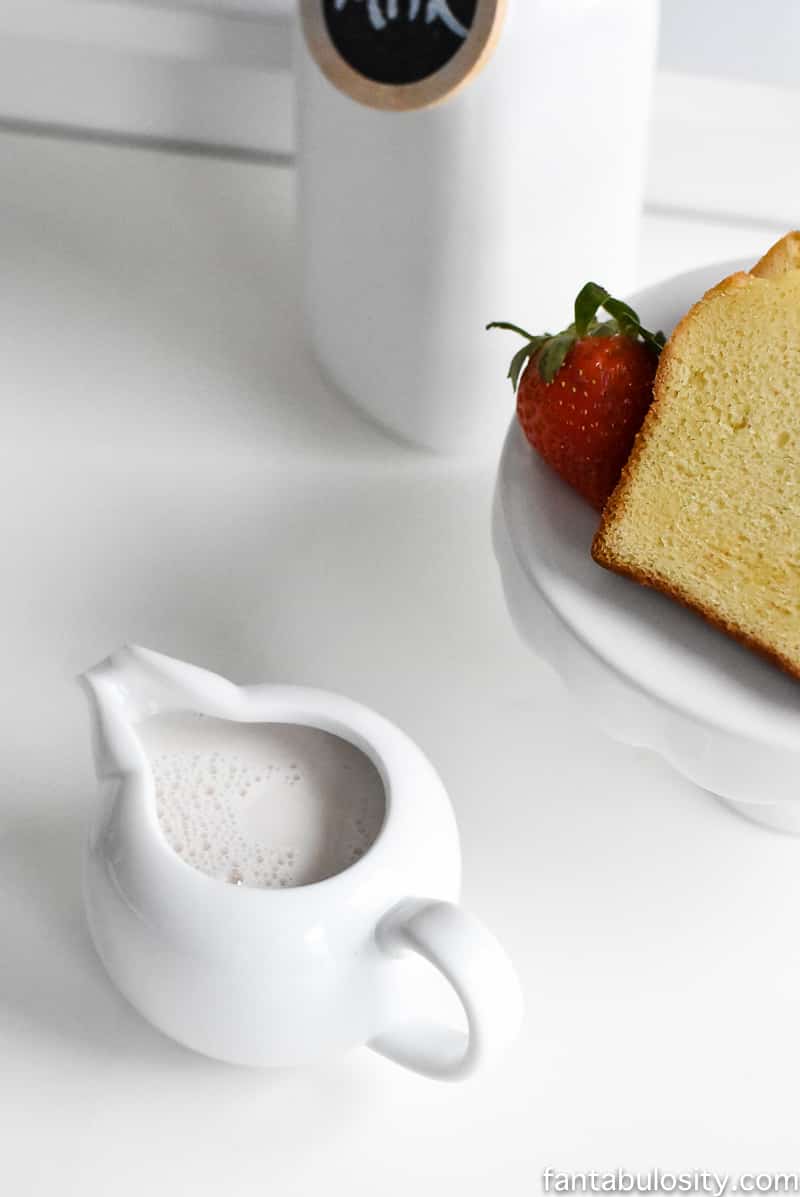
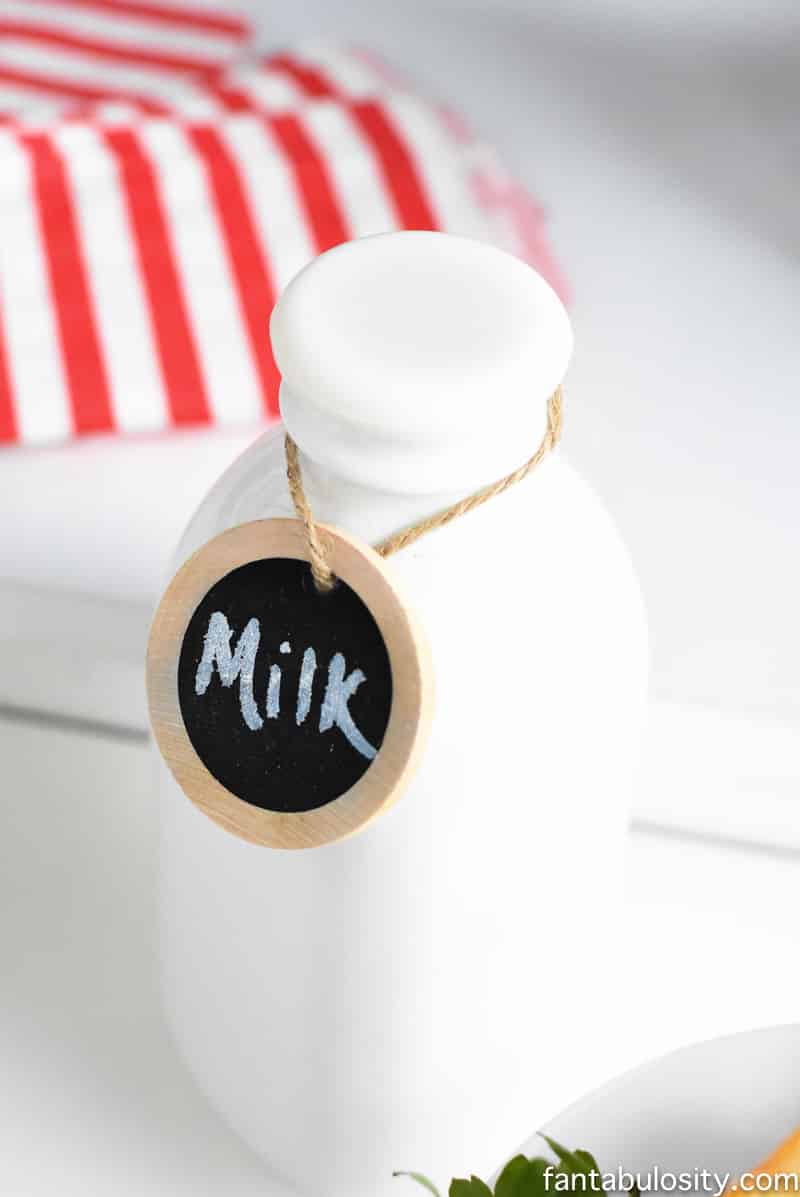
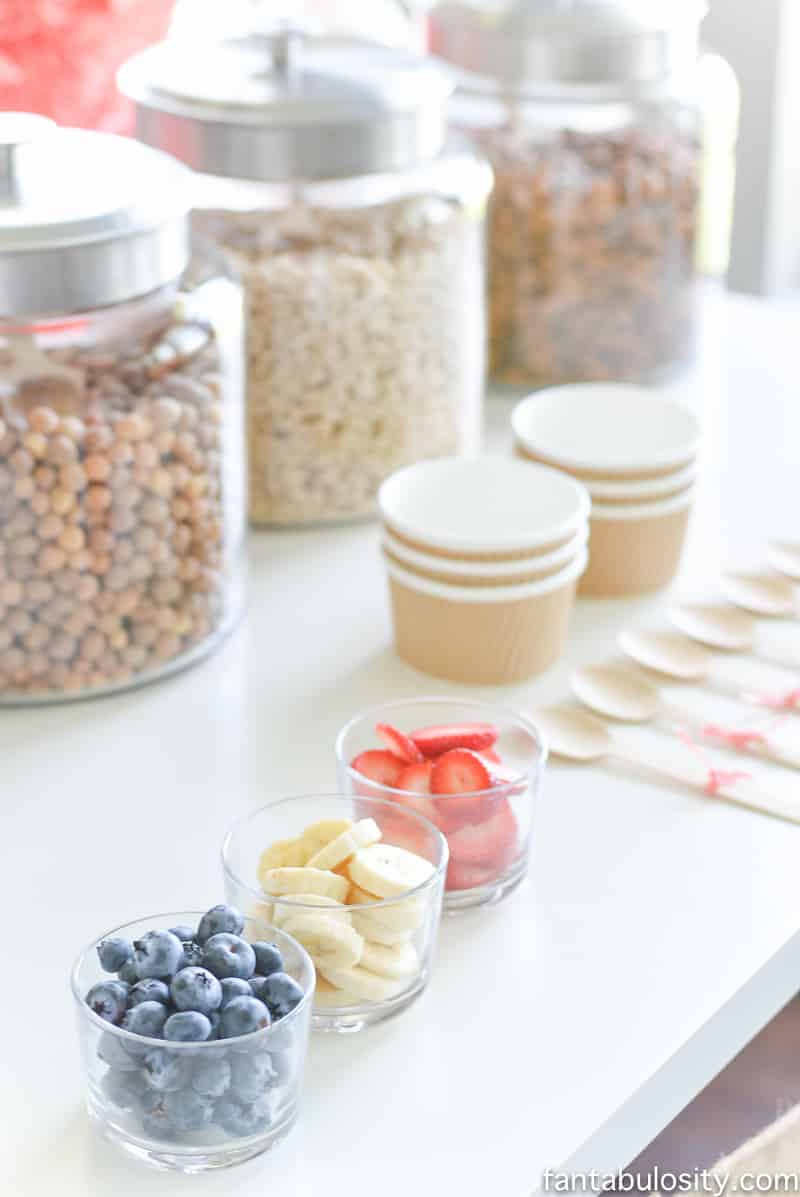
- Different varieties of bagels, cream cheeses, flavored butters, jams/jellies, and toppings to customize the bagel offerings.
- Toaster oven or small toaster in case guests would like to toast
- Knife for slicing bagels and knives for condiments
- Veggies/Fruit to top bagels
- Small tongs, or serving utensils for fruit/veggies
- Small plates
- Napkins
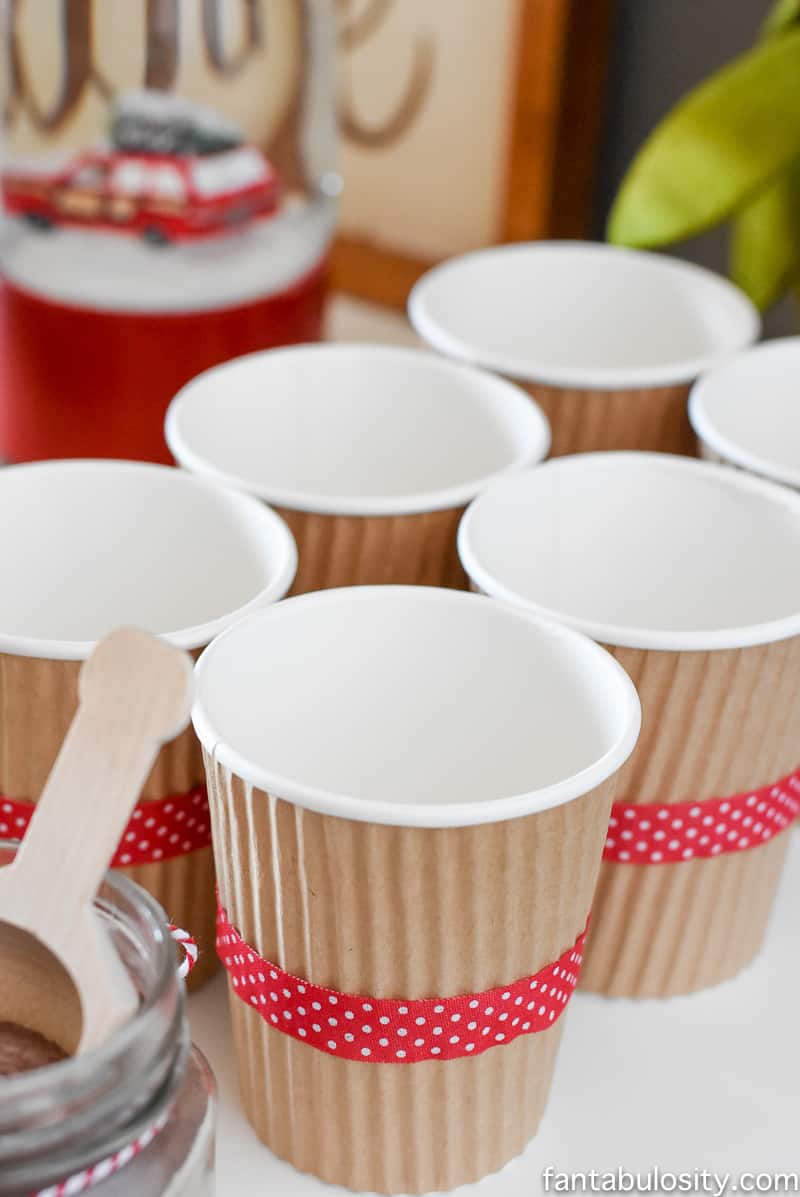
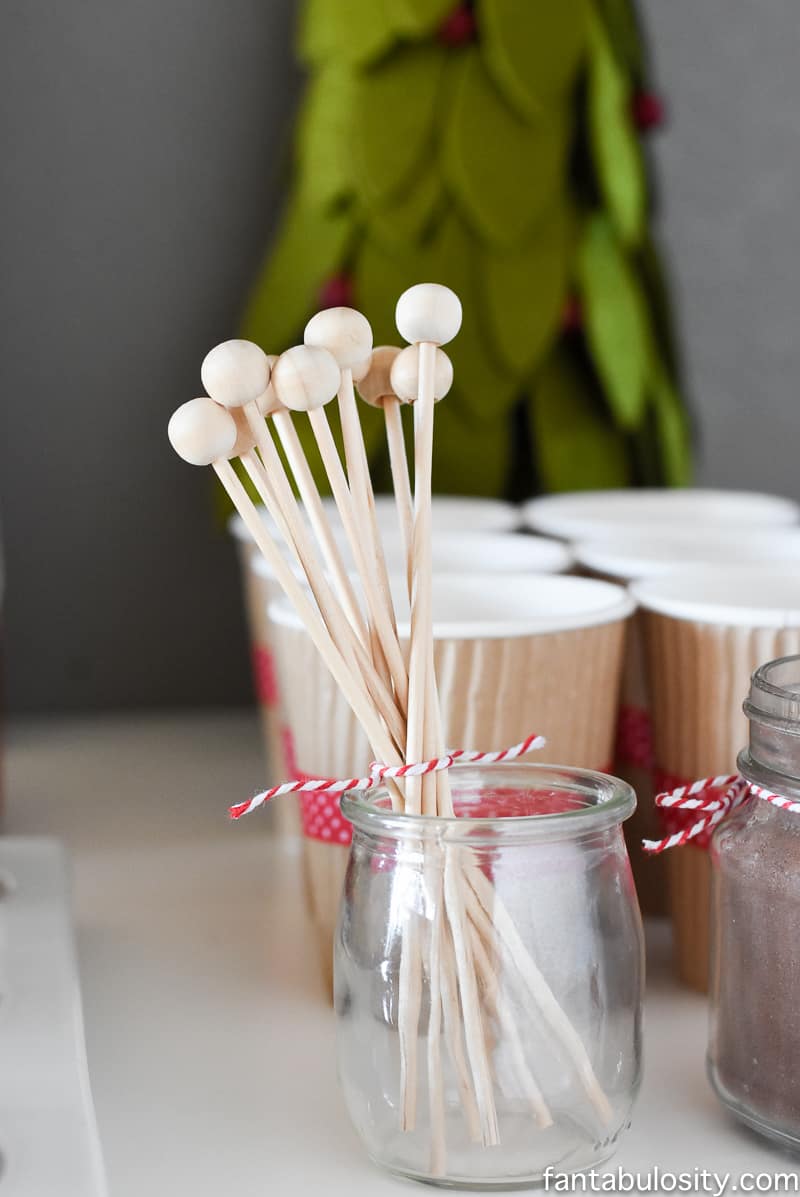
- Coffee Cups/Beverage Cups
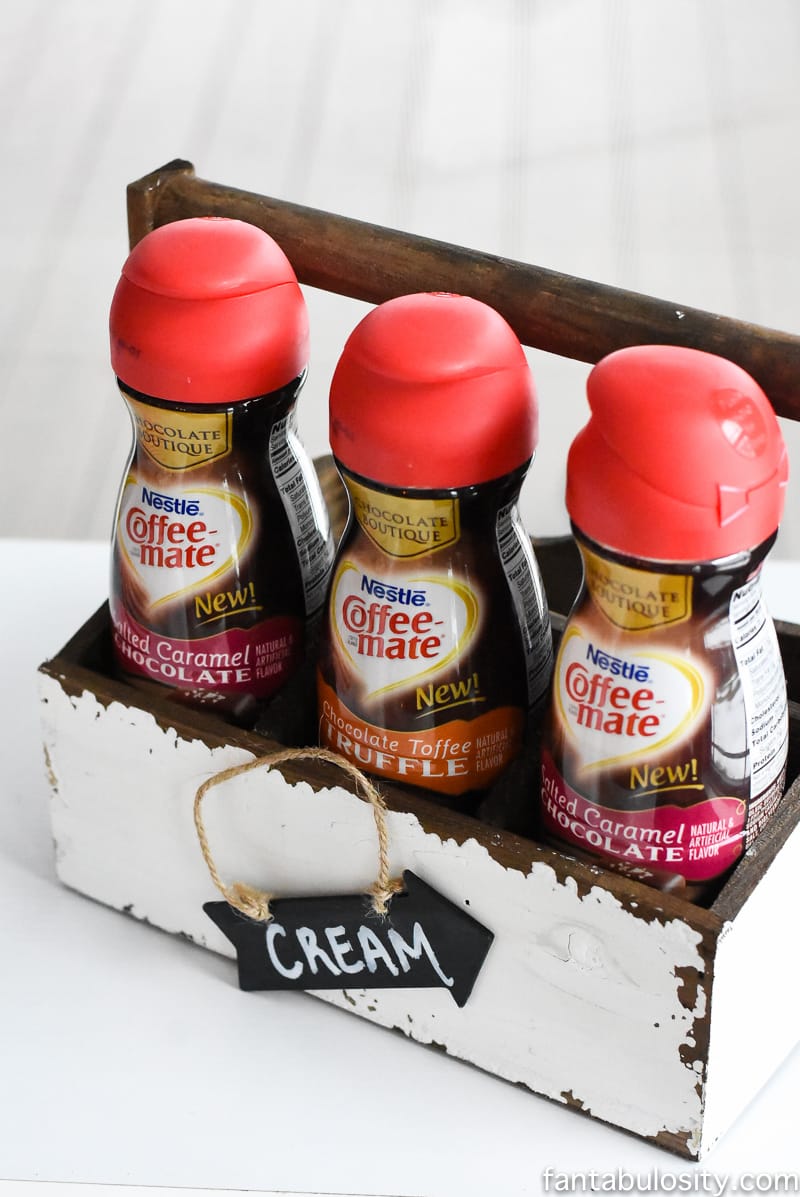
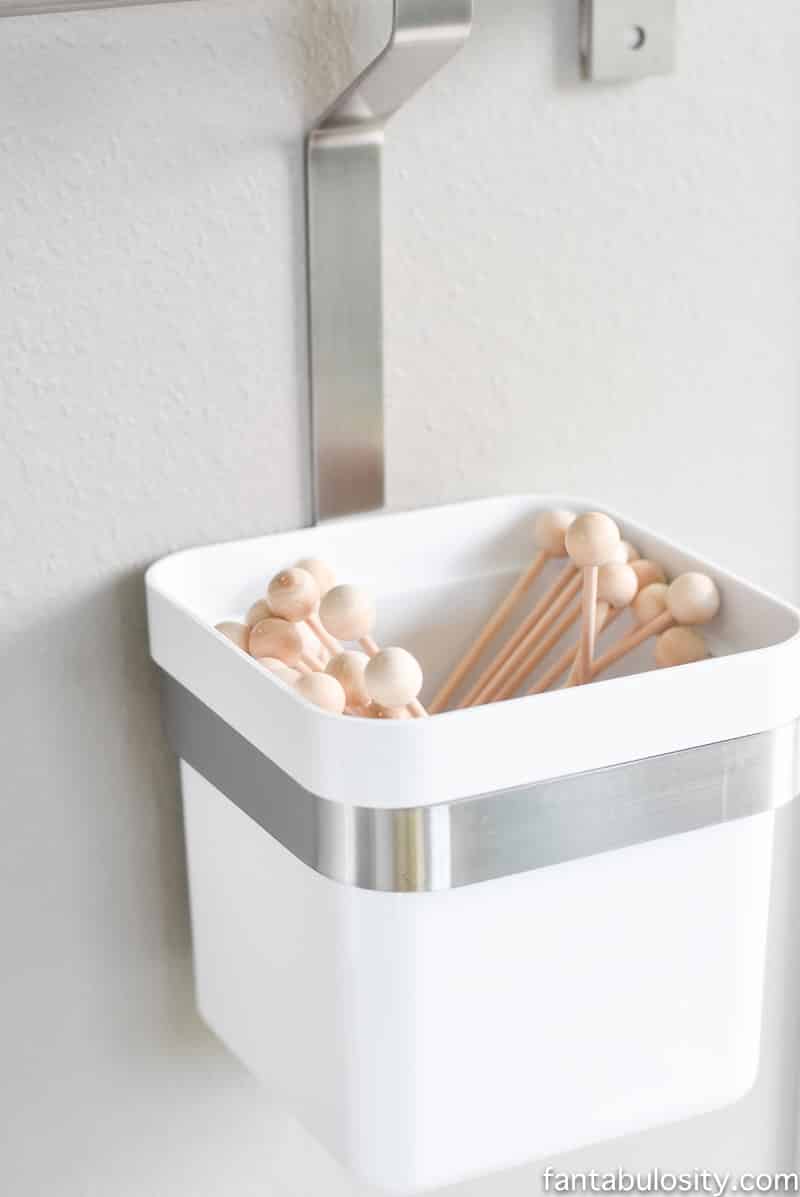
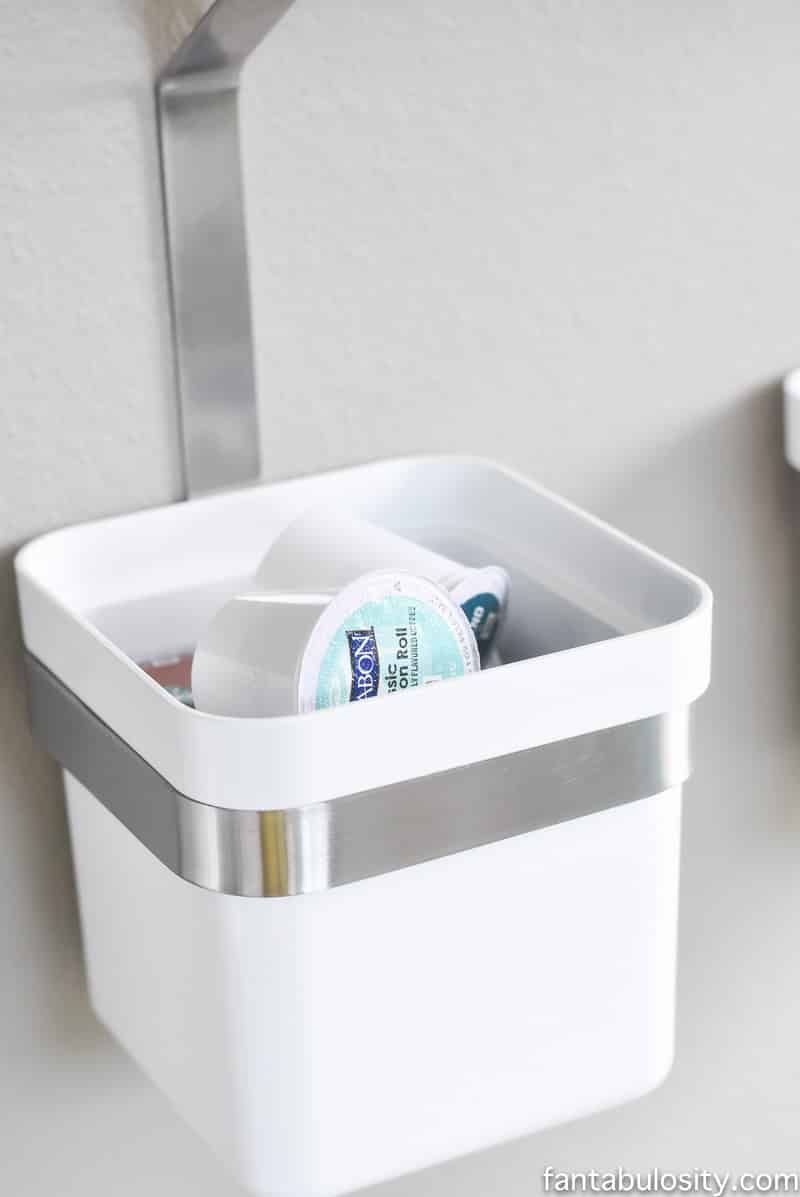
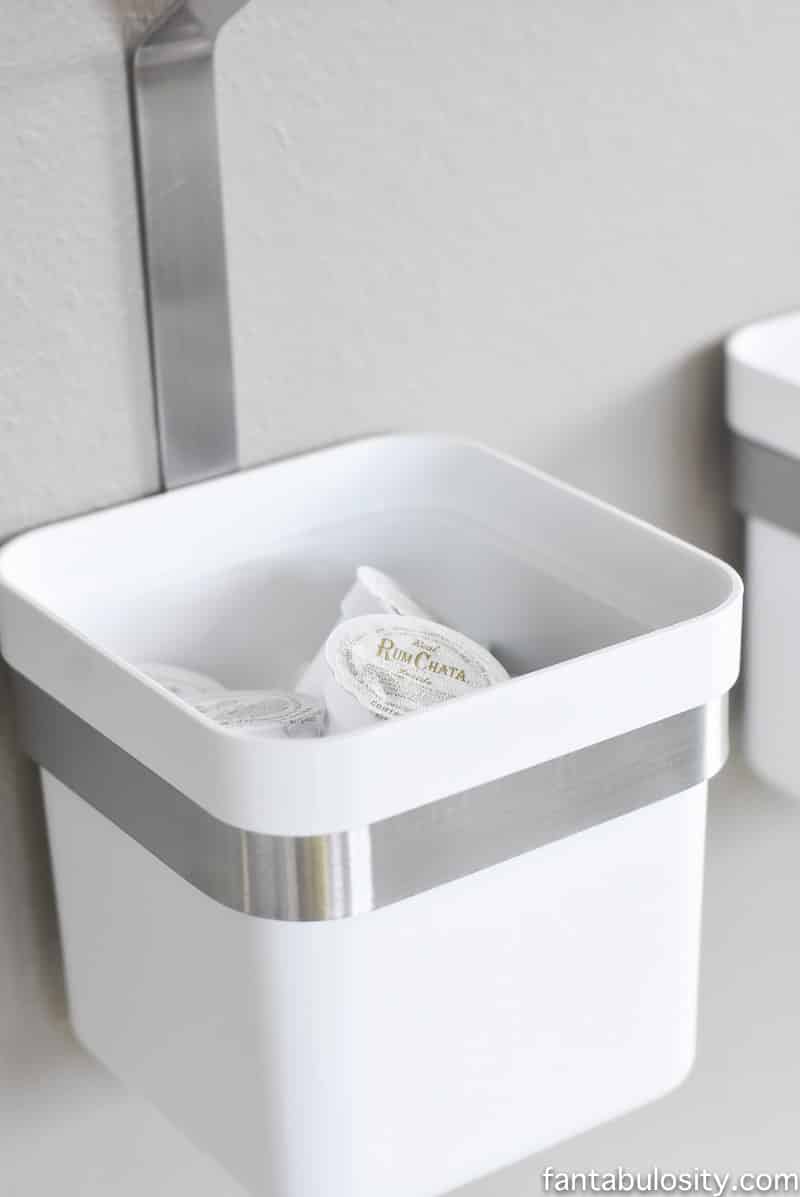
- Coffee add-ins, toppings
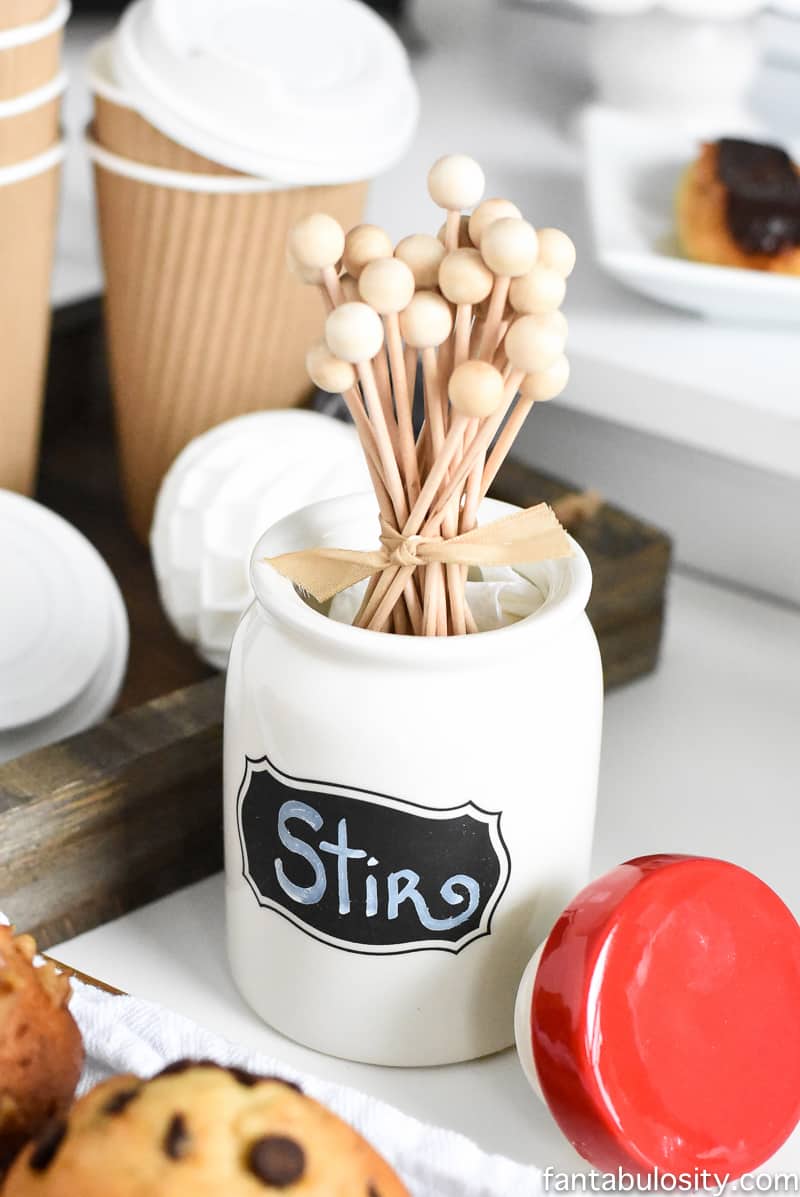
- Drink Stirrers
What to Put on a Bagel Bar
Bagels
- Plain
- Everything
- Cinnamon raisin
- Asiago
- Blueberry
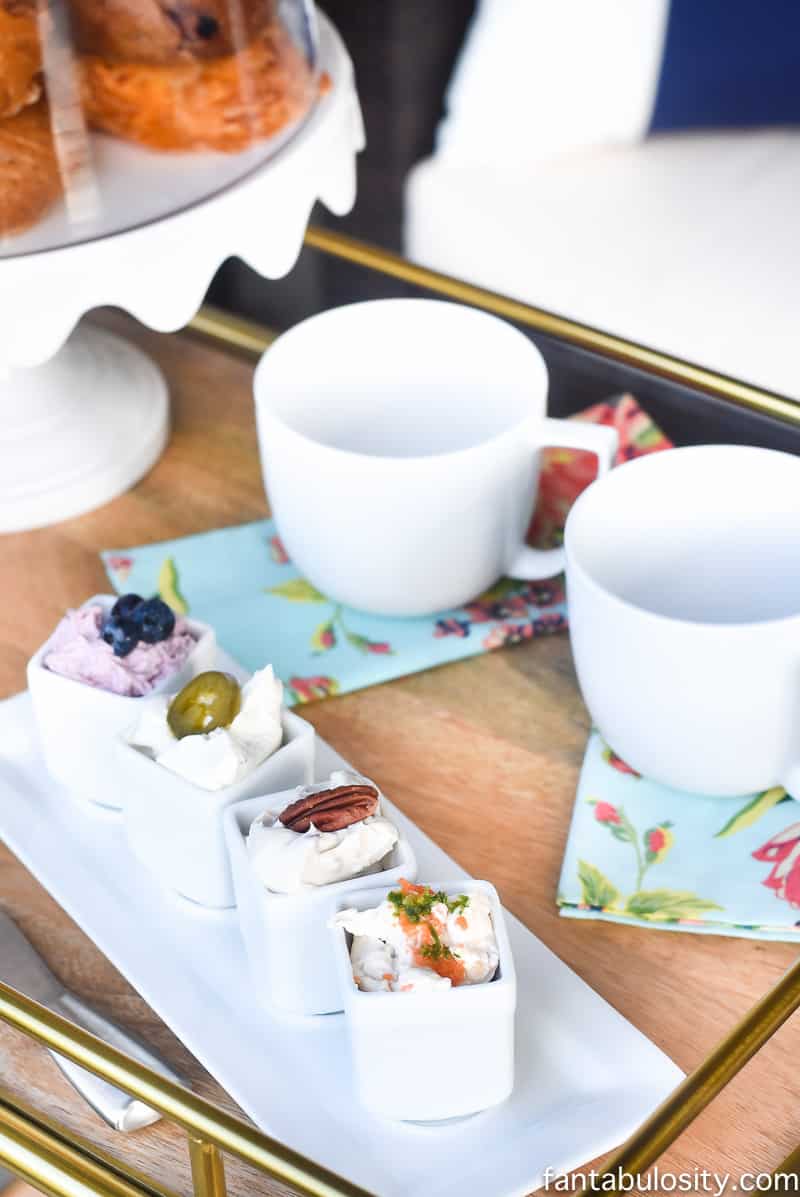
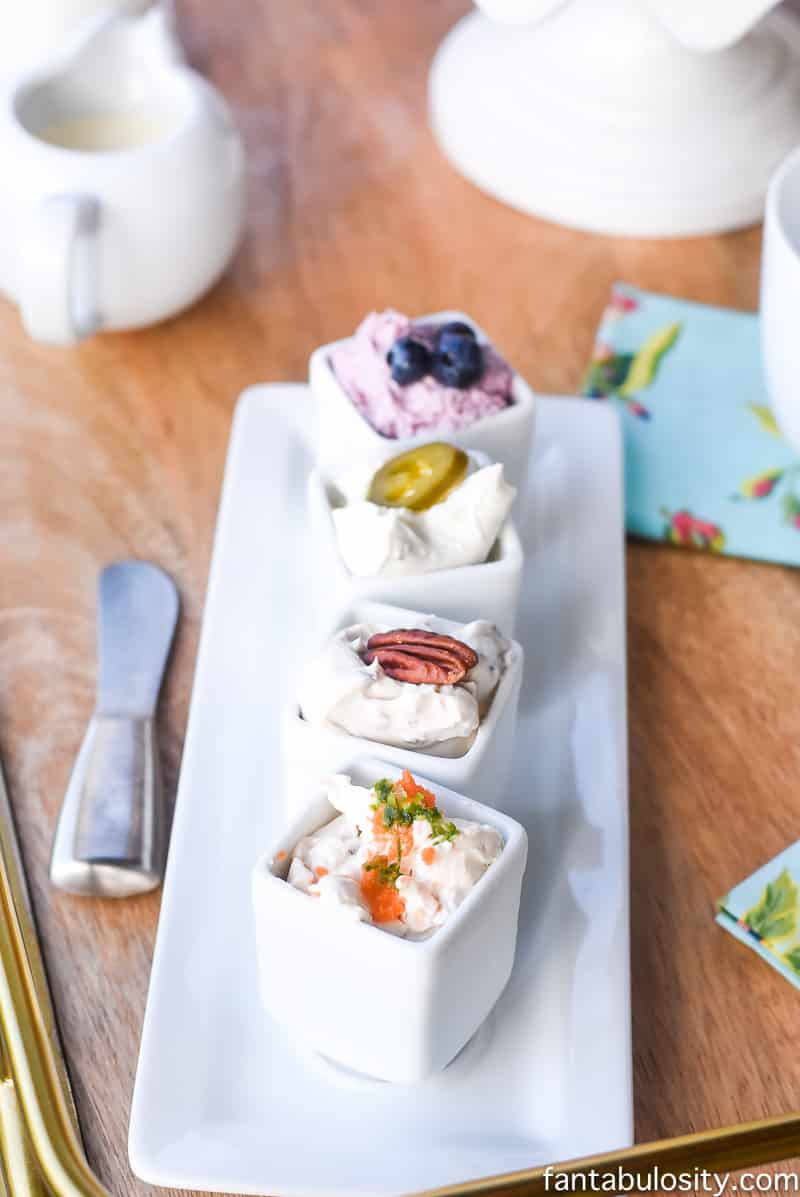
Spreads
- Cream cheese (plain & flavored)
- Butter
- Honey
- Jam
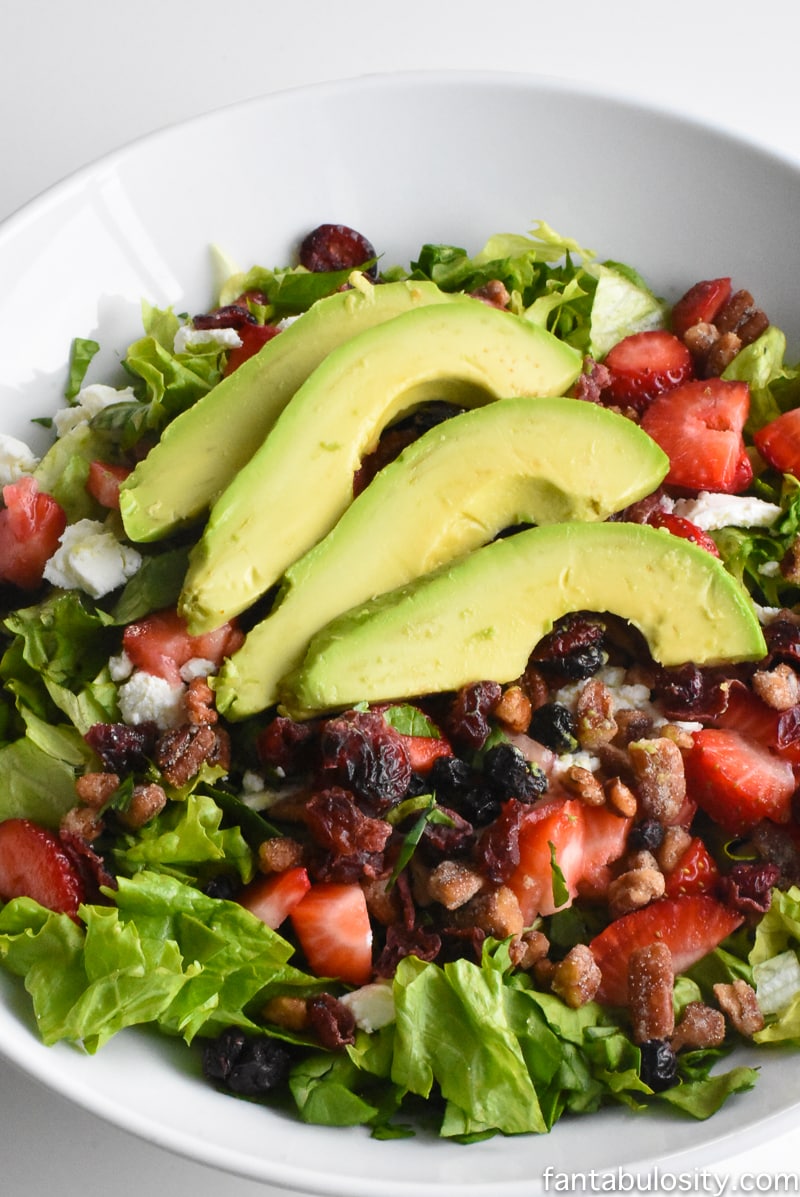
Toppings
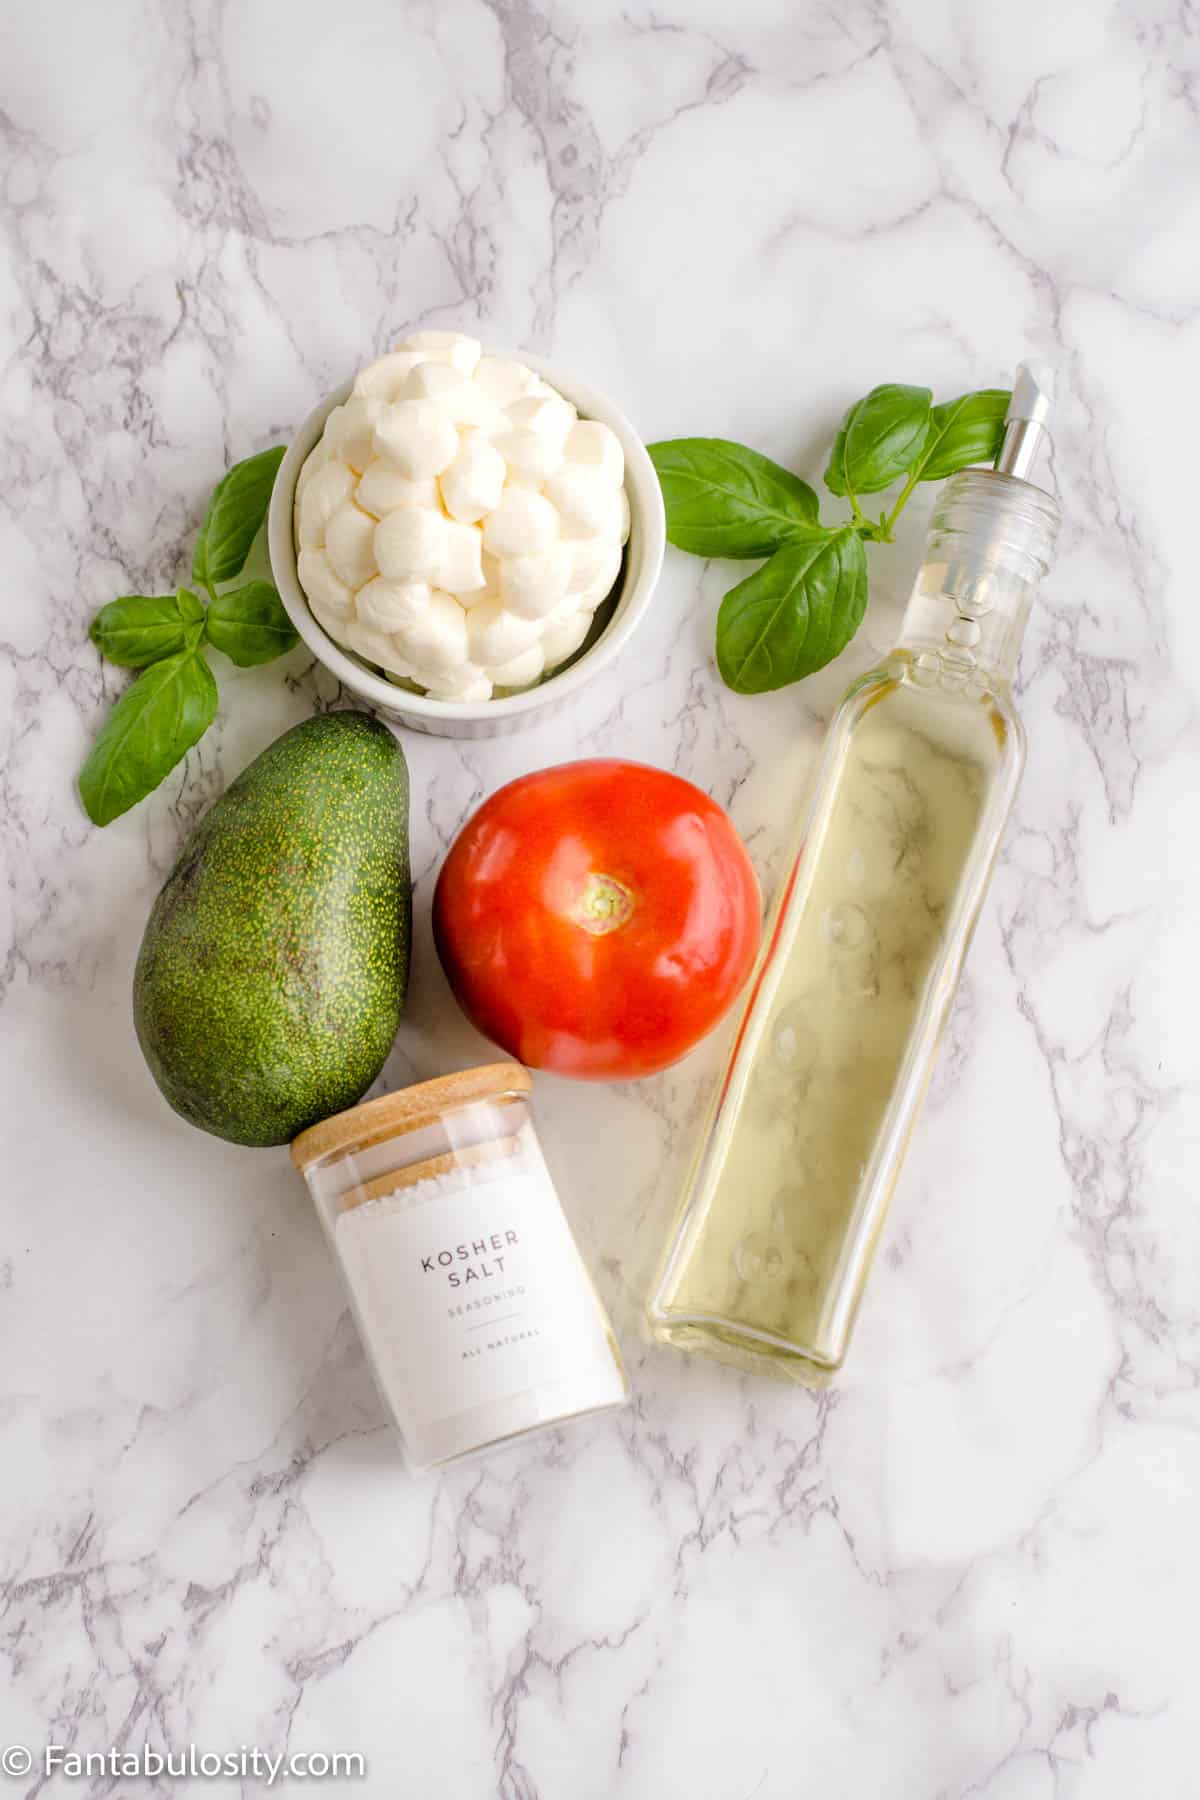
- Sliced fruit
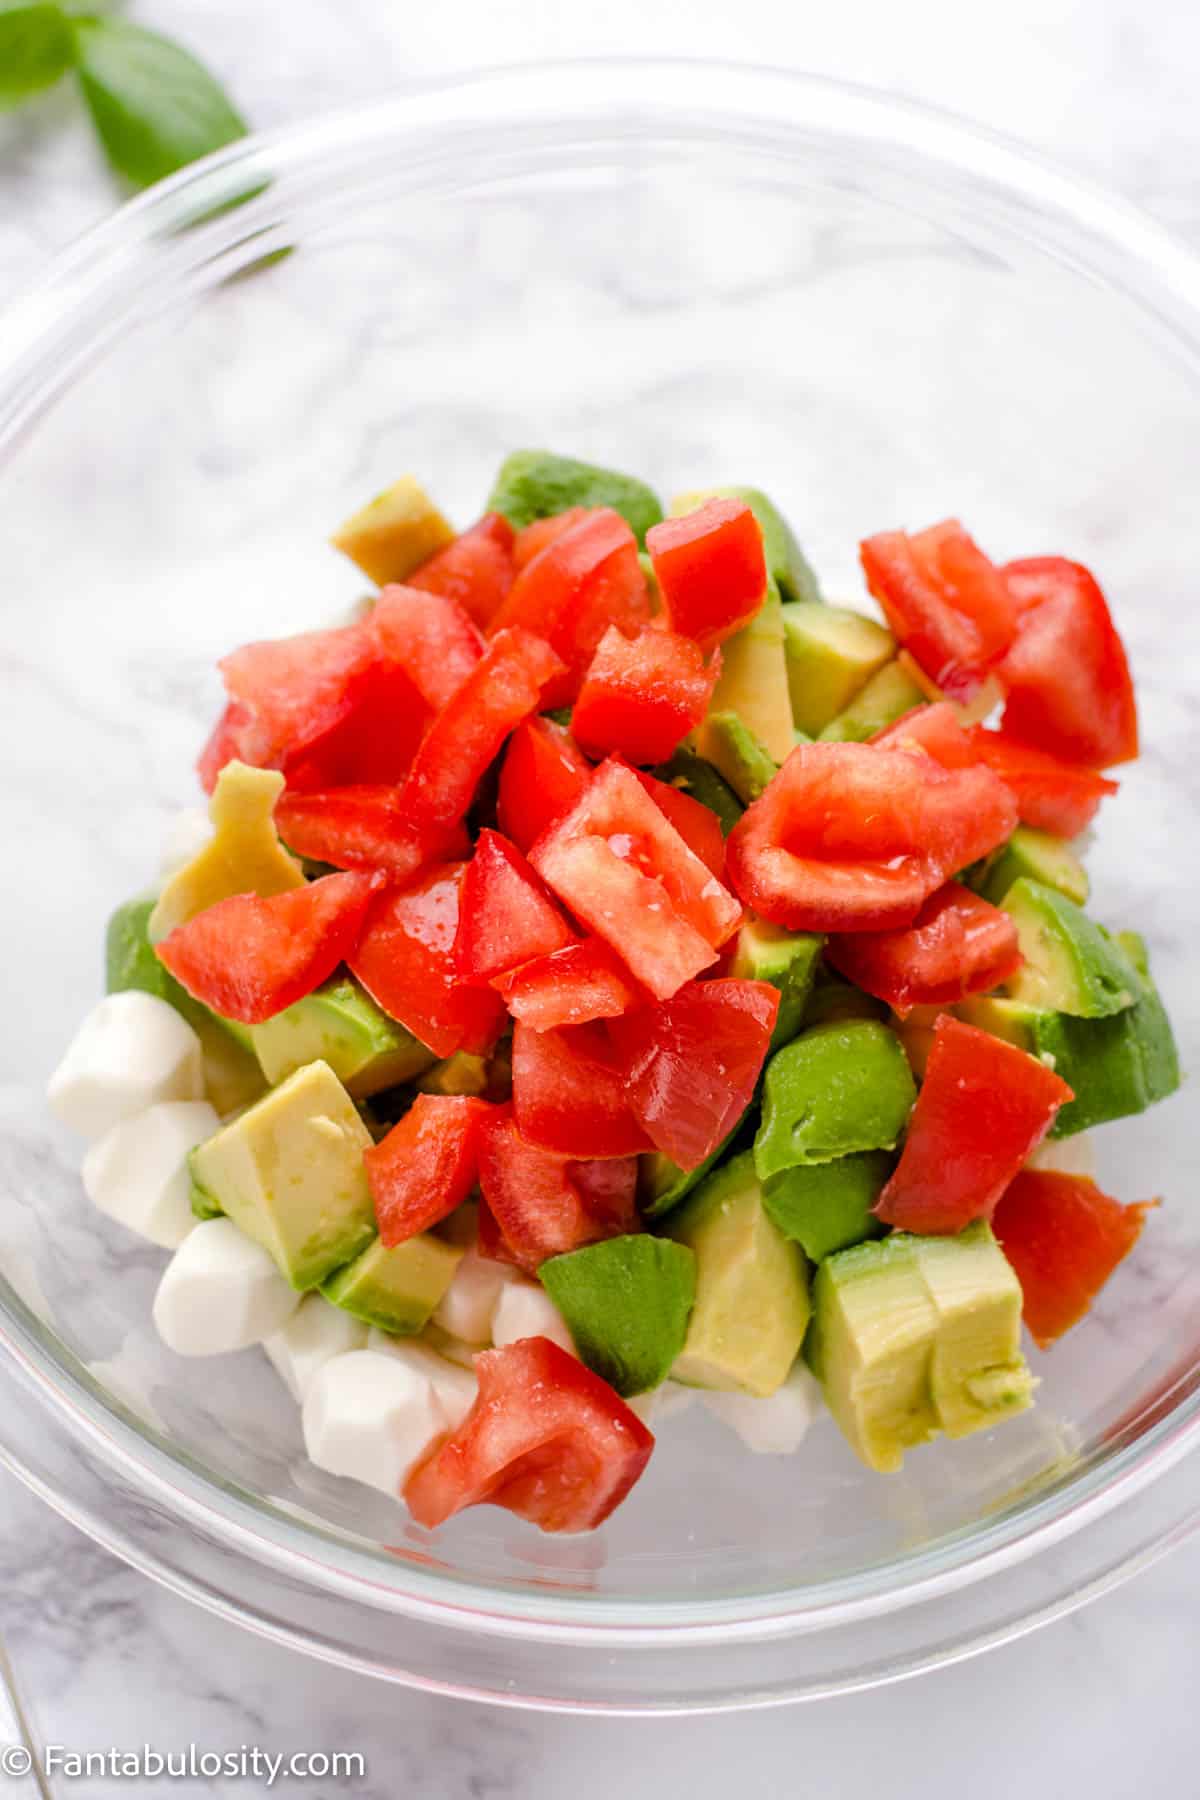
- Tomatoes
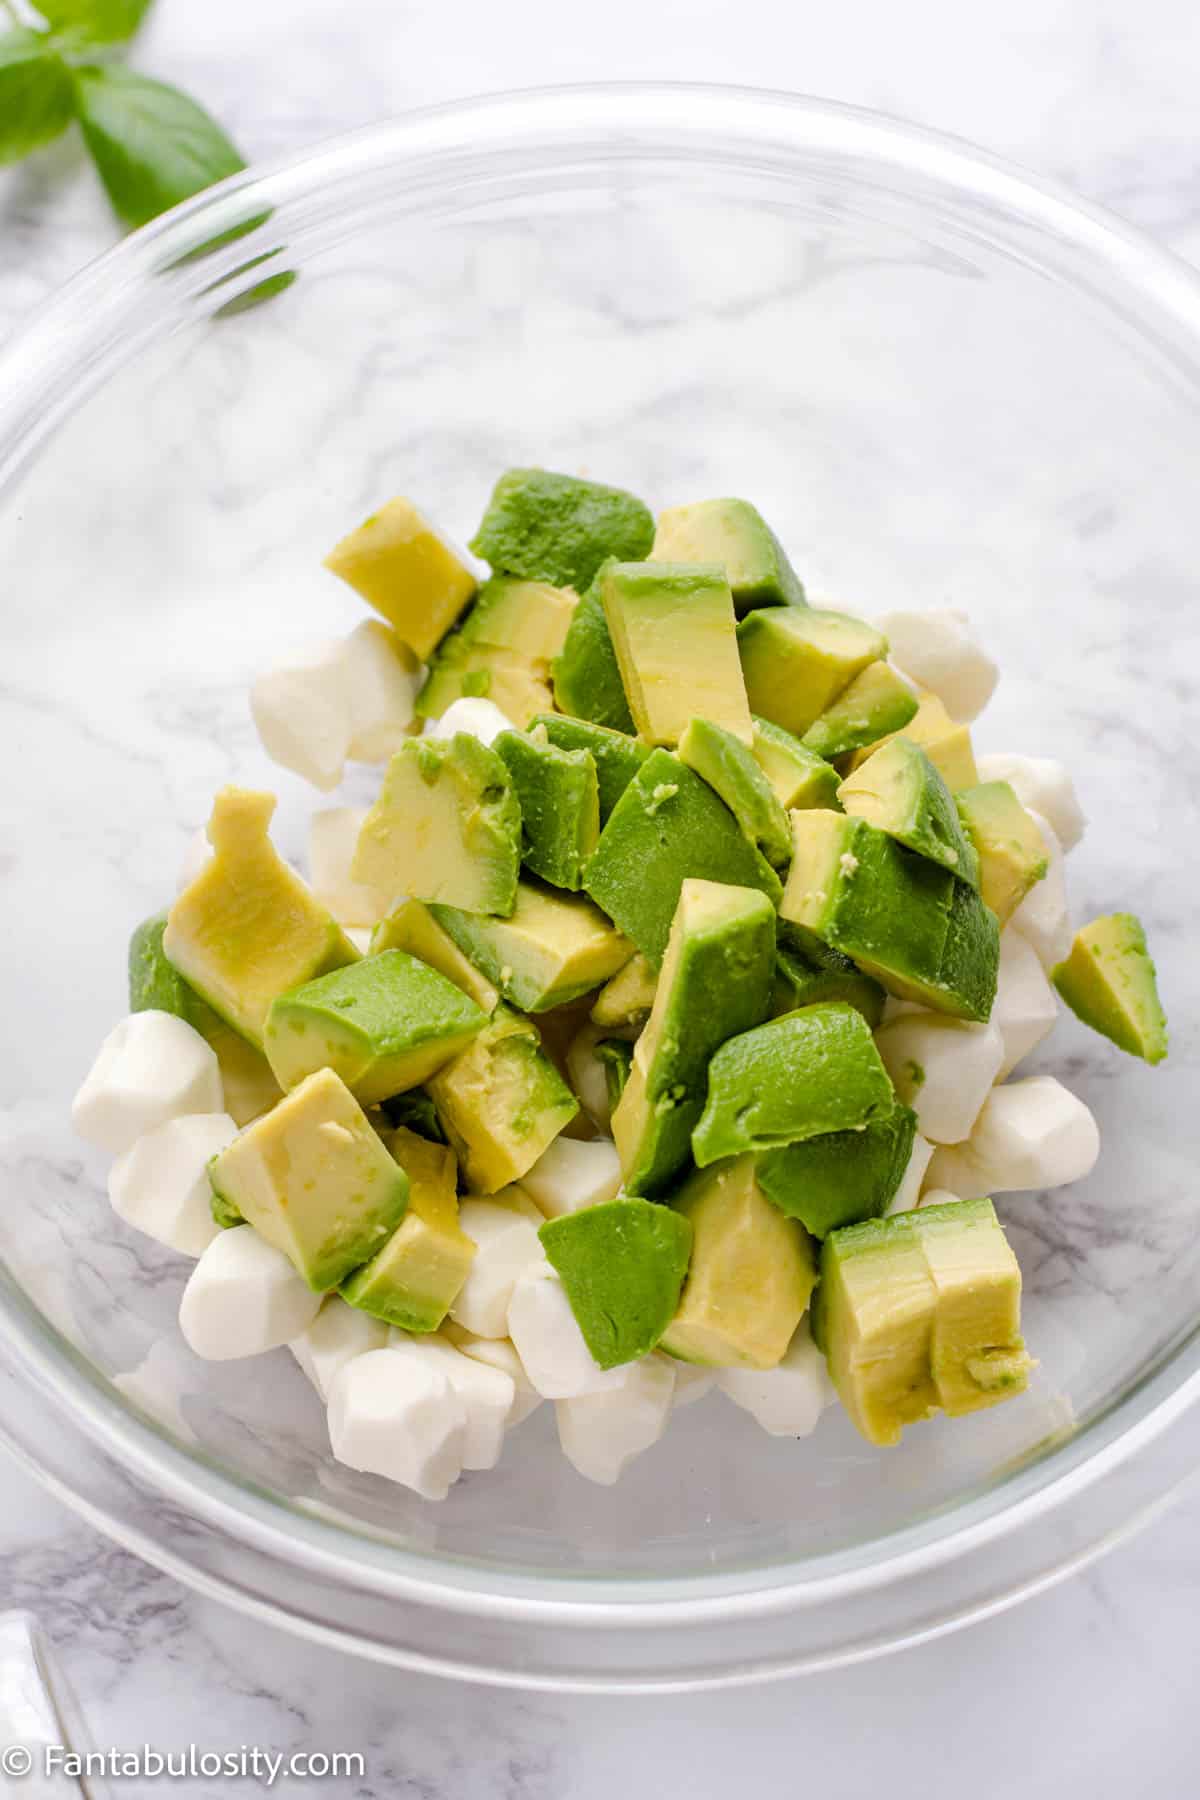
- Avocado
- Smoked salmon
- Nuts
How to Set Up a Bagel Bar
- Arrange bagels first
- Place spreads and toppings nearby
- Include knives and small serving utensils
- Add a toaster if possible
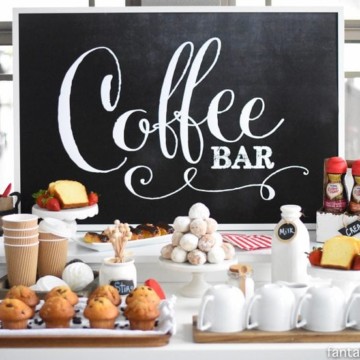
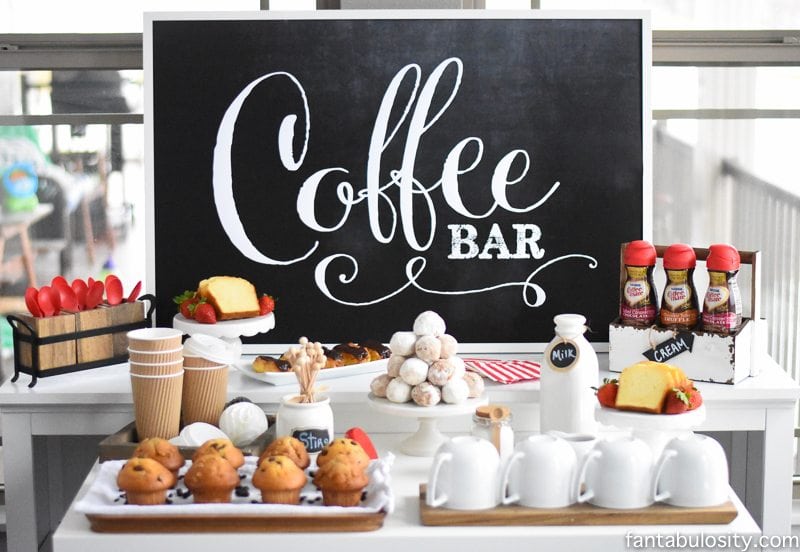
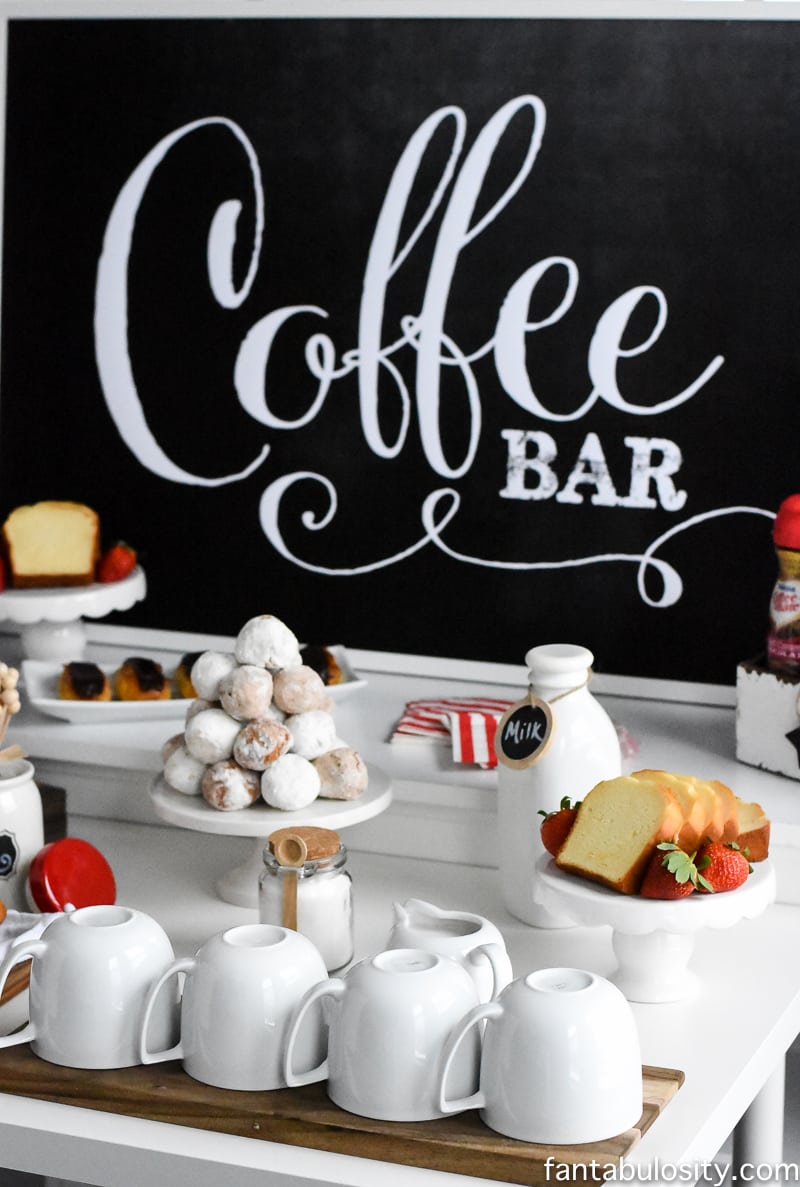
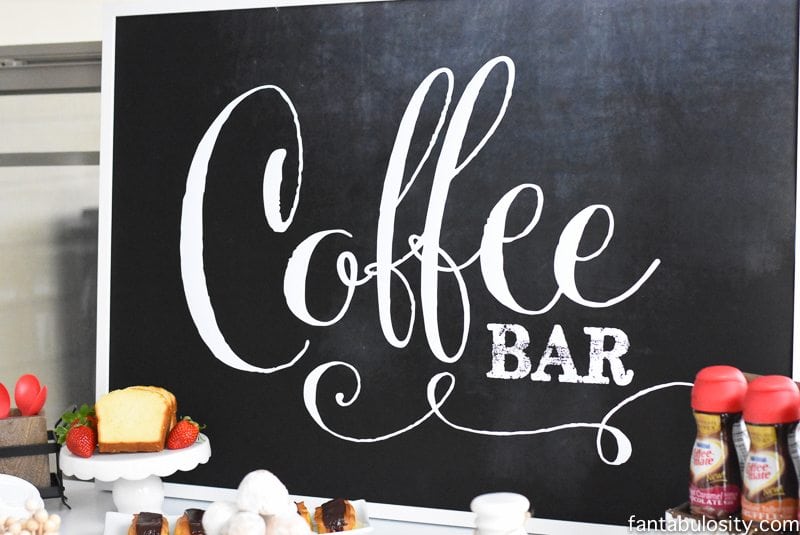
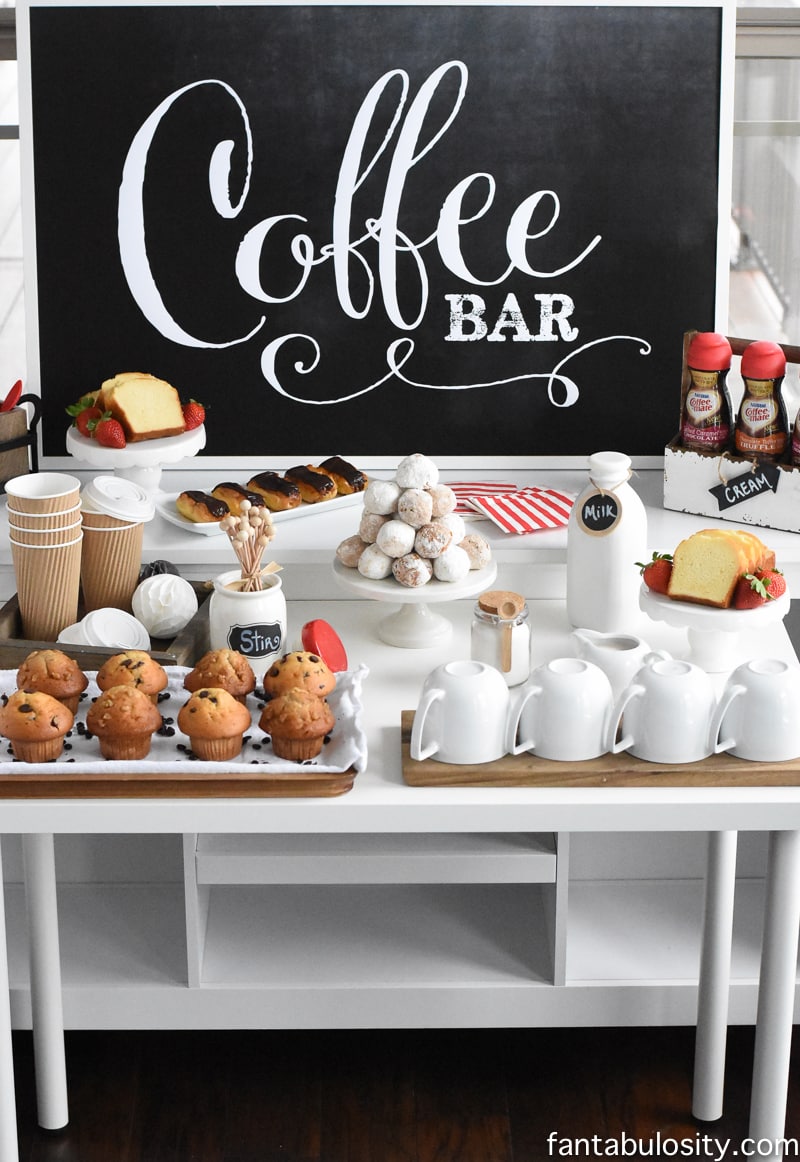
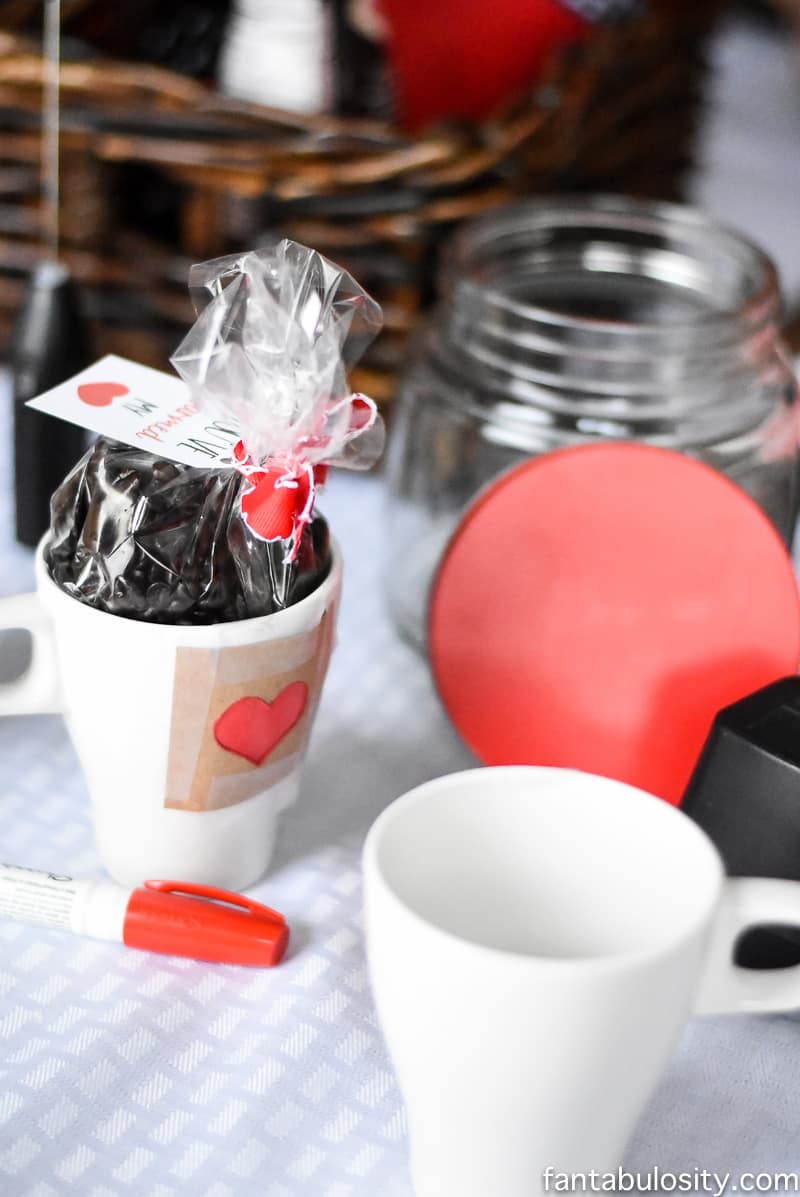
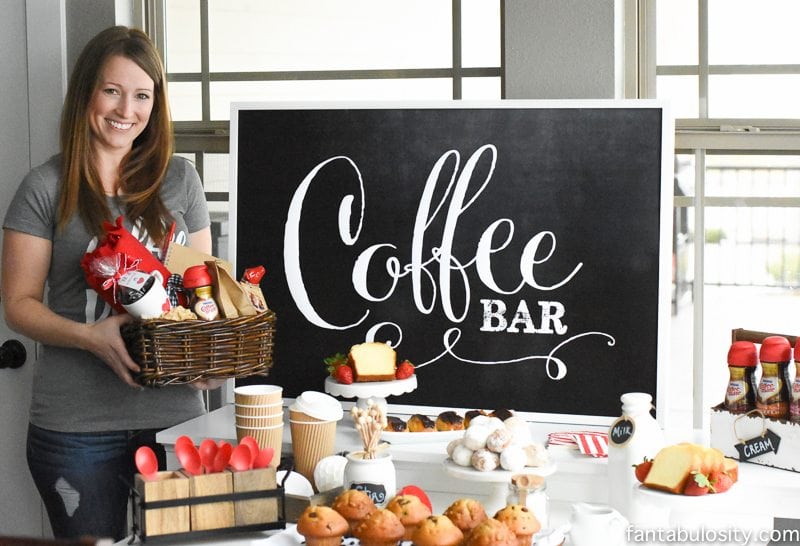
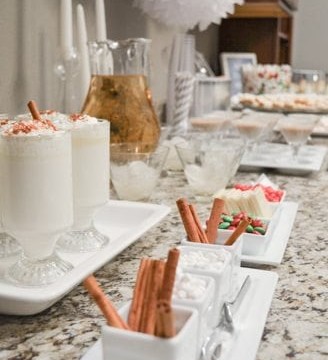
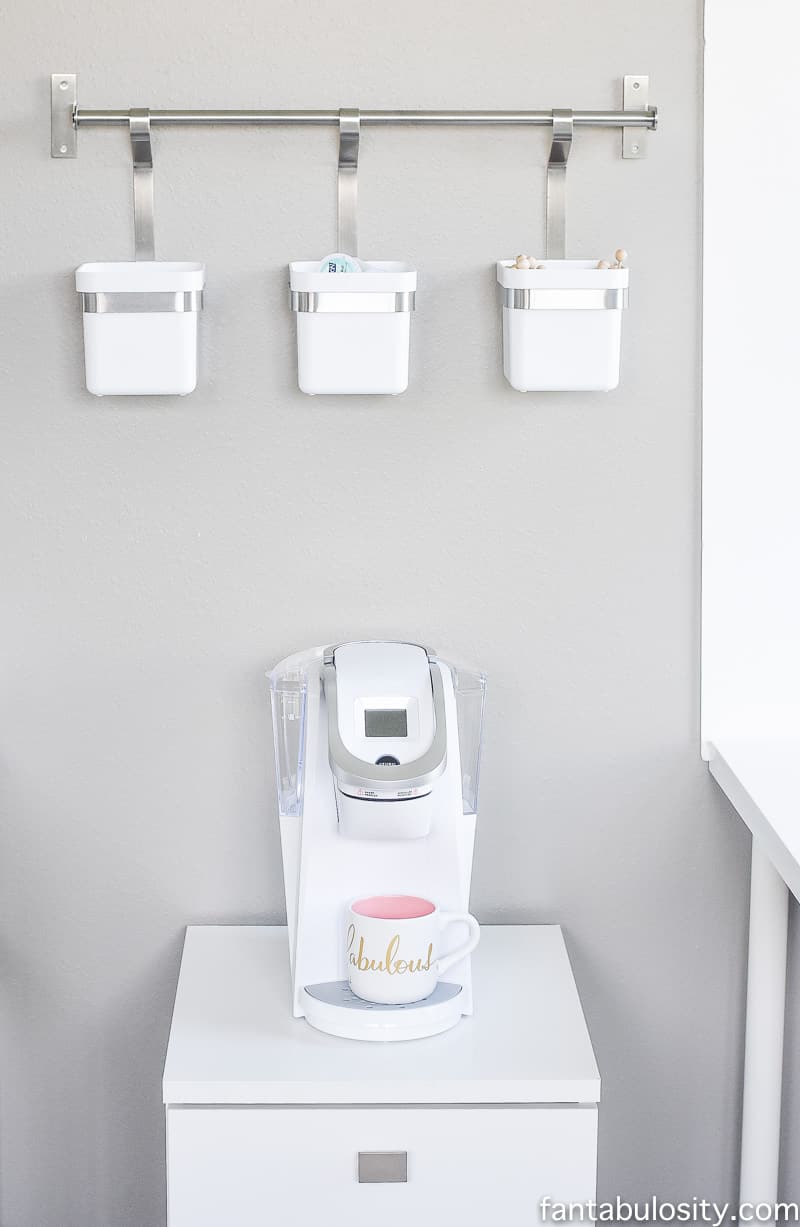
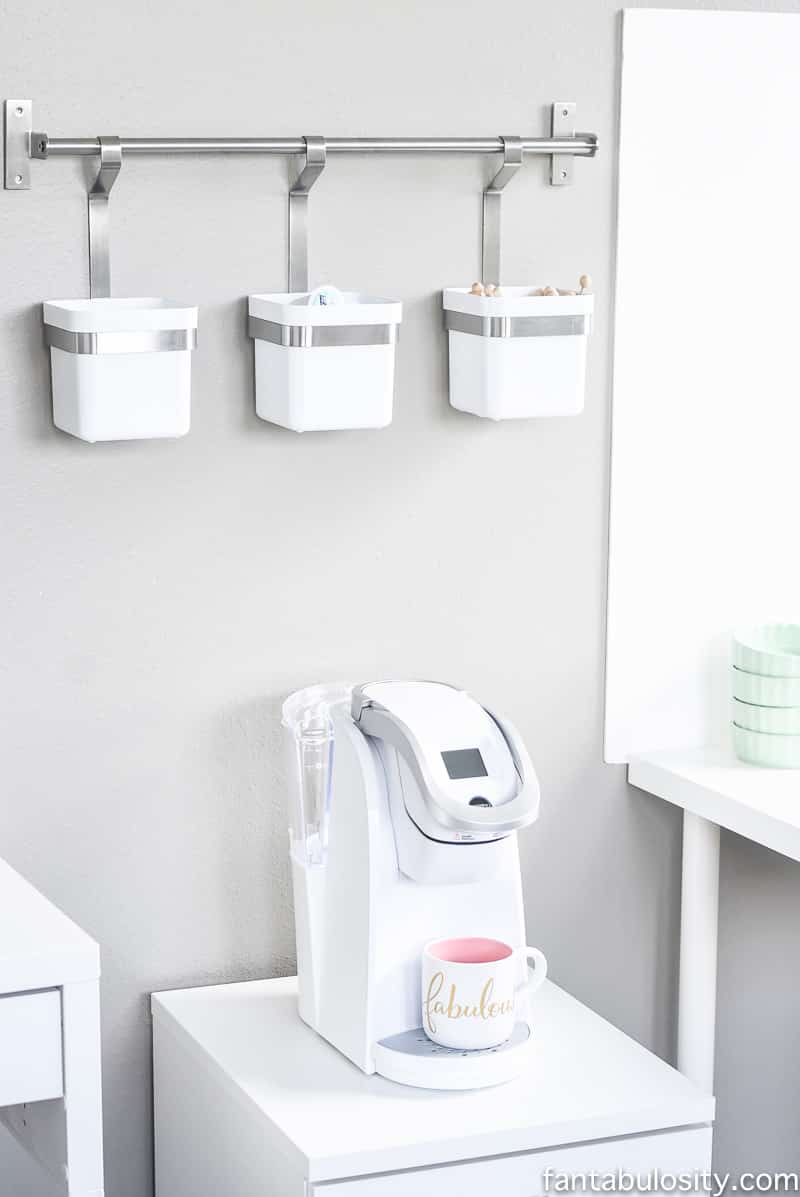
Coffee Bar
If you have more time, offering coffee alongside your bagel bar is a great choice, since the two go hand in hand.
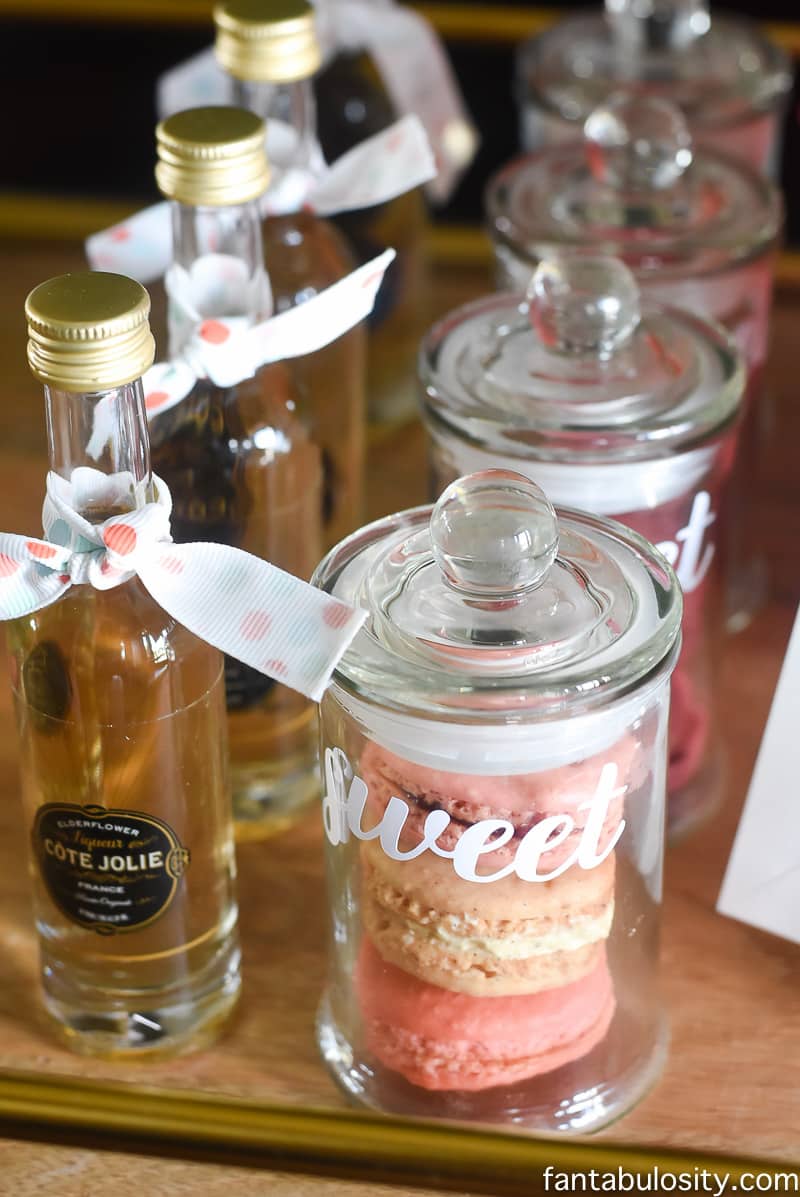
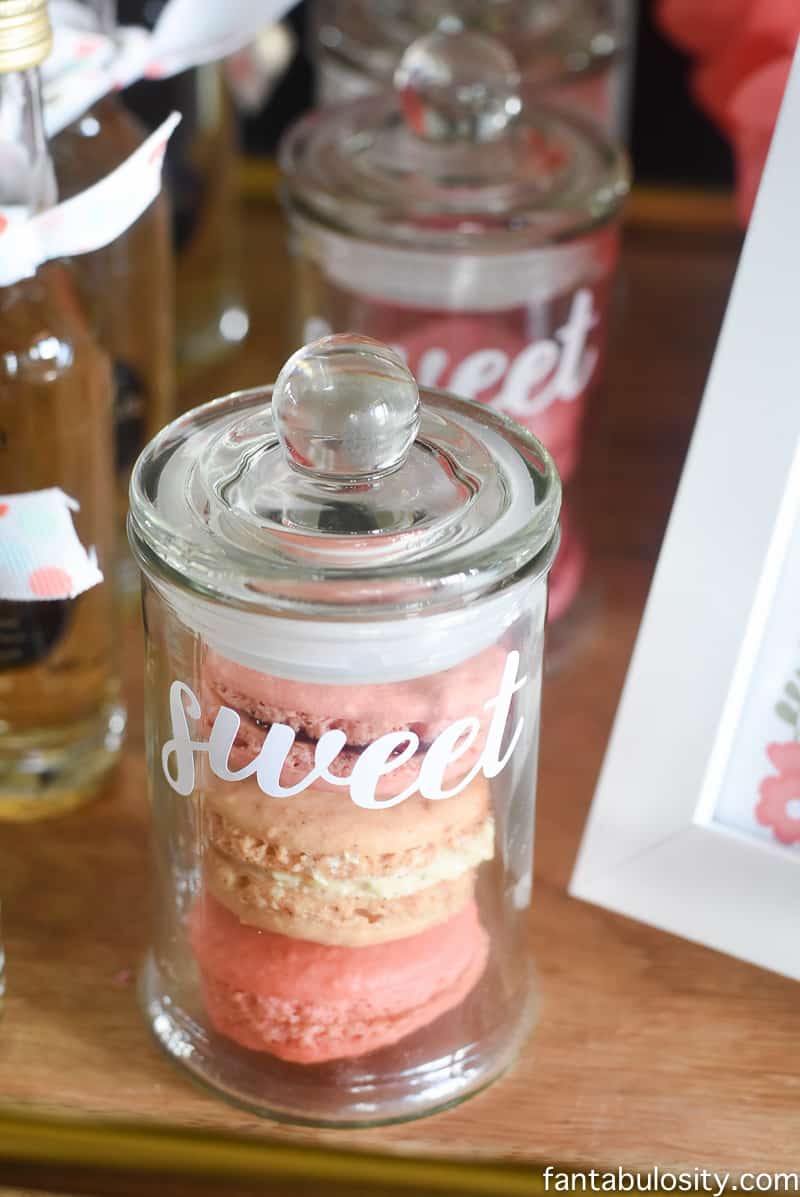
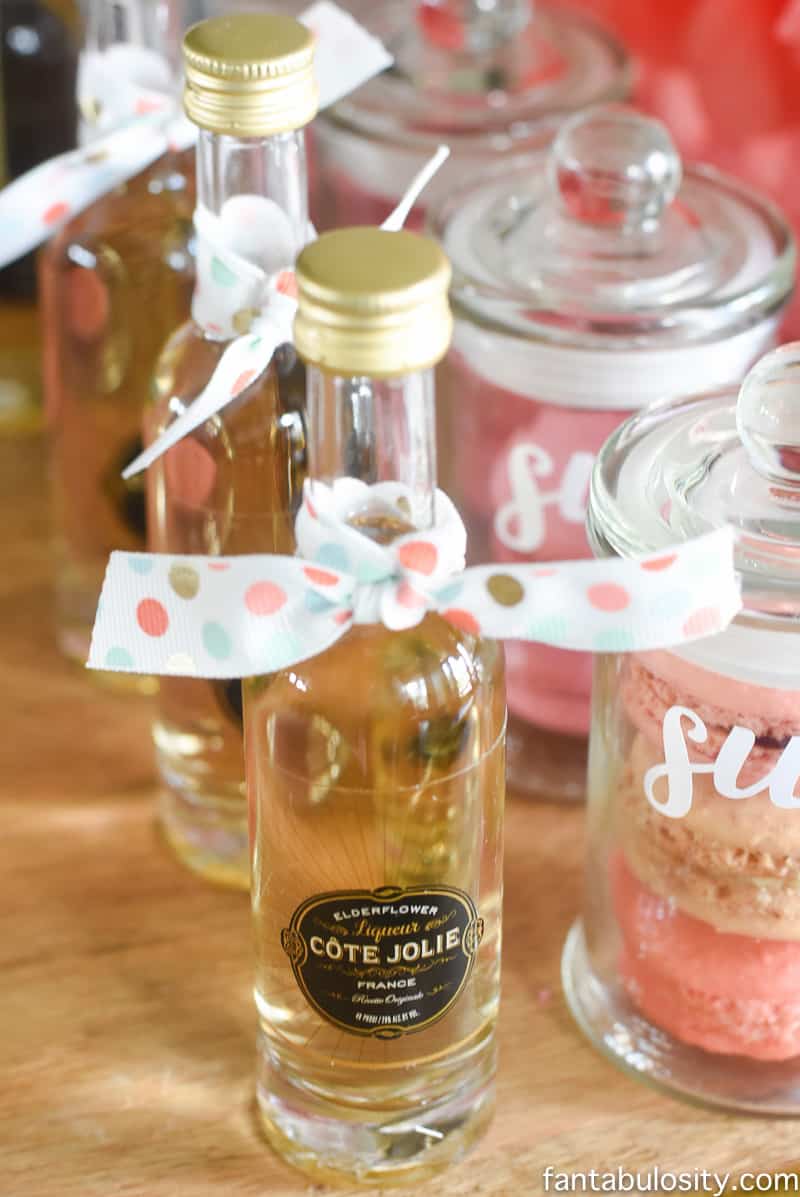
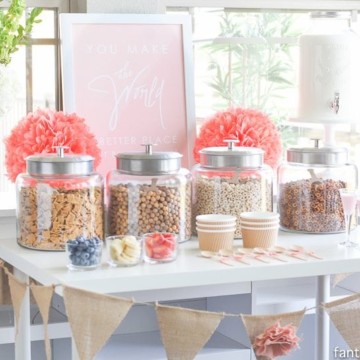
Check out the coffee bar party that I styled, to get ideas for your own get-together!
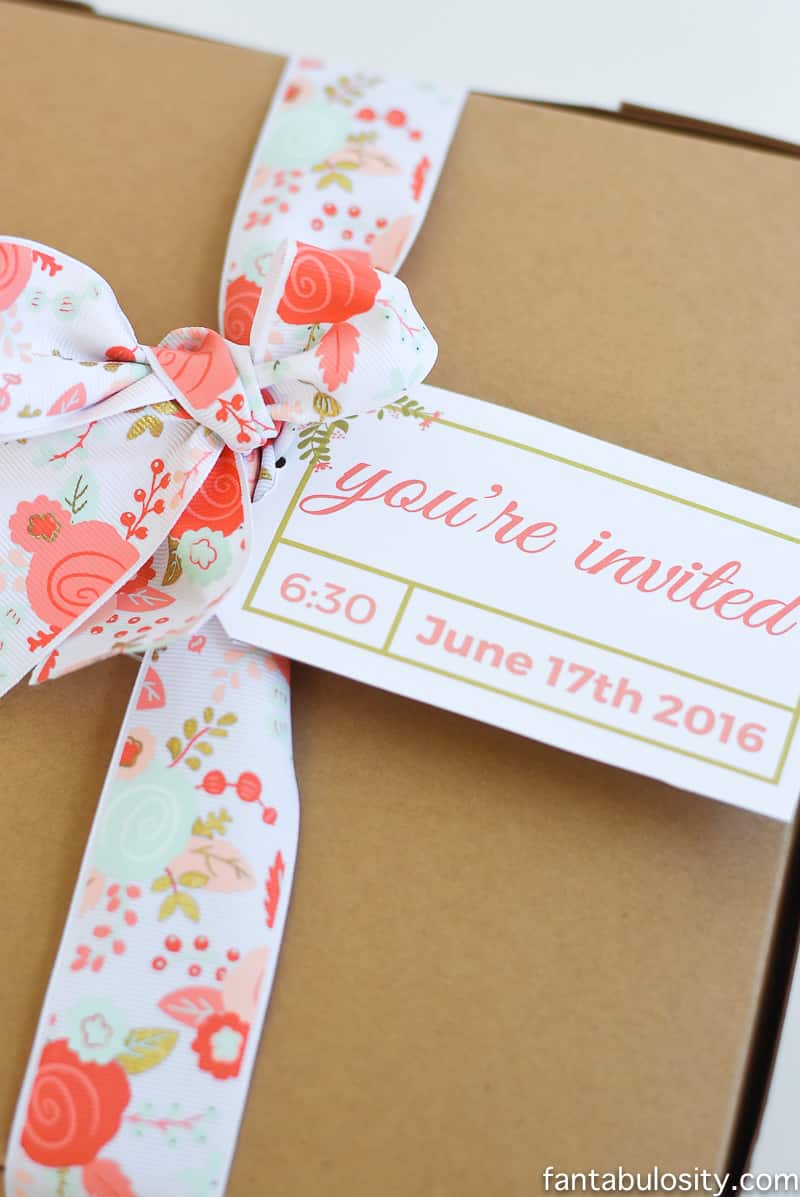
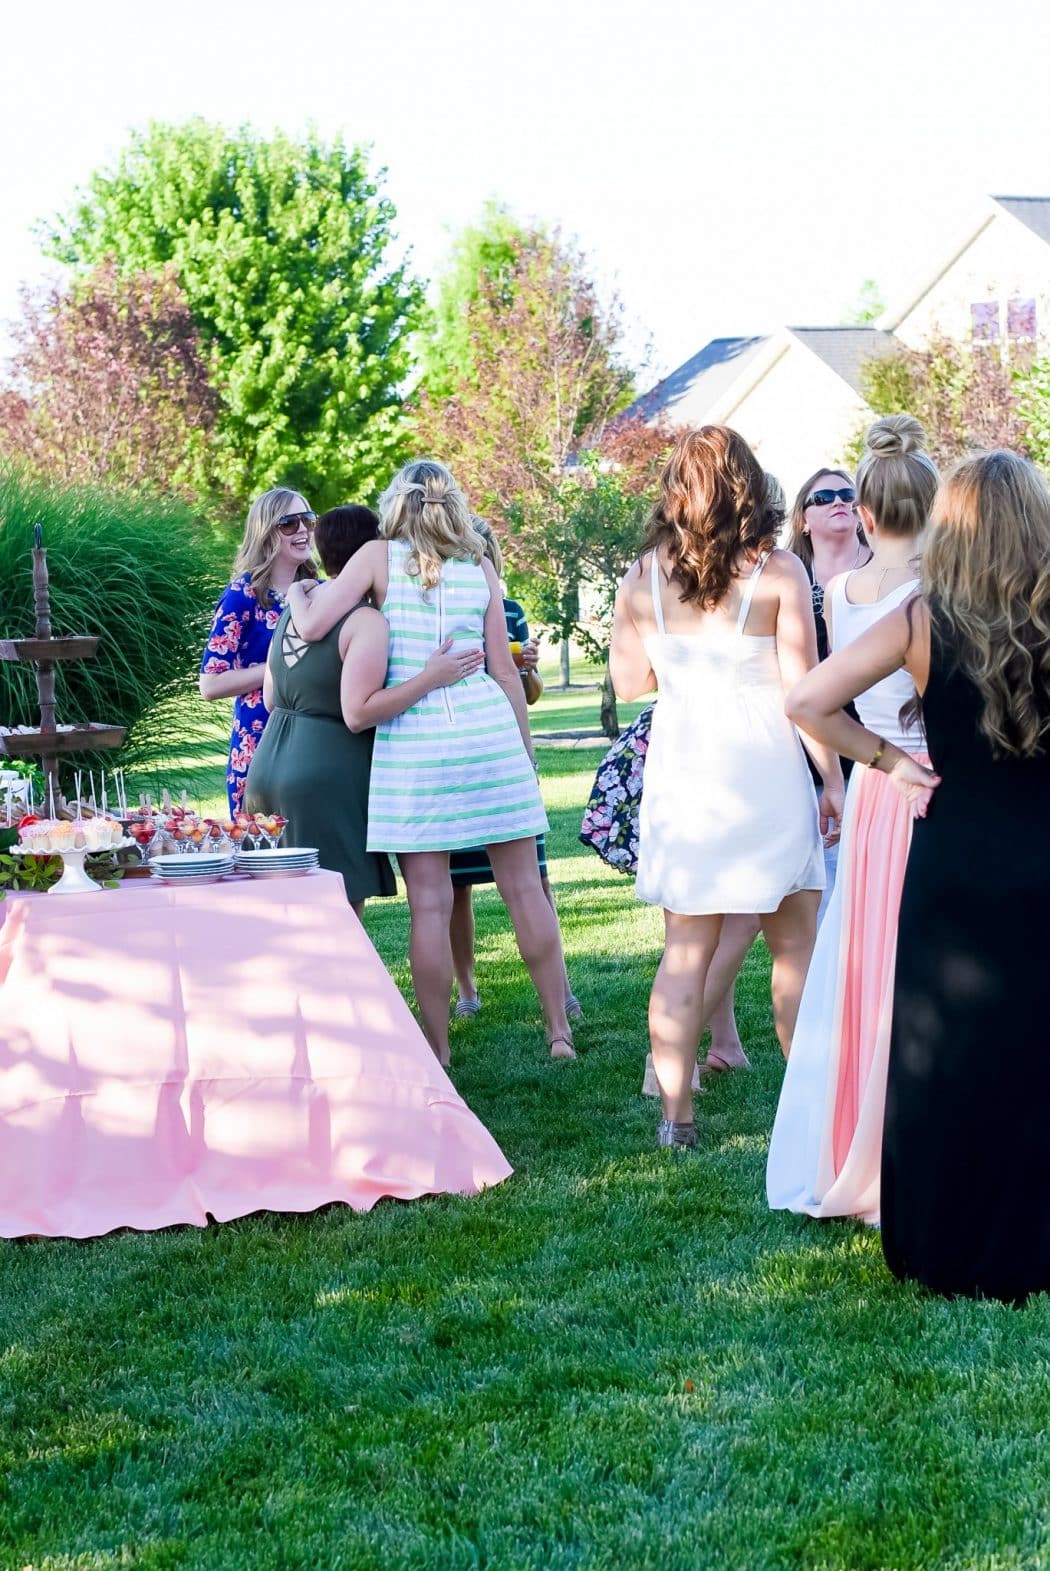
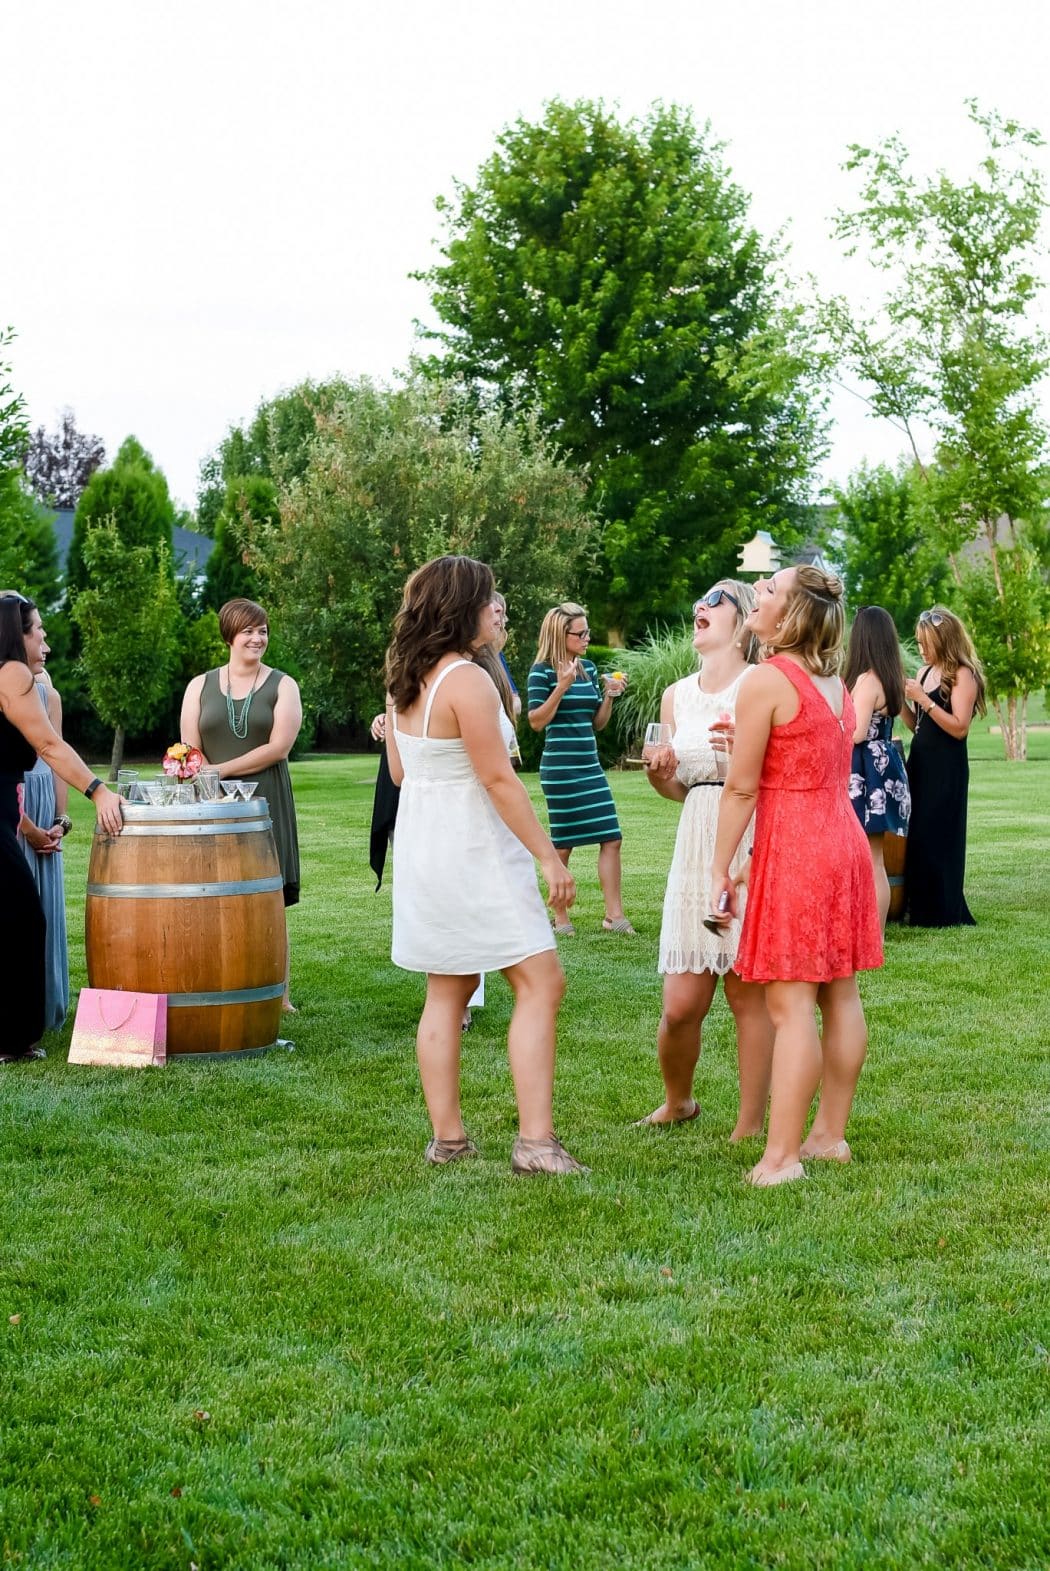
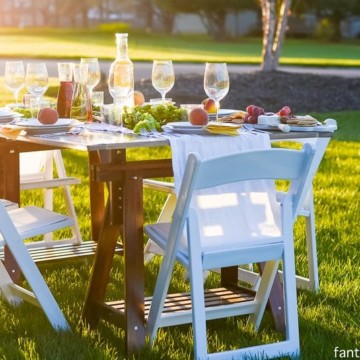
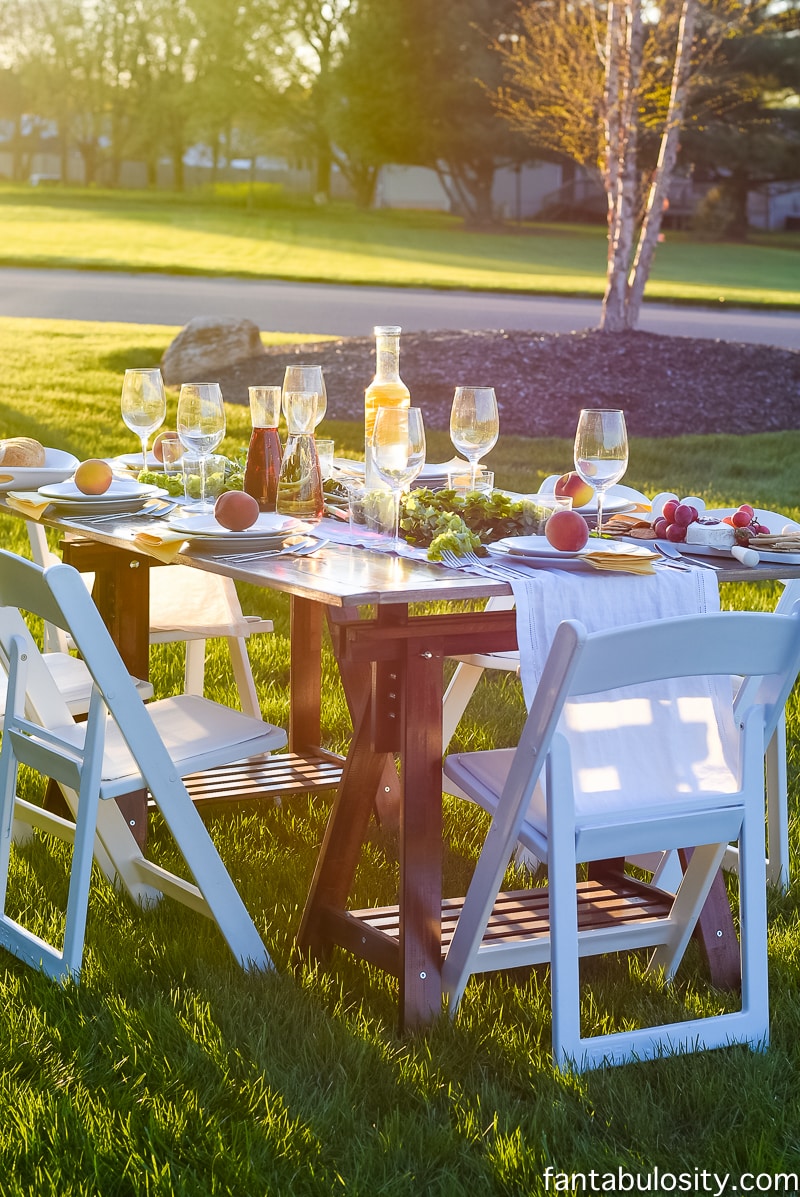
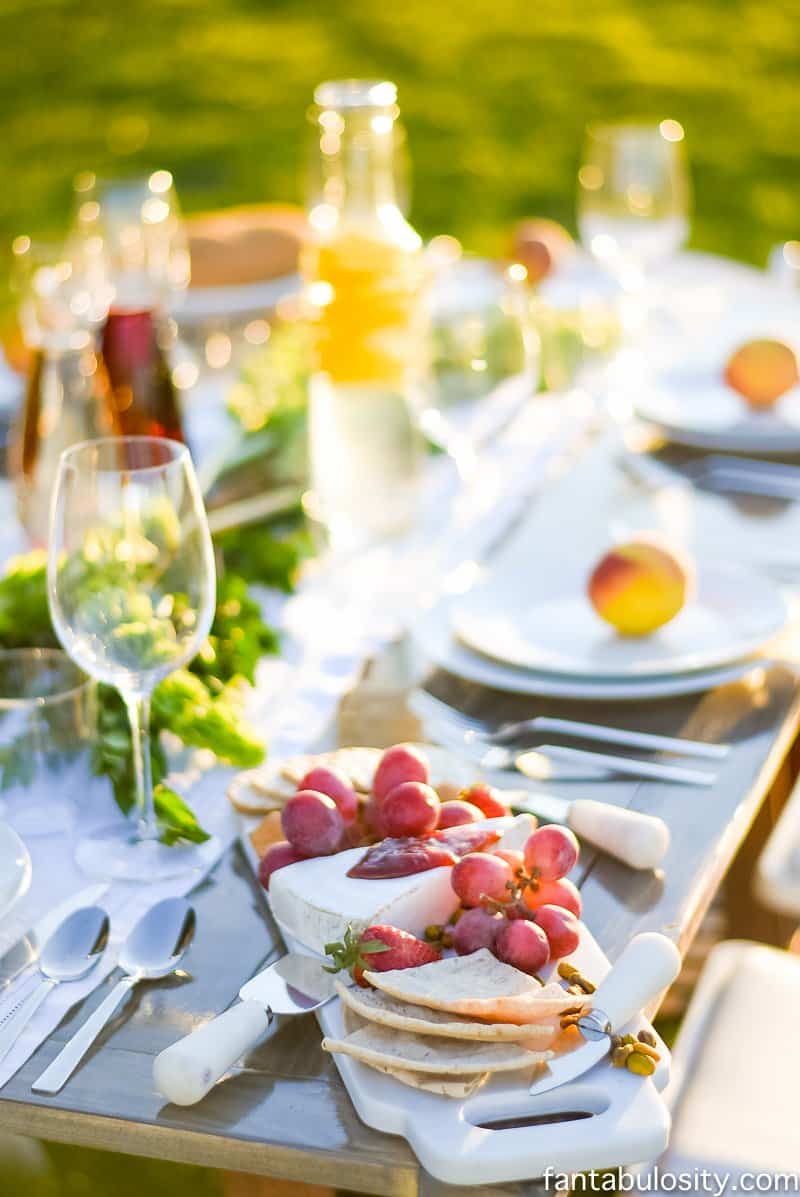
How cute would a bagel cart be at an outdoor brunch, like when I styled this backyard ladies’ luncheon!
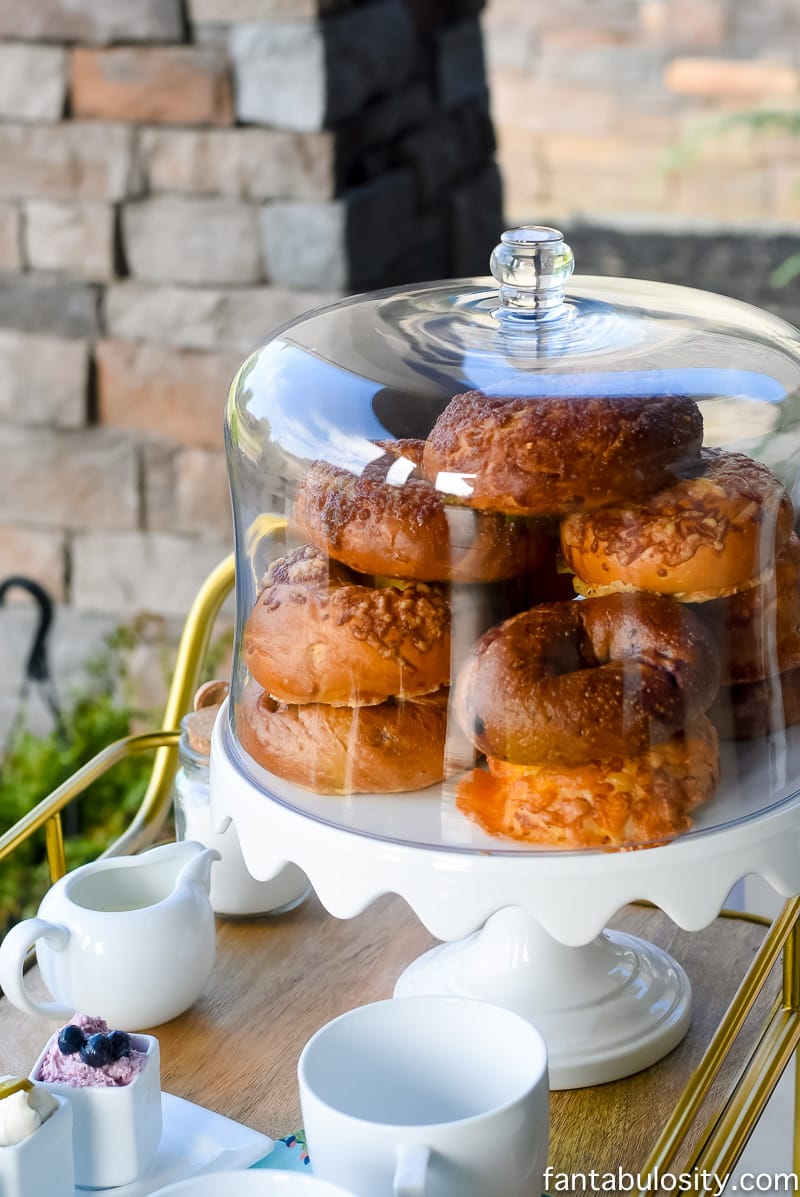

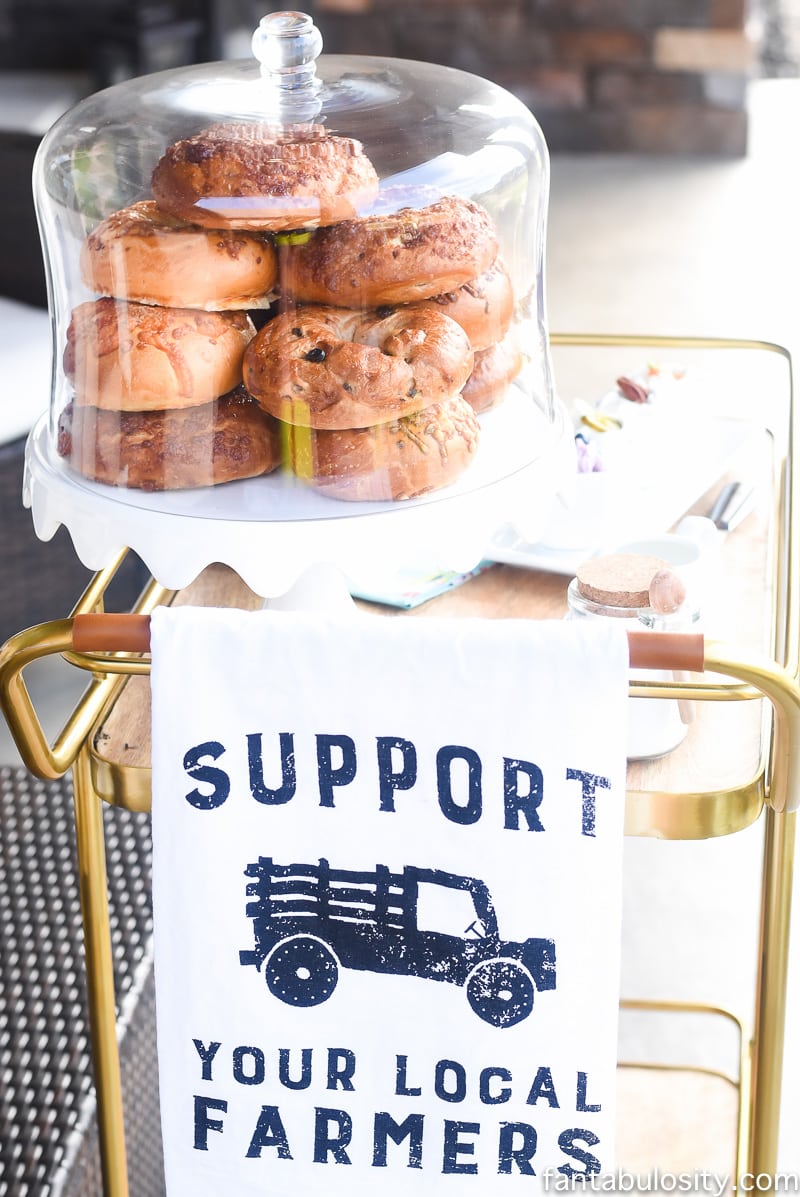
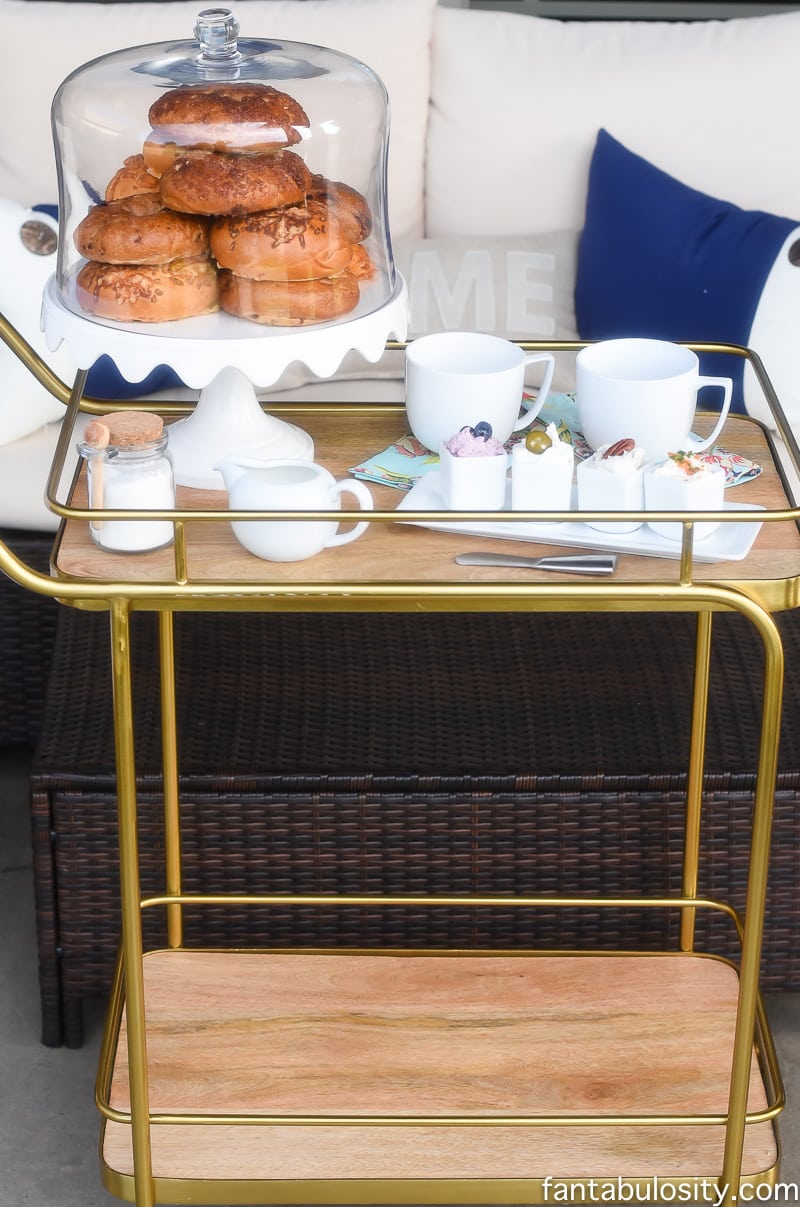
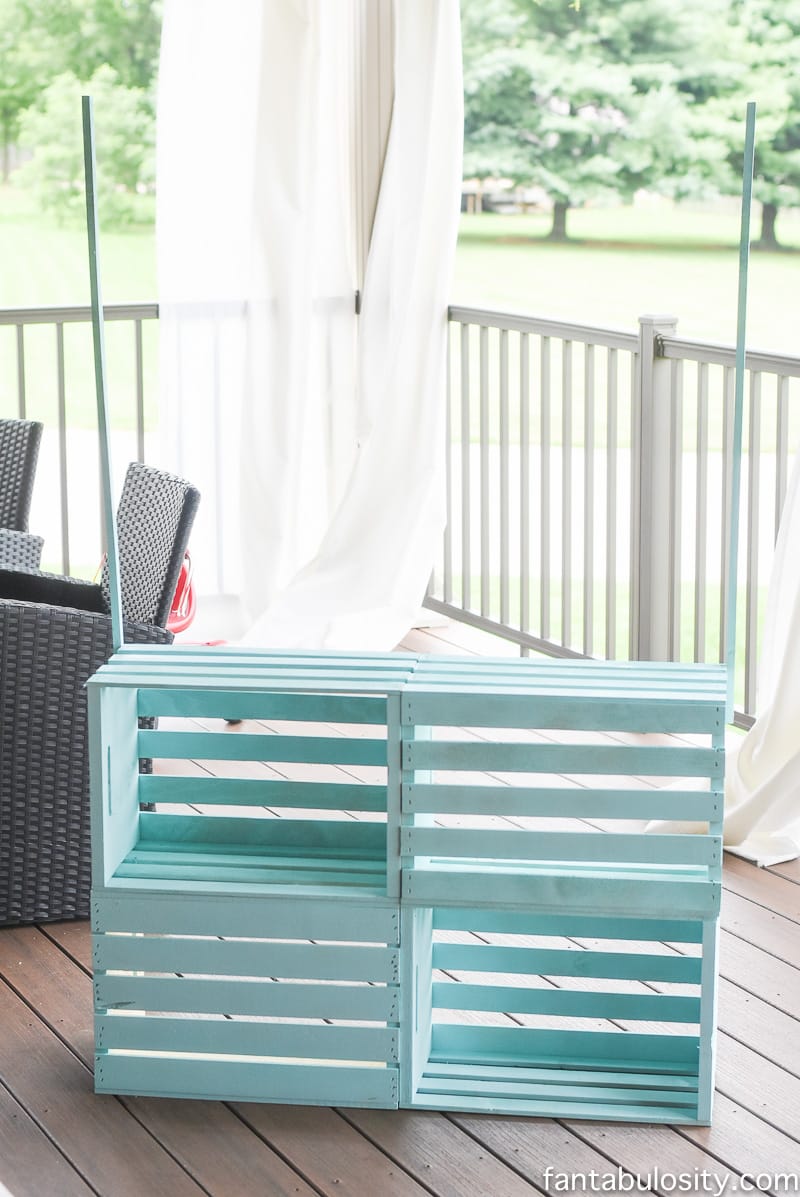
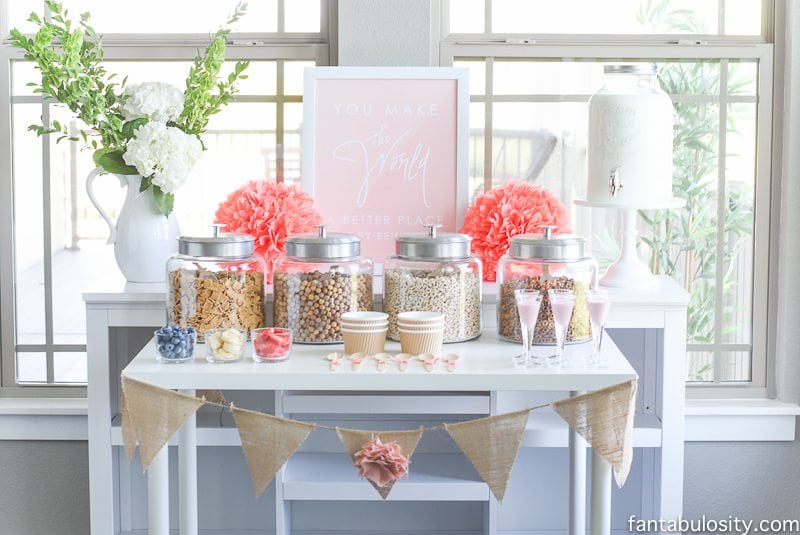
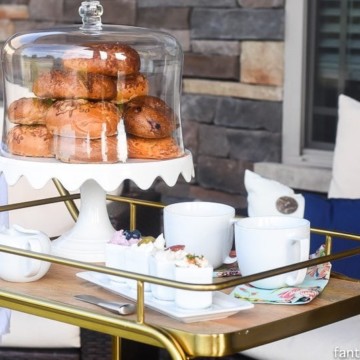
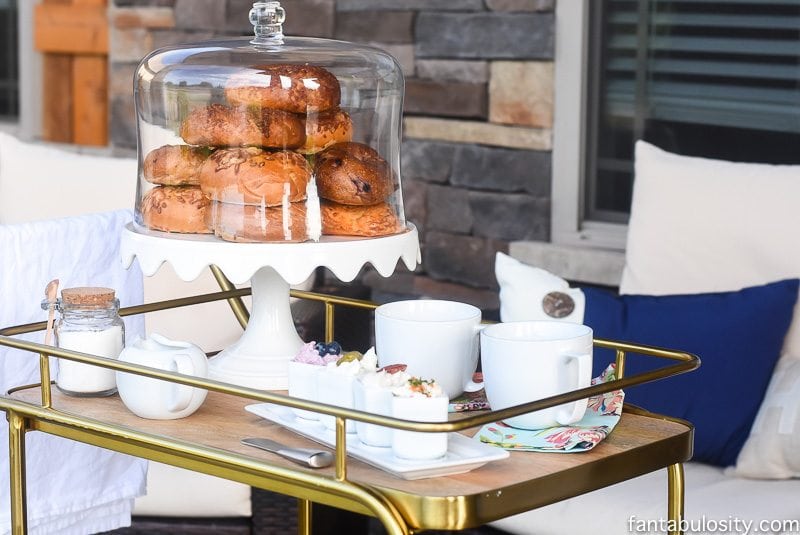
Bagel Bar Cart Ideas
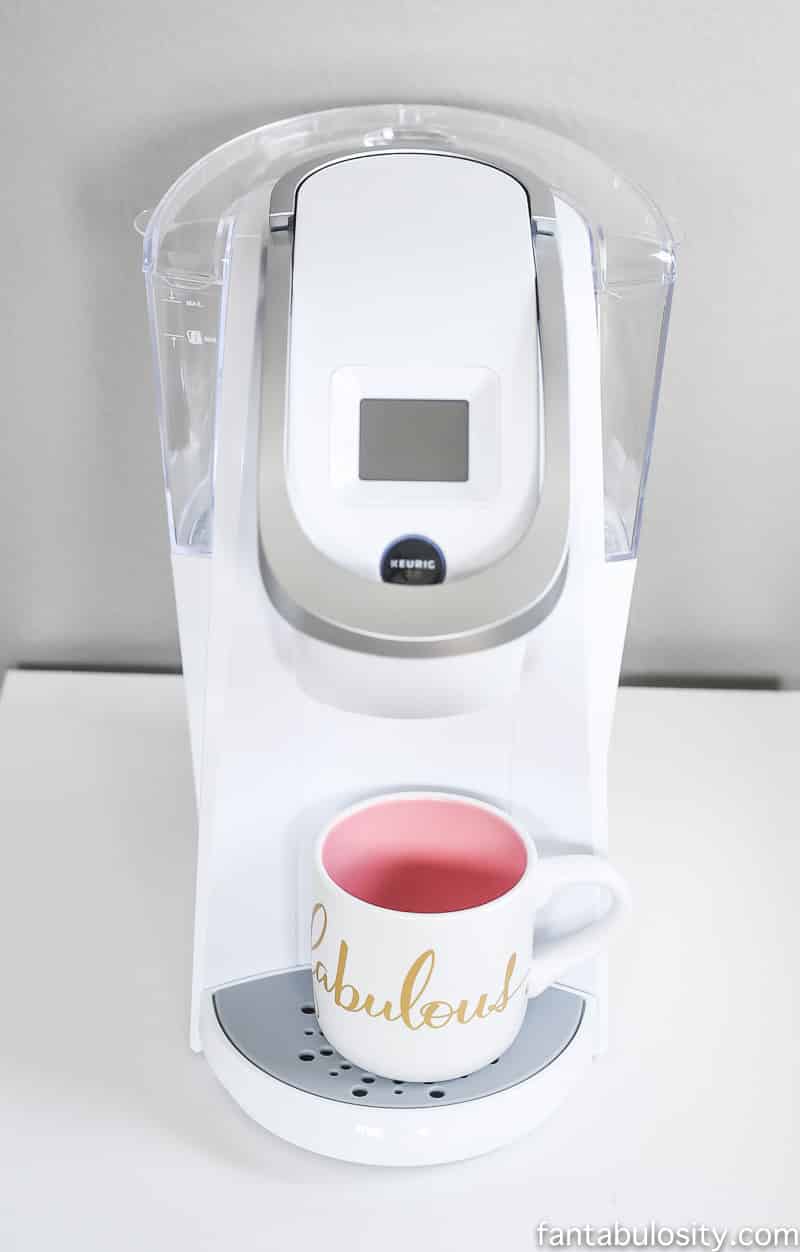
…you can load the top with the cutesy items, and then fill the bottom with a toaster, Keurig, and extra plates and napkins.
You can load the top with an assortment of flavored and plain bagels. Cinnamon raisin, asiago, bacon/egg/cheese, french toast, and blueberry were the flavor selections this go-round!
Providing a choice of different cream cheeses and flavored butter was also super fun to experiment with. Garden vegetable on an asiago bagel was divine, and honey/pecan on the french toast bagel was quite tasty.
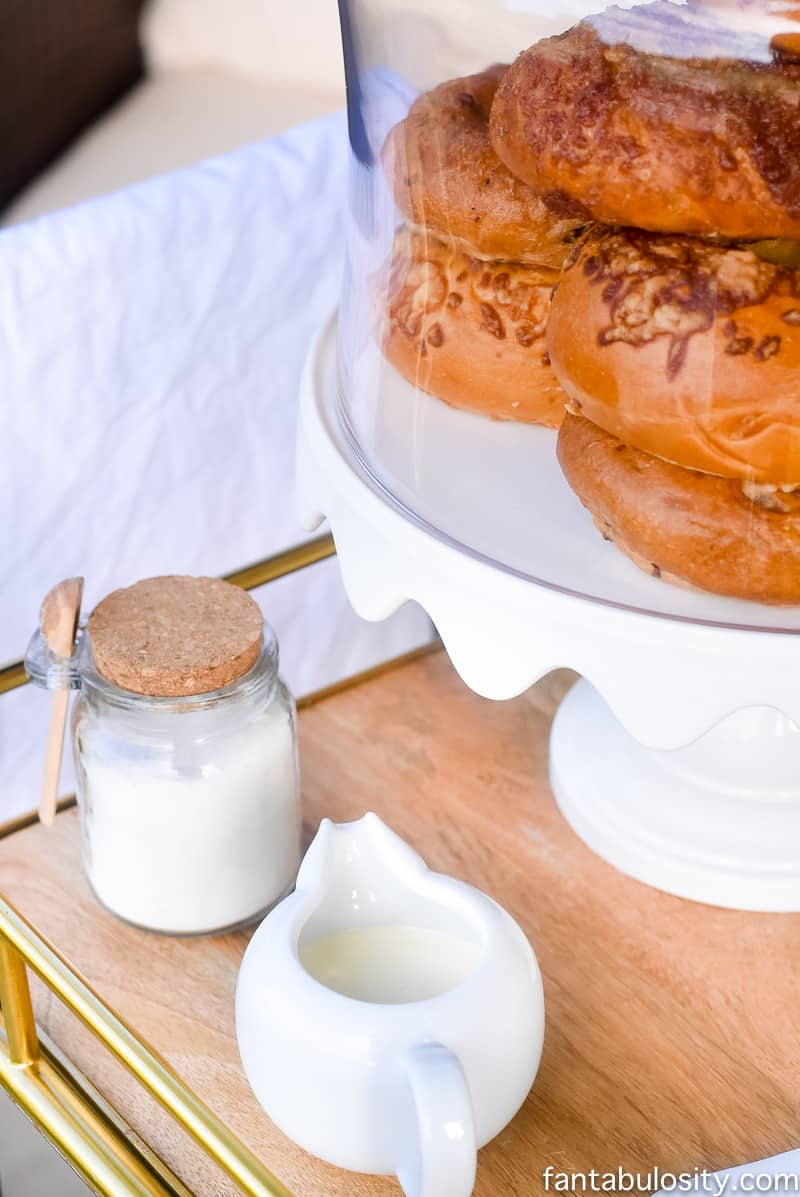
Bagel Bar Accessories
Throw in a few cute & fun accessories and you have yourself an adorable little bagel bar cart.
- Spreaders for cream cheese and butter // Buy cream cheese and butter spreaders!
- Creamer and Sugar Set (these may be the cutest I’ve ever seen!) // Buy creamer and sugar set!
I can’t wait to hear how yours turns out! Sadly, I love food so much that I’d even love to hear what flavor of bagels and cream cheese/butters you choose!
More Food Bar Ideas for Parties
If you love this idea, you may also enjoy:
If you love entertaining, you may LOVE to see the my other gatherings and celebrations.