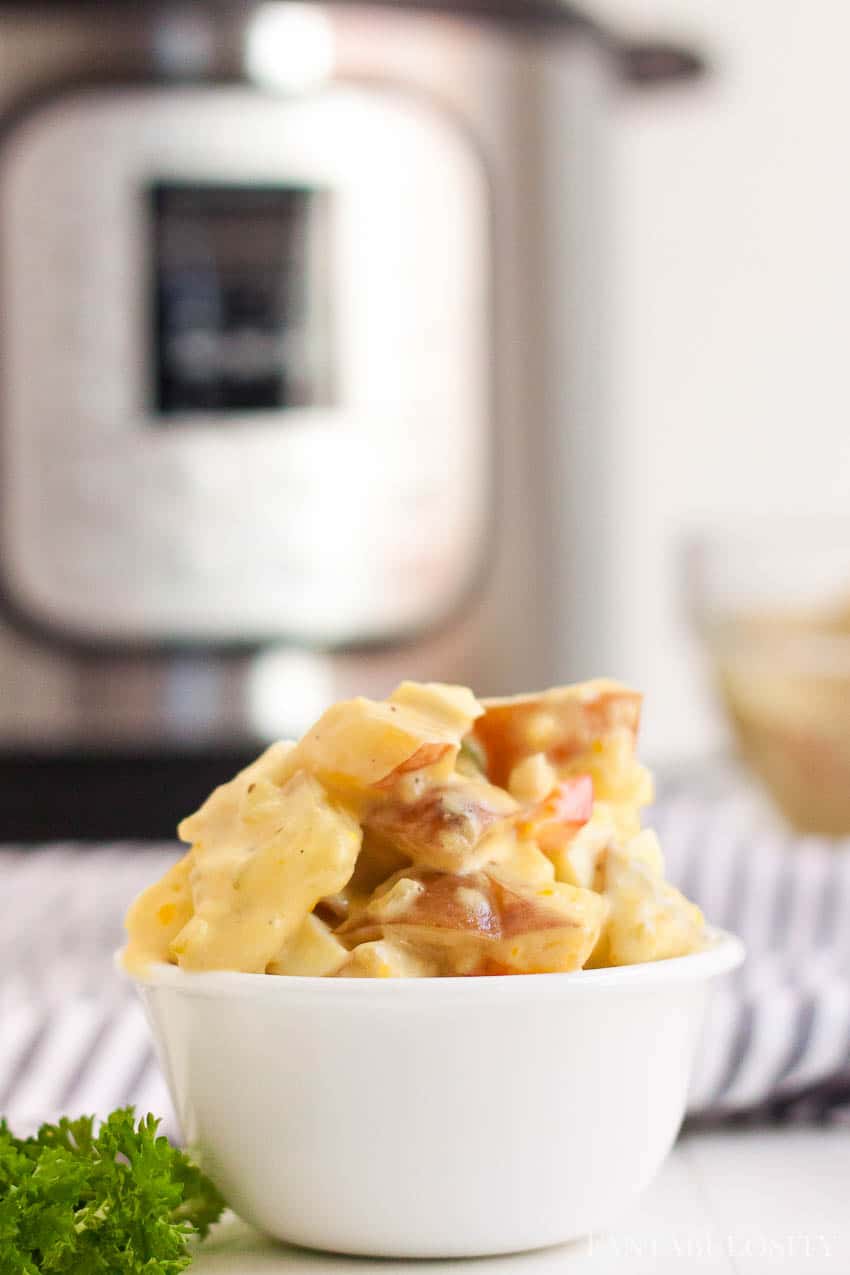
Instant Pot French Dip Recipe: Using roast, (we used deer/venison roast for this particular recipe) it’s EASY to make yummy french dip sandwiches!
Now if Instant Pot recipes are one of your favorites, then you’ll also love this Instant Pot pulled pork butt.

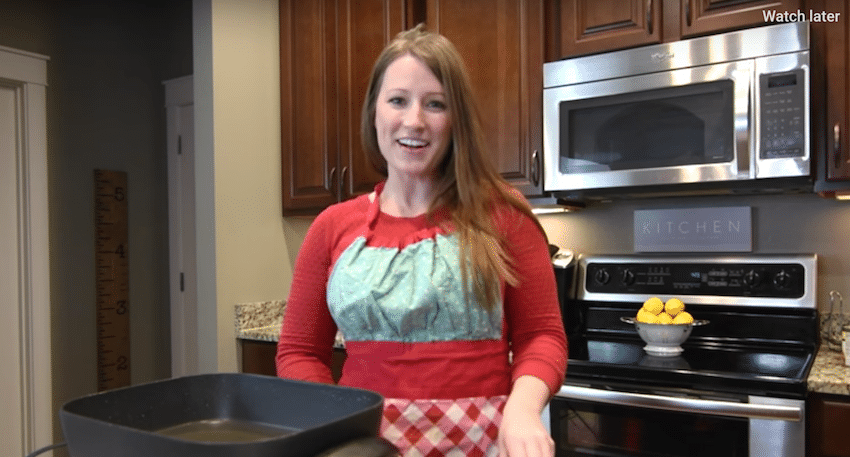
Hi there!
I’m Leigh Ann from Making My Abode, a little homemaking blog here in blog land. Sharing my real-life, faith, and anything that makes your homemaking life simpler is what I love to do. First I want to take a moment to thank you, Jessica, so very much for the opportunity to guest post on your beautiful blog. Speaking of simplicity, you’re going to love this fantastic recipe I have for you all. Mouth-Watering Instant Pot Venison French Dip Sandwiches!
The first thing I’d like to say about this recipe is that you don’t have to be a wild meat-eater to enjoy these Instant Pot Venison French Dip Sandwiches. Feel free to use beef! The recipe will work well with any type of roast.
FUN FACT: French Dip sandwiches aren’t actually French.”
Secondly, I want you all to know that from this one 3-4 pound roast, I was able to feed my family of five, FOUR DIFFERENT dinners! That’s right, a four in one! Each recipe starts with this Instant Pot Venison French Dip Sandwich recipe. You use what’s leftover from the French Dip to make the other three meals. Talk about a huge time saver and of course, it will save you some cash as well! Who doesn’t love to save time and money?
One Roast, Four Dinners!
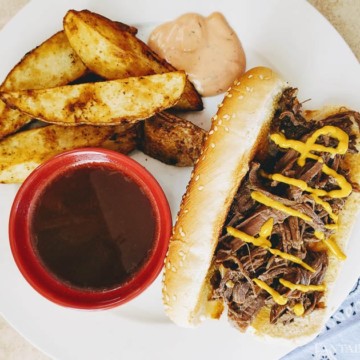
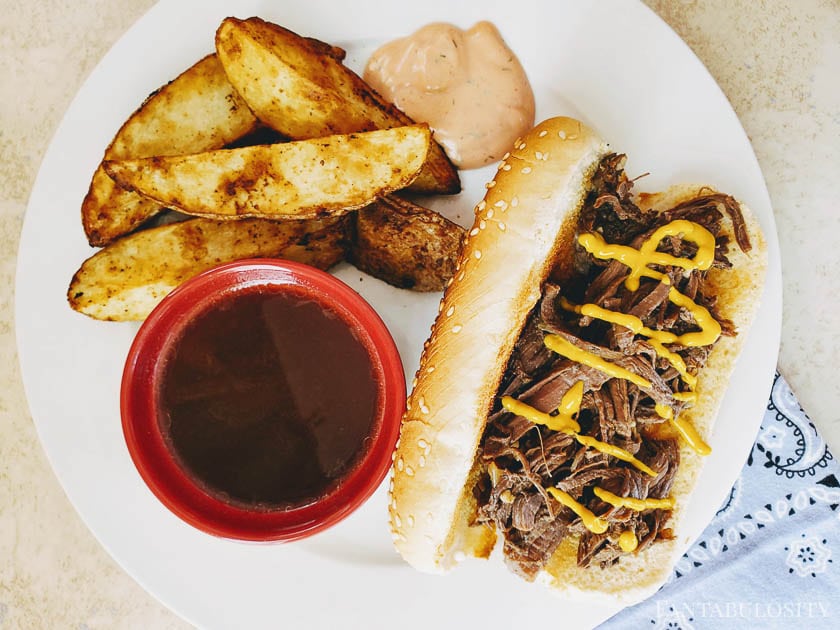
1. Mouth-Watering Instant Pot Venison French Dip Sandwiches.
The star of this little show! Once again, you want to start with the Instant Pot French Dip Sandwiches. That way all of your flavors are already there for the next three meals.
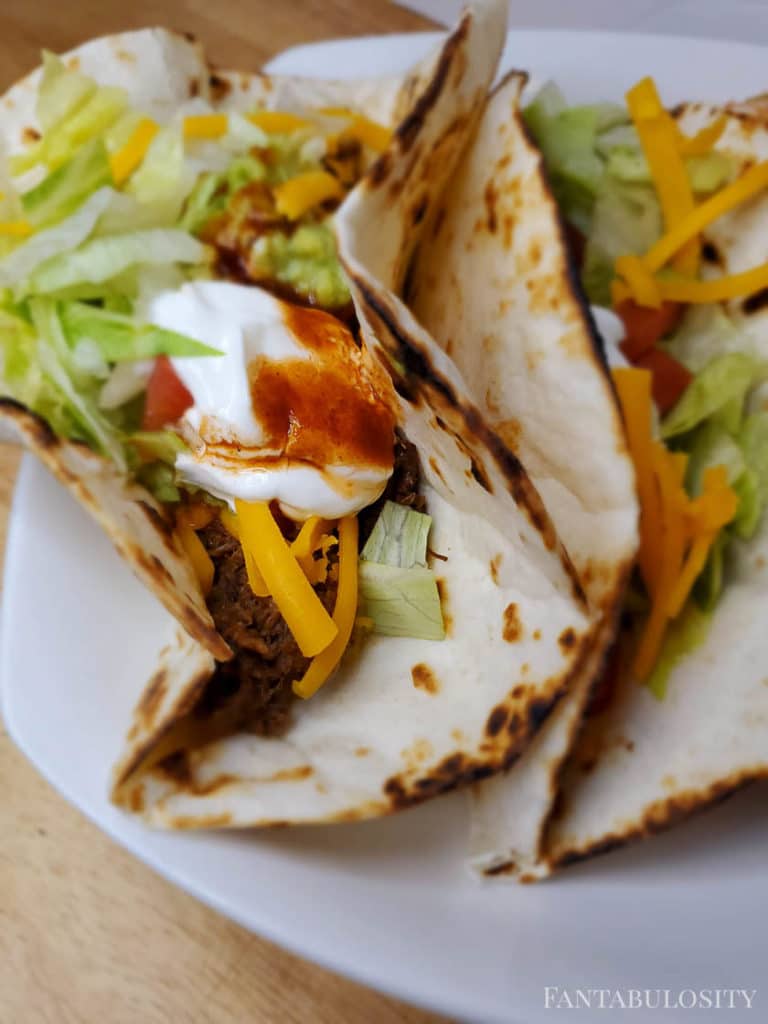
2. Lightning-Fast Shredded Venison Tacos, Easy and Flavorful!
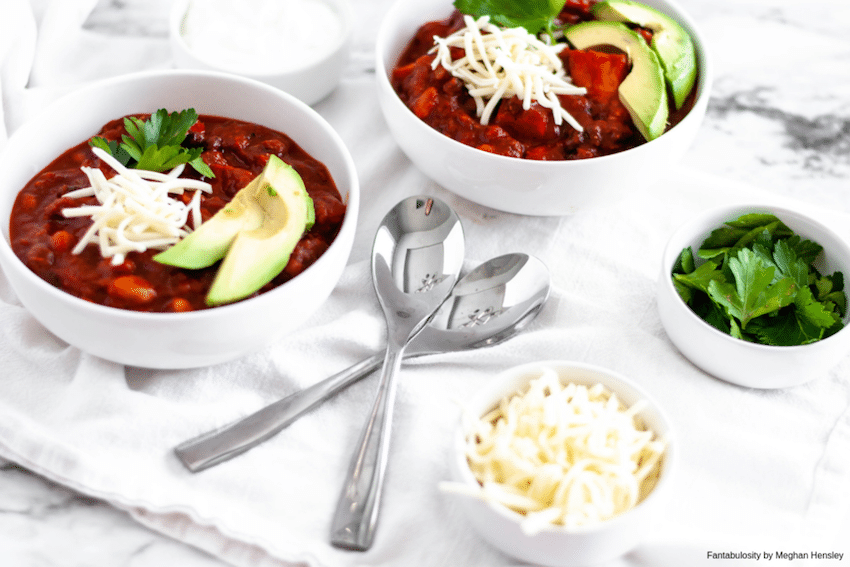
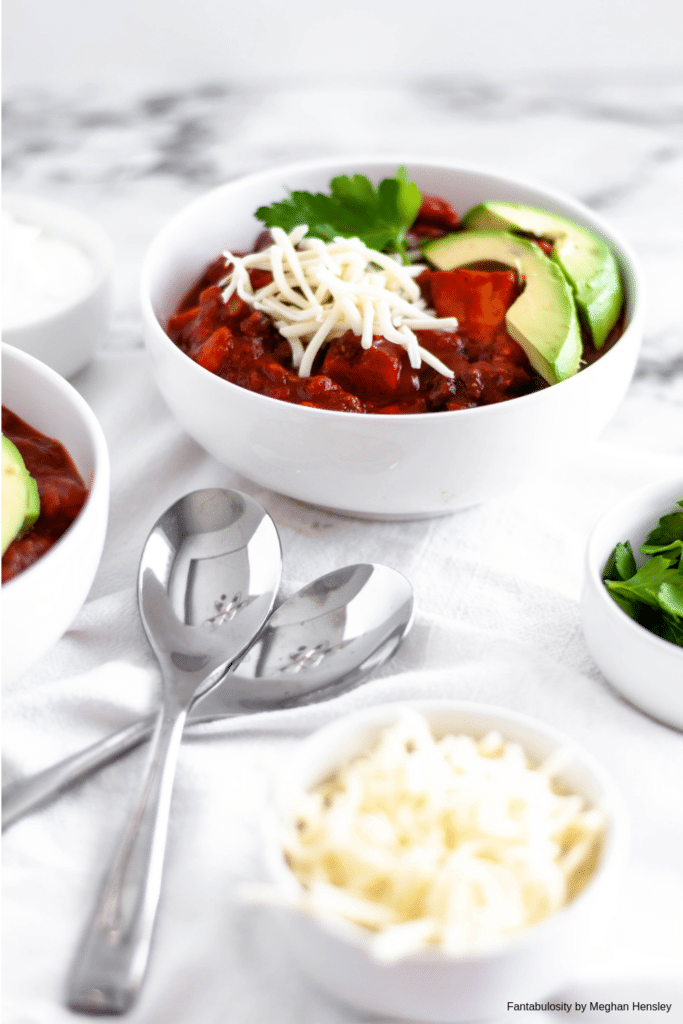
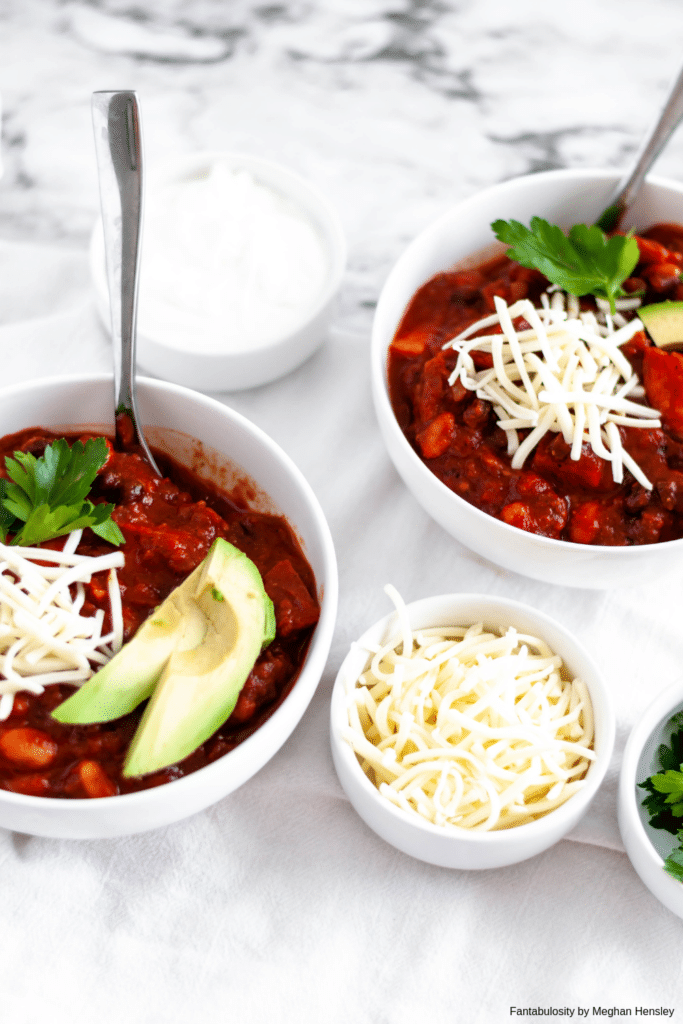
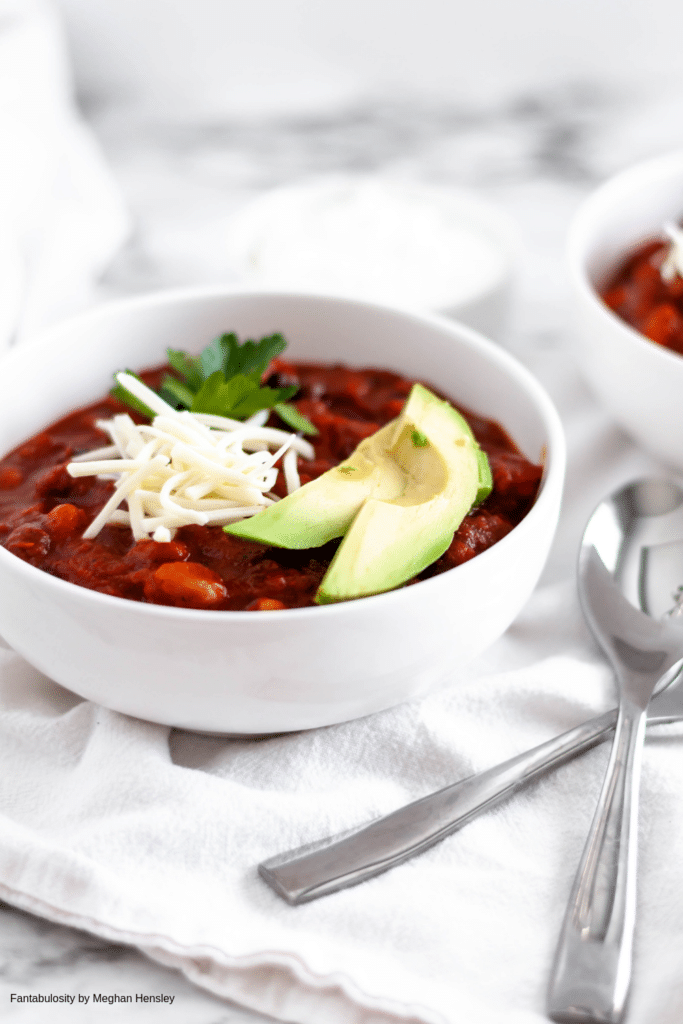
3. 20-Minute Shredded Venison Red Chili With Beans.

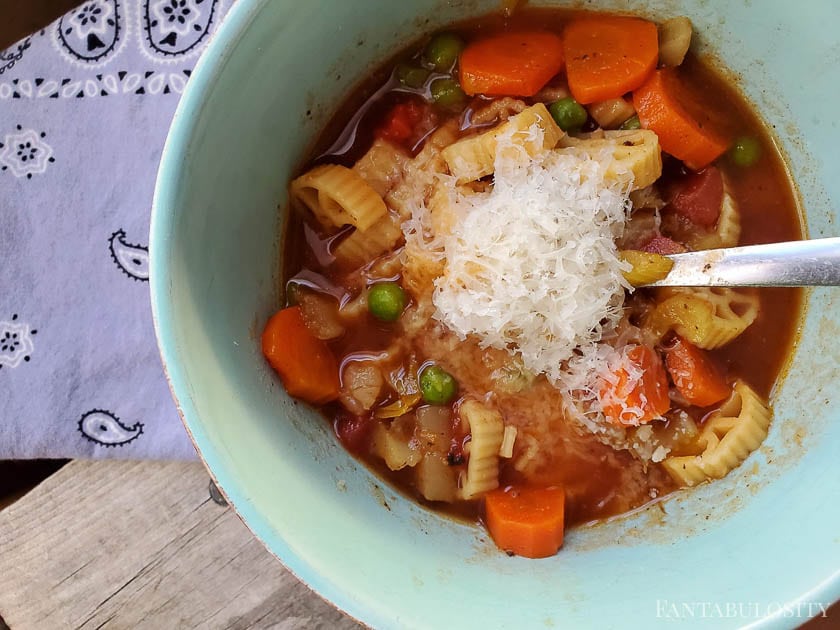
4. Instant Pot Goulash, Delicious and Fast!
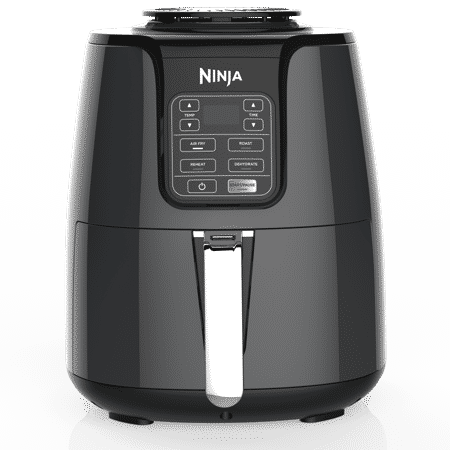
Do I have to have an Instant Pot to make this recipe?
No!
This recipe can definitely be made in a slow cooker. HOWEVER, if you are making this recipe with a wild roast, I highly, highly recommend using an Instant Pot! I cannot even put into words how much better the meat is when pressure cooked.
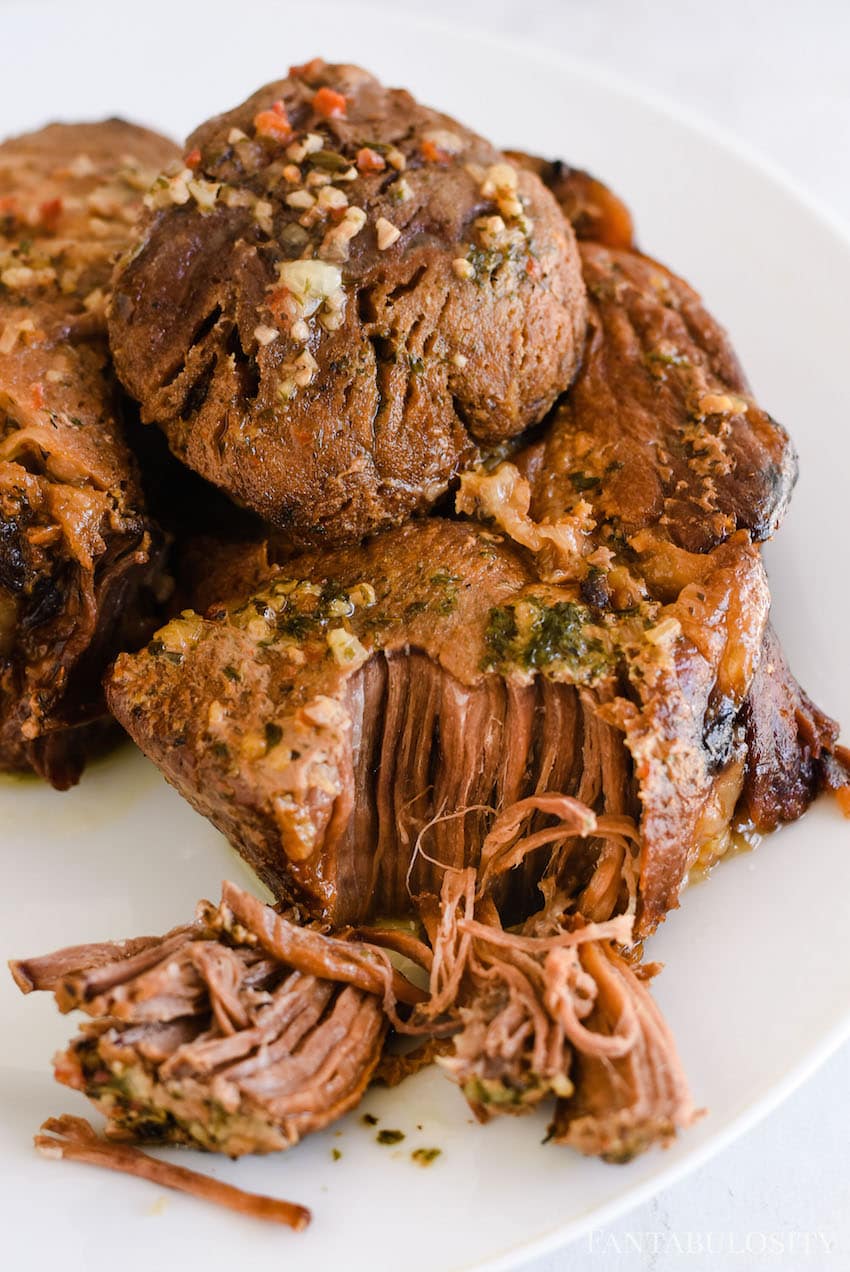
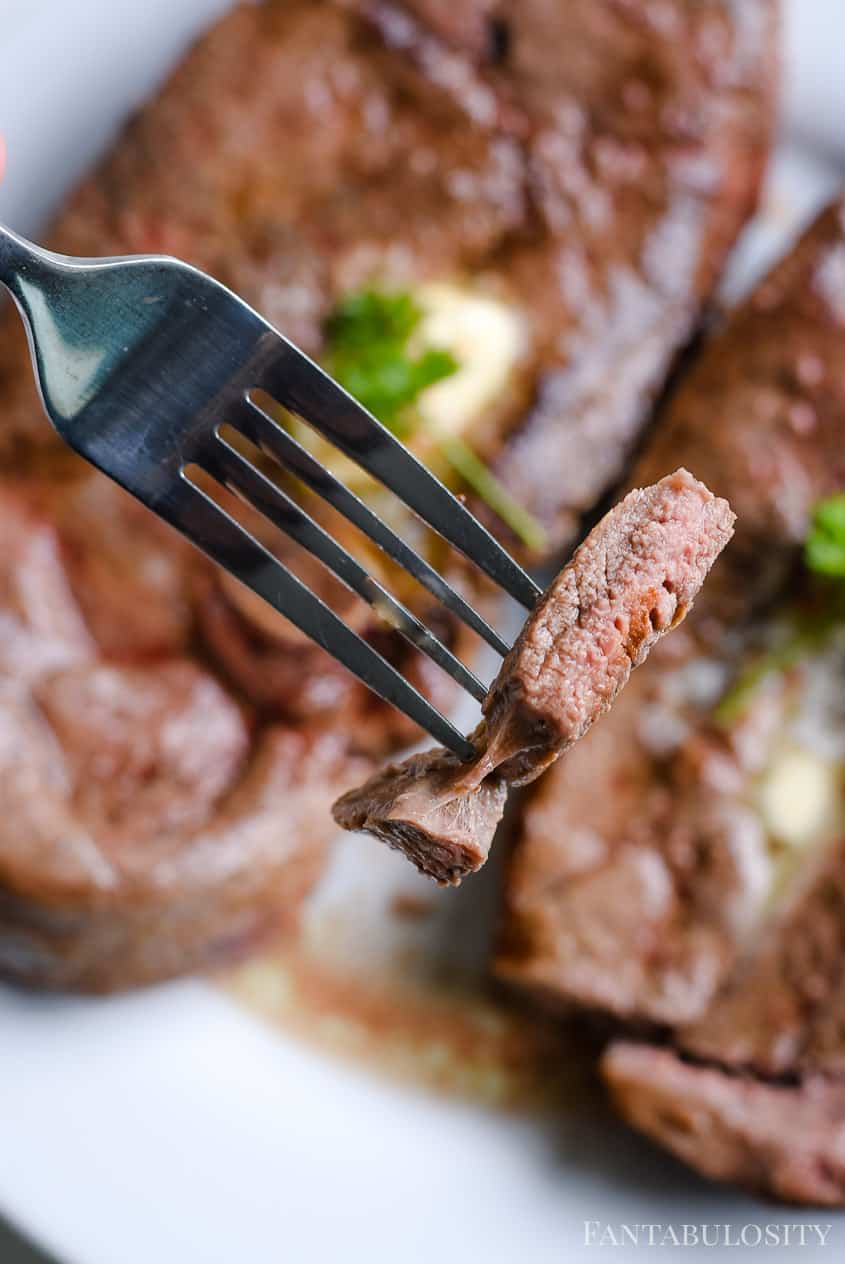
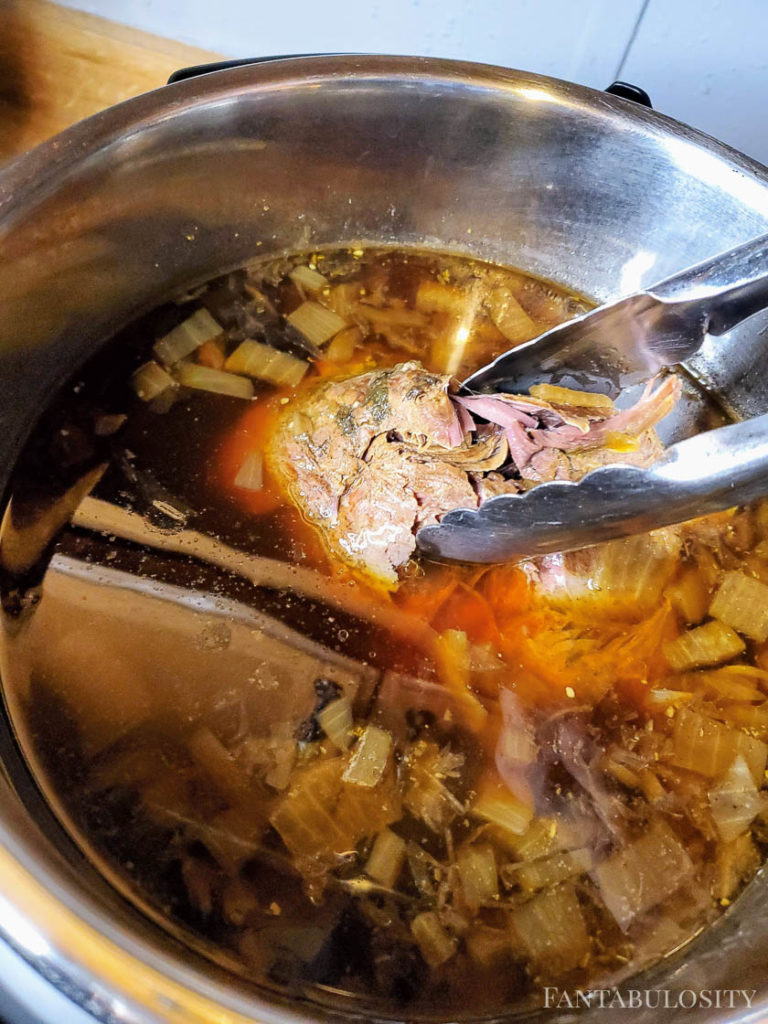
Before I purchased my favorite kitchen appliance, I made this all the time in my slow cooker. Had I known what the Instant Pot could do for my wild meat, I would have bought one a long time ago. Don’t get me wrong, it was just as delicious in the slow cooker but the tenderness that you get from the Instant Pot is unbeatable! It’s so tender that I don’t even have to shred it. You can use a pair of tongs and squeeze the meat apart!
Crazy tender!
**If you make this recipe in a slow cooker, cook on high for 6 hours or low for 8 hours.**
Minimal Ingredients With Big Flavor!
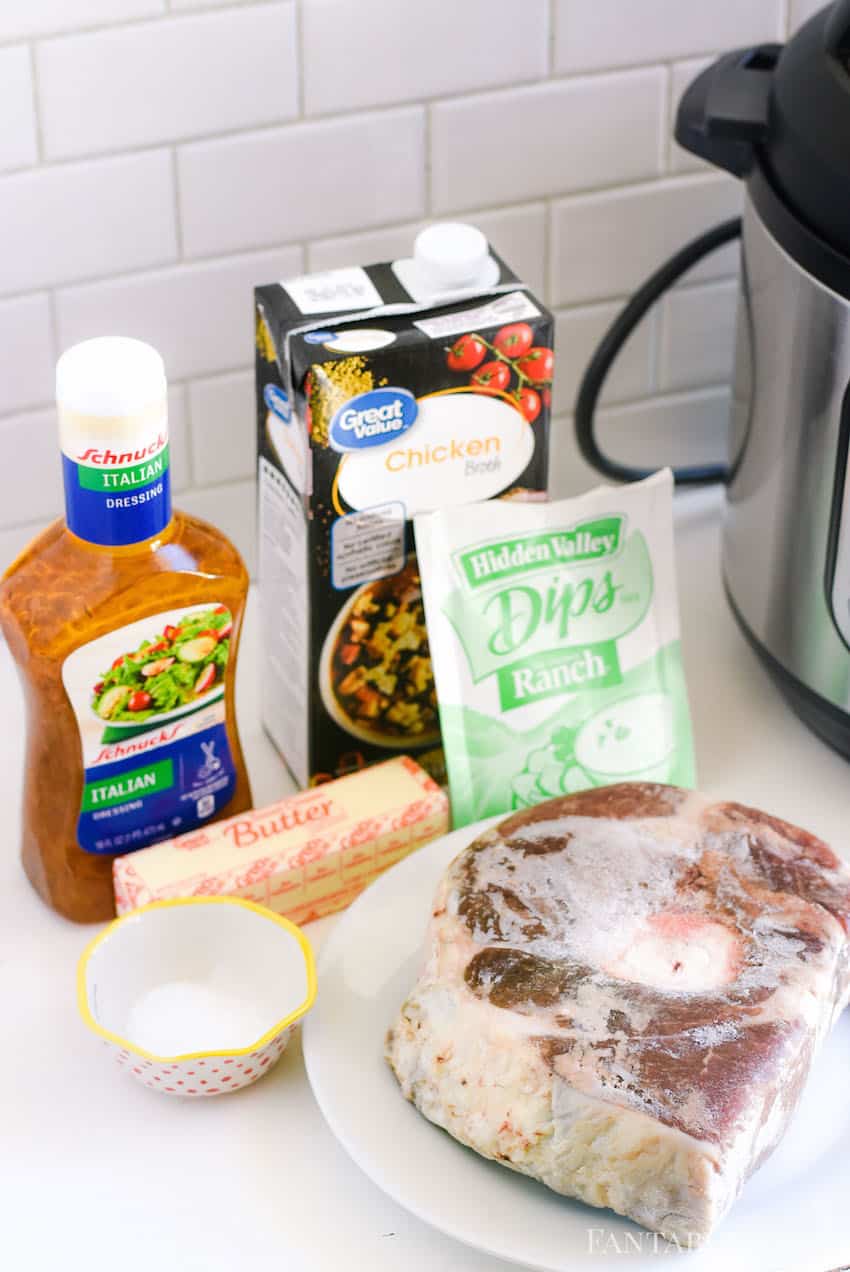
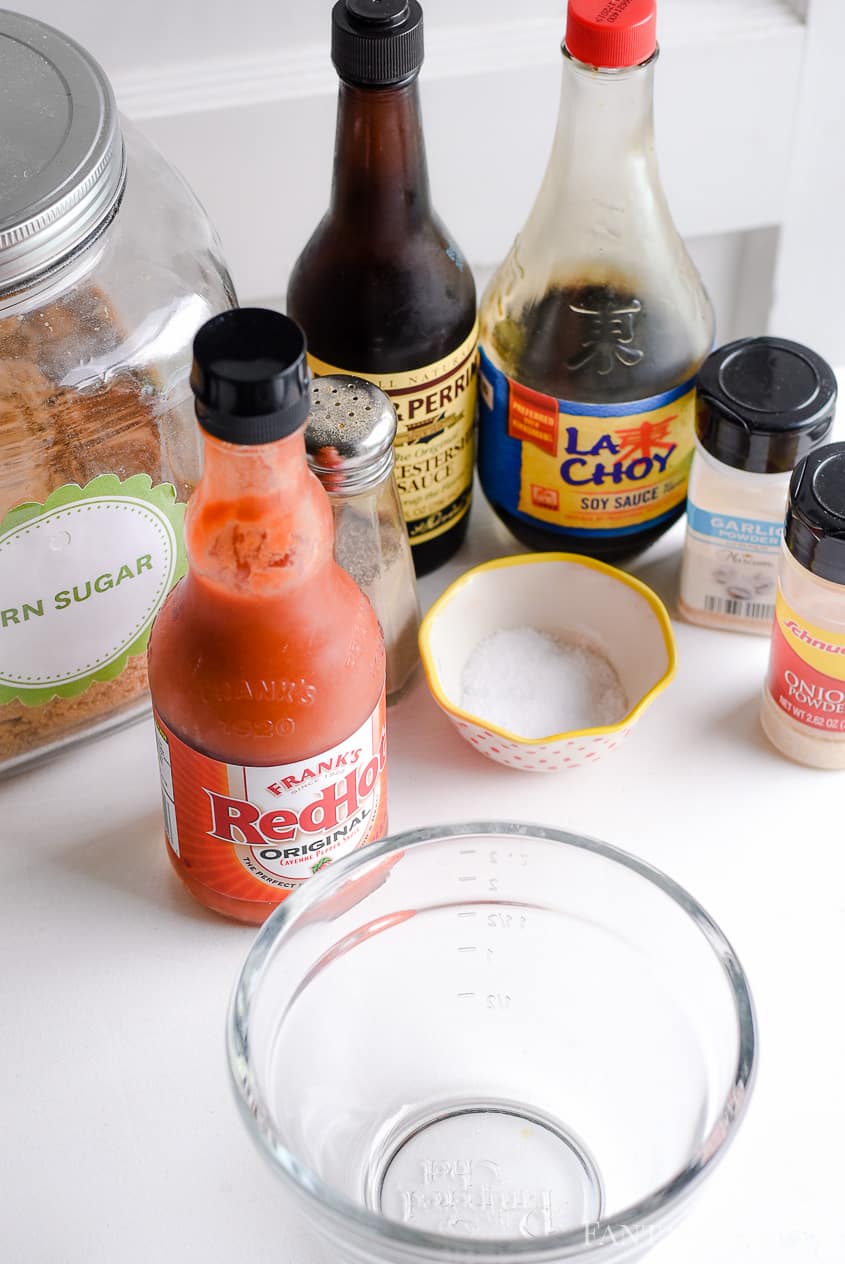
These Instant Pot Venison French Dip Sandwiches have nine ingredients, not including the roast itself. I know that sounds like a lot but four of those ingredients are spices. Spices don’t count when you’re talking minimal ingredients, right?

All you need is:
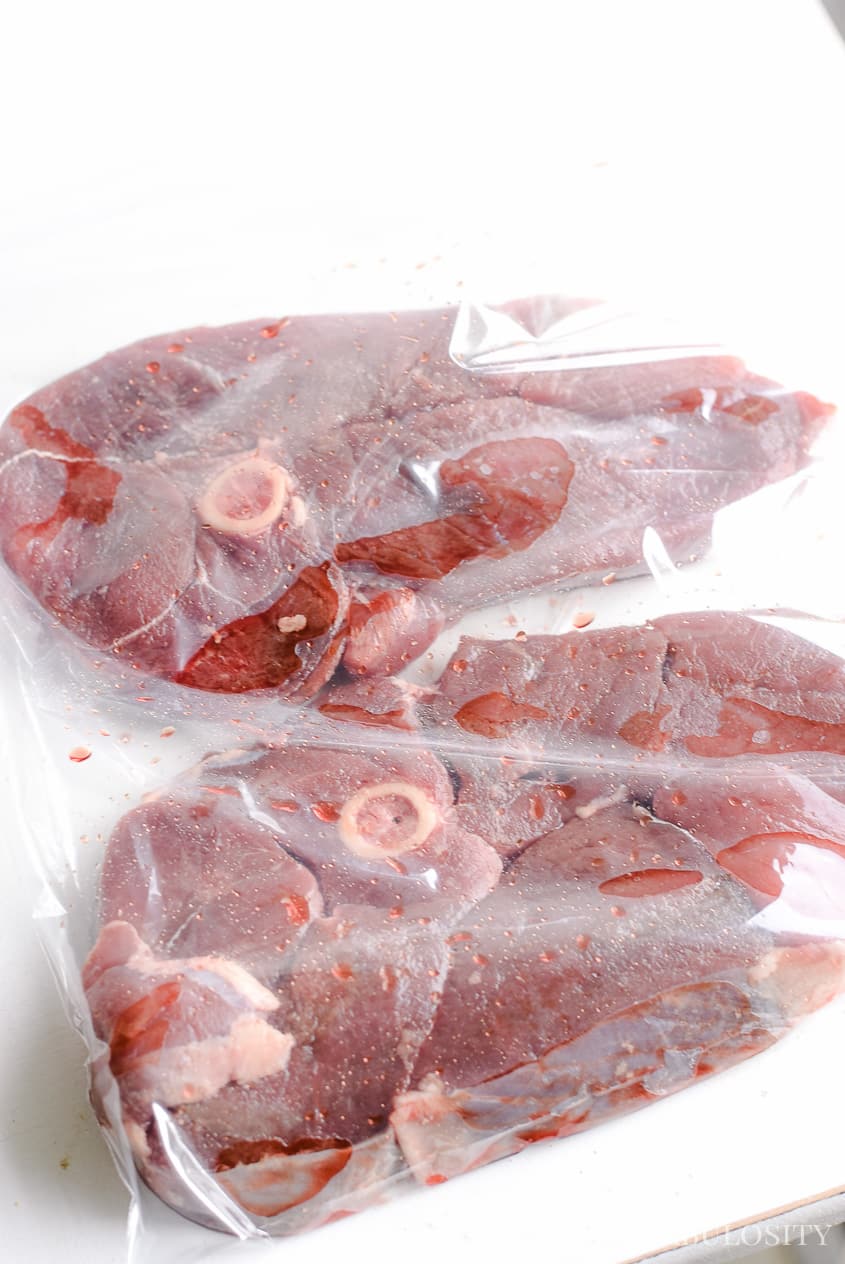
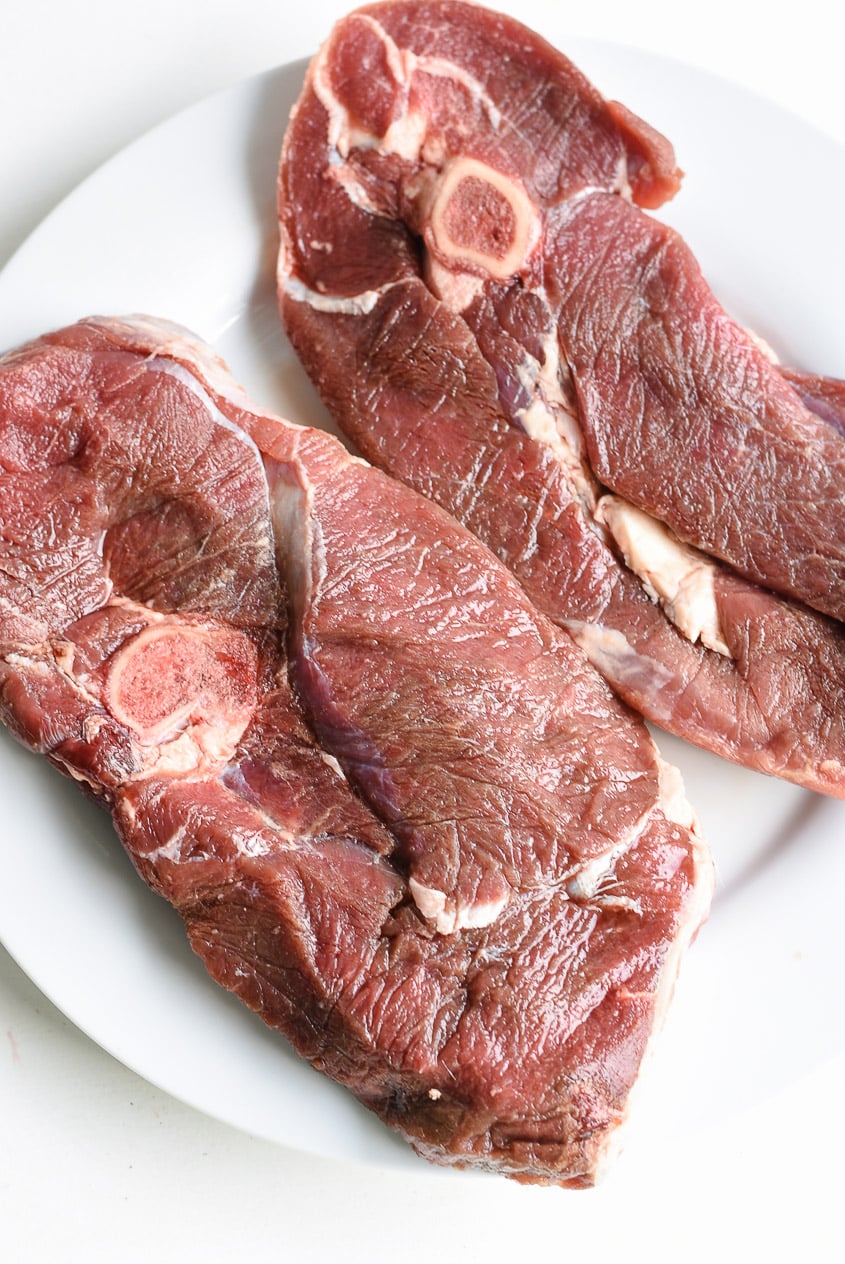
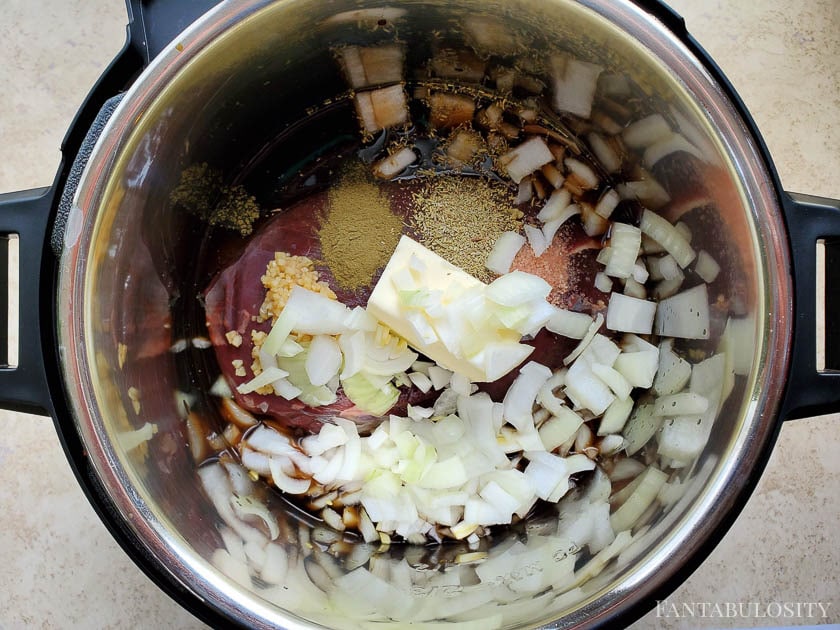
- chuck roast
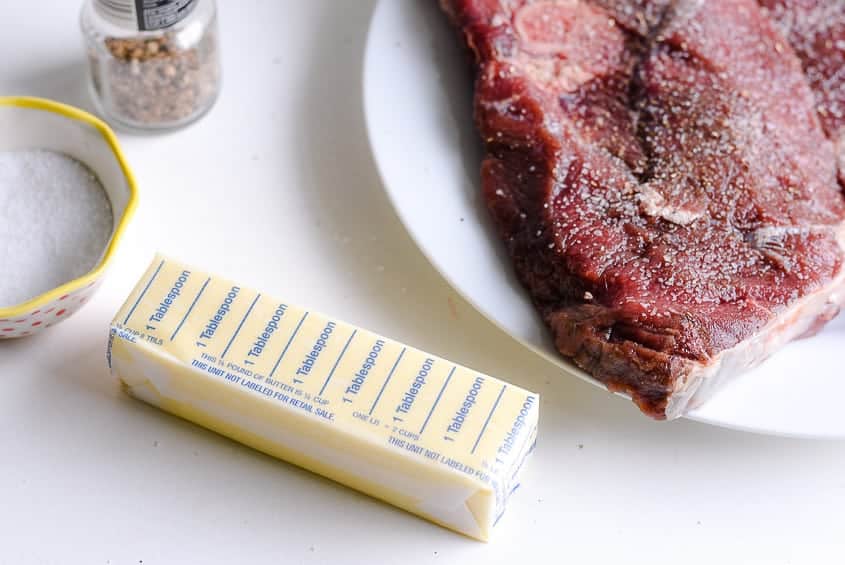
- unsalted butter
- large sweet onion diced
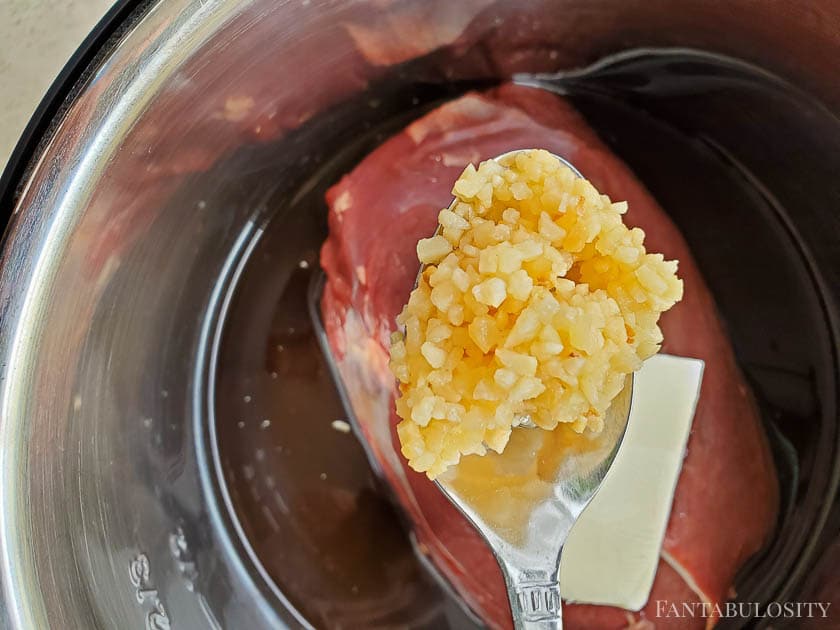
- cloves of garlic grated (or from the jar like I did)
- soy sauce (I use low sodium but you don’t have to in this dish)
- beef consommé (be sure to grab the consommé and NOT beef broth! There is a huge difference in flavor. Consommé is highly concentrated and has a much deeper rich flavor.)
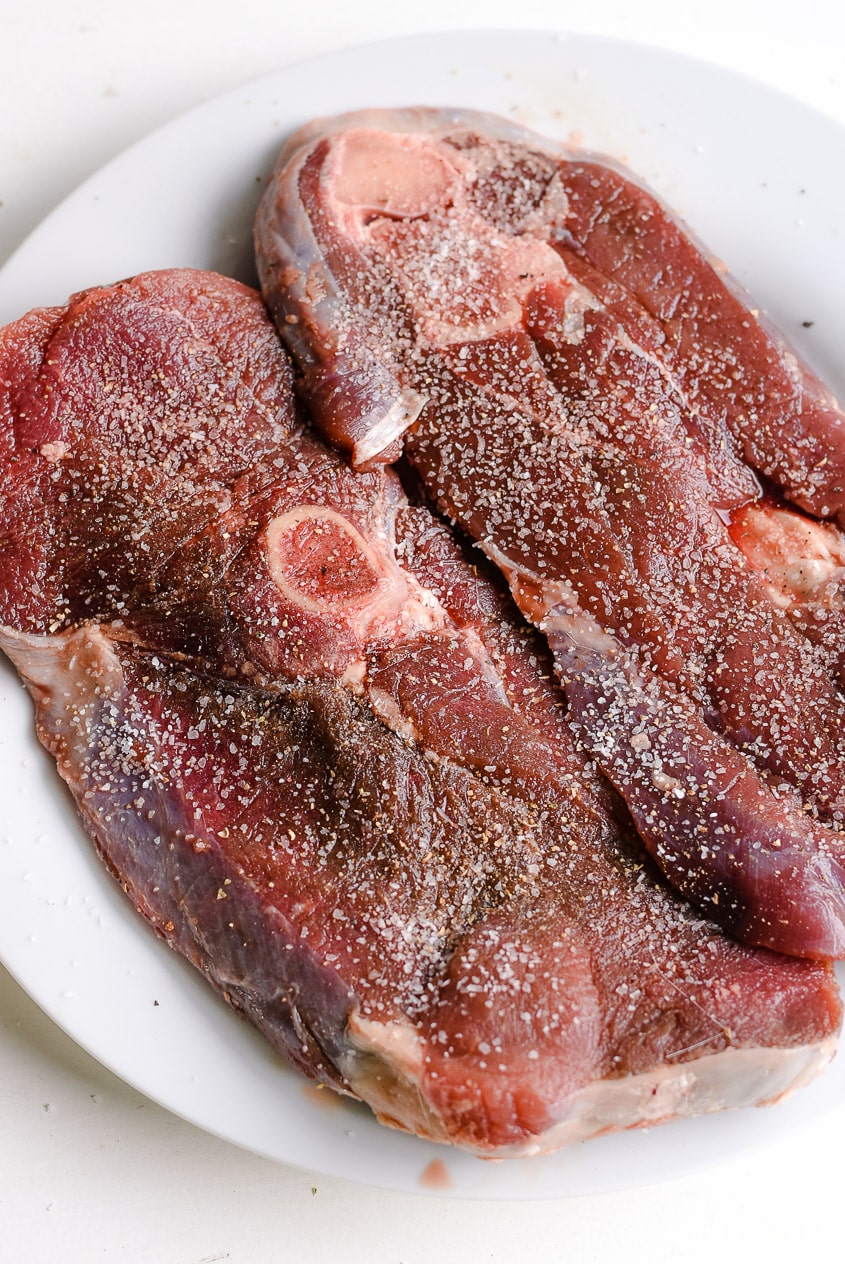
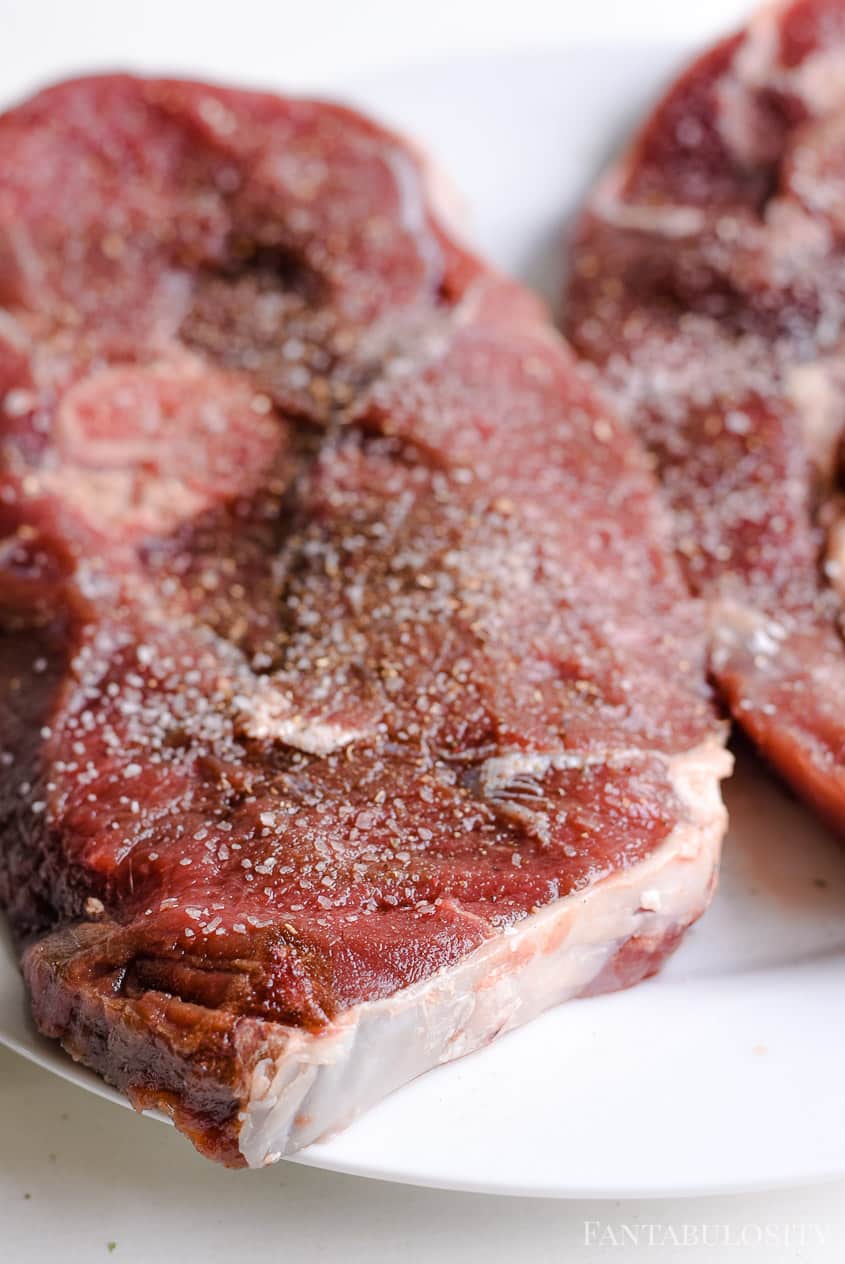
- salt
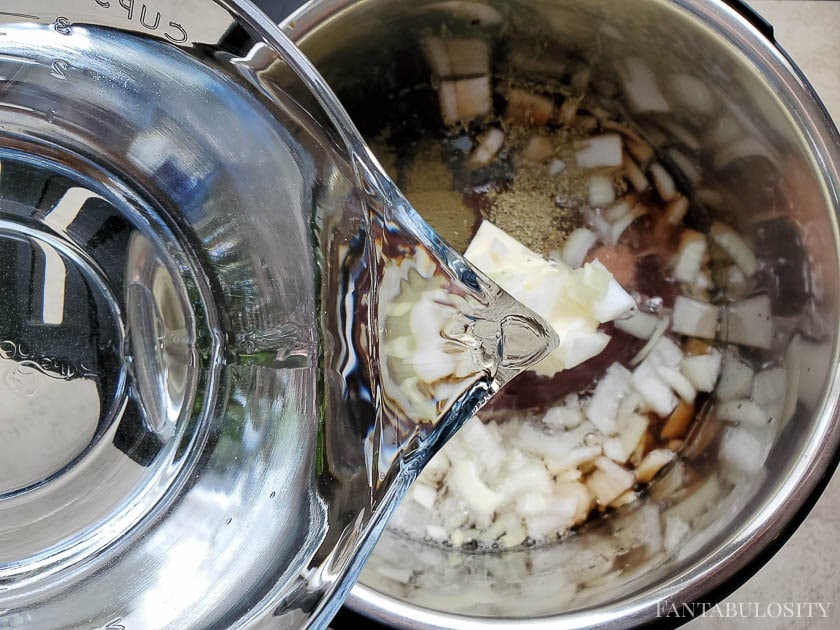
- water
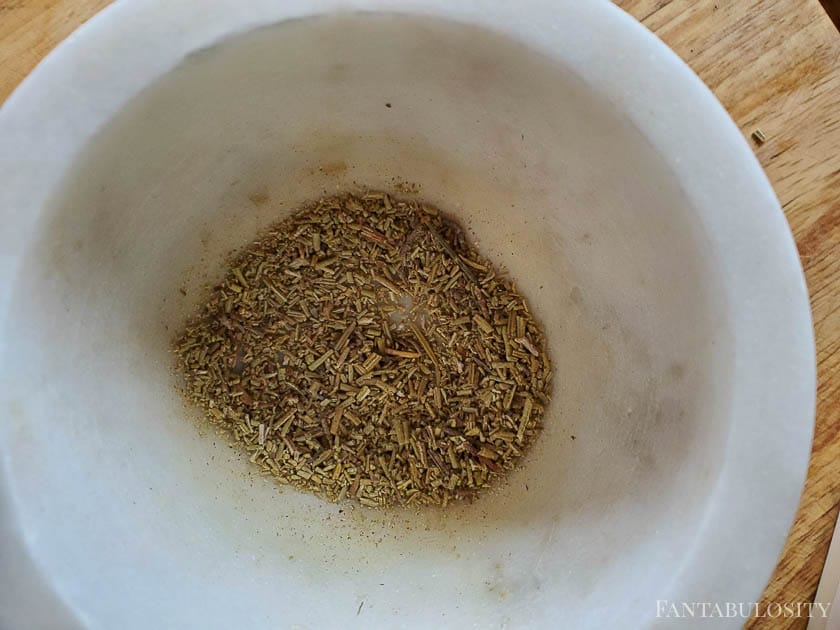
- thyme (ground or whole)
- ground rosemary
Can I Use Whole Rosemary?
If all you have is whole dry rosemary, you can use it. I prefer for it to be ground because I think the flavor disperses better and I don’t get “sticks” floating in my au jus. You can use a coffee grinder or a mortar and pestle to grind the rosemary.
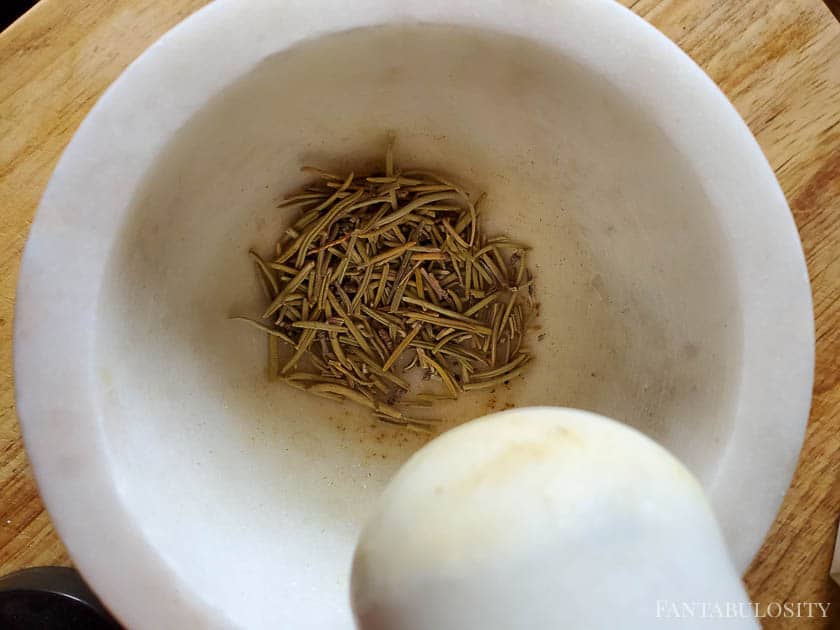
By the way, my mortar and pestle is one of my favorite kitchen tools. You don’t have to fool with washing a grinder. Plus it looks pretty sitting on the counter! ♥ A mortar and pestle is a two-piece tool used for grinding. In case you were wondering, the mortar is the bowl-shaped part of the pair where you put the food or spice. And the pestle is the blunt, club-shaped object that you use to grind the mortar’s contents. They are usually made of granite or marble.
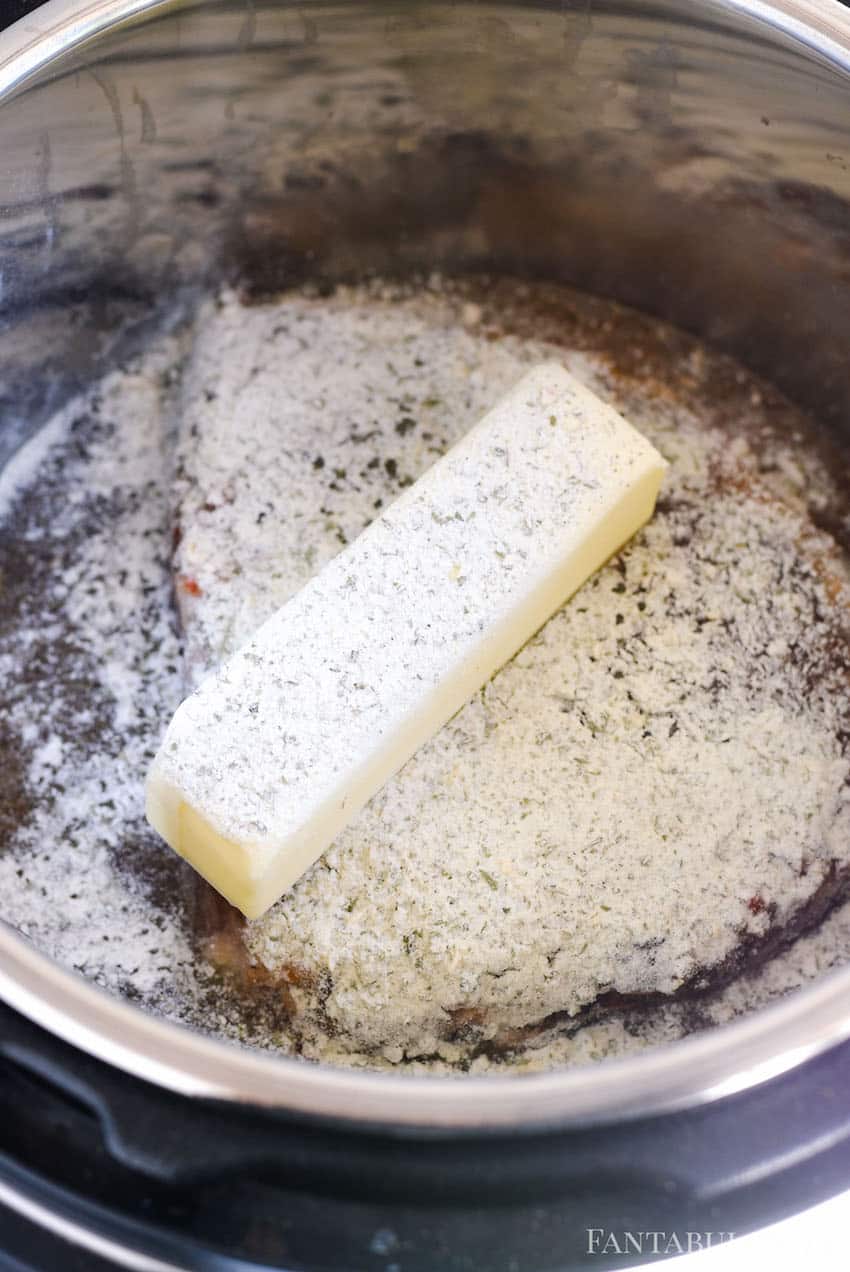
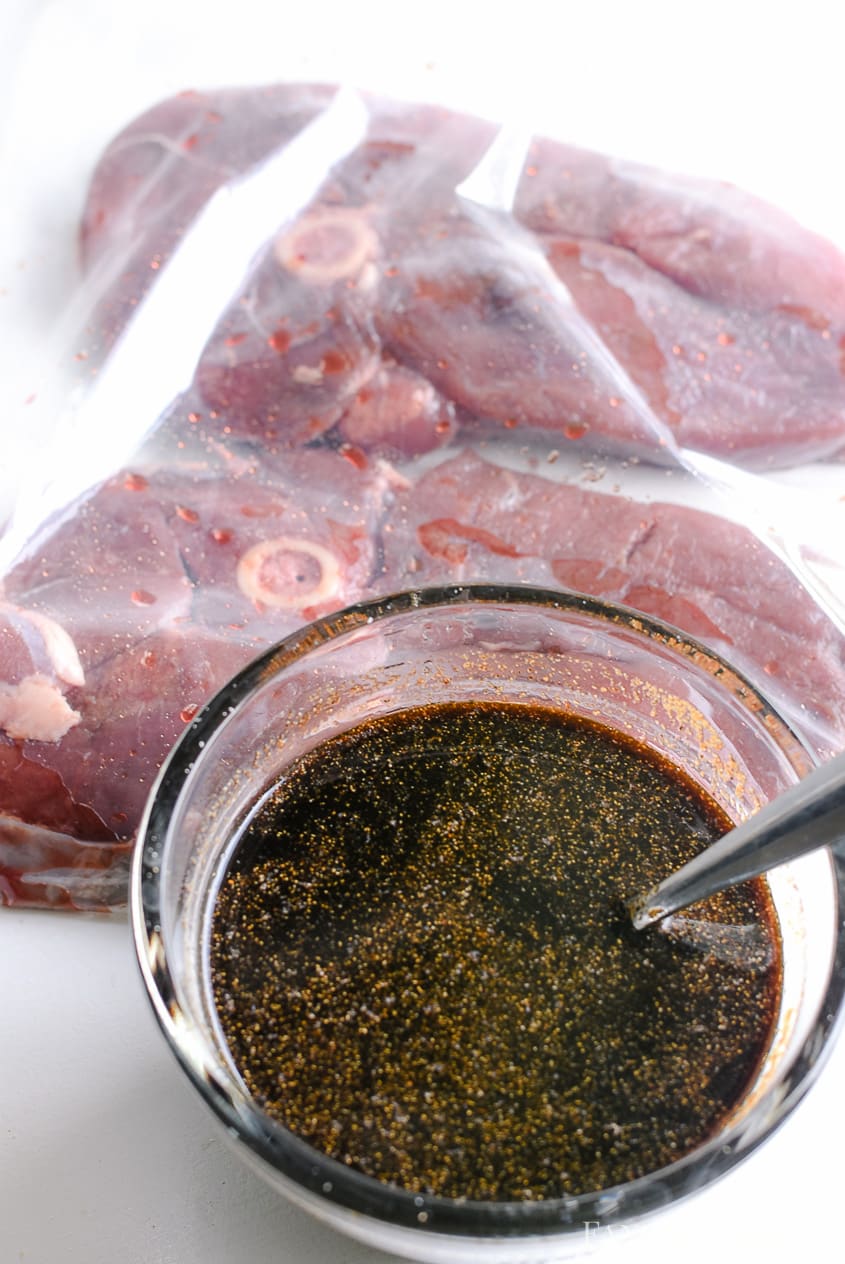
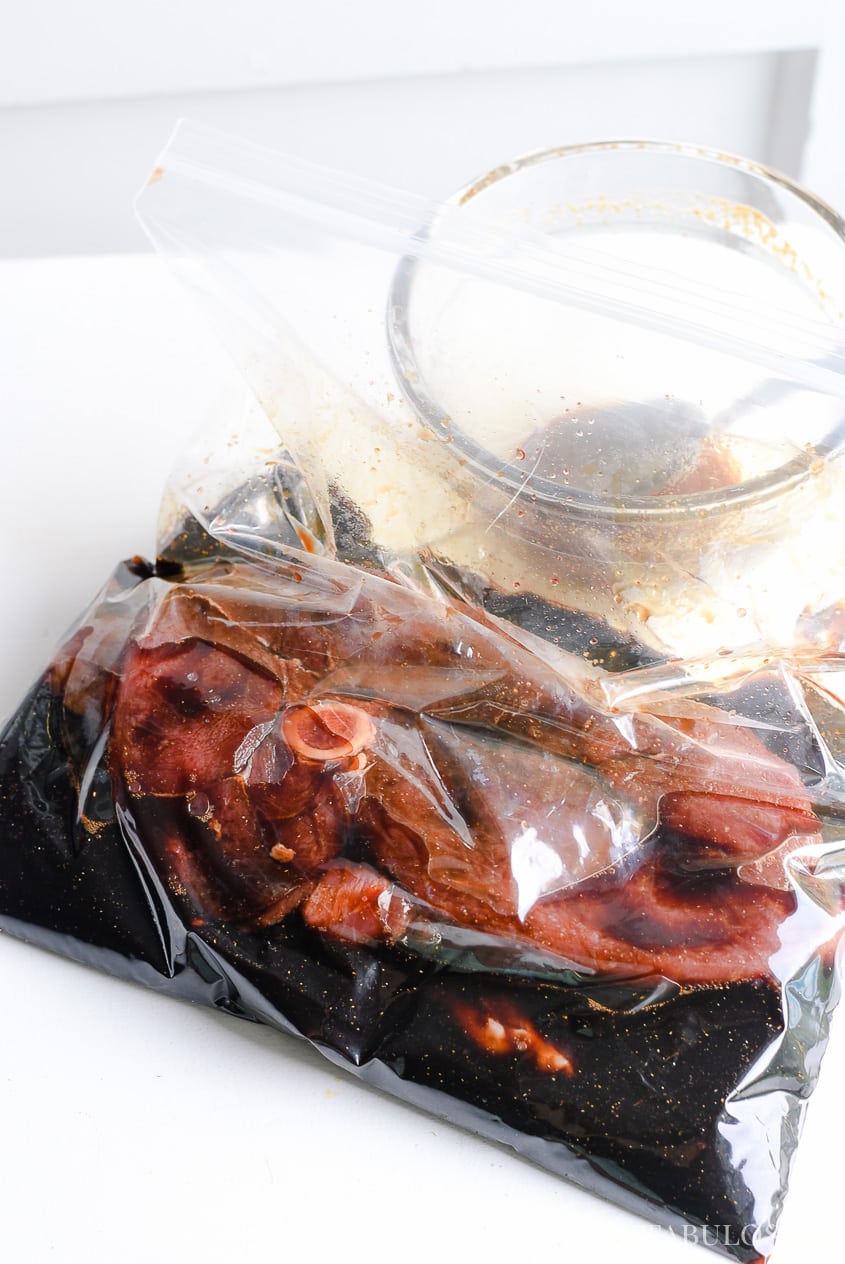
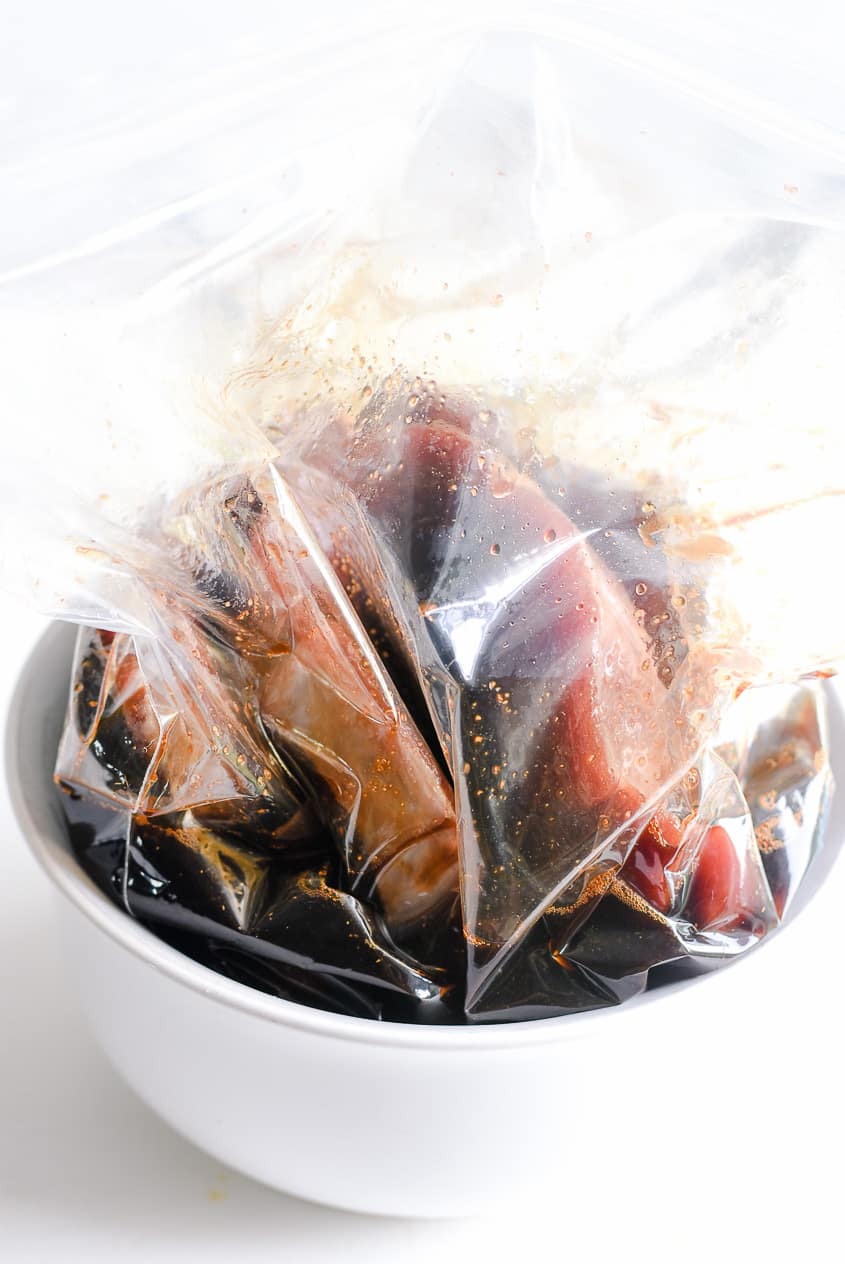
Set it and forget it, kinda.
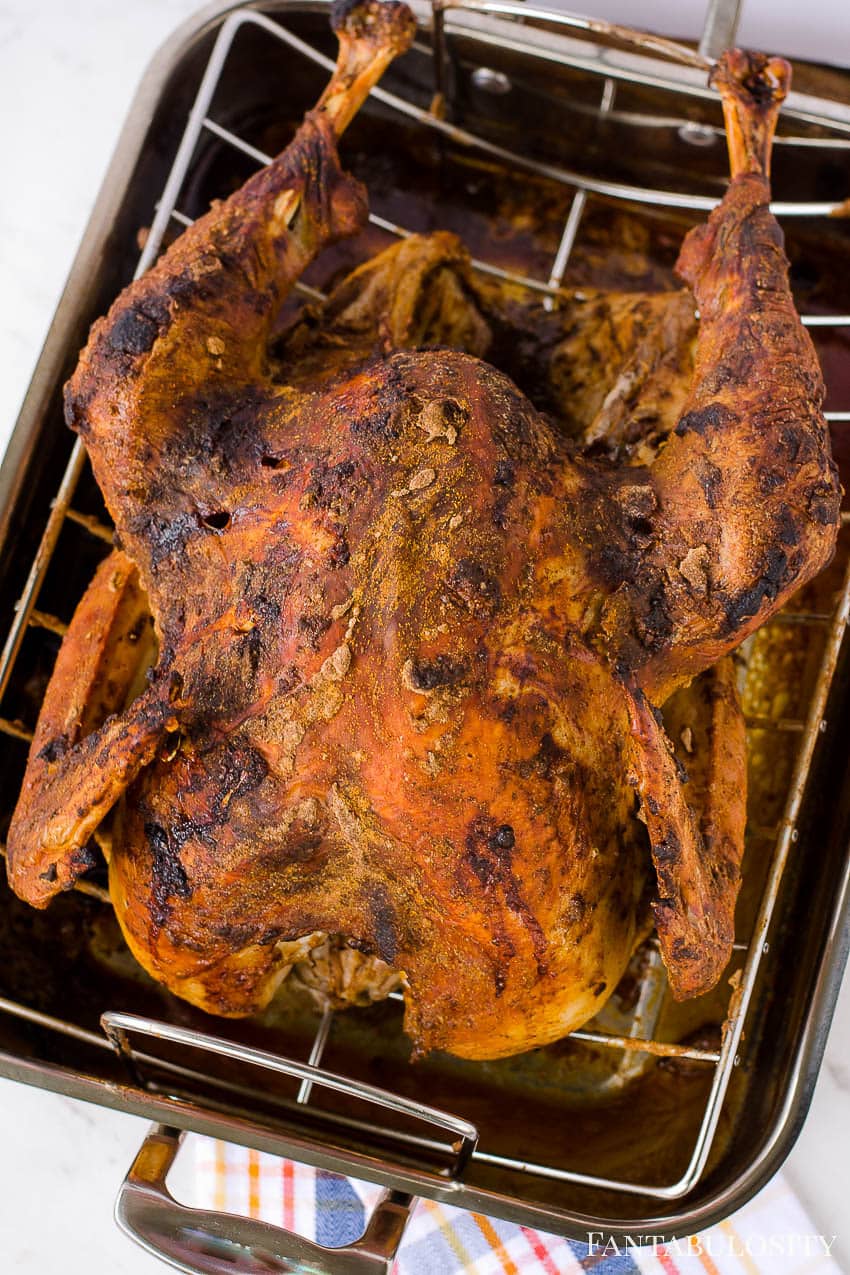
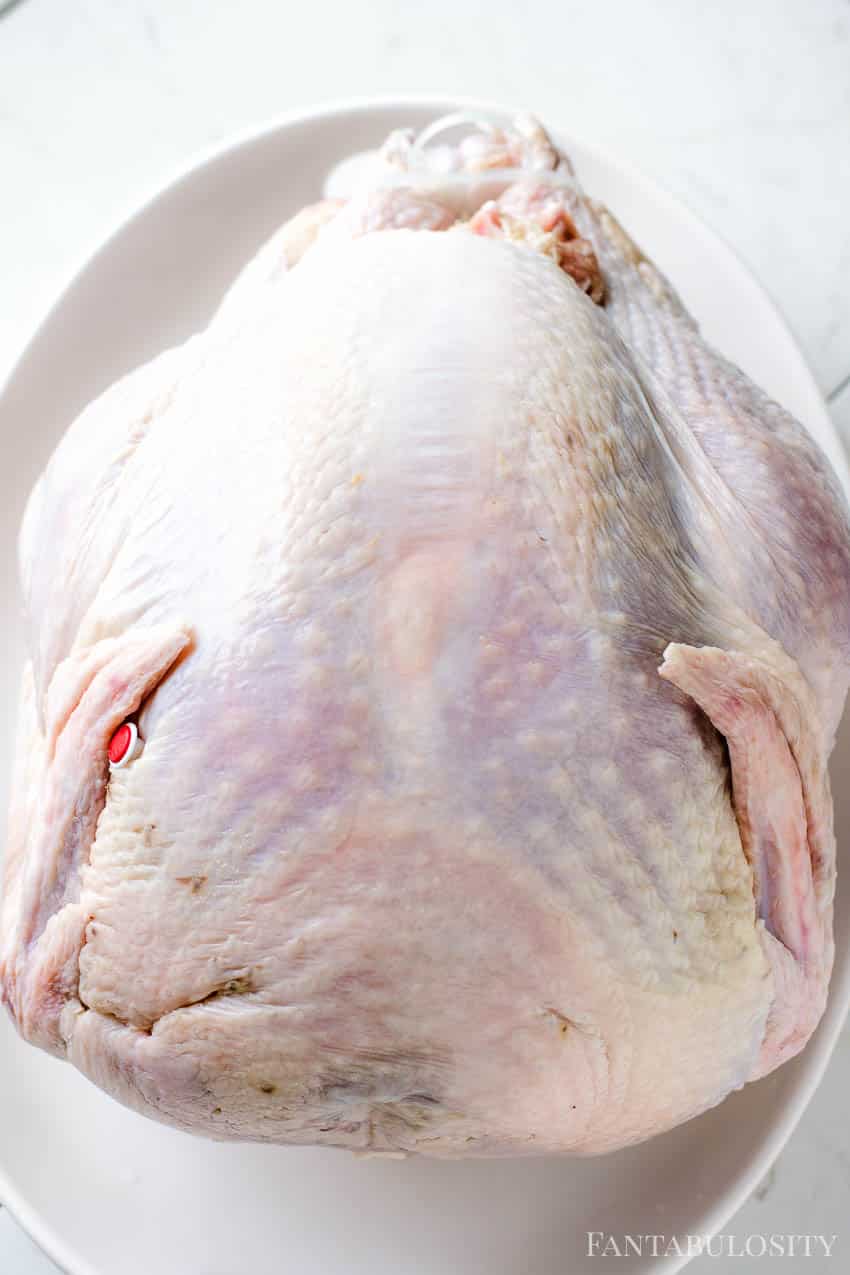
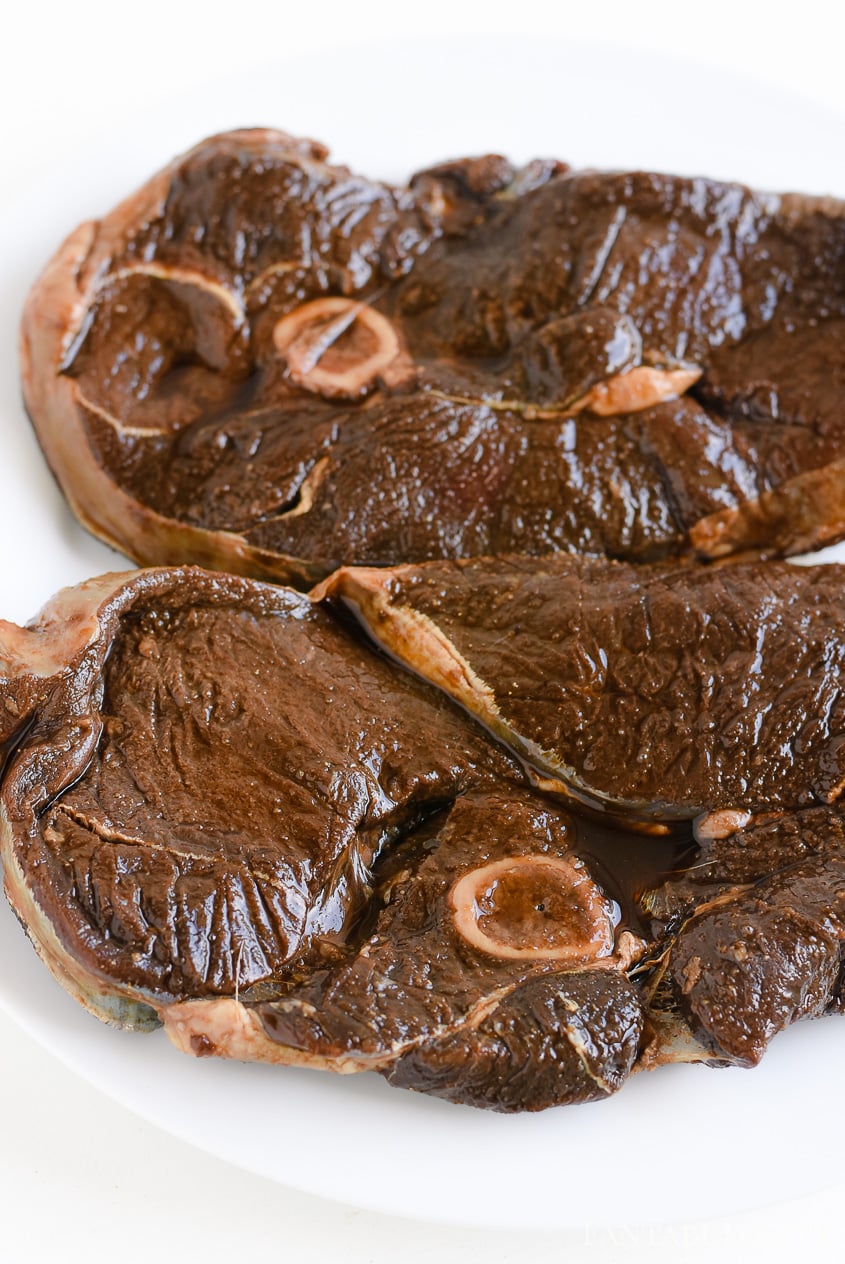
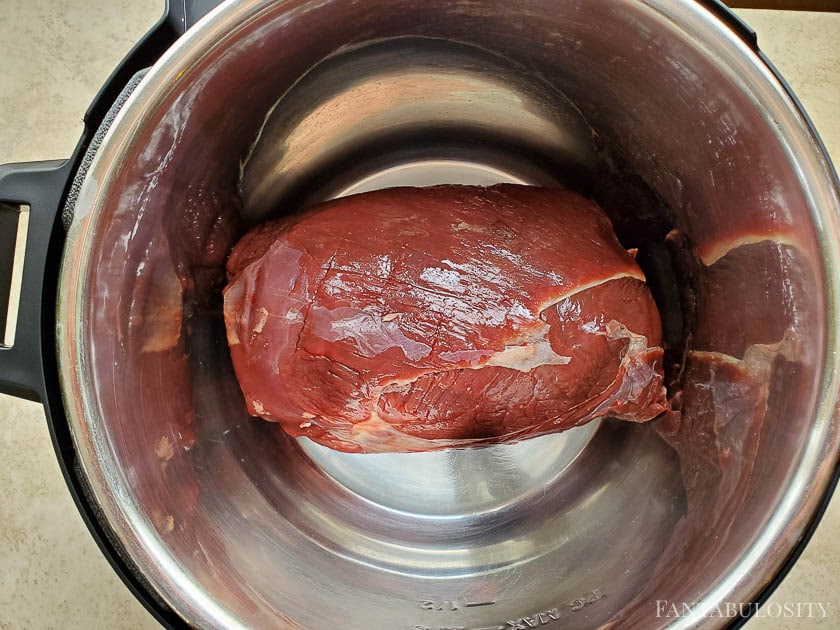
Basically you dump everything in, set it and forget it. I told you it was easy! You don’t need the trivet in the bottom of the pot, just plop your roast right in the bottom.
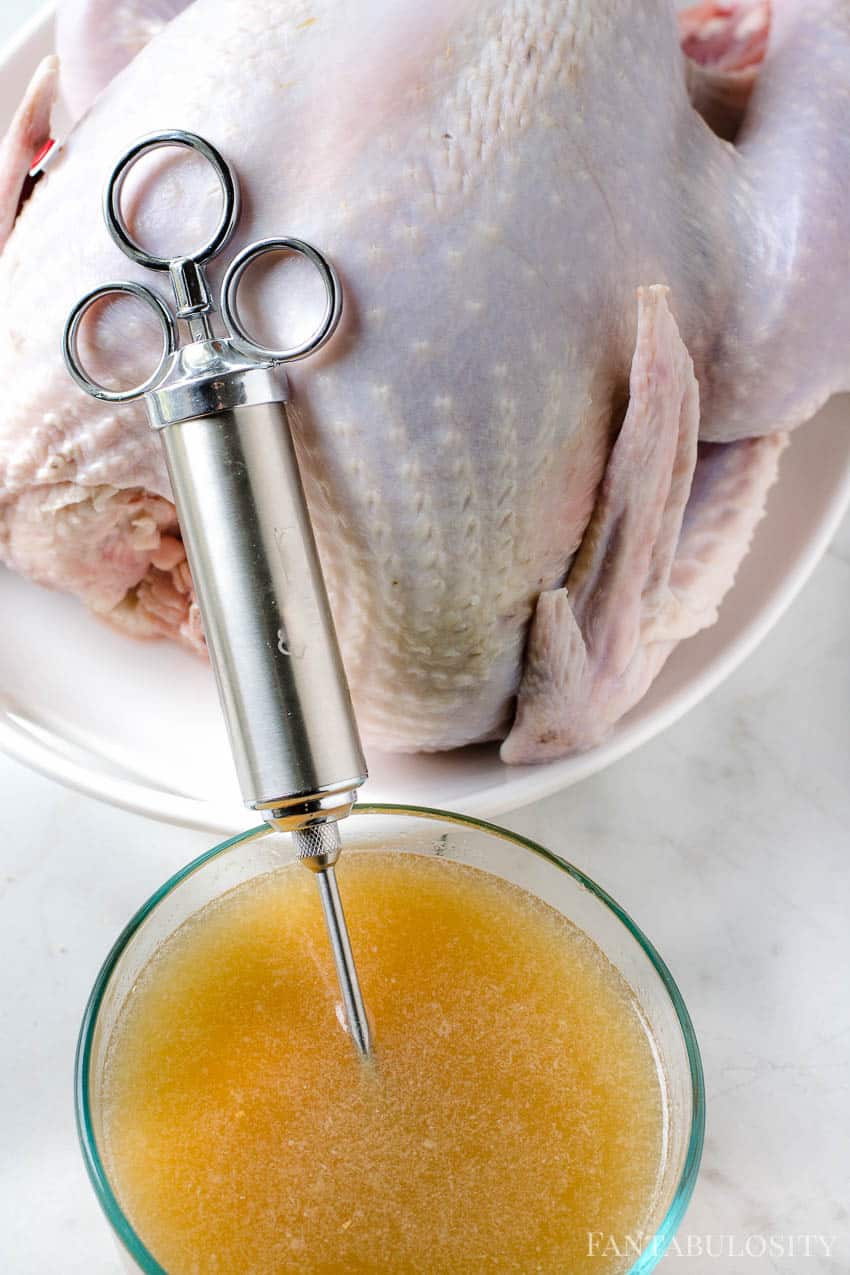
Next, add the consommé, soy sauce, garlic, butter, spices, and onion.
Pour in the four cups of water and lock your instant pot lid on.
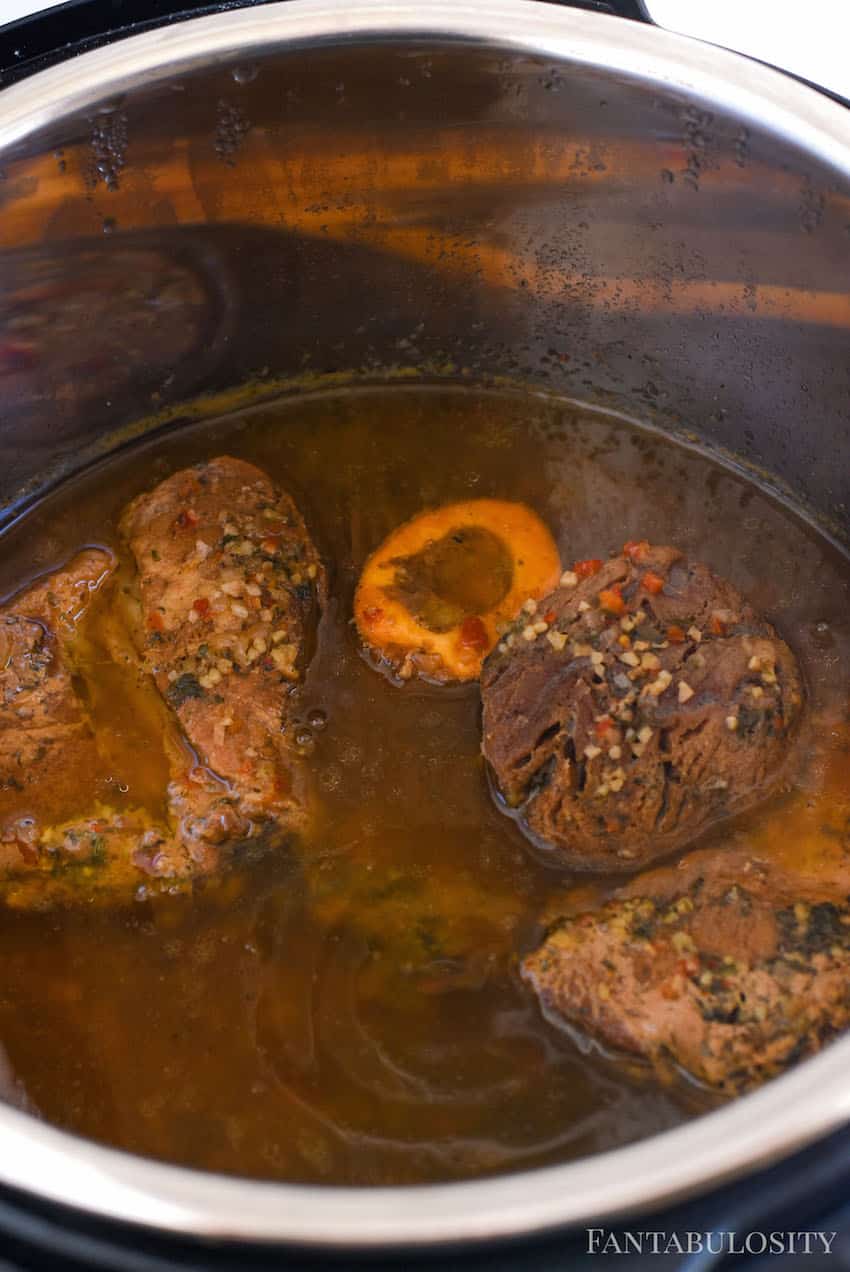
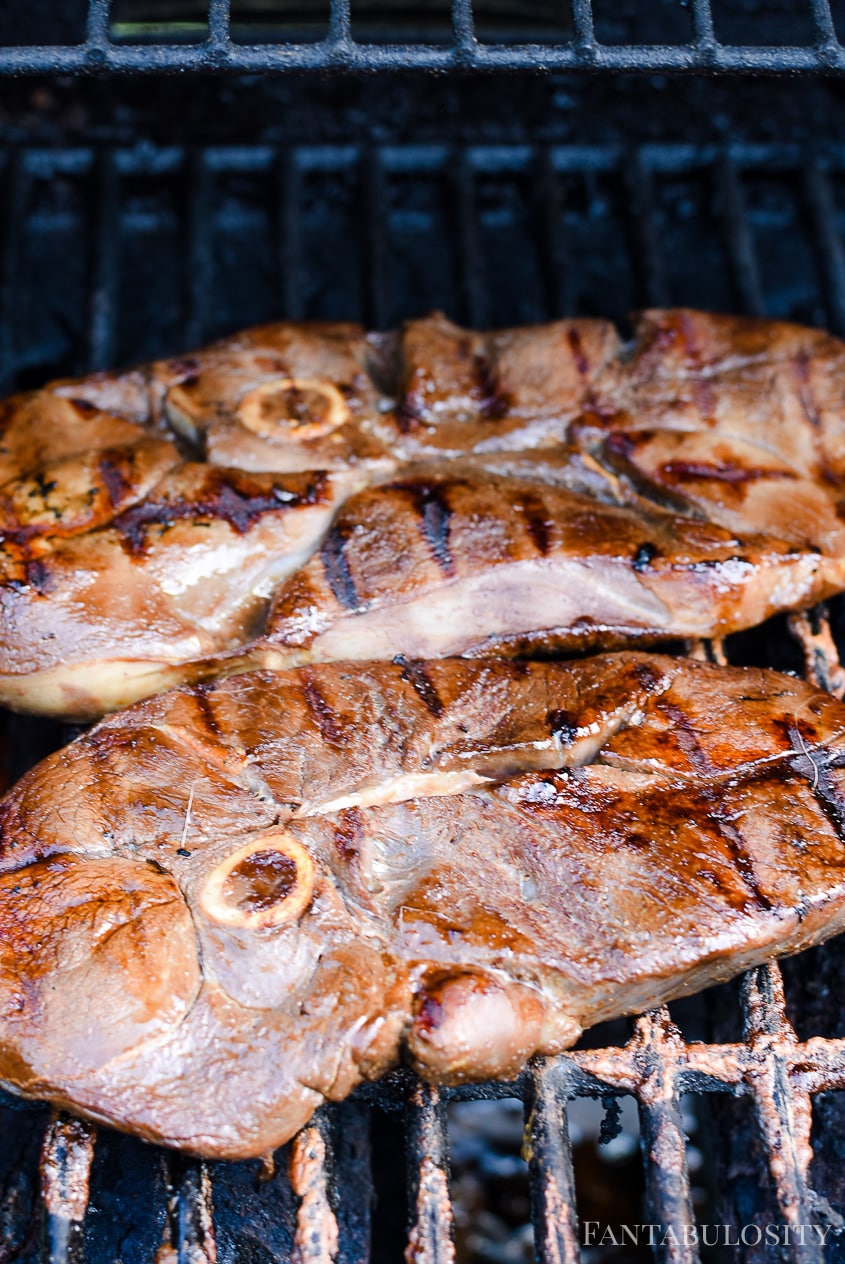
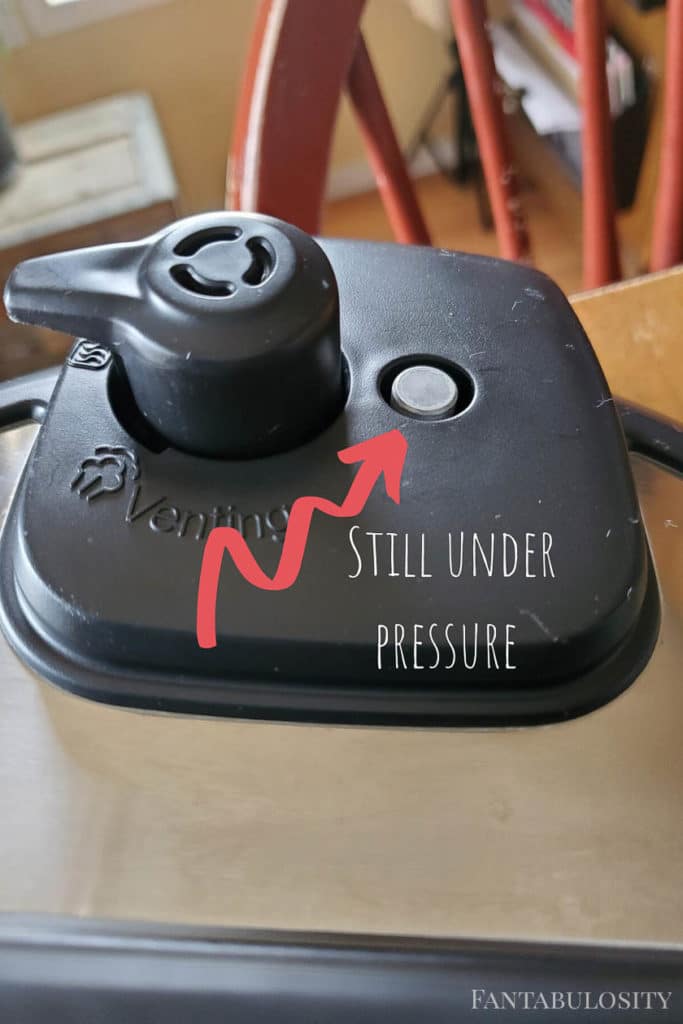
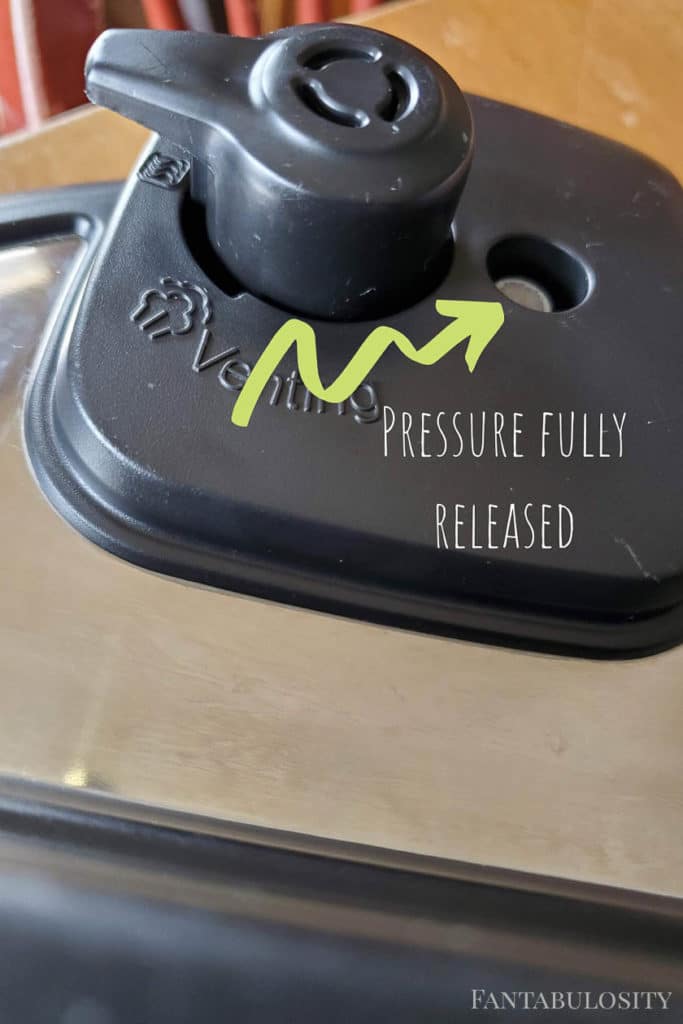
Make sure you turn the pressure nozzle to “sealing”. Cook on high pressure for 90 minutes. When your Instant Pot beeps hit cancel and allow the pressure to release naturally until the pressure is fully released. You will know that the pressure is fully released when the pressure indicator pin is down. Depending on the Instant Pot model you have it will look different. I have the Instant Pot Duo Plus. You should check your manufacturer’s instructions just to be sure.
Pro Tip: When the pressure is NOT fully released the lid will not come off and you should never force it. Your Instant Pot lid will turn easily and unlock when the pressure is fully released.
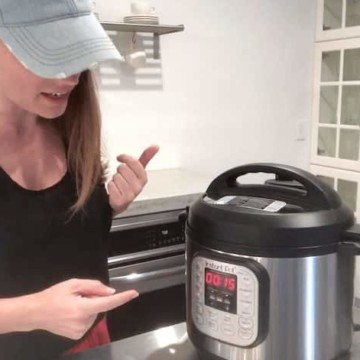
This photo is under pressure:
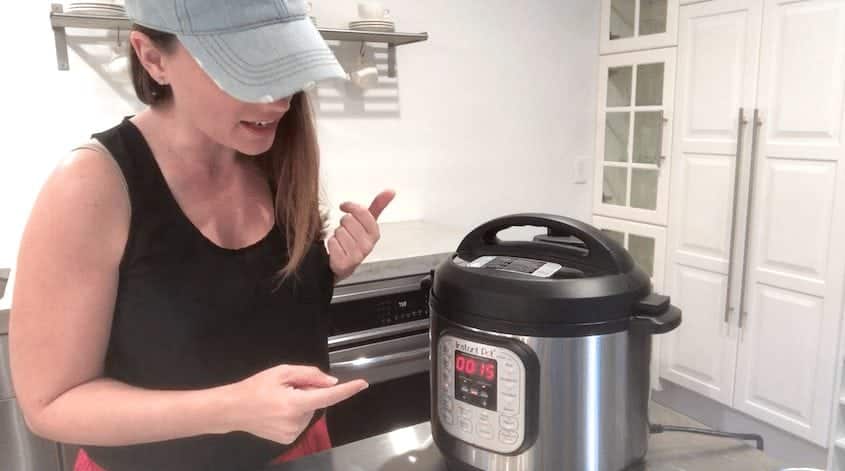
The pressure has been fully released in the photo below and now the lid will unlock and come off easily.
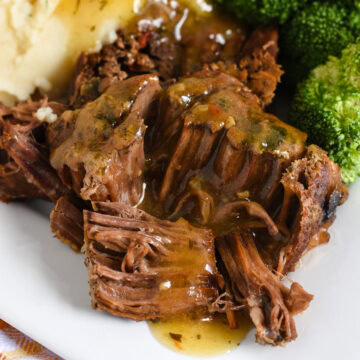
How to Serve Instant Pot French Dip Sandwiches
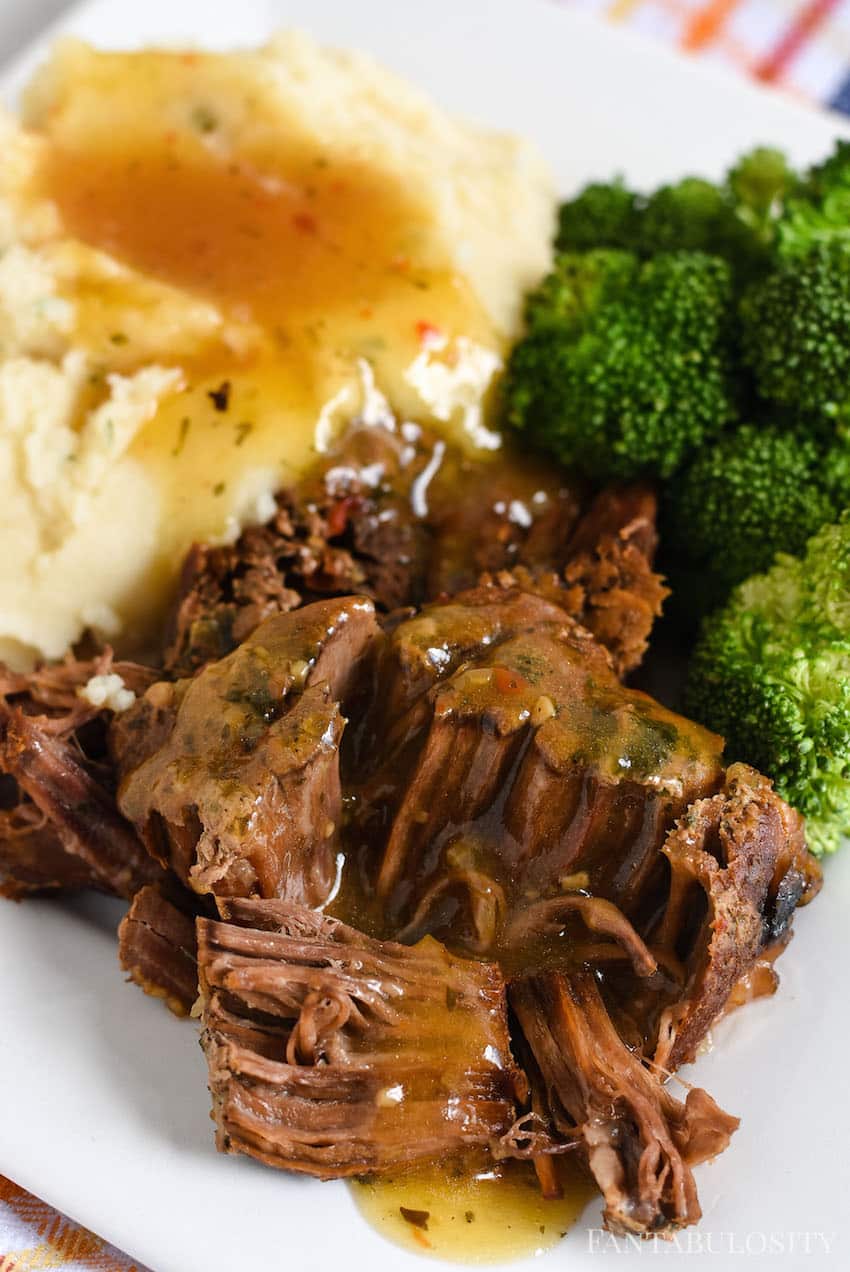
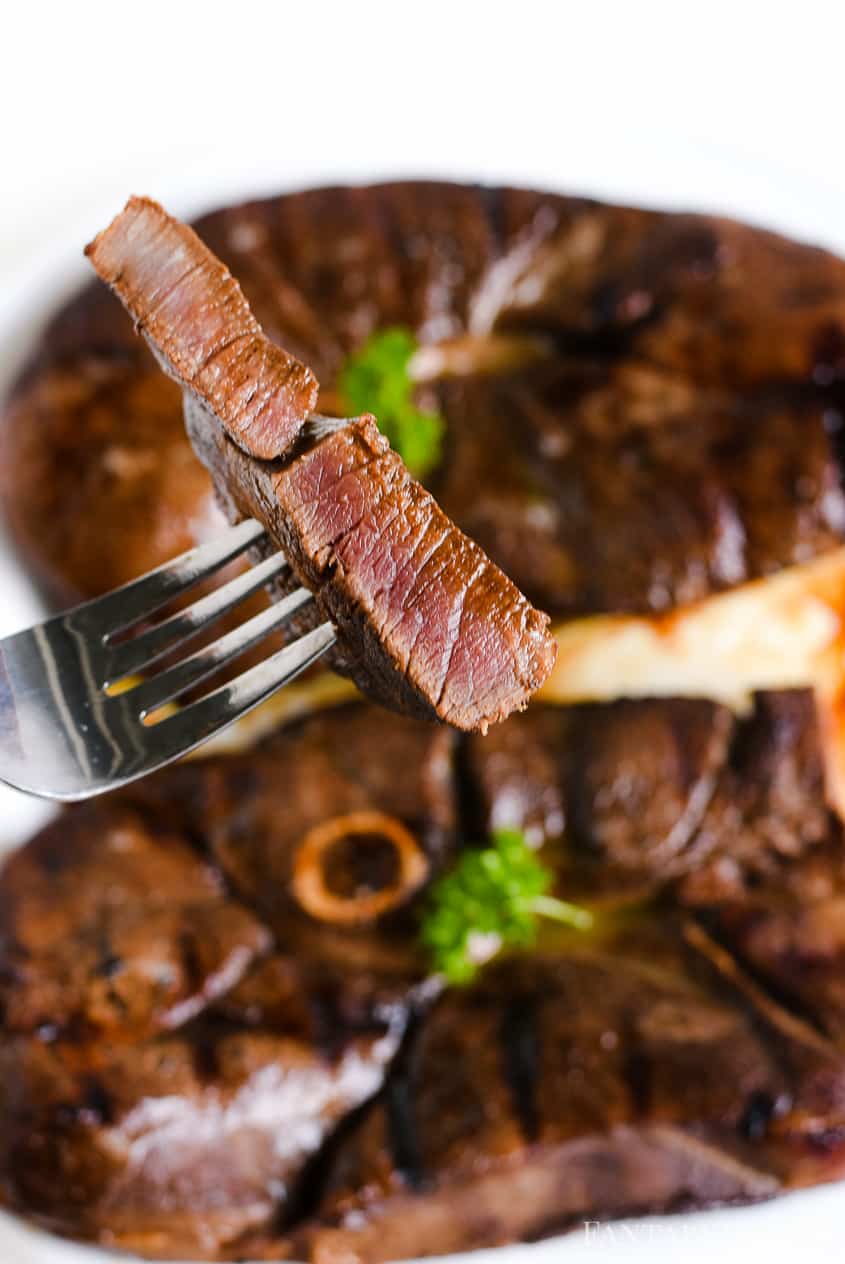
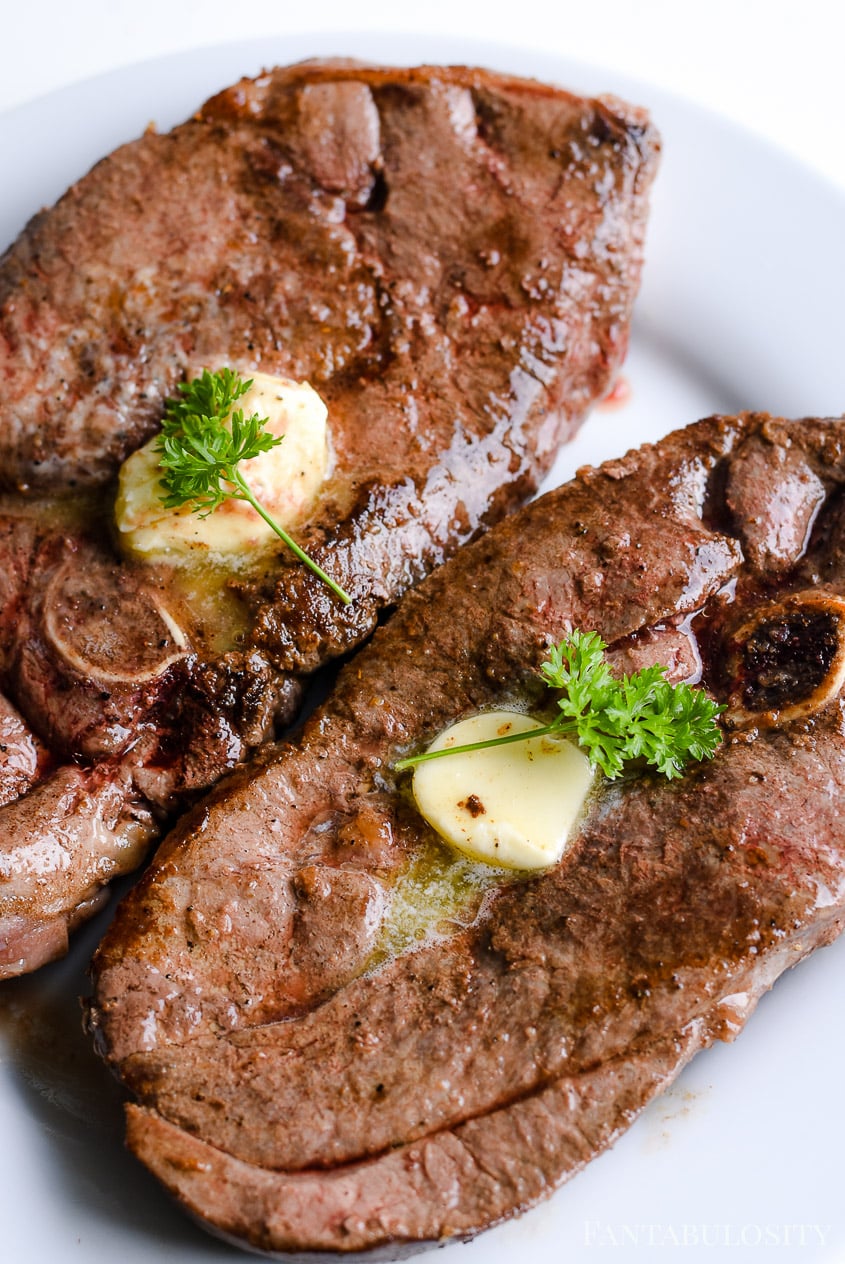
Beef. Bread. Broth. That’s all it takes to make a French Dip sandwich.
Some like a little mustard. ME, it’s me, I like a little mustard!”
Or maybe even a simple mustard horseradish spread. Yum!
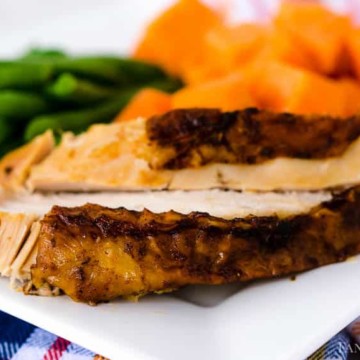
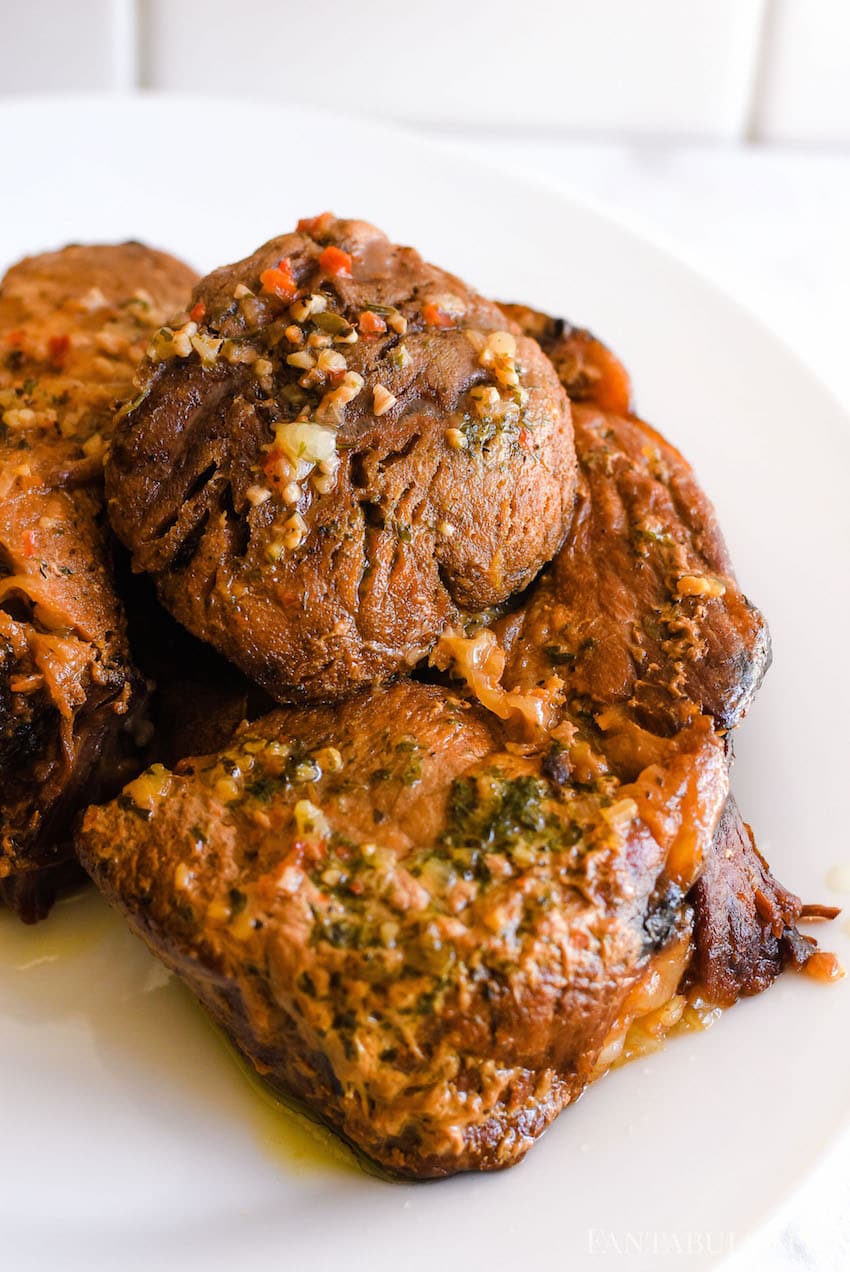
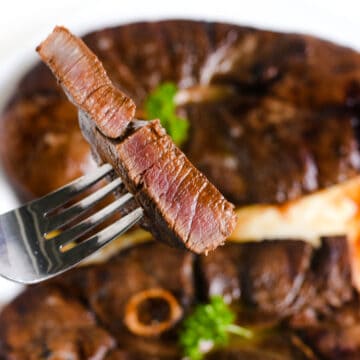
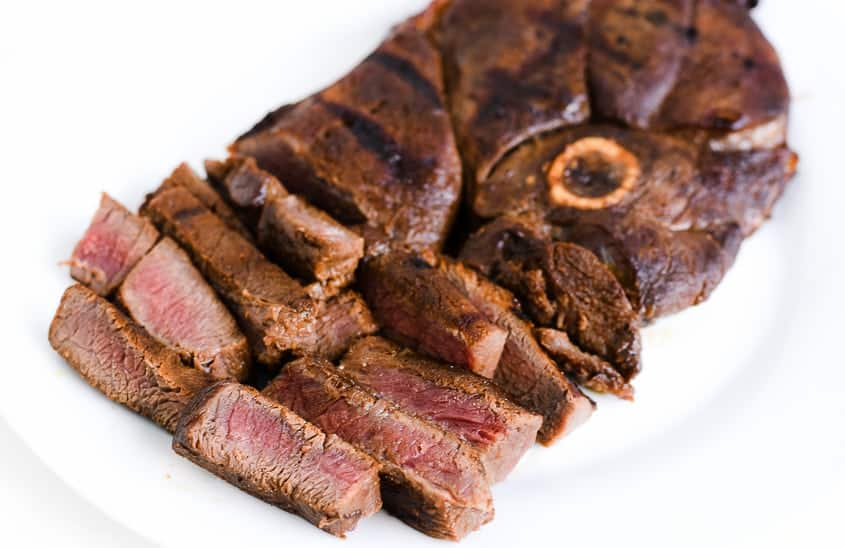
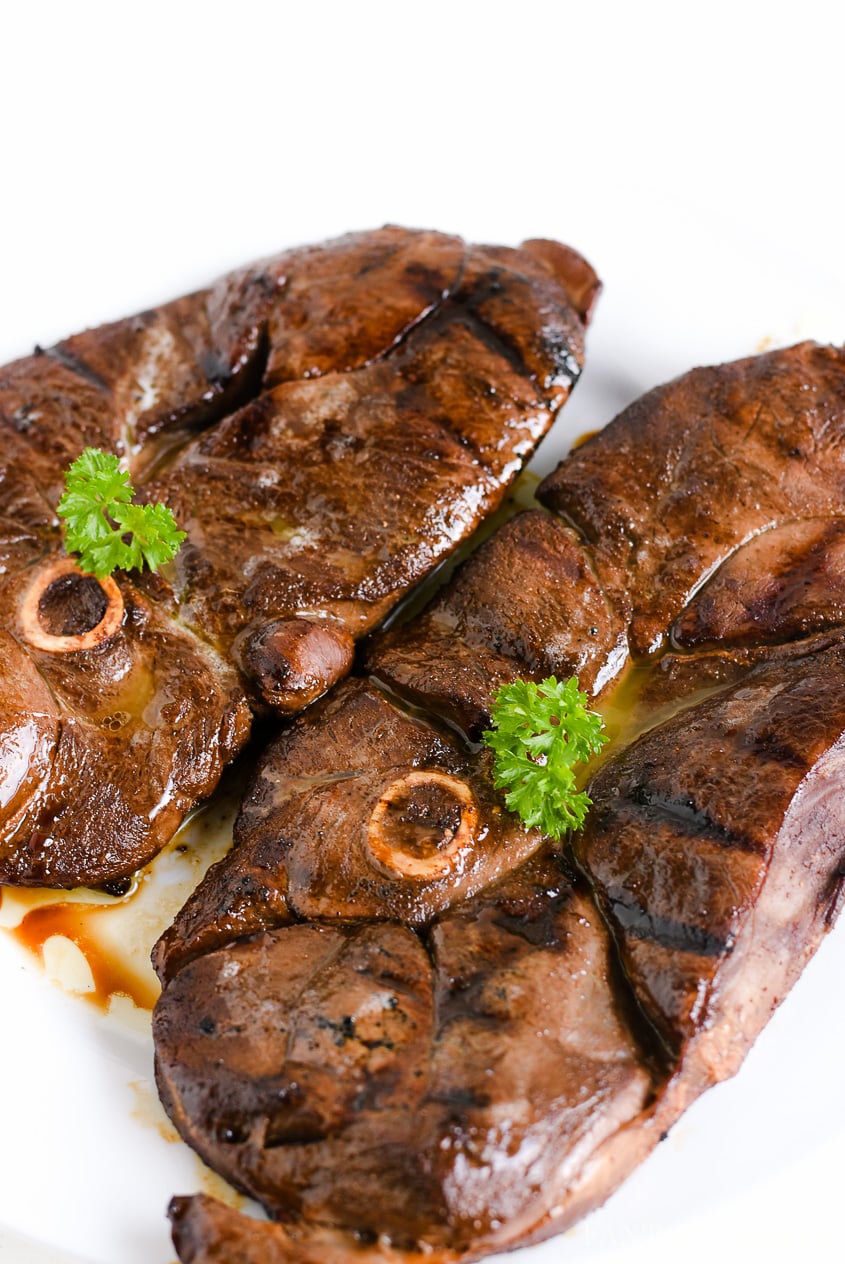
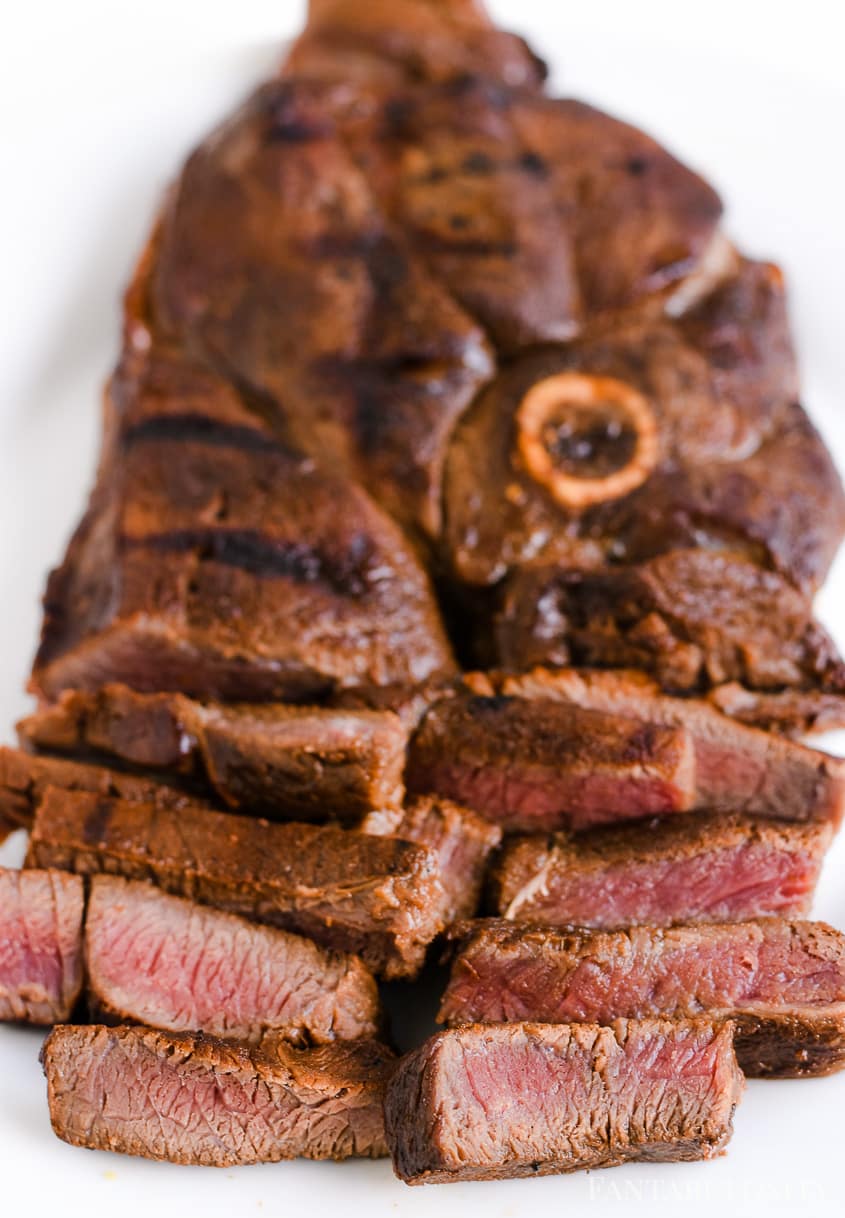
Traditionally French Dip sandwiches have sliced beef and not shredded. I Shredded the meat because it is much easier since the meat was cooked in the Instant Pot. Remember it came out so tender all I had to do was pinch it with a pair of tongs!
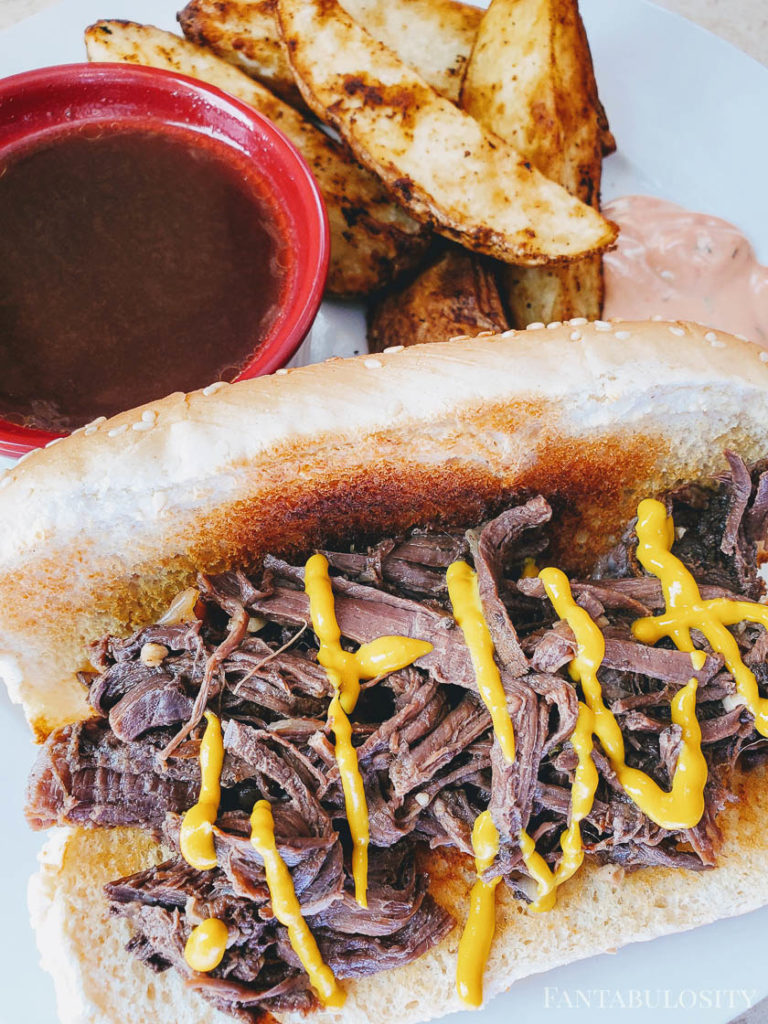
A french roll is not only the best bread to serve up French Dip but it’s also traditional. This time I went with a hoagie style roll. If you decide on anything other than a french roll, toast the bread before assembling the sandwiches. That way the bread doesn’t get soggy before you ever get the chance to dunk it! What can I say? I’m a rebel. The only thing that really matters is that your bread of choice is sturdy enough to contain the meat and hold up to the au jus dunk!
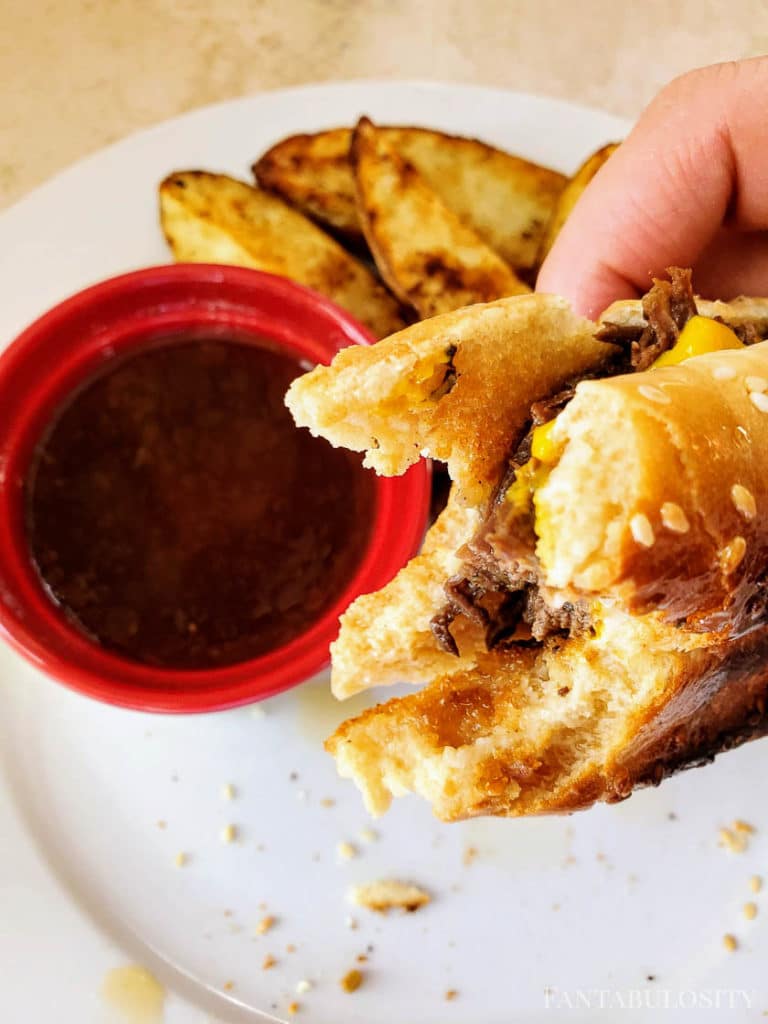
All the liquid that’s in the Instant Pot is your au jus dipping sauce. It’s pretty amazing that such a simple sandwich can taste SO good!
To Cheese or Not to Cheese…
Putting cheese on a French Dip isn’t illegal. But, if you want to serve it authentically, no cheese. Provolone, mozzarella, or pepper jack is what I typically use for the times that I put cheese on my French Dip. Some restaurants I’ve seen put swiss. I say, whatever floats your boat! However, the traditional Los Angeles French Dip Sandwich does NOT have cheese!
This is new information for me! It’s funny though, since finding out that the traditional French Dip doesn’t have cheese I decided to try it without and I love it!
Next time I think I’ll try a homemade creamy mustard horseradish sauce. I just drooled a little bit. Yum!
If you do decide to put cheese on the sandwich I recommend pepper jack. It goes really well with the meat and doesn’t take over the flavor of the whole sandwich.

This comforting meal is exactly the kind of dish you’ll find in classic old-fashioned dinner recipes.
Recipe

Instant Pot French Dip
Equipment
- Pressure Cooker
Ingredients
- 3-4 lb chuck roast venison or beef
- ¼ cup unsalted butter
- ½ large sweet yellow onion diced or sliced
- 3 cloves grated garlic
- ½ cups soy sauce
- 2 cans beef consommé NOT BEEF BROTH
- ½ teaspoon salt
- 1 teaspoon ground rosemary
- 1 teaspoon whole or ground thyme
- 4 cups water
Instructions
- Place the roast in the Instant Pot.
- Pour the beef consommé and soy sauce on top of the meat.
- Add the butter, onion, garlic, salt, rosemary, and thyme
- Pour water on top. Place Instant Pot lid on Instant Pot and set pressure valve to sealing.
- Cook on high pressure or 90 minutes.
- Do a full natural pressure release. It takes about 30 minutes to fully release.
- When the meat is done shred it and remove it from the liquid in the pot. This helps keep your sandwich from becoming soggy.
- Assemble the French Dip sandwiches on a french roll or toasted roll of your choice.
Notes
Nutrition
And there you have it! It doesn’t get much simpler than that when comes to cooking.
5 More Meal Ideas Using Leftover French Dip!
- BBQ Sandwiches – Add your favorite barbeque sauce and a little liquid smoke to the meat. Serve it up on your favorite bun.
- Gyros – A little lettuce, tomato, and tzatziki sauce on top of the meat wrapped up in a warm soft flatbread. Yes, please!
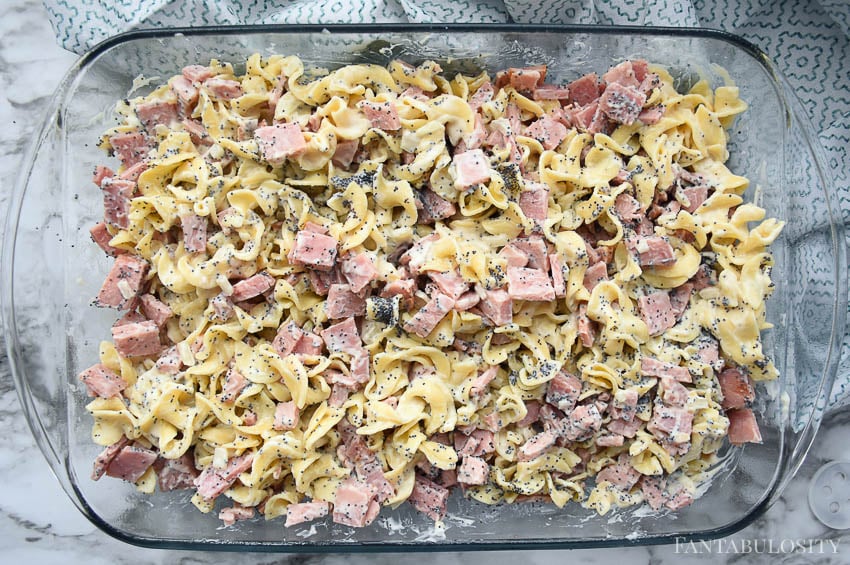
- Shredded Beef Gravy – Make a gravy out of some of the leftover au jus. Add the meat and serve over mashed potatoes or noodles!
- Beef Stew – Use the meat and the au jus. Add veggies of your choice and thicken the juice with a cornstarch slurry.
- Mexican Style Soup -You could make ANY kind of soup with the leftover French Dip. For a Mexican style soup maybe some hominy, Mexican spices, pasta, a can of Rotél, the possibilities are endless!
I hope you all enjoy this recipe! It certainly is a favorite around here. It’s a great time saver as well as a money saver. I’d love to know if you tried this recipe or any of the other leftover recipes! Leave a comment and let me know.
Have a wonderful day!
Leigh Ann♥


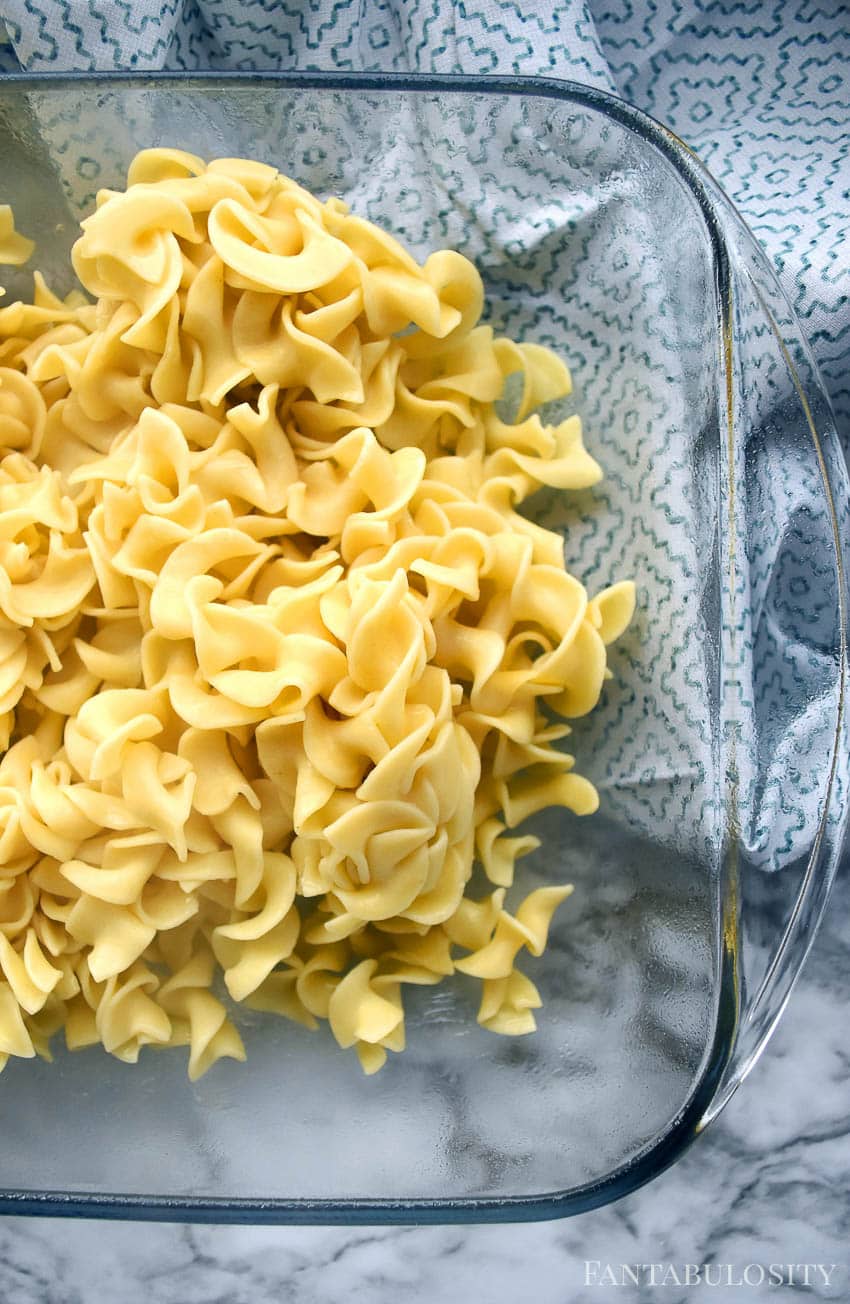


 You’ll start by cooking your noodles according to package directions.