Taco Chicken Casserole: Shredded chicken, Rotel, black beans, rice, corn, cheese, tomatoes, and a few other fresh, flavorful ingredients make this easy chicken taco bake a must try!
This Taco Chicken Casserole is quick and easy to make, making it the perfect easy weeknight meal. (Well, and this chicken tater tot casserole too.)

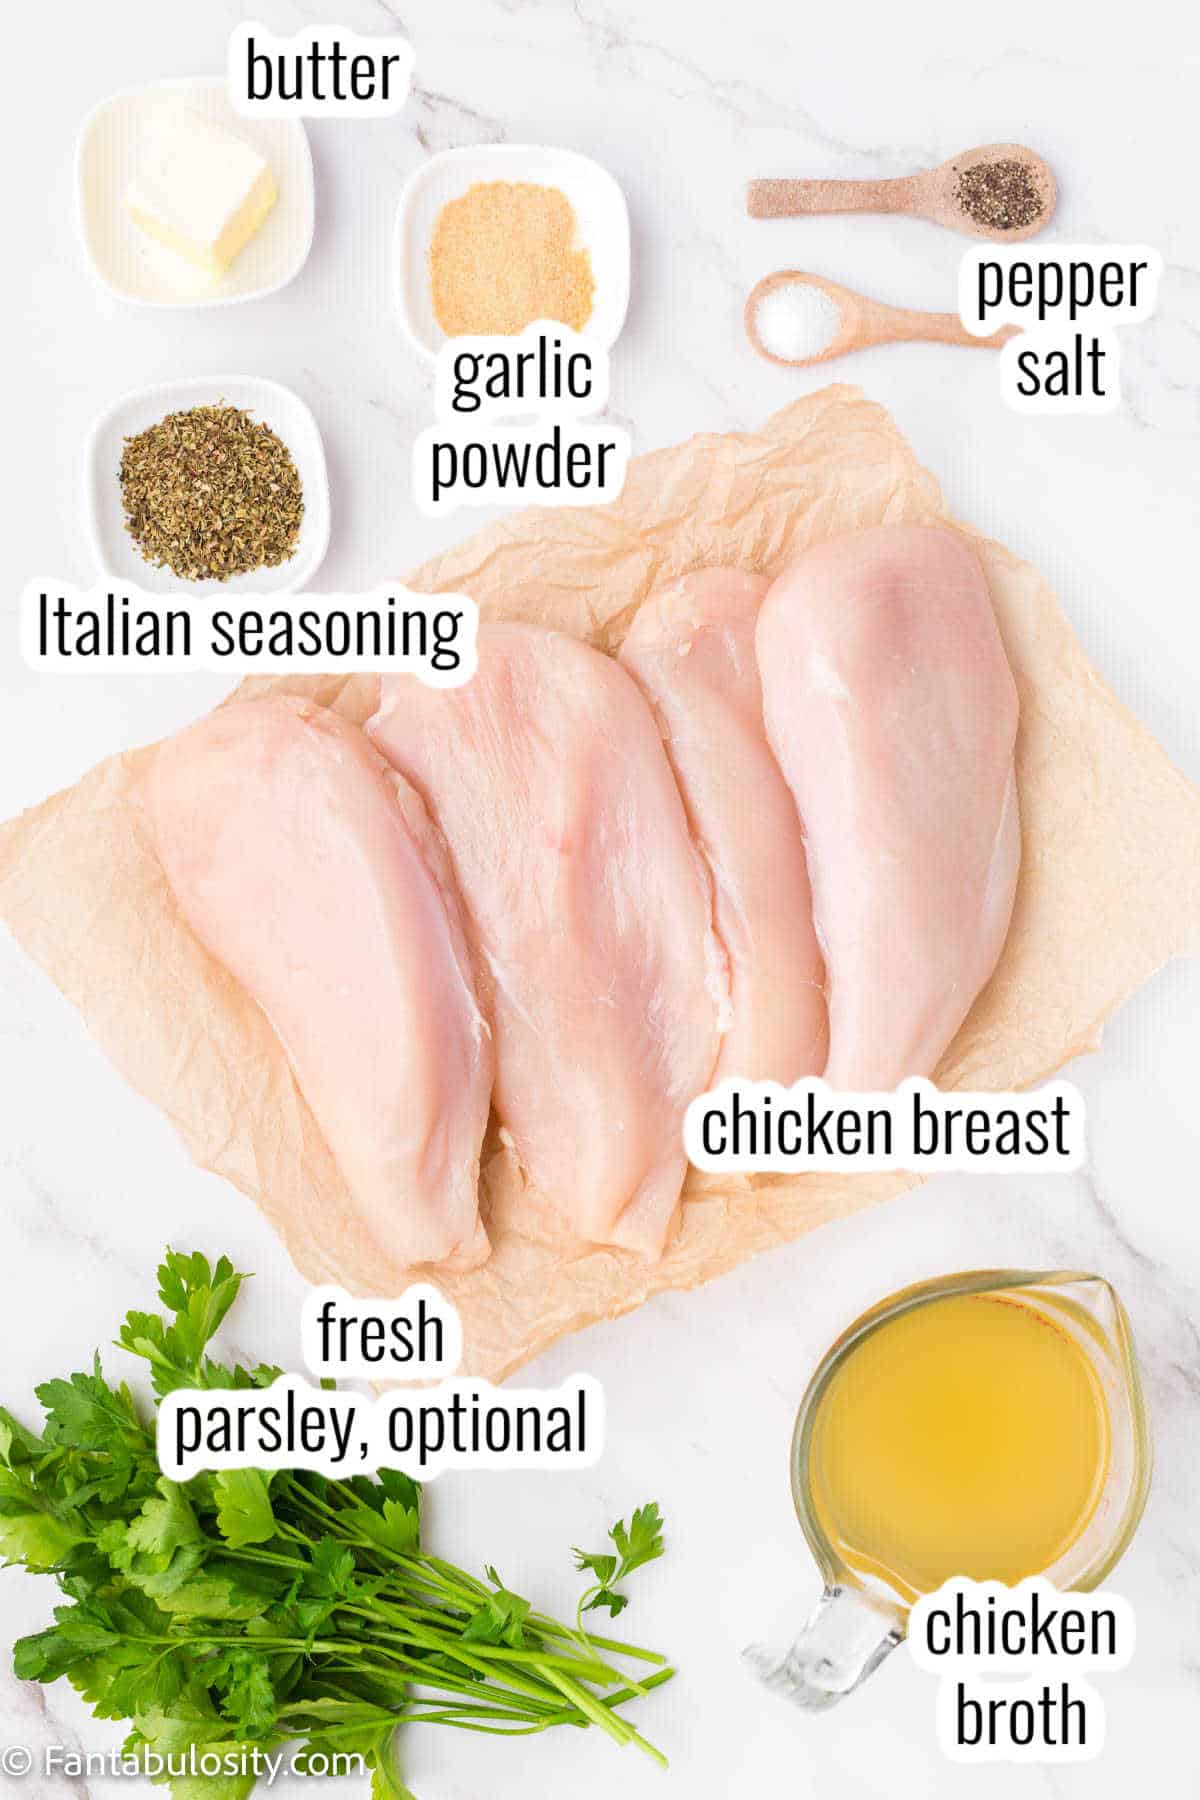
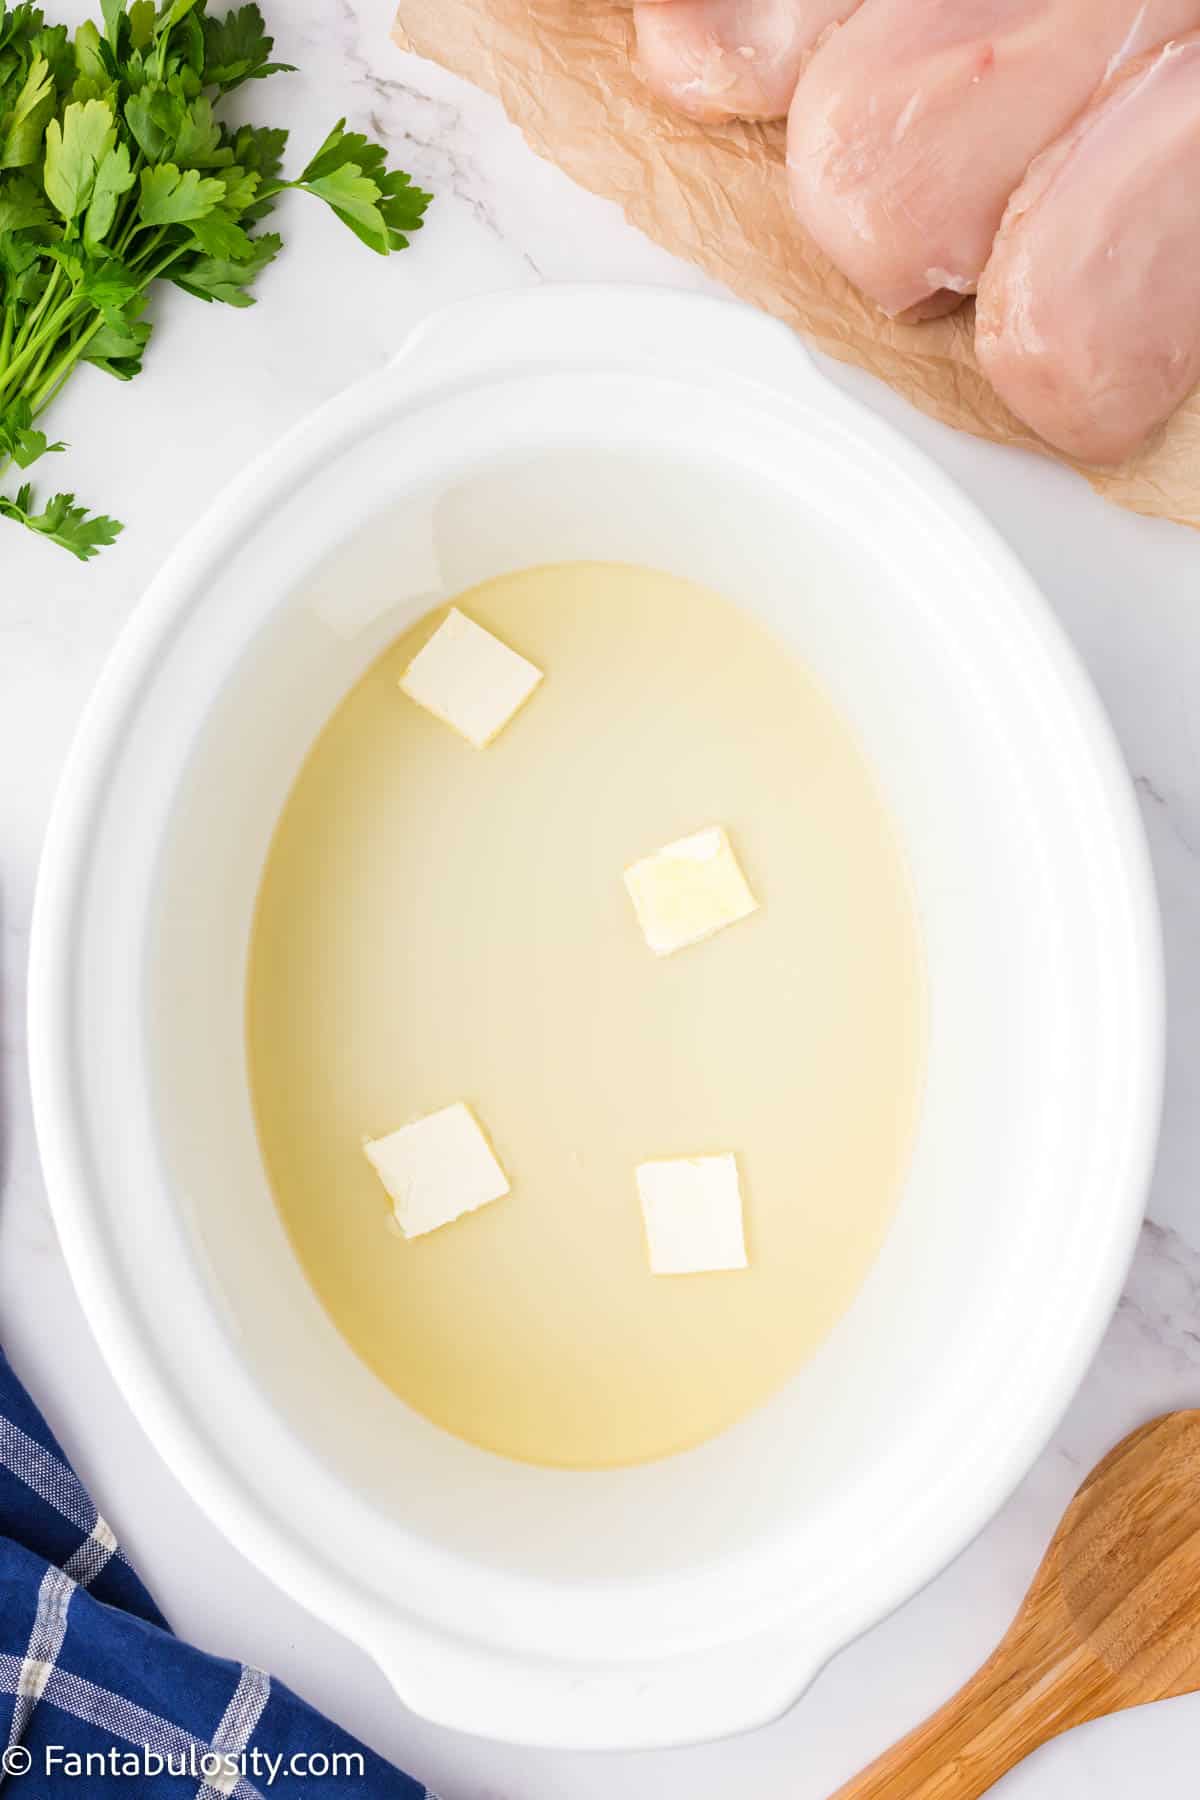
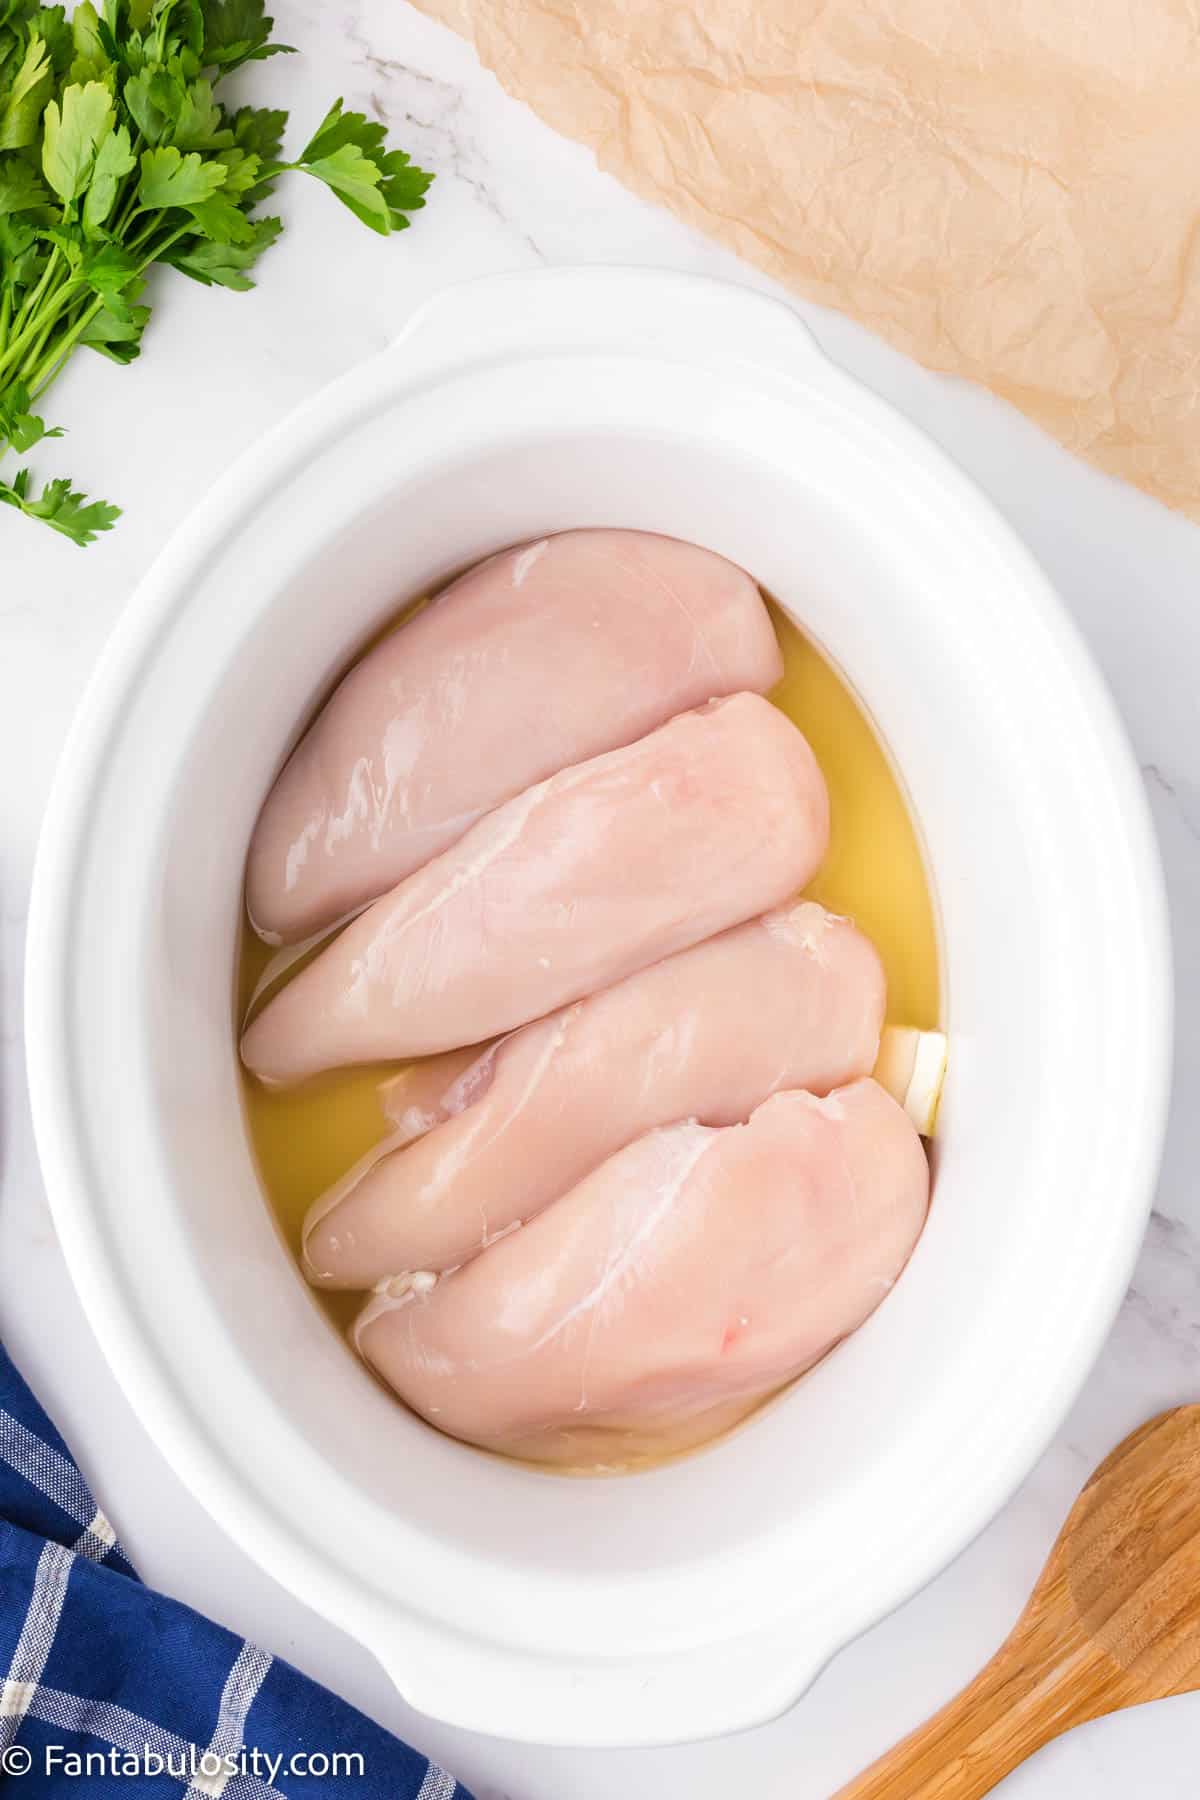
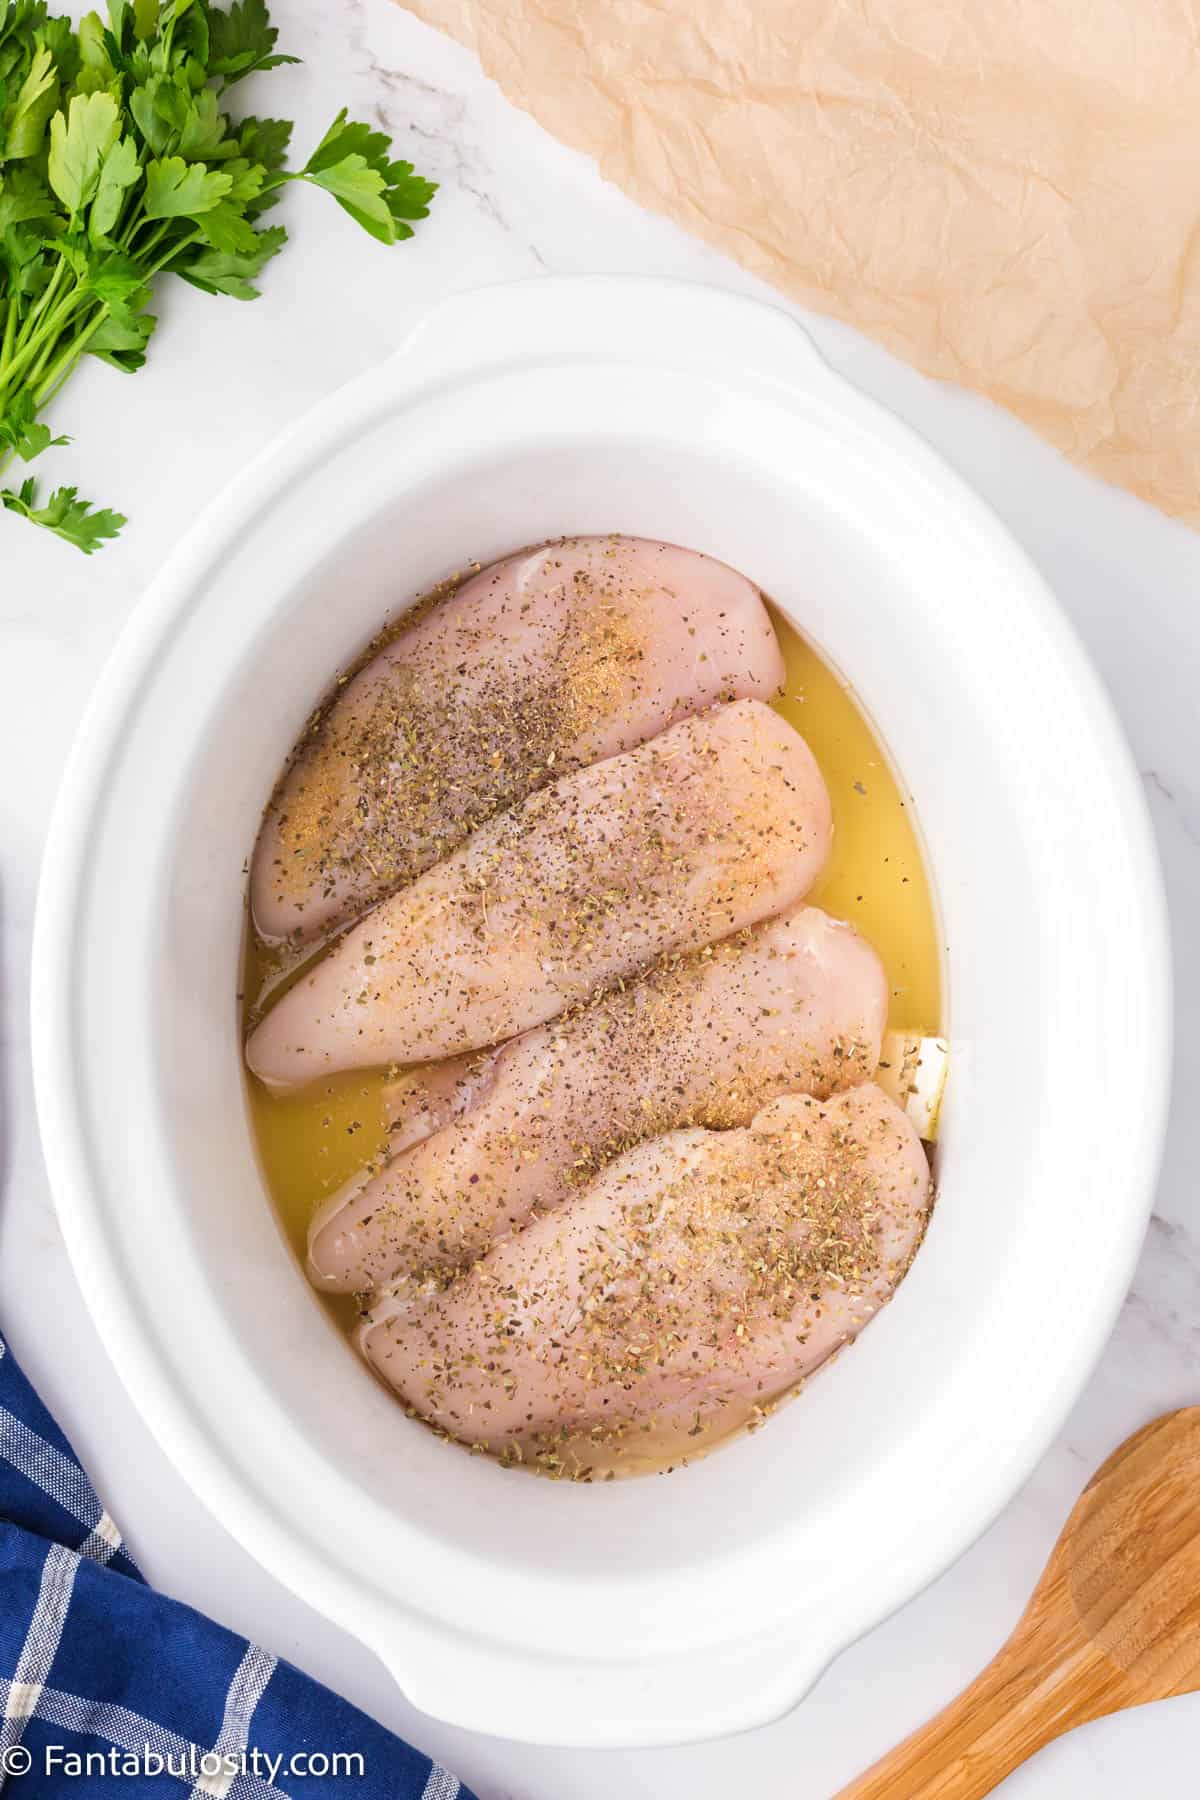
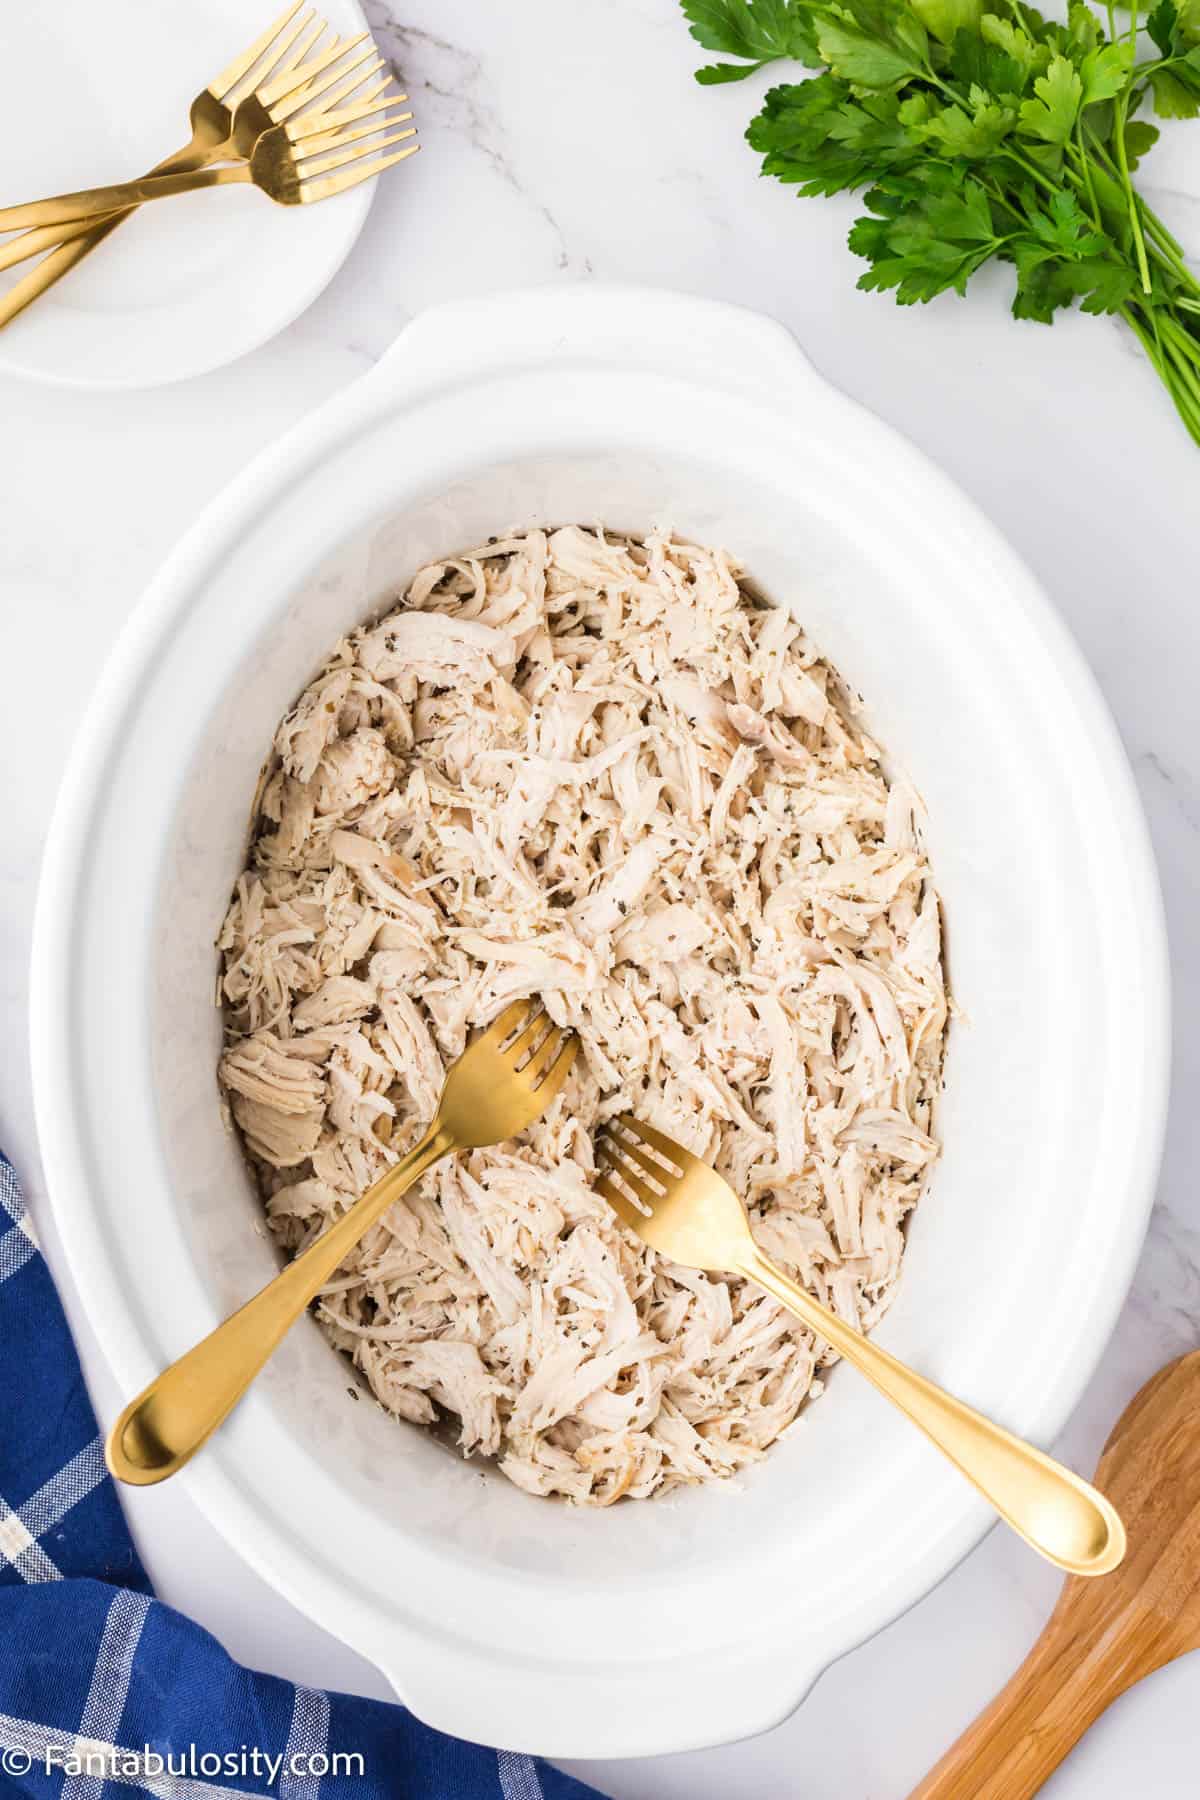
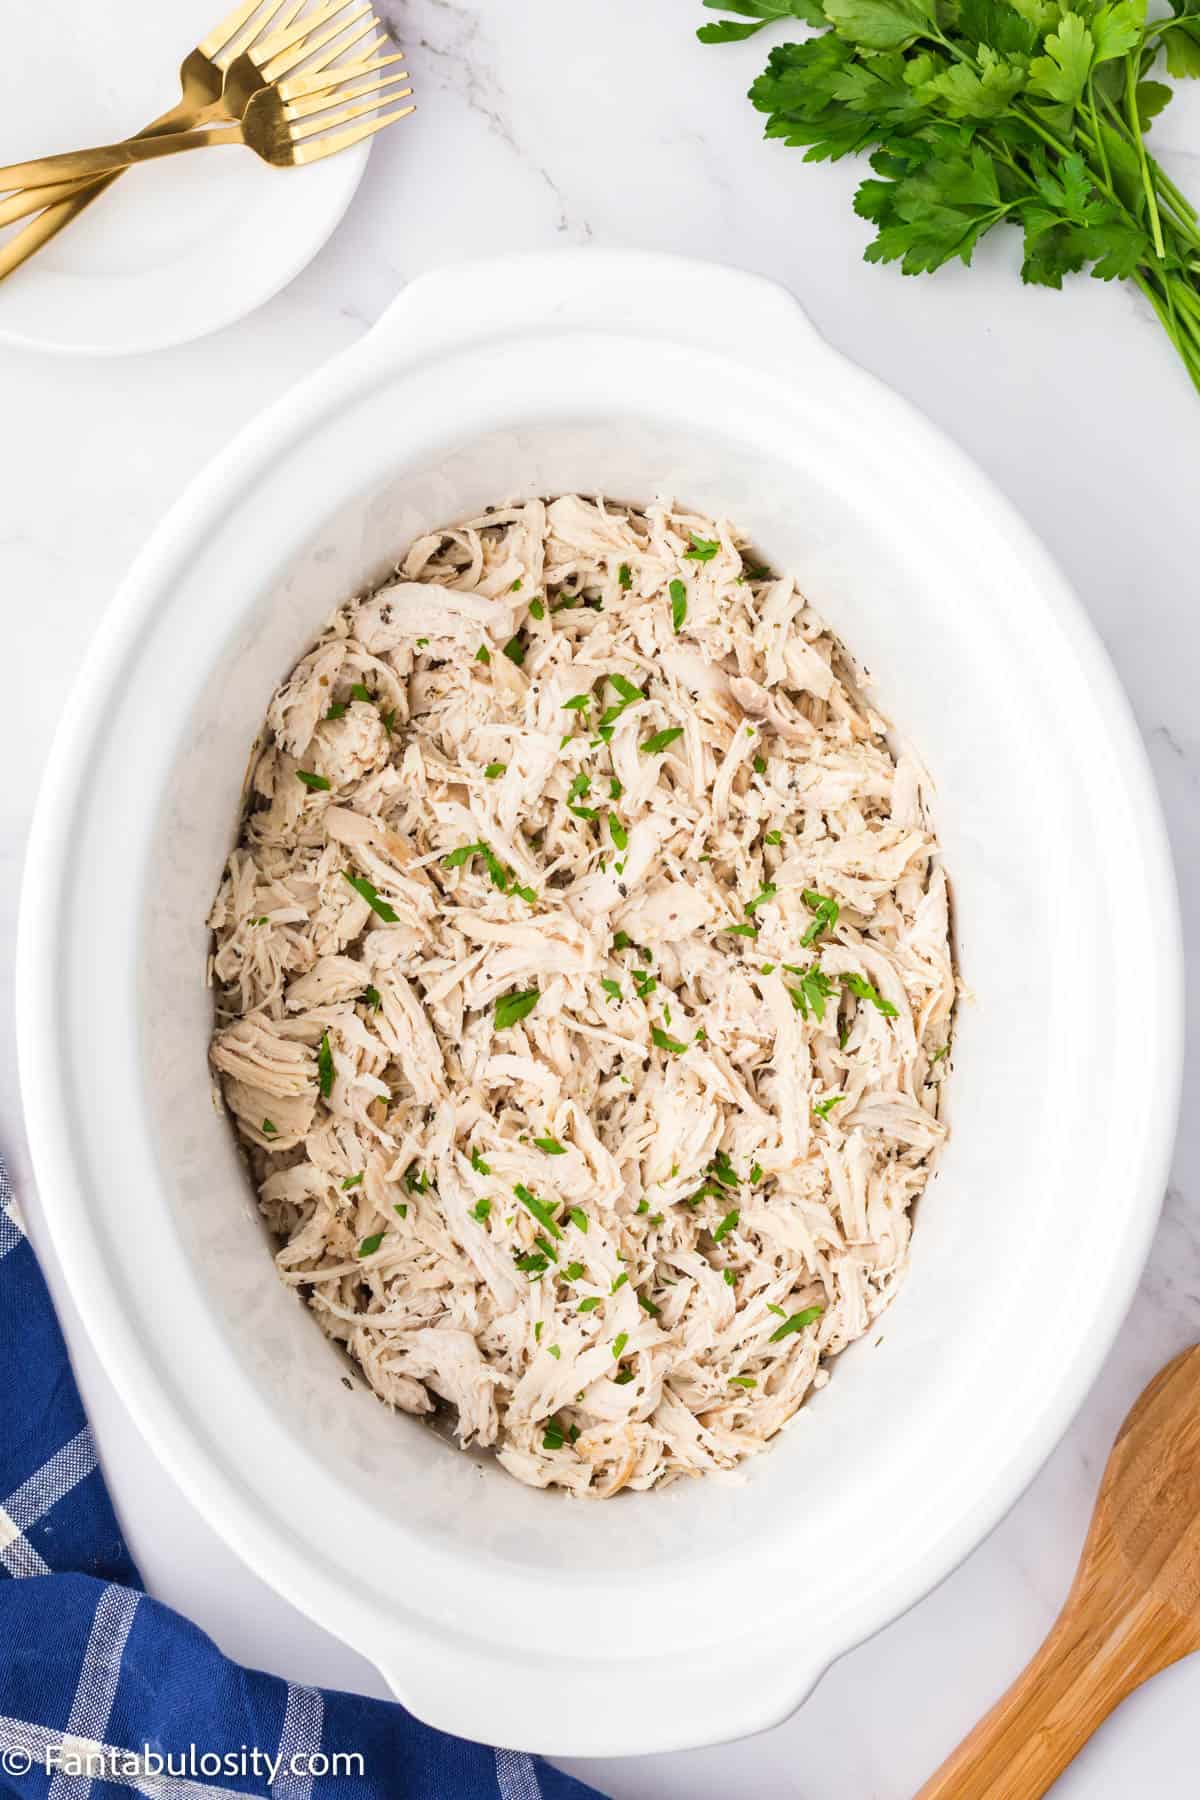
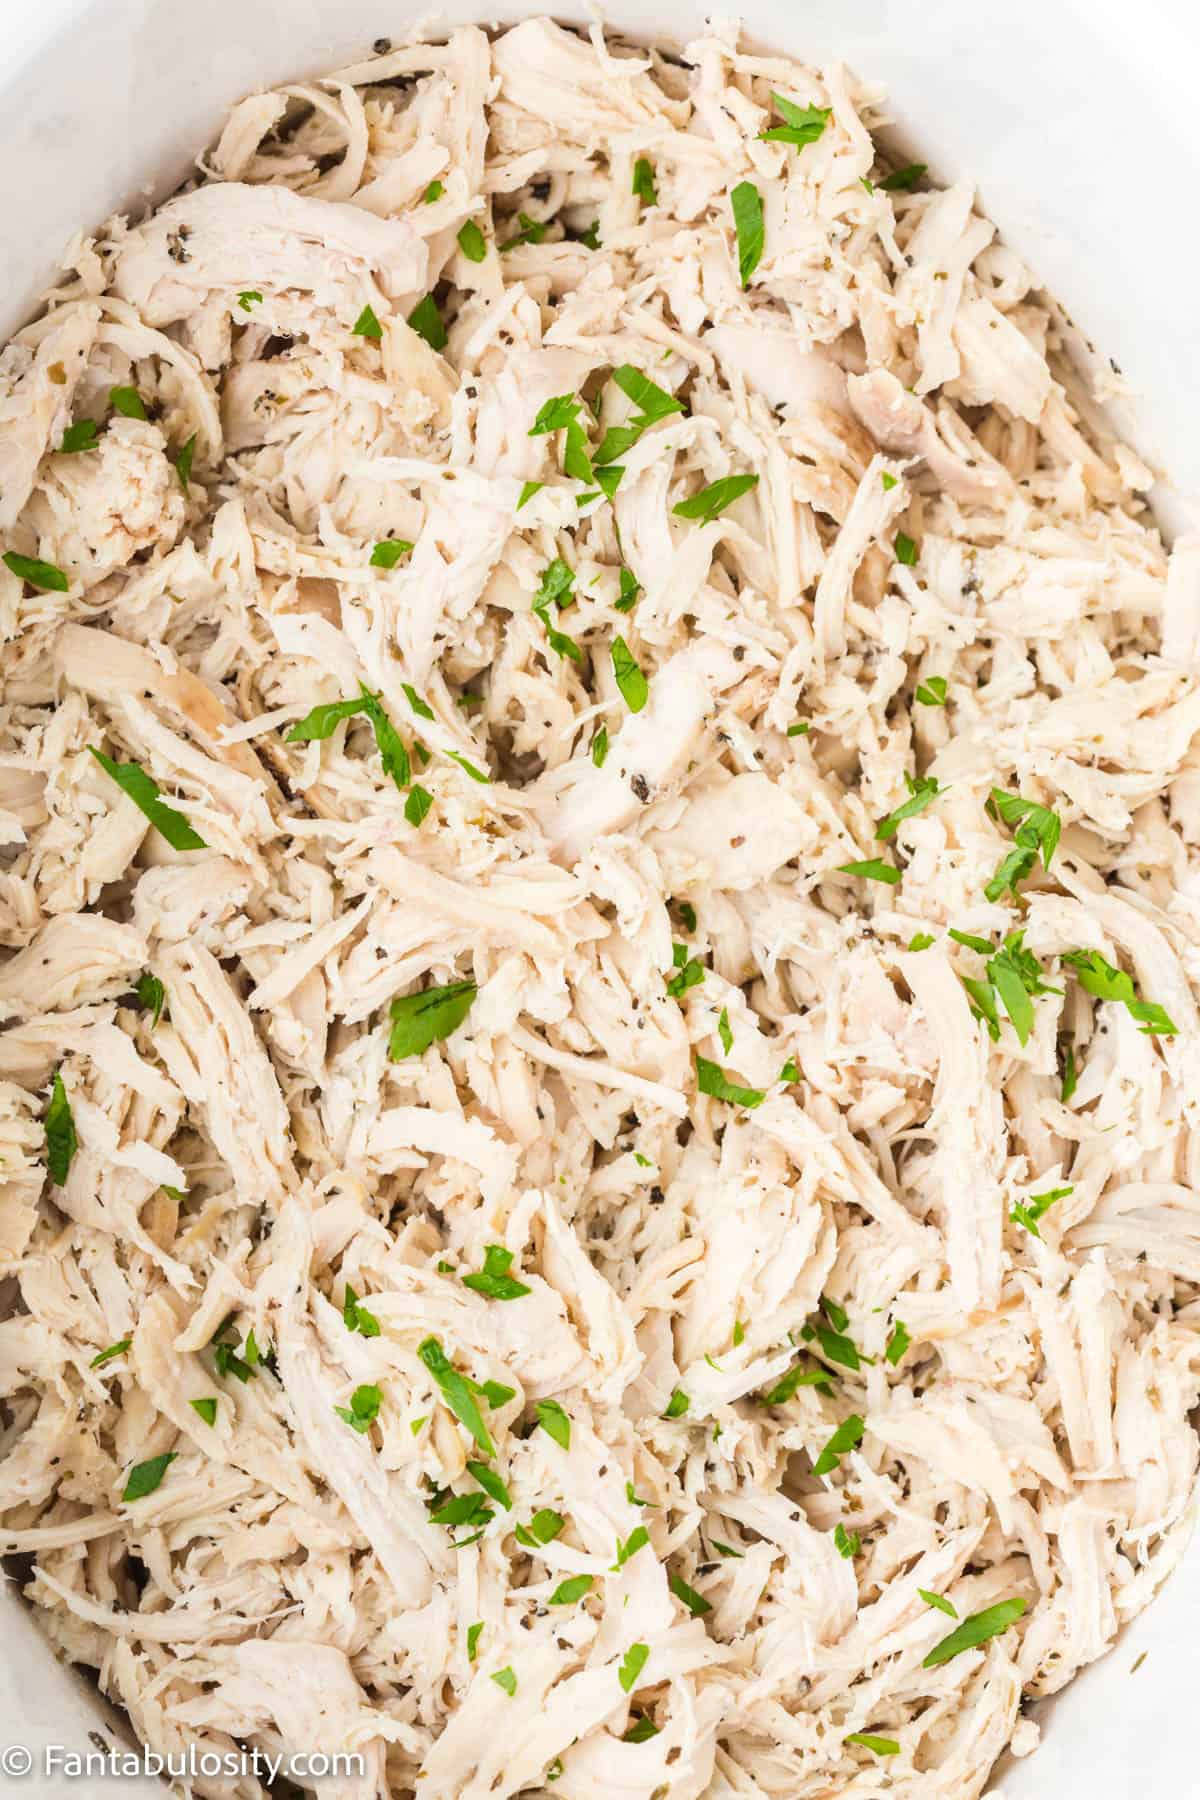
Don’t have any shredded chicken on hand? Follow my foolproof method to make easy shredded chicken in the slow cooker. Or you can grab a rotisserie chicken and shred that if you’re in a hurry! Don’t throw away the bones and skin though! Save it and make this delicious rotisserie chicken broth to use in other recipes!
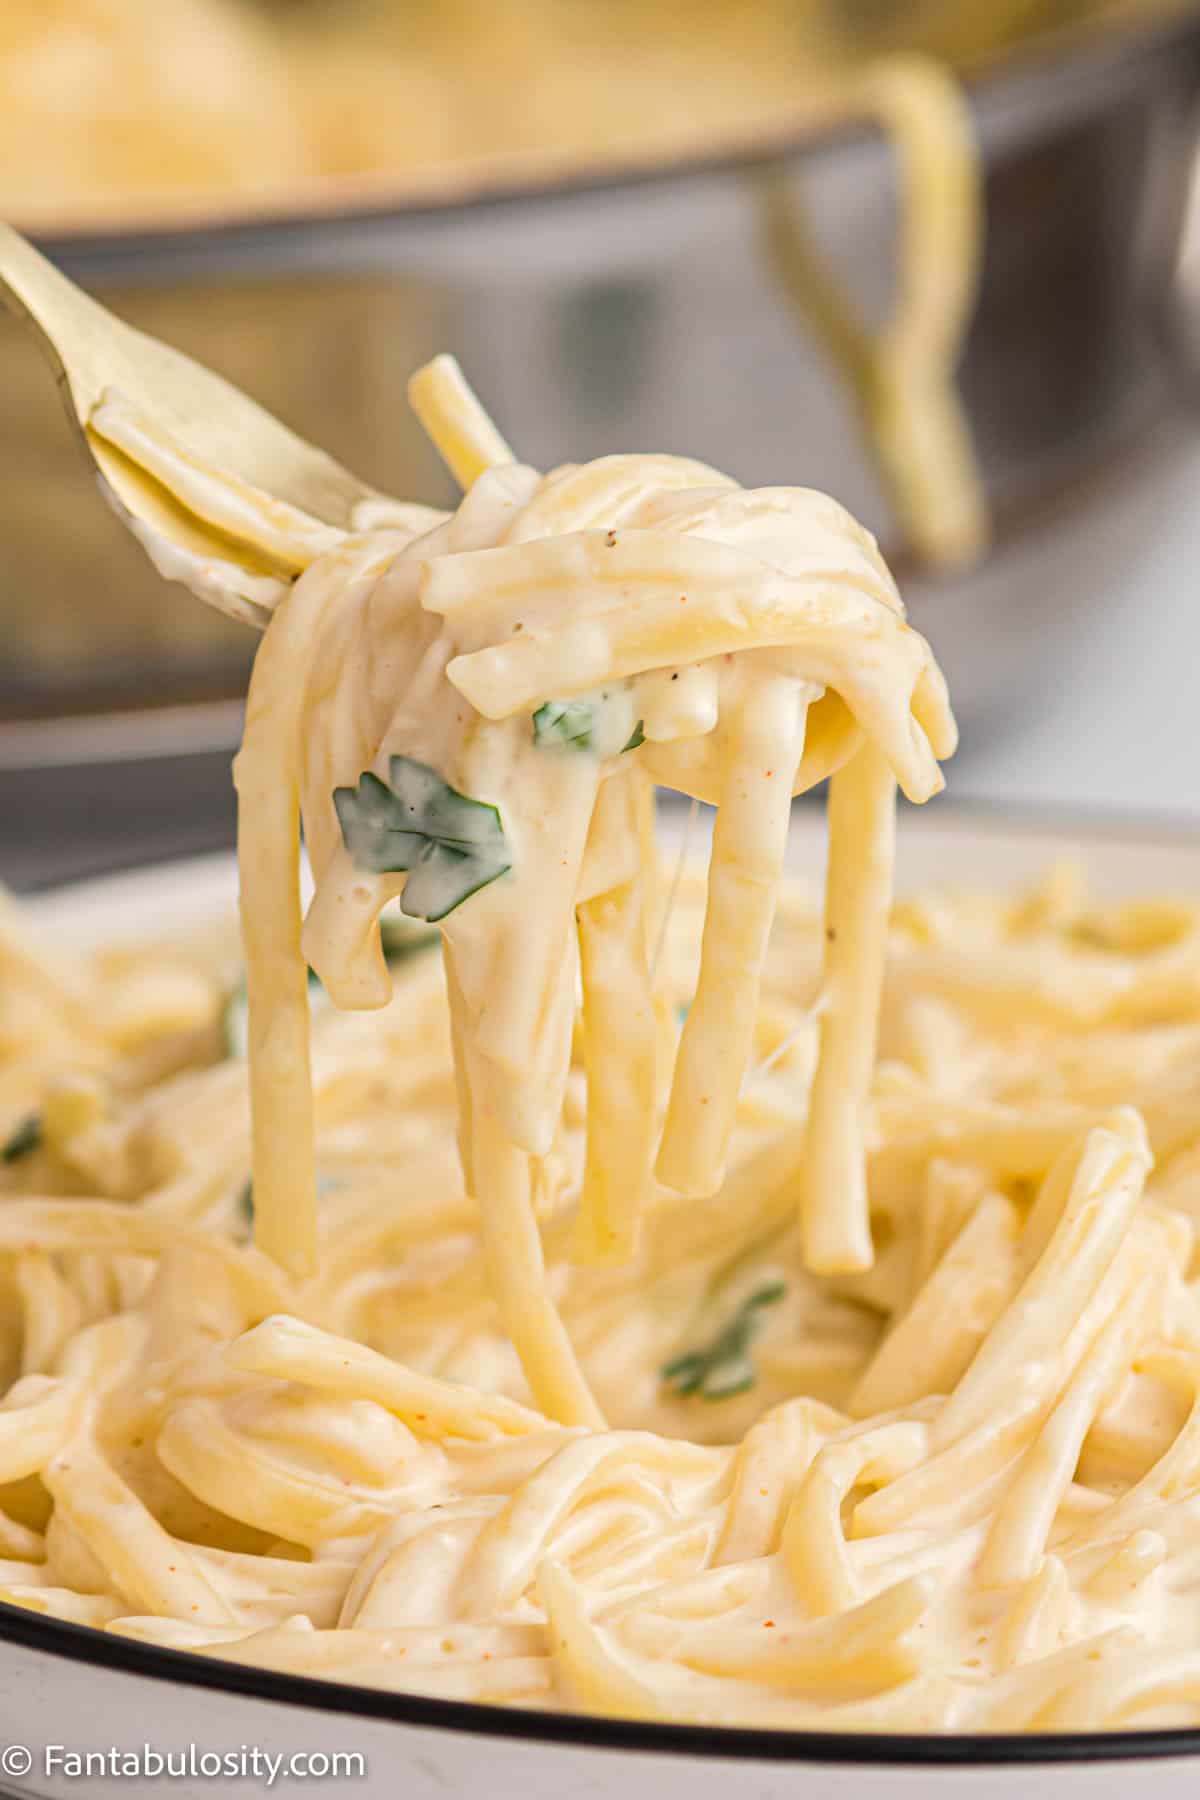
Want more tomato-cheese goodness? Rotel Pasta gives you a hit of spice with the same taco-type flavors.
Why You’ll Love This Recipe
Can I tell you a secret? I LOVE a good taco. Ok, that’s not actually much of a secret because I think I’ve said that a few times on here before and we have just a few different taco-inspired recipes (like a taco soup…and a taco pasta recipe…). Anything taco-related is a hit at our dinner table.
I especially love when you take all the flavors and fixings of a taco and put it in an easy-to-make (and easy-to-eat – my tacos always fall apart all over my plate anyhow) format like this easy chicken taco casserole!
And as an added bonus, this recipe is a great way to use up any leftover slow cooker shredded chicken you might have in the fridge, if you’re not going to make this crispy chicken tacos recipe.
Tip: I find the best way to meal prep is to make a big batch of protein early in the week and use it for multiple recipes in these ground beef dinners throughout the week (like how I sometimes make ground beef for tacos early in the week and then use it in creative ways over the next few days – I have a whole post about what to do with leftover taco meat!).
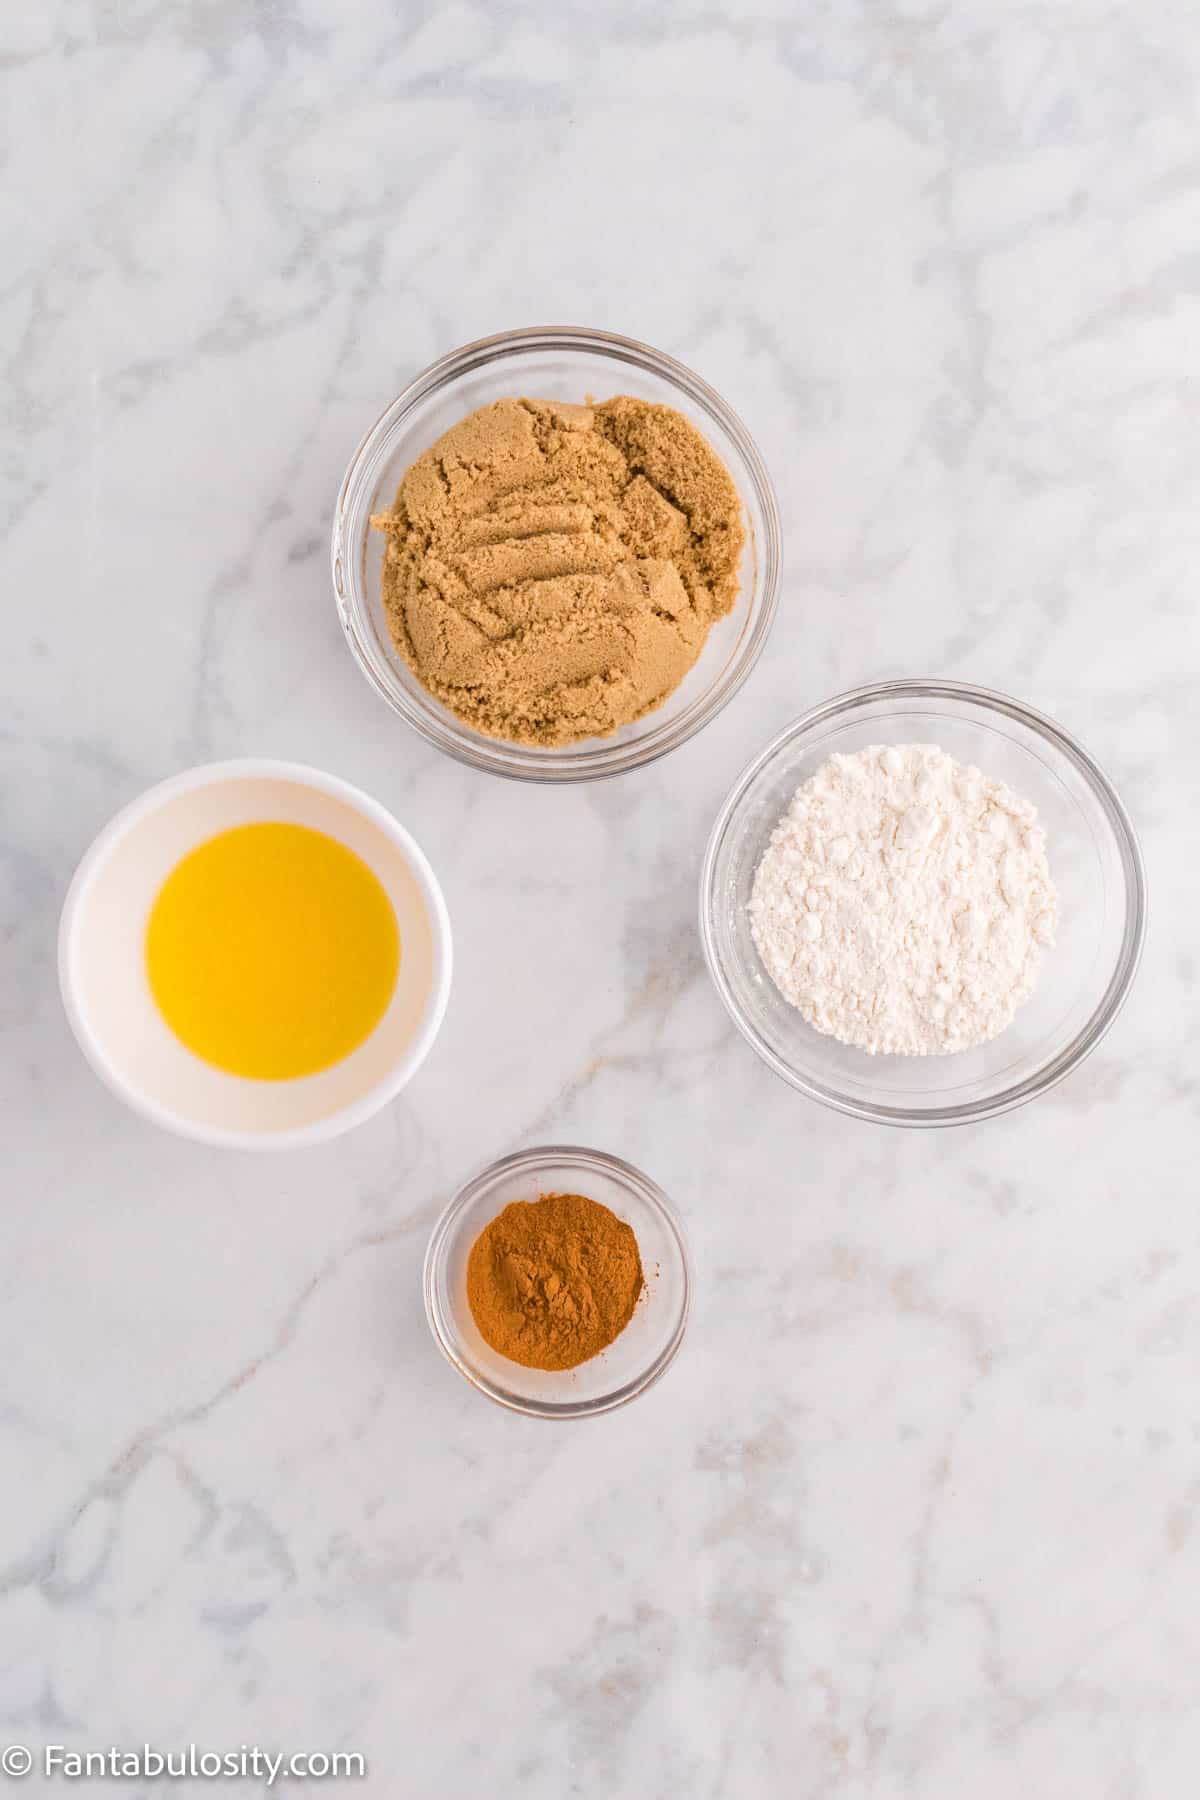
[feast_advanced_jump_to]Ingredients
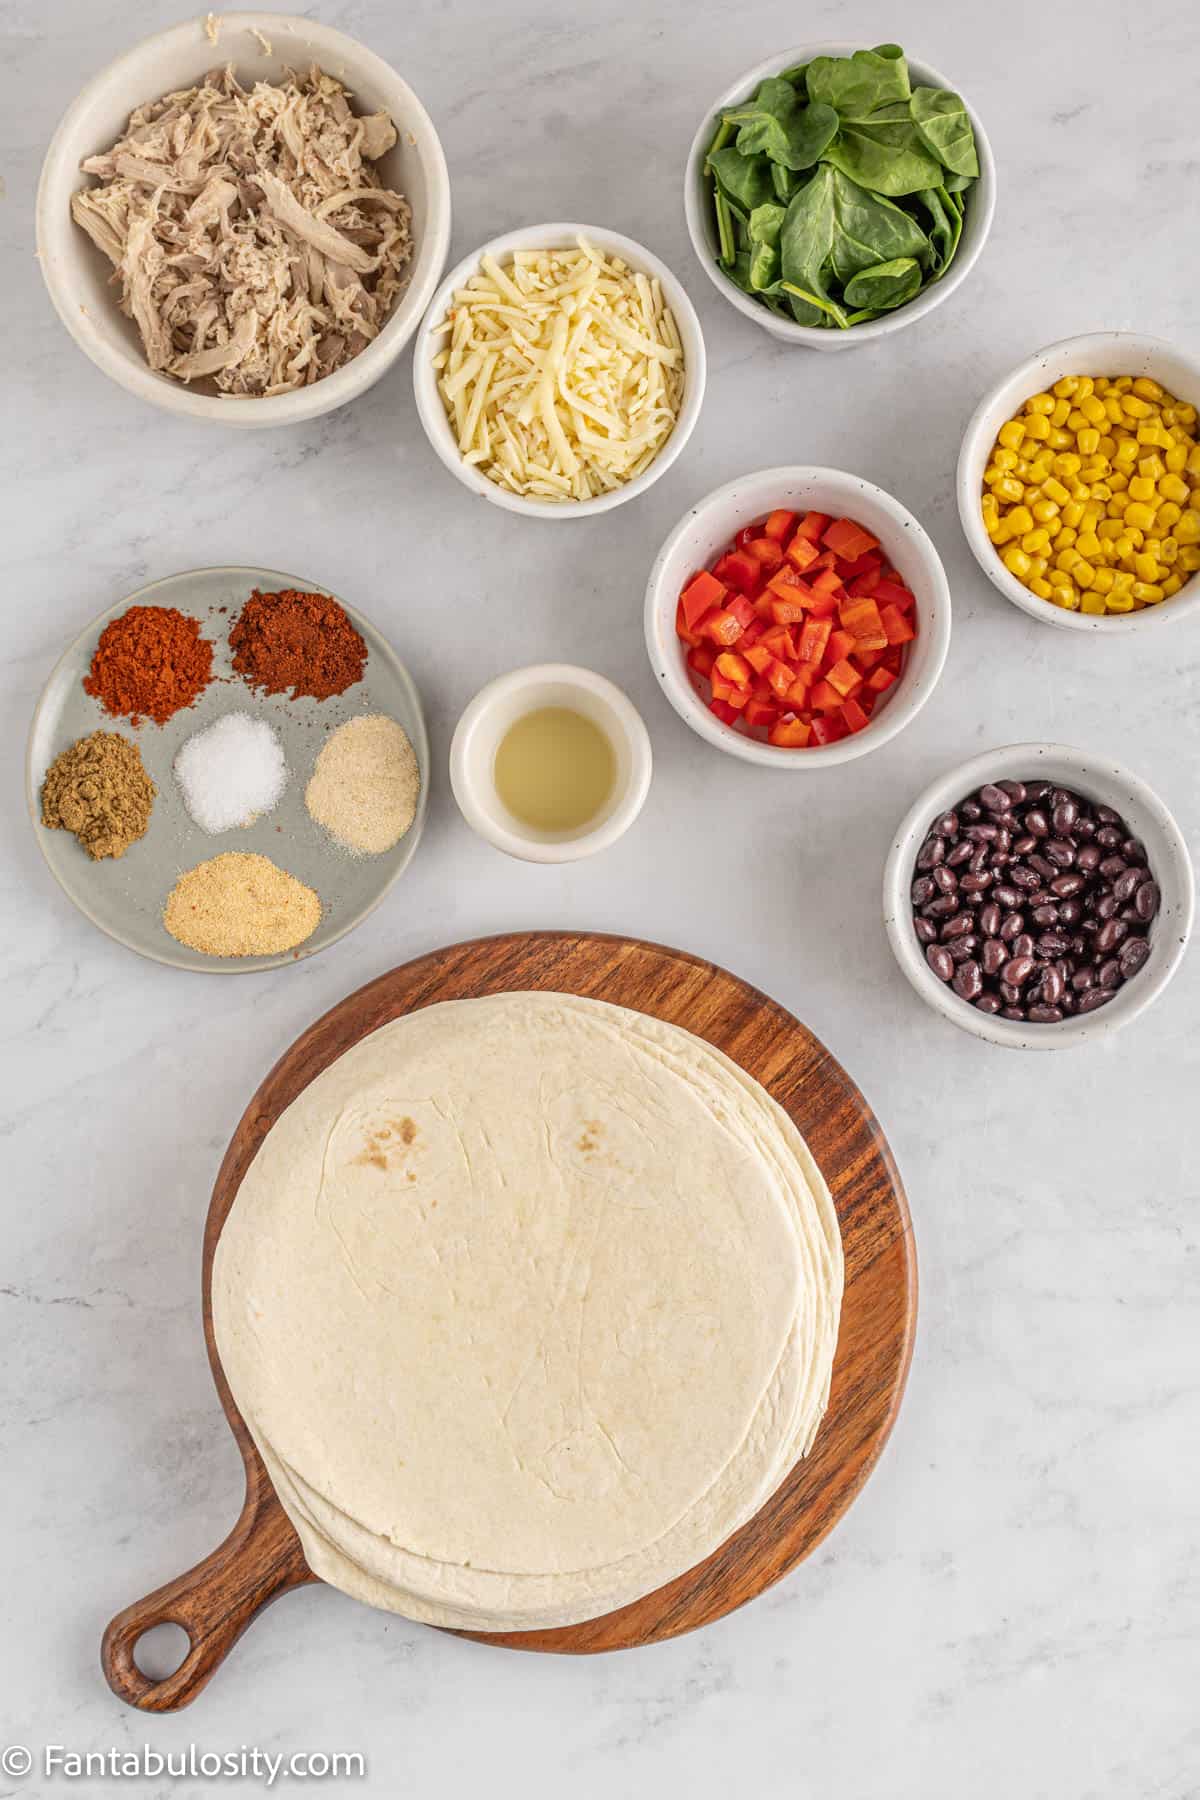
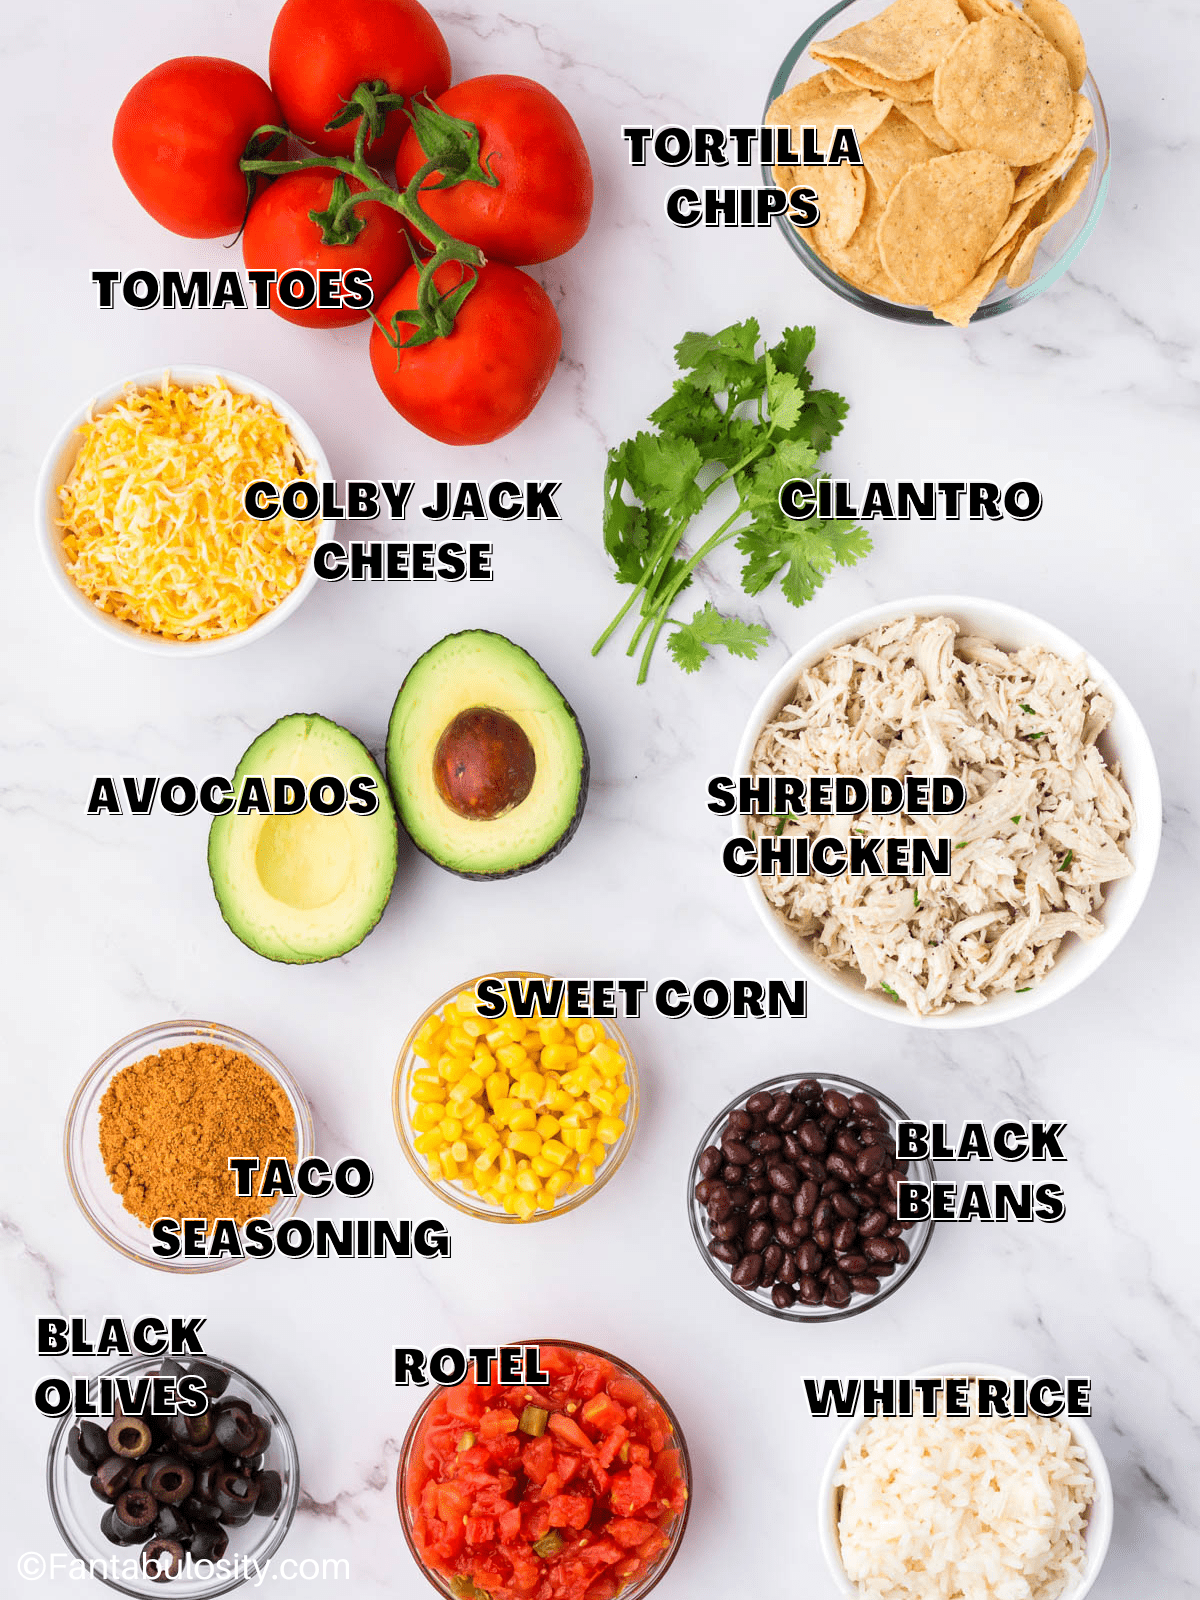
There are quite a few ingredients in this recipe, but none of them are hard to find or fancy. You can grab all of these from your local grocery store, but most of them are probably kicking around in your fridge or pantry already!
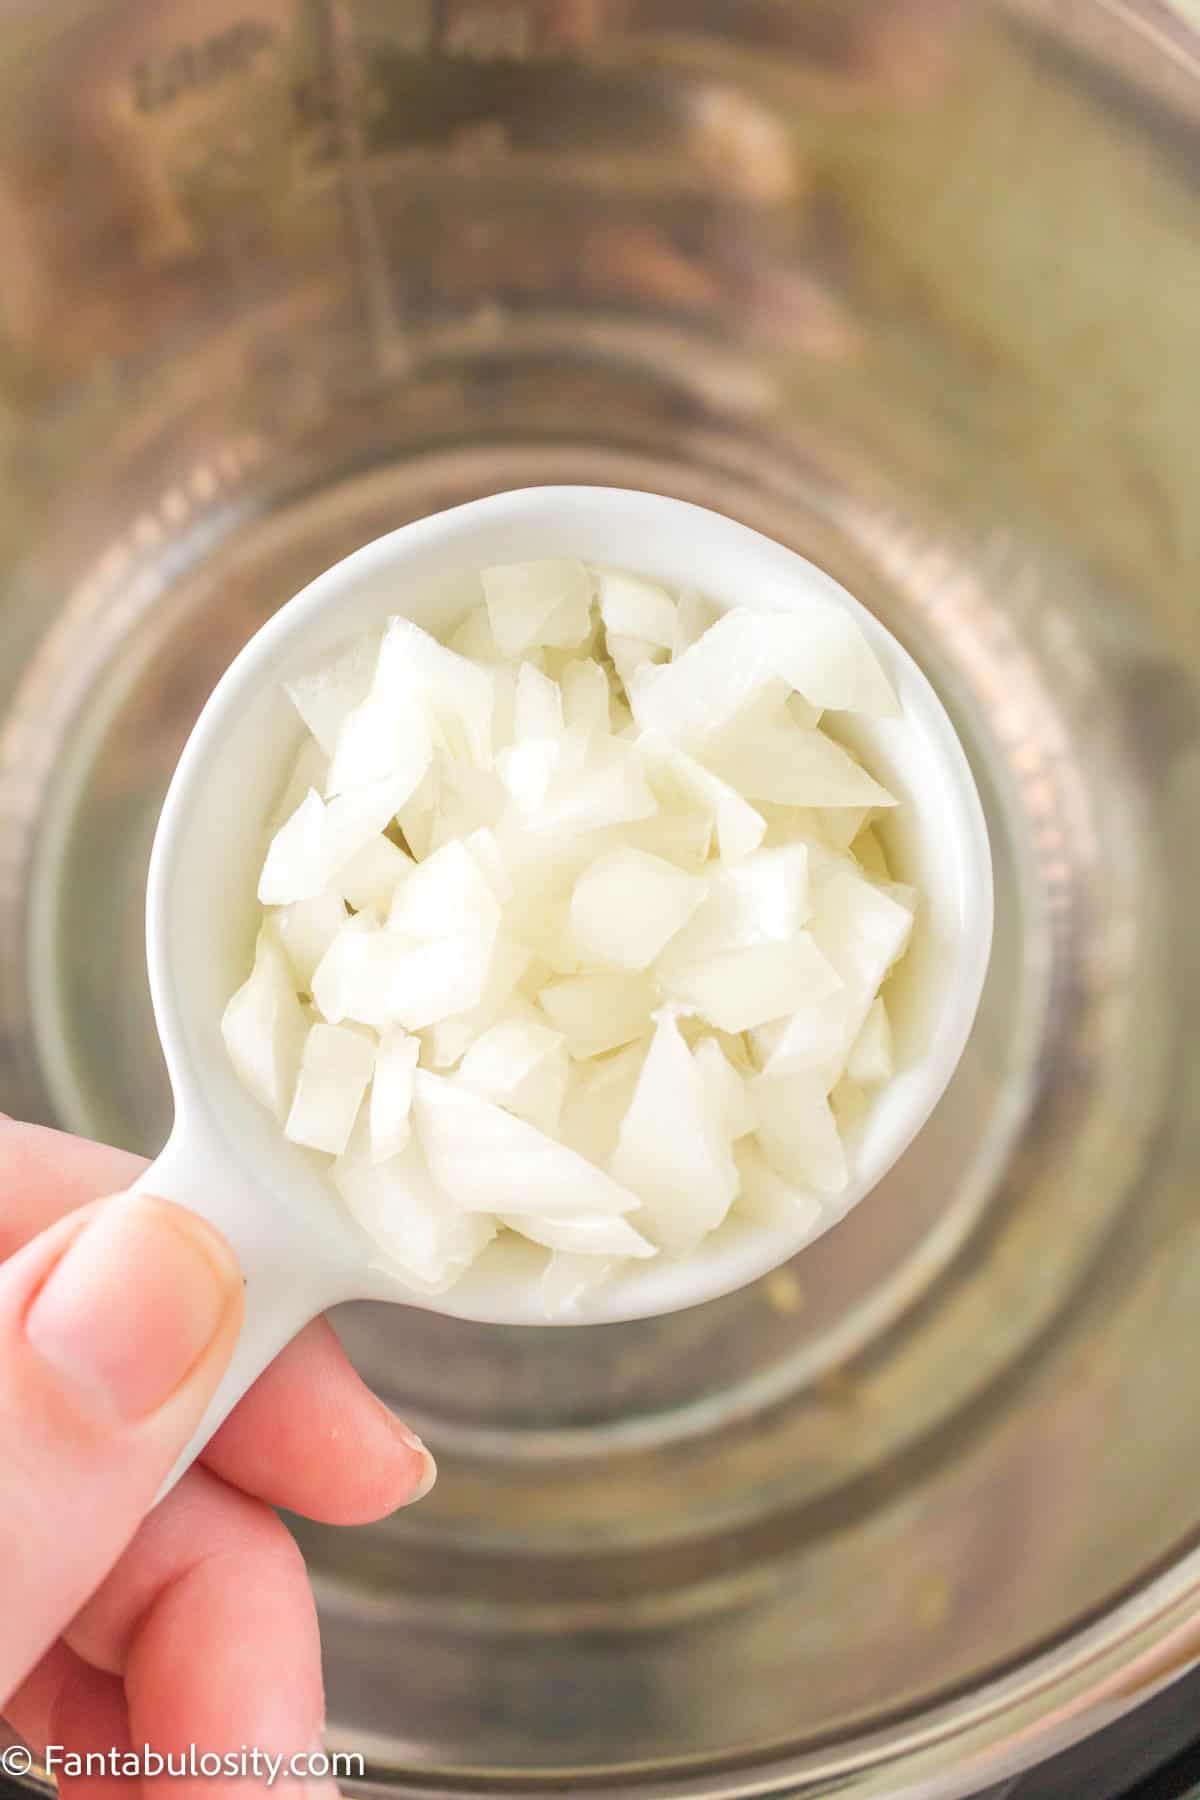
- 2 cups slow cooked shredded chicken, cooked
- 1 – 10 ounce can Rotel
- 1 cup black beans, cooked
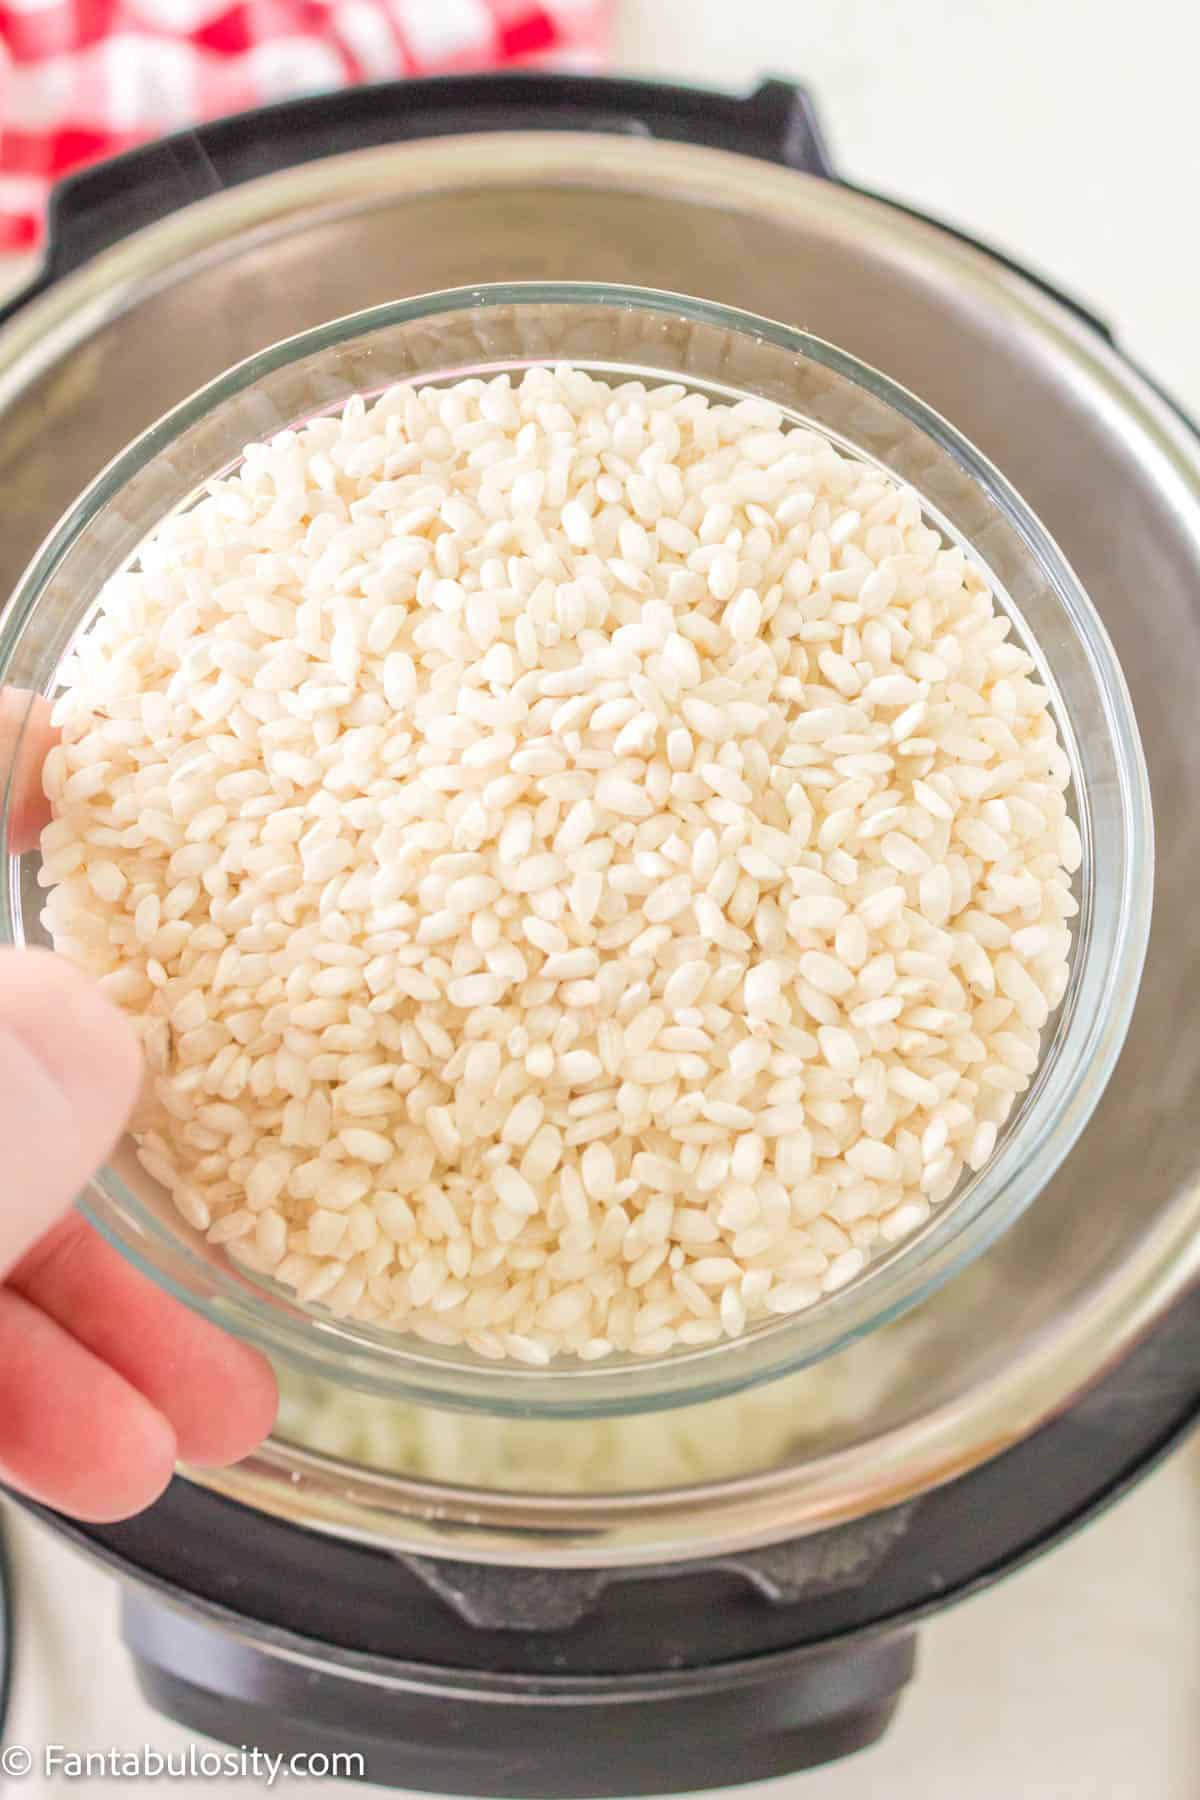
- 1 cup white rice, cooked
- ½ cup sweet corn, cooked
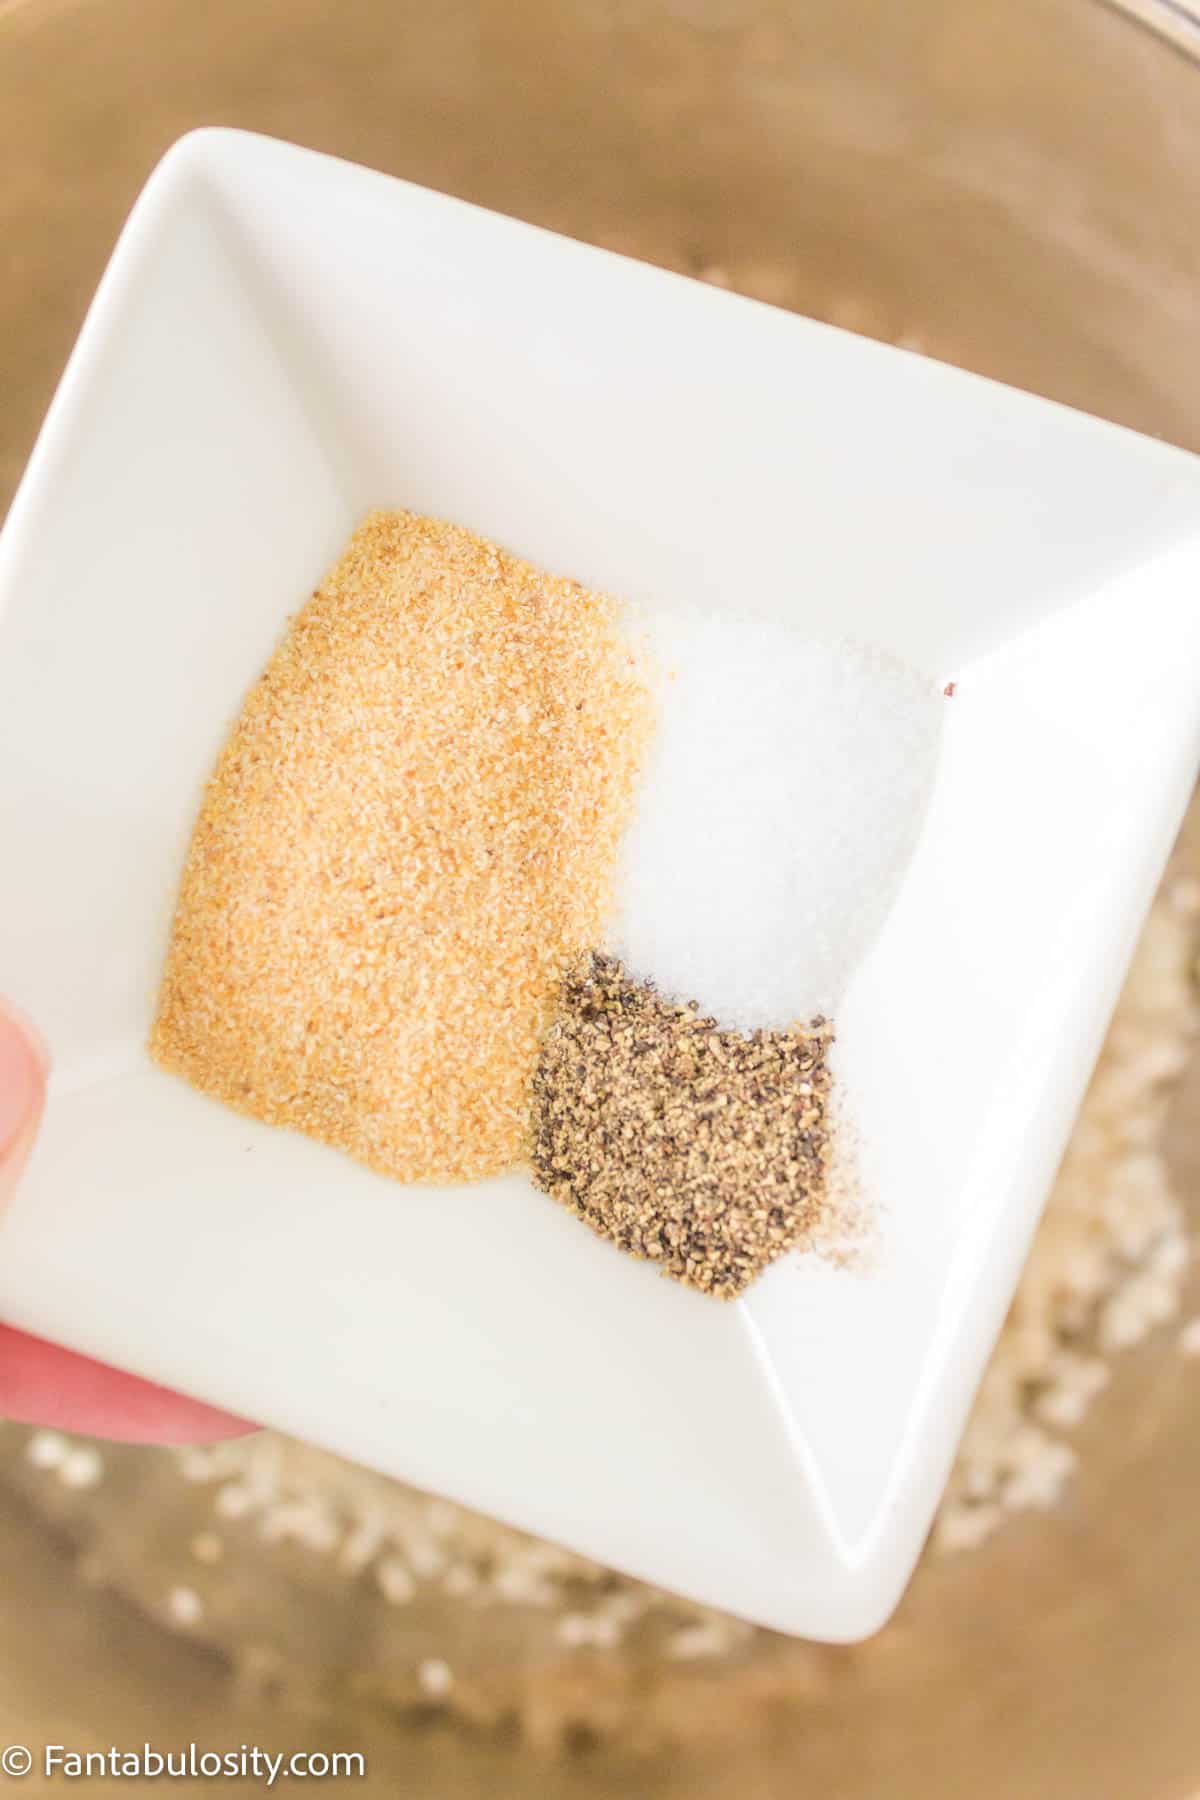
- 1 package taco seasoning (We love using this container of taco seasoning or this chicken taco seasoning recipe.)
- 2 cups colby jack cheese, shredded
- 2 avocados, chopped
- 1 large tomato, diced
- 1 cup tortilla chips, broken into large crumbles
- ¼ cup black olives, sliced
- cilantro, diced (for garnish)
- sour cream, as a topping if desired
- taco sauce, as a topping if desired
The ingredients in this recipe are similar to this hot taco dip recipe!
There’s a printable recipe card farther down in this post with quantities and step-by-step instructions.
Instructions
- Preheat your oven to 375 degrees.
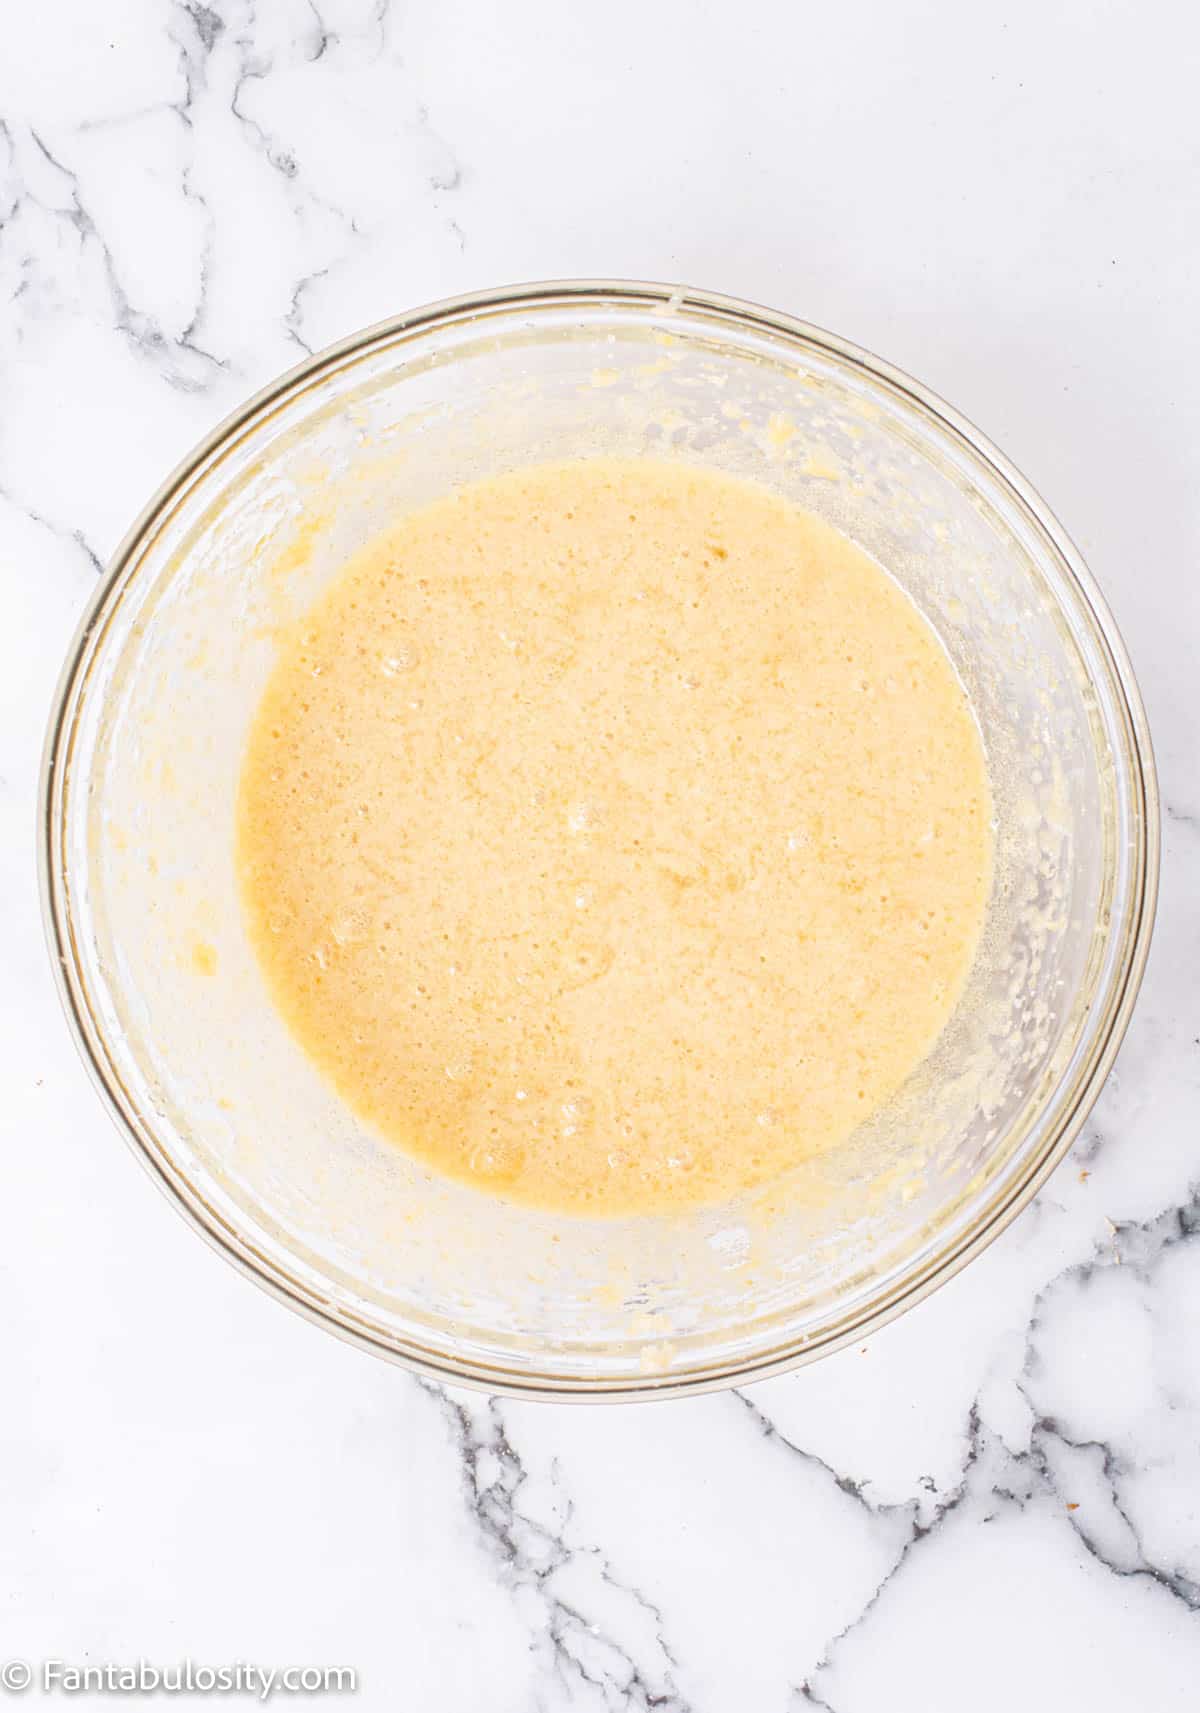
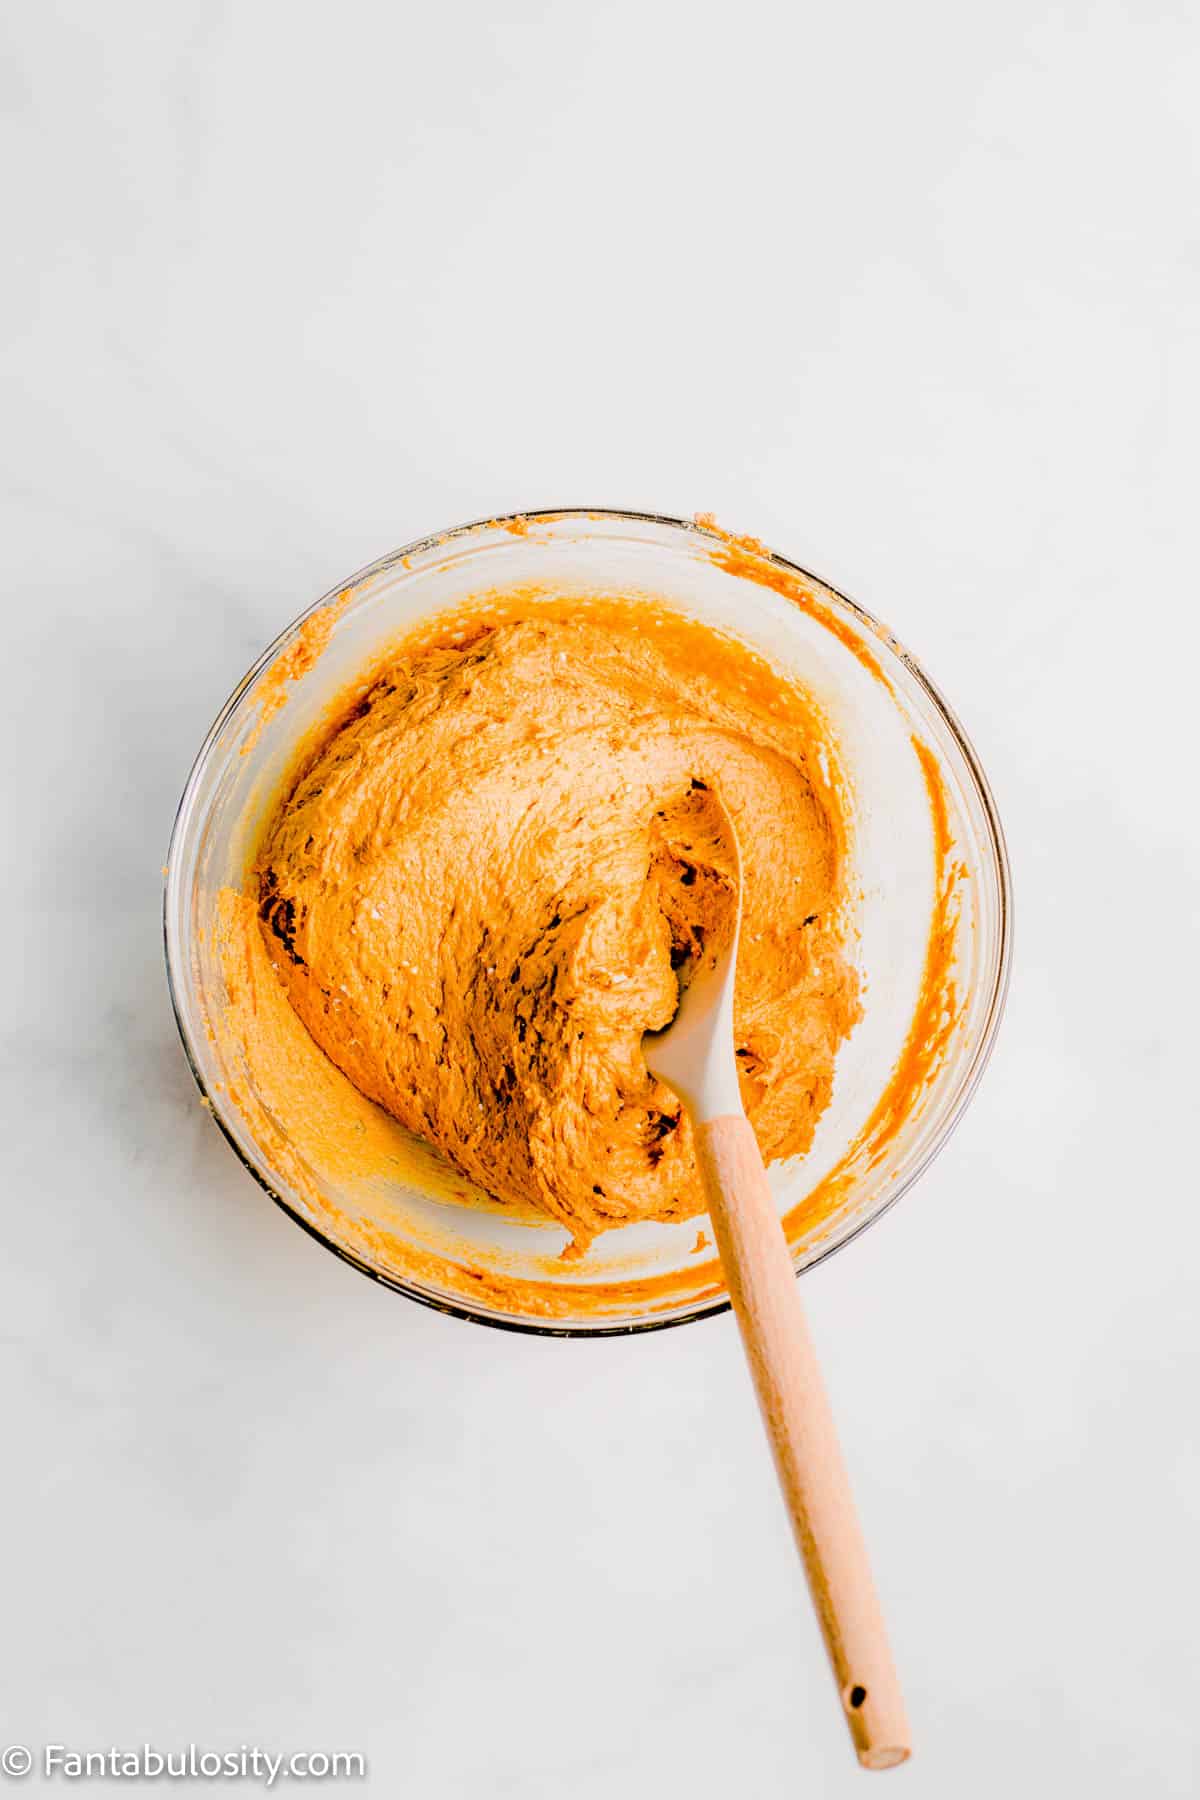
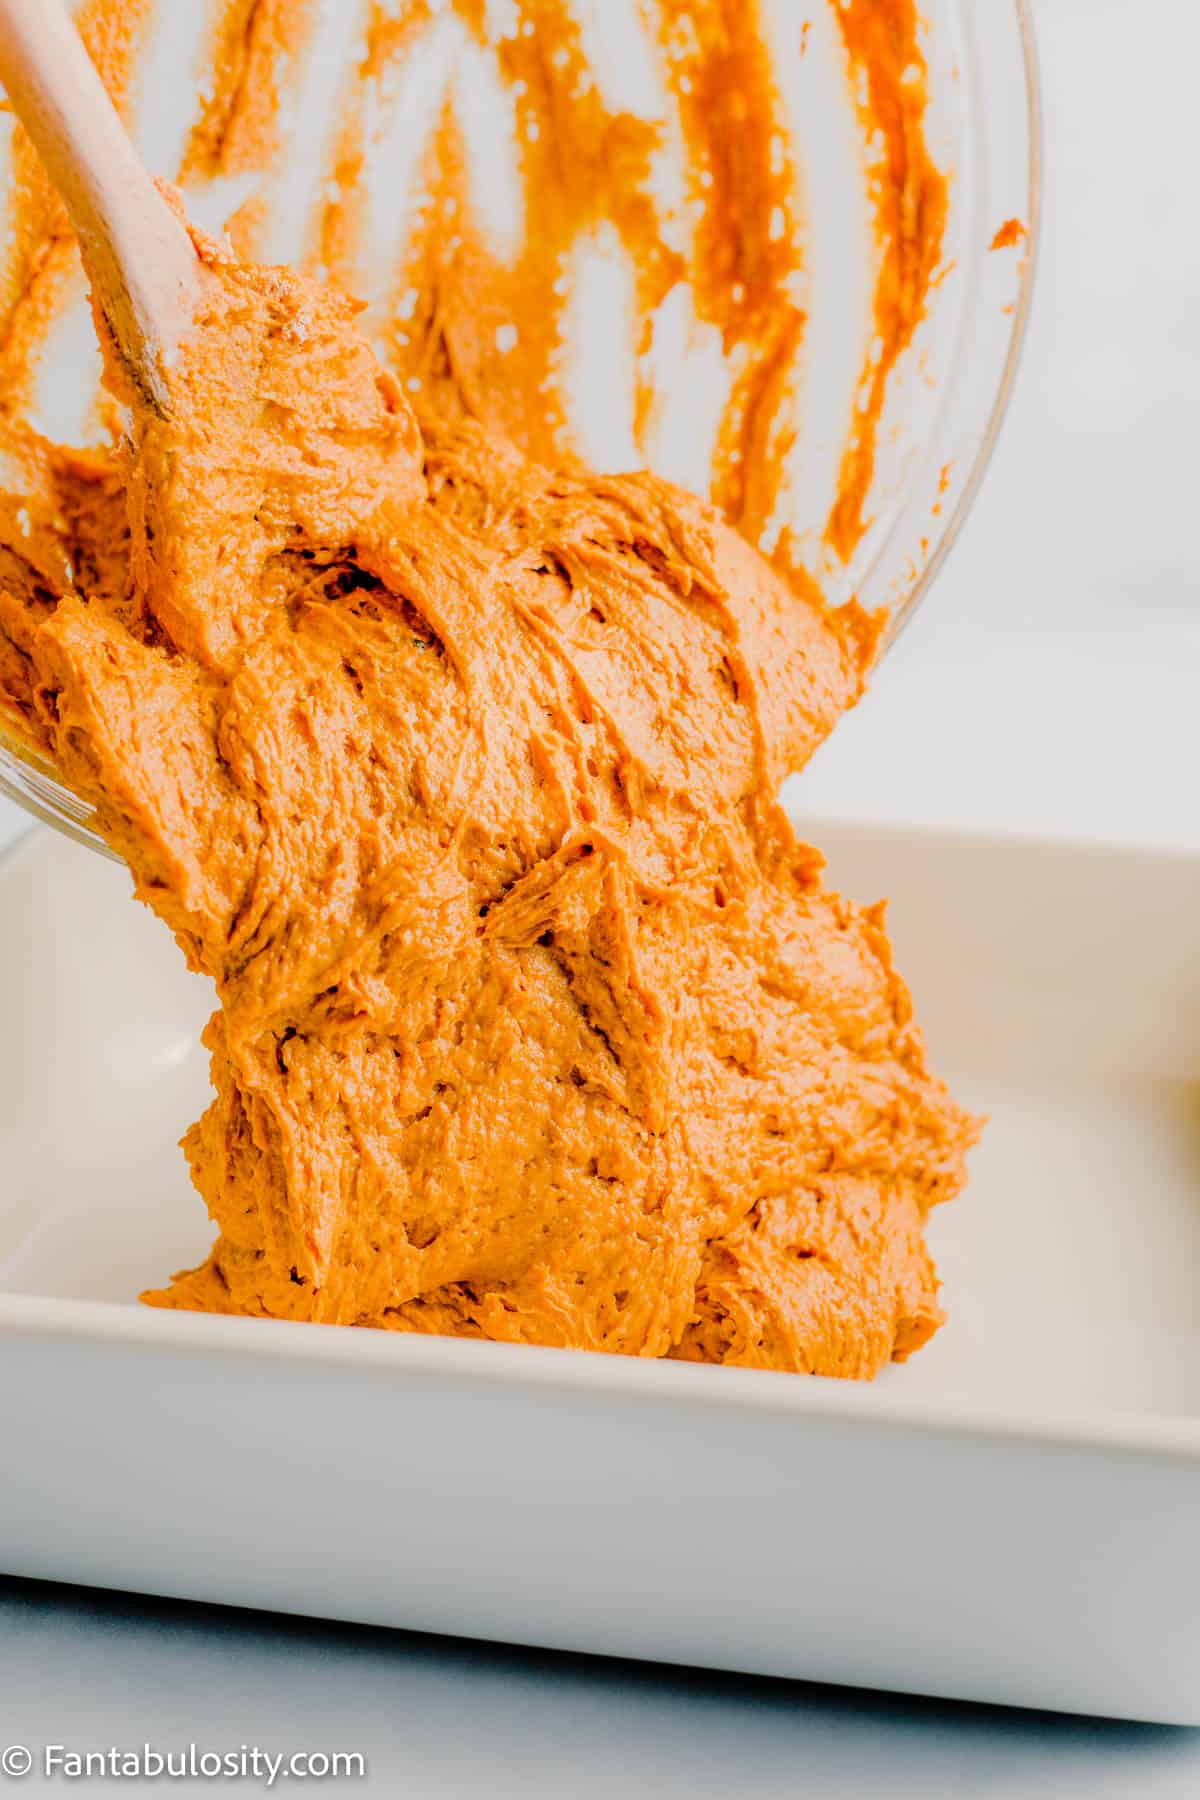
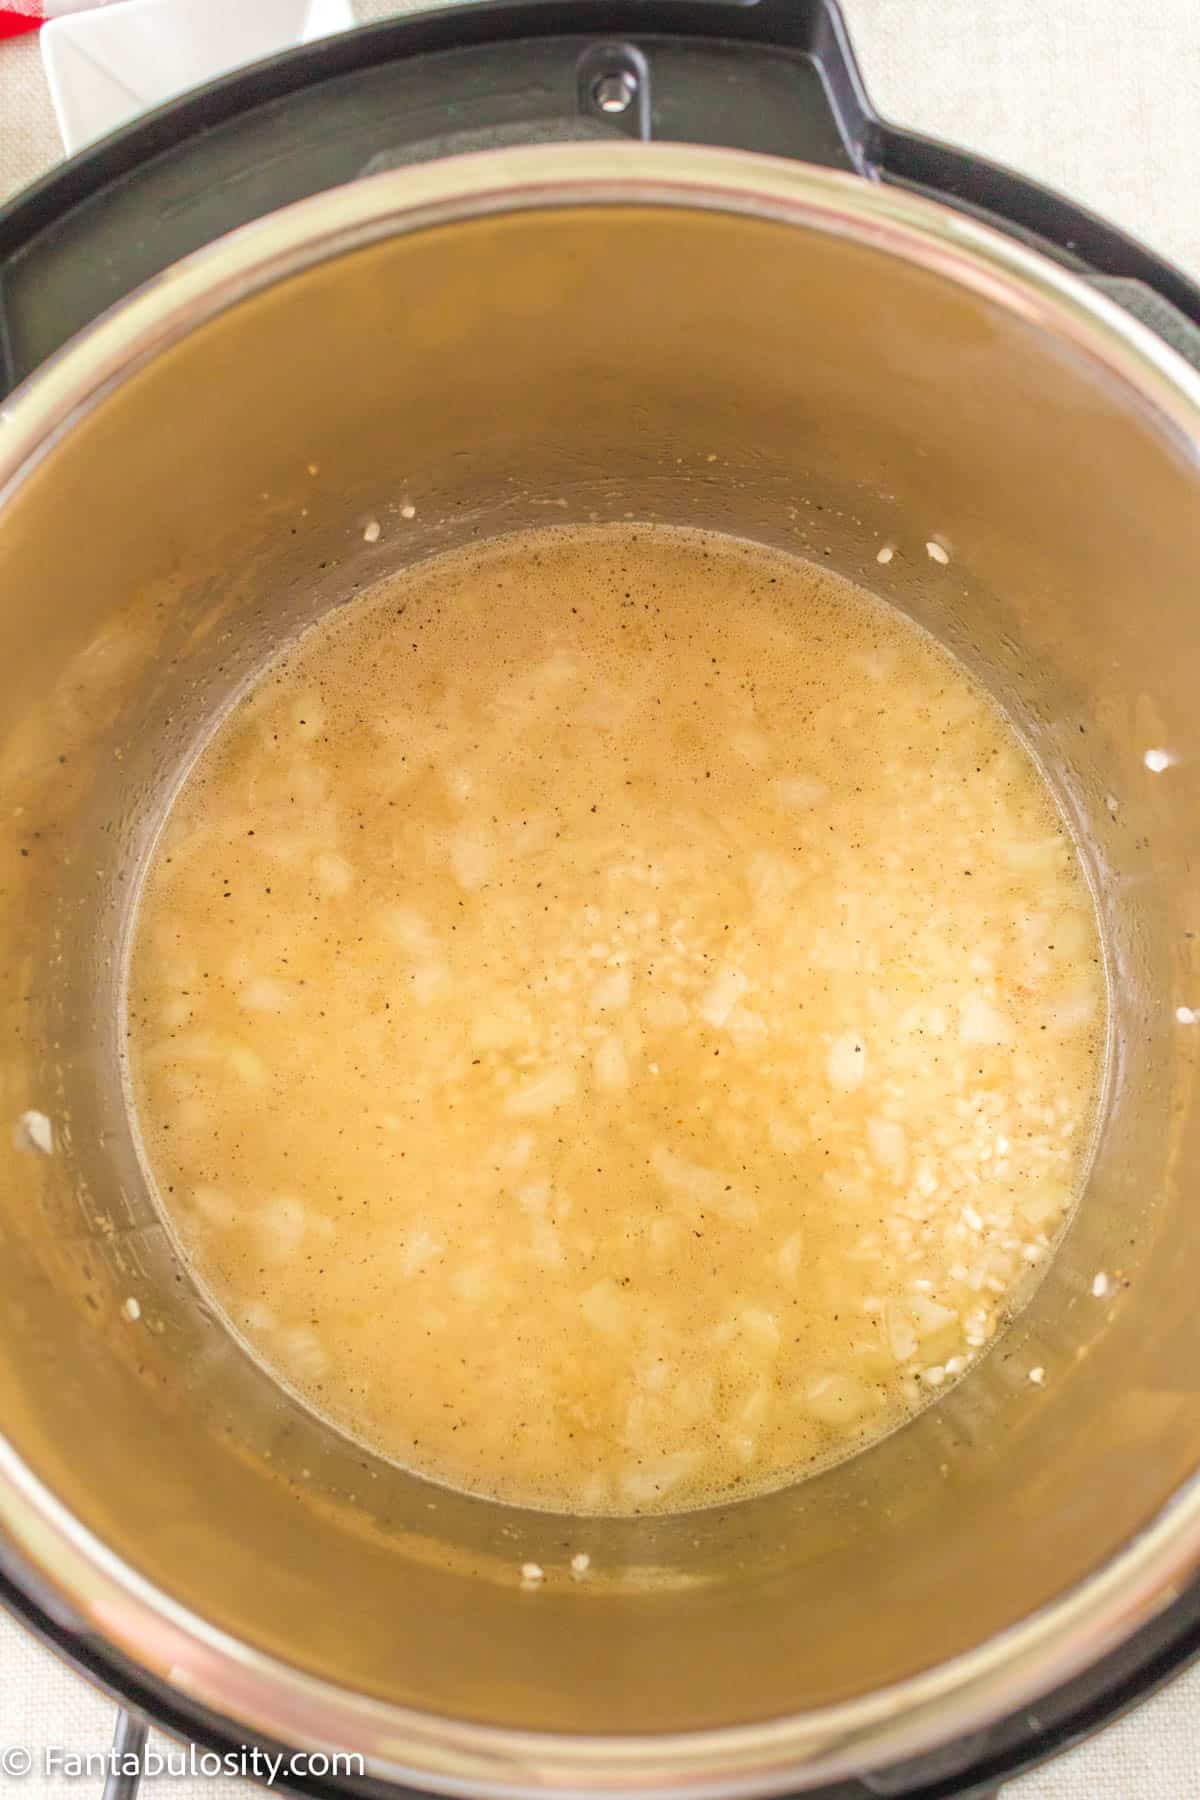
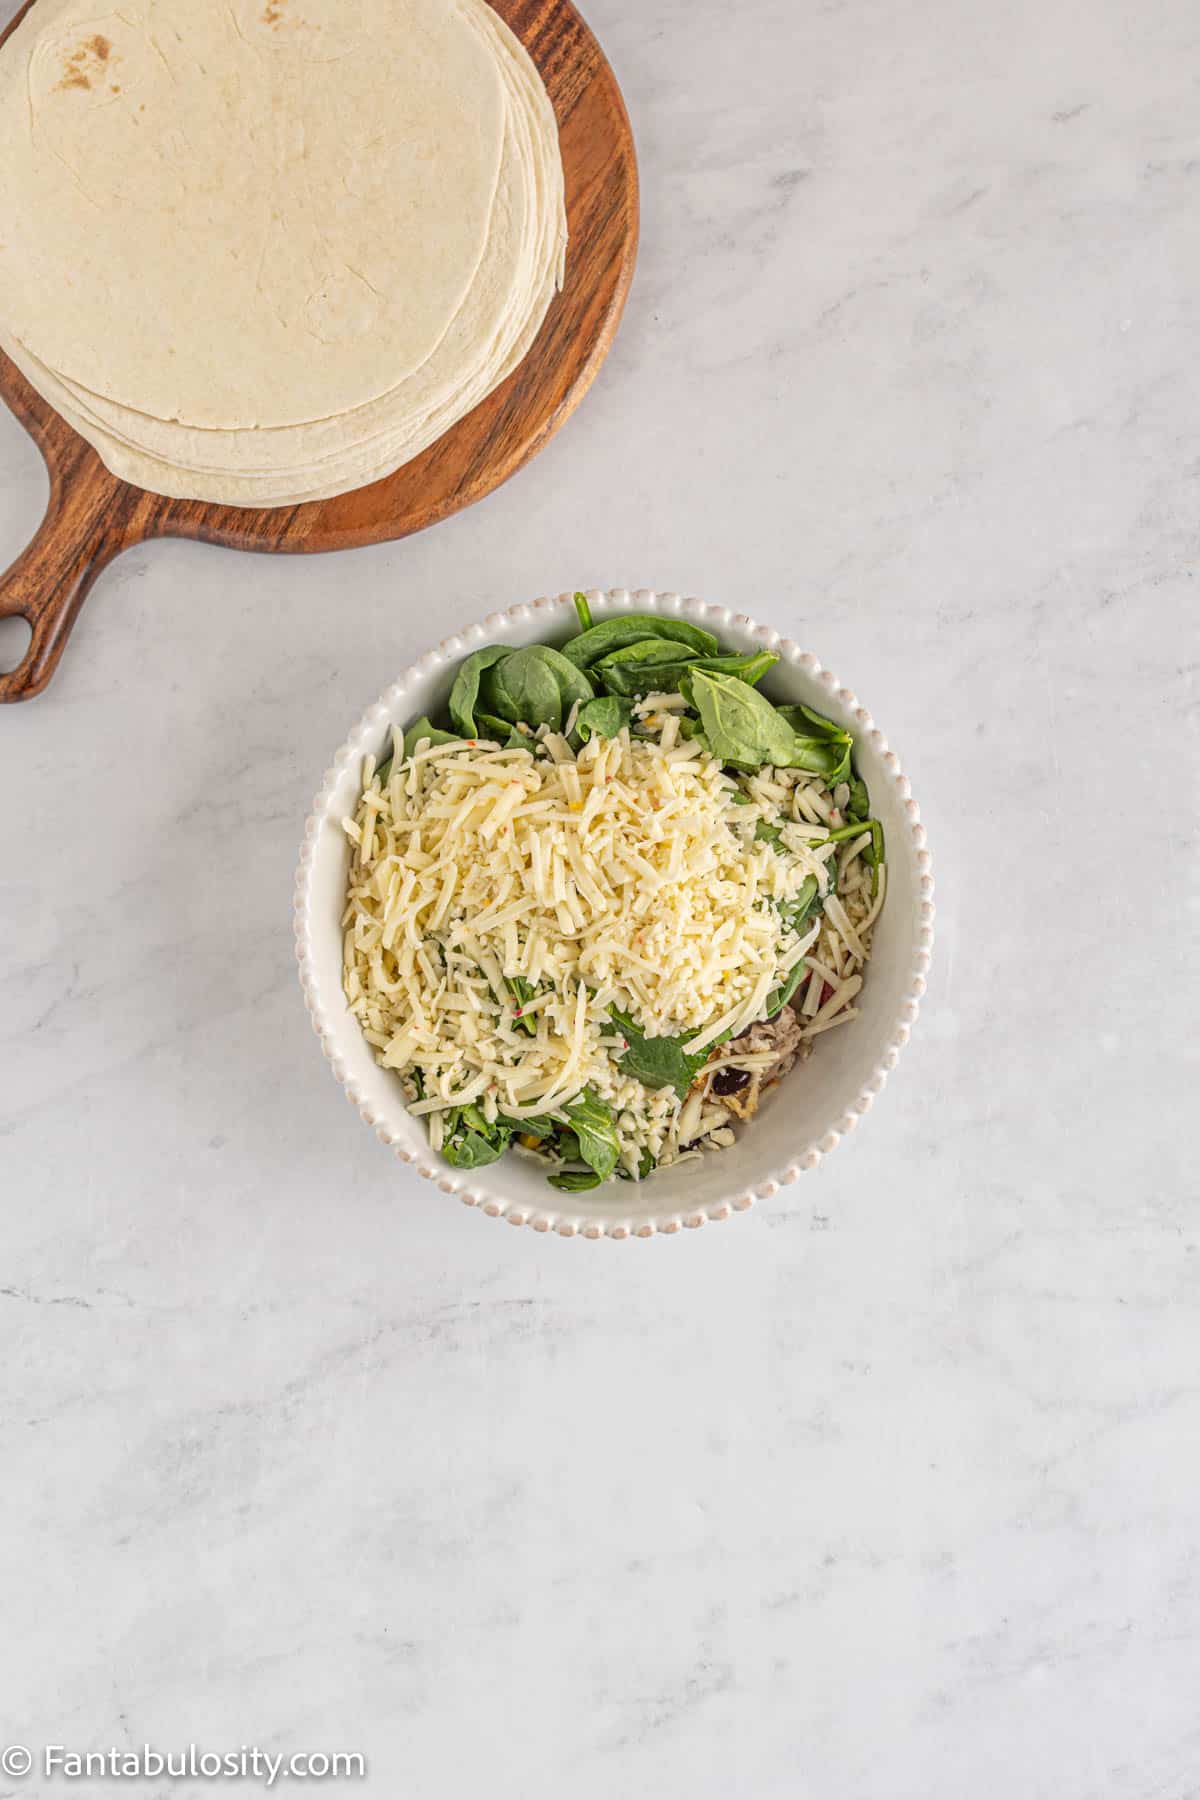
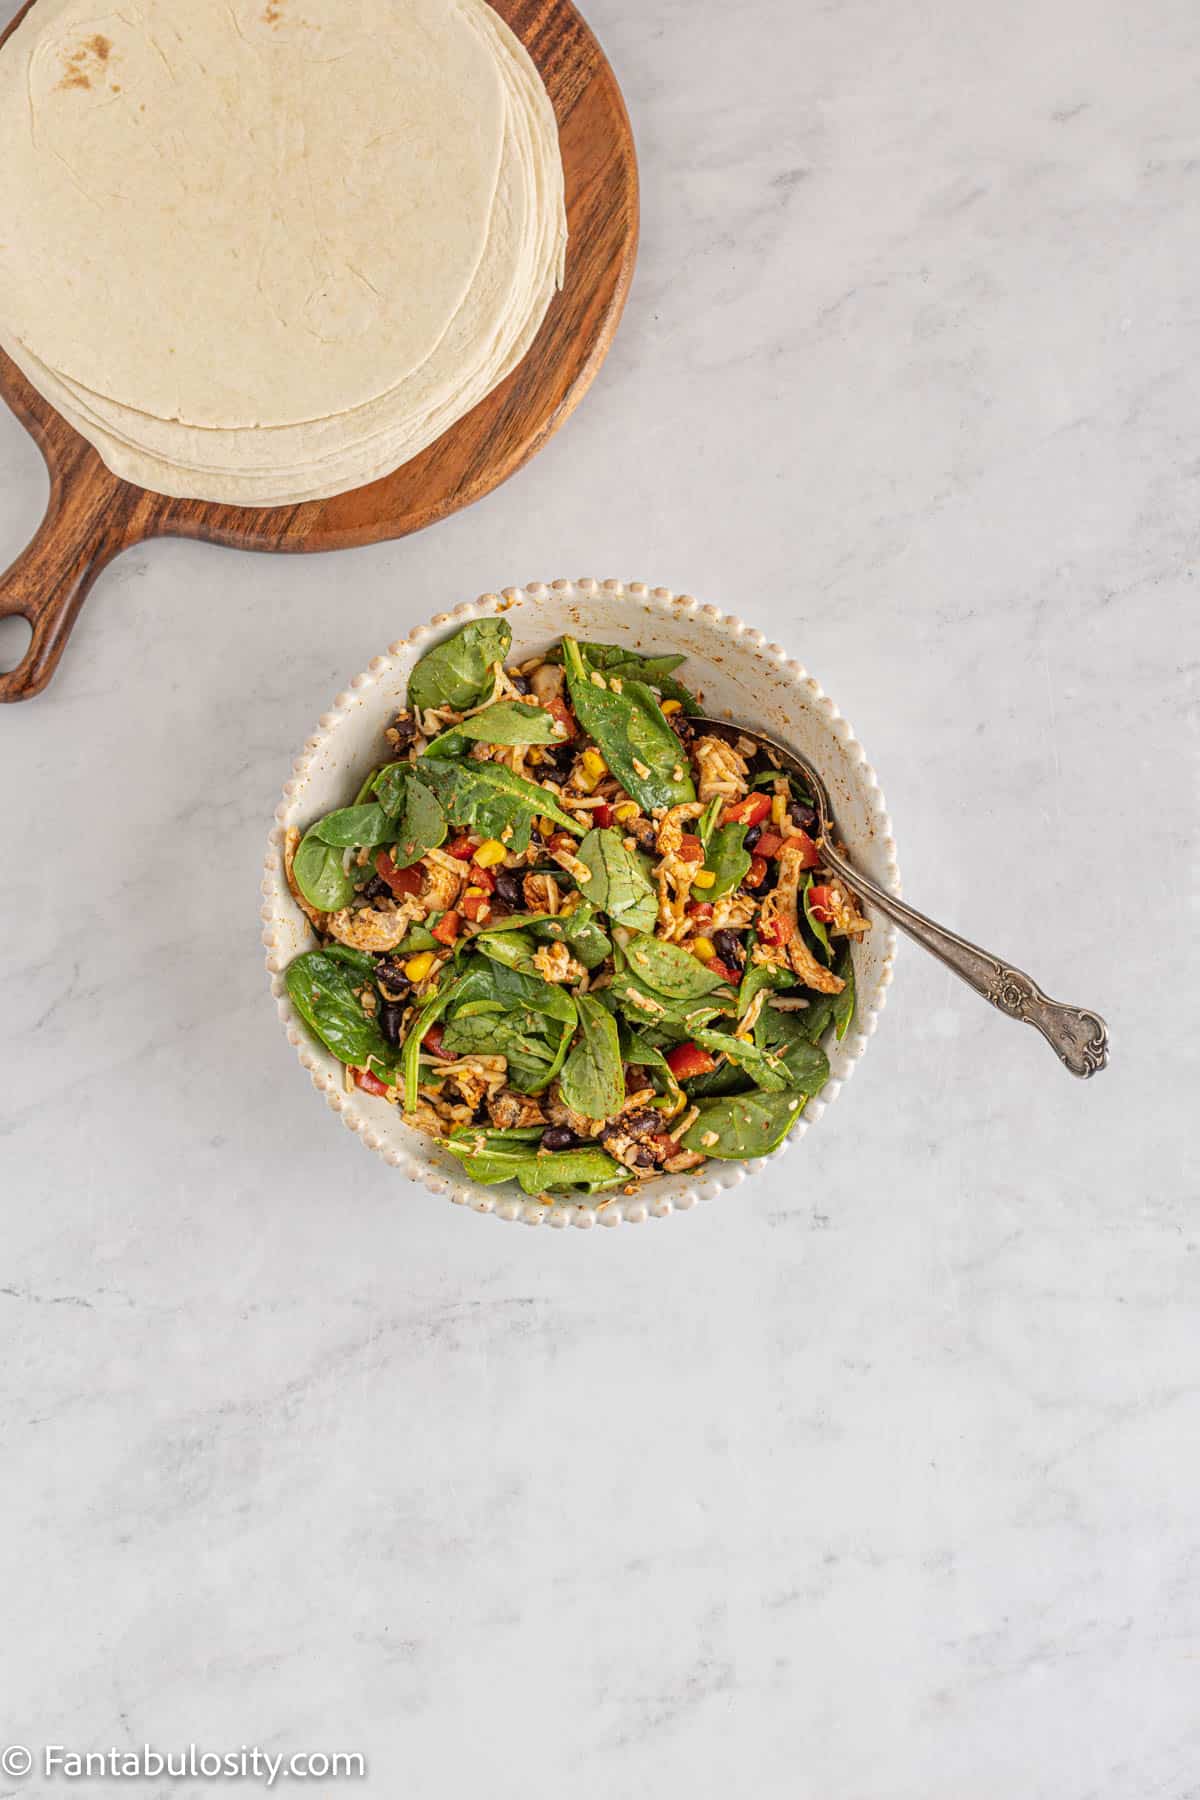
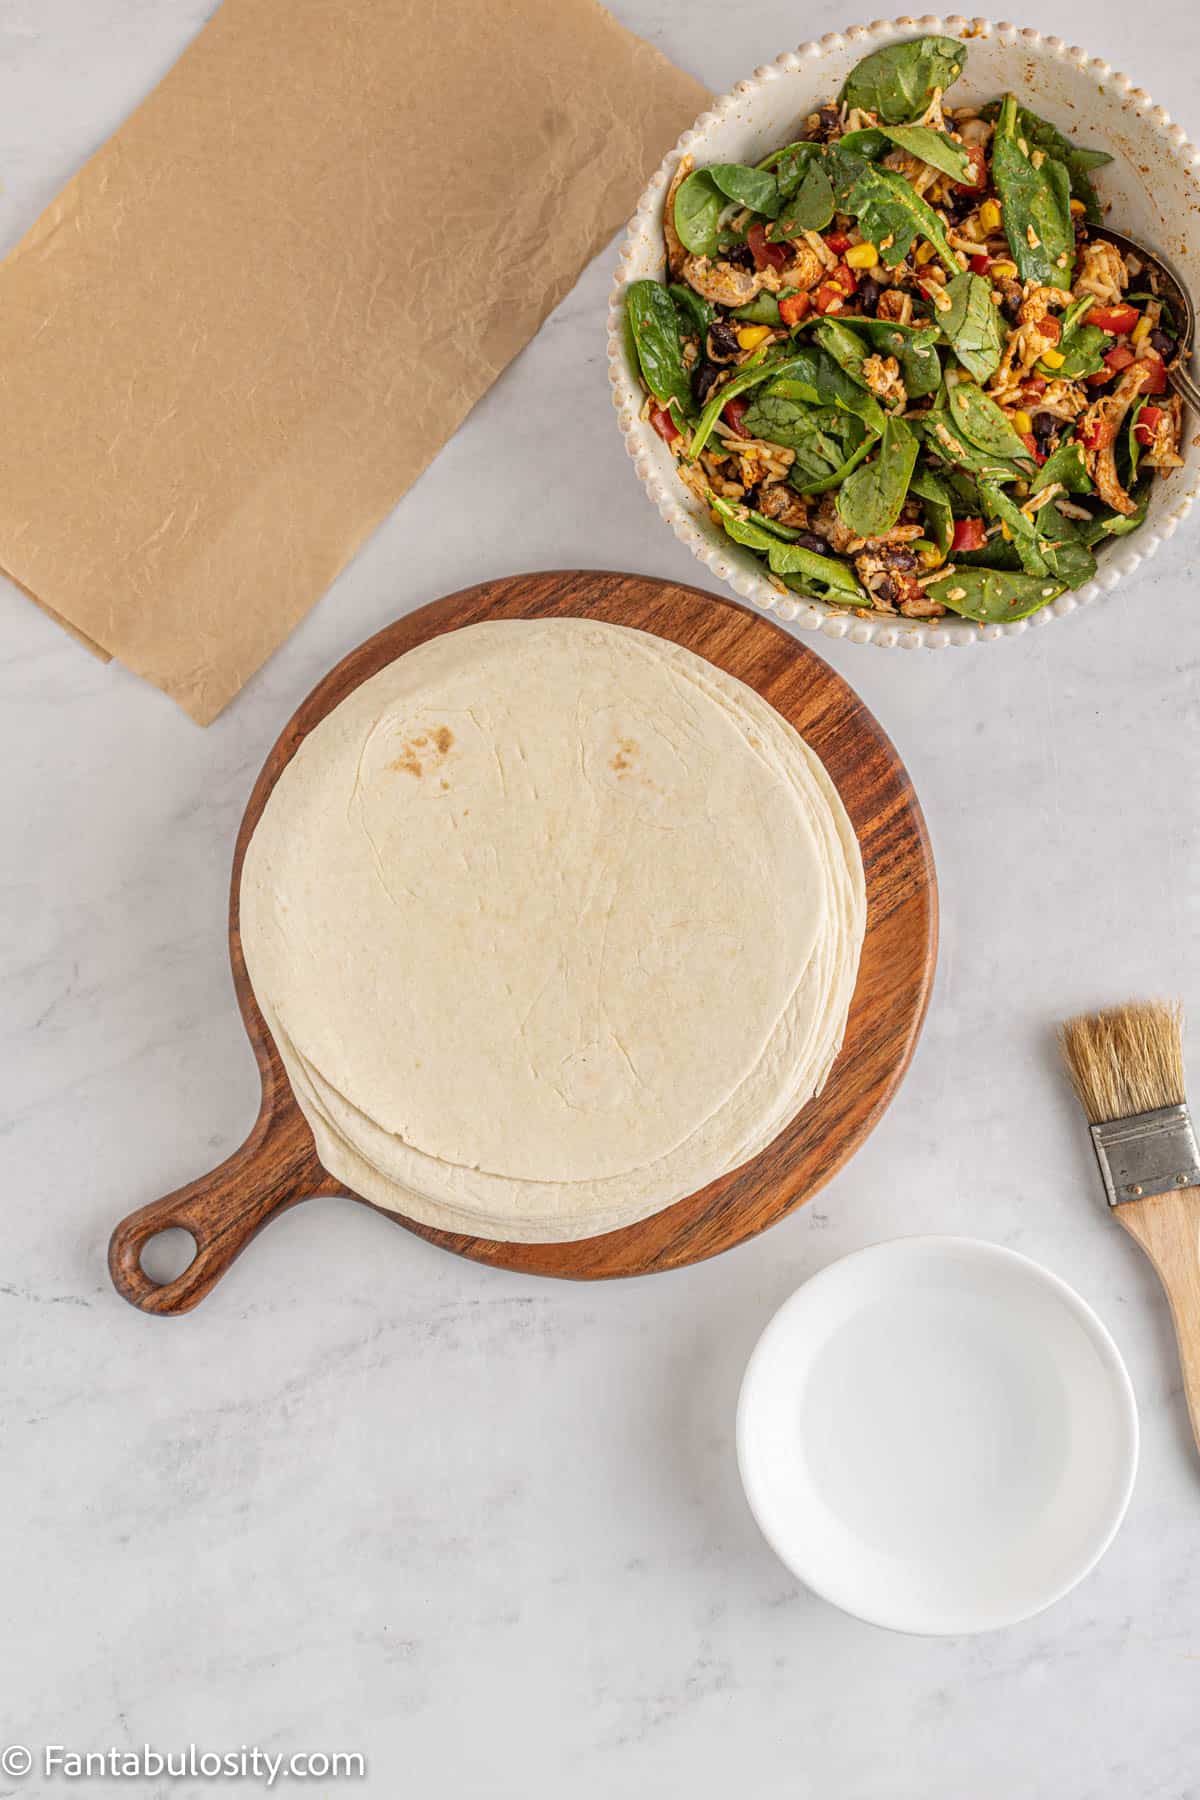
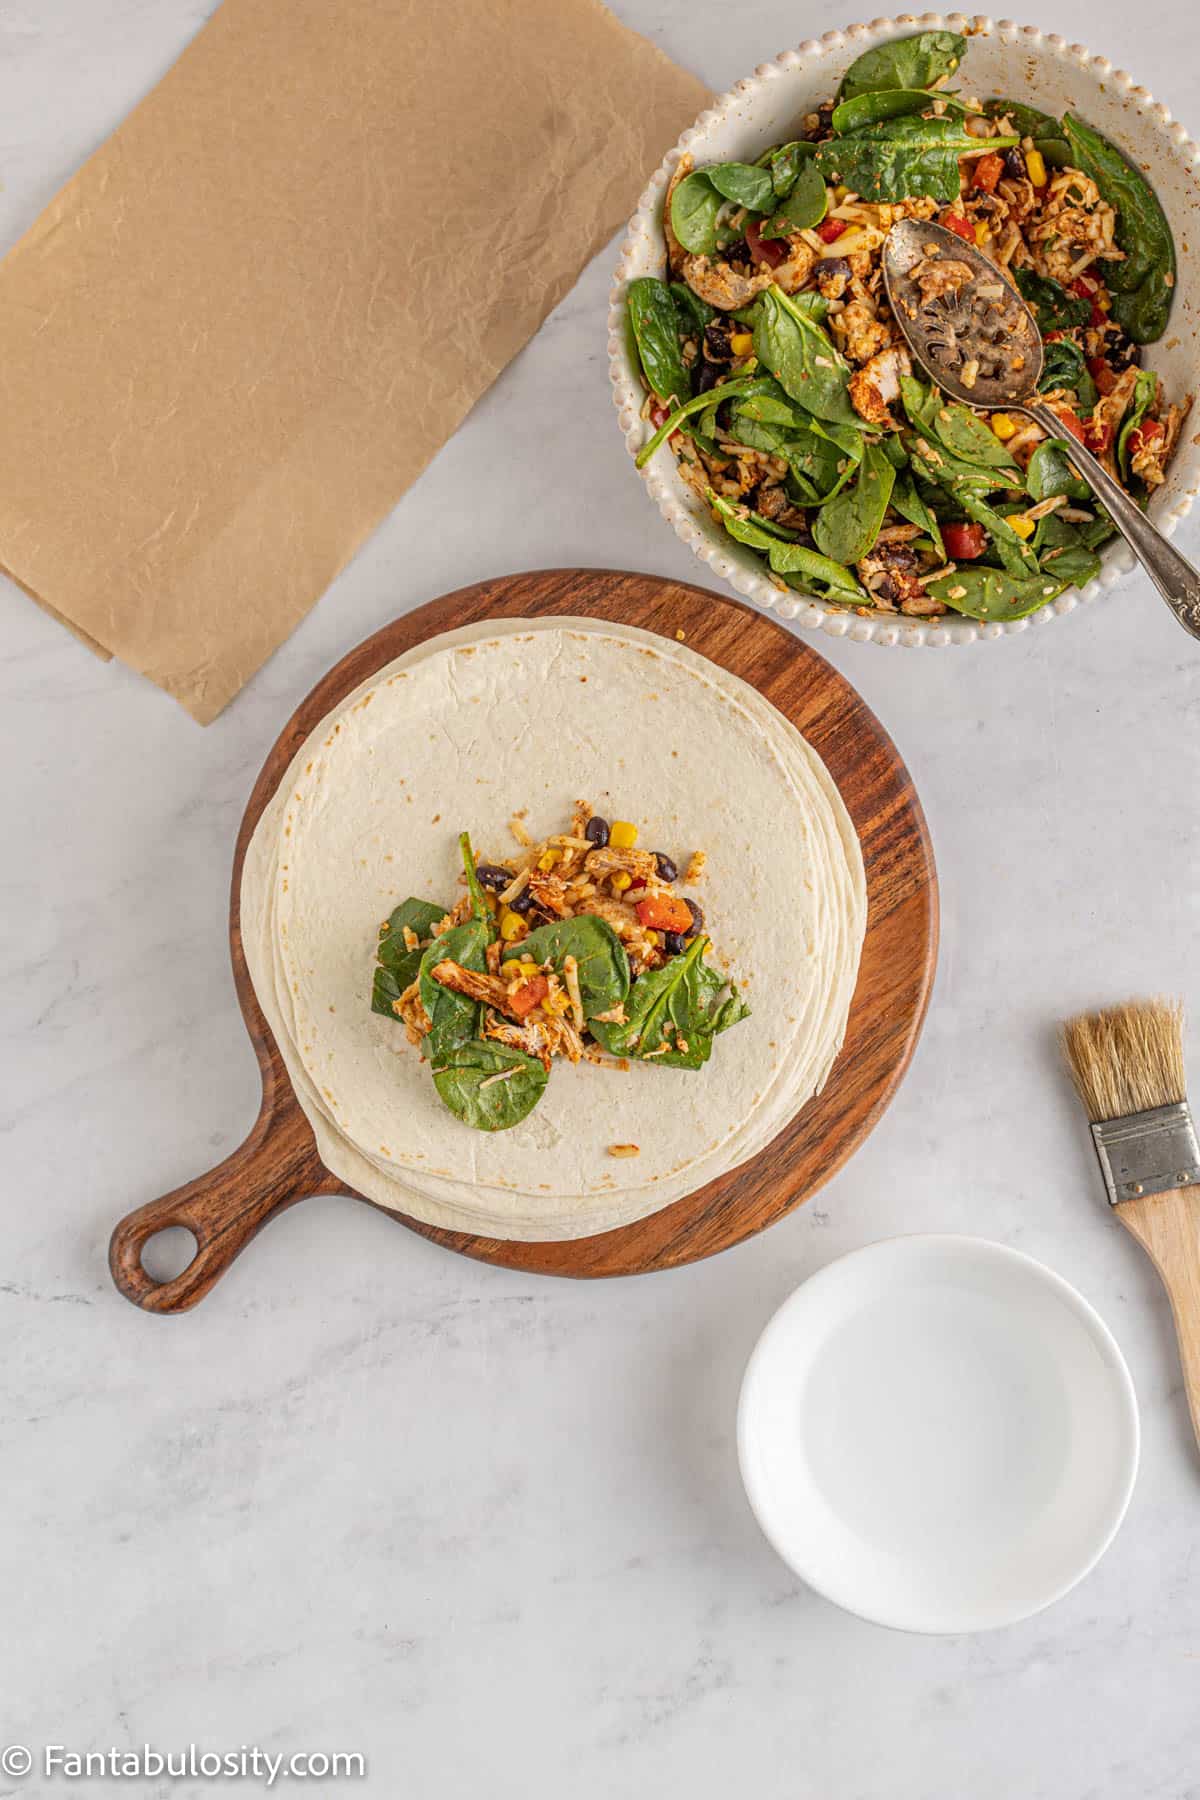
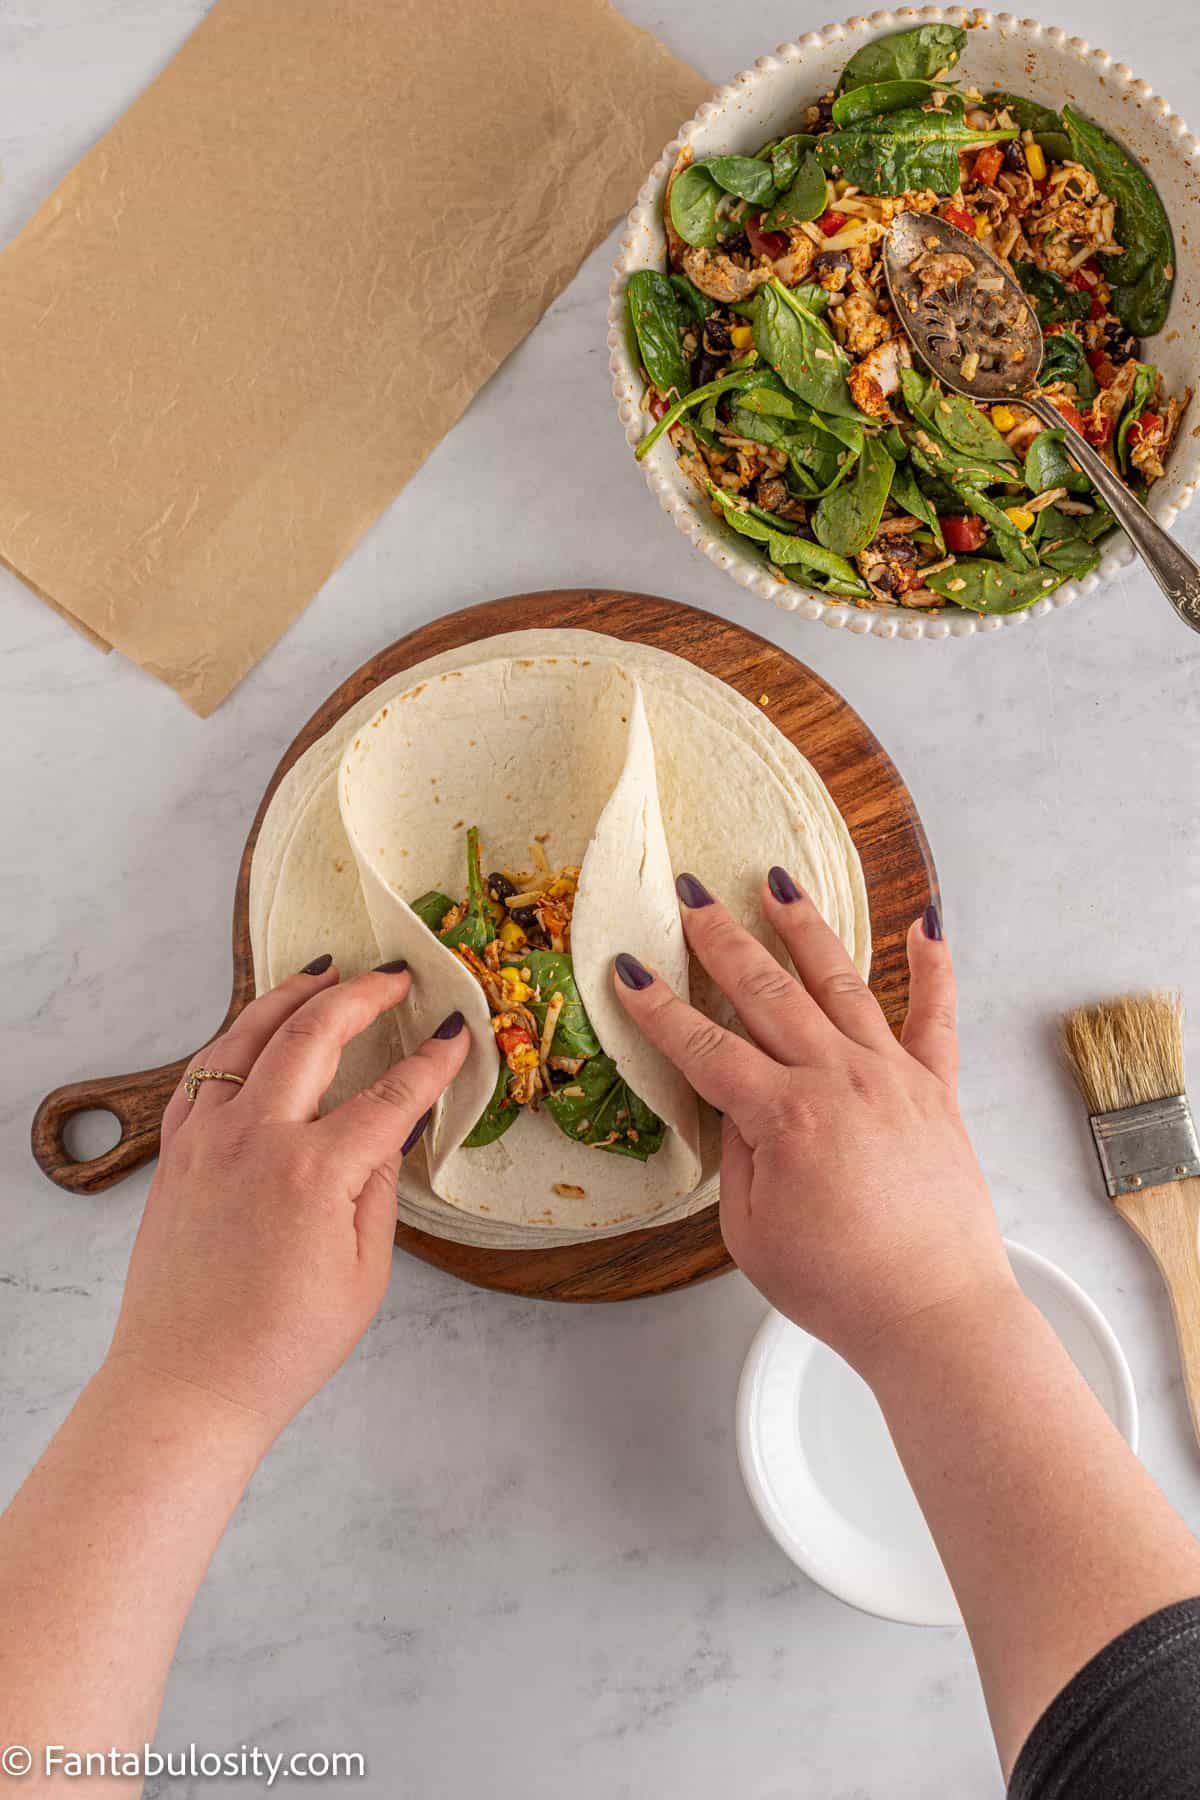
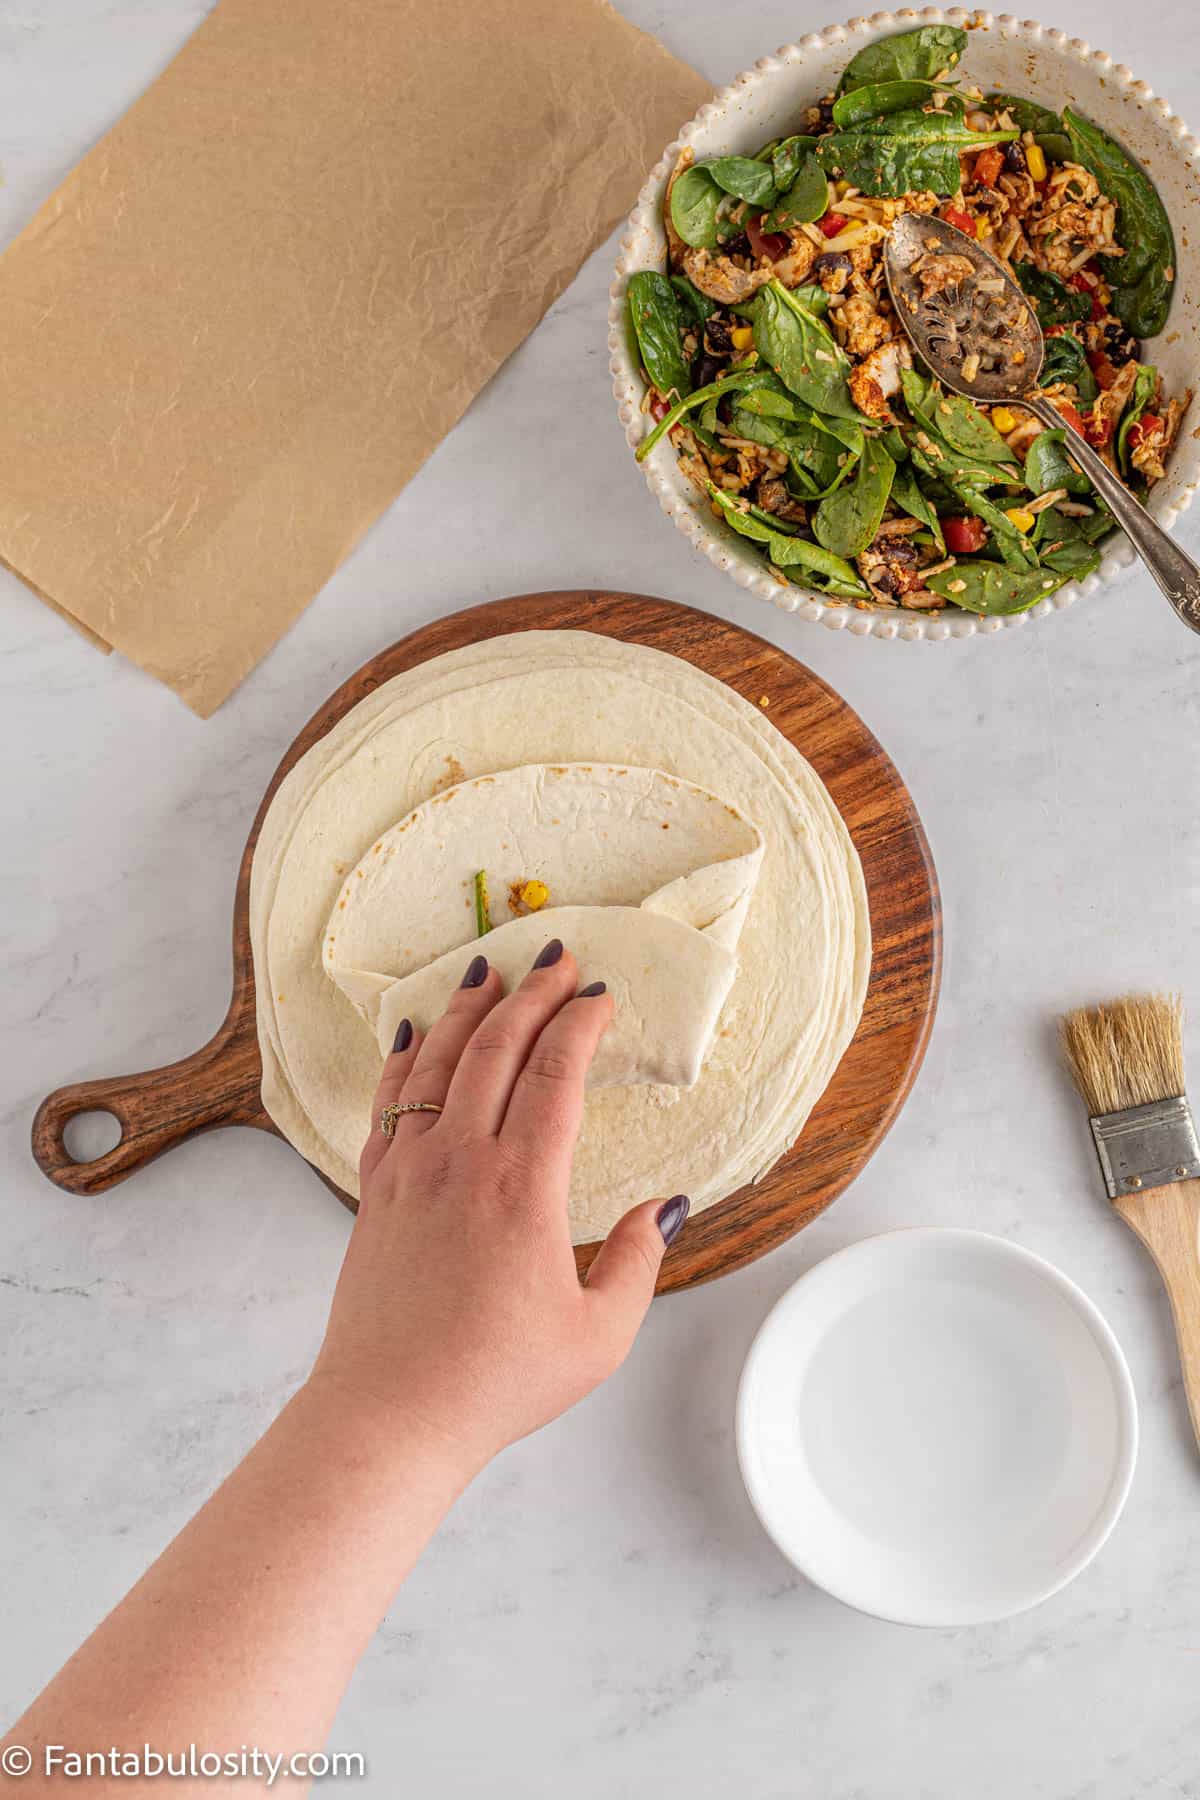
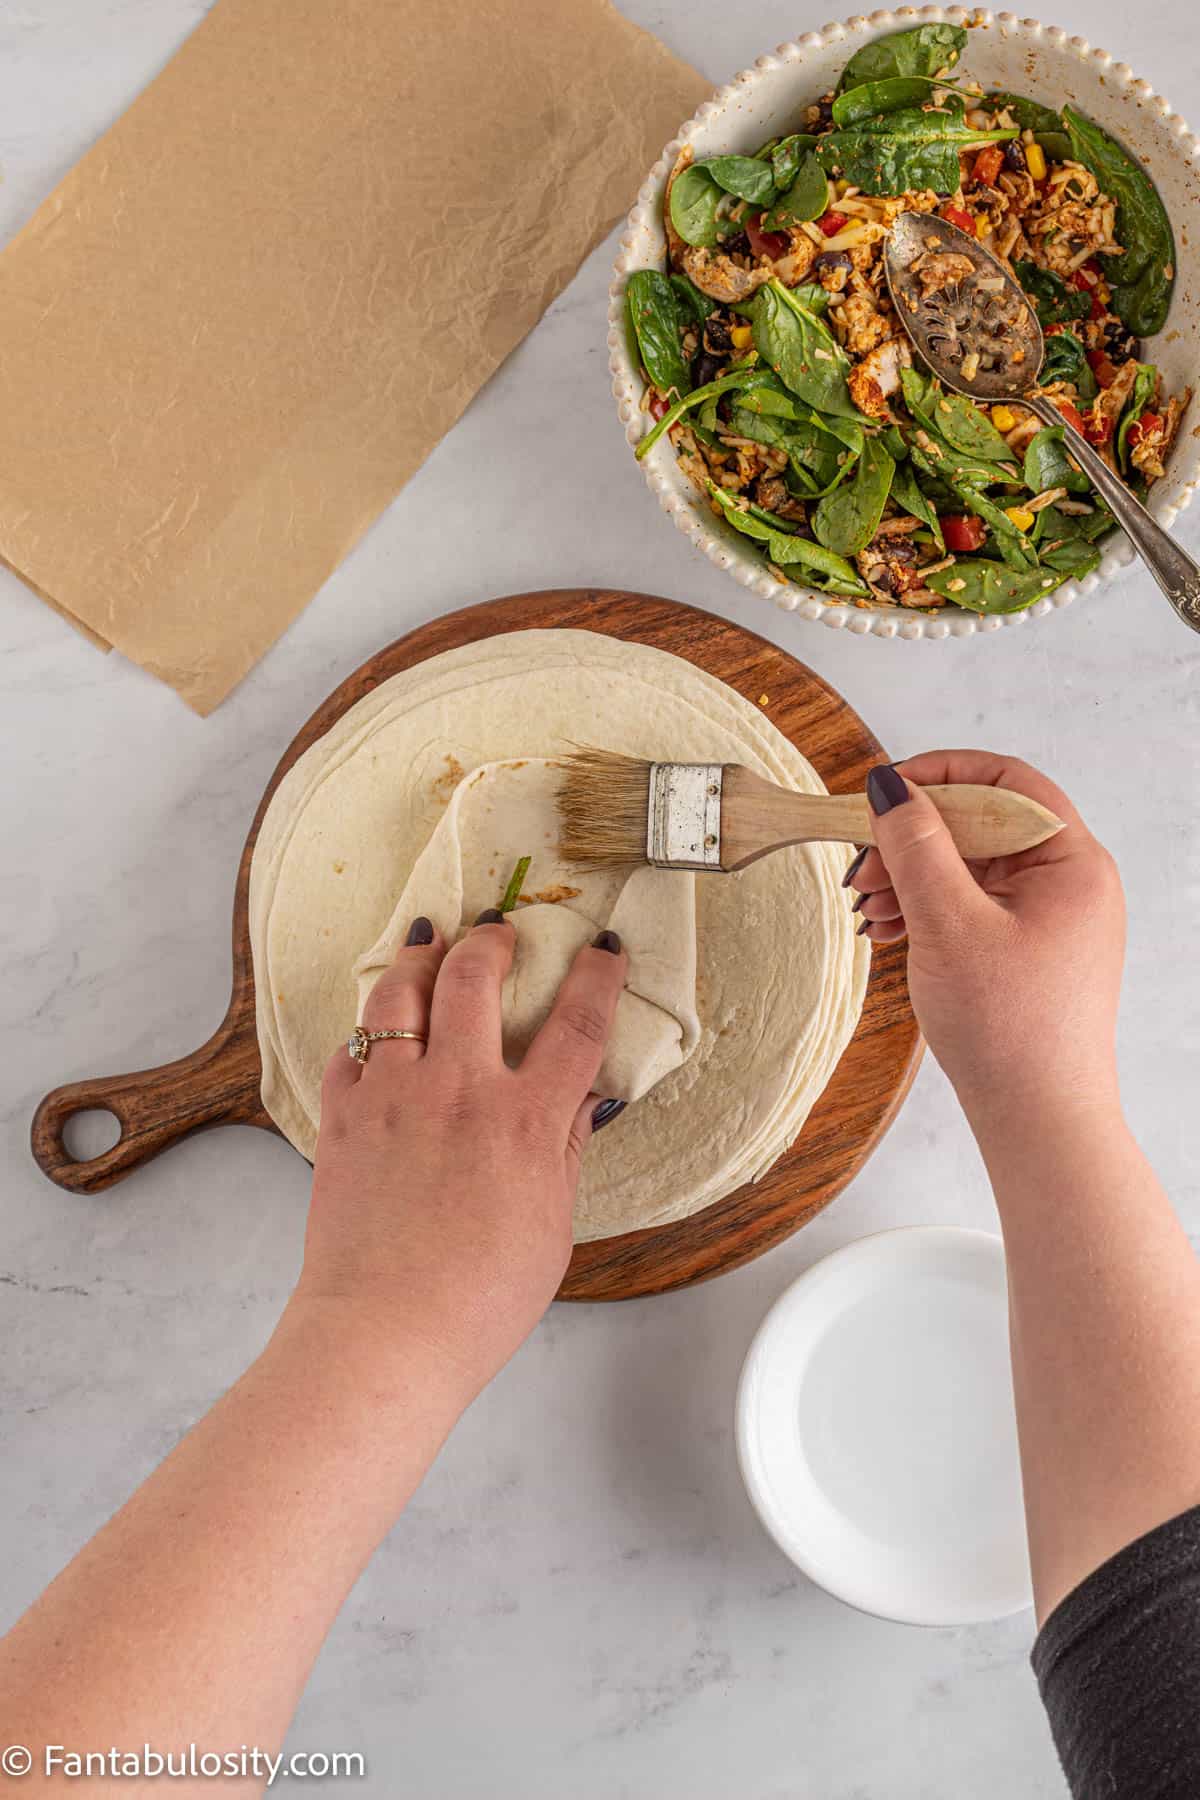
- In a large bowl combine the 2 cups of chicken, Rotel, black beans, rice, corn, and taco seasoning.
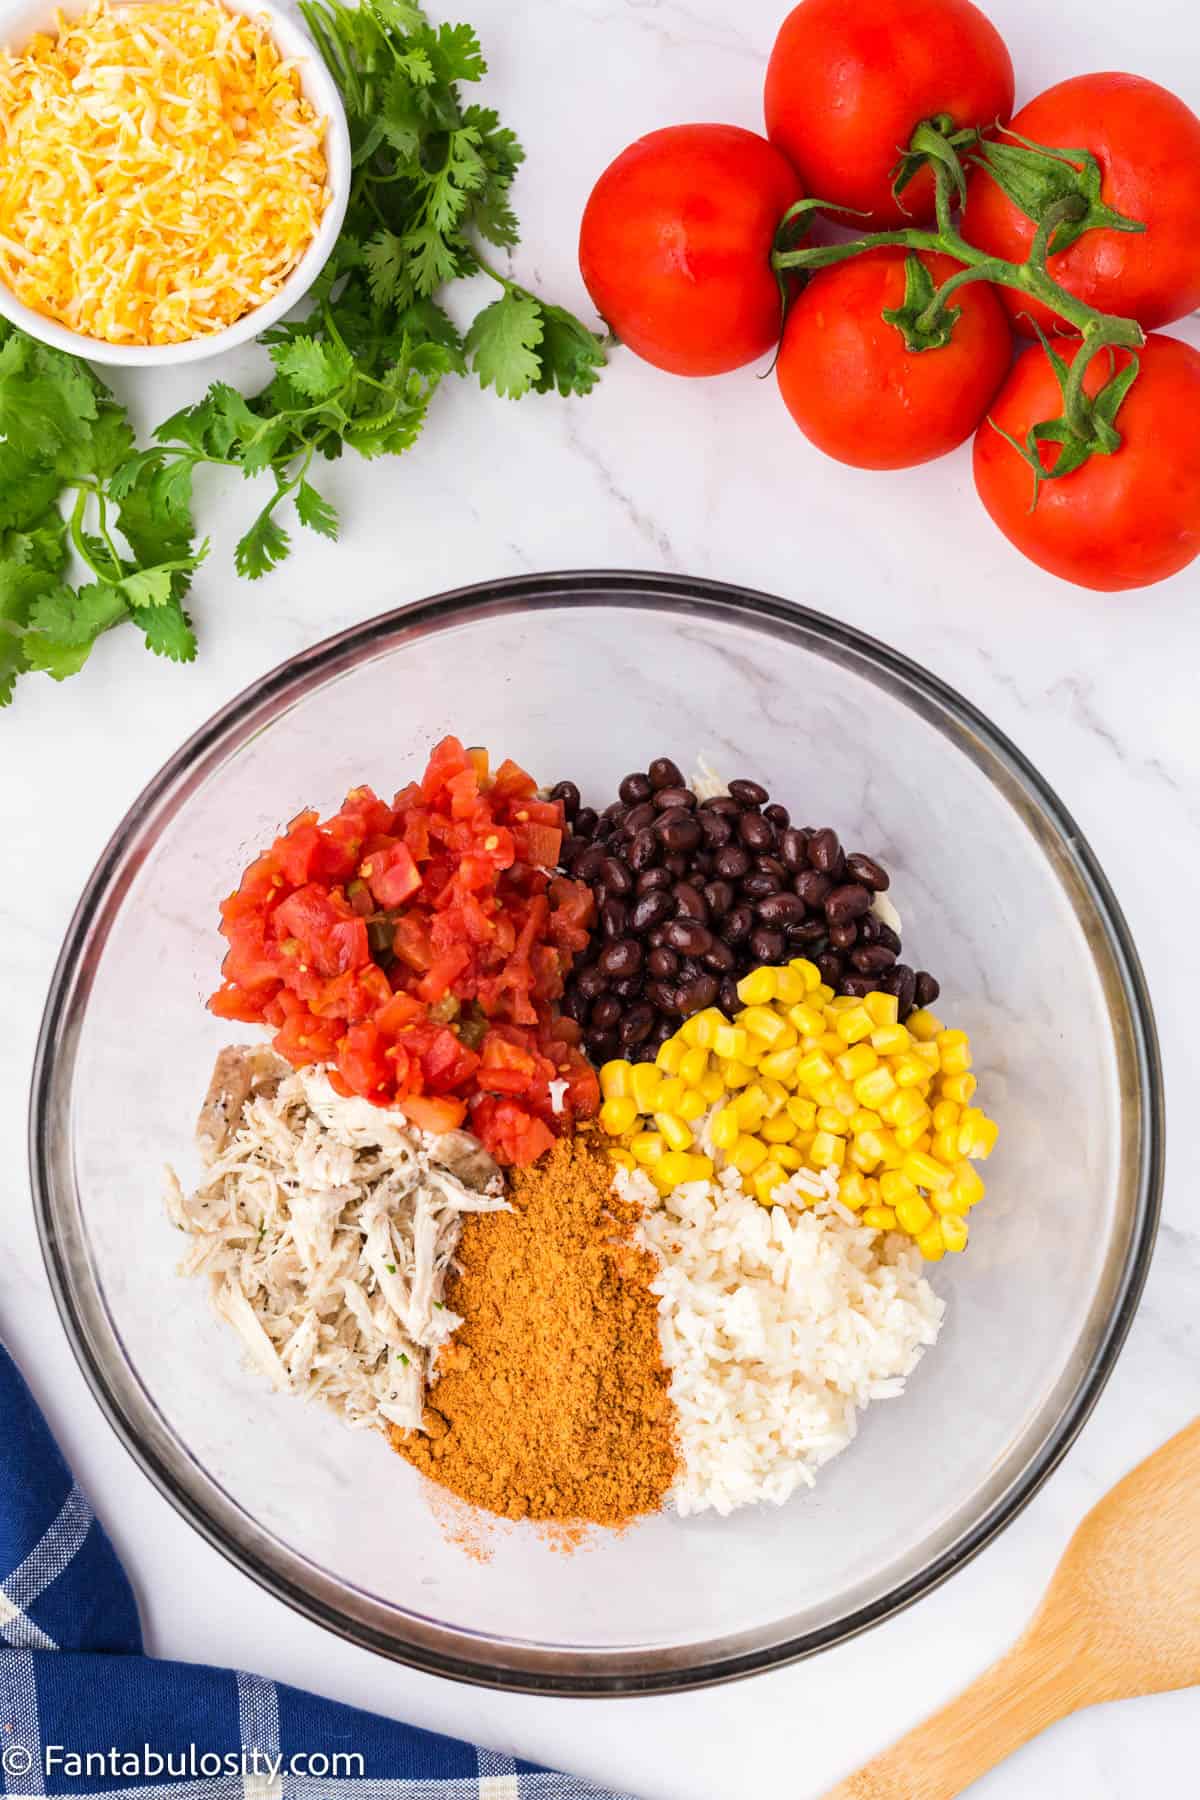
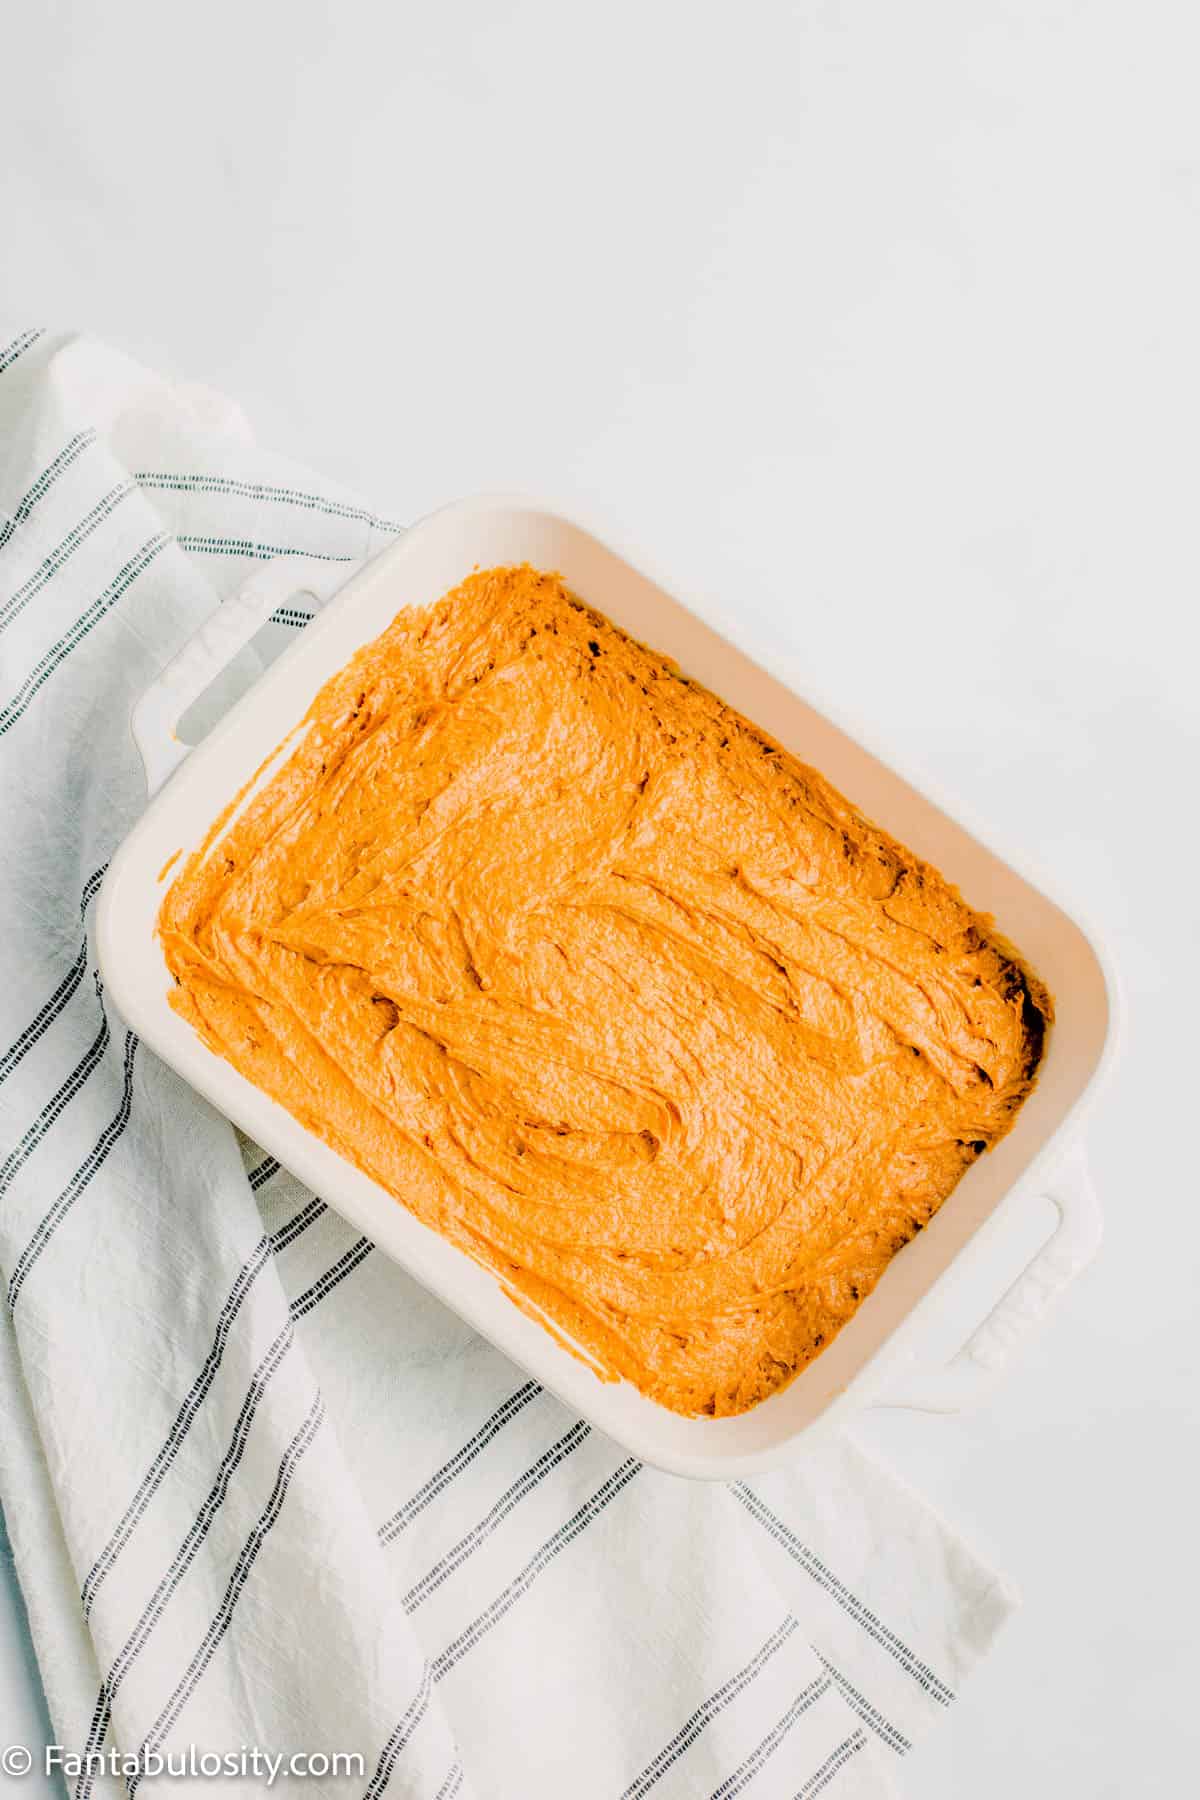
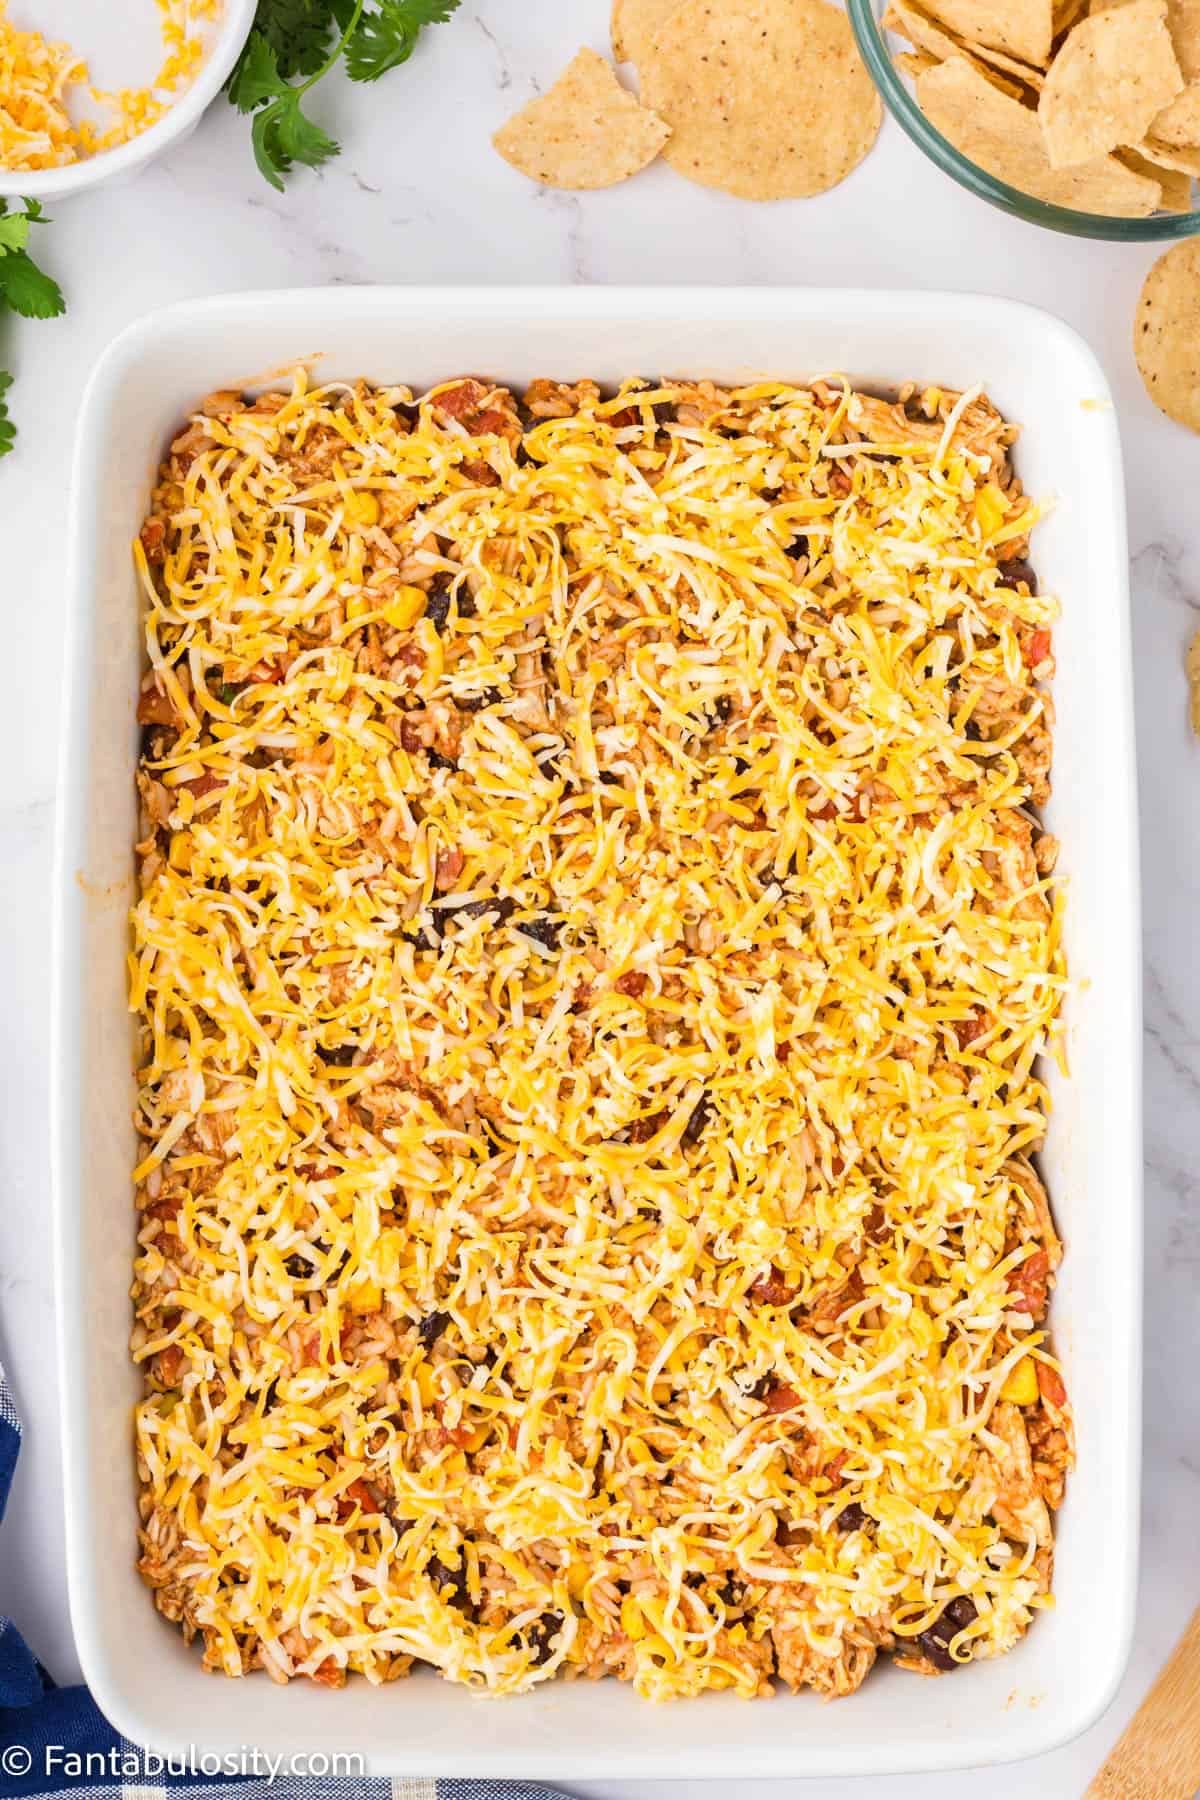
- Add combined ingredients to a 9×13 casserole dish.
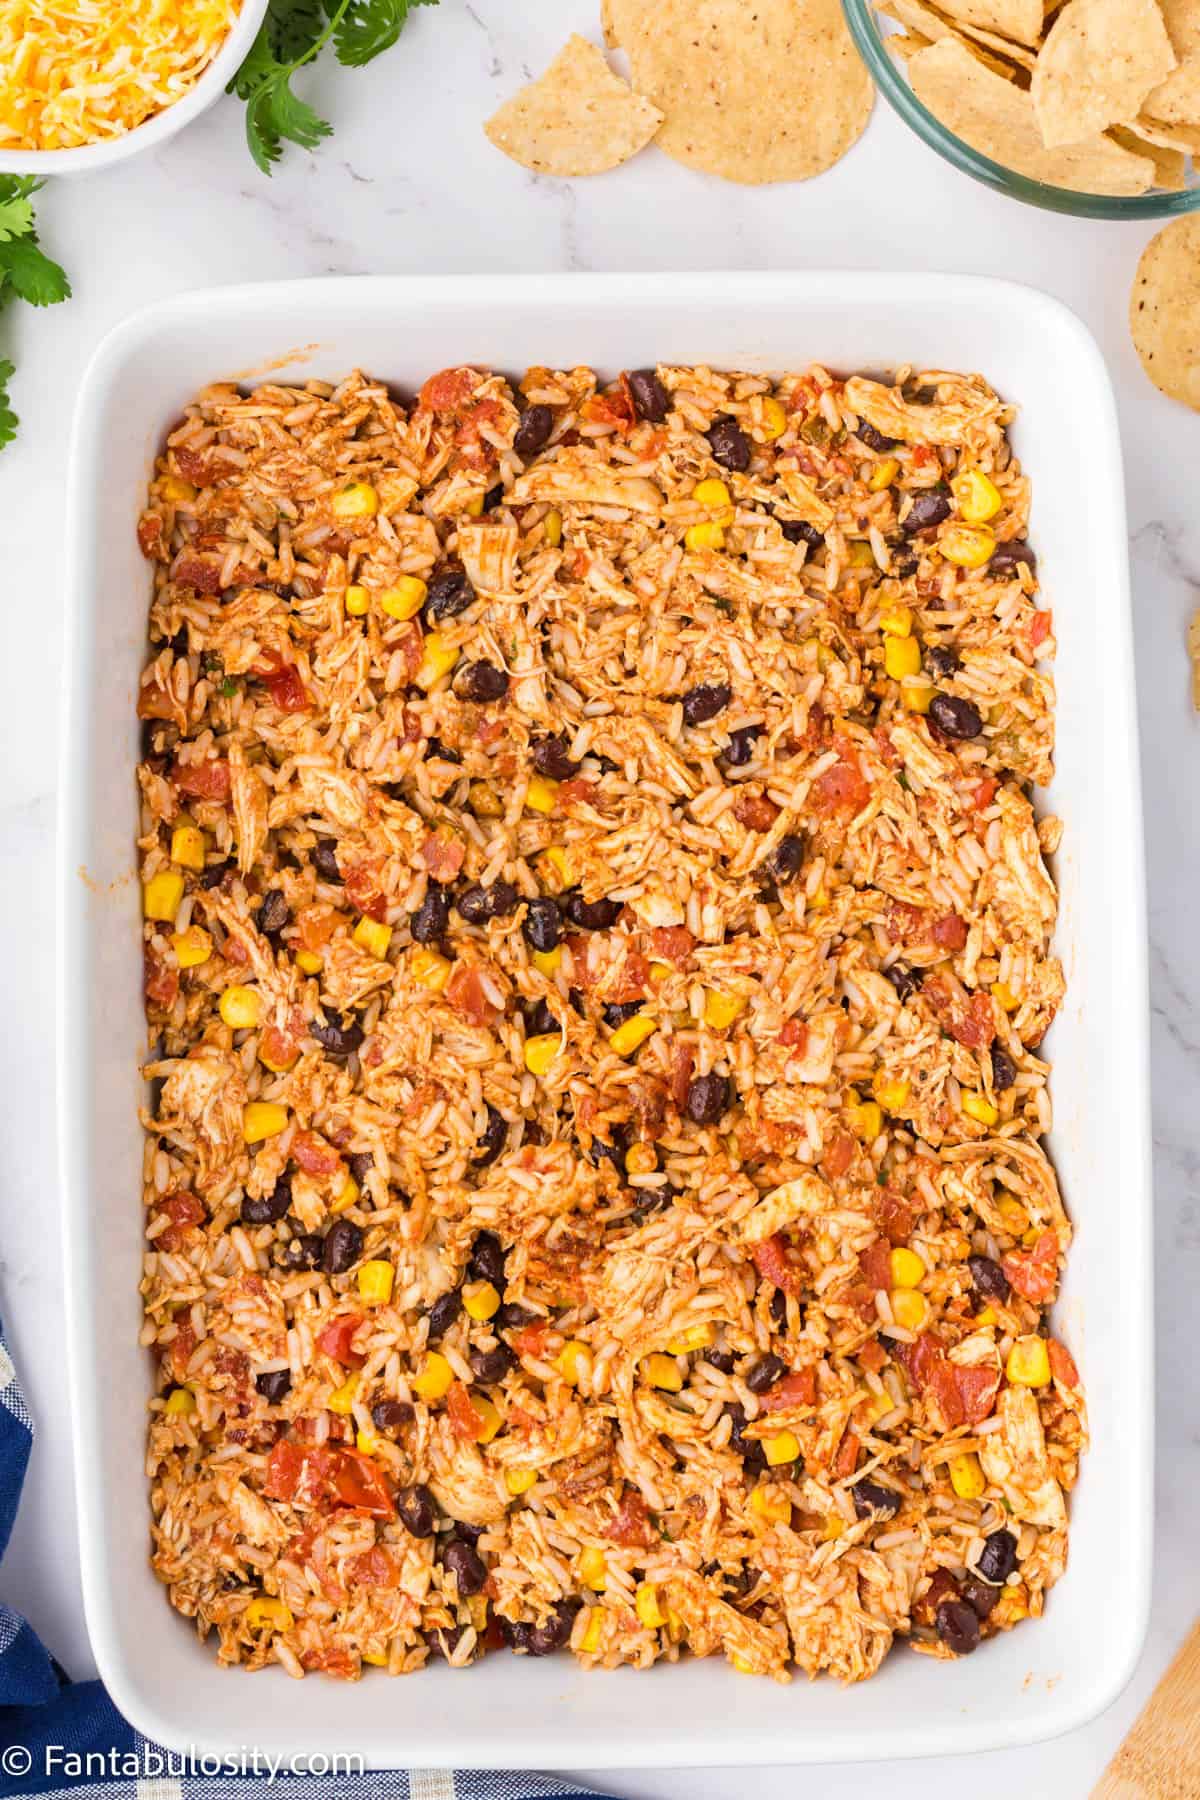
- Evenly spread the Colby jack cheese over the chicken mixture in your casserole dish.
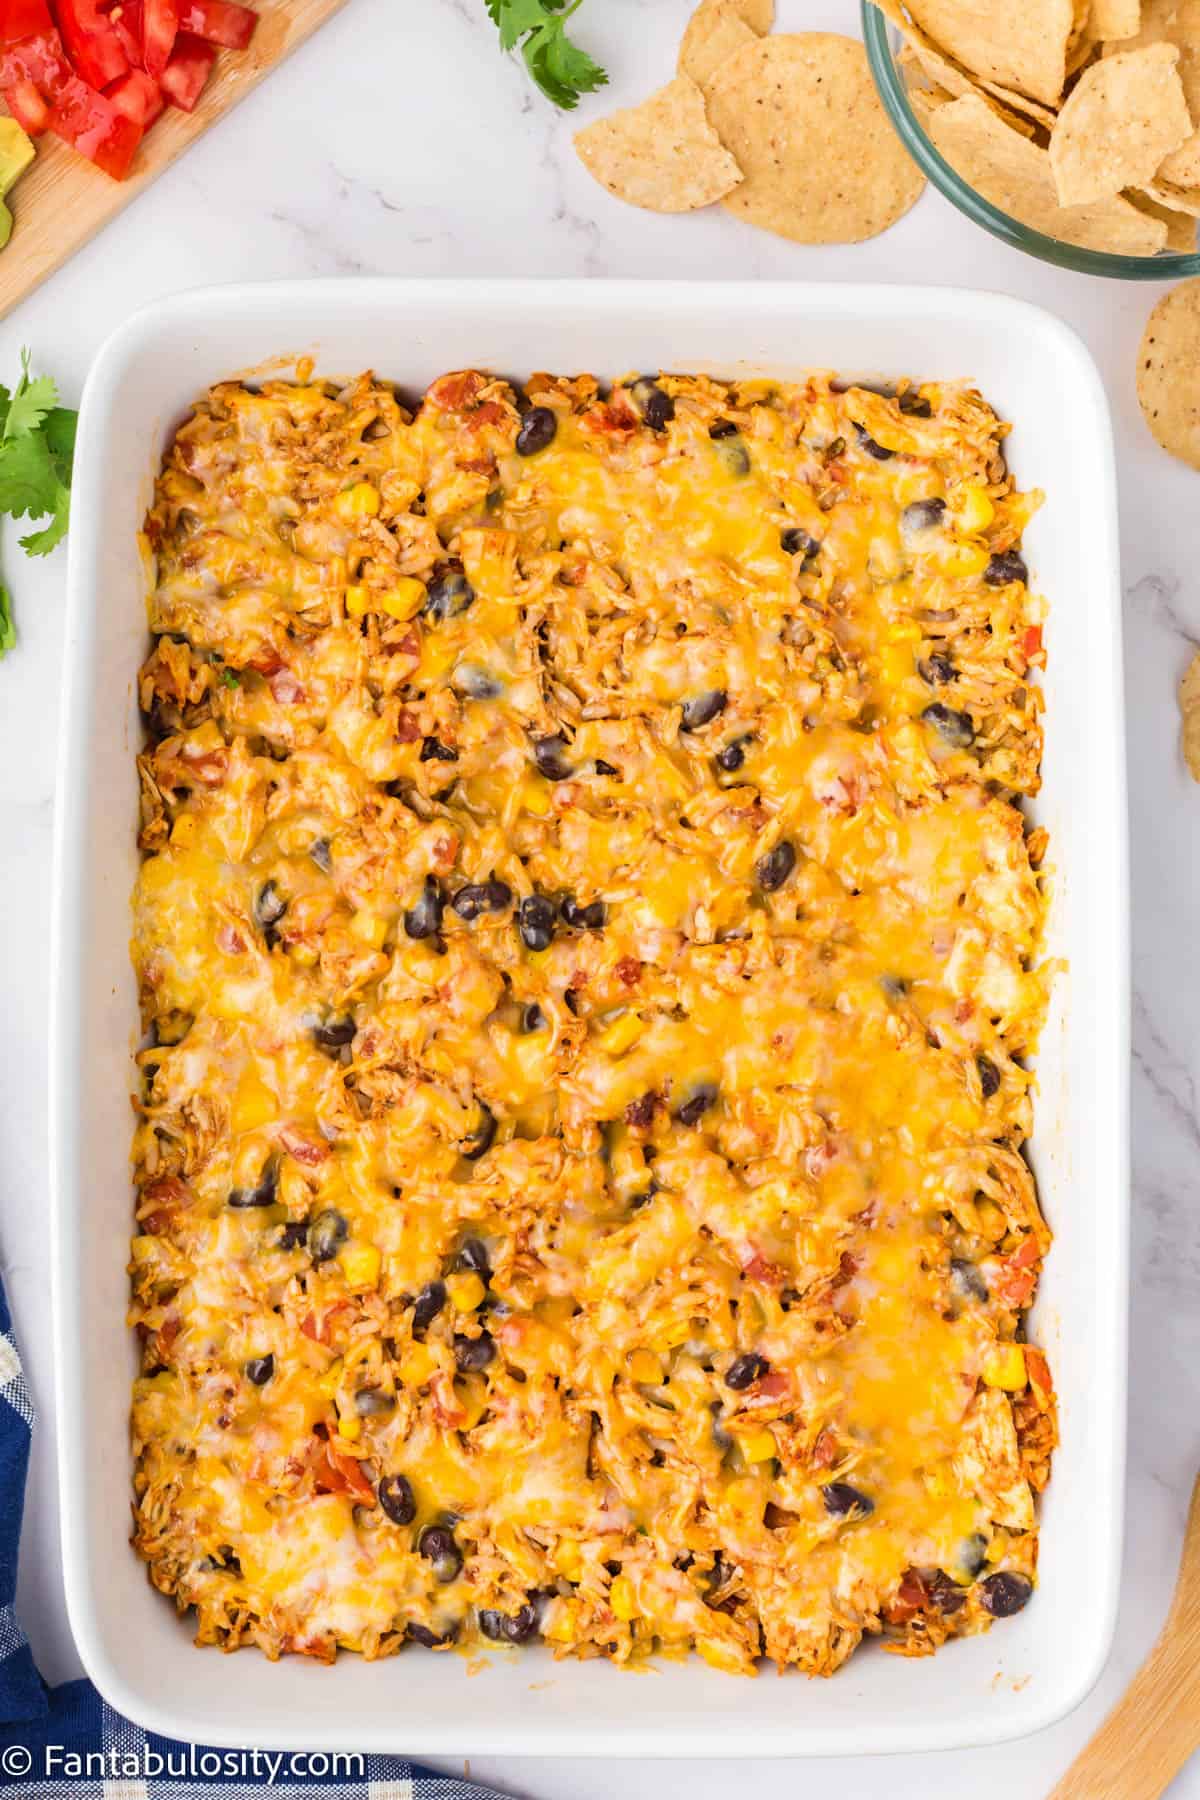
- Bake the casserole for 30 minutes or until the cheese is melted and bubbly.
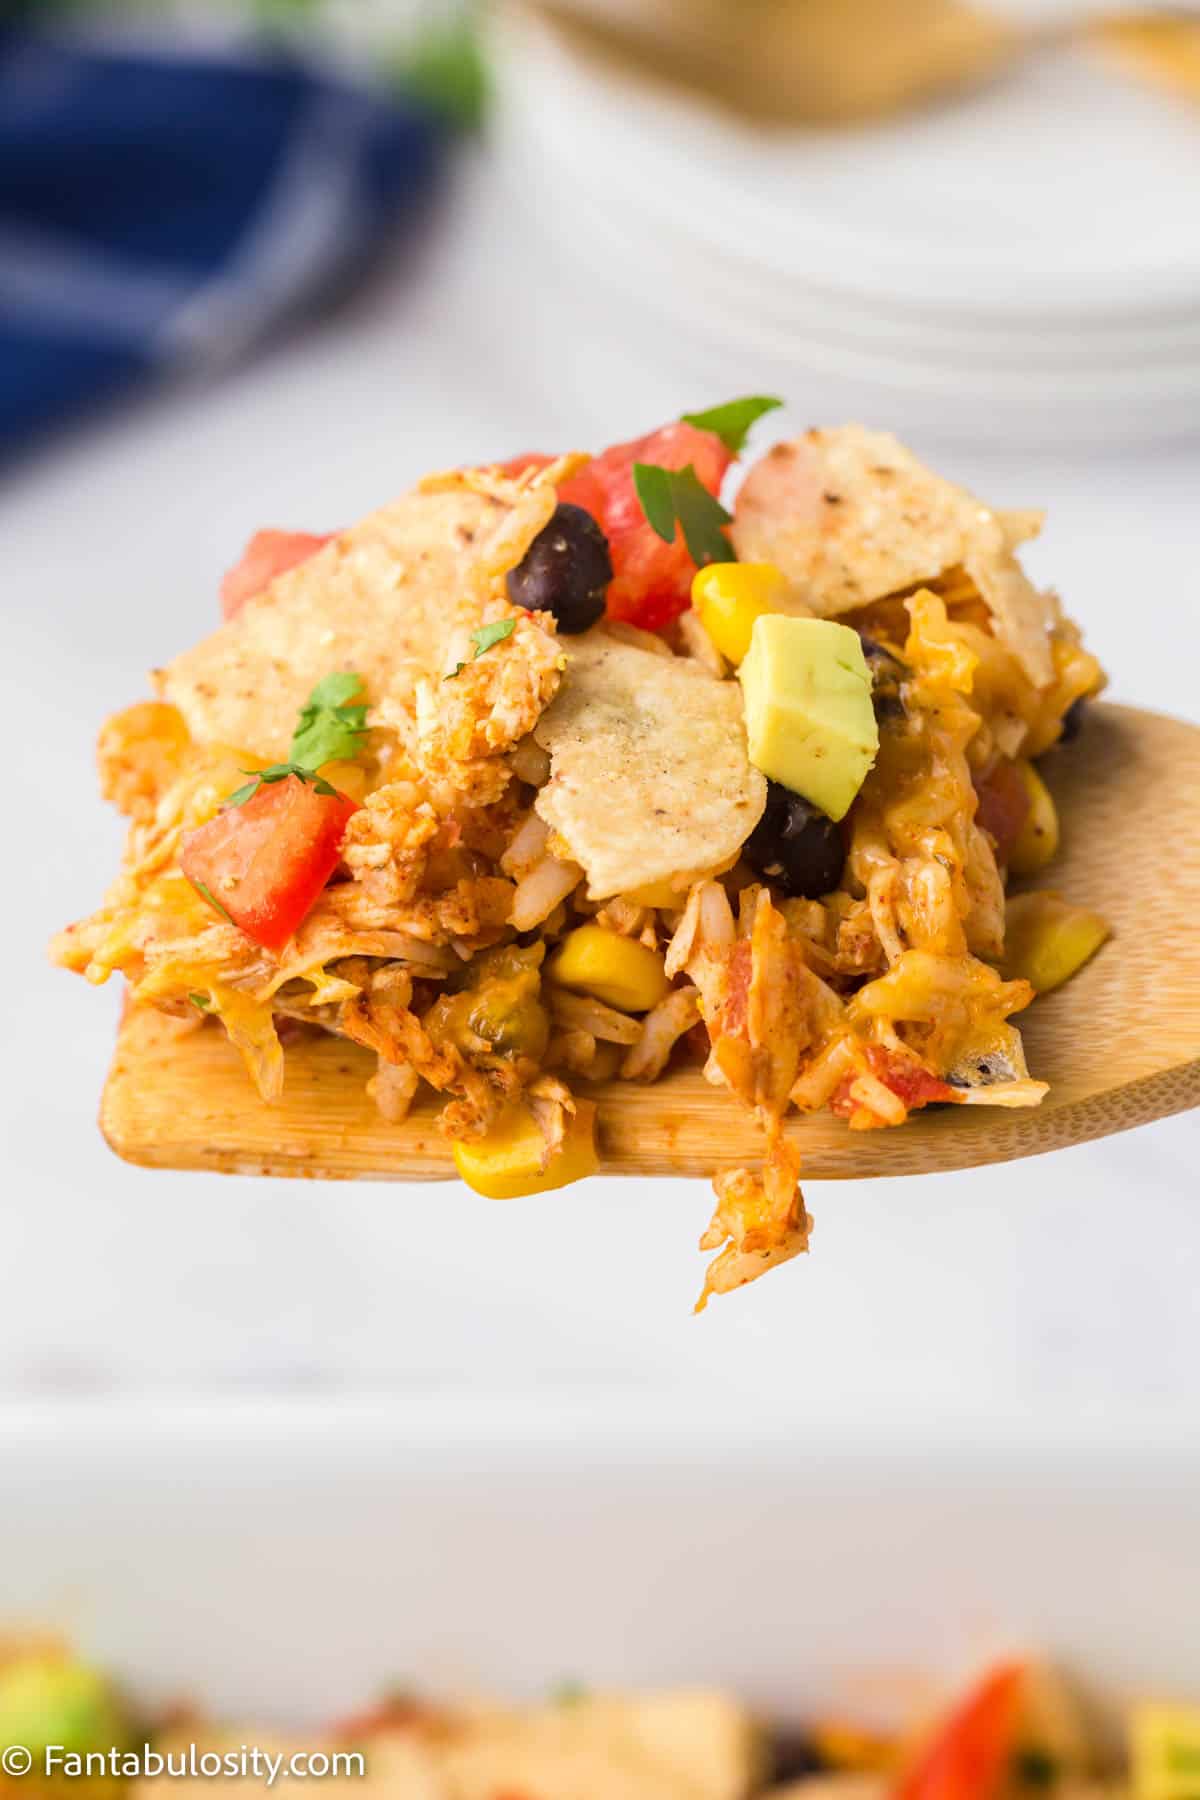
- Remove the casserole from the oven and top with largely crumbled tortilla chips, avocado, tomato, and black olives.
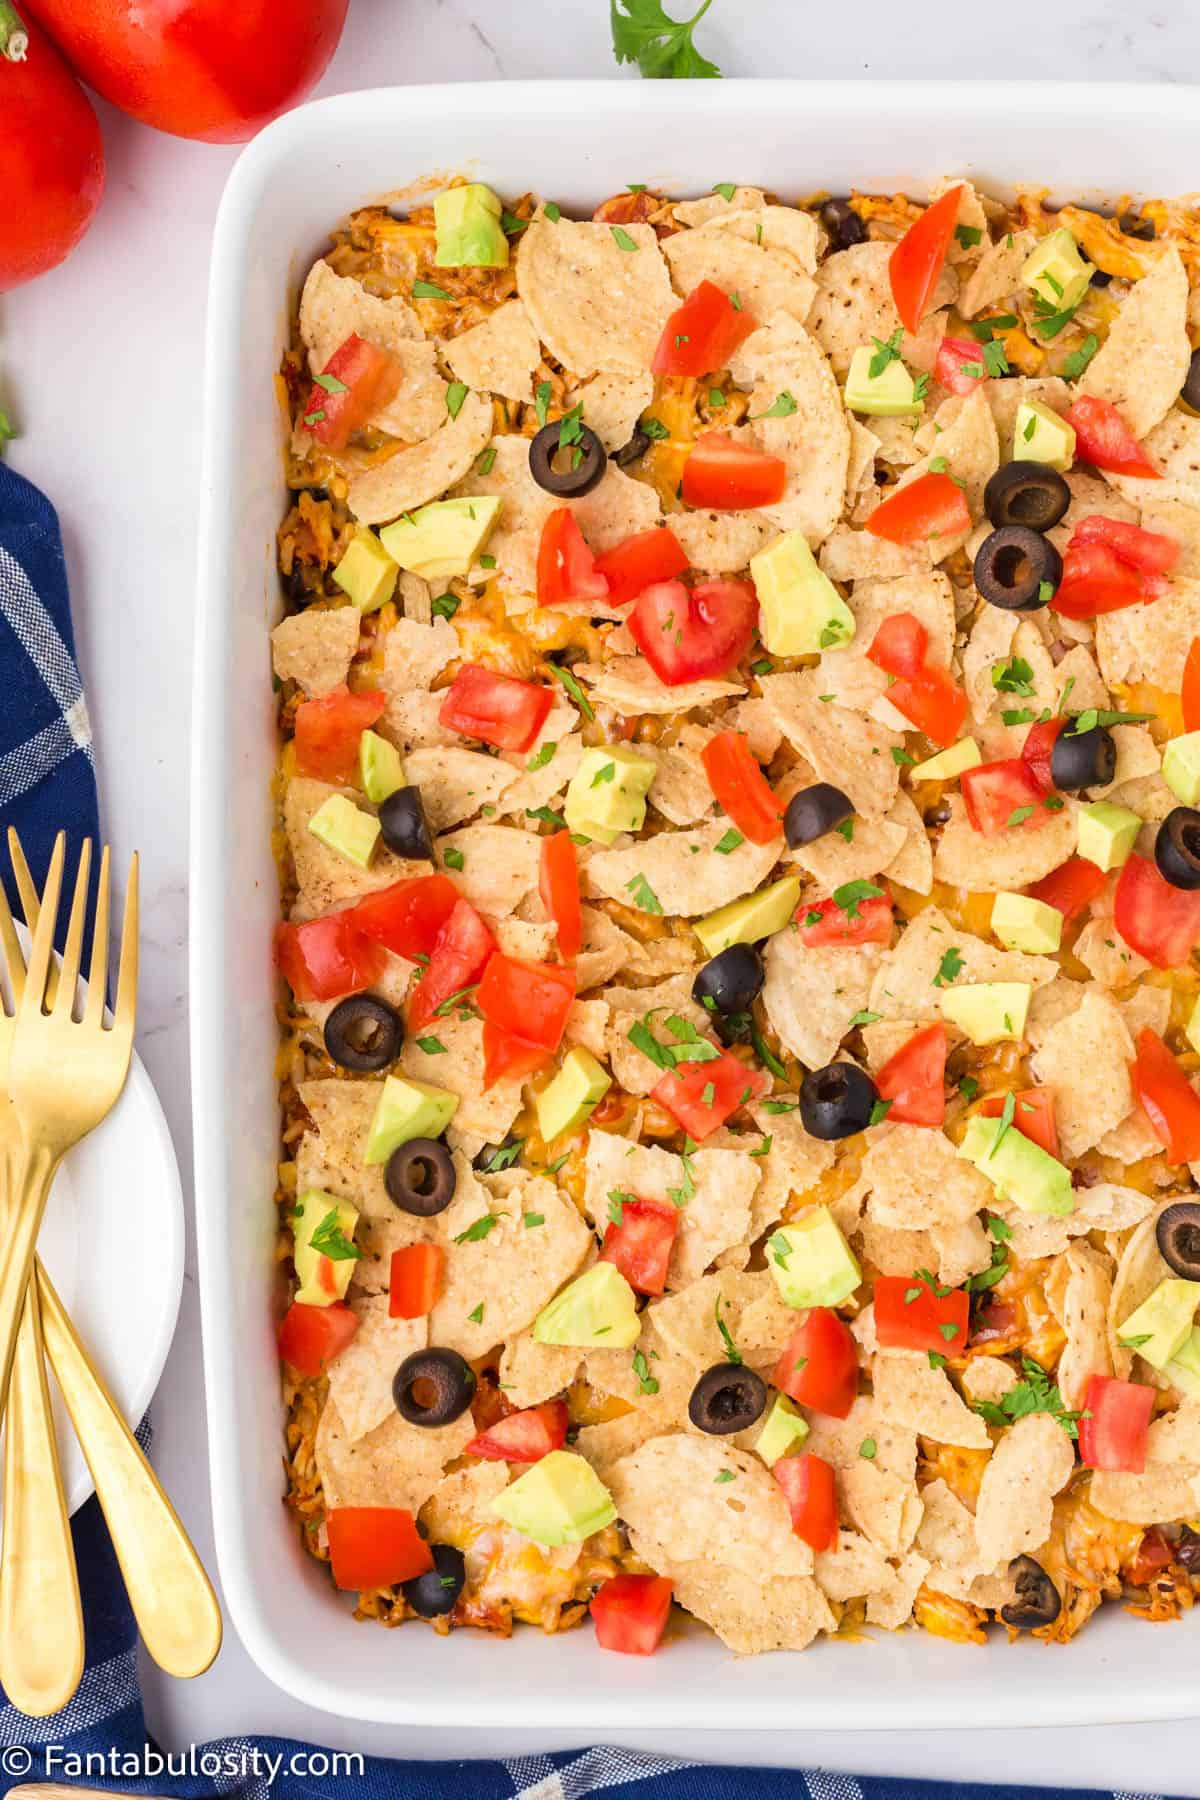
- Garnish with cilantro and serve with taco sauce and/or sour cream if you prefer, and serve warm.
Substitutions & Variations
Much like tacos themselves, this casserole can be customized in SO many ways!
- Cheese – instead of colby jack, try experimenting with a sharp cheddar, mozzarella, pepper jack, or your other favorite cheese. You could even stir an extra ½ cup of cheese into the casserole and then top it with the remaining cheese for a super cheesy taco chicken casserole with rice.
- Switch Toppings – the sky is the limit here. Top the casserole with your favorite taco fixings. Green chiles, this easy pico de Gallo, bell peppers, homemade guacamole, green onions, Rotel Salsa, a few scoops of sour cream…get creative!
- Vegetarian – the chicken in this recipe could be replaced with your favorite lentil to make this dish vegetarian.
- Switch Proteins – instead of shredded chicken, you could also make this recipe with ground beef.
- Rice – we used white rice for this recipe, but you can make it with brown rice, Mexican rice, or even another cooked grain like quinoa or buckwheat.
- Sauce – if you like enchiladas, you could swap out the taco seasoning and instead add a can of green enchilada sauce to this recipe, making it more of a chicken enchilada casserole.
- Gluten Free – if you use corn tortillas, this recipe should be gluten free! For those with serious allergies, we still recommend reading the labels of the ingredients you are using to be safe.
Storage
This Taco Chicken Casserole should be stored in an airtight container in the refrigerator for up to 5 days. This casserole tastes great the next day, but the tortilla chips on top may get a bit soggy. You can always pull them off and add some fresh ones before reheating!
It can also be made and frozen for up to 3 months, but we would recommend freezing it without the toppings (tortilla chips, tomatoes, avocados, black olives, and cilantro). You can add those when you are ready to eat it.
How do I reheat a frozen casserole?
When you are ready to eat your frozen chicken taco casserole, you have two options:
- Let it thaw in the refrigerator and bake it as stated in the recipe.
- Bake it from frozen. If baking from frozen, you will need to decrease the baking temp to 350° and bake it for about an hour. It’s finished when the cheese is melted and bubbling.
Either way, when it is finished cooking you can top it with tortilla chips, tomatoes, avocados, black olives, and cilantro and enjoy!

If you’re trying to make something low carb, you should definitely check this Keto Taco Casserole that looks delicious!
Expert Tips and FAQs
Absolutely! Rice freezes and reheats well, so it’s not a problem to freeze a casserole with rice in it.
You sure can. Taco seasoning is just a mixture of spices. If you’re making your own, we would recommend trying:
1 tablespoon chili powder
1 teaspoon cumin
1 teaspoon paprika
½ teaspoon onion powder
½ teaspoon garlic powder
½ teaspoon of salt (to your preference)
¼ teaspoon oregano
and a pinch of red pepper flakes (if you like spice, add more)
A package of taco seasoning mix usually has about 2 tablespoons in it, so once you’ve combined your spices together well you can use 2 tablespoons in this easy chicken taco bake recipe and save the rest in an airtight container for later!
What to Serve With This Taco Chicken Casserole
Whether you’re looking for a side dish that can go with this casserole or a sweet treat for enjoying after, I think you’ll really love these!
Side Dishes: This easy elote dip and my homemade guacamole are easy recipes to prepare and so delicious served with a taco recipe! Or, for a heartier side, consider this fried tacos recipe!
Dessert: Mexican Conchas is a sweet bread that is absolutely lovely to serve after this taco casserole!
More Easy Casserole Recipes
If you’re making a meal plan and you’re looking for more easy casserole recipes like this one, we have a bunch! You love this walking taco casserole recipe if you love this one, and this taquito chicken casserole, along with these:
Green Bean Casserole (this one is a fan favorite)
Did you make this? I’d be so grateful if you left a “star” rating below to let me know what you thought! Then, the next time you need a quick and easy recipe, come back to Fantabulosity to browse all of my easy recipes!
Related Recipes
Did you enjoy this taco chicken casserole recipe? Then you’re in luck because we have a few more recipes we just know you’re going to love like this Doritos Casserole, these crockpot enchiladas, these Chicken Street Tacos (I kid you not, these chicken tacos are so good), and our Easy Taco Layer Dip recipe (this one disappears at a party)!
But go ahead and round out your chicken casserole plans with this Stove Top Stuffing Chicken Casserole.
Recipe

Taco Chicken Casserole
Ingredients
- 2 cups shredded chicken cooked
- 1 – 10 ounce can Rotel
- 1 cup black beans cooked
- 1 cup white rice cooked
- ½ cup sweet corn cooked
- 1 package taco seasoning
- 2 cups colby jack cheese shredded
- 2 avocados chopped
- 1 large tomato diced
- 1 cup tortilla chips broken into large crumbles
- ¼ cup black olives sliced
- cilantro diced, for garnish
Instructions
- Preheat your oven to 375 degrees.
- In a large bowl combine shredded chicken, rotel, black beans, rice, corn, and taco seasoning.
- Add combined ingredients to a 9×13 casserole dish.
- Evenly spread the colby jack cheese over the chicken mixture in your casserole dish.
- Bake the casserole for 30 minutes or until the cheese is melted and bubbly.
- Remove the casserole from the oven and top with largely crumbled tortilla chips, avocado, tomato, and black olives.
- Garnish with cilantro and serve warm.