Fruit Board: A great way to serve your favorite fruits at your next party! Make the fruit platter as shown or use your favorite fruits and crackers.
Quick Overview: Below is a step-by-step tutorial on how to make a fruit charcuterie board with your favorite fruits and your favorite board!
Why you’d want to make a fruit board
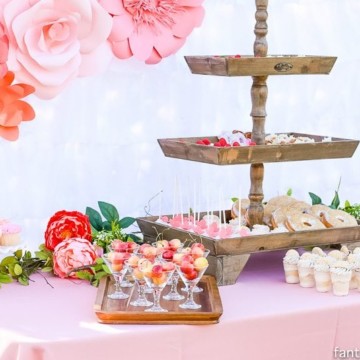
A fruit board is an easy way to serve hungry kids, to serve as a perfect appetizer for a large crowd for your next party, special occasions, or for something like baby showers, or just a fun way to eat your favorite fruits. It’s also a great idea when you need something quick and easy, especially when you serve it with this 3-ingredient fruit dip with marshmallow cream or this Cool Whip Fruit Dip!
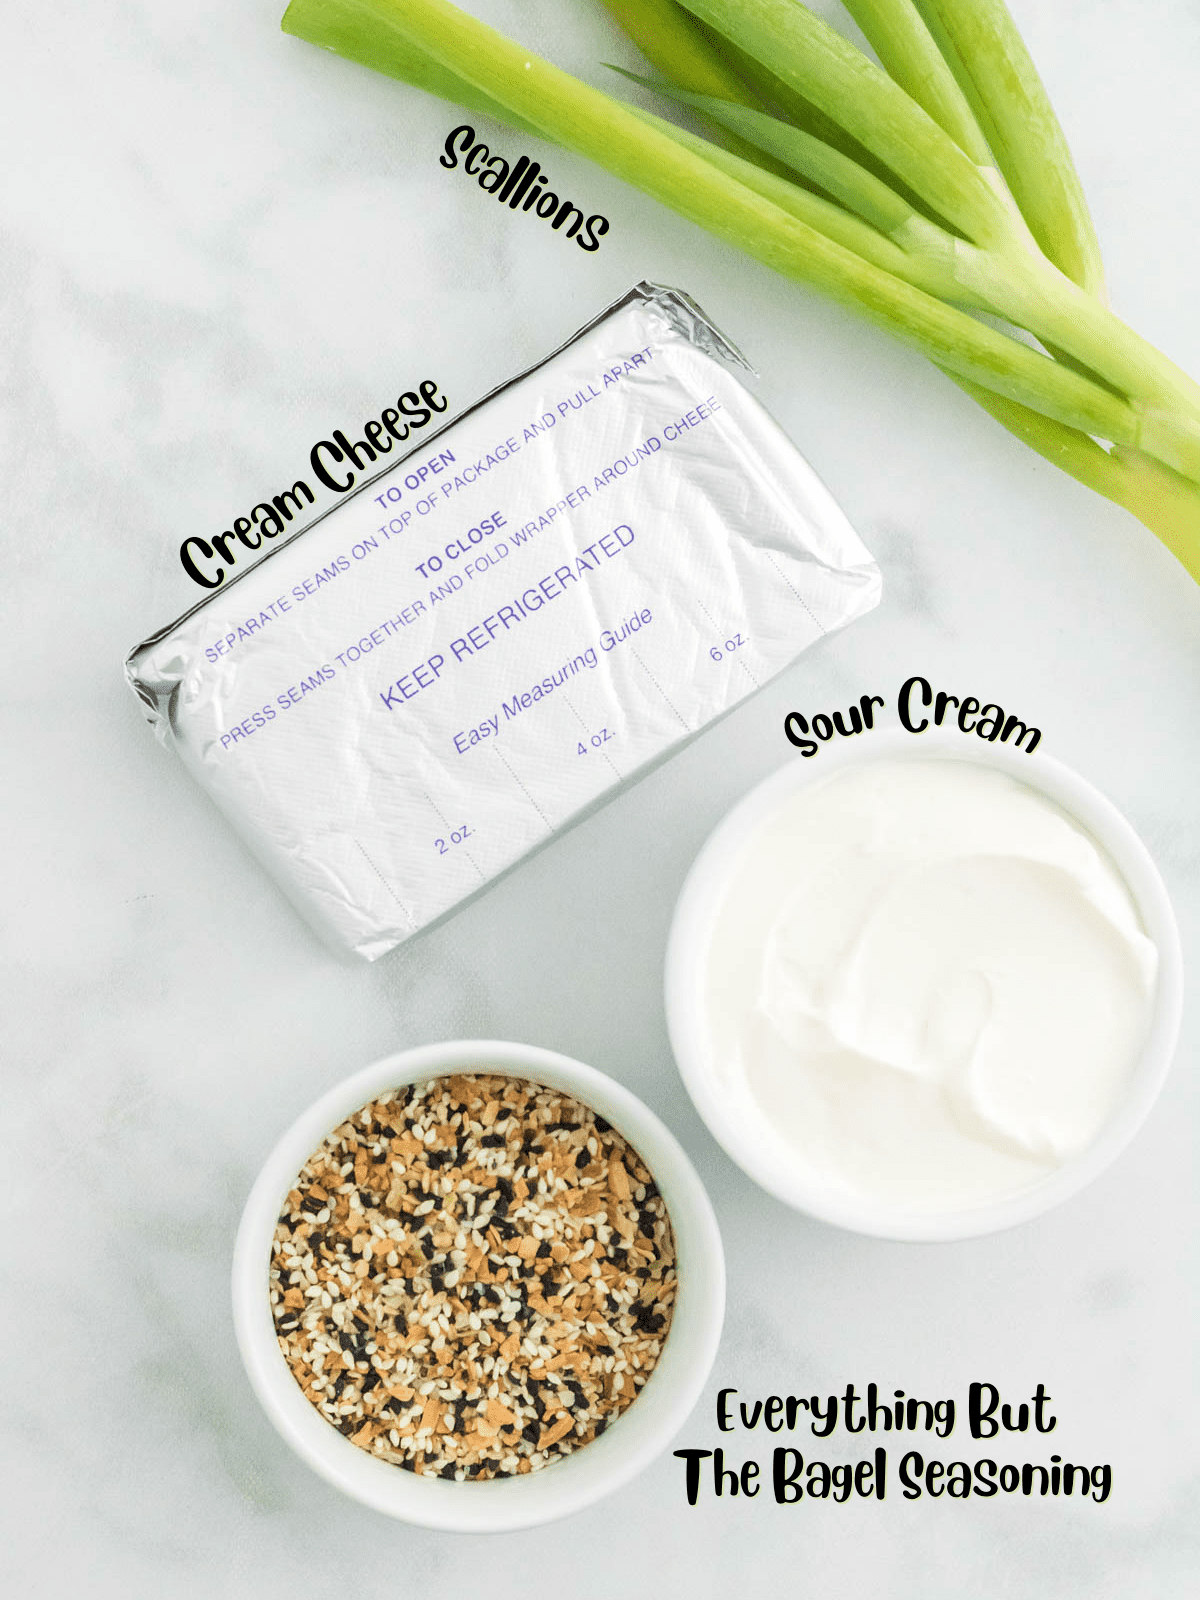
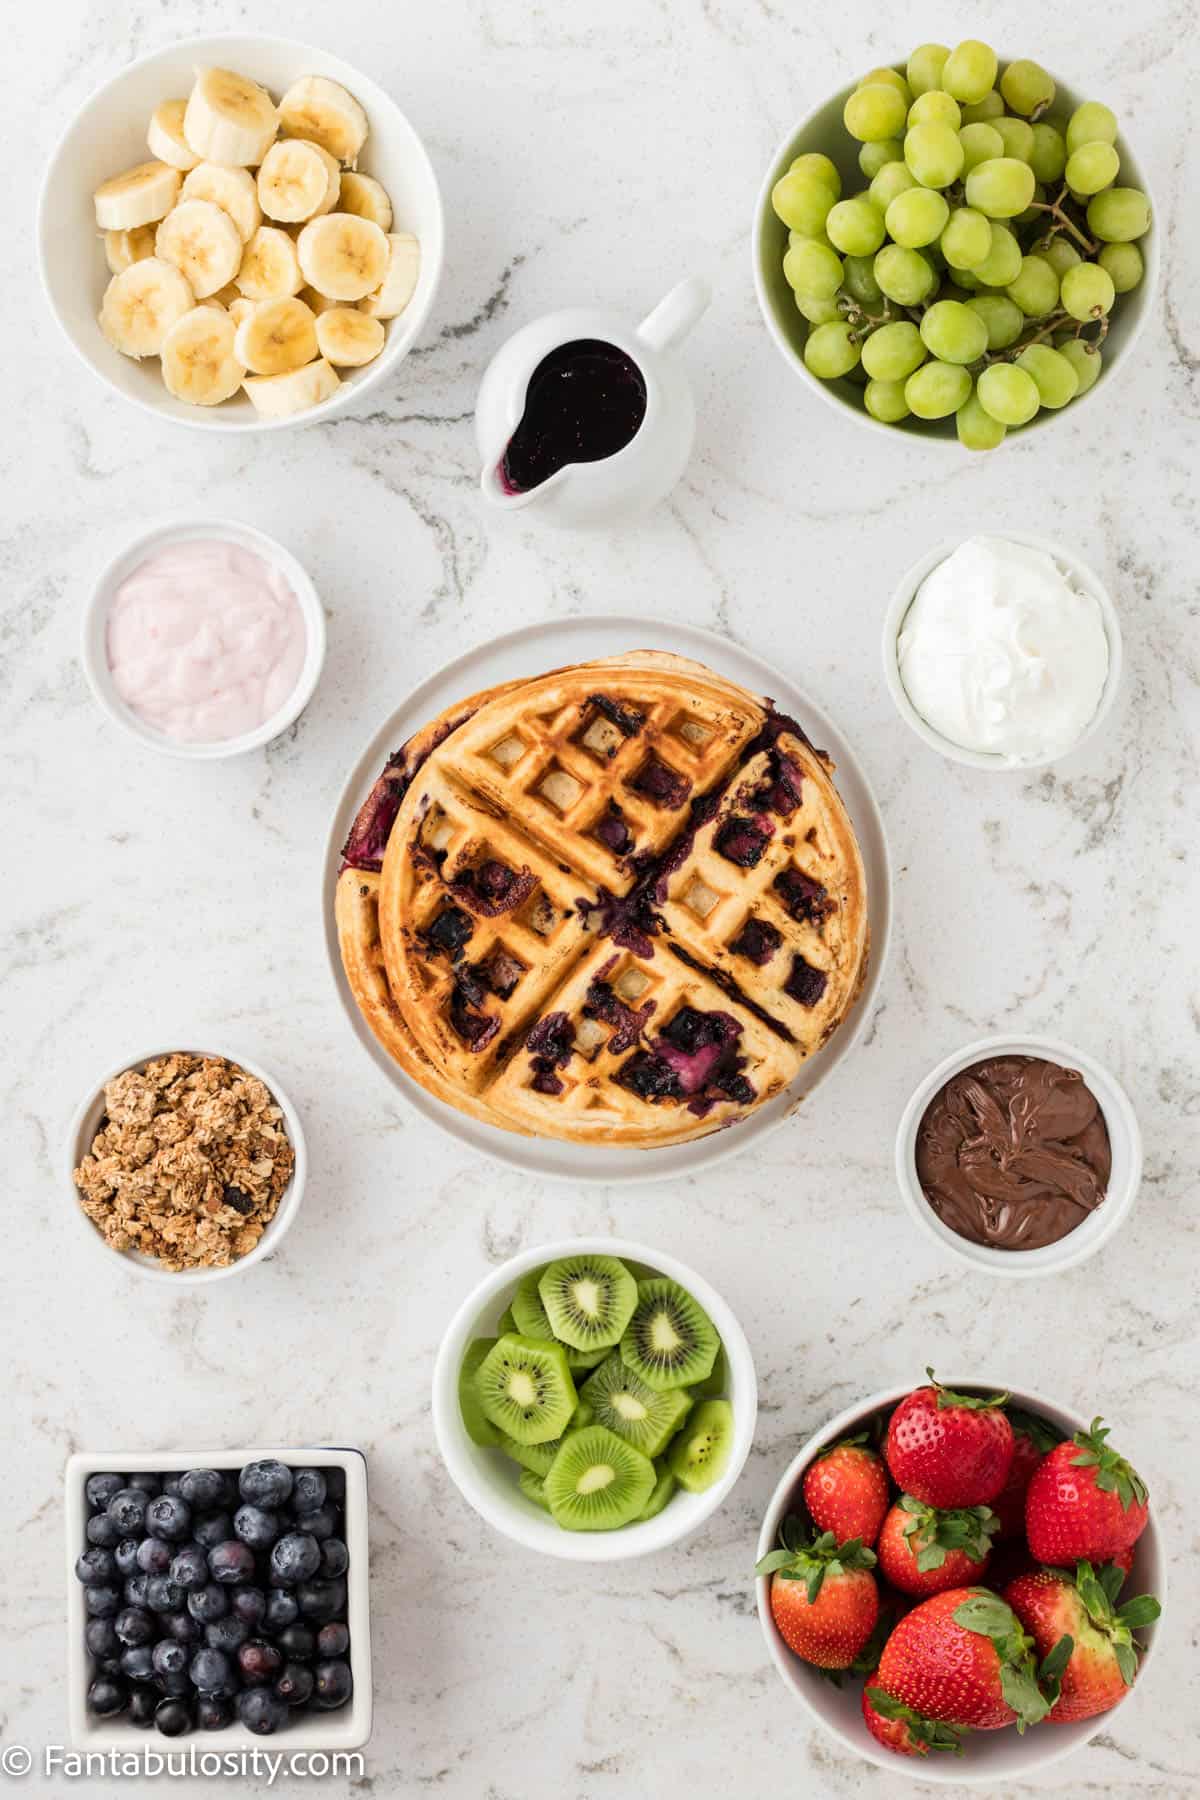
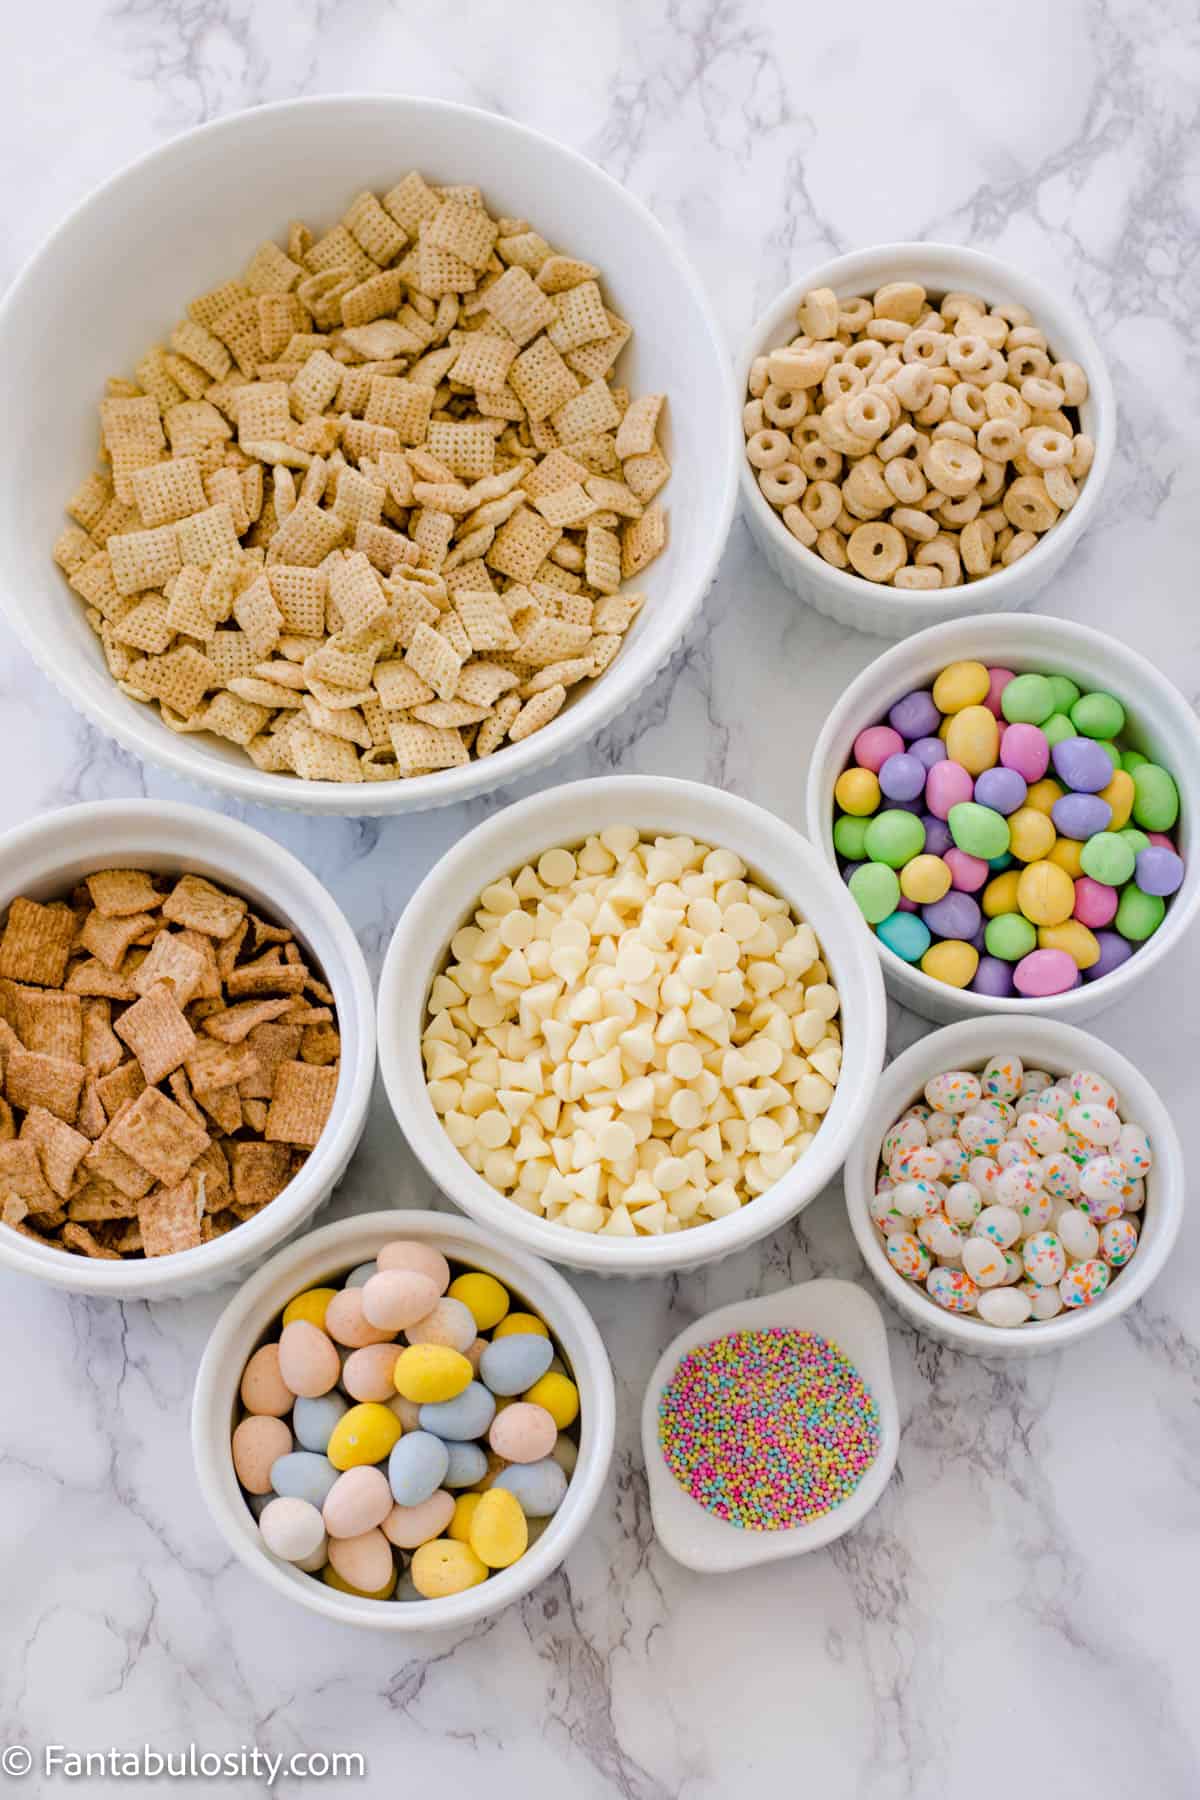
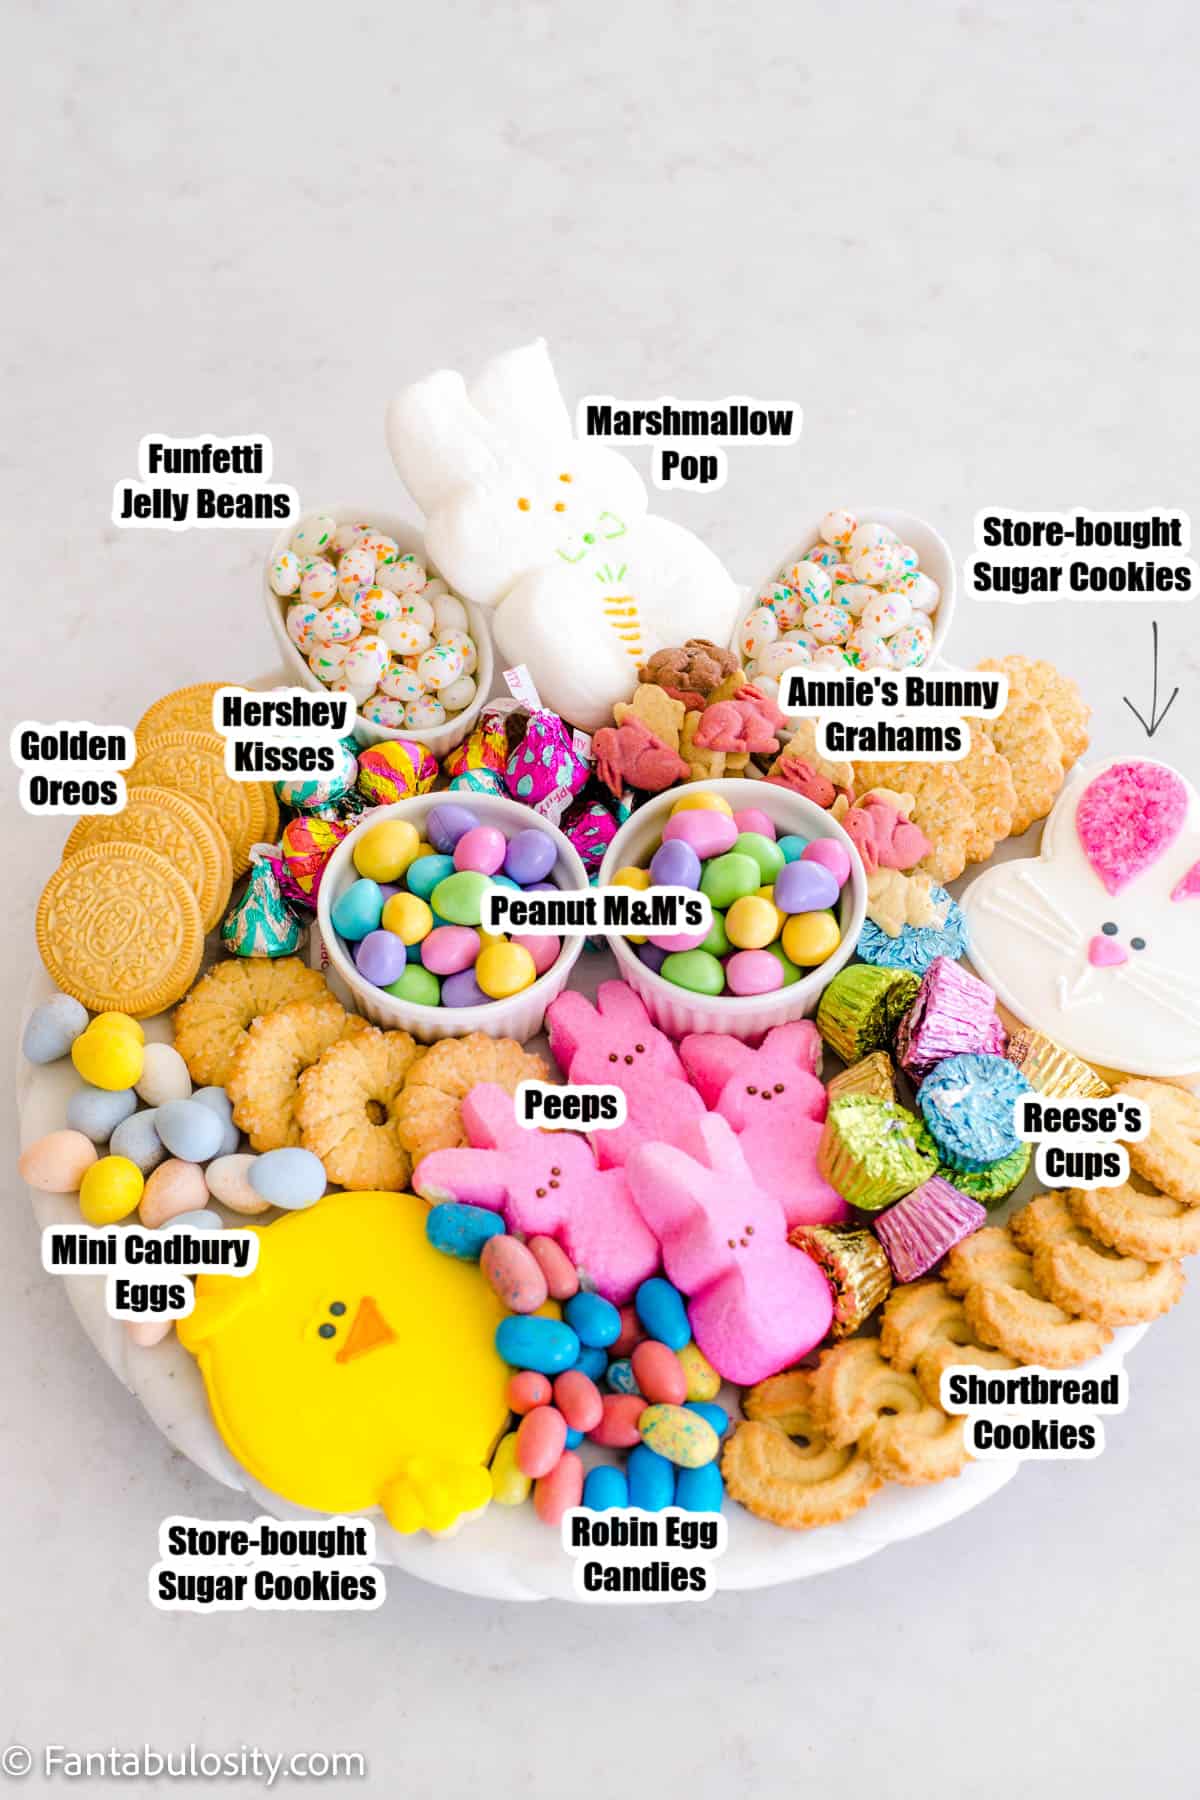
[feast_advanced_jump_to]Ingredients
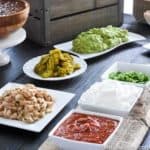
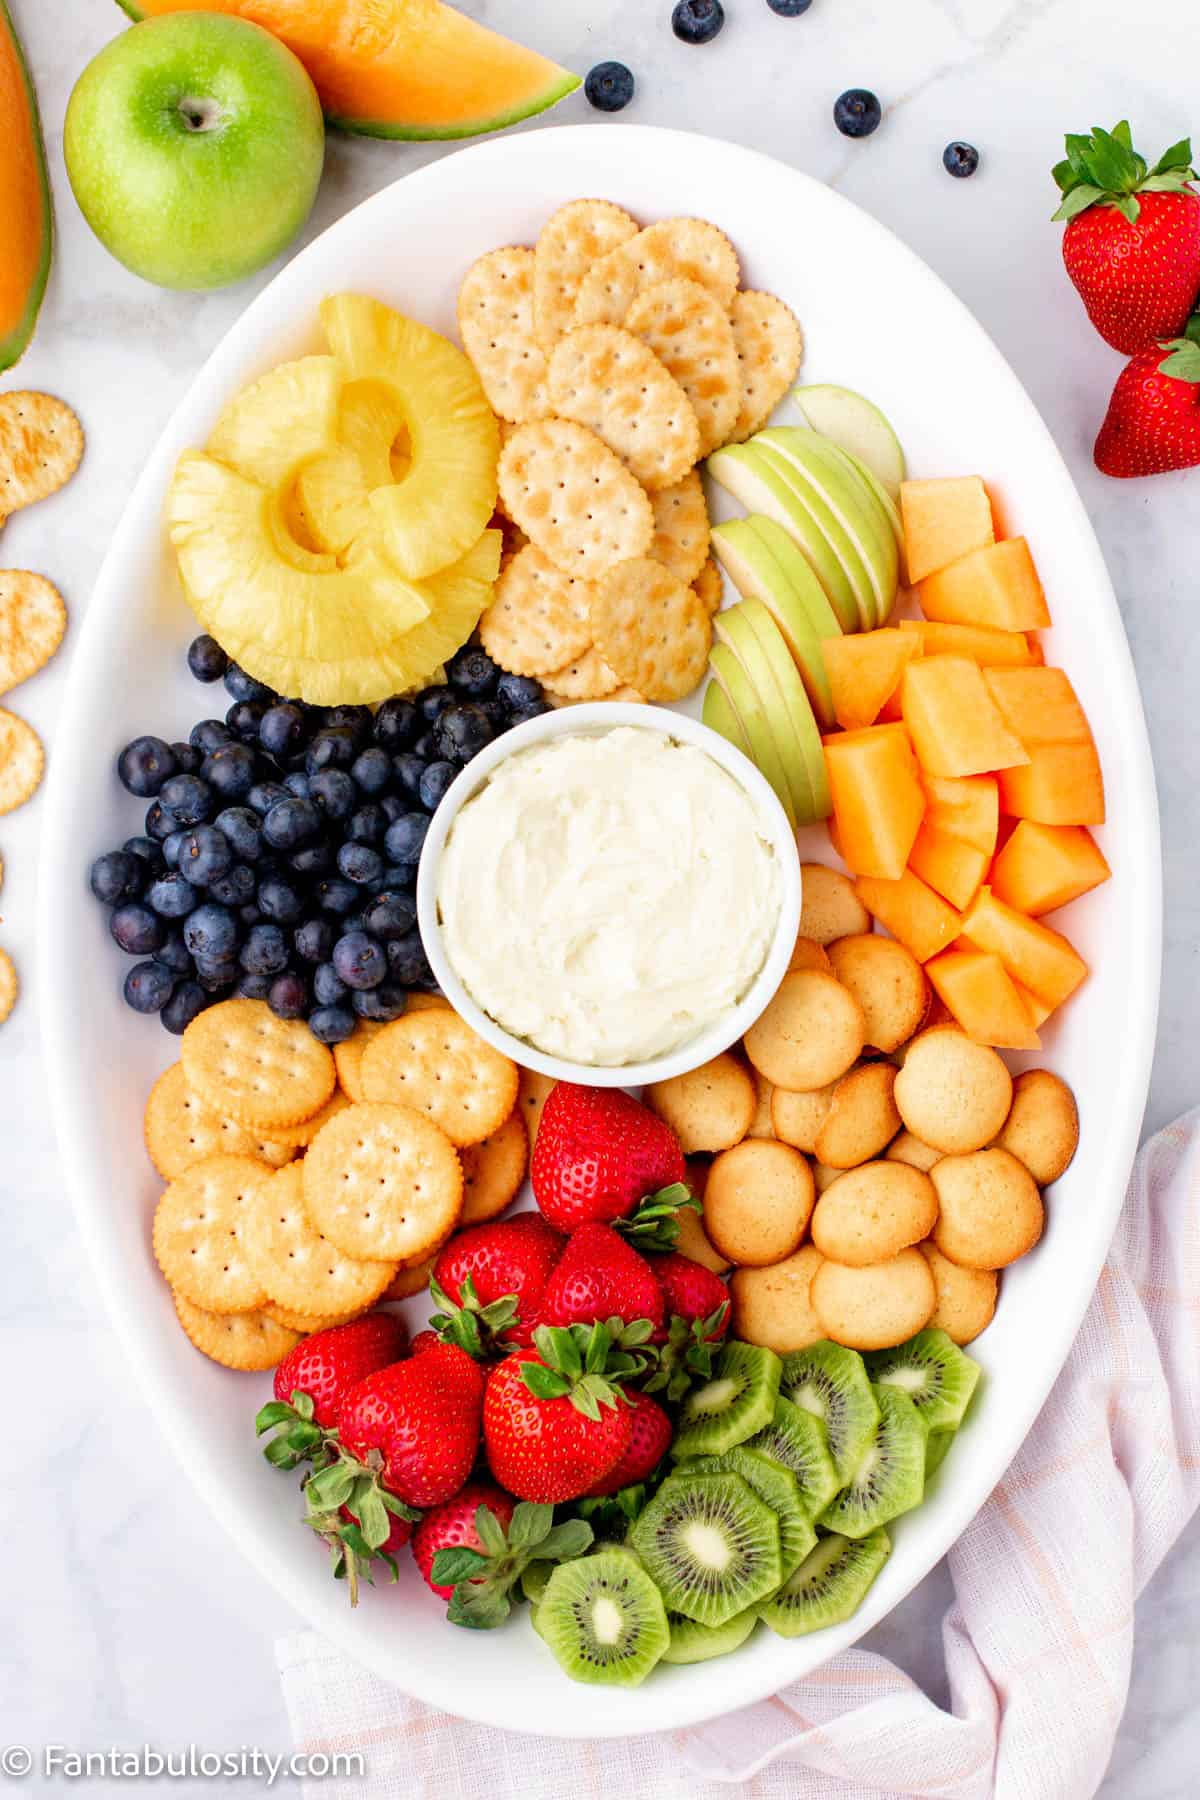
What’s fun about this fruit platter, is that you can put whatever items that want to put on it!
Since we pair it so often with fruit dip, fruit is usually the main focus but we also love serving it with other items, such as crackers, cookies, and more!
Here are some ideas of our favorite items to include:
- Strawberries
- Blueberries
- Kiwi
- Green Apples
- Cantaloupe
- Pineapple
- Ritz Crackers
- Toll House Crackers
- Vanilla Wafers
Instructions
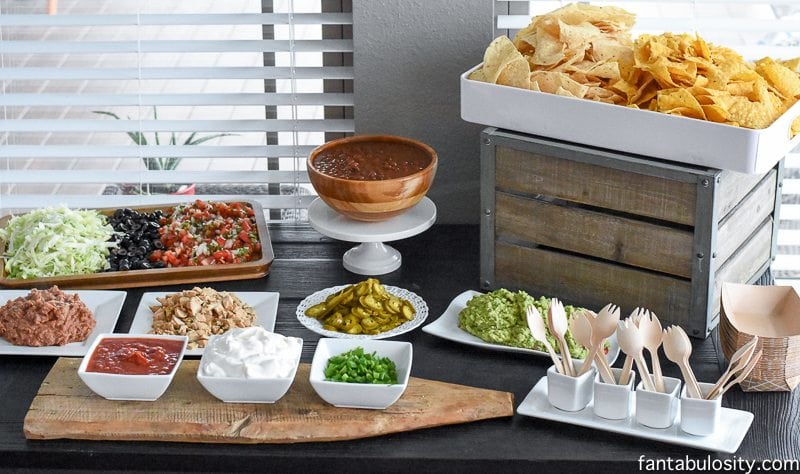
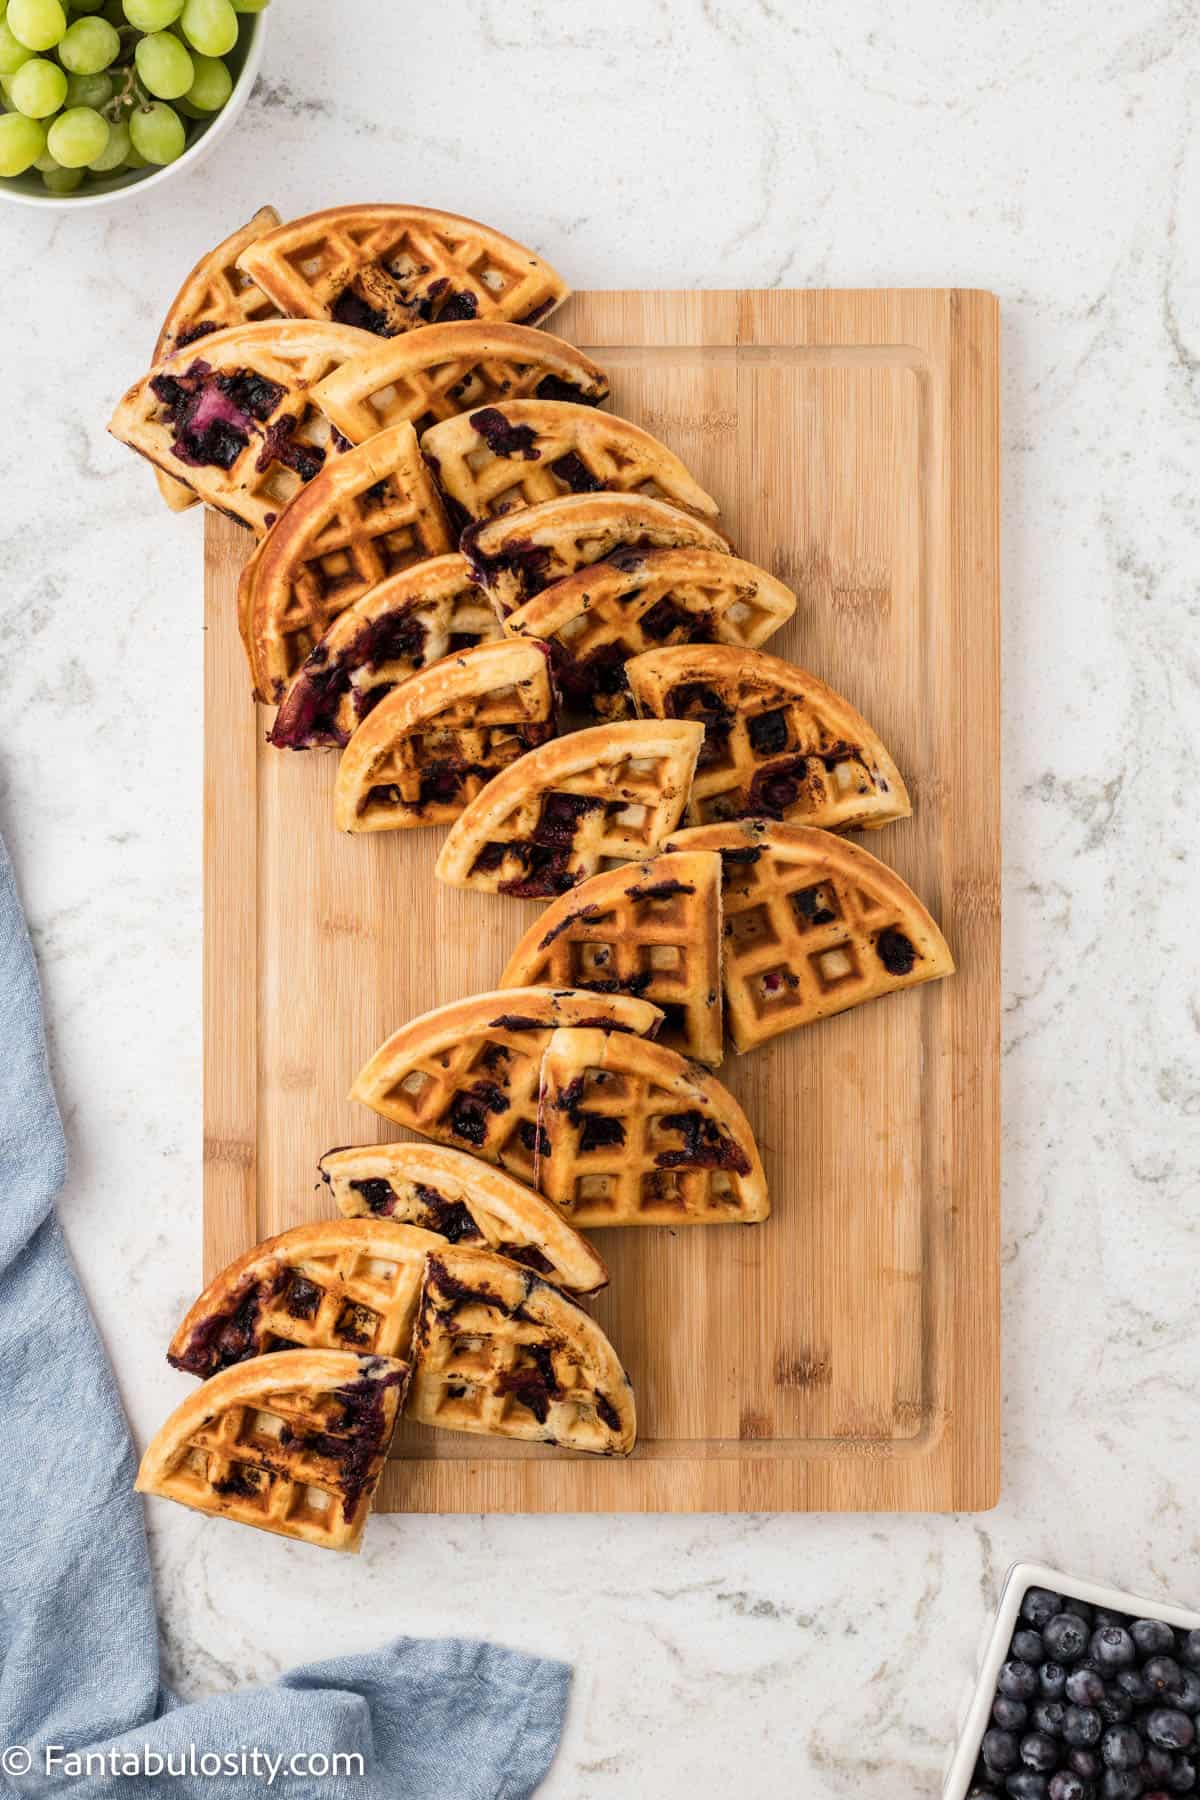
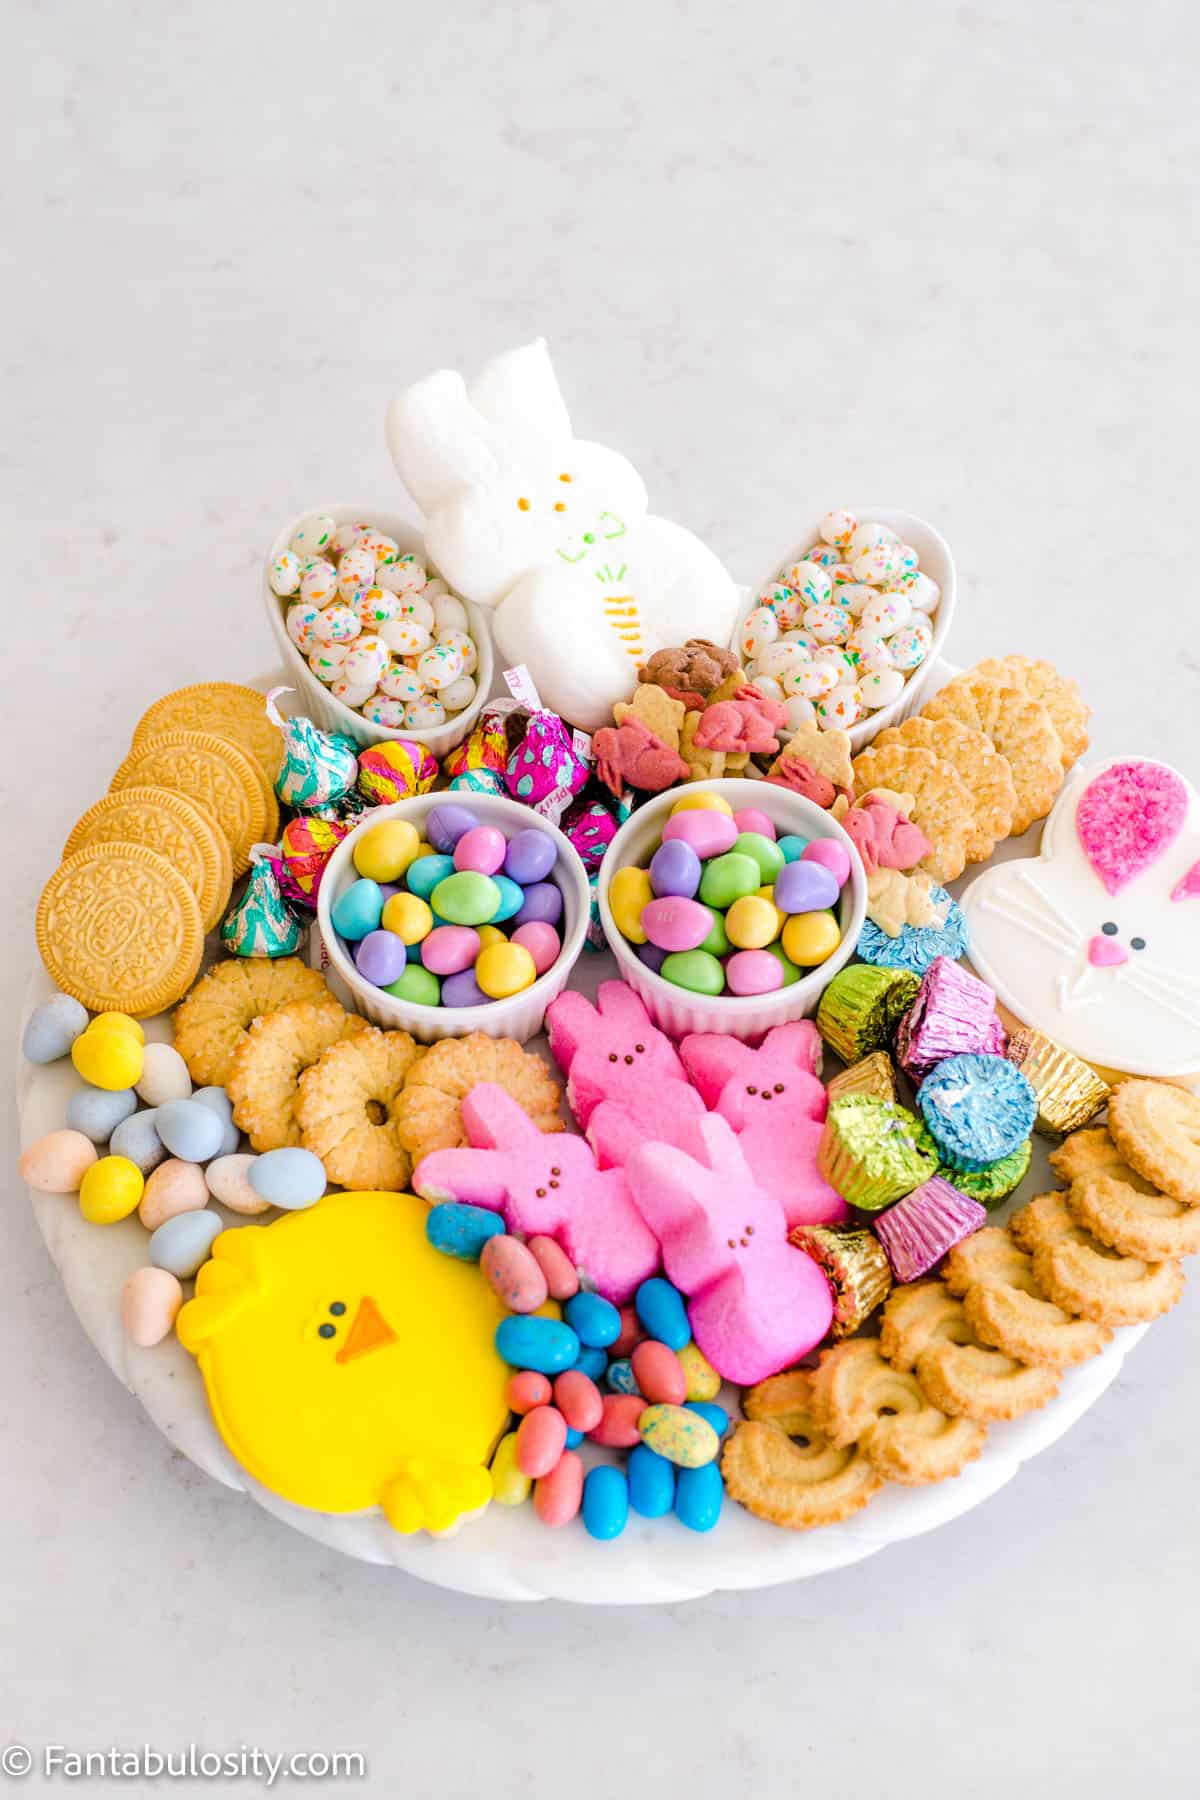
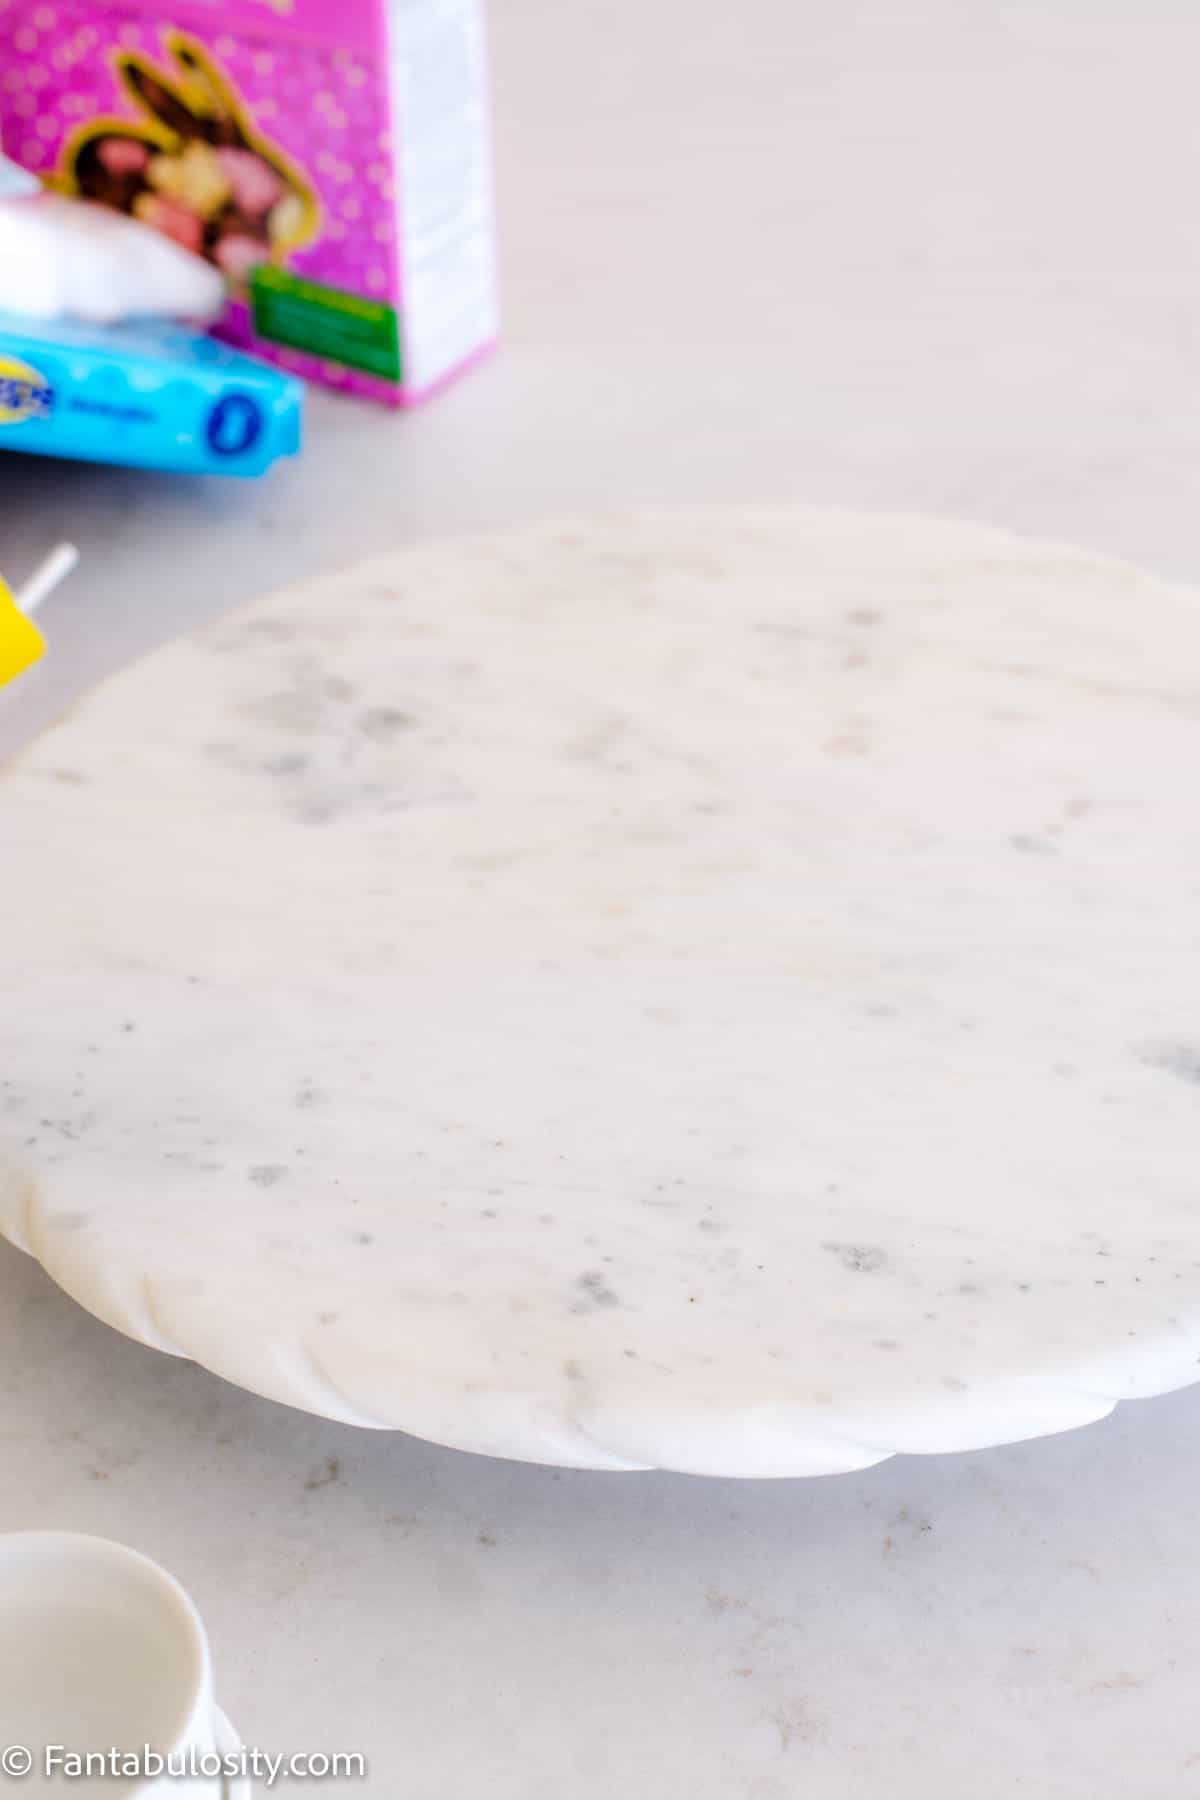
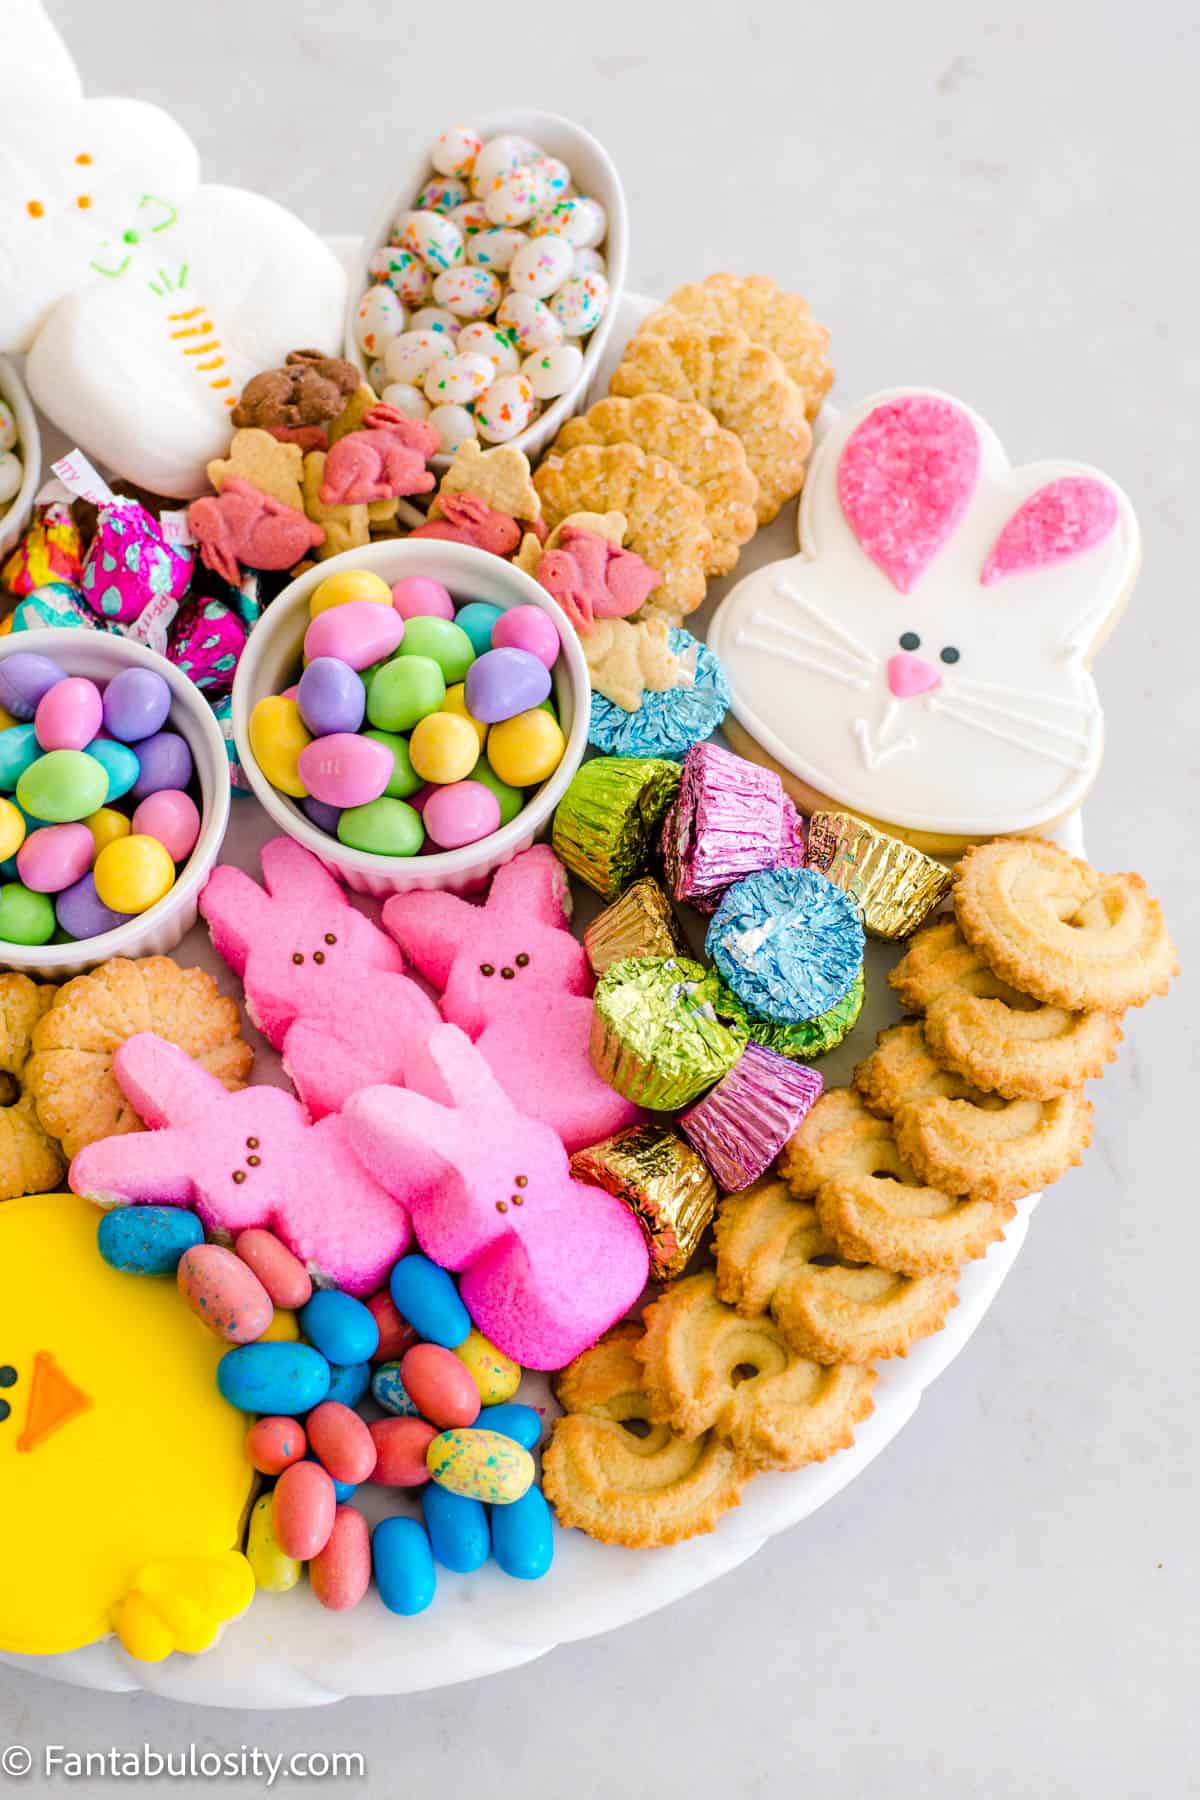
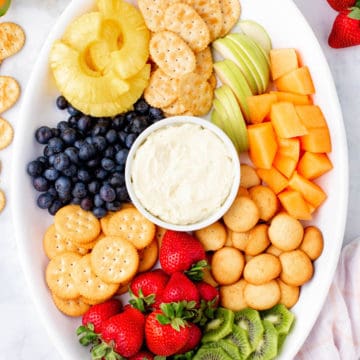
You can arrange your fruit board any way you like, especially if your board or platter is a different shape than the one seen here.
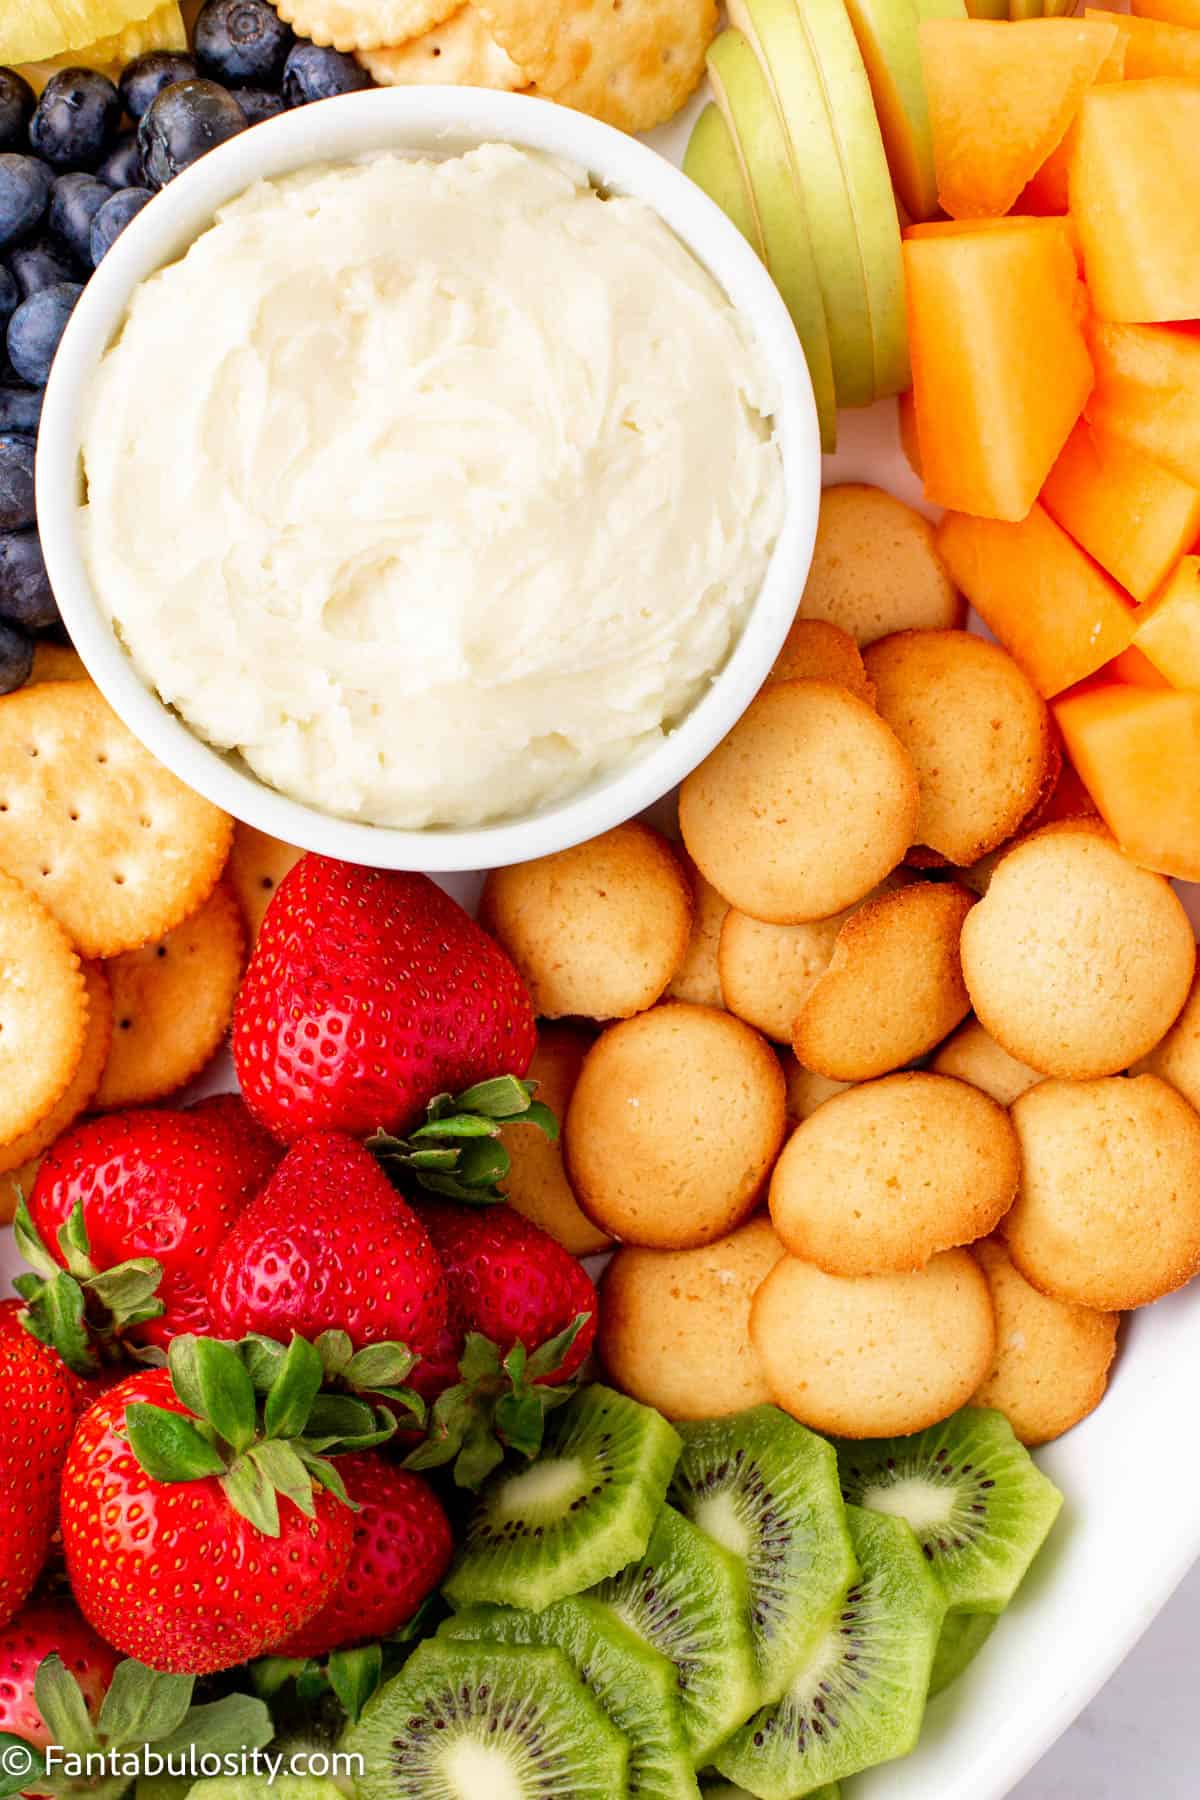
However if you want to make it just like this one, here’s how it’s styled:
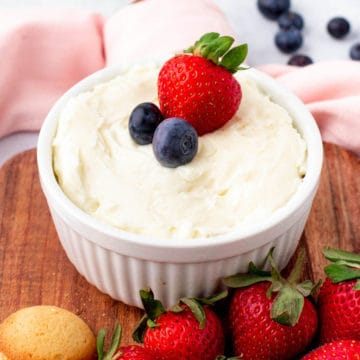
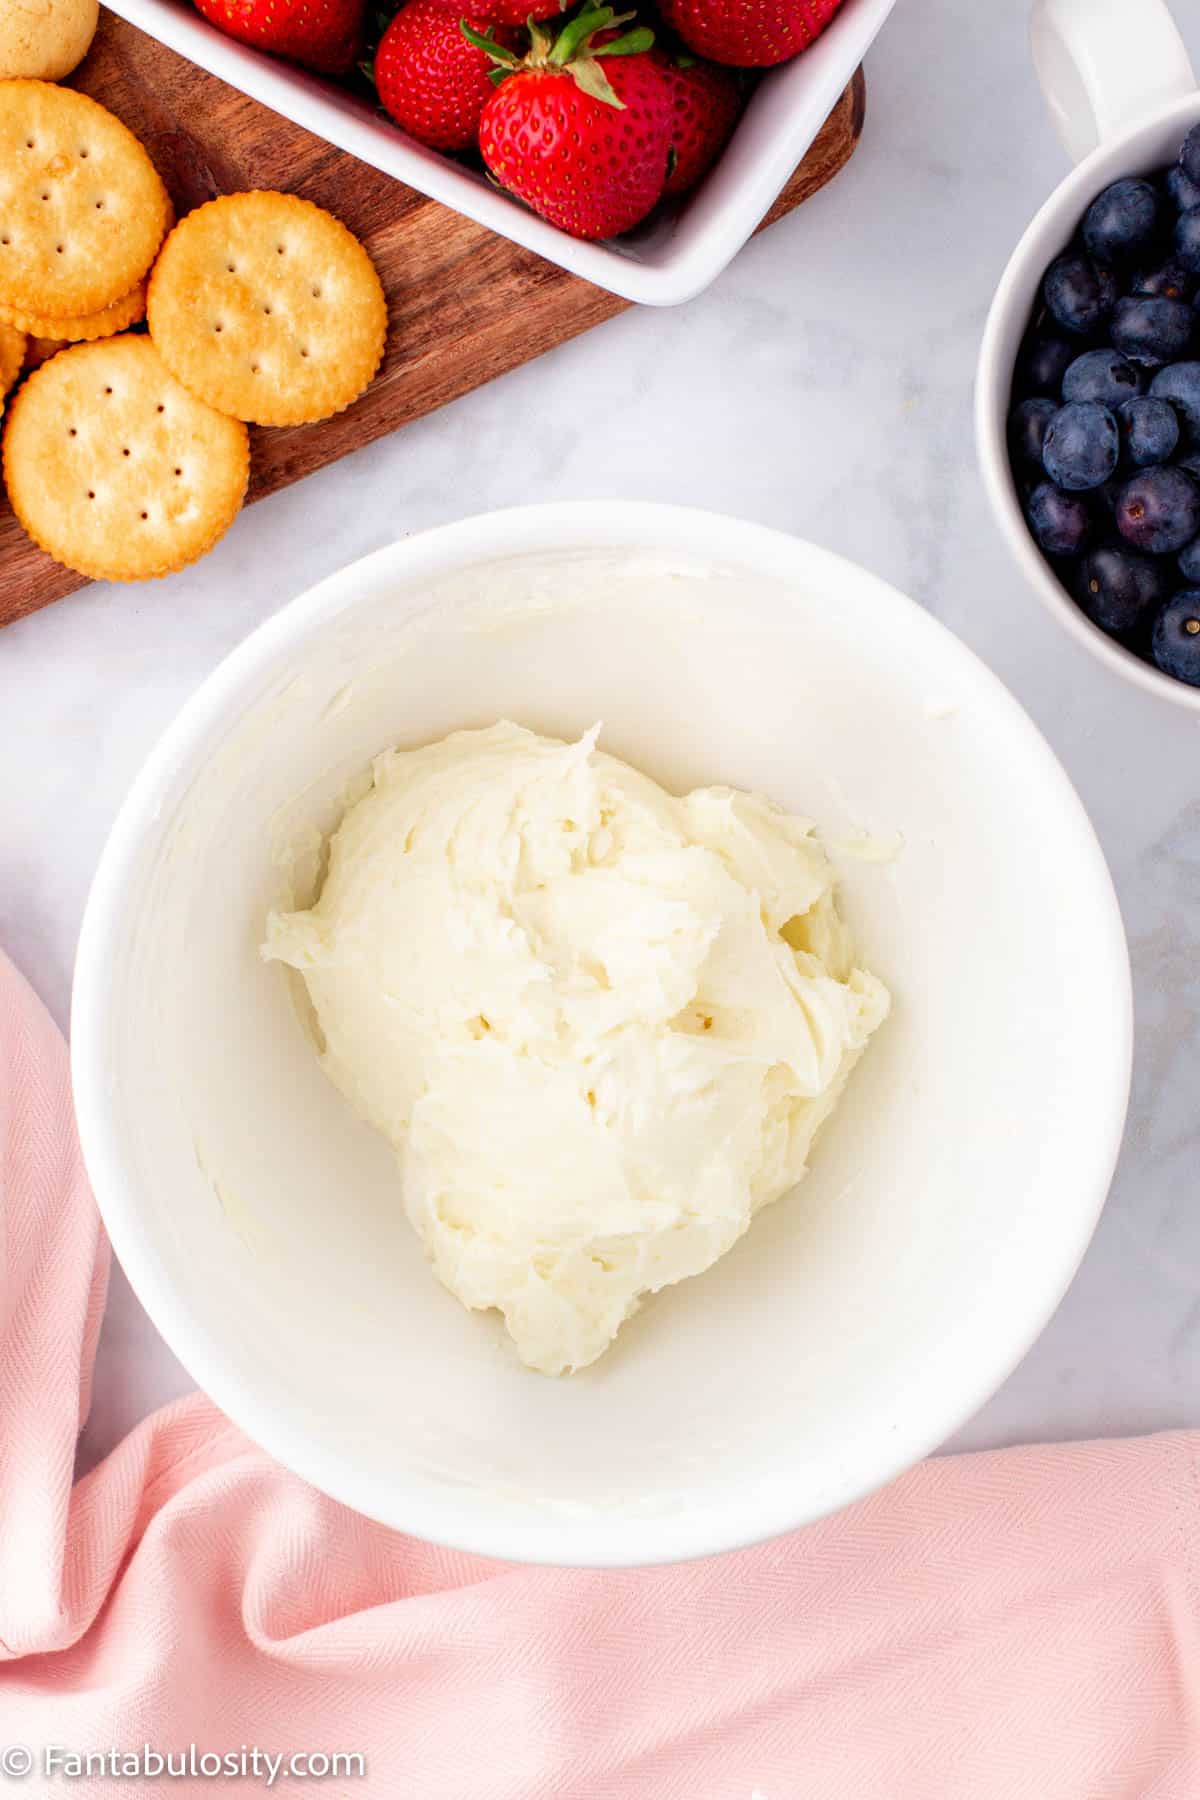
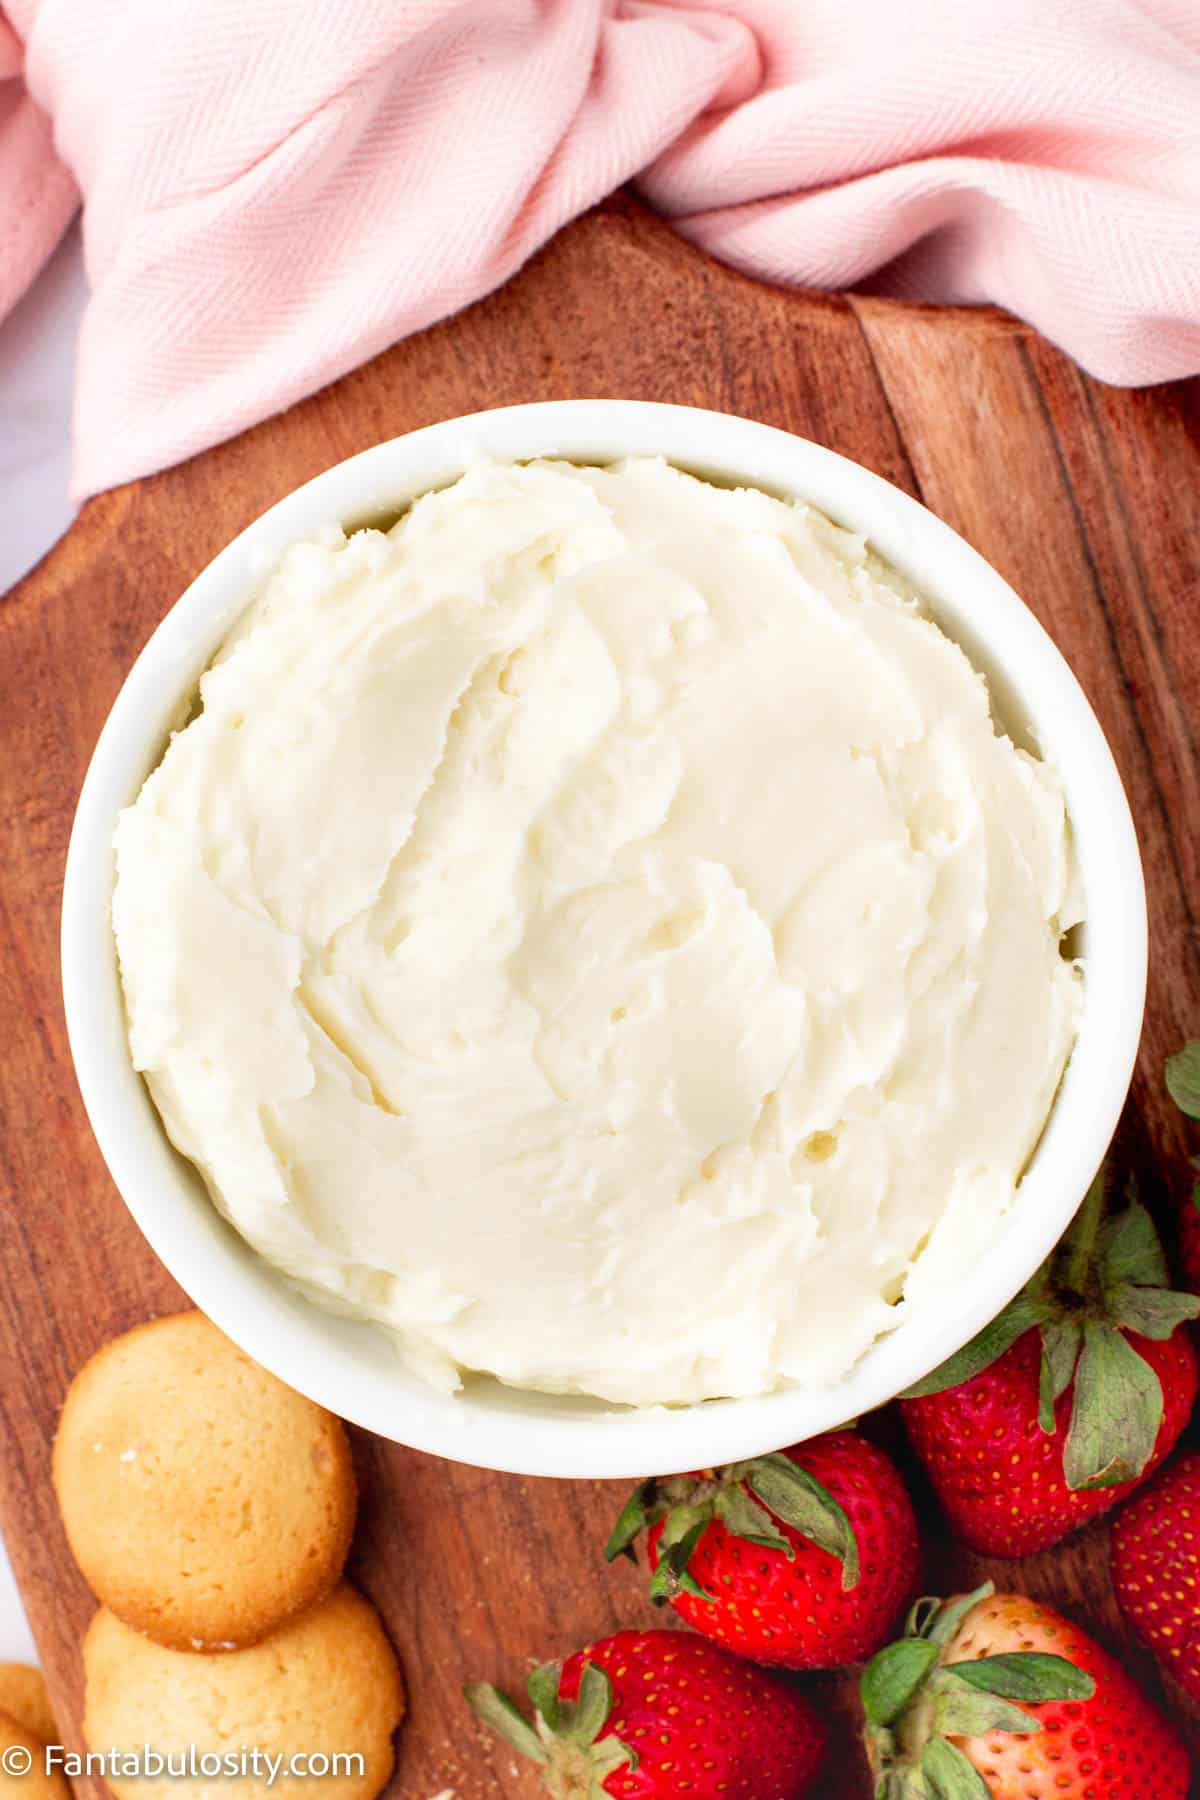
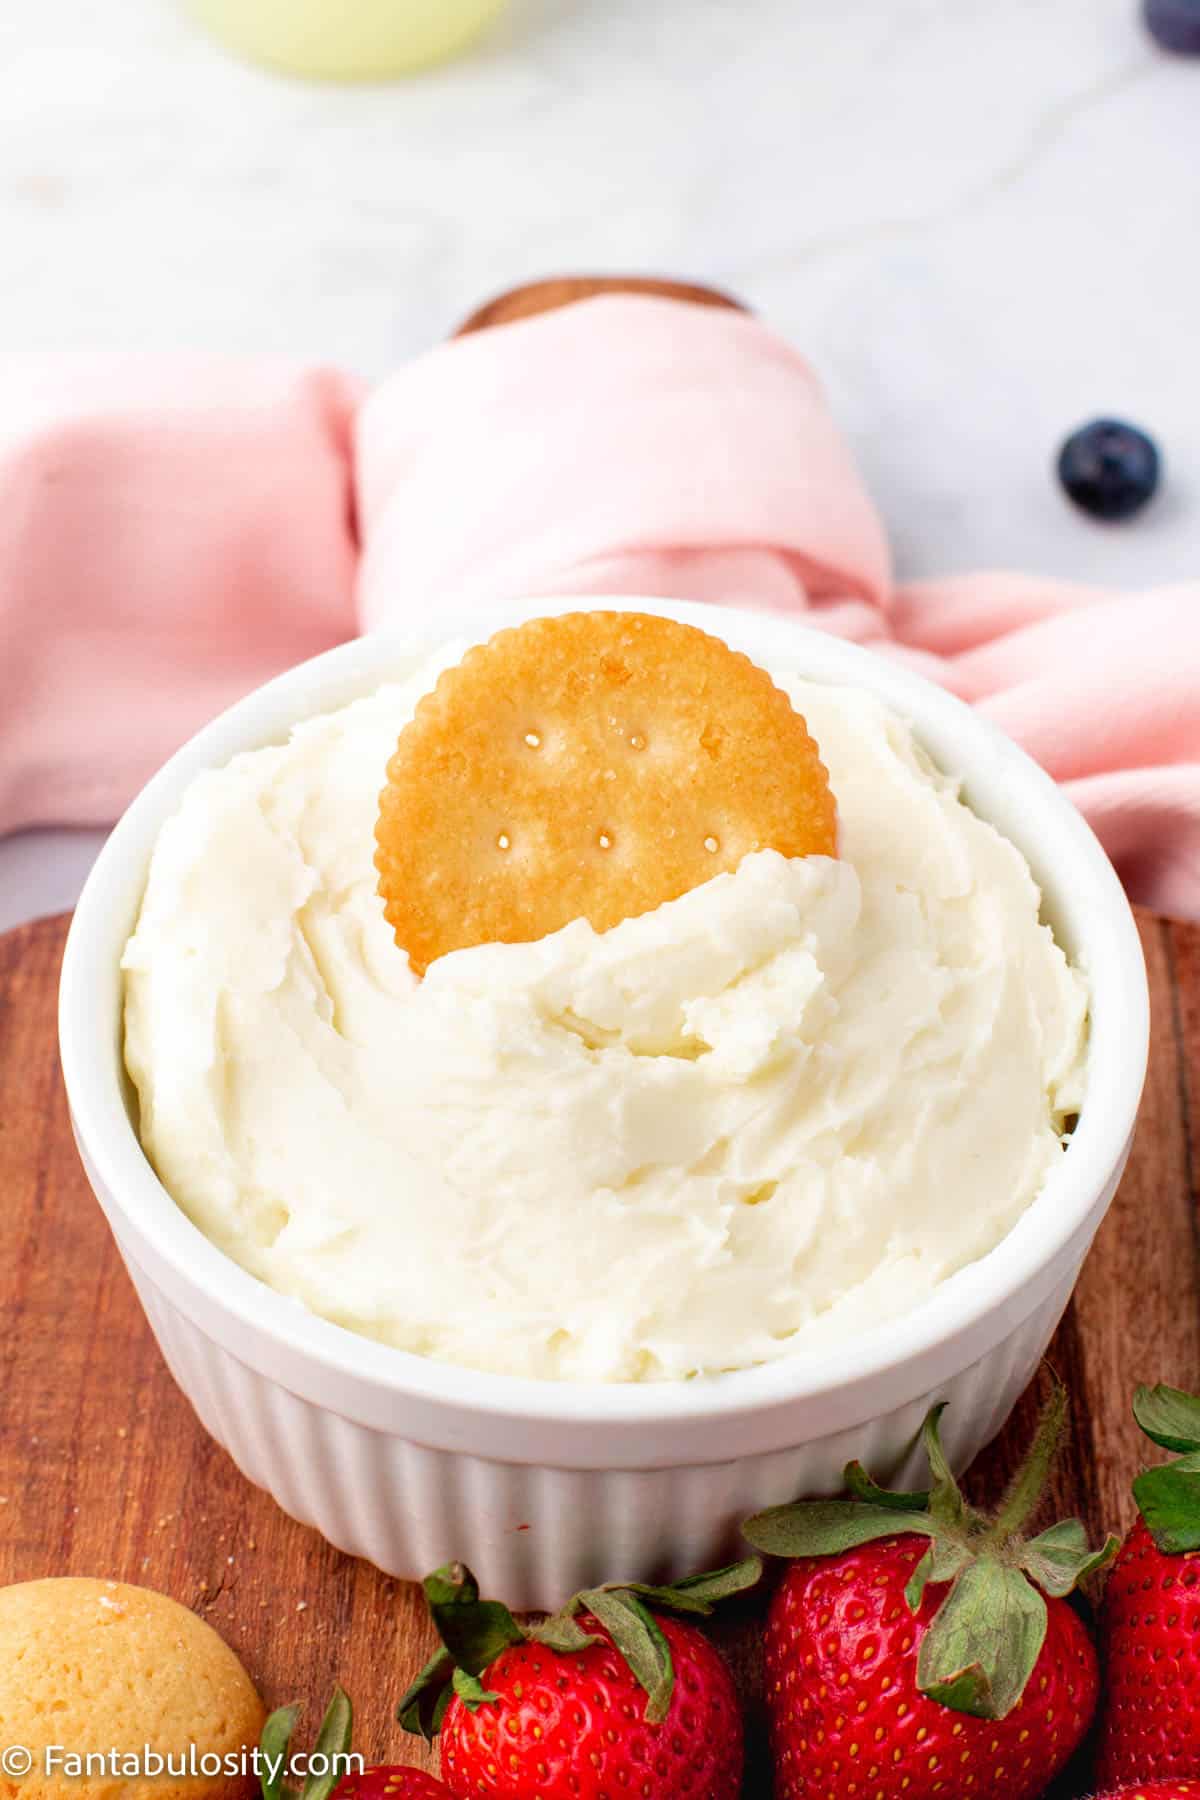
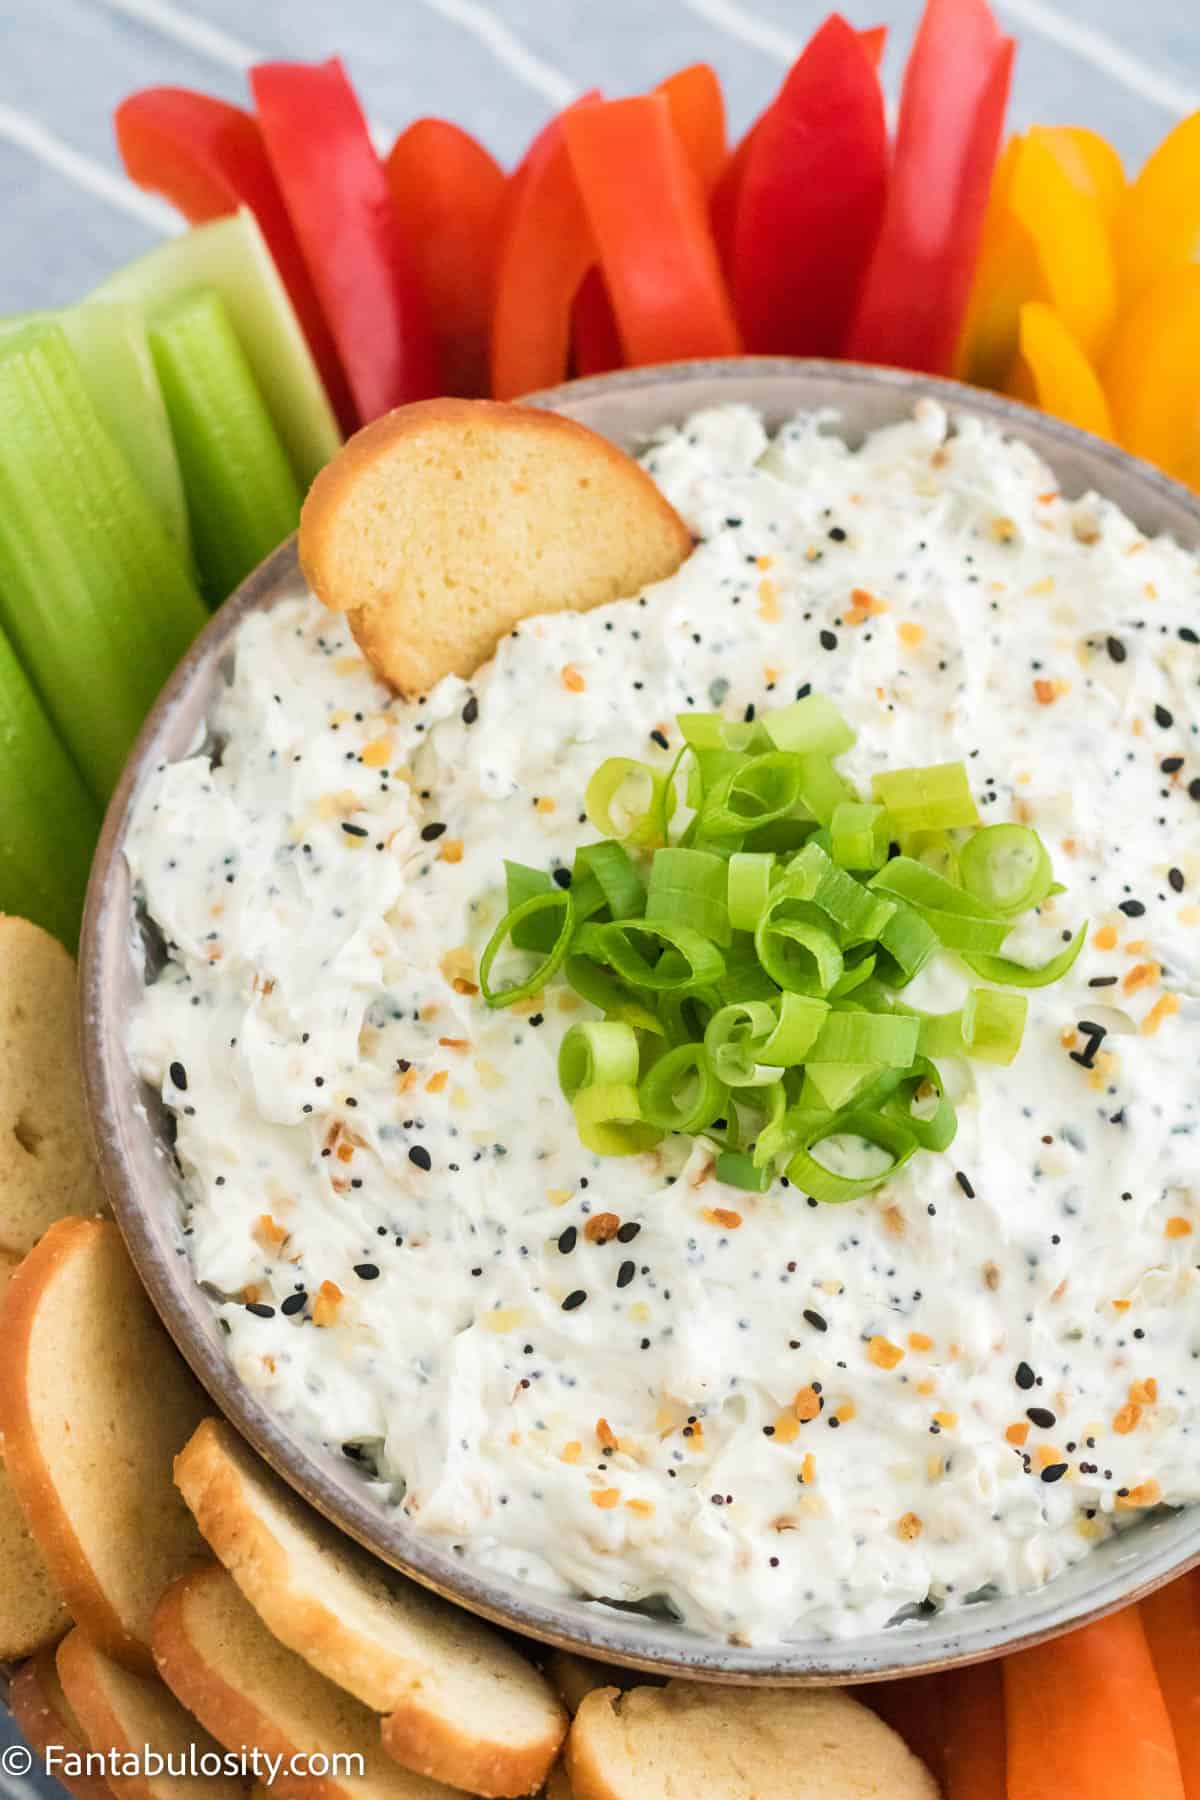
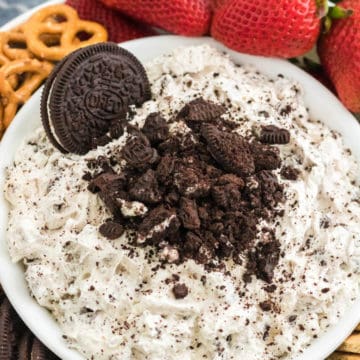
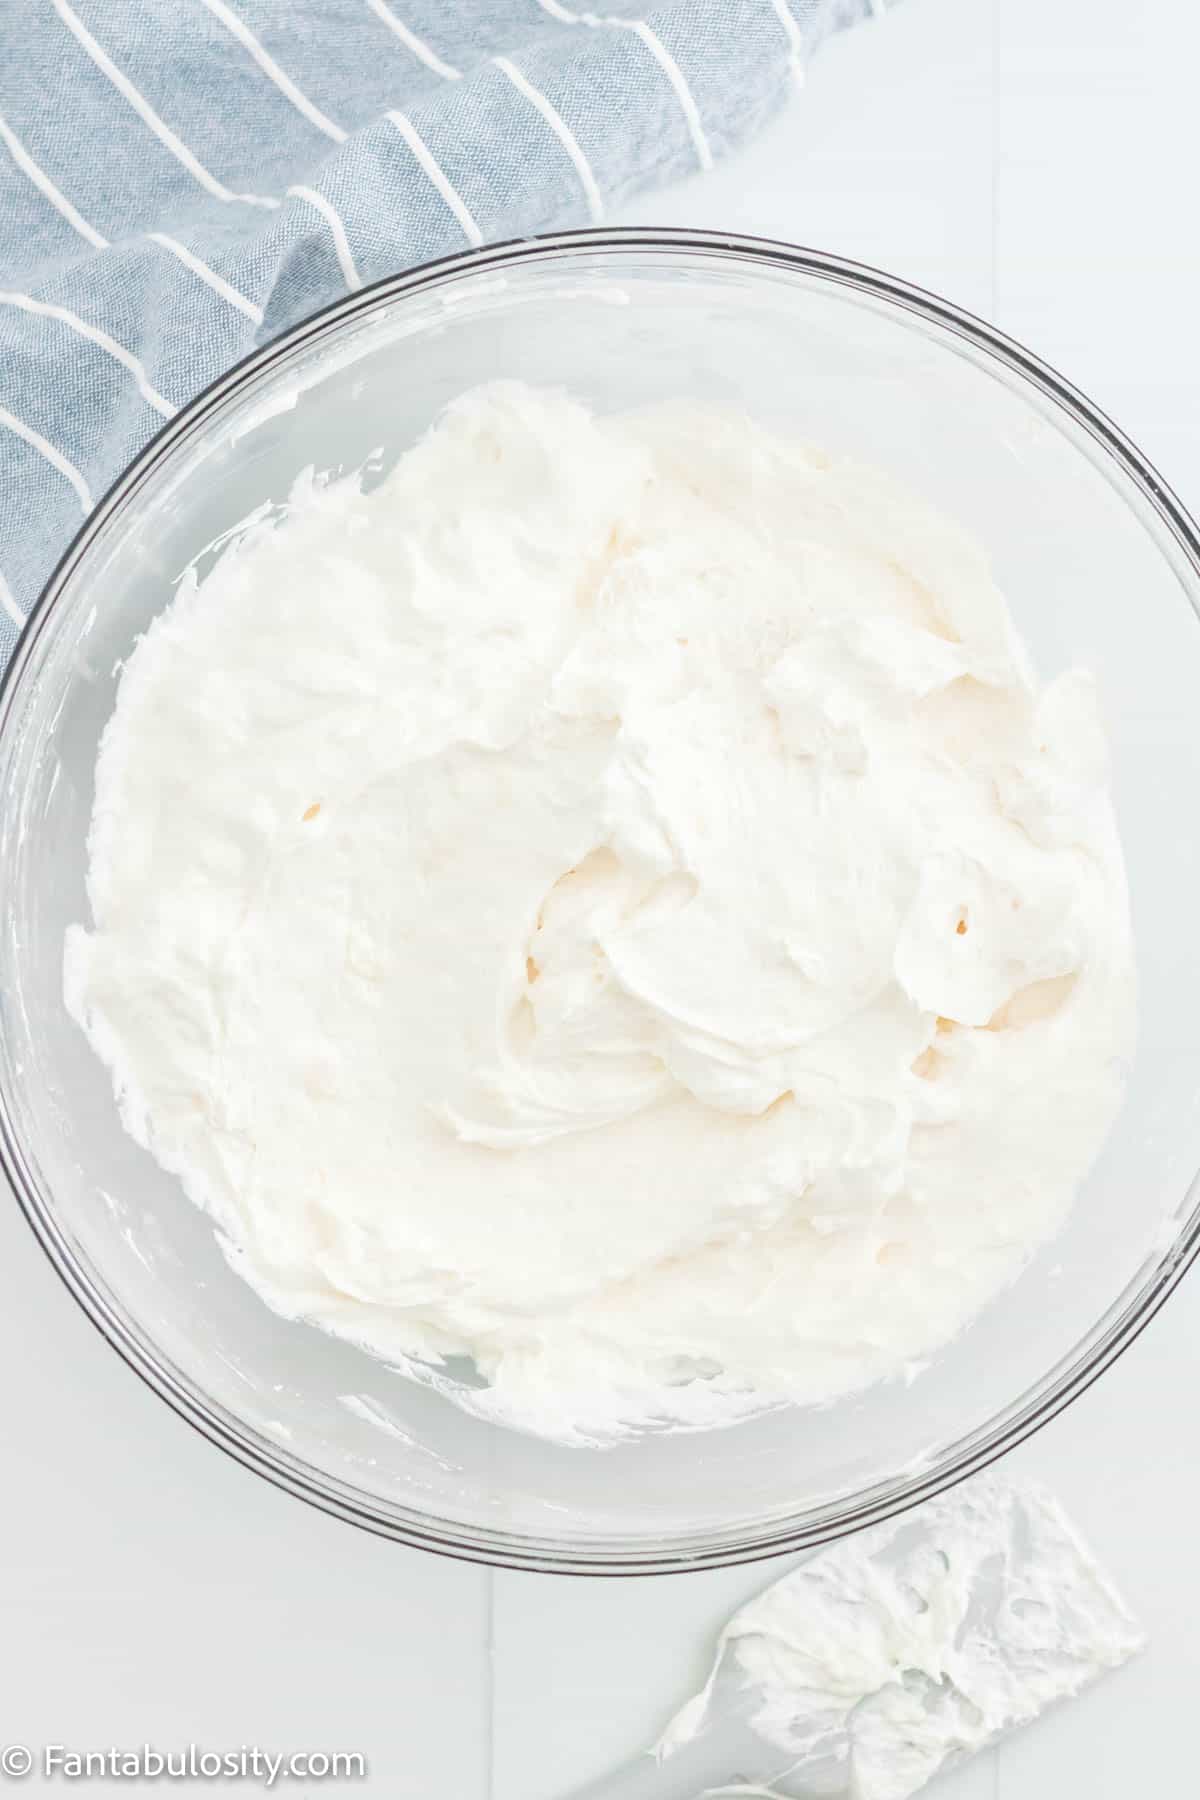
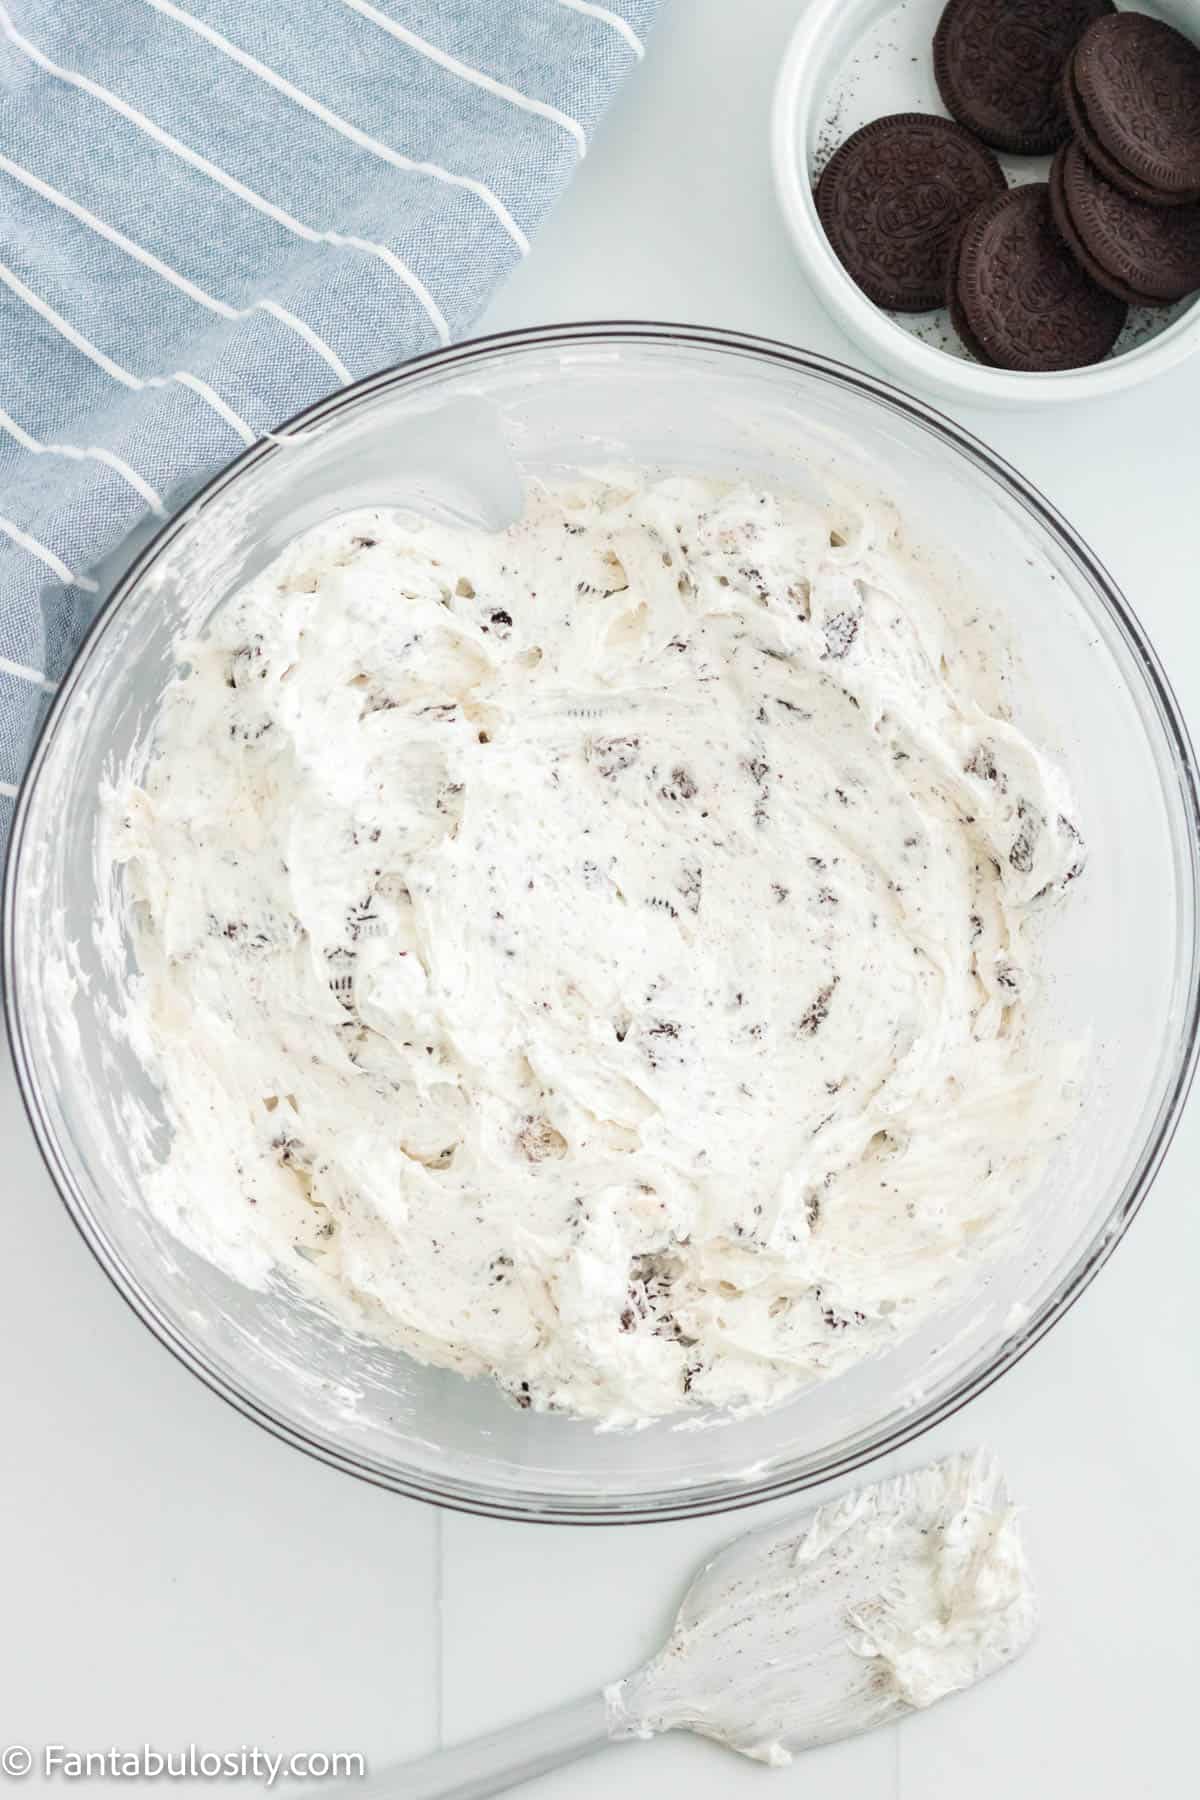
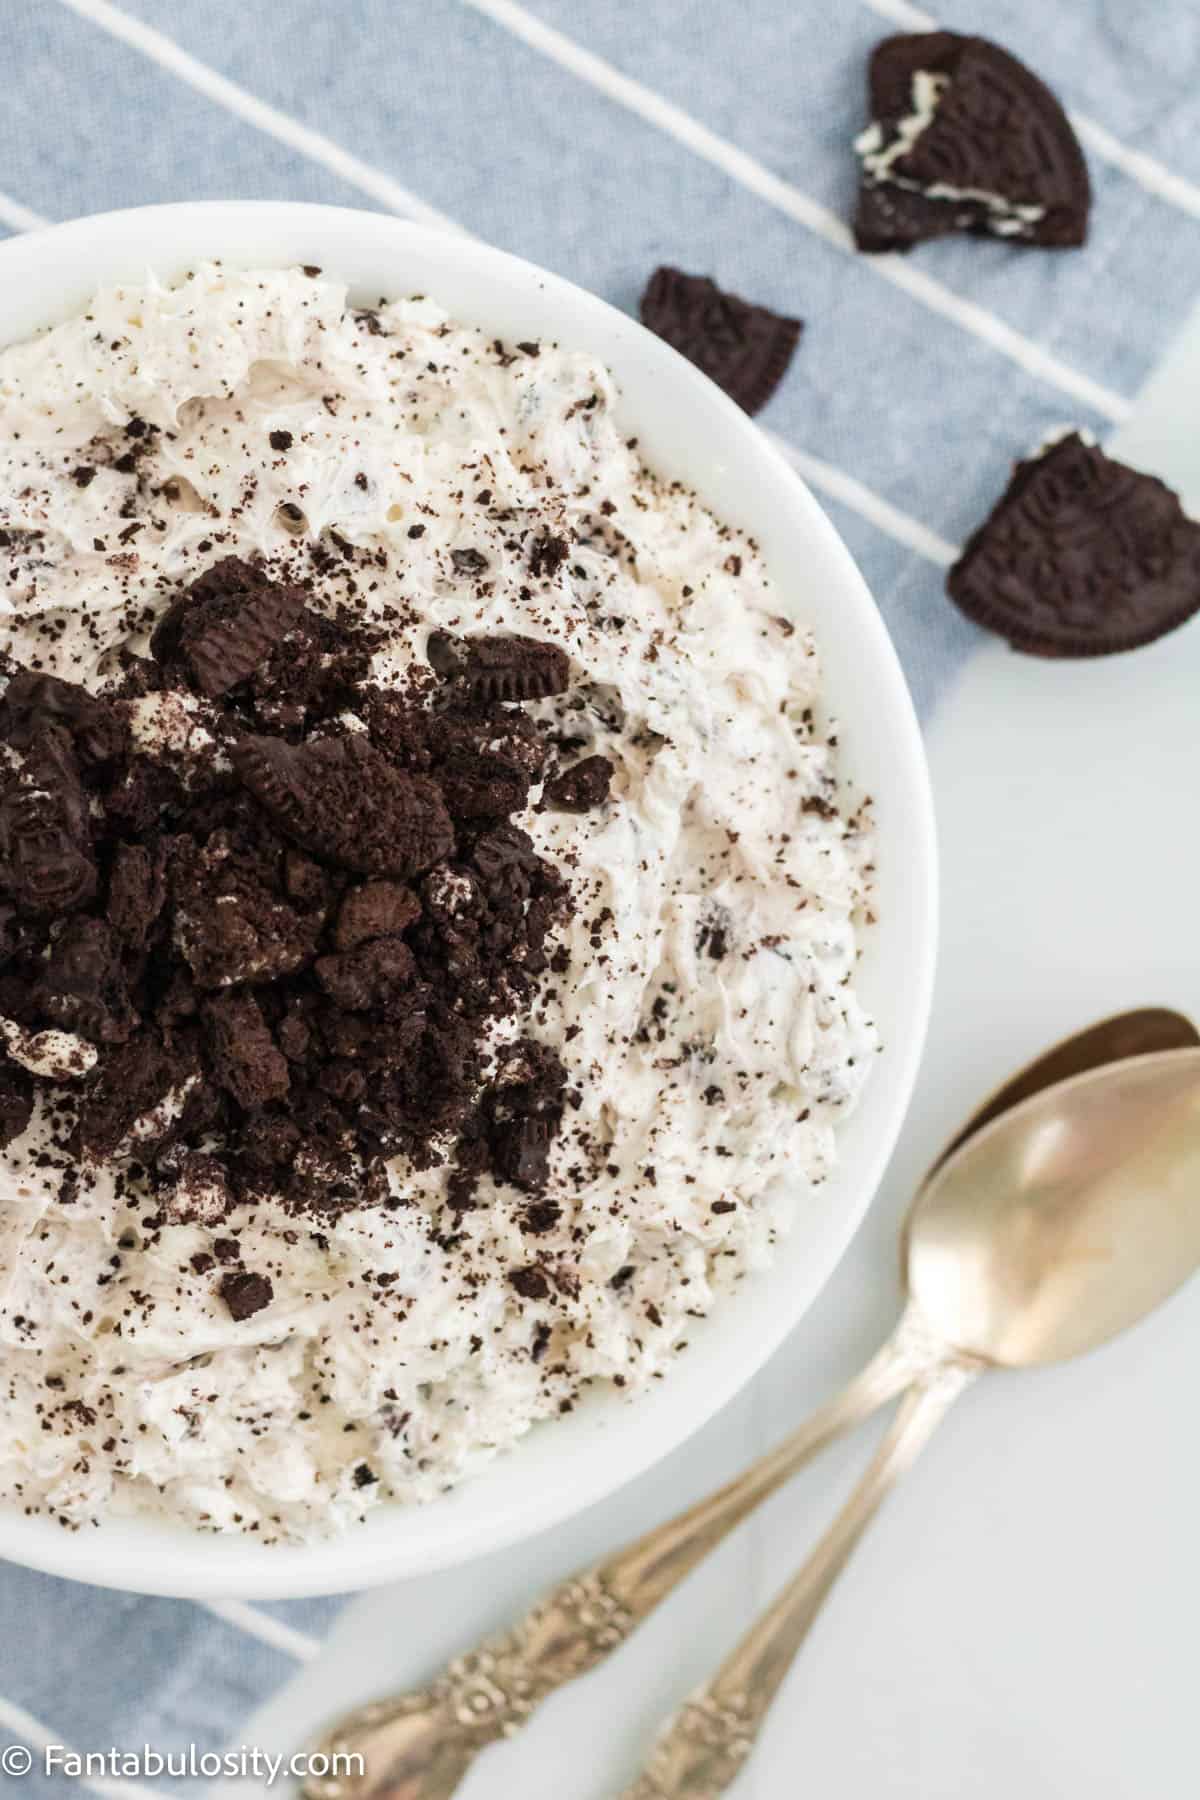
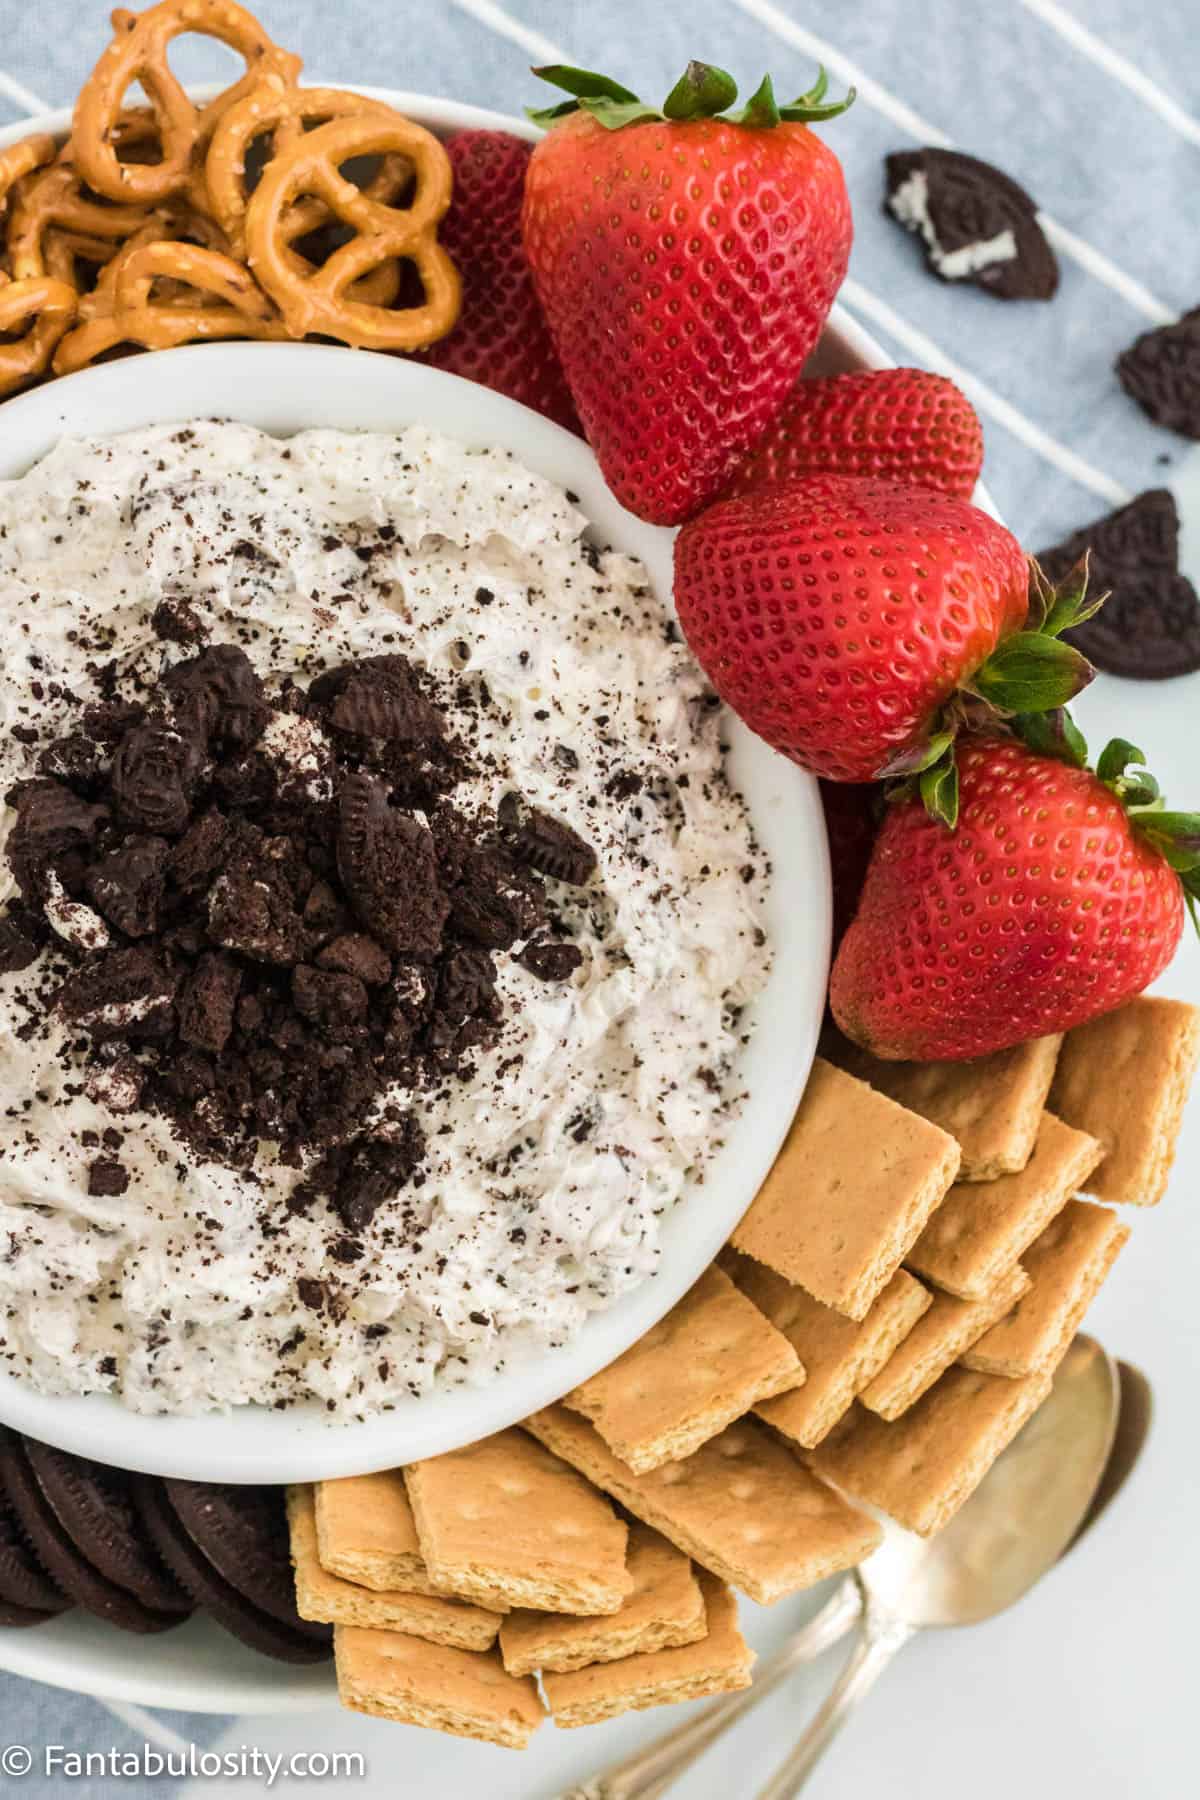
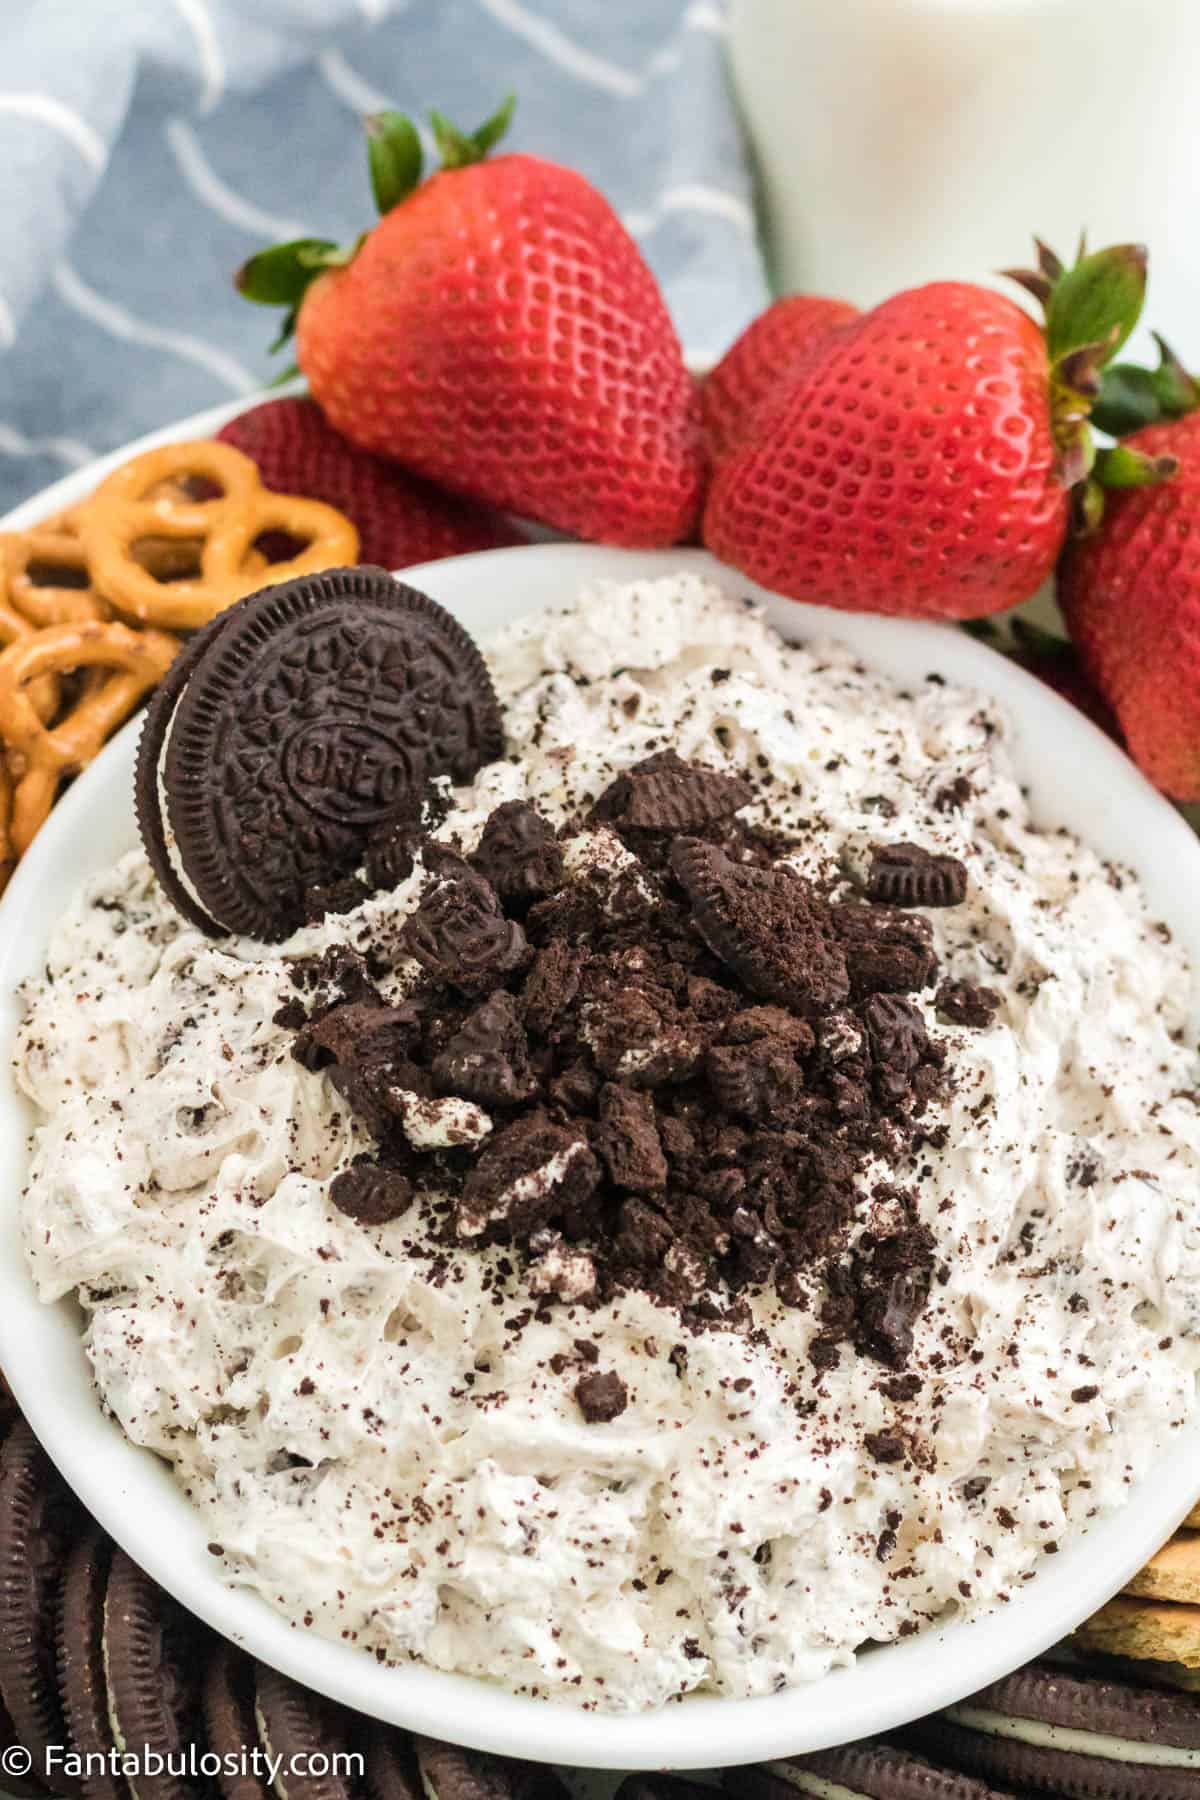
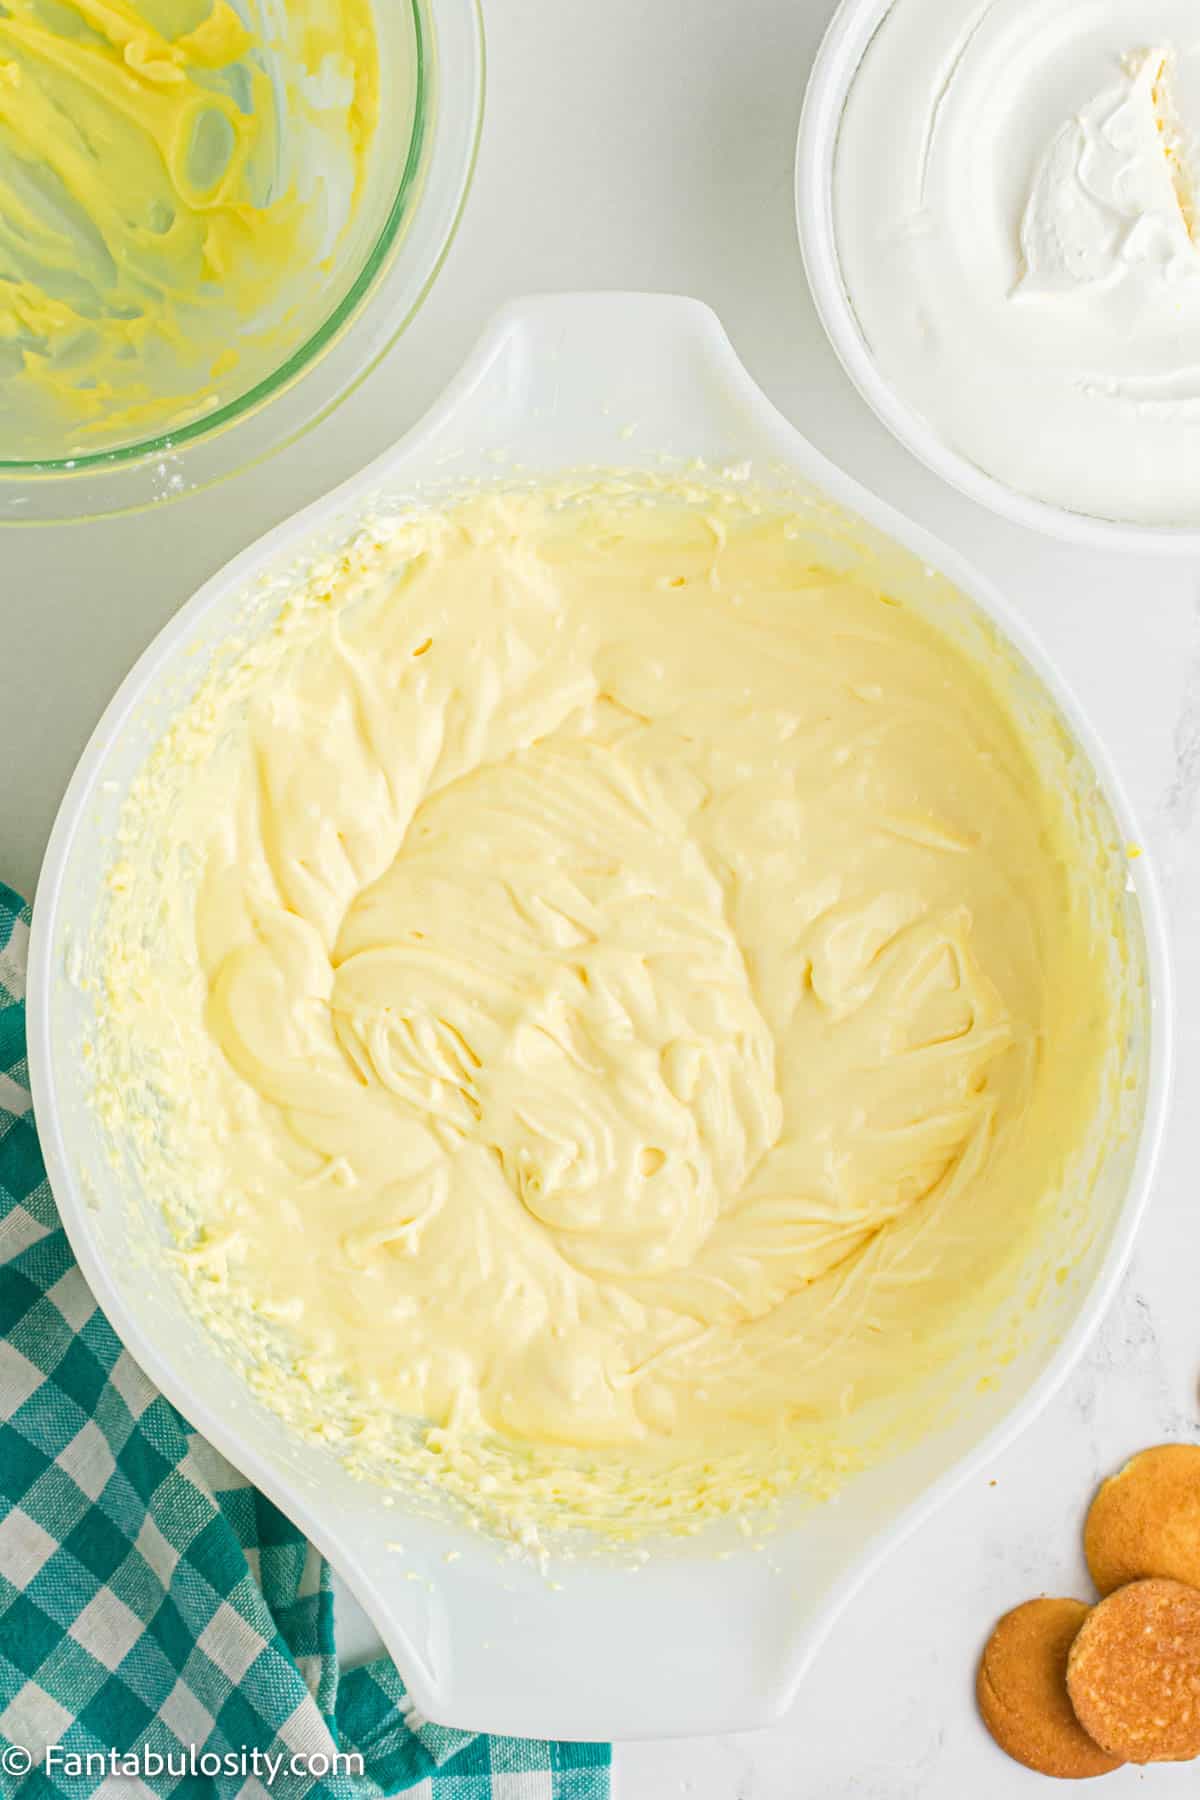
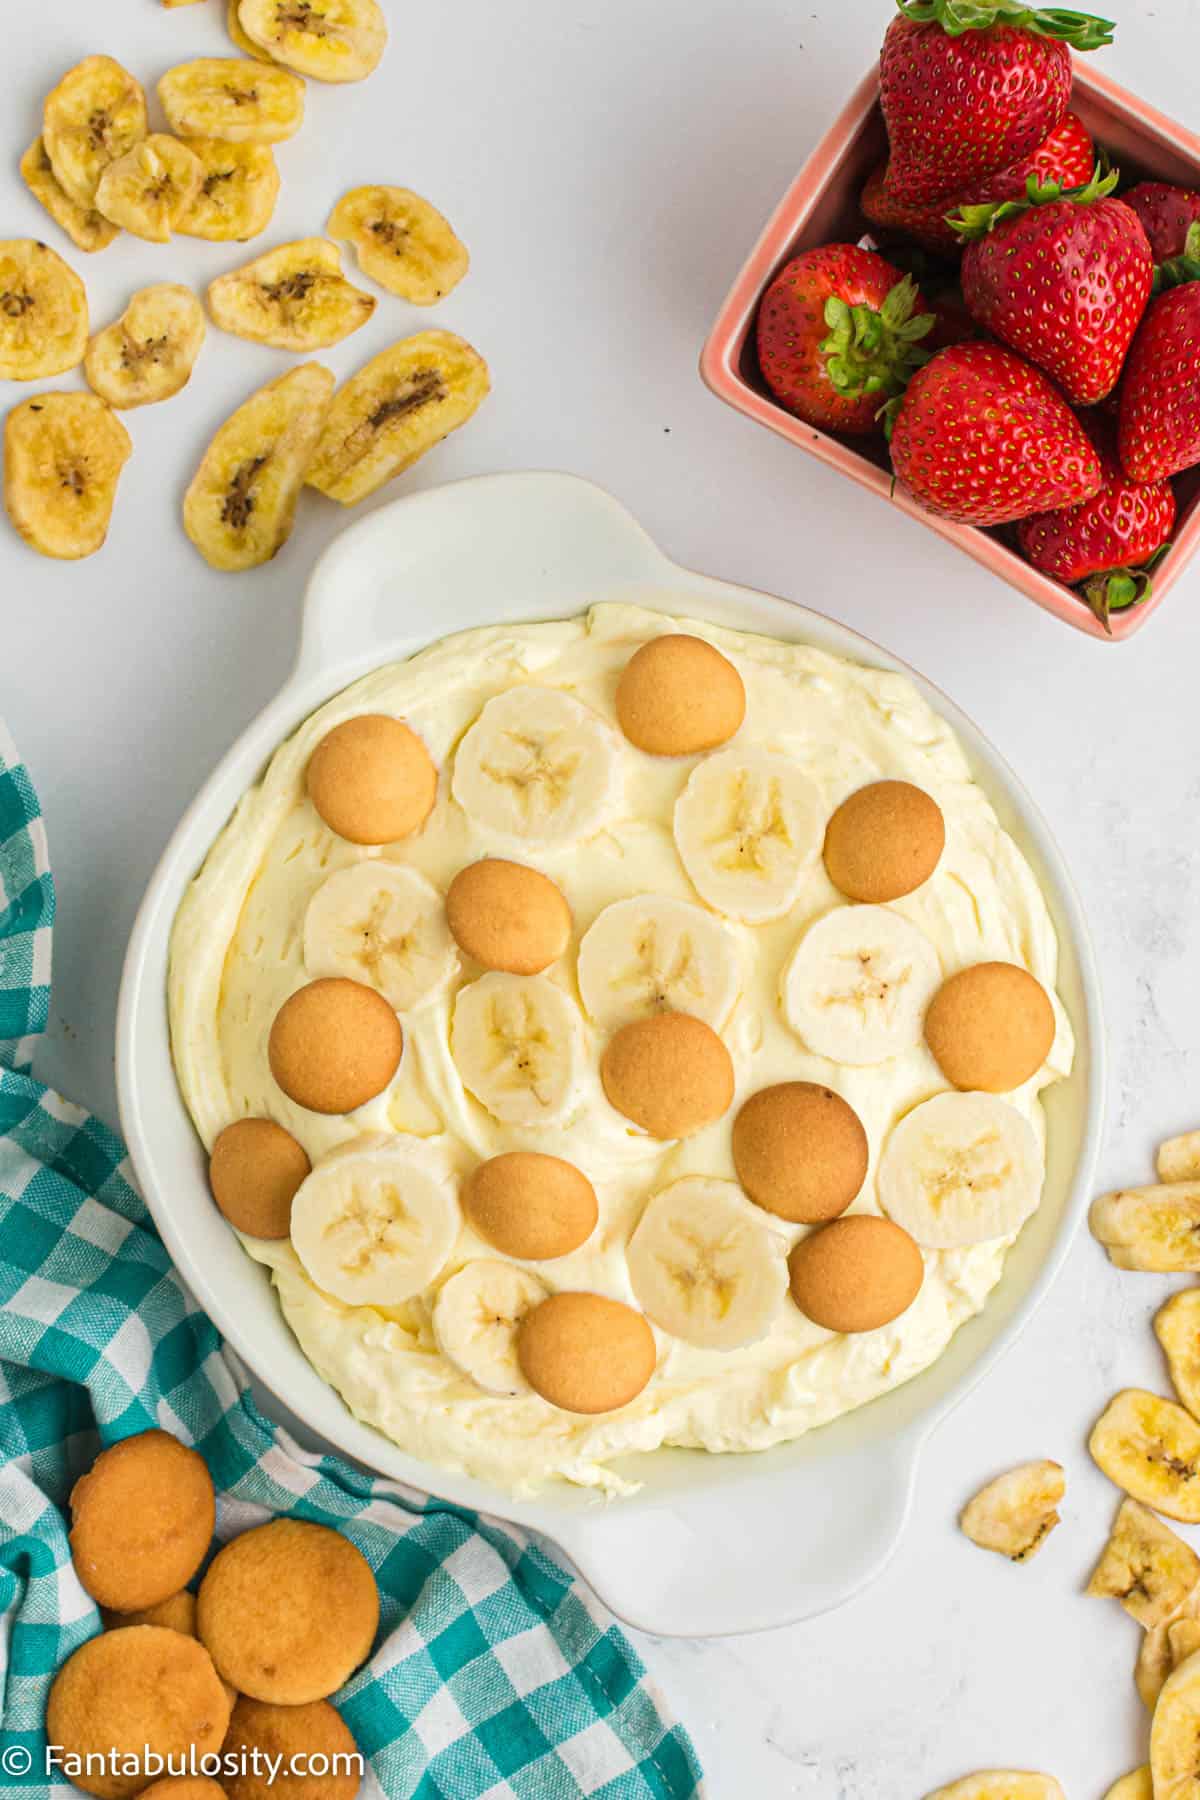
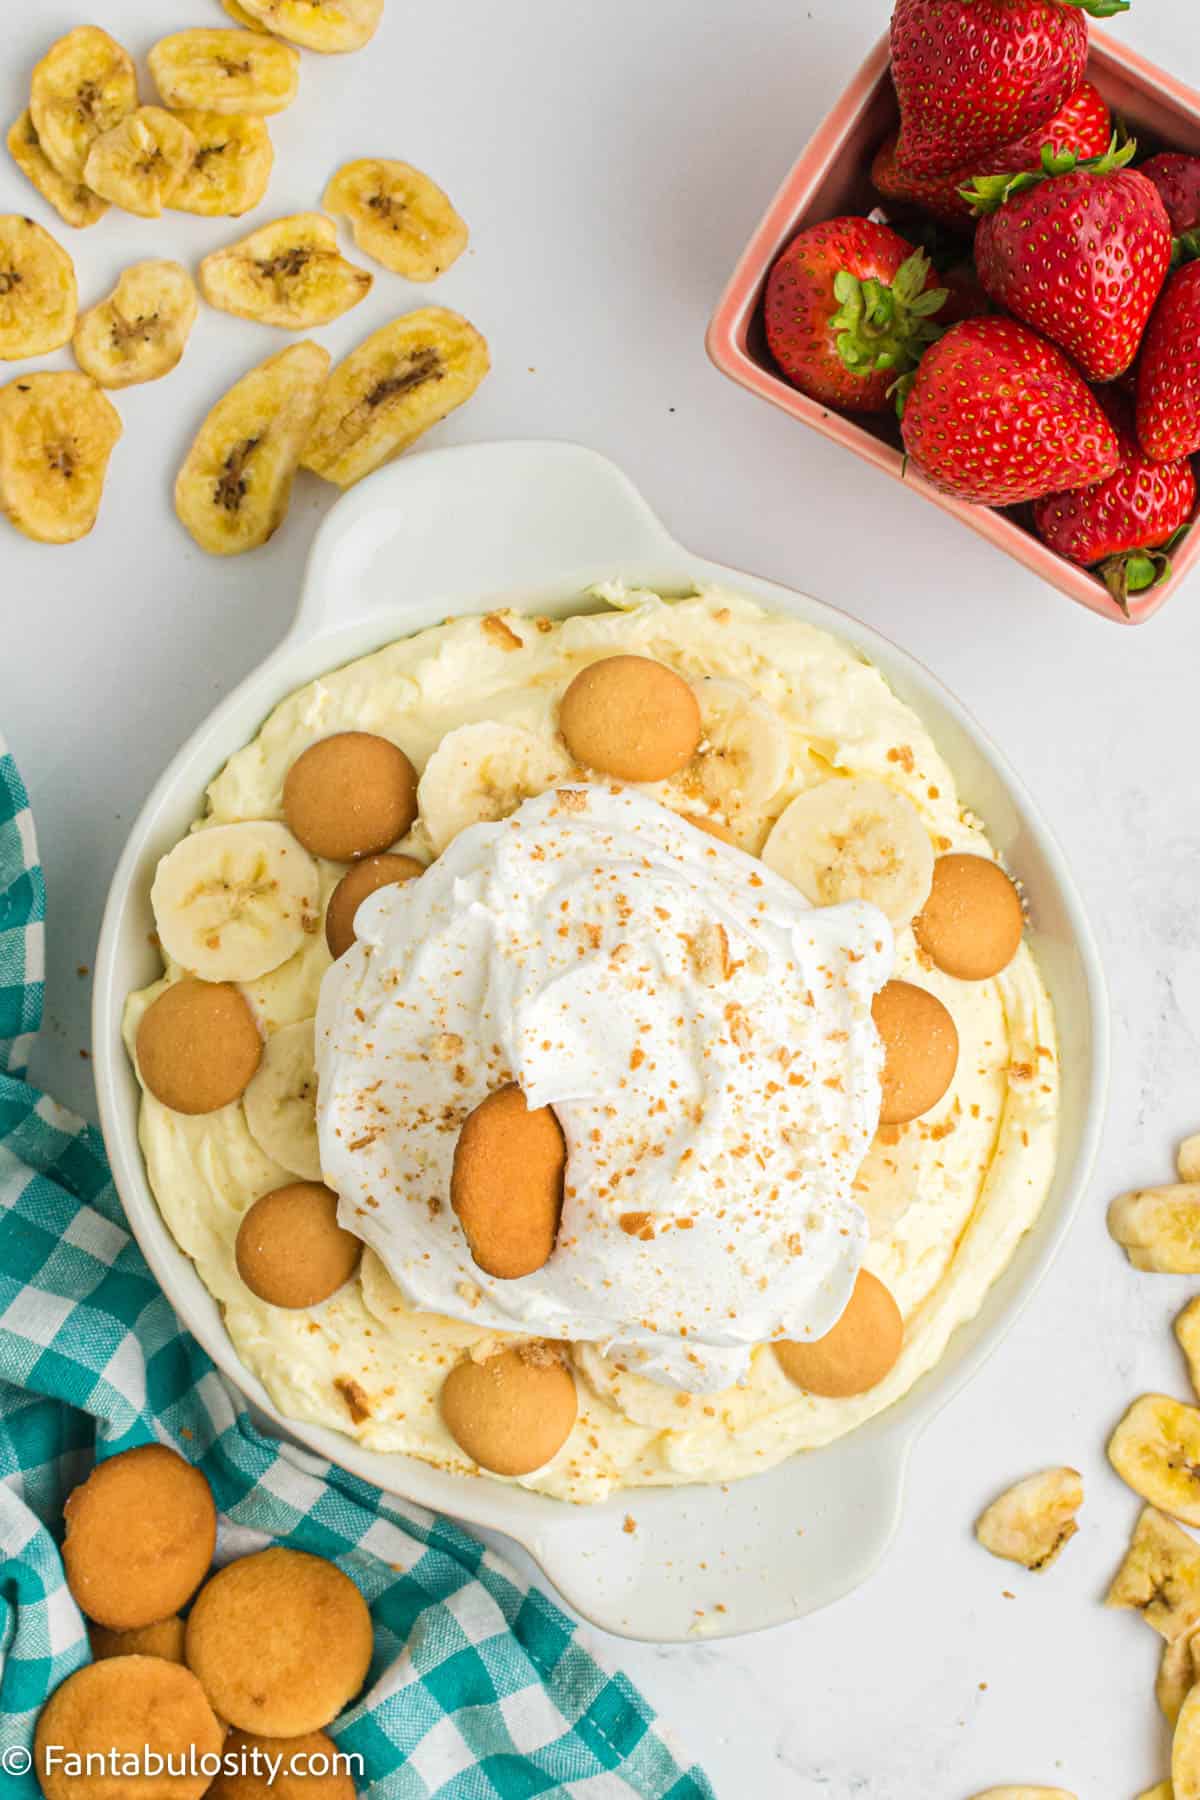
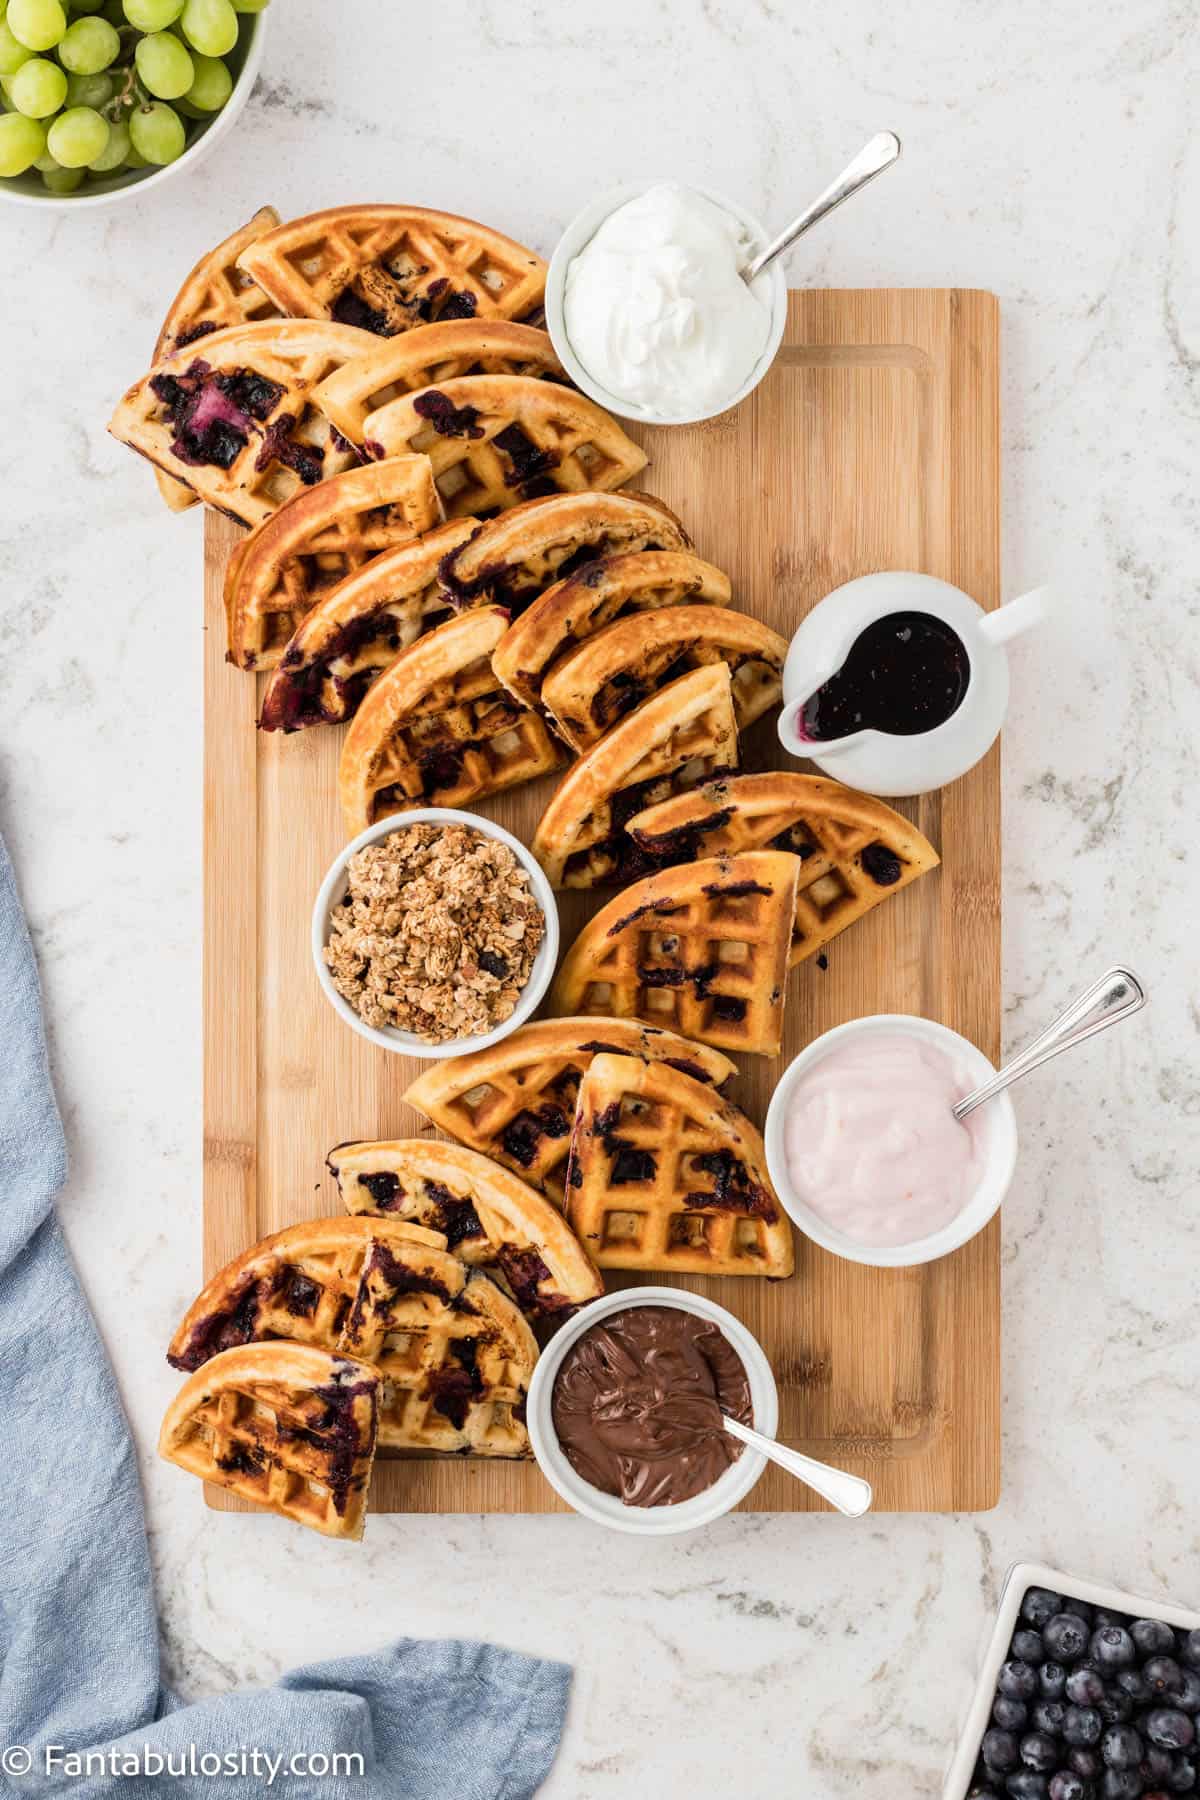
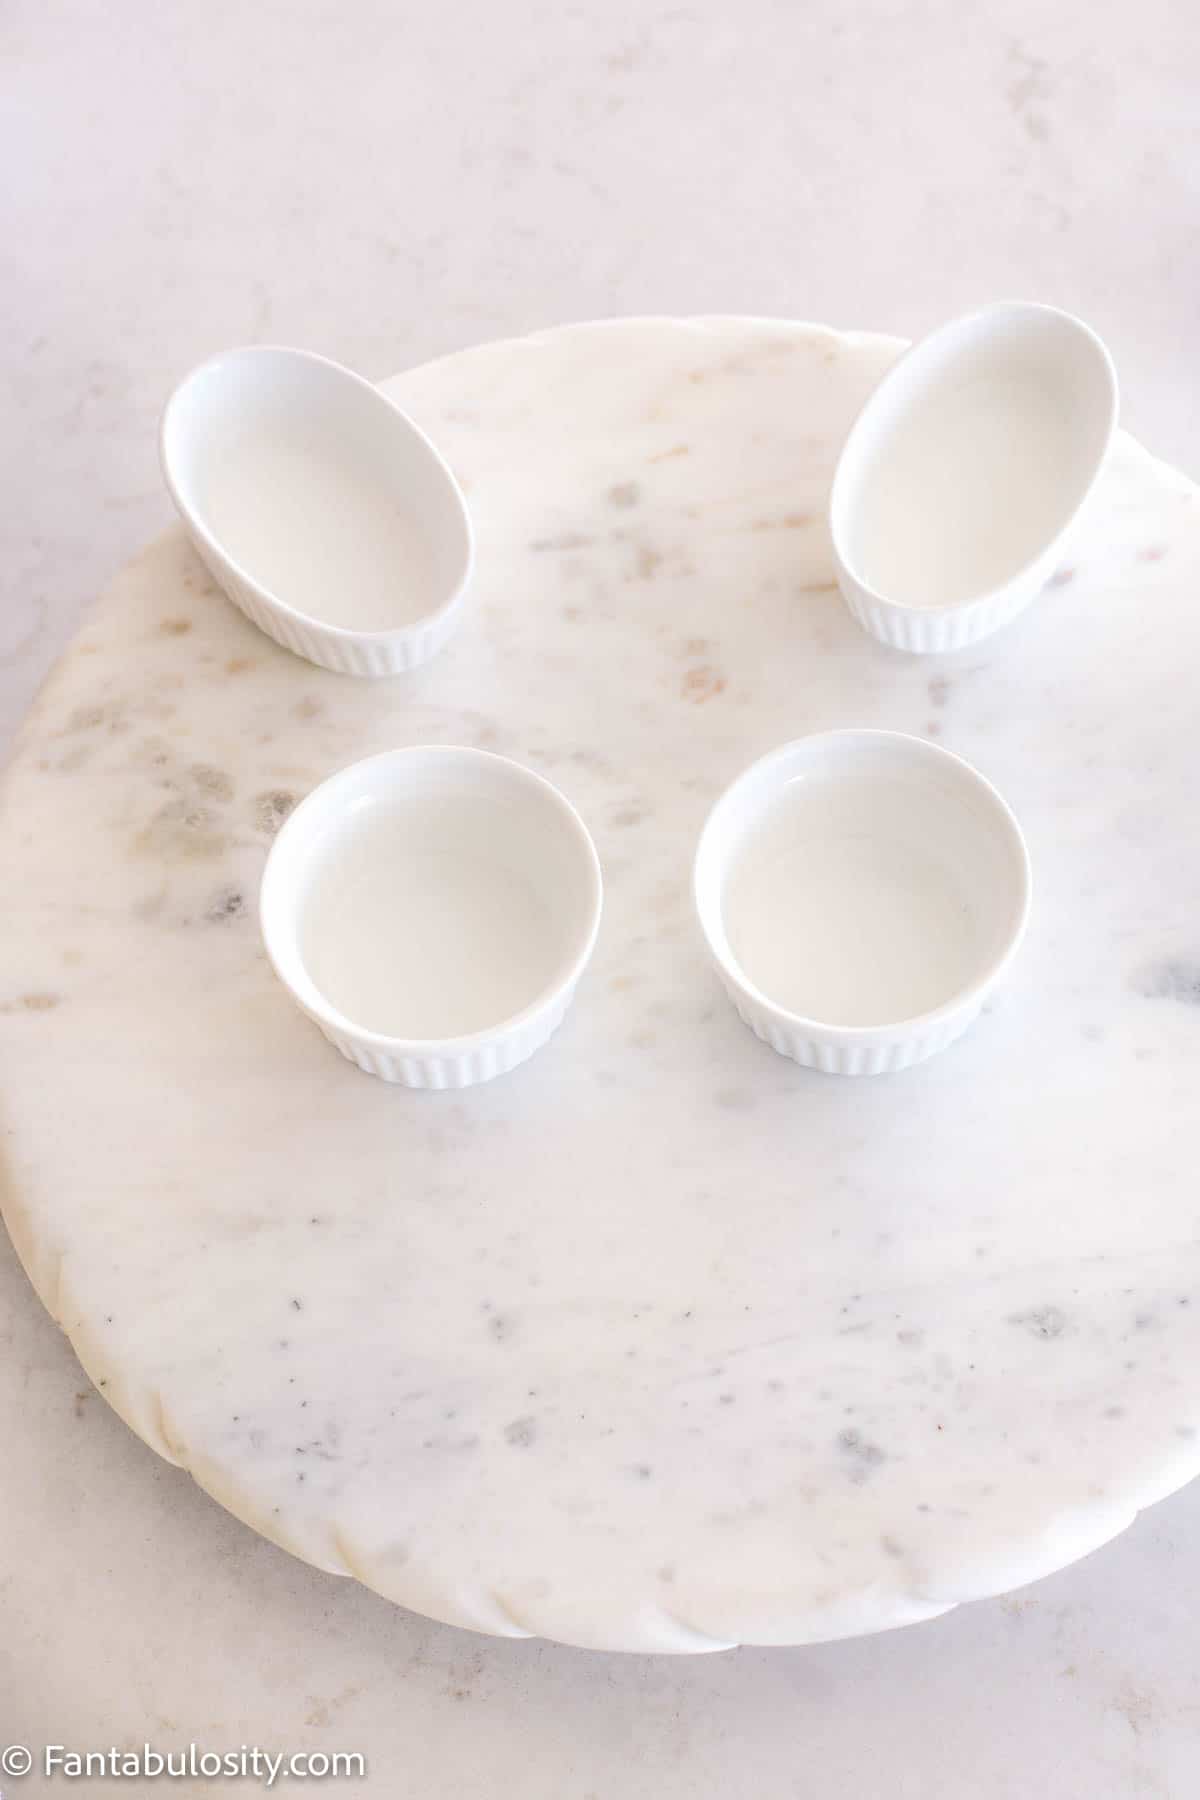
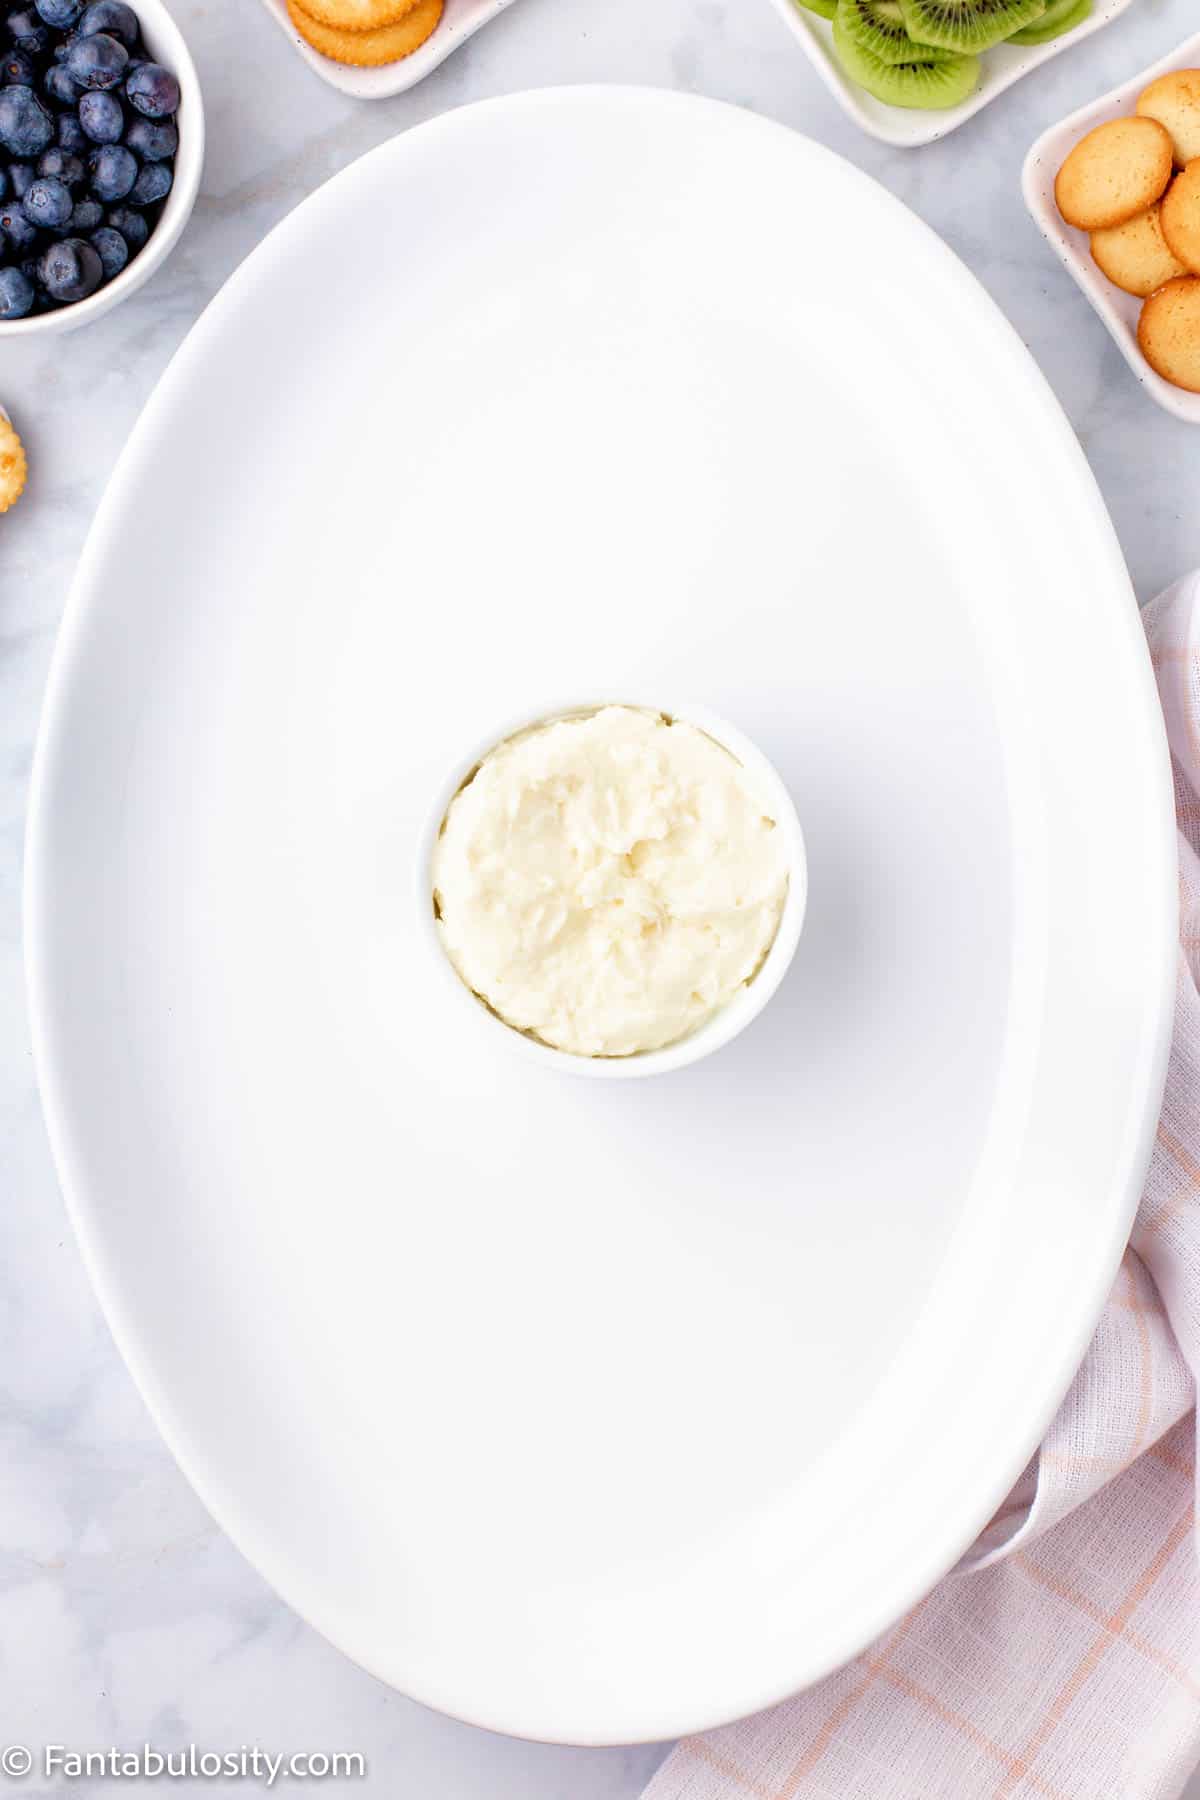
- Place the bowl in the middle where the widest section is. This can be the star of the show. Fill it with your favorite fruit dip – ours being this marshmallow dip!
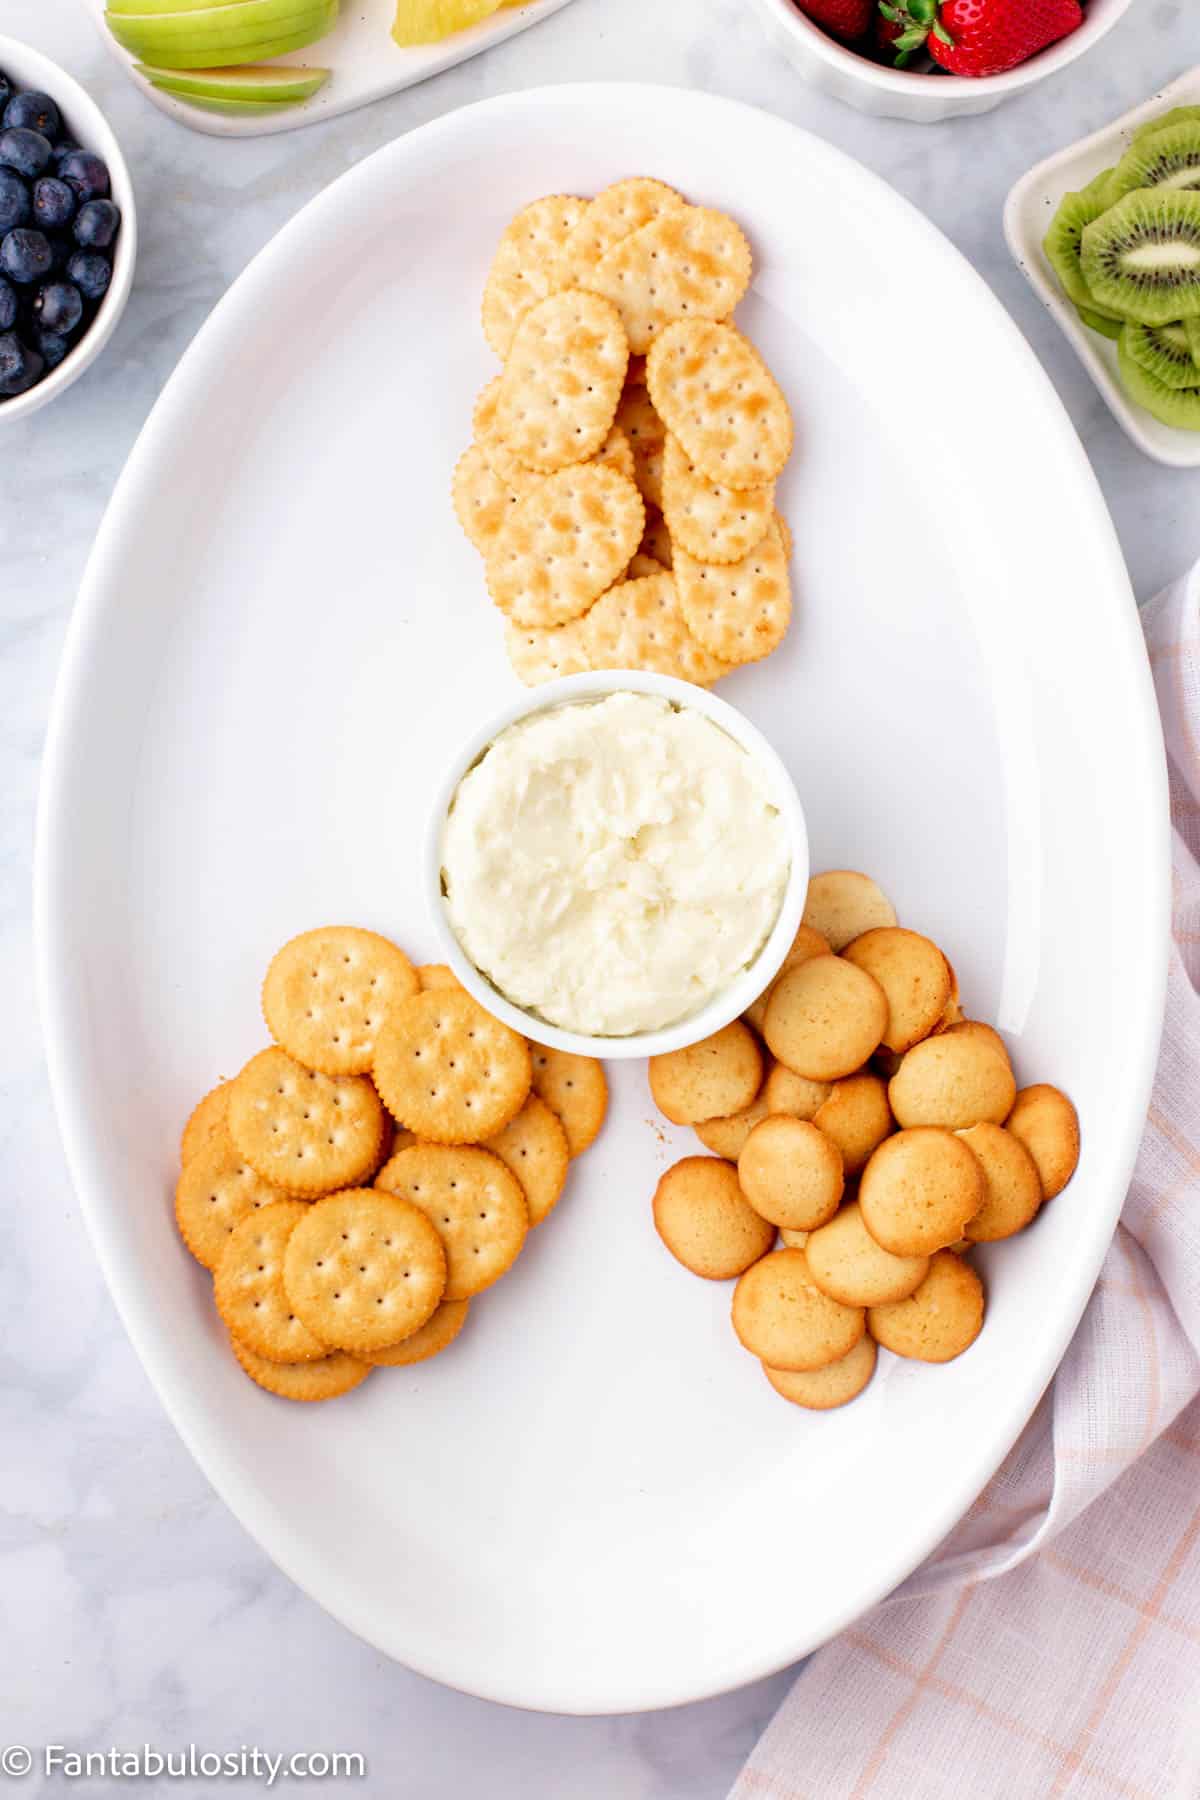
- Place the three crackers on the opposite sides of each other. One in the middle on top and the bottom across from each other.
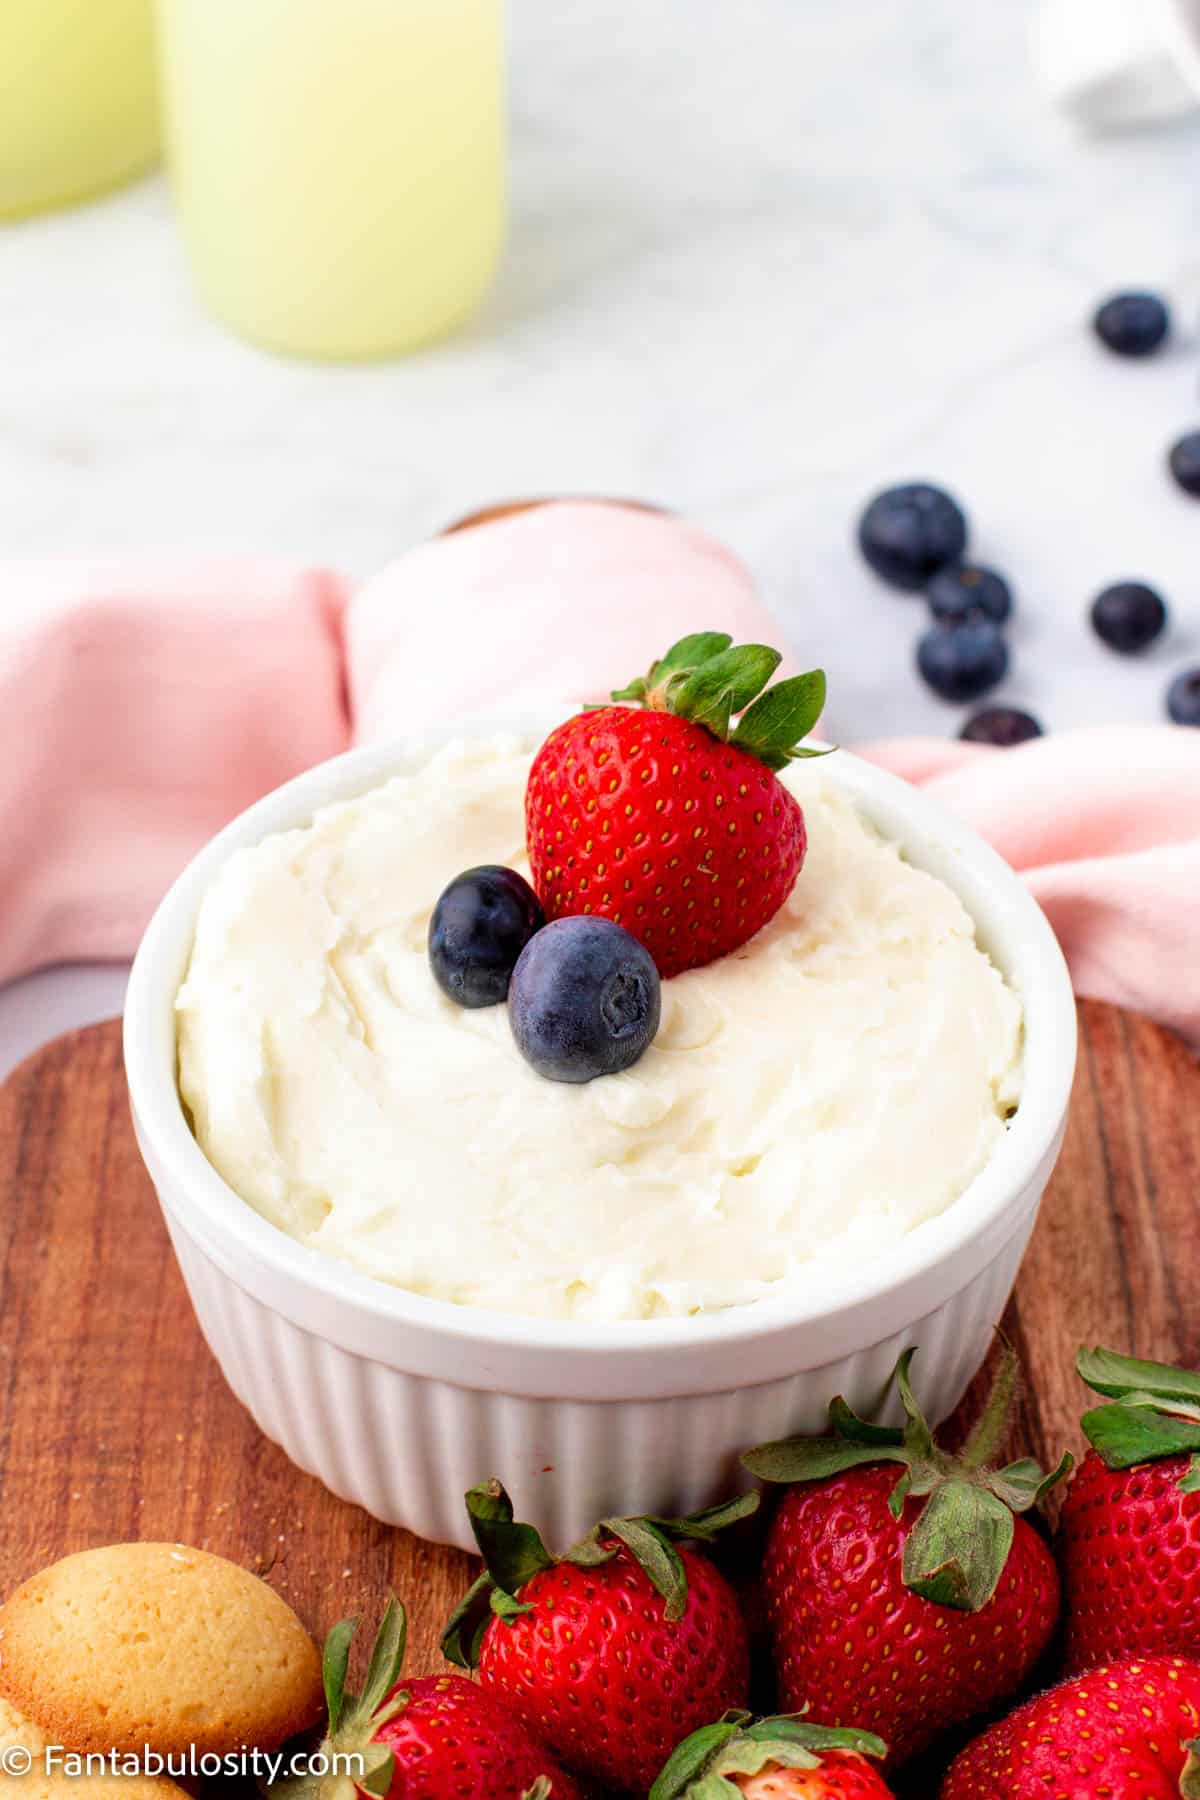
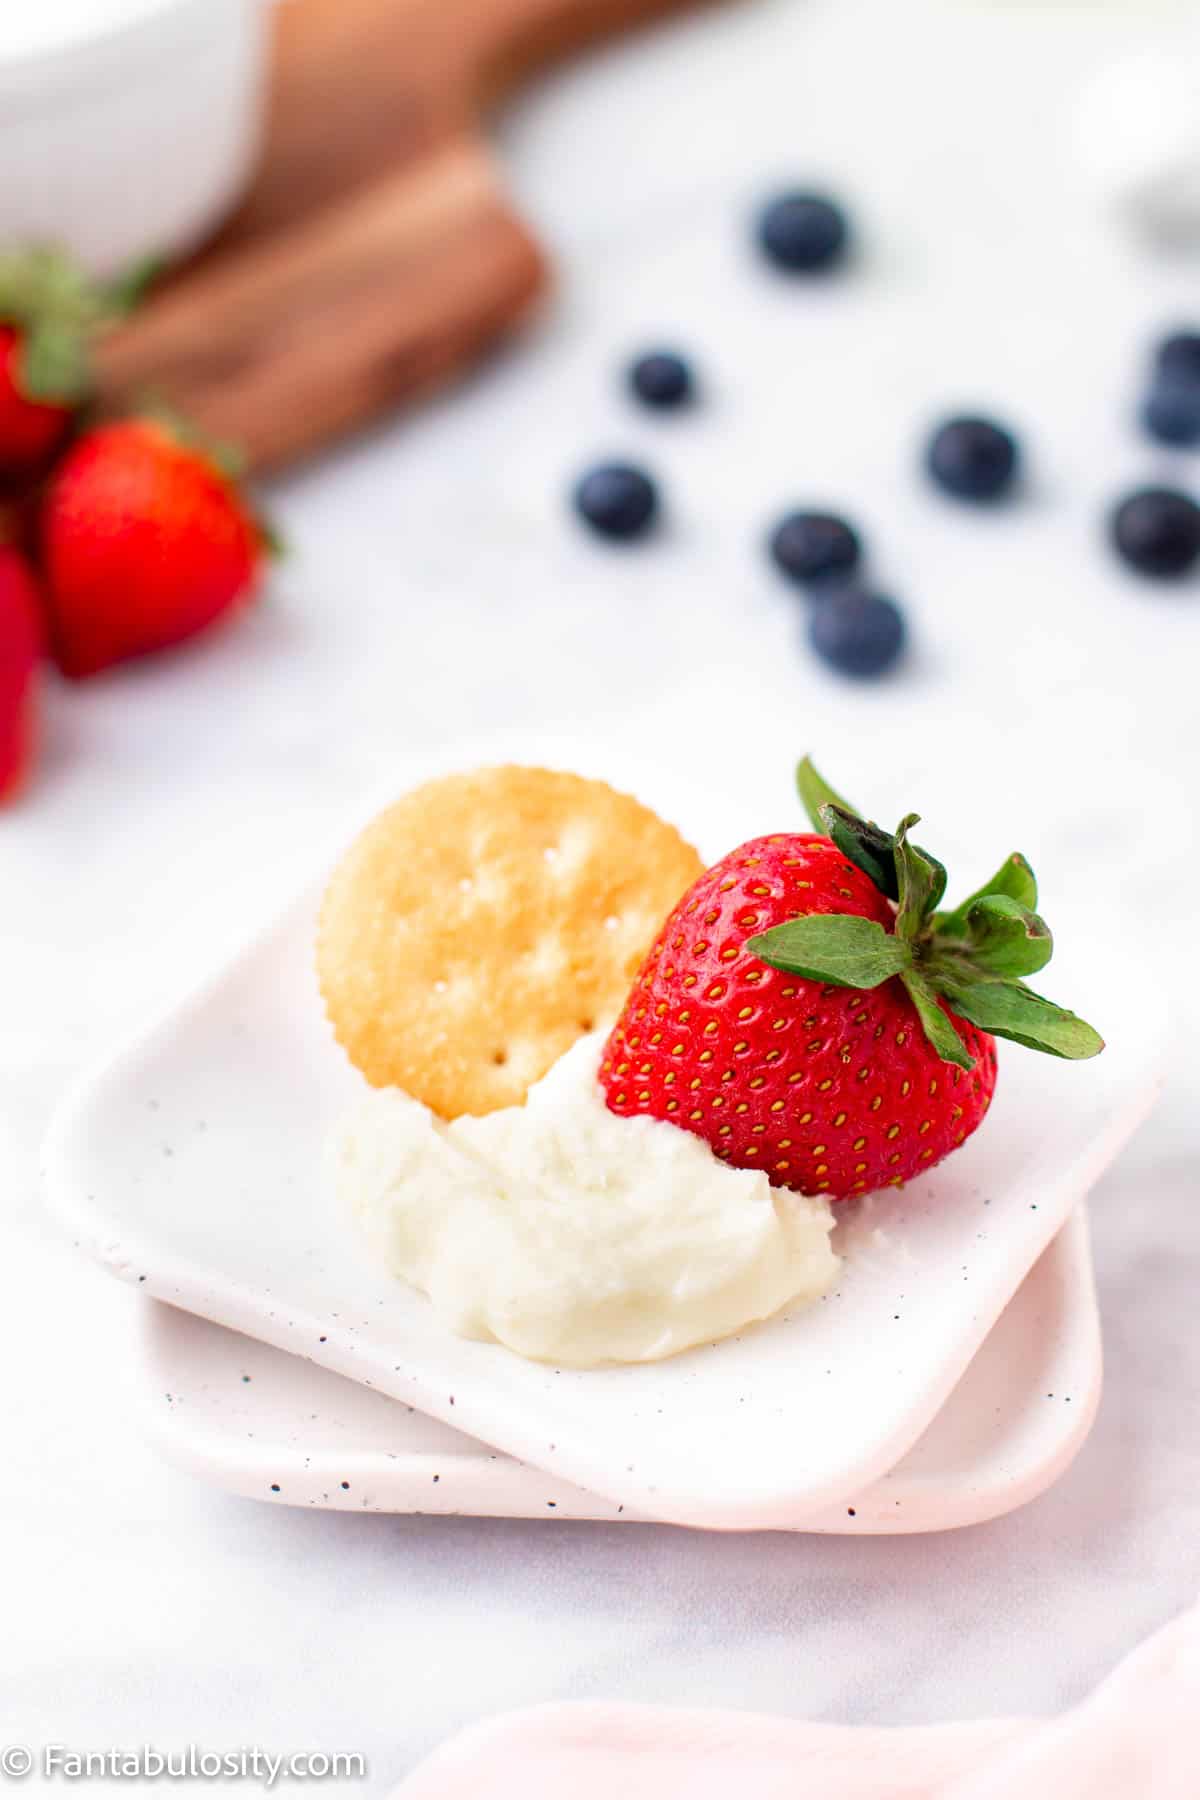
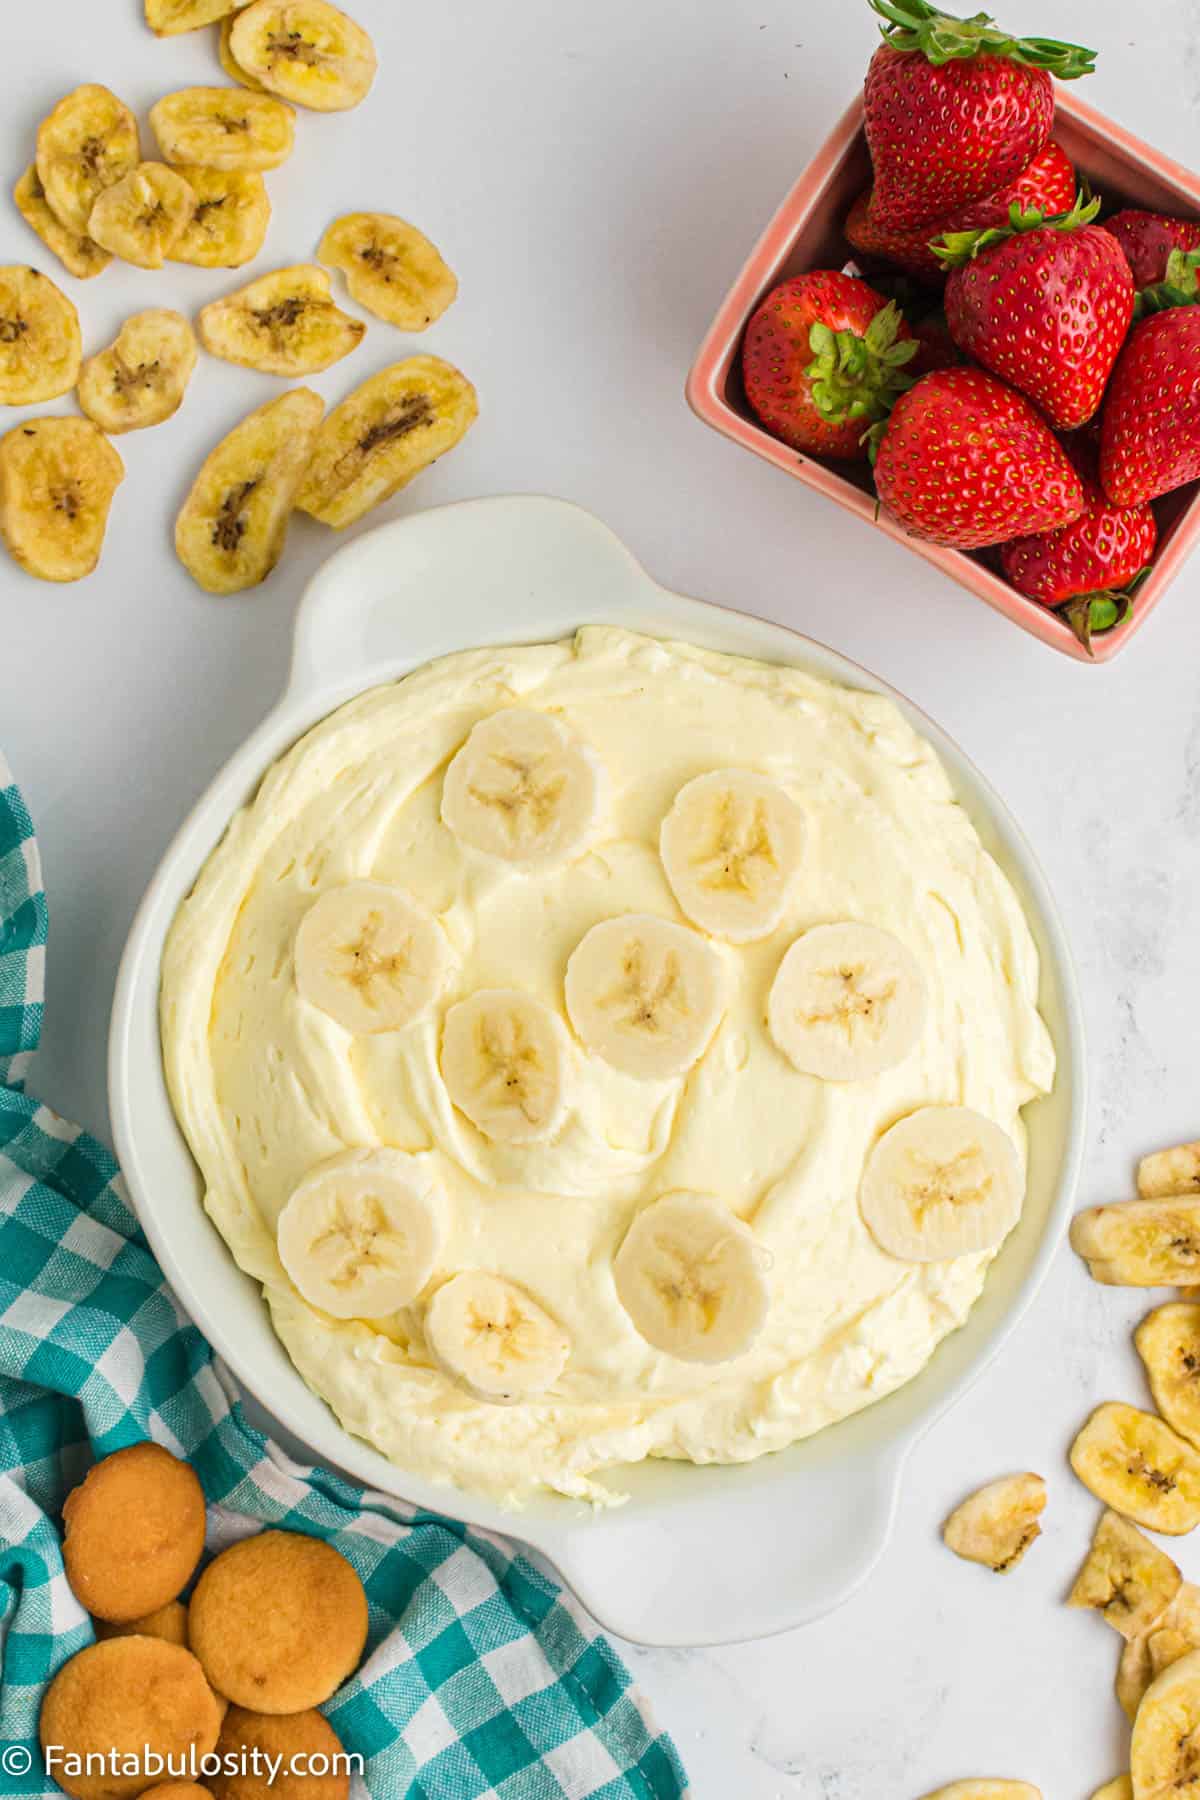
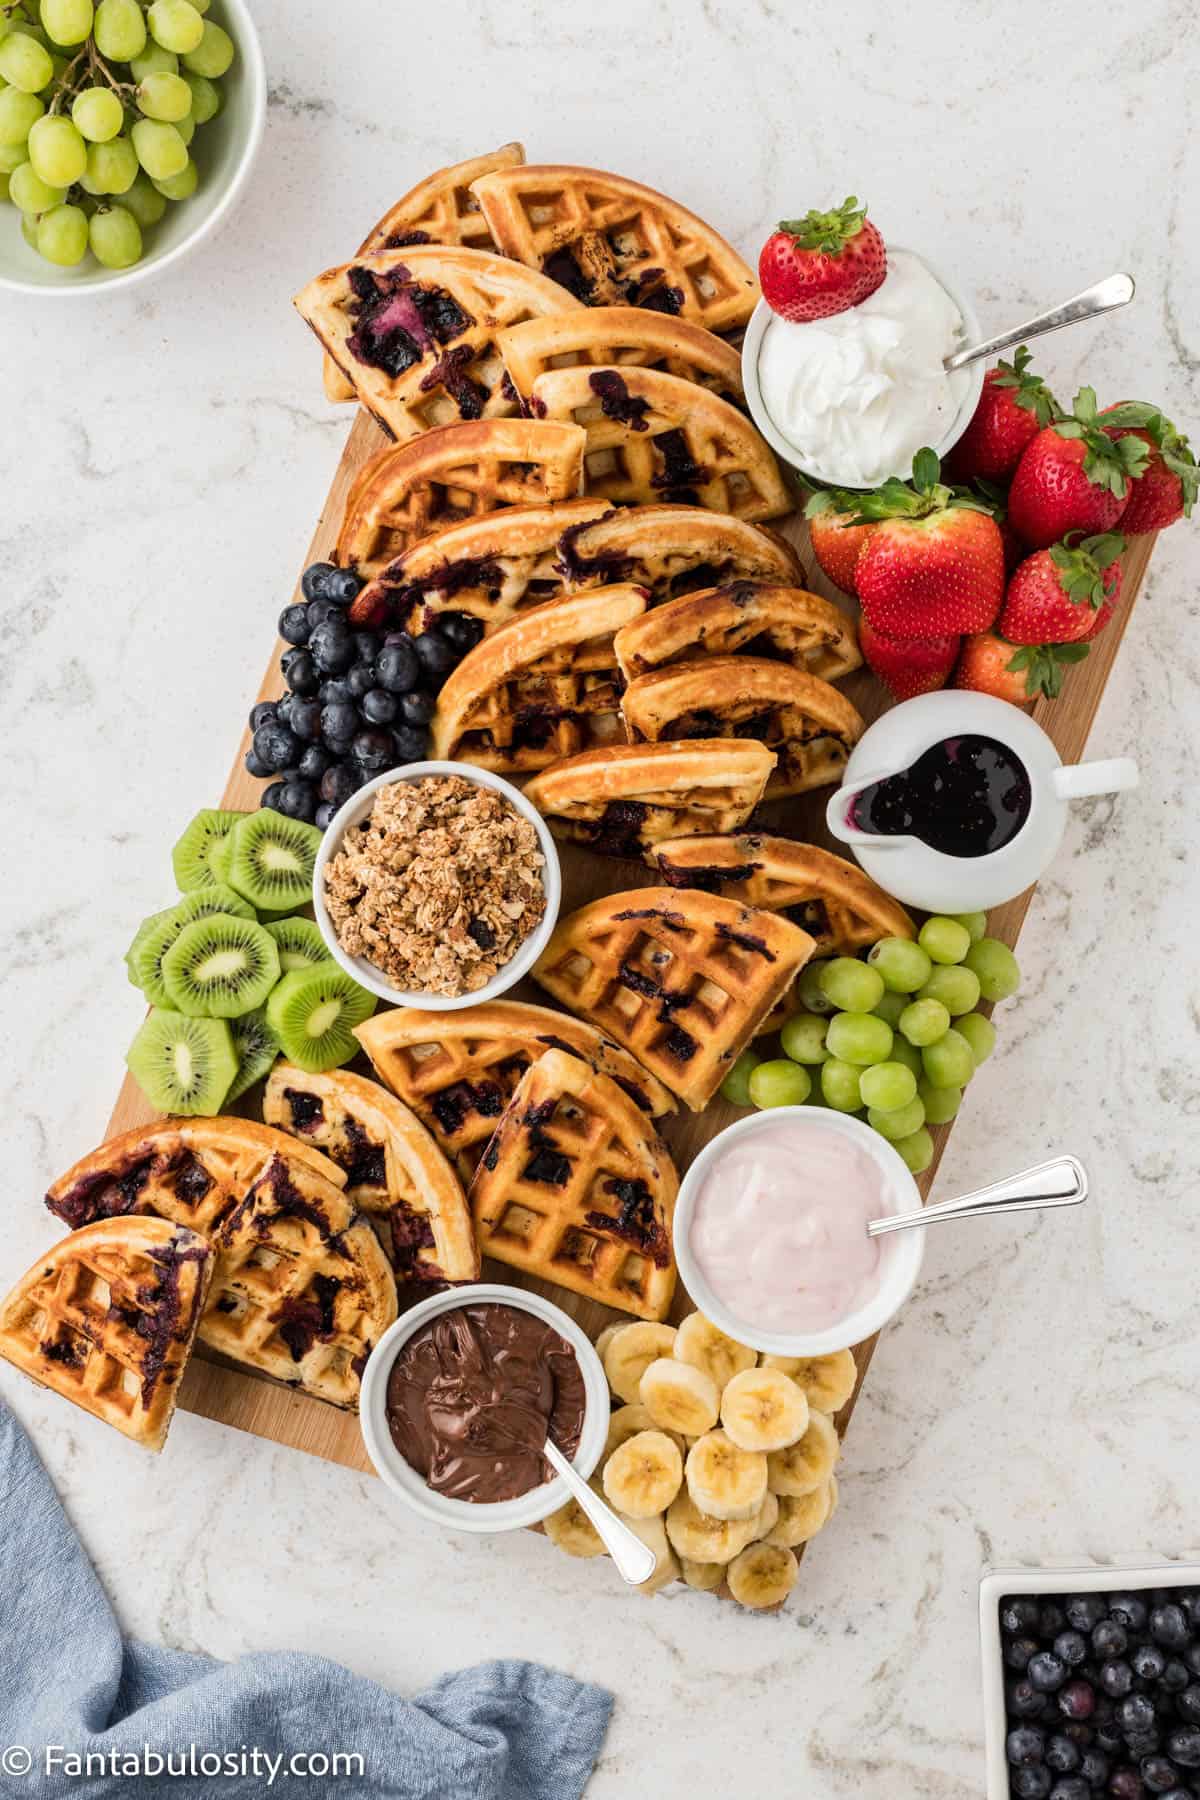
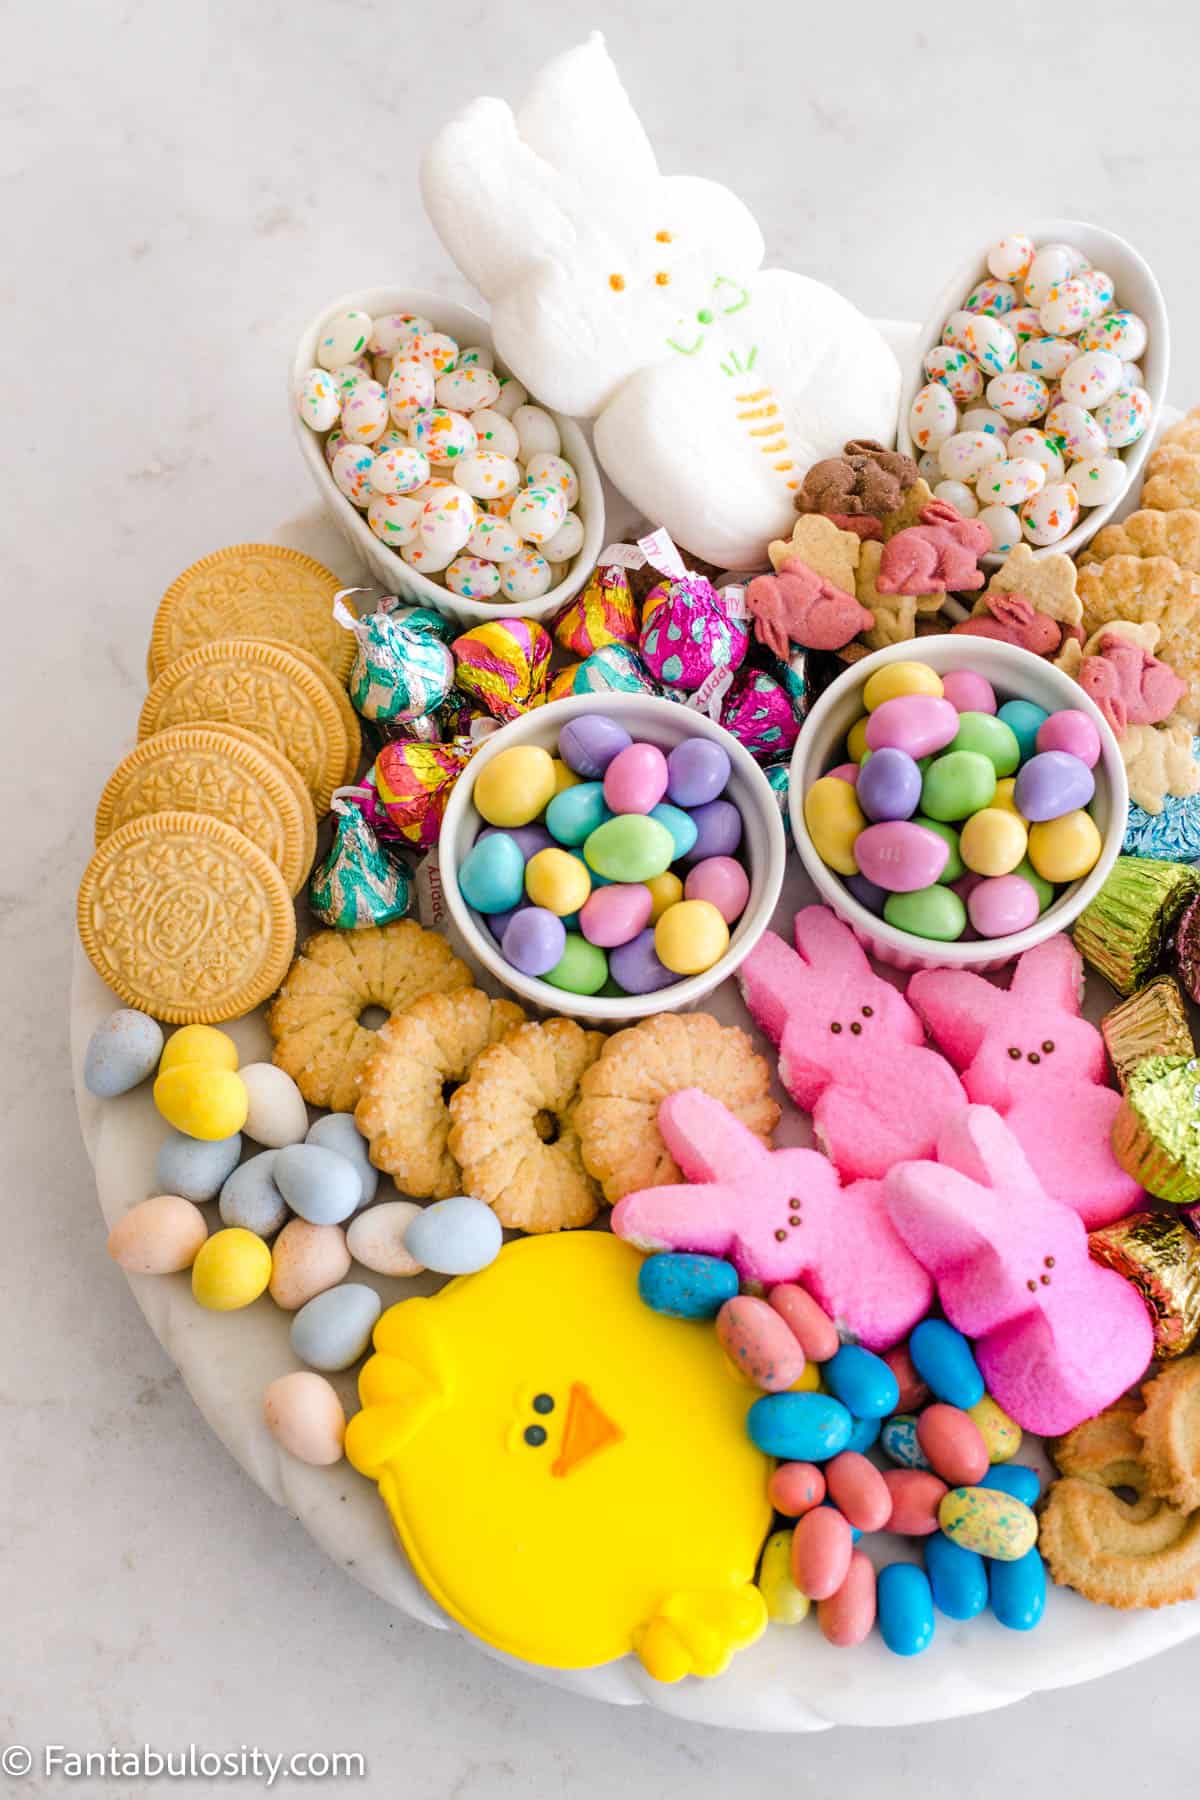
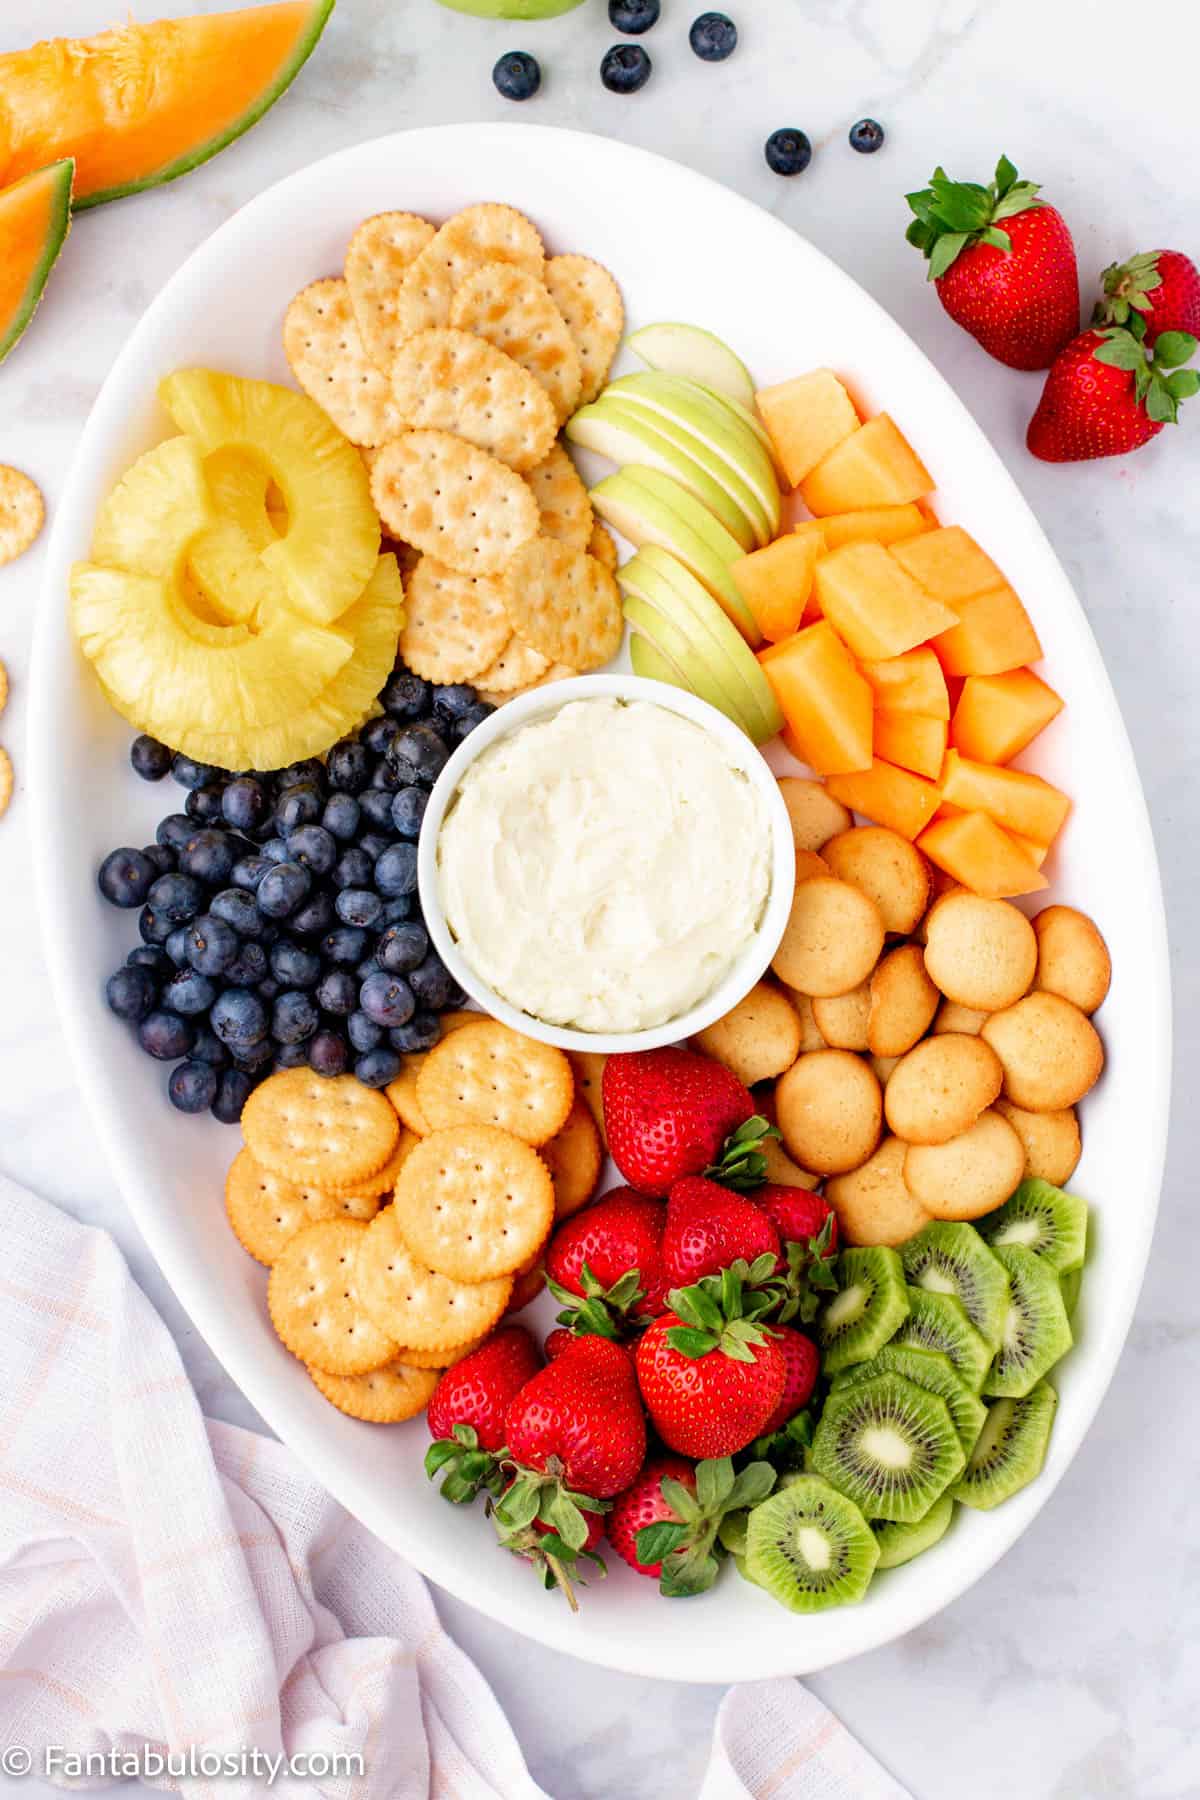
- Place strawberries, apples, and blueberries next to crackers. Make sure you leave enough space for the rest of the fruits.
- Then fill in the rest of the empty spaces with kiwi, cantaloupe, and pineapple.
Substitutions
Feel free to substitute your favorite fruits and or crackers to create beautiful boards. This is simply a tutorial to give you an idea of how you can style a fruit tray at home!
If you don’t want a totally fresh fruit charcuterie board, you can even use things like dried fruits as well, for a simple fruit charcuterie board.
Variations
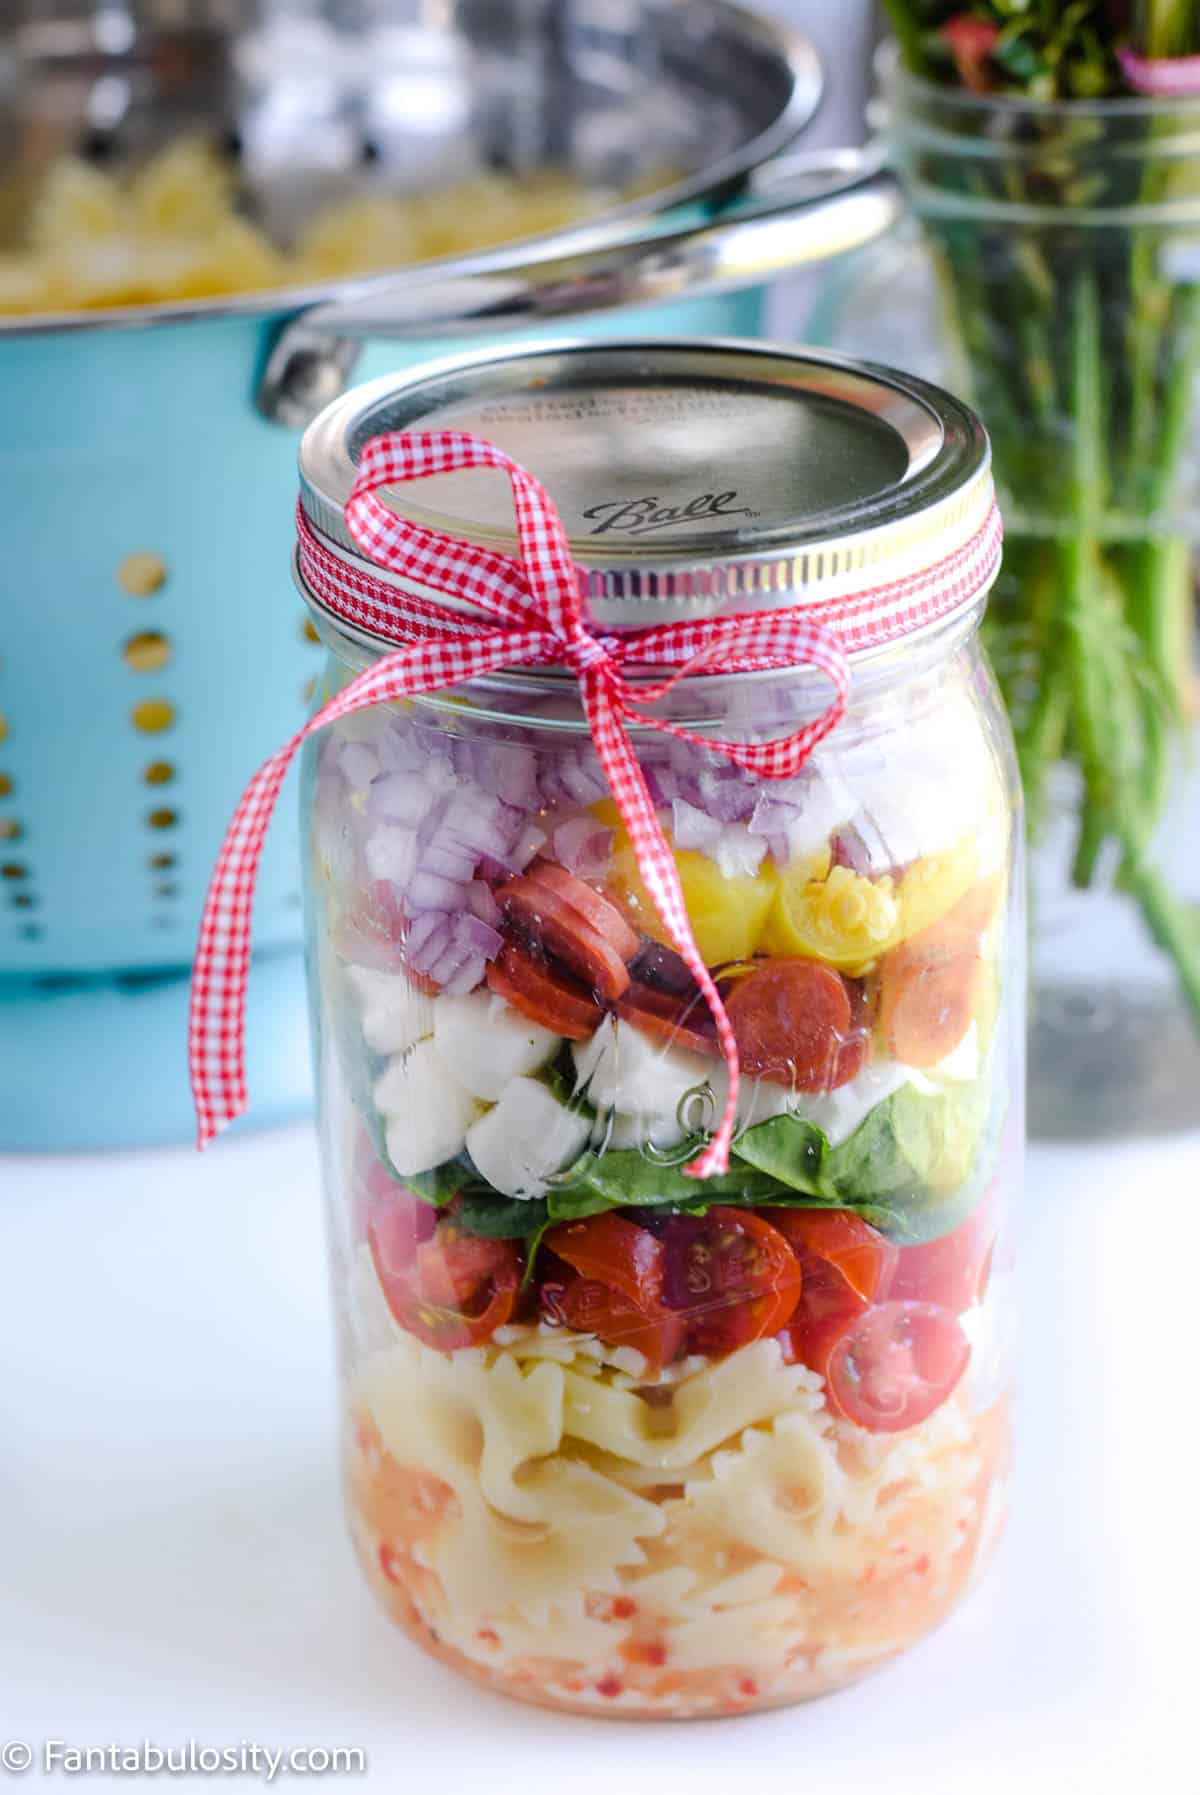
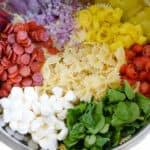
If you really would like to balance all that sweetness out, you can definitely add either salami and/or pepperoni as well for meats. Or, make a cheese board with the fruit and assemble a variety of cheeses like soft cheese (like goat cheese), hard cheese, or your favorites to make a fruit and cheese board!
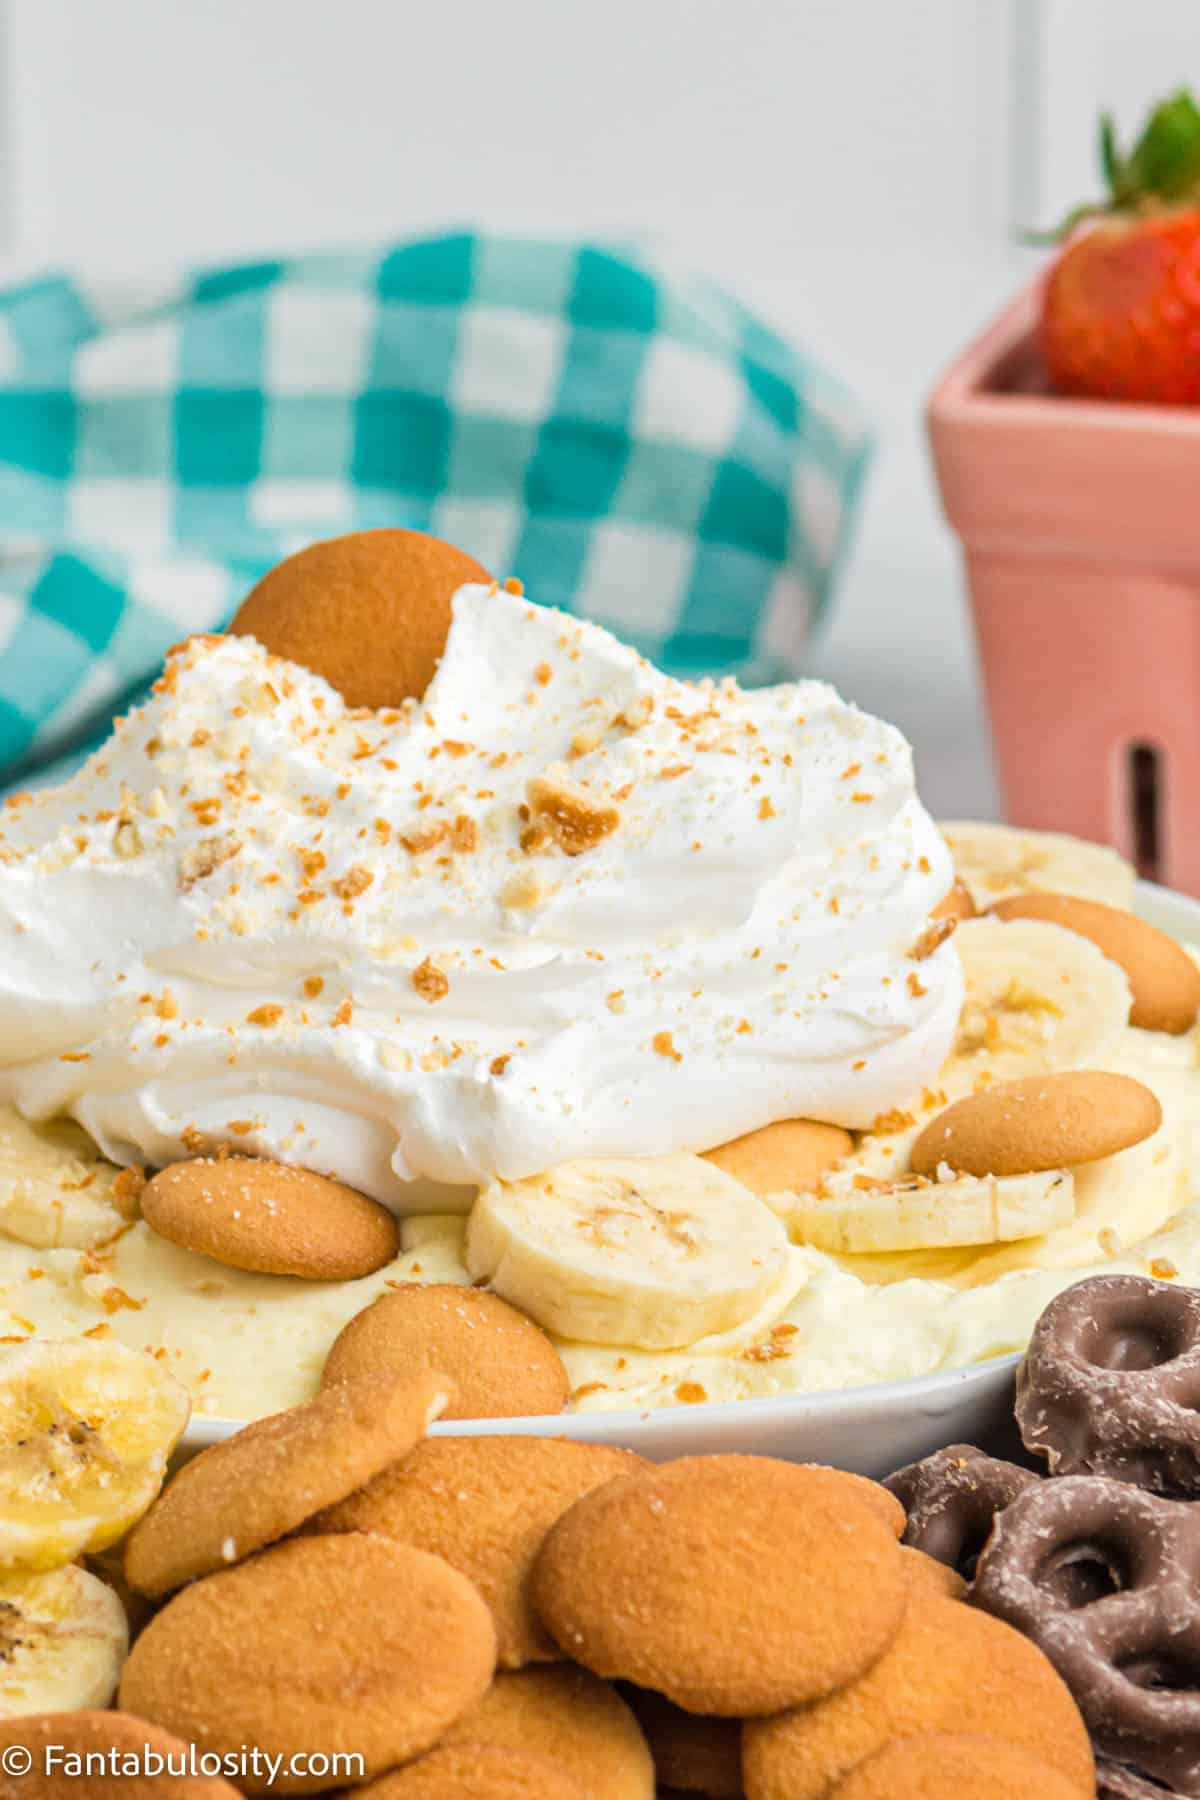
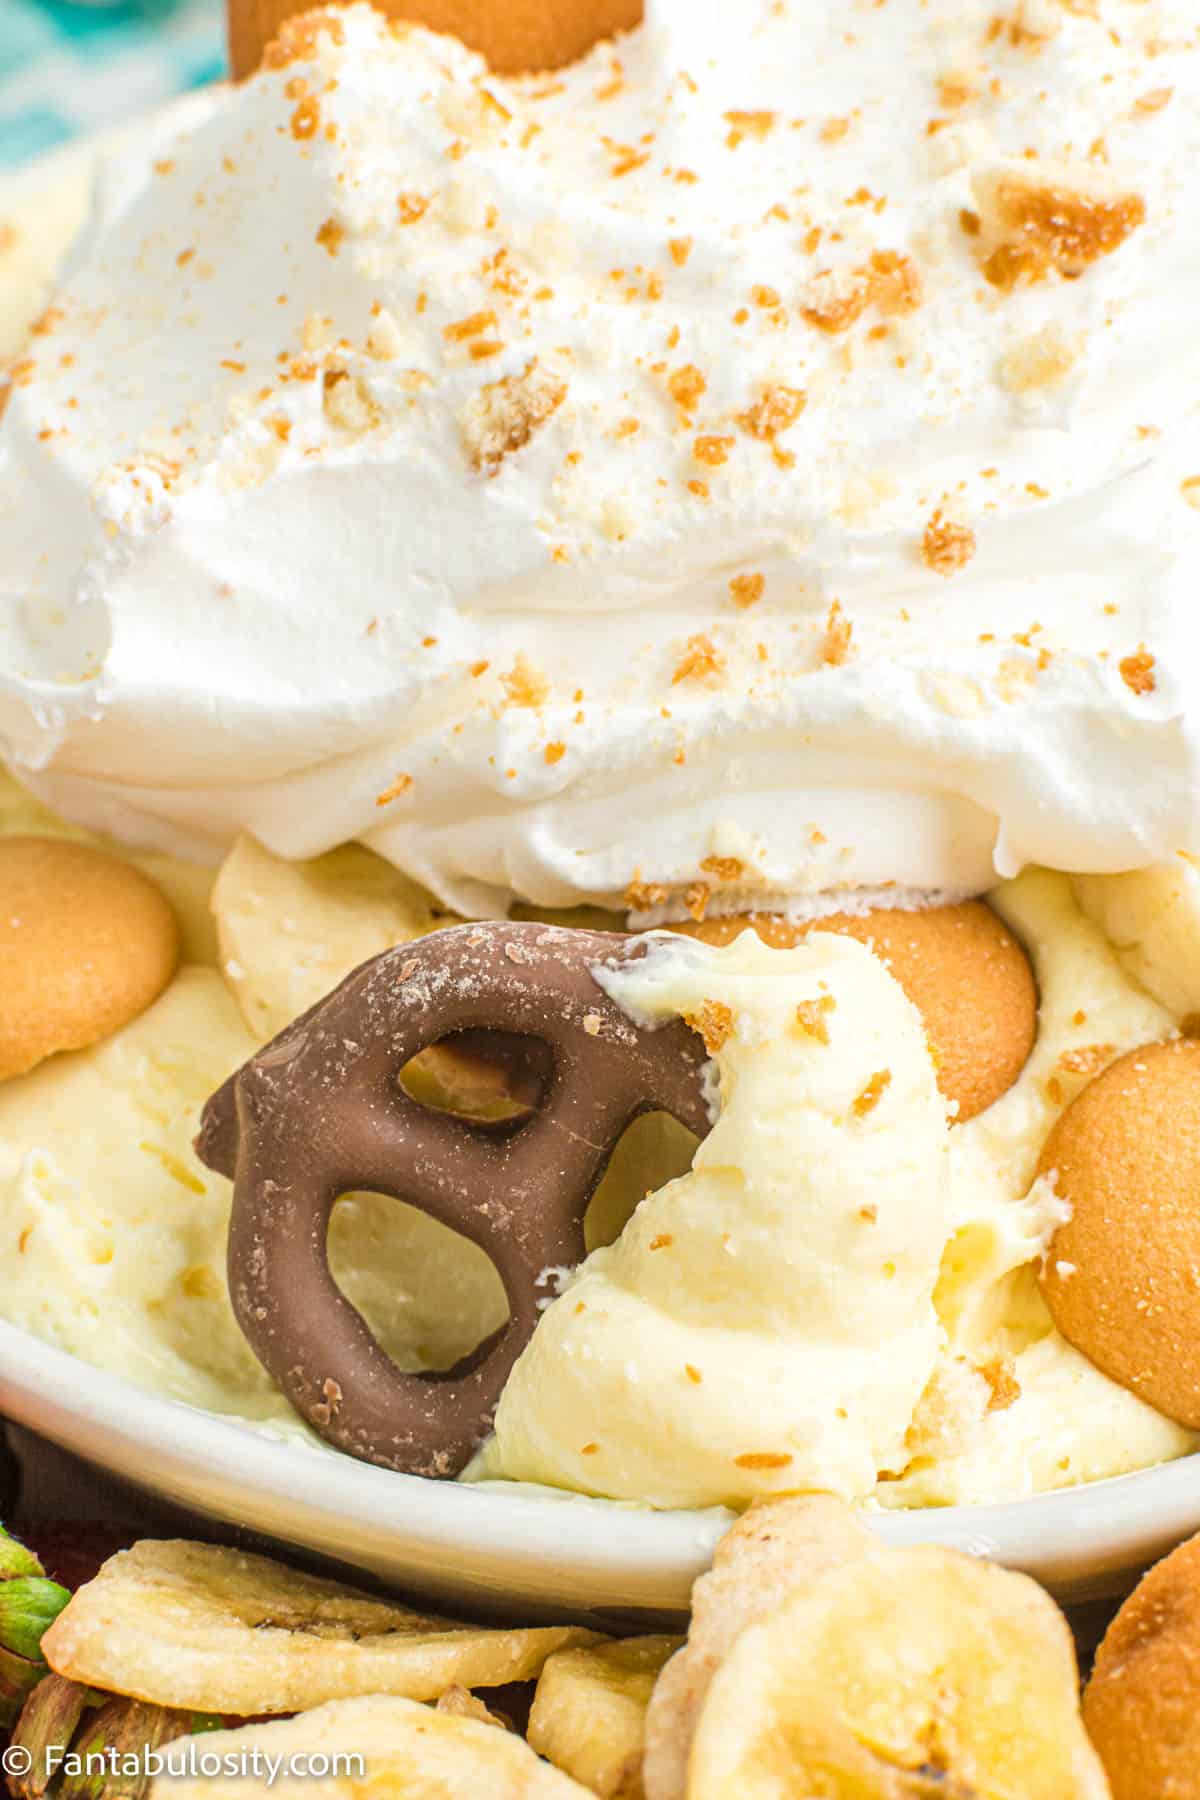
For me, I do love the variety that a cheese platter with fruits and meats, provides too. Or even adding a little dark chocolate with the variety of fruits is a great contrast.
Platters
You can use any large serving trays, platters, or boards that you choose! (Really, just about any large serving trays that you may have on hand, would probably be a good choice.)
If you’d prefer a platter like the one that we used here, you can use this similar oval platter! Then, using something like these white ramekins, are such a great way to serve dips!
We even love using a good charcuterie board, such as this charcuterie board that comes with the cutest pullout drawer for utensils! Perfect for a dinner party when serving guests an appetizer or a dessert charcuterie board, and you want it to look extra special!
But using any round boards, rectangular boards, etc. is perfectly fine too!
Storage
If you have leftover items on your fruit board, store any fruit in an airtight container. If you have leftover crackers, you can place those back in the original packaging or in plastic ziptop bags. It’s best not to store the items together, as the juices from the fruit could leak to the crackers and make them soggy.
Pro tip
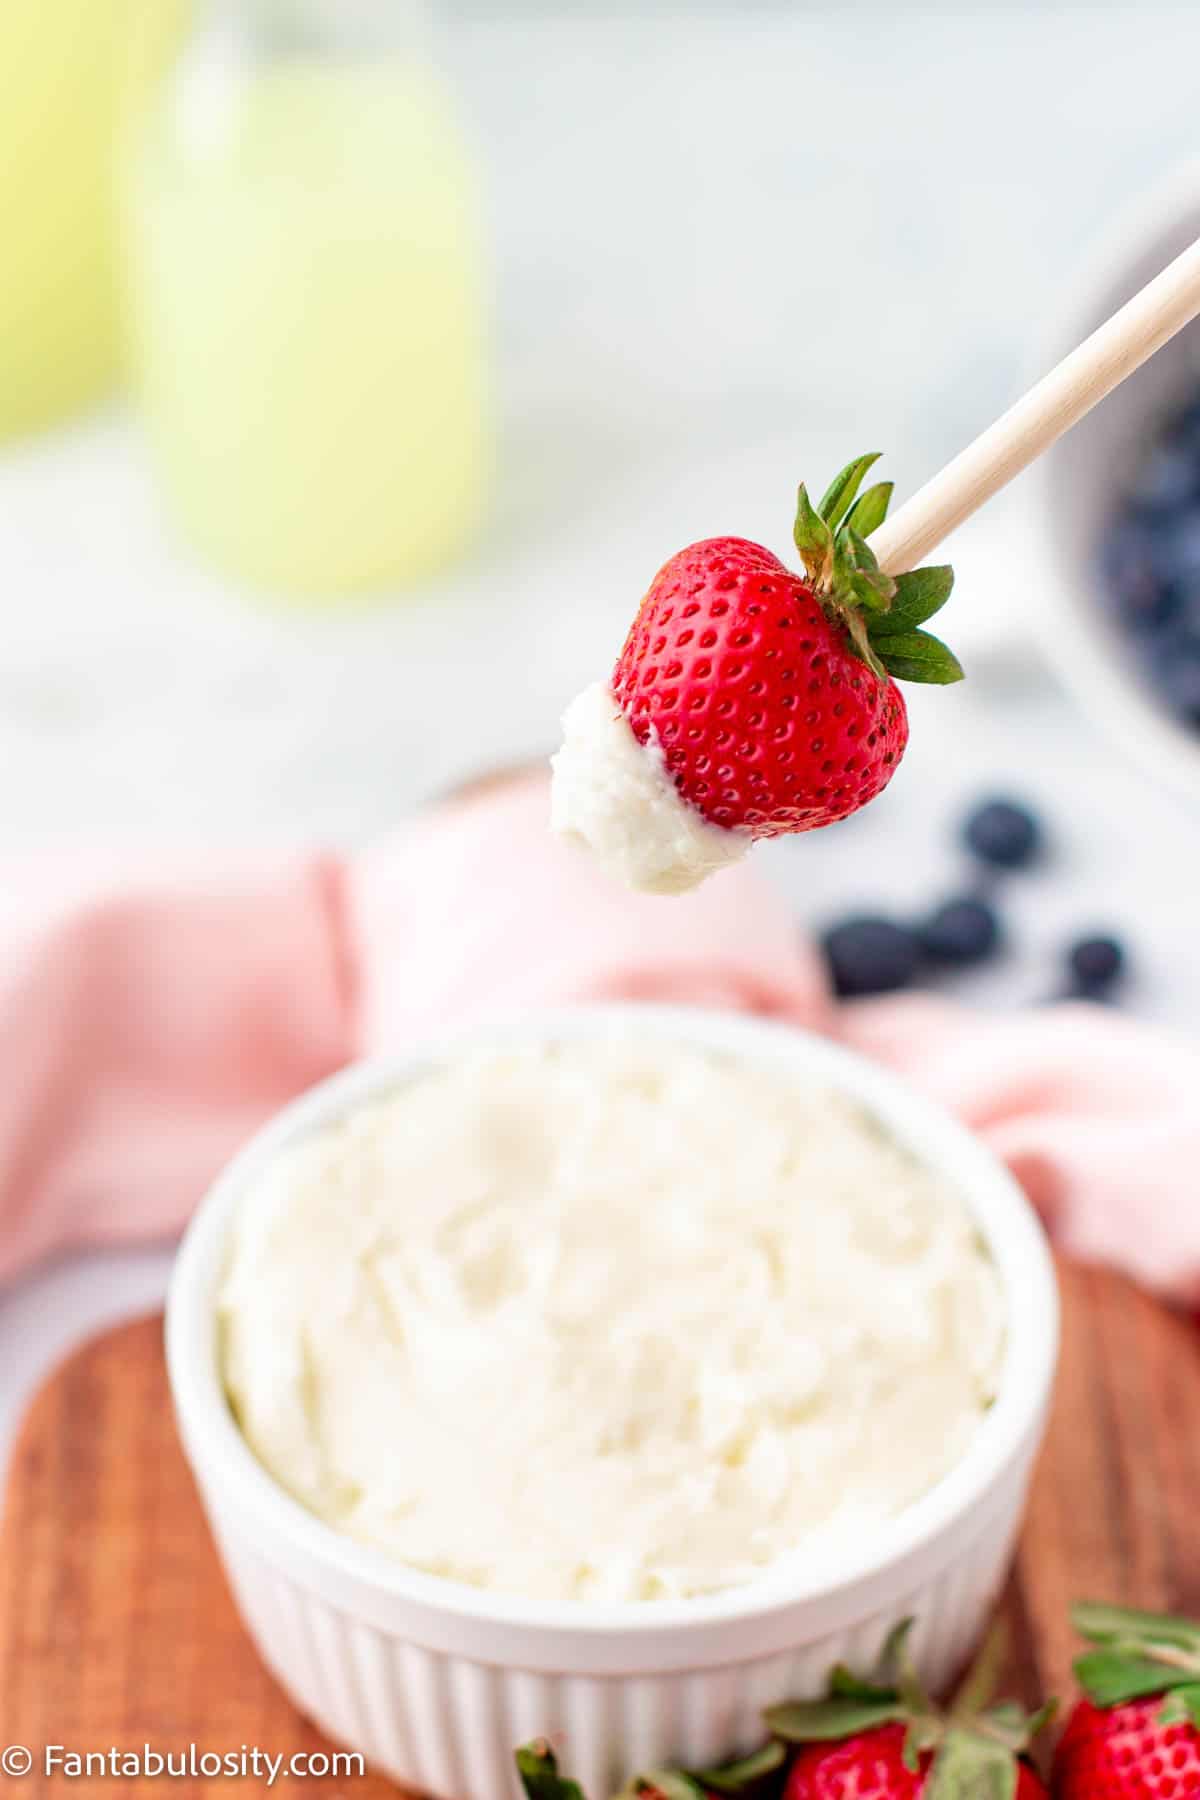
When serving, it’s a good idea to try and get the best fruit of the season for ripe fruit and juicy fruit! However, if it’s a time of year when your favorite fruits may not be the best and may have a bit of a “sour” to them… the marshmallow fruit dip recipe that we recommend can help offset the taste if seasonal fruits aren’t available near you or at your grocery stores.
Also, boards come in all different sizes and a variety of shapes, so the amount of fruit/crackers that you need, will depend on the size of the board that you’ll use.
Related Ideas
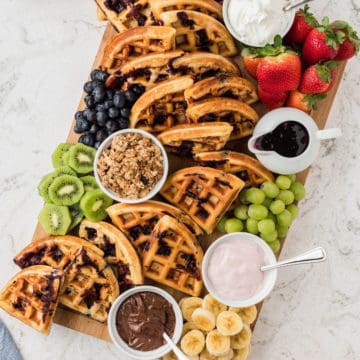
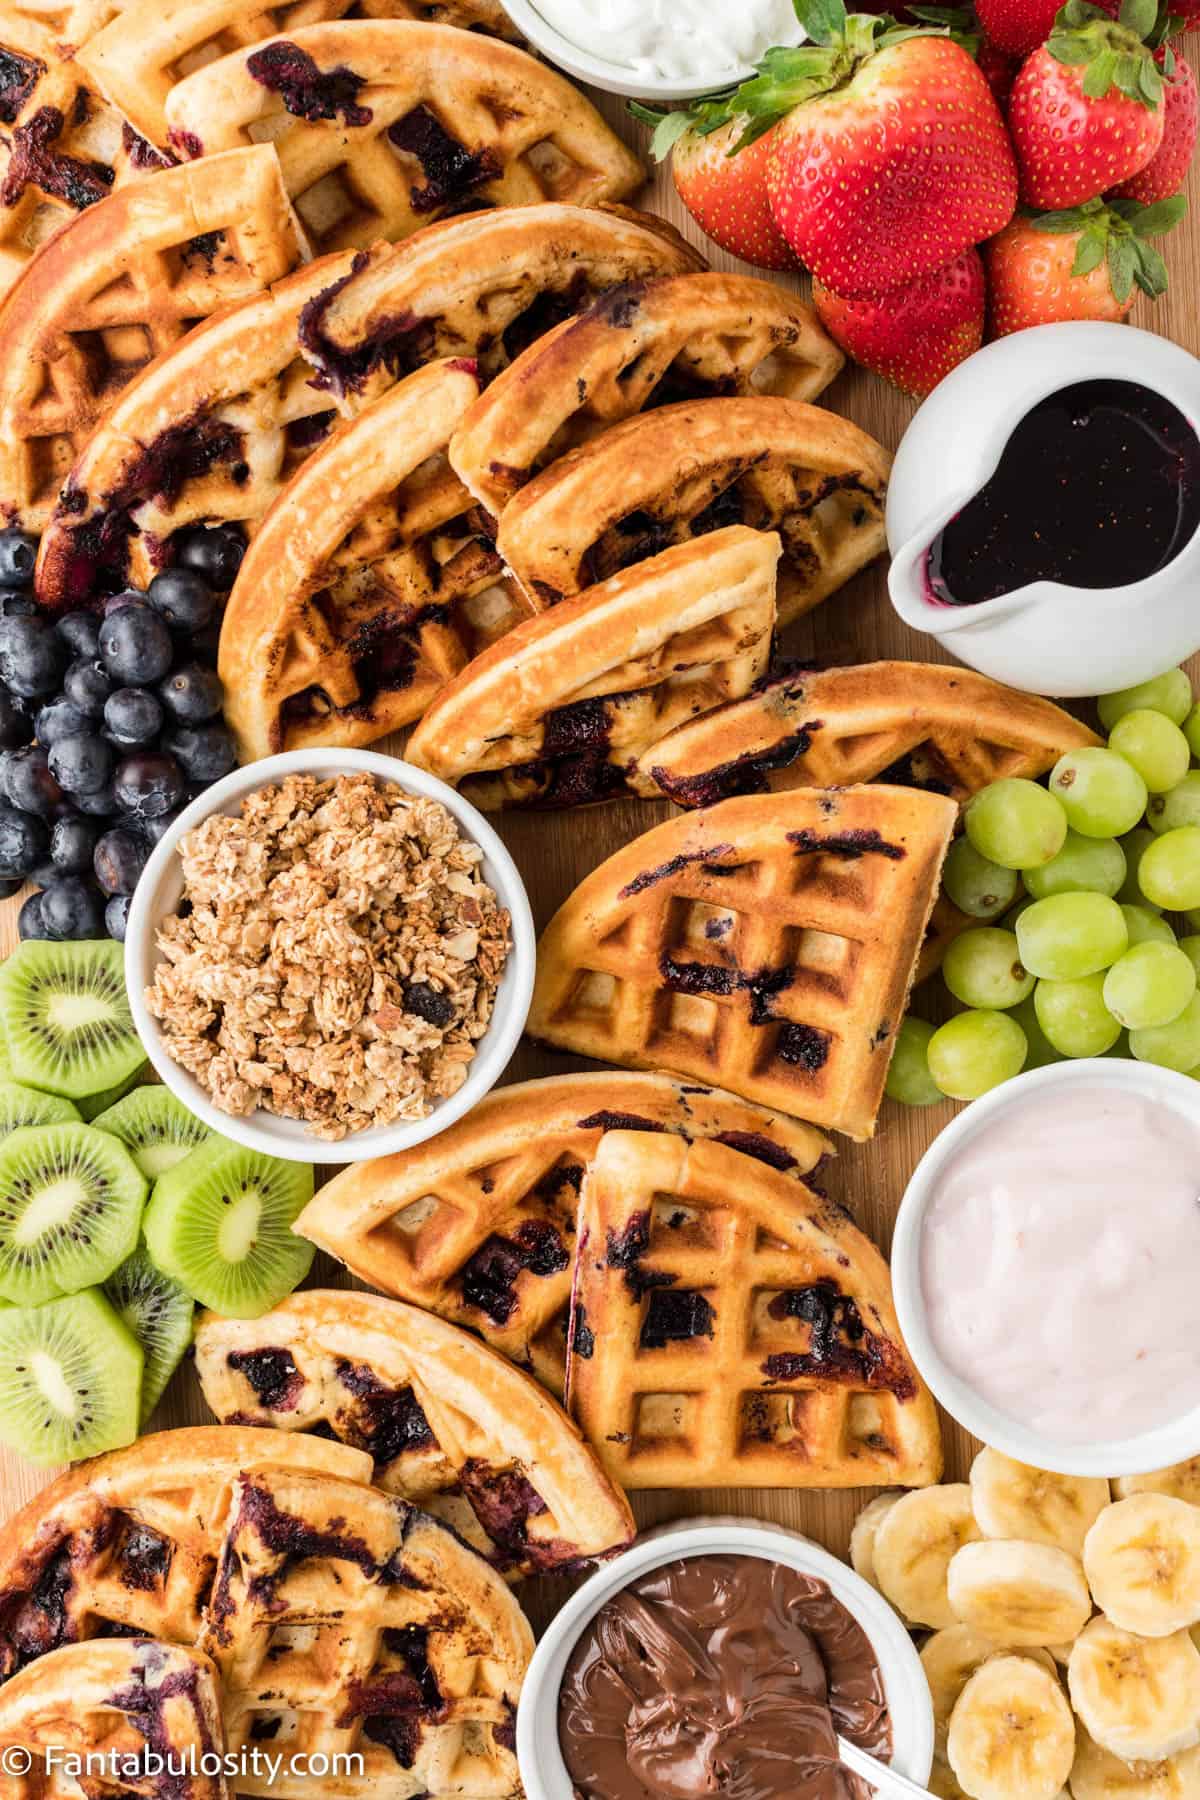
If you loved the idea of this fruit board, then you may also love this tutorial on how to make a cheese board and this beautiful breakfast charcuterie board!
Did you make this? I’d be so grateful if you left a “star” rating below to let me know what you thought! Then, the next time you need a quick and easy recipe, come back to Fantabulosity to browse all of my easy recipes!
Recipe

How to Make a Fruit Board
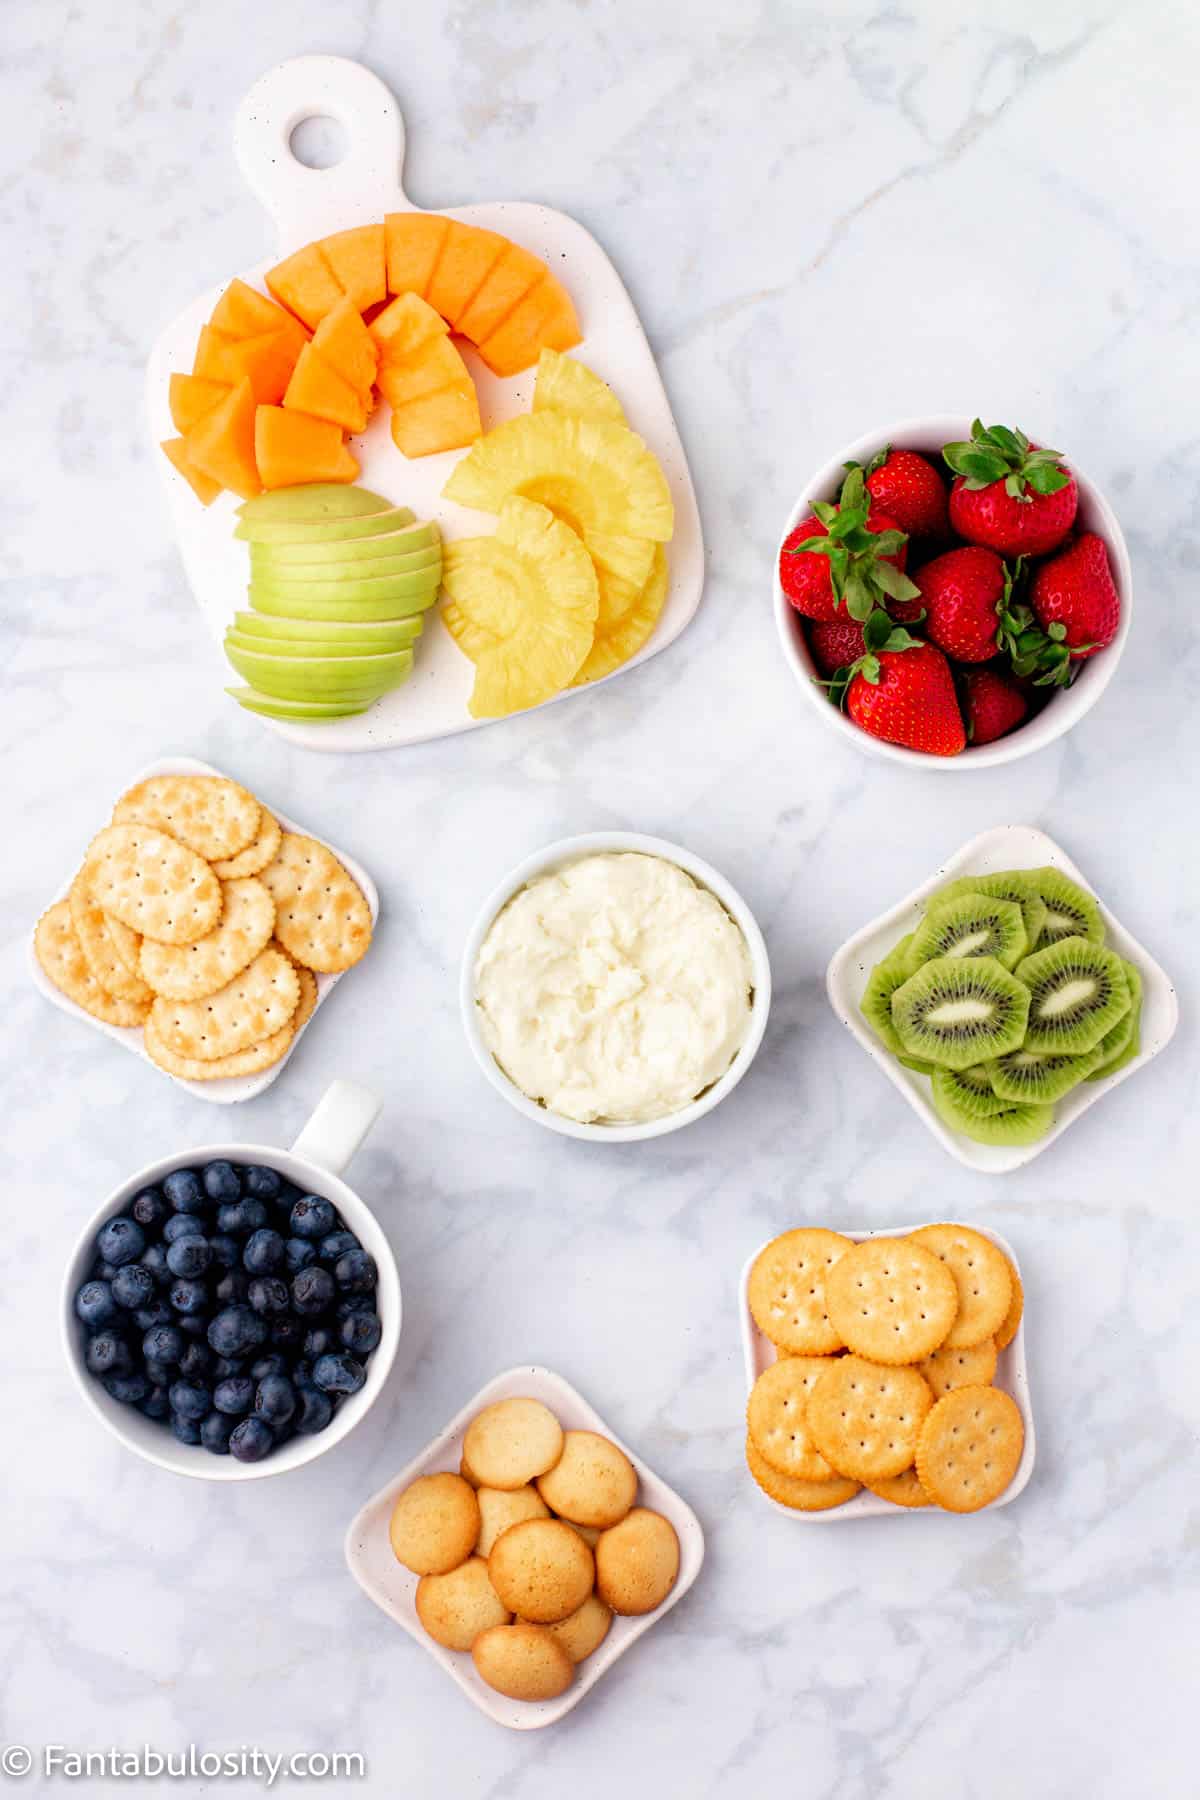
Ingredients
Fruit
- strawberries
- blueberries
- kiwi
- green apples
- cantaloupe
- pineapple
Crackers
- round butter crackers Such as Ritz
- tollhouse crackers
- vanilla wafers
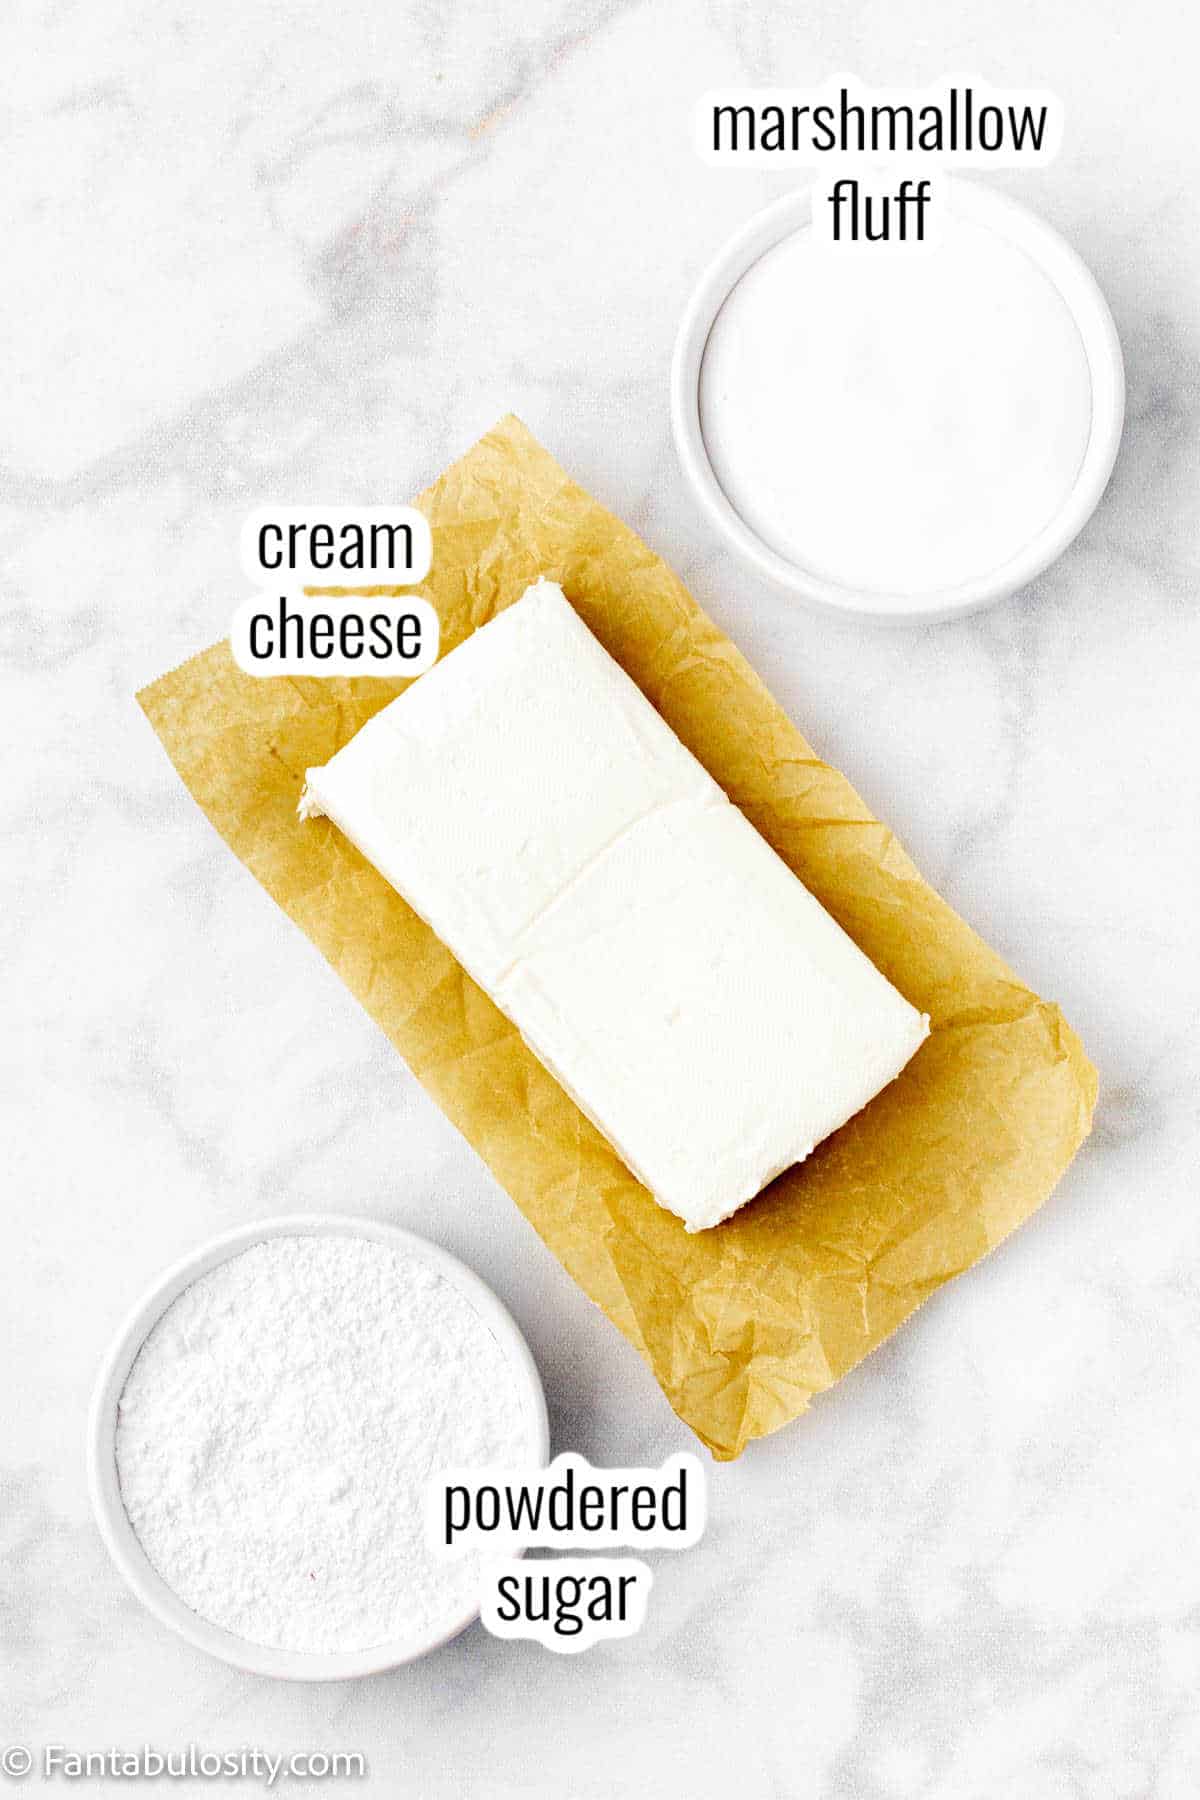
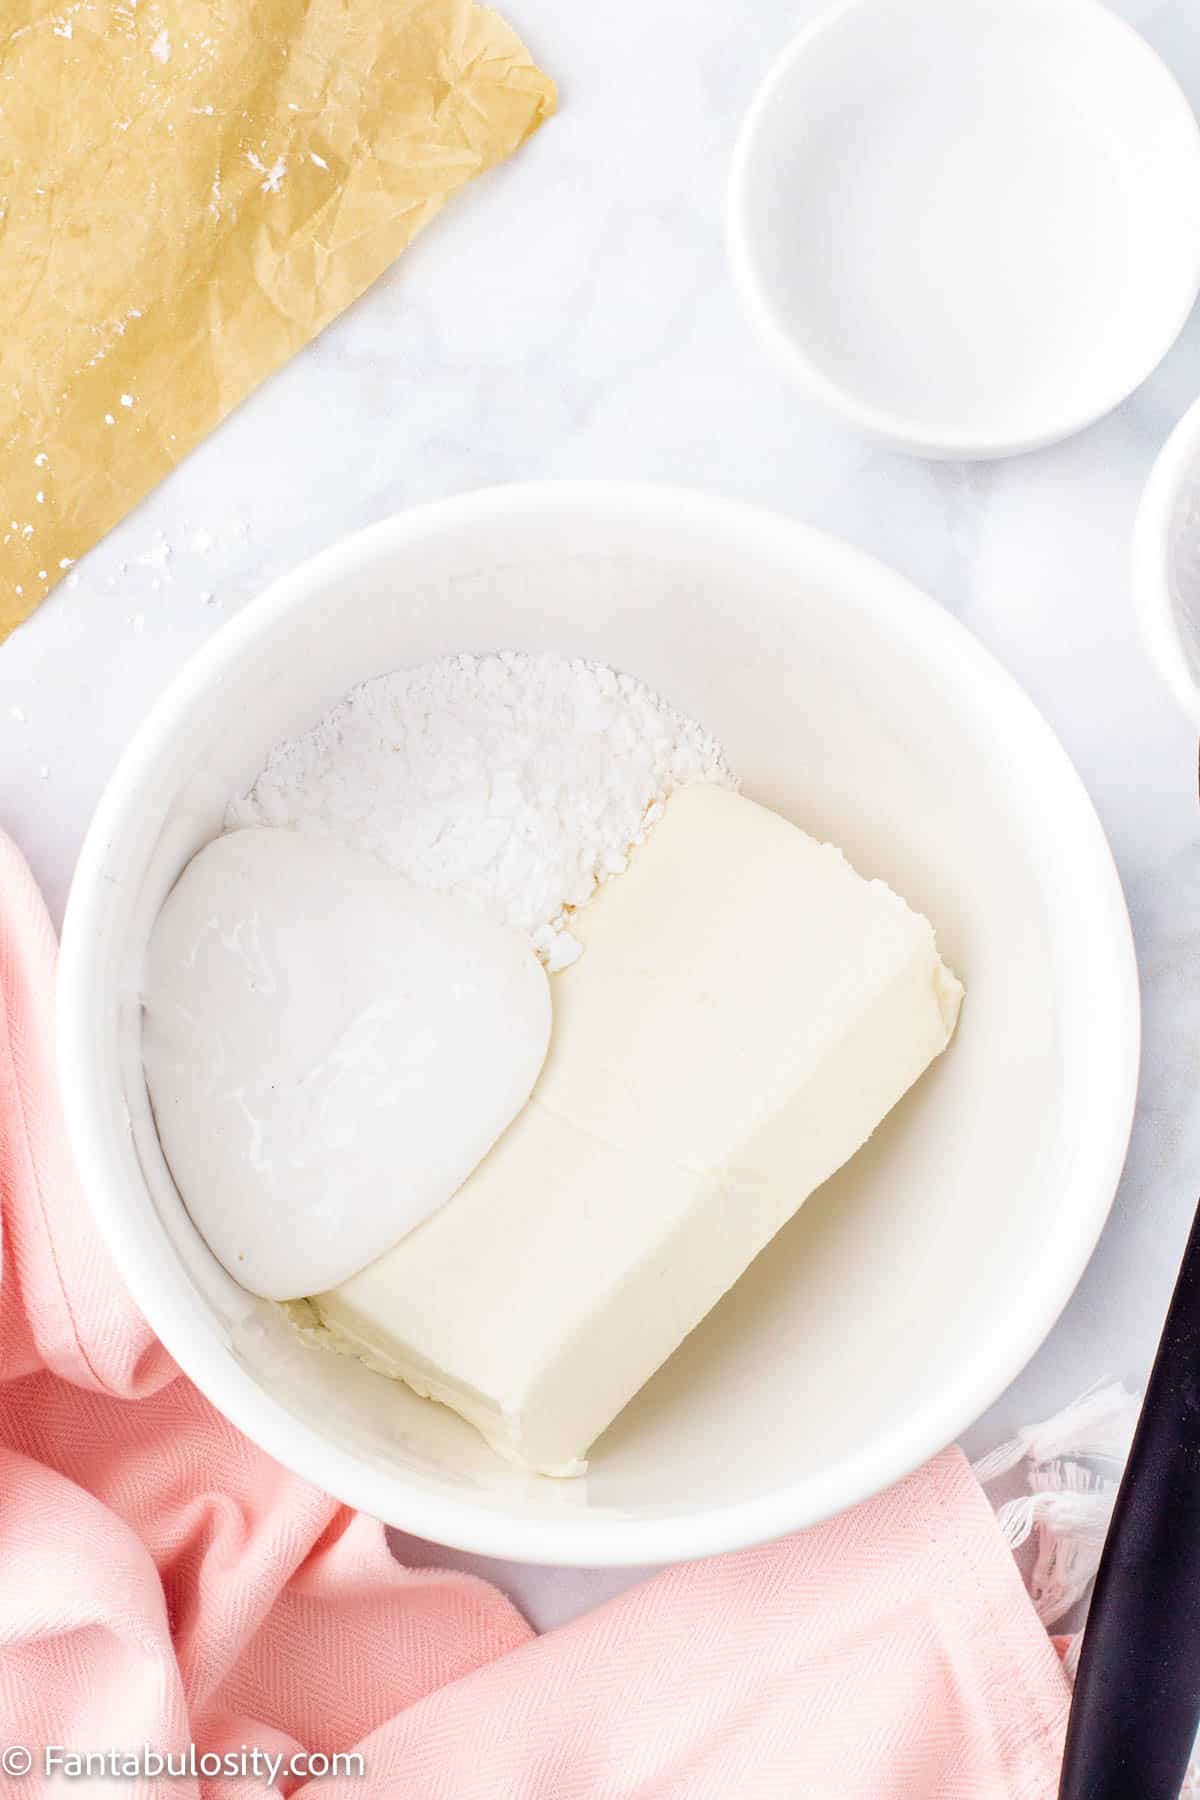
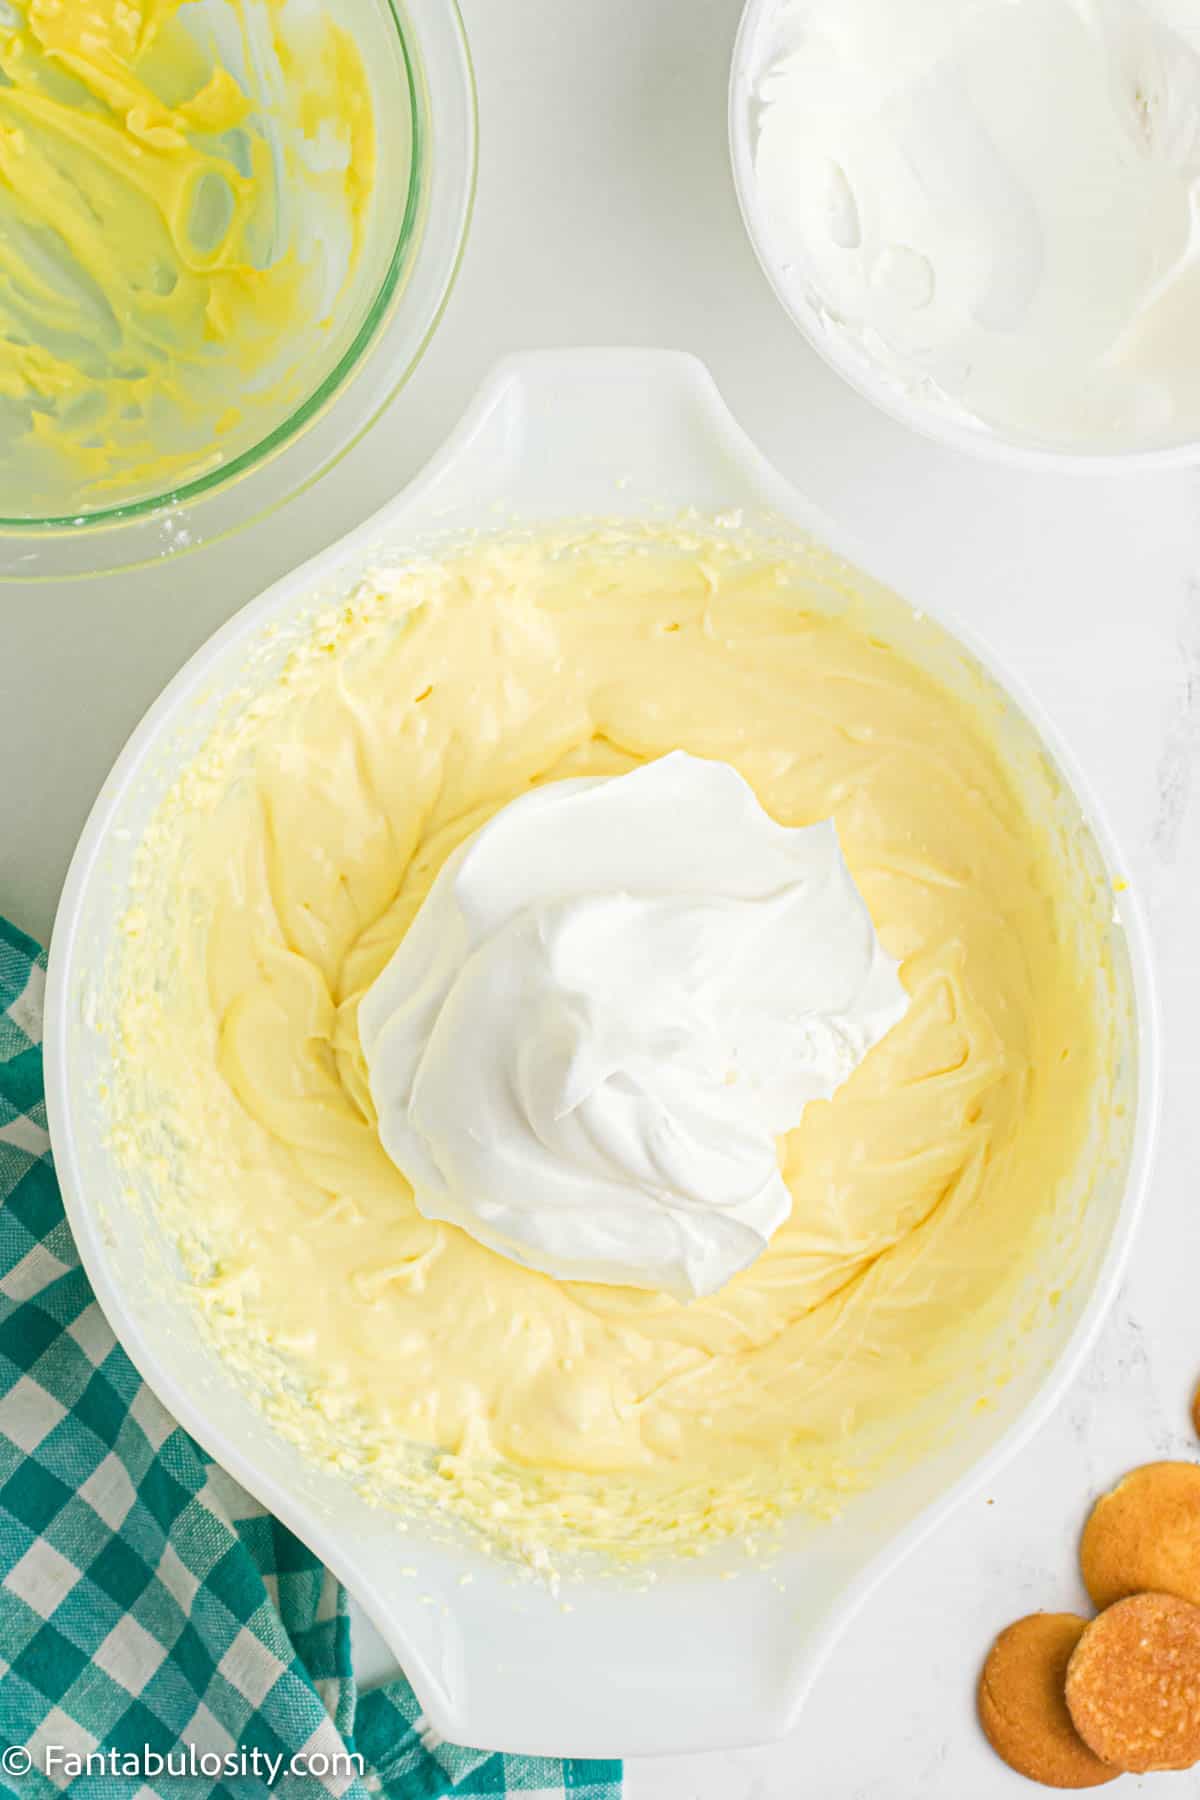
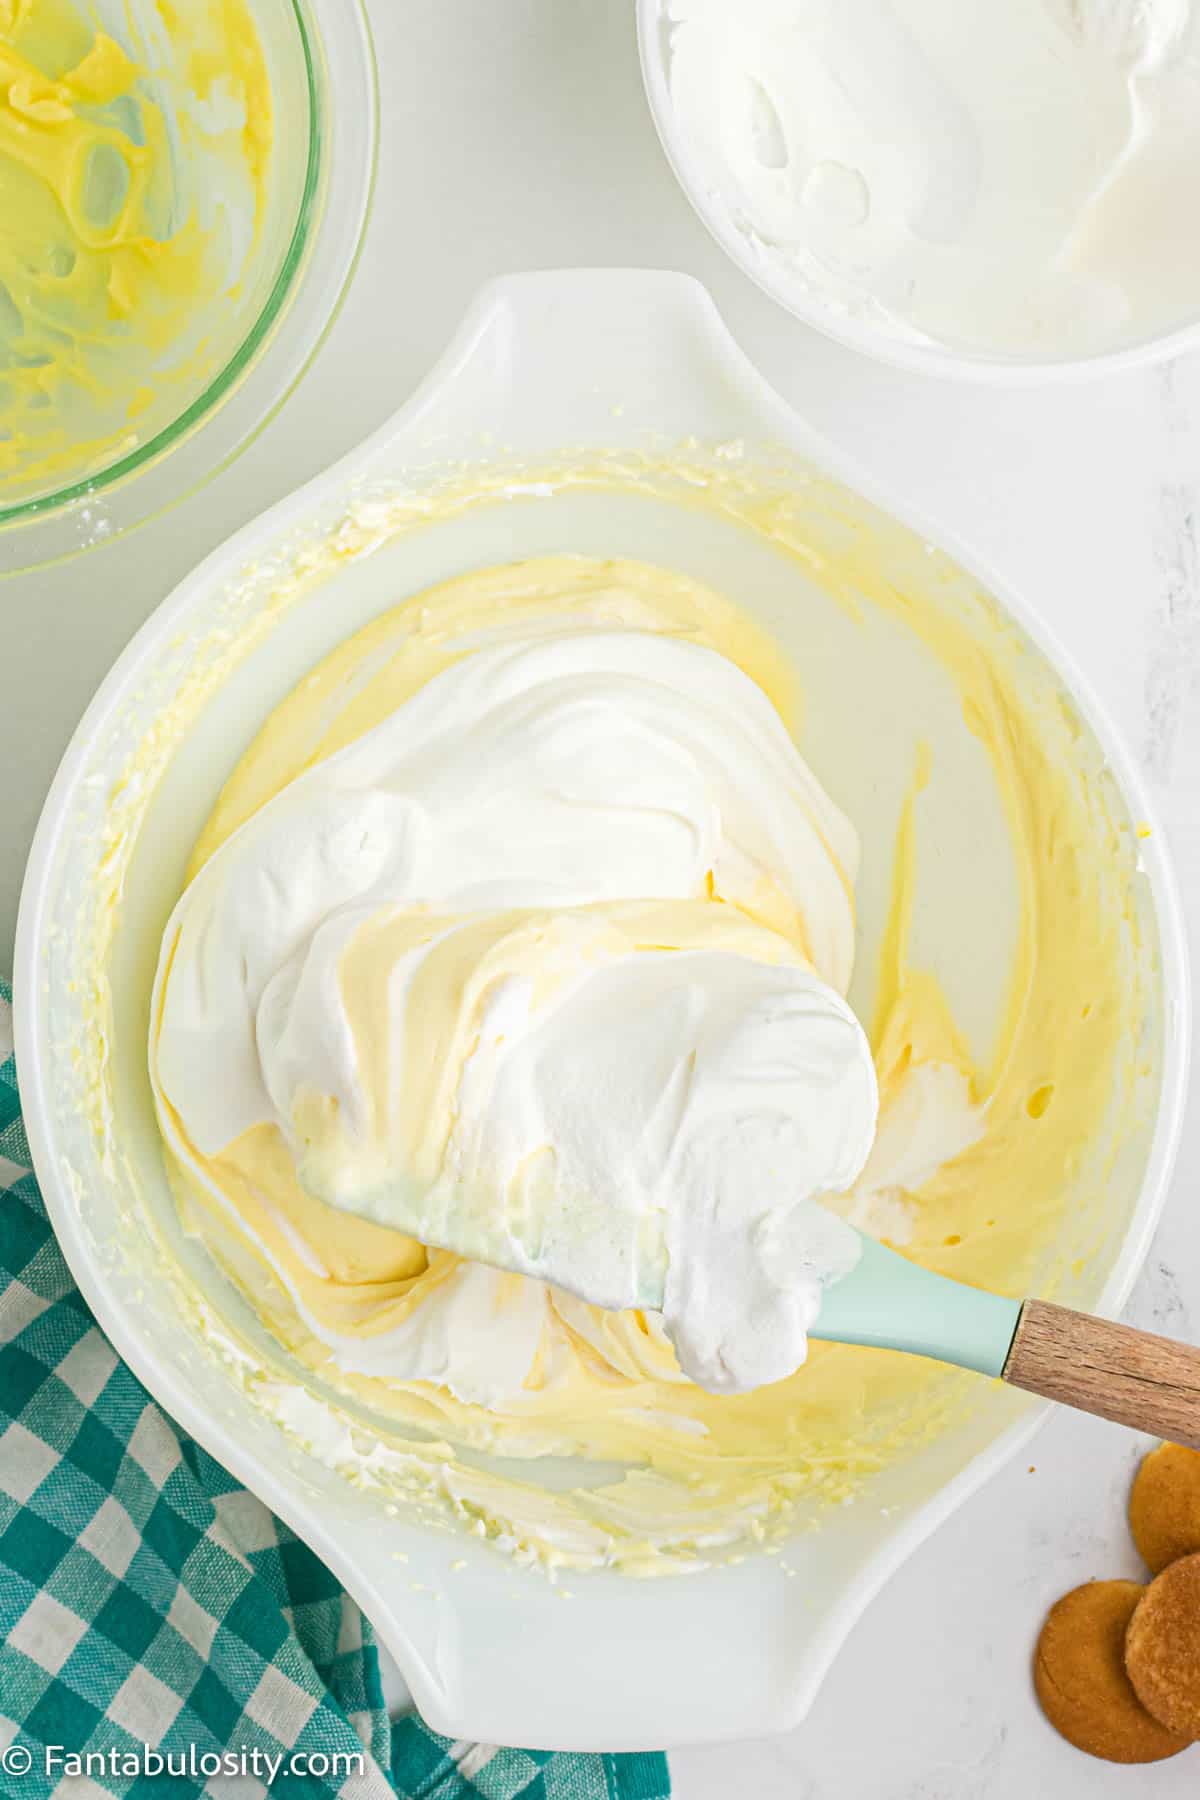
Fruit Dip
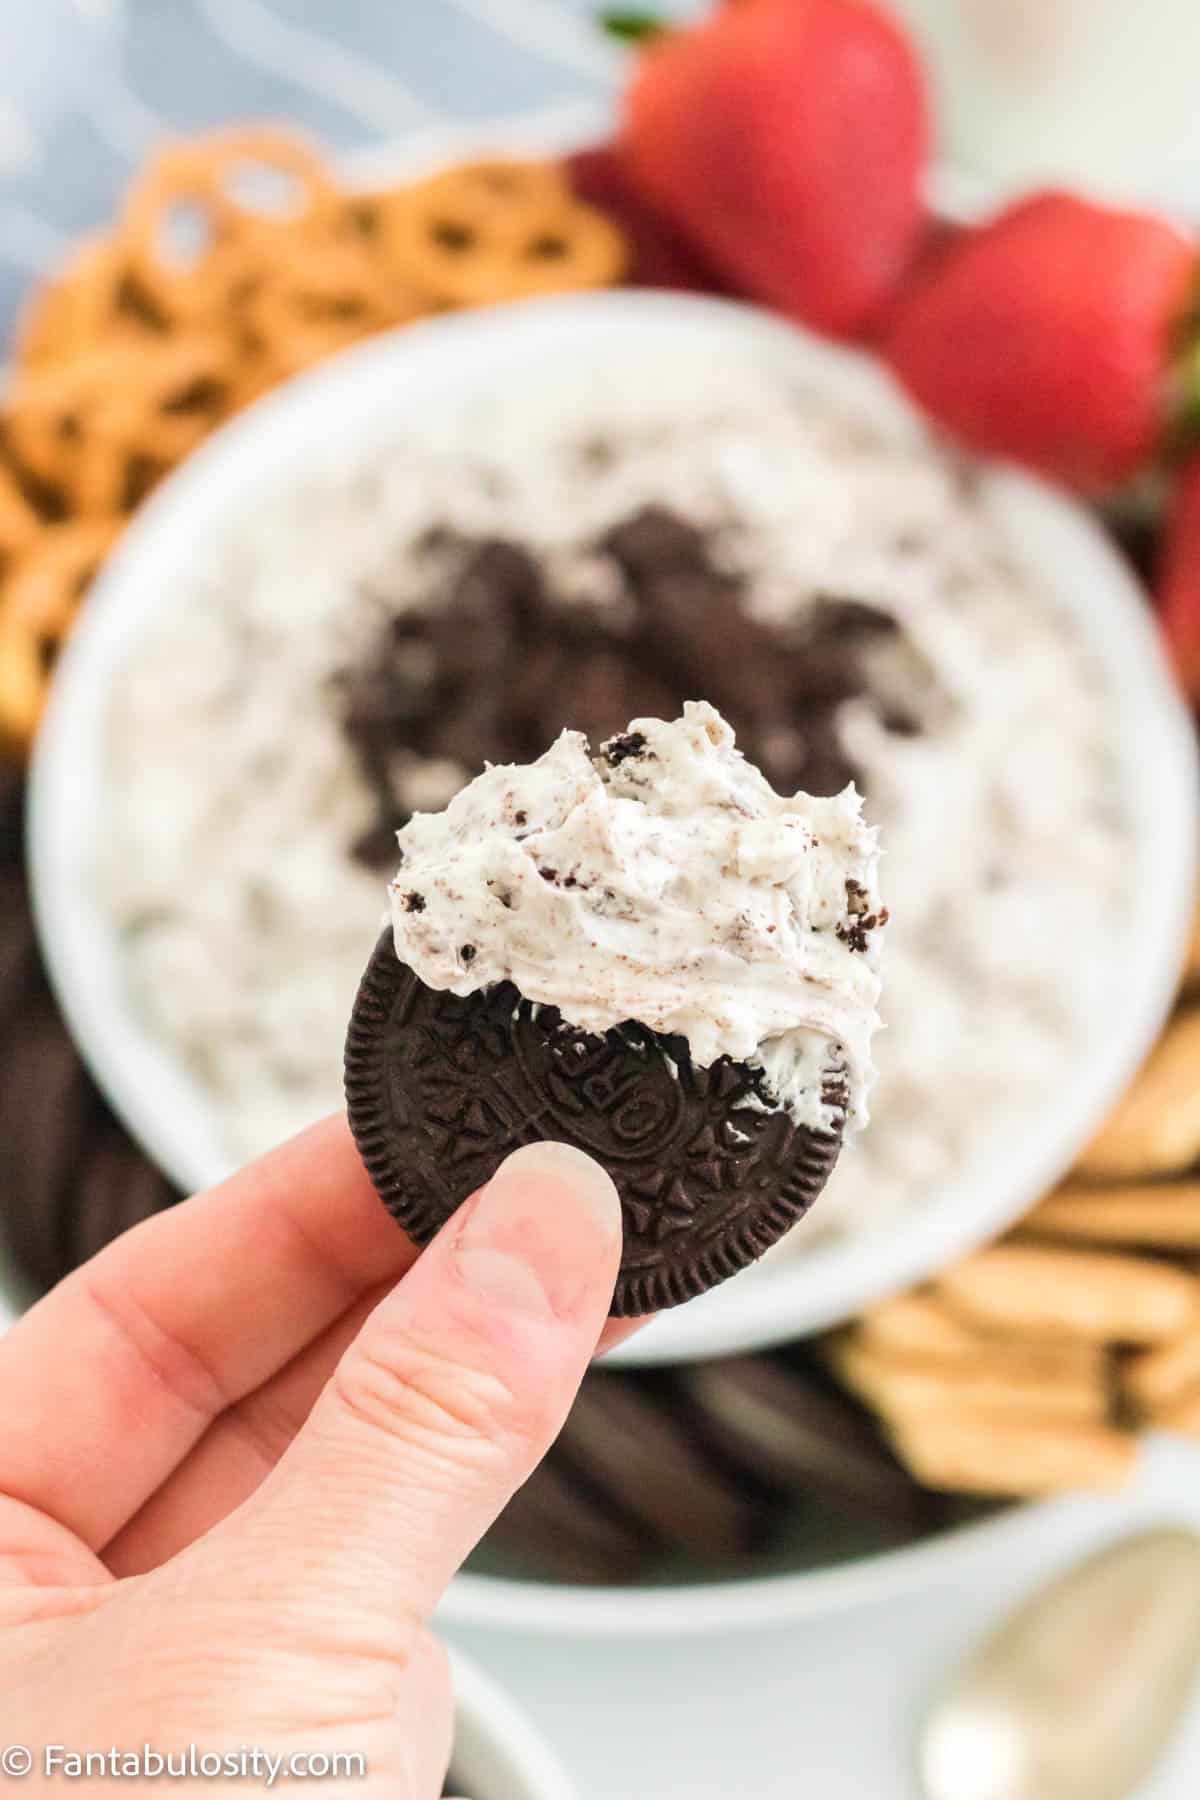
- We love the fruit dip with marshmallow fluff recipe in the instructions below!
Instructions
- Place the bowl in the middle where the widest section is. Fill it with your favorite fruit dip recipe!
- Place the three crackers on the opposite sides of each other. One in the middle on top and the bottom across from each other.
- Place strawberries, apples, and blueberries next to crackers. Make sure you leave enough space for the rest of the fruits.
- Then fill in the rest of the empty spaces with kiwi, cantaloupe, and pineapple.