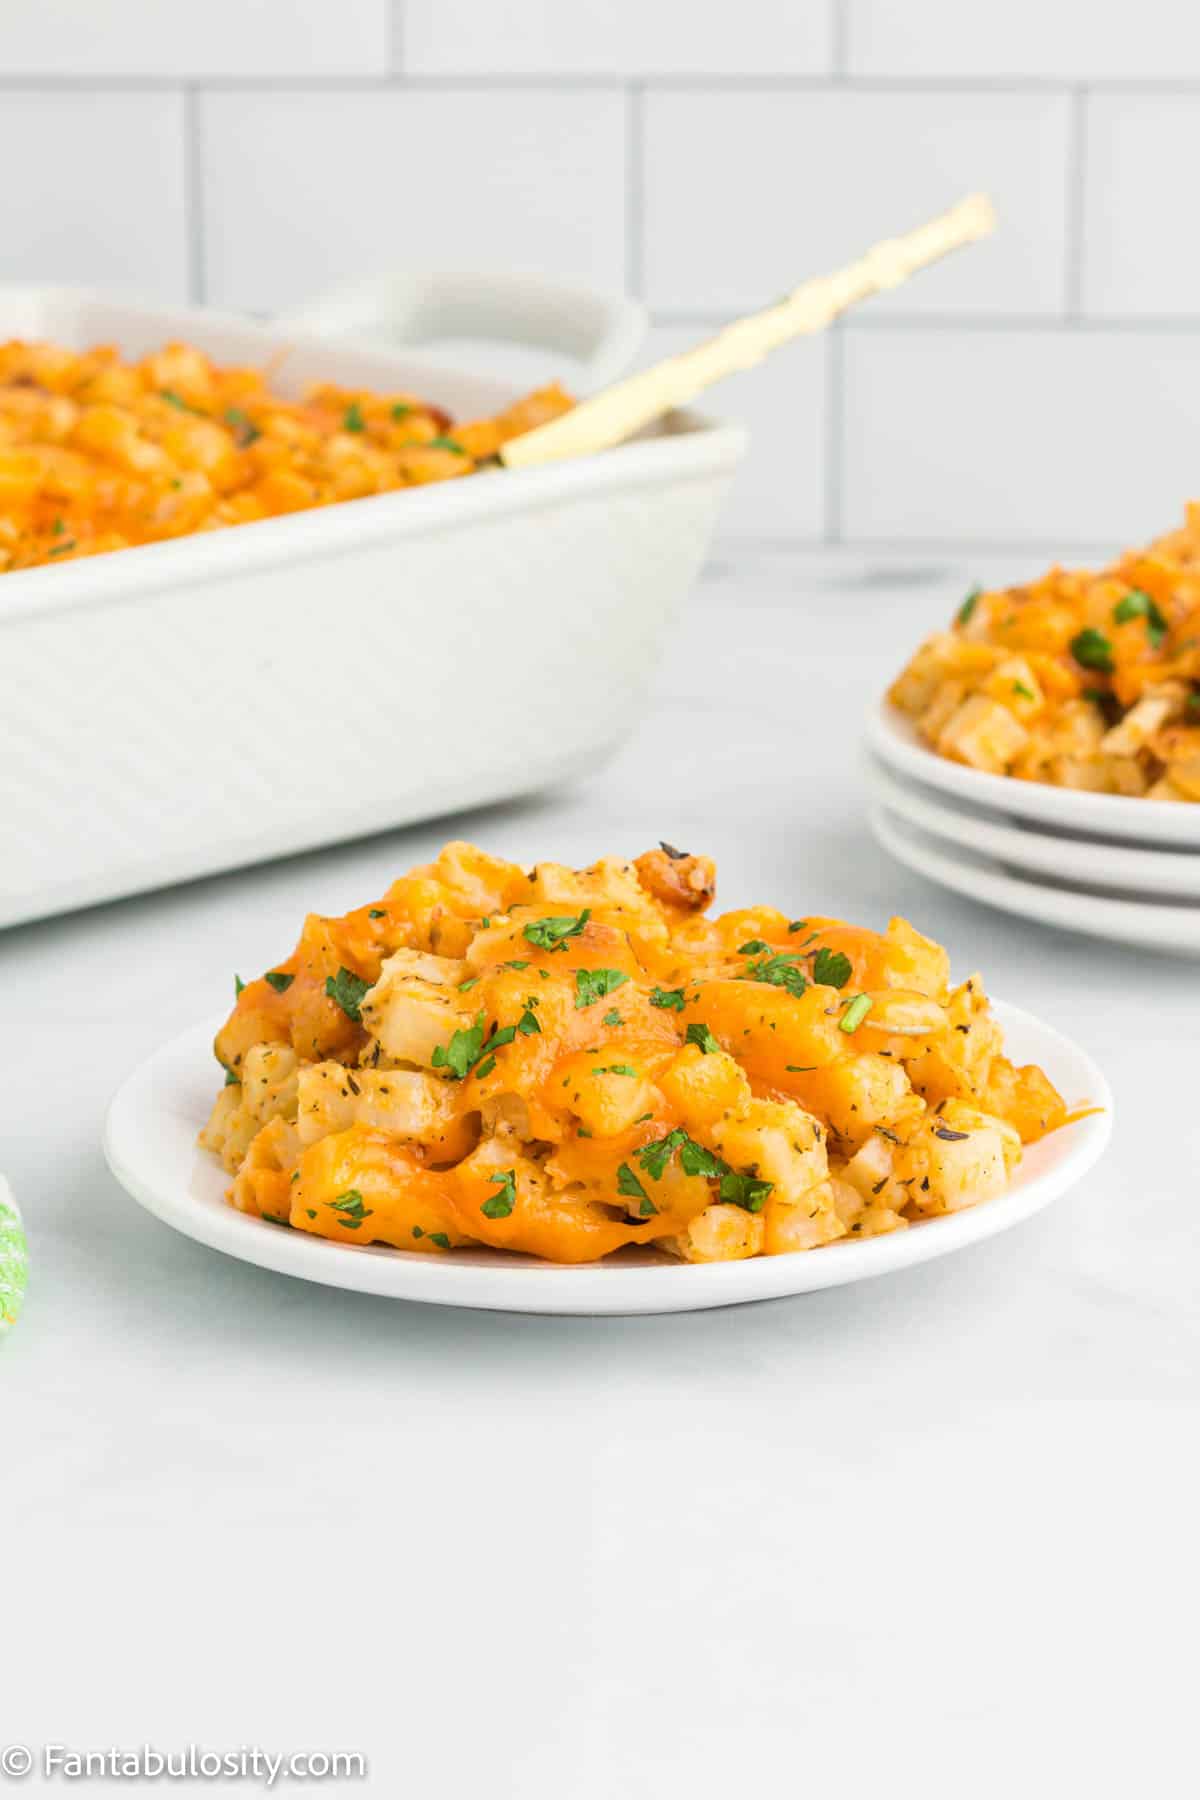
Crock Pot Cheesy Hashbrowns: Tender potatoes and a seasoned cheese sauce are cooked low and slow in the crock pot, then topped with more cheese and broiled until they are bubbly and golden brown!
With the holidays right around the corner, I am always looking for new side dishes to serve alongside our Instant Pot turkey, smoked Cornish hens, and roasted pork tenderloin. I can’t go wrong with potatoes and cheese cooked until ooey, gooey, and gloriously delicious!
Why you’ll love this recipe
Are you planning a big holiday dinner? Slow cooker recipes to the rescue! With oven space at a premium, this recipe for cheesy hashbrowns in the crock pot allows you to save the oven space for the other side dishes on your menu.
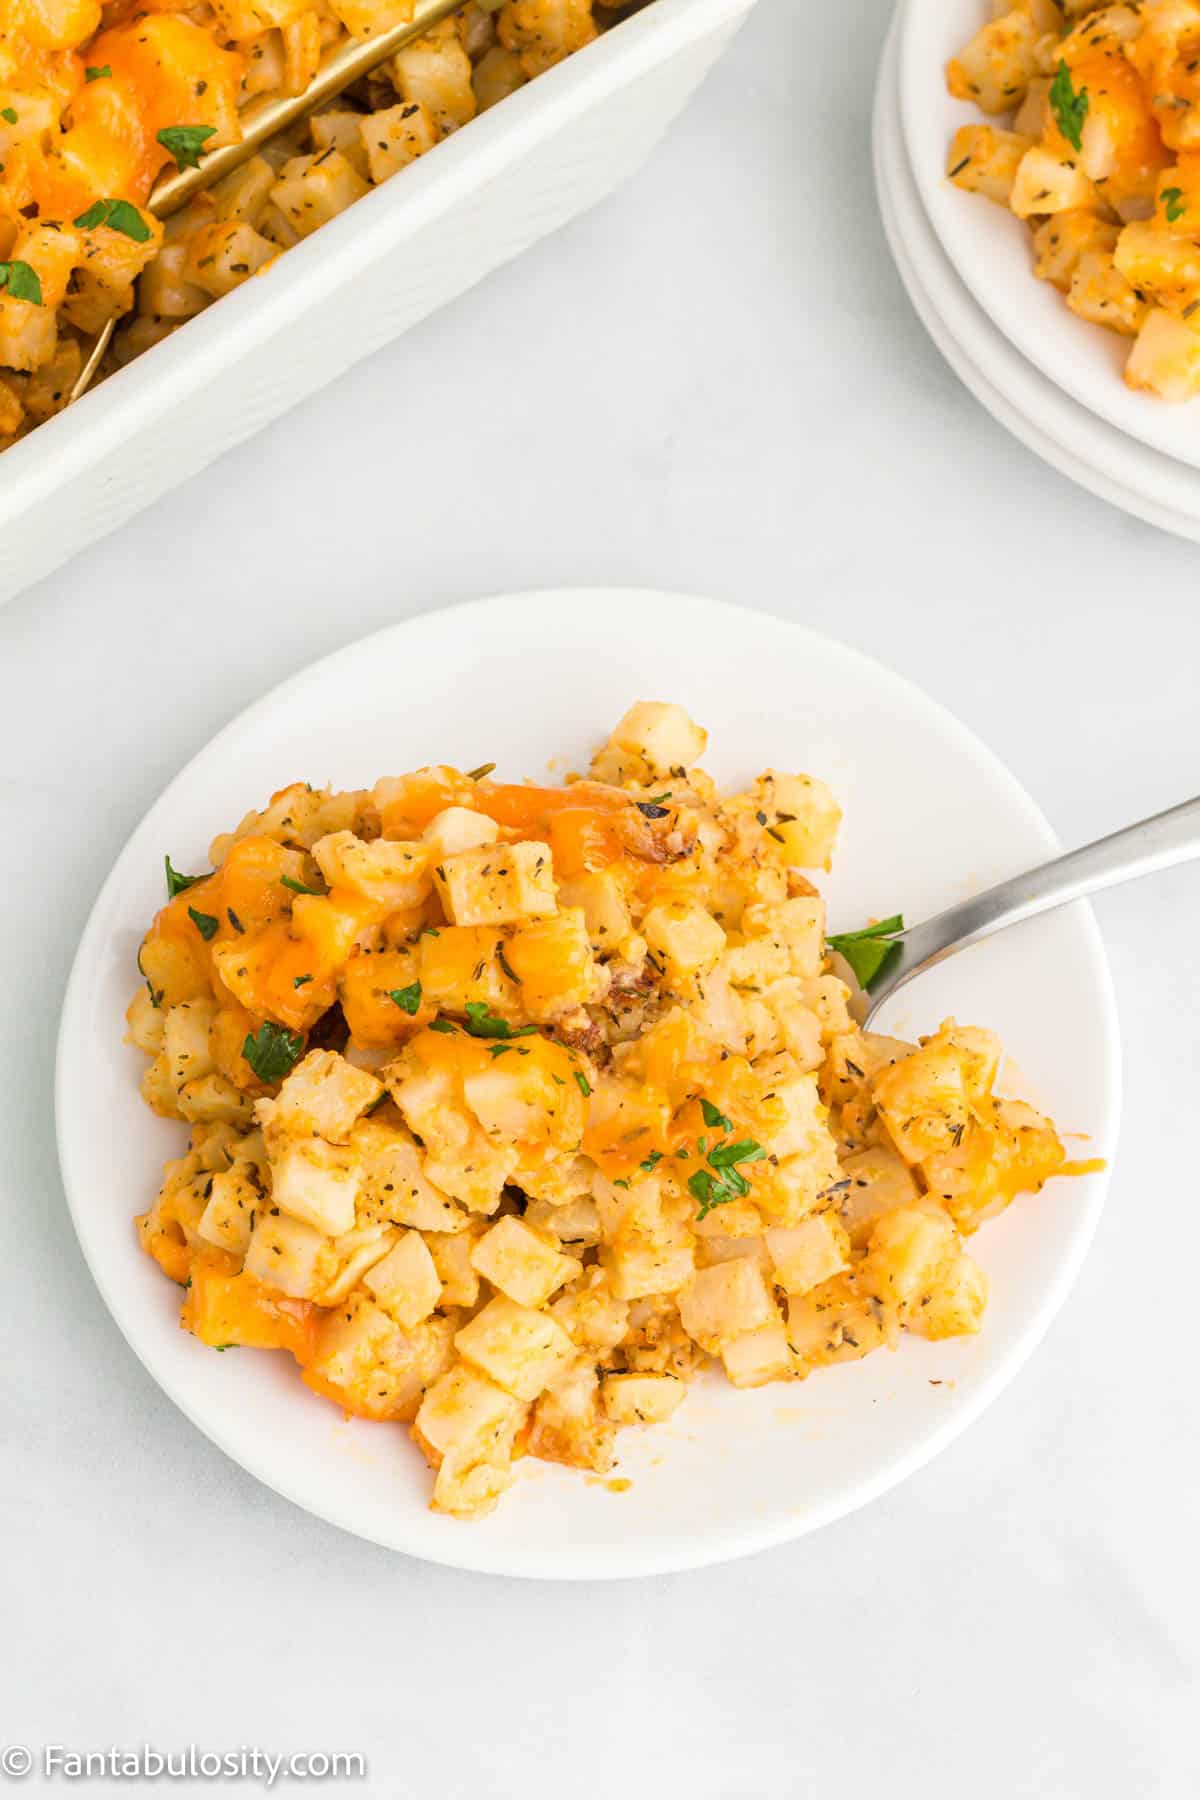
Speaking of a big family dinner or potluck, this is the perfect side dish to feed a crowd. Whether you serve cheesy hashbrowns as a side dish with a main course or add it to your brunch menu, I can almost guarantee you won’t have leftovers. Much like this cheesy hashbrown and hamburger casserole.
Cheesy hashbrowns are the ultimate comfort food. Have you ever heard them called funeral potatoes? Or, maybe you’ve heard of party potatoes too, and these are similar for sure.
[feast_advanced_jump_to]Ingredients
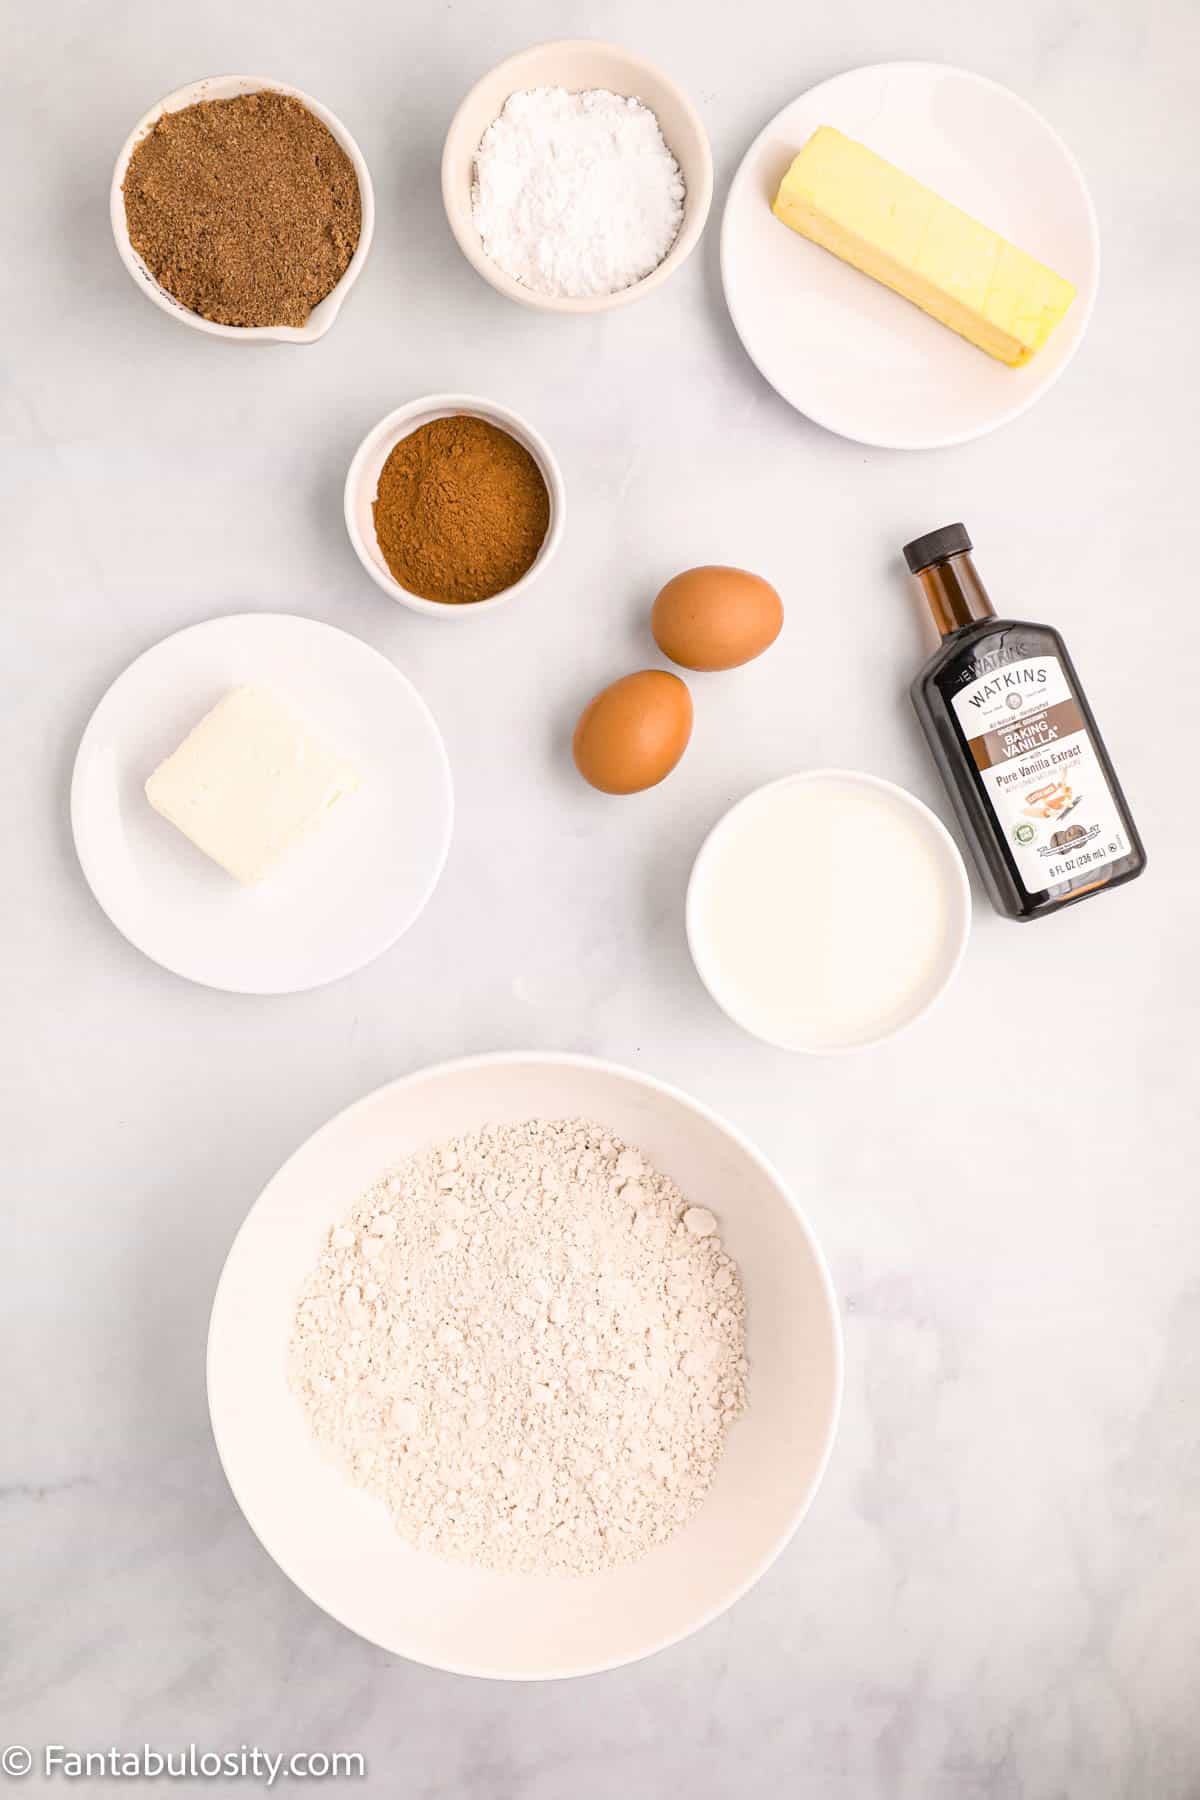
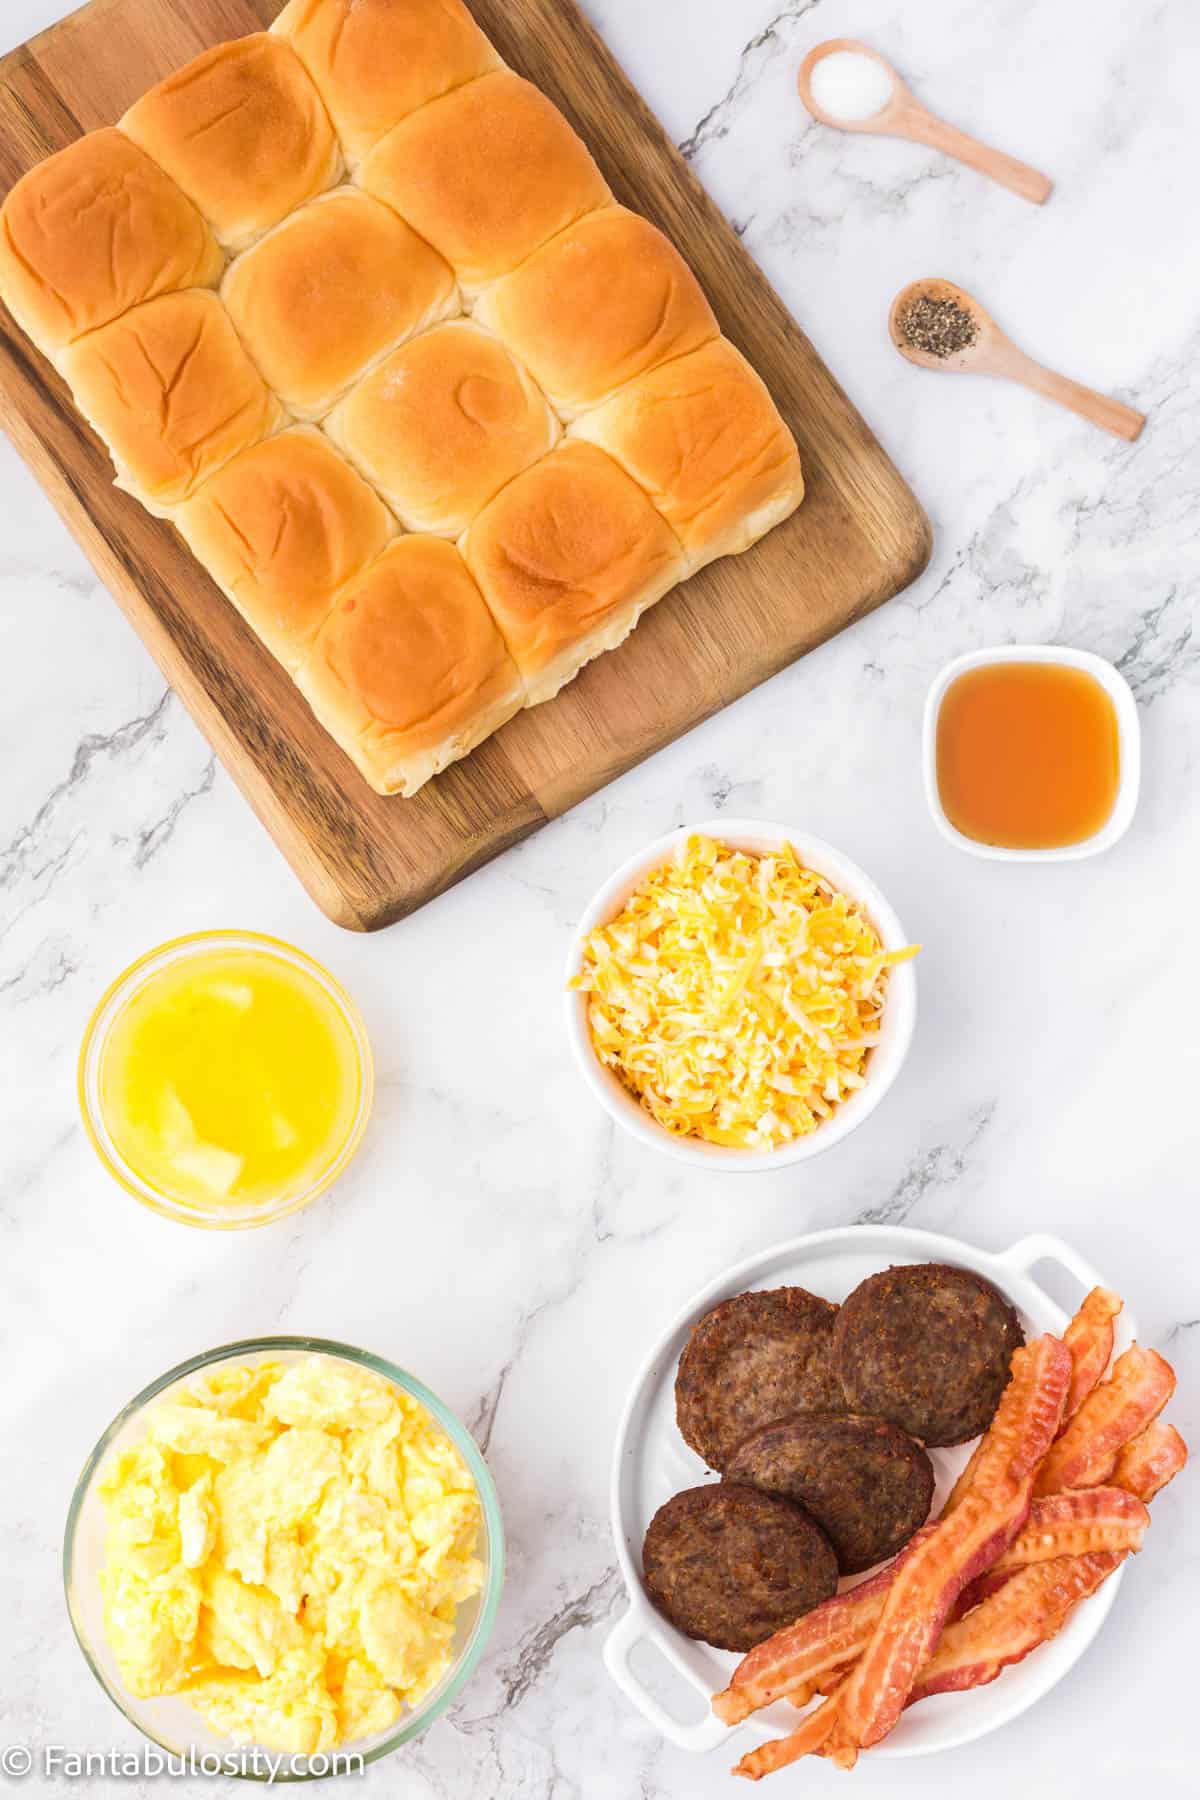
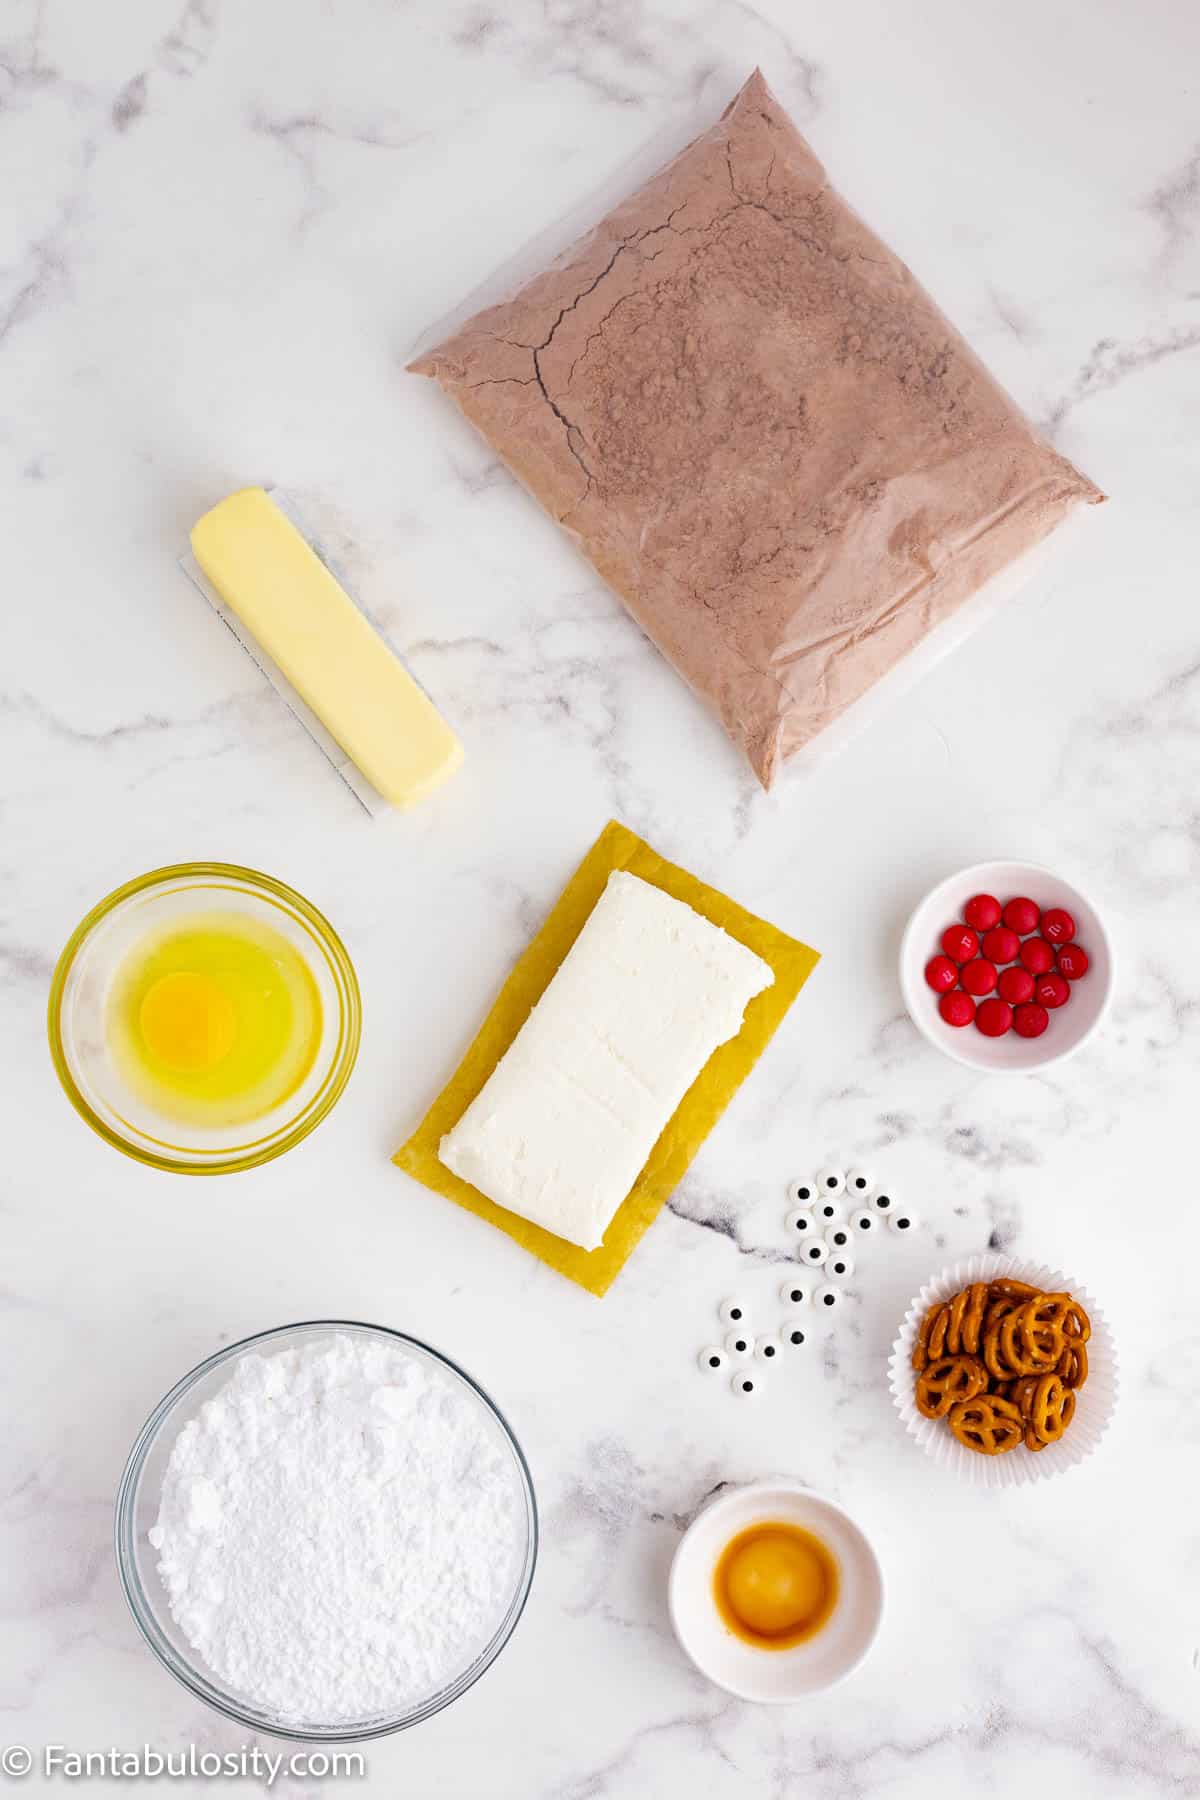
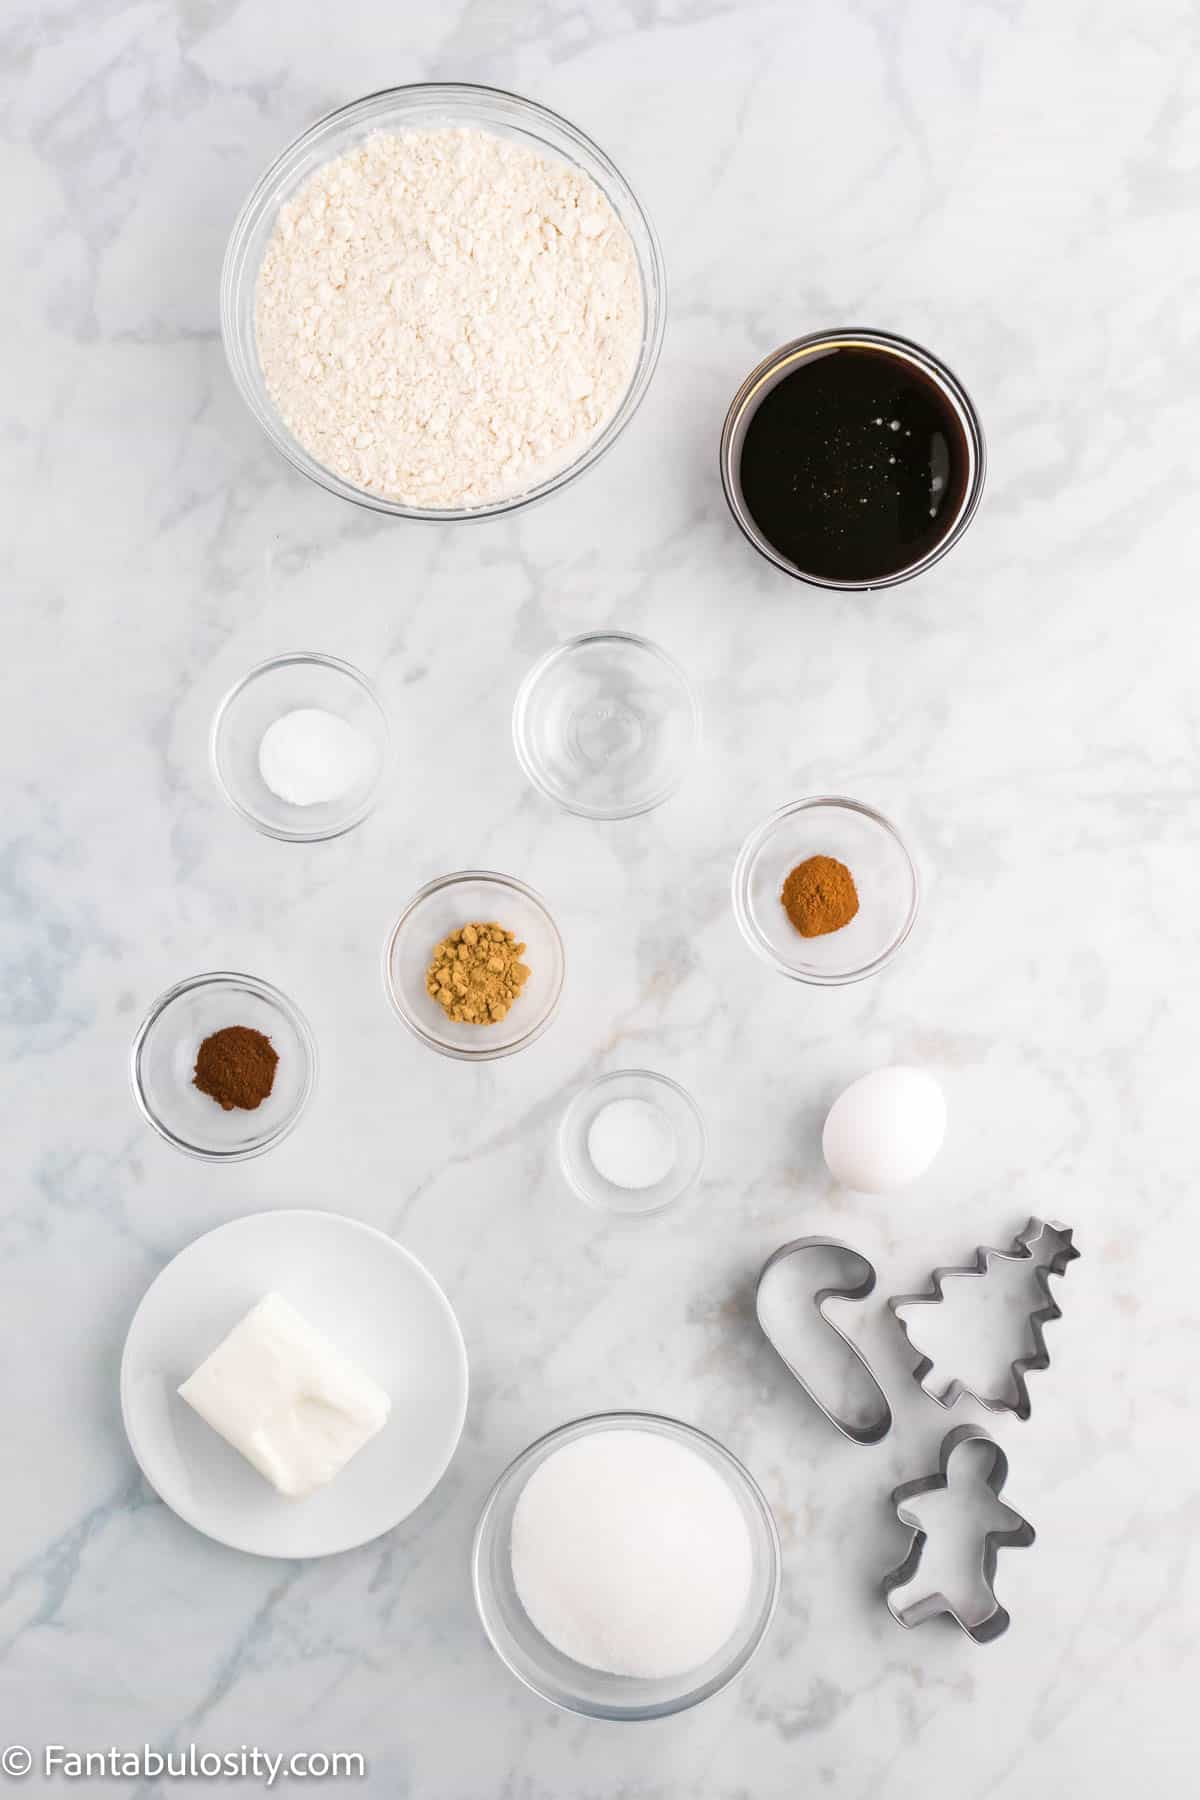
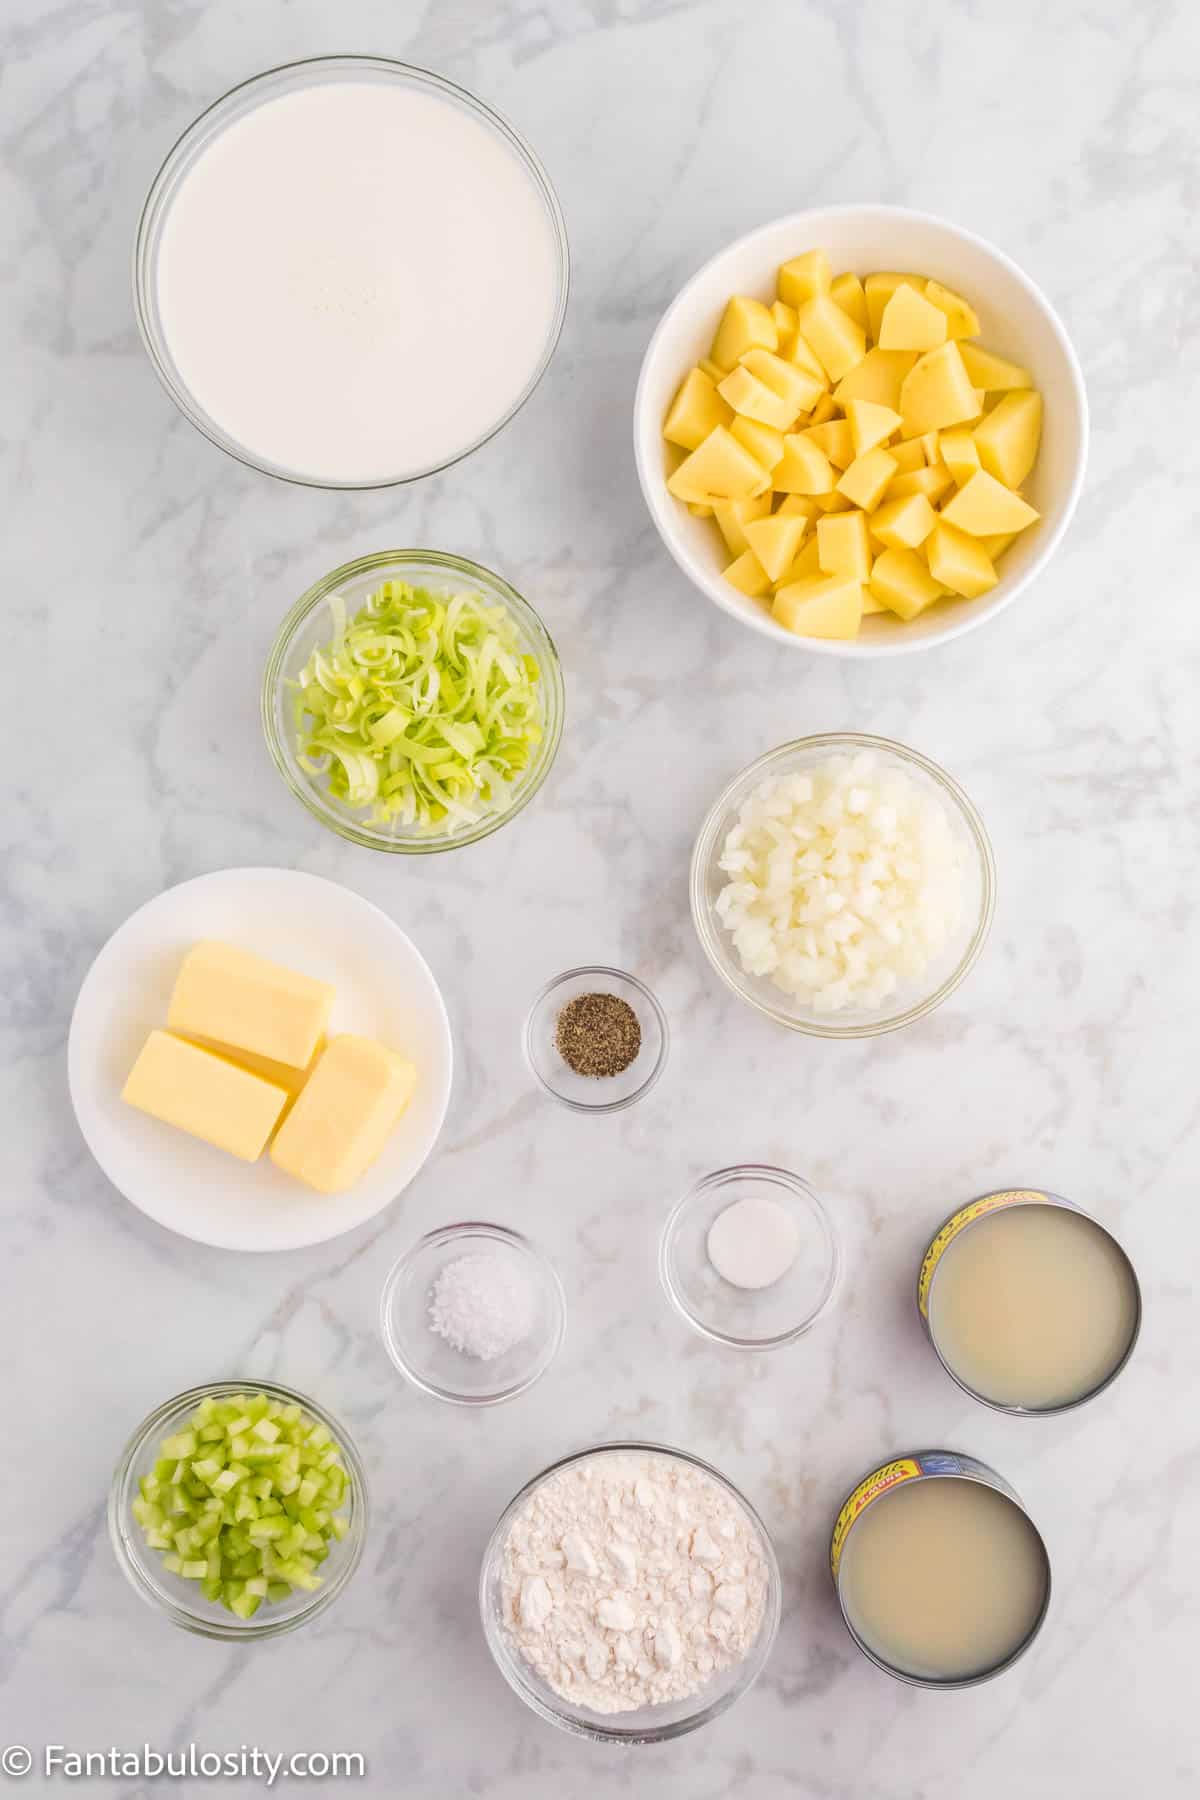
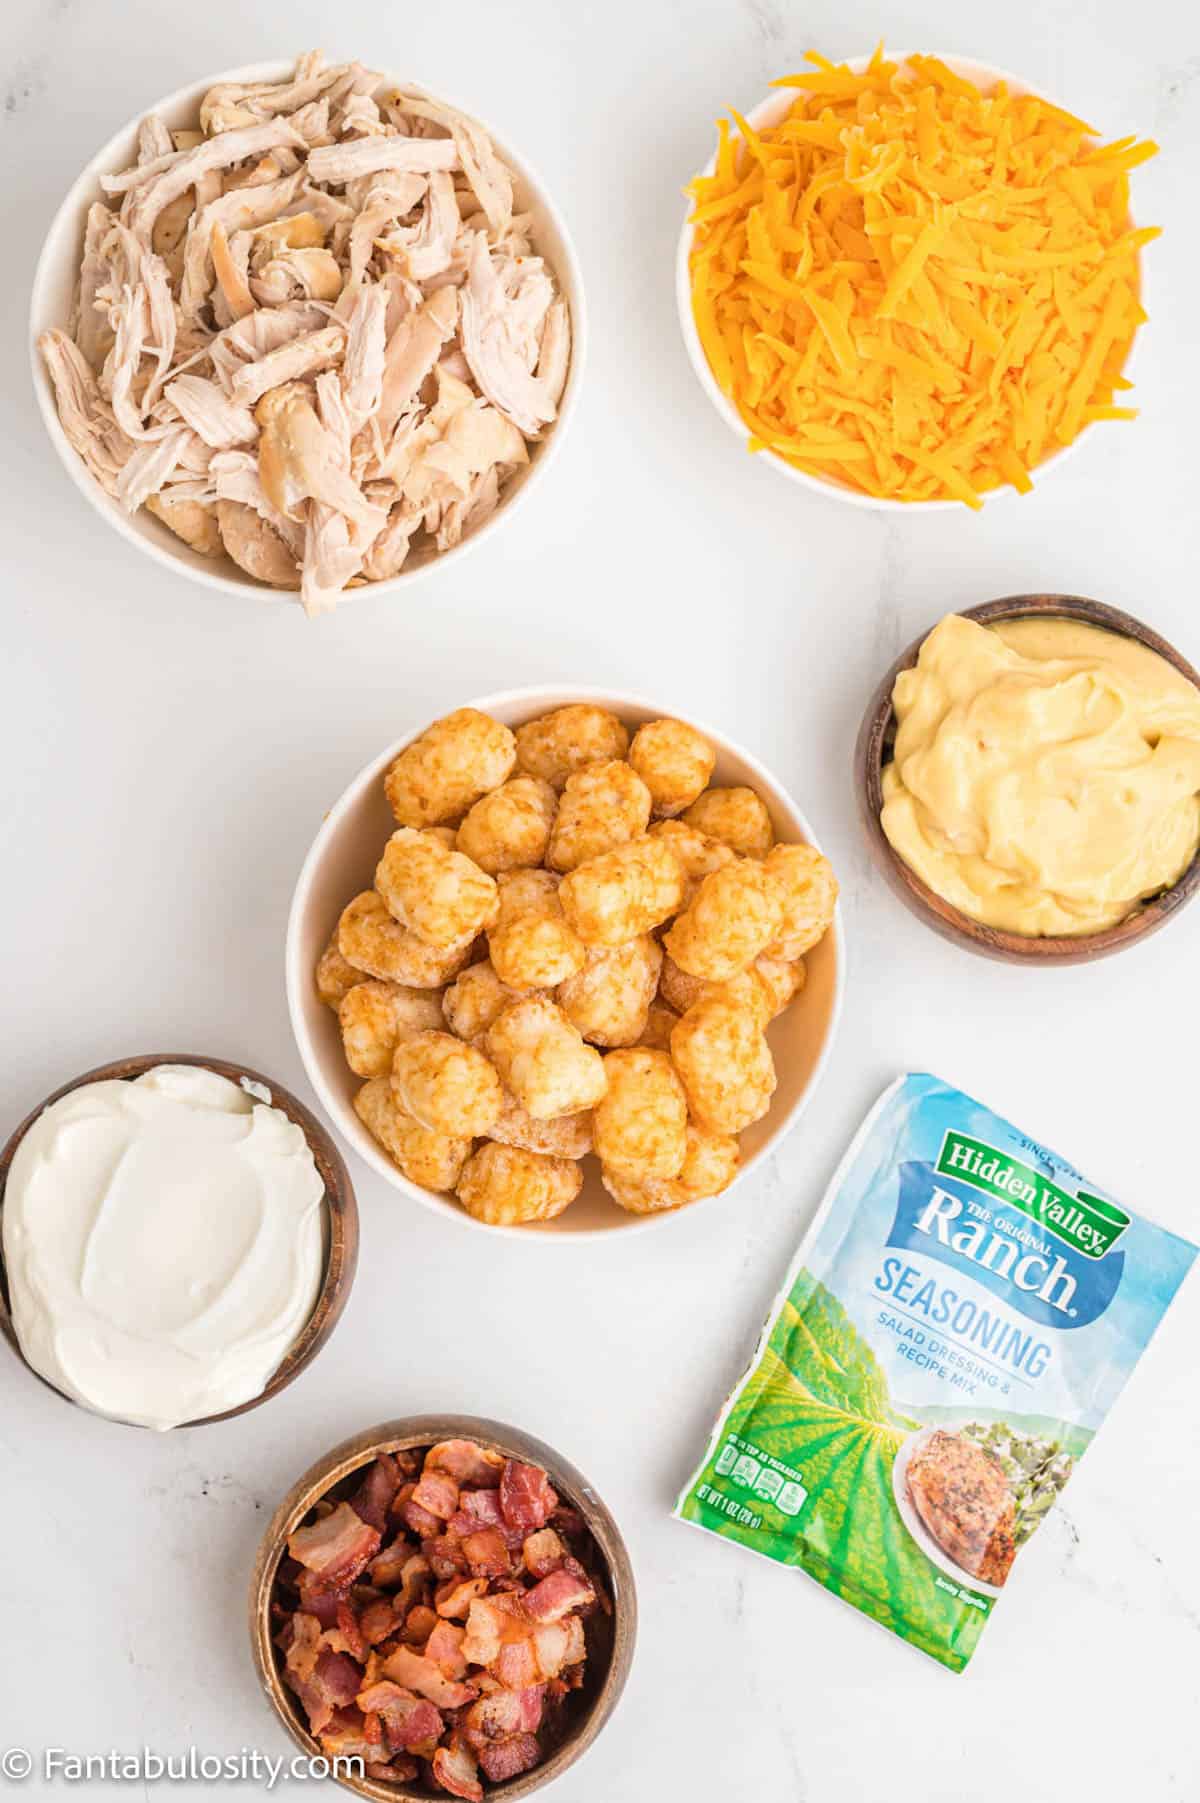
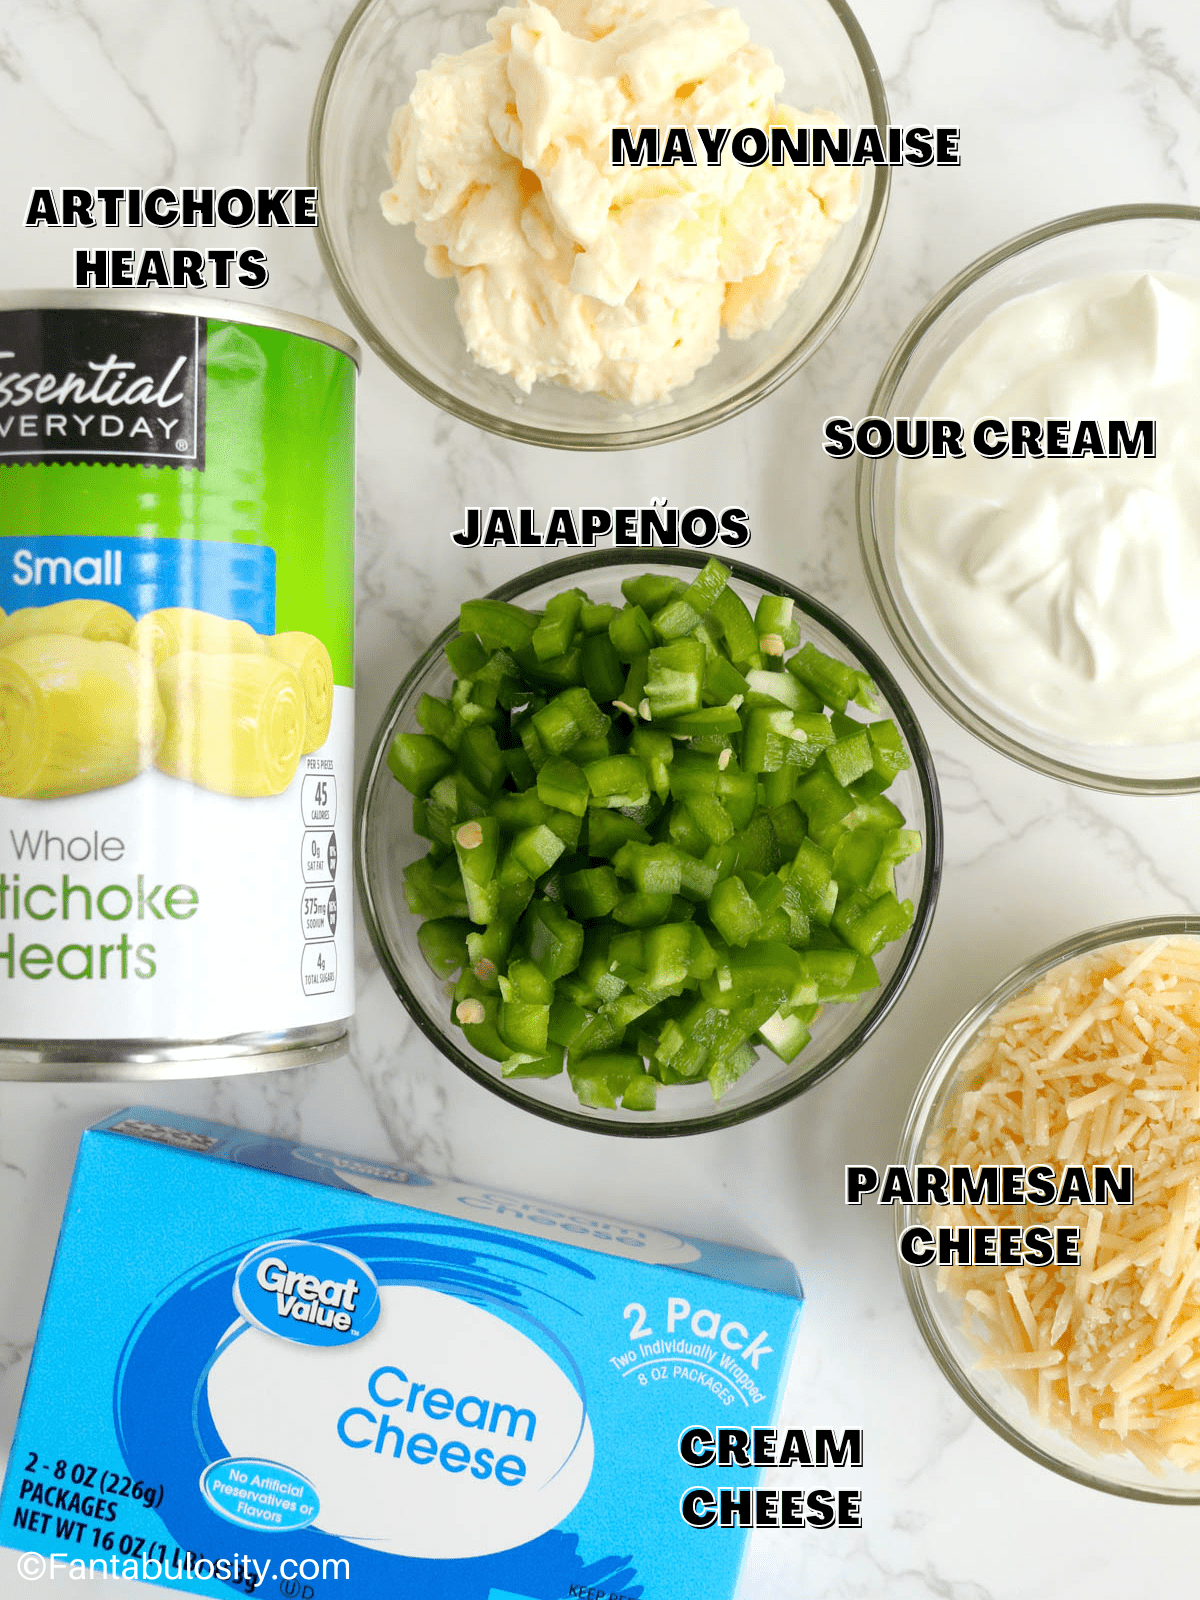
This cheesy potatoes recipe is made with simple ingredients that can be found at your local grocery store.

- Two 26 oz. bags of diced frozen hashbrowns
- One 10.5 oz. can of condensed cheddar cheese soup
- 1 cup sour cream
- ¼ cup unsalted melted butter
- 2 tablespoons of Italian seasoning
- 1 teaspoon garlic powder
- ½ teaspoon salt
- ½ teaspoon black pepper
- 5 cups shredded cheddar cheese, divided
- 1 tablespoon fresh parsley, chopped (optional for garnish)
See the printable recipe card below for ingredients, nutrition information and detailed recipe notes.
Instructions
When I say this is an easy slow cooker recipe, I mean it. Once you combine the potatoes and cheese mixture in your crock pot, you can set it and forget it until the last few minutes under the broiler. Here are the step-by-step instructions with photos.
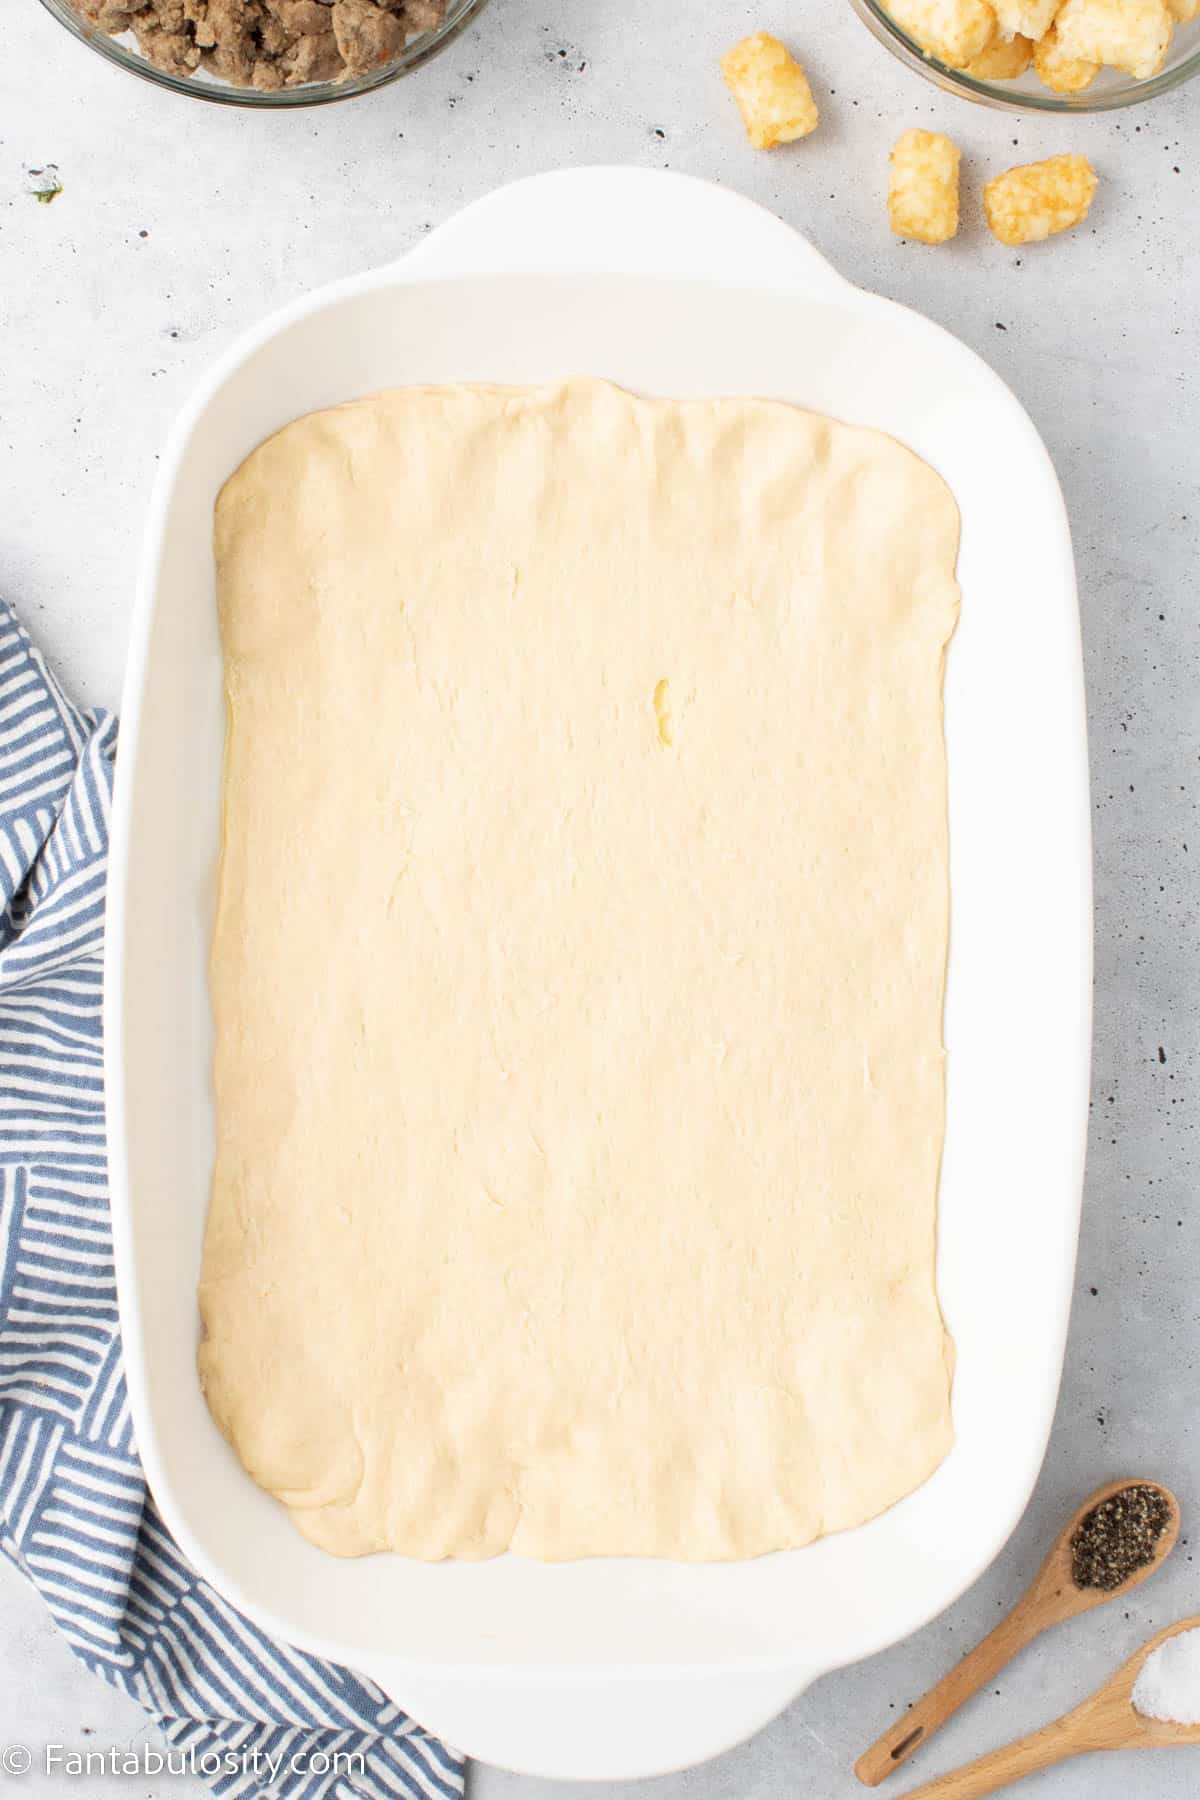
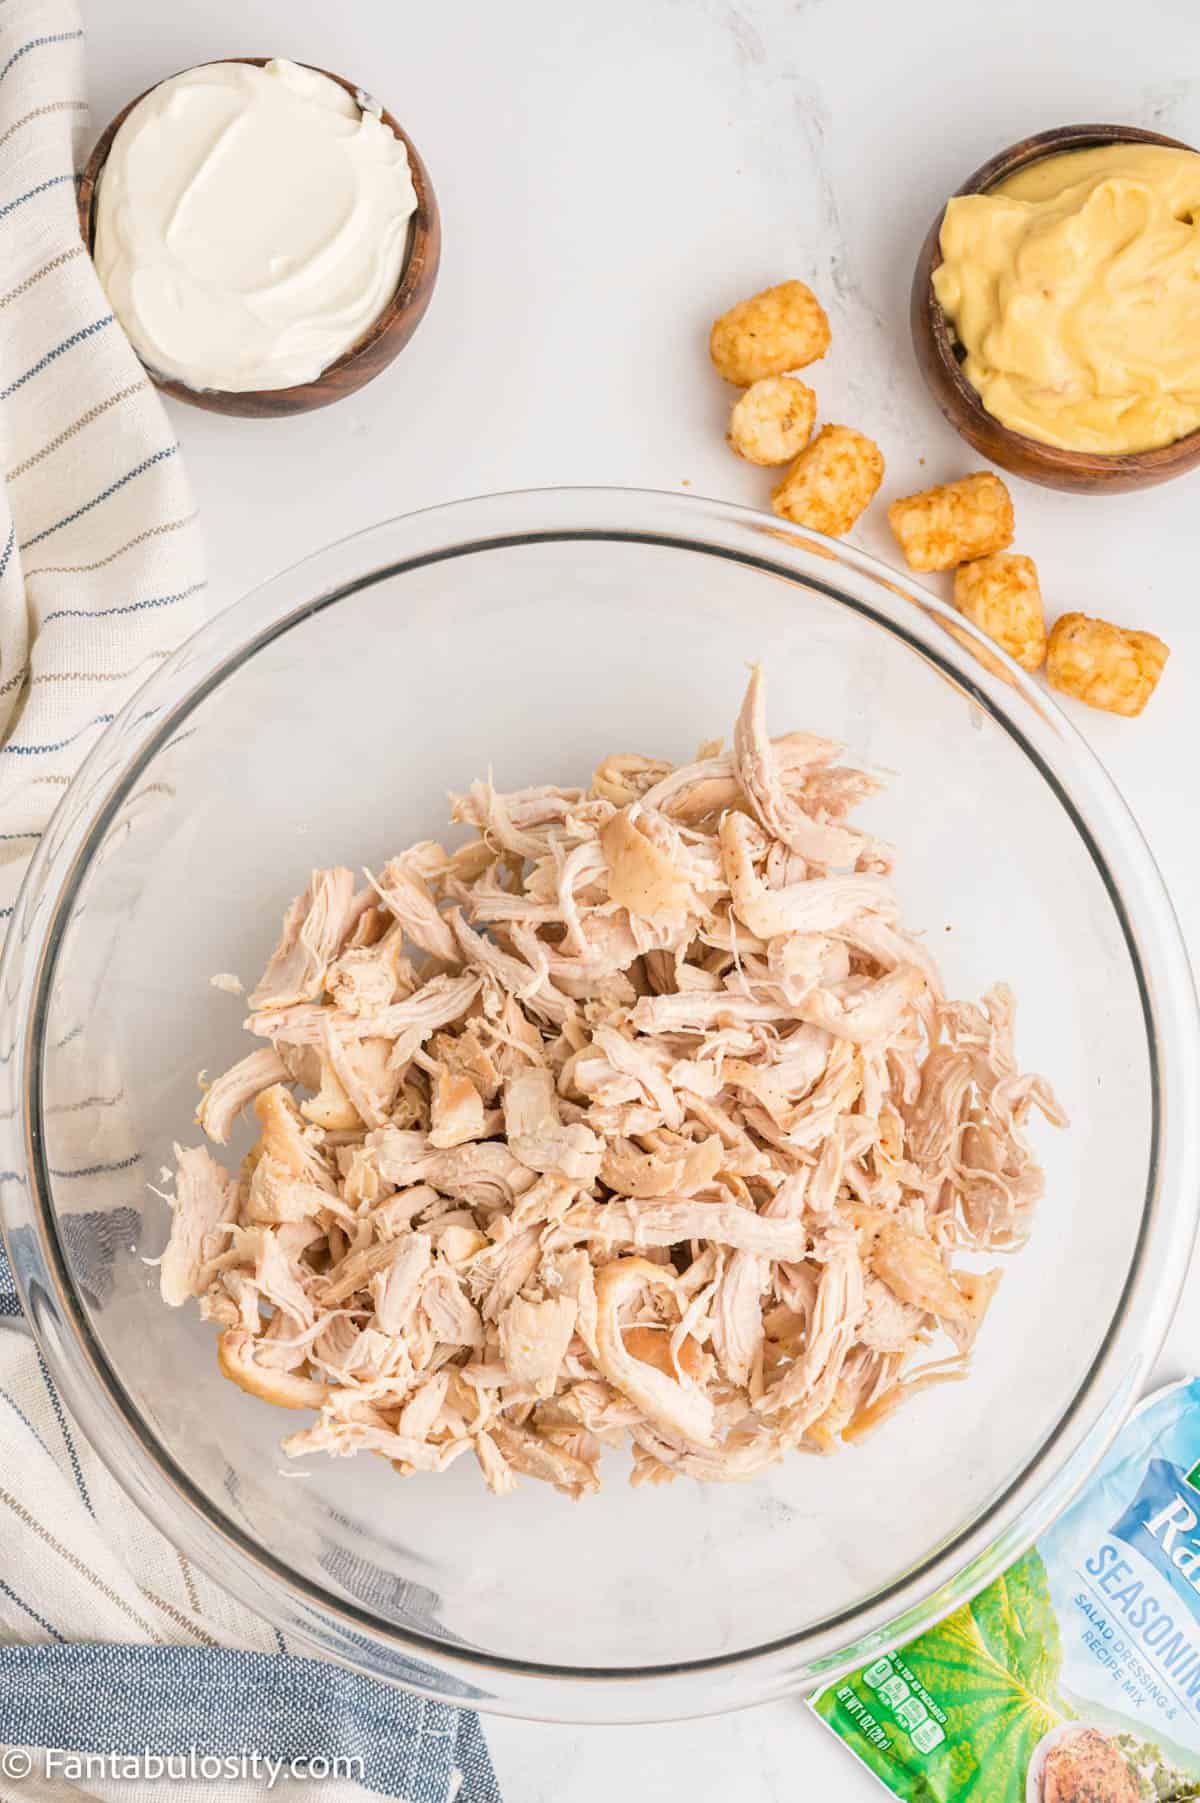
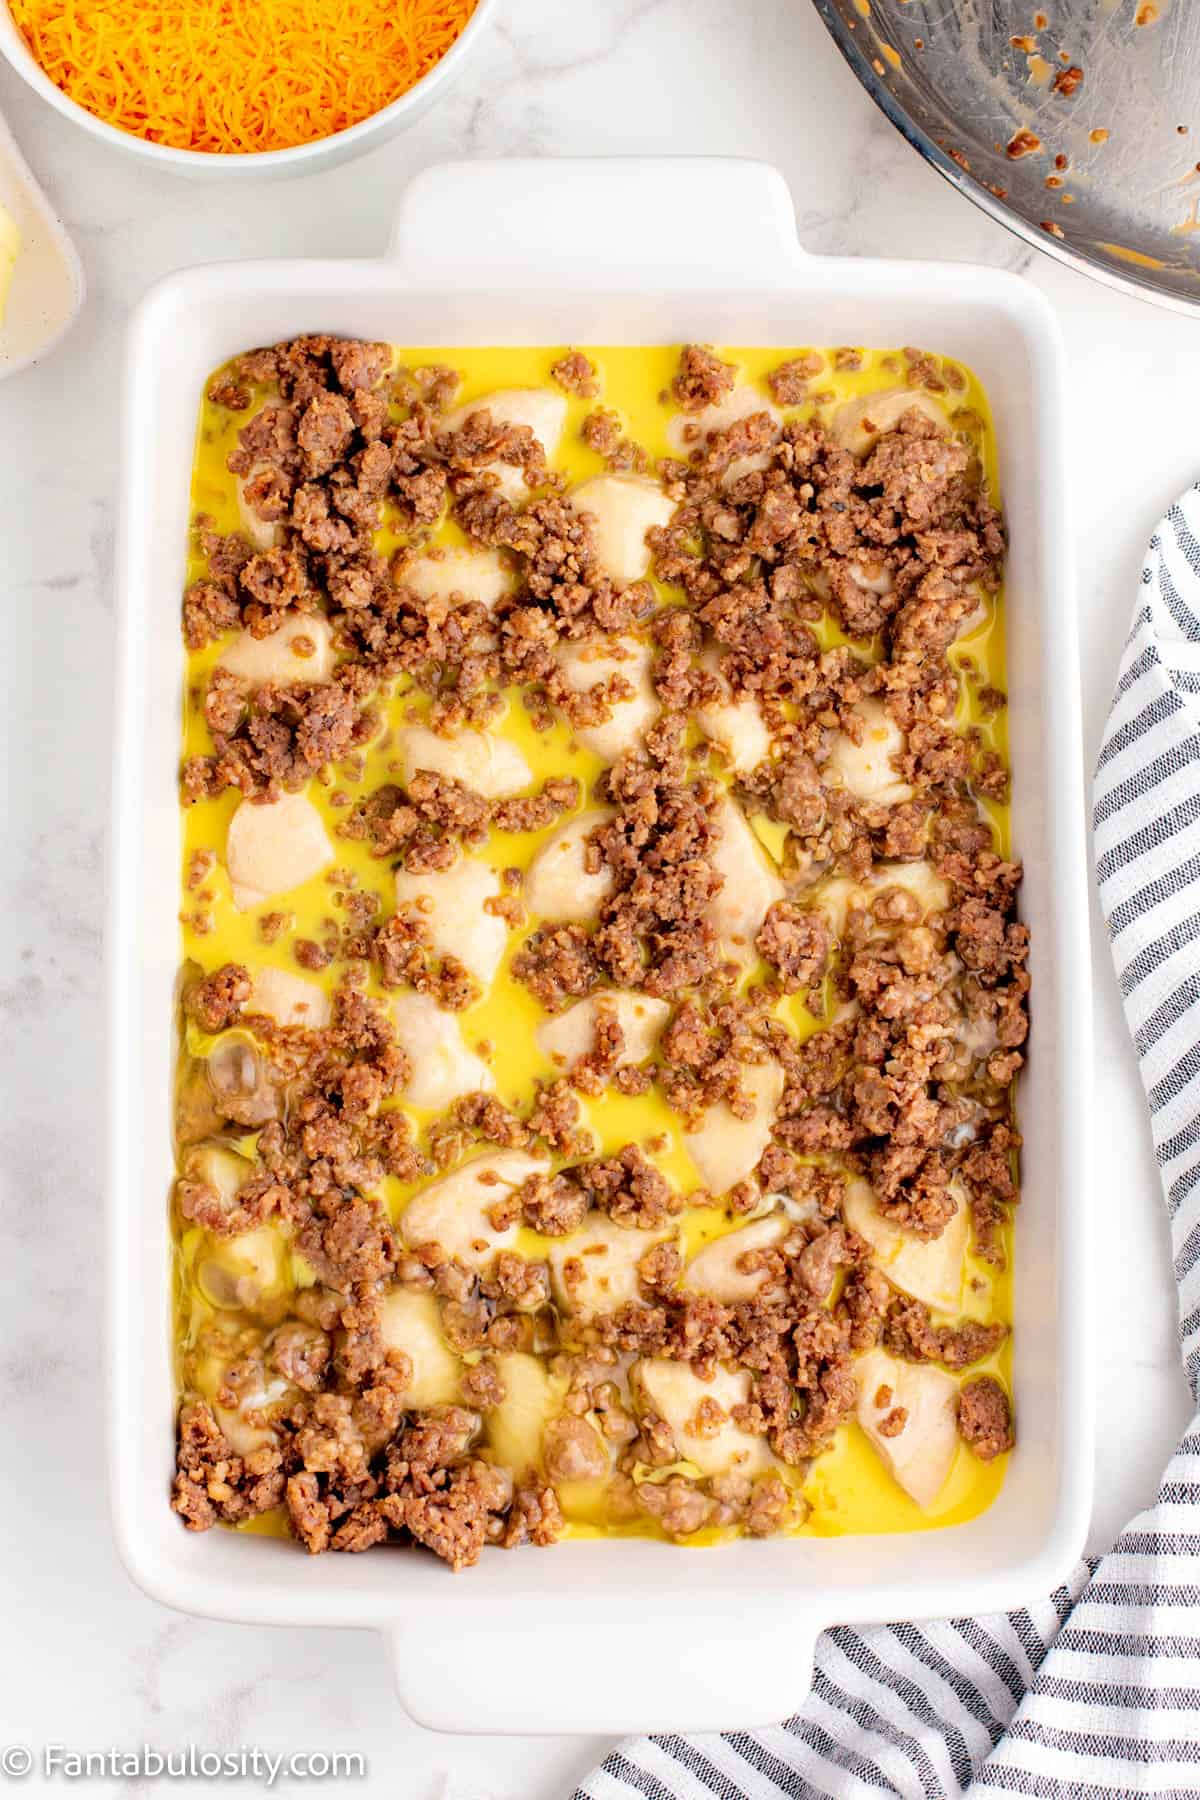
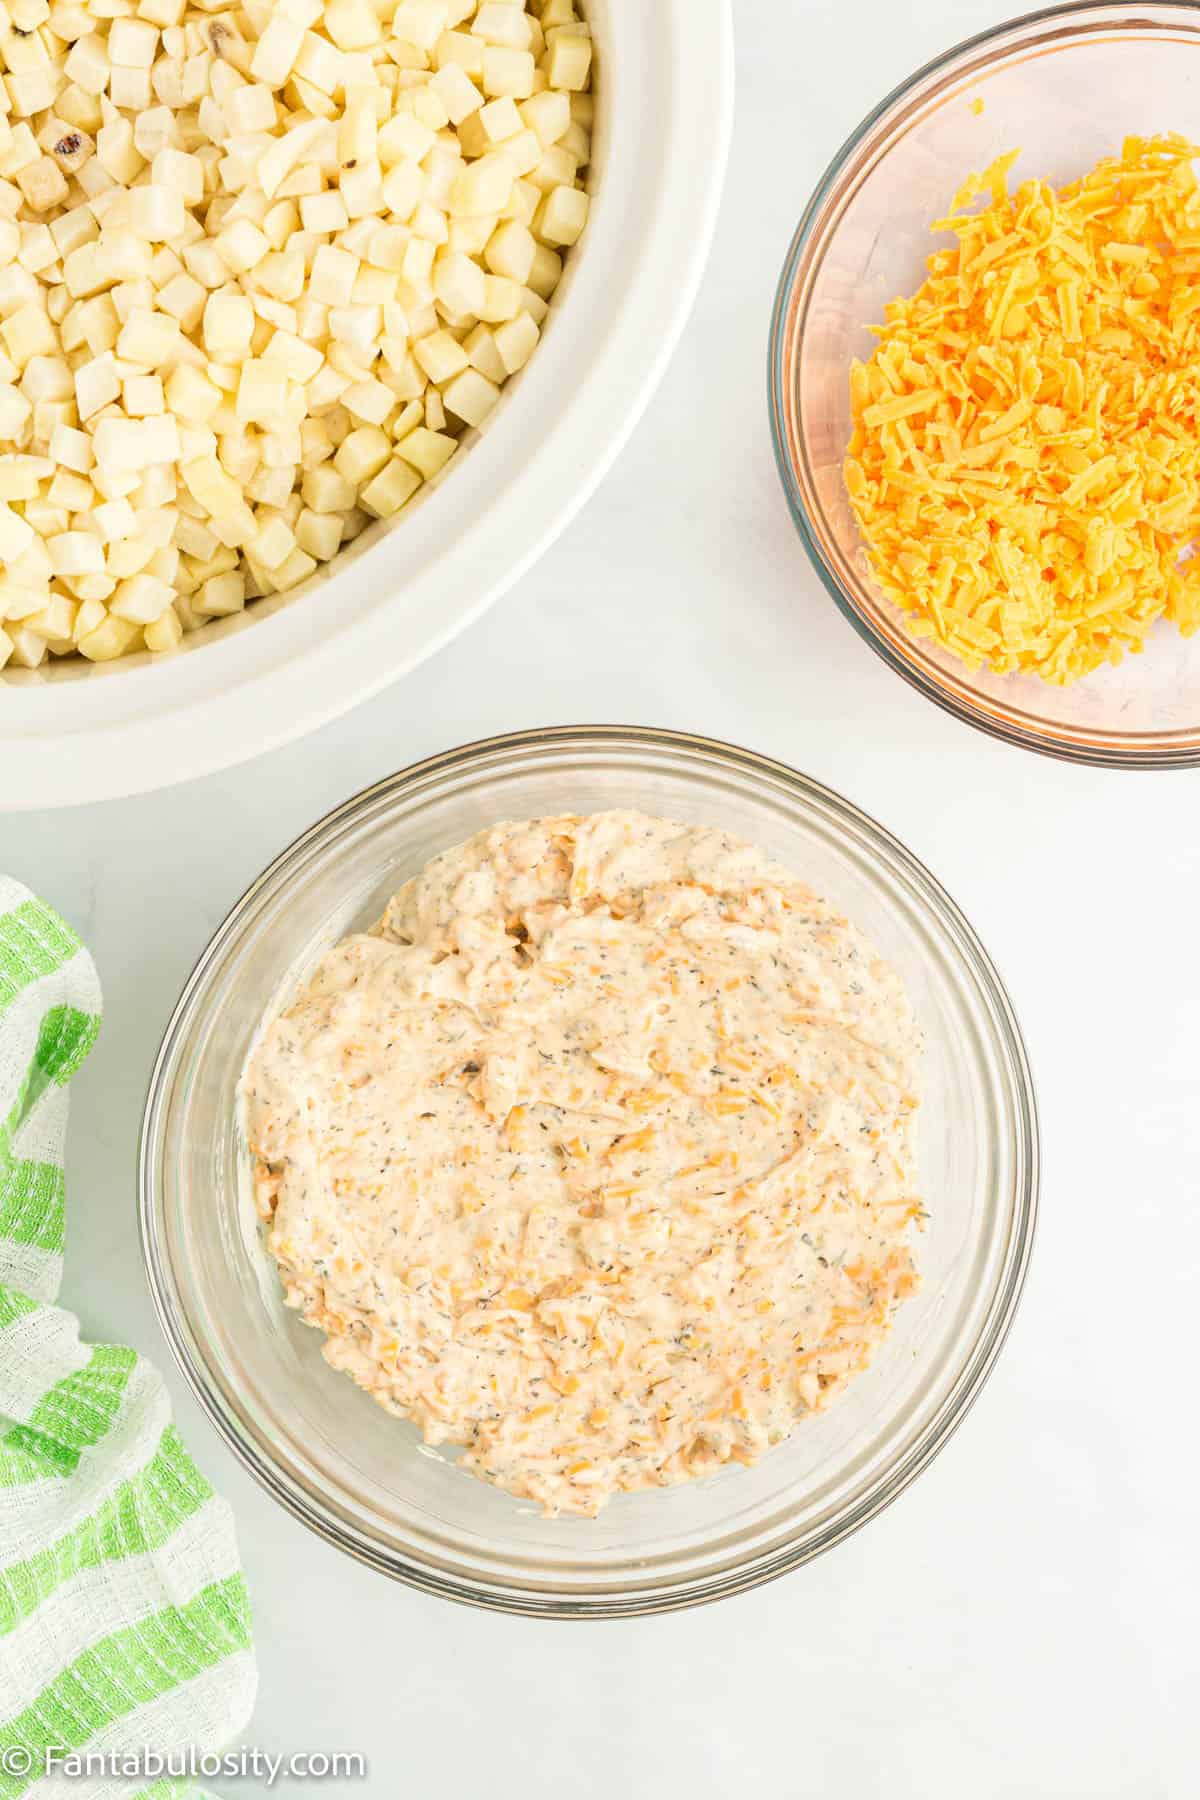
- First, place the two 26 oz. bags of frozen diced hash brown potatoes into the insert of a 6 quart crock pot.
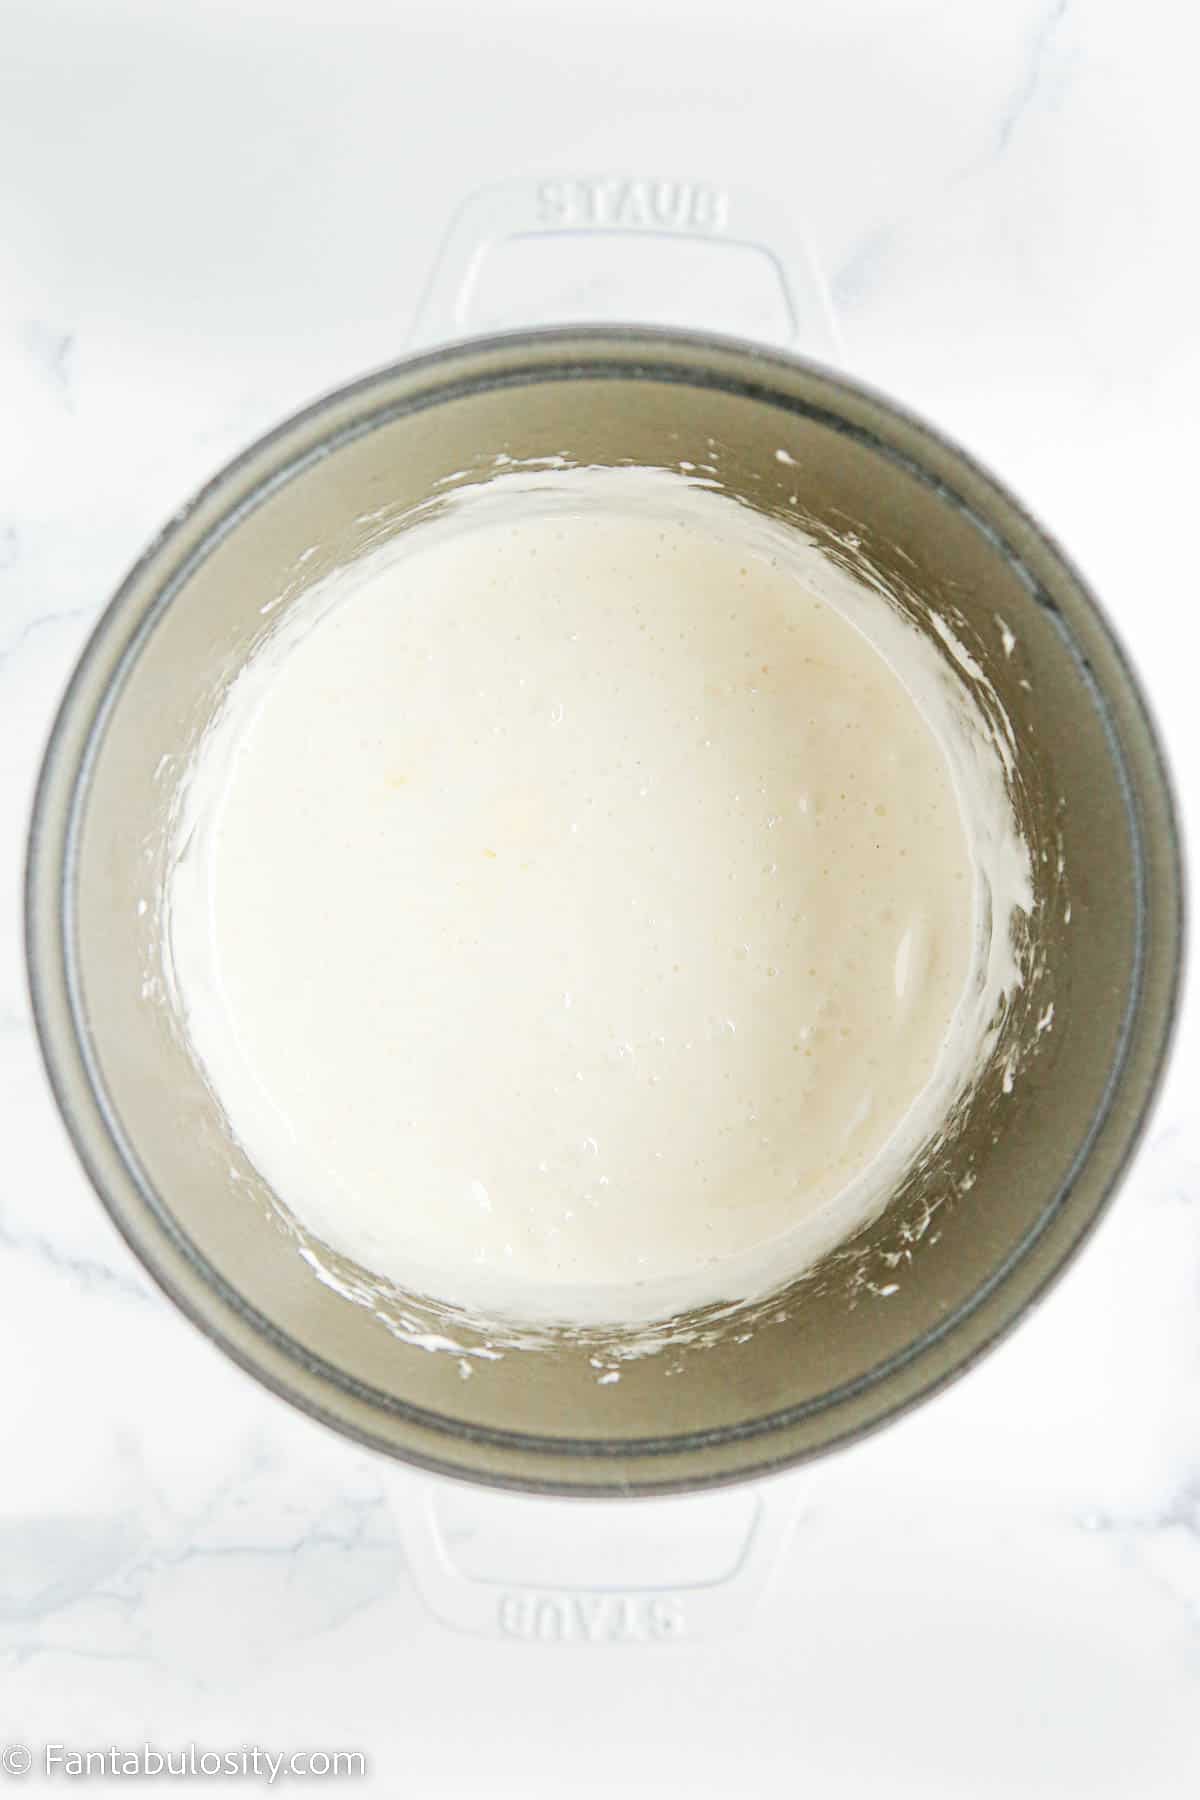
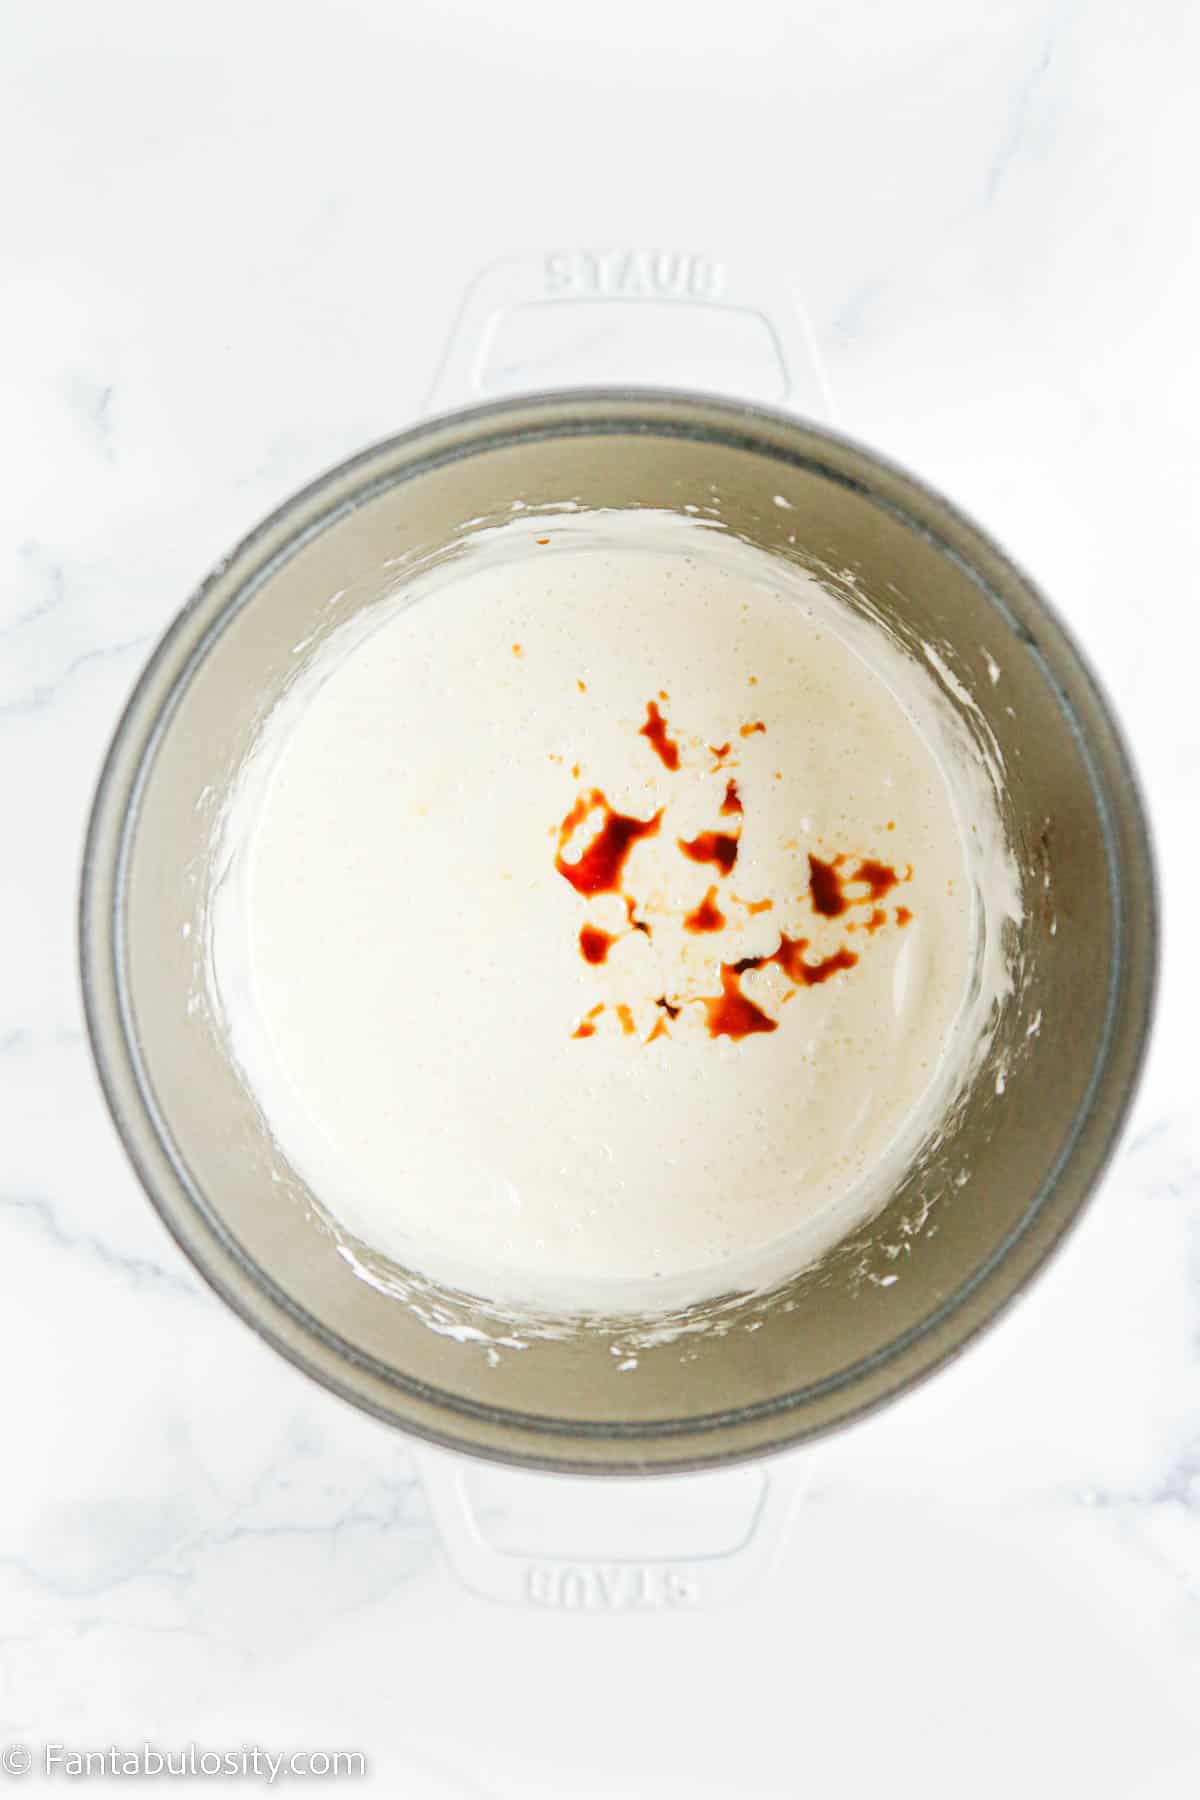
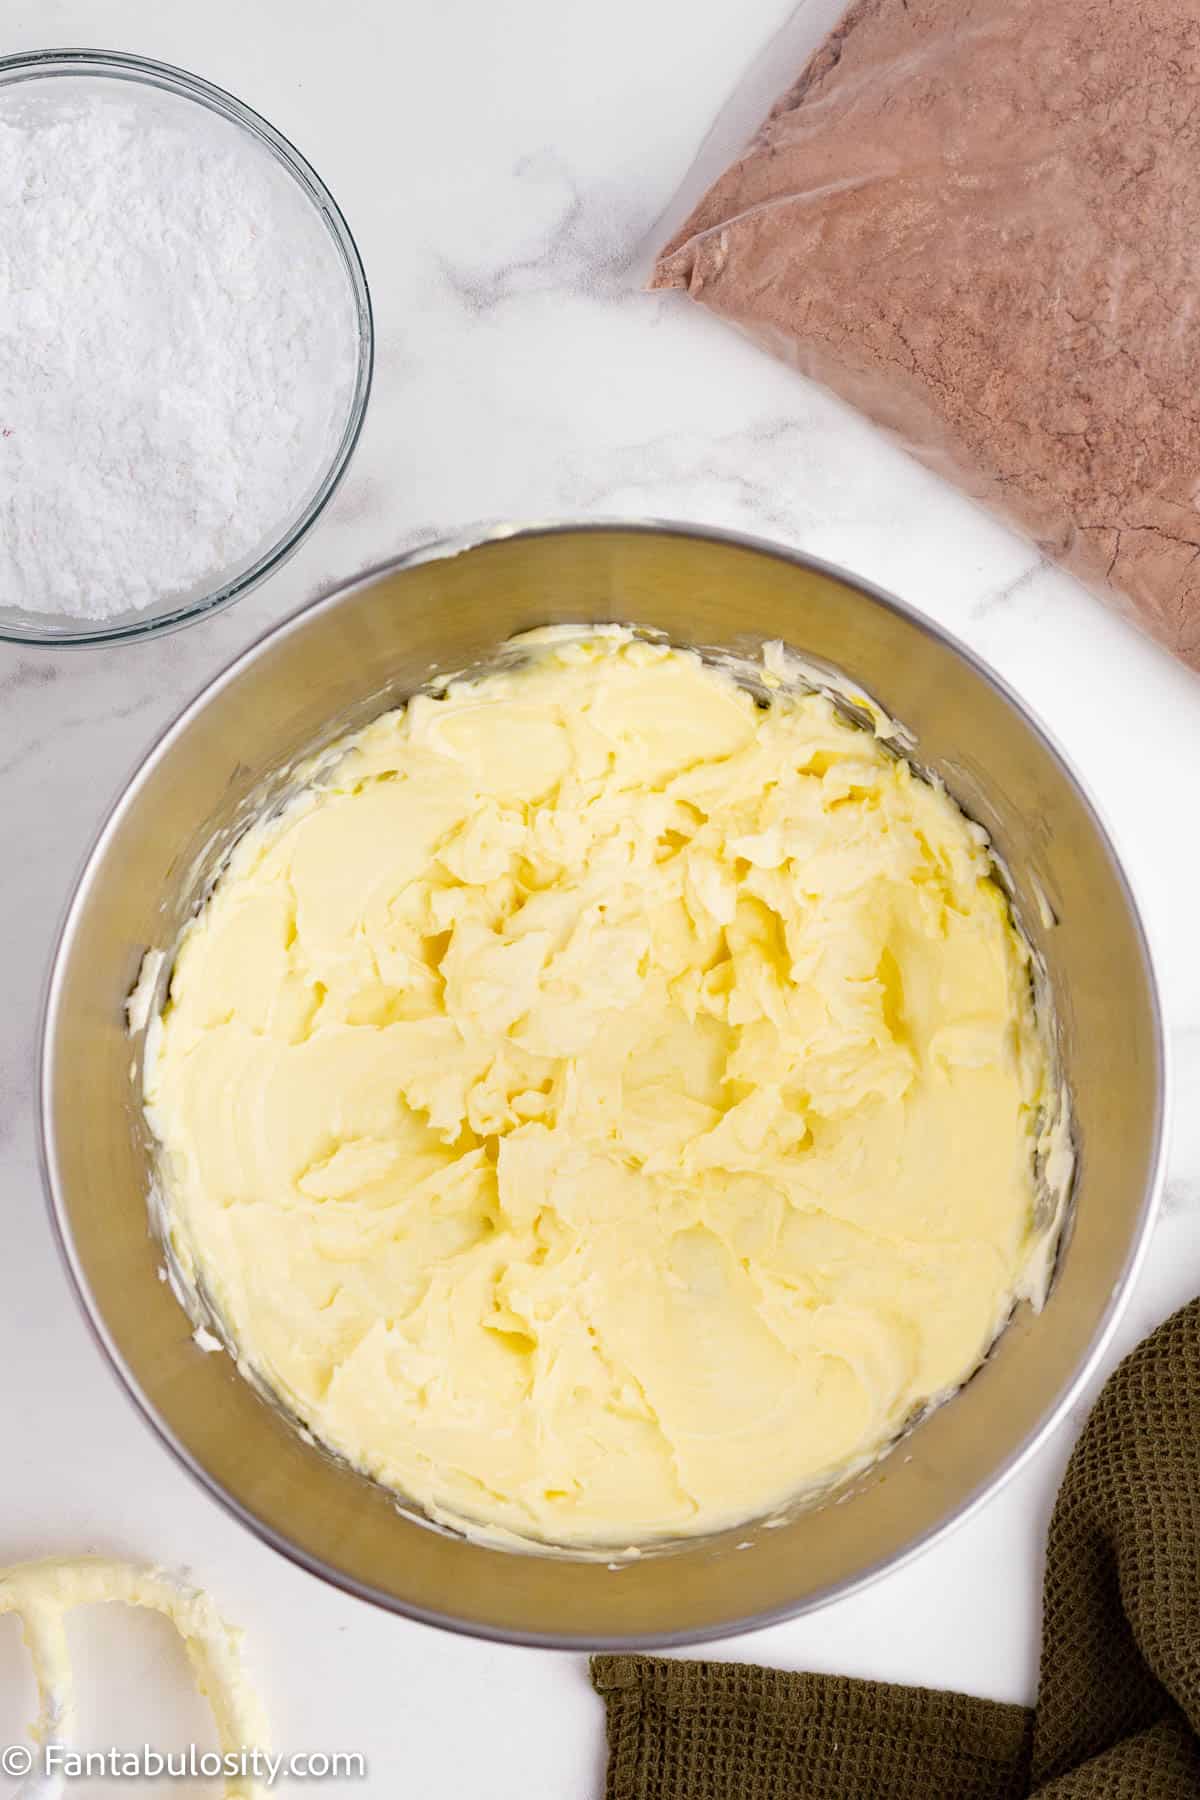
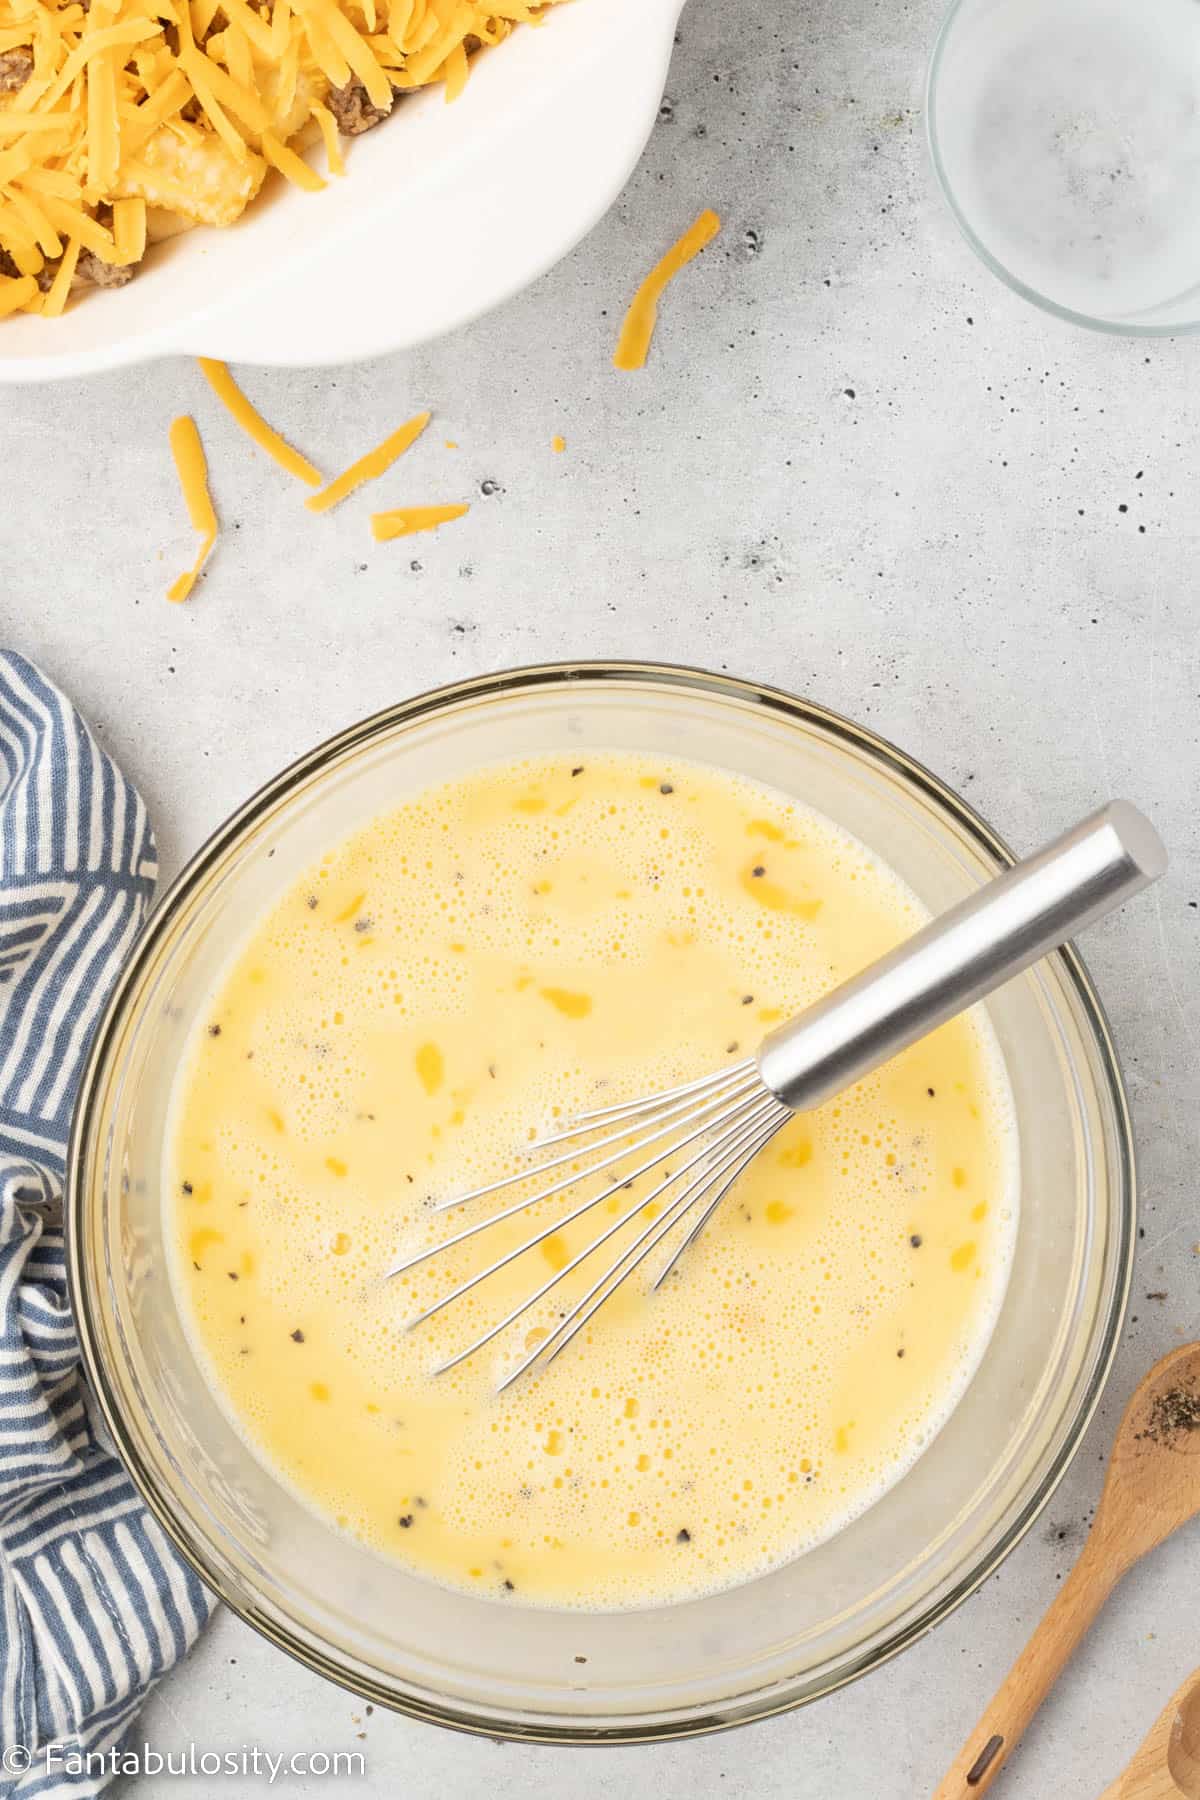
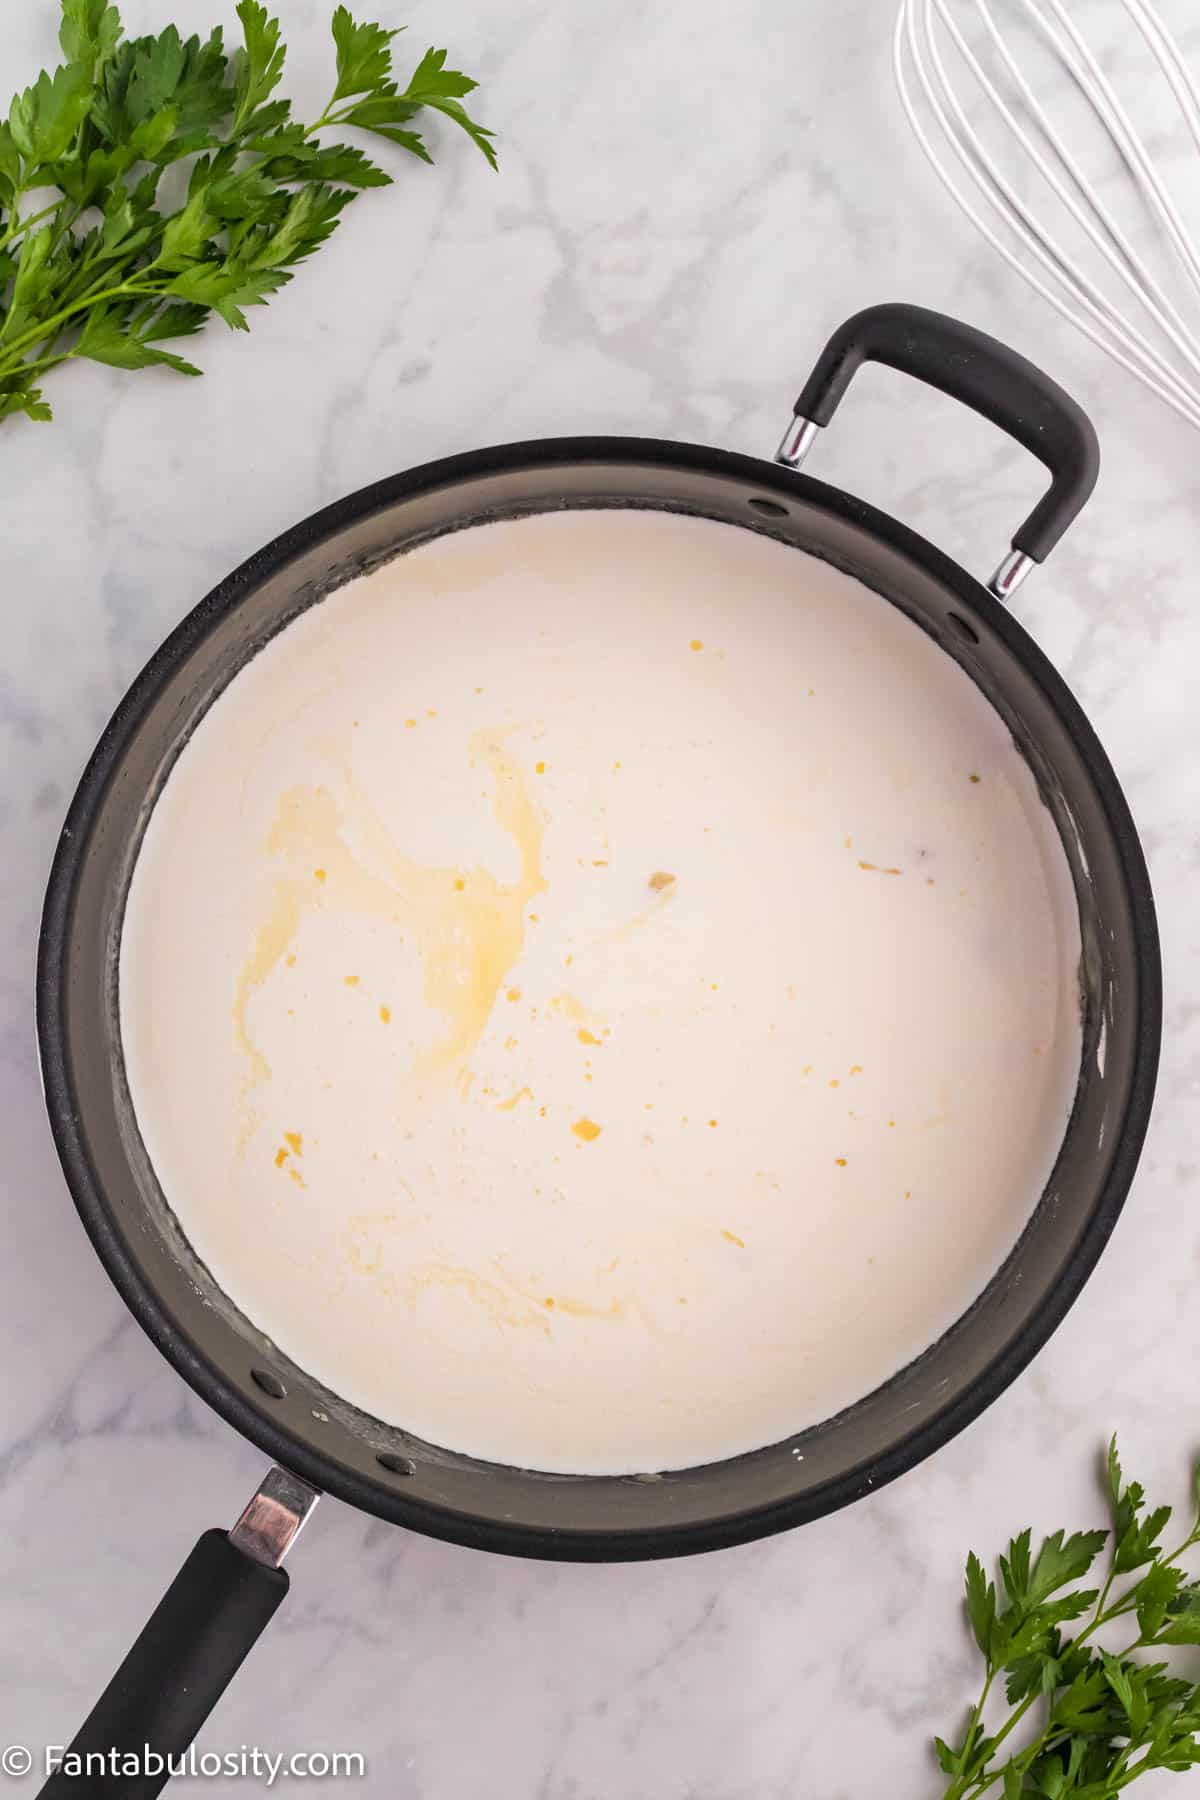
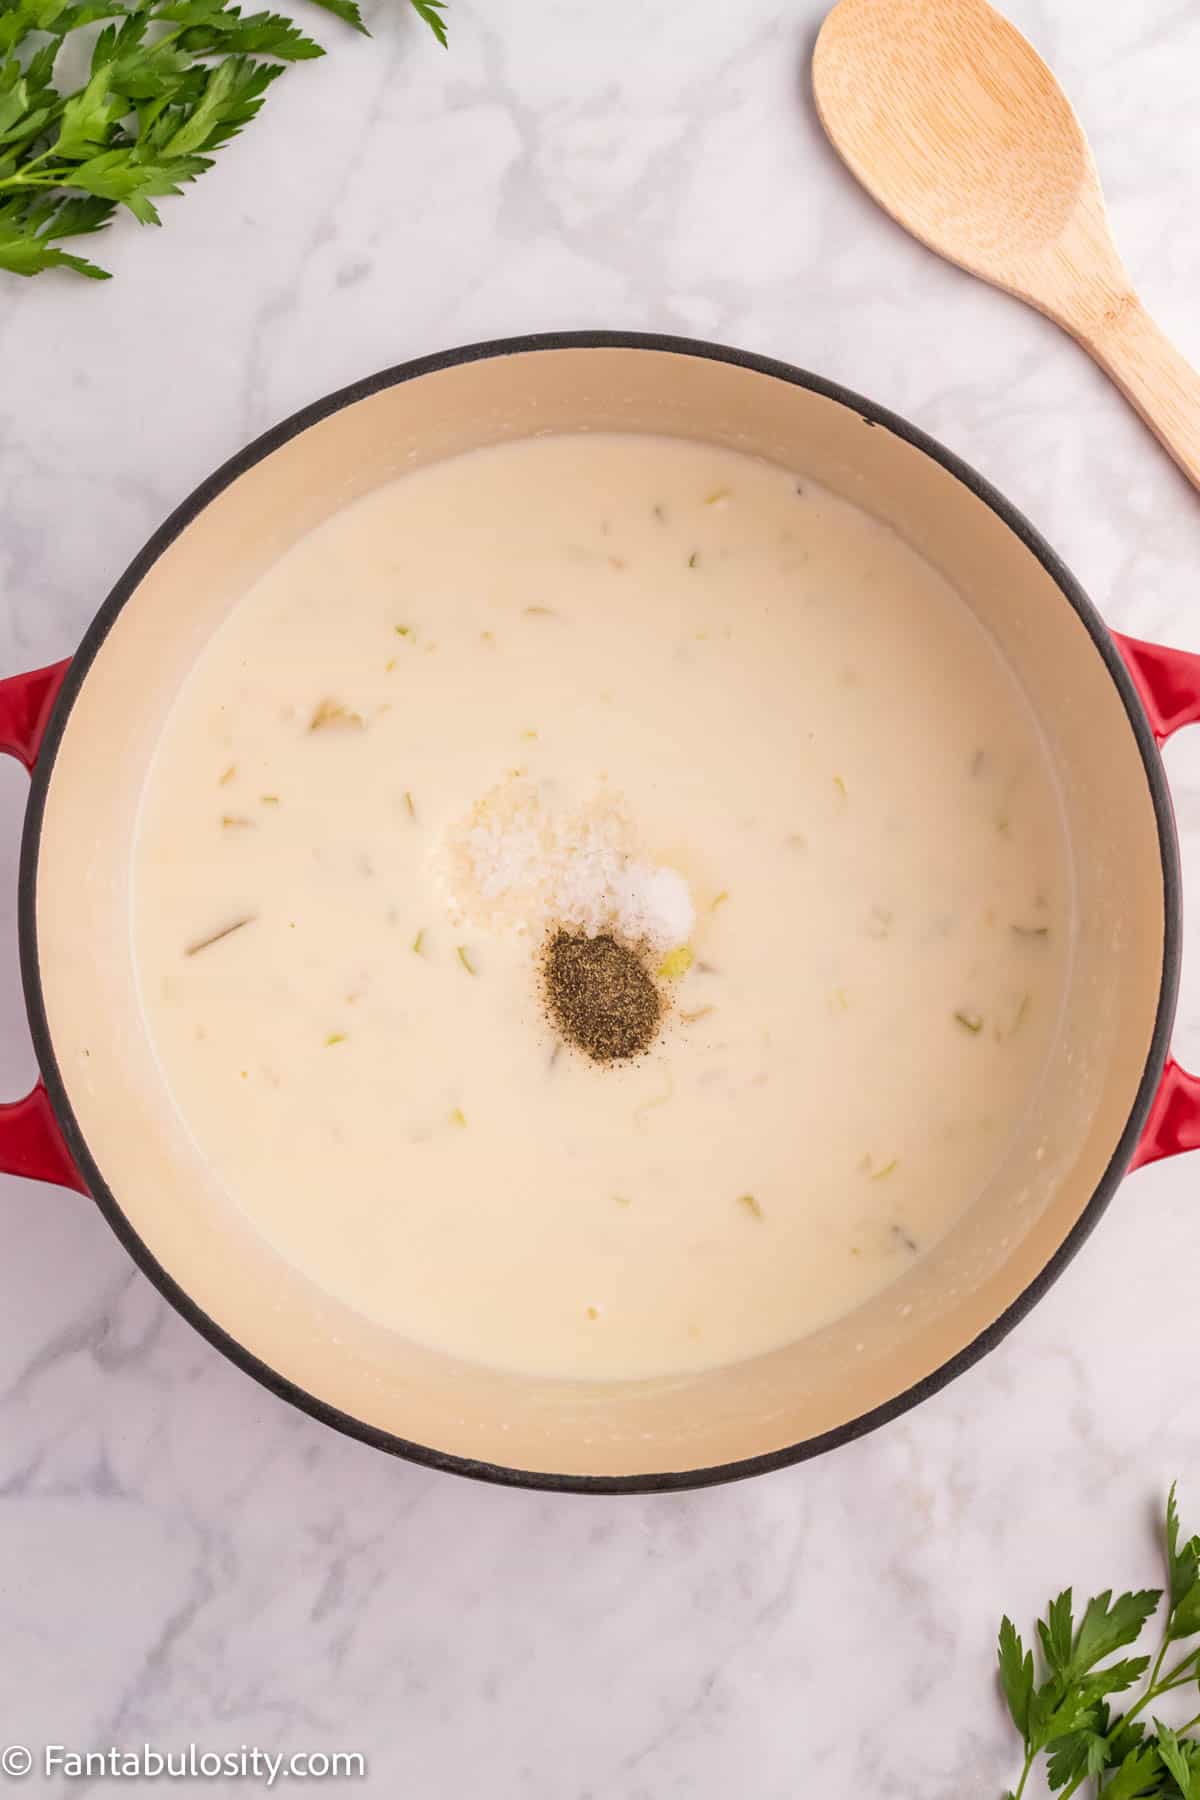
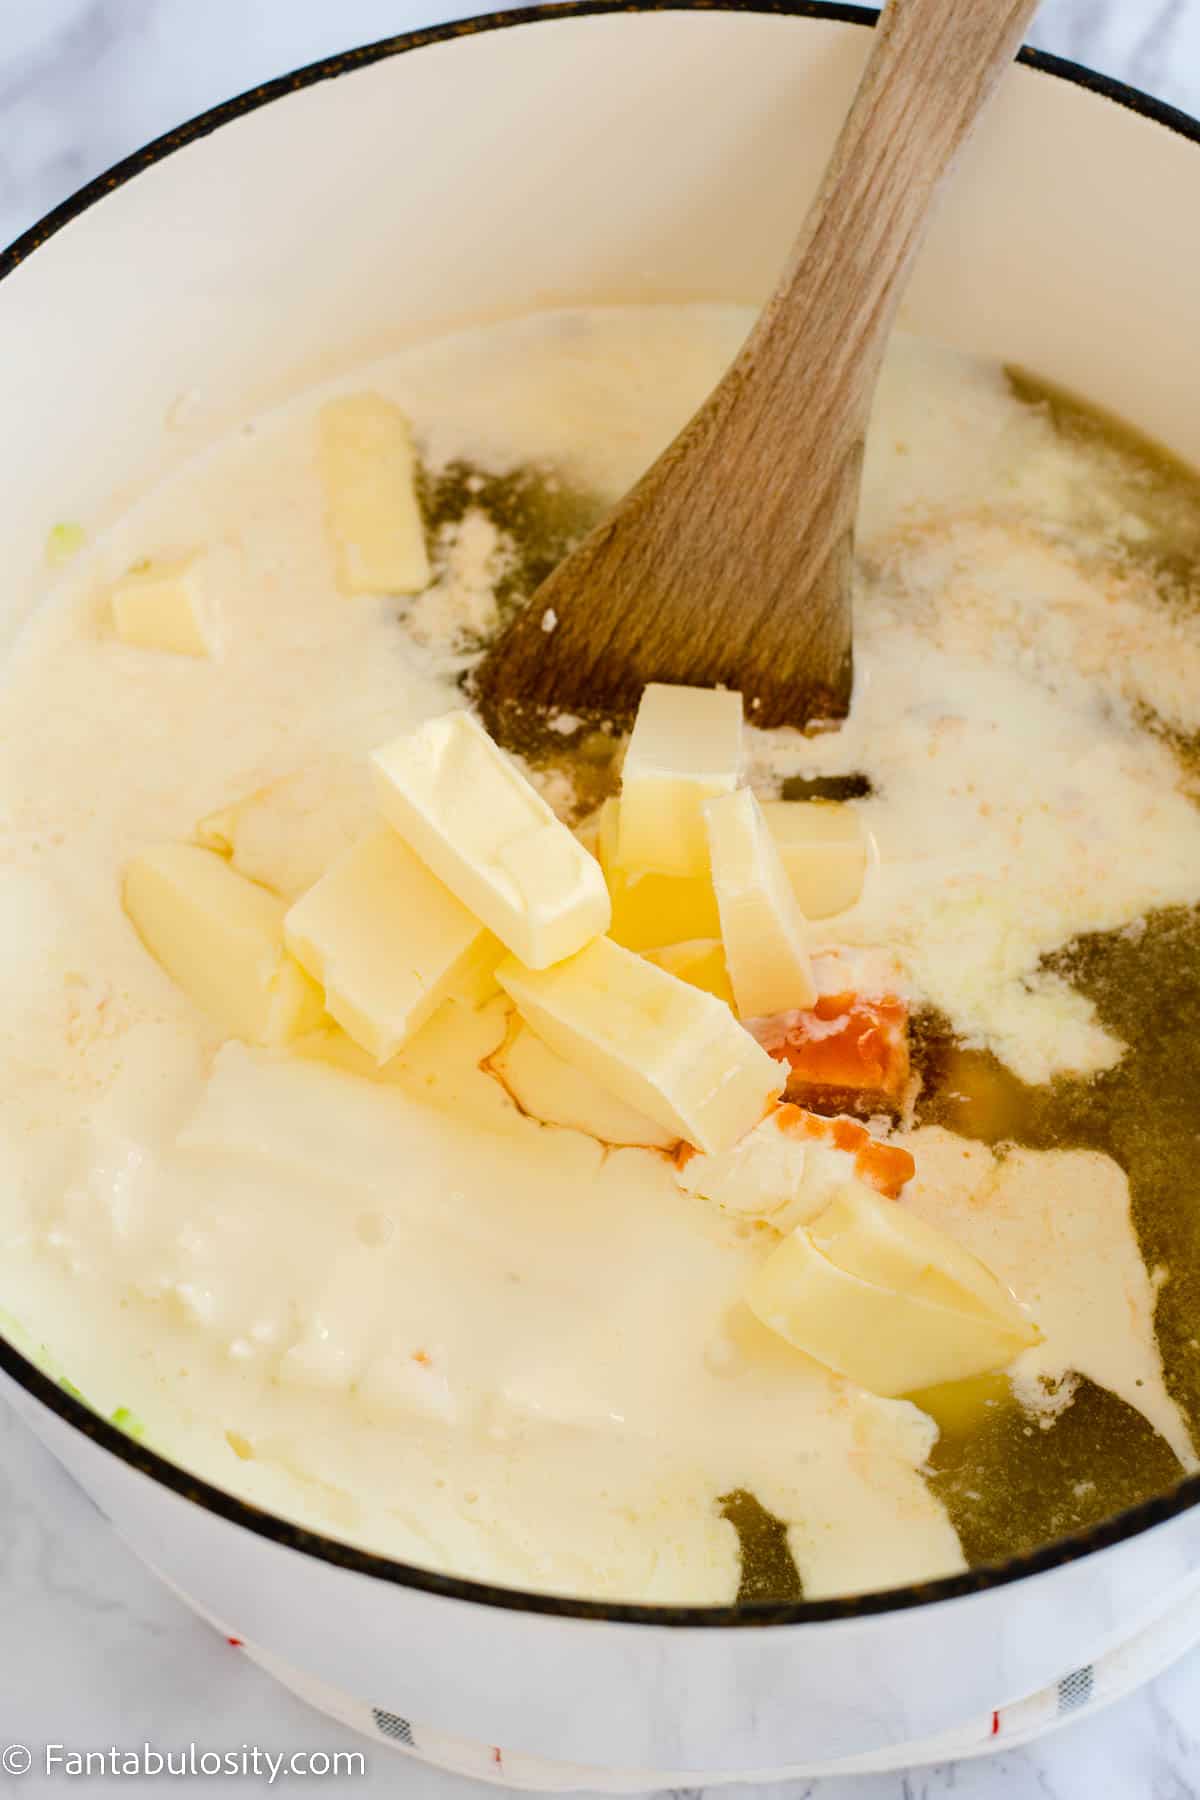
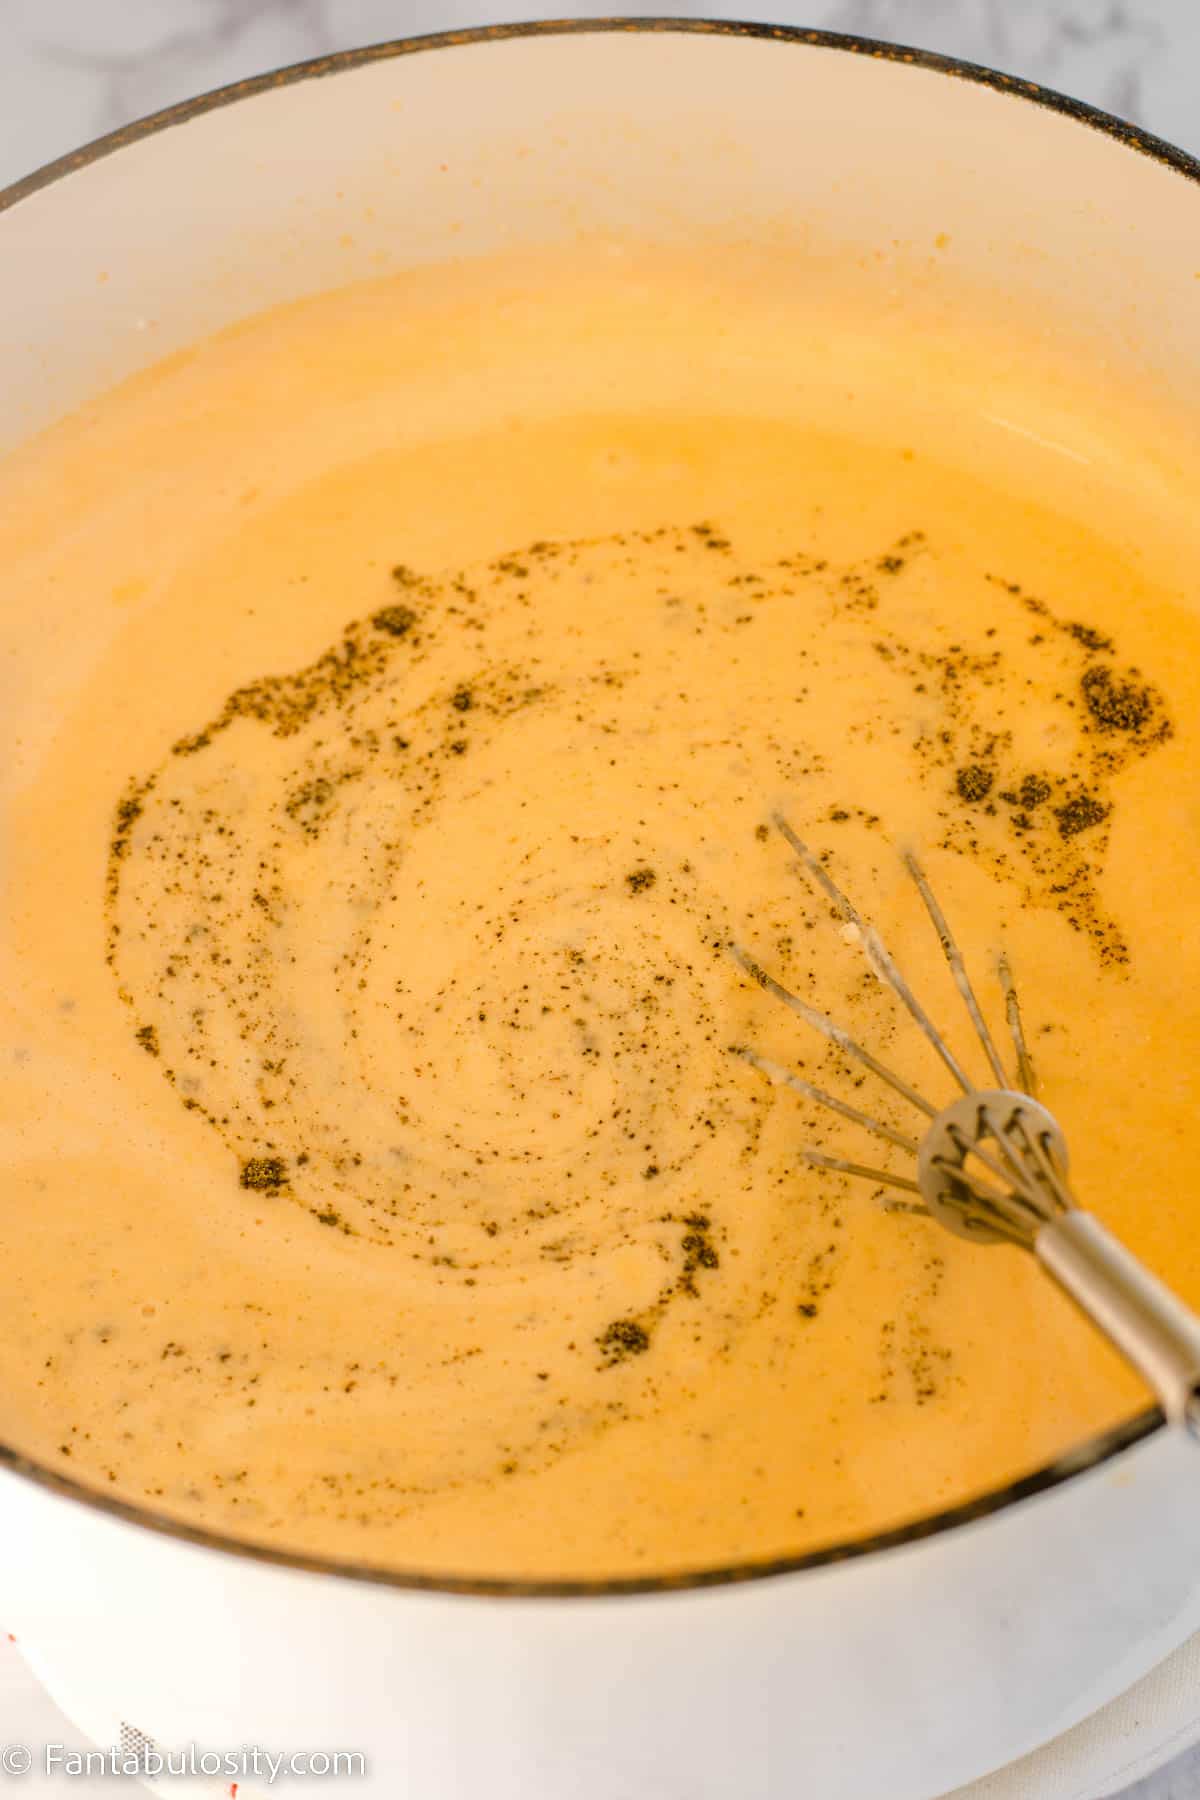
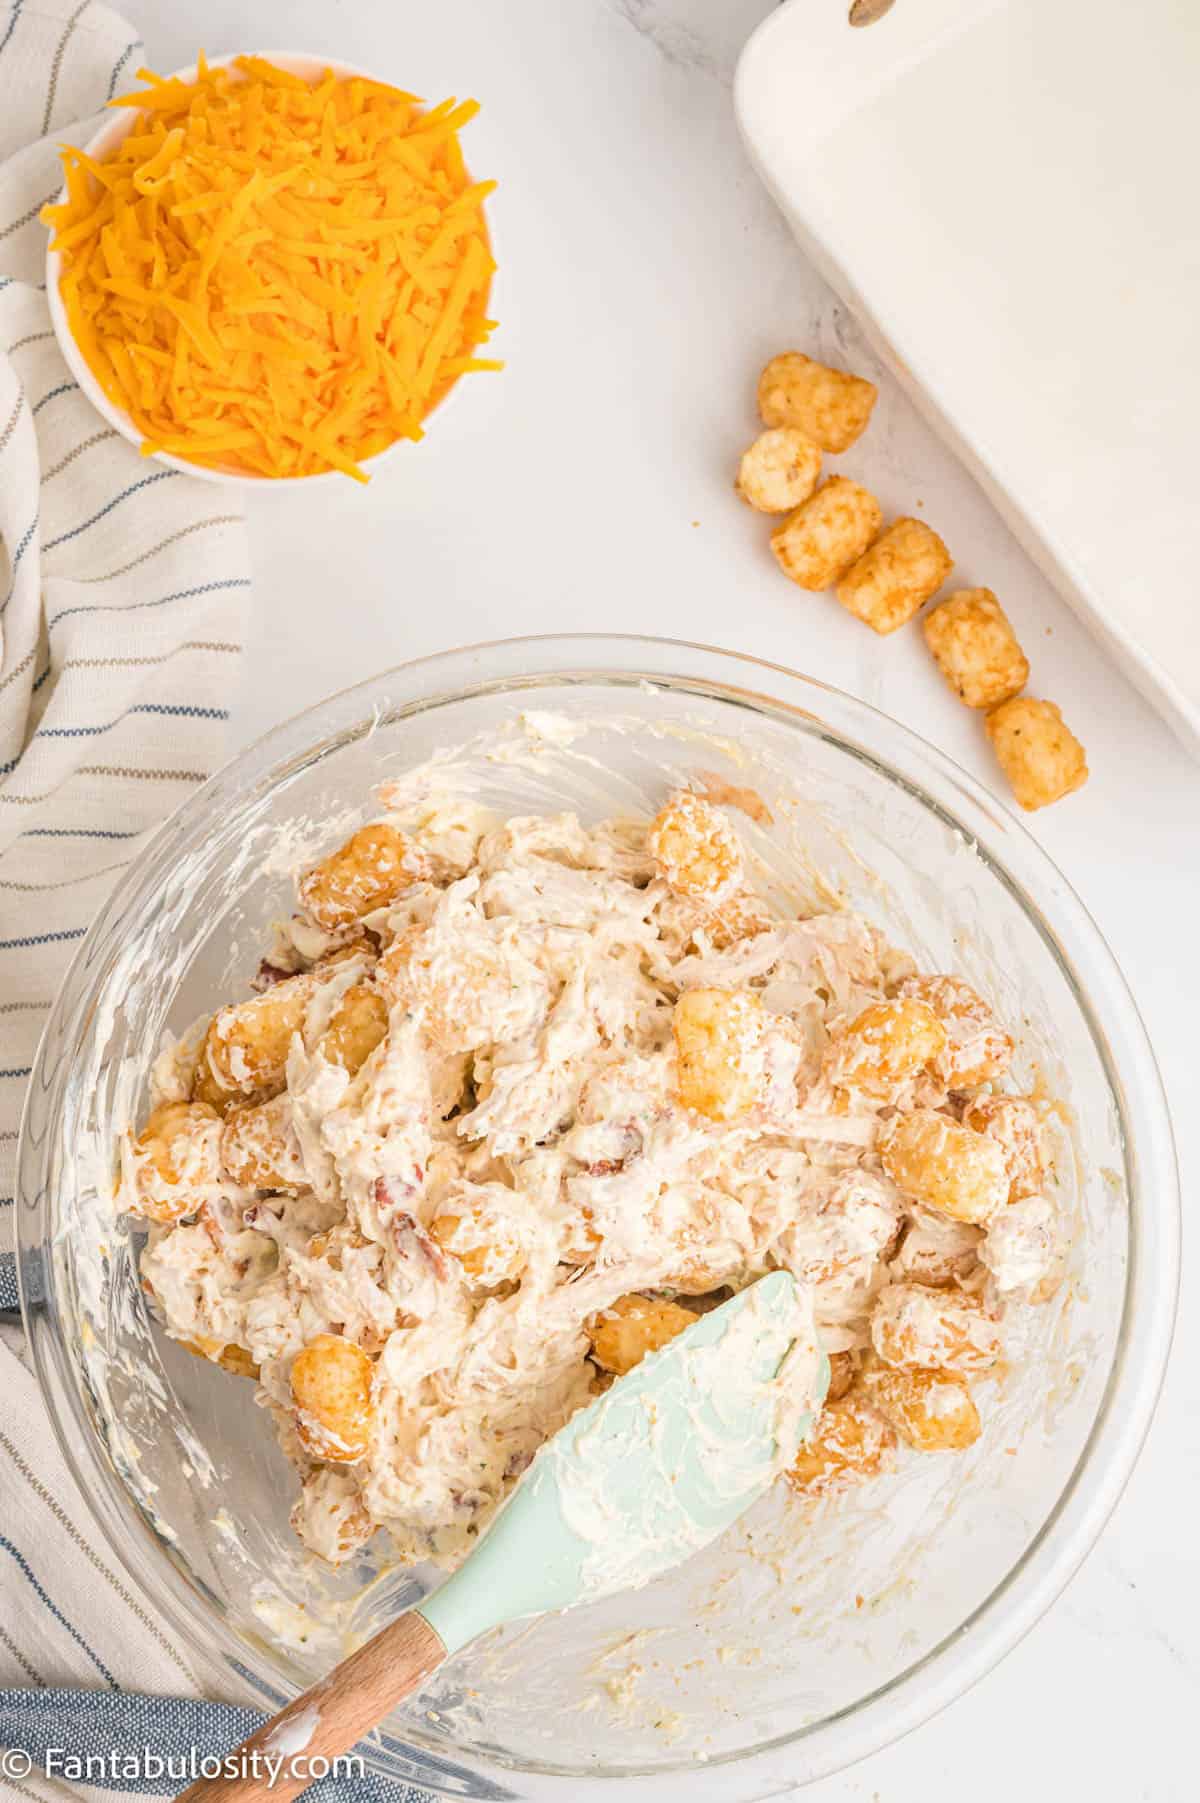
- Then, in a large mixing bowl, combine the 10.5 oz can of condensed cheddar cheese soup, 1 cup of sour cream, ¼ cup unsalted butter (melted), 2 tablespoons of Italian seasoning, 1 teaspoon of garlic powder, ½ teaspoon of salt and ½ teaspoon of black pepper.
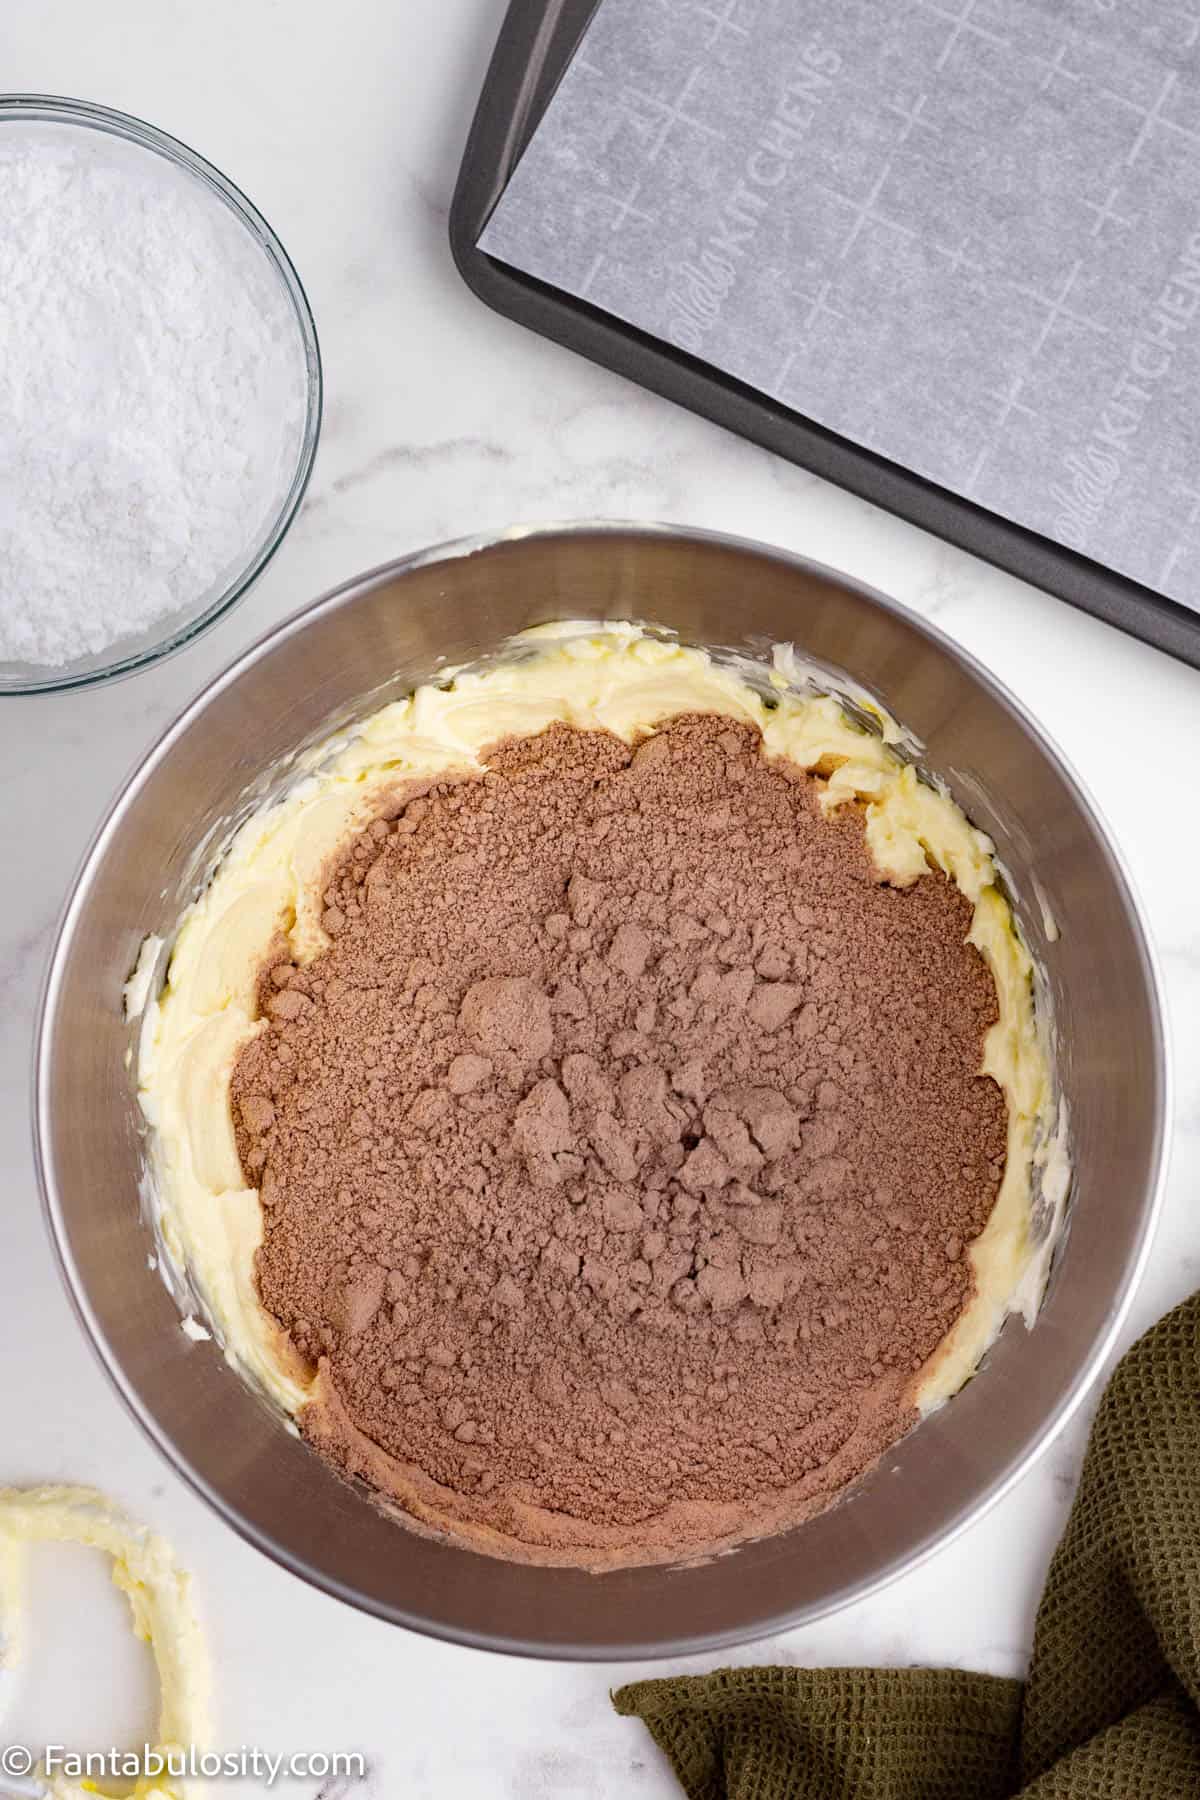
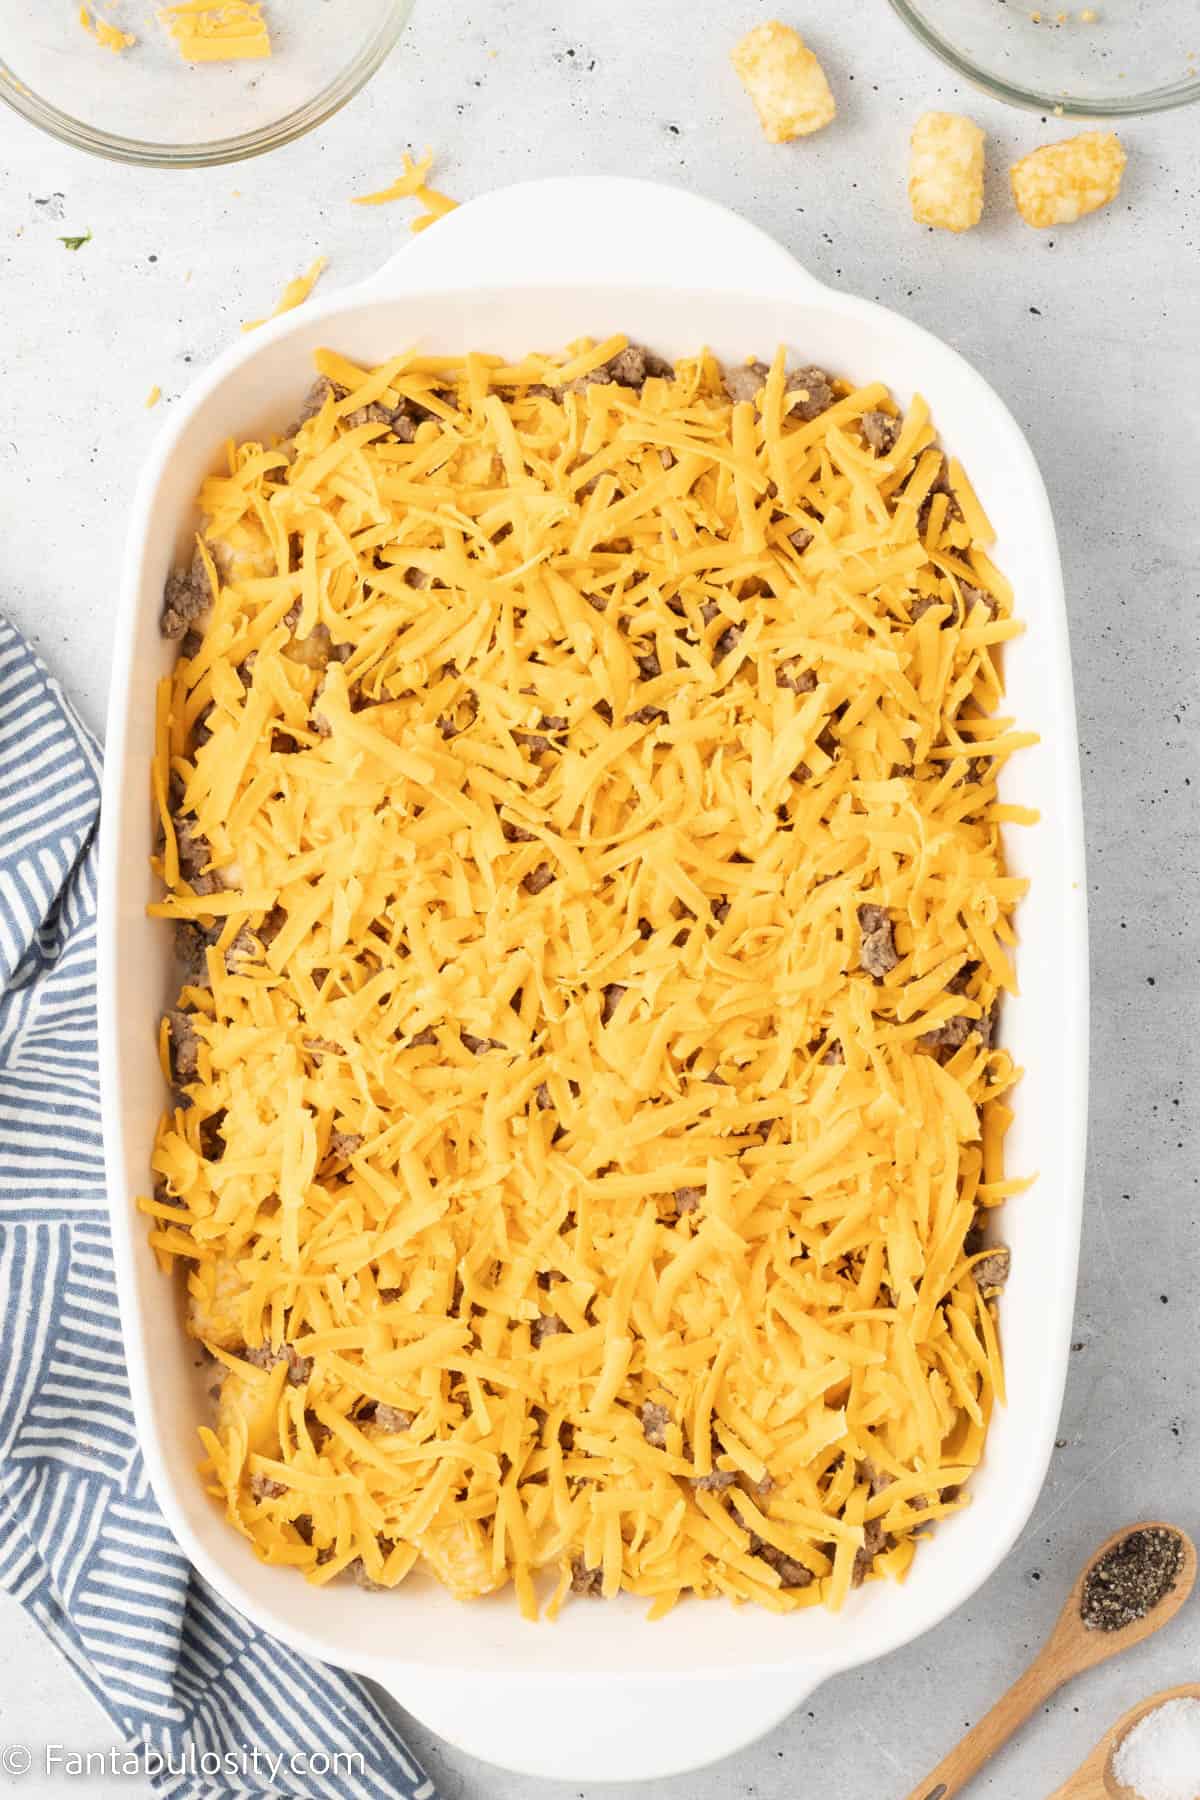
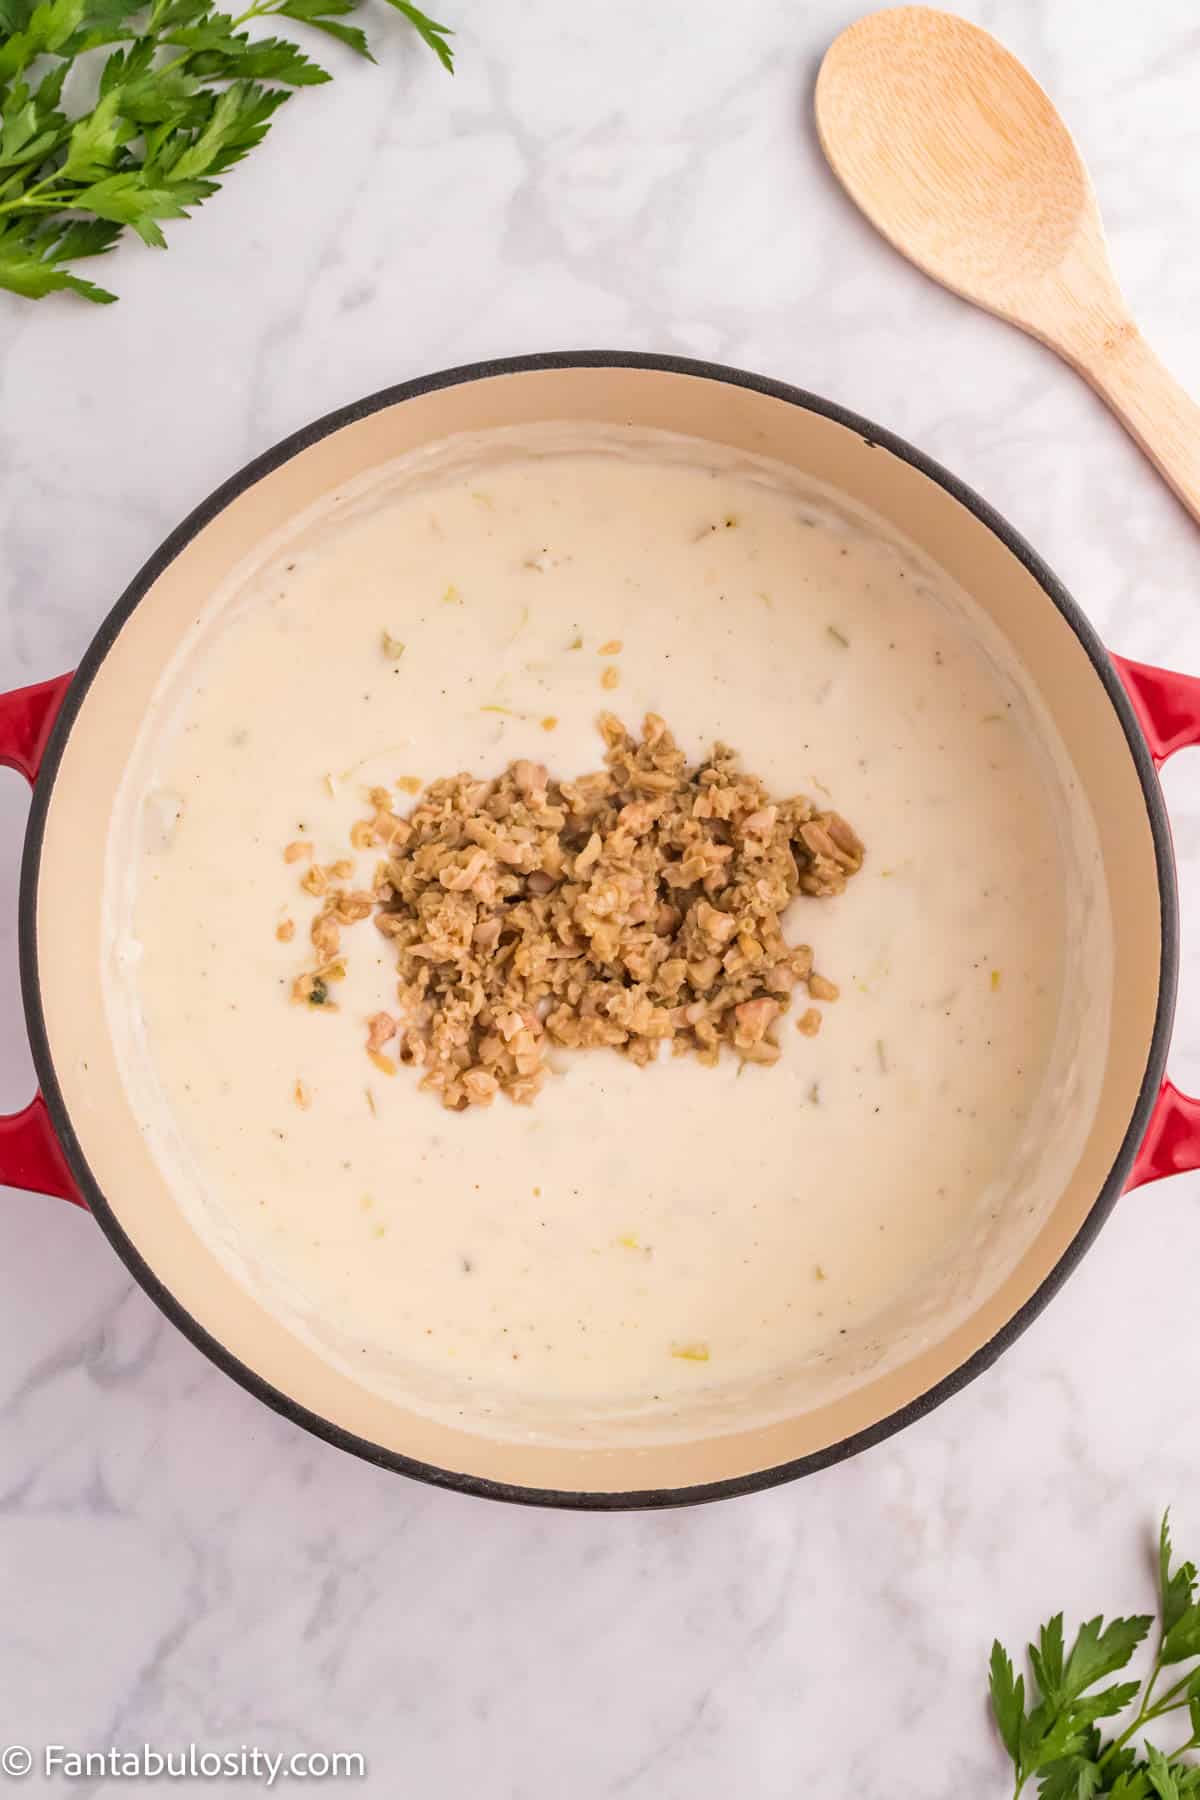
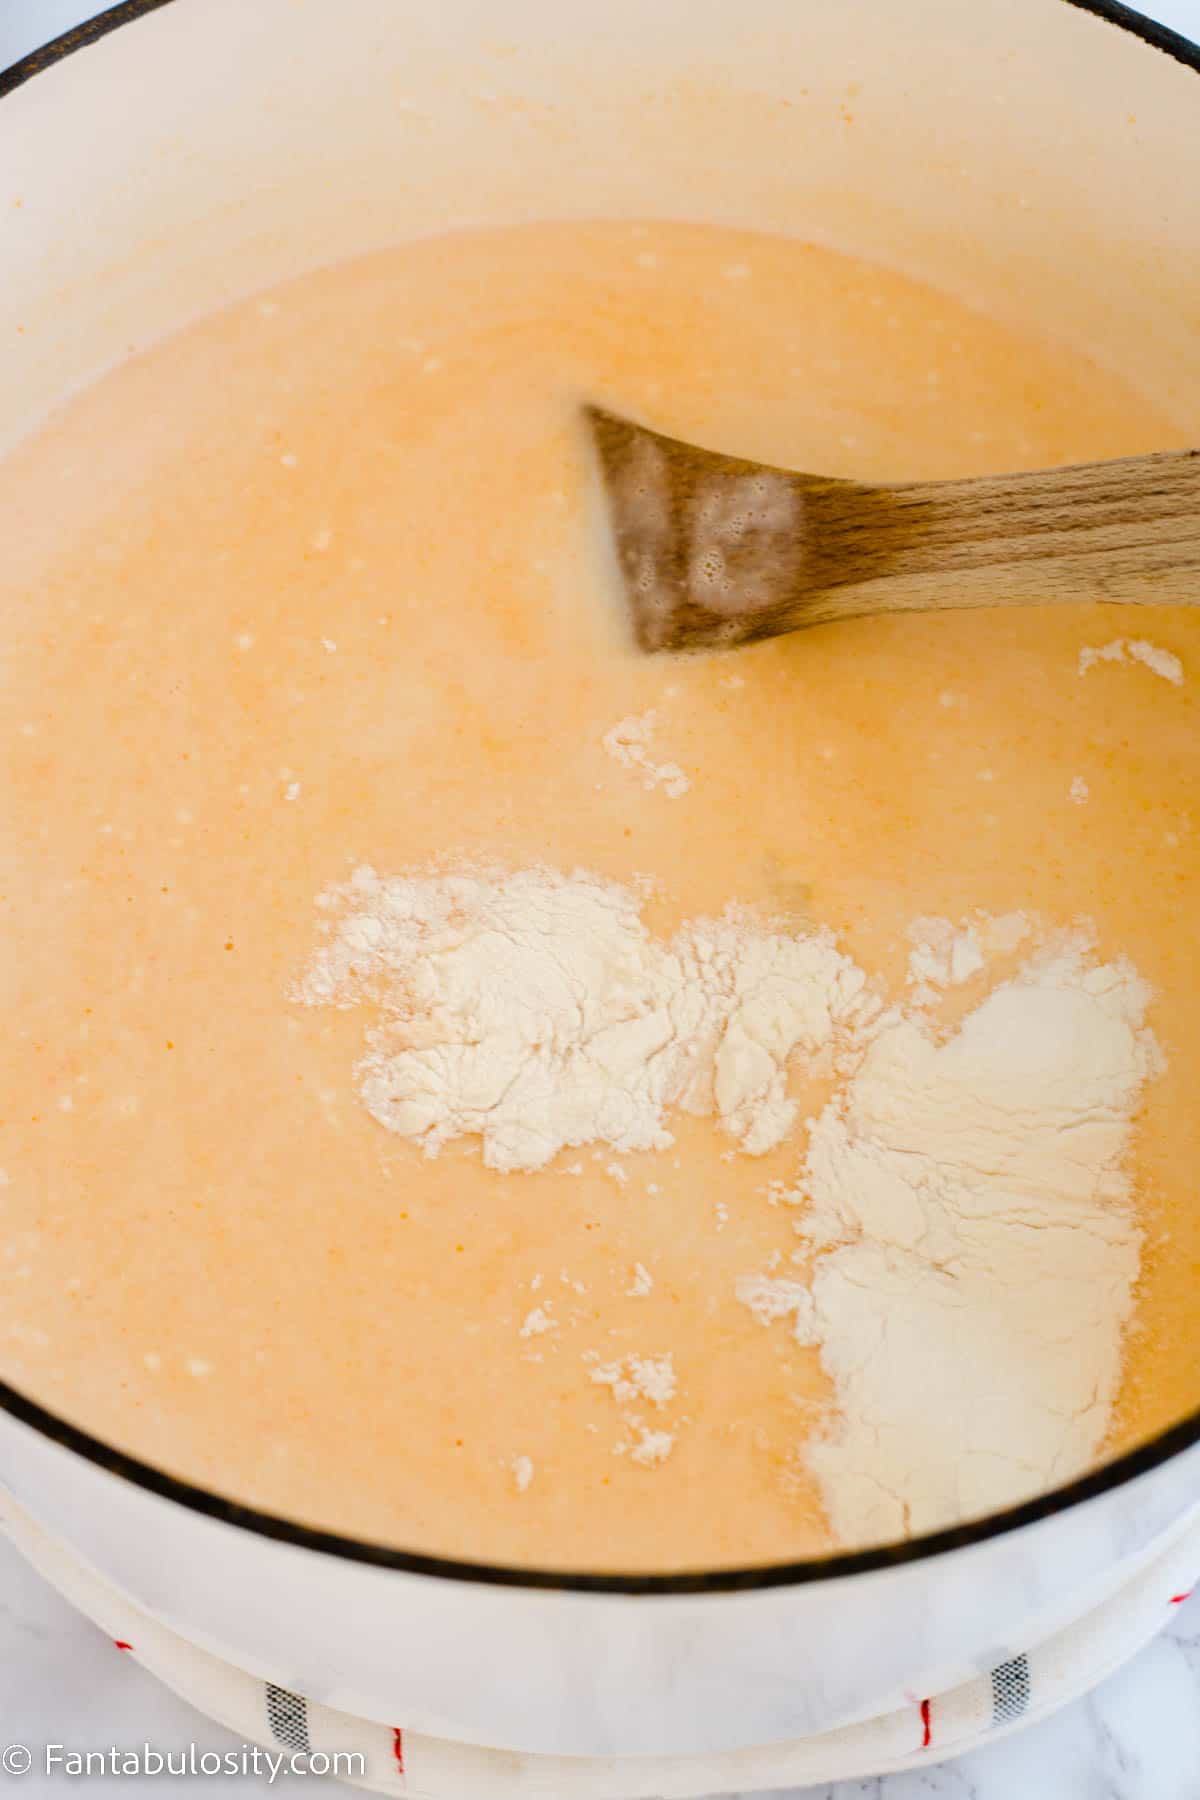
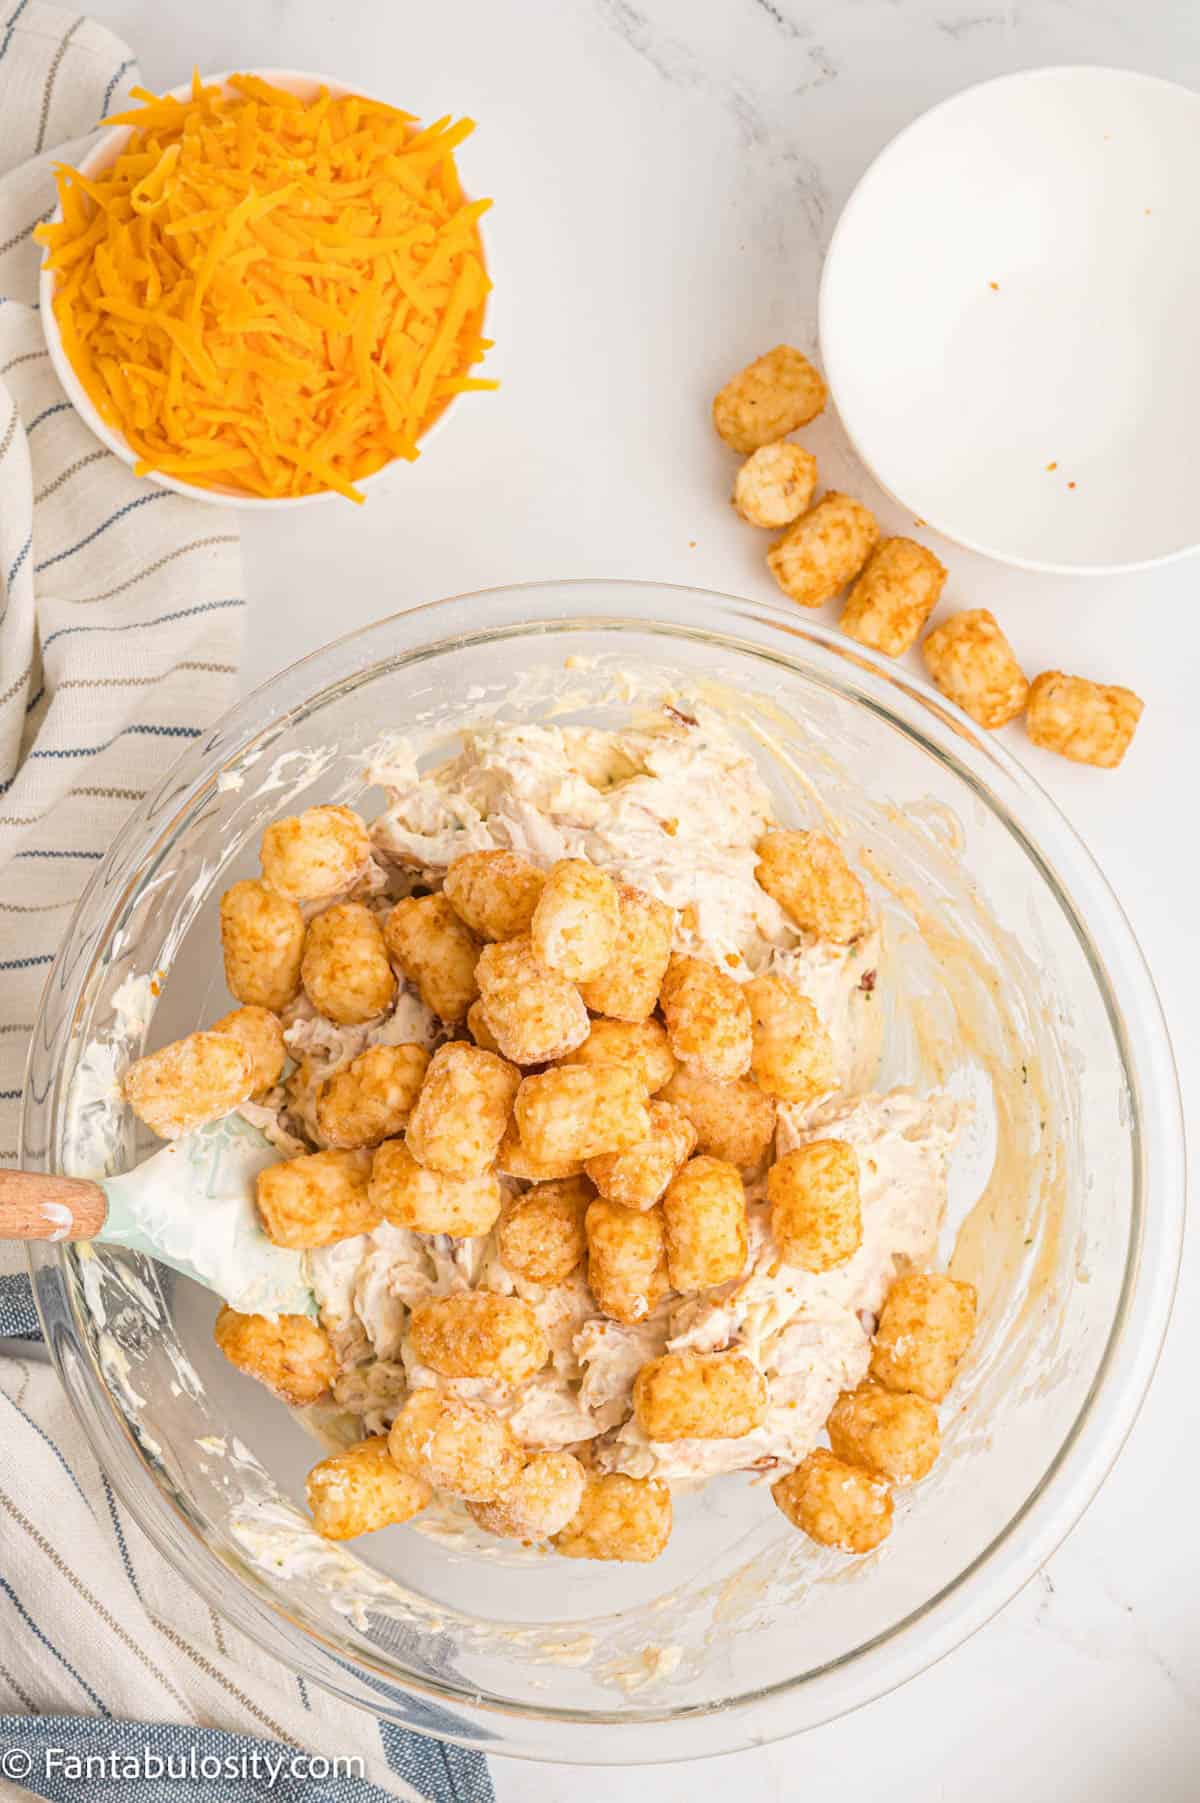
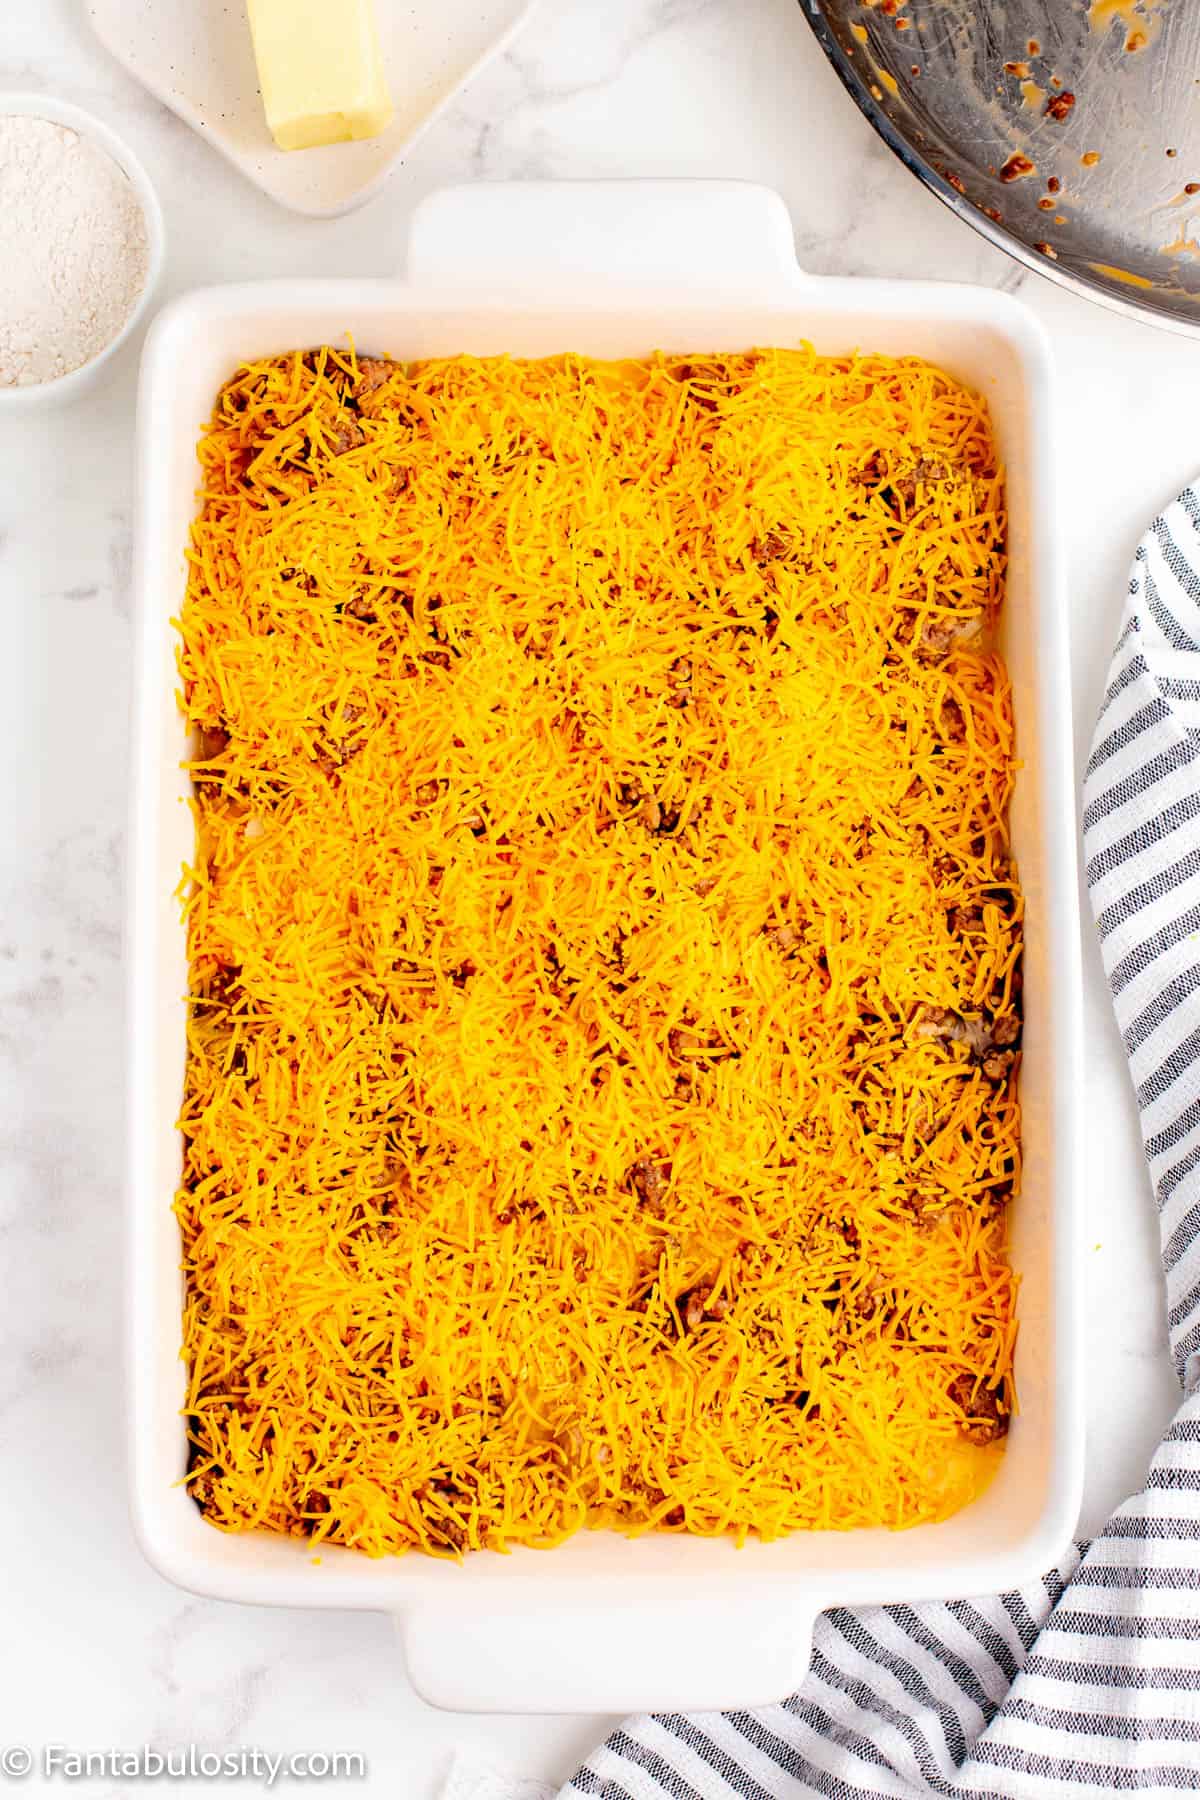
- Now, add the shredded cheddar cheese to the wet mixture. (Set the remaining 1 cup of shredded cheddar cheese aside.)
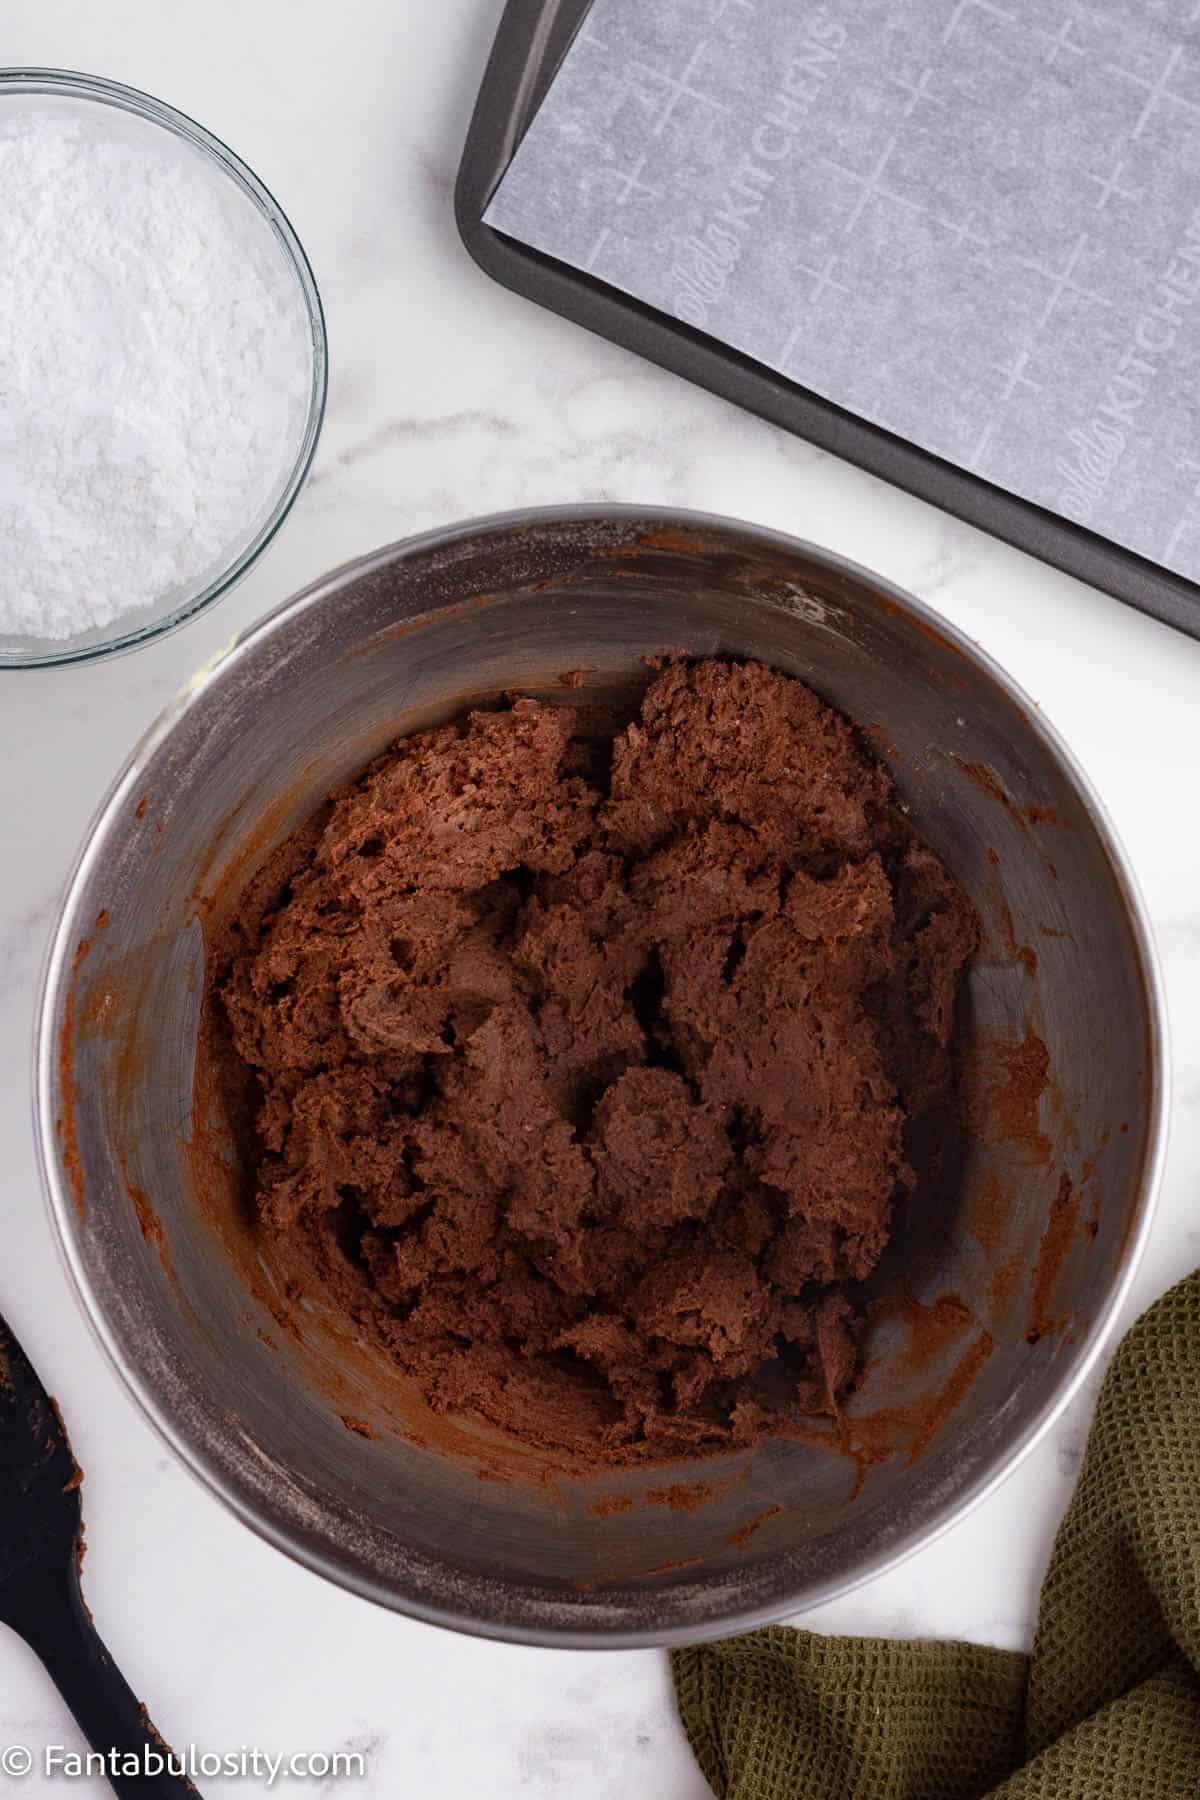
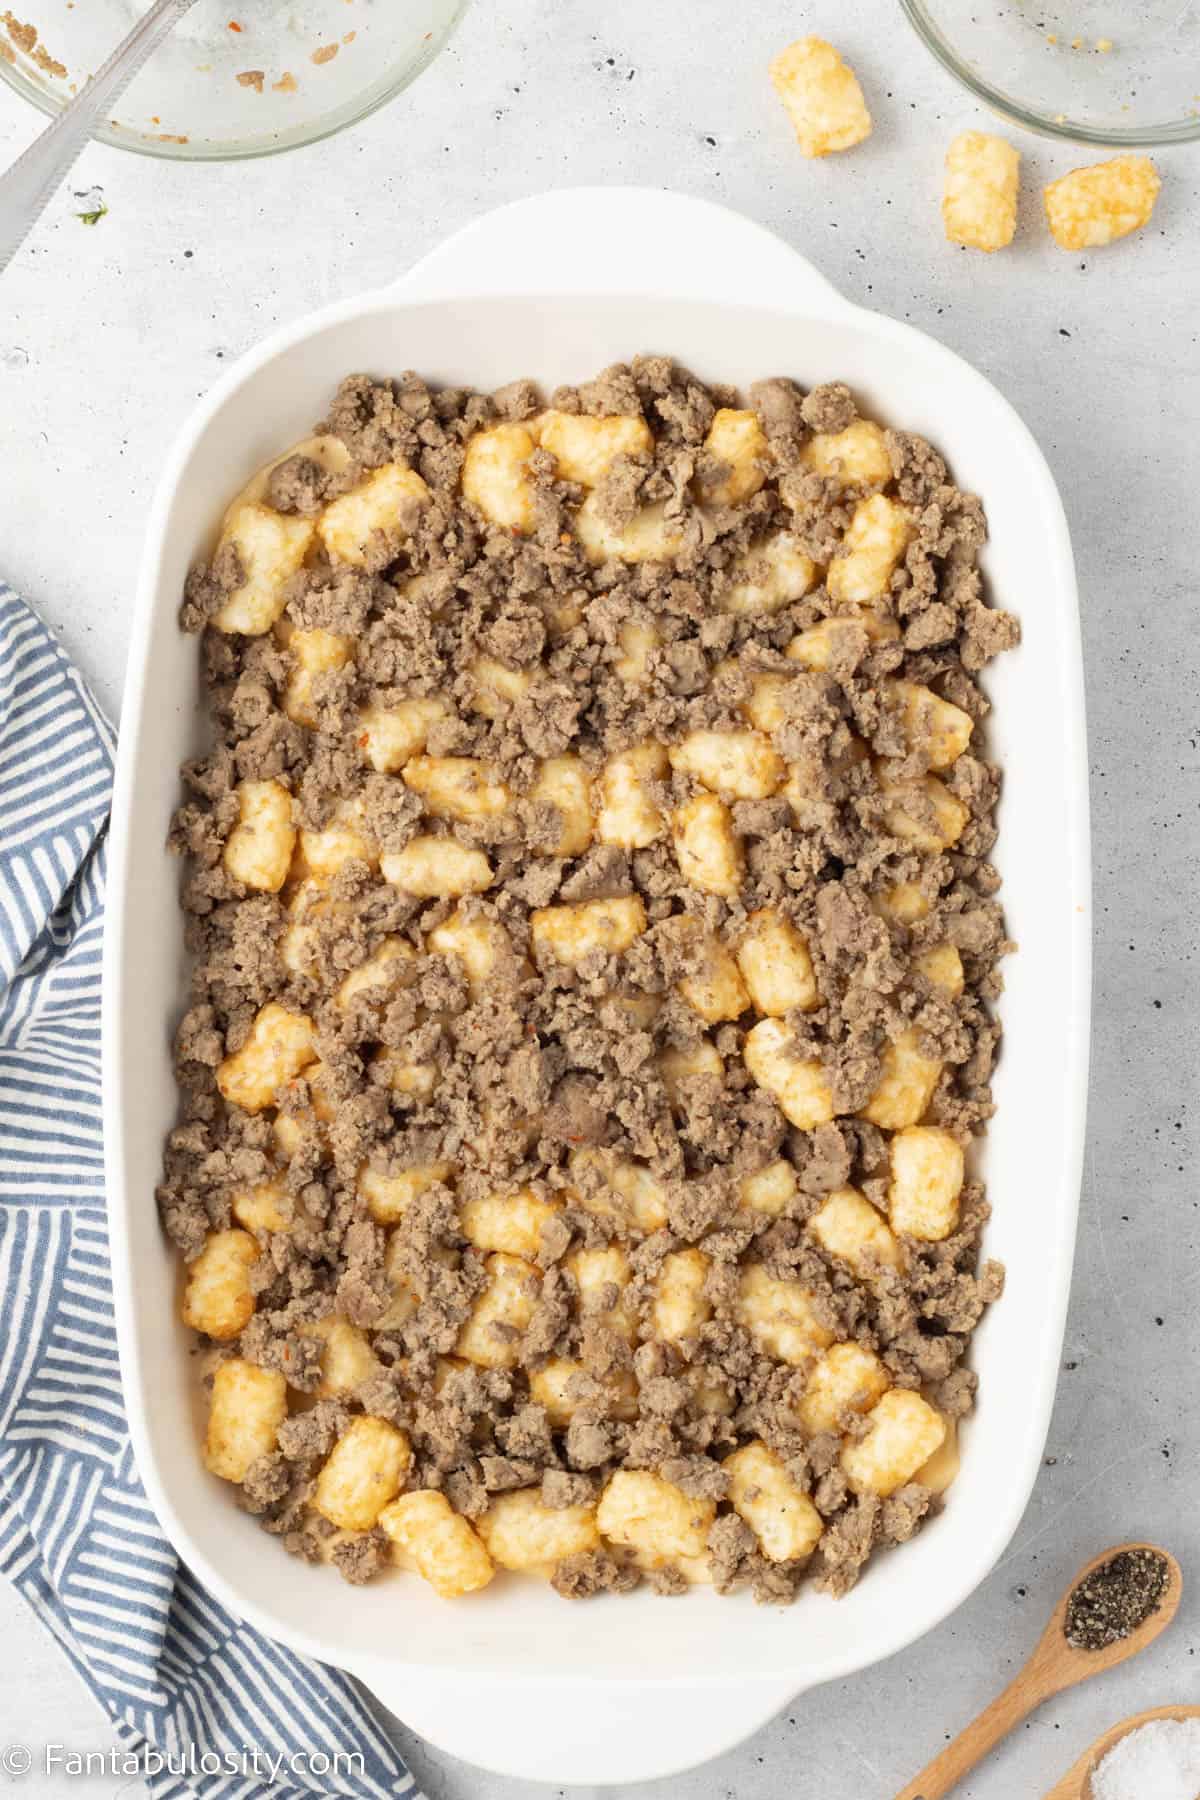
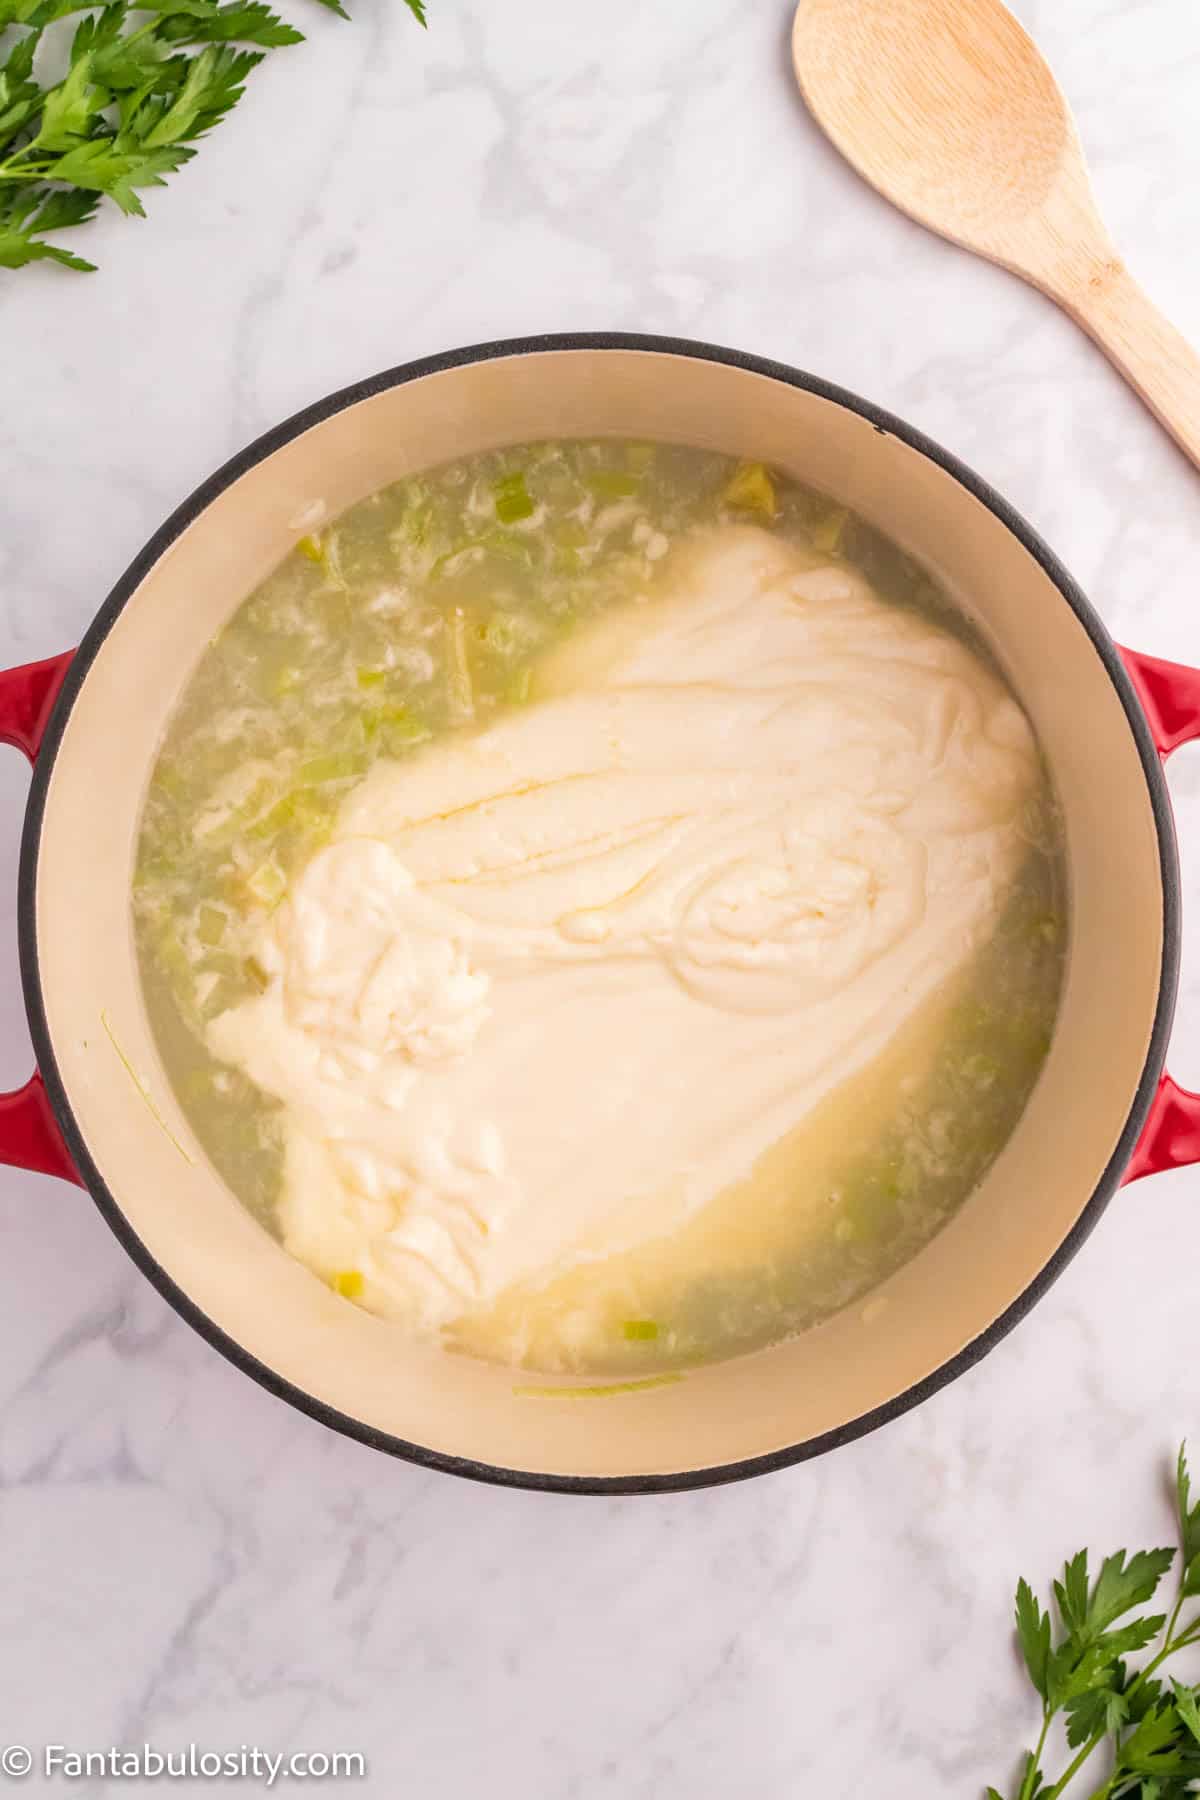
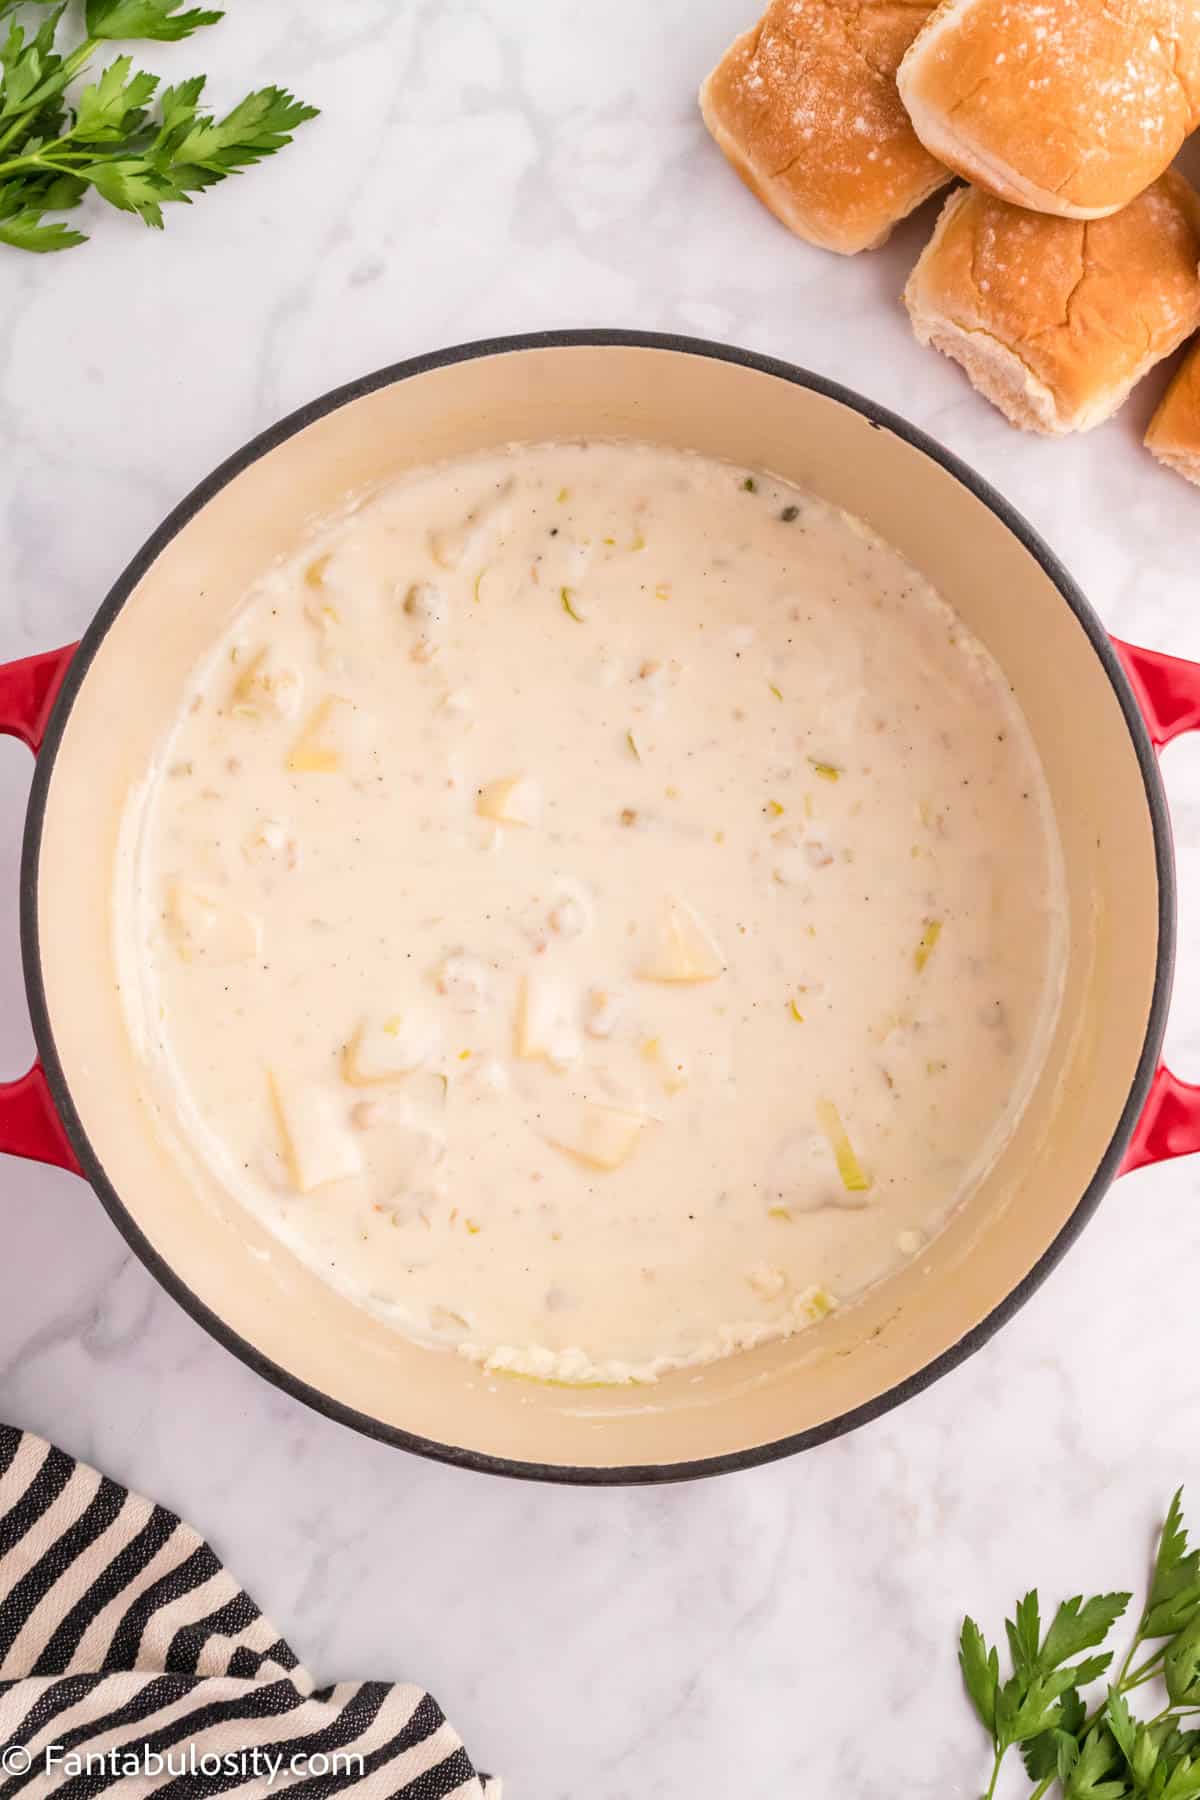
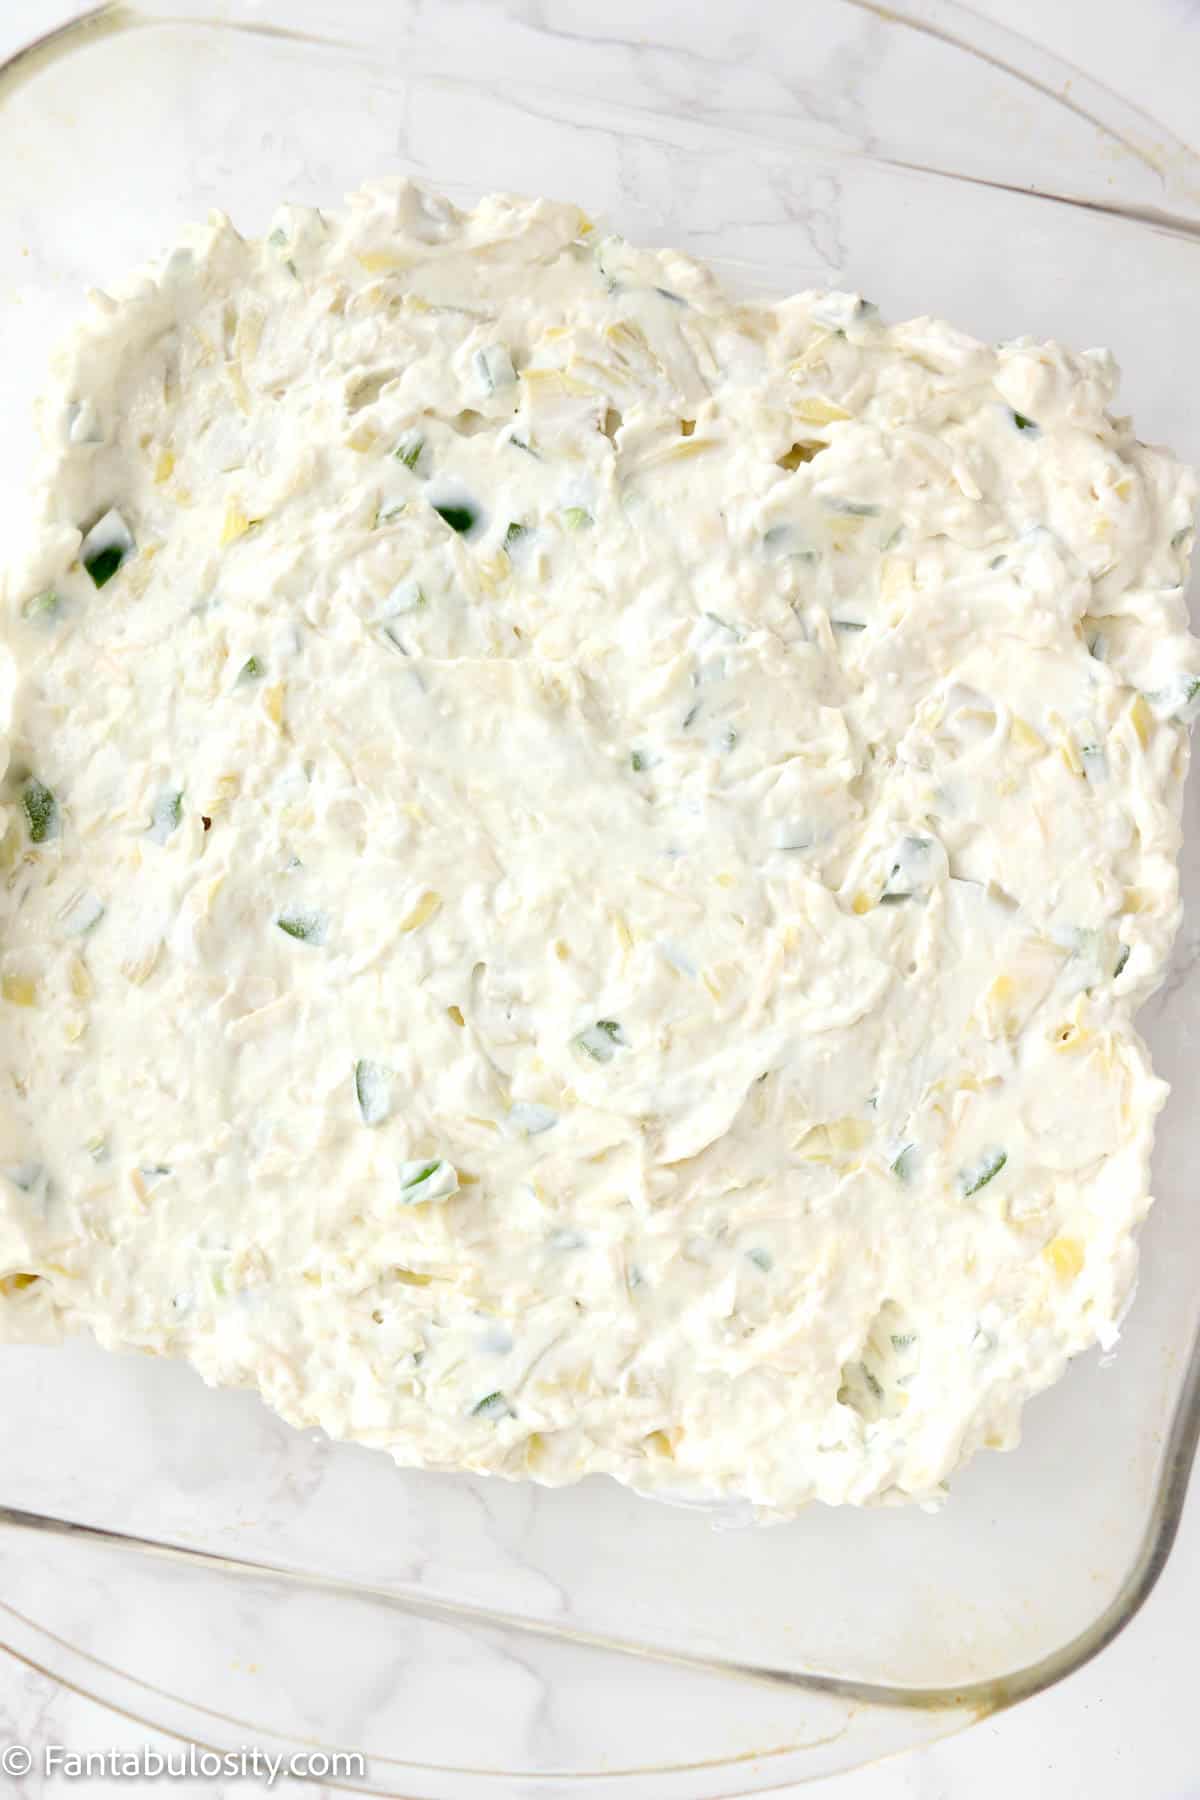
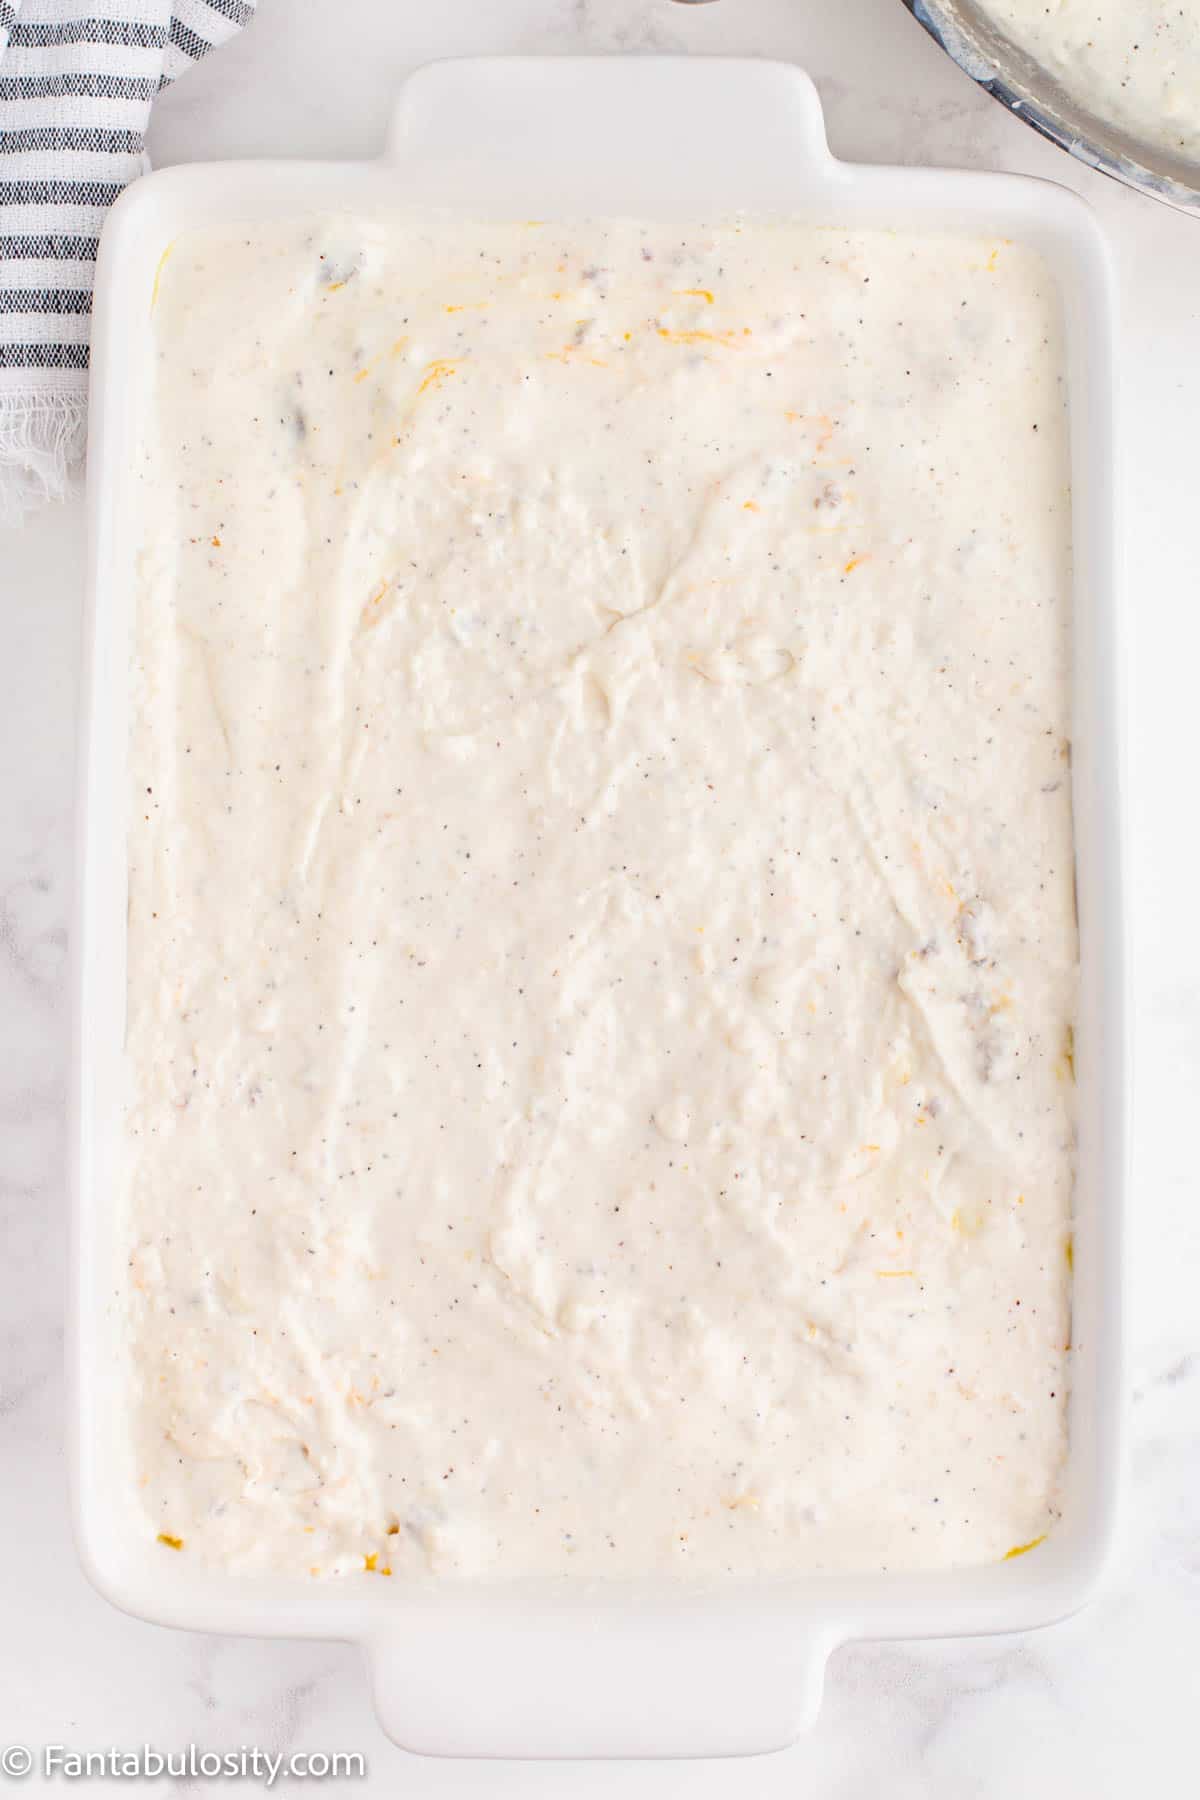
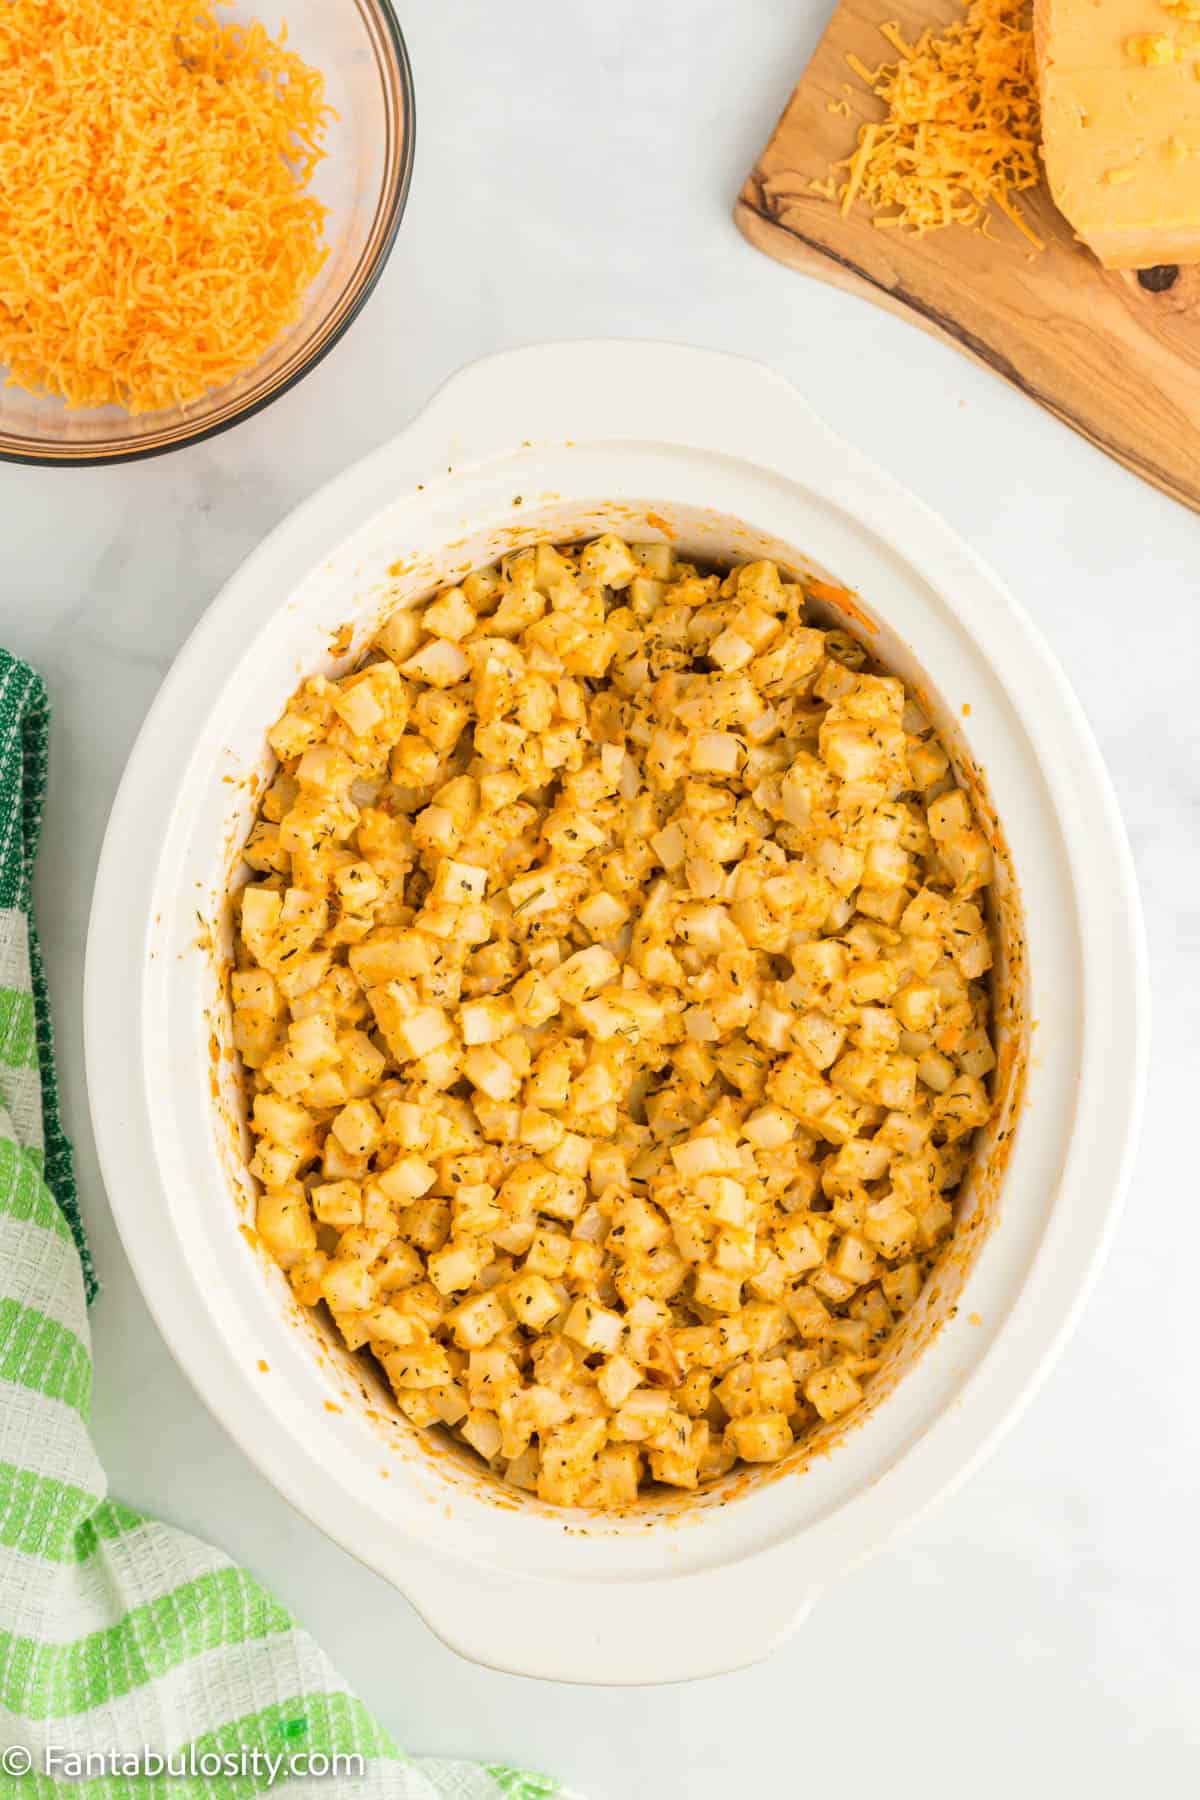
- Add the wet mixture into the frozen hash browns and stir it to coat the hashbrowns completely. If you do not have room to stir the potatoes and cheese mixture in the crock pot, transfer it to an extra large bowl to mix it. Then, return the coated hashbrowns to the crock pot.
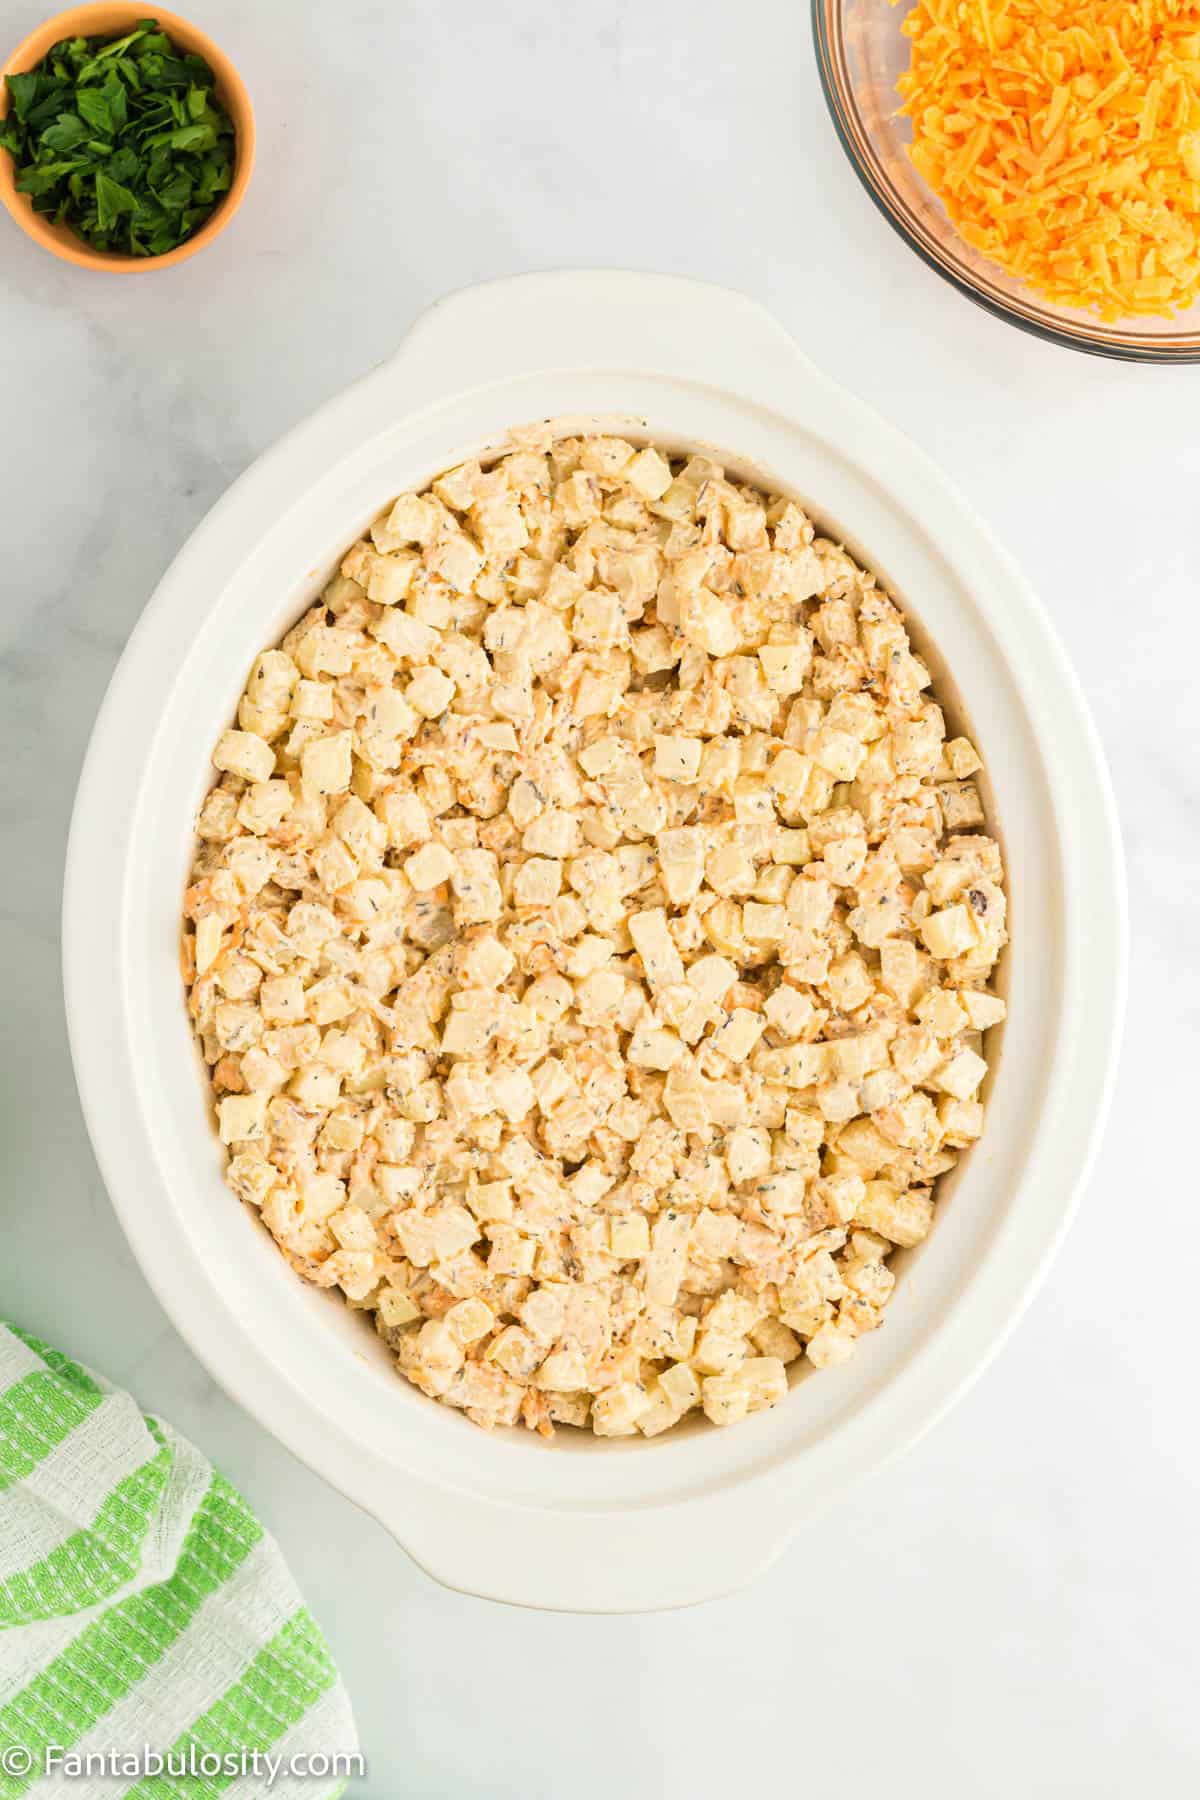
- Place the lid on the crock pot and cook the hashbrowns for 5 to 6 hours on the low setting until the hashbrowns have softened, the cheese has melted and the edges of the hashbrown mixtures are starting to brown.
Optional but highly recommended!
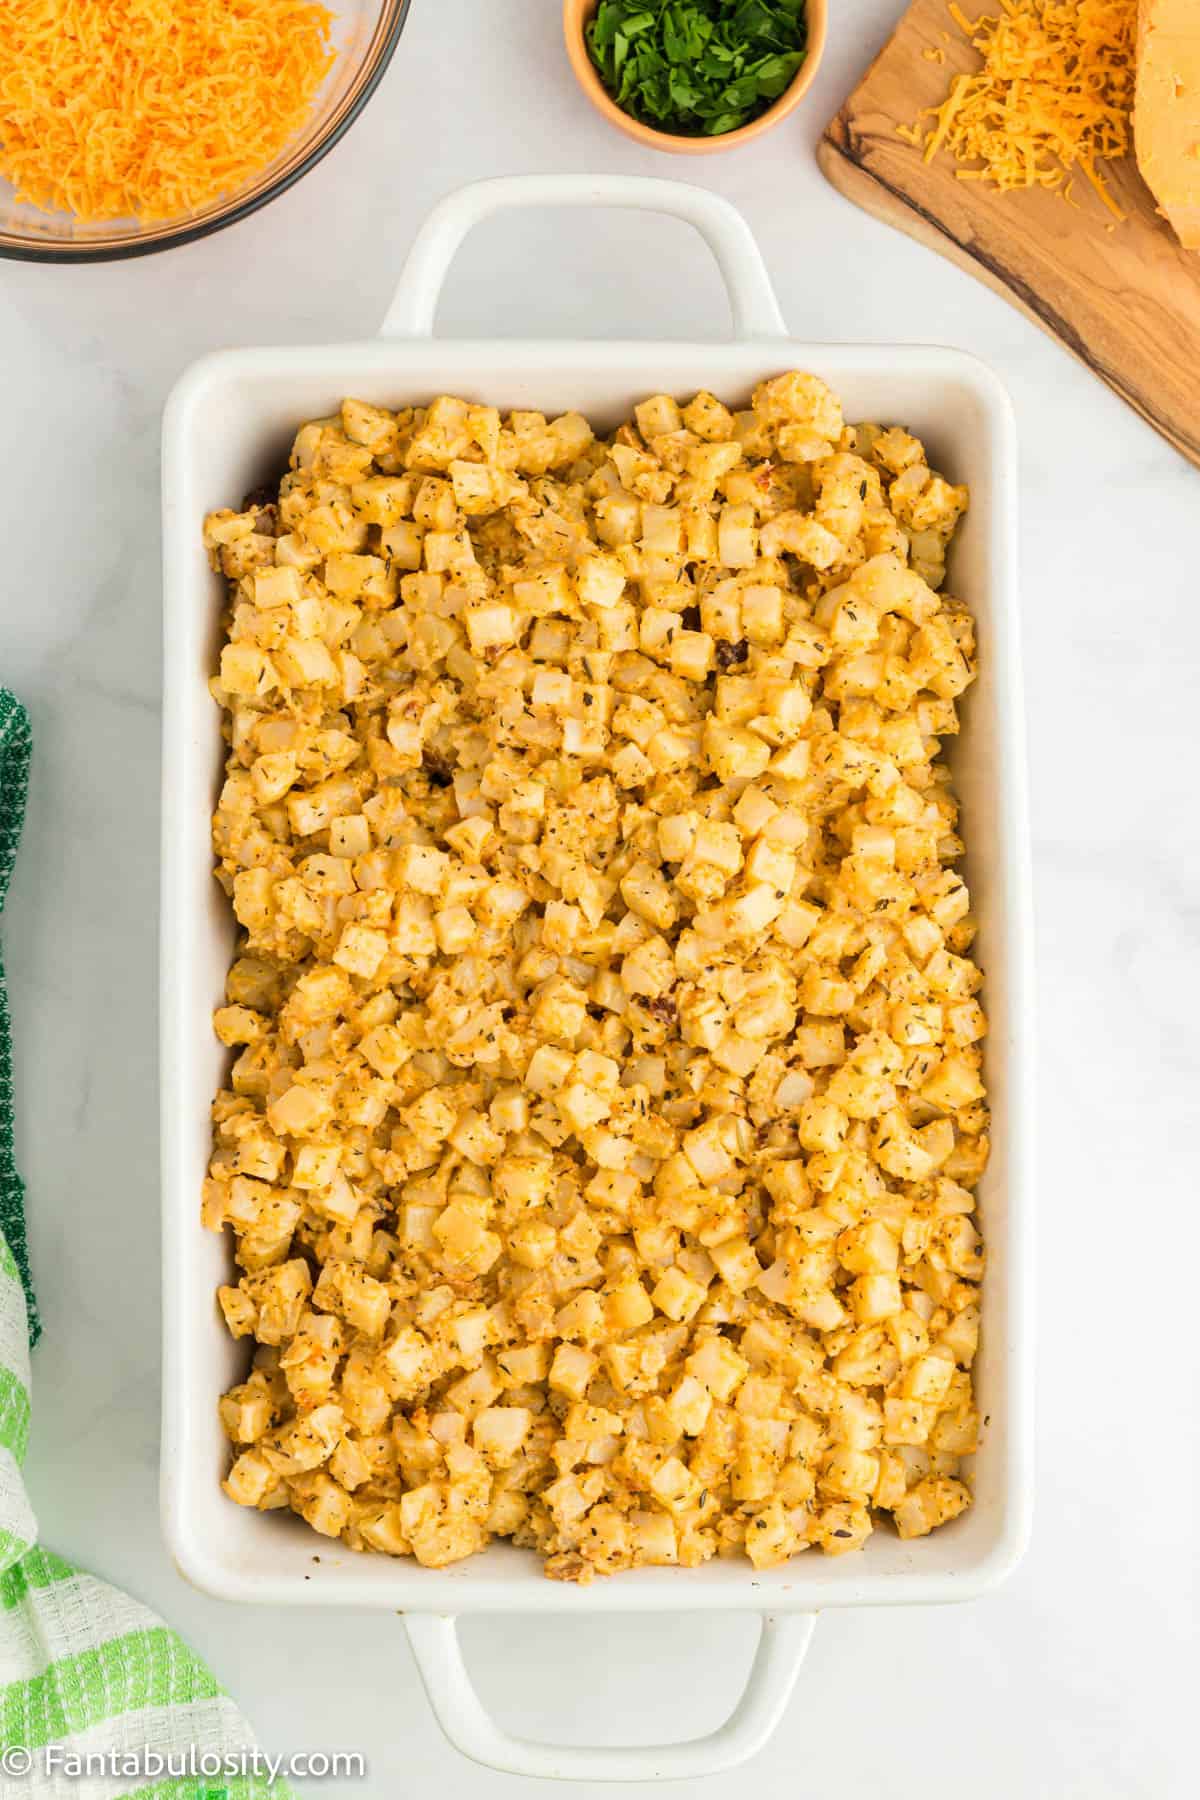
- Next, preheat your oven to broil.
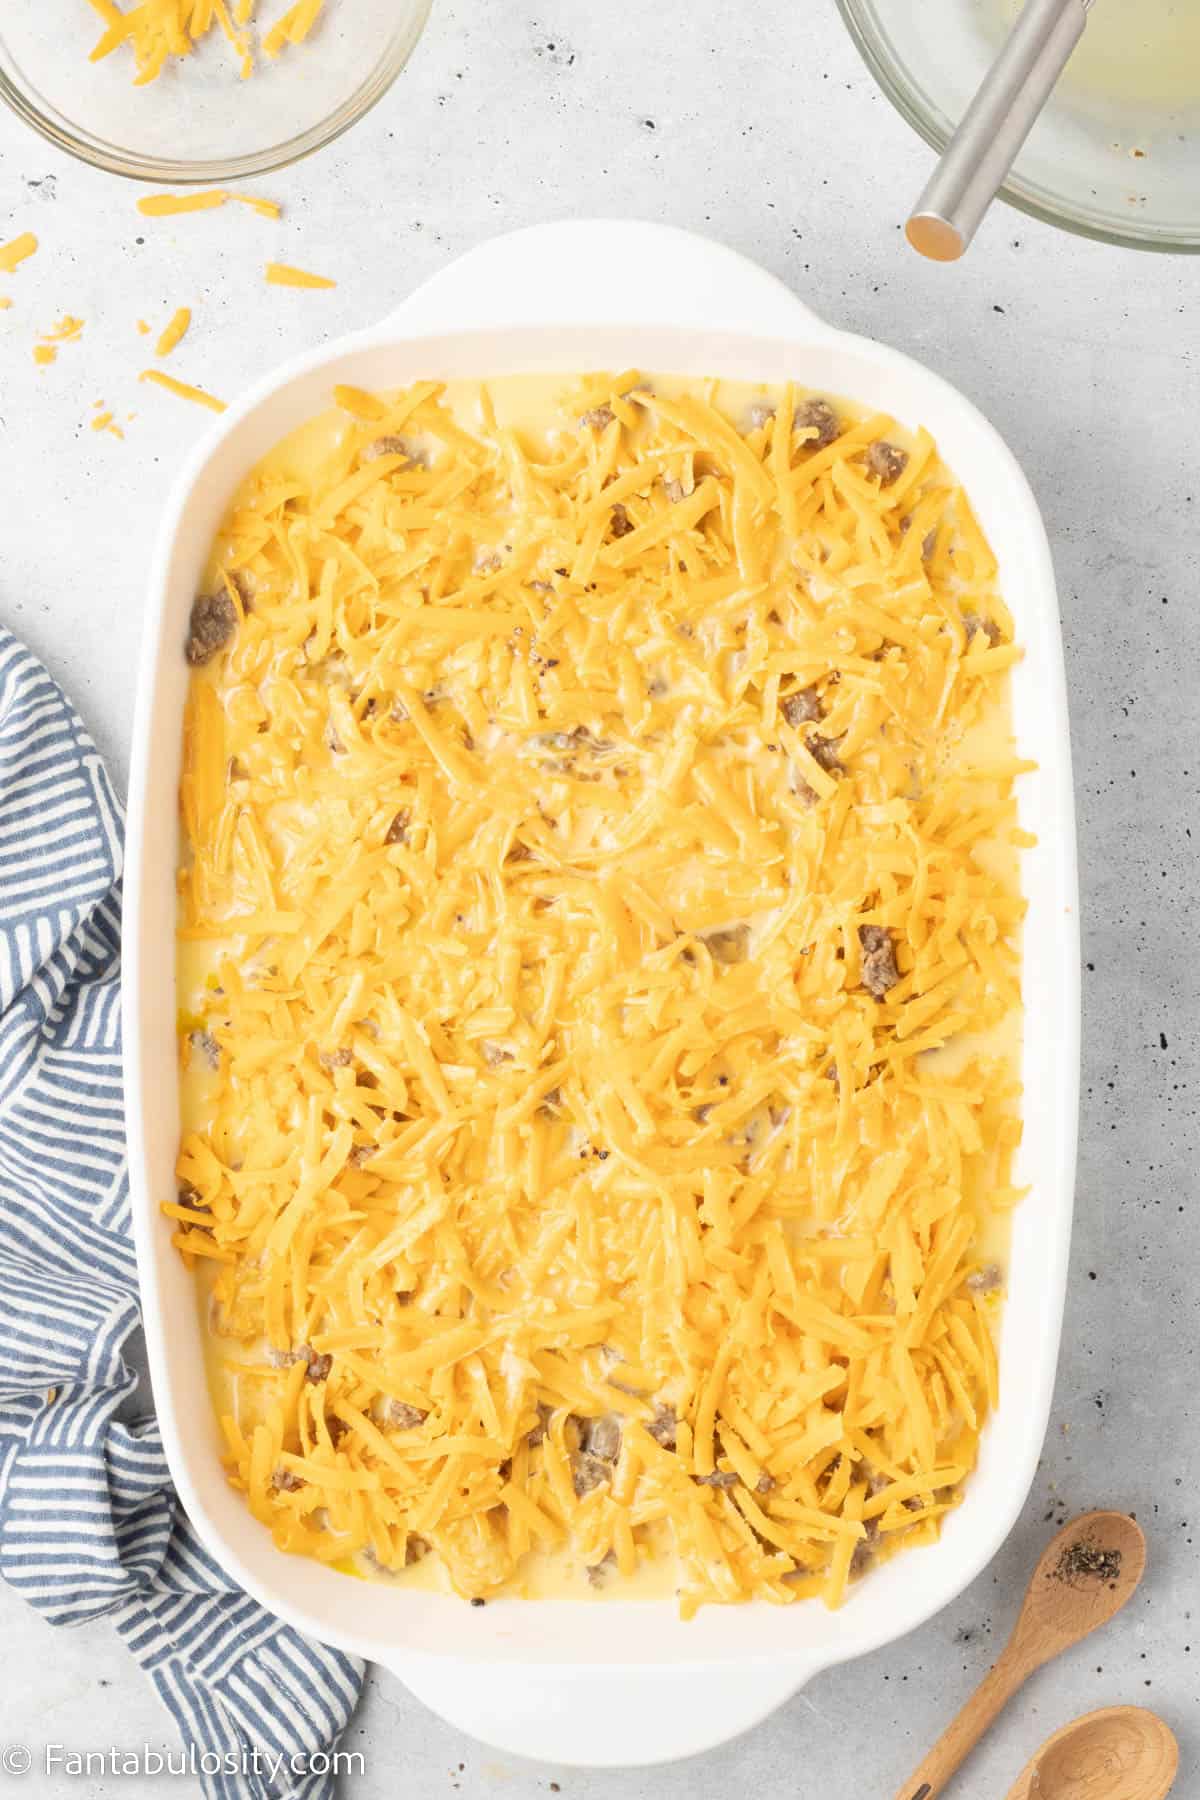
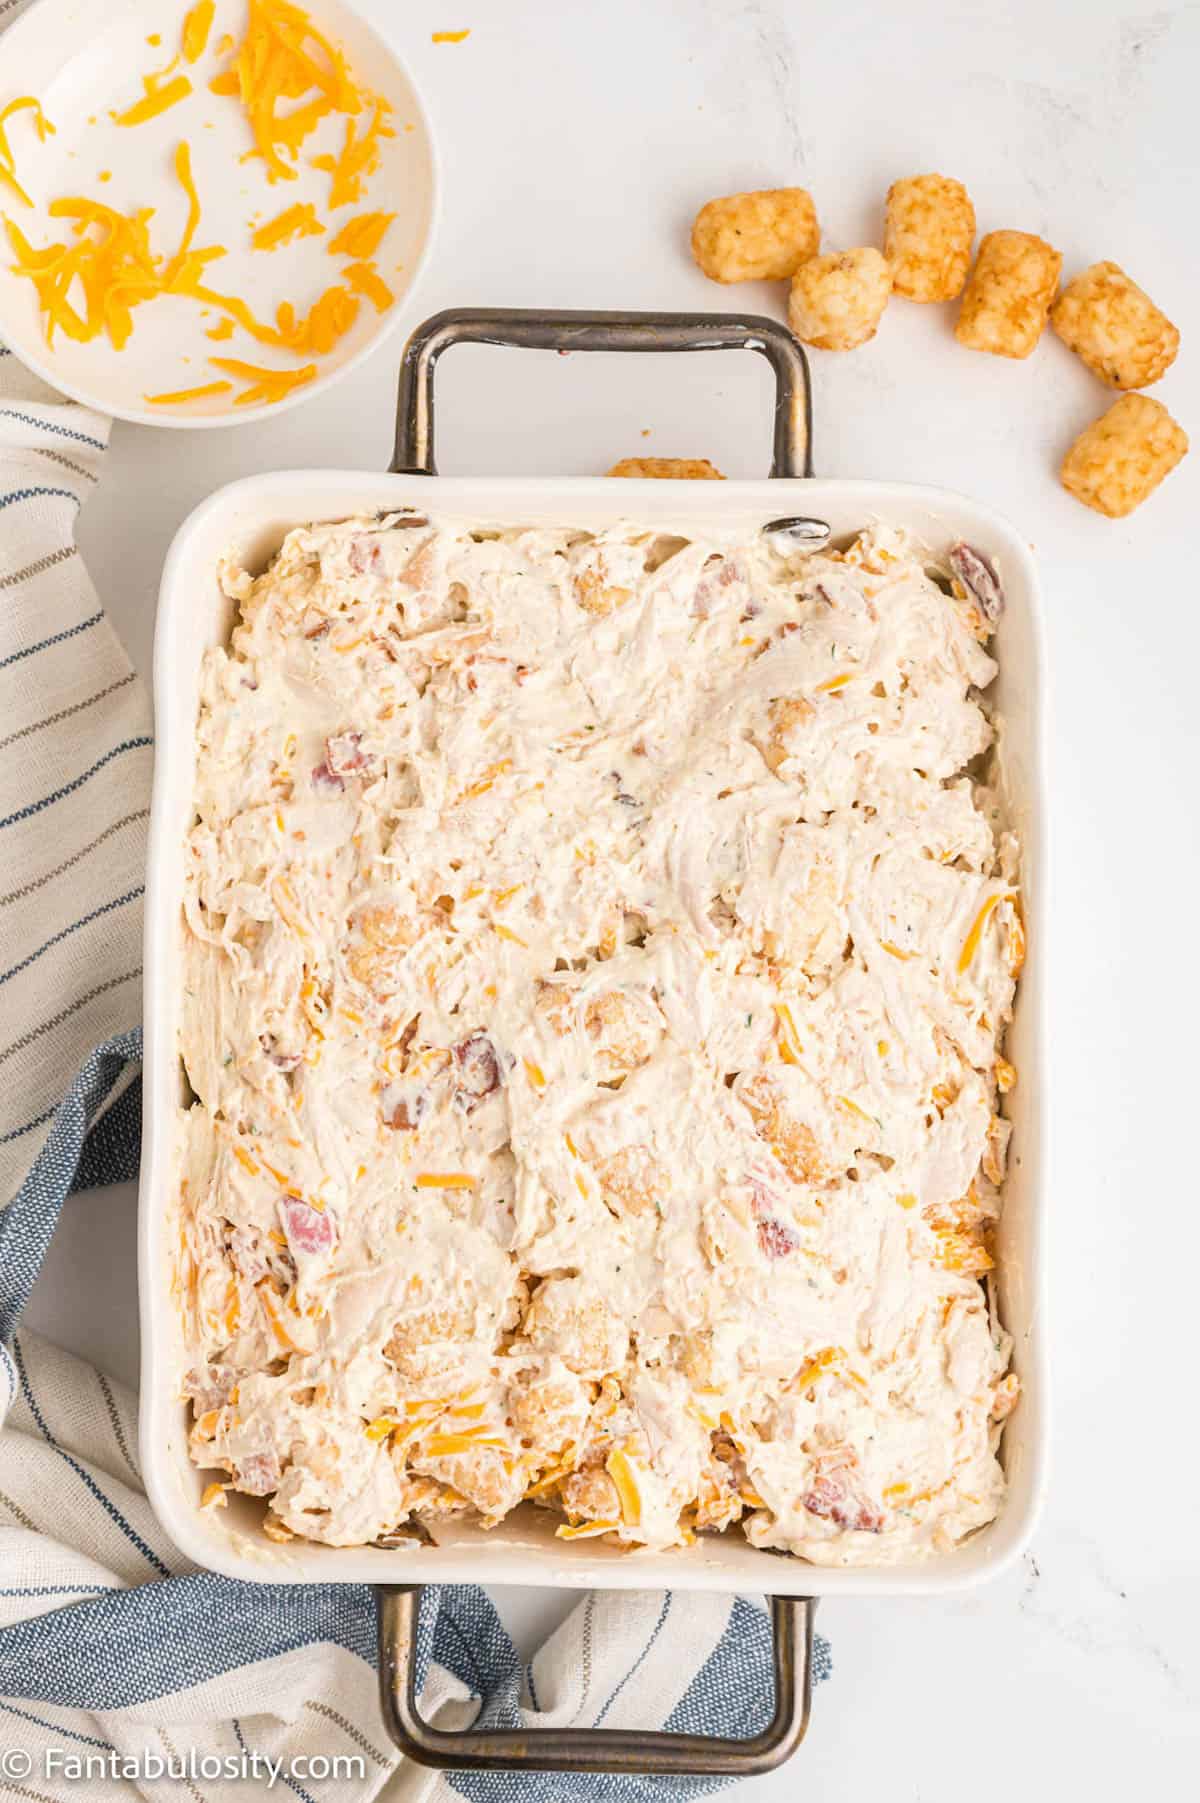
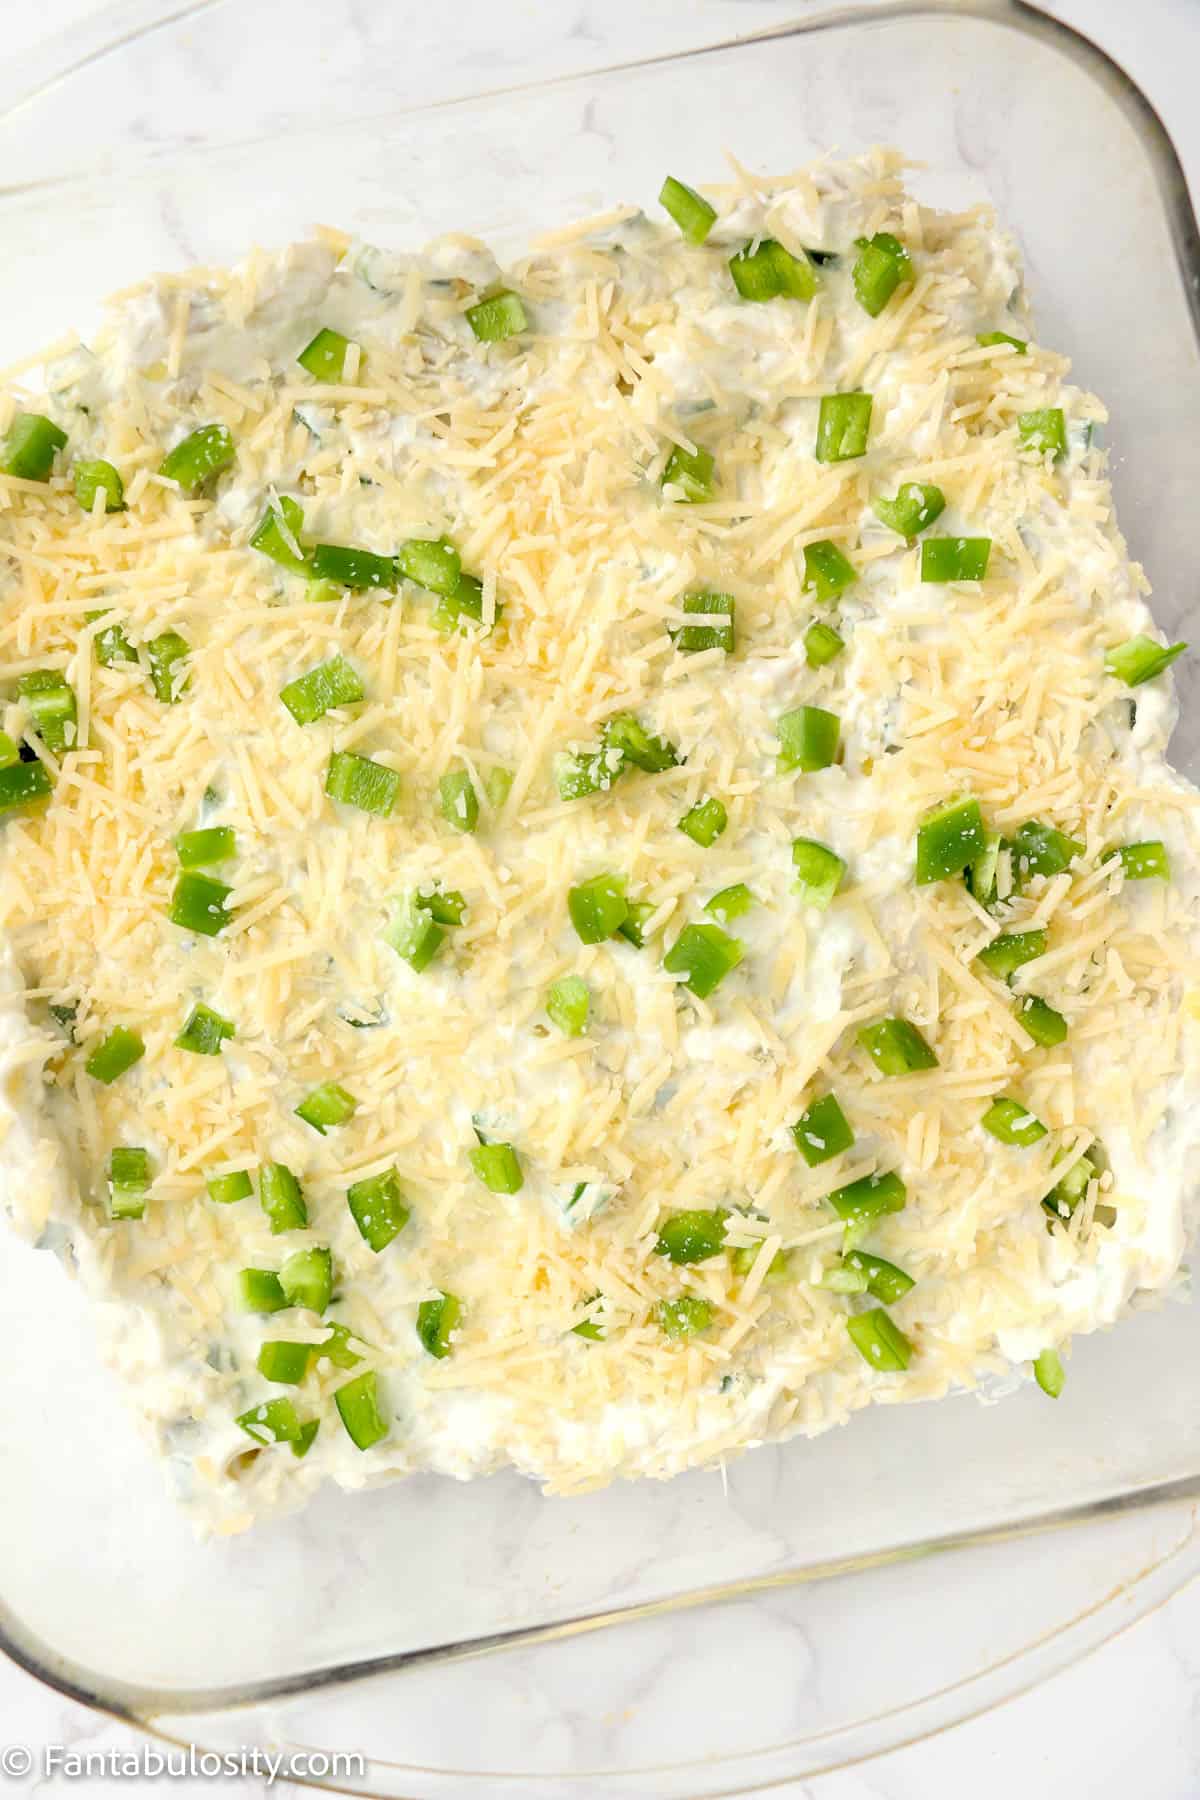
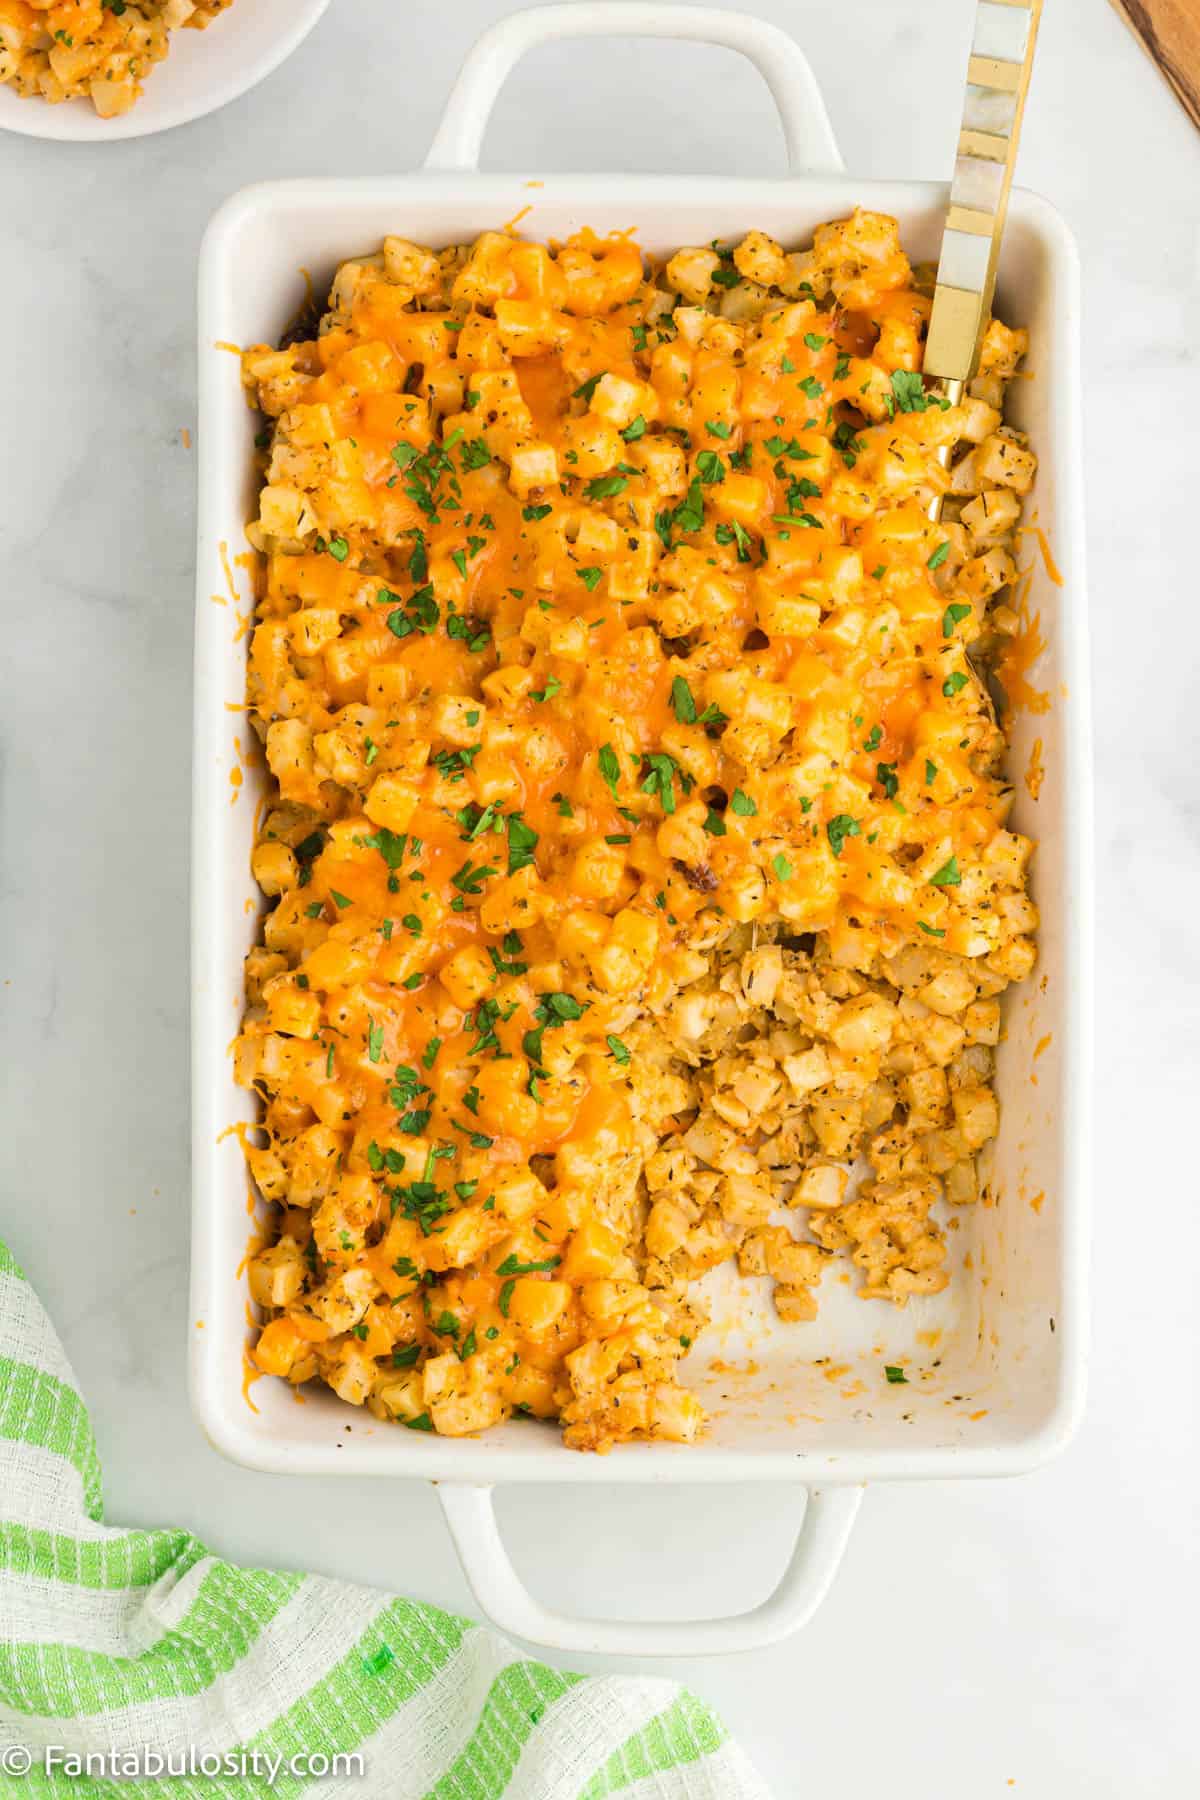
- Prepare a 9×13 baking dish with non-stick spray. Transfer the contents of the crockpot into the baking dish.
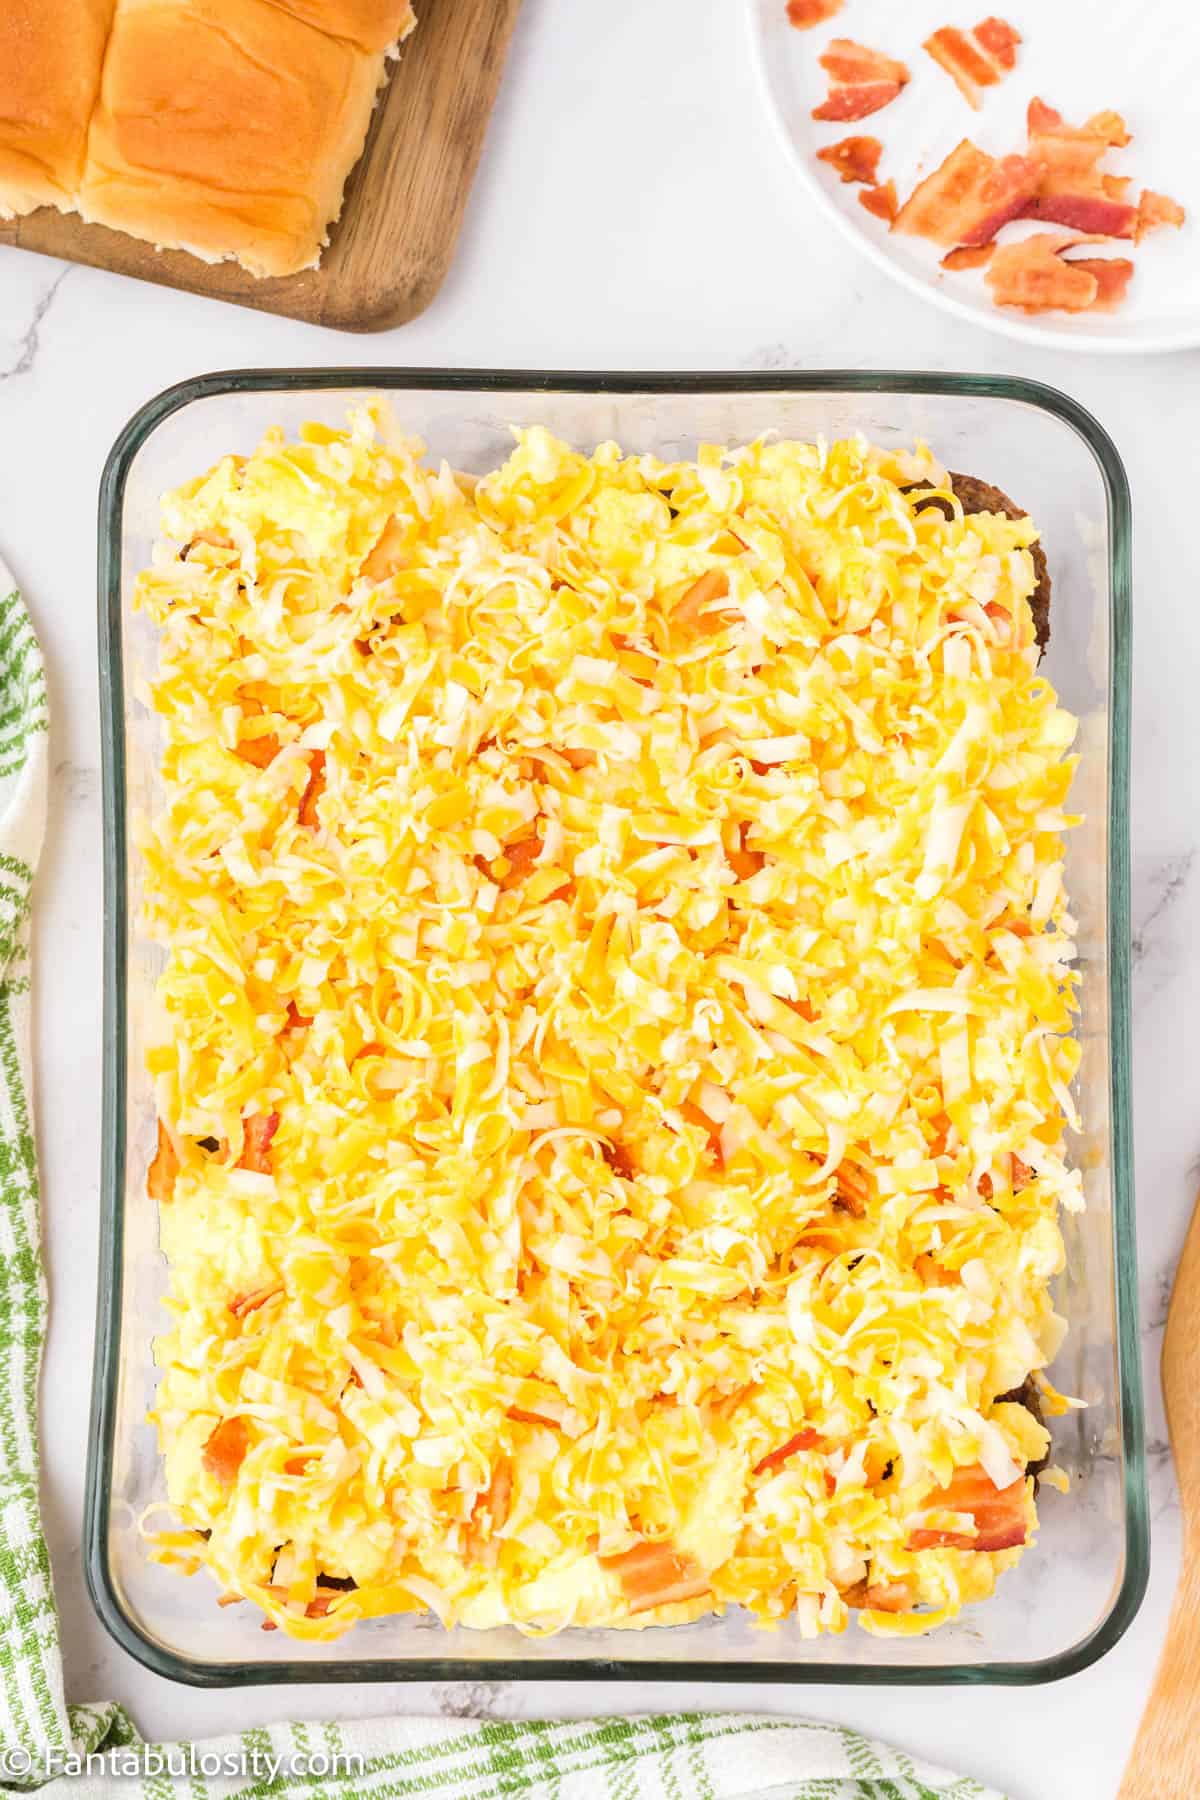
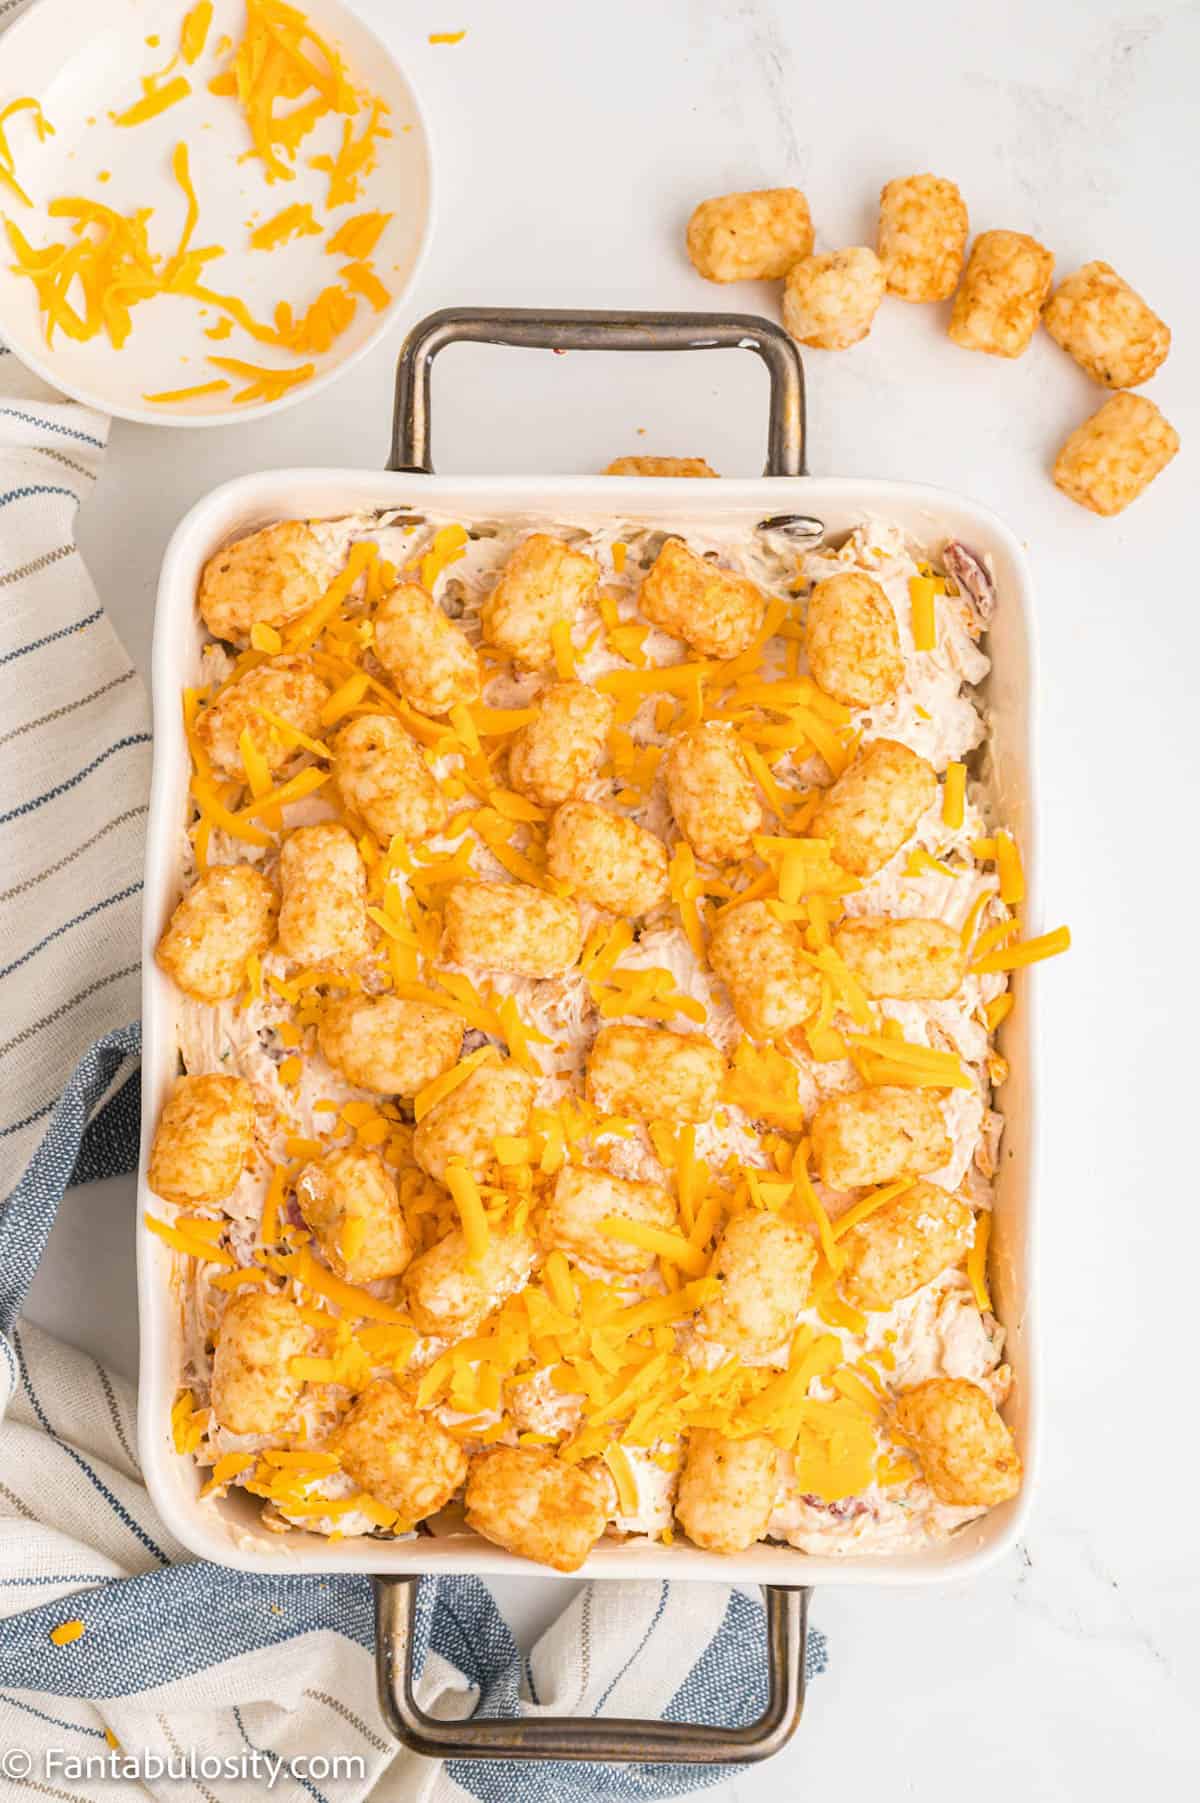
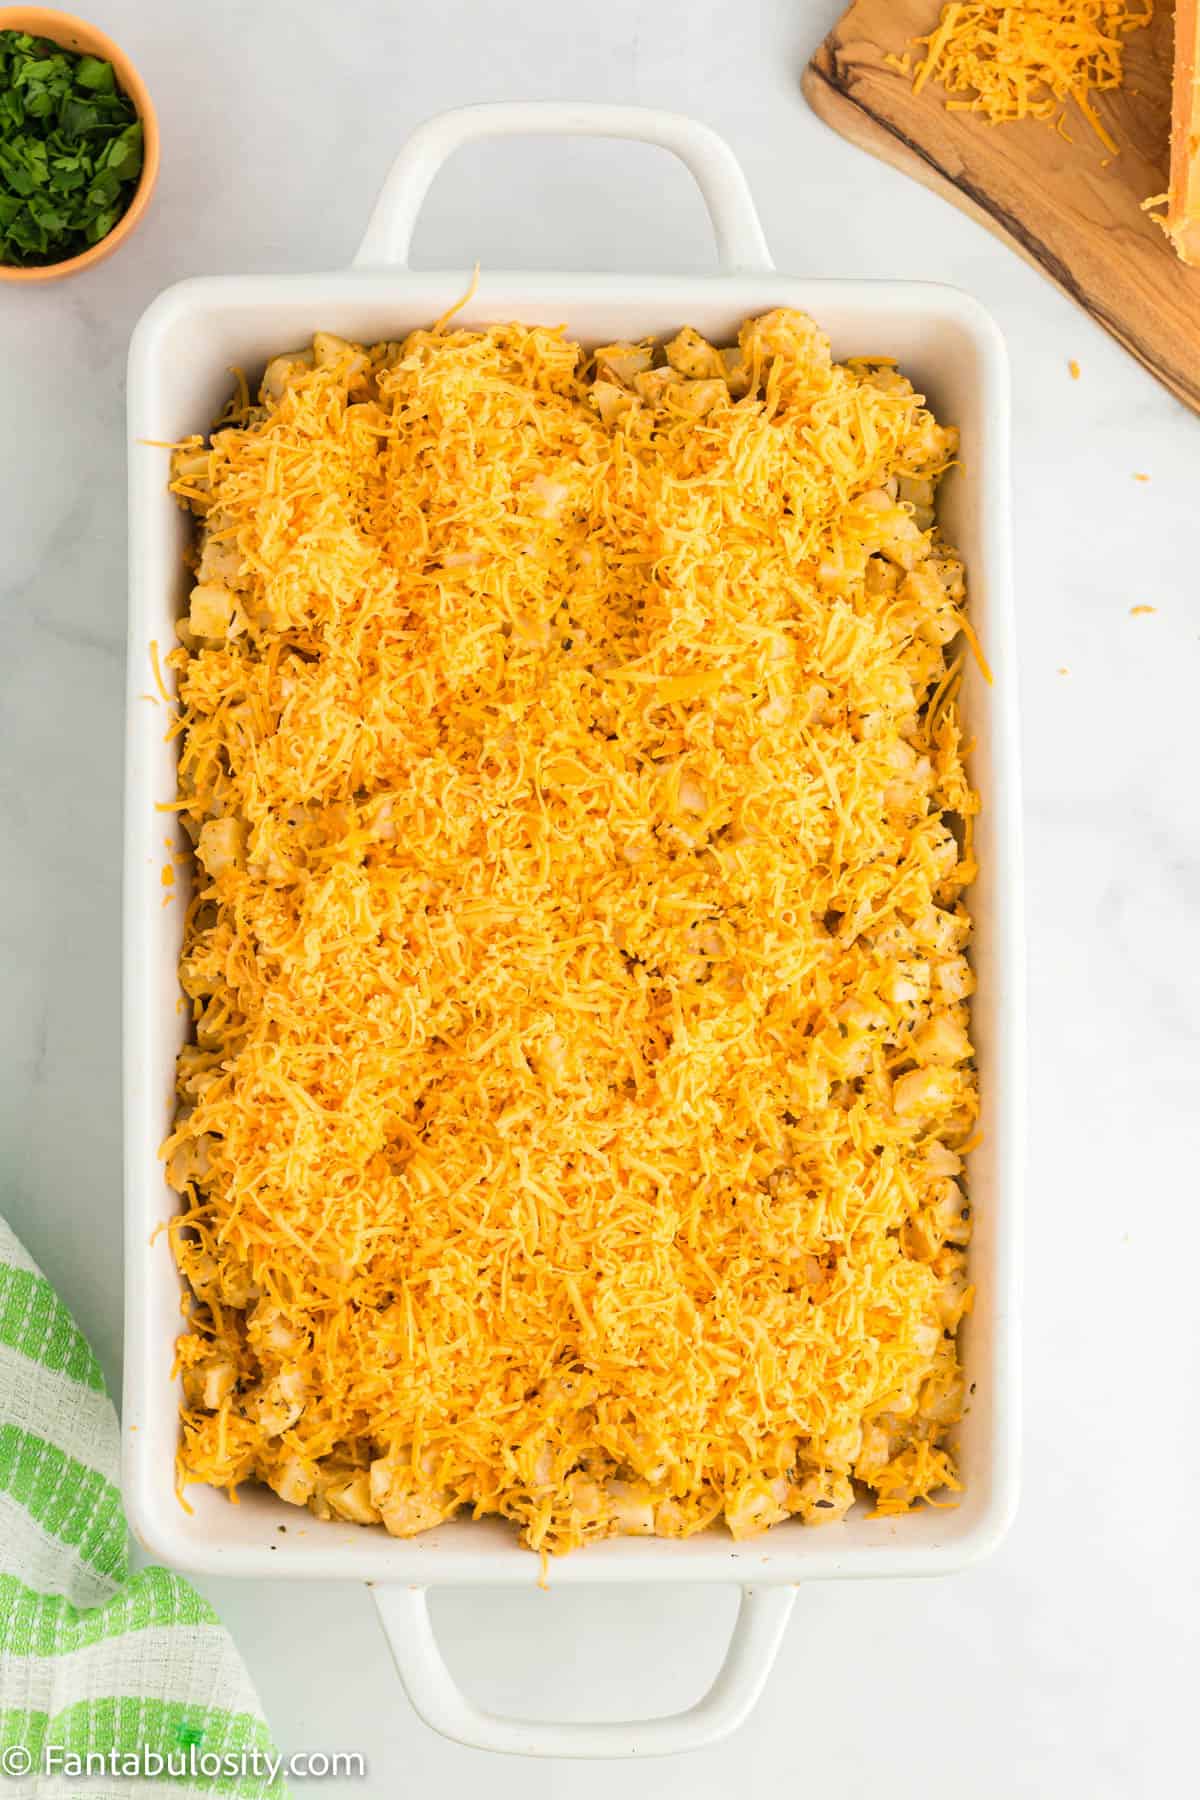
- Then, sprinkle the remaining cup of shredded cheddar cheese over the top of the cheesy hashbrowns.
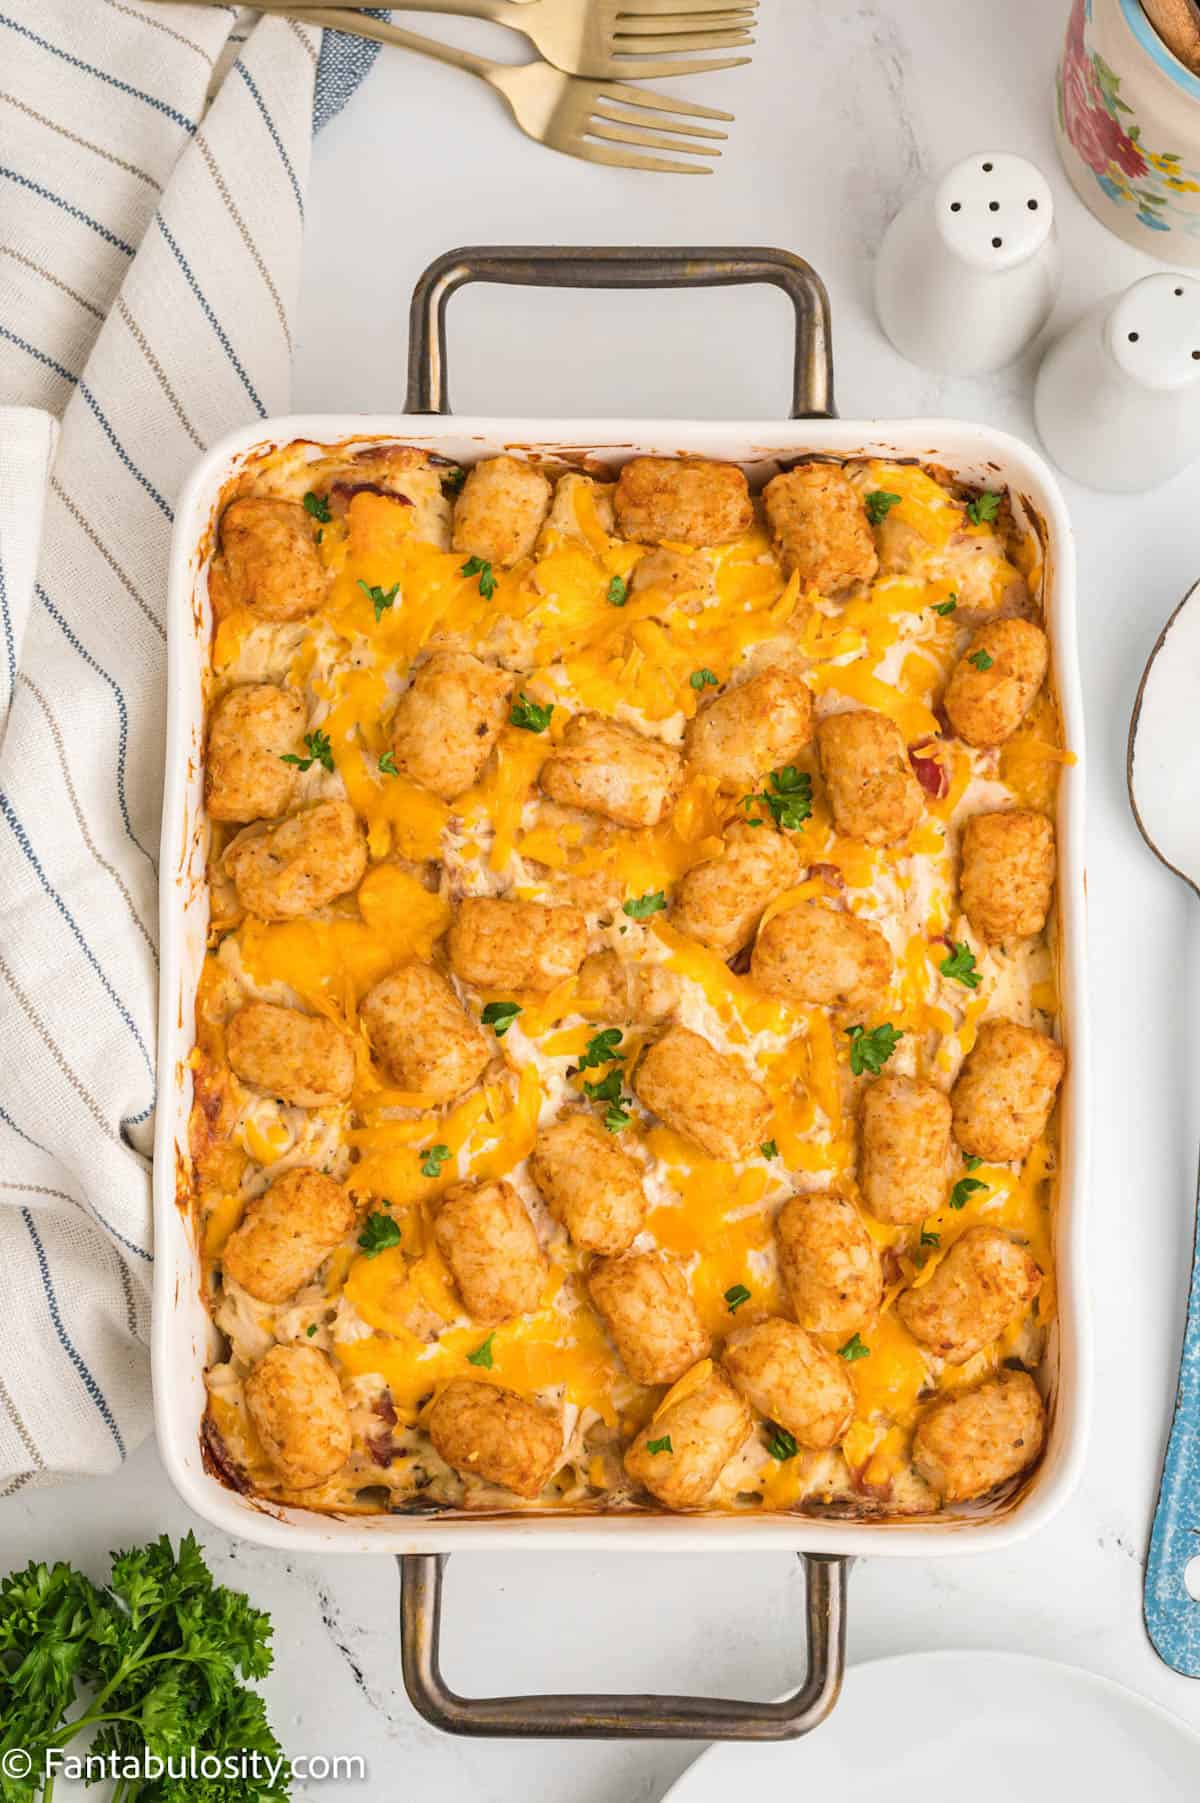
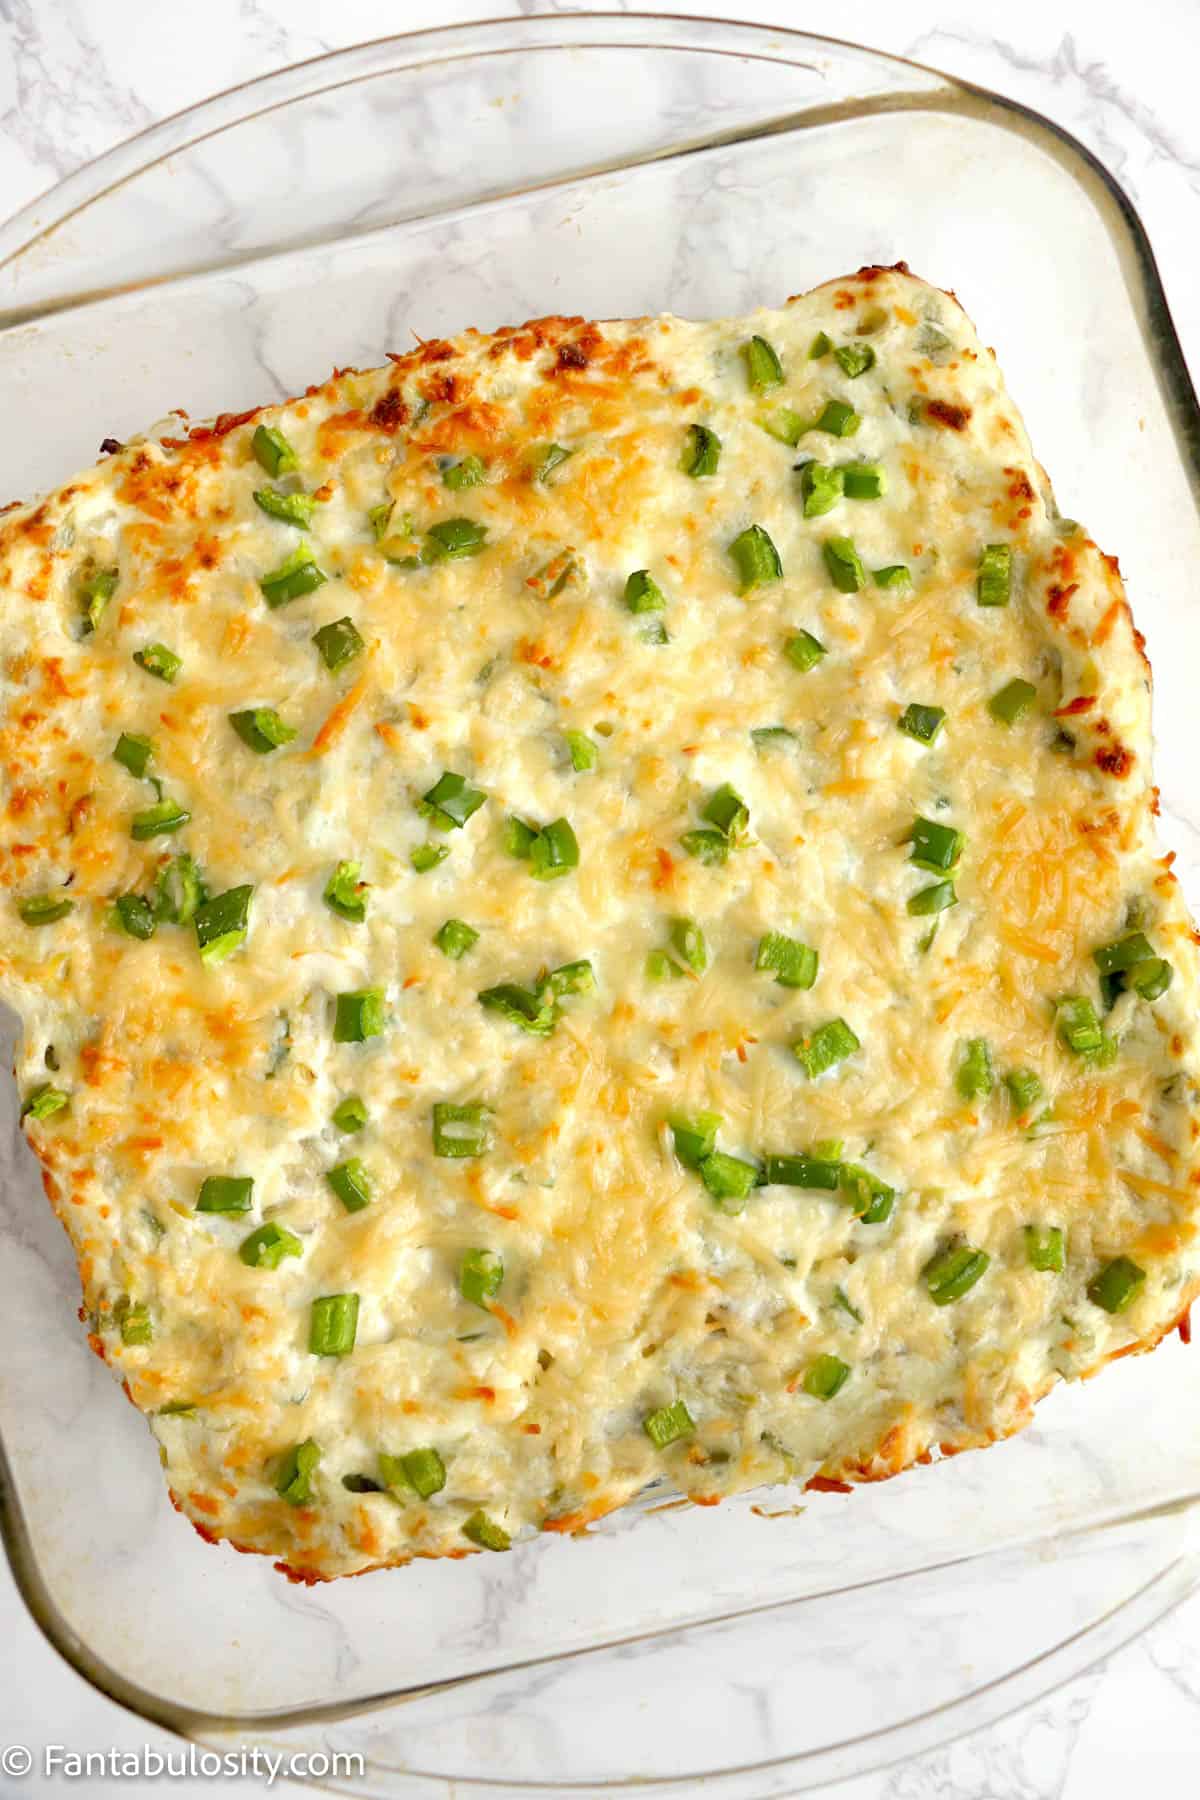
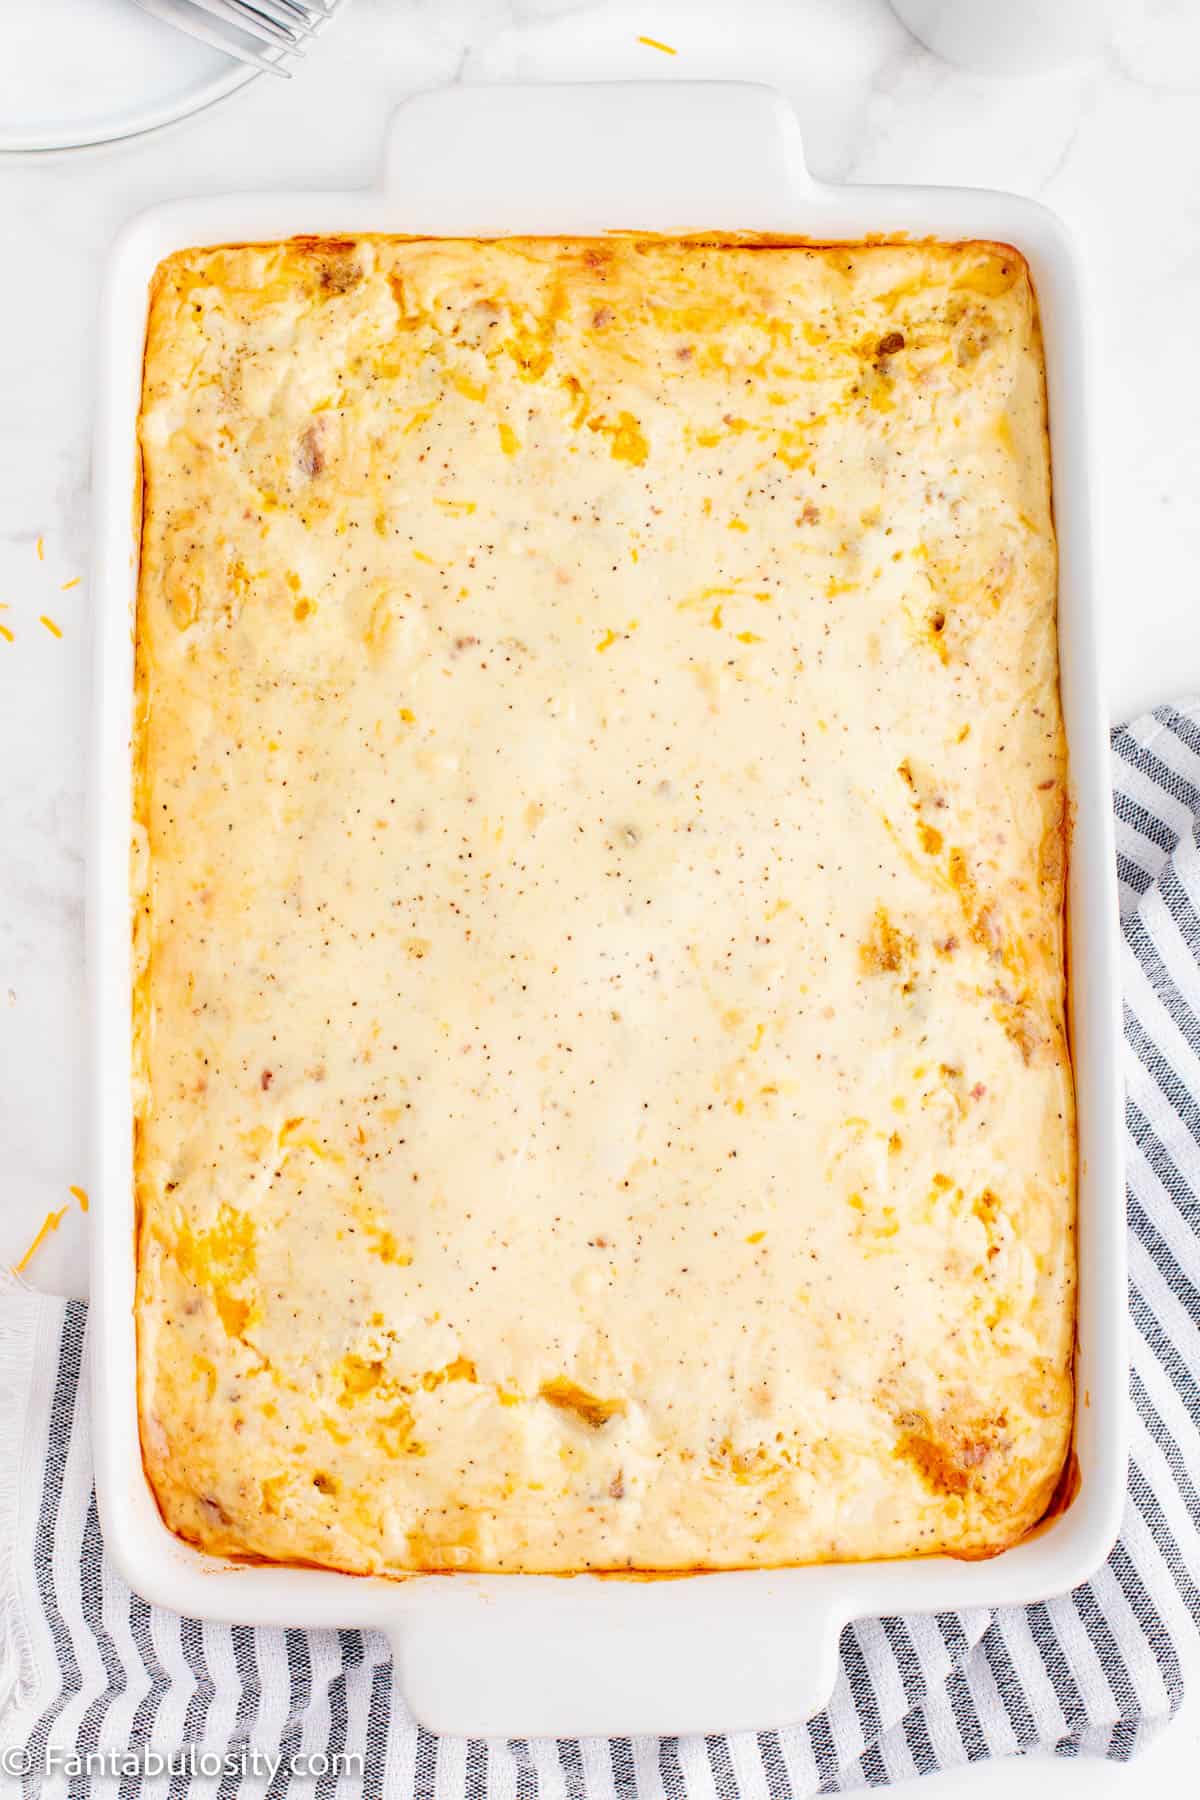
- Place the baking dish in the oven for 1-2 minutes or until the top layer of the cheese begins to bubble and brown. Watch this carefully so the cheese doesn’t burn.
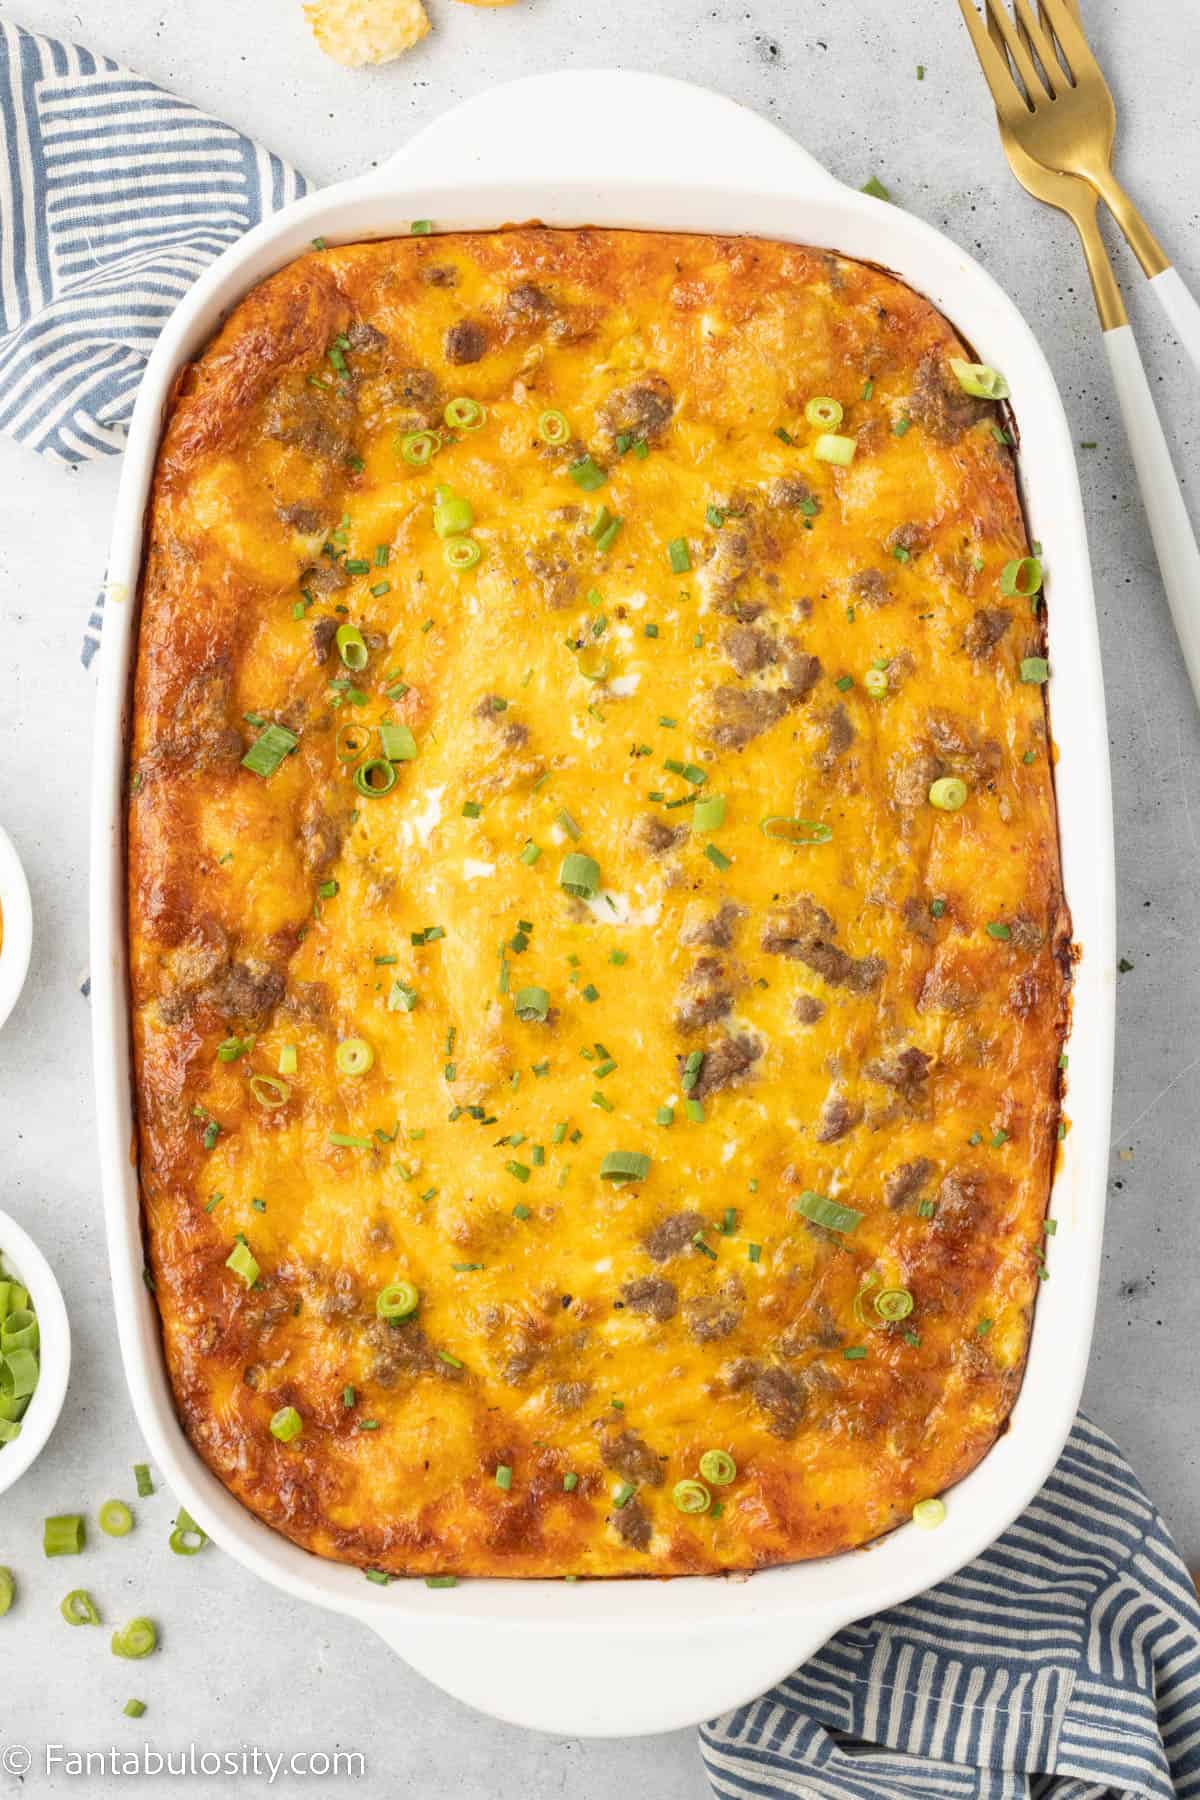
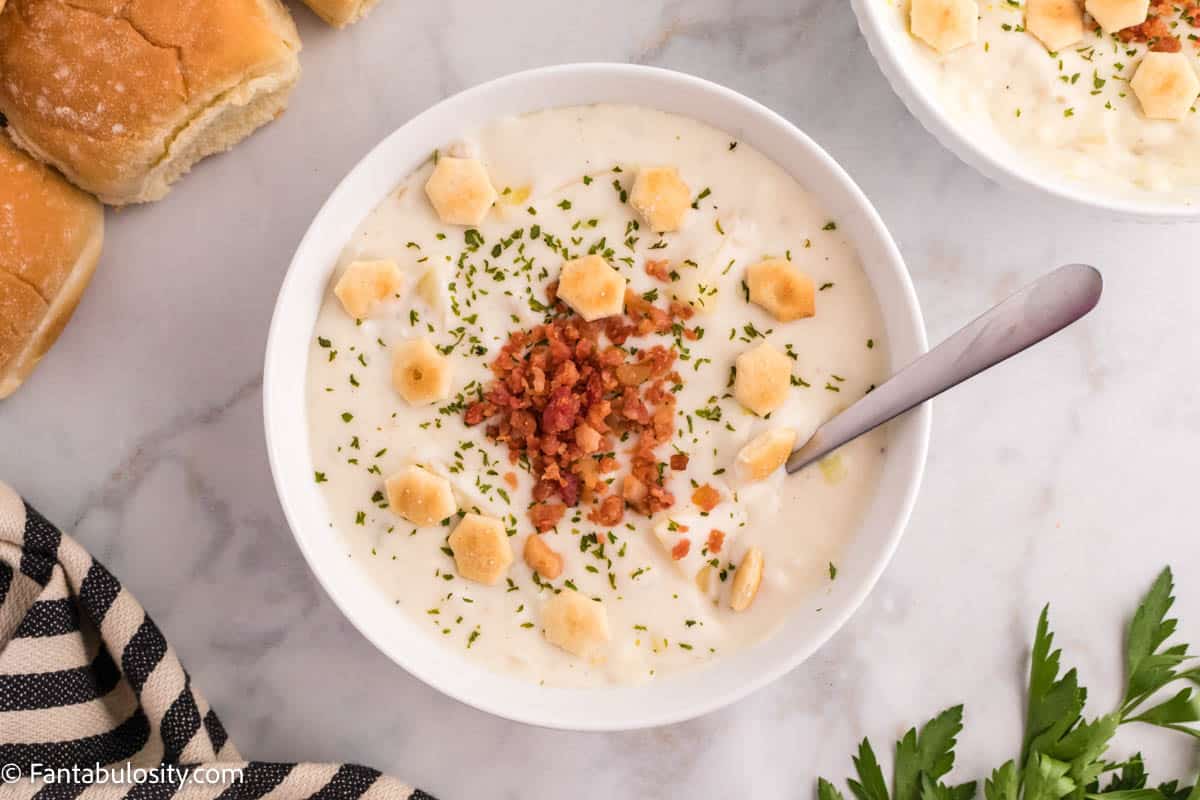
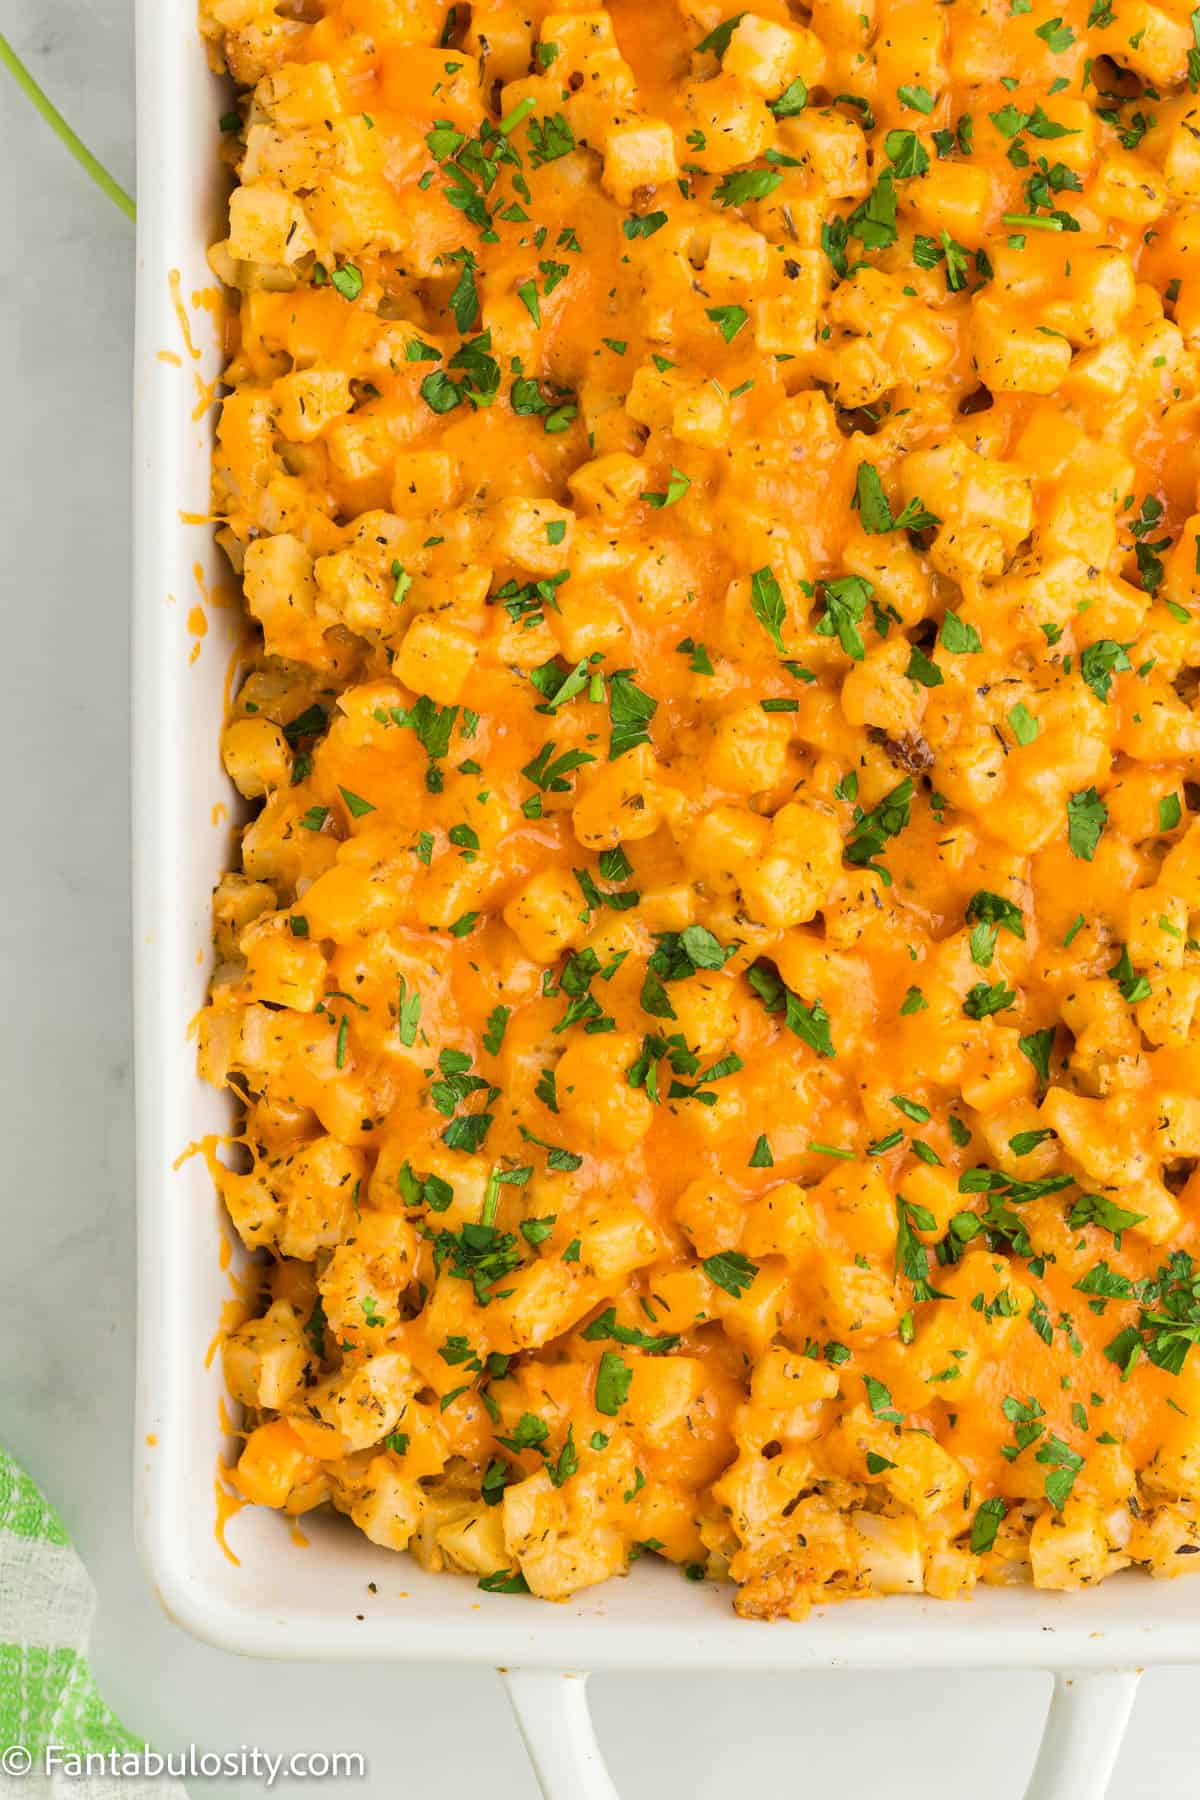
- Finally, sprinkle fresh chopped parsley over the top of the hashbrowns before serving.
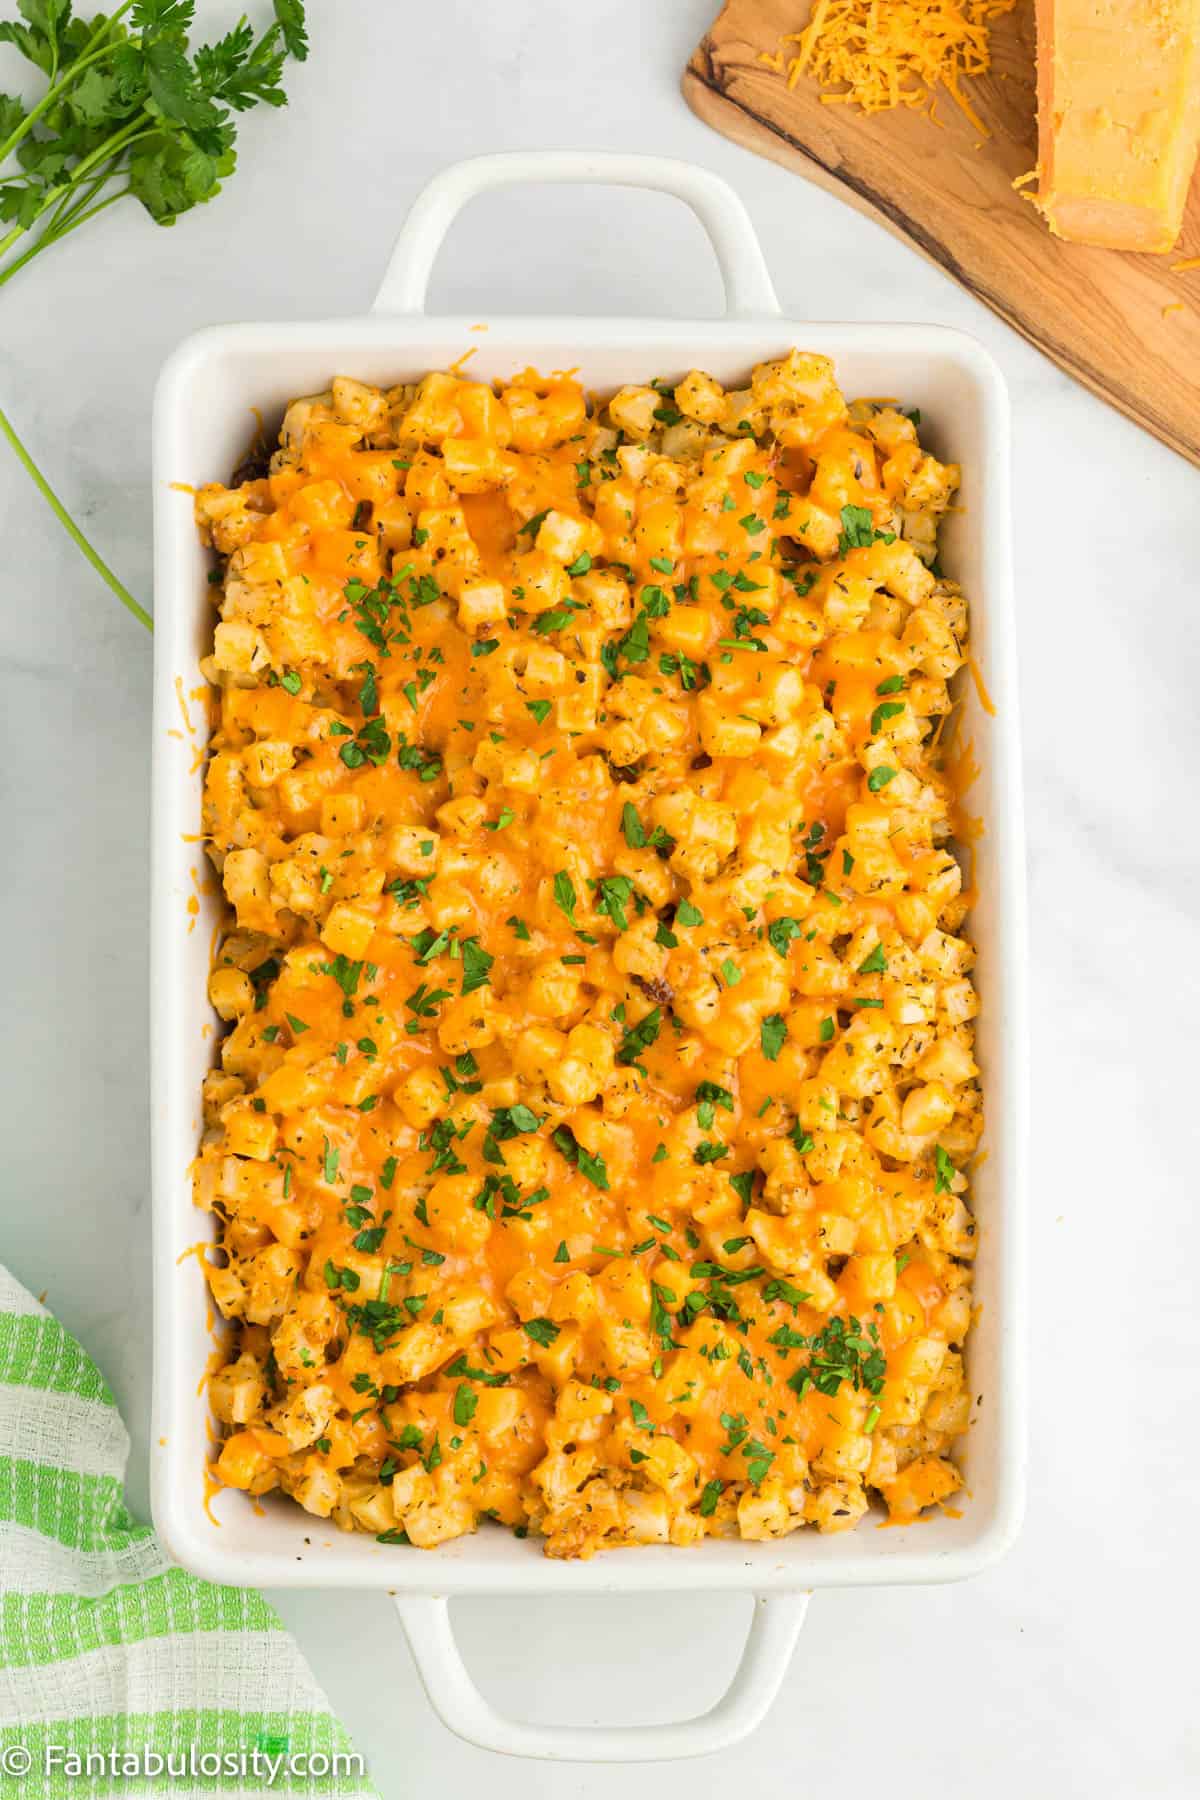
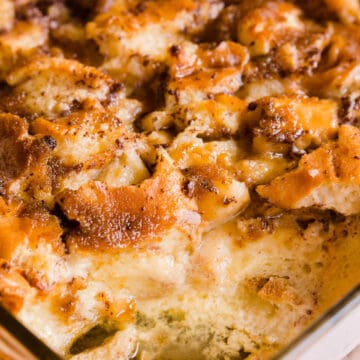
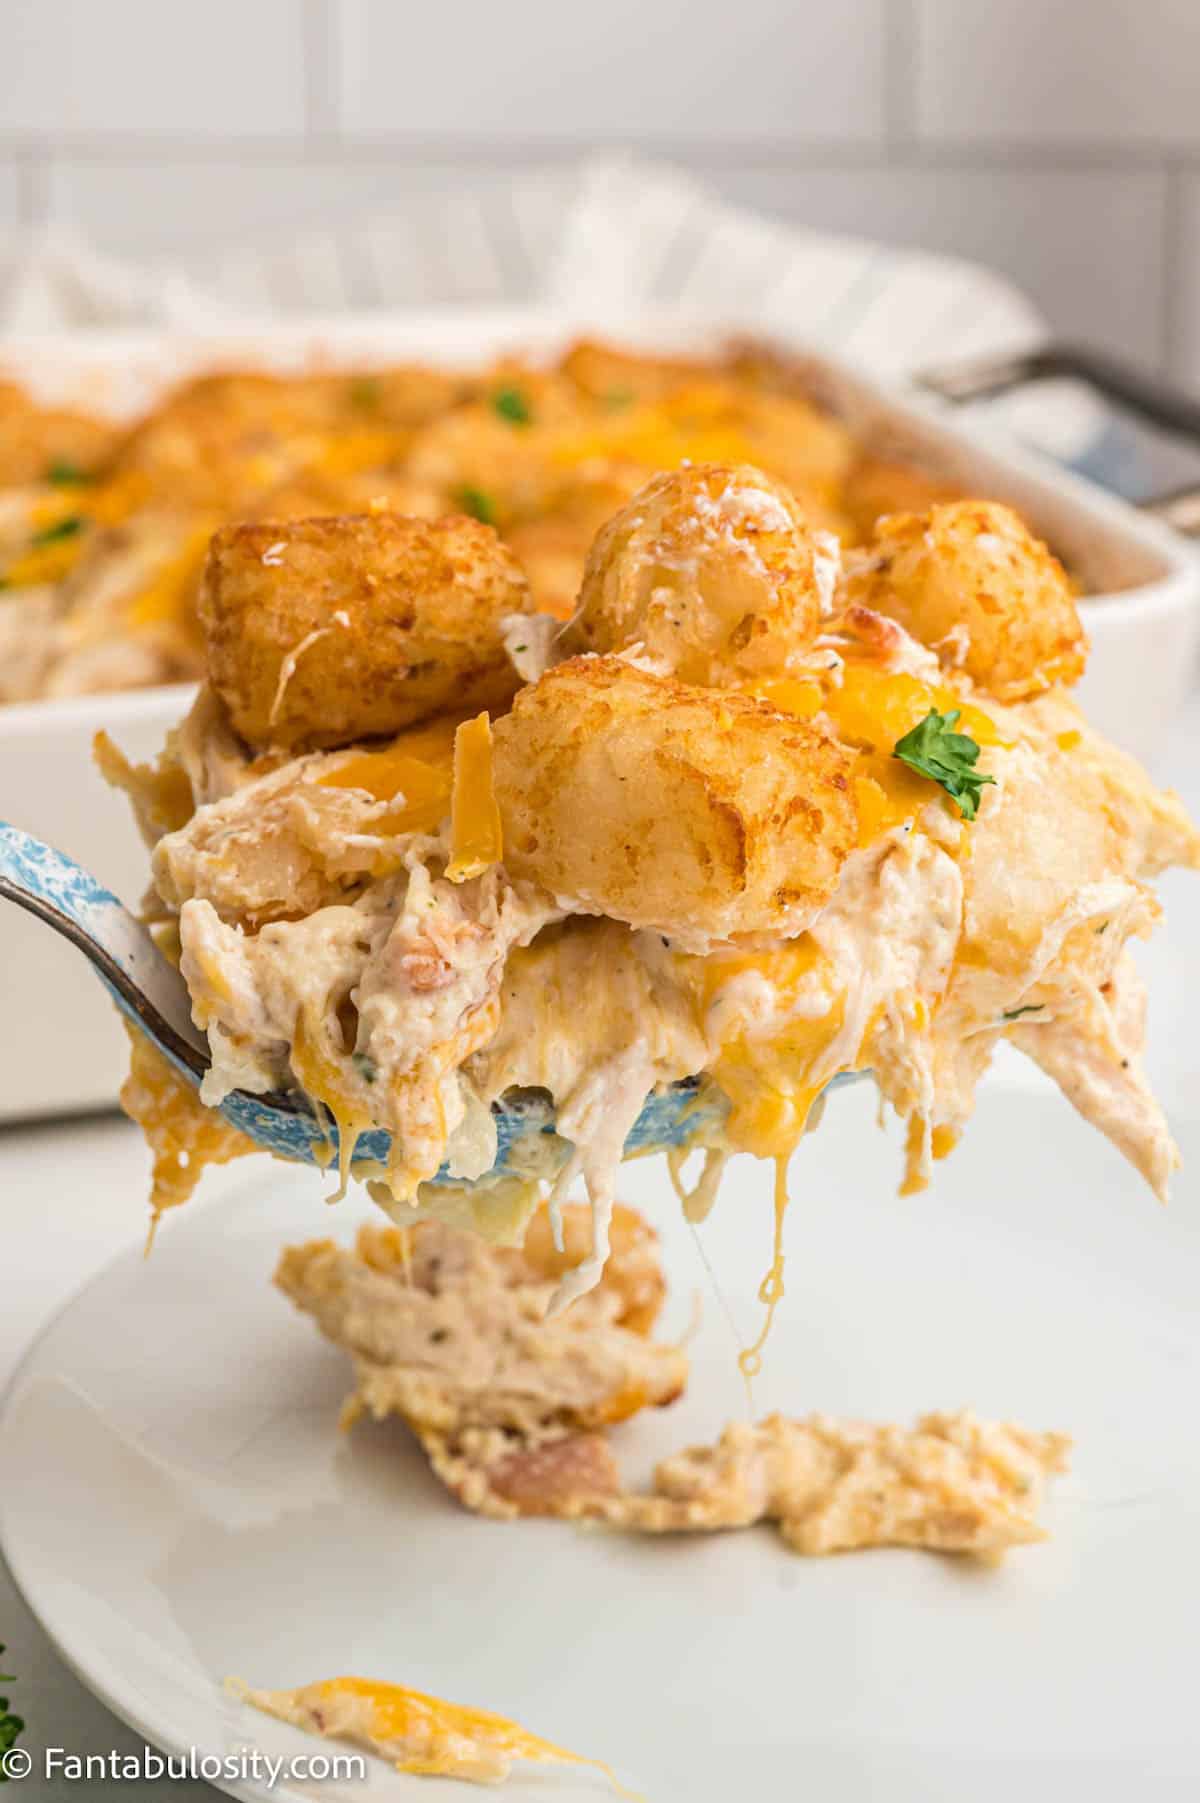
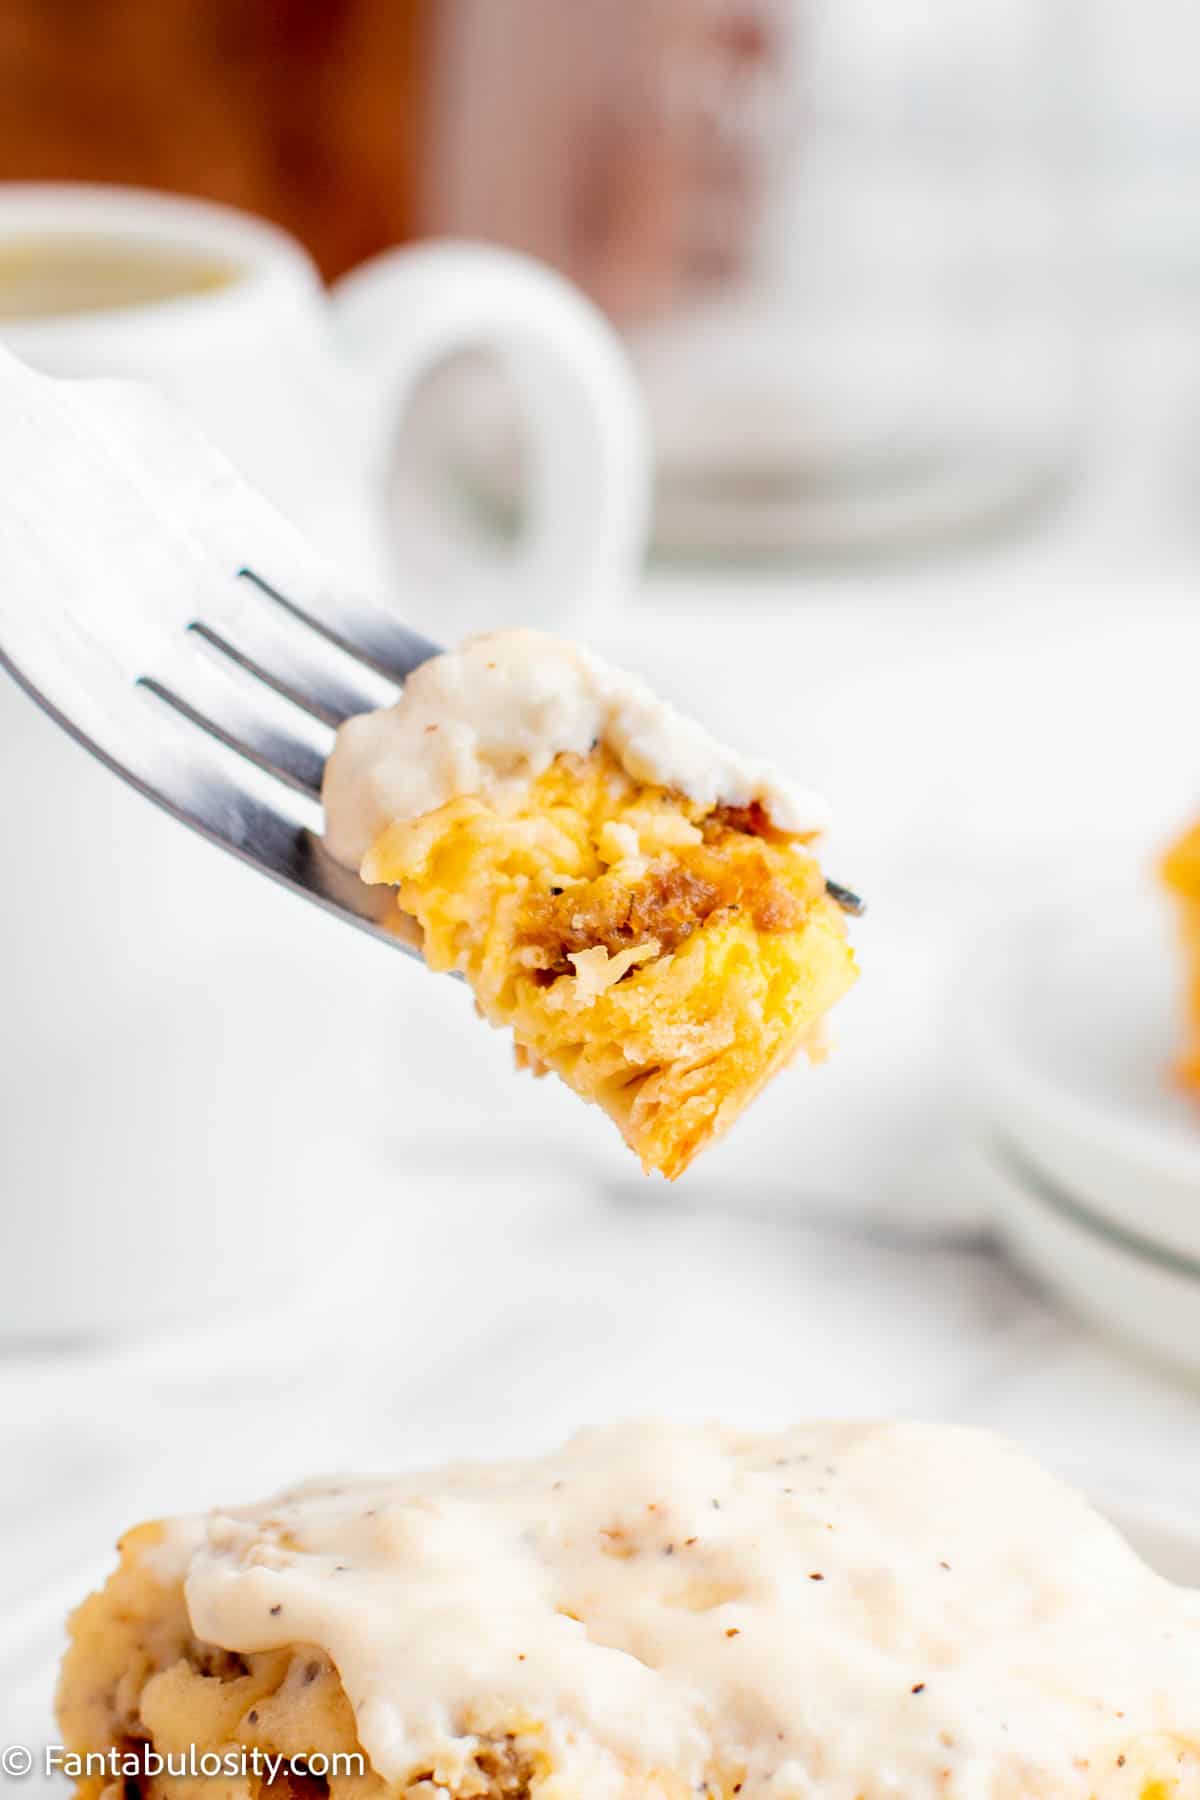
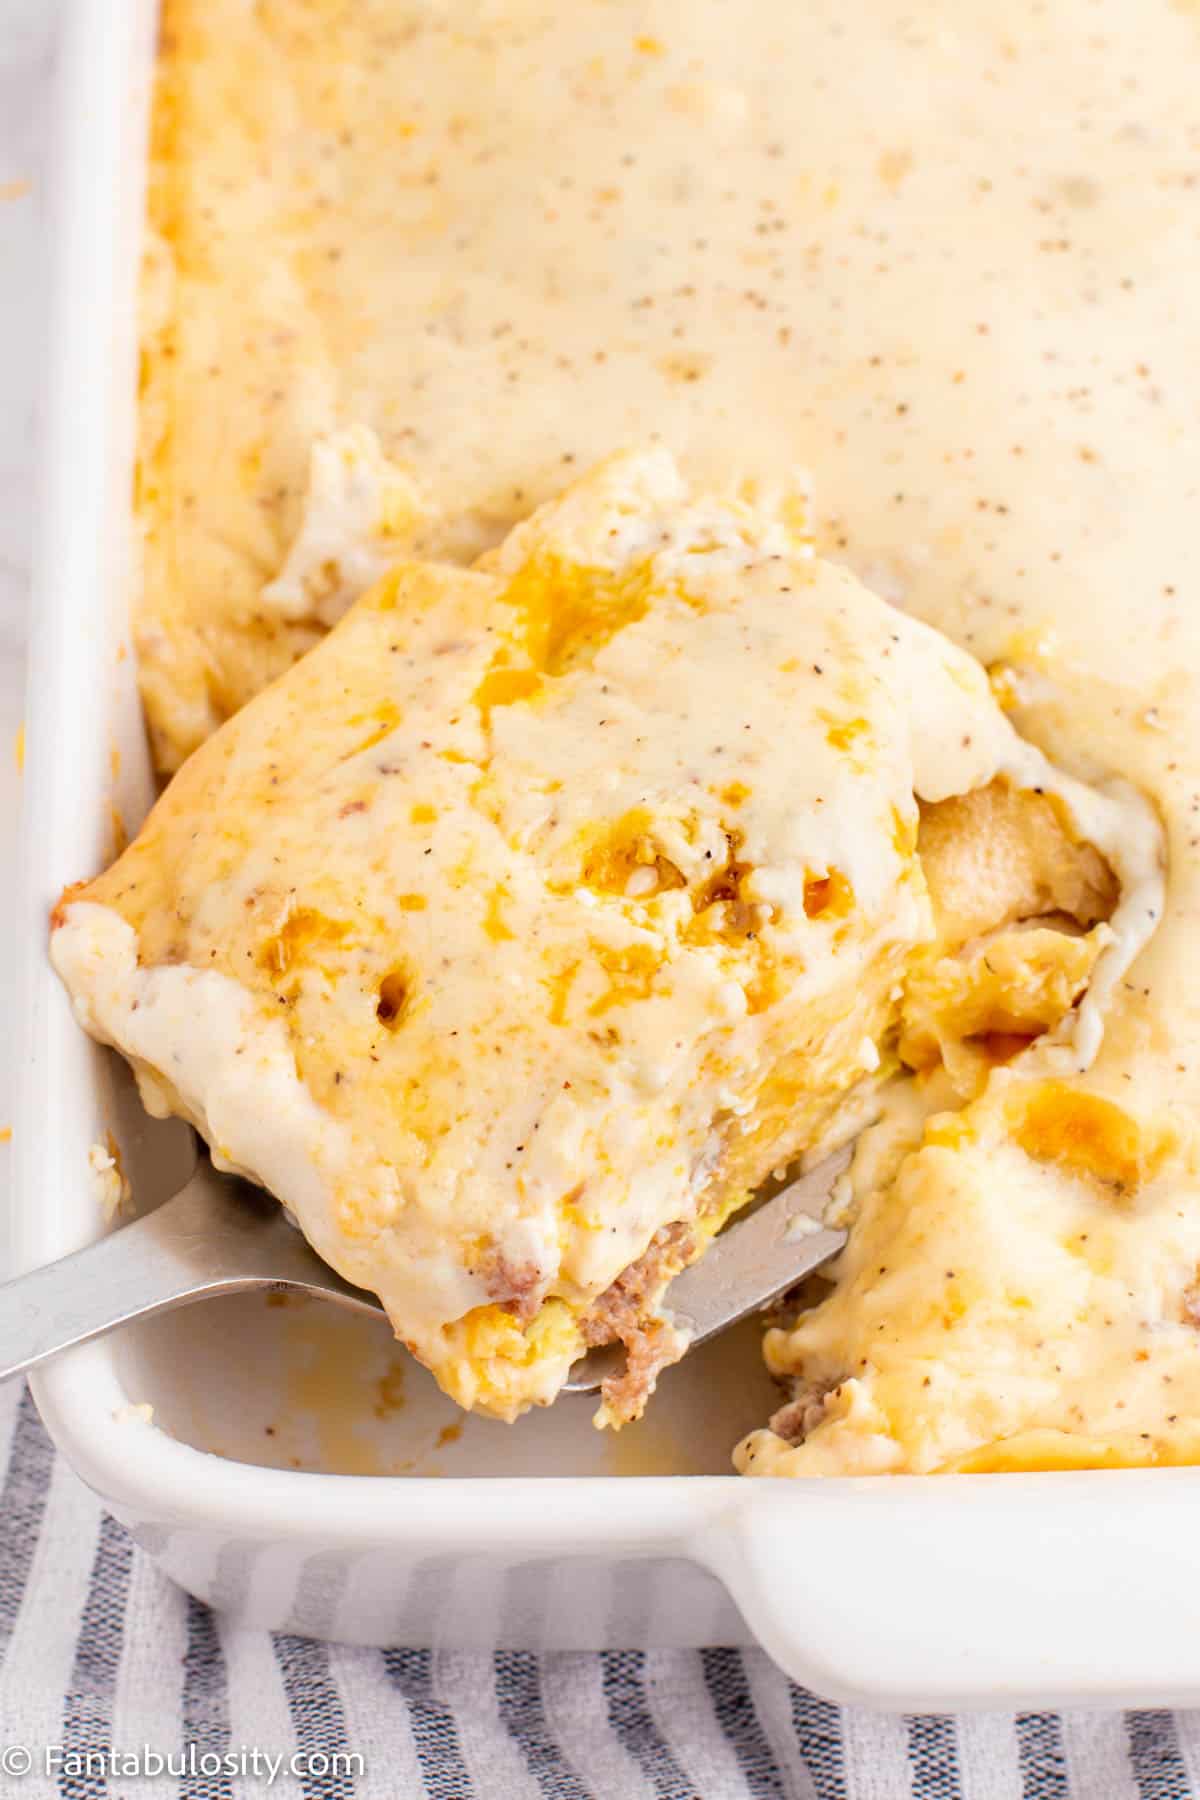
Oh, man, just look at that pan full of cheesy goodness! The classic combination of ooey gooey cheddar cheese and tender potatoes is one my entire family loves. I bet yours will, too.
Substitutions & Variations
This easy slow cooker recipe is easy to make and even easier to adjust to your personal preferences or dietary needs.
- Use your favorite cheese – Parmesan, Monterey Jack or pepper jack cheeses are delicious to try.
- Add veggies – Diced yellow onions, bell peppers or small broccoli florets are easy additions to this crockpot hashbrown casserole recipe.
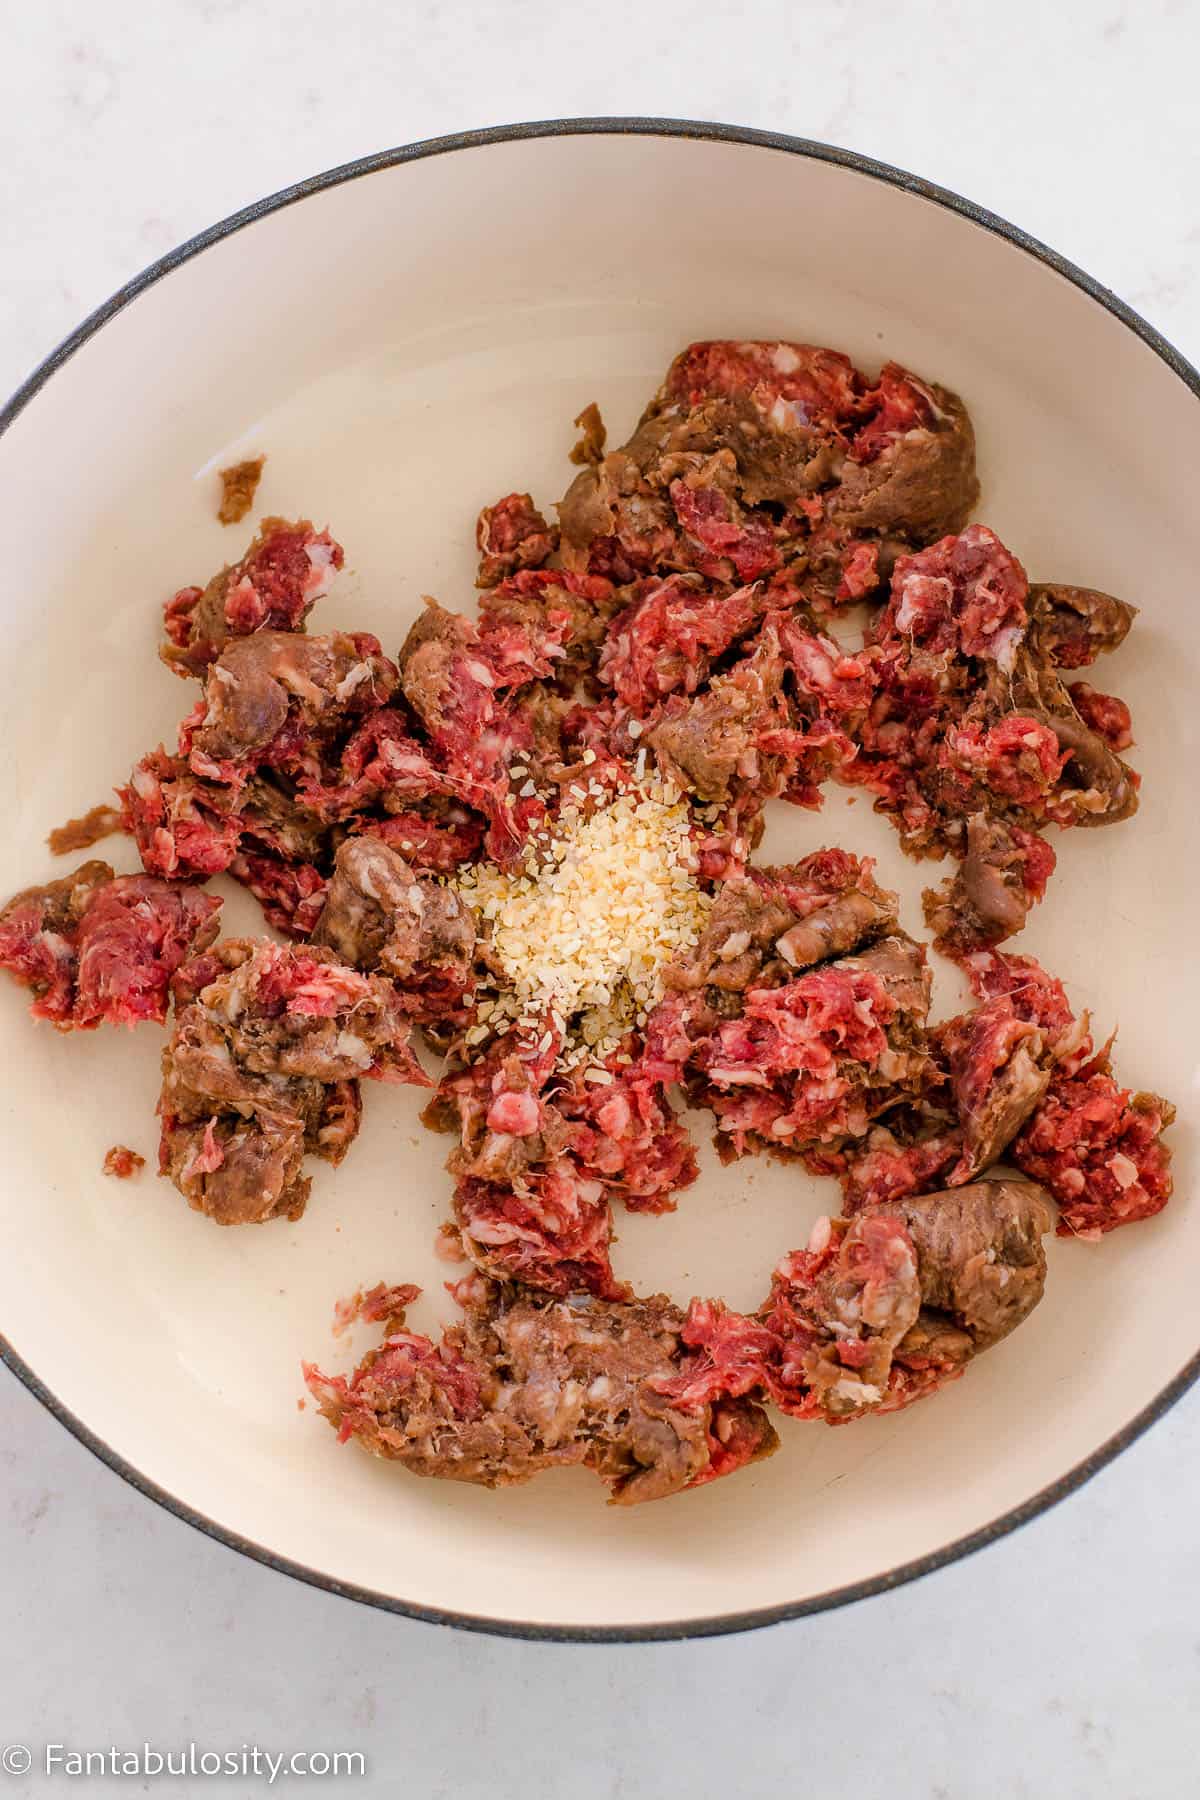
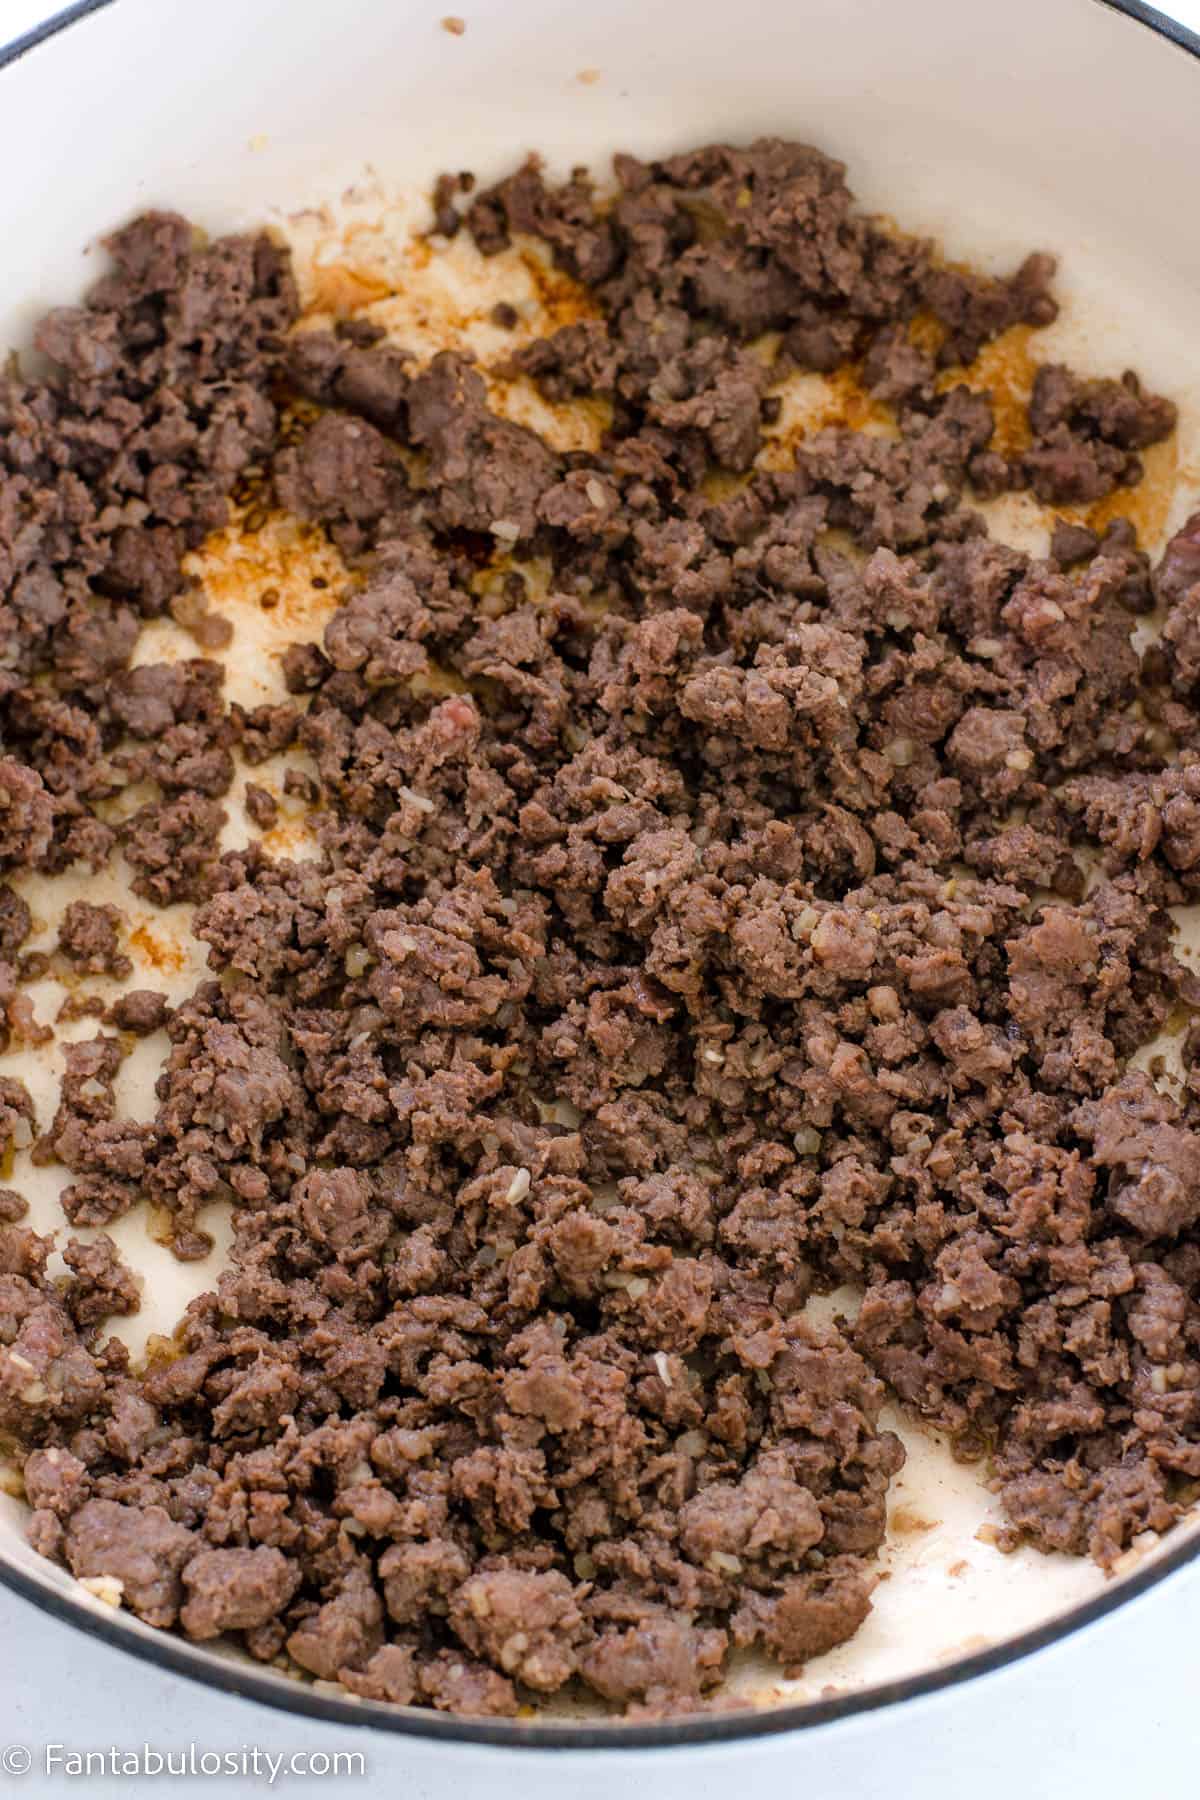
- Add meat – To make this dish a little heartier, add cooked bacon, diced ham or cooked ground beef to the potato cheese mixture.
- Switch spices – Omit the Italian seasoning in exchange for a more traditional blend of onion powder and garlic powder.
- Swap soups – If you can’t find the cheddar cheese soup or prefer a different flavor, try cream of chicken soup.
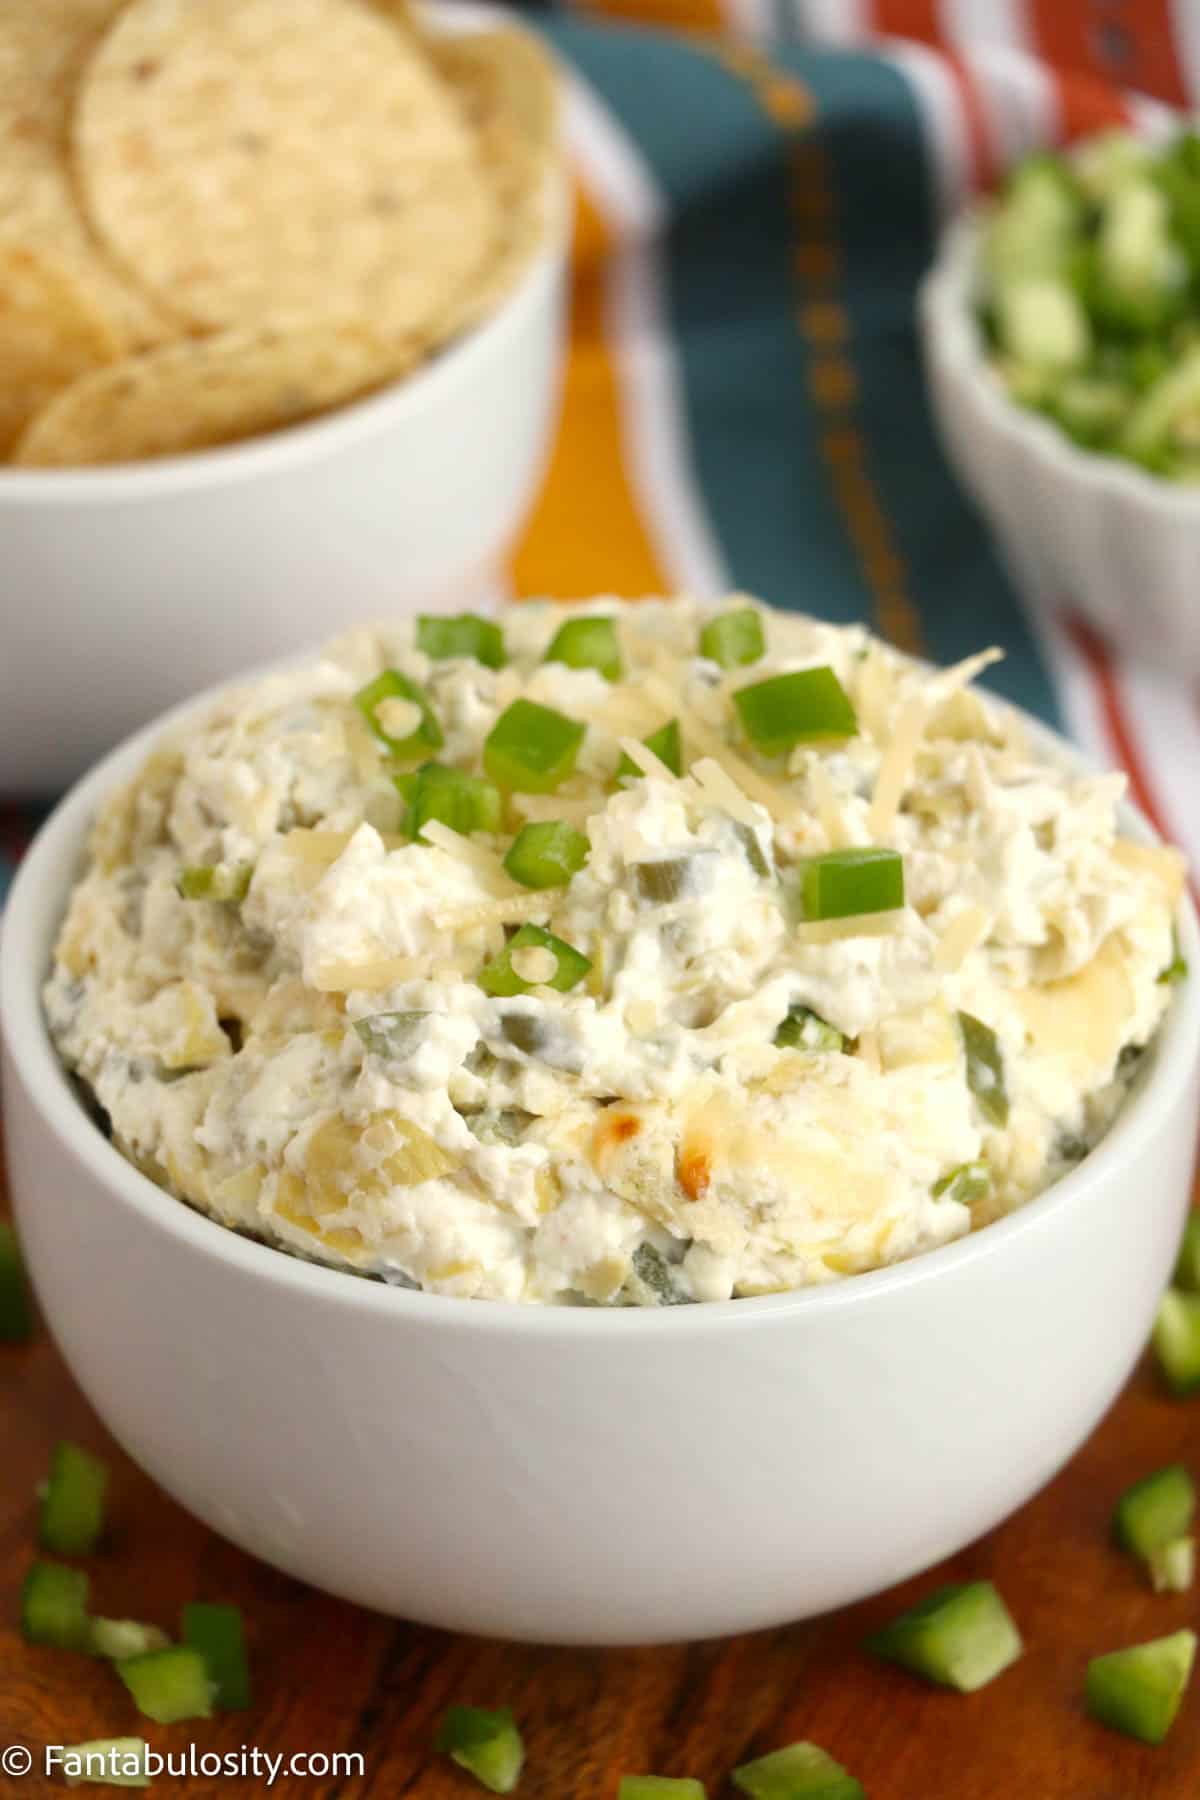
- Try toppings – To really take these potatoes to the next level, serve them with a variety of toppings. We like crumbled bacon, French fried onions, sour cream and salsa.
FAQs
You can but it does require a little more work. Peel and dice potatoes into bite-sized pieces (about 6-7 cups). Place the potatoes in a large bowl, cover them with water for about 30 minutes and let the soak. Drain and dry the diced fresh potatoes before adding them to your crock pot.
For this recipe, we do not recommend using the shredded frozen hashbrowns as they don’t stand up to the amount of cooking time in the crock pot and they get soggy.
Well, extra cheese of course! You can also add chopped cooked slices of bacon, crushed cornflakes for some crunch, or even french fried onions!
They sure can! This is actually a really great make-ahead freezer meal as this cheesy side dish can be stored in an airtight, freezer-safe container for up to 2 months in the freezer. Allow the frozen potatoes to thaw in the refrigerator before reheating in the microwave or oven.
I love to search a rich ooey gooey cheesy dish with veggies or a salad. (That cancels out some of the calories, right?) I would suggest roasted broccoli, roasted brussels sprouts, candied carrots or the BEST little side salad ever.
Storage
Store any leftover cheesy hash browns in an airtight container in the refrigerator or up to 3 days or in the freezer for up to 2 months. Allow the frozen potatoes to thaw in the fridge before reheating them in the oven or microwave.
More popular potato dishes
If you are on the hunt for some of the most delicious side dish recipes to add to your menu, then you just scored! Here is a list of some popular potato recipes:
- Instant Pot Mashed Potatoes – This is another dish that will save you oven space and you’ll have mashed potatoes in just 25 minutes.
- Air Fryer Baby Potatoes – These baby potatoes are seasoned and crispy and done in 20 minutes.
- Amish Potato Salad – If you have never this dish before, you will love this slightly sweeter potato salad with a creamy dressing.
- Baked Potato Wedges – Classic crowd pleasers, these potato wedges are tossed in ranch seasoning before being baked to perfection.
Did you make this? I’d be so grateful if you left a “star” rating below to let me know what you thought! Then, the next time you need a quick and easy recipe, come back to Fantabulosity to browse all of my easy recipes!
Recipe

Crock Pot Cheesy Hashbrowns
Ingredients
- 2 – 26 oz bags of diced frozen hashbrowns
- 1 – 10.5 can condensed cheddar cheese soup
- 1 cup sour cream
- ¼ cup unsalted butter melted
- 2 tablespoon Italian seasoning
- 1 teaspoon garlic powder
- ½ teaspoon salt
- ½ teaspoon black pepper
- 5 cups shredded cheddar cheese divided
- 1 tablespoon fresh parsley chopped (optional for garnish)
Instructions
- First, place the two 26 oz. bags of frozen diced hash browns into the insert of a 6 quart crock pot.
- Then, in a large mixing bowl, combine the 10.5 oz can of condensed cheddar cheese soup, 1 cup sour cream, ¼ cup melted, unsalted butter, 2 tablespoons of Italian seasoning, 1 teaspoon of garlic powder, ½ teaspoon of salt and ½ teaspoon of black pepper.
- Now, add 4 cups of shredded cheddar cheese to the wet mixture. (Set the remaining 1 cup of cheddar cheese aside if you want to sprinkle on top at the end.)
- Add the wet mixture into the frozen hashbrowns and stir it together to coat the hashbrowns completely. If you do not have room in the crock pot to stir the cheese mixture into the hashbrowns, transfer the hashbrowns into an extra large bowl, stir to coat them completely and transfer the coated hashbrowns back into the crock pot.
- Place the lid on the crock pot and cook the hashbrowns on low for 5 to 6 hours until the hashbrowns have softened, the cheese is melting and the edges of the hashbrown mixture are starting to brown. (We don't recommend cooking the hashbrowns on the high setting as the cheese mixture will get grainy.)
Optional, but highly recommended:
- Preheat your oven to broil.
- Prepare a 9×13 baking dish with nonstick cooking spray. Transfer the contents of the crockpot into the baking dish.
- Then, sprinkle the remaining 1 cup of shredded cheddar cheese over the top of the cheesy hashbrowns.
- Place the baking dish in the oven for 1-2 minutes or until the top layer of cheese melts and begins to bubble and brown. Watch this carefully so the cheese doesn't burn.
- Finally, sprinkle fresh chopped parsley over the top of the hashbrowns before serving.
Notes
- For this recipe, we recommend using diced frozen hashbrowns. The shredded frozen hashbrowns will get soggy and not hold up in the crock pot.
- We find that shredding a block of cheddar cheese with a cheese grater works best for this recipe. Pre-package shredded cheese often has a coating on it that prevents it from melting as well.
- Store the leftover crock pot cheesy hashbrown in an airtight container in the refrigerator for up to 3 days. You can also freeze leftovers in a freezer safe, airtight container for up to 2 months. Allow the frozen hashbrowns to thaw in the refrigerator and then heat them in the oven or microwave.