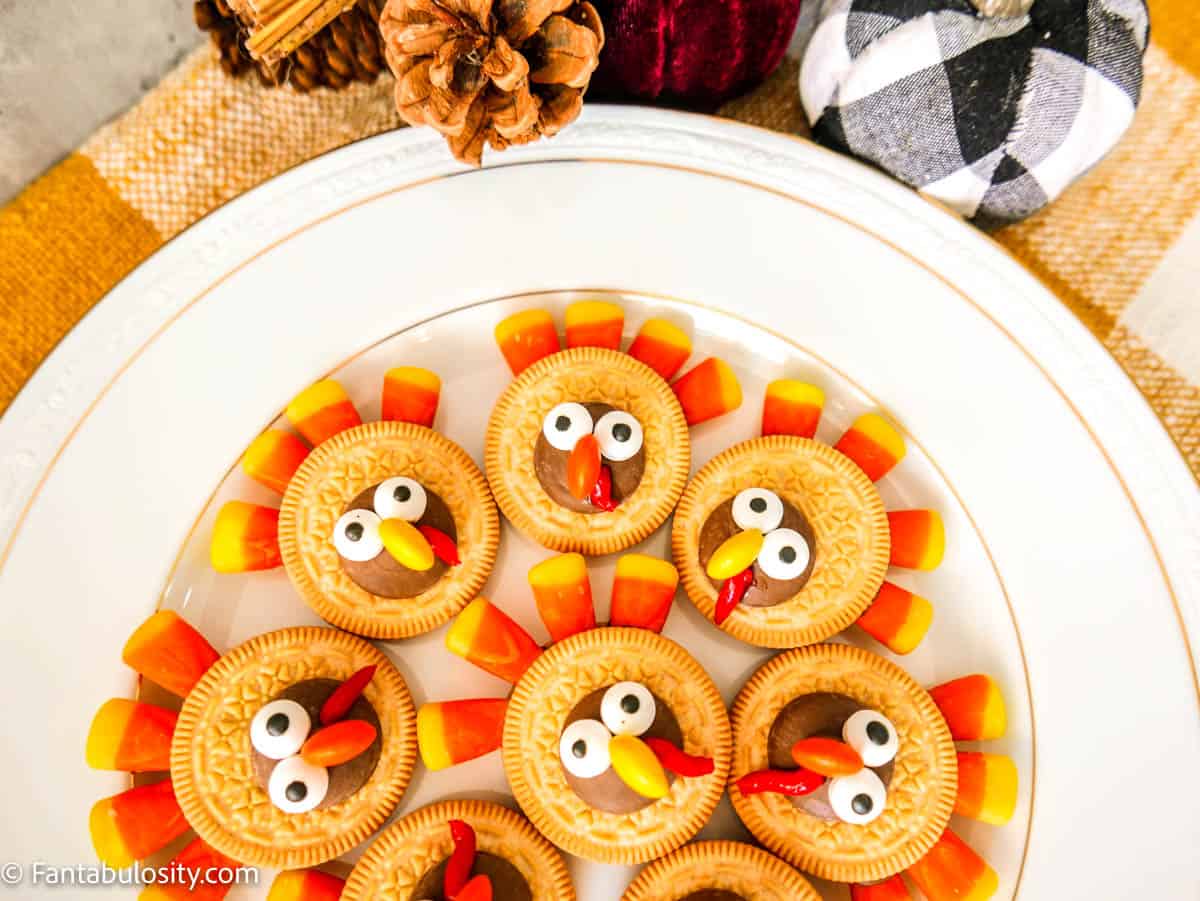
Turkey Cookies: Kids of all ages are going to love these easy Oreo Thanksgiving turkey cookies! These adorable turkey cookies taste as good as they look! And, I’m sure they would love to make these adorable ice cream cone sugar cookies.

Why You’ll Love These Turkey Cookies
Move over pumpkin pie, there’s a new dessert making its way to the Thanksgiving table! Your guests are going to love these Oreo turkey cookies, and do you know what the best part is? They are so stinking easy to put together!
In fact, these cute little guys would be a great way to include younger kids in the Thanksgiving dinner preparations.
If your kiddos like fun cookie recipes like this, they’ll also love what we did with these Minion cookies!
[feast_advanced_jump_to]Ingredients
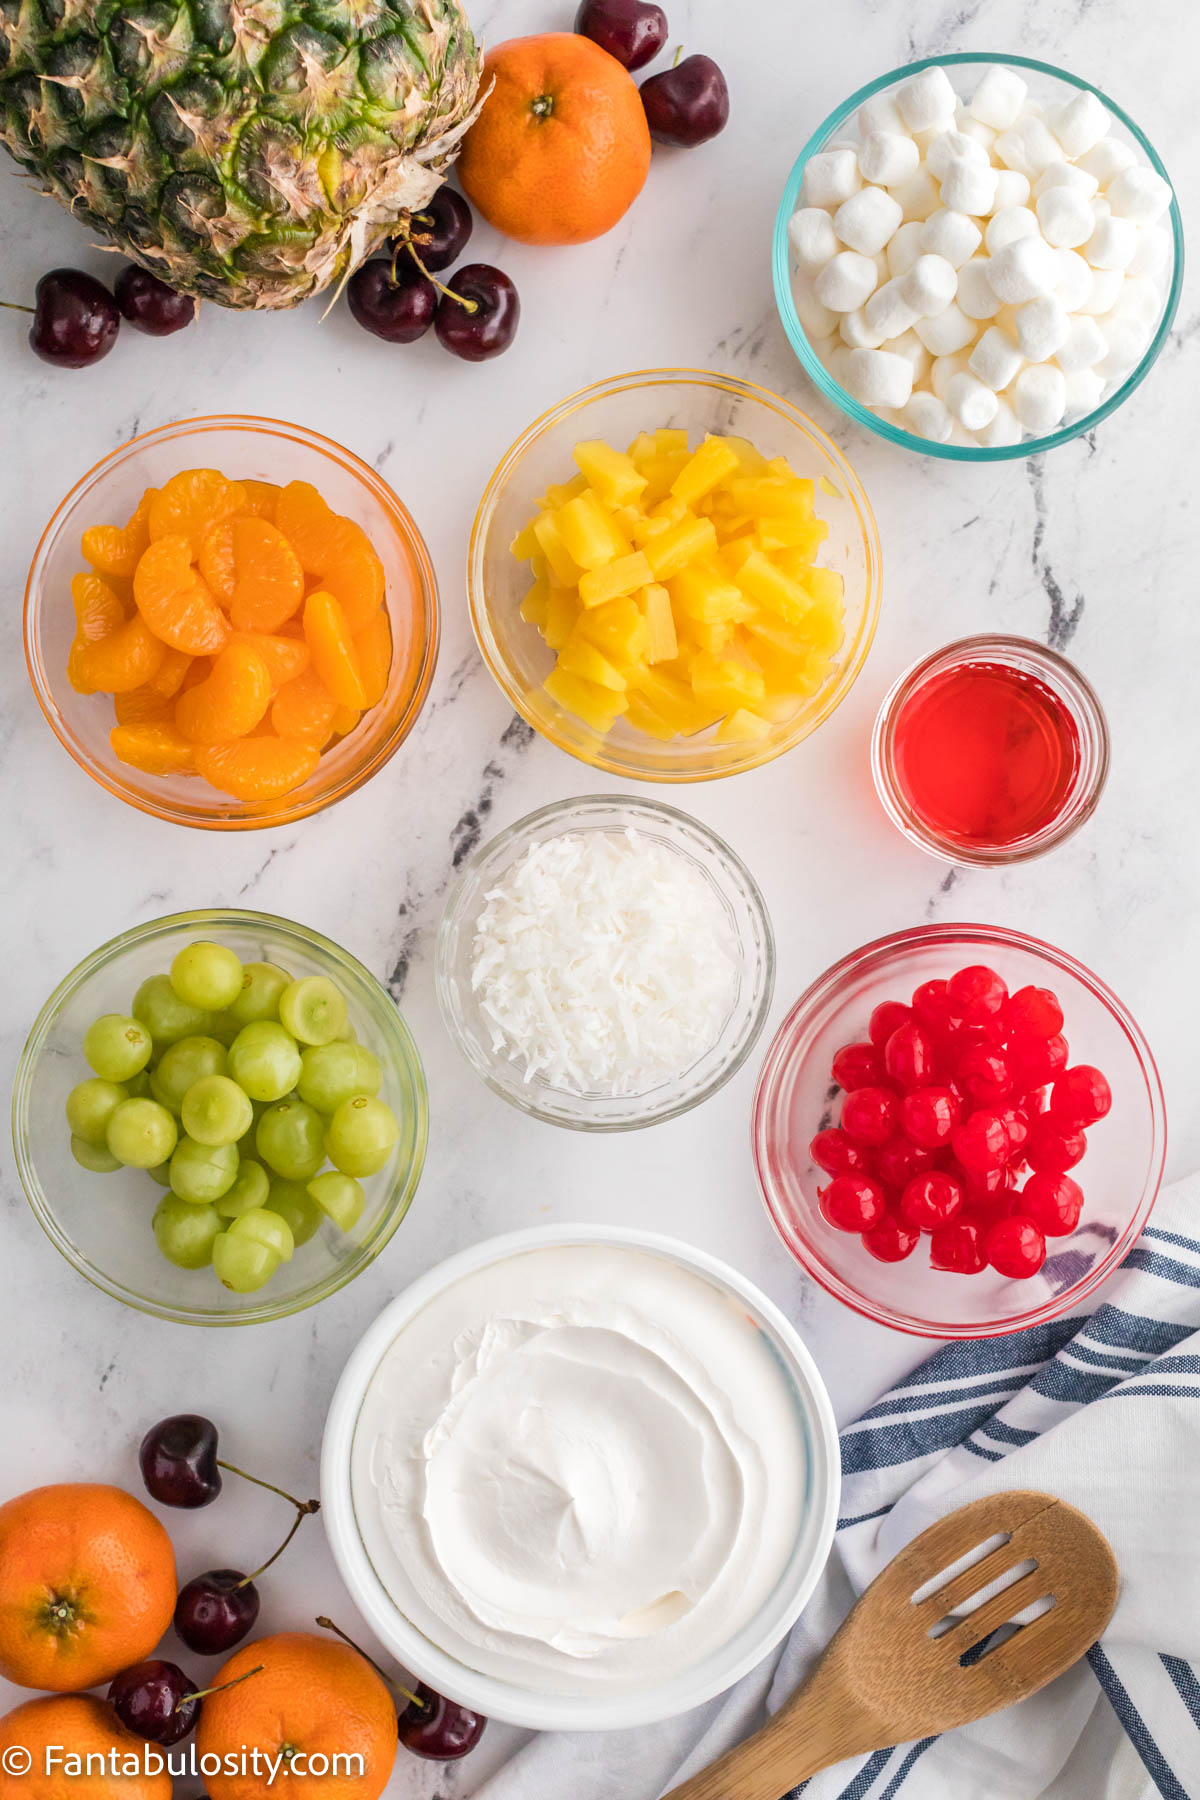
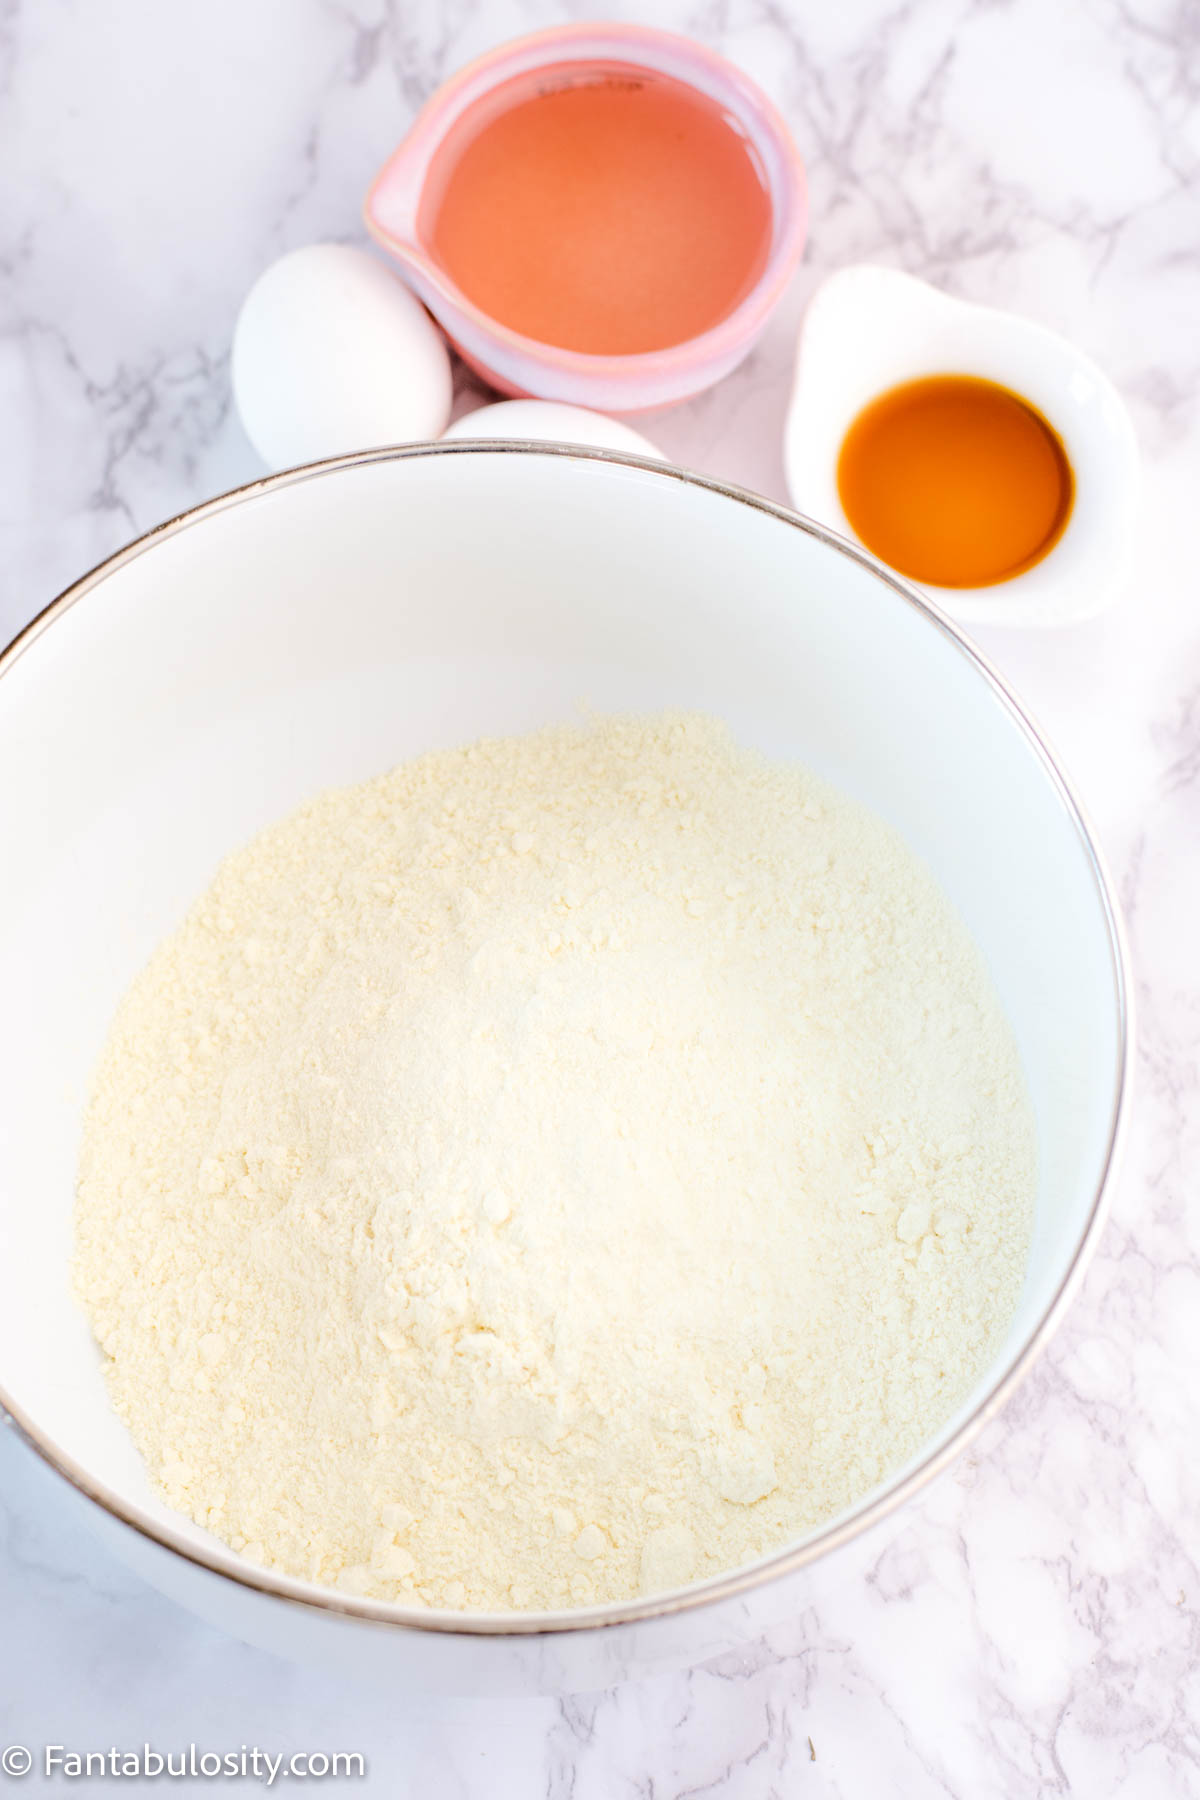
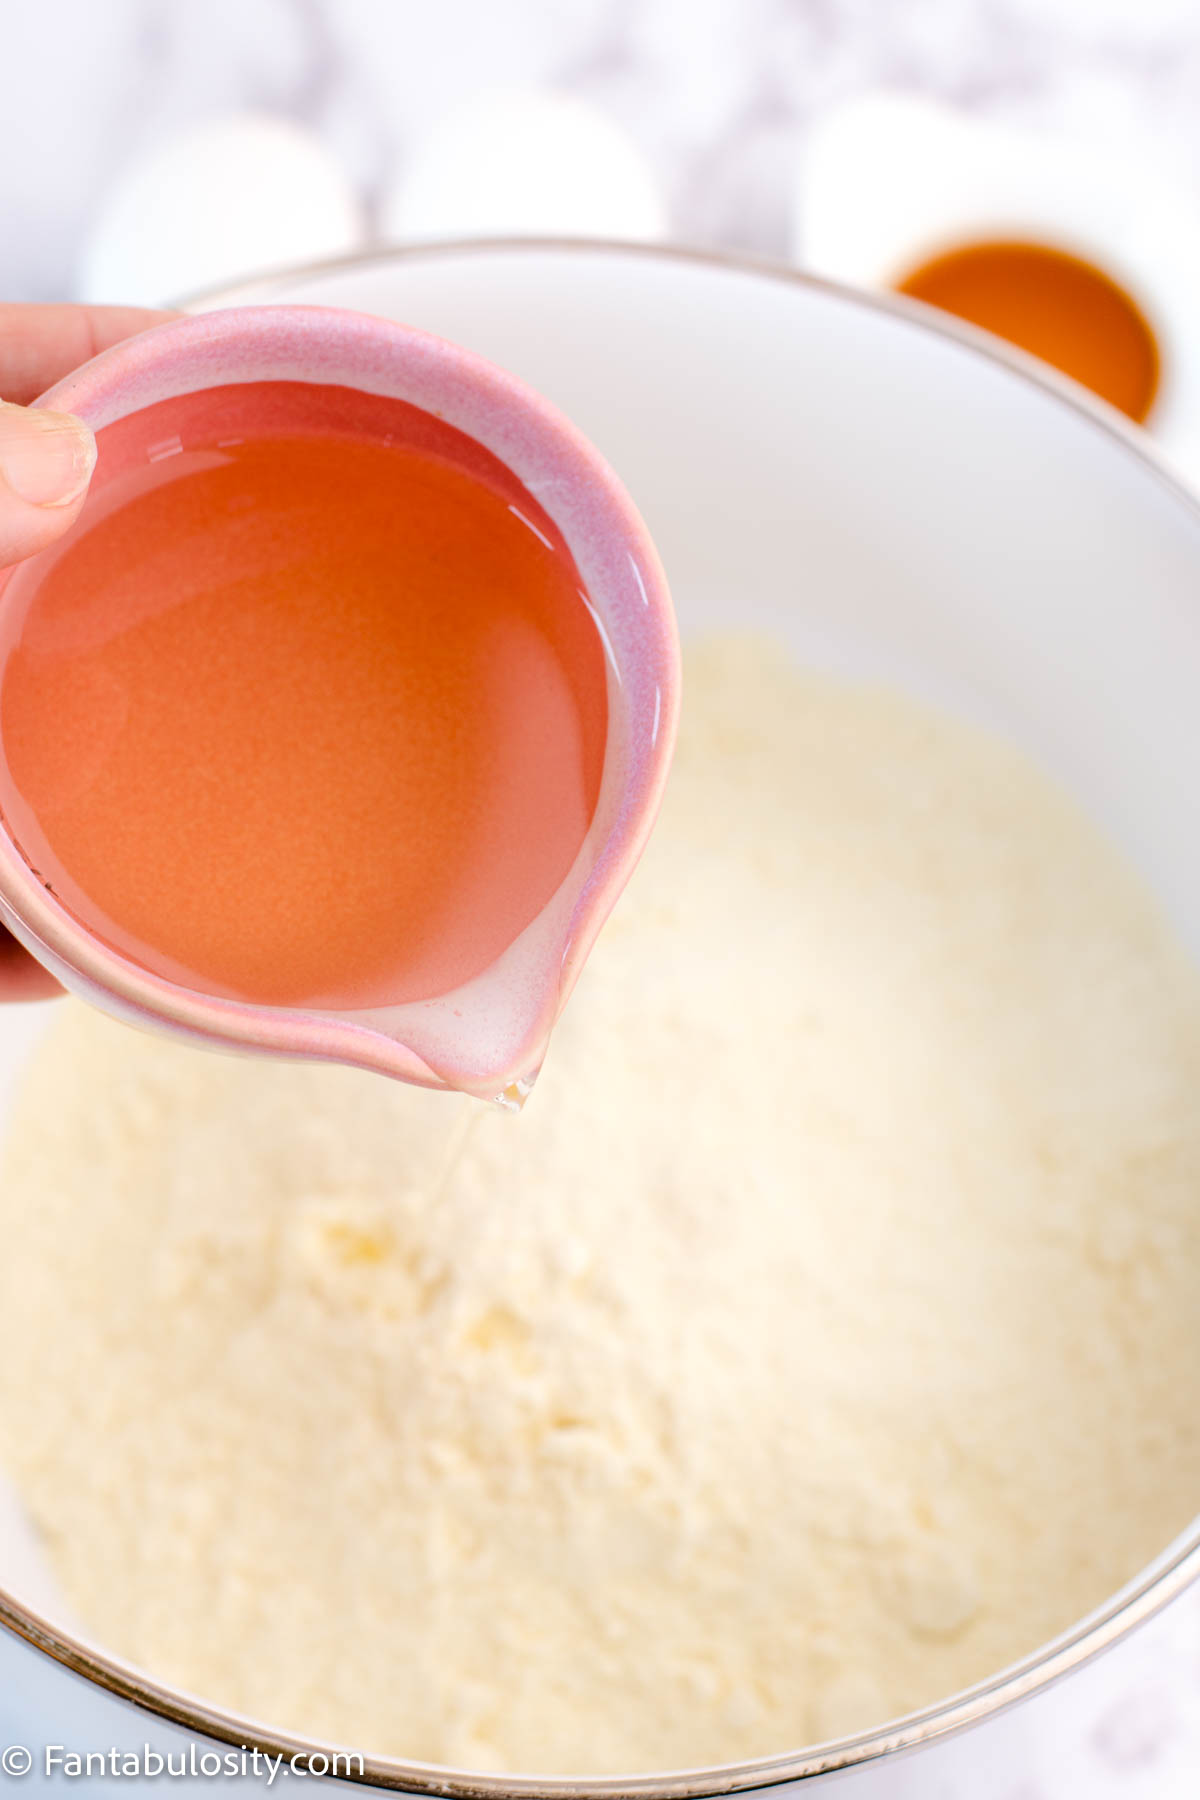
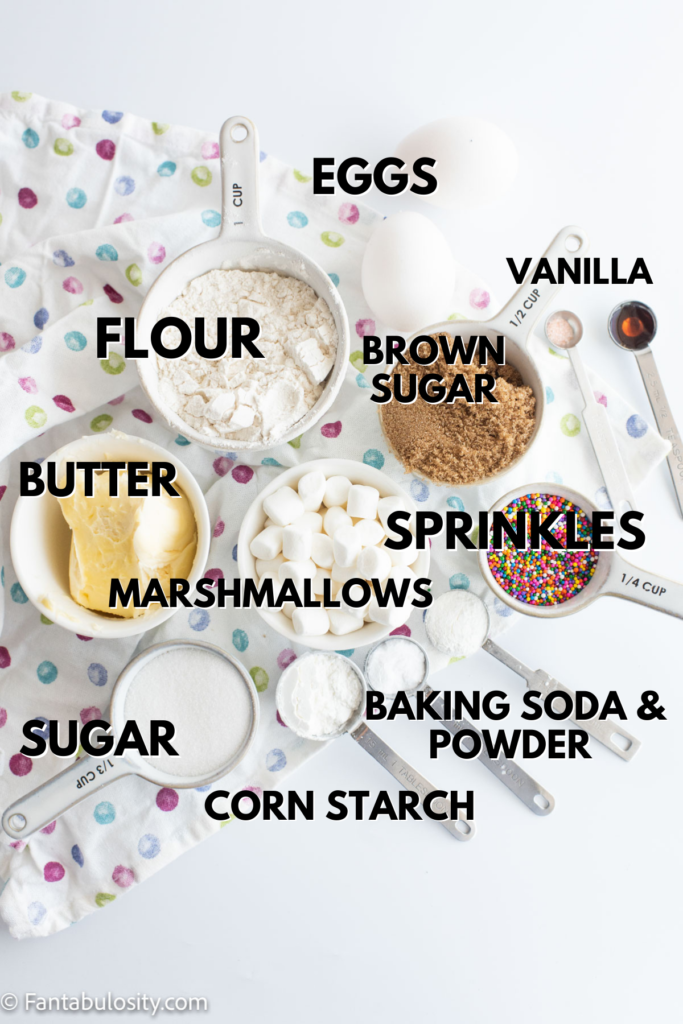
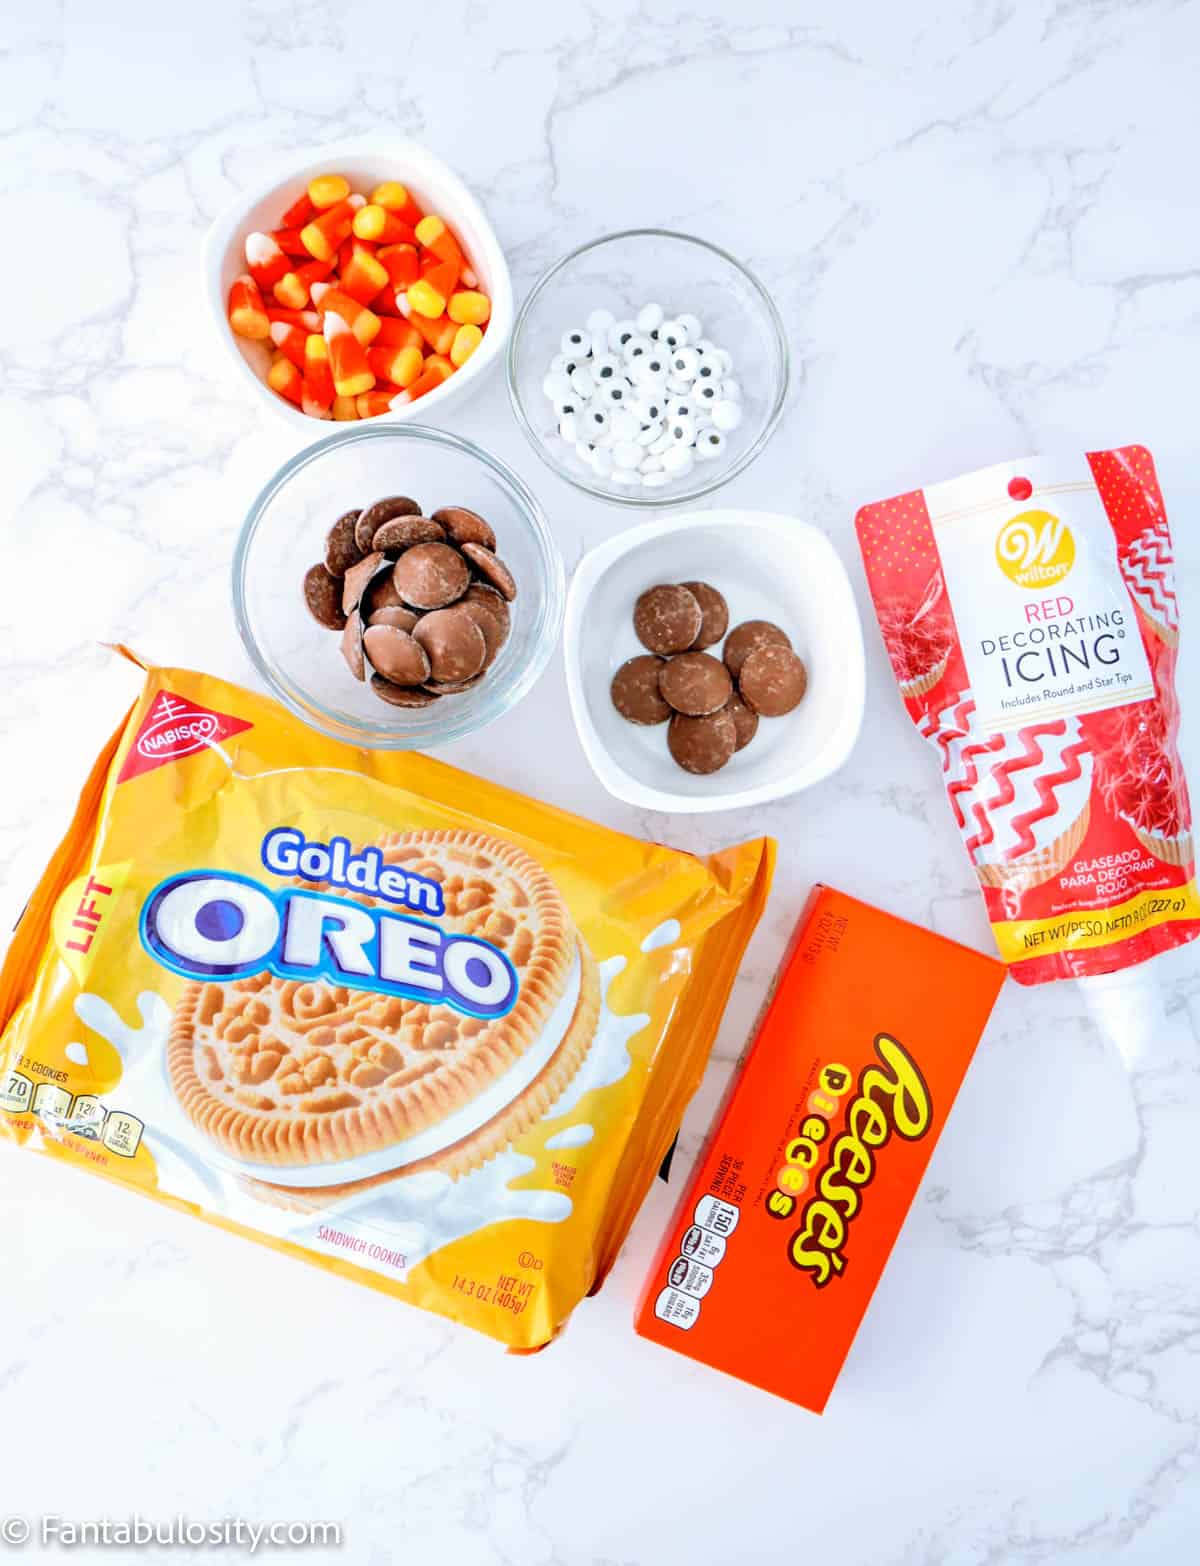
If you’re looking for a fun project to get you in the holiday spirit, look no further. You can create these easy Oreo Thanksgiving turkey cookies with just a few simple ingredients you should be able to find at your local grocery store!
- 8 Golden Oreos
- 32 pieces of candy corn (Use any leftover candy corn on this Candy Corn Cake!)
- ⅓ c + 8 chocolate candy melts (to make the chocolate frosting)
- 16 small edible candy eyeballs
- 8 Reese's Pieces in yellow or orange
- Red frosting (I used Wilton Red Decorating Icing, but you could use any other brand or even make your own as long as it is thick and not runny)
- Piping bag or ziplock bag (optional)
Instructions
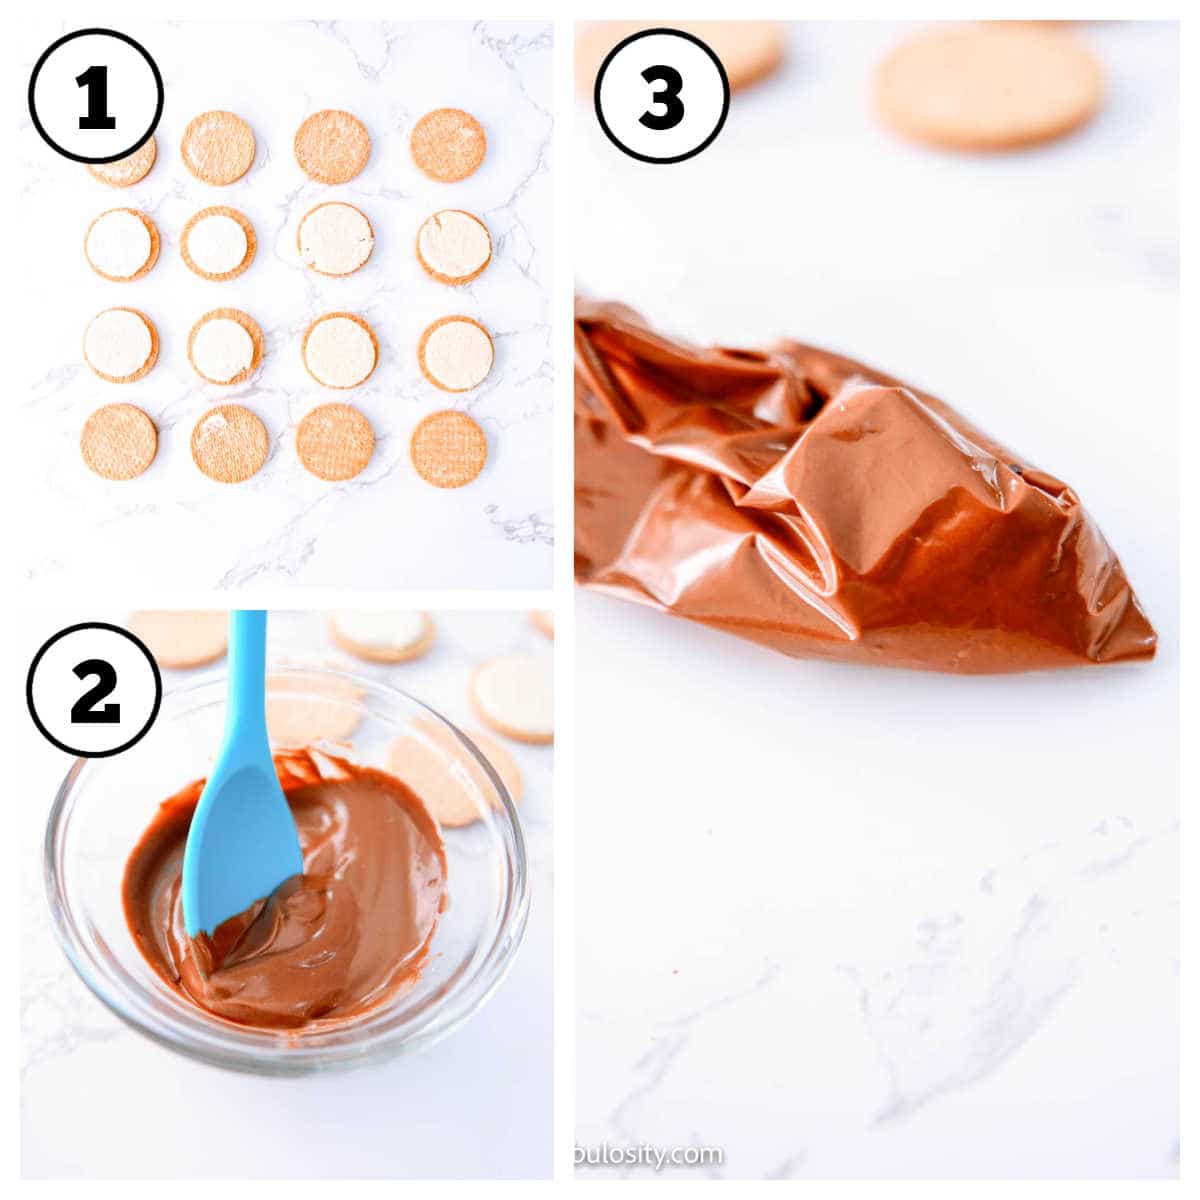
- Open each of the Golden Oreos gently by slightly twisting them. Try to keep all of the cream on one side if possible.
- Melt the ⅓ cup of chocolate candy melts according to the package instructions. Once the chocolate is smooth and creamy, drape a piping bag or ziplock bag over your hand and fill it with half of the melted chocolate. If you aren’t sure how to do this, there are some really helpful videos on YouTube (just search “How to fill a piping bag").
- Using kitchen shears, cut the tip of the bag at a diagonal angle making a small hole.
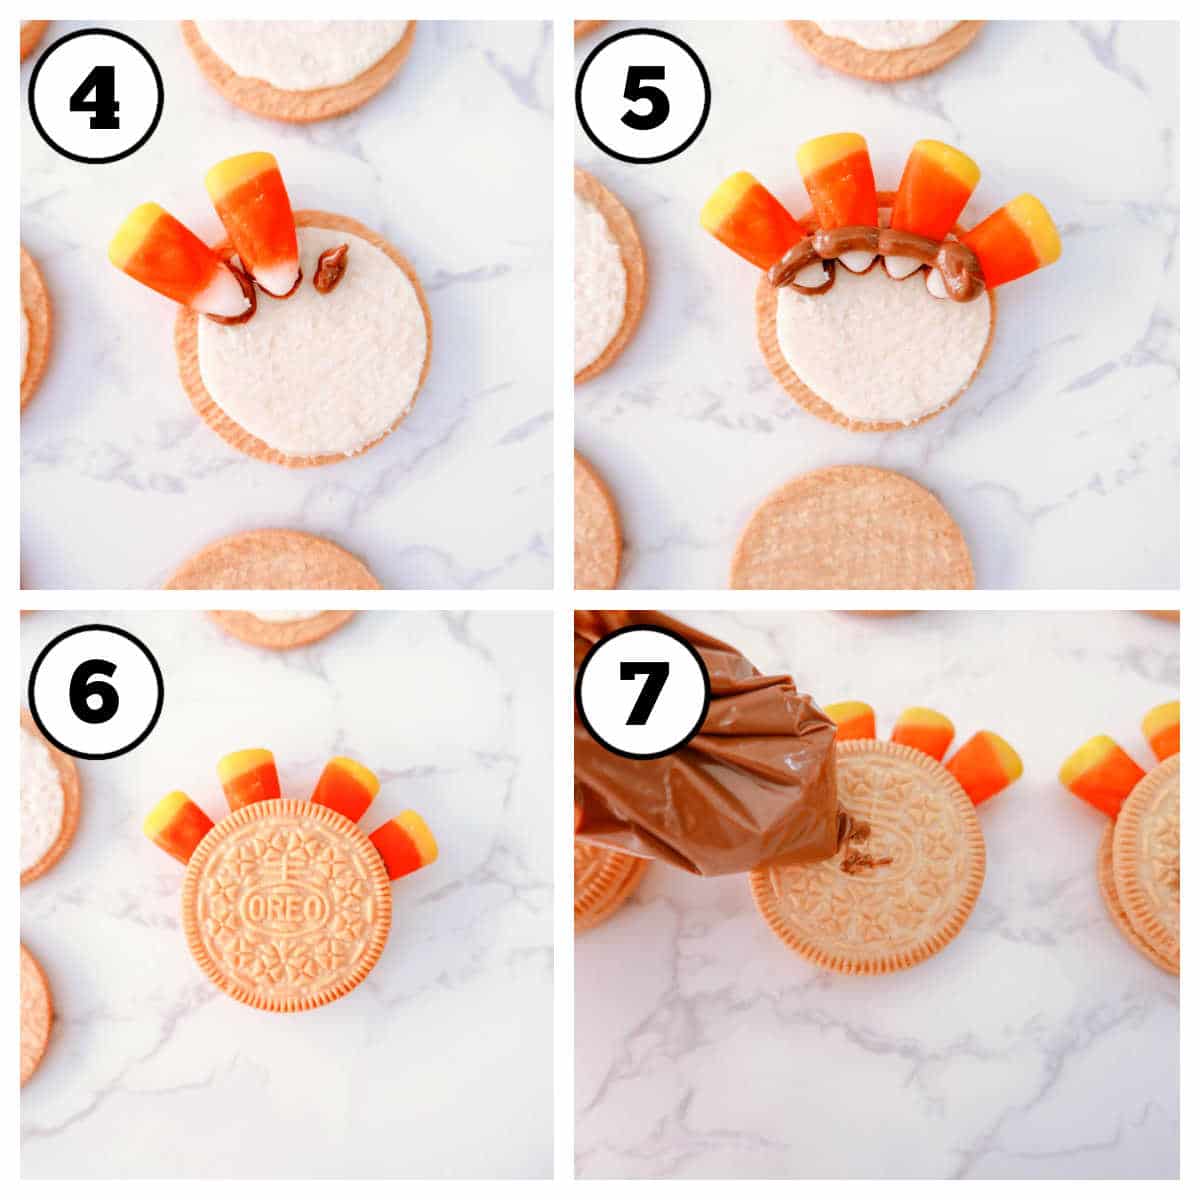
- Pipe 4 small lines onto the cream side of the opened Oreos approximately ¼" apart and immediately place 4 candy corn onto the lines (pointed tip facing inward).
- Pipe additional chocolate back and forth across the pointed tips of the candy corn.
- Immediately place the other side of the opened Oreo cookie on top of the chocolate. The melted chocolate hardens fairly fast, so you will need to move quickly.
- Next, pipe some of the melted chocolate onto the middle of the top of the Oreos.
Tip: If the chocolate has hardened again, you can place it back in the microwave for 20 seconds at 50% power to re-melt.
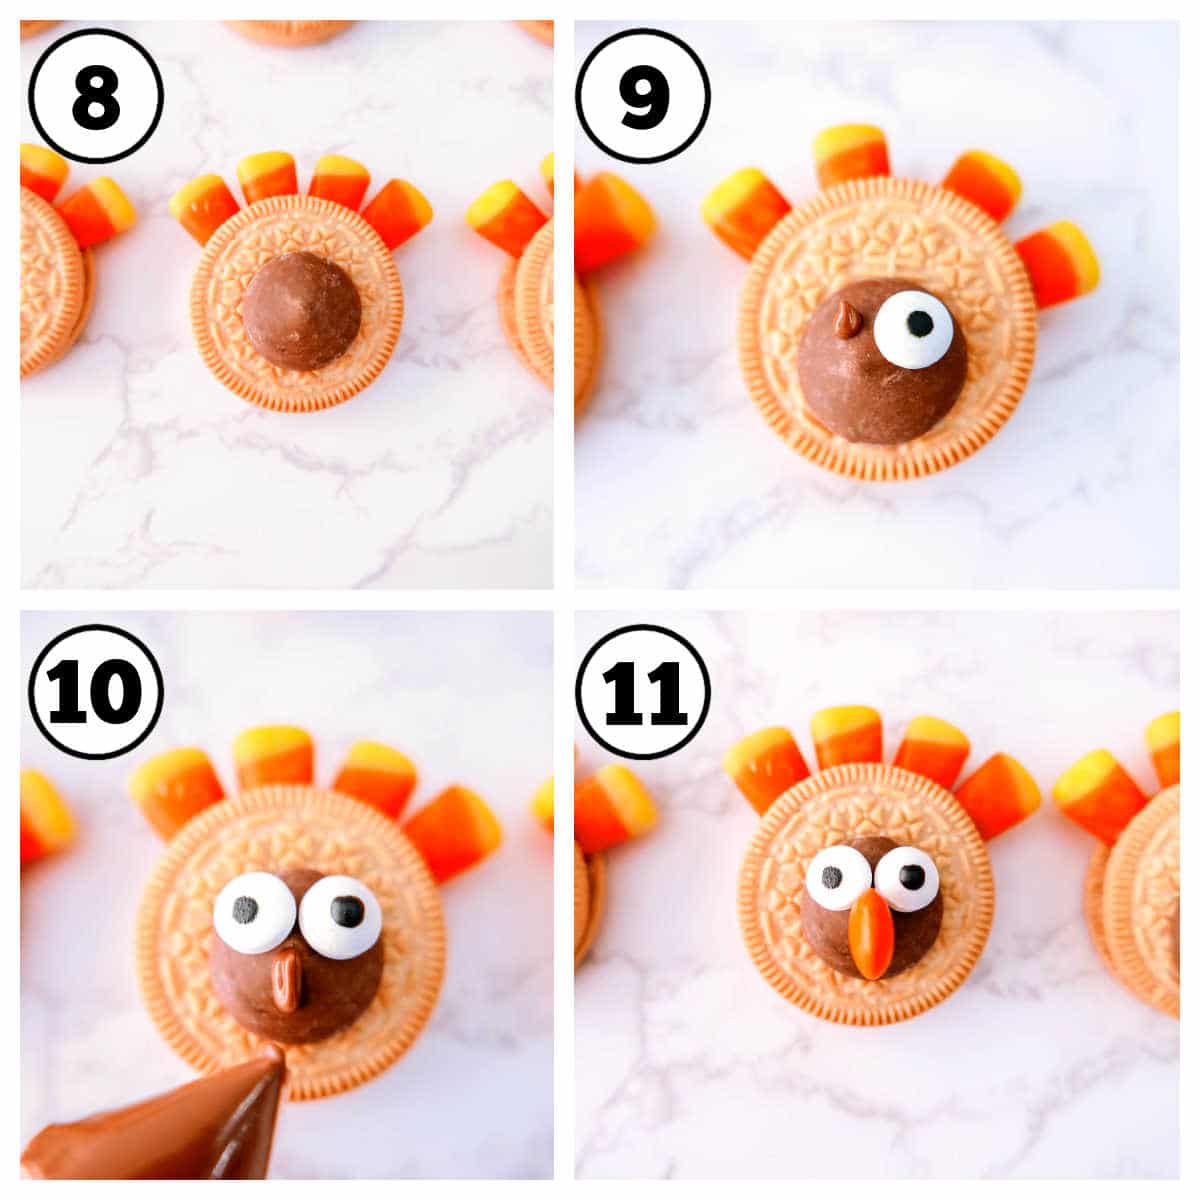
- Place one of the reserved chocolate candy melts on top. You may need to refill your piping bag with additional melted chocolate.
- Next, pipe two small dots onto the chocolate candy melt and place the edible candy eyeballs onto the chocolate.
- Pipe a line in the middle of the candy melt just below the eyes.
- Attach a yellow or orange Reese's Pieces. You will need to hold it for about 5 seconds to let the chocolate set and harden a bit.

- Lastly, make a little red curved line starting at the Reese's Pieces beak and going down about ½".
Now, your adorable turkey cookies are ready to be "gobbled" up!
Substitutions
If you or someone you know is following a gluten-free diet, you can find gluten-free Oreo-type cookies in the natural aisle of most grocery stores or online. Kinnikinnick KinniTOOS Gluten-Free Vanilla Sandwich Cookies would be an excellent substitution for the Golden Oreos in this recipe.
Storage
If you put your Oreo turkey cookies in an airtight container, they should keep for up to a week.
Expert Tips and FAQs
If you can’t find the candy melts called for, you could replace them with mini Golden Oreos or even with Hershey’s chocolate kisses (if you use a chocolate kiss, skip the Reese’s Pieces beak) for your turkey’s face and use melted chocolate chips as your edible glue.
If you don't have a piping bag or ziplock bag handy, you could use the tip of a knife or a toothpick to spread the melted chocolate.
Related Recipes
If you loved this Easy Oreo Thanksgiving Turkey Cookie recipe, then you will probably want to check out some of the other Thanksgiving posts on the blog like this FREE Thanksgiving meal planner, these Free Printable Place Cards, or this Instant Pot Turkey Breast recipe!
Recipe

Turkey Cookies
Ingredients
- 8 Golden Oreos
- 32 pieces candy corn
- ⅓ cup chocolate candy melts
- 8 pieces chocolate candy melts set aside, do not melt these
- 16 small, edible candy eyeballs
- 8 Reese's Pieces yellow or orange
- Red frosting Wilton Red Decorating Icing or similar
- Piping Bag or Ziplock Bag
Instructions
- Open each of the Golden Oreos gently by slightly twisting them. Try to keep all of the cream on one side if possible.
- Melt the ⅓ cup of chocolate candy melts according to the package instructions. Once the chocolate is smooth and creamy, drape a piping bag or ziplock bag over your hand and fill it with half of the melted chocolate. If you aren't sure how to do this, there are some really helpful videos on YouTube (just search "How to fill a piping bag").
- Using kitchen shears, cut the tip of the bag at a diagonal angle making a small hole. Pipe 4 small lines onto the cream side of the opened Oreos approximately ¼" apart and immediately place 4 candy corn onto the lines (pointed tip facing inward).
- Pipe additional chocolate back and forth across the pointed tips of the candy corn and immediately place the other side of the opened Oreo cookie on top of the chocolate. The melted chocolate hardens fairly fast, so you will need to move quickly.
- Next, pipe some of the melted chocolate onto the middle of the top of the Oreos and place one of the reserved chocolate candy melts on top. You may need to refill your piping bag with additional melted chocolate. Tip: If the chocolate has hardened again, you can place it back in the microwave for 20 seconds at 50% power to re-melt.
- Pipe two small dots onto the chocolate candy melt and place the edible candy eyeballs onto the chocolate.
- Pipe a line in the middle of the candy melt just below the eyes and attach a yellow or orange Reese's Pieces. You will need to hold it for about 5 seconds to let the chocolate set and harden a bit.
- Lastly, make a little red curved line starting at the Reese's Pieces beak and going down about ½". Your little turkeys are ready to be "gobbled" up!