Banana Bread Pudding is a combination of two of the BEST desserts: Banana Bread and Bread Pudding! This is a great way to use up ripe bananas and day-old bread!
It only makes sense to combine two of our most popular recipes, banana bread, and bread pudding, to make this dish, so we did! So get ready for one of the most delicious dessert recipes ever!
You’ll also love this Old-Fashioned Banana Pudding for a no-baked dessert that’s great for summertime.
Why You’ll Love This Banana Bread Pudding
Not only does this recipe use simple ingredients but it uses items that you may even already have on hand!
With this recipe being flexible when it comes to the type of bread you can use, feel free to use anything such as hamburger buns, hot dog buns, leftover rolls, muffins, donuts like we used in this donut bread pudding, etc. Or, if you are just craving this delicious dessert, you can use regular sliced bread!
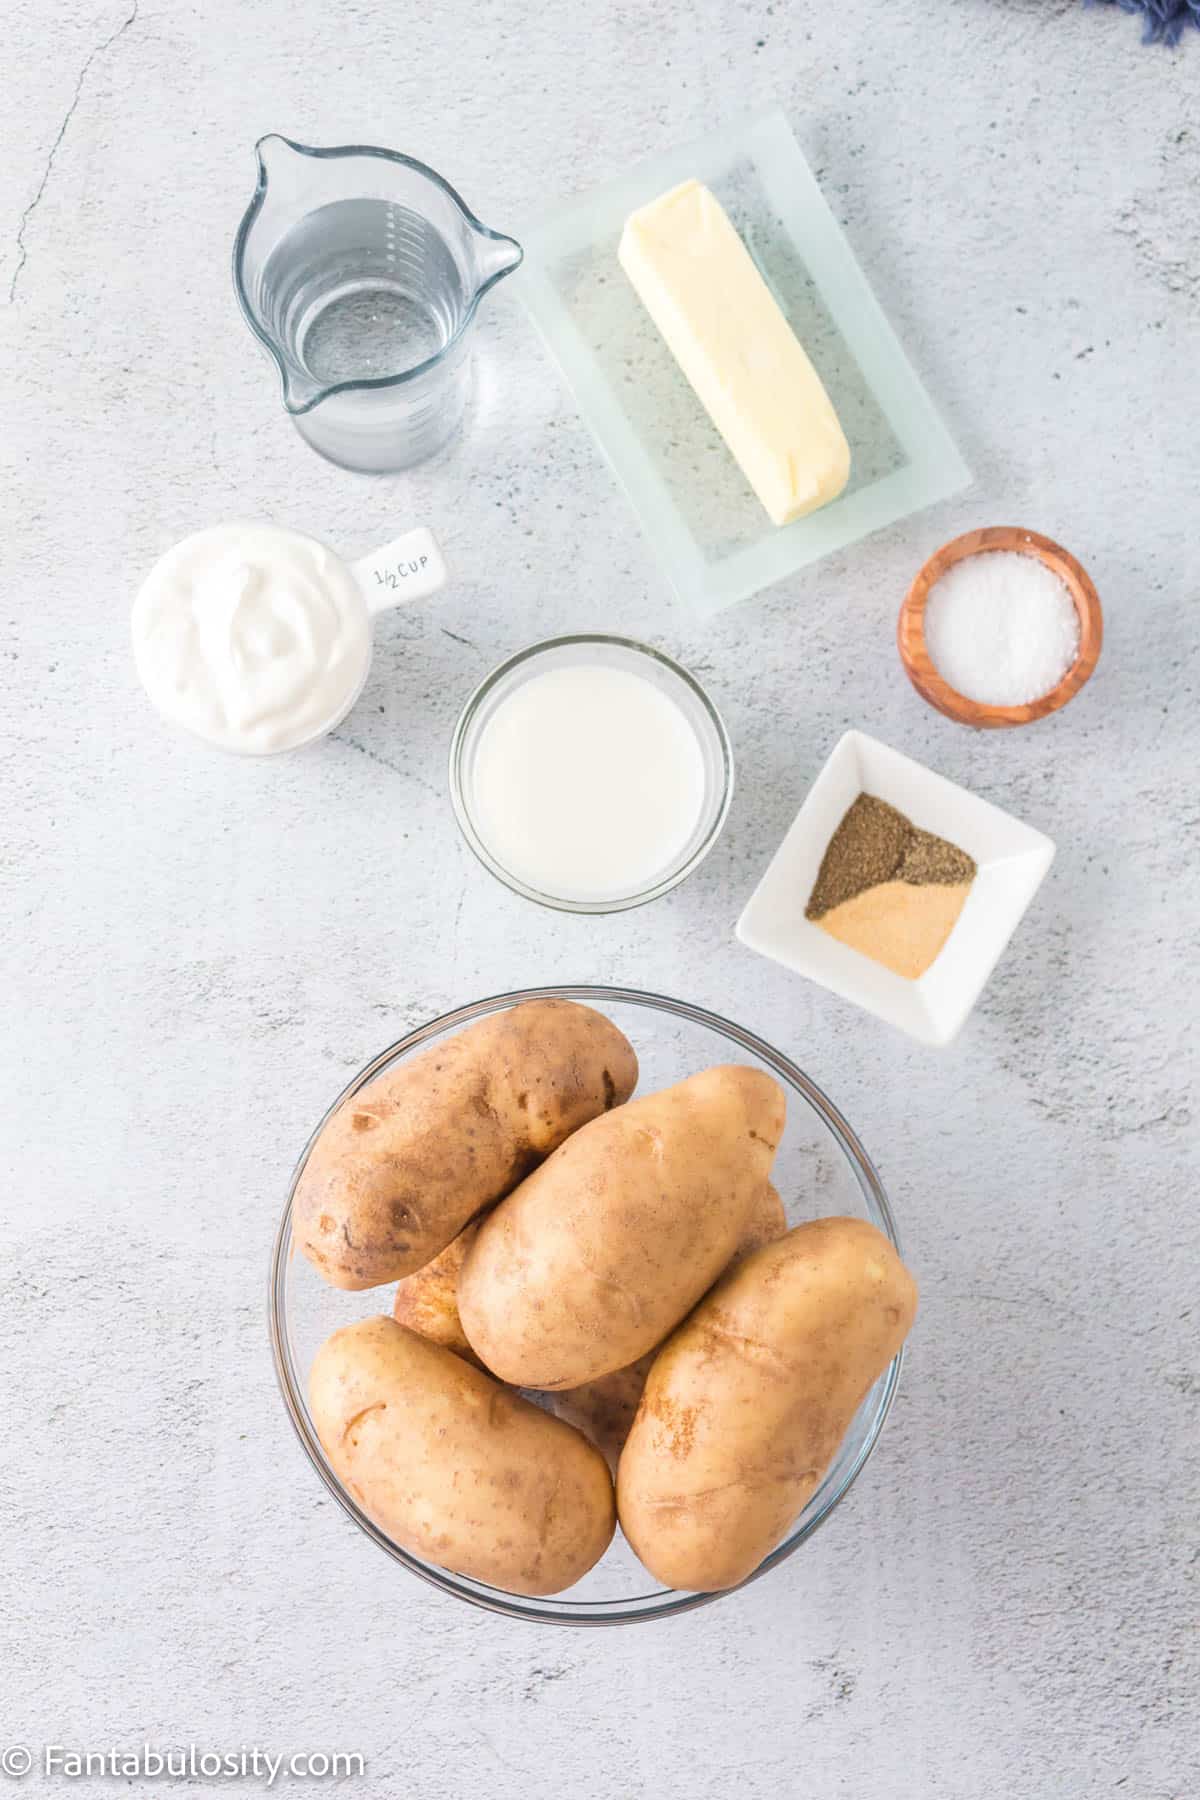
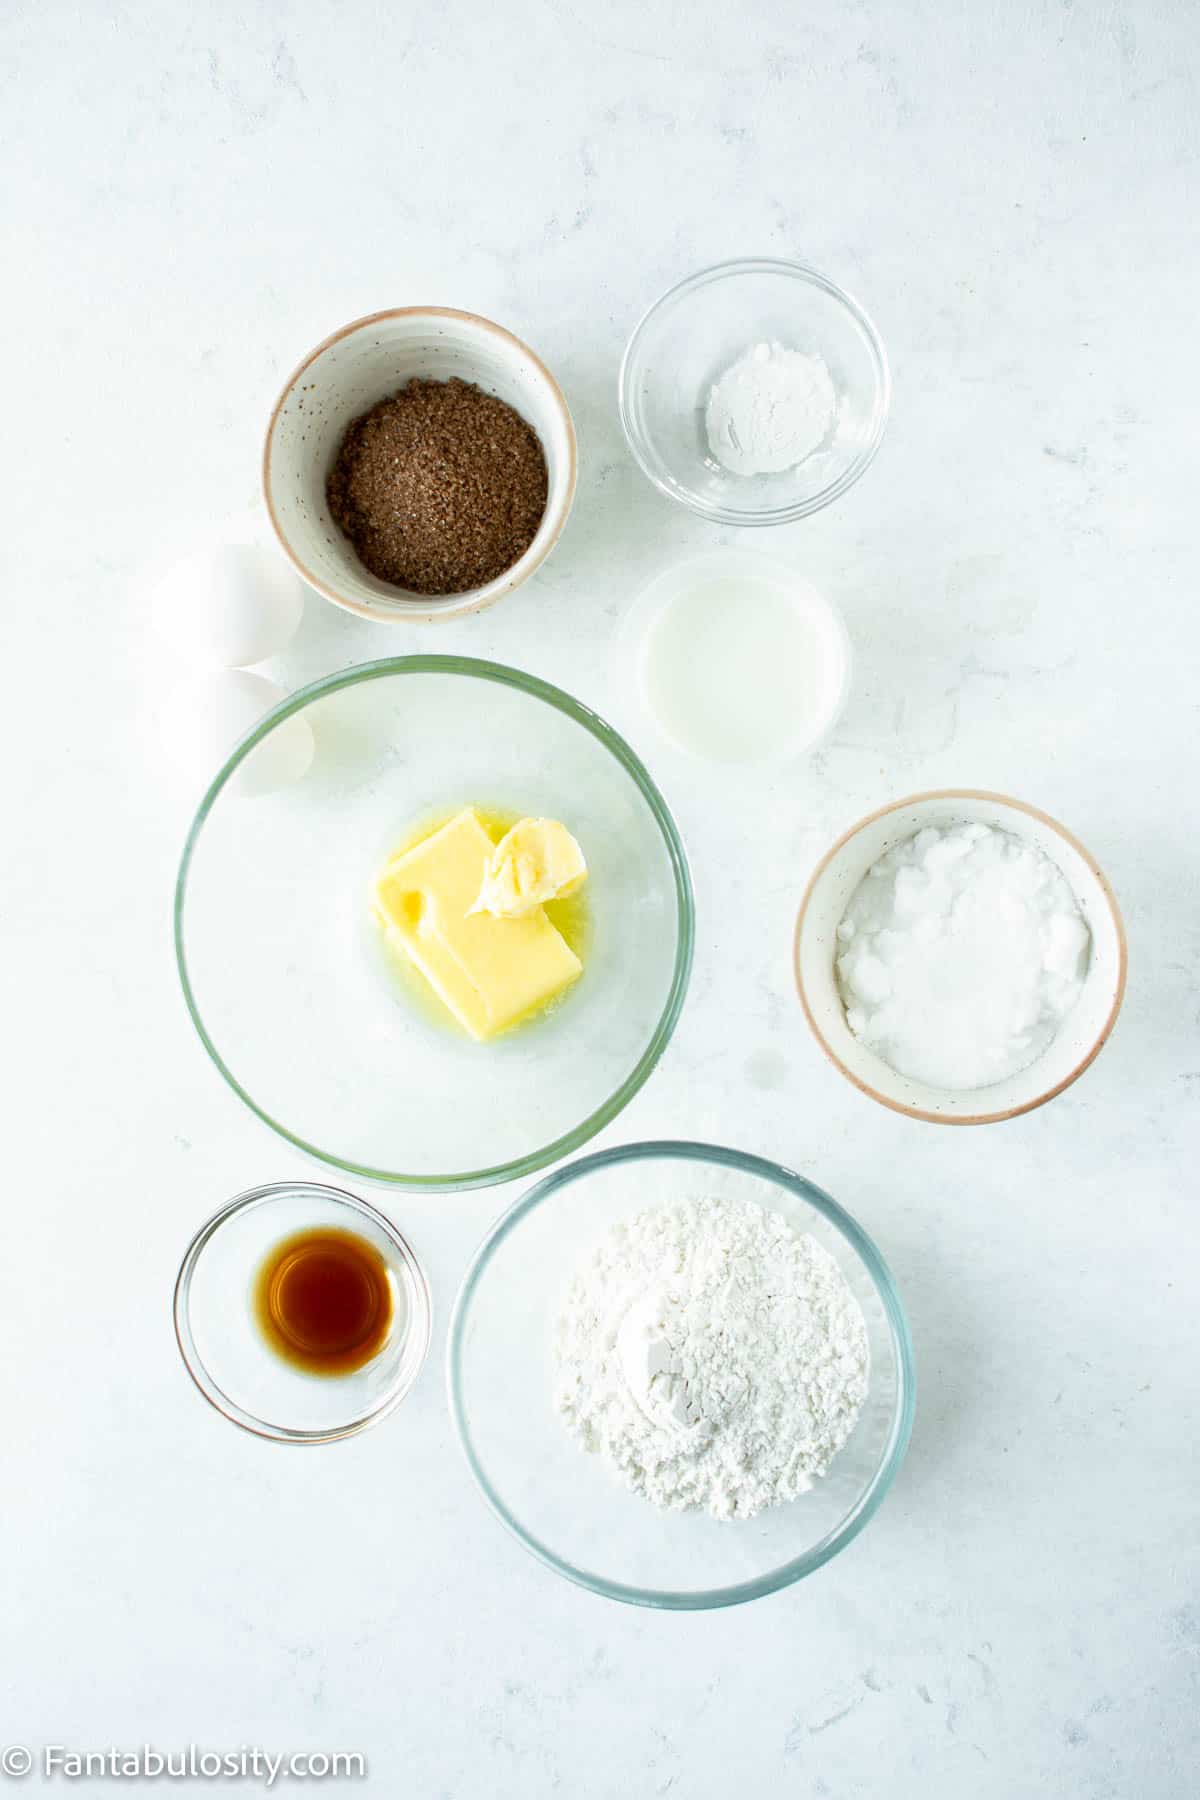
Ingredients
Here’s what you’ll need to make this:
(You can also scroll toward the bottom of the post to see the full recipe card with ingredients and instructions all in one place.)
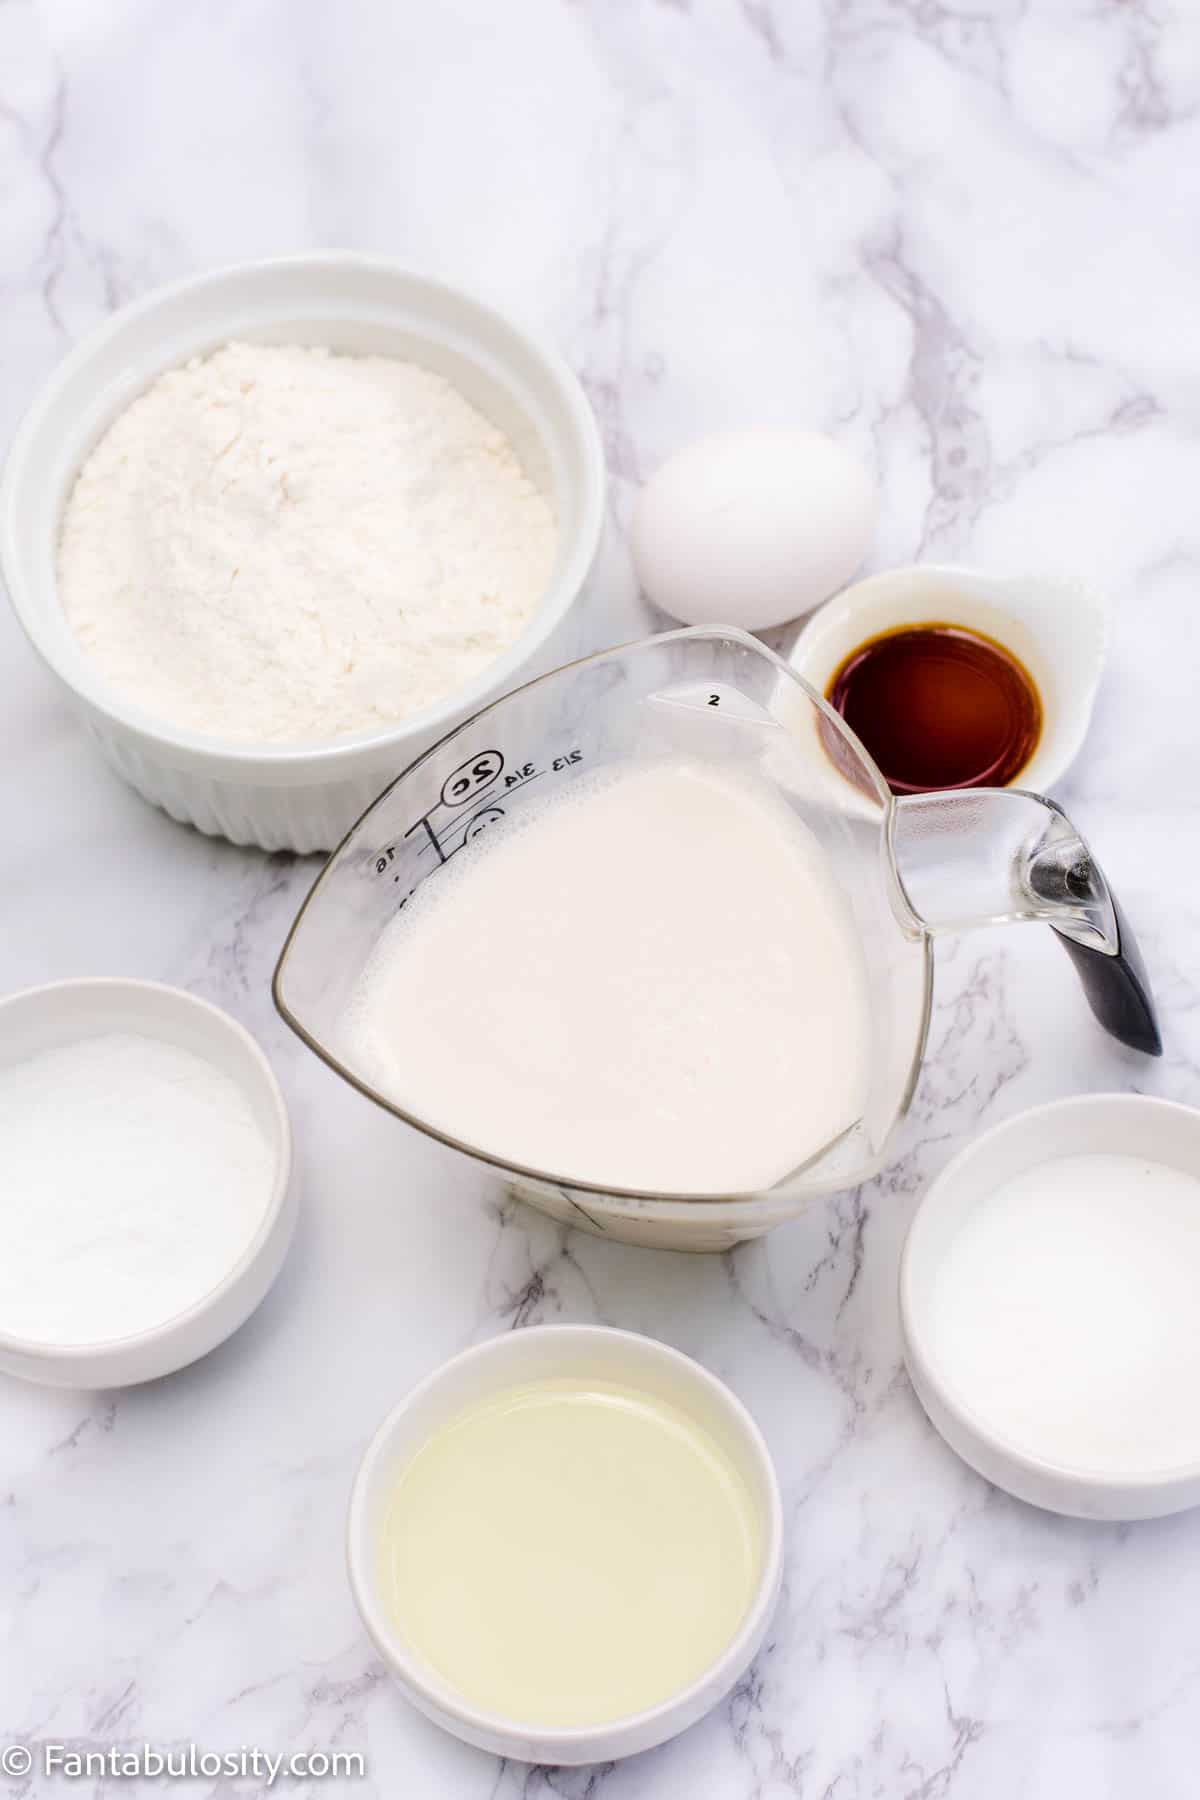
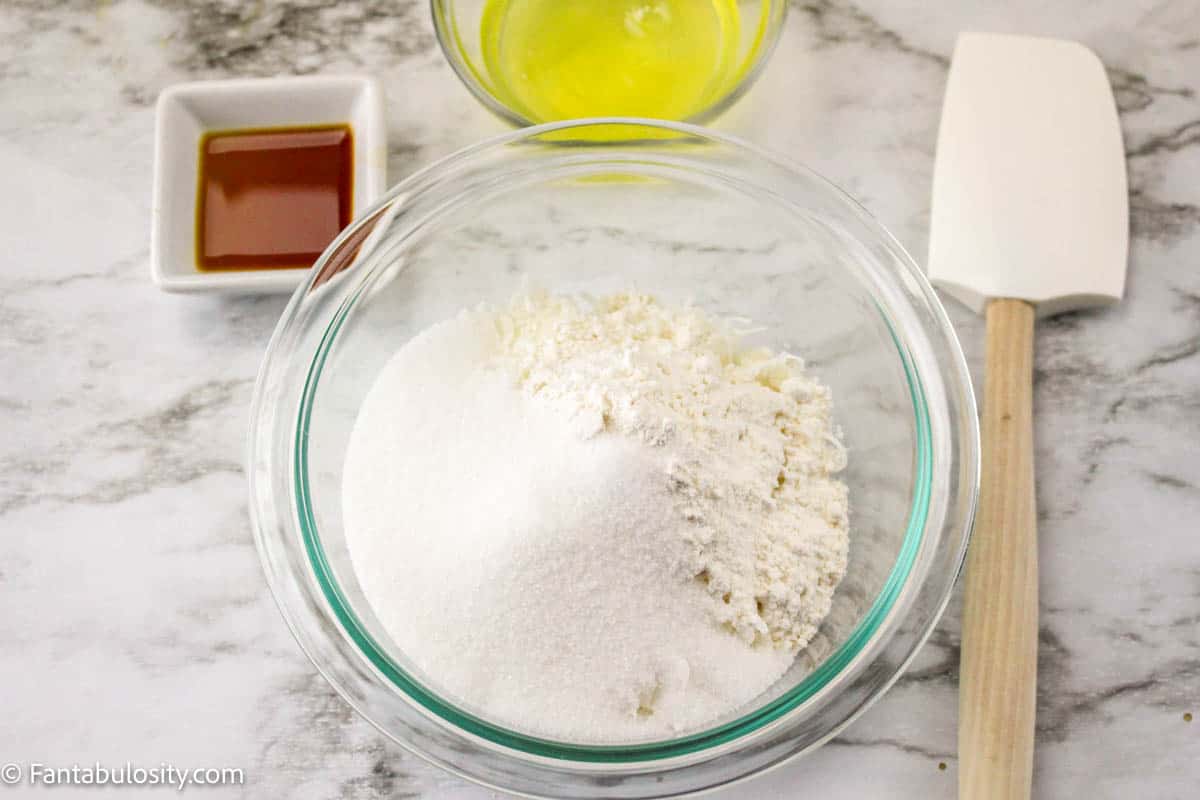
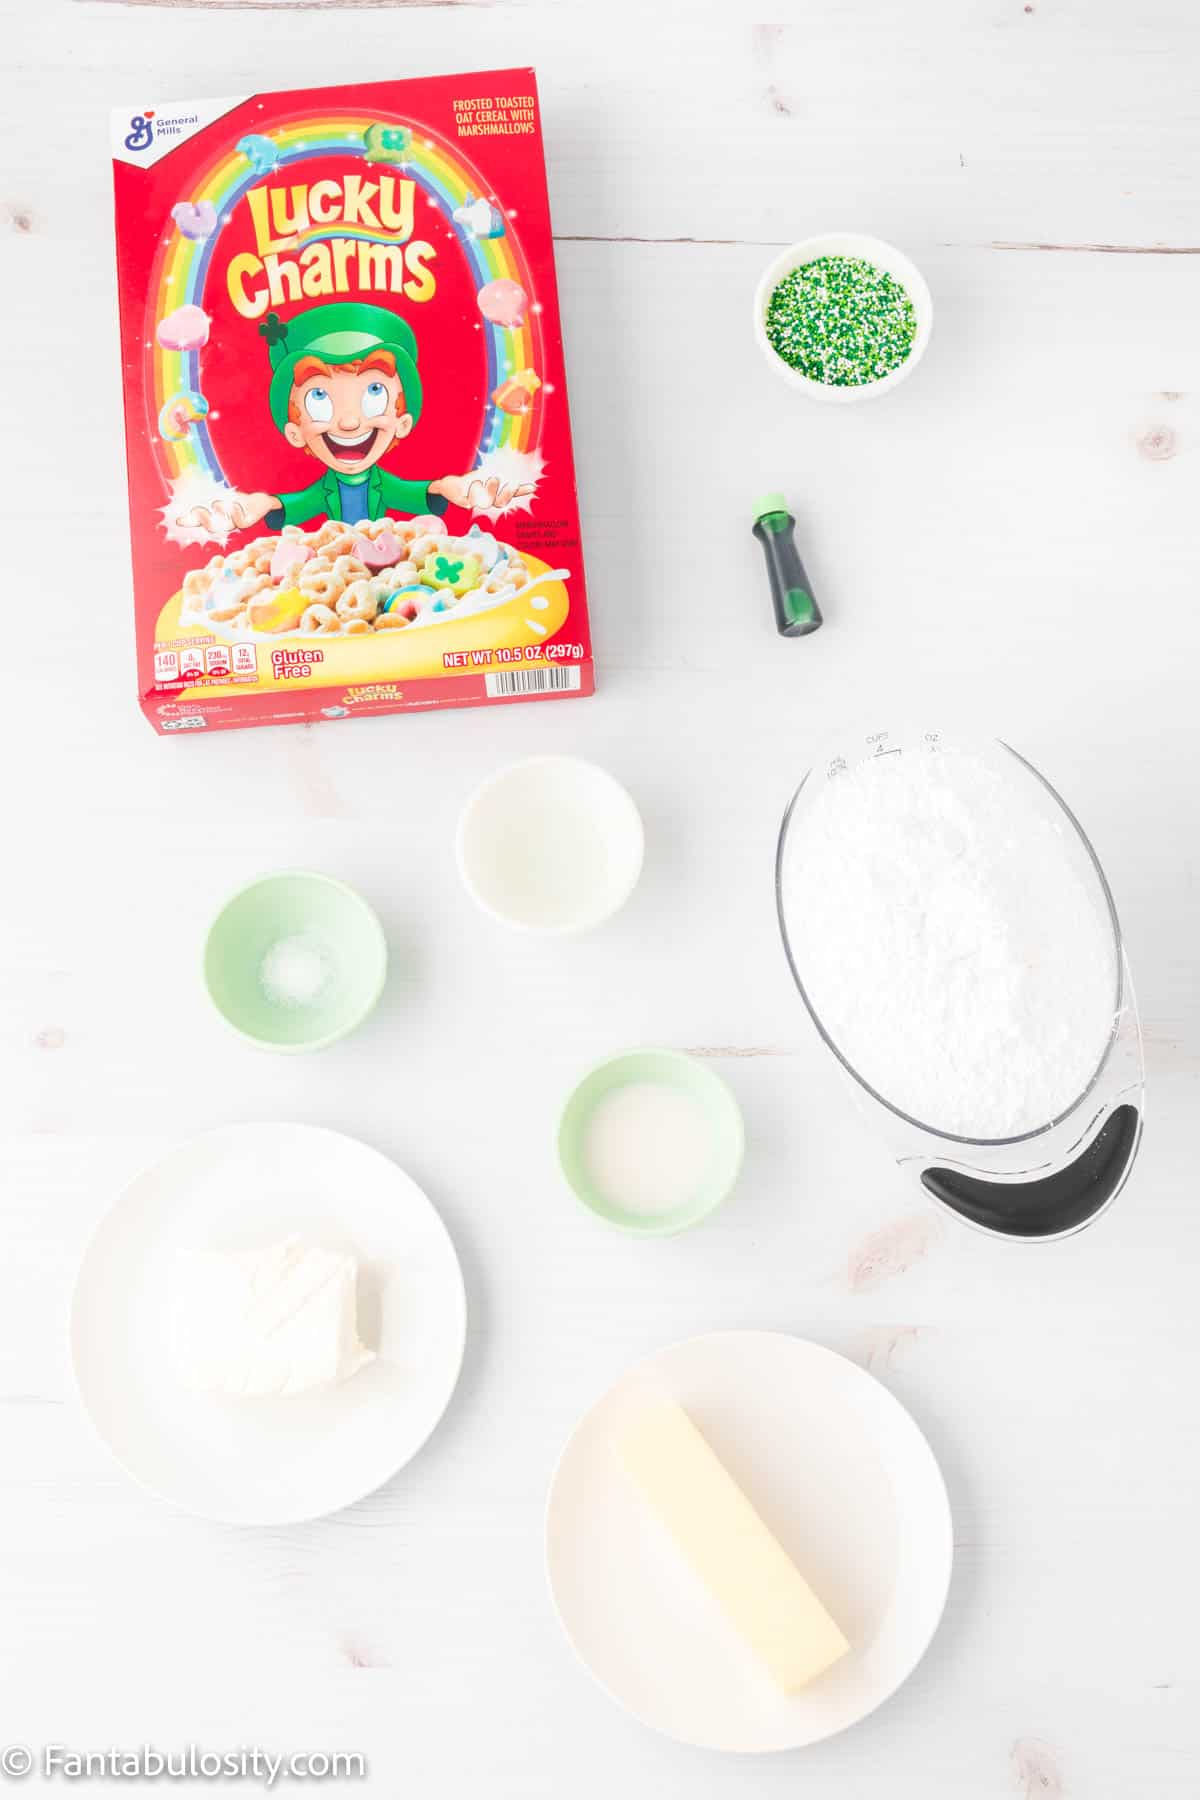
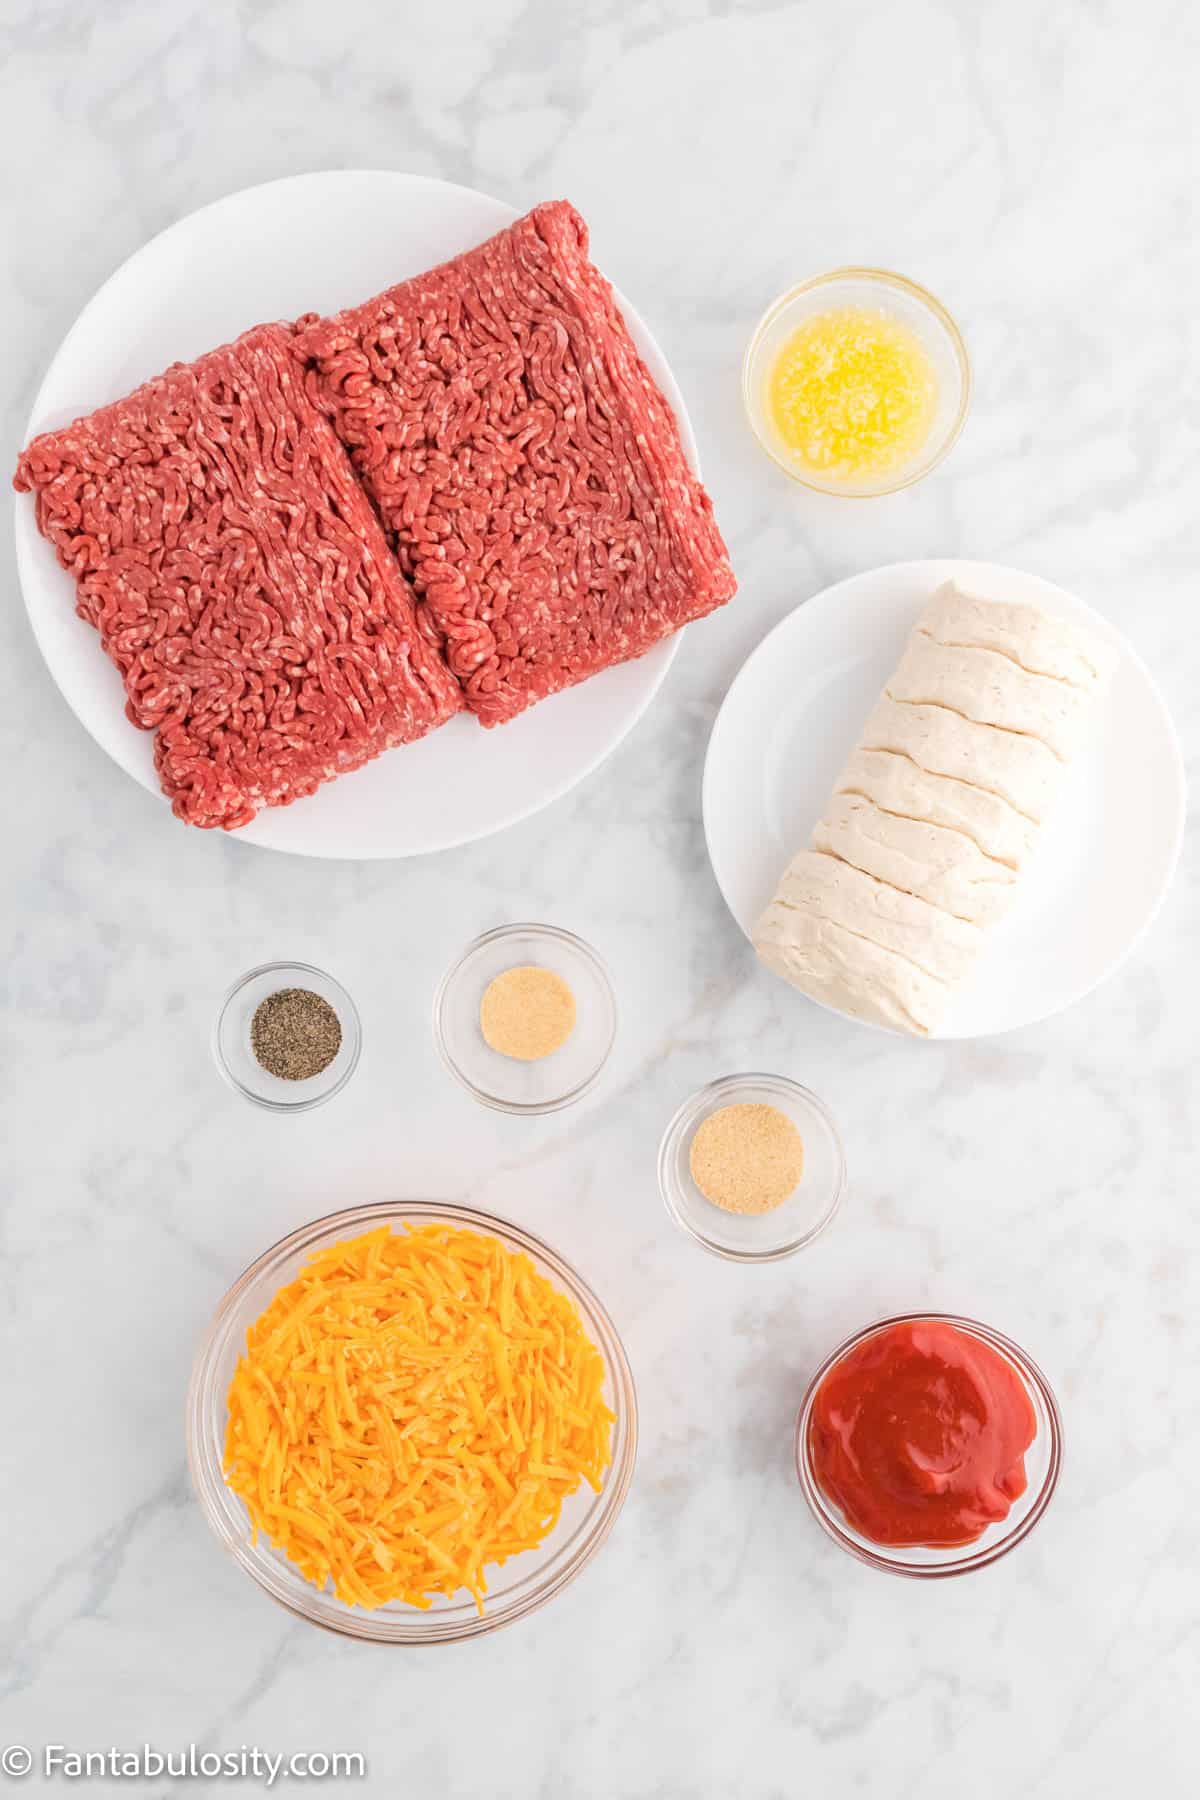
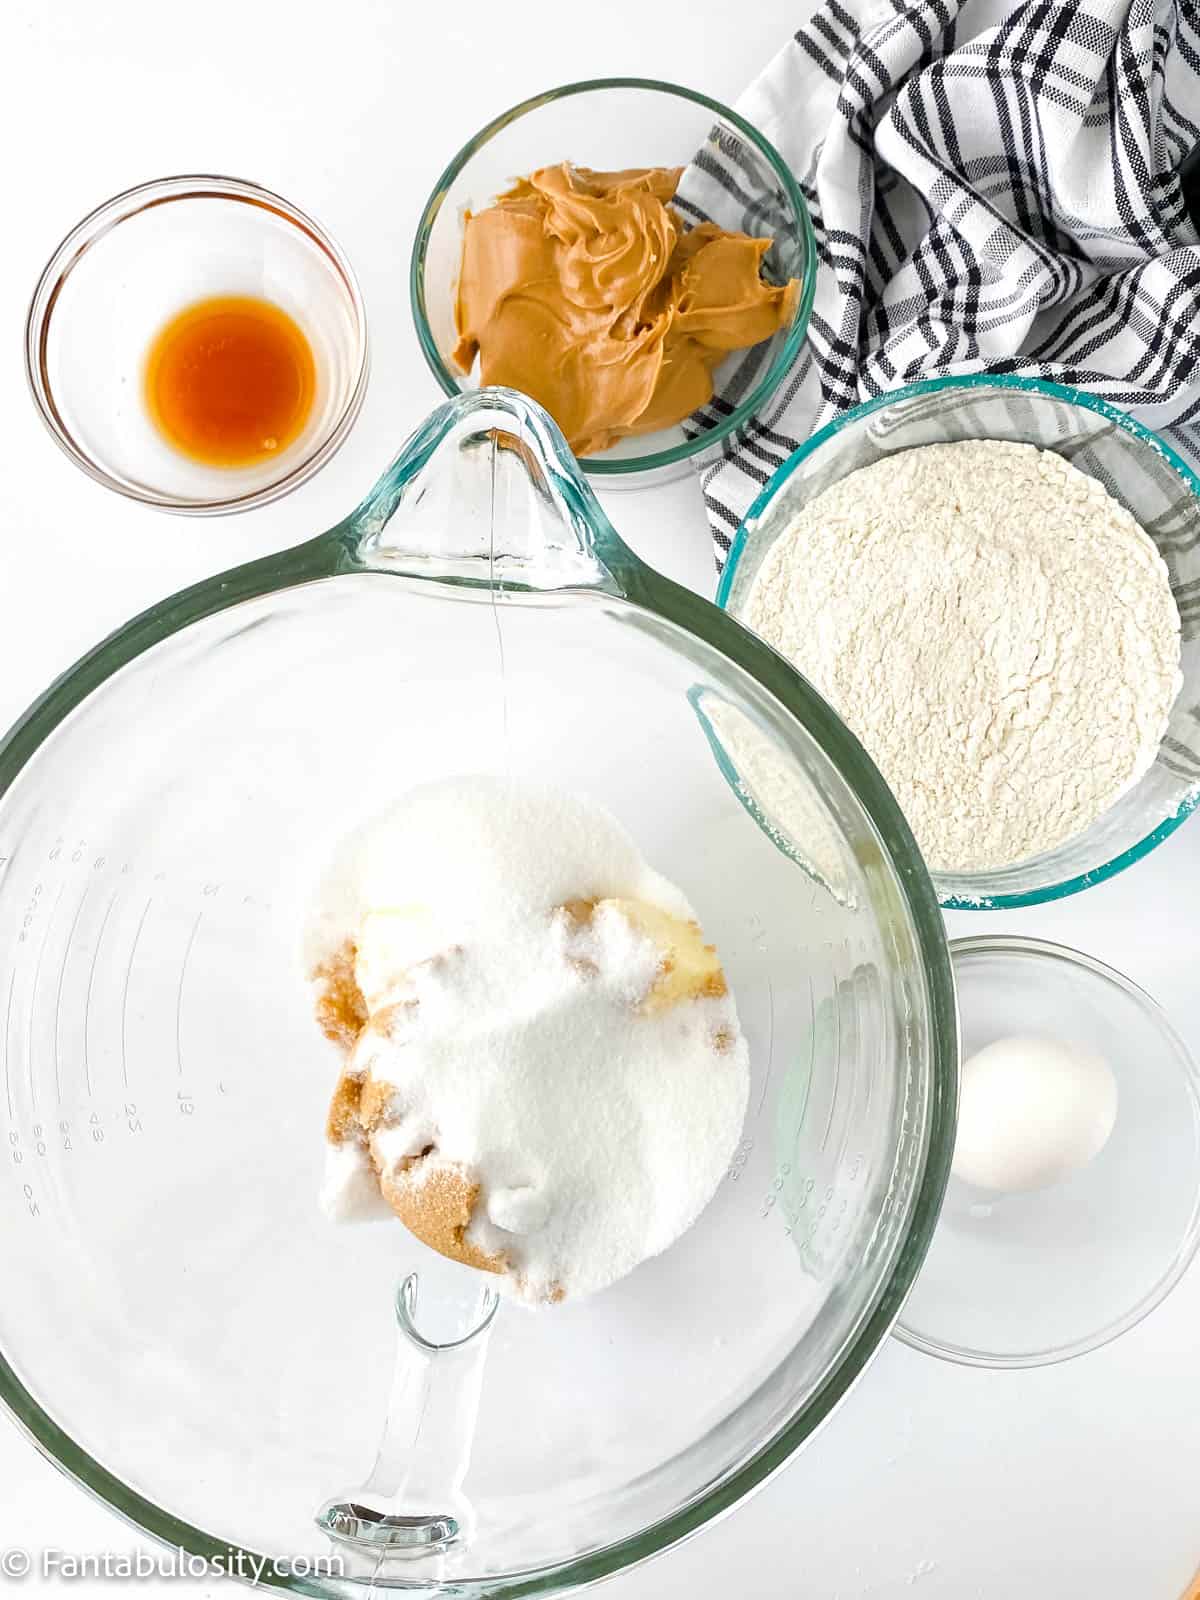
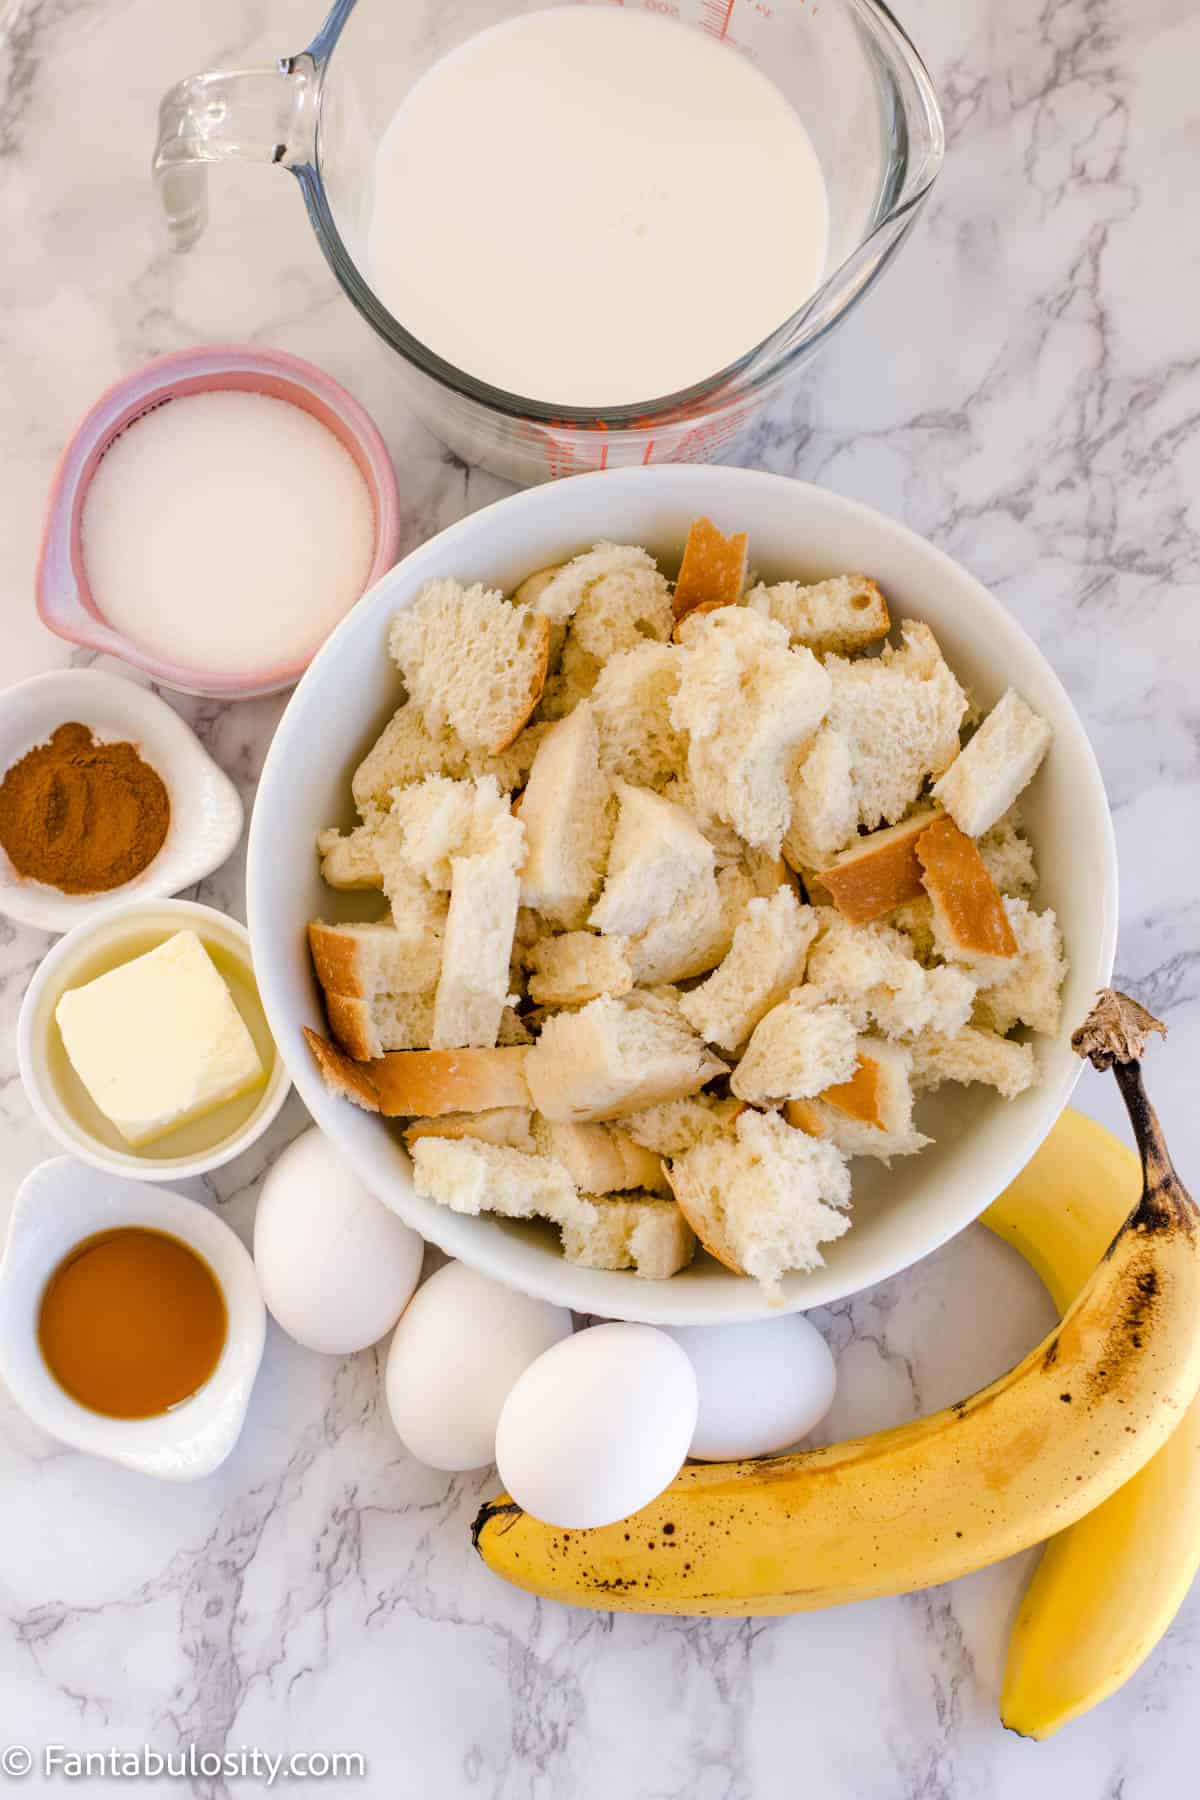
- 6 slices (about 4-5 cups, loosely measured) leftover french bread, sourdough bread, buns, rolls, donuts, challah, toast, or another type of bread, like when we made this croissant bread pudding recipe – broken in to 1-inch cubes
- 3 Tablespoons of butter 1 tablespoon + 2 Tbsp
- 4 large eggs
- 2 cups milk
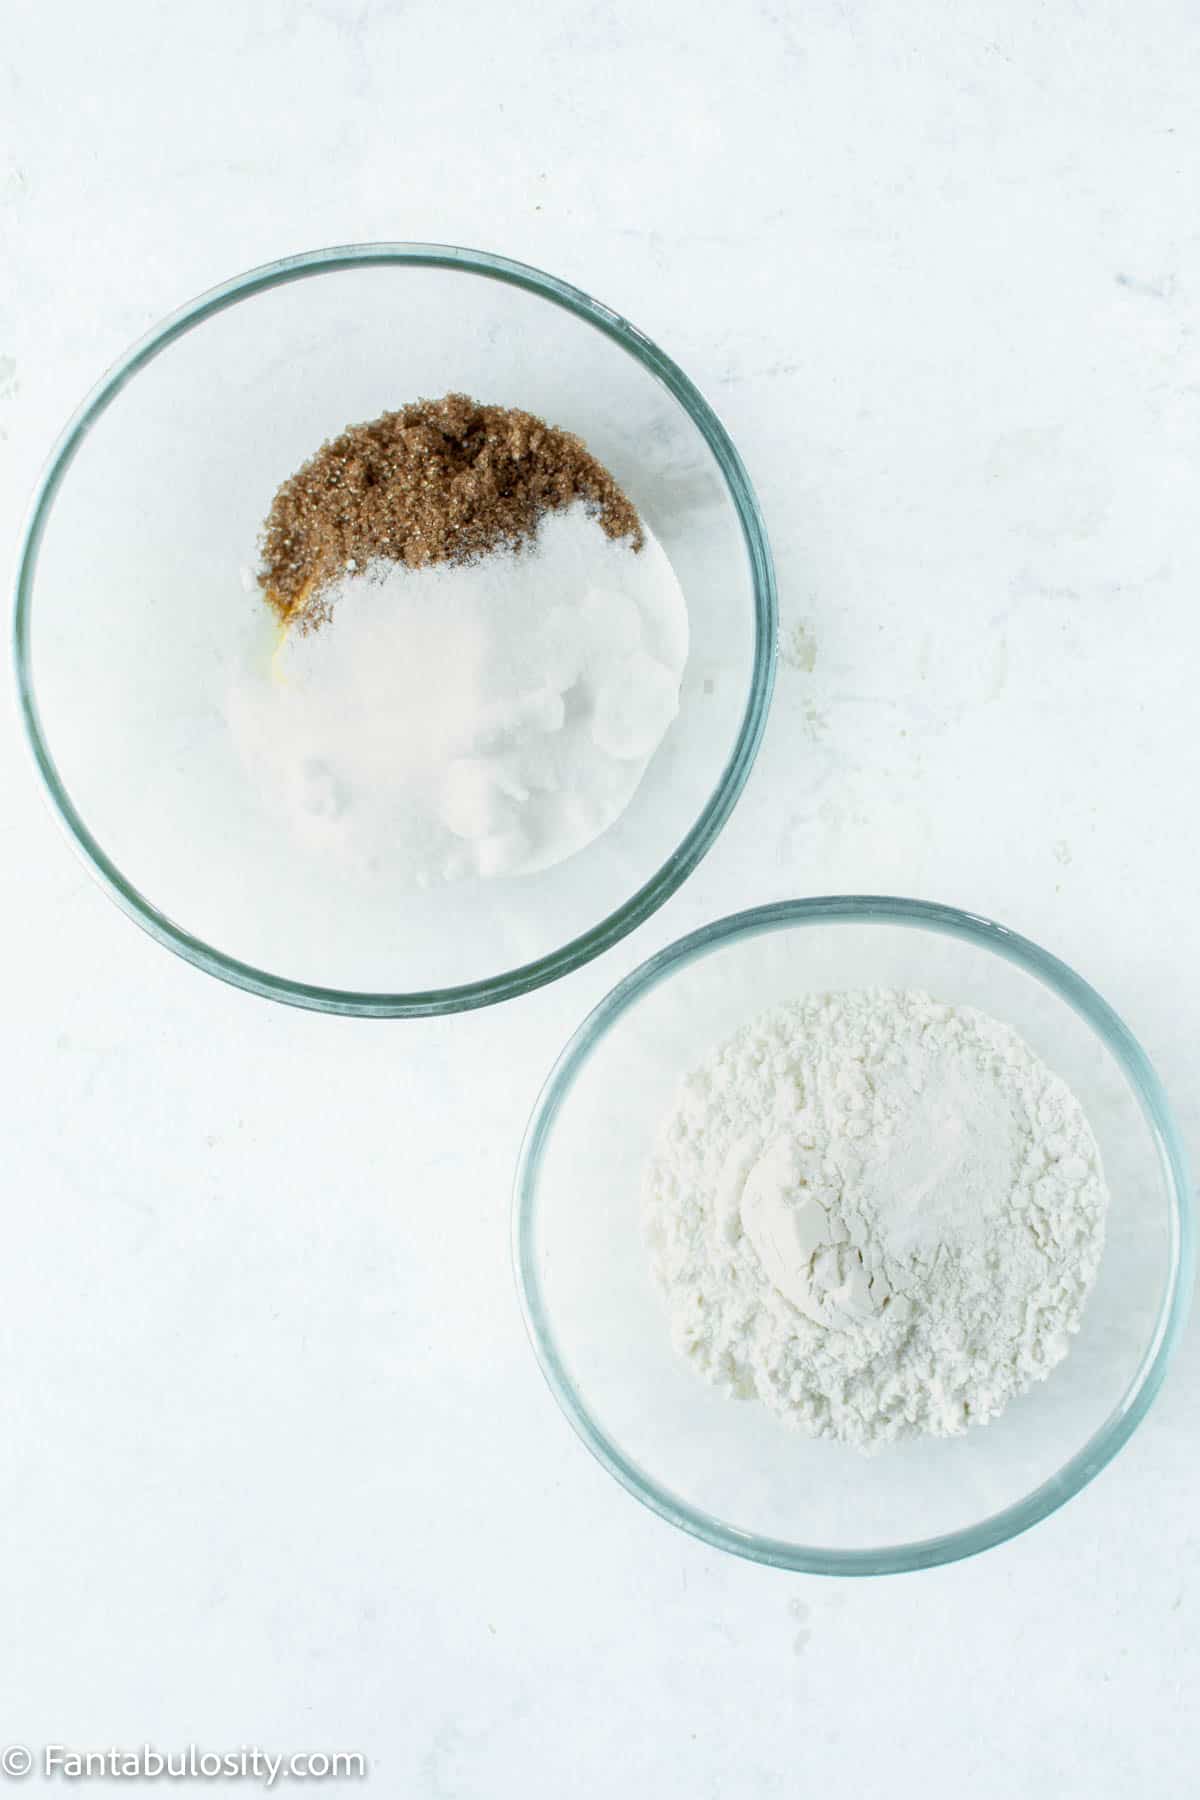
- ½ cup white sugar
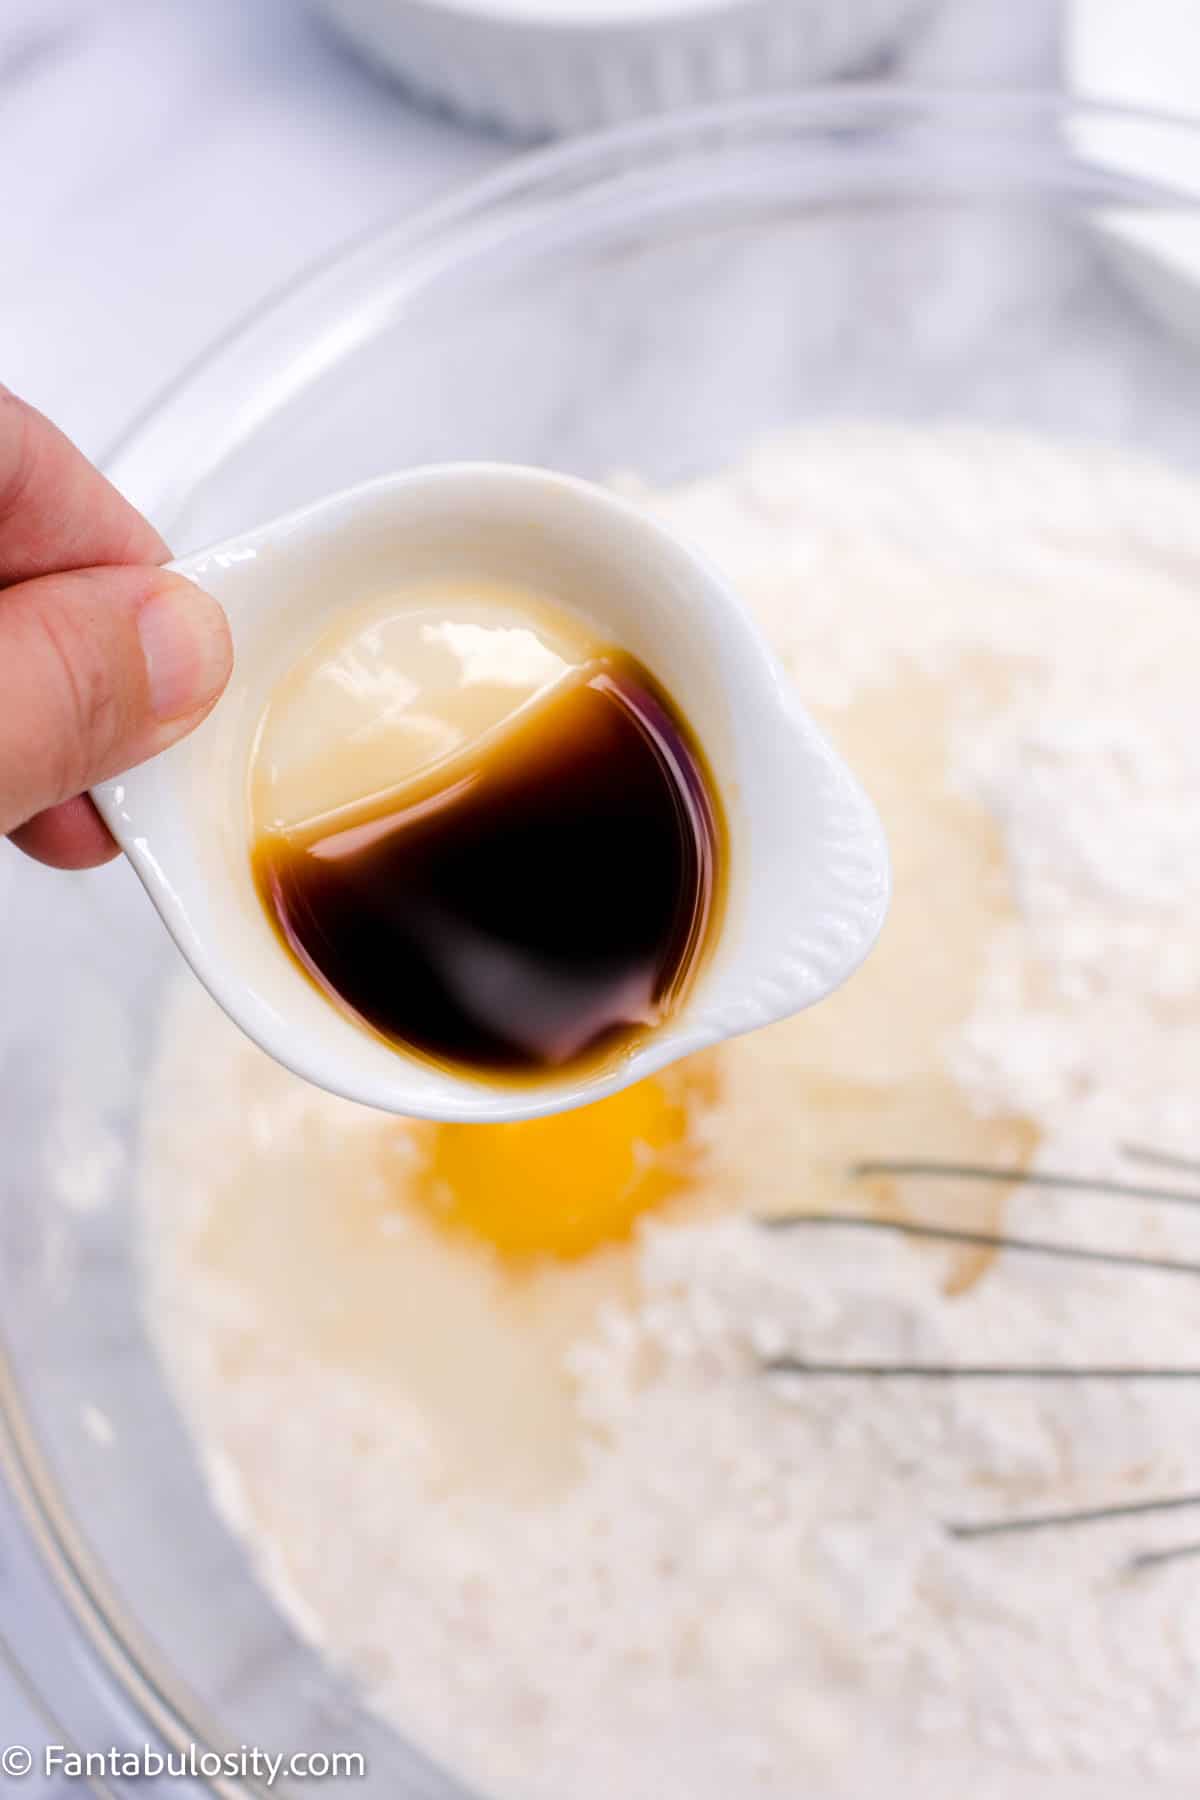
- 1 teaspoon vanilla extract
- 1 teaspoon cinnamon
- 2 large bananas (if you only have fresh bananas, this is how you can ripen bananas quickly or take a look at this banana poke cake too.)
Instructions
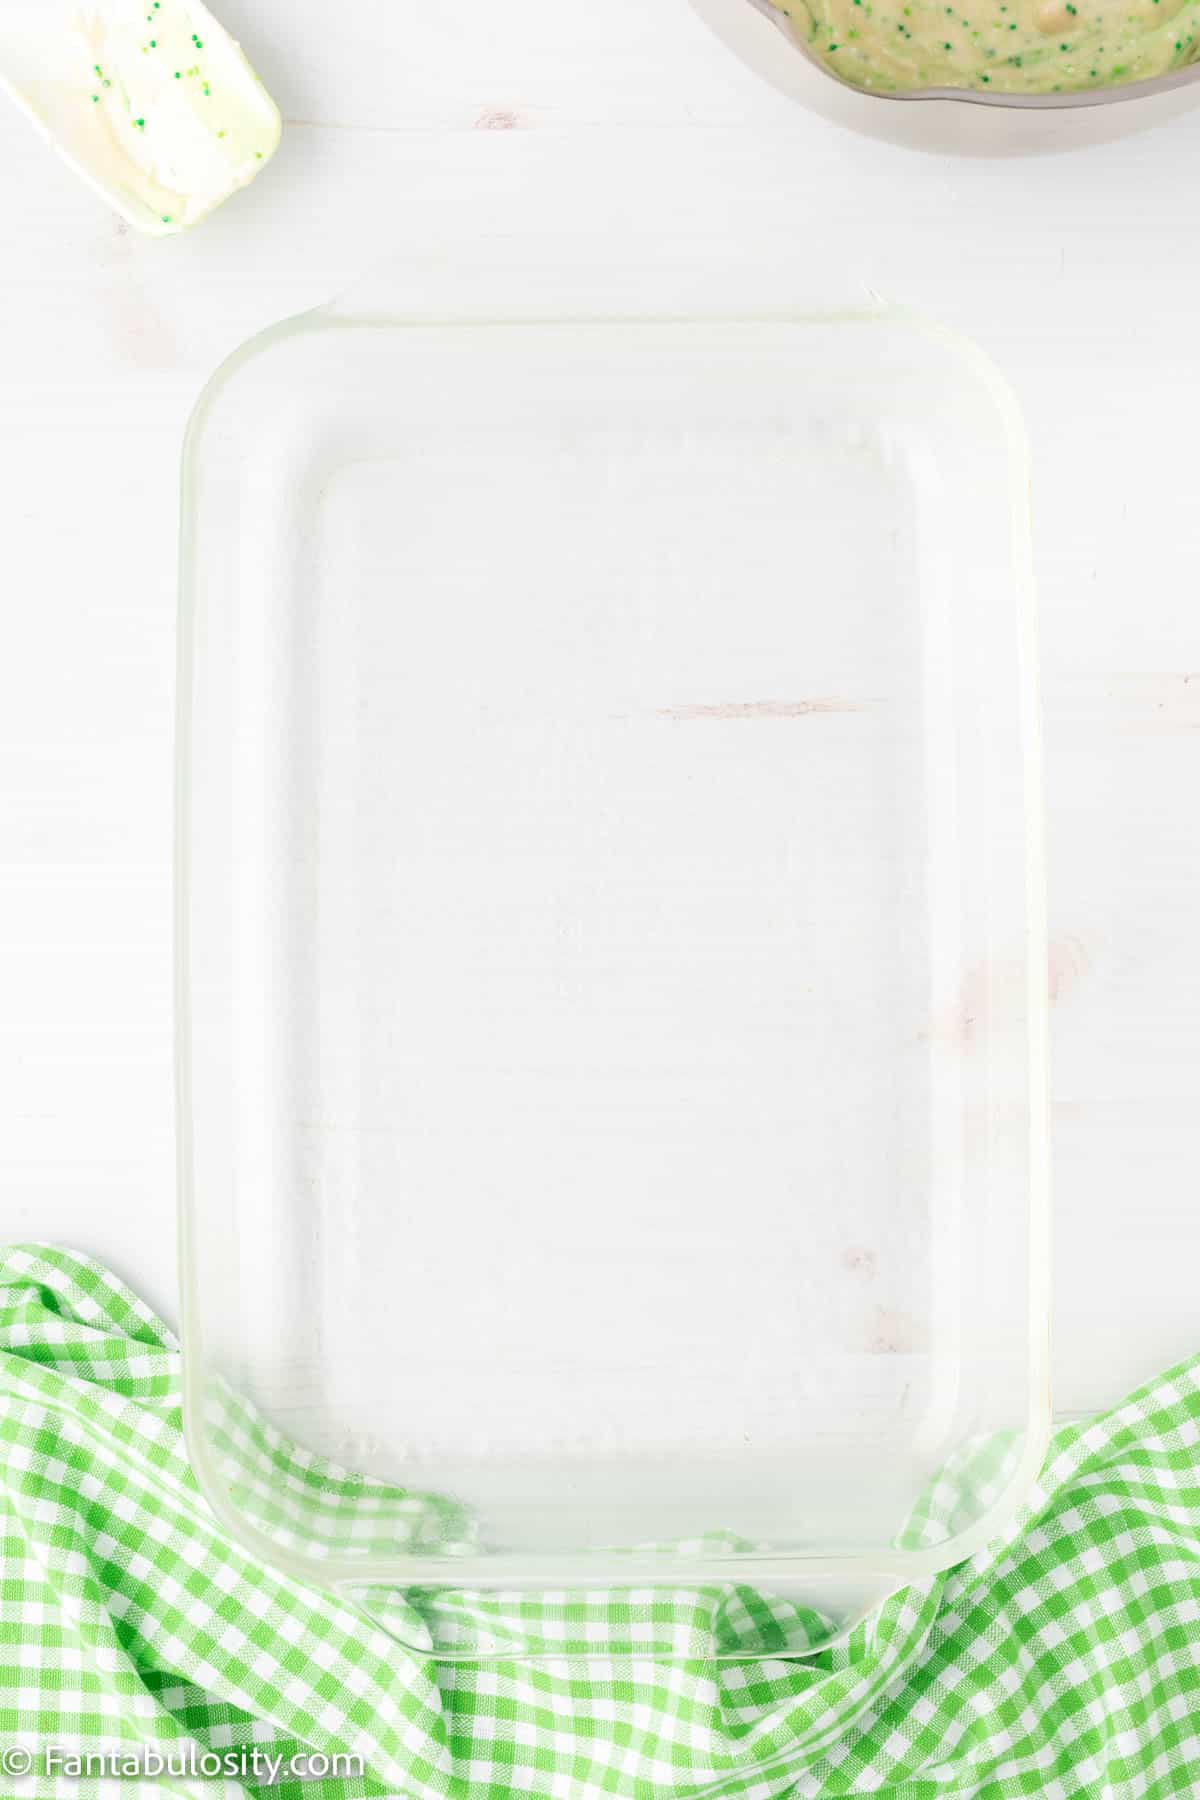
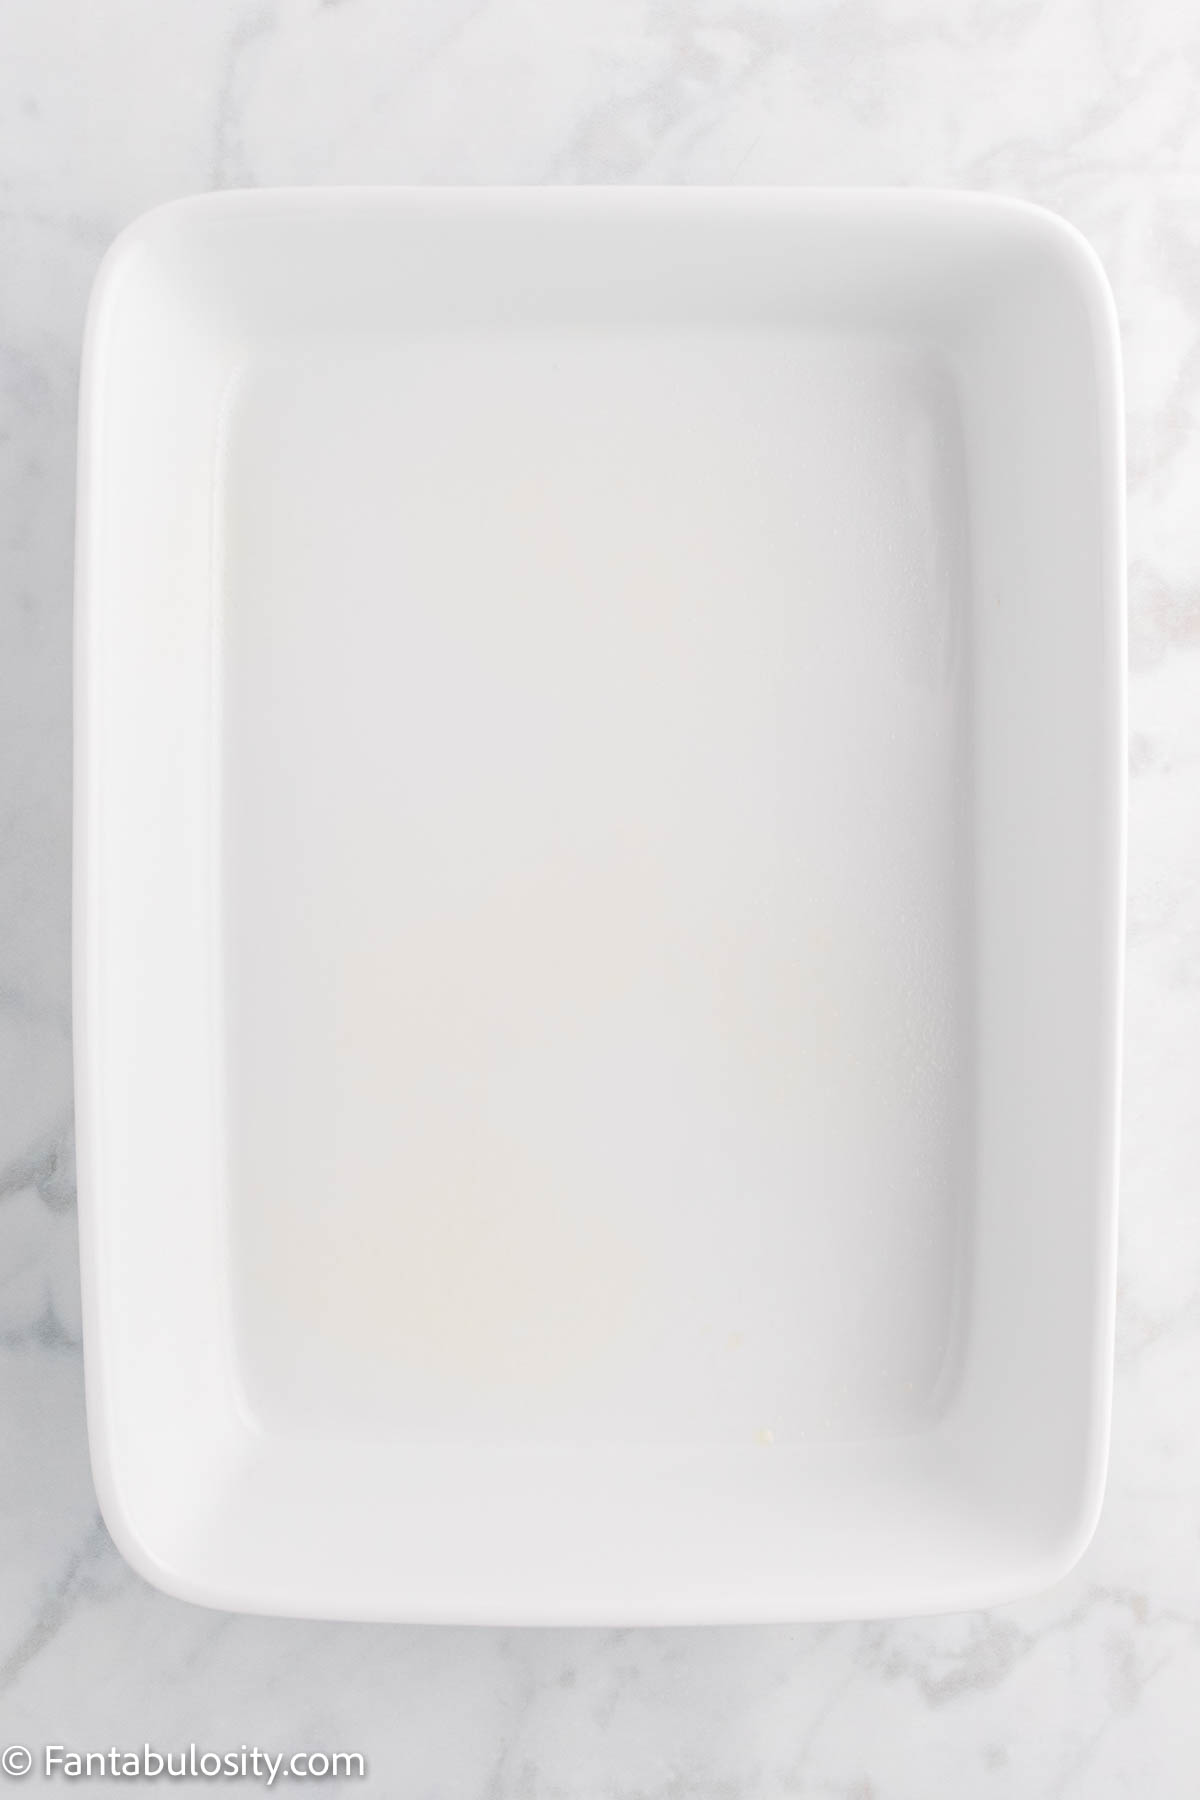
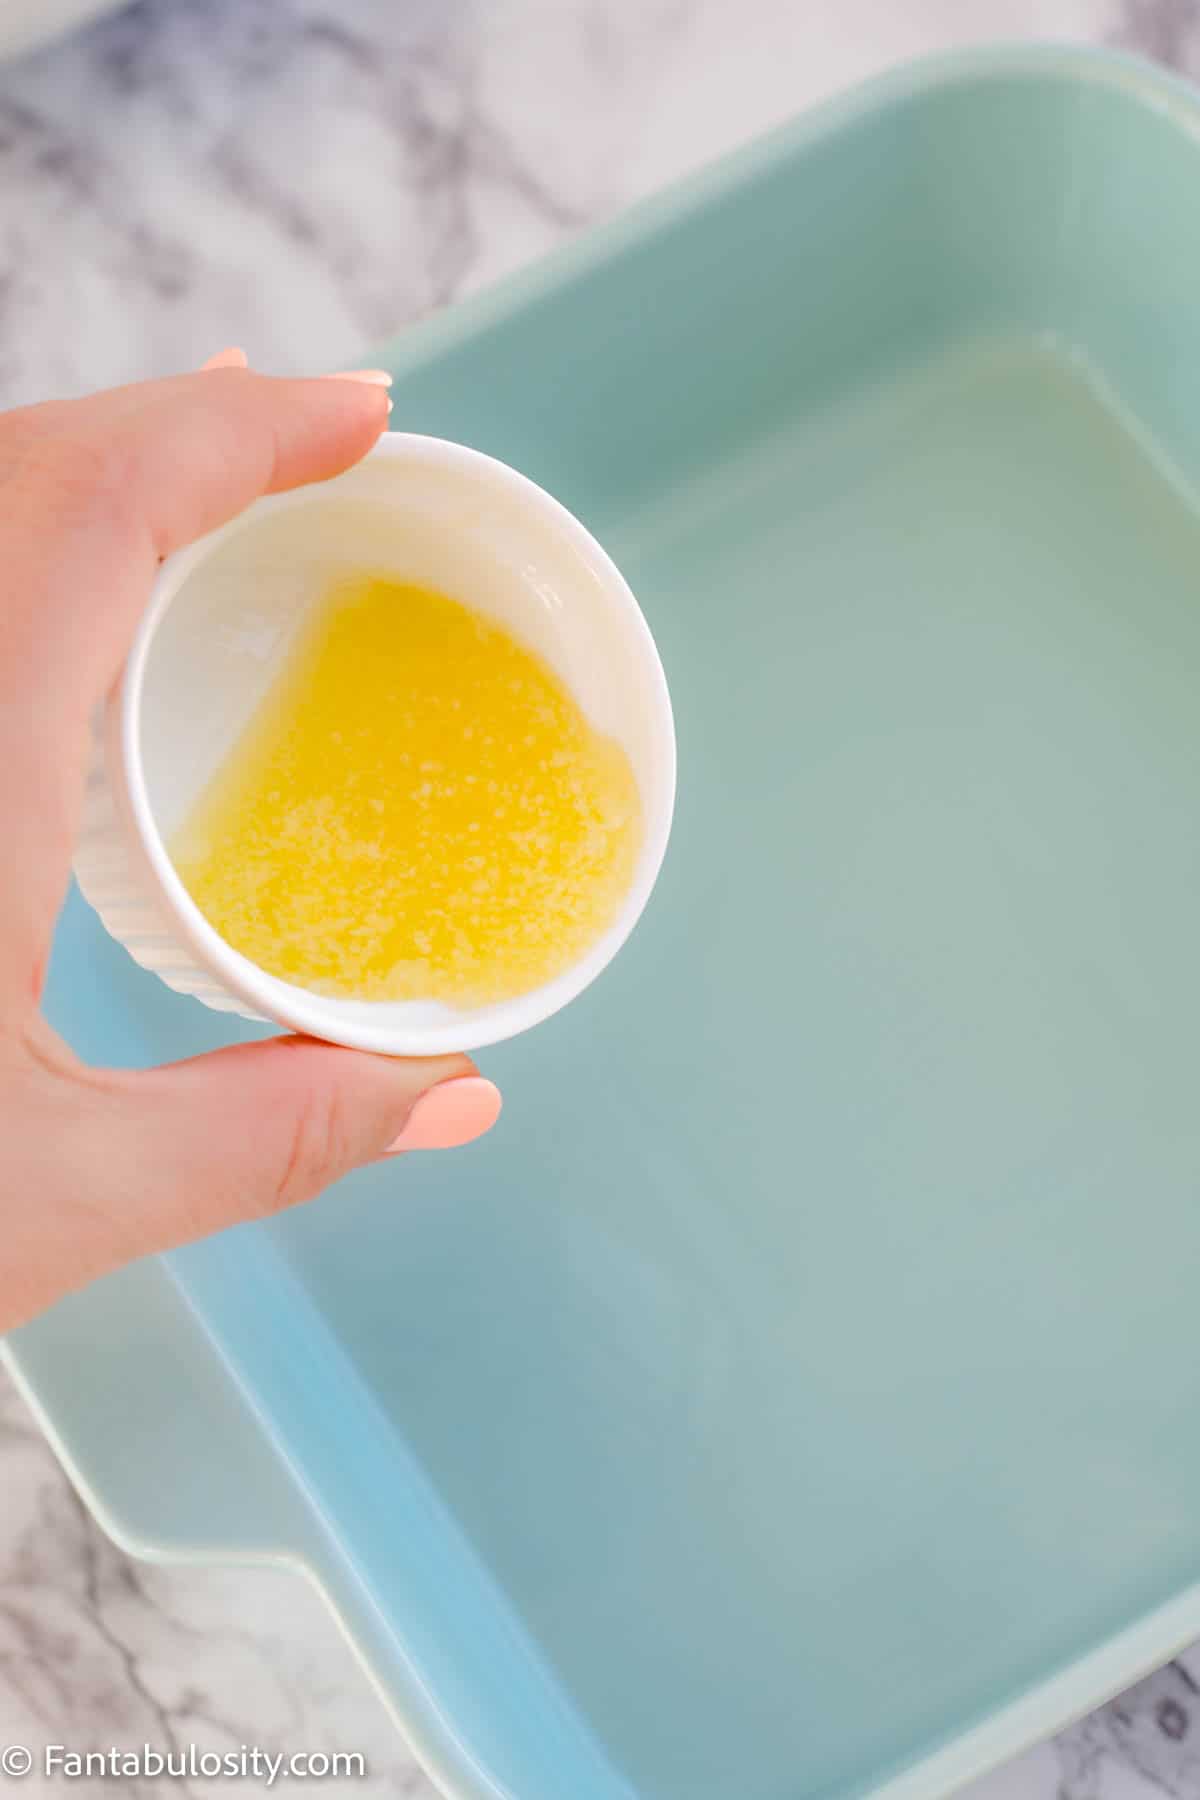
- Preheat oven to 350 degrees, and use 1 Tablespoon of butter to coat the inside of your 8 in. square baking dish. (Or, I melted the 3 tablespoon of butter at once, and poured about 1 tablespoon in to the dish.)
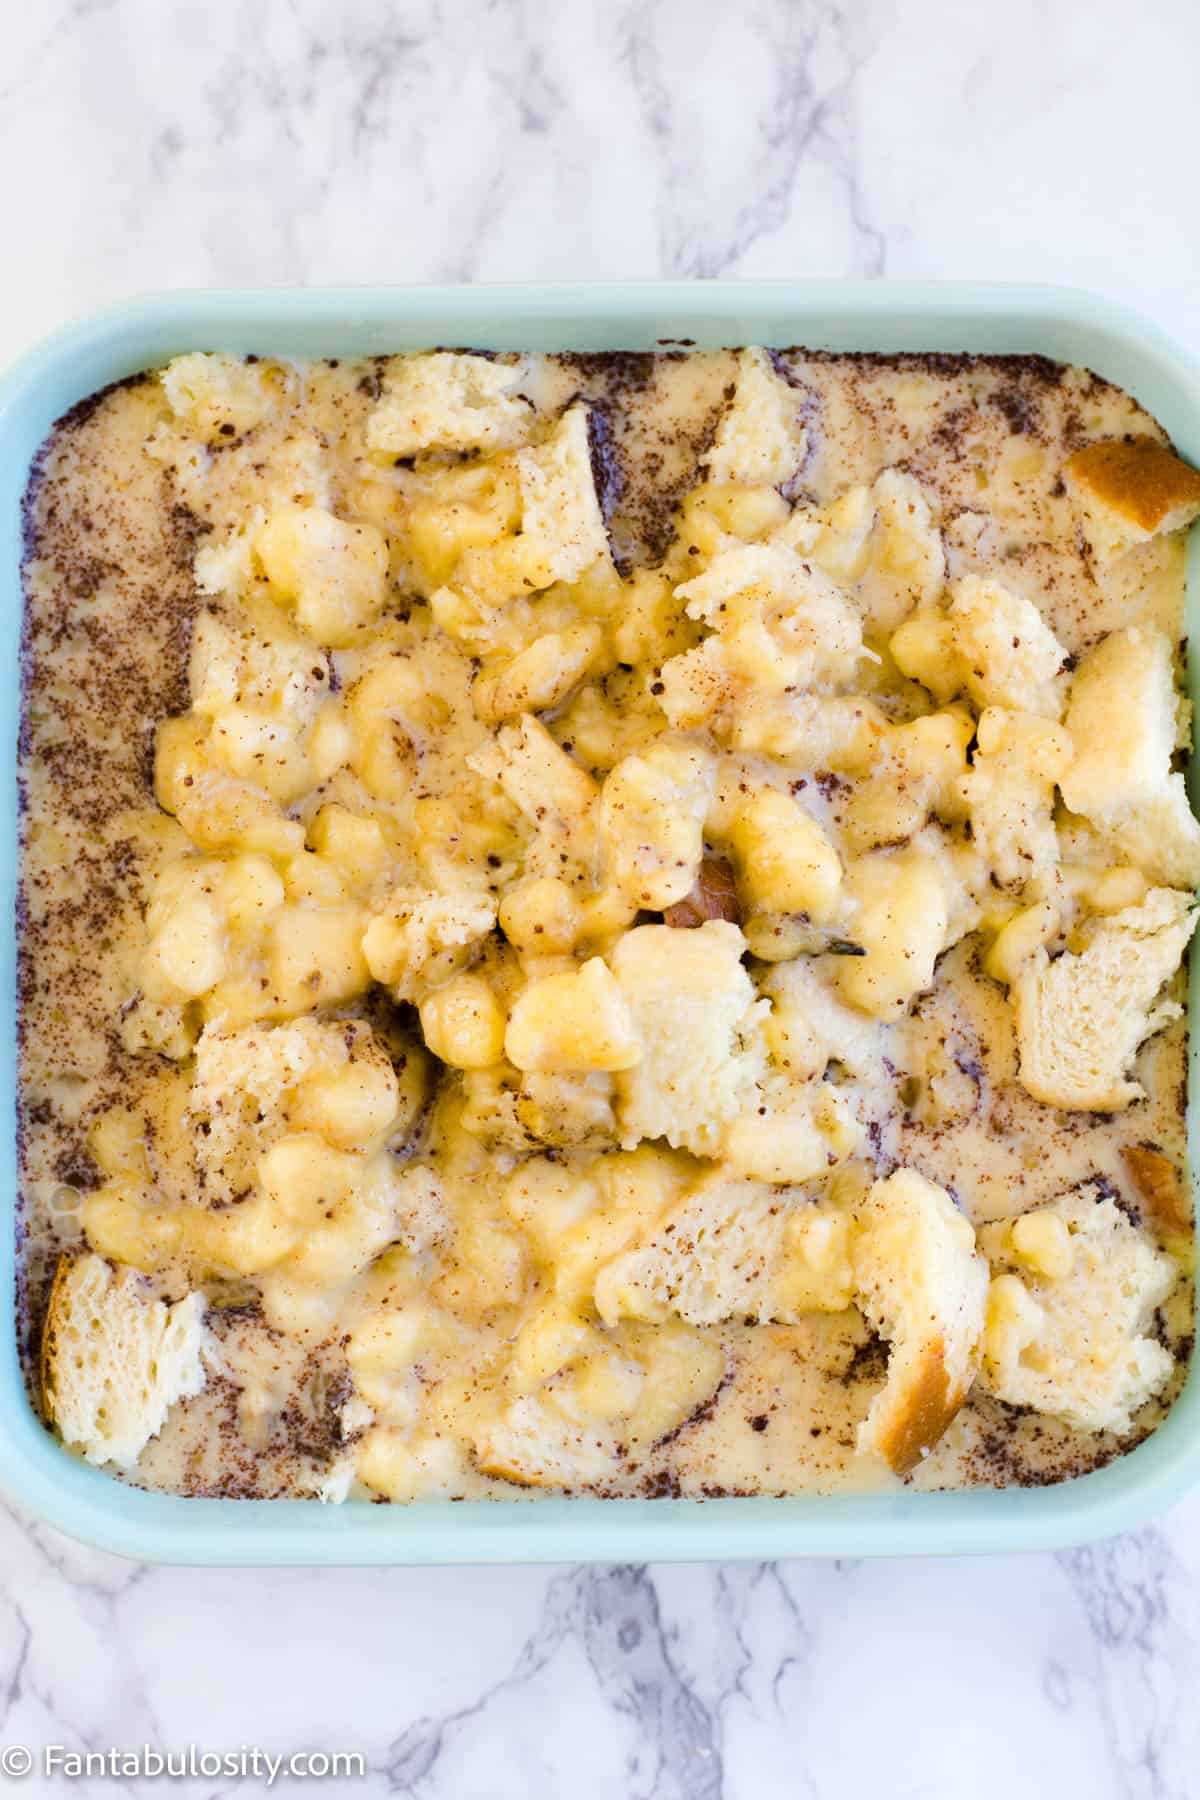
- Next, pour bread pieced in to dish.
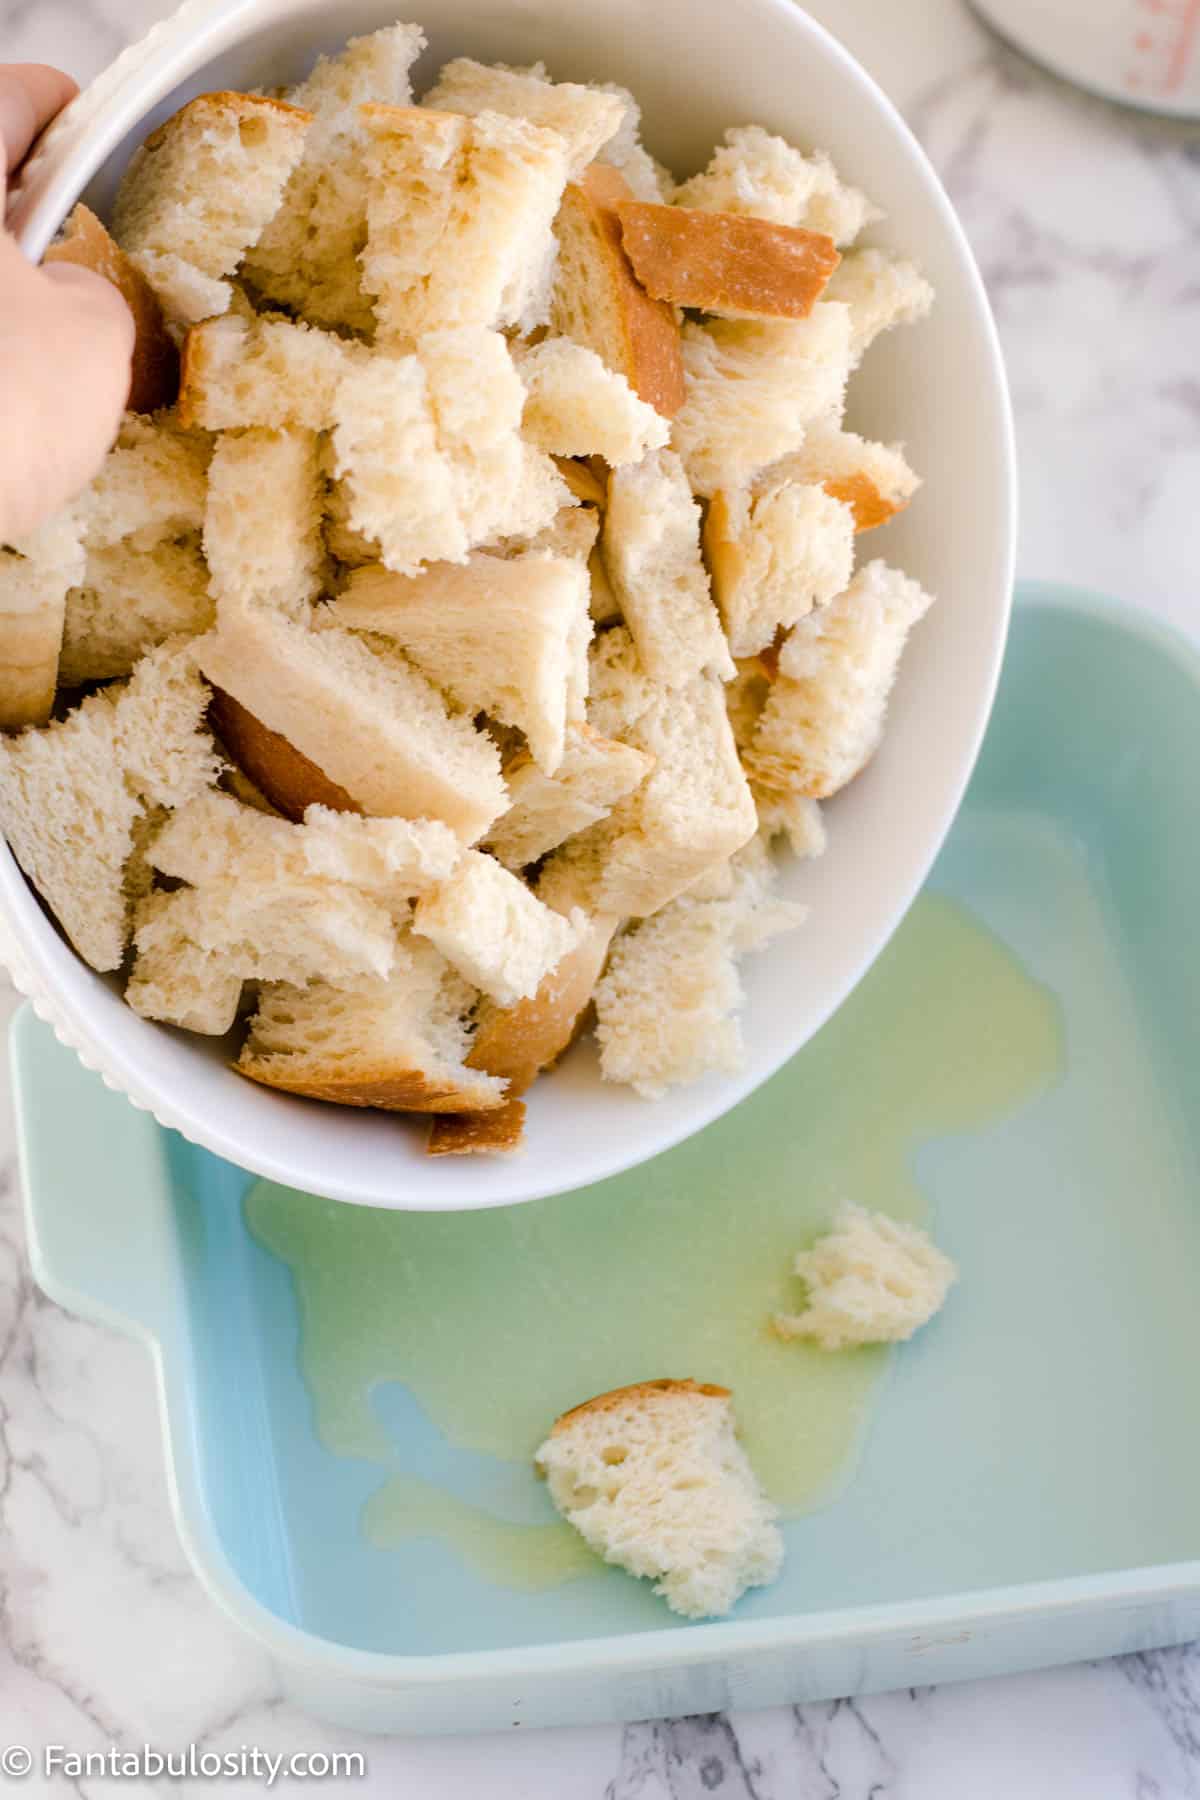
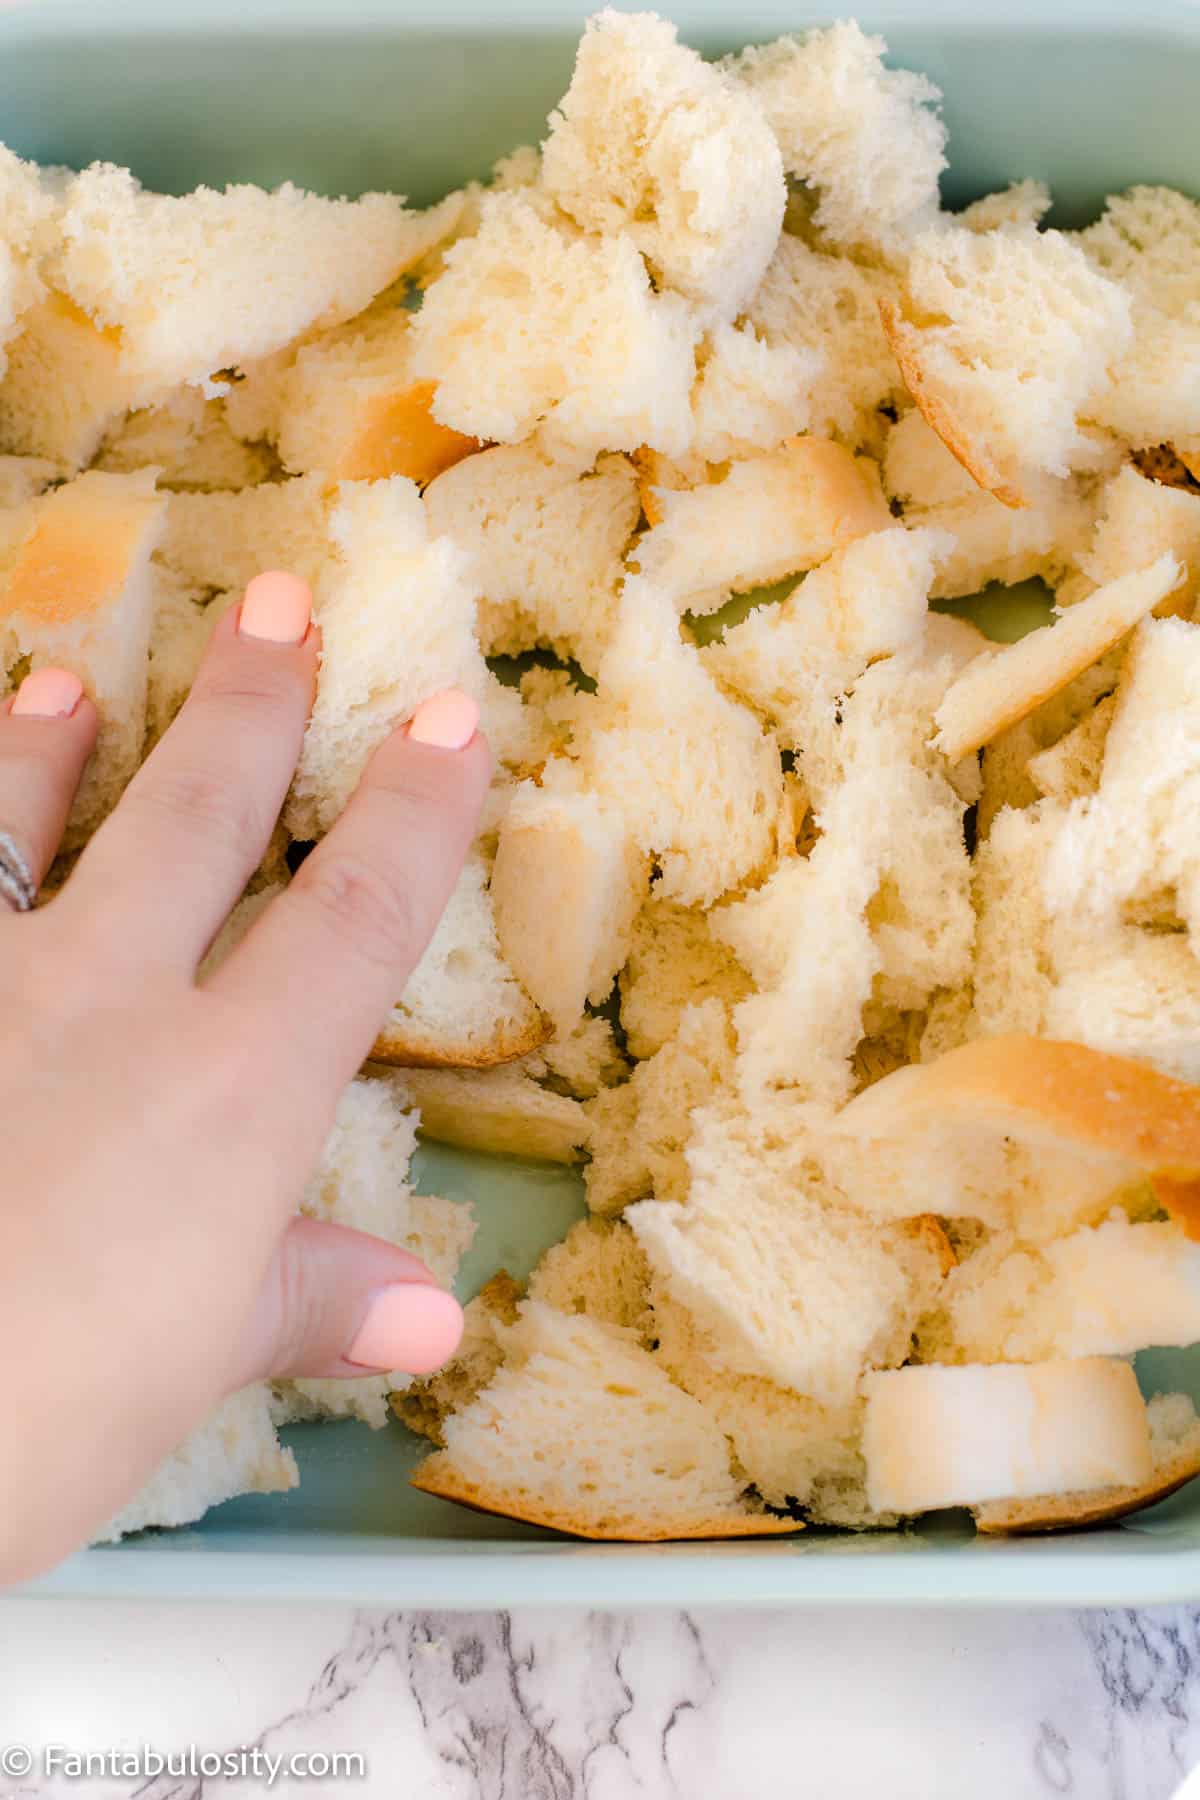
- Using your hand, spread the bread around in the dish, trying to make sure the butter is spreading and that the bread is even in the dish.
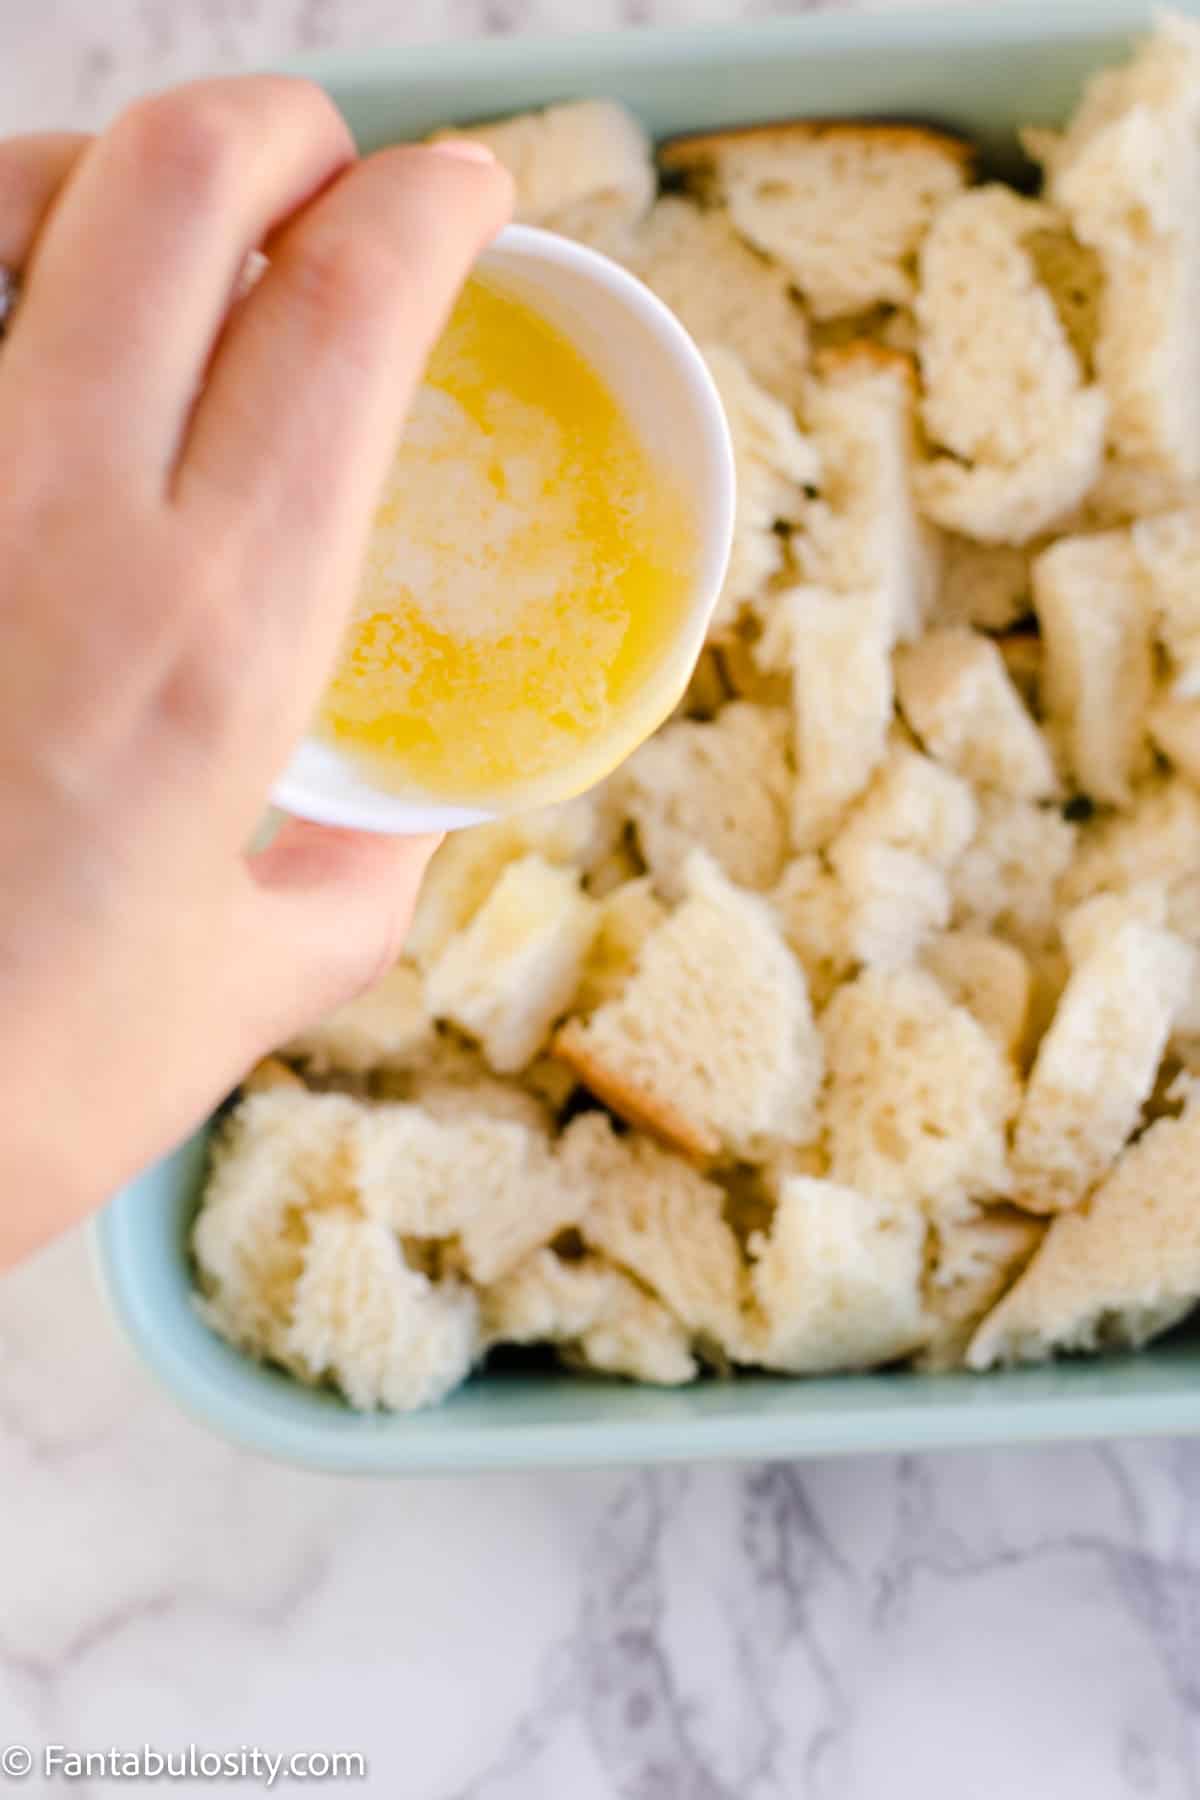
- Next, pour the remaining melted butter over the top of the bread cubes.
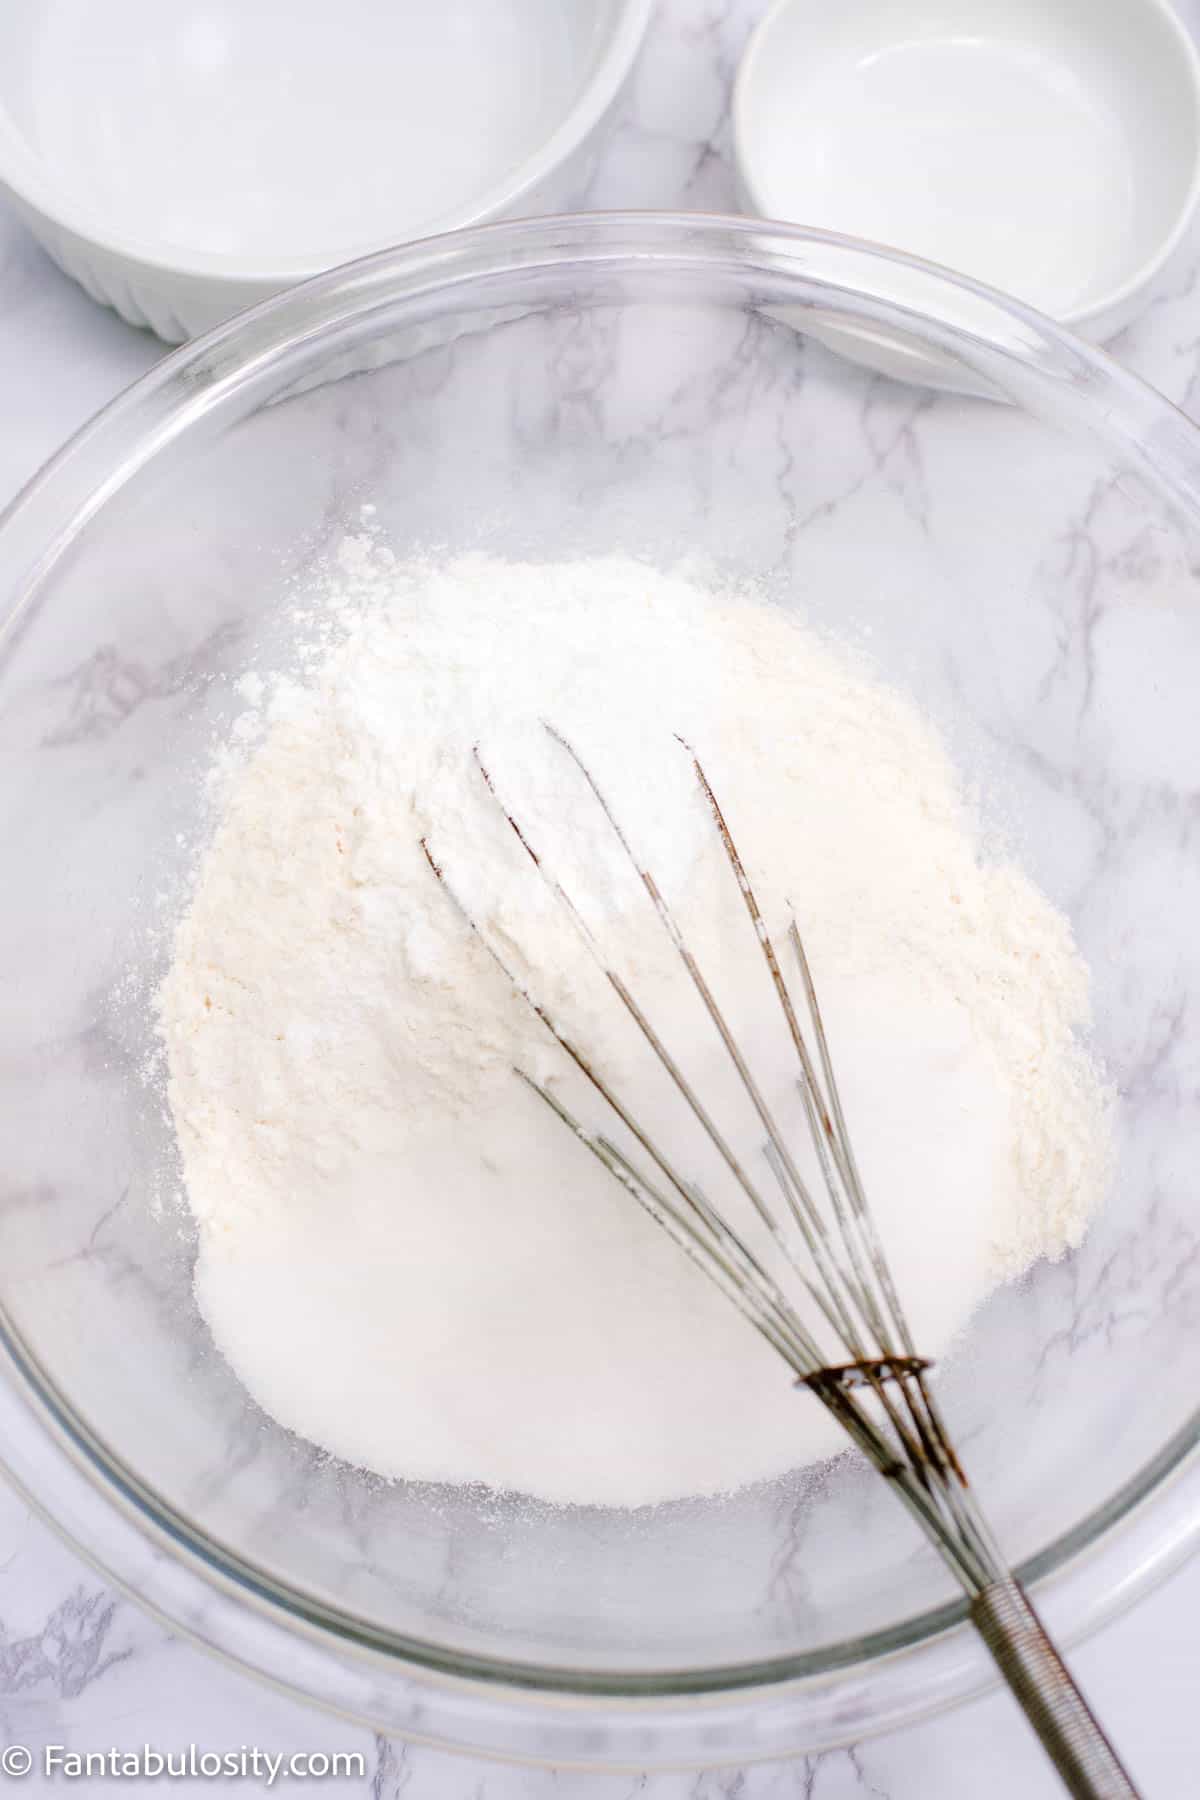
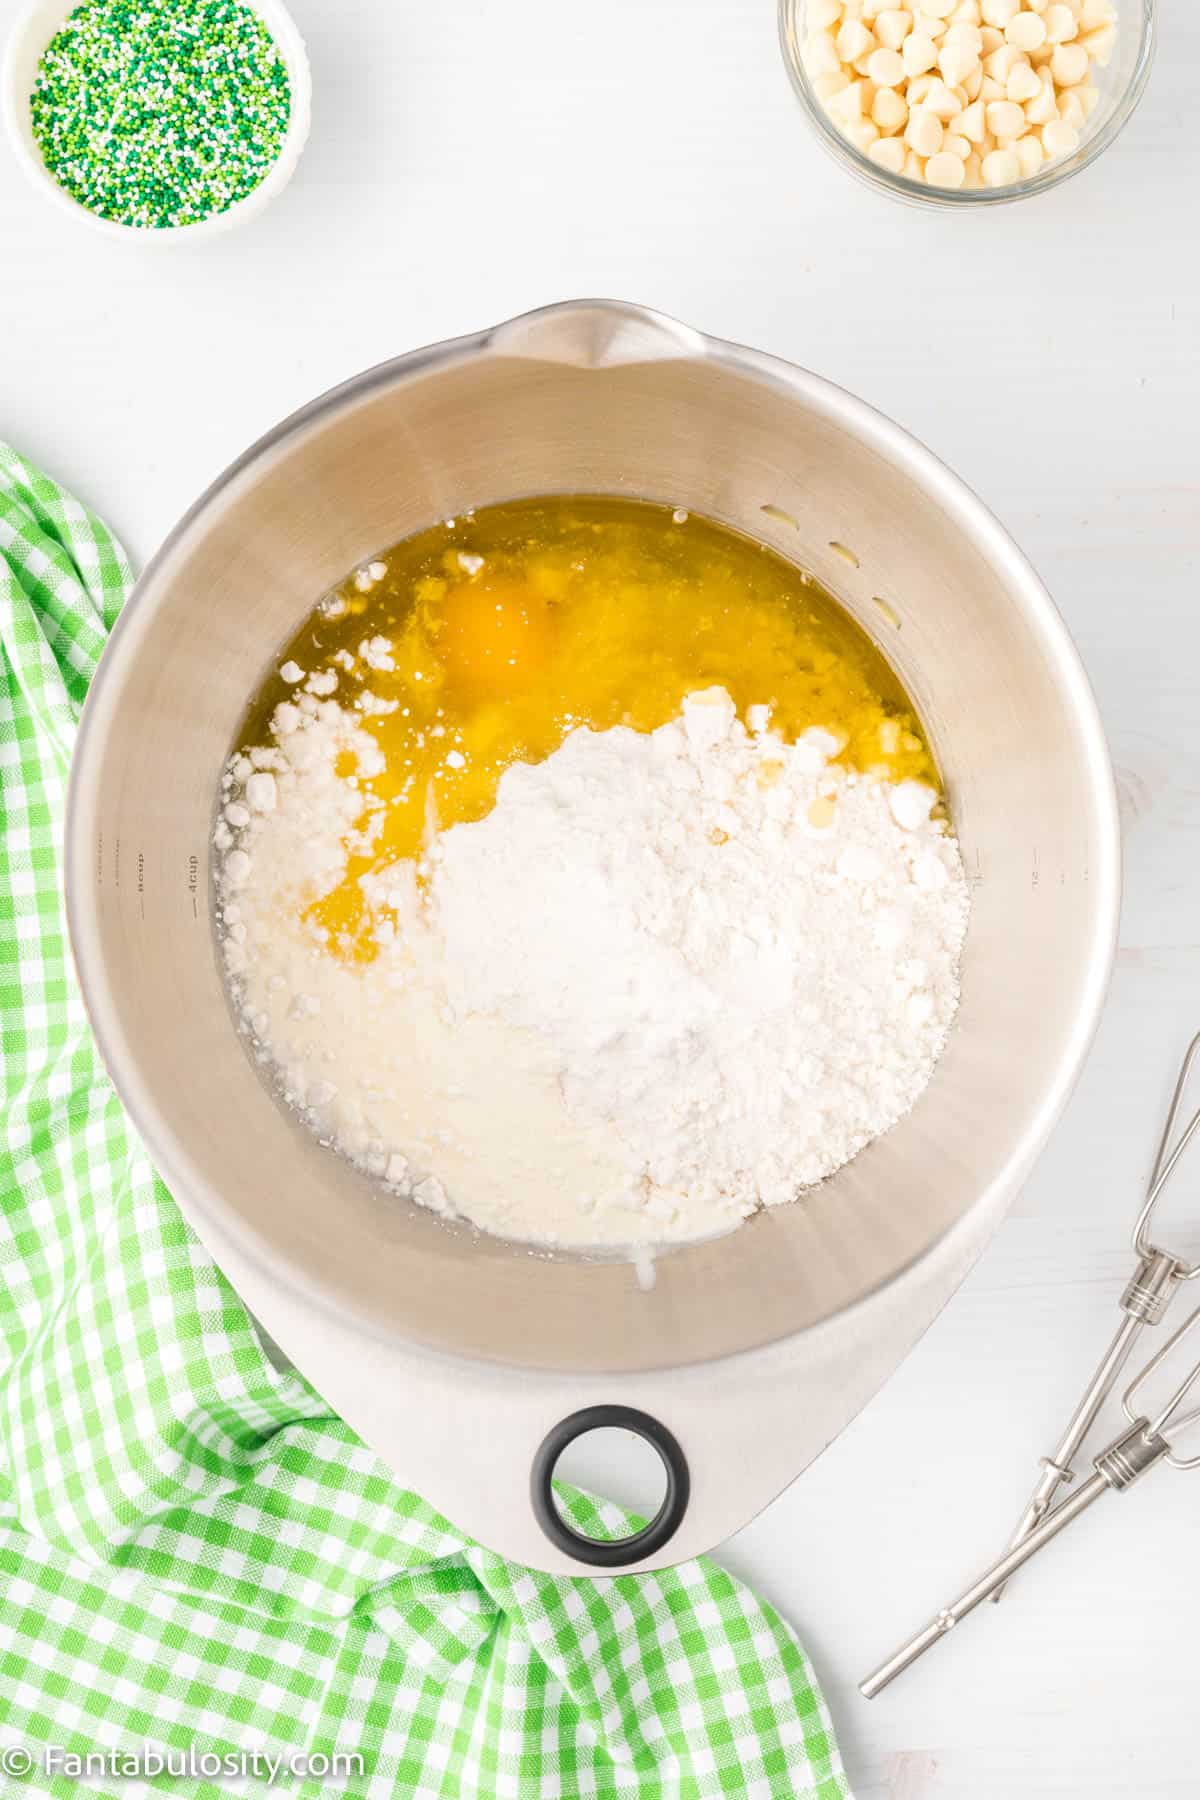
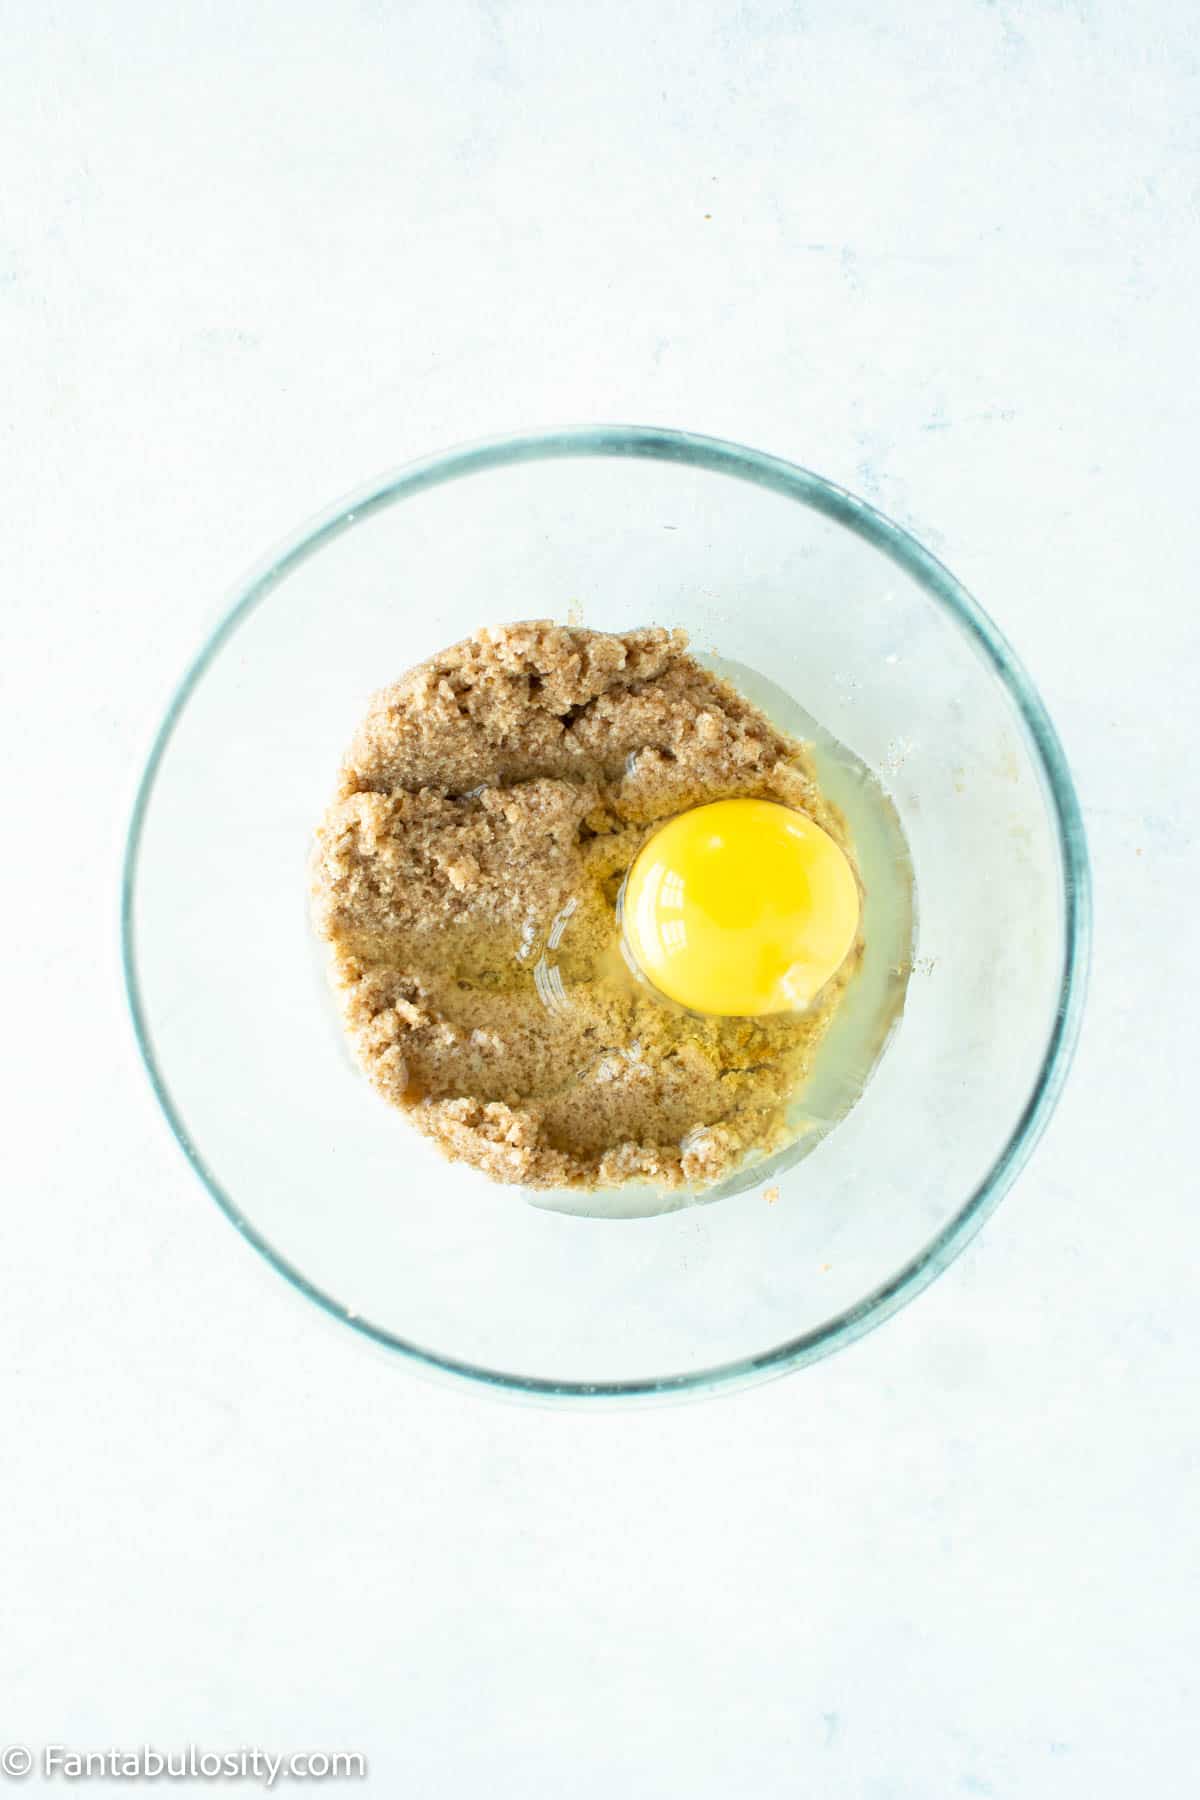
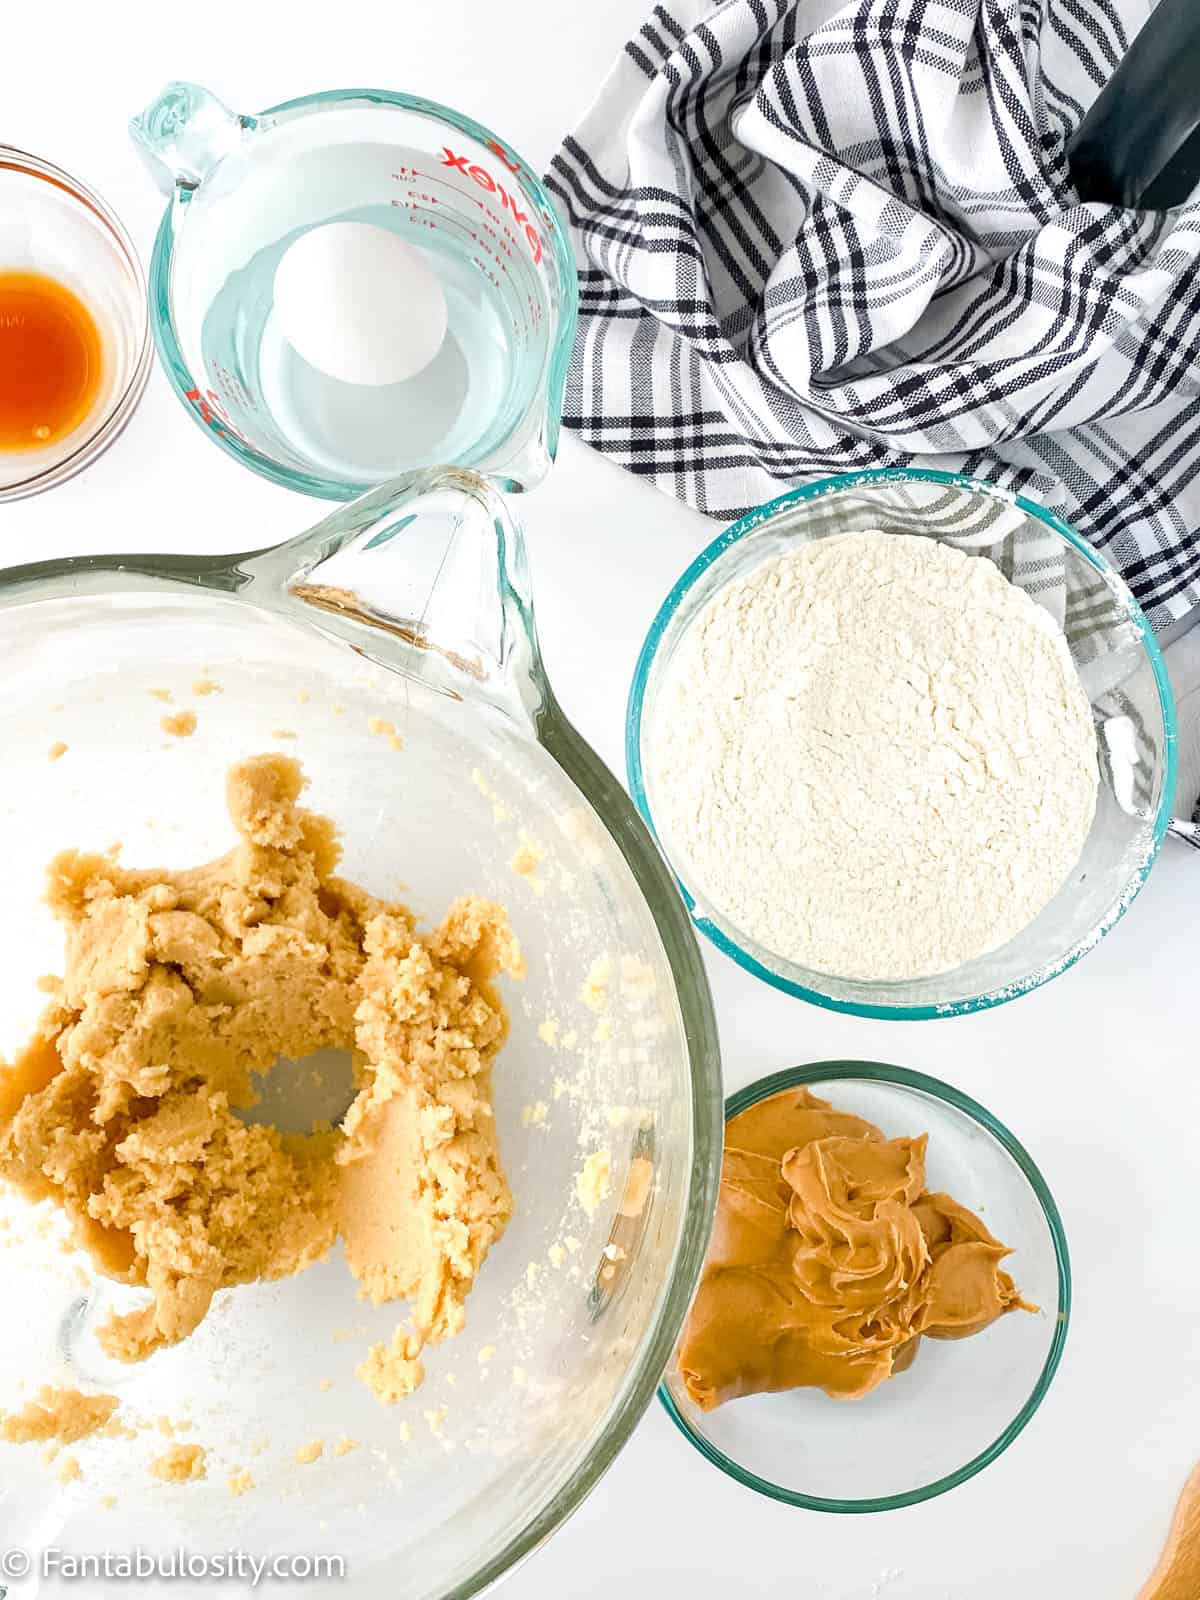
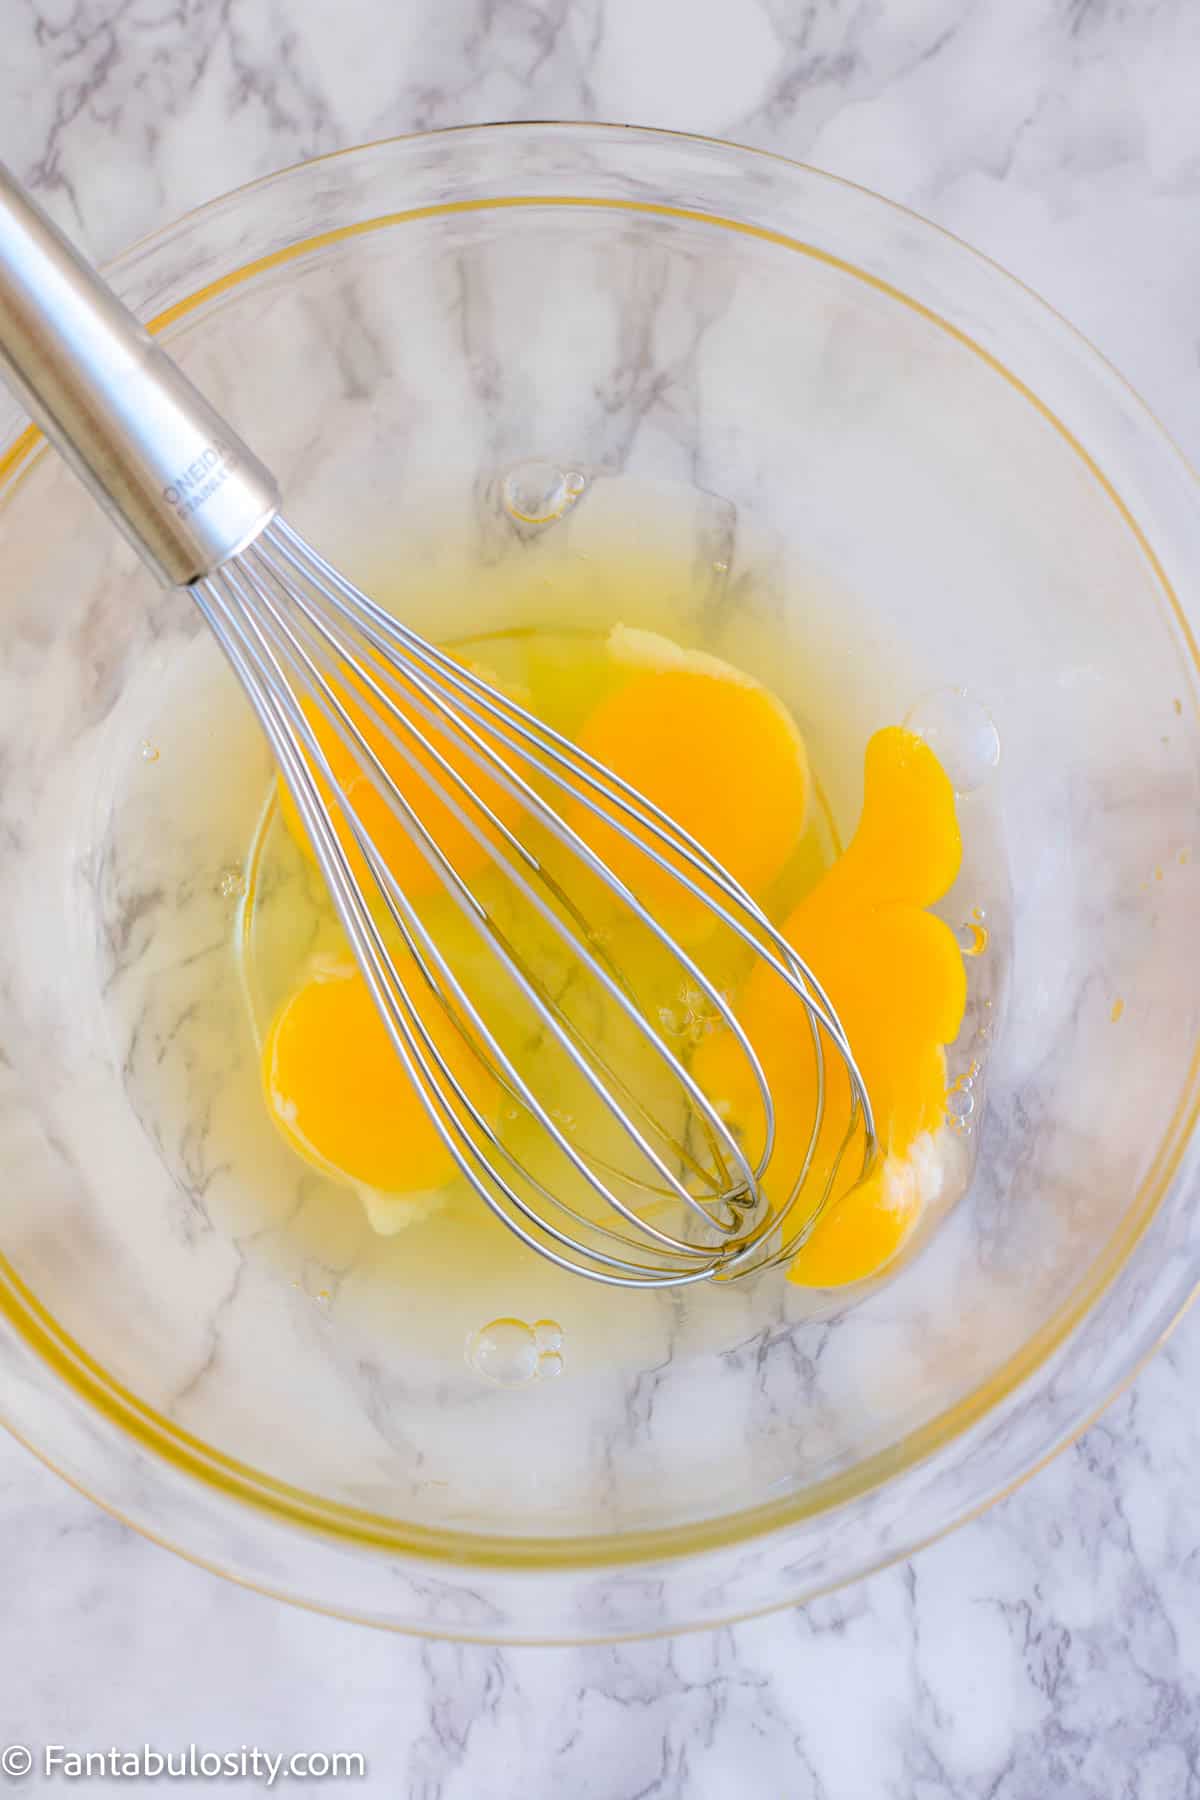
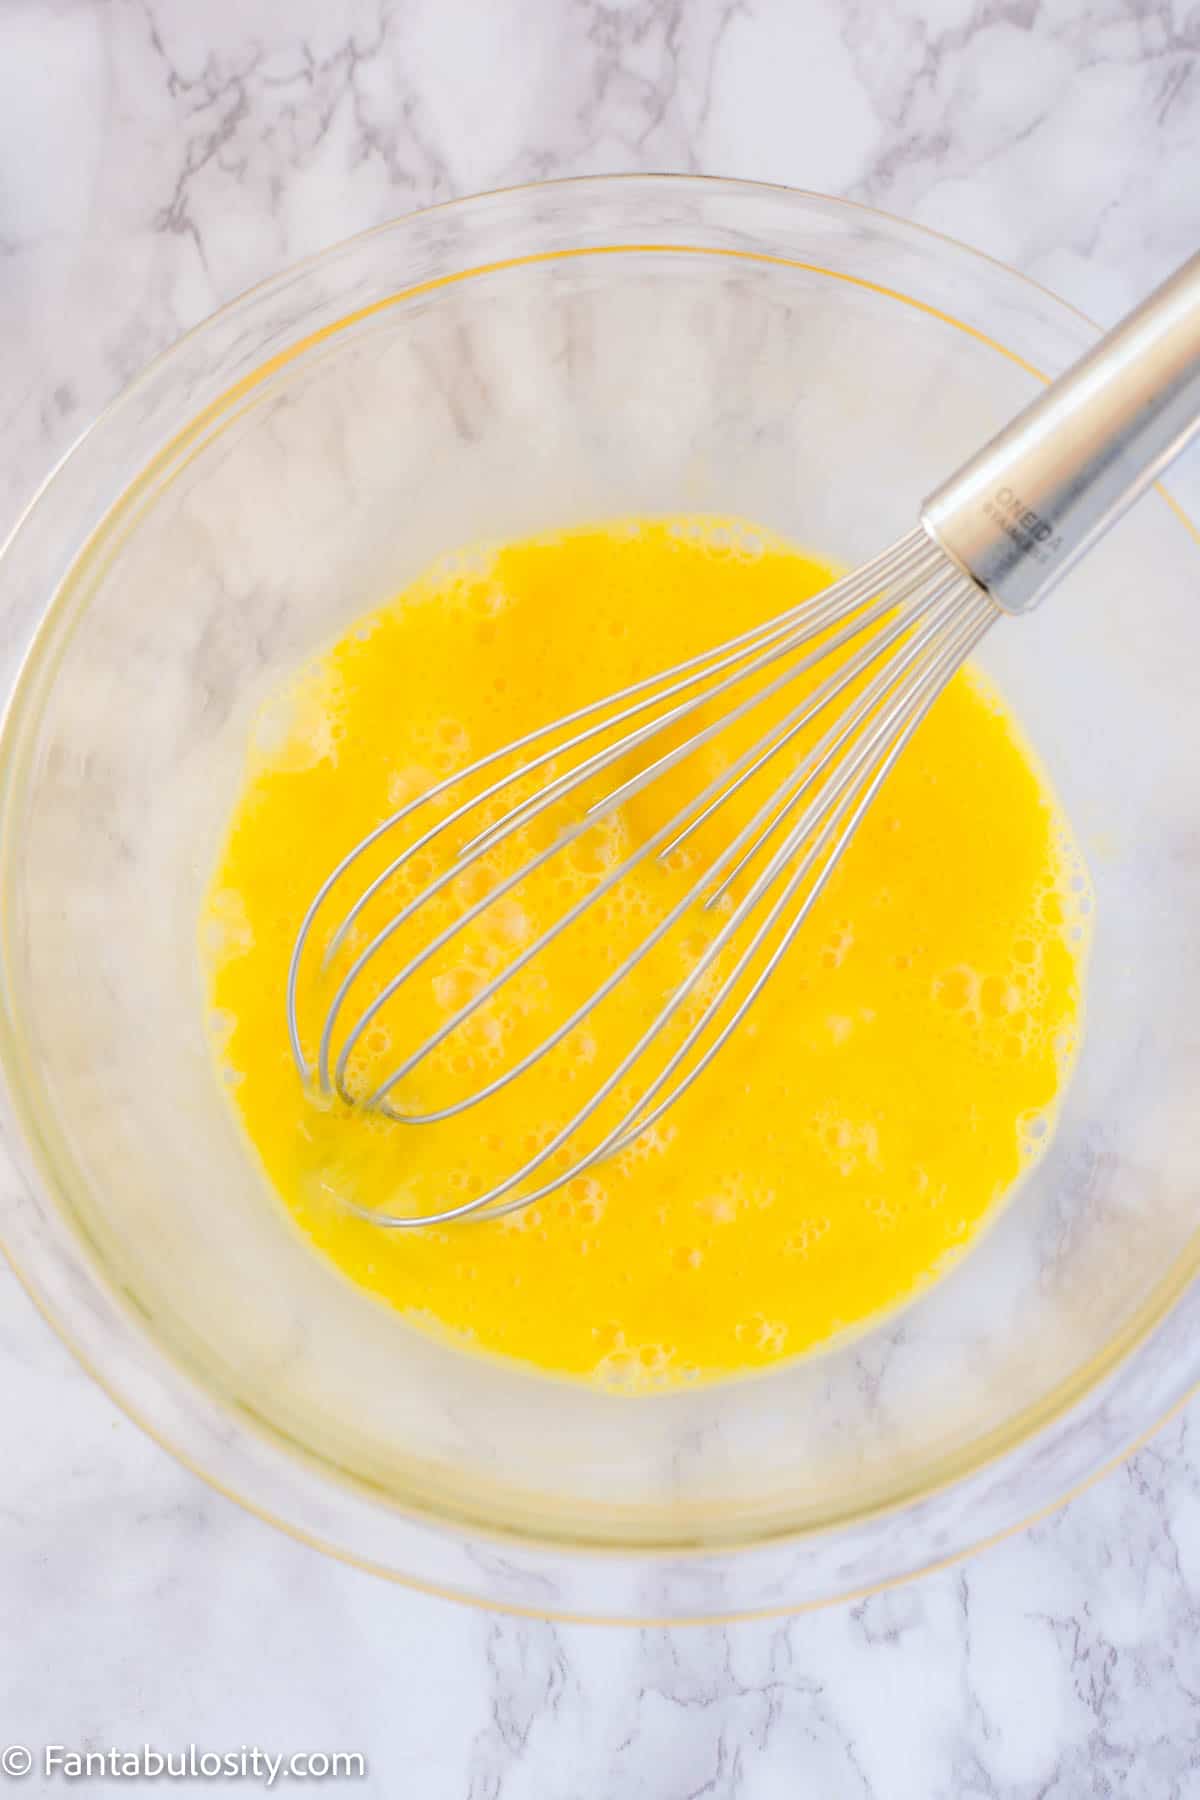
- Crack eggs in to a medium bowl. (Big enough to hold the milk, eggs, etc. that will be added soon.)
- Whisk eggs until blended.
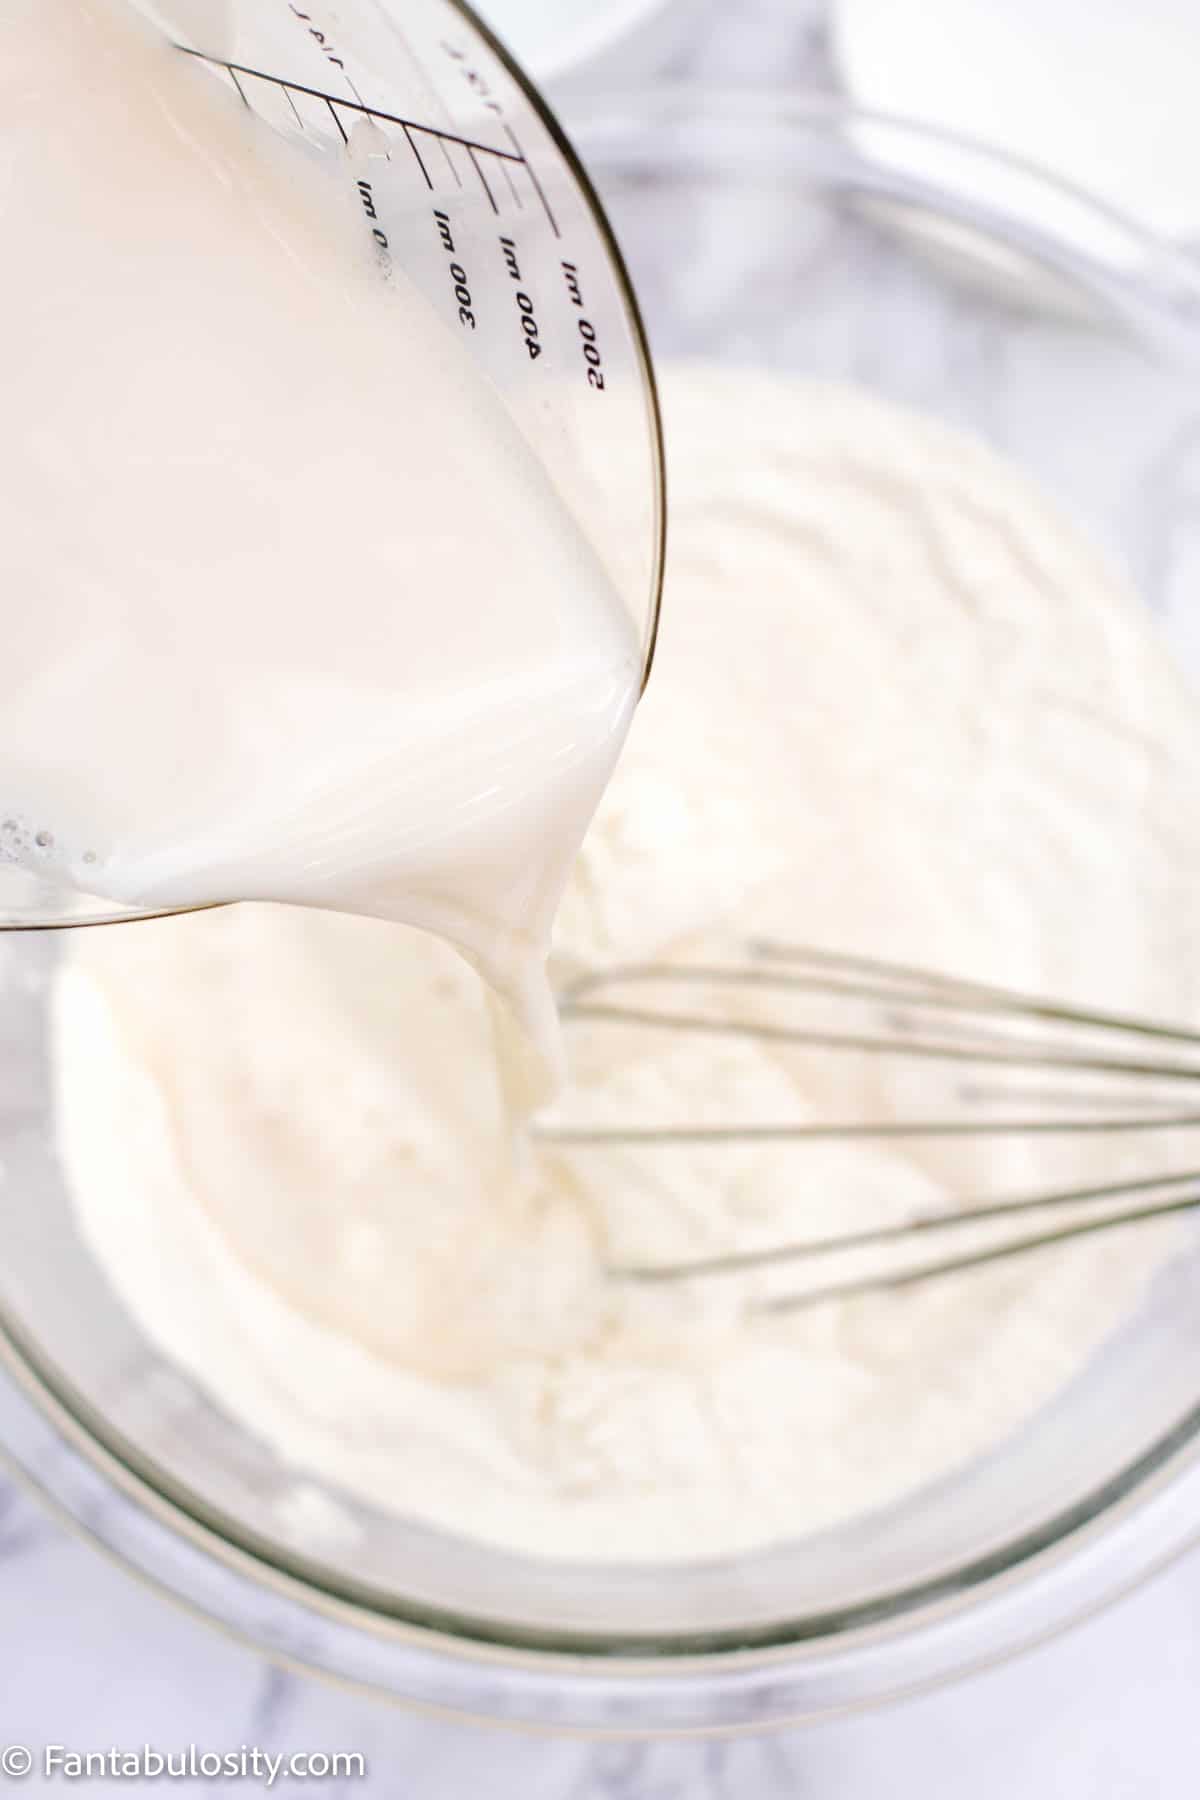
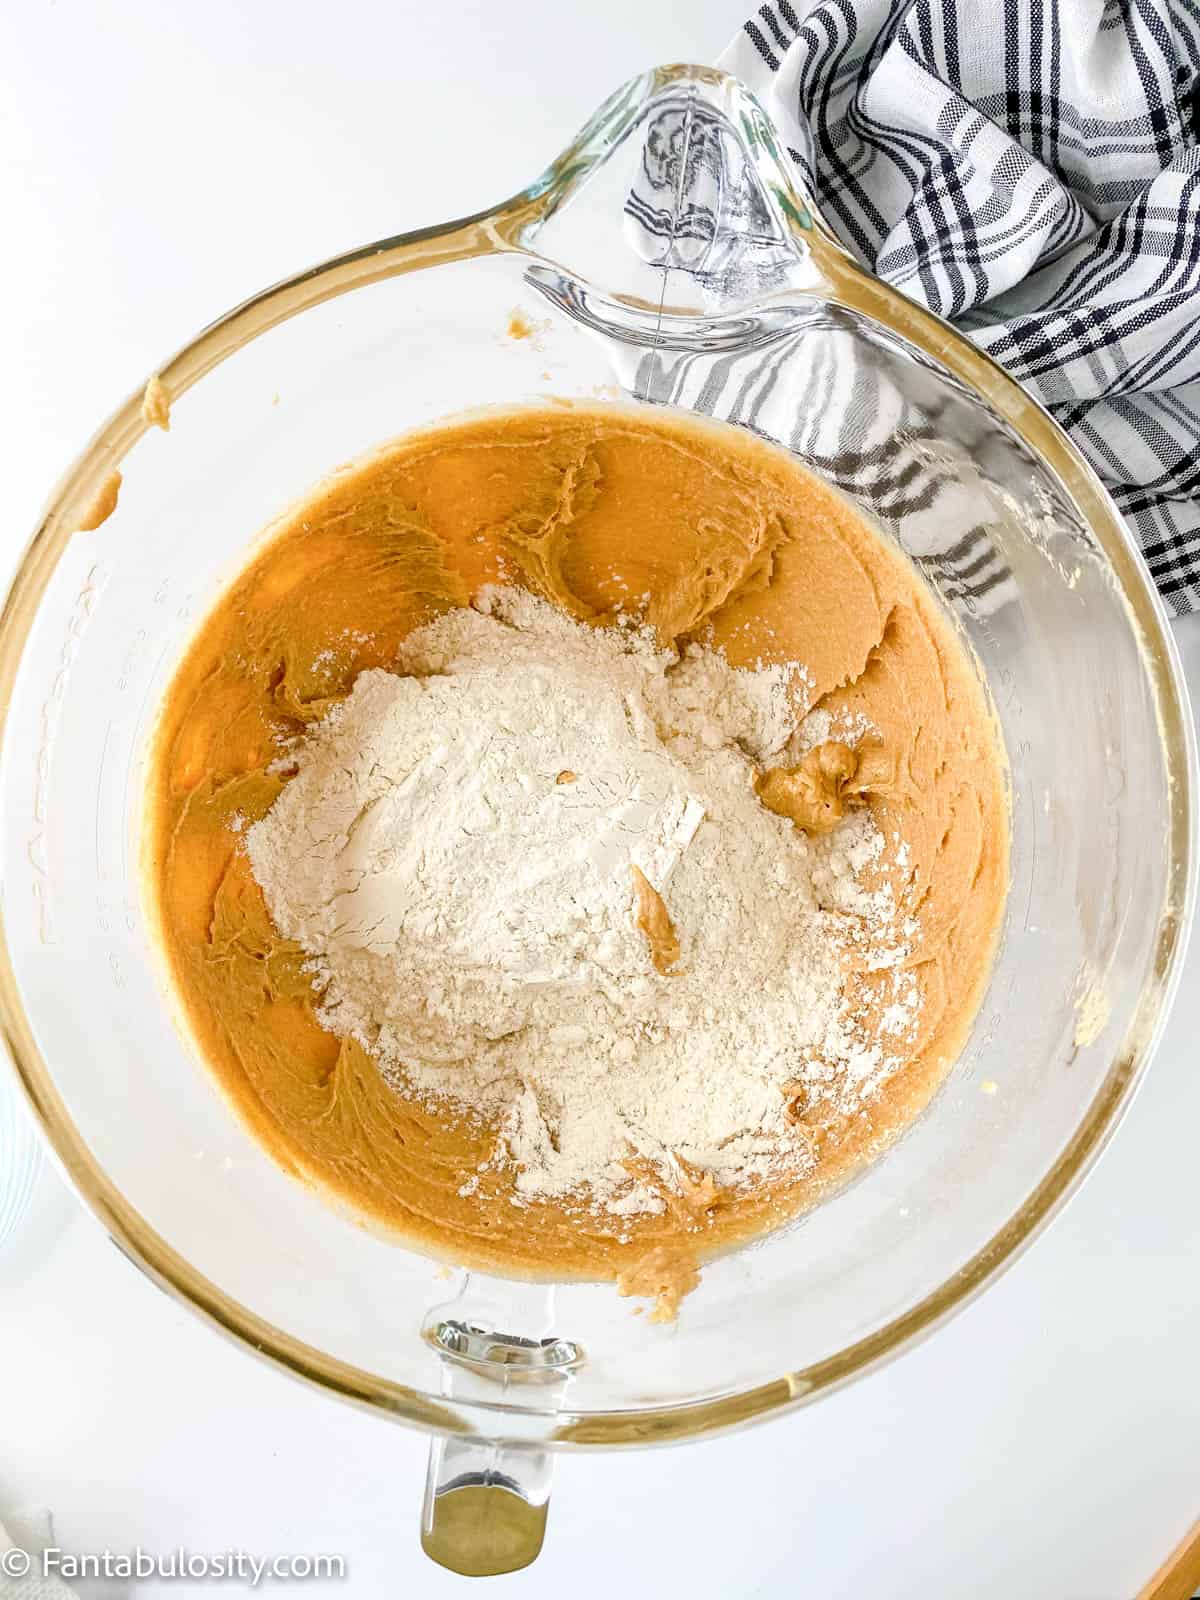
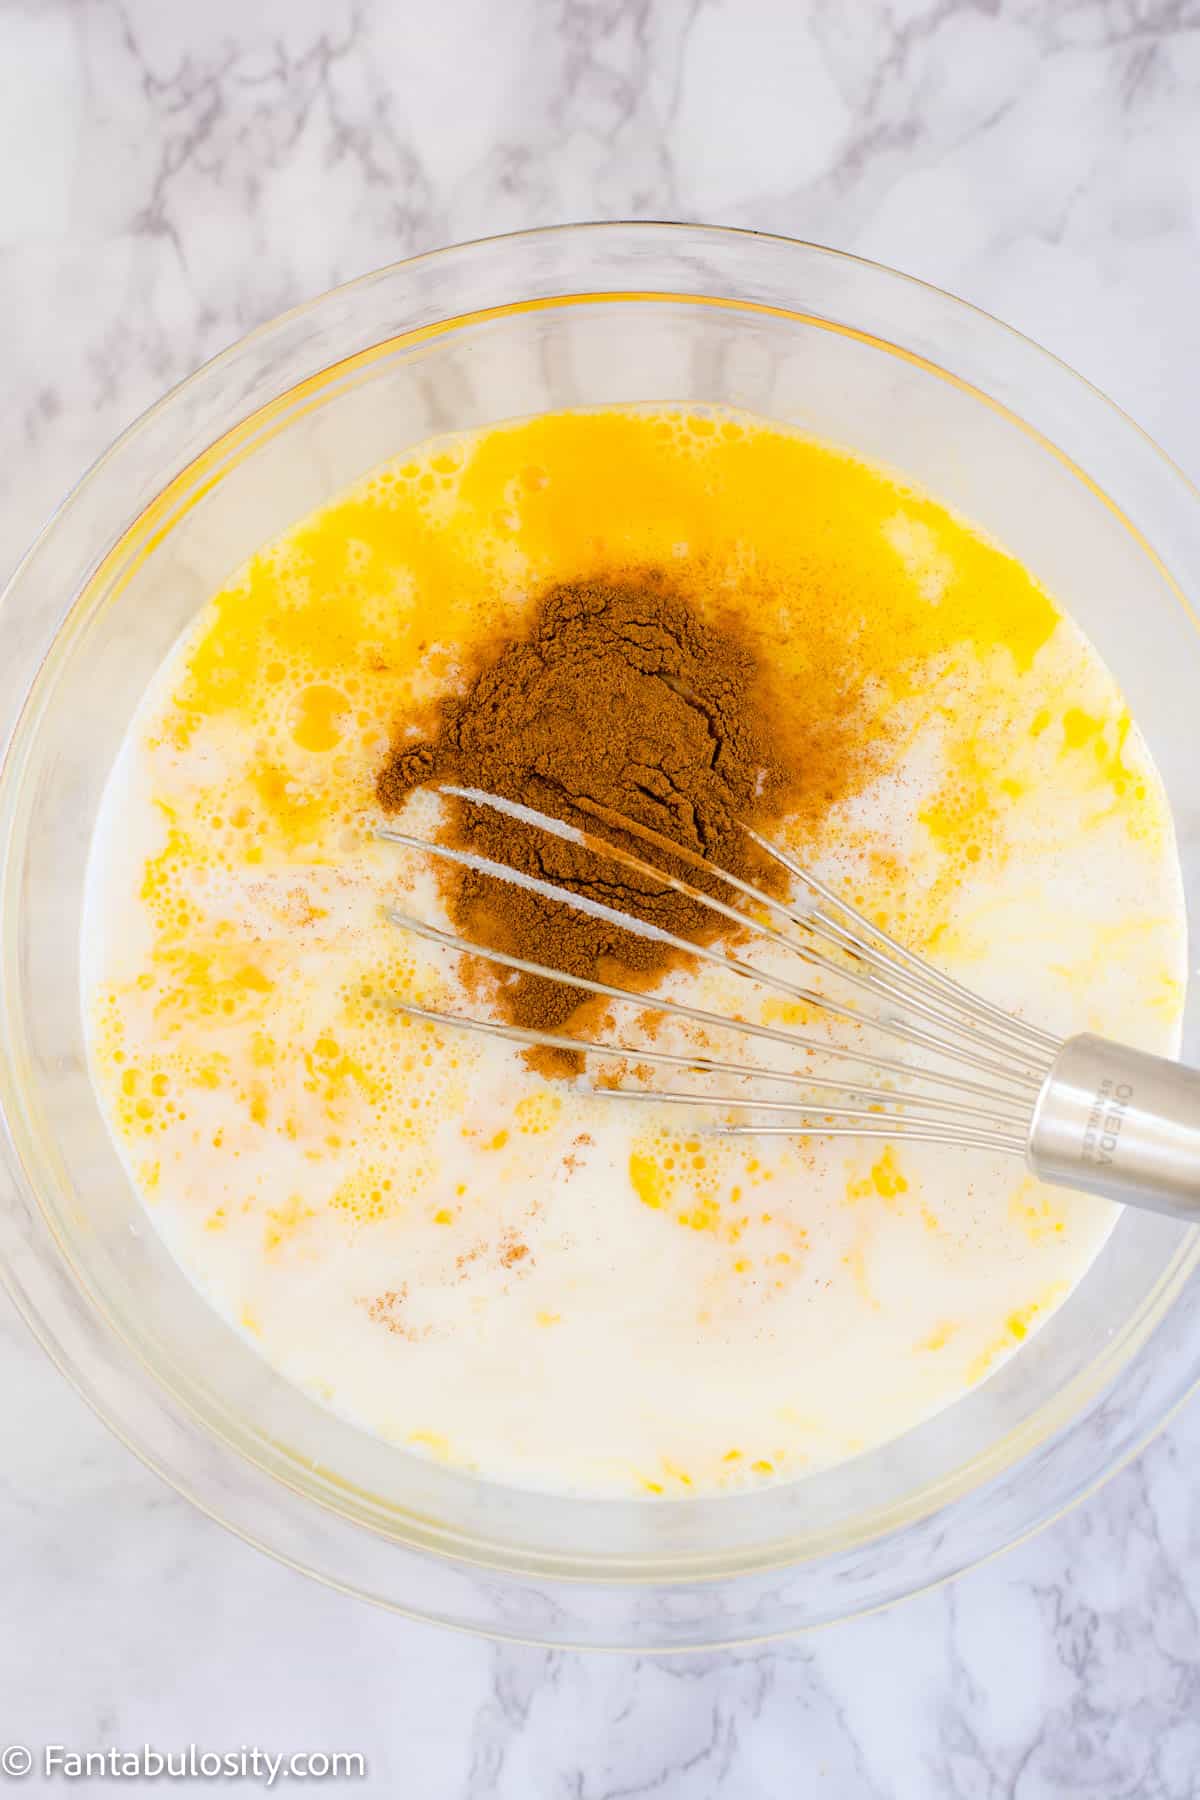
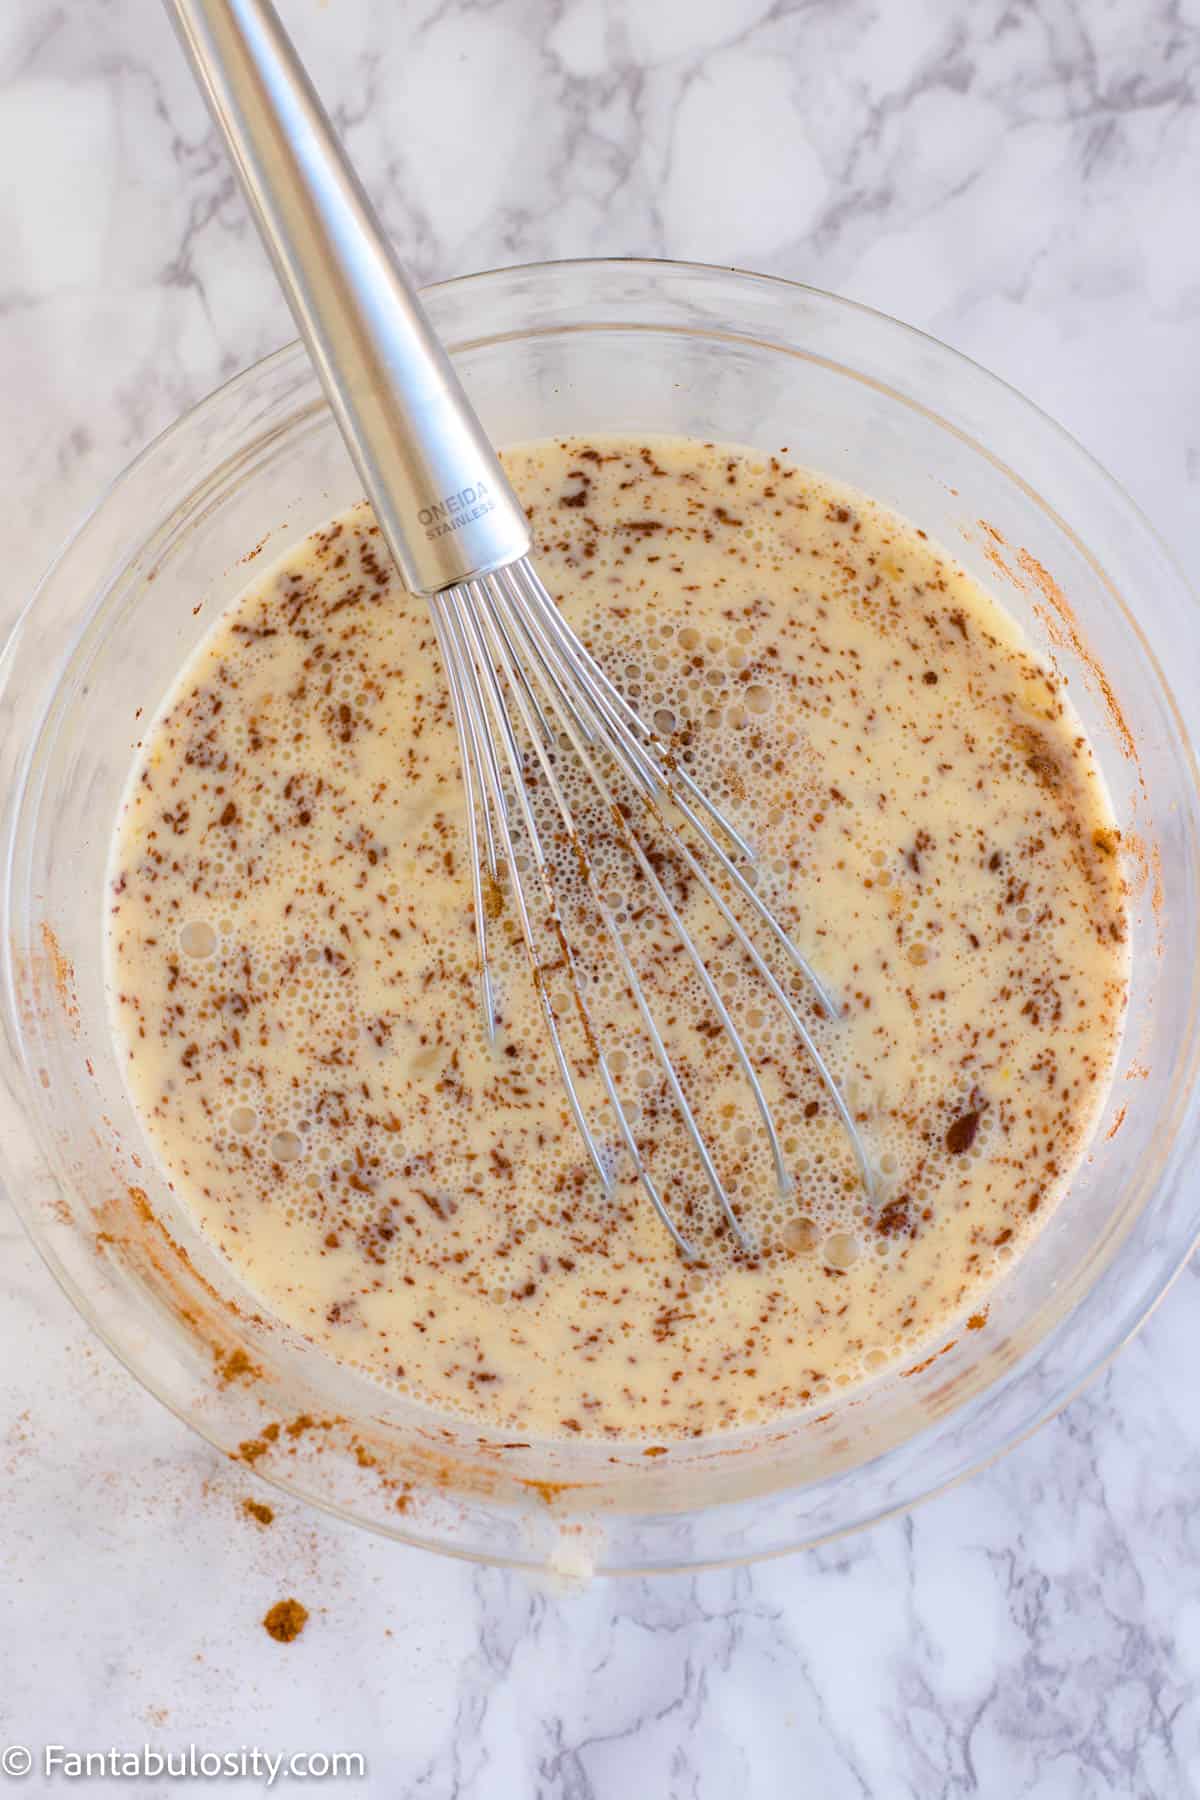
- Next, add in milk, cinnamon, vanilla, and sugar.
- Whisk together until evenly combined.
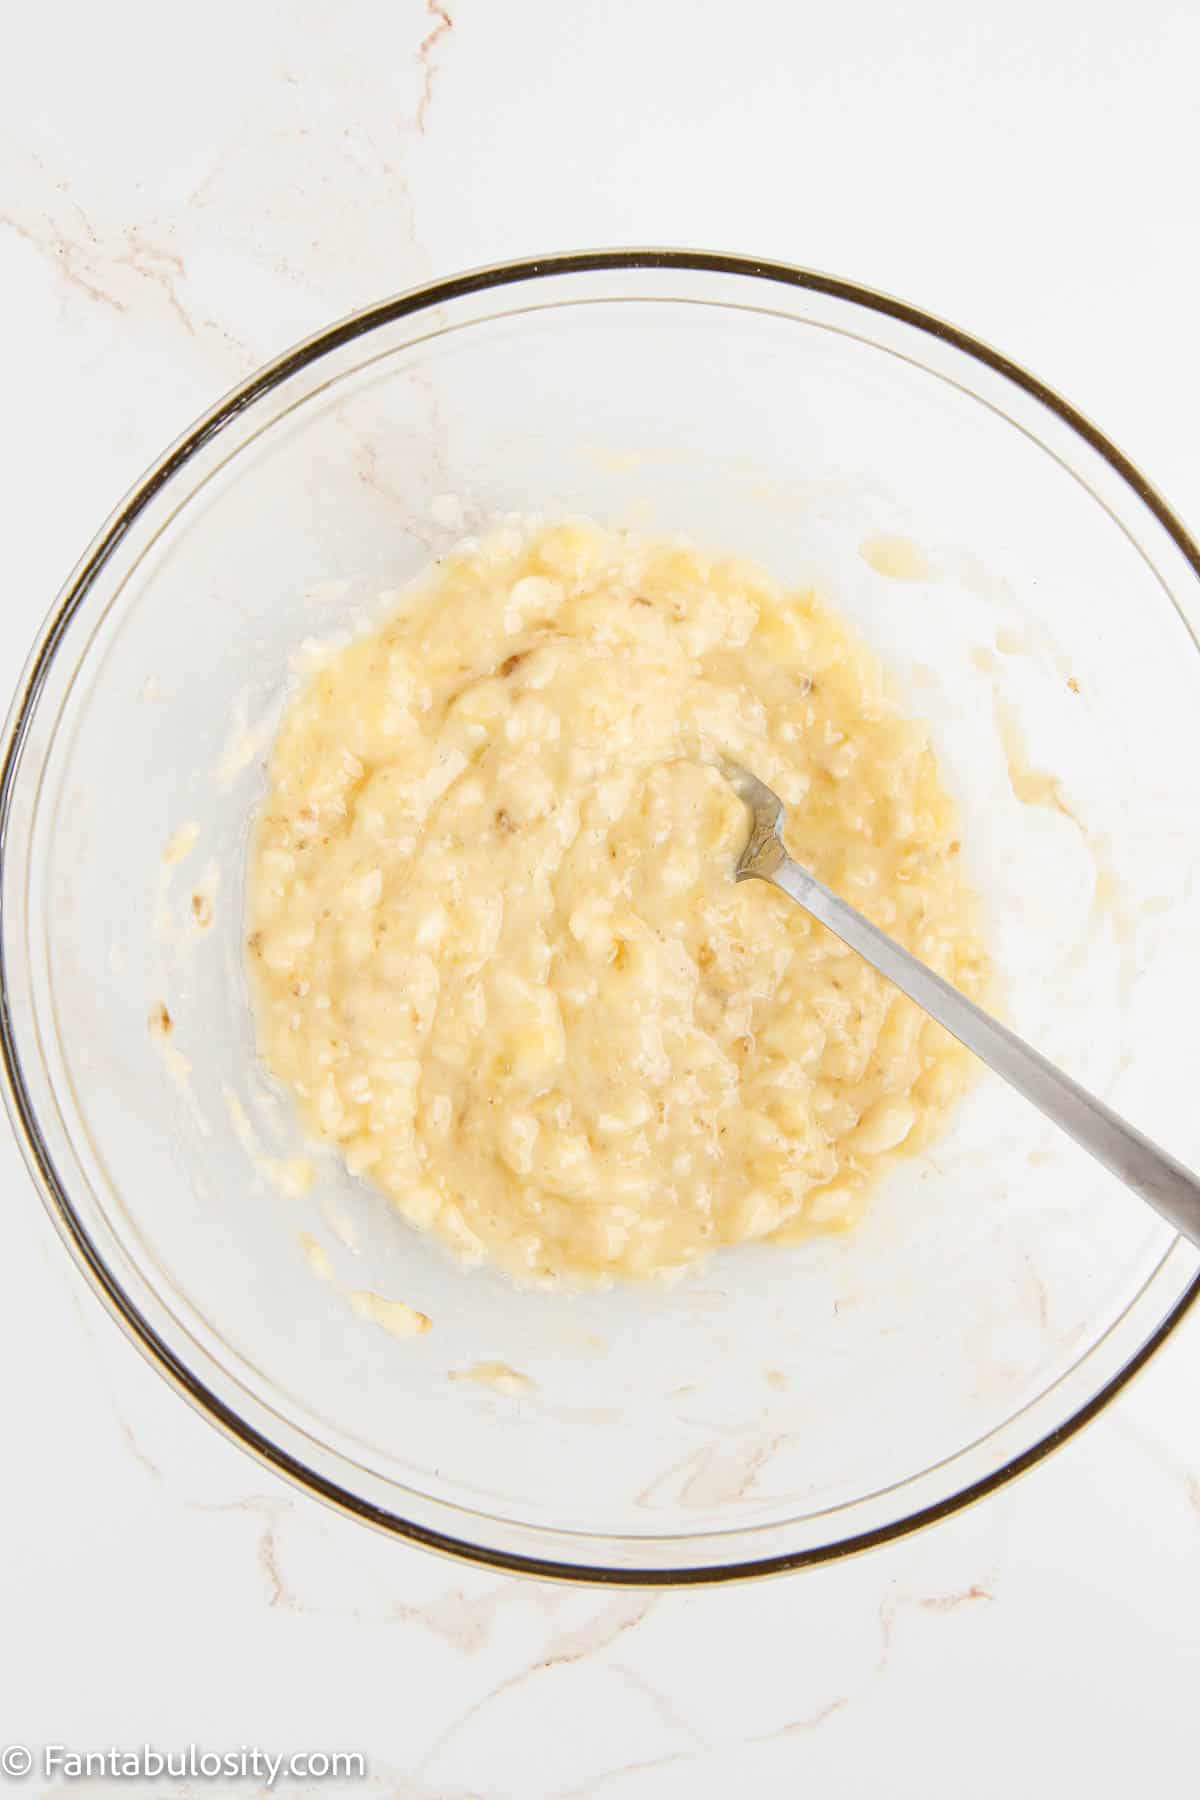
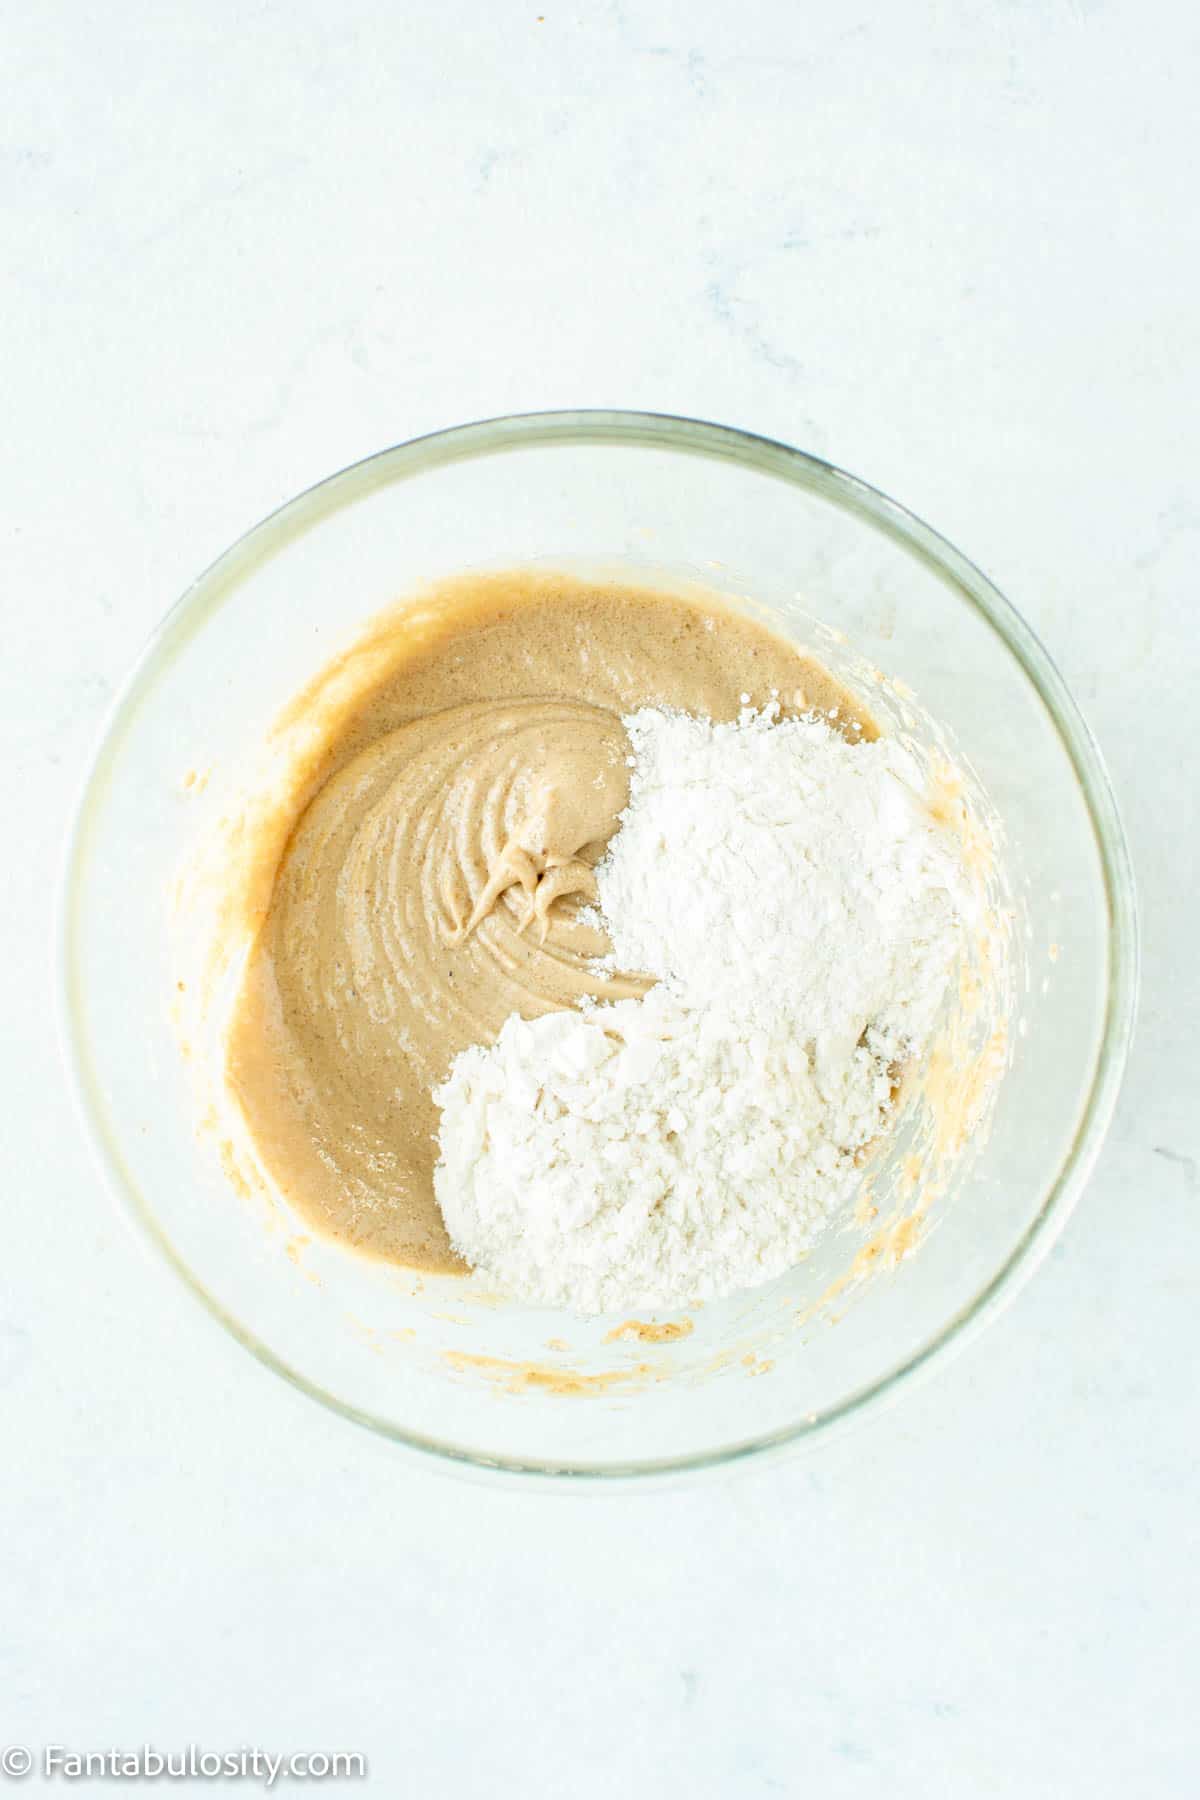
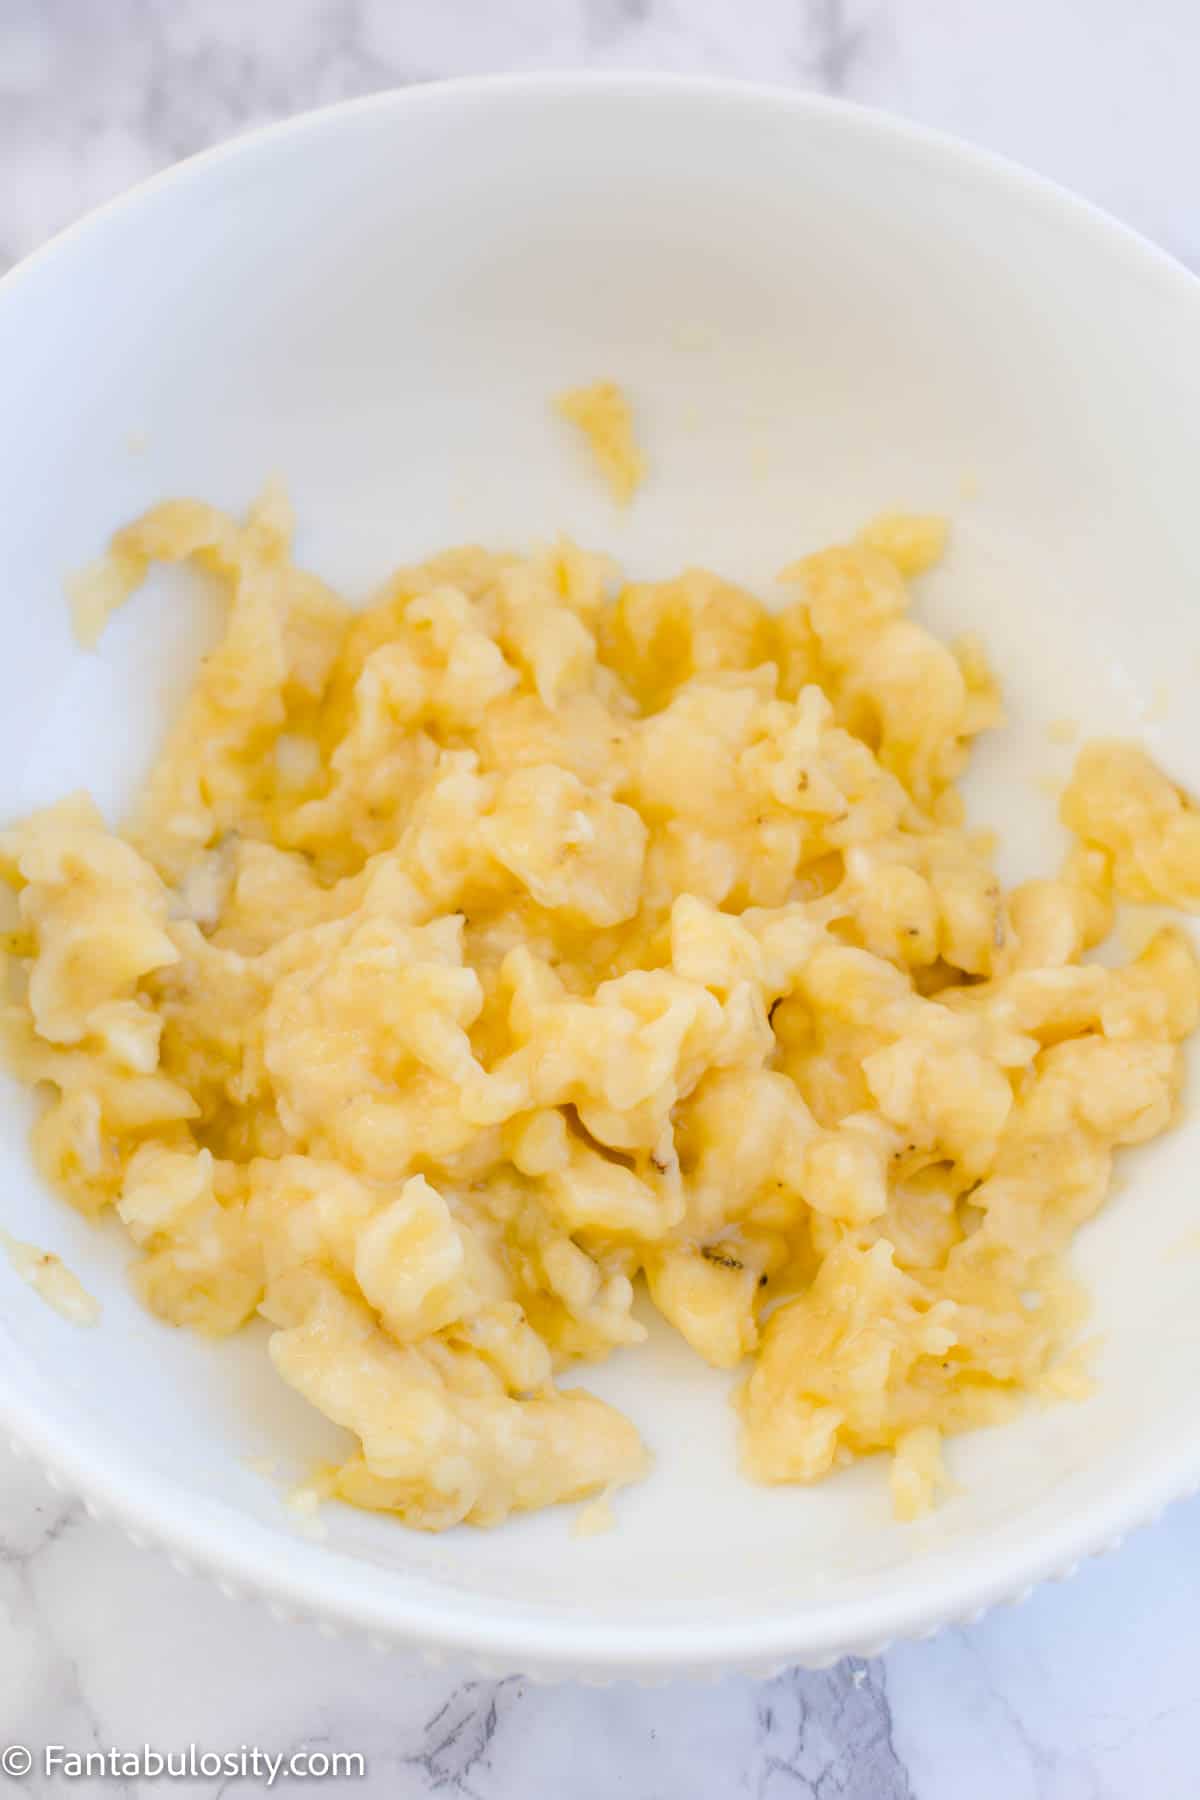
- In a separate bowl or even a plastic zip-top bag, mash bananas.
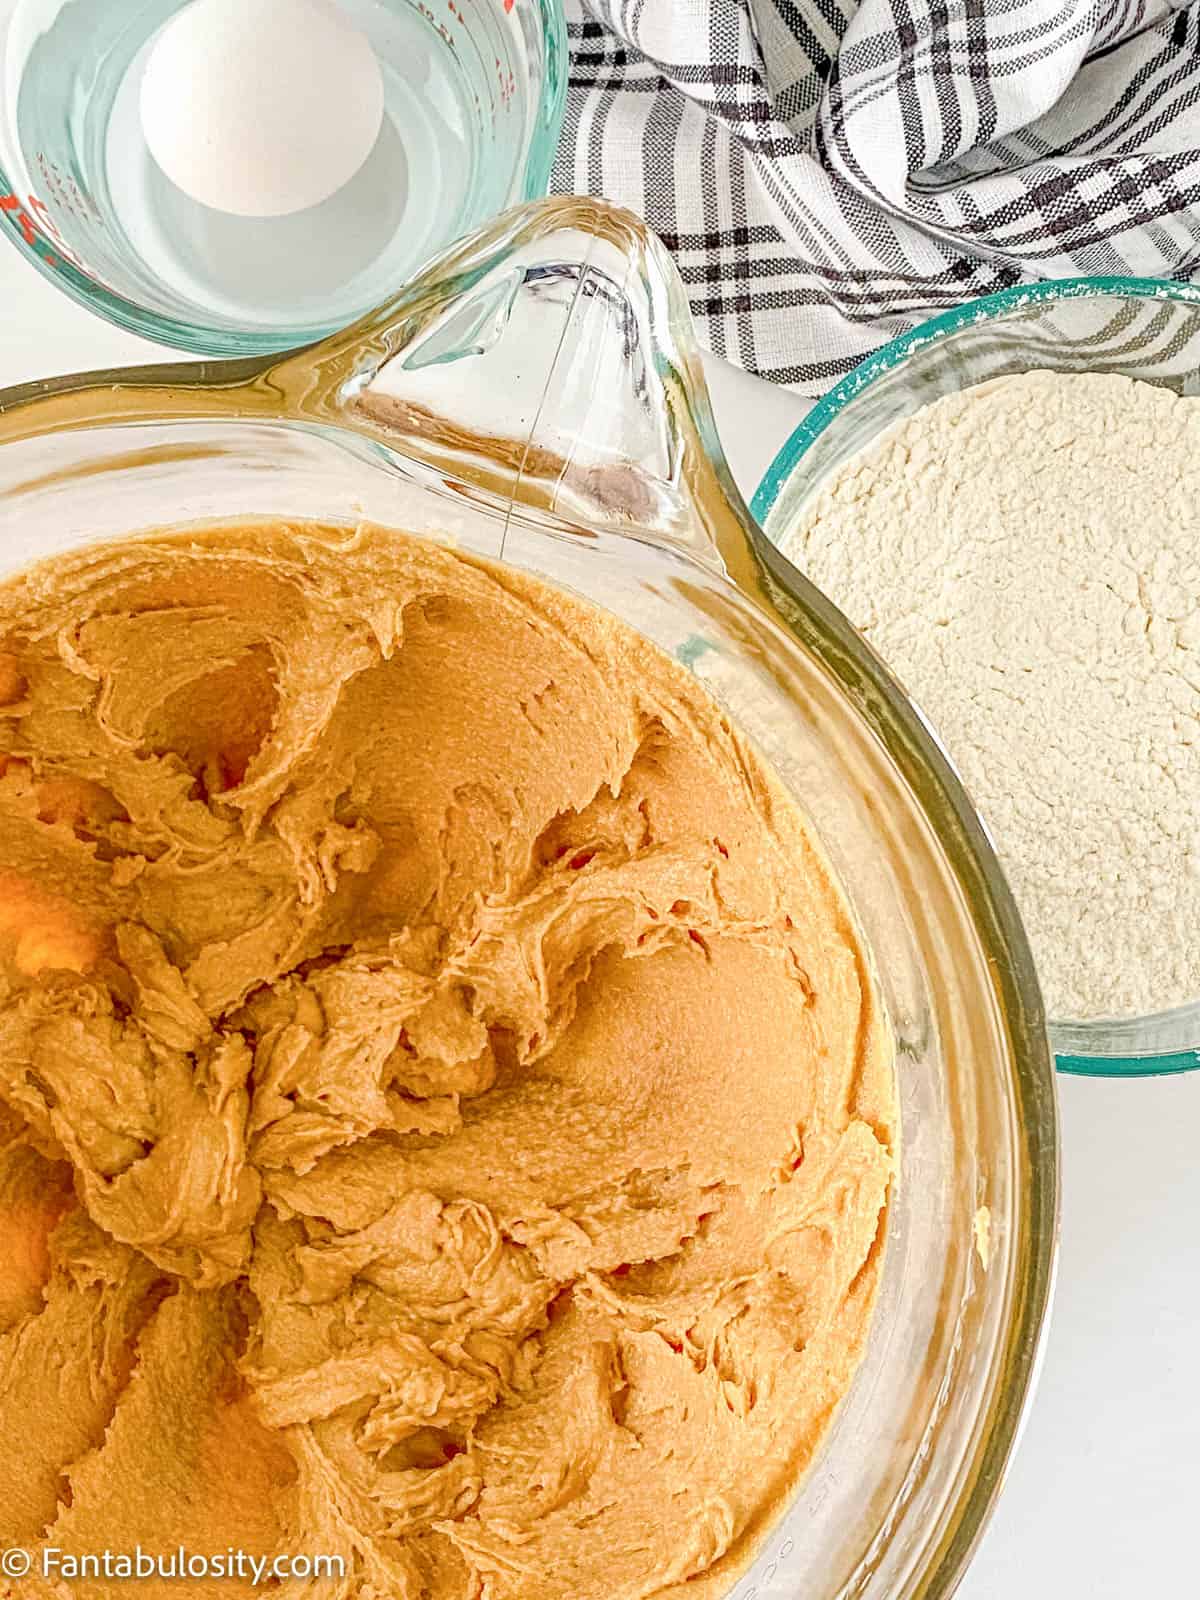
- Carefully pour mashed bananas in to egg mixture and stir or slowly whisk.
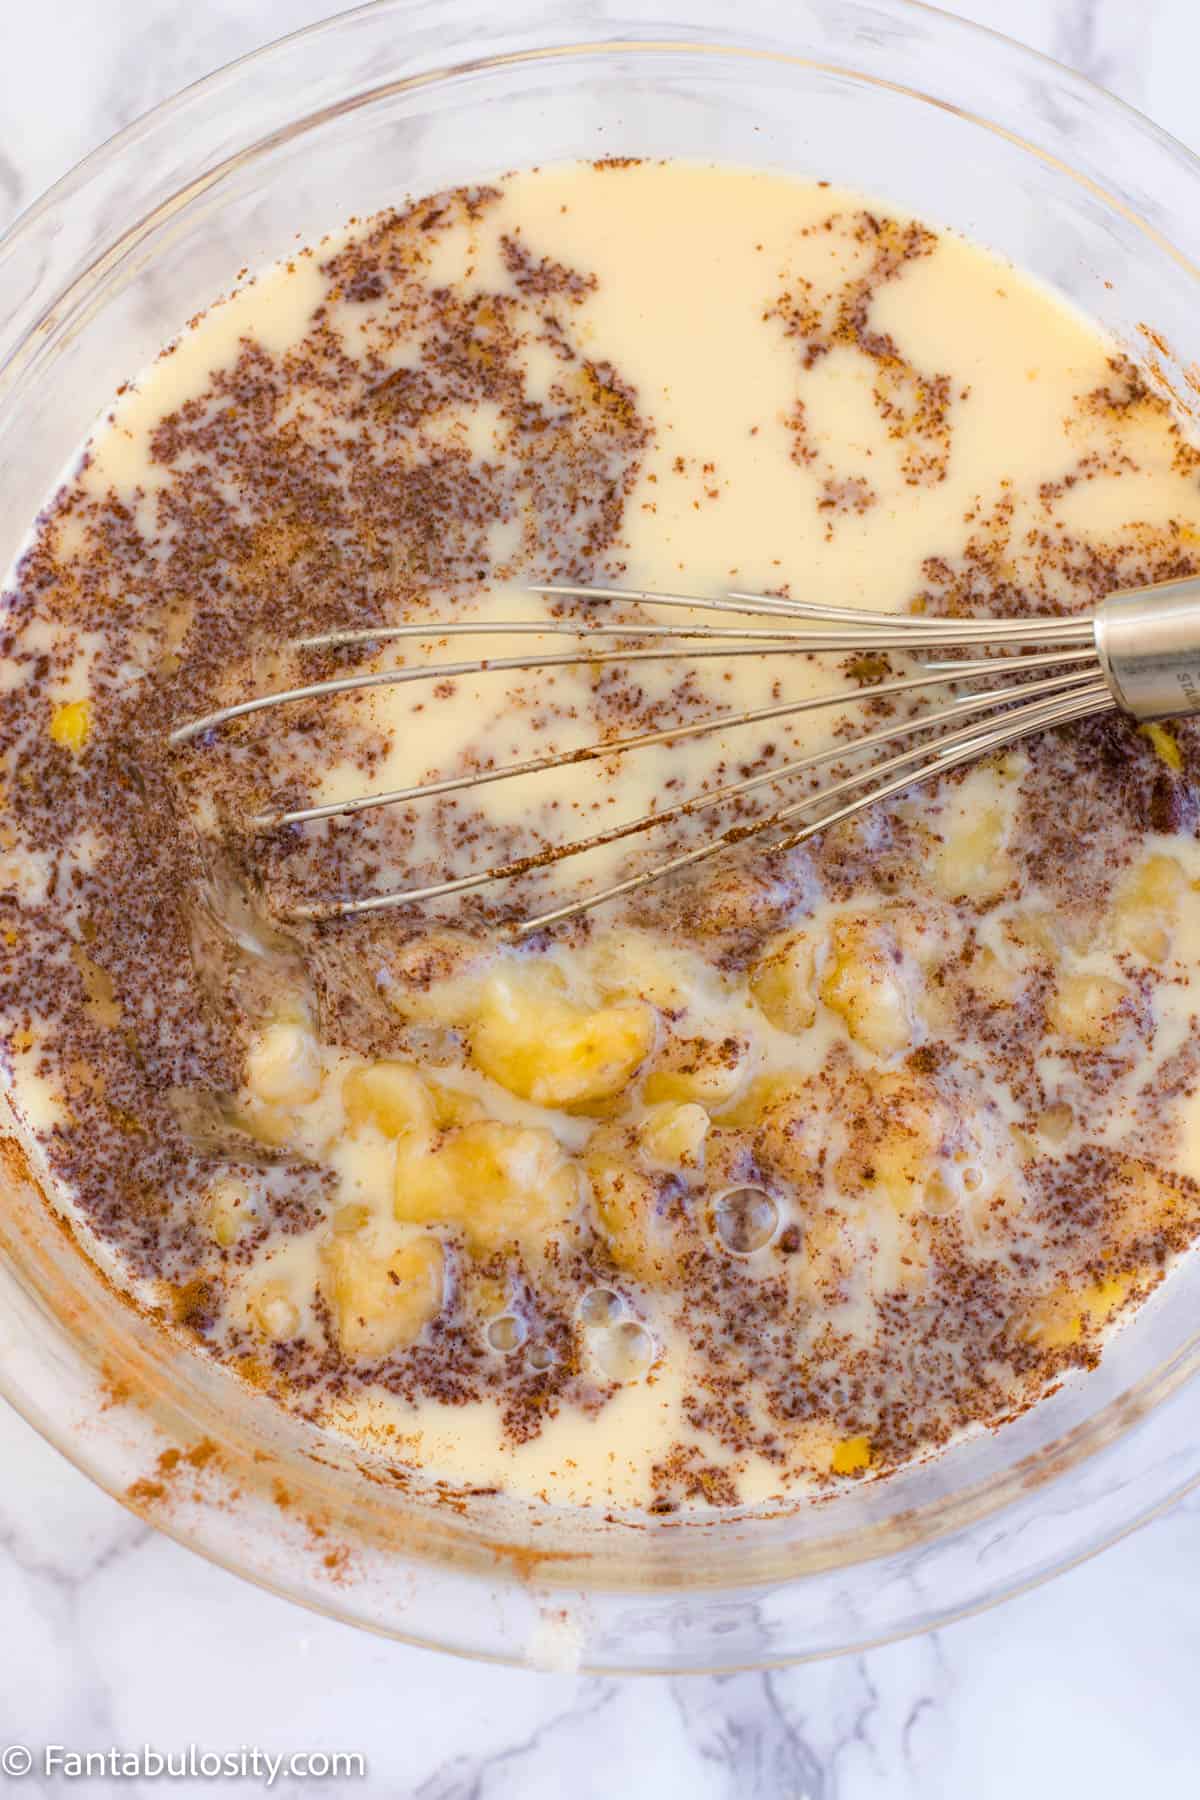
- Right before pouring egg mixture over bread pieces, stir to make sure ingredients are blended as much as possible.
- Pour banana and egg mixture over bread pieces, as evenly as possible. Using spoon, gently press bread down to make sure all/most pieces of bread are coated in batter.
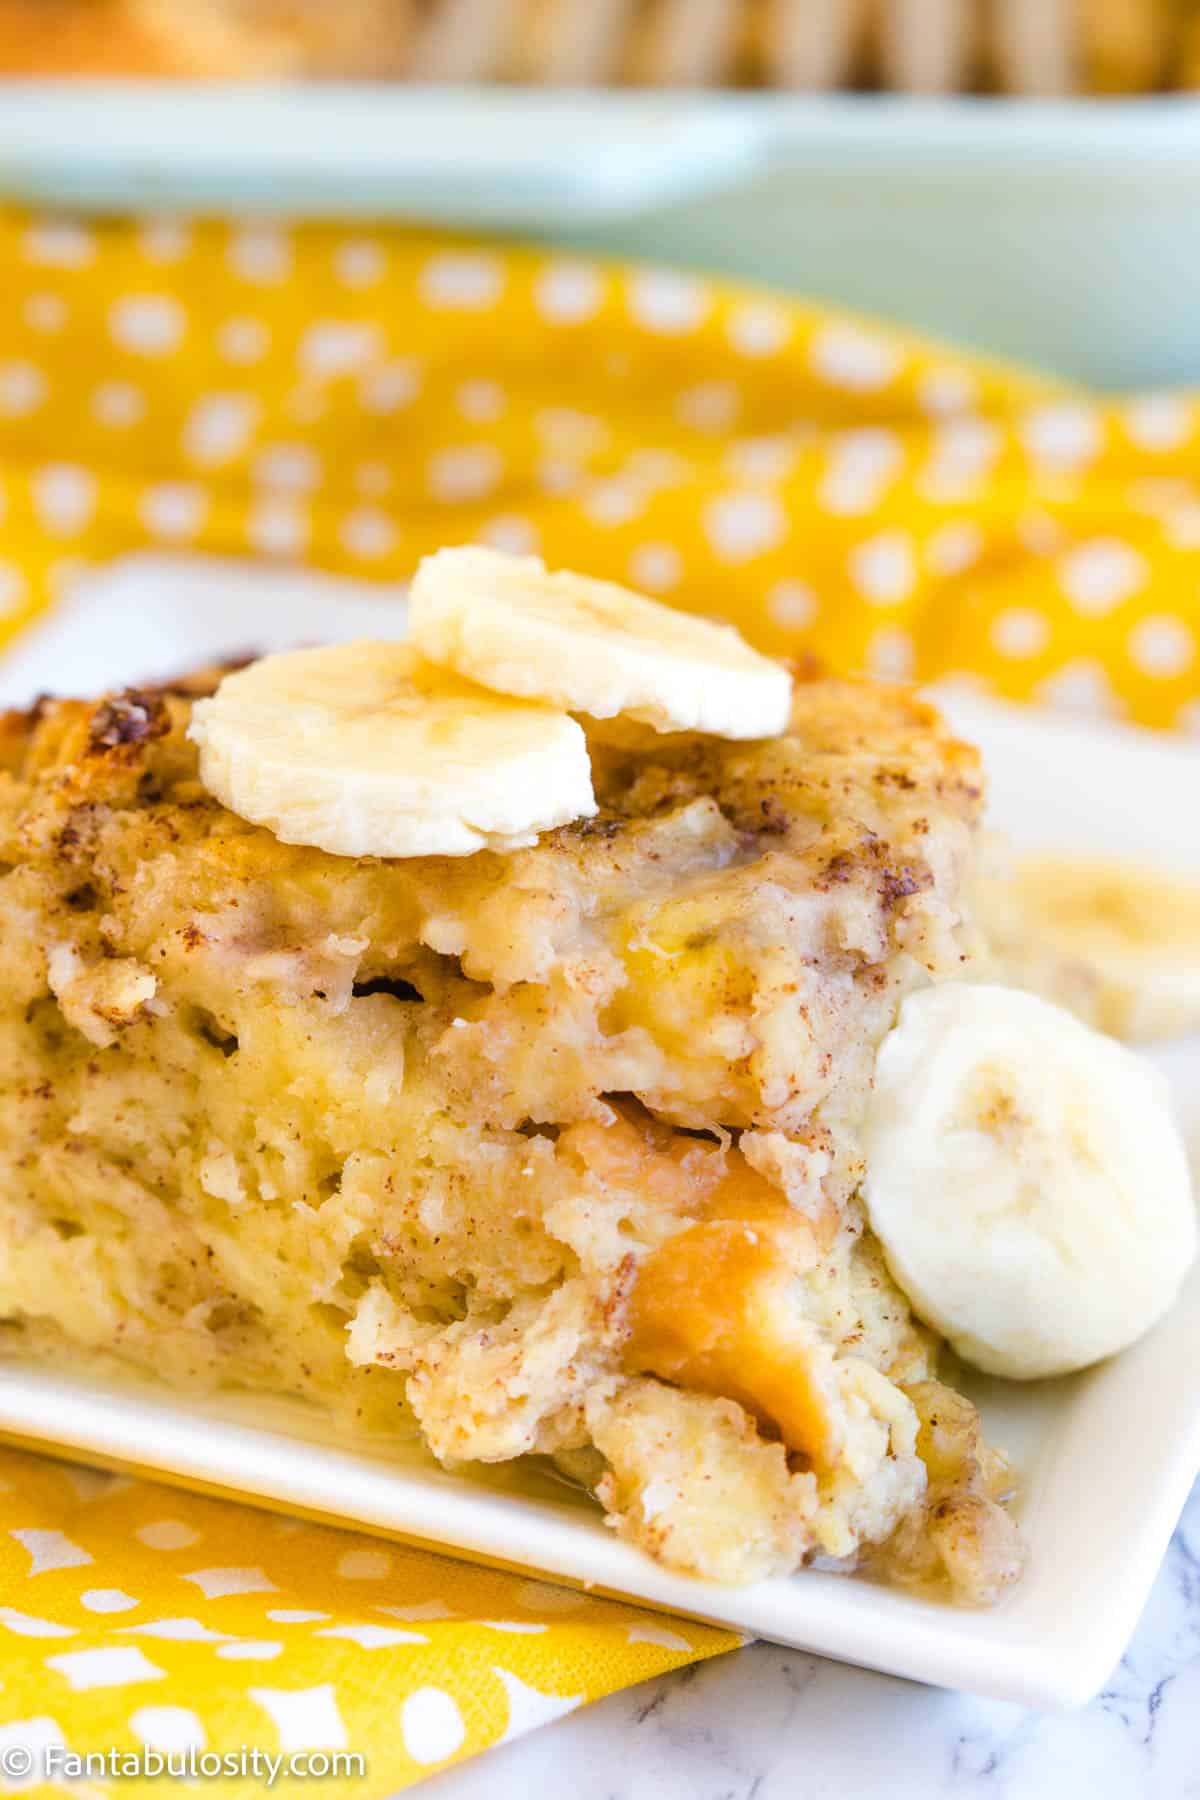
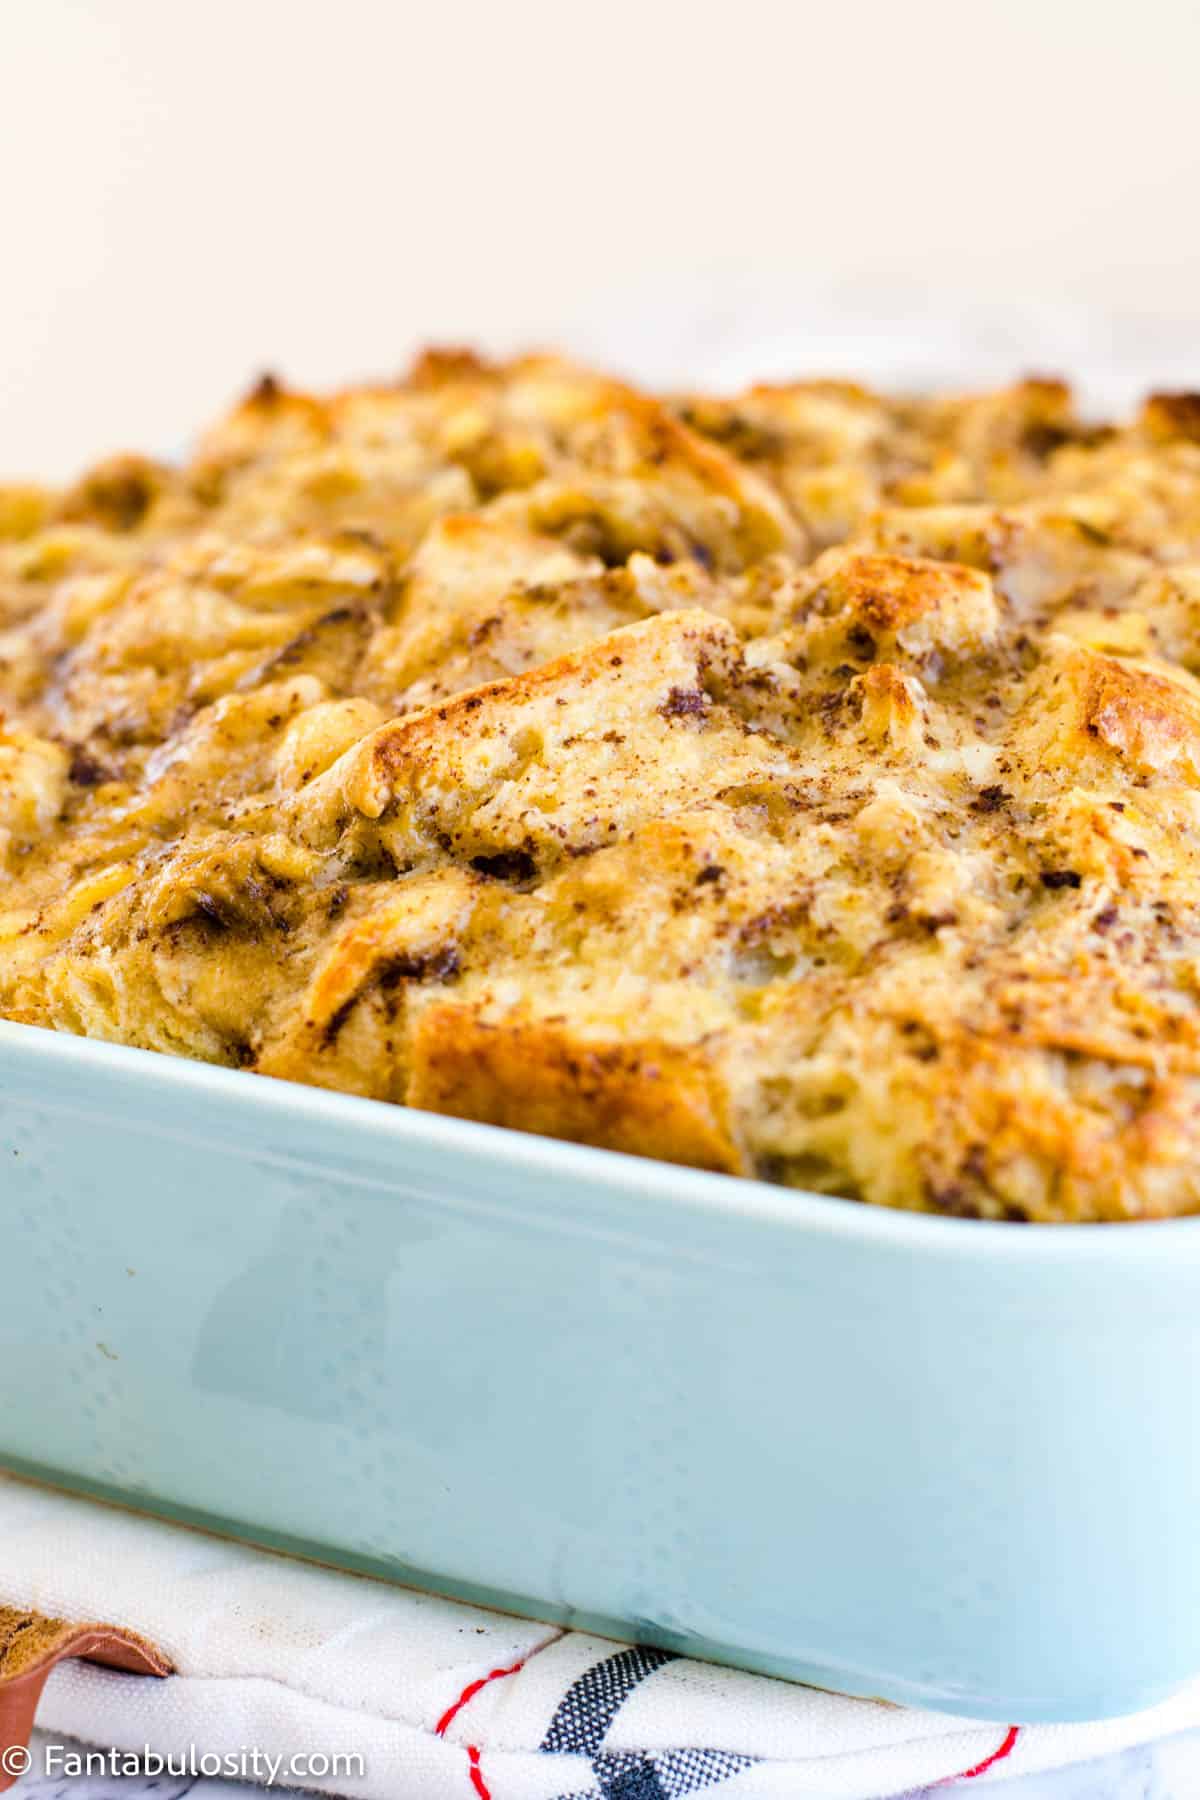
- Bake in the oven, uncovered, for 45-55 minutes or until the top of bread pudding rises above dish (see below), becomes golden brown and springs back when touched. (If you pull it out, cut in to the middle of the bread pudding, and it still has liquid running, it’s not done yet. Place back in the oven for 5 minutes until the middle is no longer runny. However, it SHOULD be a custard-like, wet, texture.
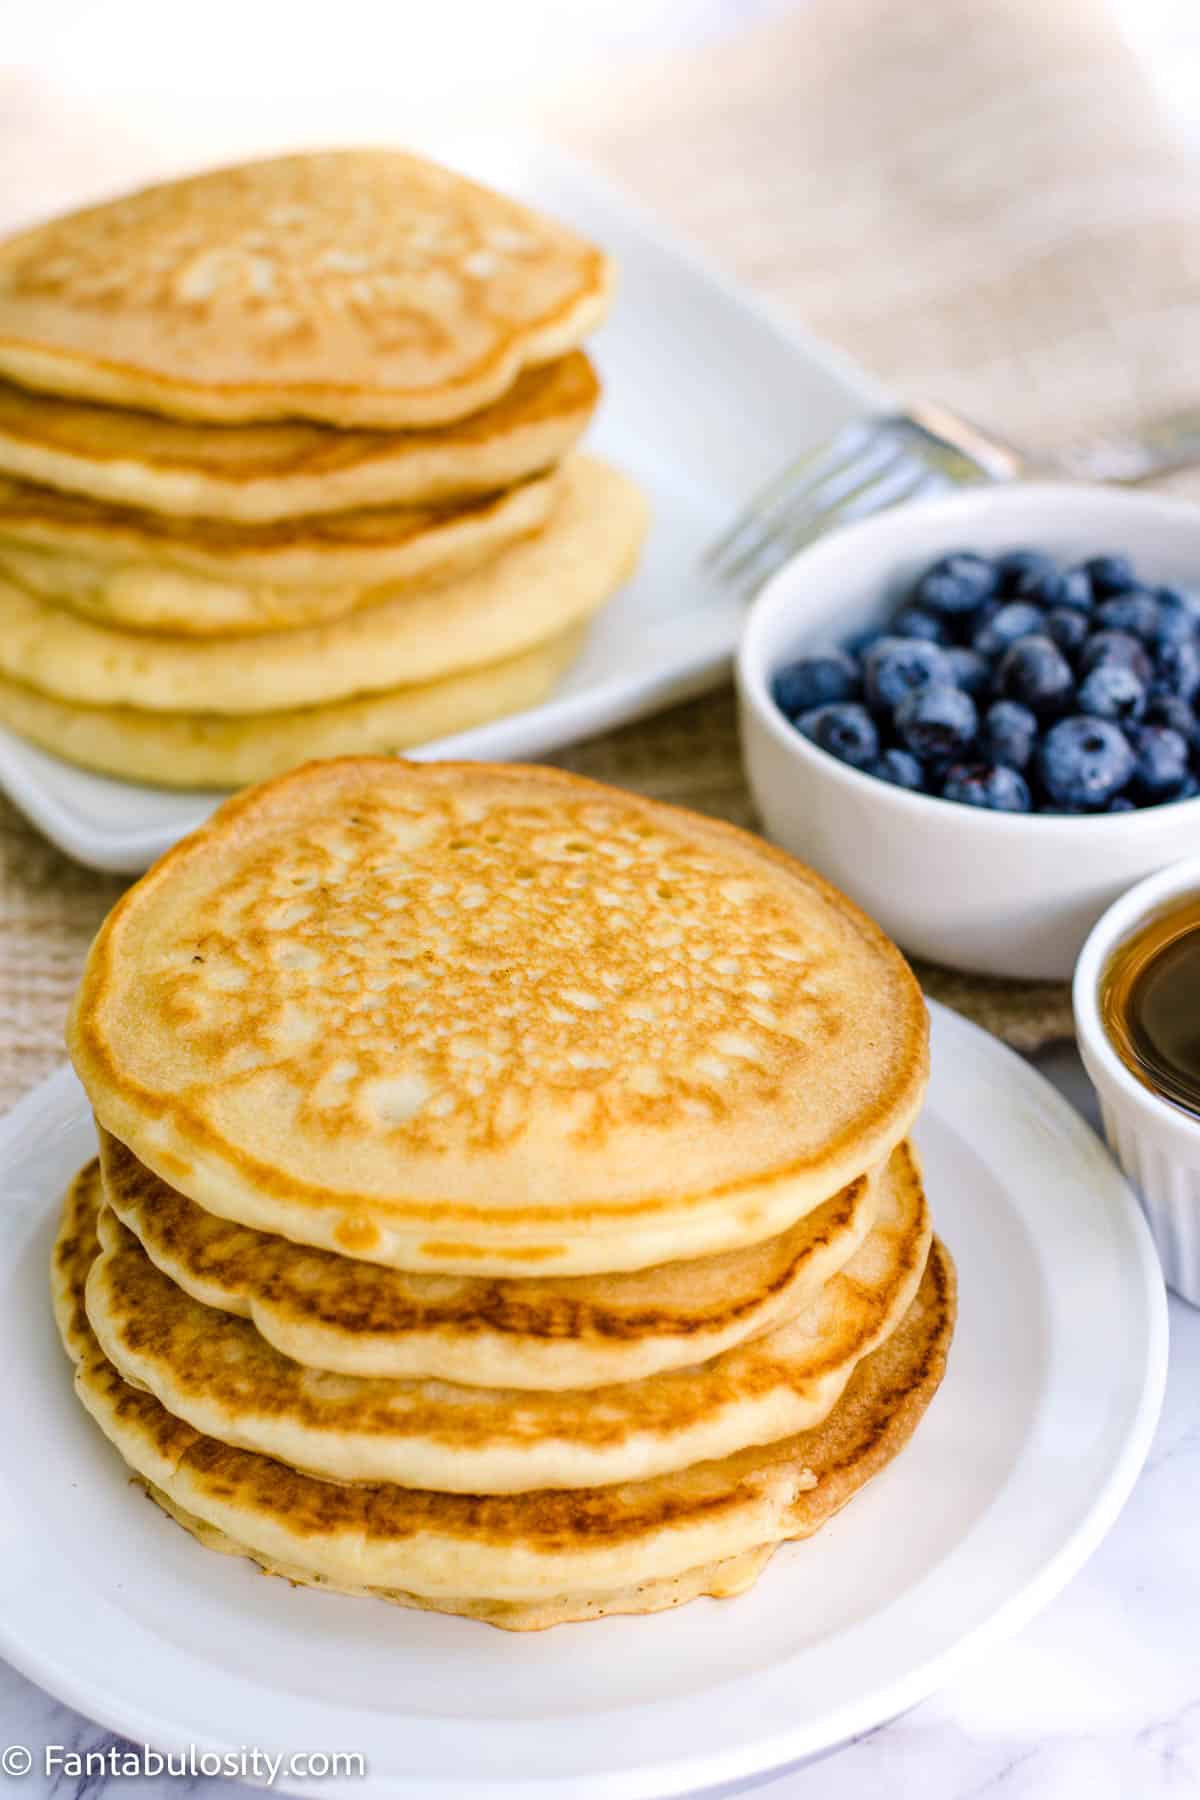
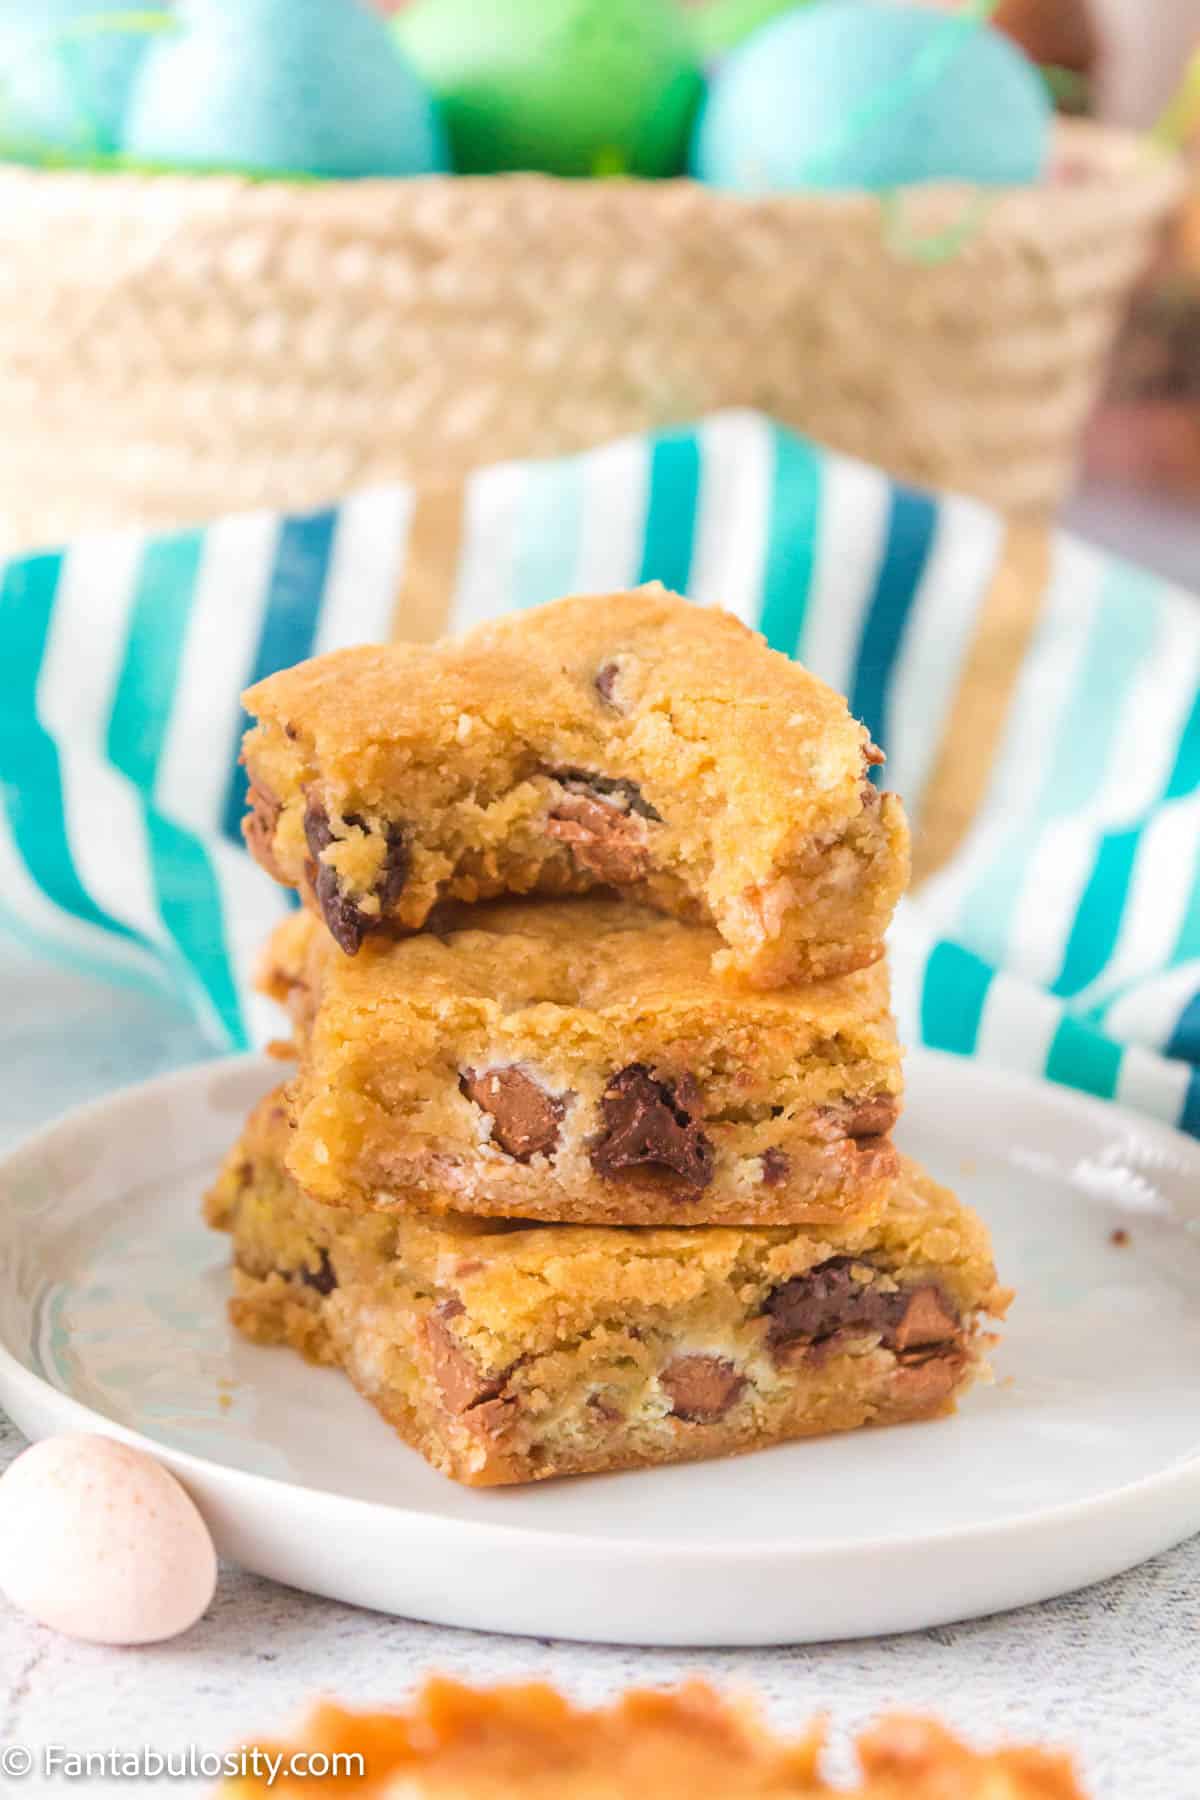
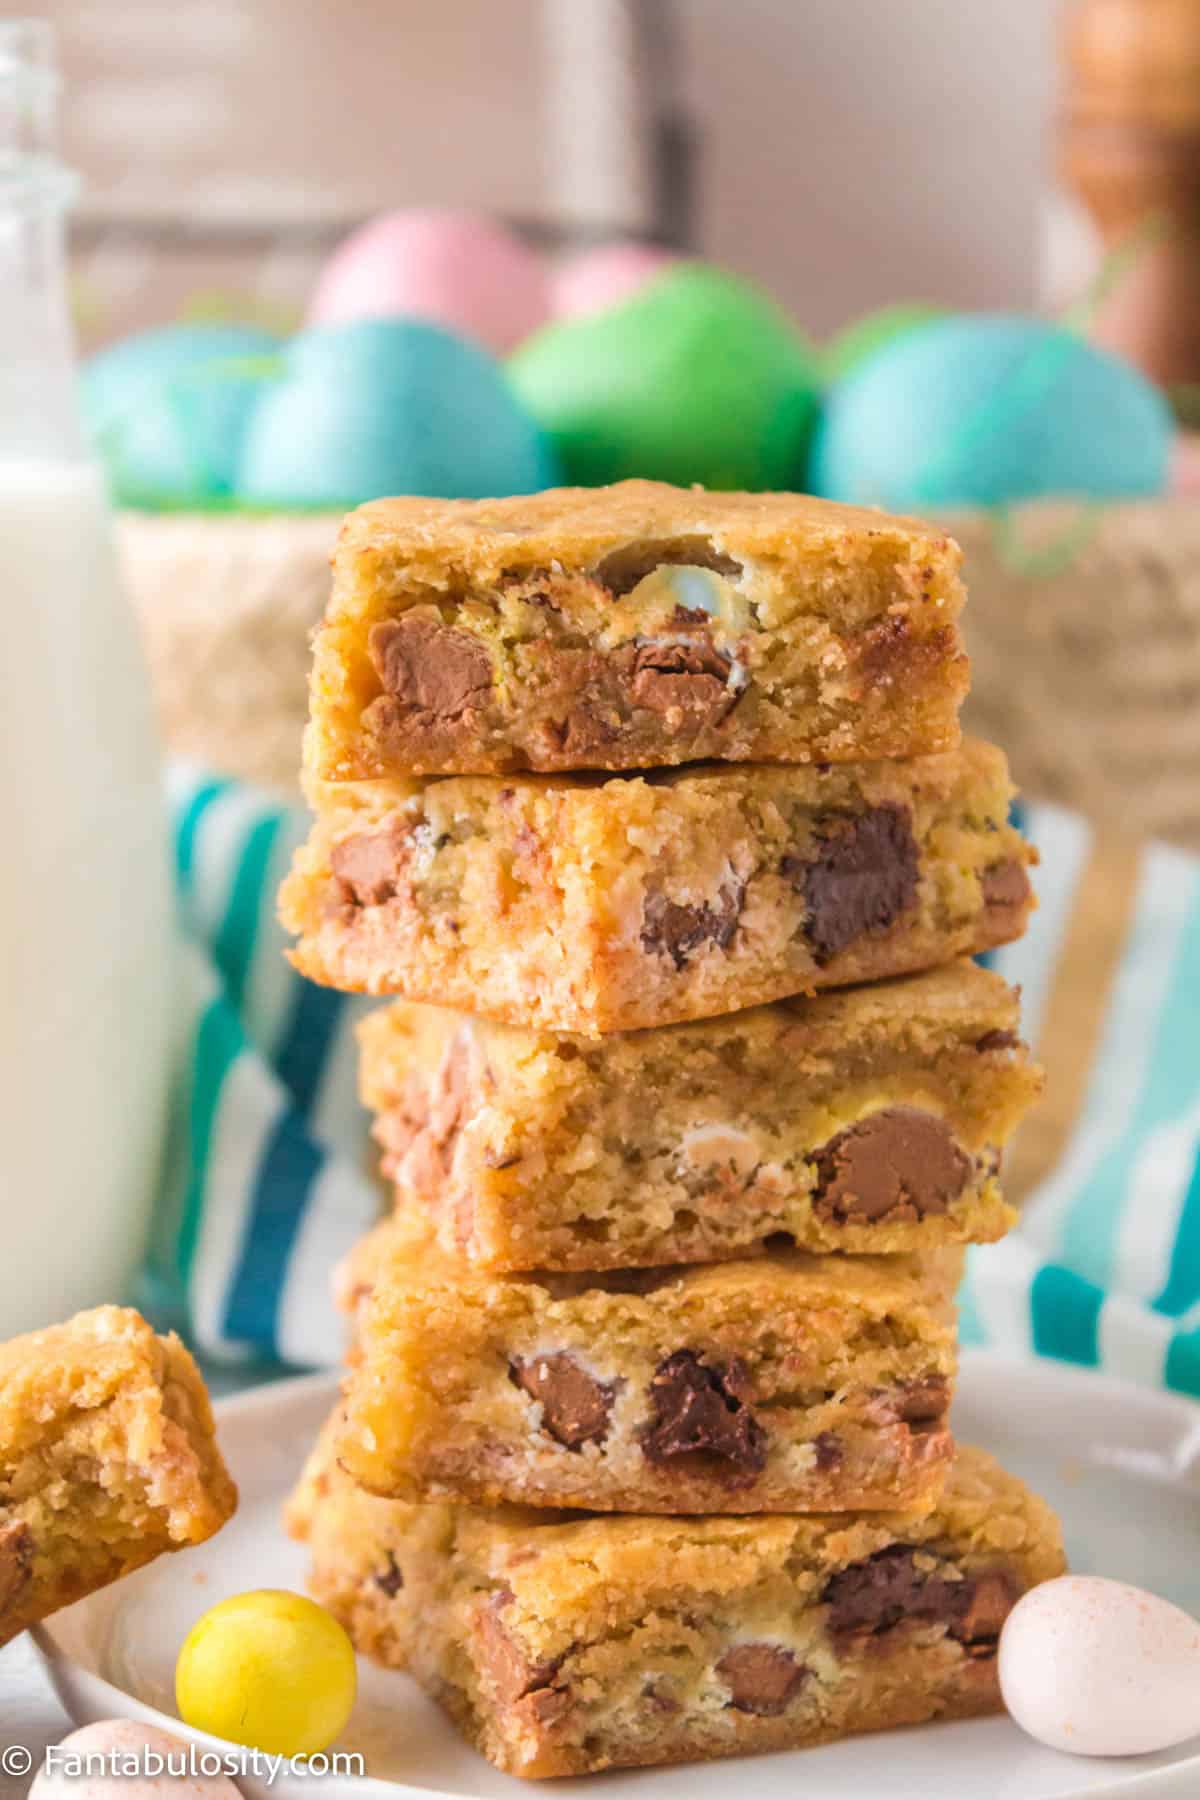
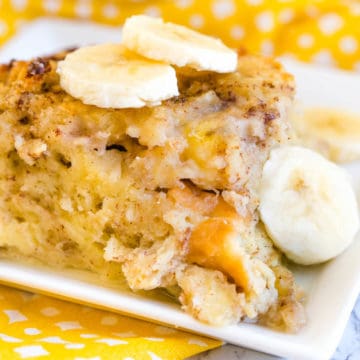
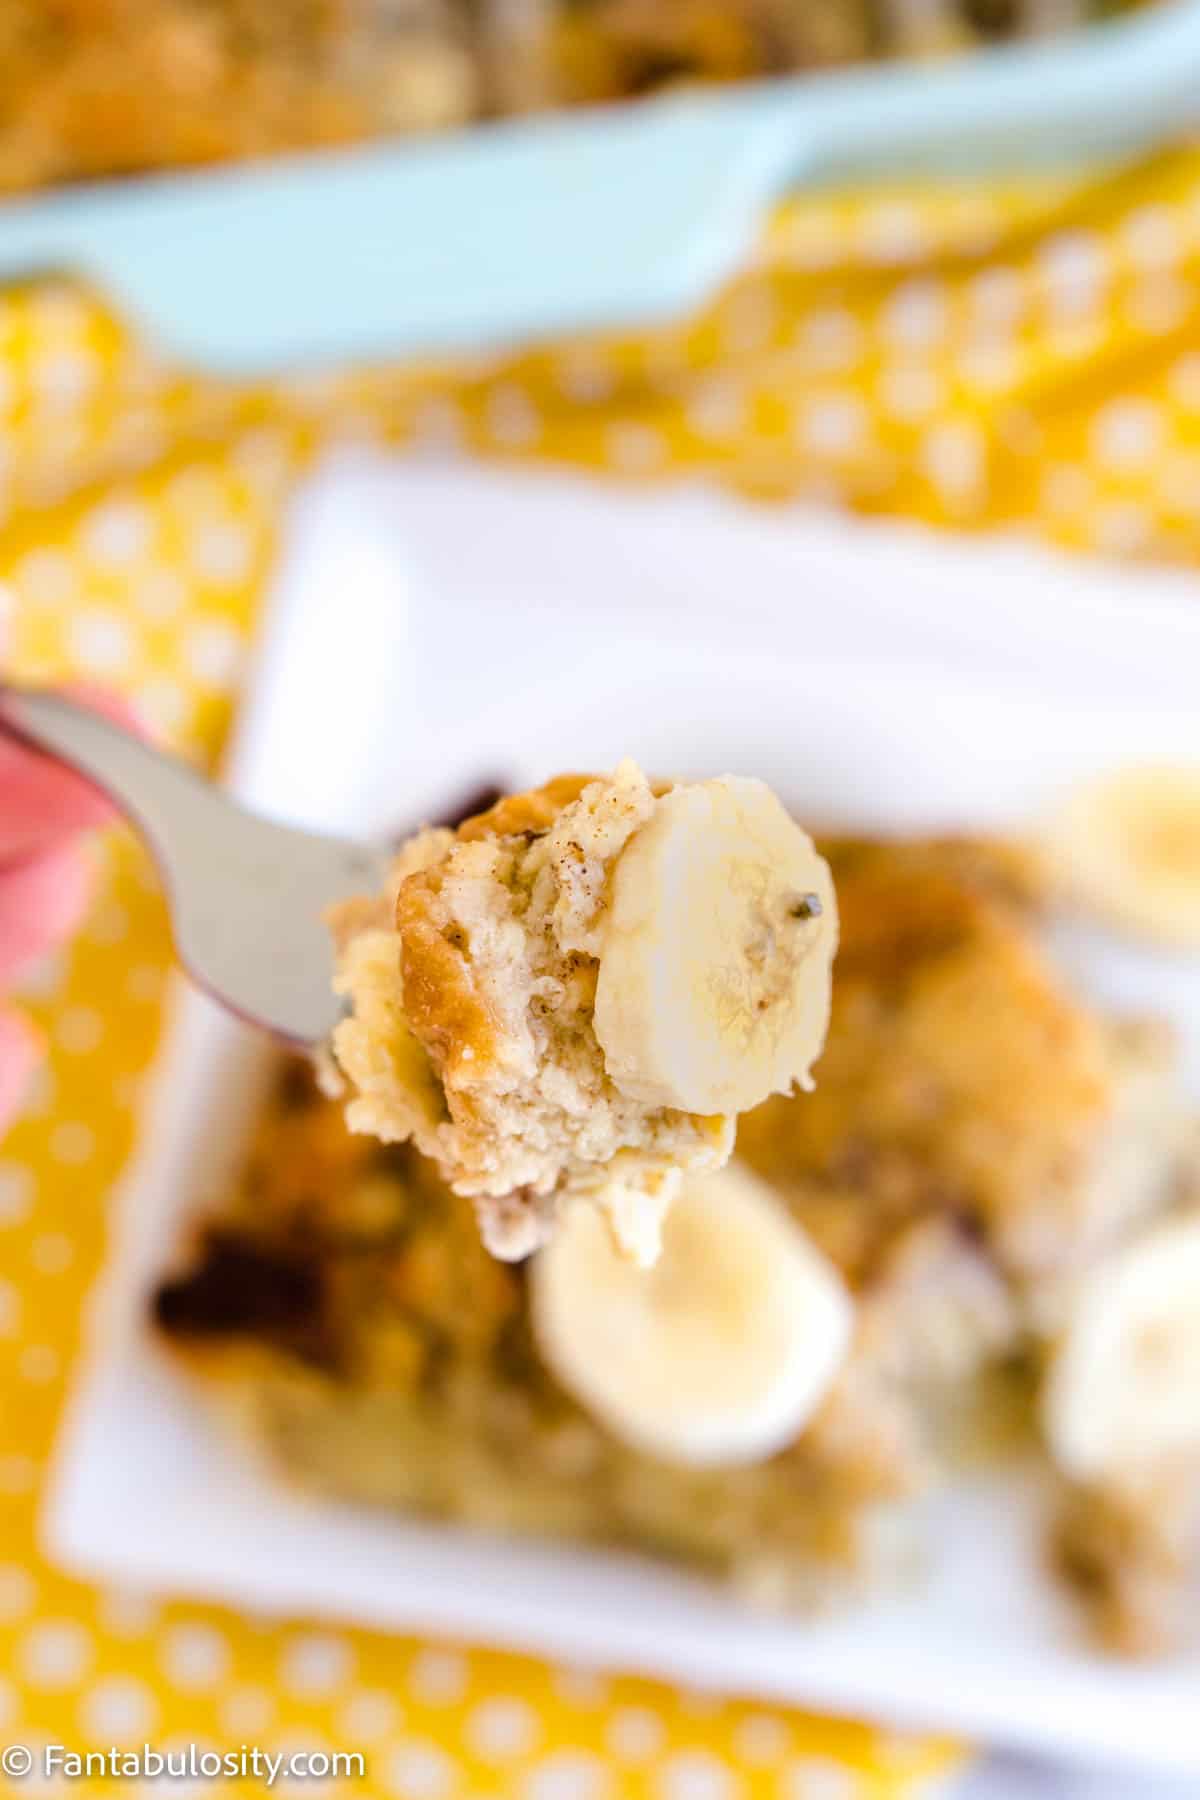
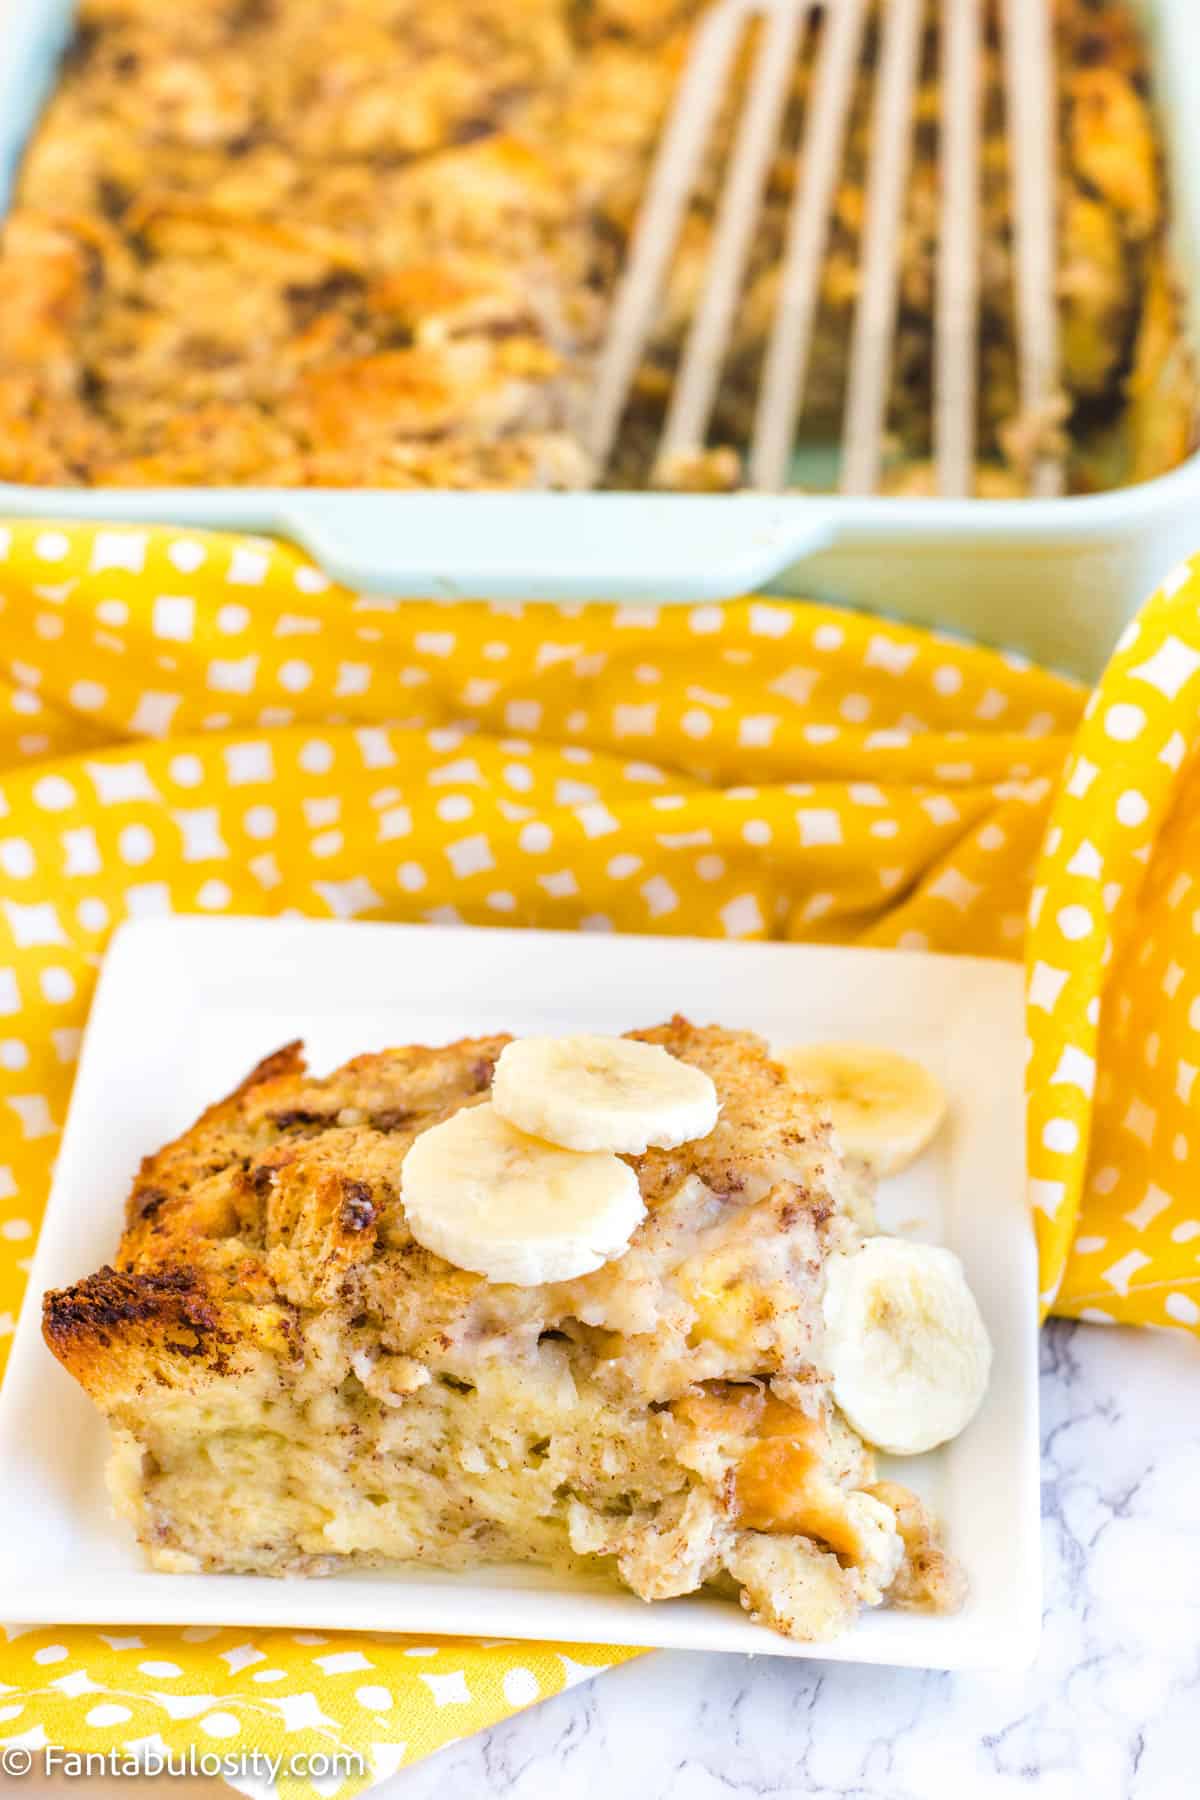
Serve a slice of the banana bread pudding as a warm dessert, for a brunch recipe, or as an easy breakfast.
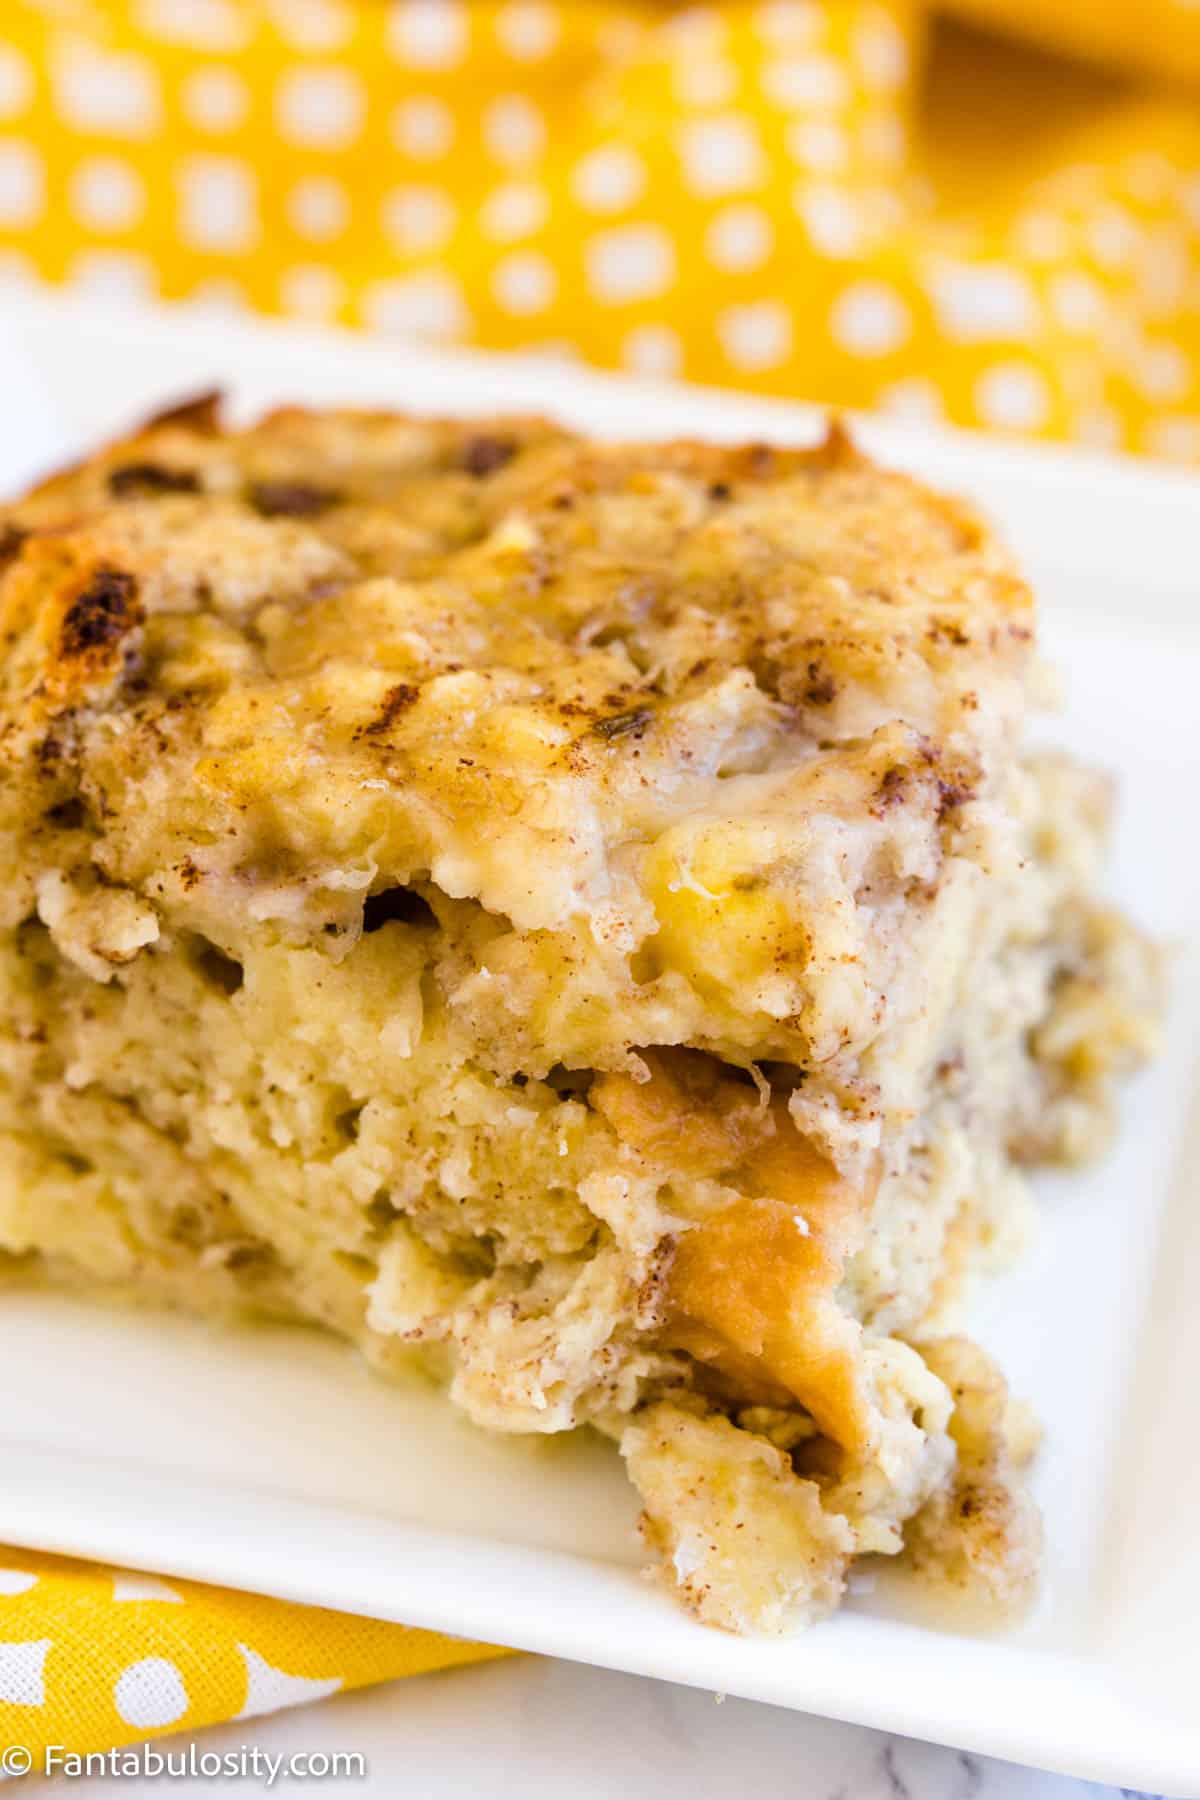
If desired, slice any other remaining banana to top the banana bread pudding with for some extra banana flavor!
Variations
Chocolate goes wonderful with banana – Try our chocolate bread pudding recipe for a chocolate chip banana bread pudding. Or, try butterscotch chips for a lovely flavor!
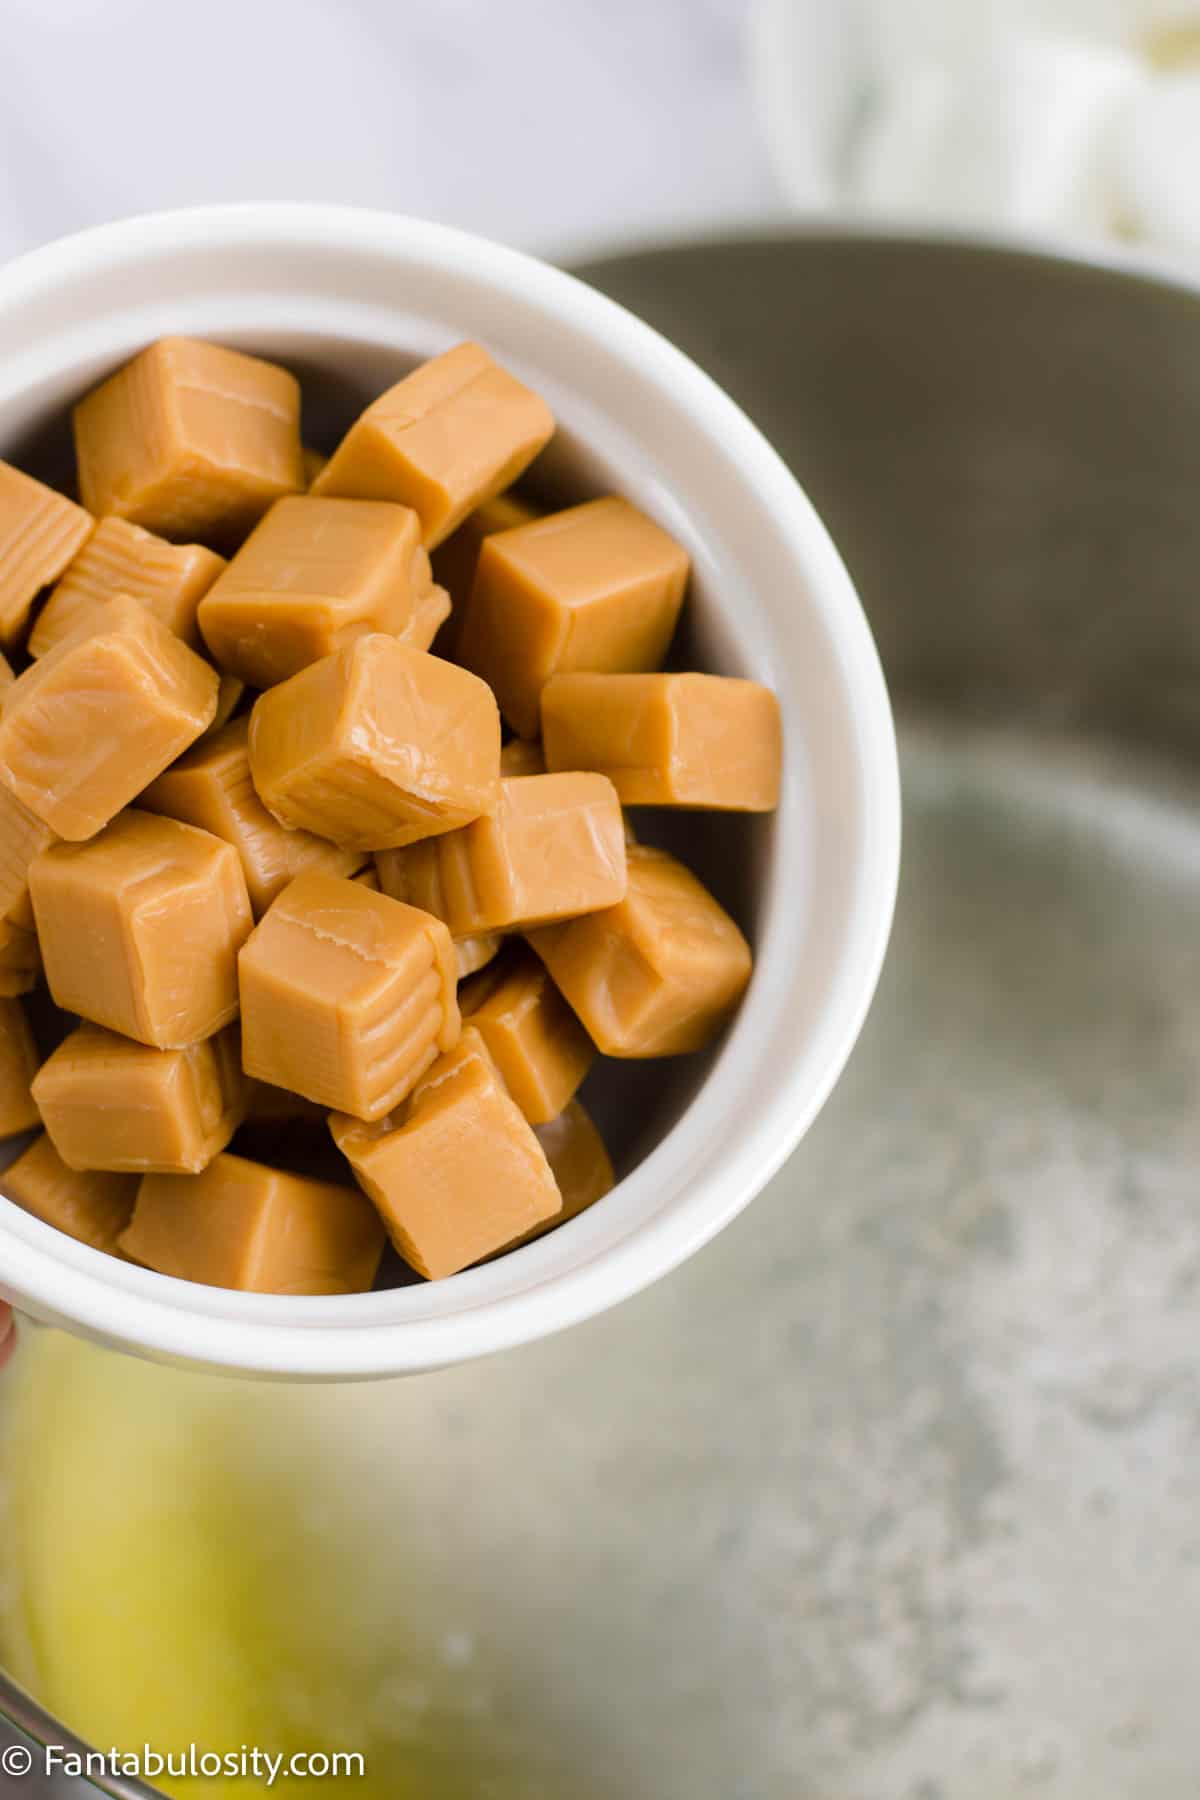
Caramel Banana Bread Pudding – drizzle in caramel pieces or caramel ice cream drizzle, in to the batter before baking.
Pineapple Bread – Could you imagine using leftover Pineapple bread for this? That would be some incredible tropical flavor!
Although this isn’t a bread pudding recipe, this blackberry banana bread is a must-make if you love bananas.
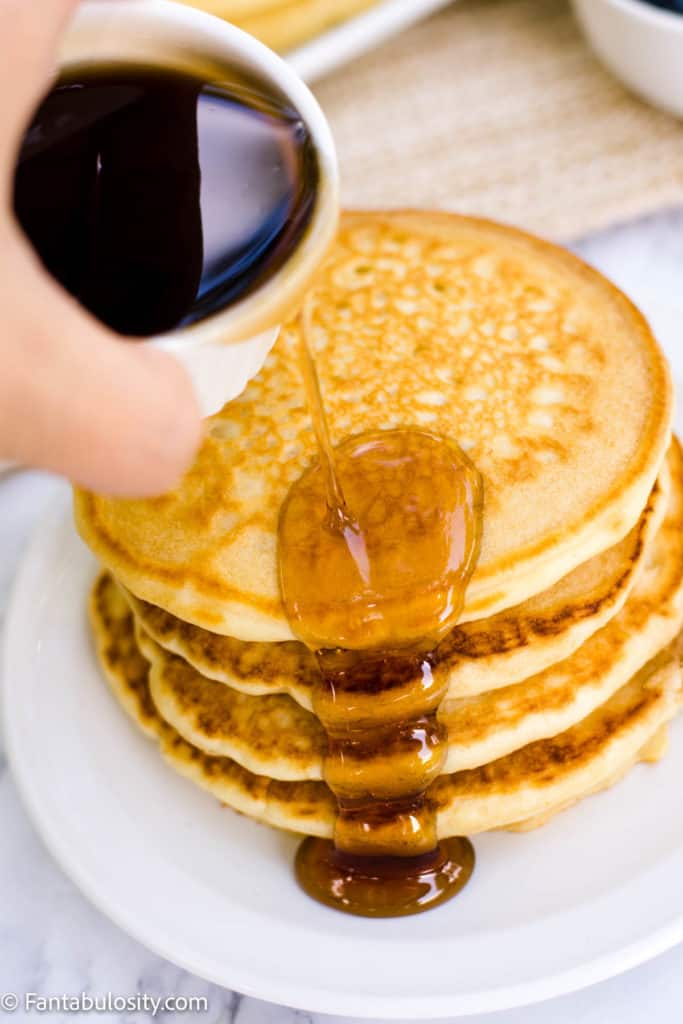
Topping Ideas
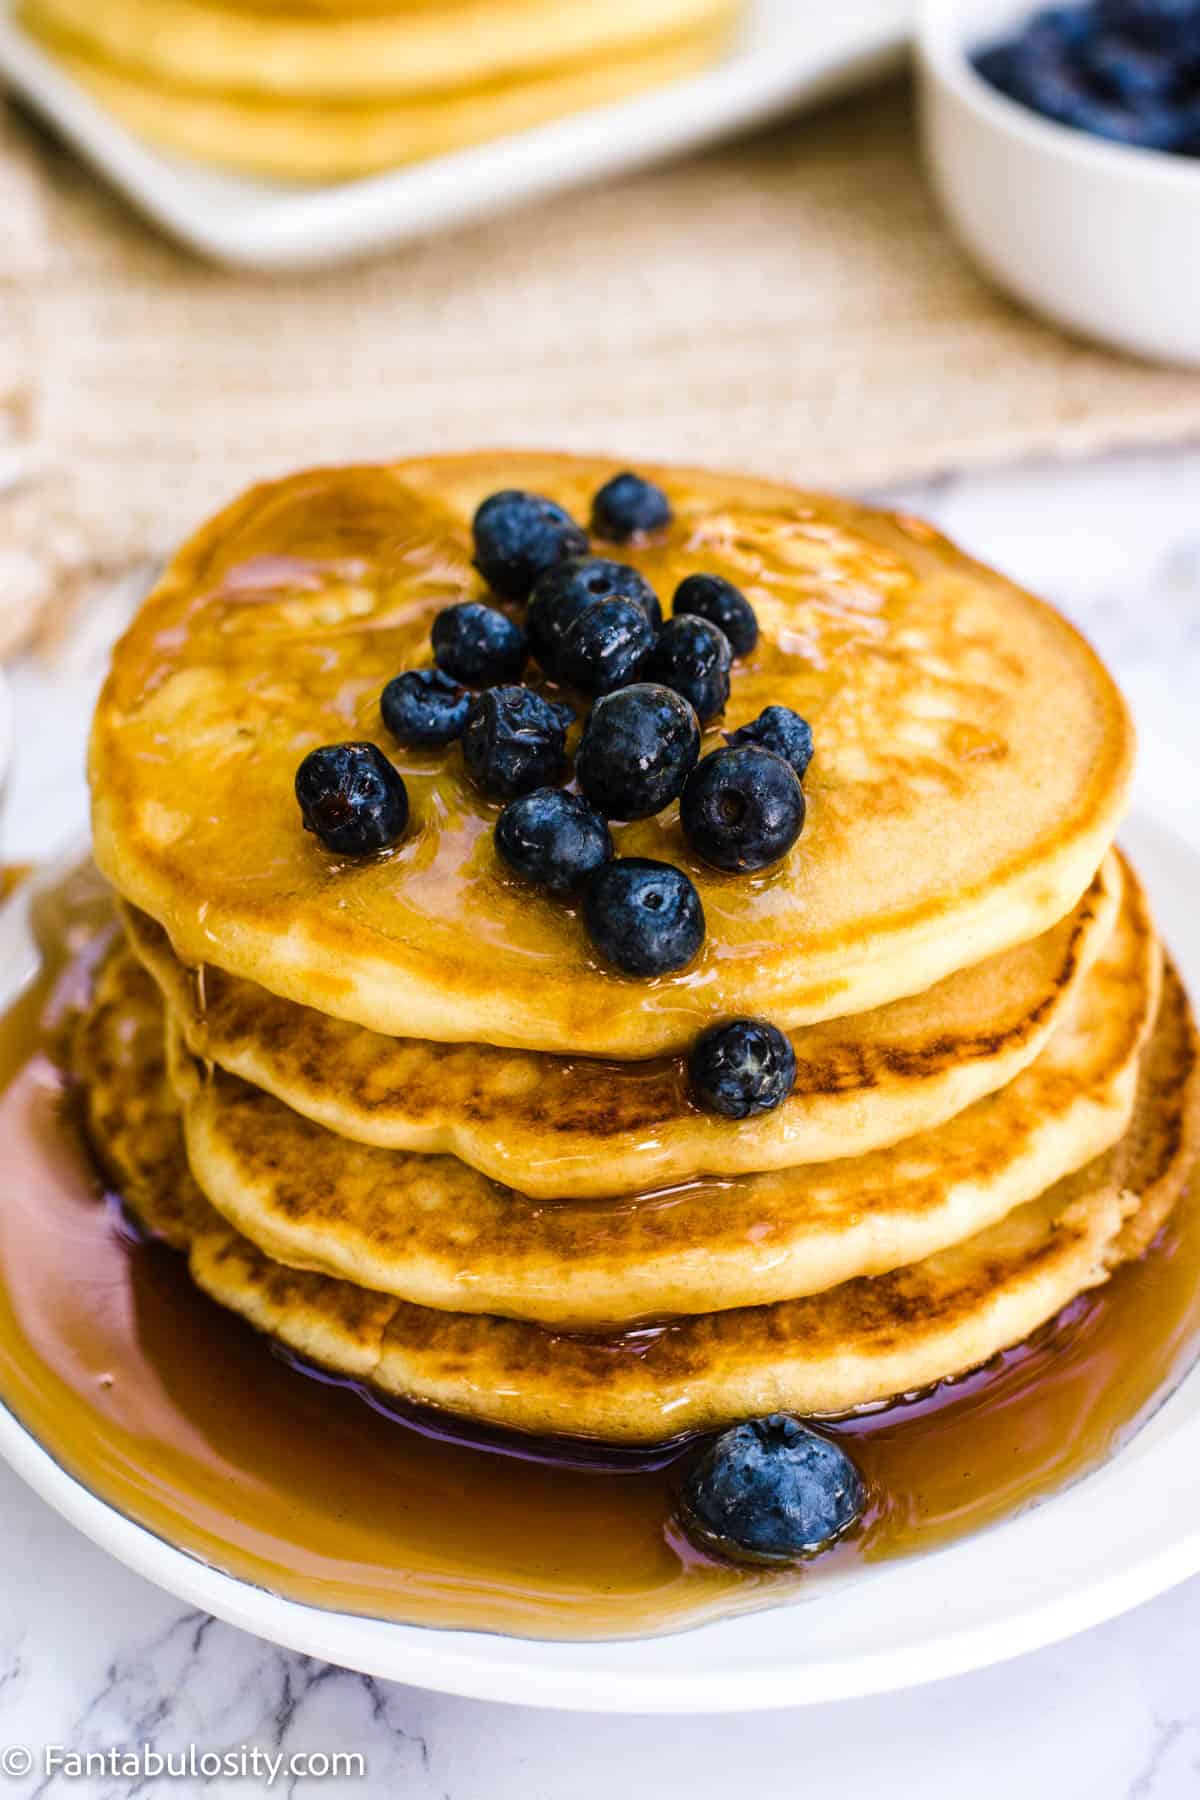
Although this is absolutely wonderful to eat the way it is, right out of the oven, you may also decide to top it with some of your favorite toppings. Here are some ideas for you:
- Caramel Sauce
- Vanilla Ice Cream
- Whipped Cream
- Toffee Pieces
- Banana Slices
- Blueberries
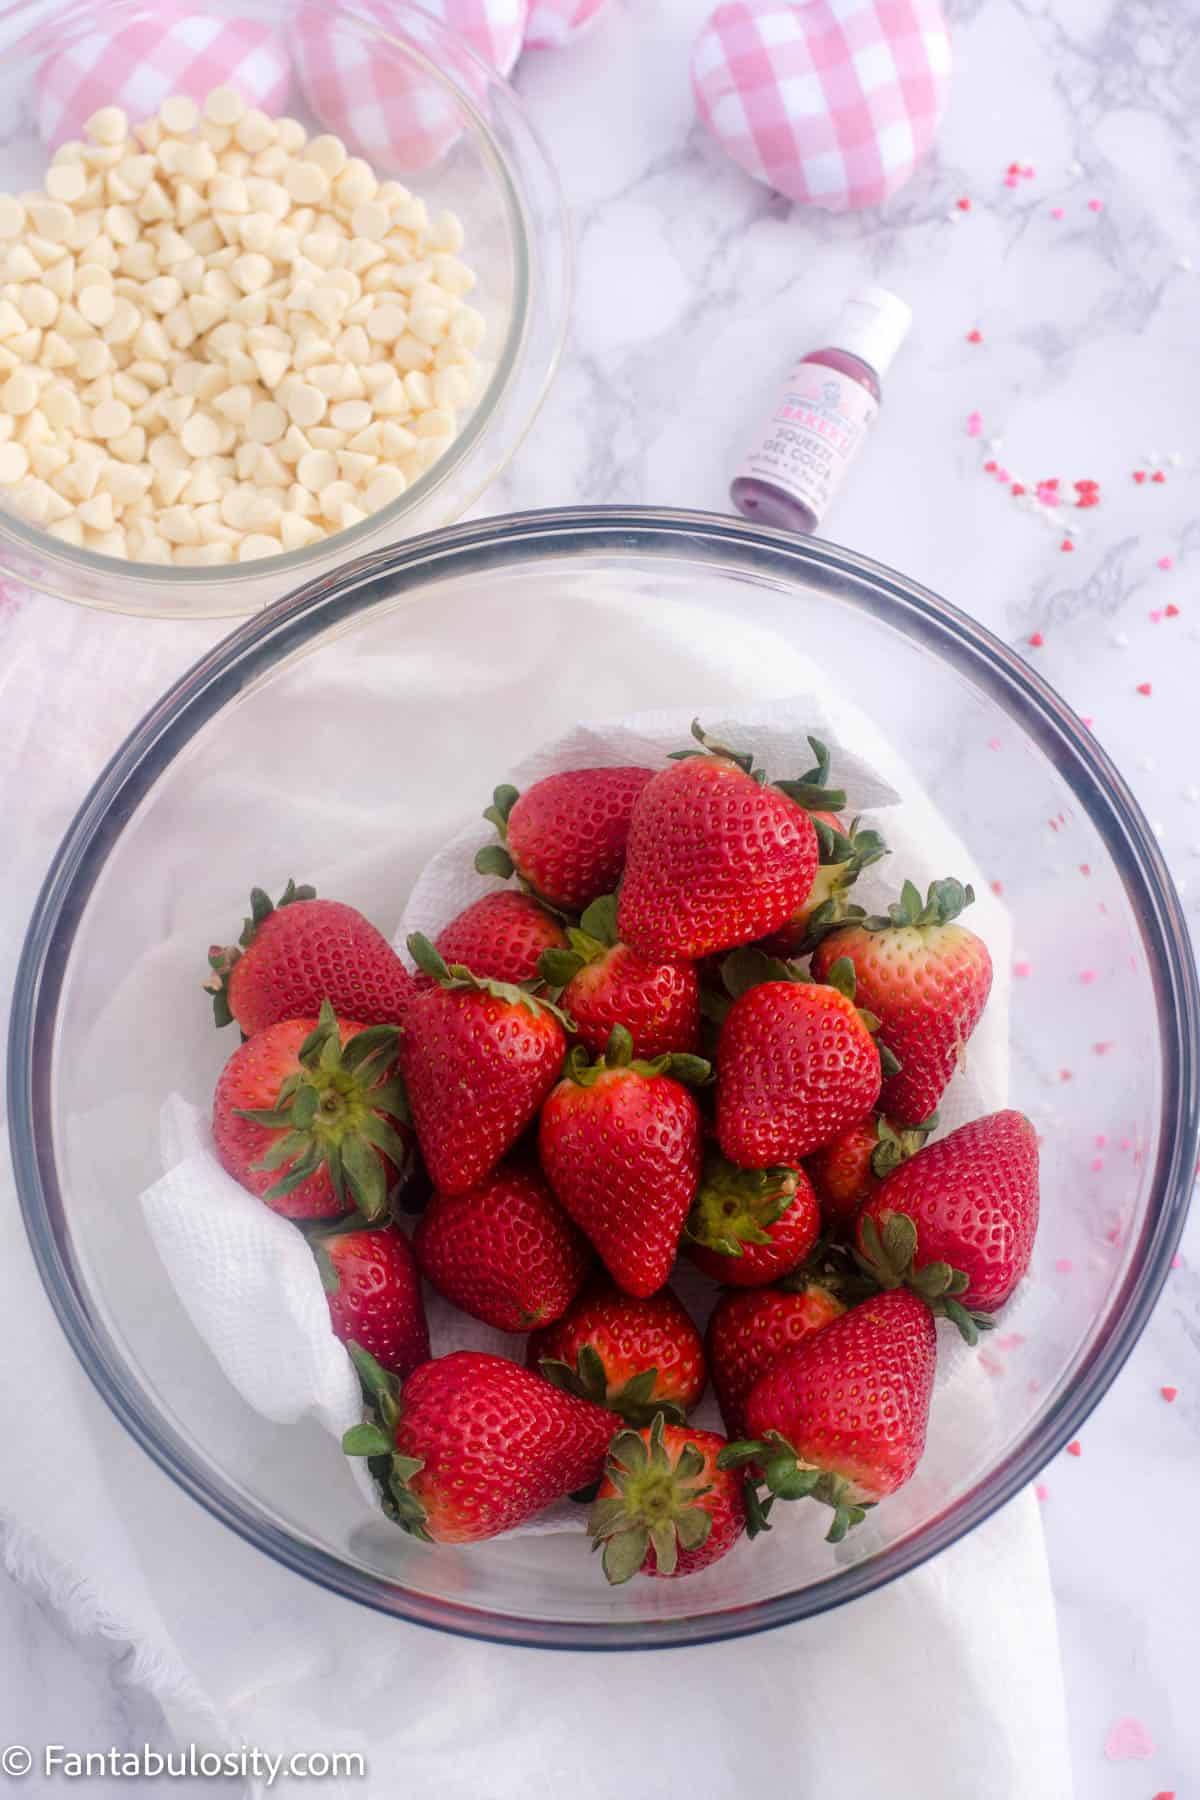
- Strawberries
How to Store
If you have leftover banana bread pudding, allow it to cool off completely to room temperature and then store in the refrigerator in an airtight container for 3-5 days.
To reheat leftovers the next day, place in microwave for 30 seconds to 1 minute until heated through.
Related Recipes
If you love easy, old-fashioned desserts, you’ll also love this egg custard, ugly duckling cake, and this gooey butter cake!
Recipe

Easy Banana Bread Pudding
Ingredients
- 6 slices stale bread french bread, buns, rolls, donuts, challah, toast or another type of bread, broken in to 1-inch cubes or 4-5 cups loosely measured cups of bread pieces
- 2 ripened bananas (Here's a quick way to ripen bananas.)
- 3 Tablespoons butter melted
- 4 eggs
- ½ cup sugar
- 1 teaspoon vanilla extract
- 1 teaspoon cinnamon
- 2 cups milk
Instructions
- Preheat the oven to 350 degrees F.
- Pour about 1 tablespoon of melted butter in to 8×8 baking dish.
- Next, pour bread pieces in to dish, and spread them out so they're evenly spread out in the pan.
- Pour remaining melted butter over bread pieces, set aside.
- Crack 4 eggs in to a medium sized bowl (one big enough to fit the remaining ingedients. Whisk eggs until combined.
- Pour in sugar, milk, cinnamon and vanilla. Whisk until combined.
- Mash bananas in plastic ziptop bag or in a small separate bowl. Pour mashed bananas in to egg mixture and gently stir.
- Pour egg, banana and milk mixture over the top of bread pieces, trying to cover all of them. Gently press any pieces of bread down, trying to make sure all pieces of bread have been submerged in to batter.
- Bake at 350° for 45-55 minutes or until bread pudding has risen above the baking dish, has turned golden brown and the top springs back when touched.(If you cut in to the middle and it's still liquid, it needs to cook longer. It should have a custard-like, wet, center but not runny.)
- Serve warm!