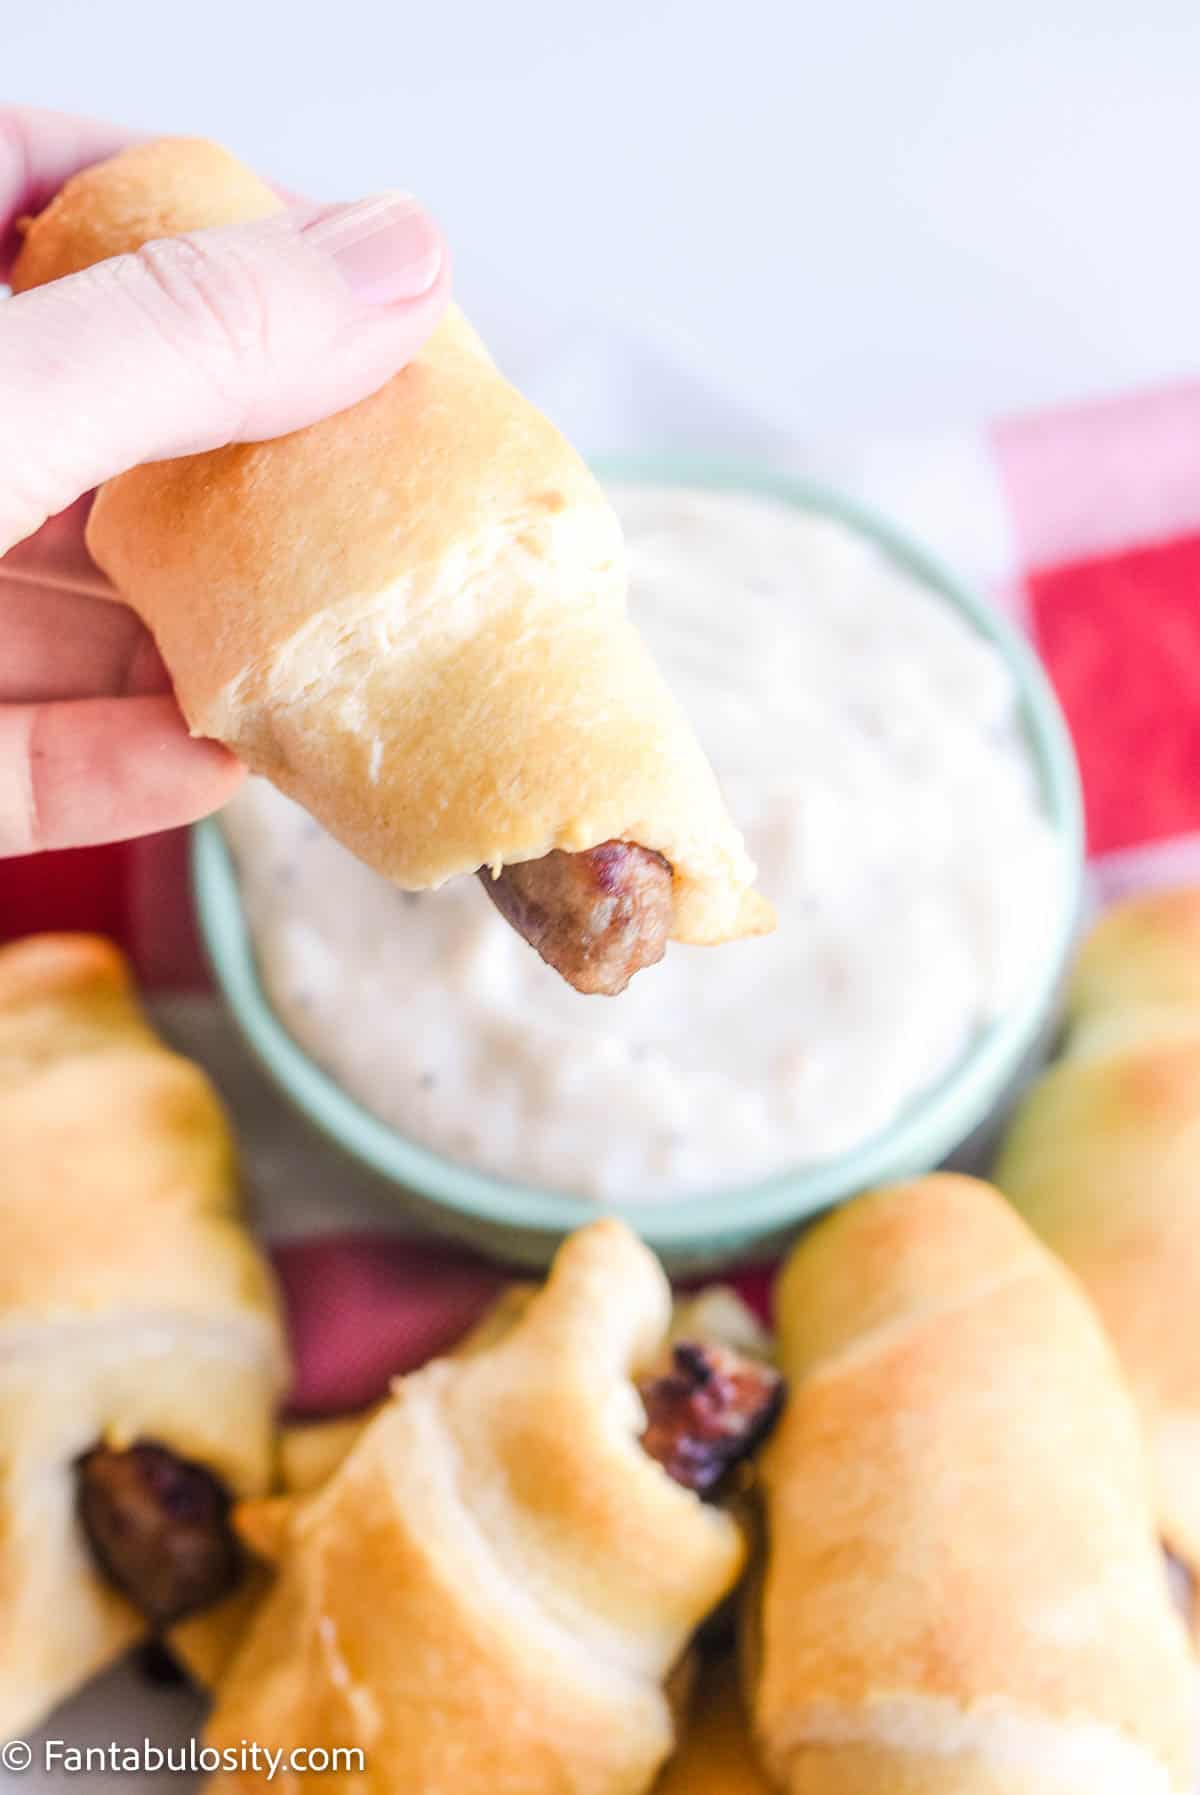
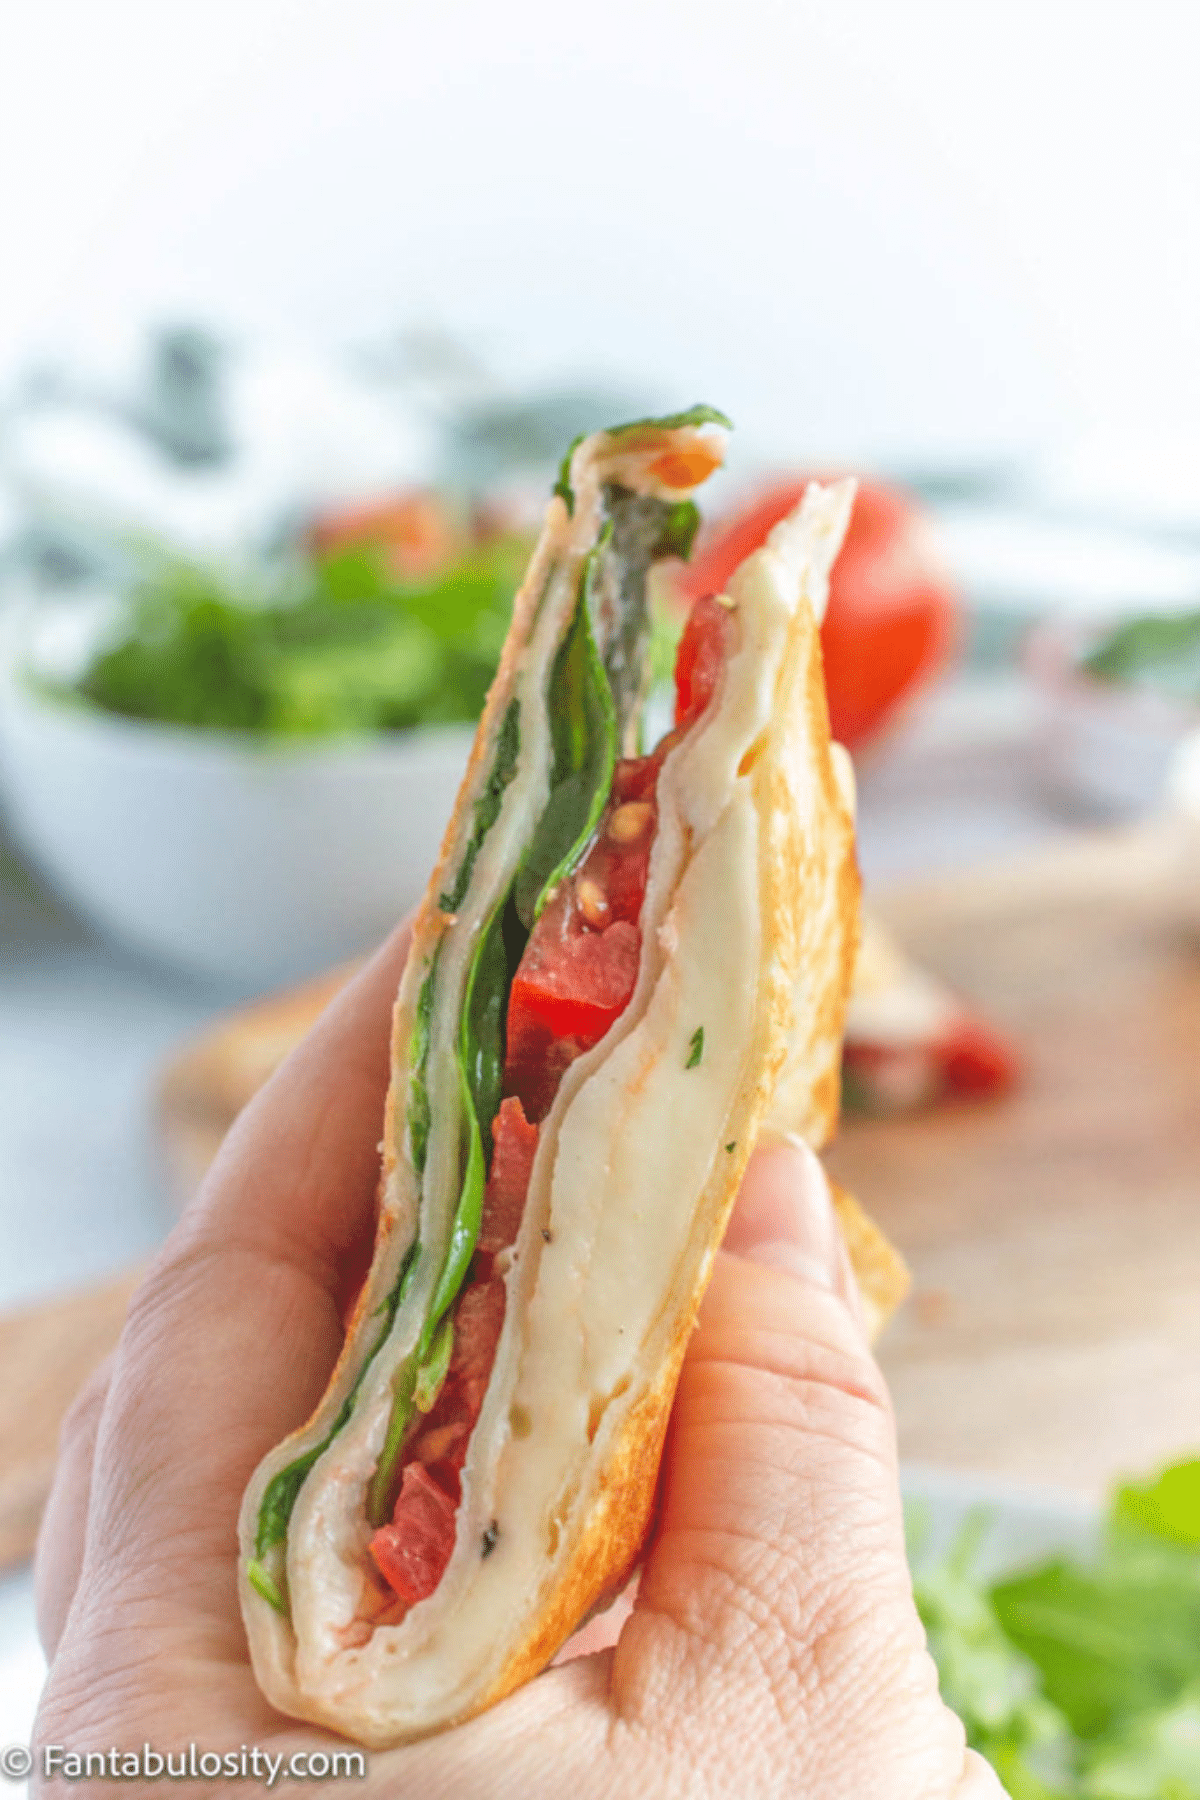
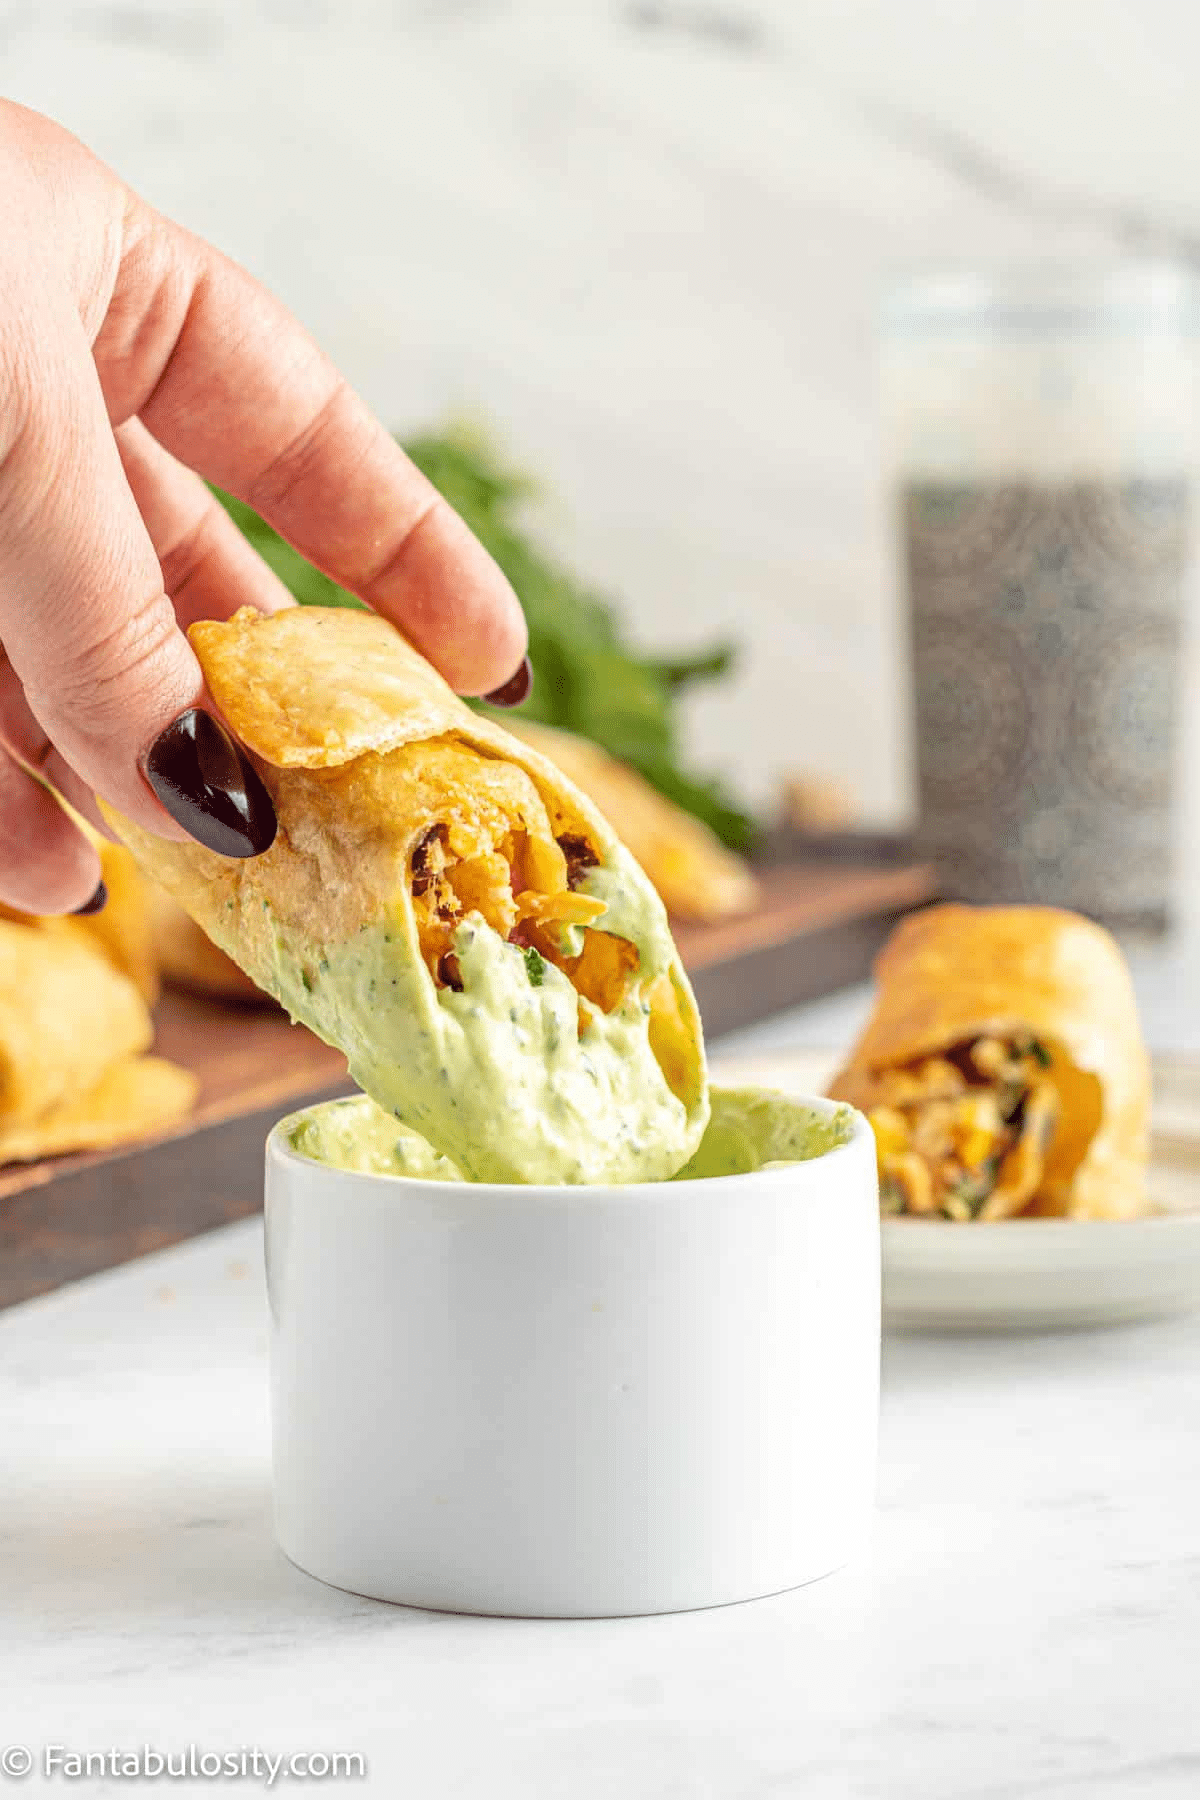
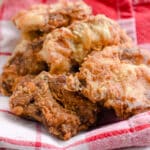
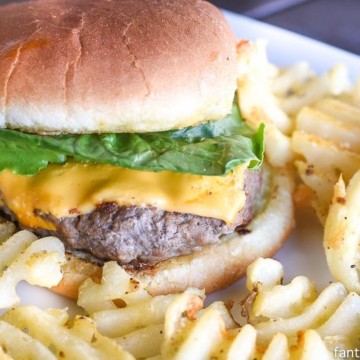
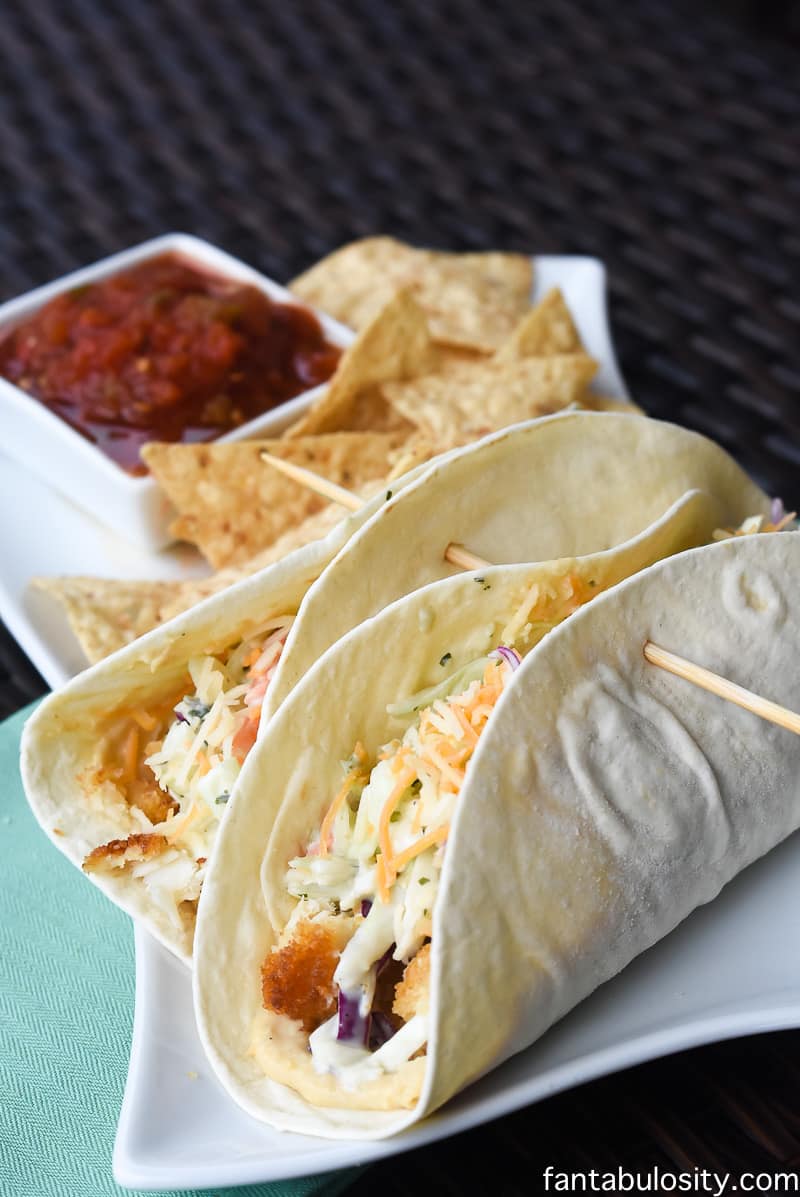
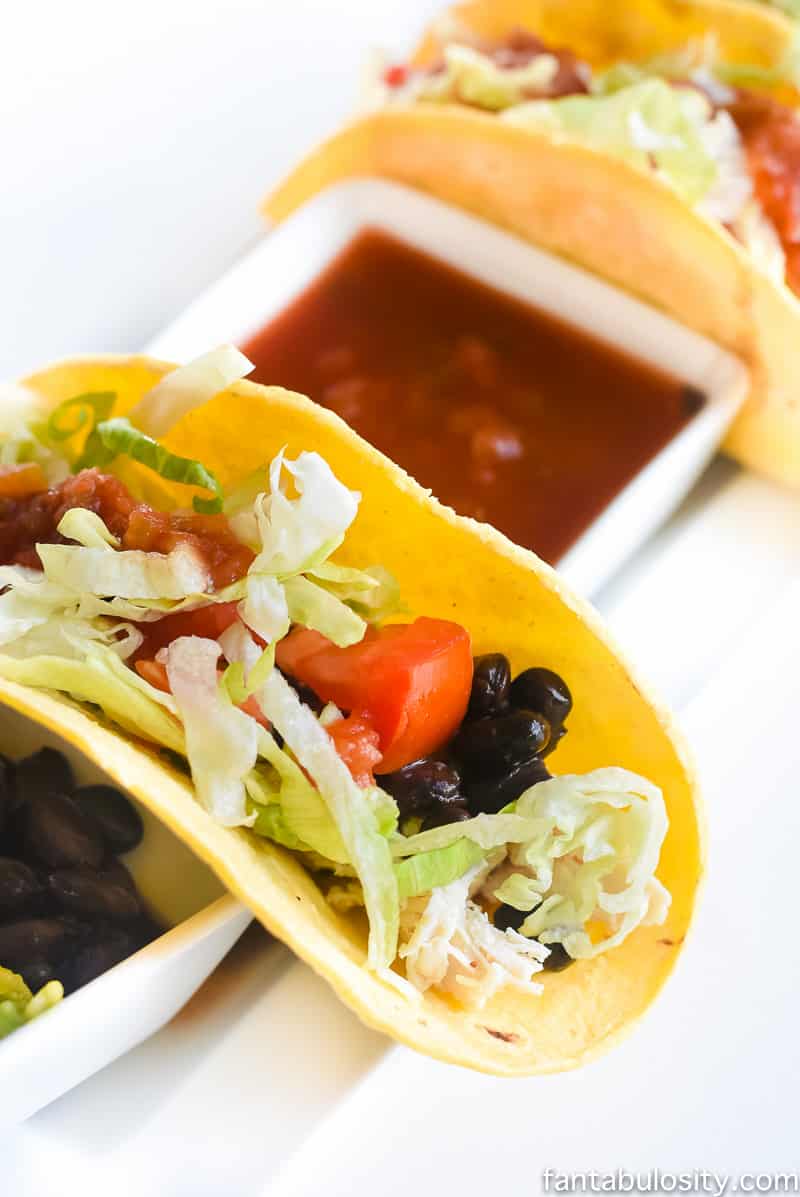
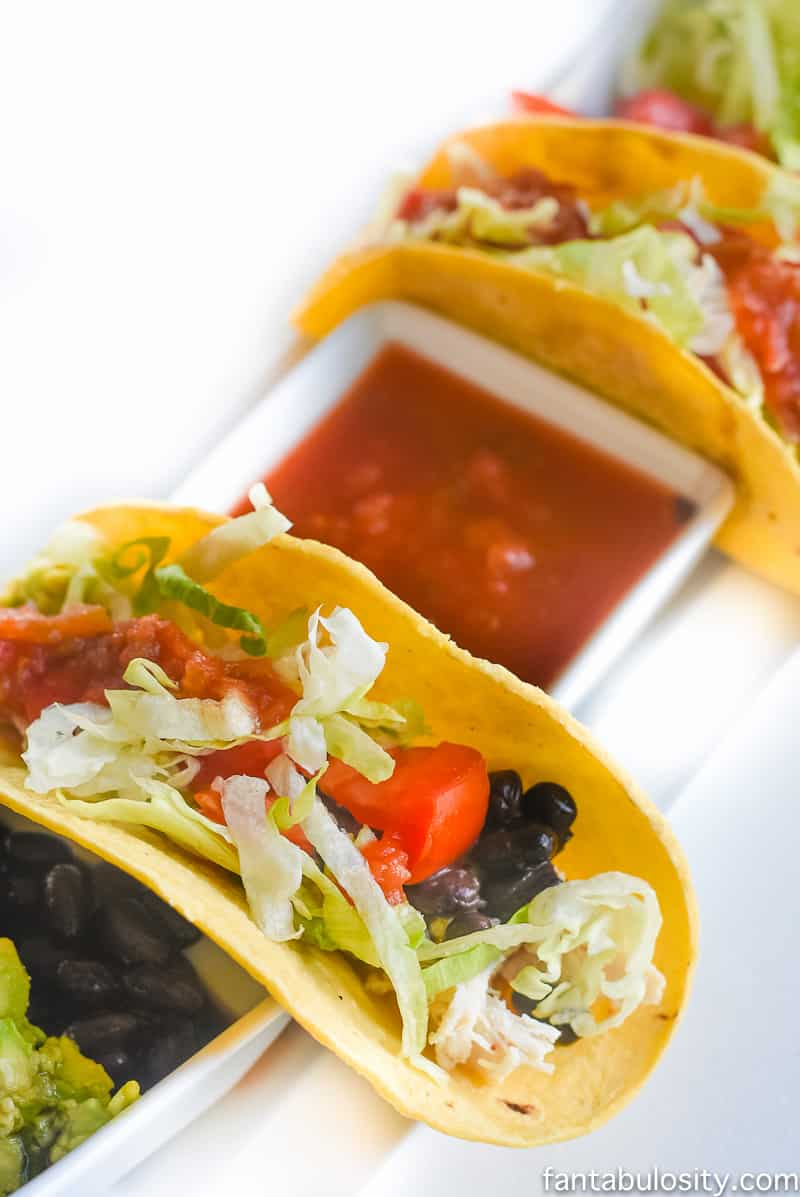
Fish Finger Tacos: These breaded fish tacos are made using cheese, coleslaw mix and a delicious dressing! Feel free to use your favorite breaded fish instead of fish fingers too!
Maybe even consider putting a spin on them with this fried tacos recipe!

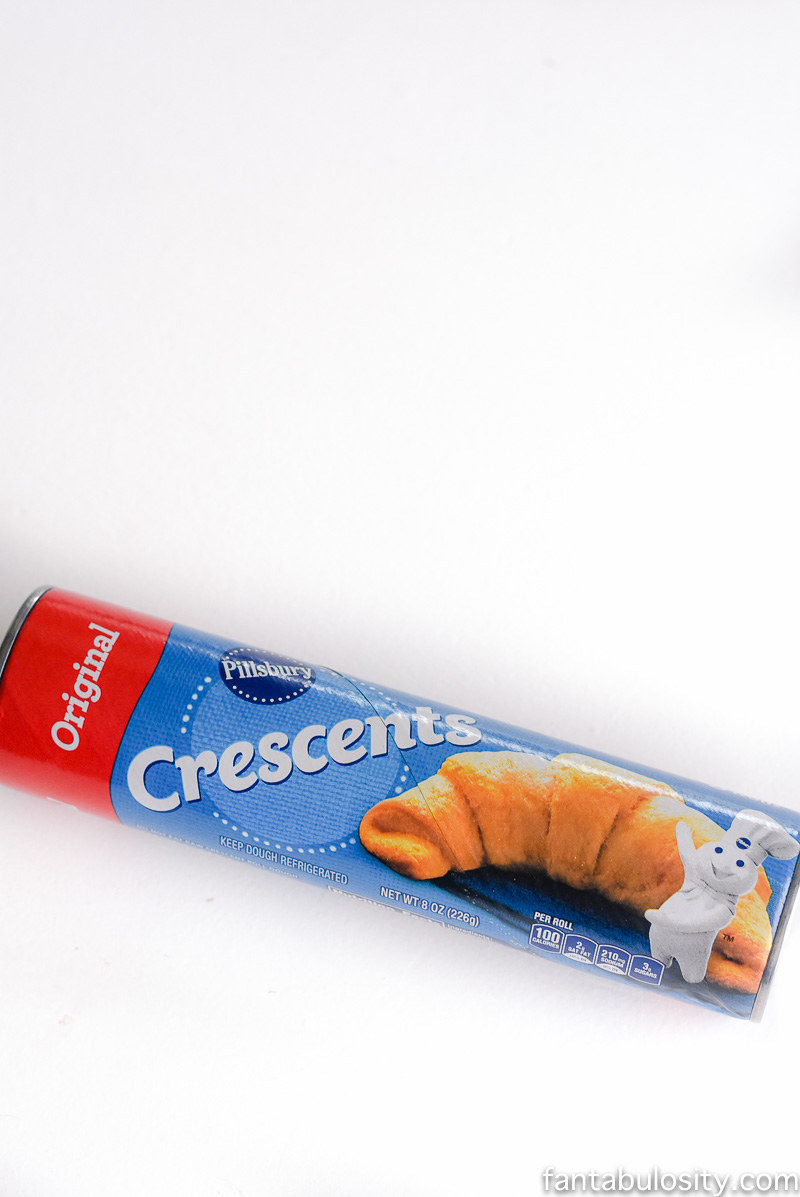
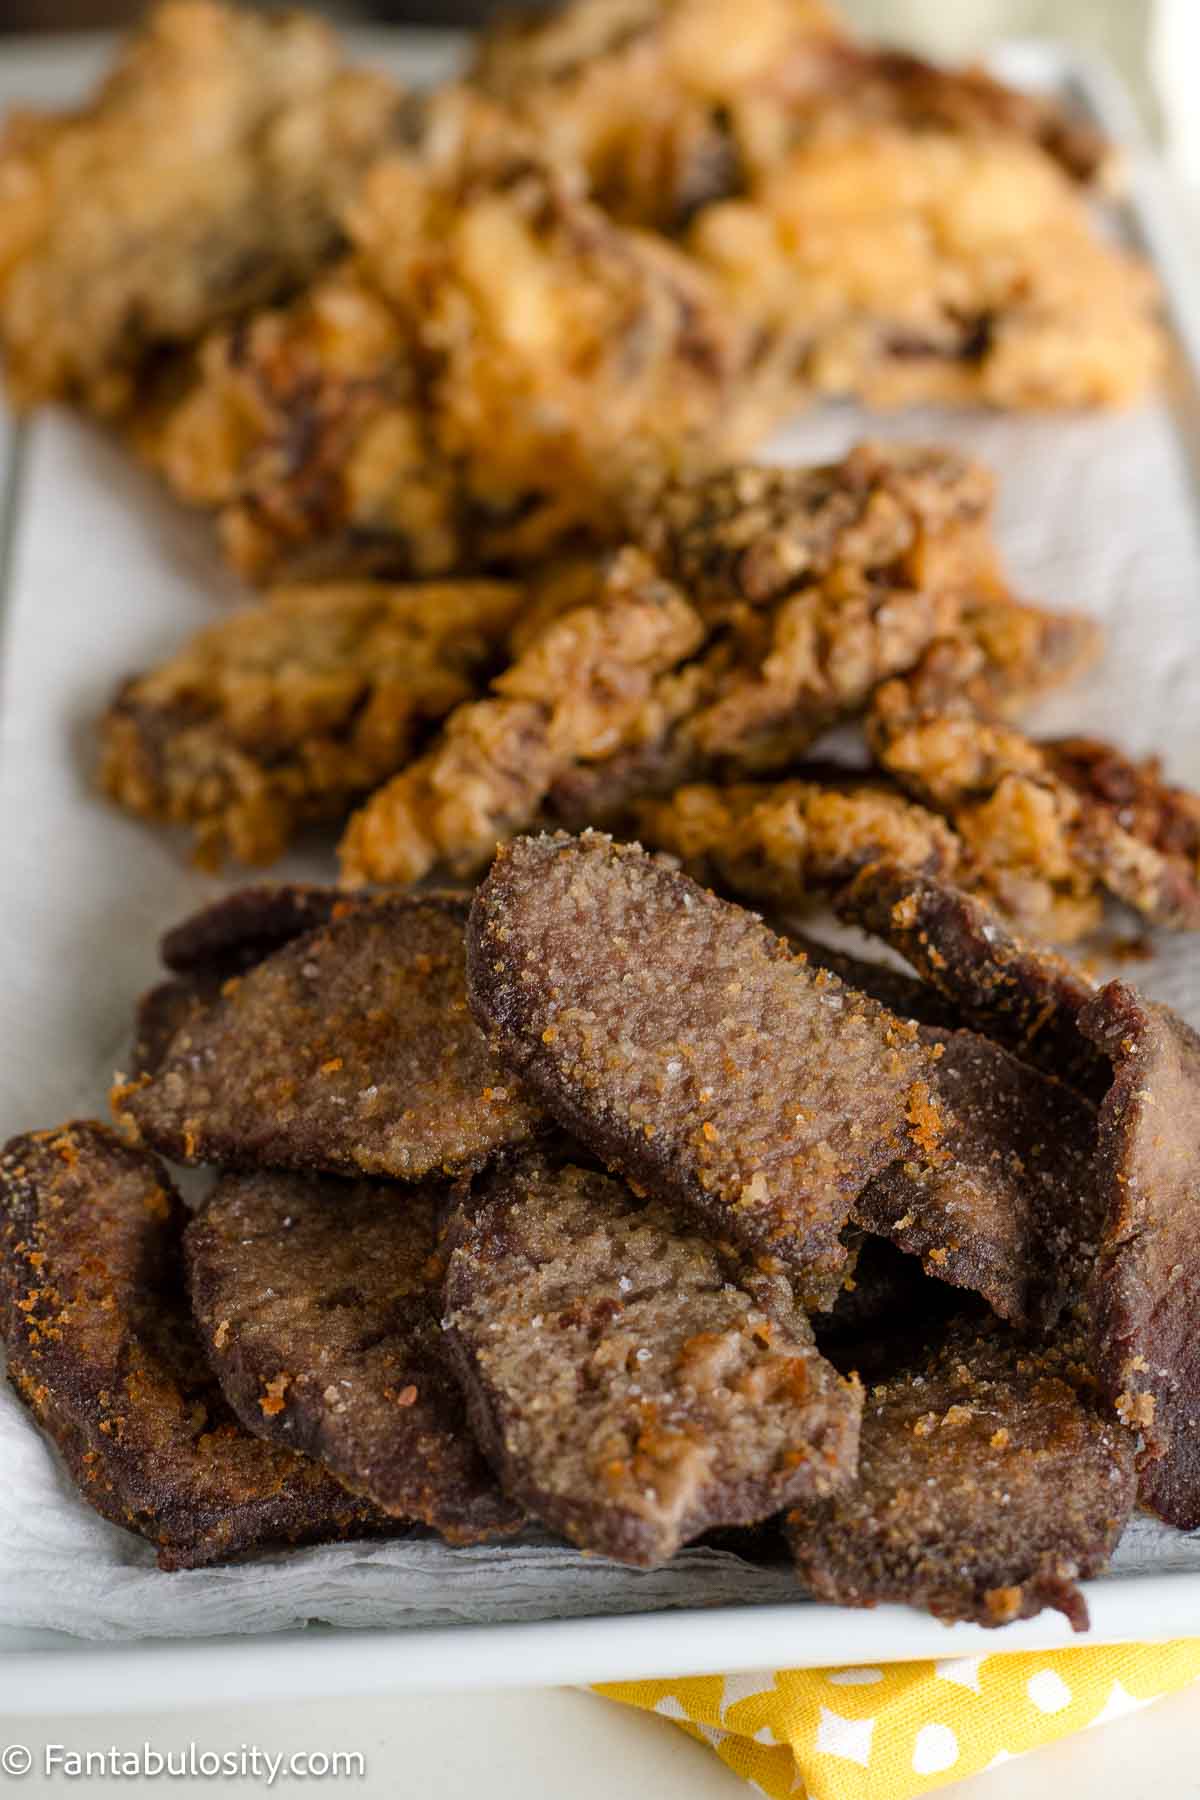
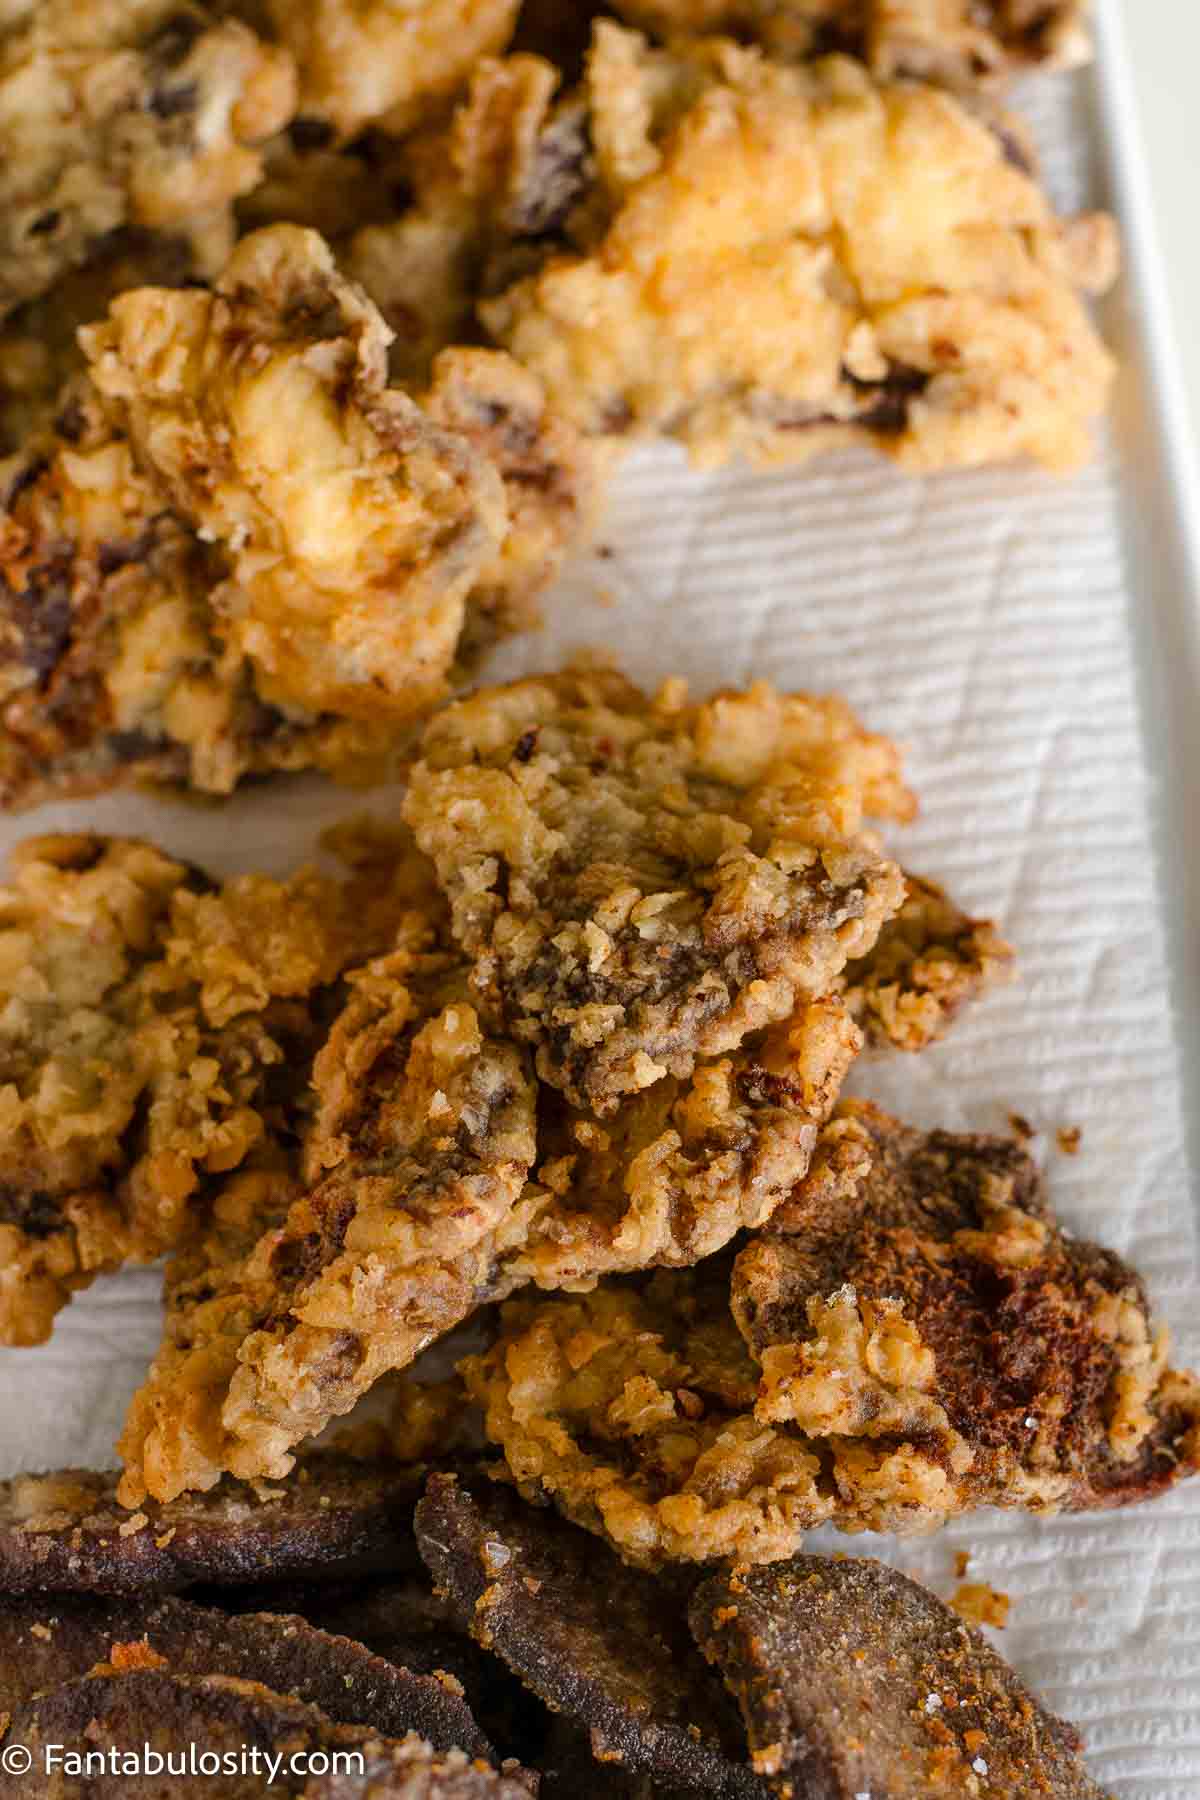
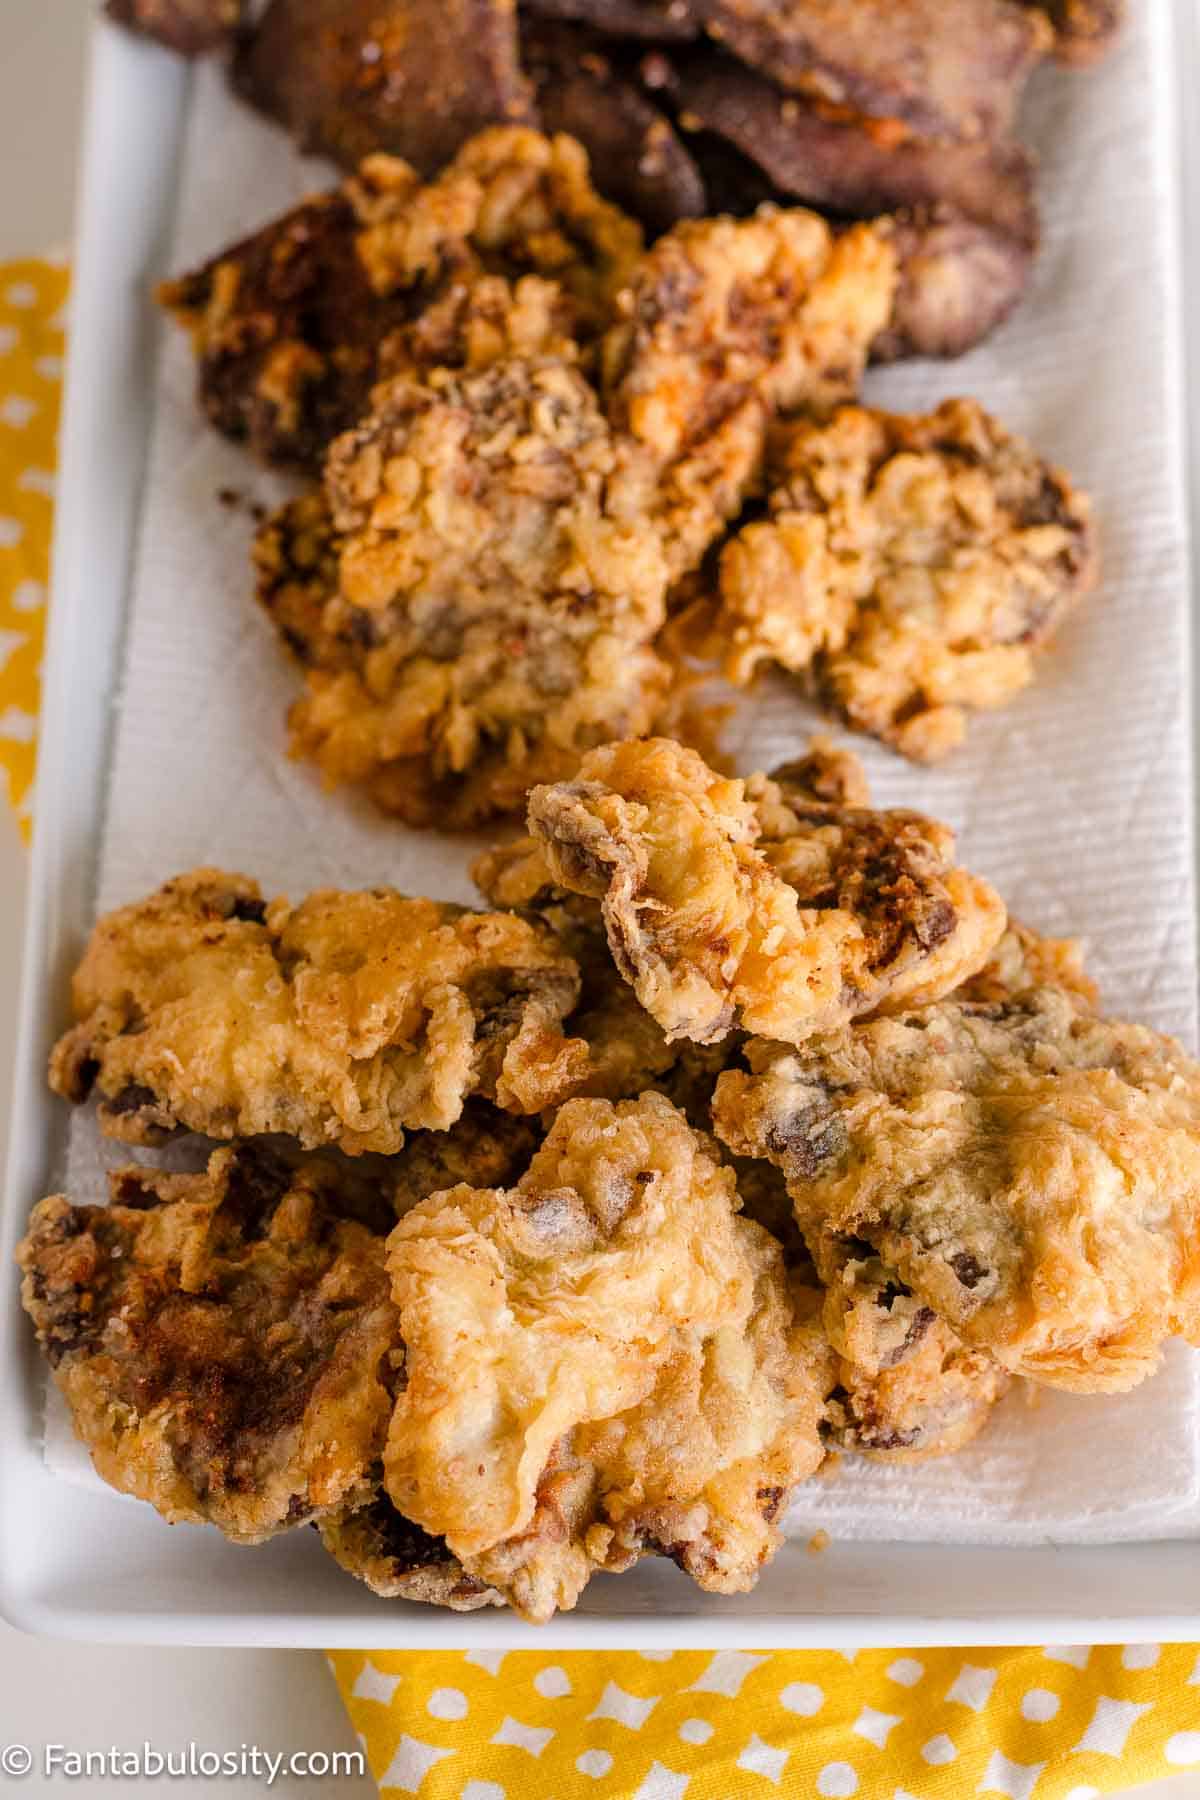
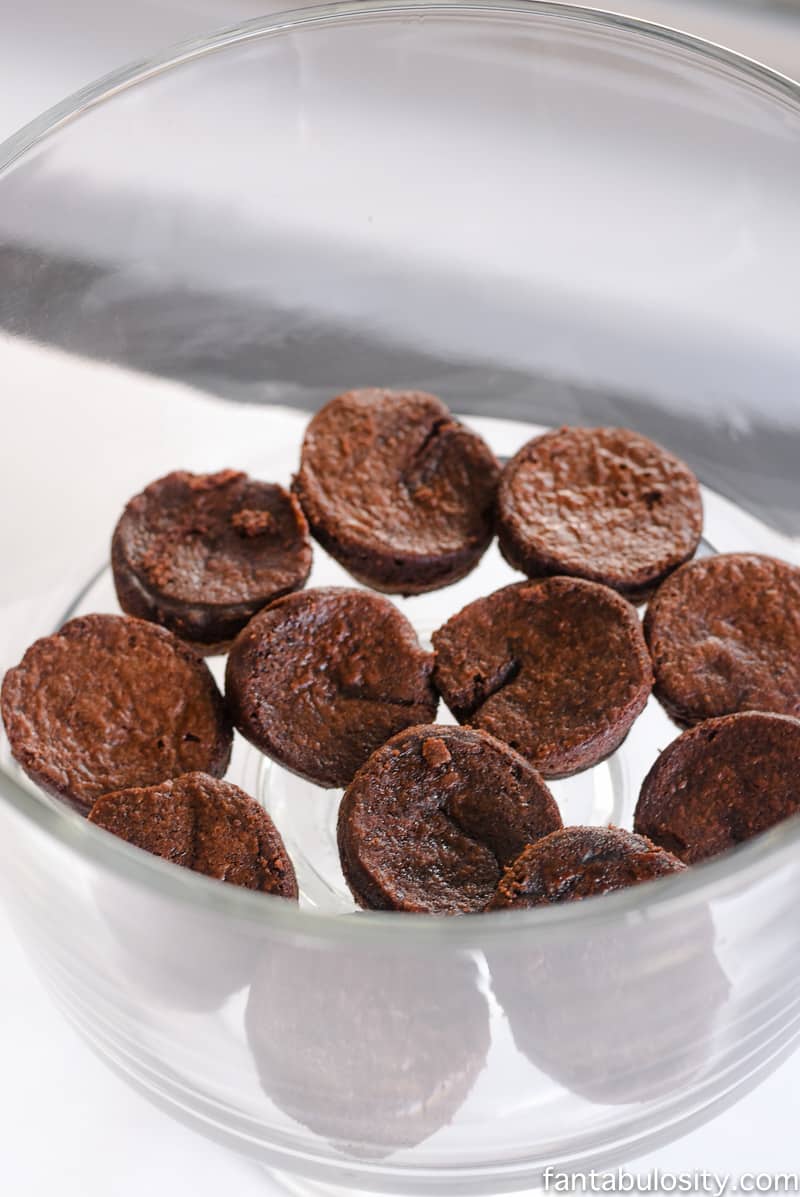
We had a little frozen (breaded) fish leftover from a previous dinner, and a few odds and ends like tortillas, shredded cheese, cabbage shreds, hummus, and a fun dressing.
However, we LOVE making a lot of tilapia in the air fryer and this panko-crusted cod, so we can eat leftovers with these tacos, too!

I so hope you enjoy this version of fish tacos, and get a little experimental in the kitchen. Remember, with these… you don’t have to follow it to a “T!” Branch out, and try something new, with what you have on hand! Maybe even try these ingredients with these baked crispy chicken tacos too!
Next time, I’d love to try this same recipe with some shrimp that we have on hand, for sure.
Serve alongside of chips and salsa, and this will be a meal that you’ll love for the ease and convenience! Besides… who doesn’t love tacos?
Recipe

Fish Finger Tacos
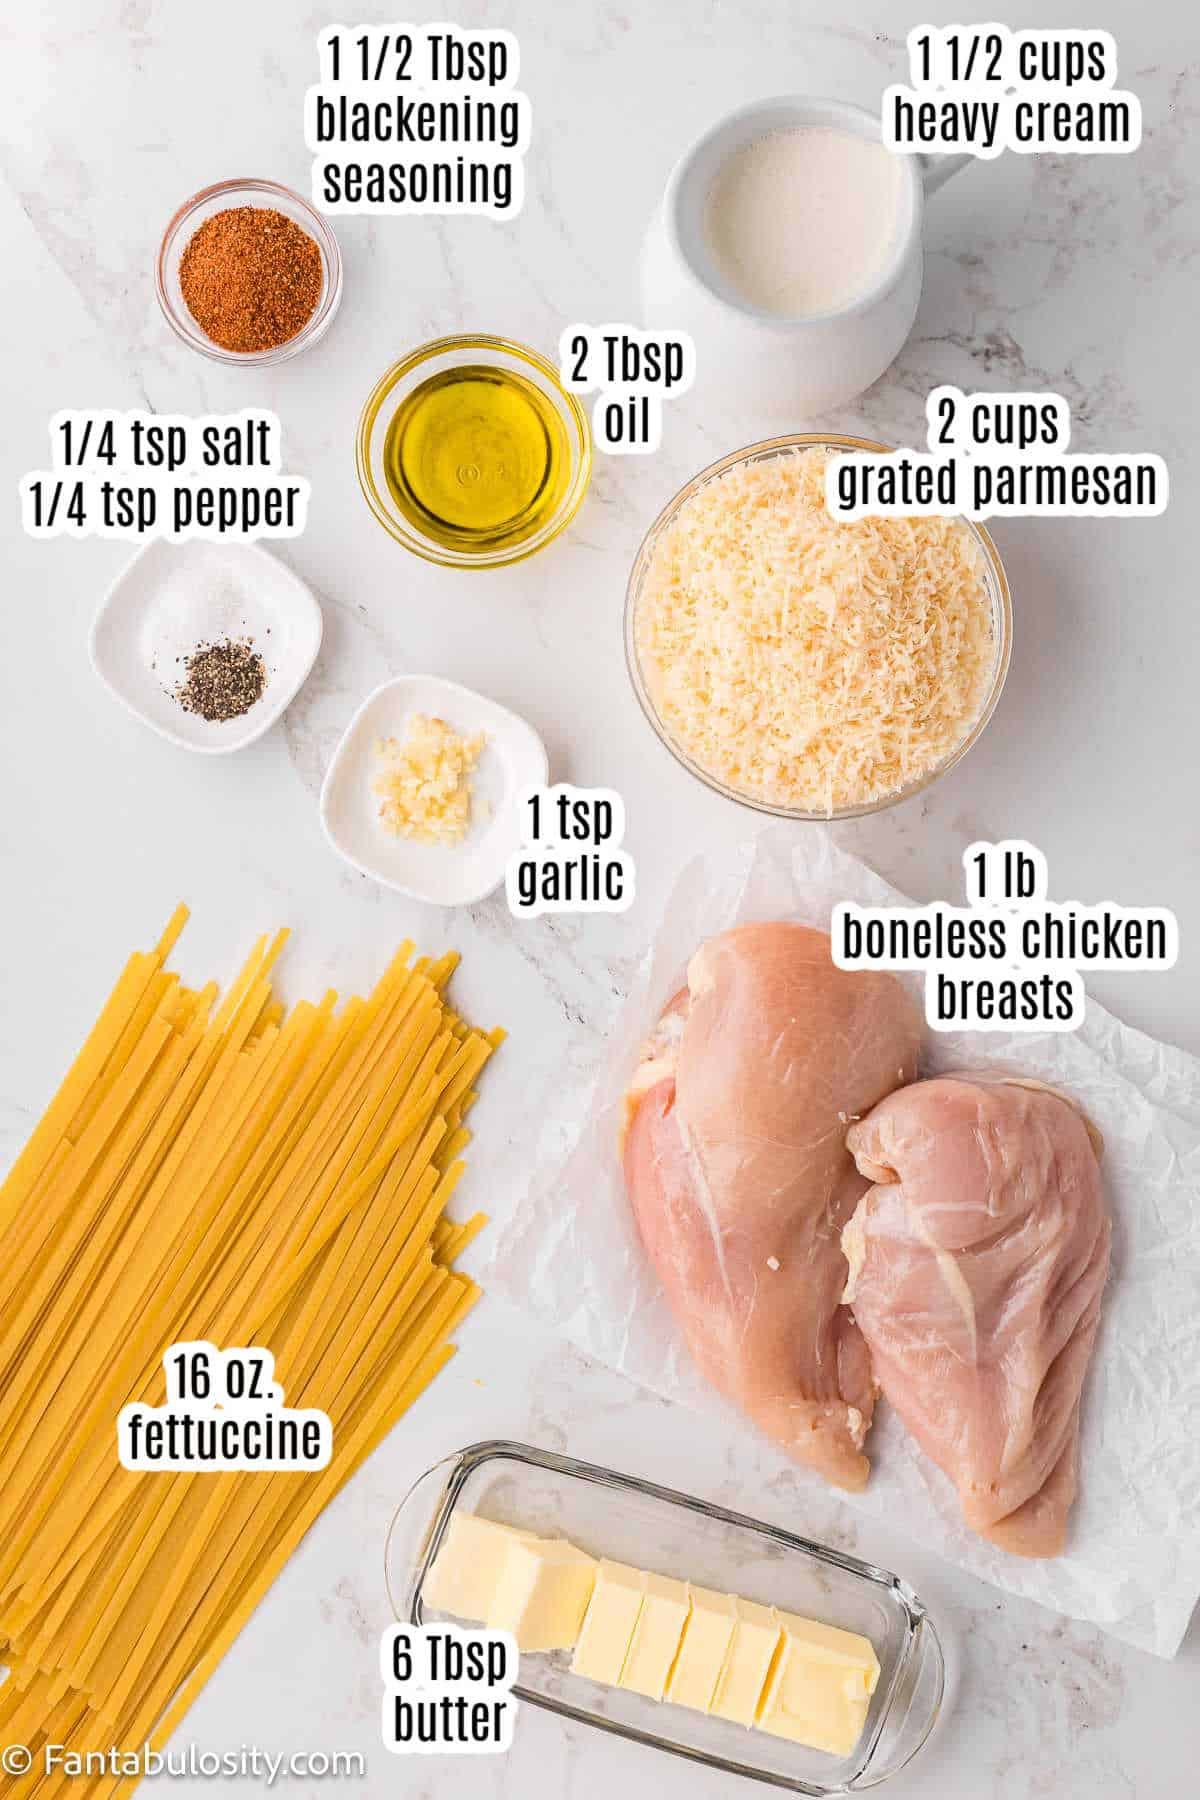
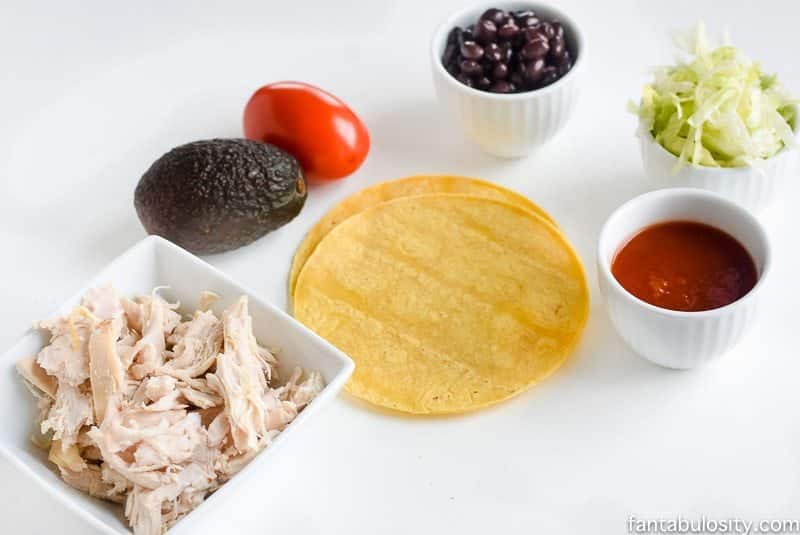
Ingredients
- 4 tortillas
- 12 pieces breaded fish fingers cooked (or preferred style of fish)
- 4 Tablespoons hummus any flavor
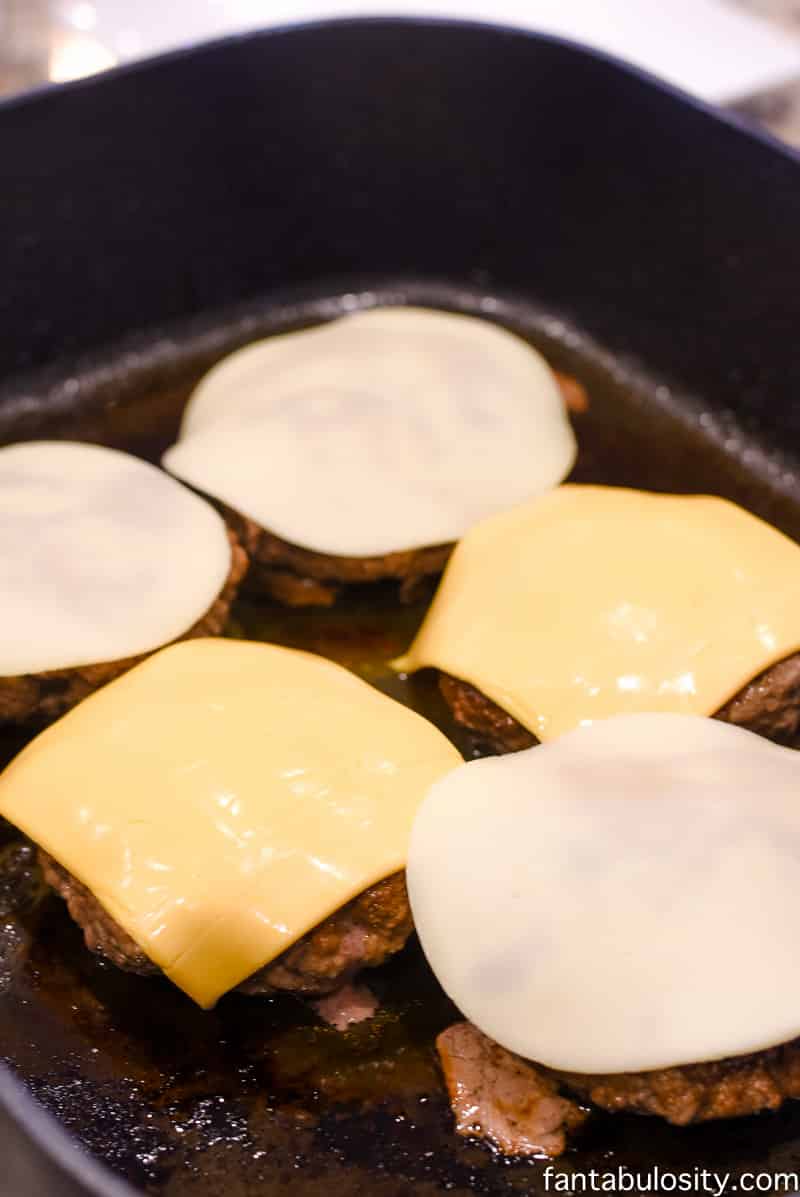
- 4 Tablespoons shredded cheese
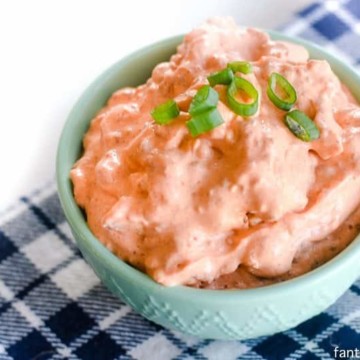
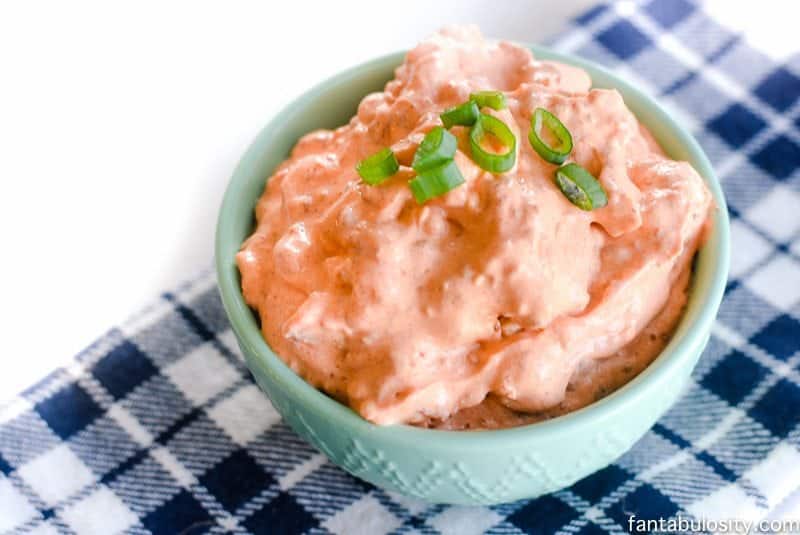
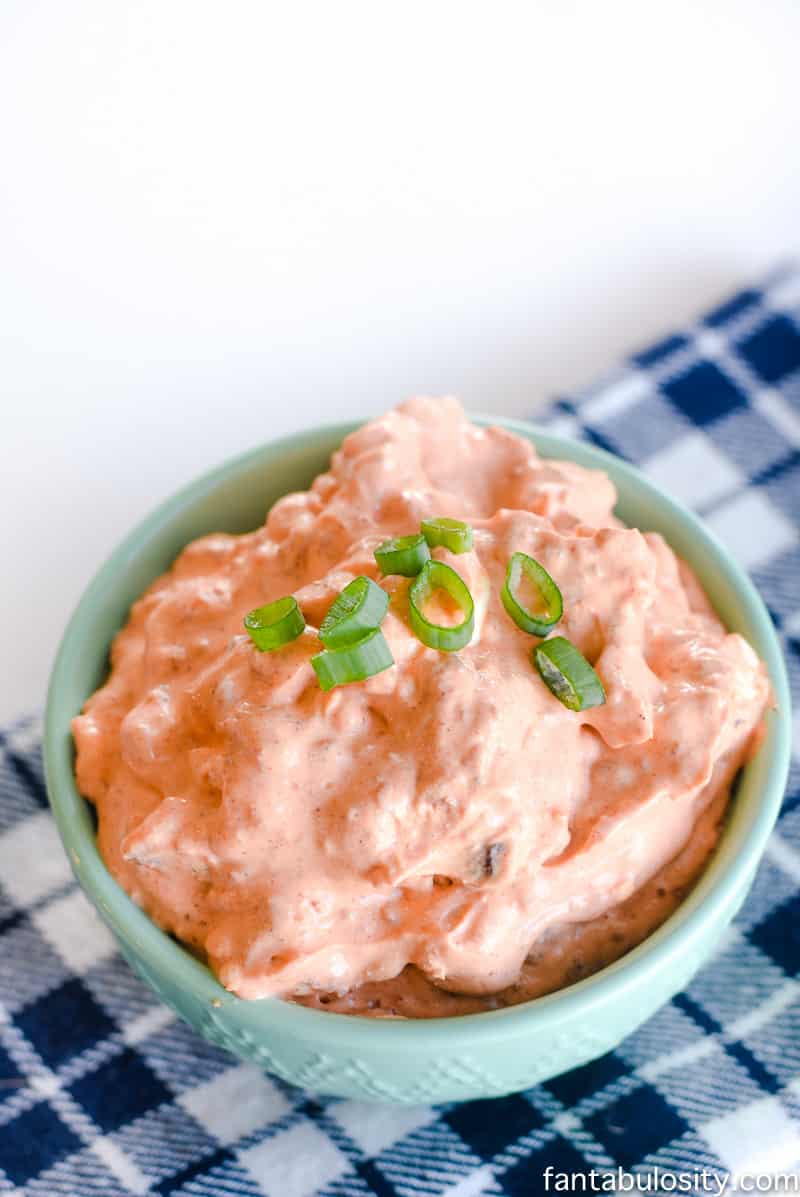
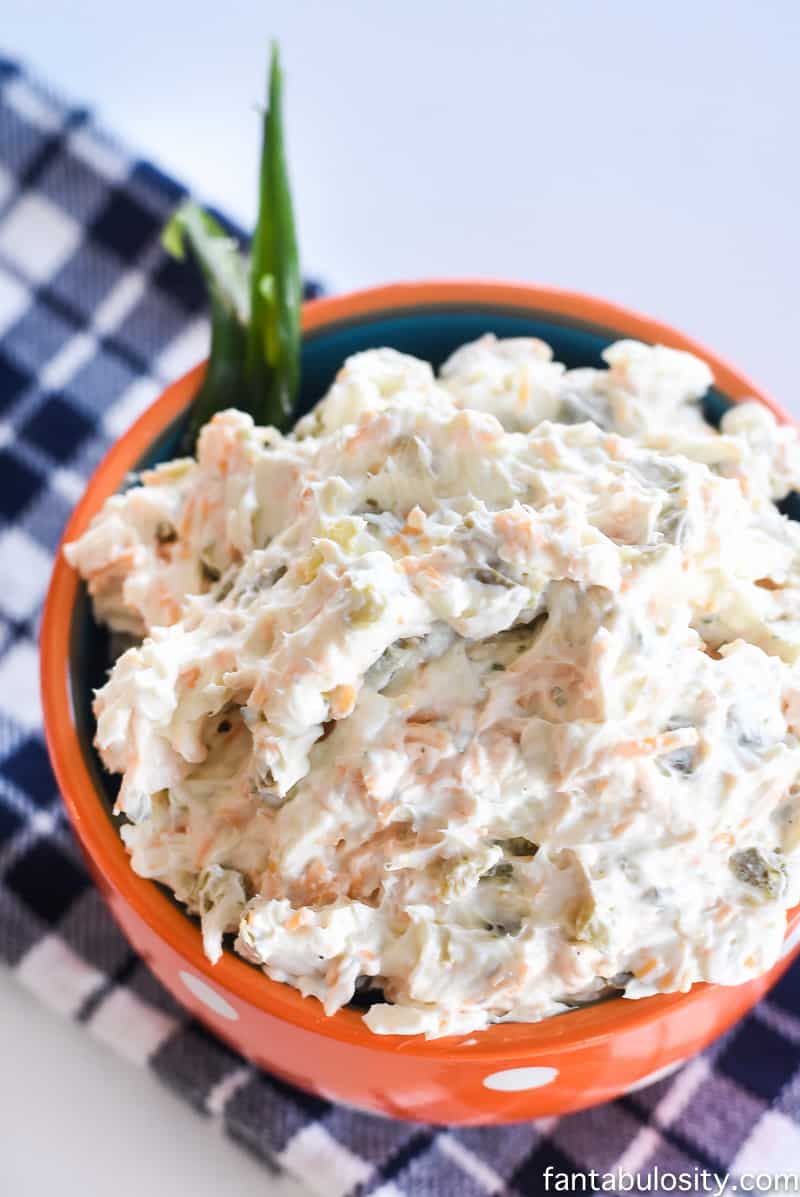
- 2 cups coleslaw We LOVE this KFC coleslaw recipe
- ½ cup cilantro-avocado dressing I used Bolthouse Farms dressing, found in the cold section of the grocery store.
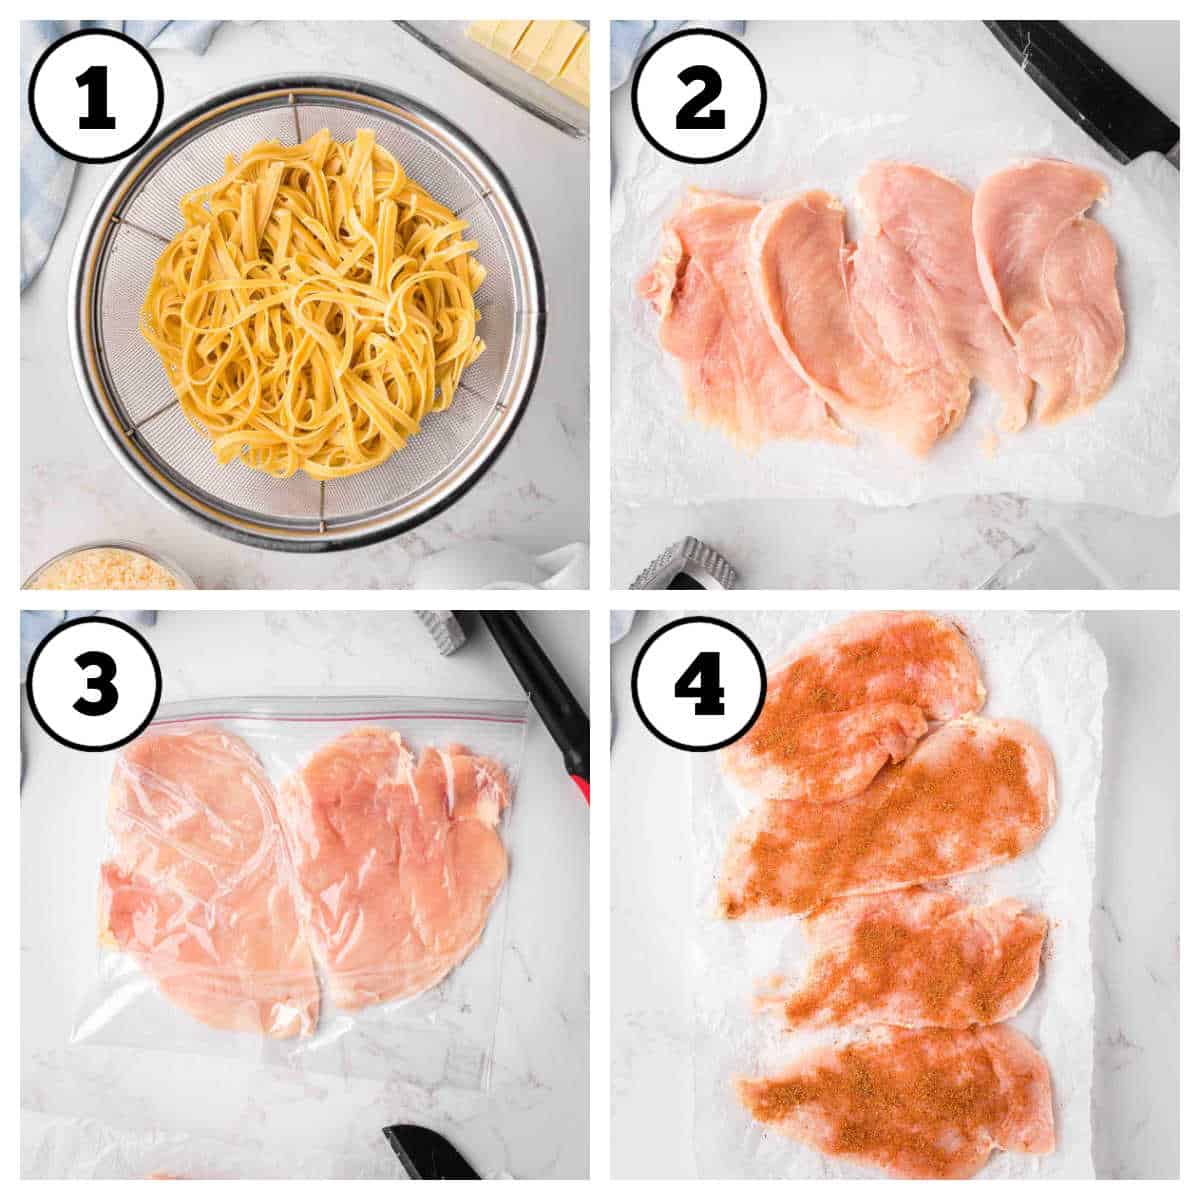
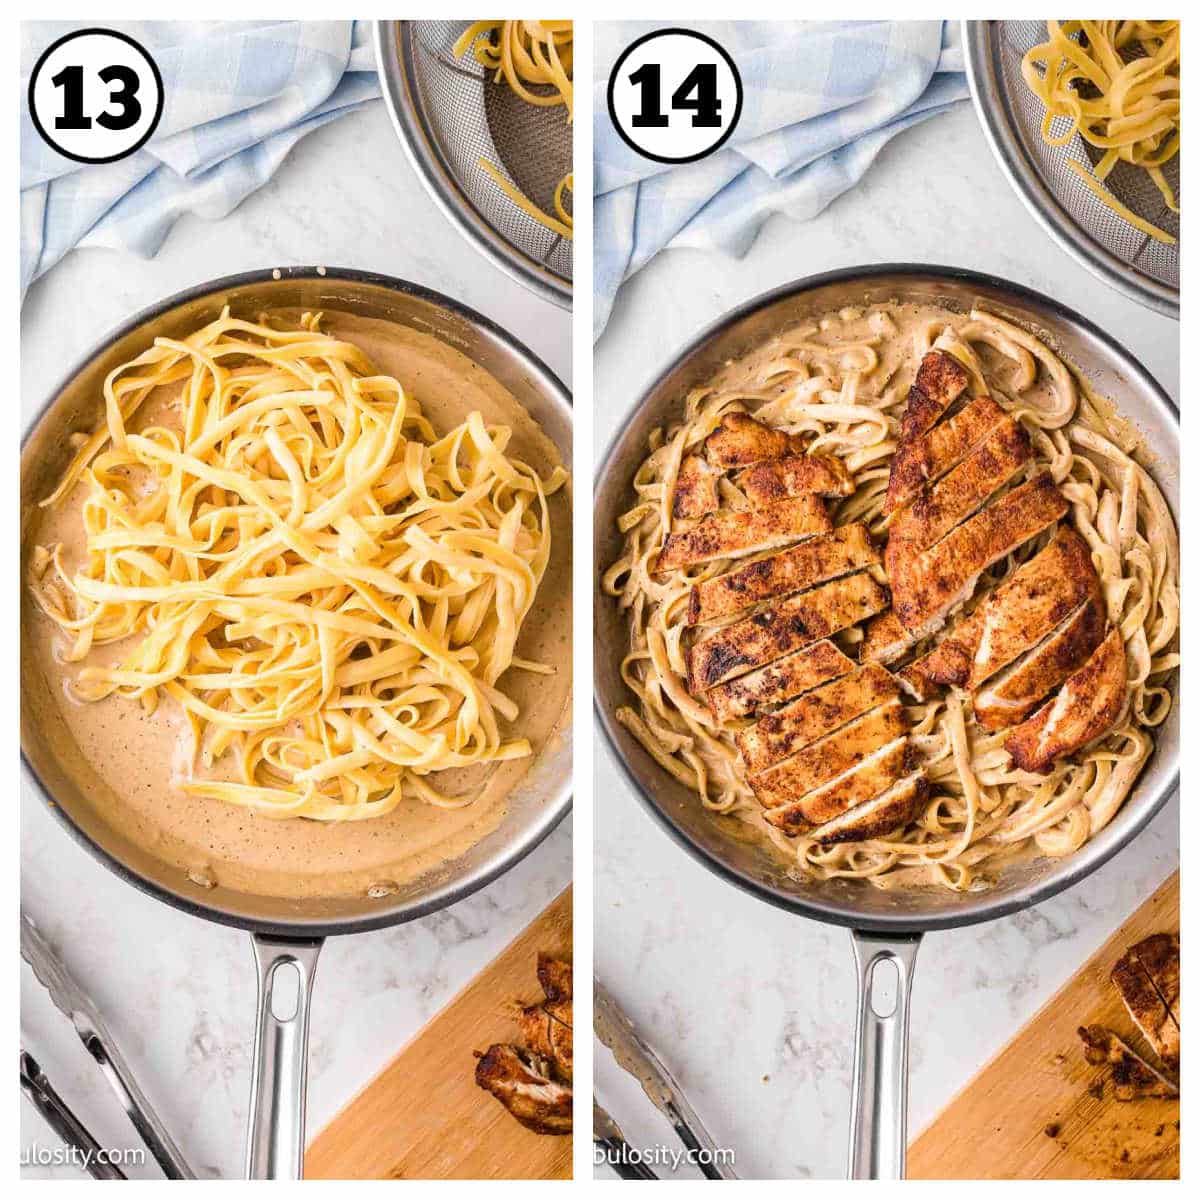
Instructions
- First, mix together the coleslaw shreds with the cilantro-avocado dressing. Set aside.
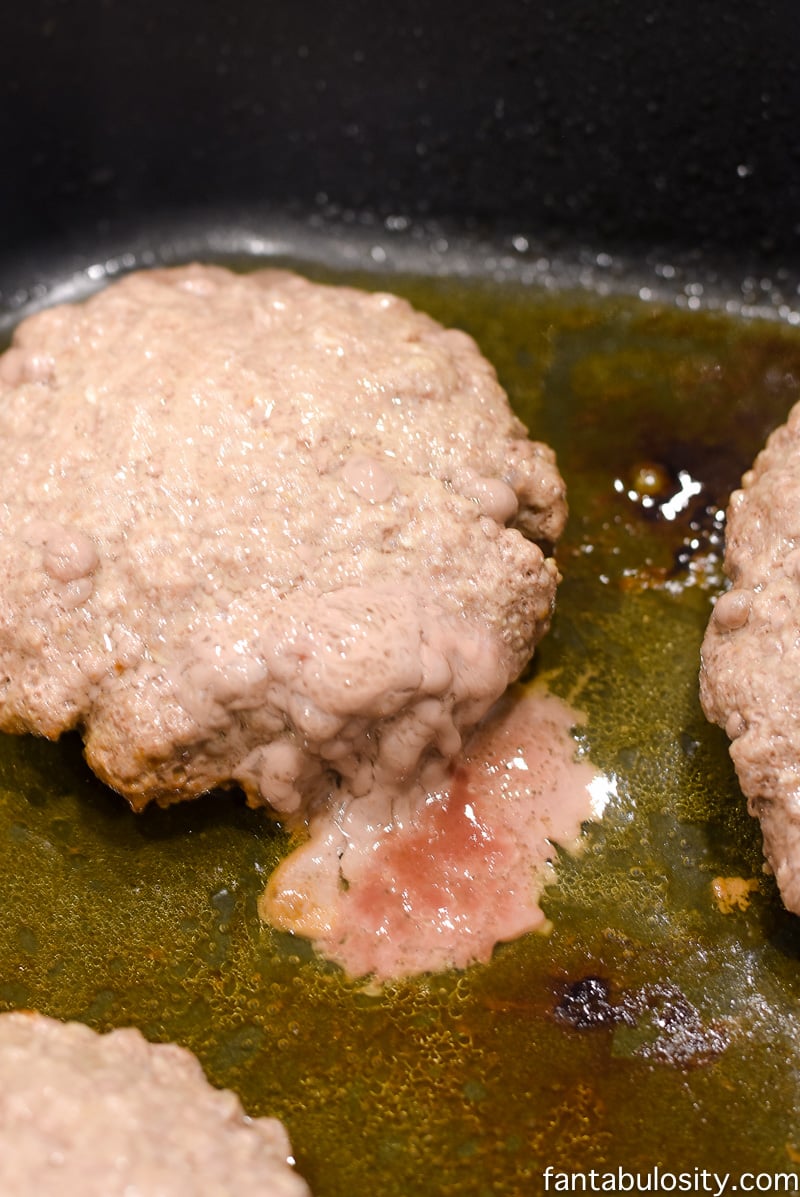
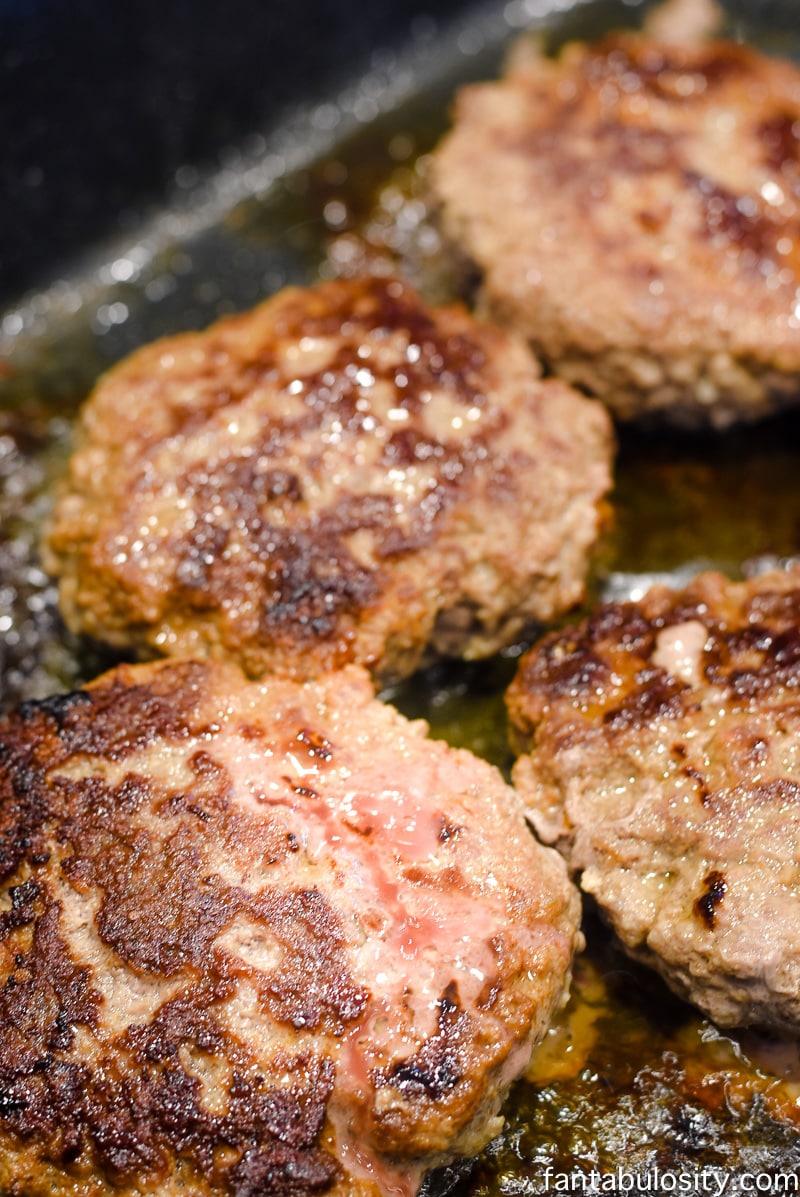
- If using frozen fish, cook according to package directions.
- Cut up the fish into small pieces. Set aside.
- Using a tablespoon of hummus for each, spread the hummus down the middle of each tortilla.
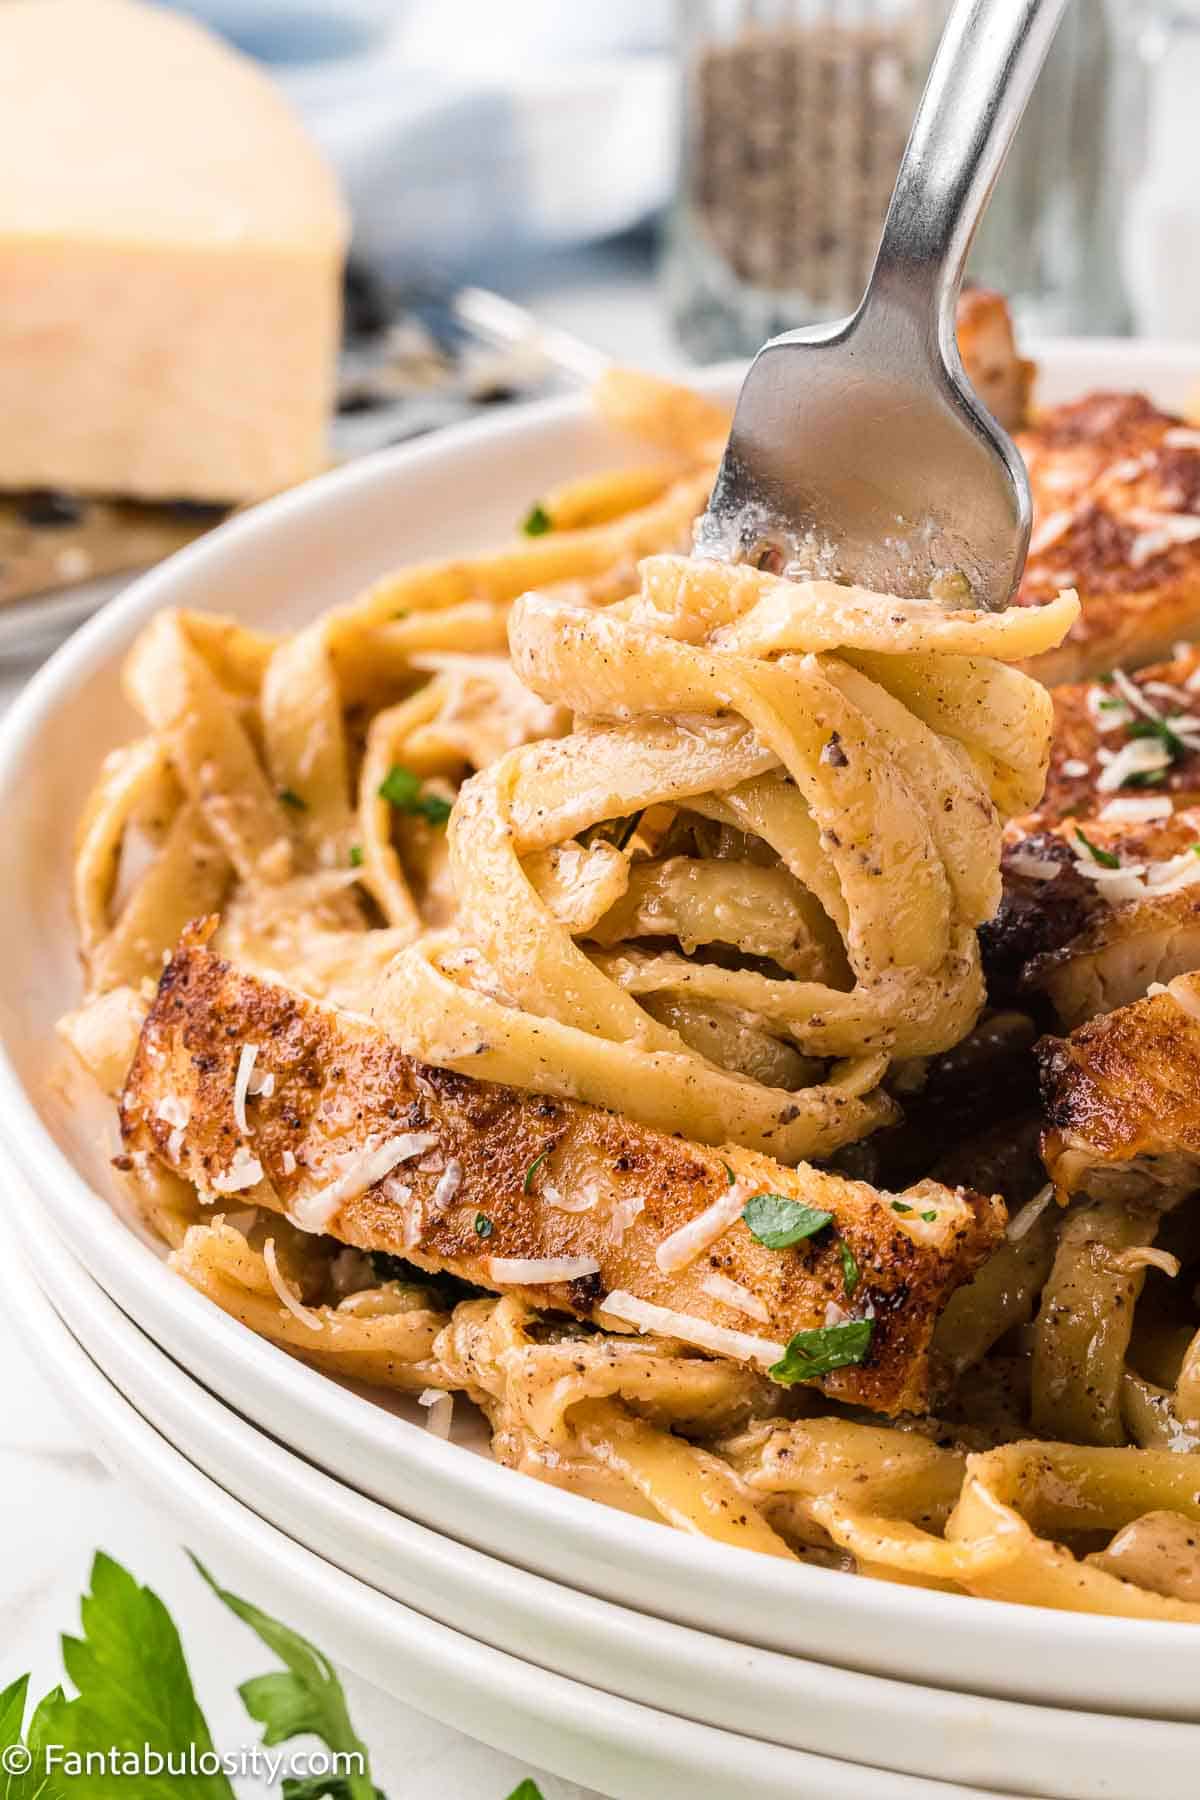
- Top with fish, shredded cheese, and coleslaw. Serve.


 Reeses Cups: