30th Birthday Ideas for Him: A list of birthday gift ideas from men who were asked what they would like to receive for their 30th birthday!

30th Birthday Ideas for Him
Just a couple of years ago, I was right where you are…
What do I get my husband for his birthday!?
Before marriage it was,
What do I get my boyfriend for his birthday?
I totally get it. They can be SO hard to shop for, no matter what your relationship with them is.
Well, I wanted to put an end to all of the guessing games when it comes to 30th birthday ideas for a husband, good friend or even a brother or family member!
I polled a TON of men around the age of 30, to get to the bottom of it, and find out exactly what men really wanted for their 30th birthday. (Give/Take a few years if need be.)

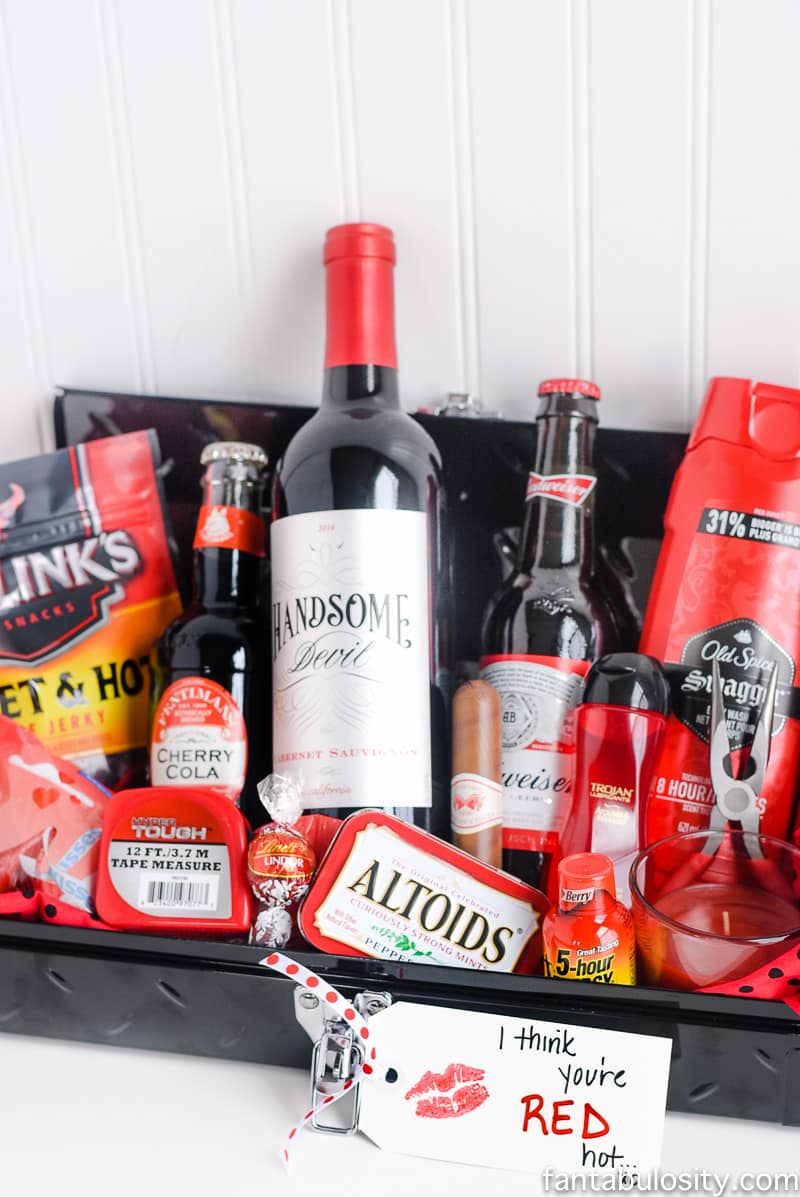
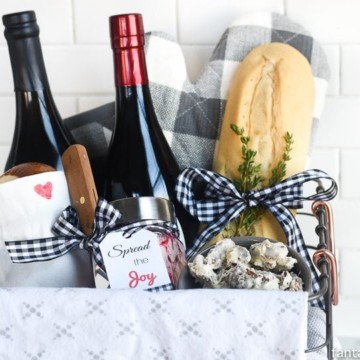
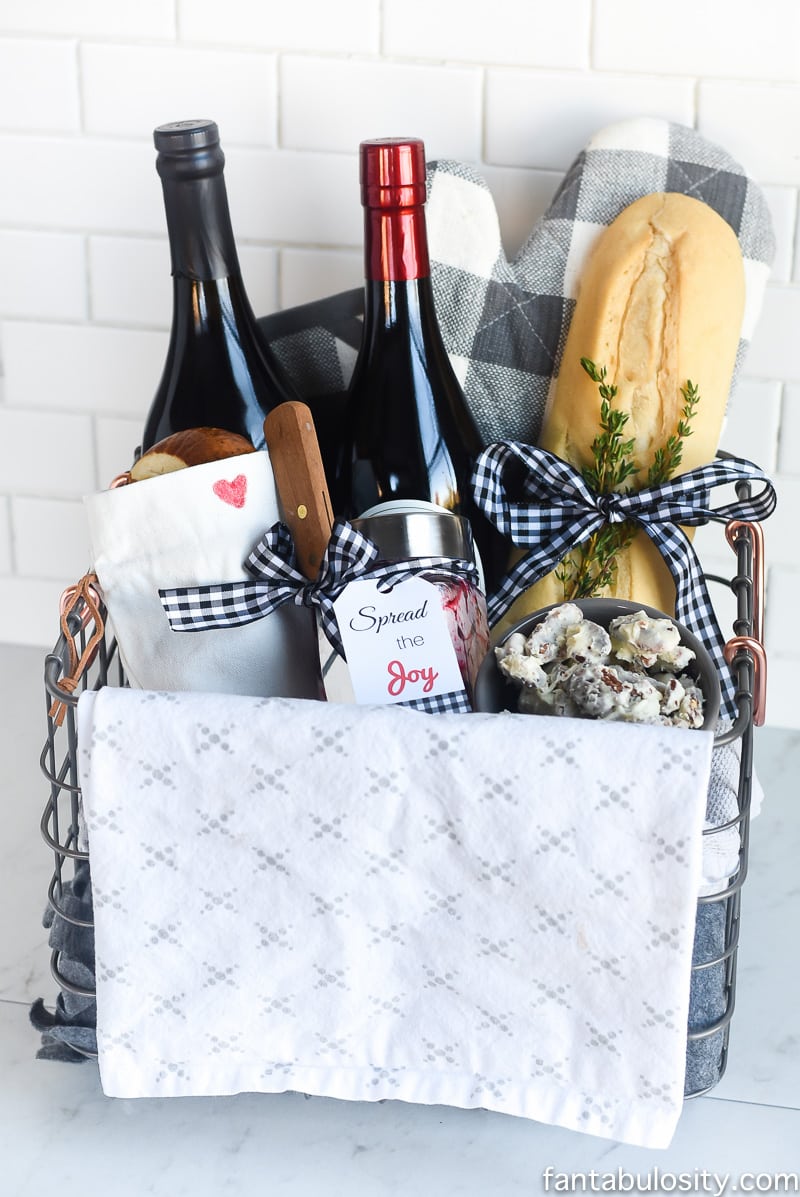
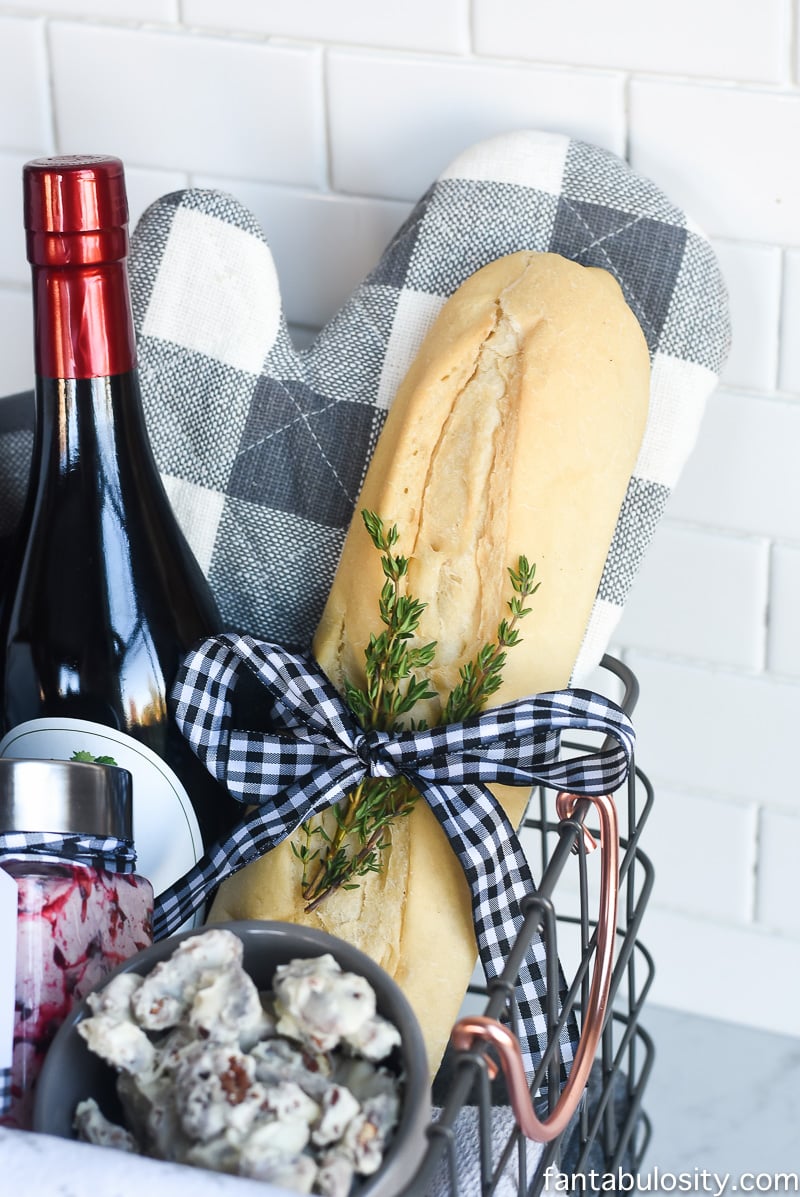
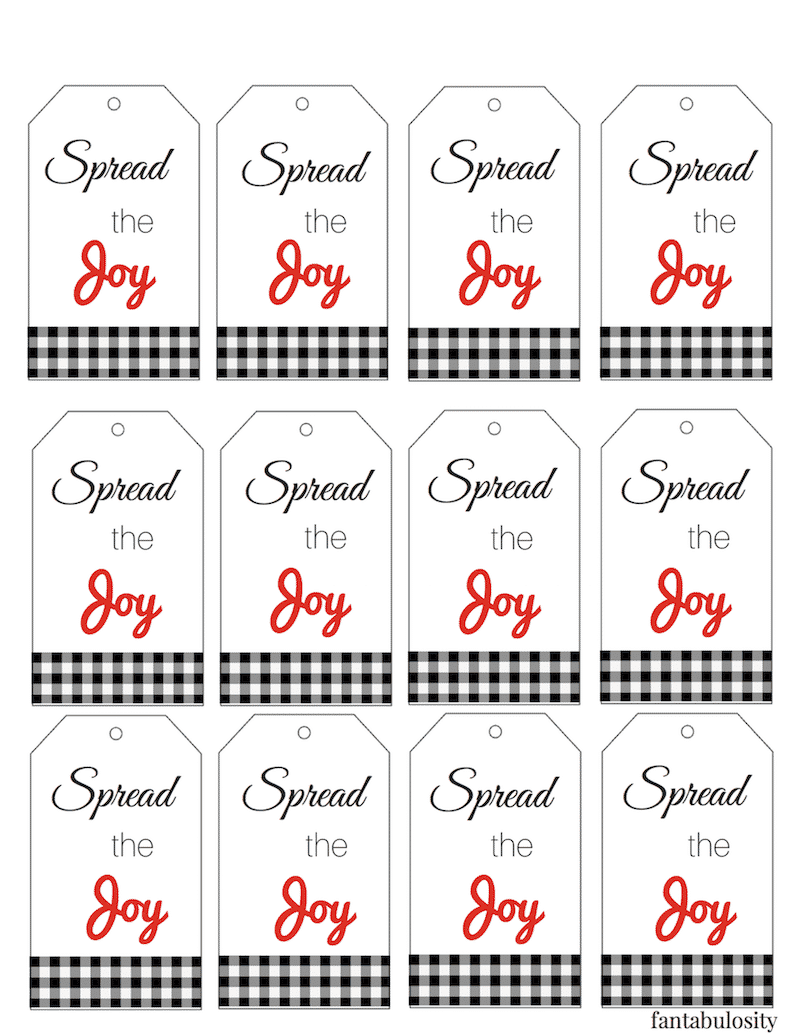
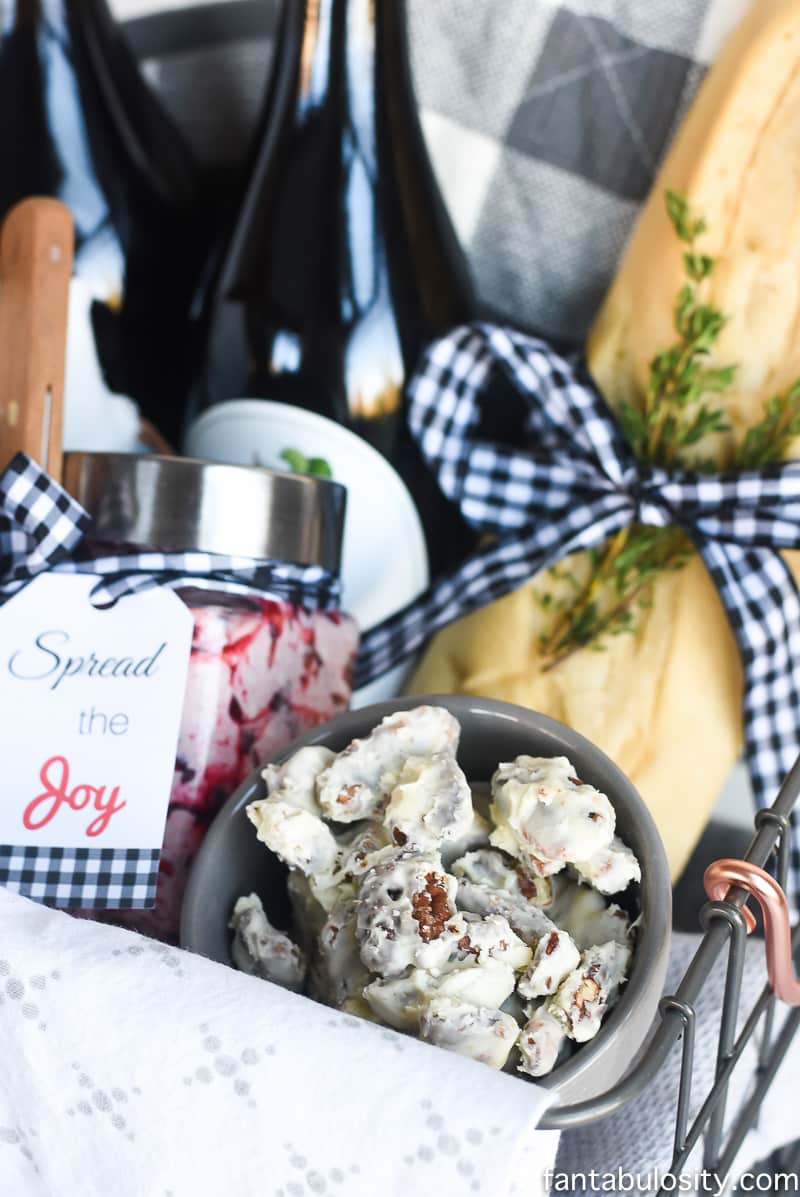
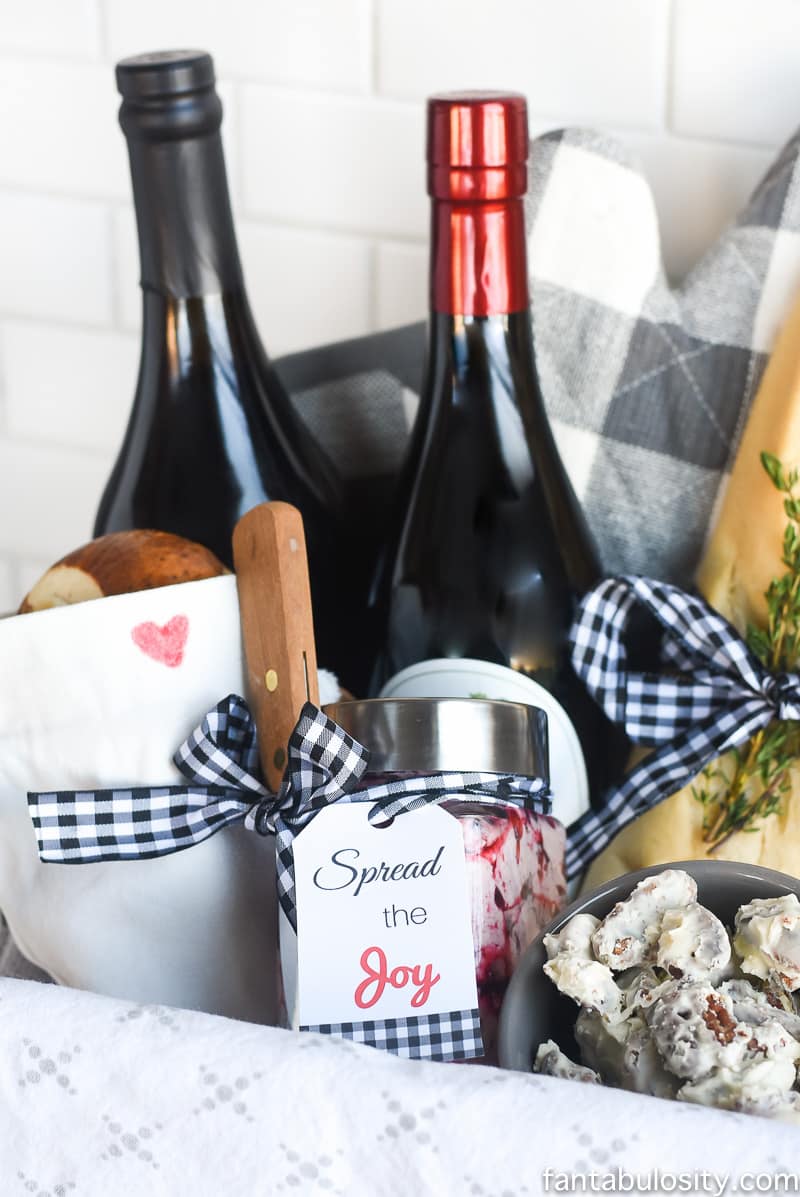
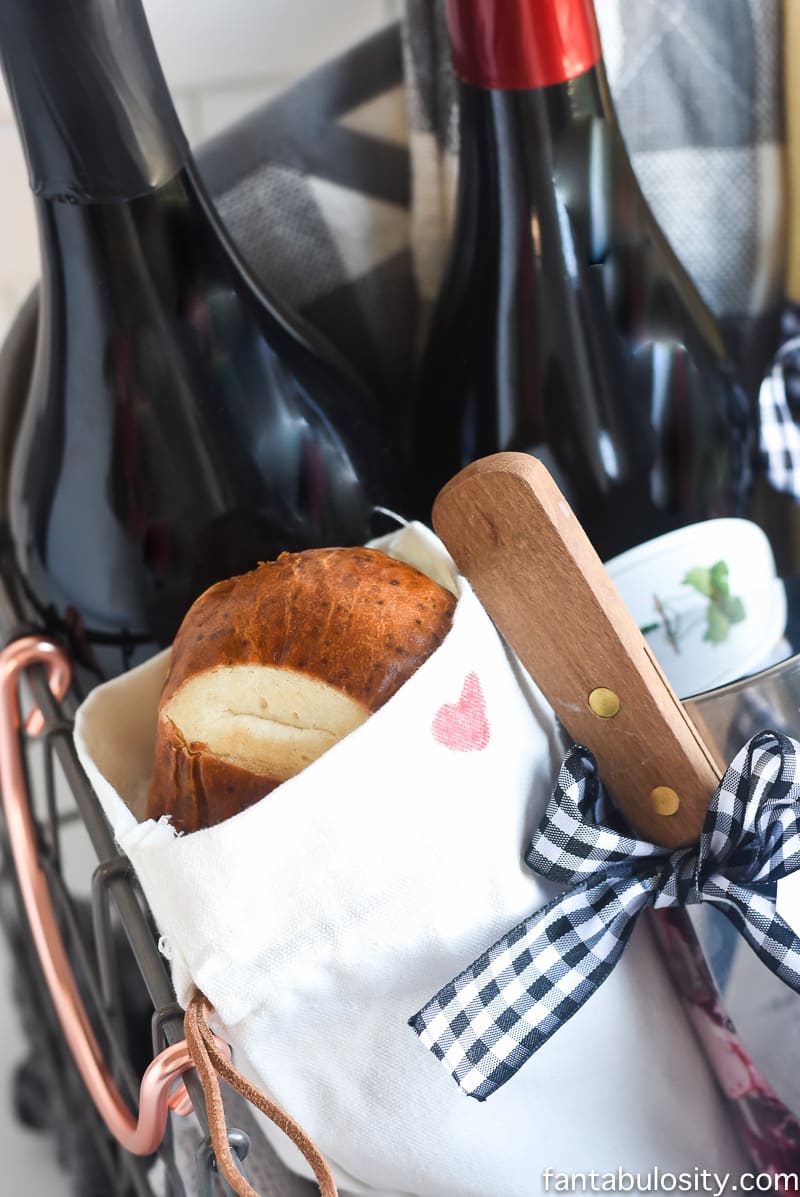
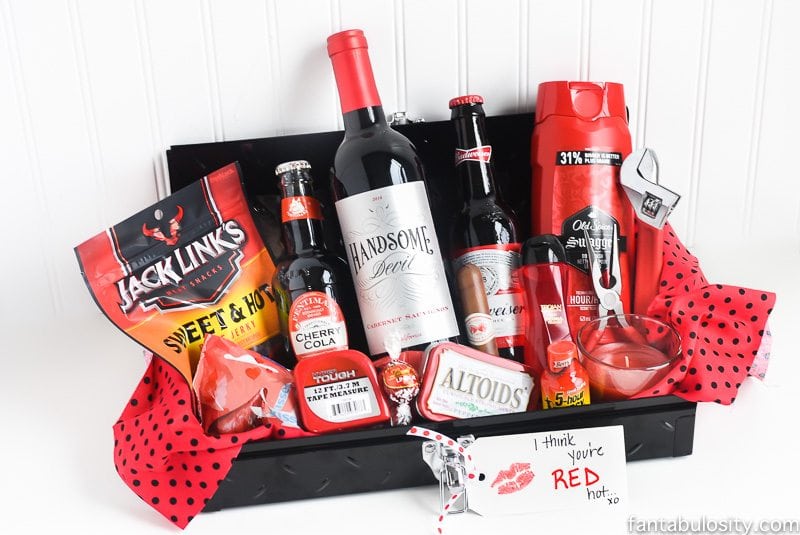
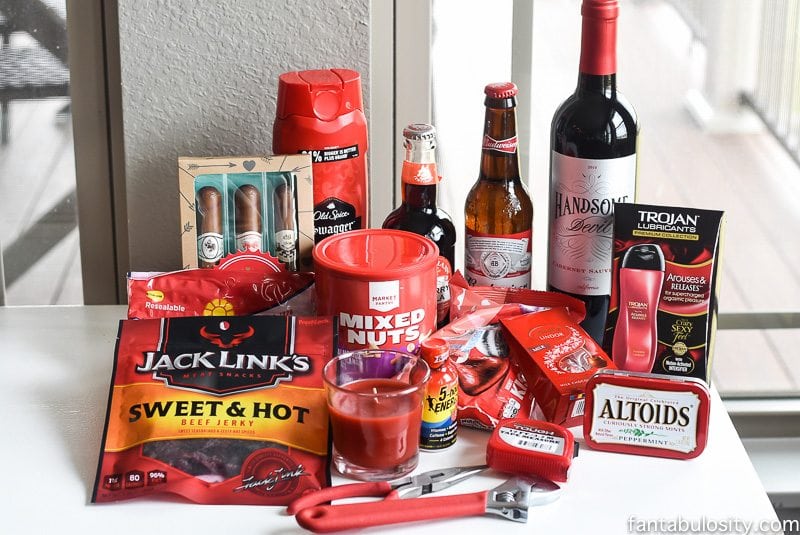
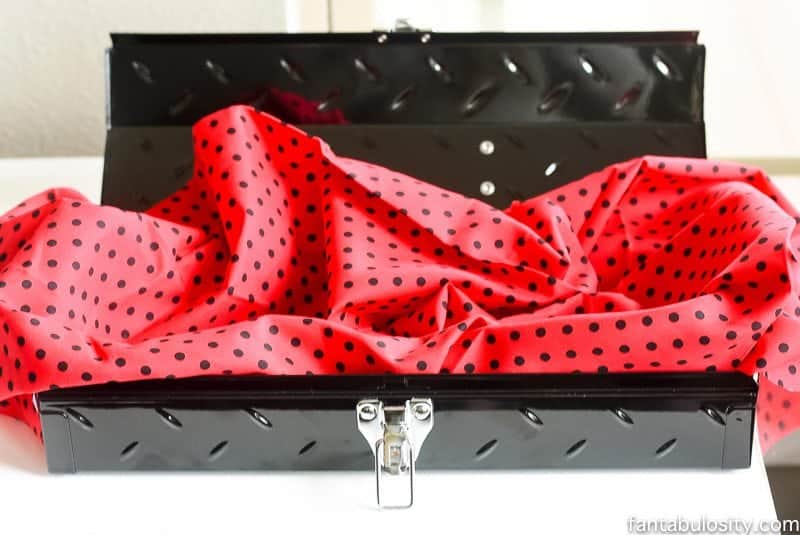
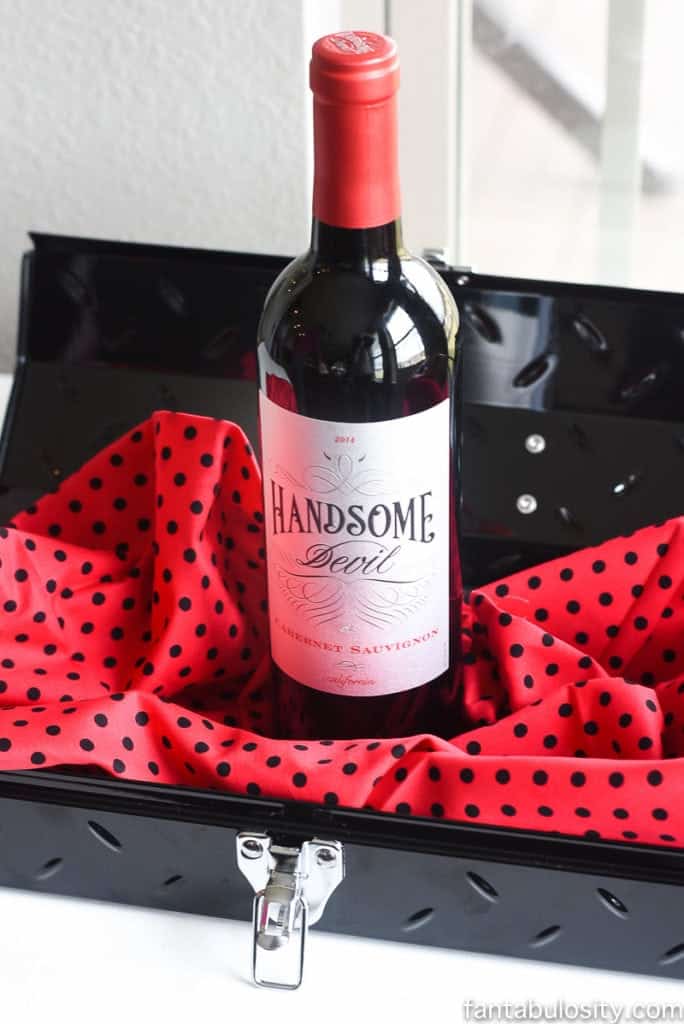
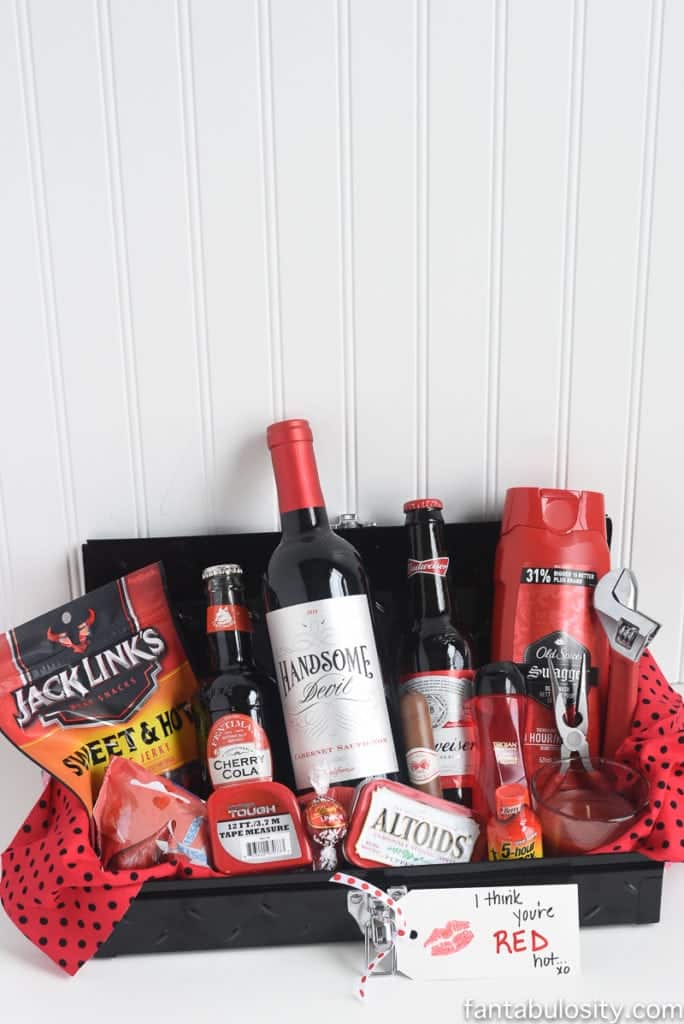
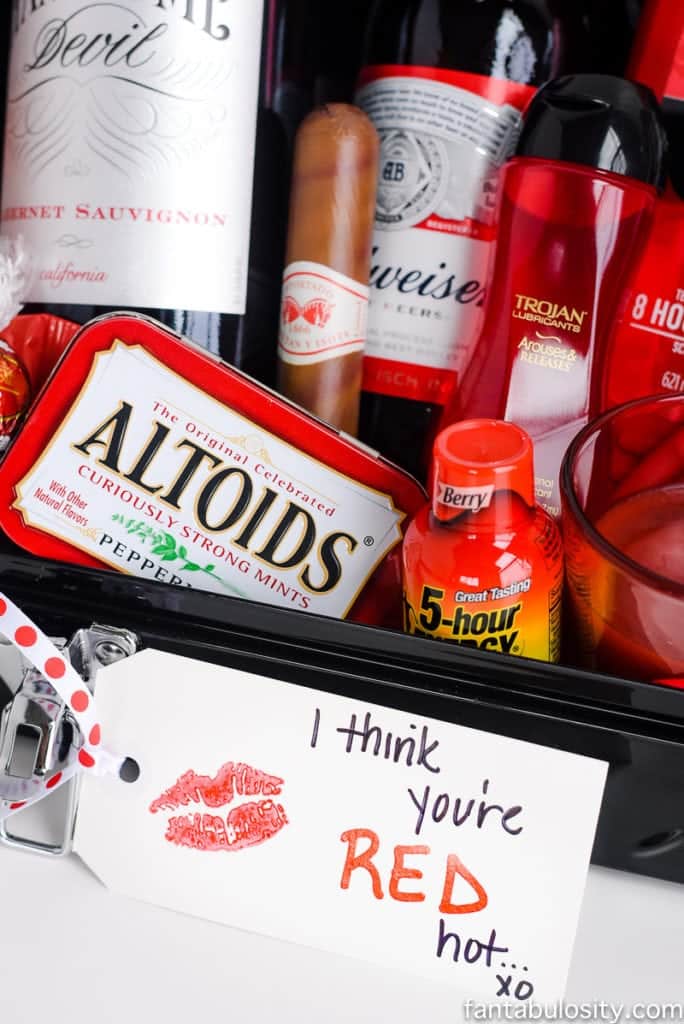
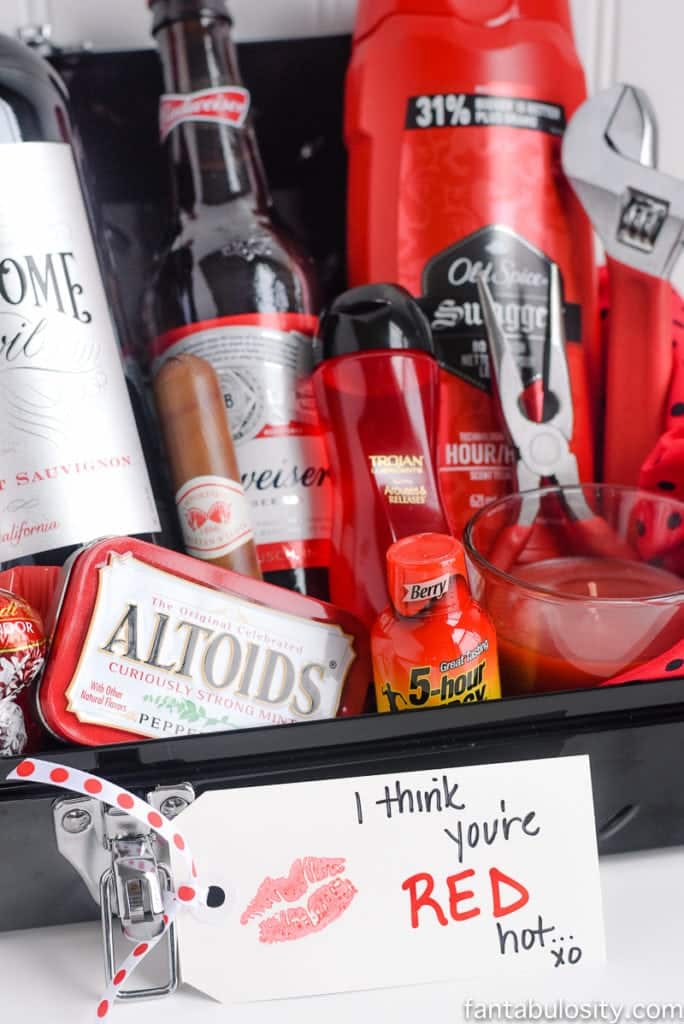
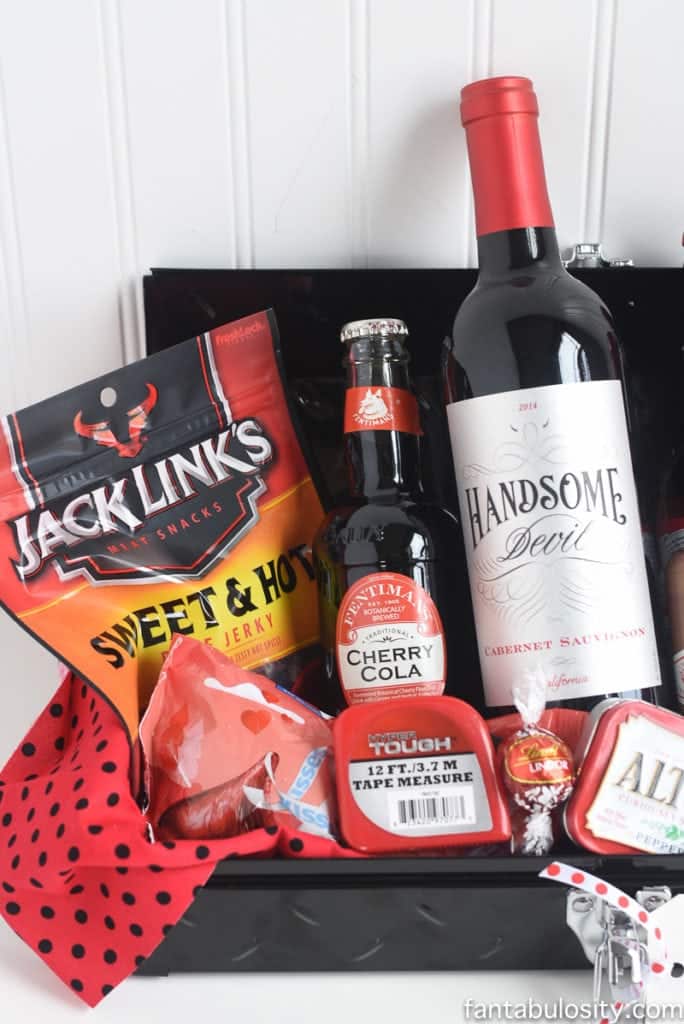
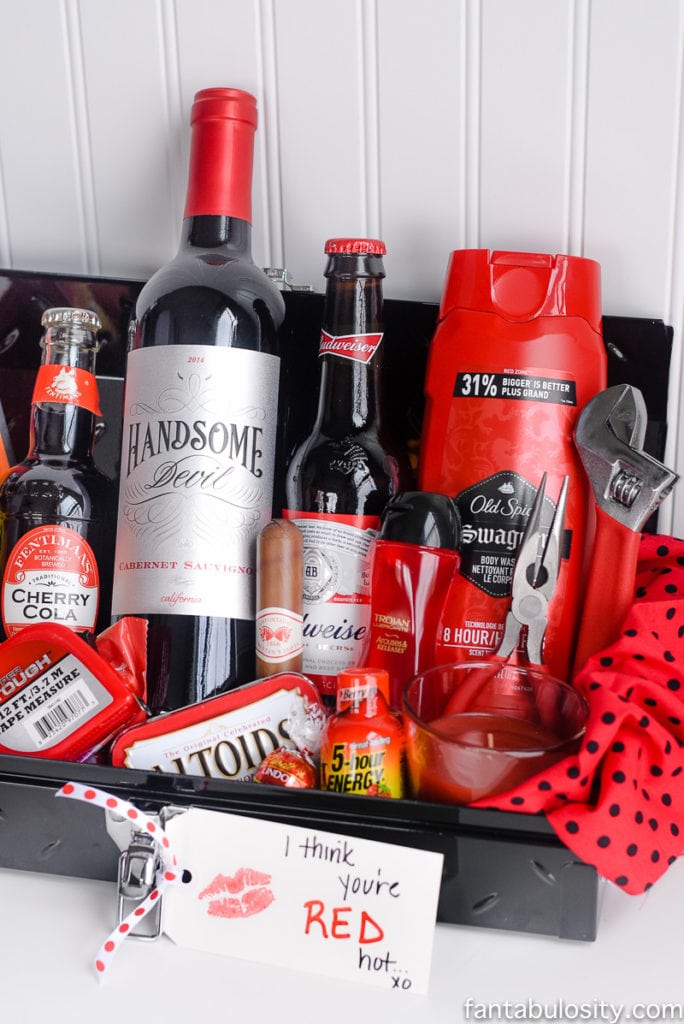
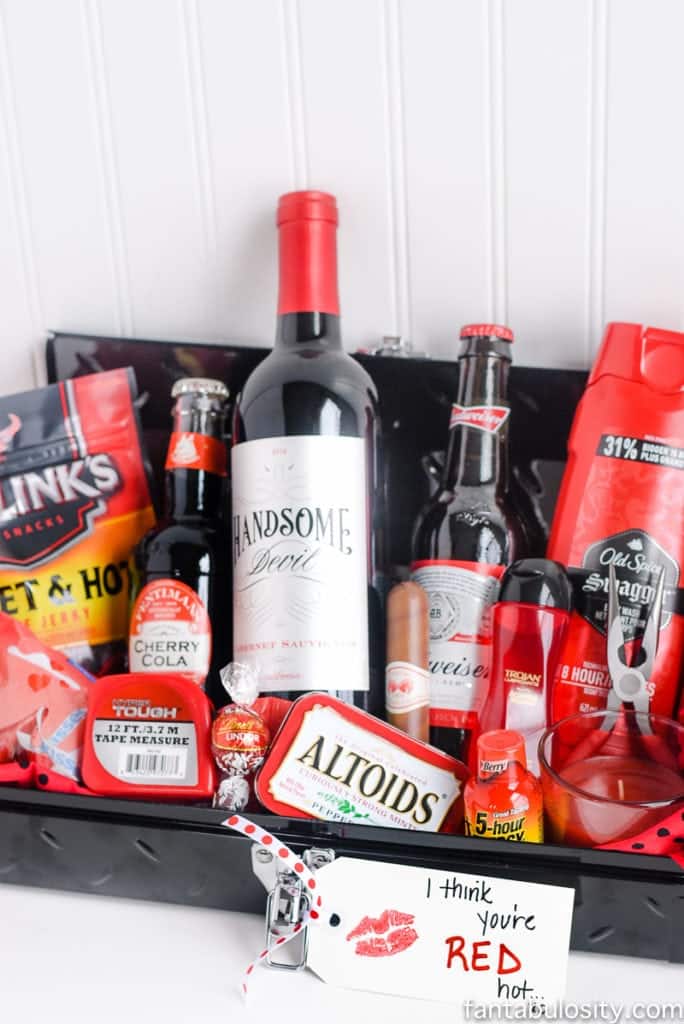
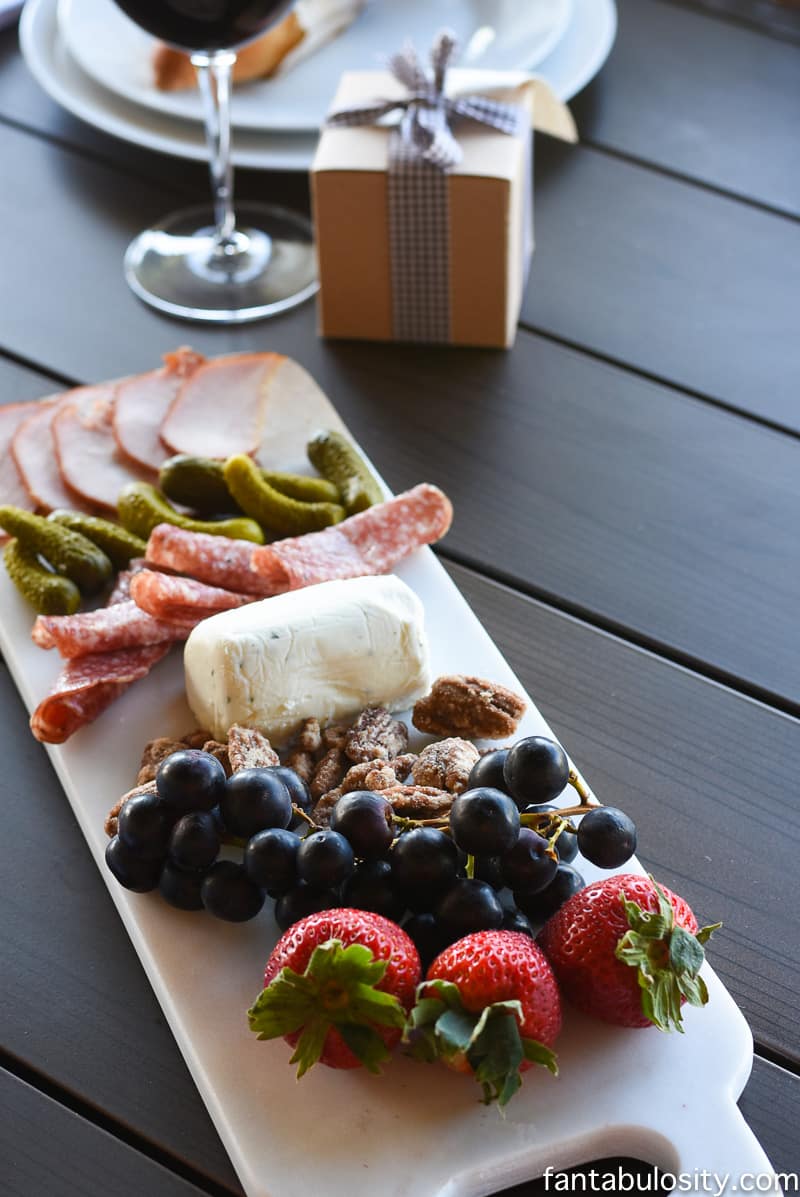
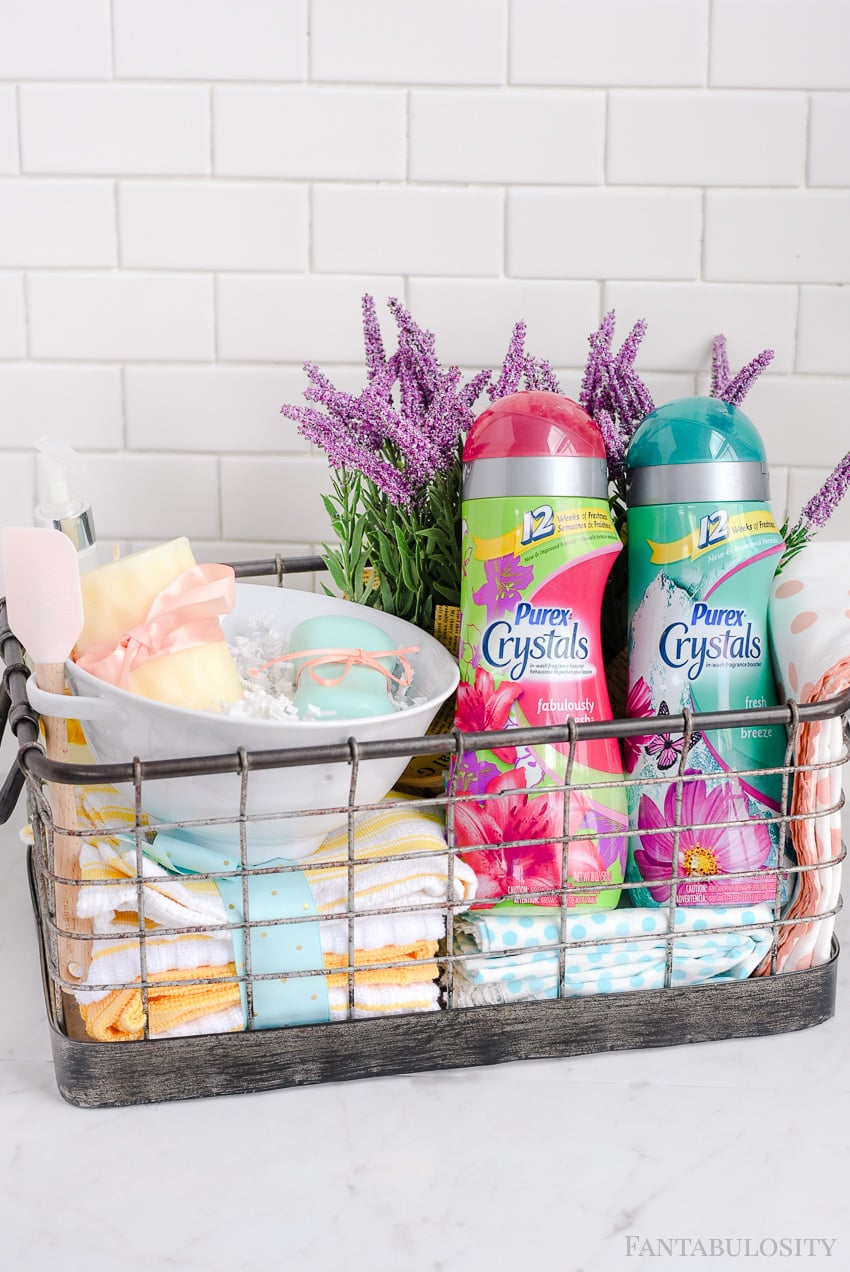
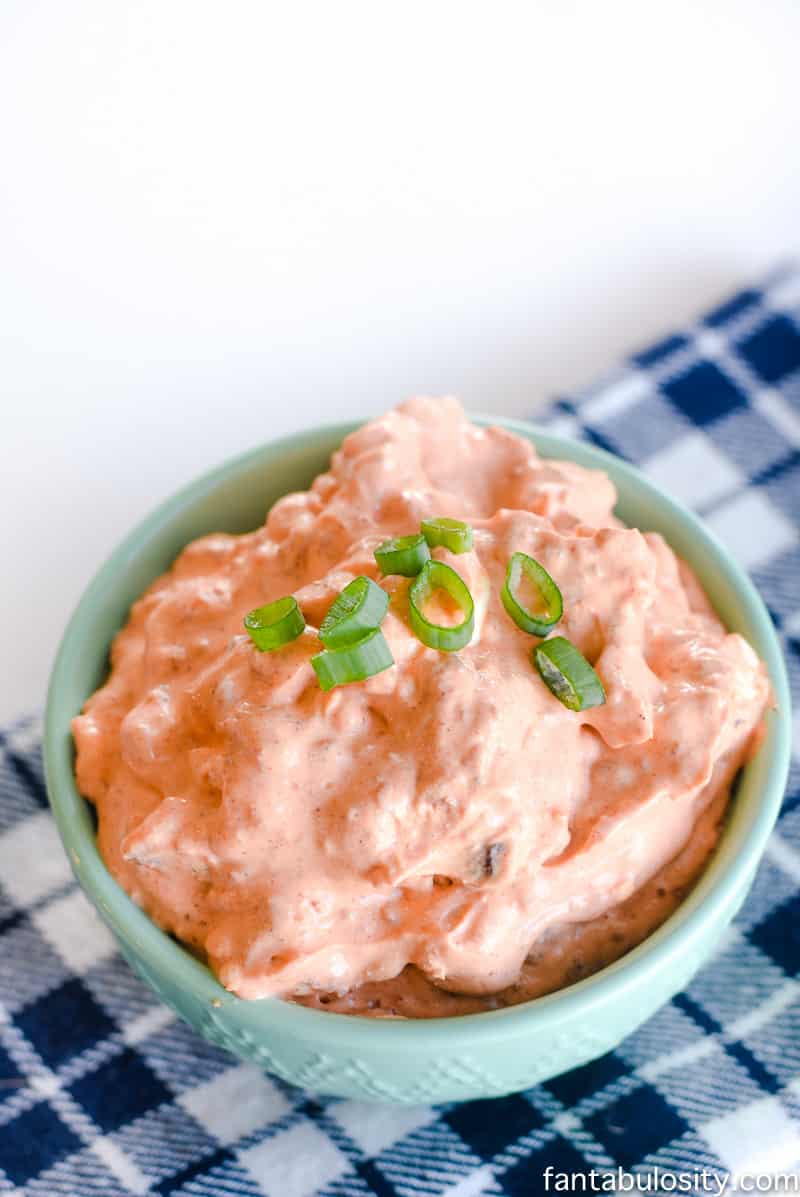
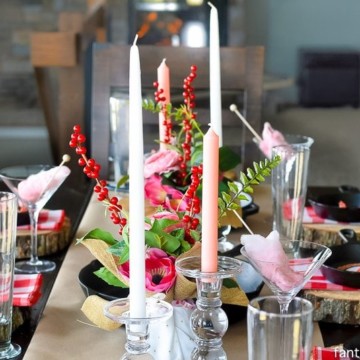
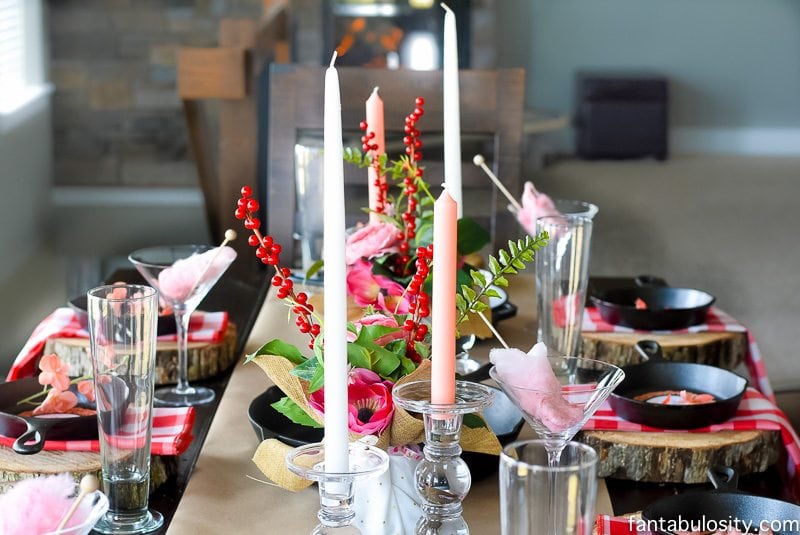
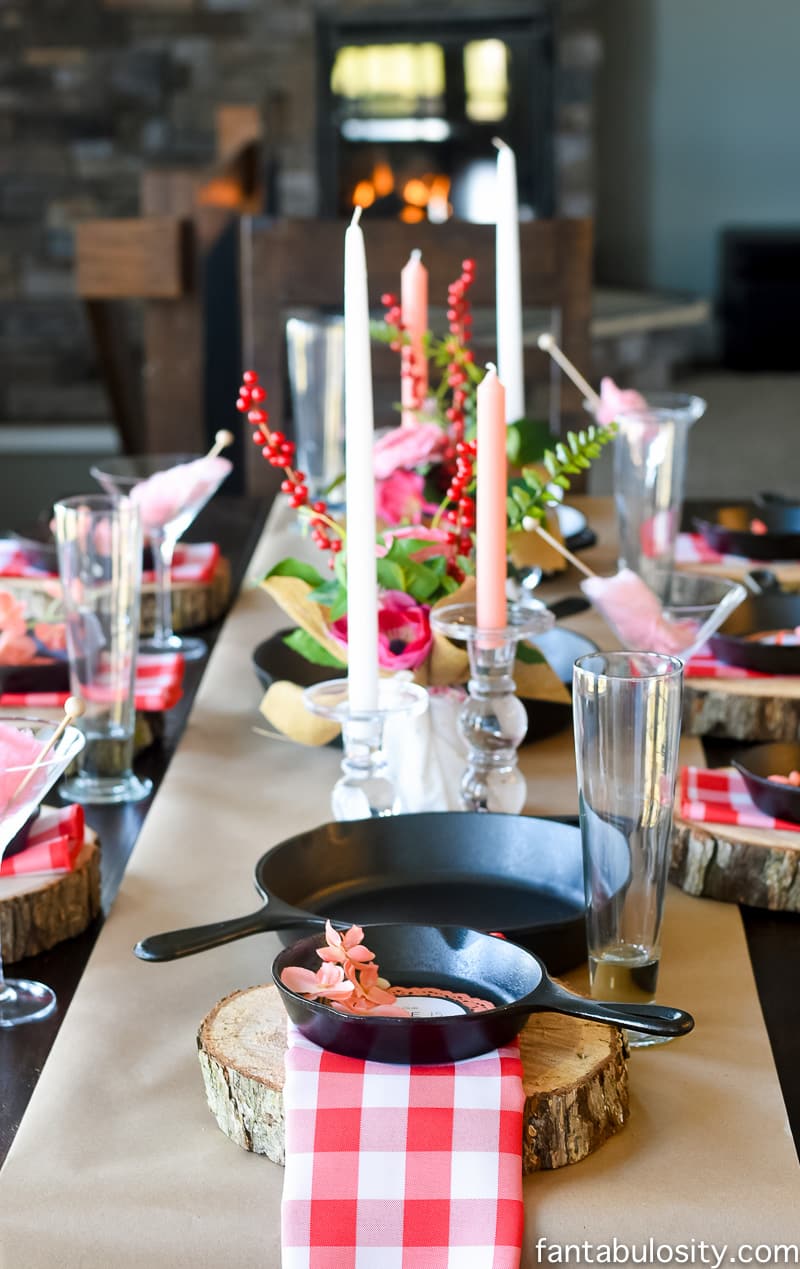
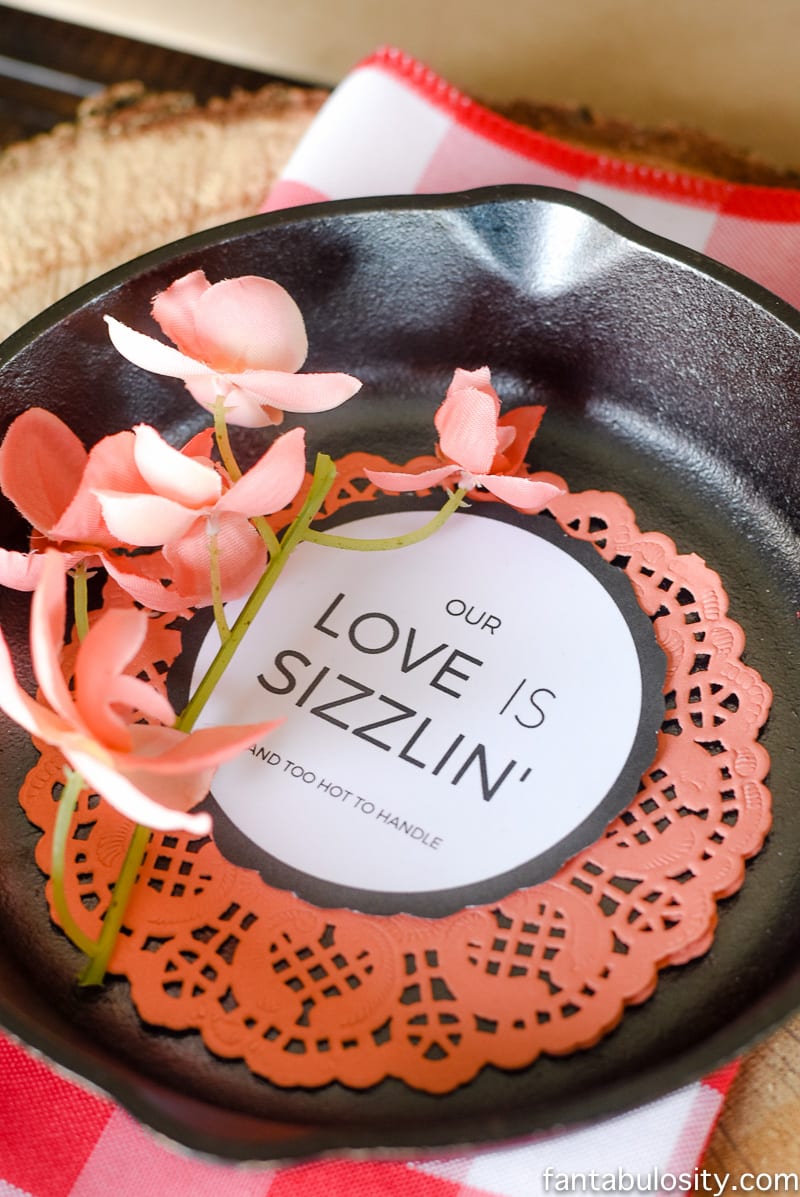
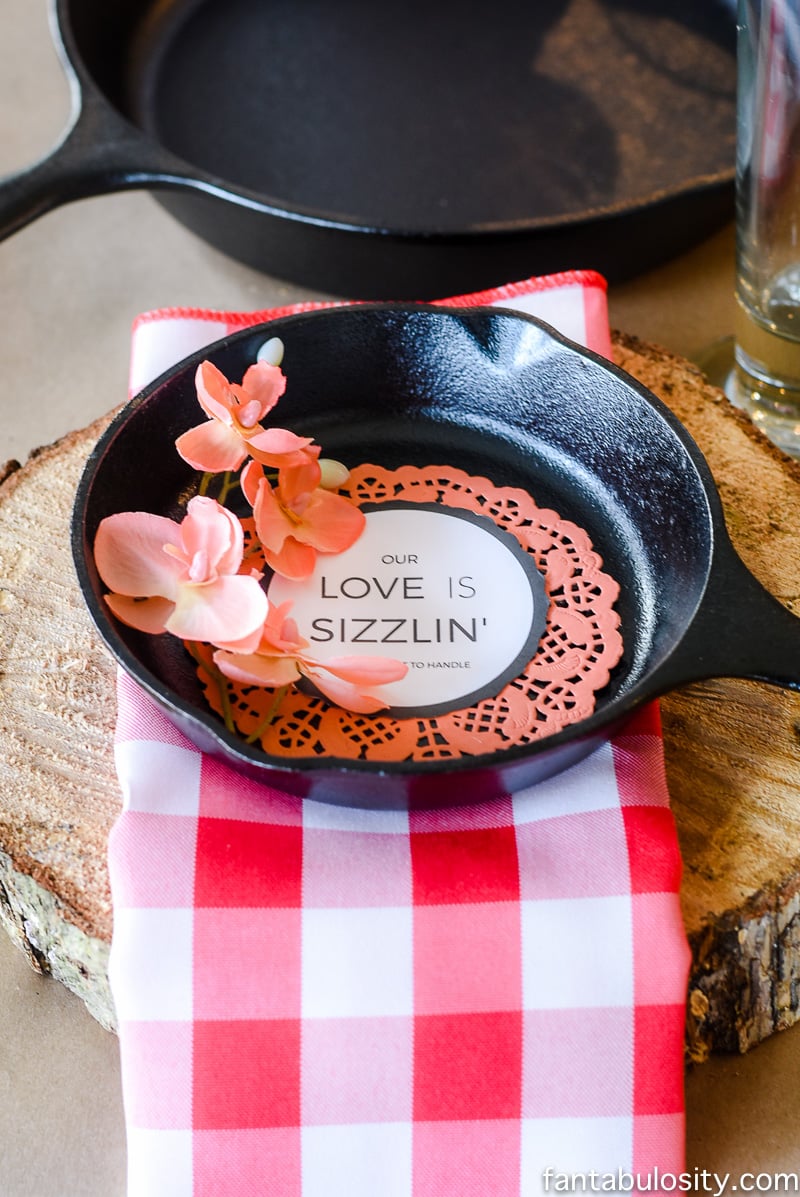
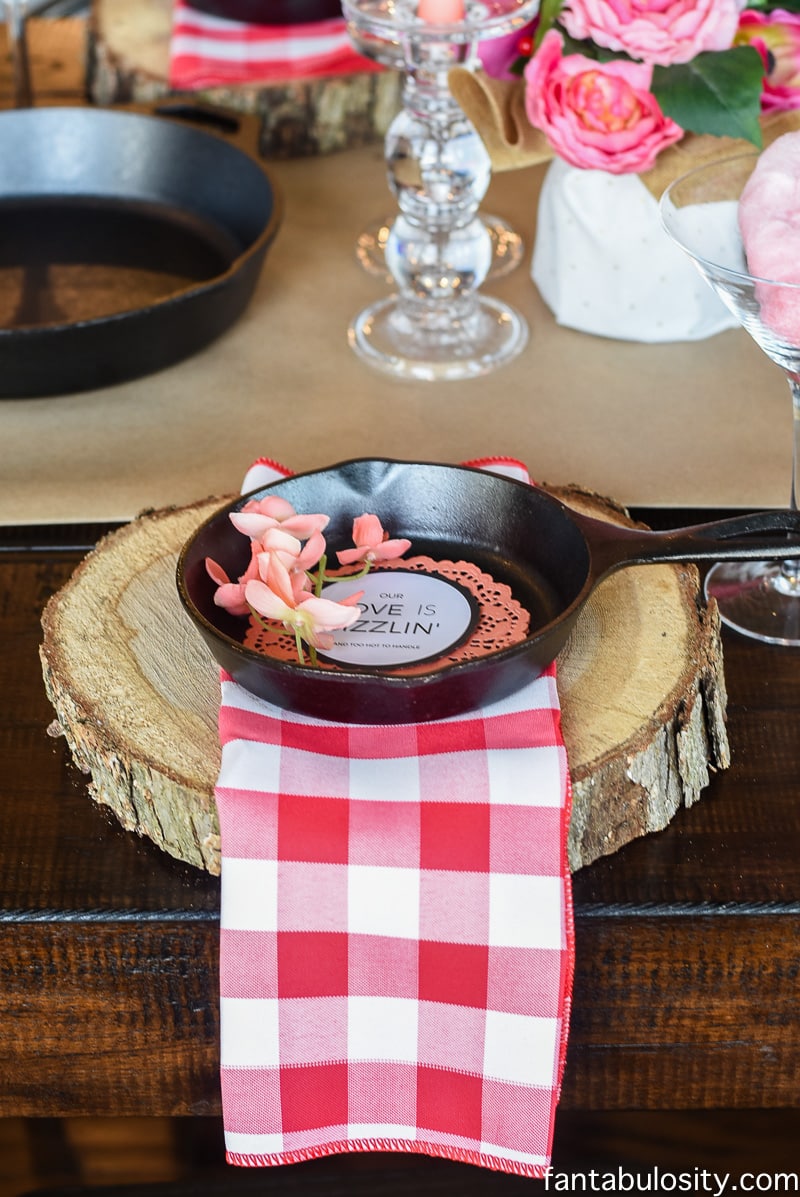
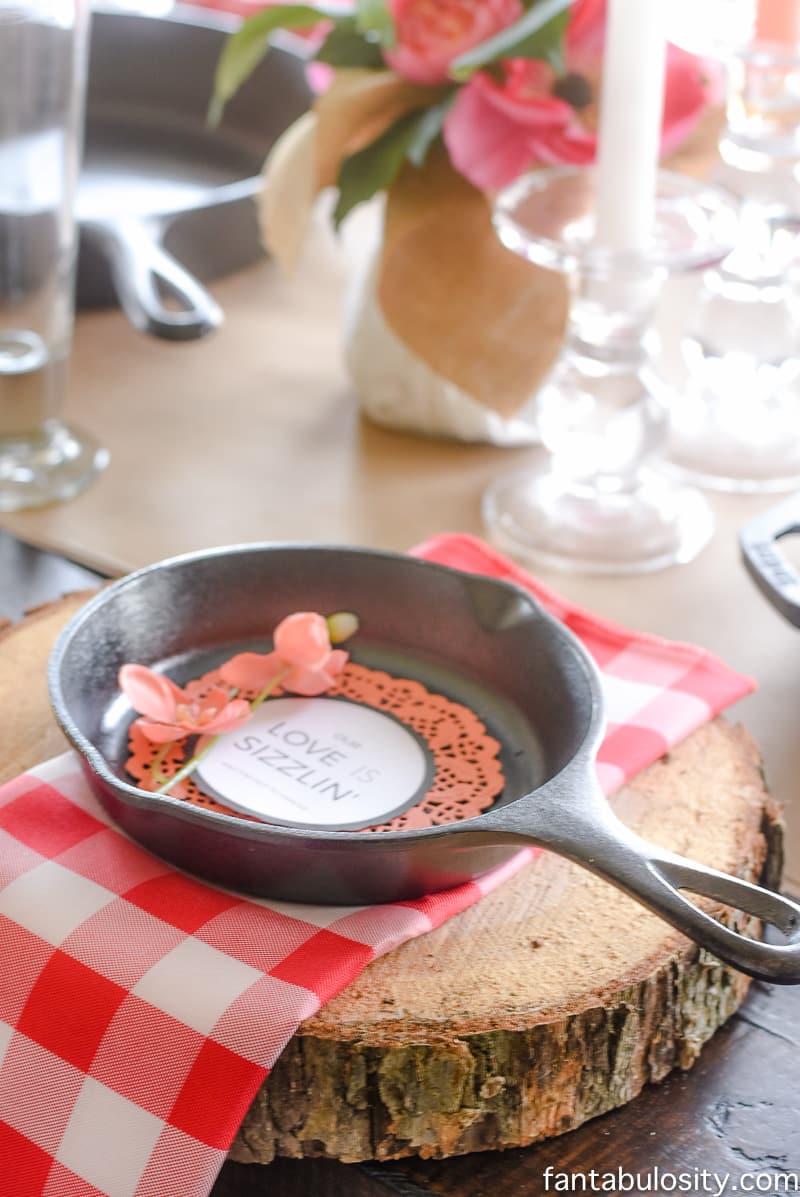
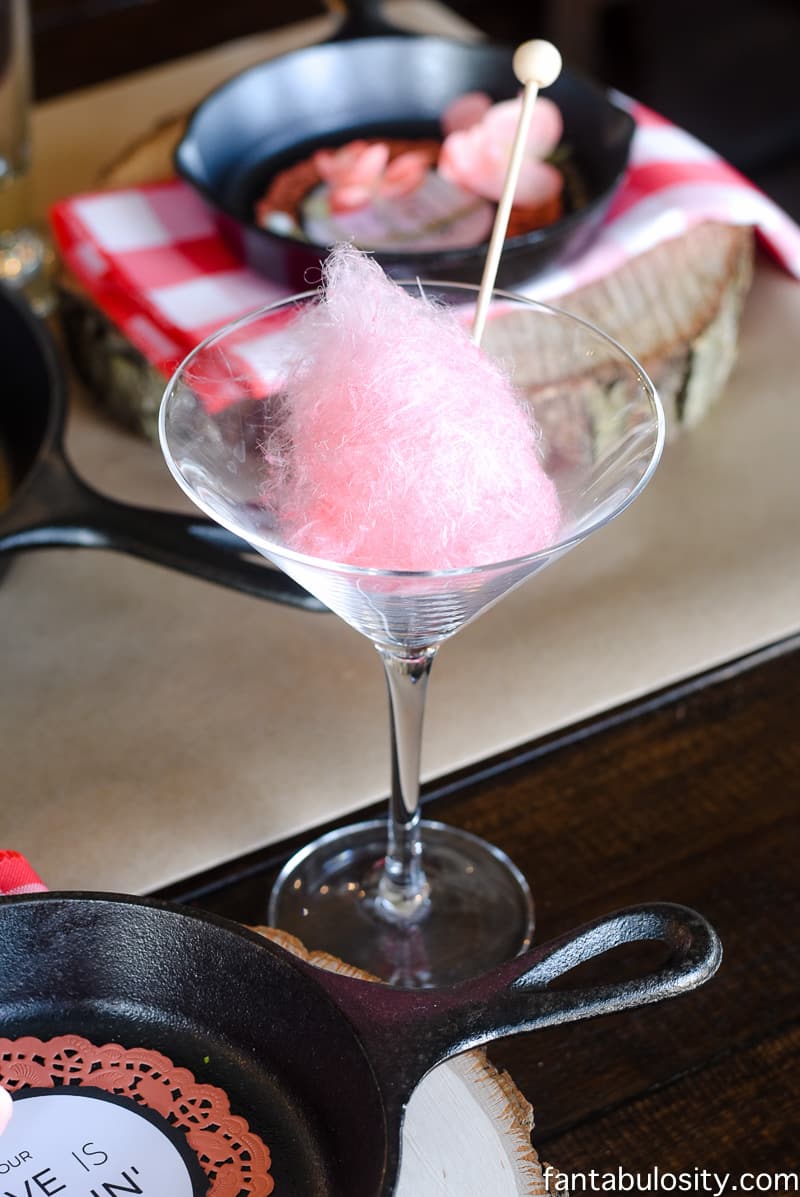
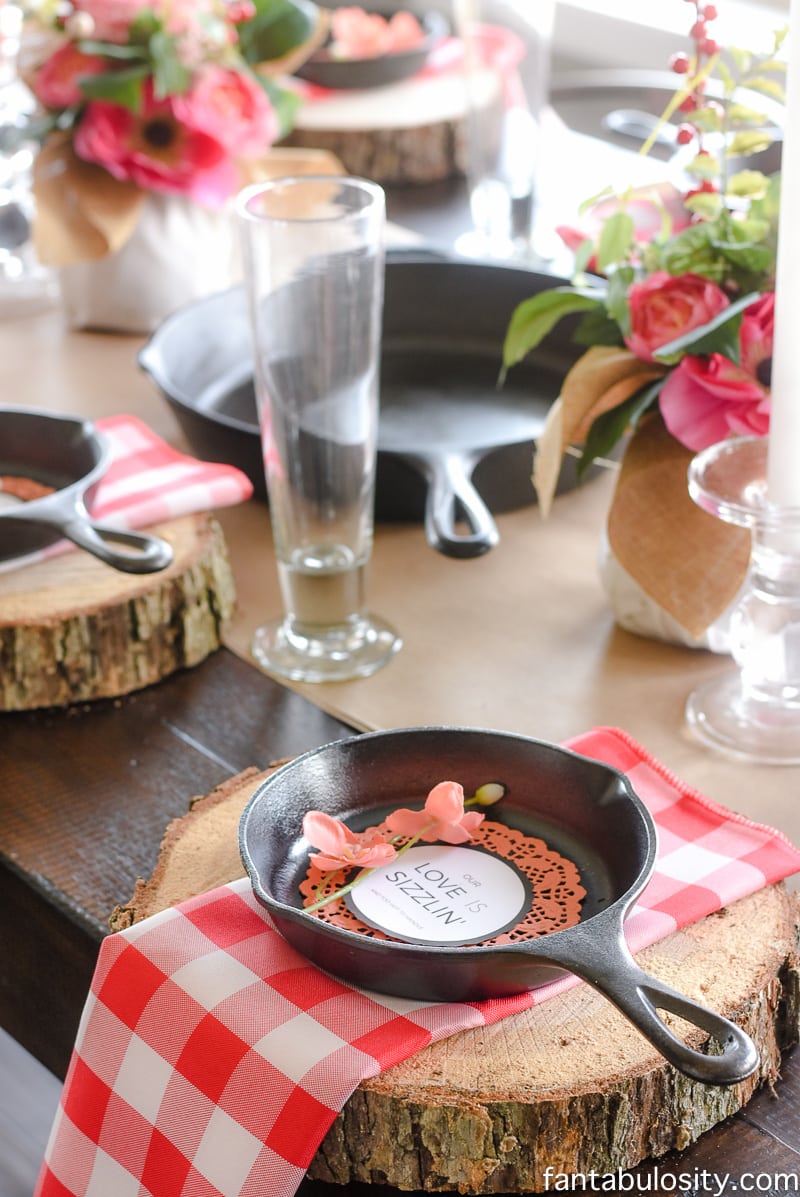
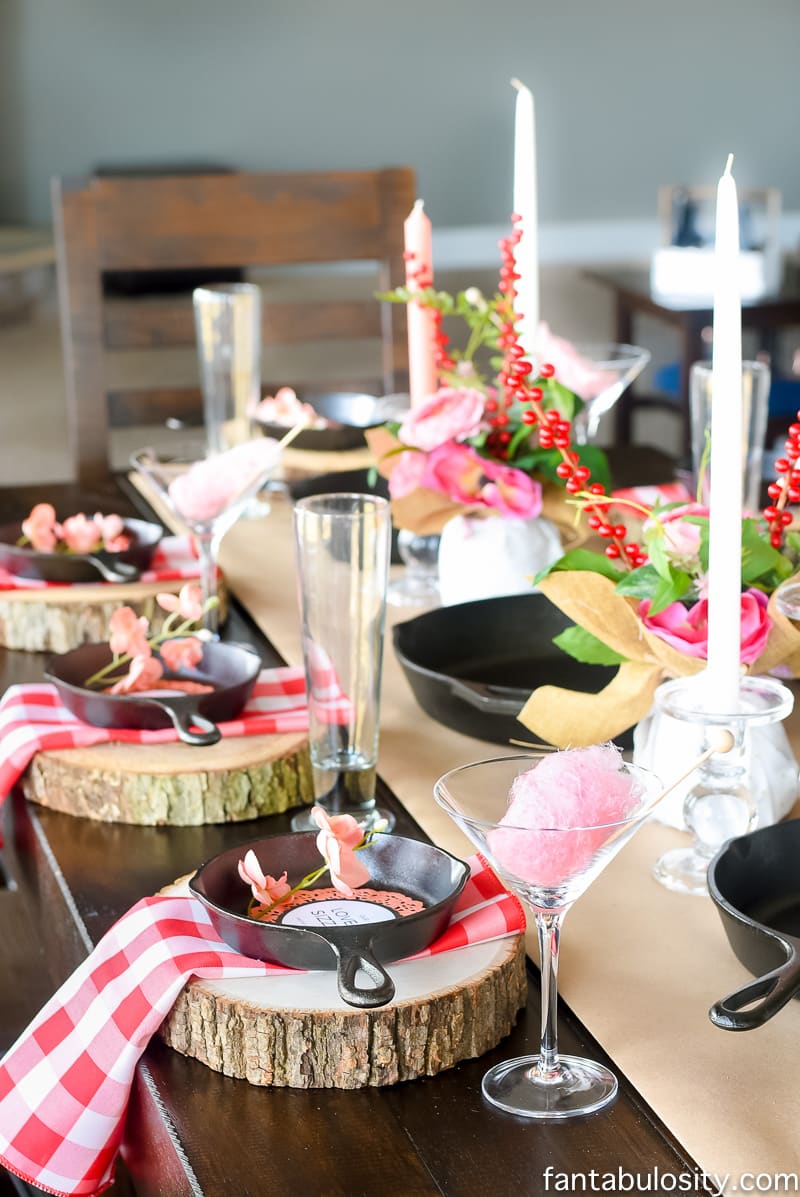
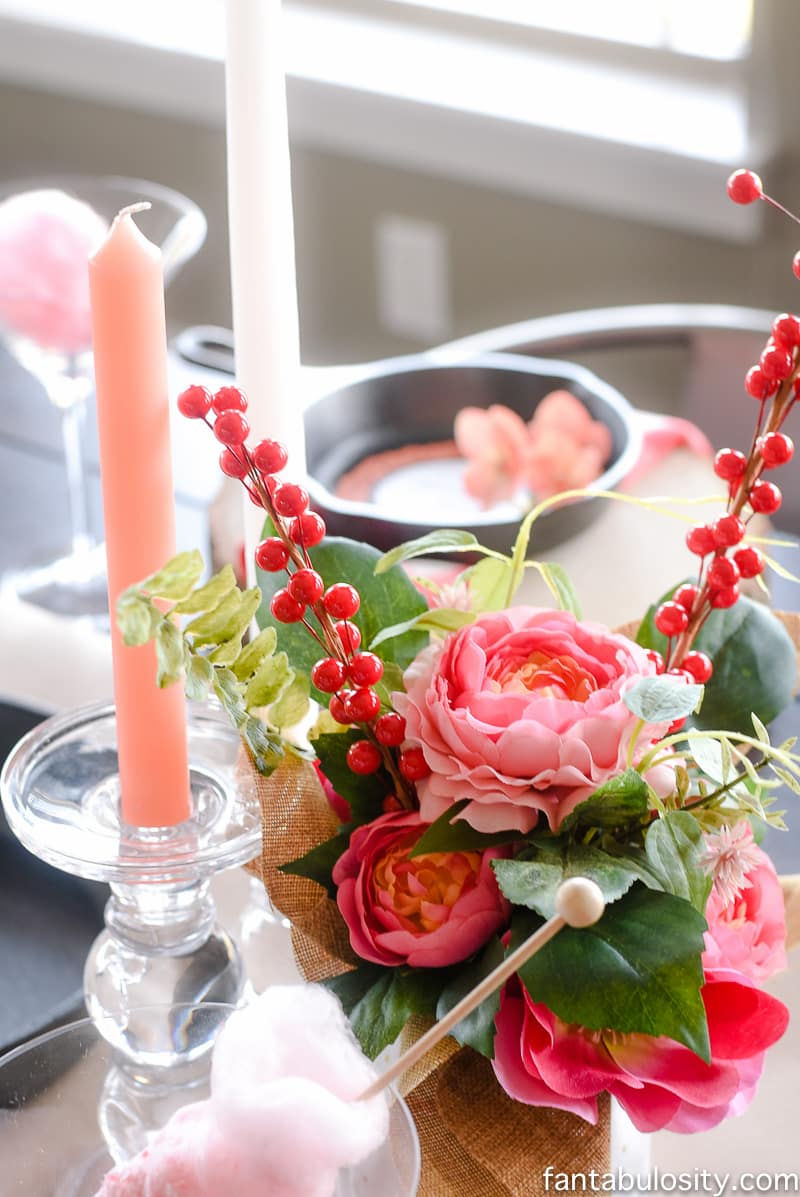
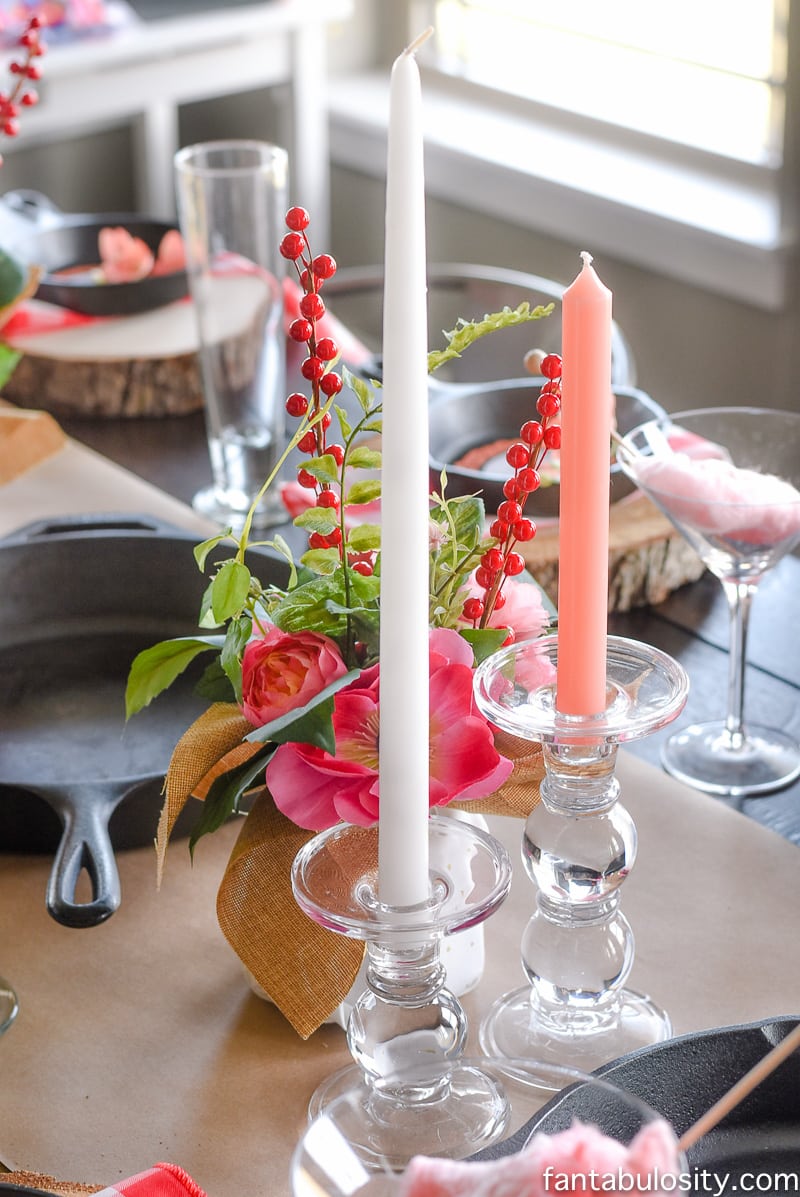
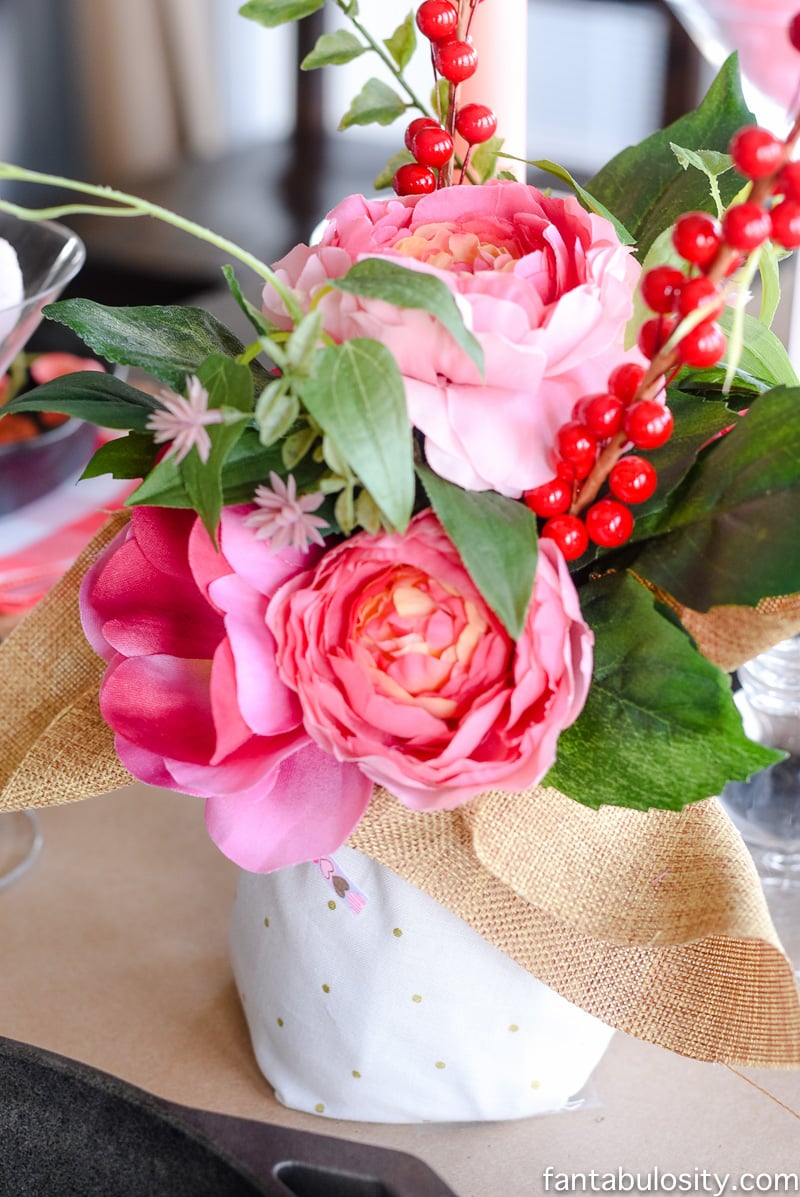
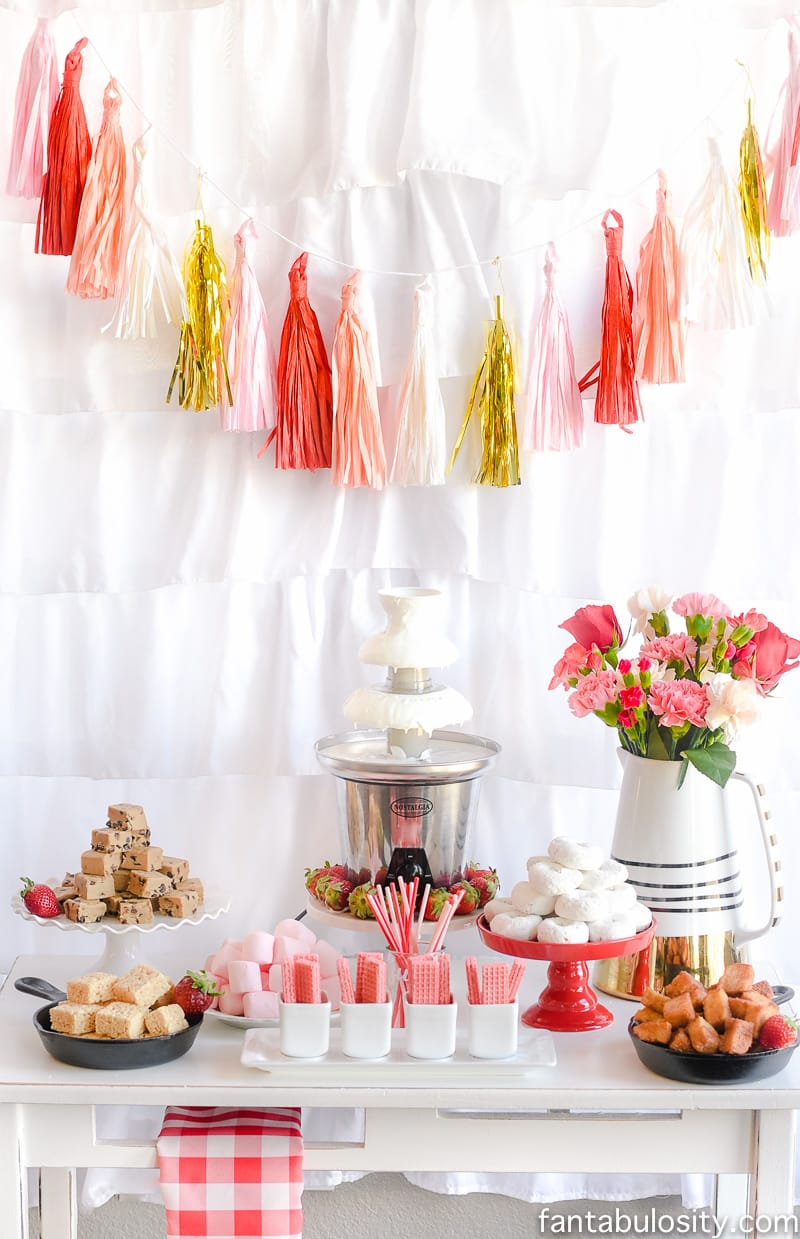
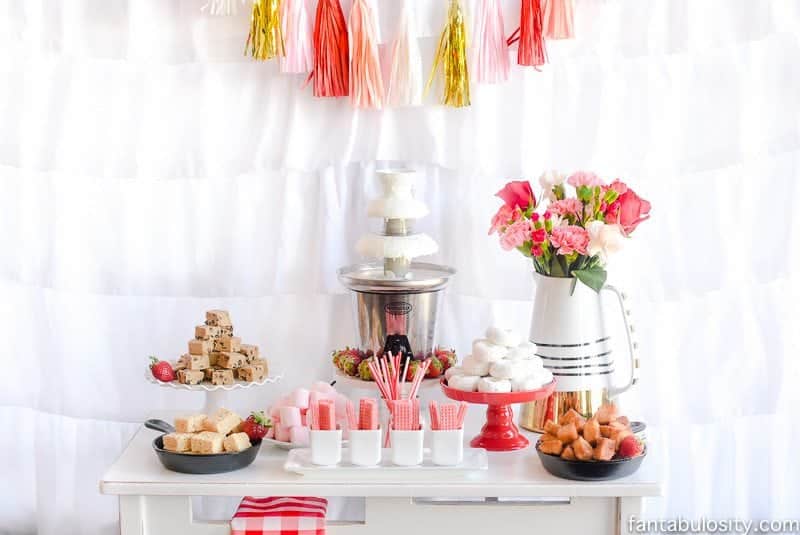
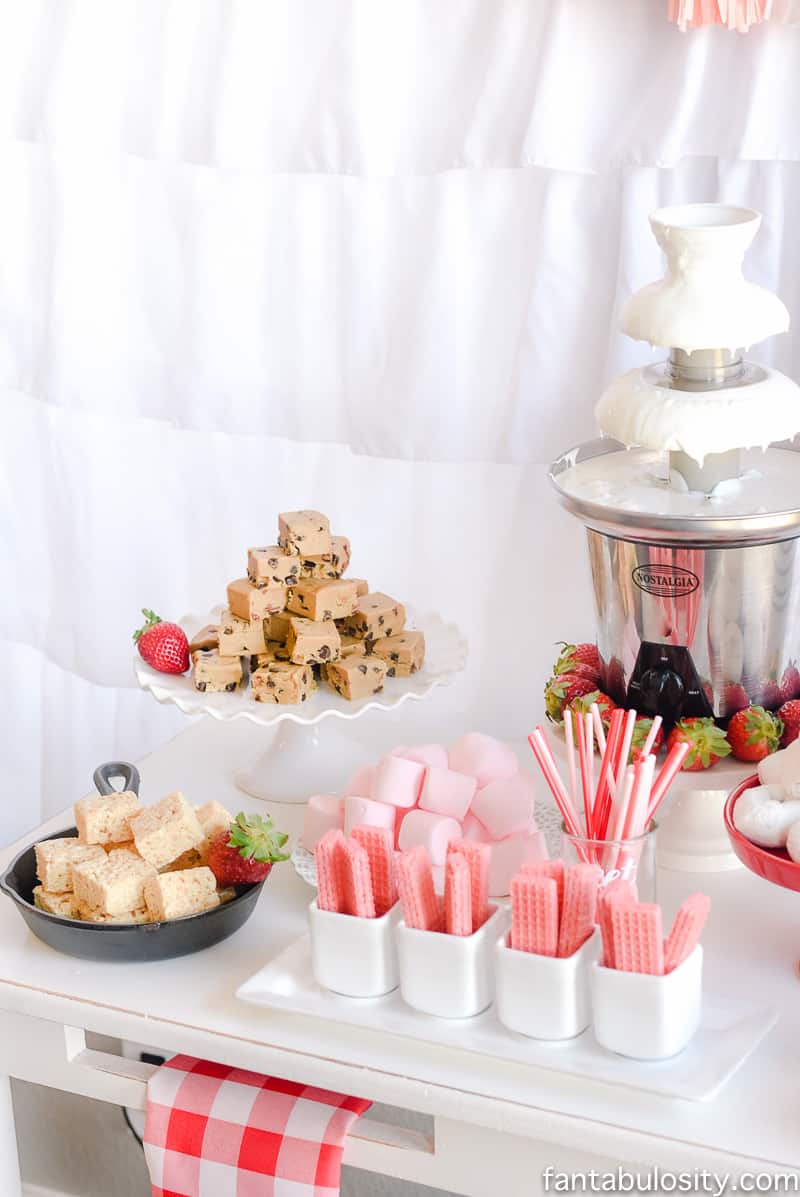
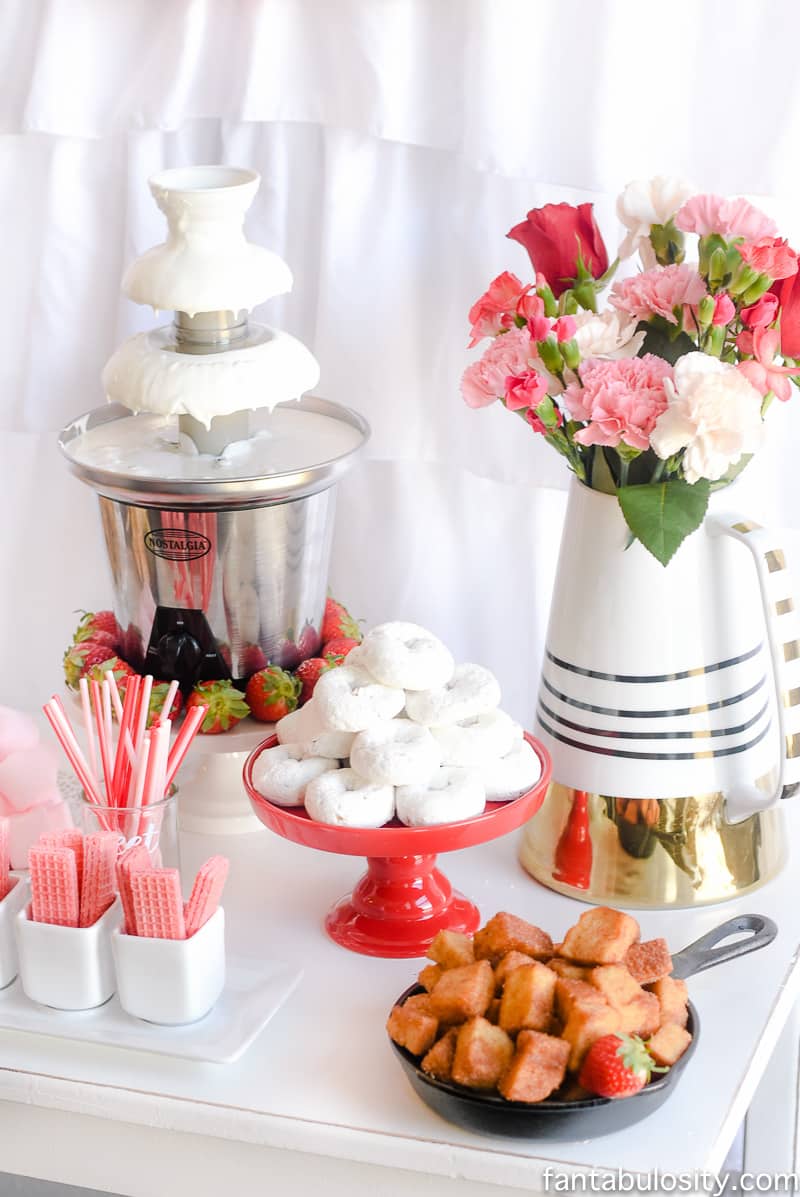
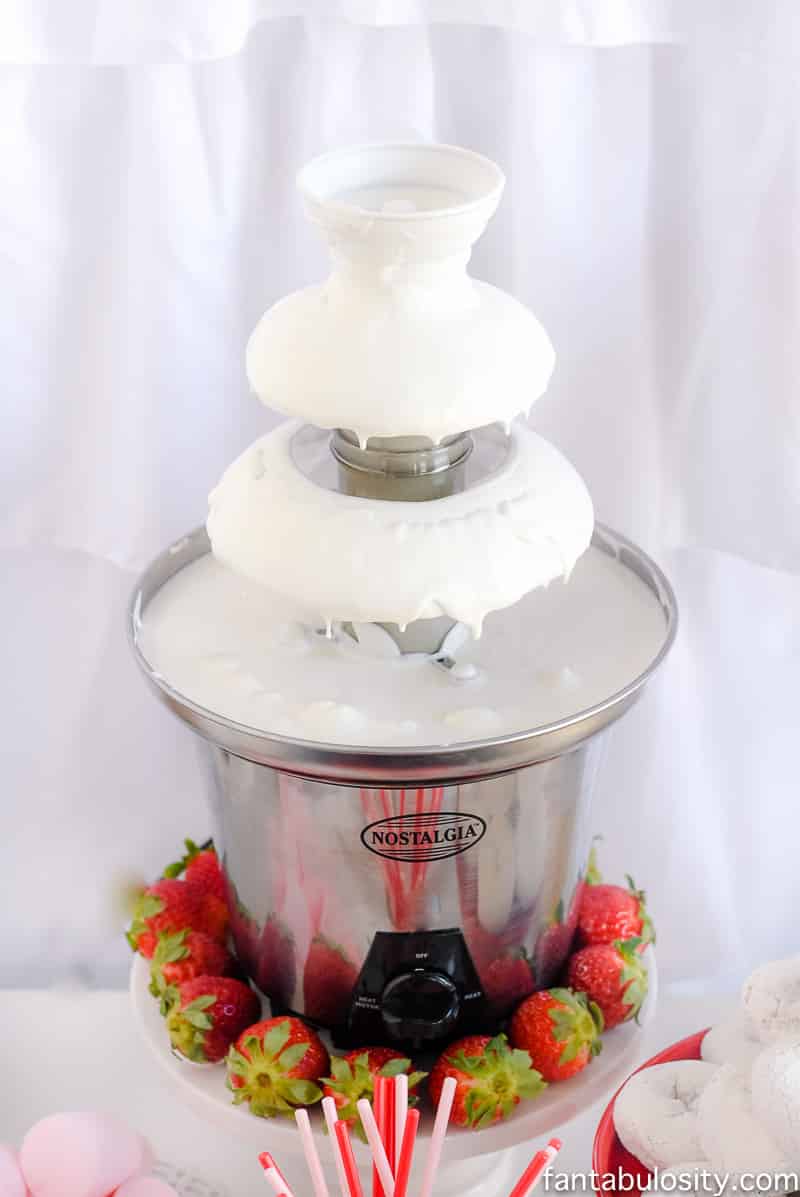
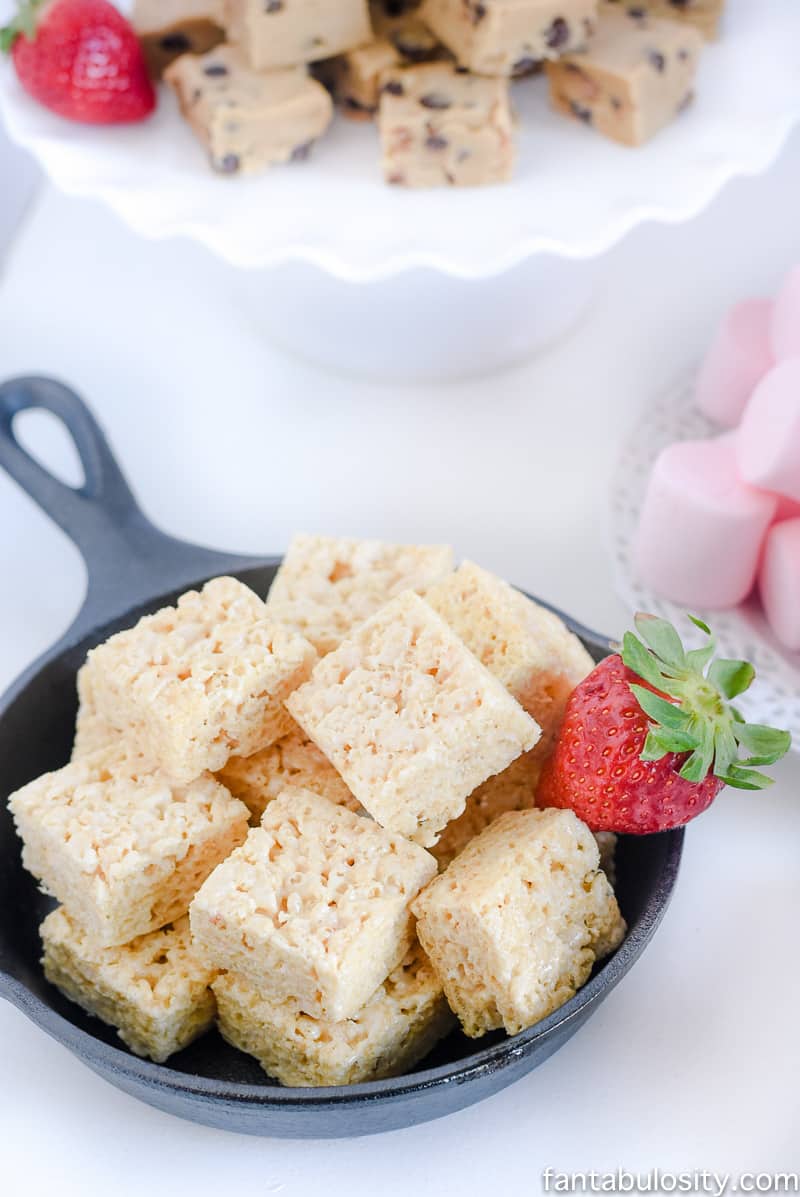
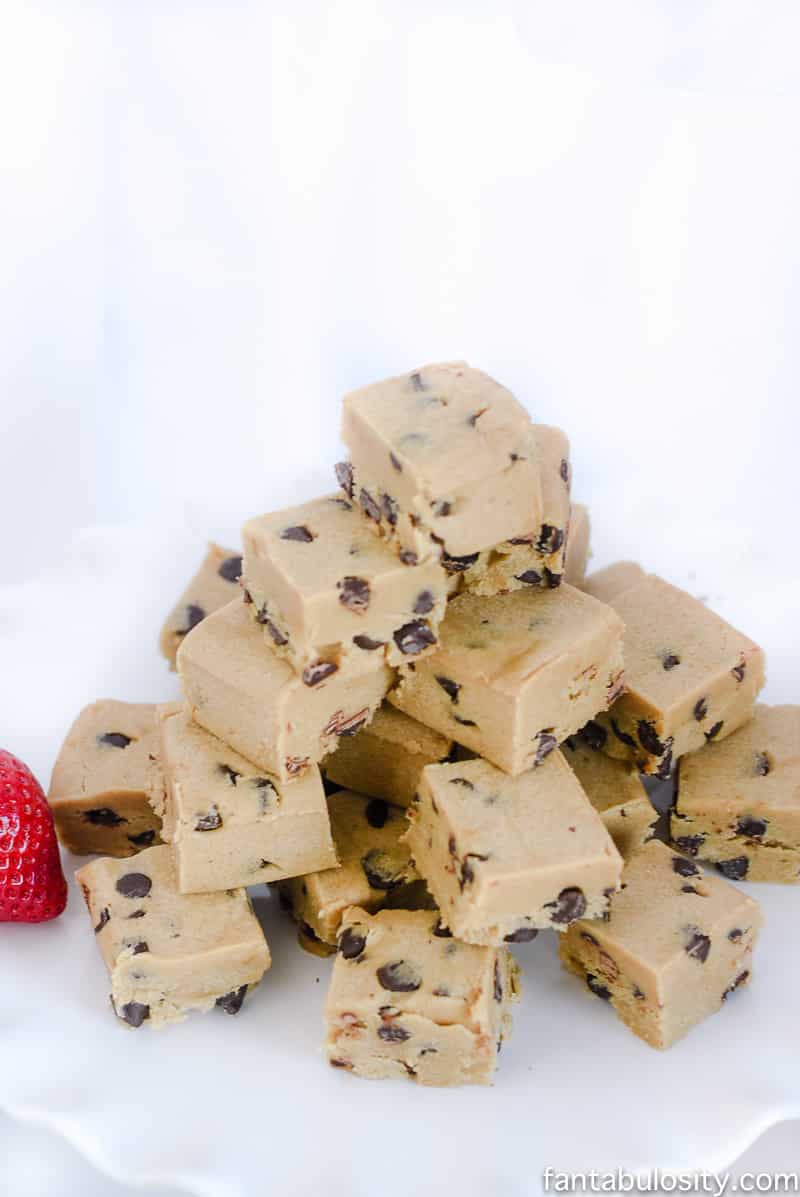
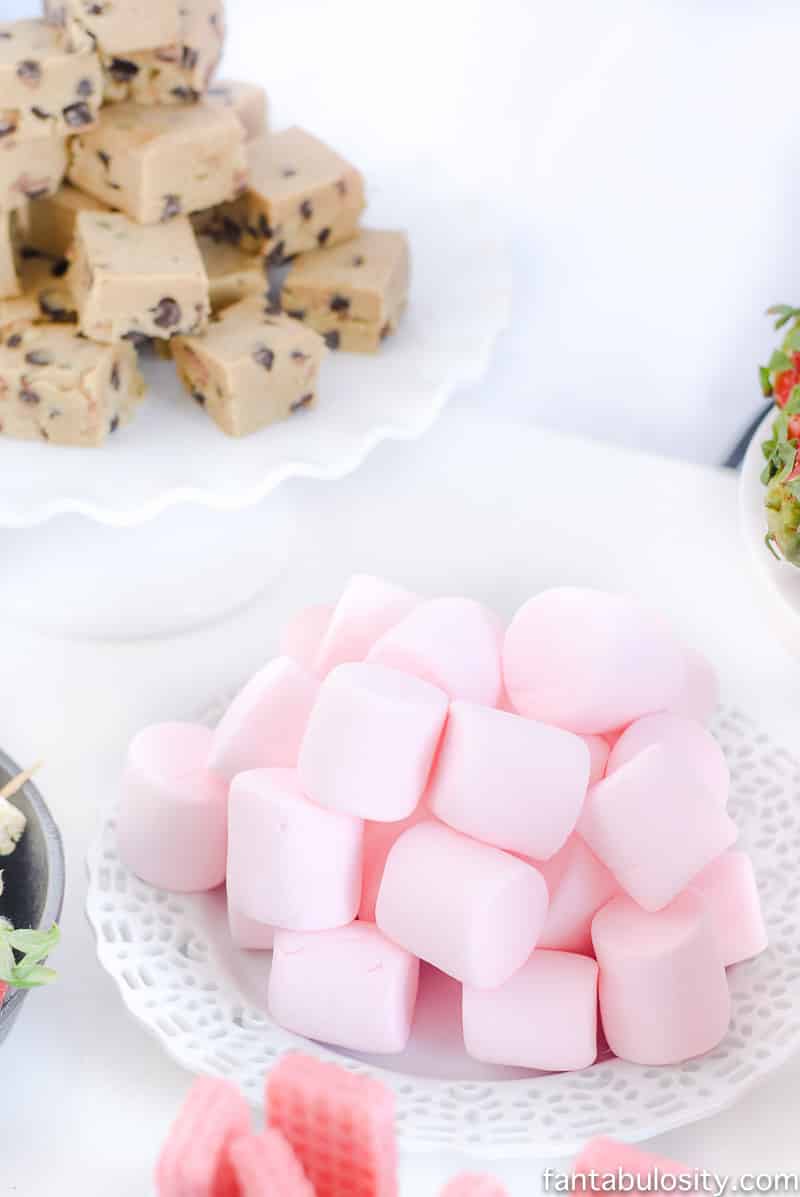
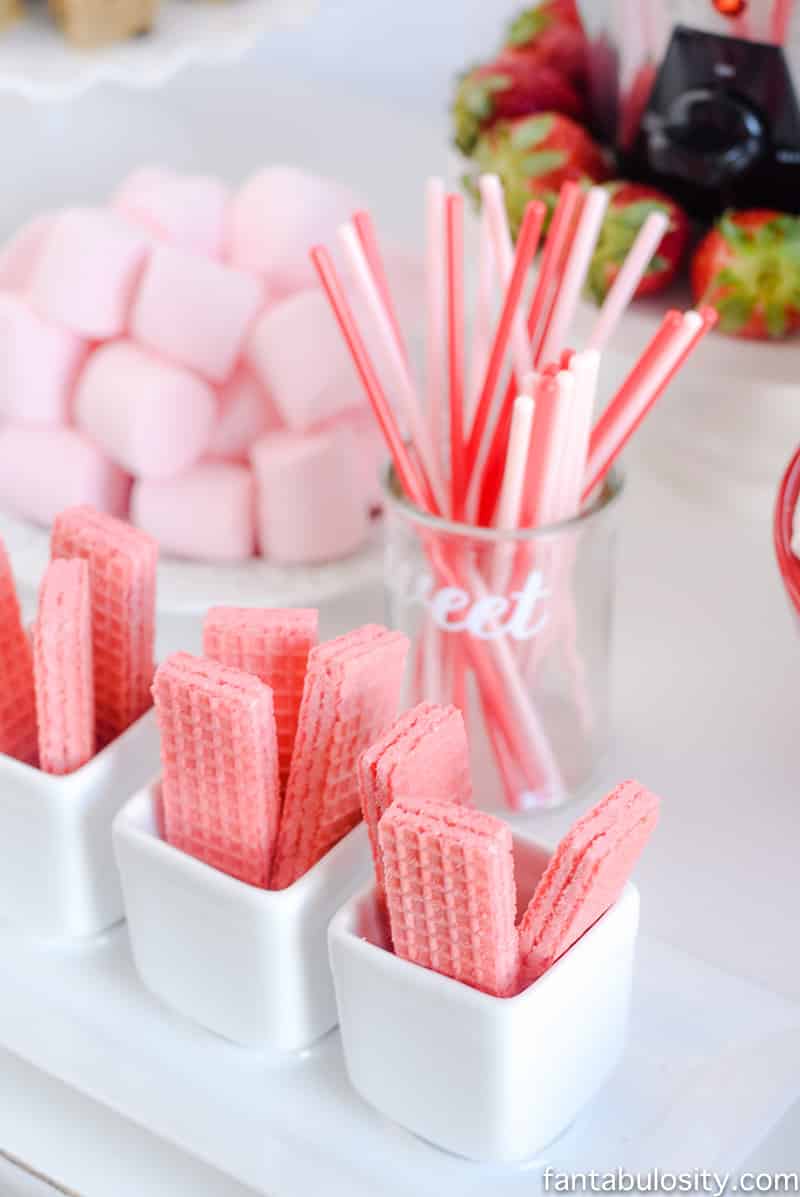
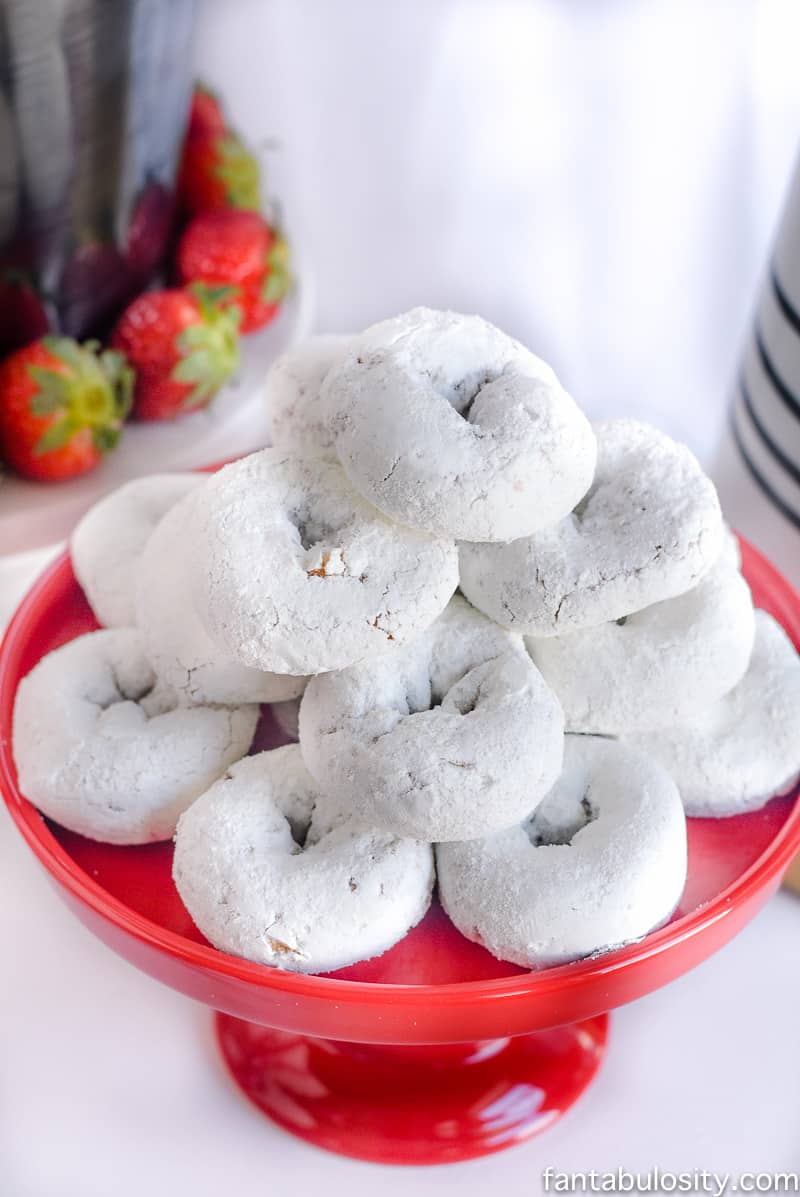
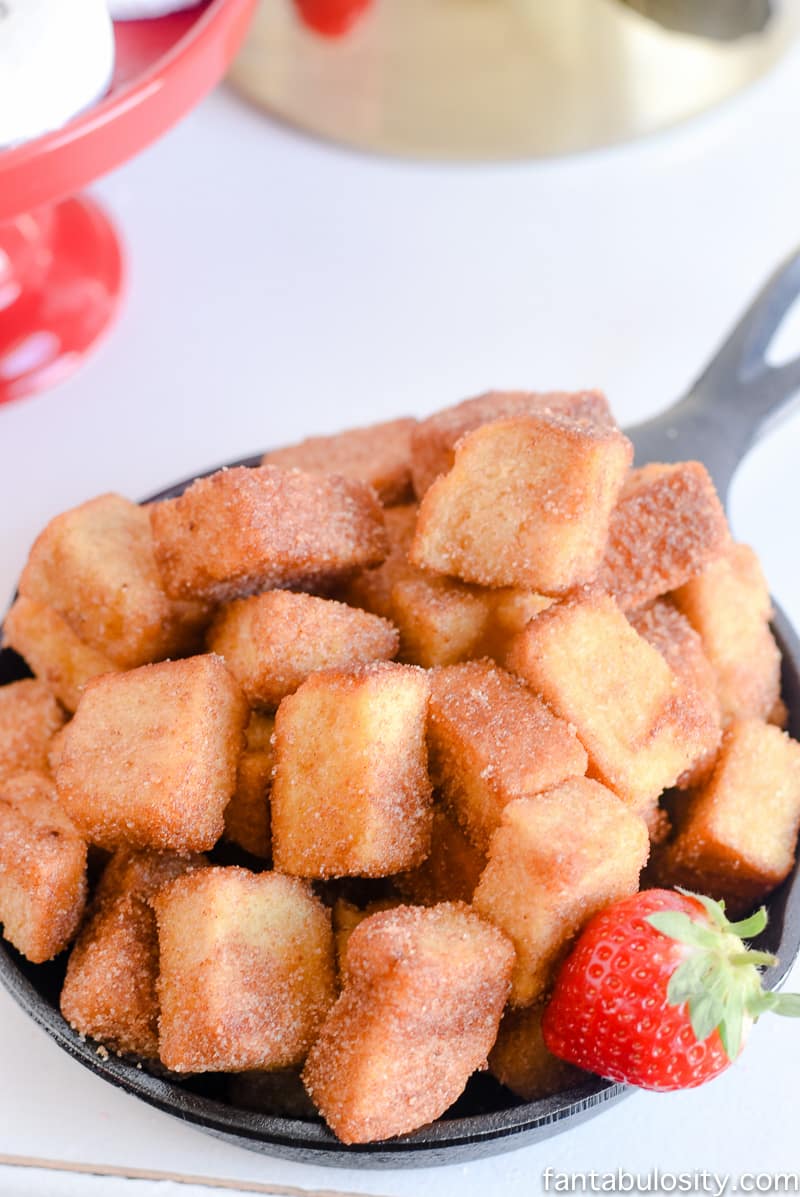
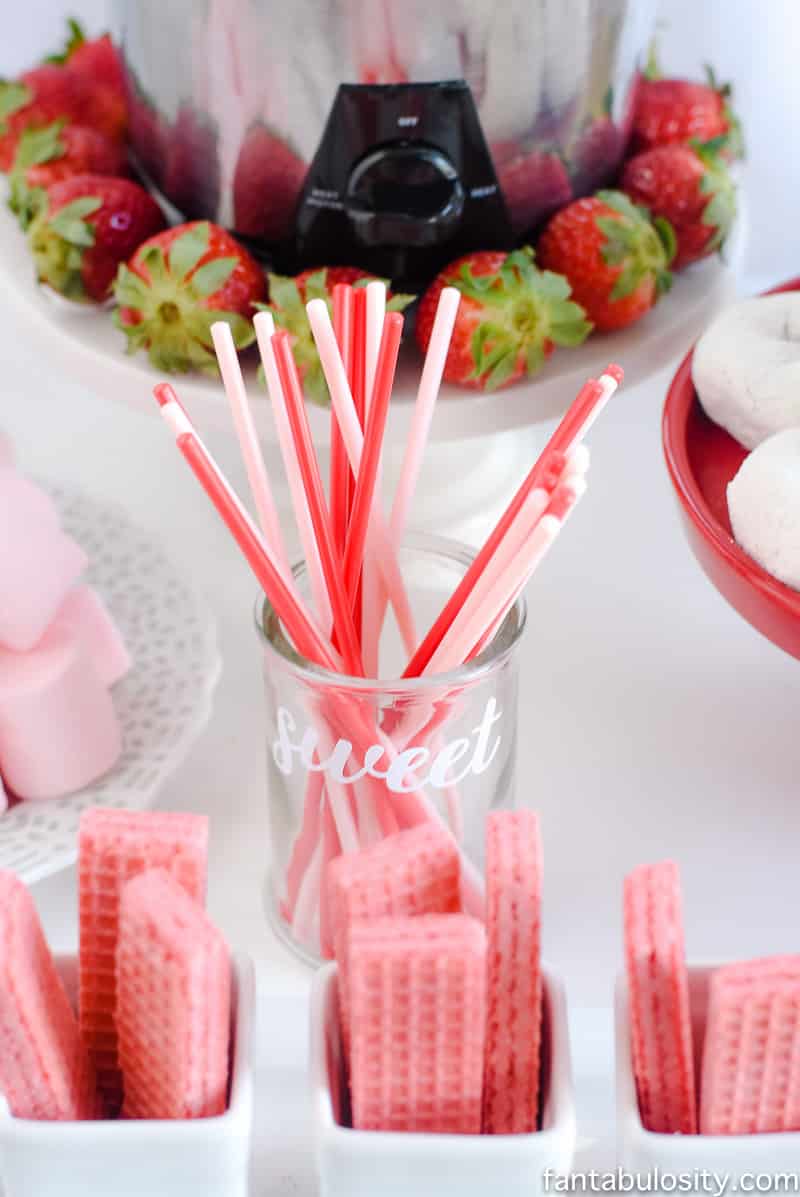
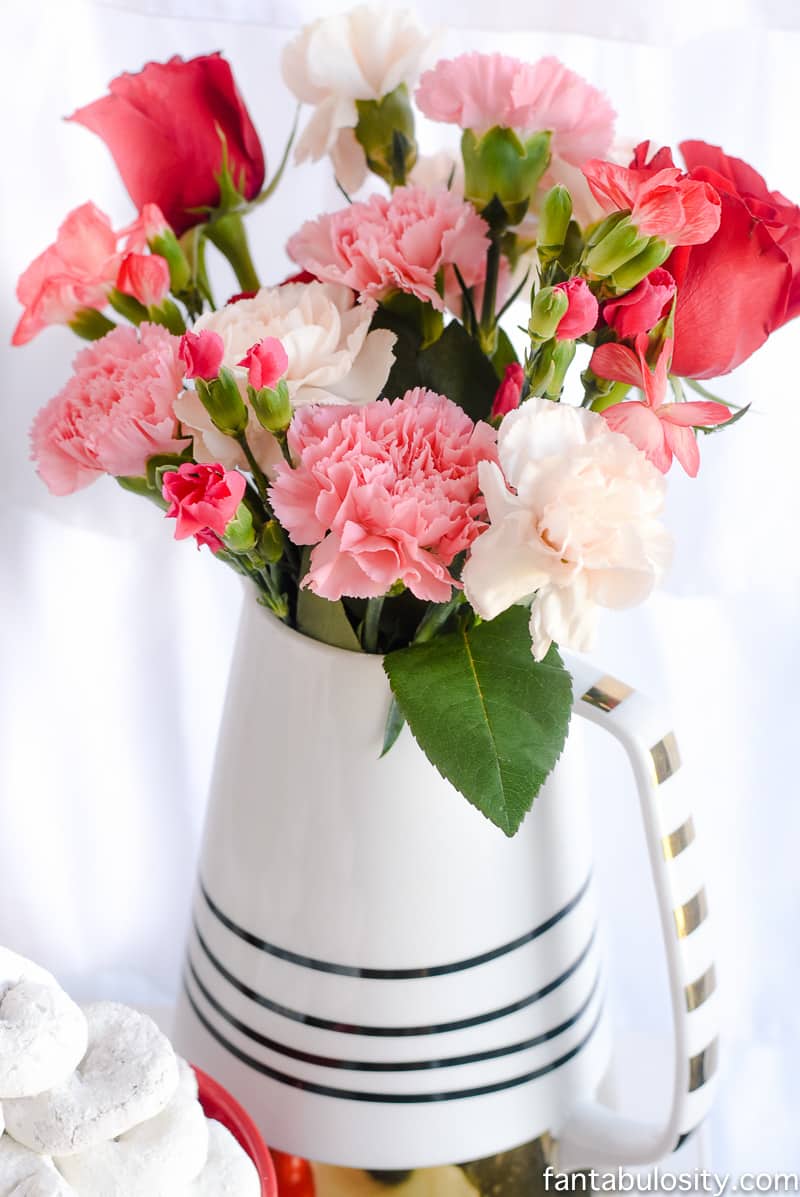
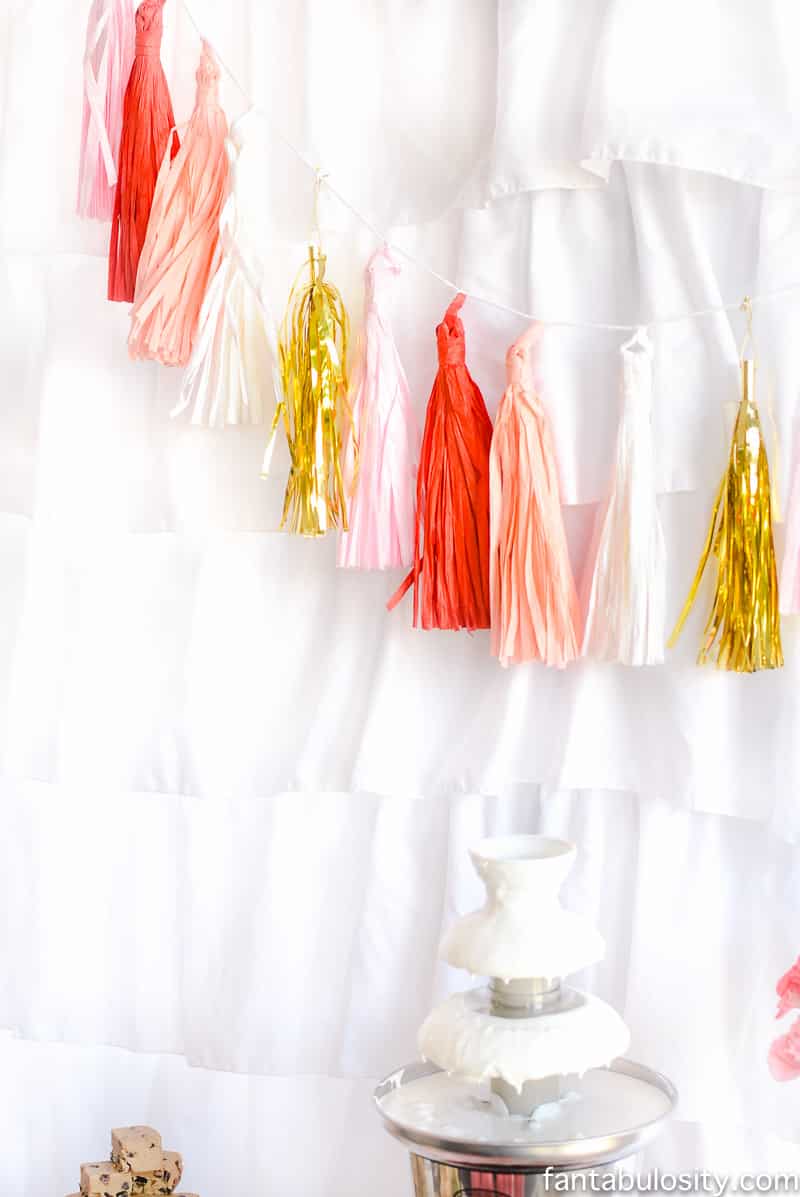
One of my favorite gift ideas for him is this “I think you’re Red Hot!” Valentine’s gift “basket.” See how I made it for my hubby here for Valentine’s Day, but could be for a birthday or a “just because” gift:
For the Sports & Outdoorsman:
• Golf equipment
• Overnight trip to play at his favorite golf course with buddies. (Plan a trip with Expedia.)
• Sporting event tickets (Baseball, Football, Hockey)
• Fishing gear
• Hunting equipment
• CCW Class
• Grill
• Man-cave - Get him out of town, buy a tv or two and fix up a space just for him. When he comes back, surprise him with his friends already hanging out inside.
For the Handyman:
• Tools (Air tools)
• Large tool chest
• Tool box for truck
• Paint Sprayer
• LED Flashlight
For the Musician:
• Guitar
• Drums
• Tickets to a concert
• Keyboard/Piano
For the Professional:
• Cigars
• Necktie
• Cologne
• New pair of shoes
• Bottle of bourbon with nice glasses (Shop decanters)
For the Adventurer:
• “Escape the Box” – Check your area to see if this is offered. He can take some friends, get locked in a room with a one hour timer, and have to find all the clues to get out before the hour’s up.
• “Drive a Tank” – A place where he can drive a tank, and plow over cars, houses, and operate machines.
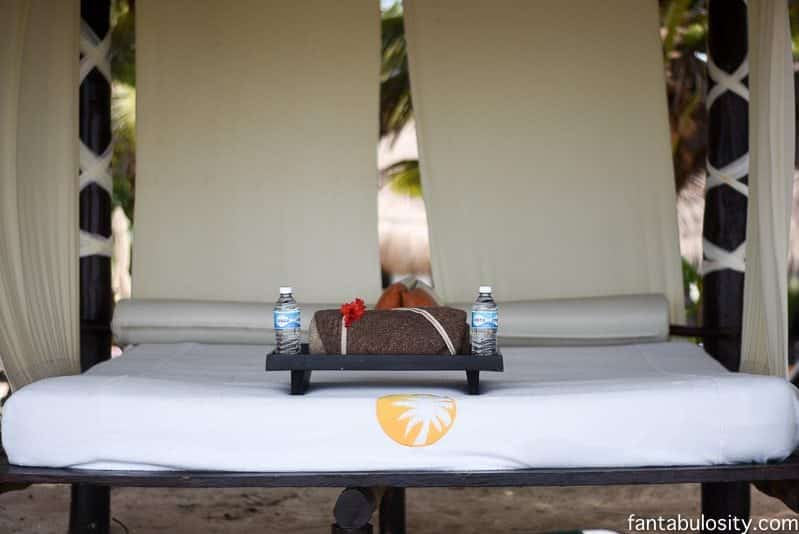
• A Mexico vacation – See what I did for my husband’s 30th birthday, with all of the little surprises along the way!

For Any Man:
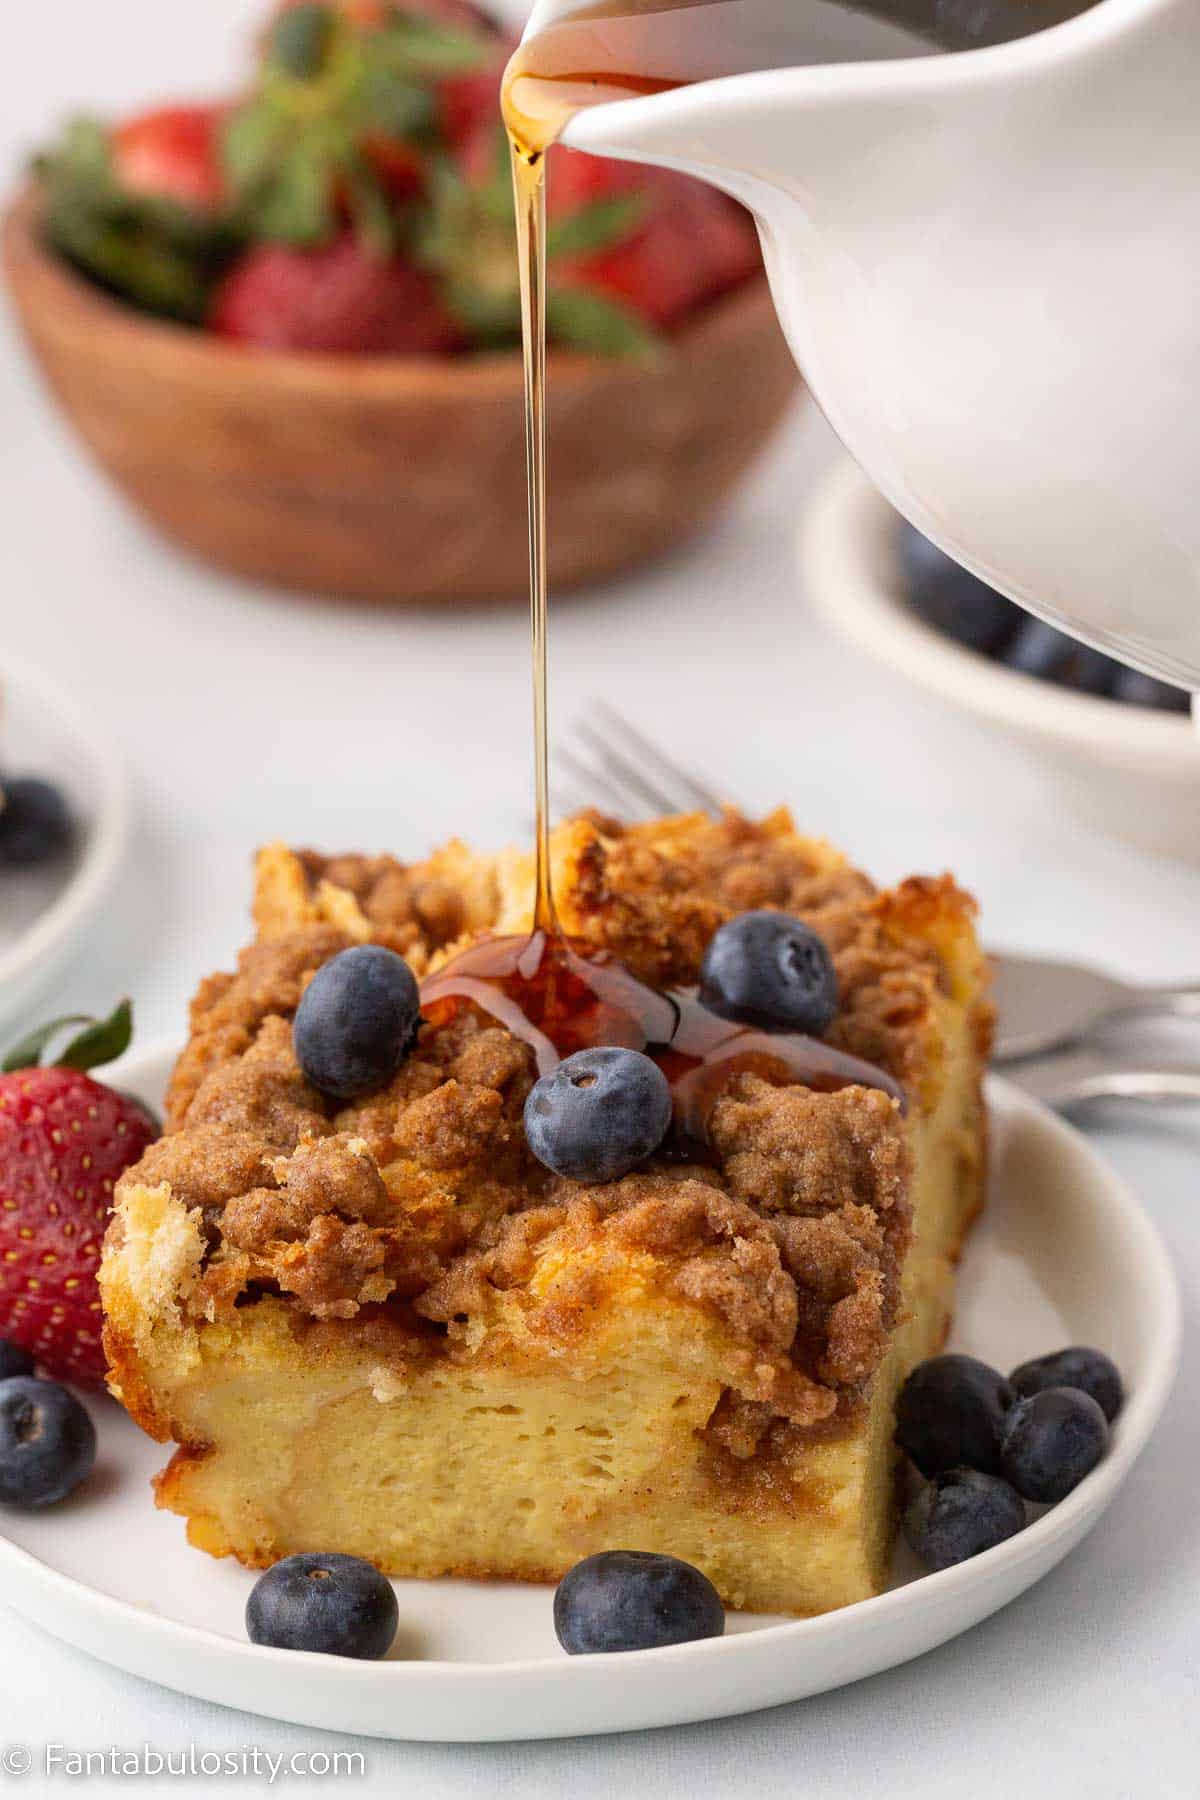
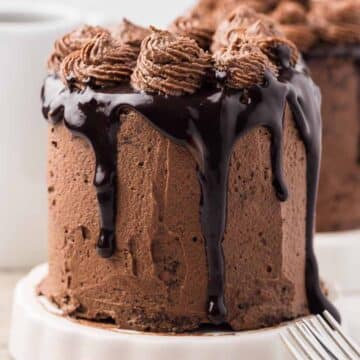
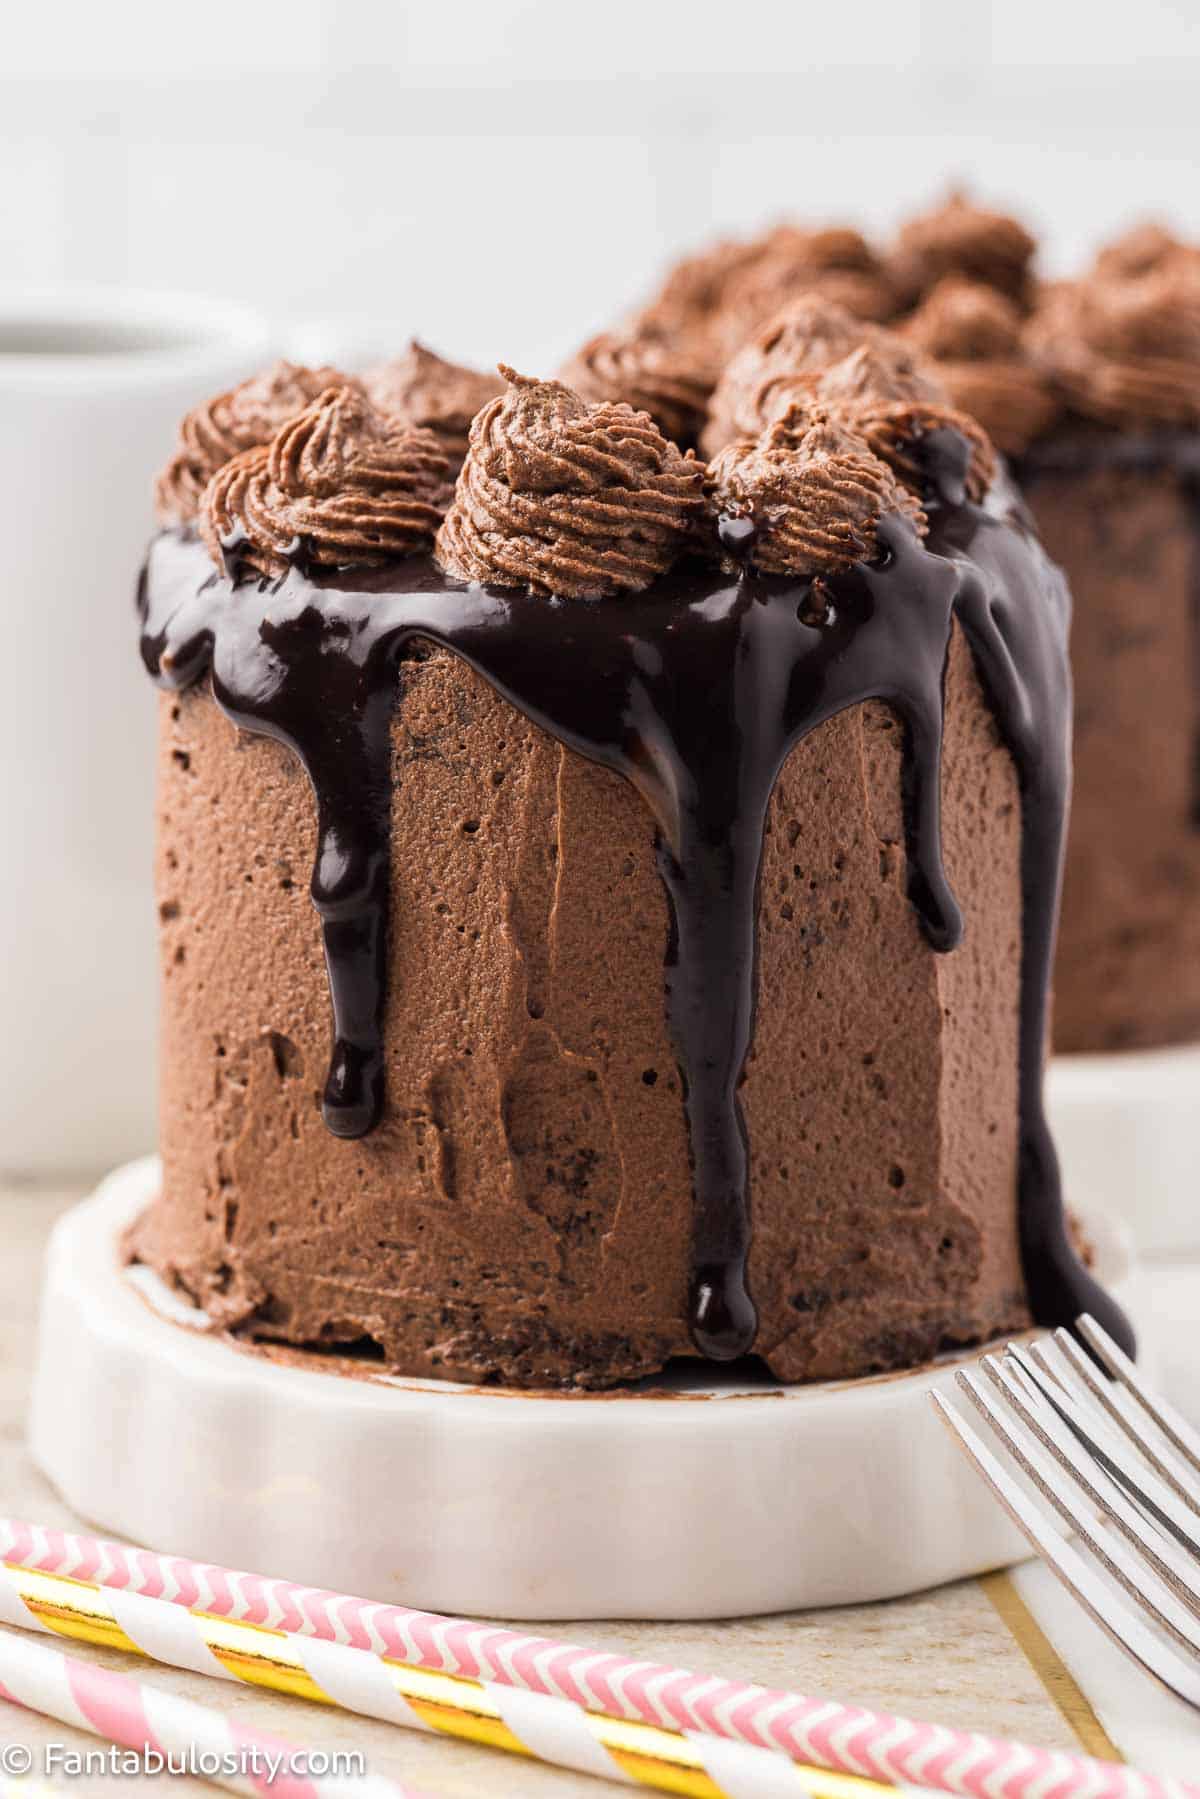
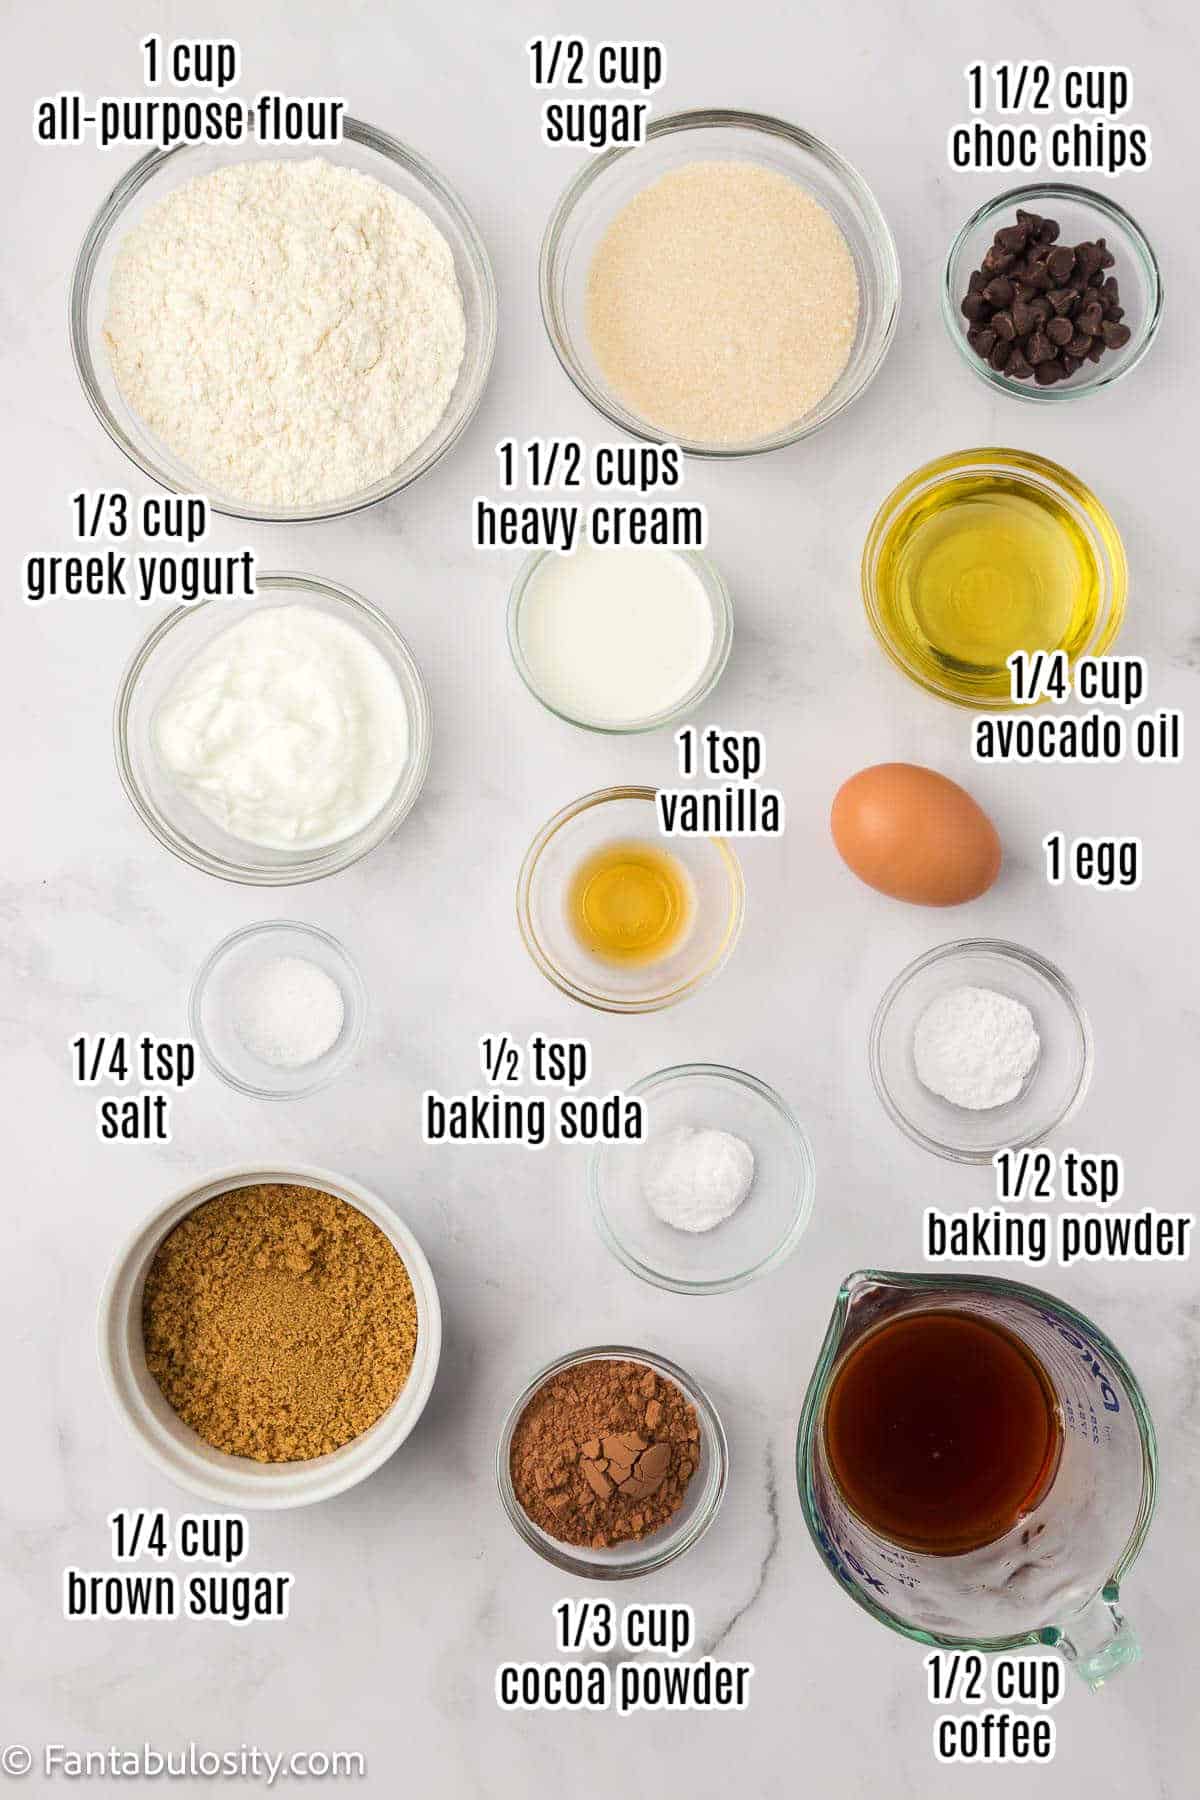
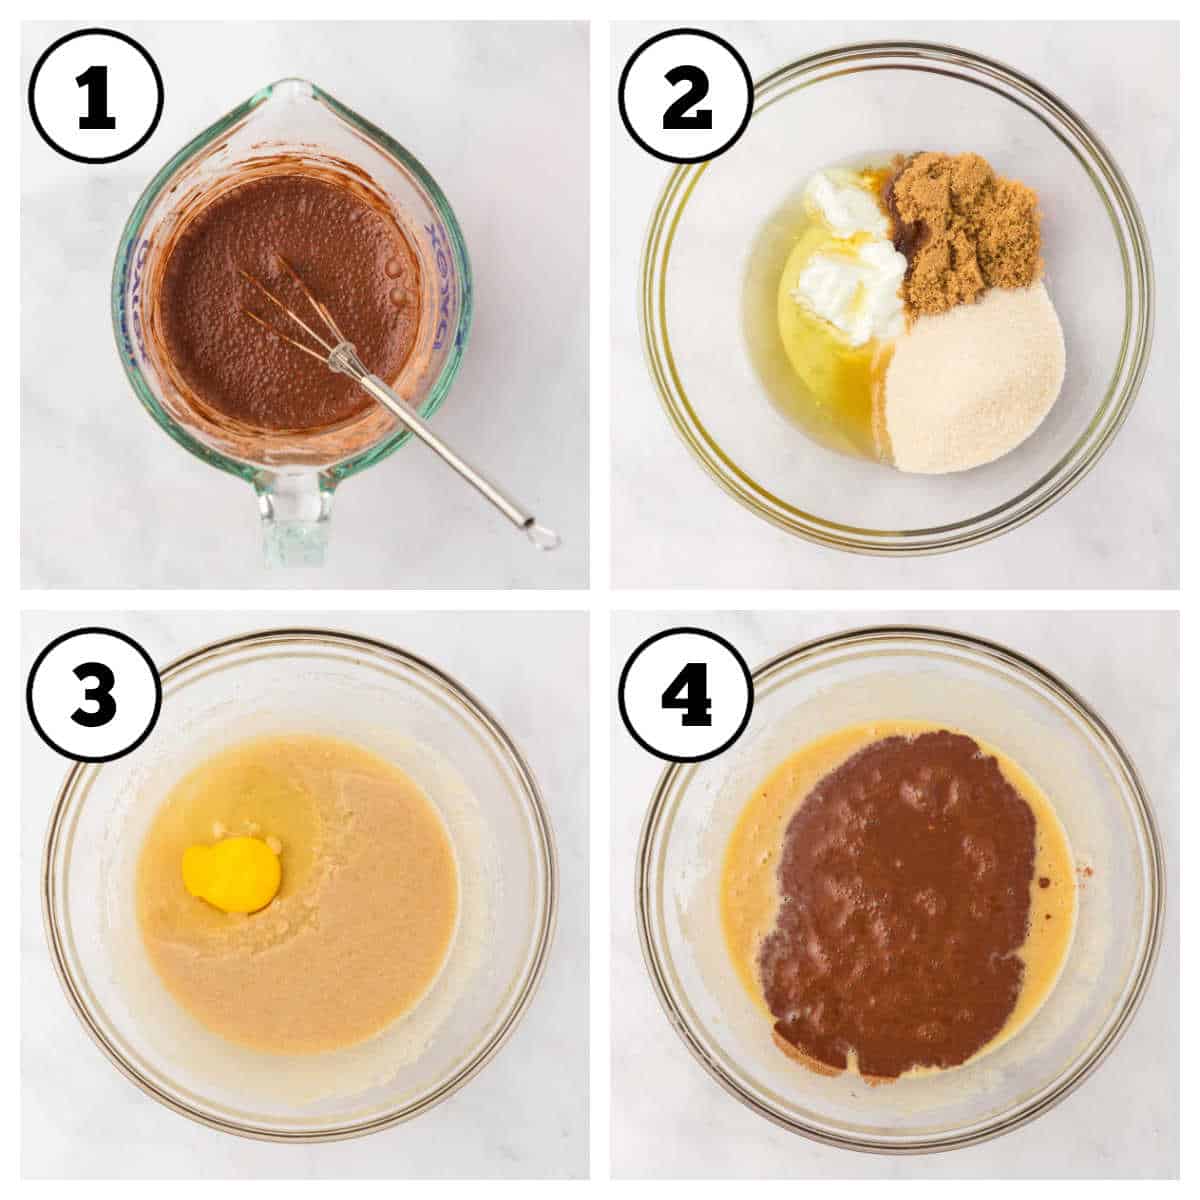
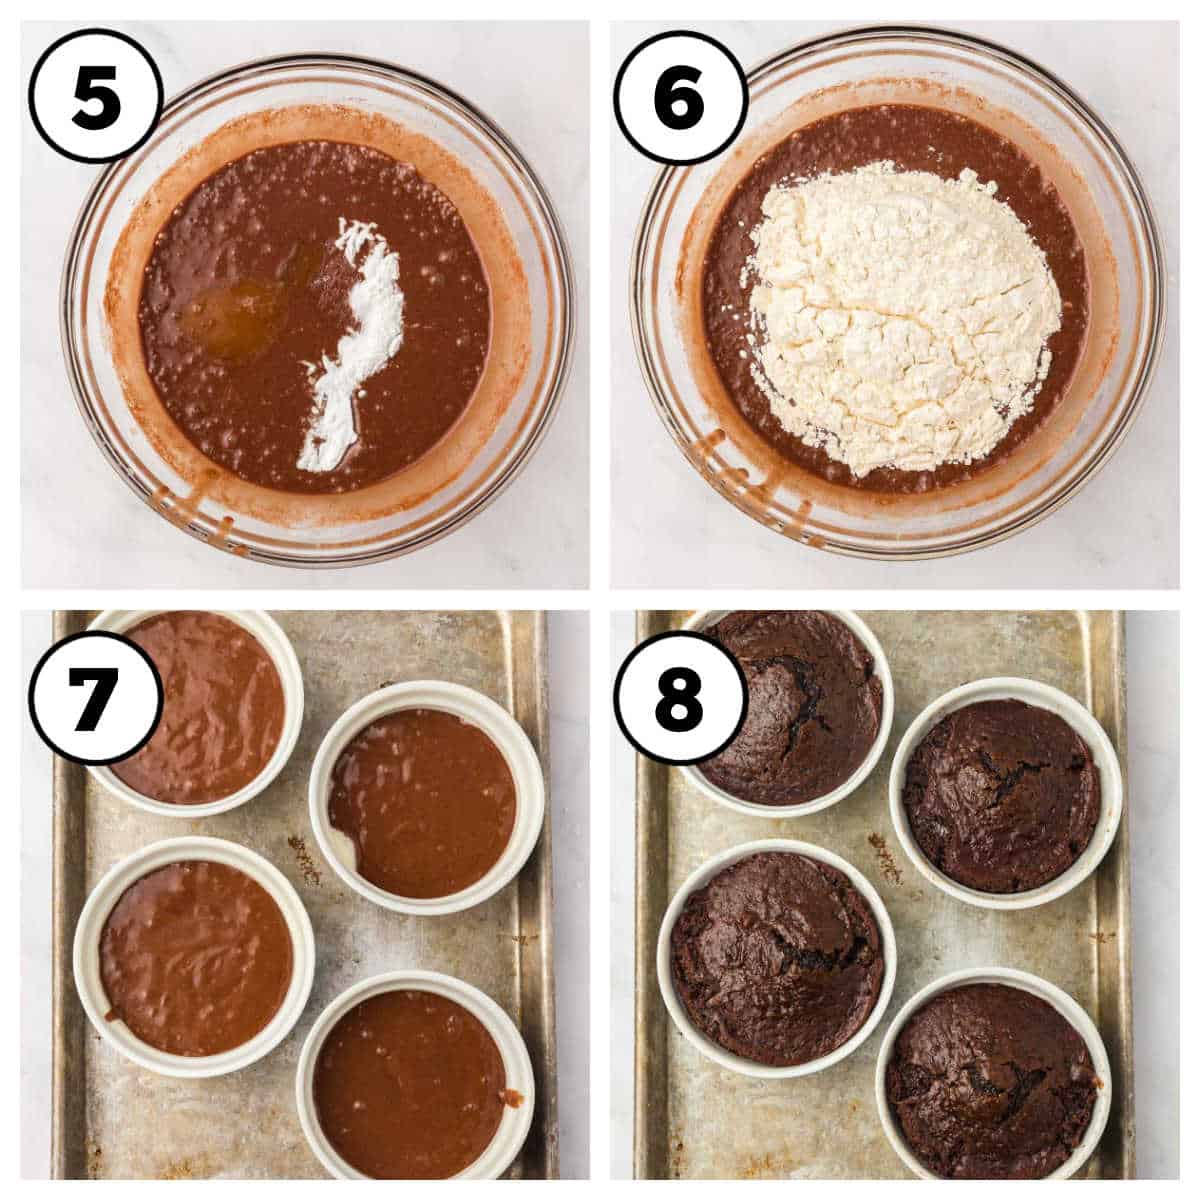
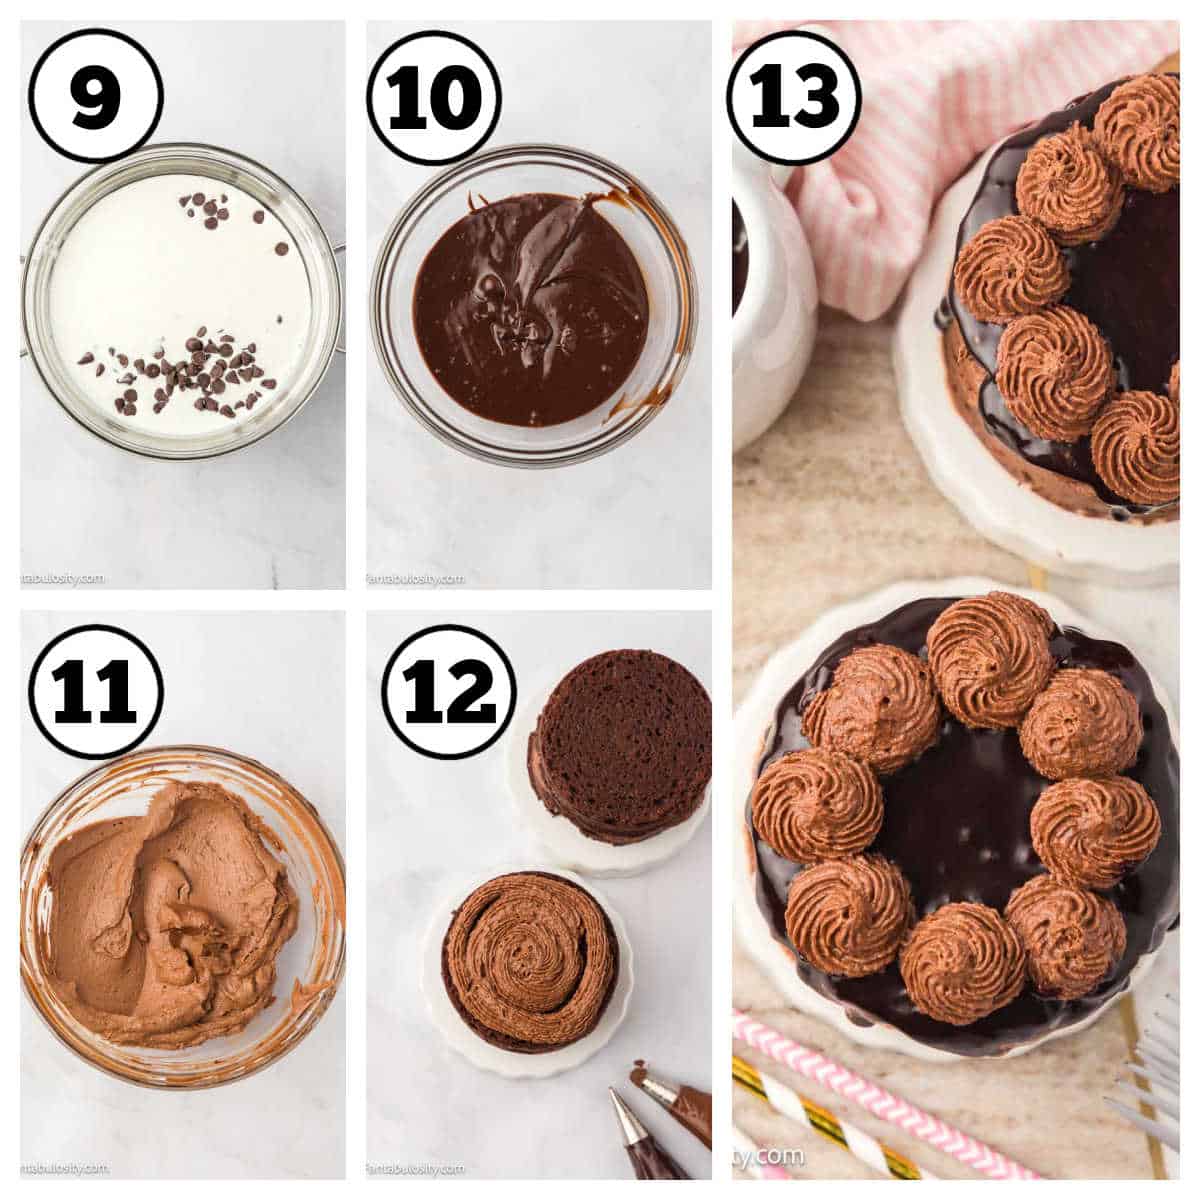
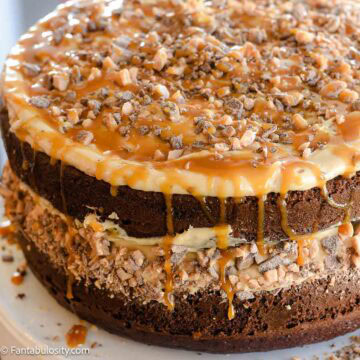
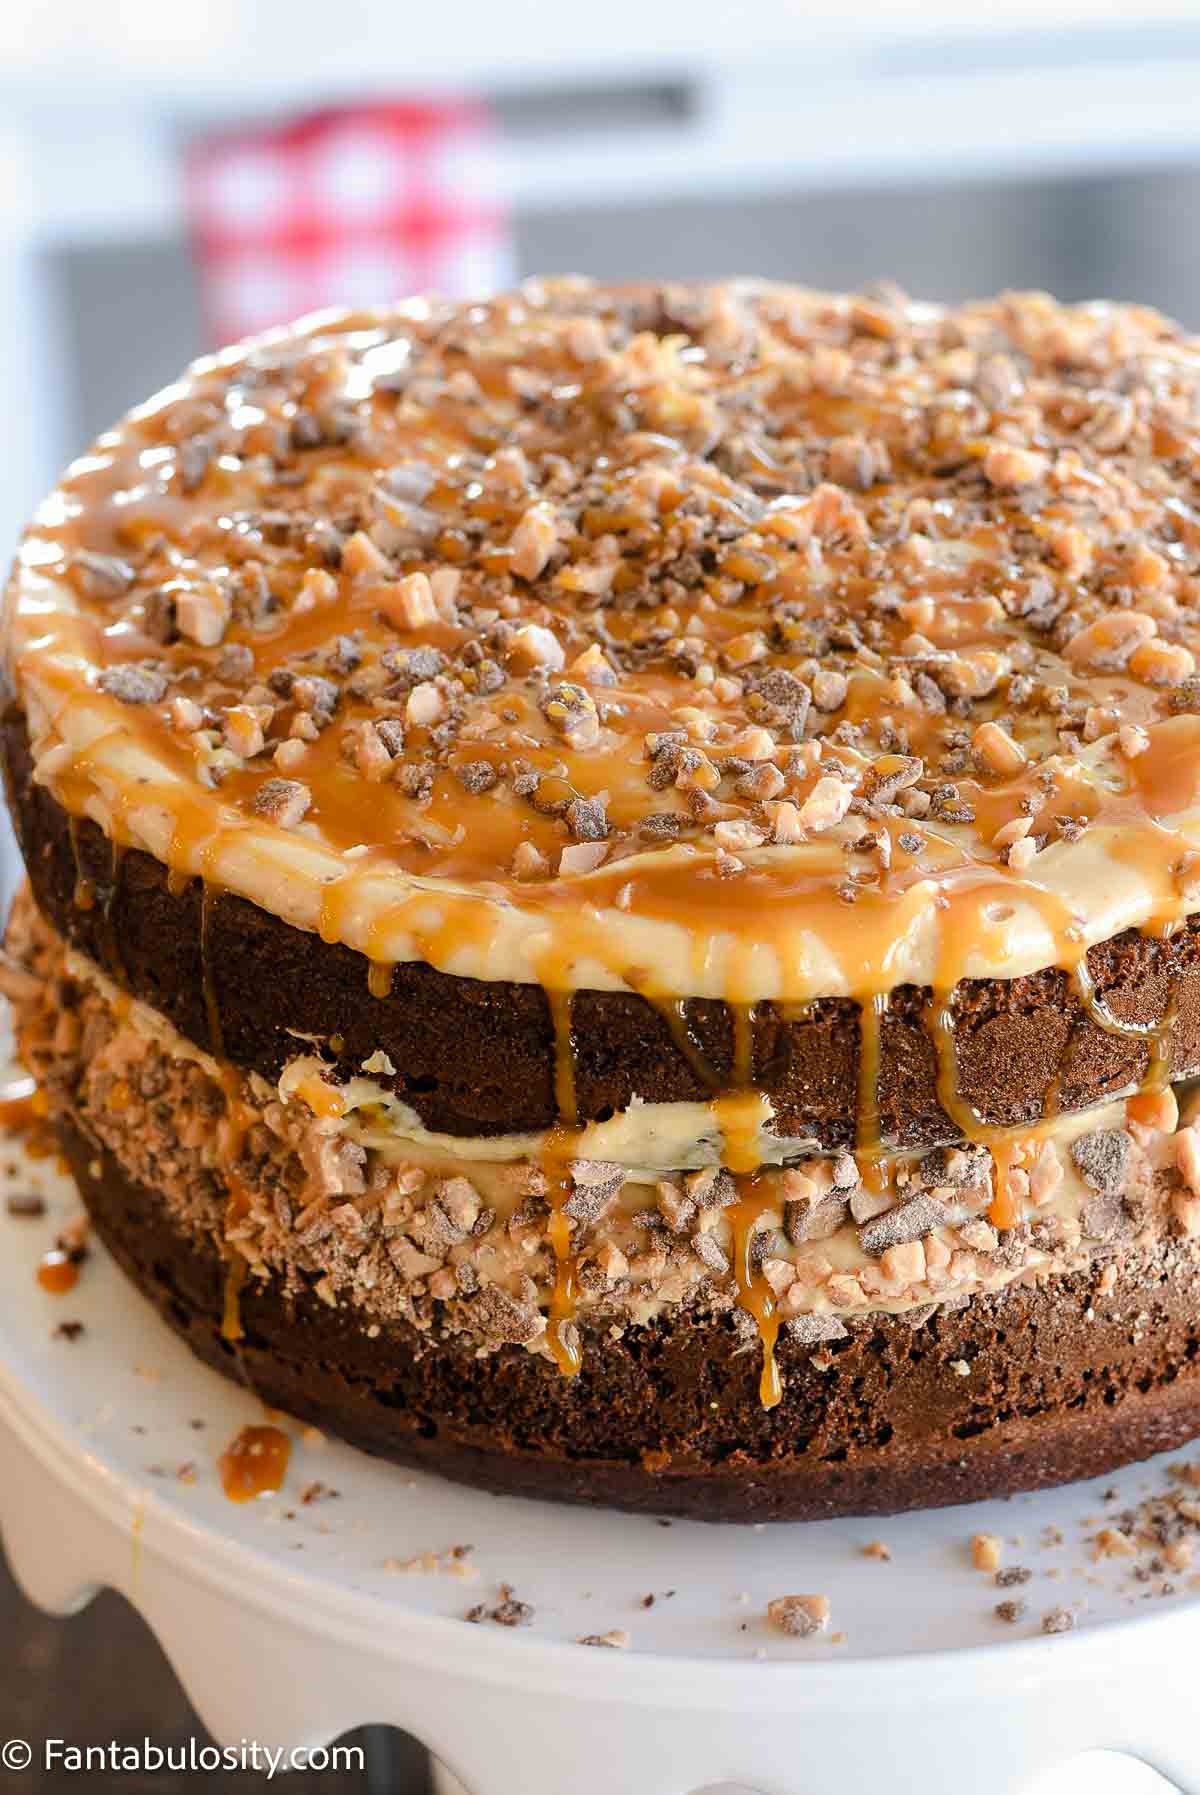
• Favorite Cake (Cheesecake, Ice Cream Cake, or favorite flavor)
• Money to spend on himself
• Full body massage (Extra special from wife or girlfriend, but spa is nice too!) If it will be from you, make sure you read up on the post I wrote, Preparing for a Romantic Weekend away with your Husband. You may just find a few tips for yourself in there!
I so hope you found a few gift ideas for the man in your life! It was so nice hearing from men, what they’d actually want for a gift for their birthday. I was completely shocked at how many actually spilled the beans. But that’s good news for us! Woot!


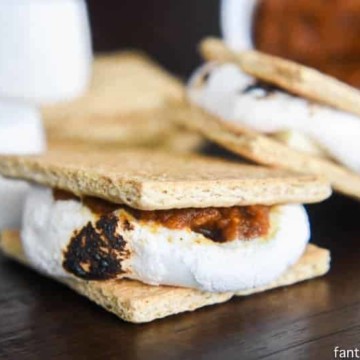
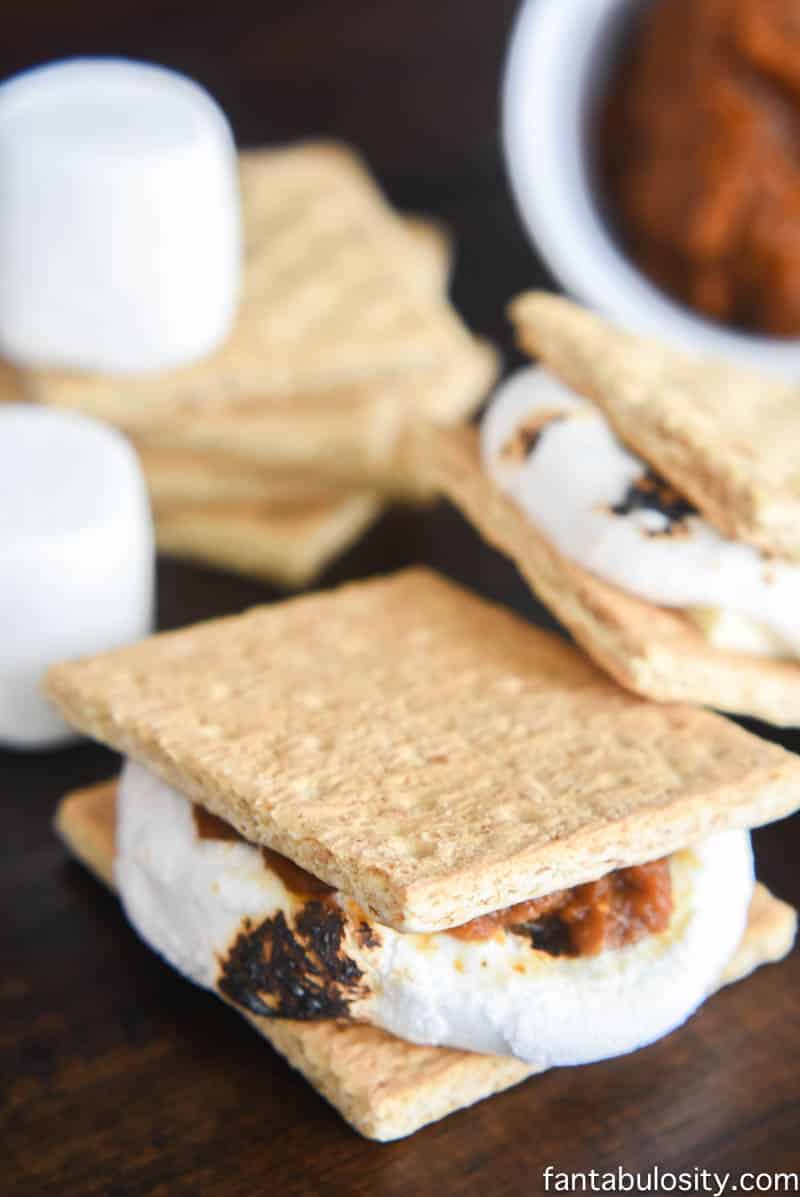


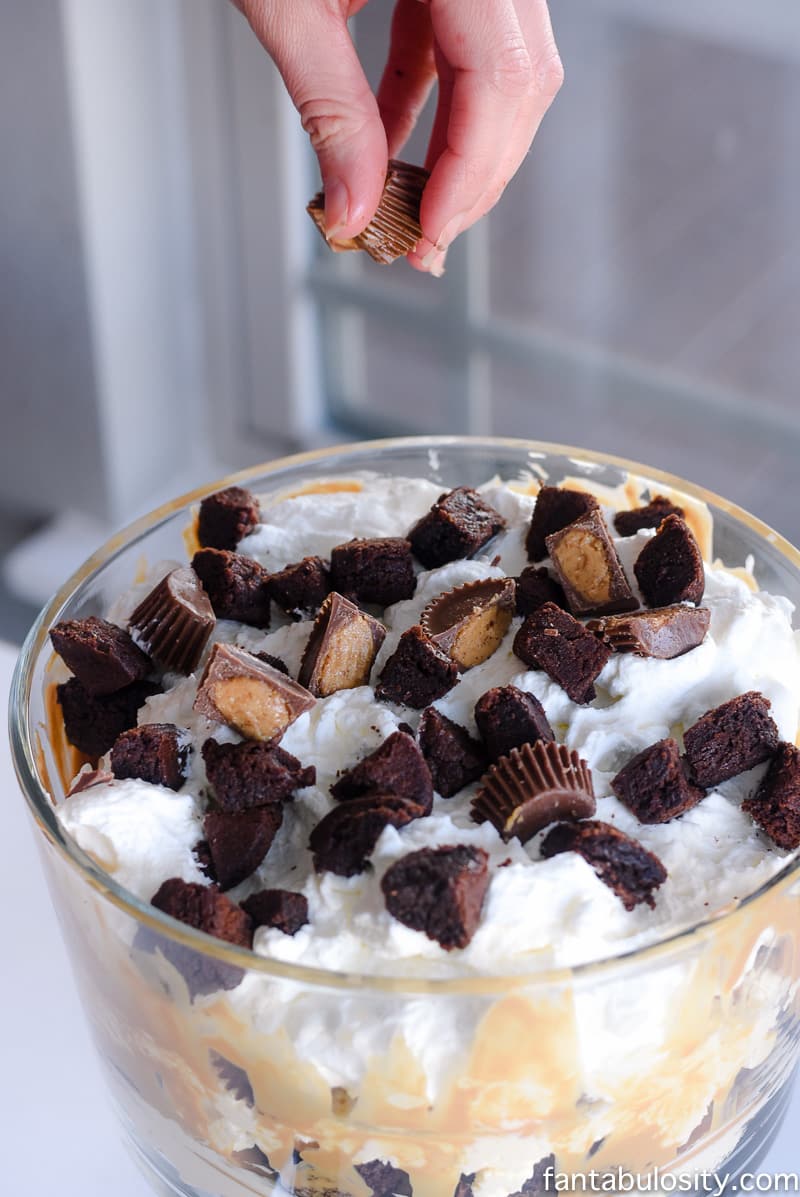
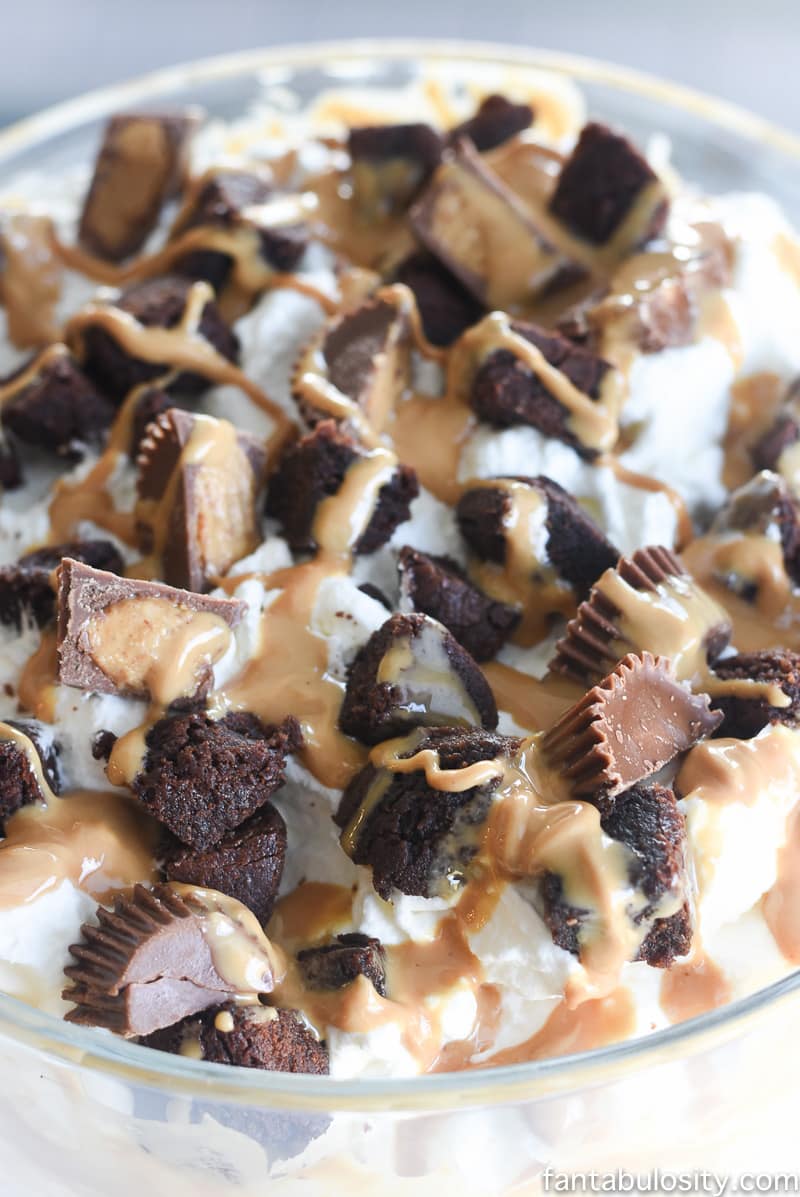
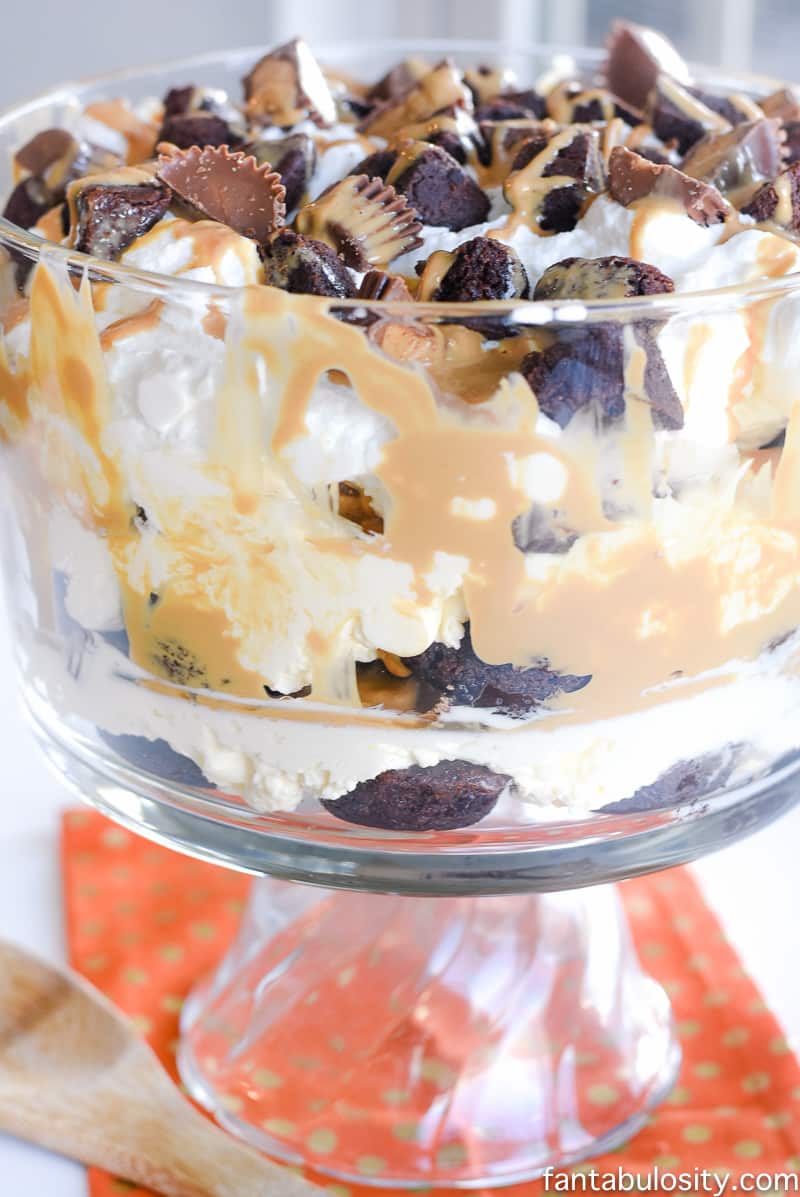
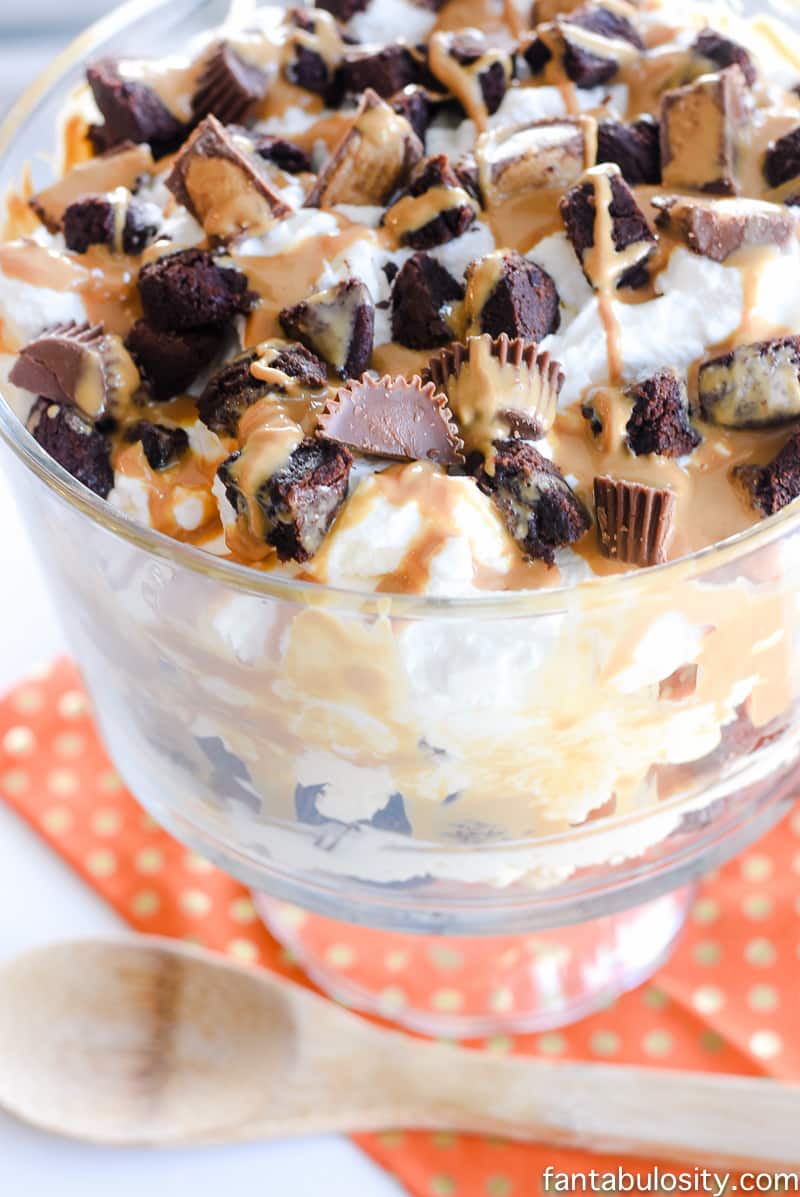
 Reeses Cups: