There's something special about the kinds of dinners that never seem to go out of style. The recipes that show up in church cookbooks, community potlucks, and handwritten recipe cards passed down through generations.
Jump to:
Classic Chicken Comfort Dinners
Old-Fashioned Beef Dinners
Pork & Ham Comfort Meals
Classic Sandwich-Style Dinners
Classic Family Dinner Favorites
These old-fashioned dinner recipes are the kinds of meals families have been making for decades, like hearty casseroles, cozy skillet dinners, comforting sandwiches, and simple family favorites that make everyone feel at home around the table.
Whether you're cooking a weeknight meal or planning a comforting Sunday dinner, these classic comfort food recipes bring back the familiar flavors of home cooking.

Classic Chicken Comfort Dinners
Chicken has always been at the center of many traditional family dinners. These comforting recipes are simple, satisfying, and perfect for feeding a family.
Chicken and Gravy
Tender bites of chicken simmered in a rich, savory gravy make this dish the definition of comfort food. This Chicken and Gravy recipe is perfect served over mashed potatoes, rice, or noodles for a cozy dinner that feels just like something grandma used to make.
Chicken and Dumplings
Few meals feel more nostalgic than chicken and dumplings. This Chicken and Dumplings recipe combines tender chicken with soft dumplings in a hearty broth for a classic comfort dinner that has been loved for generations.
Chicken and Rice Casserole
A creamy, cozy casserole that's simple to prepare and perfect for busy nights. This Chicken and Rice Casserole is the kind of dish that often appears in vintage community cookbooks because it's easy, filling, and family-friendly.
Chicken Spaghetti
This comforting pasta bake blends chicken, noodles, and creamy sauce into a hearty casserole that families have been serving for decades. Chicken Spaghetti is a classic potluck favorite that's perfect for feeding a crowd.
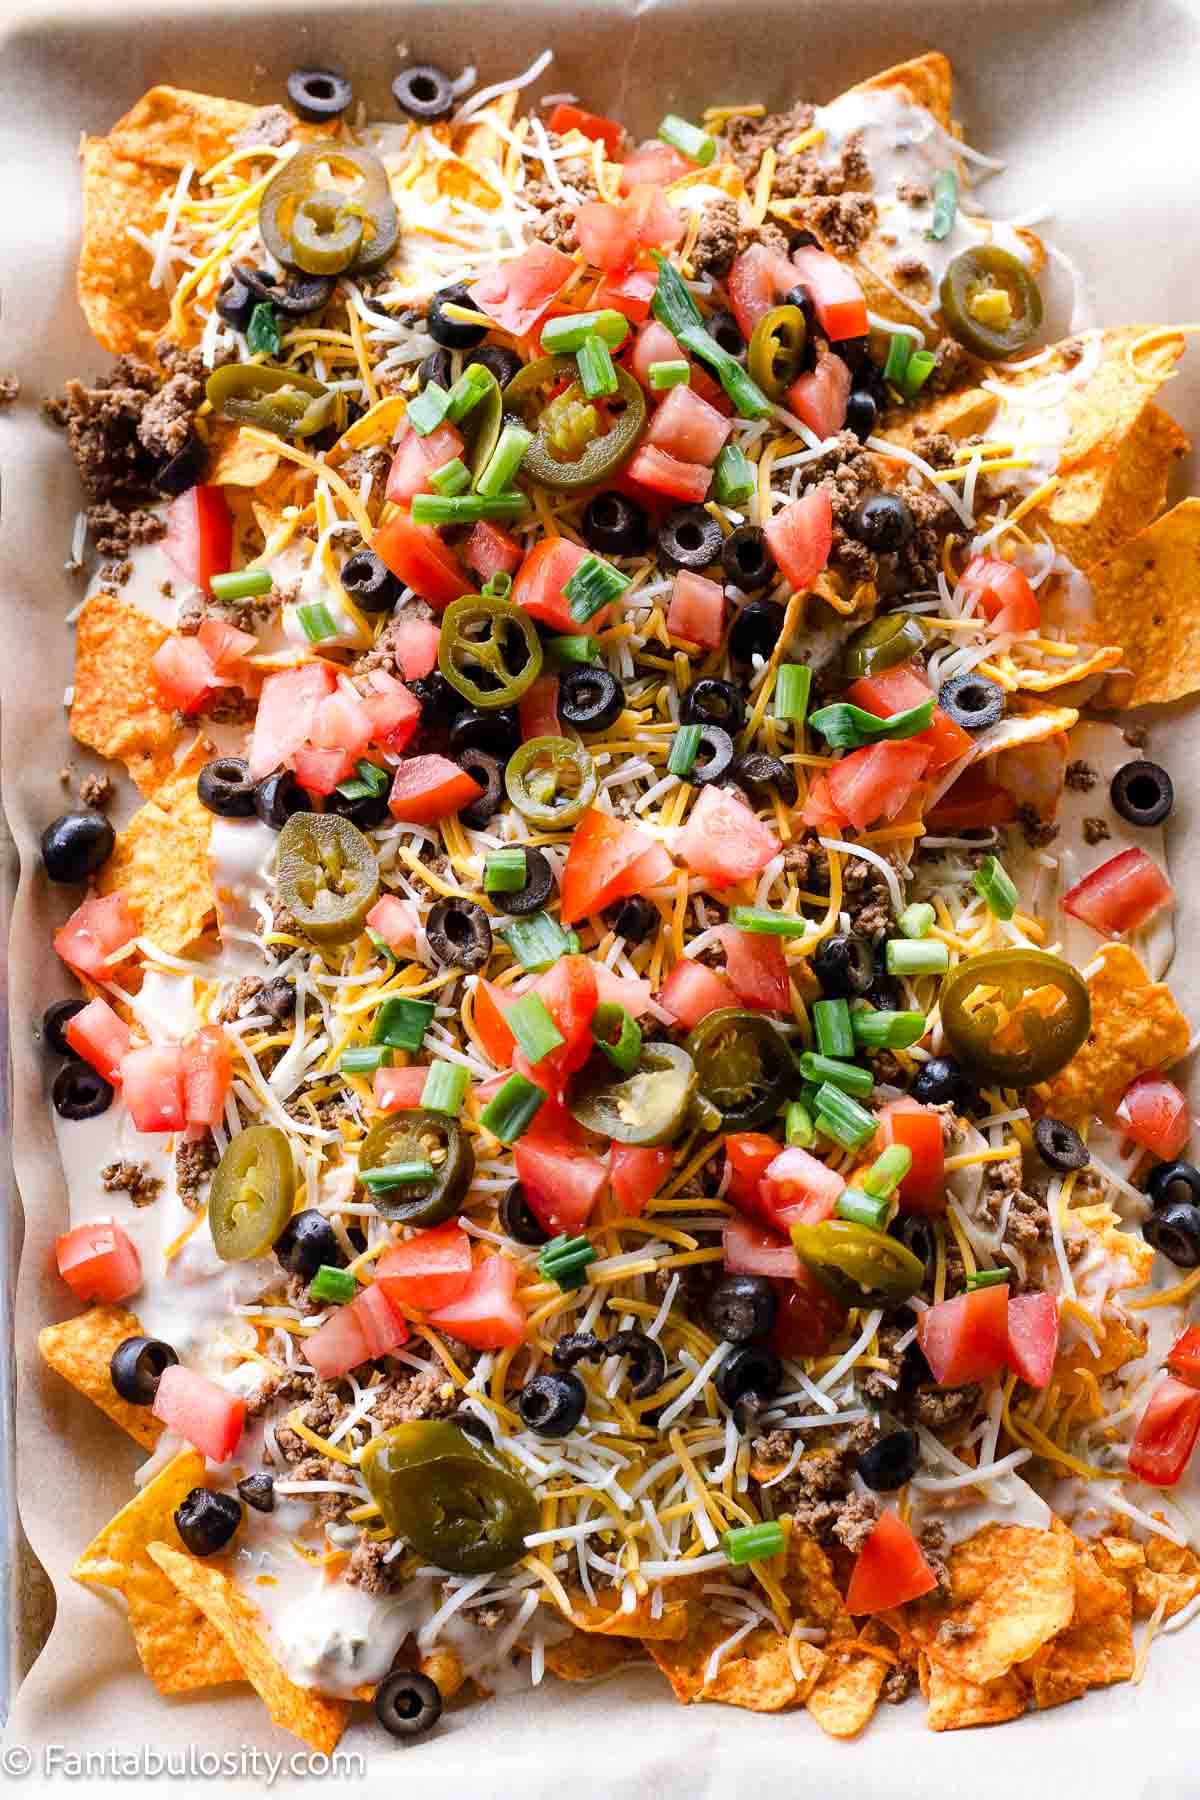
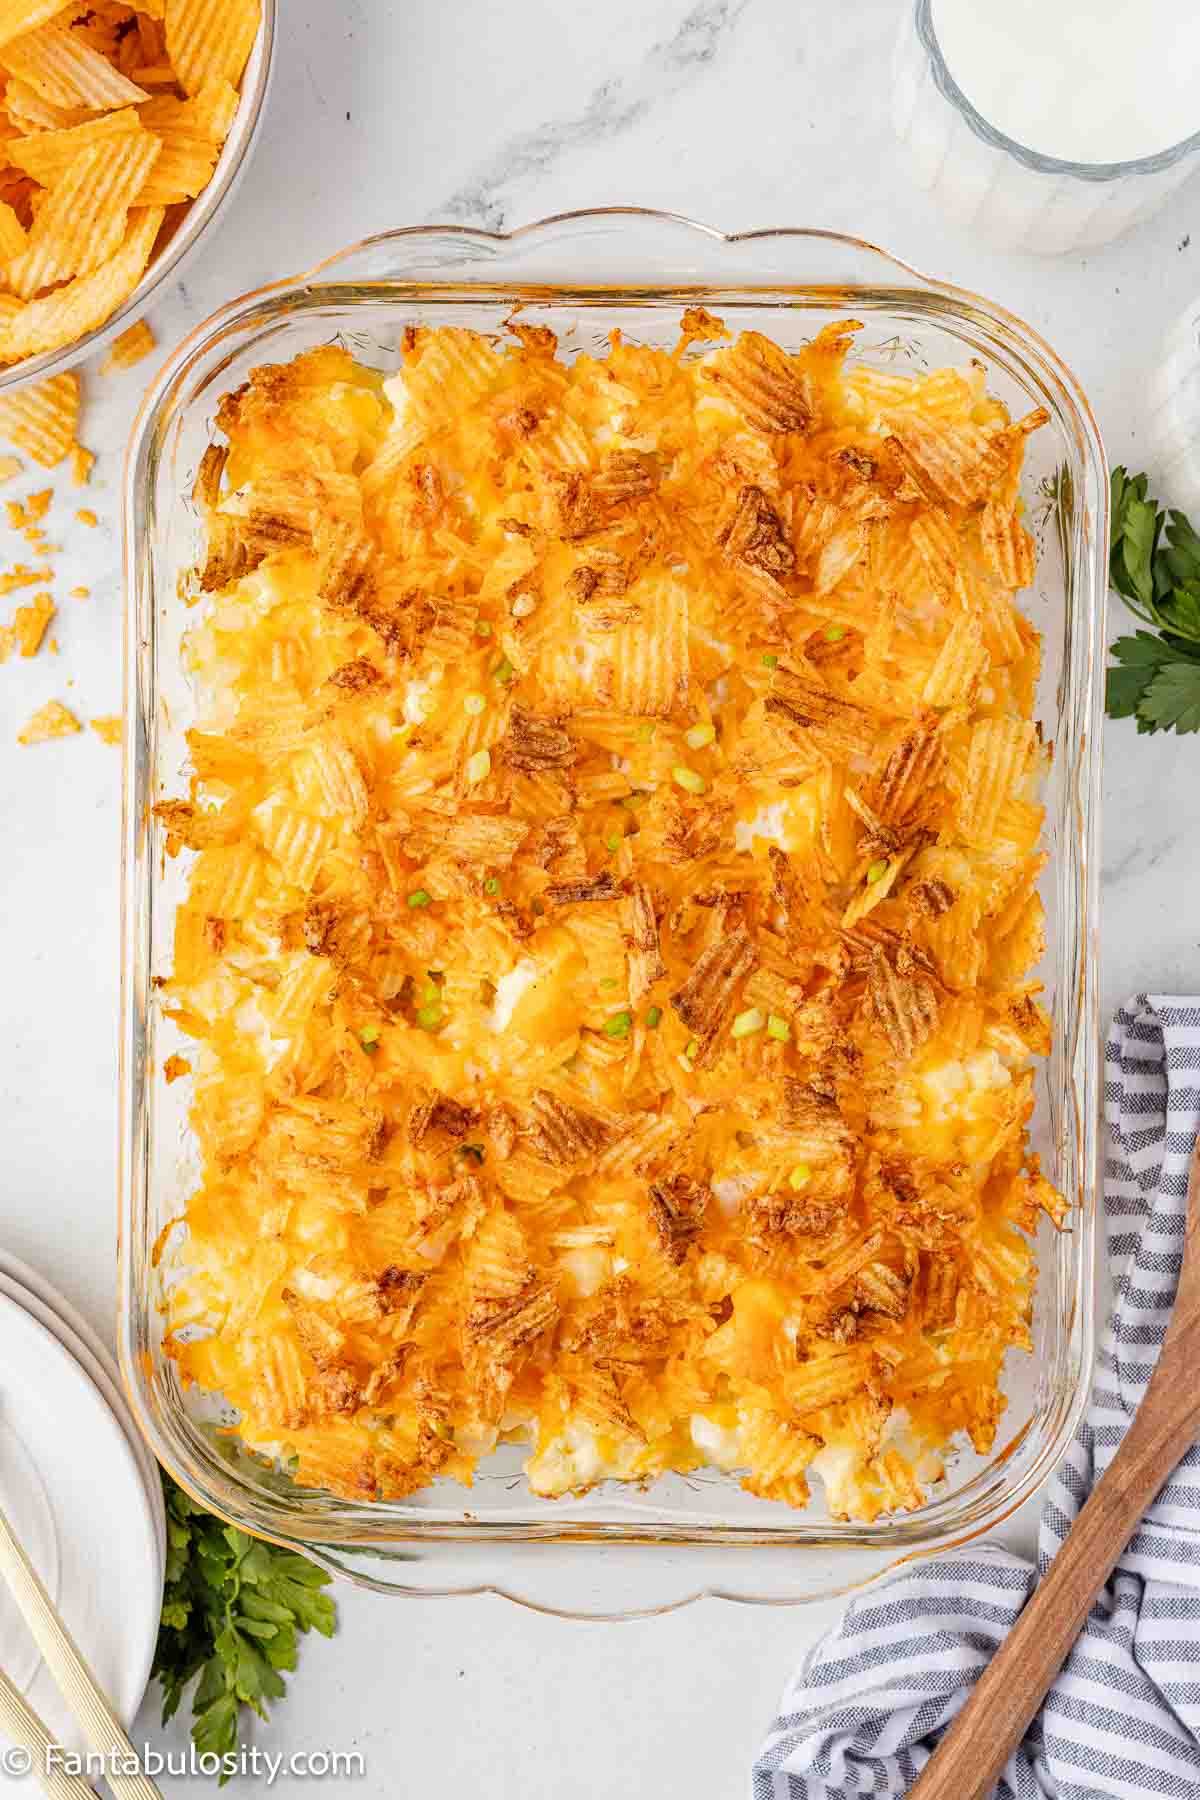
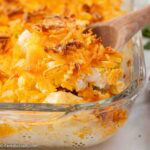
Doritos Chicken Casserole
Retro casseroles like Doritos Chicken Casserole have been loved by families for years. With creamy chicken, crunchy chips, and plenty of melted cheese, this comforting dinner is always a crowd favorite.
Old-Fashioned Beef Dinners
Ground beef and slow-cooked beef dishes have long been staples of classic American comfort cooking.

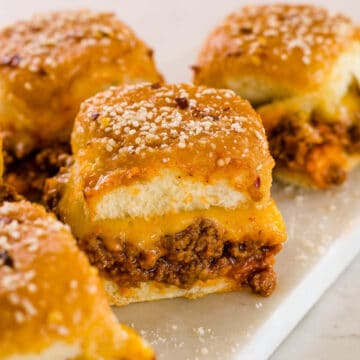
Cheeseburger Sliders
These Cheeseburger Sliders are a family favorite and perfect for feeding a group. Juicy beef and melty cheese baked into soft rolls make this an easy dinner that everyone loves.
Cheeseburger Macaroni
Homemade Cheeseburger Macaroni in the Instant Pot brings back the nostalgic flavors of the classic boxed dinner many of us grew up eating but made from scratch with simple ingredients.
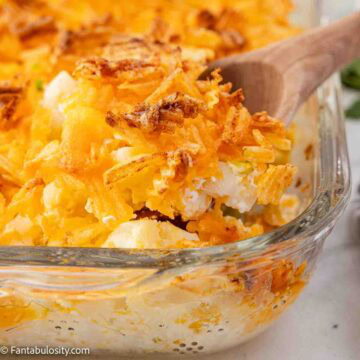
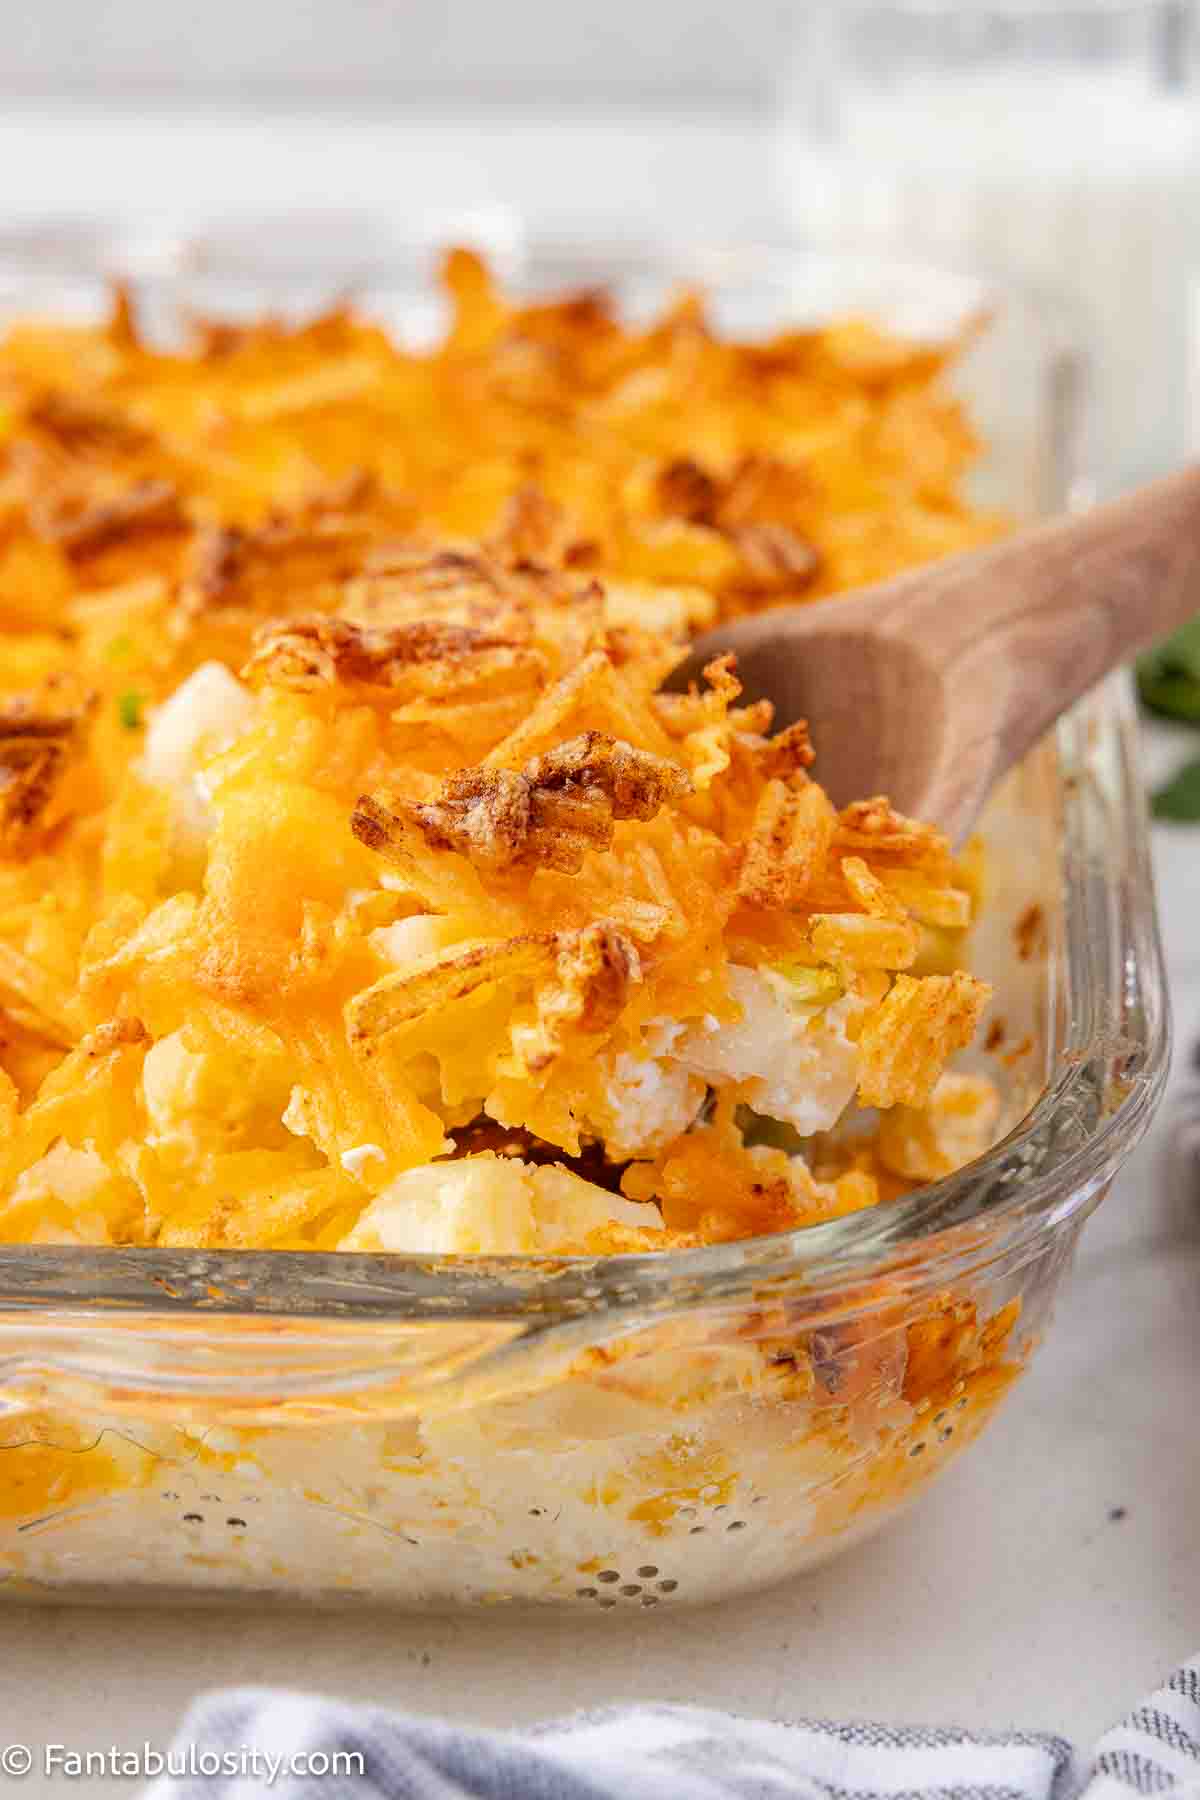
Hamburger Hashbrown Casserole
Few things say comfort food like a cheesy casserole filled with ground beef and potatoes. This Hamburger Hashbrown Casserole is hearty, simple, and perfect for busy weeknights.
Pot Roast
A Pot Roast is one of the most traditional Sunday dinners you can make. Tender beef, savory gravy, and vegetables create a comforting meal that feels timeless.
Salisbury Steak
Salisbury steak is a classic comfort dinner made with seasoned ground beef patties simmered in a rich onion gravy. Served with mashed potatoes or egg noodles, it's the kind of hearty, old-fashioned meal that has been a staple on family dinner tables for generations.
Pork & Ham Comfort Meals
Pork dishes have always played a big role in traditional comfort cooking, especially in Southern and Midwestern kitchens.
BBQ Pork Steaks
These flavorful BBQ Pork Steaks in the oven are a hearty dinner that's packed with savory flavor and perfect served with classic comfort sides like potatoes or green beans.
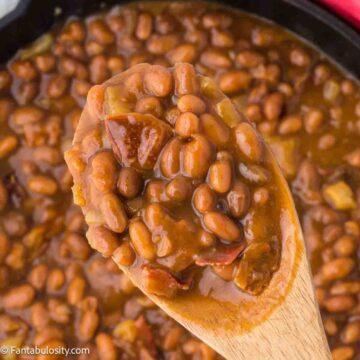
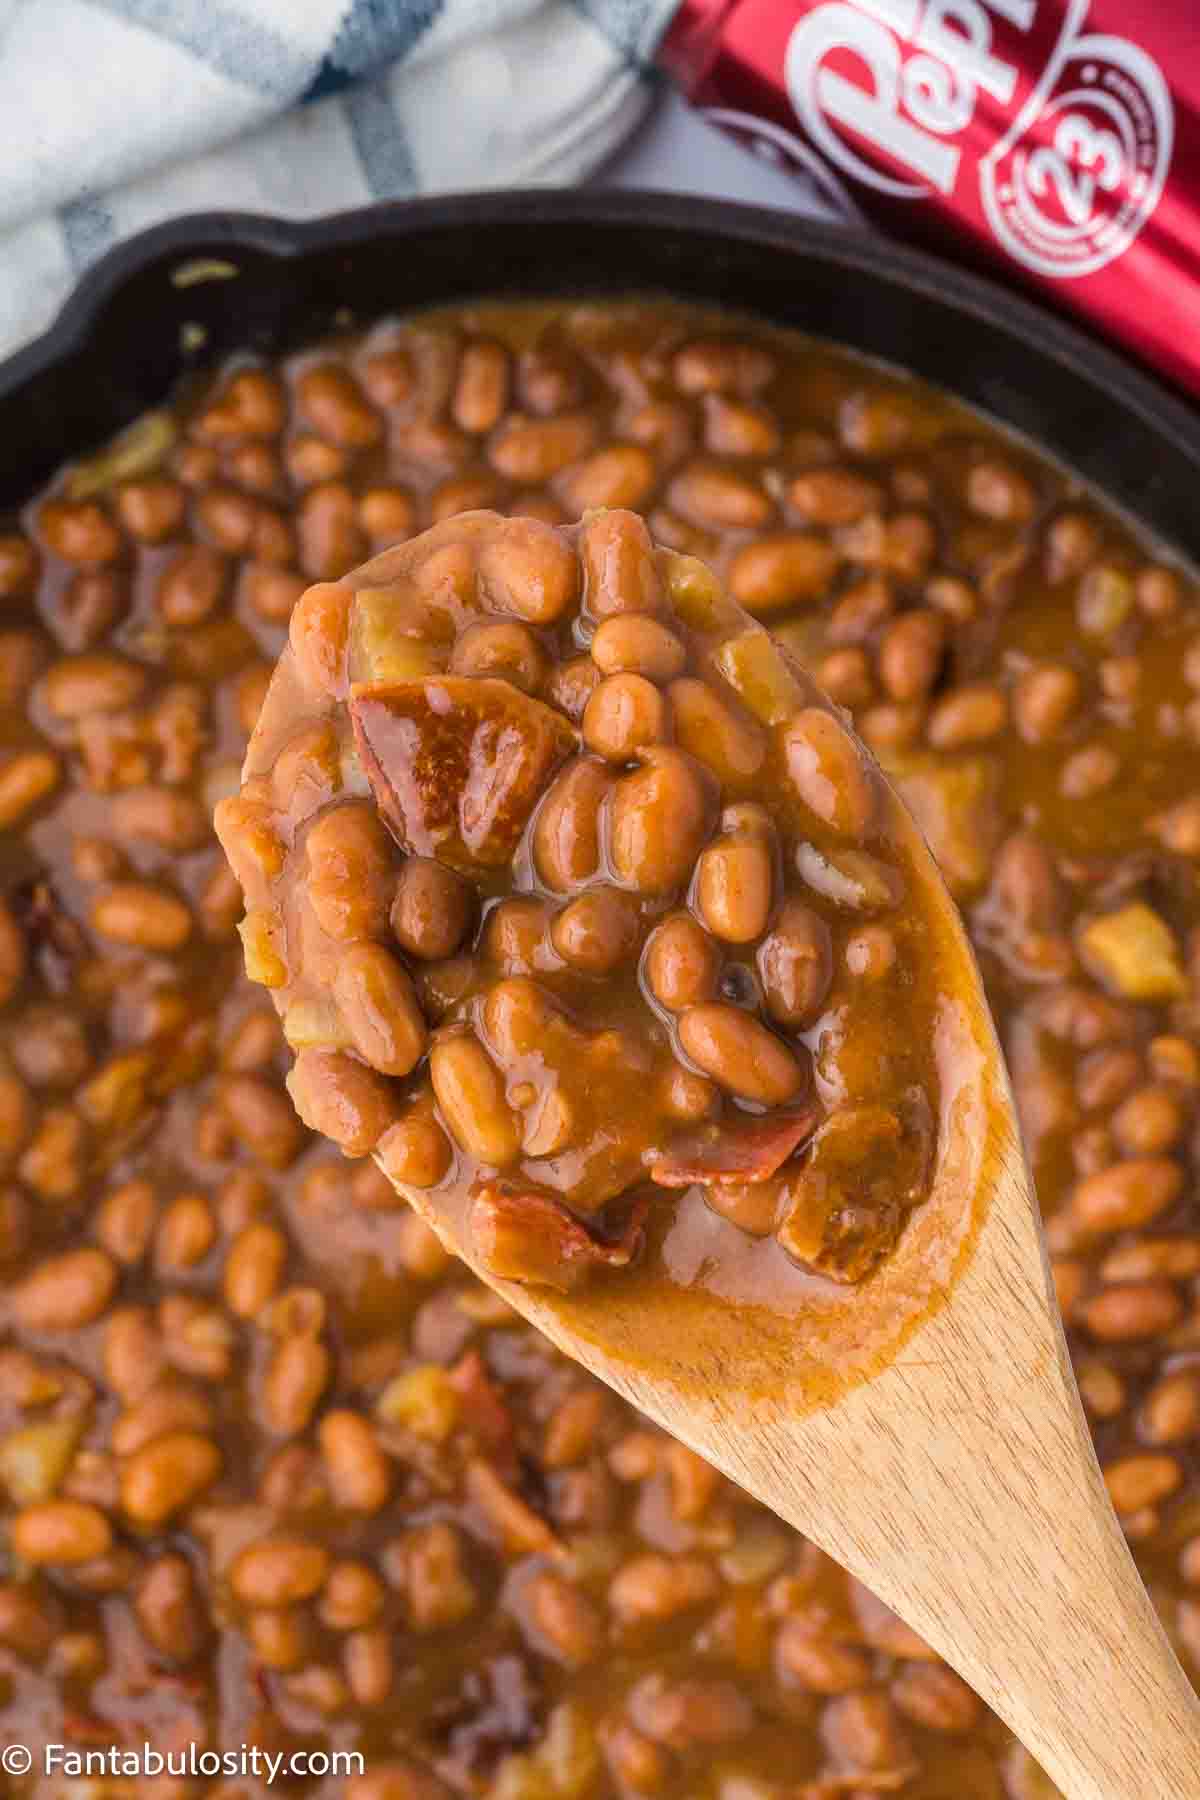
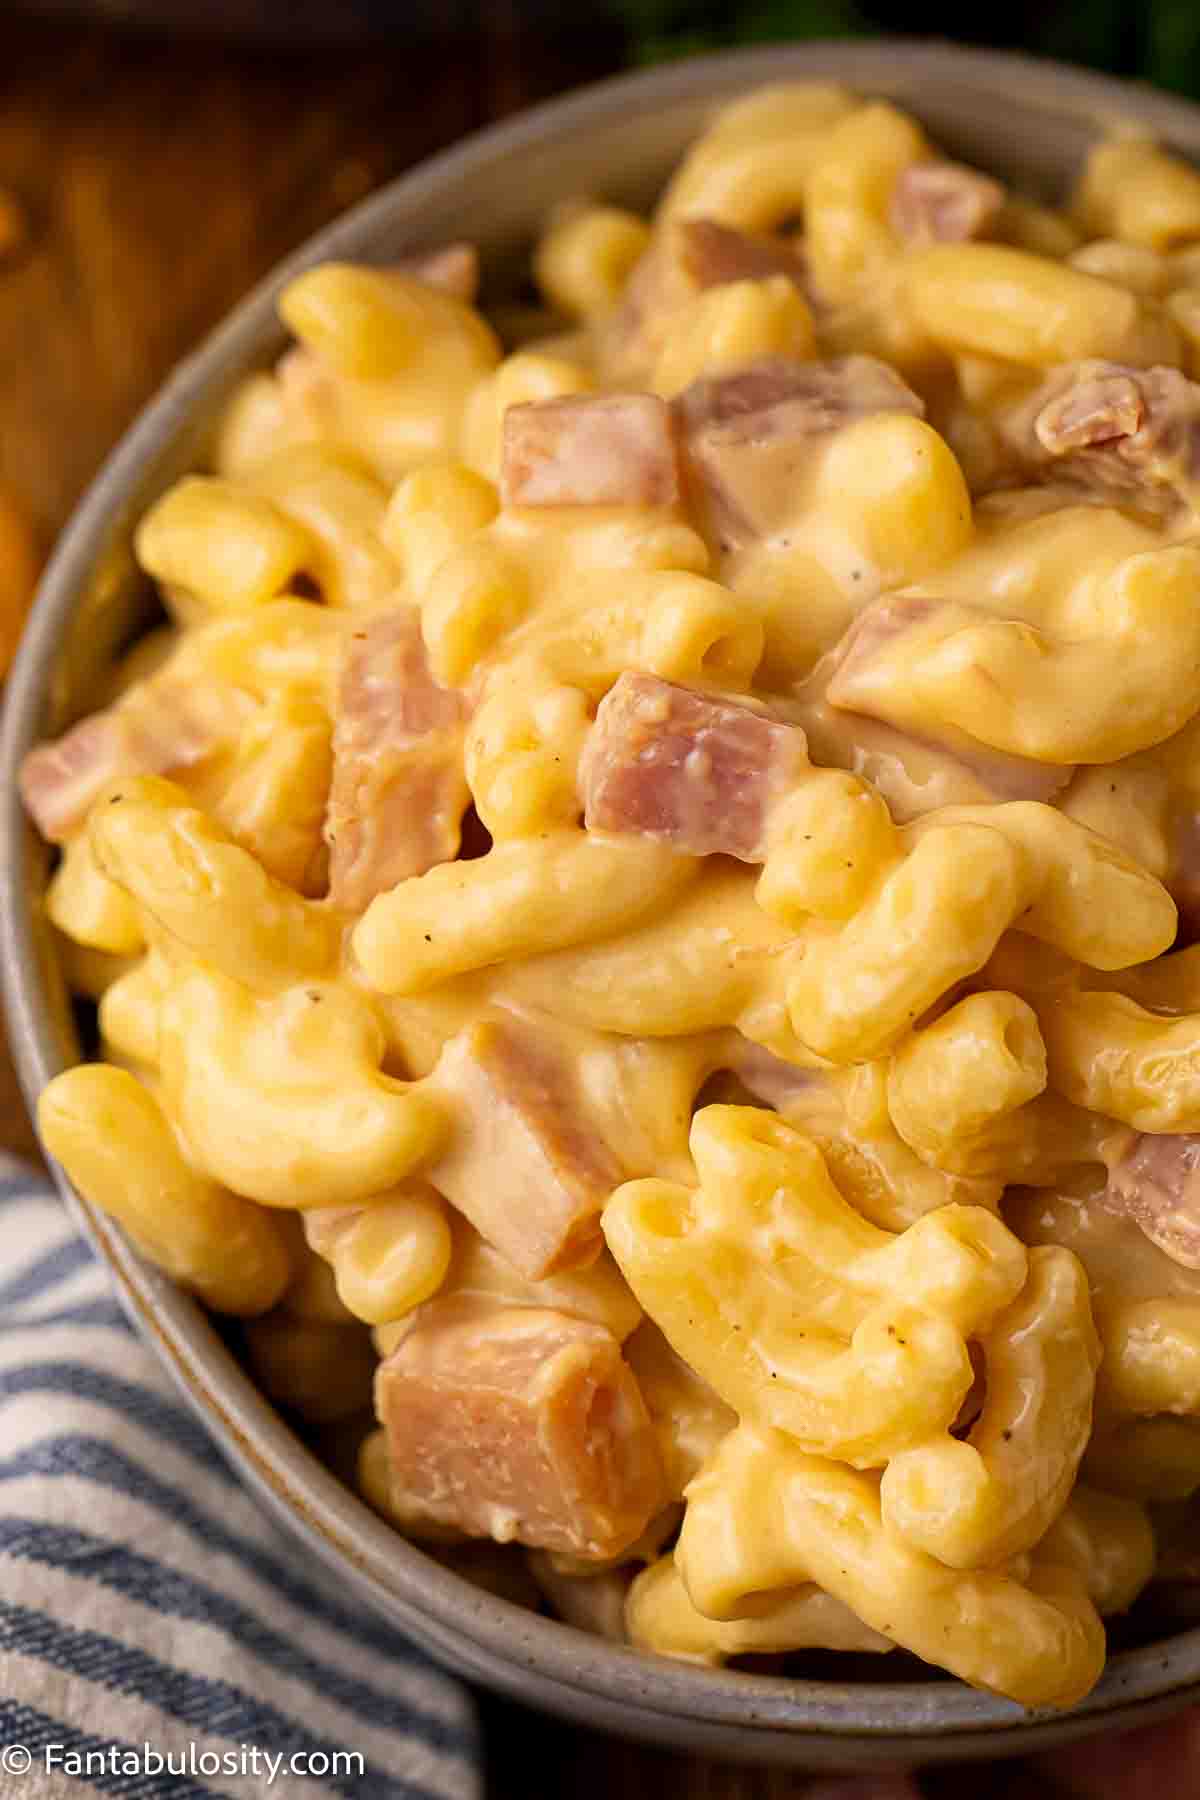
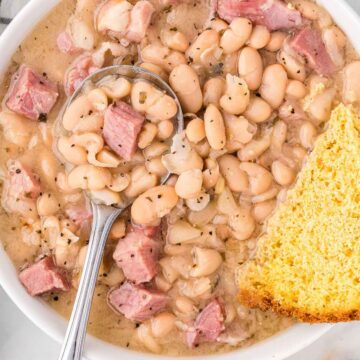
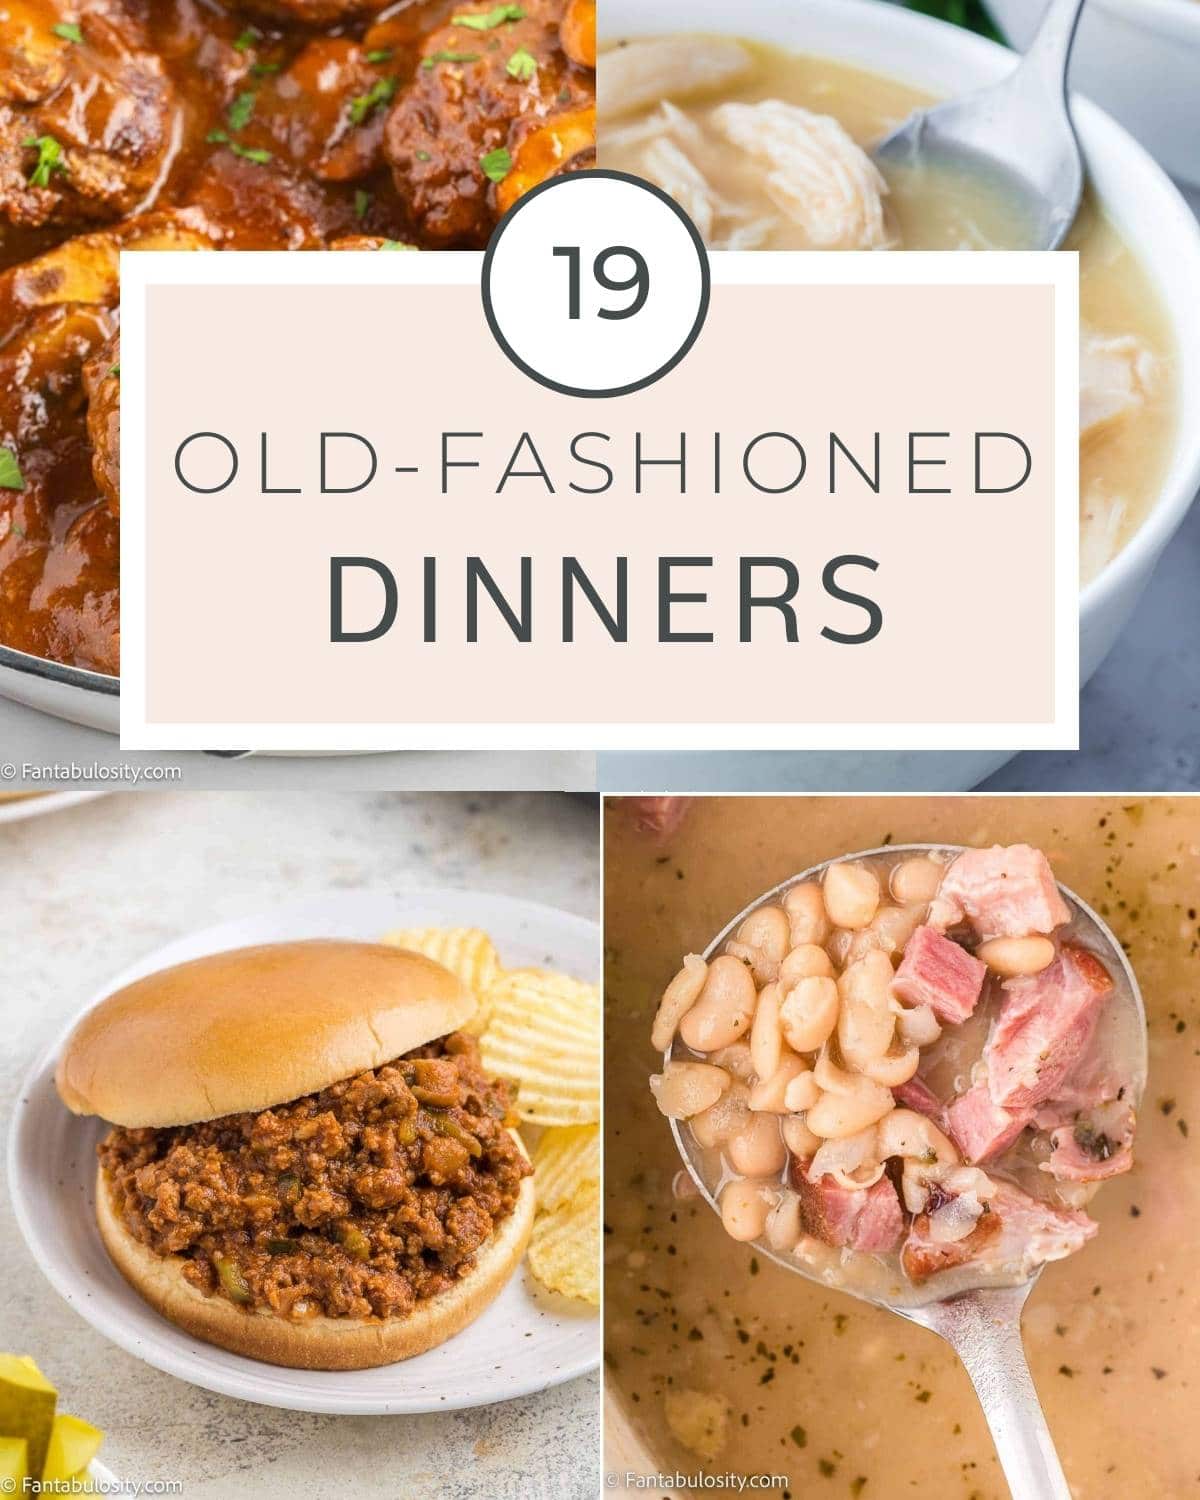
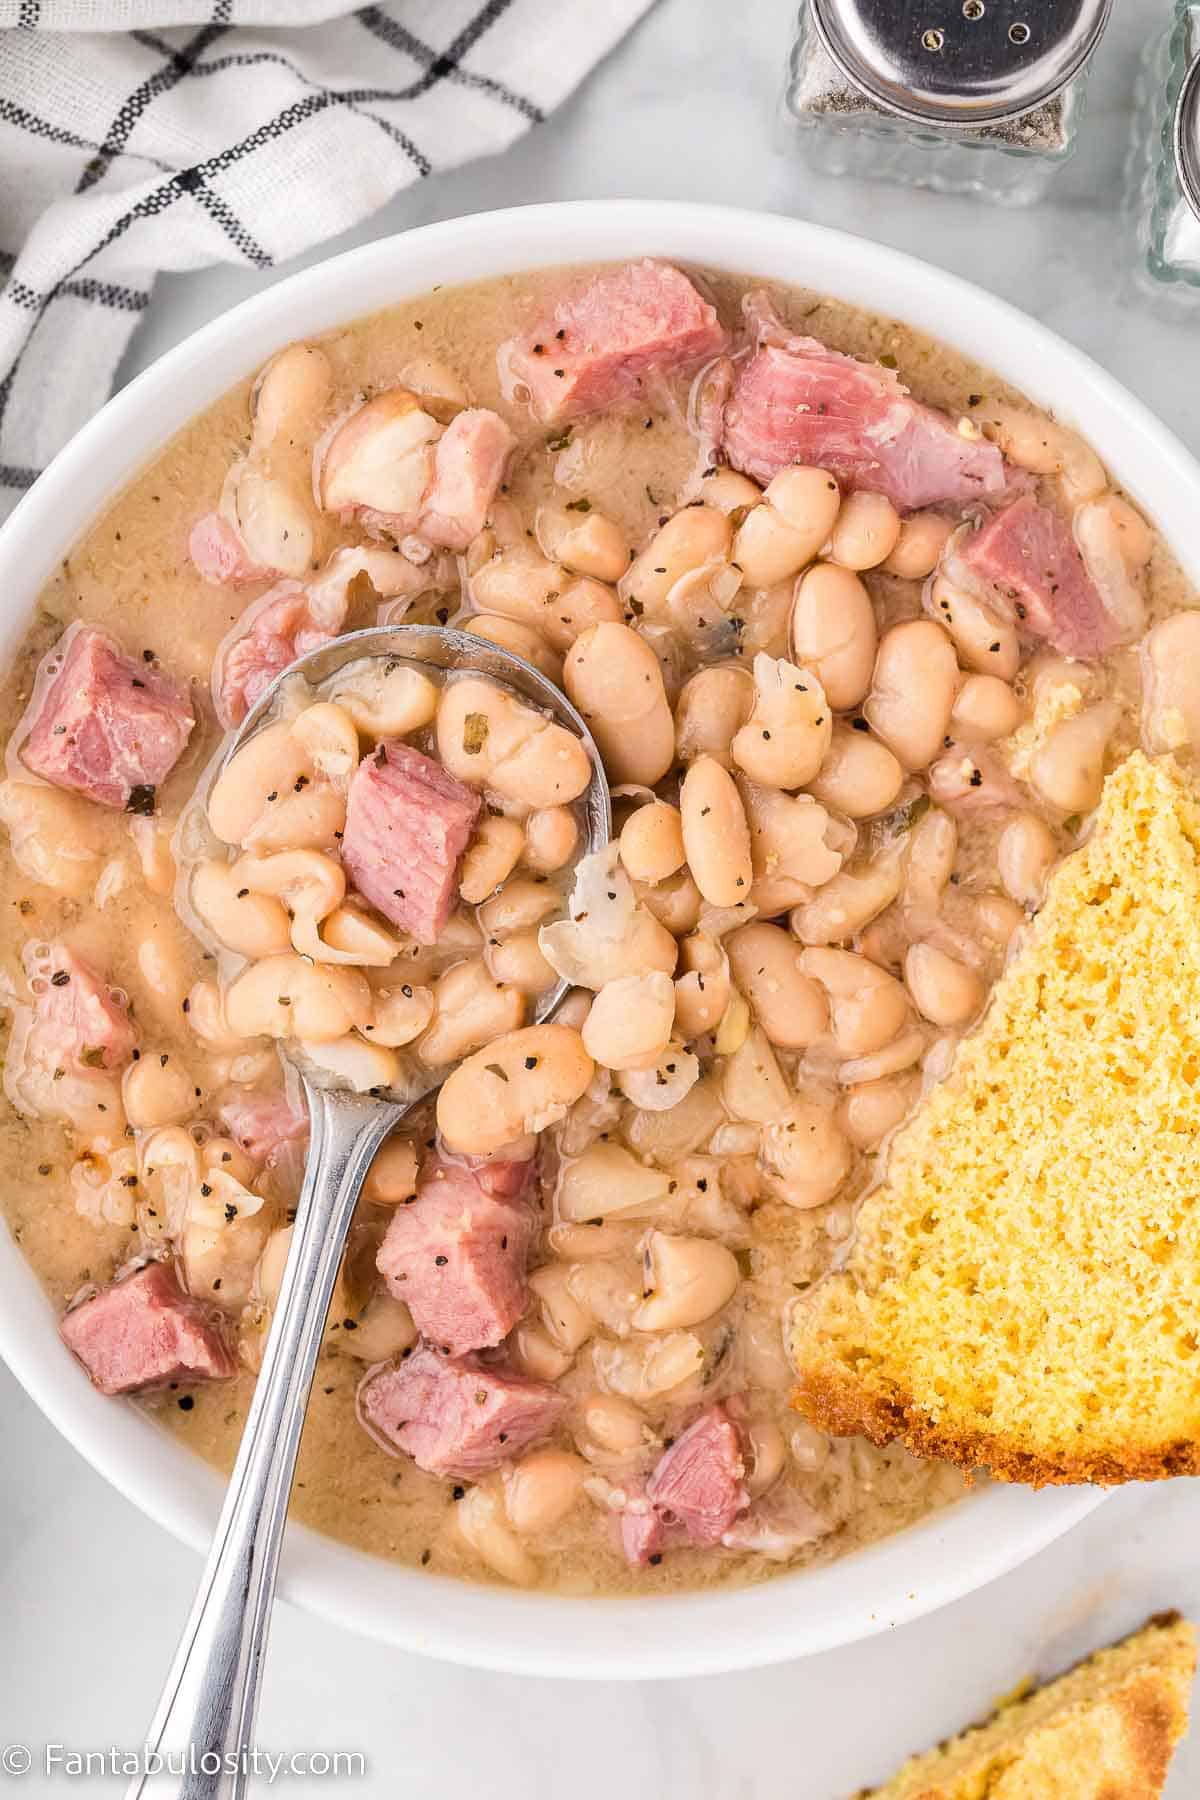
Ham and Beans
Simple ingredients come together beautifully in this comforting Ham and Beans recipe. It's a classic budget-friendly dinner that has been served in family kitchens for generations.
Classic Sandwich-Style Dinners
Some of the most comforting dinners are simple sandwiches served warm and hearty with a favorite side dish.

Maid-Rite Sandwiches
Loose-meat sandwiches like these Maid-Rite Sandwiches have been a Midwest diner favorite for decades. Seasoned ground beef served on soft buns makes a quick and nostalgic dinner.
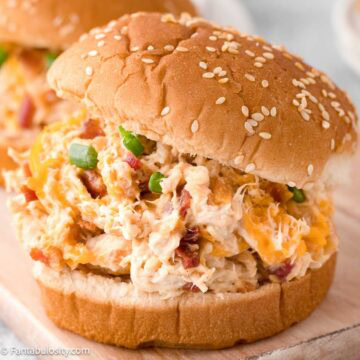
Old-Fashioned Sloppy Joes
Few sandwiches are as classic as Old-Fashioned Sloppy Joes. This hearty ground beef mixture served on buns has been a weeknight dinner staple for generations.
Hot Ham and Cheese Sandwiches
Warm, melty Hot Ham and Cheese Sandwiches are the kind of simple comfort dinner that never disappoints and come together quickly on busy evenings.
French Dip Sandwiches
Tender beef served on toasted bread with a savory dipping broth makes Instant Pot French Dip Sandwiches a classic diner-style comfort meal.
Classic Family Dinner Favorites
These meals are the kinds of recipes families have been making for decades, that simple, satisfying, and always welcome at the dinner table.

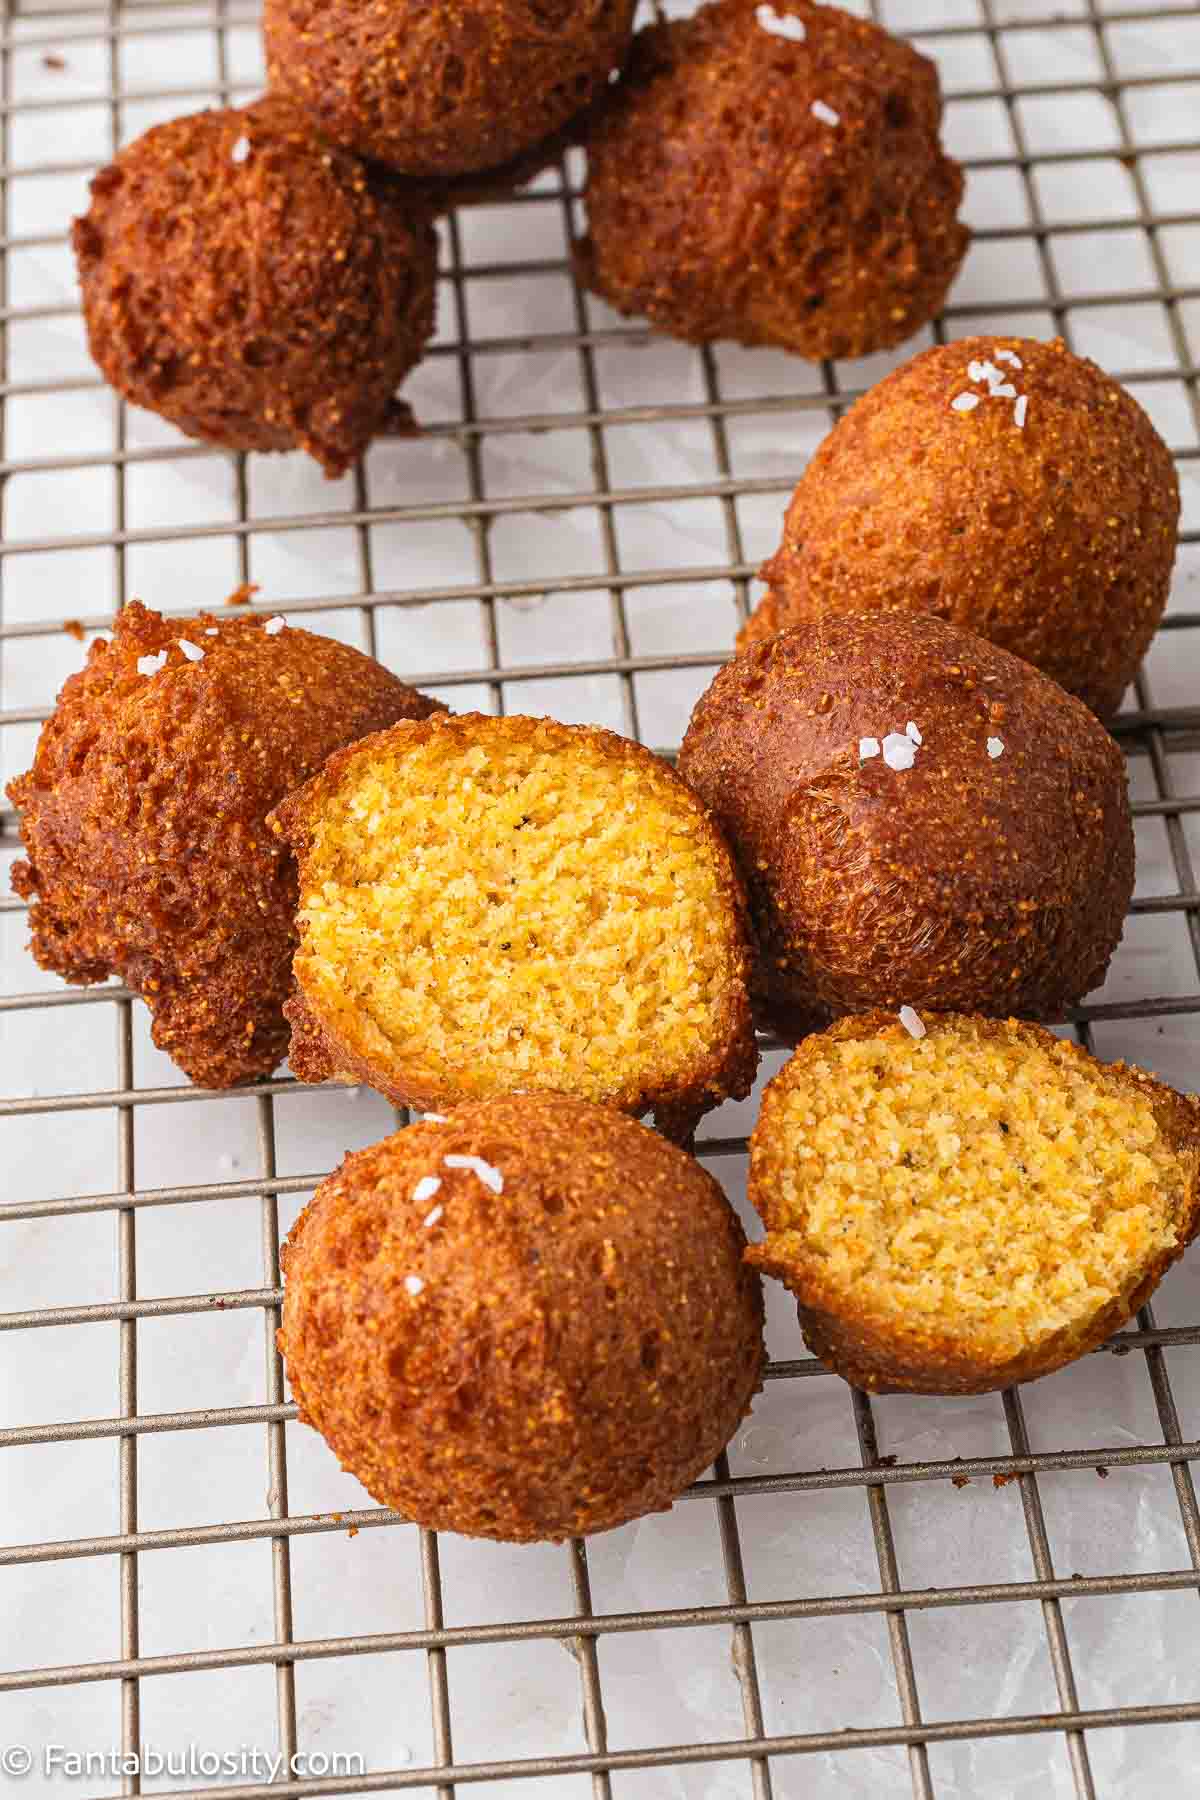
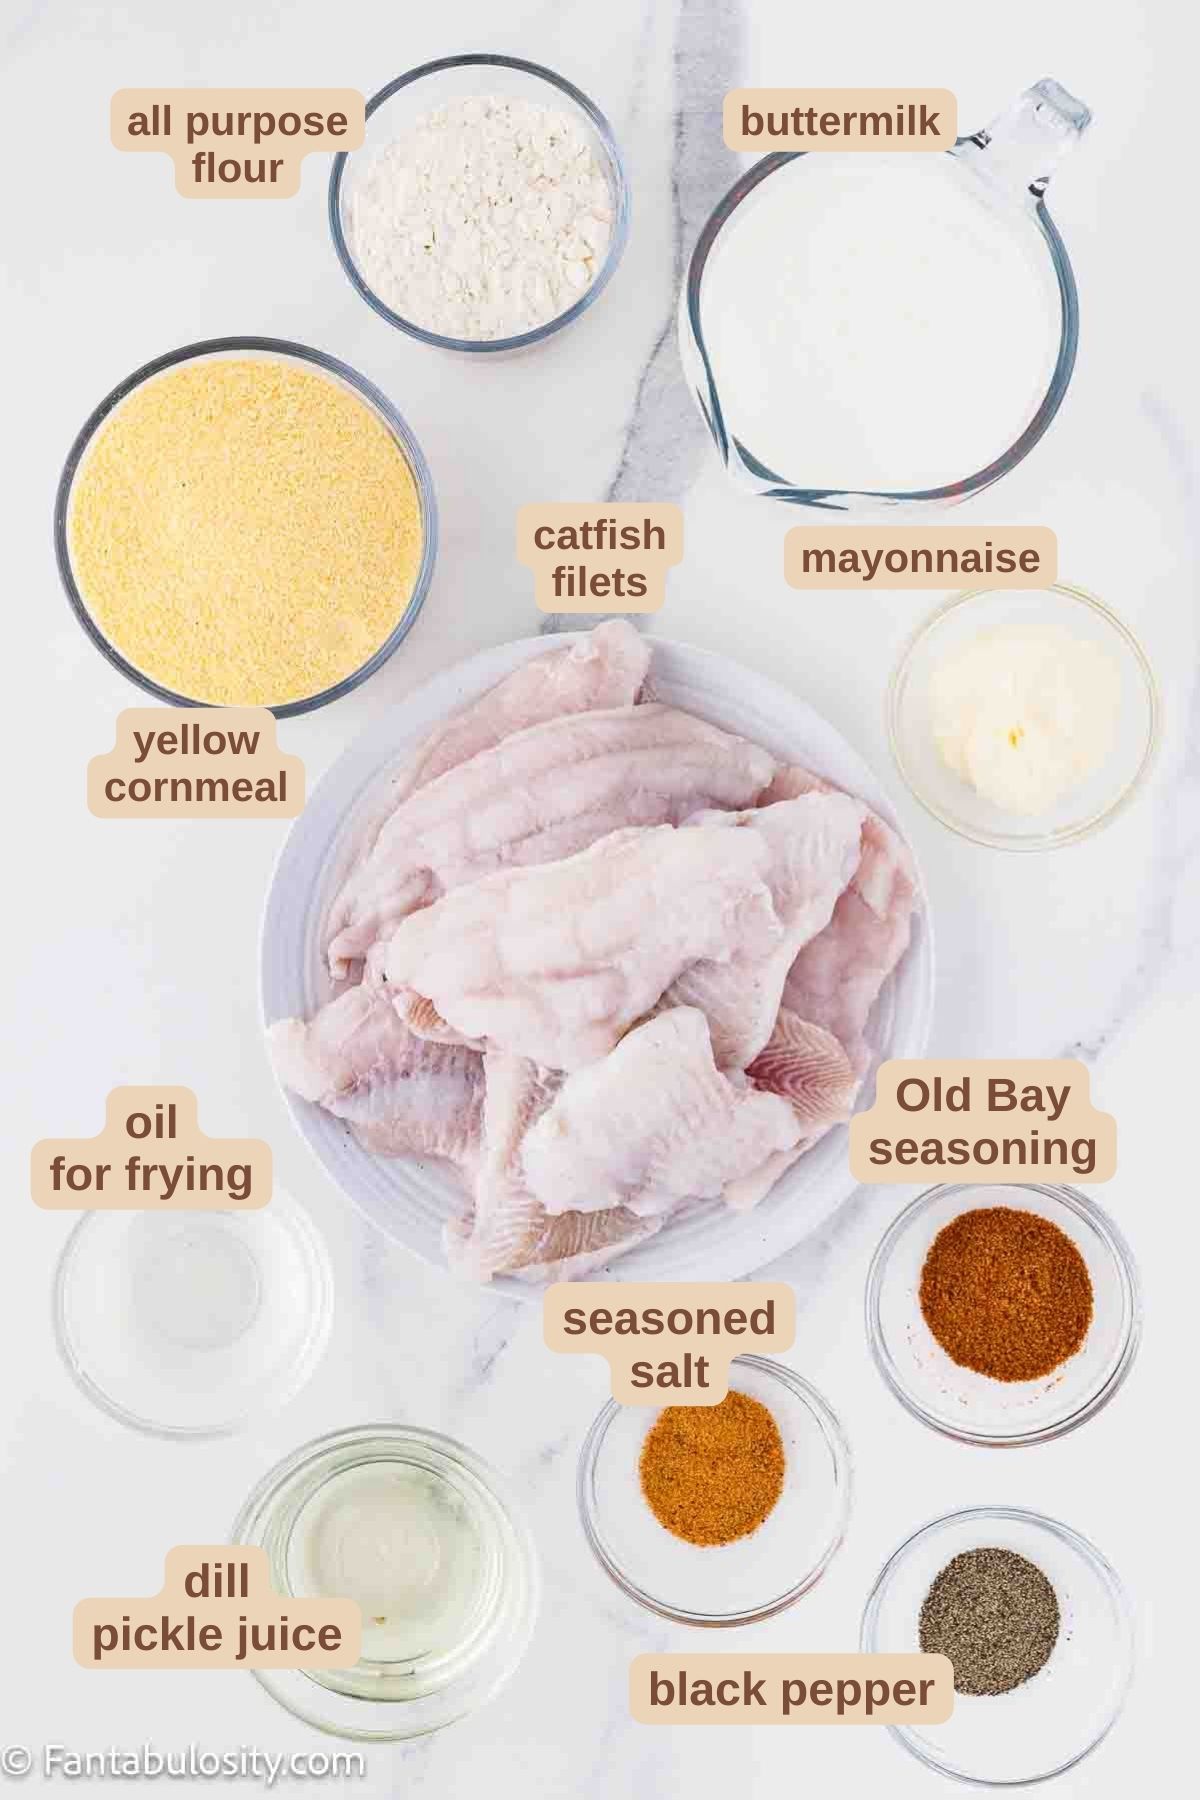
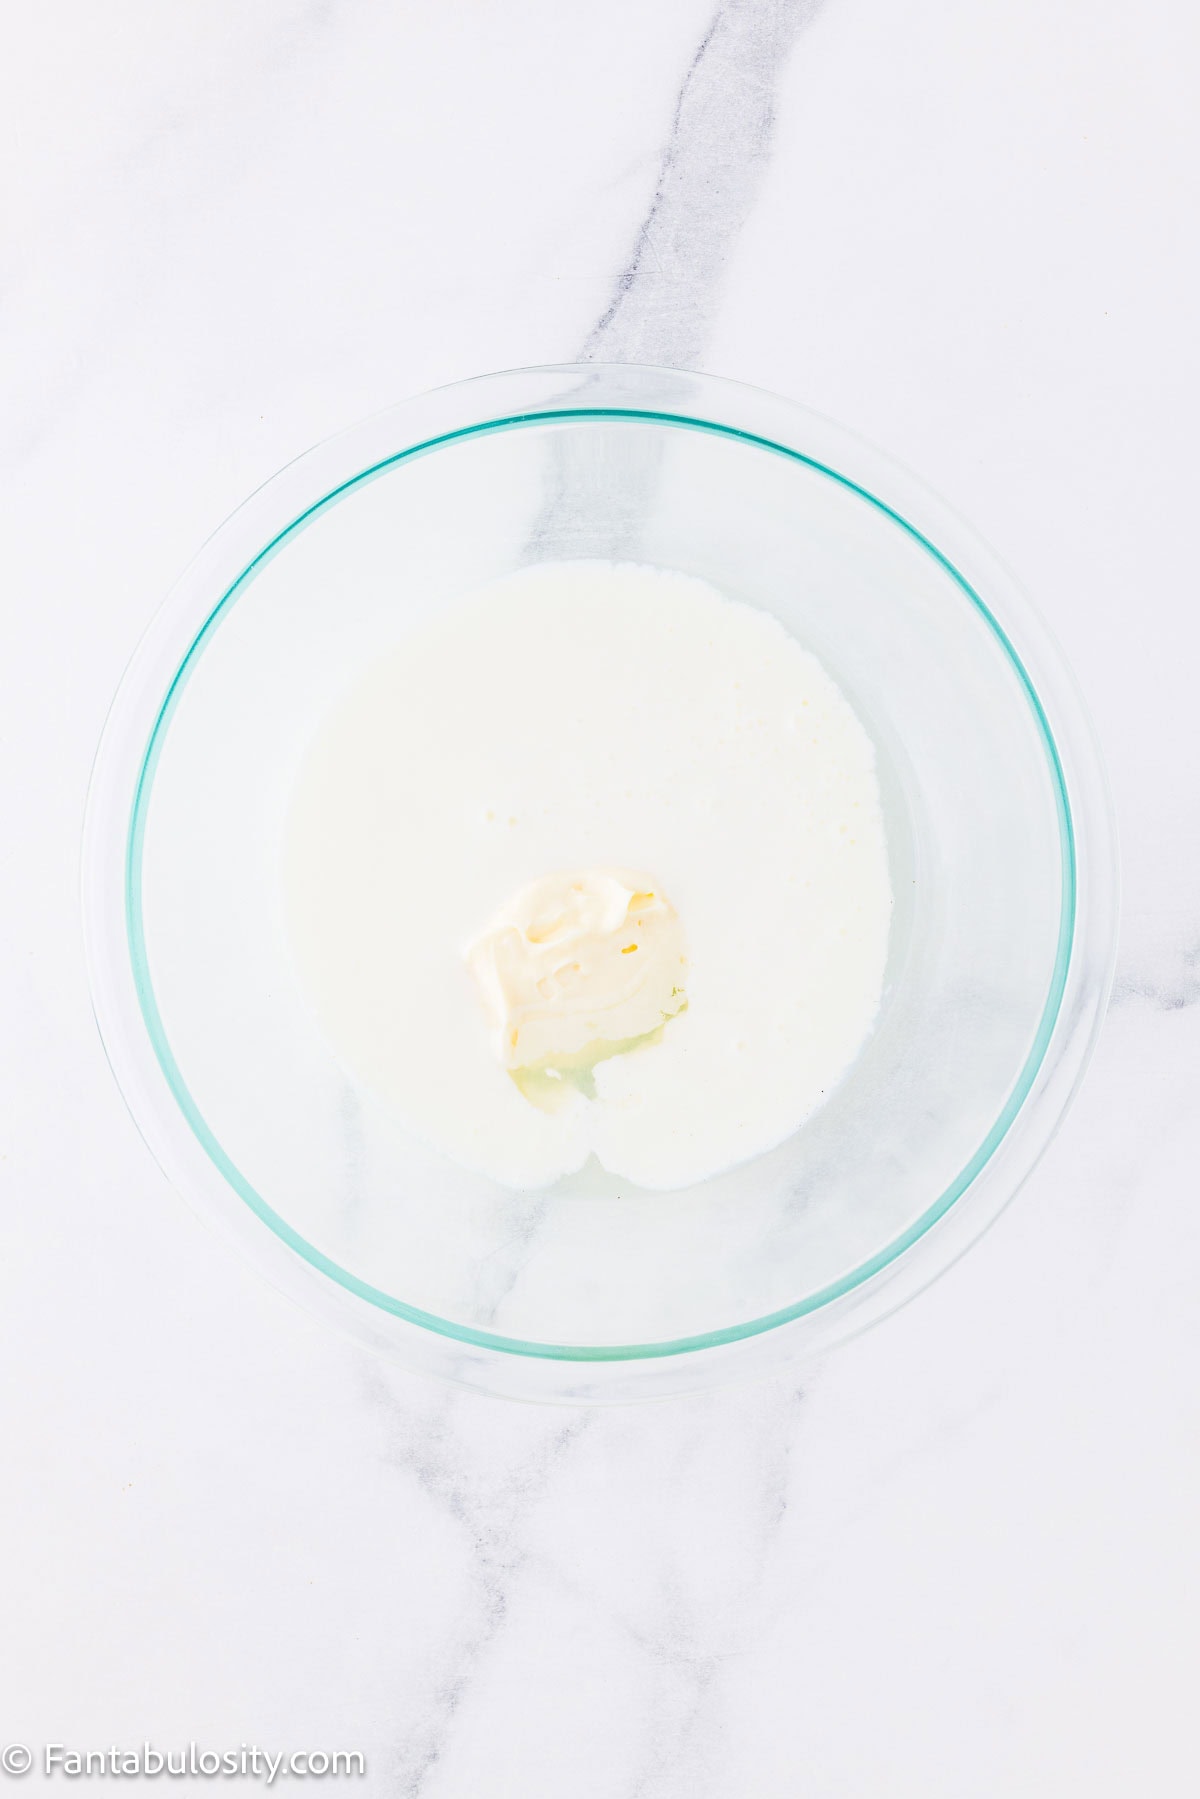
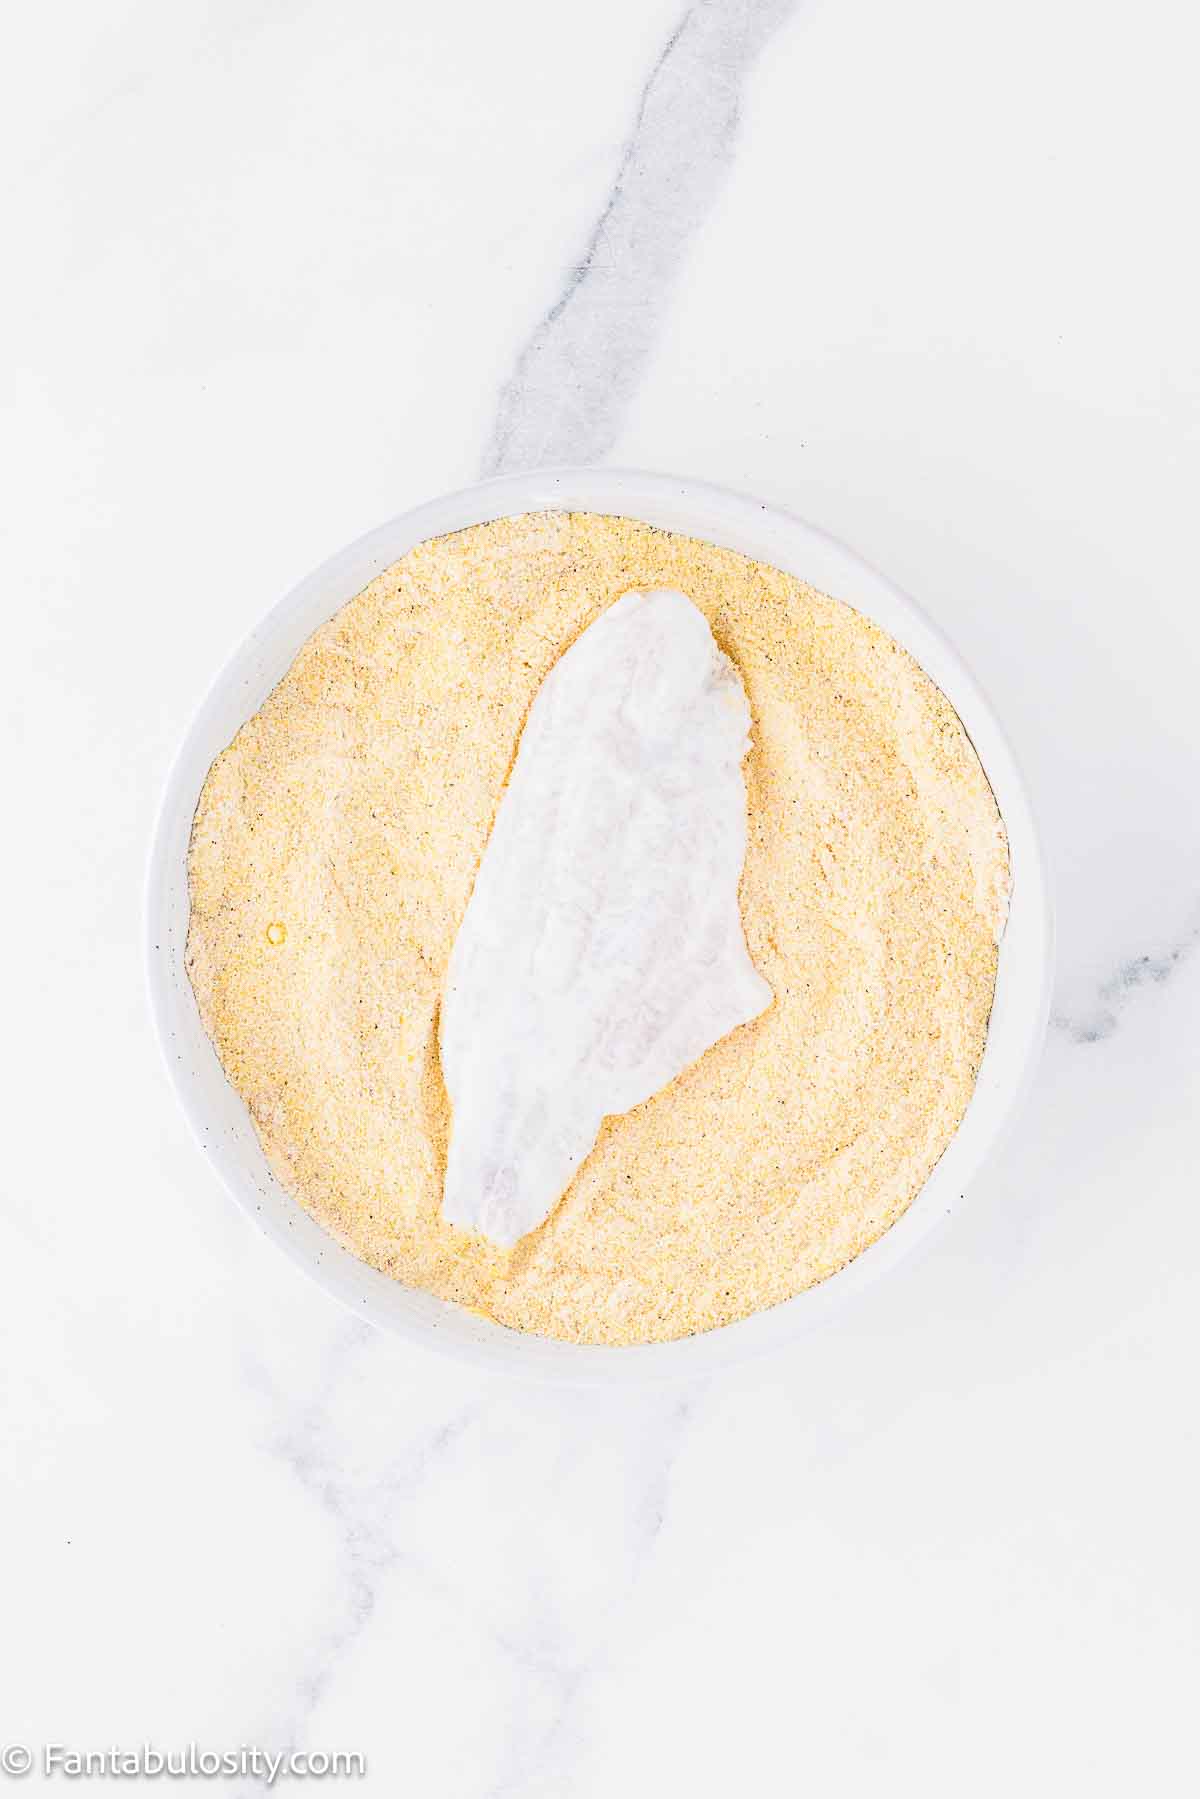
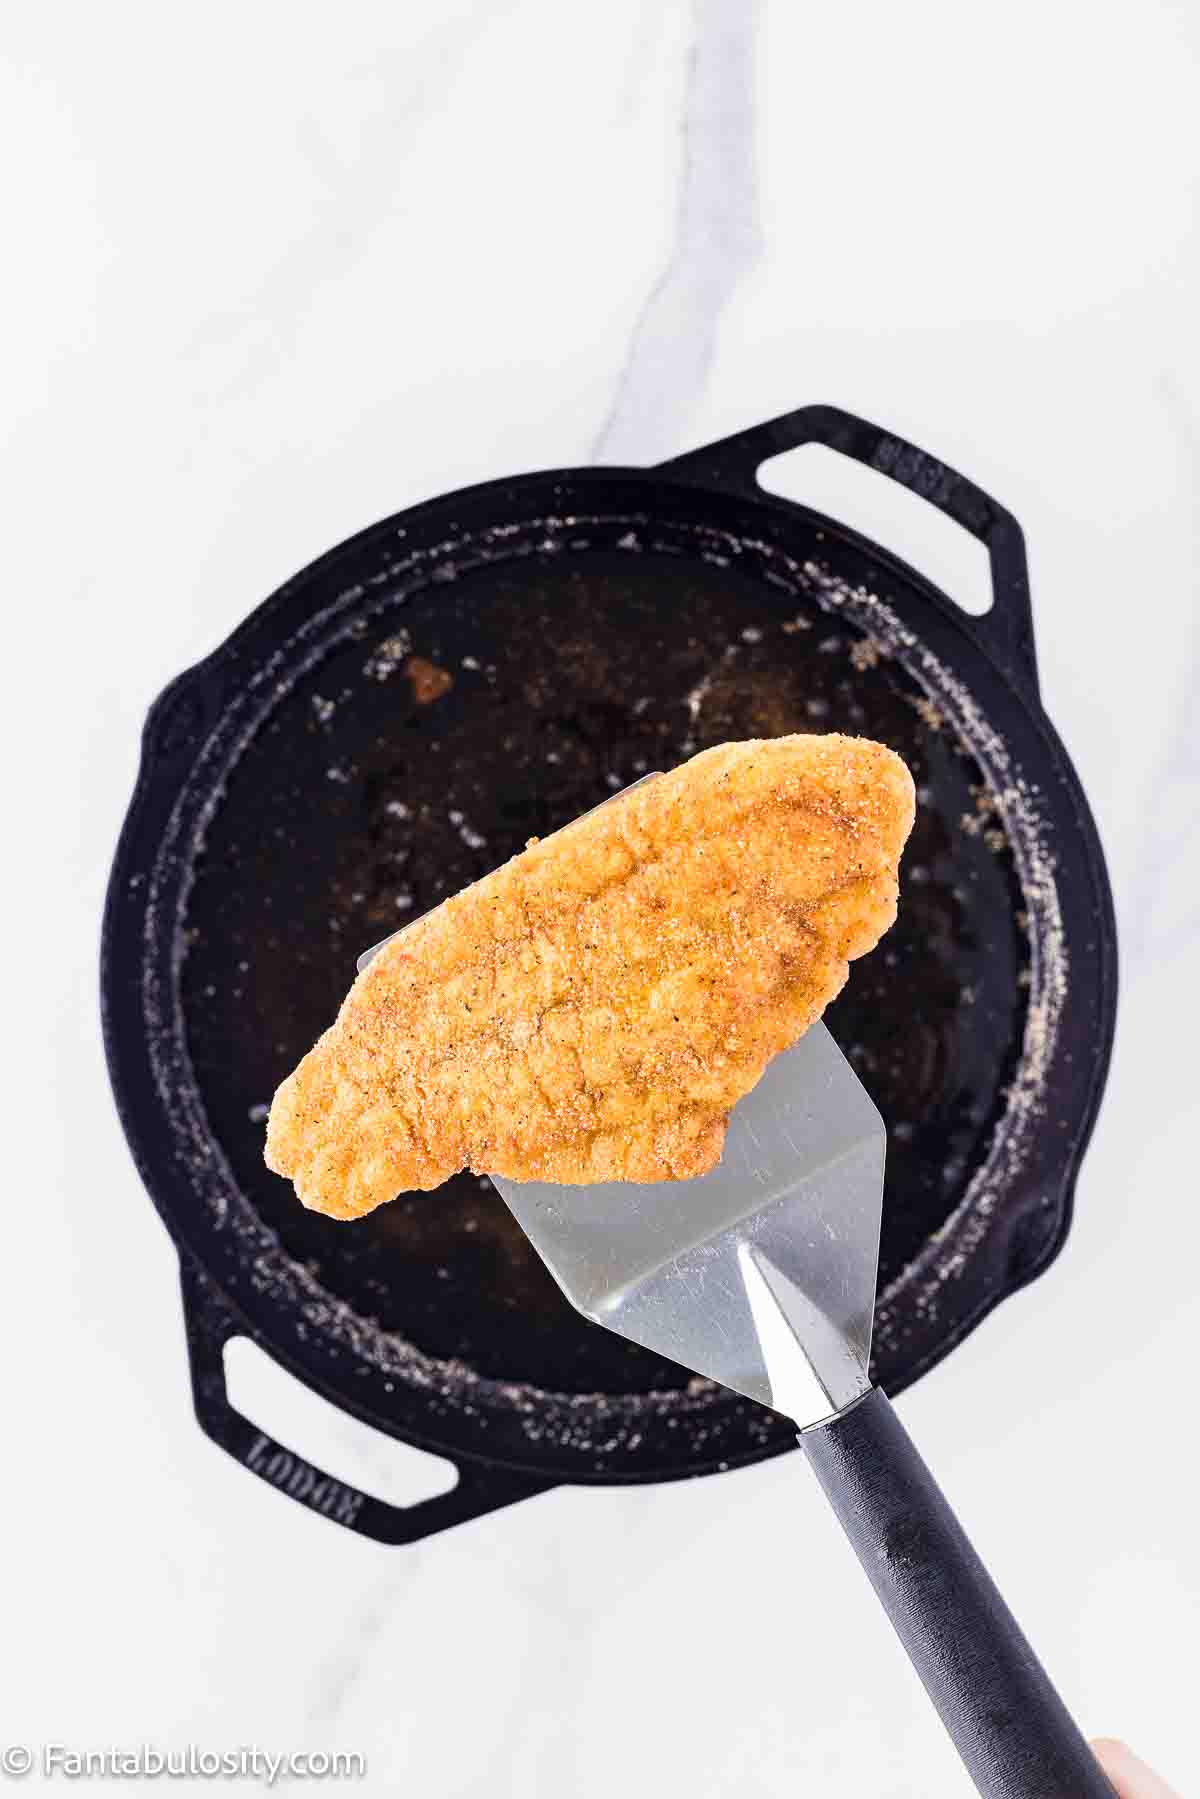
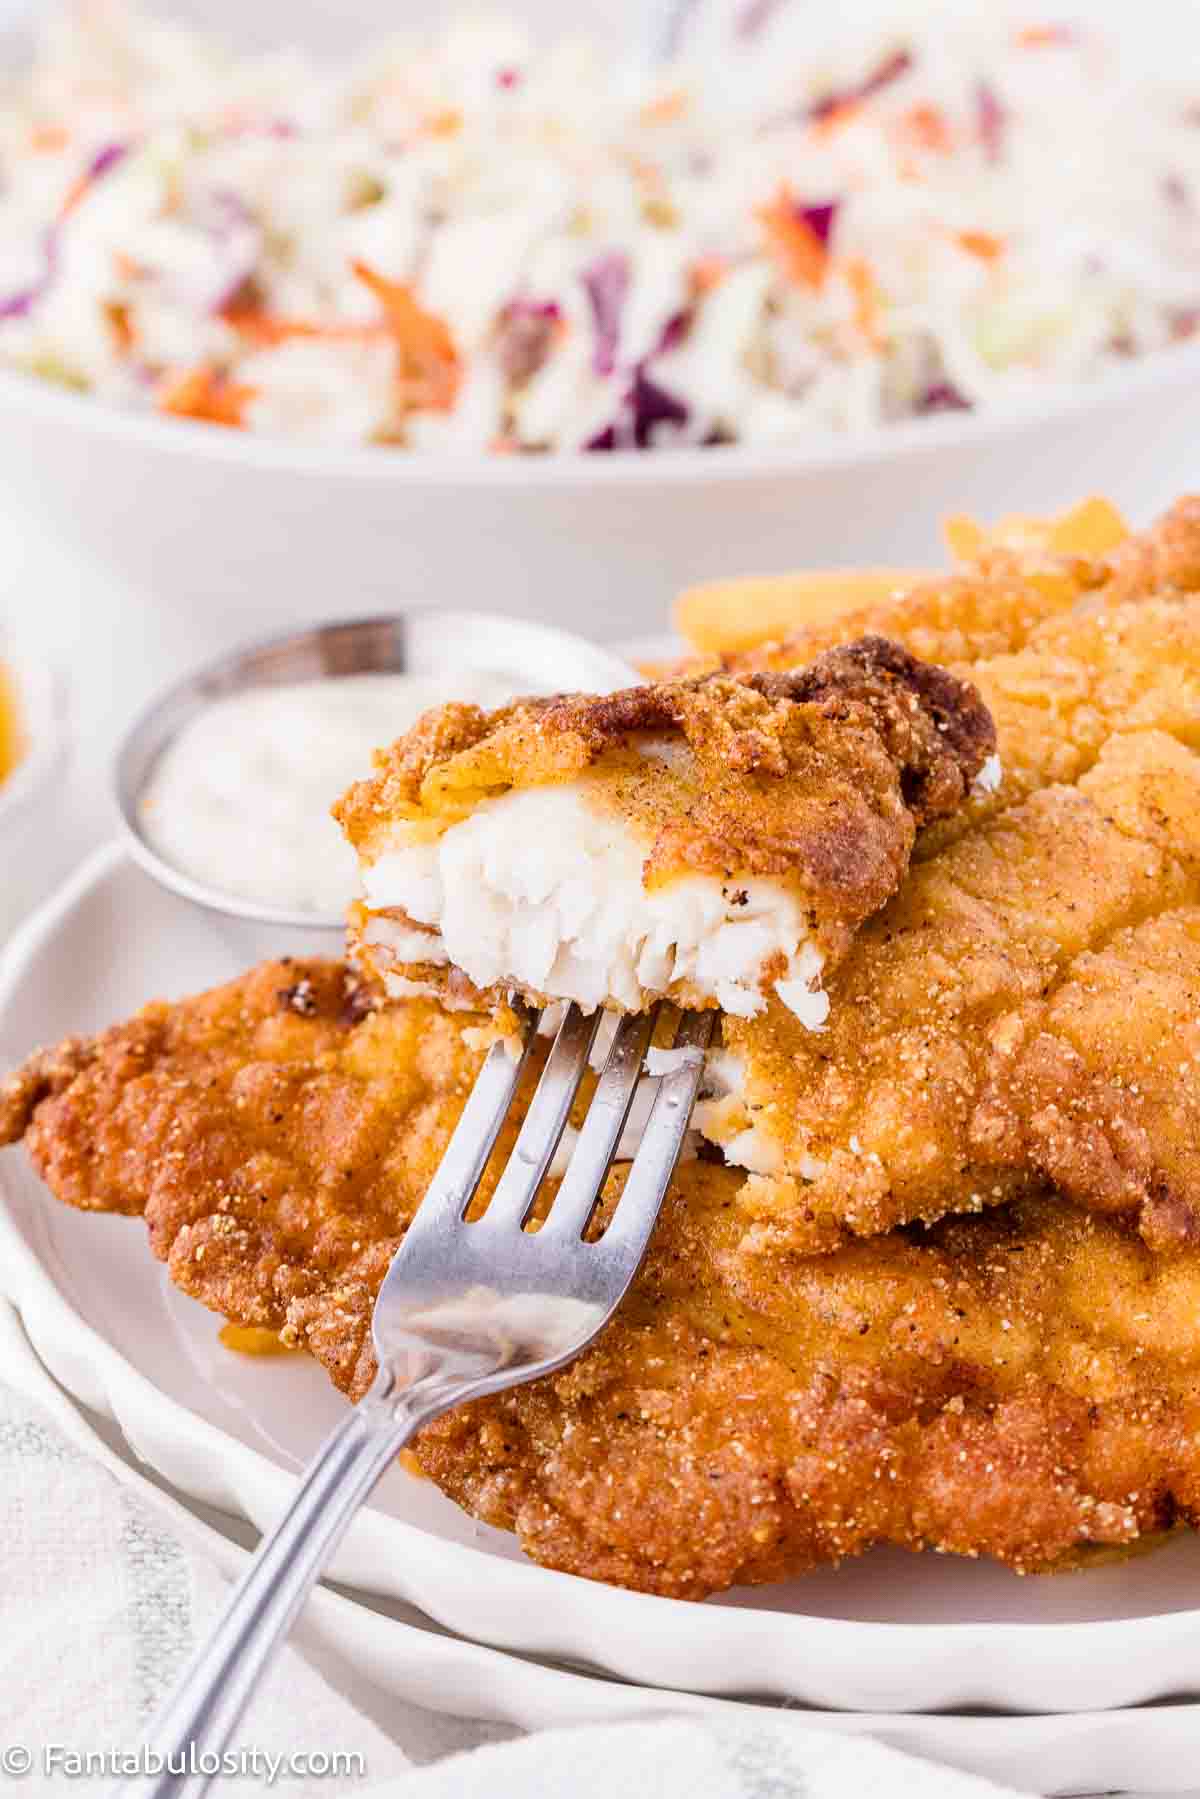
Fried Catfish
Crispy, golden Fried Catfish is a classic Southern comfort dinner that pairs perfectly with simple sides like coleslaw, potatoes, or cornbread.
Burgers in the Oven
When you need to cook burgers for a family or a group, Burgers in the Oven are one of the easiest ways to get juicy, flavorful results with very little effort.
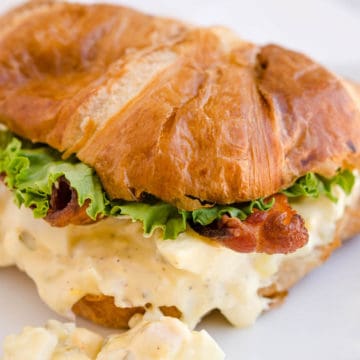
Tuna Salad
Creamy Tuna Salad has been a staple in family kitchens for decades. Whether served on sandwiches or with crackers, it's an easy comfort meal that never goes out of style.
Why Old-Fashioned Dinners Are Still So Loved
There's a reason these classic comfort meals continue to show up on dinner tables year after year.
They're made with simple ingredients, easy cooking methods, and flavors that families have loved for generations. More importantly, these old-fashioned dinners remind us that some of the best meals are the ones that bring people together around the table.
If you love nostalgic comfort food, these timeless dinner recipes are a great place to start.