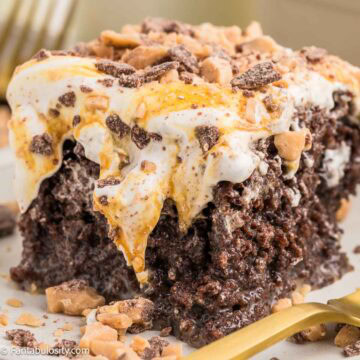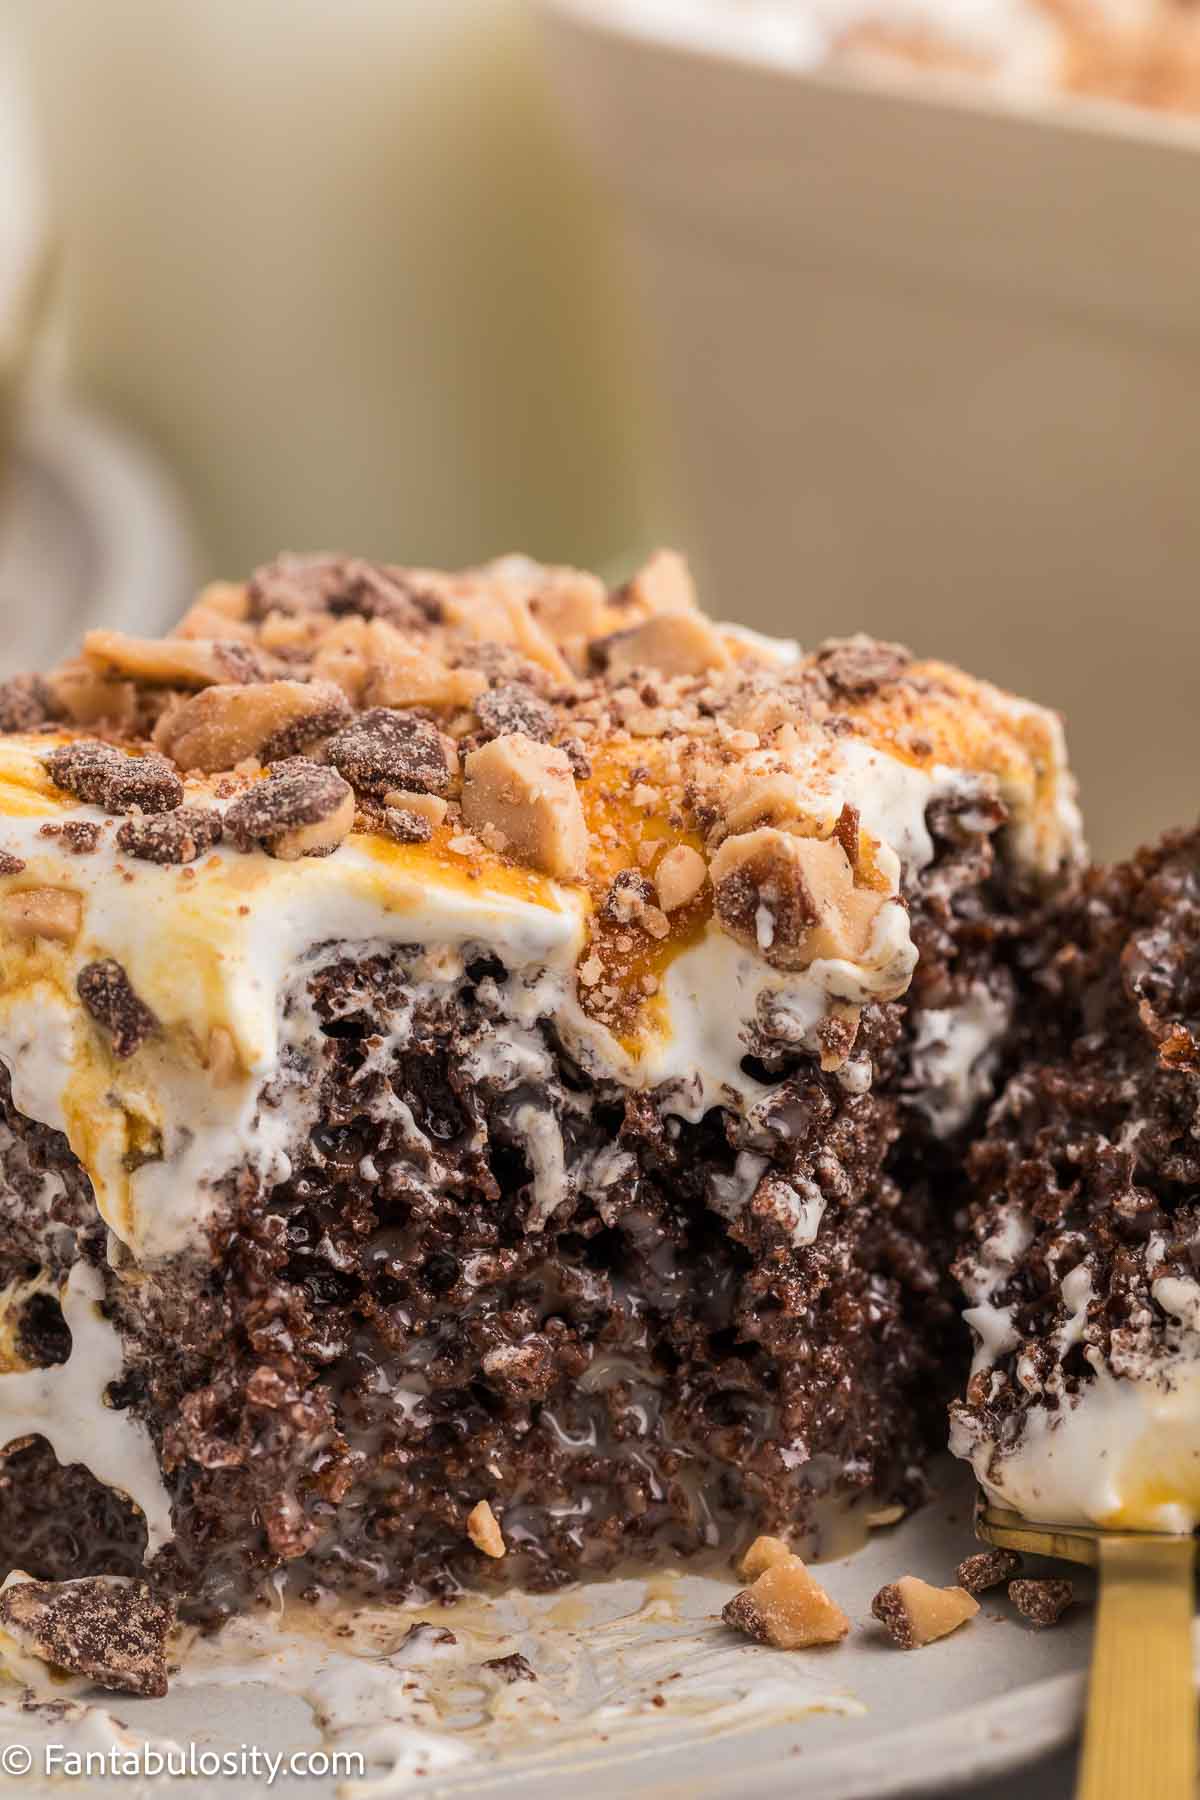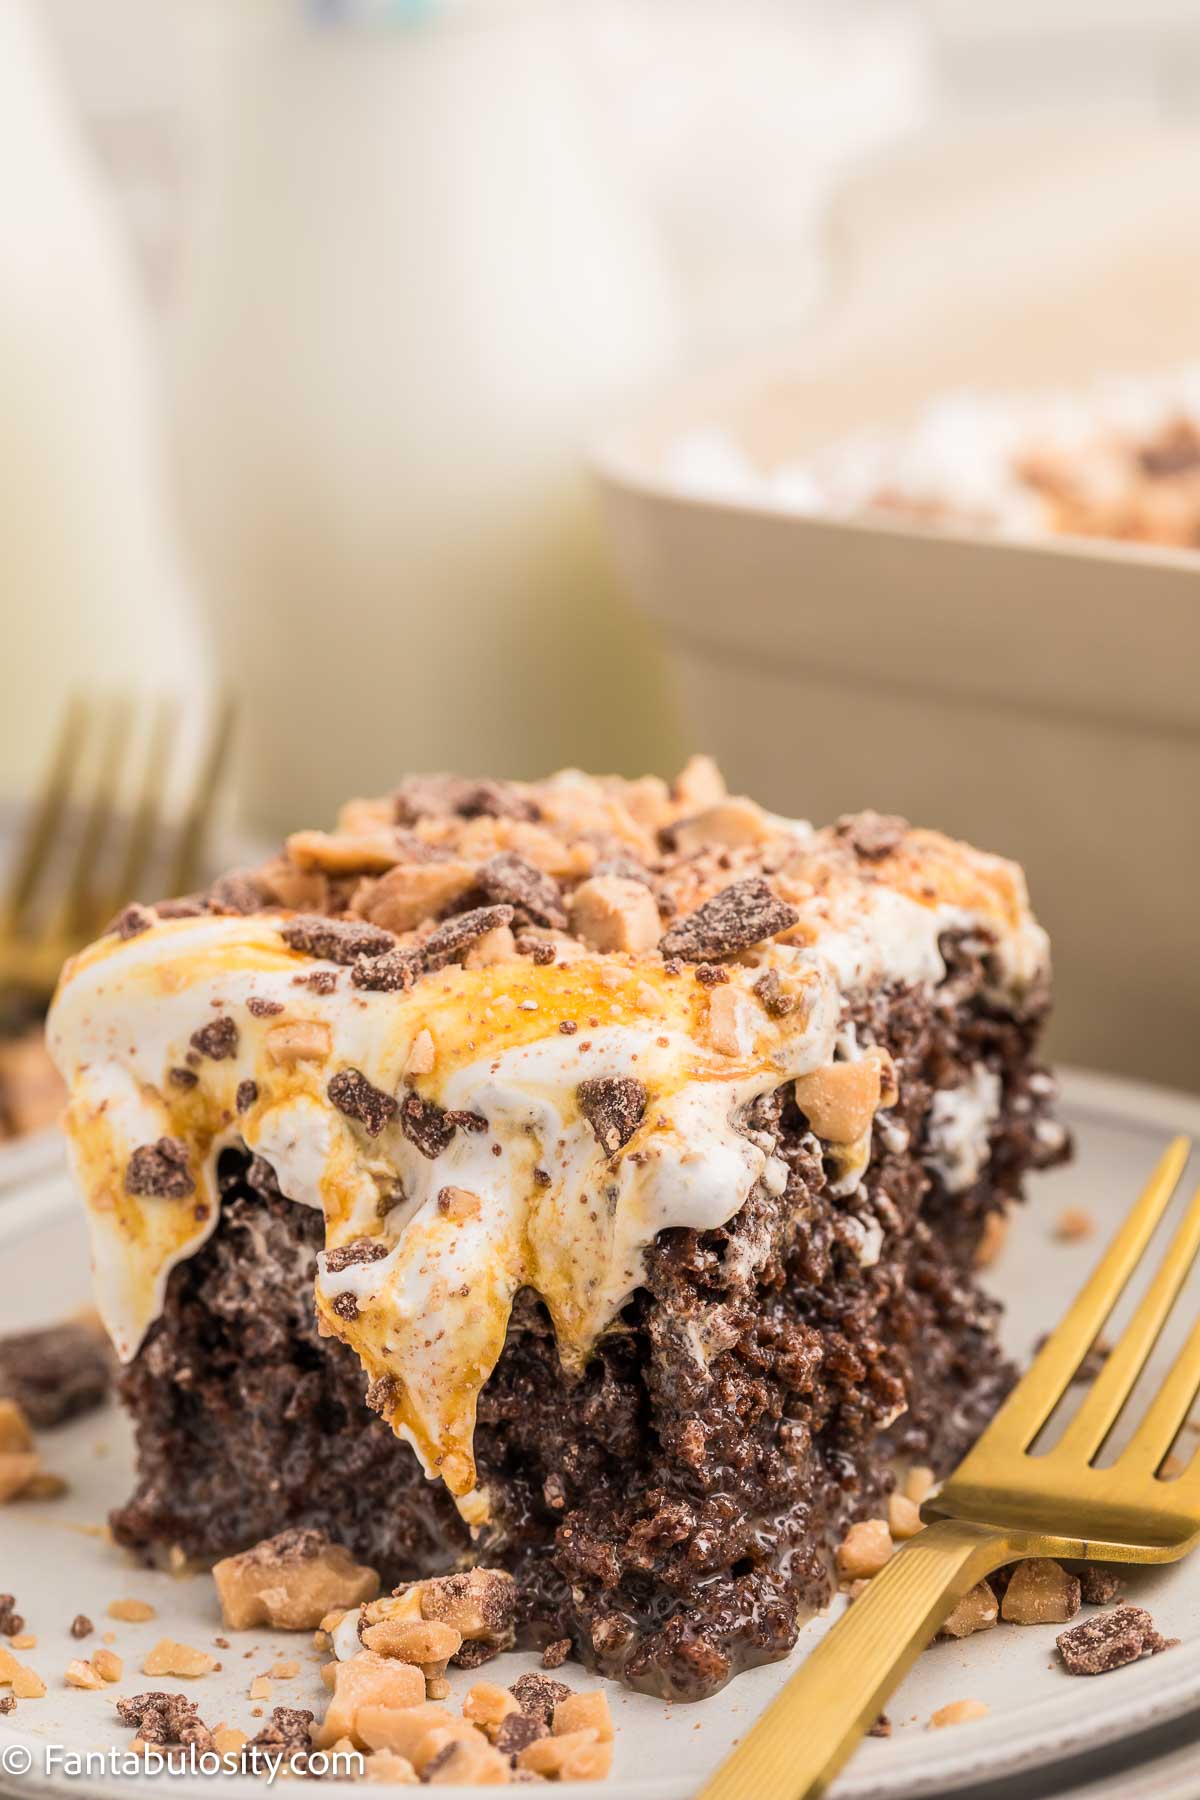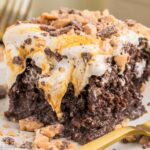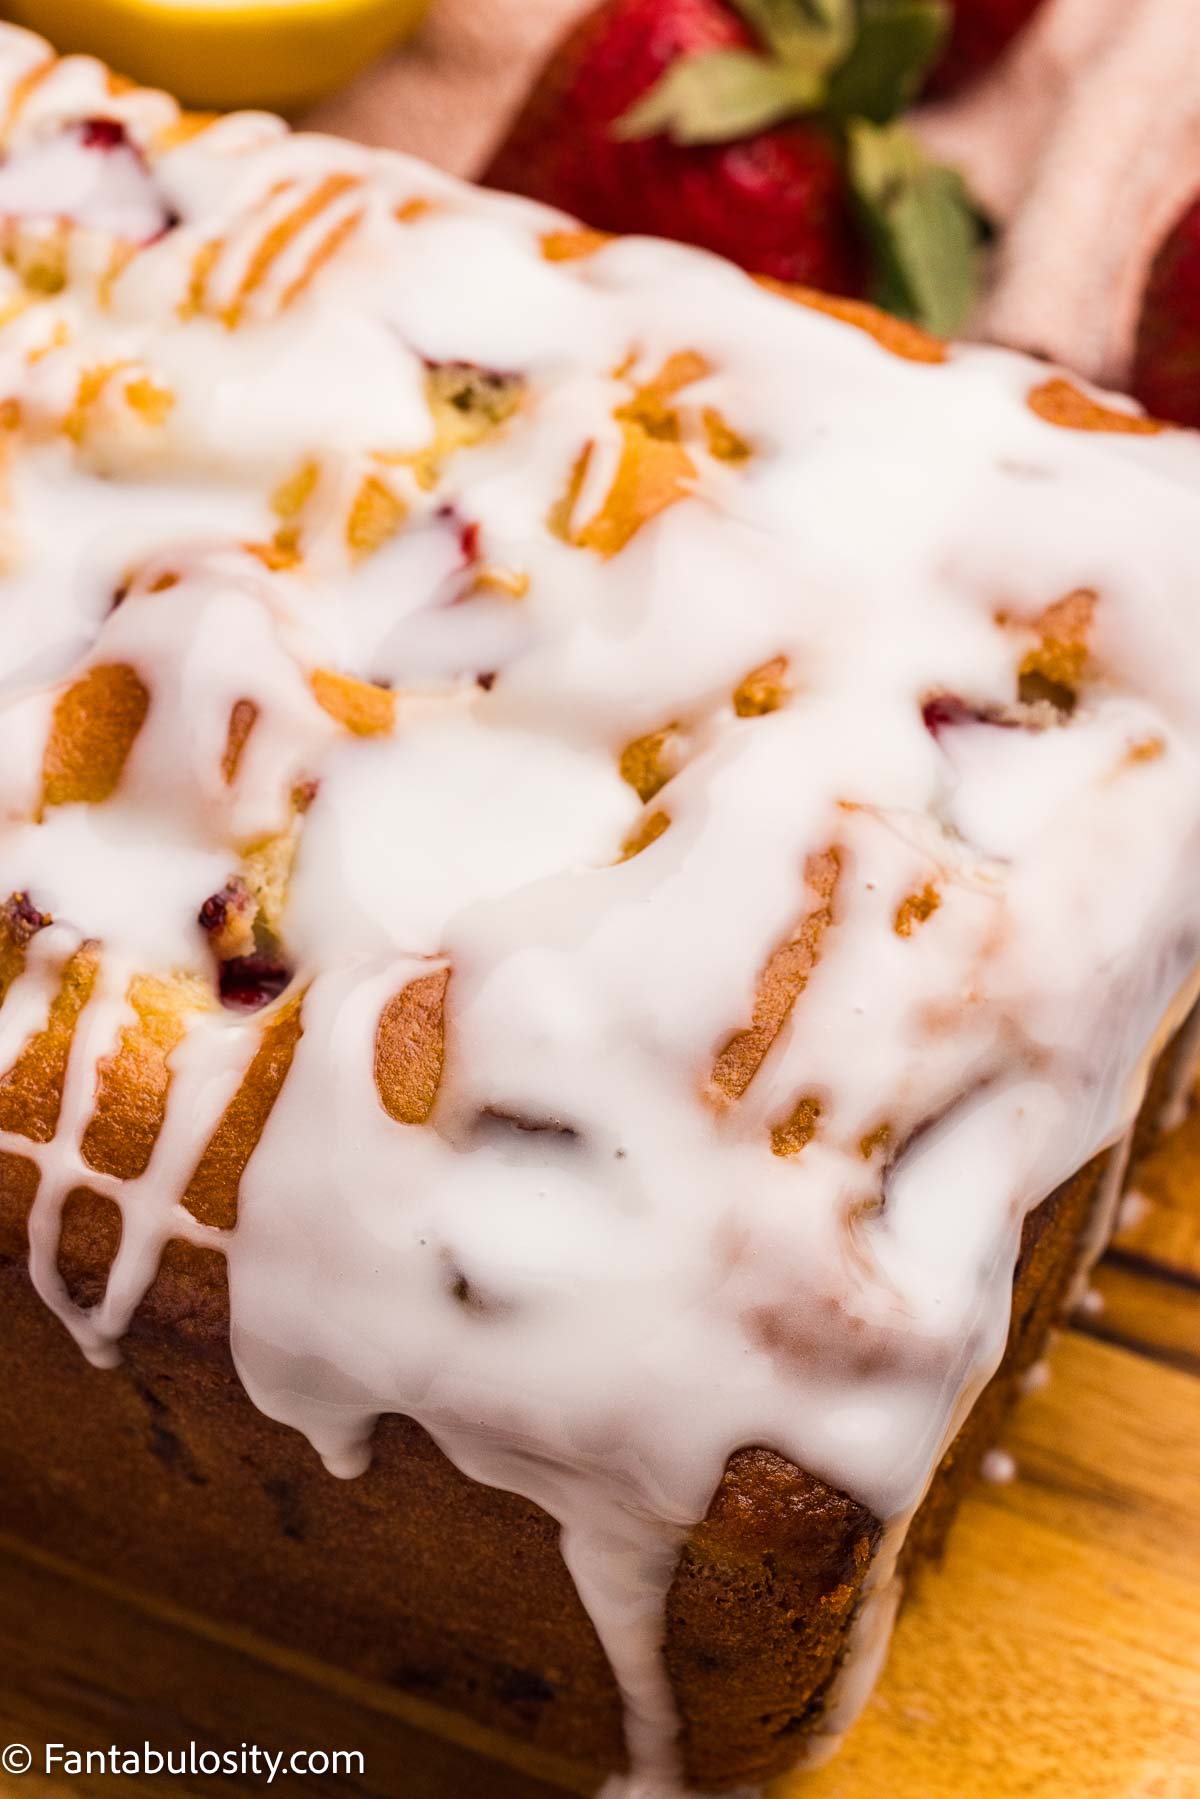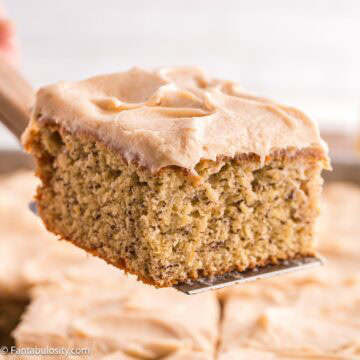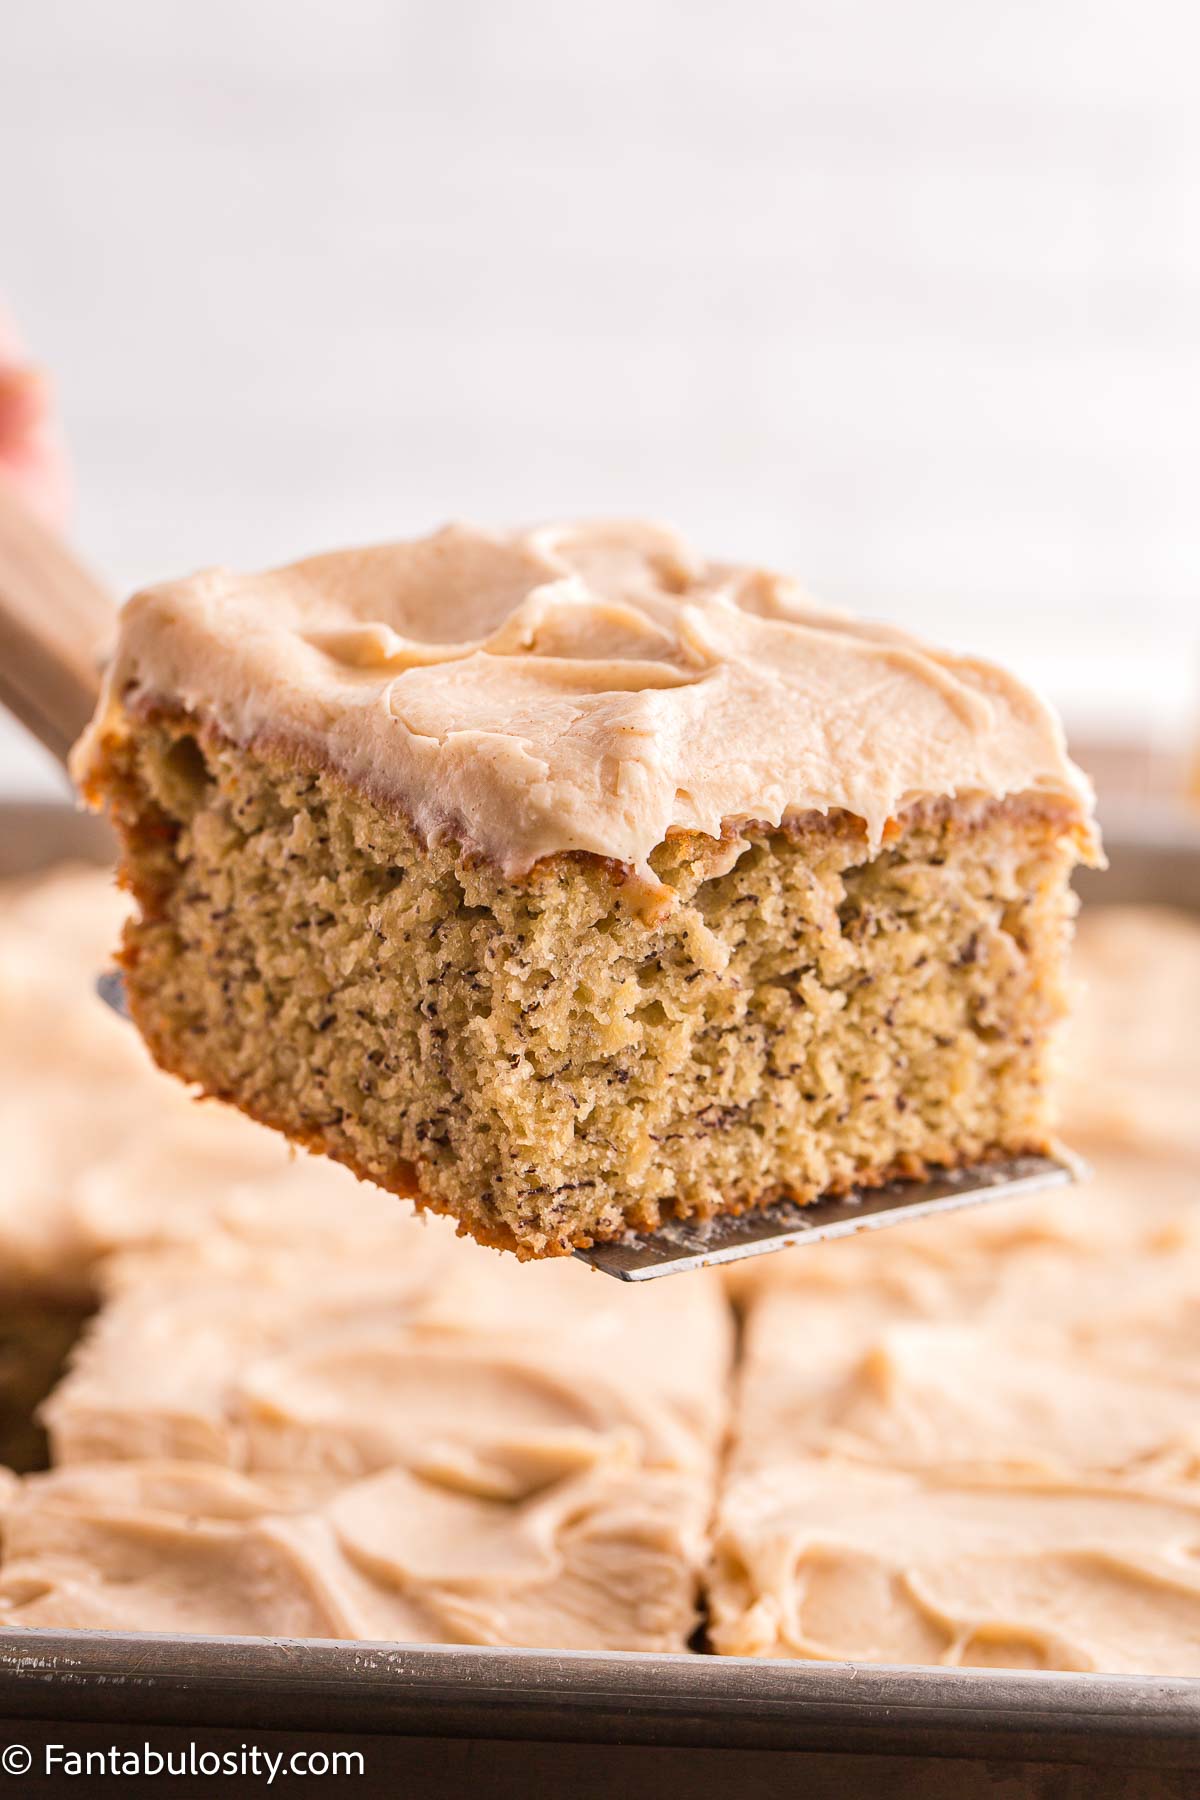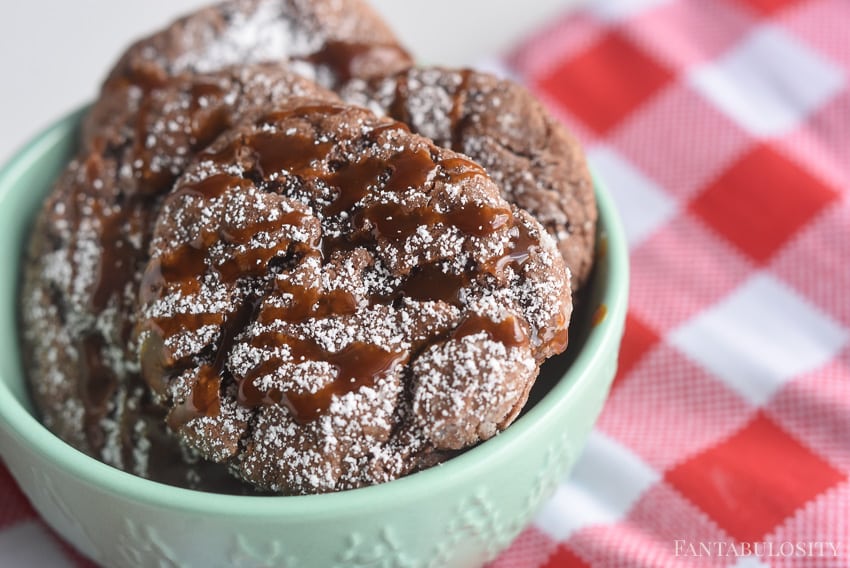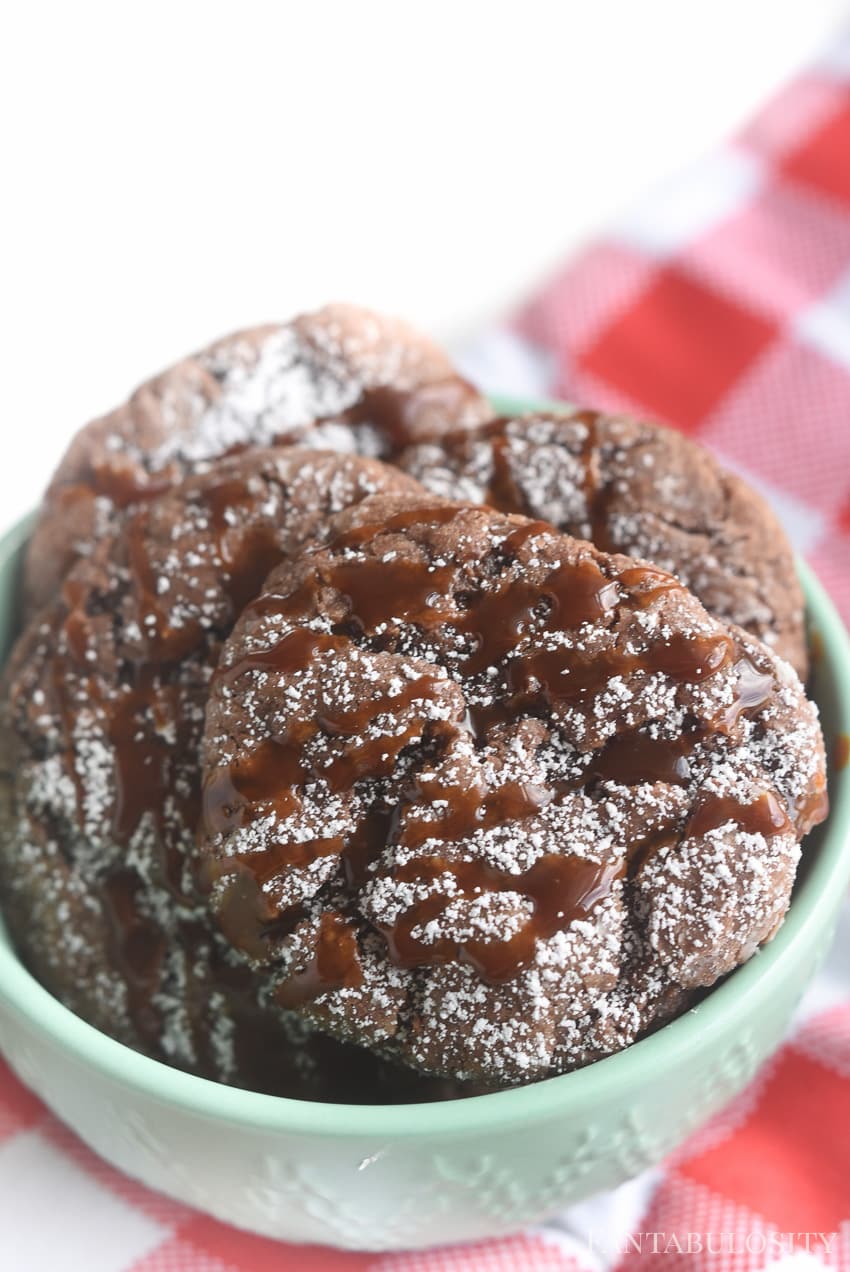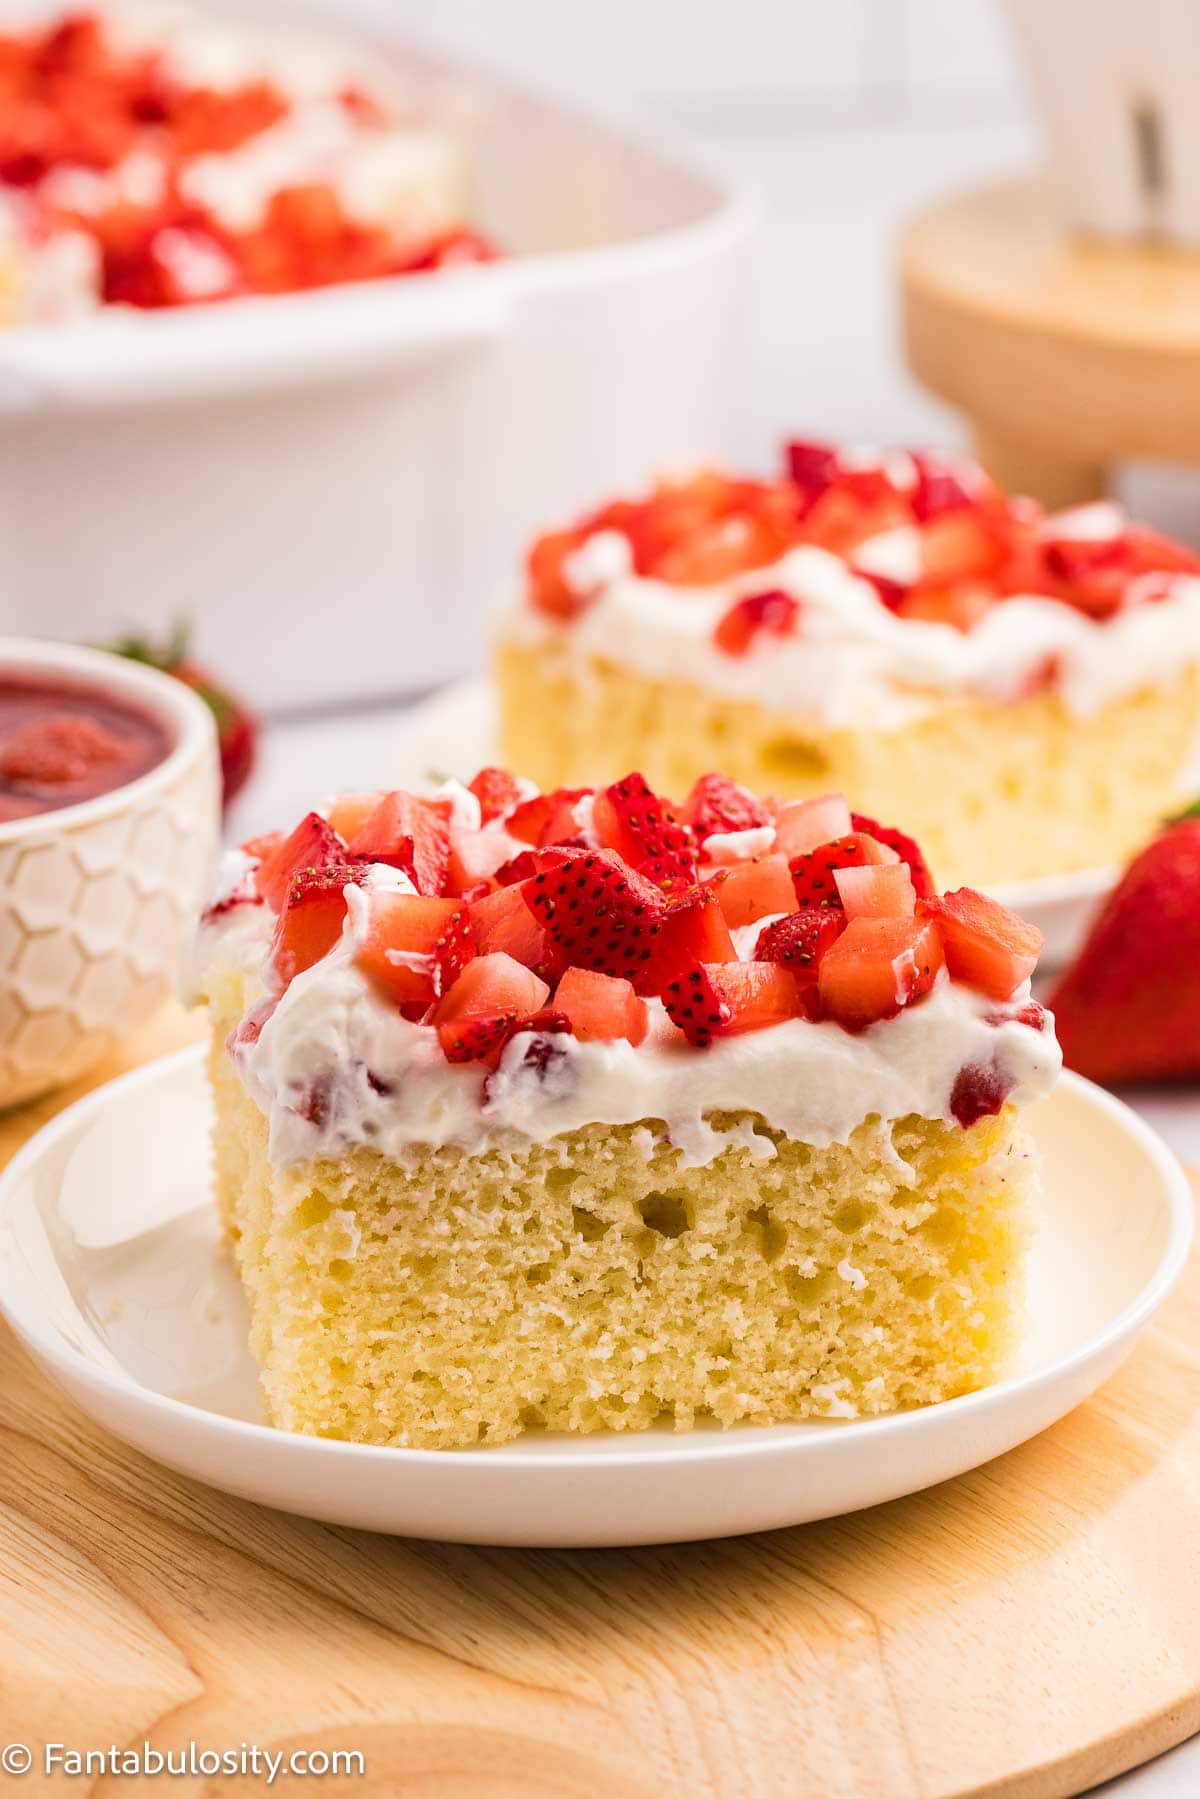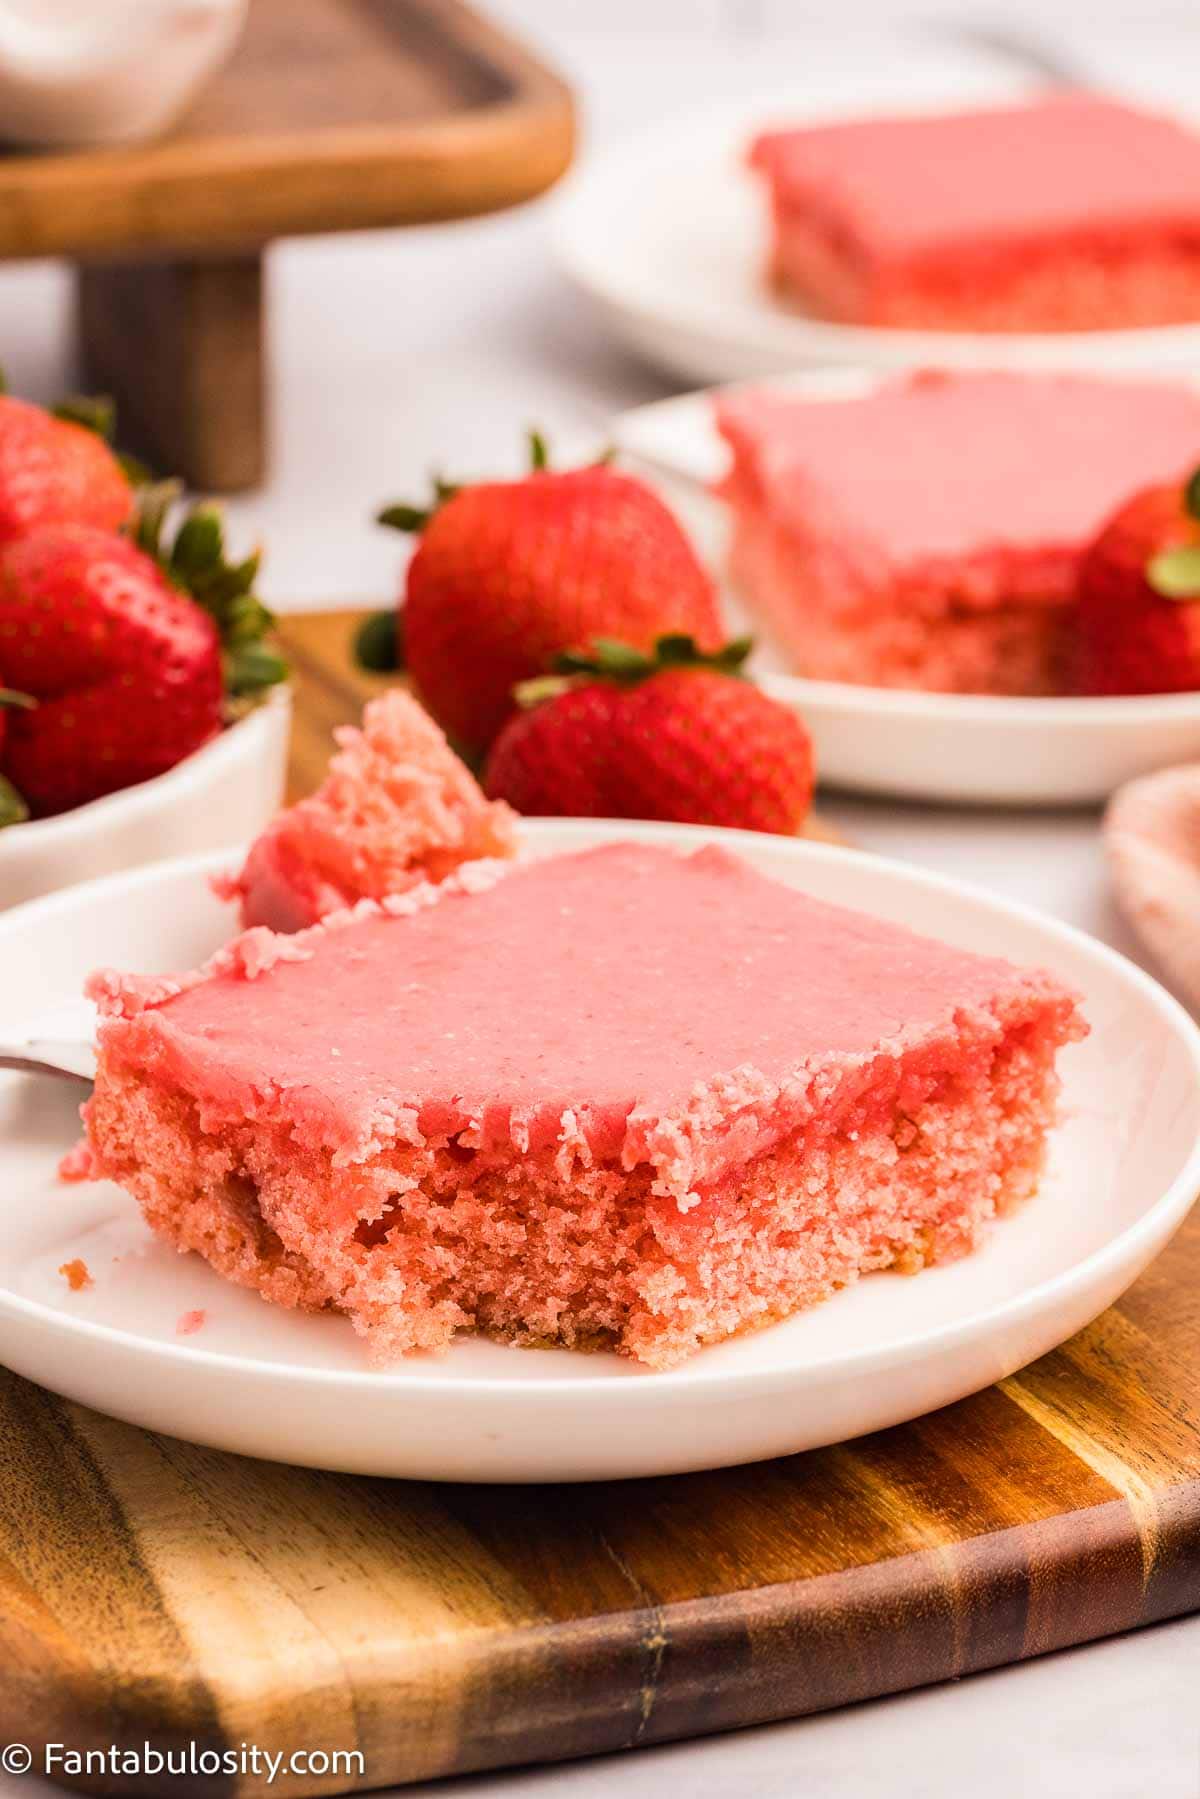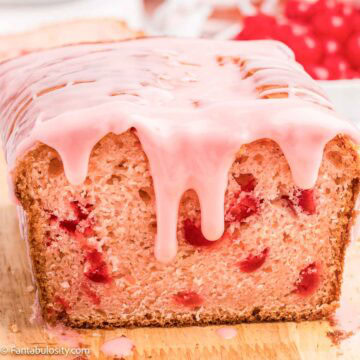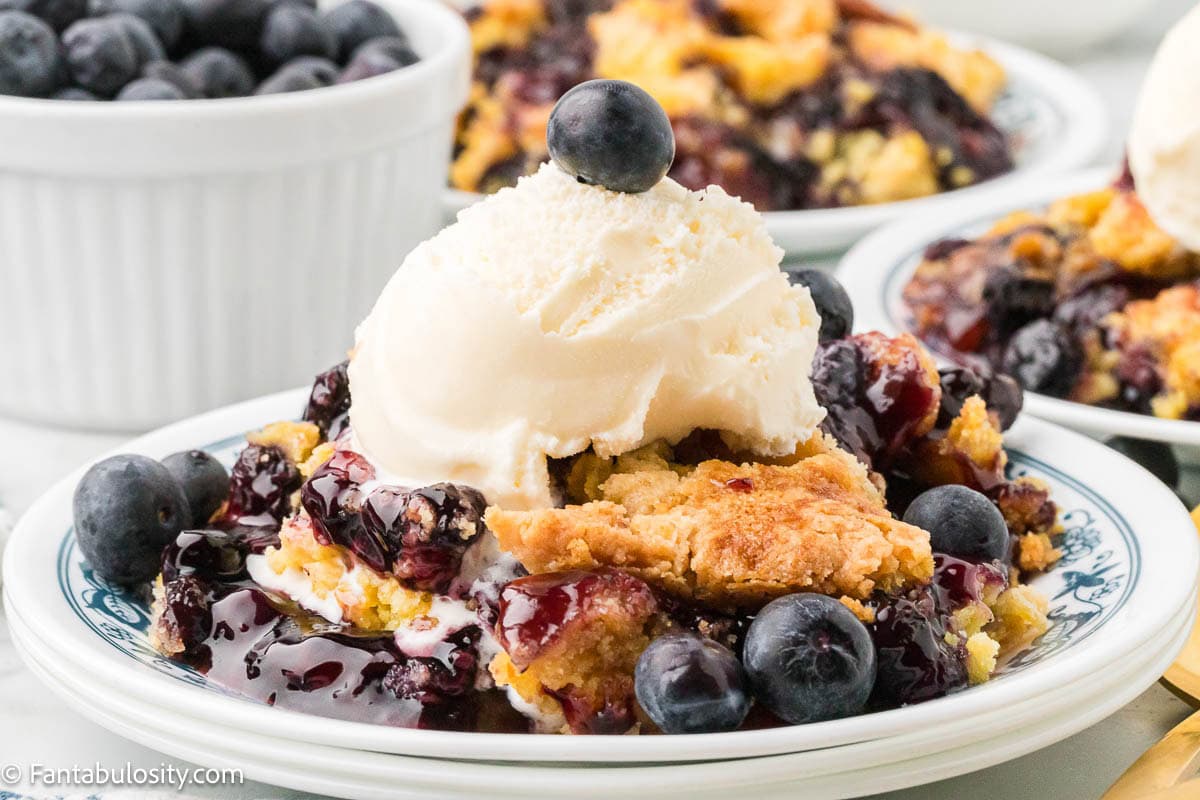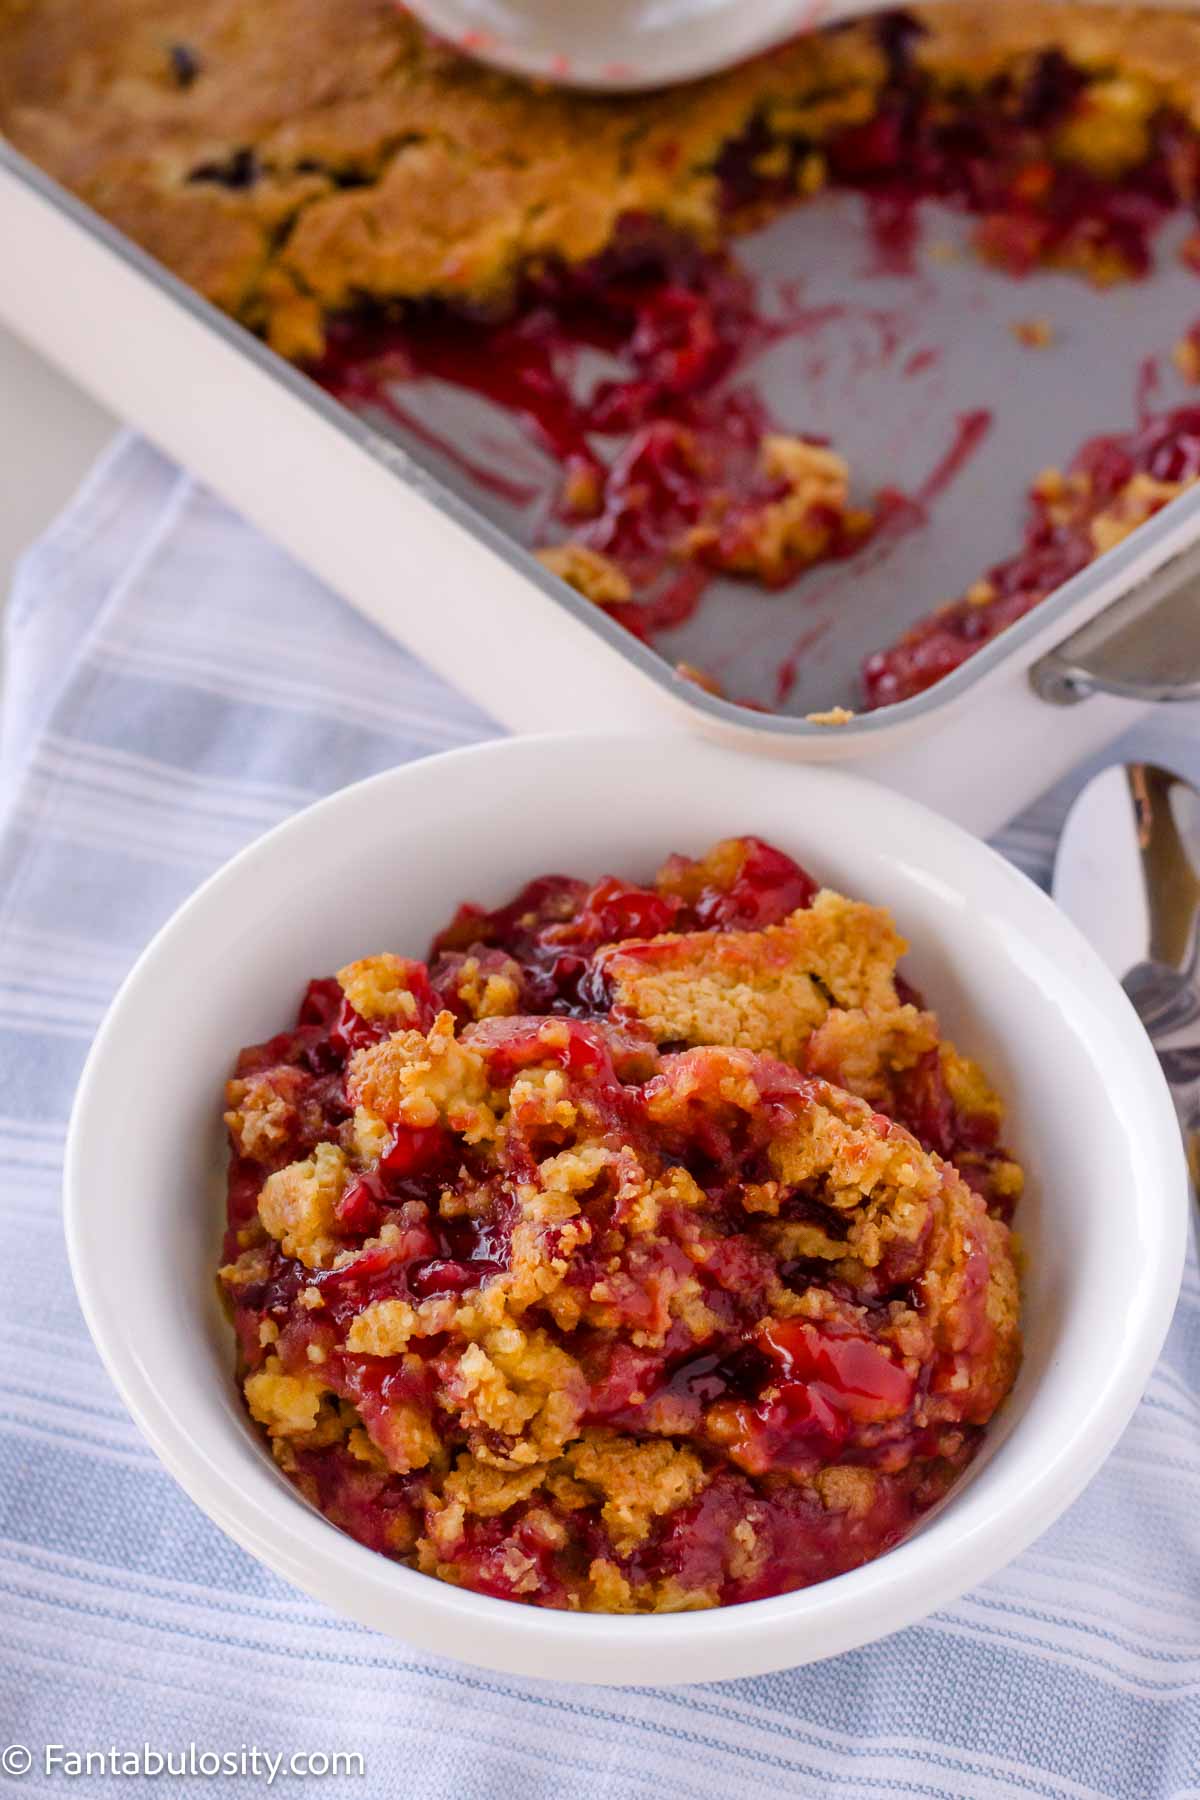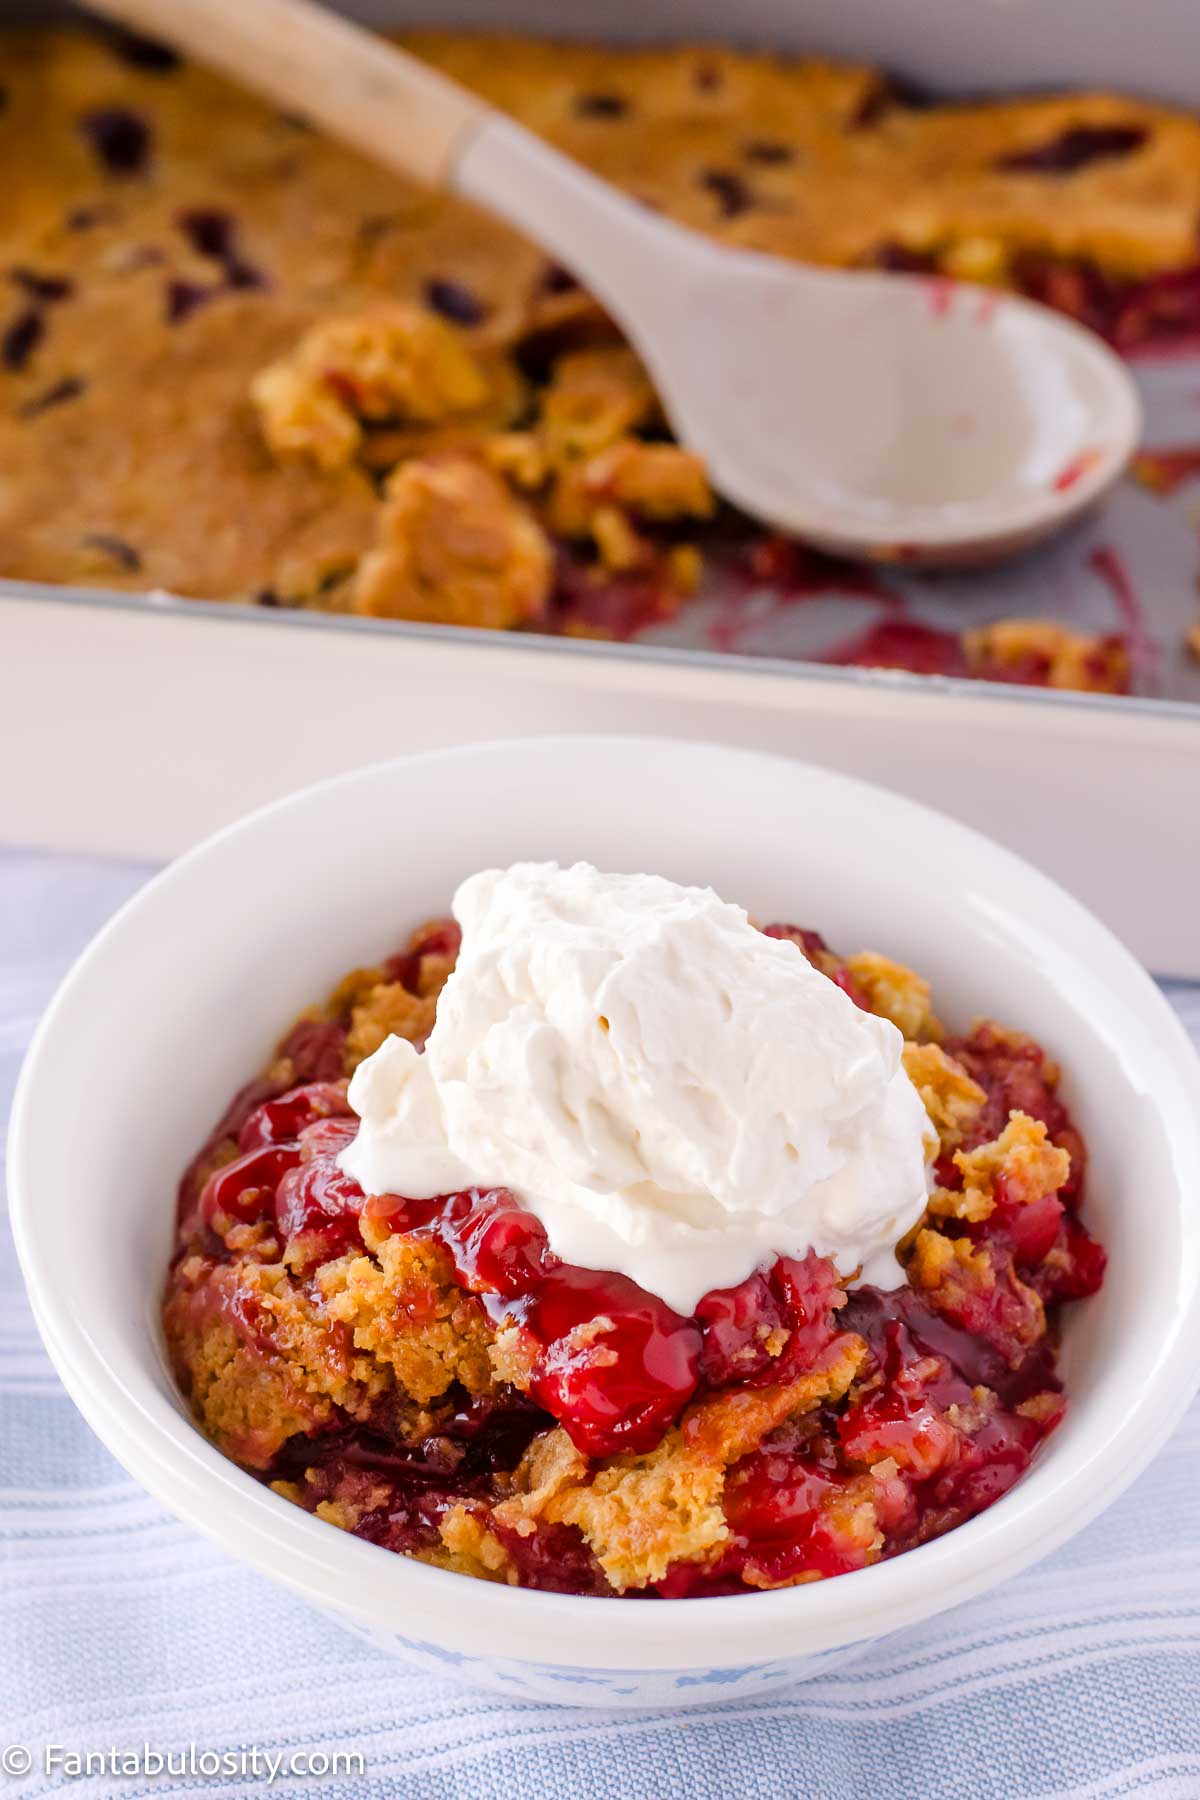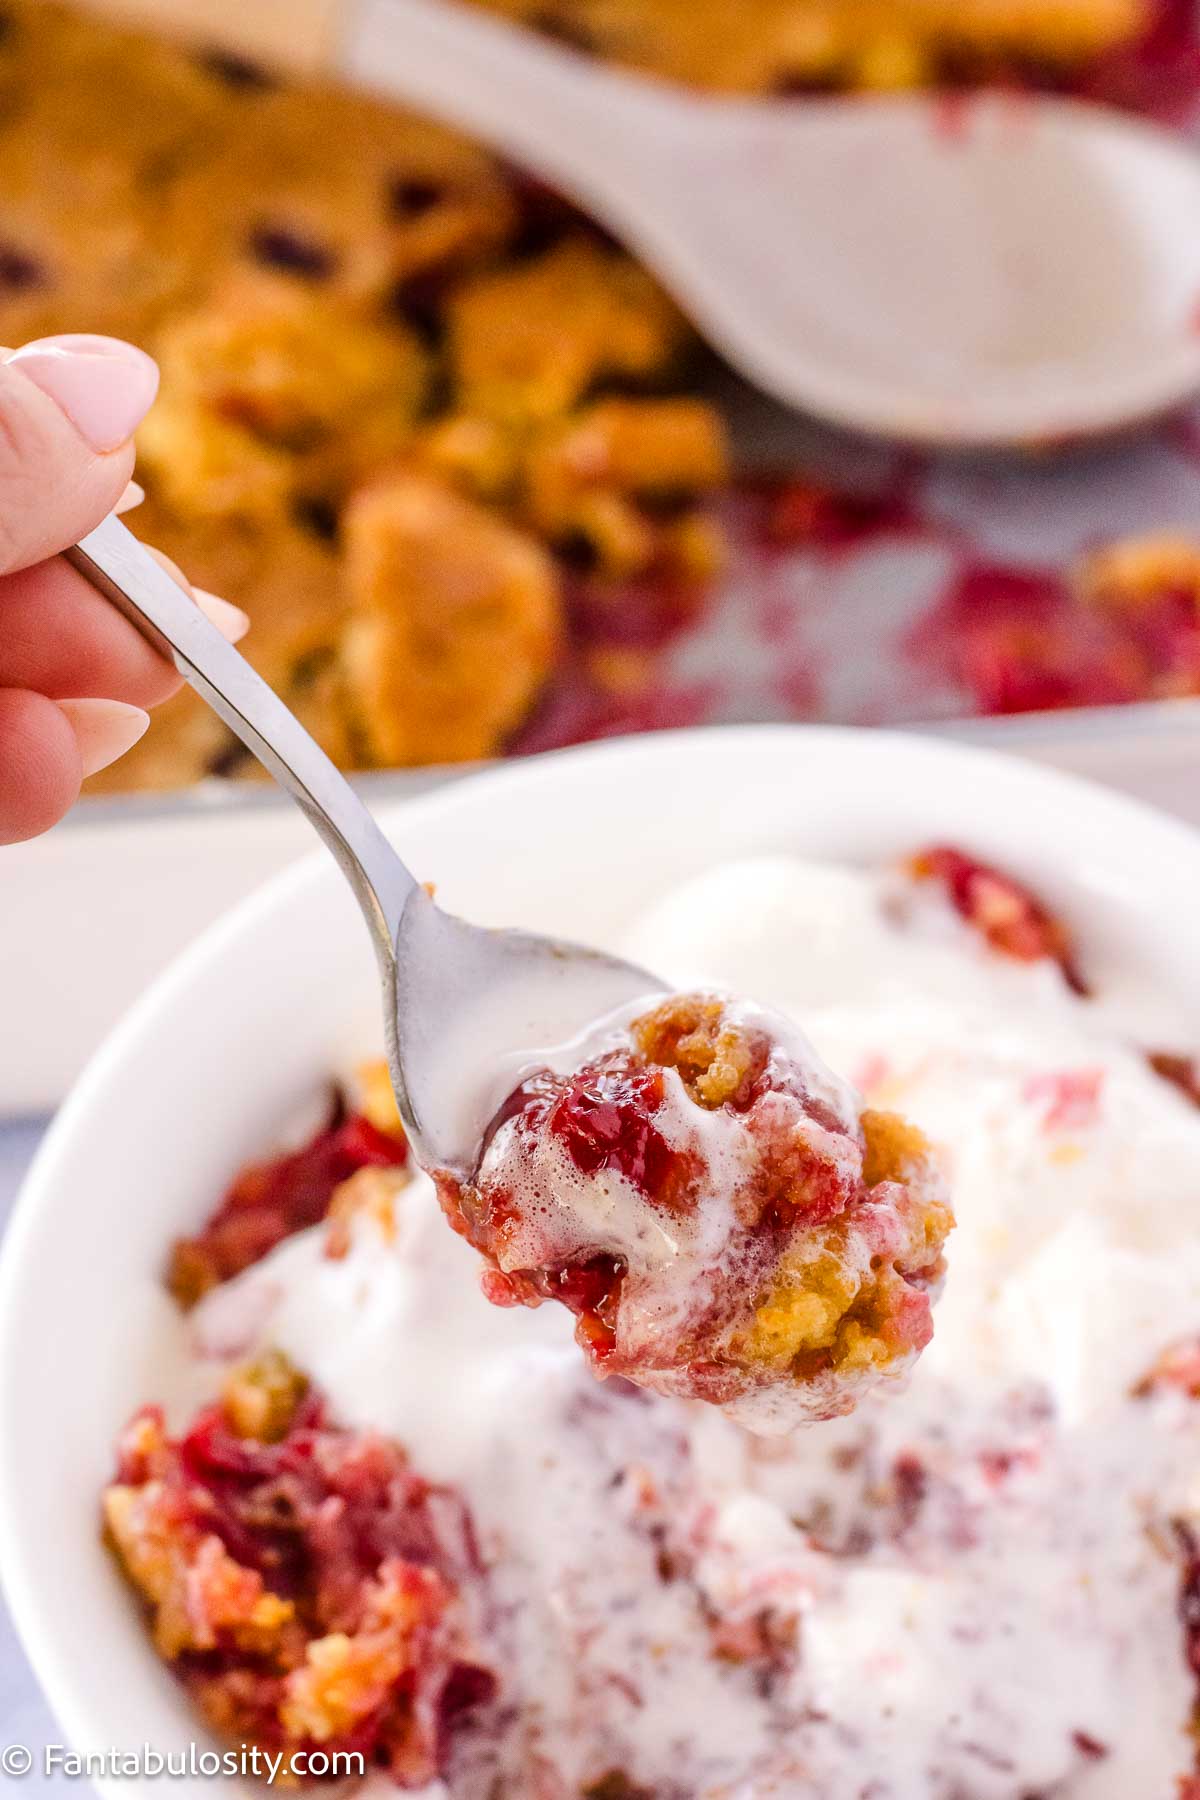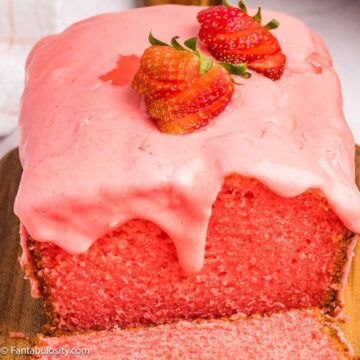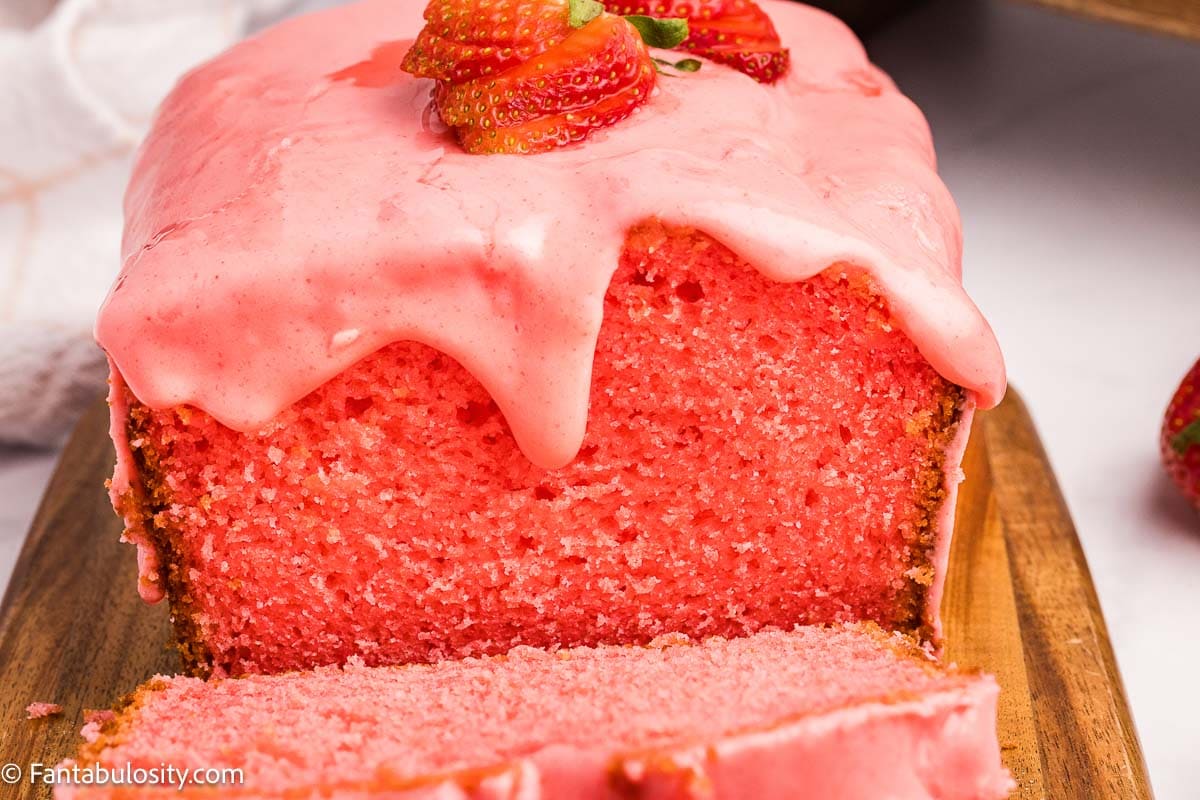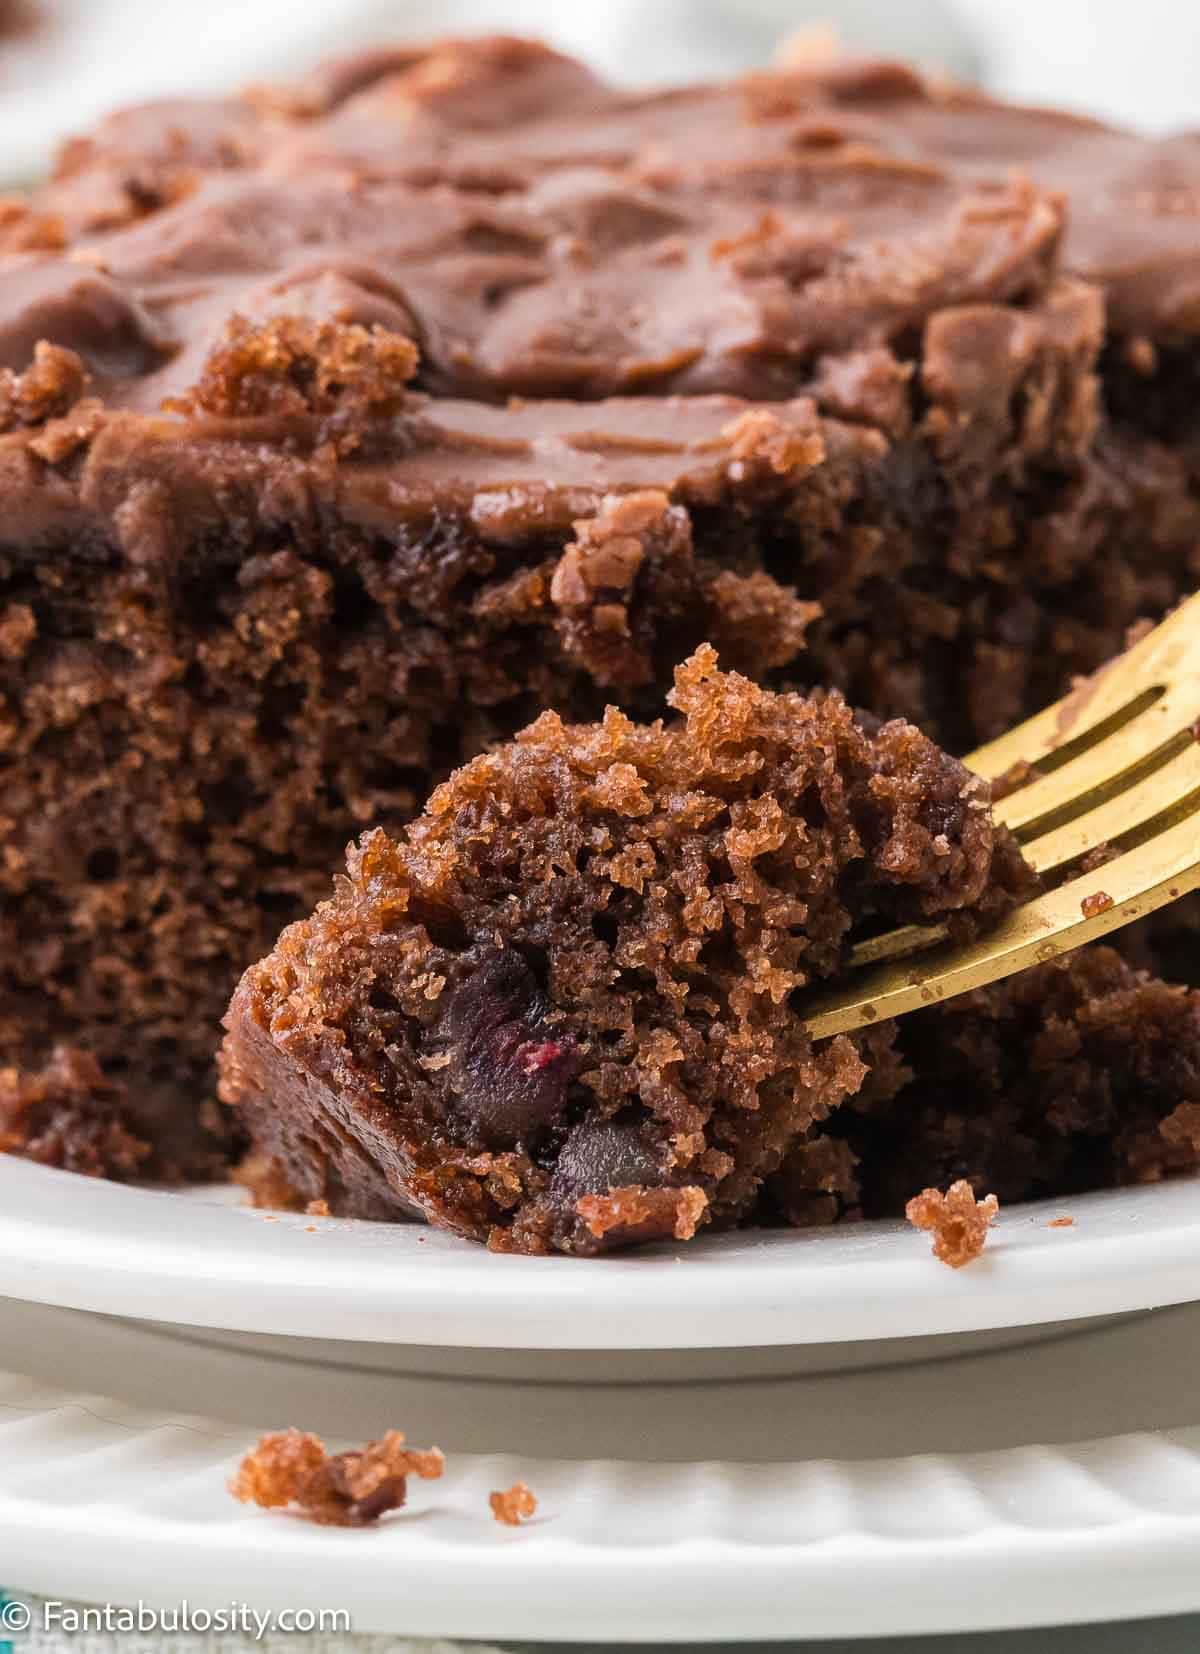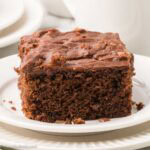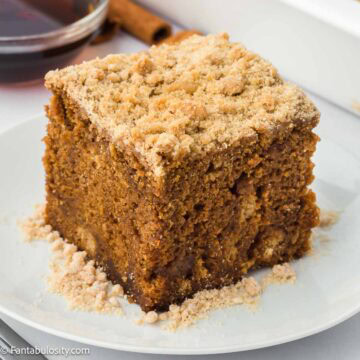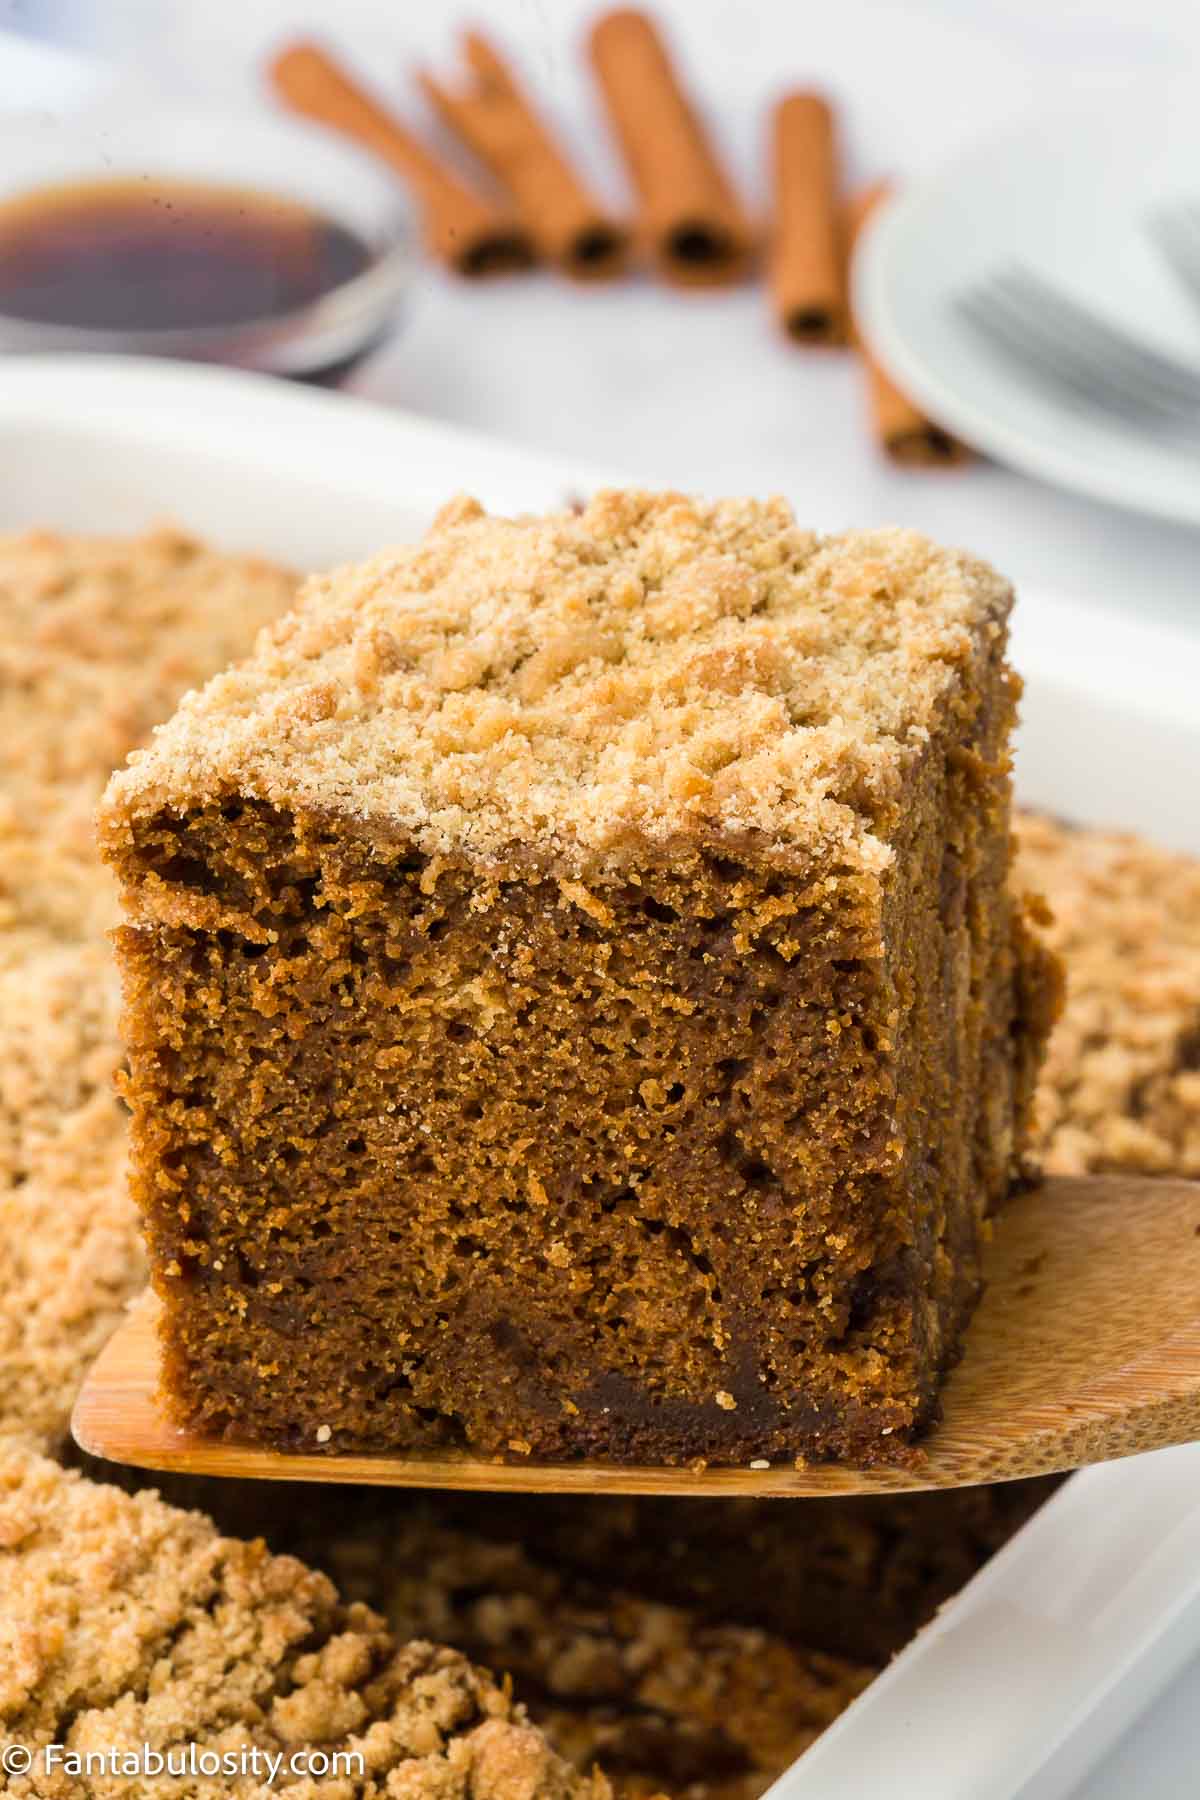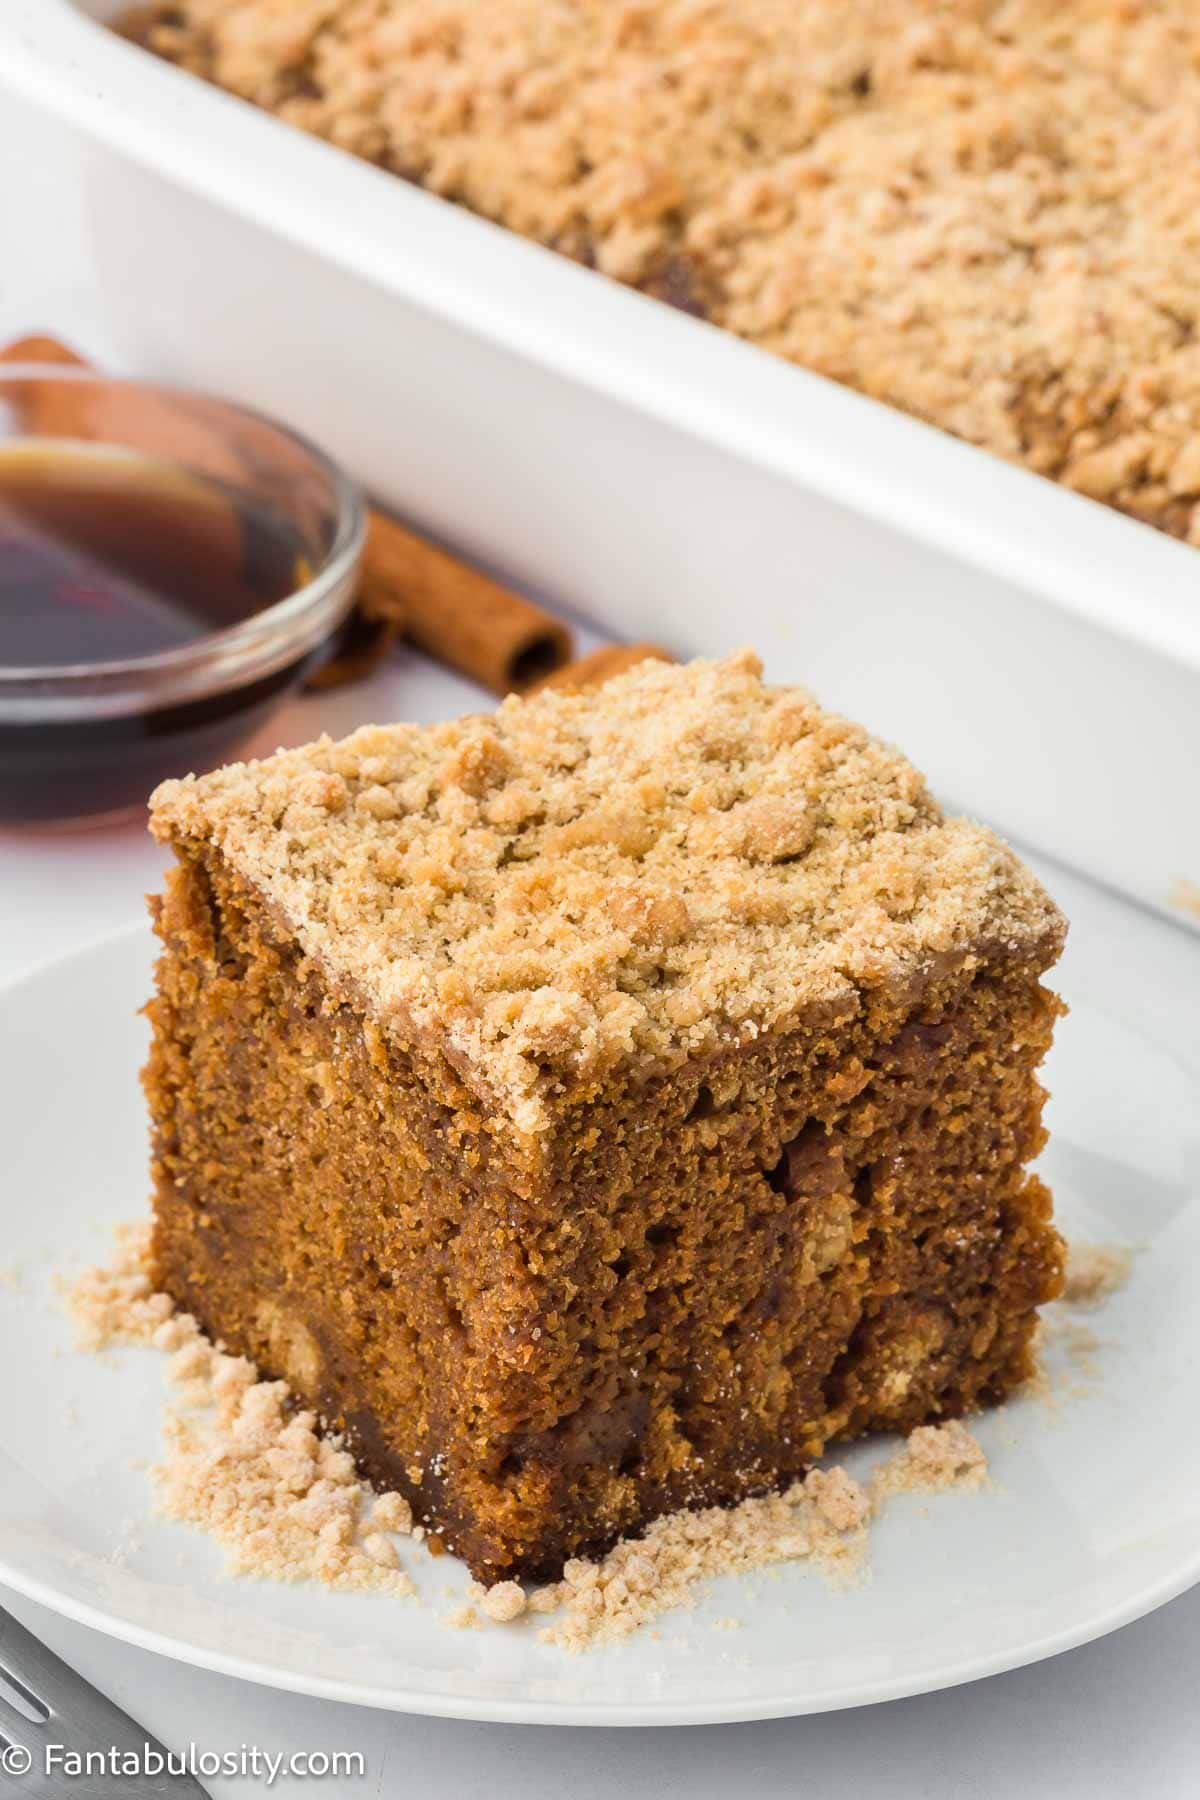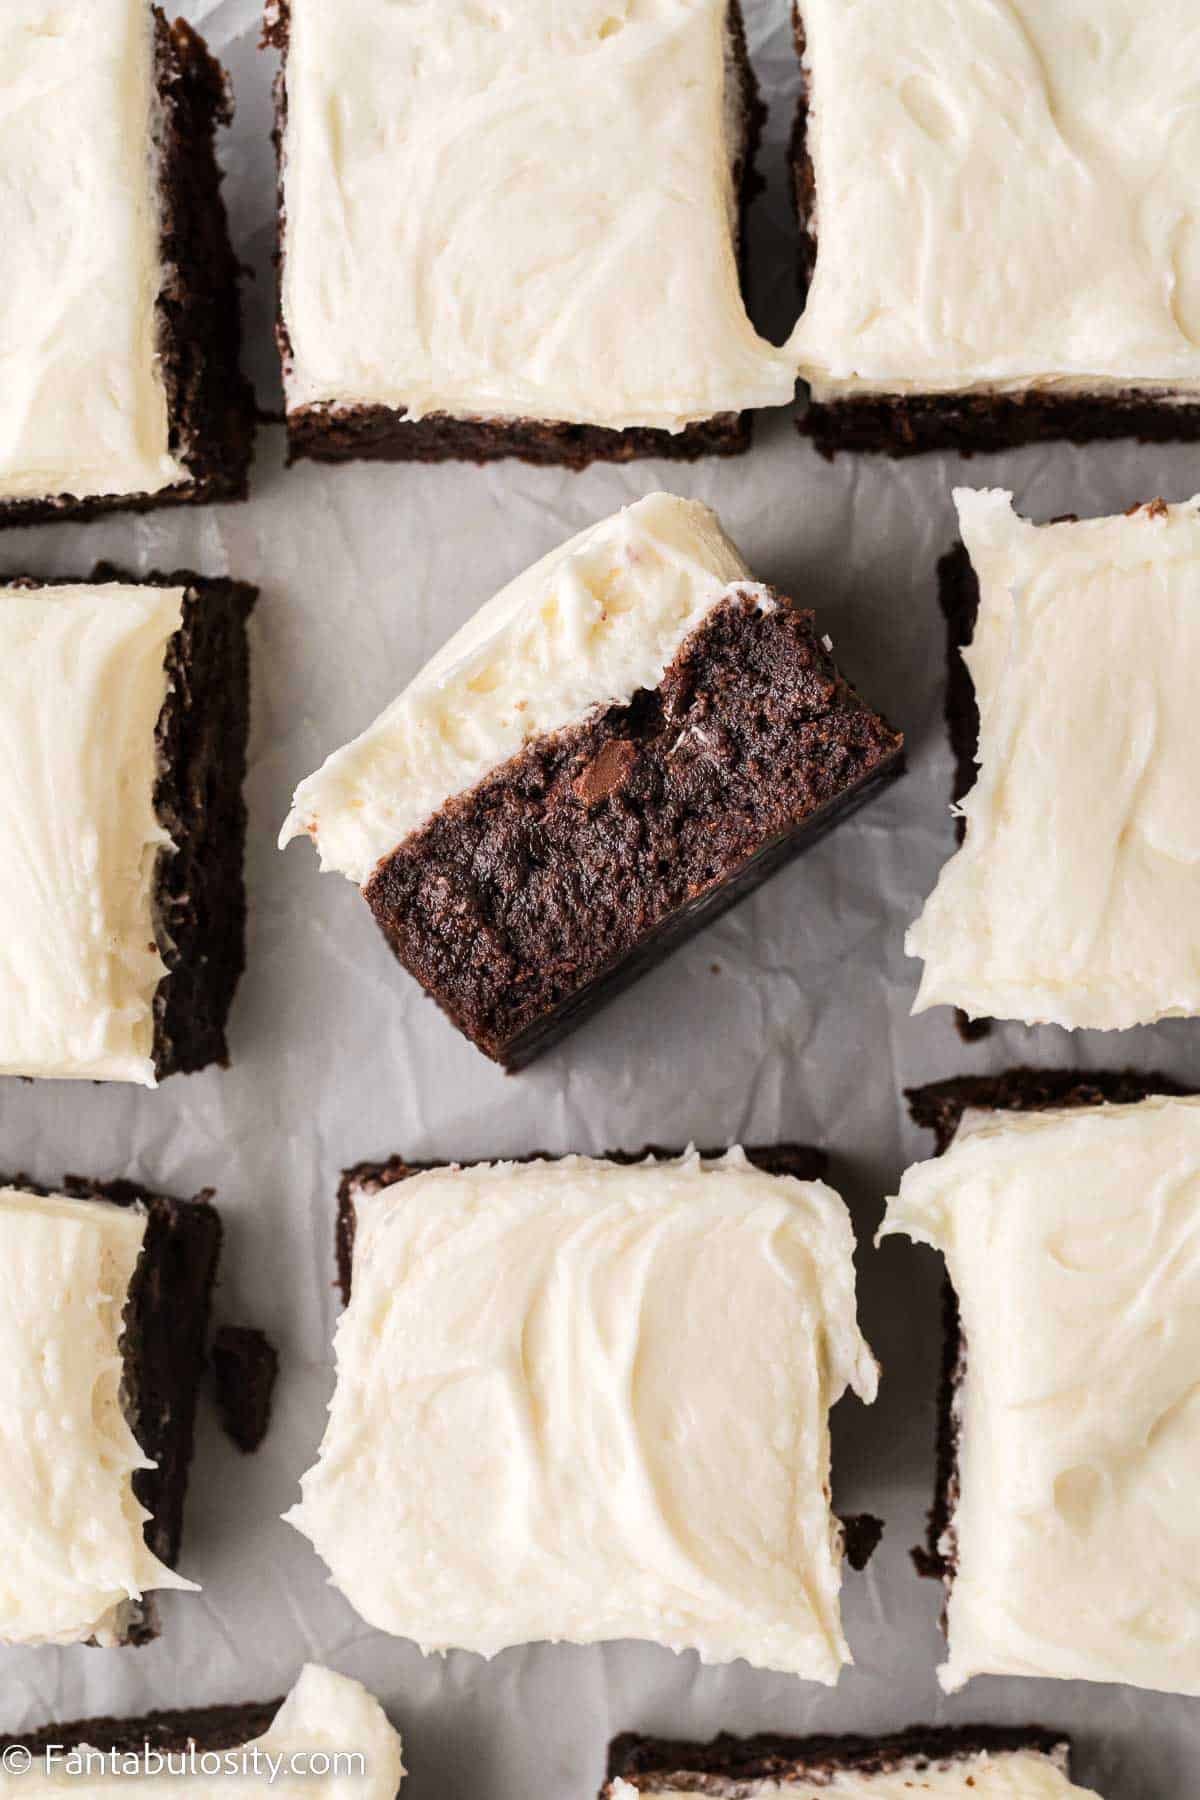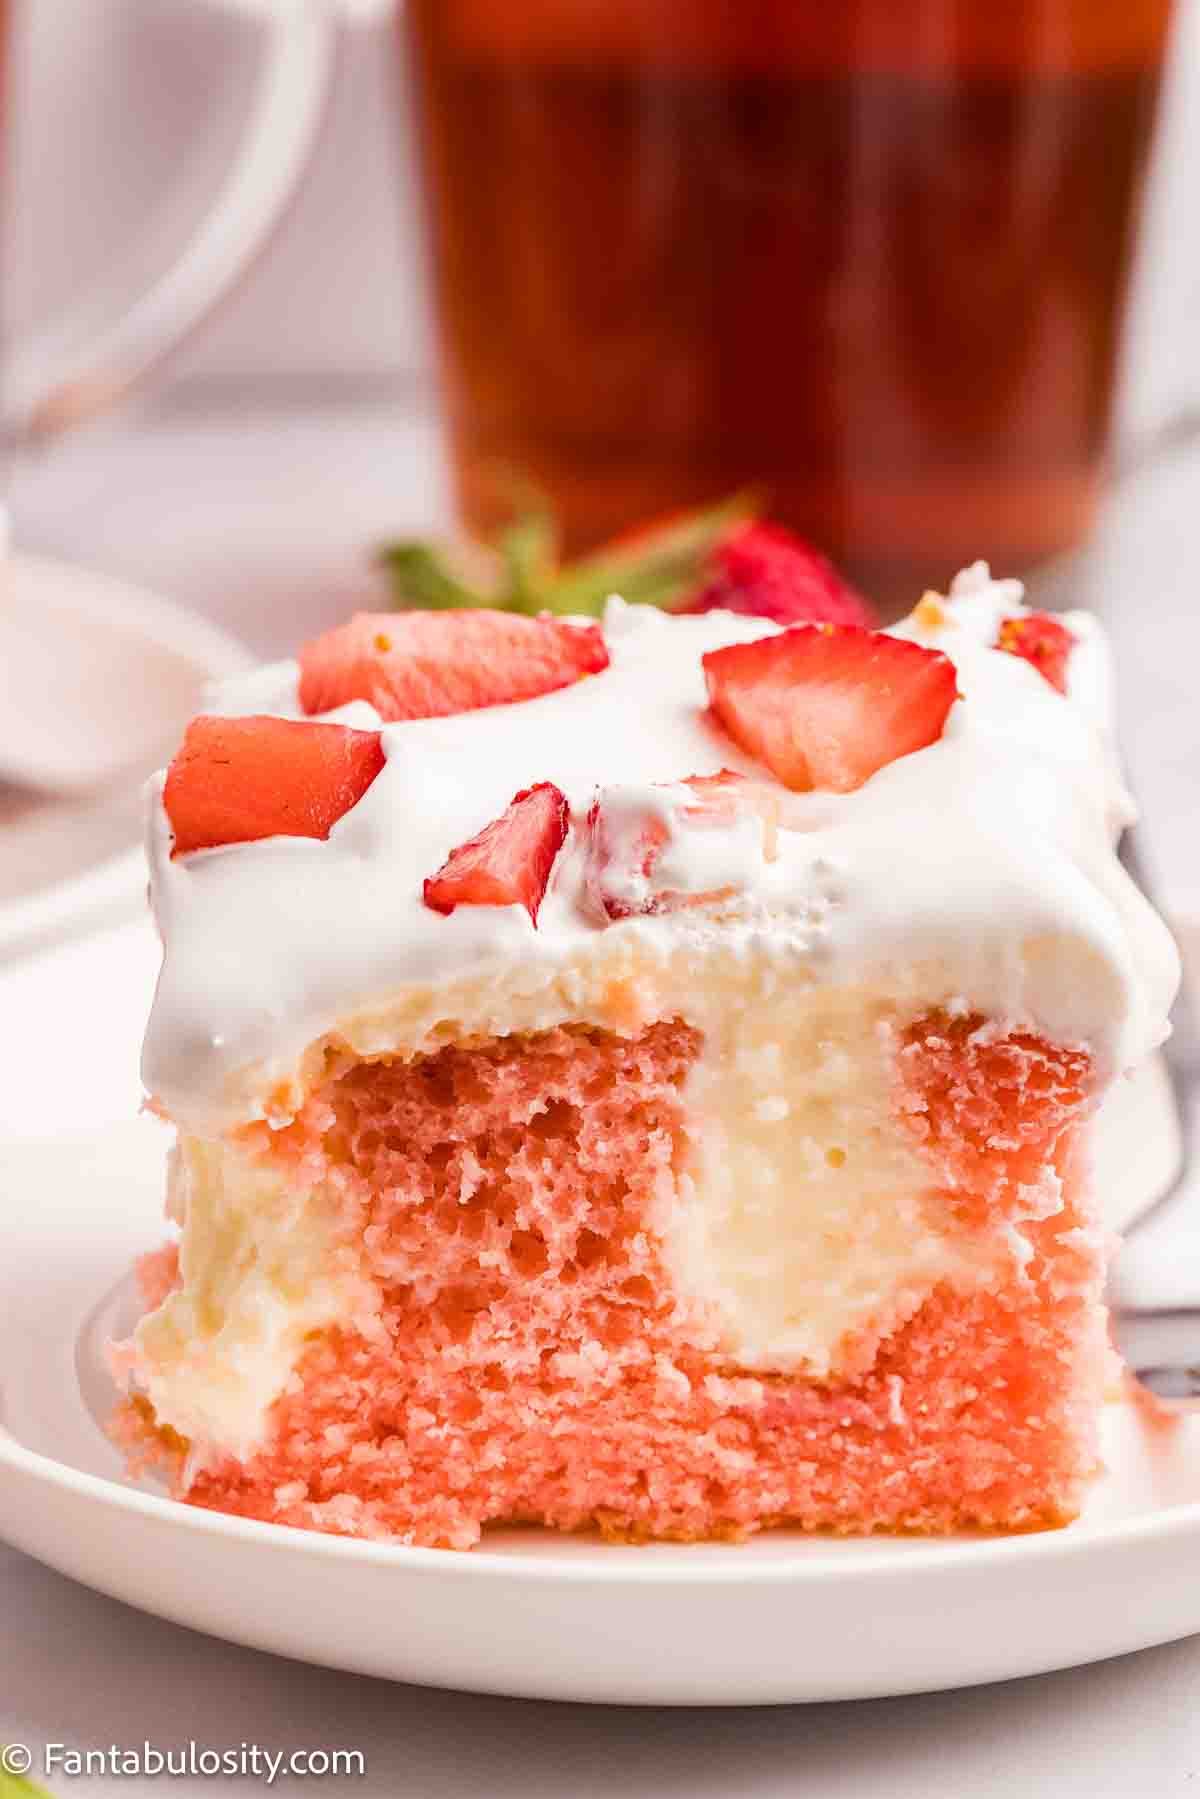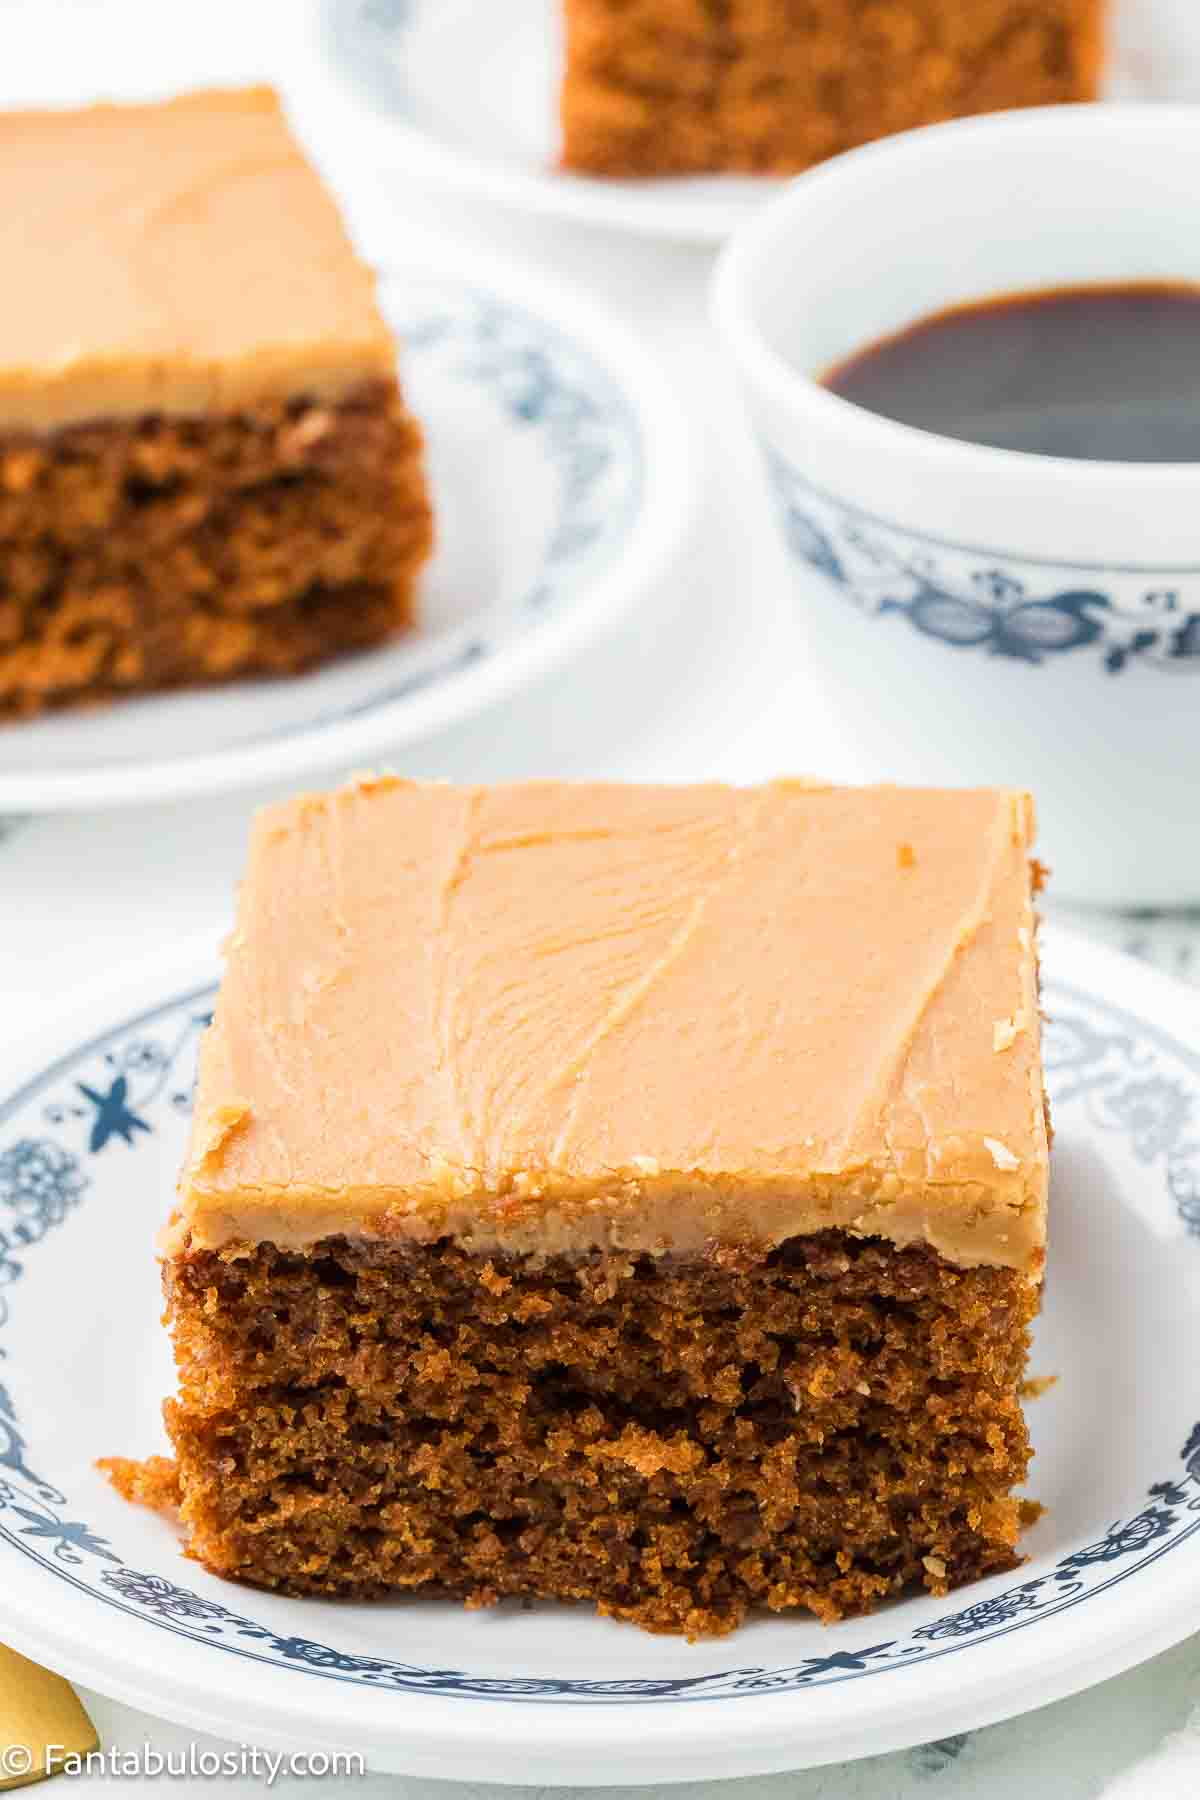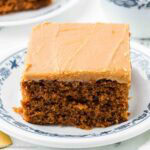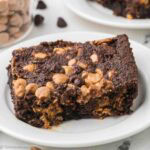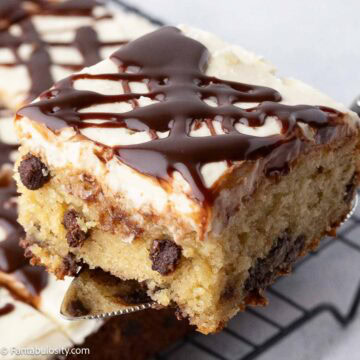
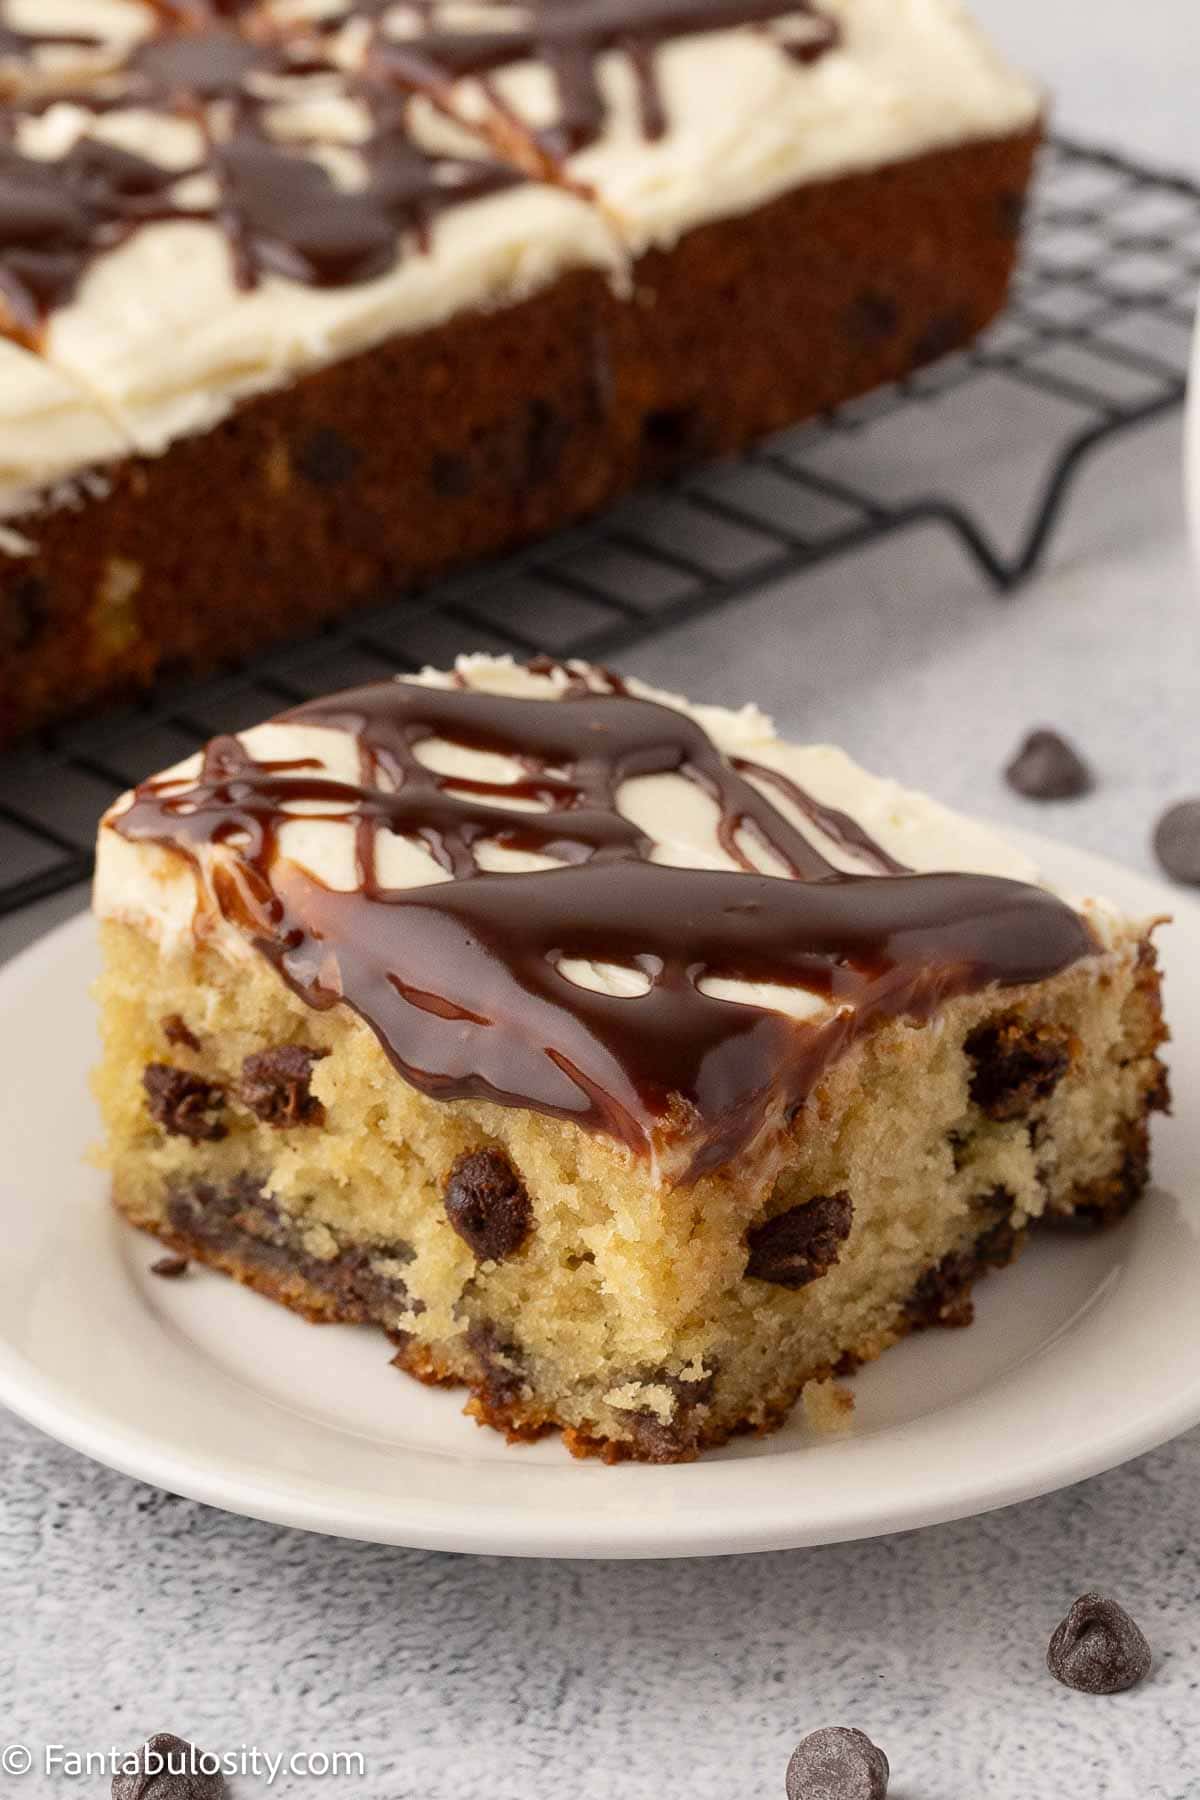
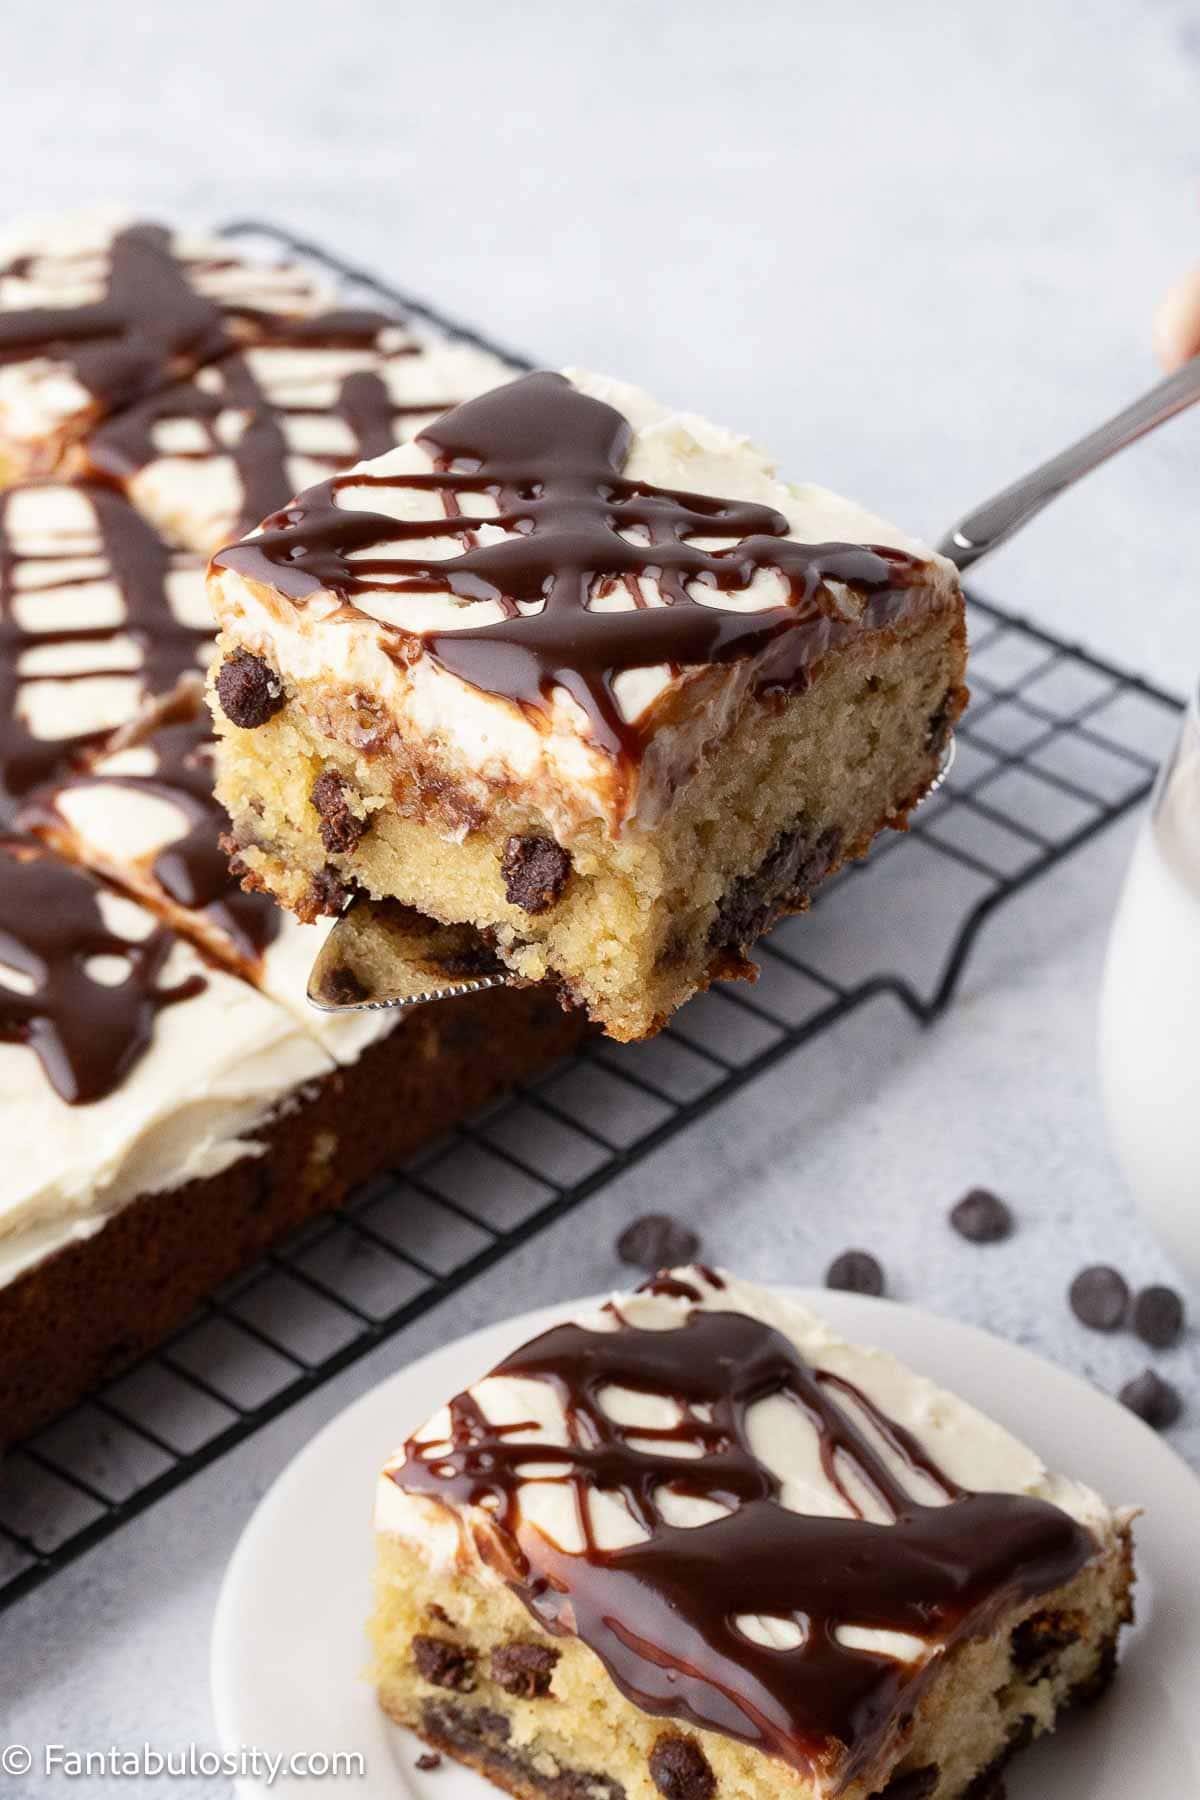
If you love a classic chocolate chip cookie, wait until you try it in cake form. This Chocolate Chip Cake is soft, buttery, and loaded with chocolate chips in every bite. It’s topped with a fluffy brown sugar buttercream and finished with a rich chocolate fudge drizzle that makes it feel just a little extra without being difficult to make.
An Easy Chocolate Chip Cake Everyone Asks For
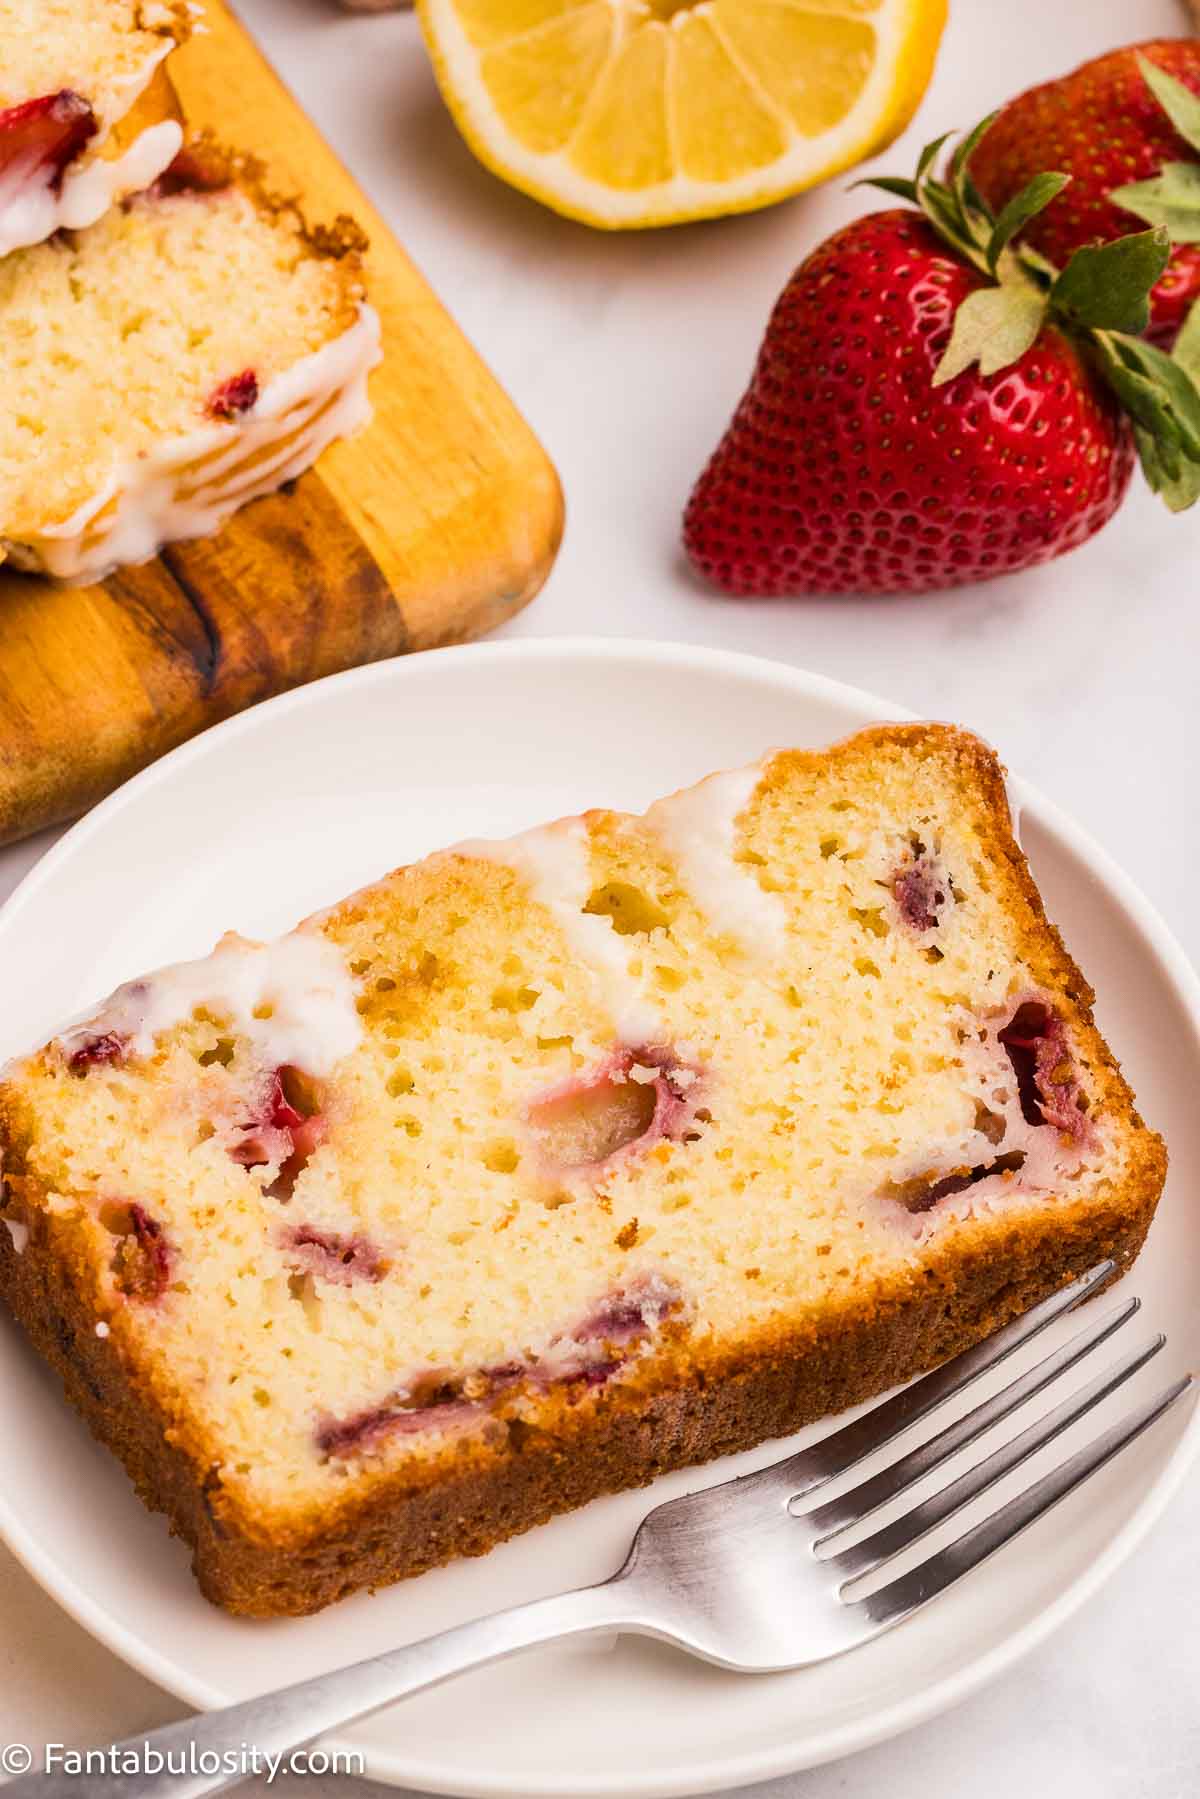
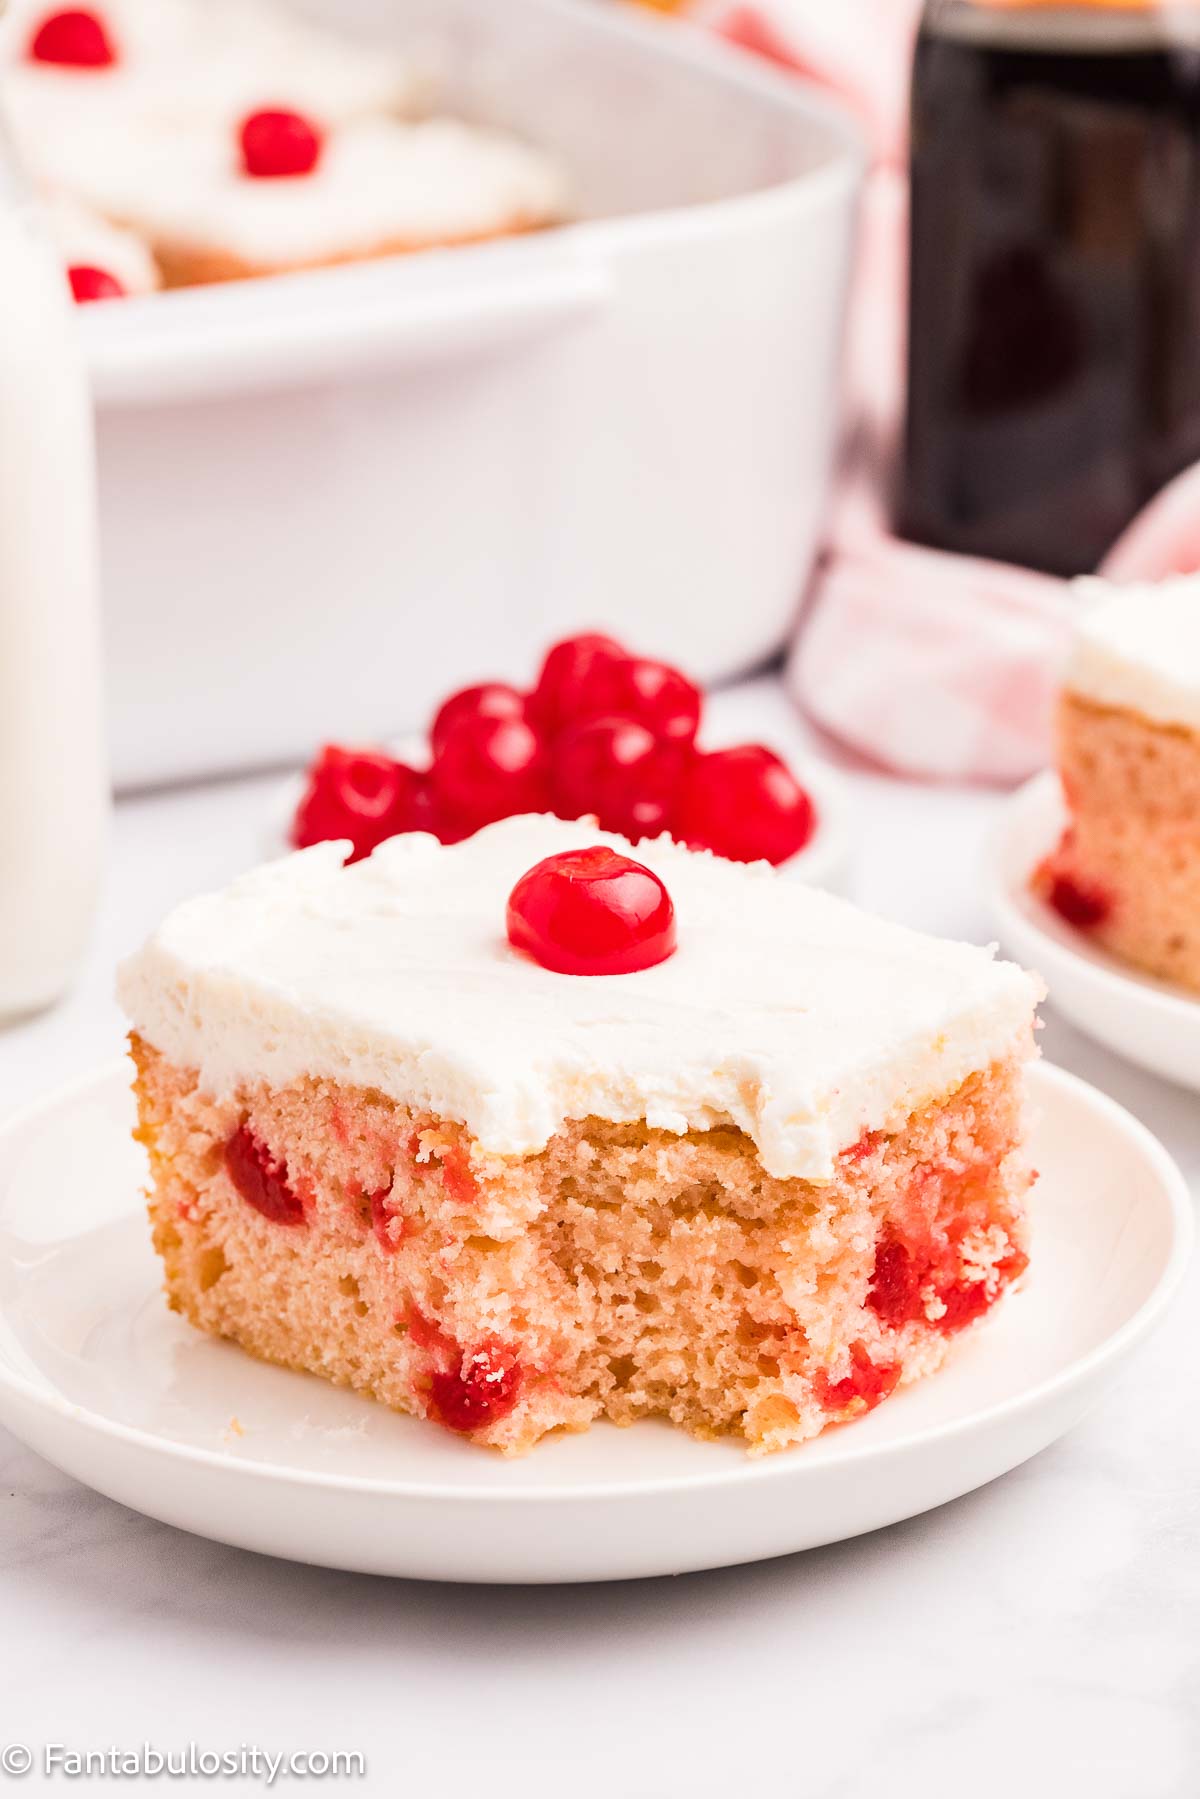
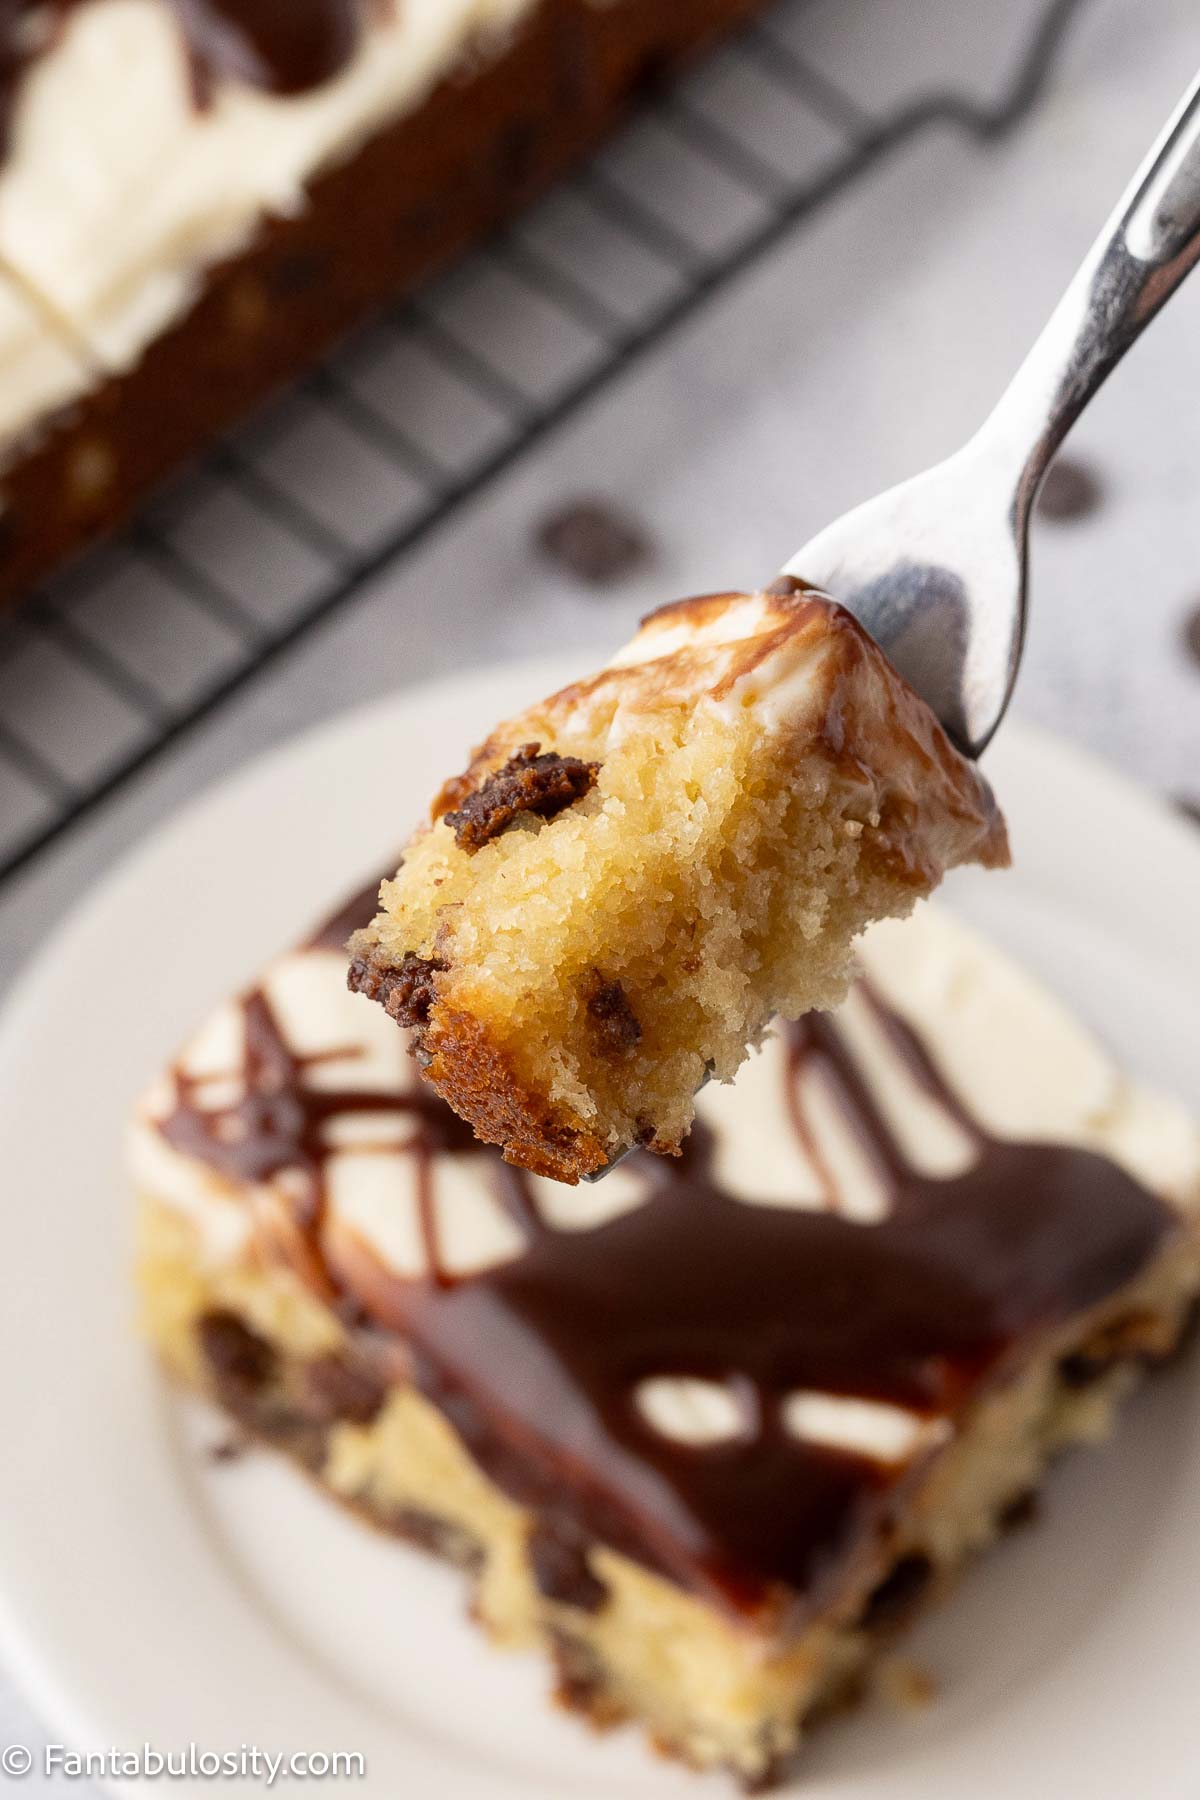
At first glance it looks like a simple vanilla cake with chocolate chips, but one bite tells a different story. The browned butter gives it a rich flavor, the chocolate chips stay in every bite, and the brown sugar frosting makes it a flavor combination that is irrisistible. It’s one of the cake recipes that will get put on the crowd-pleasing rotation for sure.
Frequently Asked Questions
The combination of browned butter, whole milk yogurt, and whole milk creates a soft, tender crumb that stays moist for several days.
Yes! Plain Greek yogurt works beautifully in this recipe. It gives the cake the same rich texture while adding a little extra protein.
Coating the chocolate chips with a little flour helps keep them suspended throughout the batter instead of sinking to the bottom while the cake bakes.
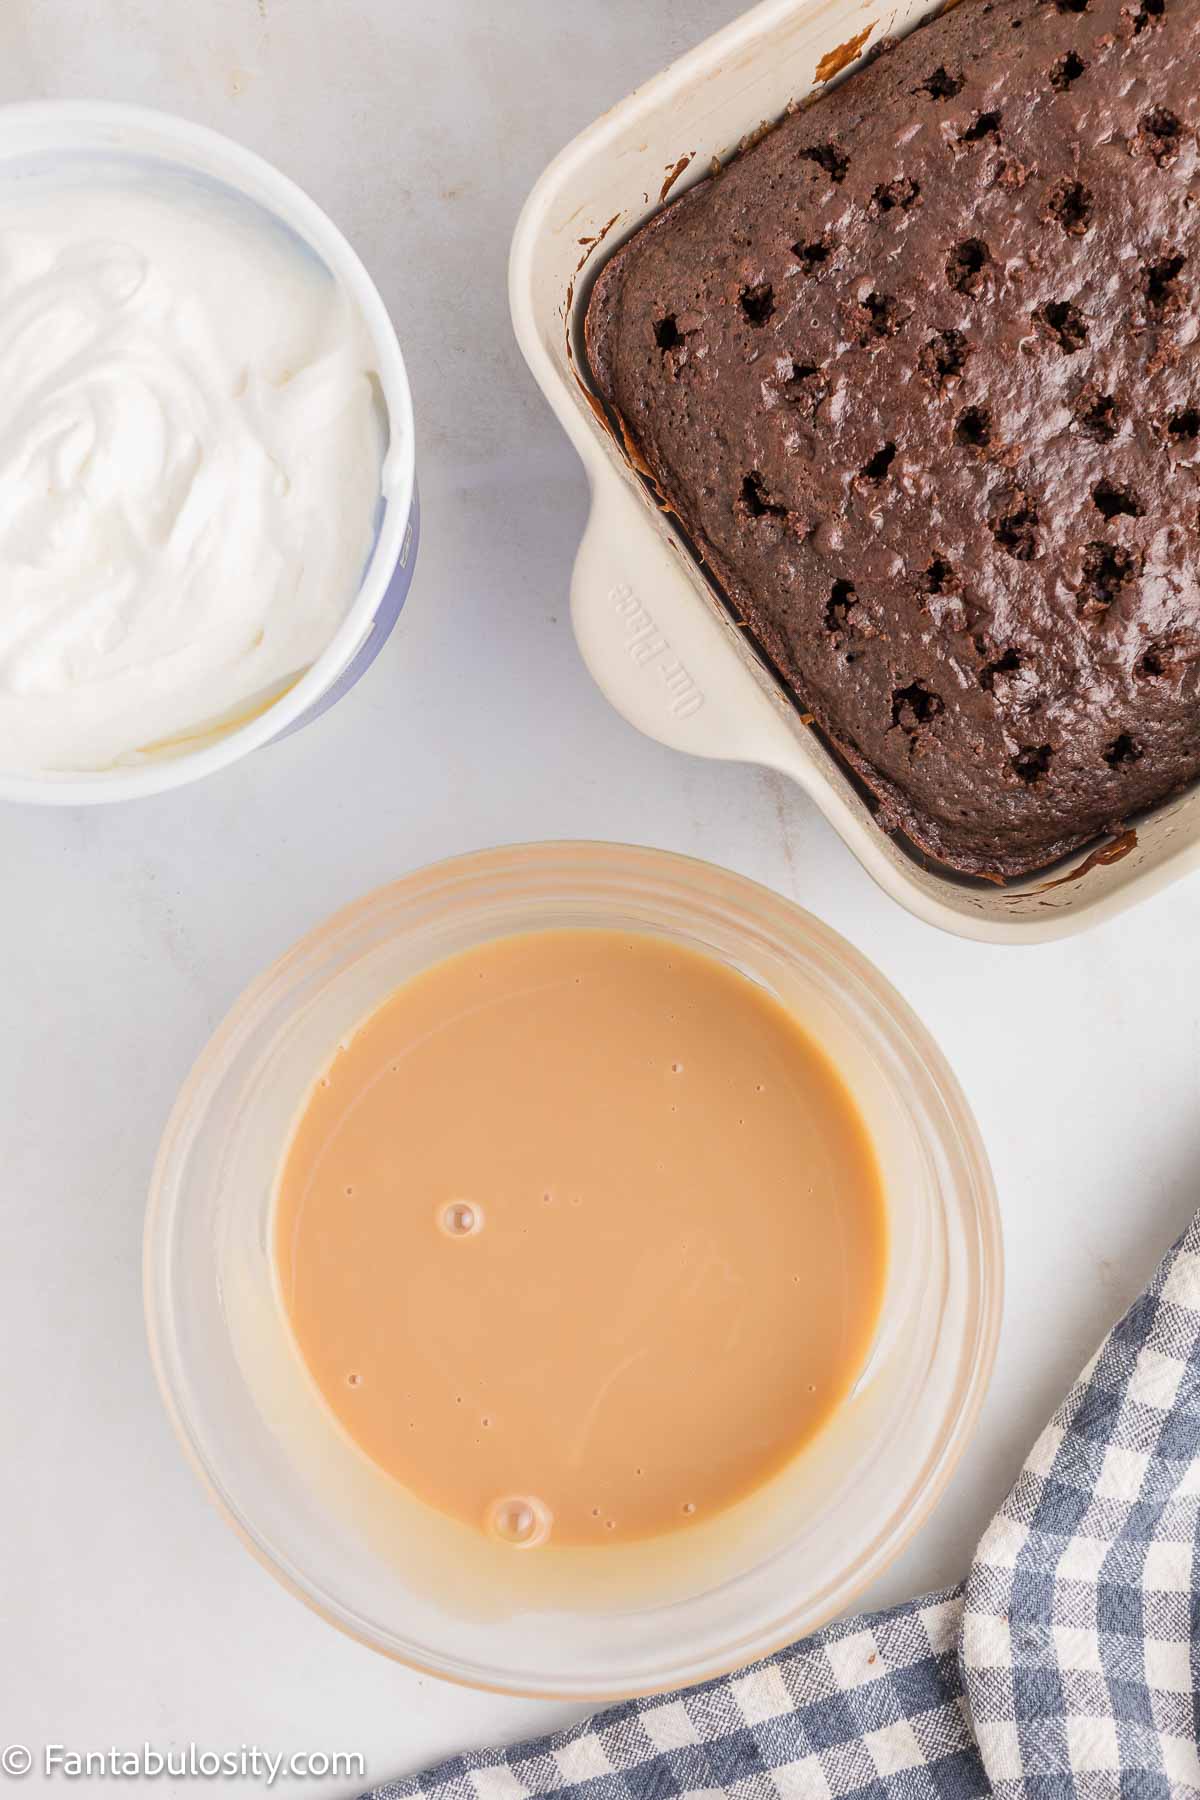
Insert a clean knife or toothpick into the center. If it comes out clean or with just a few moist crumbs, it’s ready. If you’re using an instant-read thermometer, the center of the cake should register around 160°F.
Absolutely. In fact, the flavor is even better the next day. Just cover it tightly and store it at room temperature until you’re ready to serve.
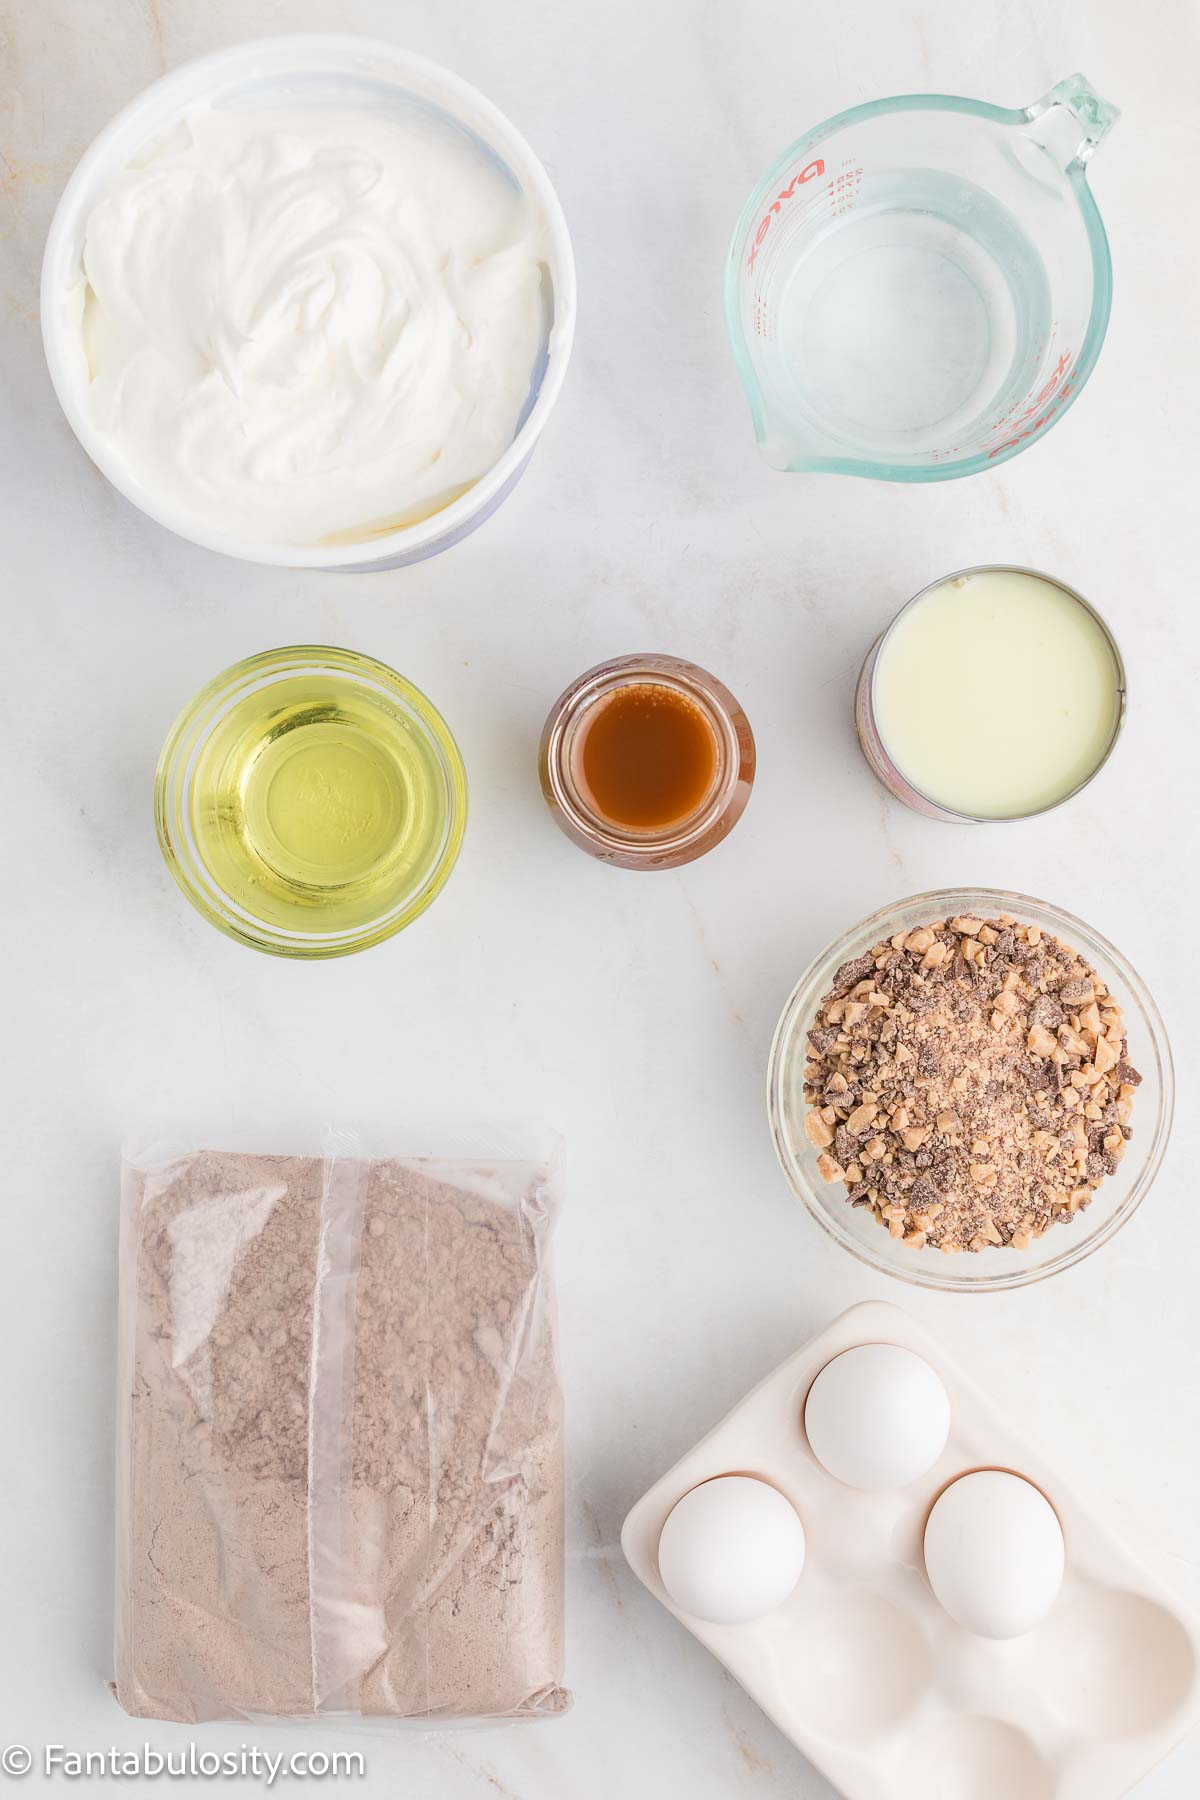
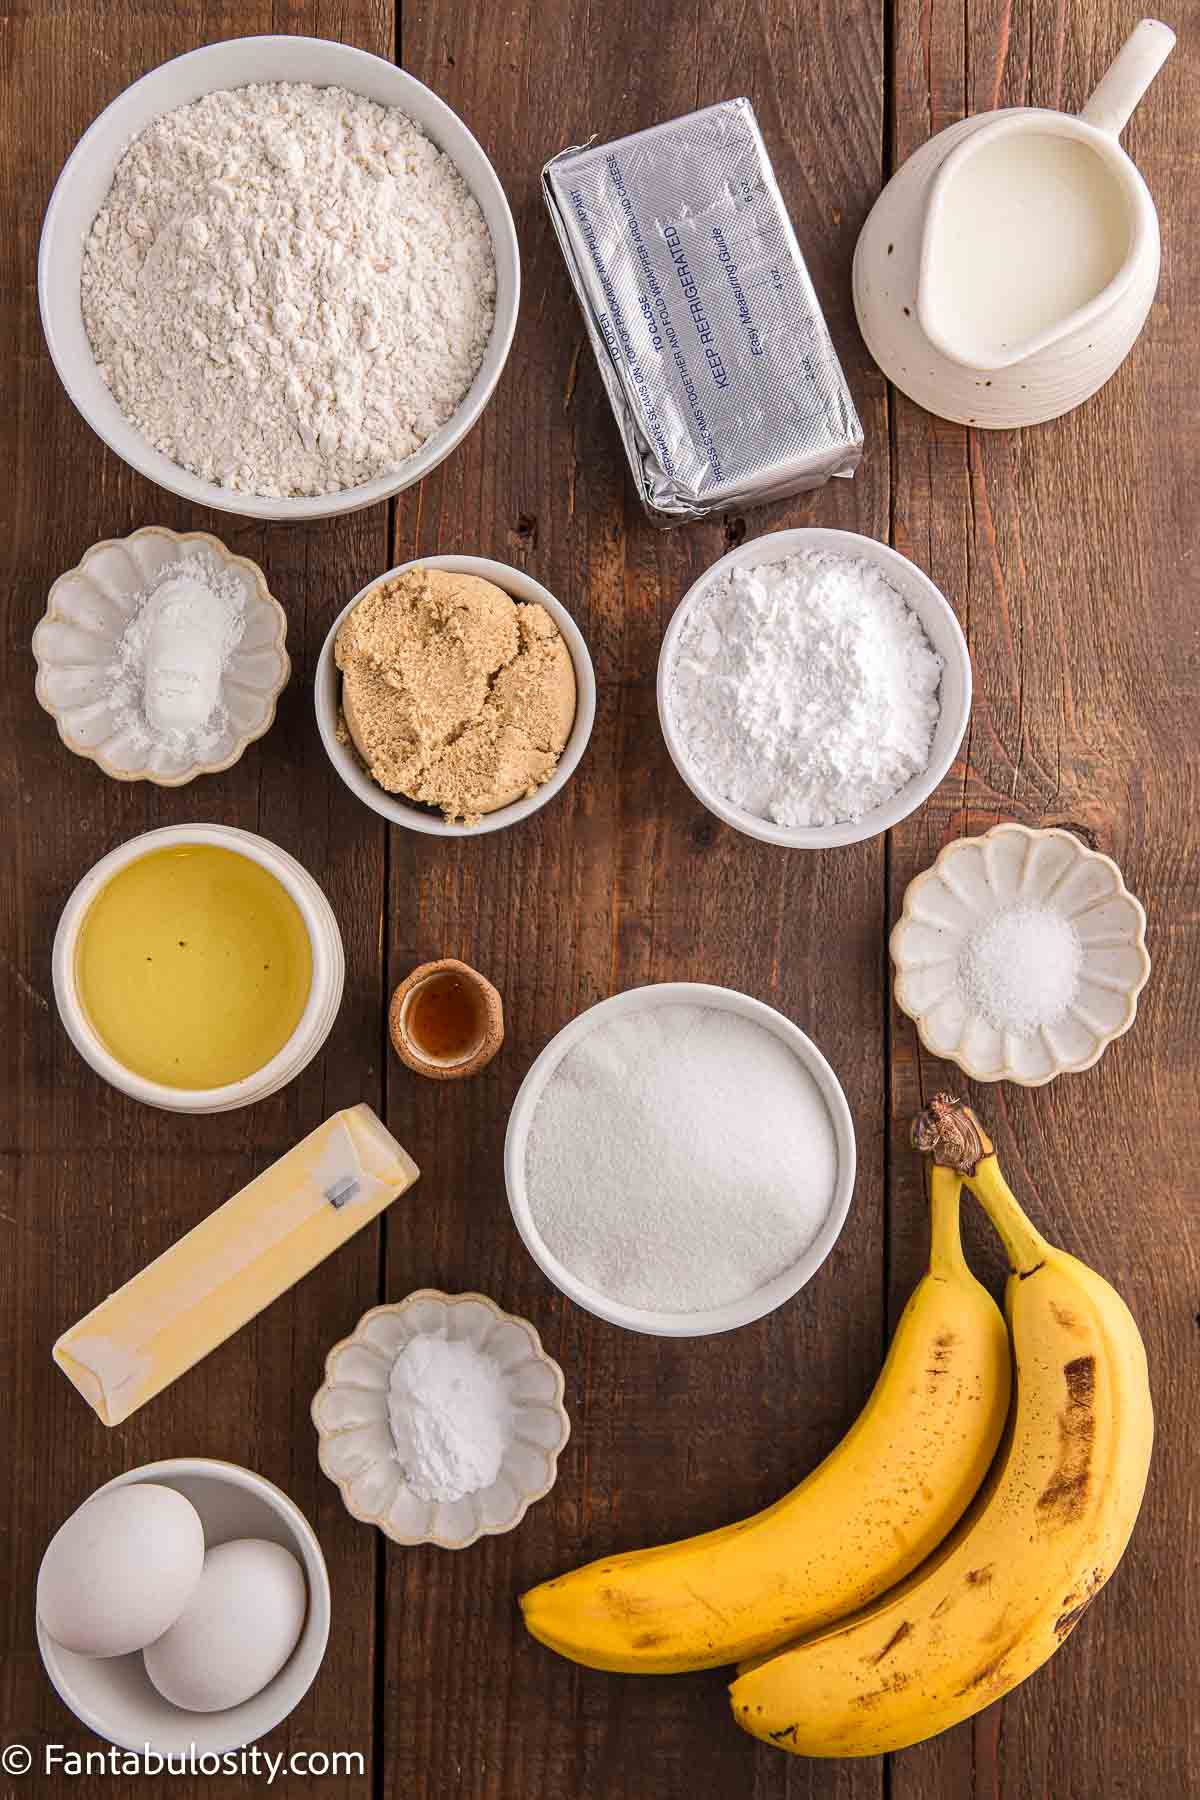
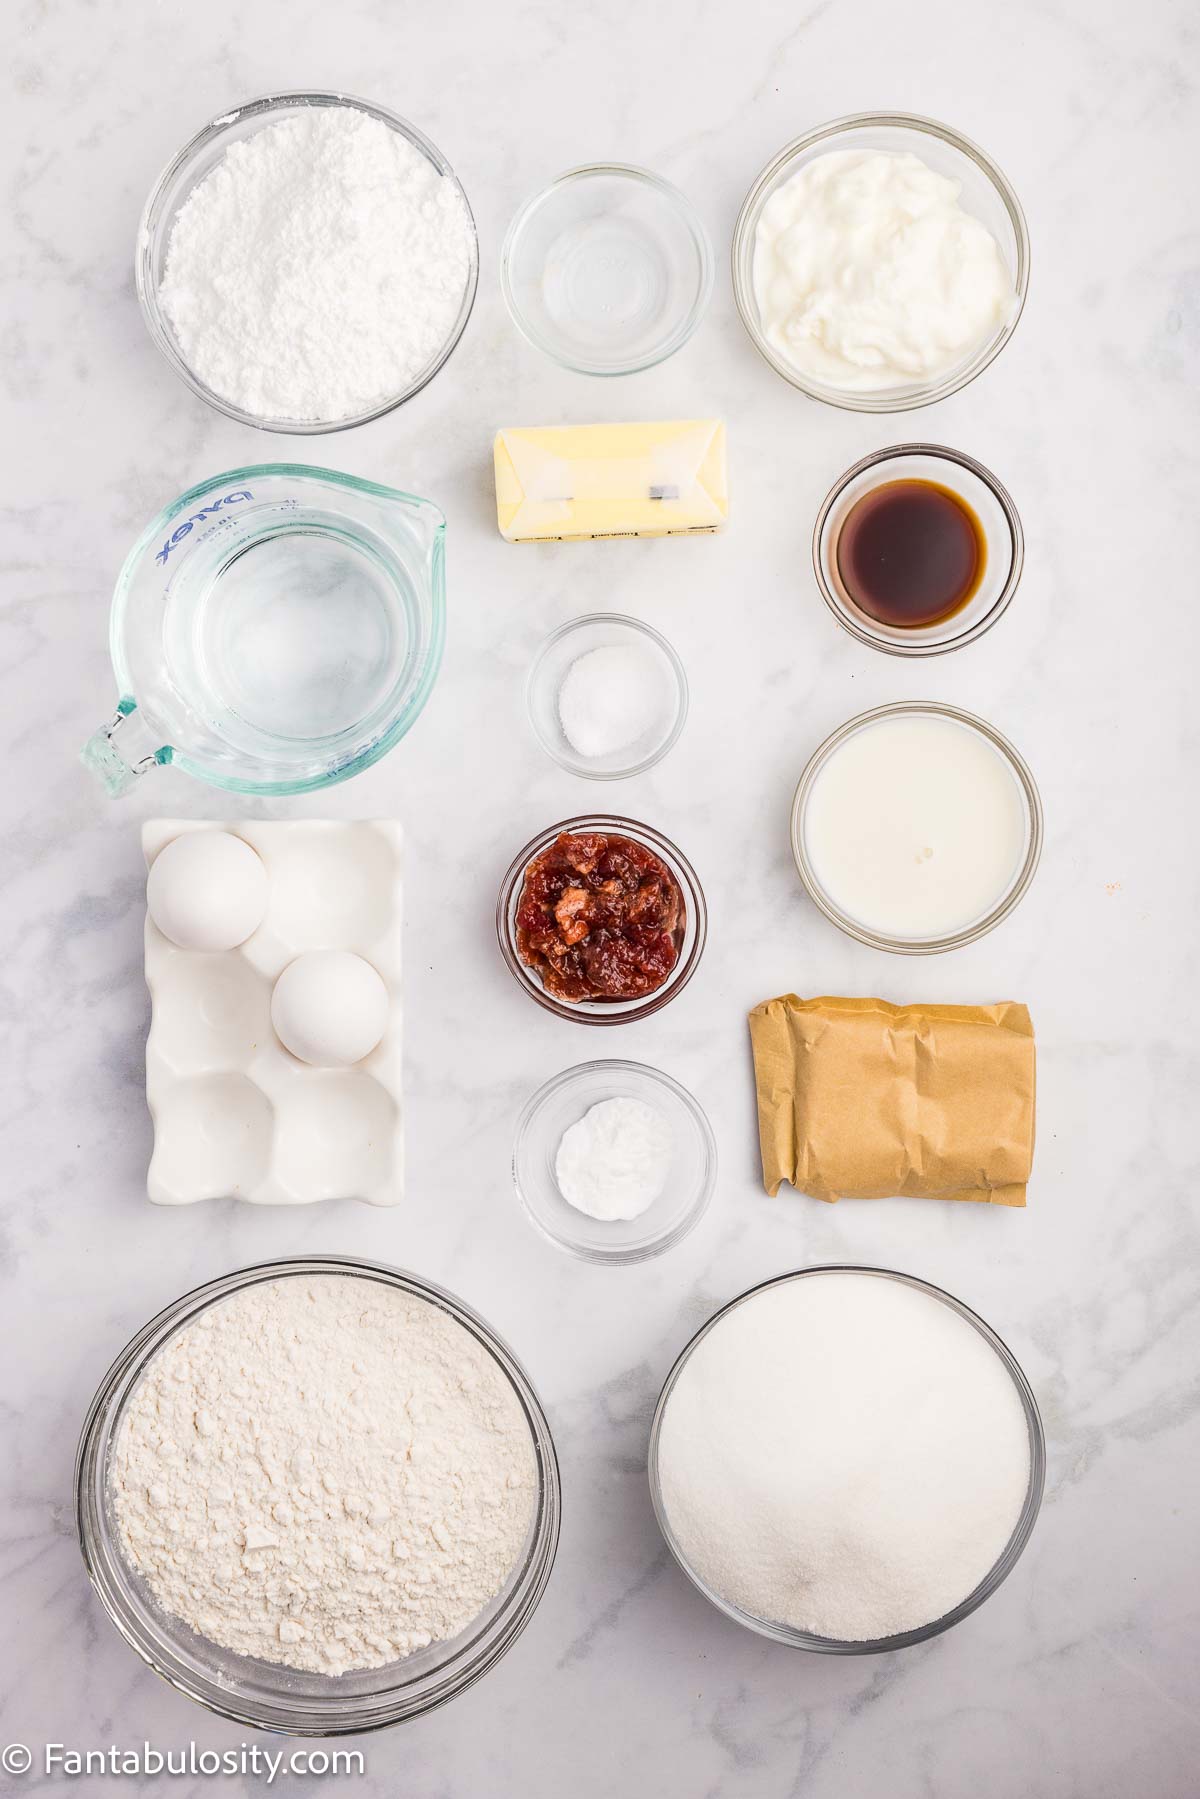
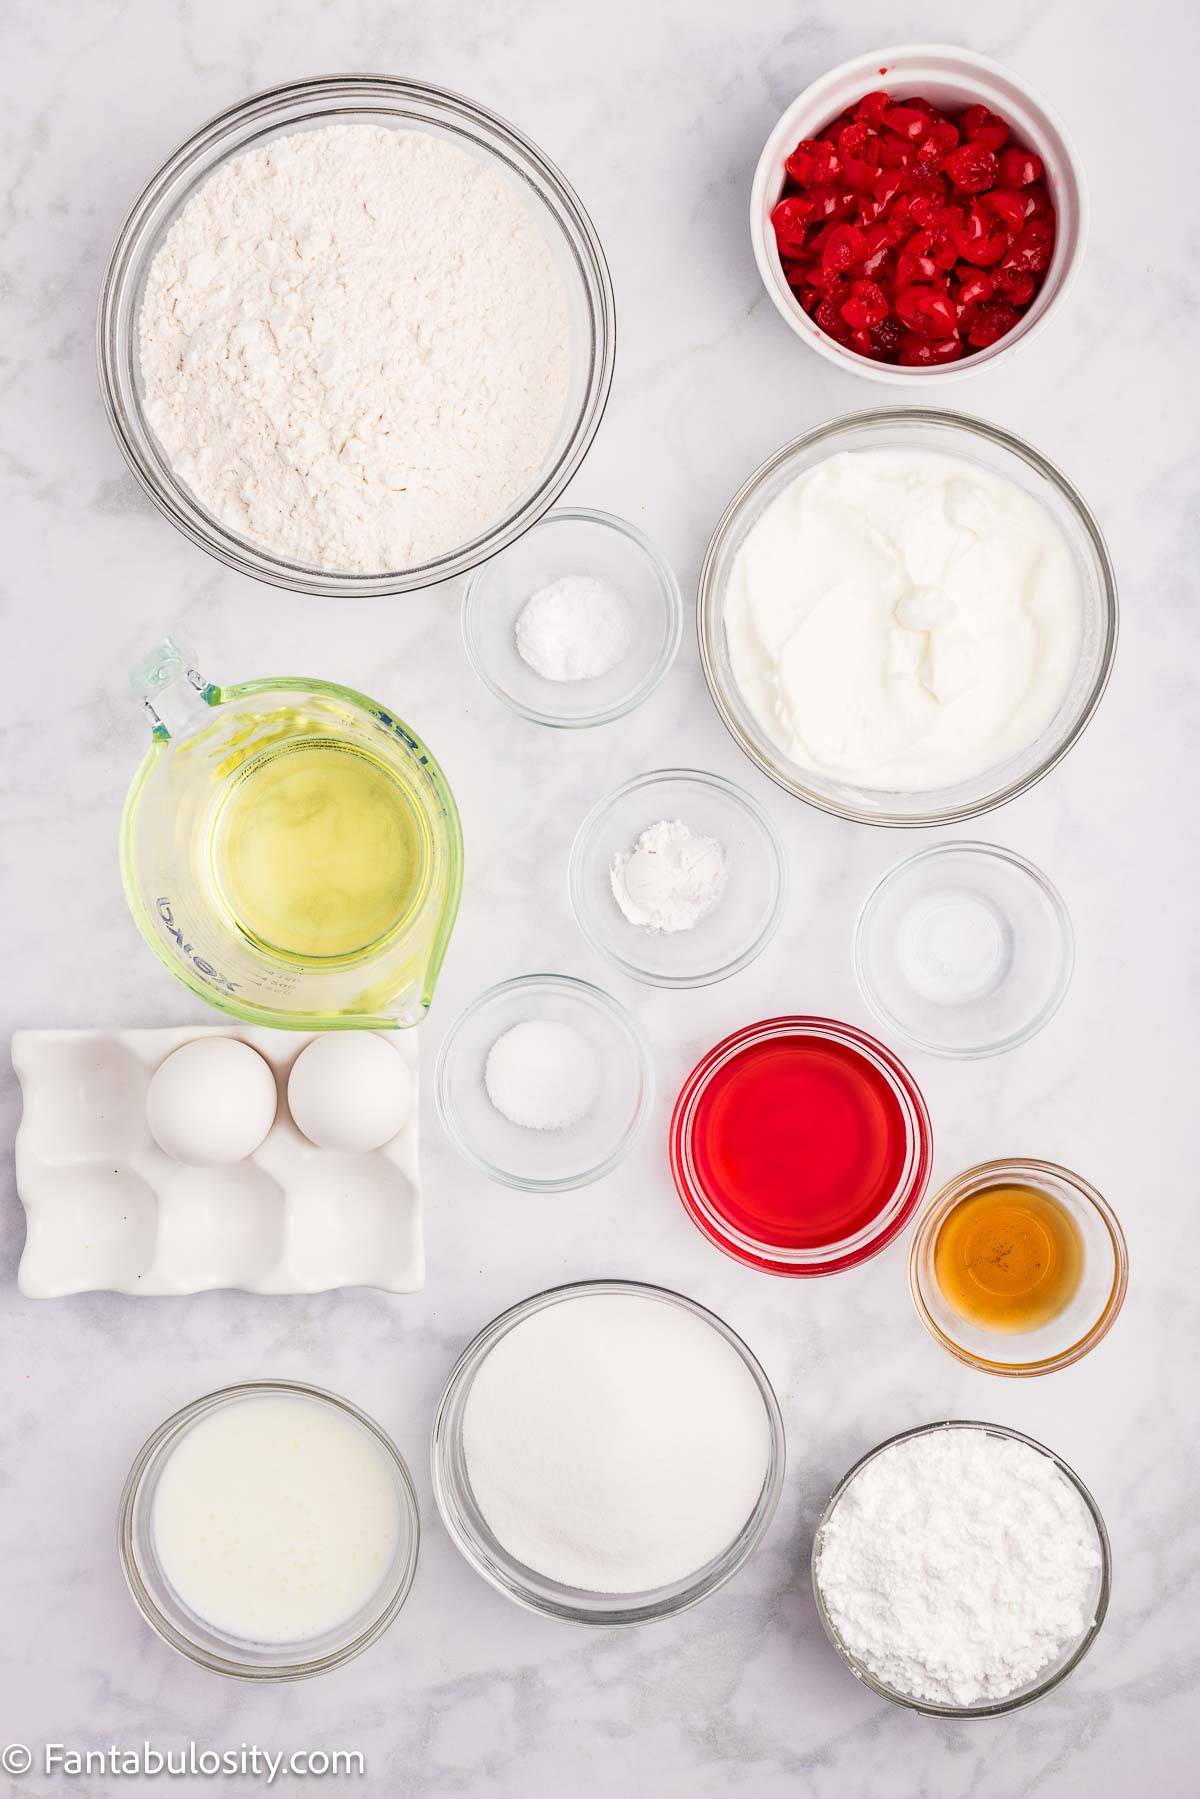
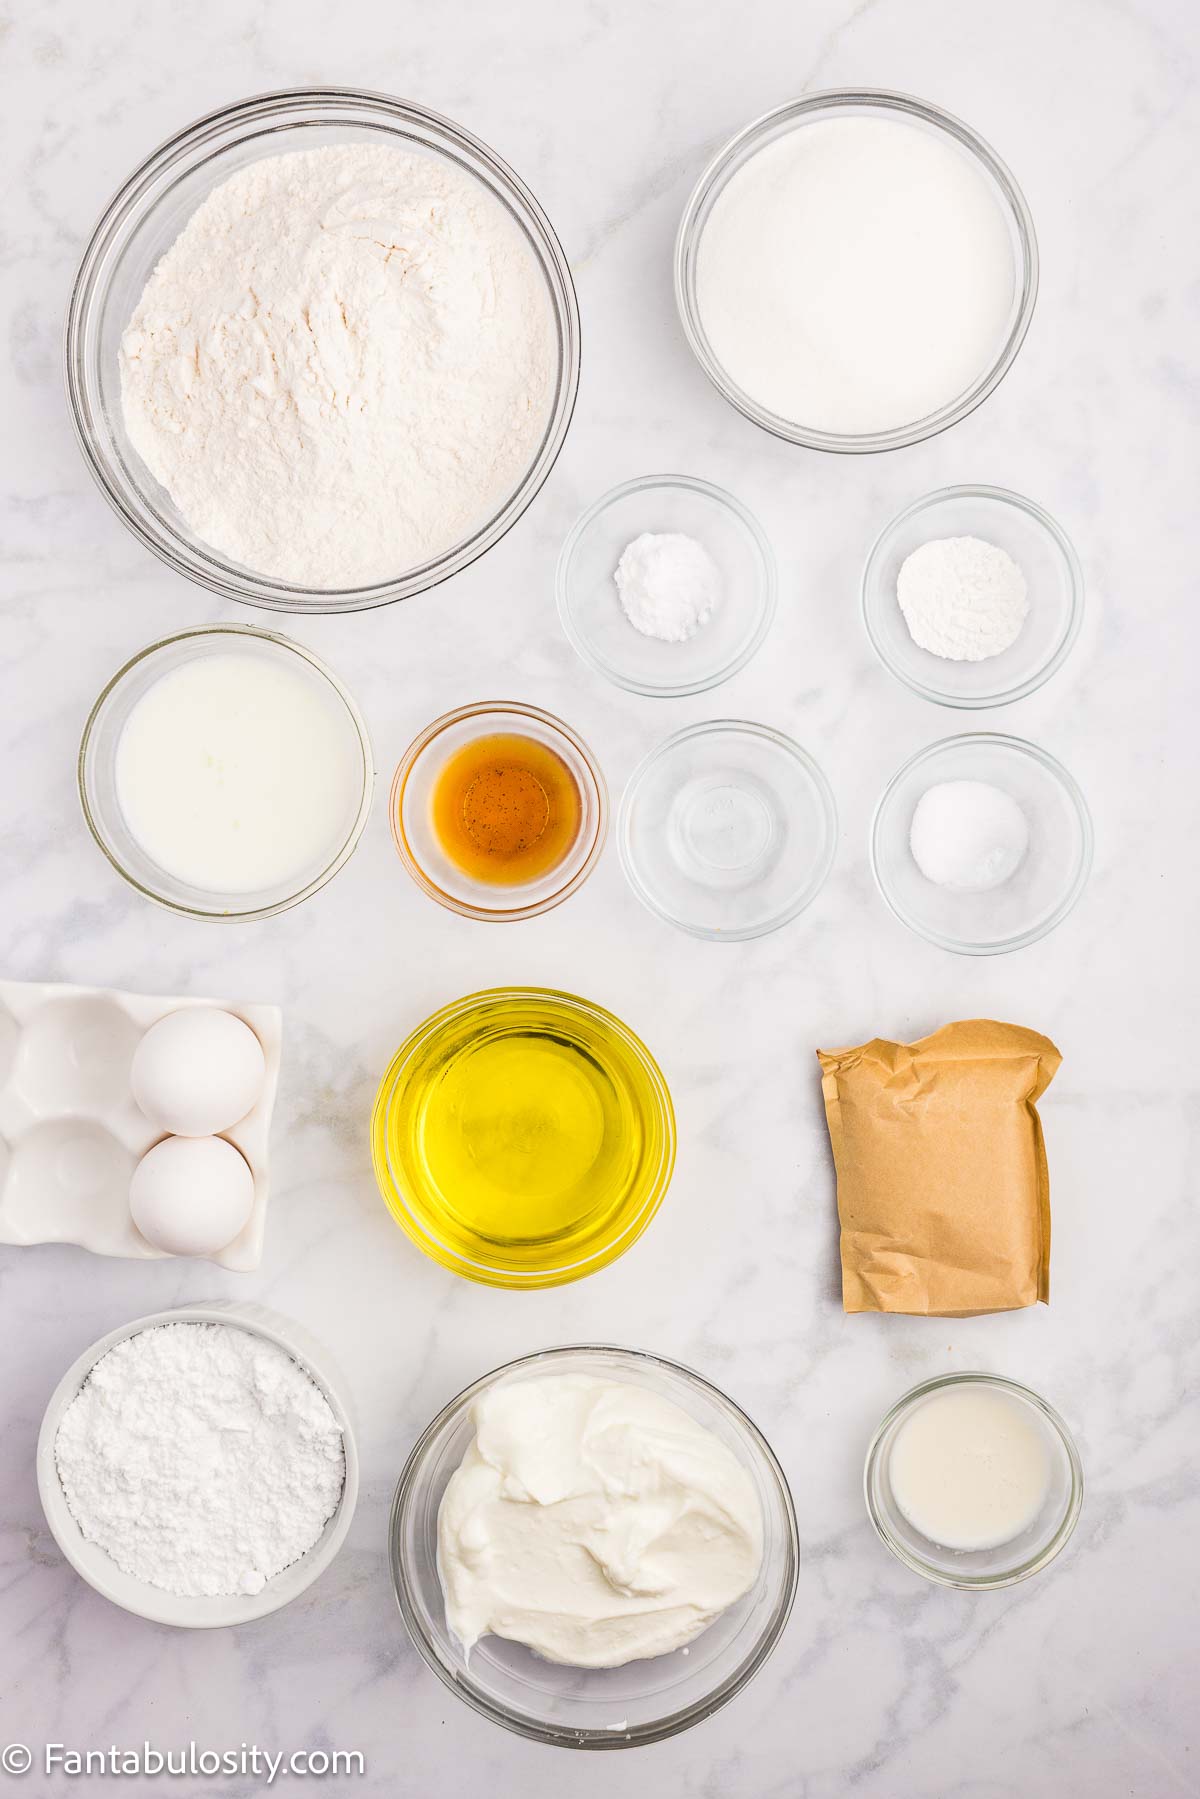
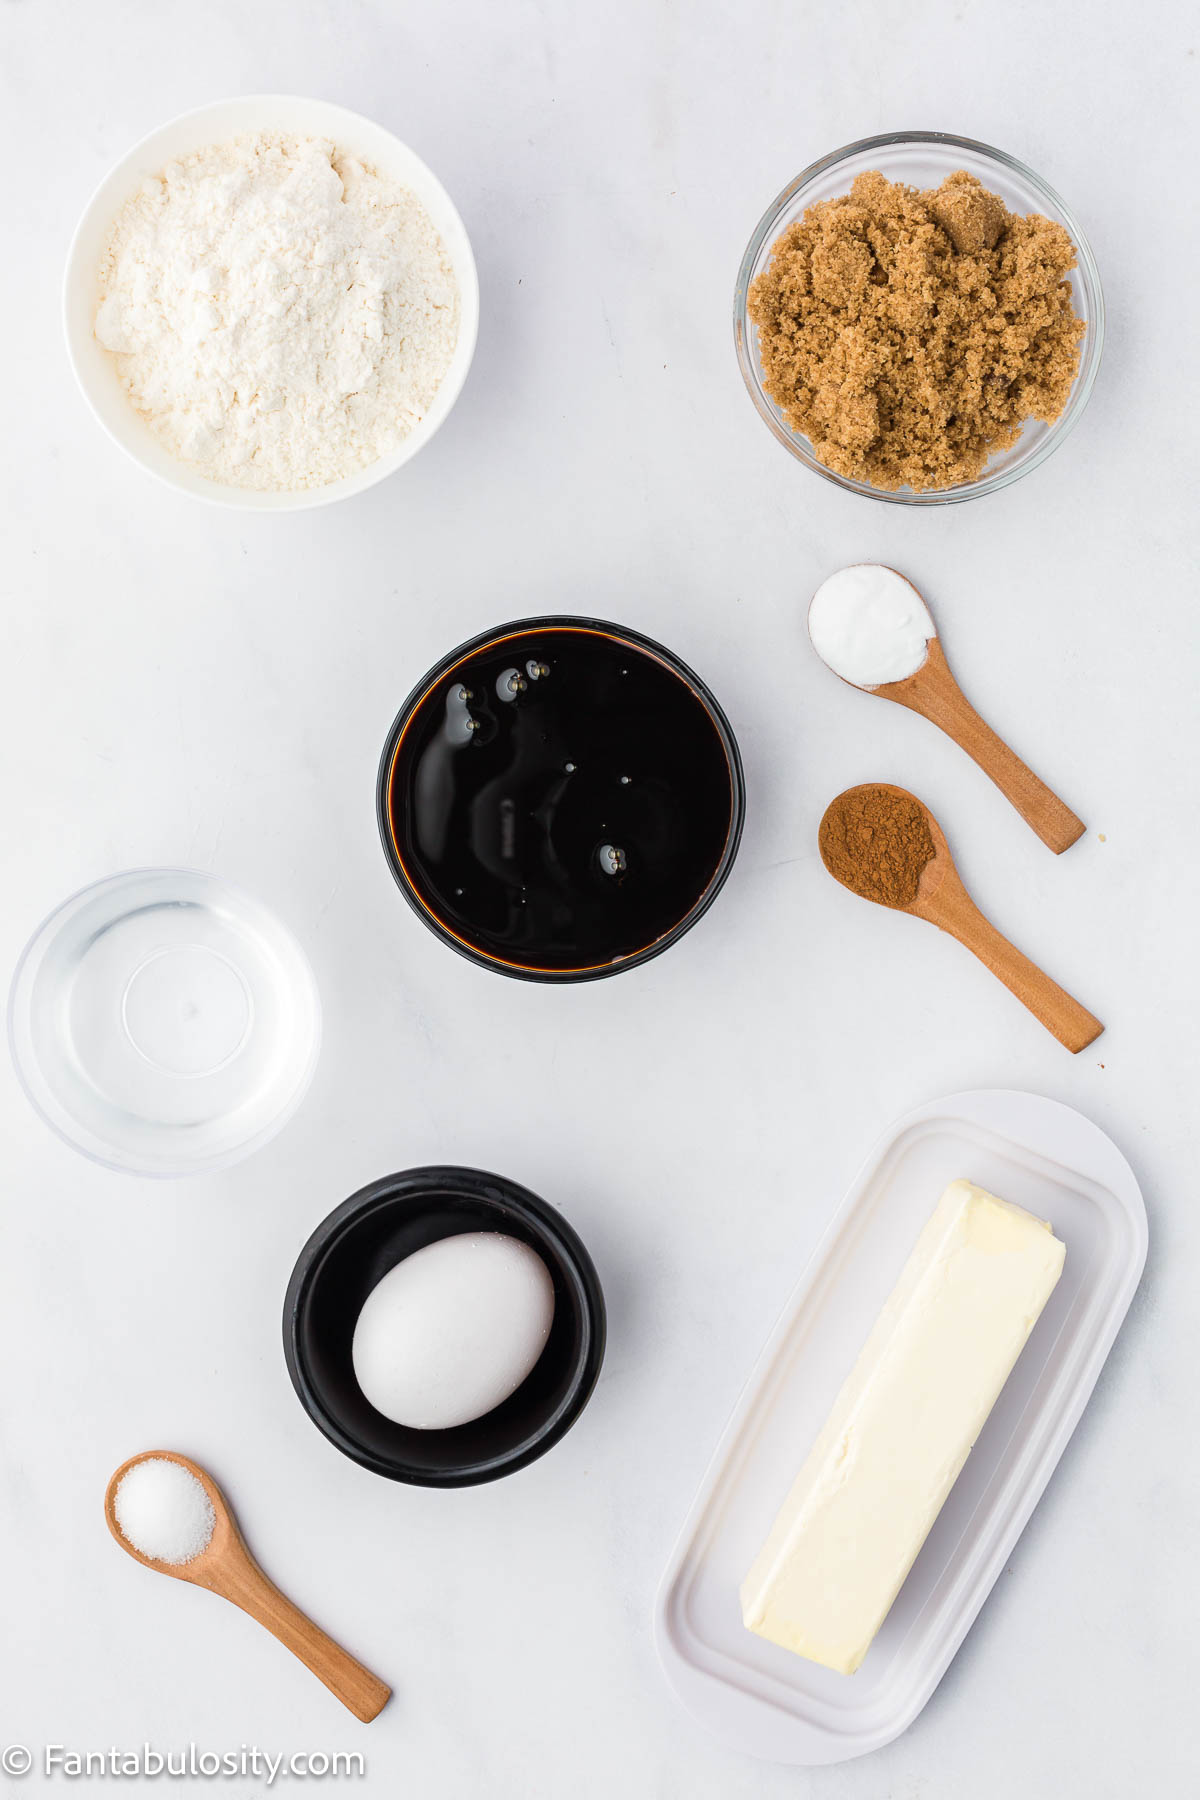
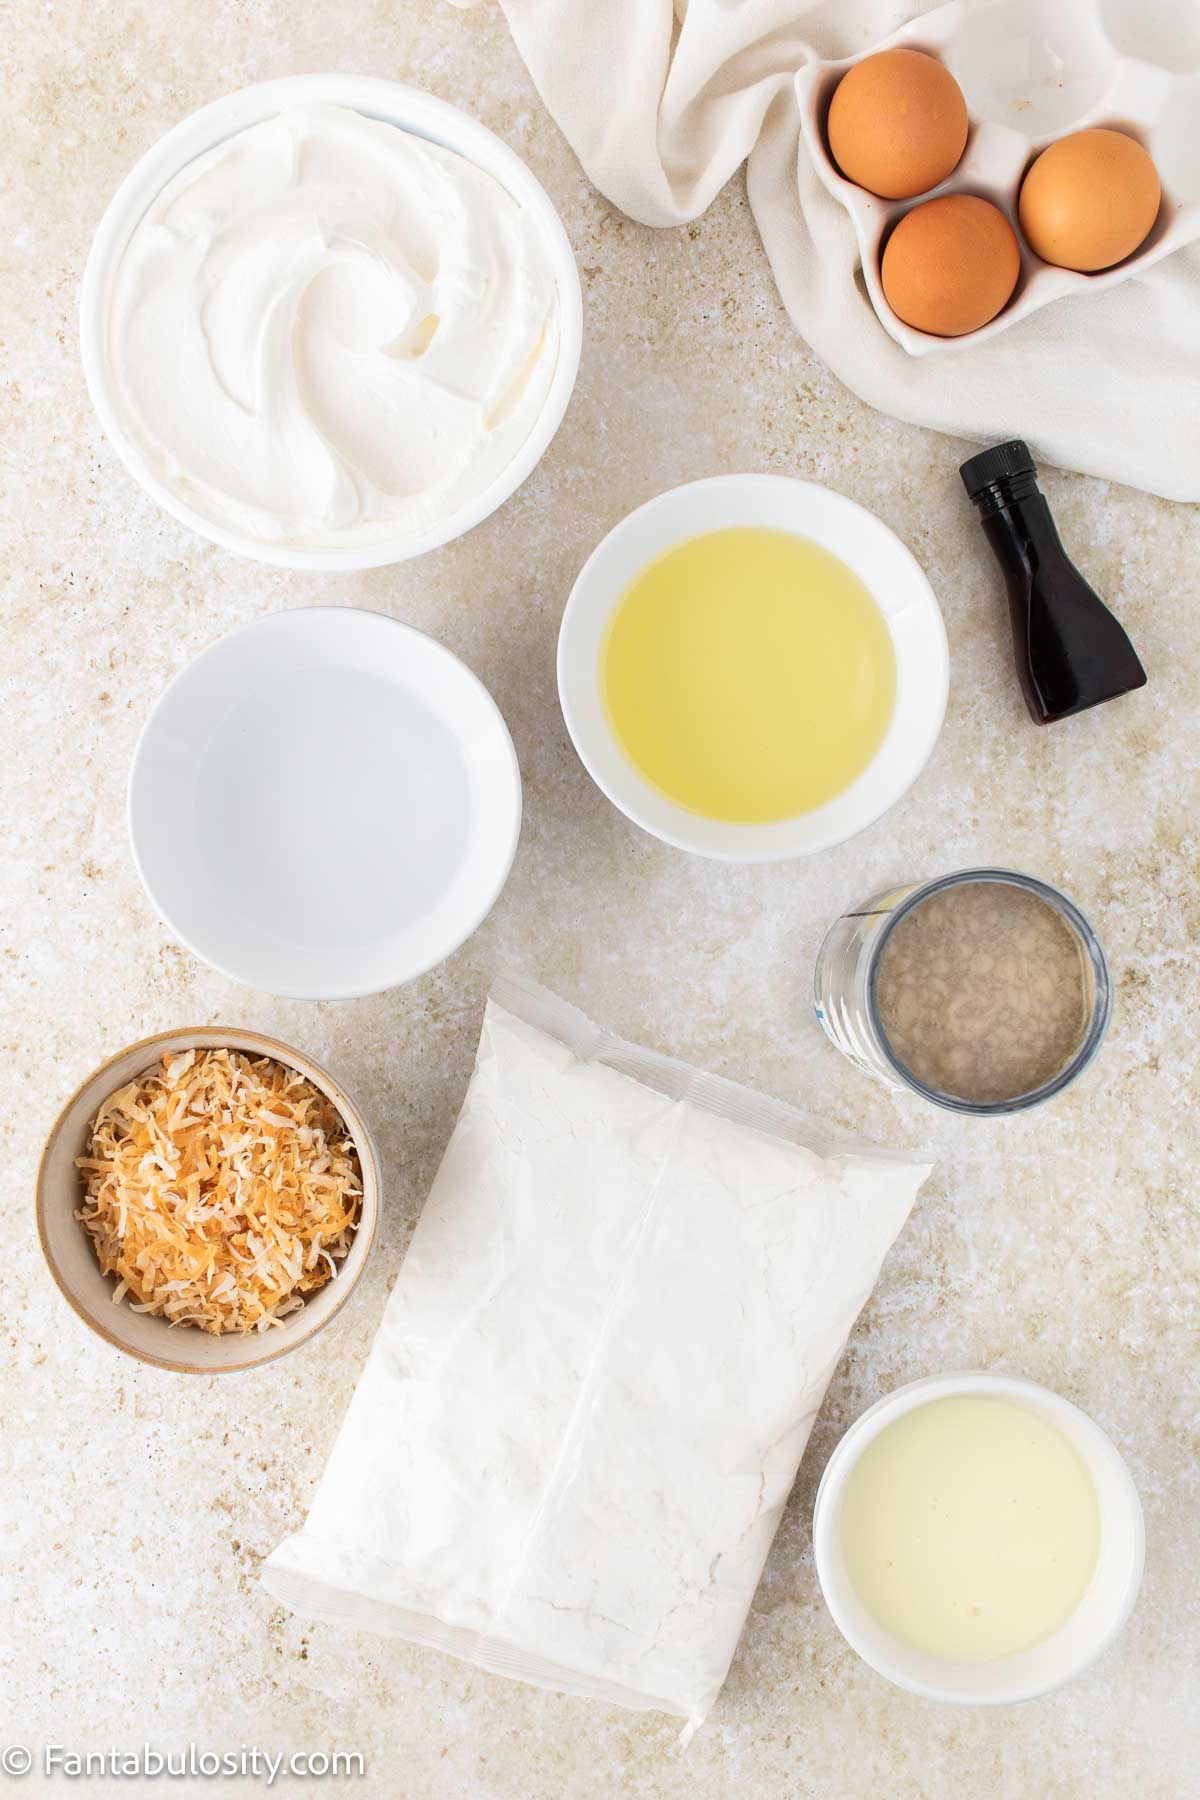
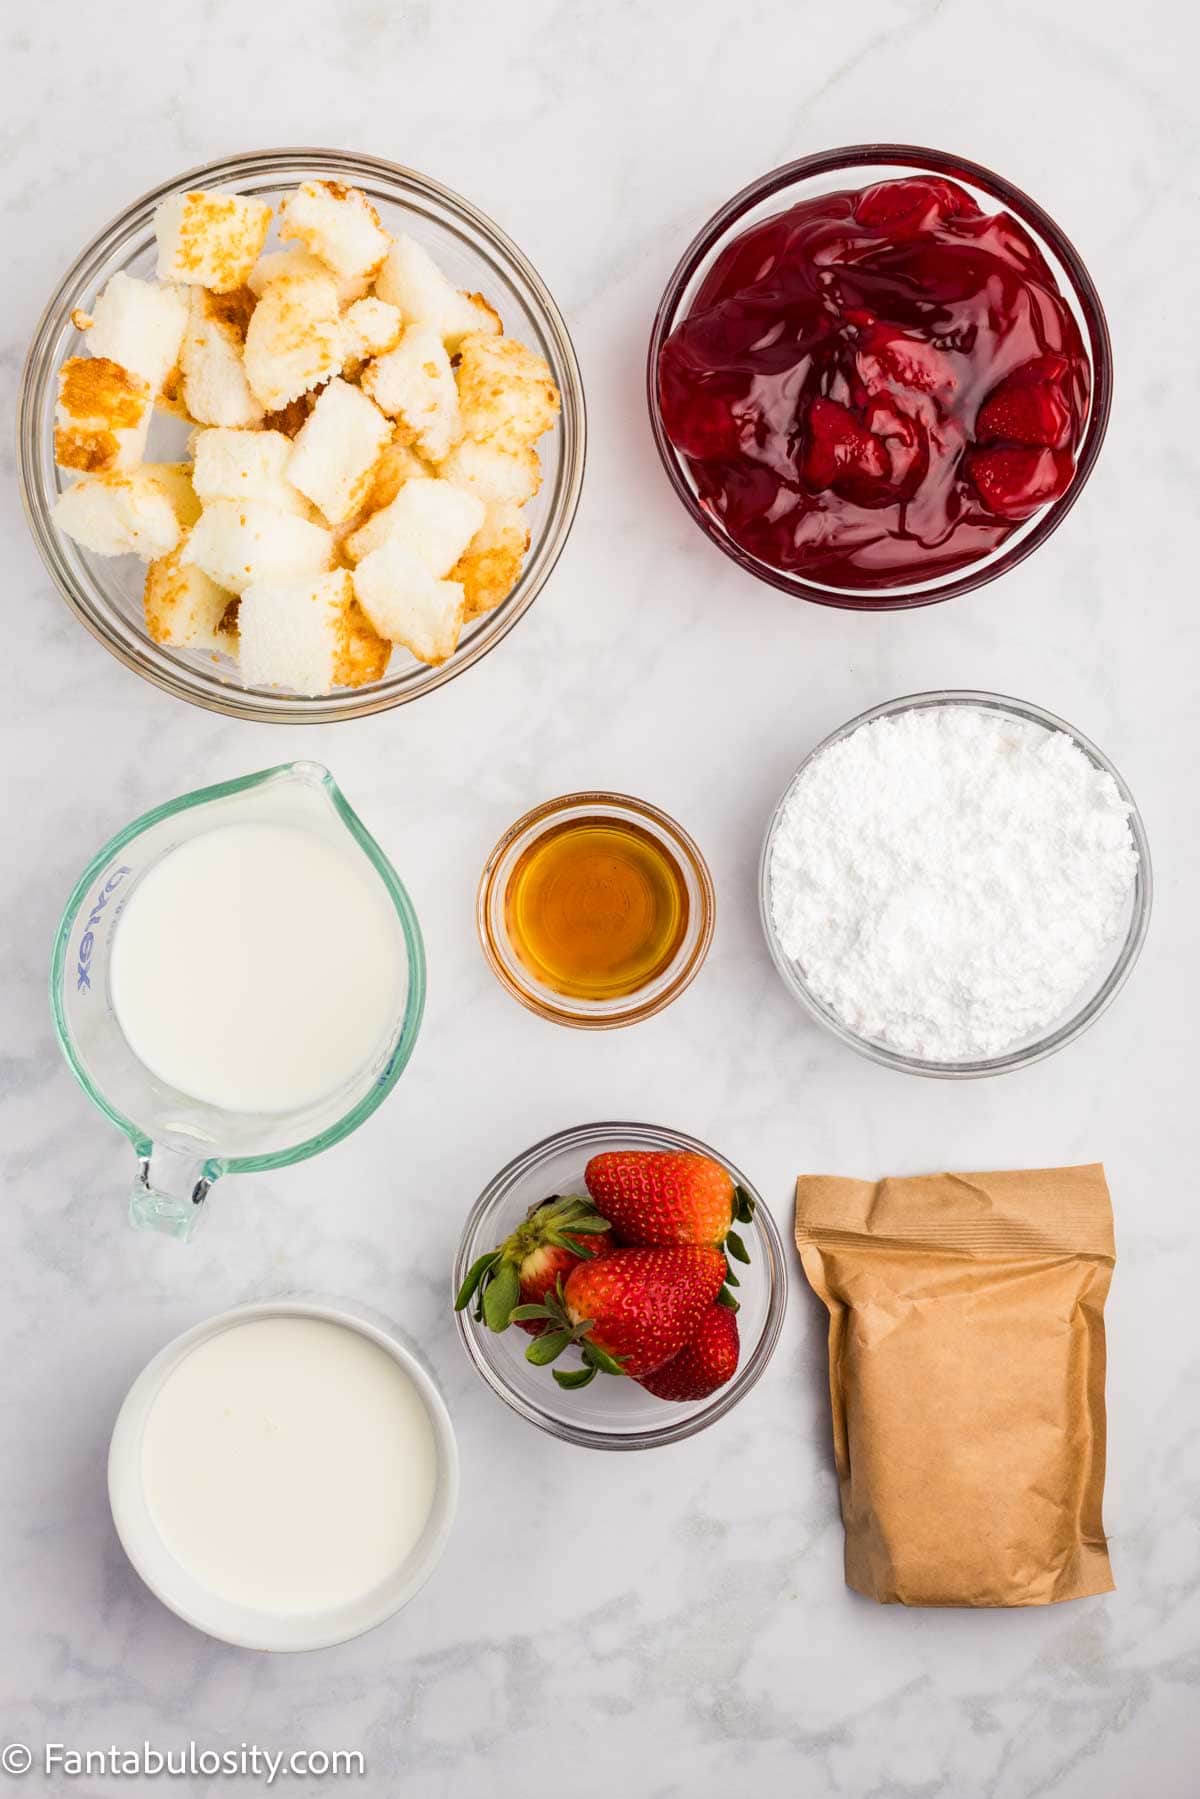
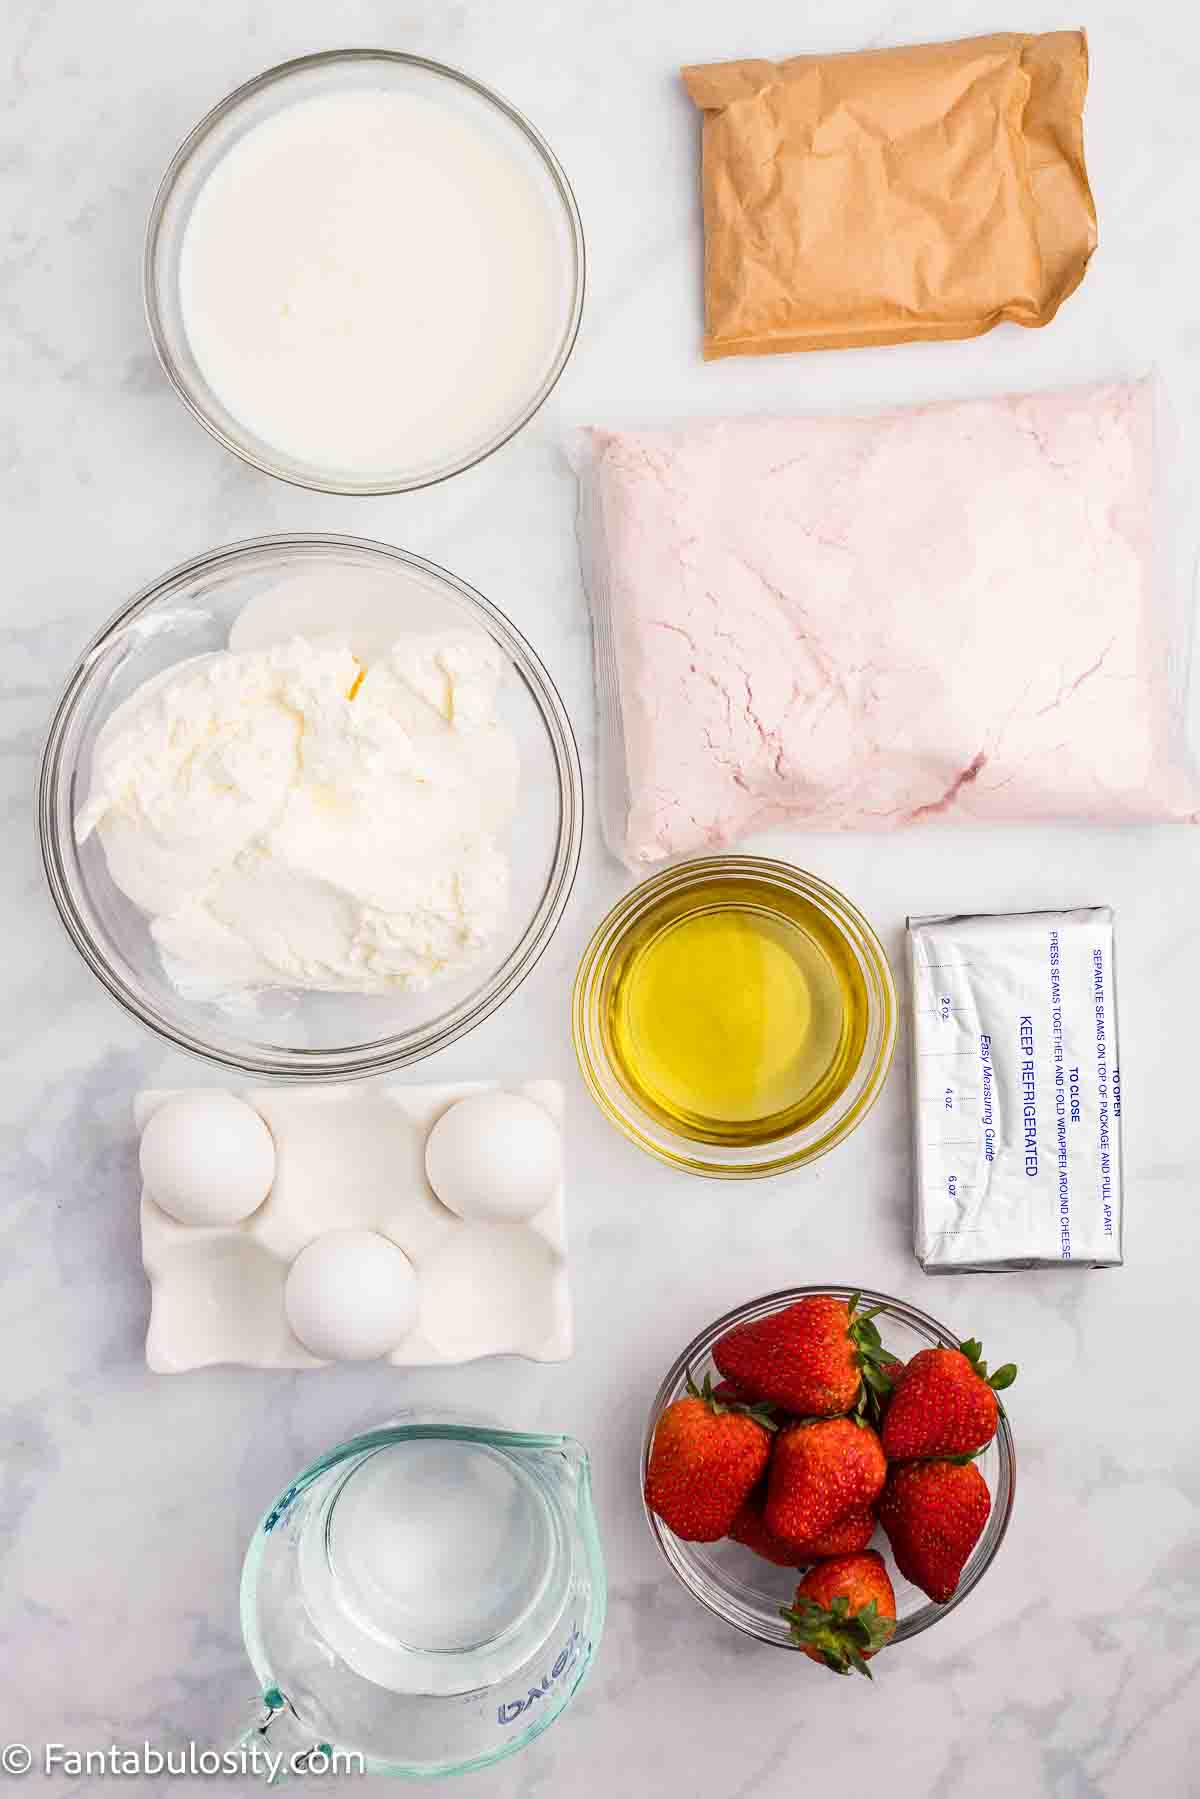
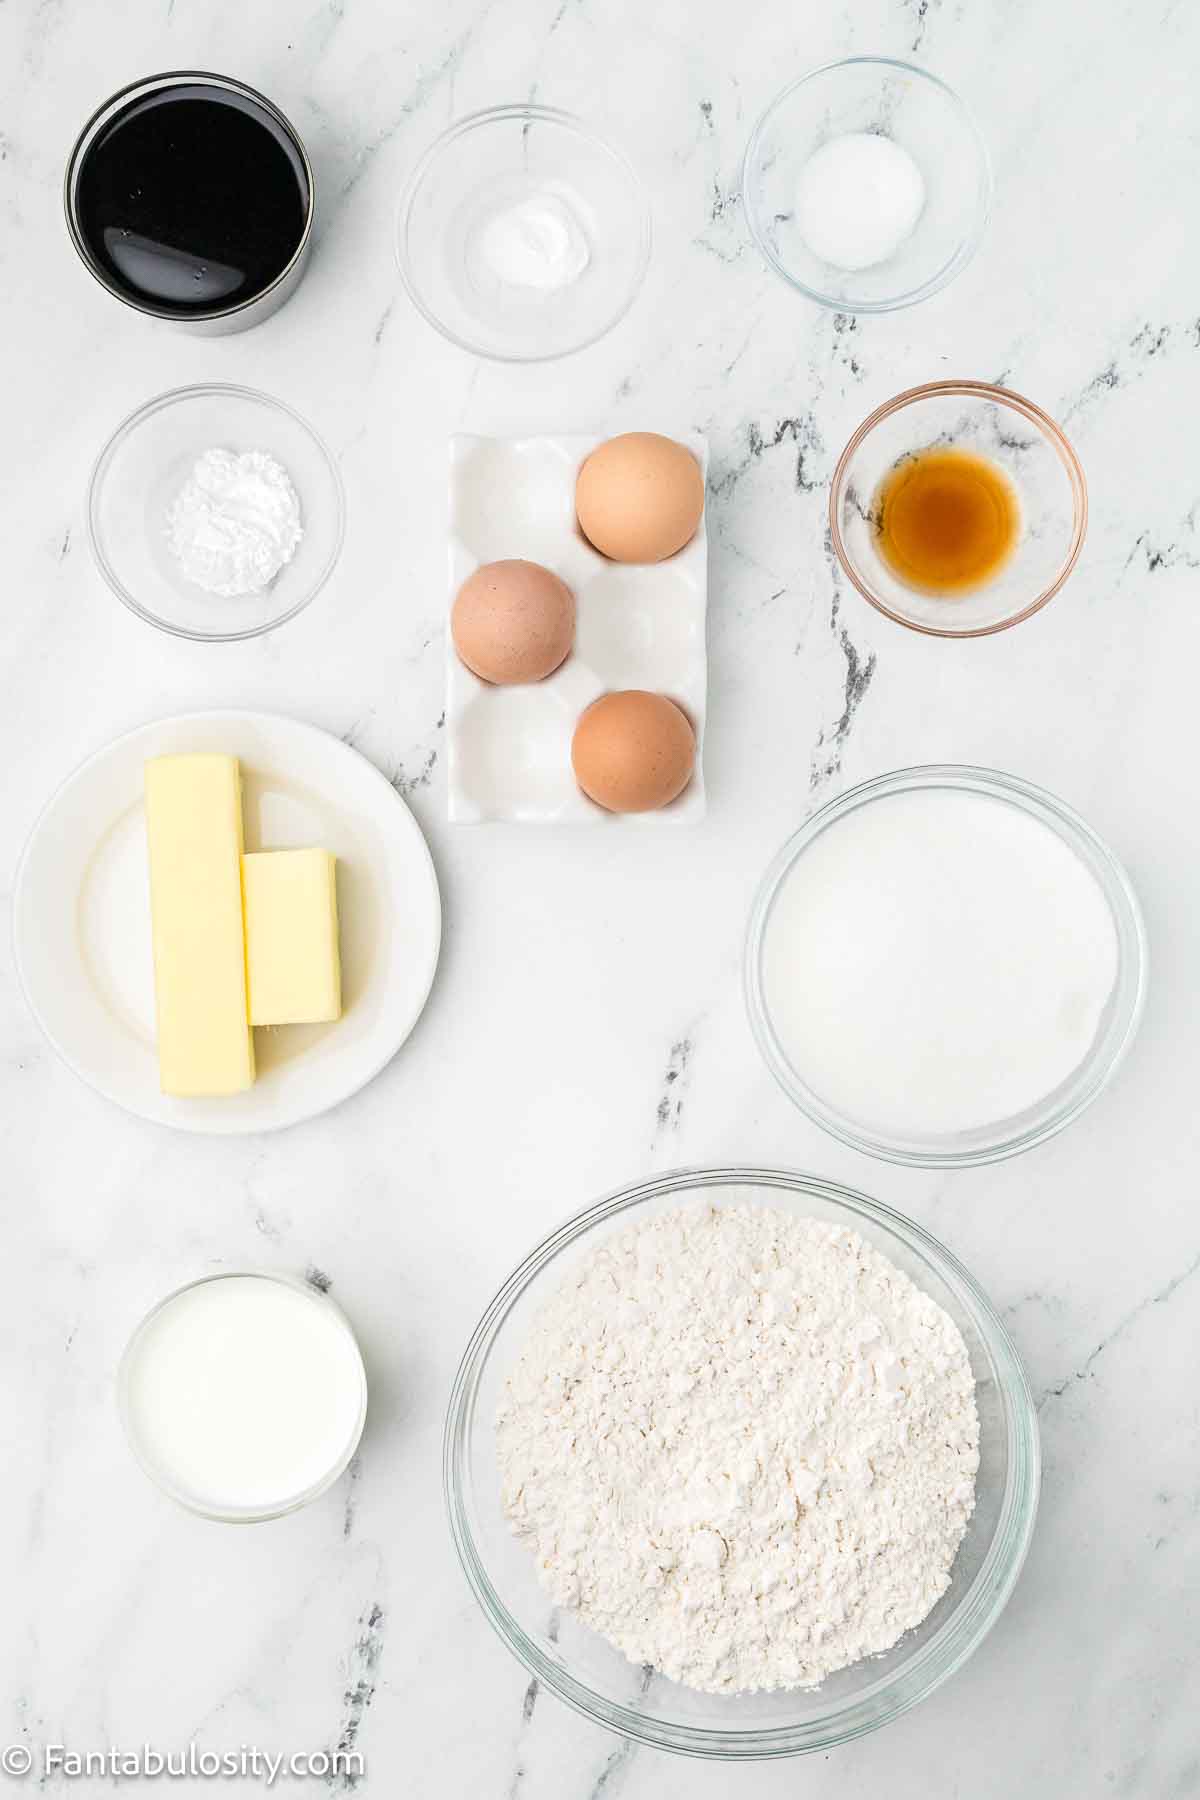
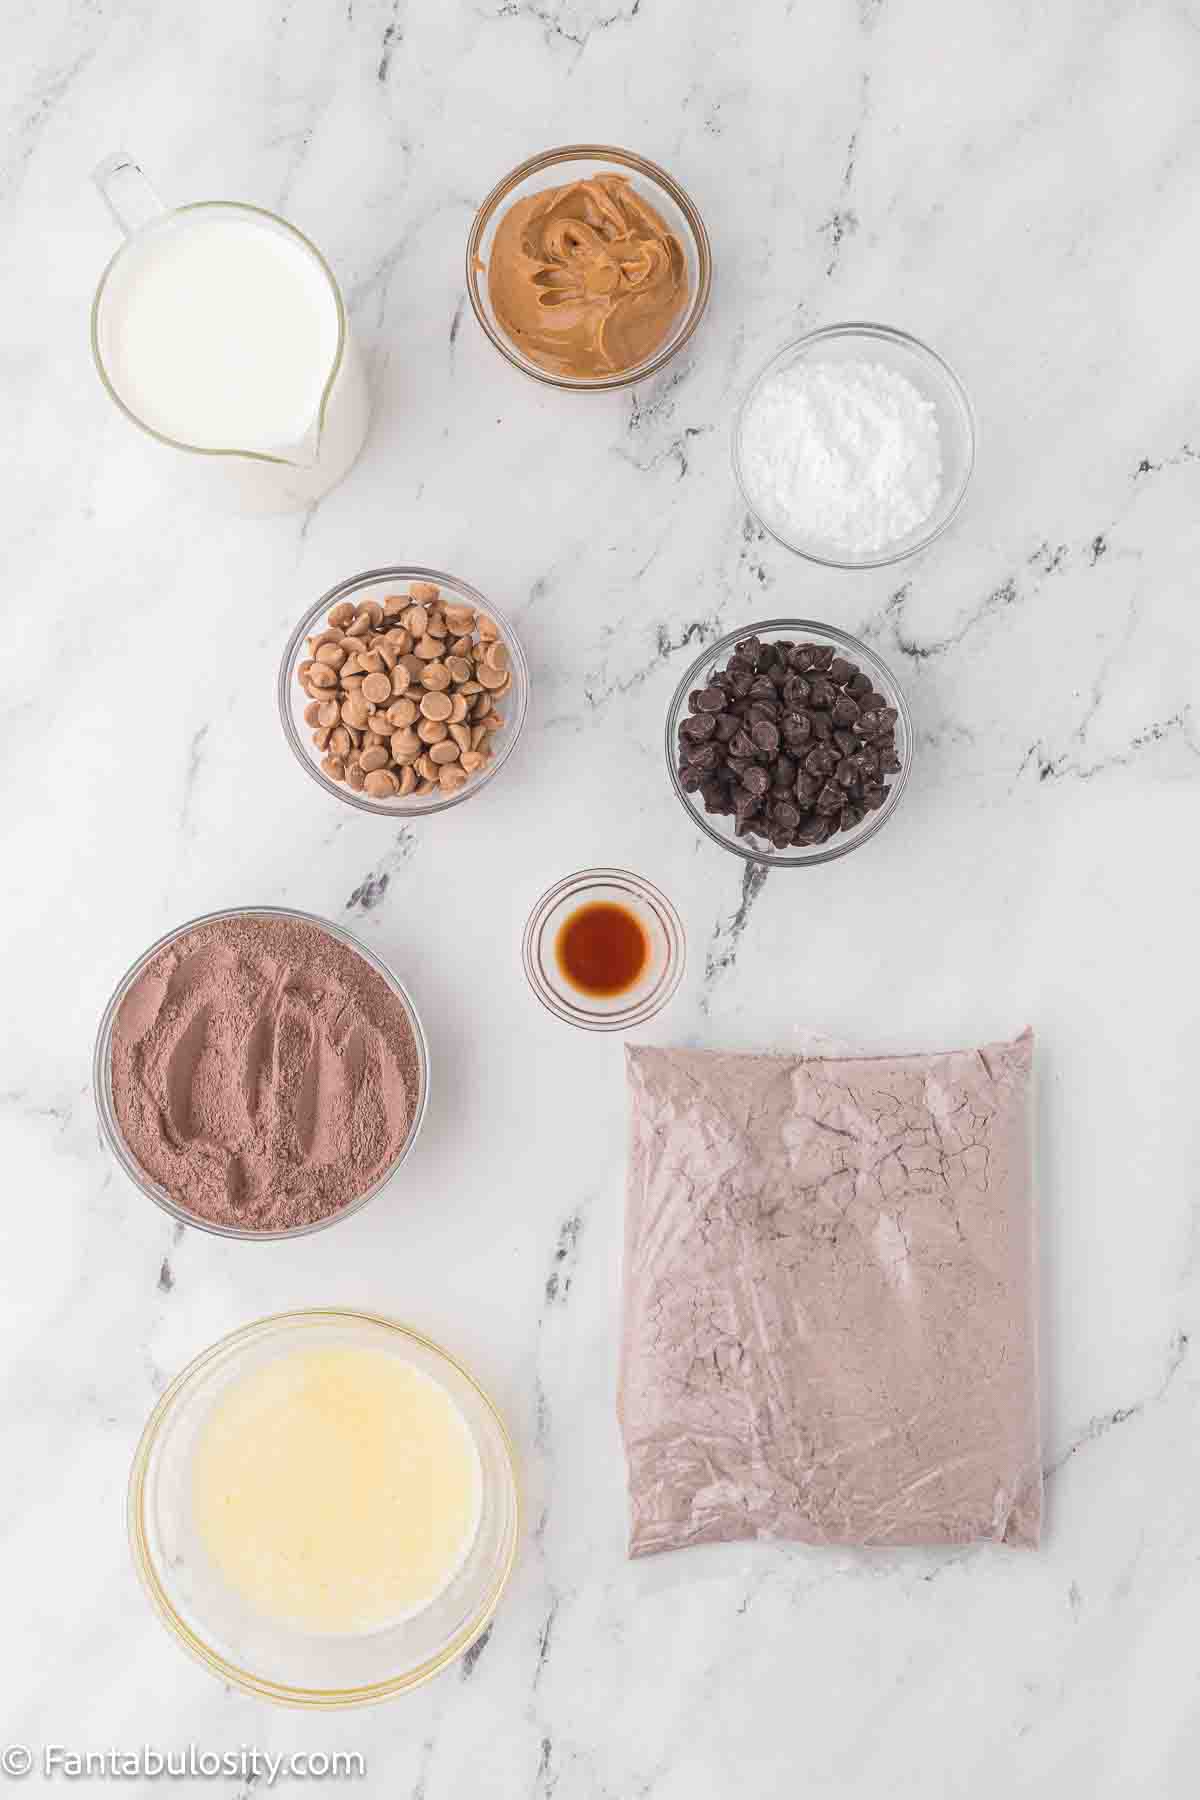
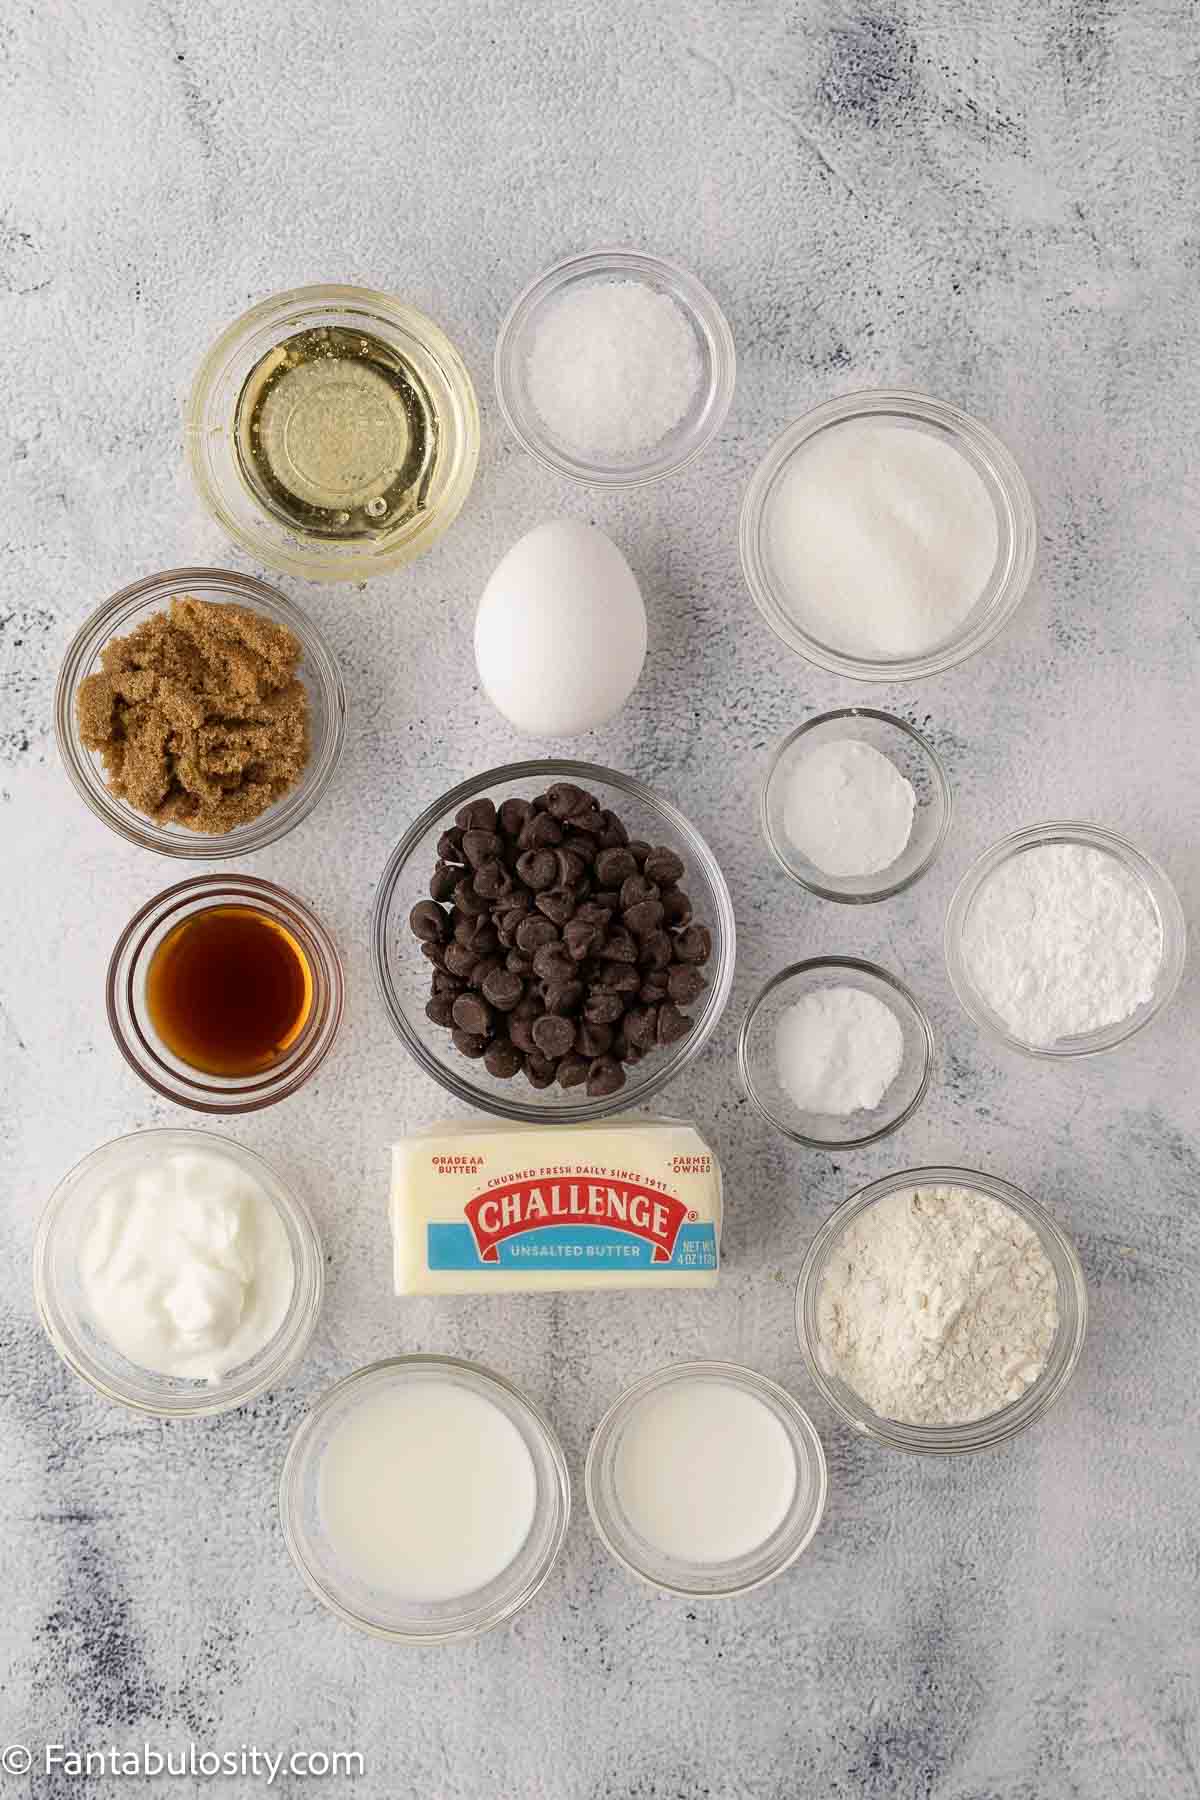
Ingredients
See the recipe card below for the full list of ingredients and measurements.
Chocolate Chip Cake
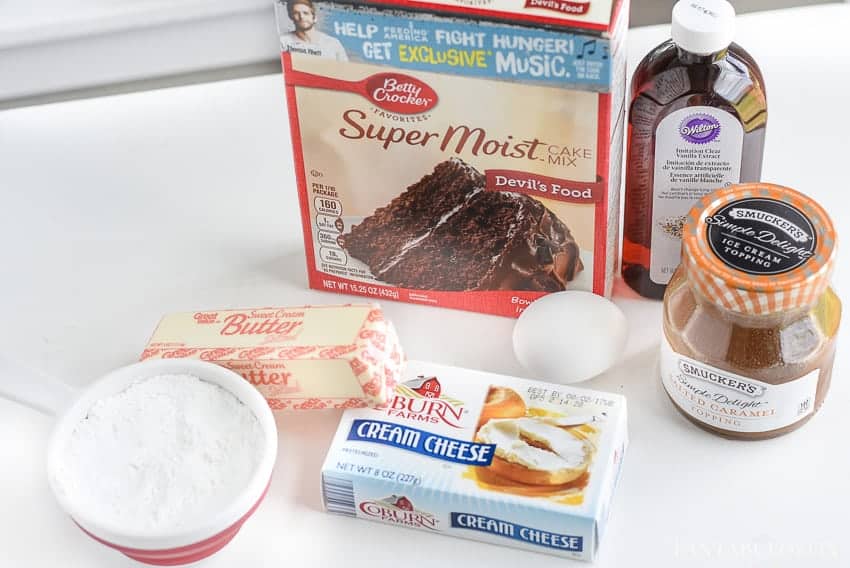
- 1 cup unsalted butter, browned and slightly cooled - Browning the butter gives this cake a richer, almost nutty flavor.
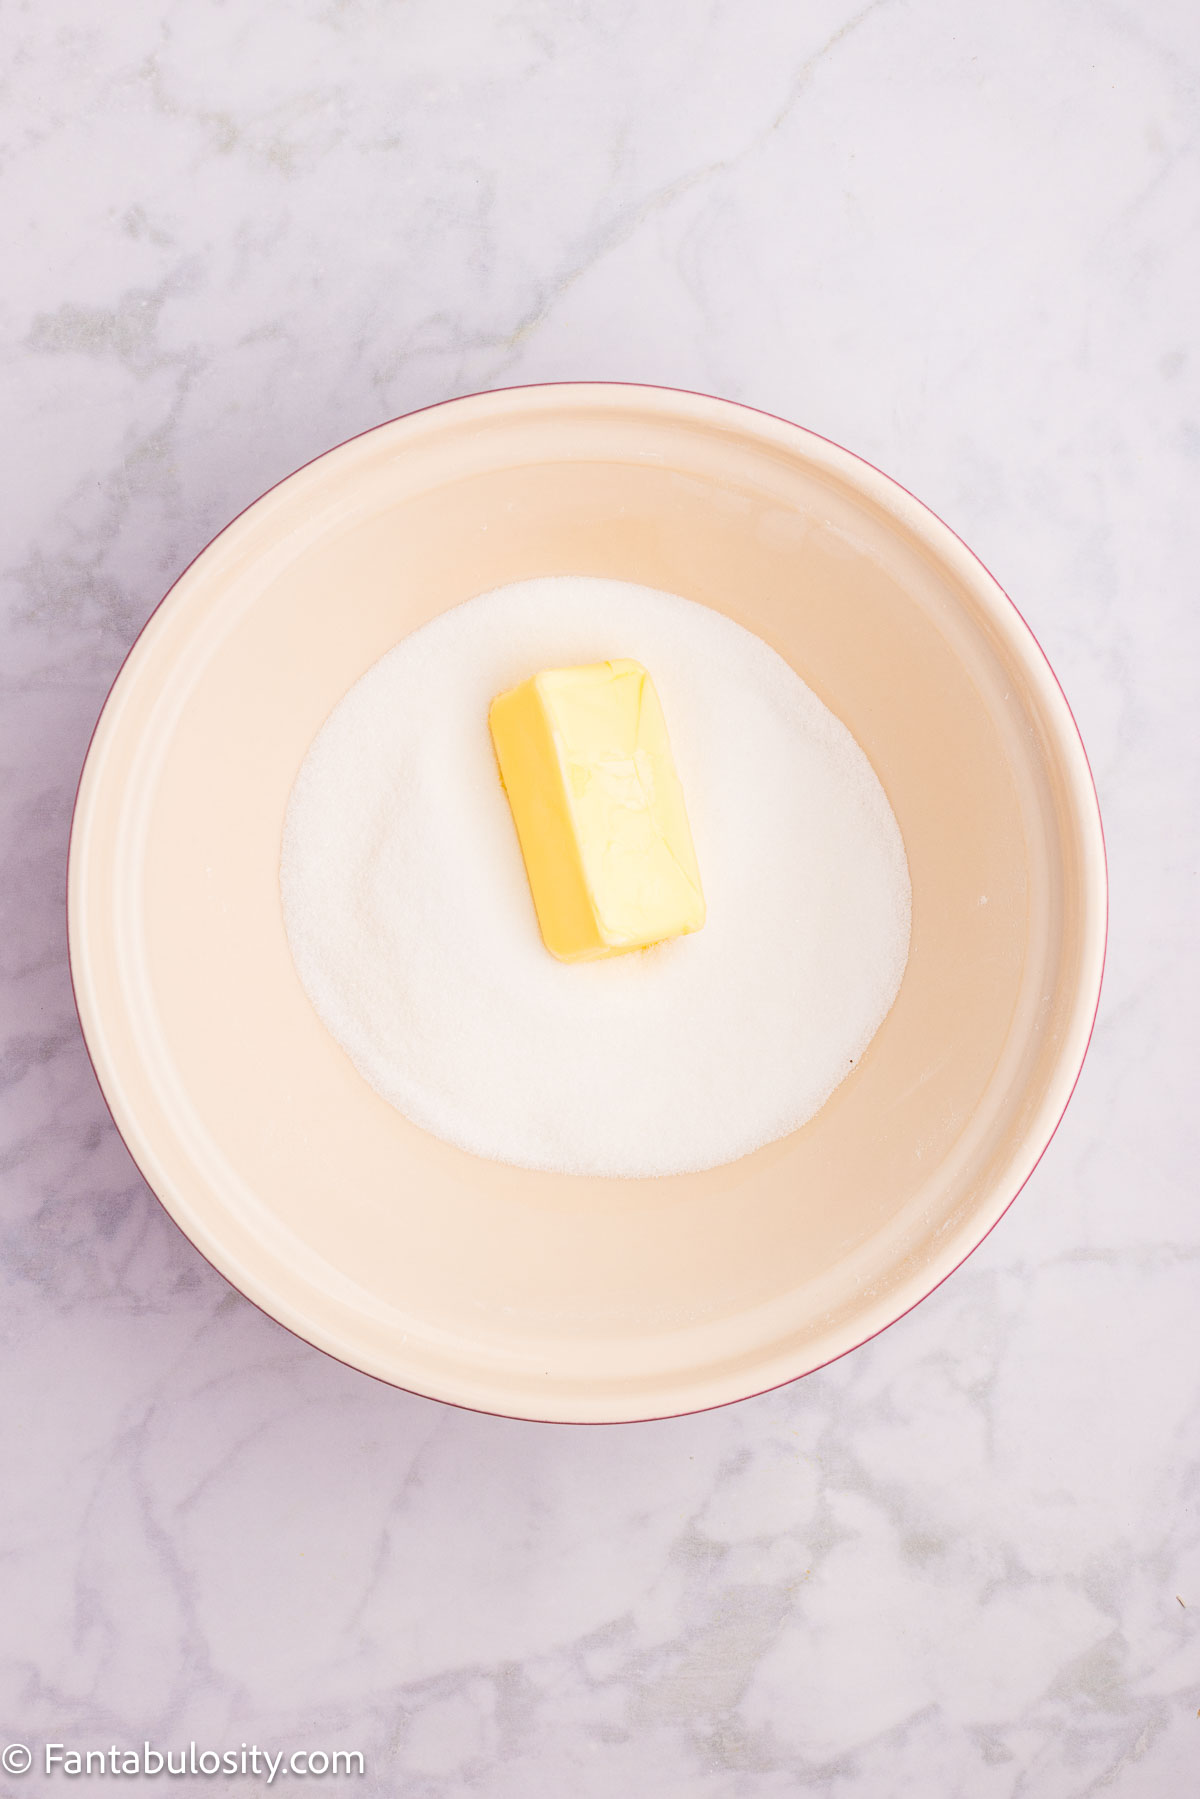
- 1½ cups granulated sugar - Sweetens the cake and helps create a tender crumb.
- ½ cup packed light brown sugar - Adds moisture and a little caramel flavor.
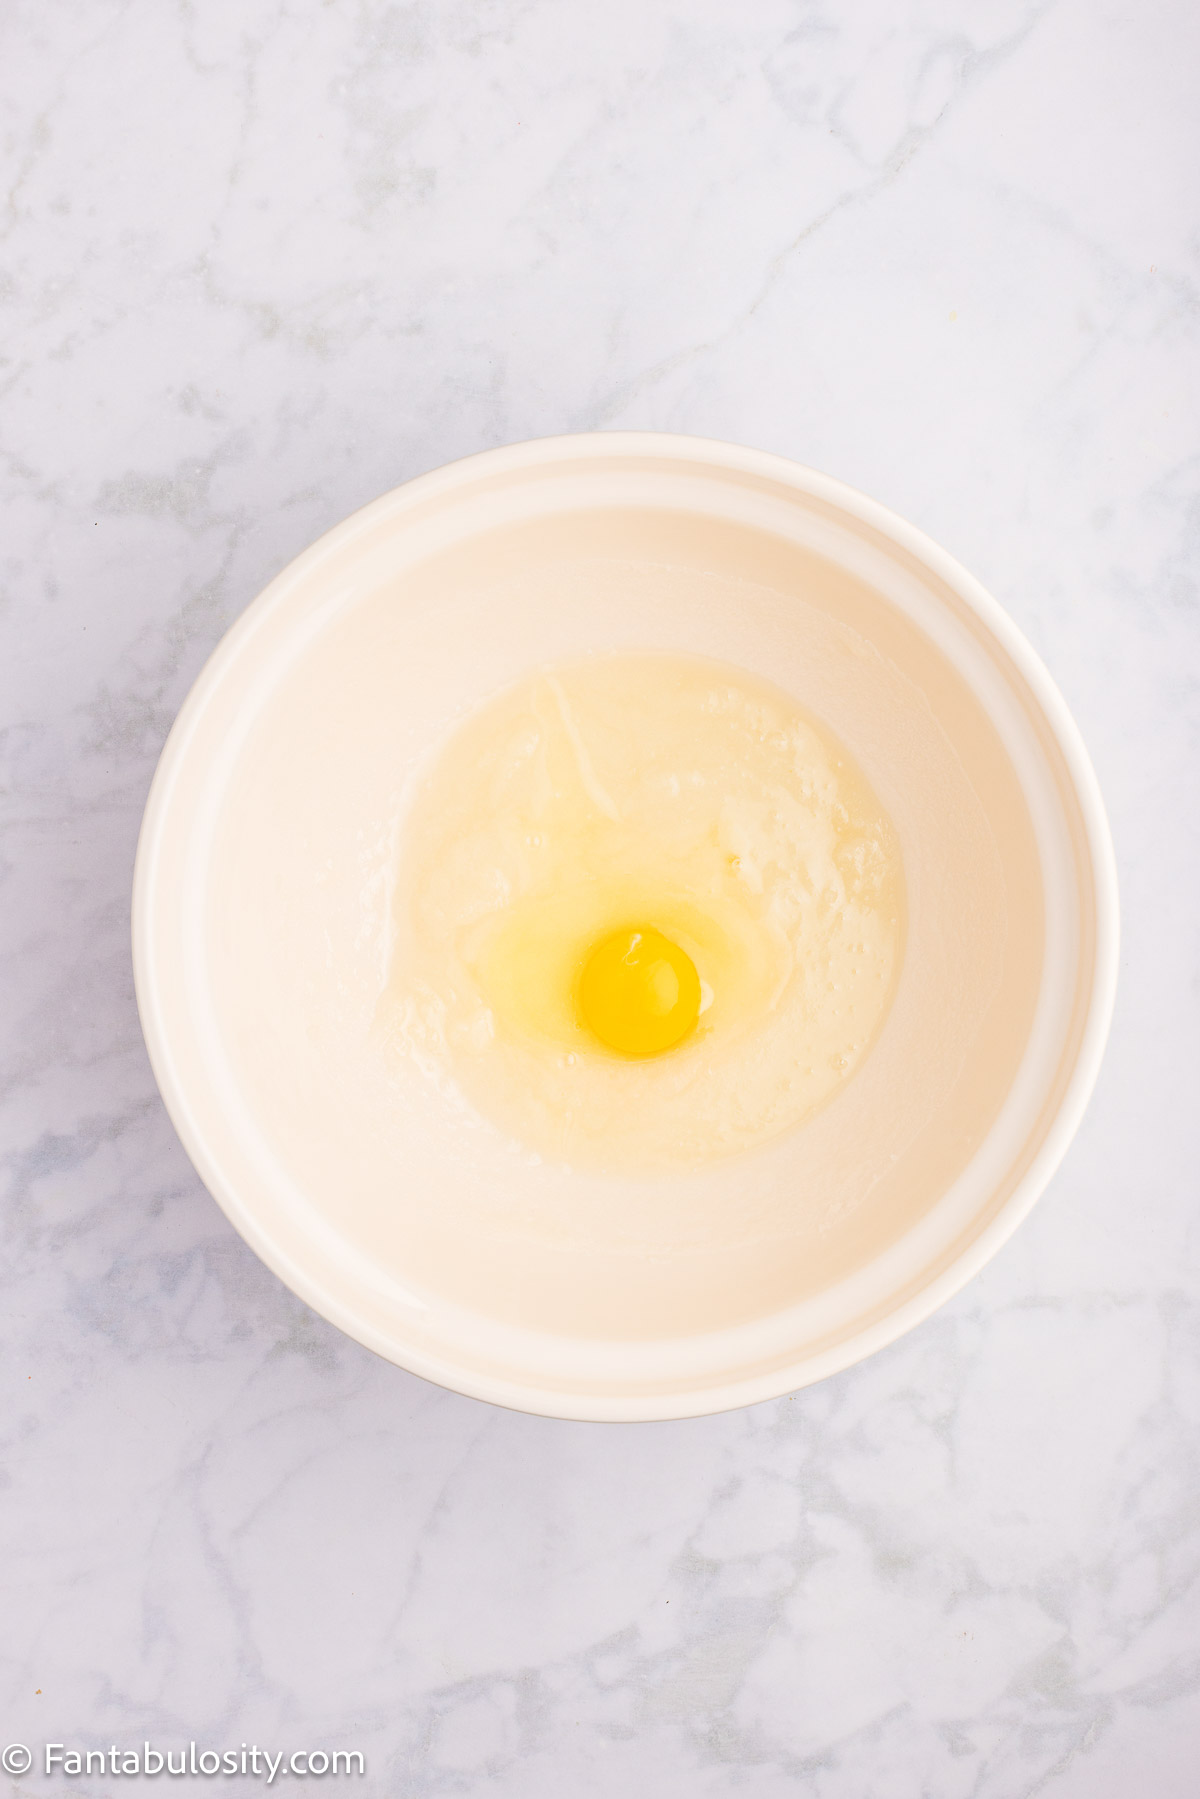
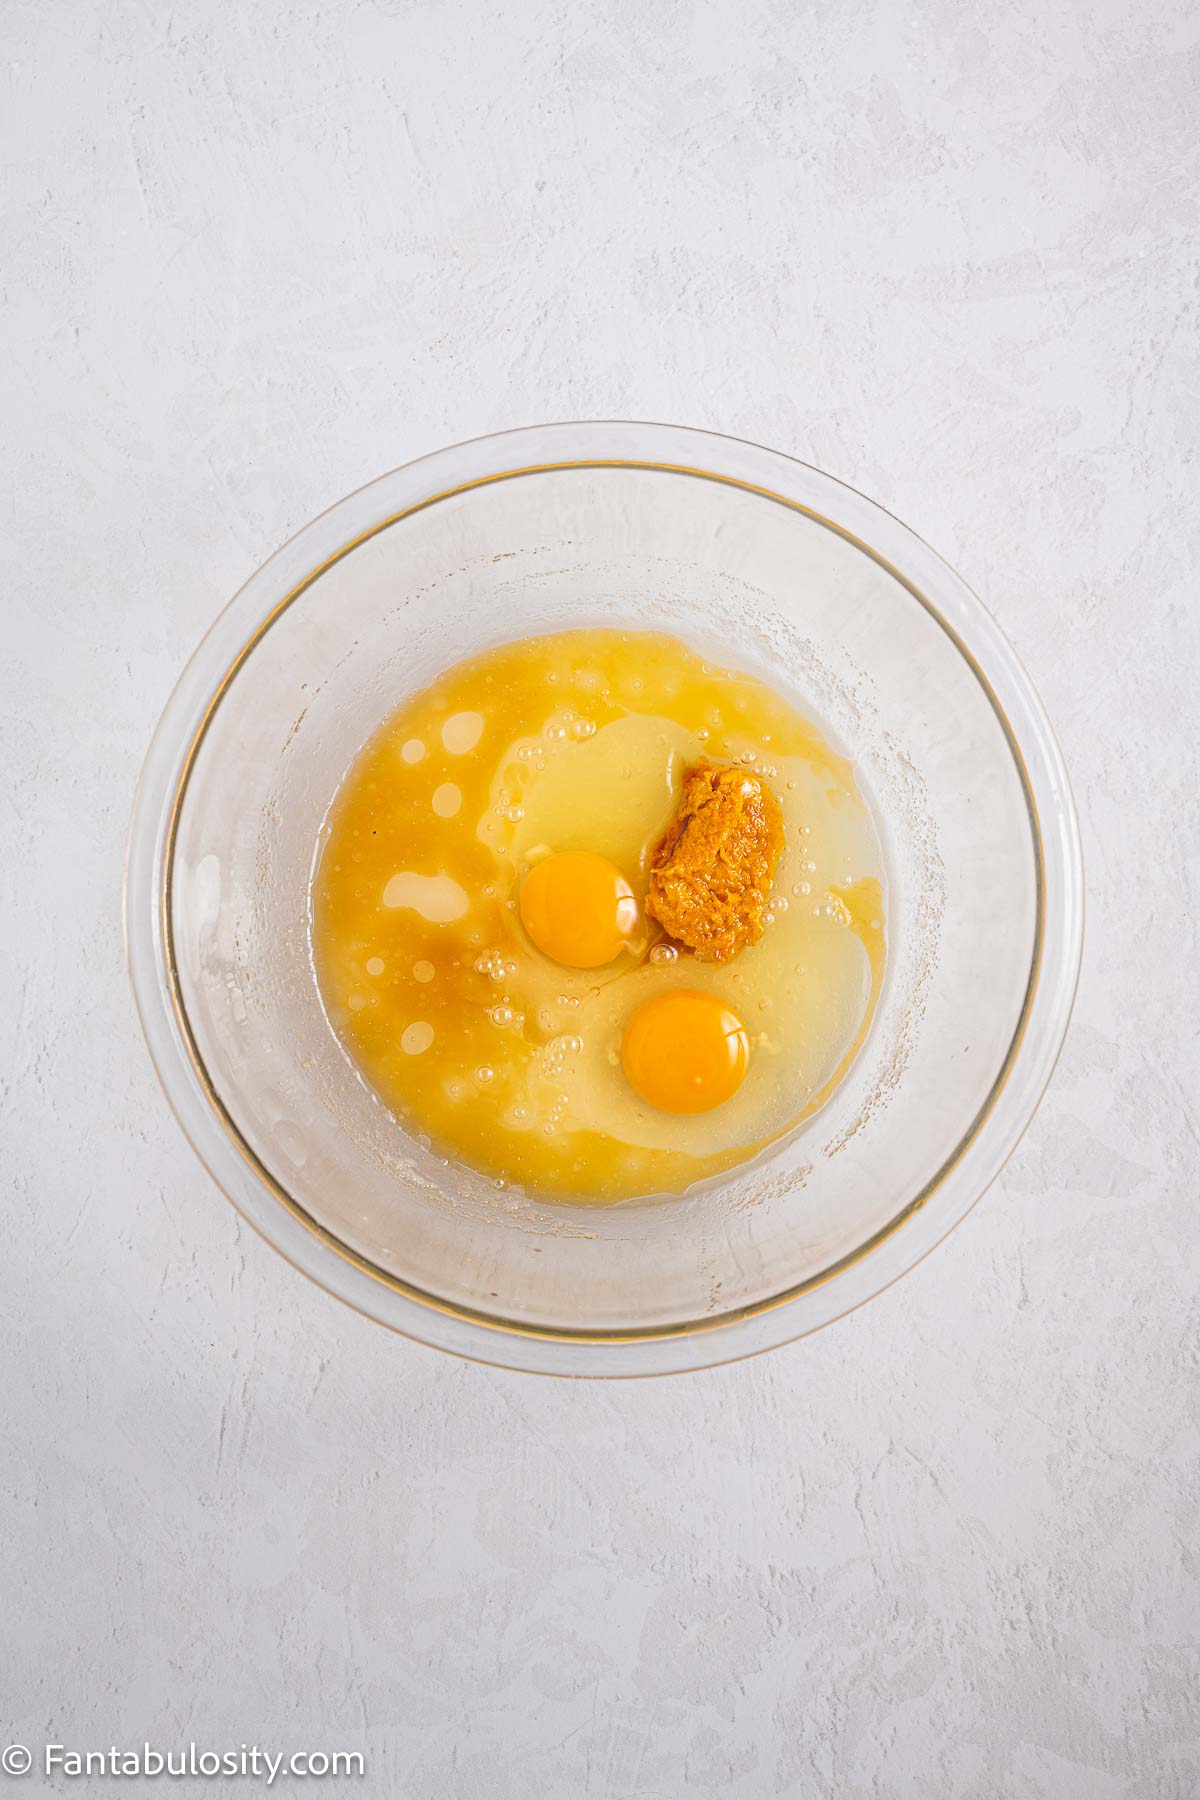
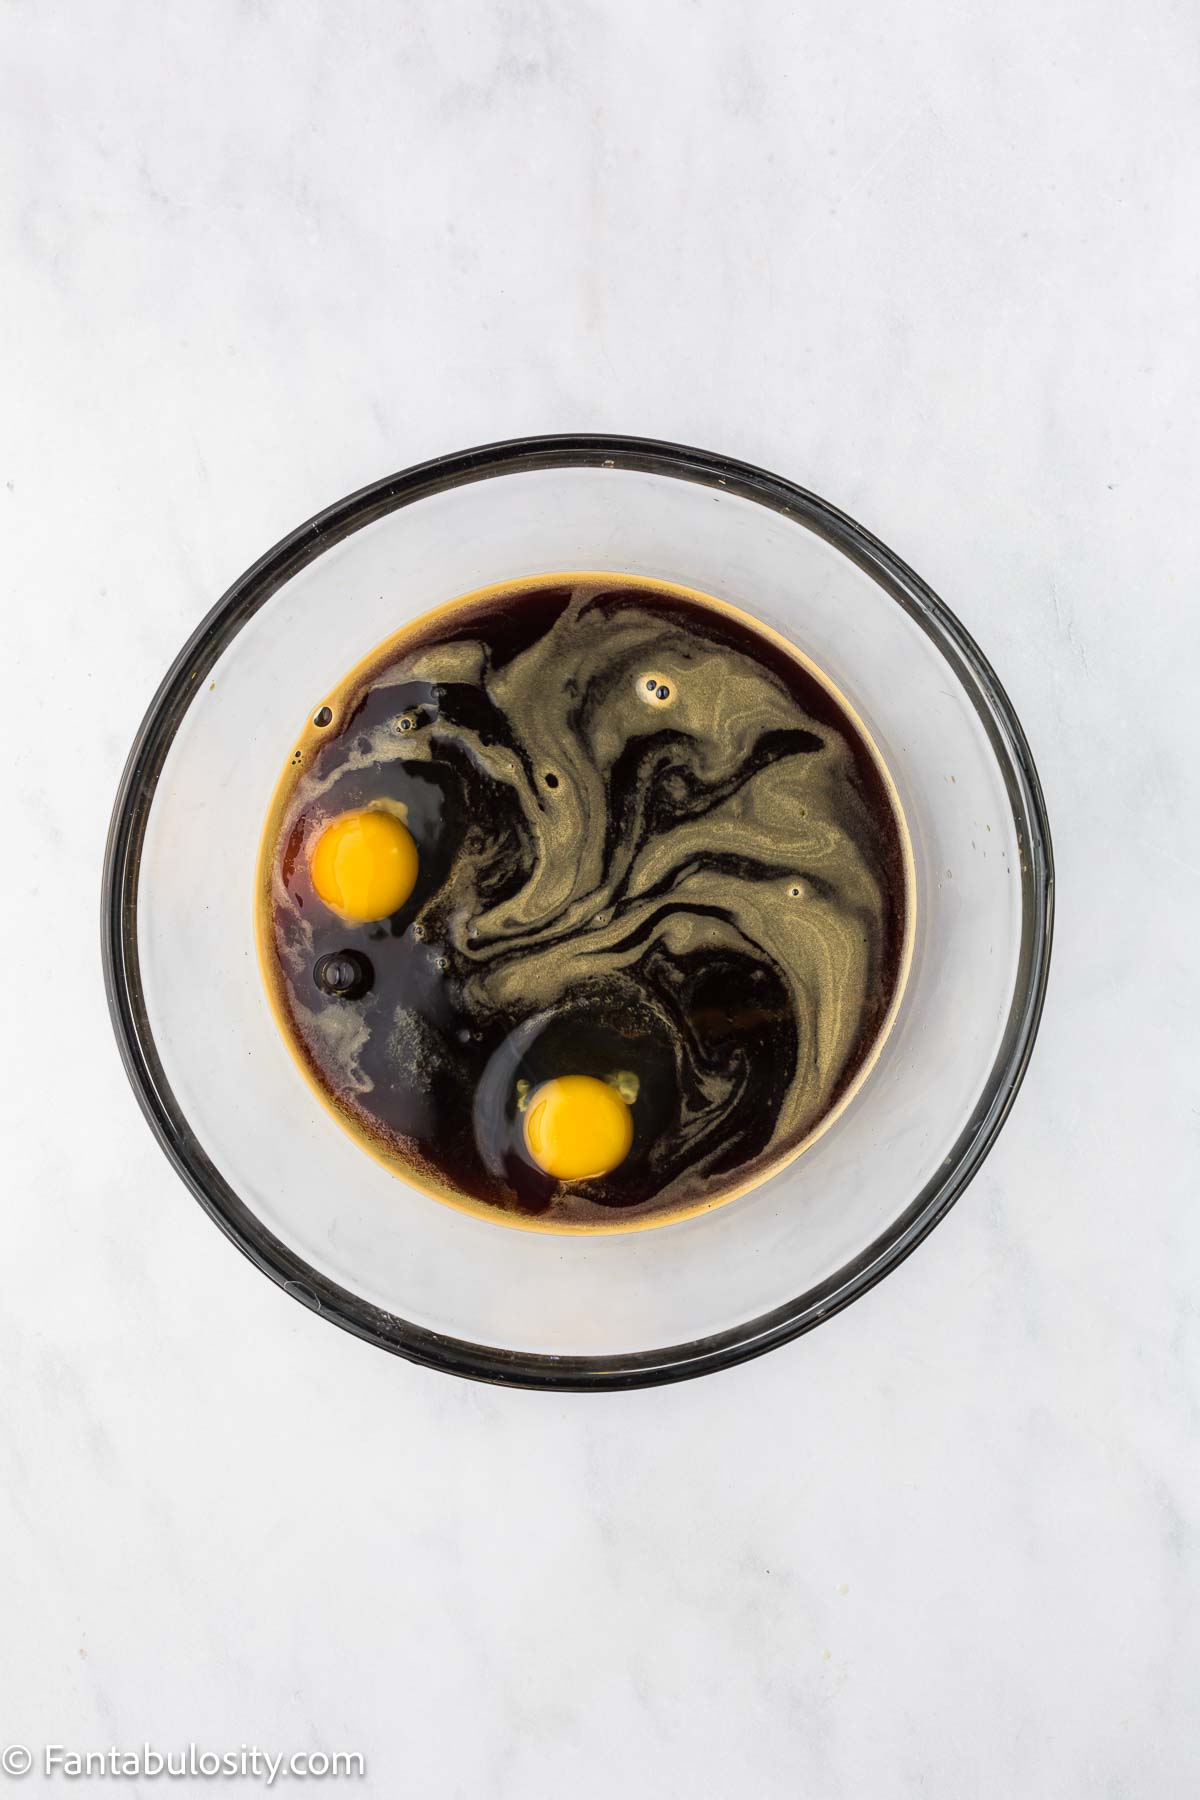
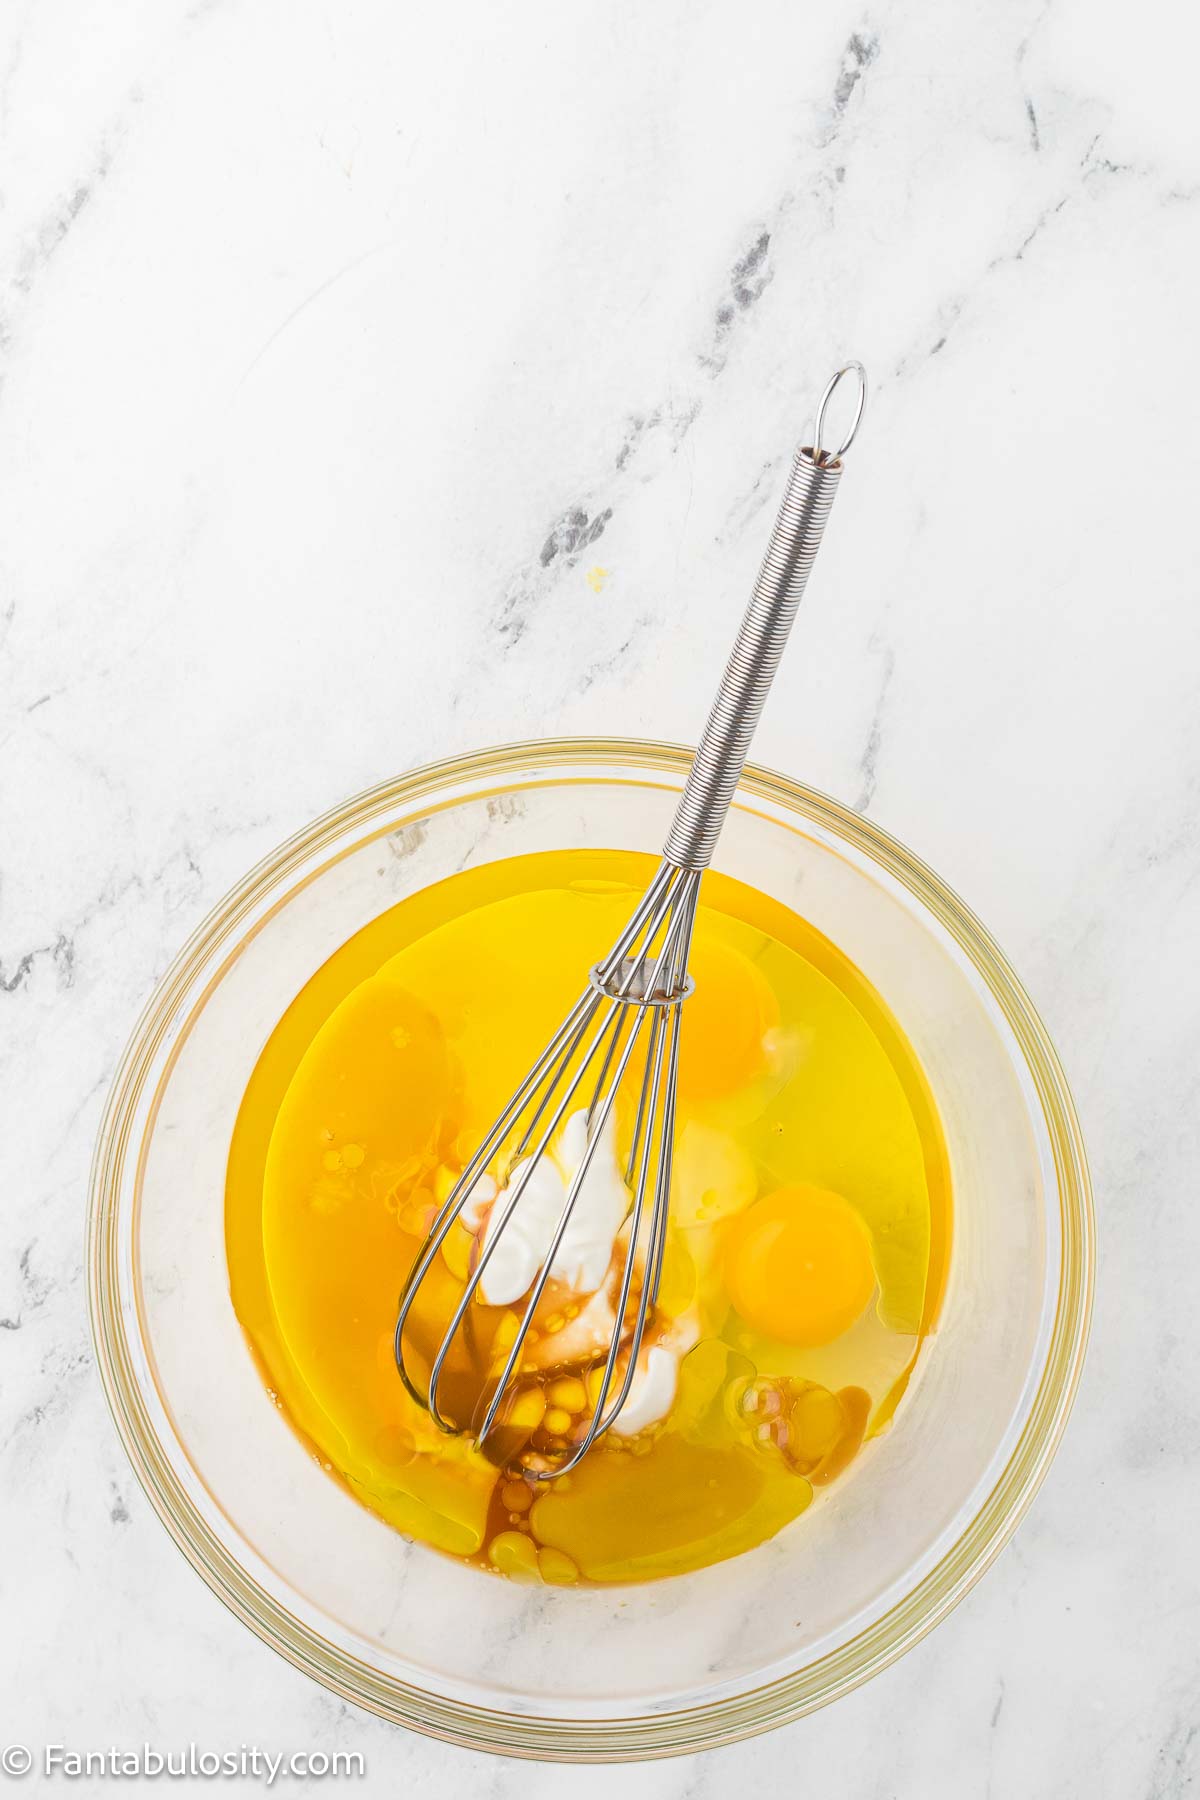
- 3 large eggs, room temperature - Help give the cake structure.
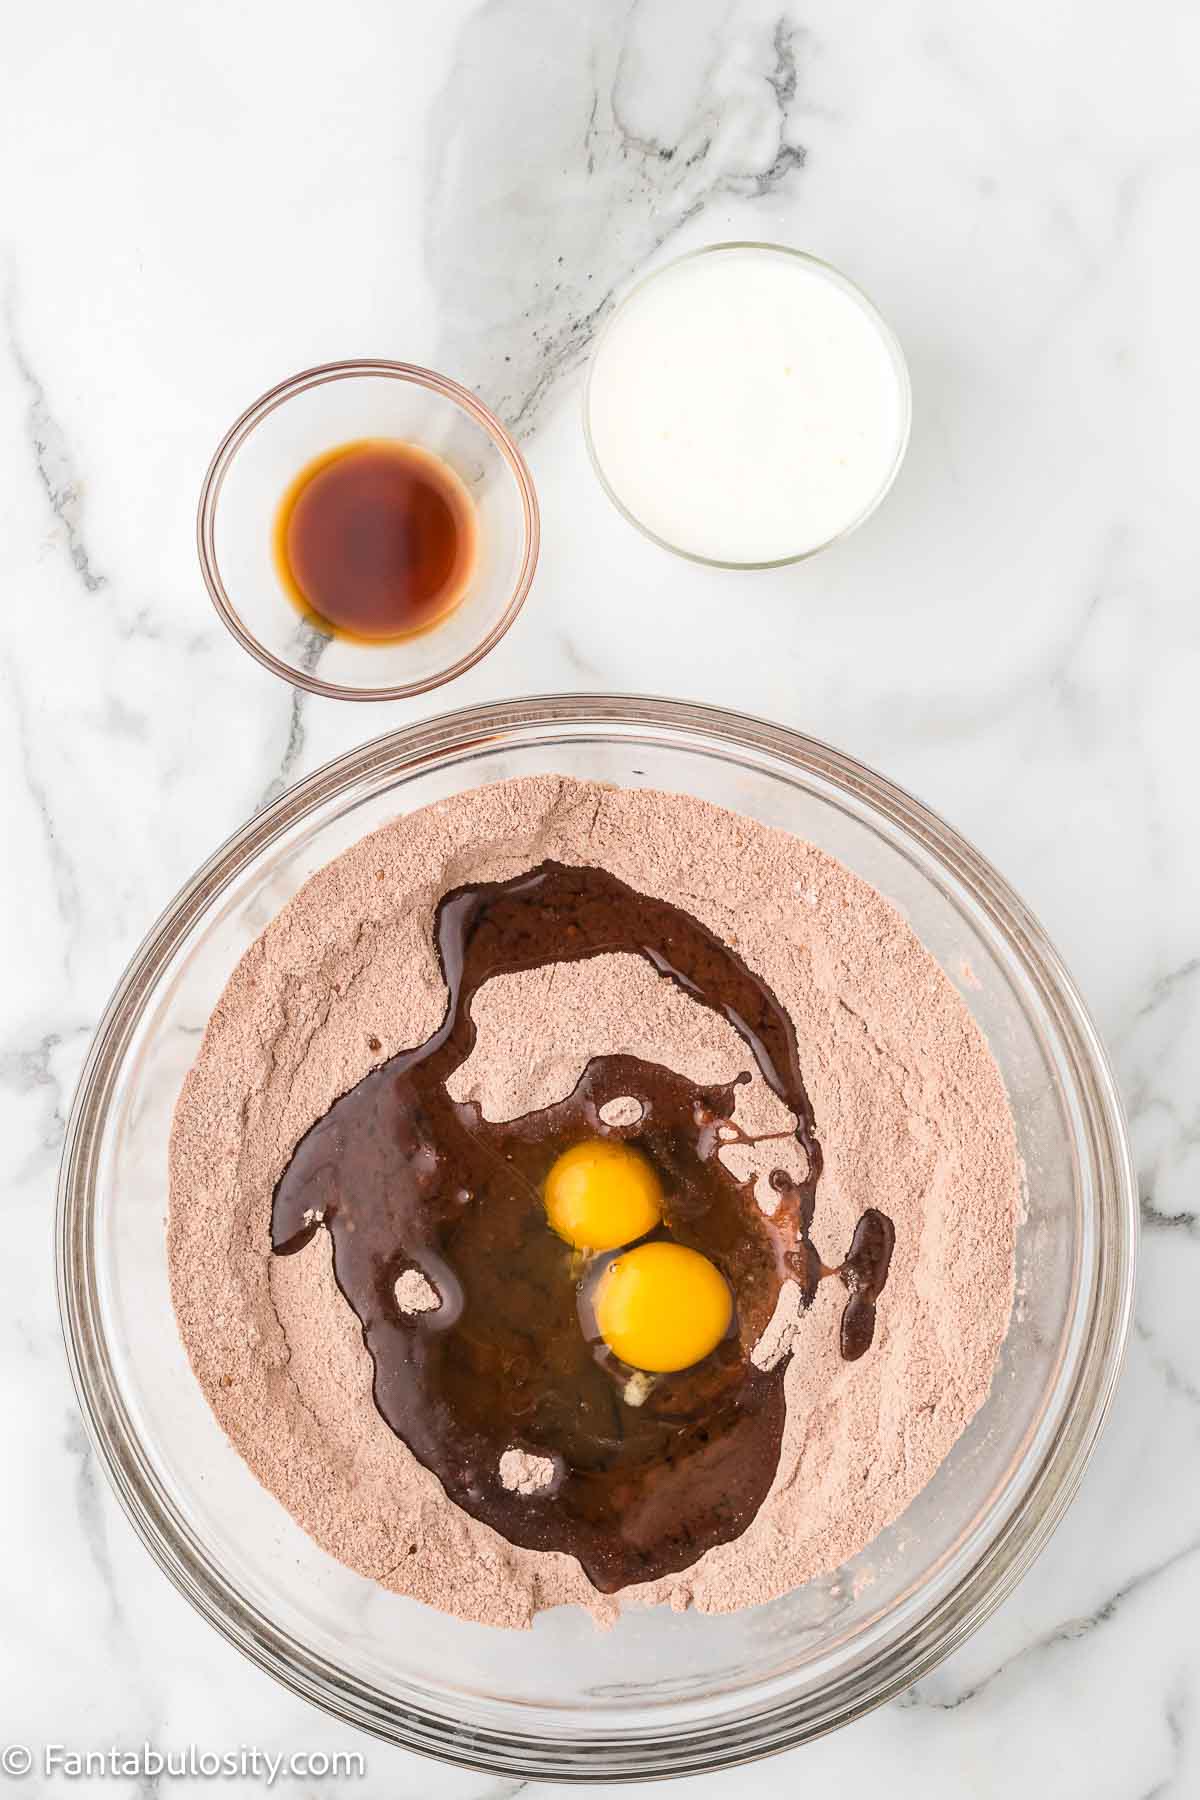
- 2 teaspoons vanilla extract - Adds classic homemade flavor.
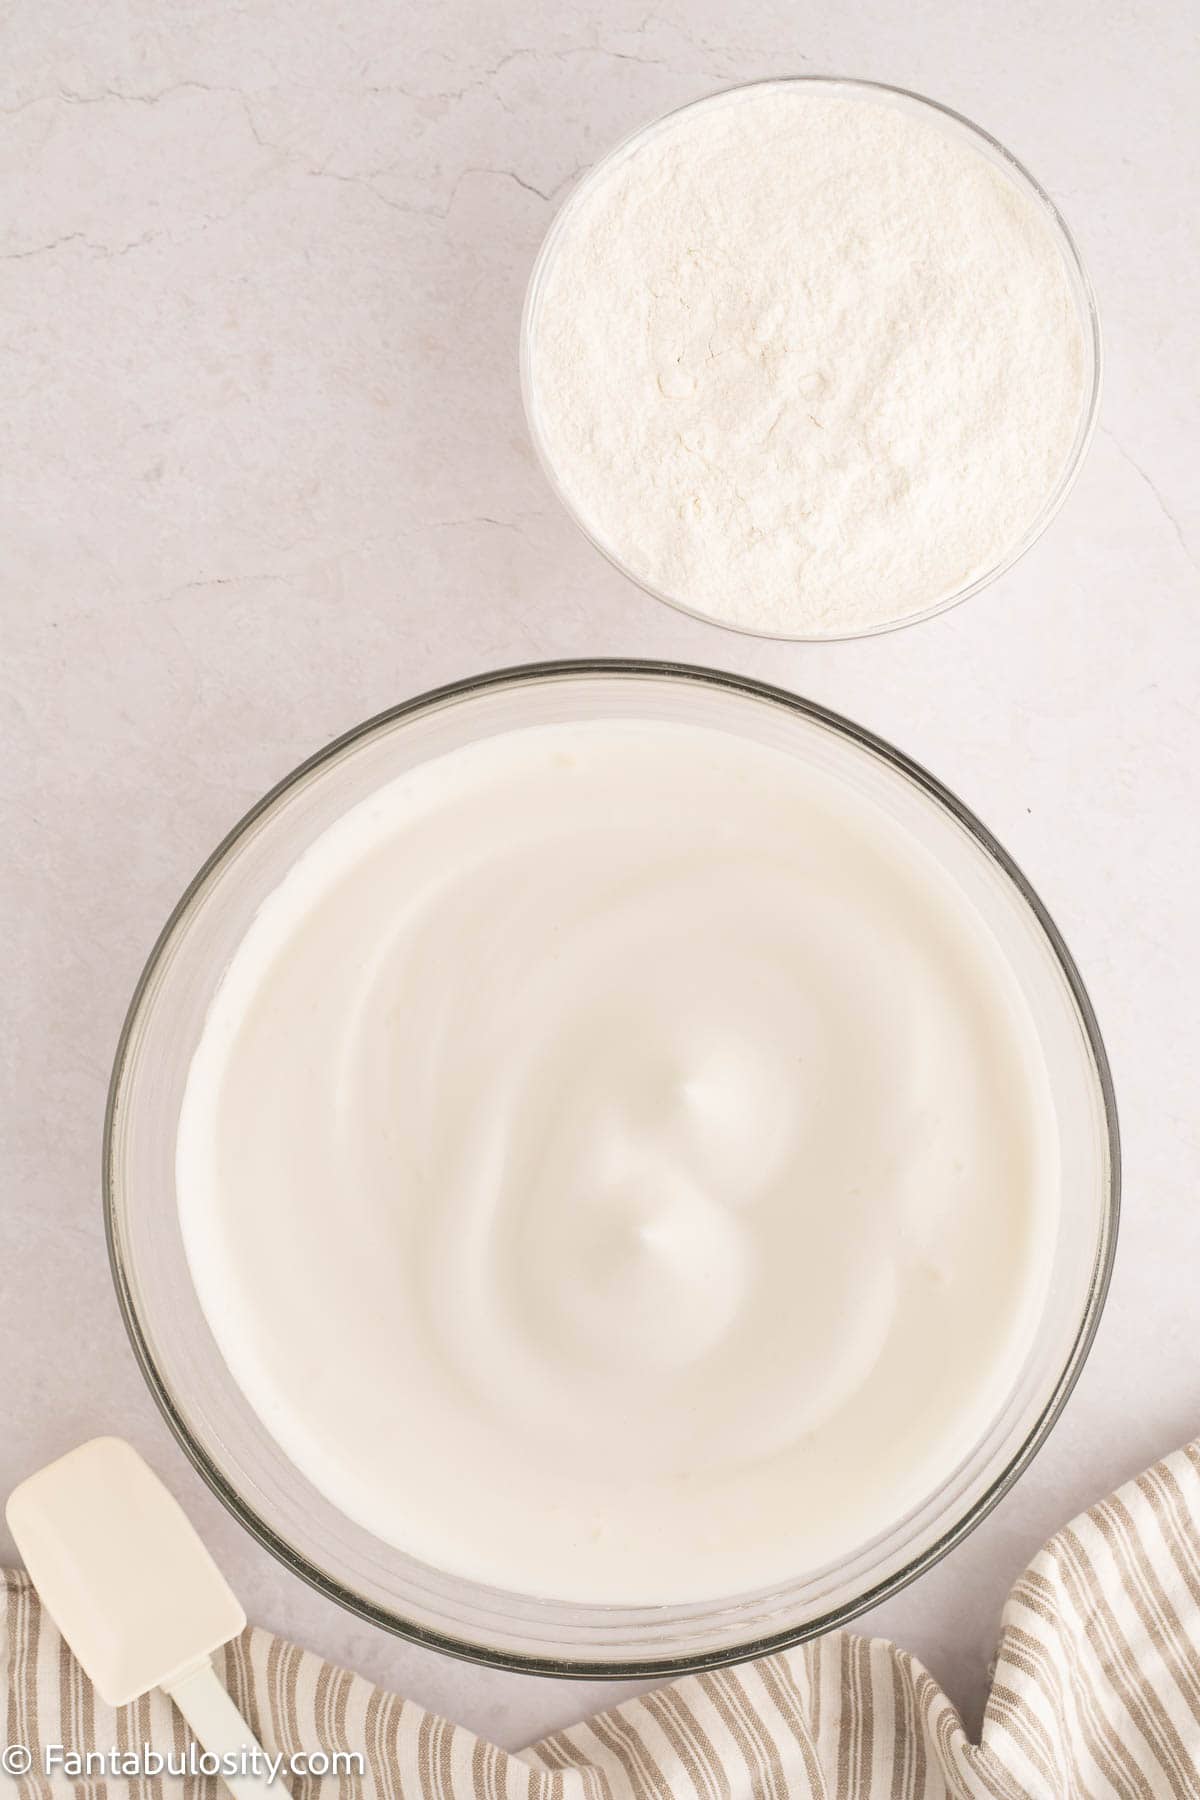
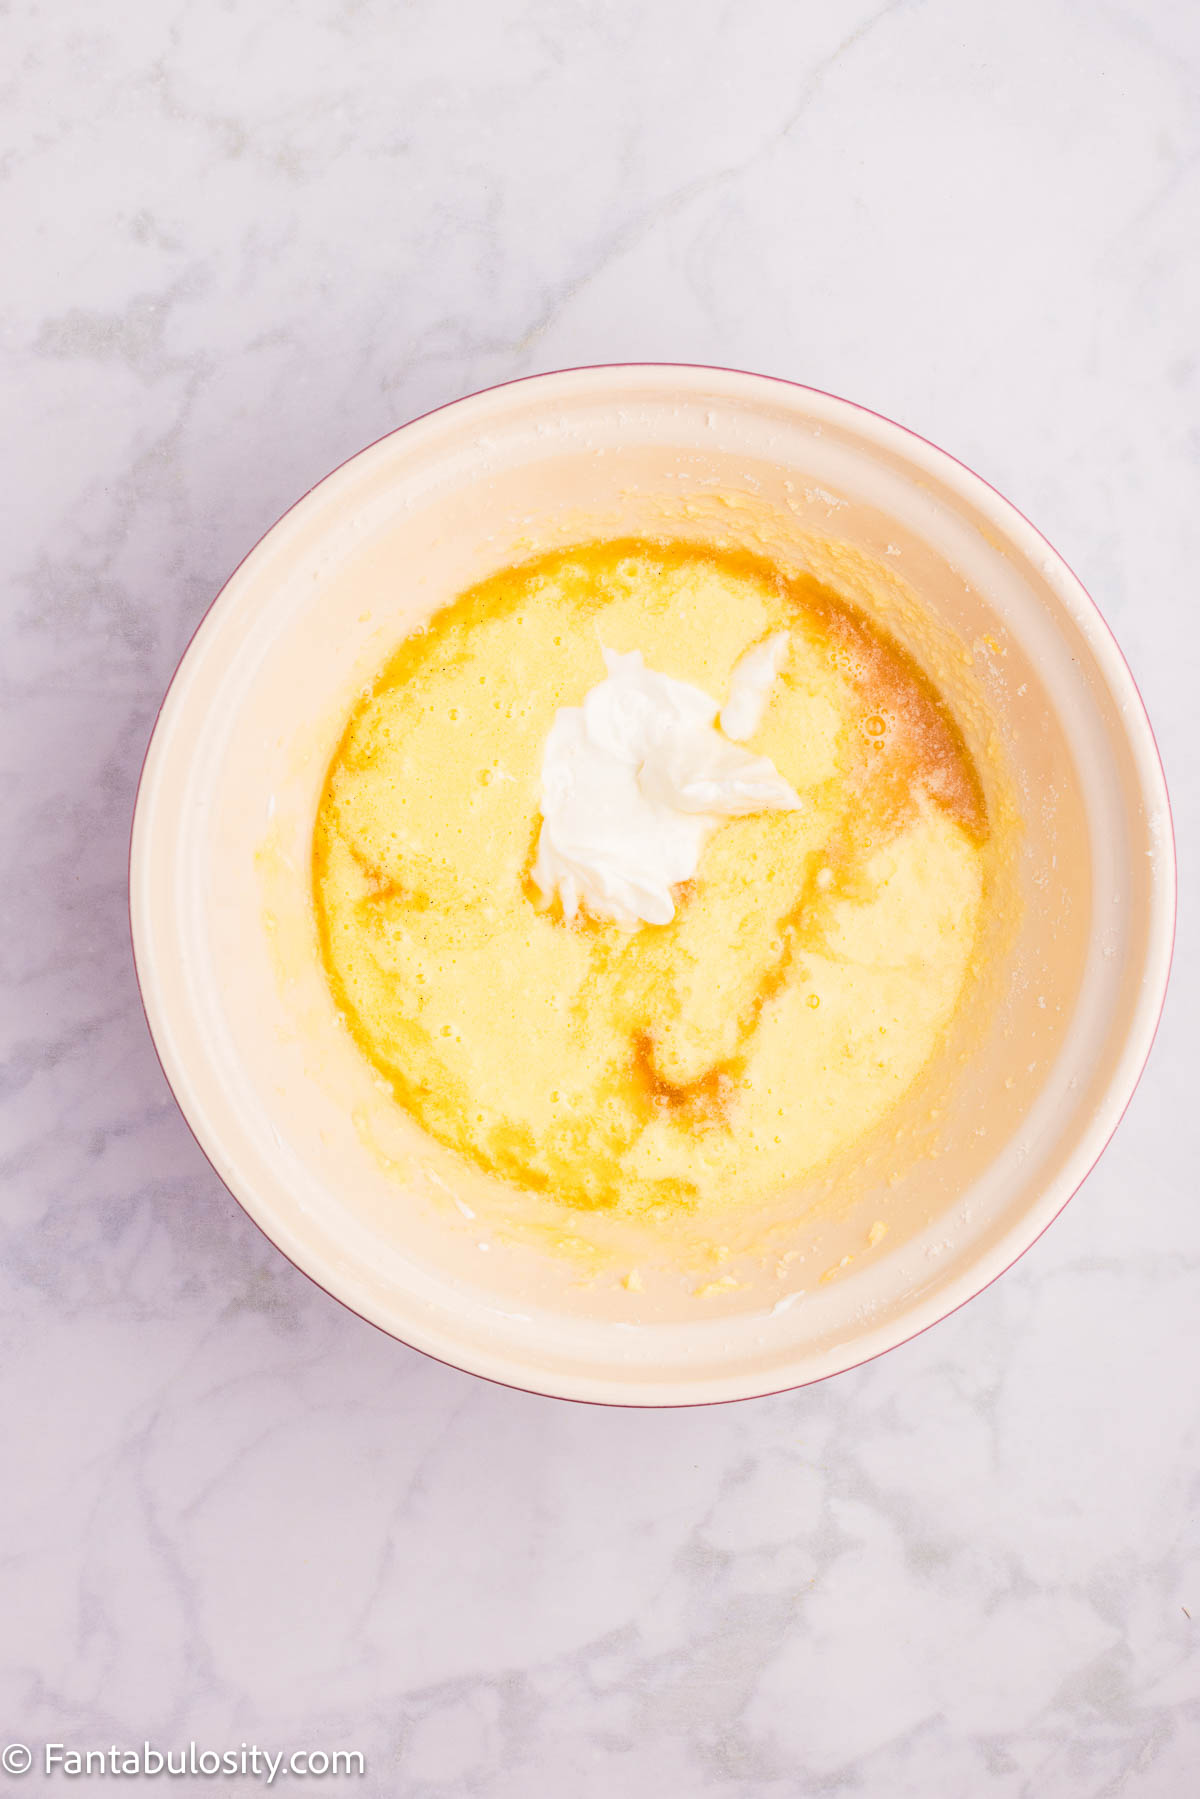
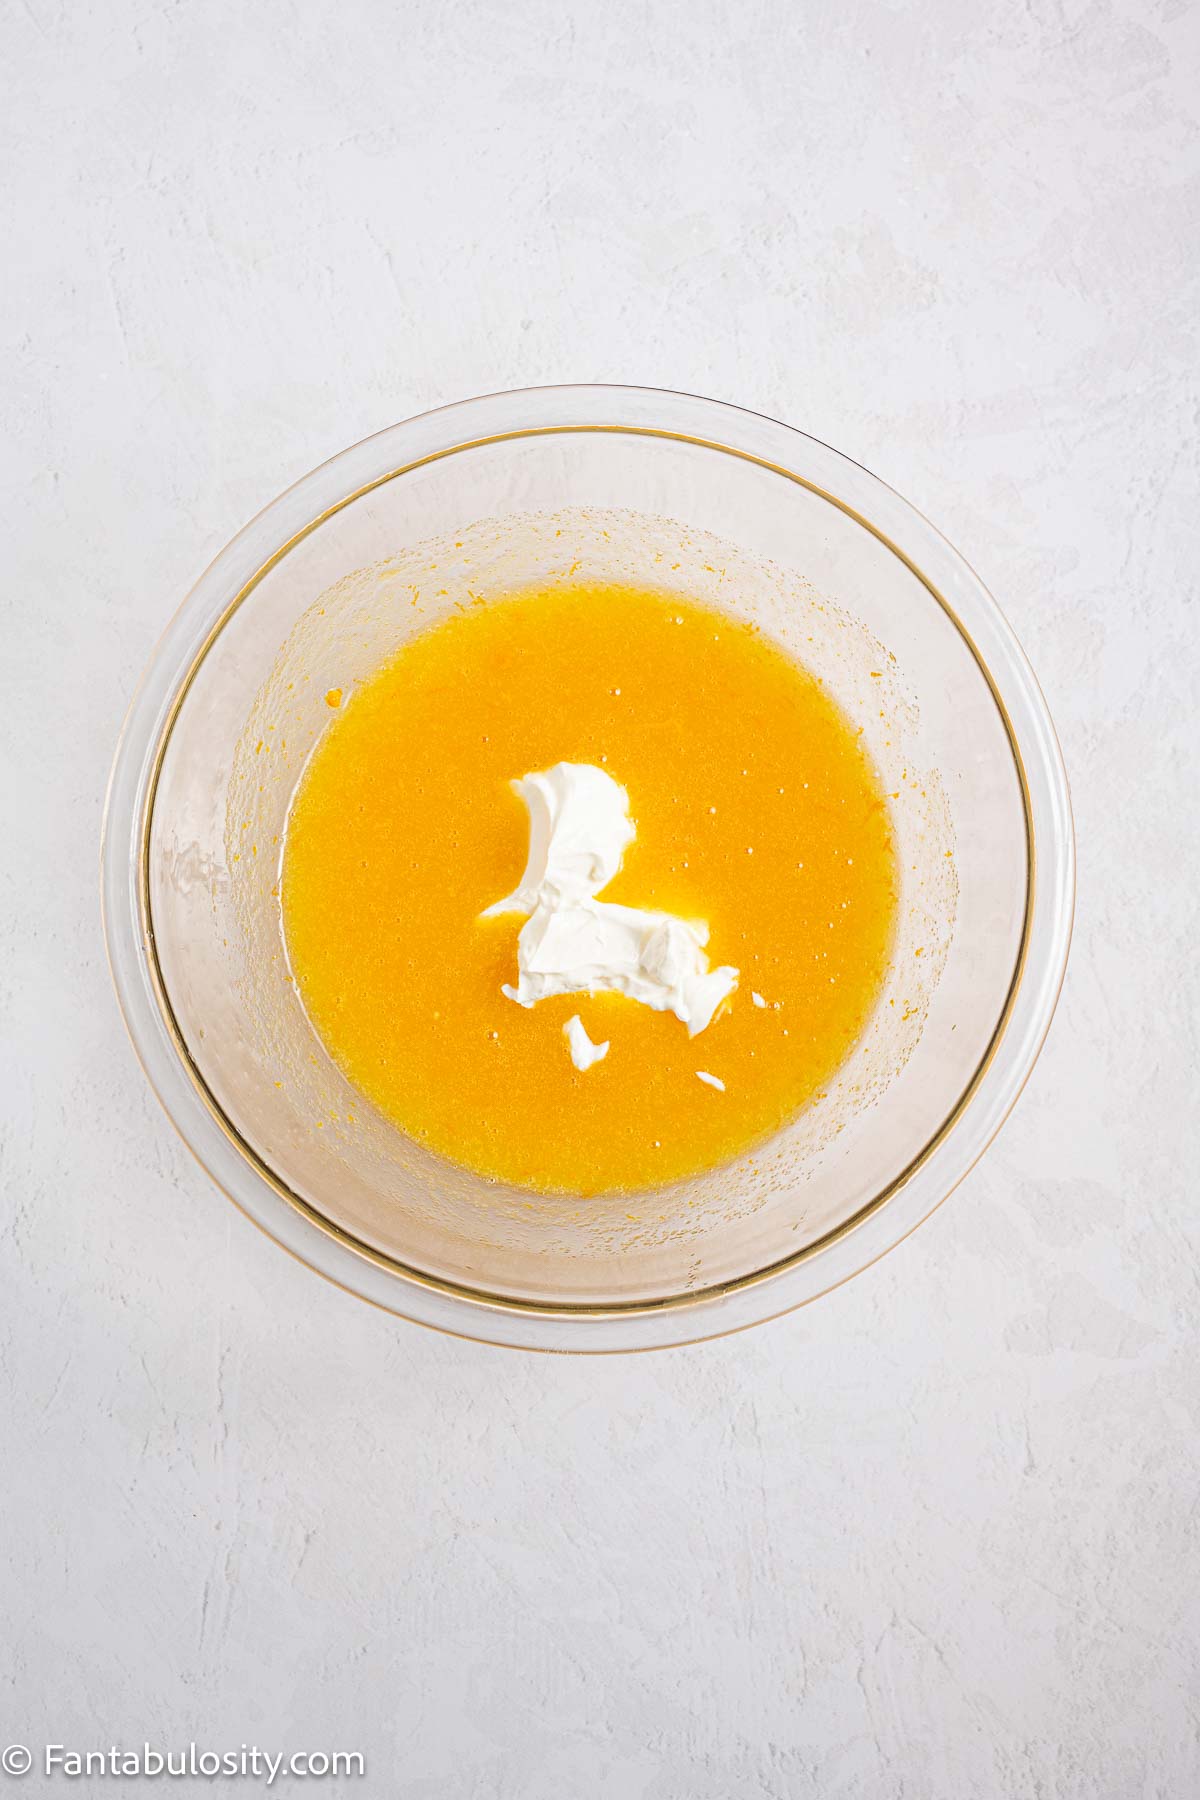
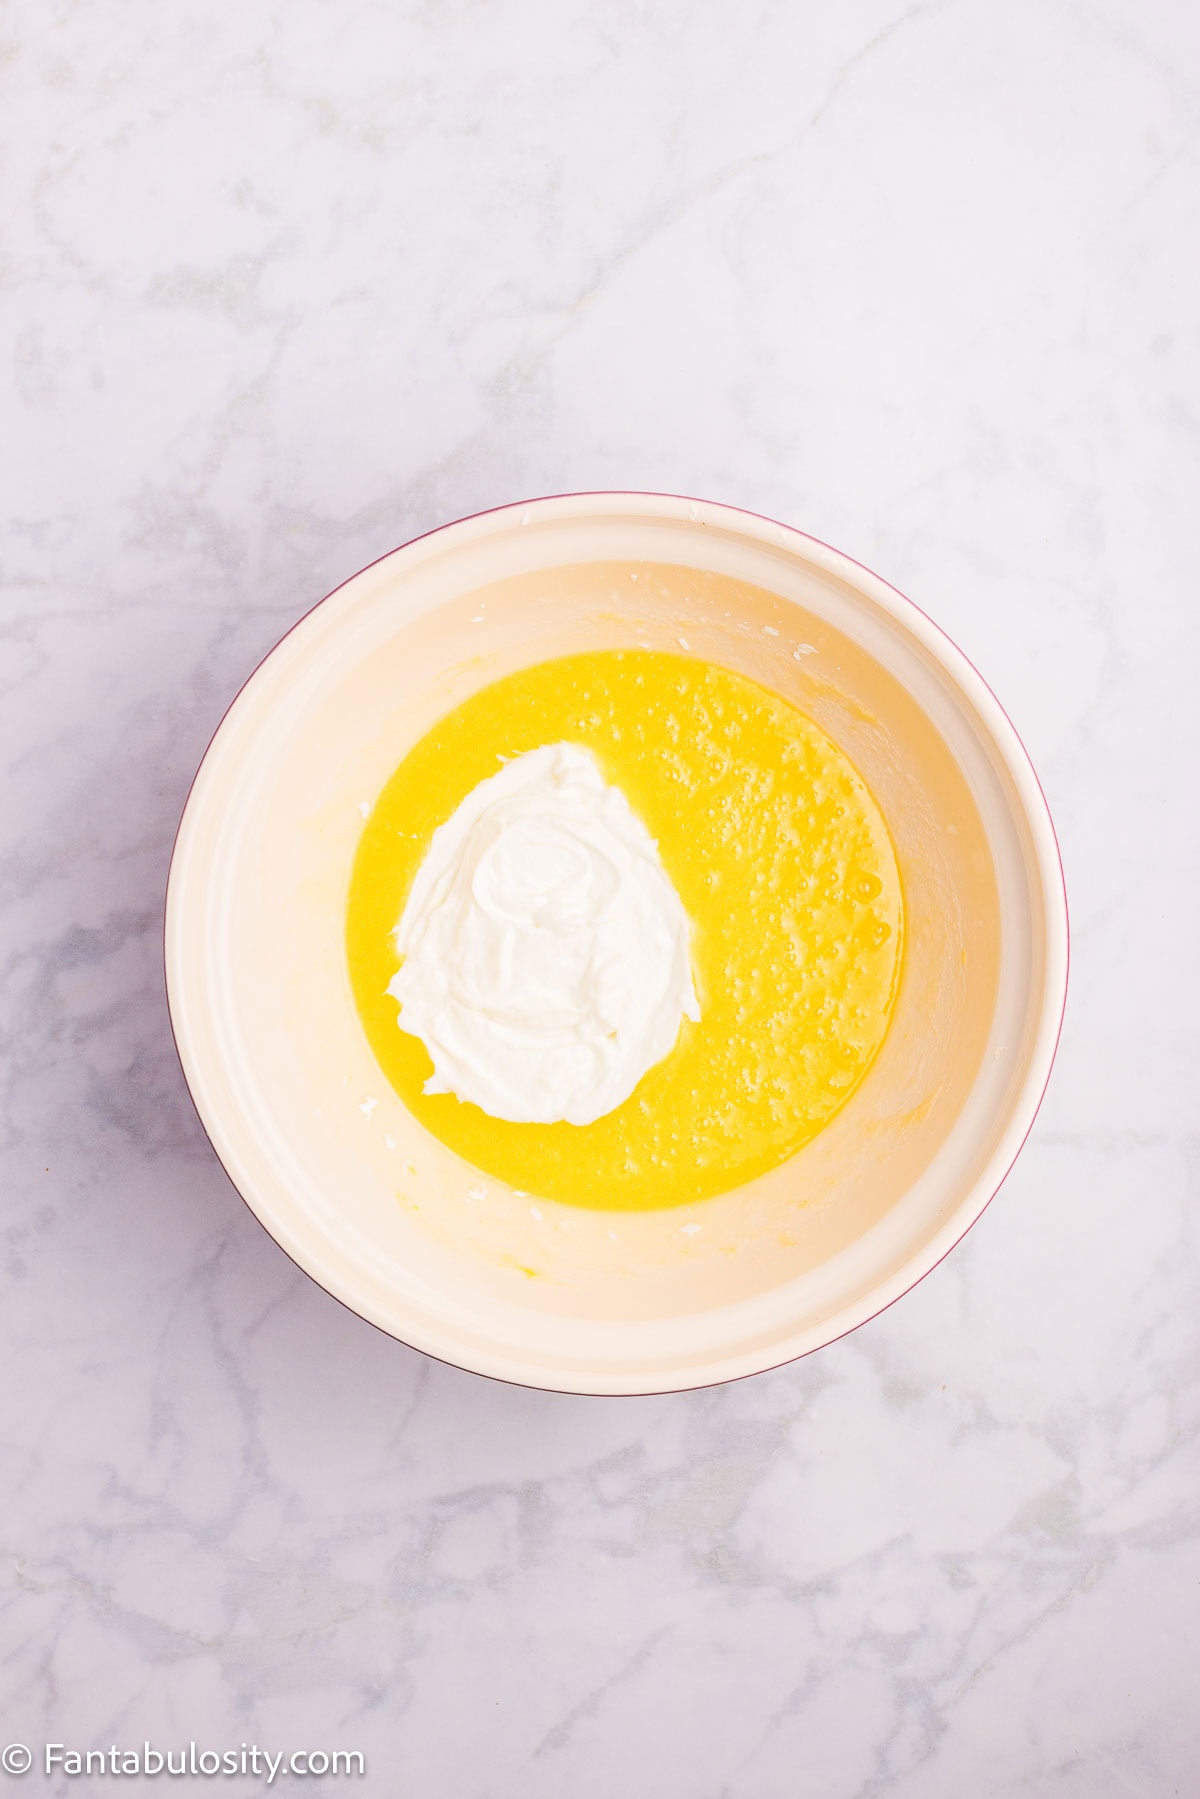
- 1 cup whole milk yogurt or plain Greek yogurt, room temperature - Keeps the cake soft and moist.
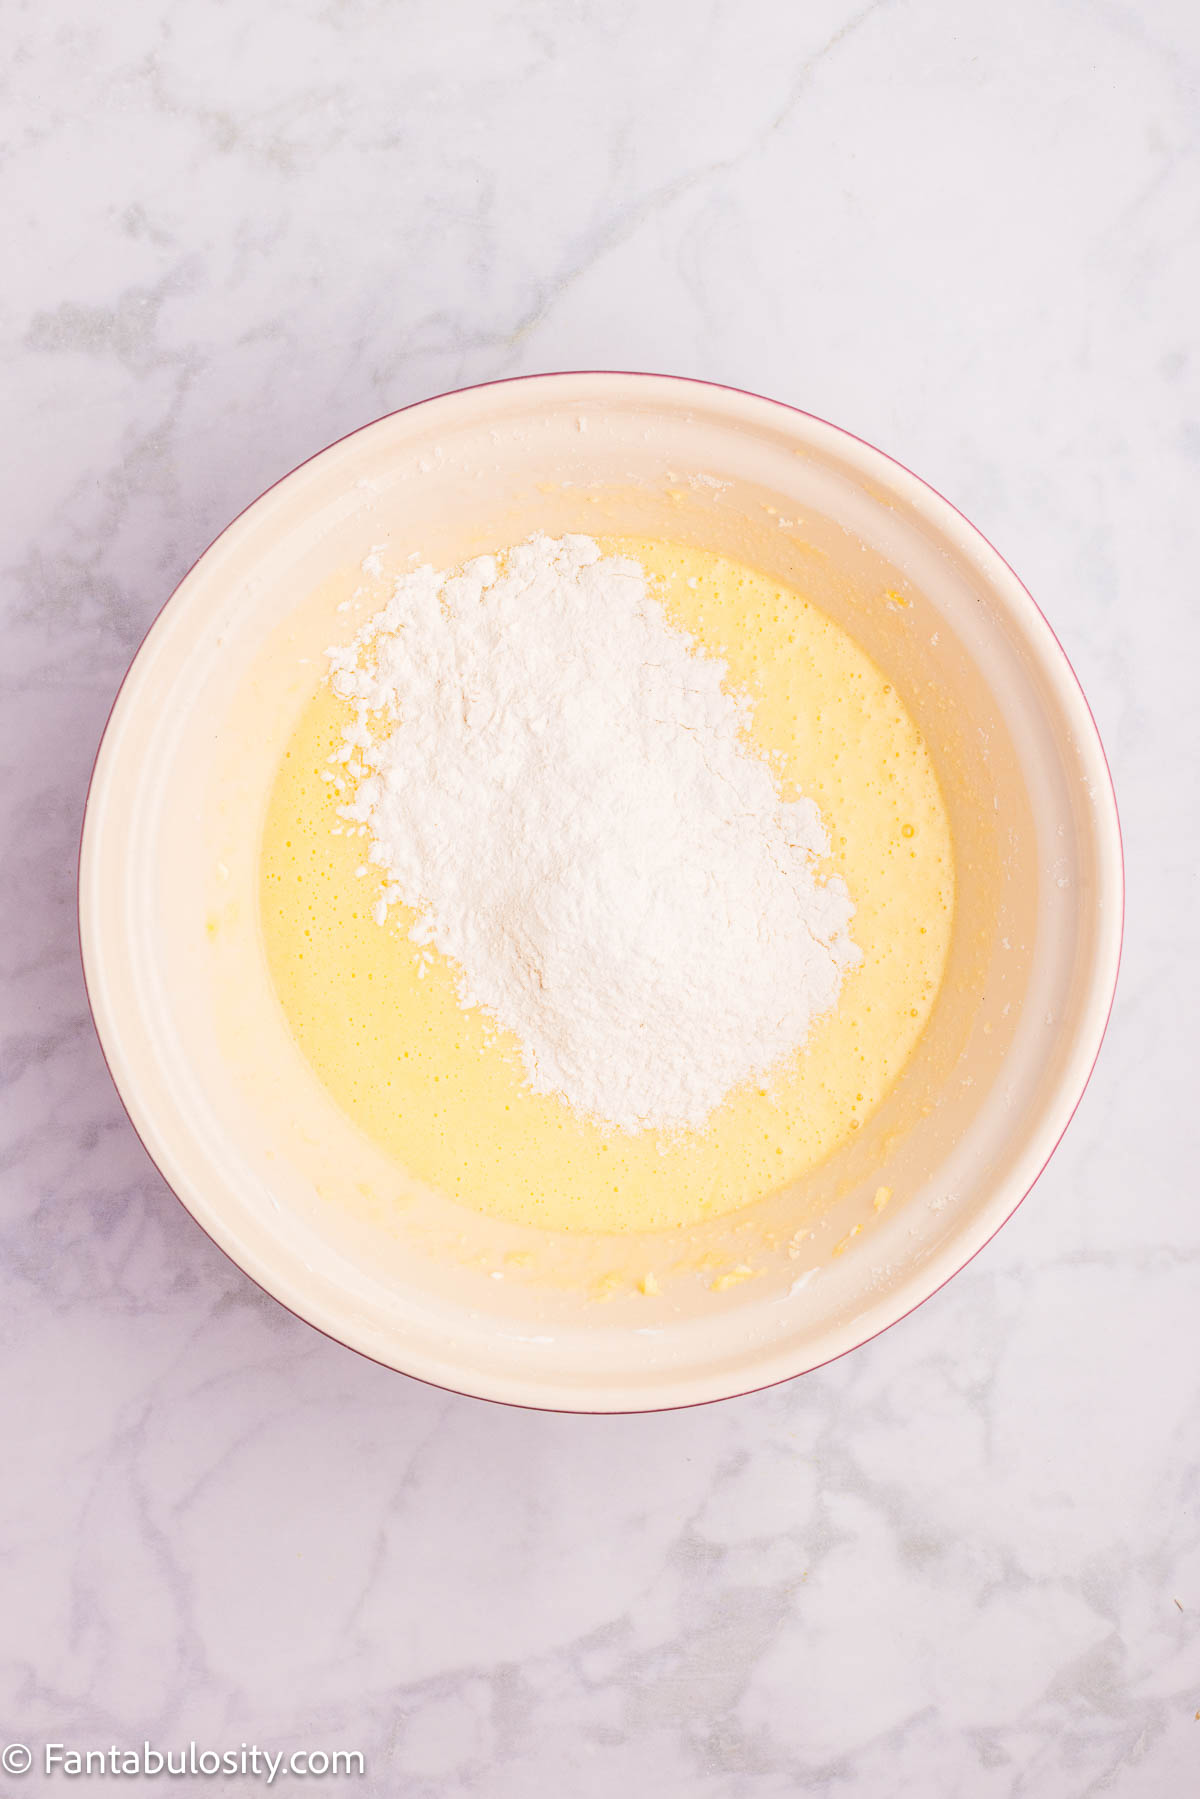
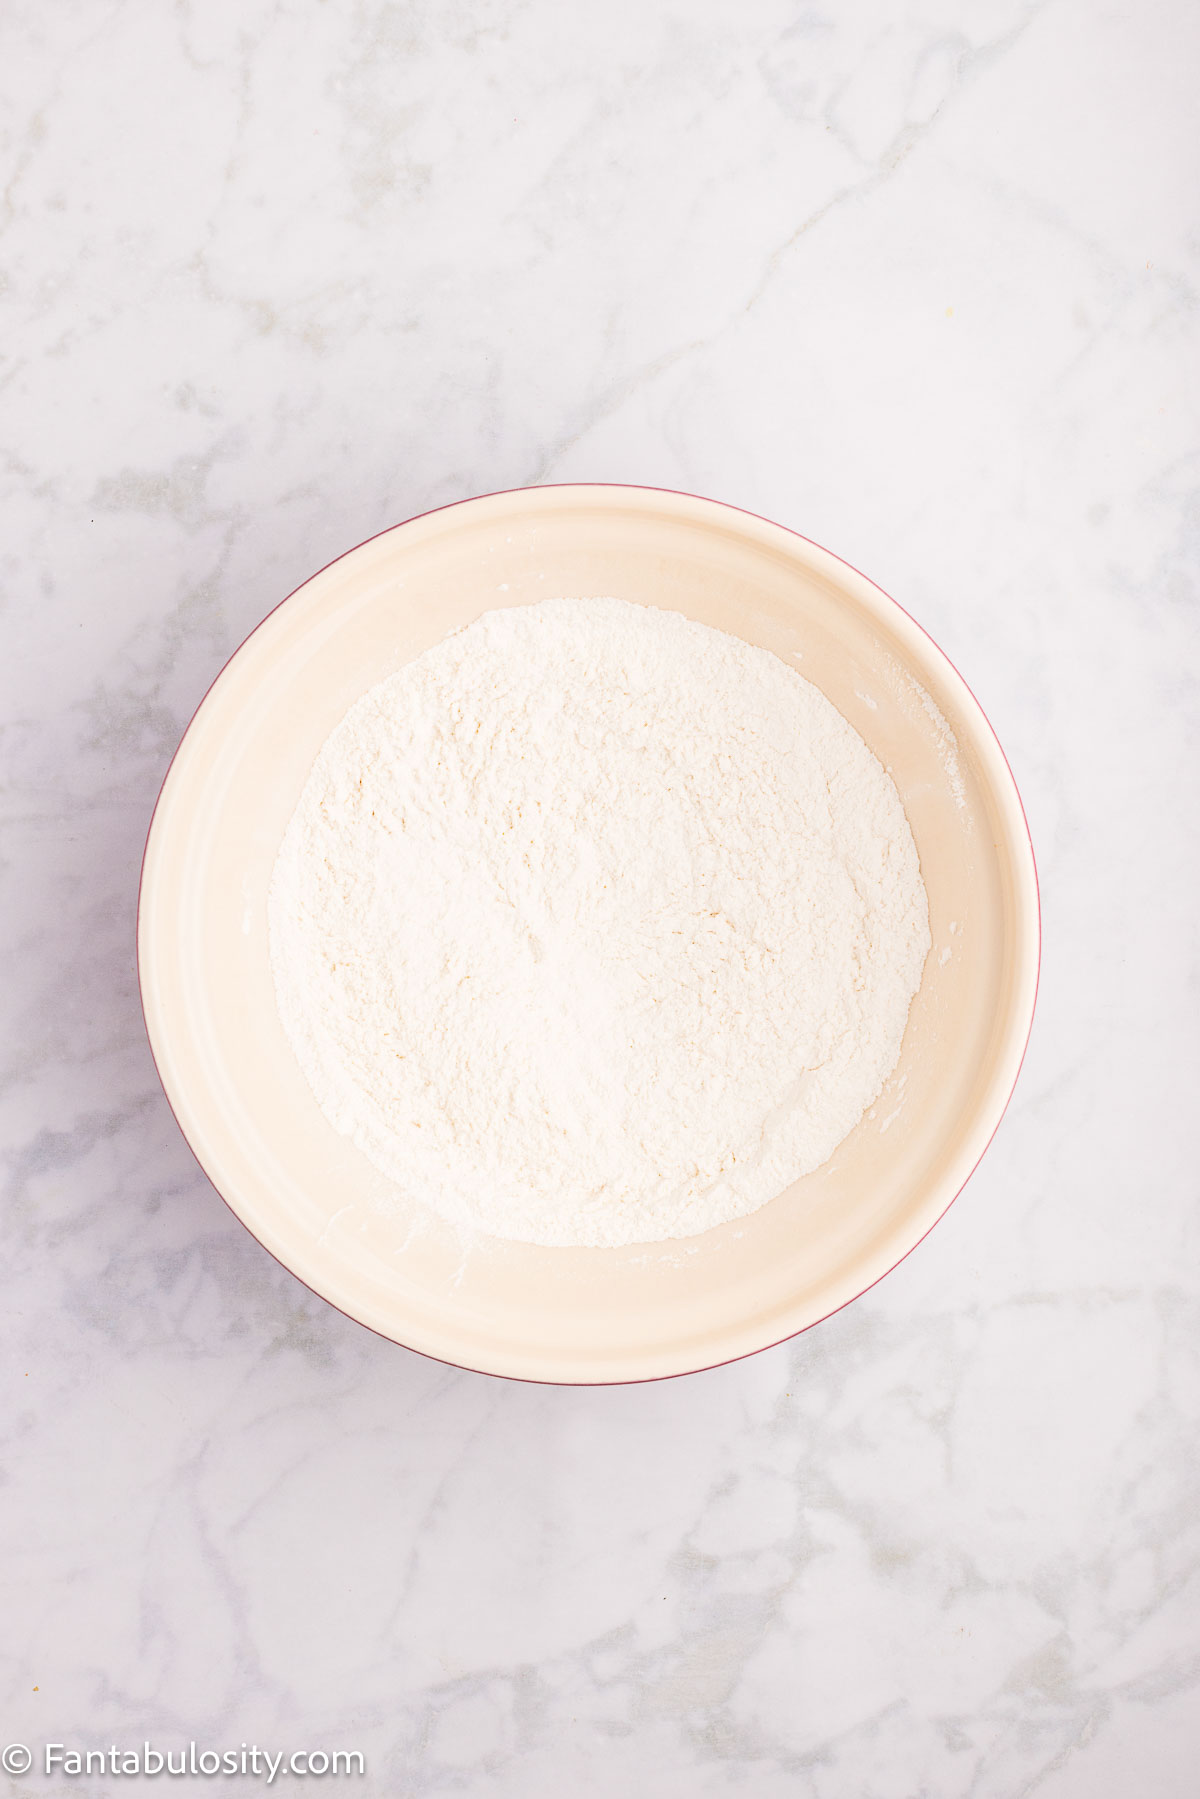
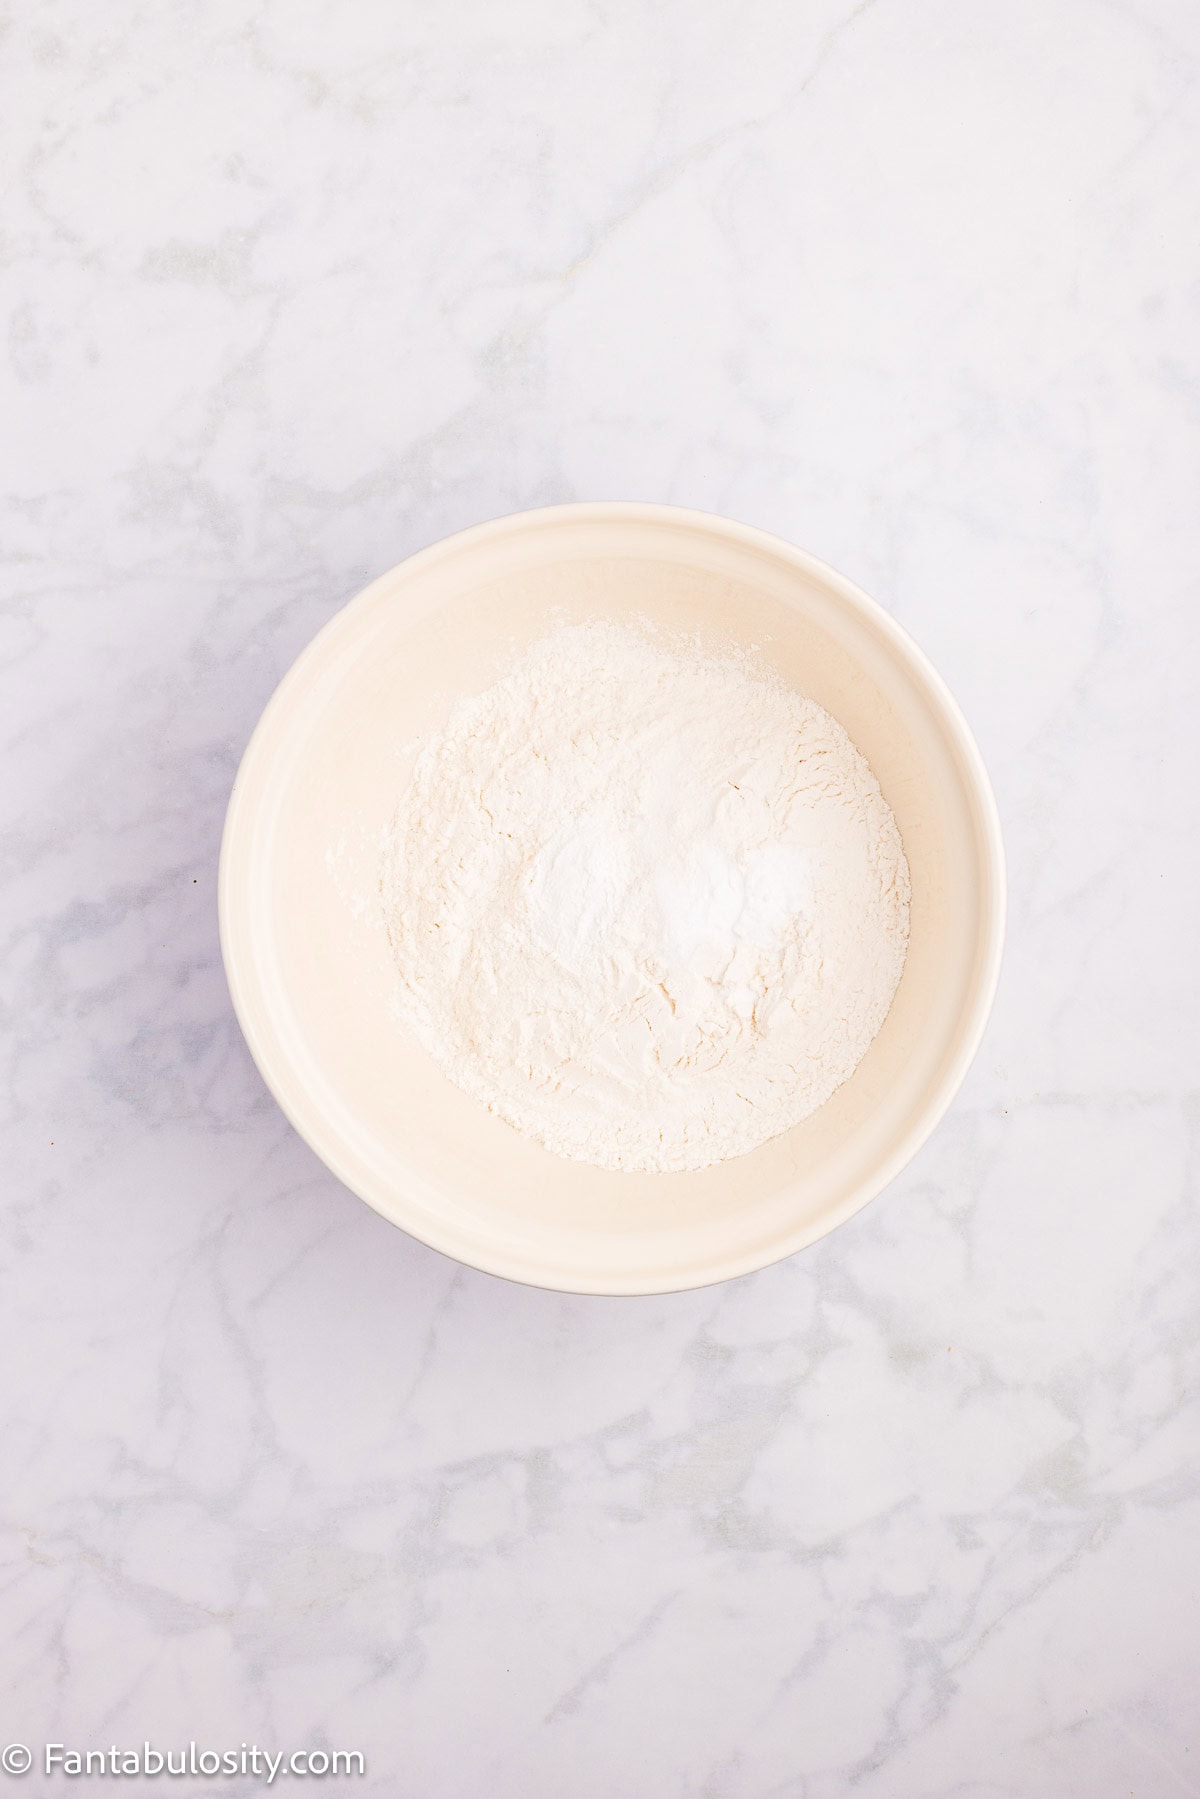
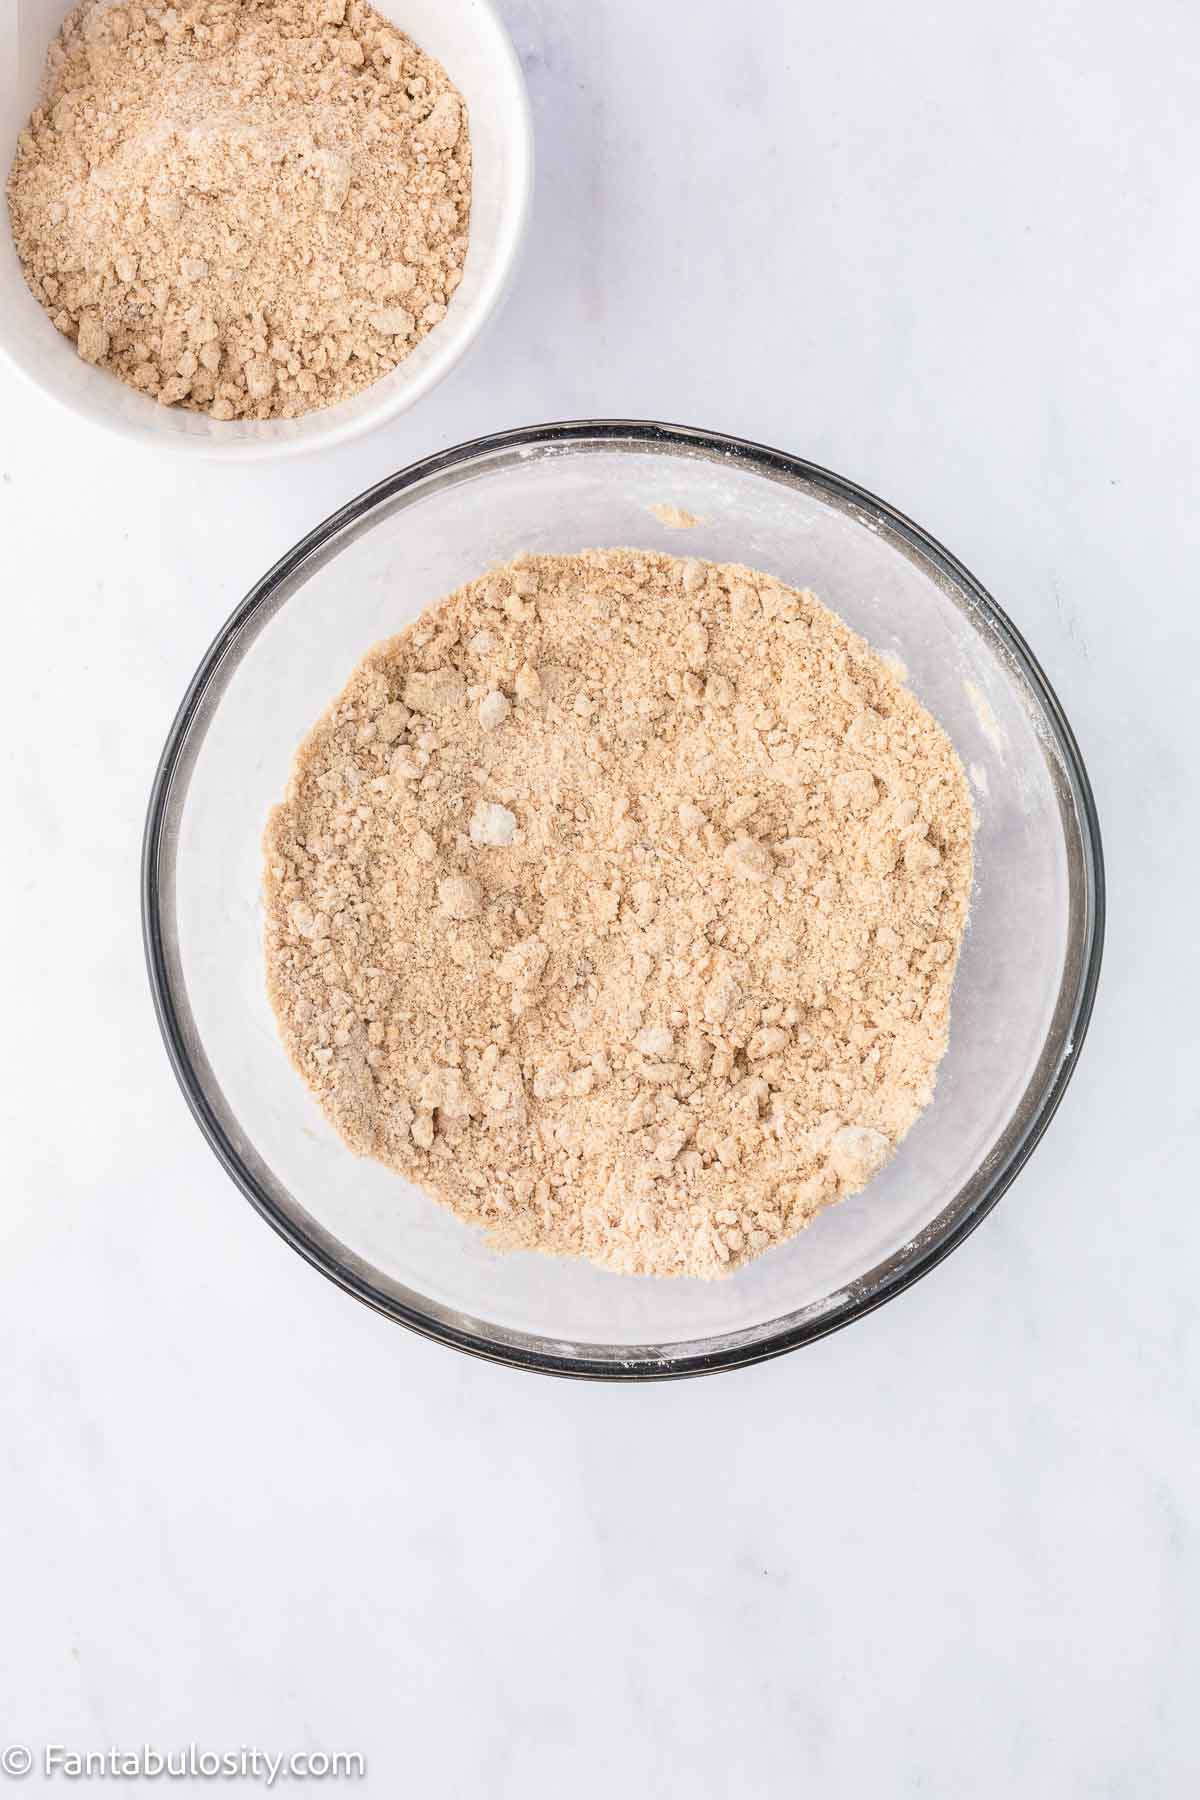
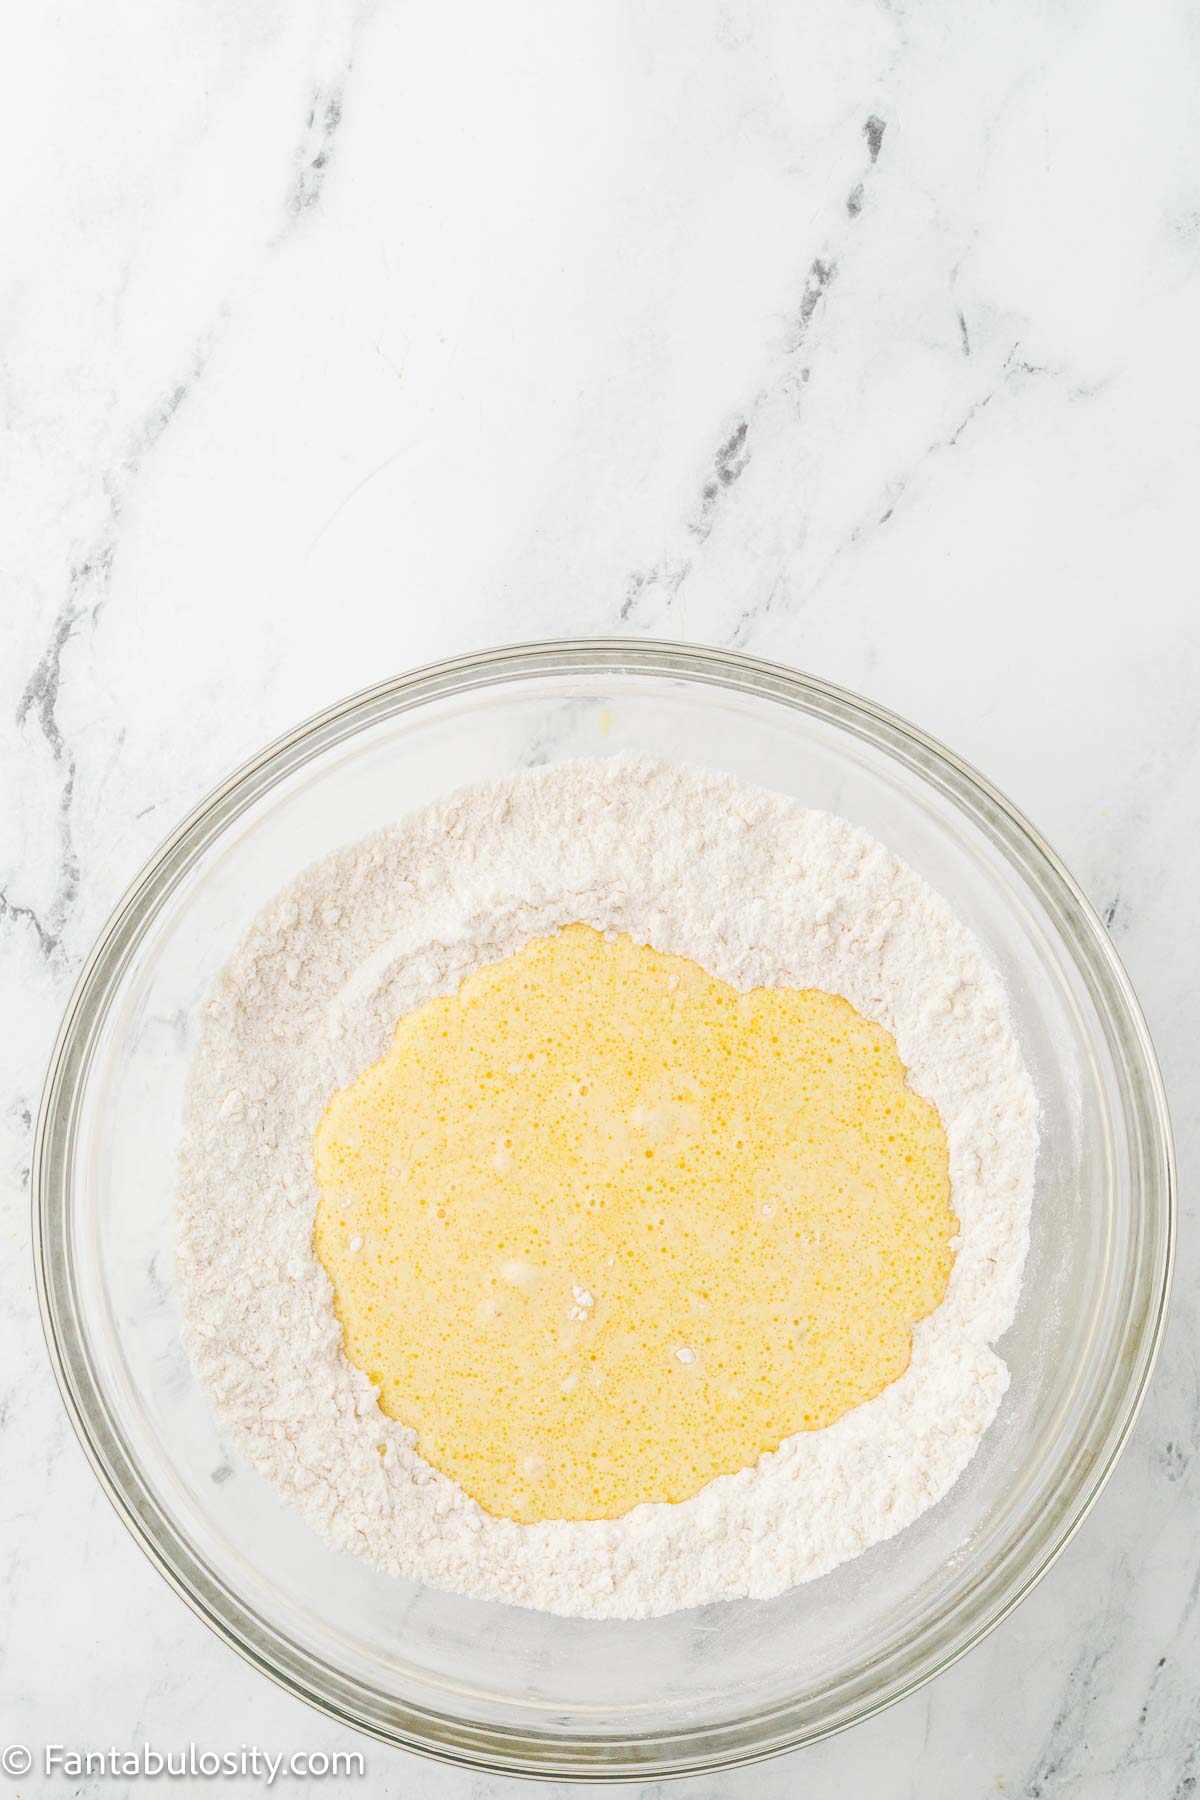
- 2¾ cups all-purpose flour - Gives the cake its structure.
- 2 teaspoons baking powder - Helps the cake rise.
- ½ teaspoon baking soda - Works with the yogurt to help the cake bake up tender.
- 1 teaspoon fine salt - Balances the sweetness.
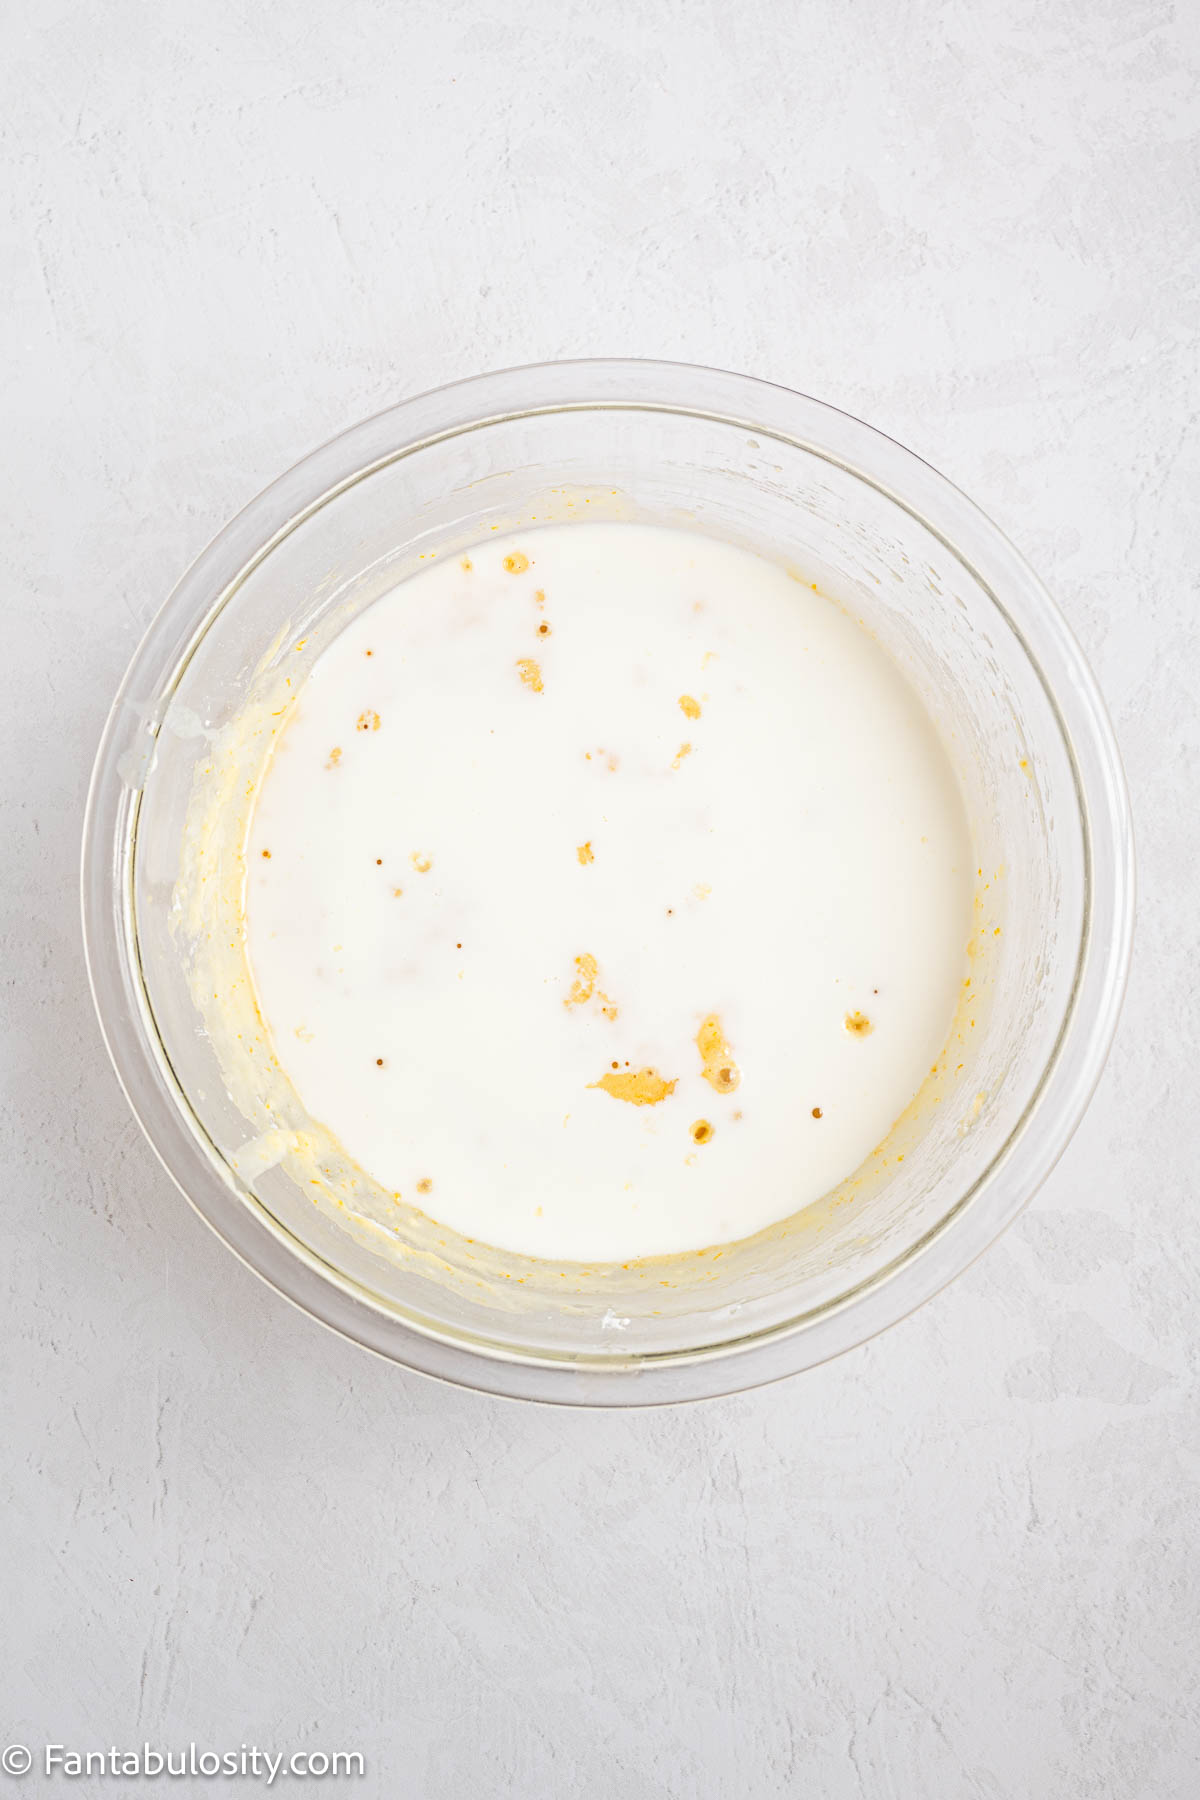
- 1 cup whole milk, room temperature - Helps keep the batter smooth and the cake soft.
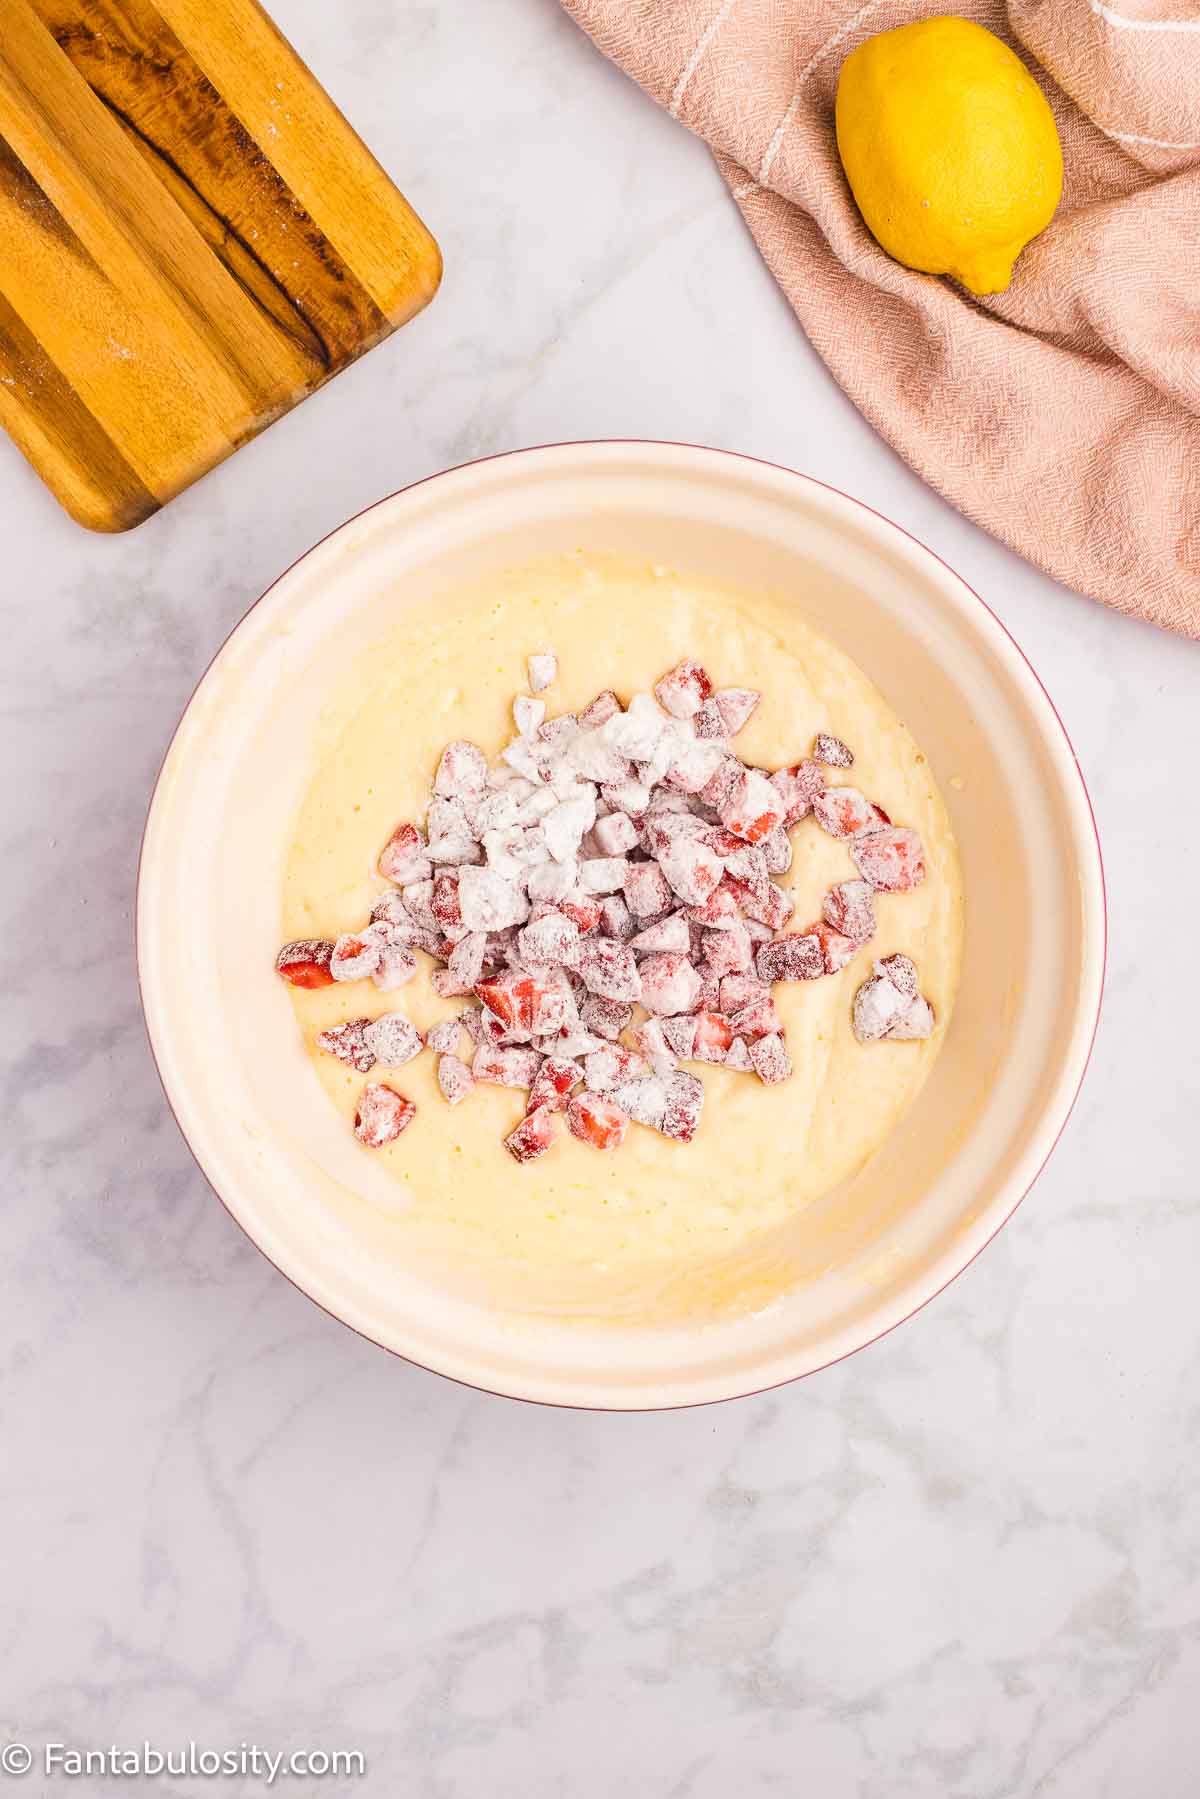
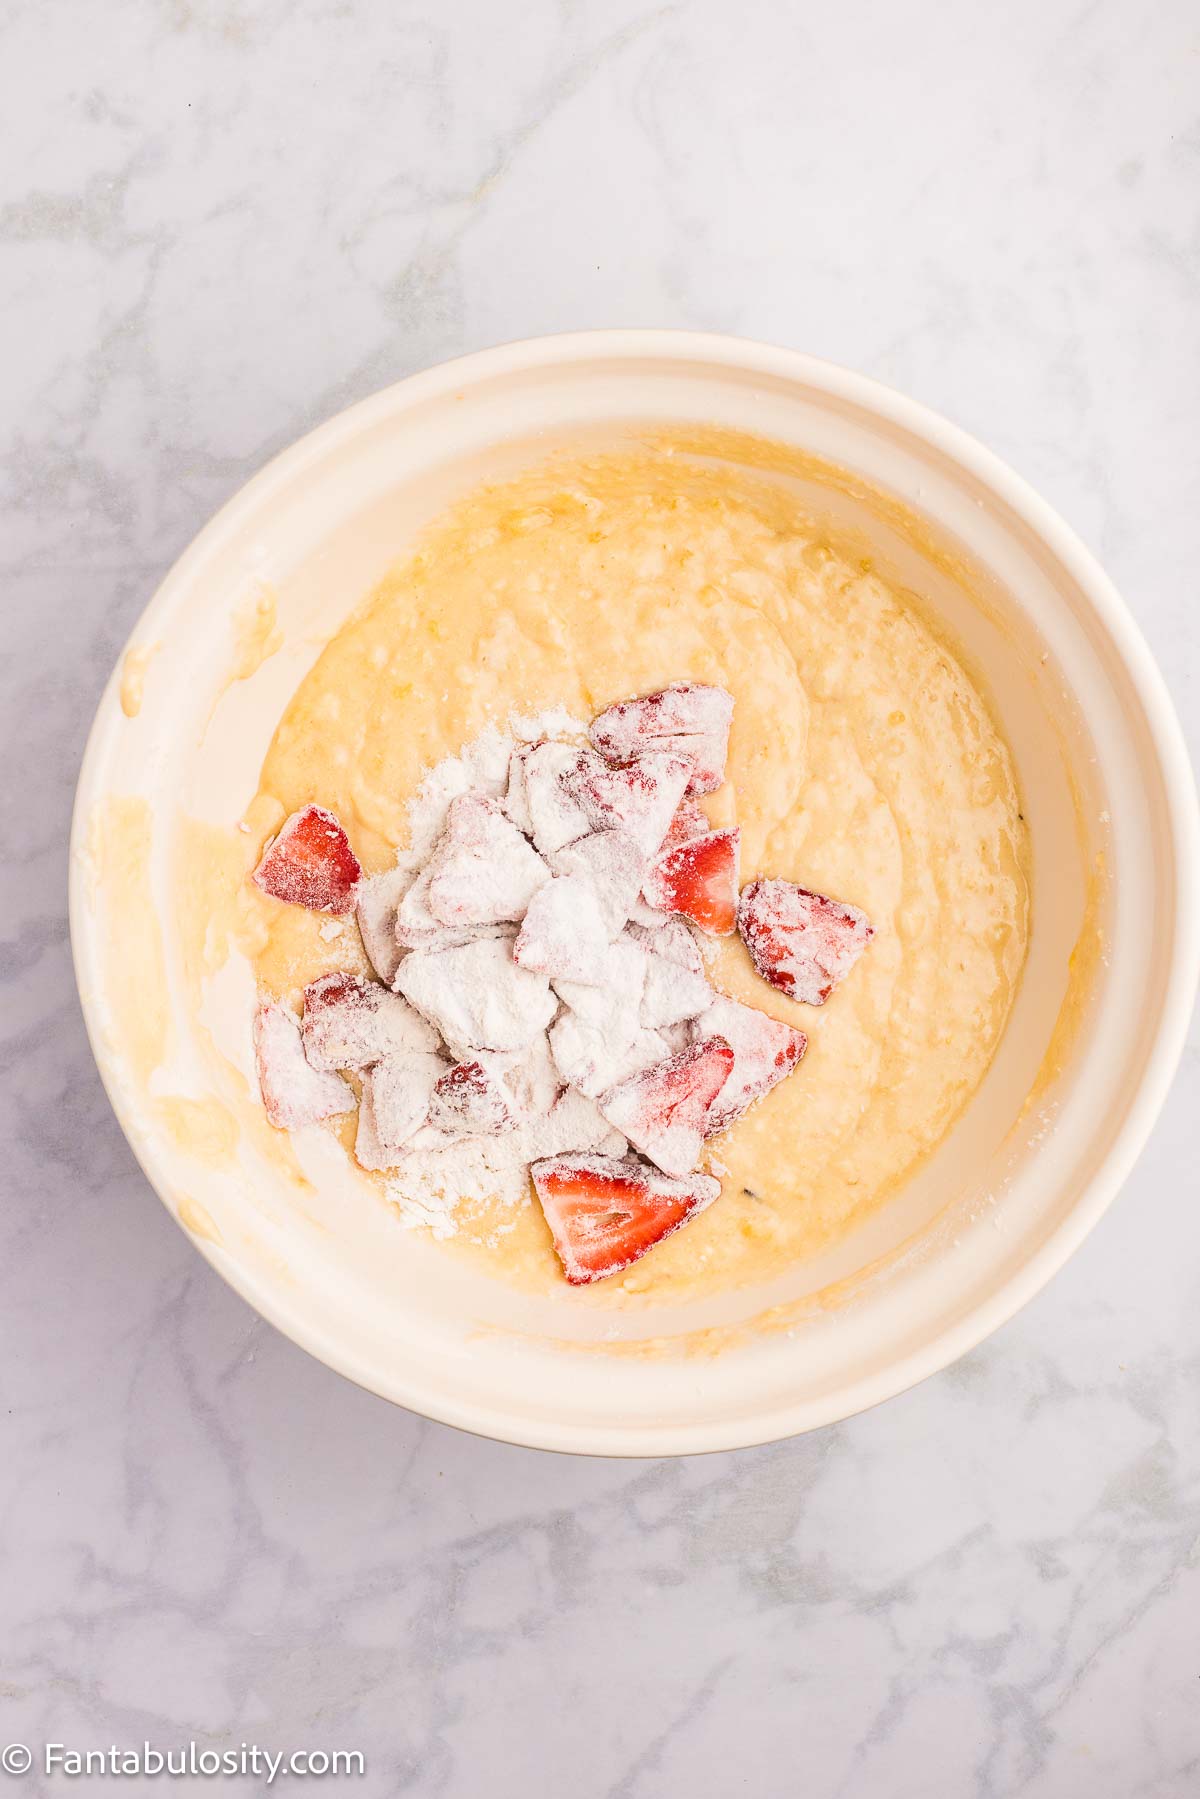
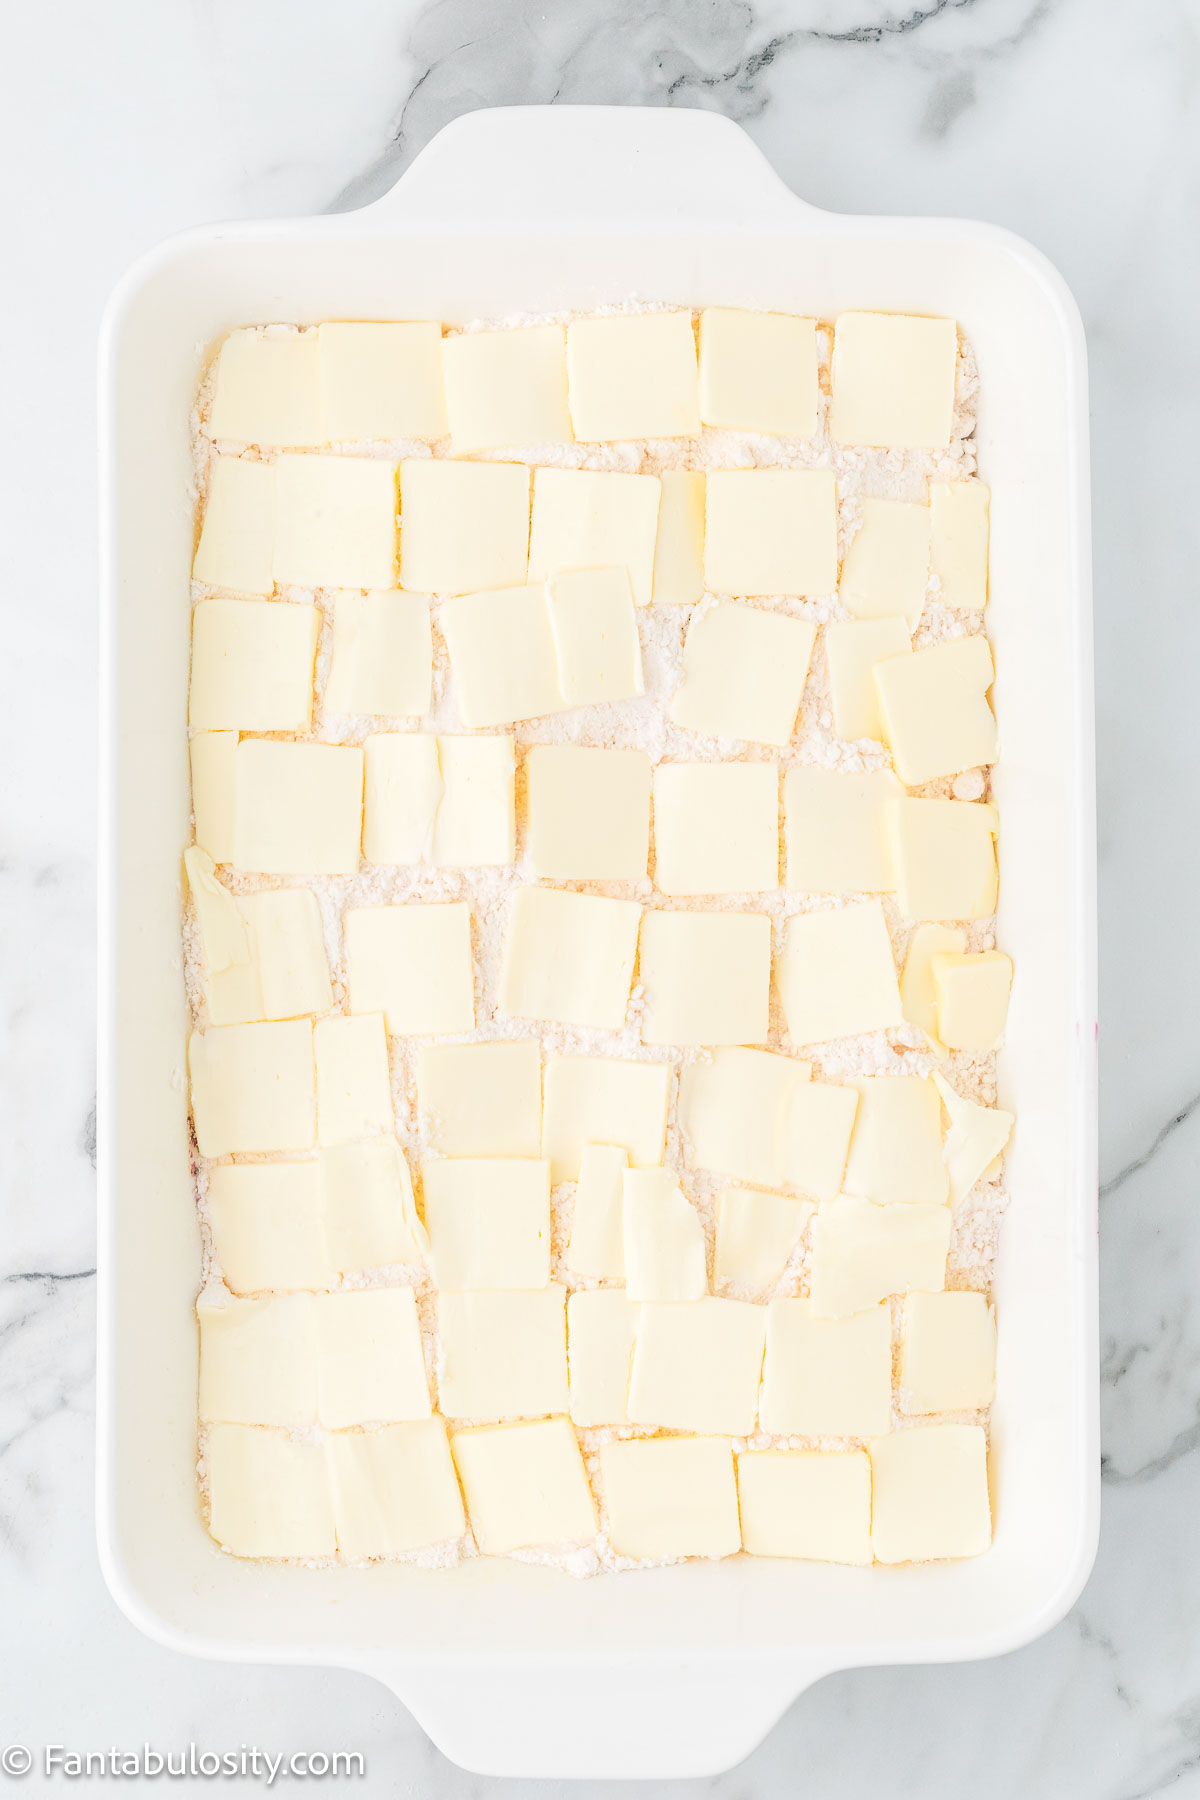
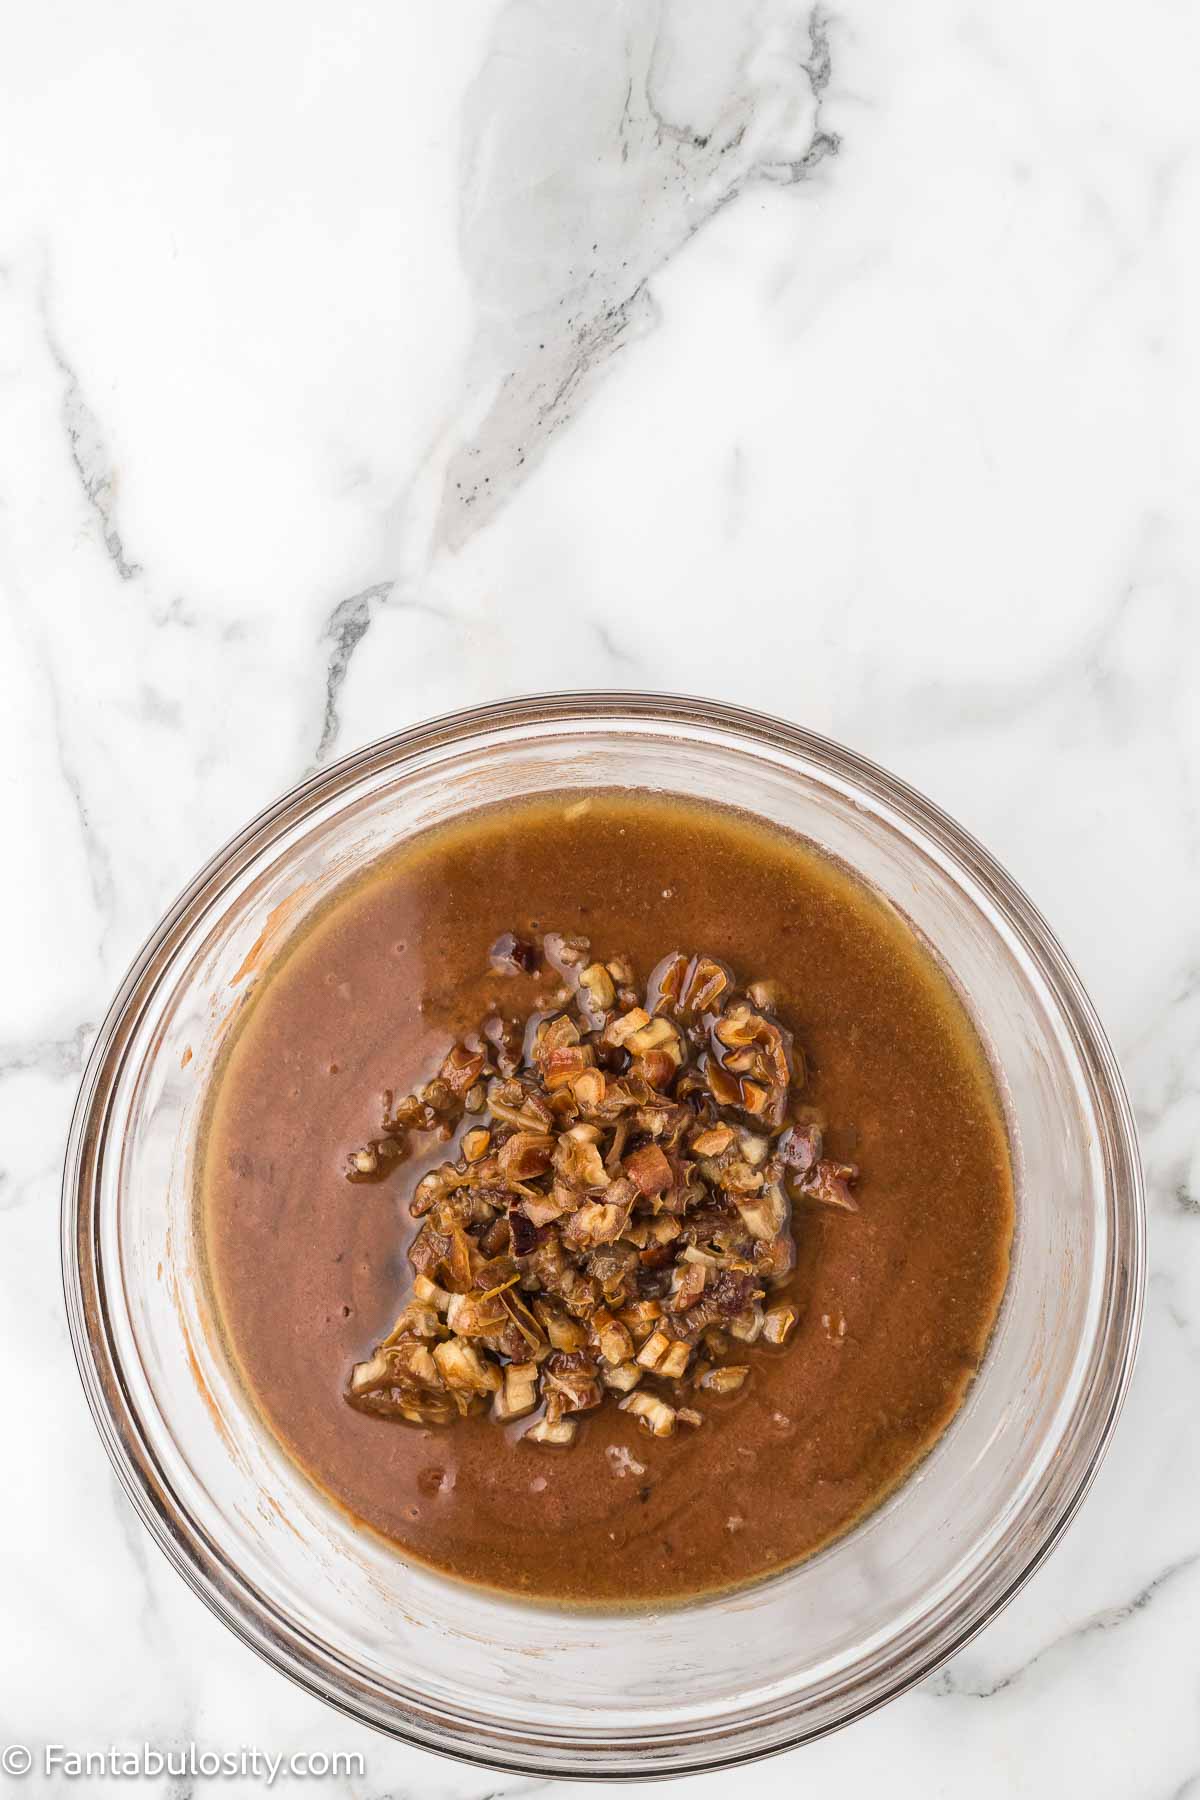
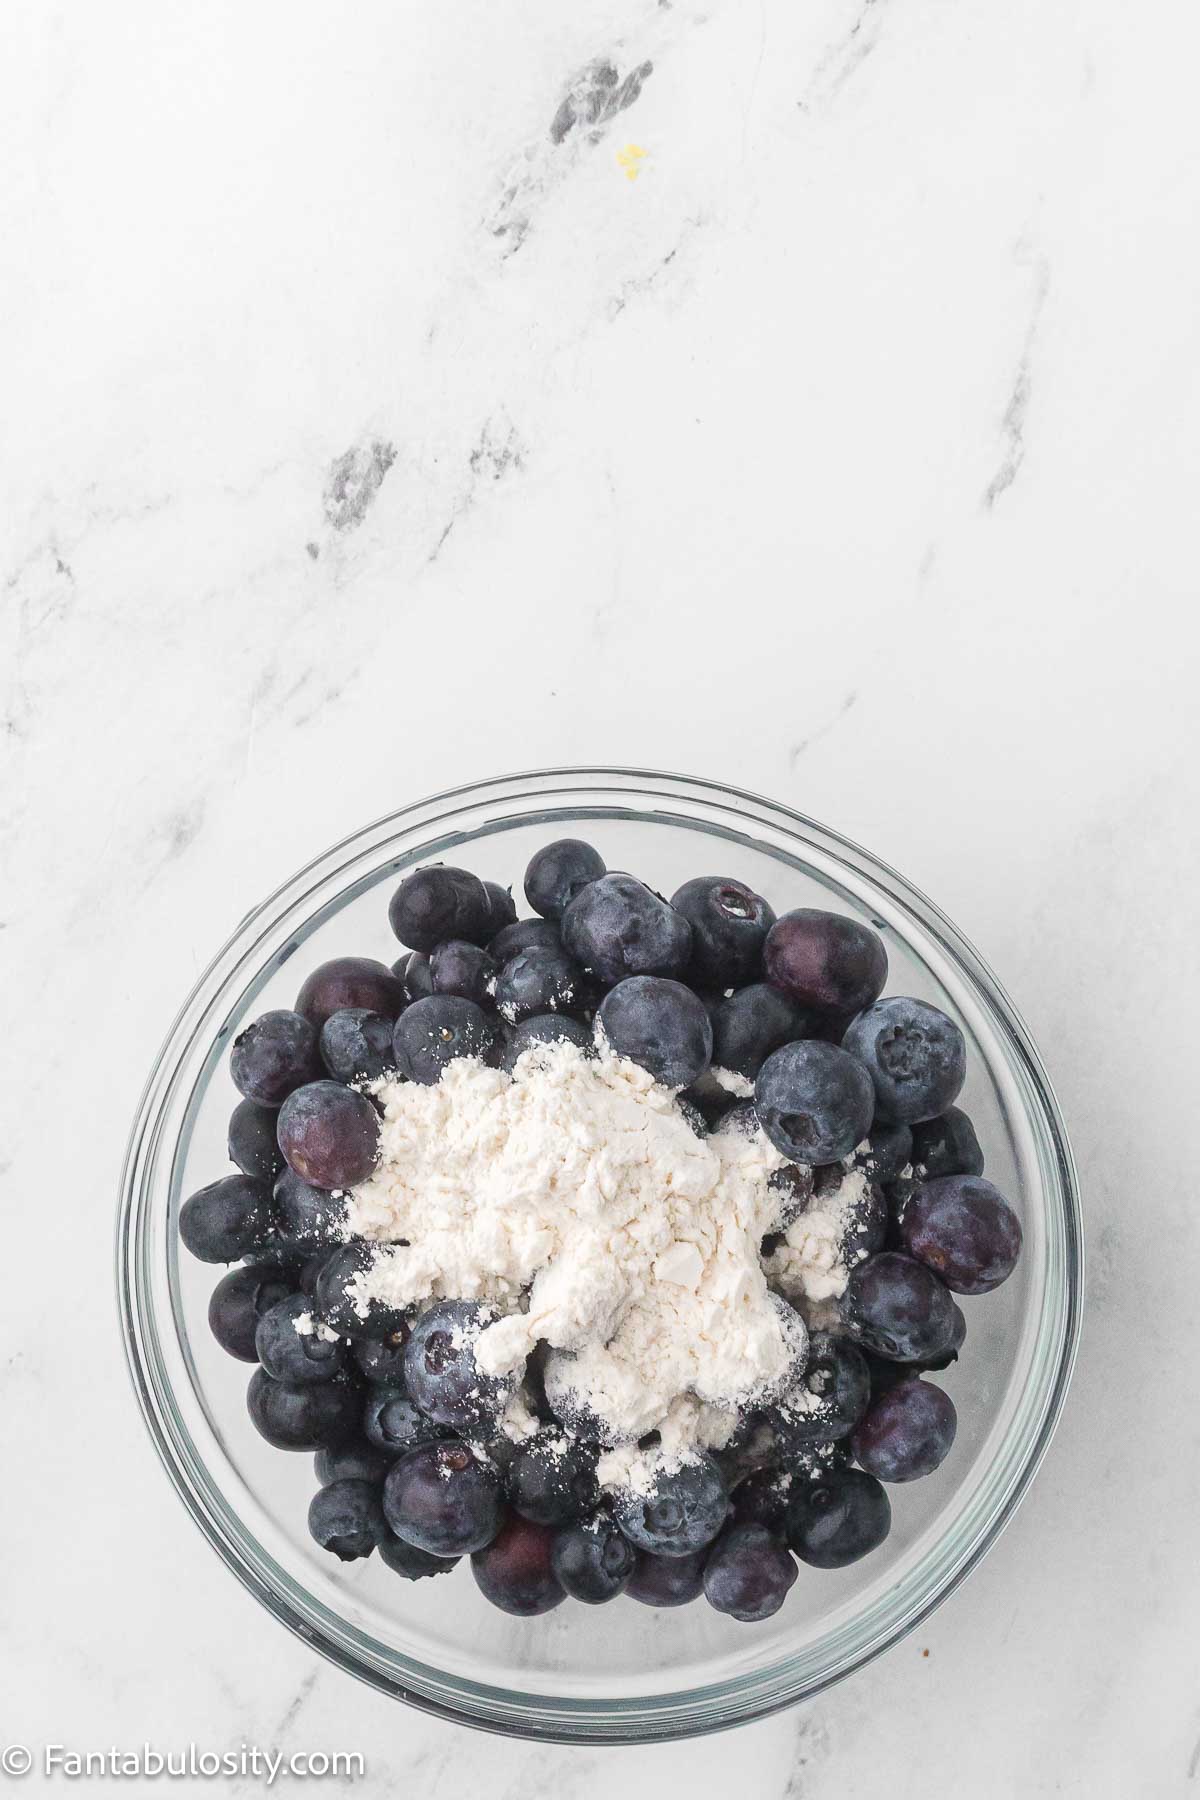
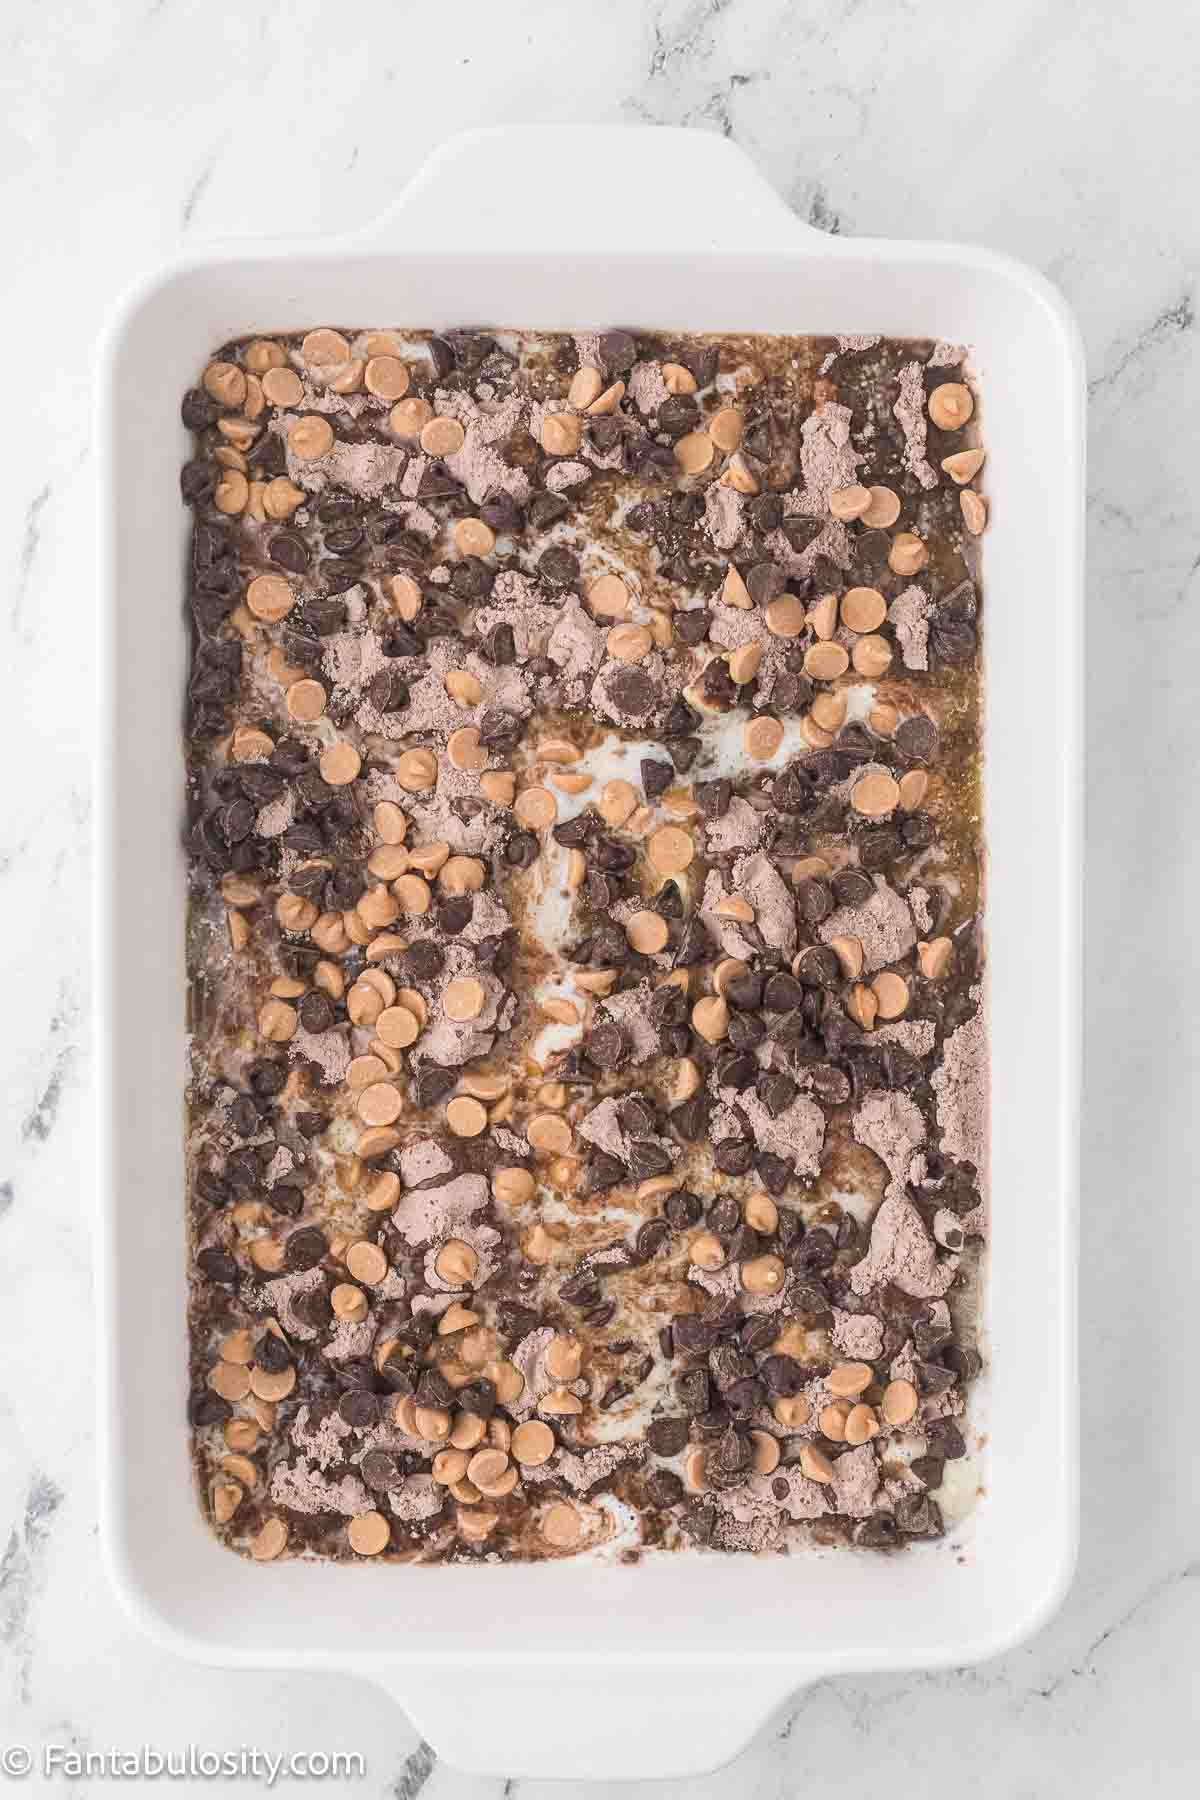
- 1½ cups semisweet chocolate chips, tossed with 1 tablespoon flour - Tossing them in flour helps keep them from sinking to the bottom.
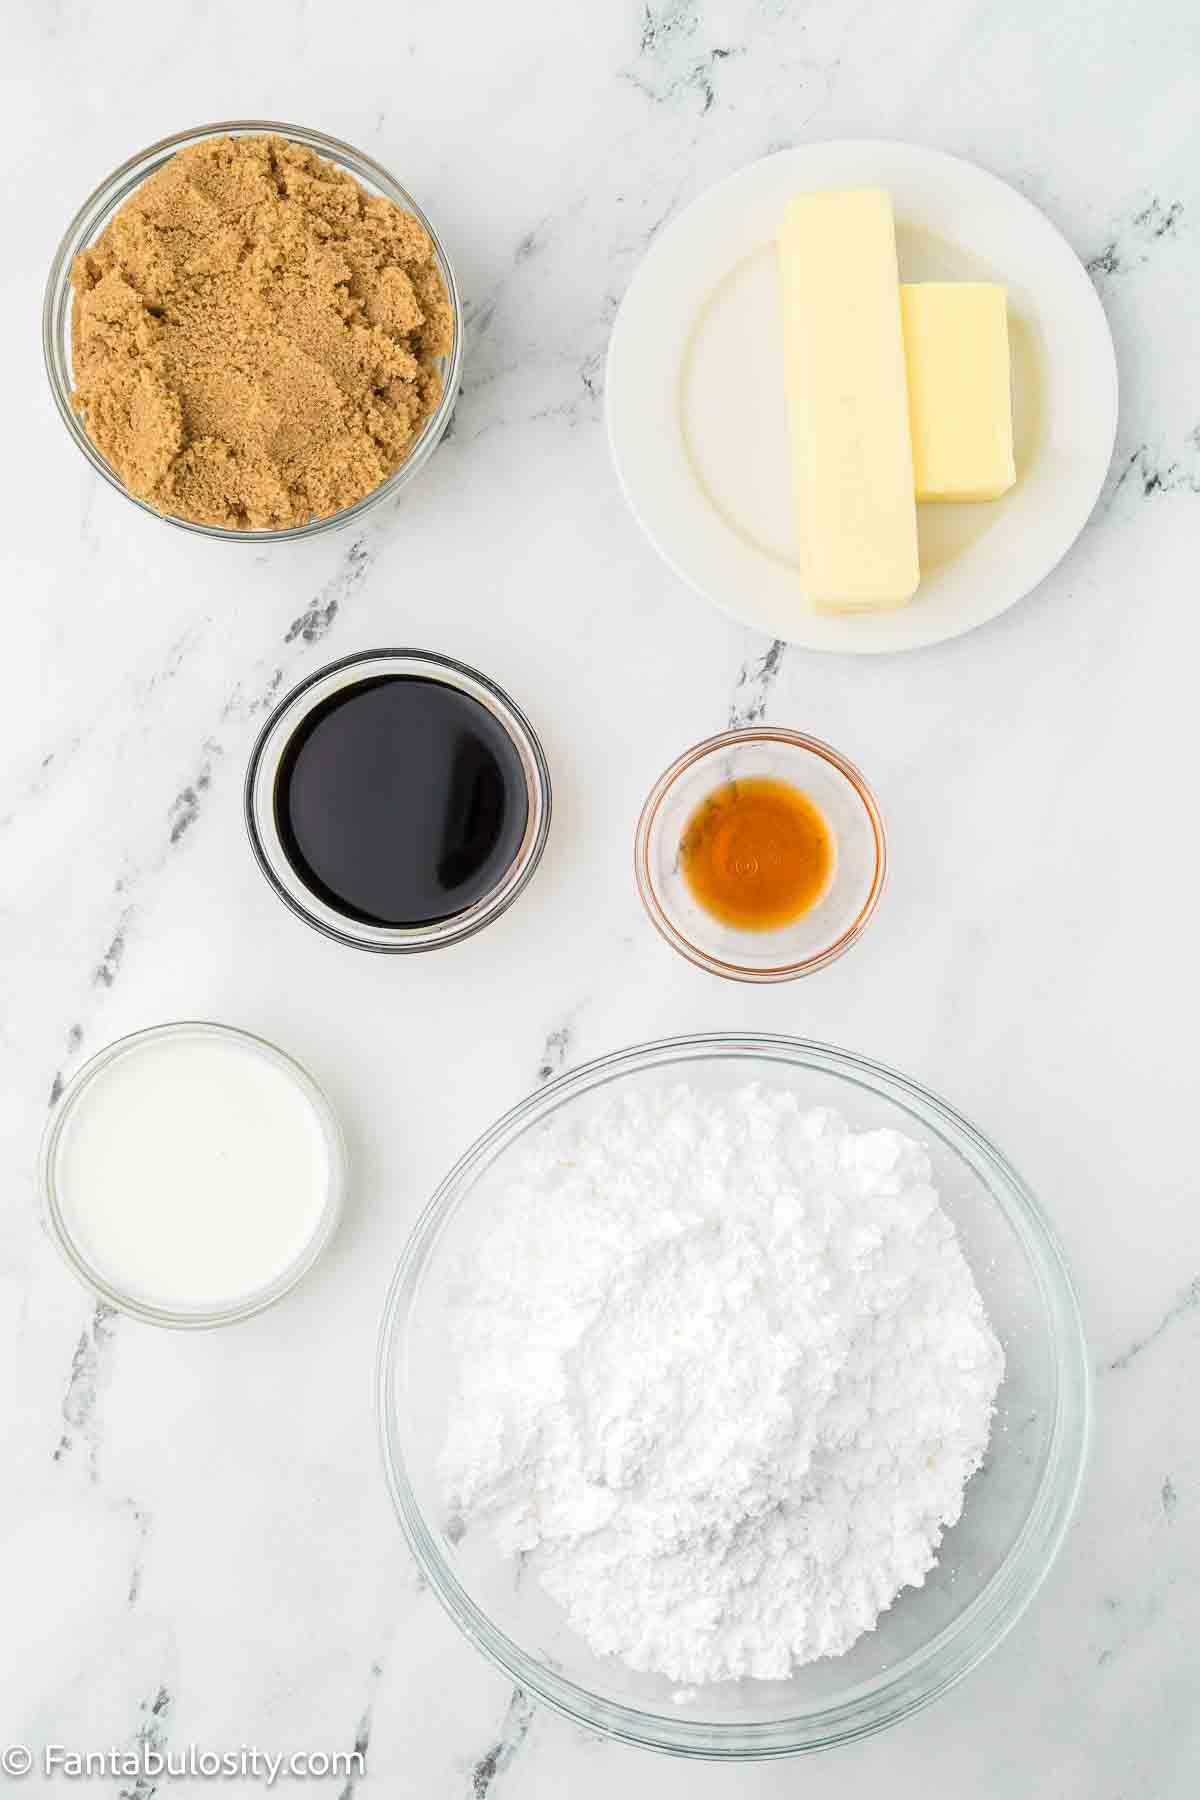
Brown Sugar Buttercream
- 1½ cups unsalted butter, softened - Makes the frosting creamy and fluffy.
- ½ cup light brown sugar, finely packed - Gives the frosting a rich brown sugar flavor.
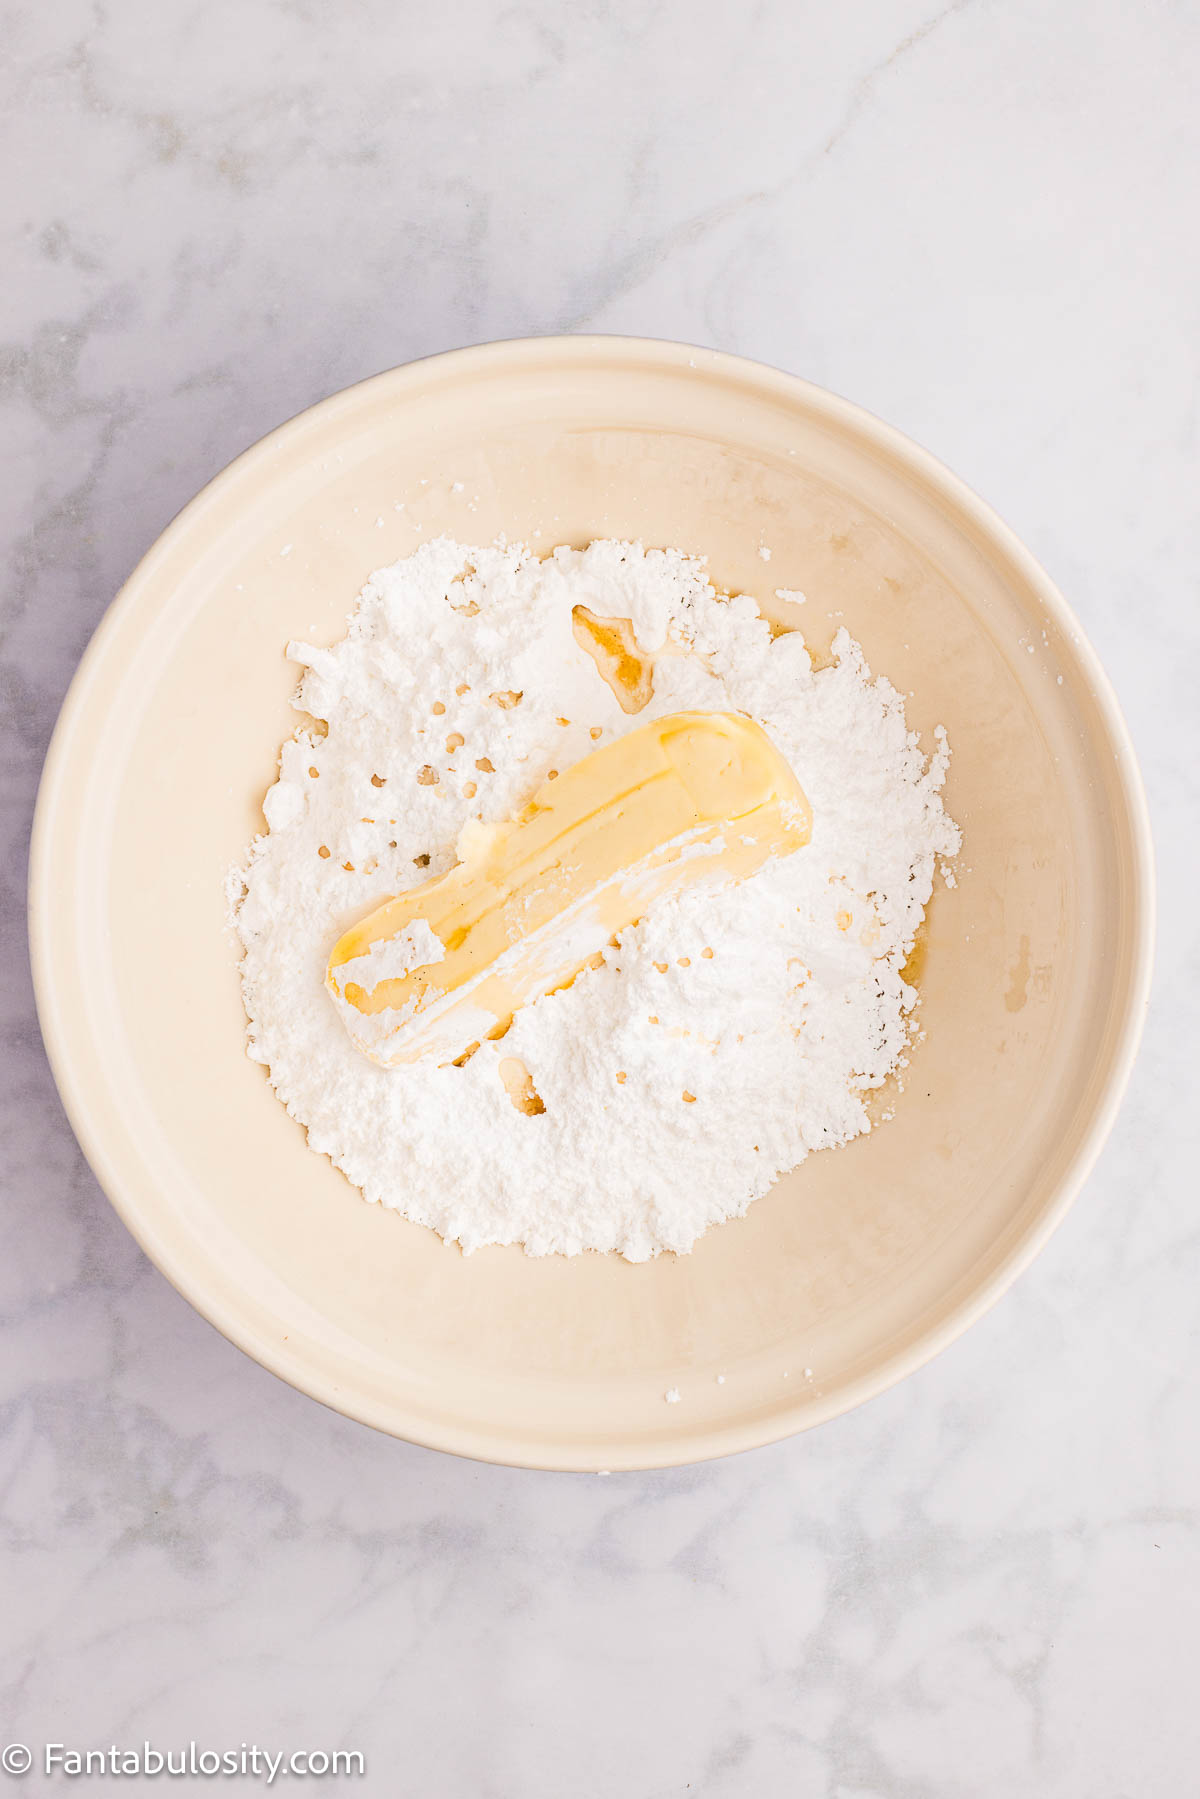
- 4 cups powdered sugar - Sweetens and thickens the frosting.
- 1 tablespoon vanilla extract - Adds warmth and flavor.
- 2 to 4 tablespoons heavy cream - Thins the frosting to a smooth, spreadable consistency.
- Pinch of salt - Balances the sweetness.
Chocolate Fudge Swirl
- ½ cup semisweet chocolate chips - Creates the chocolate fudge drizzle.
- 2 tablespoons butter - Makes the fudge smooth and glossy.
- 2 tablespoons corn syrup or honey - Helps make the fudge shiny and pourable.
- ¼ cup heavy cream - Turns the melted chocolate into a soft fudge swirl.
Instructions
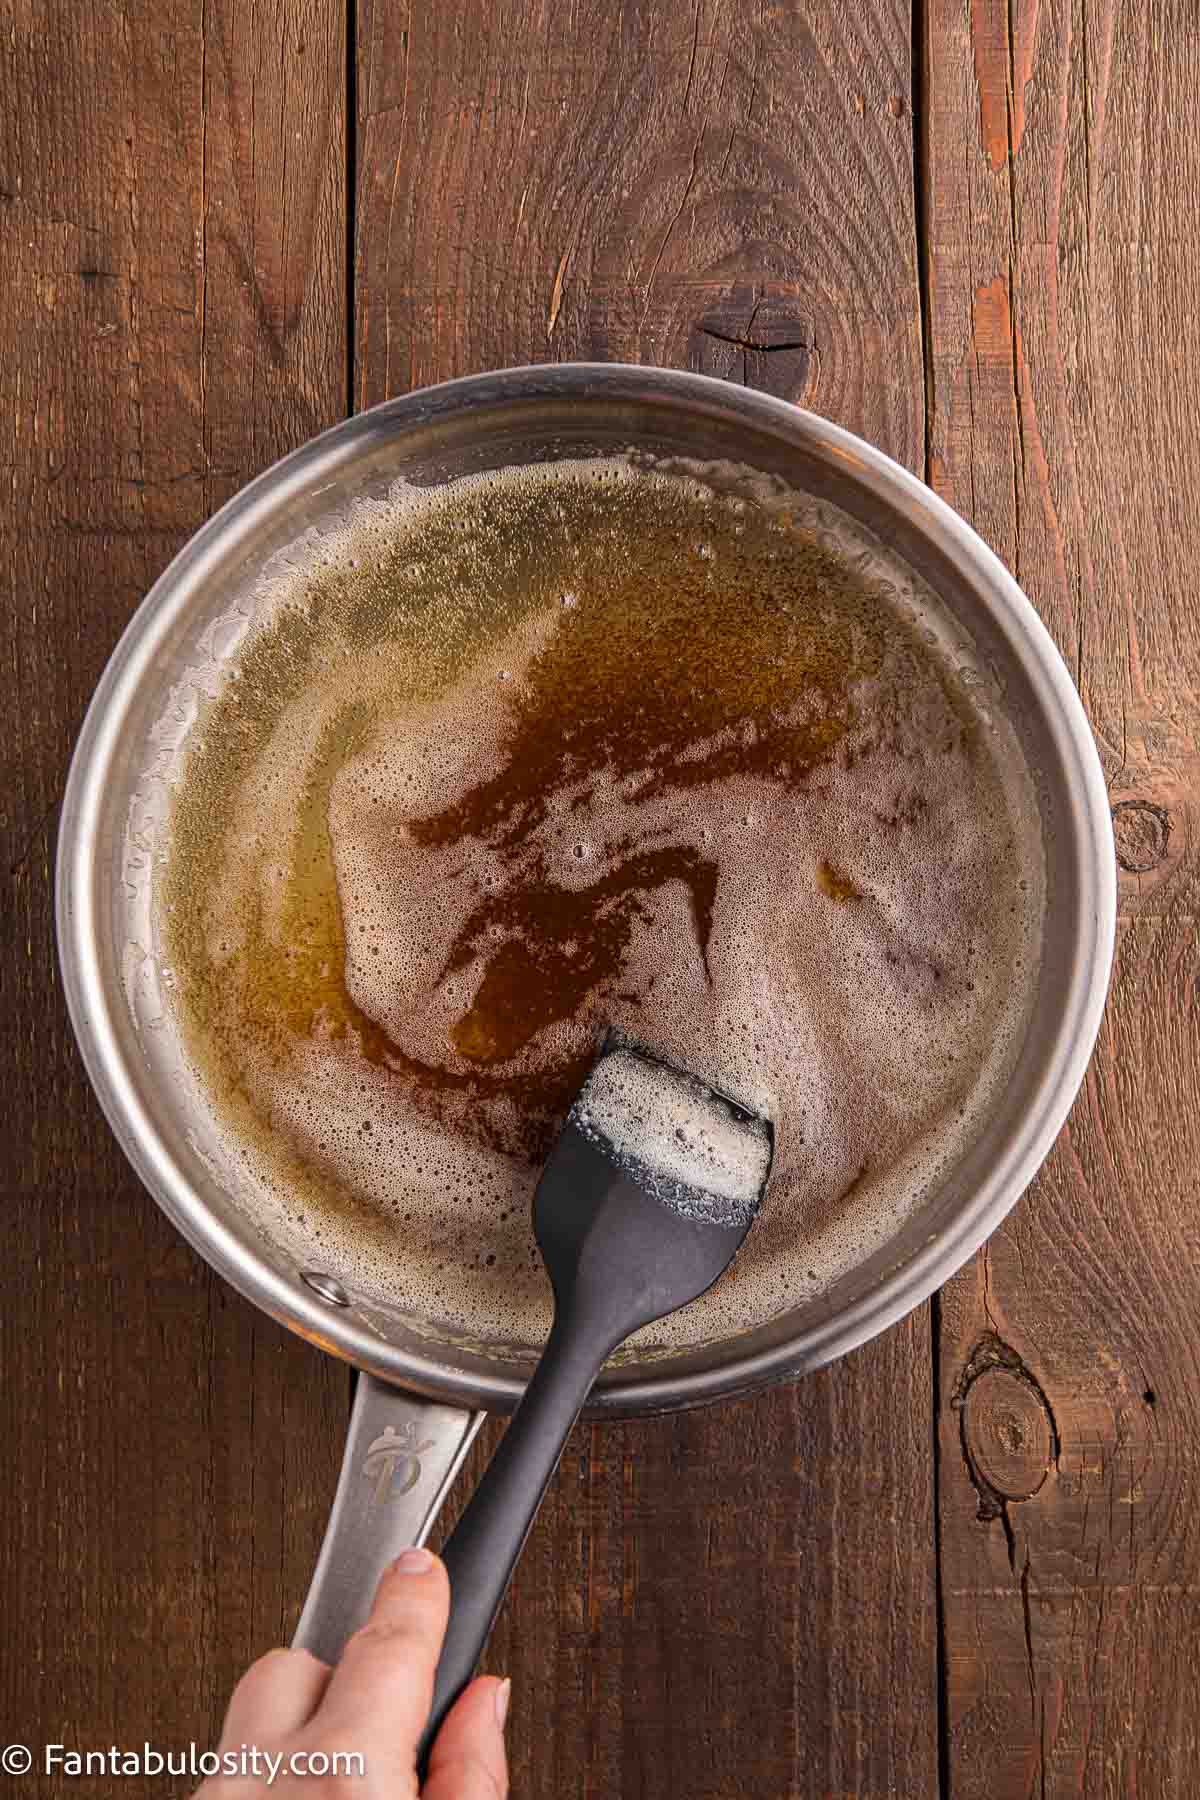
Brown the Butter
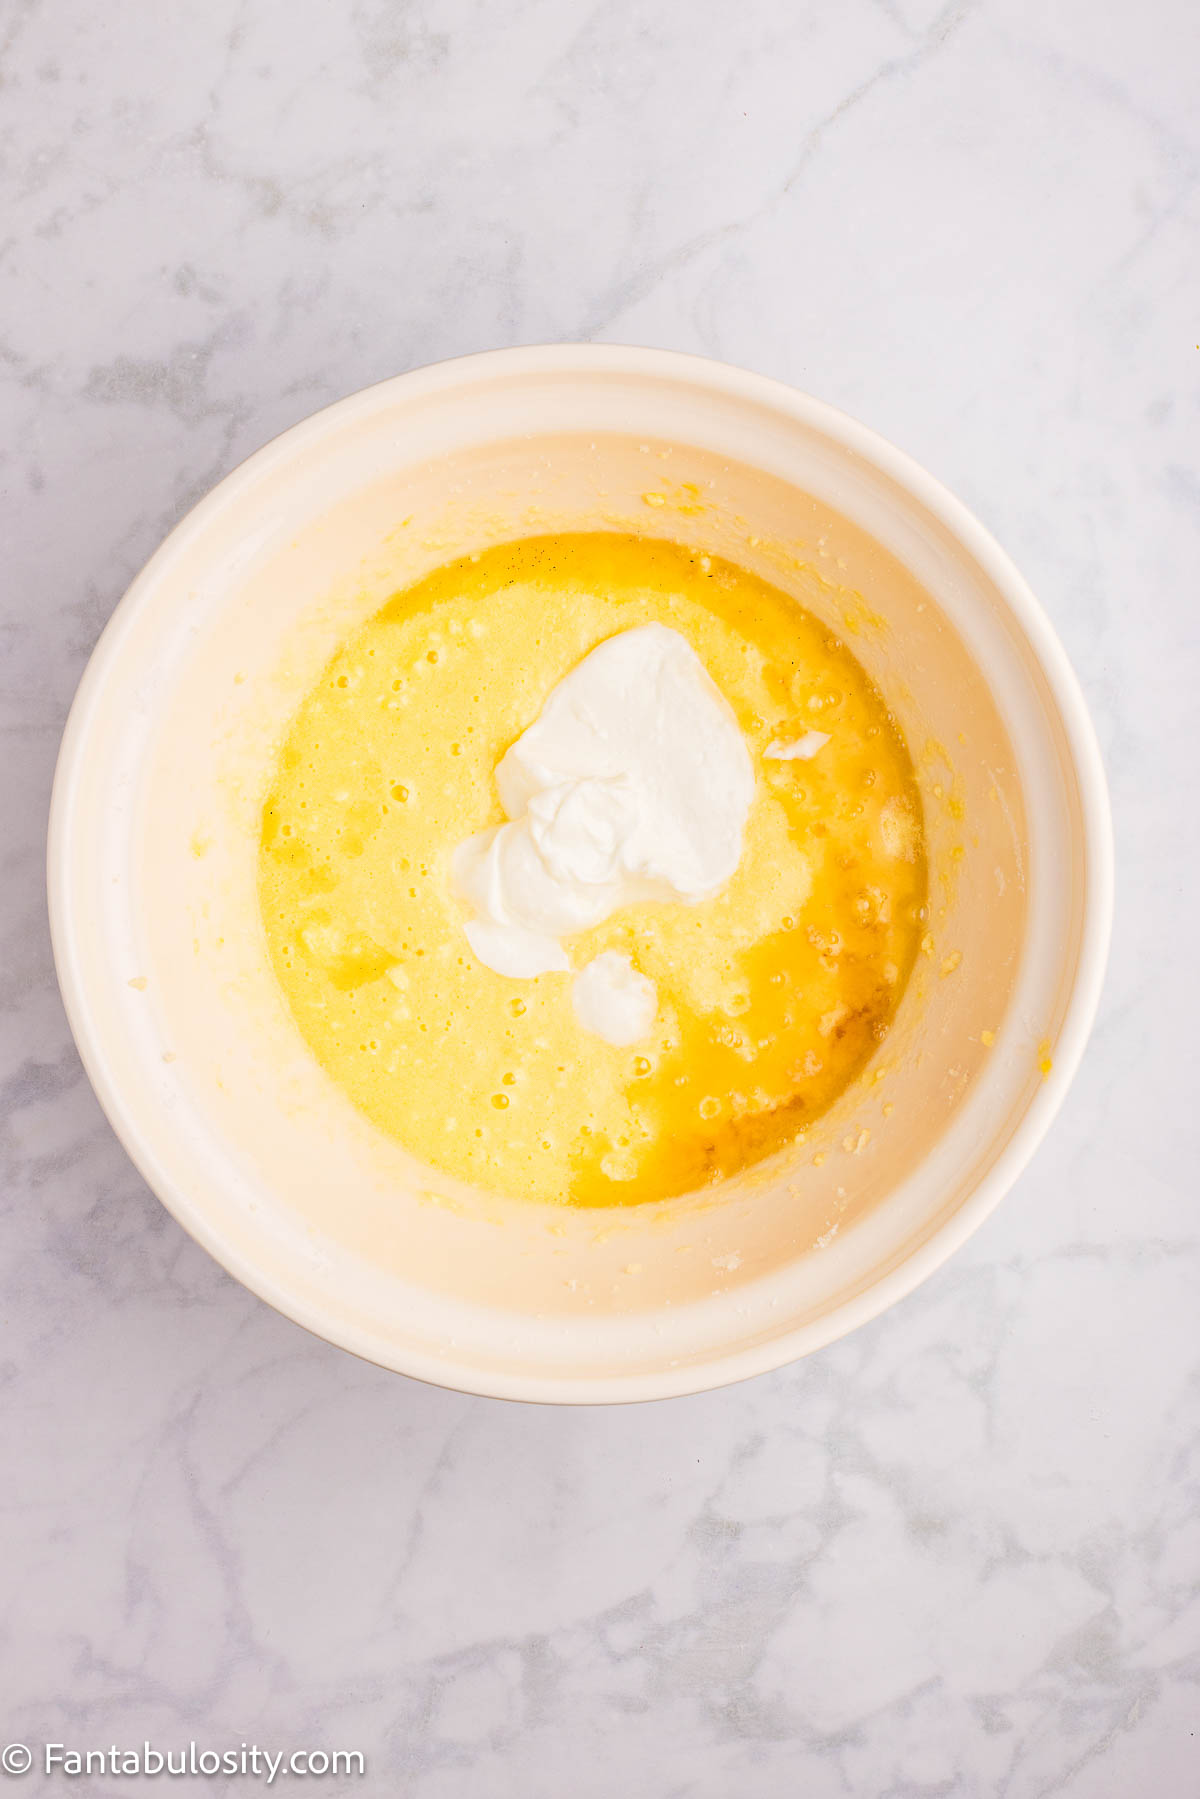
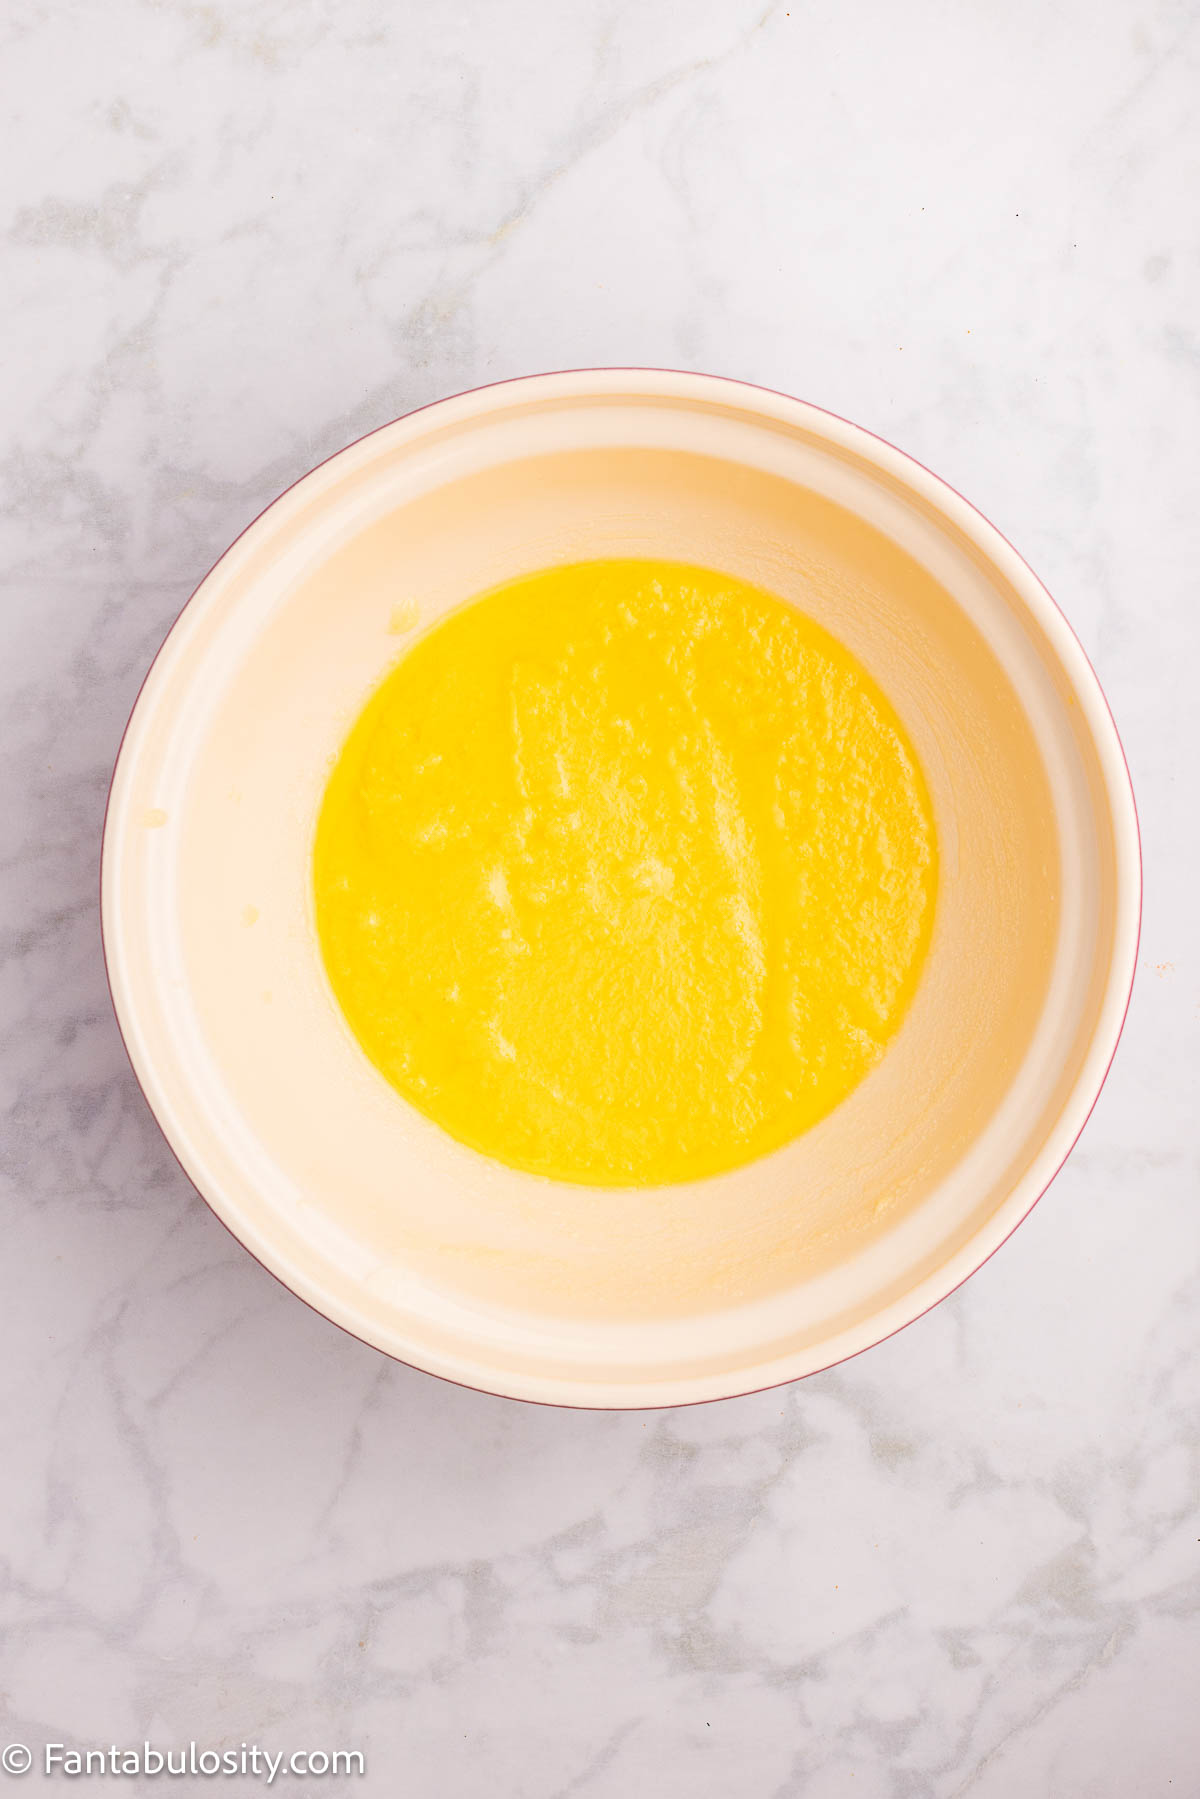
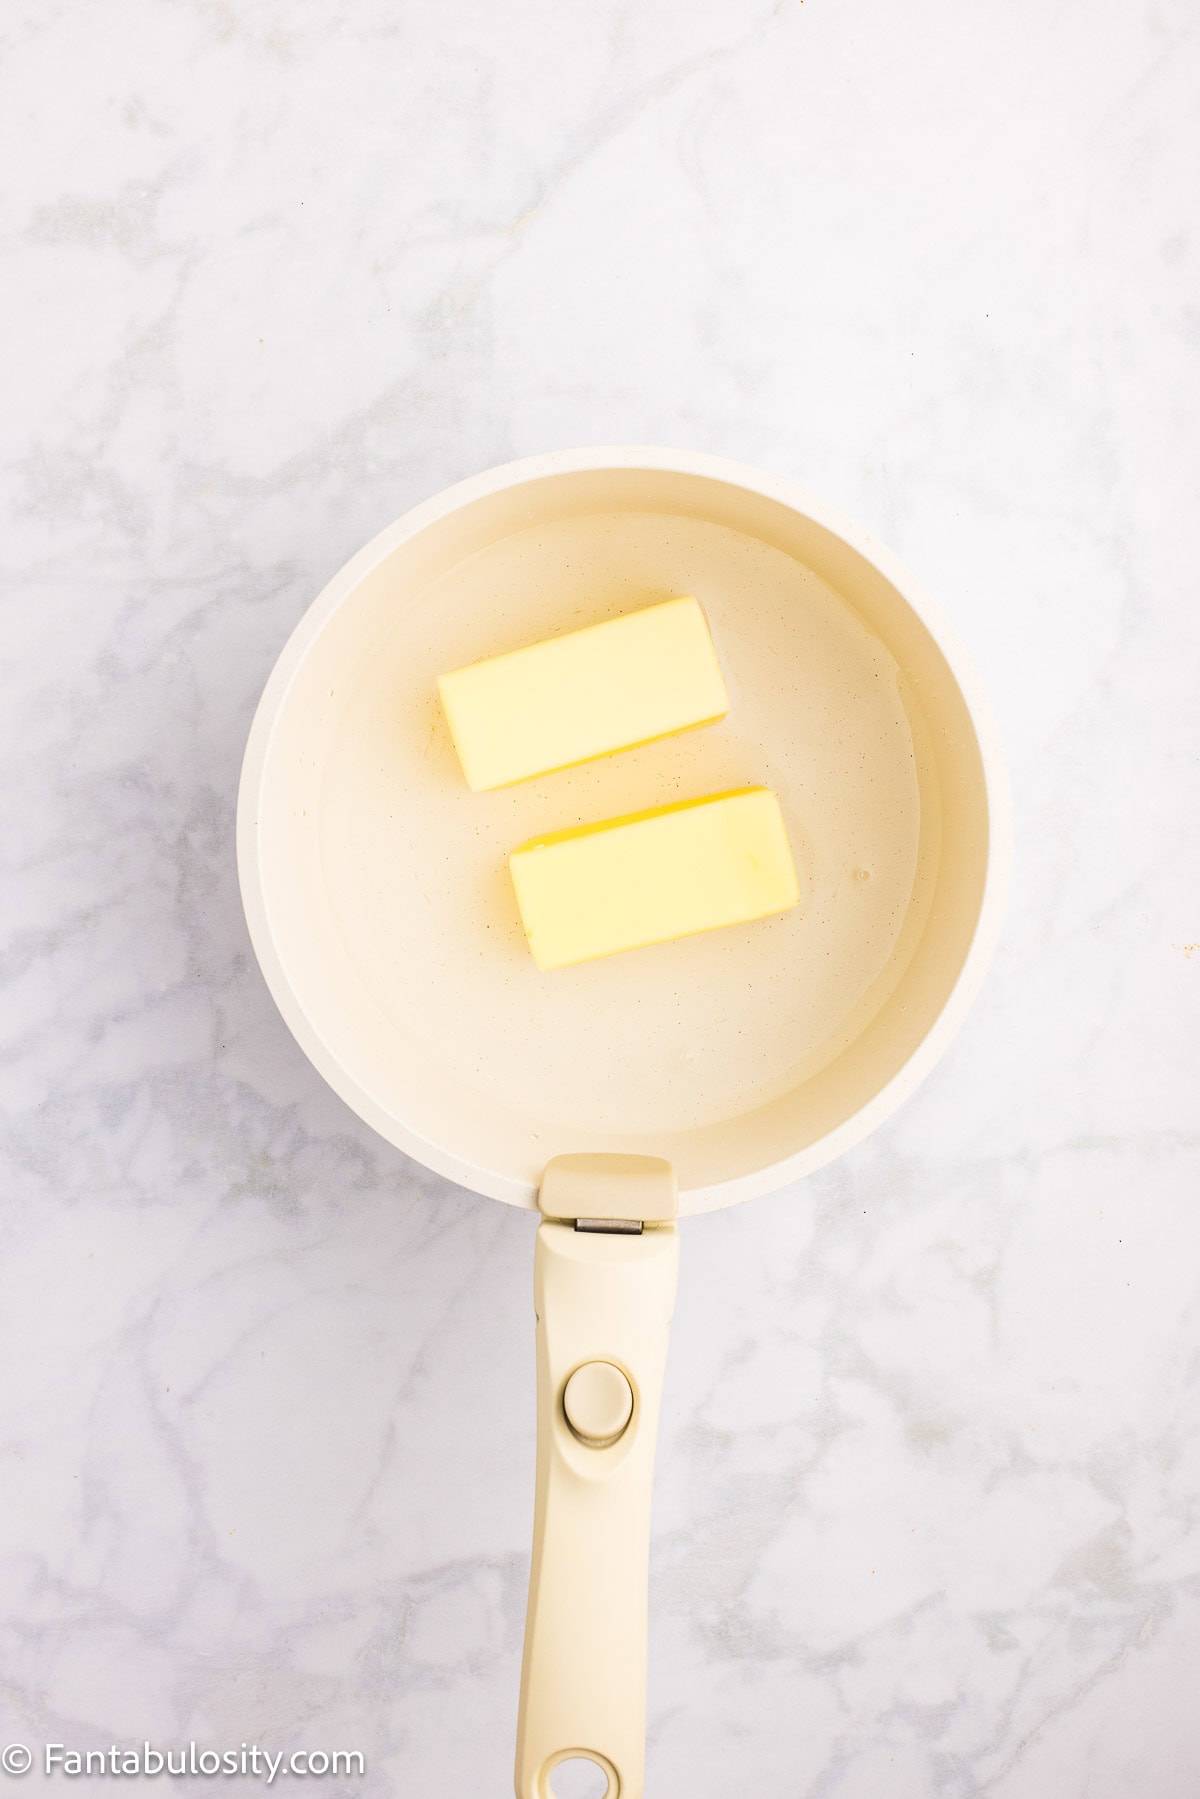
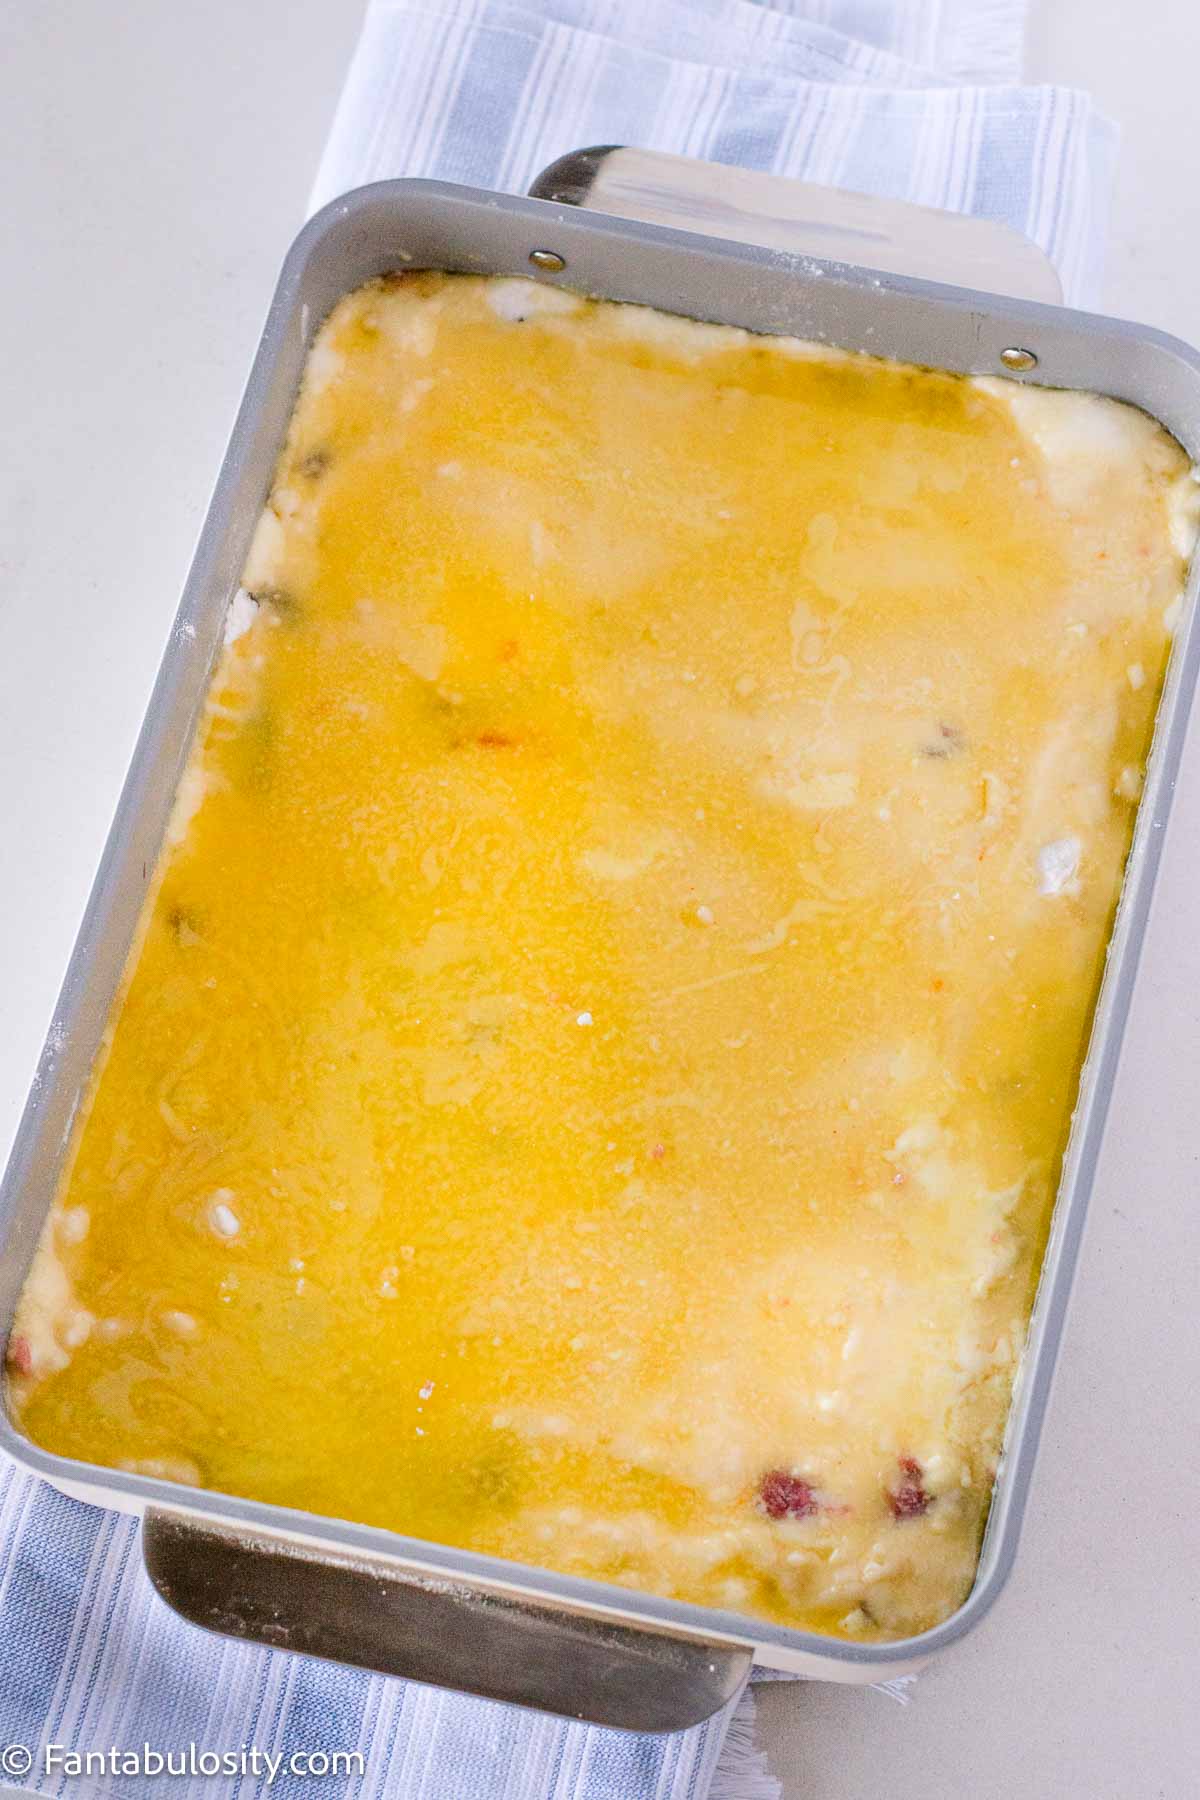
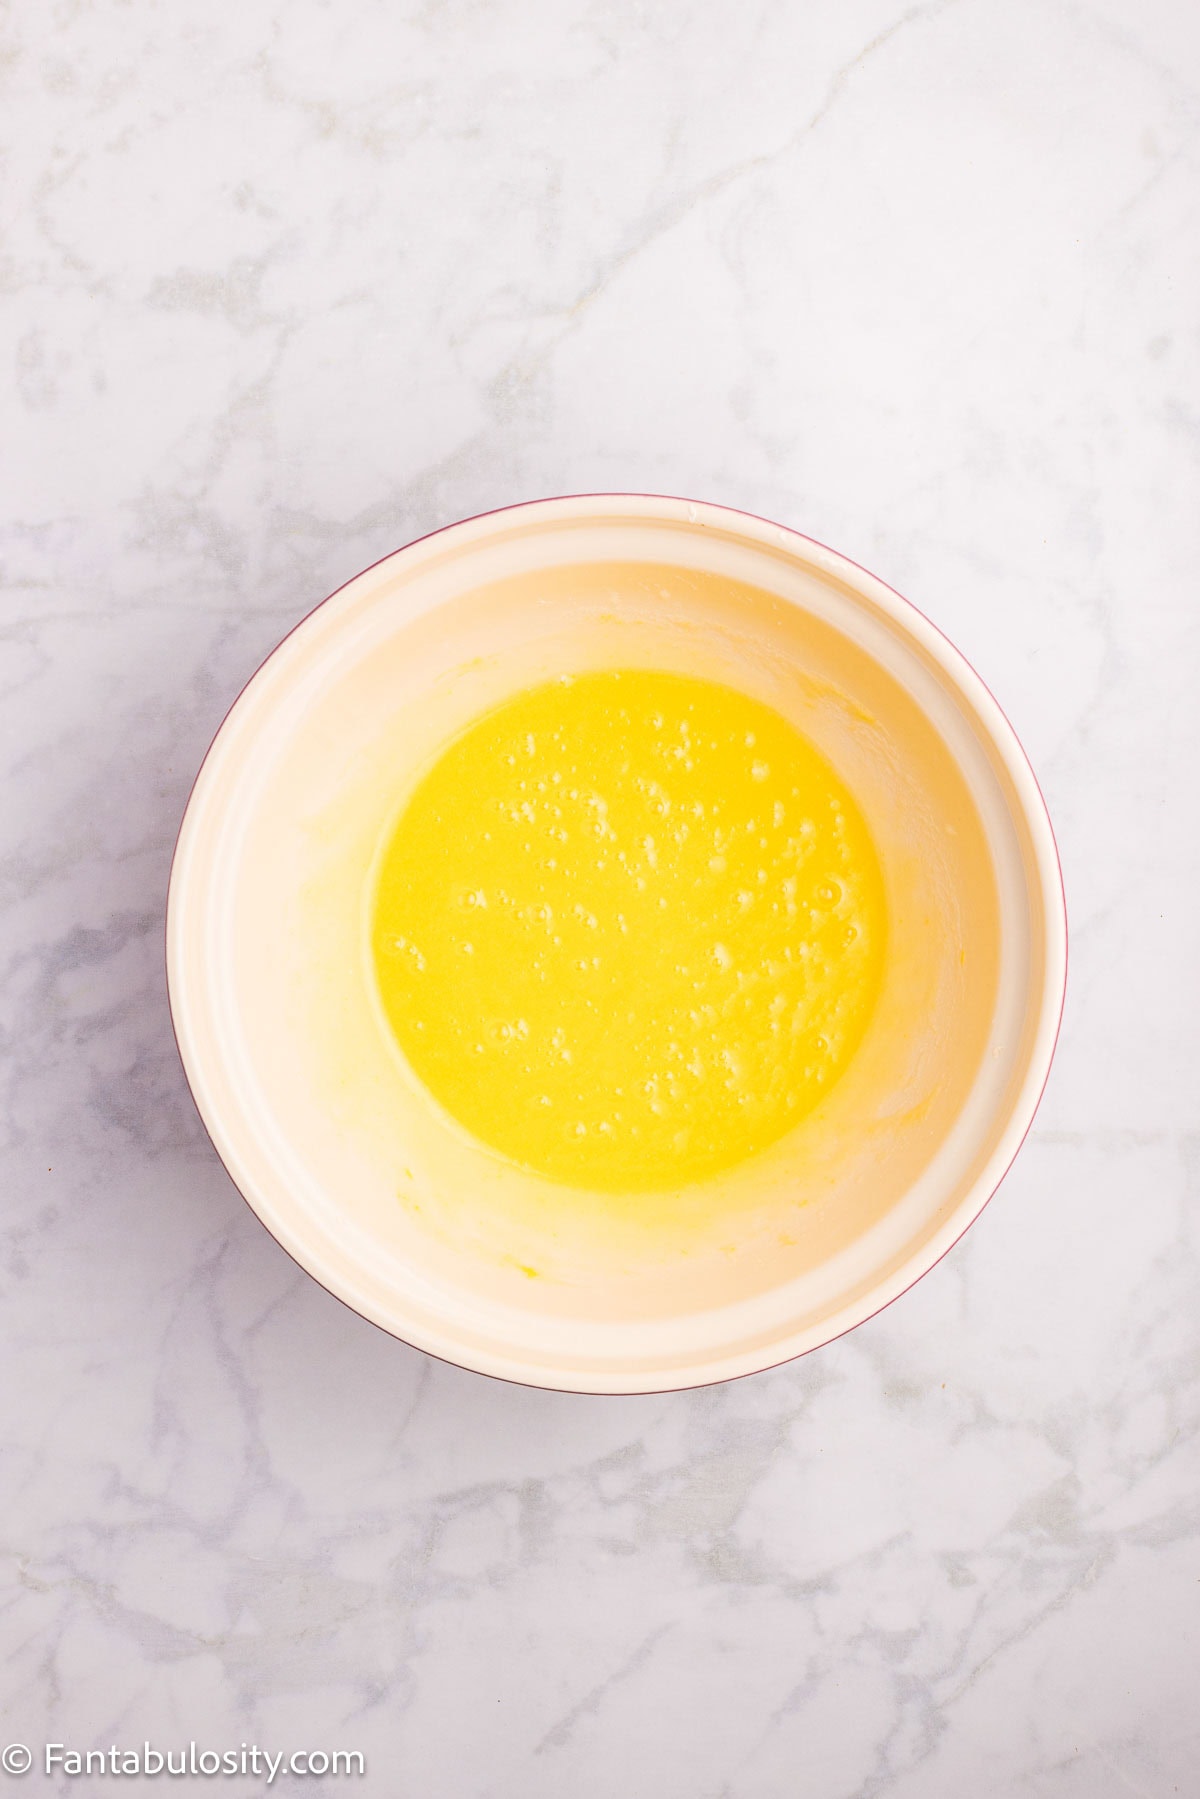
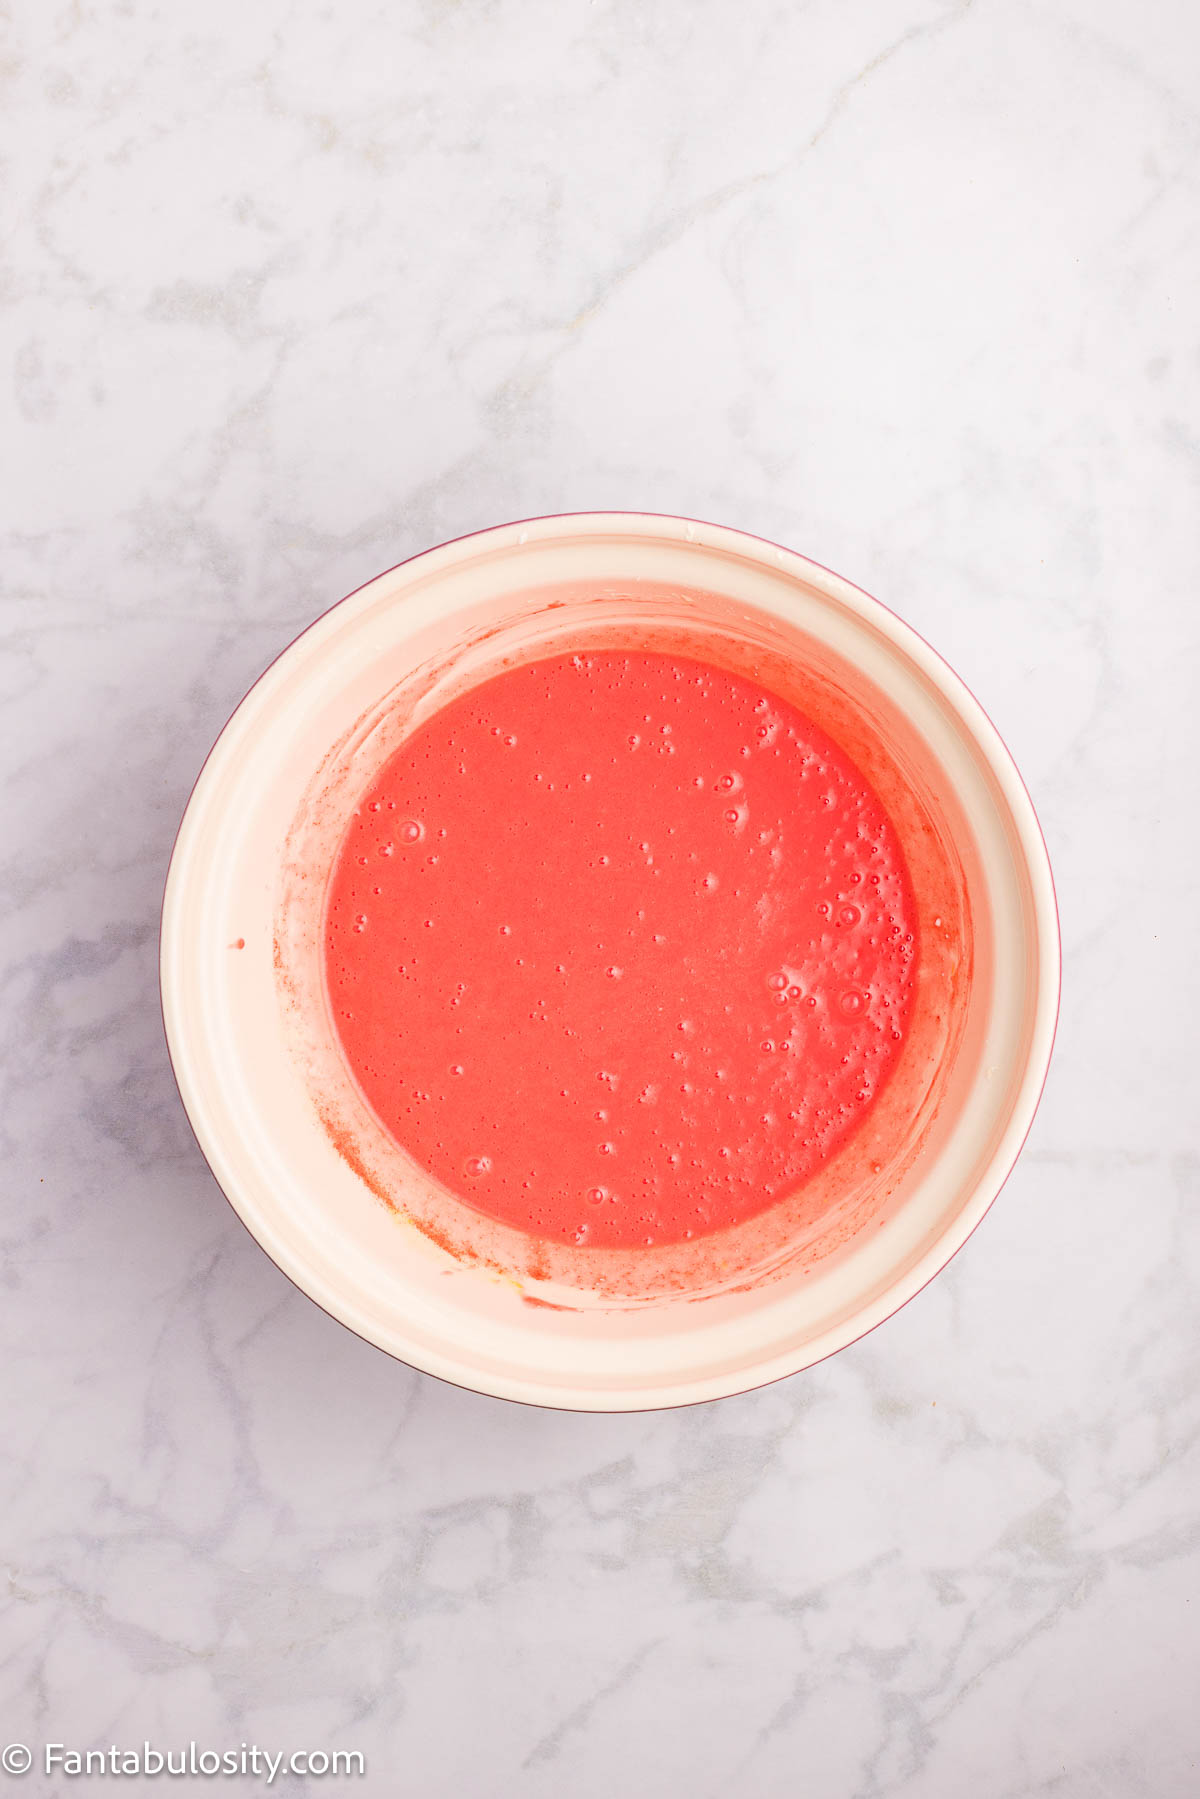
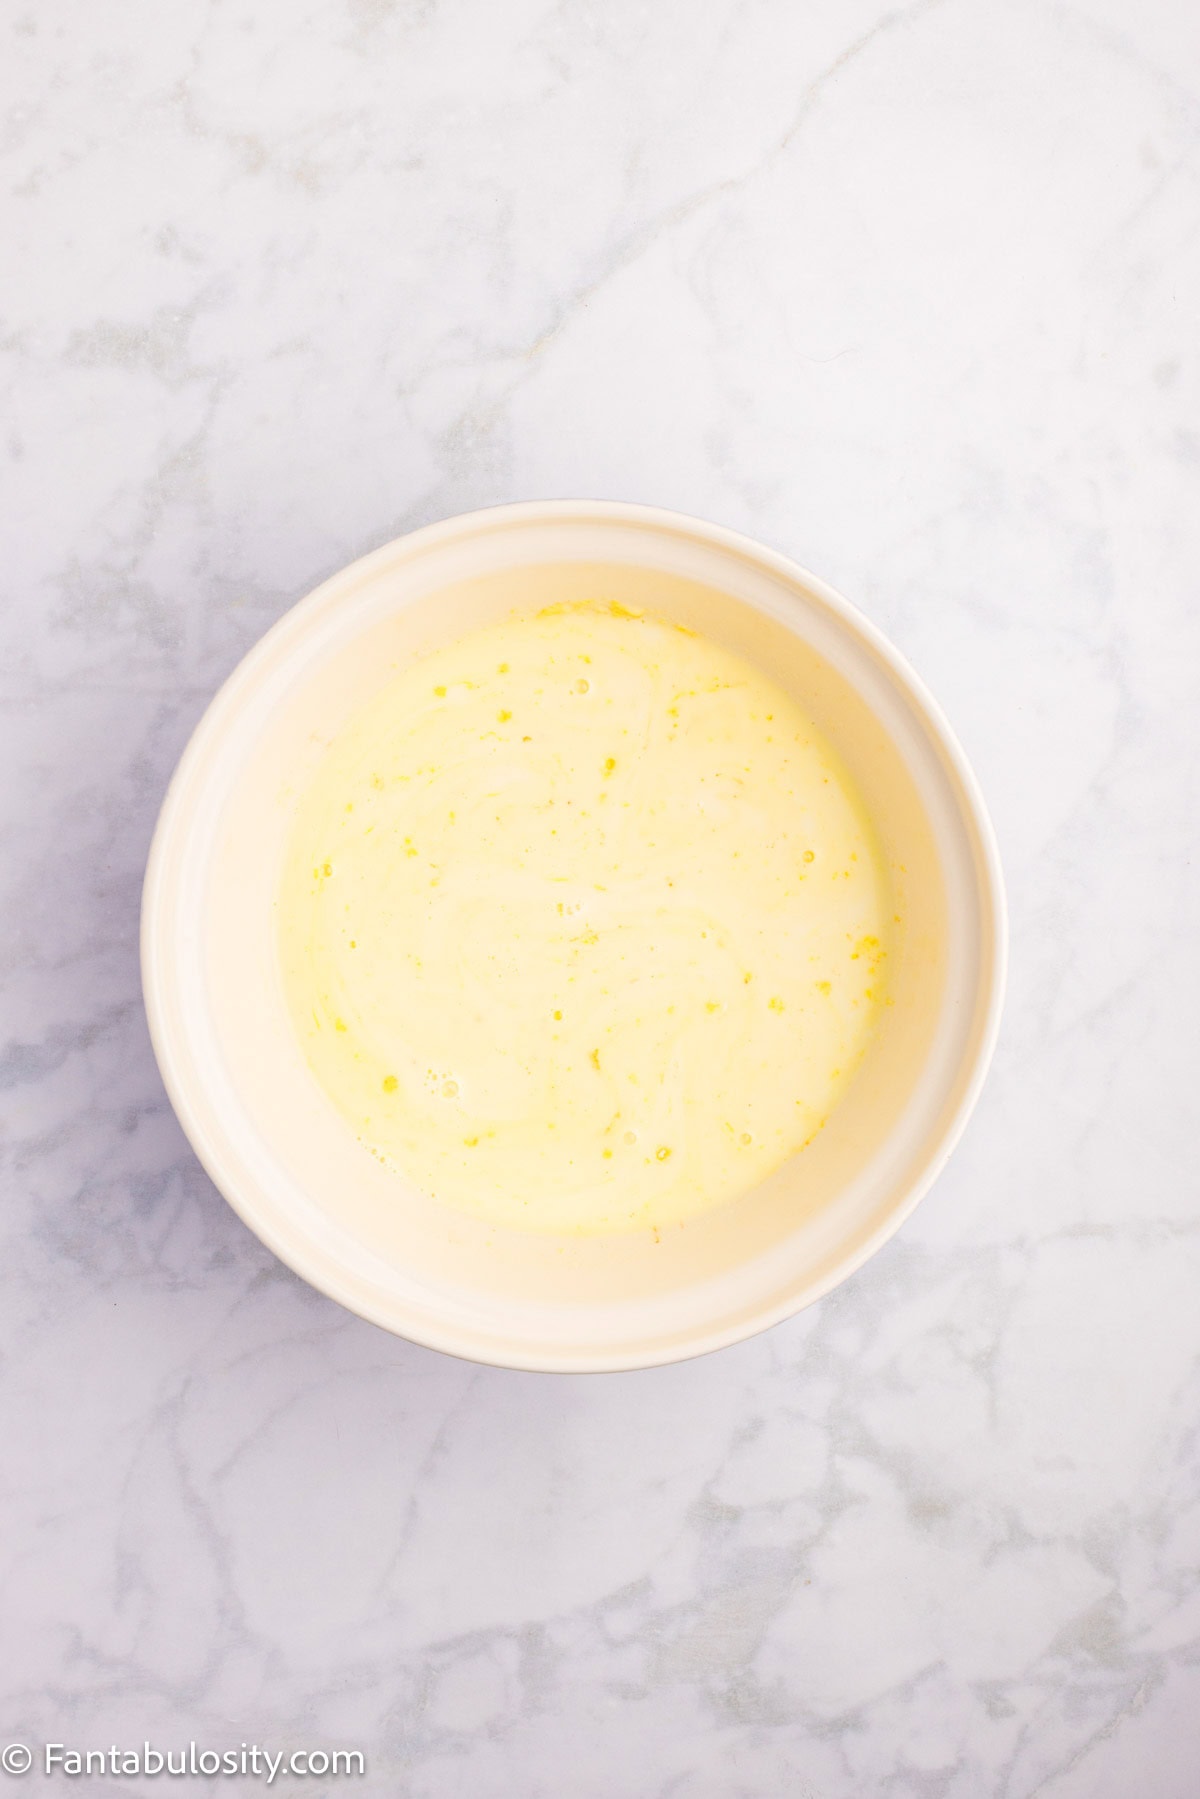
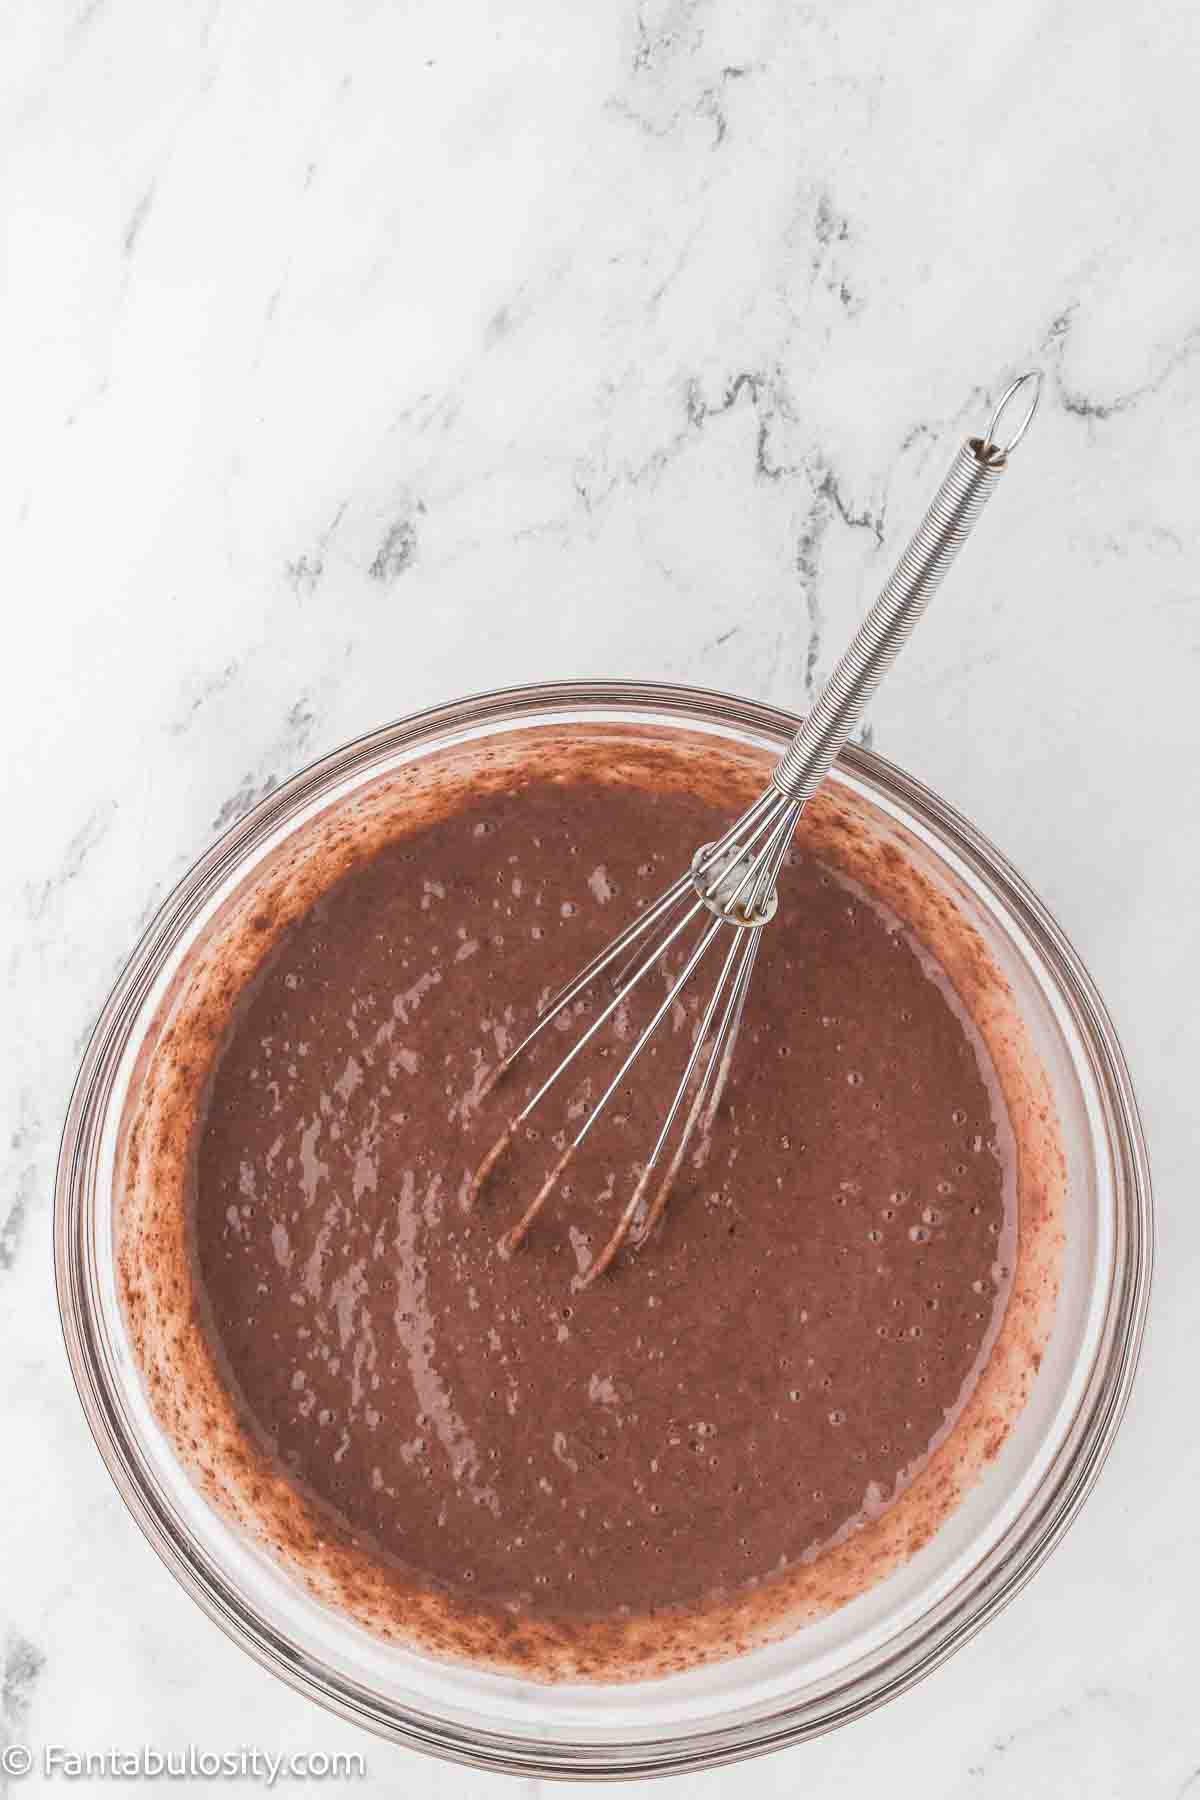
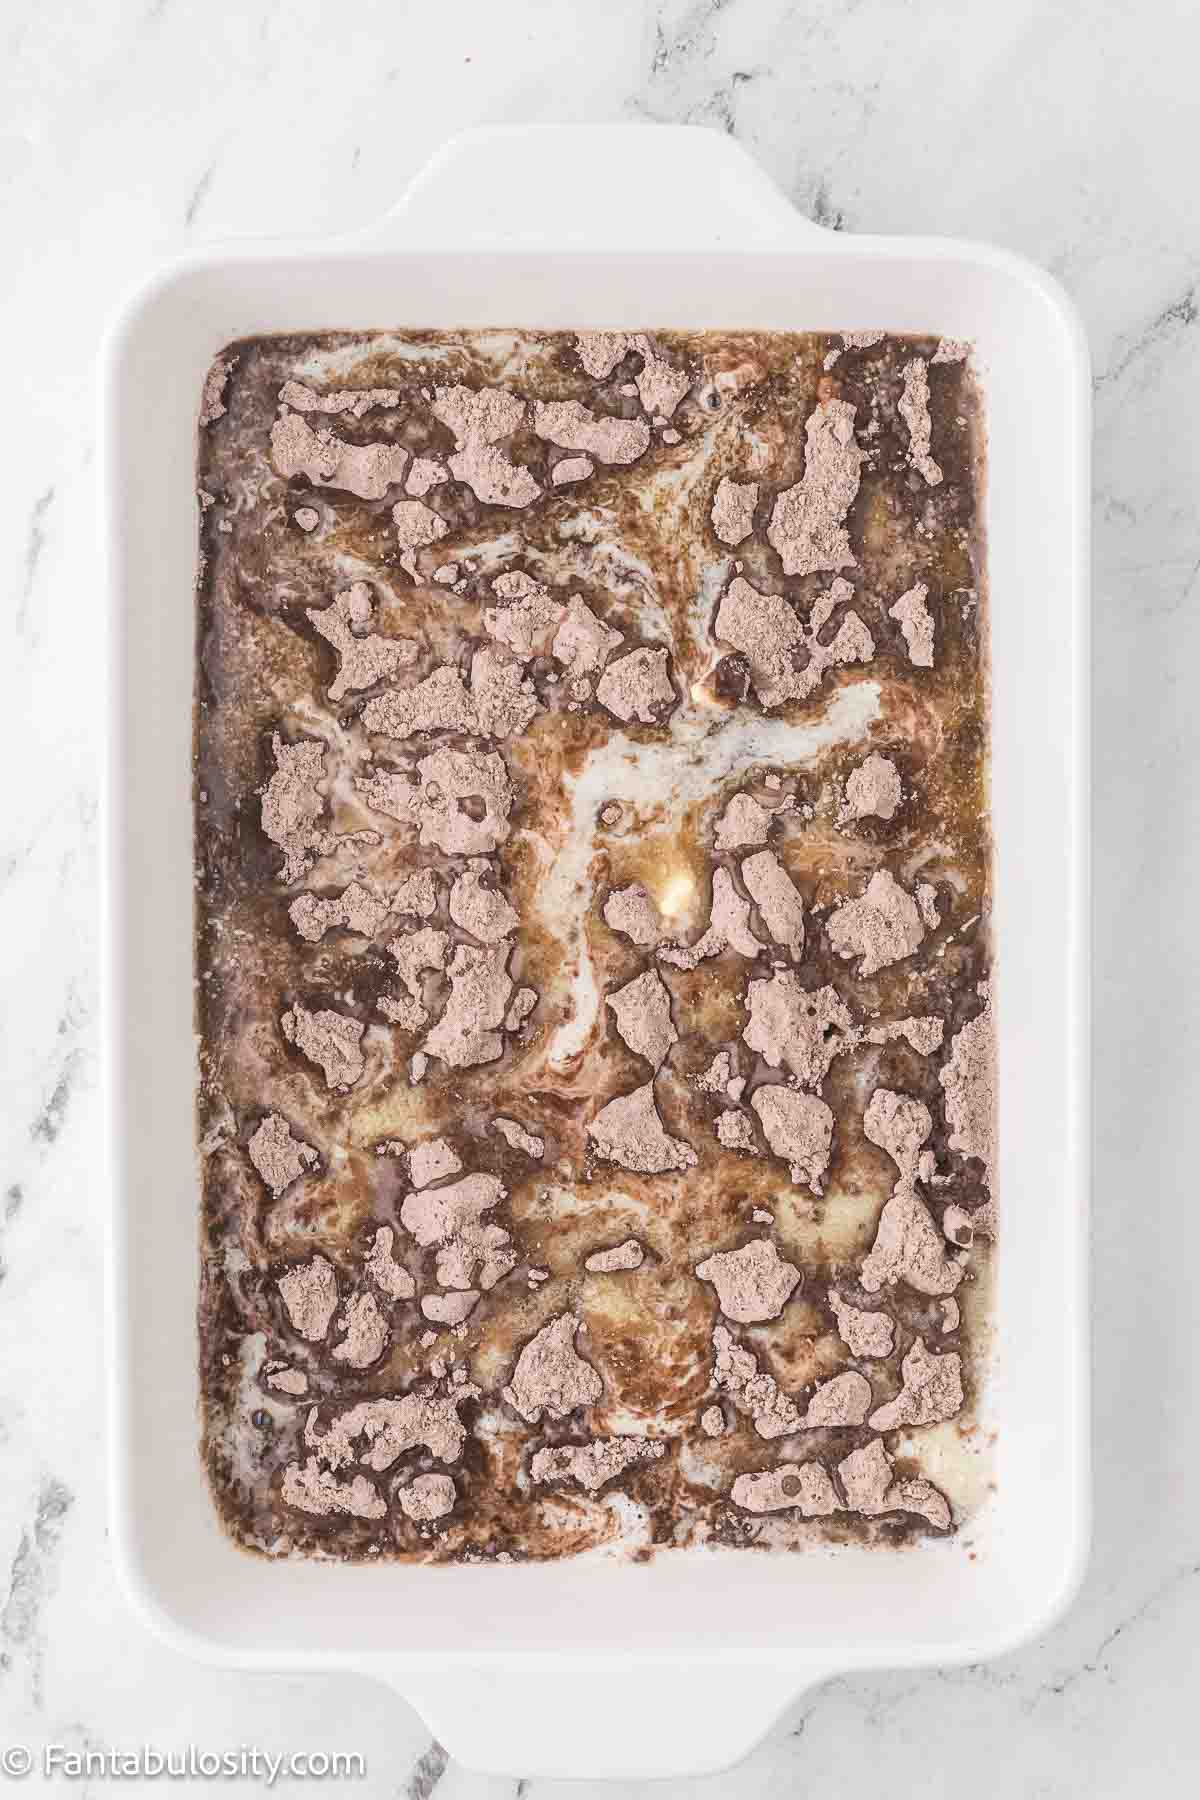
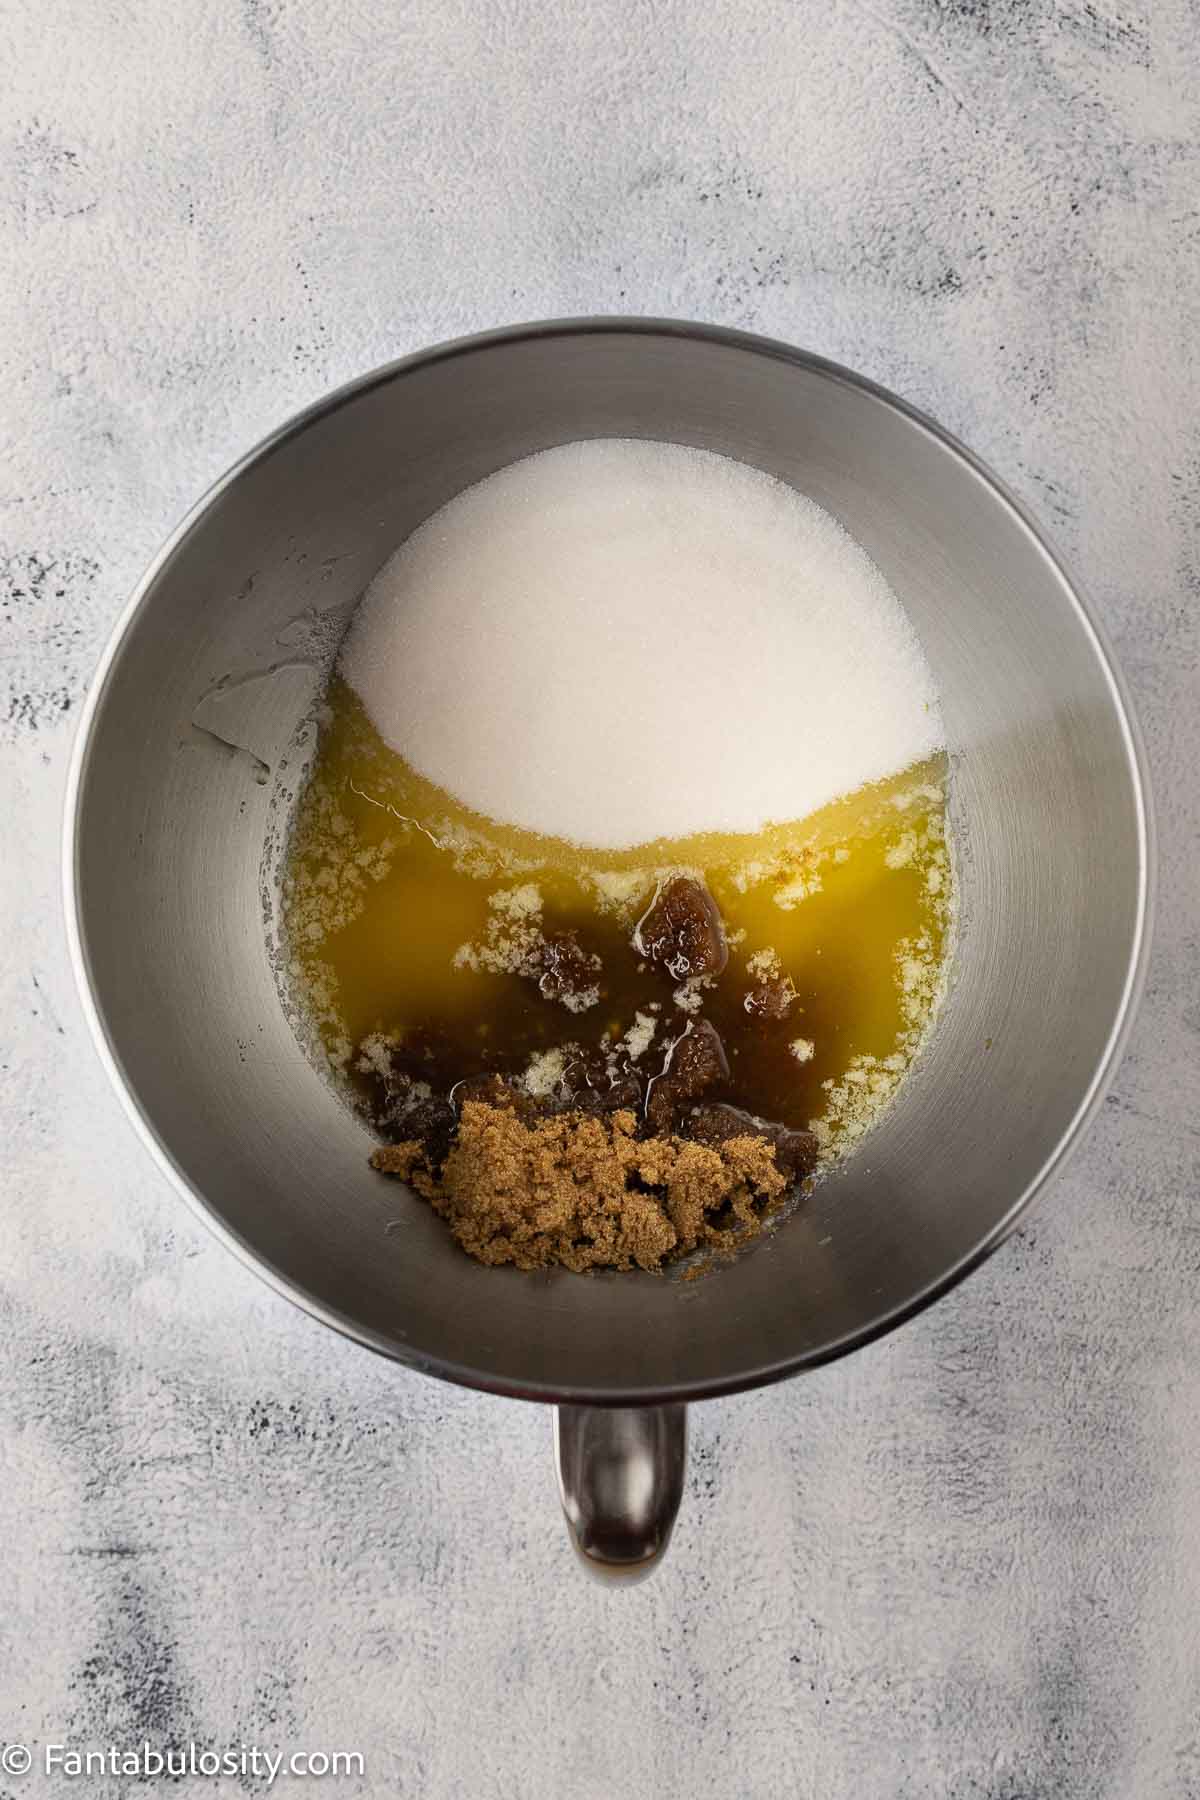
In a small saucepan over medium heat, cook 1 cup unsalted butter until the milk solids turn golden brown and the butter smells nutty. Remove from the heat and let it cool for about 10 minutes. It should still be pourable but not hot.
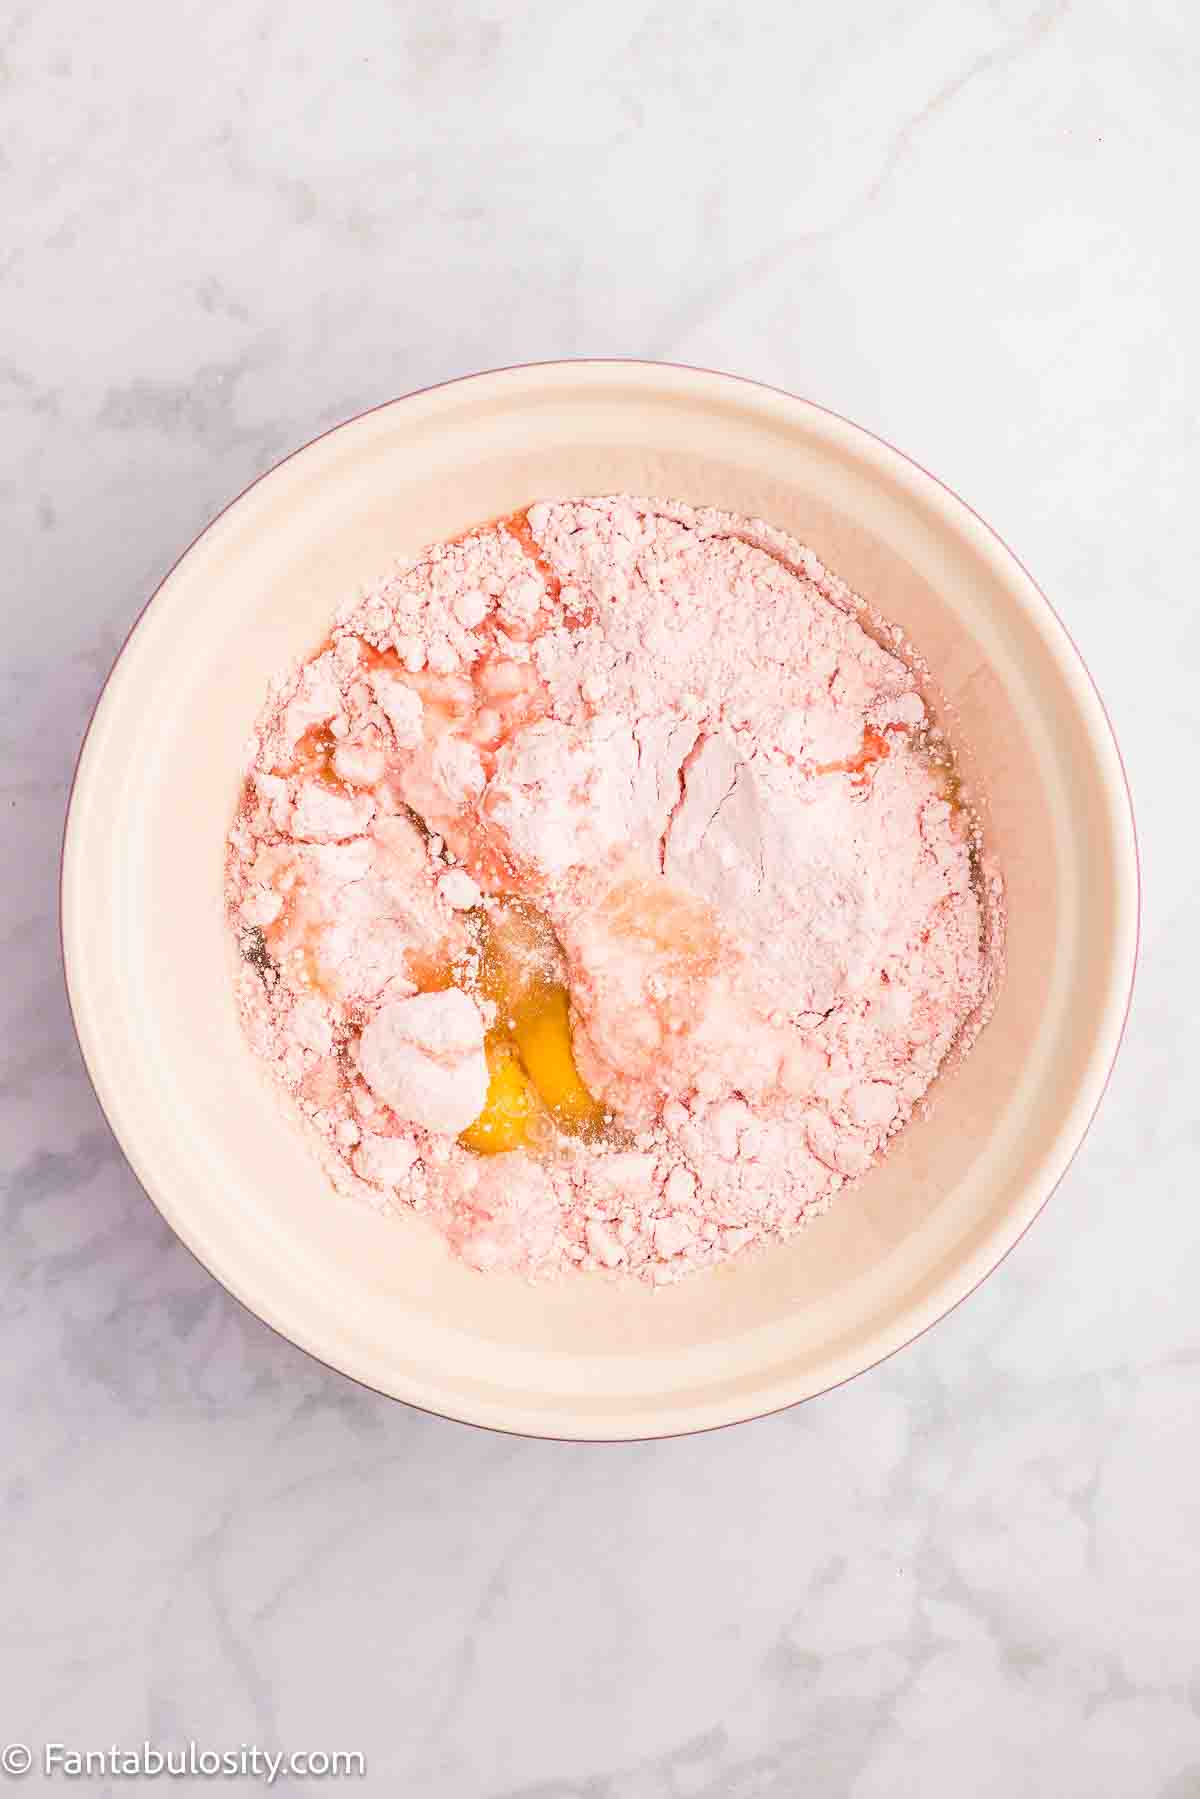
Prepare the Cake Batter
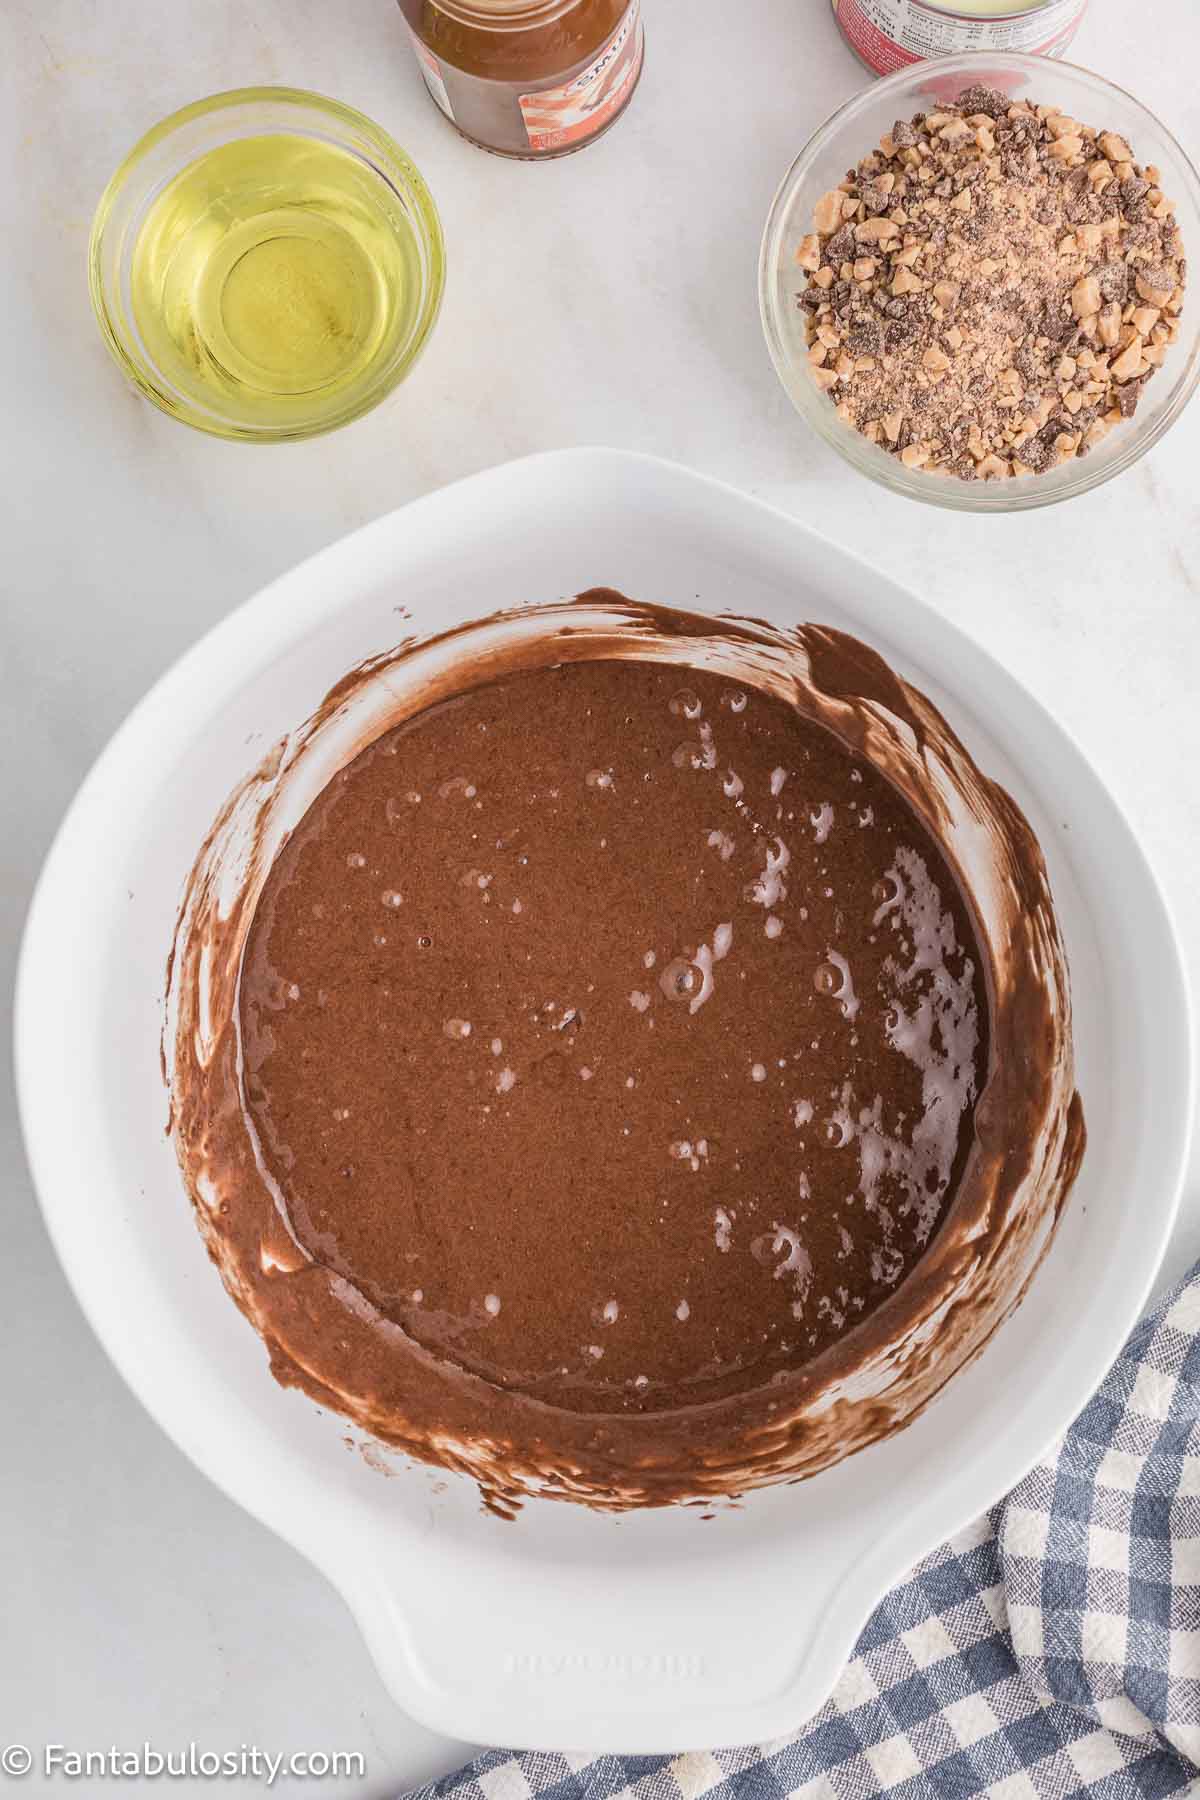
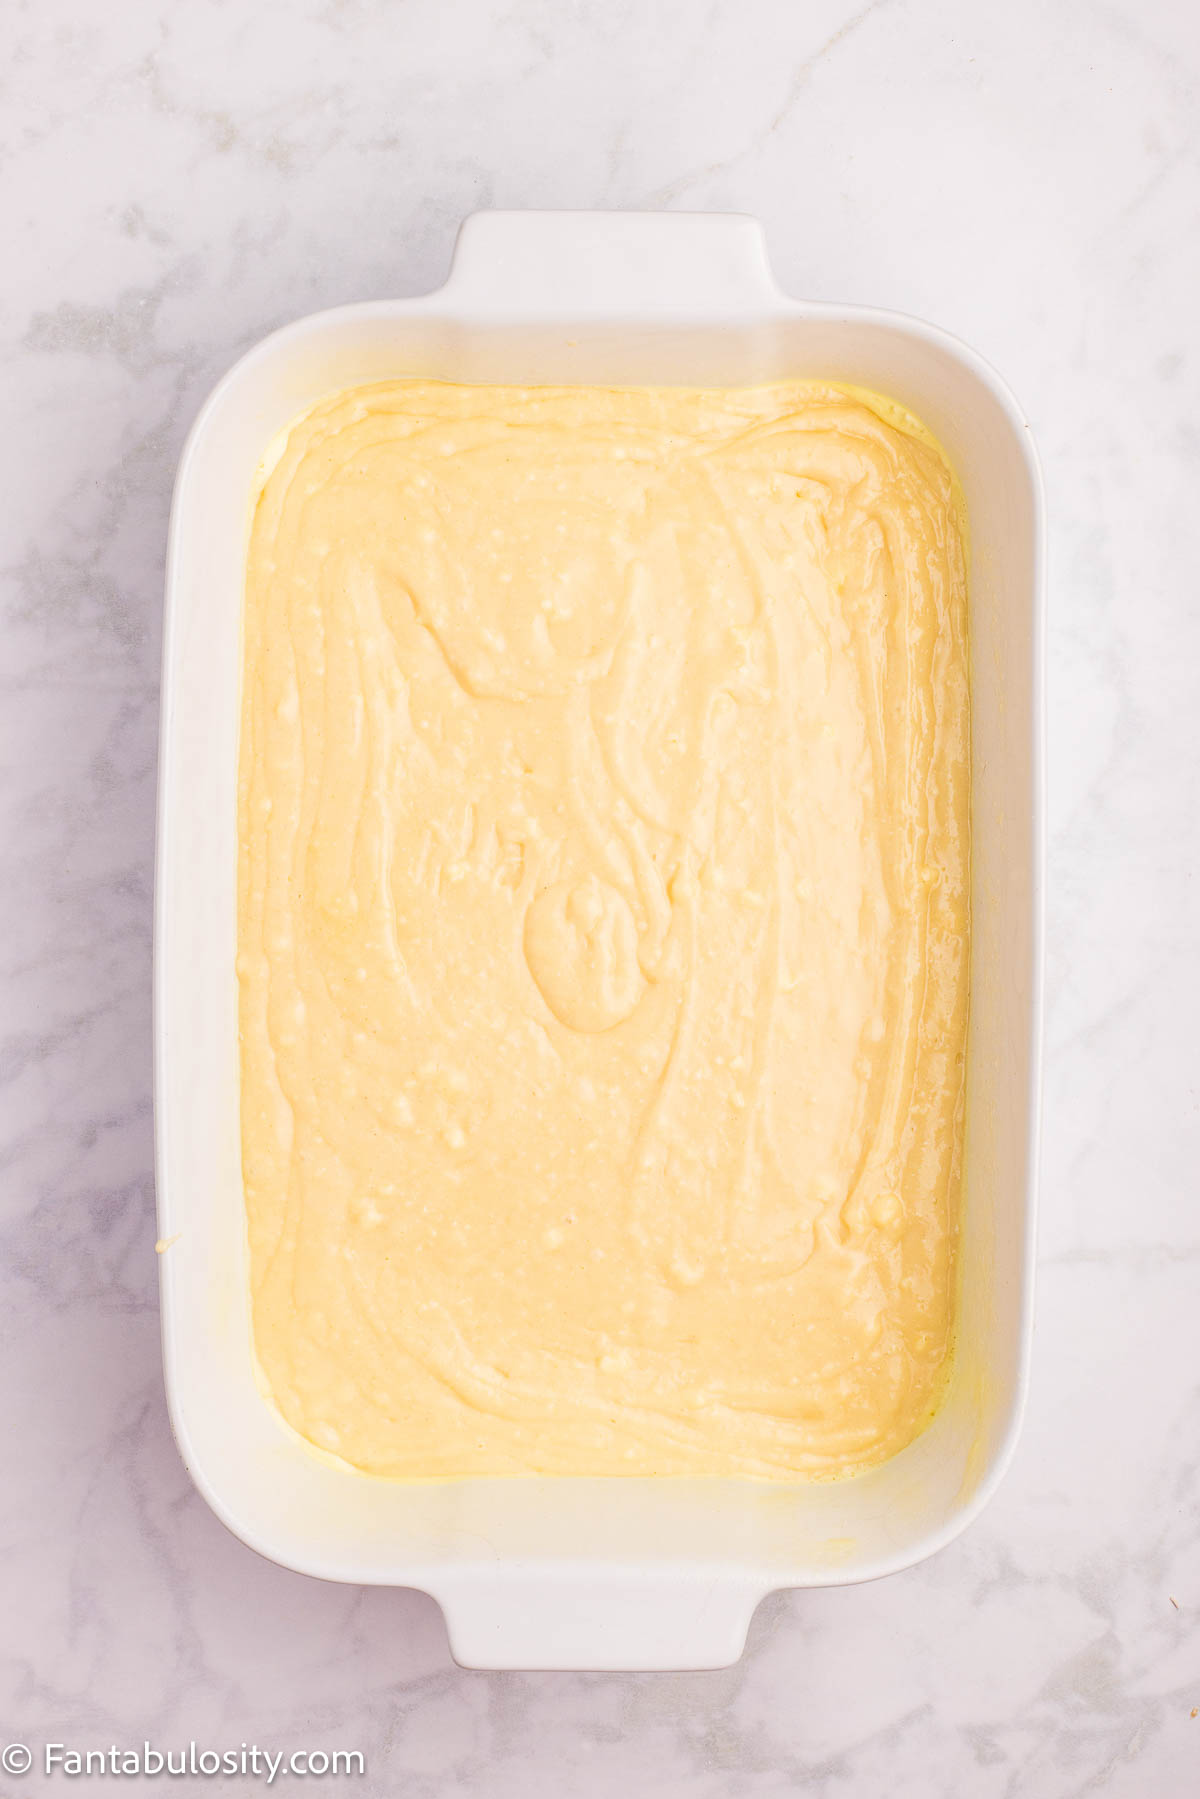
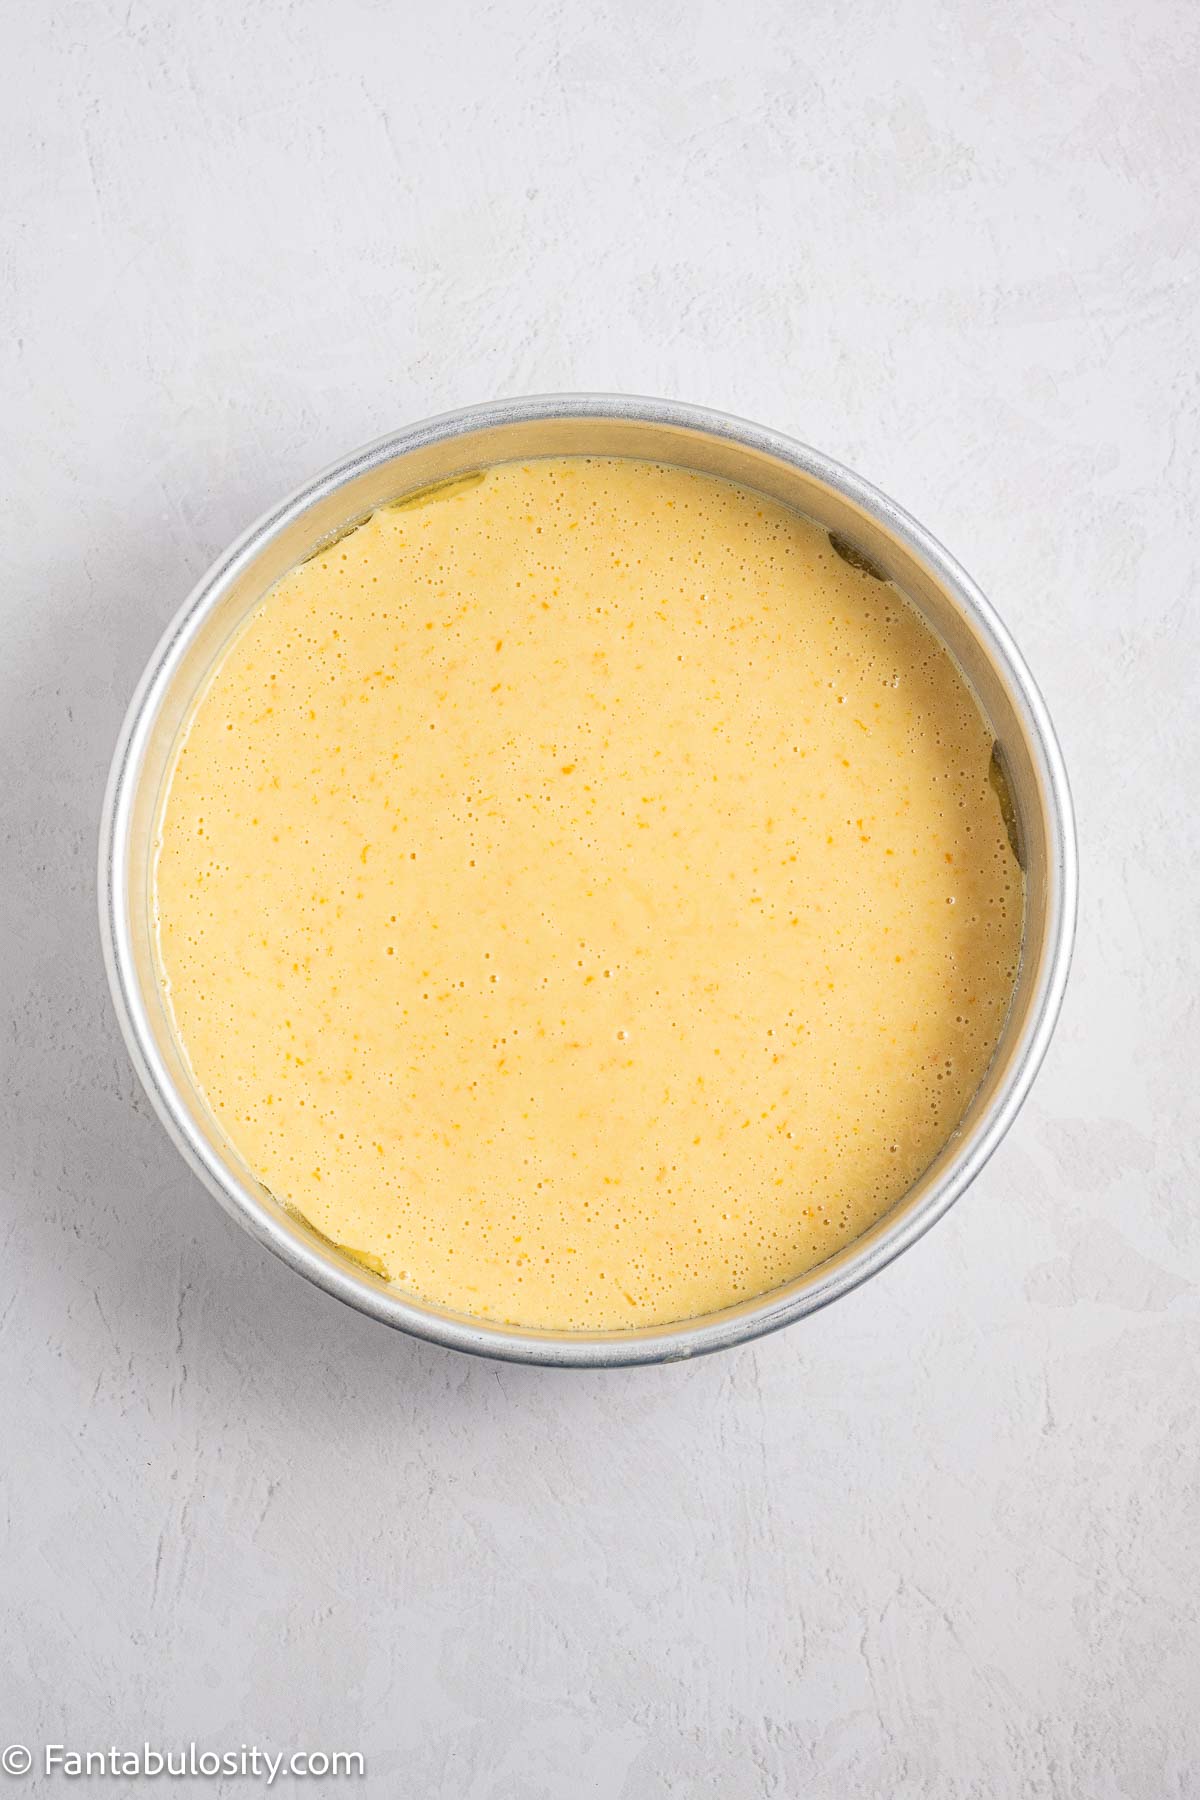
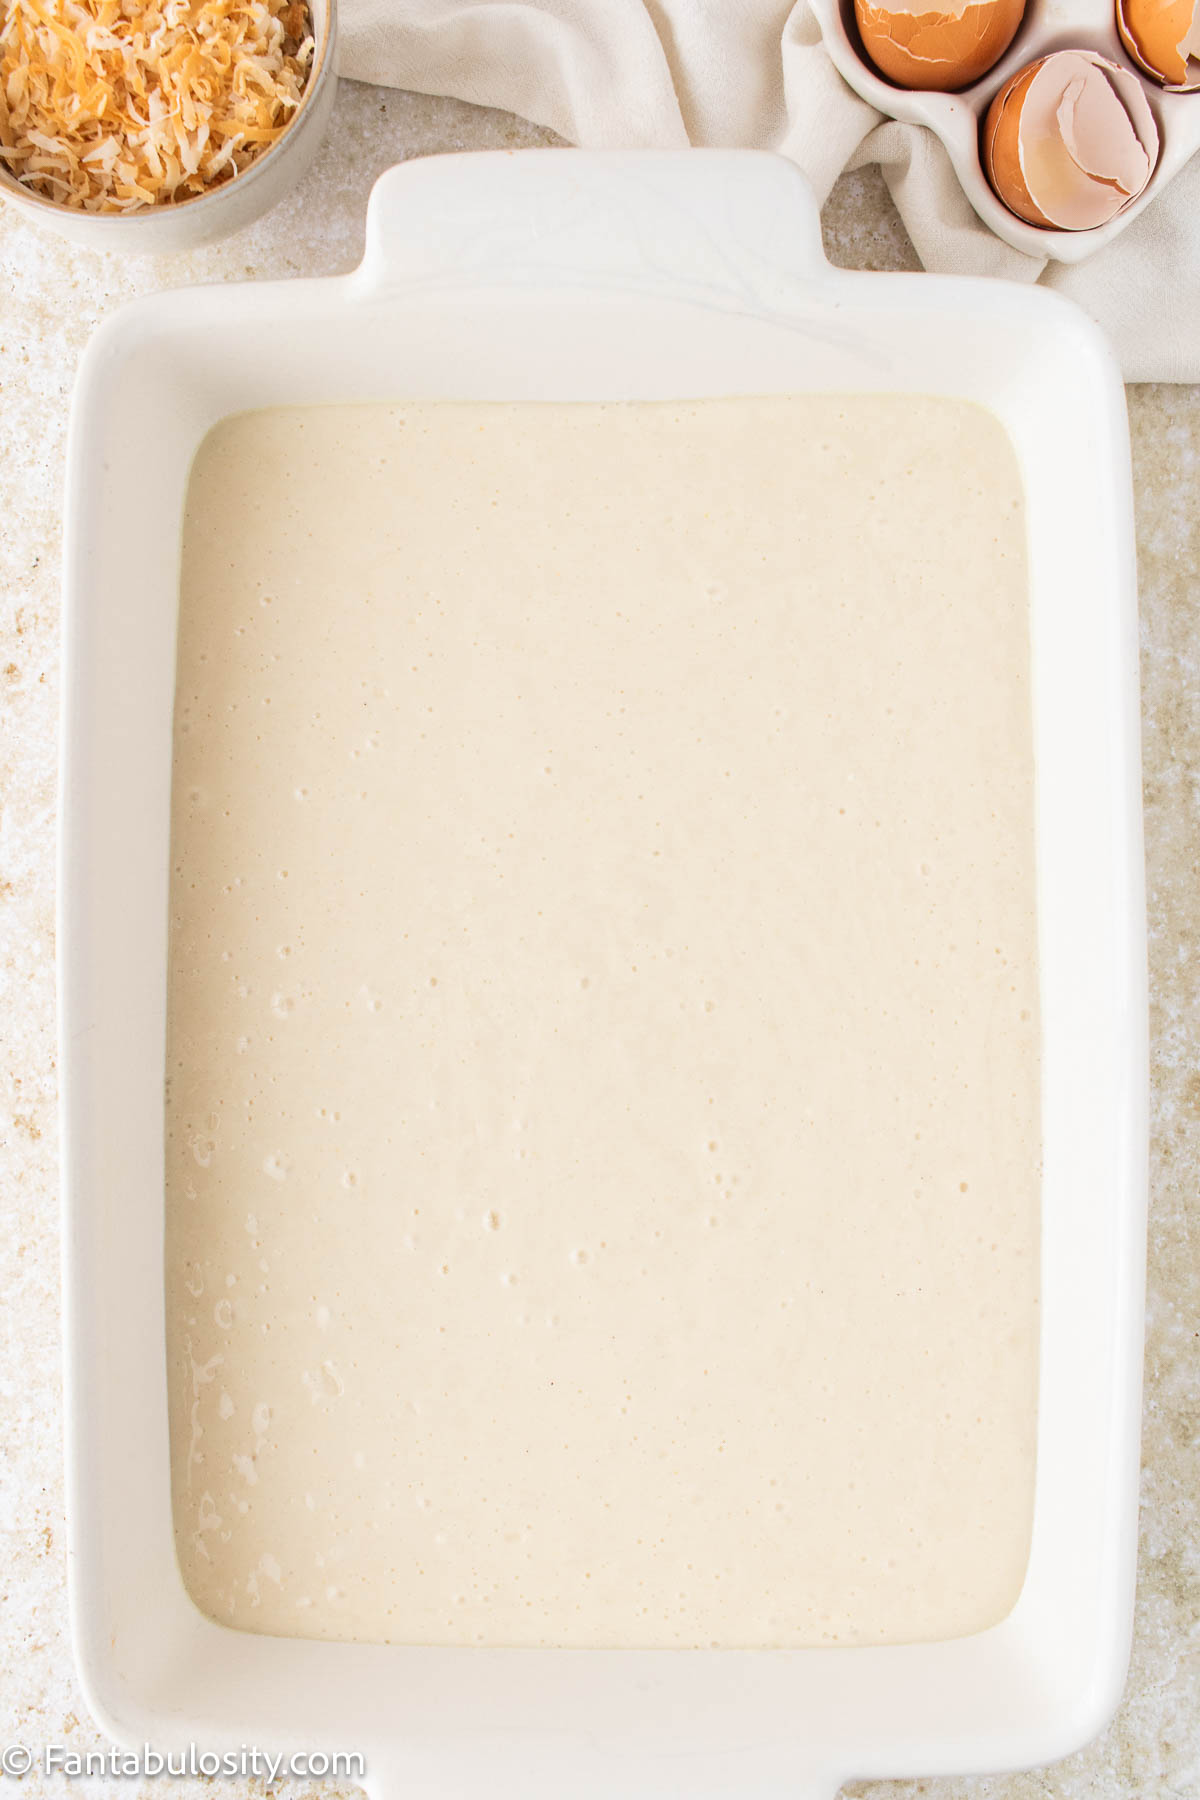
Preheat the oven to 350°F and grease a 9×13-inch baking dish.
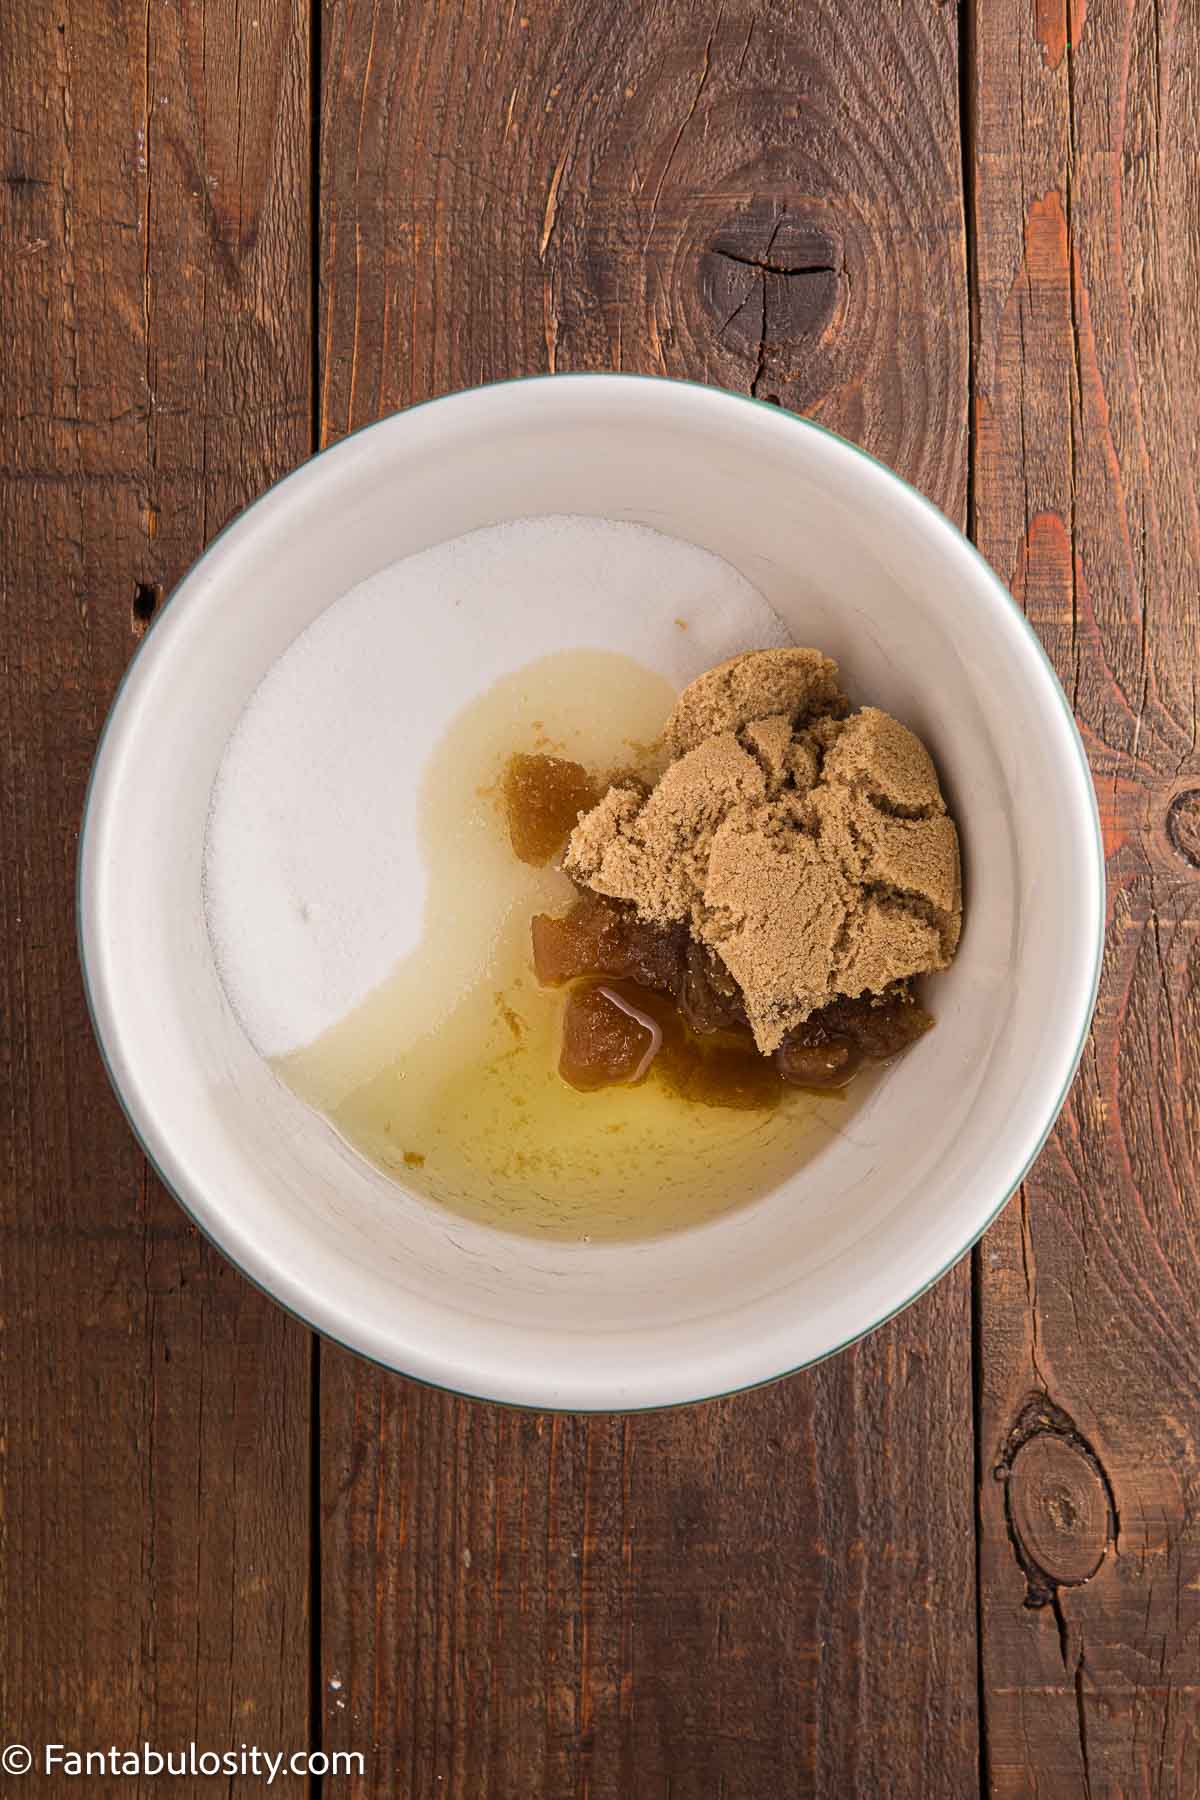
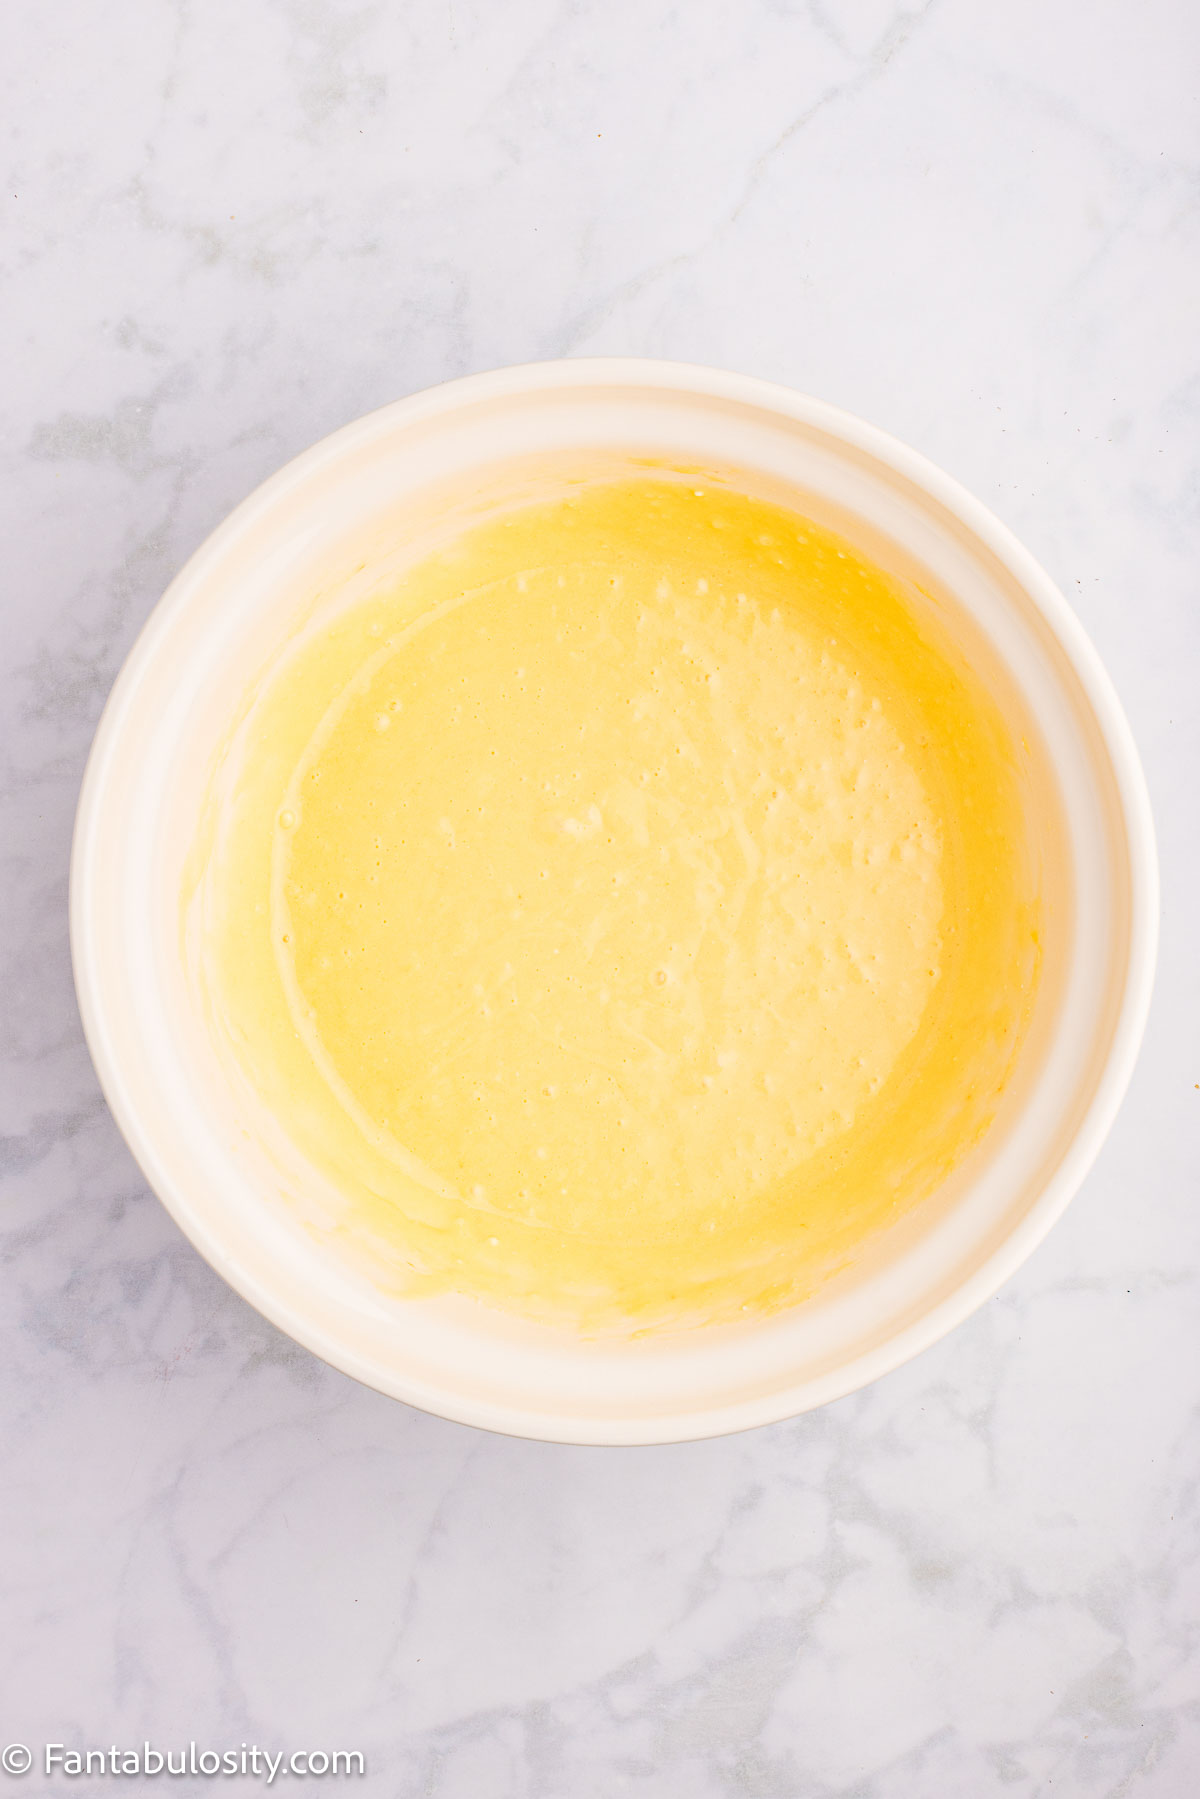
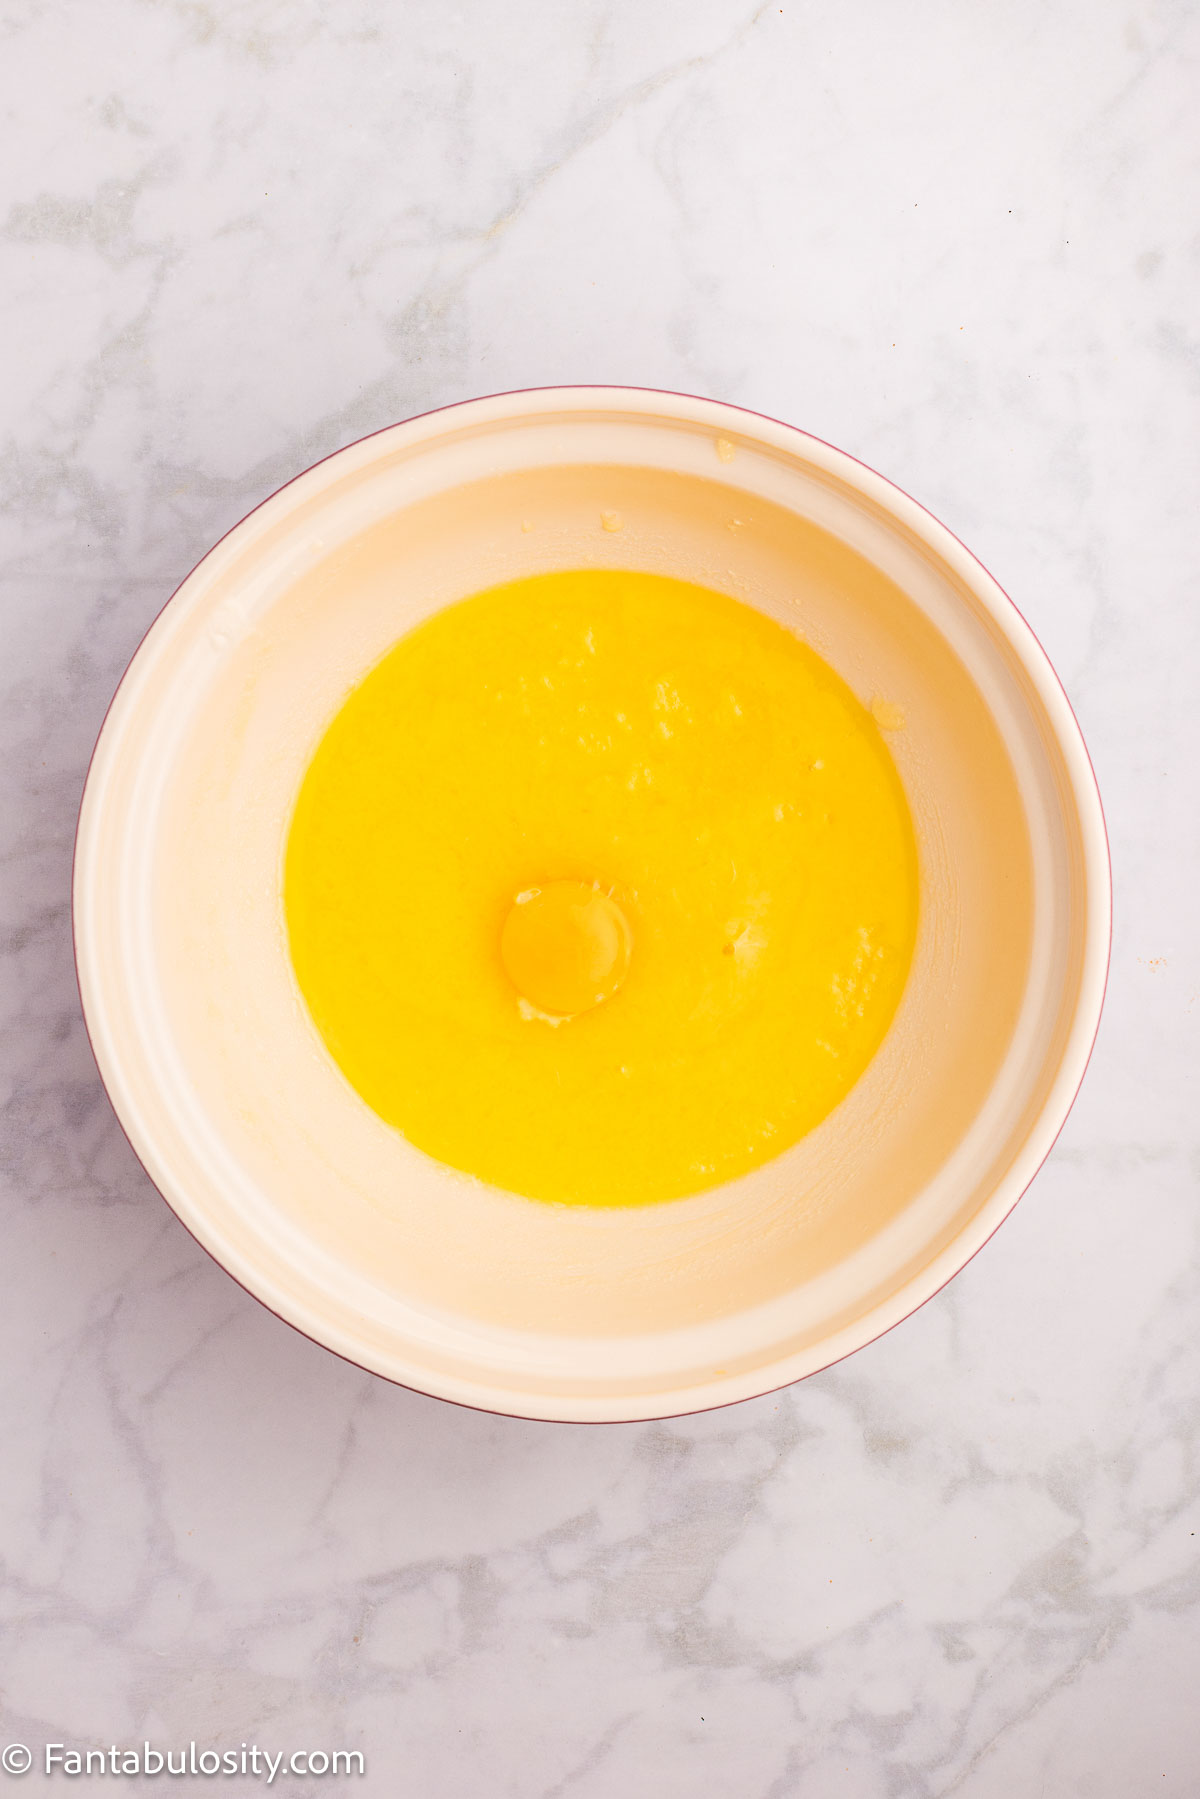
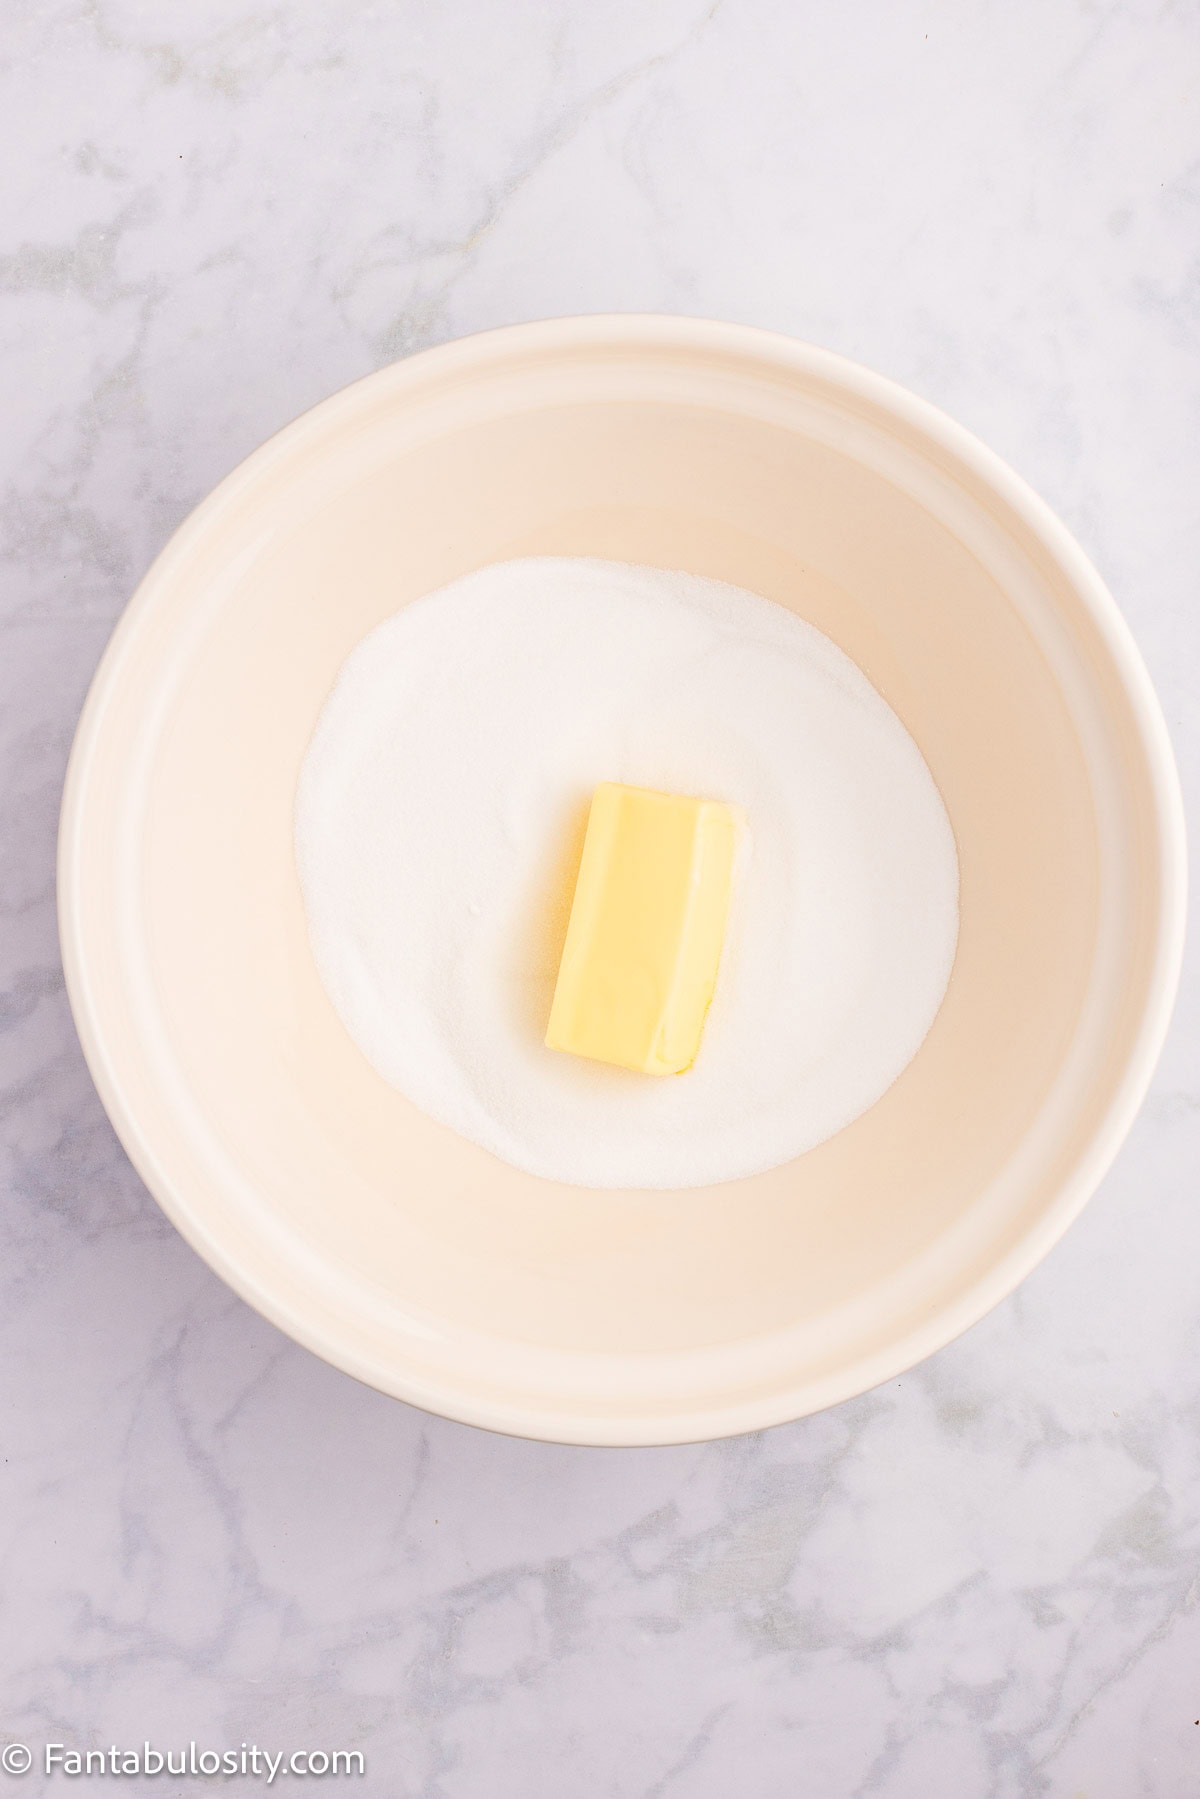
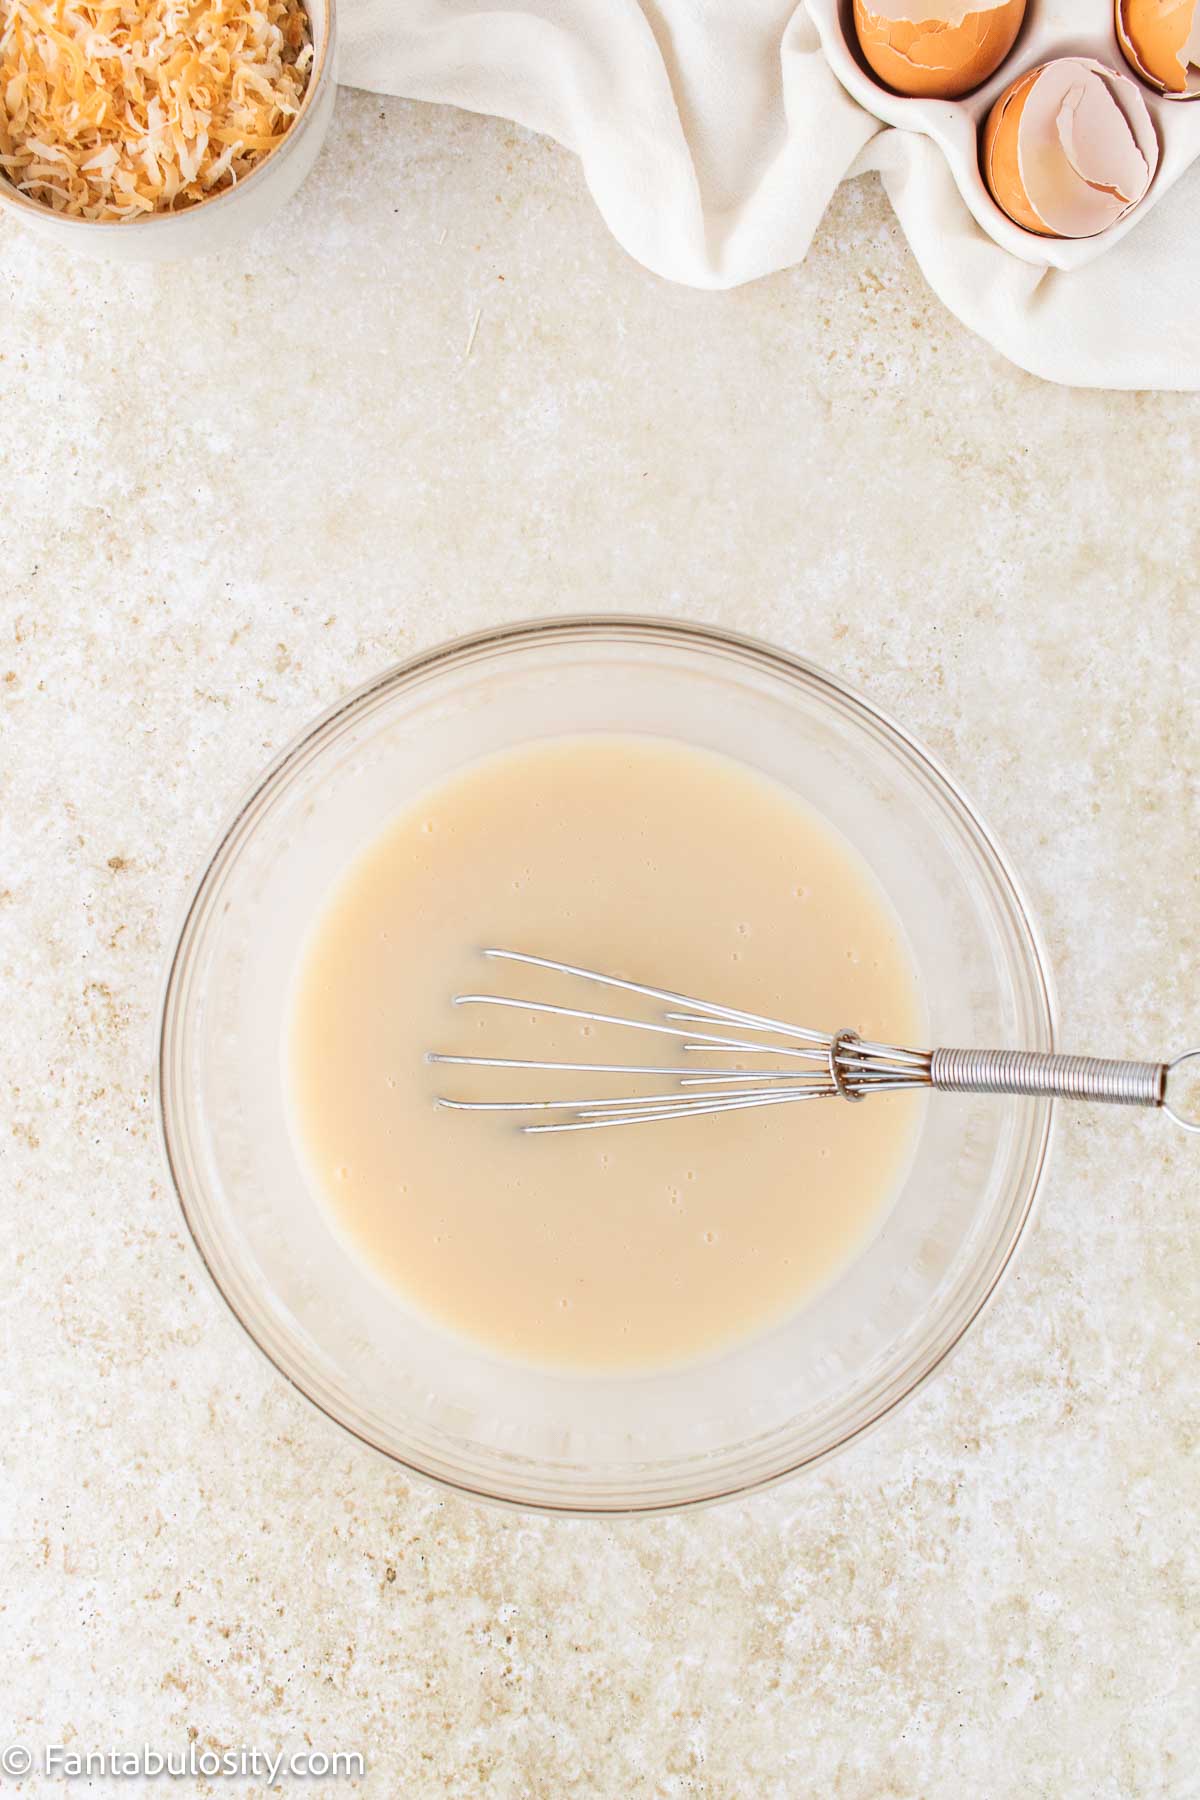
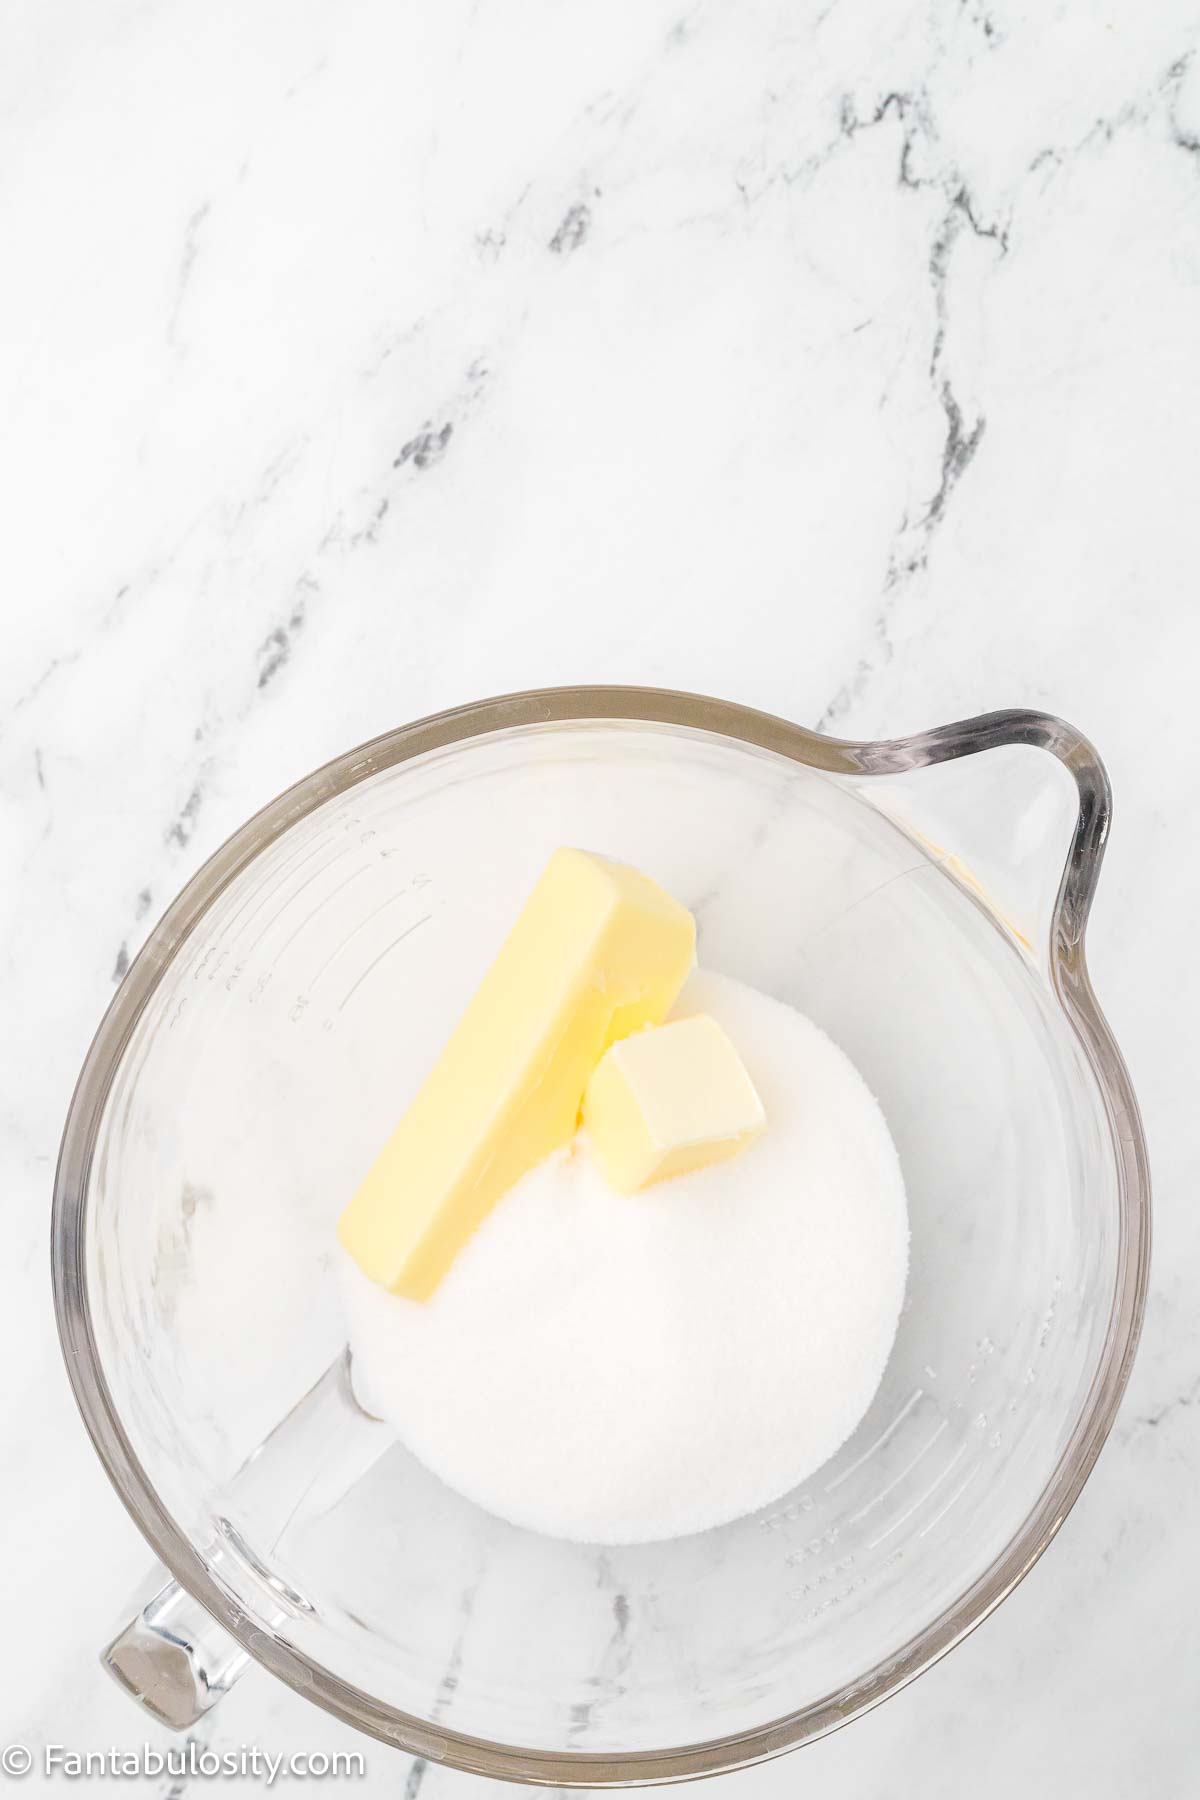
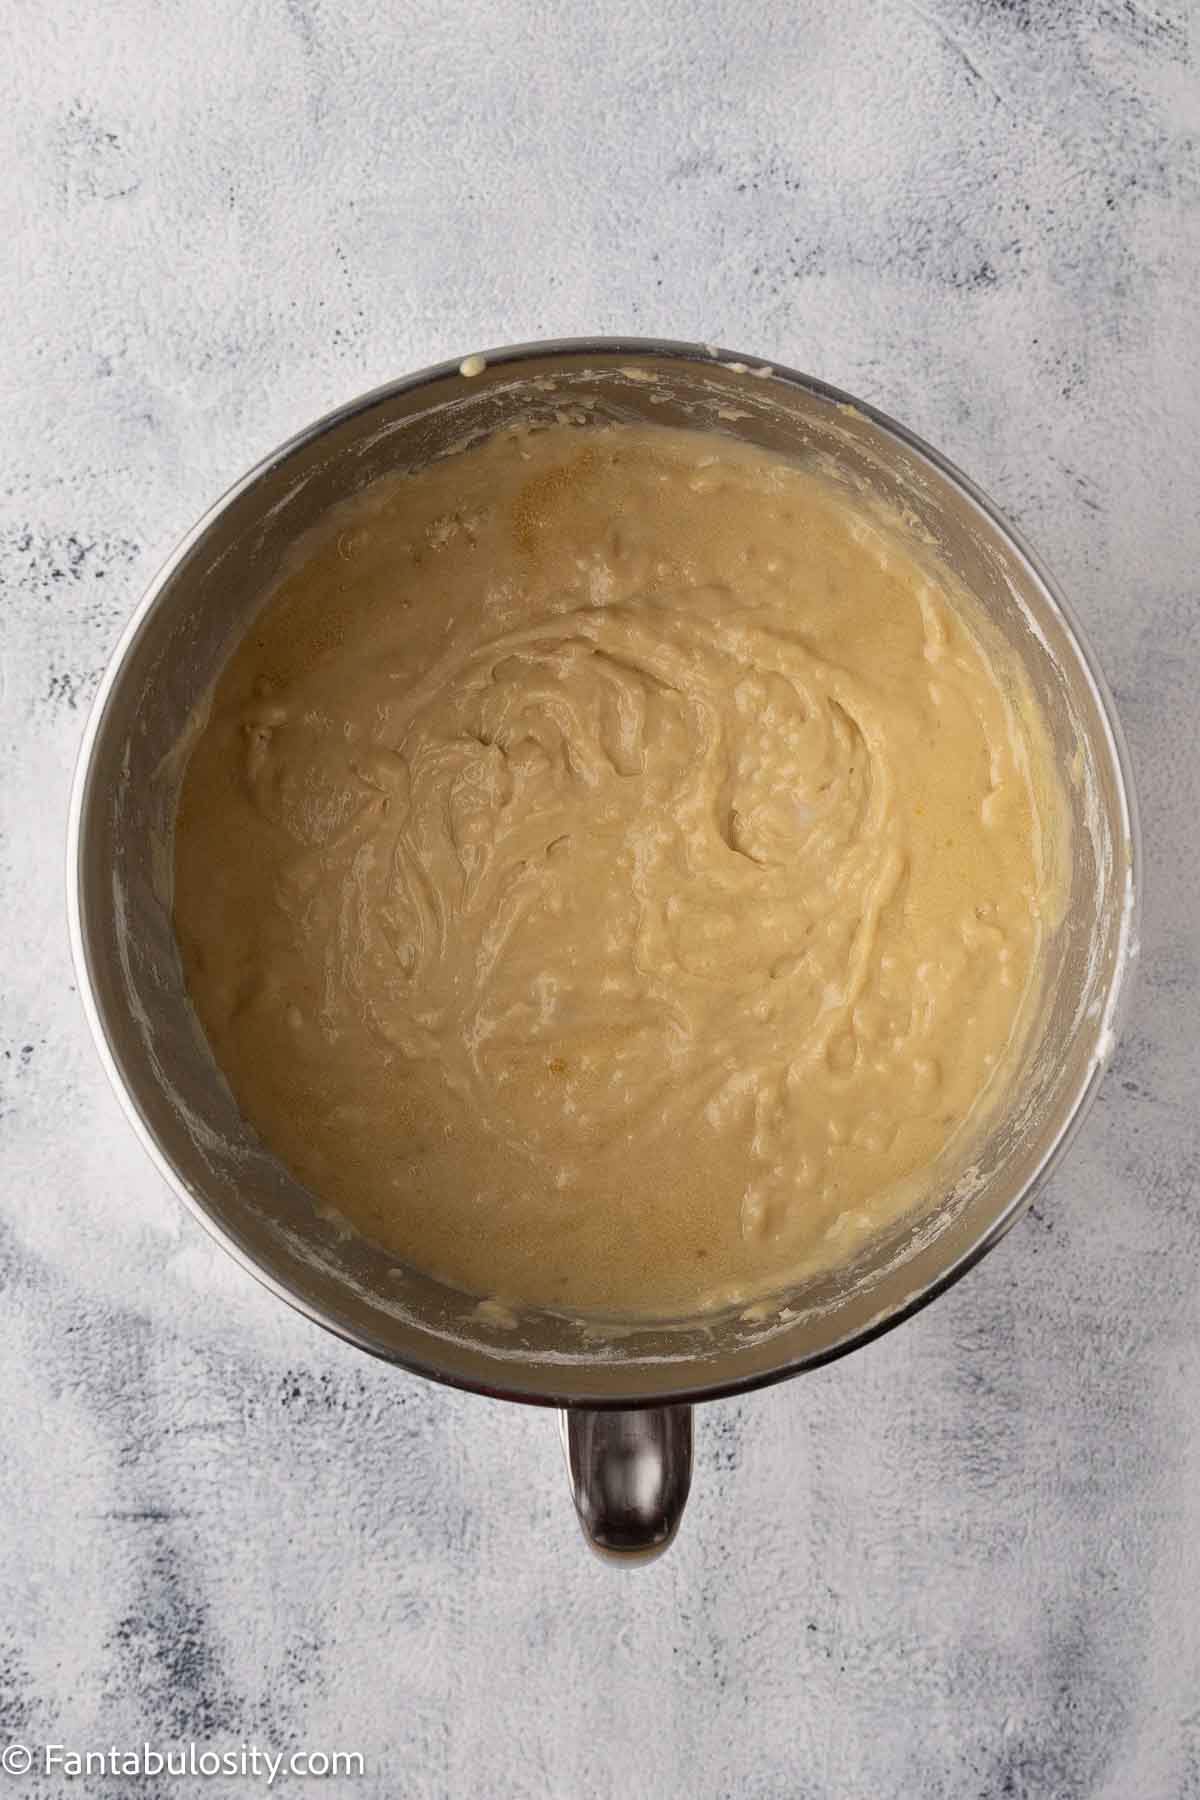
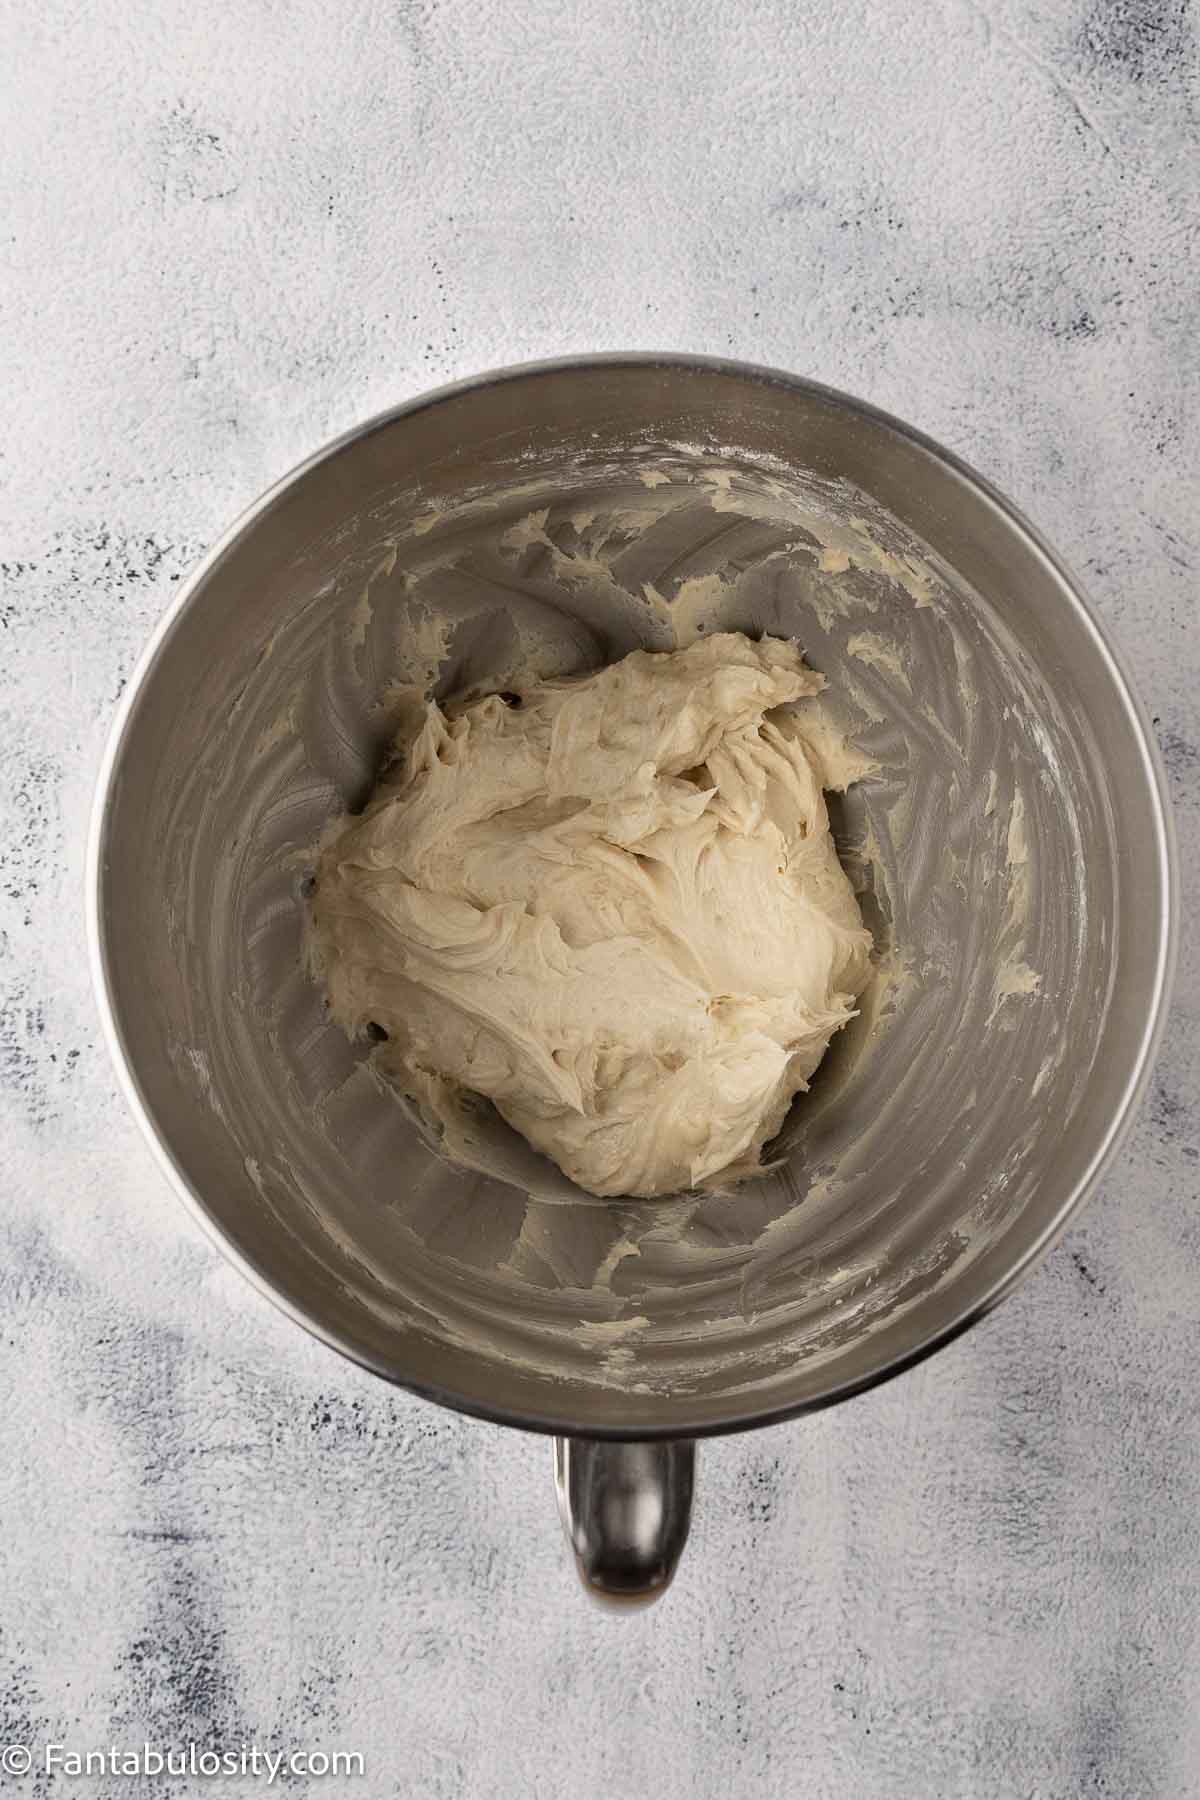
Beat together the browned butter with 1½ cups granulated sugar and ½ cup light brown sugar until creamy, about 2 to 3 minutes.
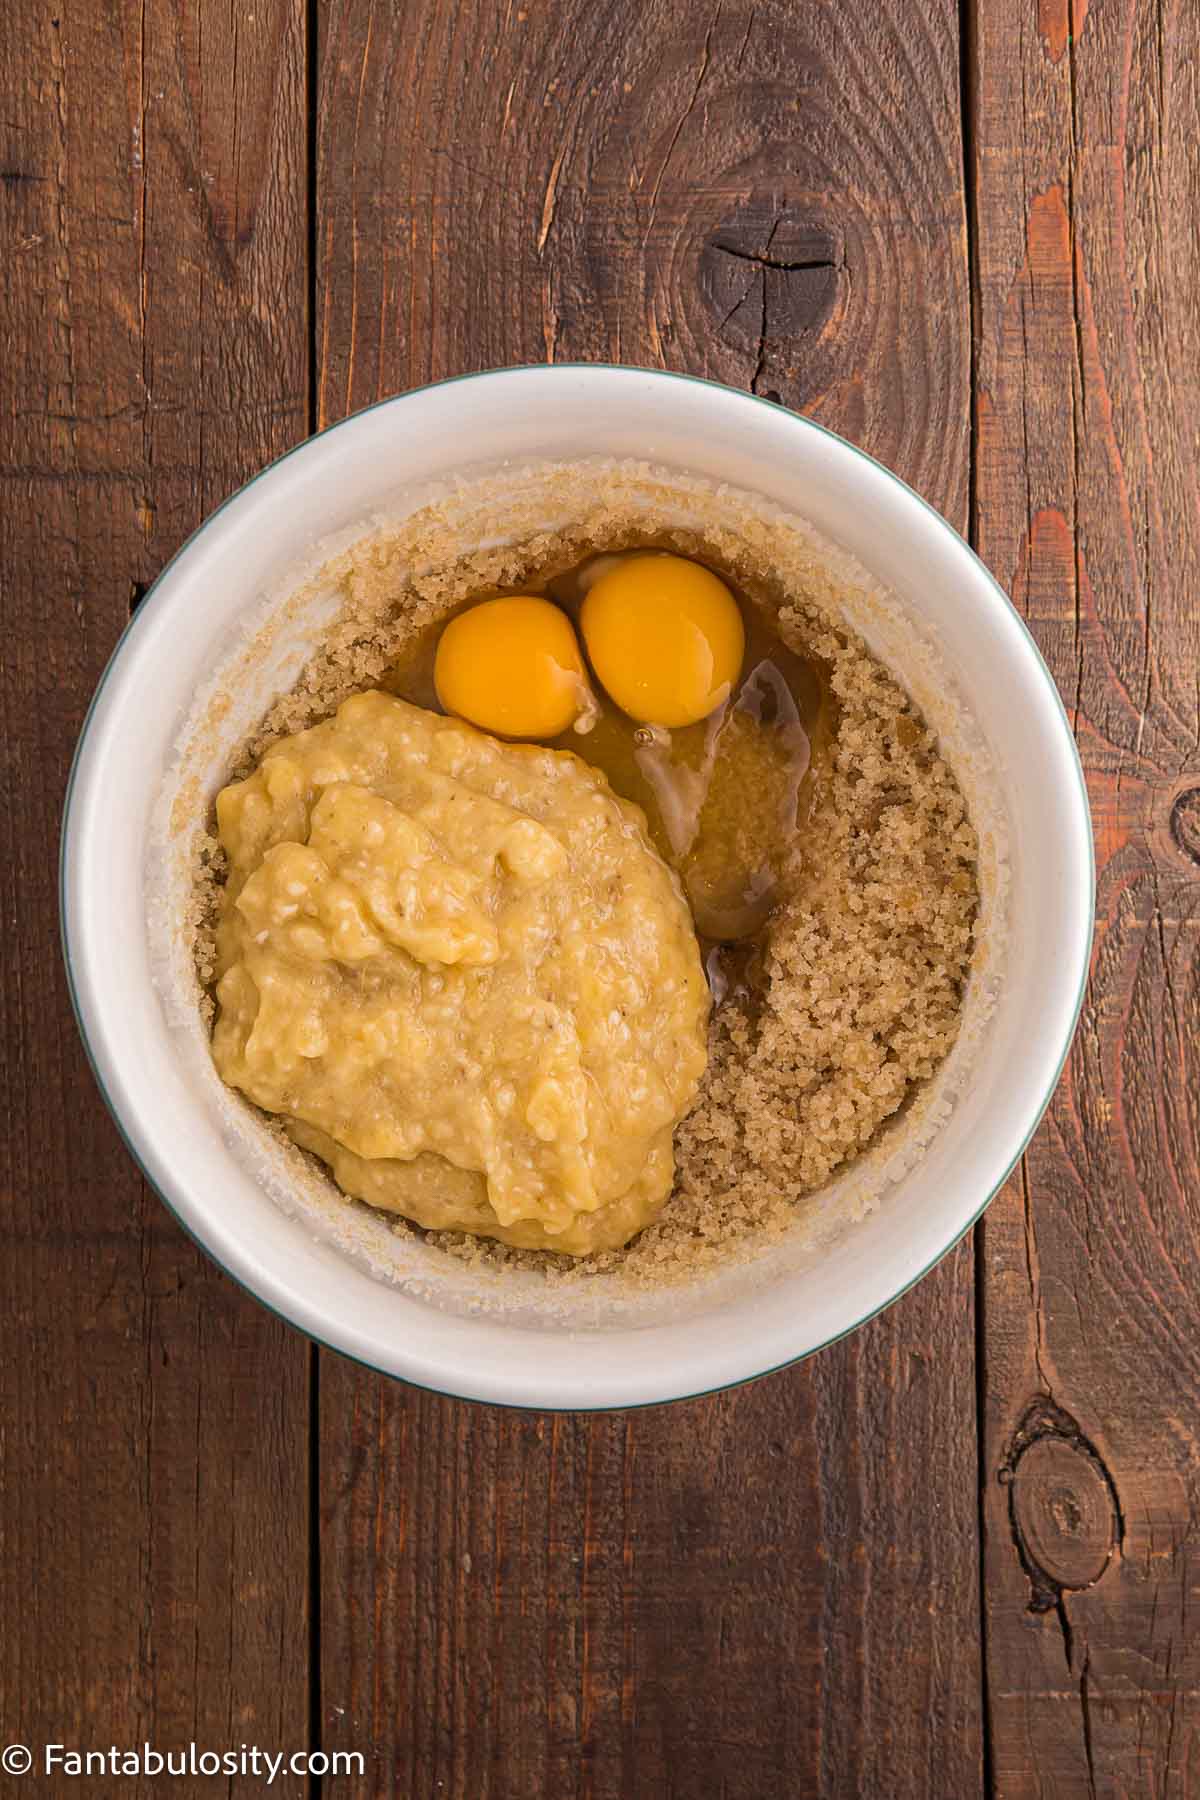
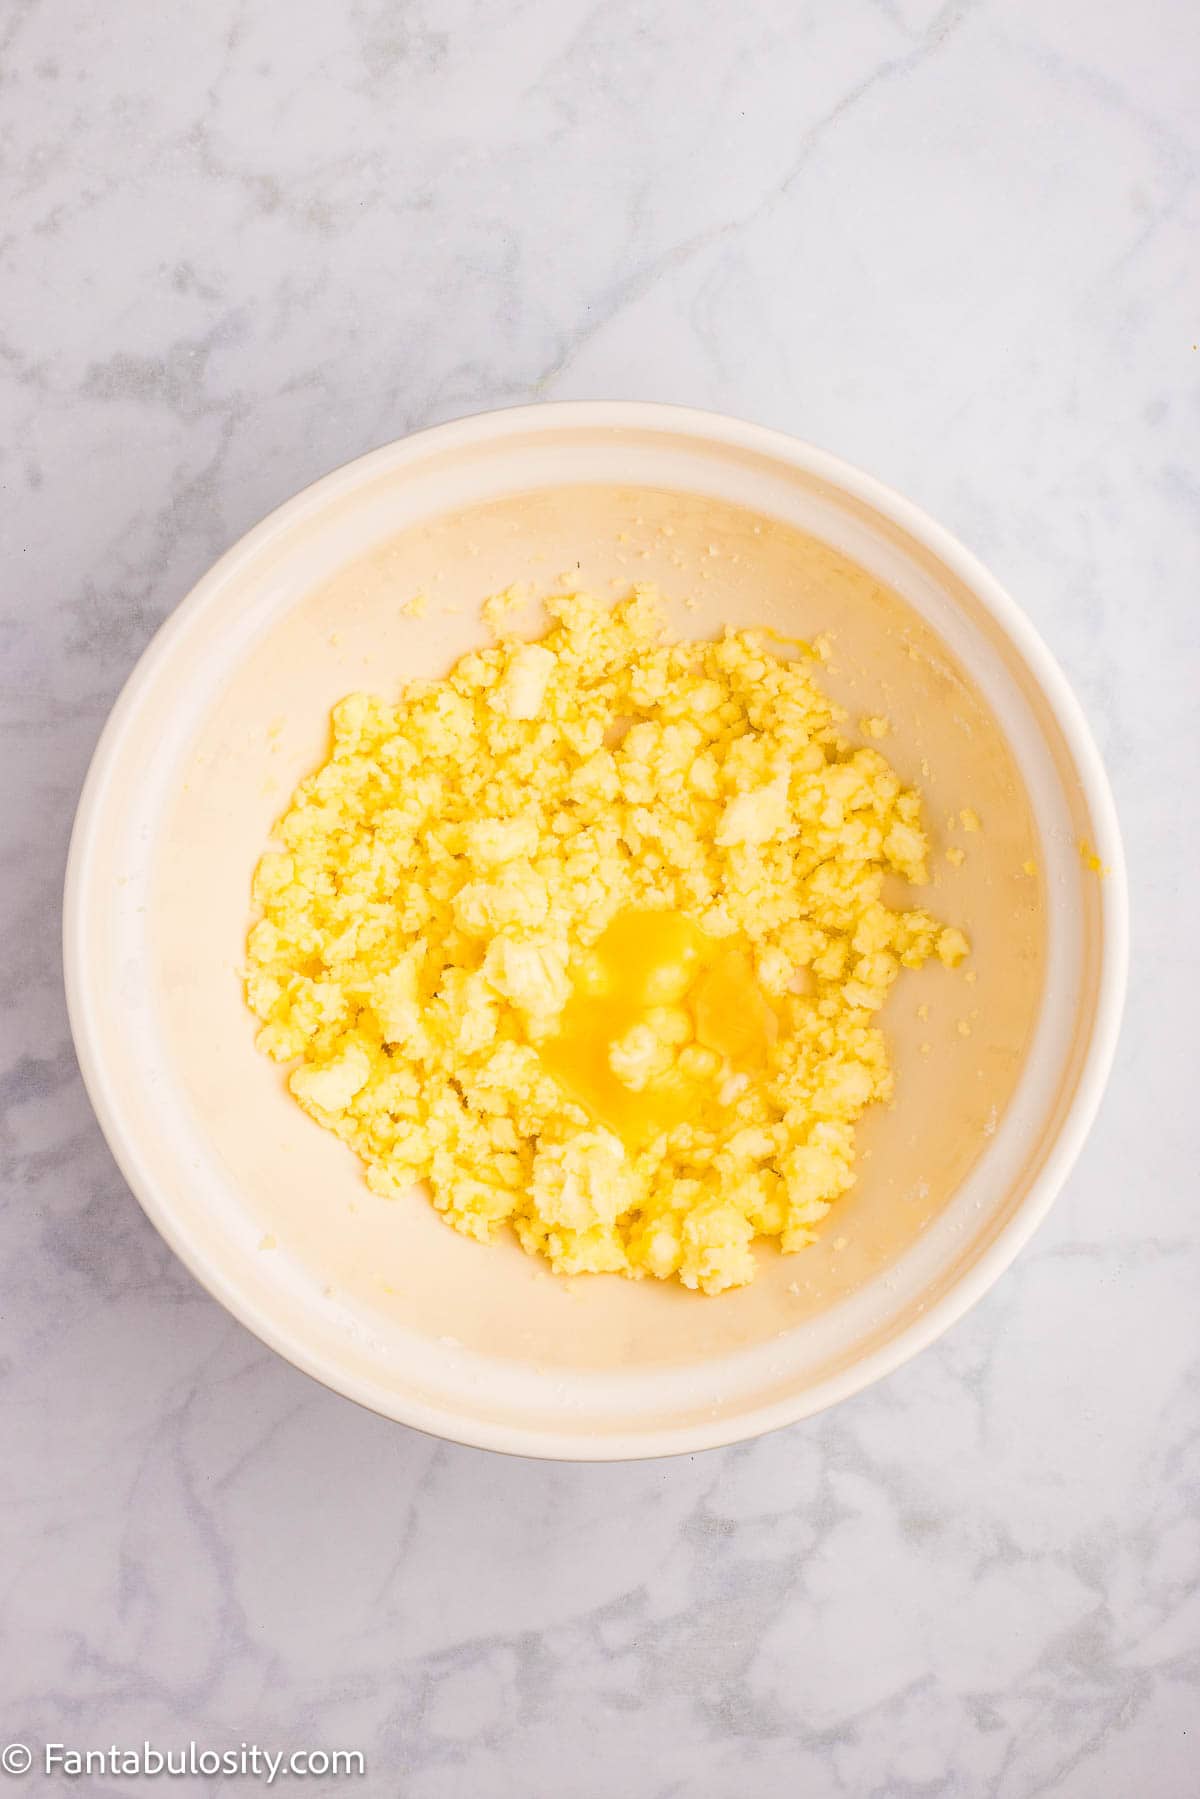
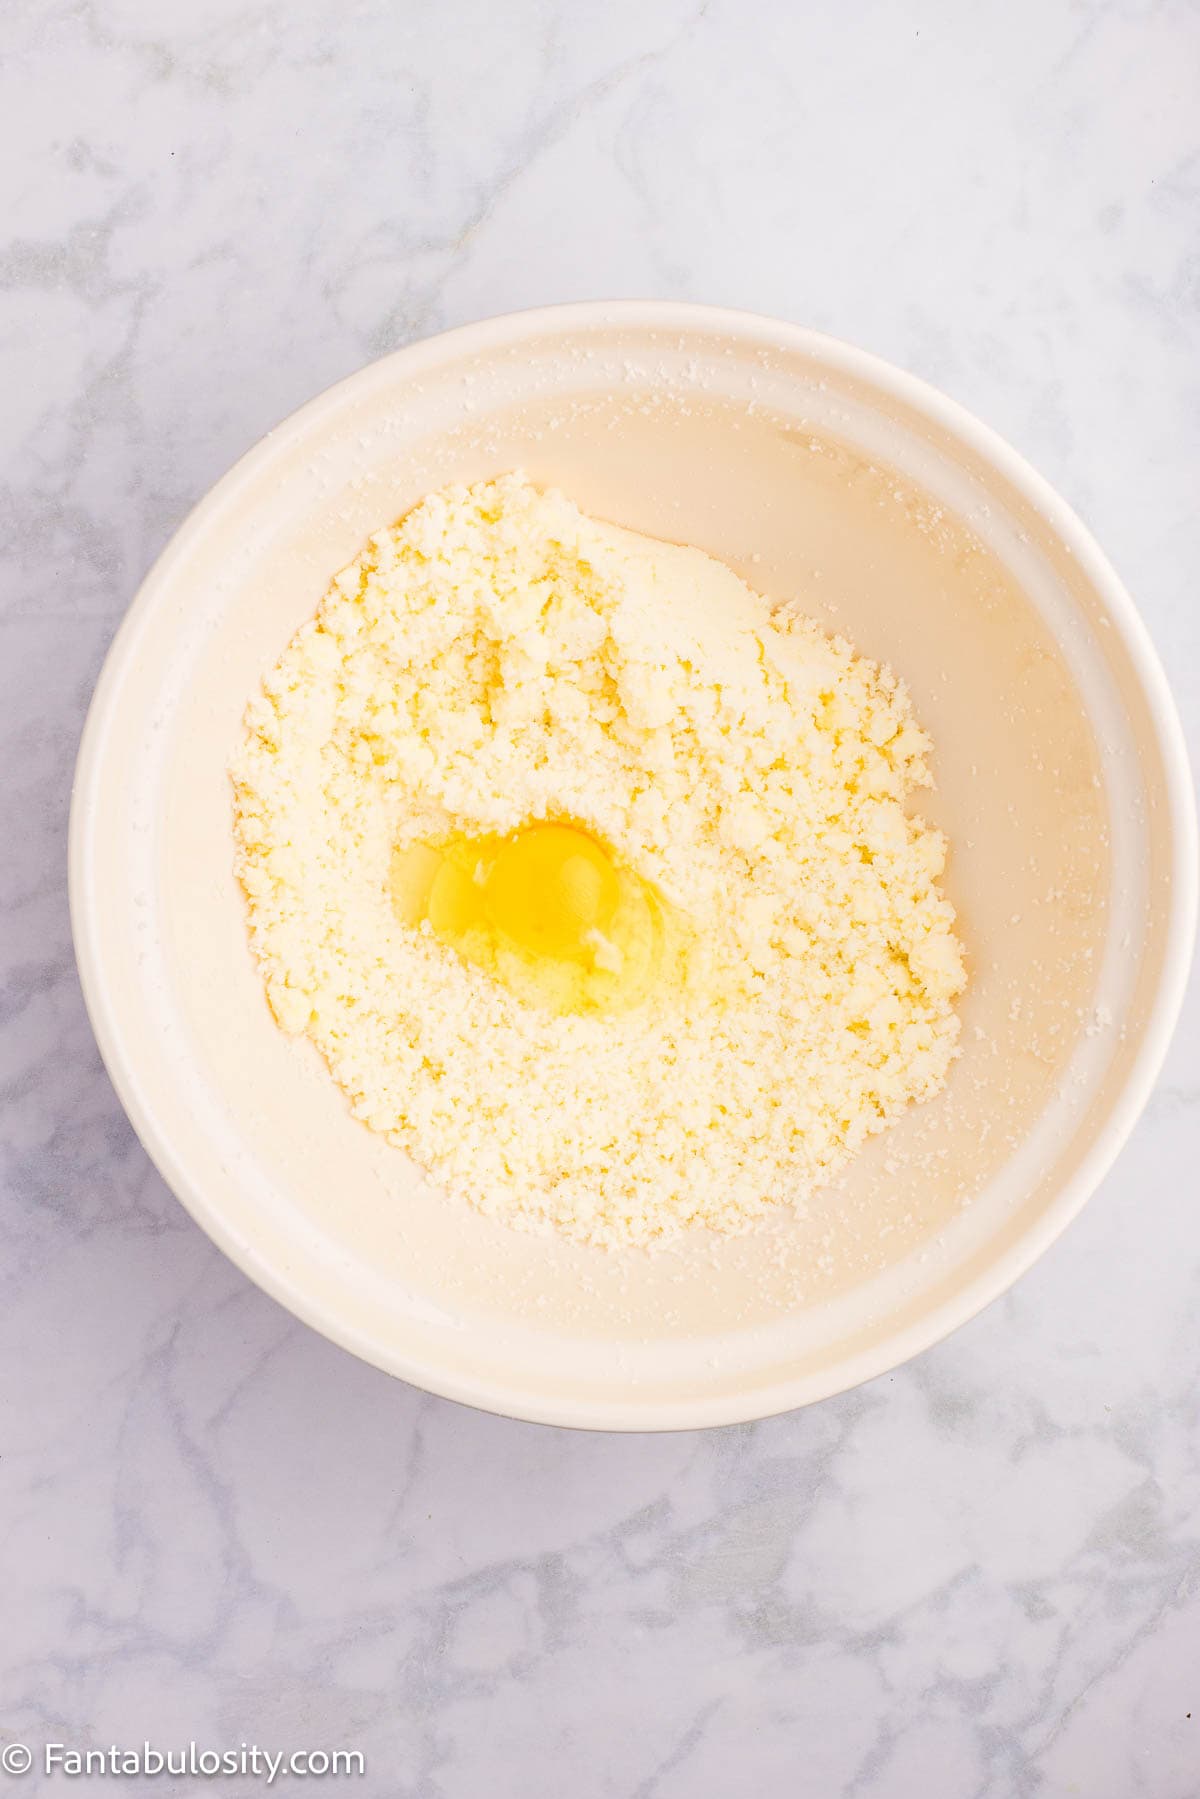
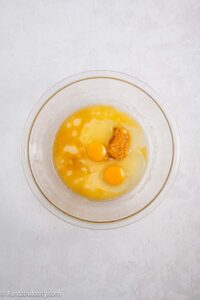
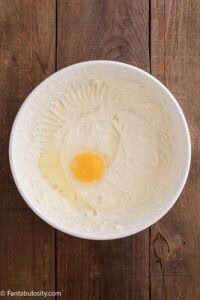
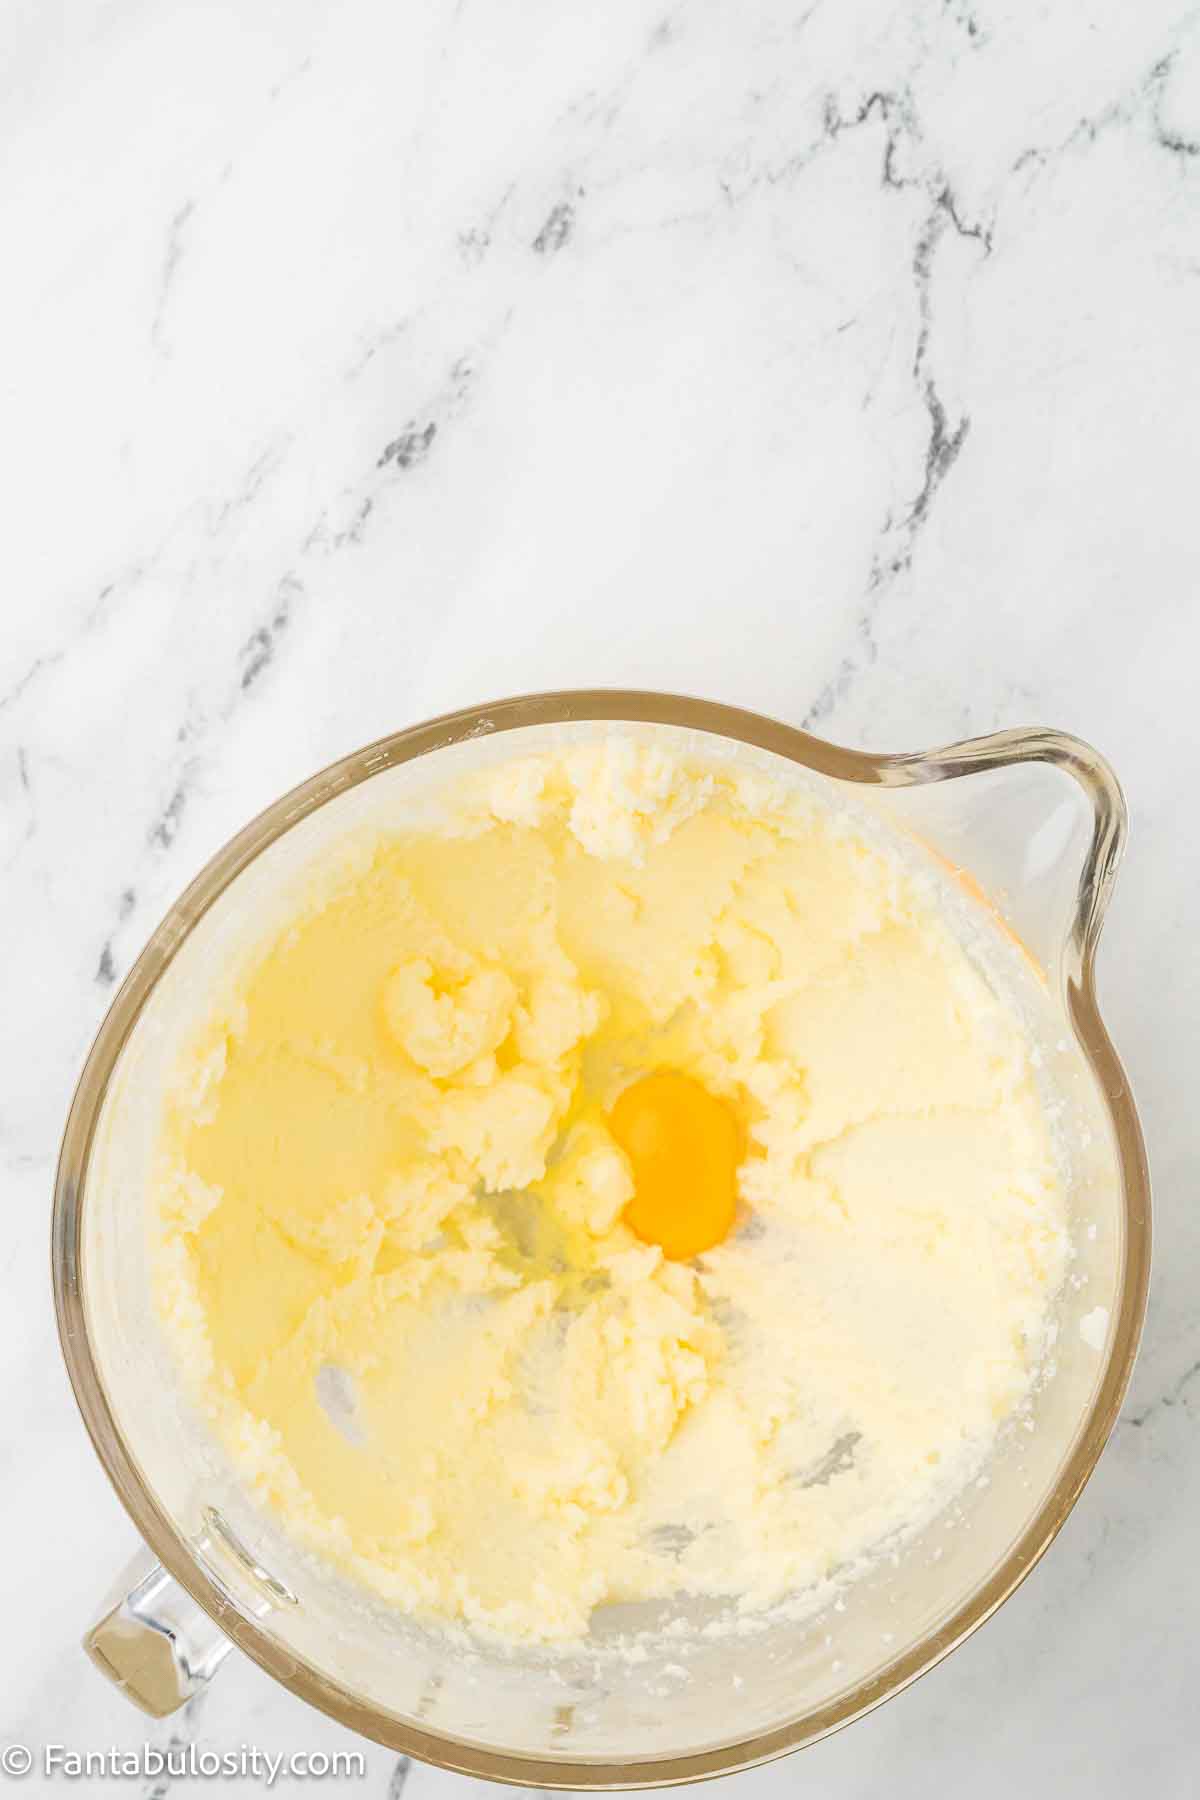
Add 3 large eggs, one at a time, mixing well after each addition.
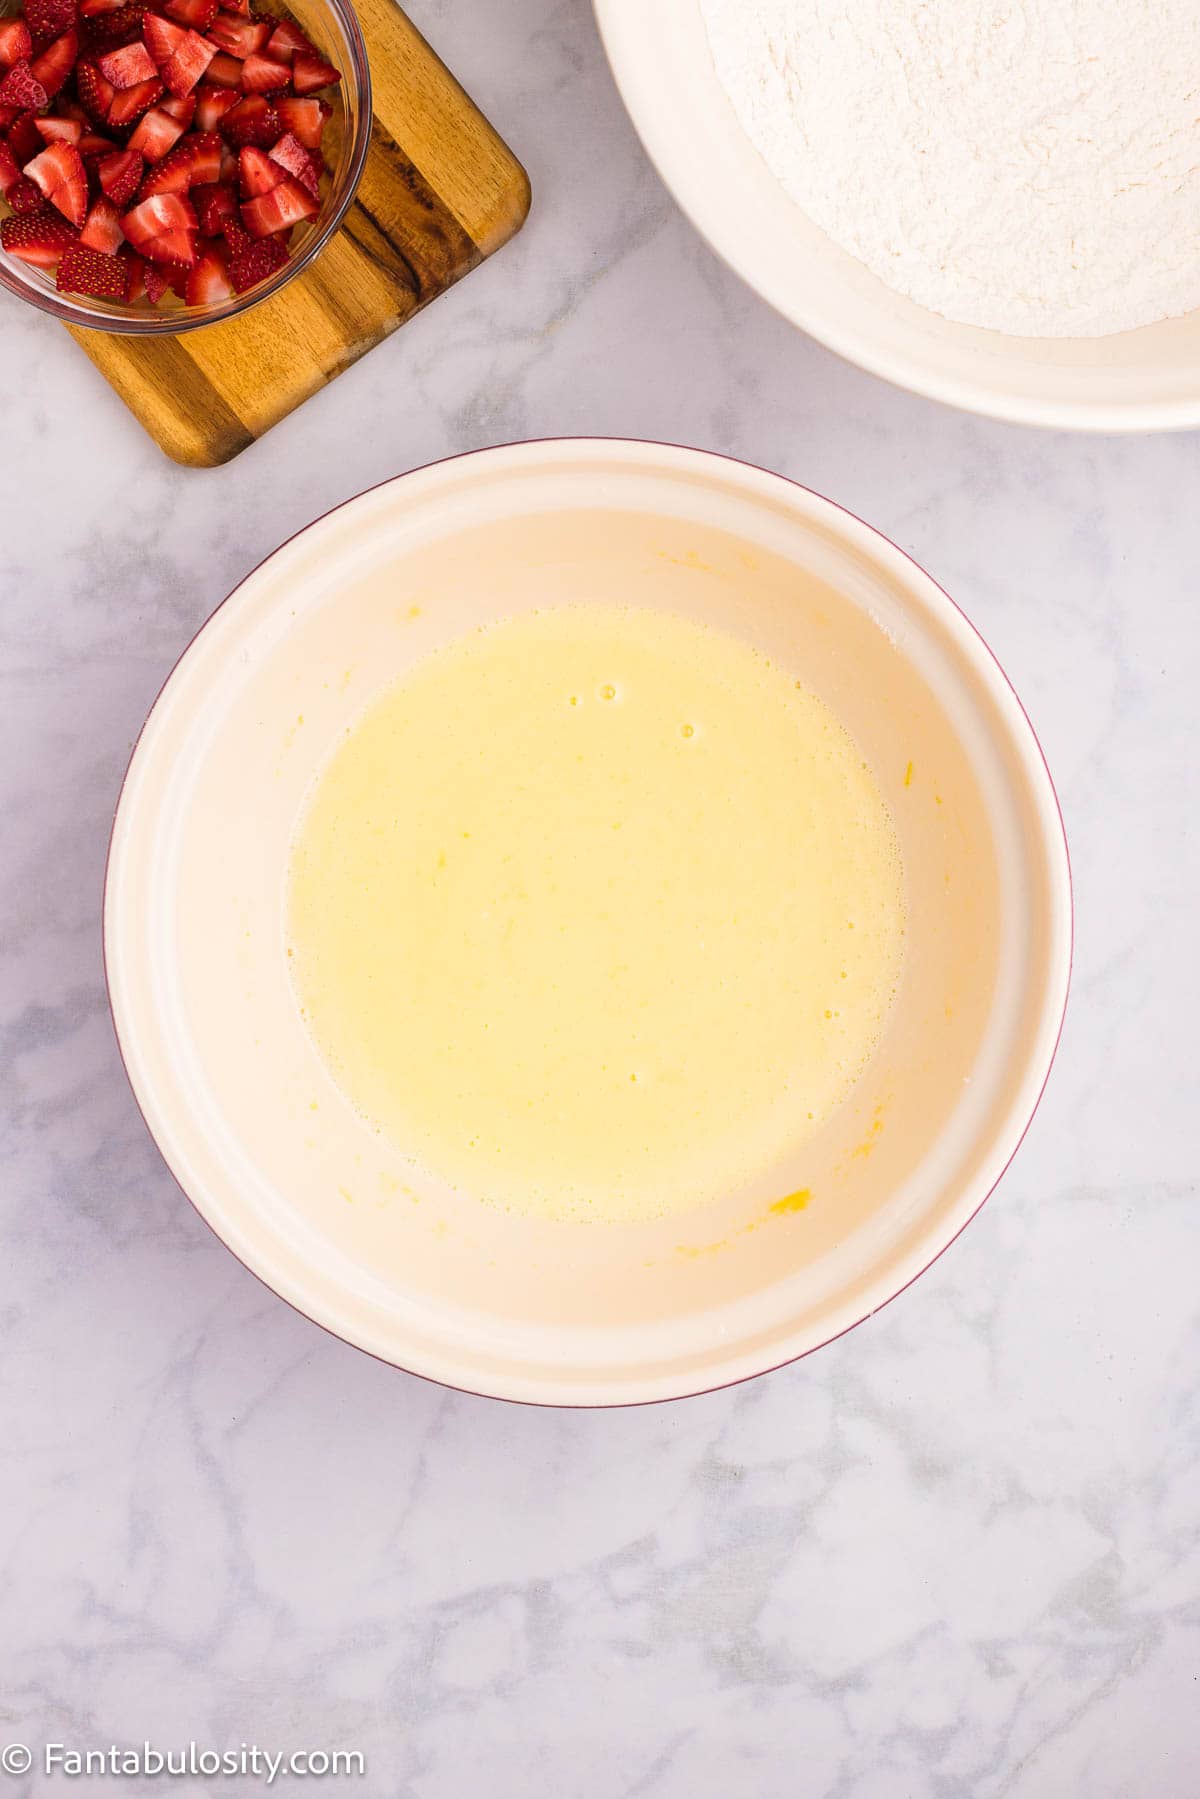
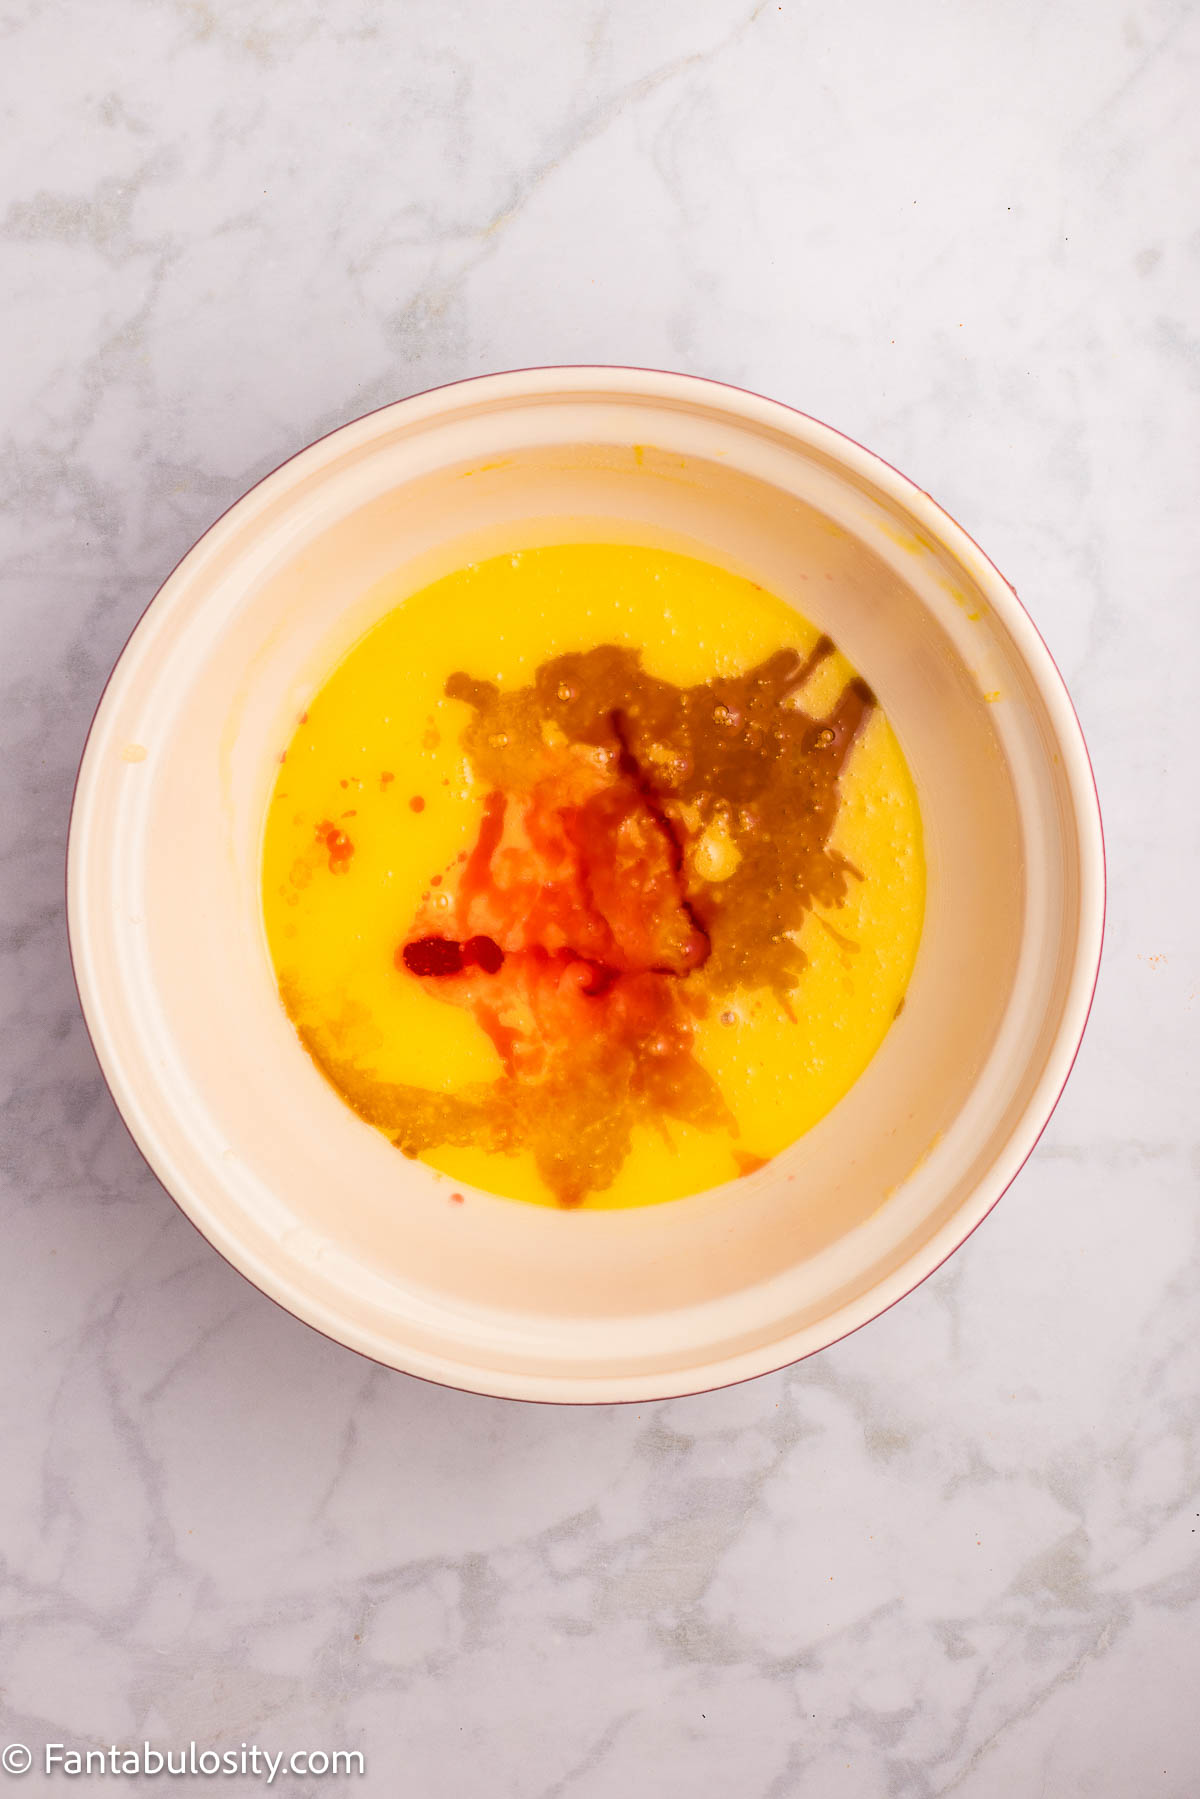
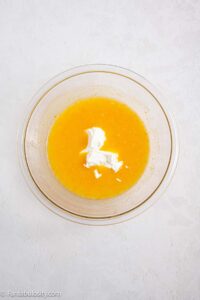
Mix in 2 teaspoons vanilla extract and 1 cup whole milk yogurt until smooth.
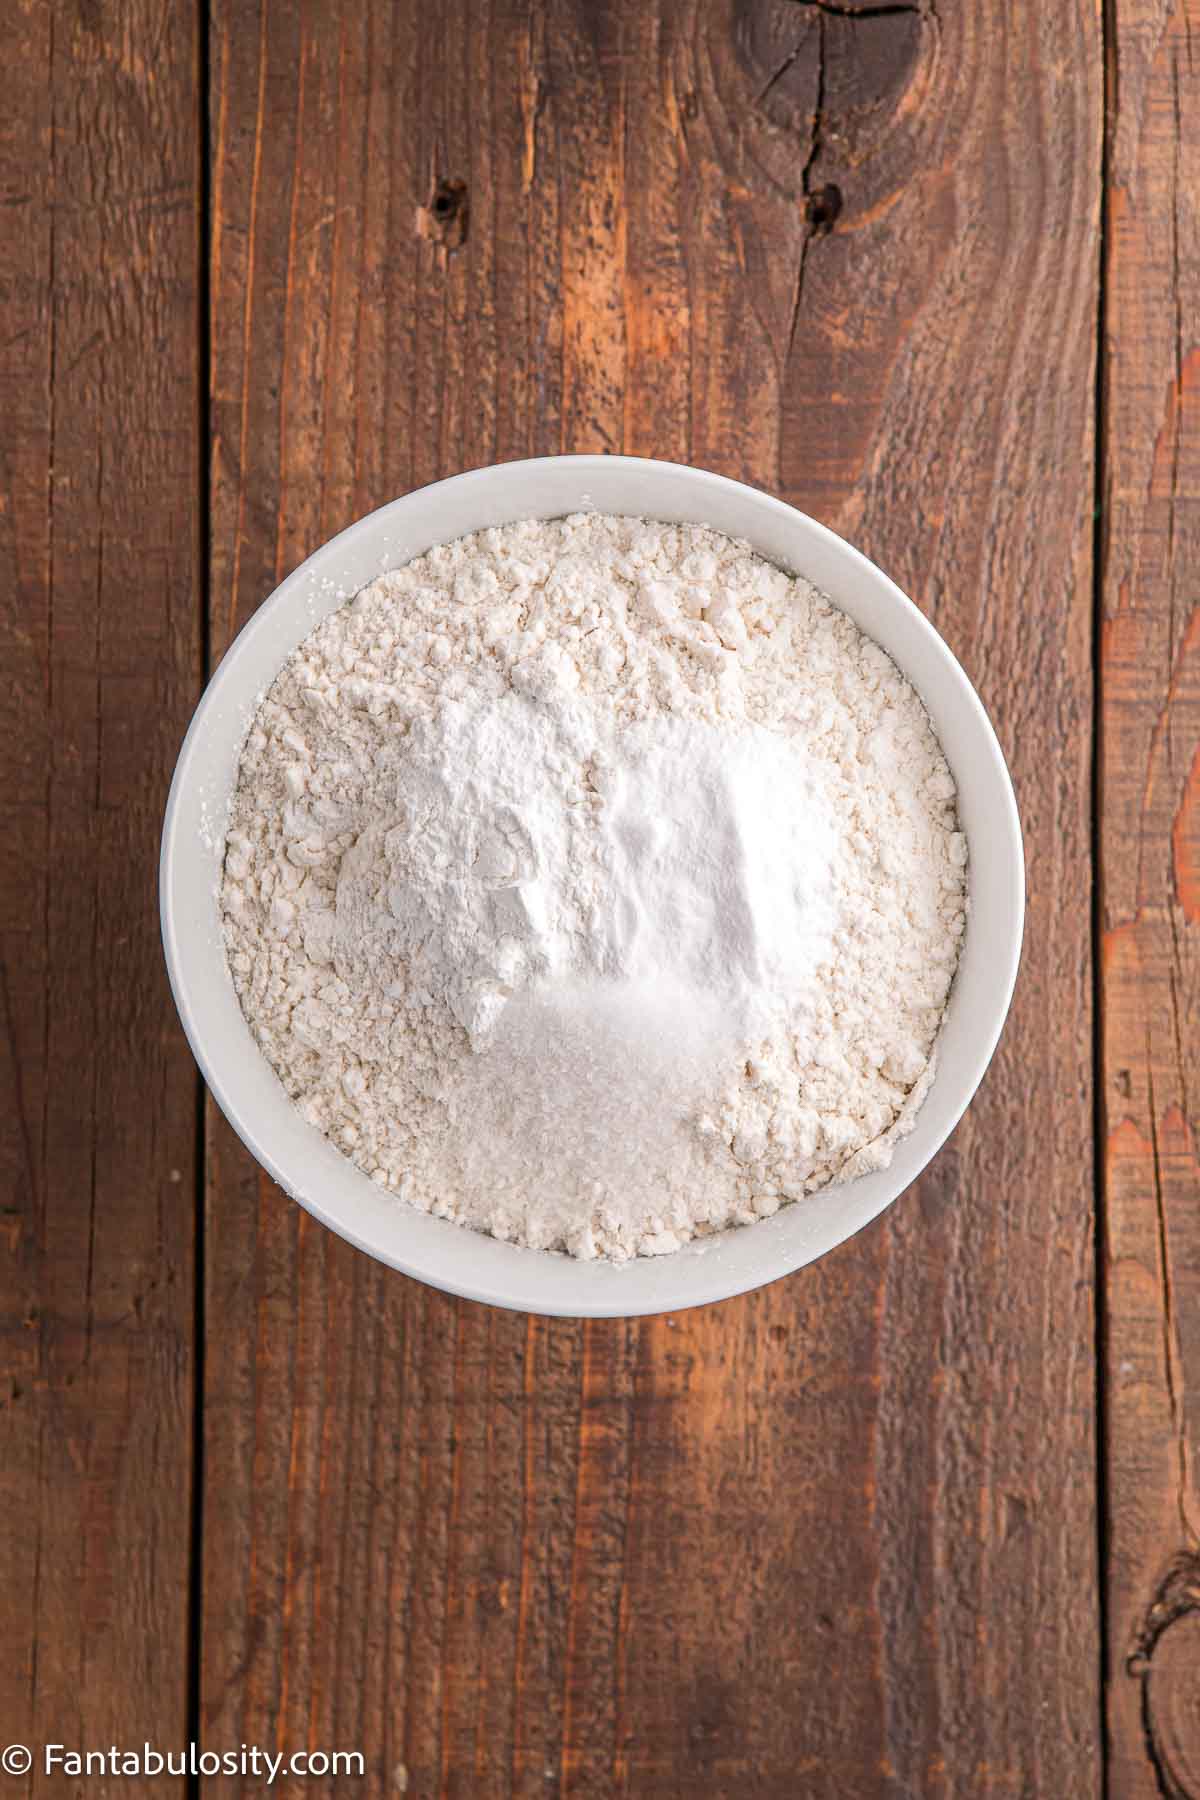
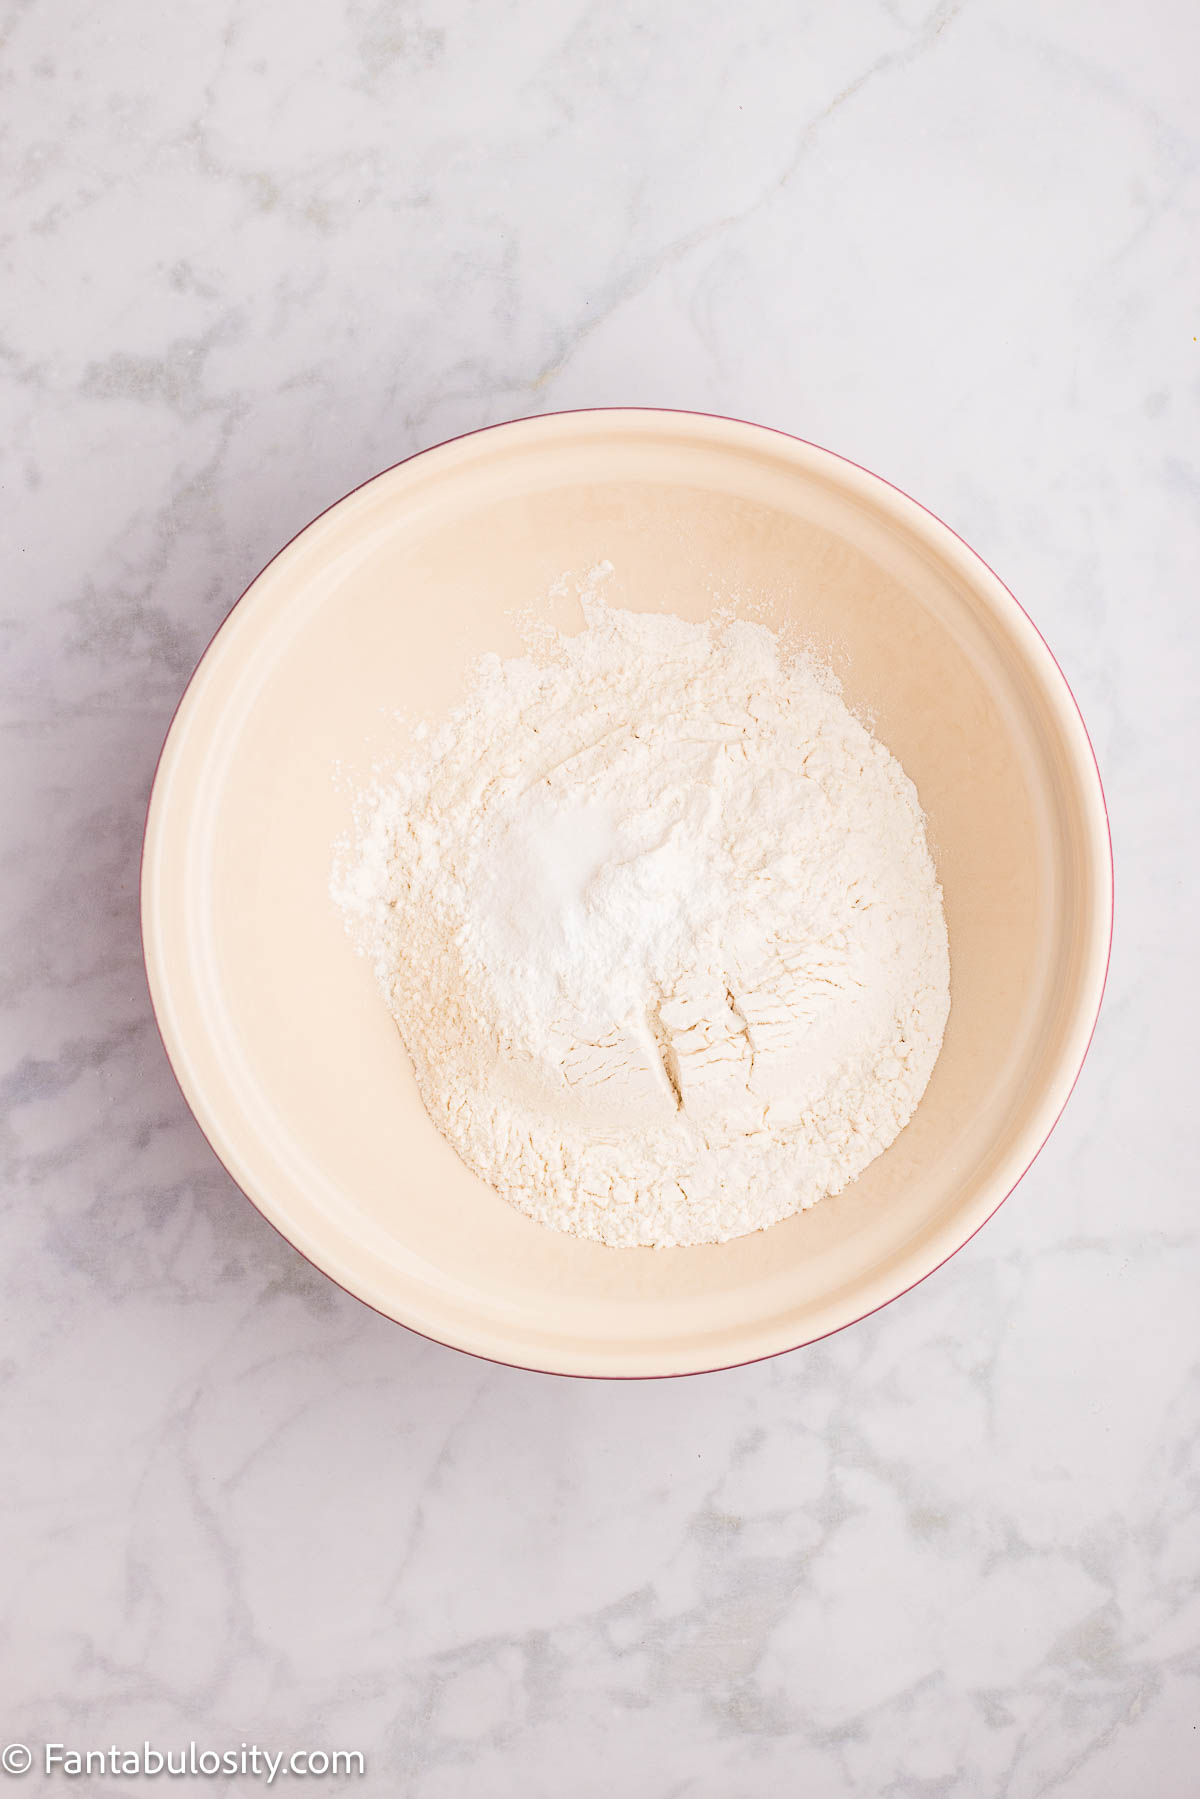
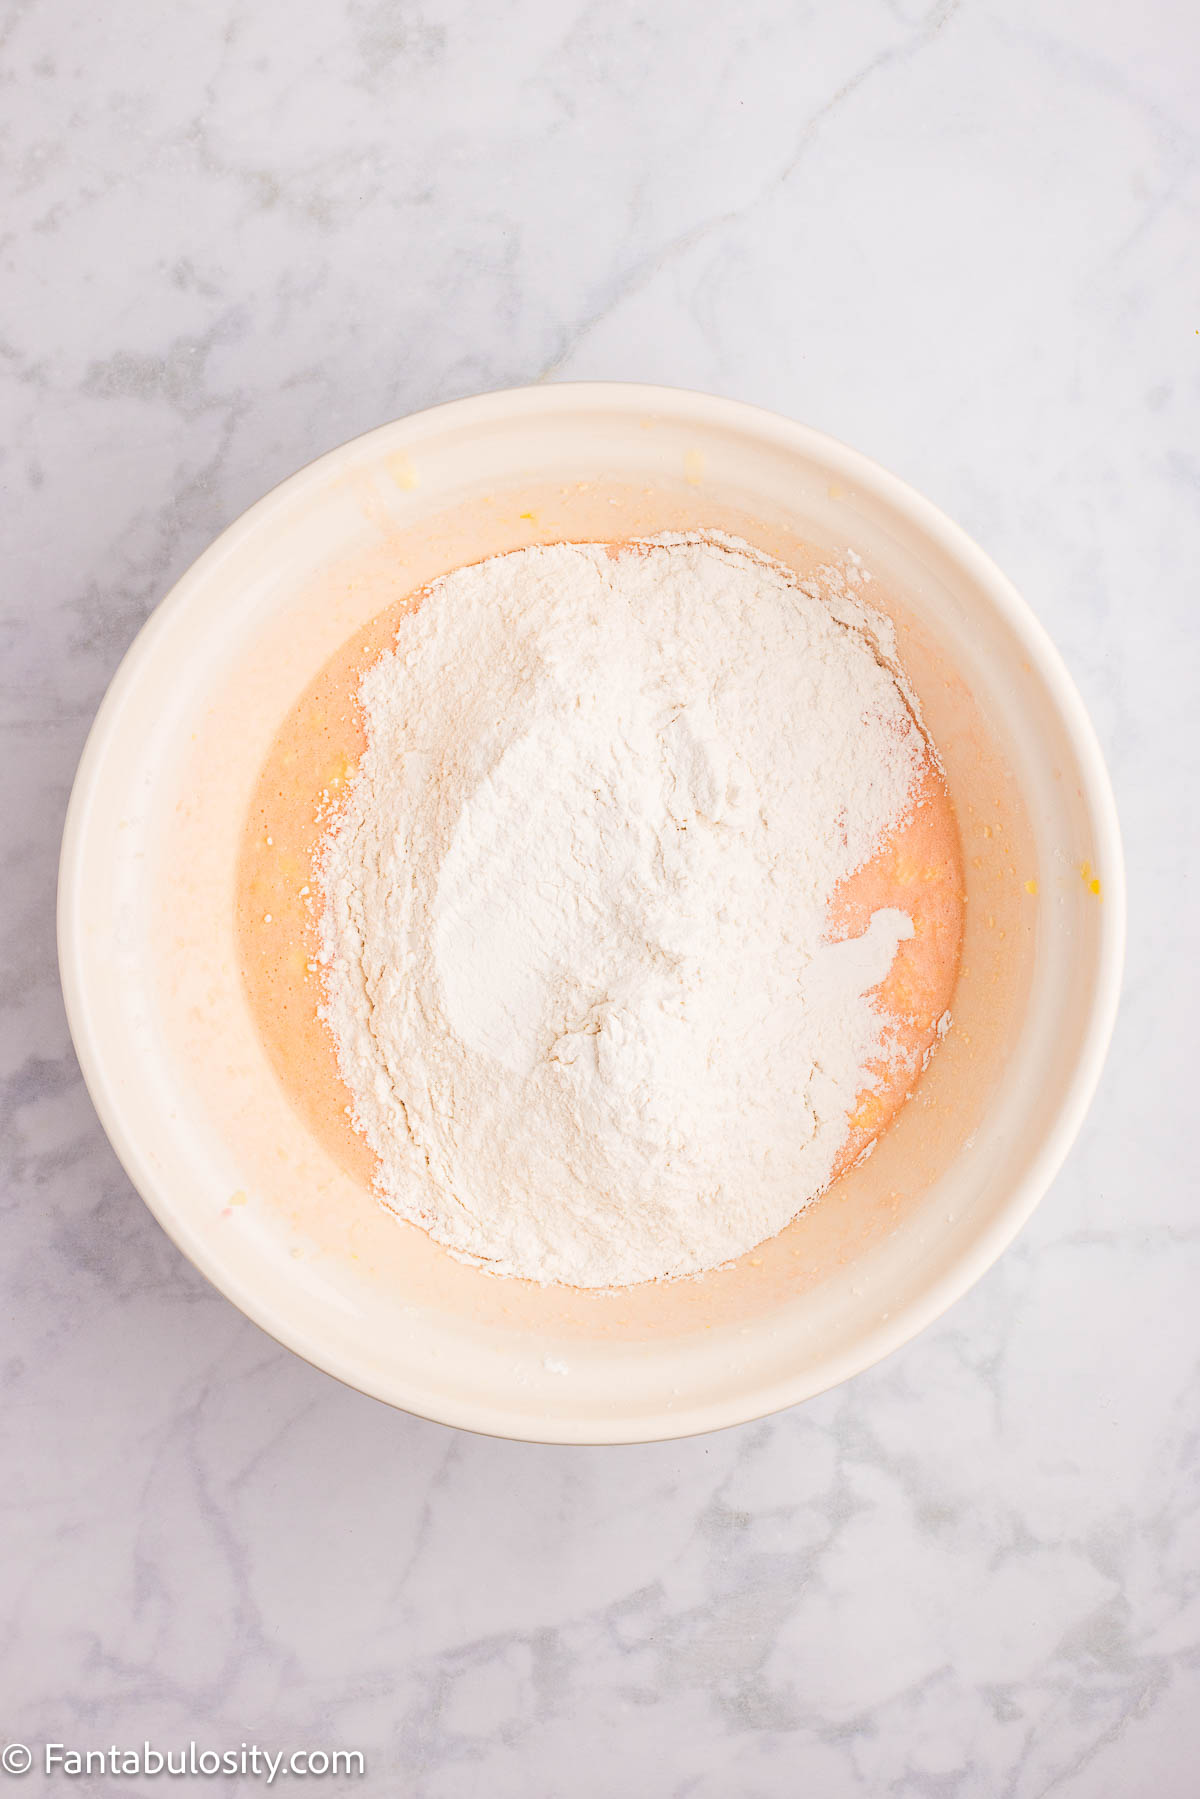
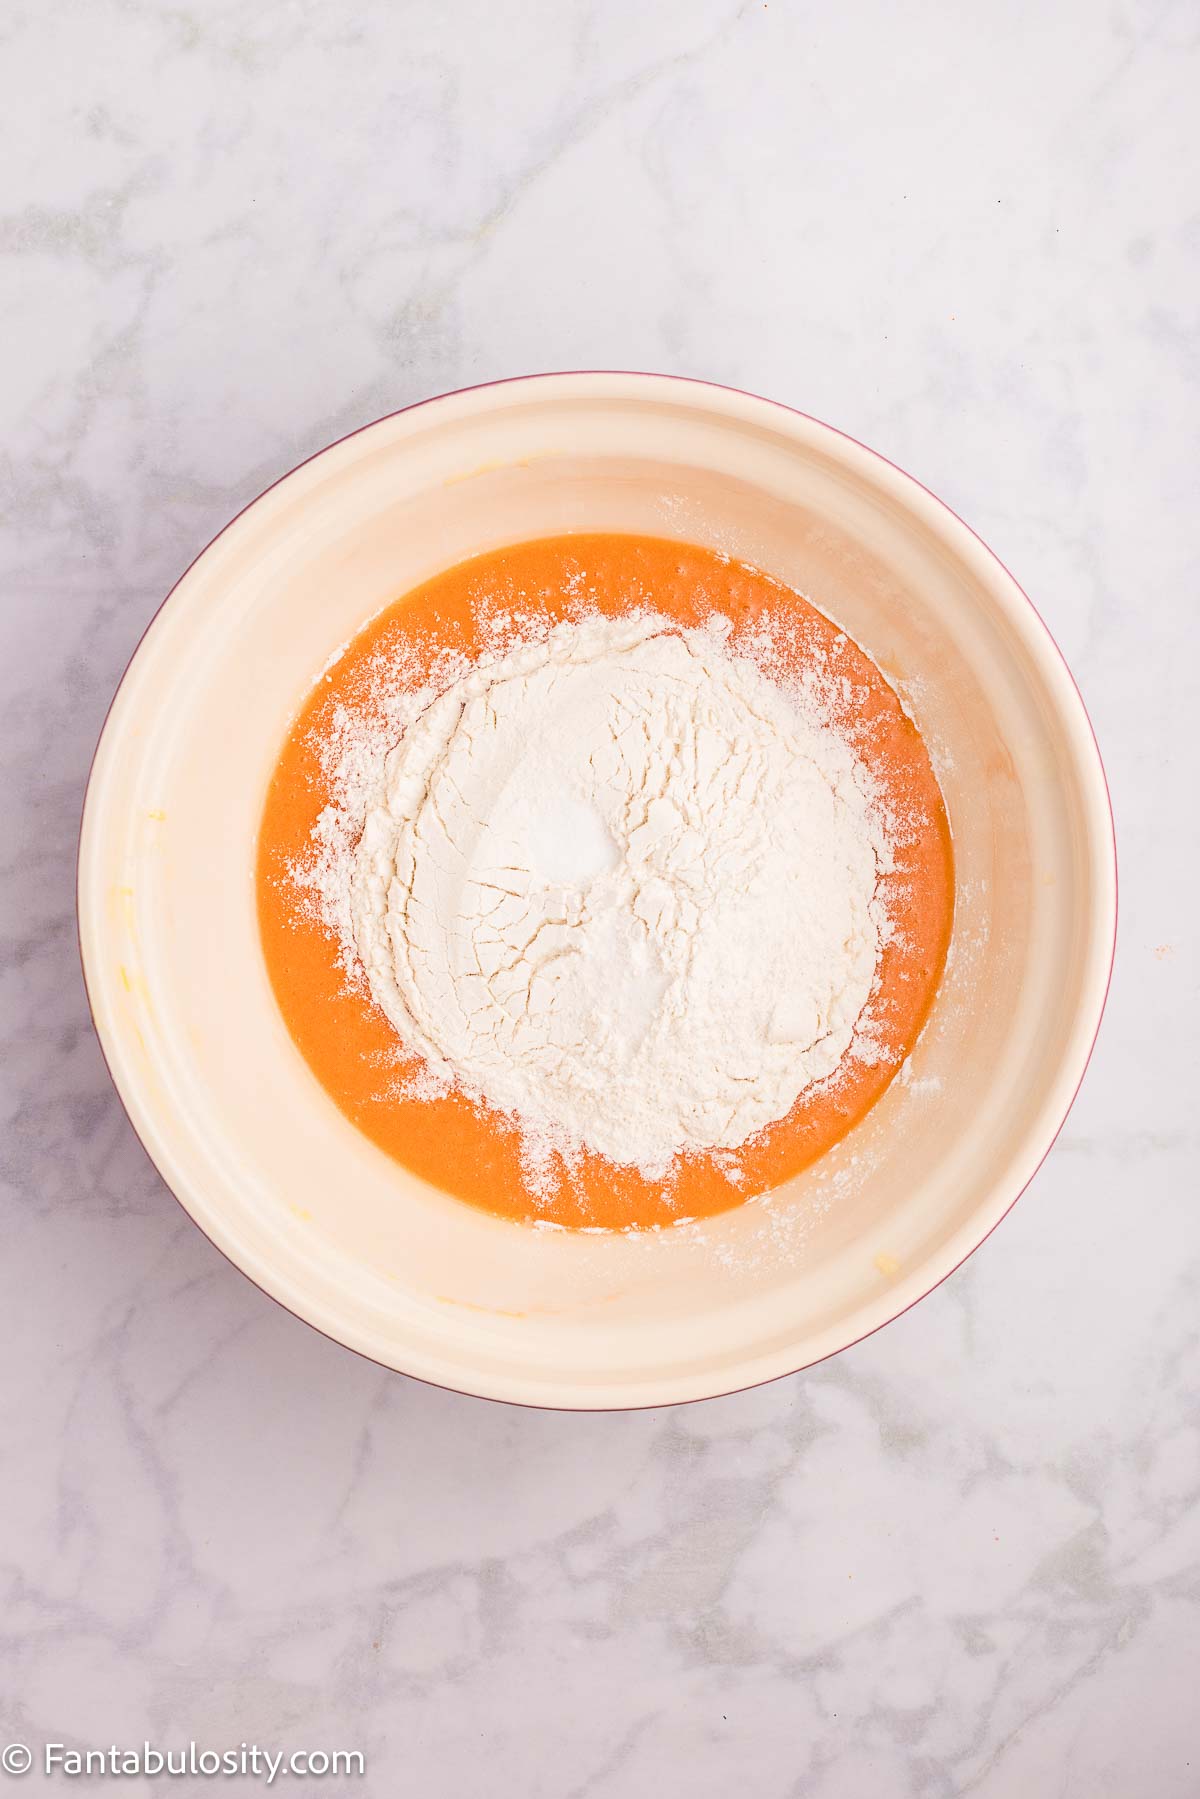
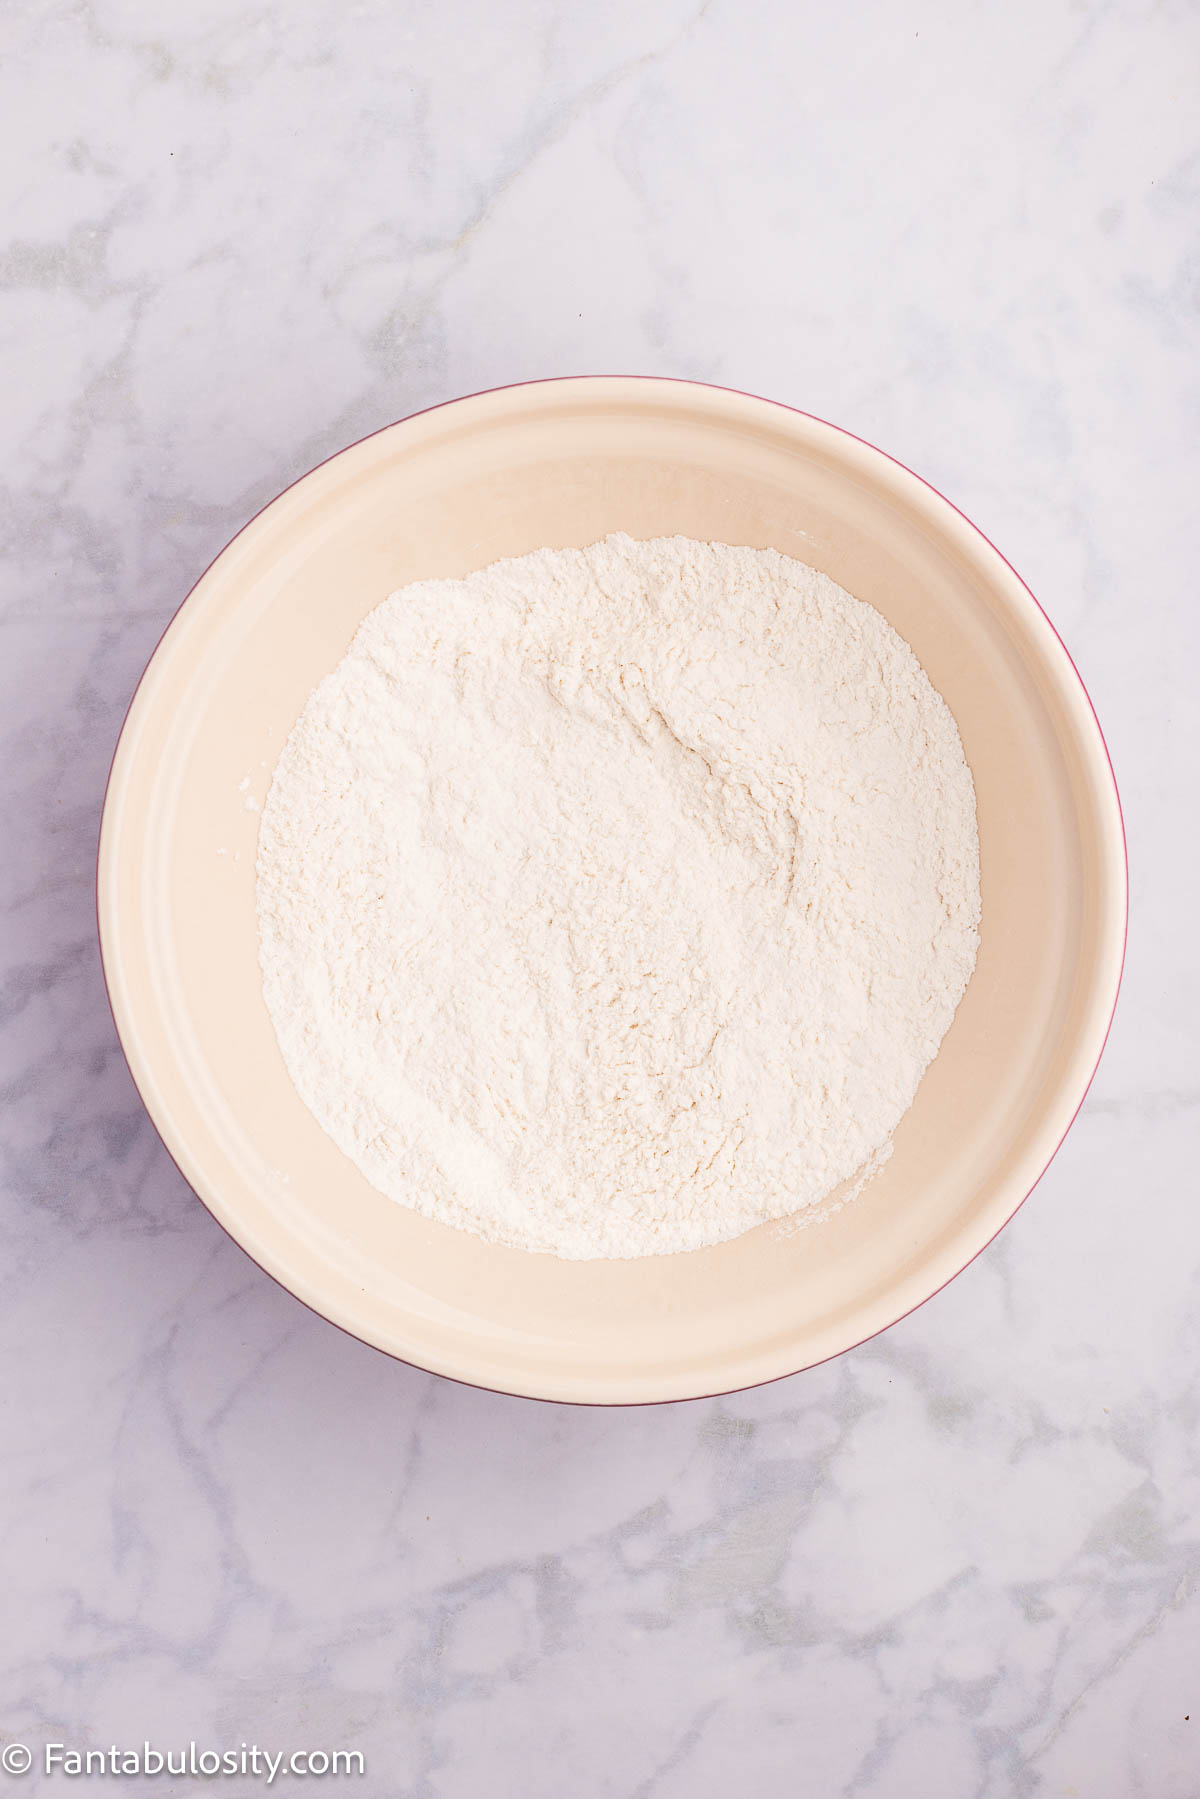
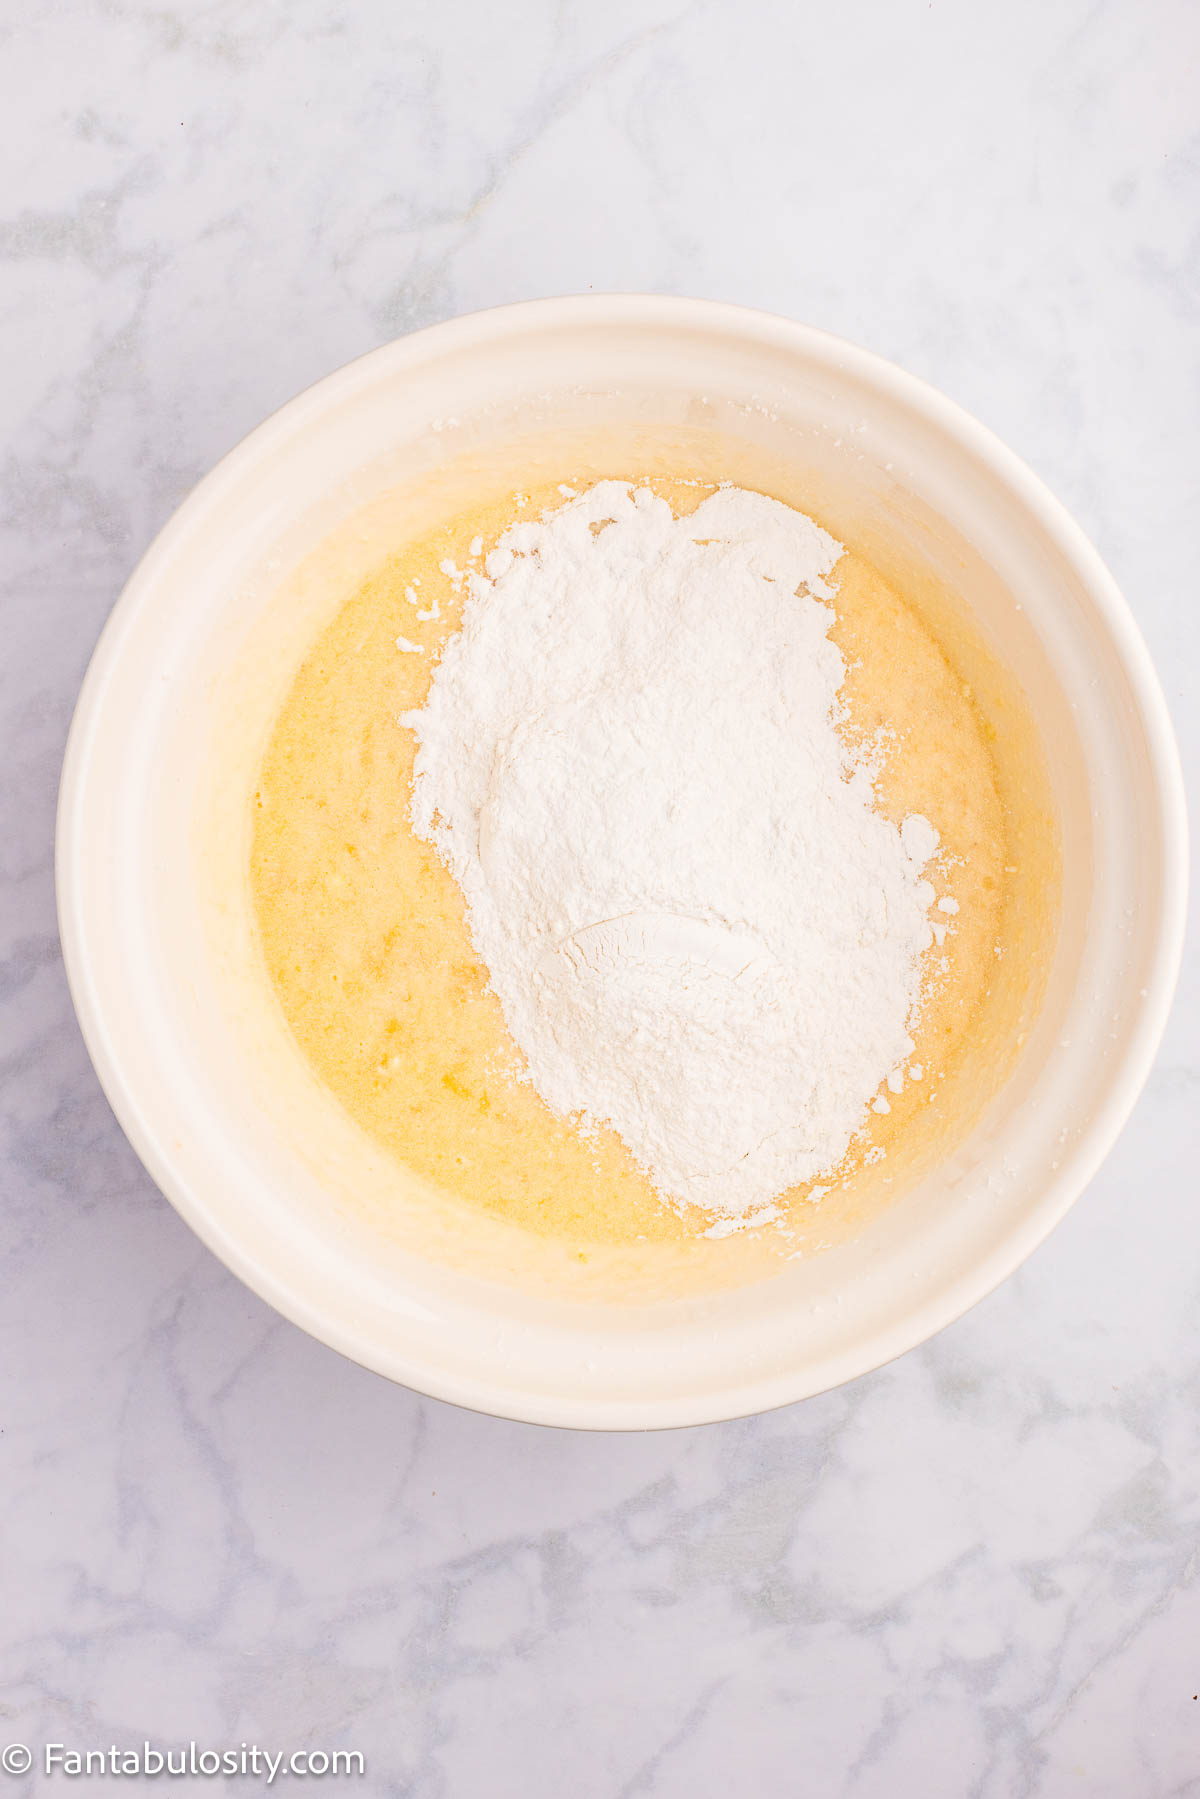
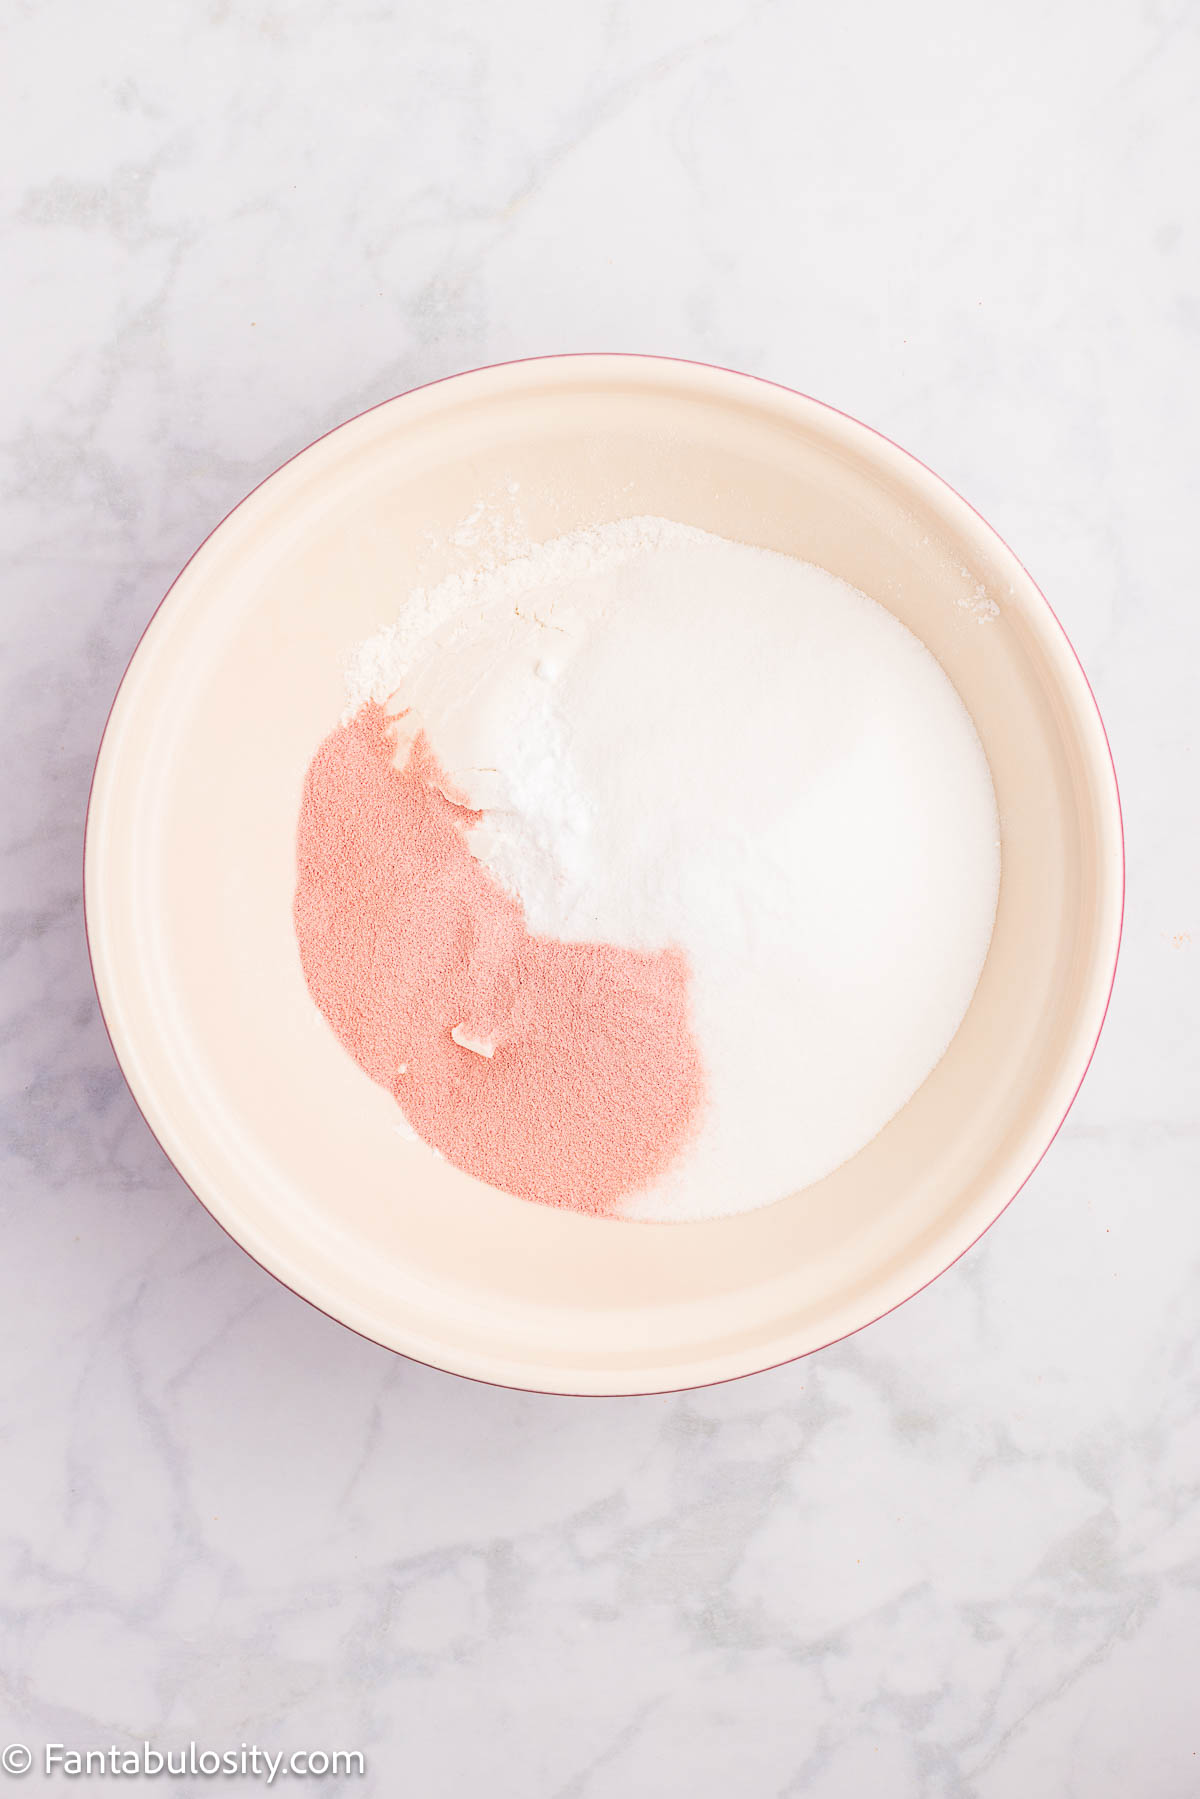
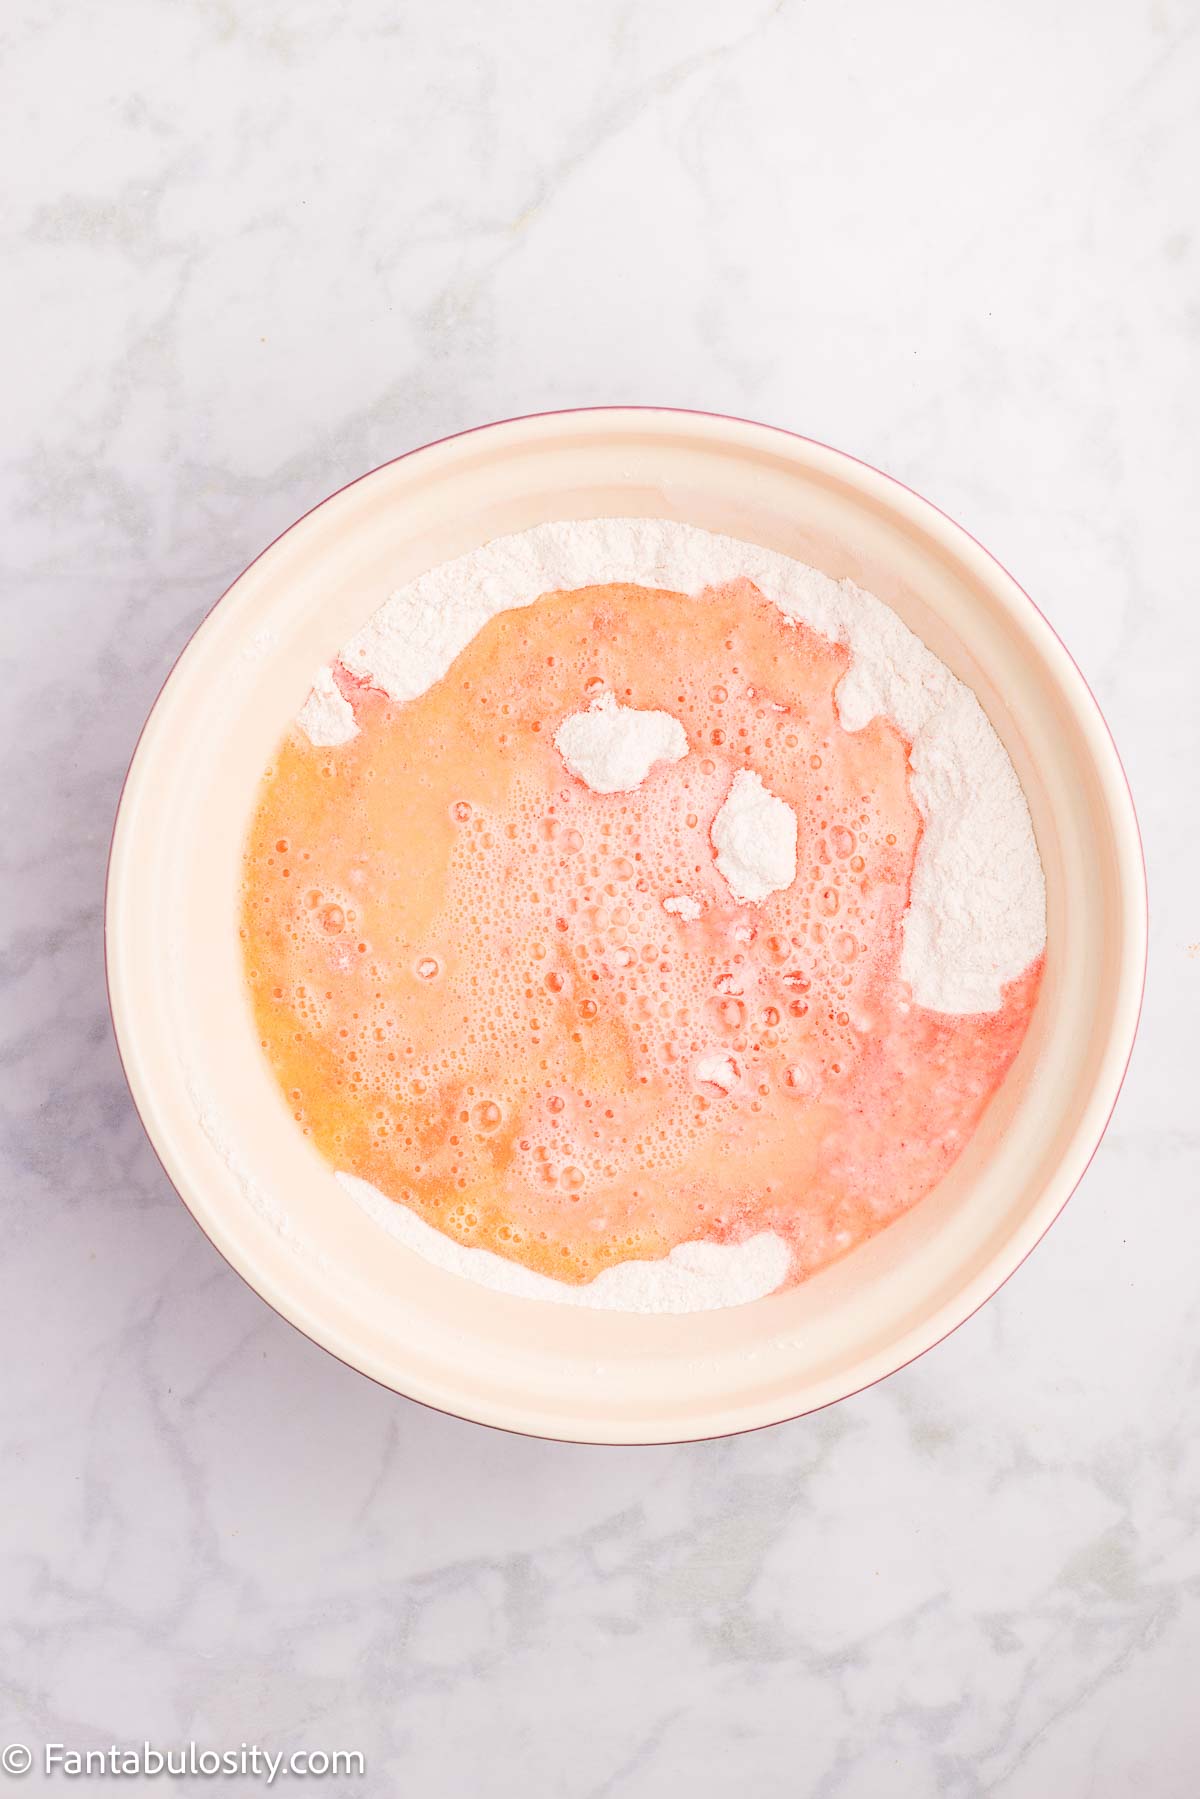
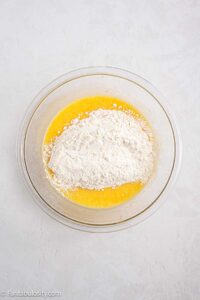
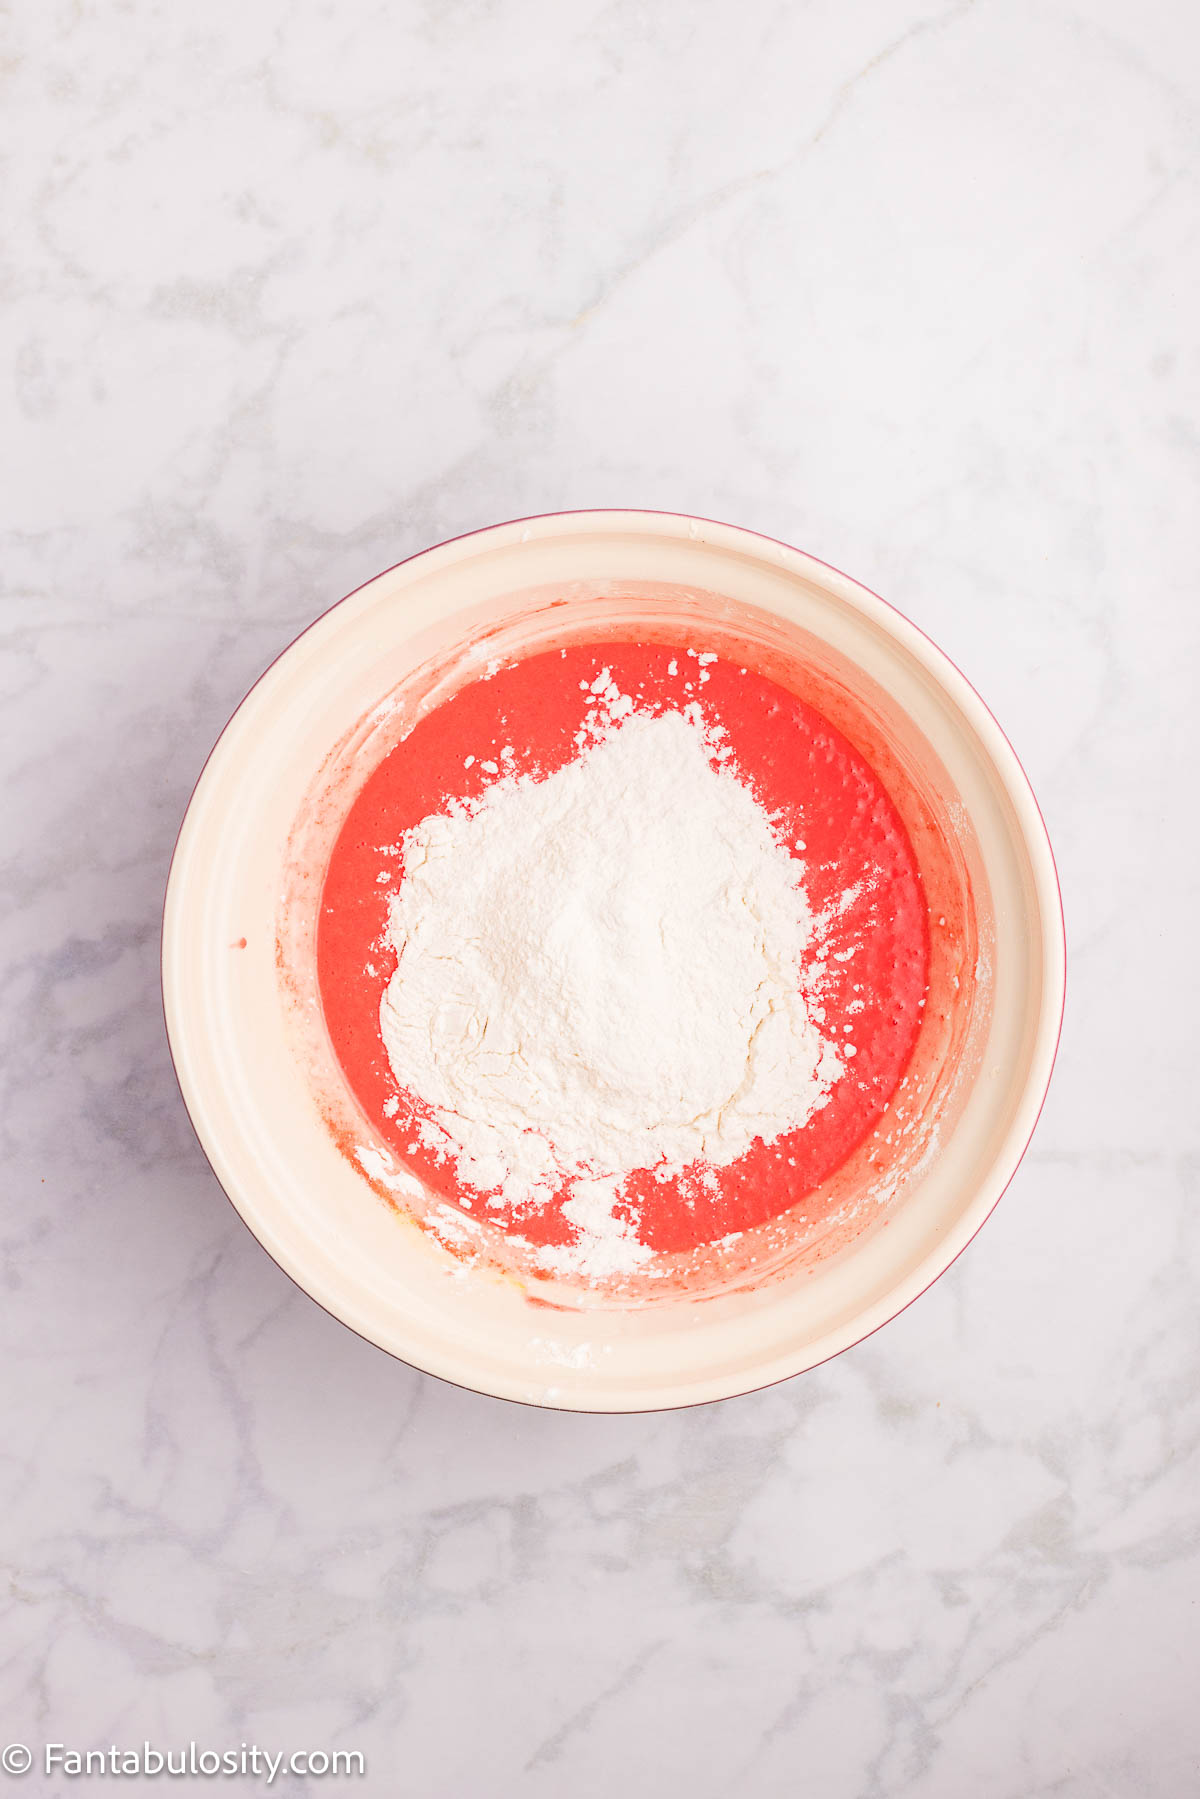
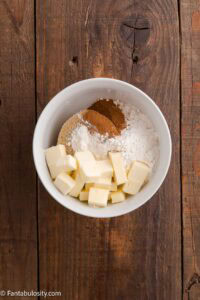
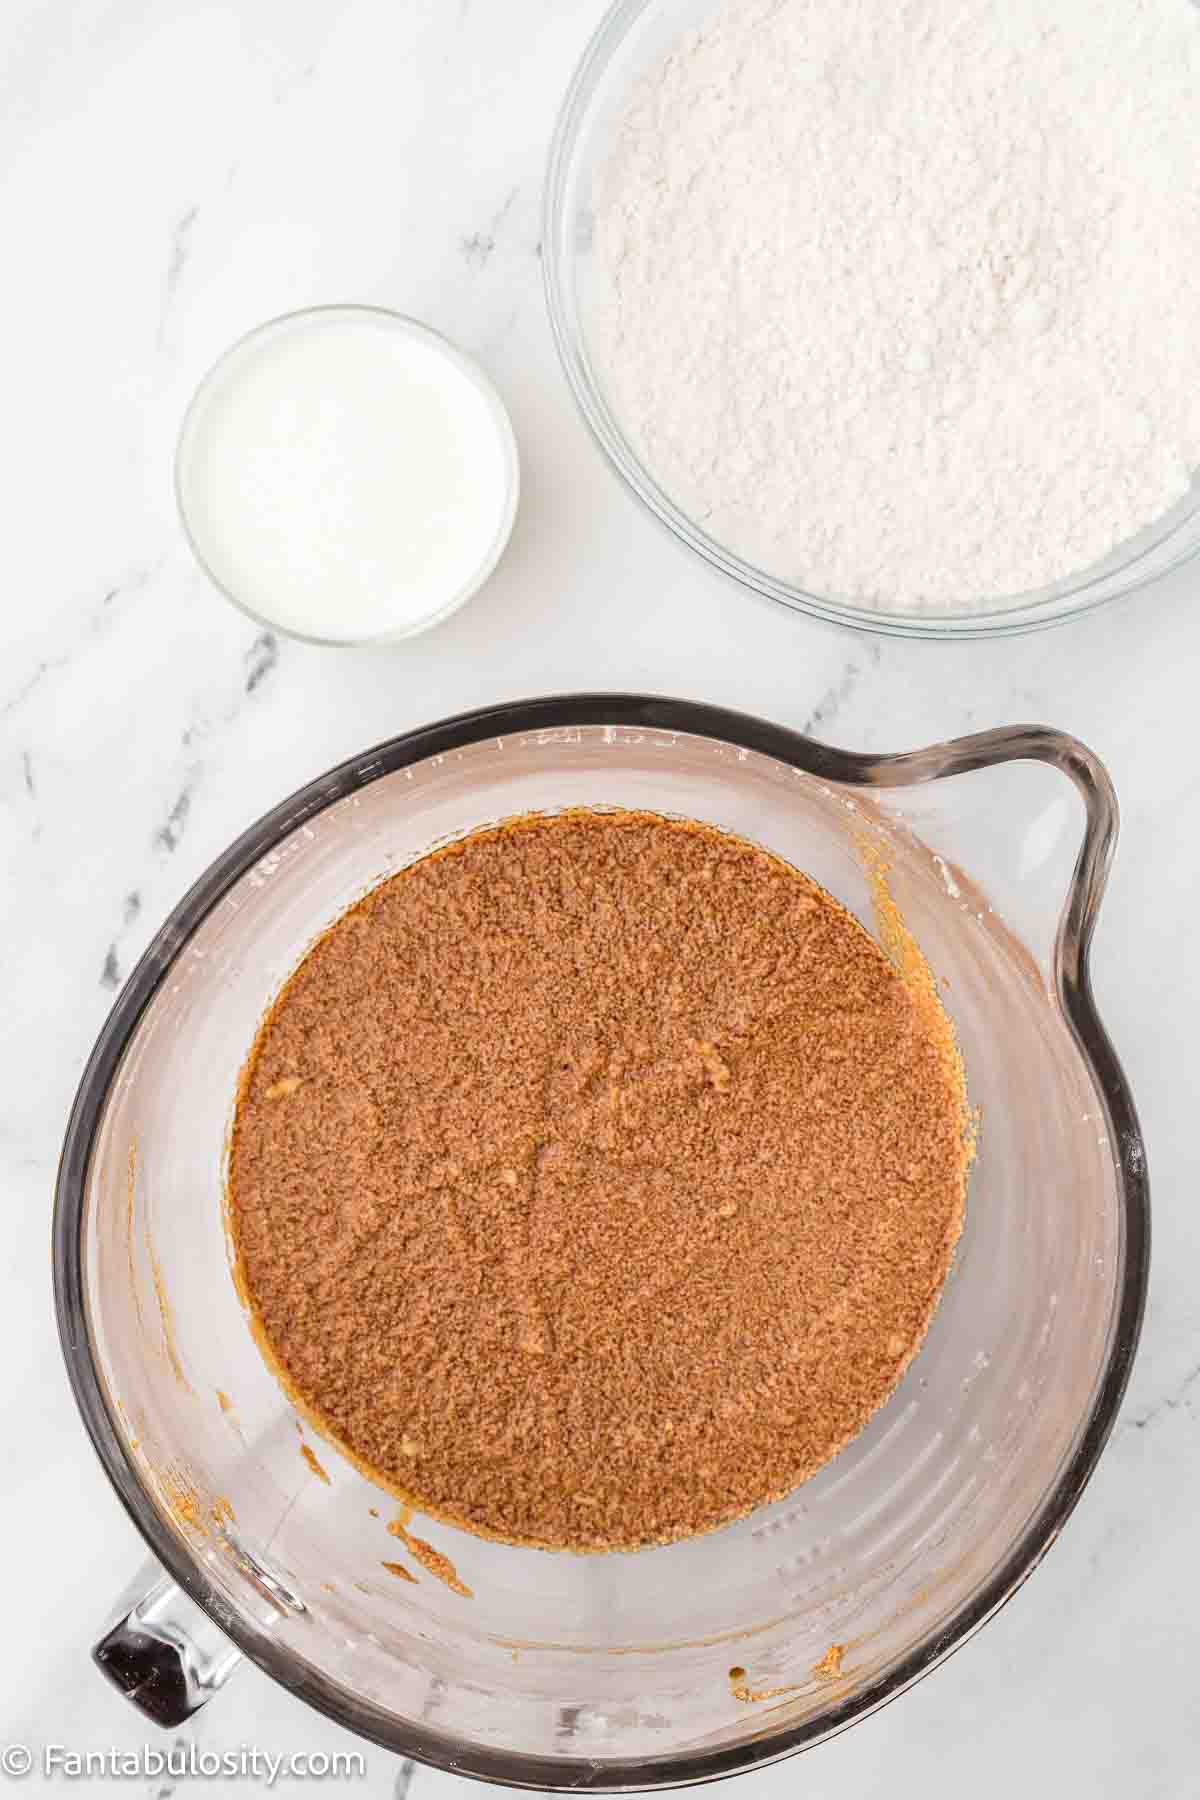
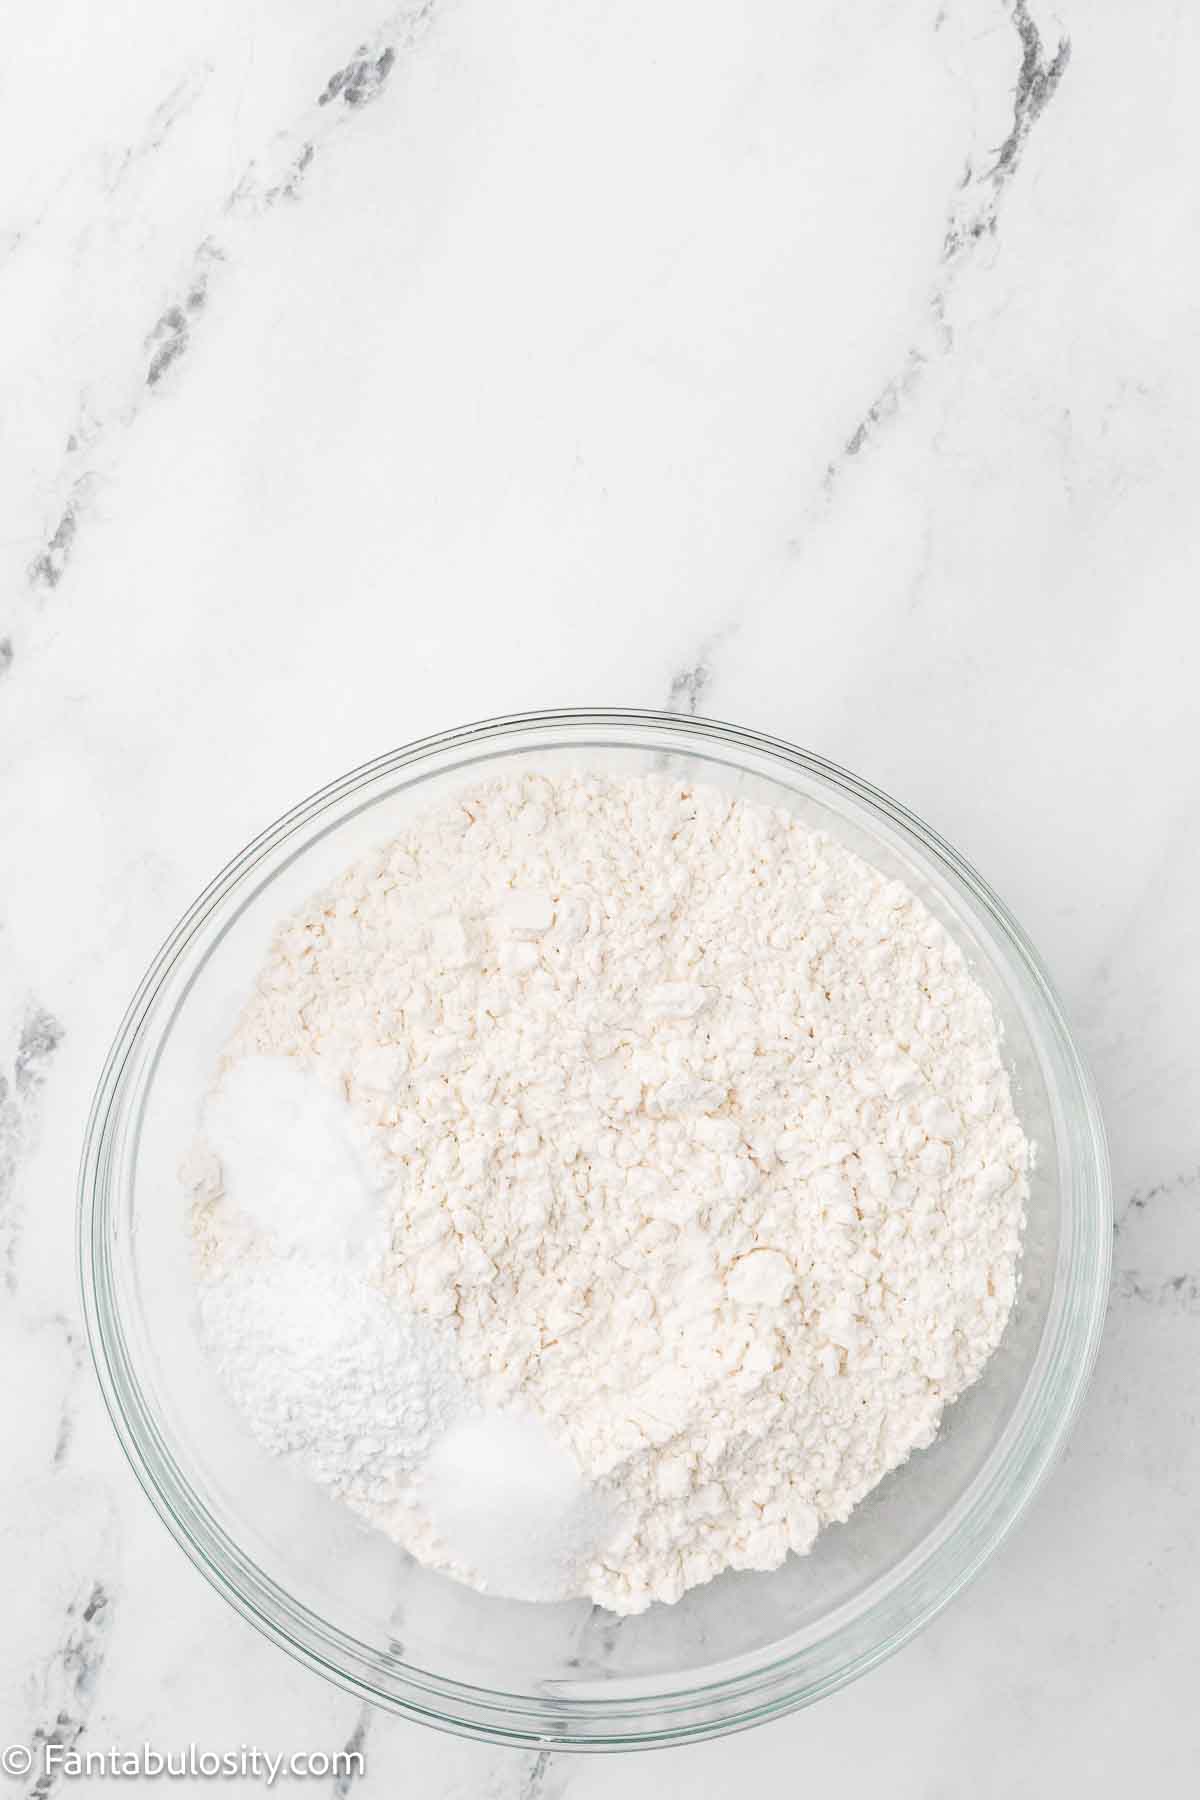
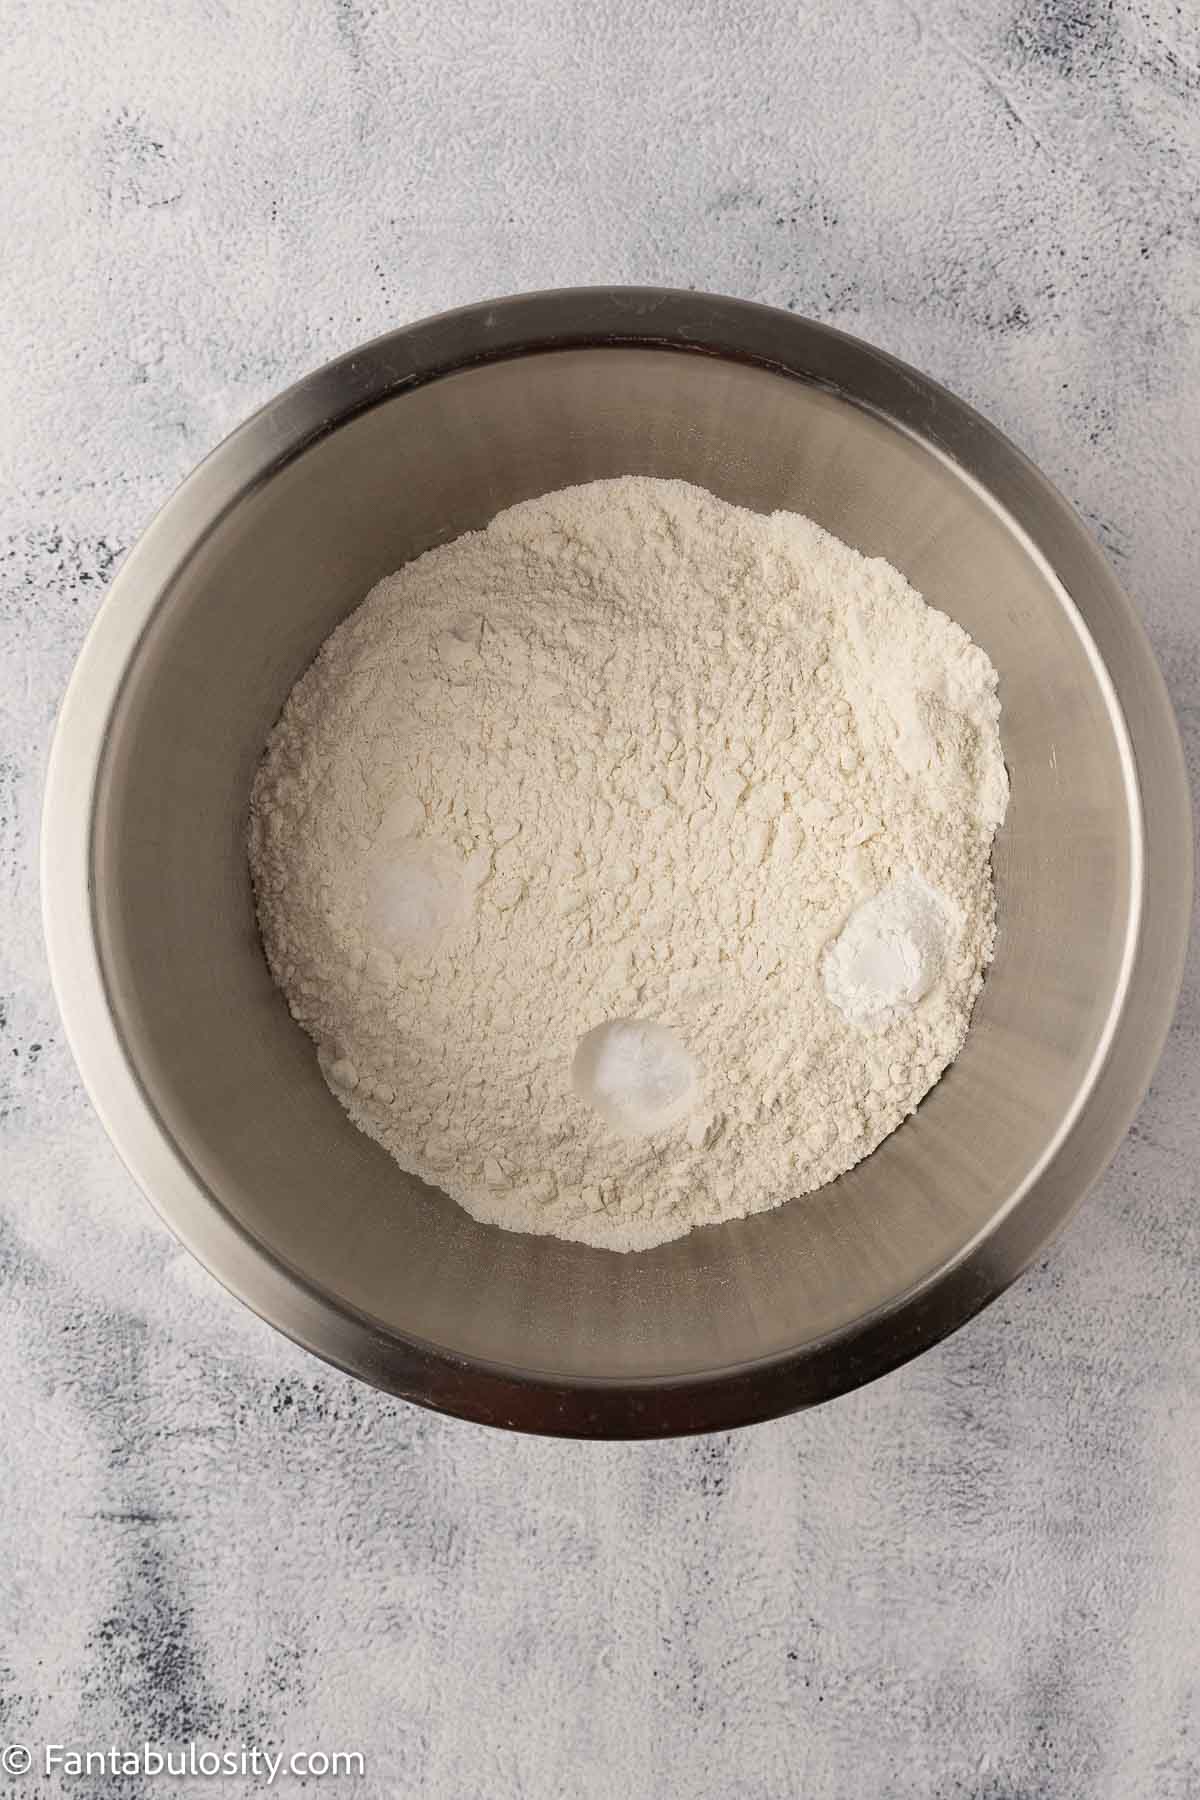
In a separate bowl, whisk together 2¾ cups all-purpose flour, 2 teaspoons baking powder, ½ teaspoon baking soda, and 1 teaspoon salt.
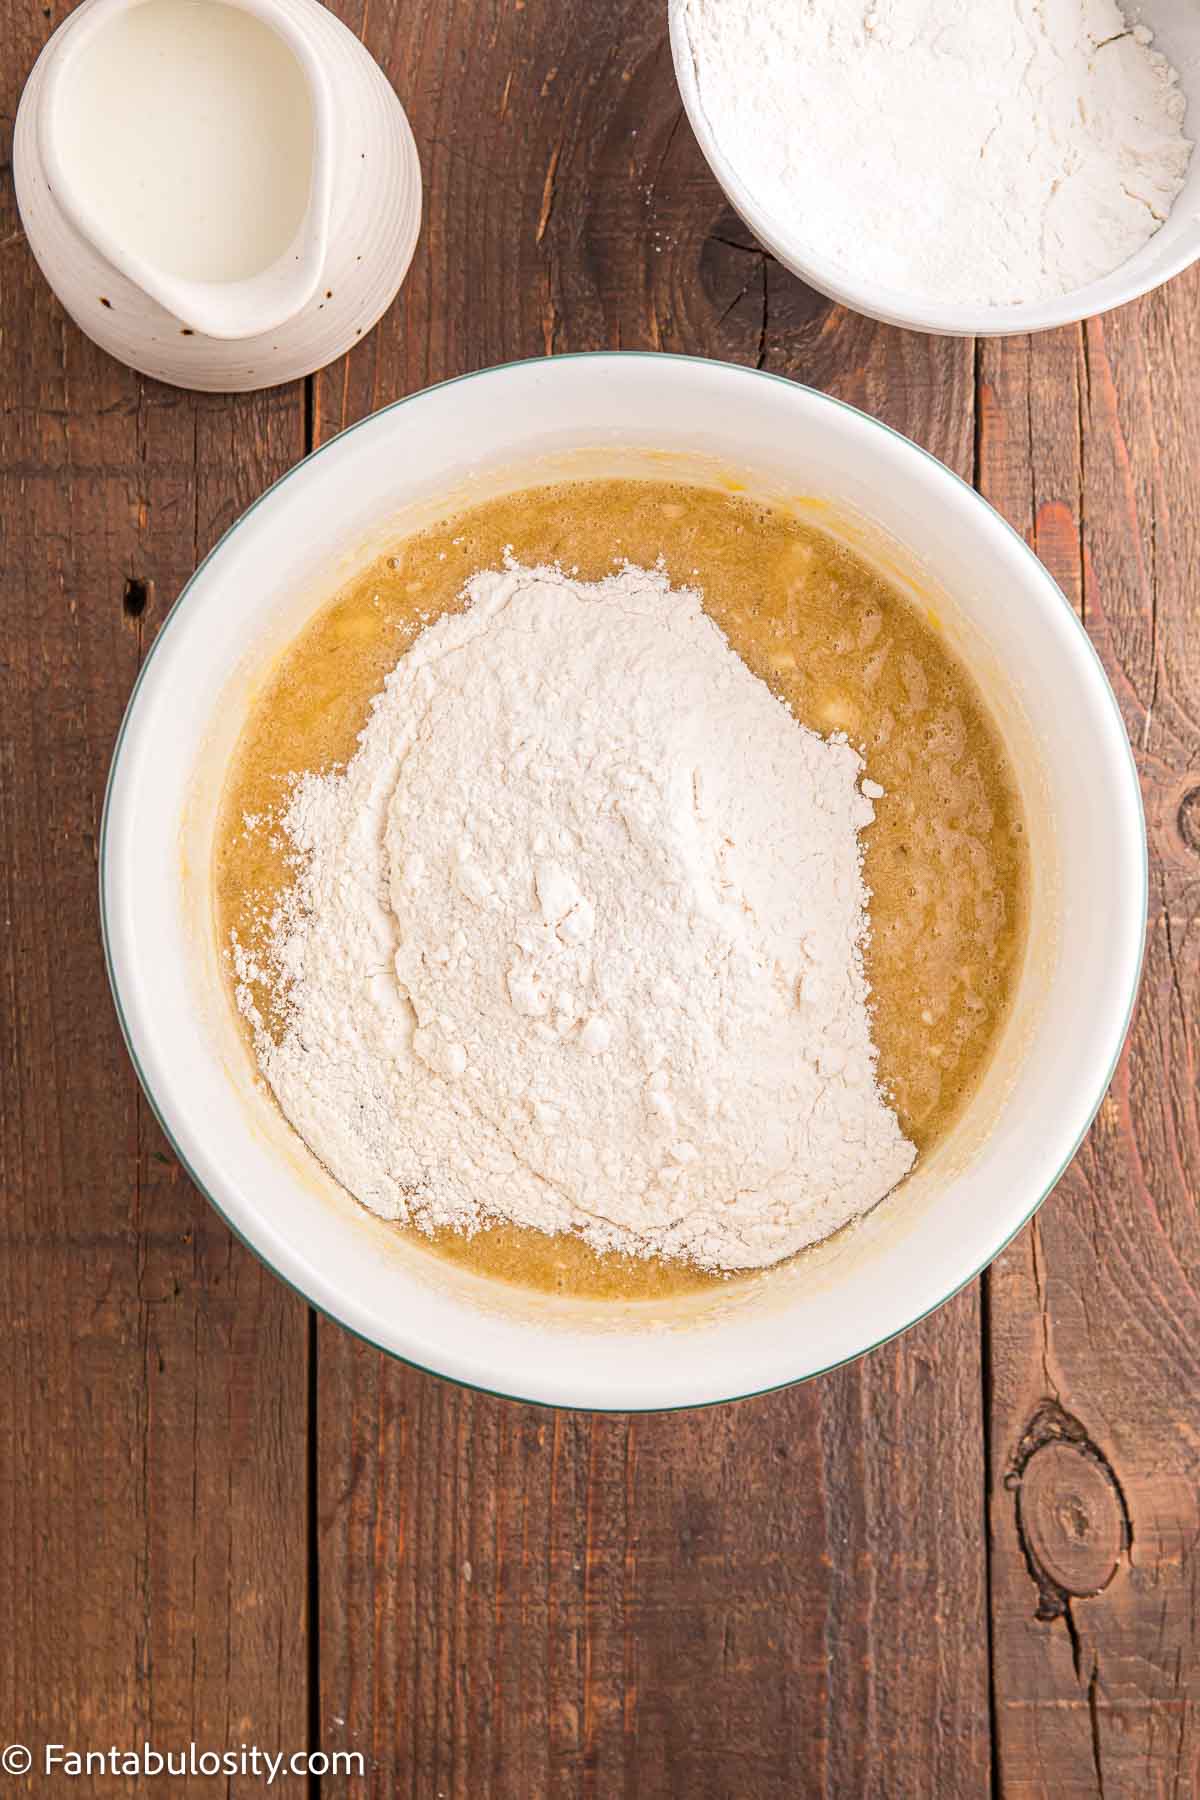
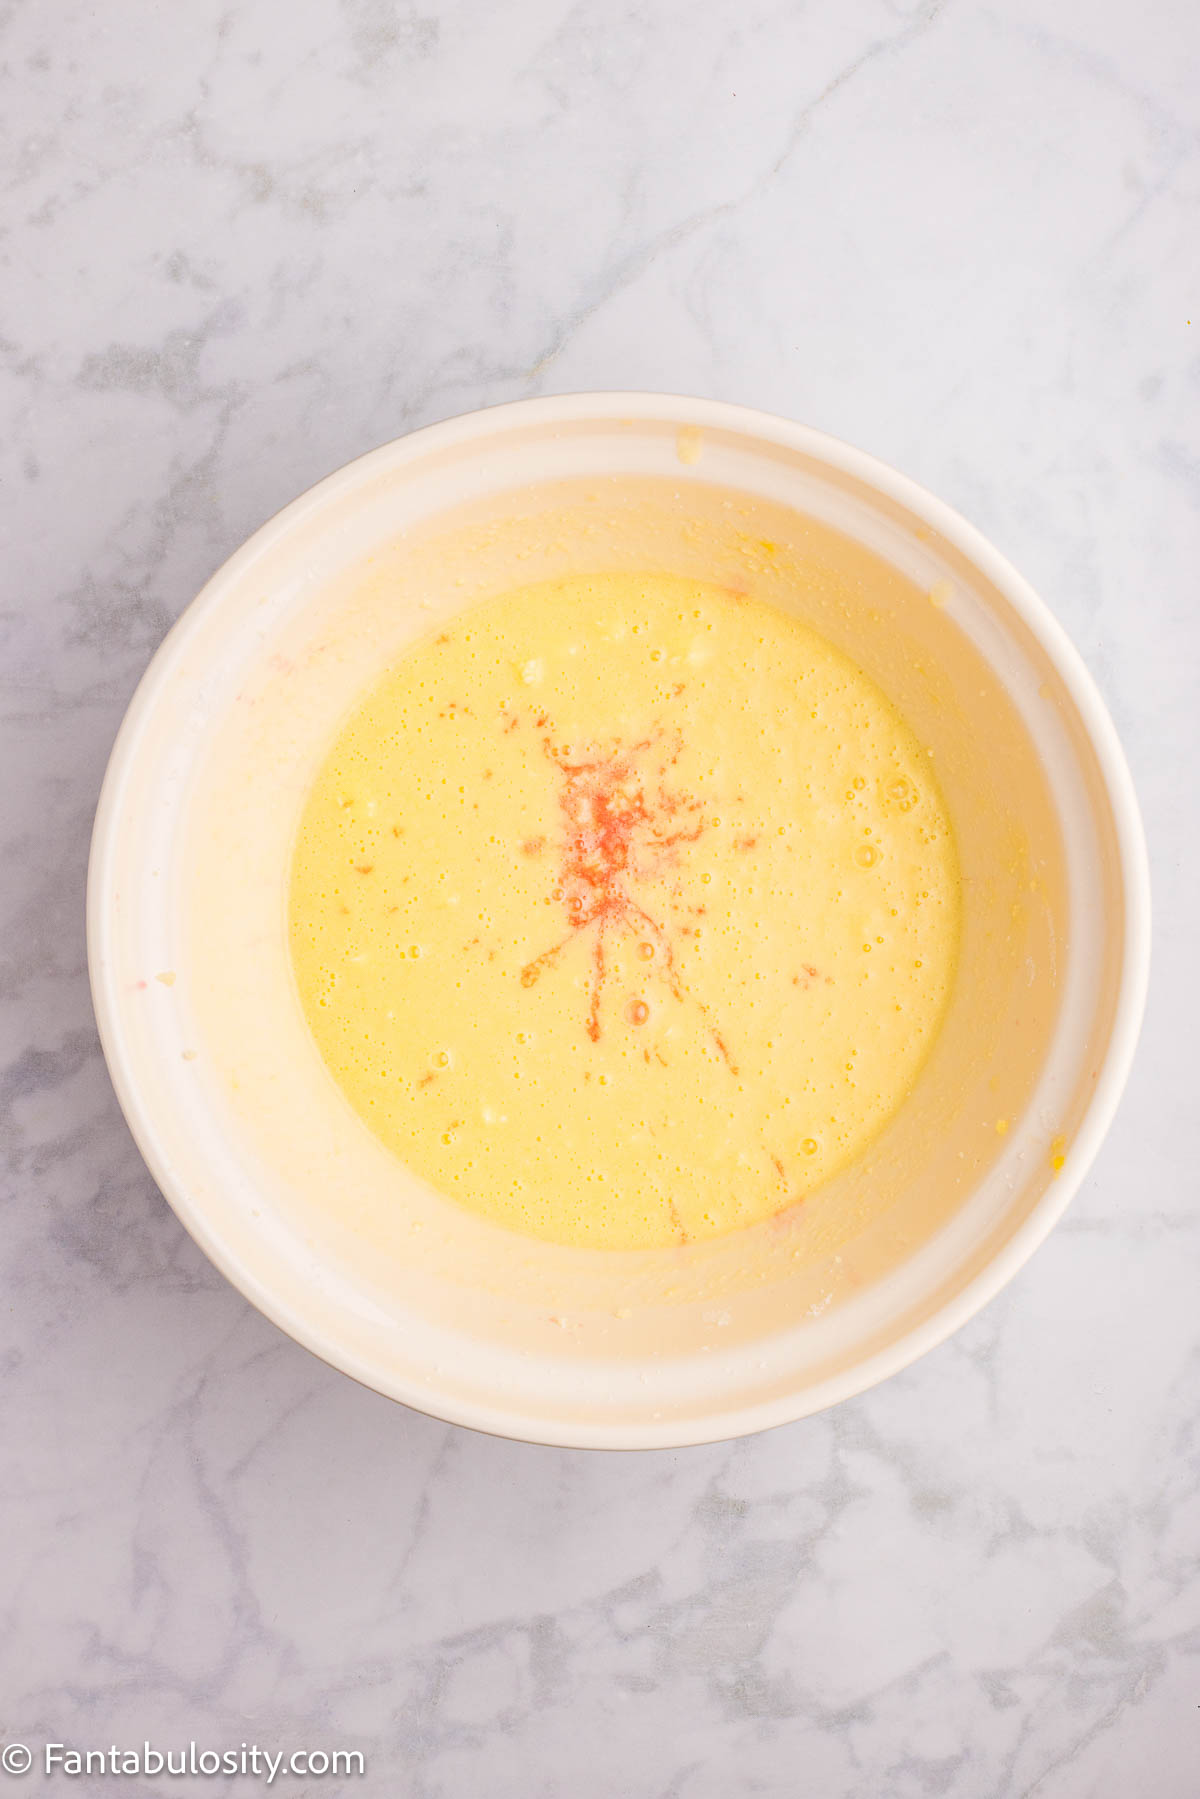
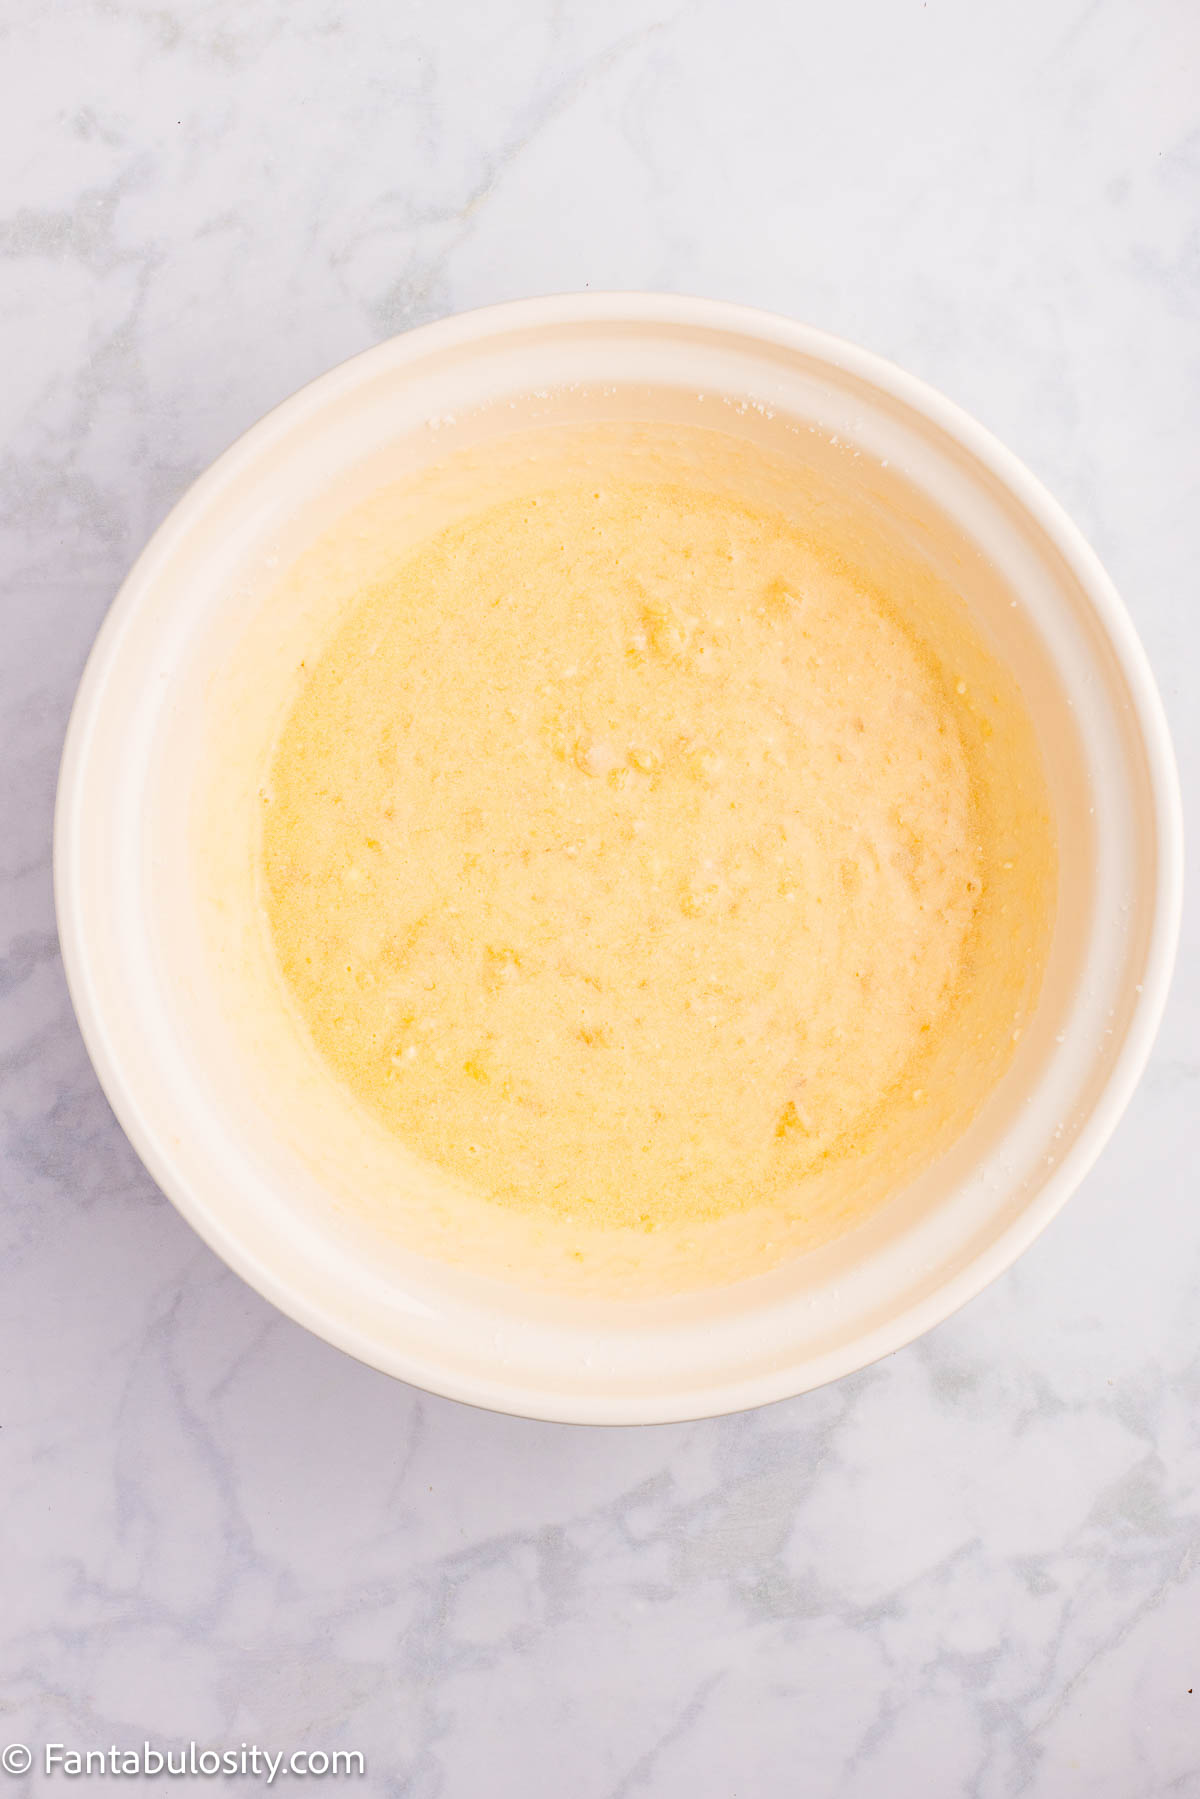
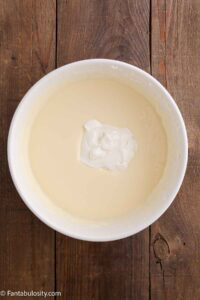
Alternate adding the dry ingredients with 1 cup whole milk, mixing on low speed just until almost combined.
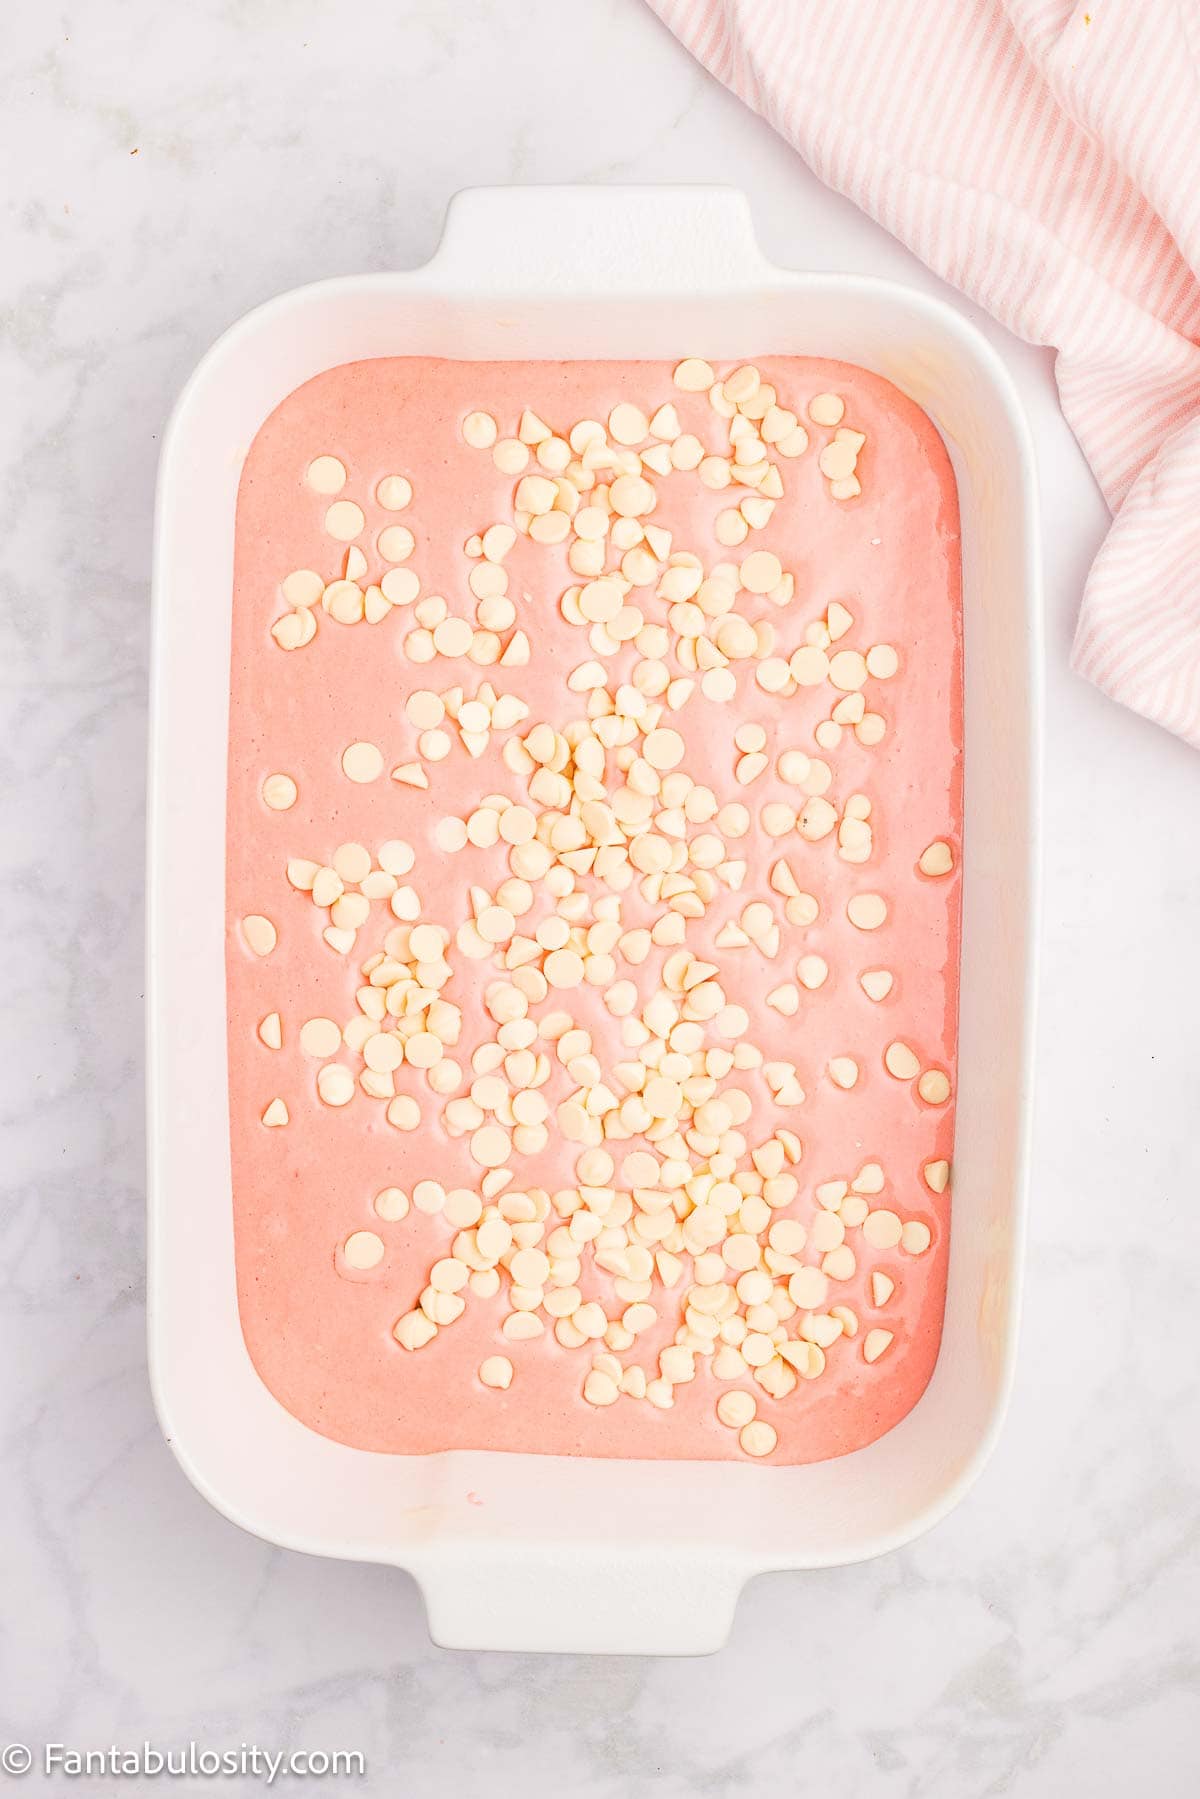
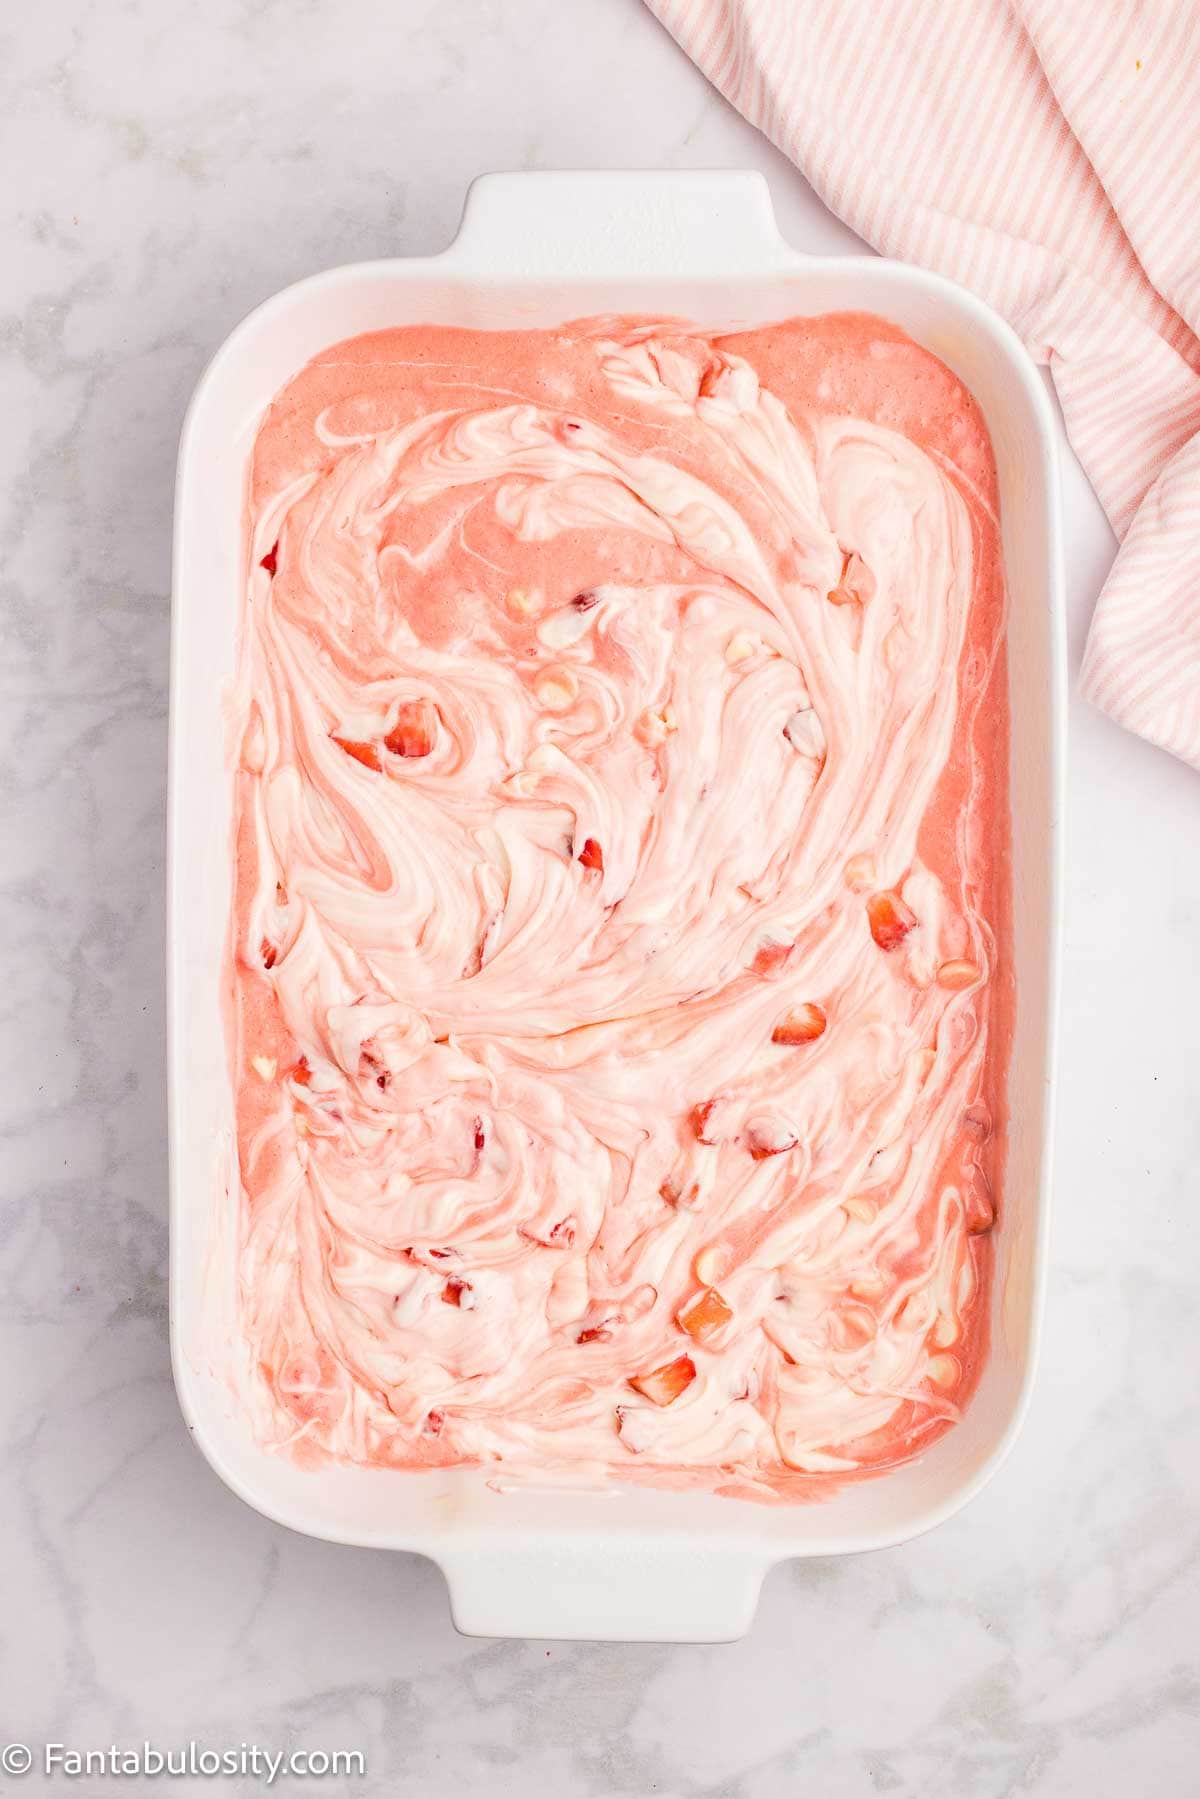
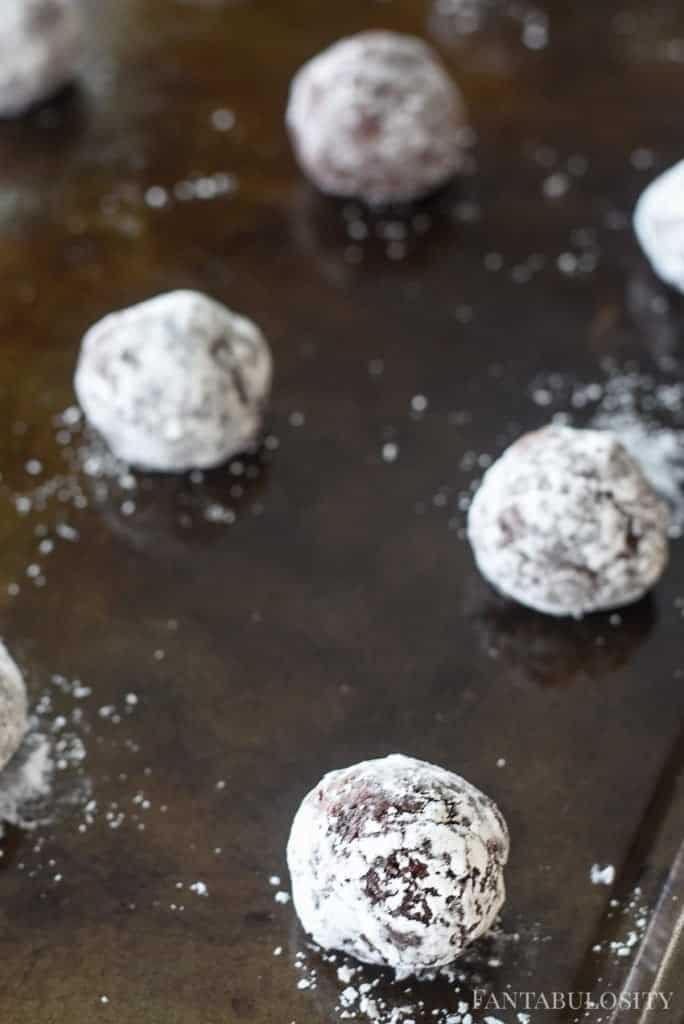
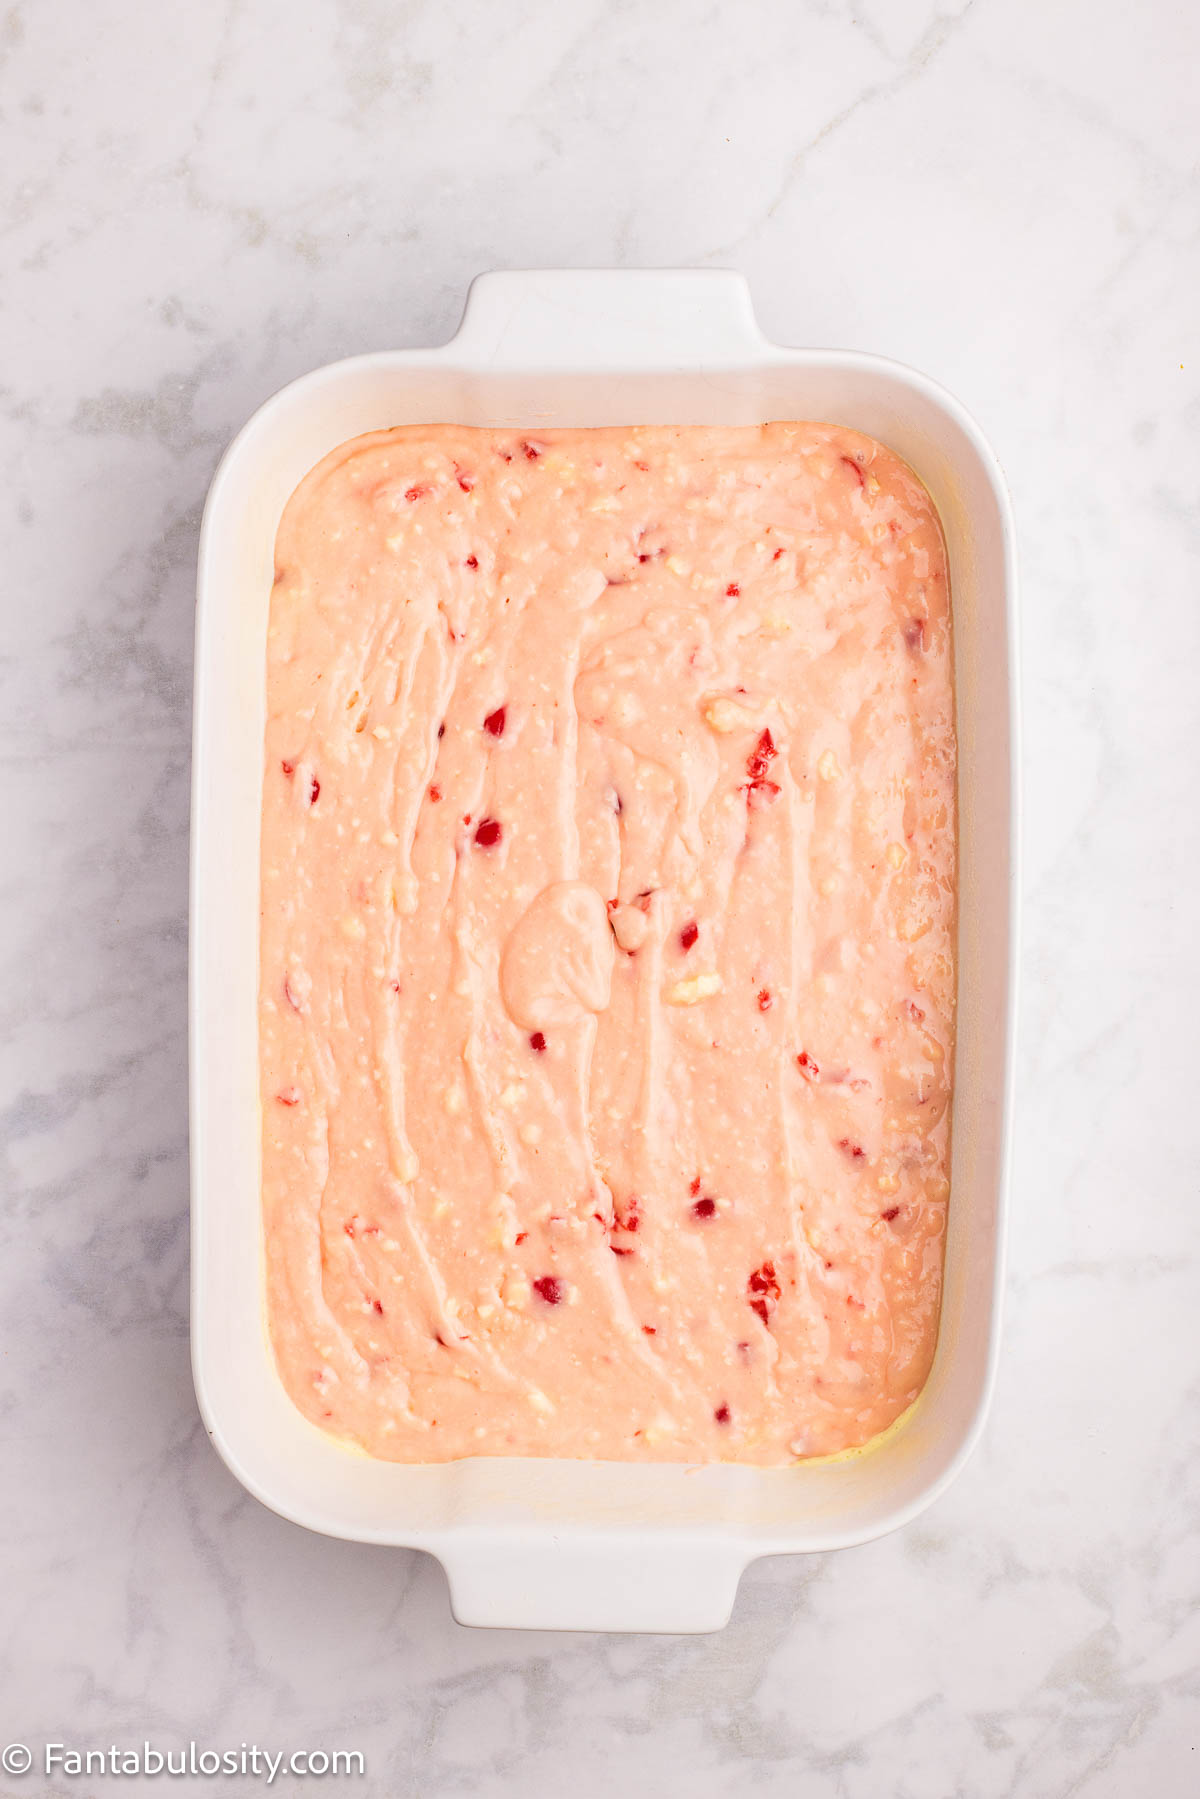
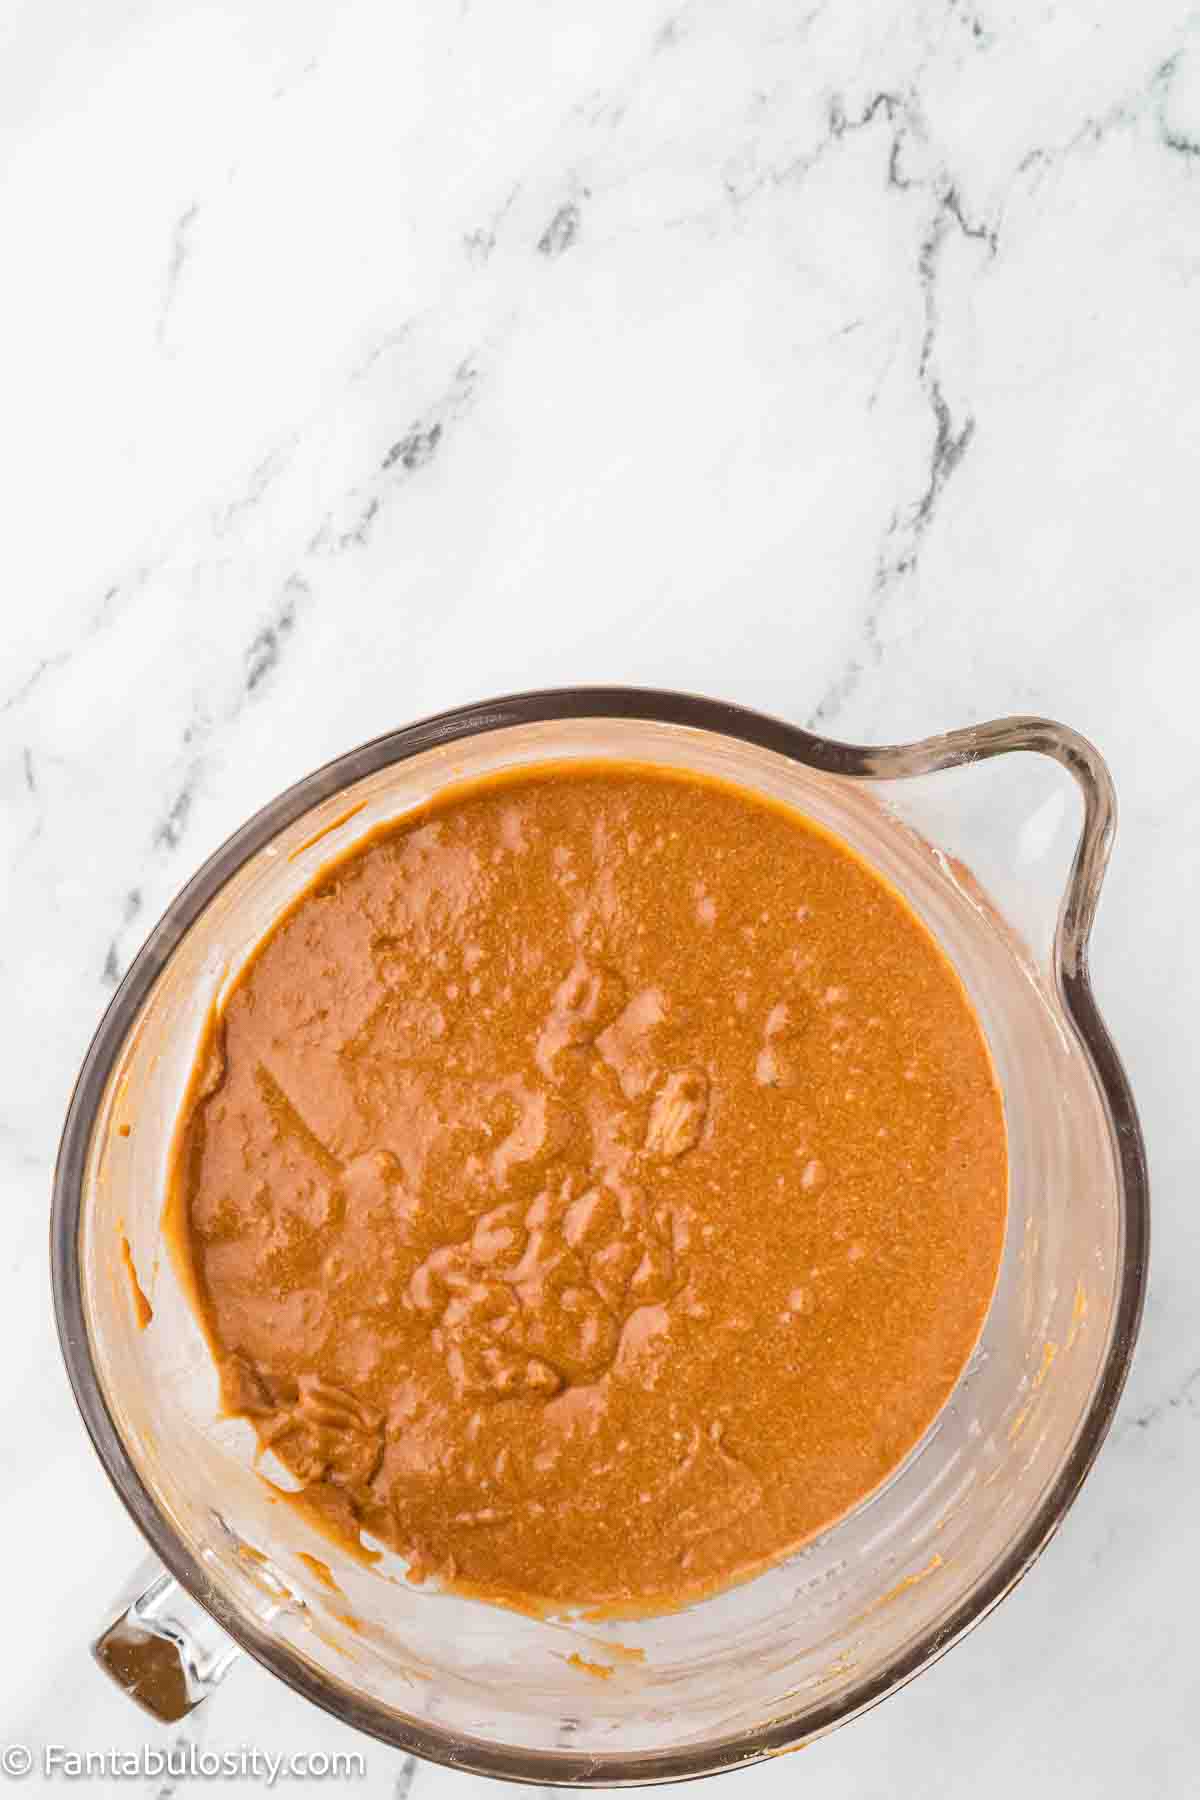
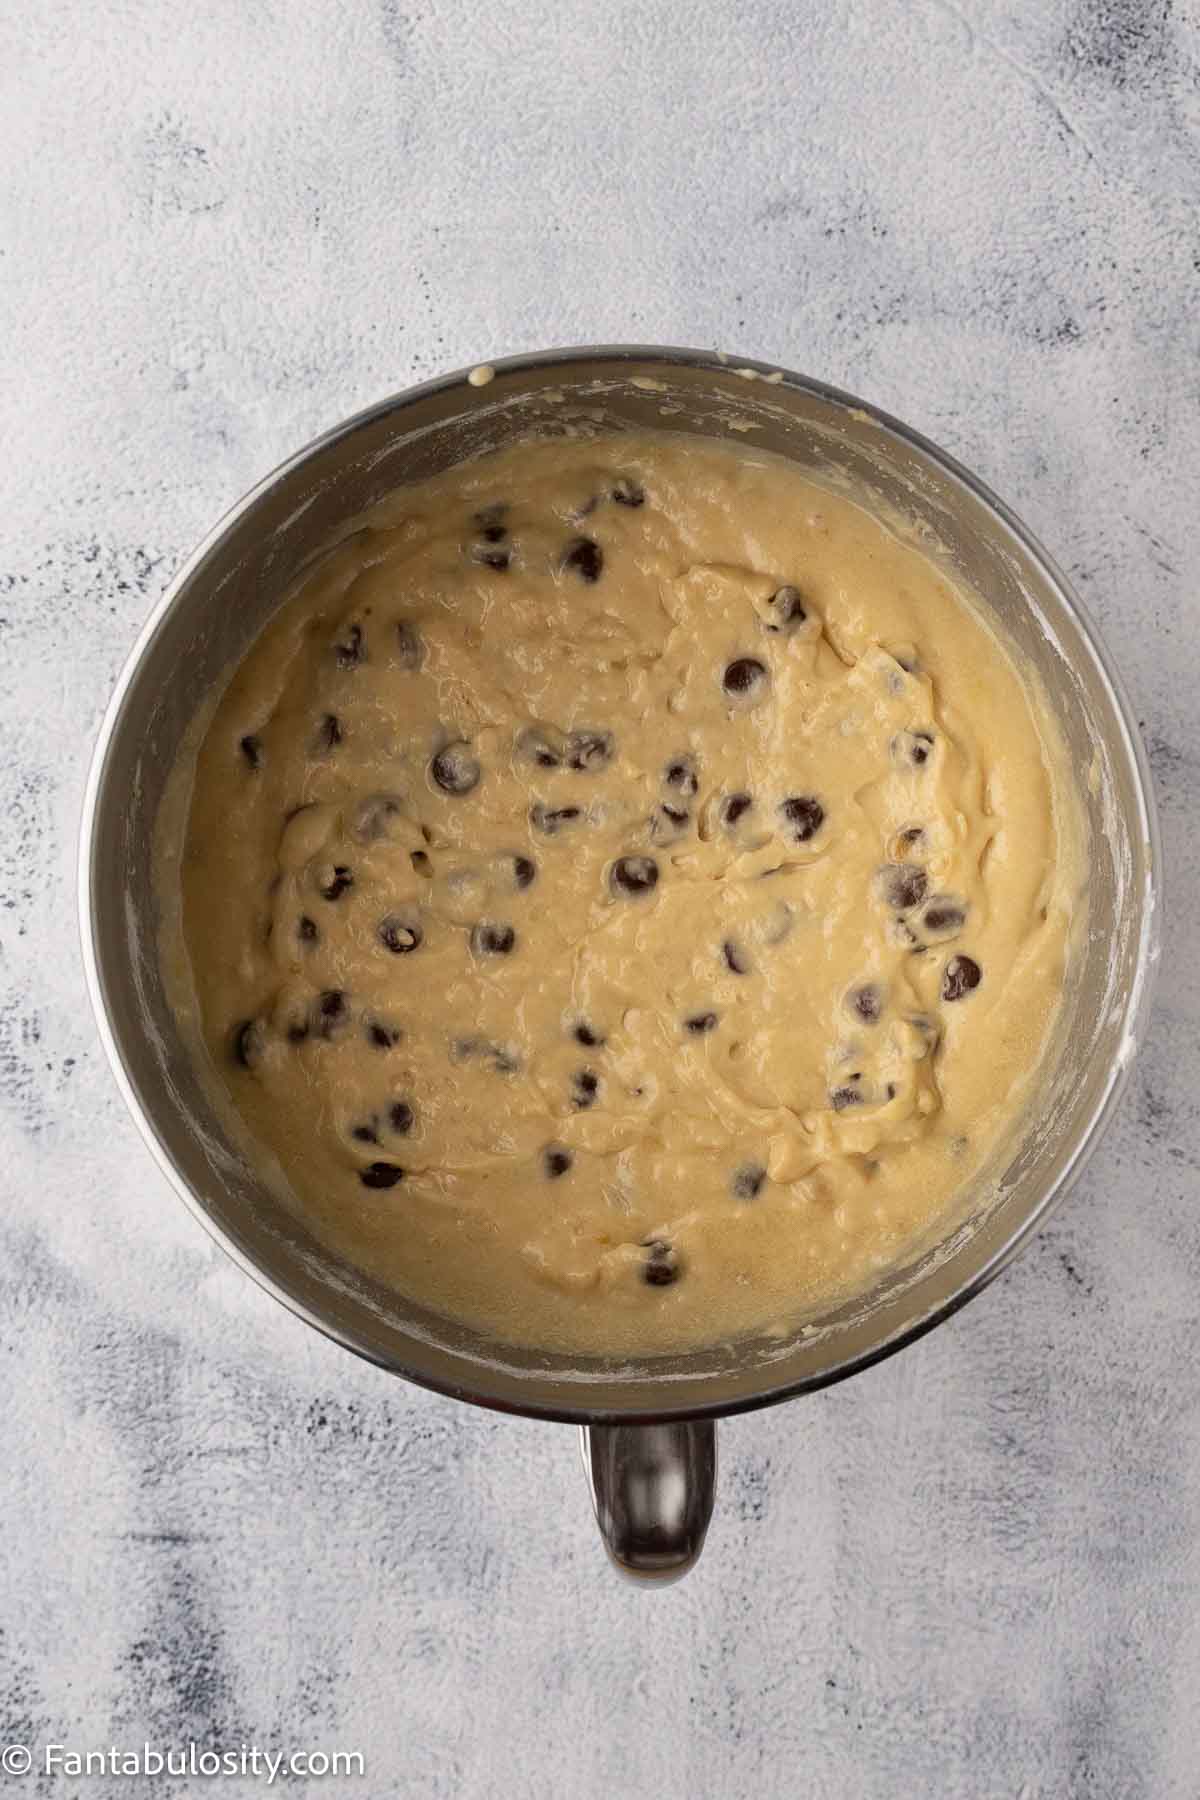
Toss 1½ cups semisweet chocolate chips with 1 tablespoon flour, then gently fold them into the batter until no dry streaks remain. Be careful not to overmix.
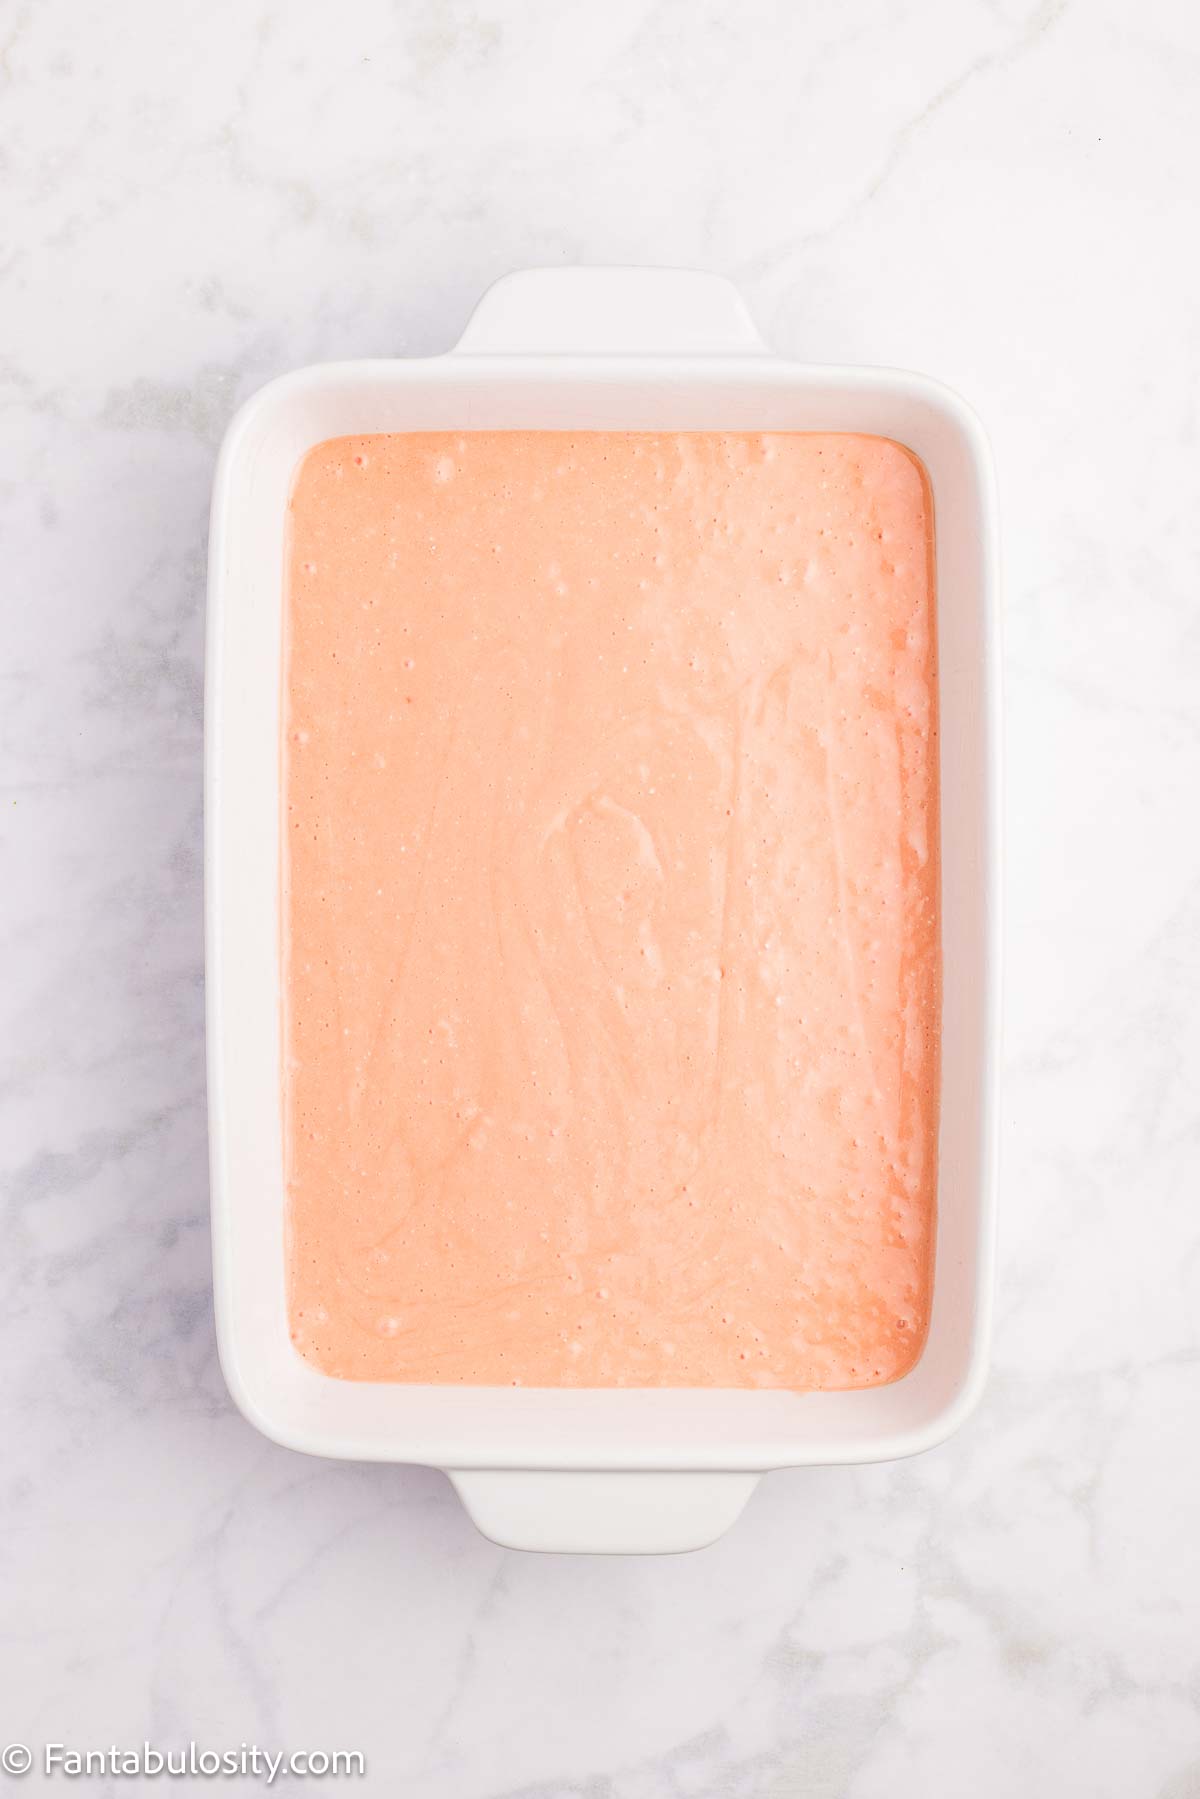
Bake
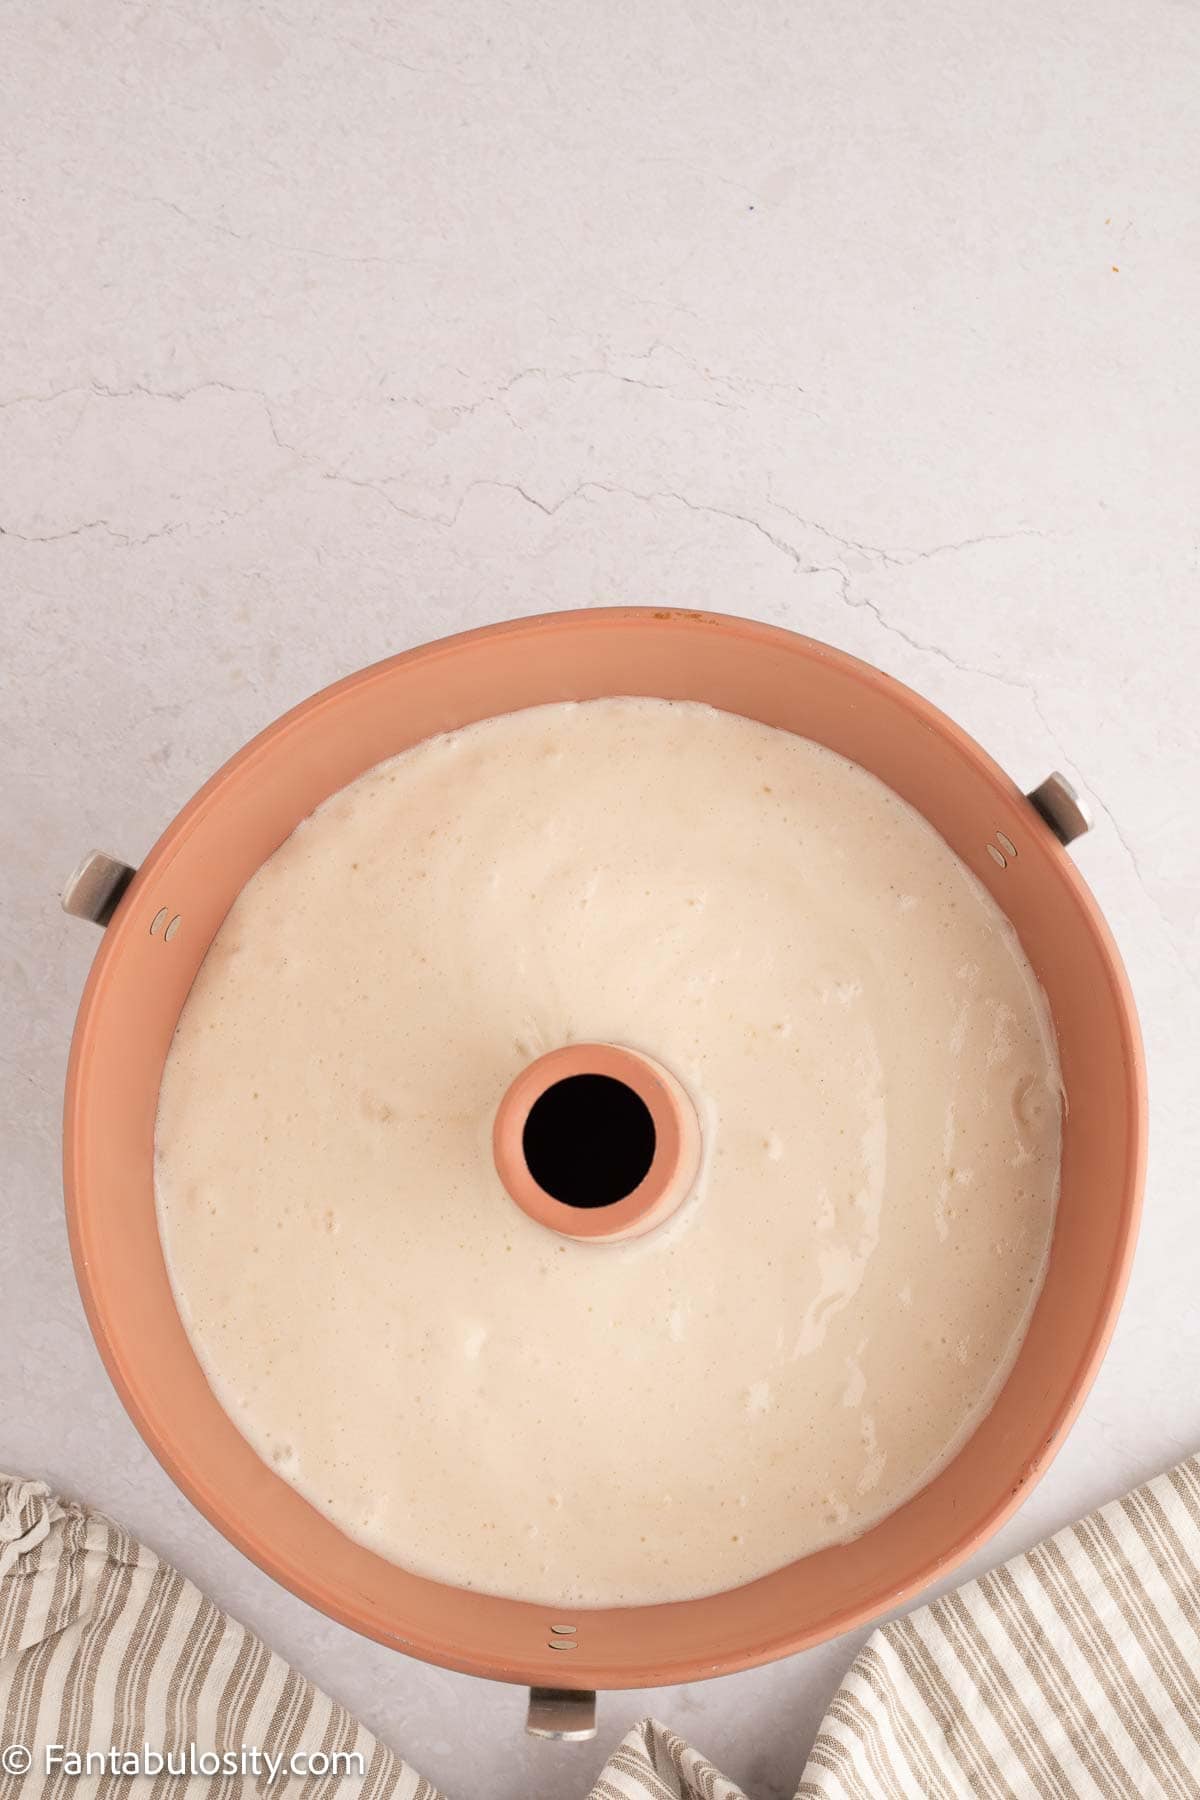
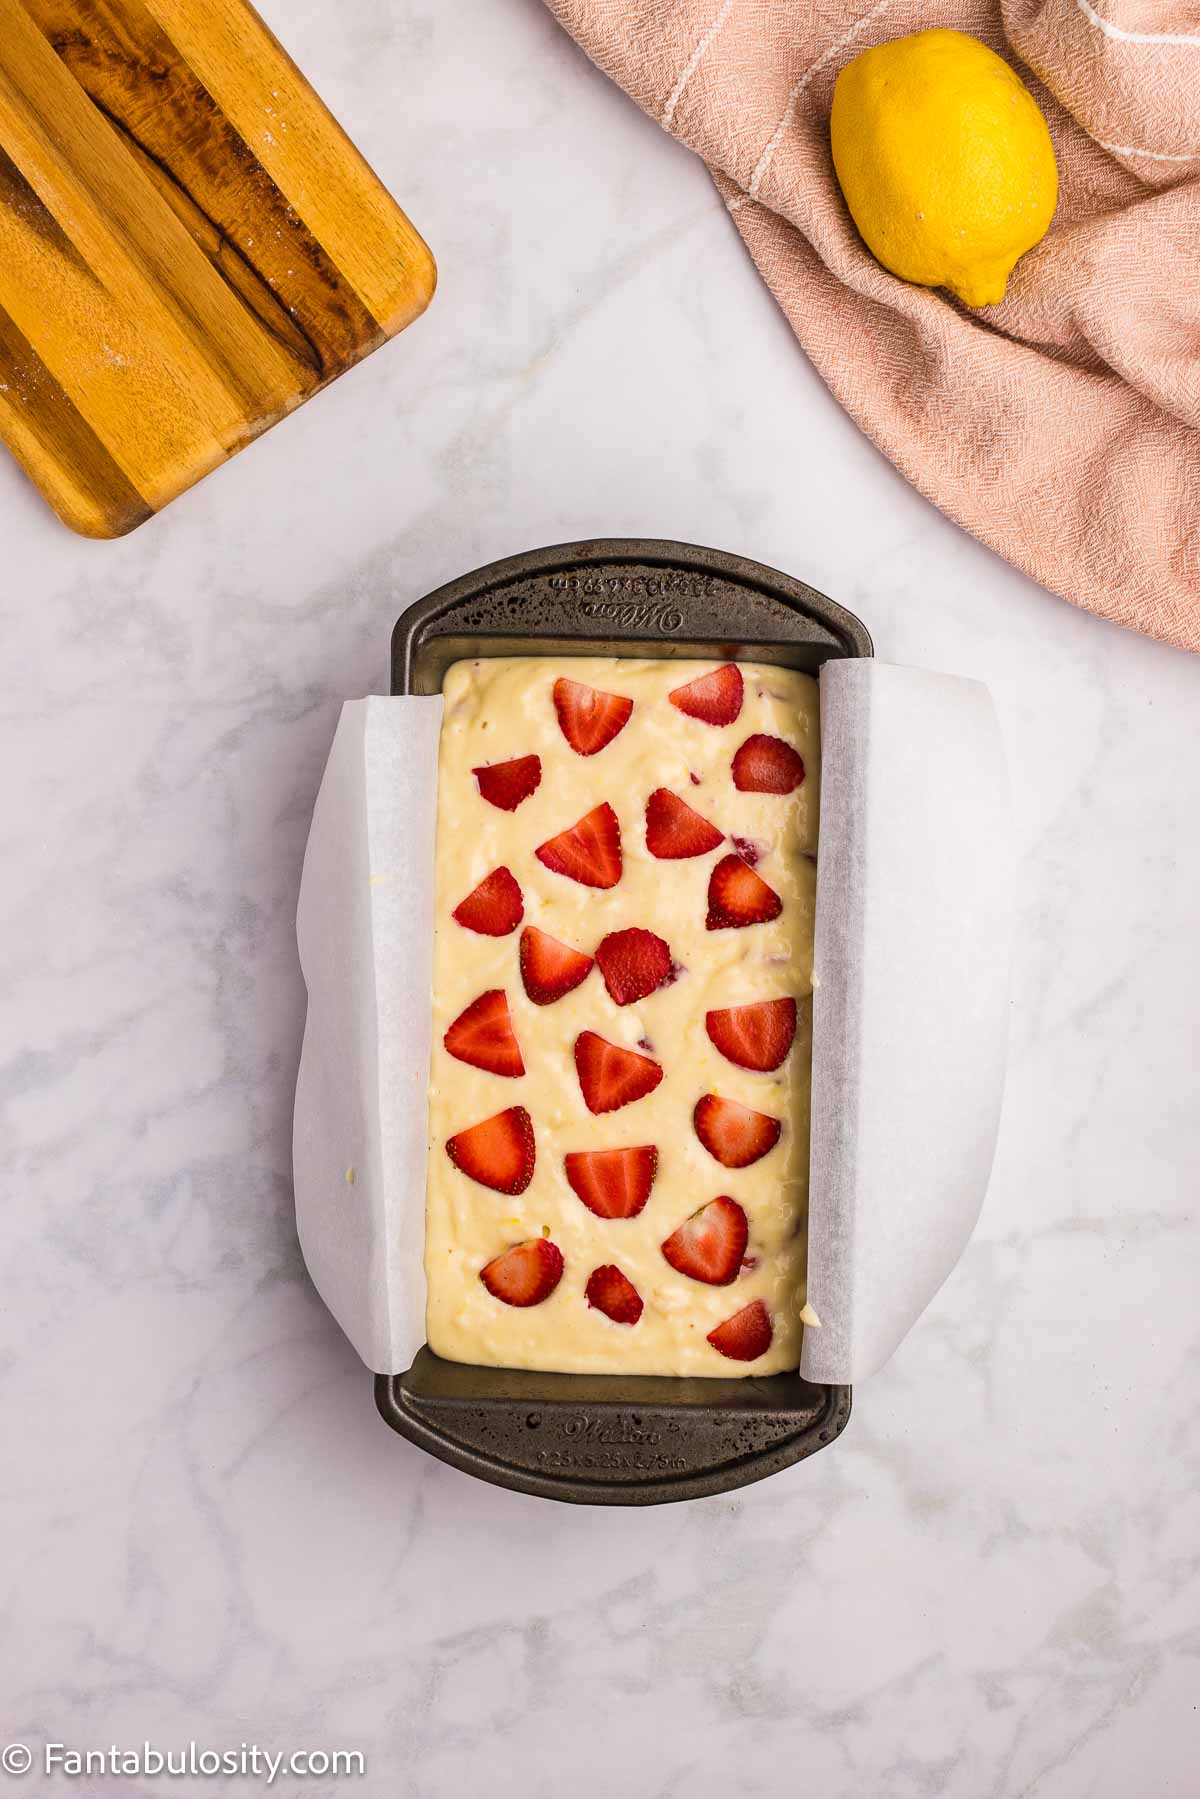
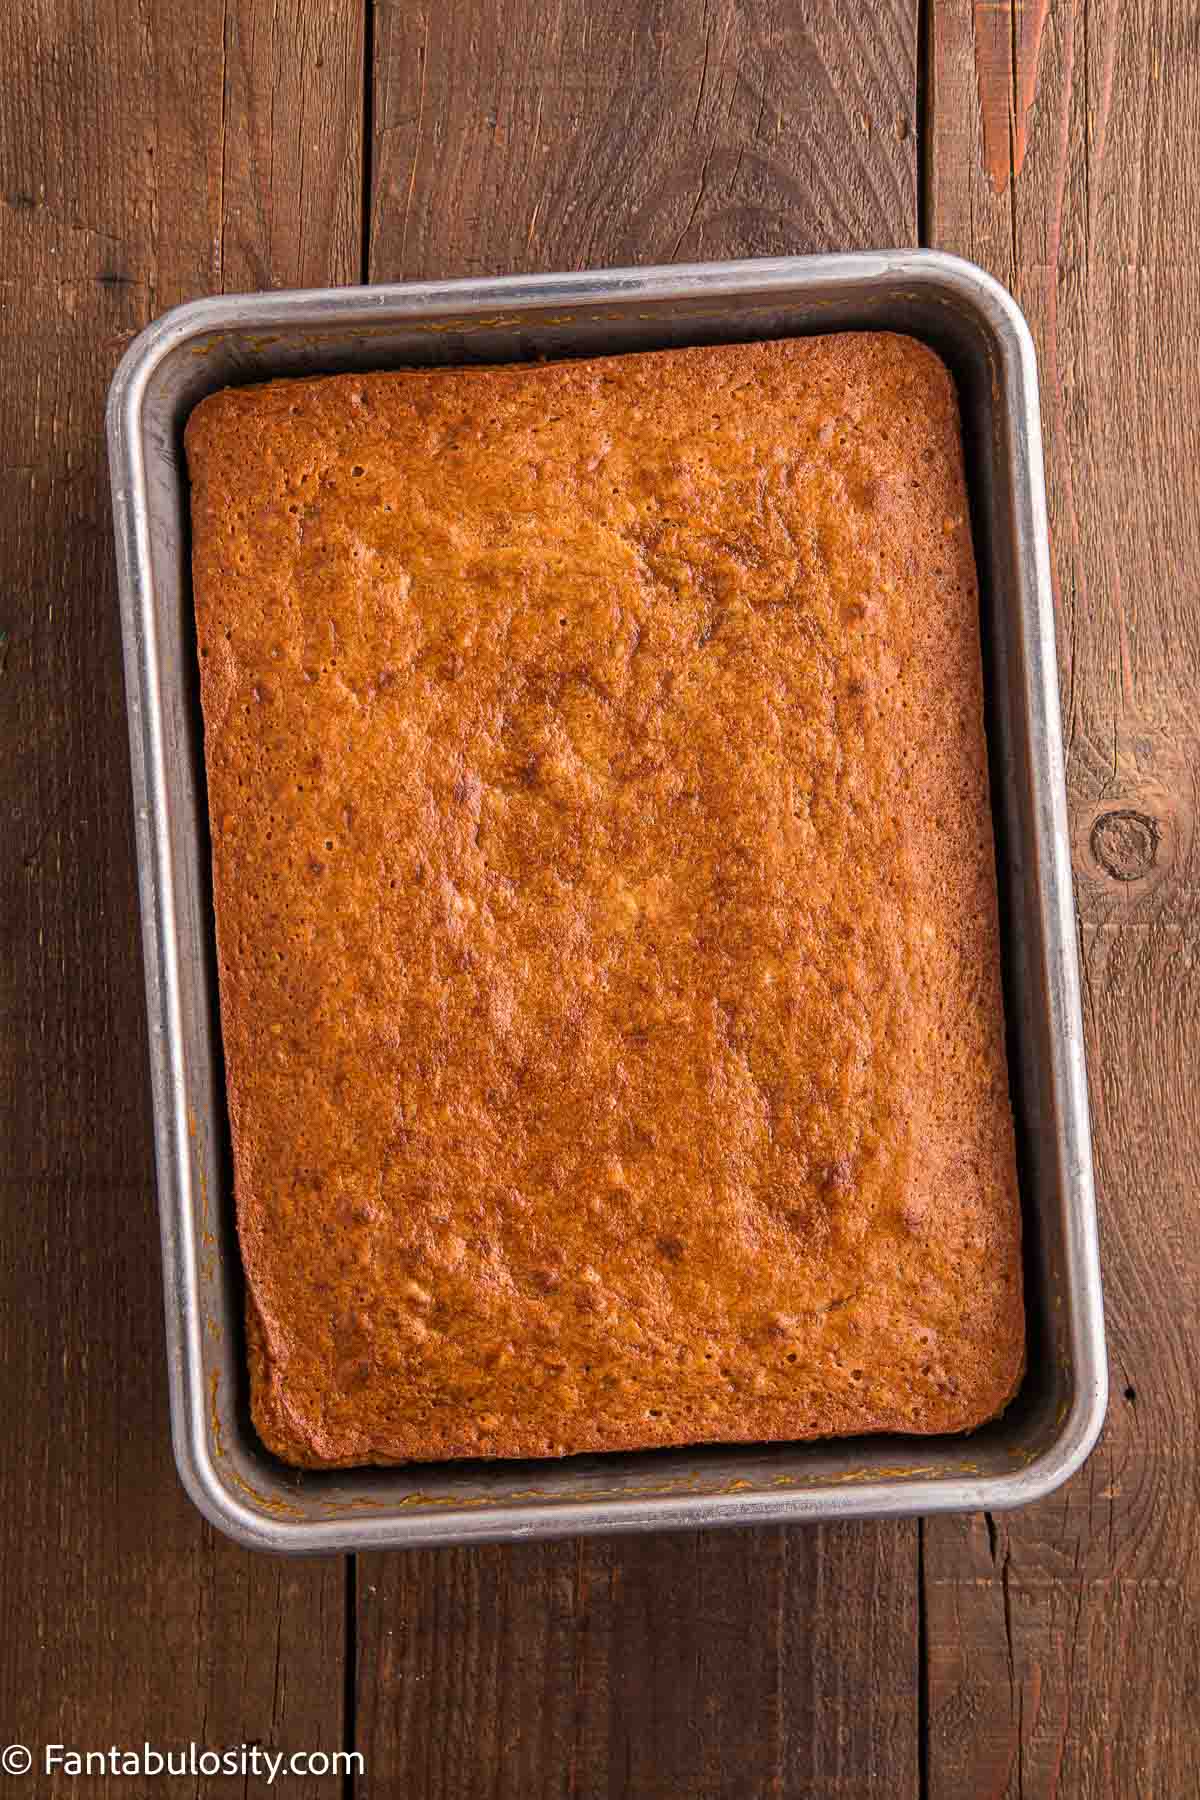
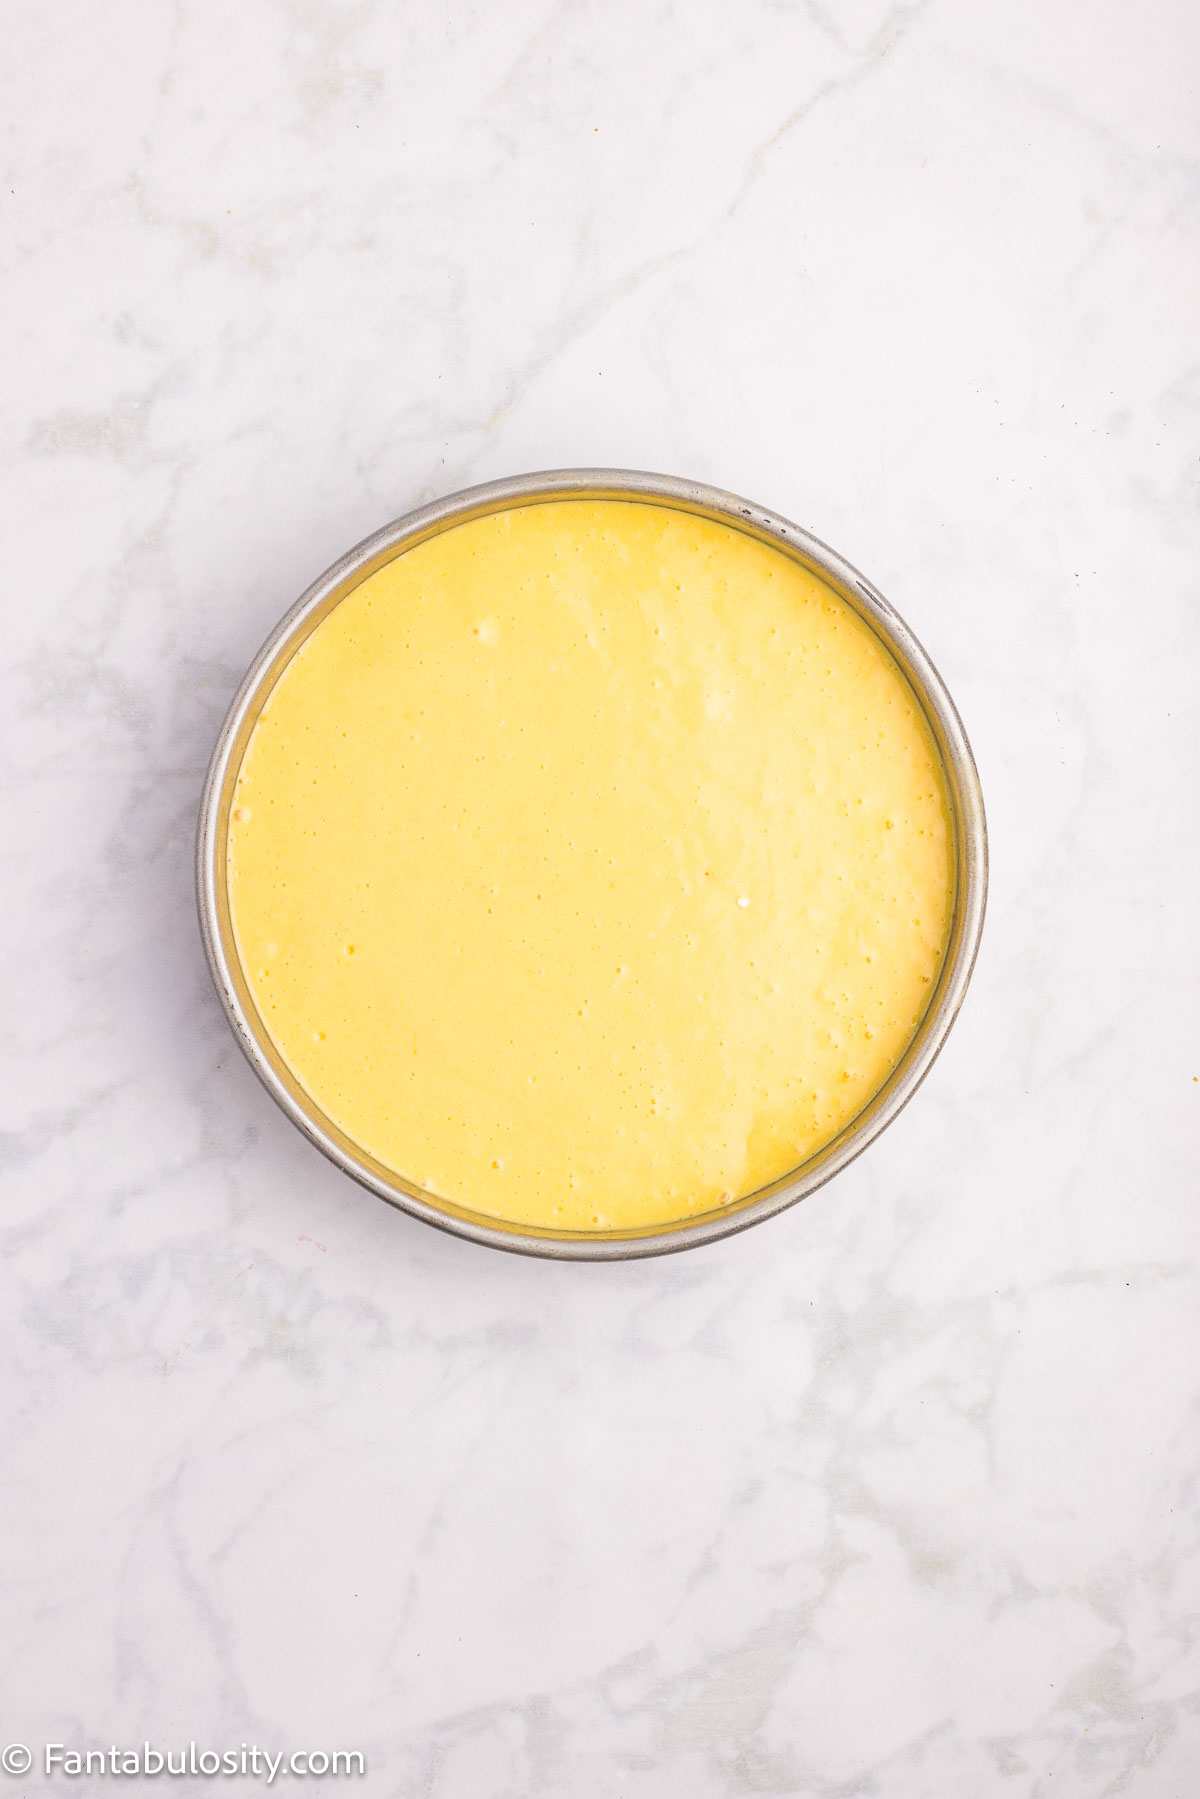
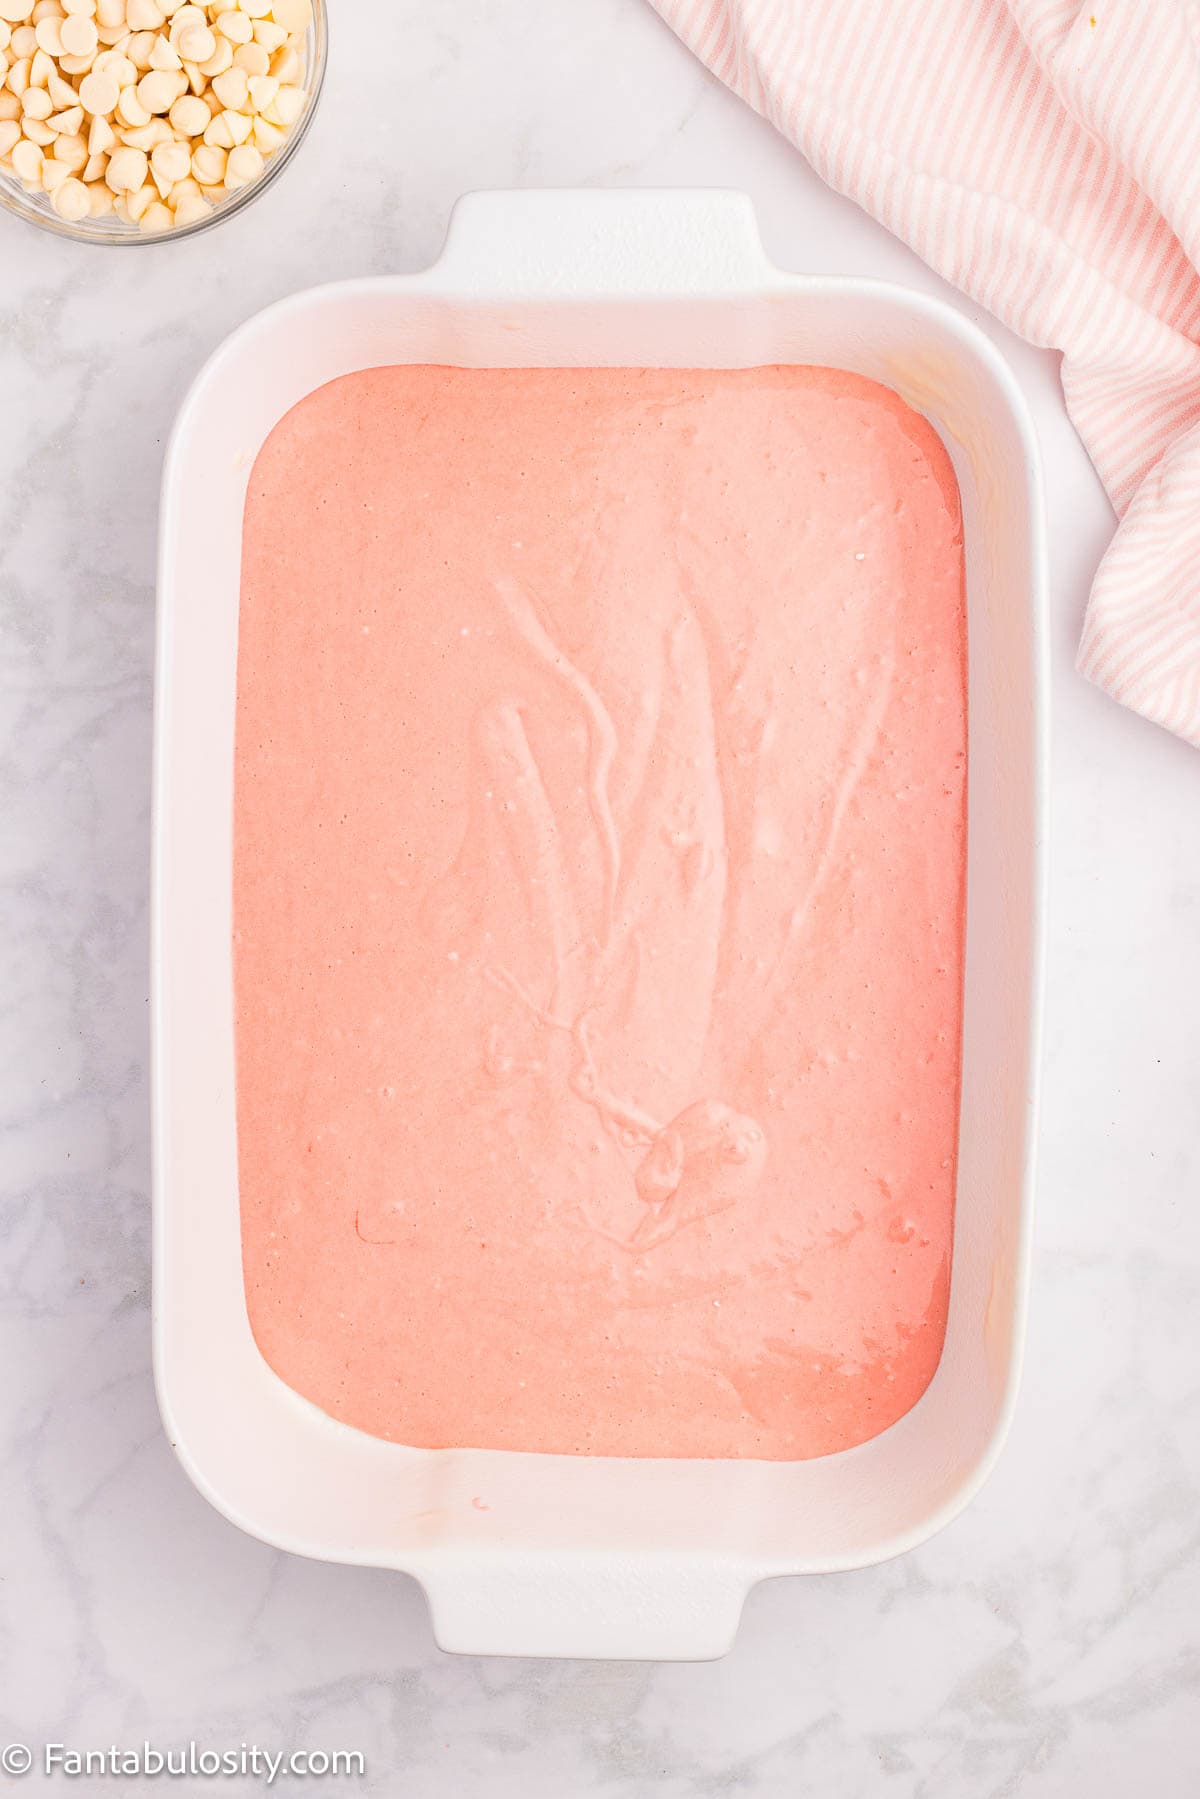
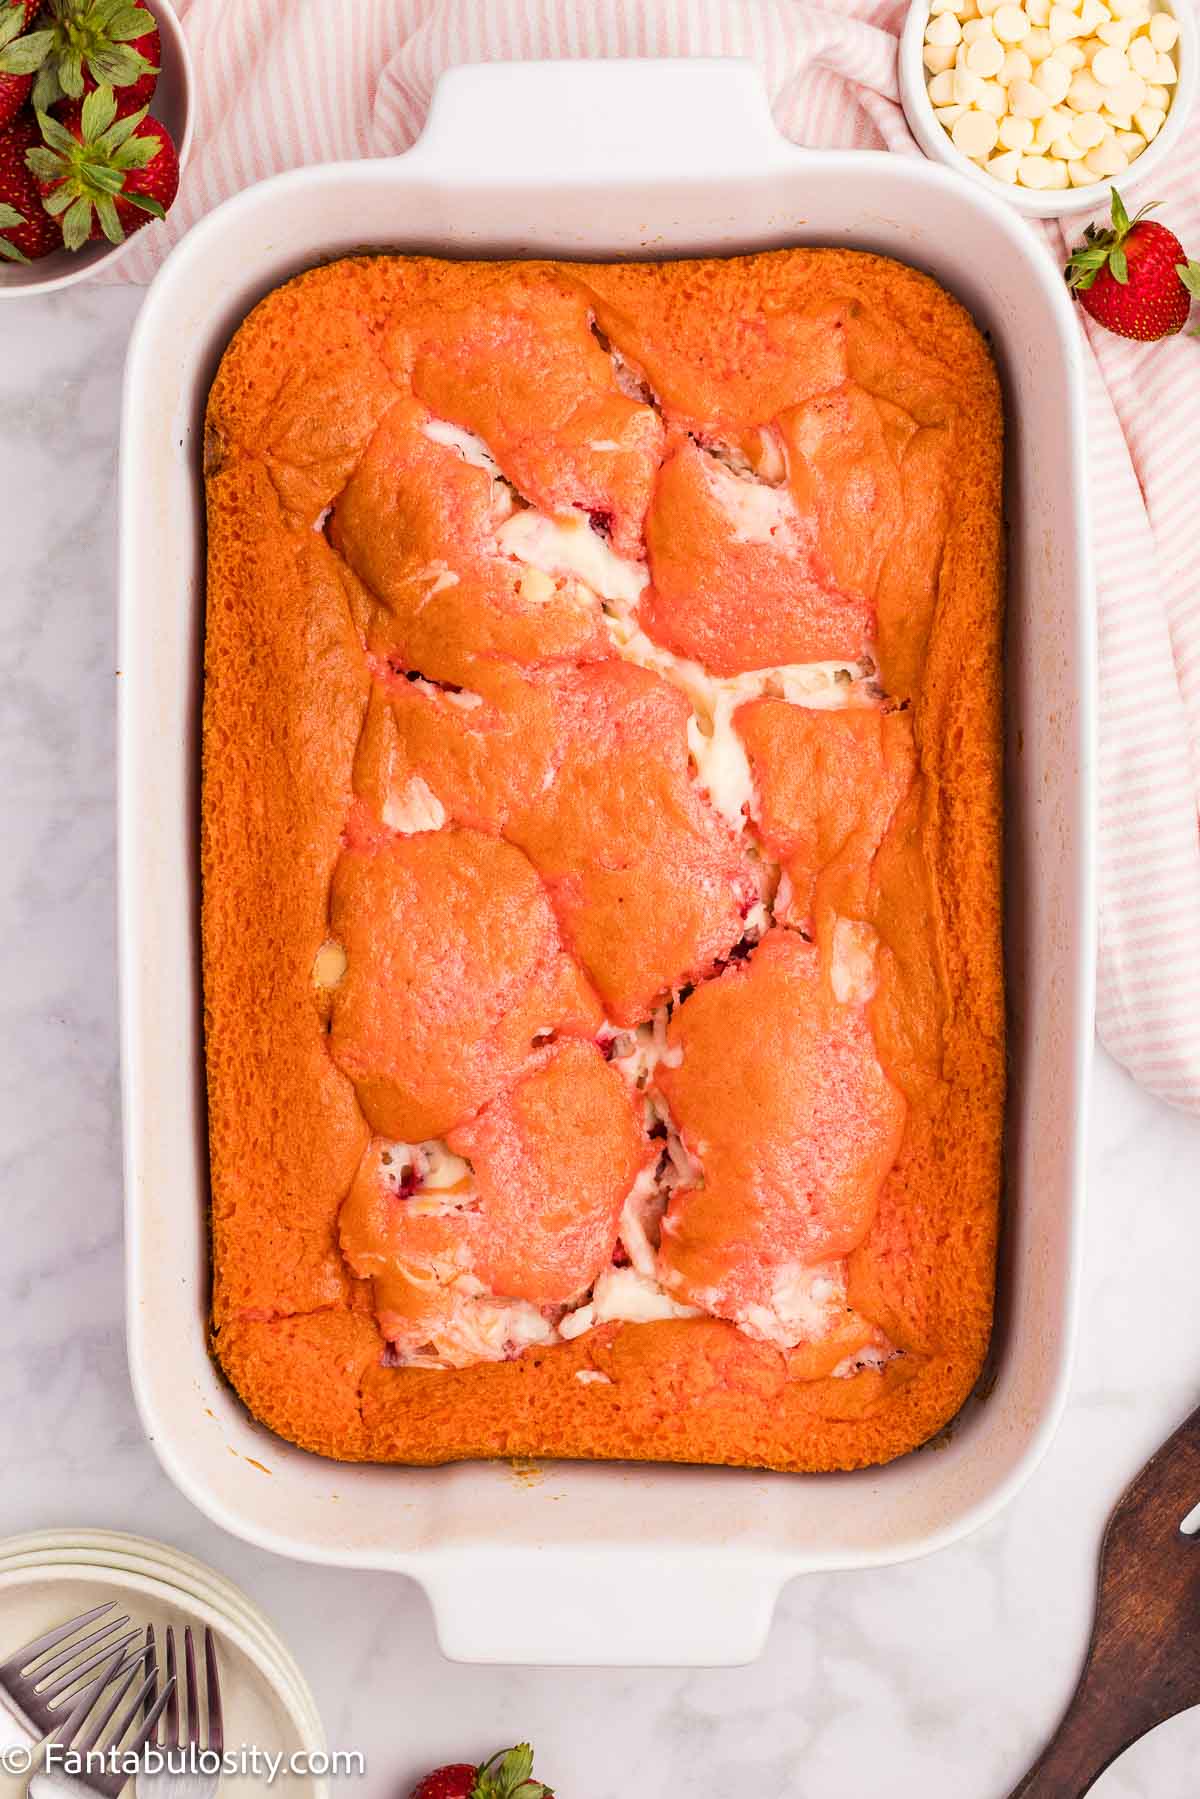
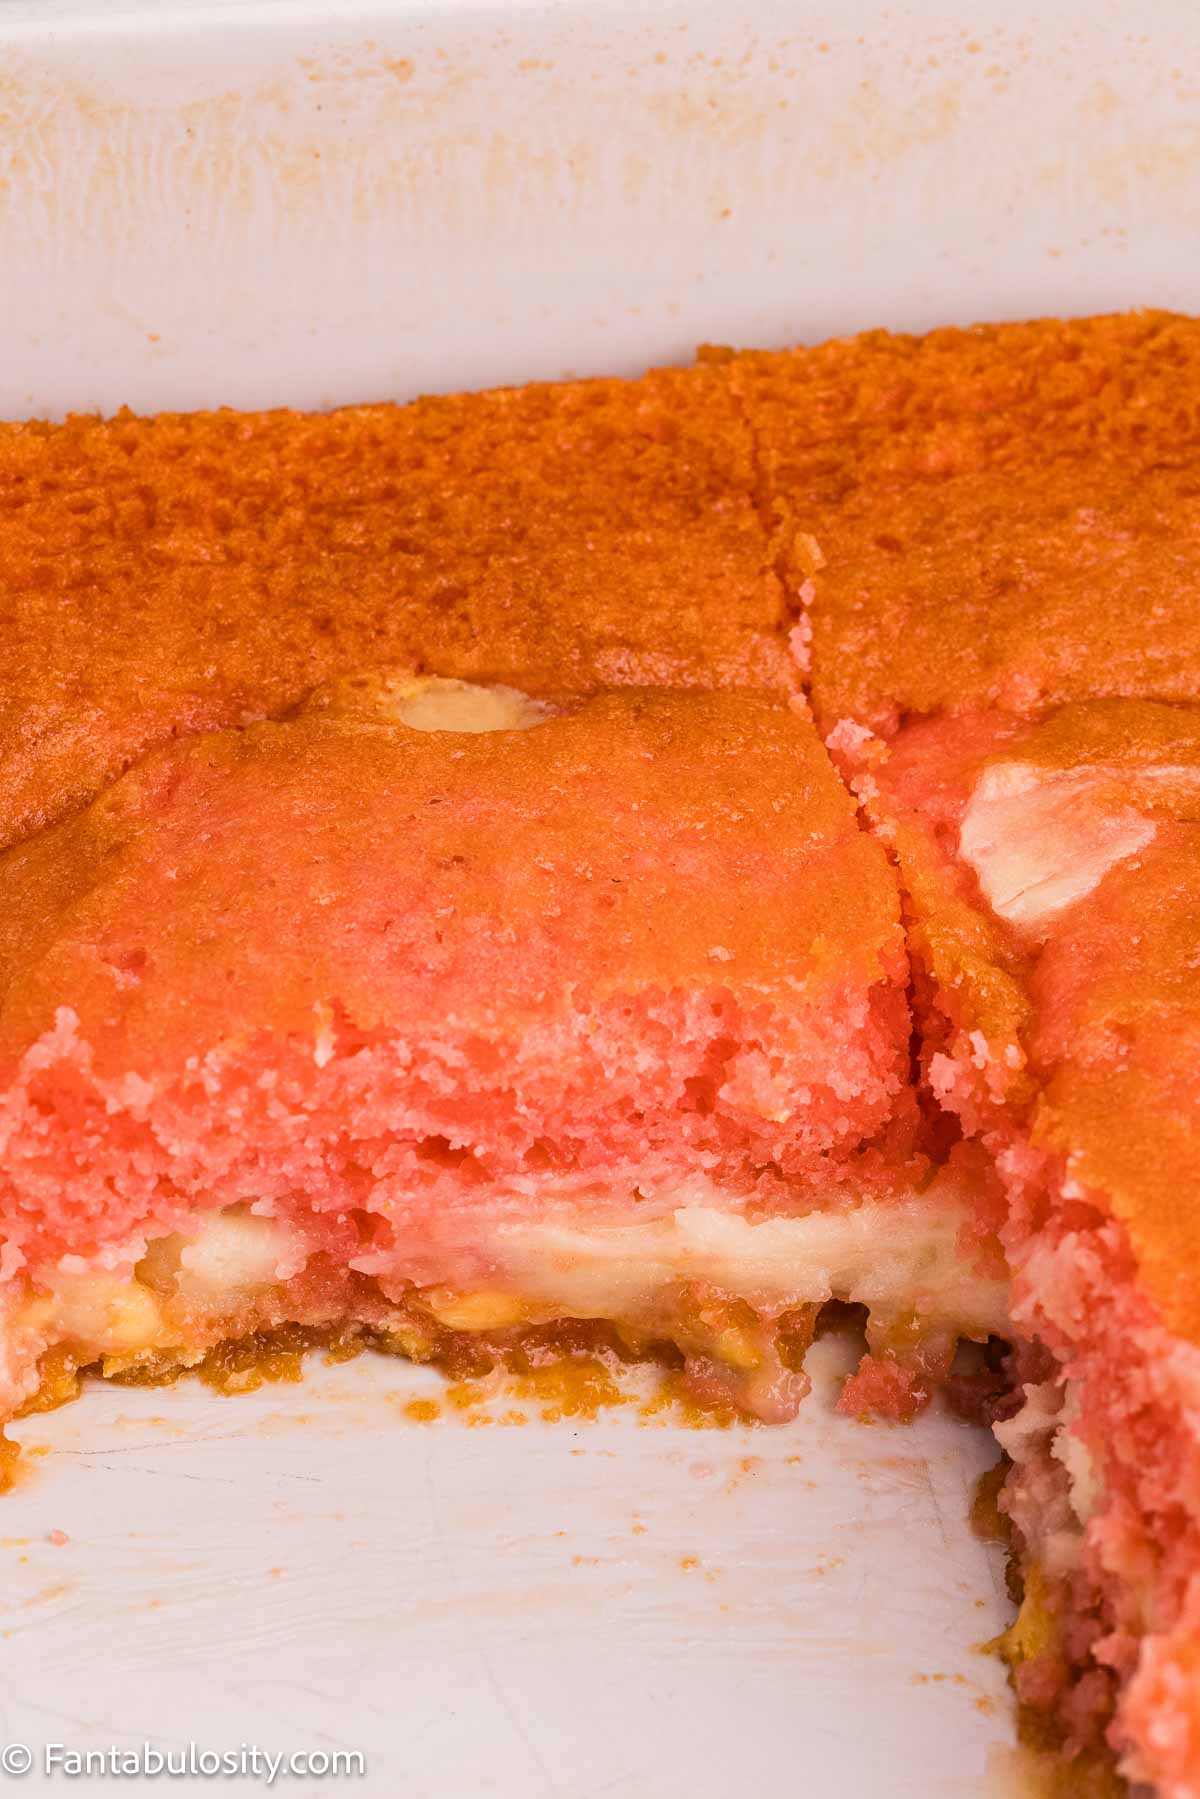
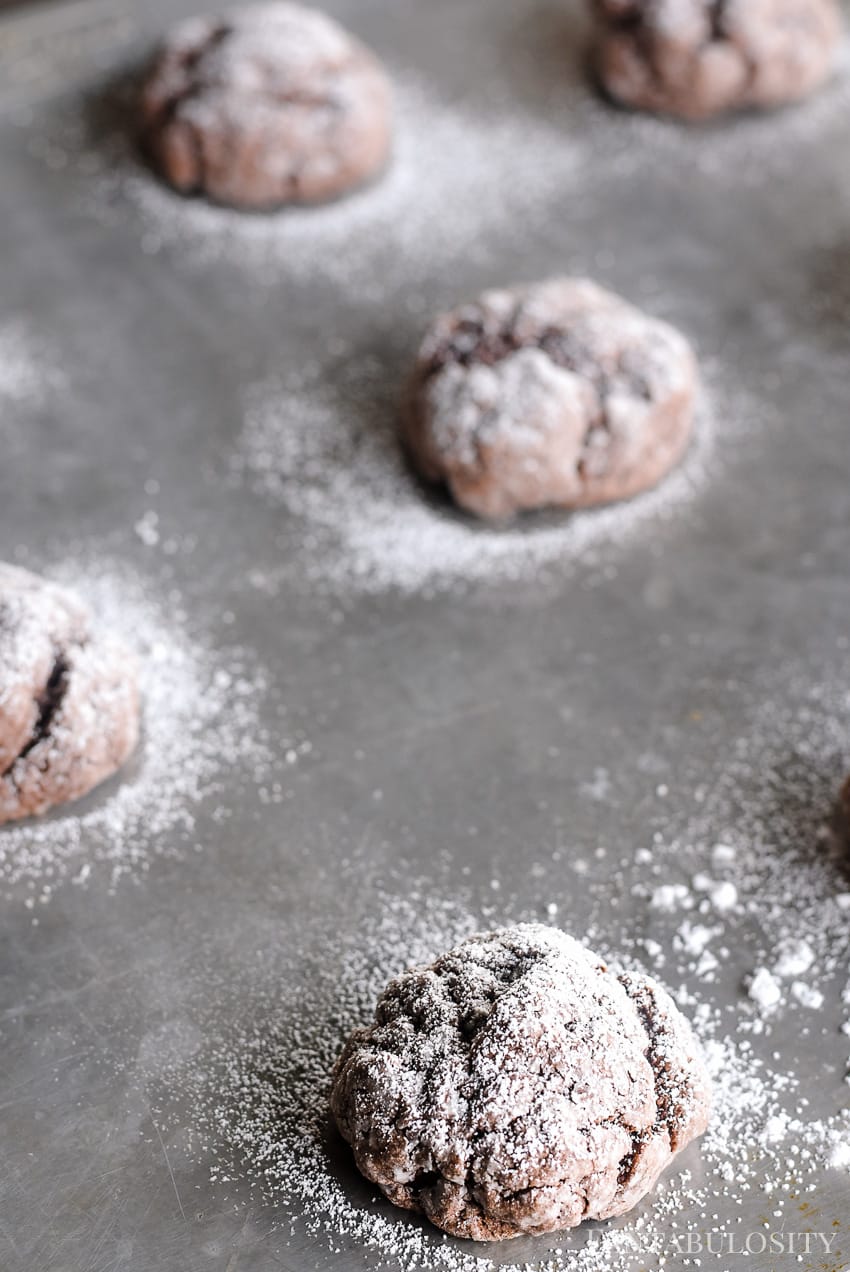
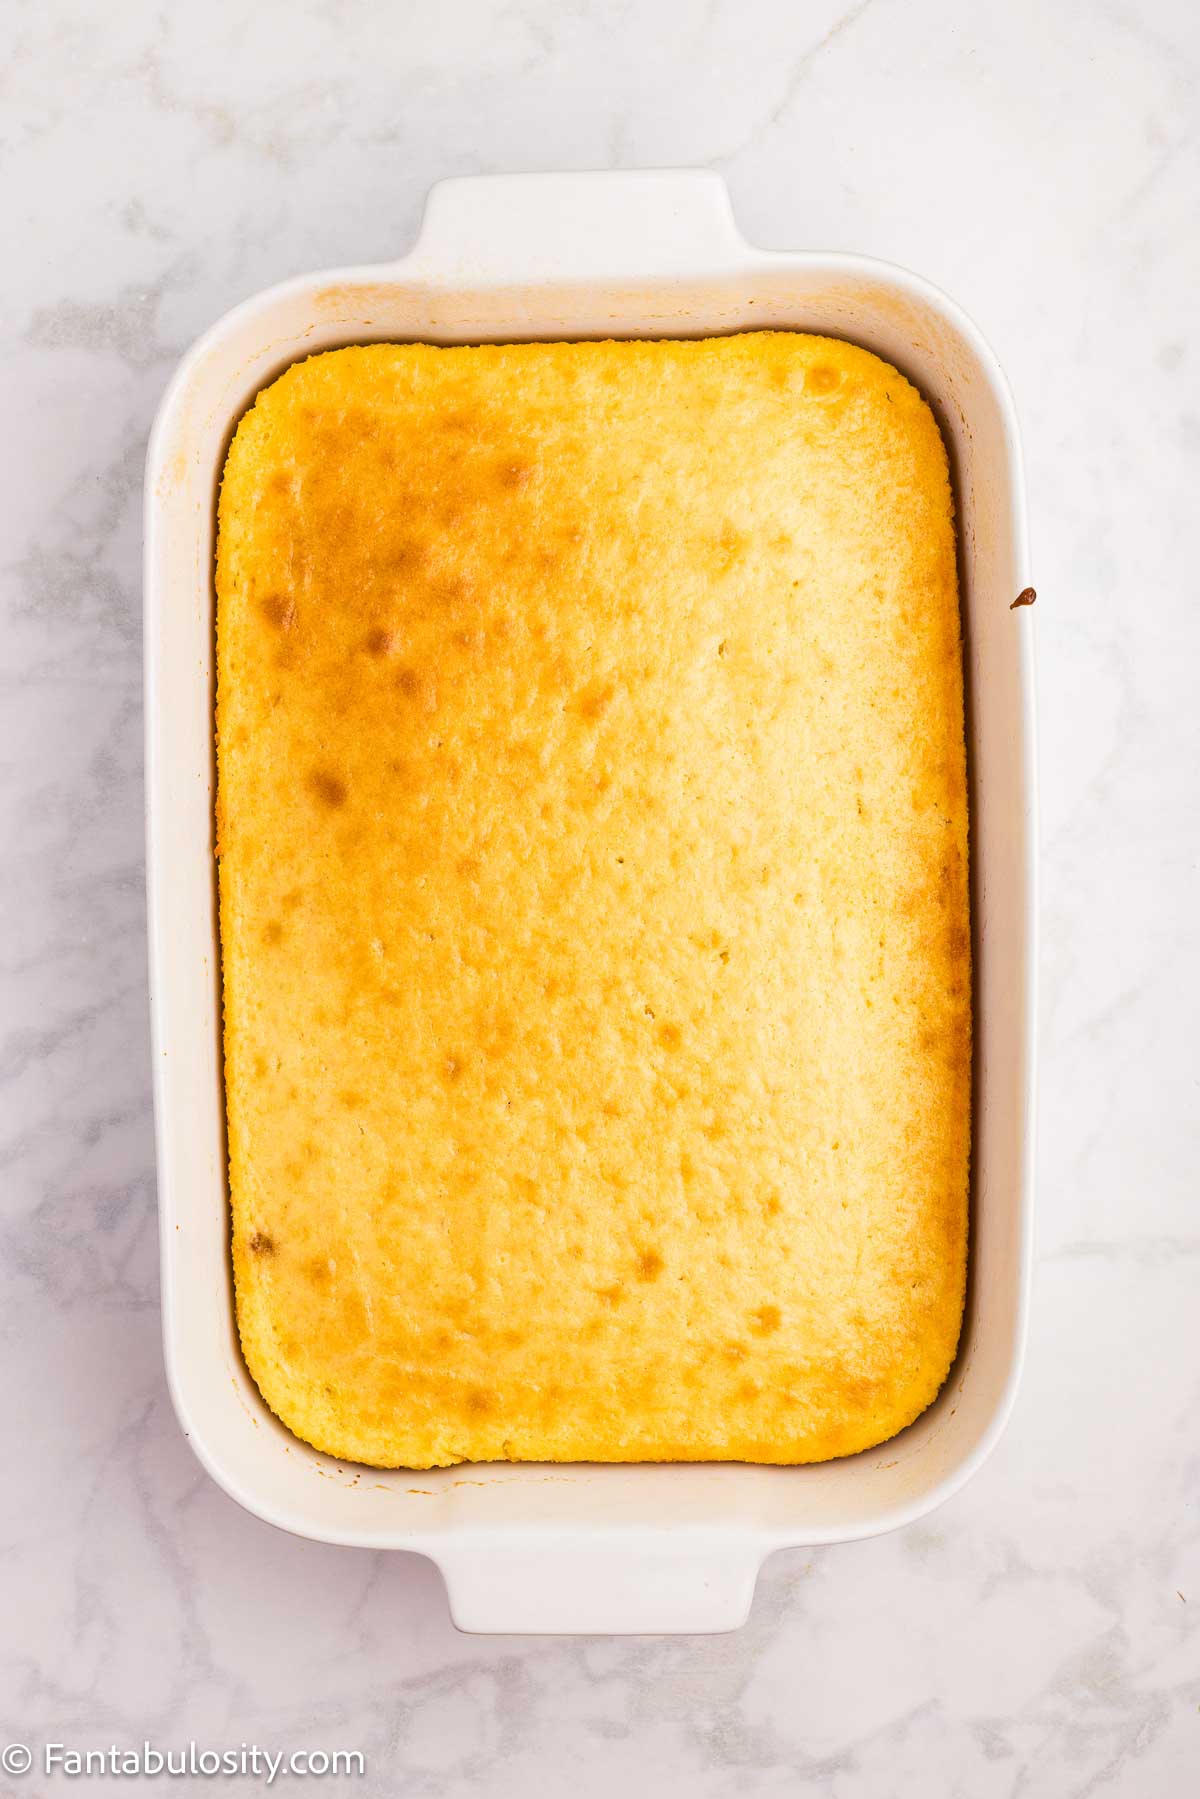
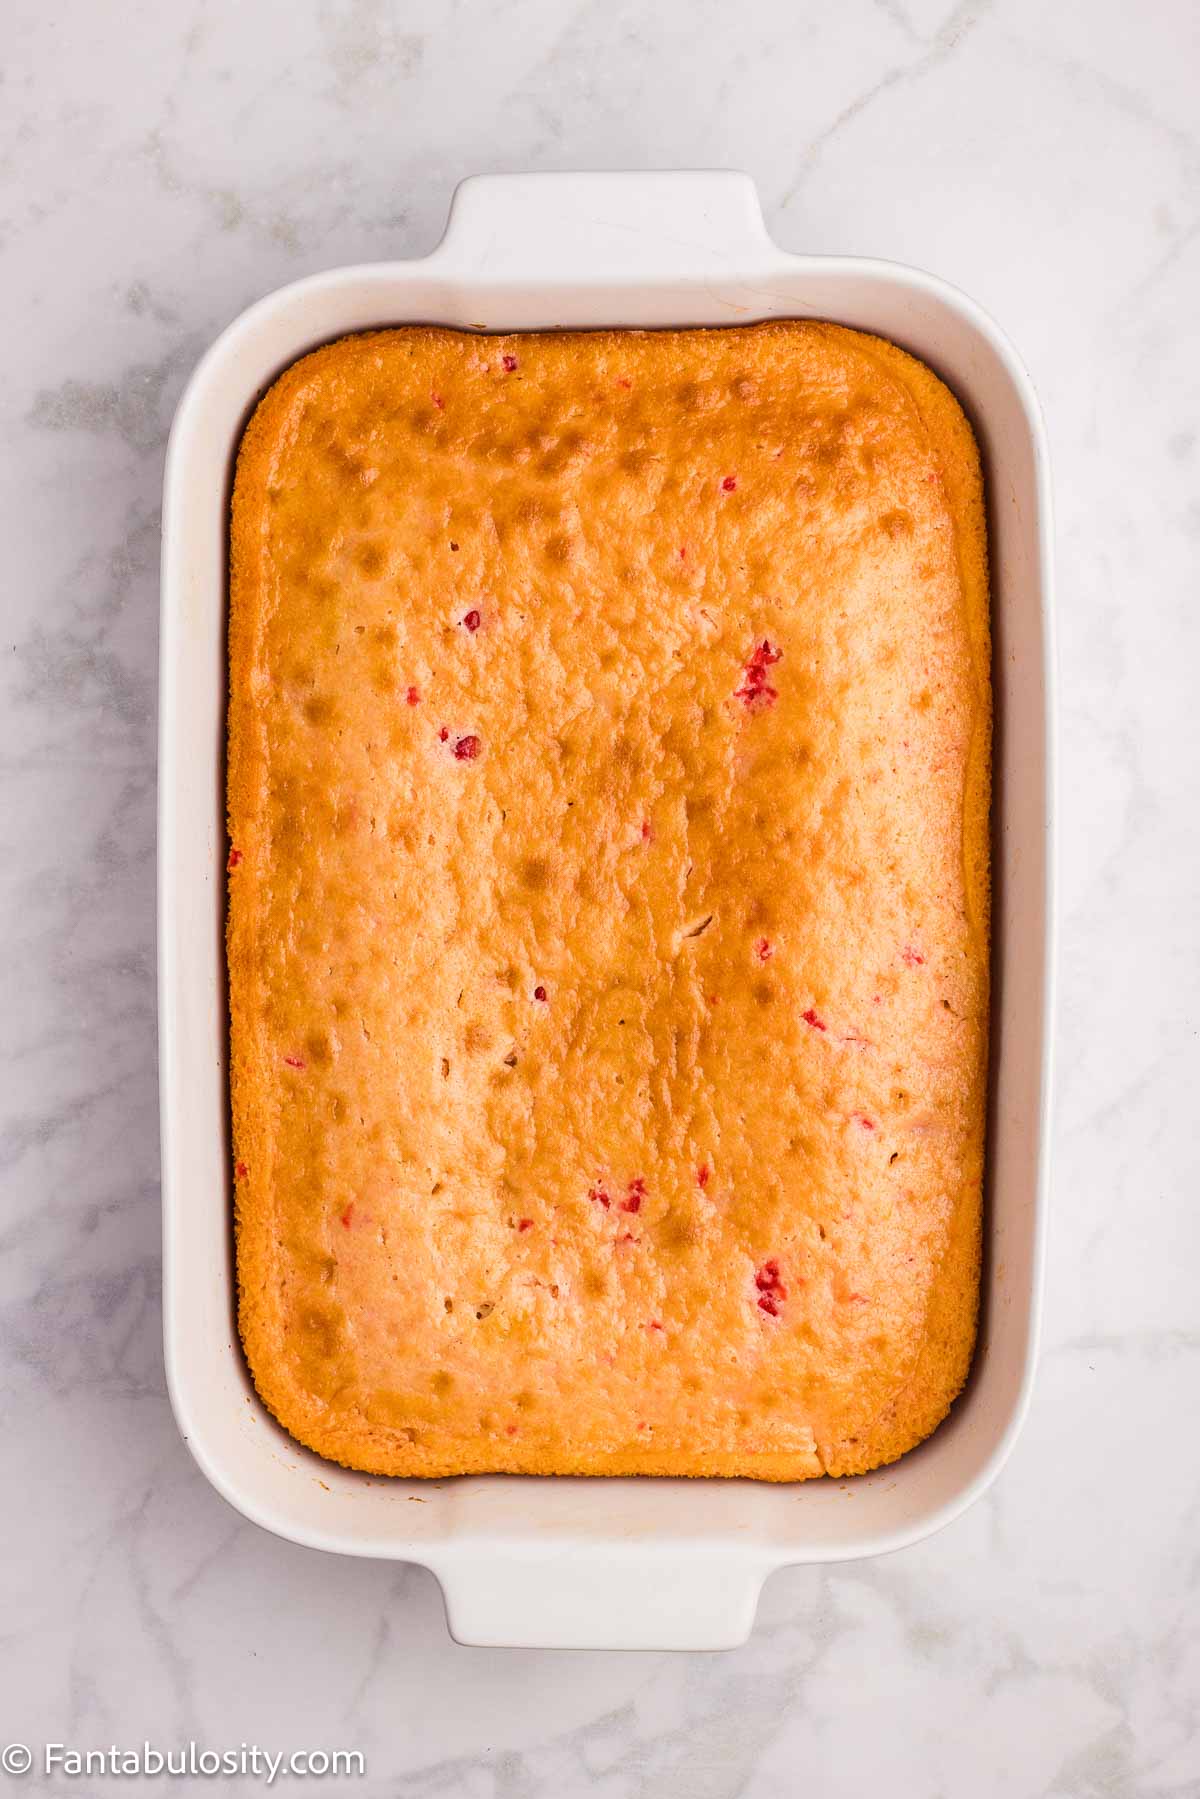
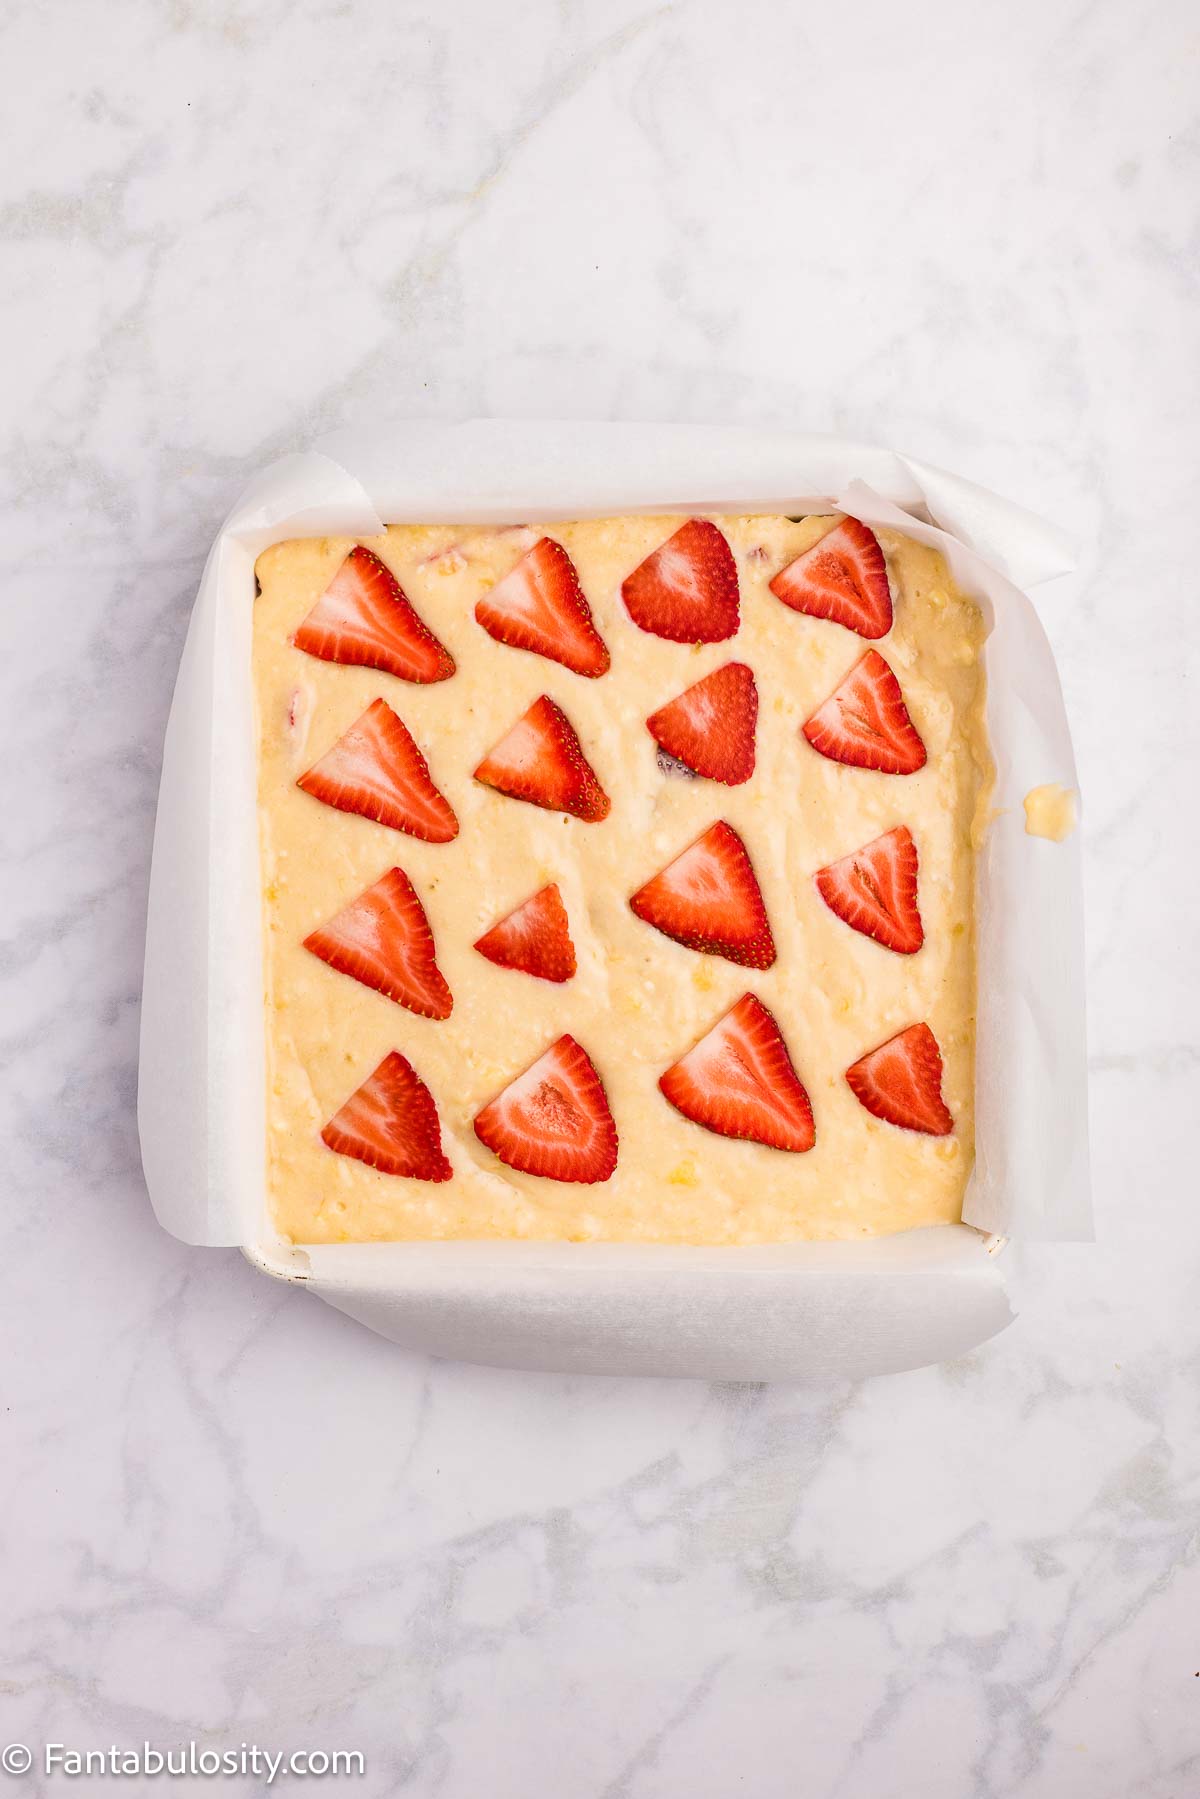
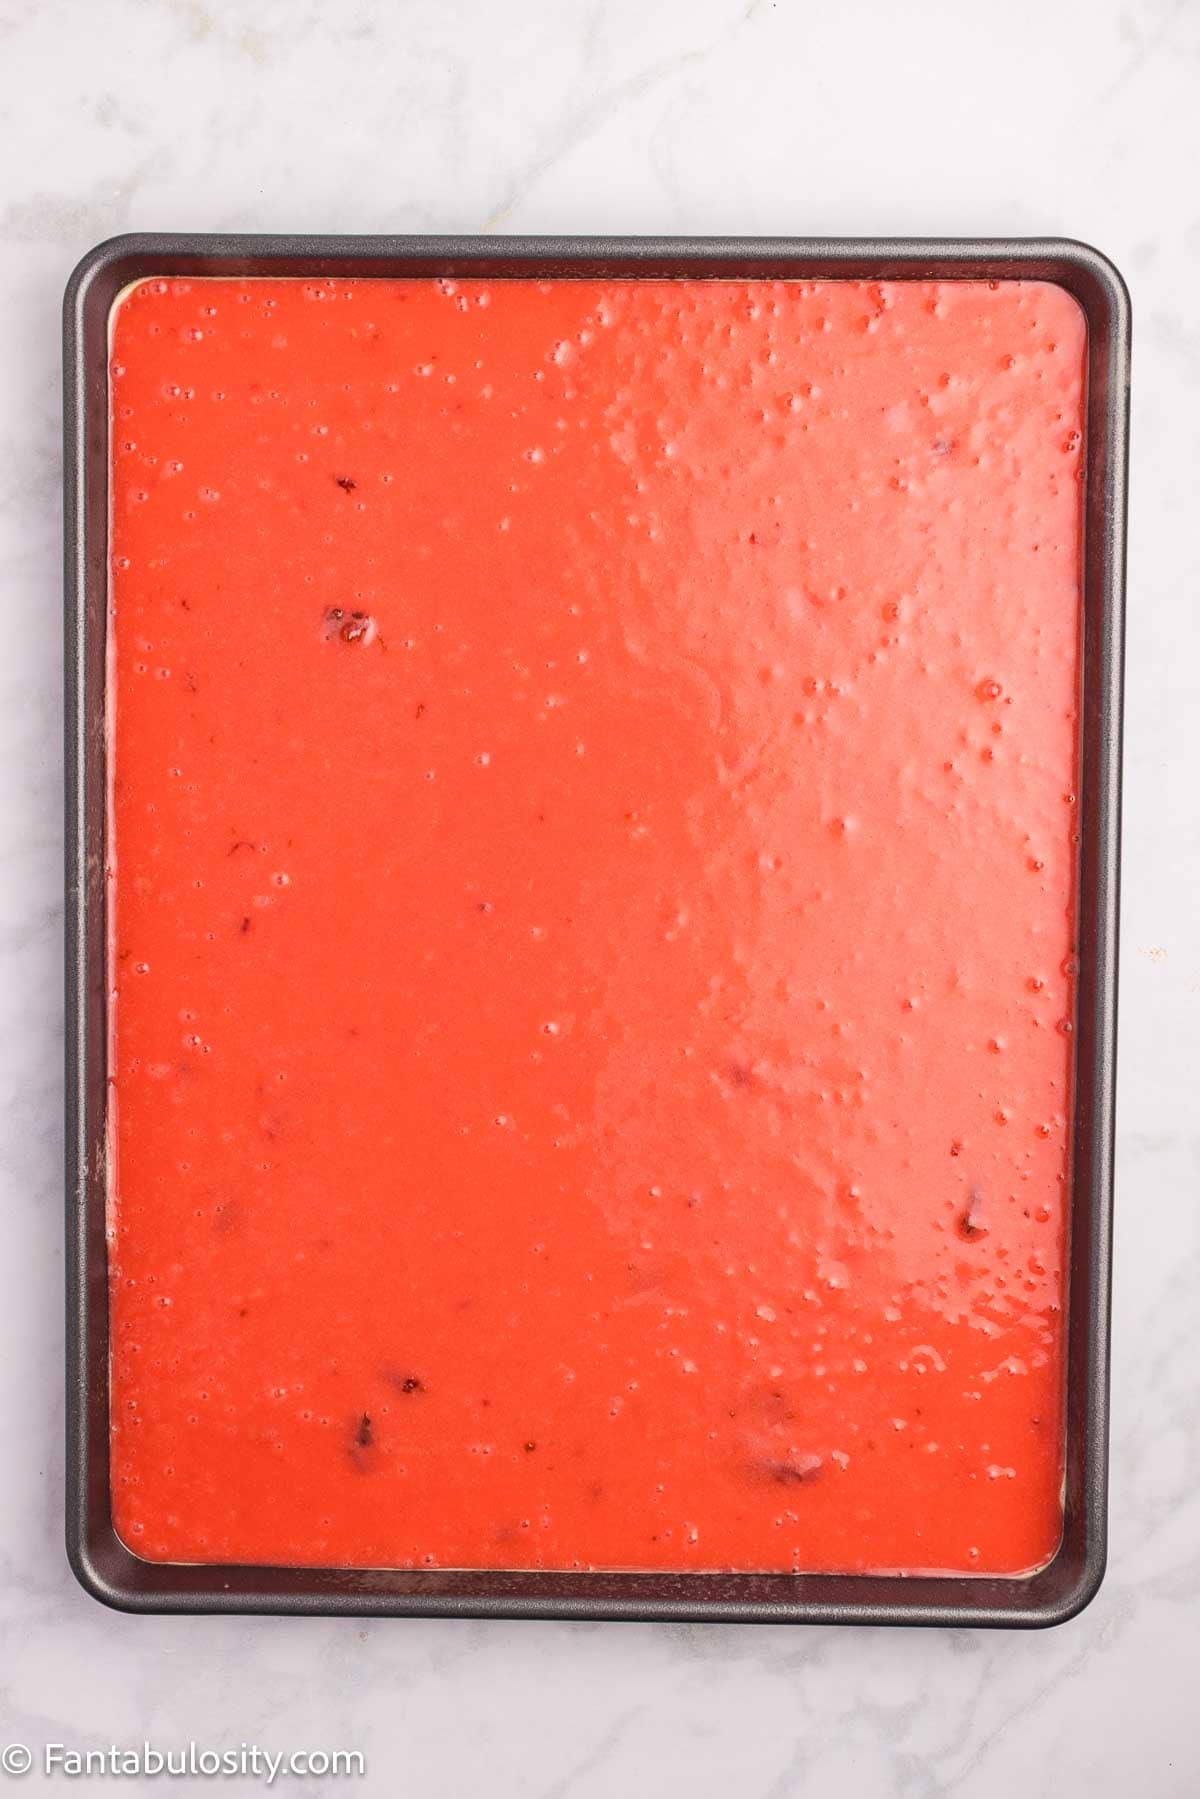
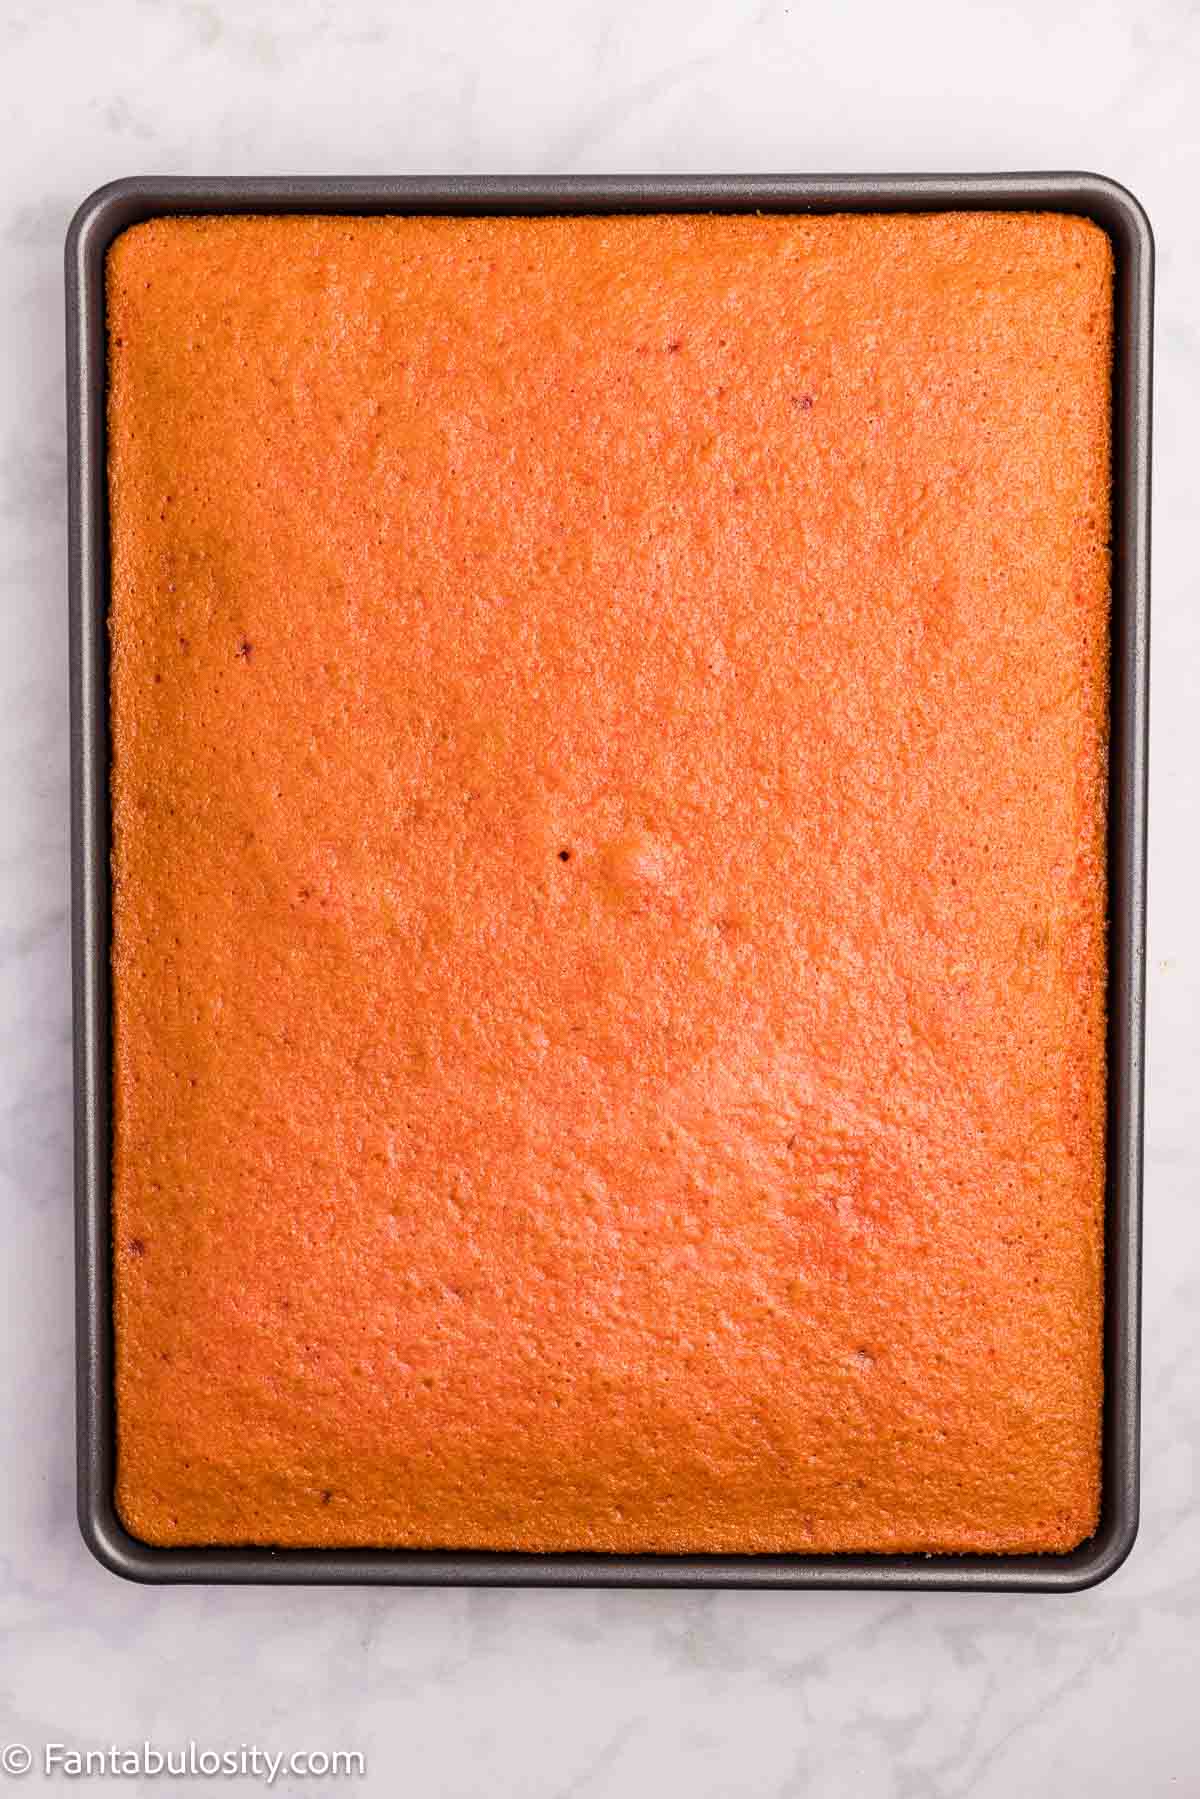
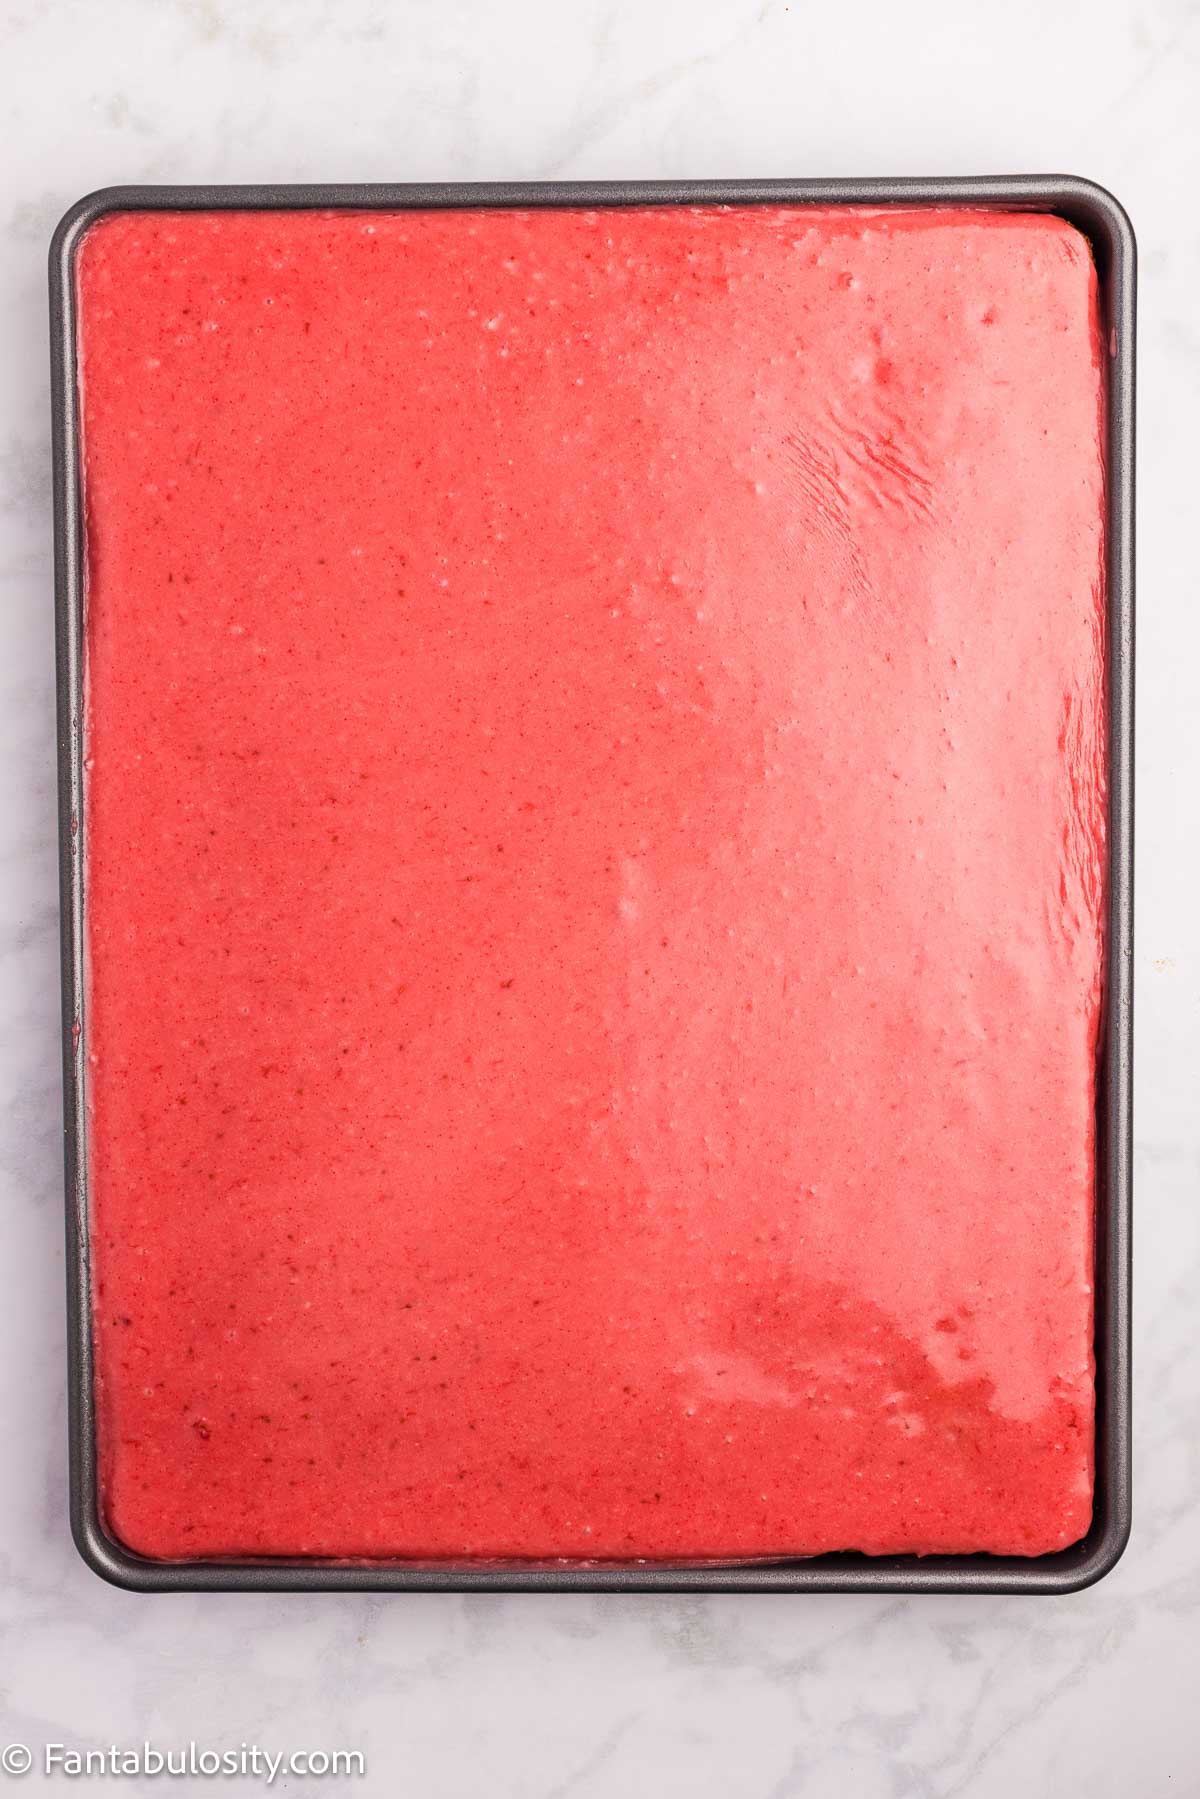
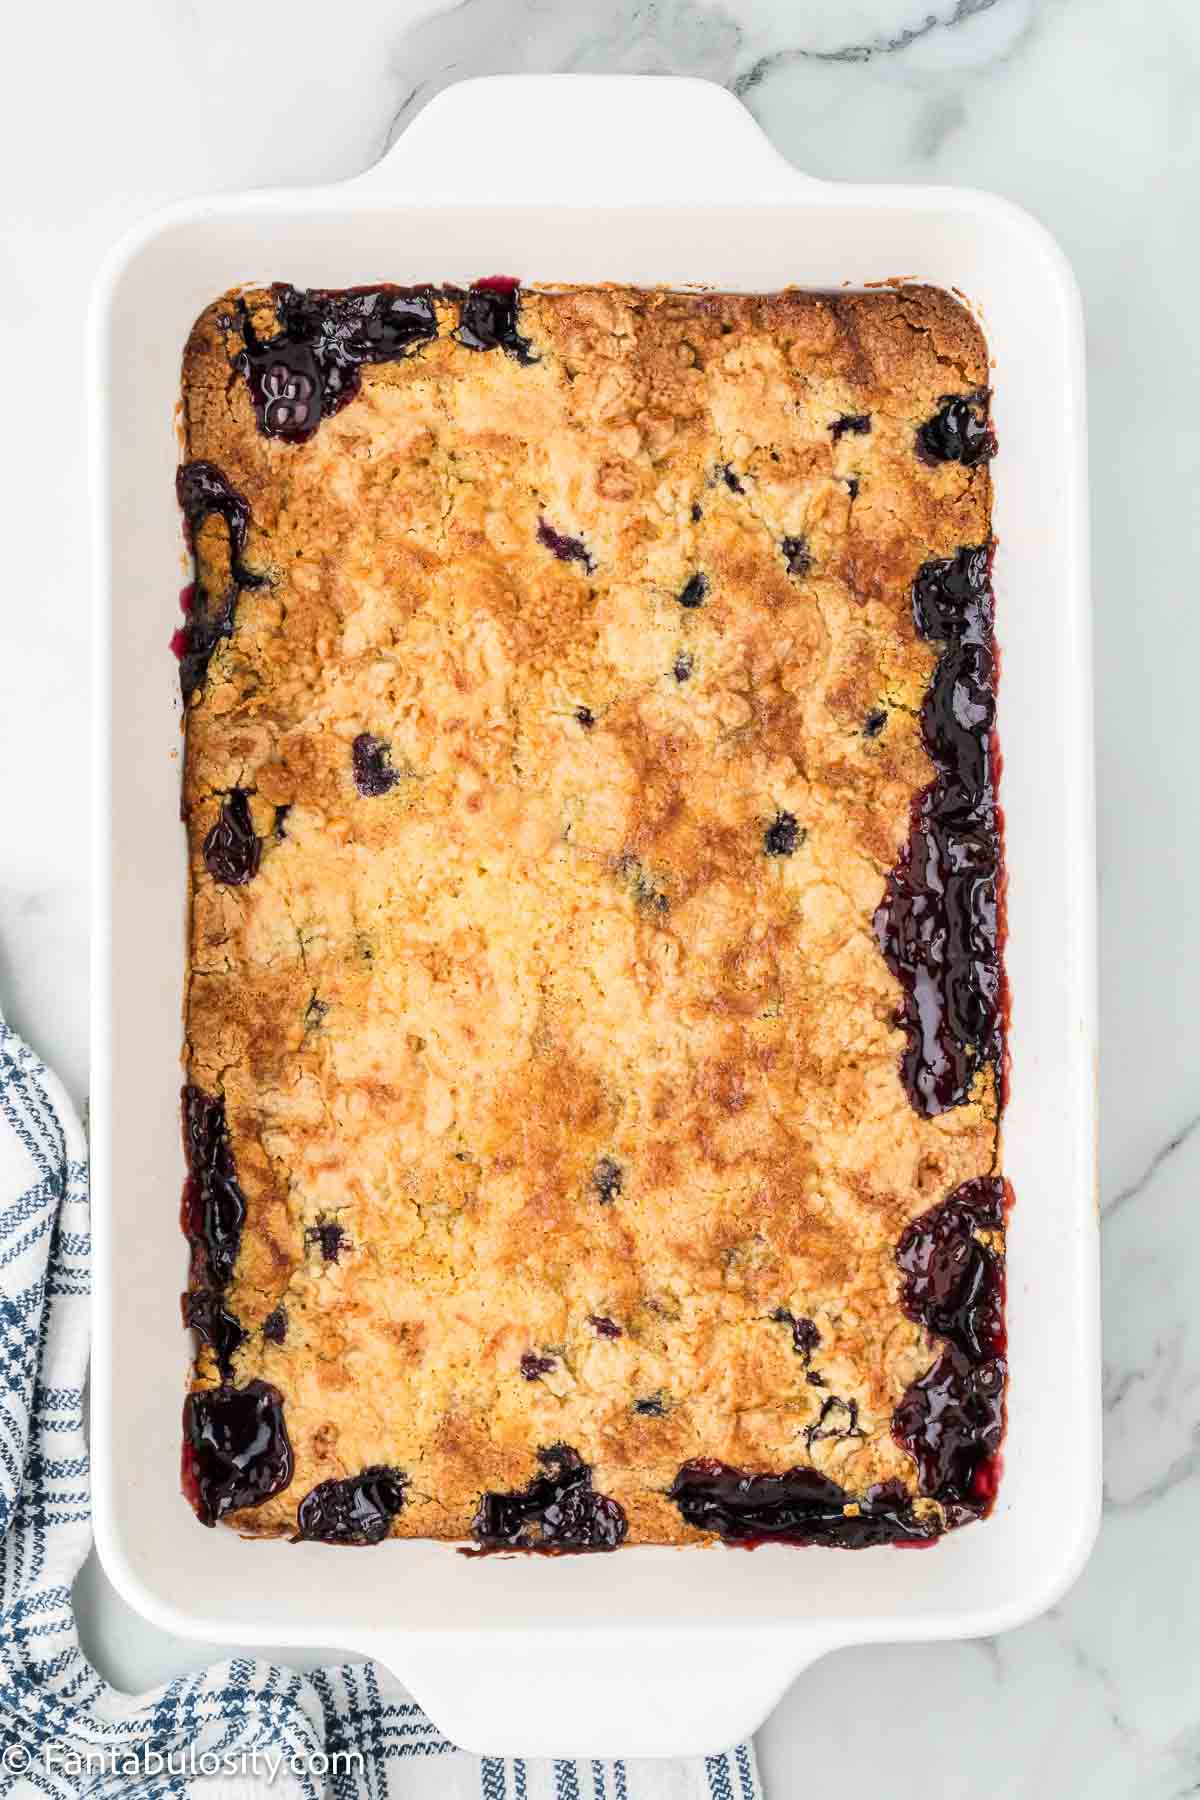
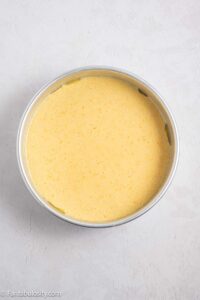
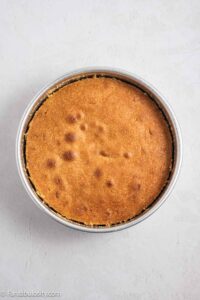
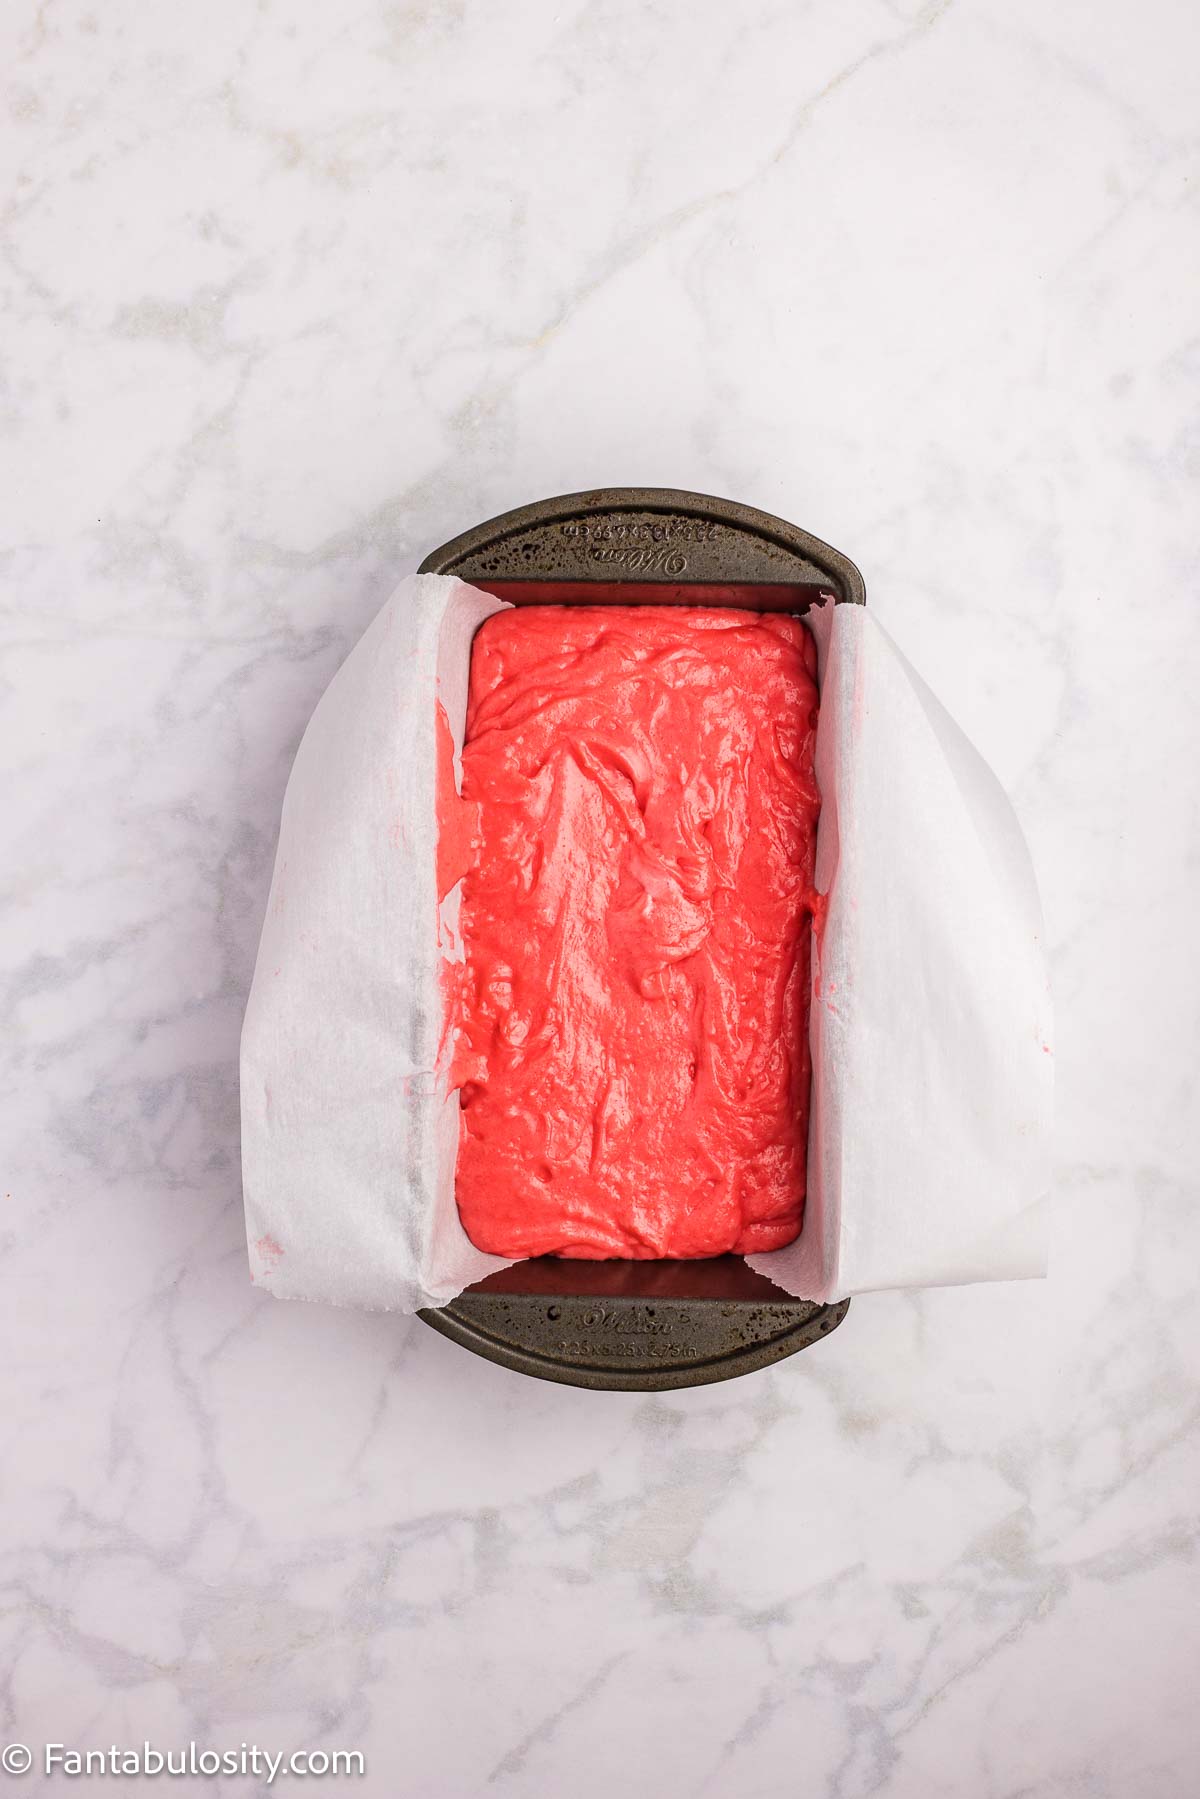
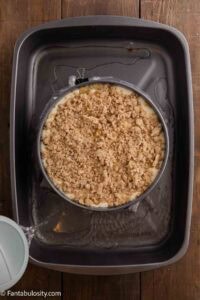
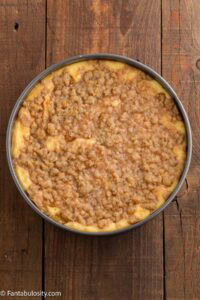
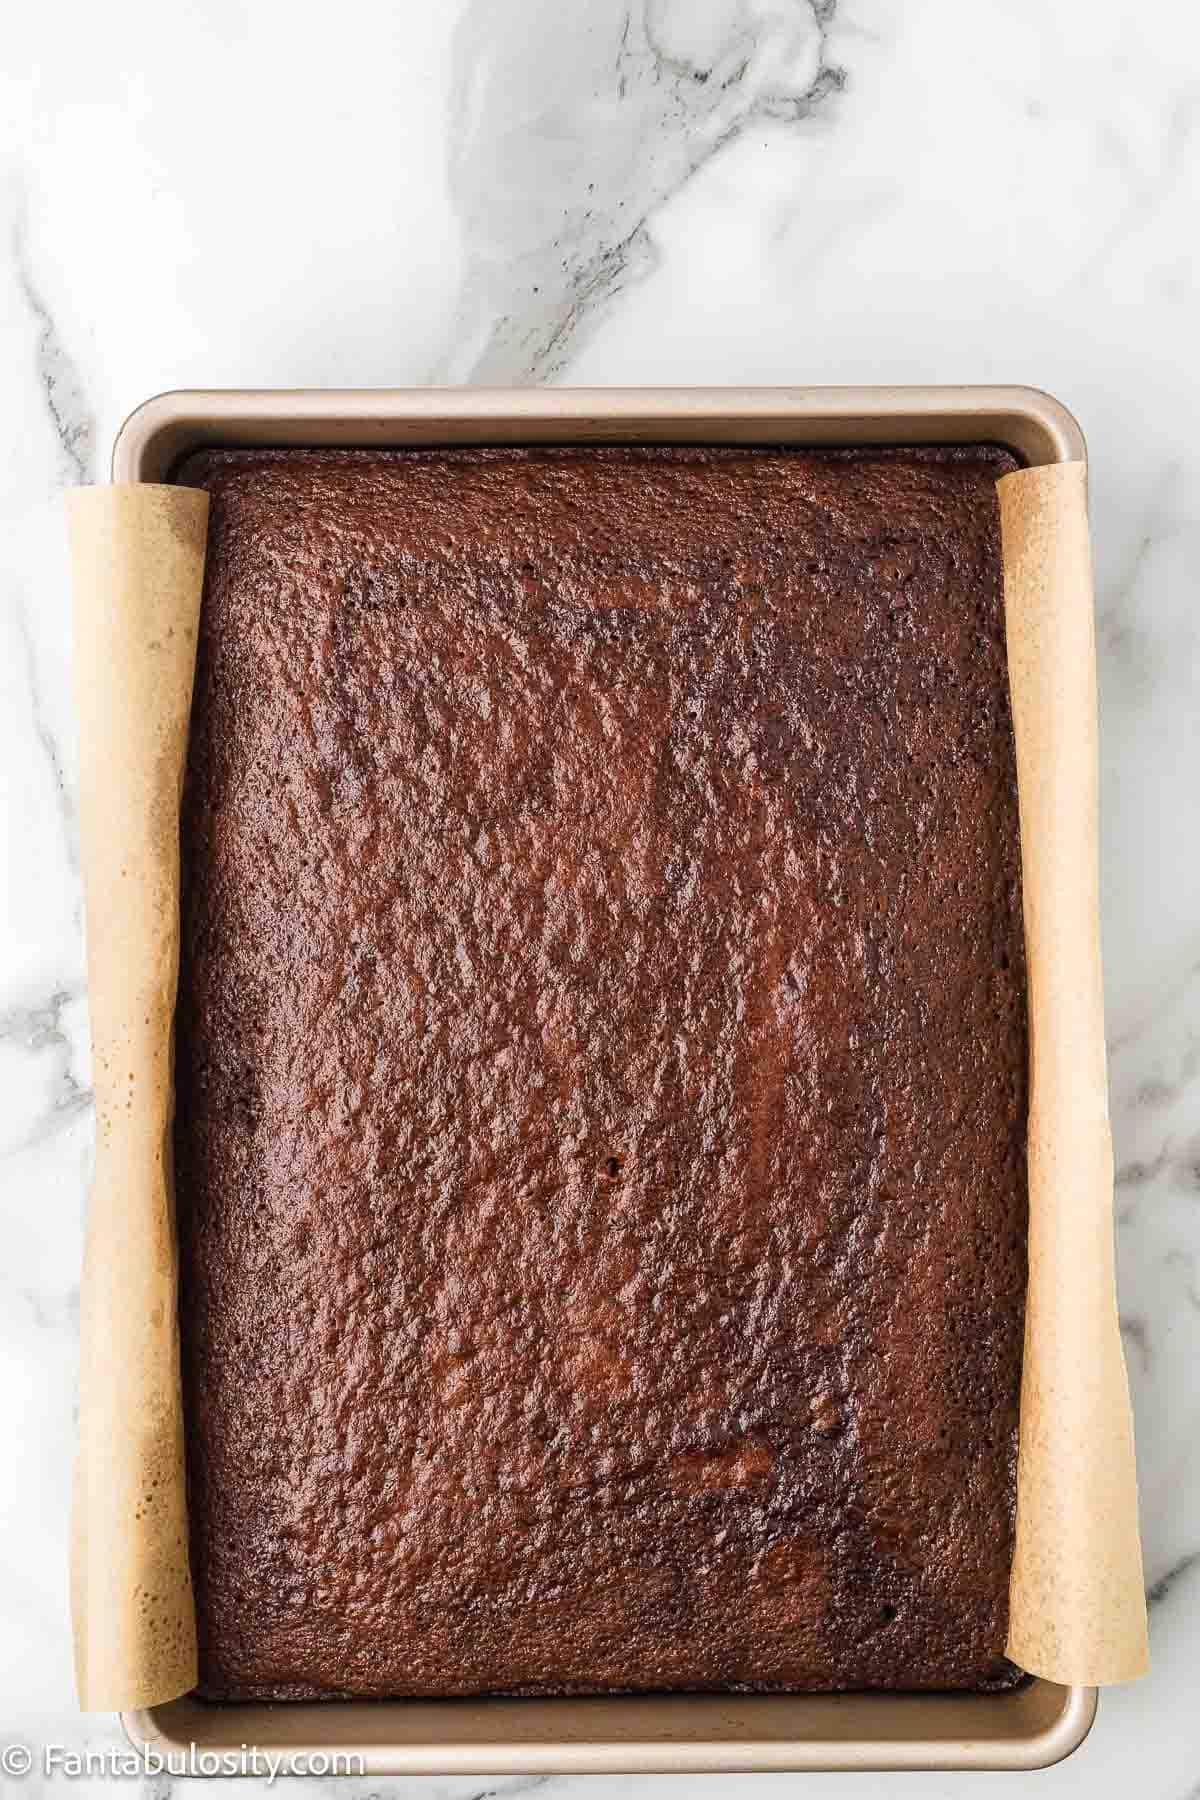
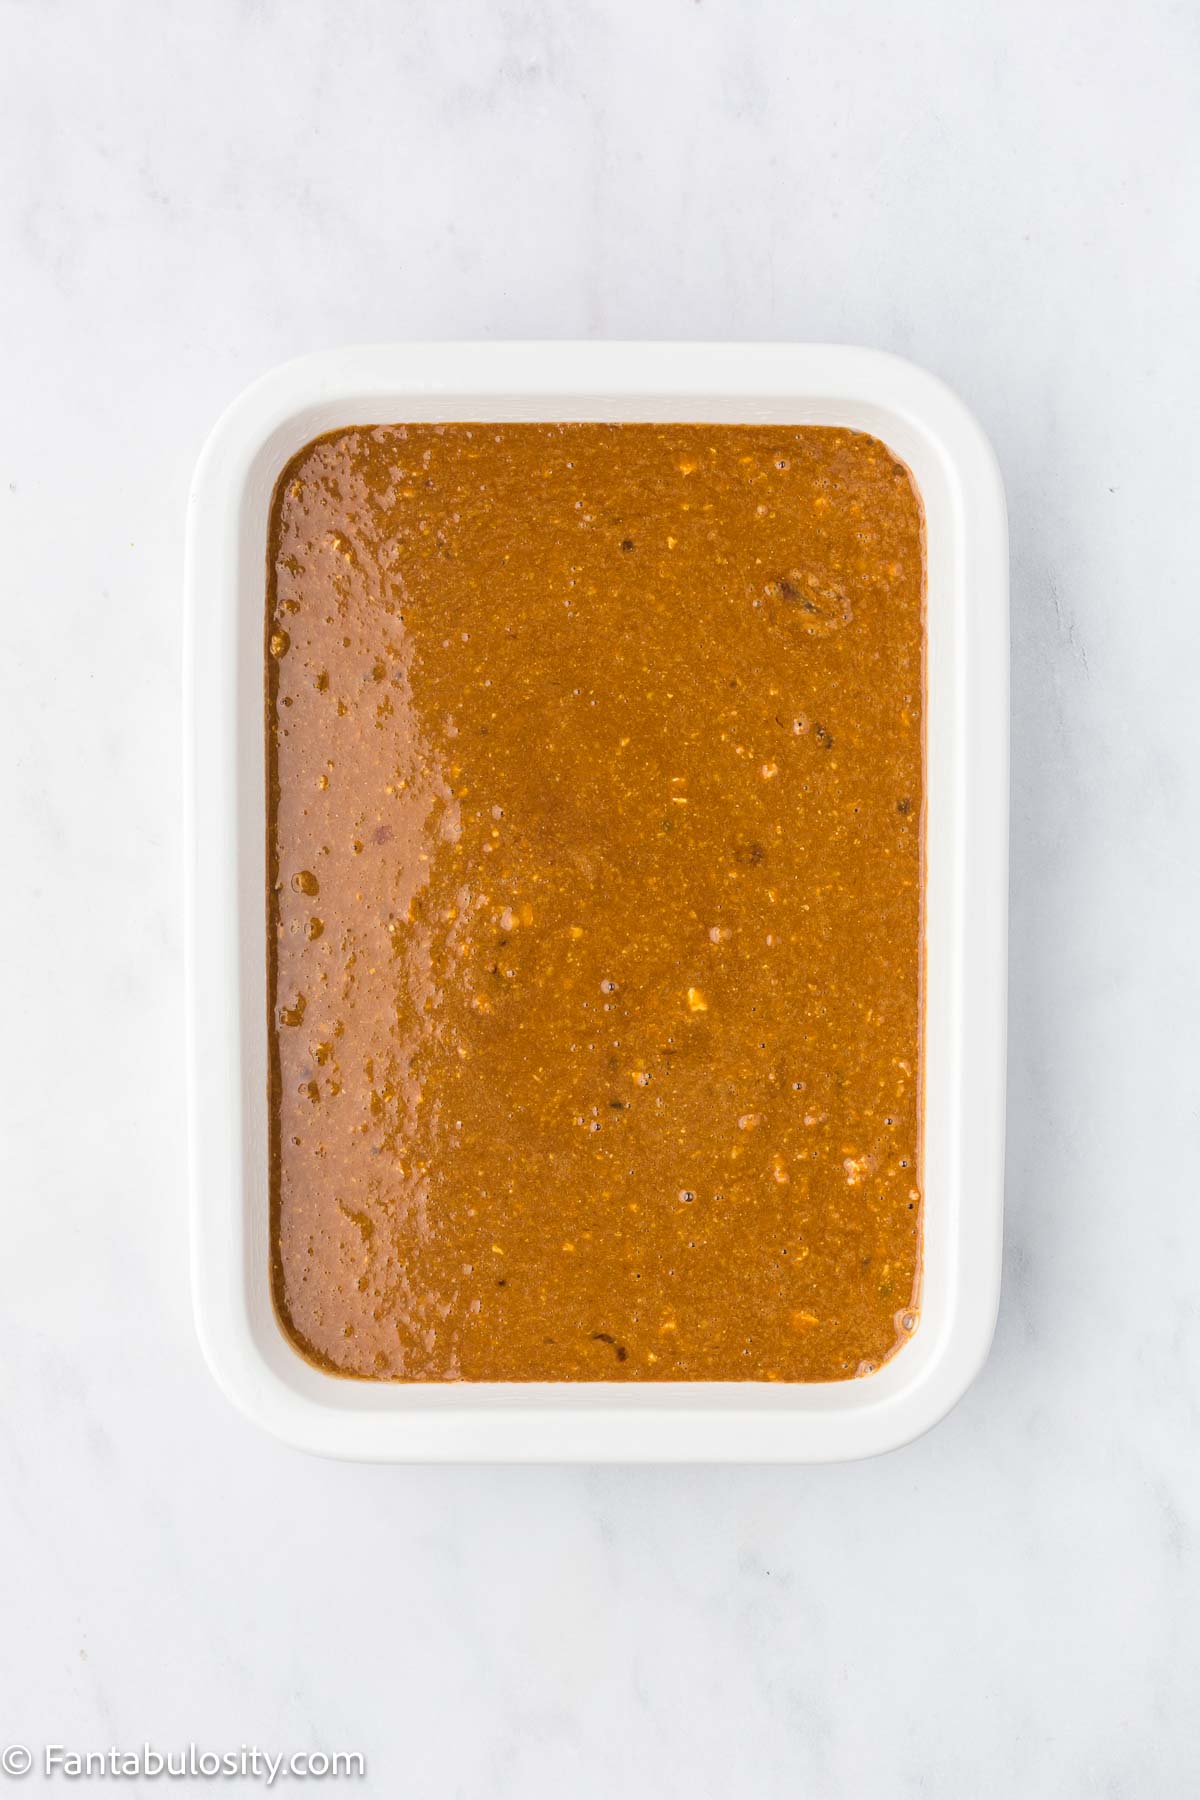
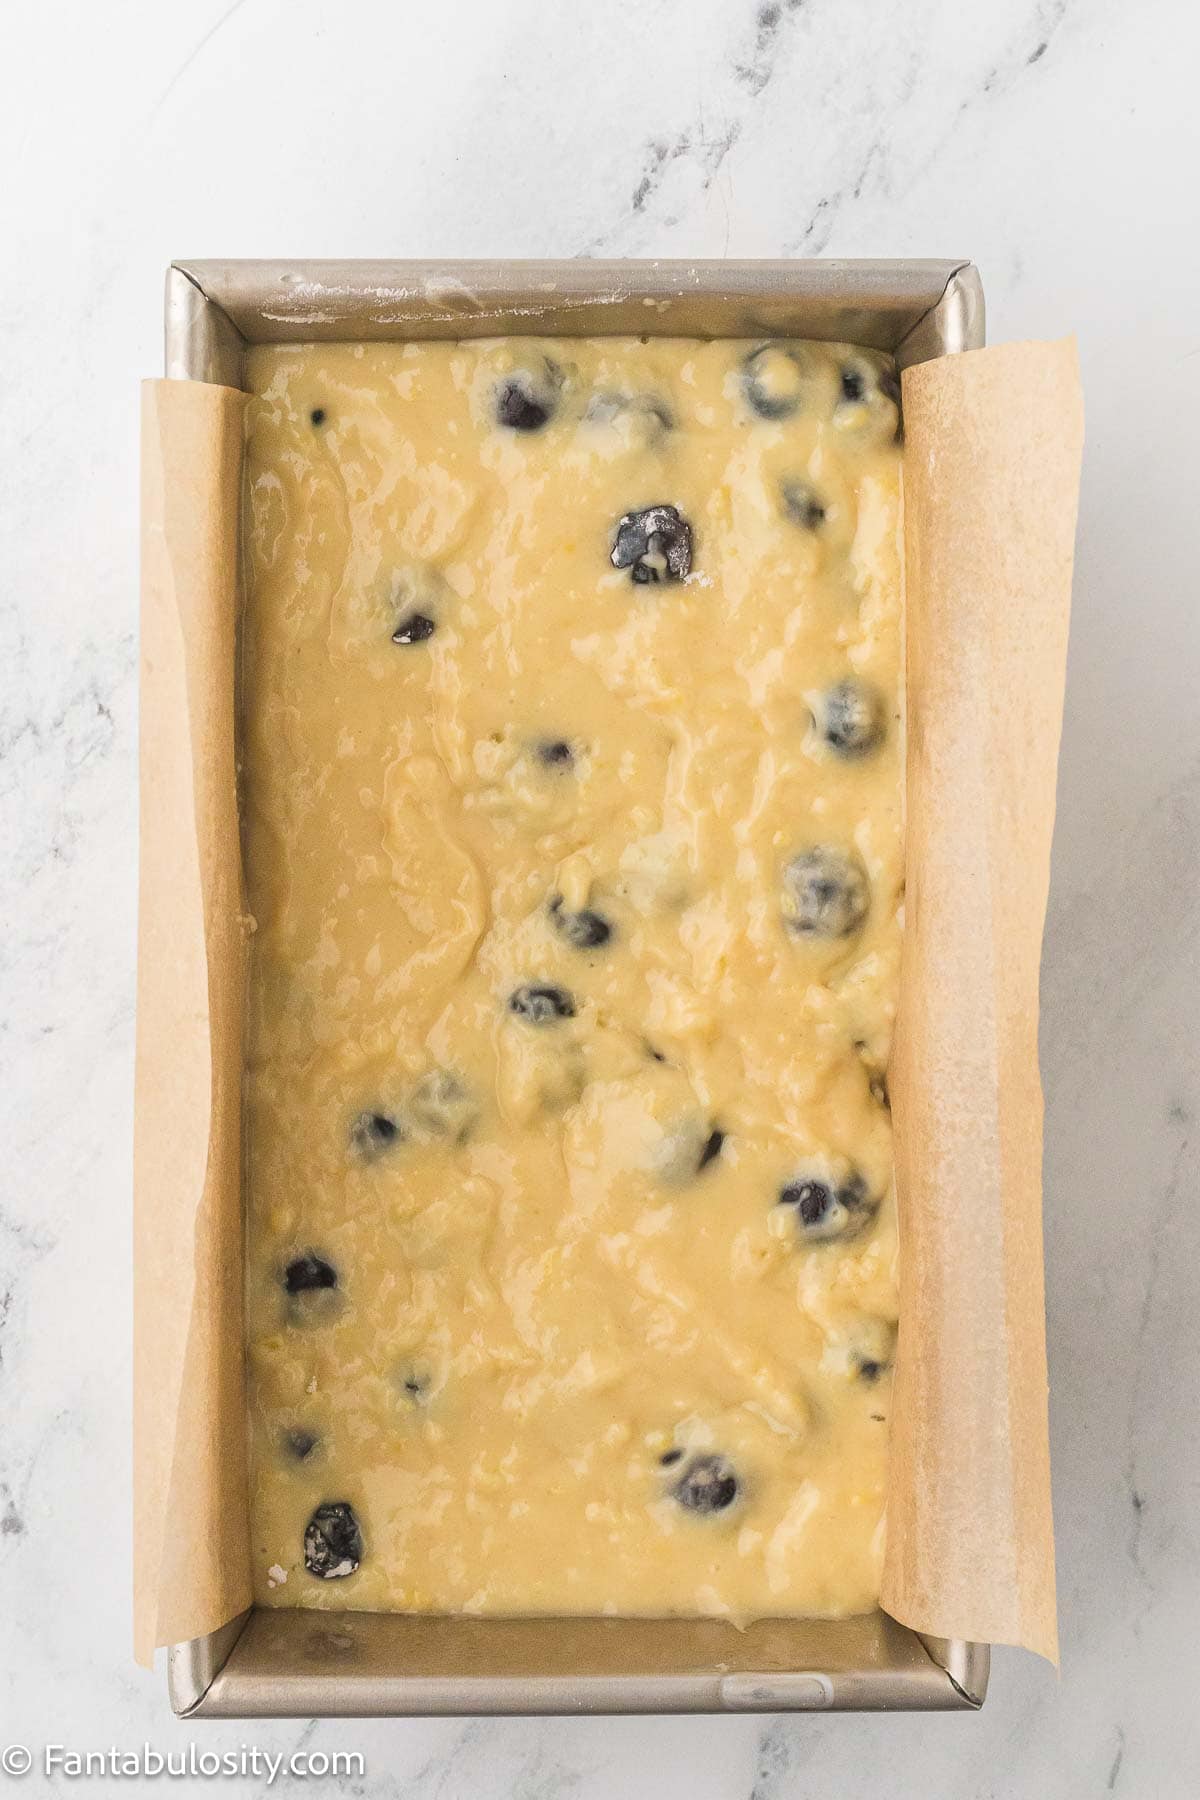
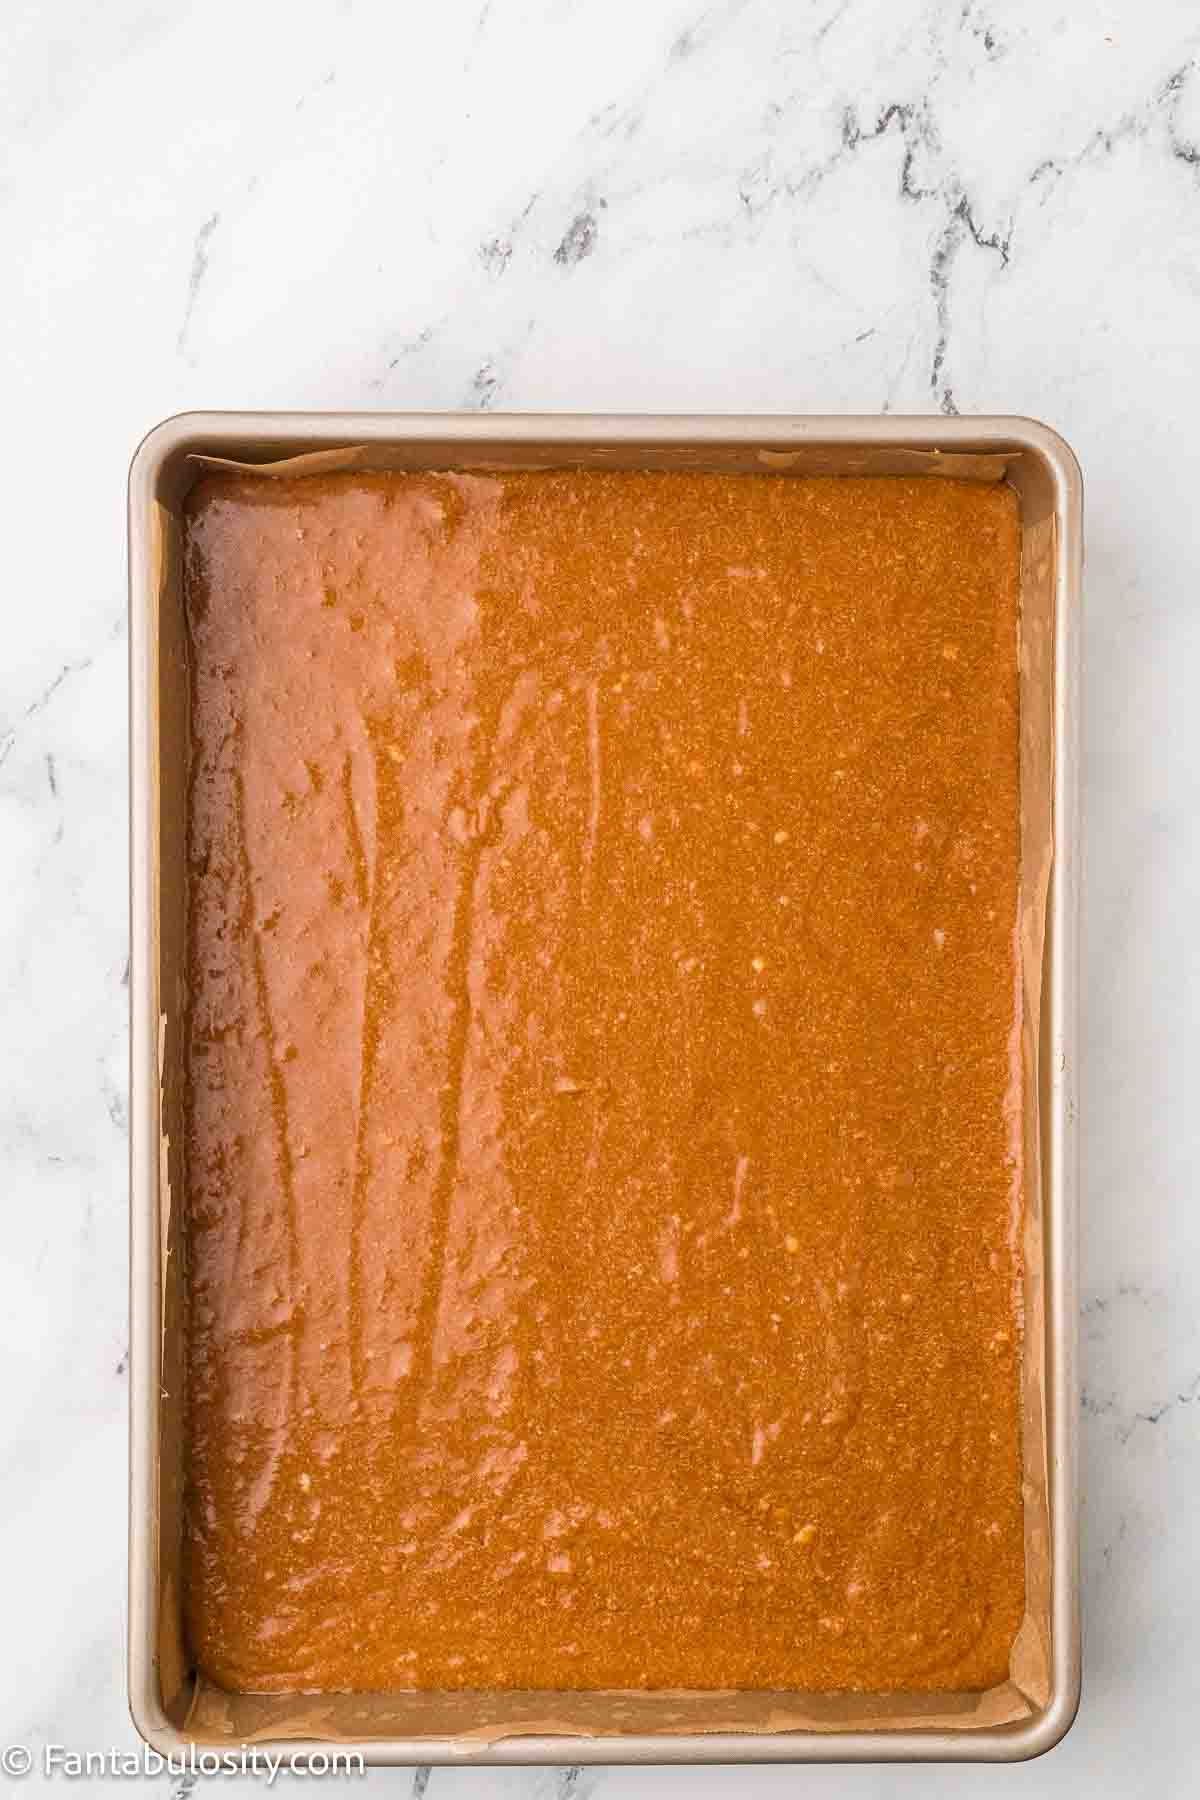
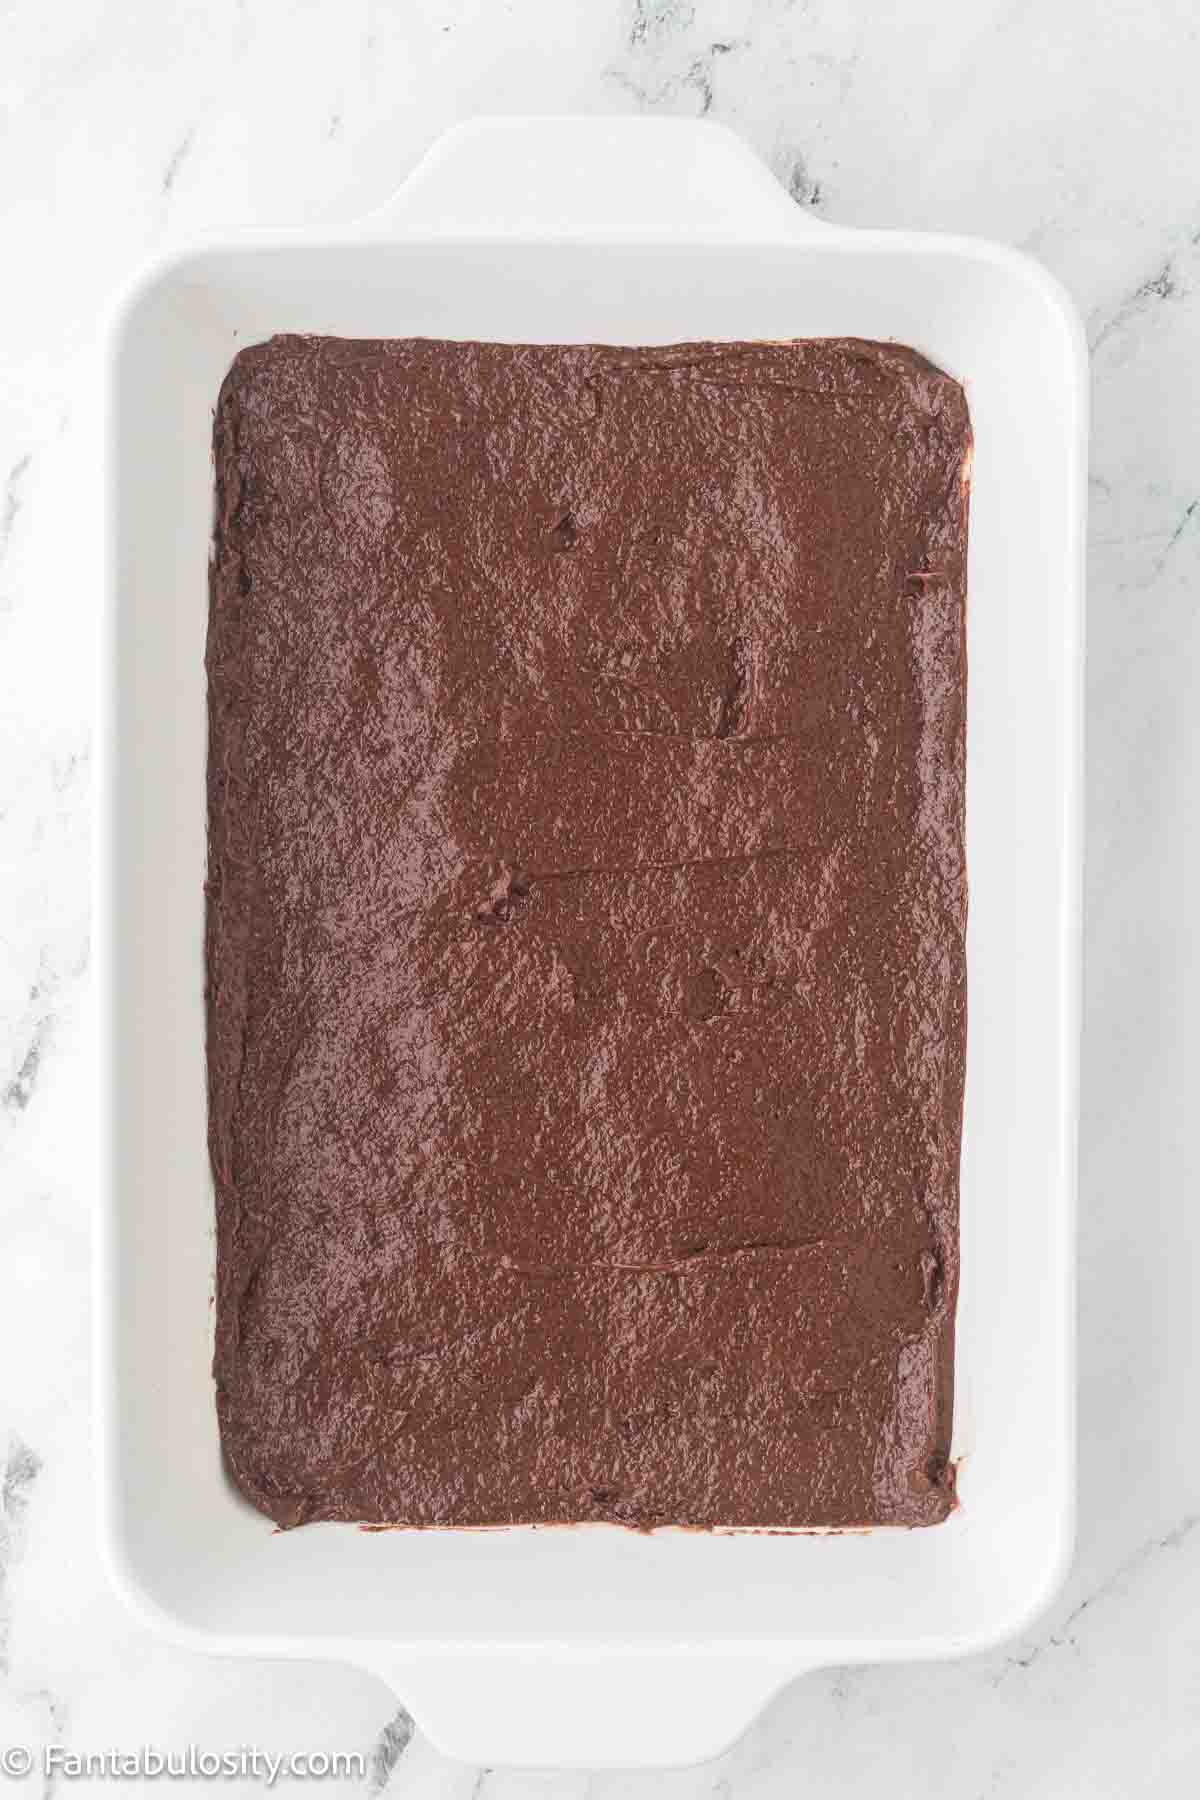
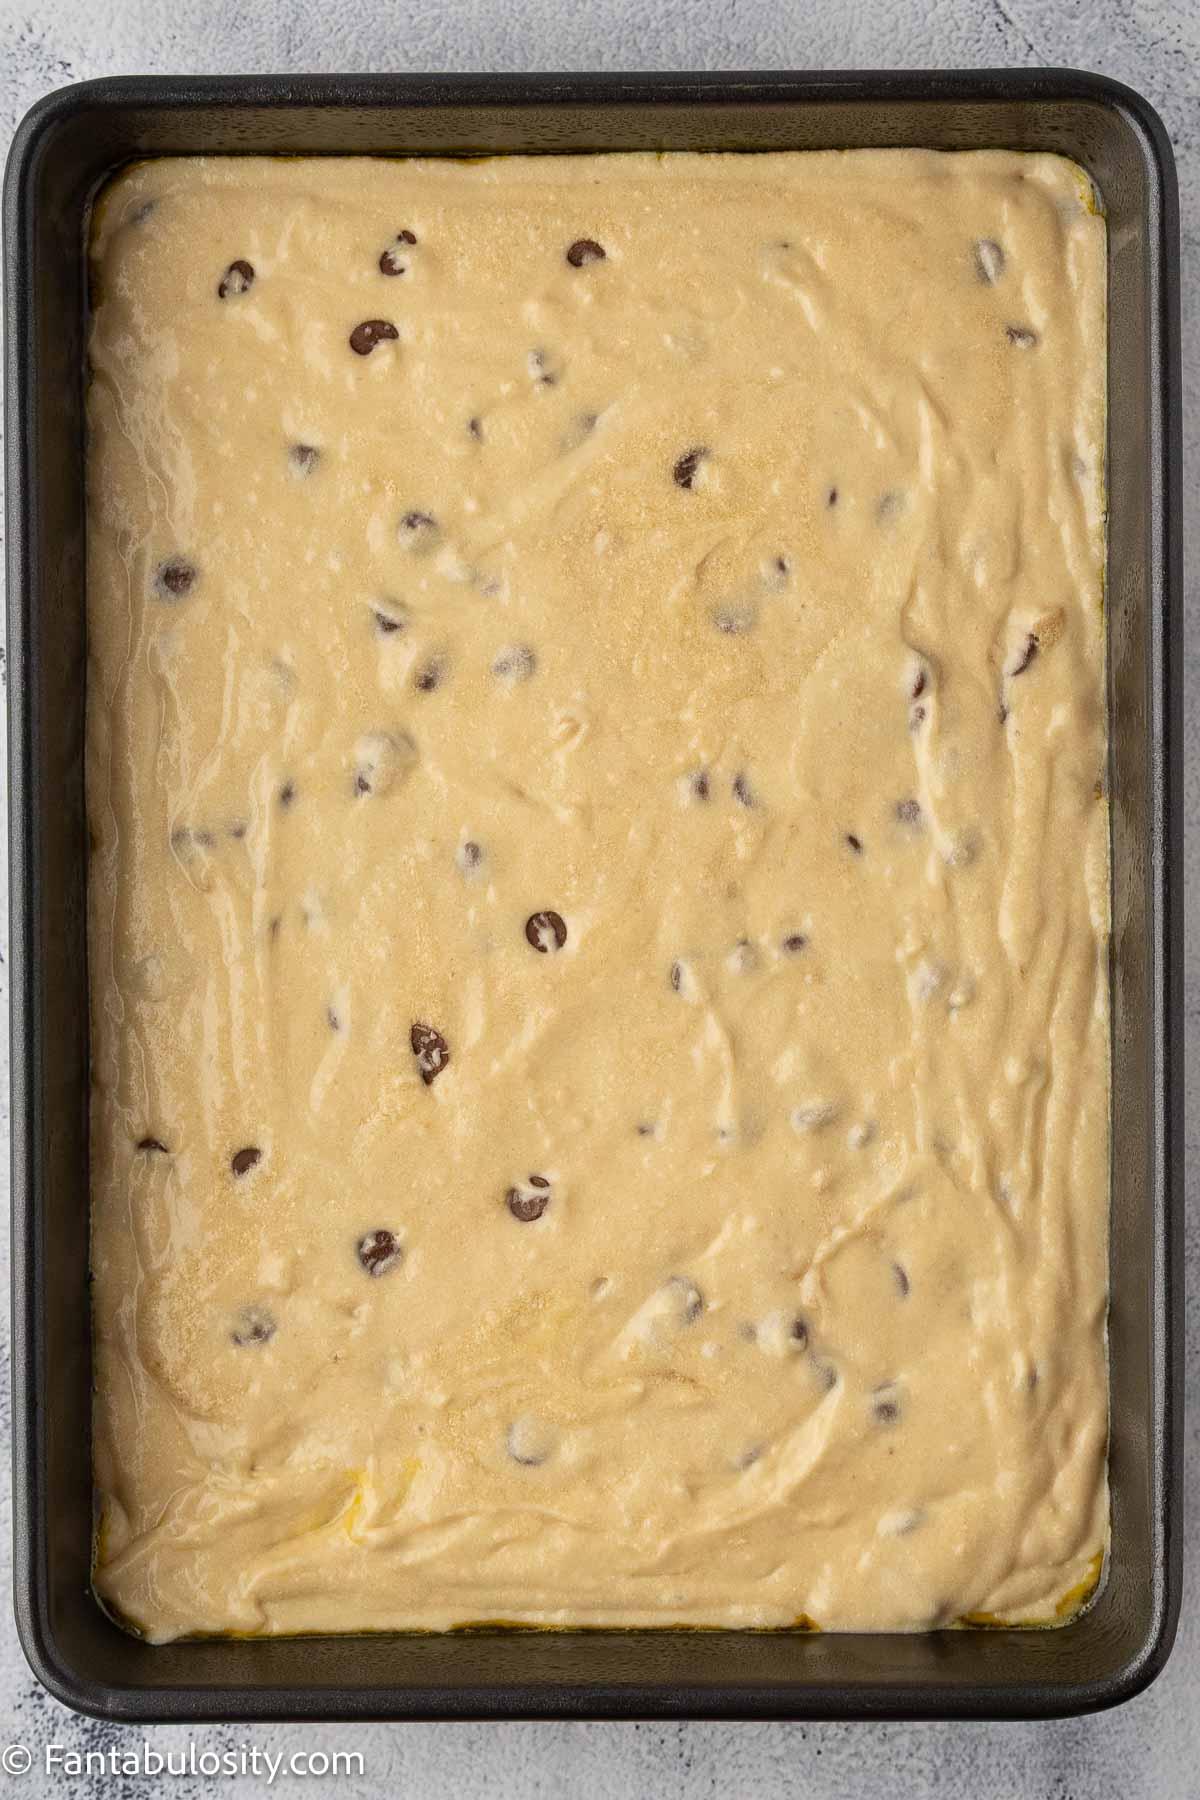
Spread the batter evenly into the prepared baking dish.
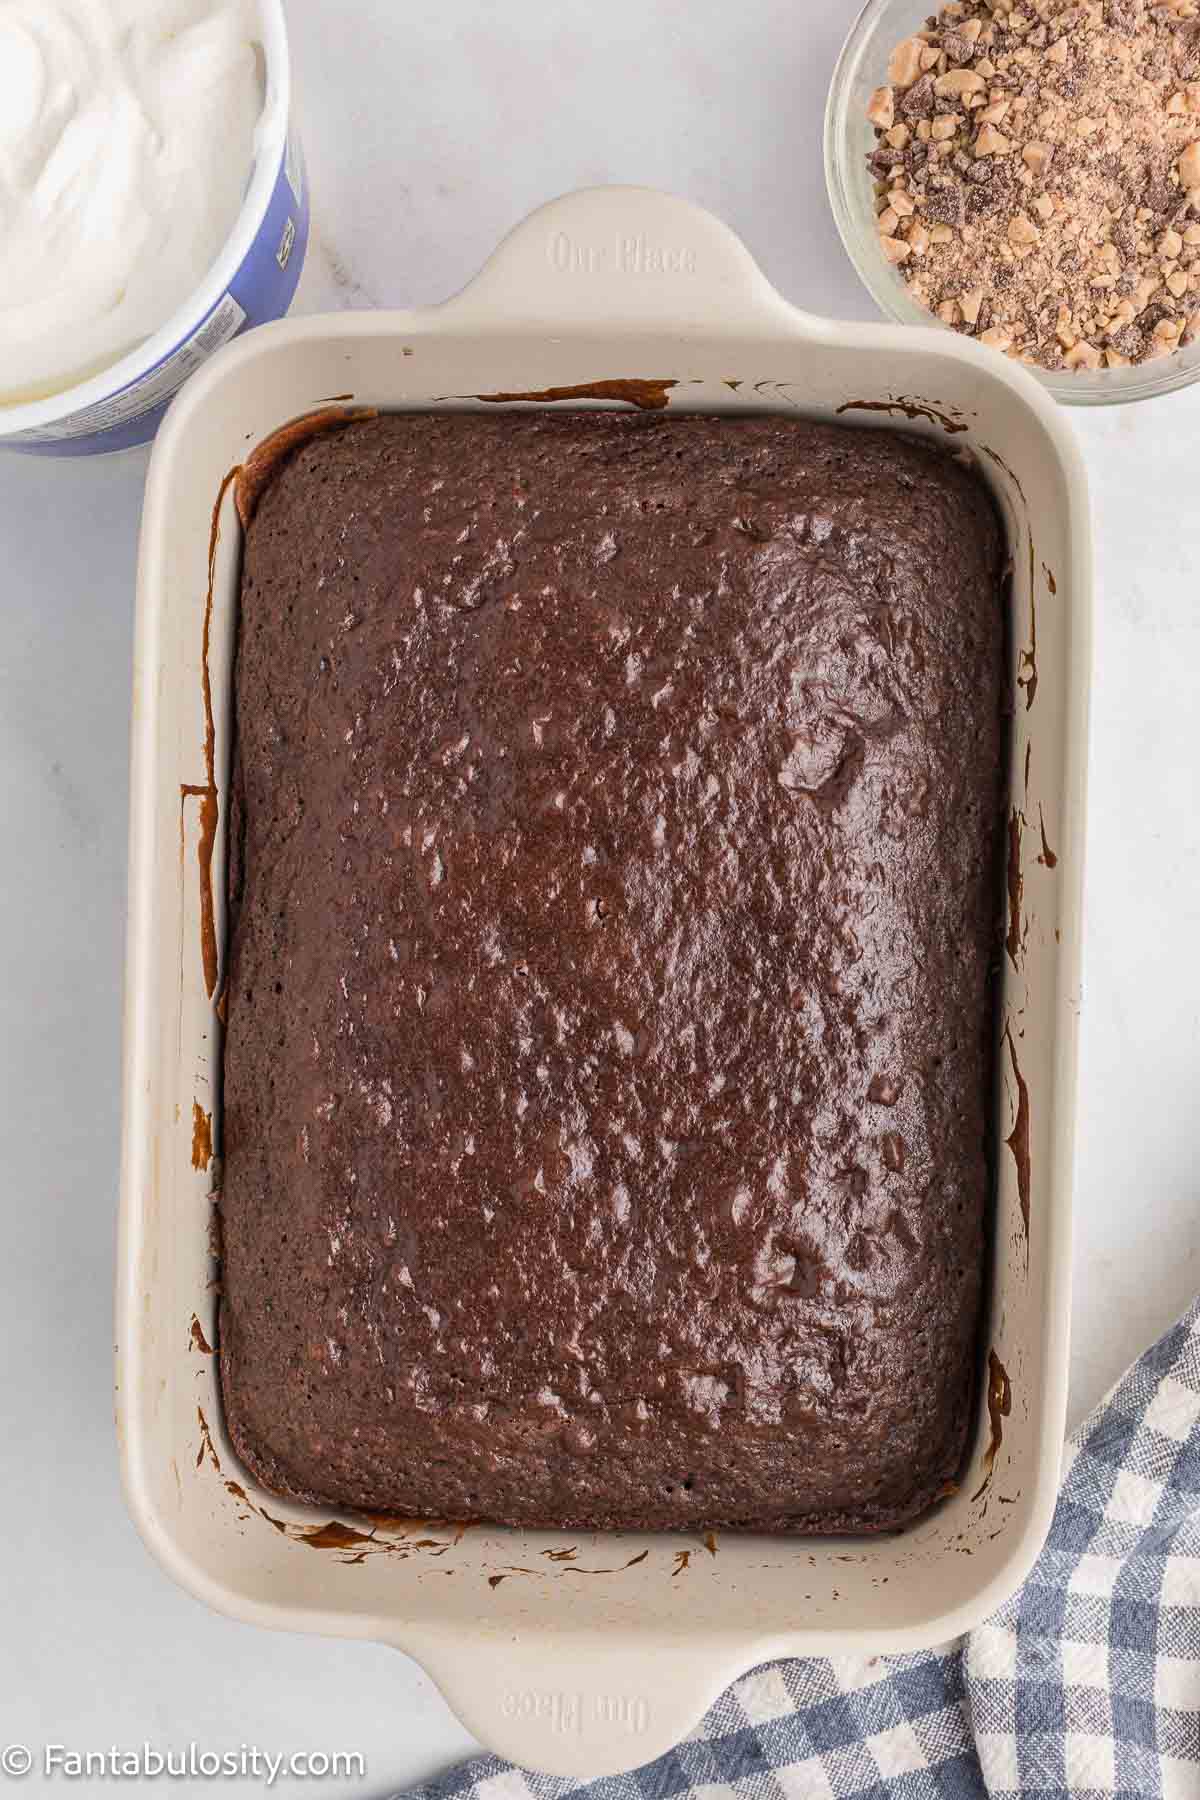
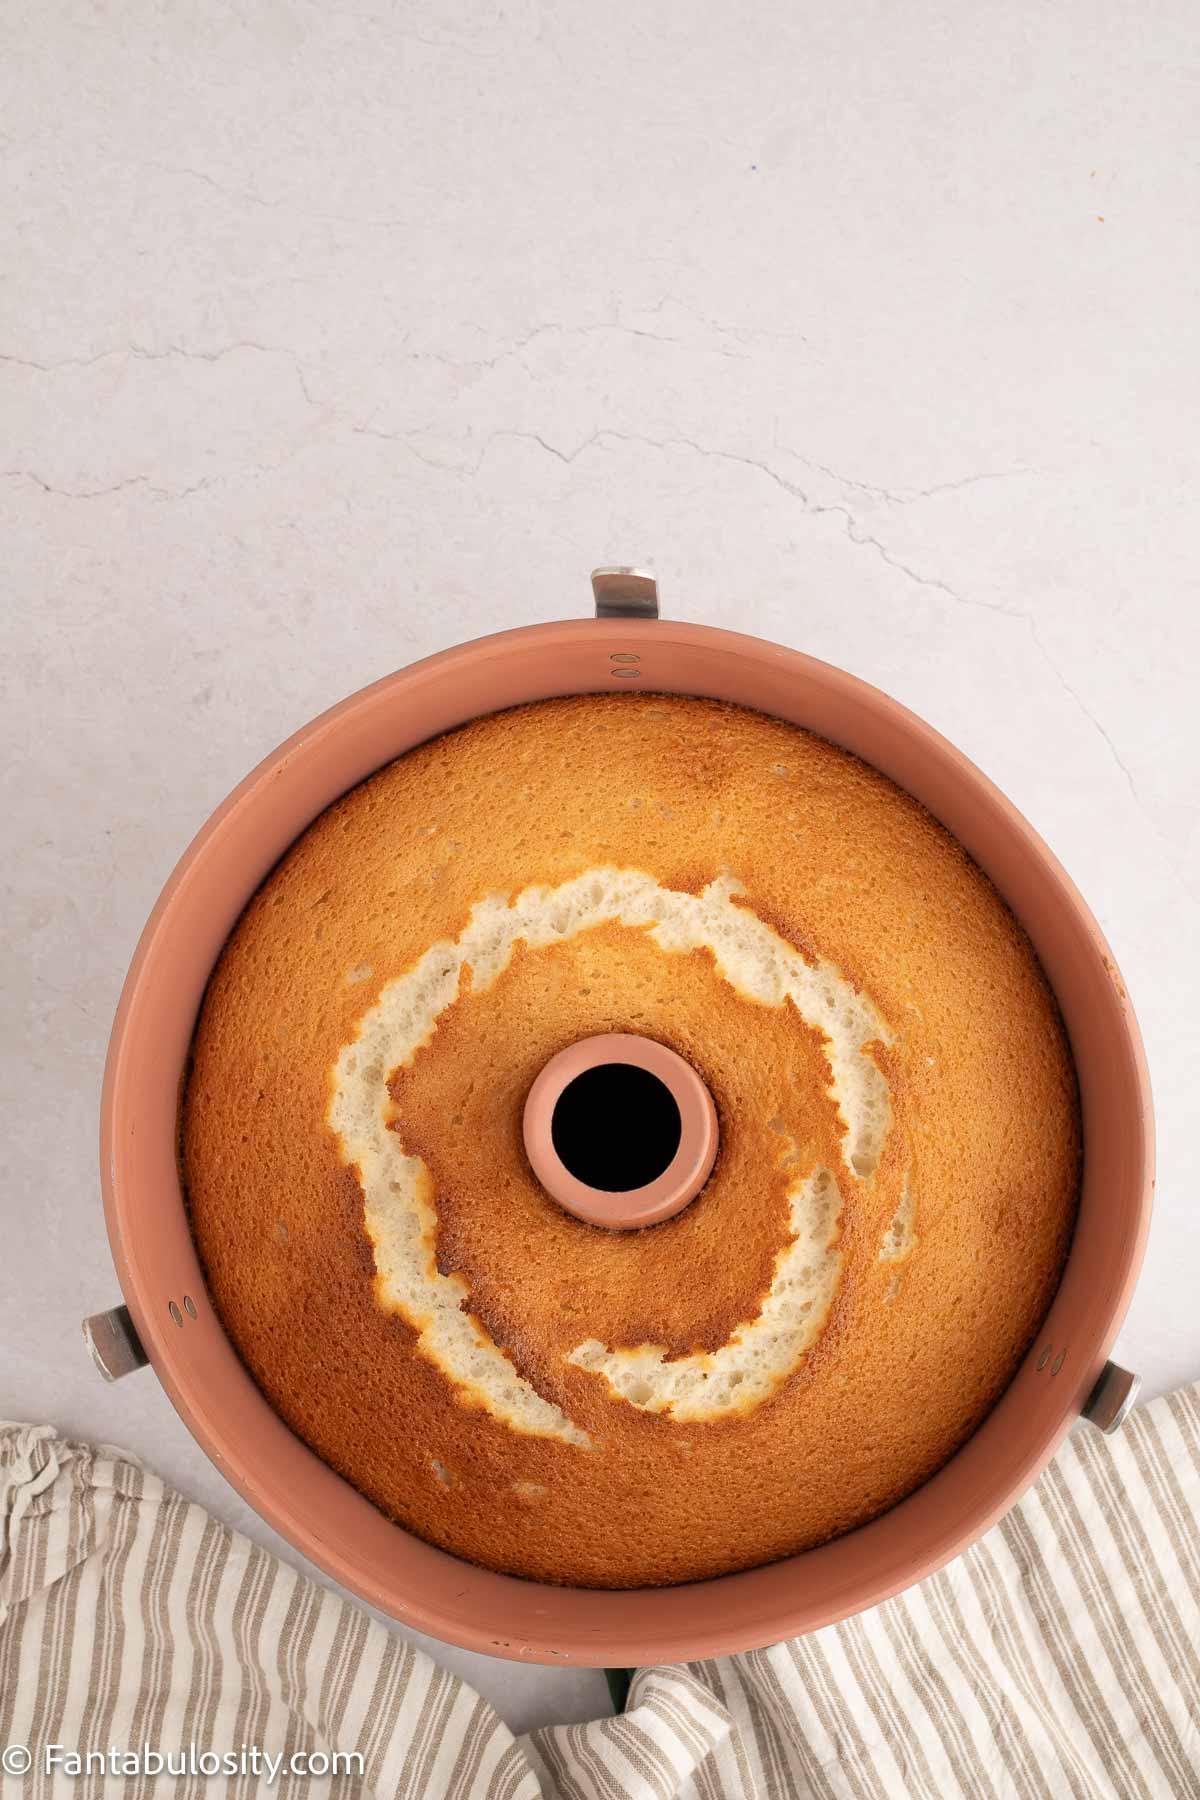
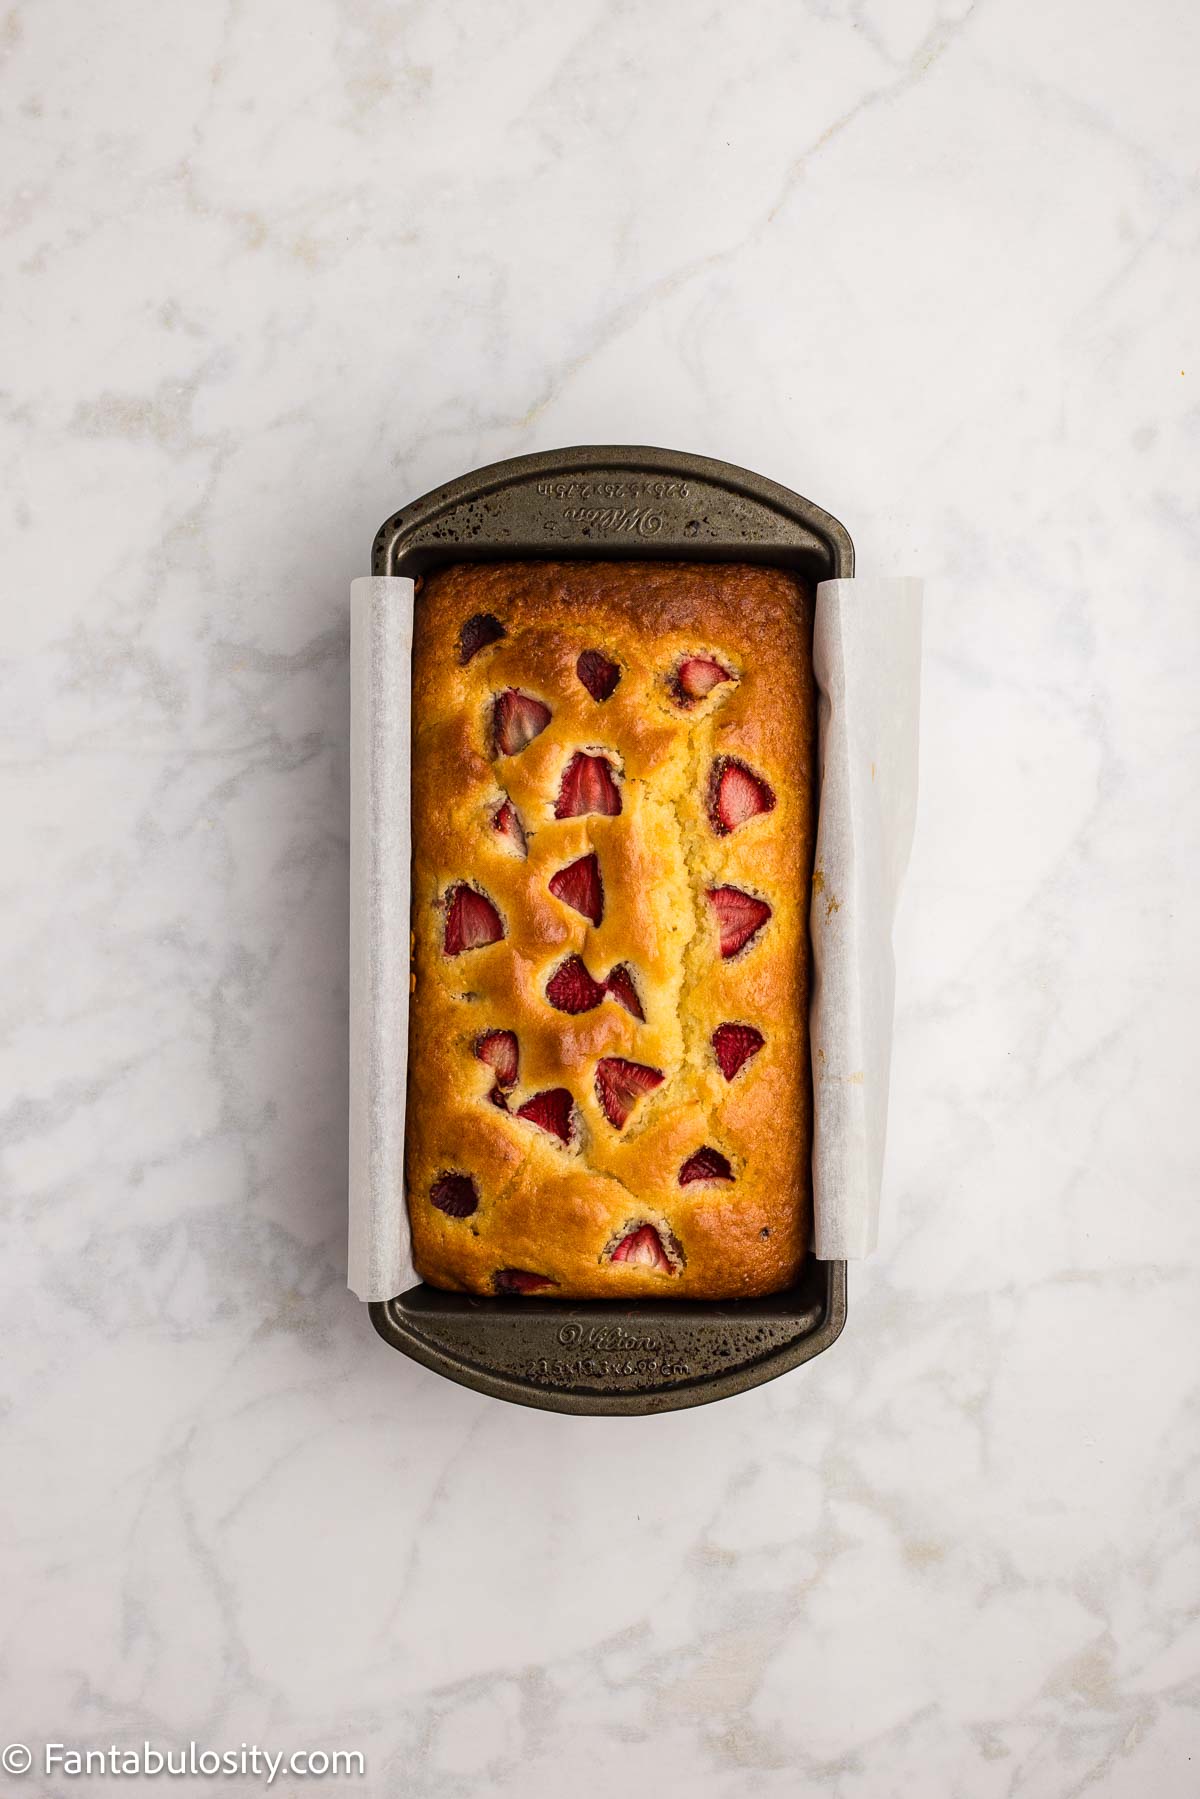
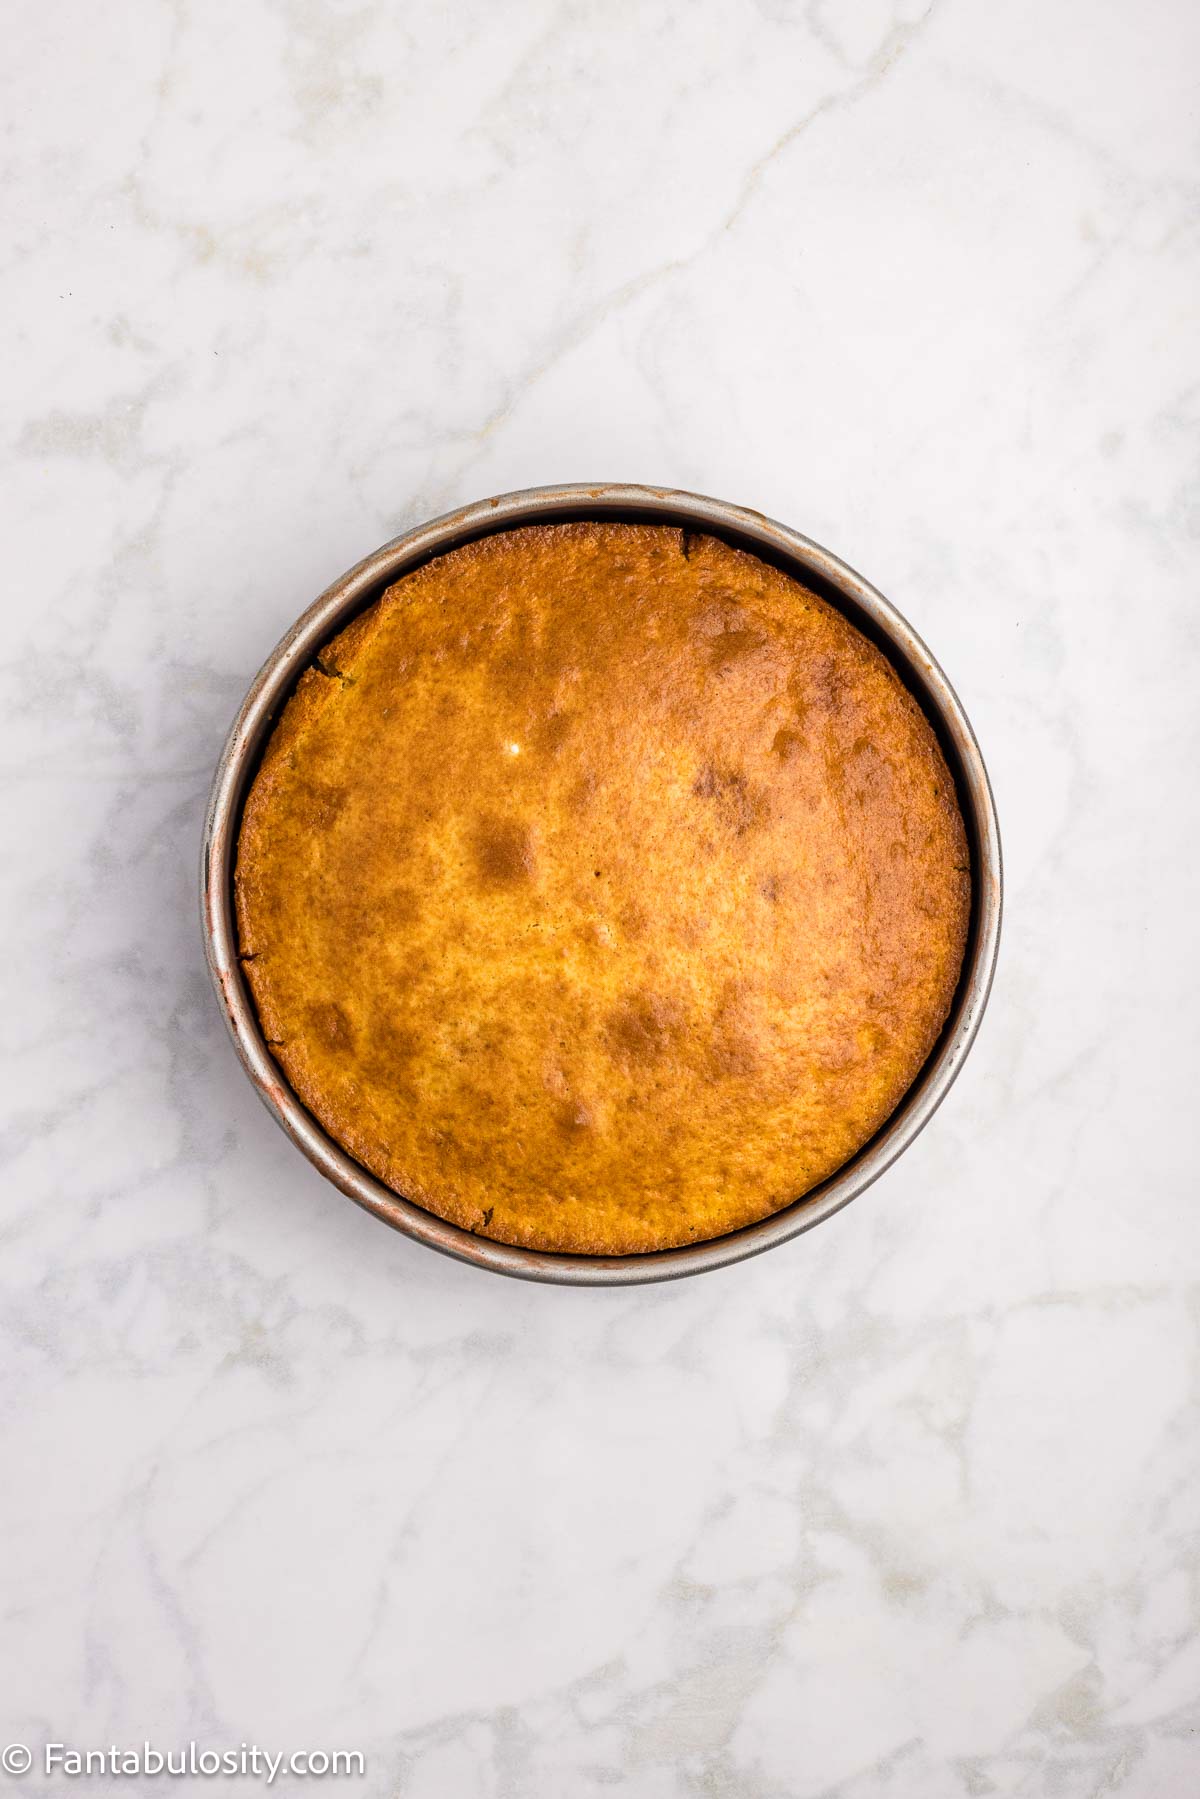
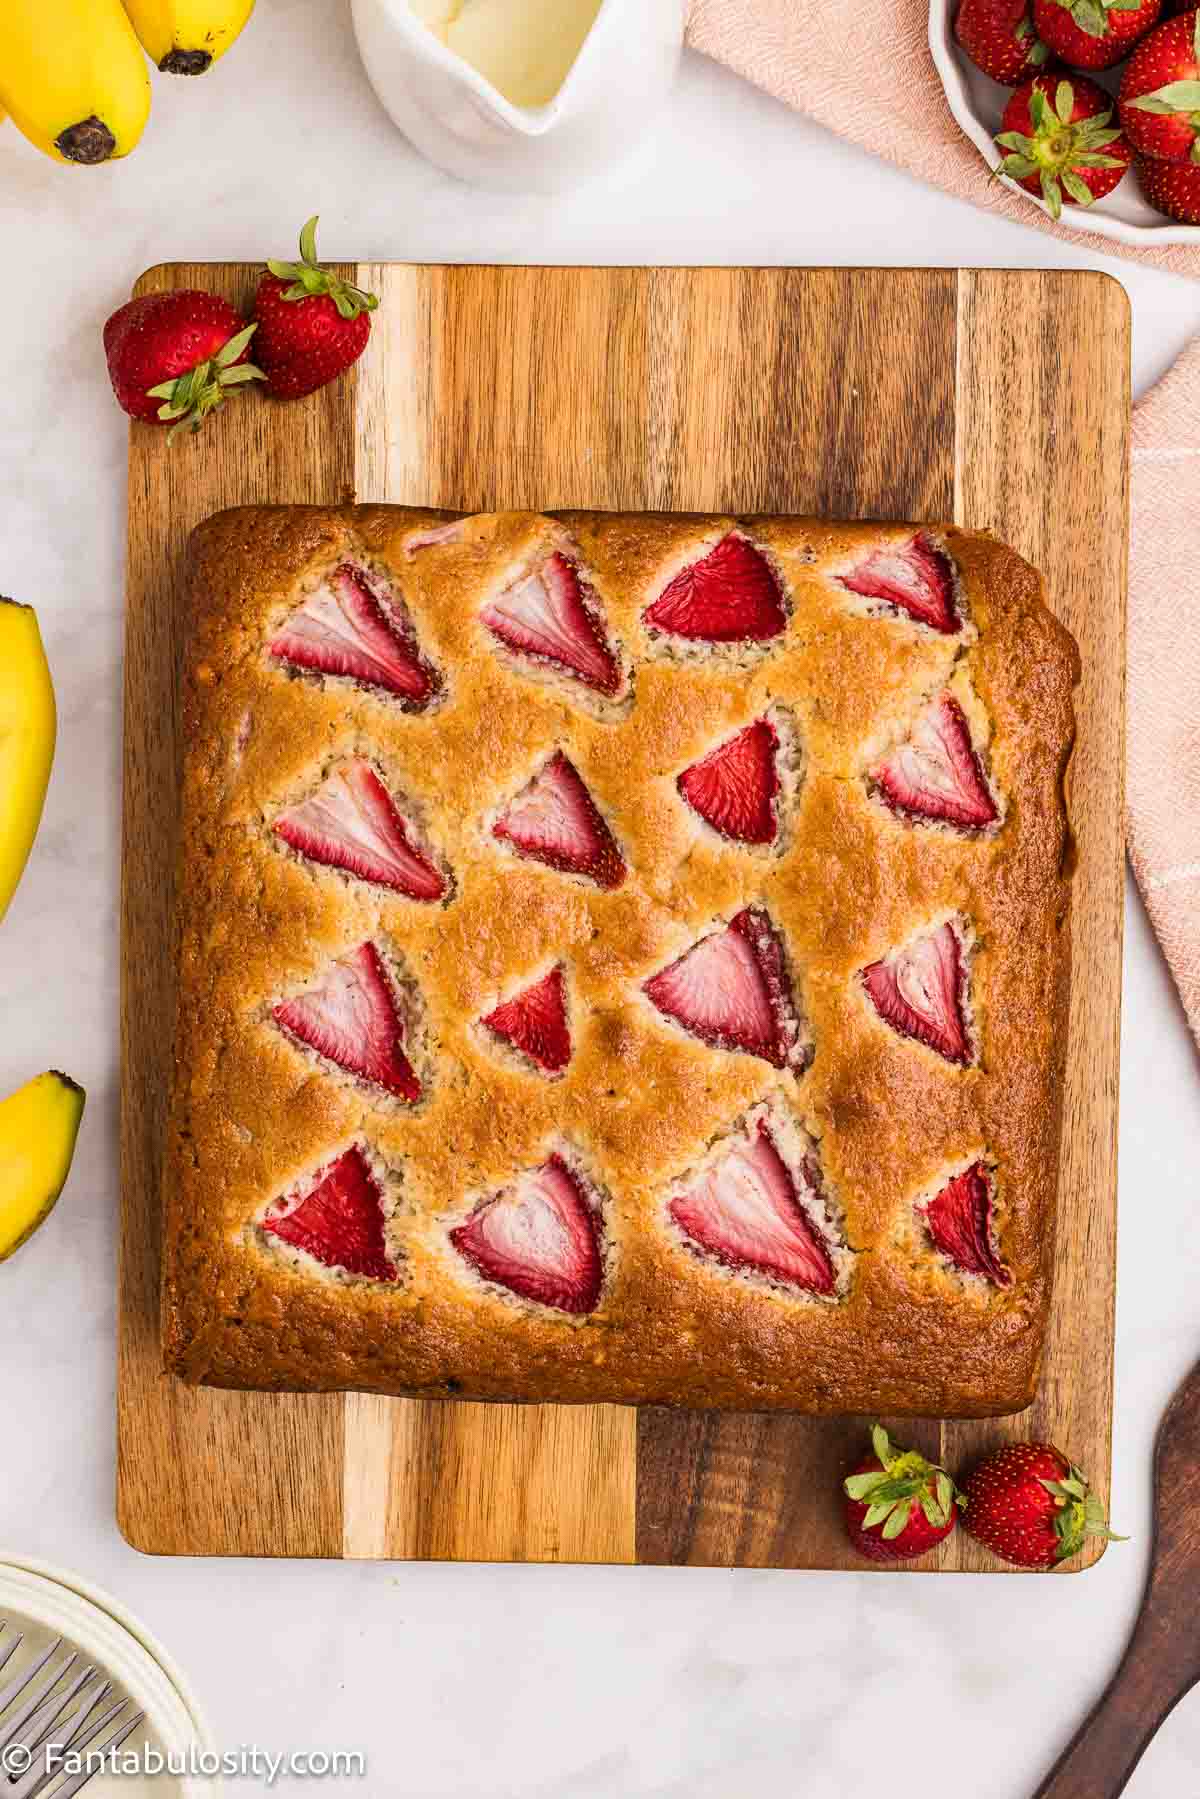
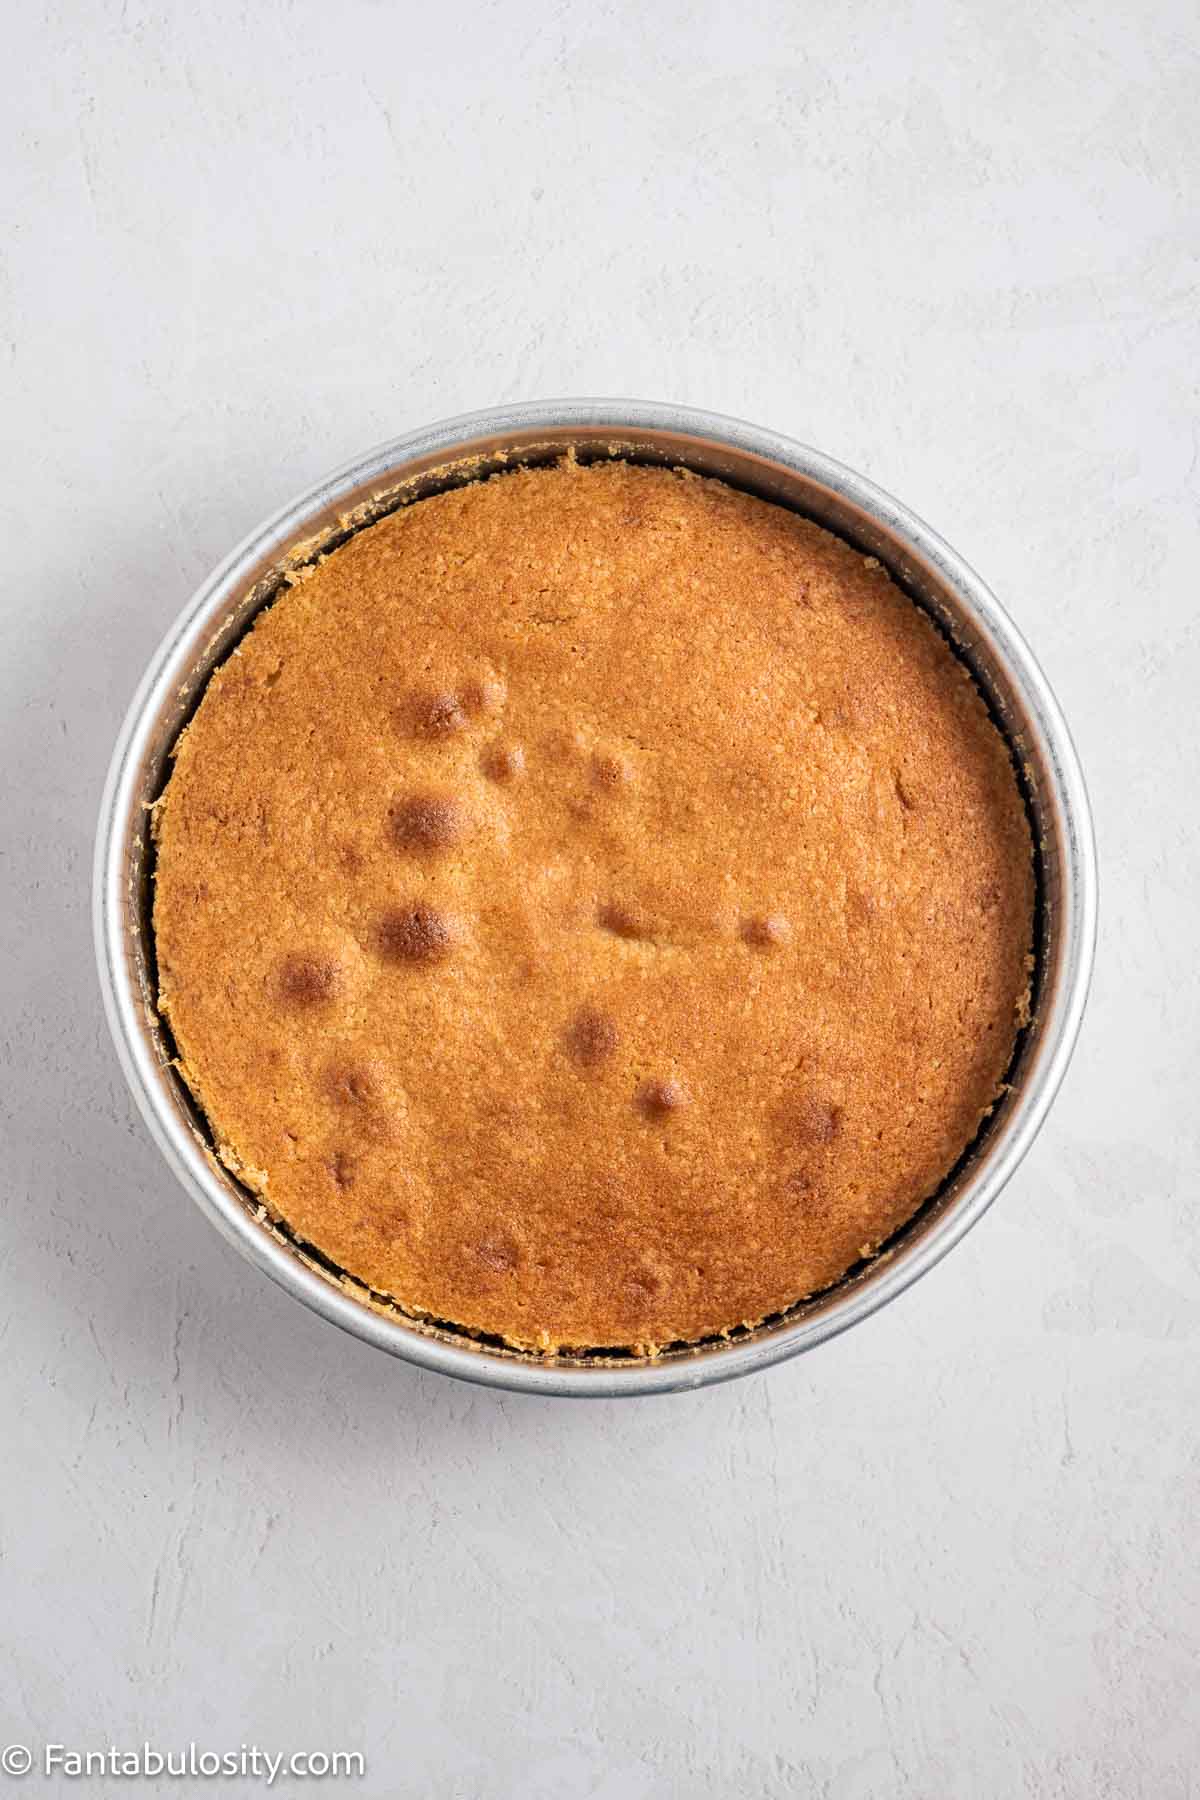
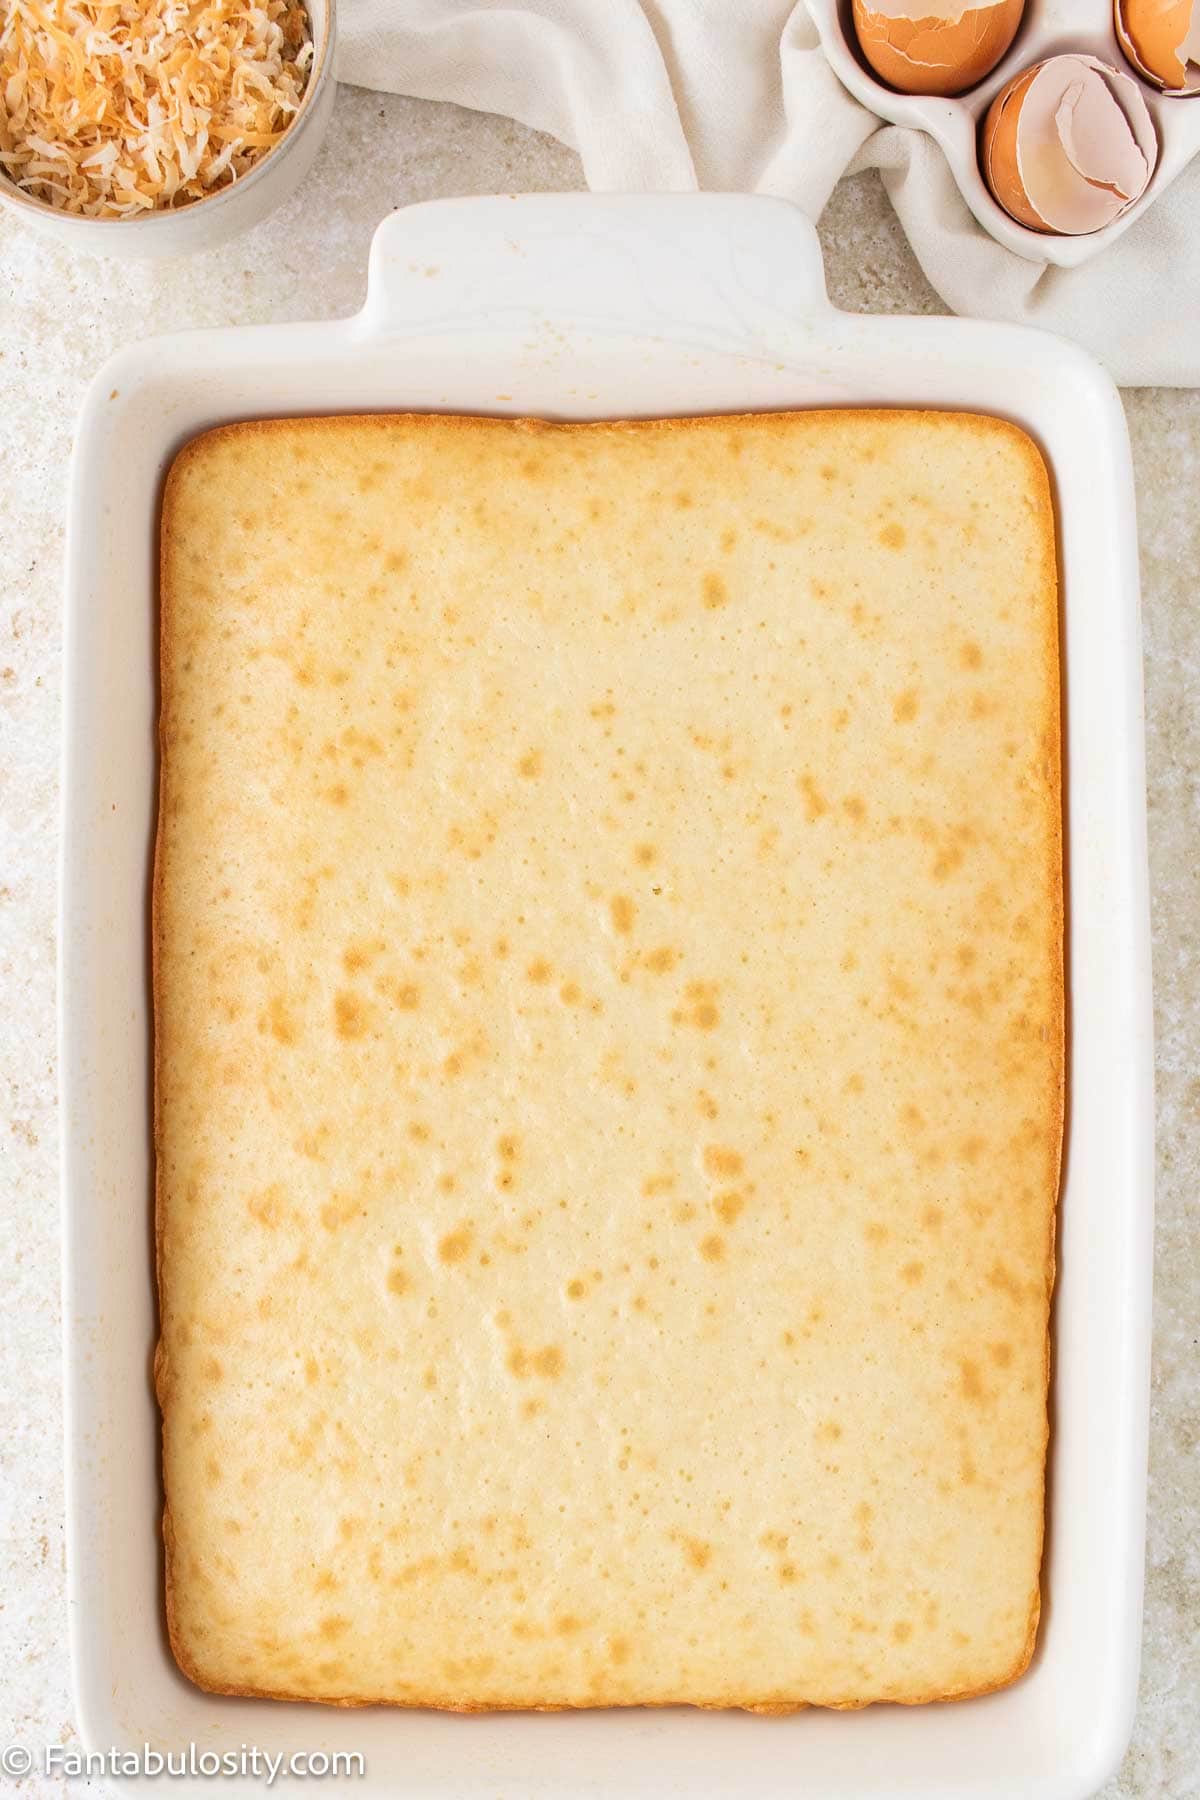
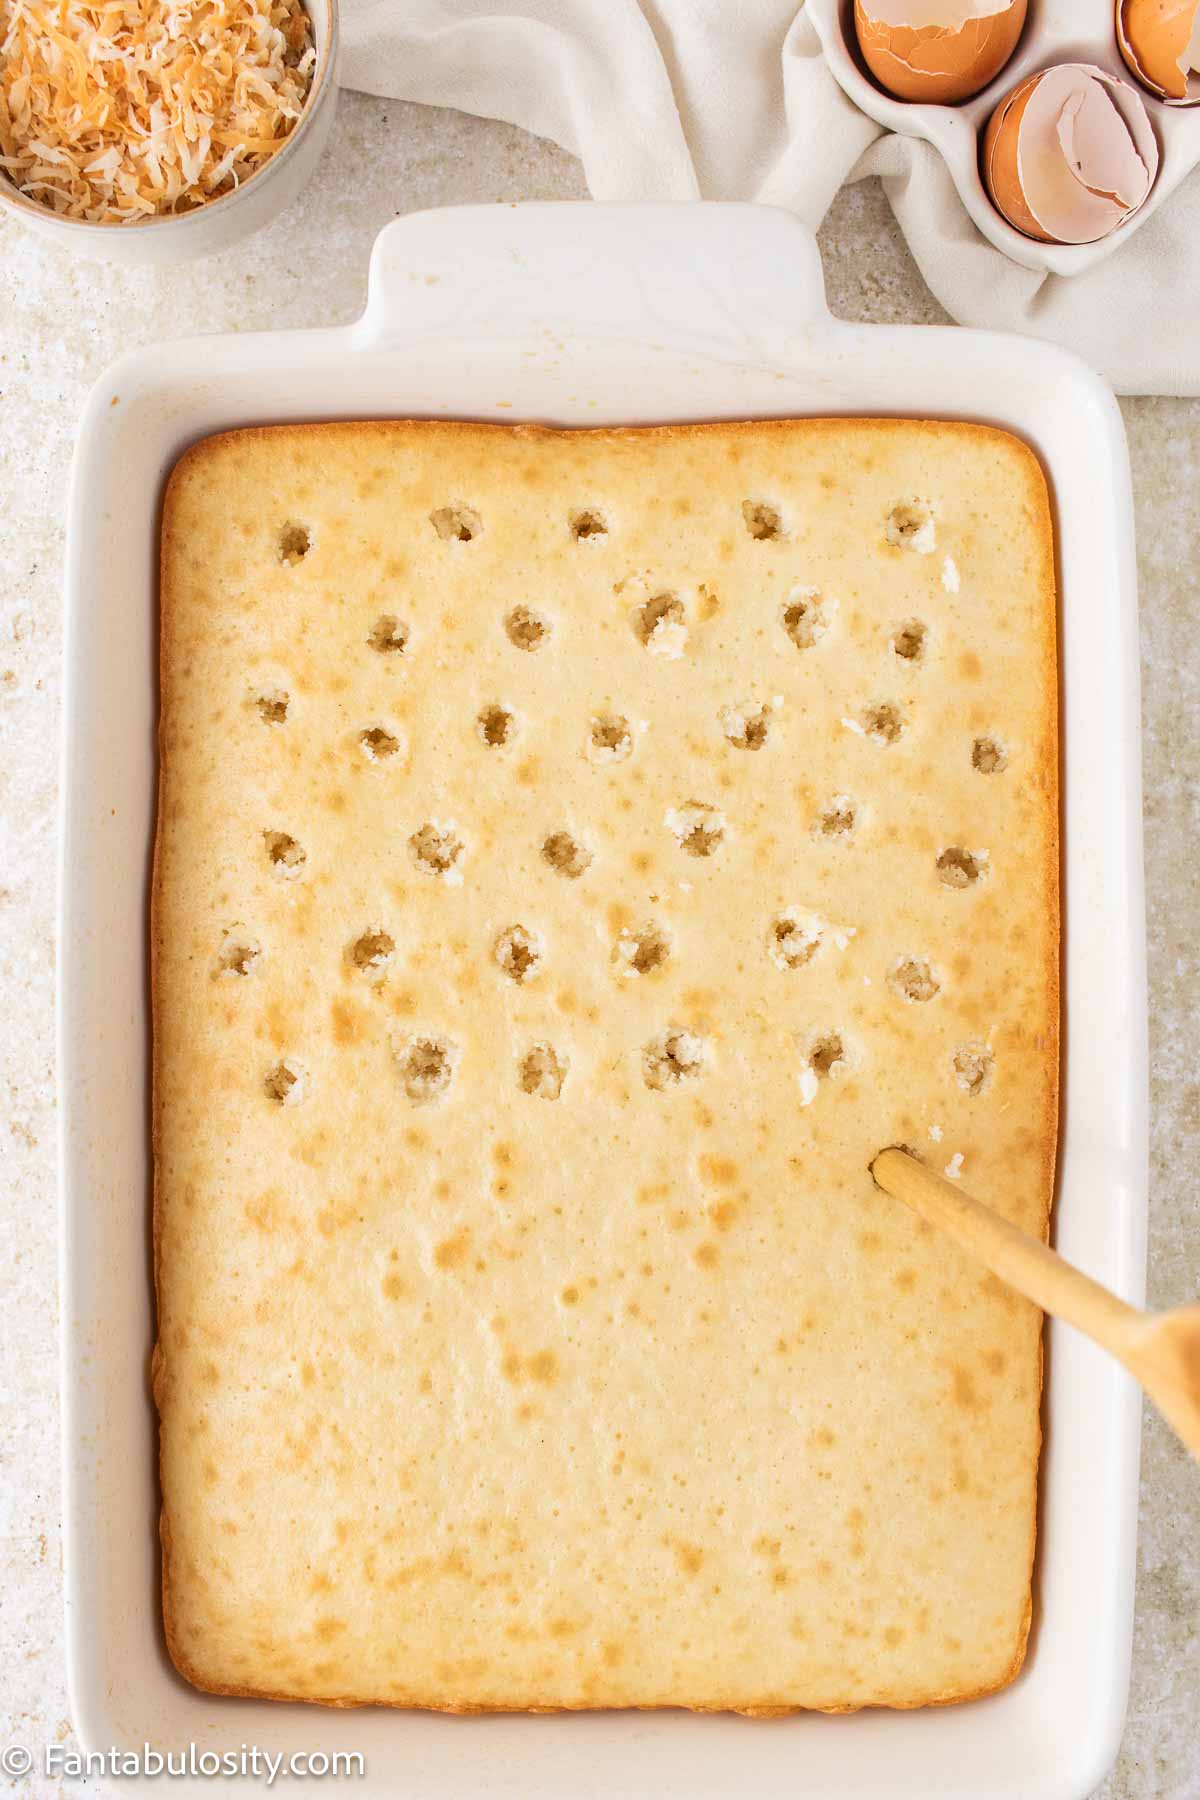
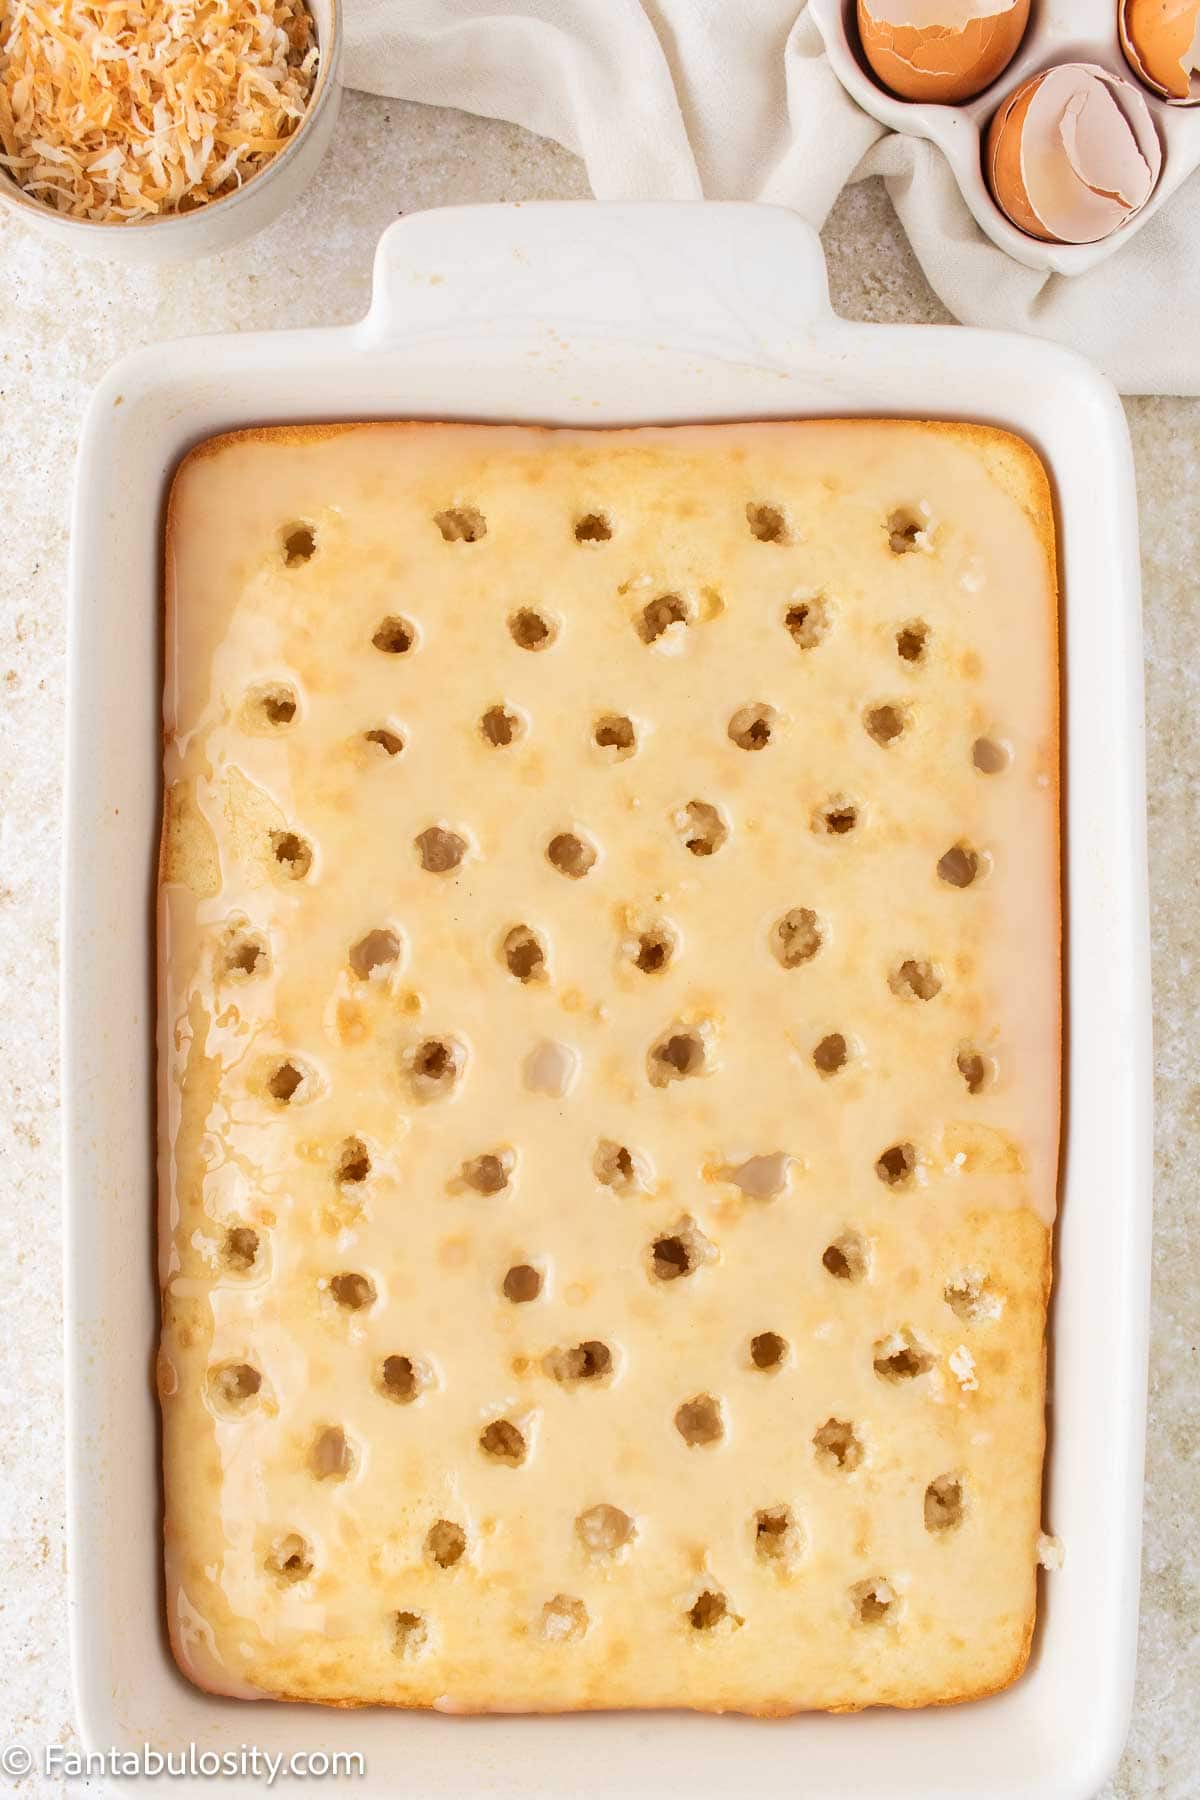
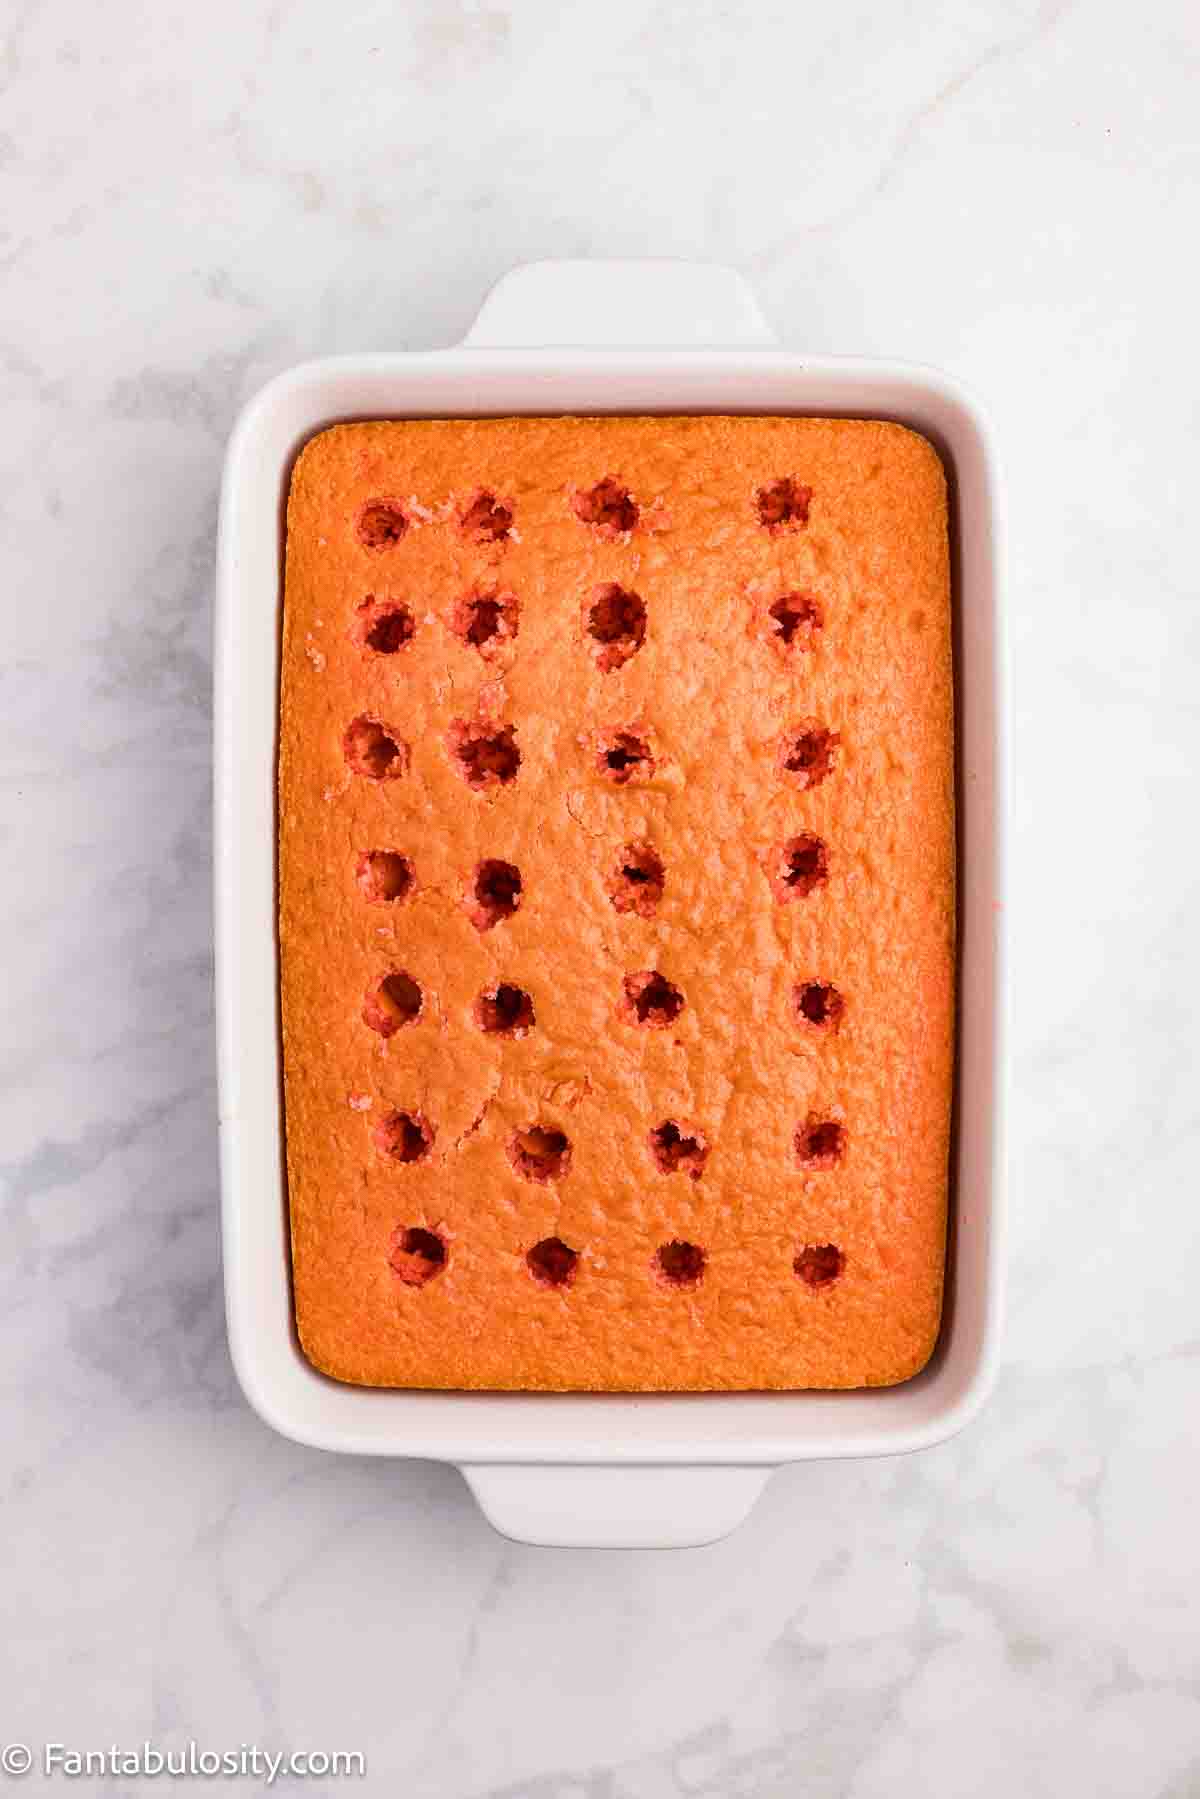
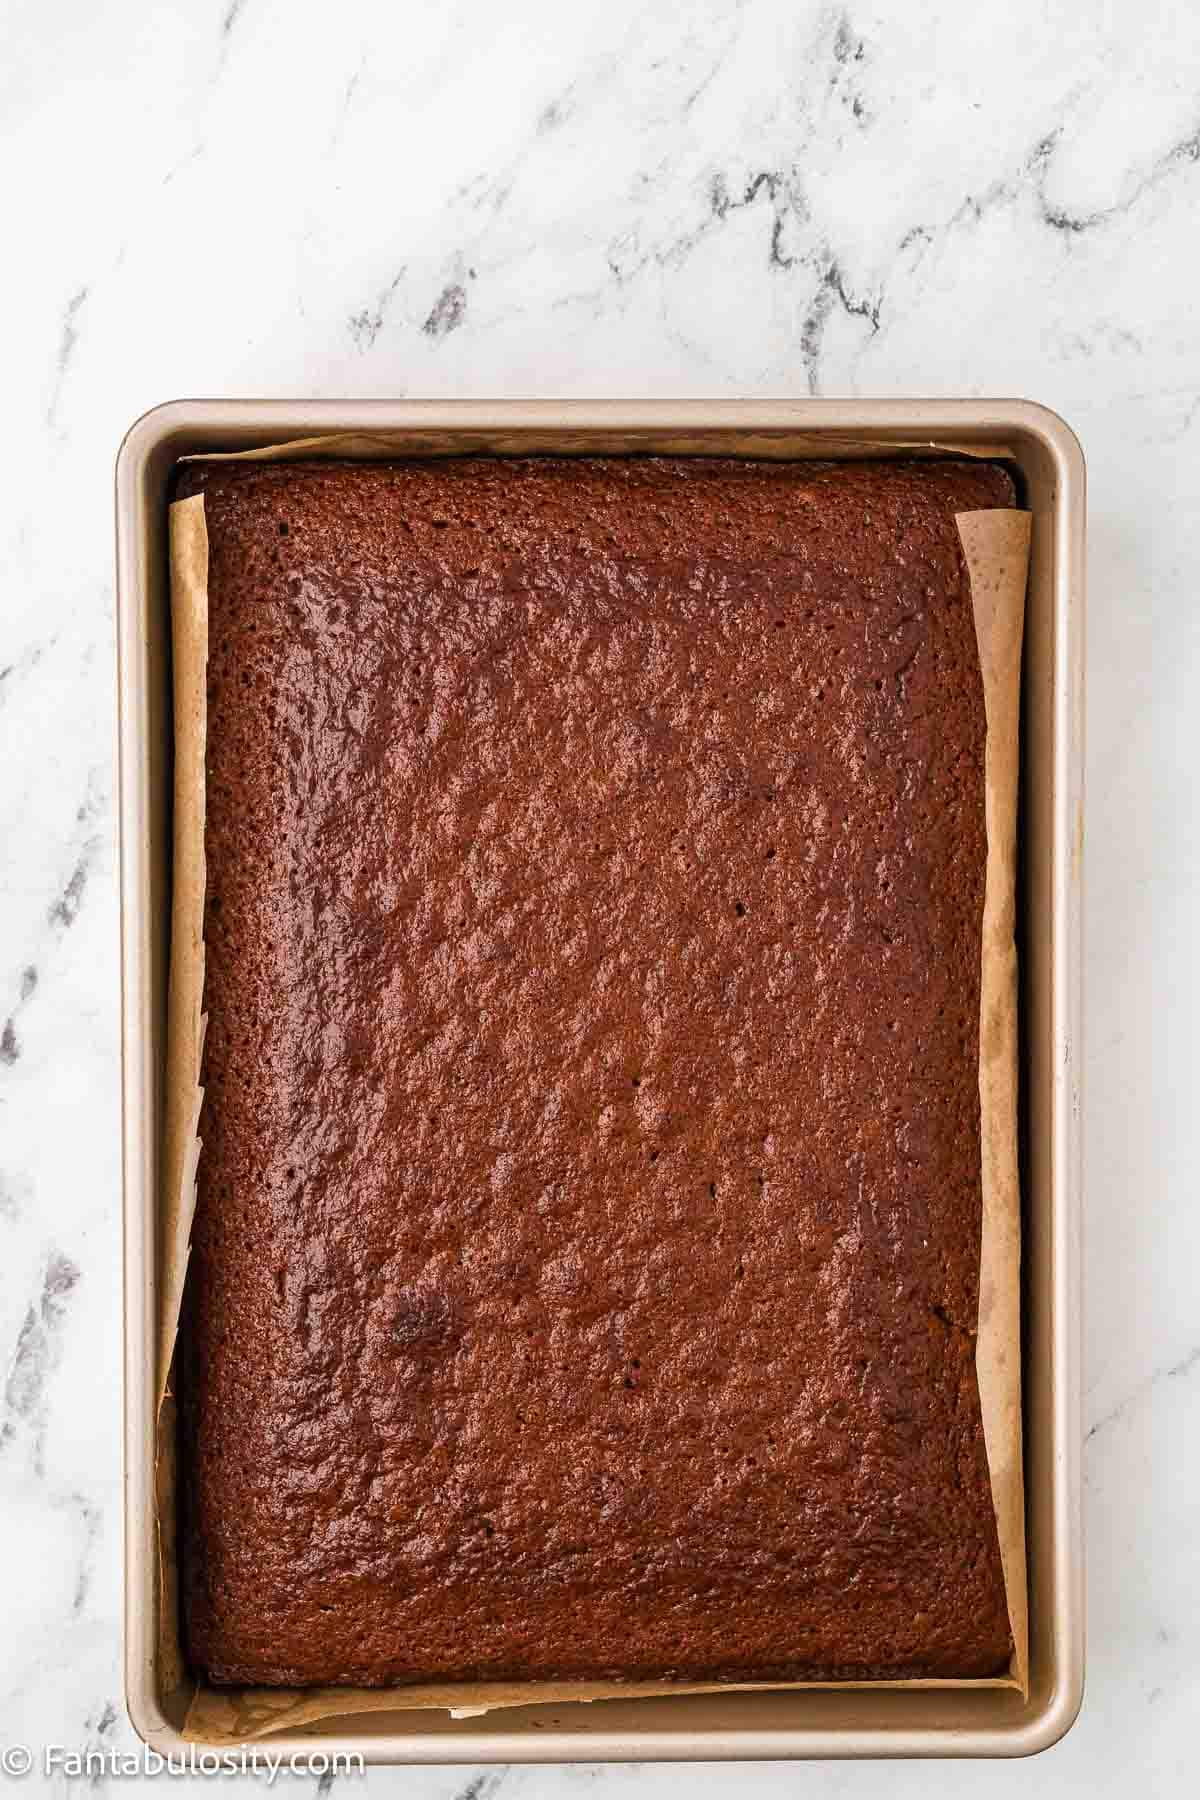
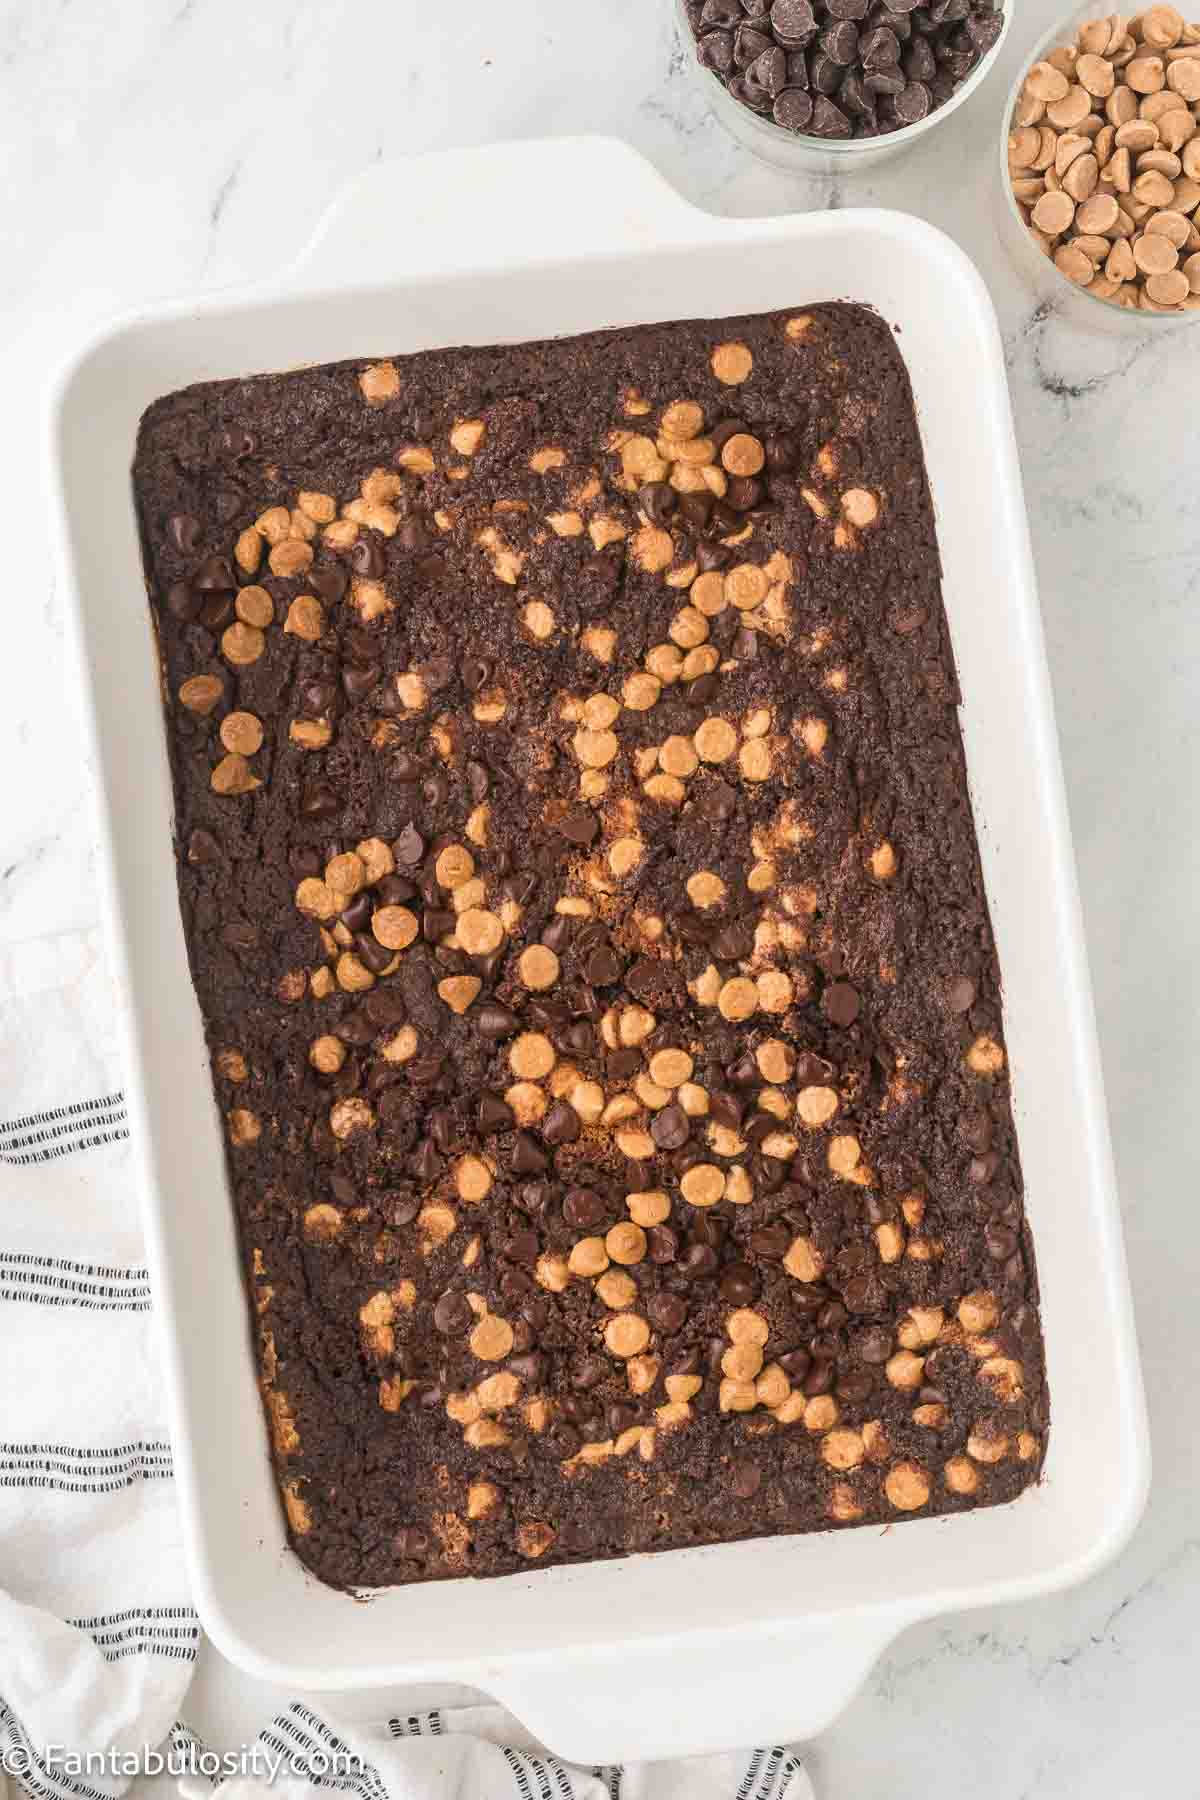
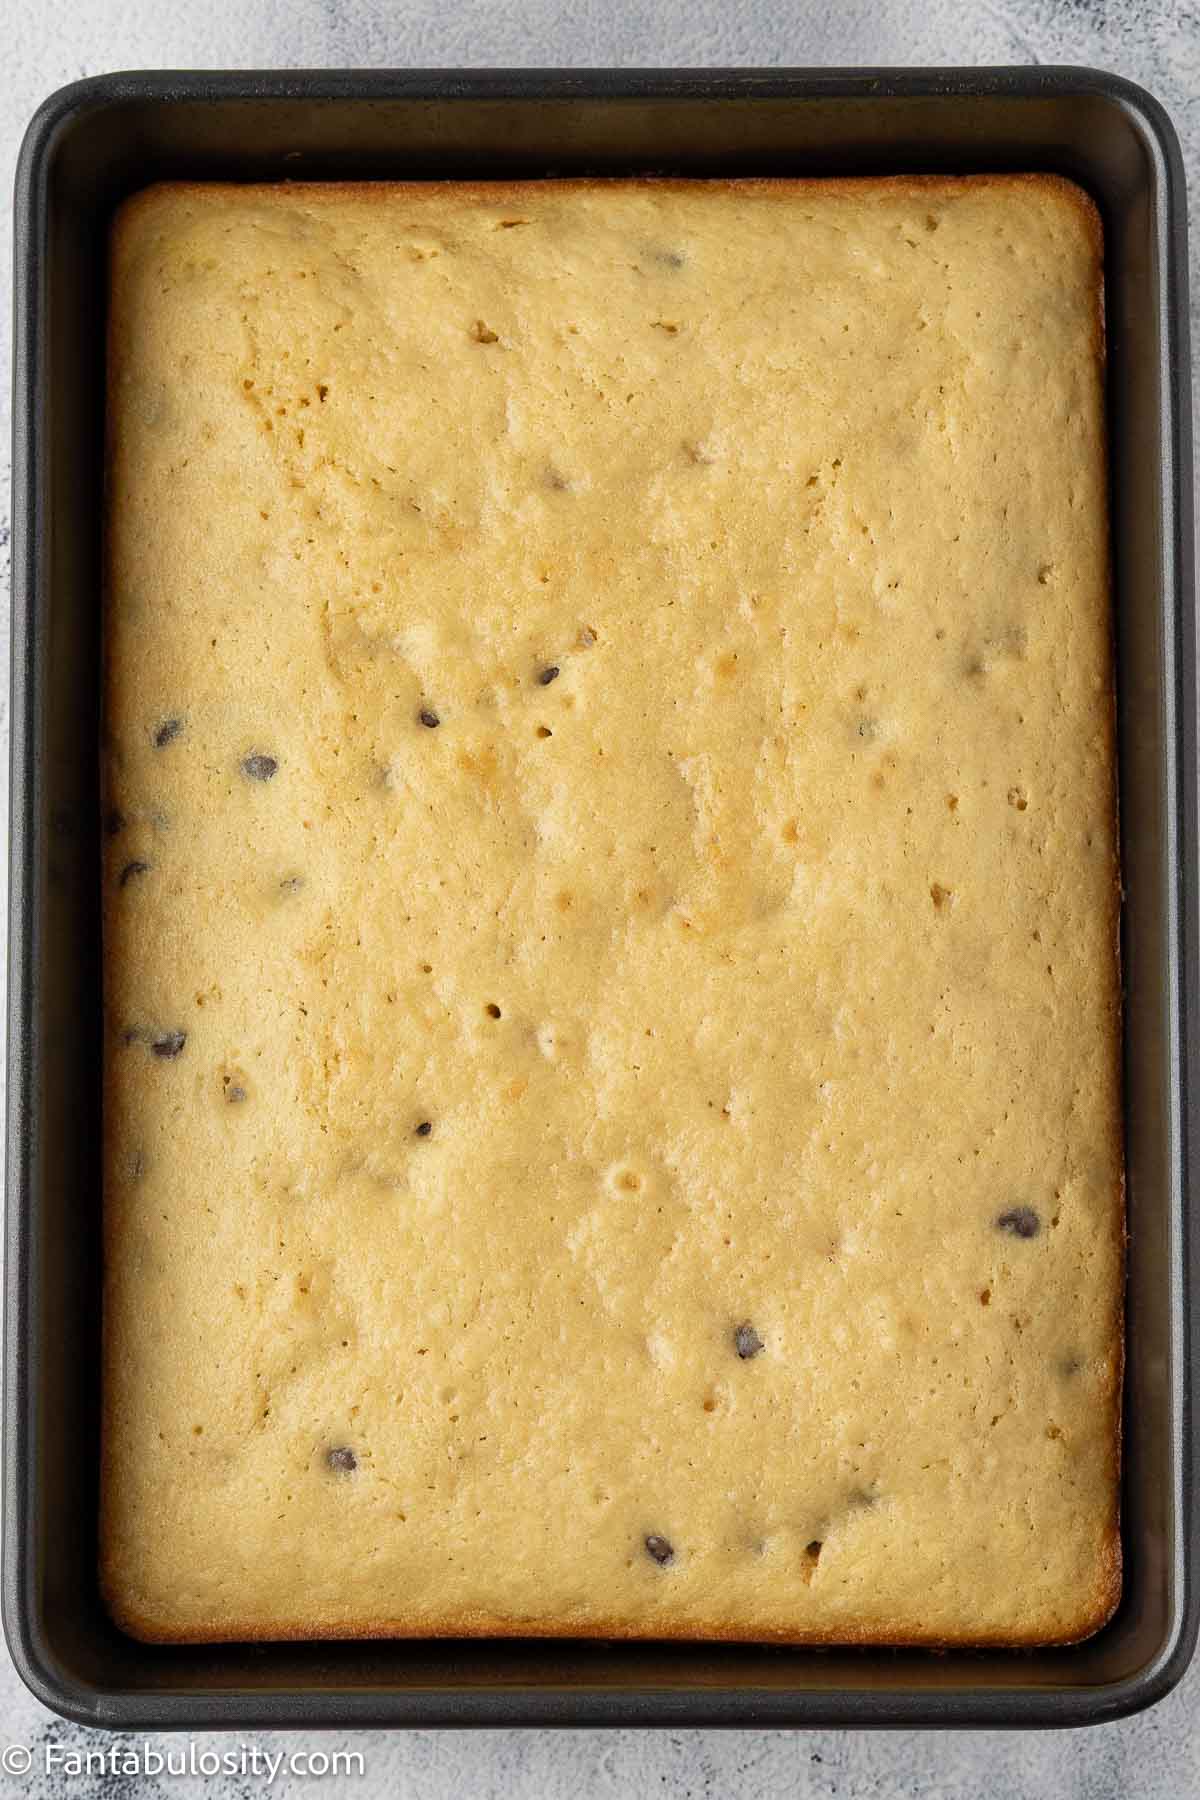
Bake for 28 to 34 minutes, or until a toothpick inserted into the center comes out clean or the center reaches about 160°F on an instant-read thermometer.
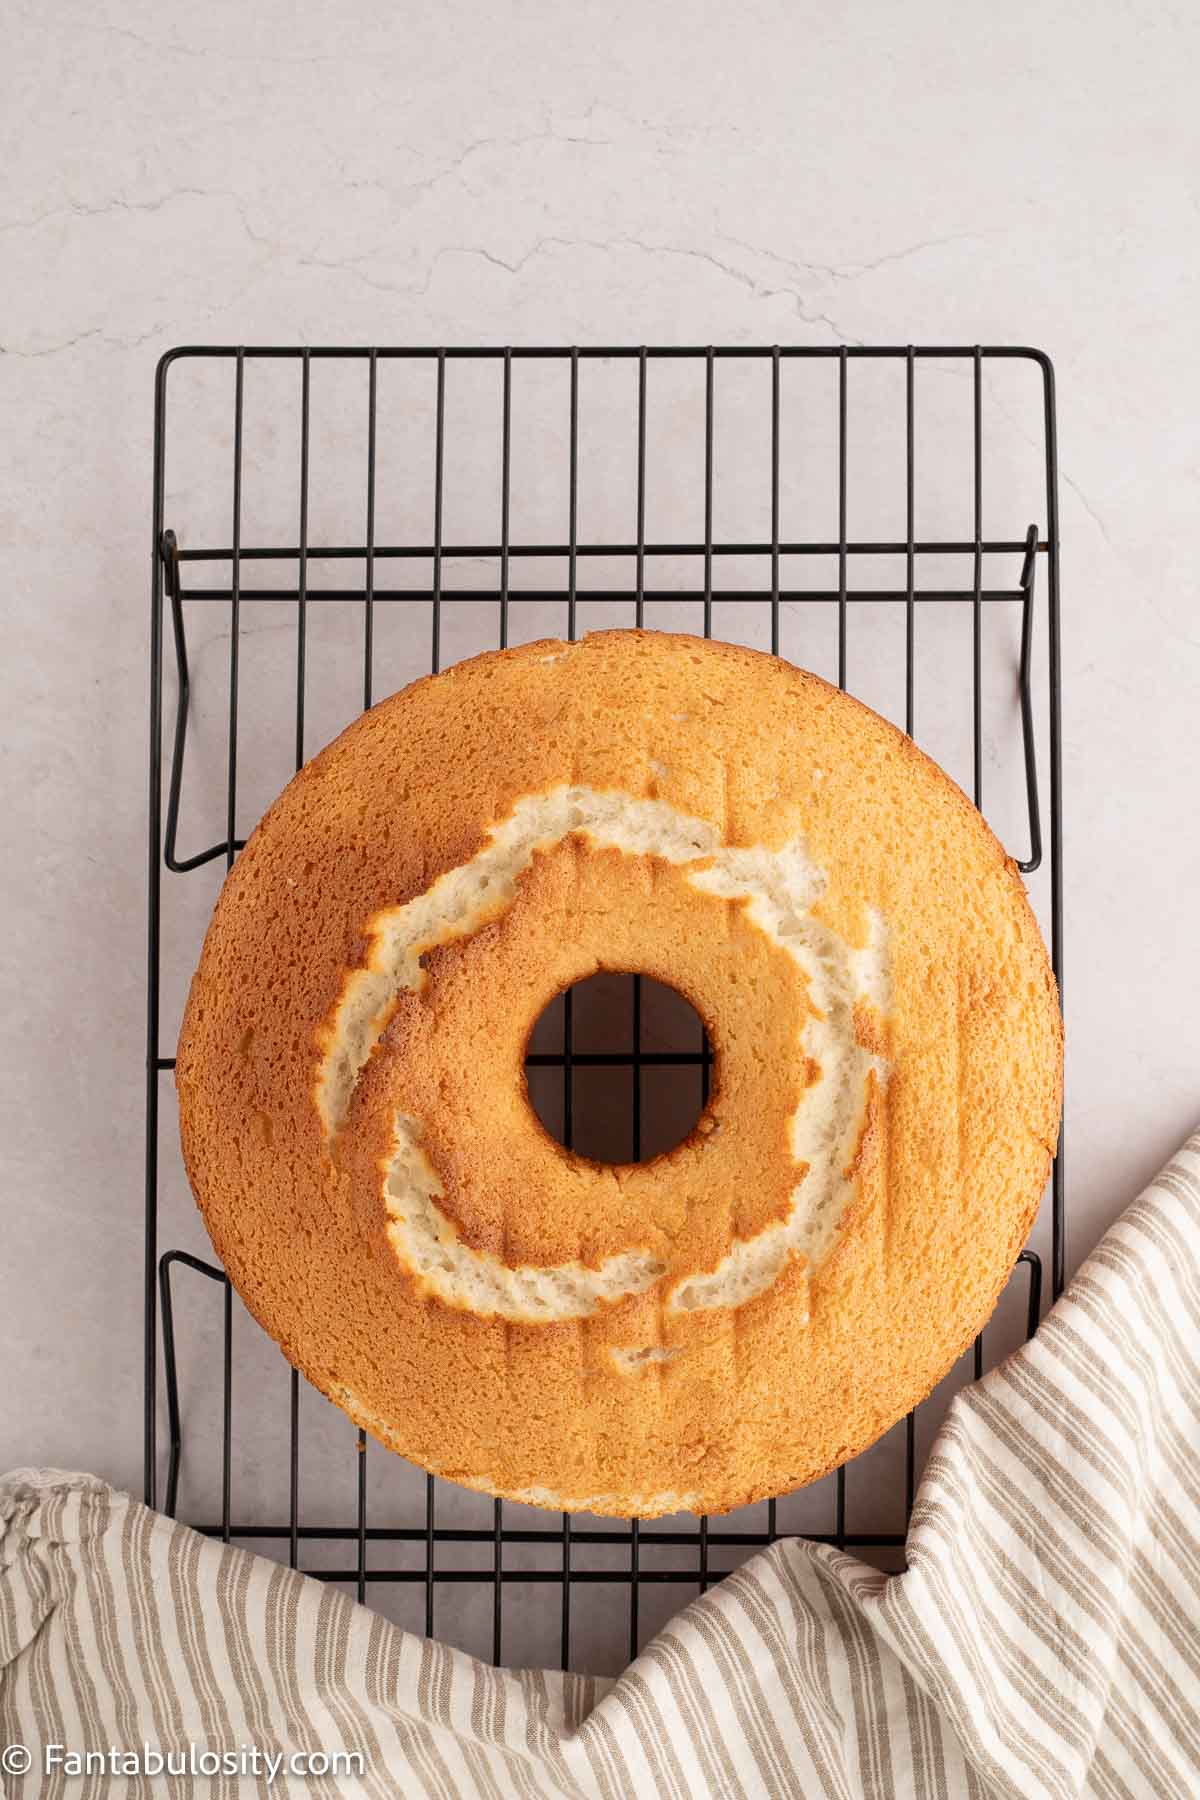
Allow the cake to cool completely before frosting.
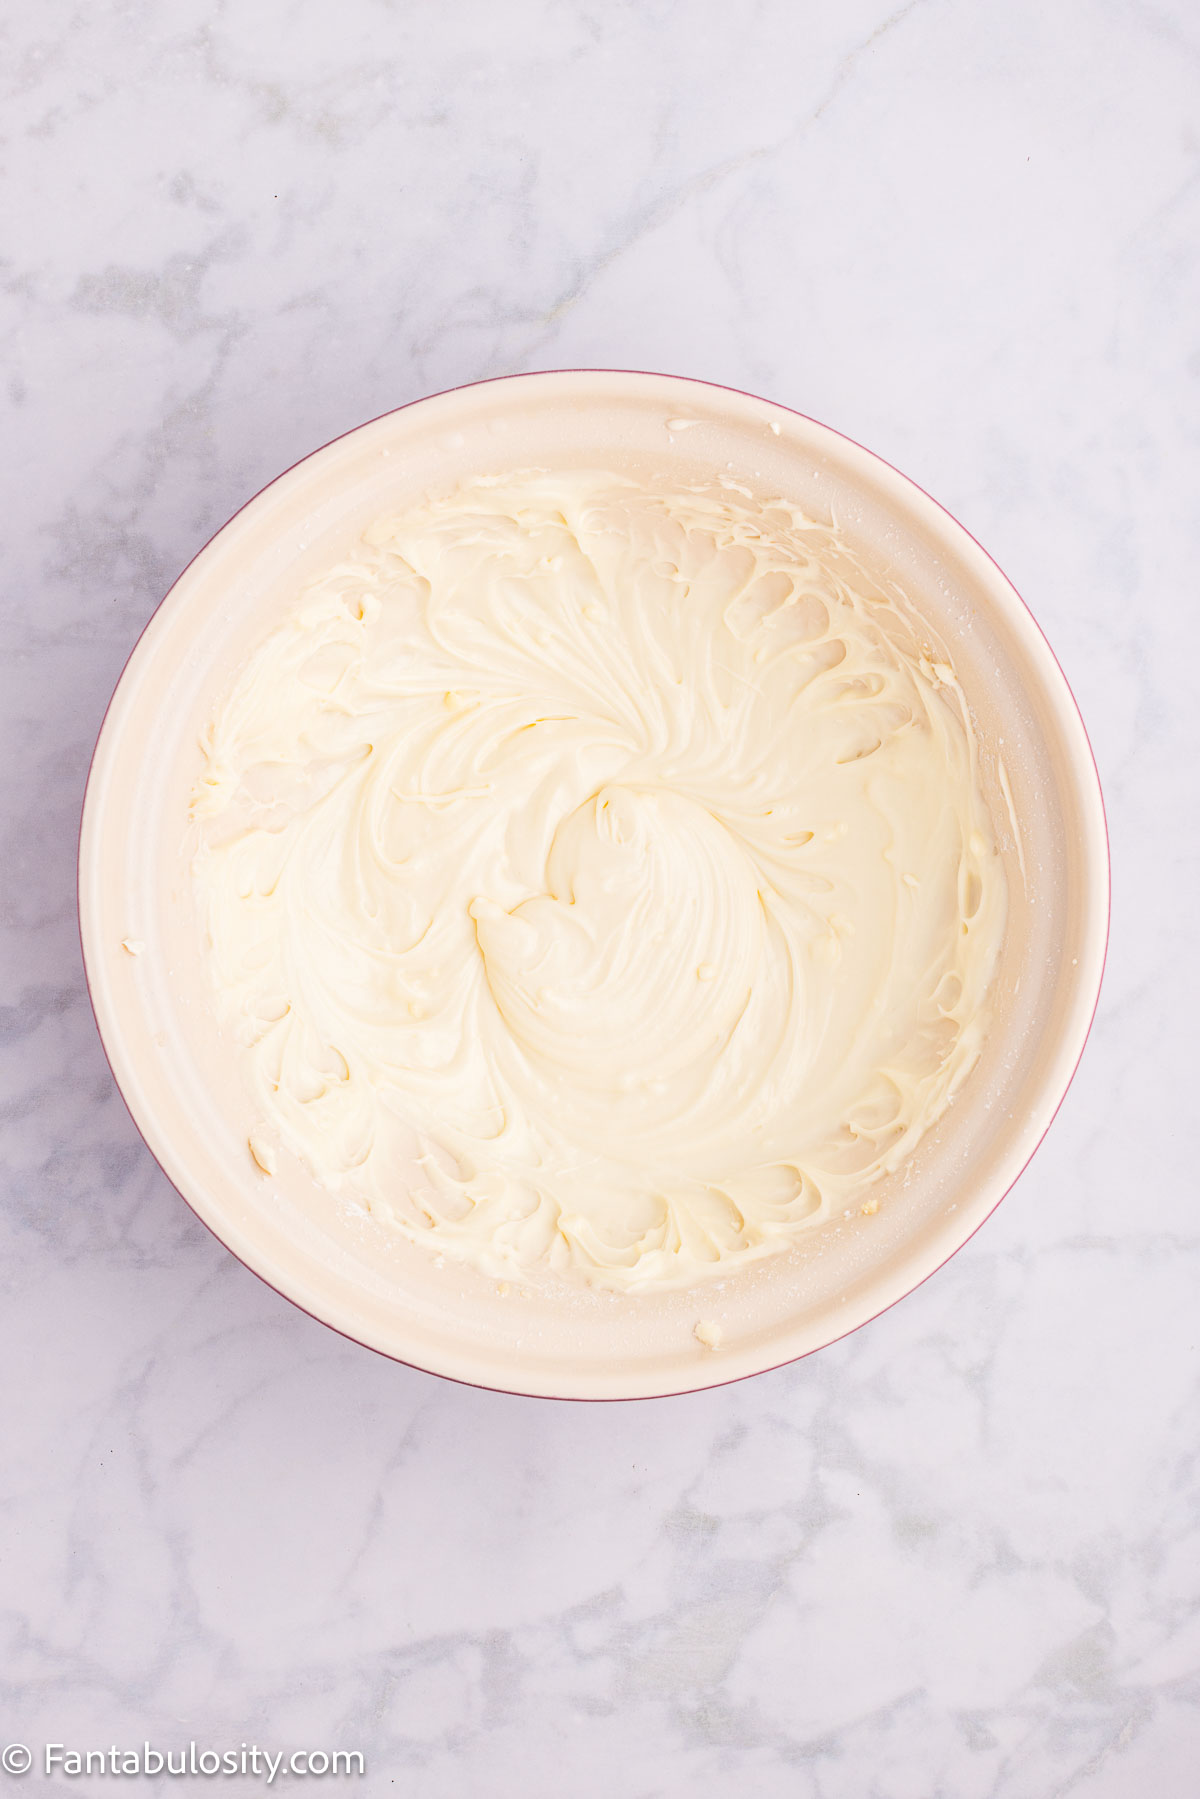
Make the Brown Sugar Buttercream
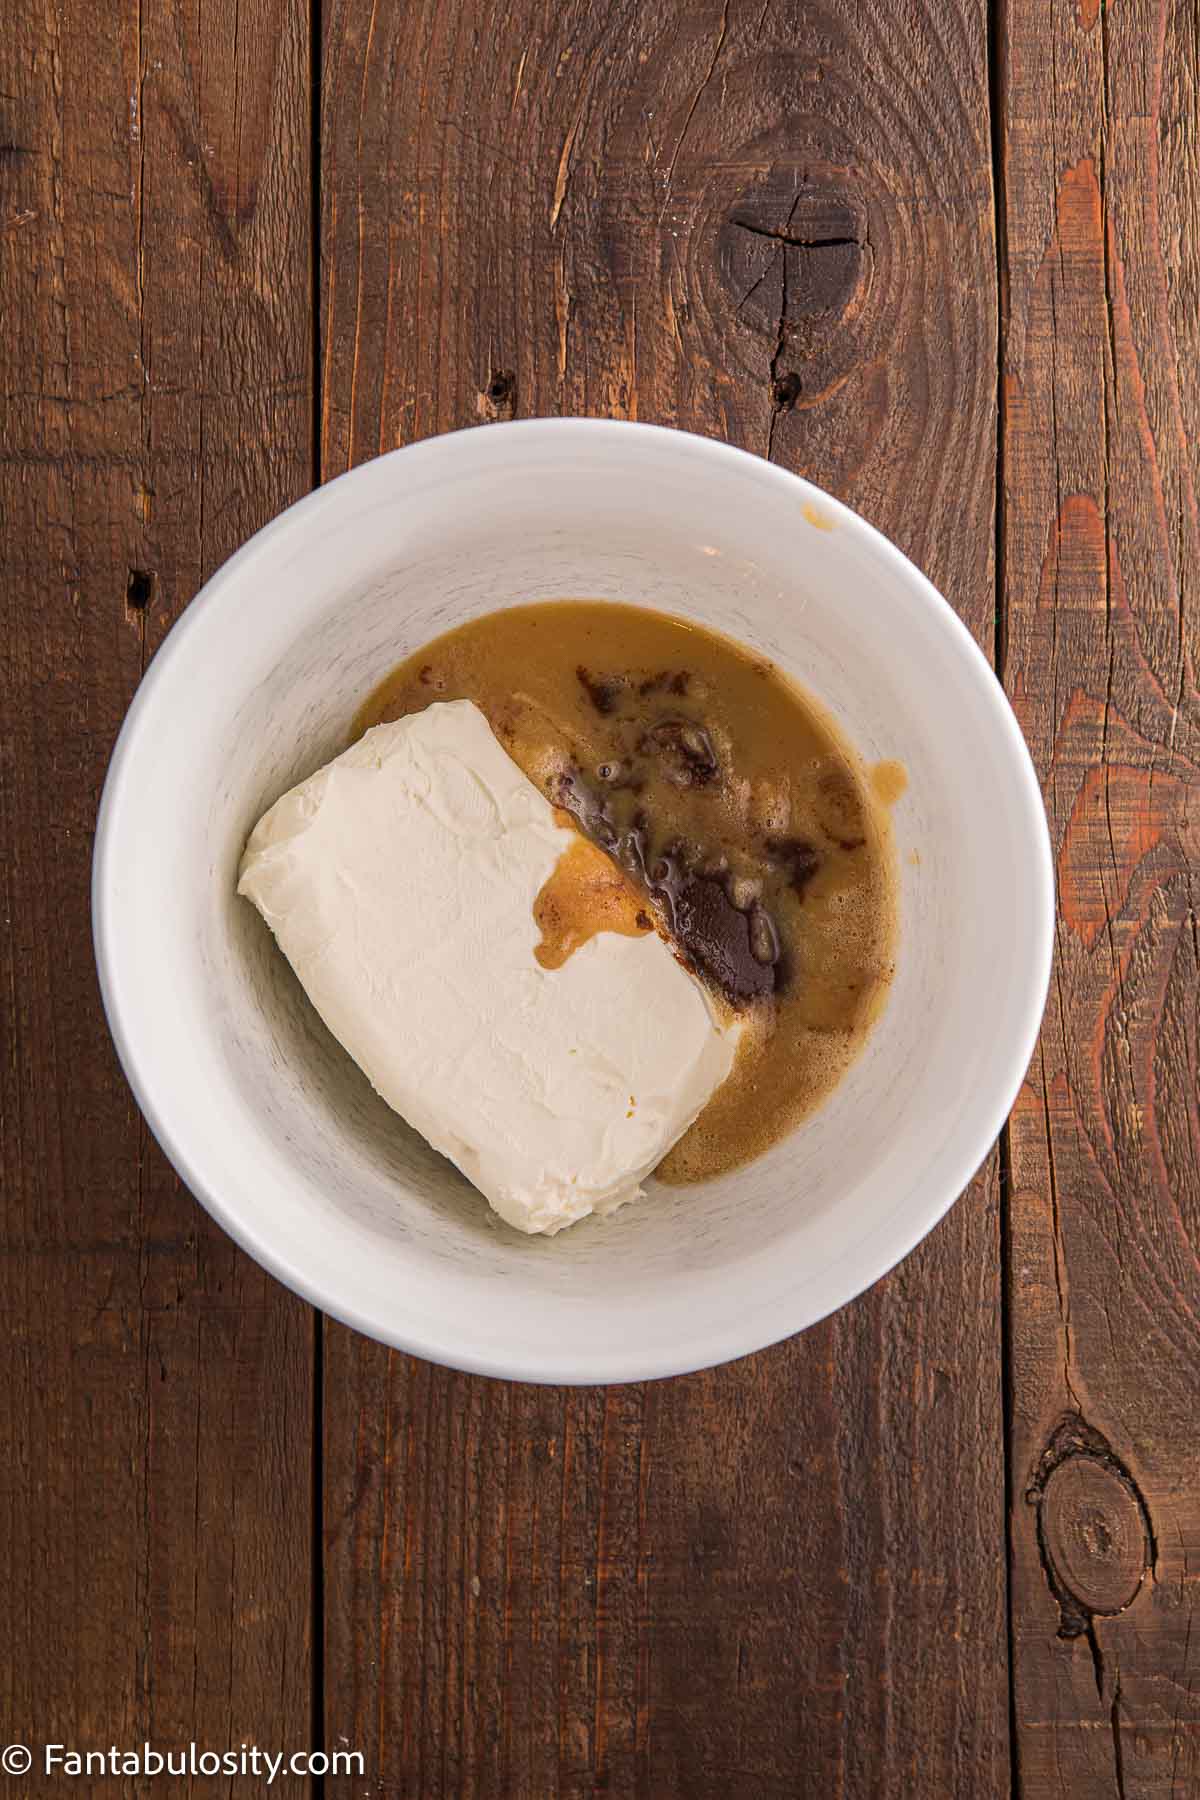
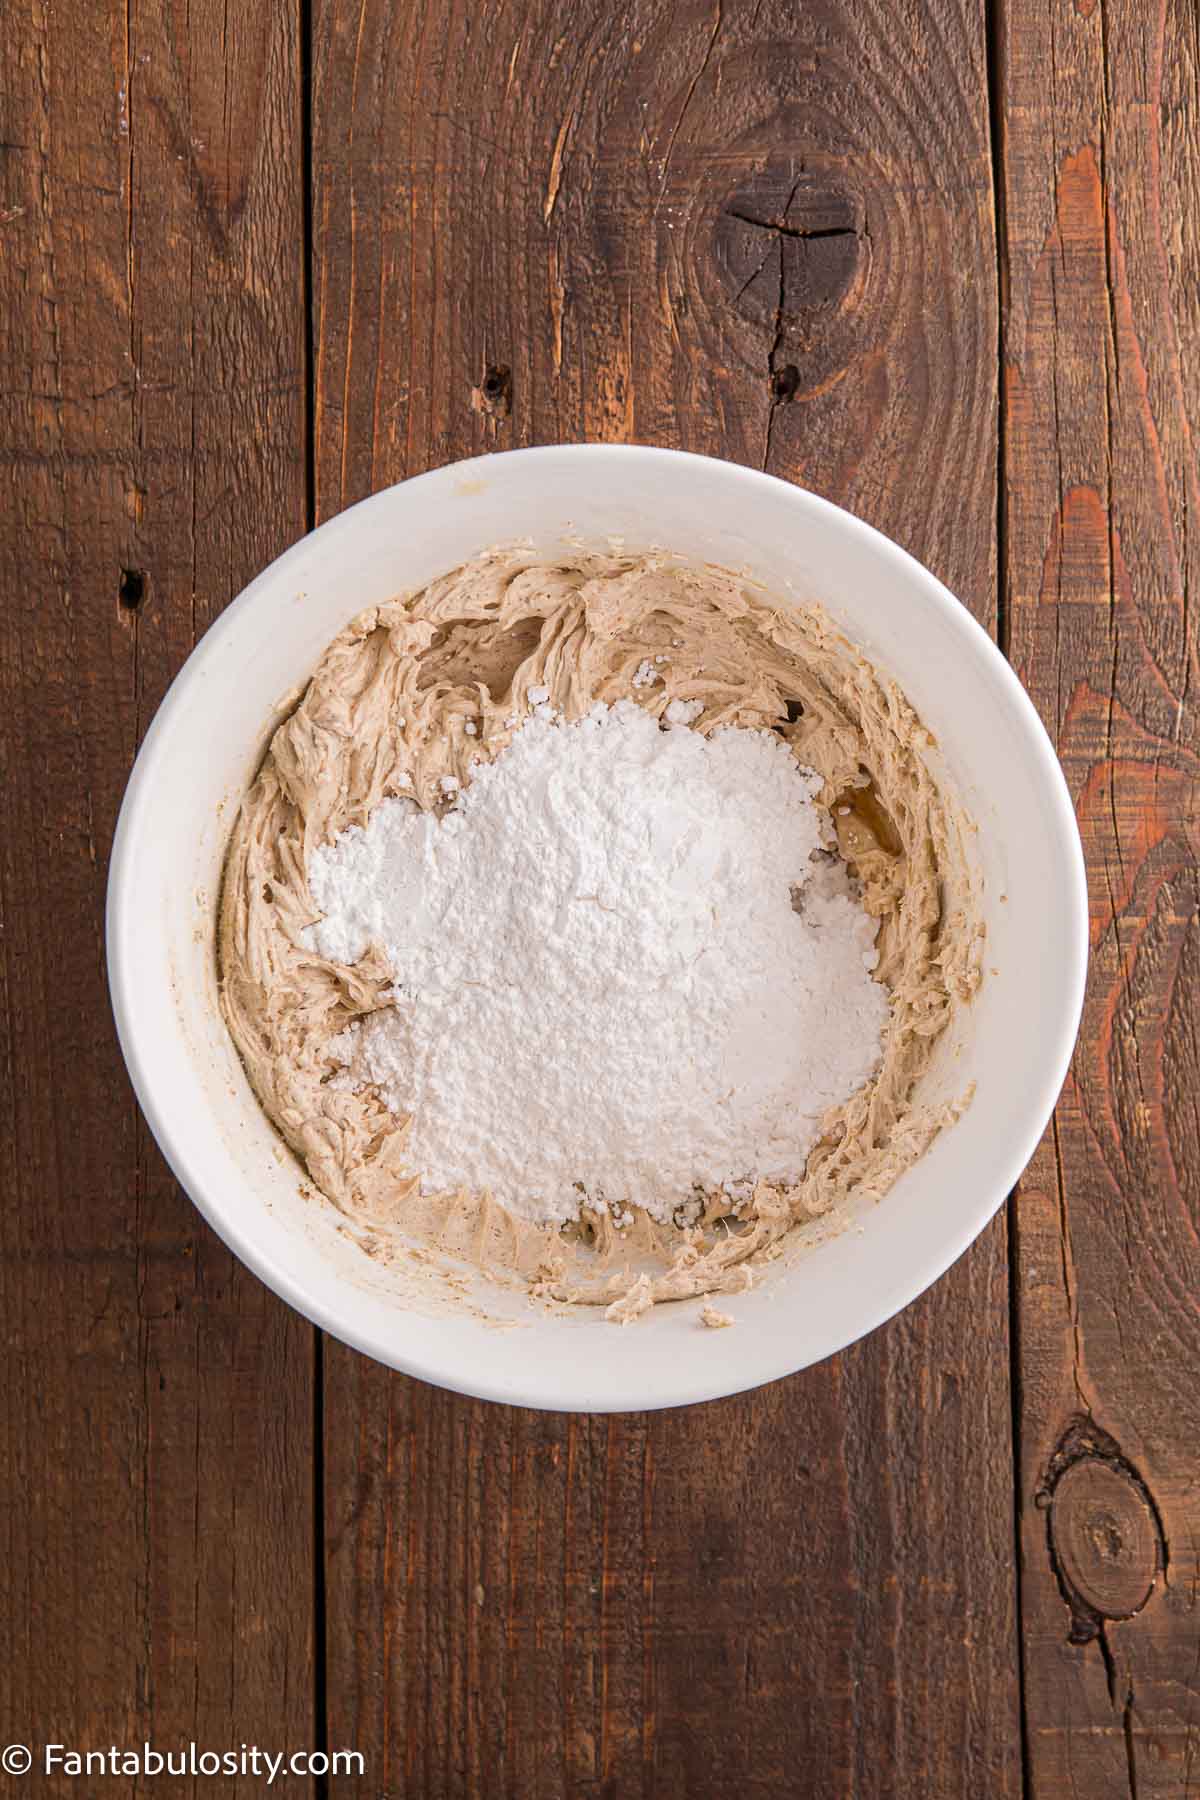
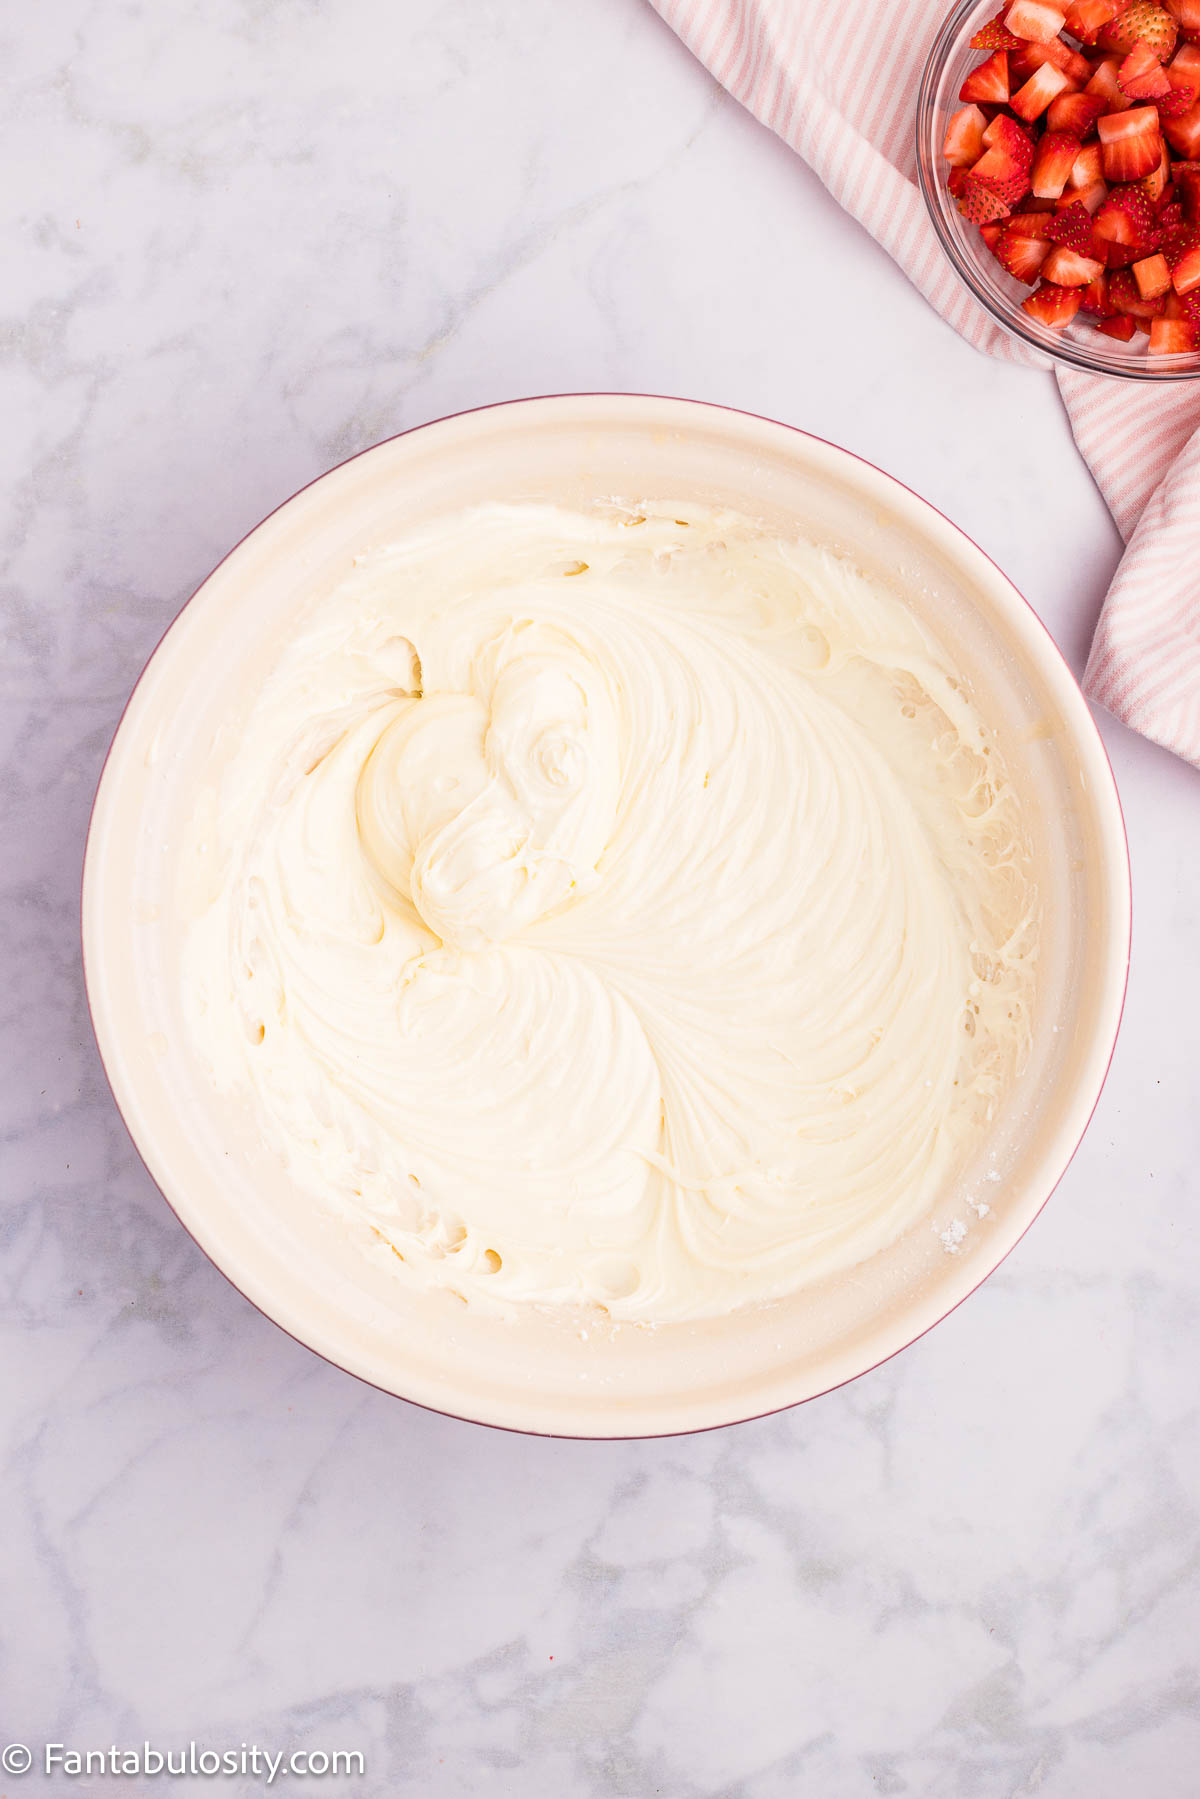
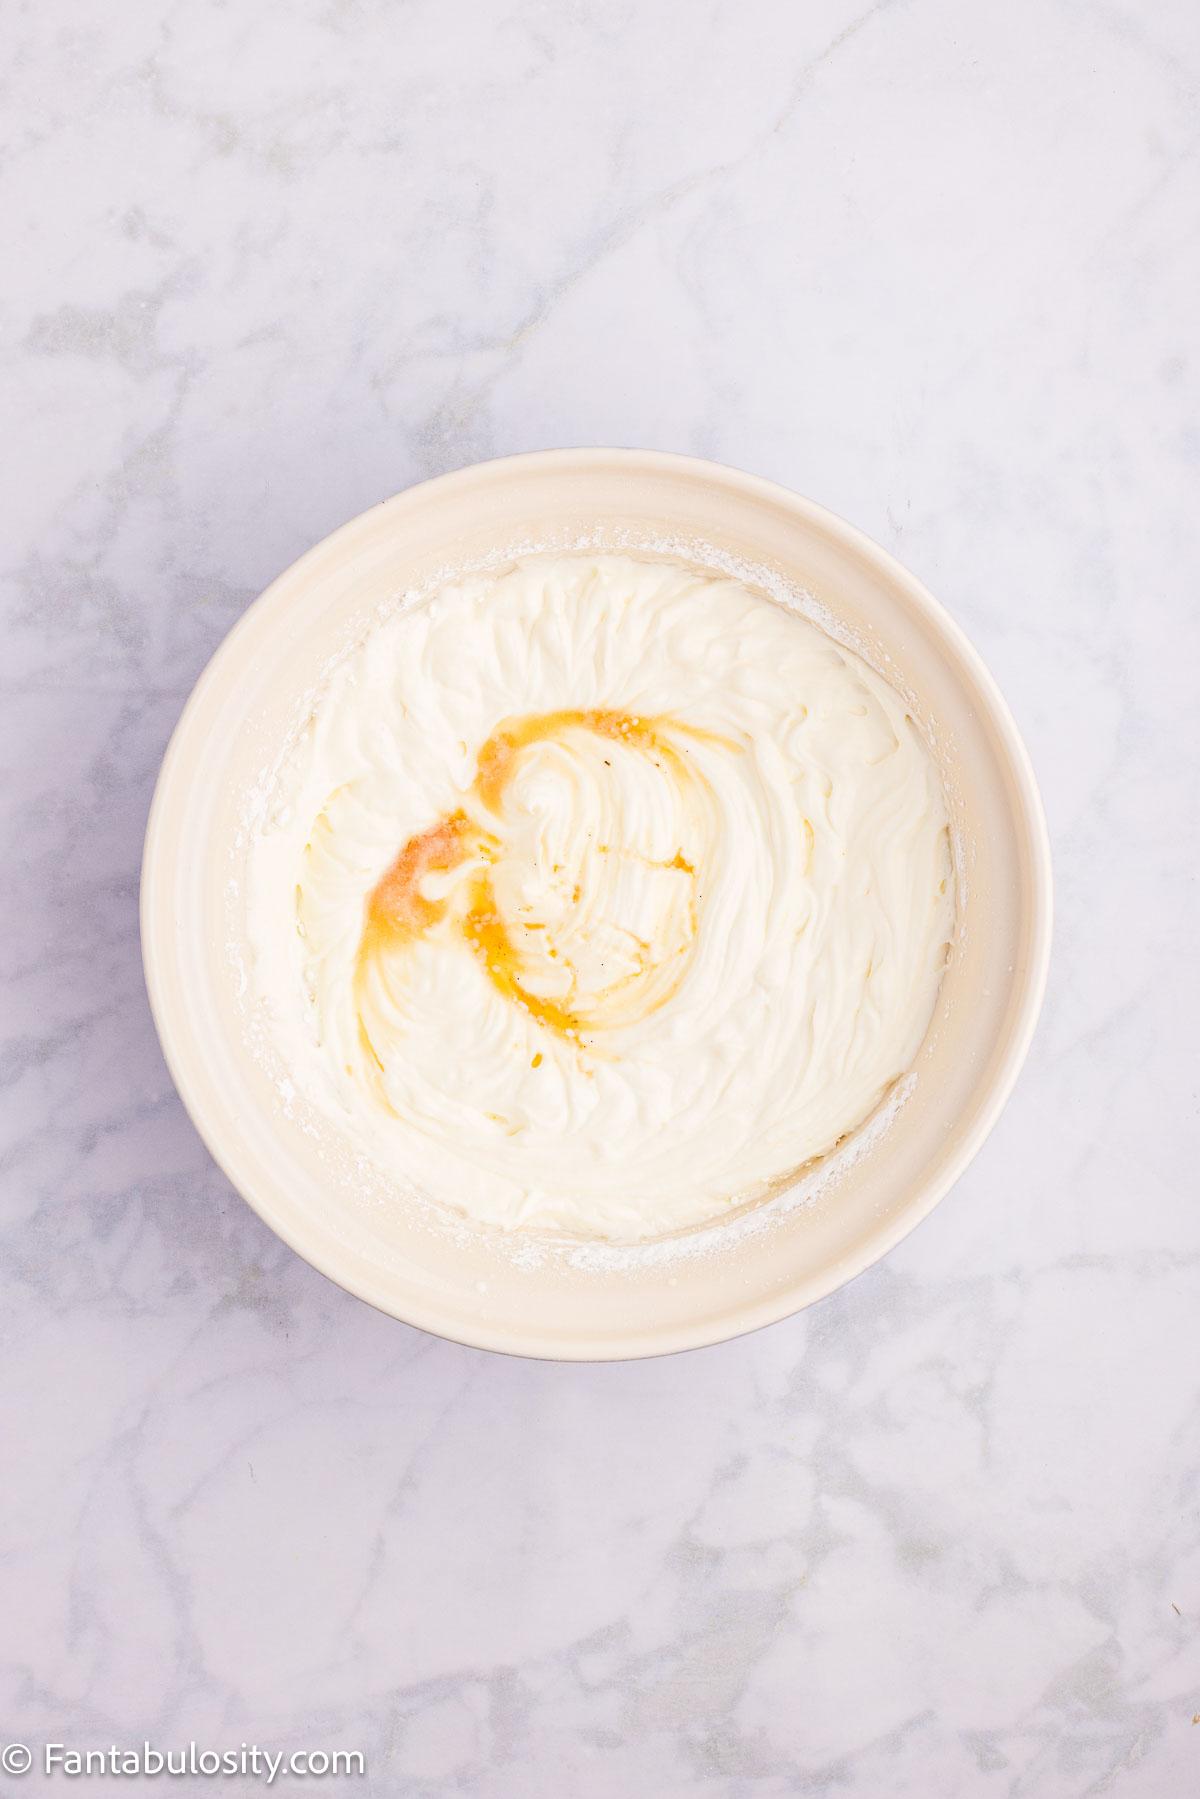
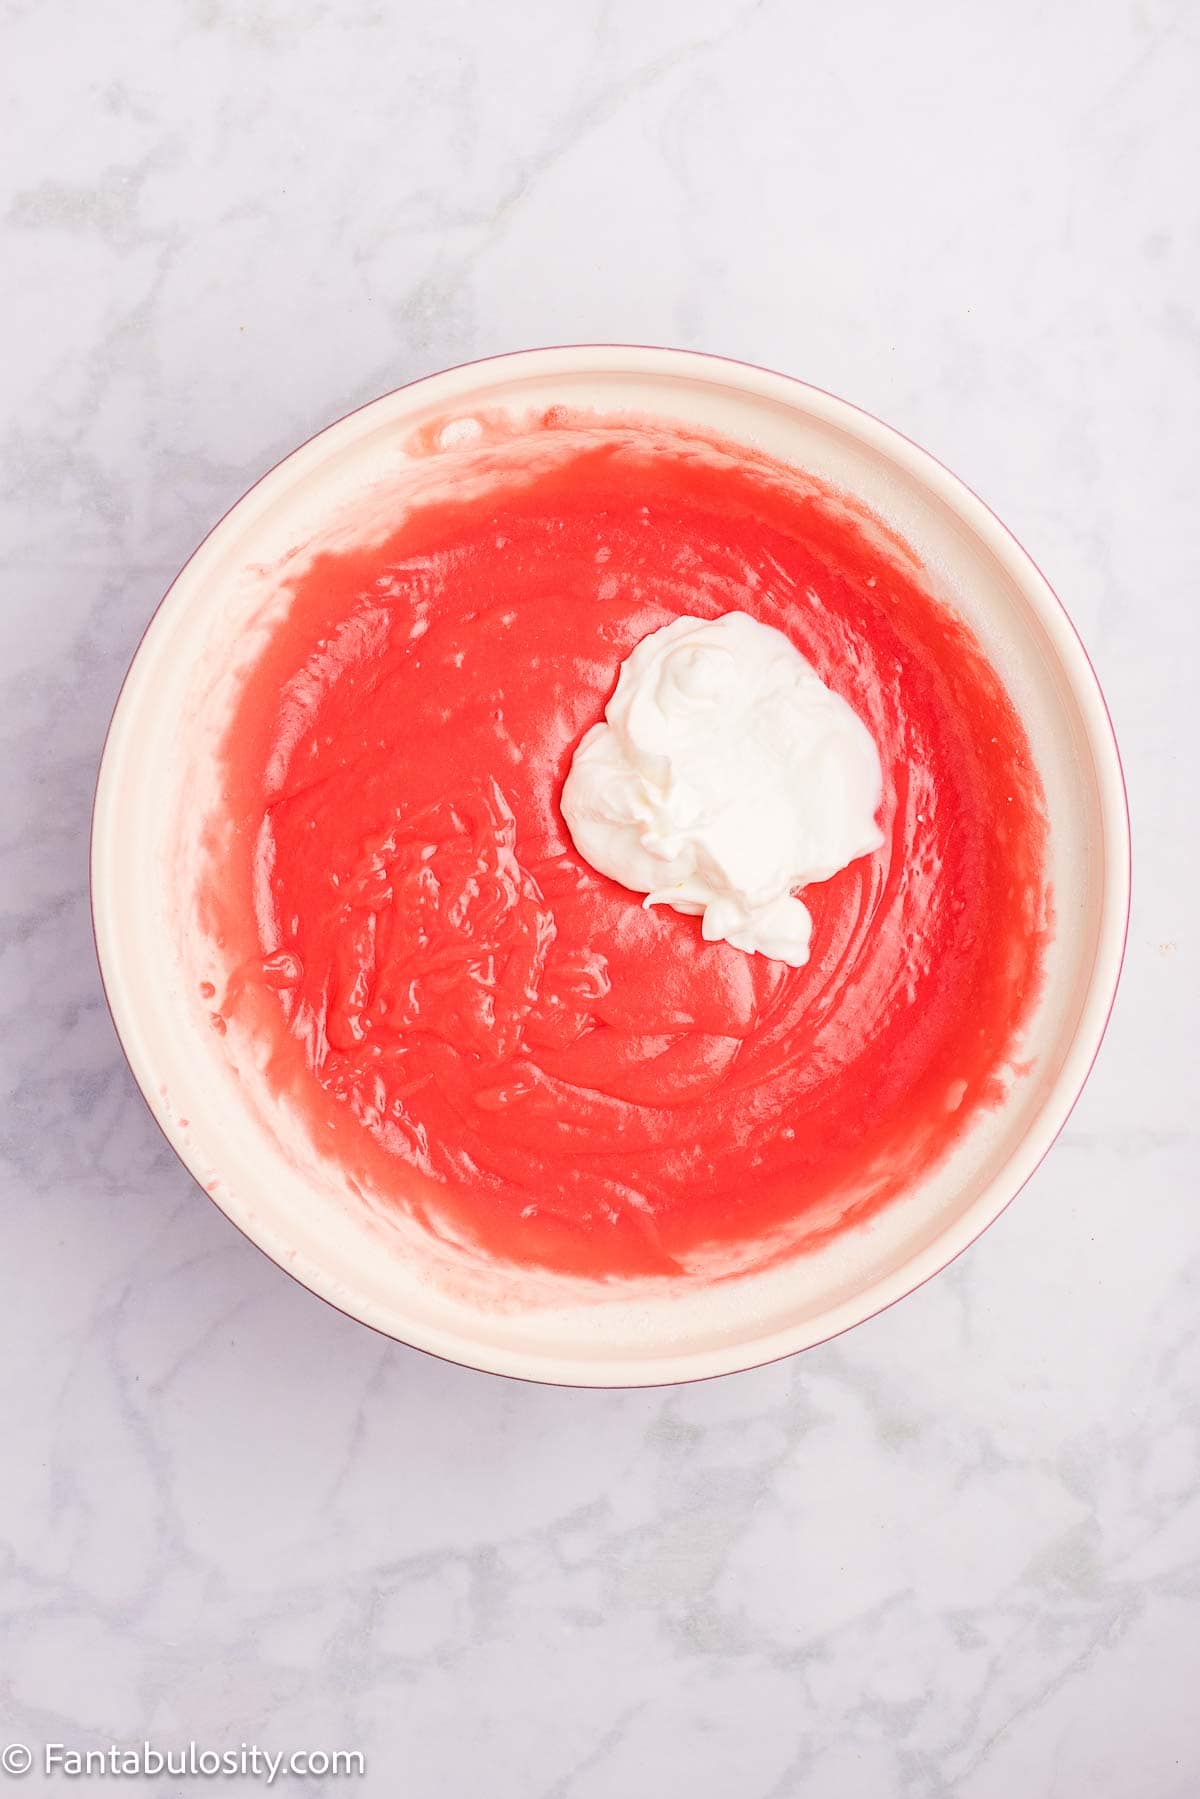
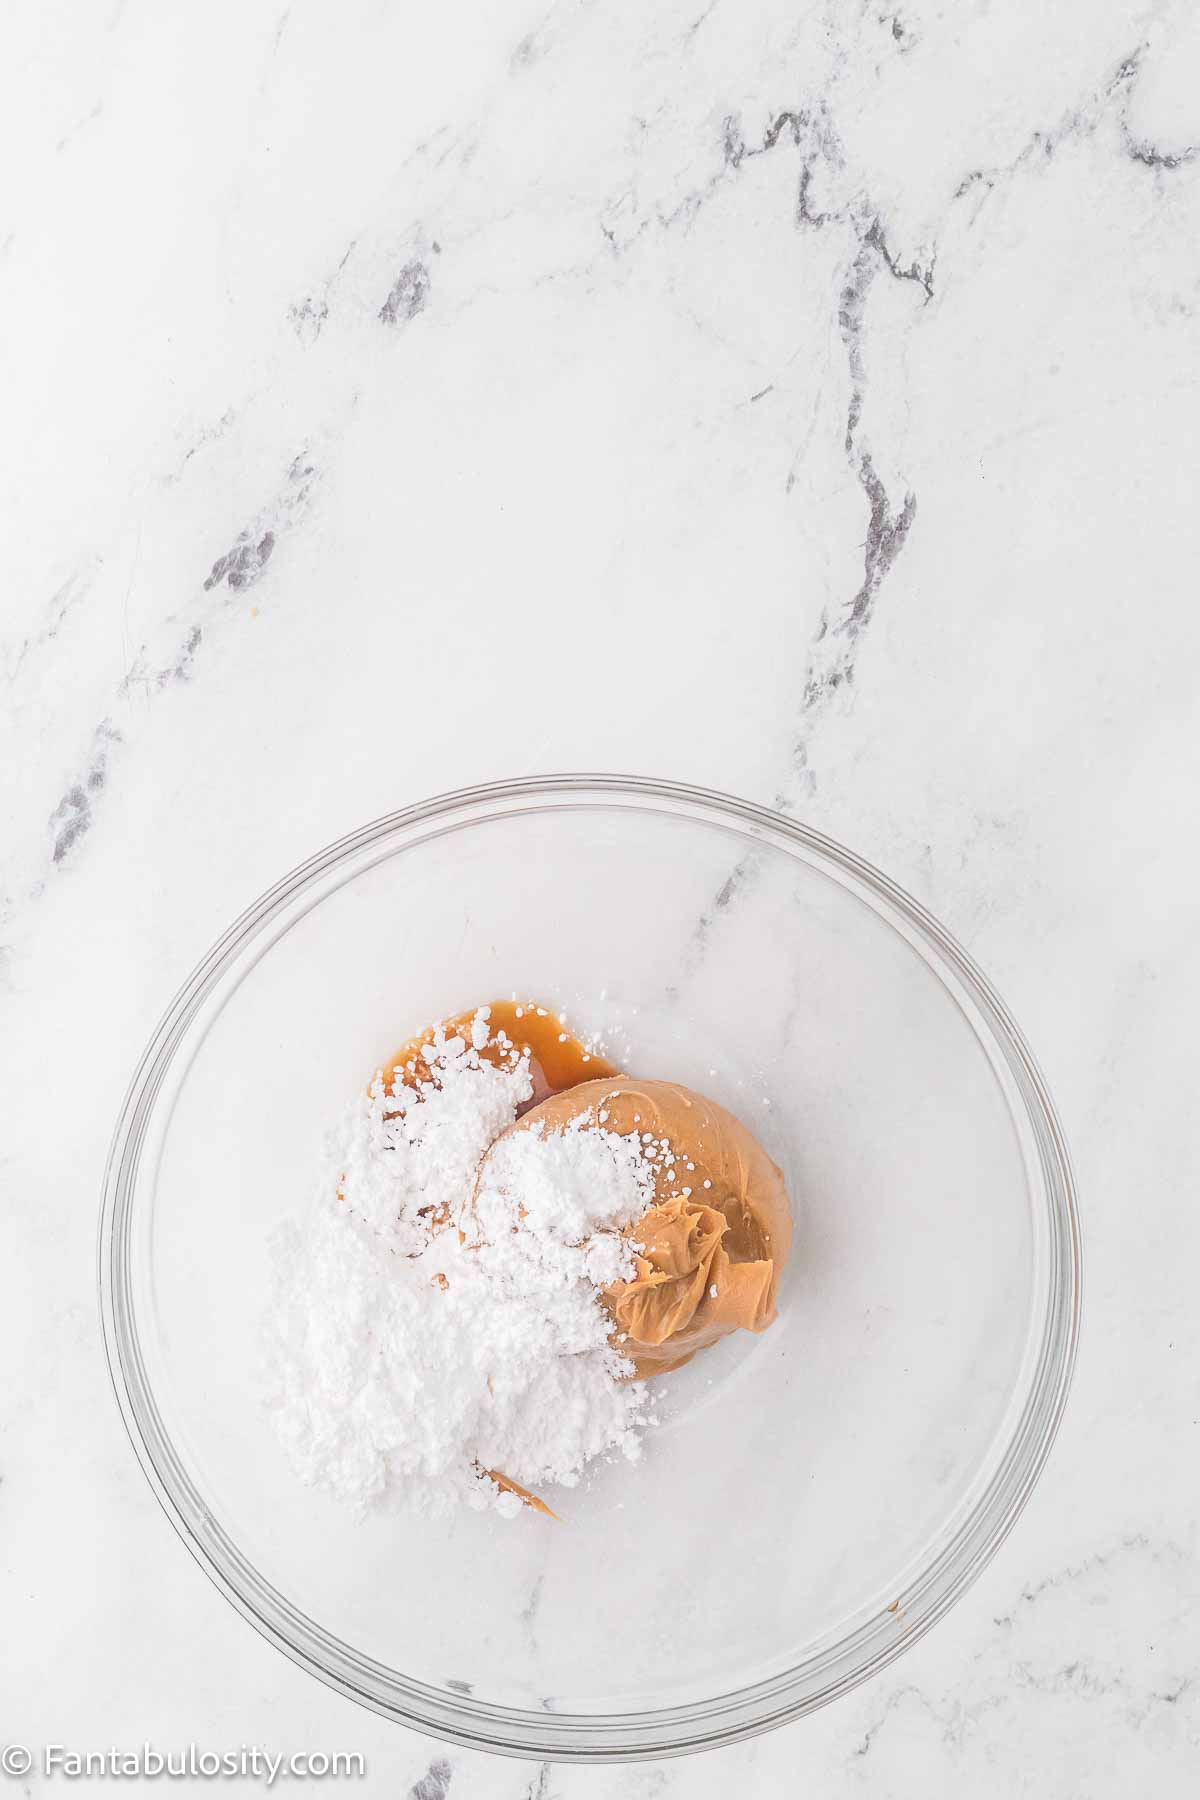
Beat 1½ cups softened unsalted butter with ½ cup light brown sugar for 3 to 4 minutes until light and fluffy.
Gradually beat in 4 cups powdered sugar.
Mix in 1 tablespoon vanilla extract, a pinch of salt, and 2 to 4 tablespoons heavy cream, adding the cream one tablespoon at a time until the frosting is smooth and spreadable.
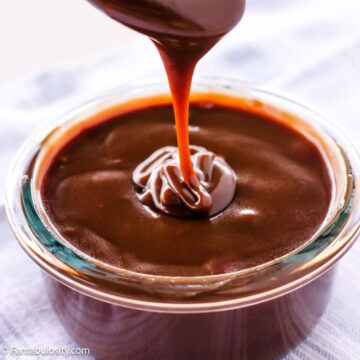
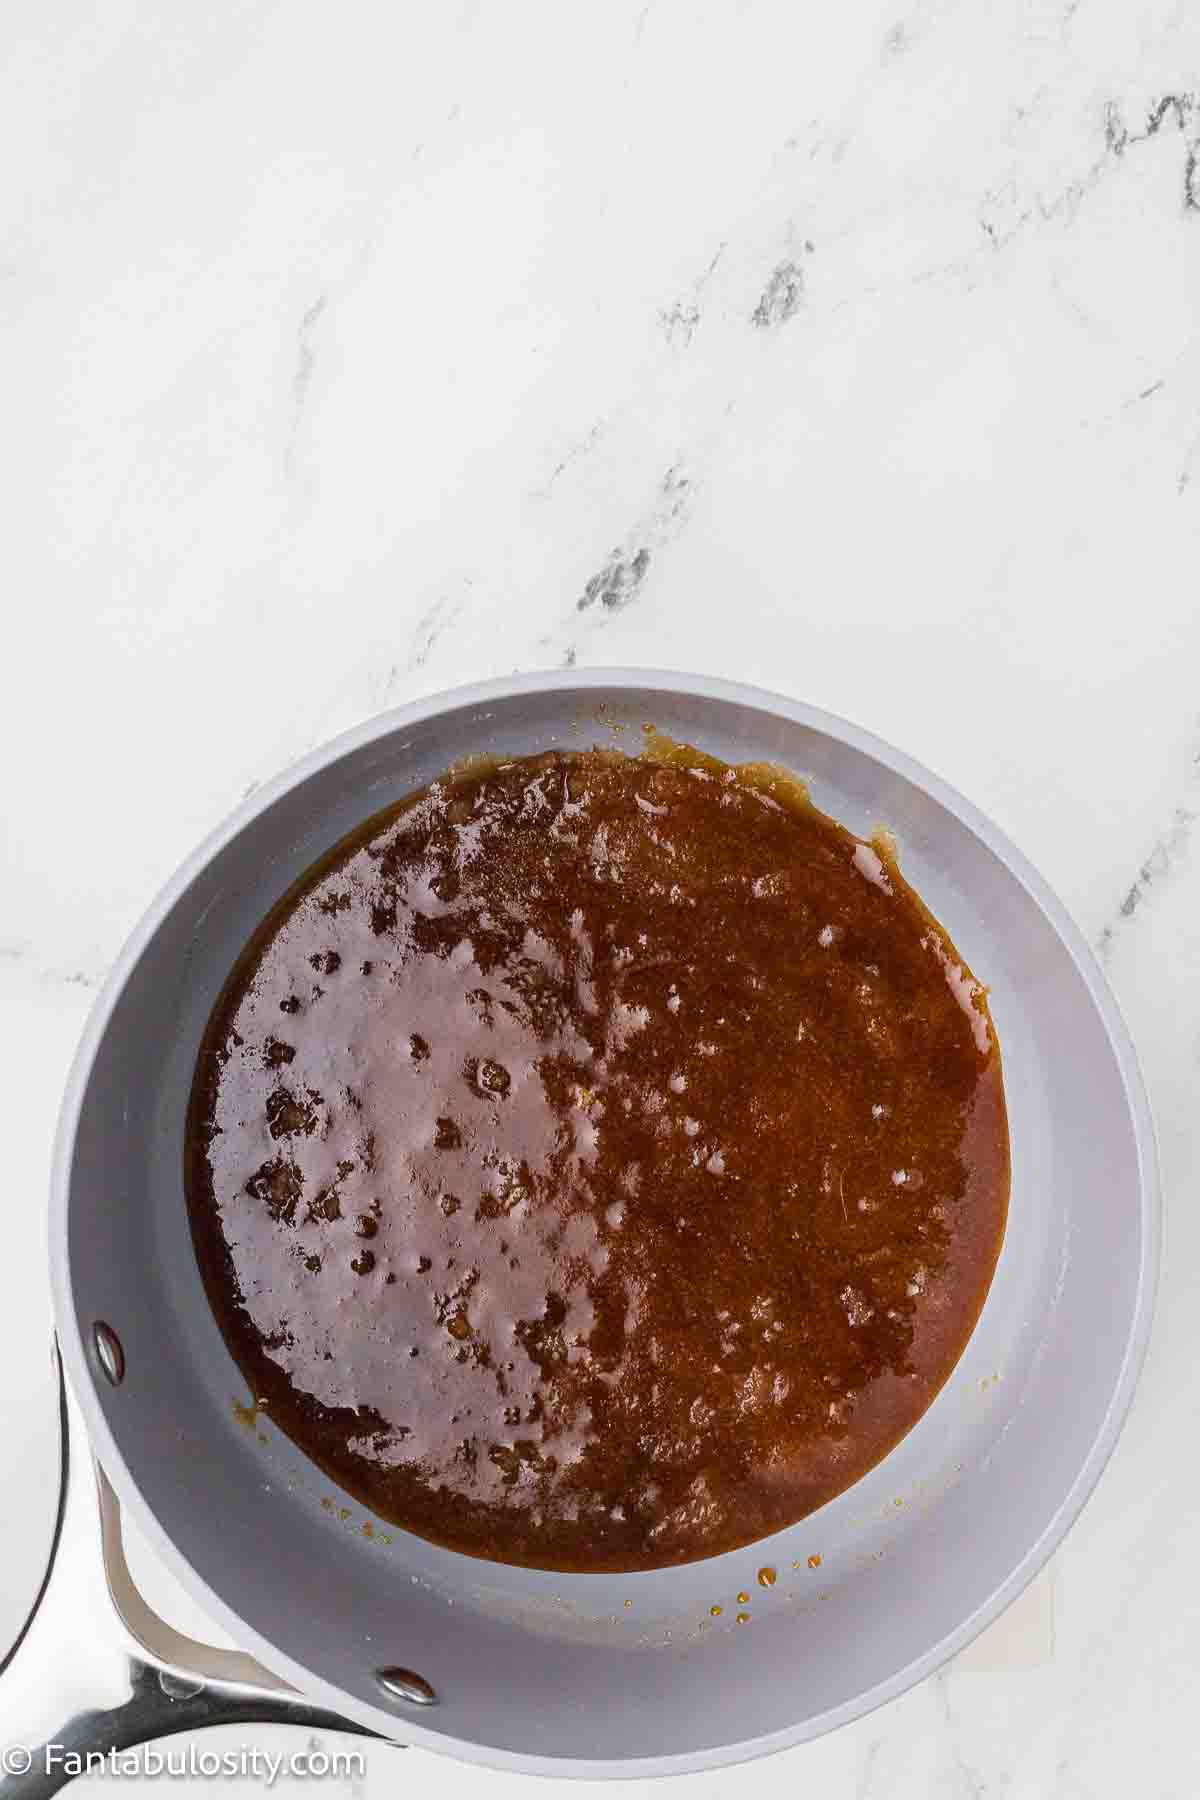
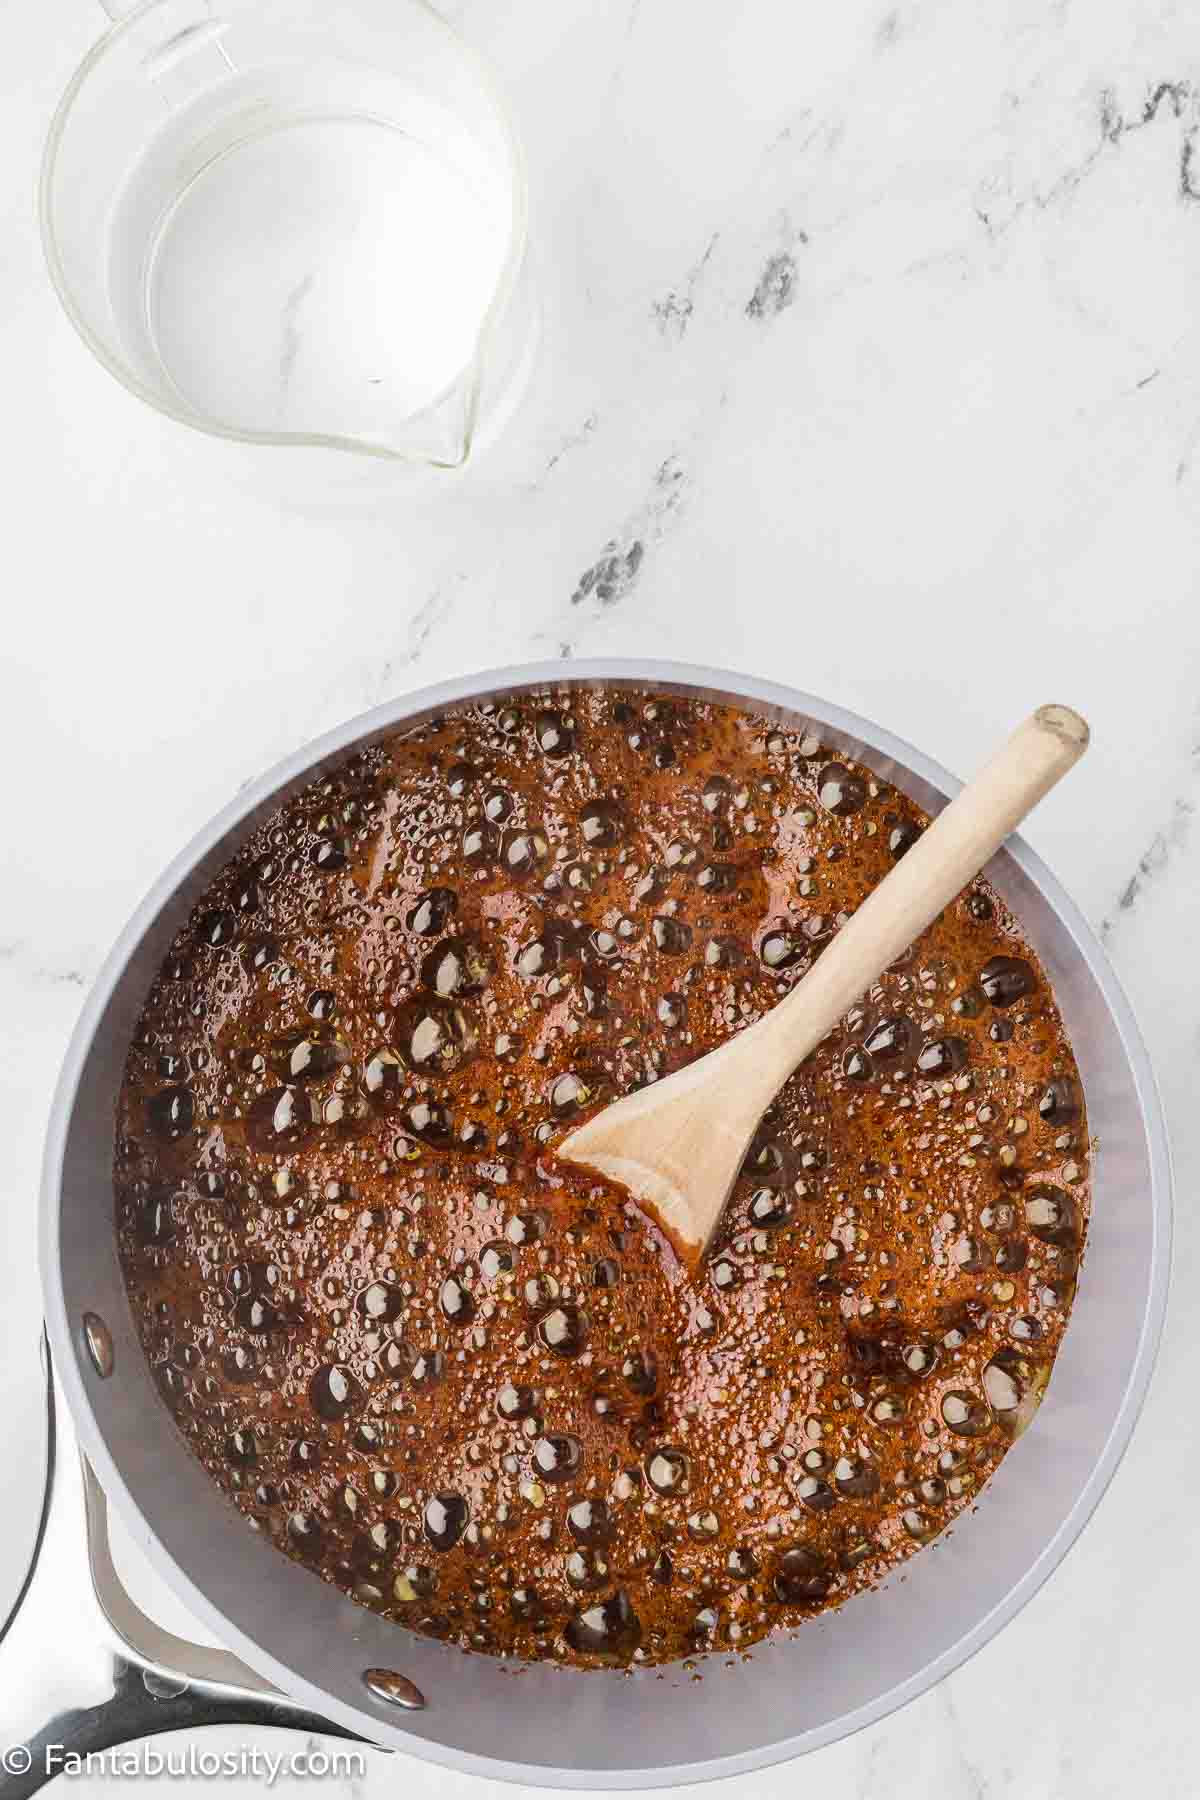
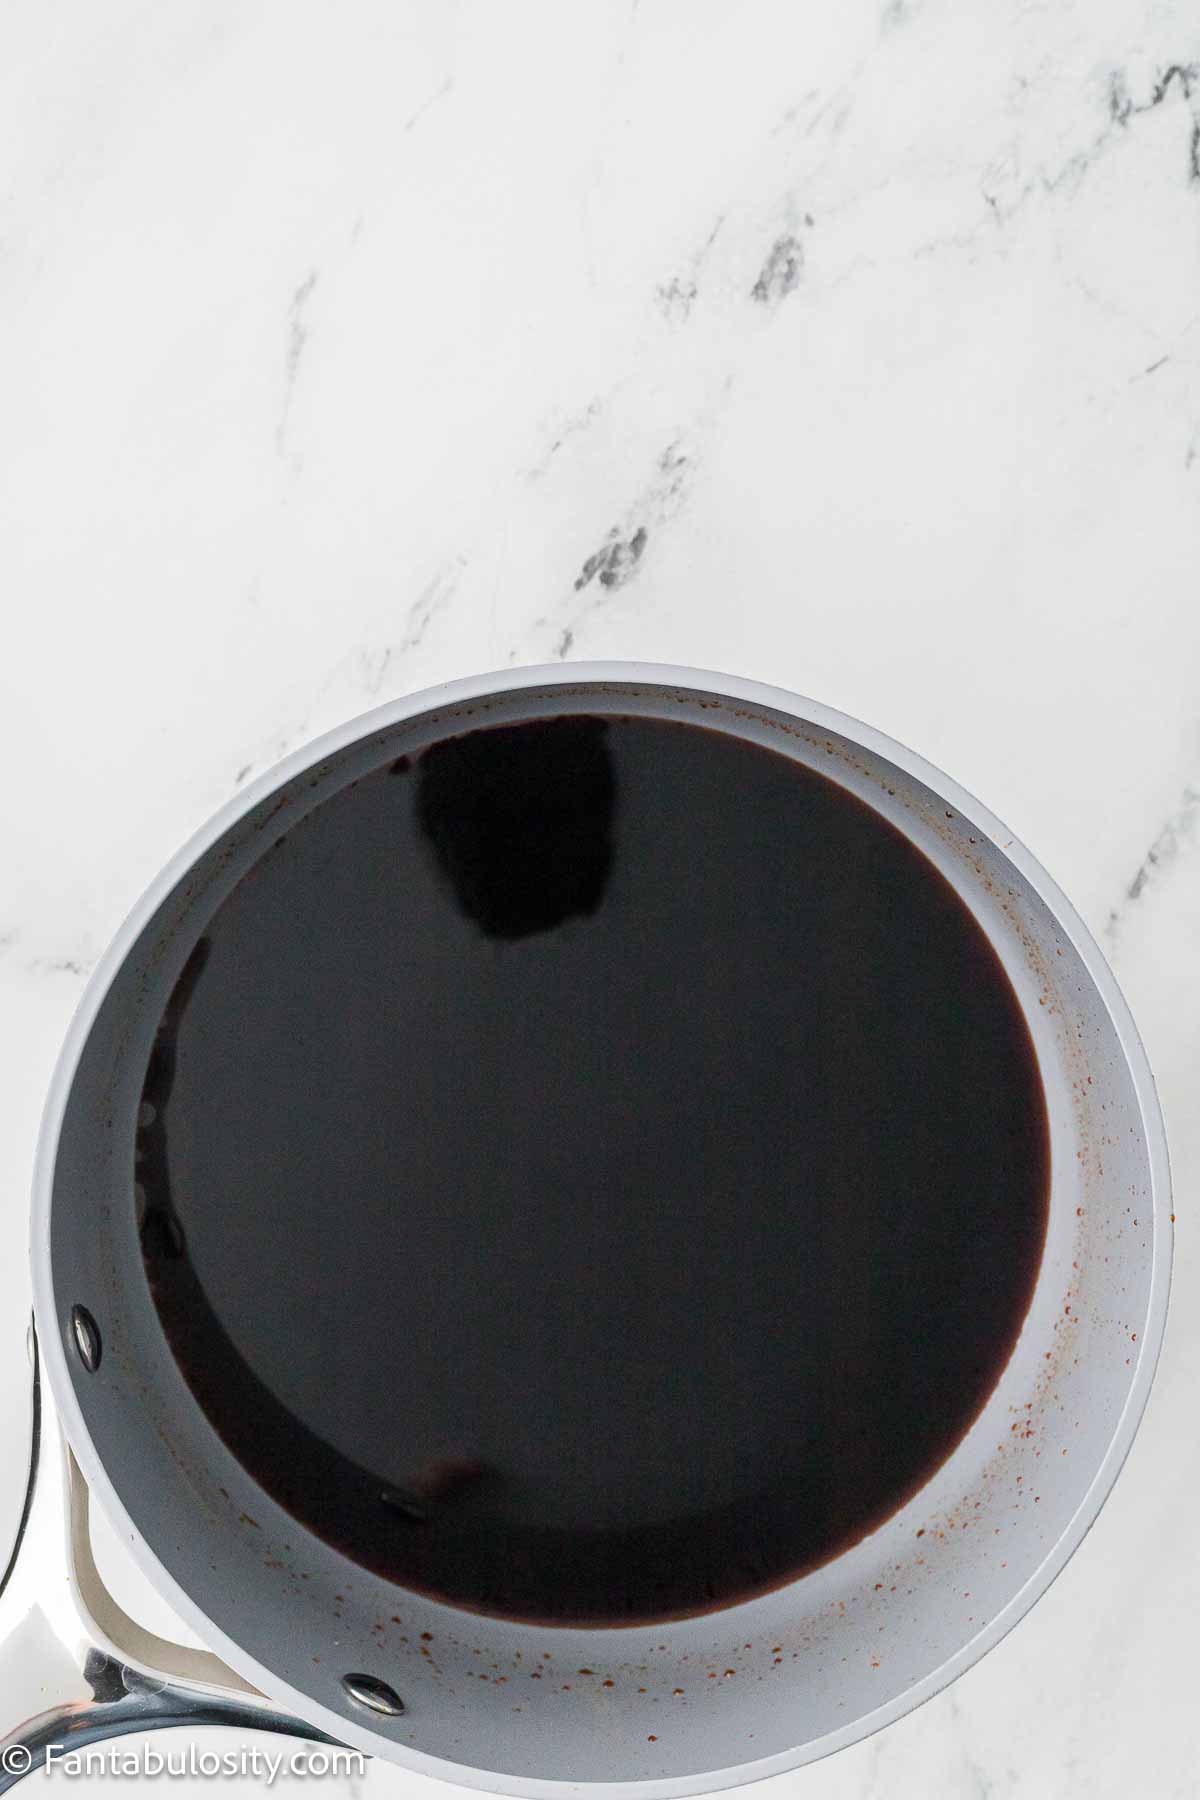
Make the Chocolate Fudge Swirl
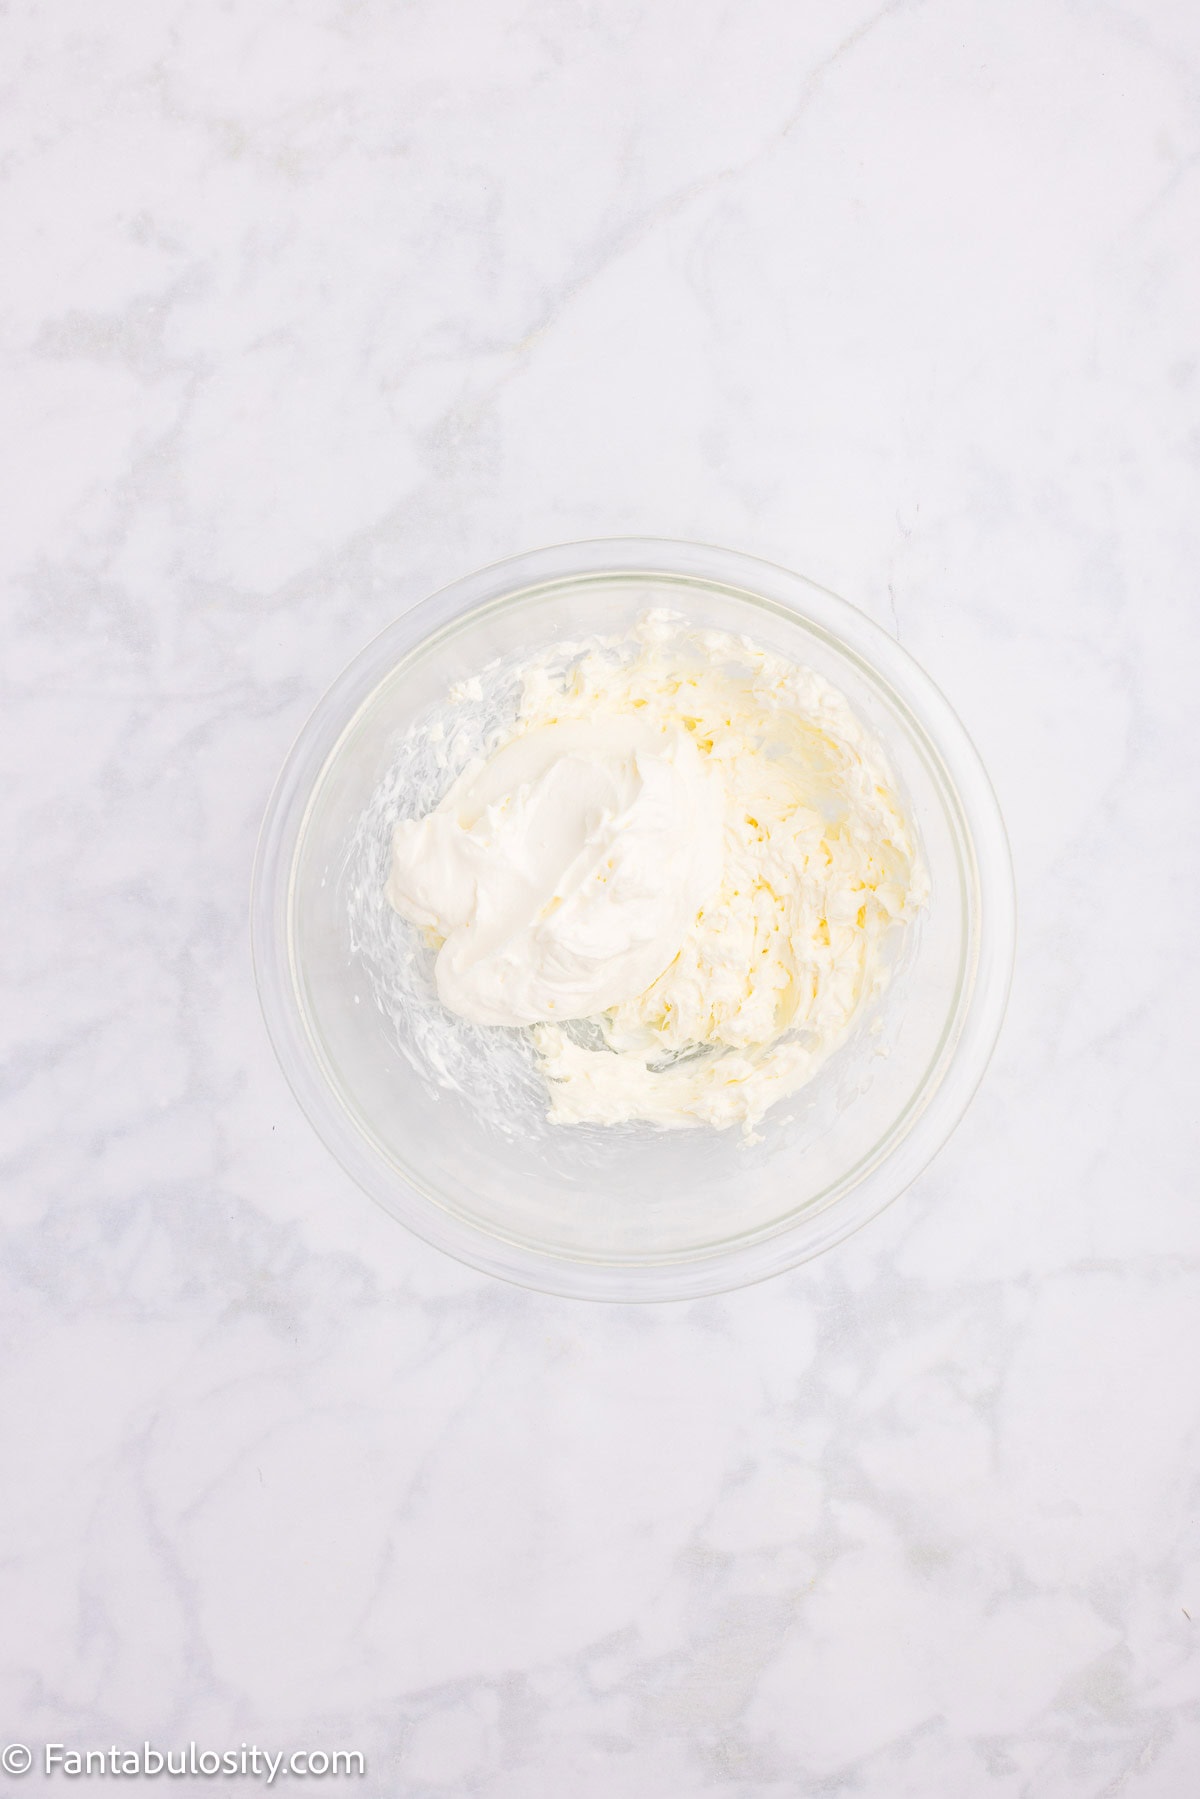
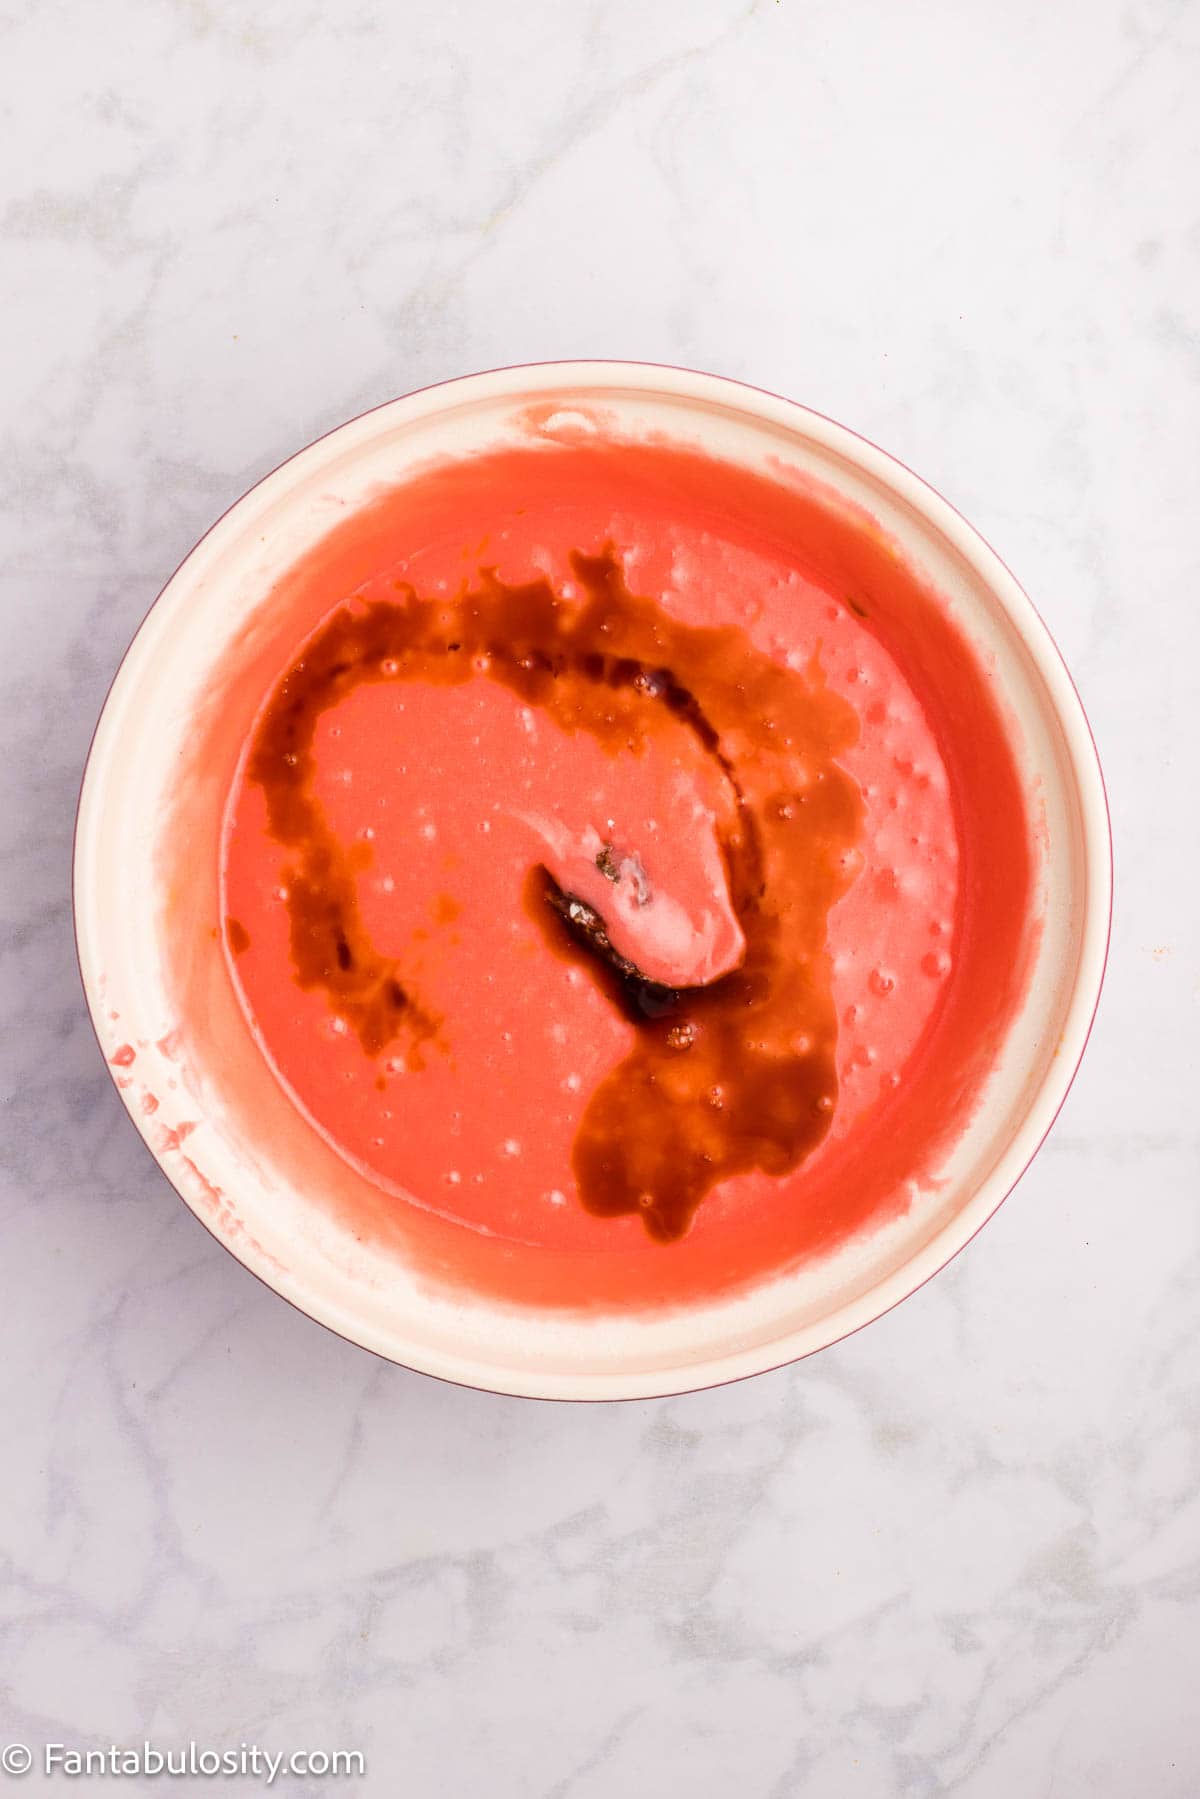
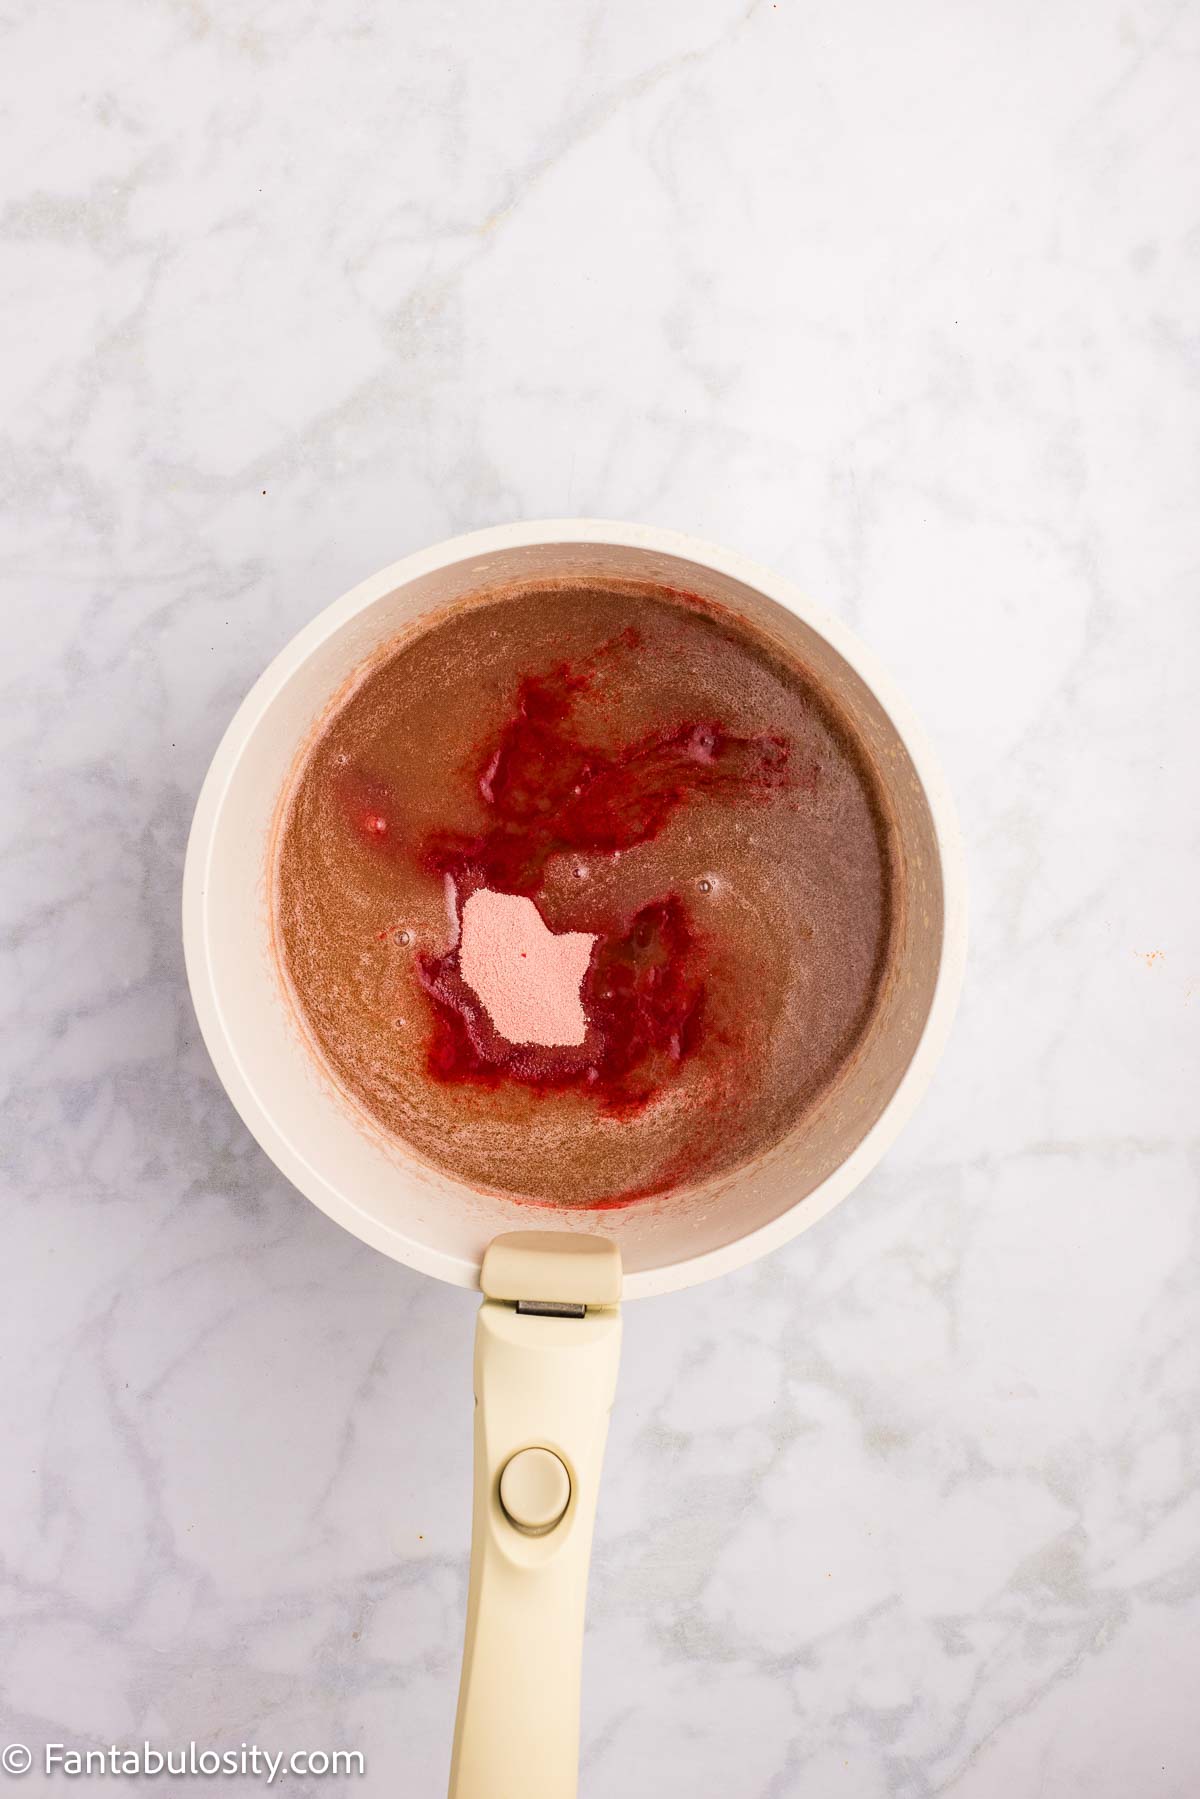
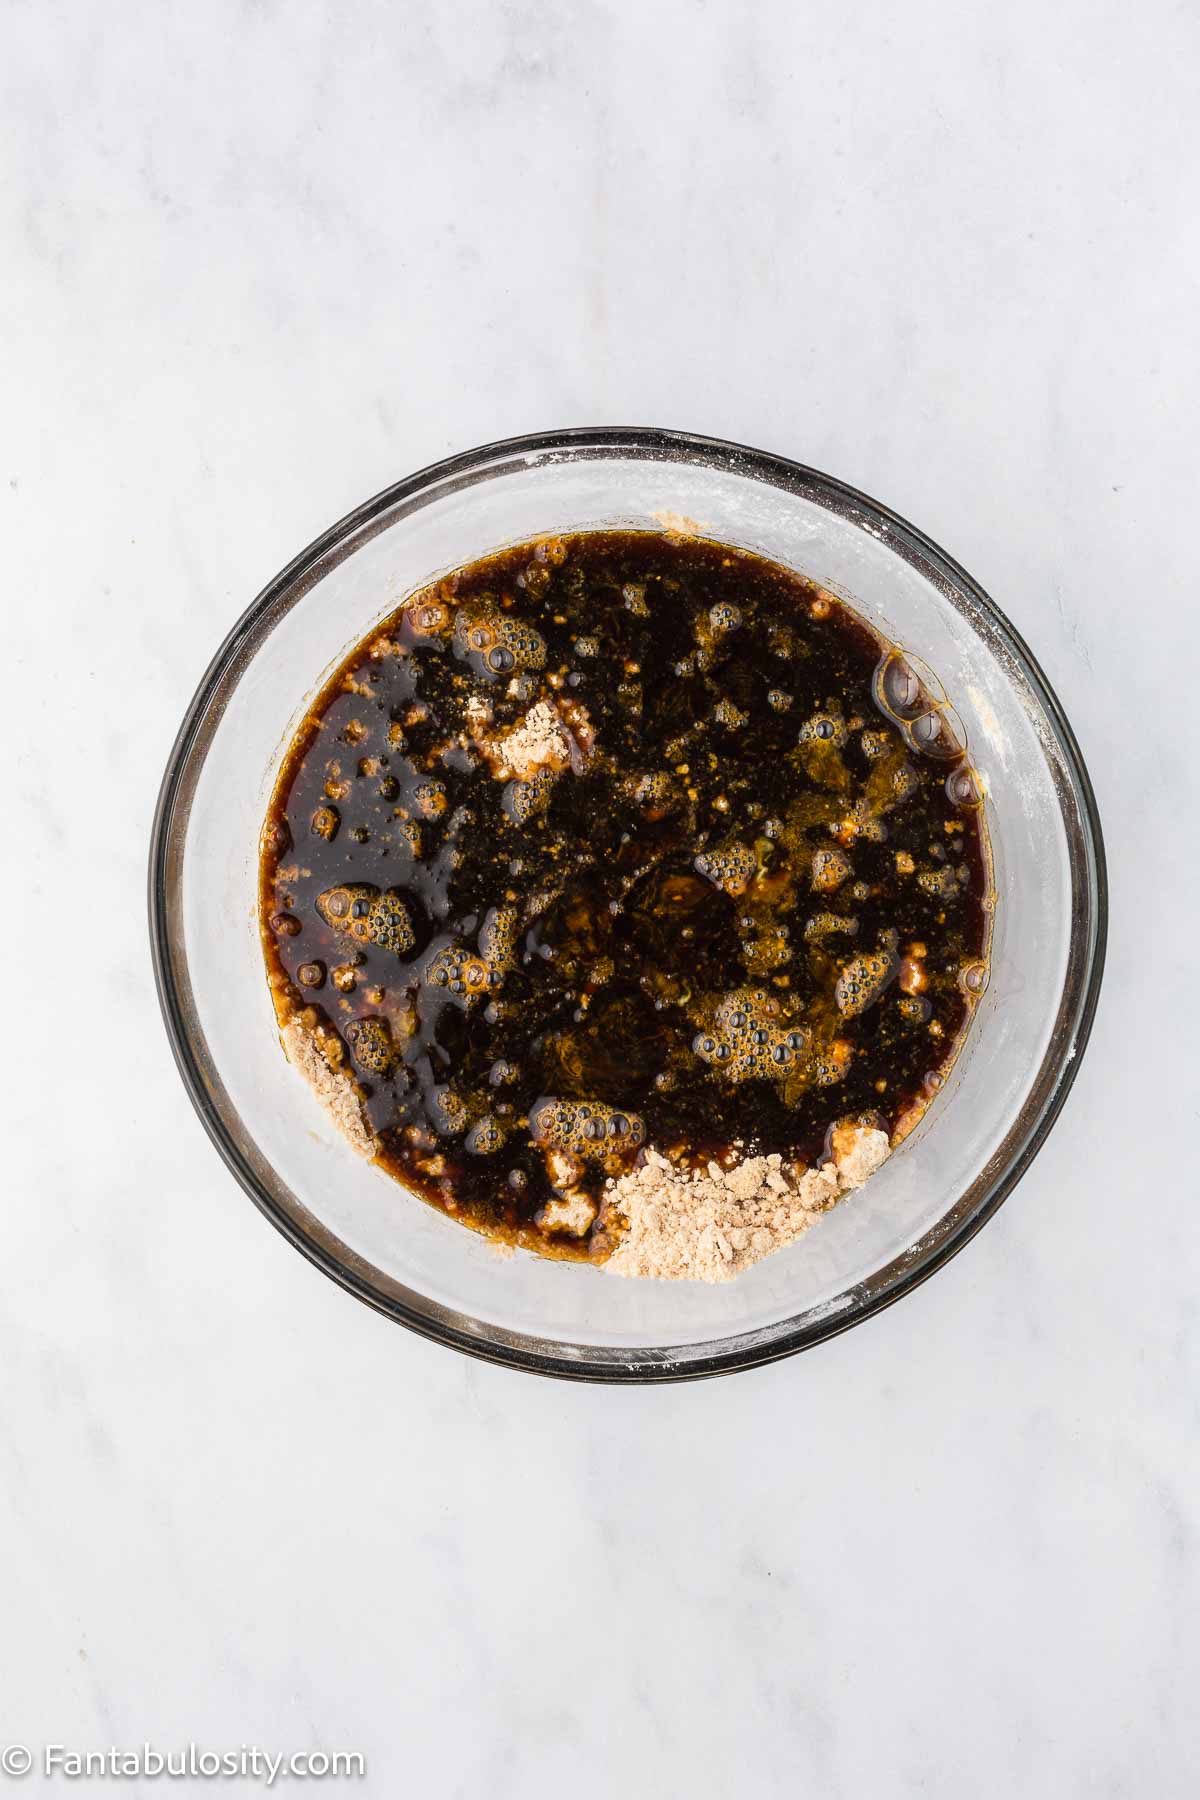
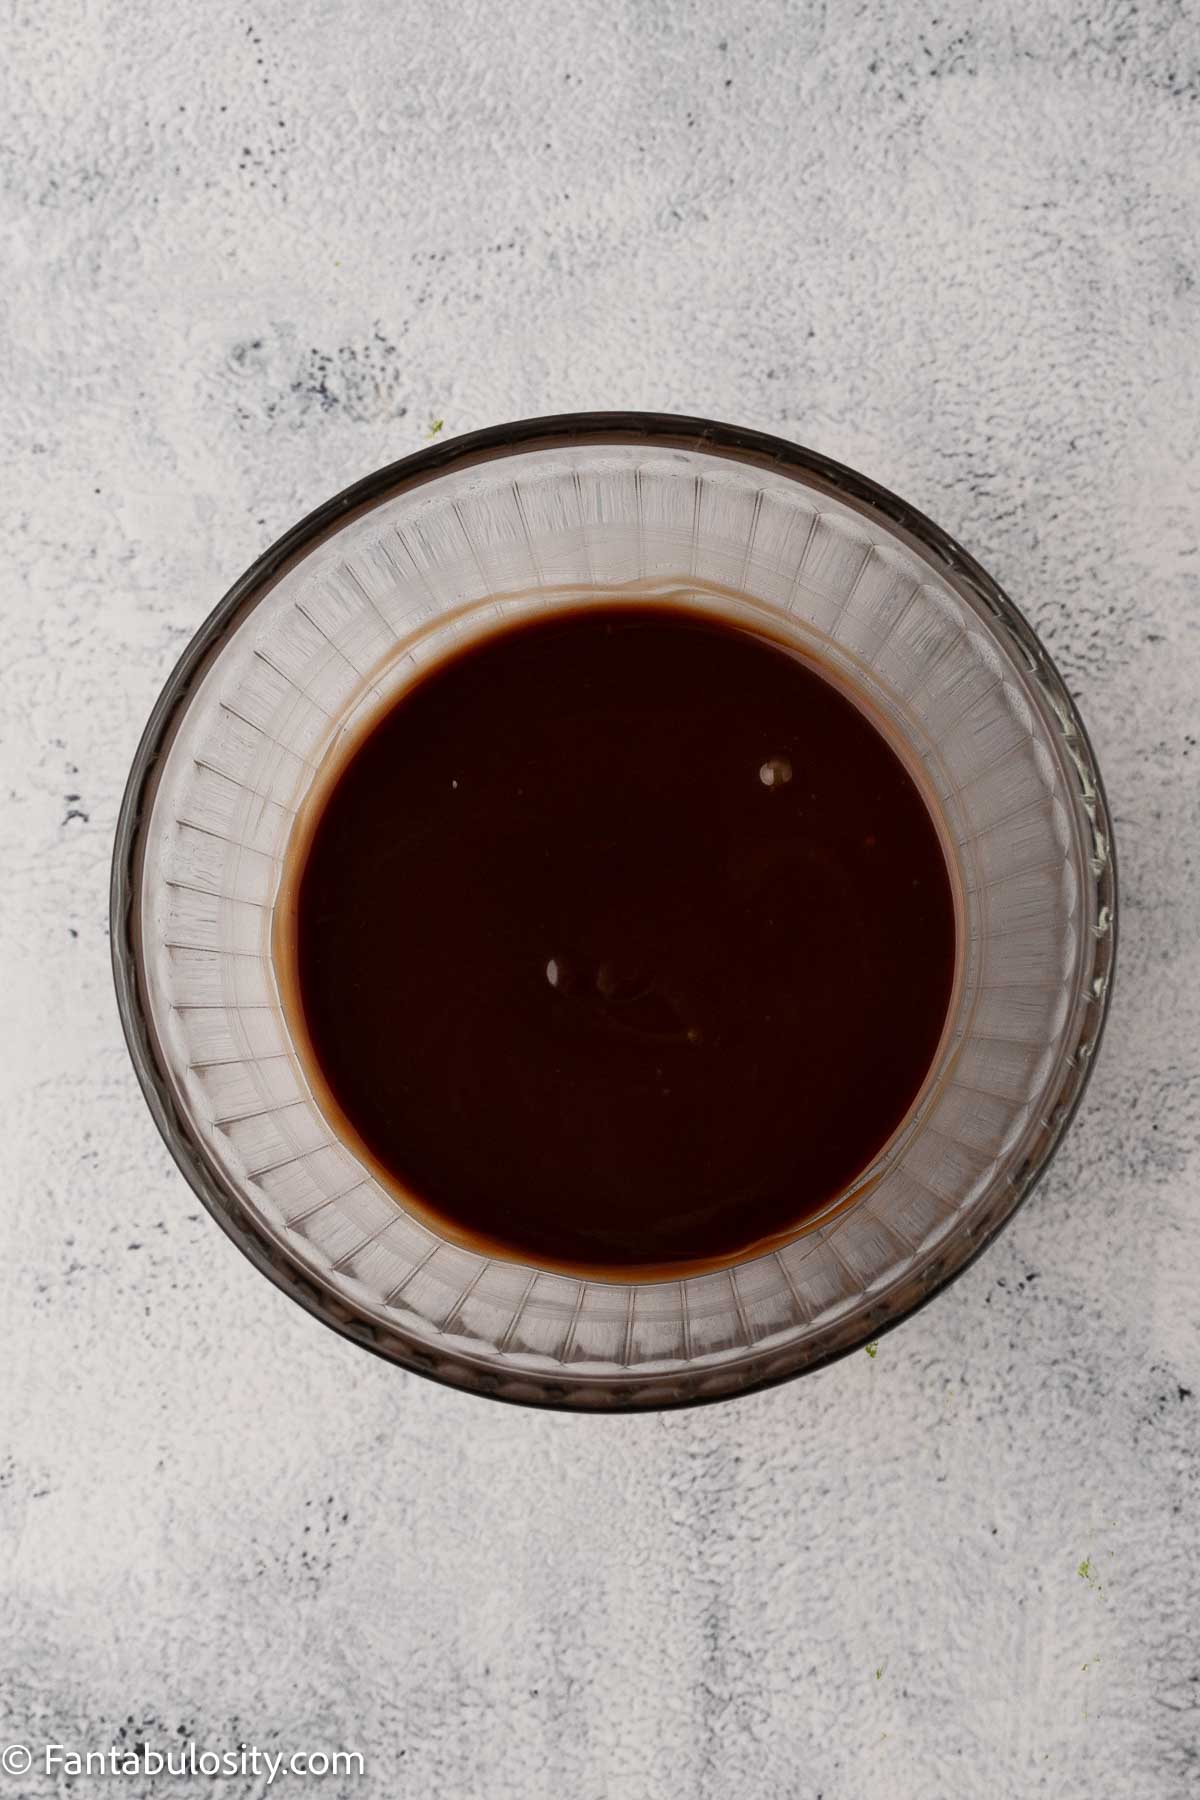
Melt ½ cup semisweet chocolate chips, 2 tablespoons butter, and 2 tablespoons corn syrup (or honey) together over low heat.
Stir in ¼ cup heavy cream until smooth and glossy.
Allow the fudge to cool until it’s warm but no longer hot.
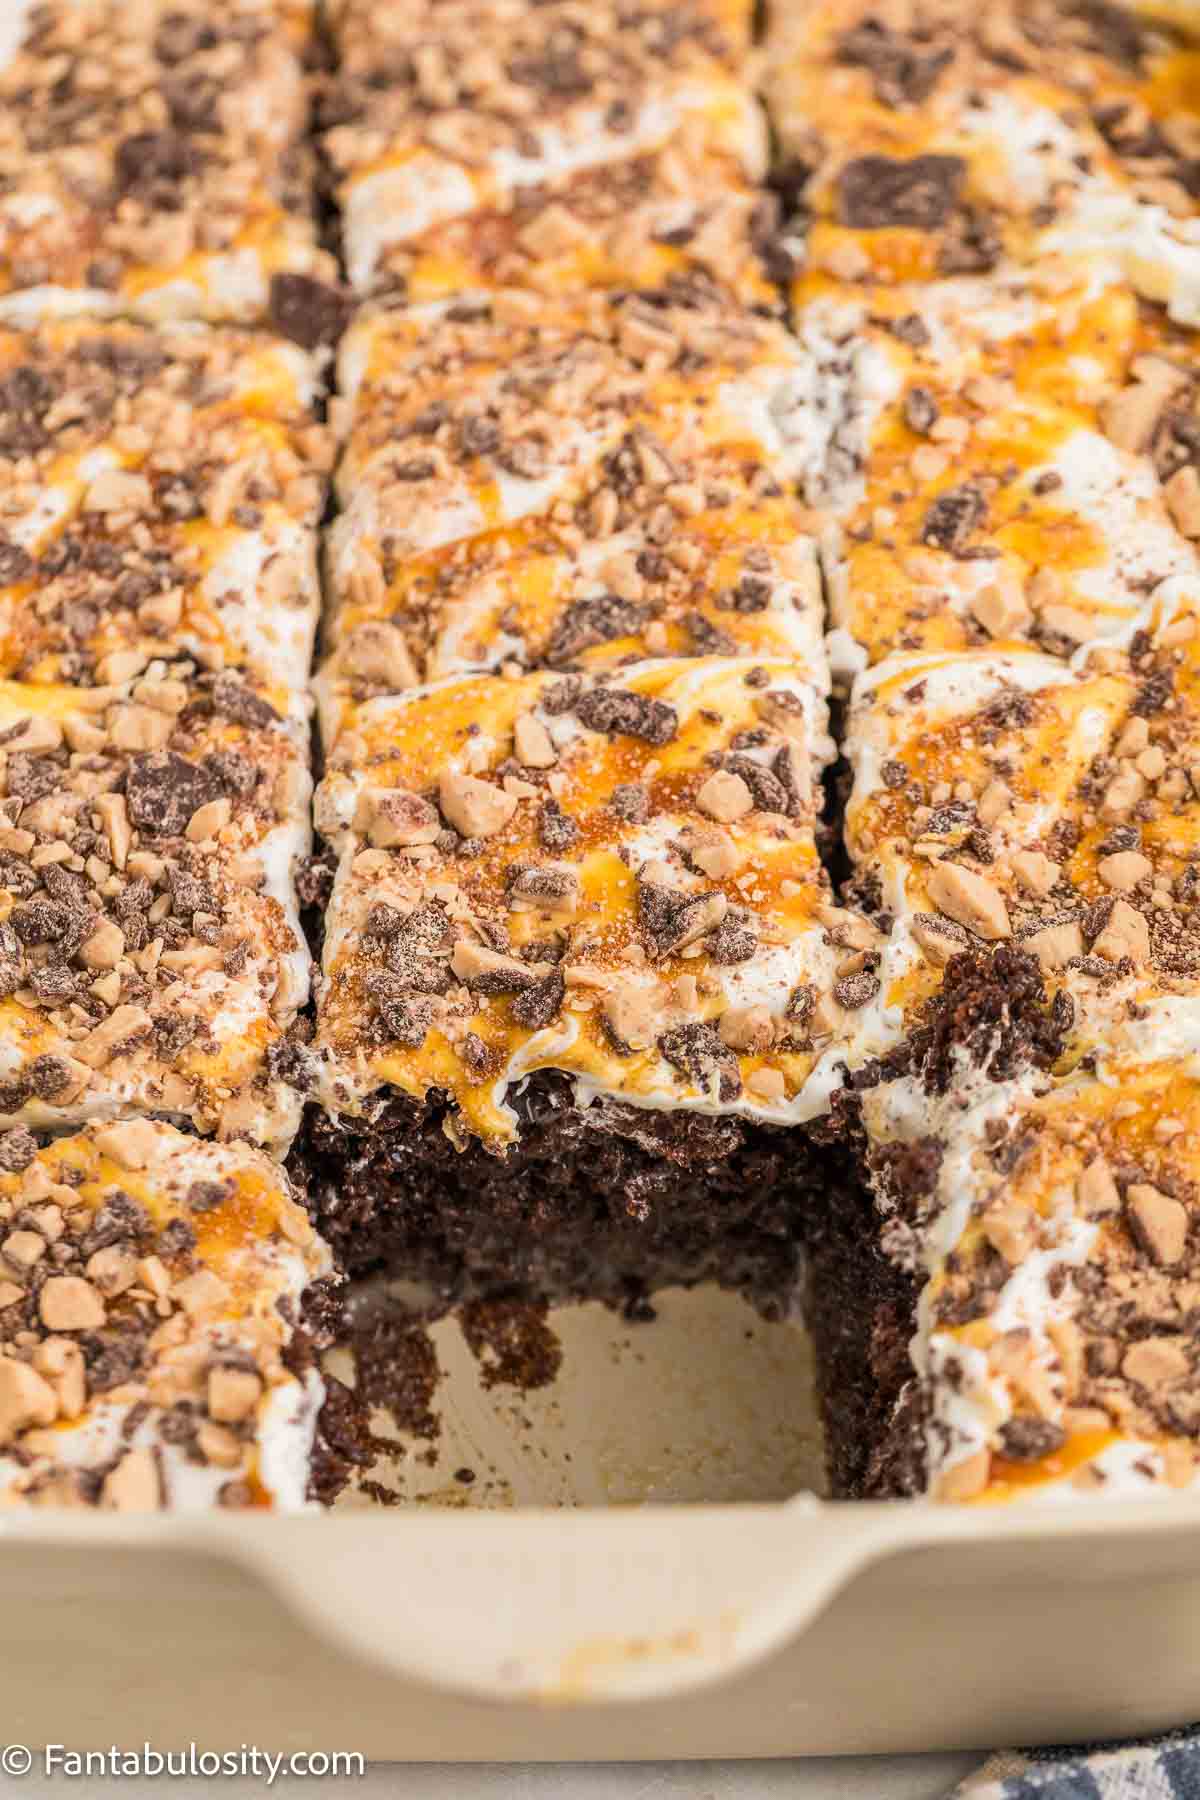
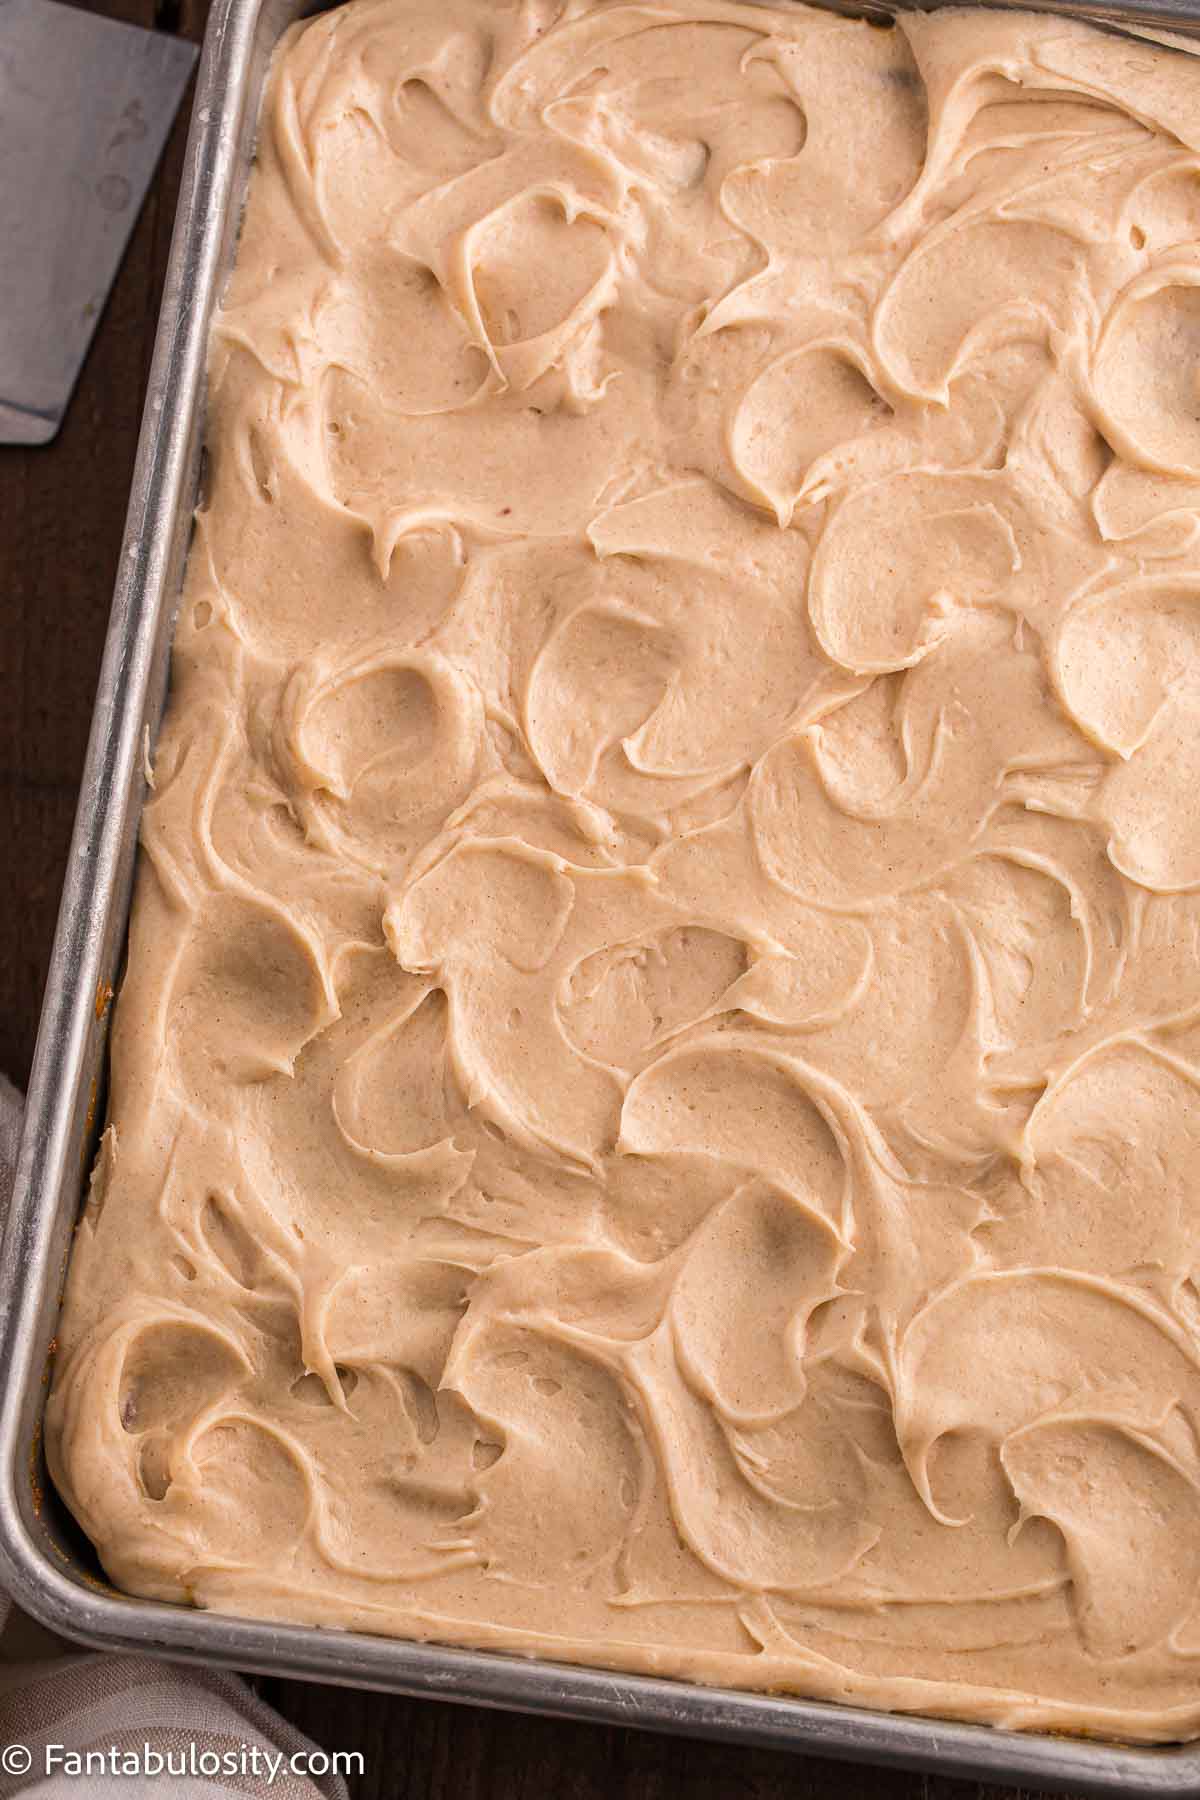
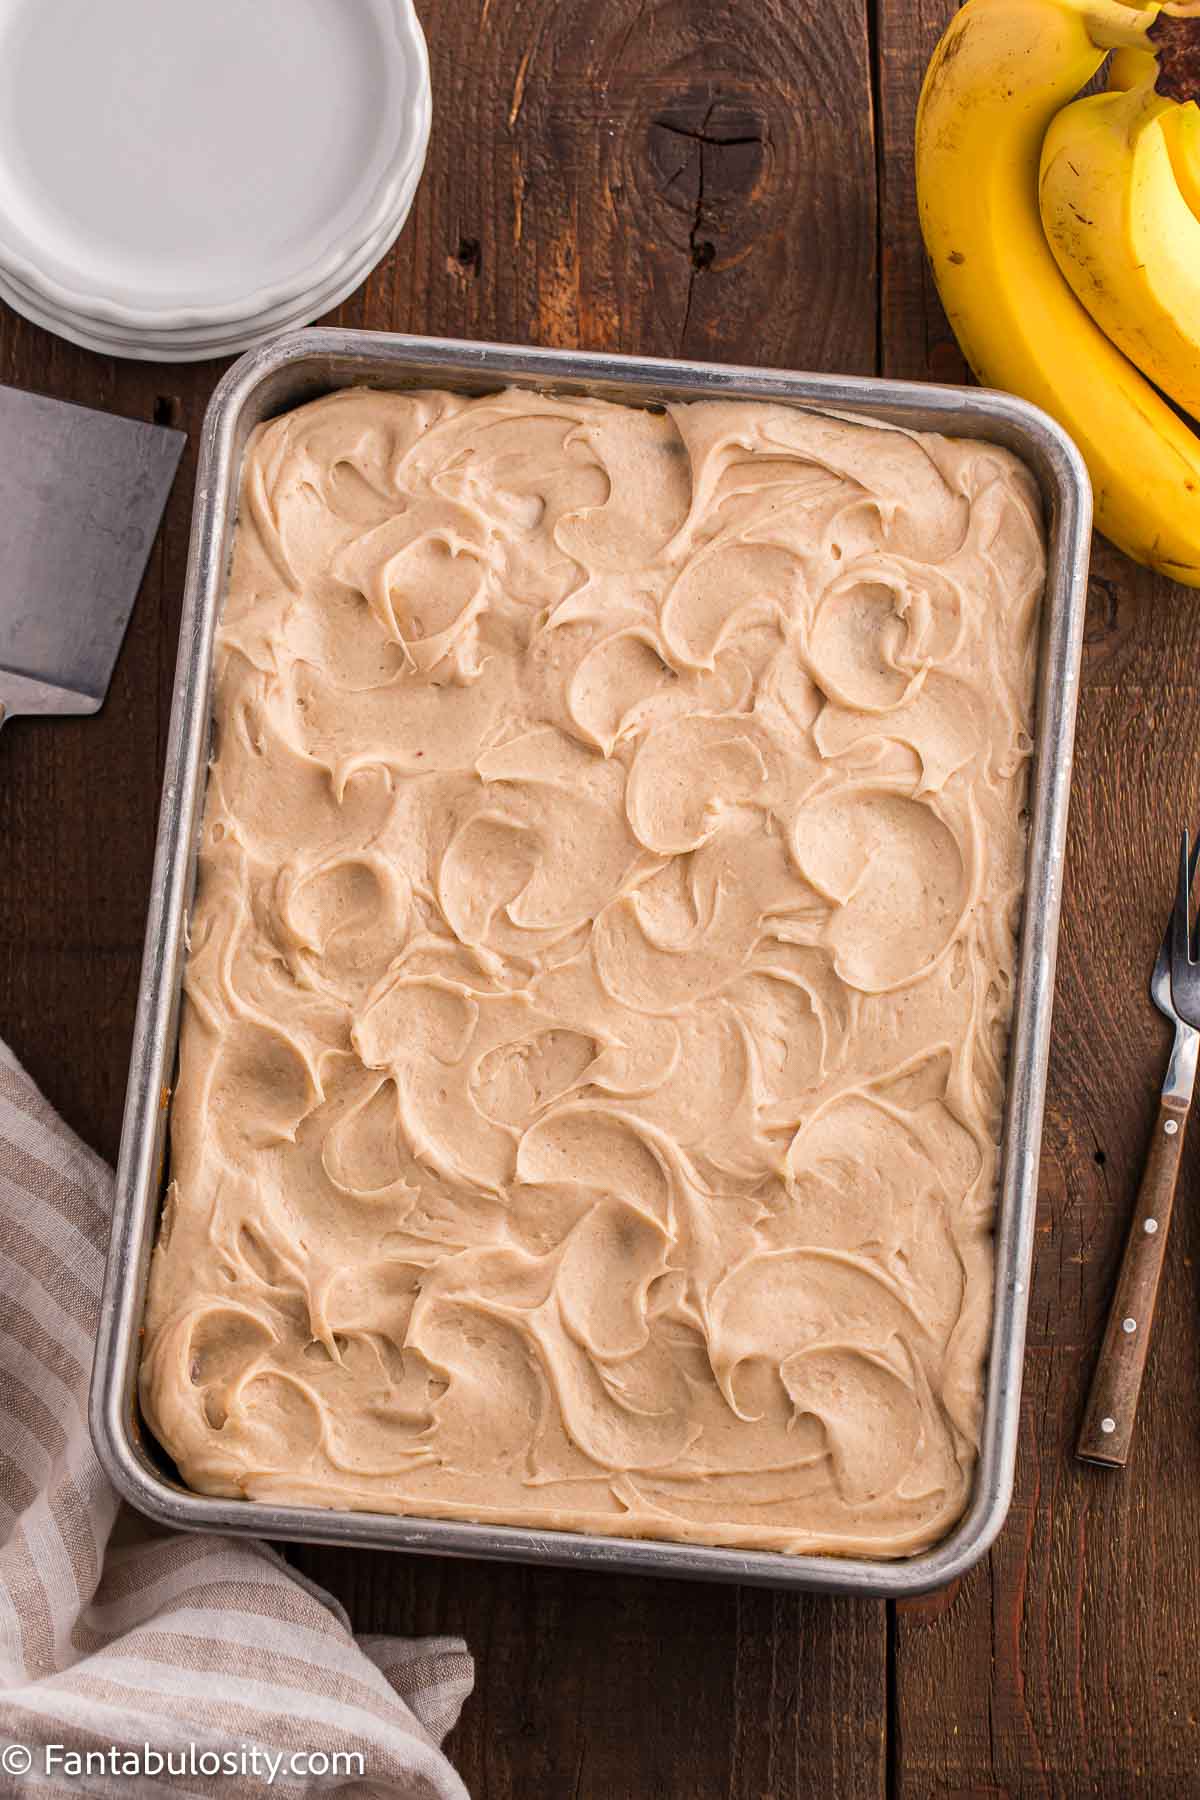
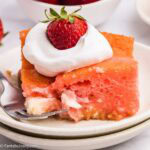
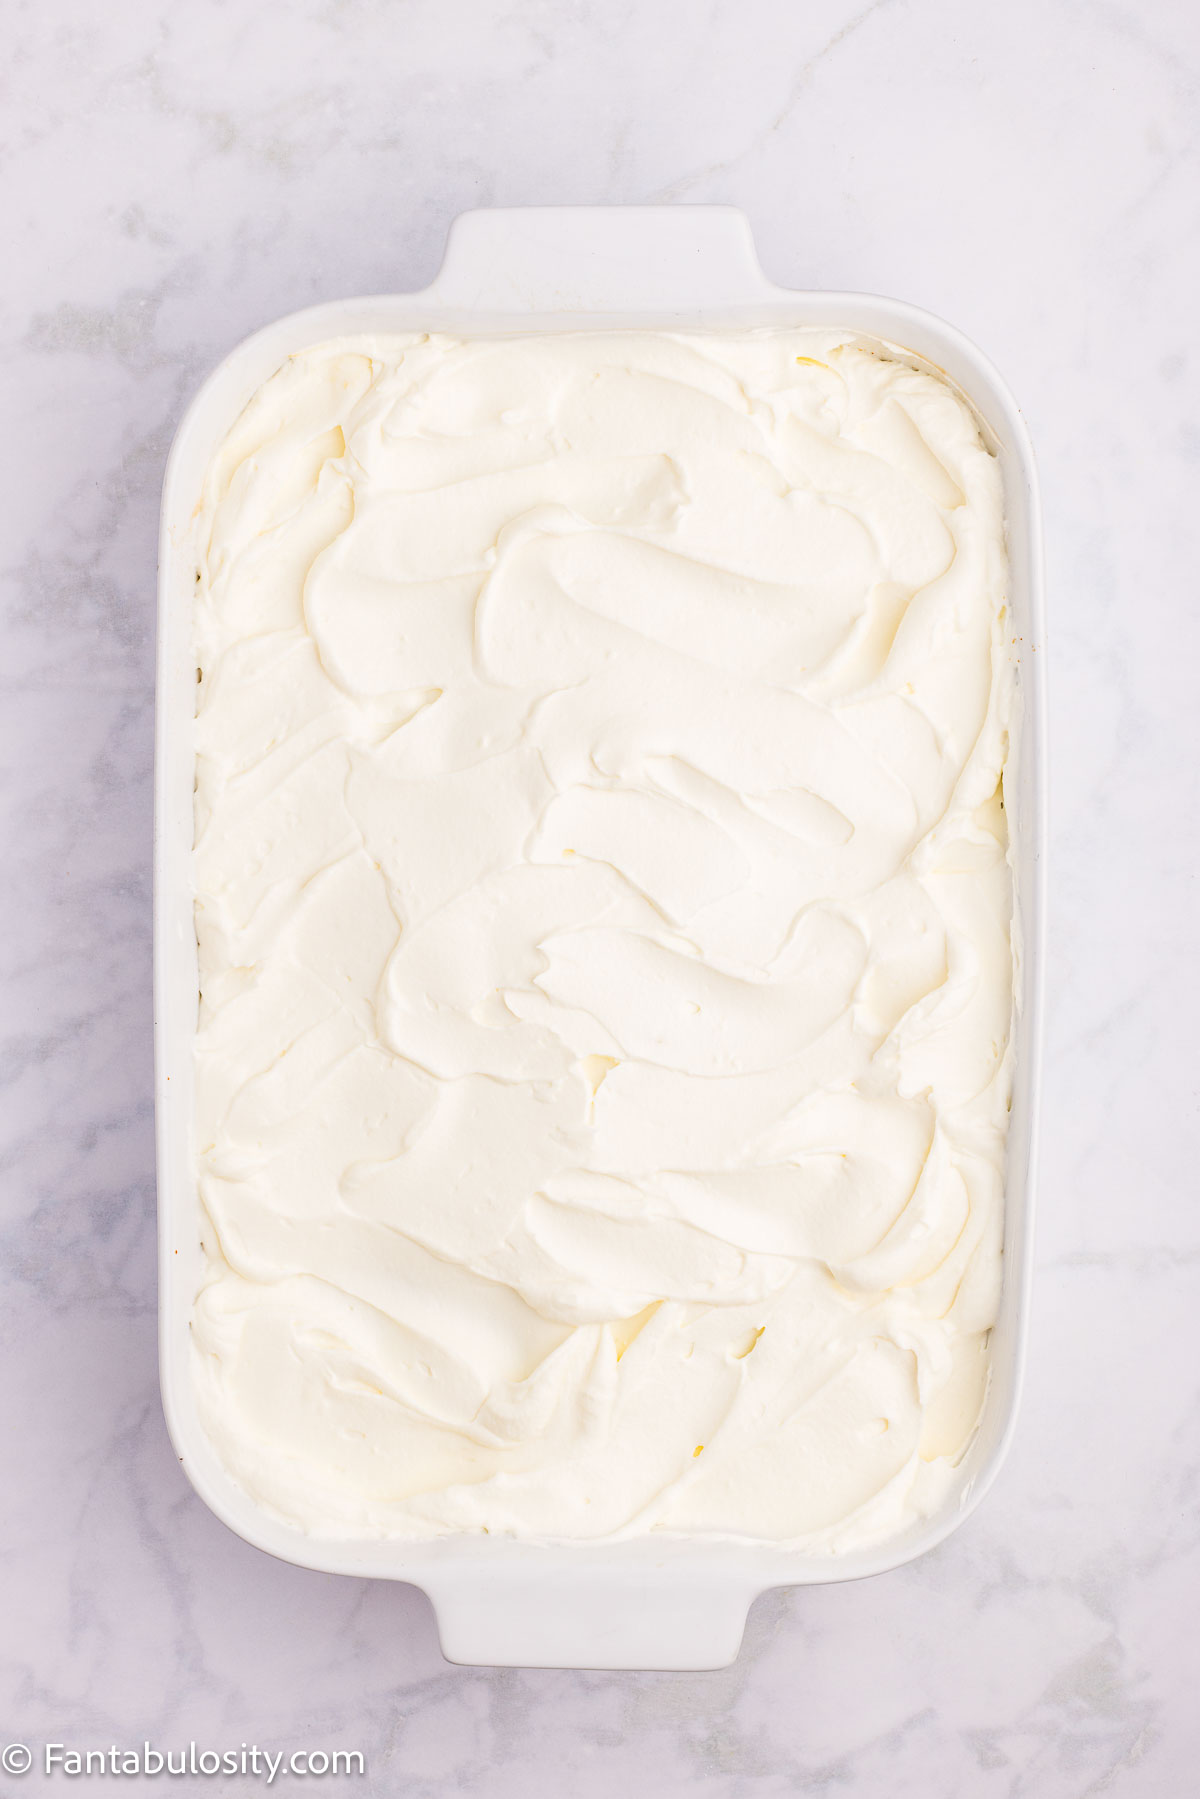
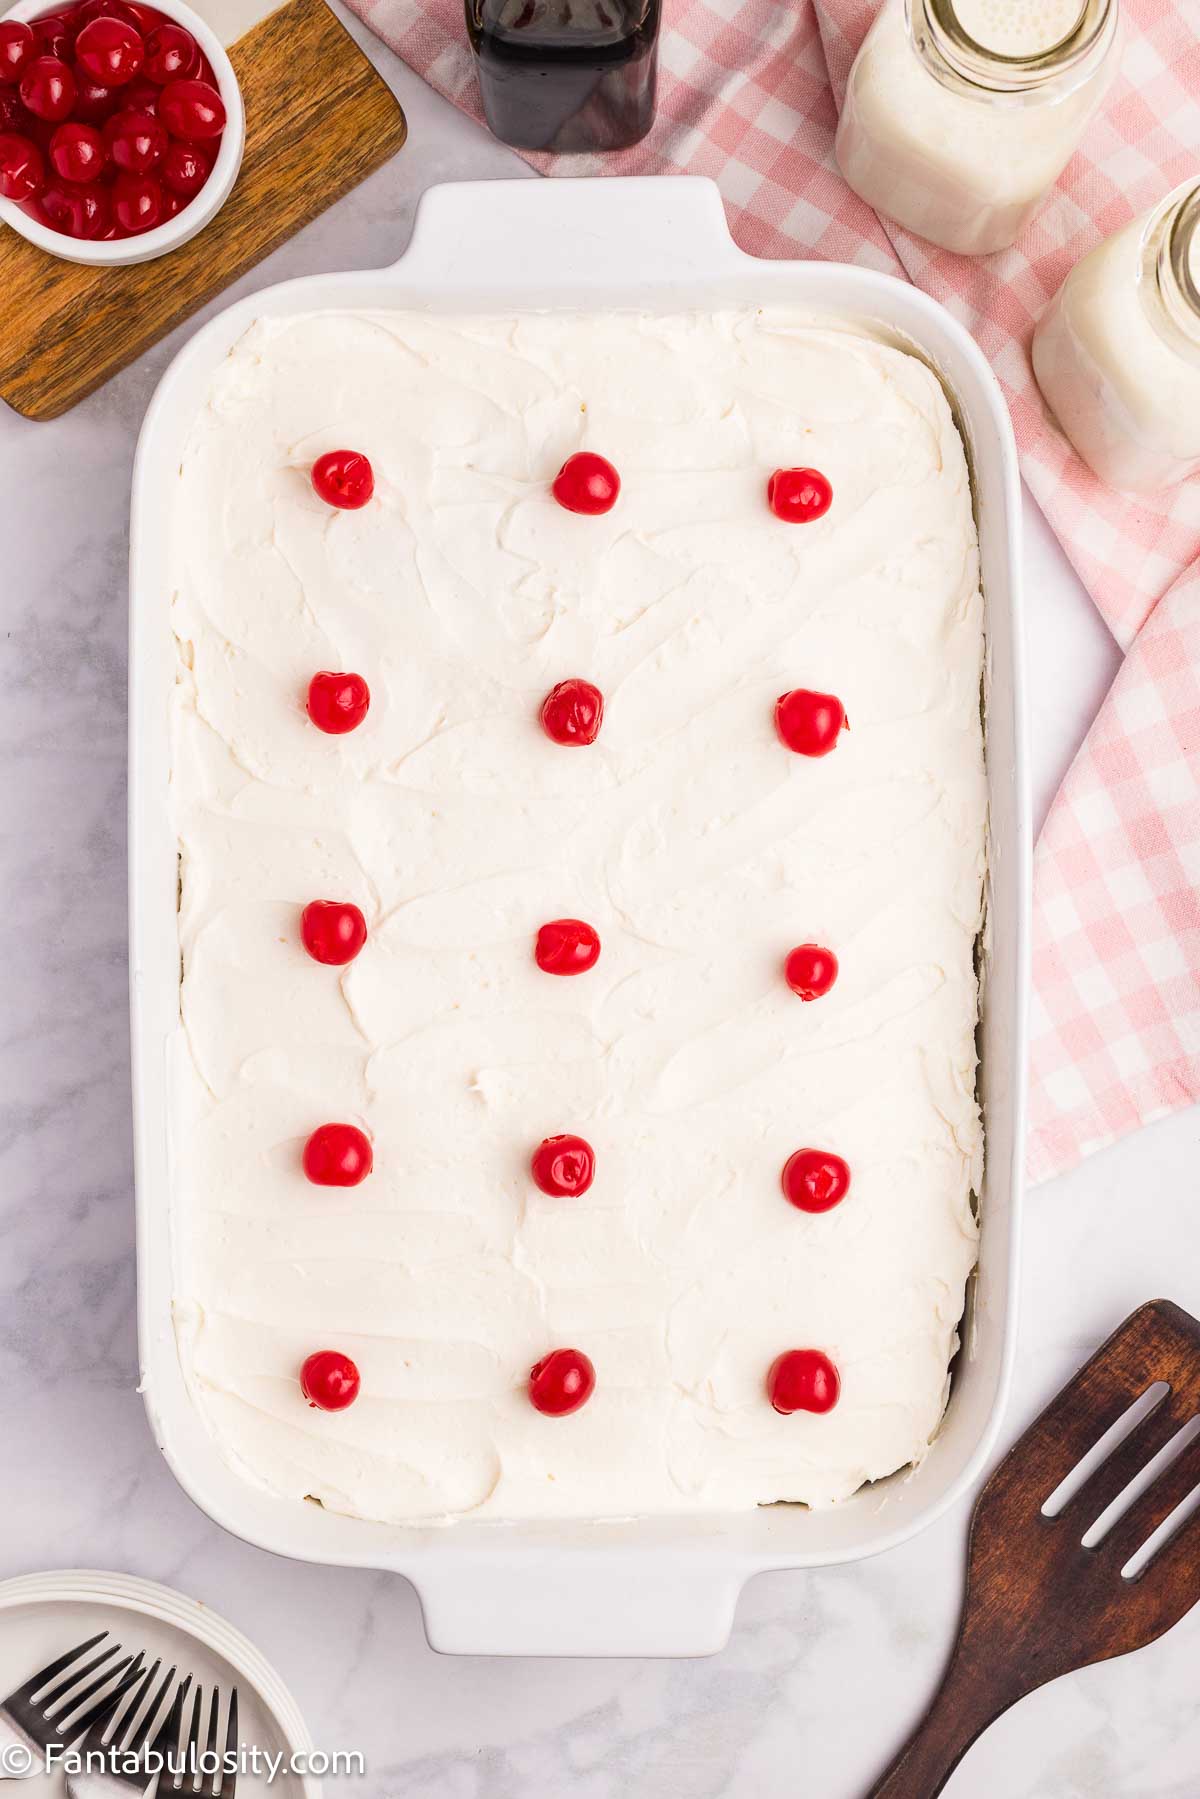
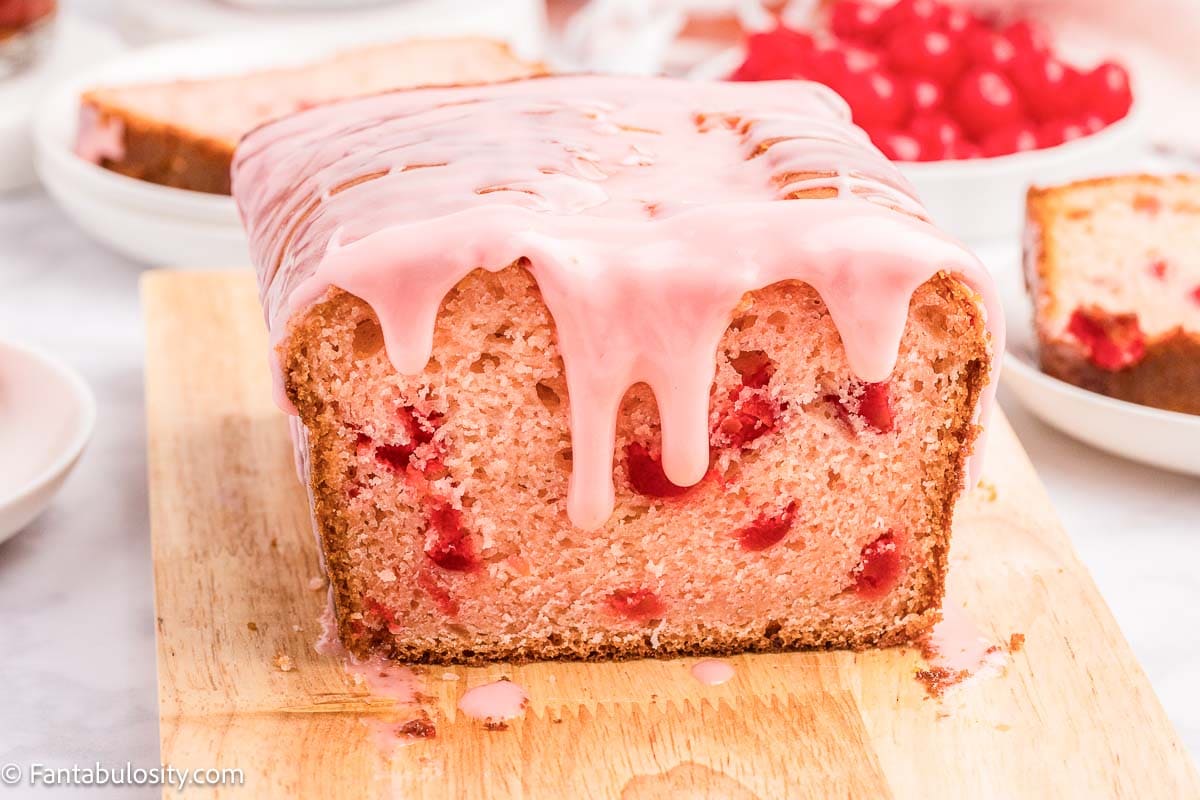
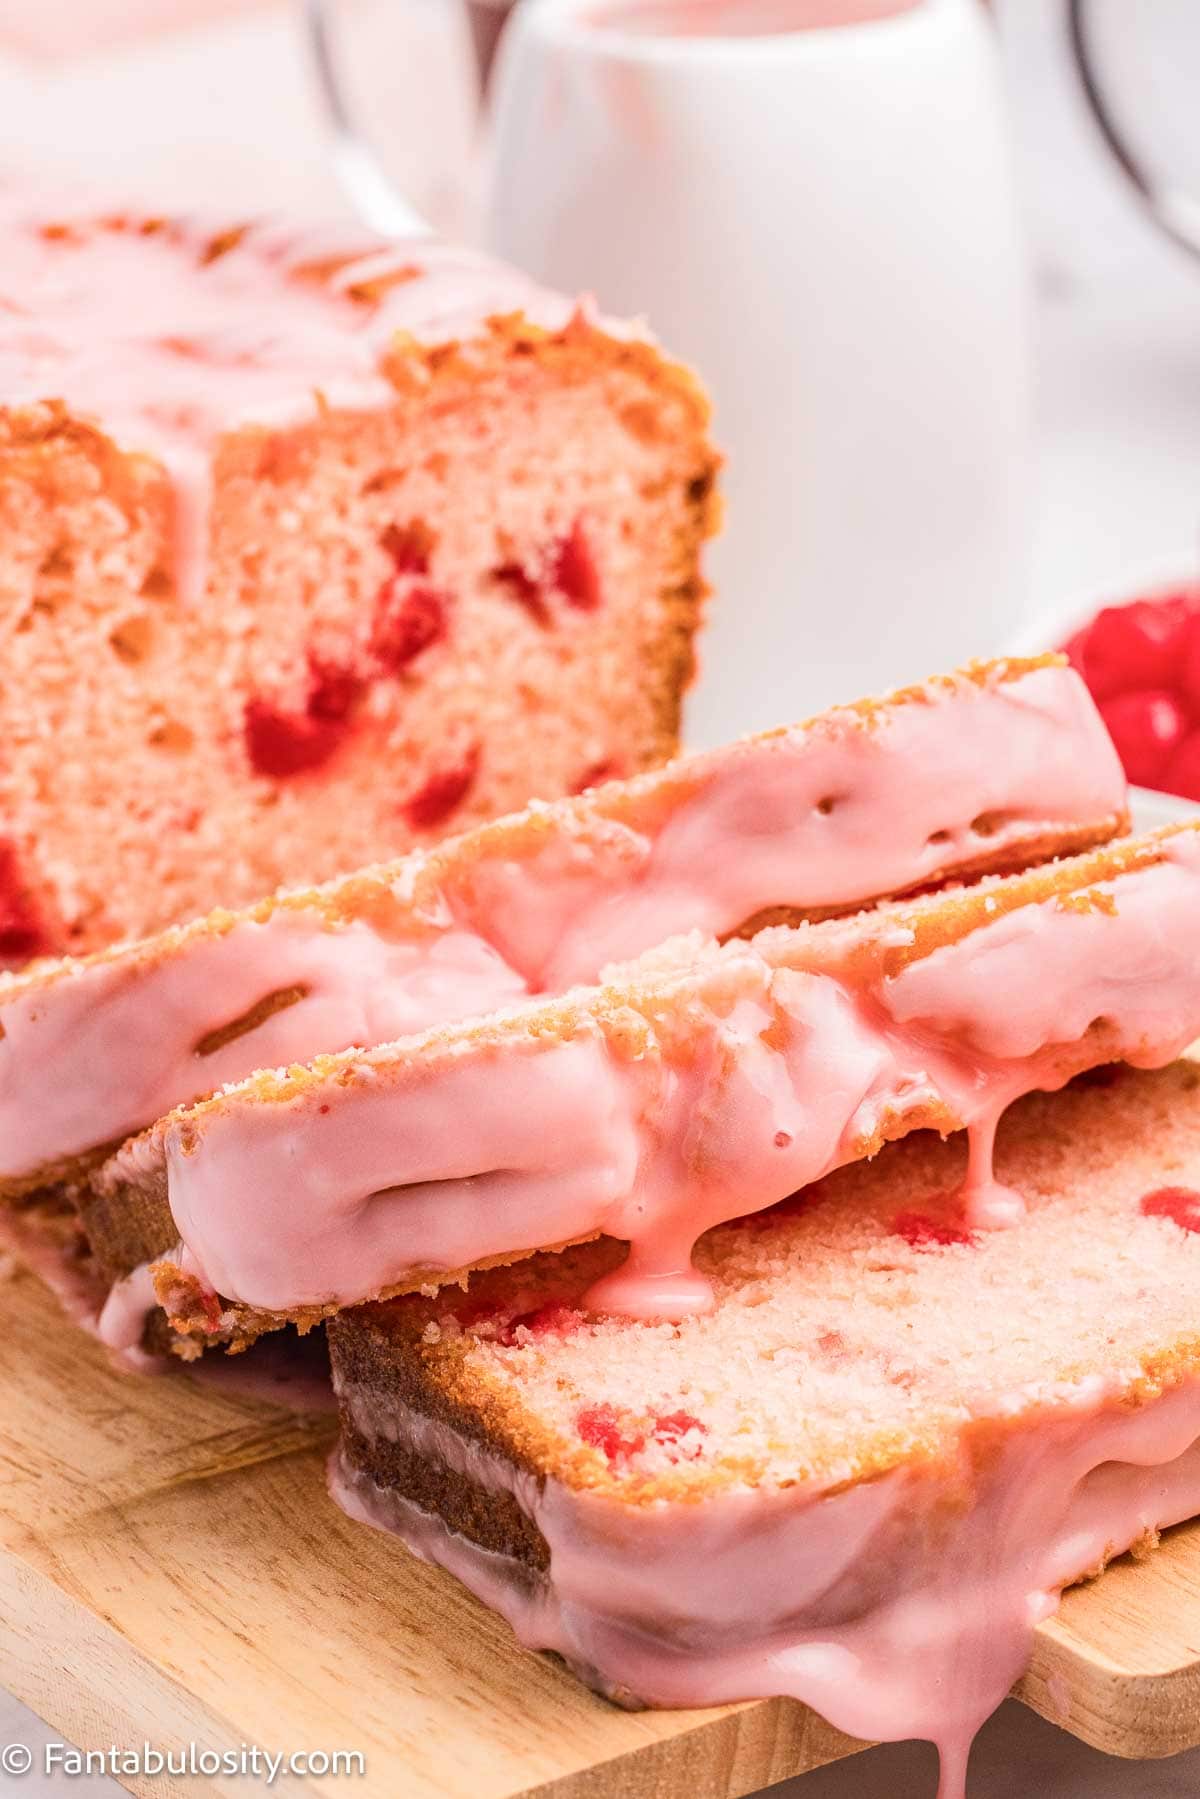
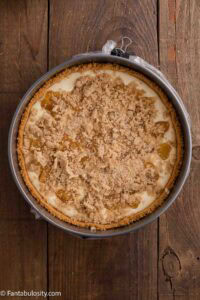
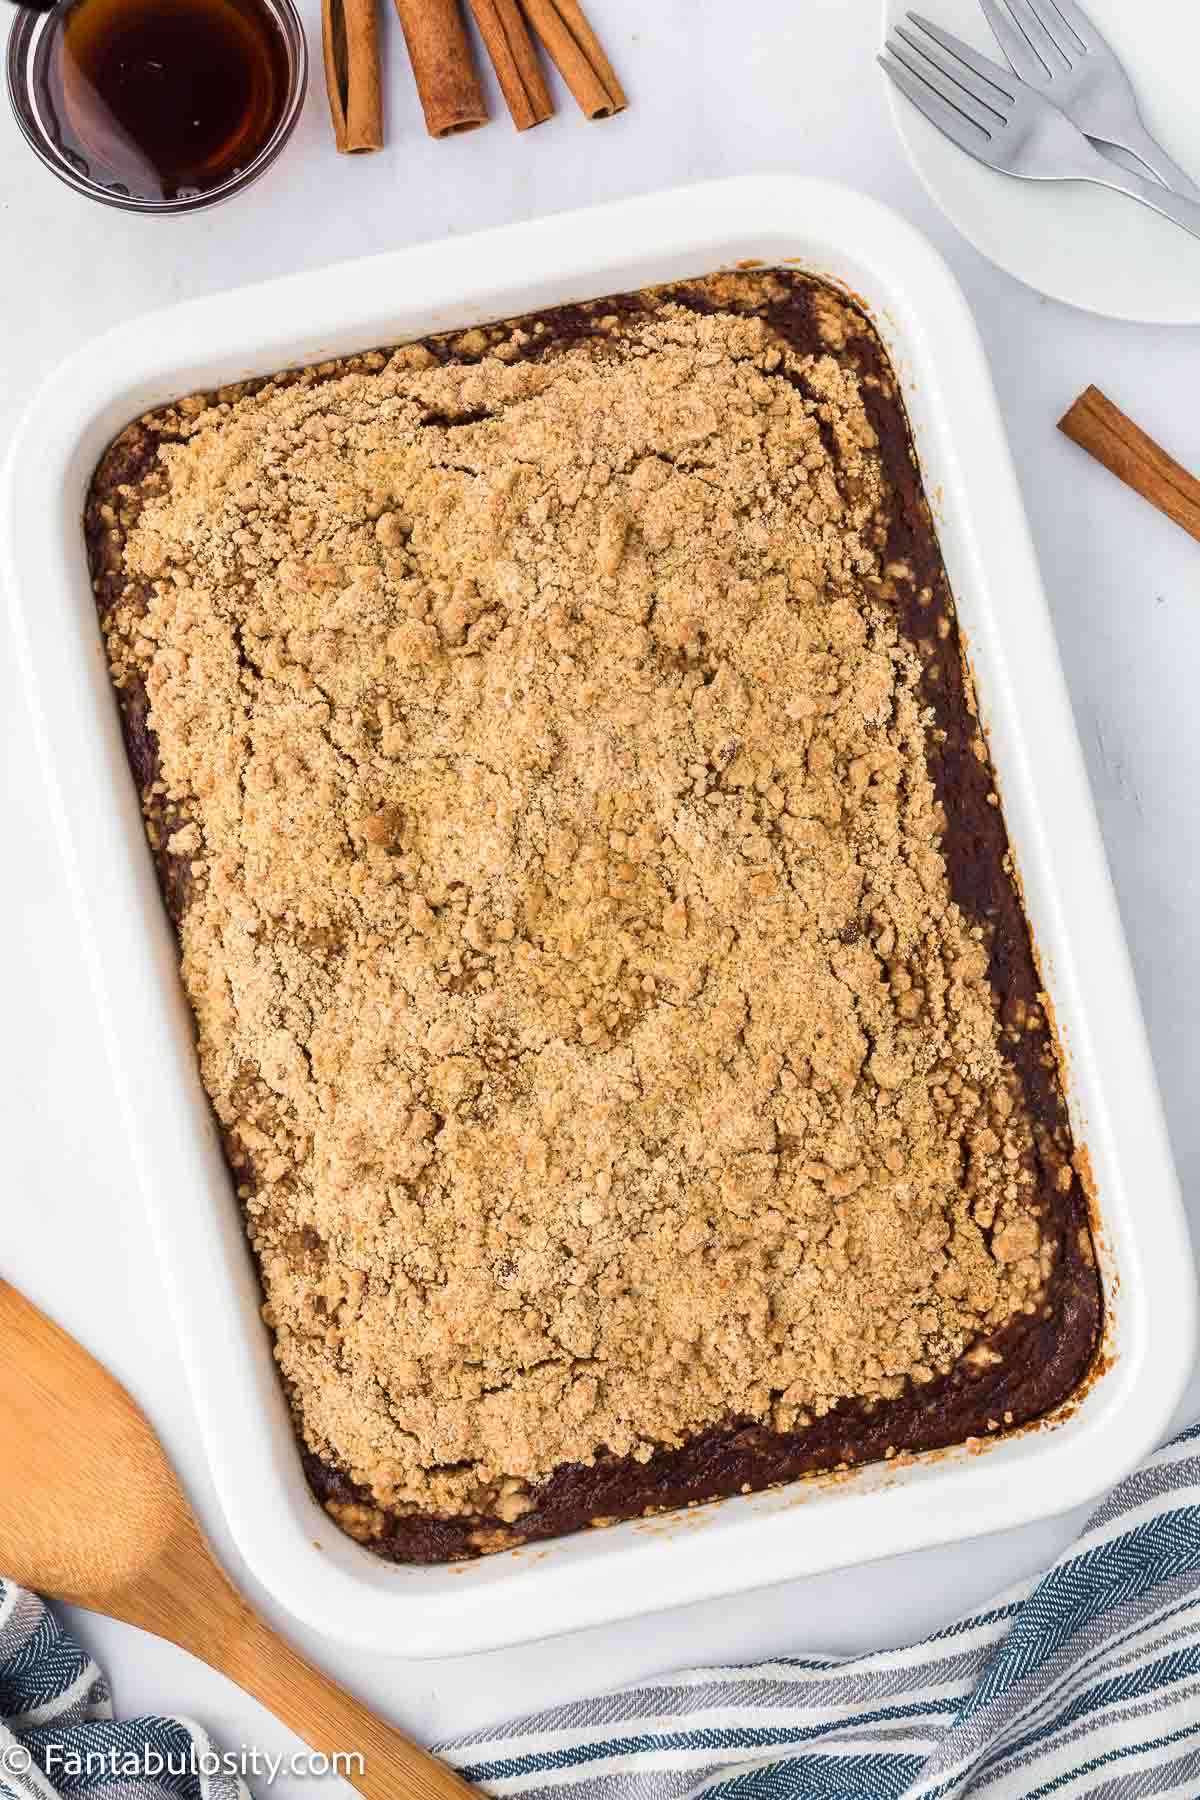
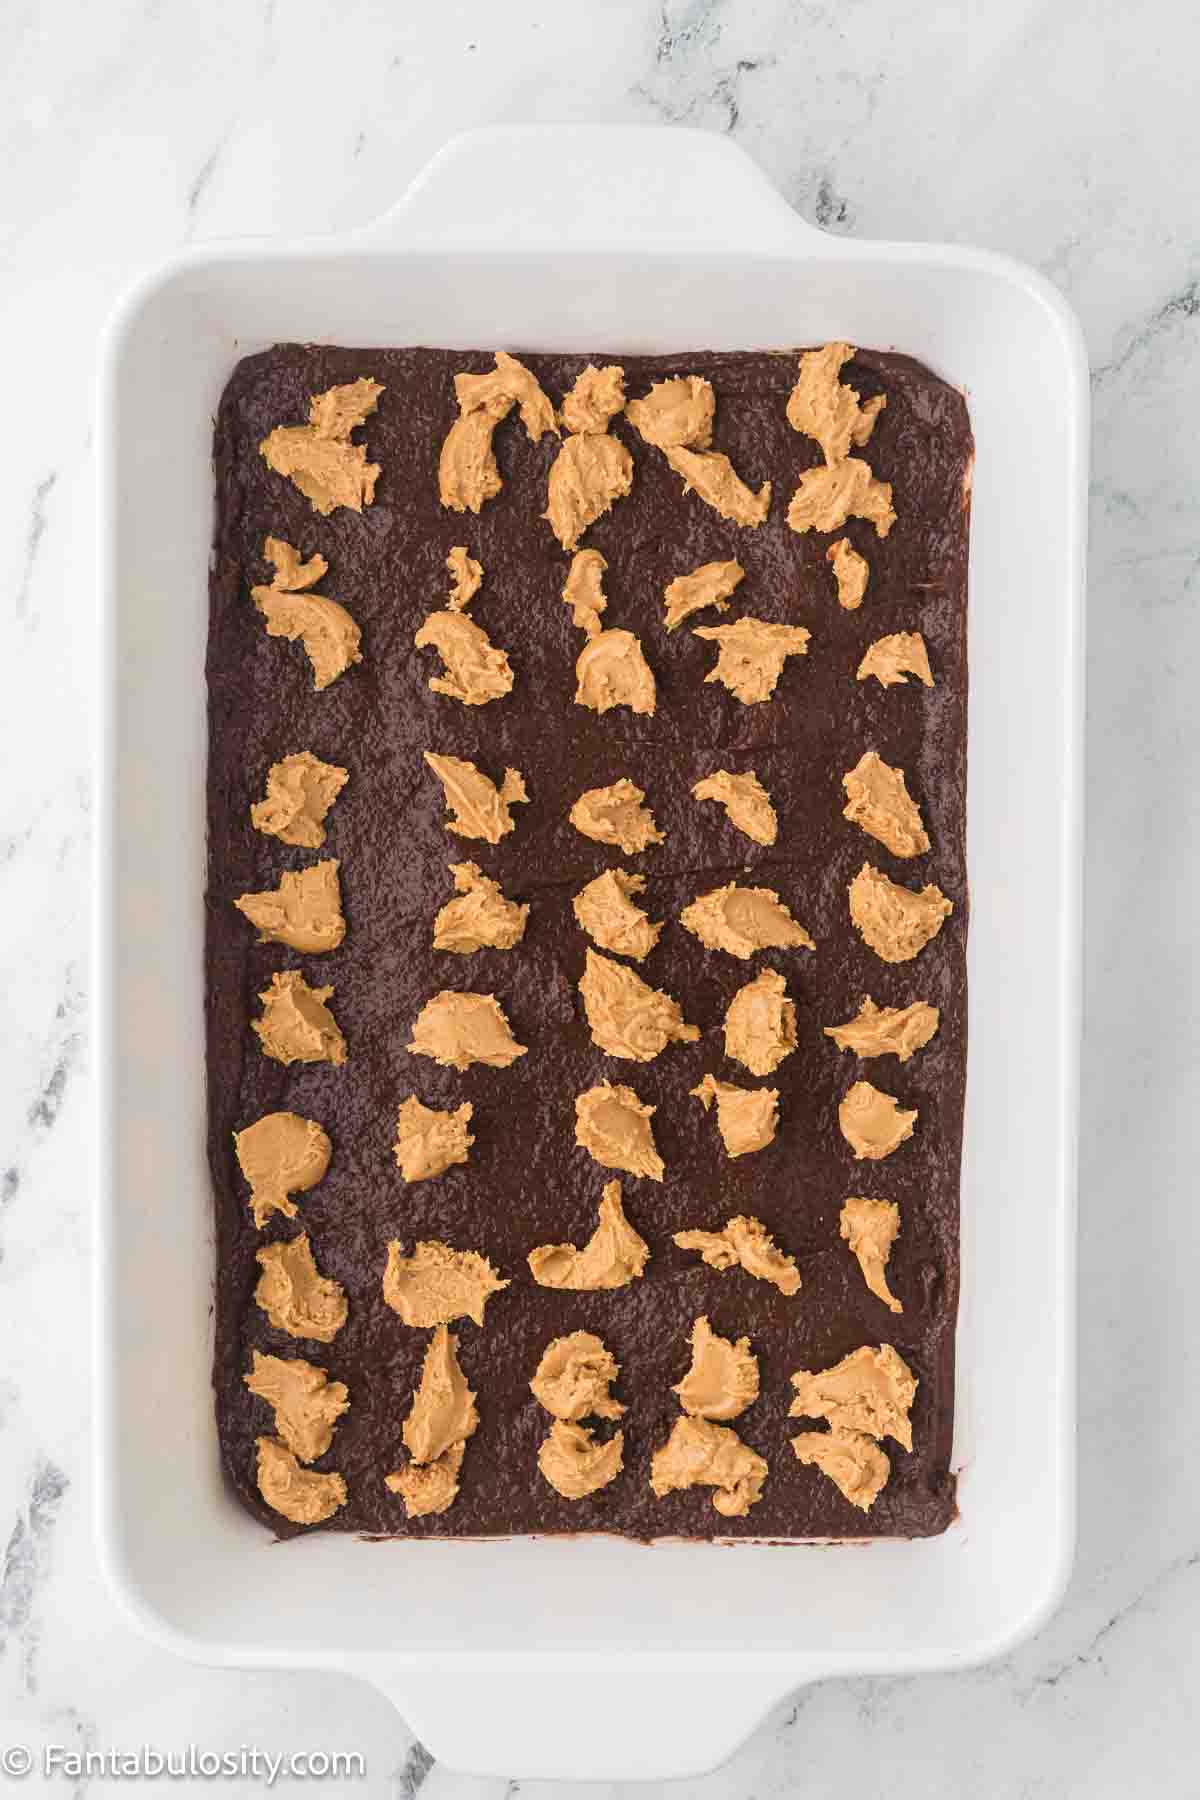
Frost the Cake
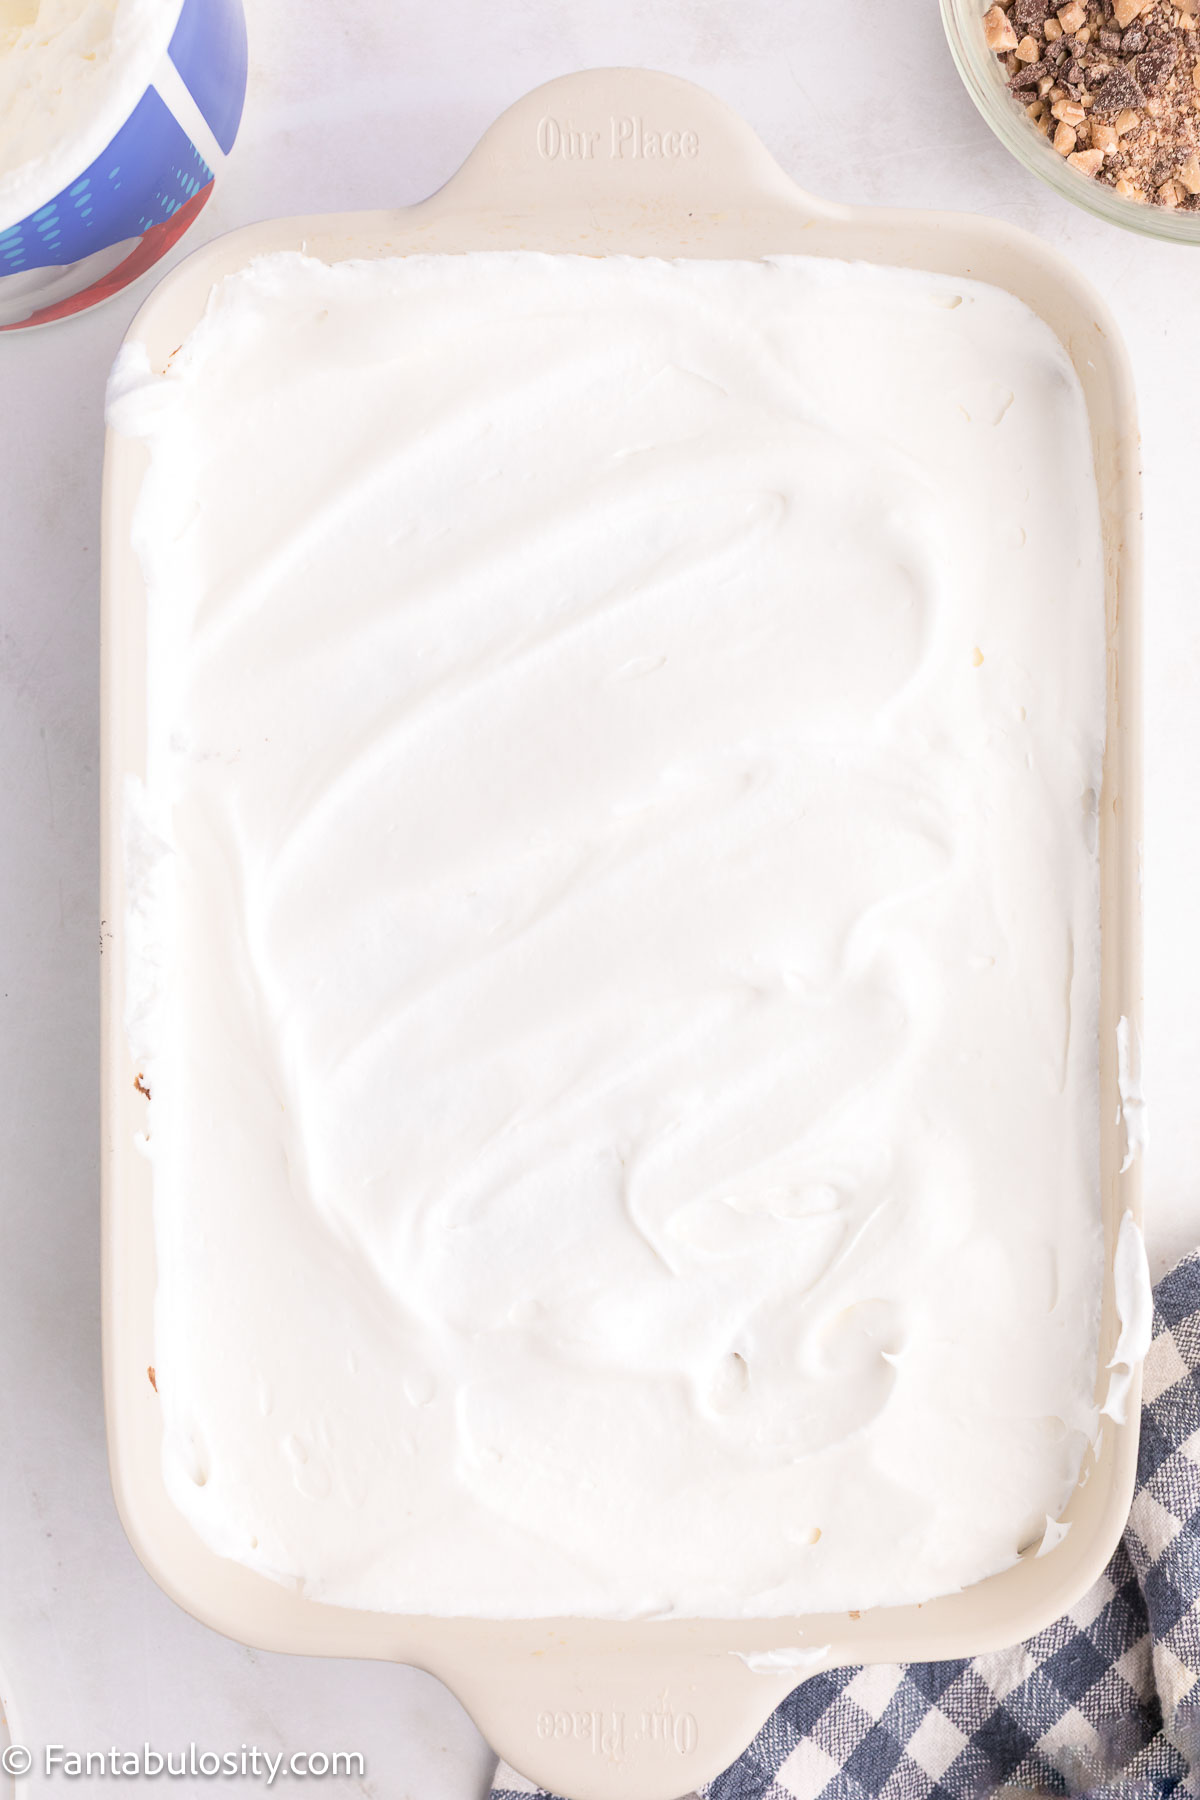
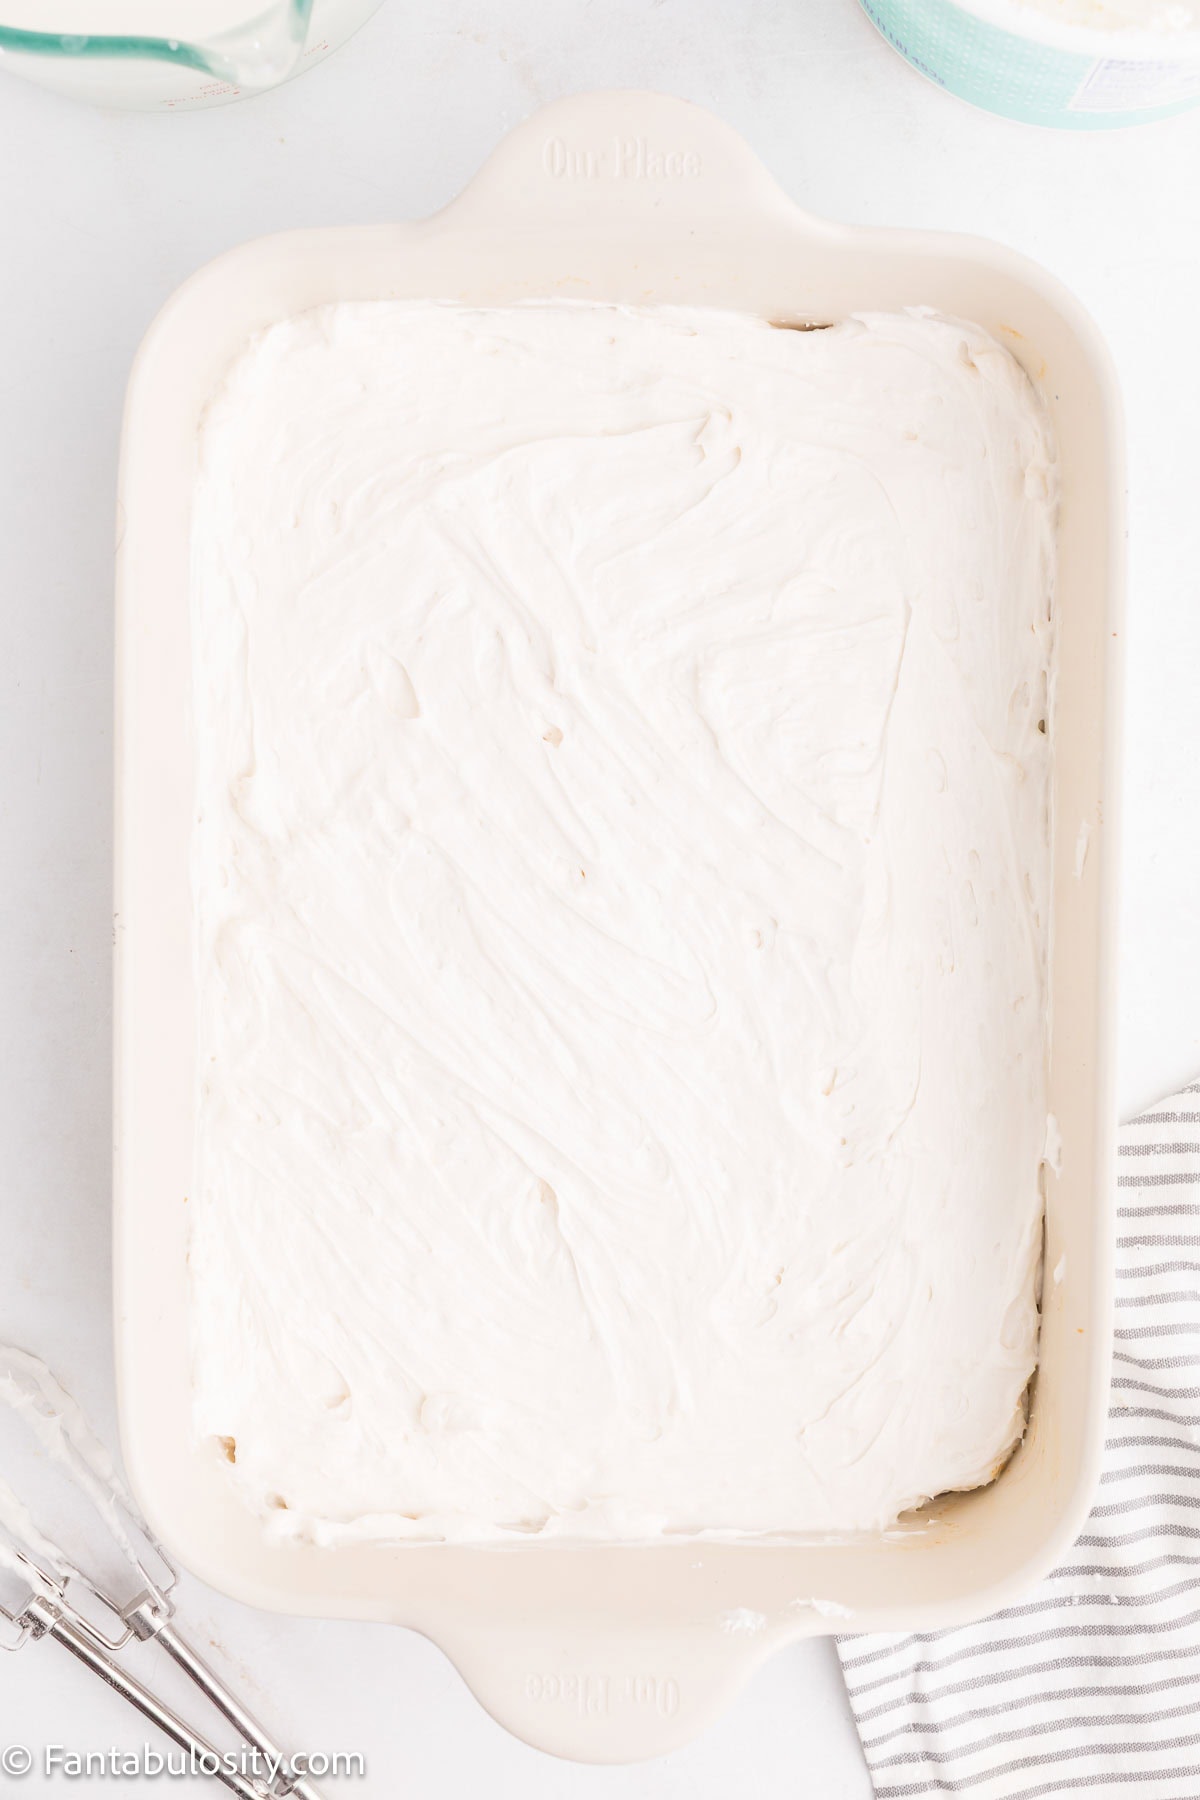
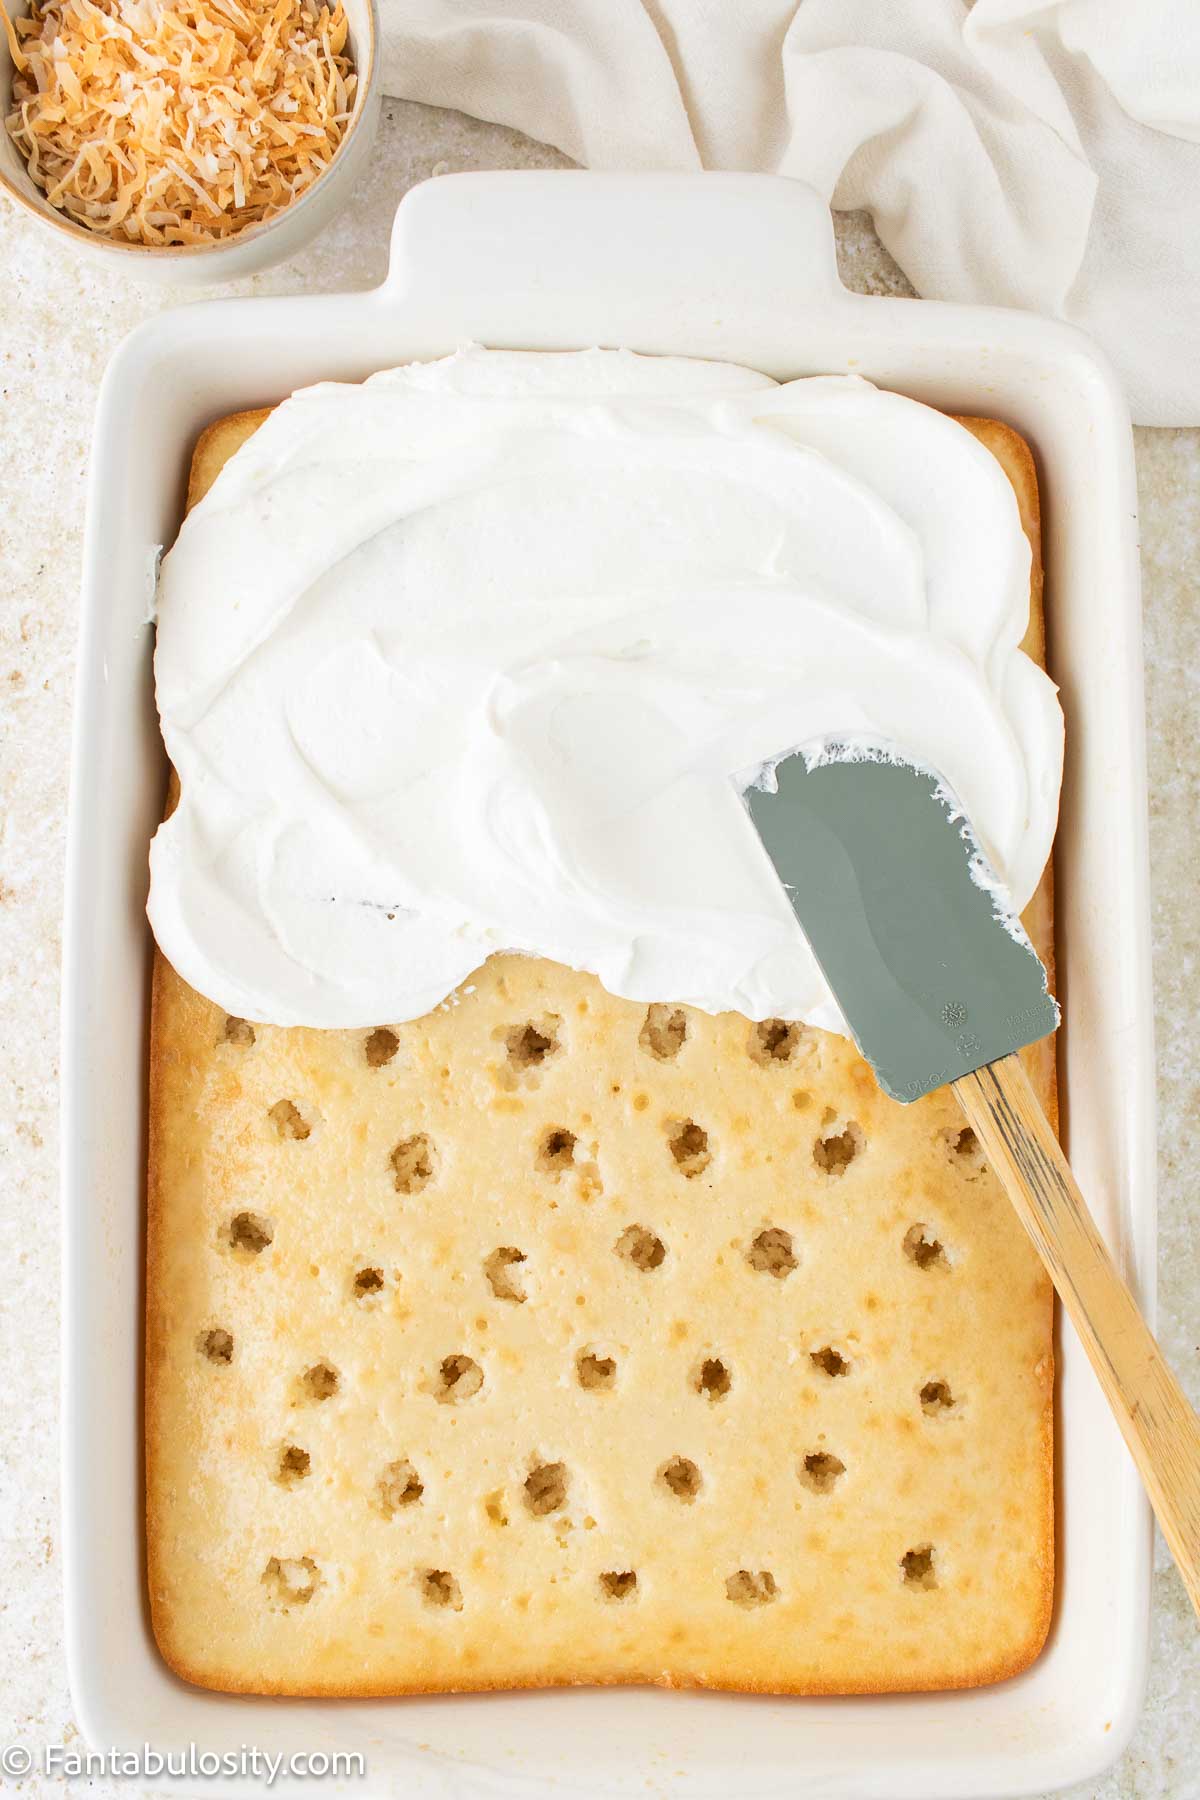
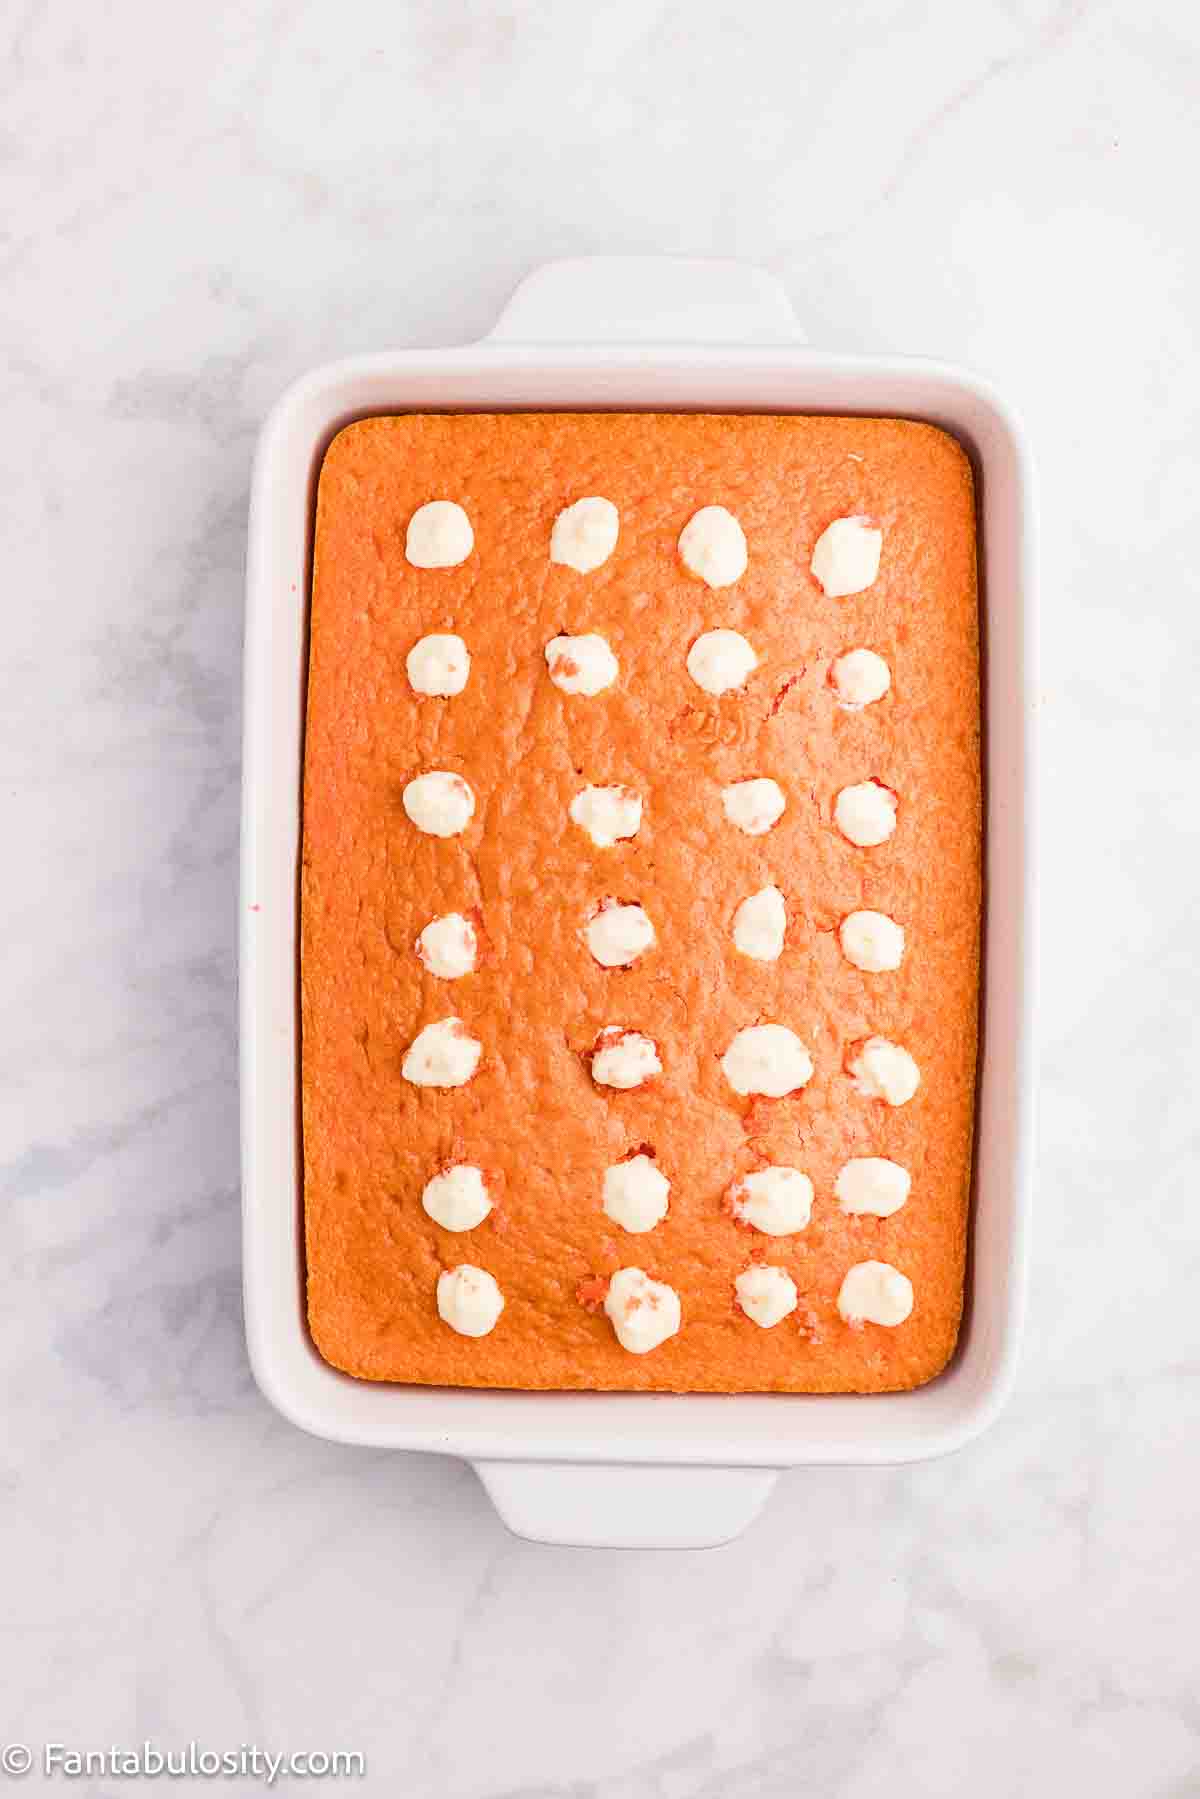
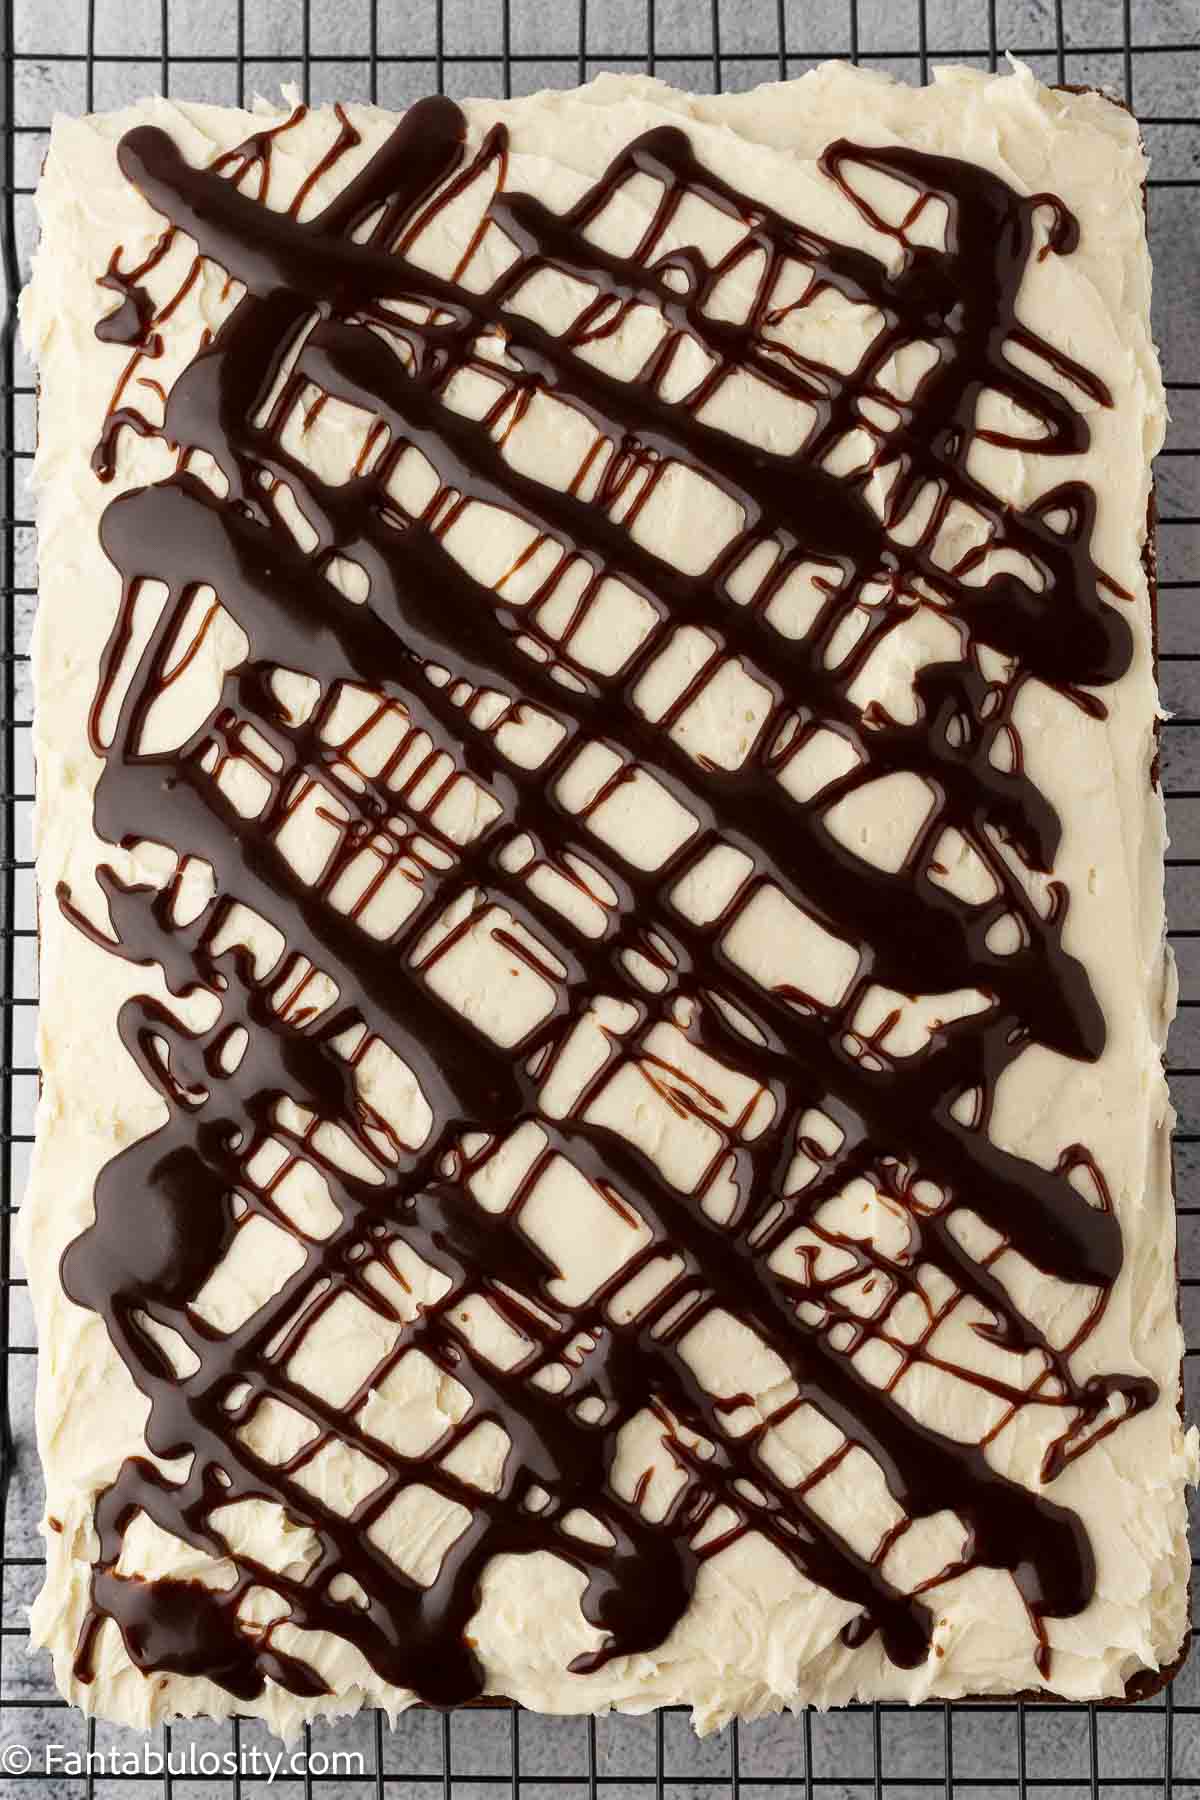
Spread the brown sugar buttercream over the cooled cake.

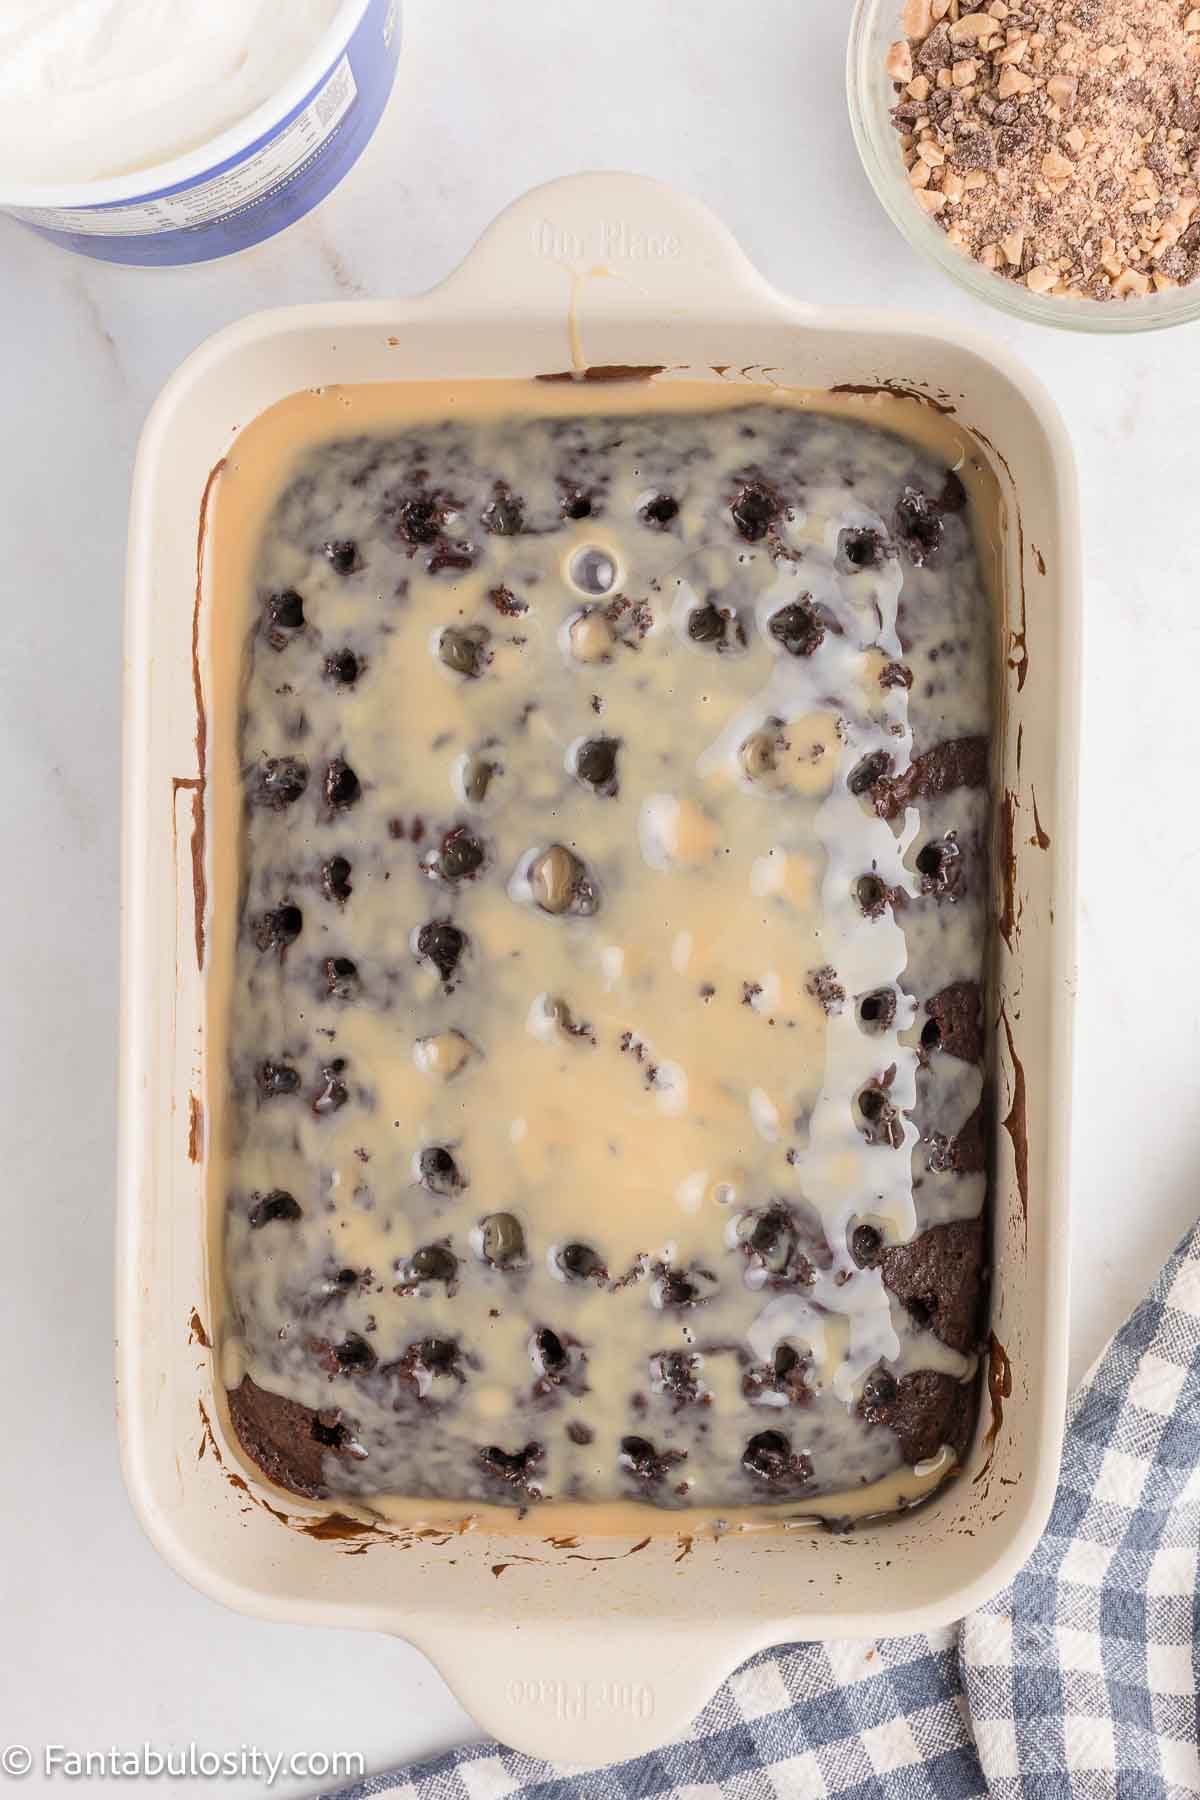
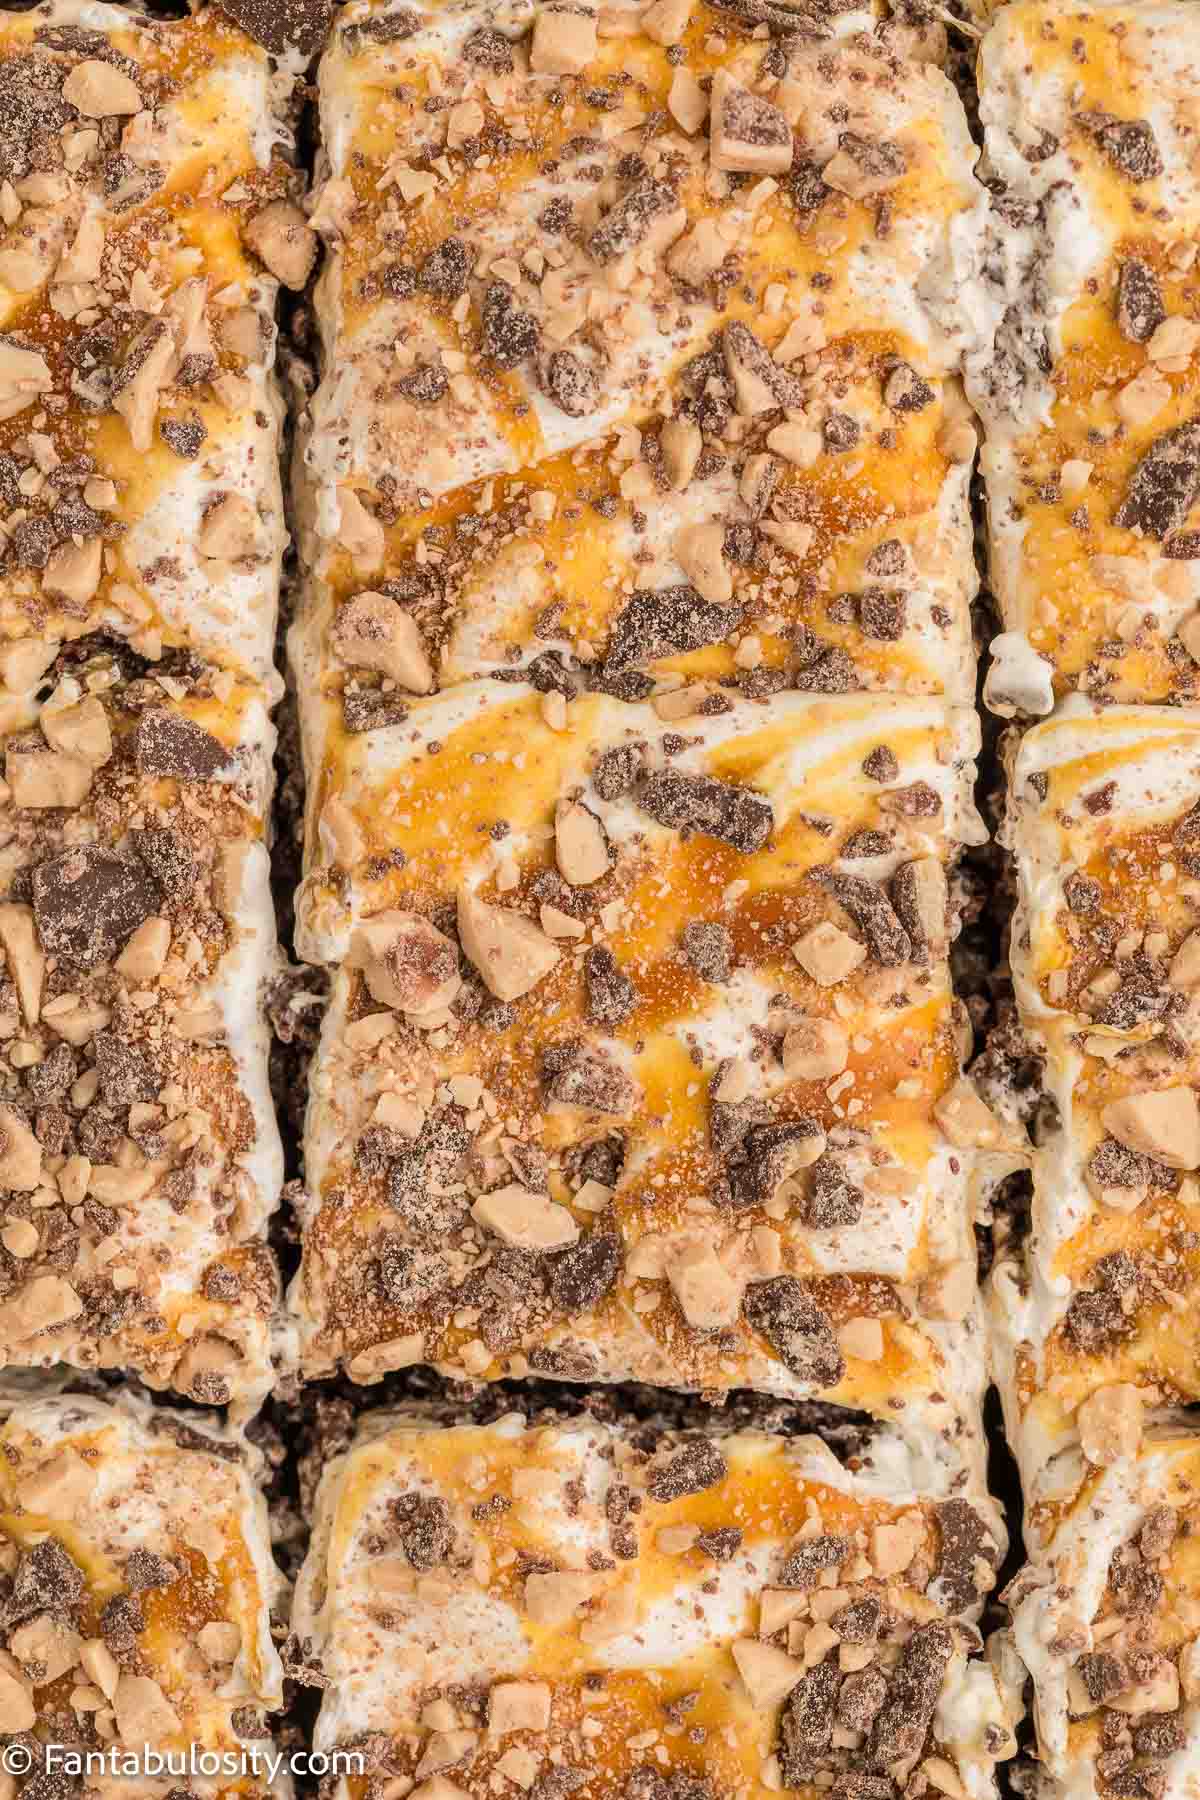
Spoon the warm fudge over the frosting and gently swirl it with an offset spatula or butter knife.
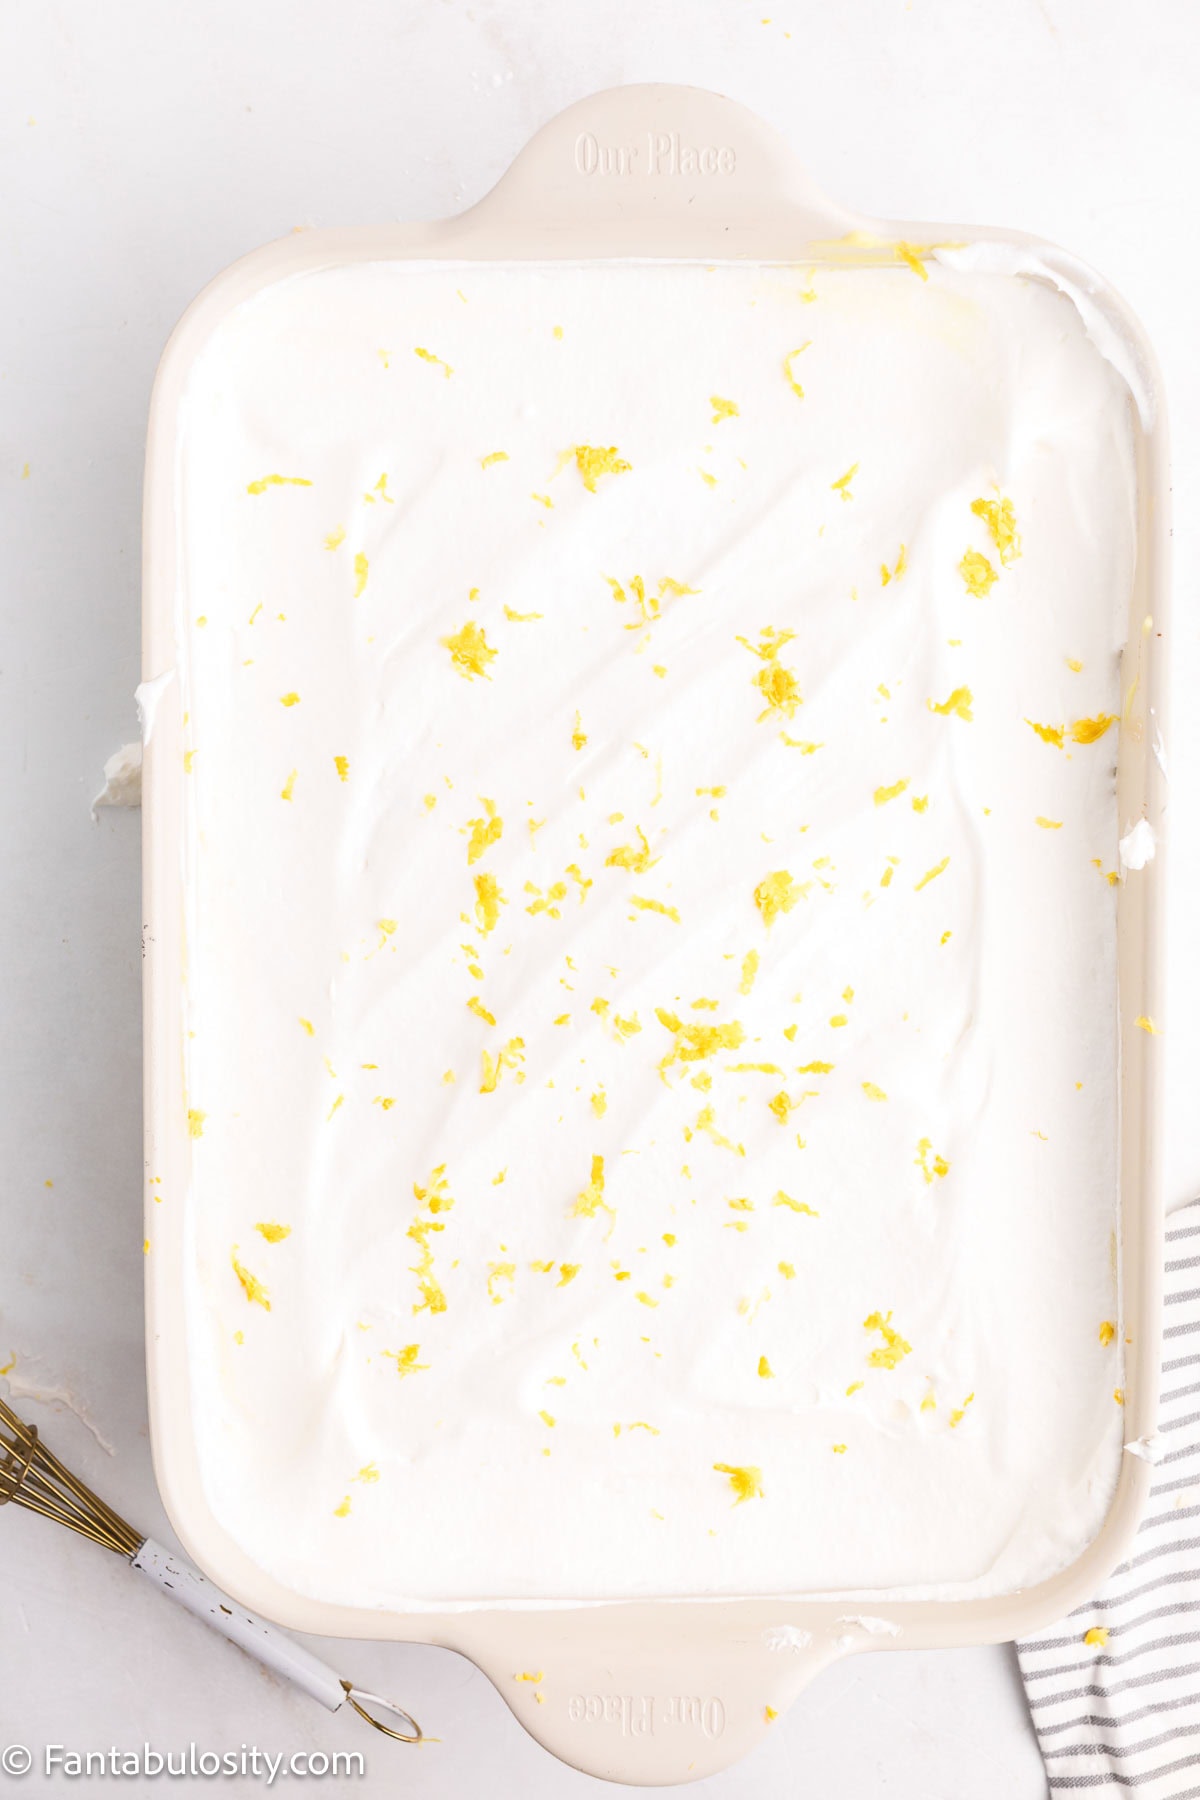
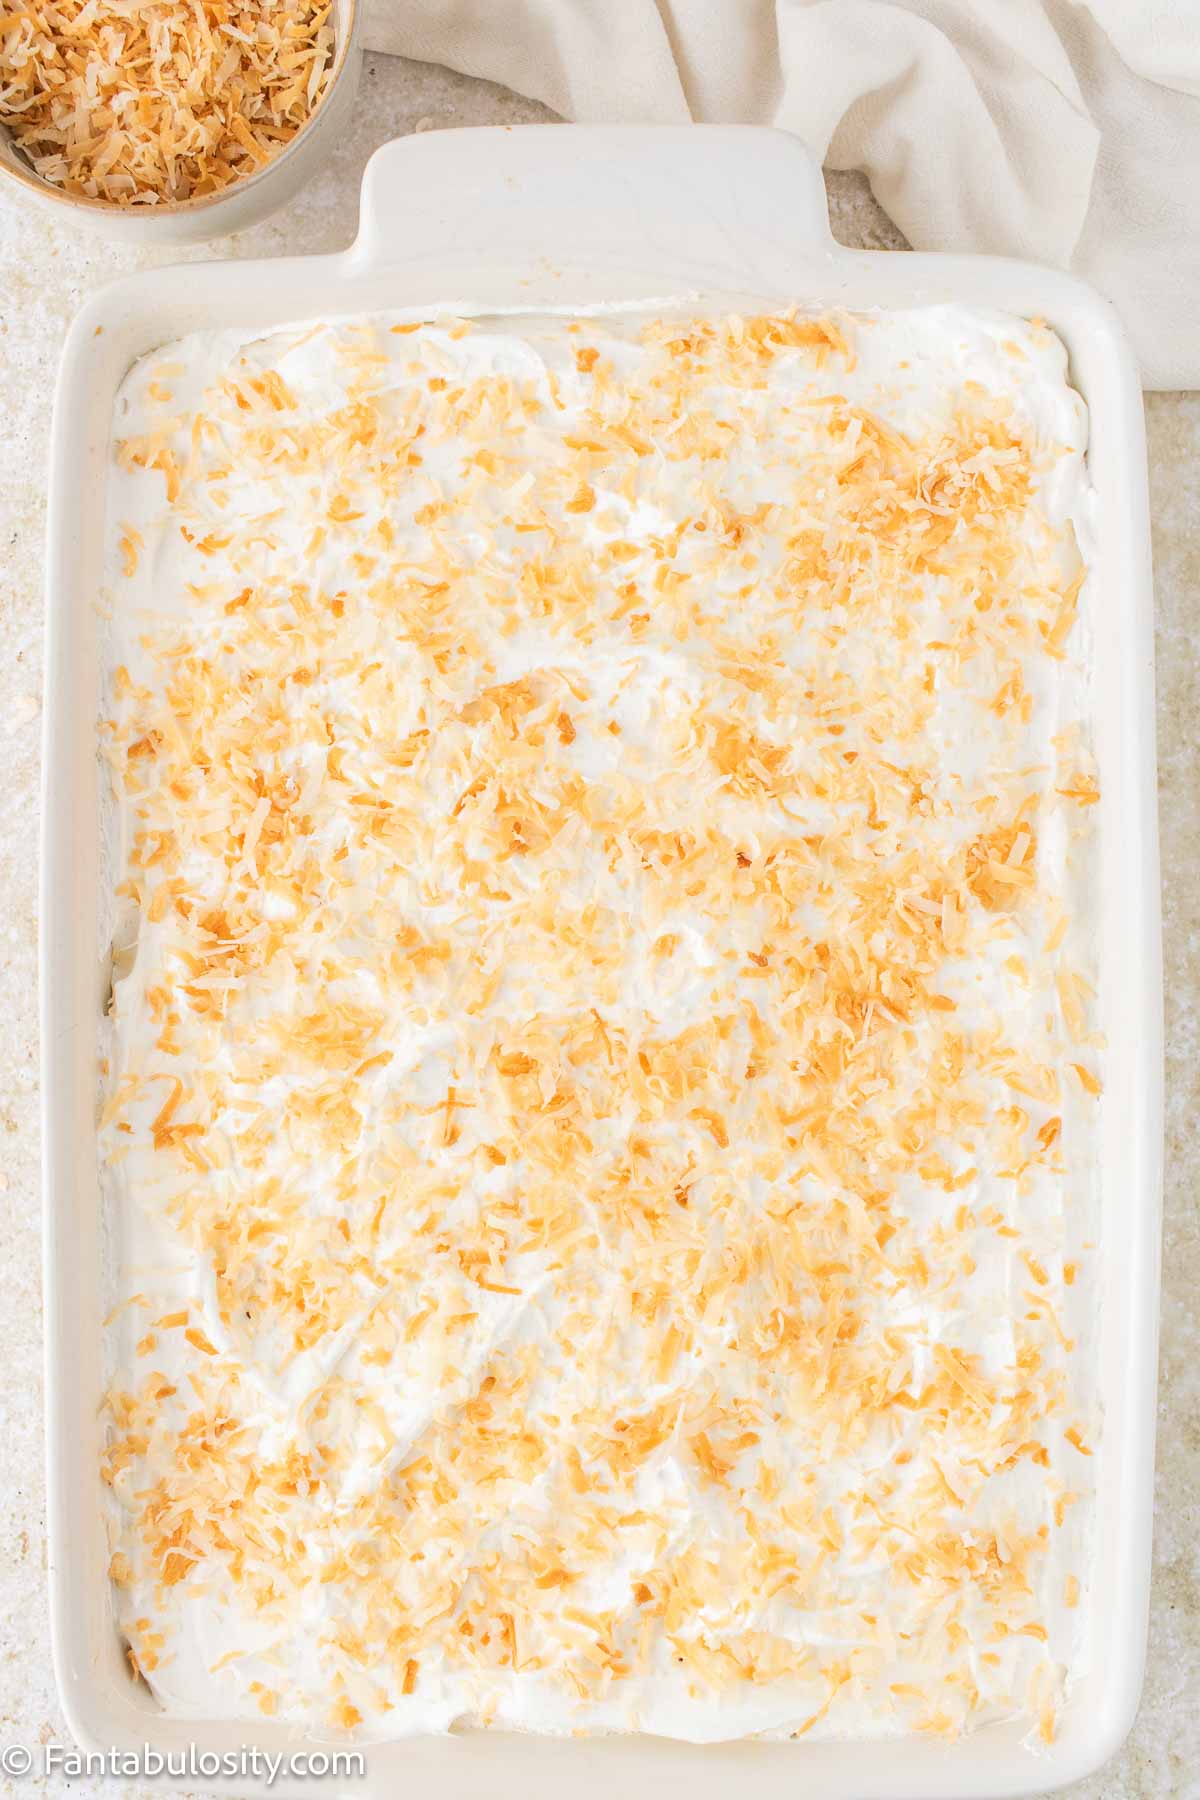
If desired, sprinkle a handful of mini chocolate chips over the top before serving.
Tips for the Best Chocolate Chip Cake
- Toss the chocolate chips with flour before adding them to the batter to help prevent sinking.
- Don’t overmix the batter after adding the flour. Mixing just until combined creates a softer cake.
- Let the fudge cool slightly before swirling it into the frosting so it doesn’t melt the buttercream.
- Love extra frosting? Double the buttercream recipe.
- Bring refrigerated cake to room temperature before serving for the softest texture.
Storage
Cover the cake tightly and store it at room temperature for up to 3 days.
For longer storage, refrigerate it for up to 1 week. Let slices sit at room temperature for about 30 minutes before serving.
The unfrosted cake also freezes well for up to 3 months.
More Recipes You’ll Love
Recipe

Chocolate Chip Cake
Ingredients
Cake Recipe
- 1 cup unsalted butter browned and cooled slightly
- 1 ½ cups granulated sugar
- ½ cup light brown sugar packed
- 3 large eggs room temp
- 2 teaspoons vanilla extract
- 1 cup unflavored whole milk yogurt or Greek yogurt, room temp
- 2 ¾ cups all-purpose flour
- 2 teaspoons baking powder
- ½ teaspoon baking soda
- 1 teaspoon fine salt
- 1 cup whole milk room temp
- 1 ½ cups semisweet chocolate chips tossed in 1 tablespoon flour
Vanilla Brown Sugar Buttercream
- 1 ½ cups unsalted butter softened
- ½ cup light brown sugar very finely packed
- 4 cups powdered sugar
- 1 tablespoon vanilla extract
- 2-4 tablespoons heavy cream
- 1 Pinch of salt
Warm Fudge Swirl
- ½ cup semisweet chocolate chips
- 2 tablespoons butter
- 2 tablespoons corn syrup or honey
- ¼ cup heavy cream
Instructions
Make the Browned Butter Base
- In a small saucepan, cook the butter over medium heat until the milk solids turn golden and it smells nutty. Don't over cook. Cooking until golden will add some flavor but if you over cook it, the butter will become bitter.
- Remove from heat and cool for 10 minutes - it should be pourable but not hot.
Mix the Cake Batter
- Preheat the oven to 350°F.
- Grease pans. You can use butter but I used a butter flavored spray and it worked well.
- Using a mixer with the flat beater attachment, combine browned butter, granulated sugar, and brown sugar. Beat on medium speed until creamy, 2-3 minutes.
- Add eggs one at a time. Using slow speed, mix well.
- Add vanilla and yogurt. Using slow speed, mix until combined.
- In a separate bowl, add flour, baking powder, baking soda, and salt. Whisk or sift to combine.
- Alternate adding dry ingredients and milk into the batter, mixing on low until just combined. I mix until about ¾ combined.
- Fold in chocolate chips. Mix until barely combined, don't over mix.
Bake
- Spread batter into pan(s).
- Bake 28-34 minutes for a 9×13 or 22-26 minutes for round pans, until lightly golden and a toothpick comes out clean.
- Cool fully before frosting.
Make the Brown Sugar Buttercream
- Using a mixer with the flat beater attachment, beat butter and brown sugar together for 3-4 minutes until whipped and smooth.
- At slow speed, add powdered sugar gradually. I add about 1 cup at a time.
- Mix in vanilla and salt.
- Add heavy cream 1 tablespoon at a time until fluffy and spreadable.
Make the Warm Fudge Swirl
- Melt chocolate chips, butter, and corn syrup together over low heat. You can also do it in the microwave but only at 10 second intervals until it starts to melt. If you do it longer the chocolate will burn.
- Stir in heavy cream to make a glossy fudge.
- Let cool slightly. It should be pourable but not hot. If it is hot or even too warm it will melt the frosting.
Frost & Swirl
- Spread a thick layer of buttercream over the cooled cake.
- Drizzle spoonfuls of warm fudge around the surface.
- Use a spatula to gently swirl, creating ribbons (do not fully mix).
- Sprinkle extra mini chocolate chips on top. (optional)
Notes
- Toss the chocolate chips with flour before mixing into the batter.
- Brown the butter until golden and fragrant, not dark brown.
- Do not overmix the batter after adding the flour.
- Let the fudge cool slightly before swirling into the frosting.
- Internal temperature should reach about 160°F for doneness.