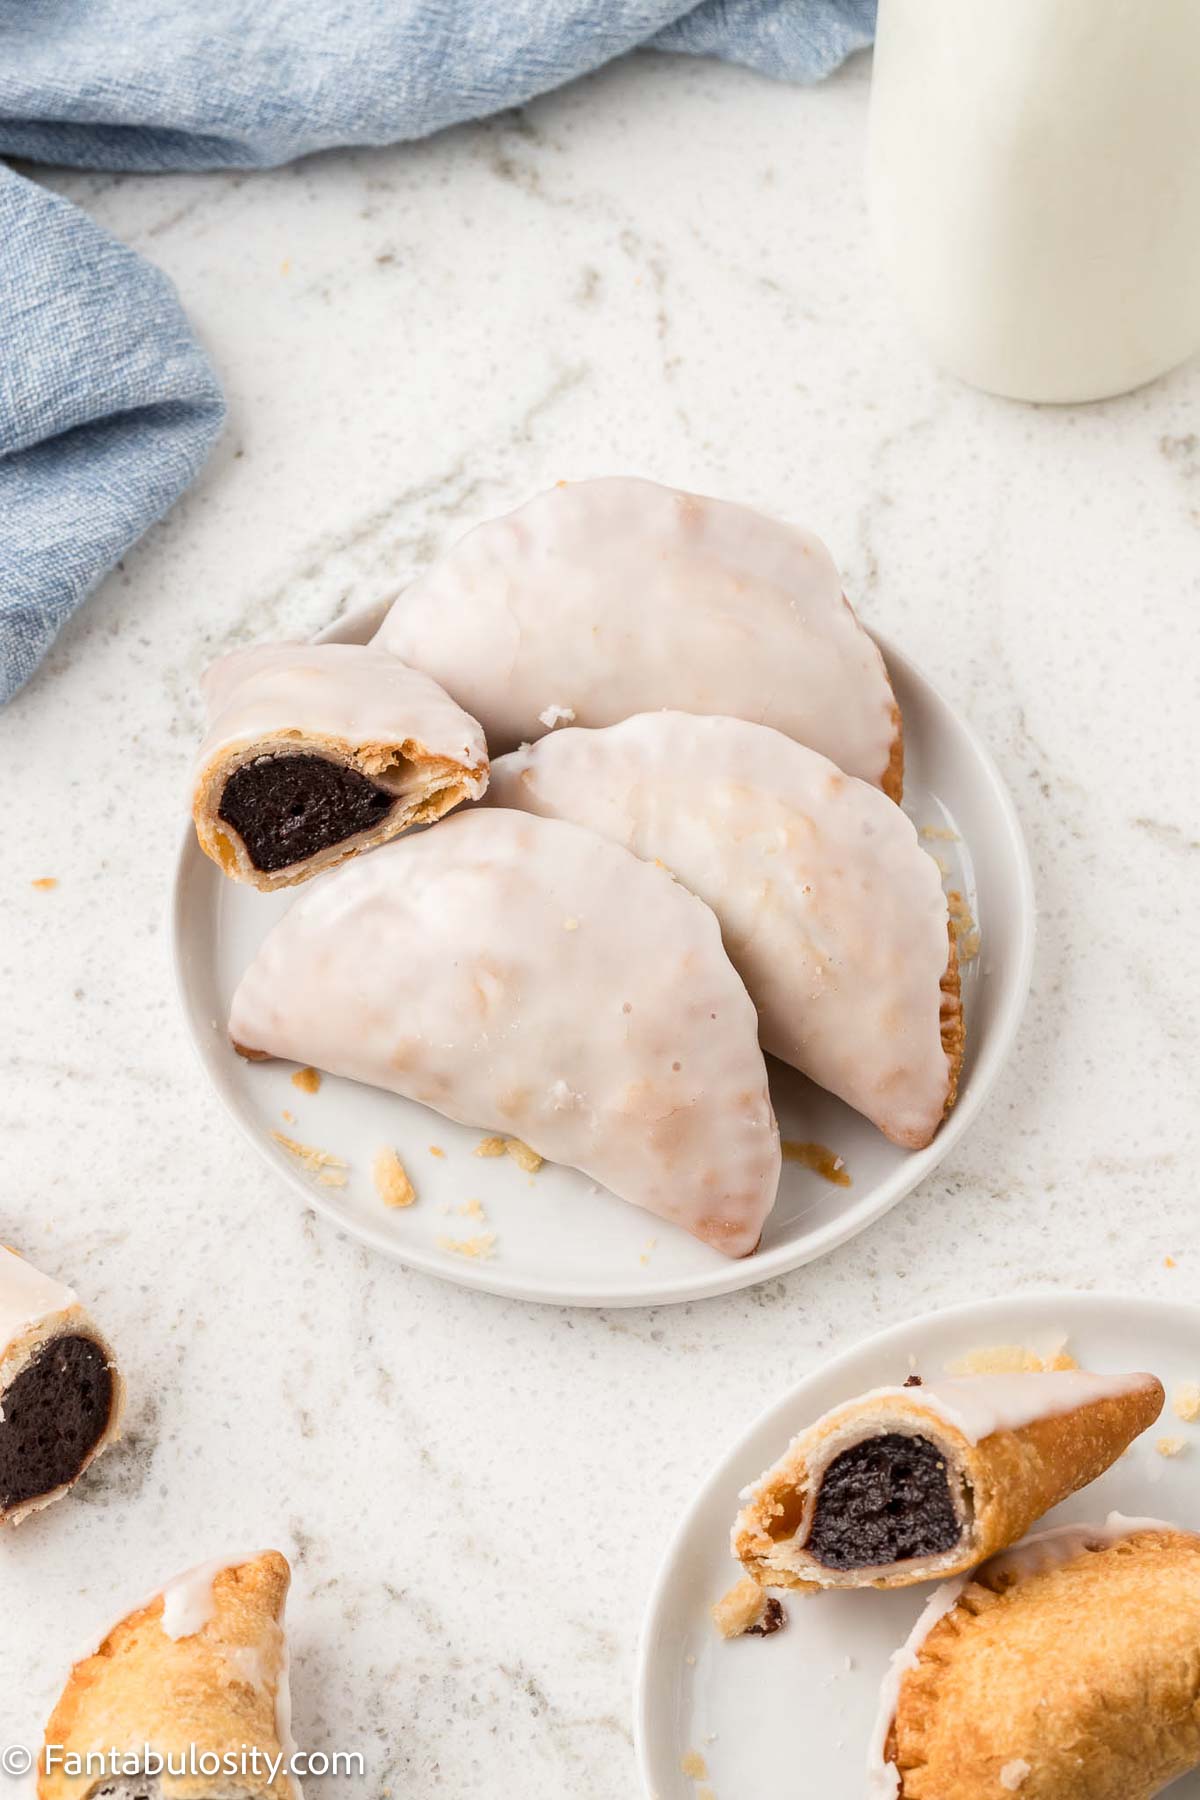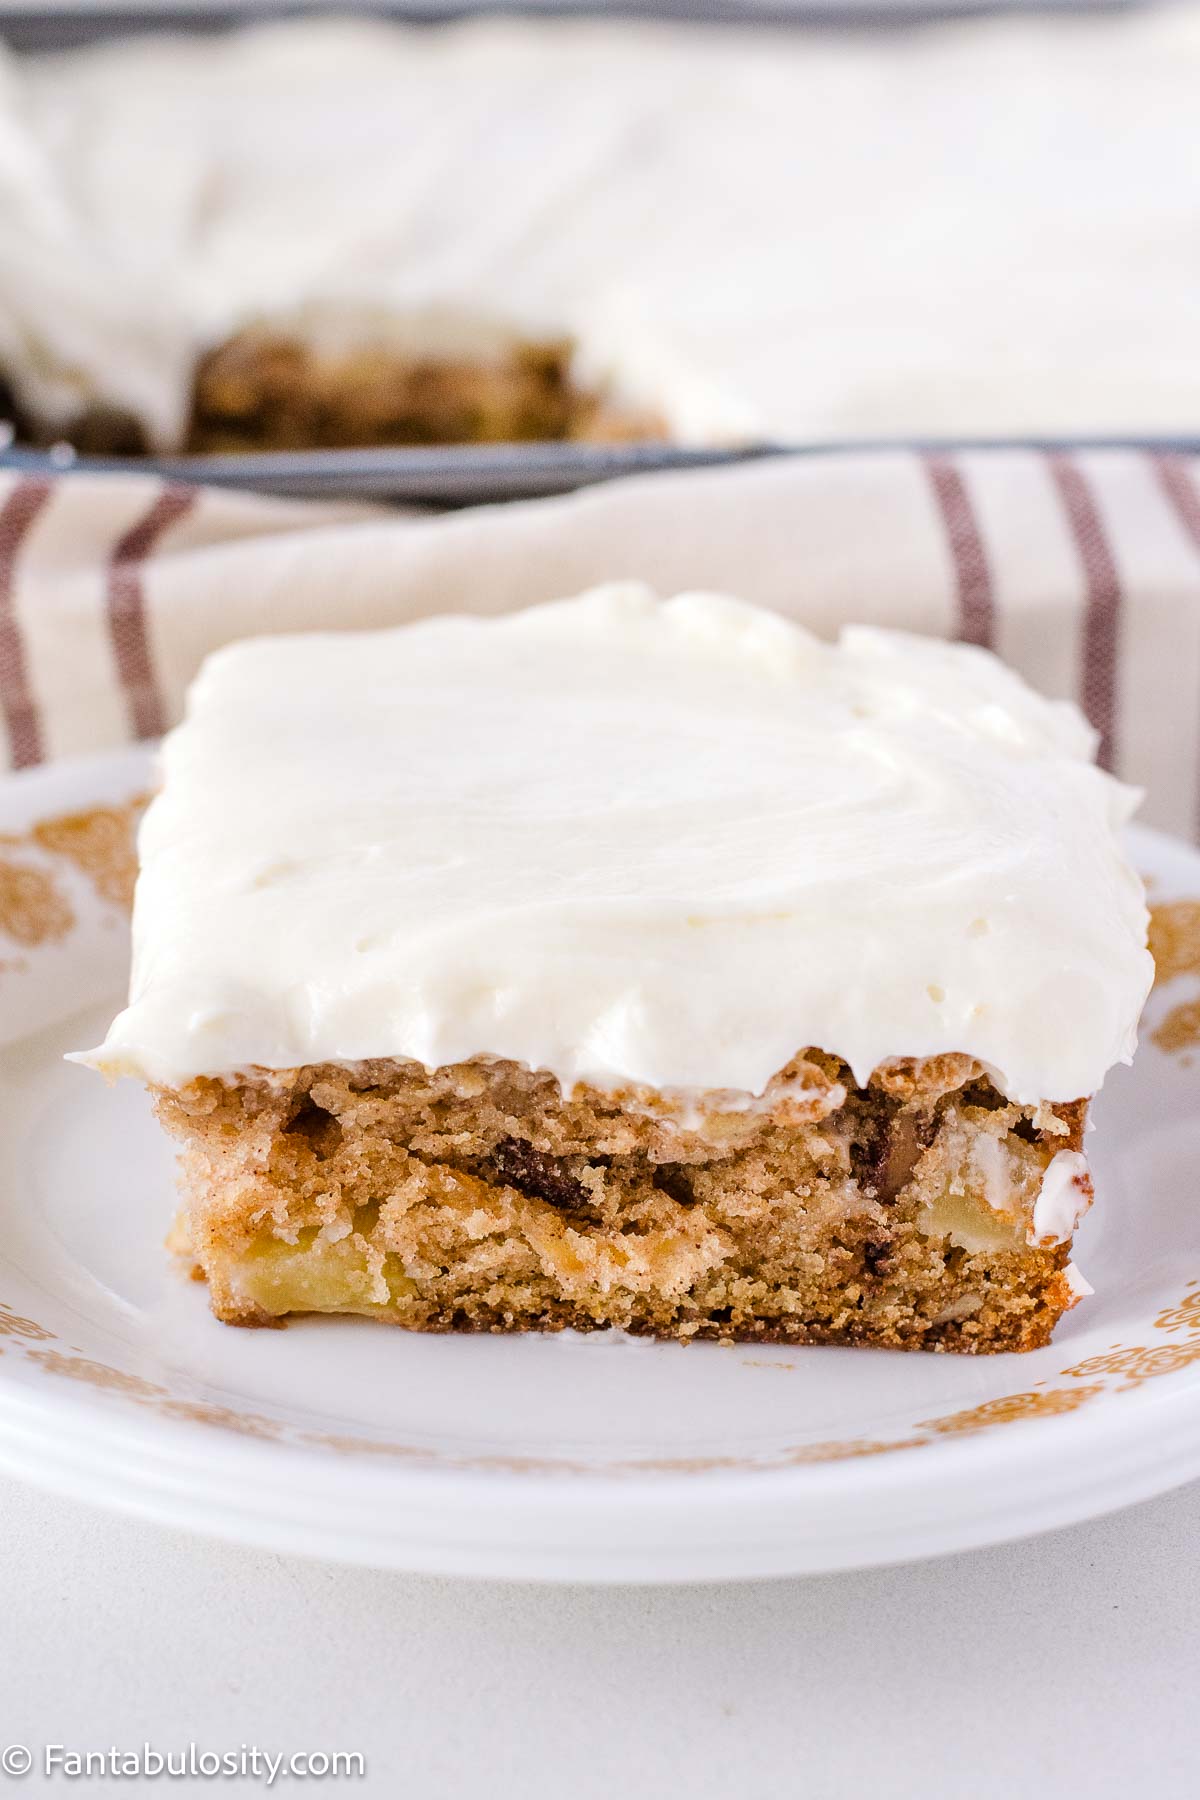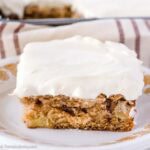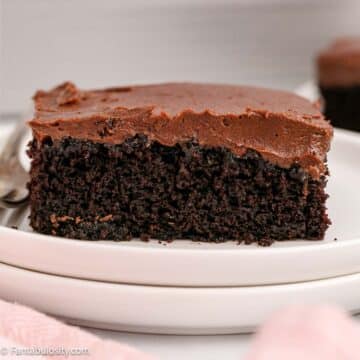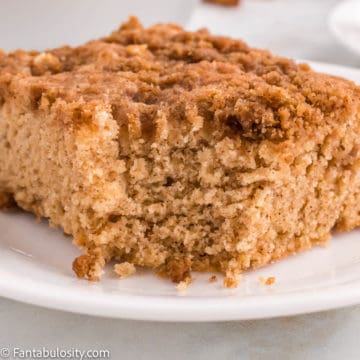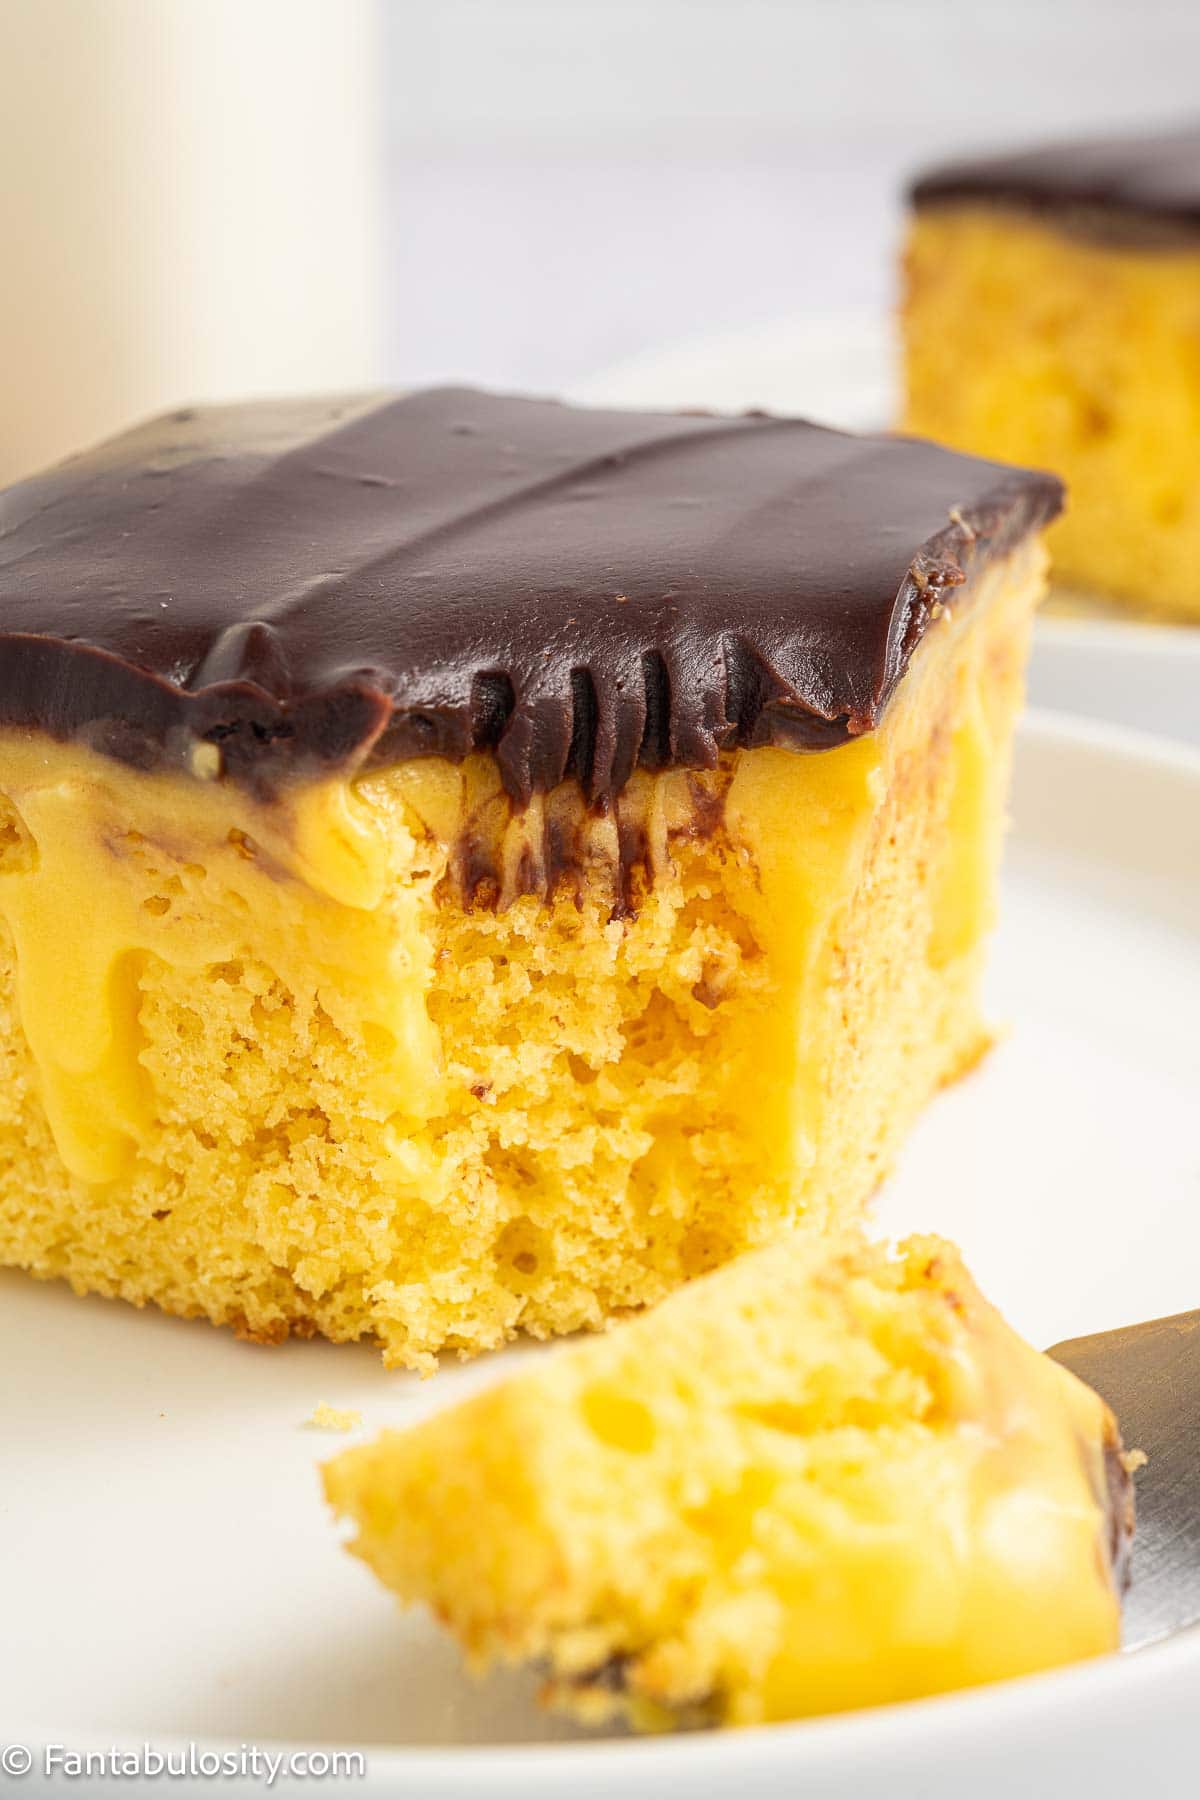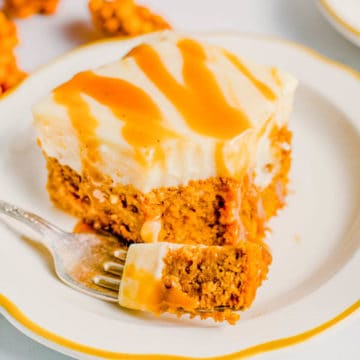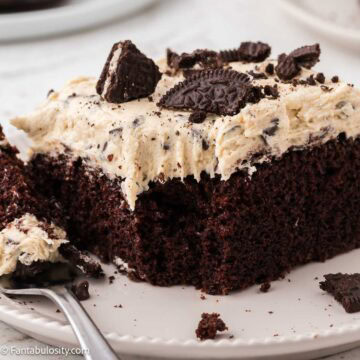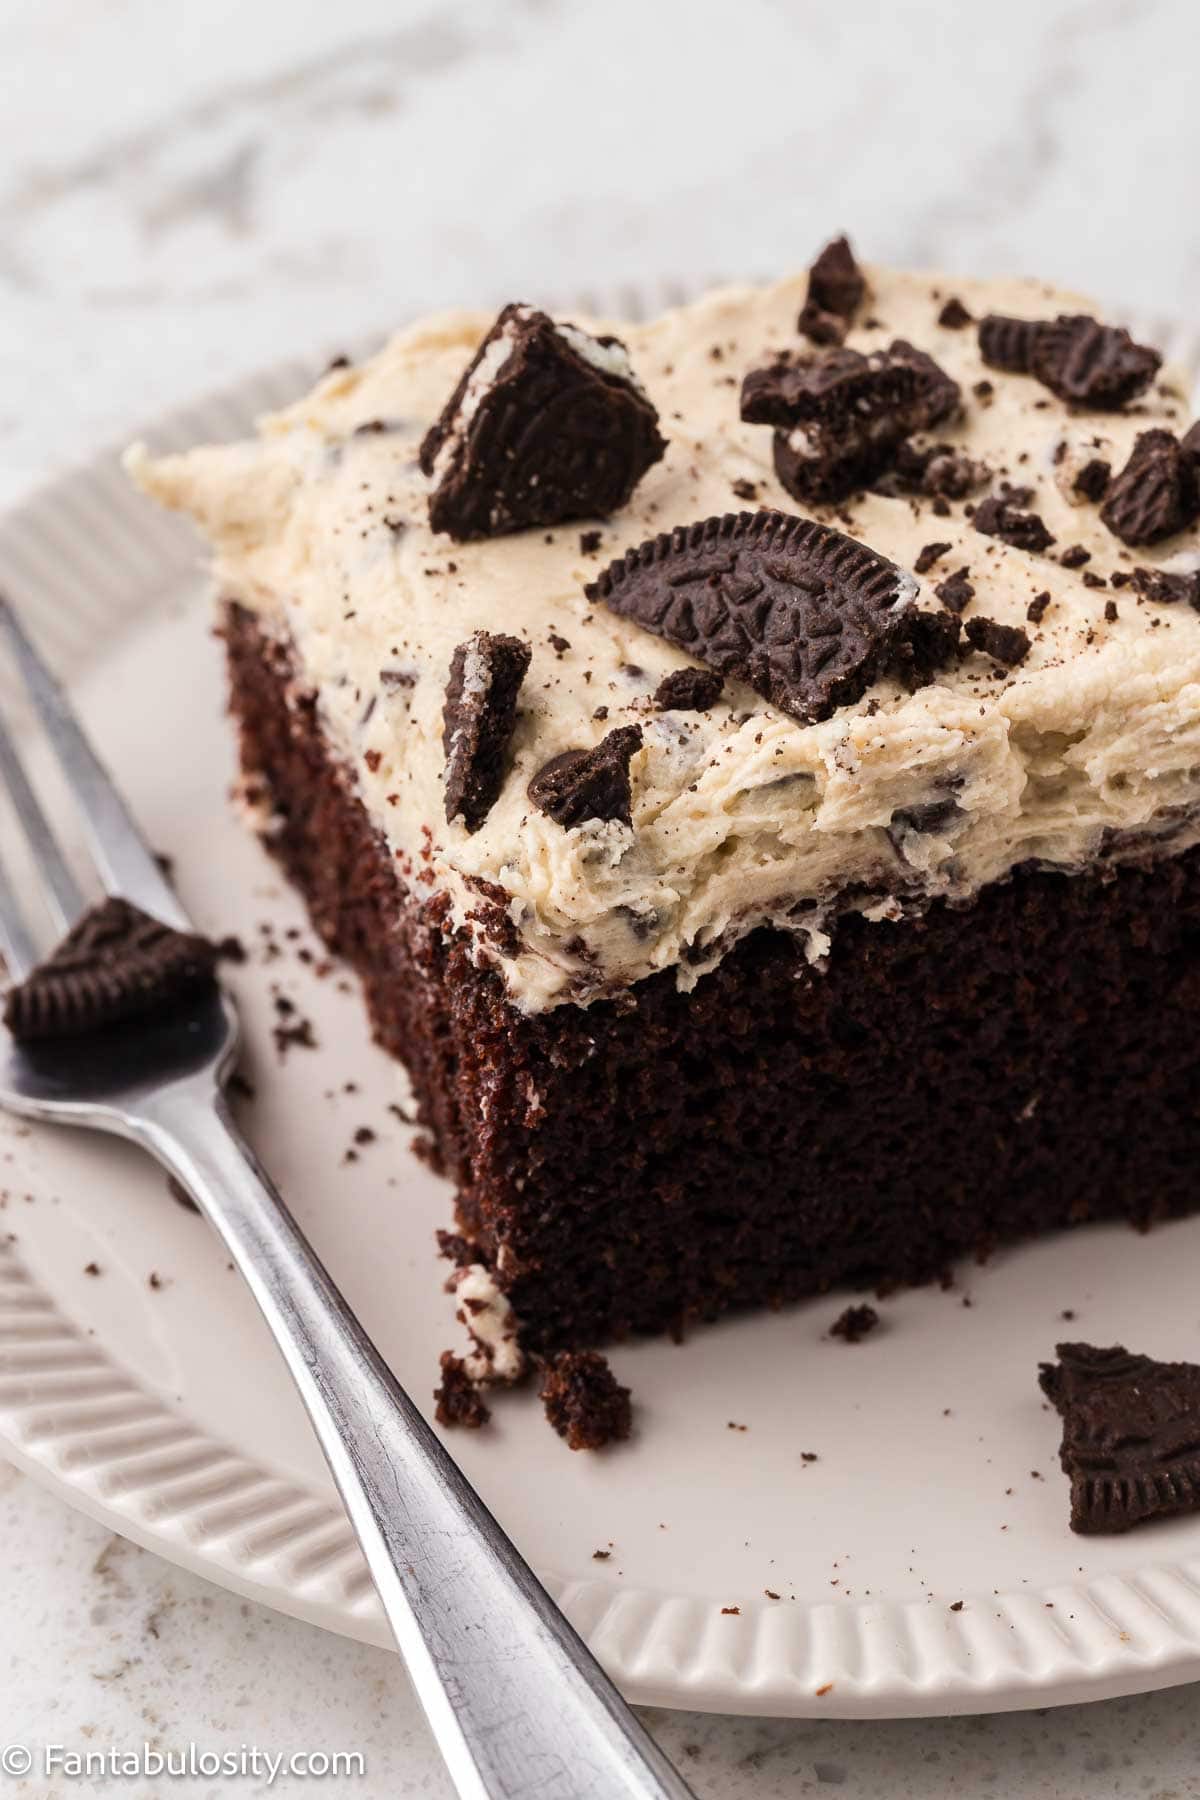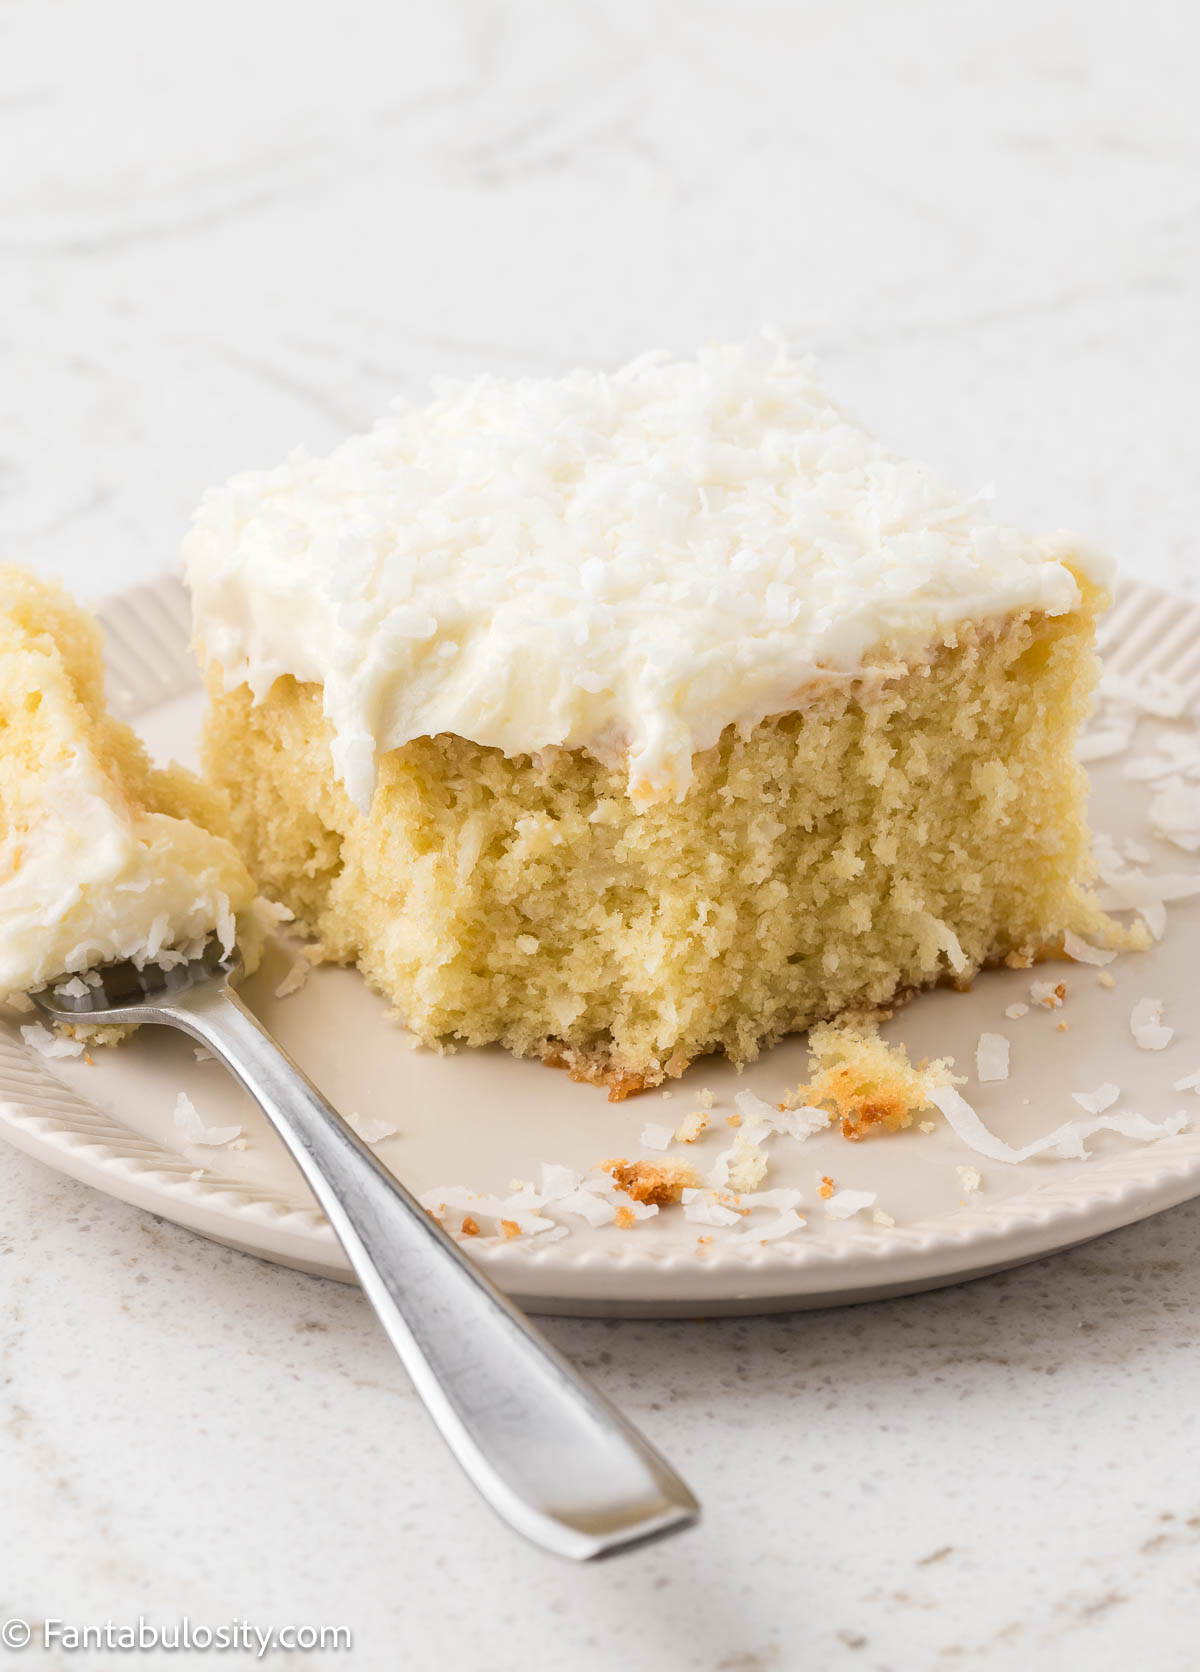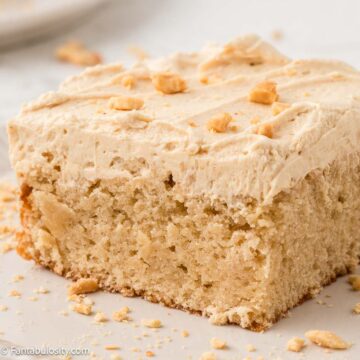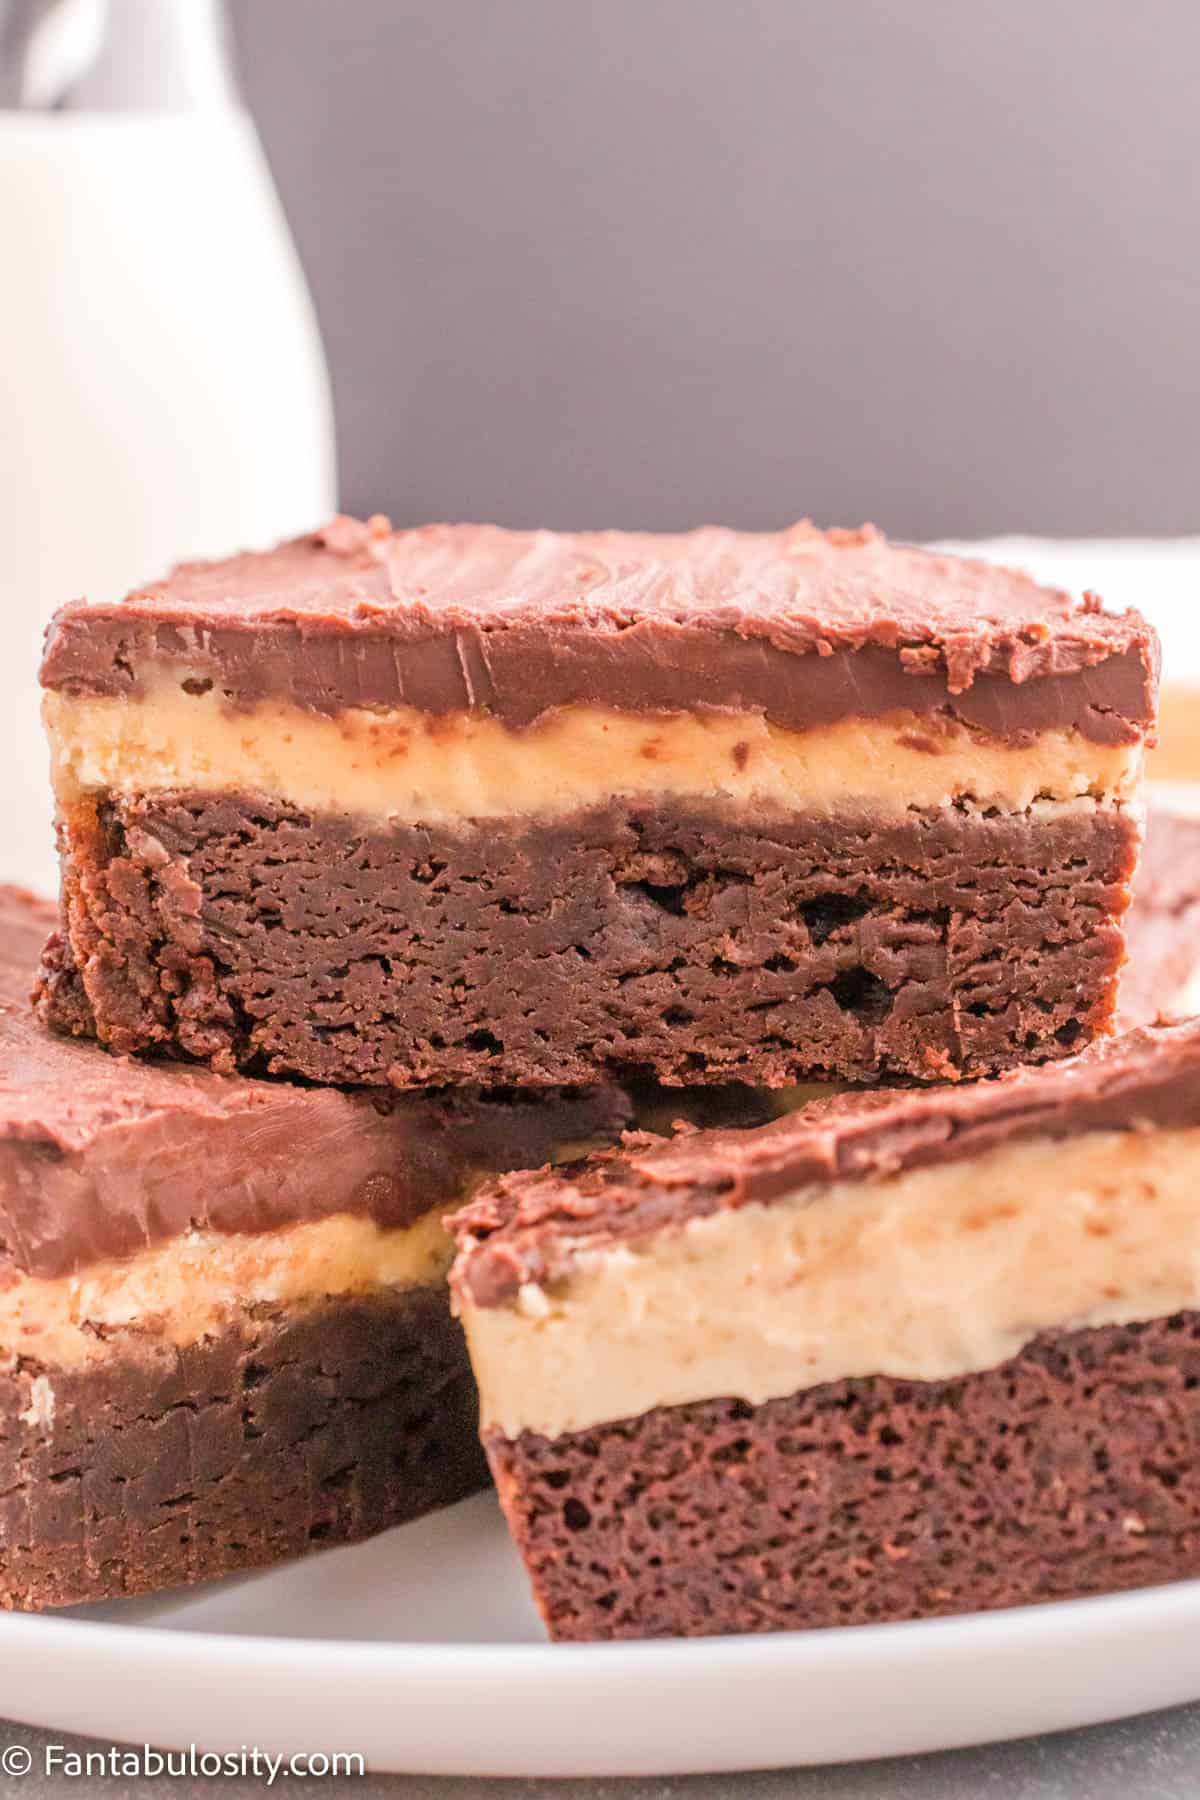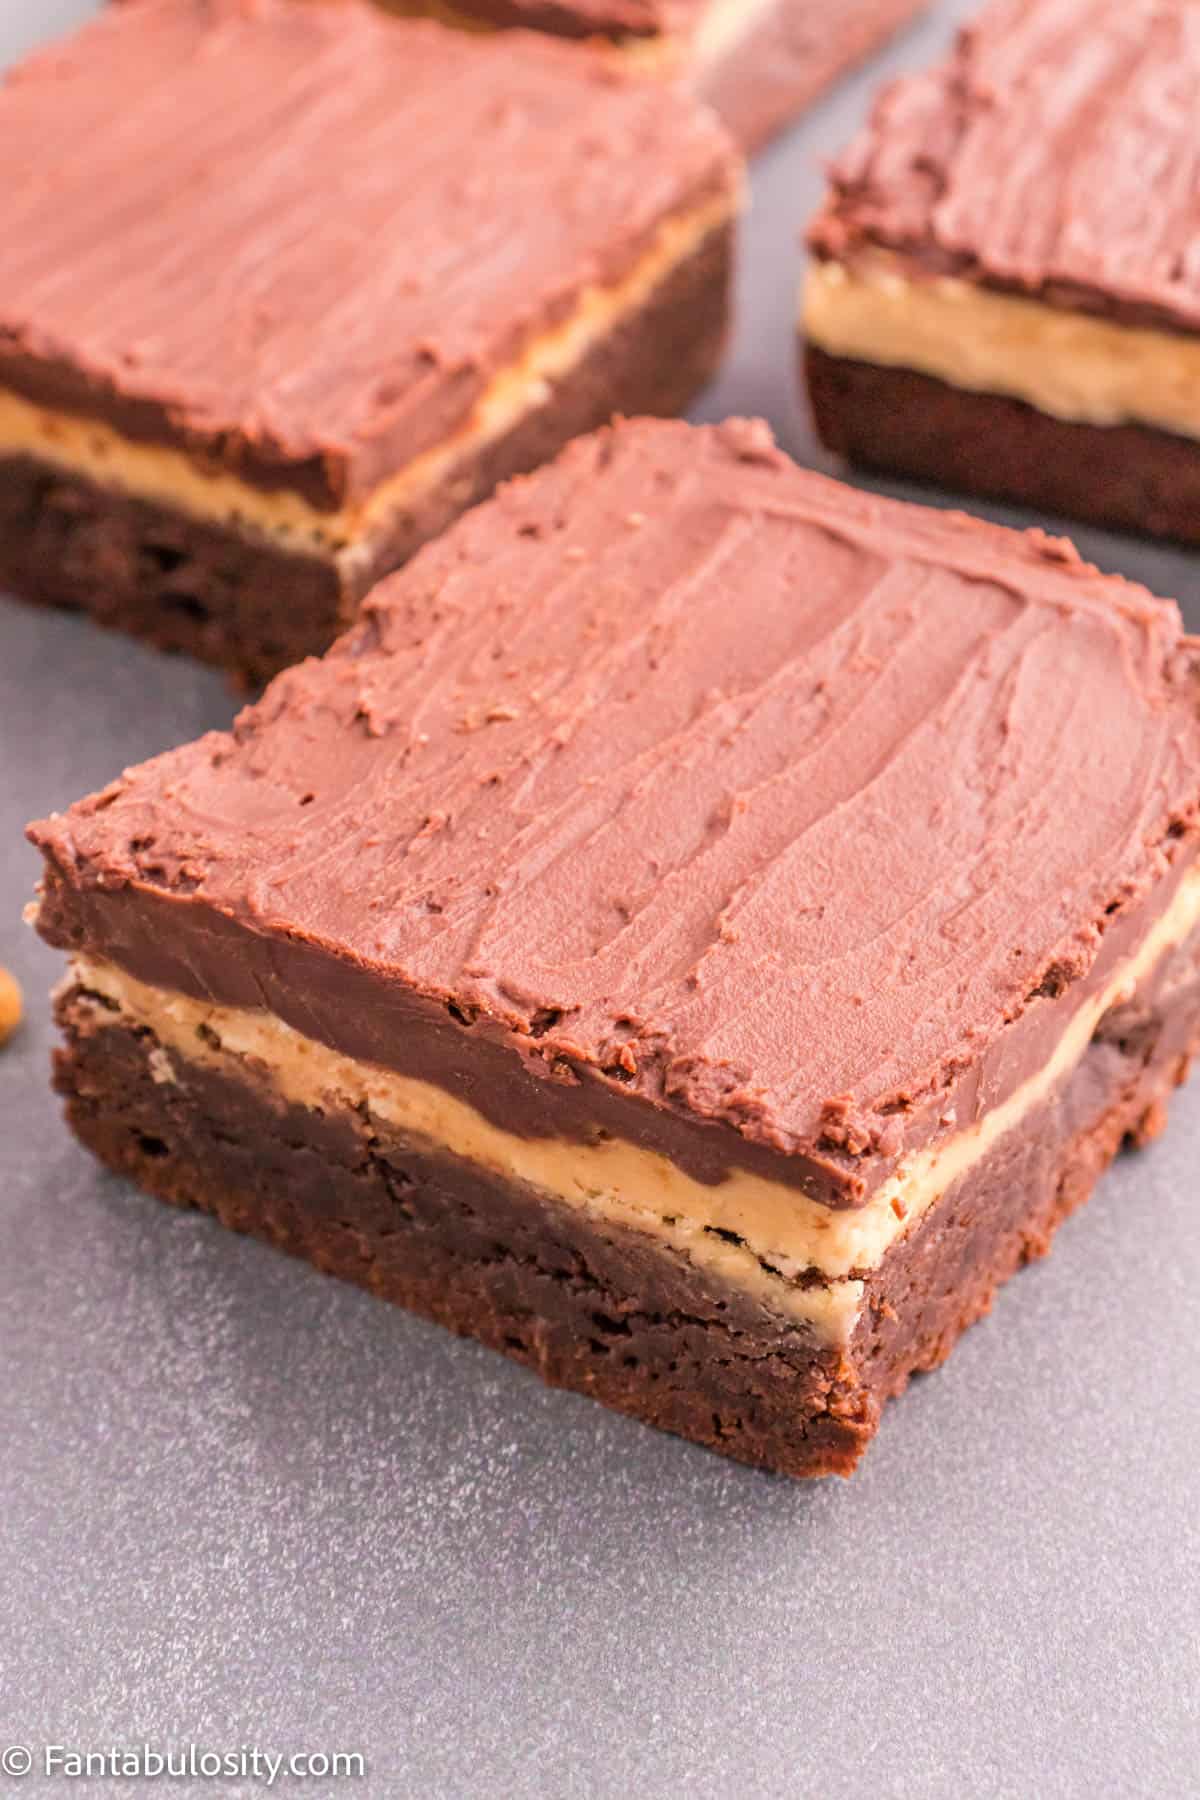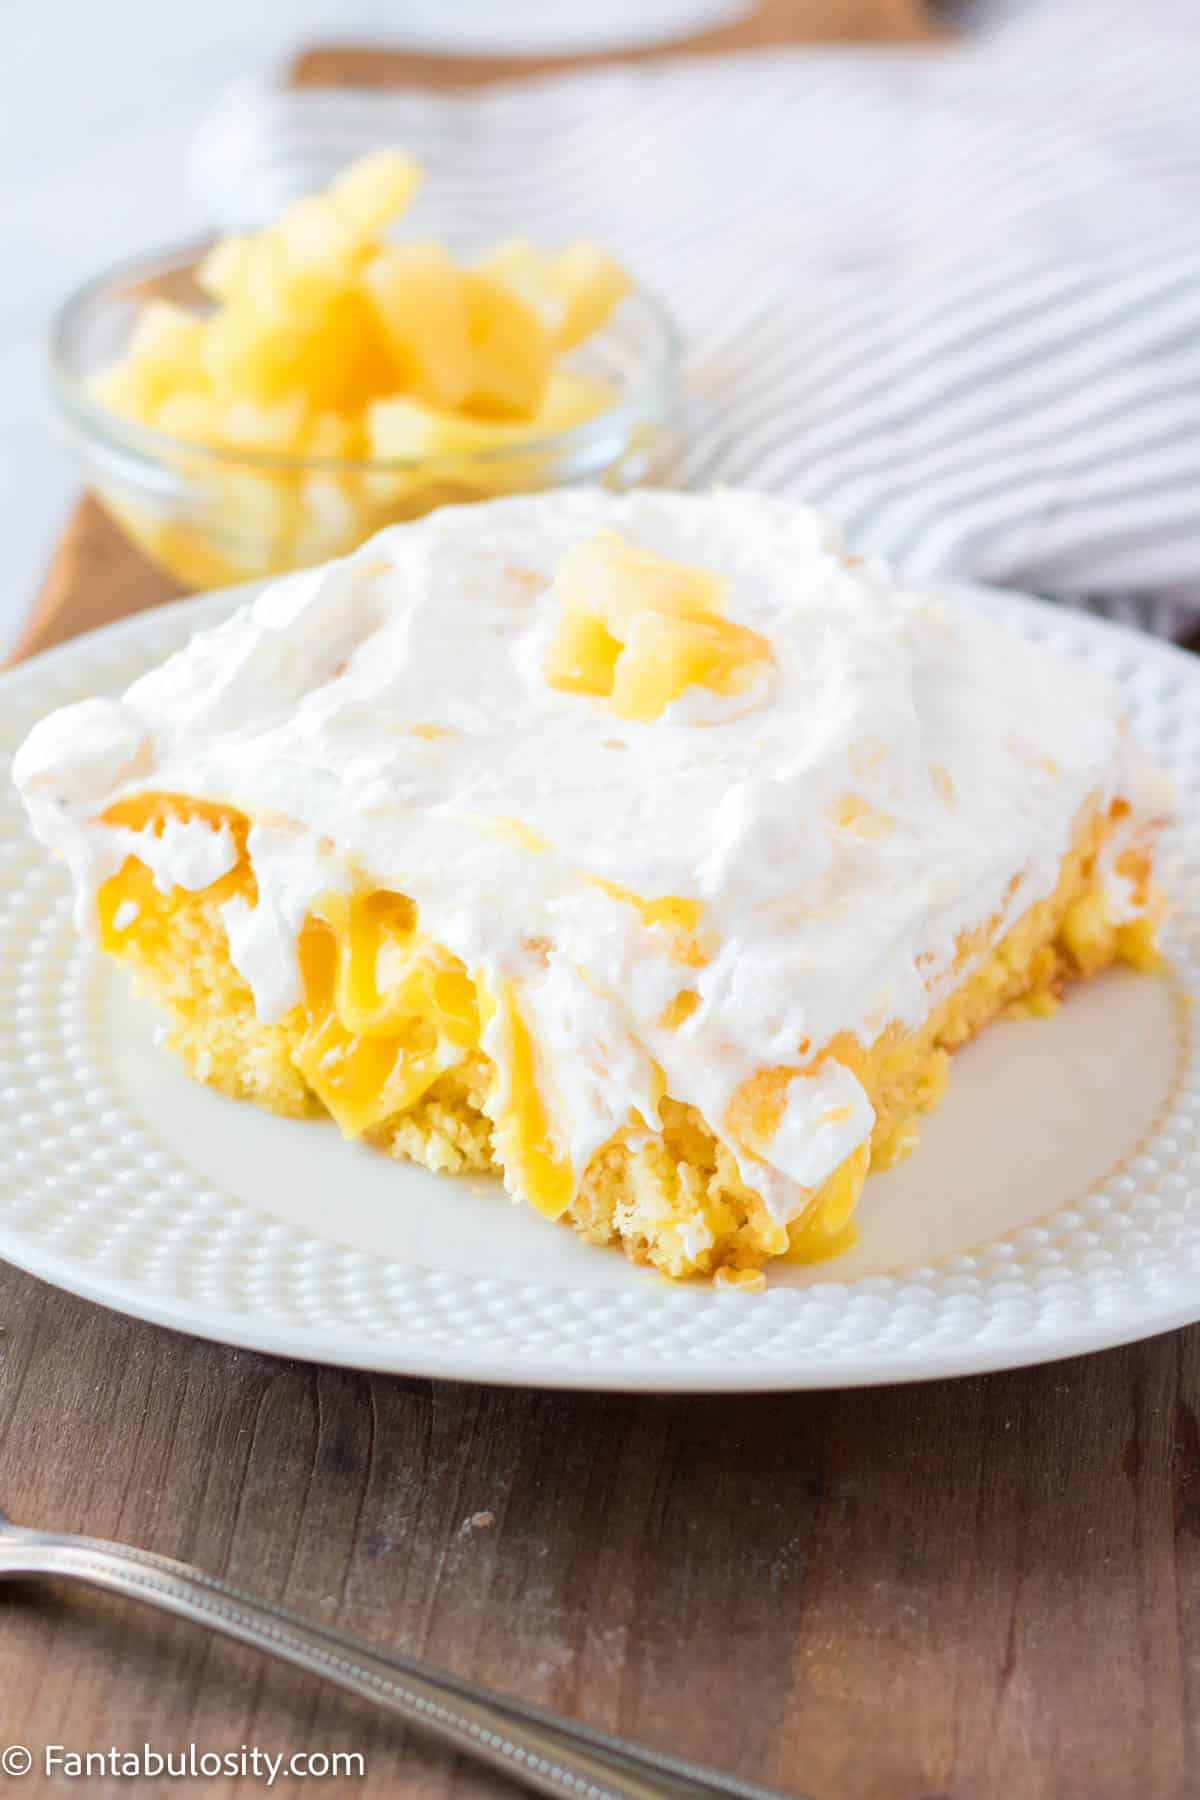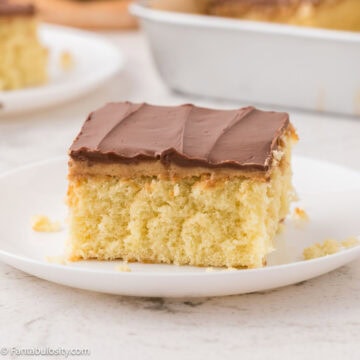
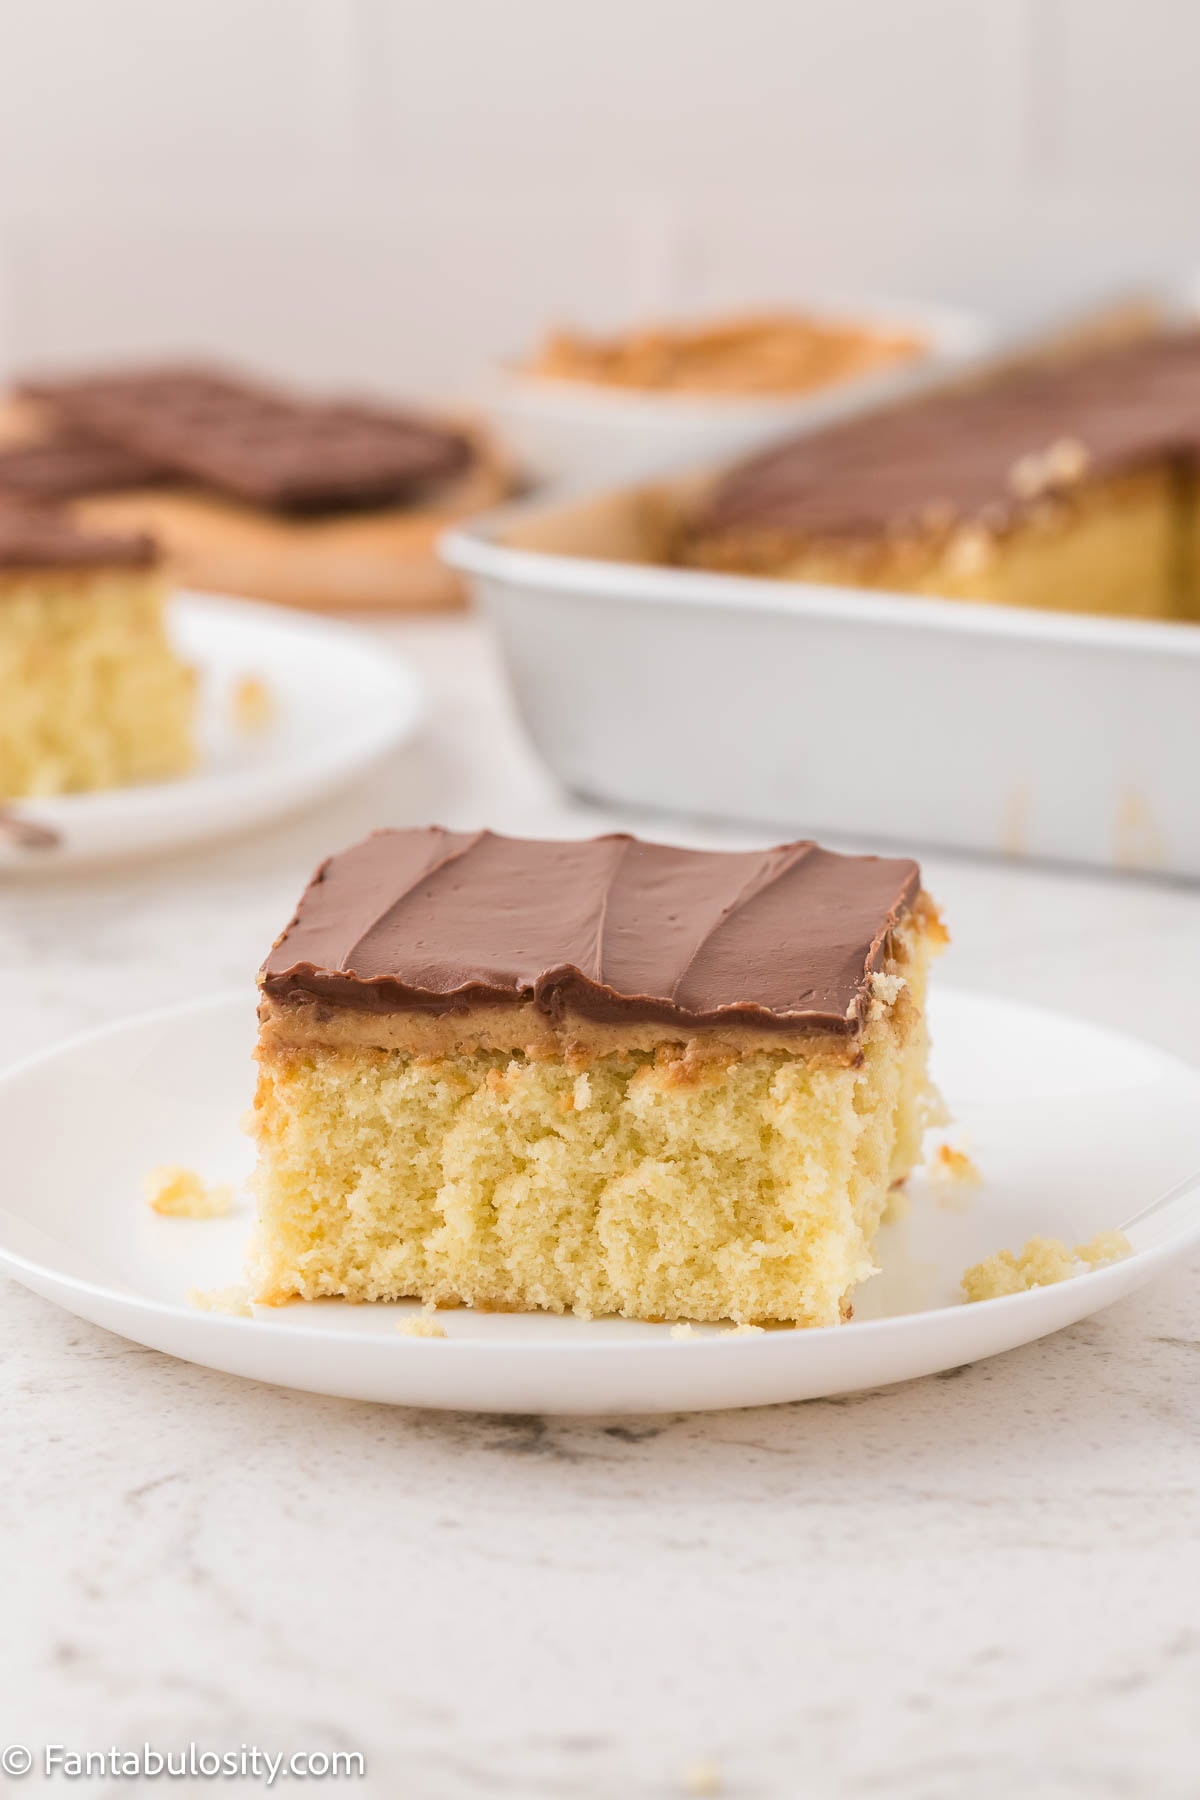
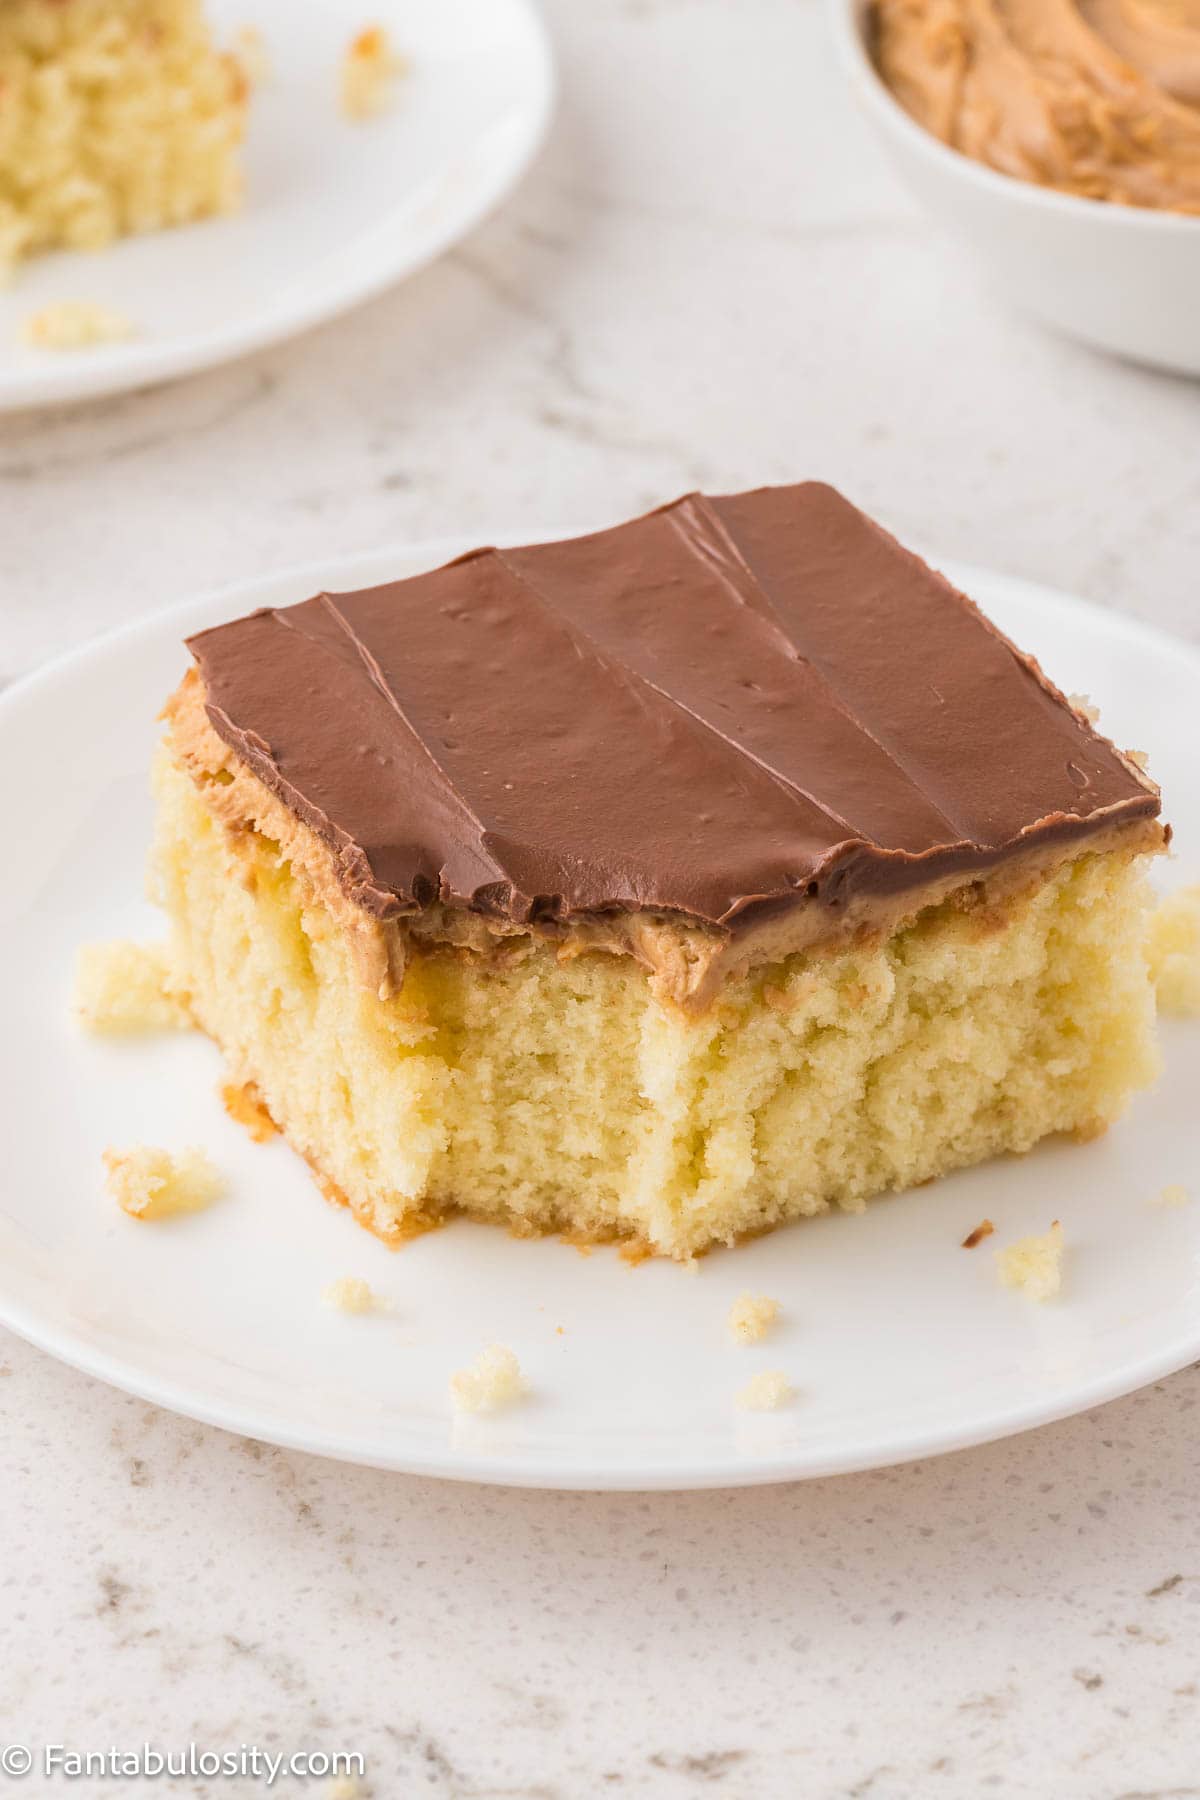
Inspired by the famous Tastykake version, tandy cake is a homemade treat that’s just as nostalgic: a fluffy vanilla sheet cake topped with a creamy peanut butter layer and finished with smooth milk chocolate. Every bite is pure childhood comfort.
This recipe is a vintage, family favorite for potlucks, holidays, or anytime you want a sweet treat that feels a little old-school.
Why You'll Love This Recipe
- A bakery-style Tandy Cake you can make right in your kitchen.
- Perfect balance of tender vanilla cake, creamy peanut butter, and rich chocolate.
- Great for potlucks, holidays, or a fun weekend baking project.
- Stores well in the fridge, making it easy to make ahead.
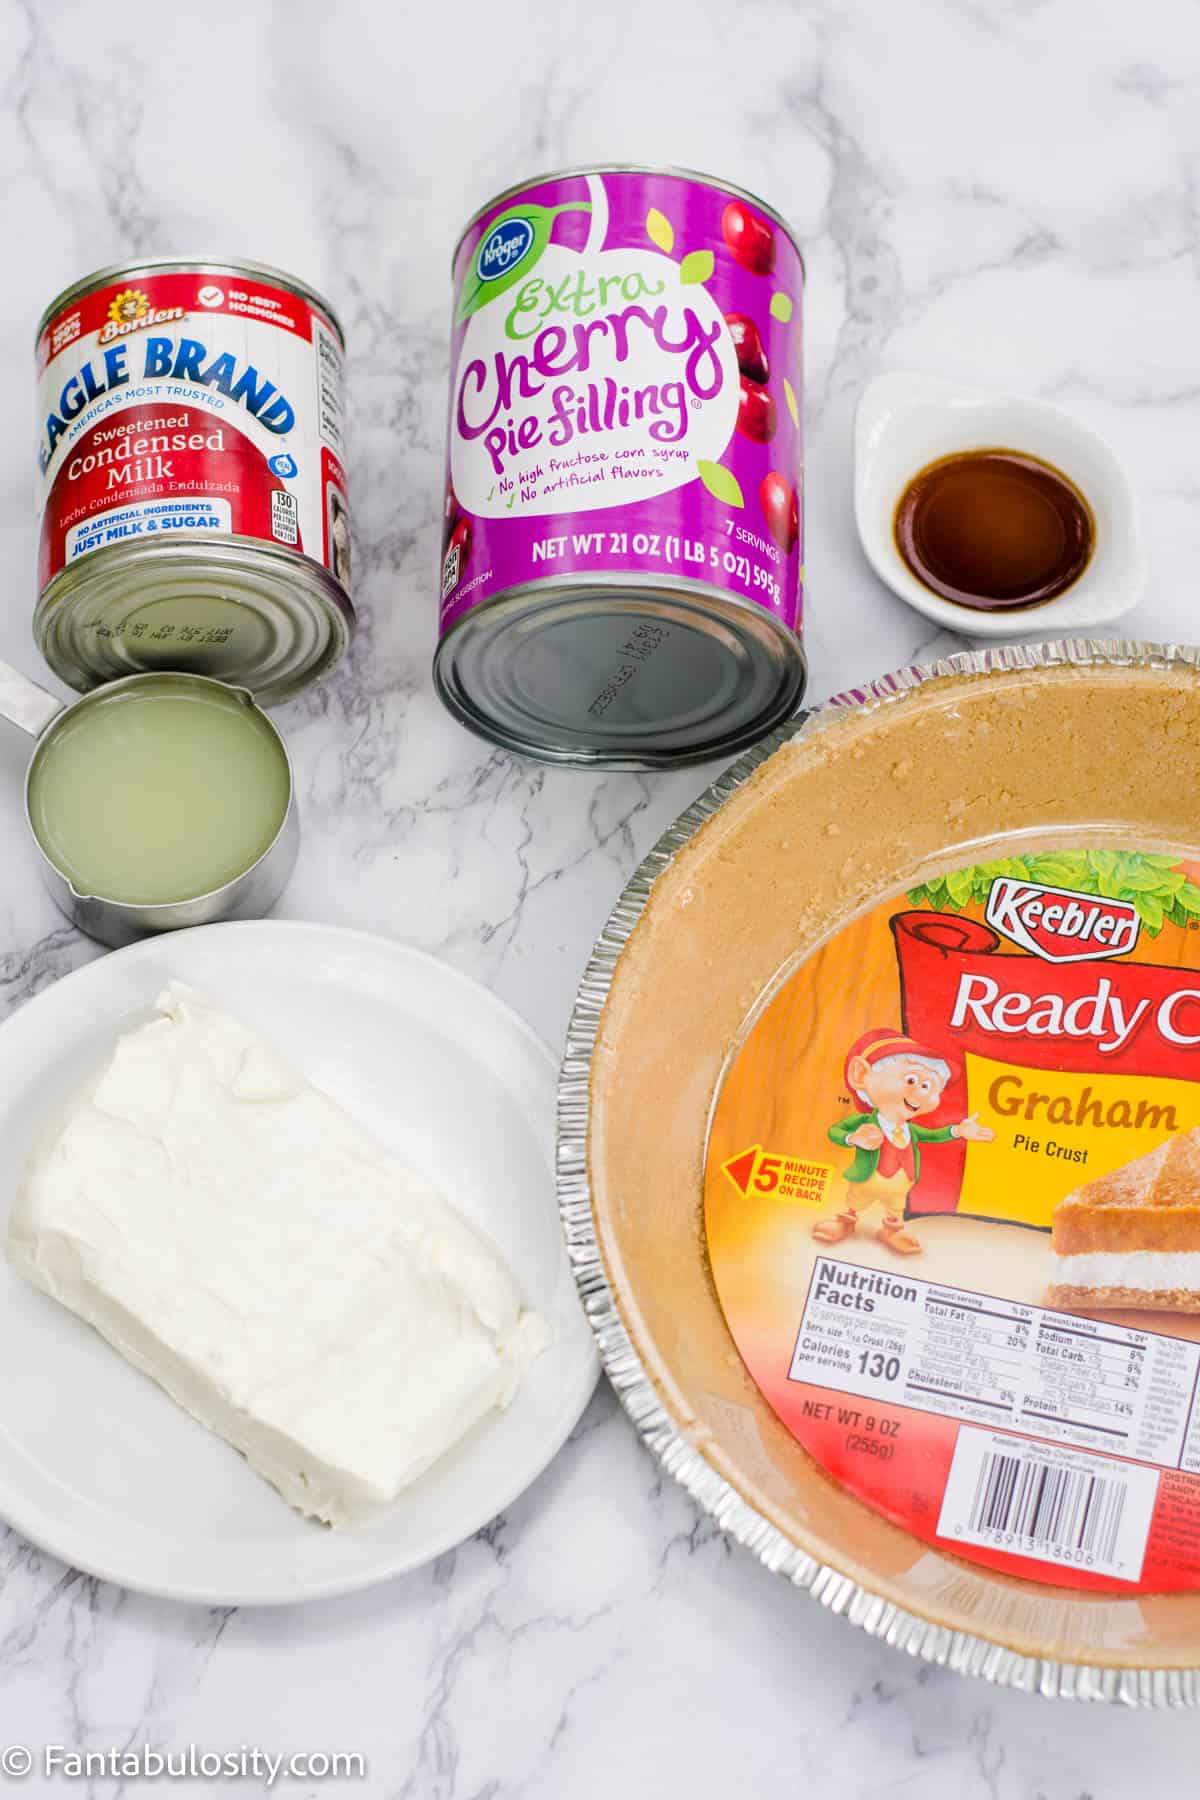
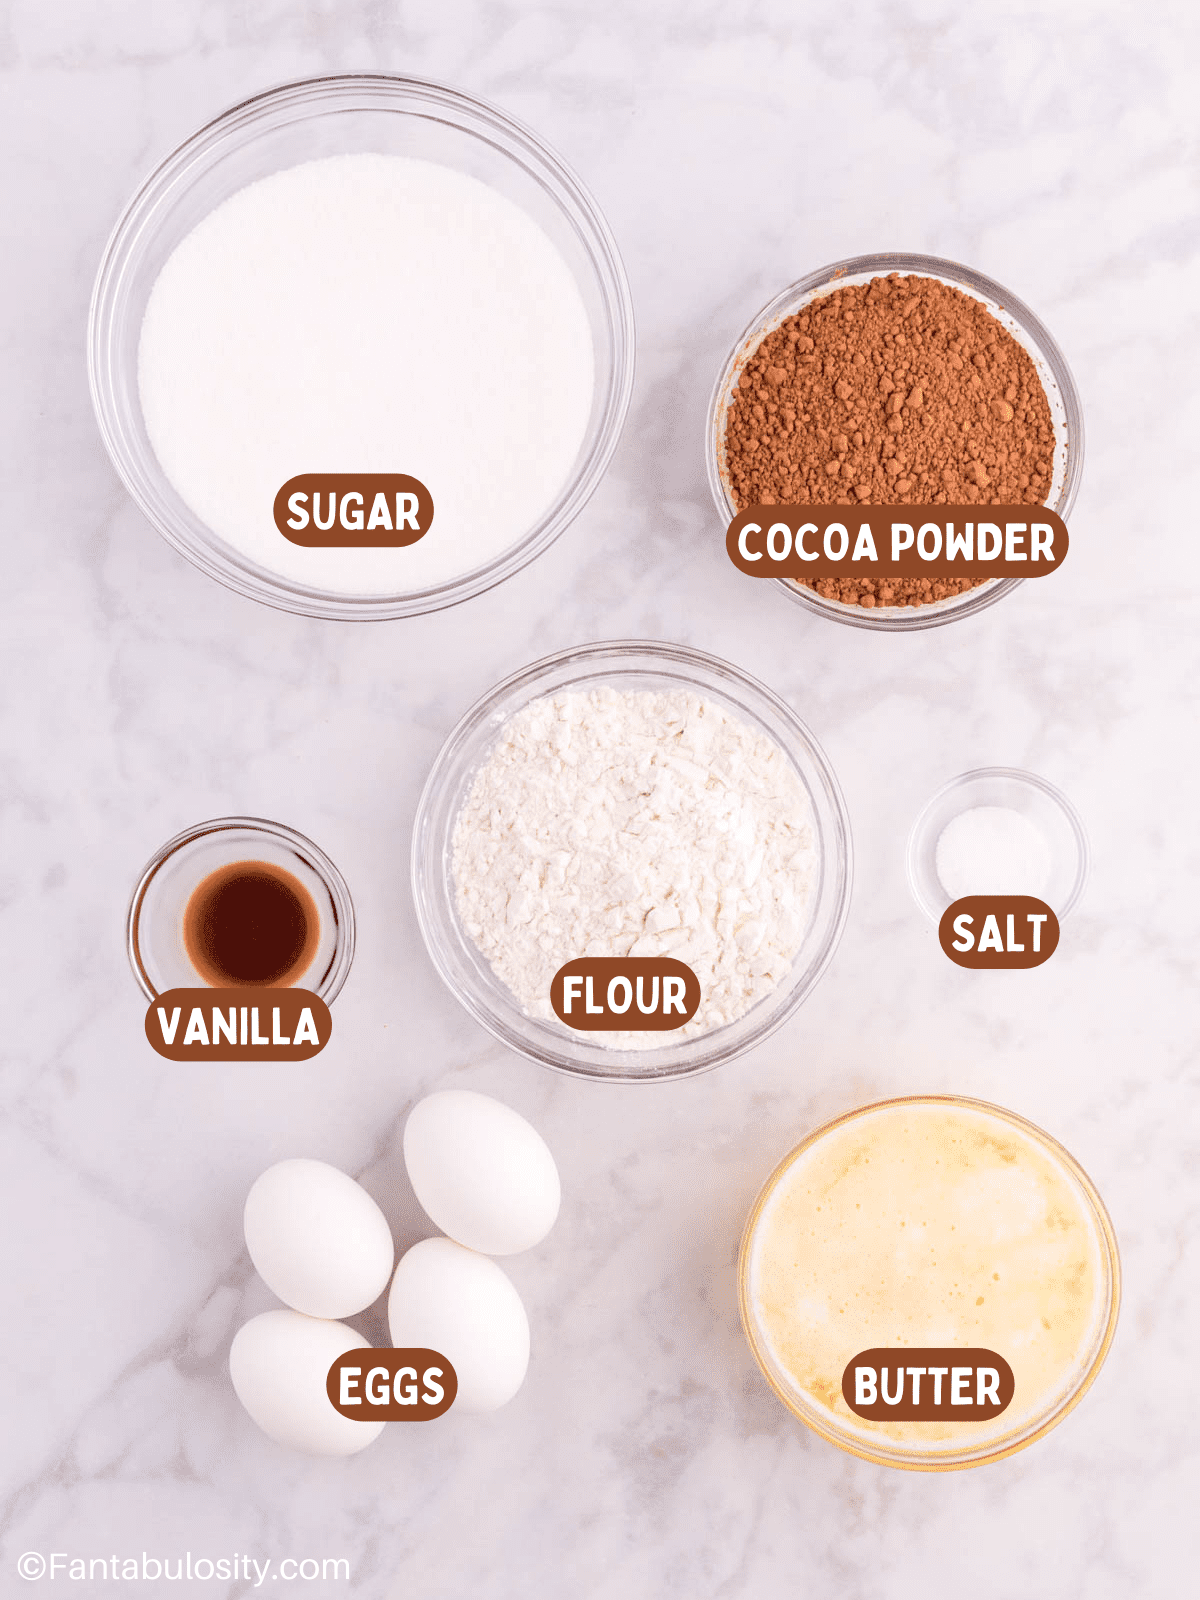
Ingredients (with Notes)

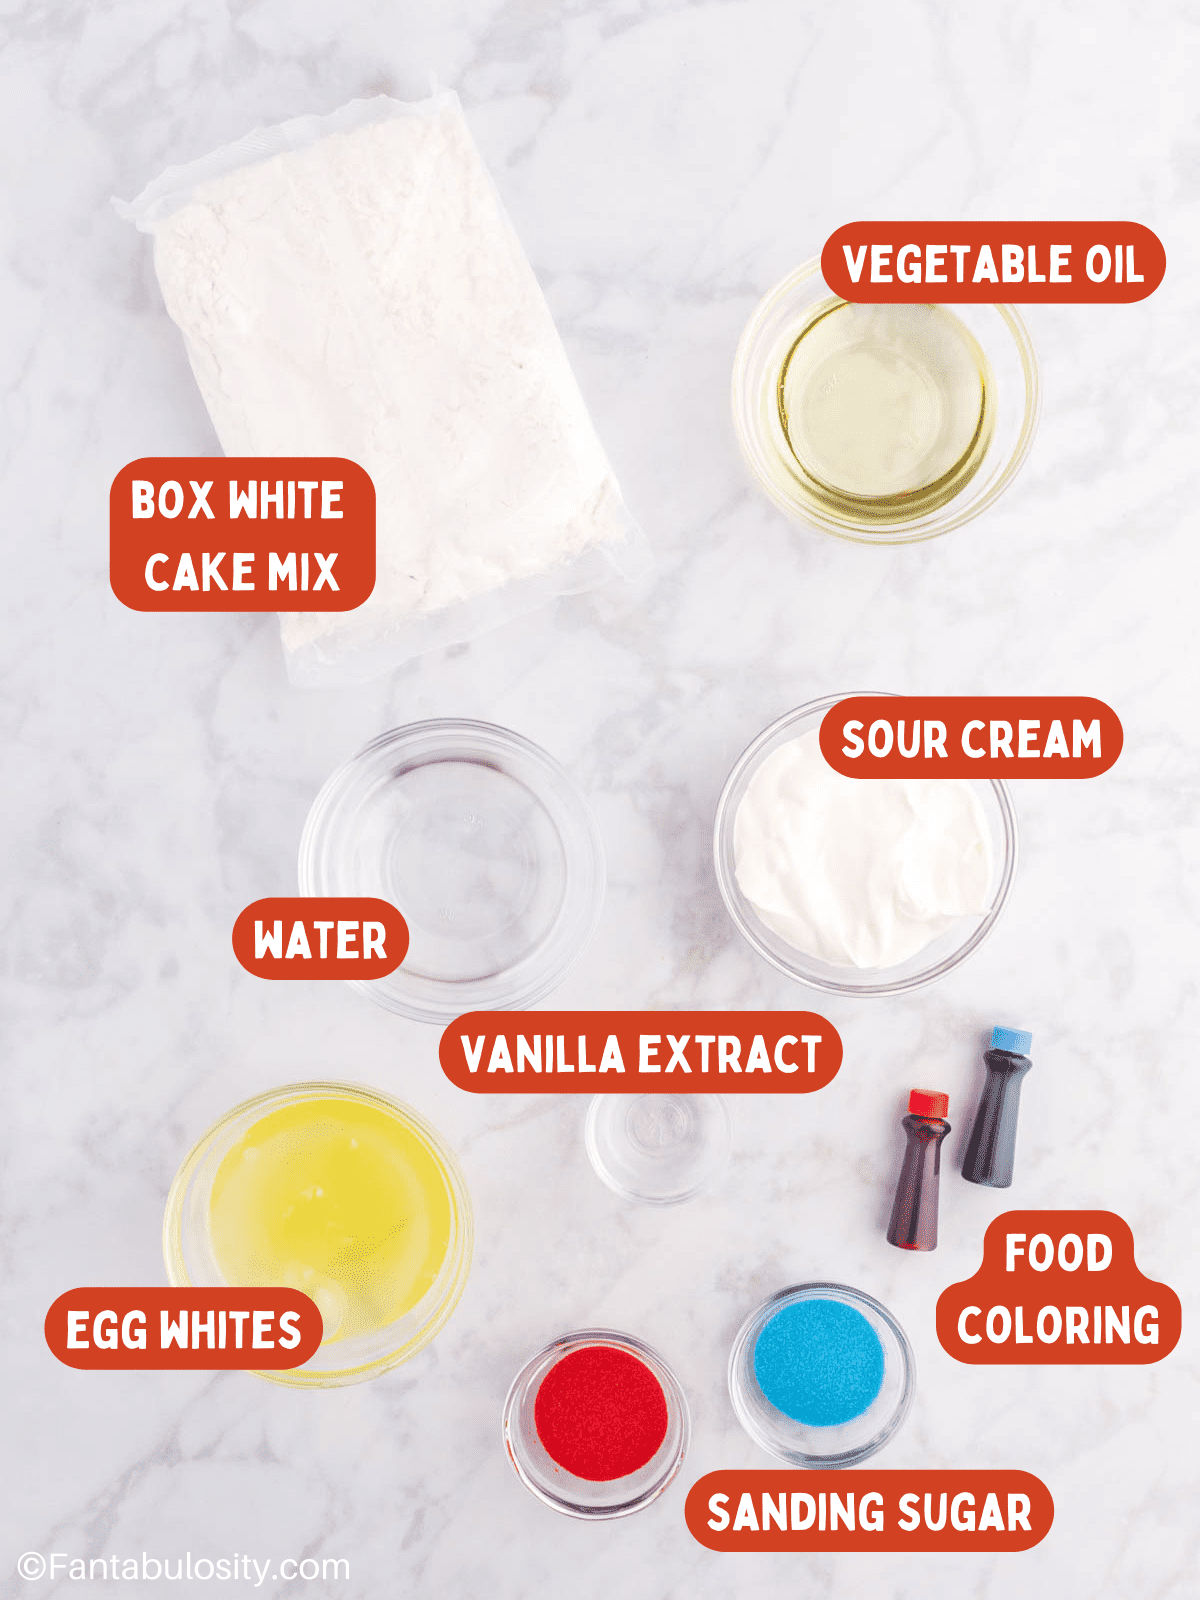
For the Cake
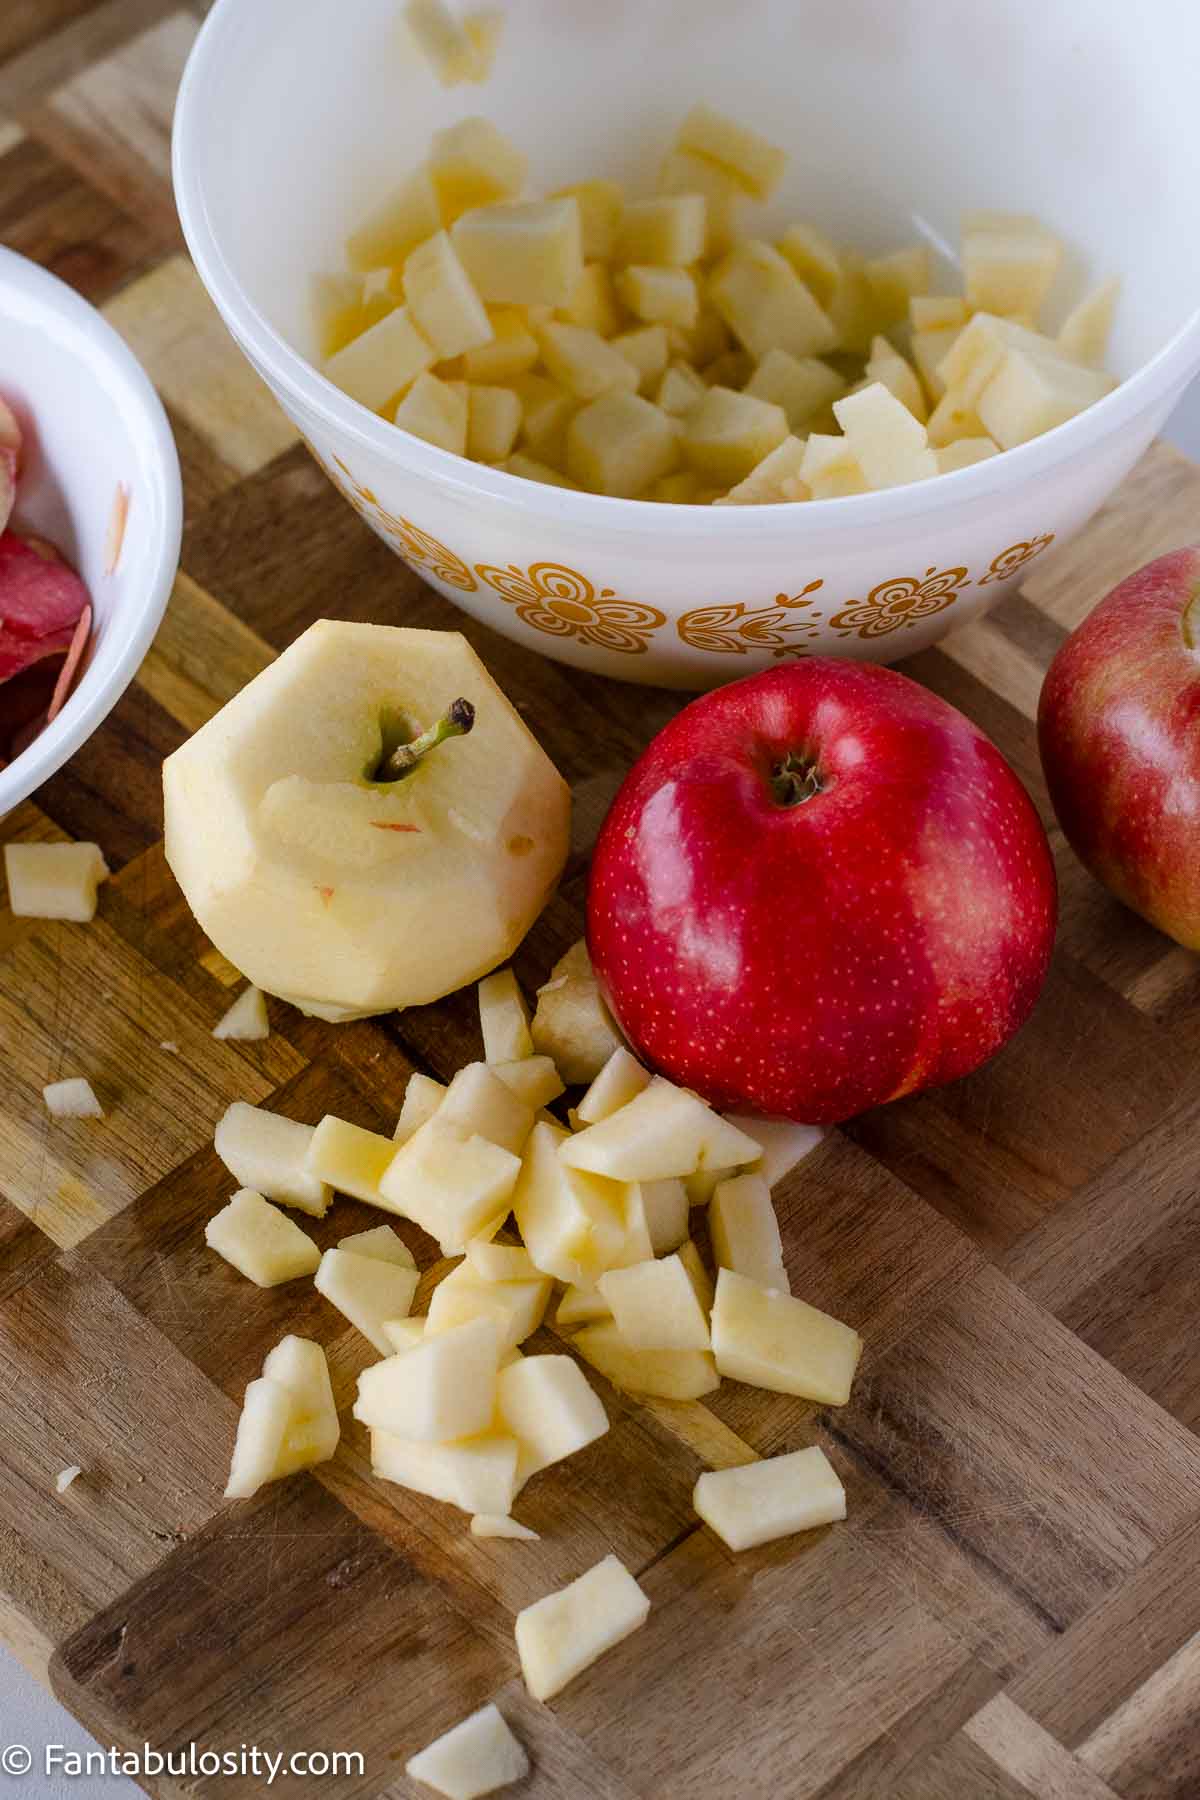
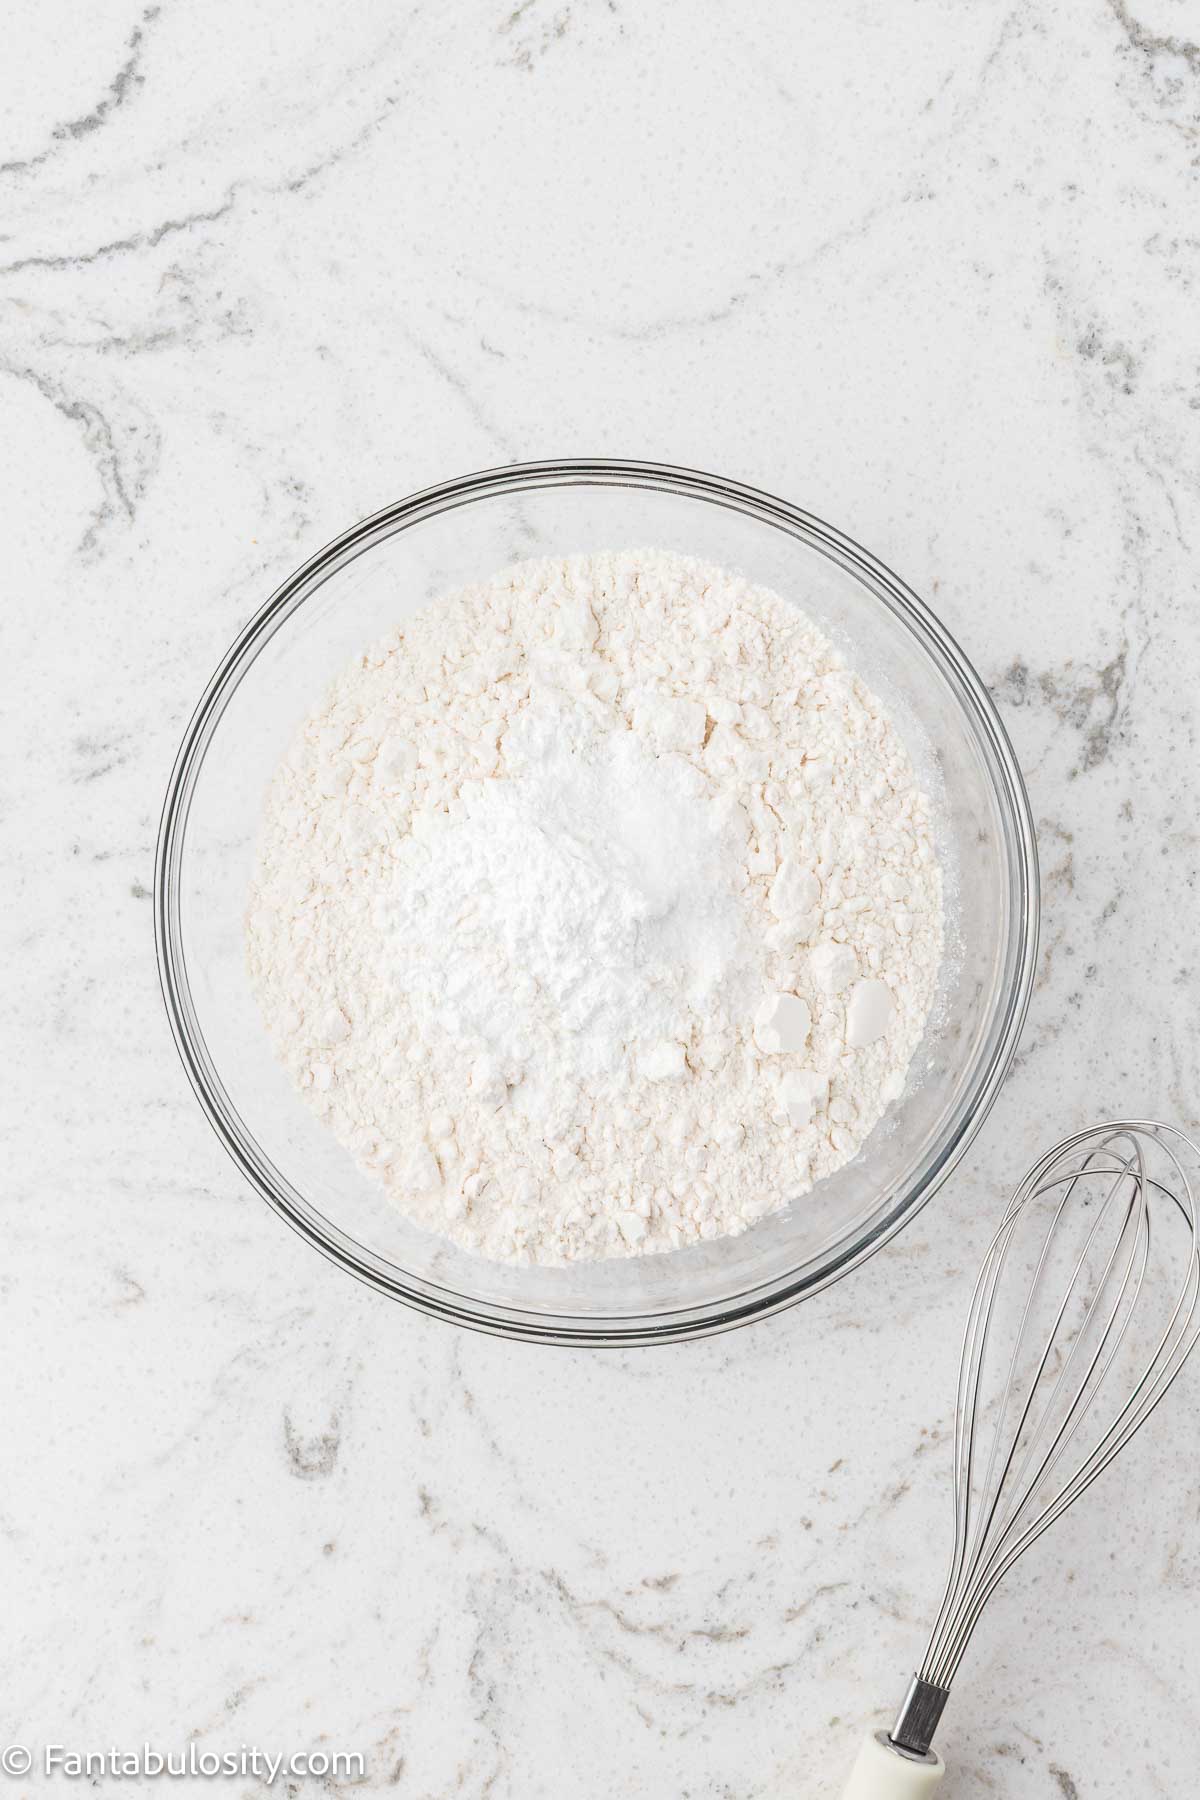
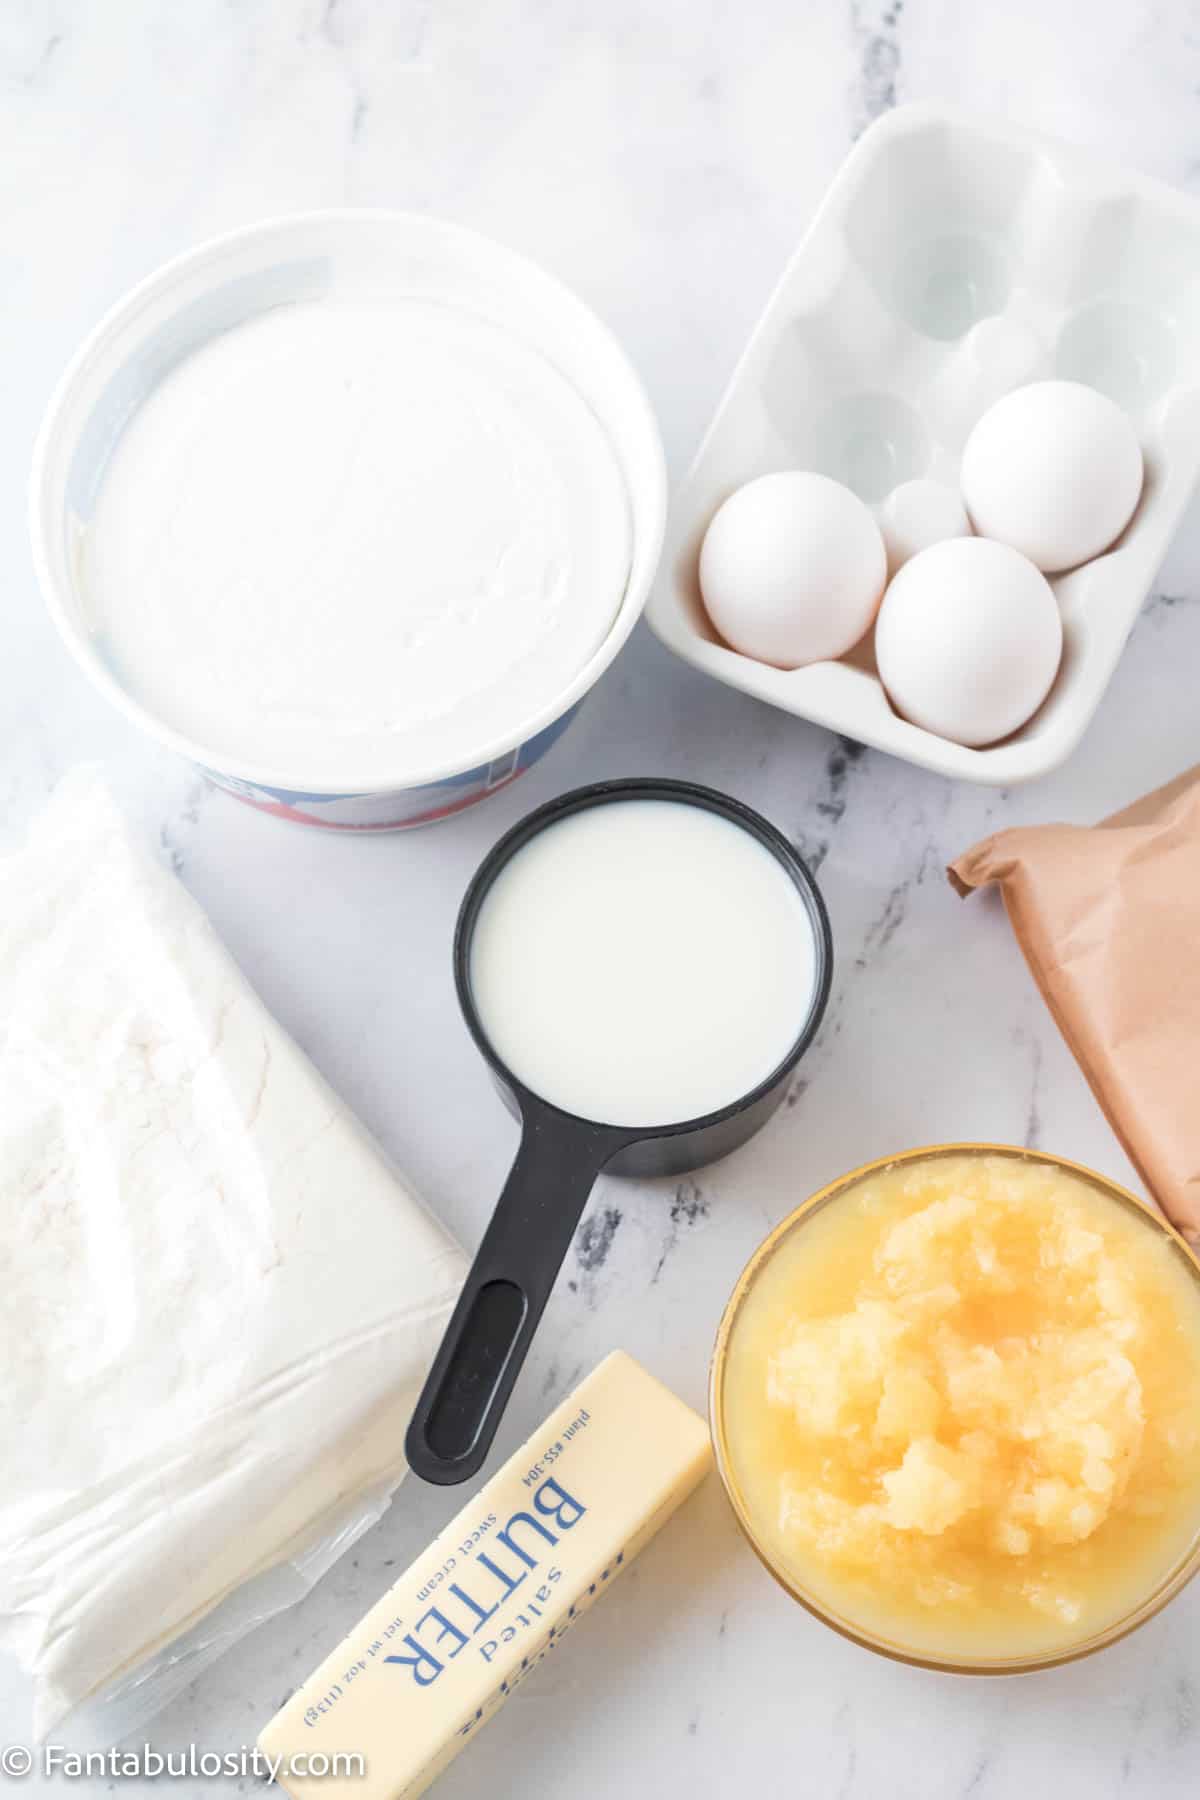
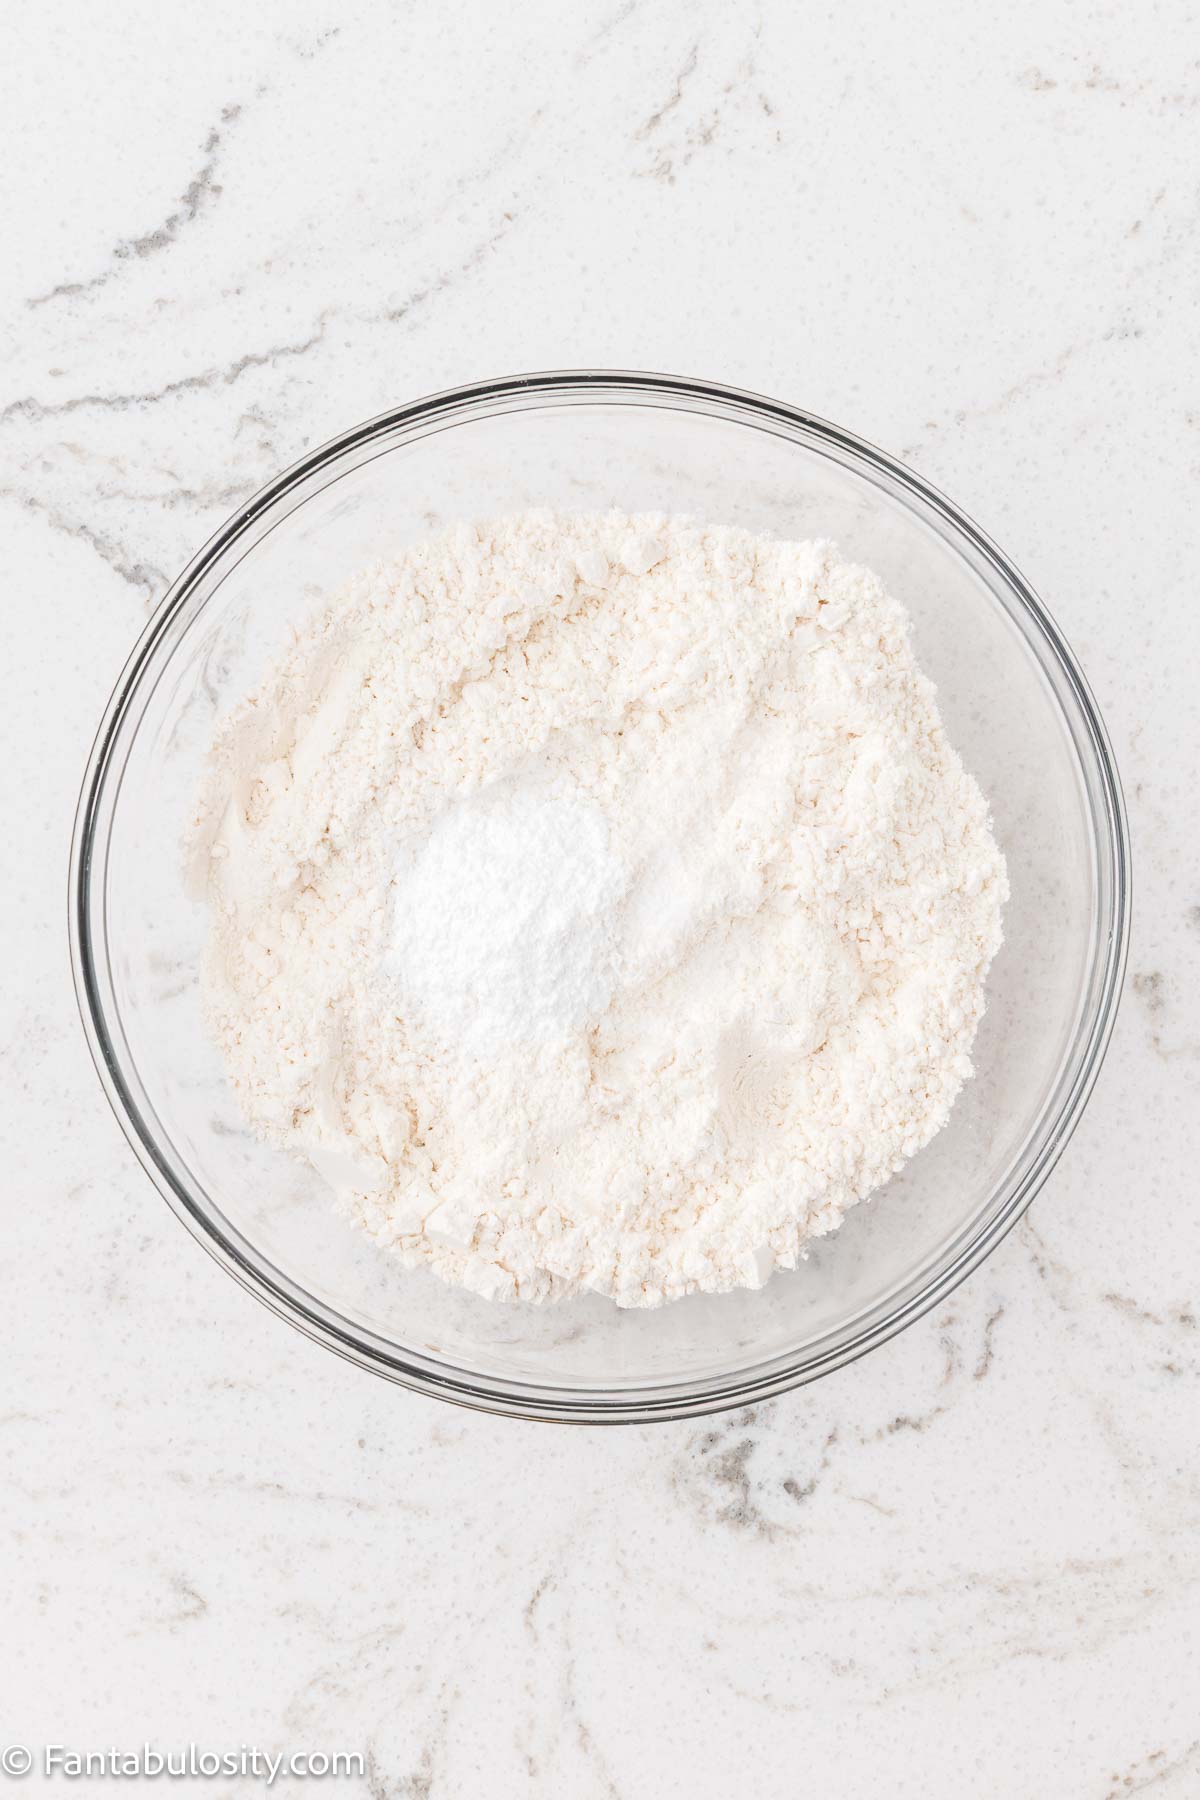
- All-purpose flour - the base of your cake with a tender crumb.
- Baking powder - ensures the cake rises beautifully.
- Kosher salt - balances the sweetness.
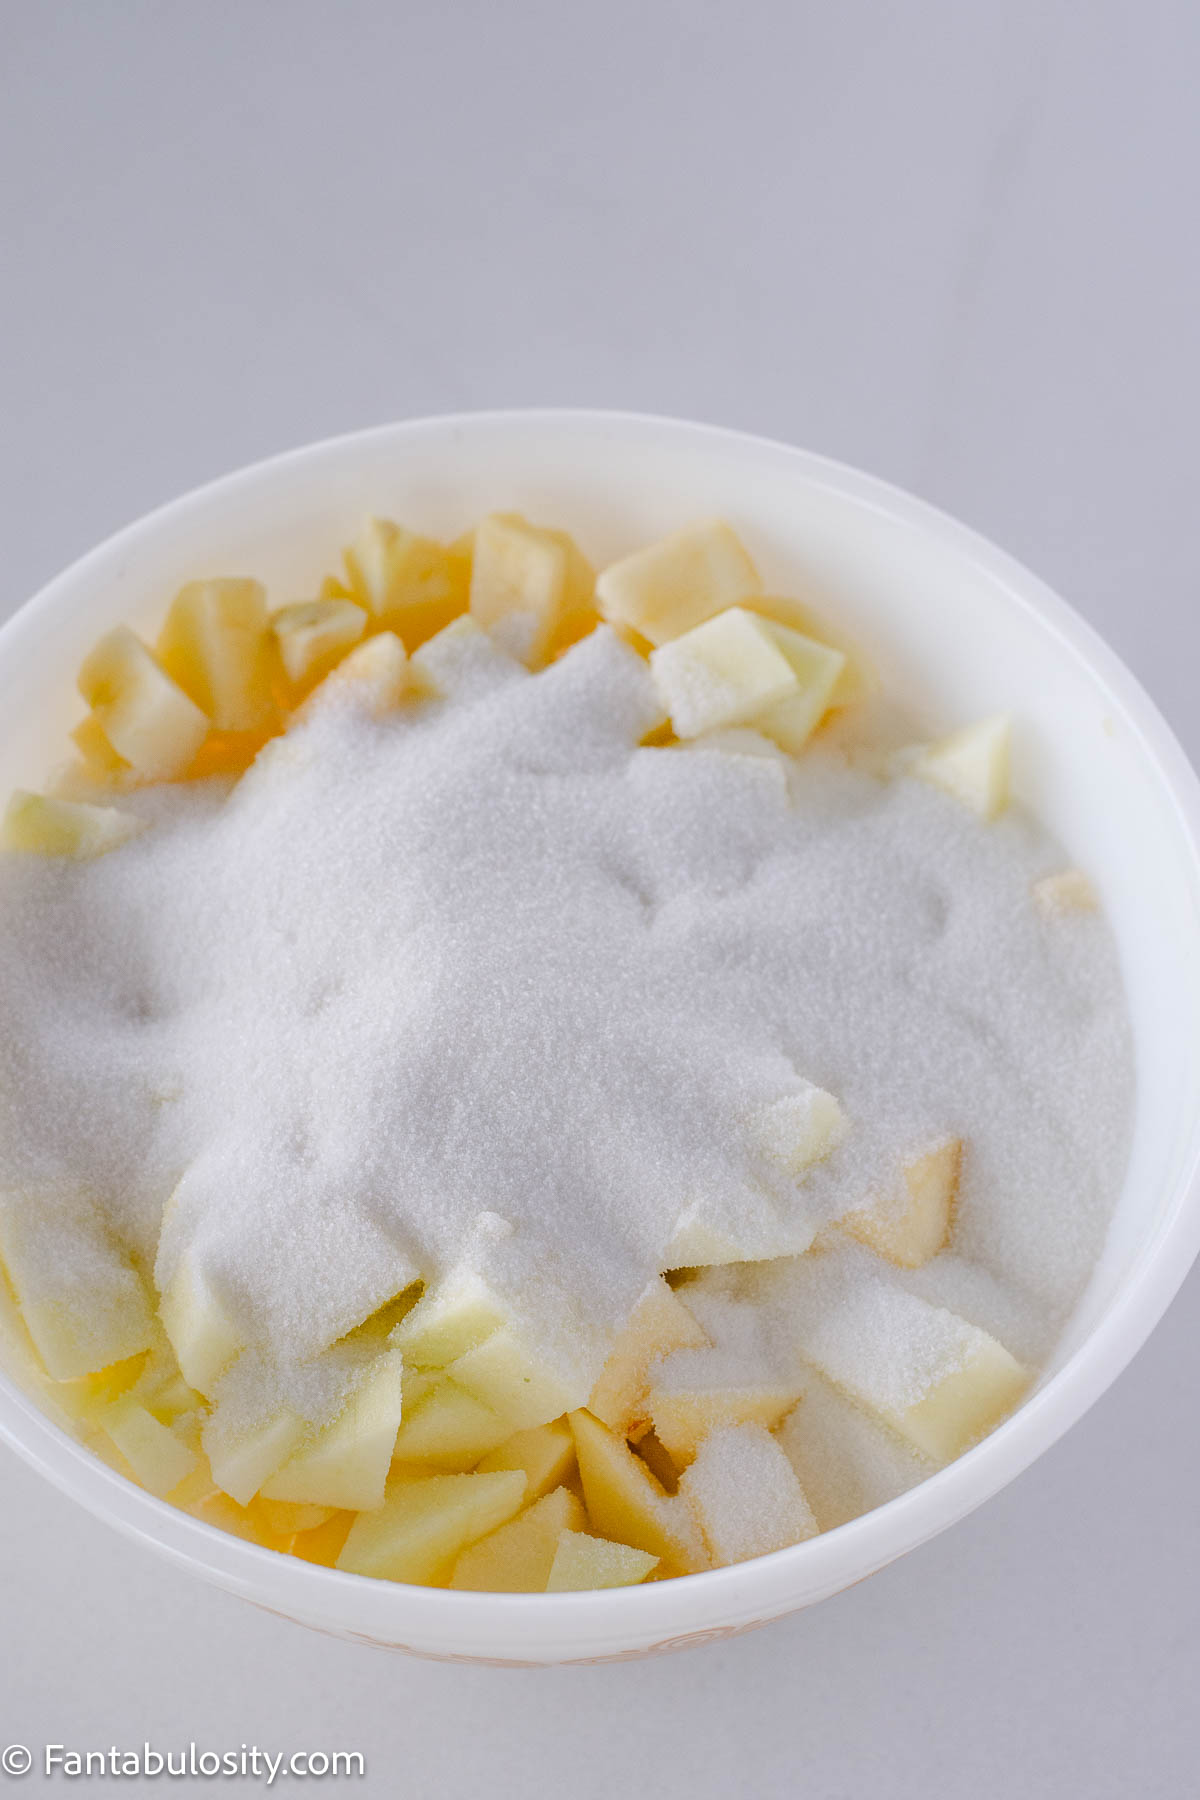
- Granulated sugar - sweetens and adds golden color.
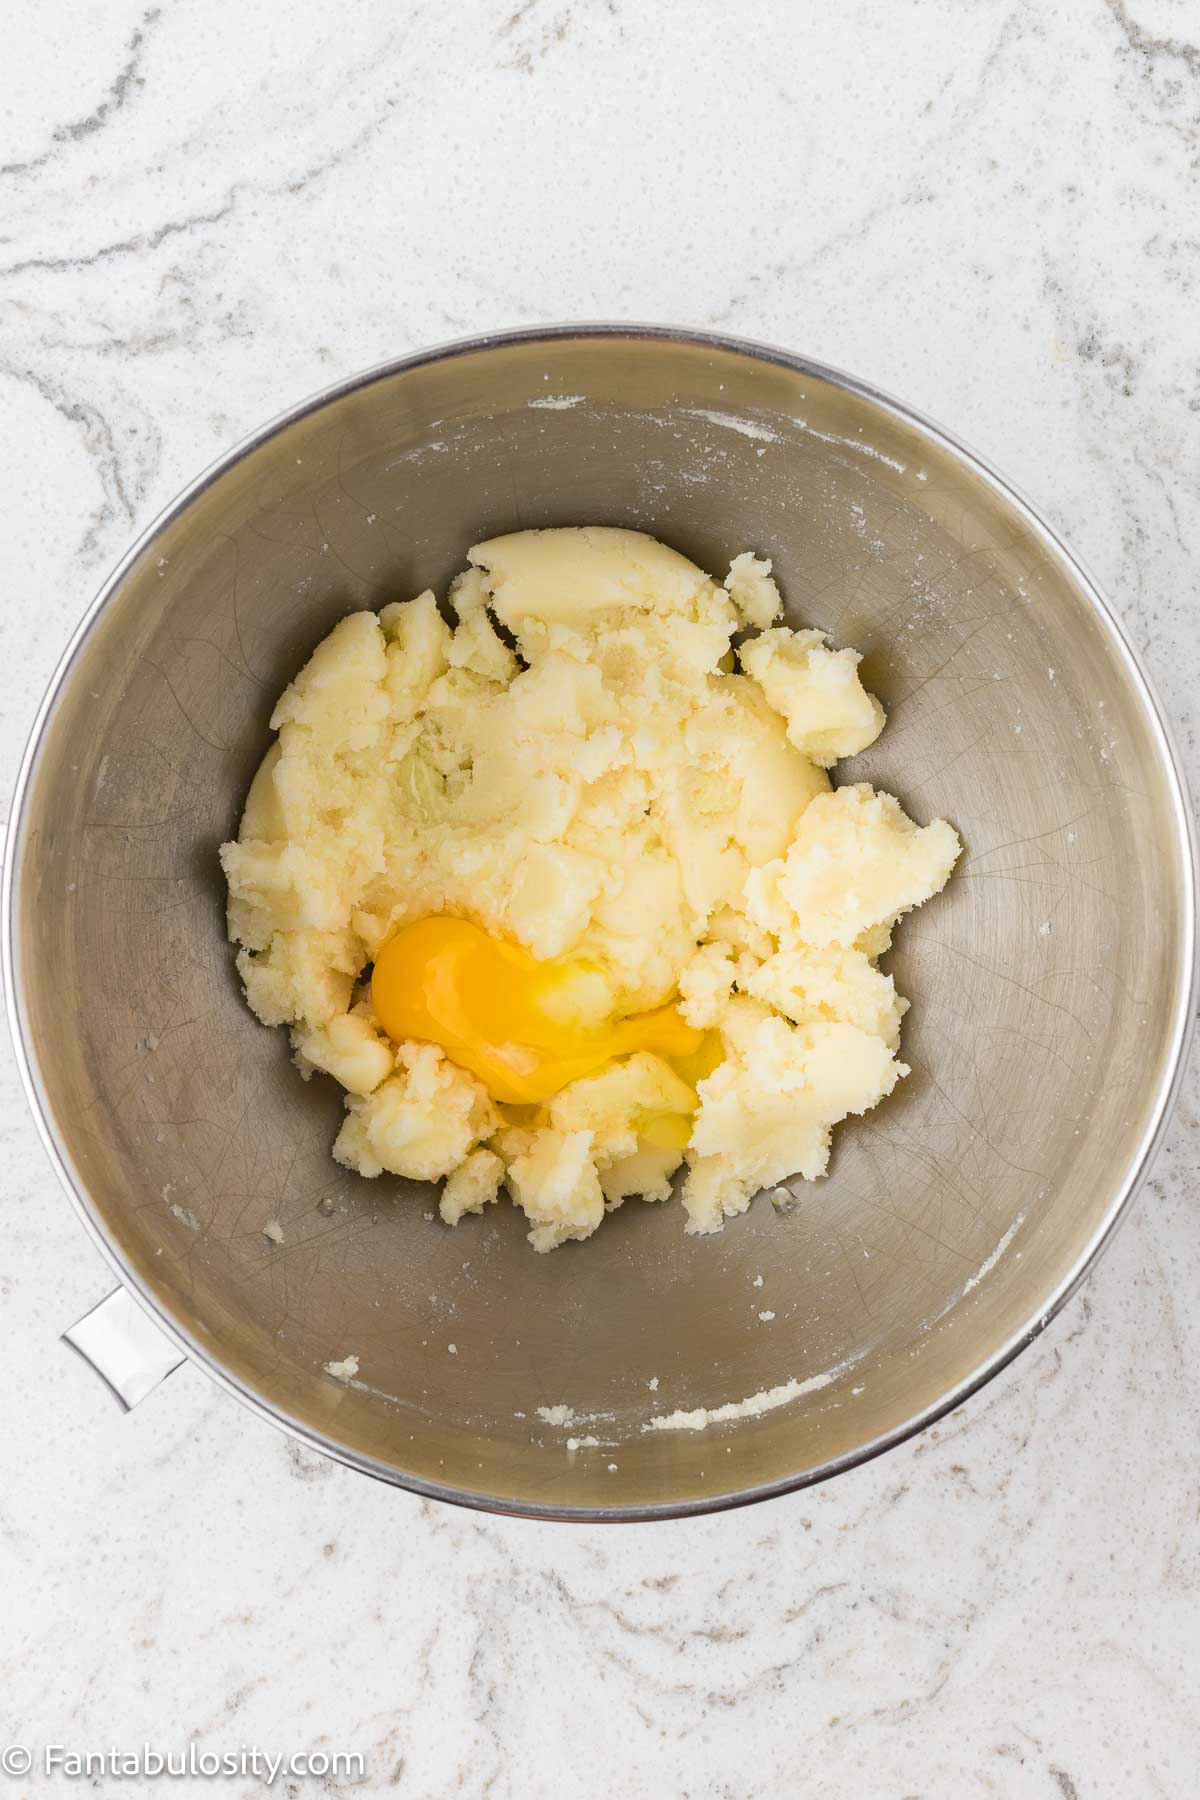
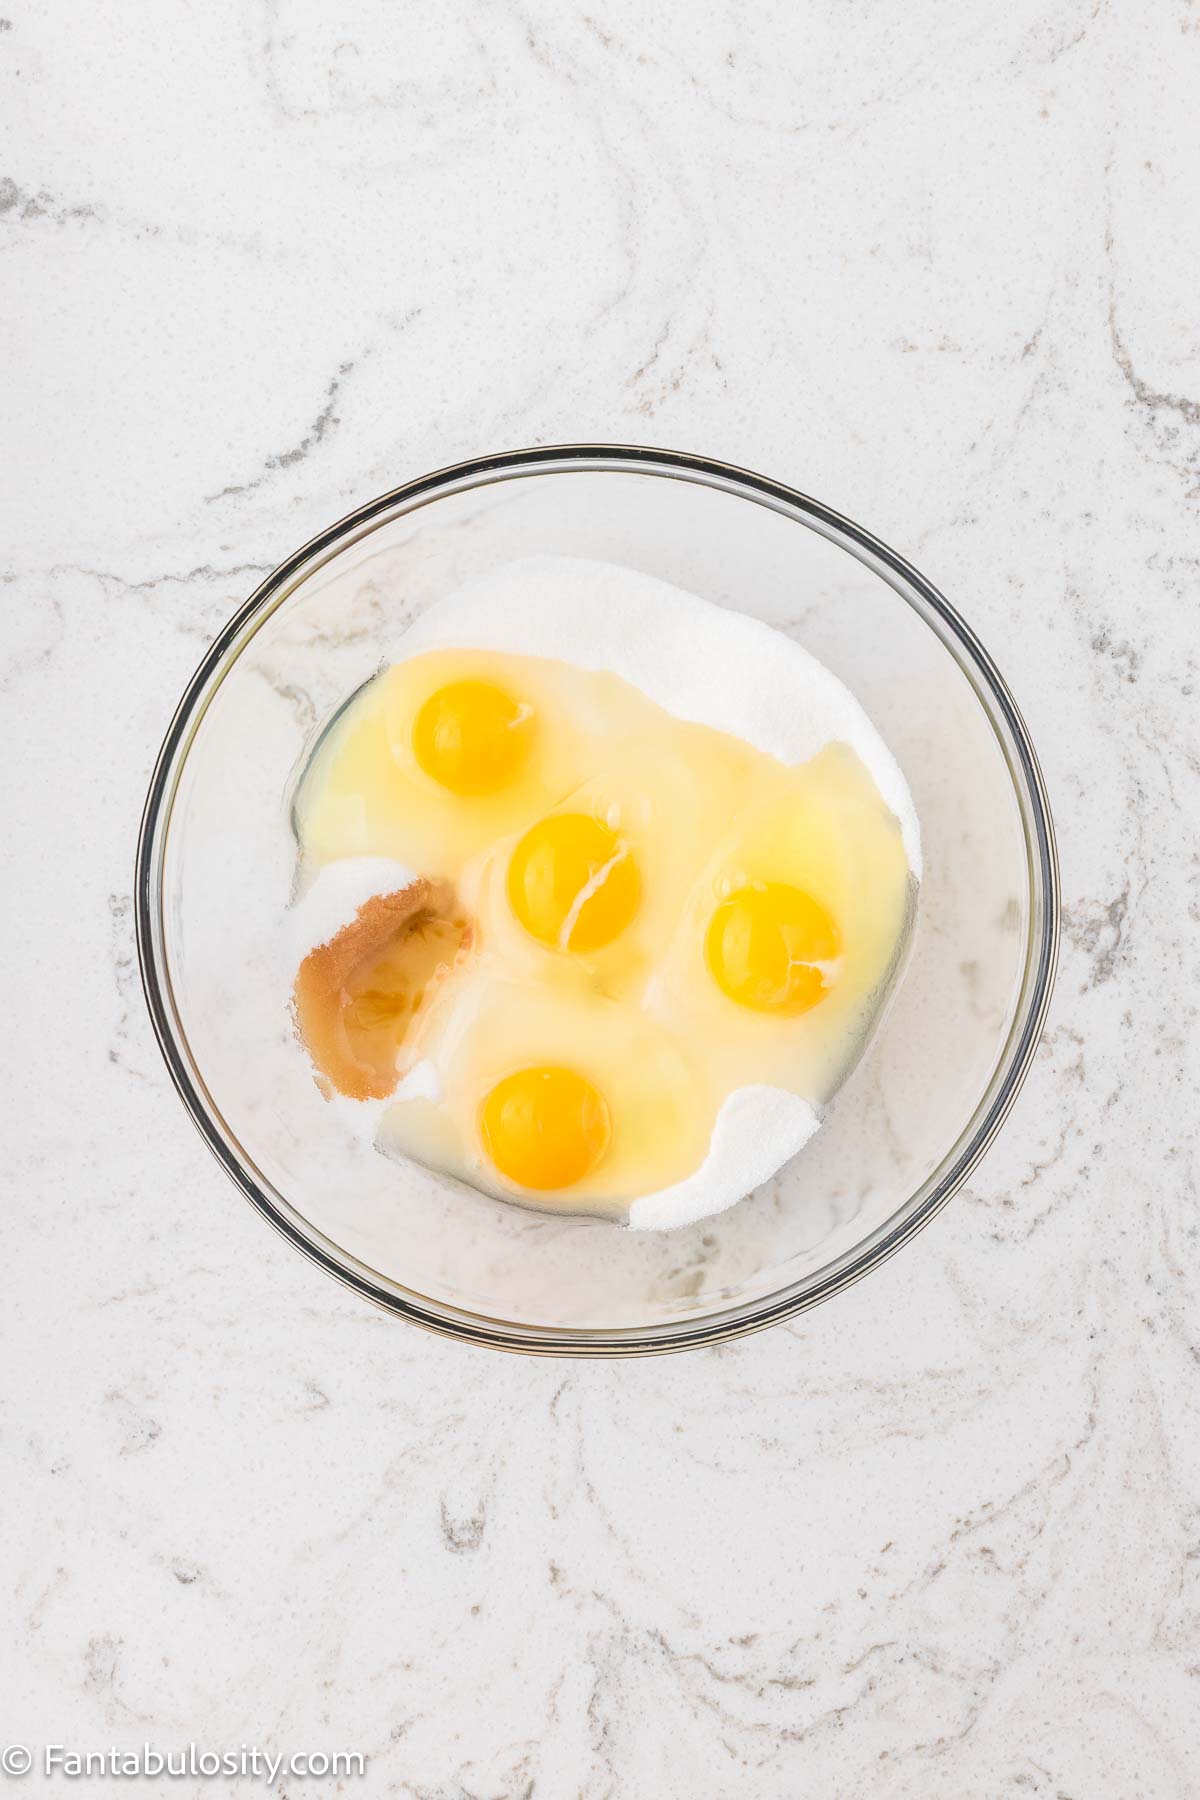
- Eggs - structure and lift.
- Pure vanilla extract - classic flavor enhancer.
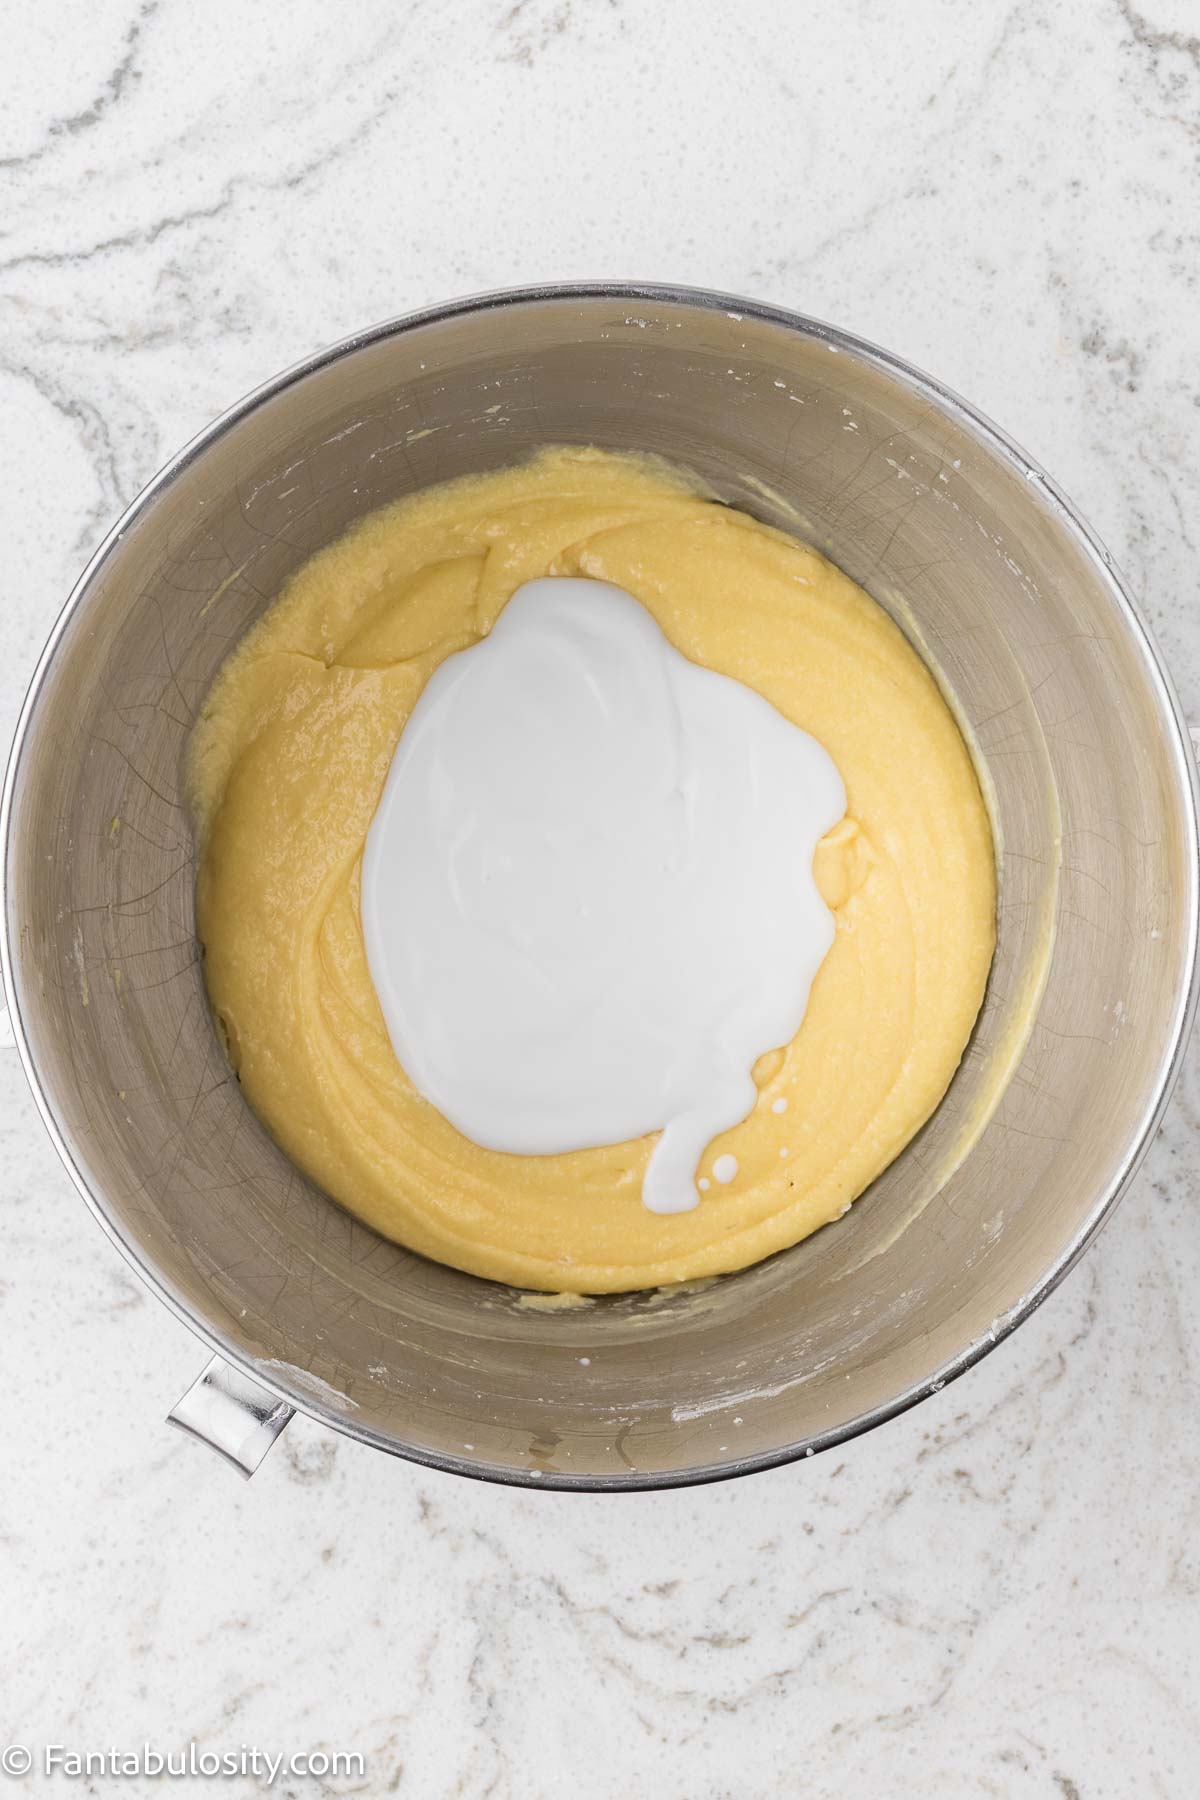
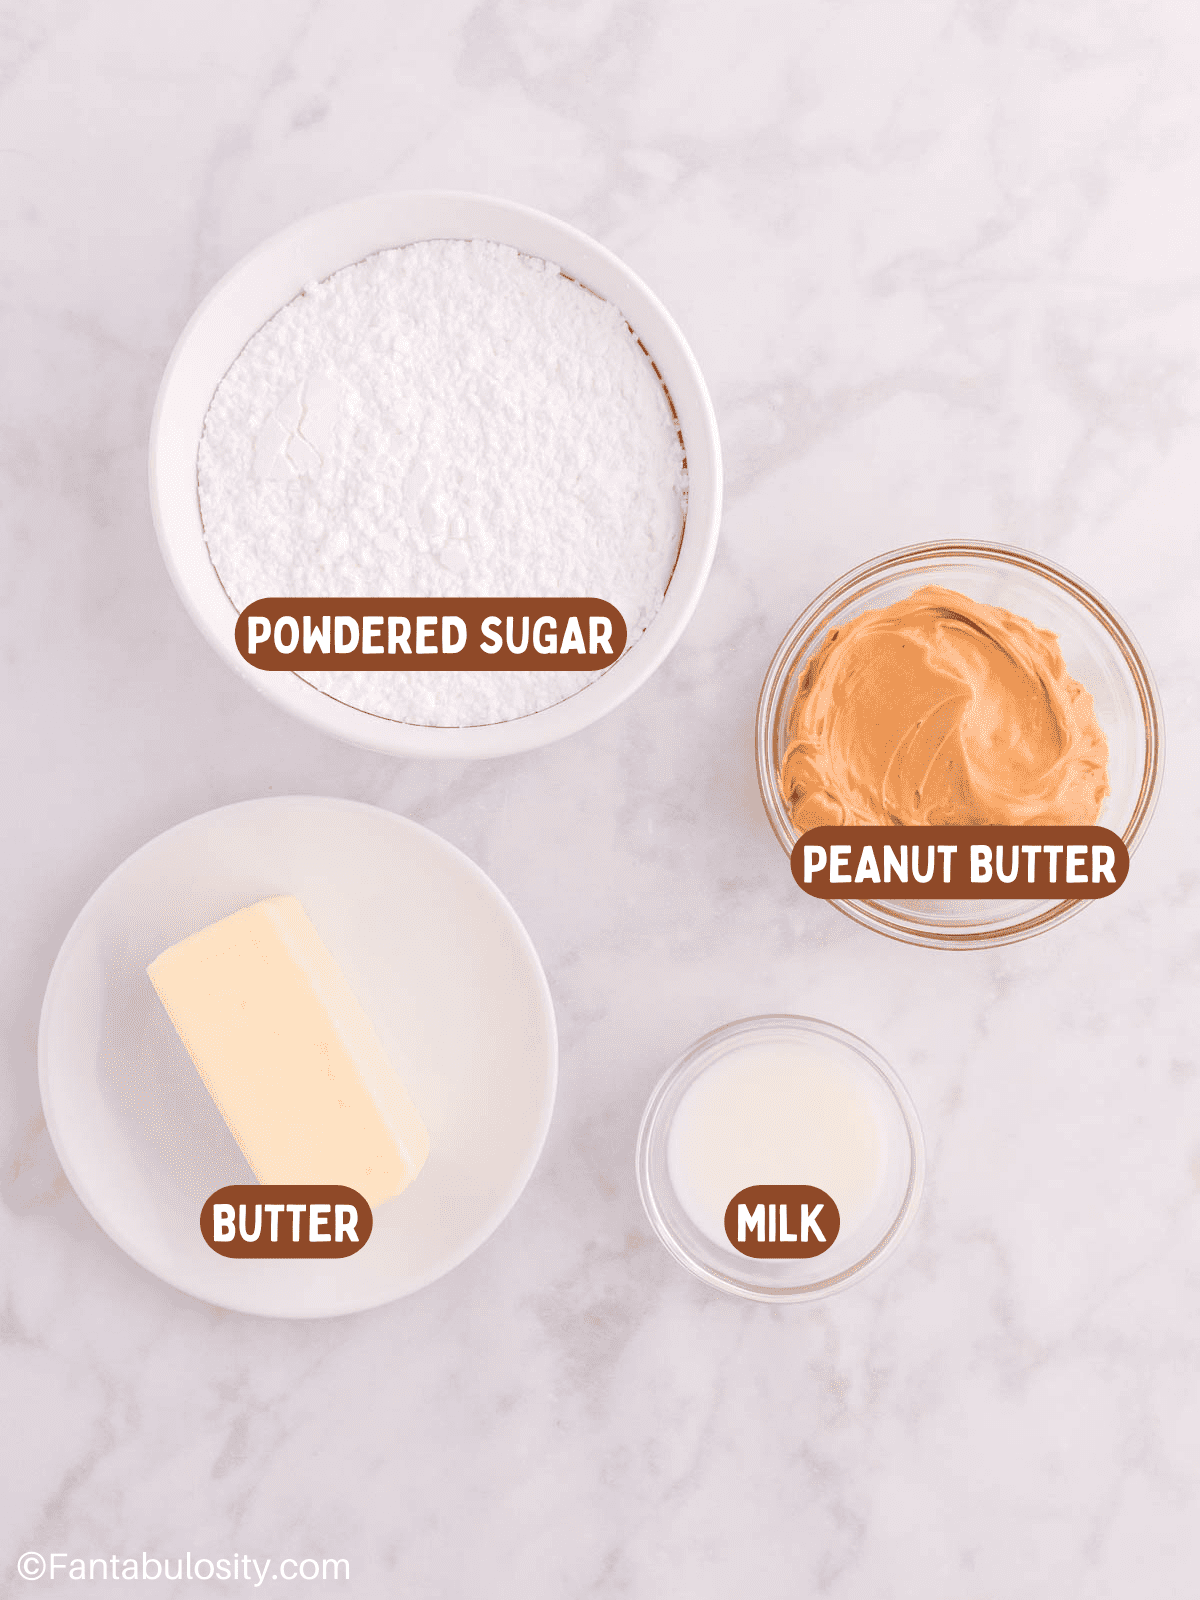
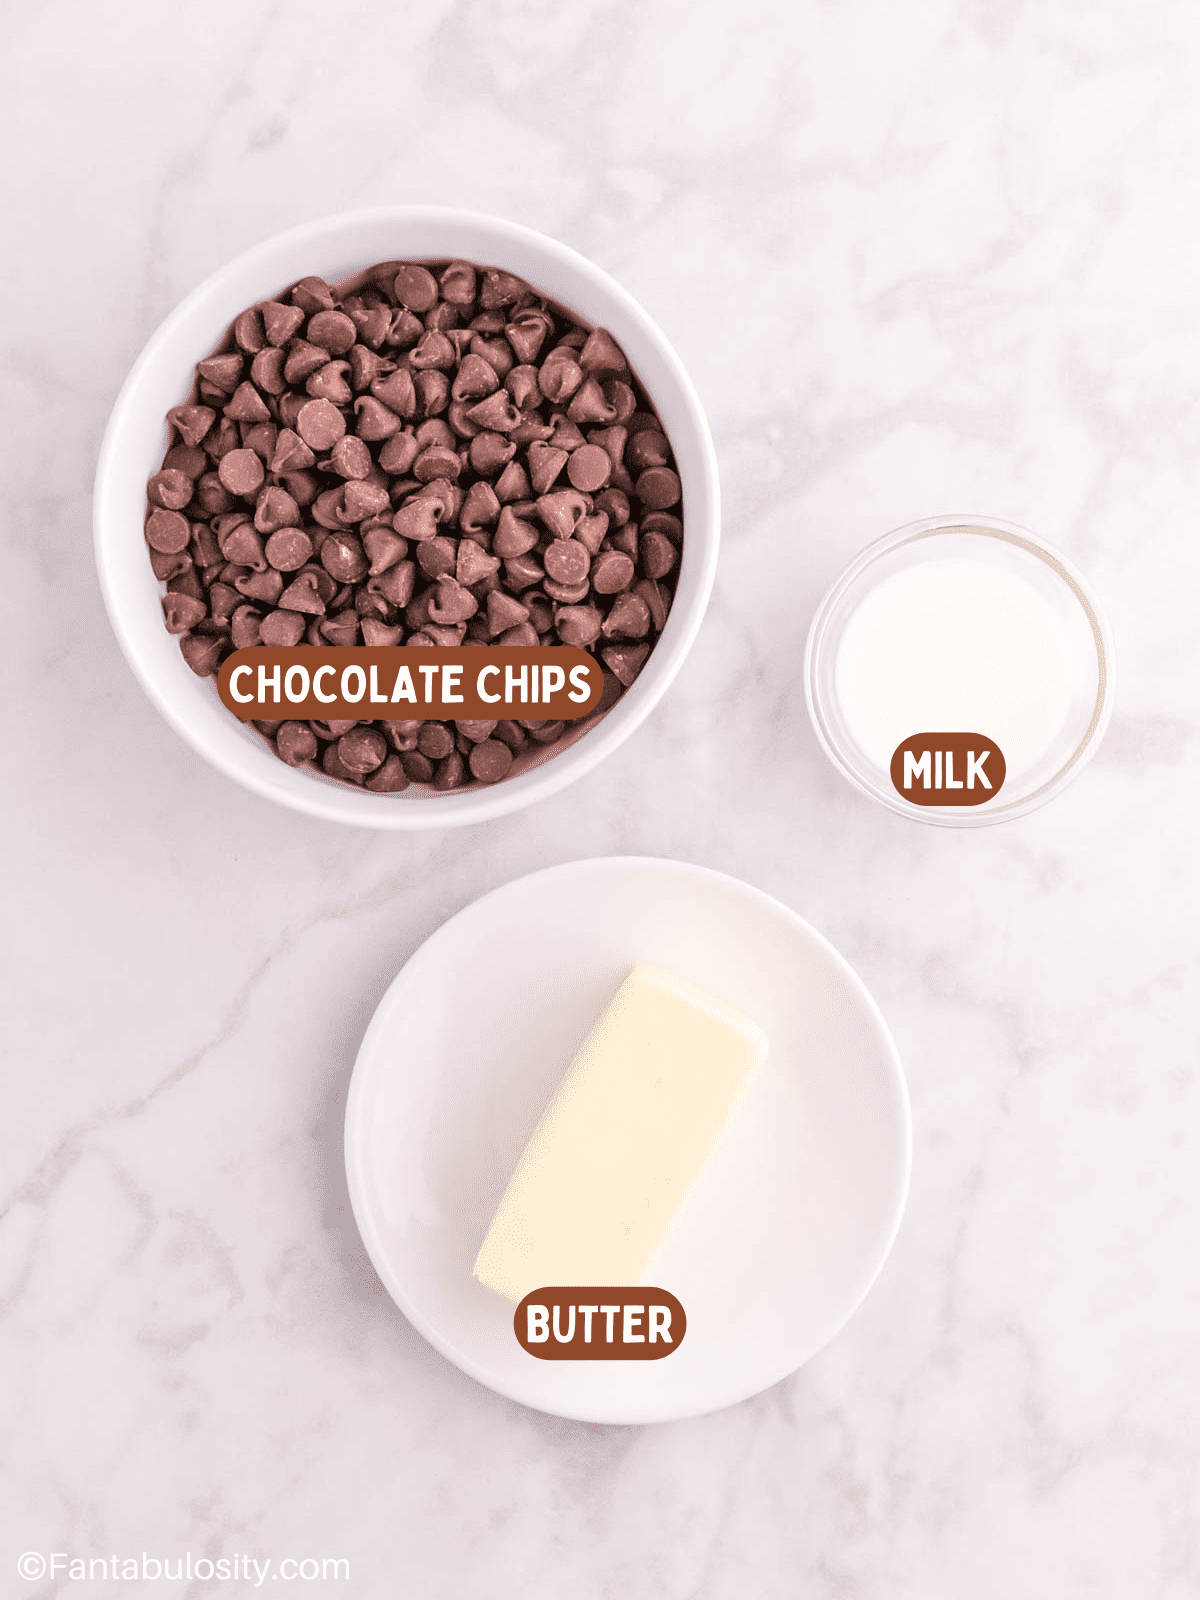
- Whole milk - warmed to blend smoothly into the batter.
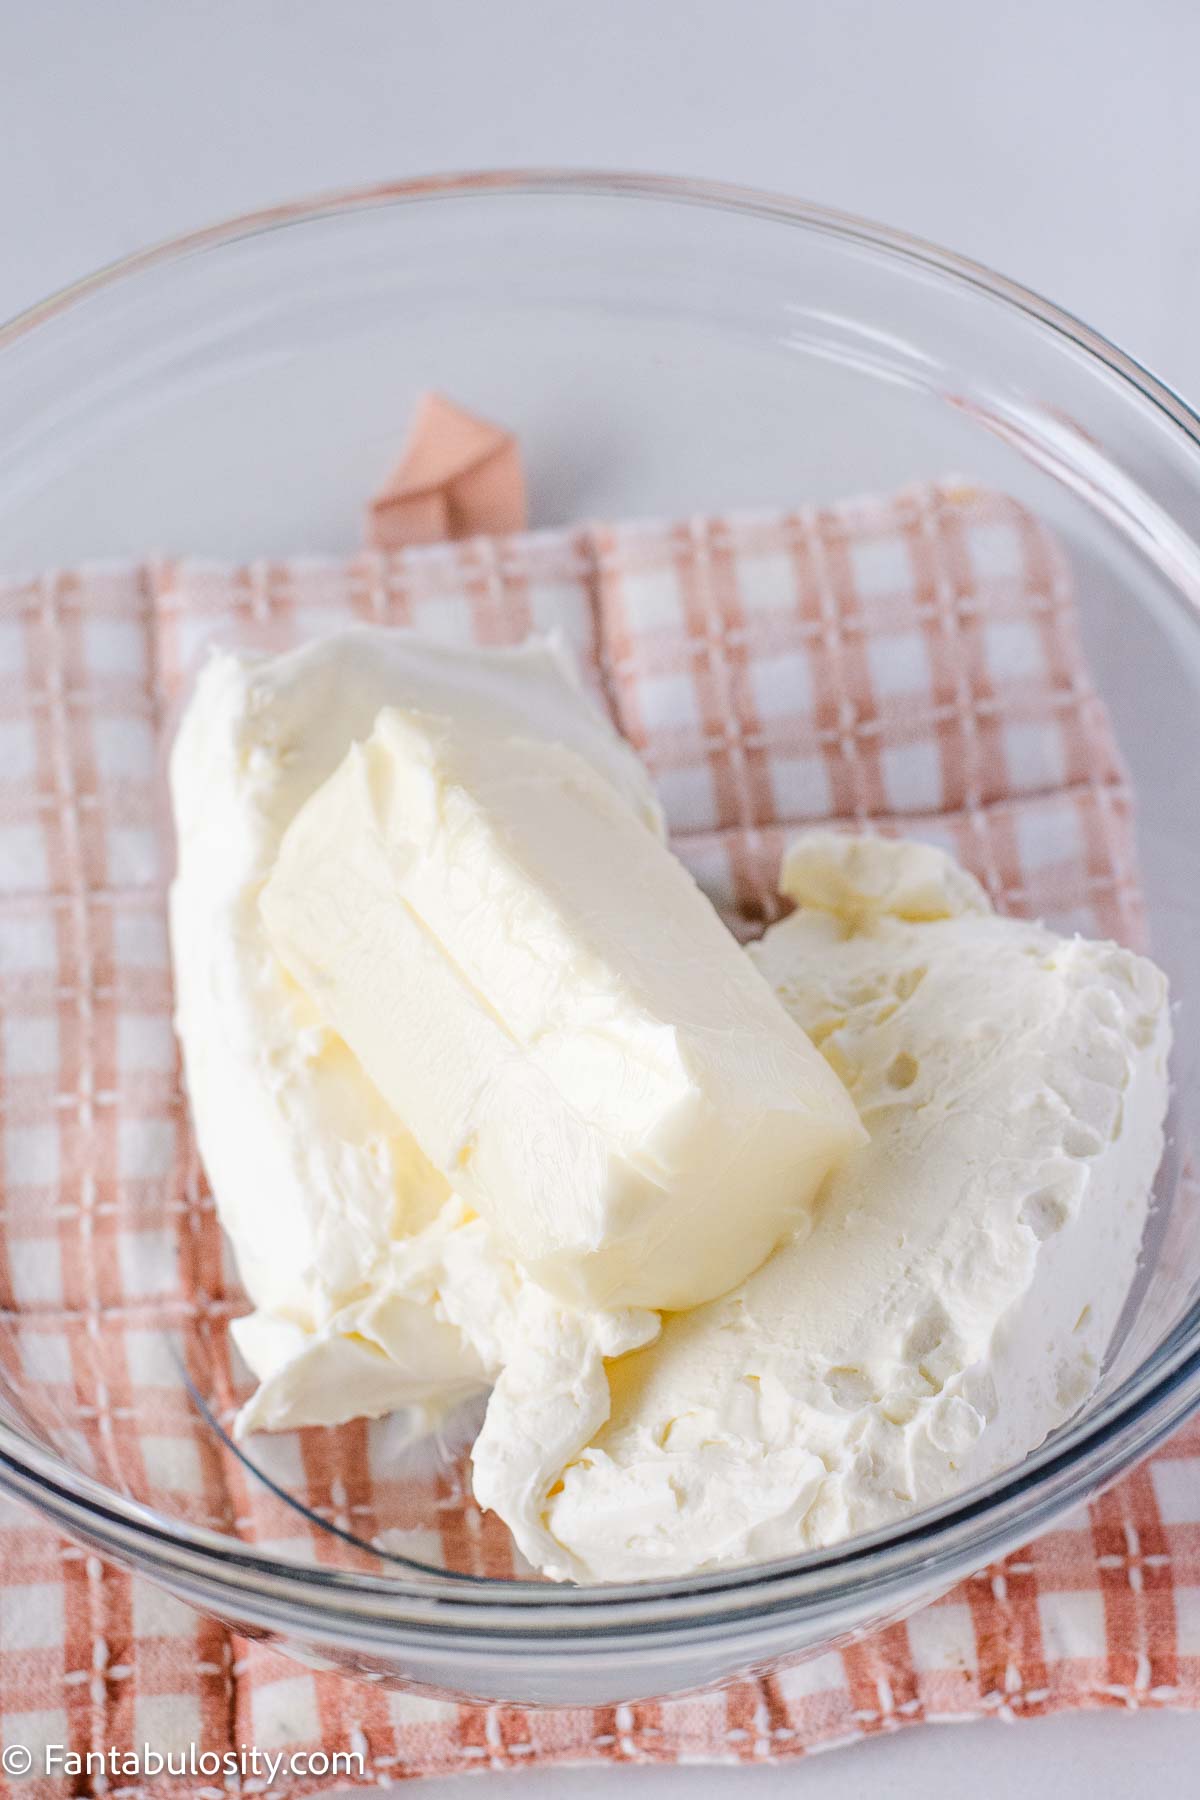
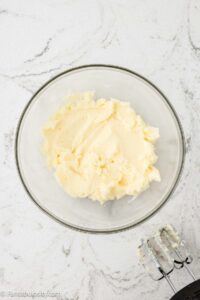
- Unsalted butter - richness in both the cake and topping.
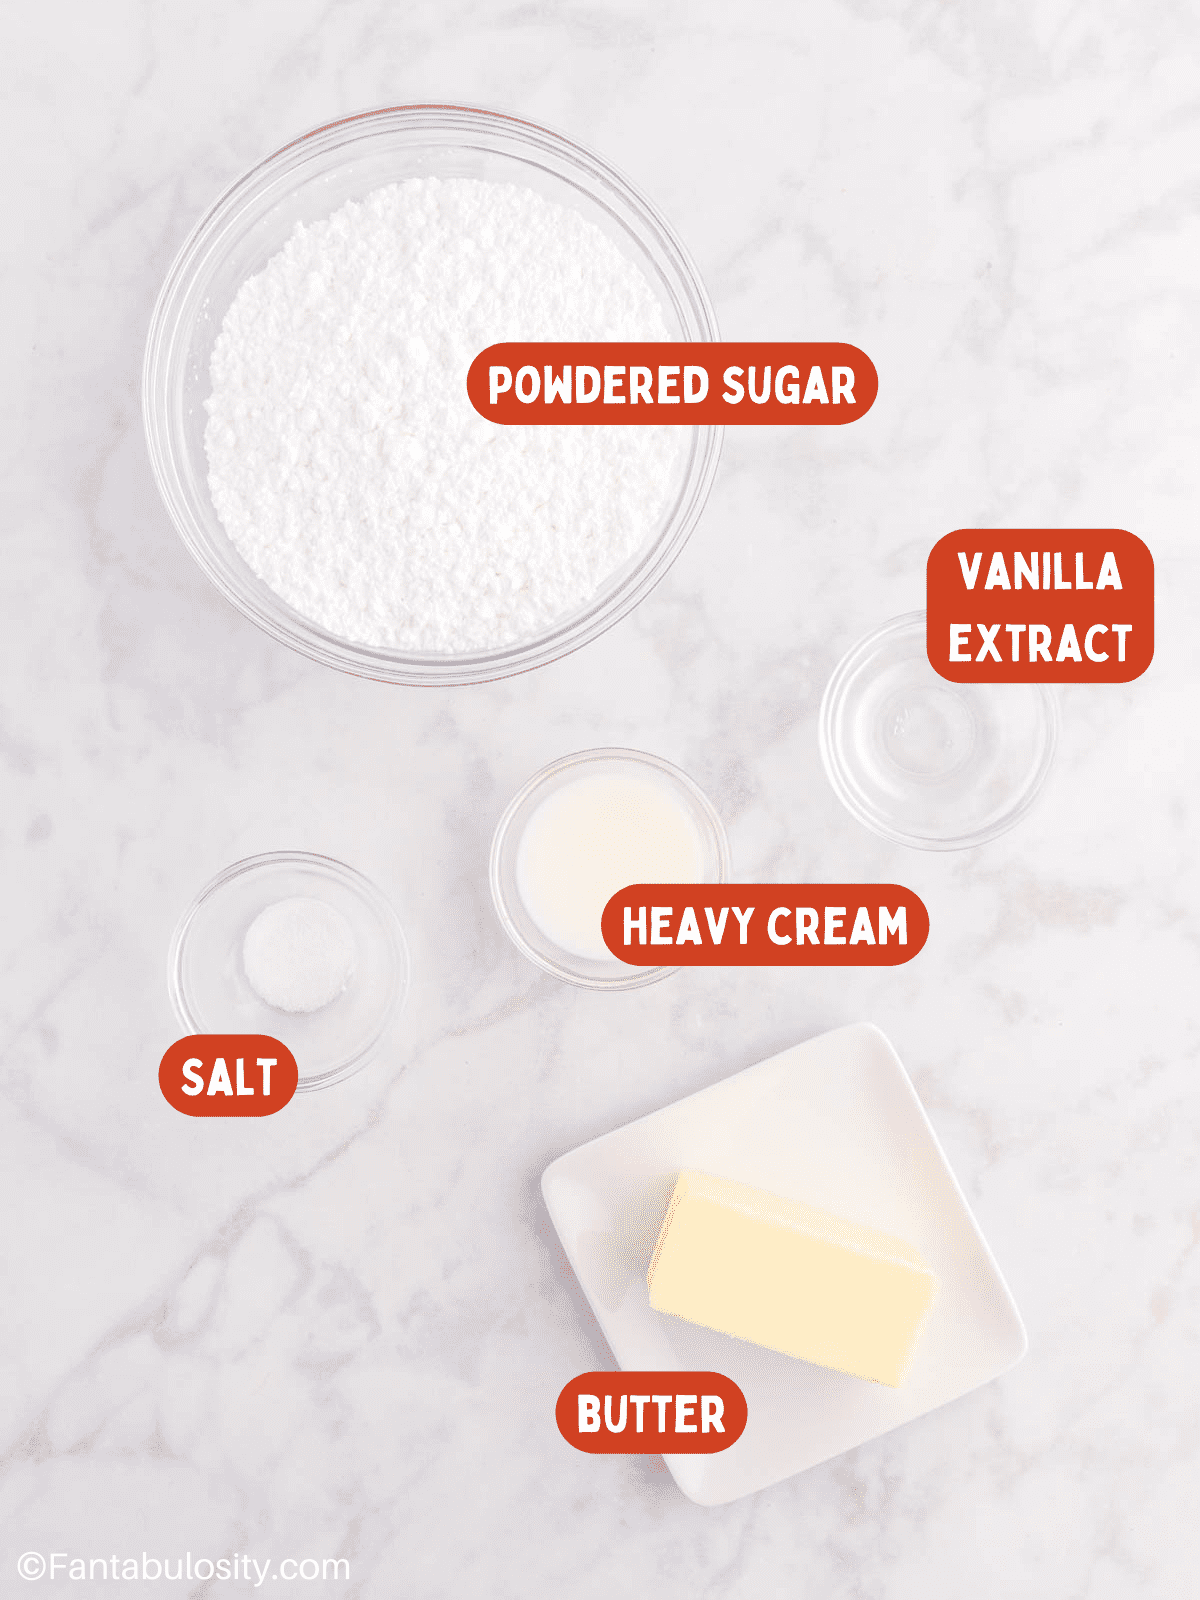
For the Peanut Butter Layer
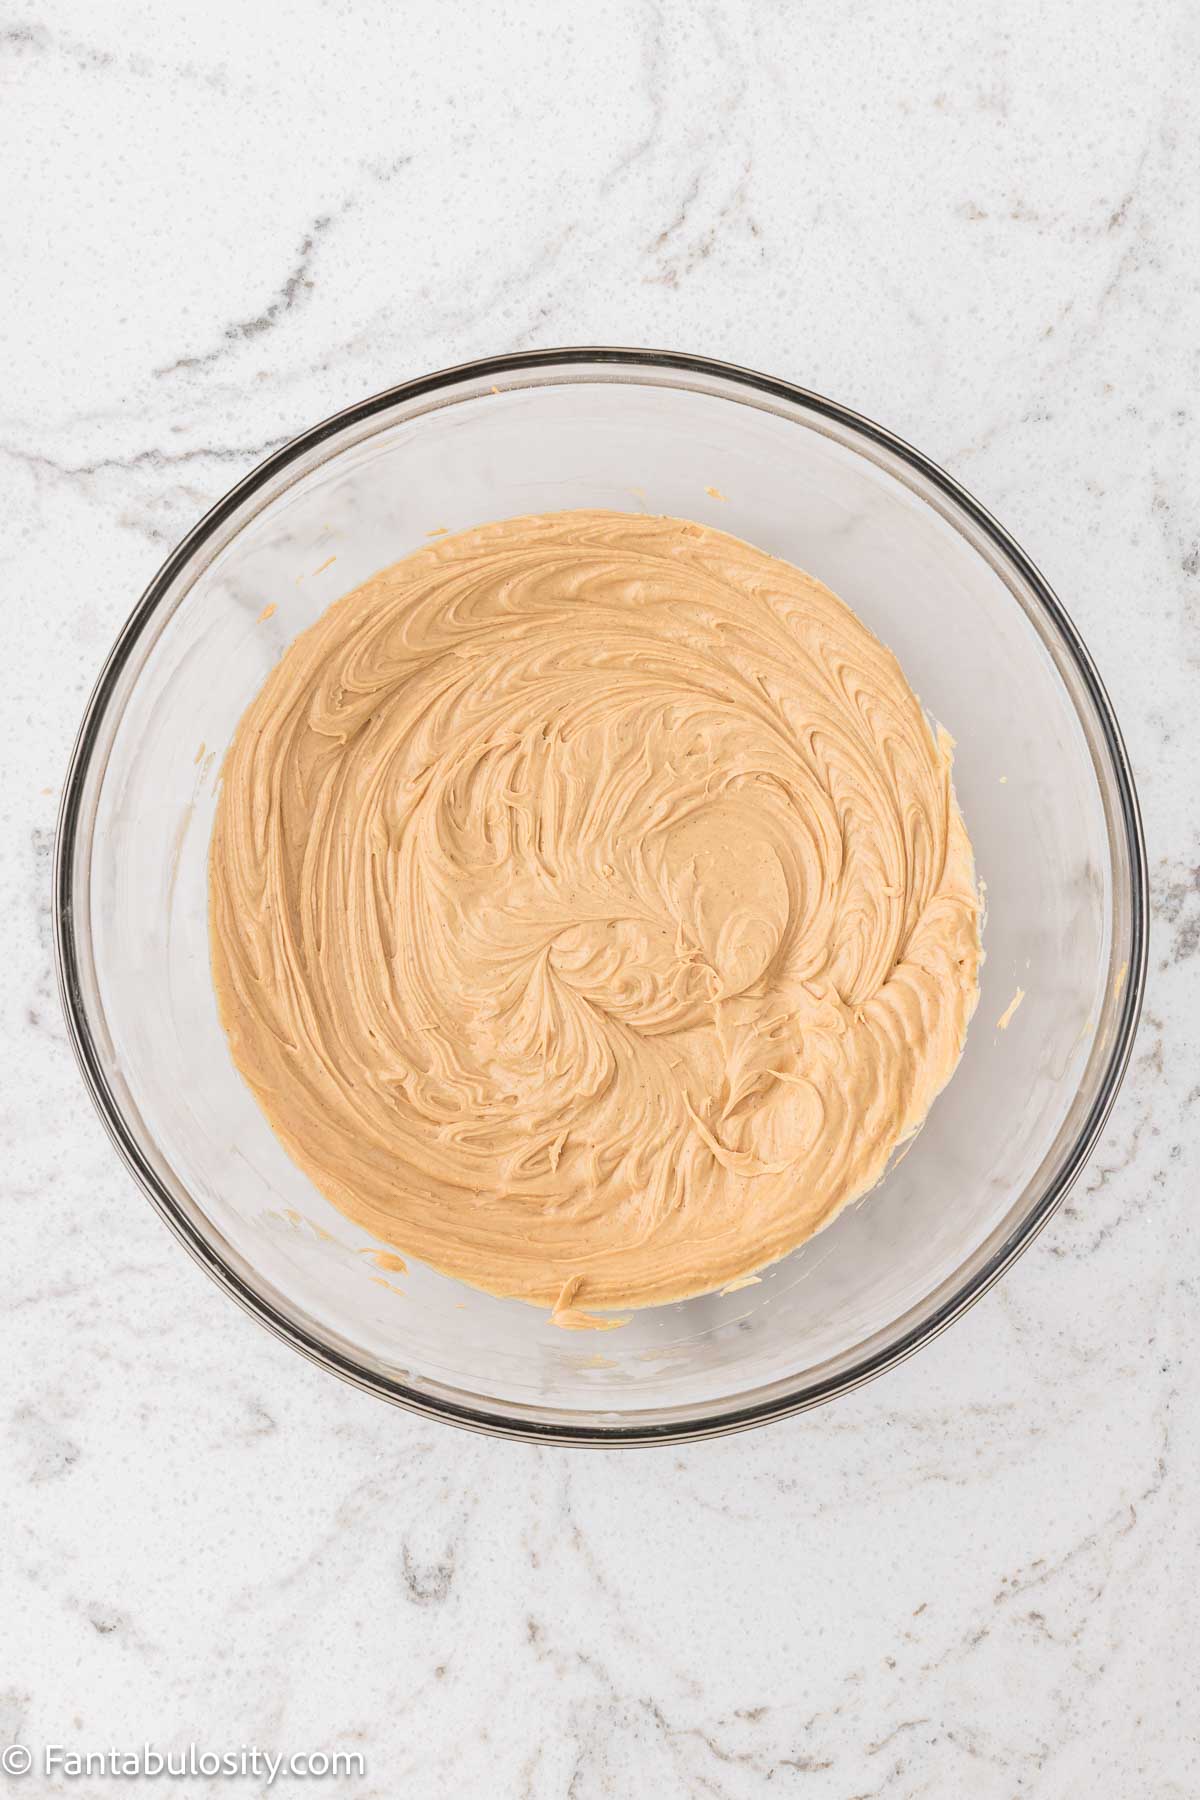
- Creamy peanut butter - stick to creamy (not natural) for best texture.
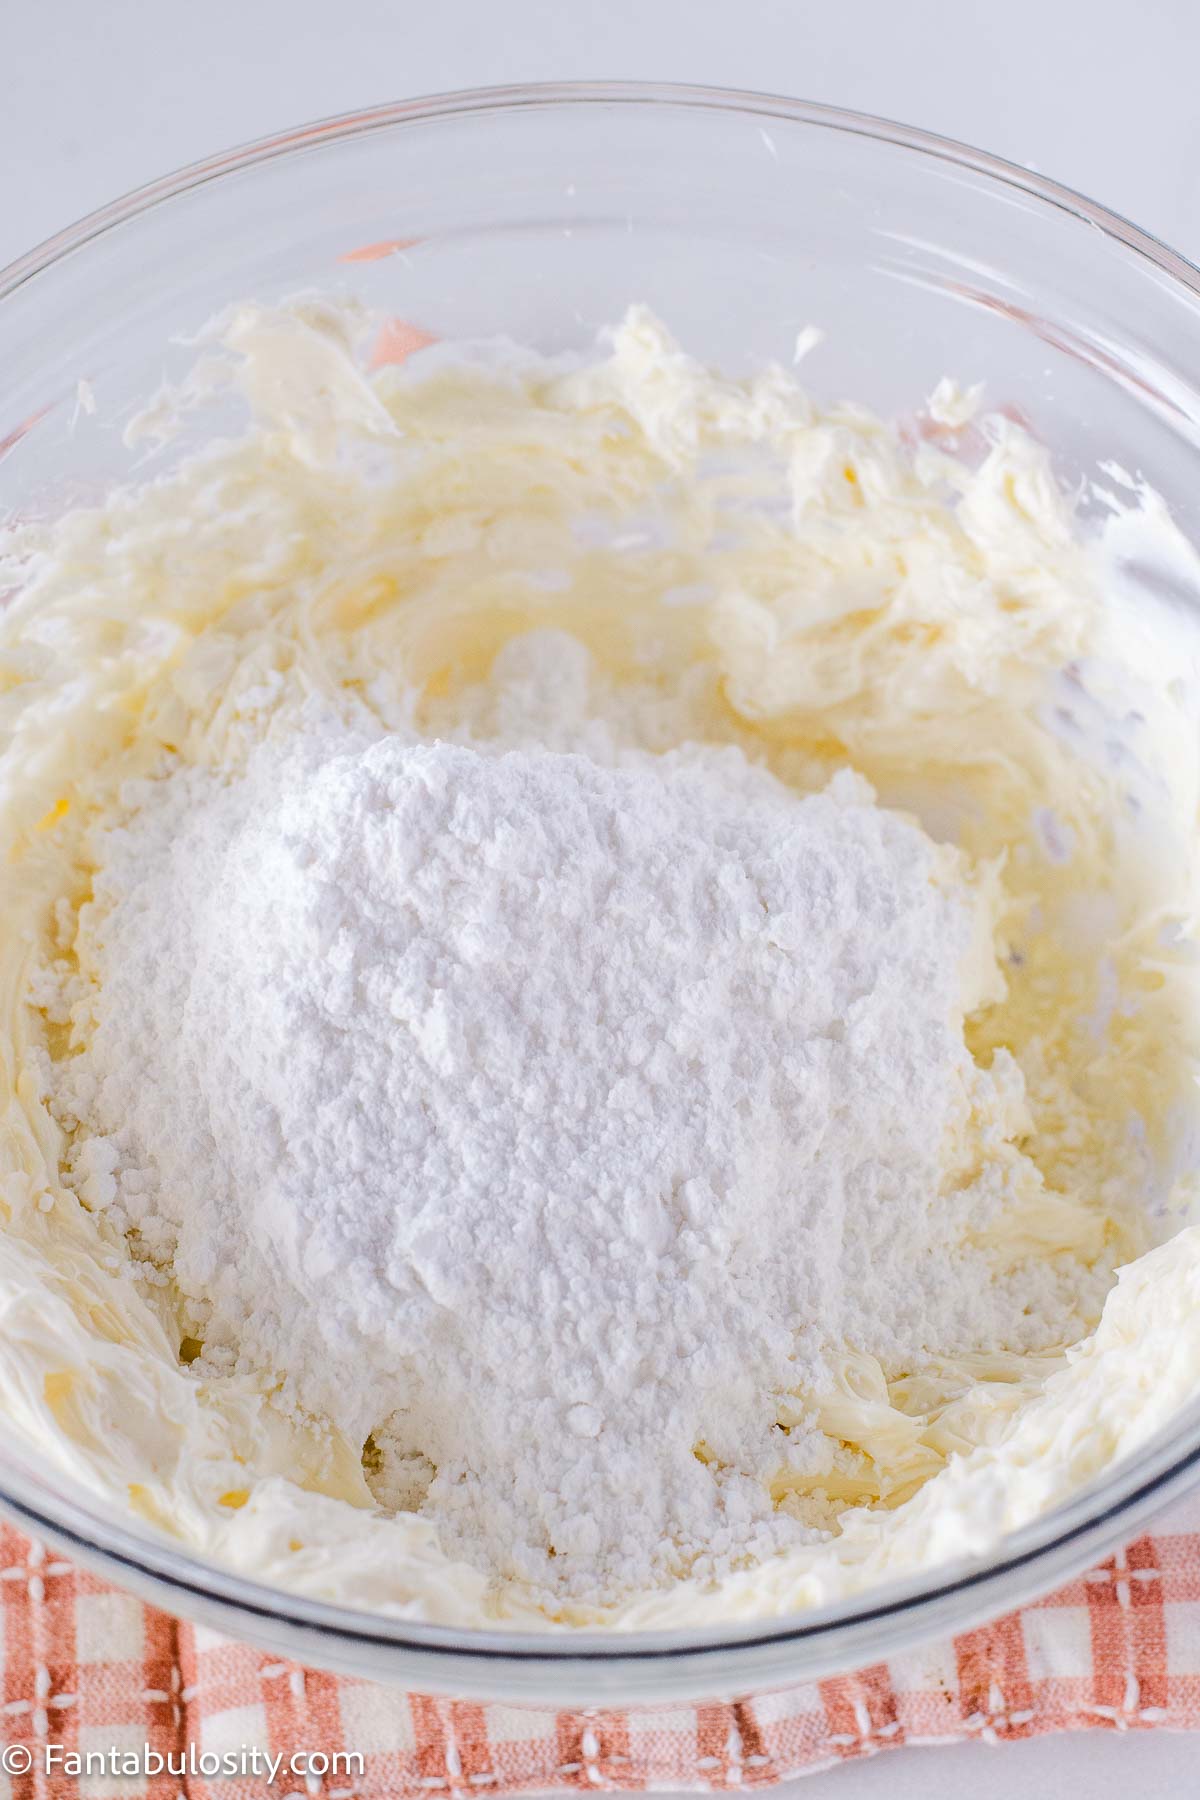
- Powdered sugar - sweetens and stabilizes.
- Unsalted butter - keeps it smooth and spreadable.
- Heavy cream - creamy texture.
- Pure vanilla extract - flavor depth.
For the Chocolate Layer
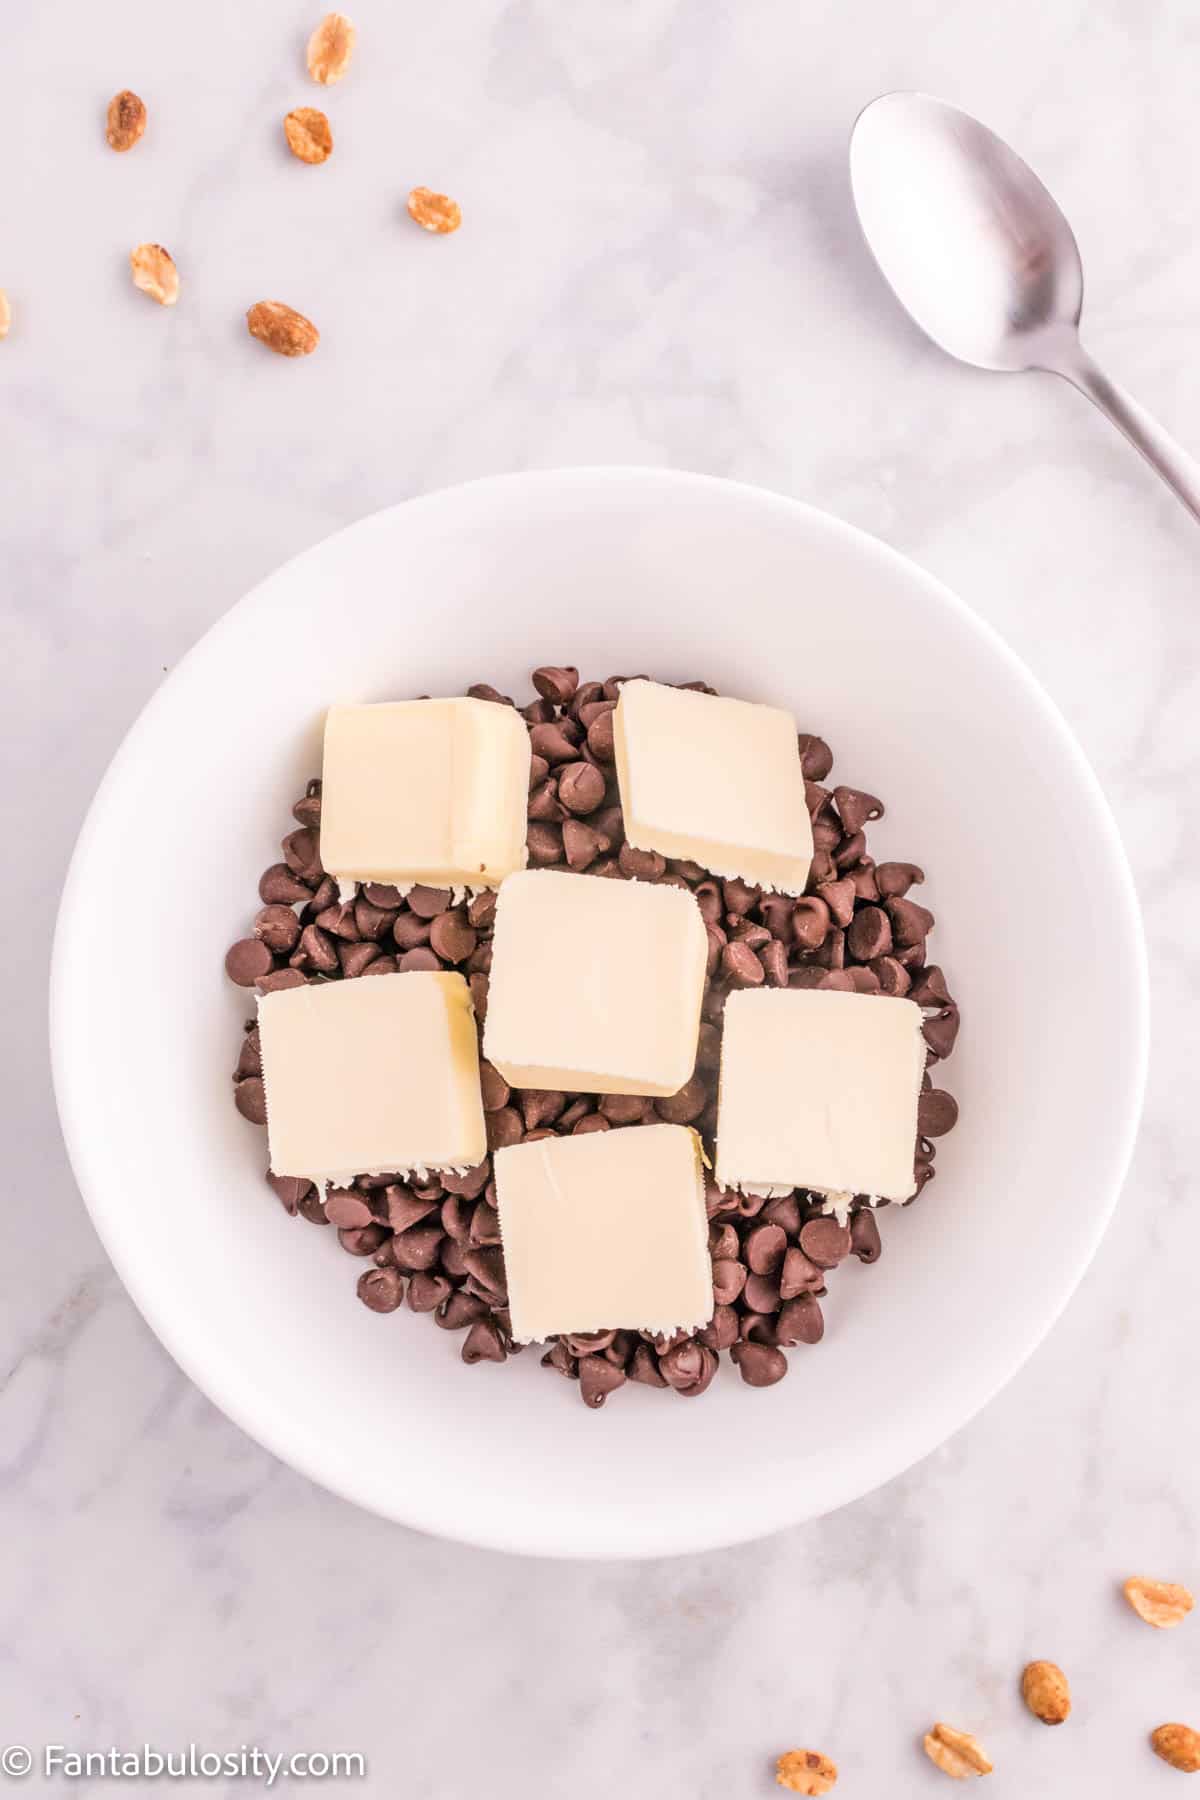
- Milk chocolate bars - smooth, classic flavor (chopped for easier melting).
- Unsalted butter - helps melt and spread evenly.
Instructions
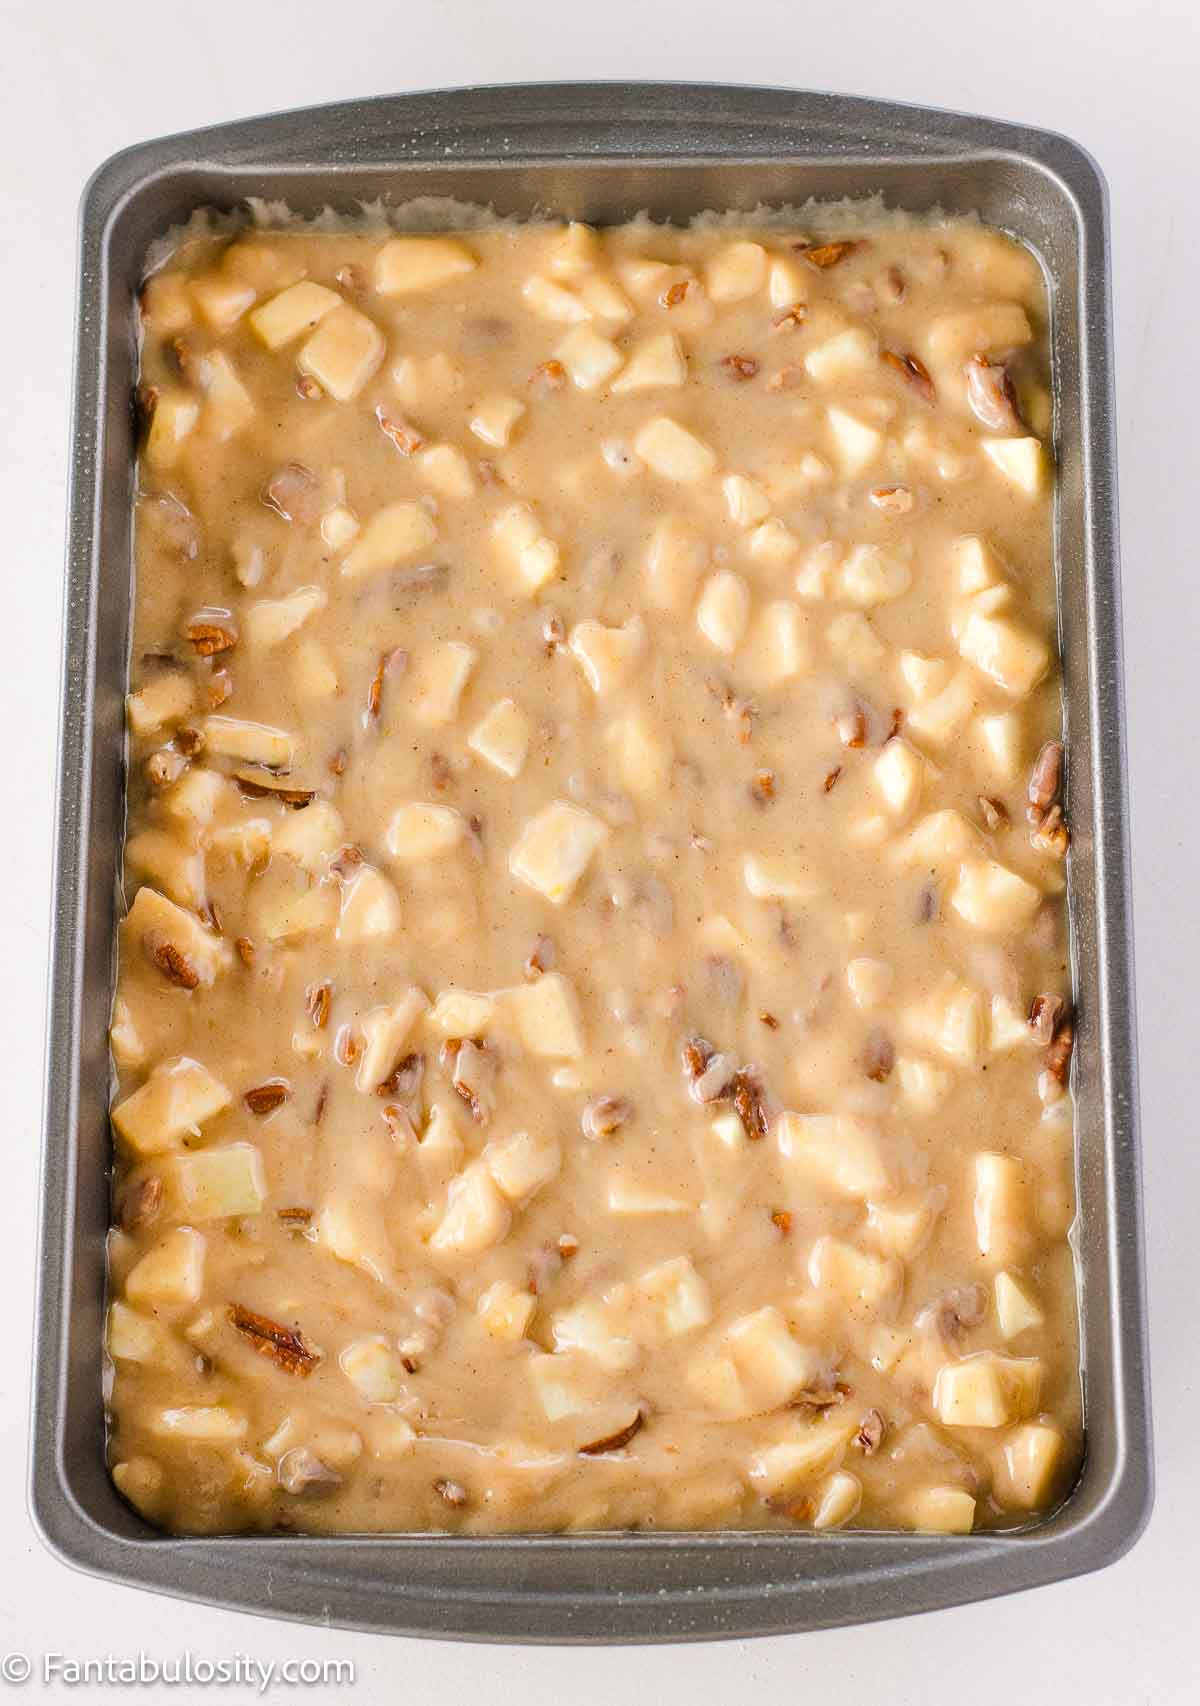
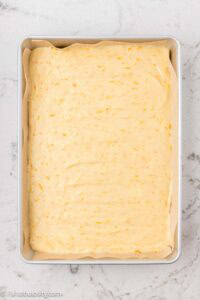
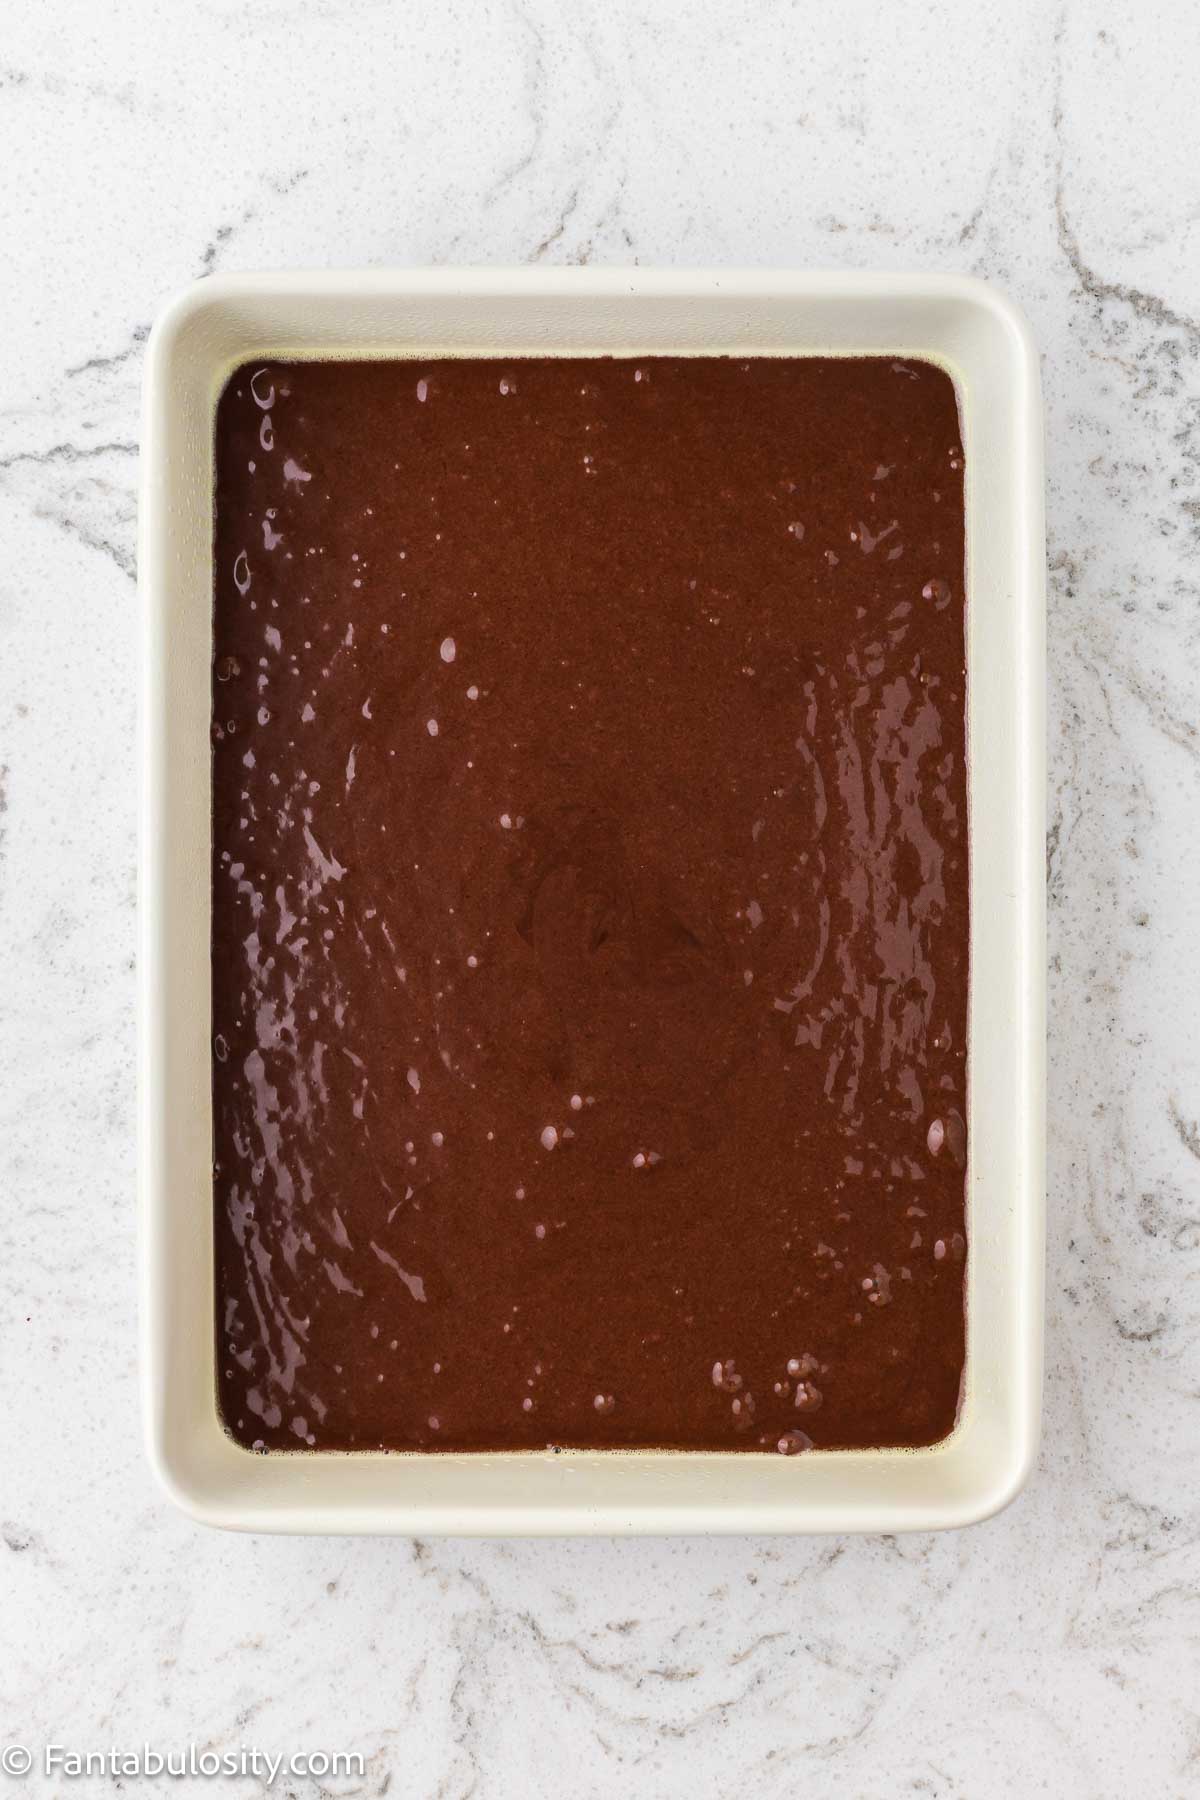
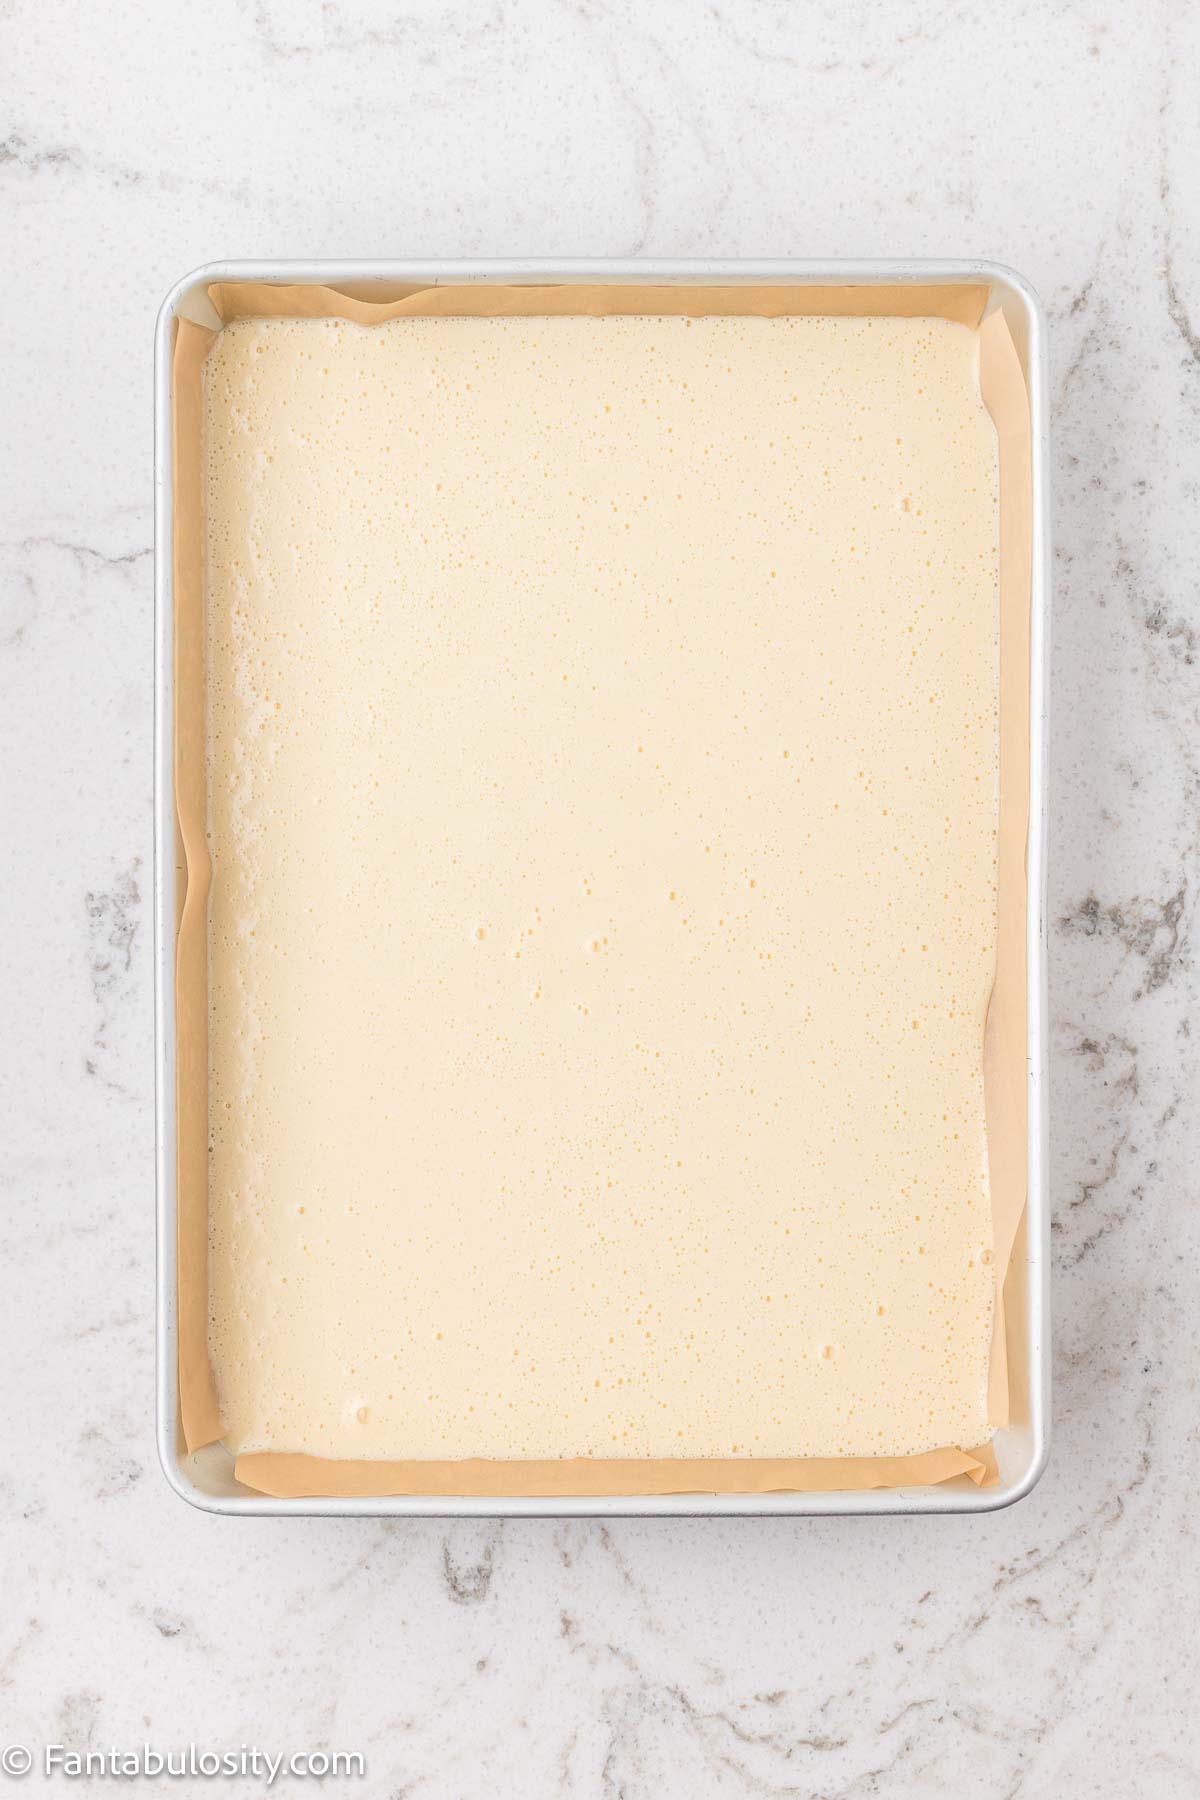
- Preheat oven to 350°F. Grease or line a 9×13-inch pan.
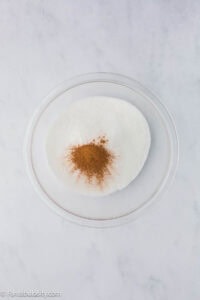
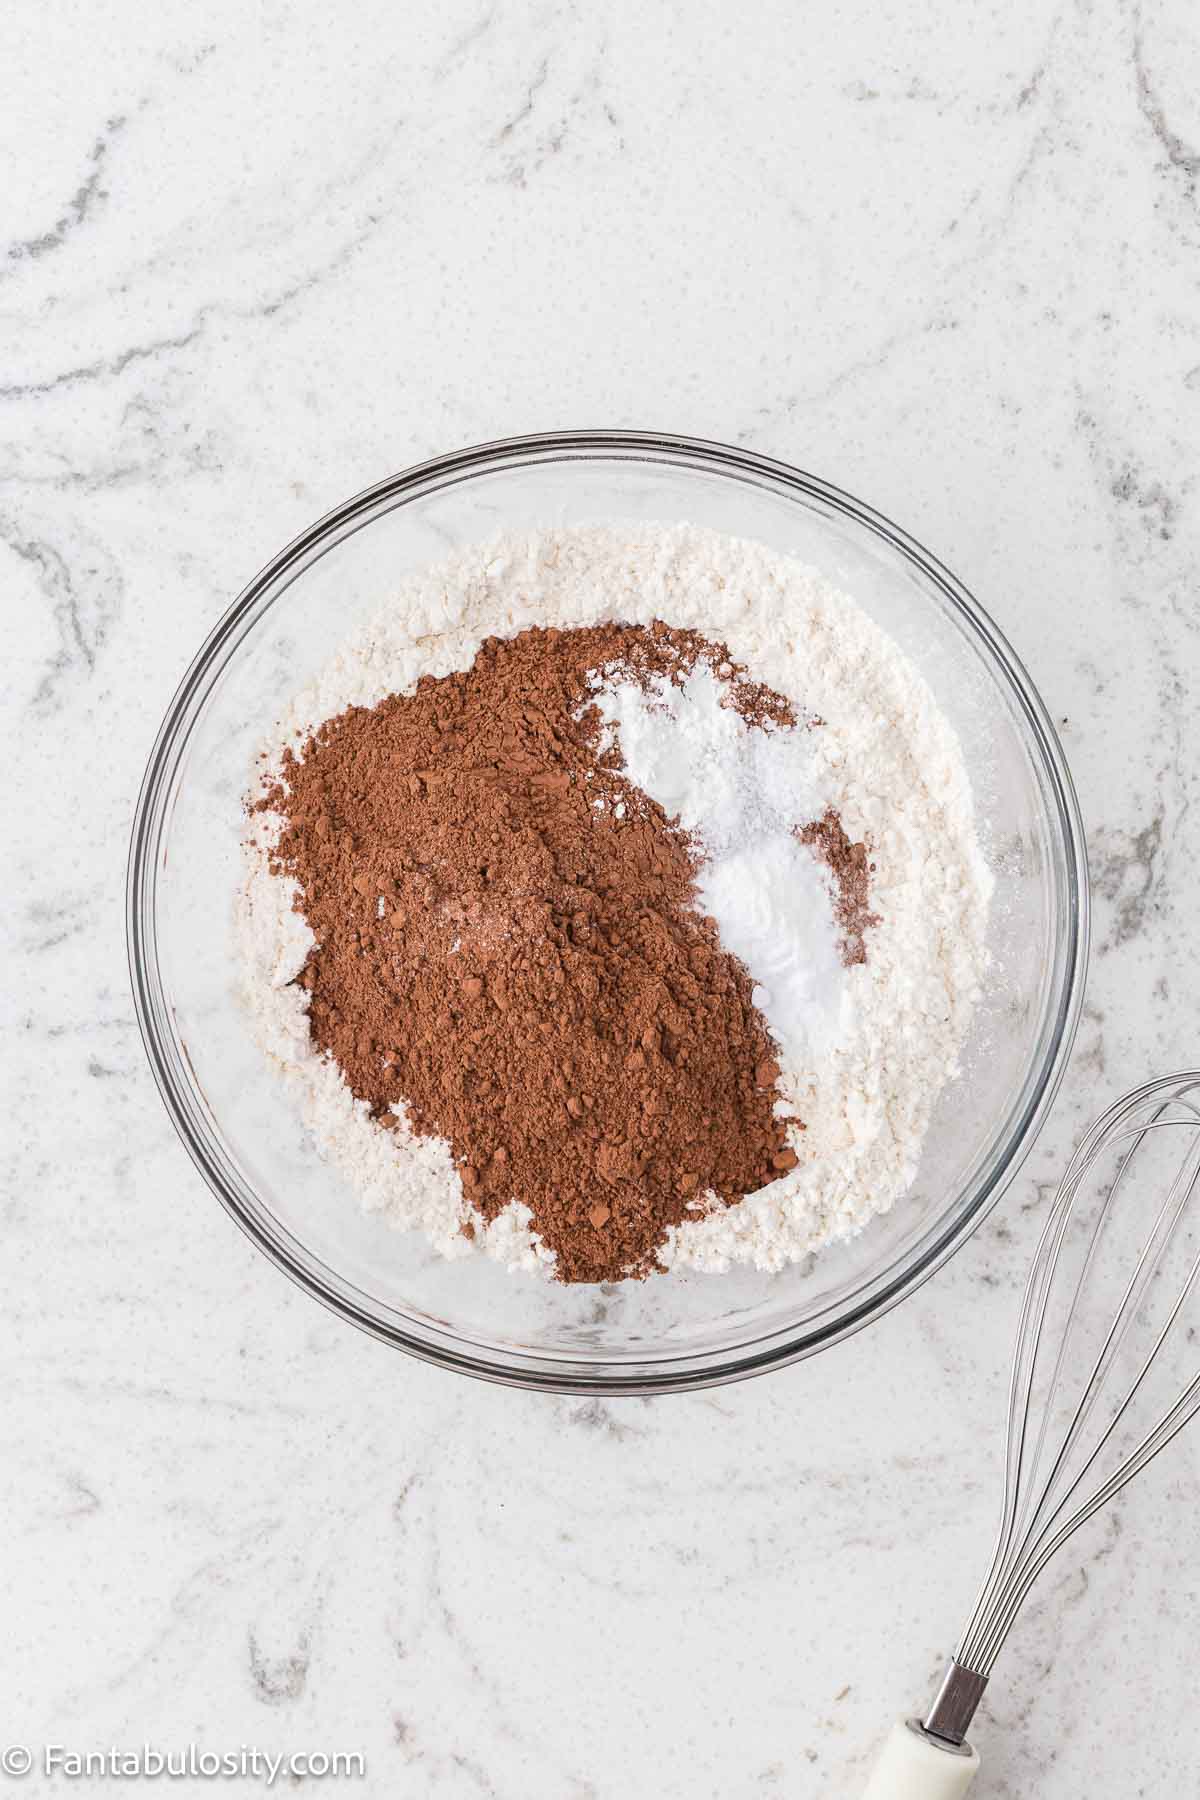
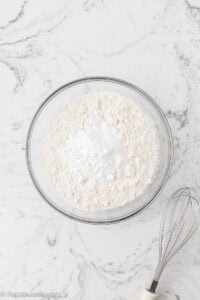
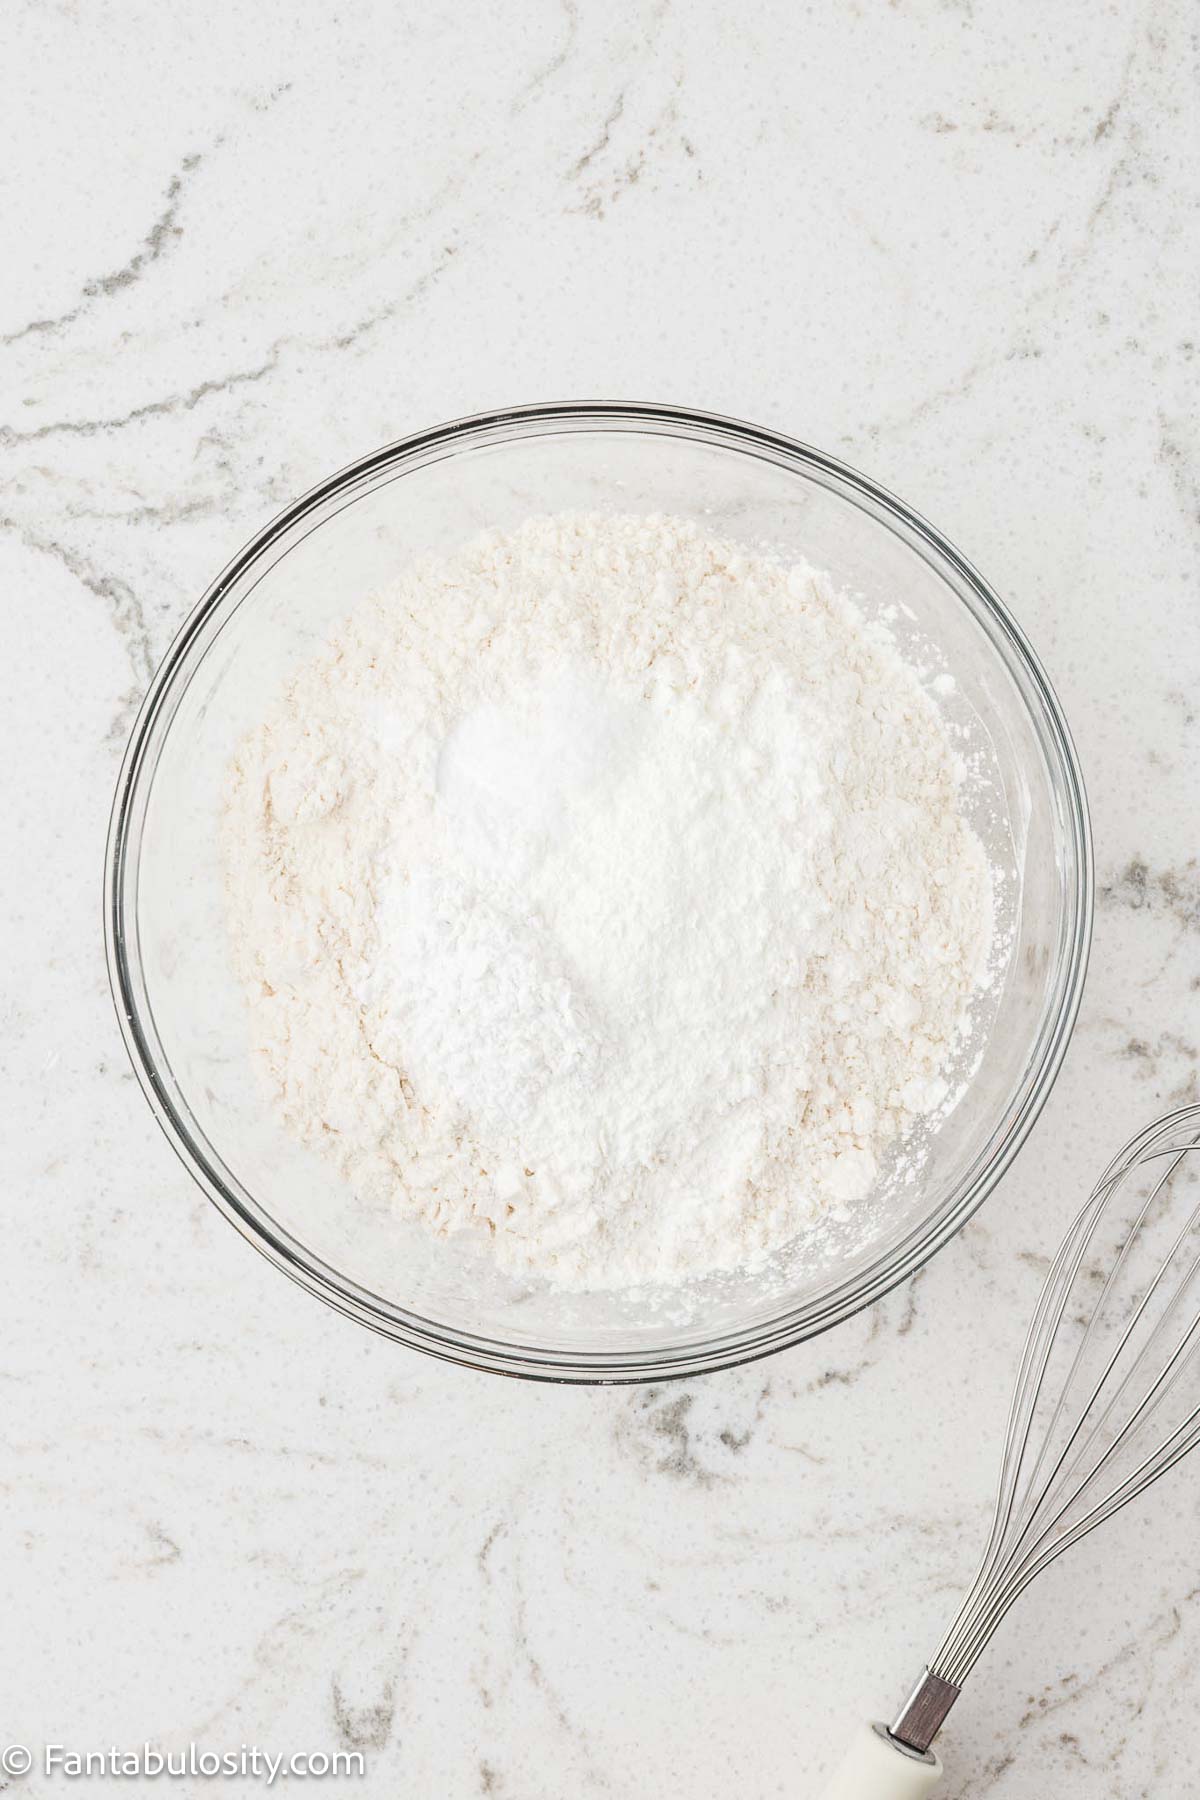
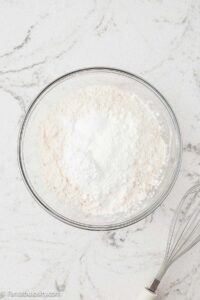
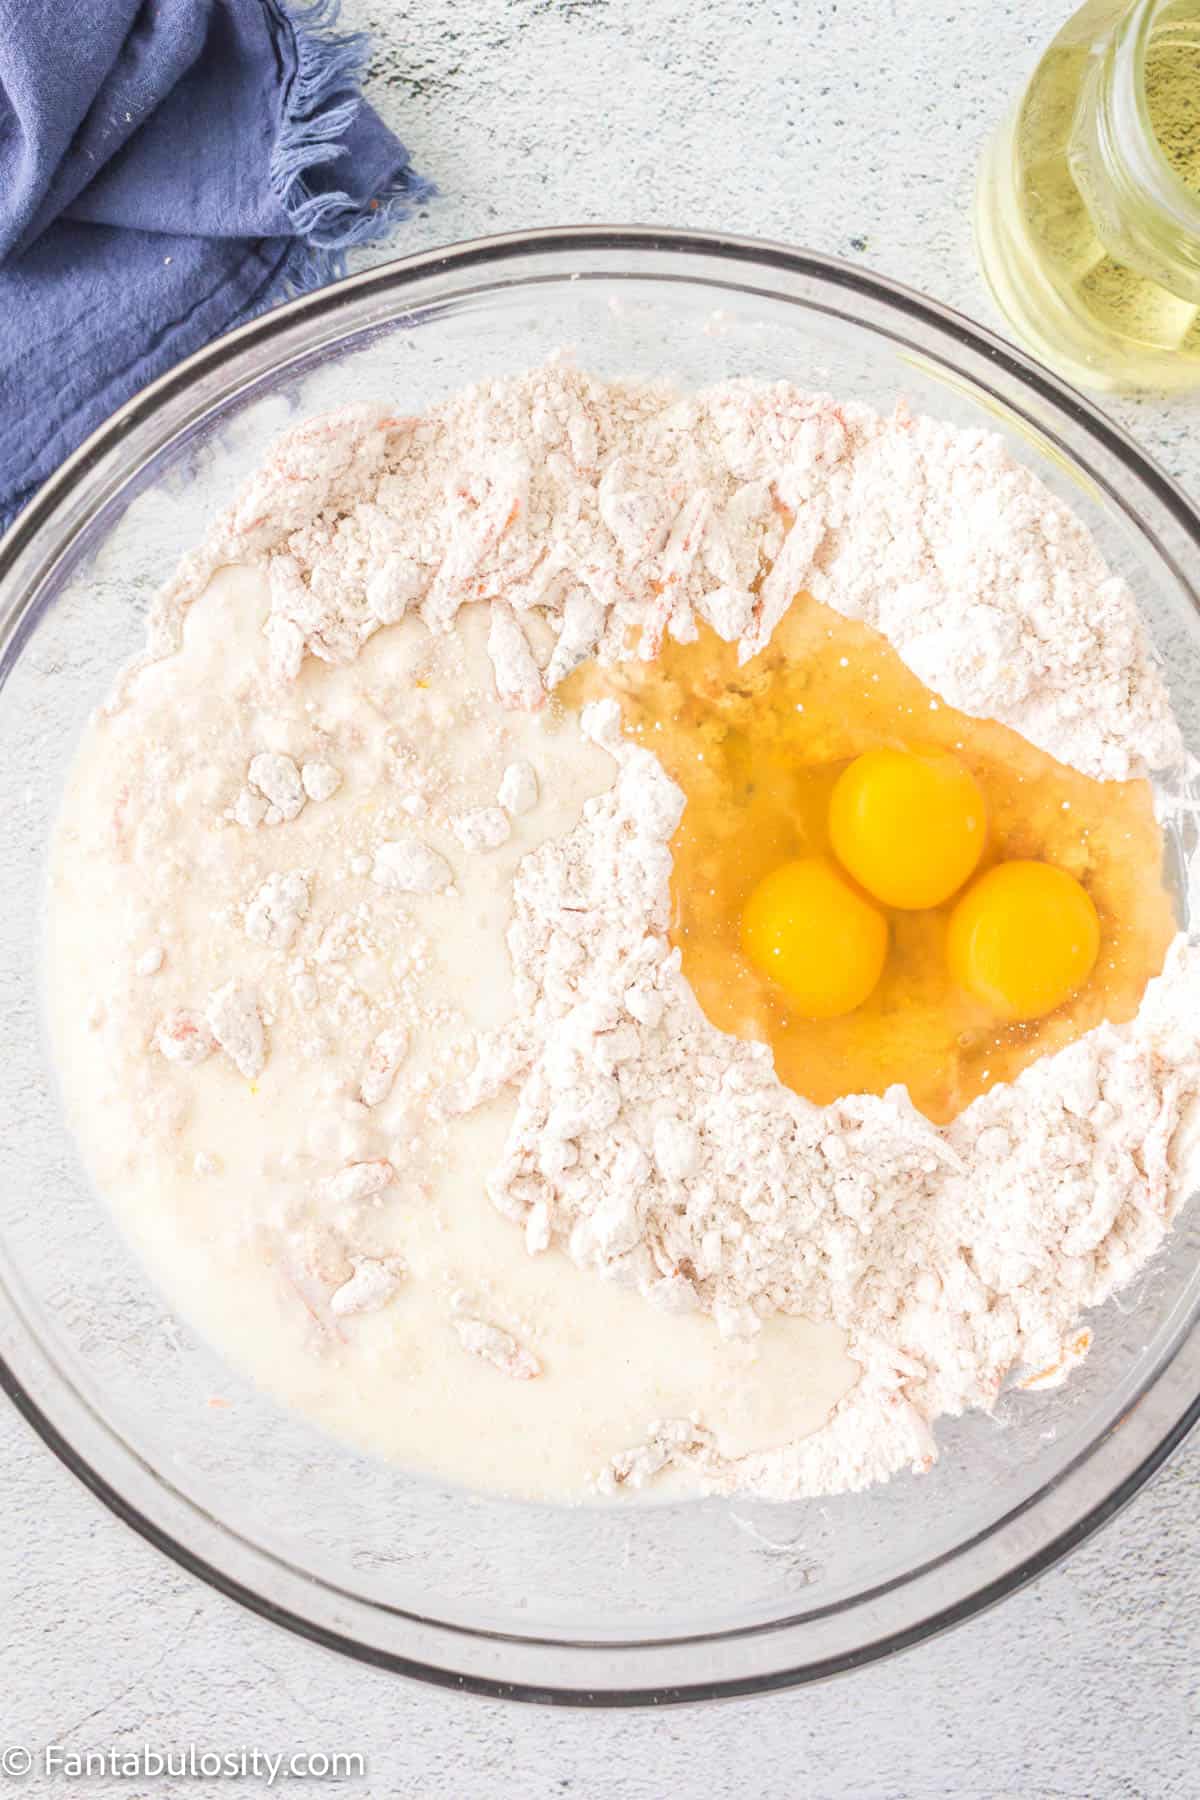
- Whisk flour, baking powder, and salt in a medium bowl. Set aside.
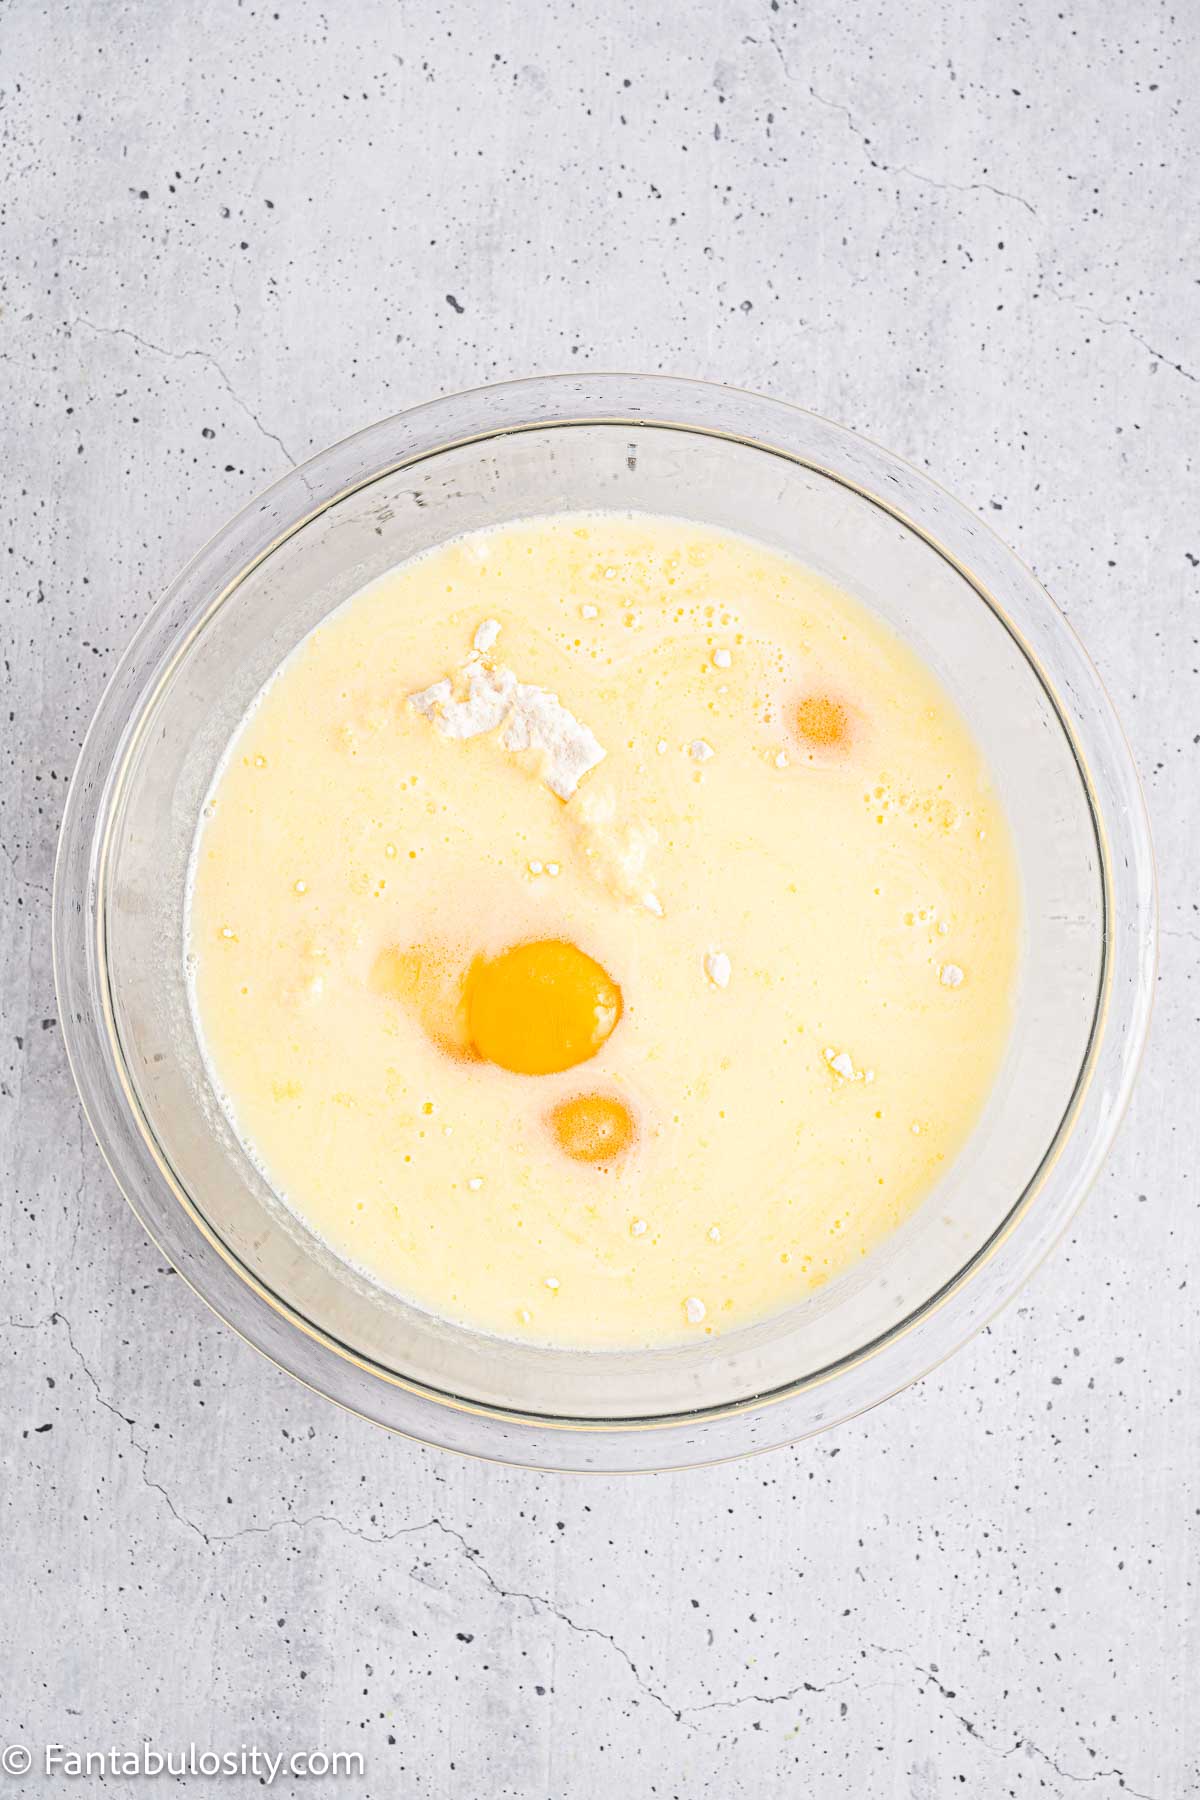
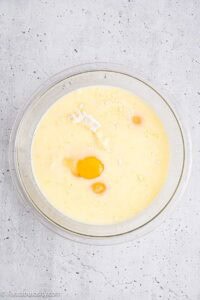
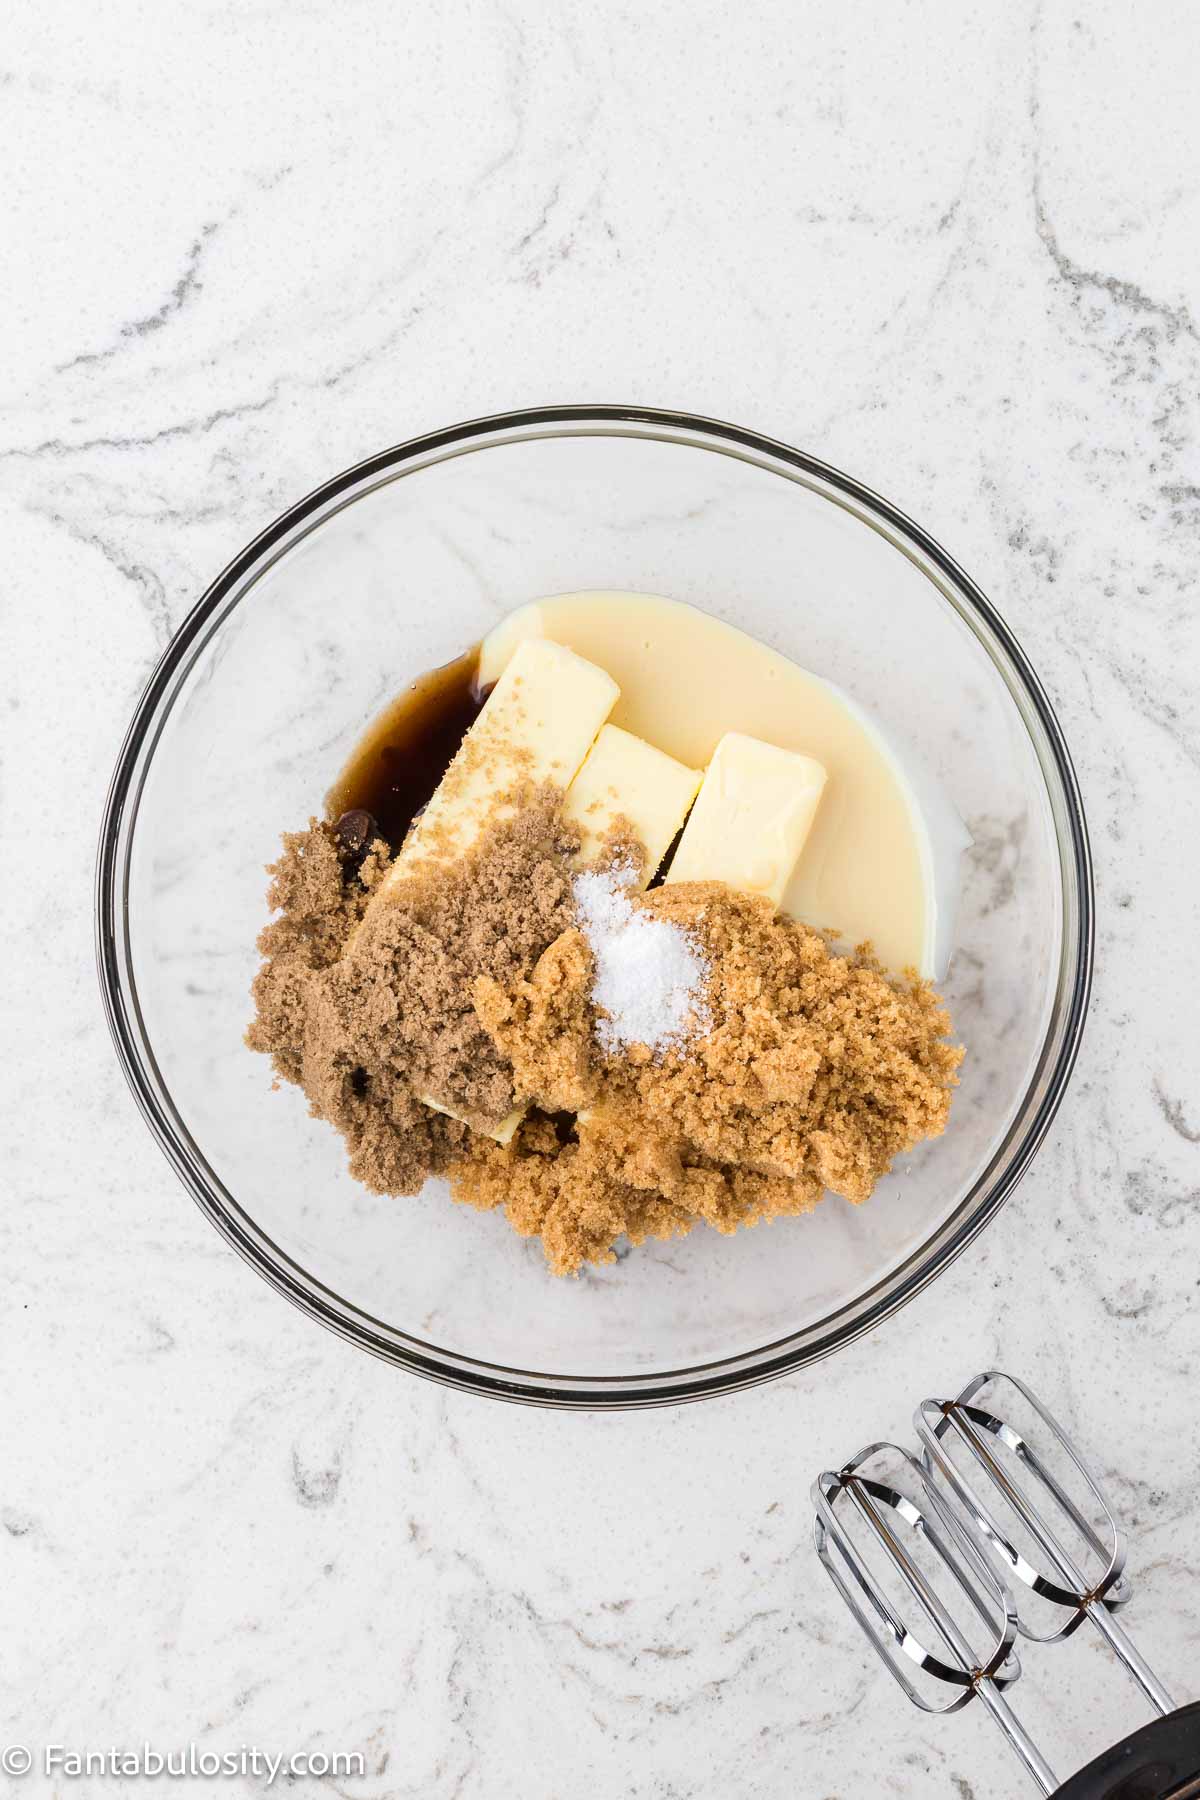
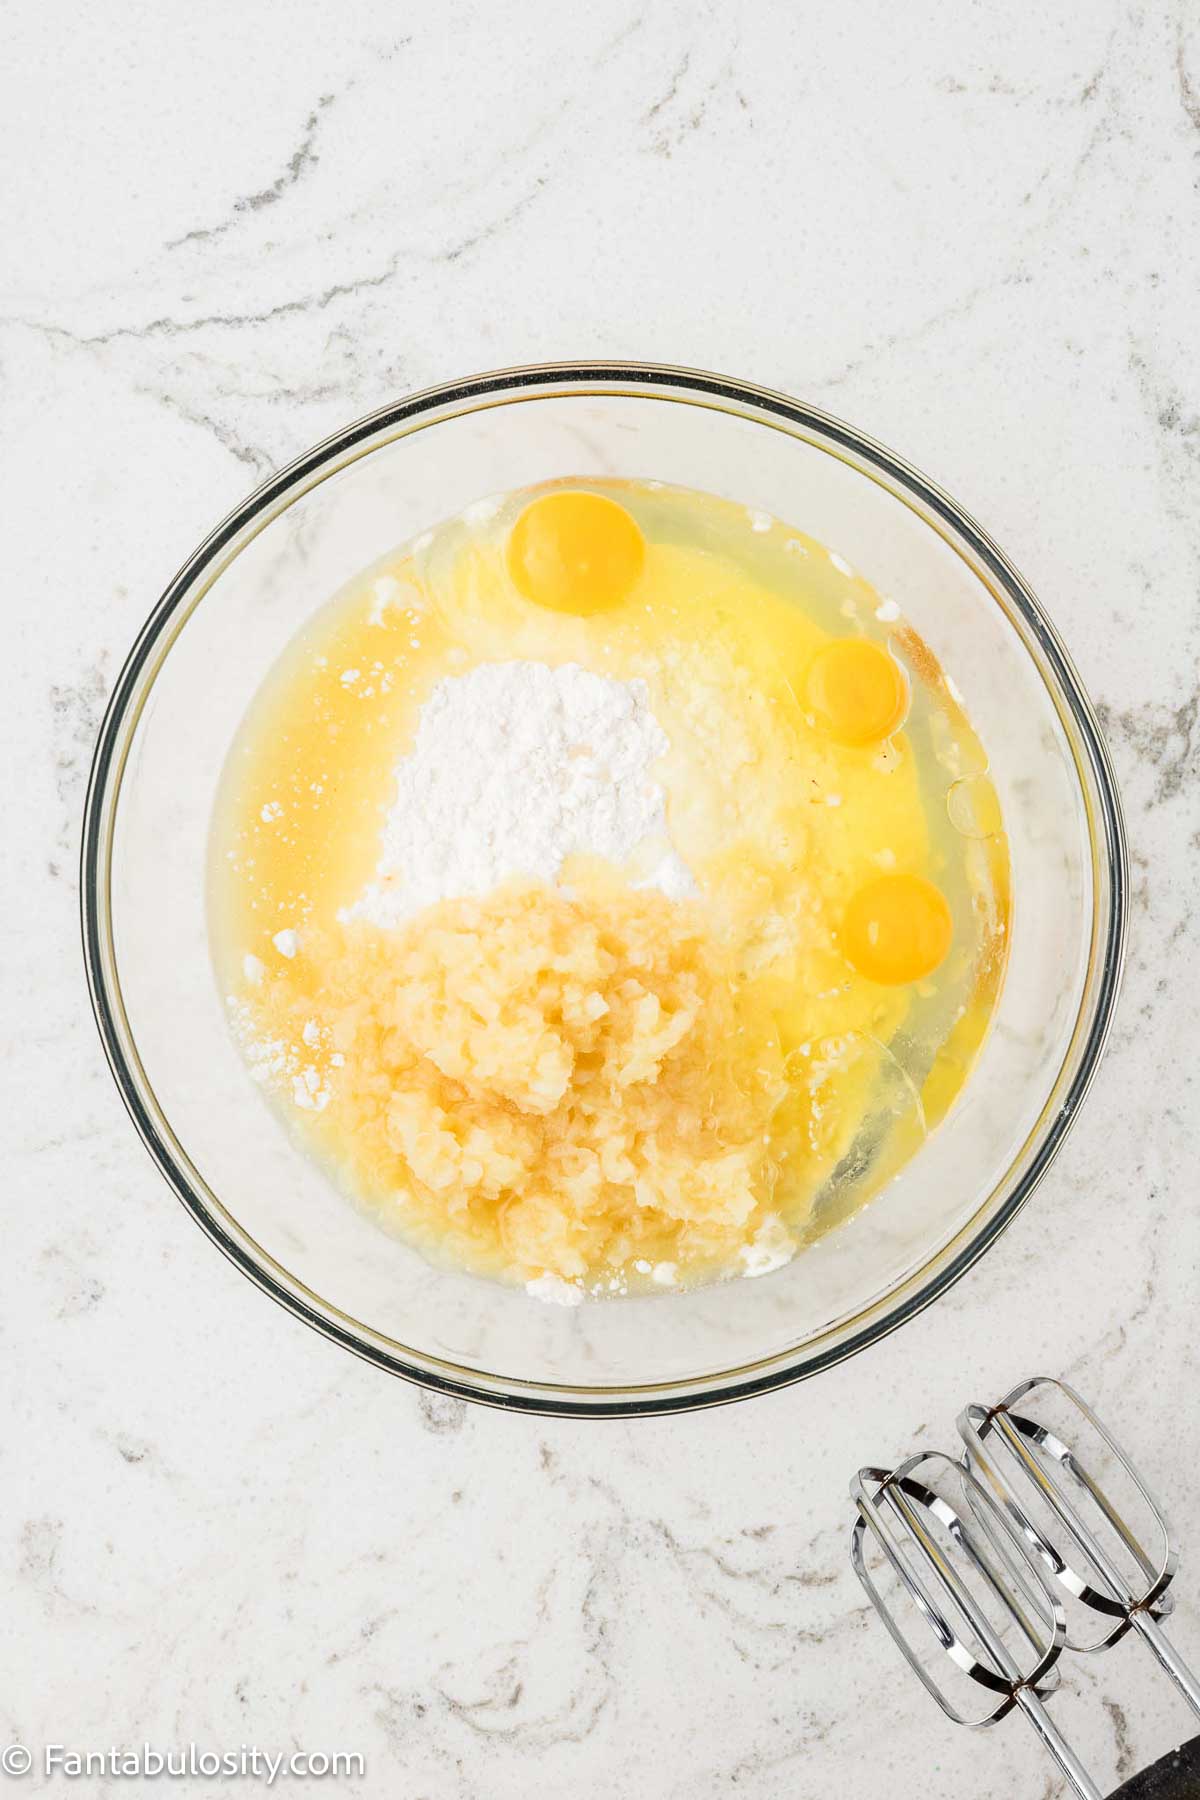
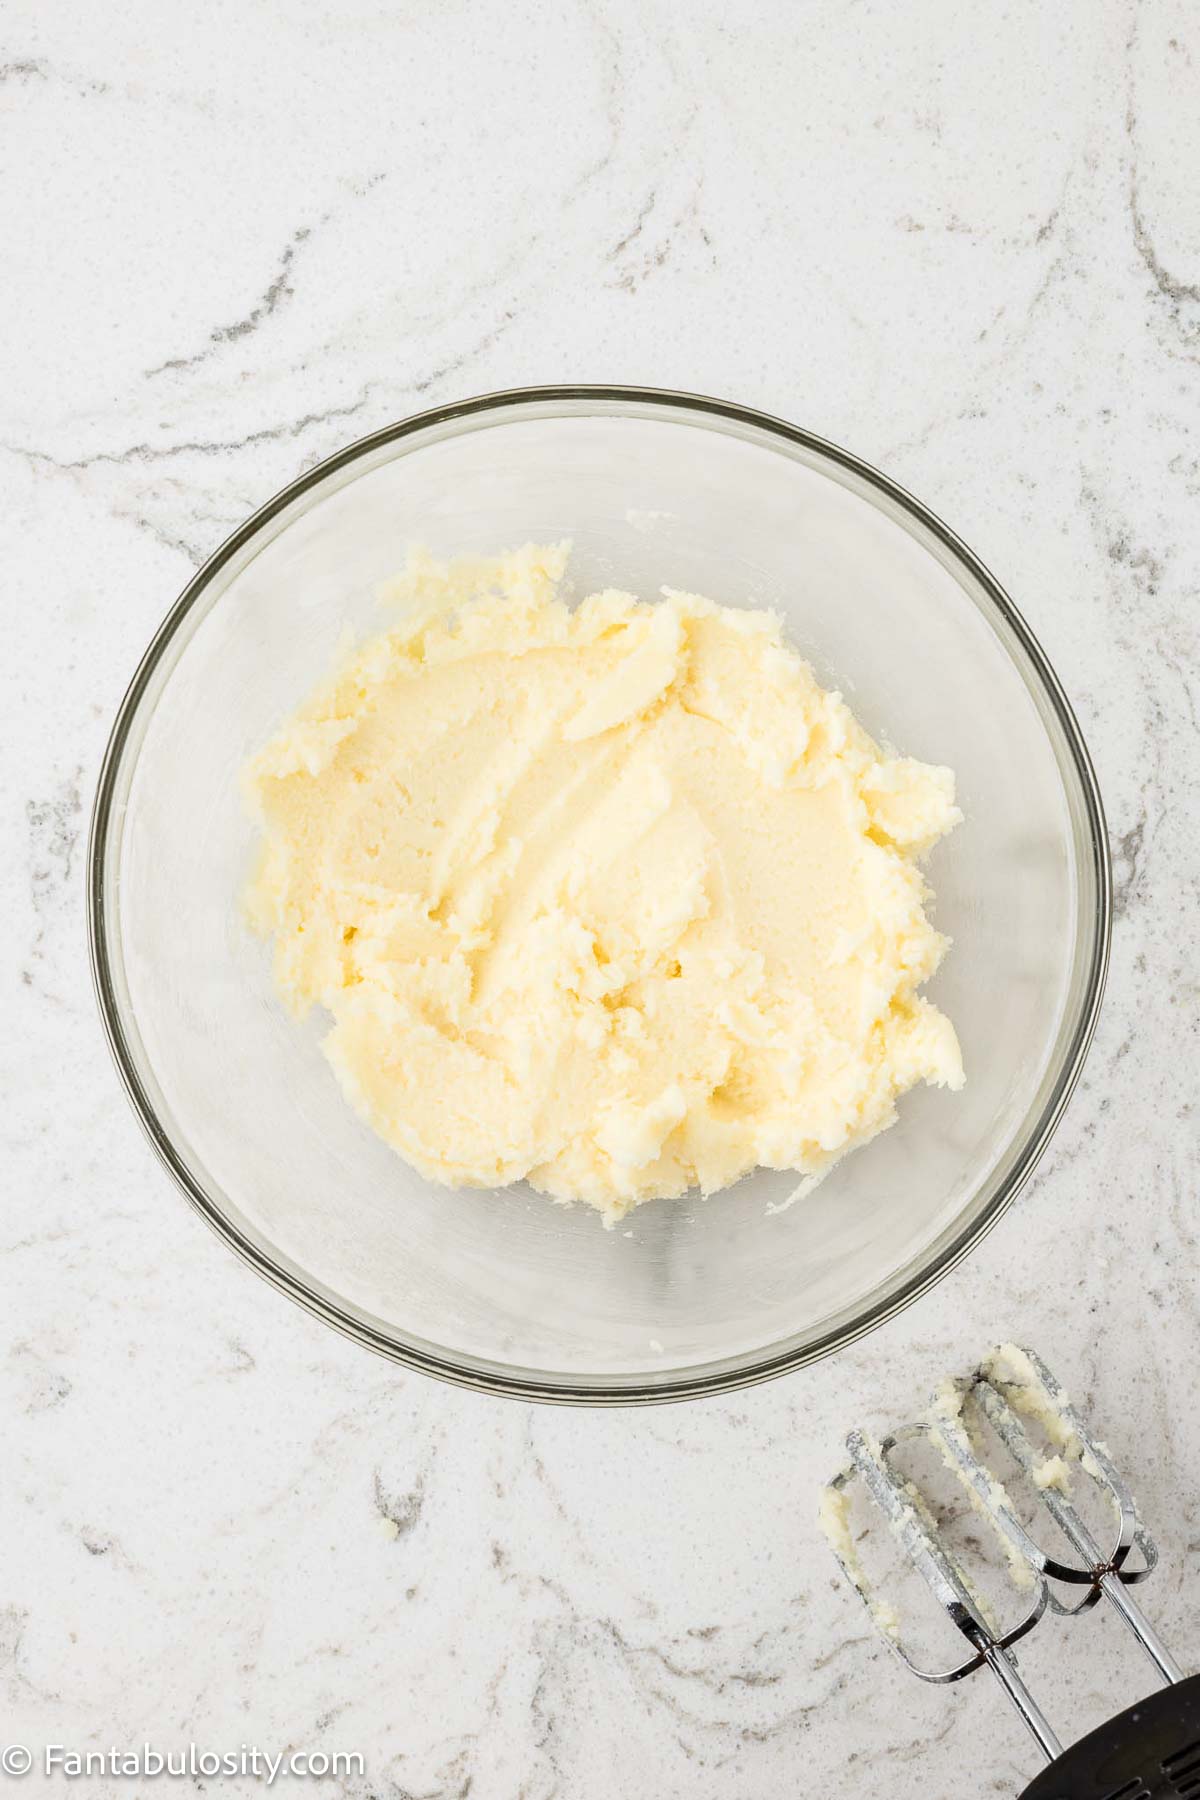
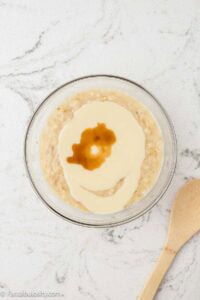
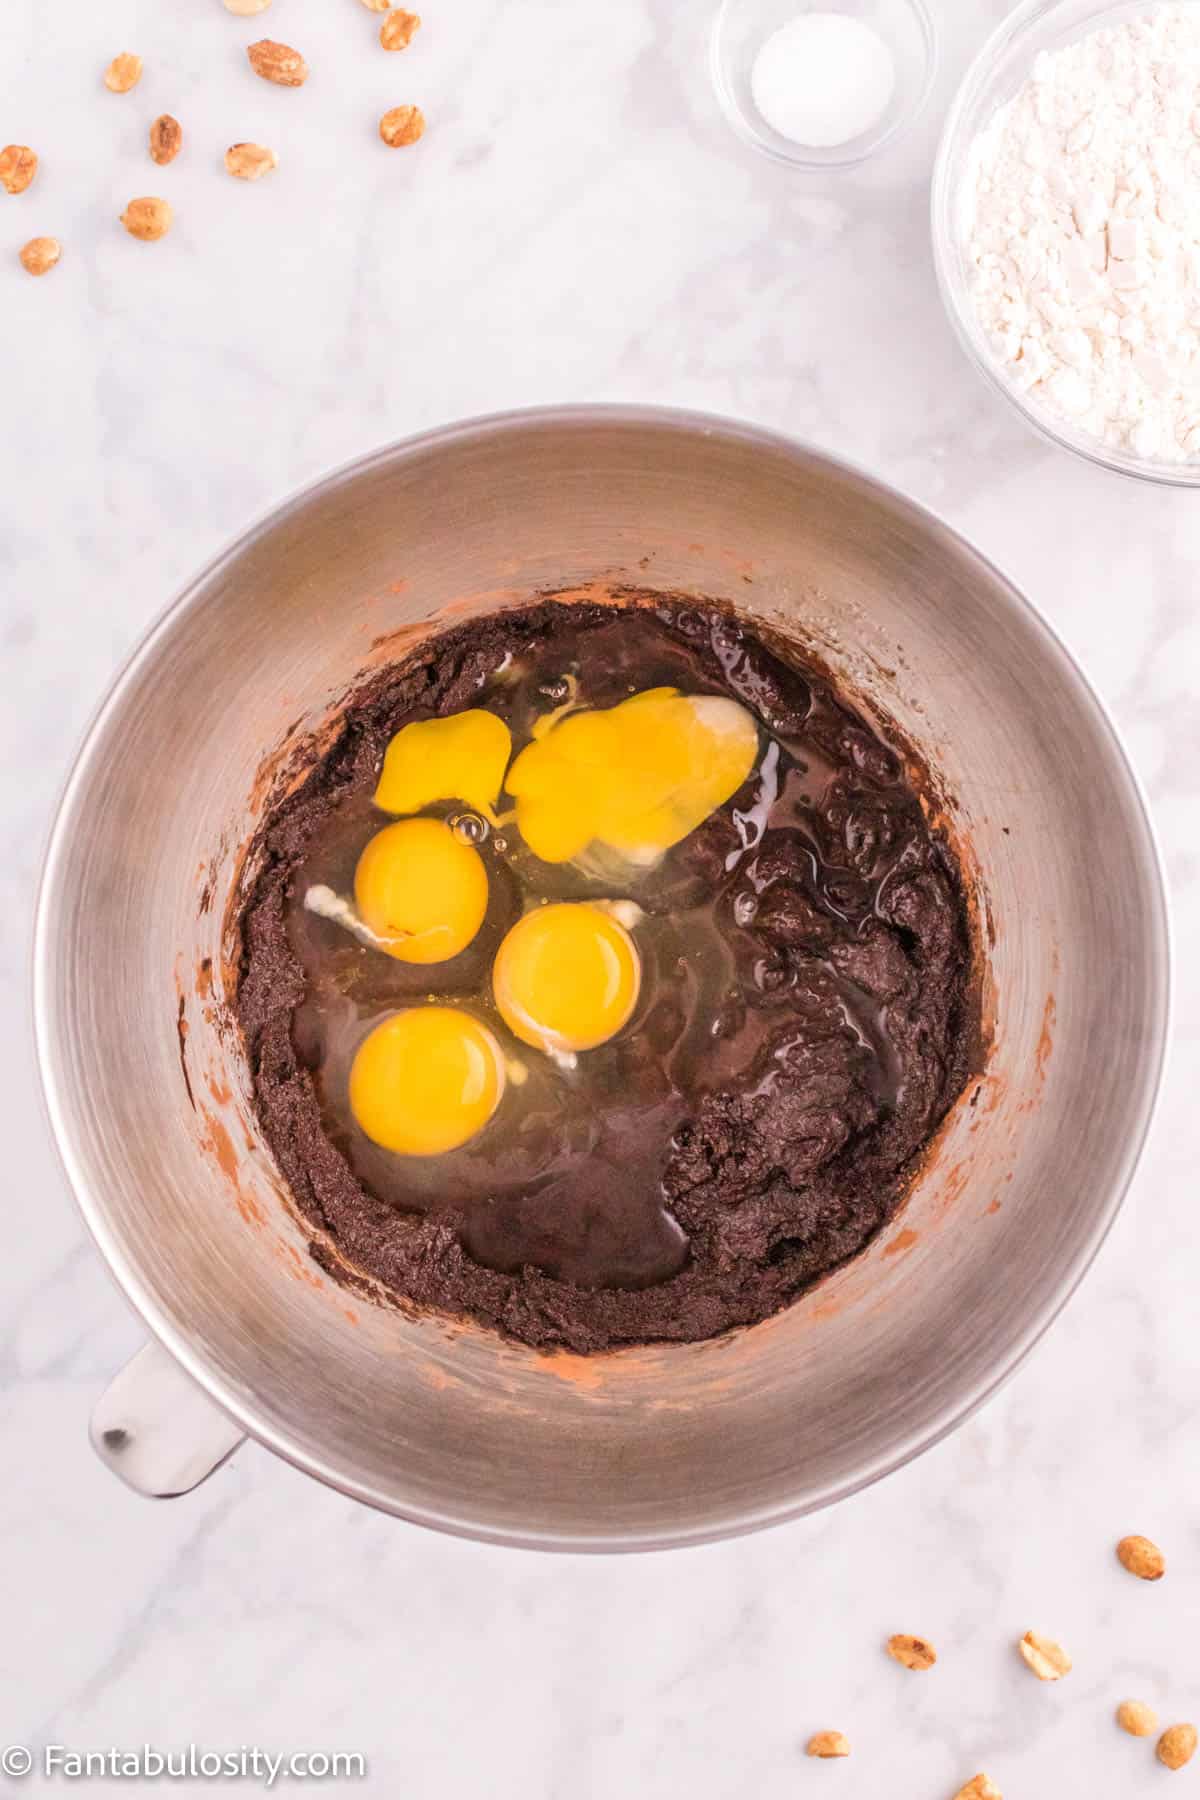
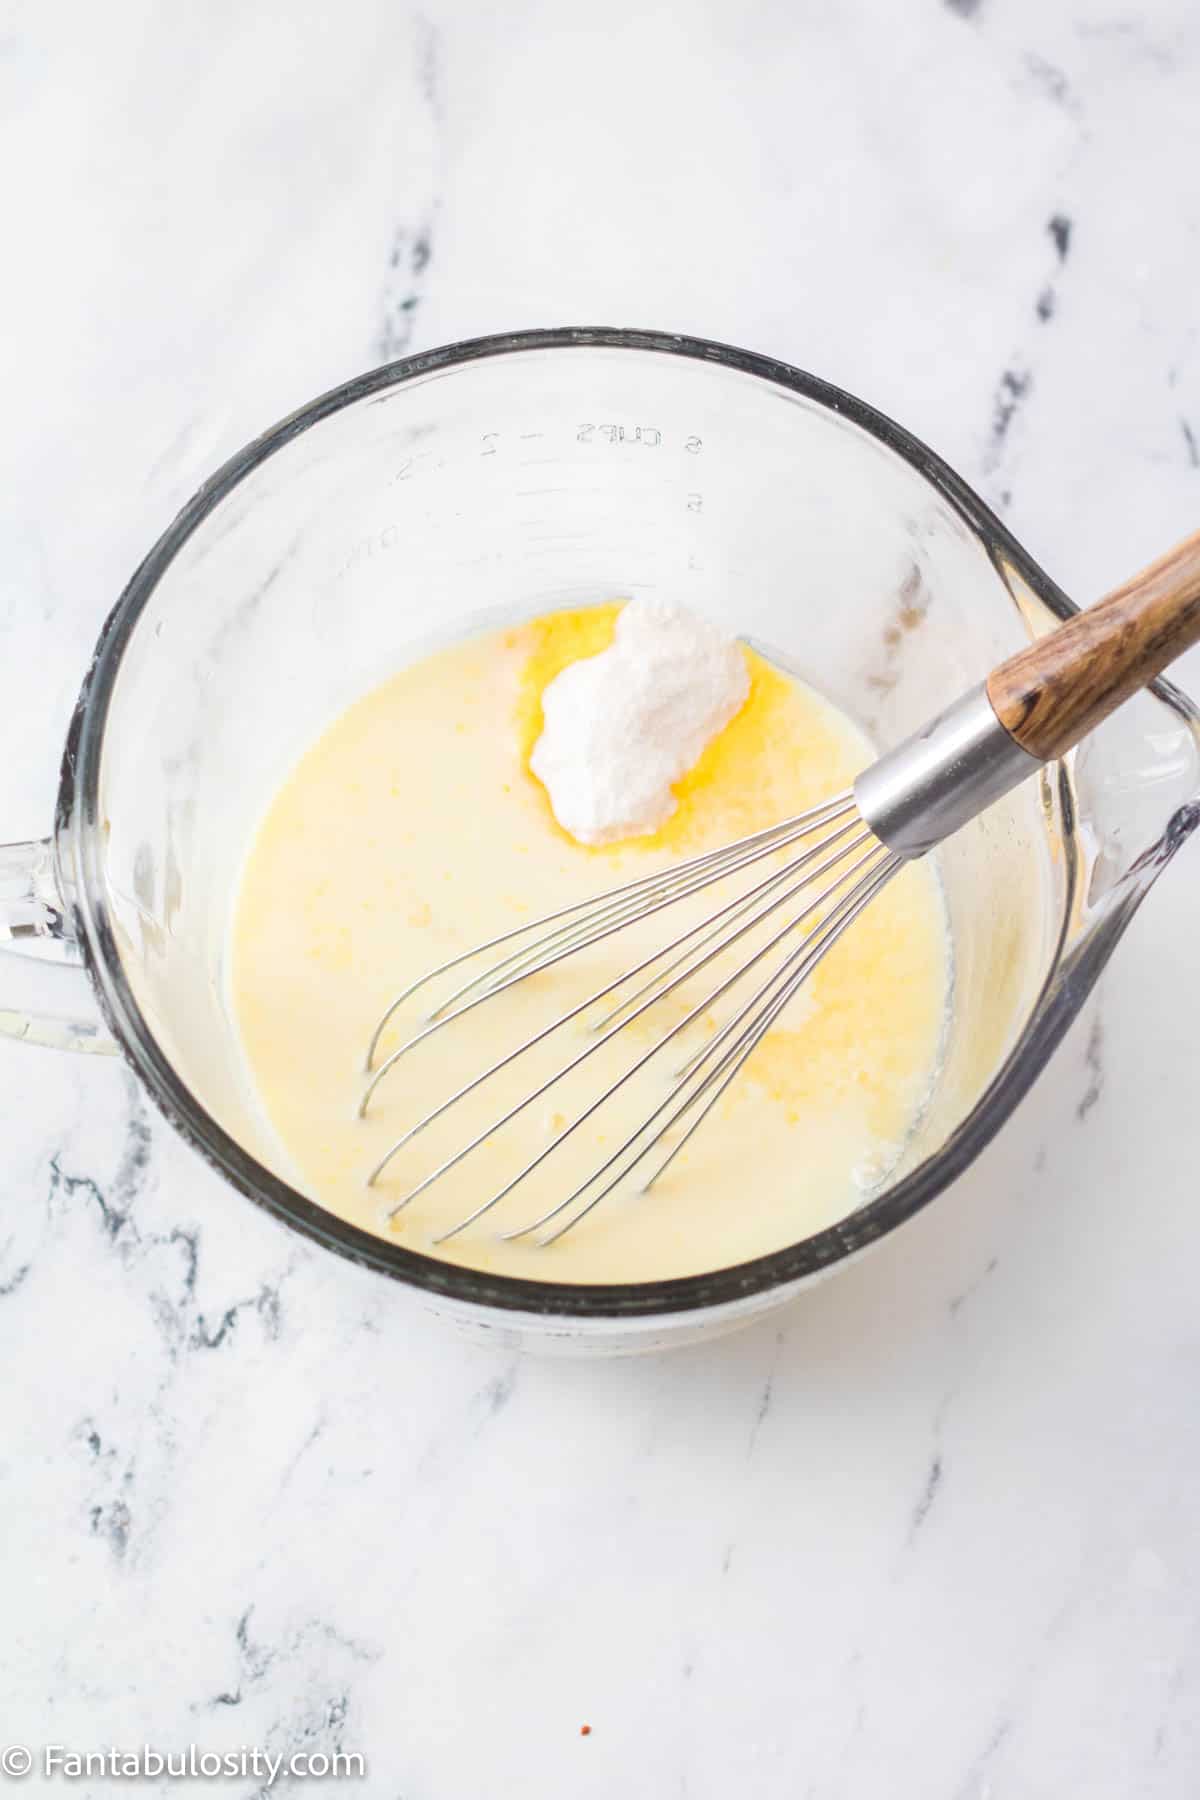
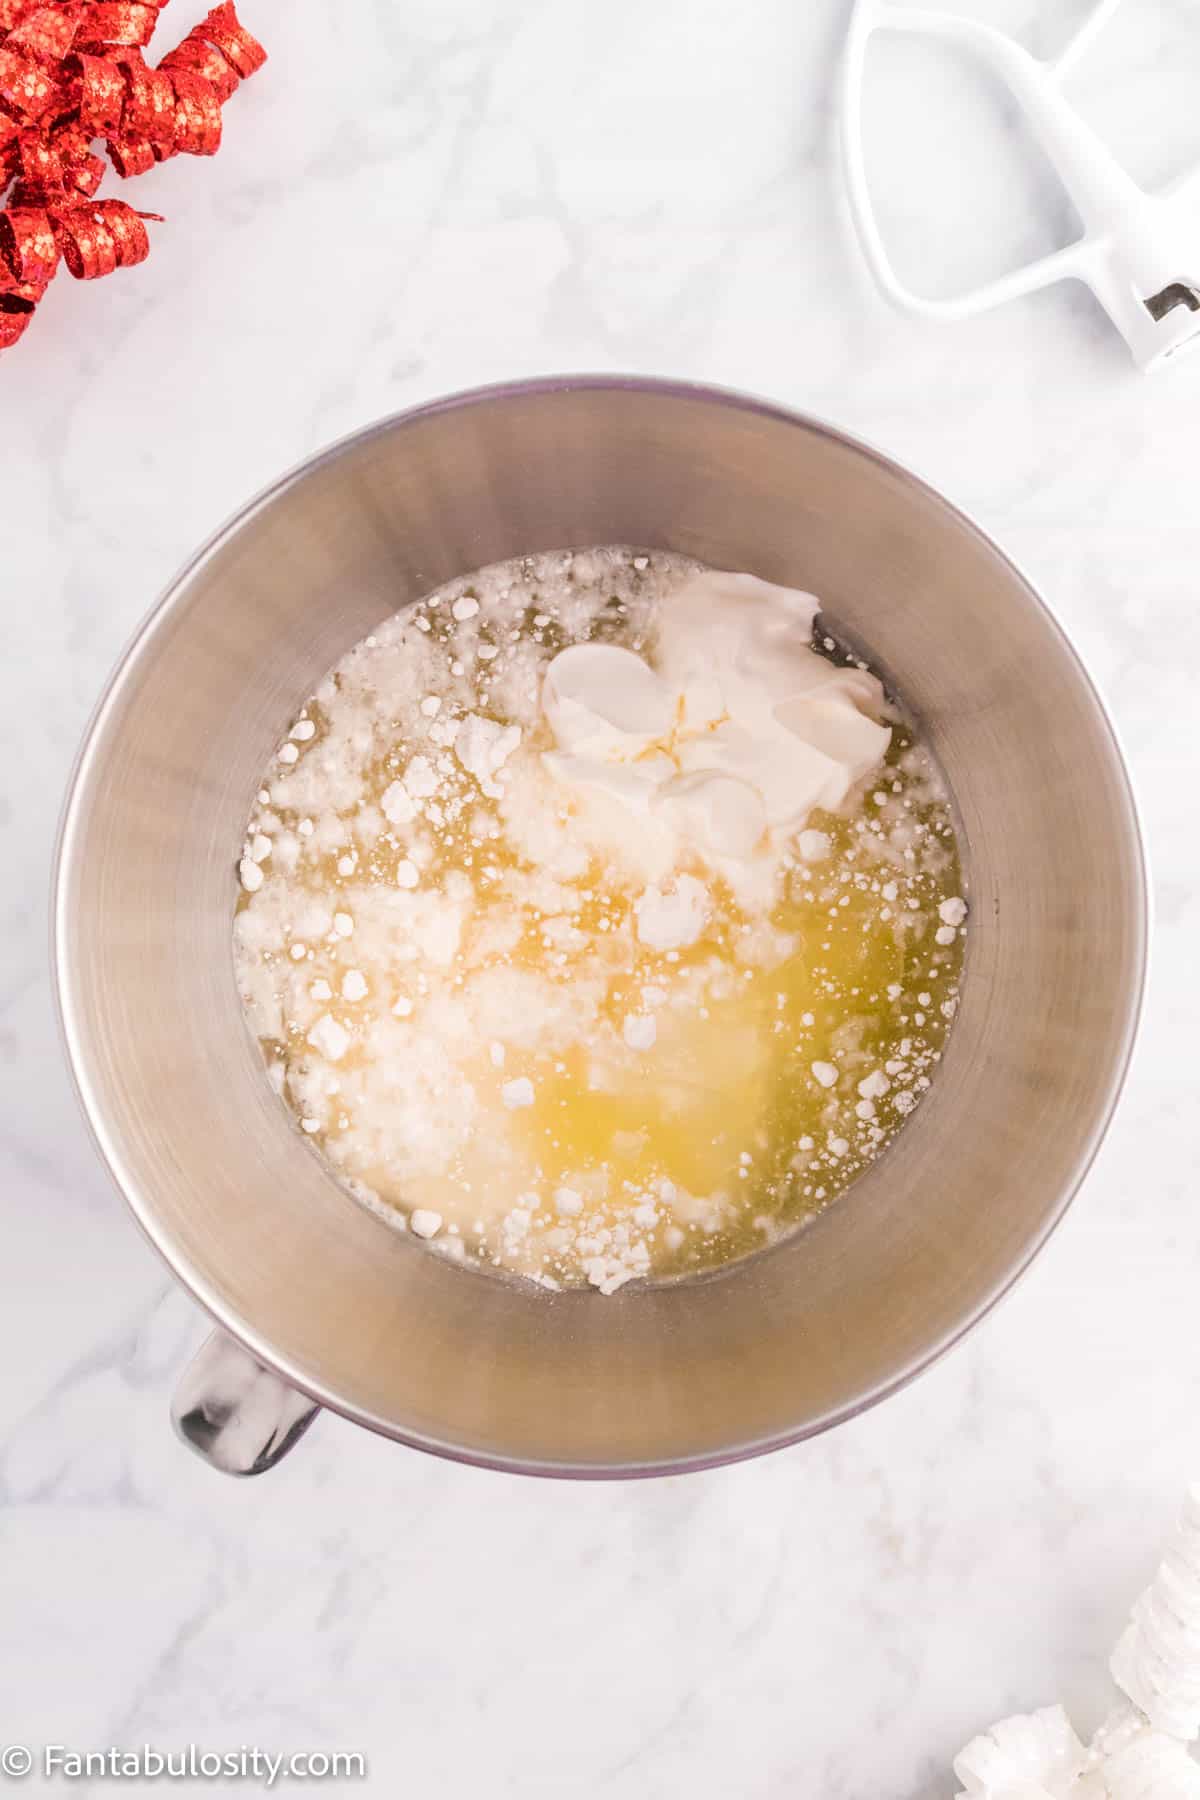
- In a large bowl, beat eggs, sugar, and vanilla. Start on low, then beat on medium for 3 minutes until pale and ribbon-like.
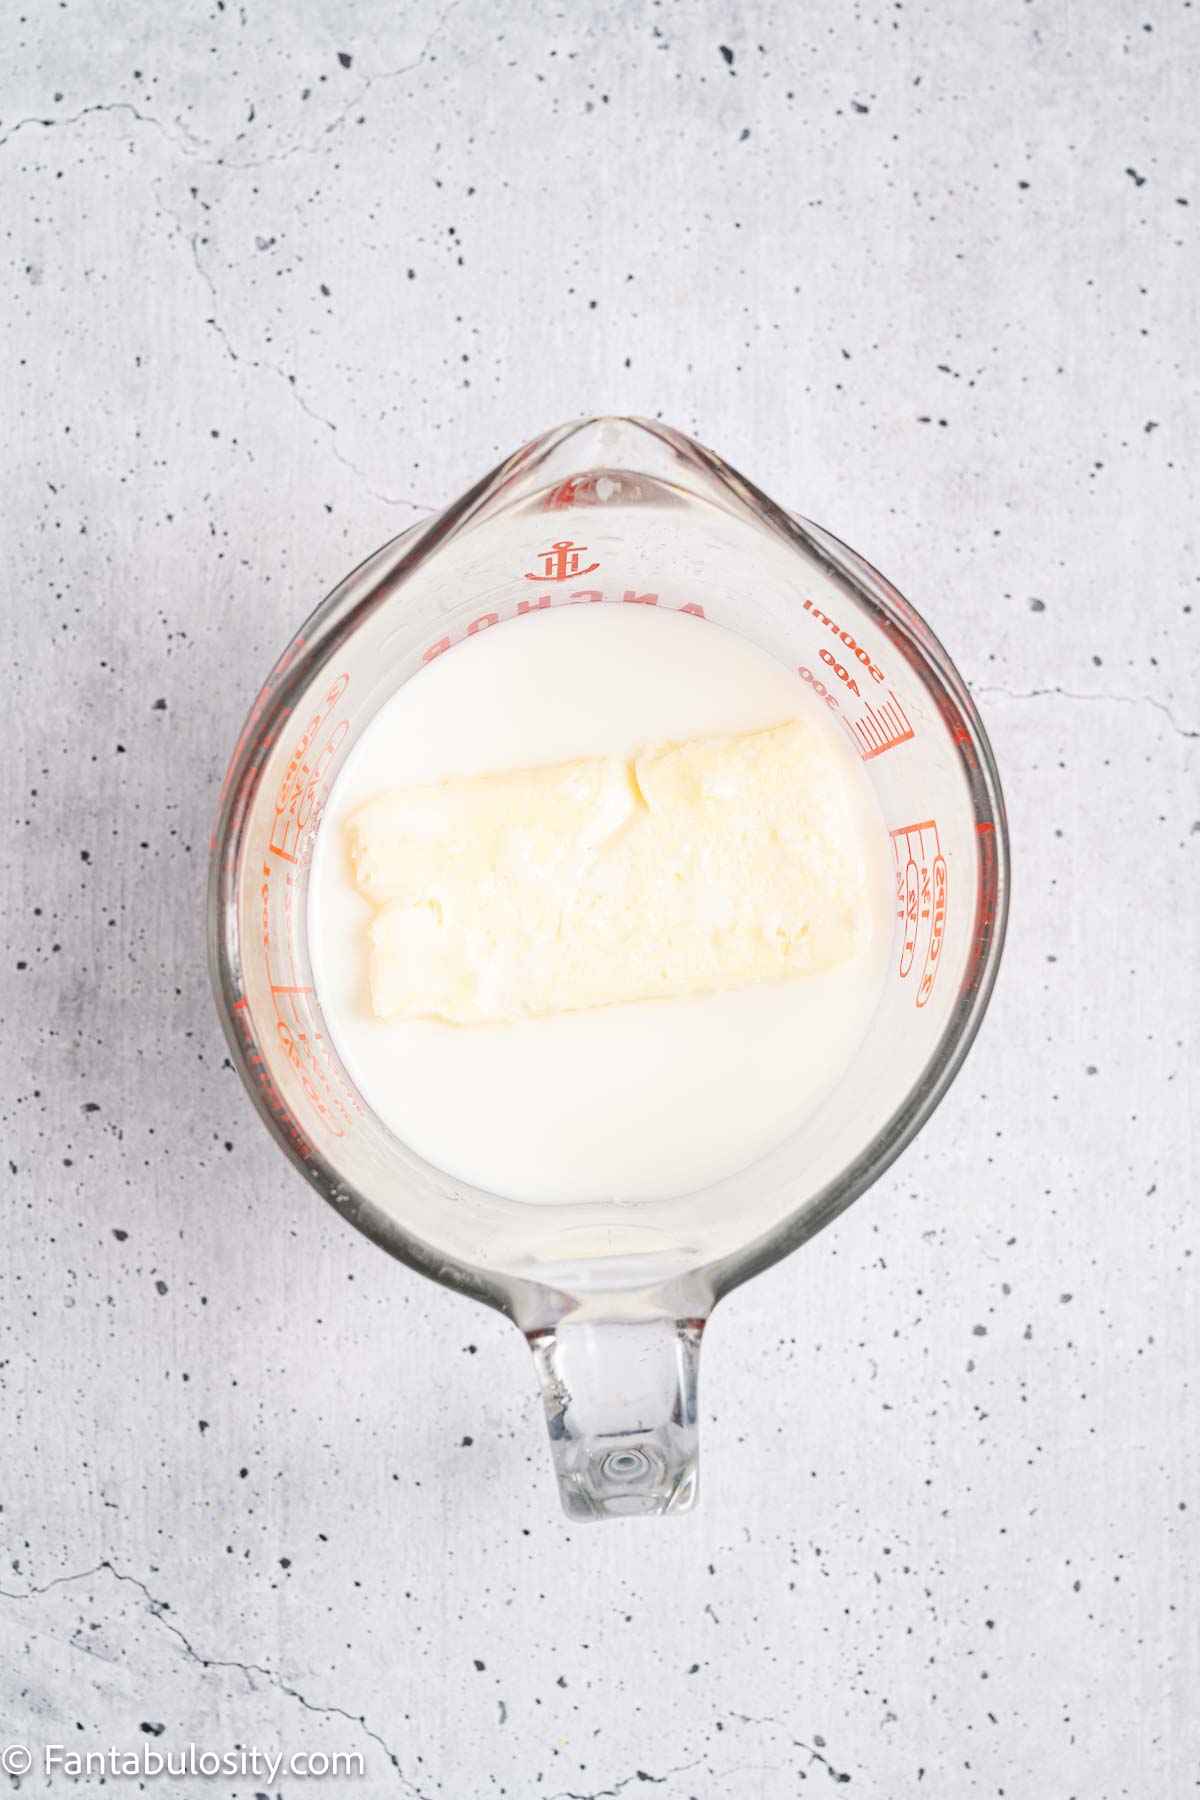
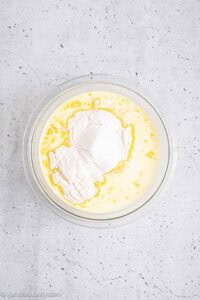
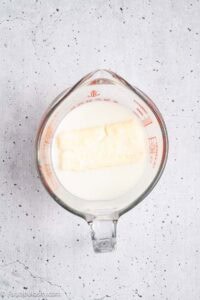
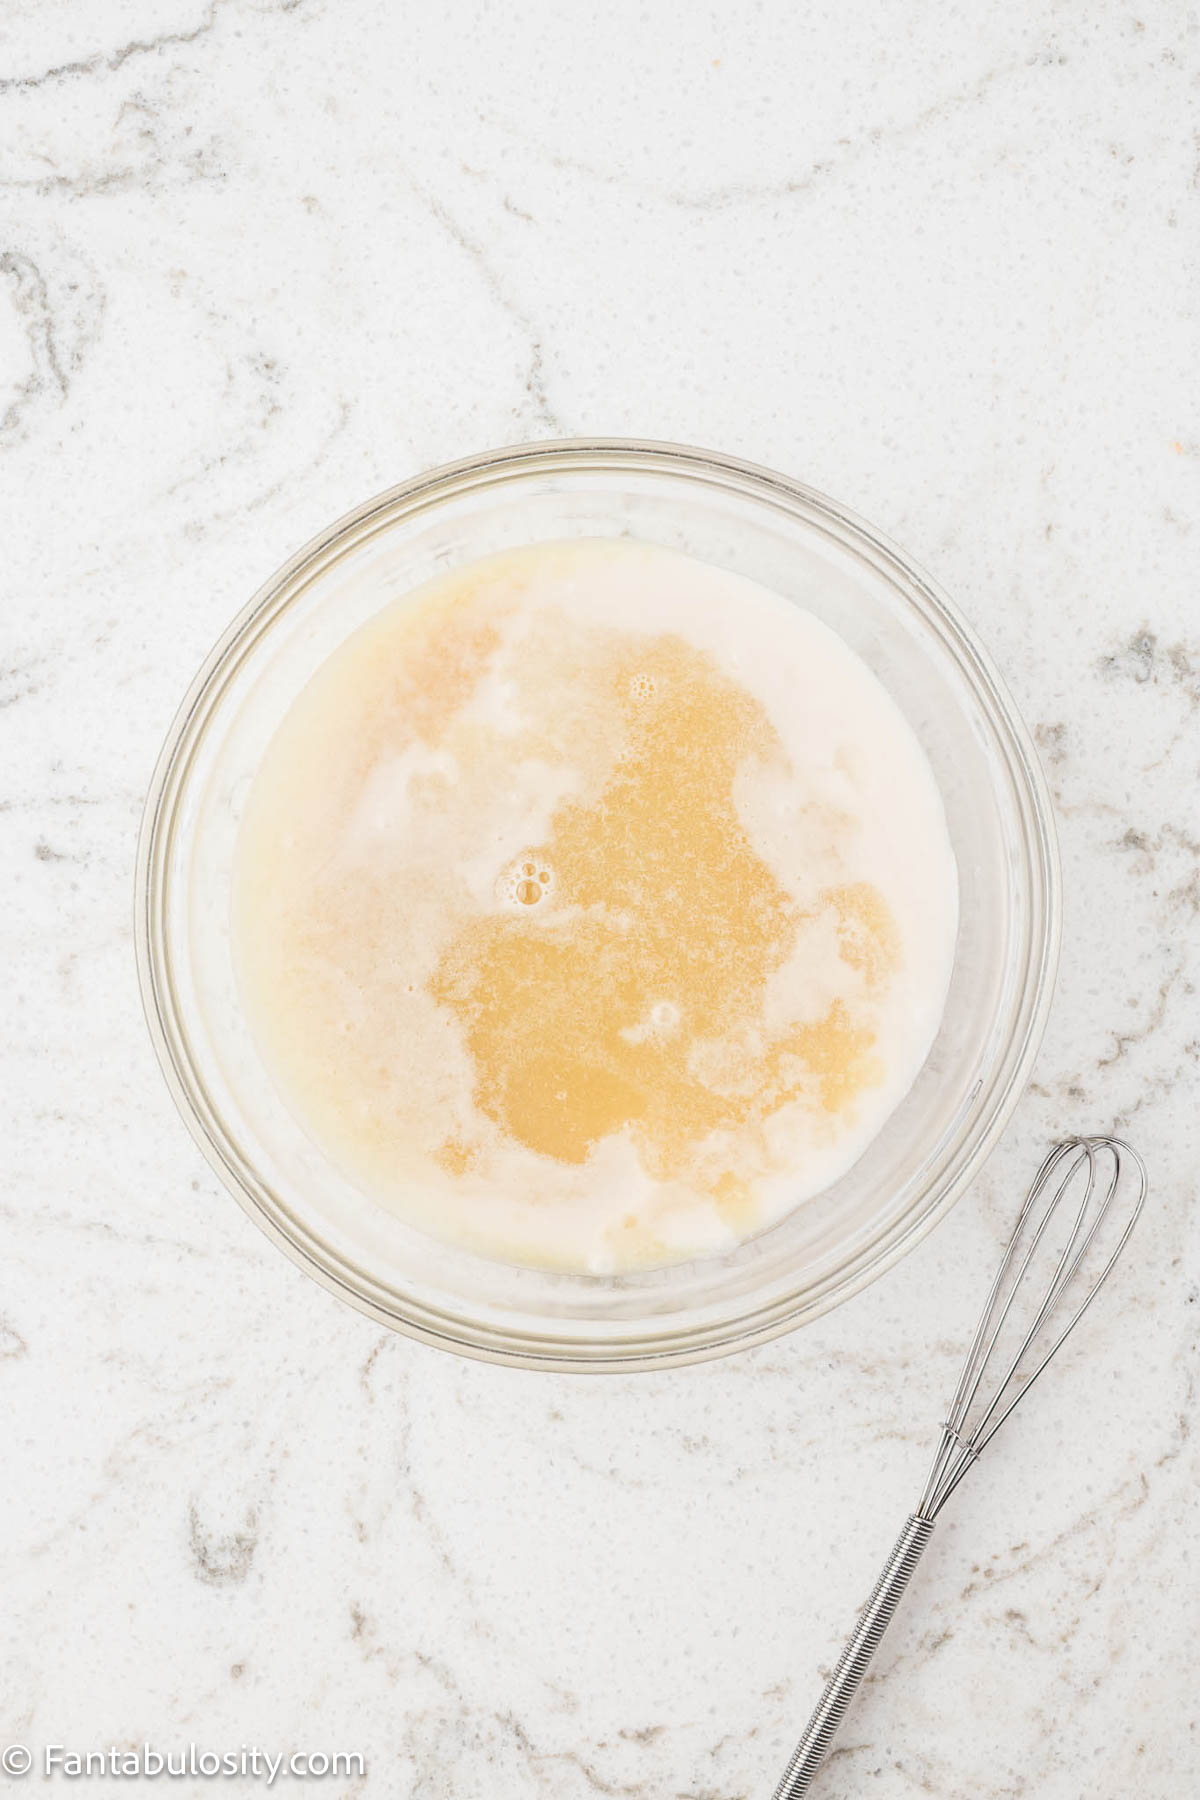
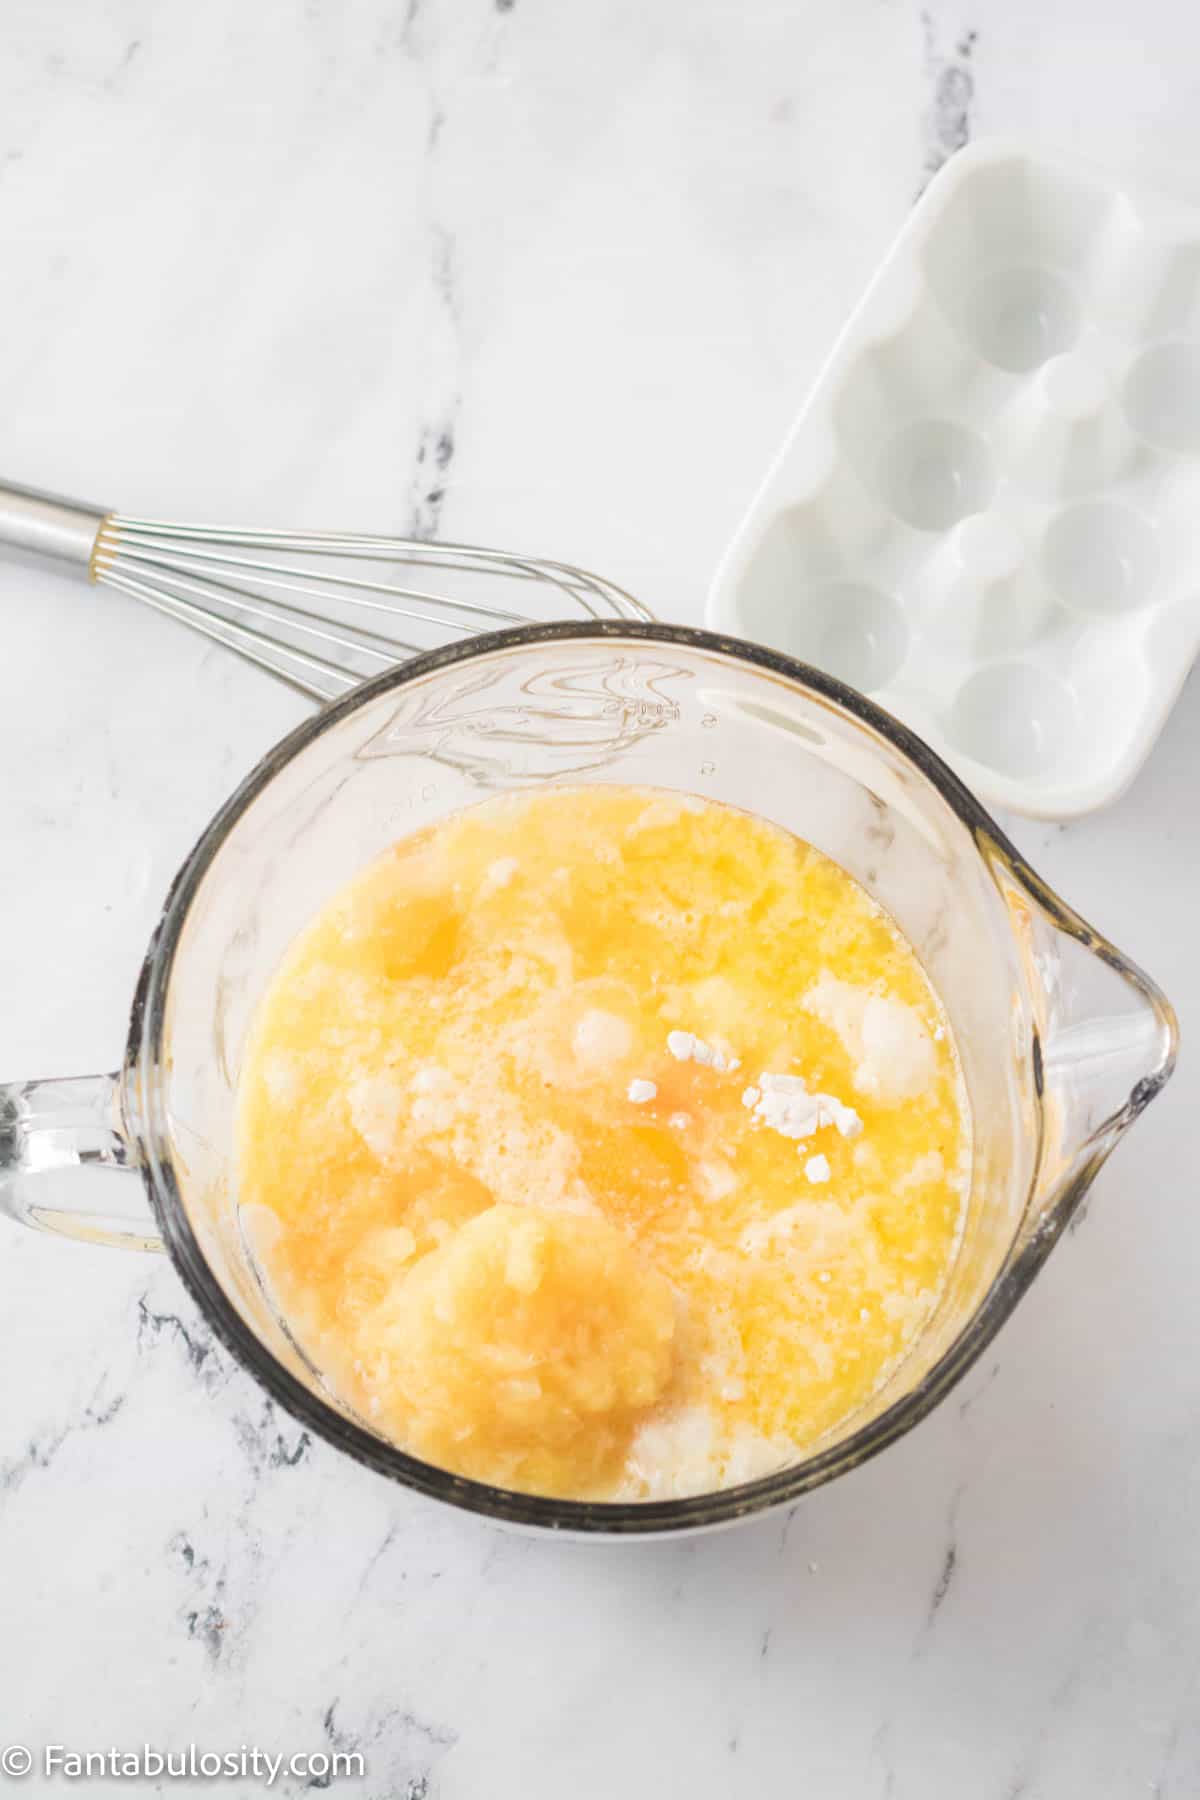
- Warm milk and butter in the microwave until steaming (not boiling).
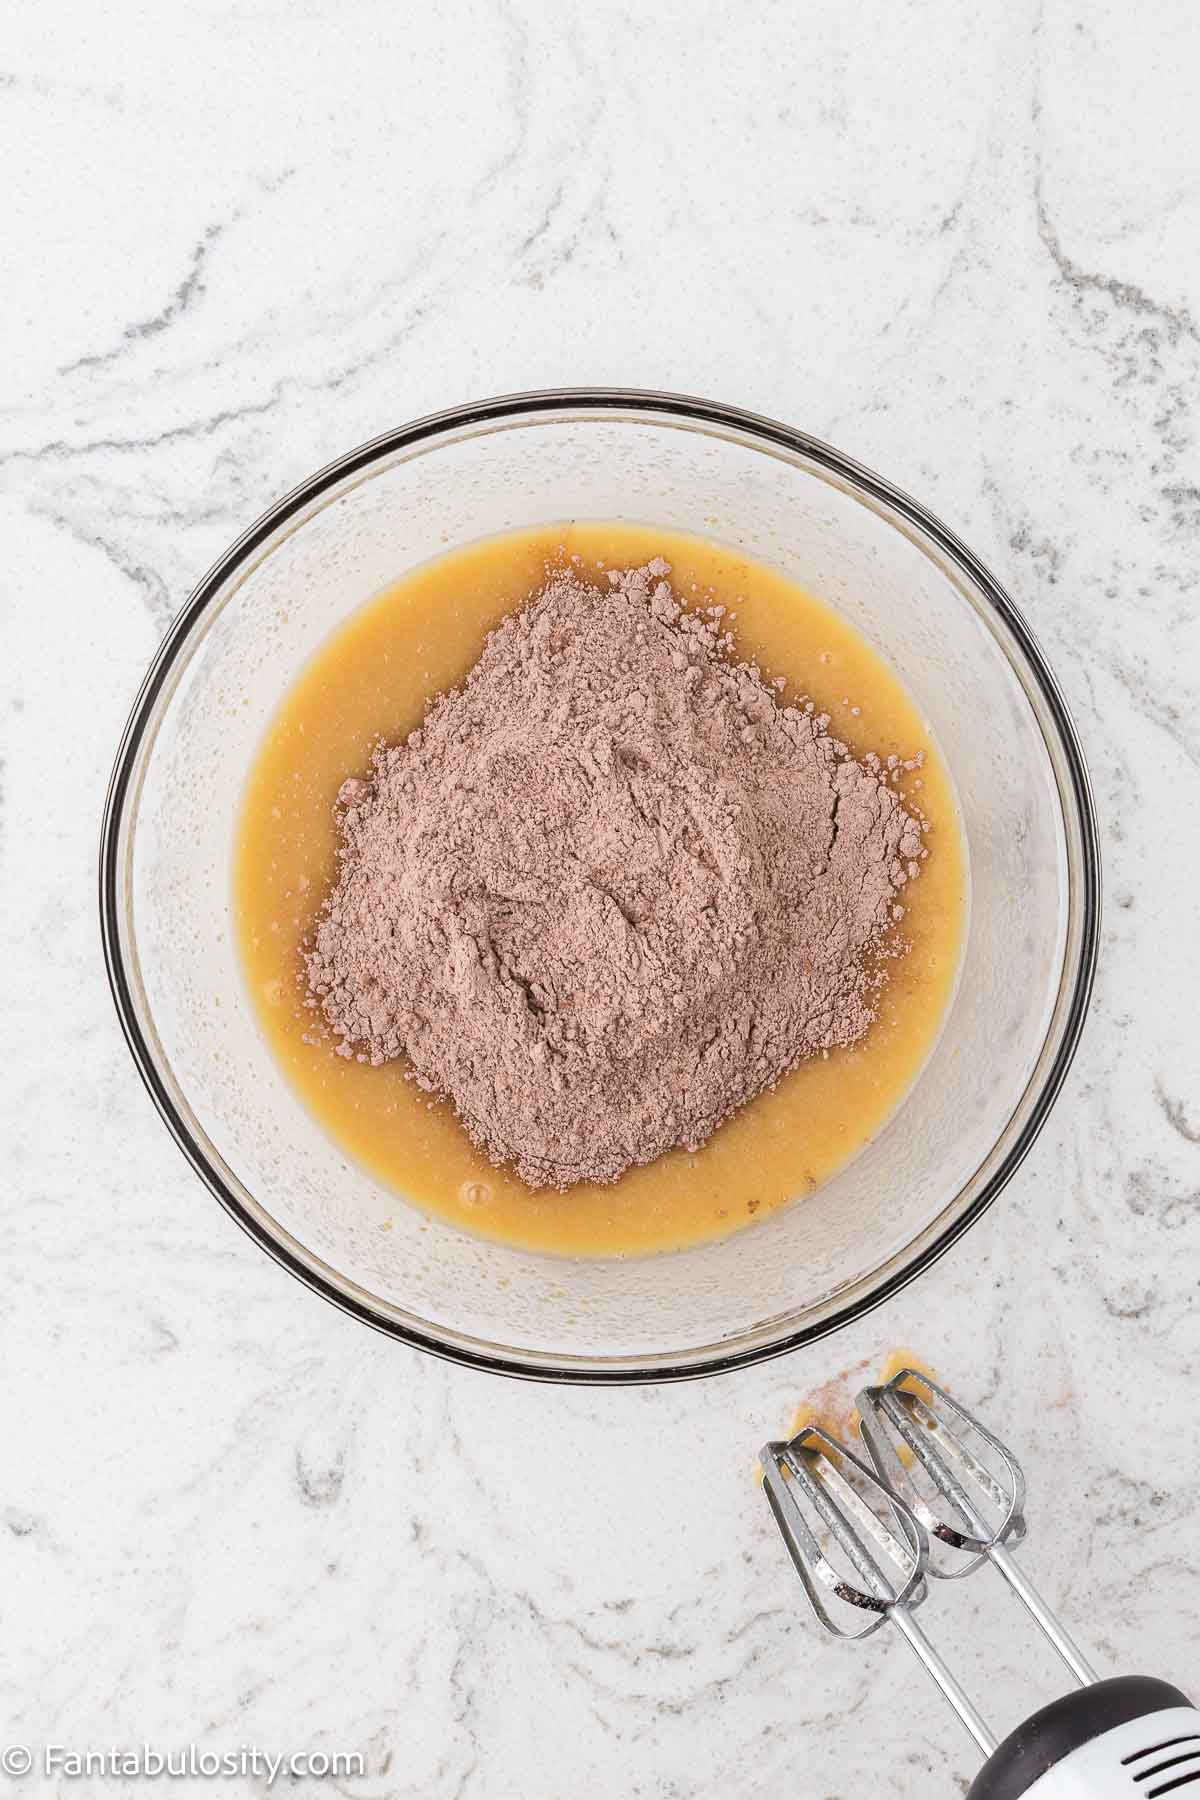
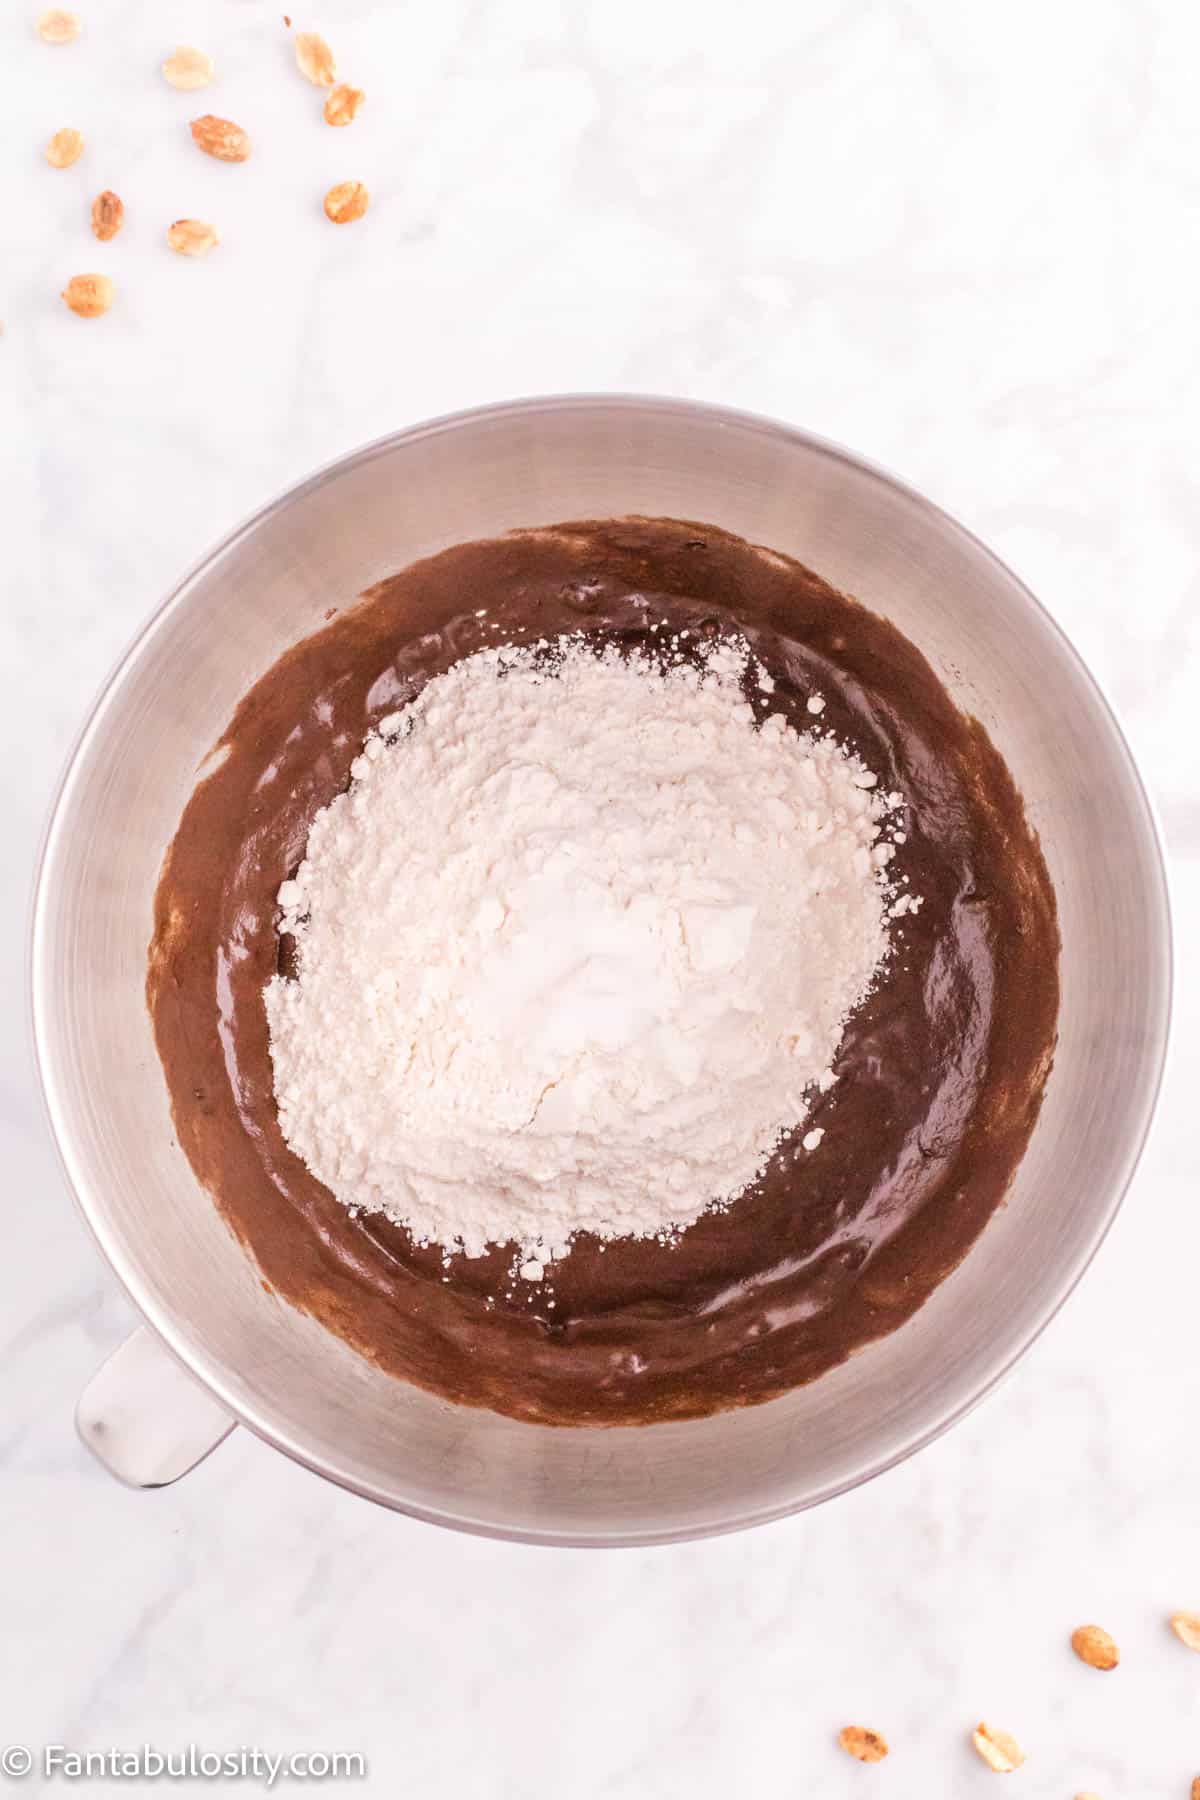
- Add dry mixture to wet ingredients; mix on low until smooth.

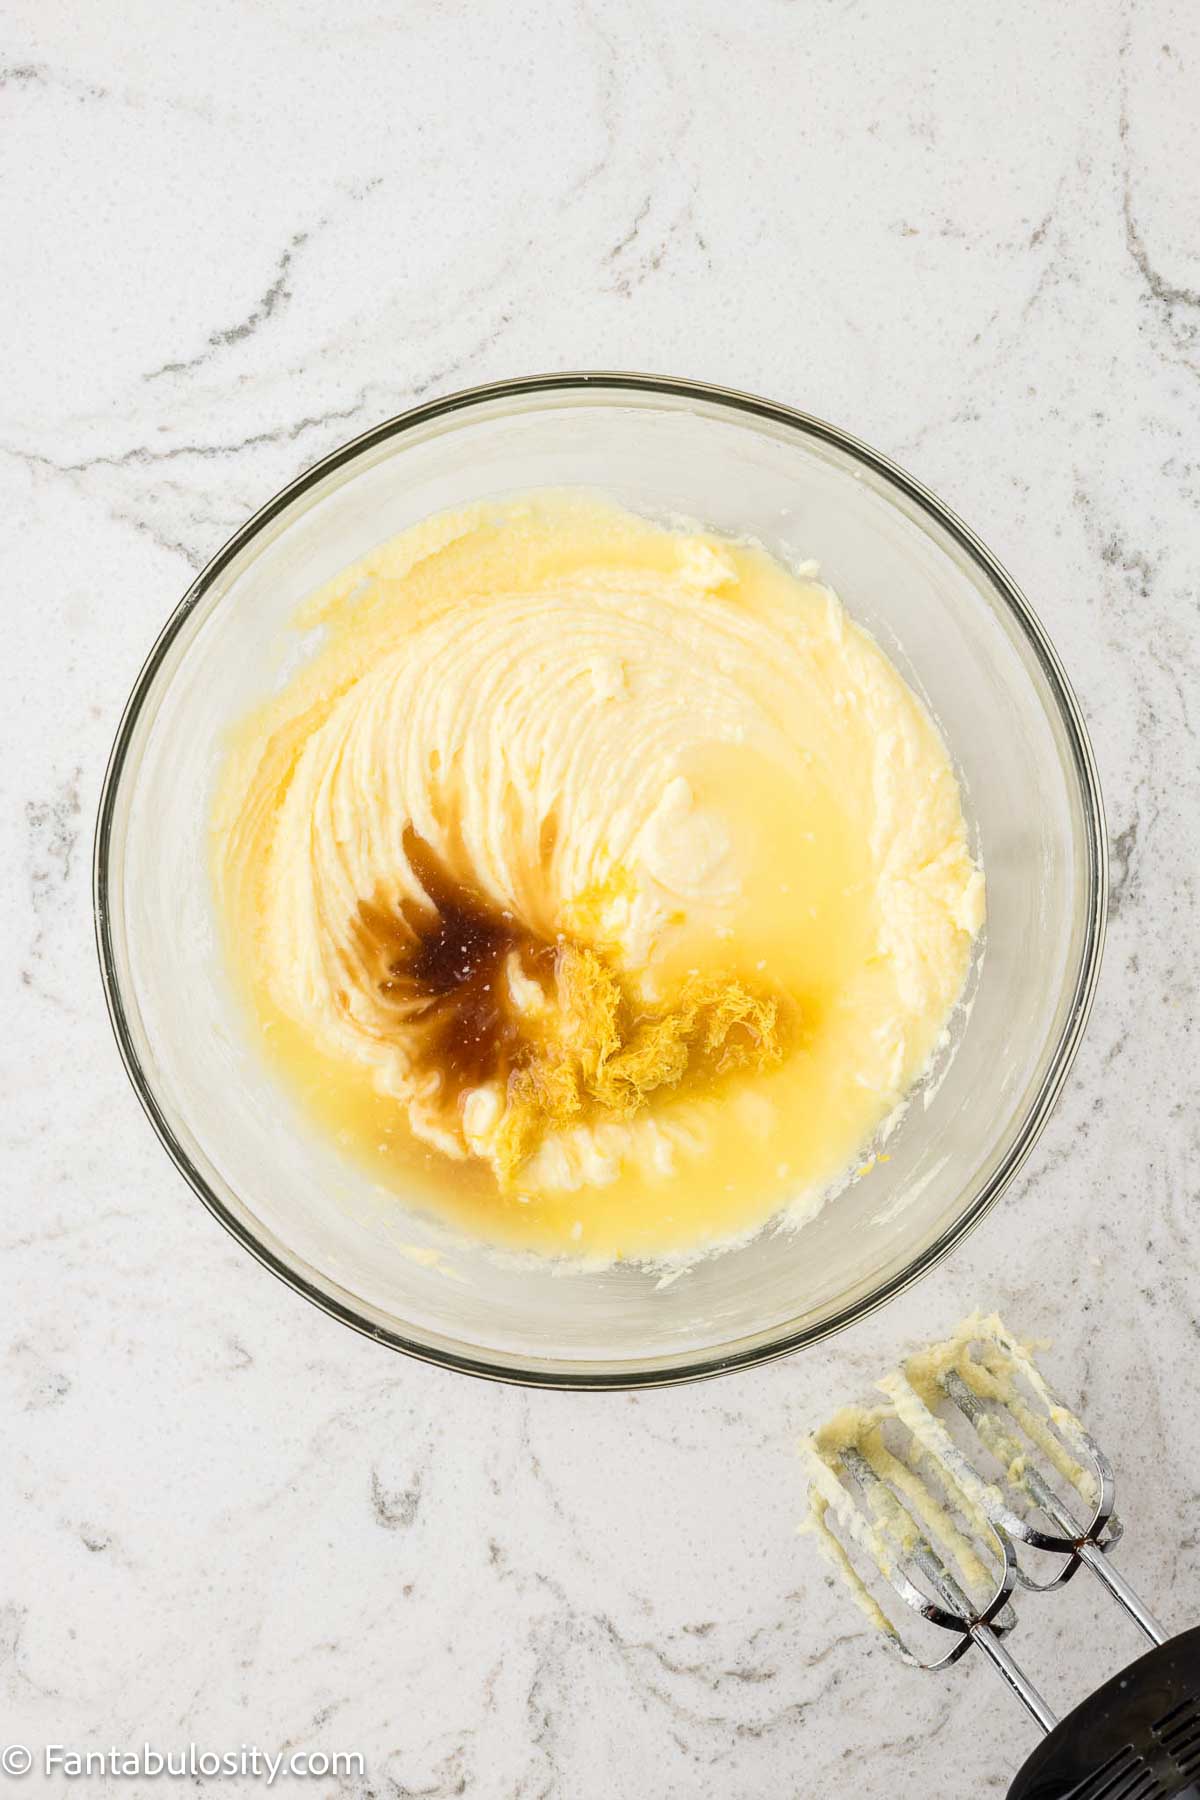
- Pour in warm milk mixture; mix gently until incorporated.
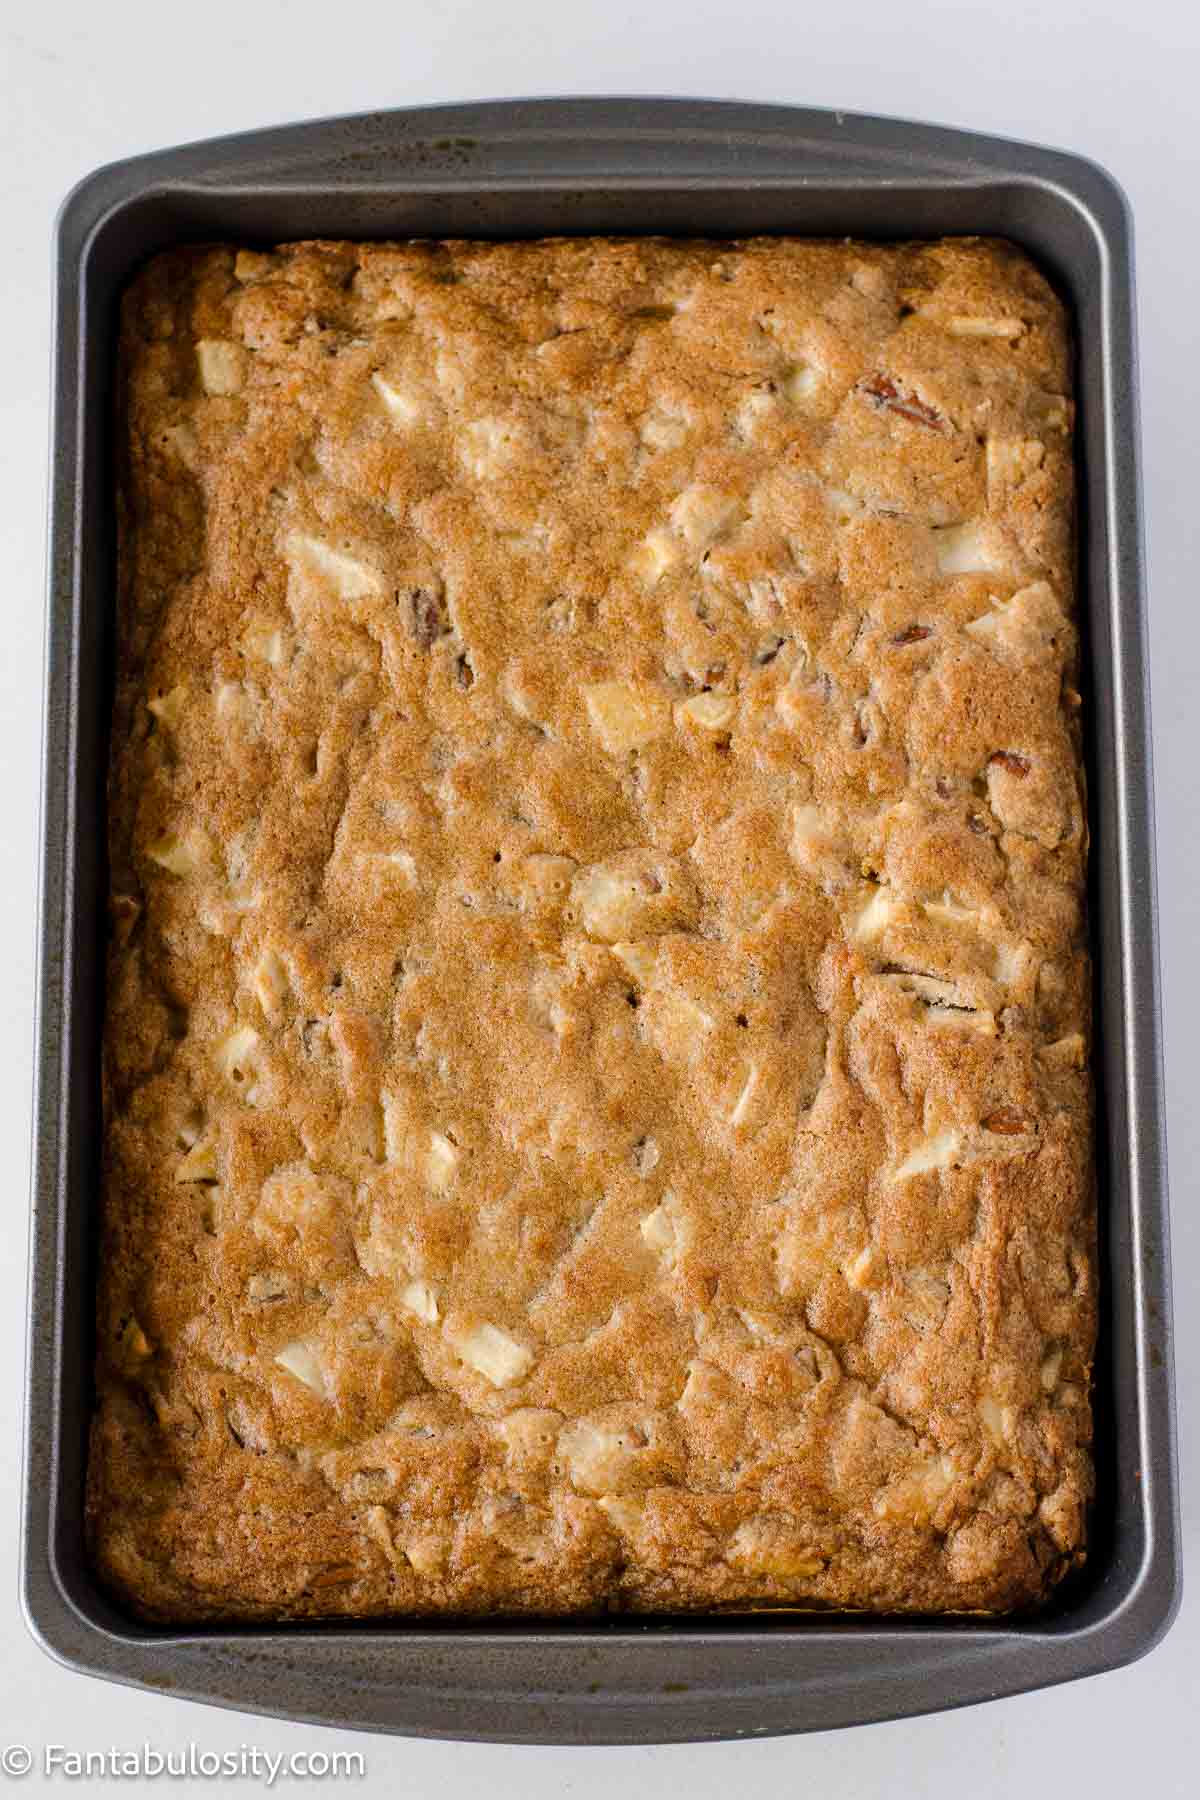
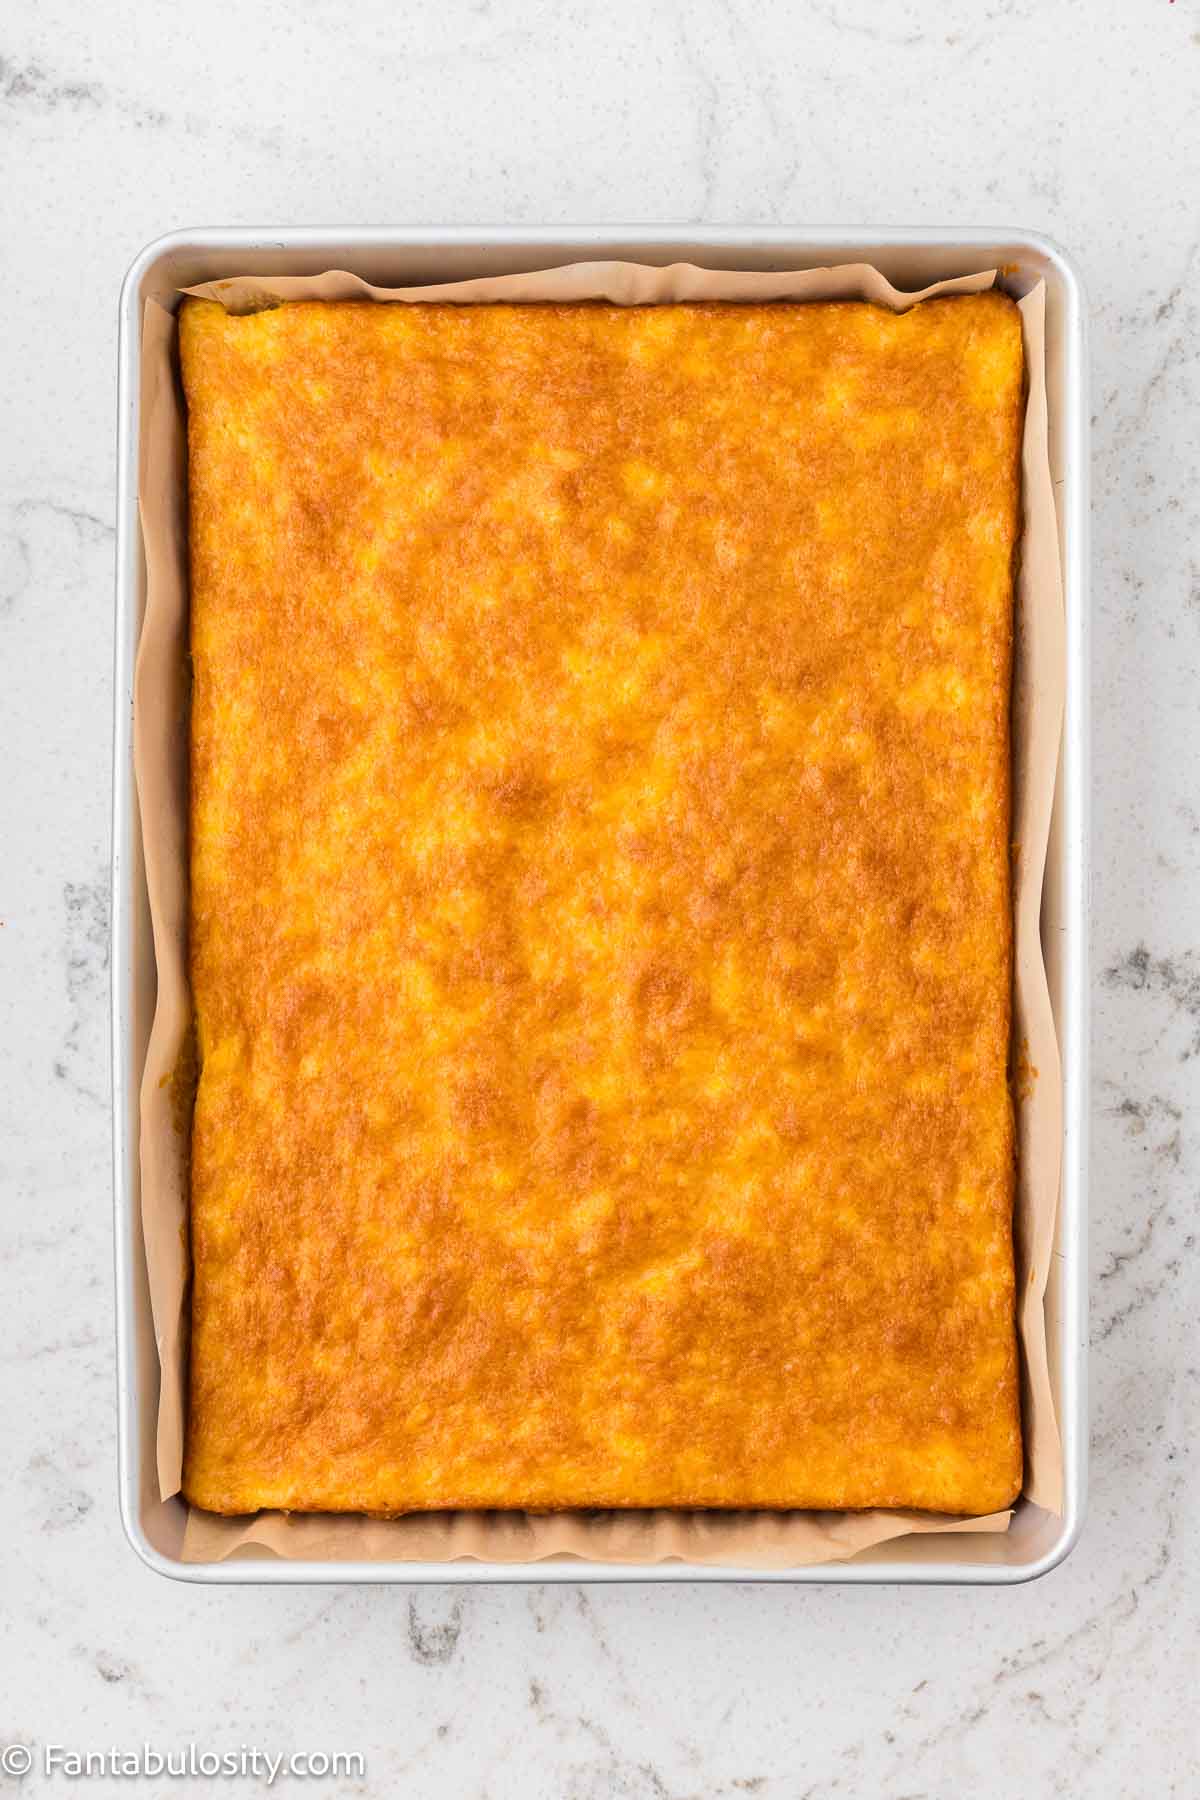
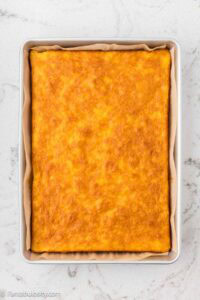
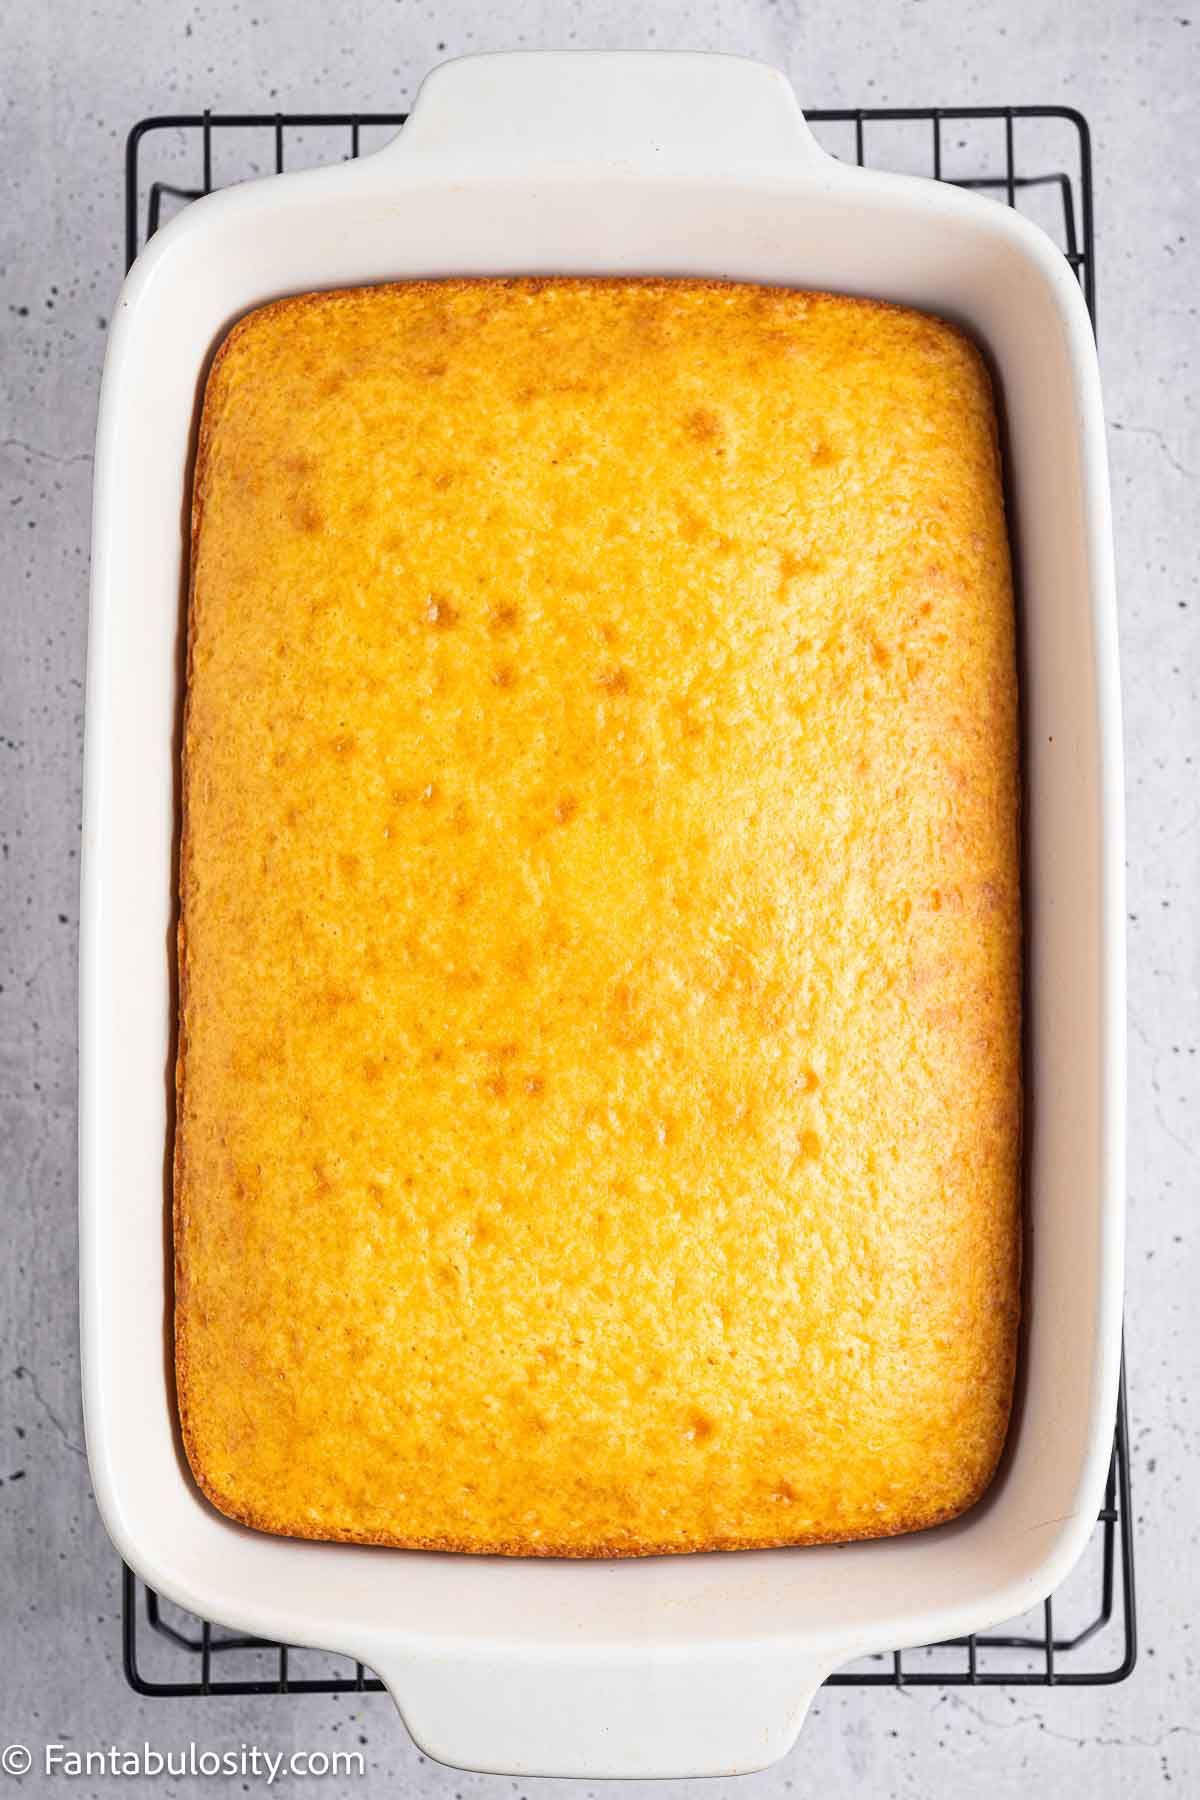
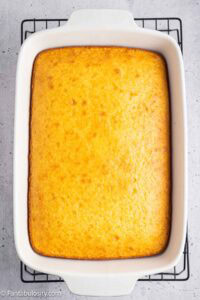
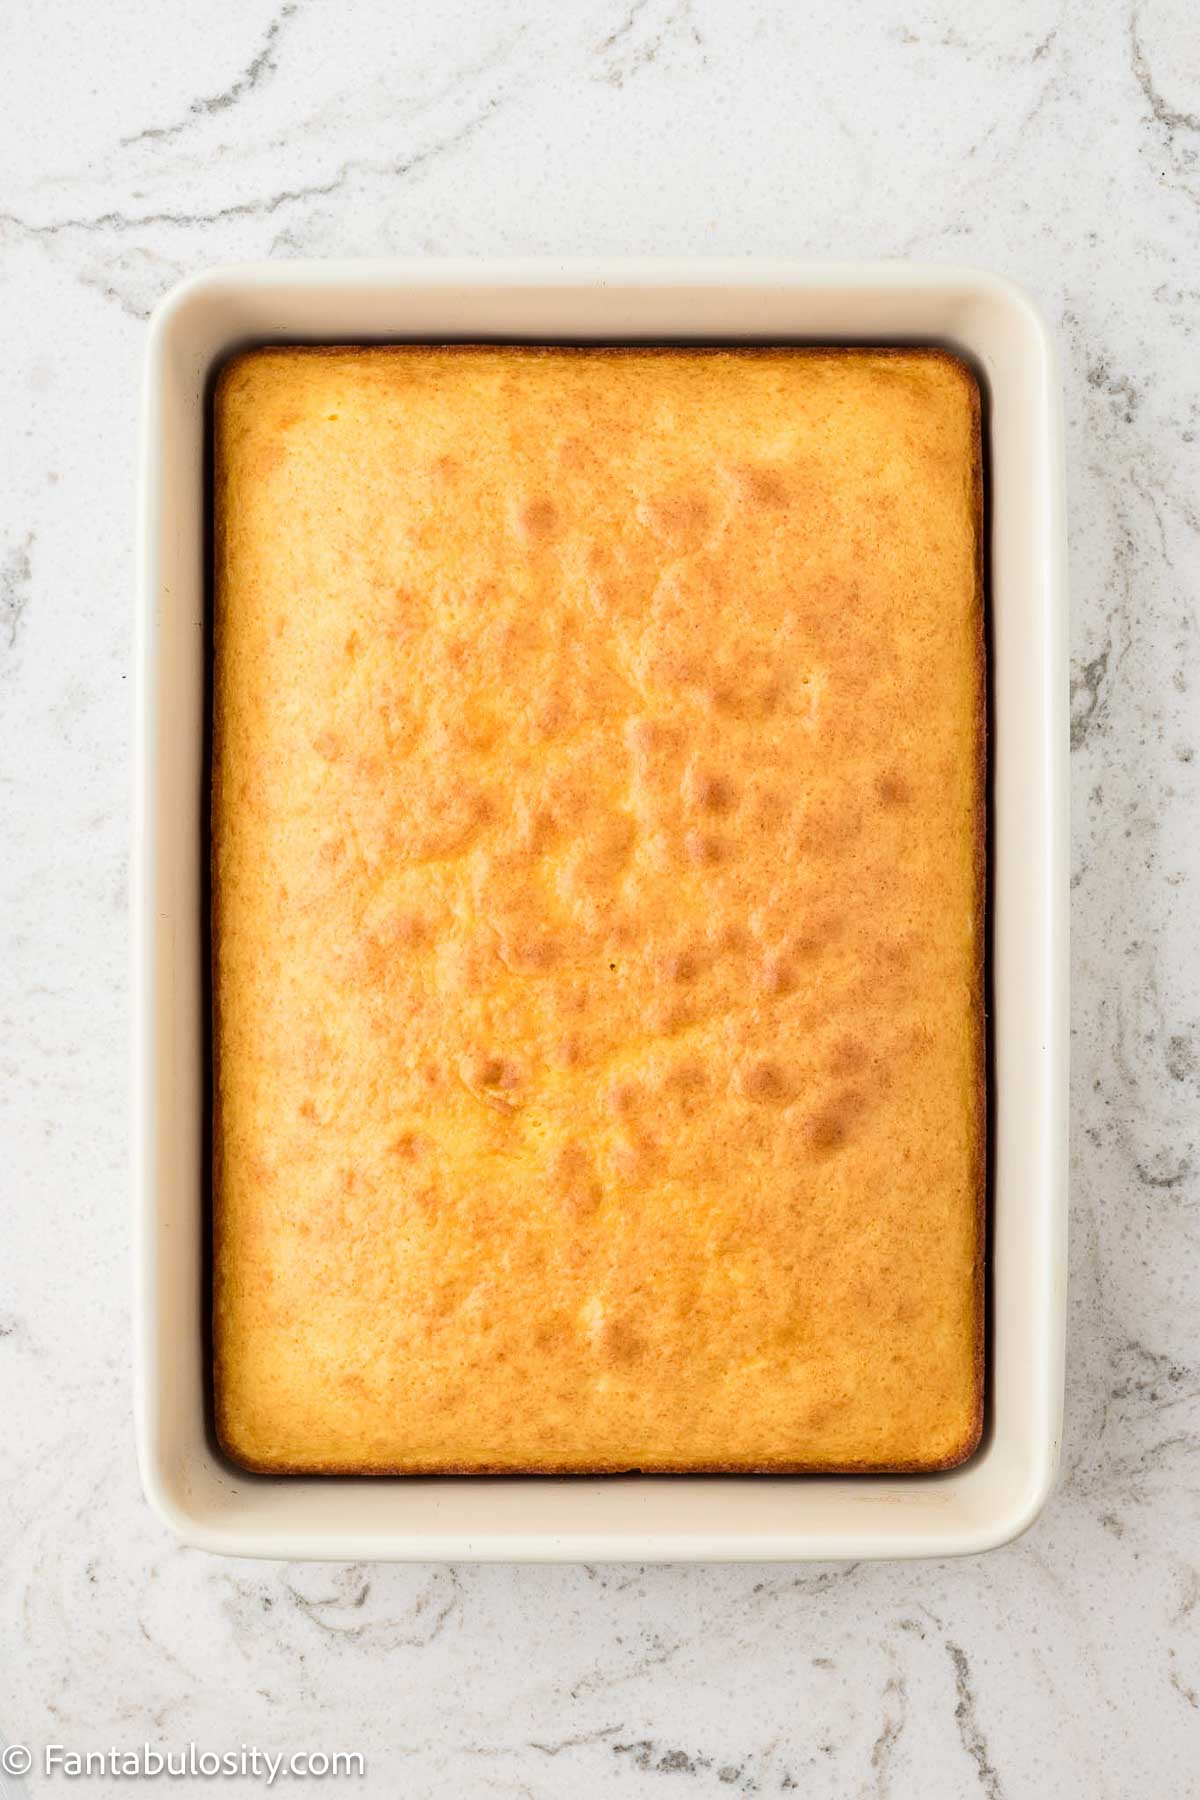
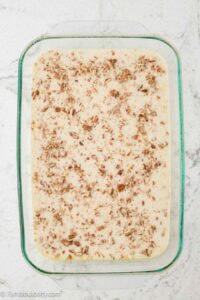
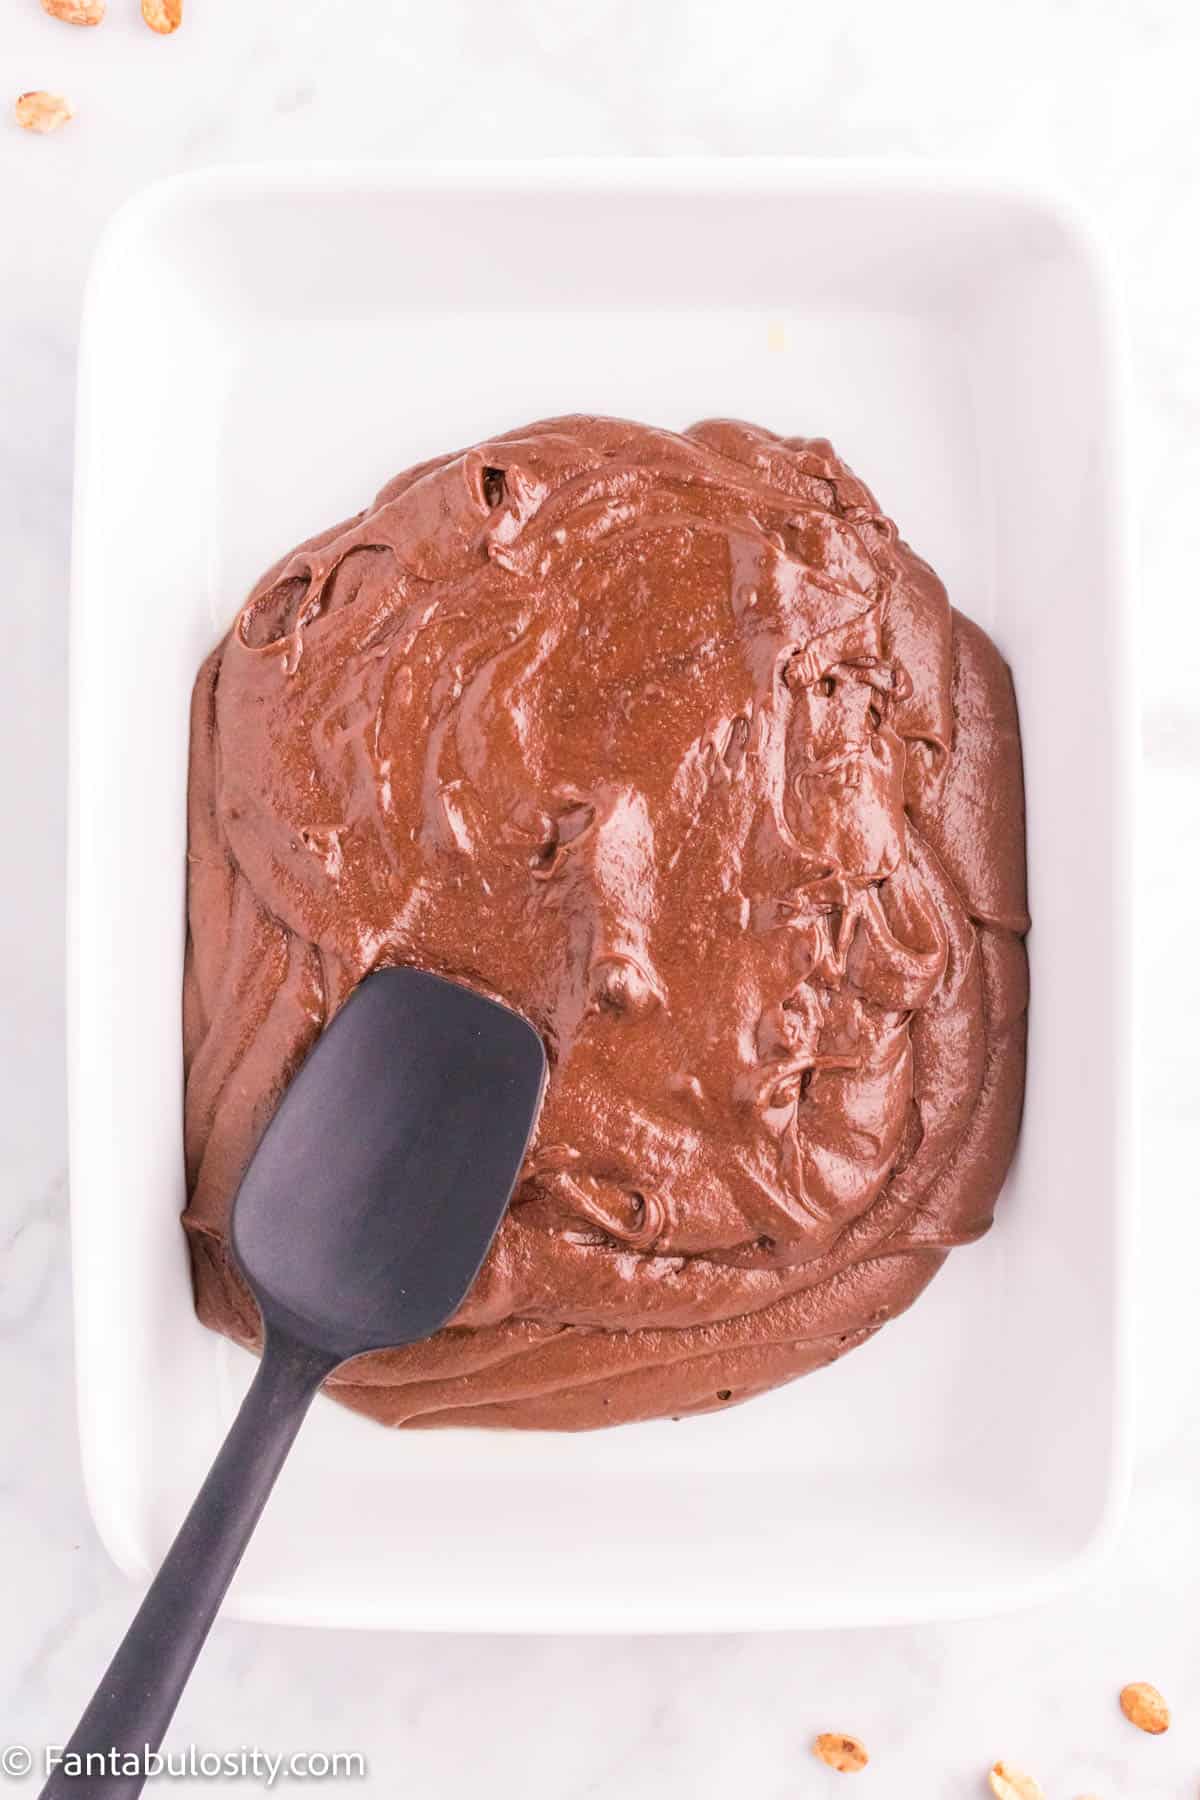
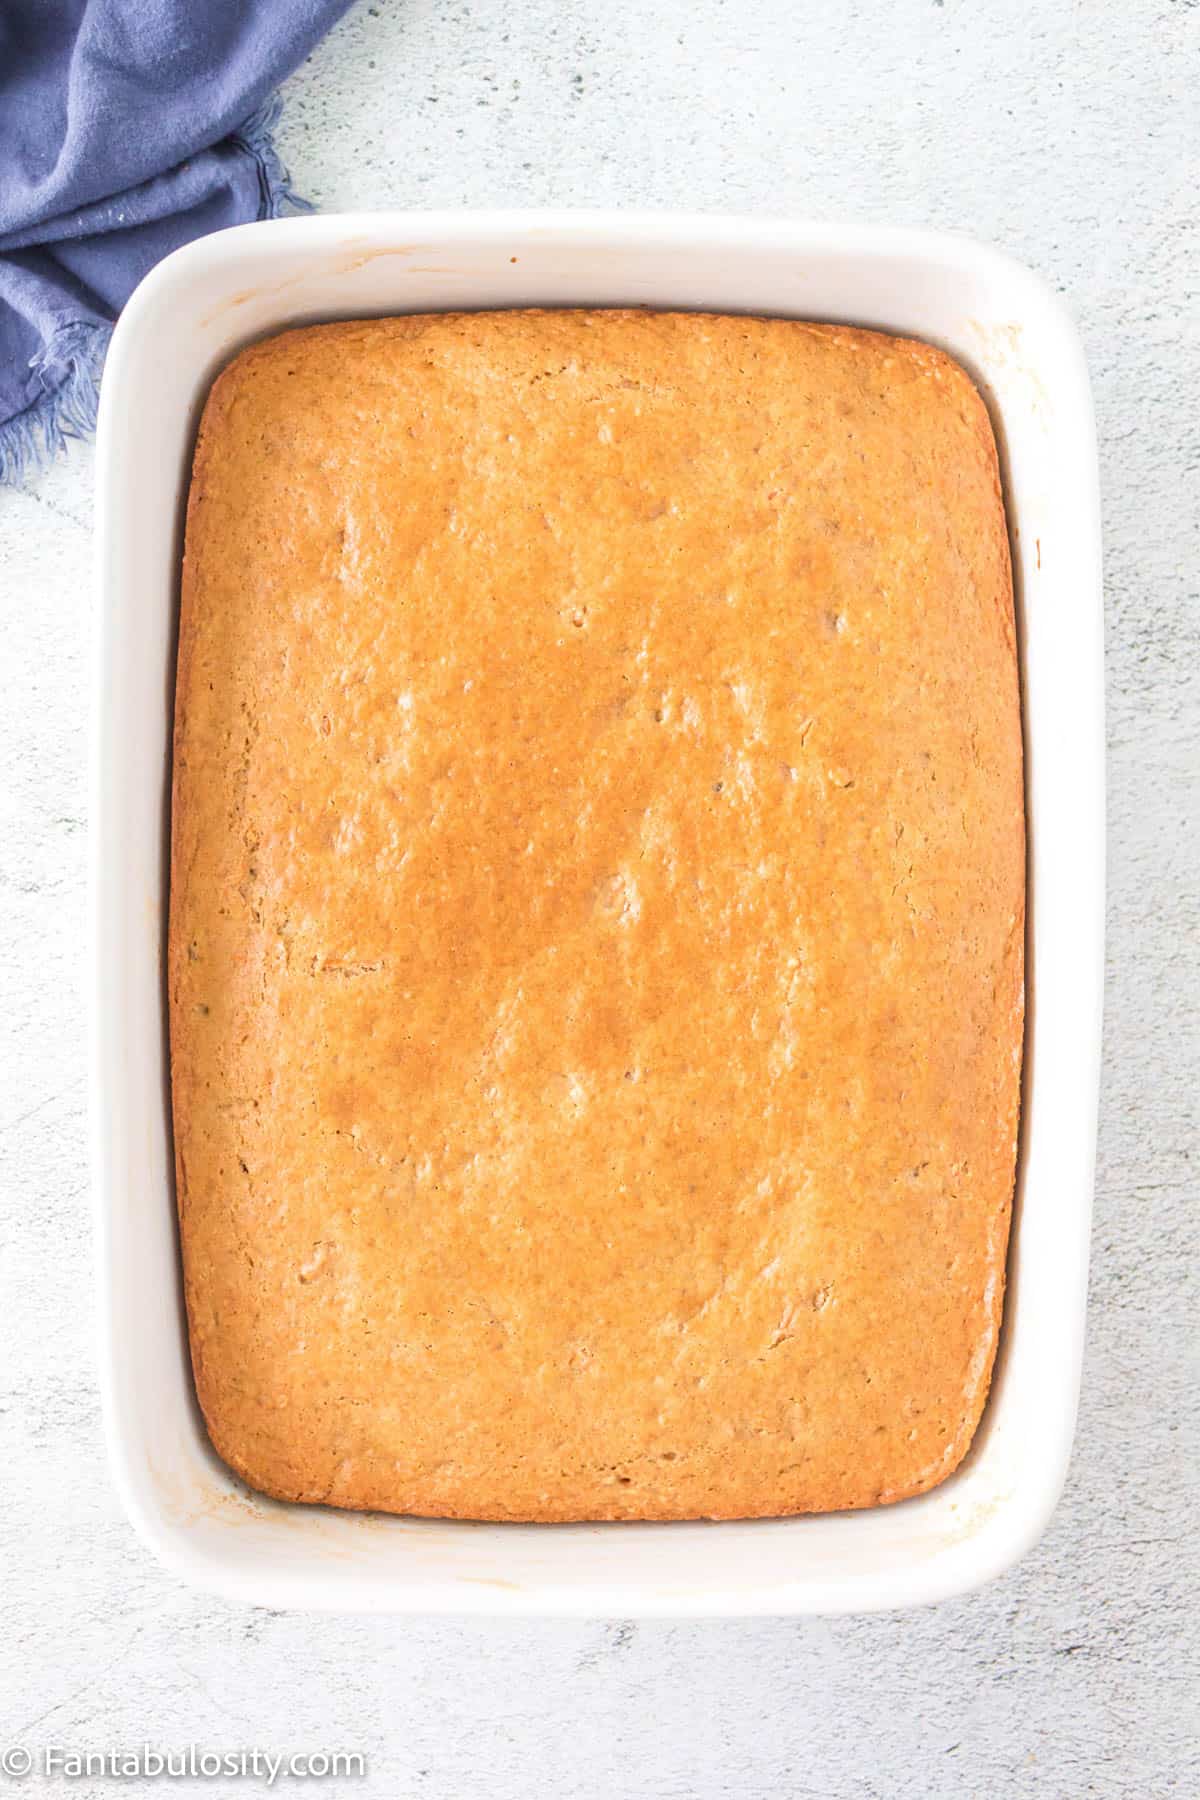
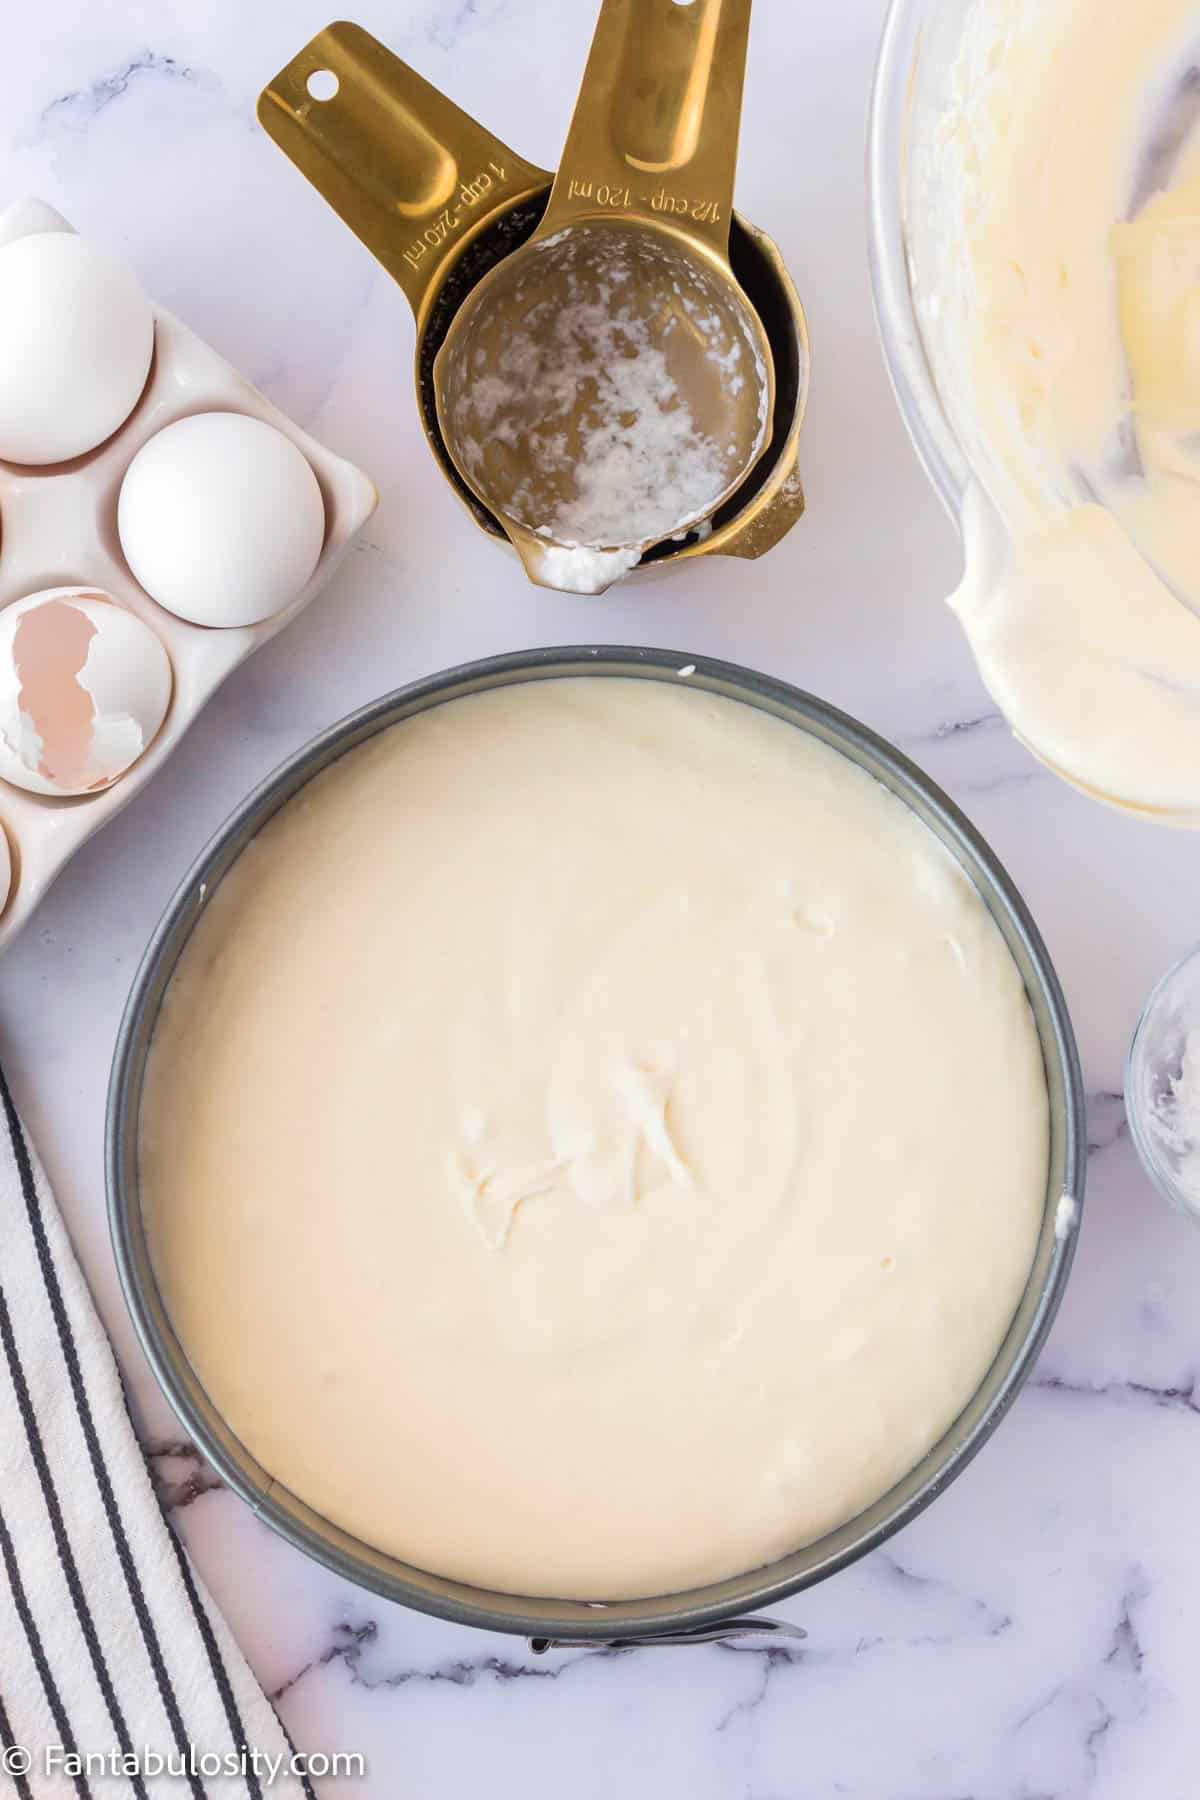
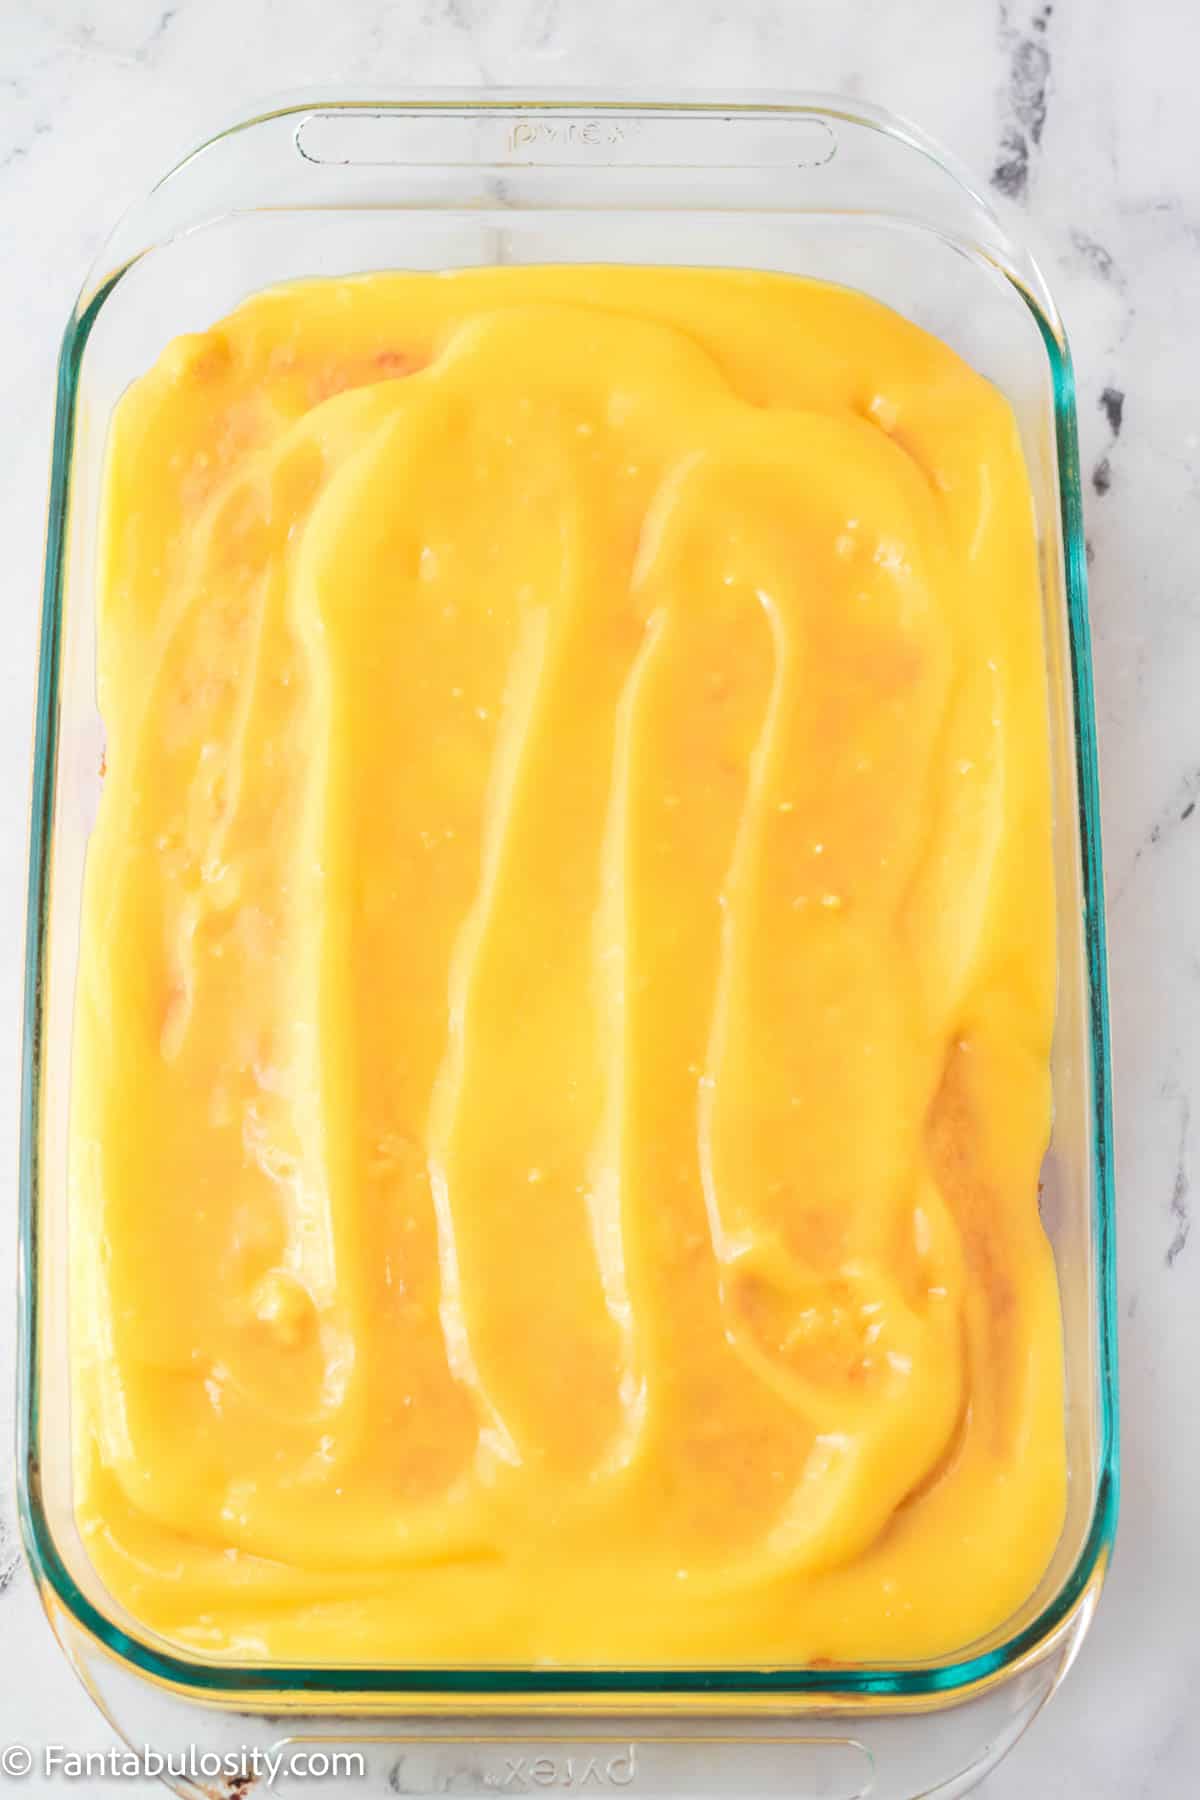
- Spread batter into prepared pan and bake 25-35 minutes, until golden and a toothpick comes out clean. Cool completely.
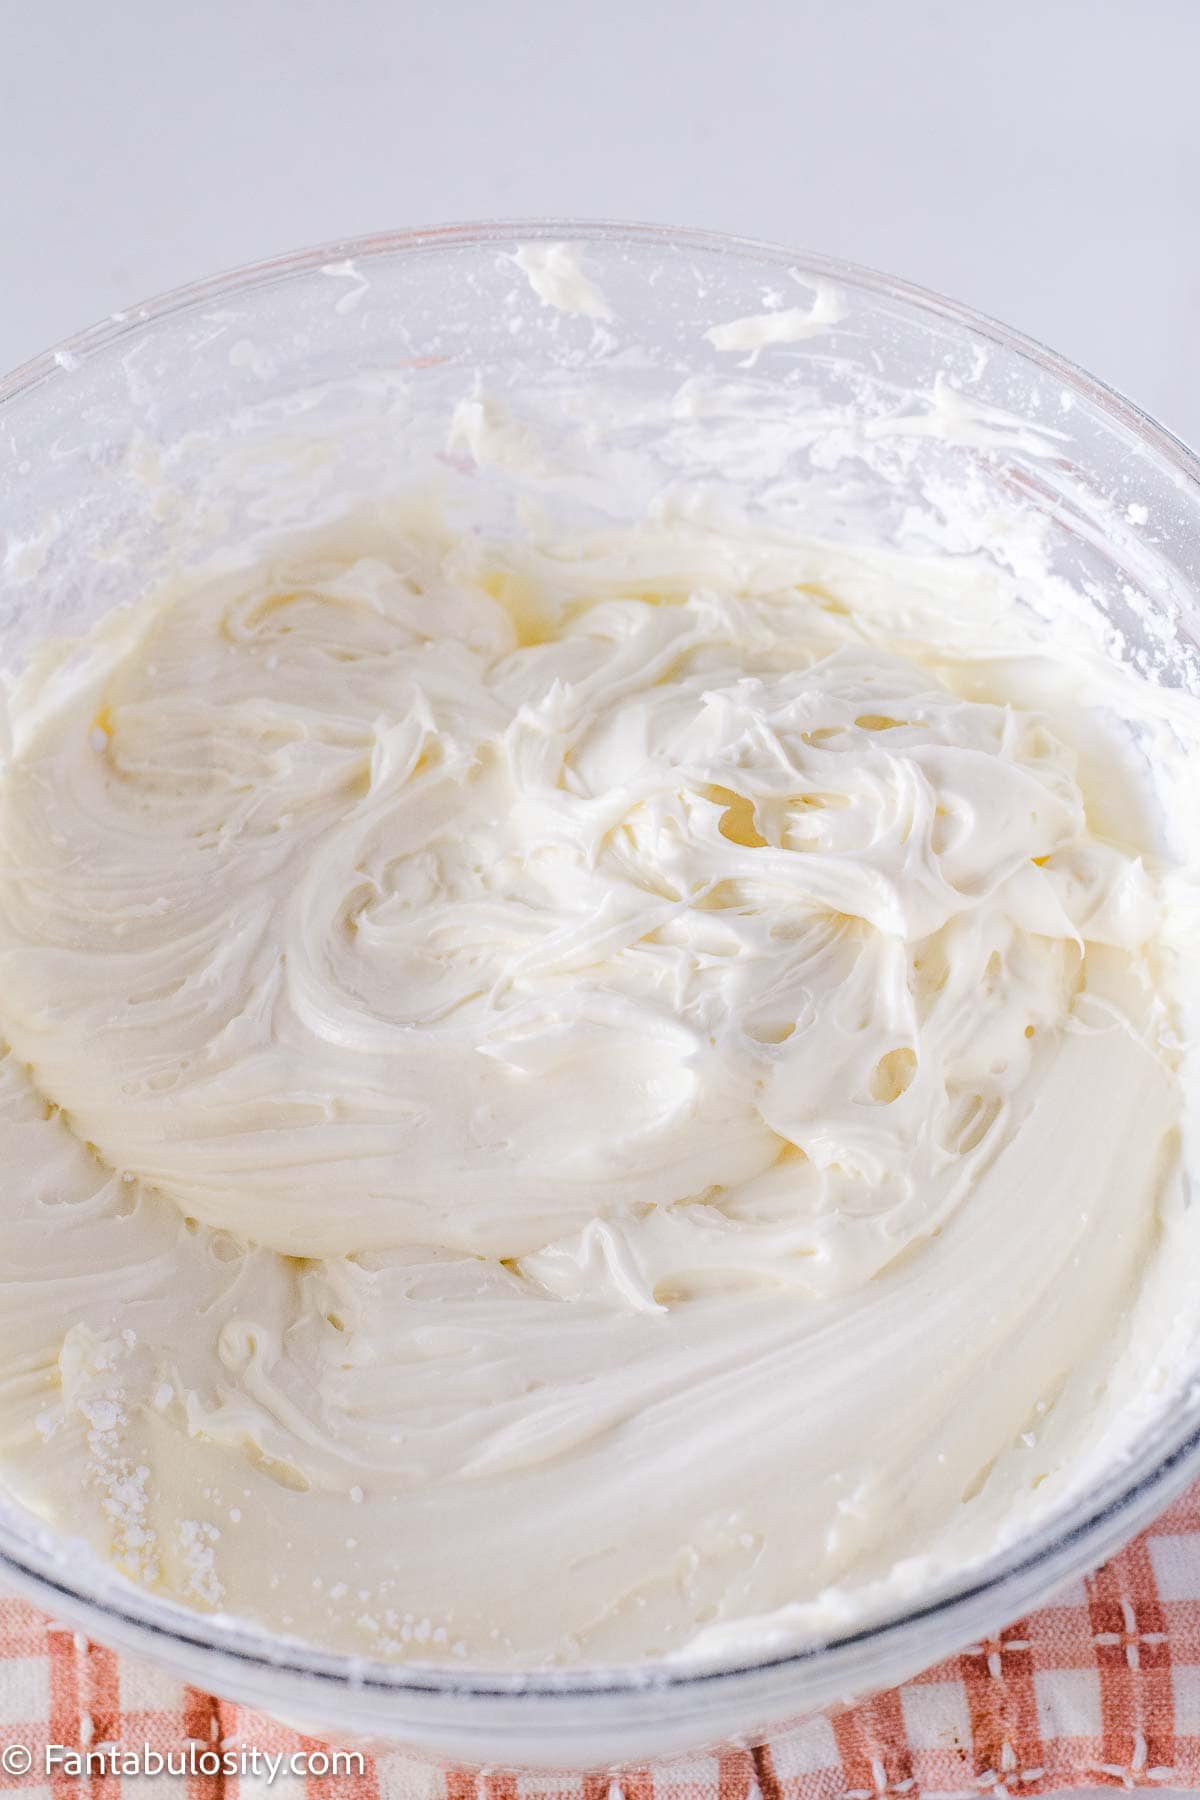
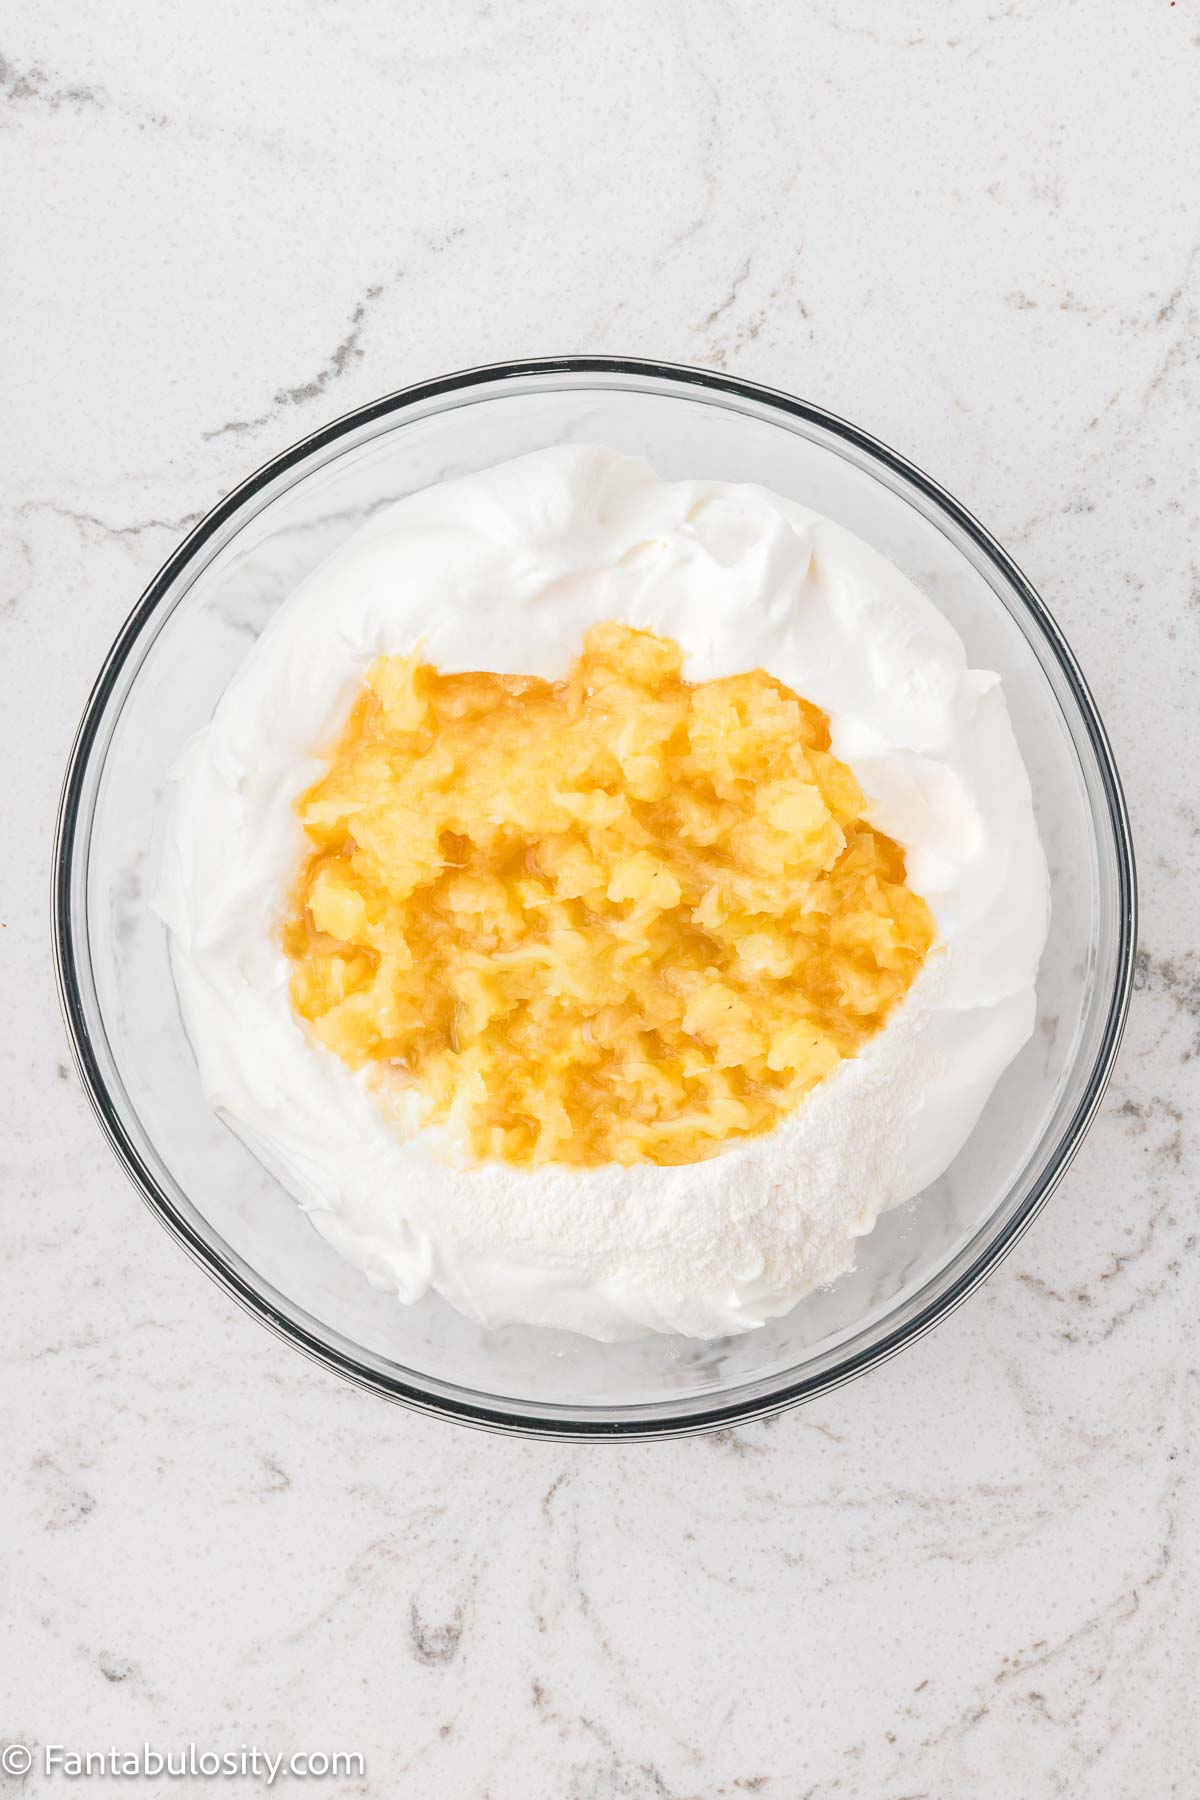
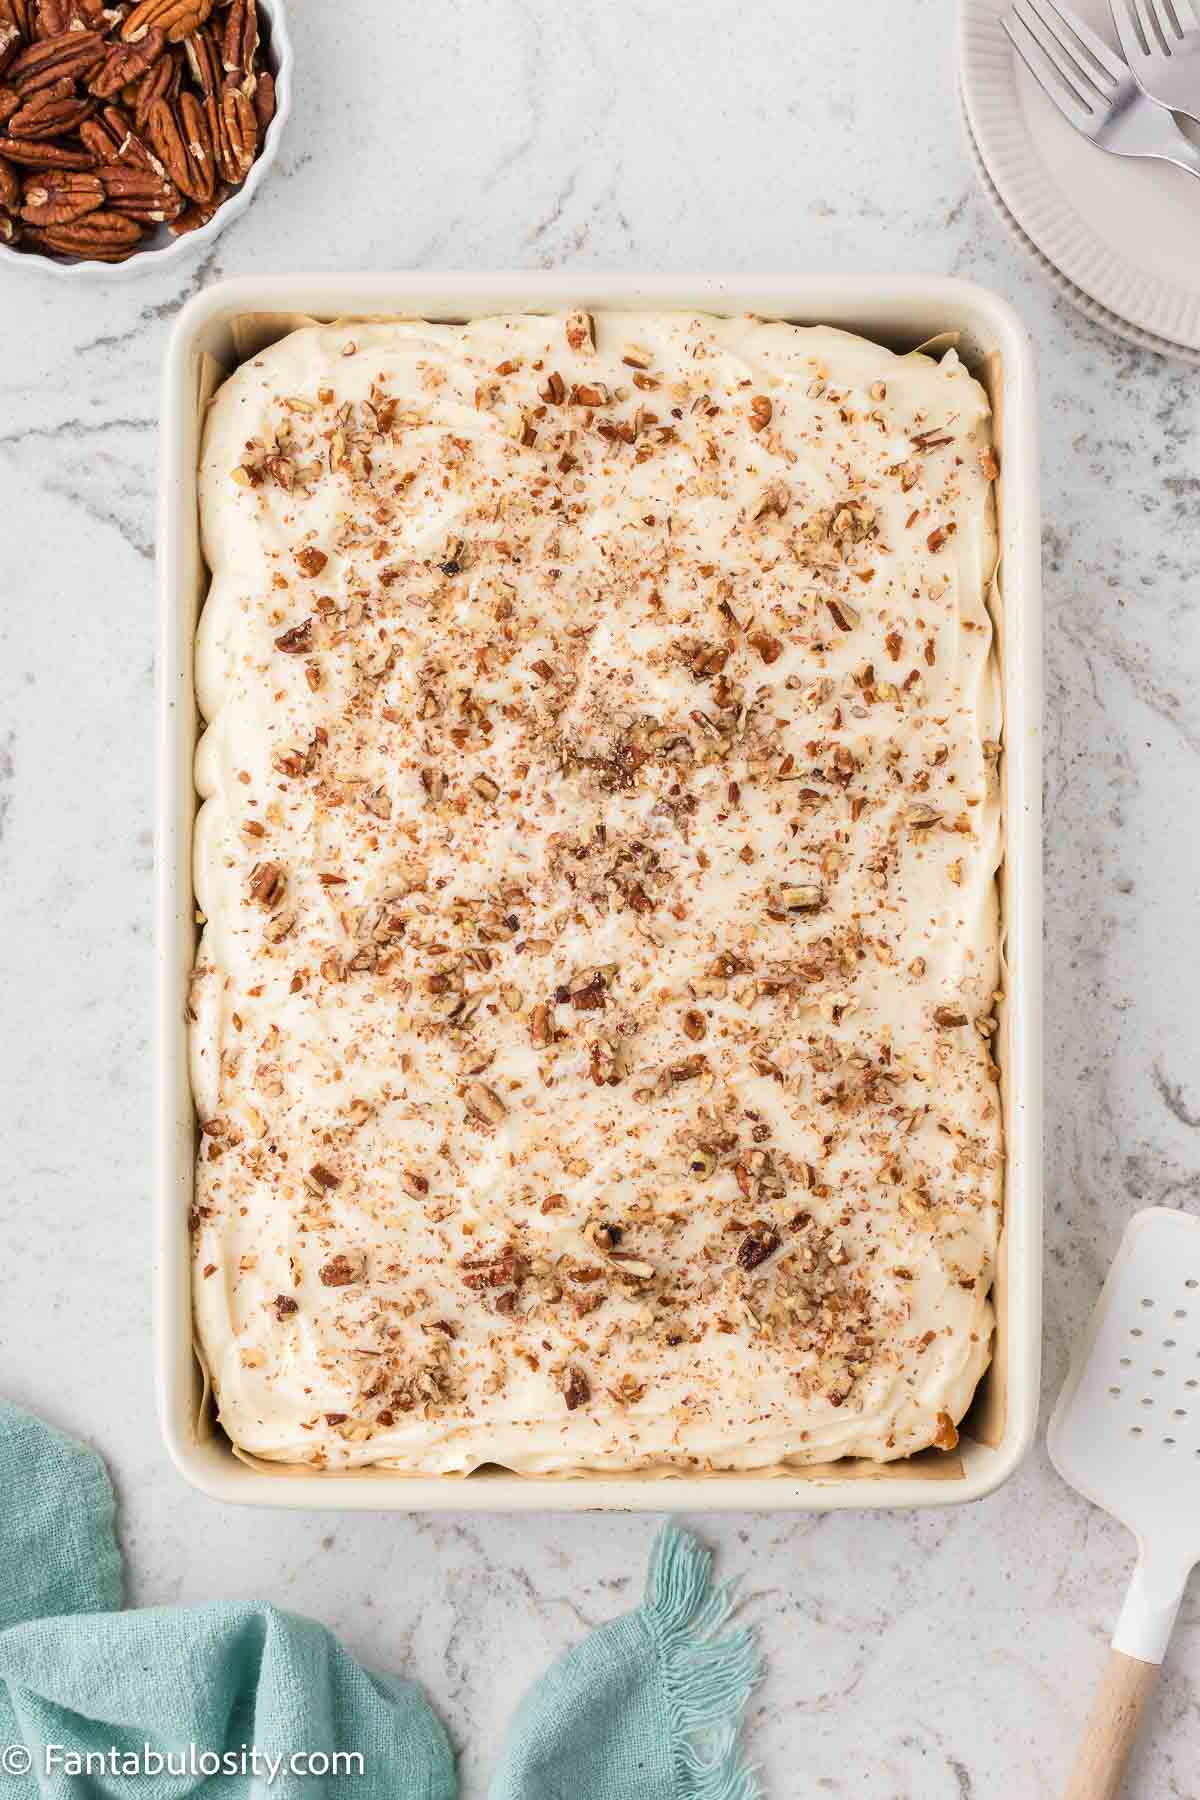
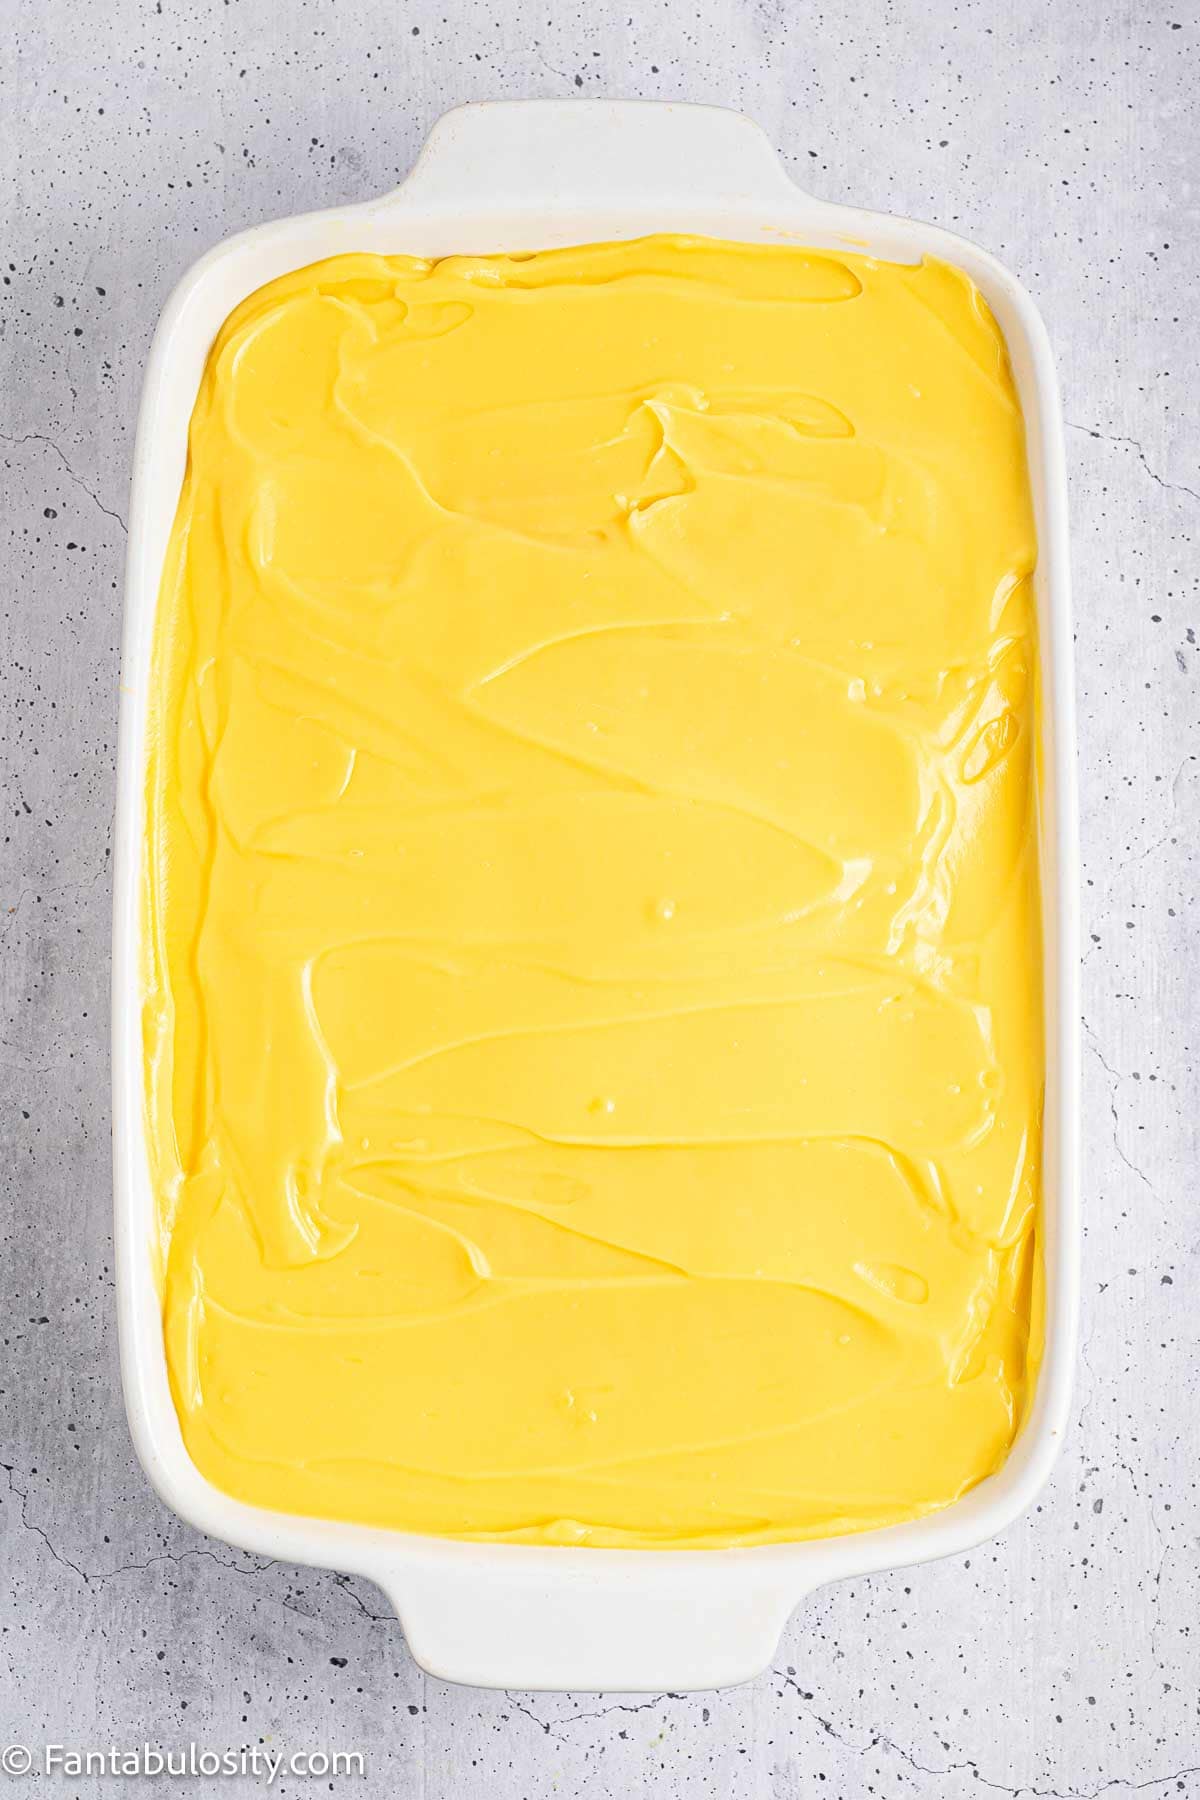
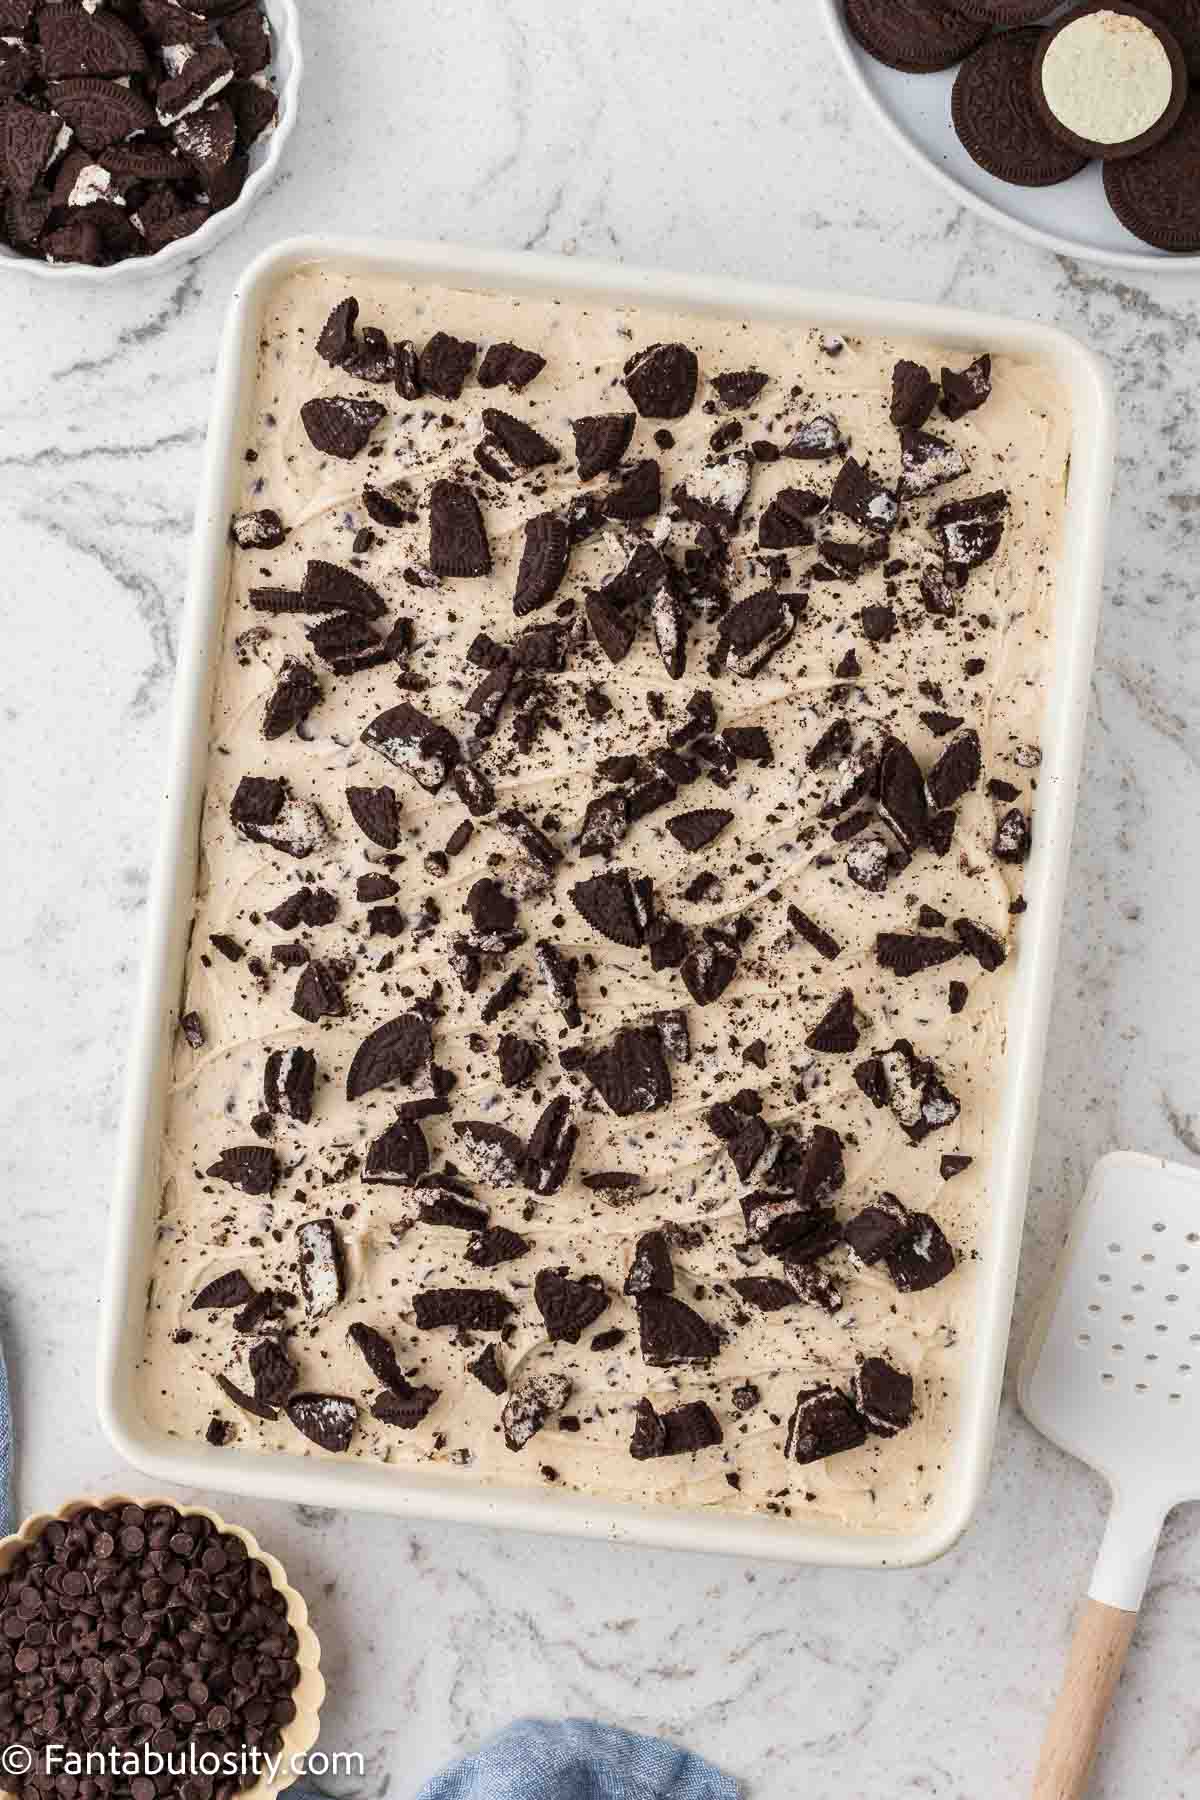
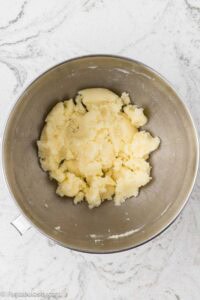
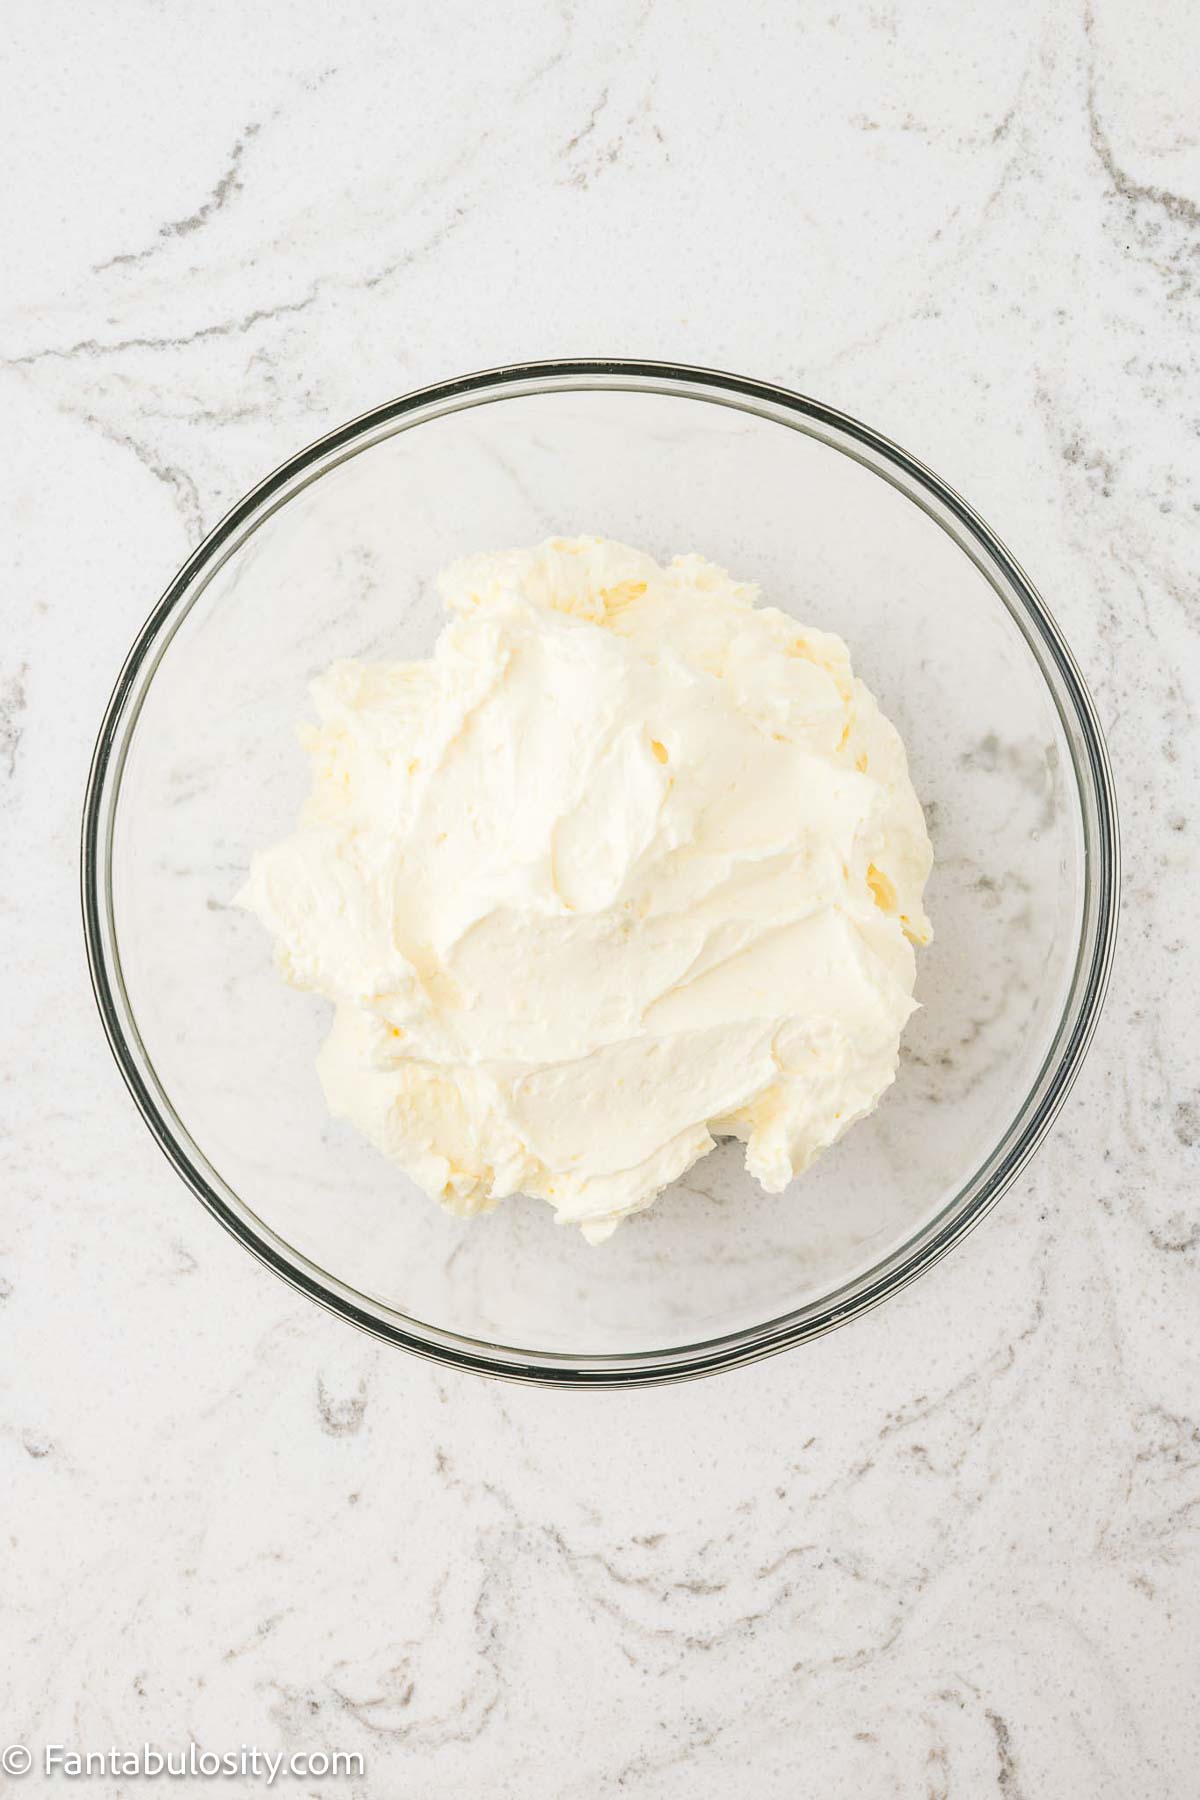
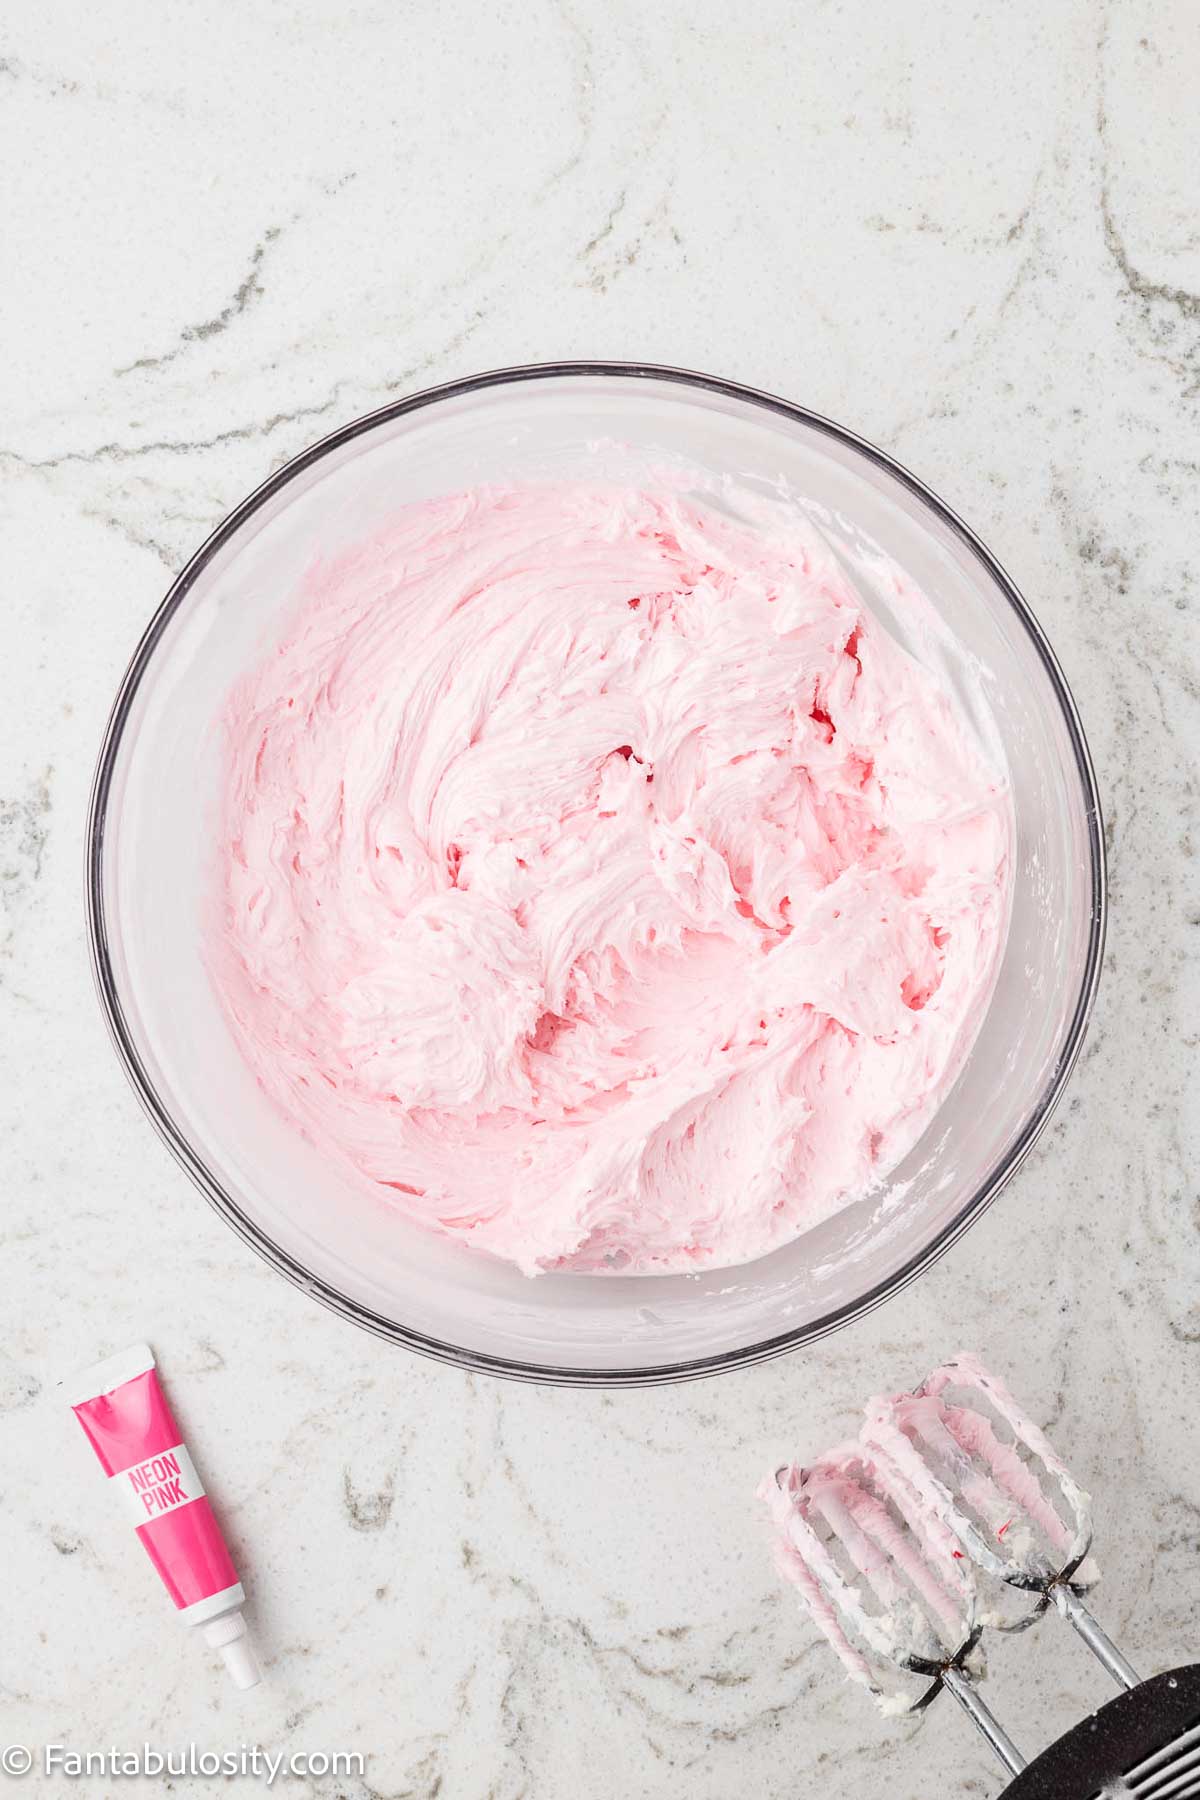
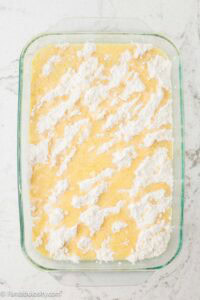
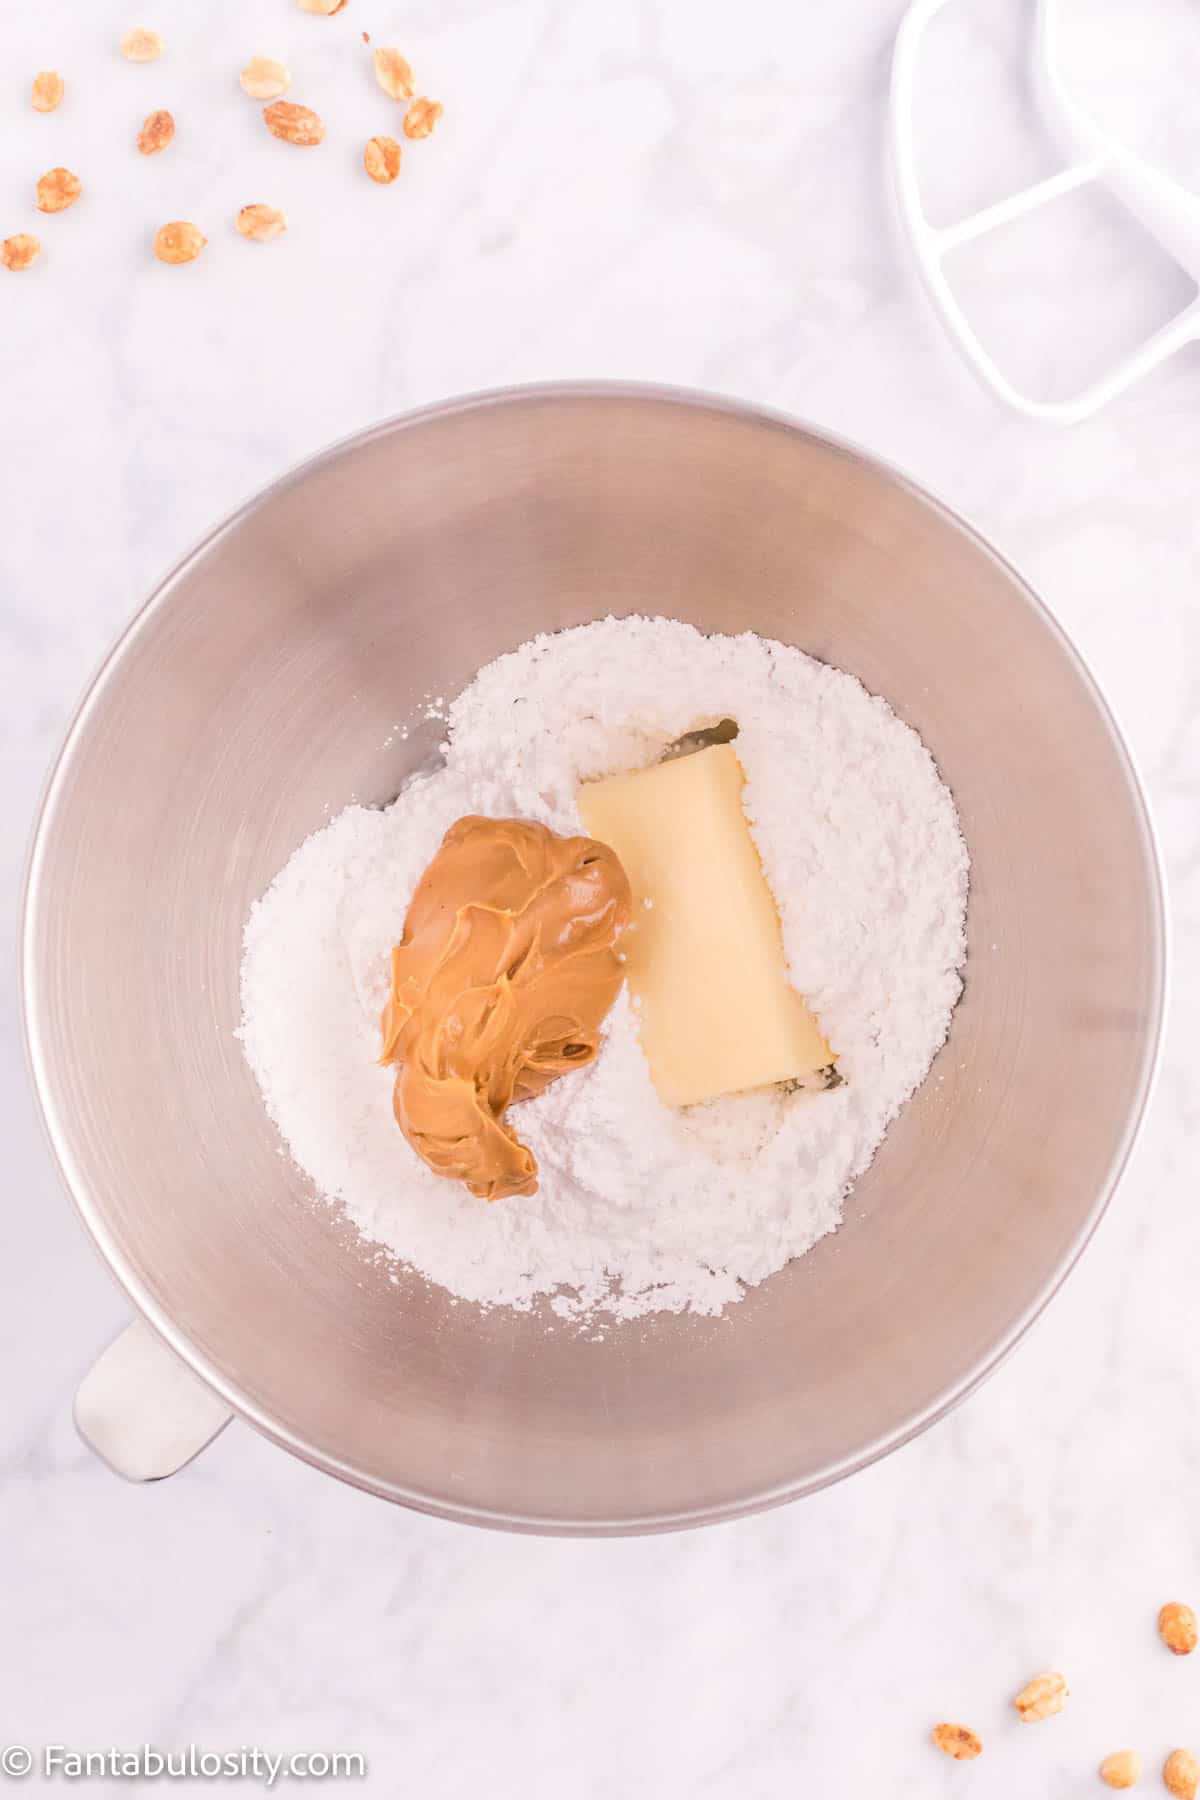
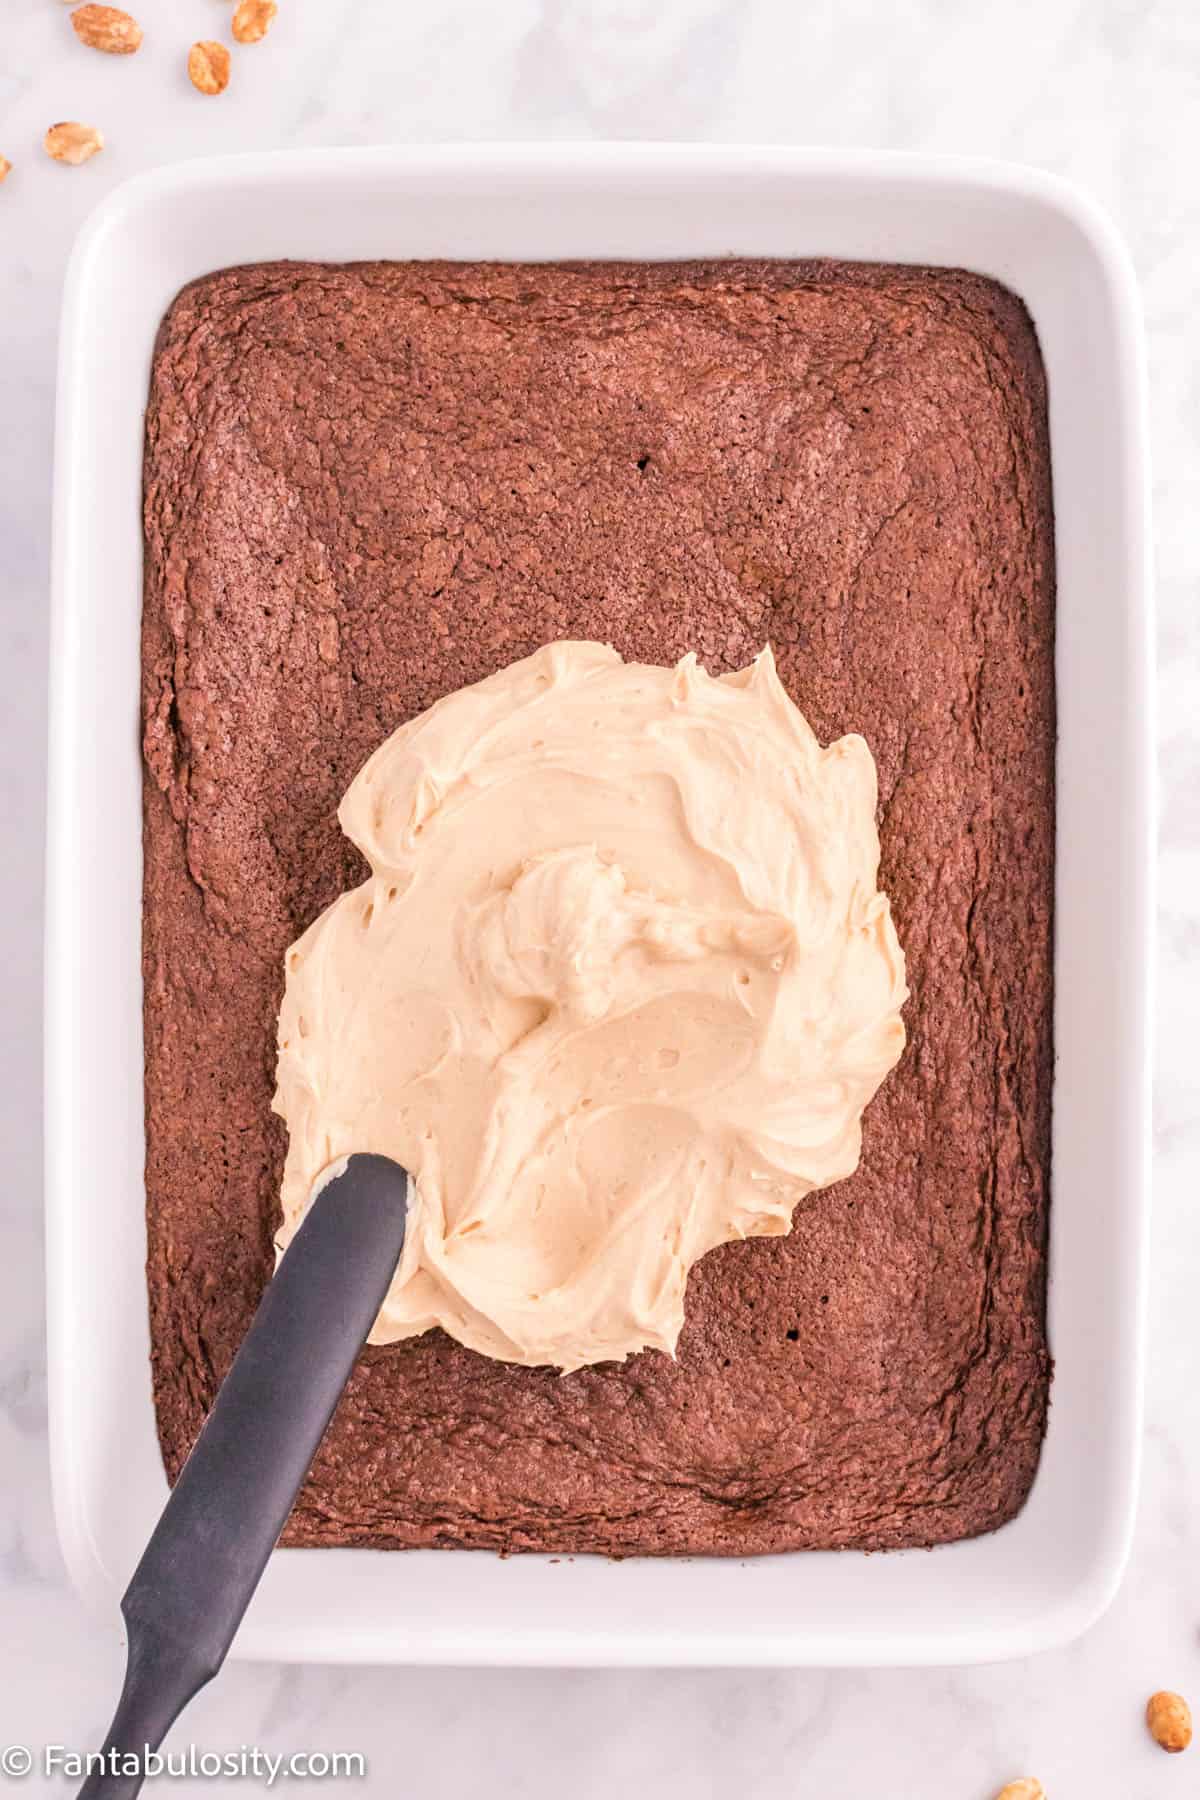
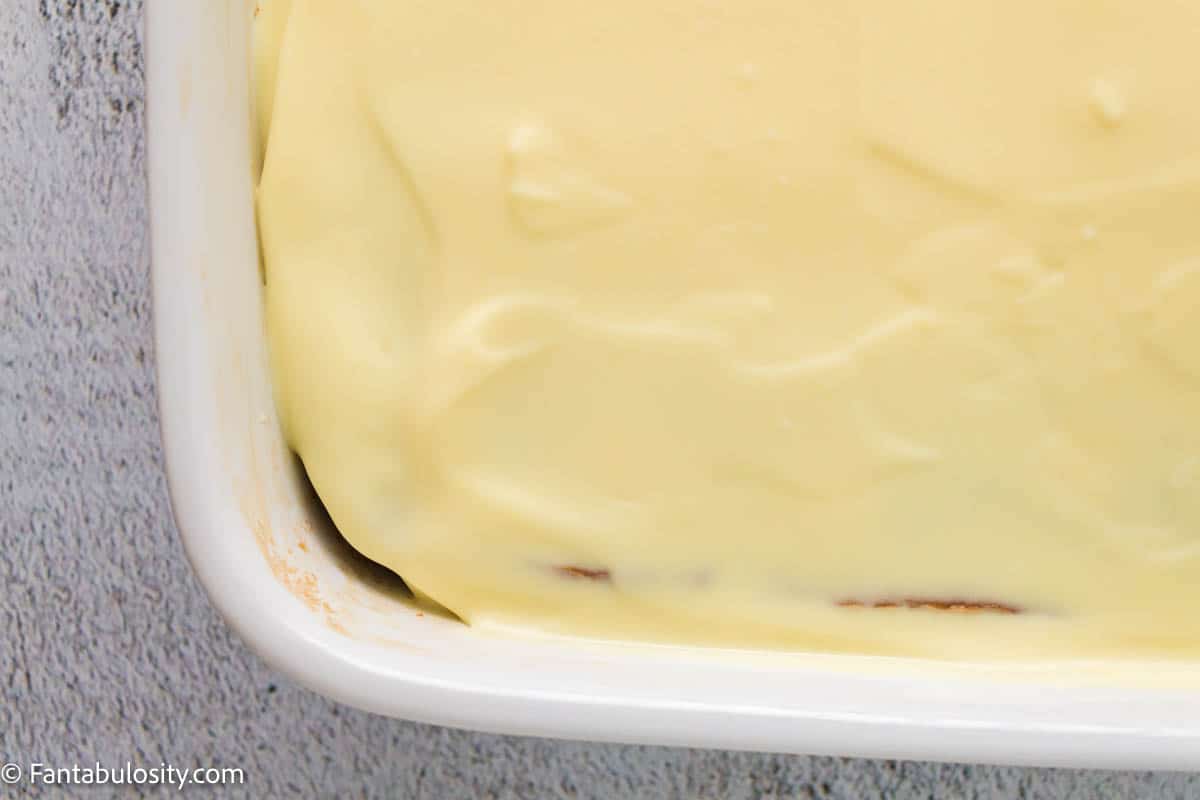
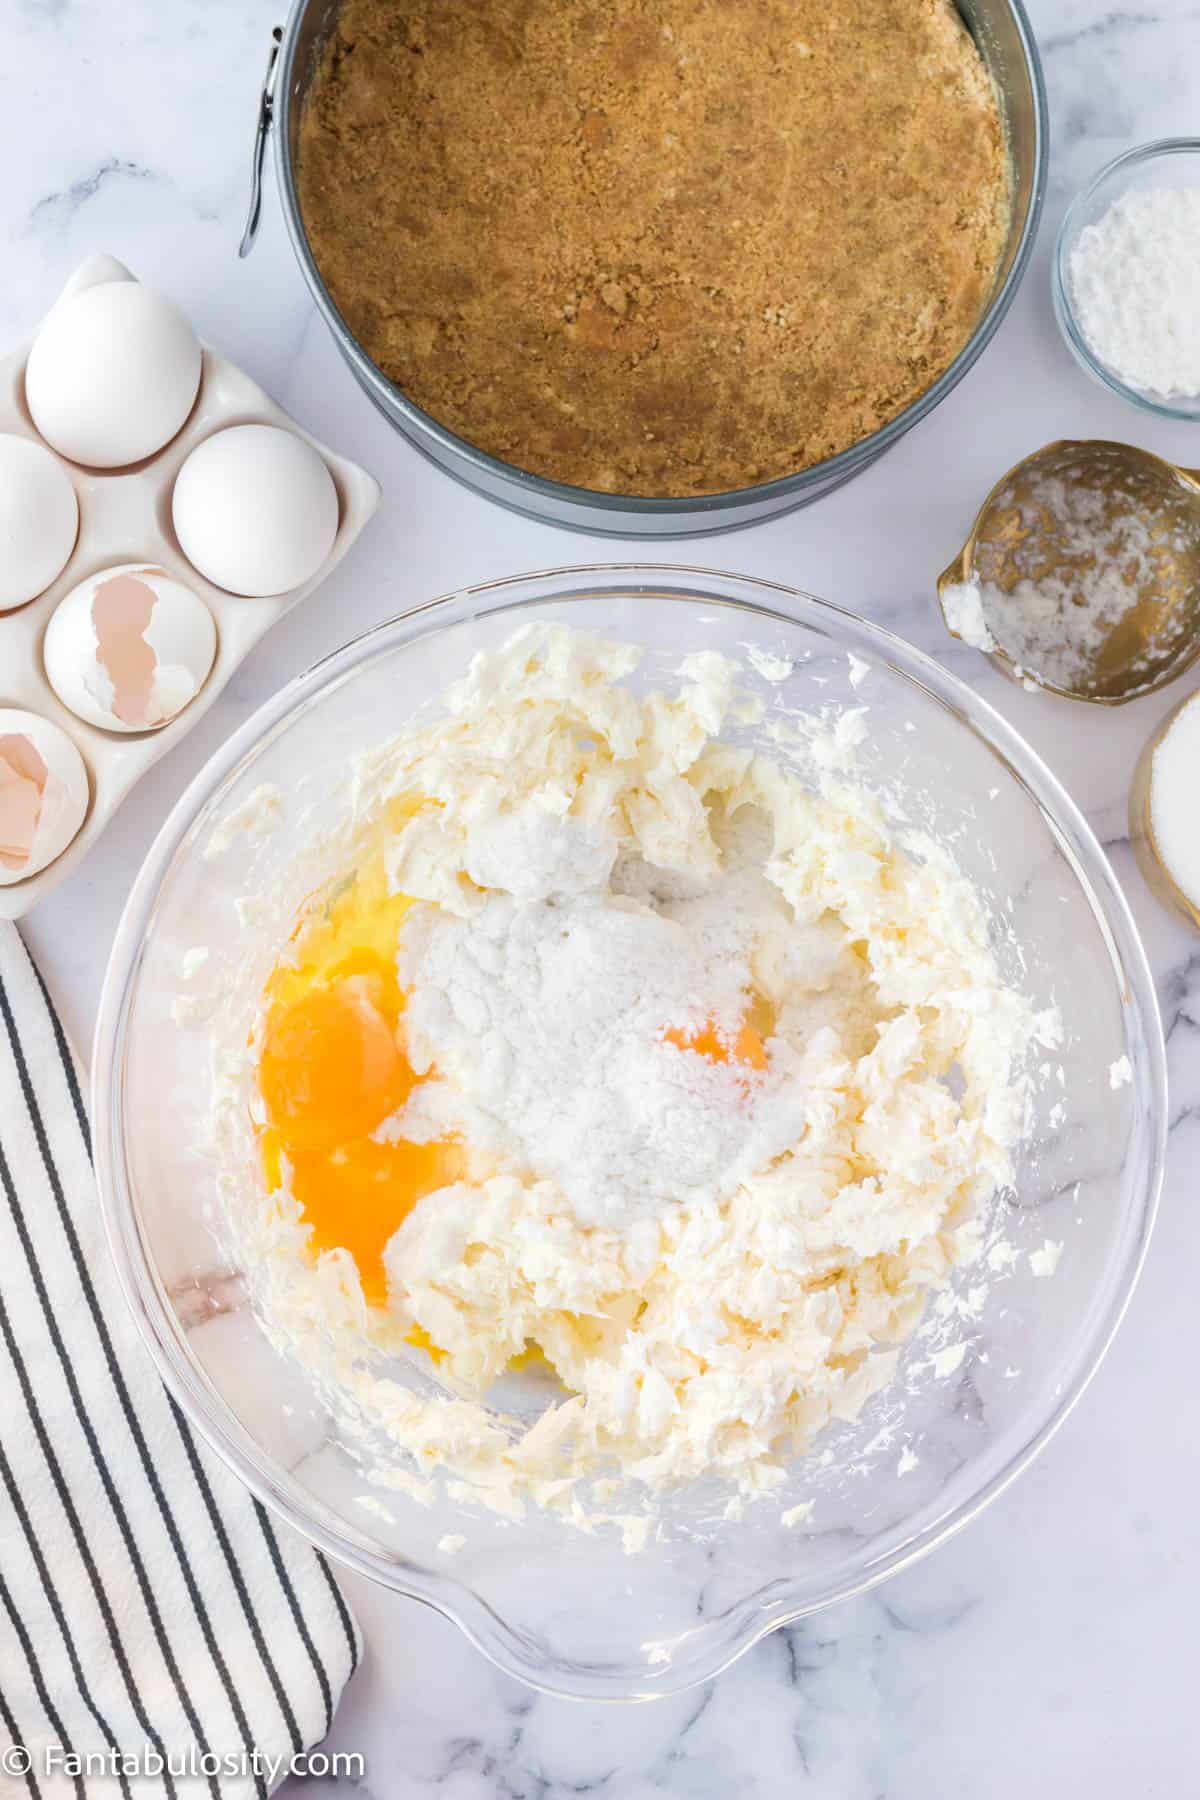
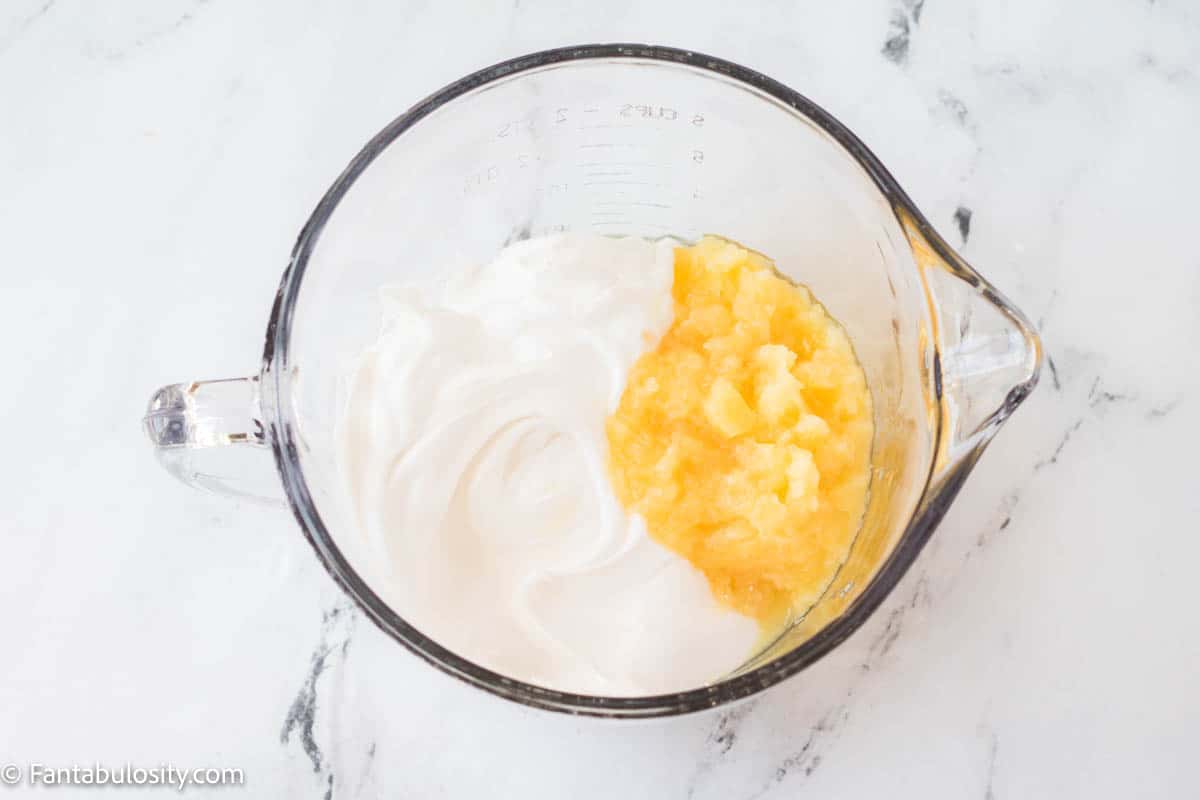
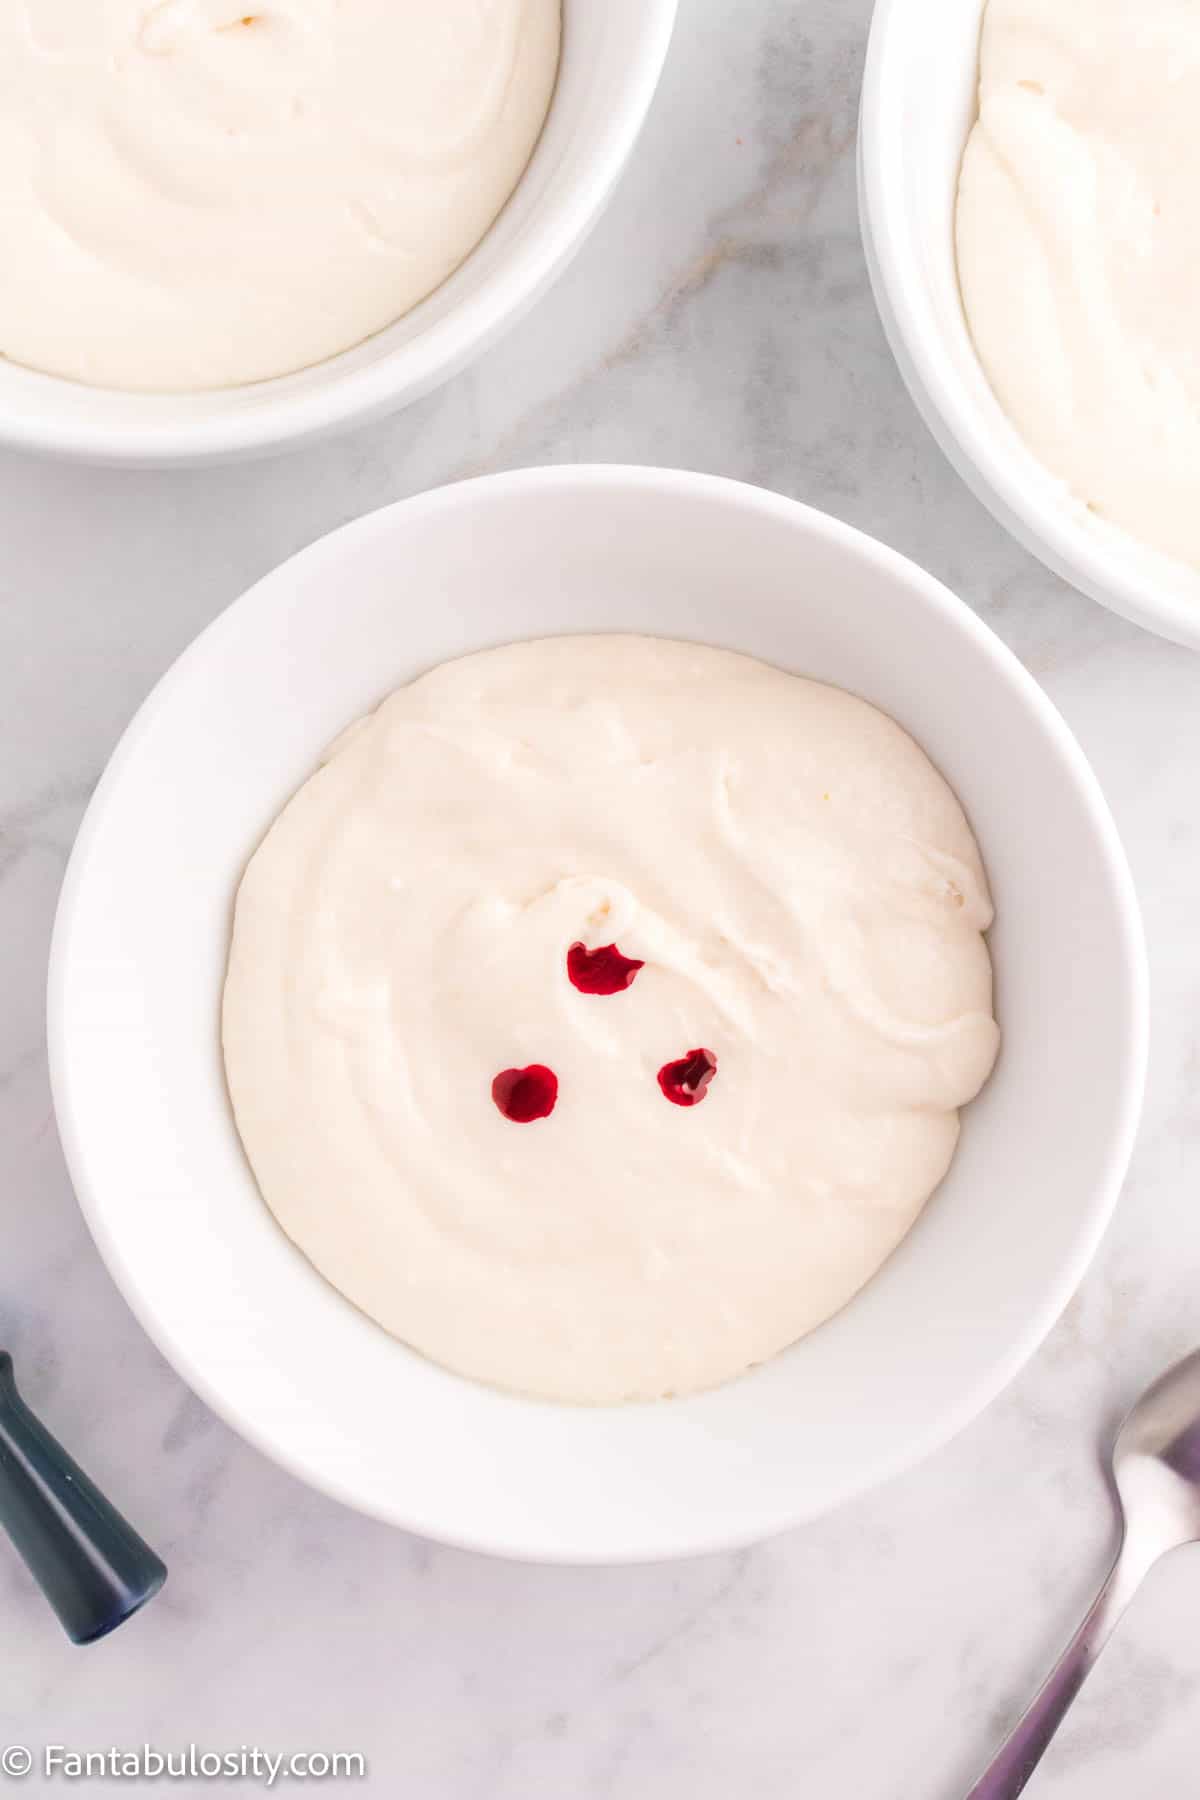
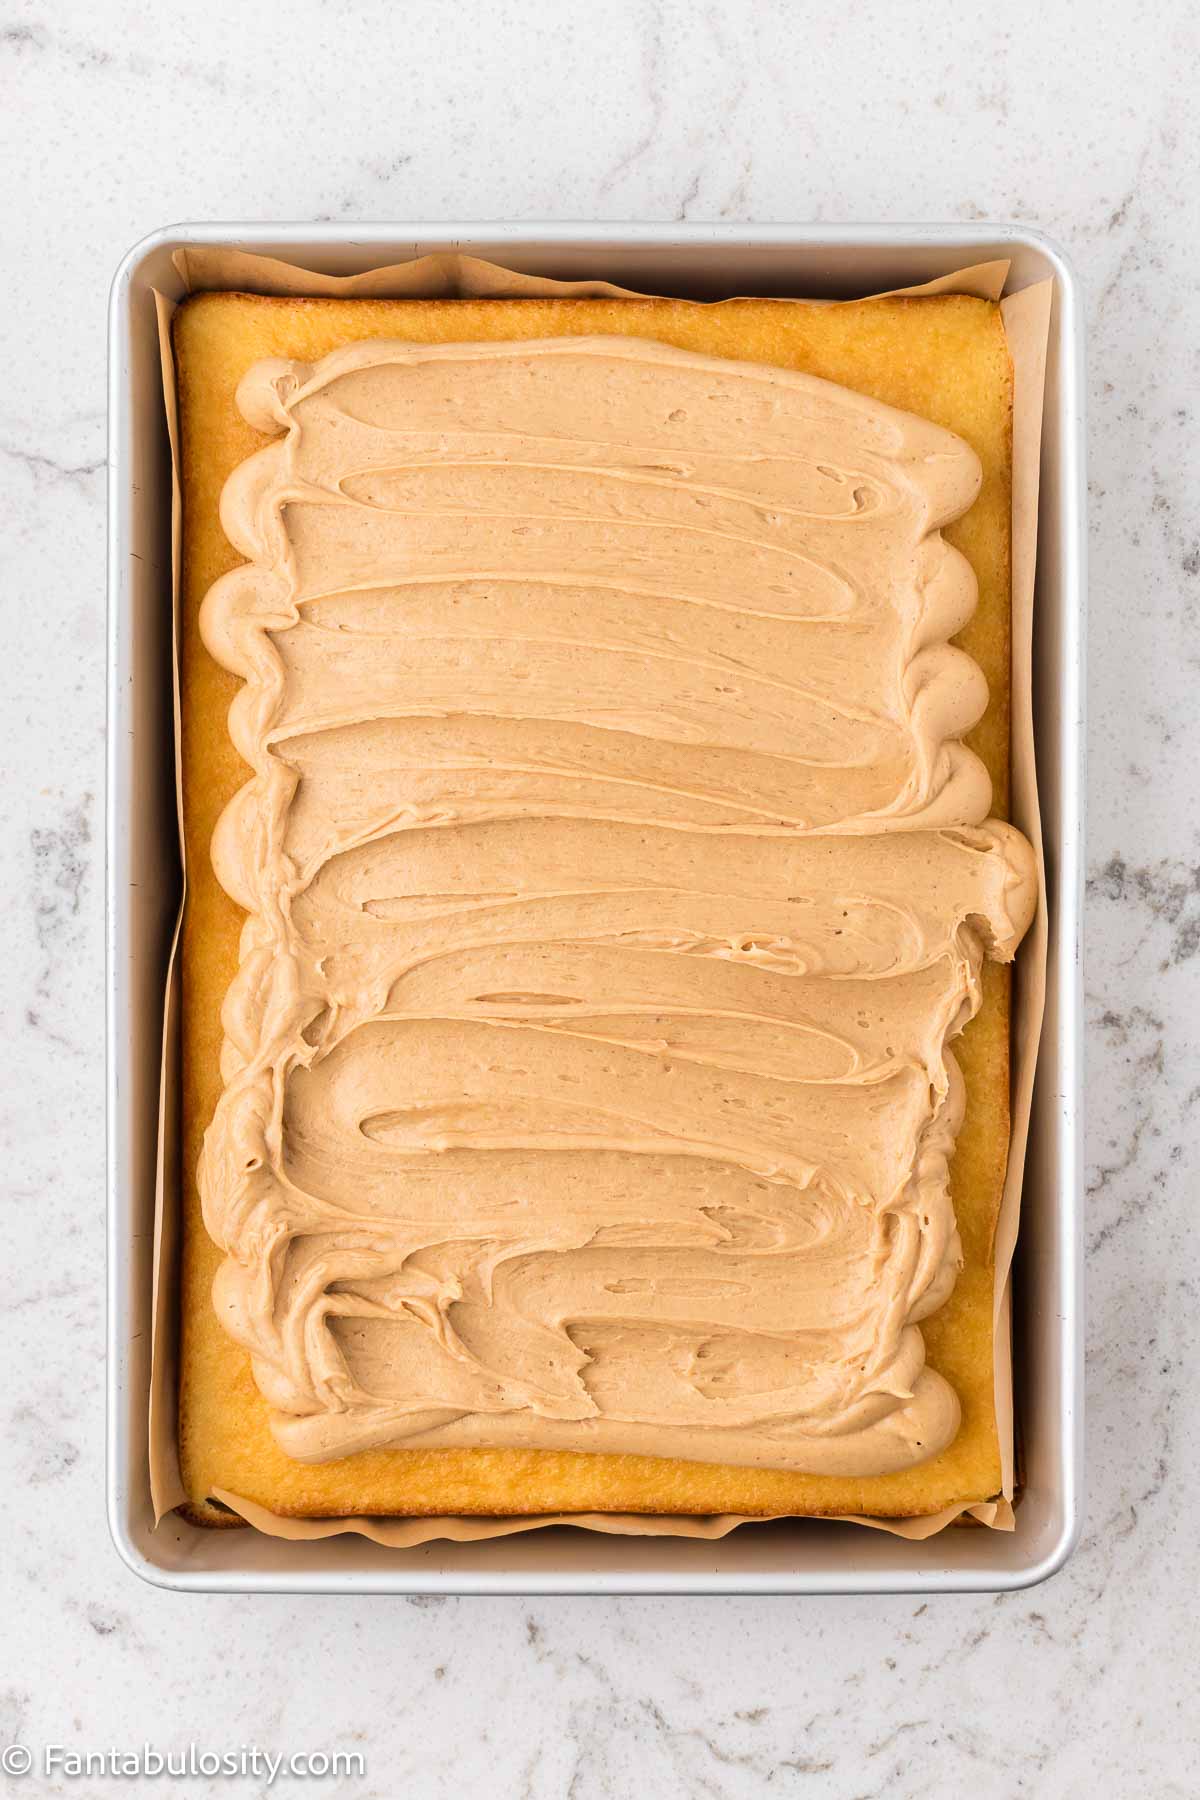
- Make peanut butter layer: beat peanut butter, powdered sugar, softened butter, heavy cream, and vanilla until creamy.
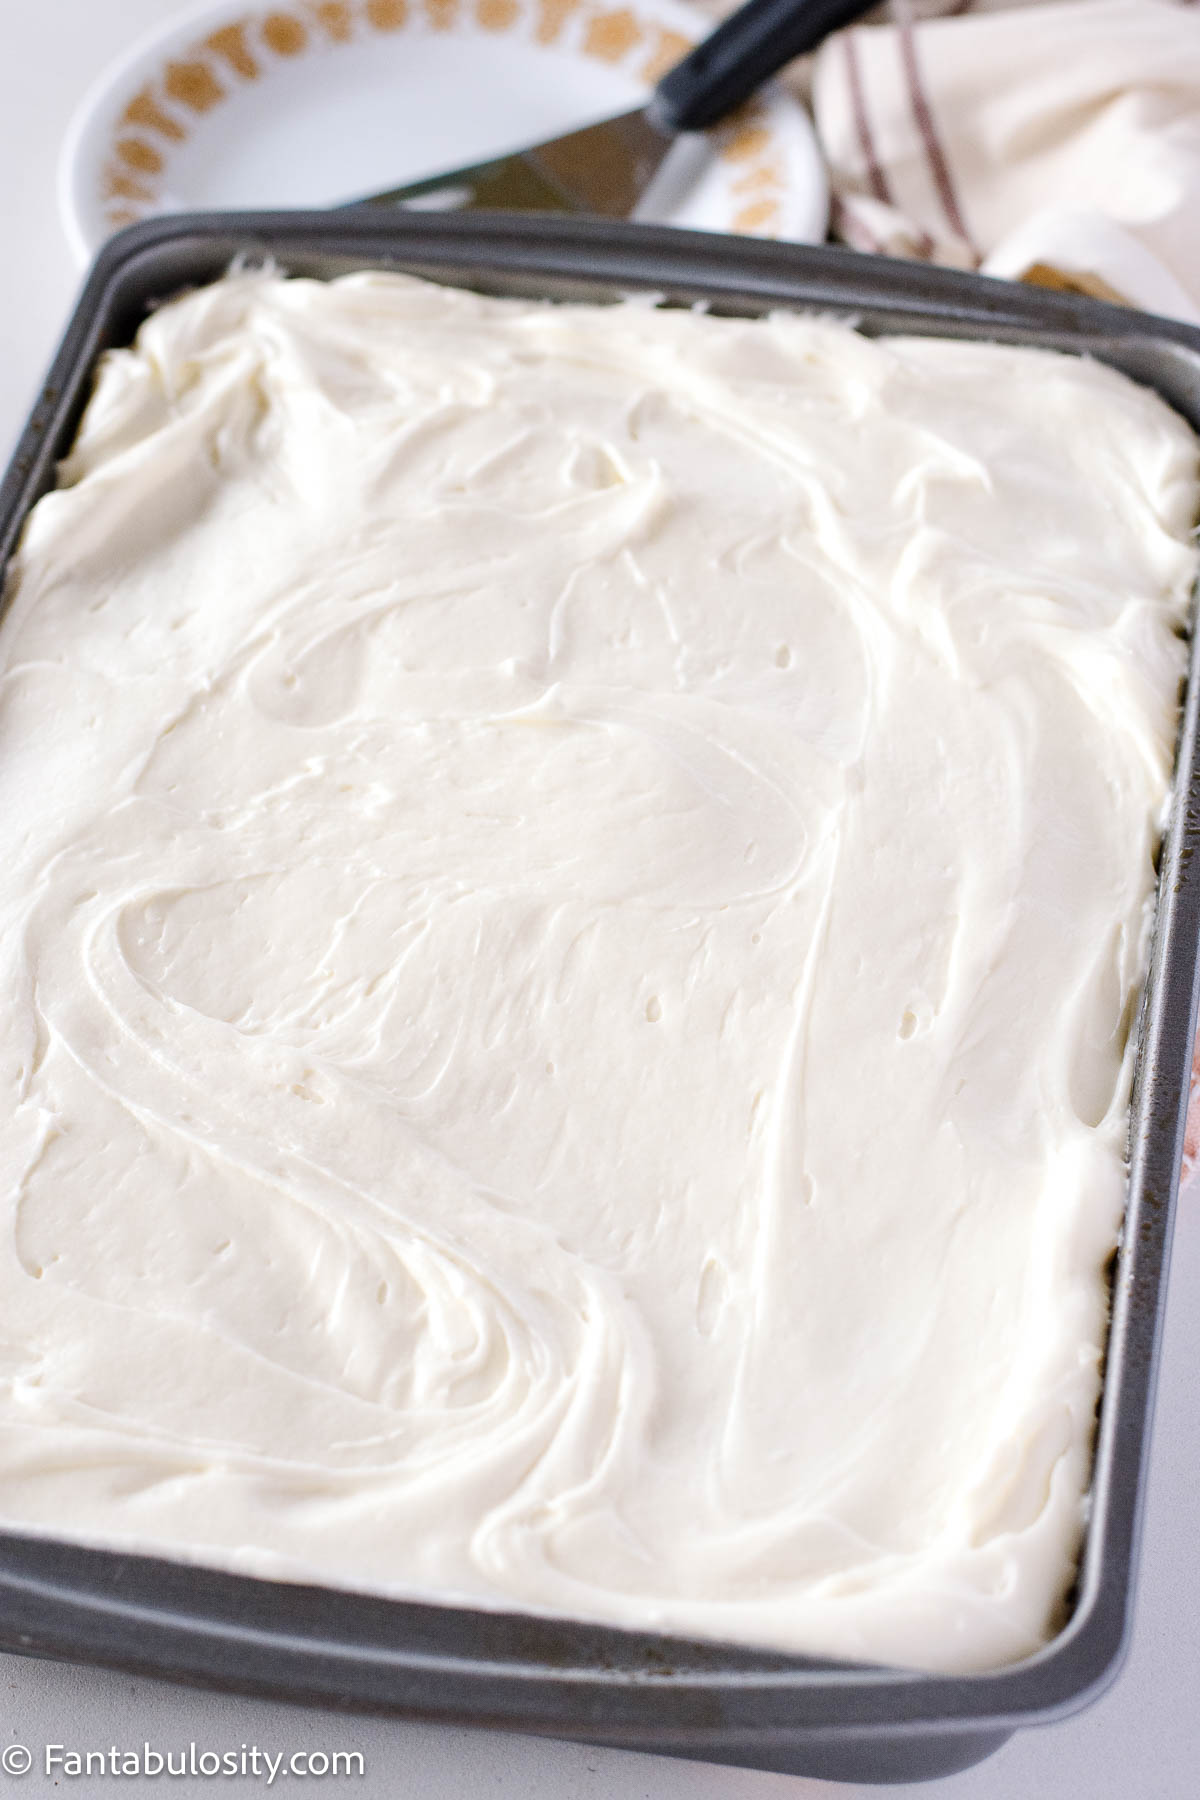
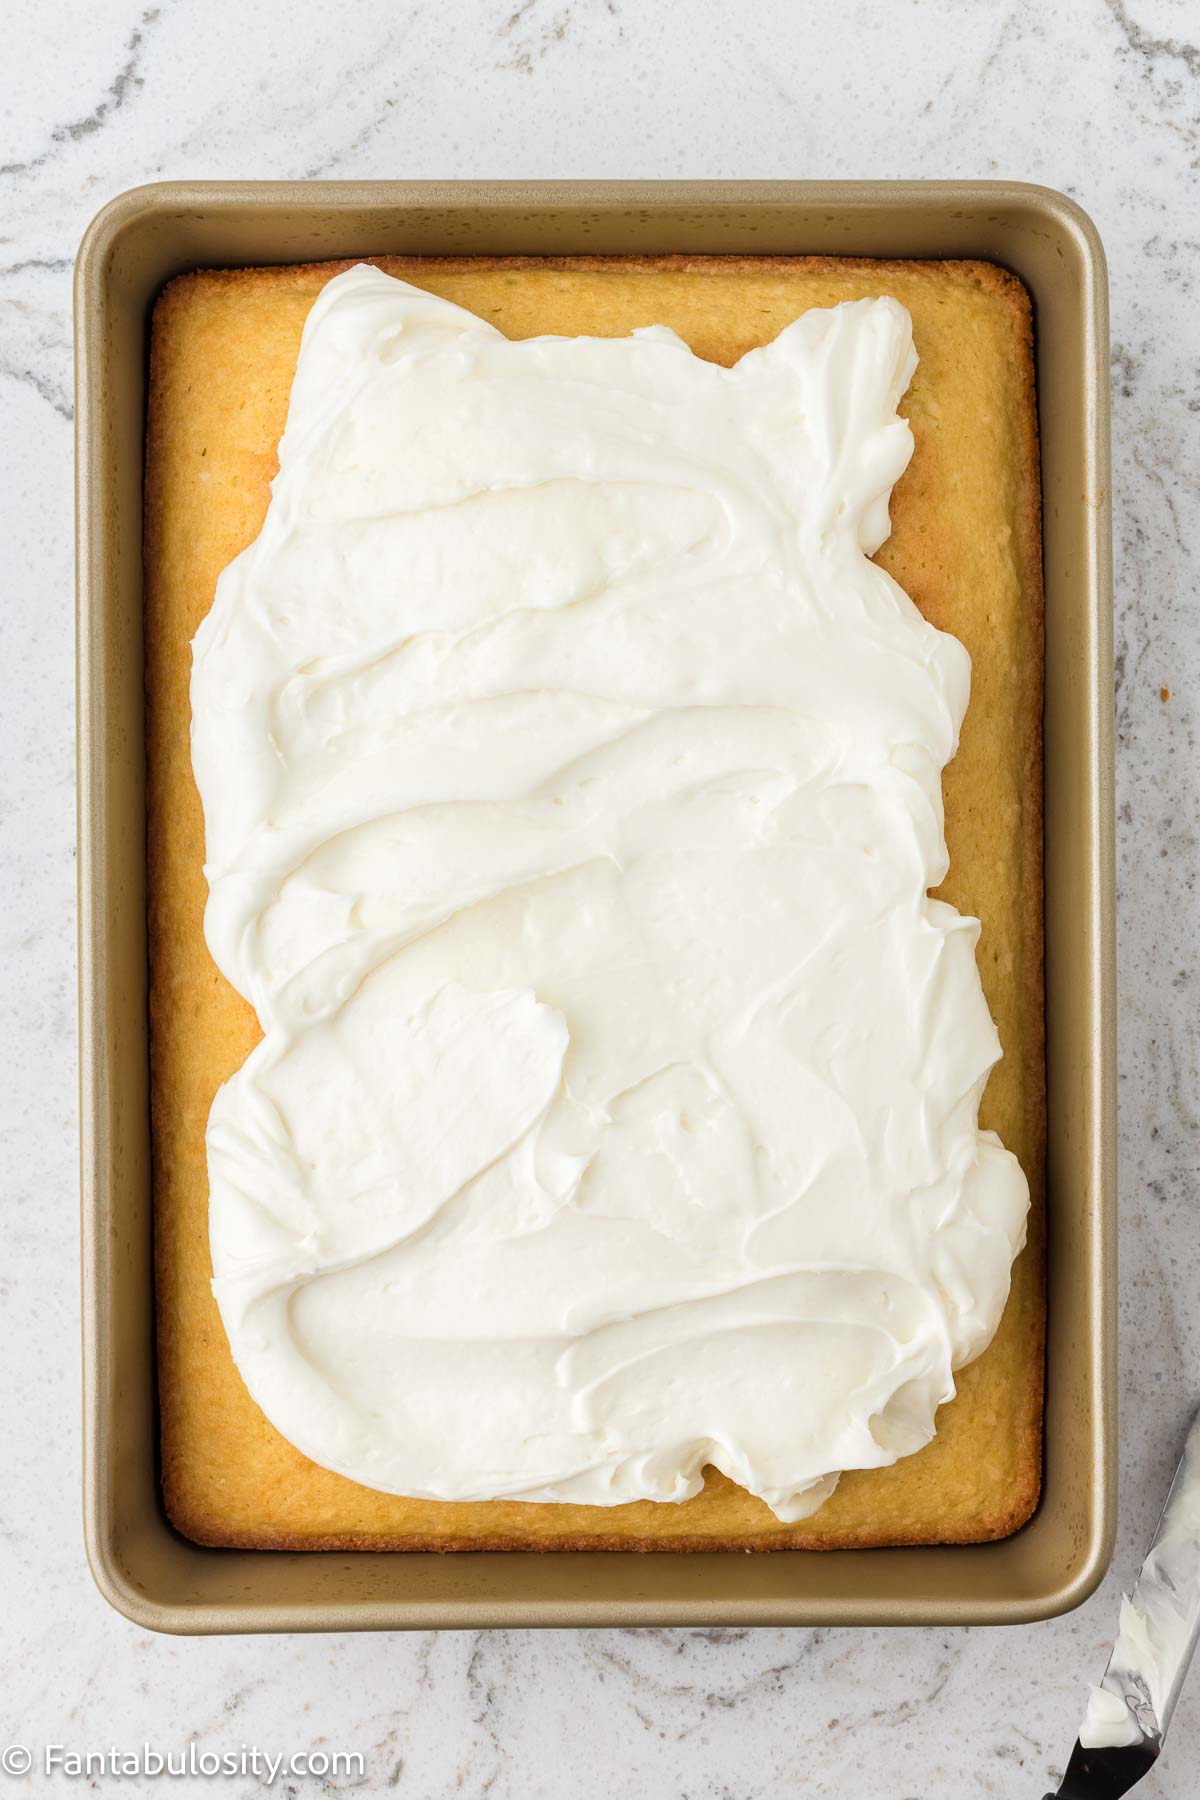
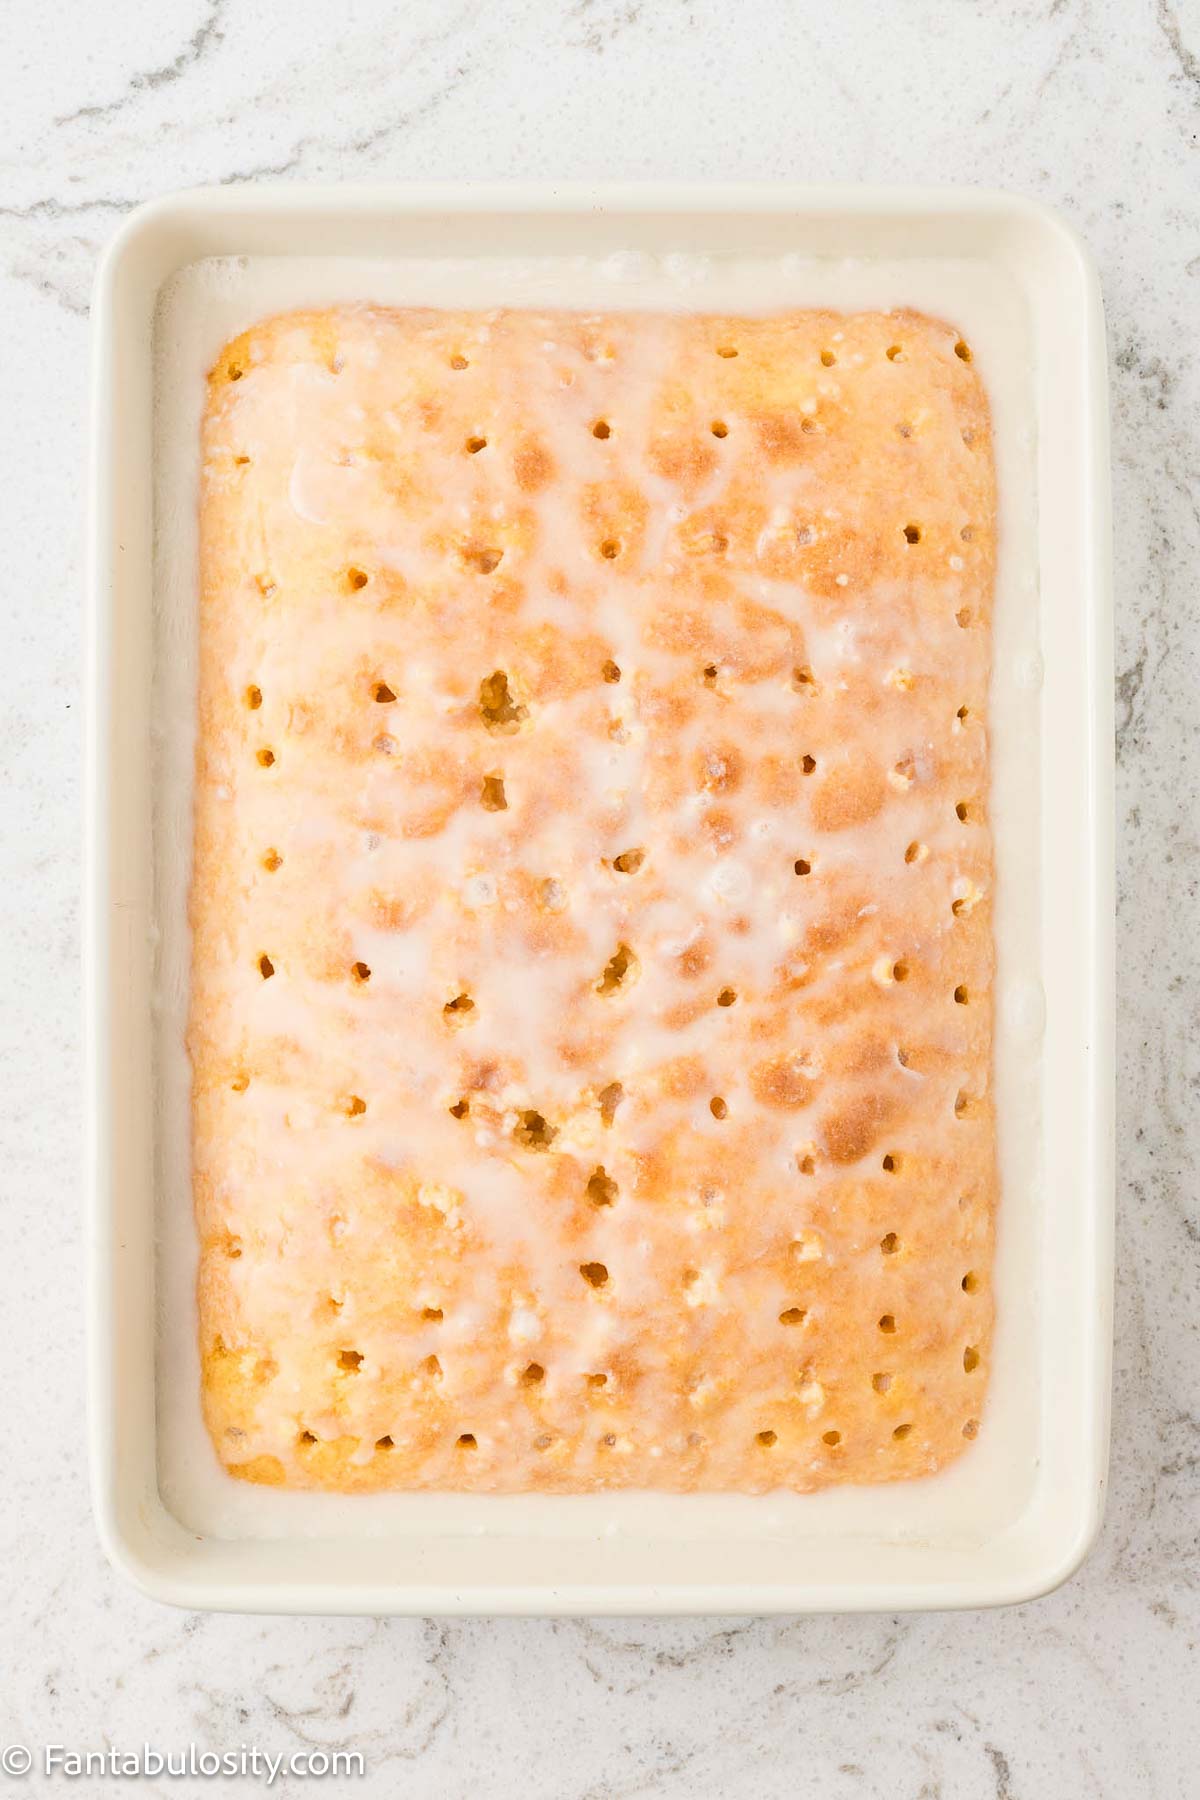
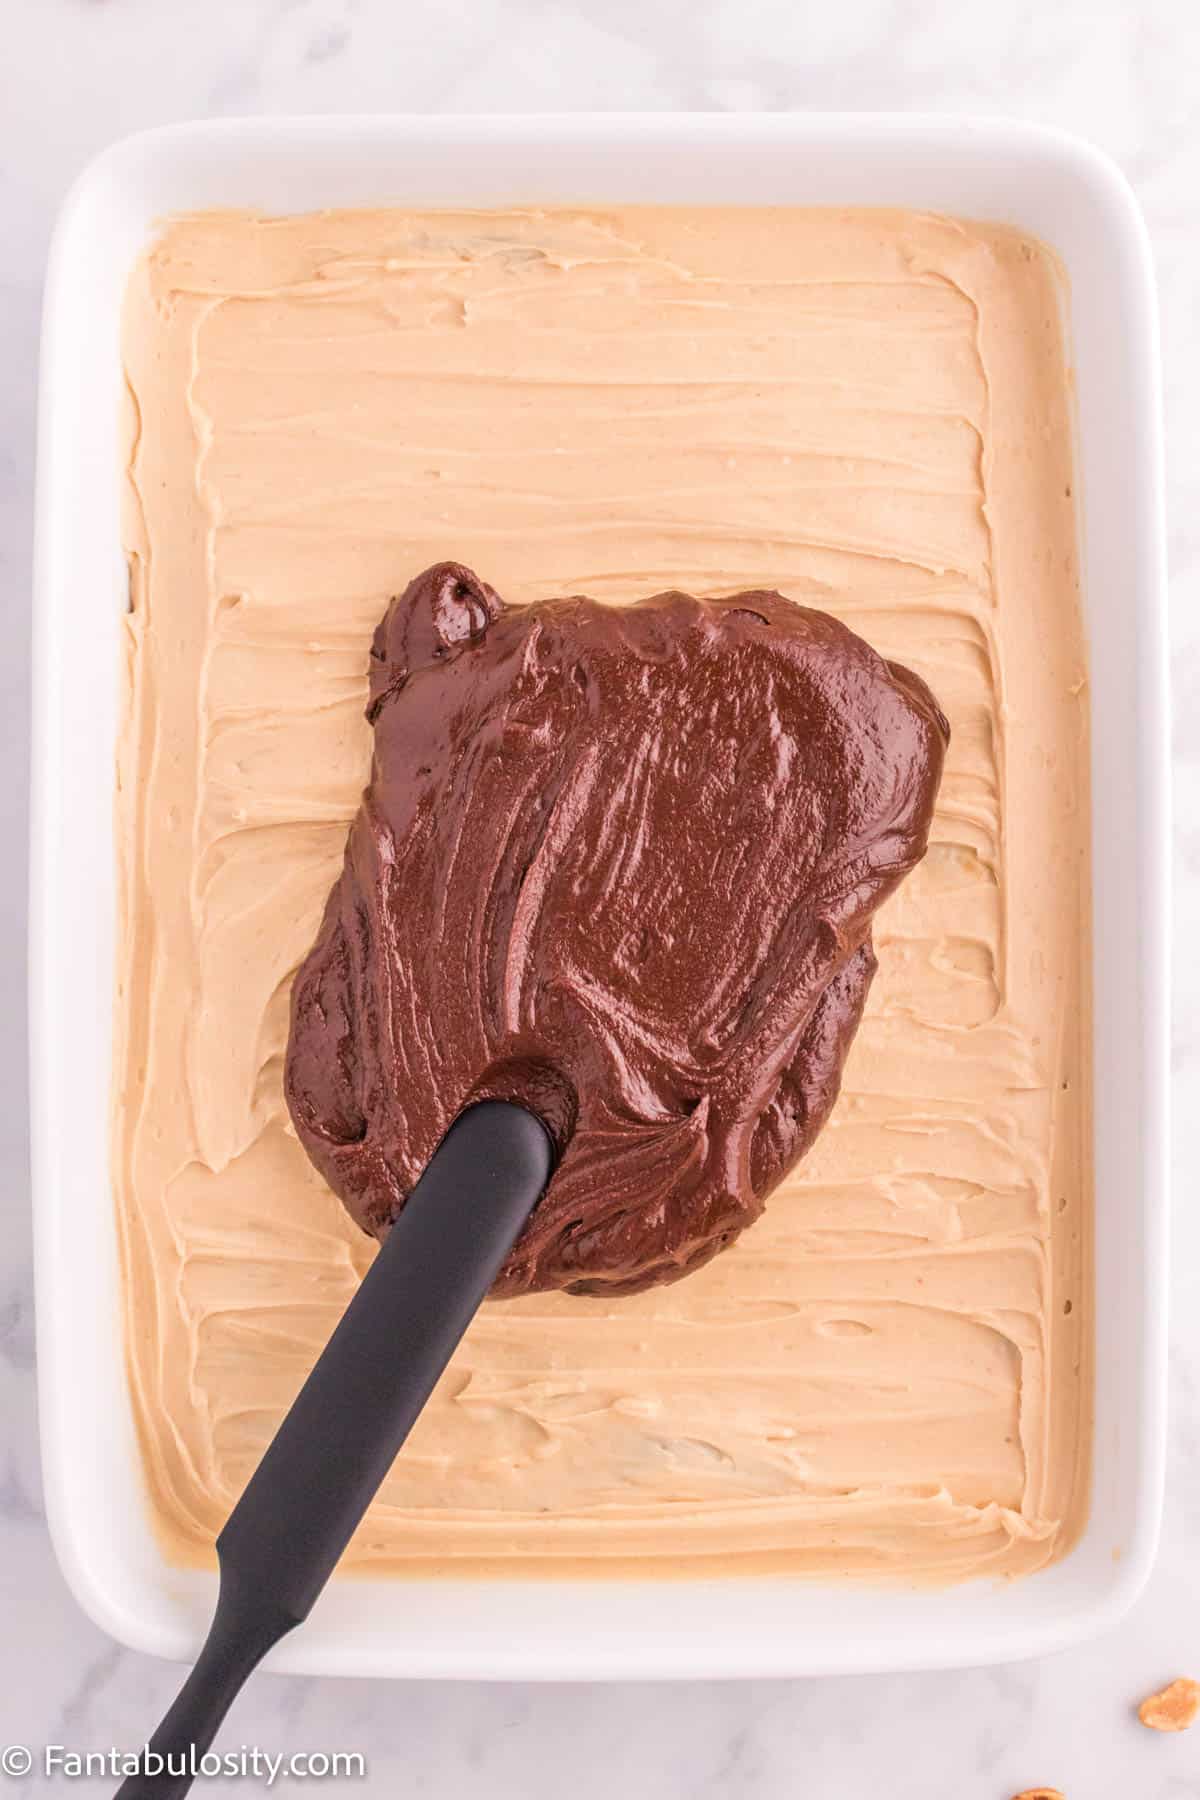
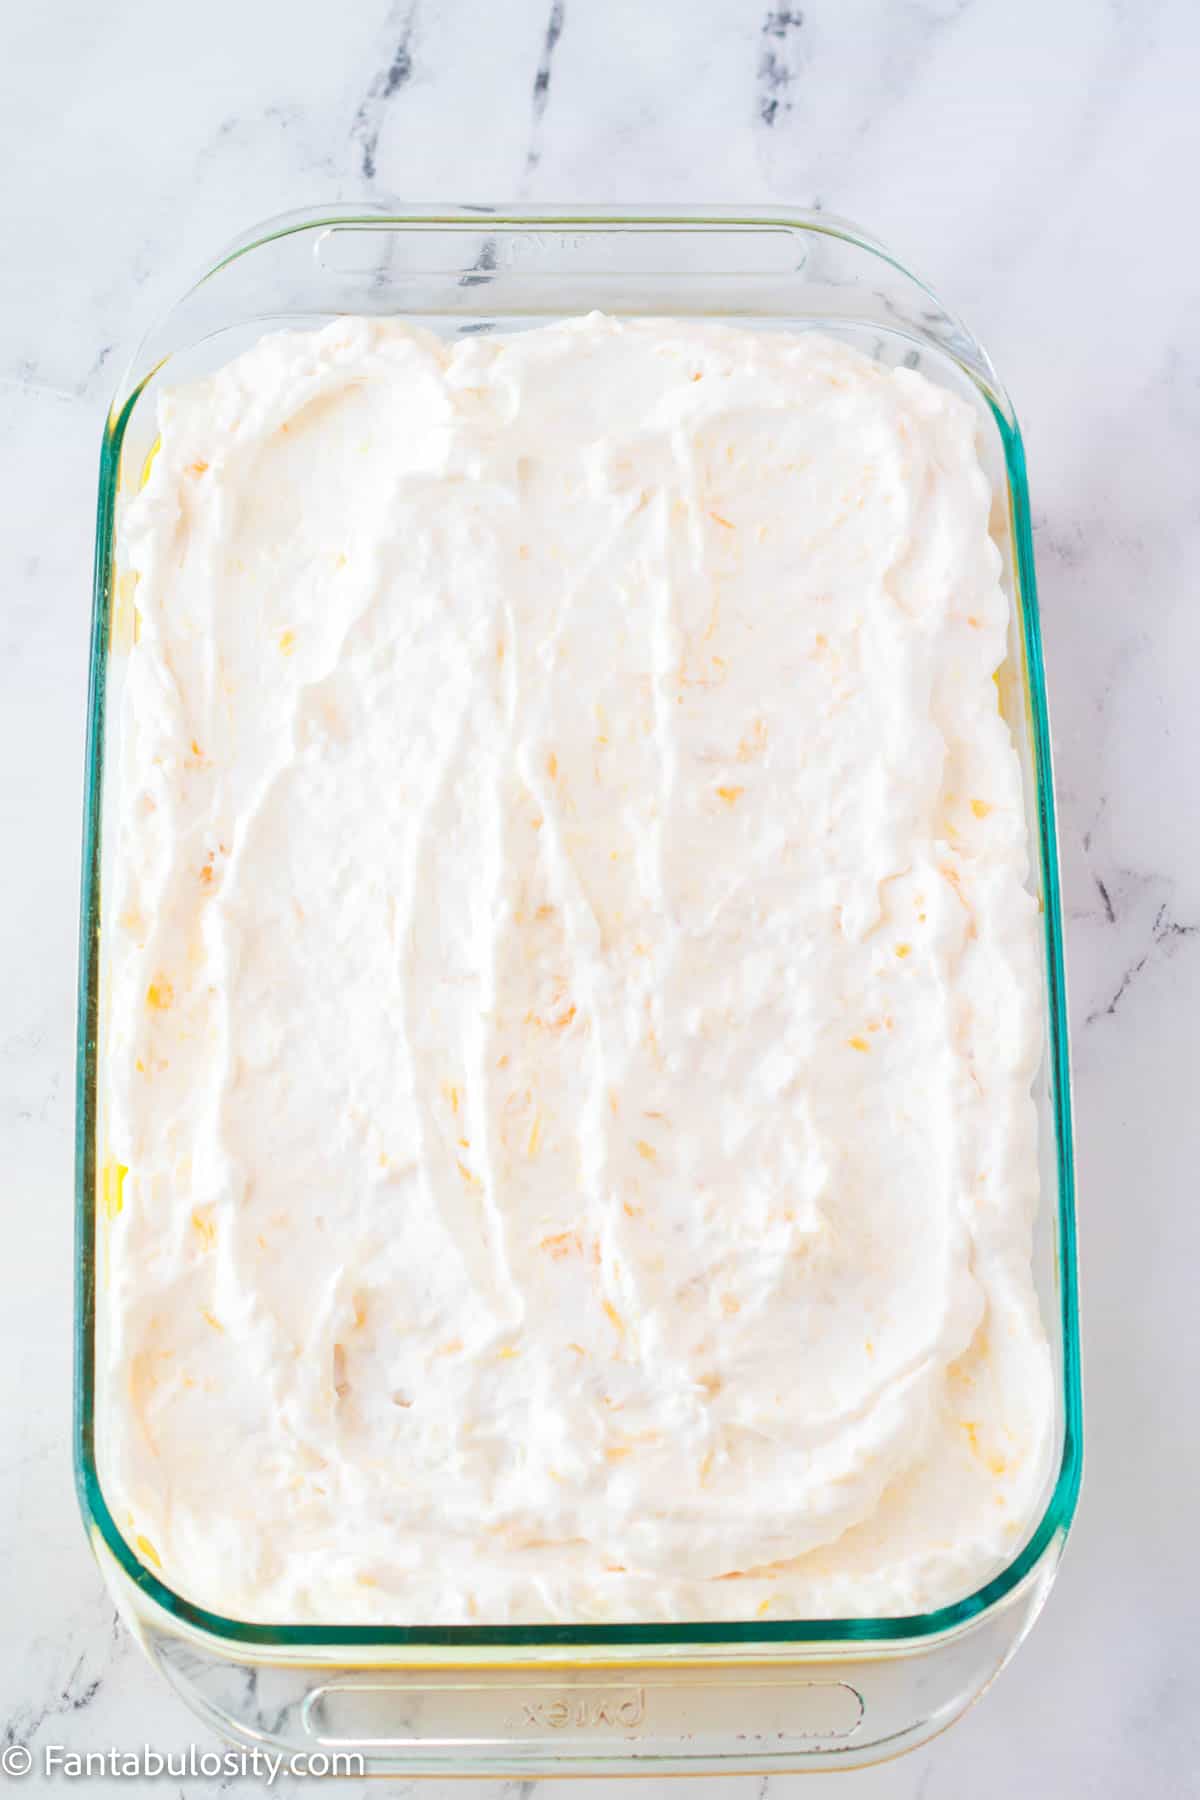
- Spread frosting over cooled cake. Chill 30 minutes.
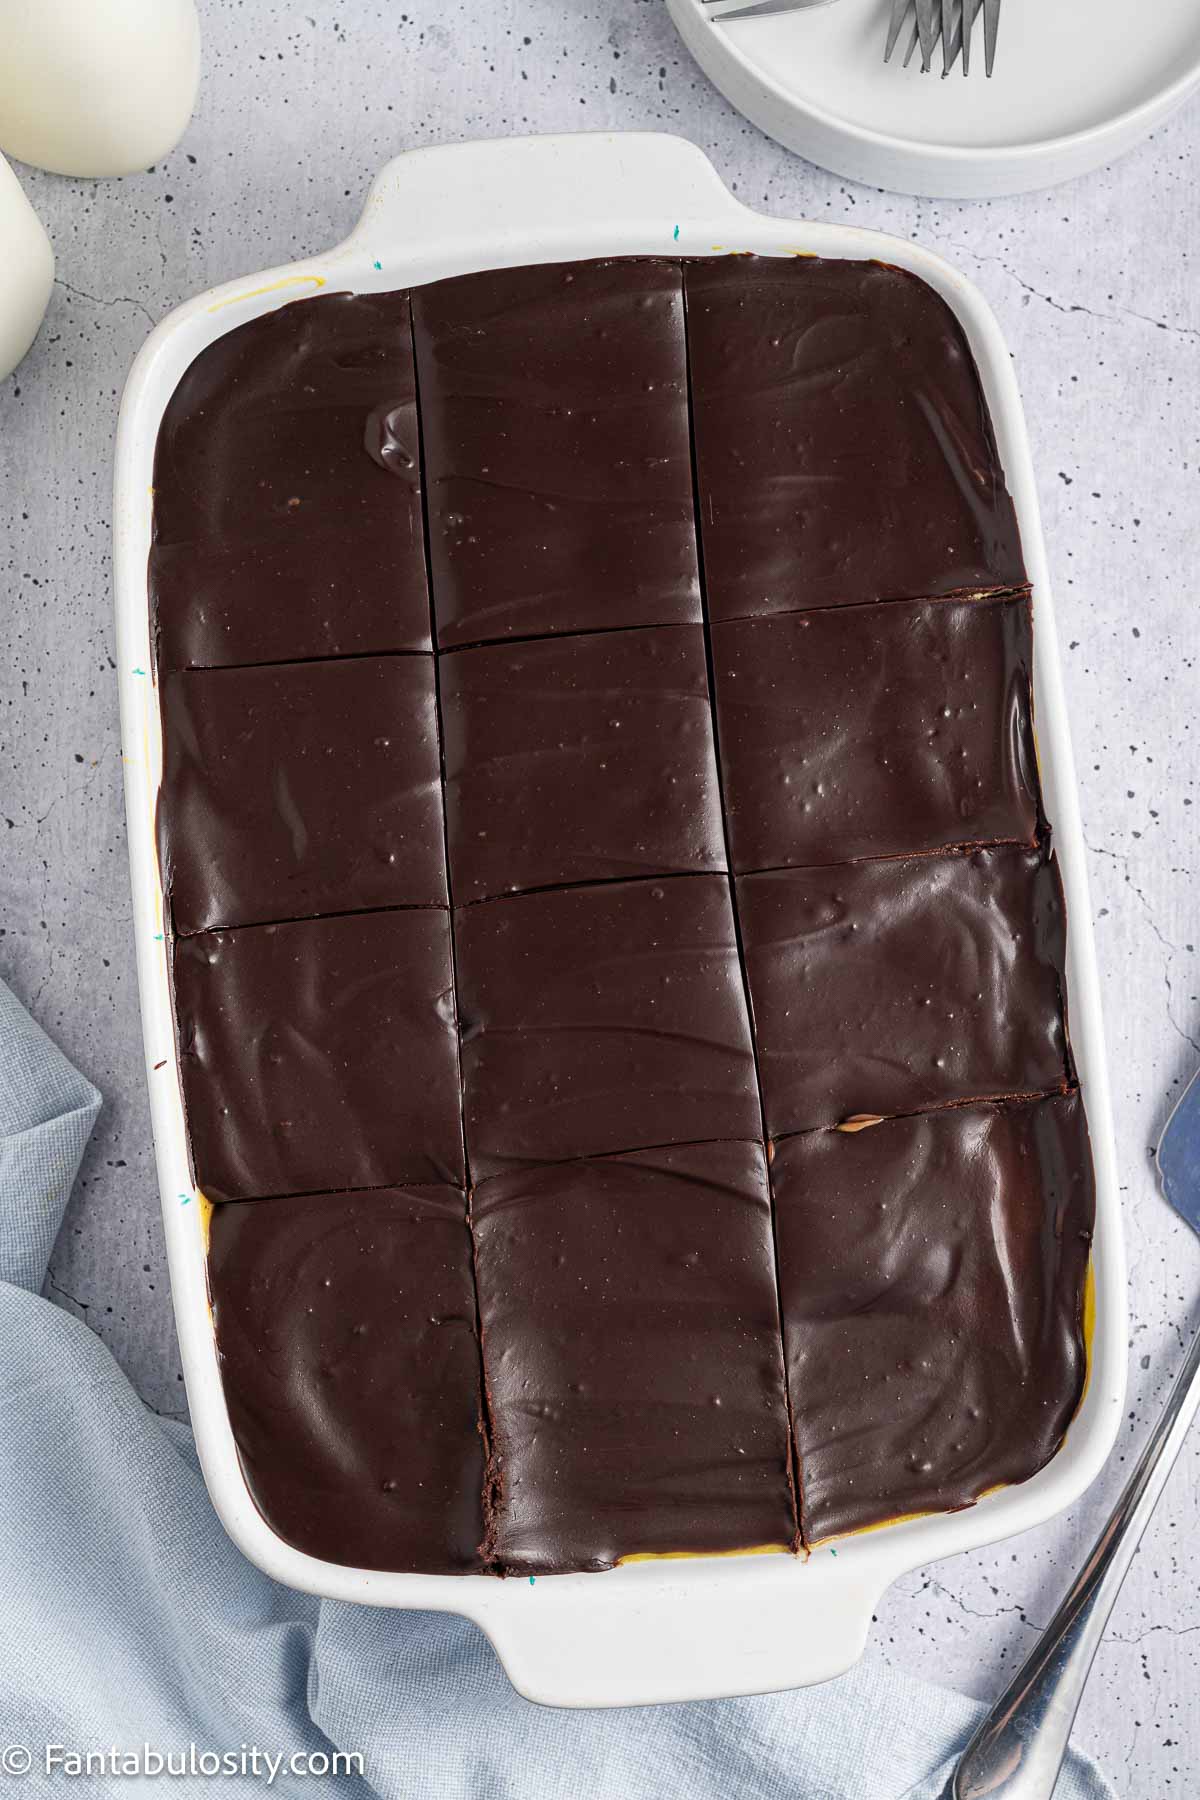
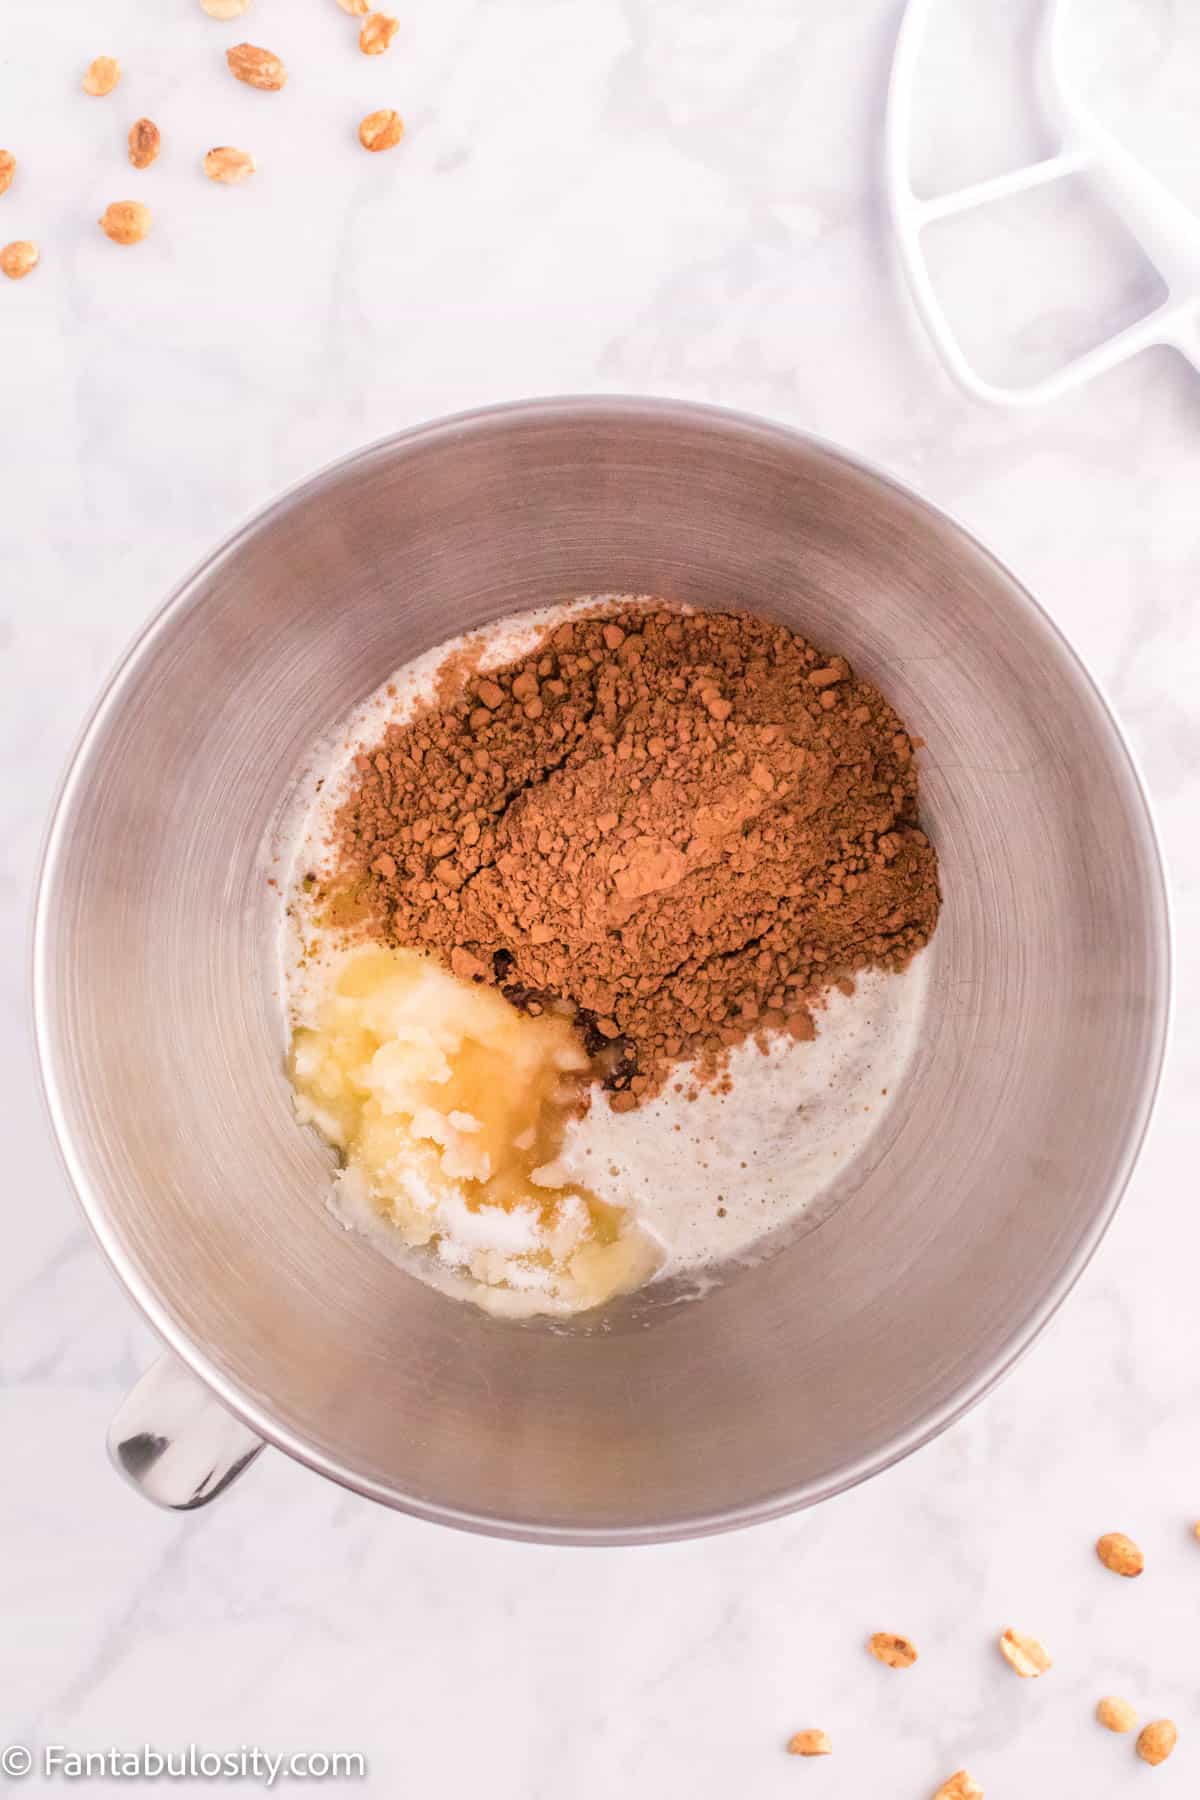
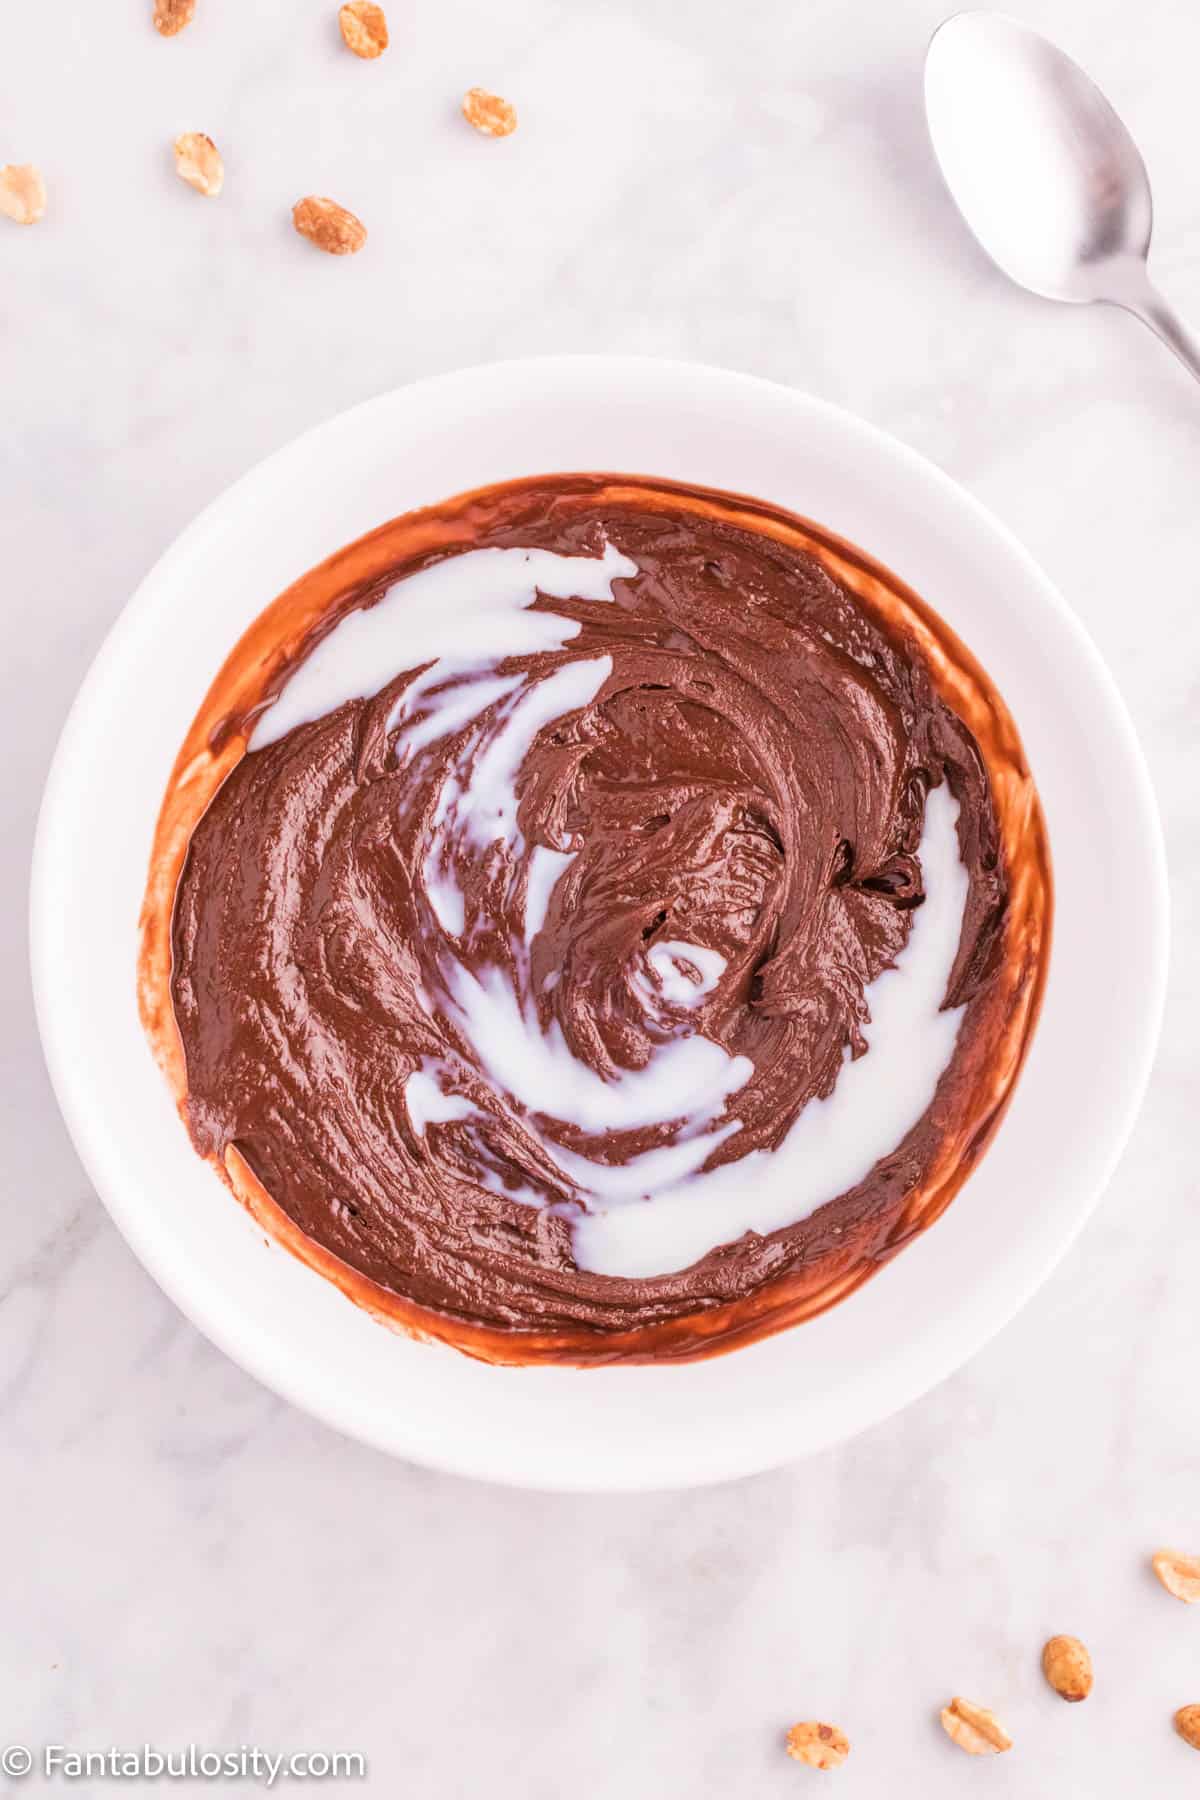
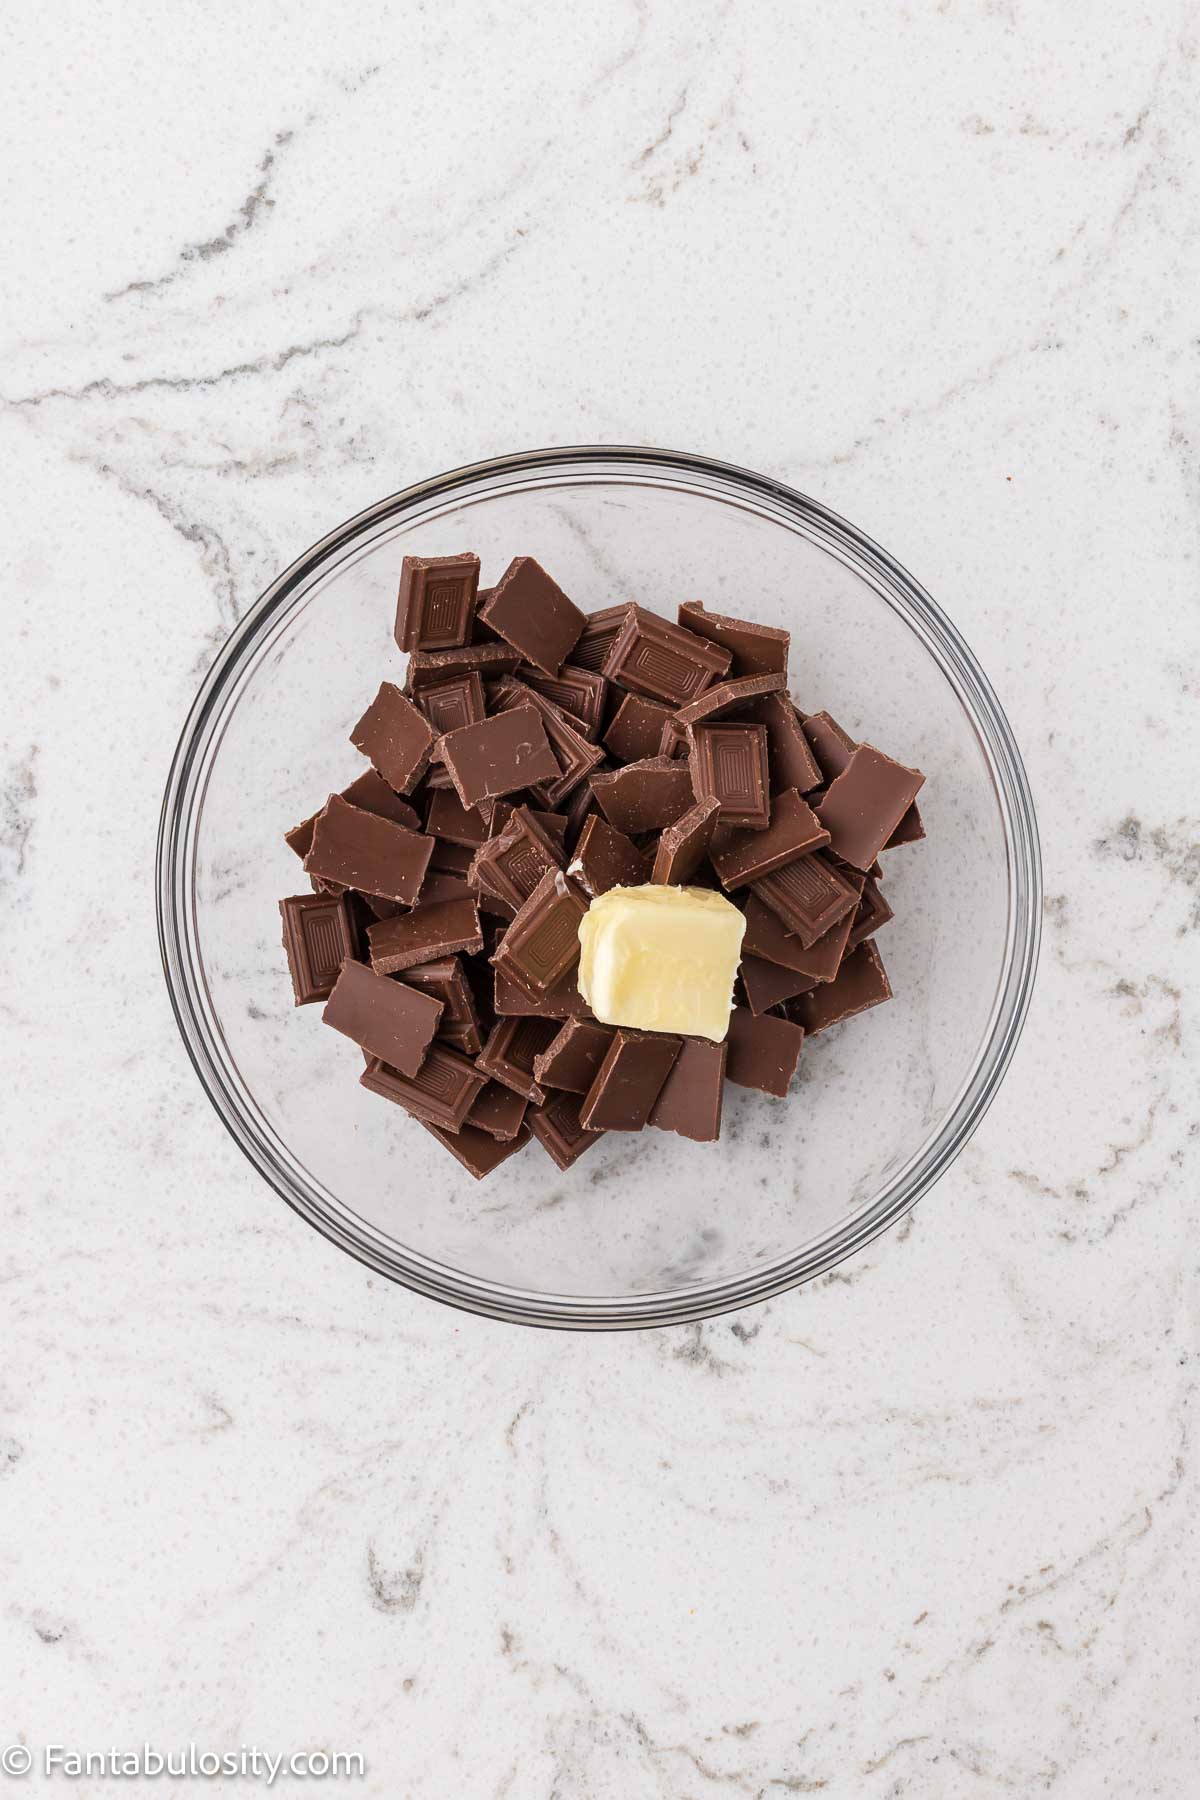
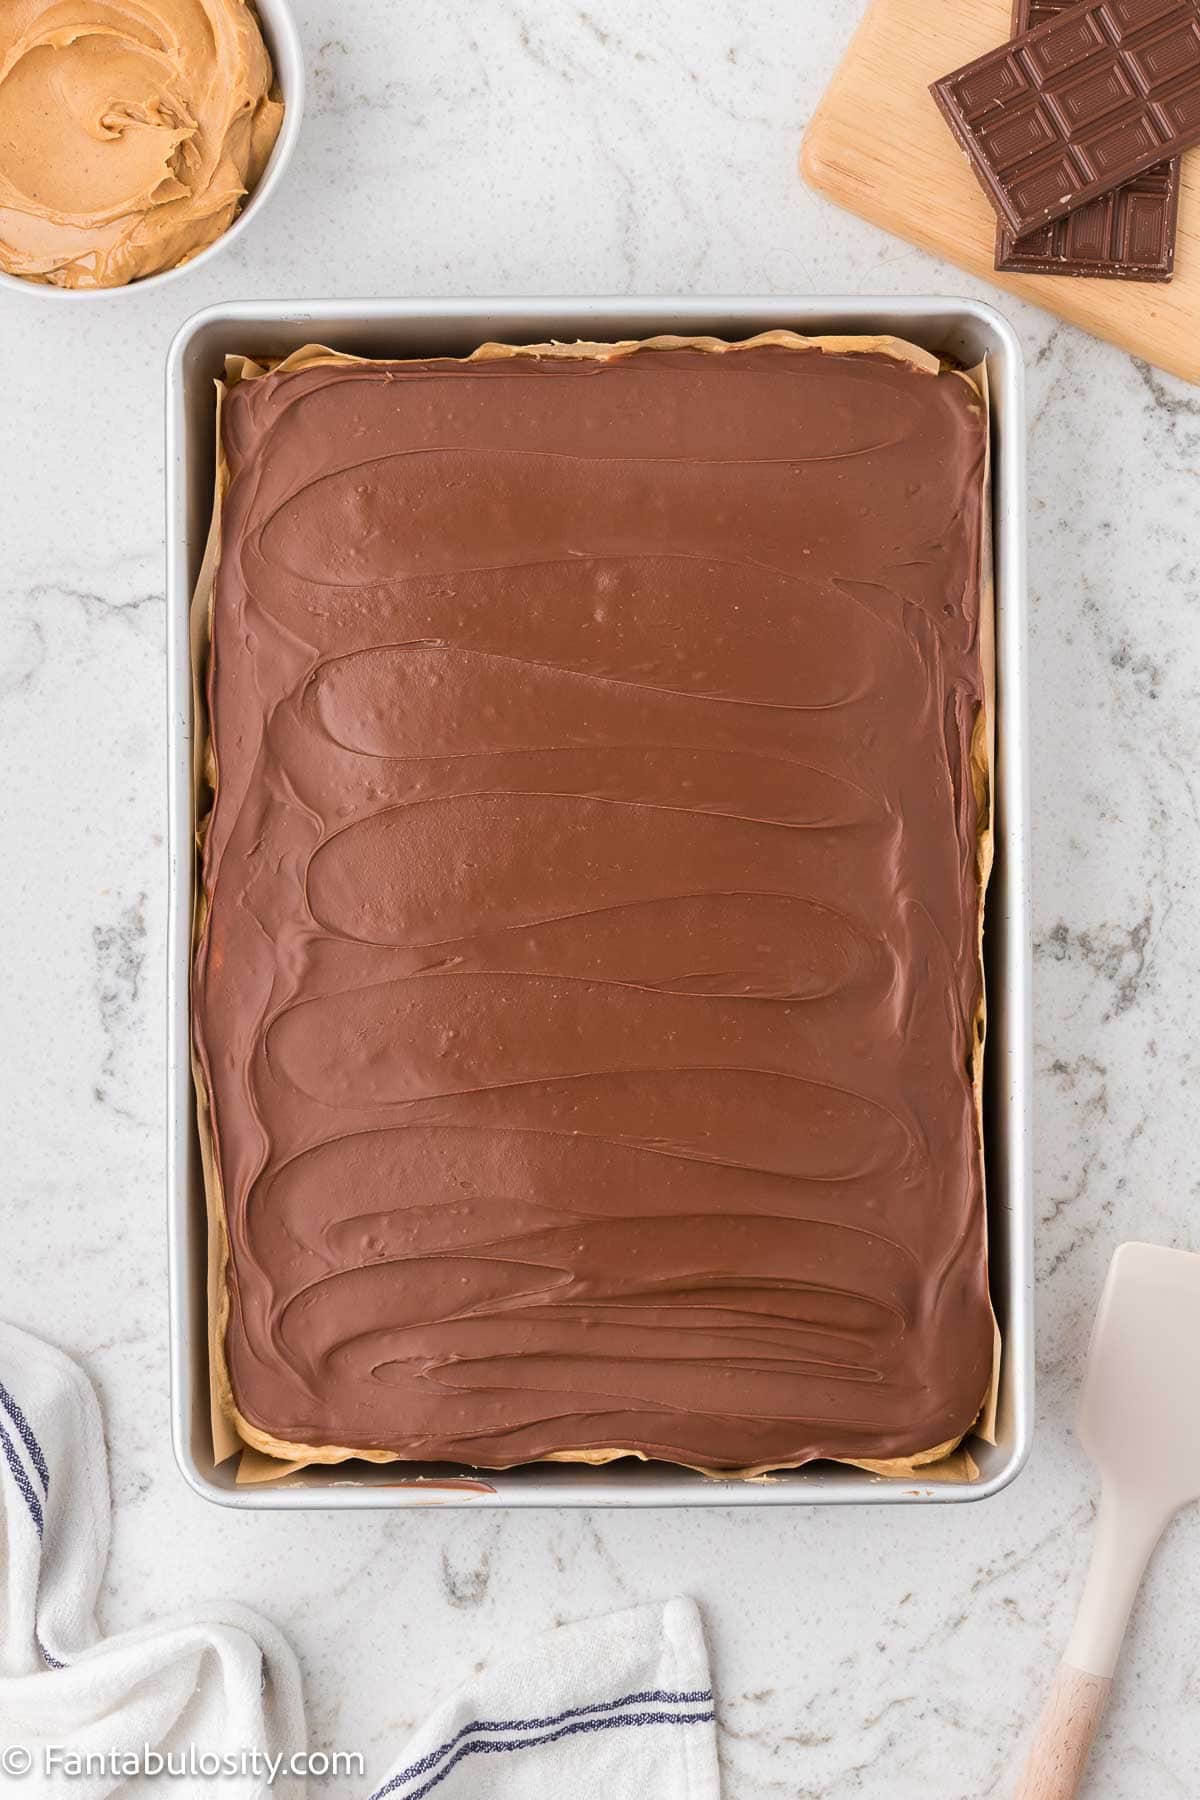
- Melt chocolate and butter in microwave in short intervals, stirring until smooth. Let cool slightly, then spread over peanut butter layer.
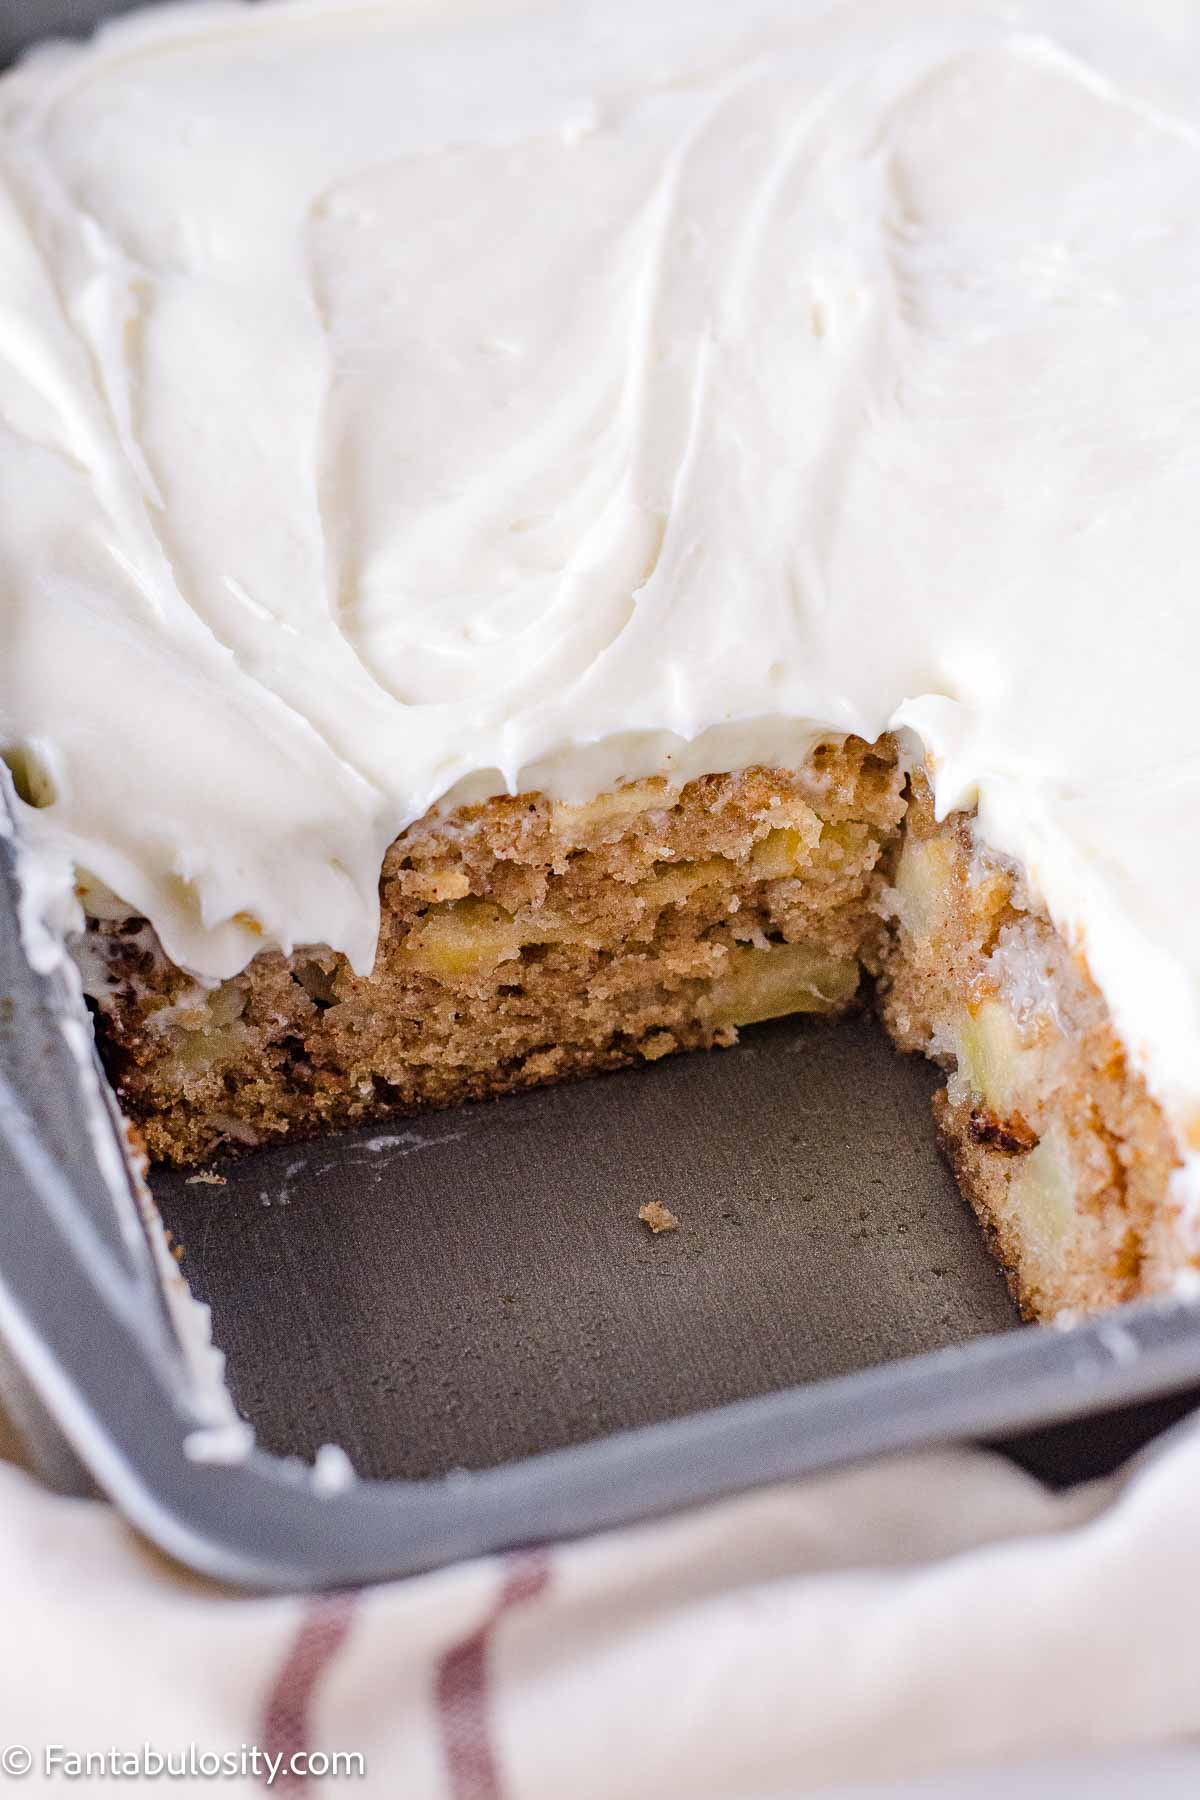
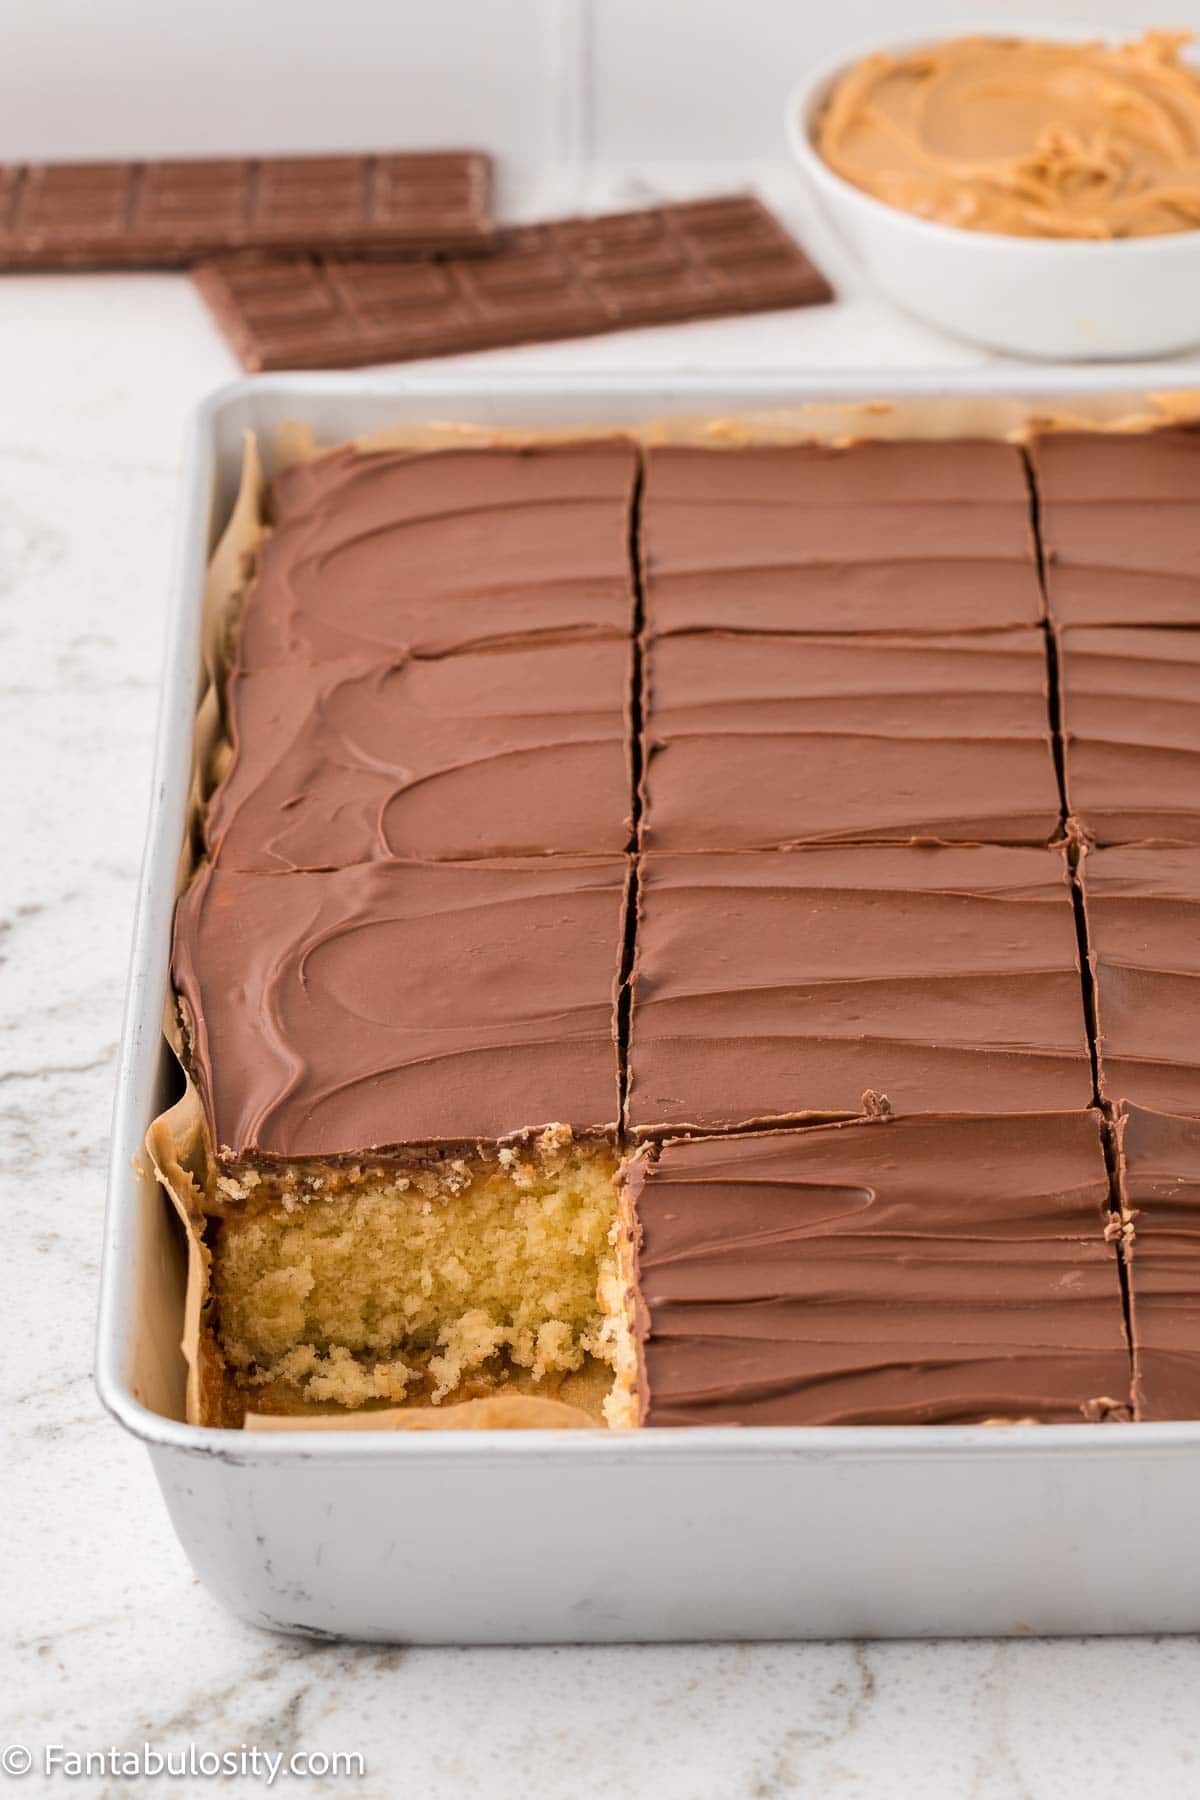
- Chill at least 1 hour before slicing. Wipe knife between cuts for neat squares.
Tips & Notes
- Warm (not boiling) milk blends better, giving the cake its tender texture.
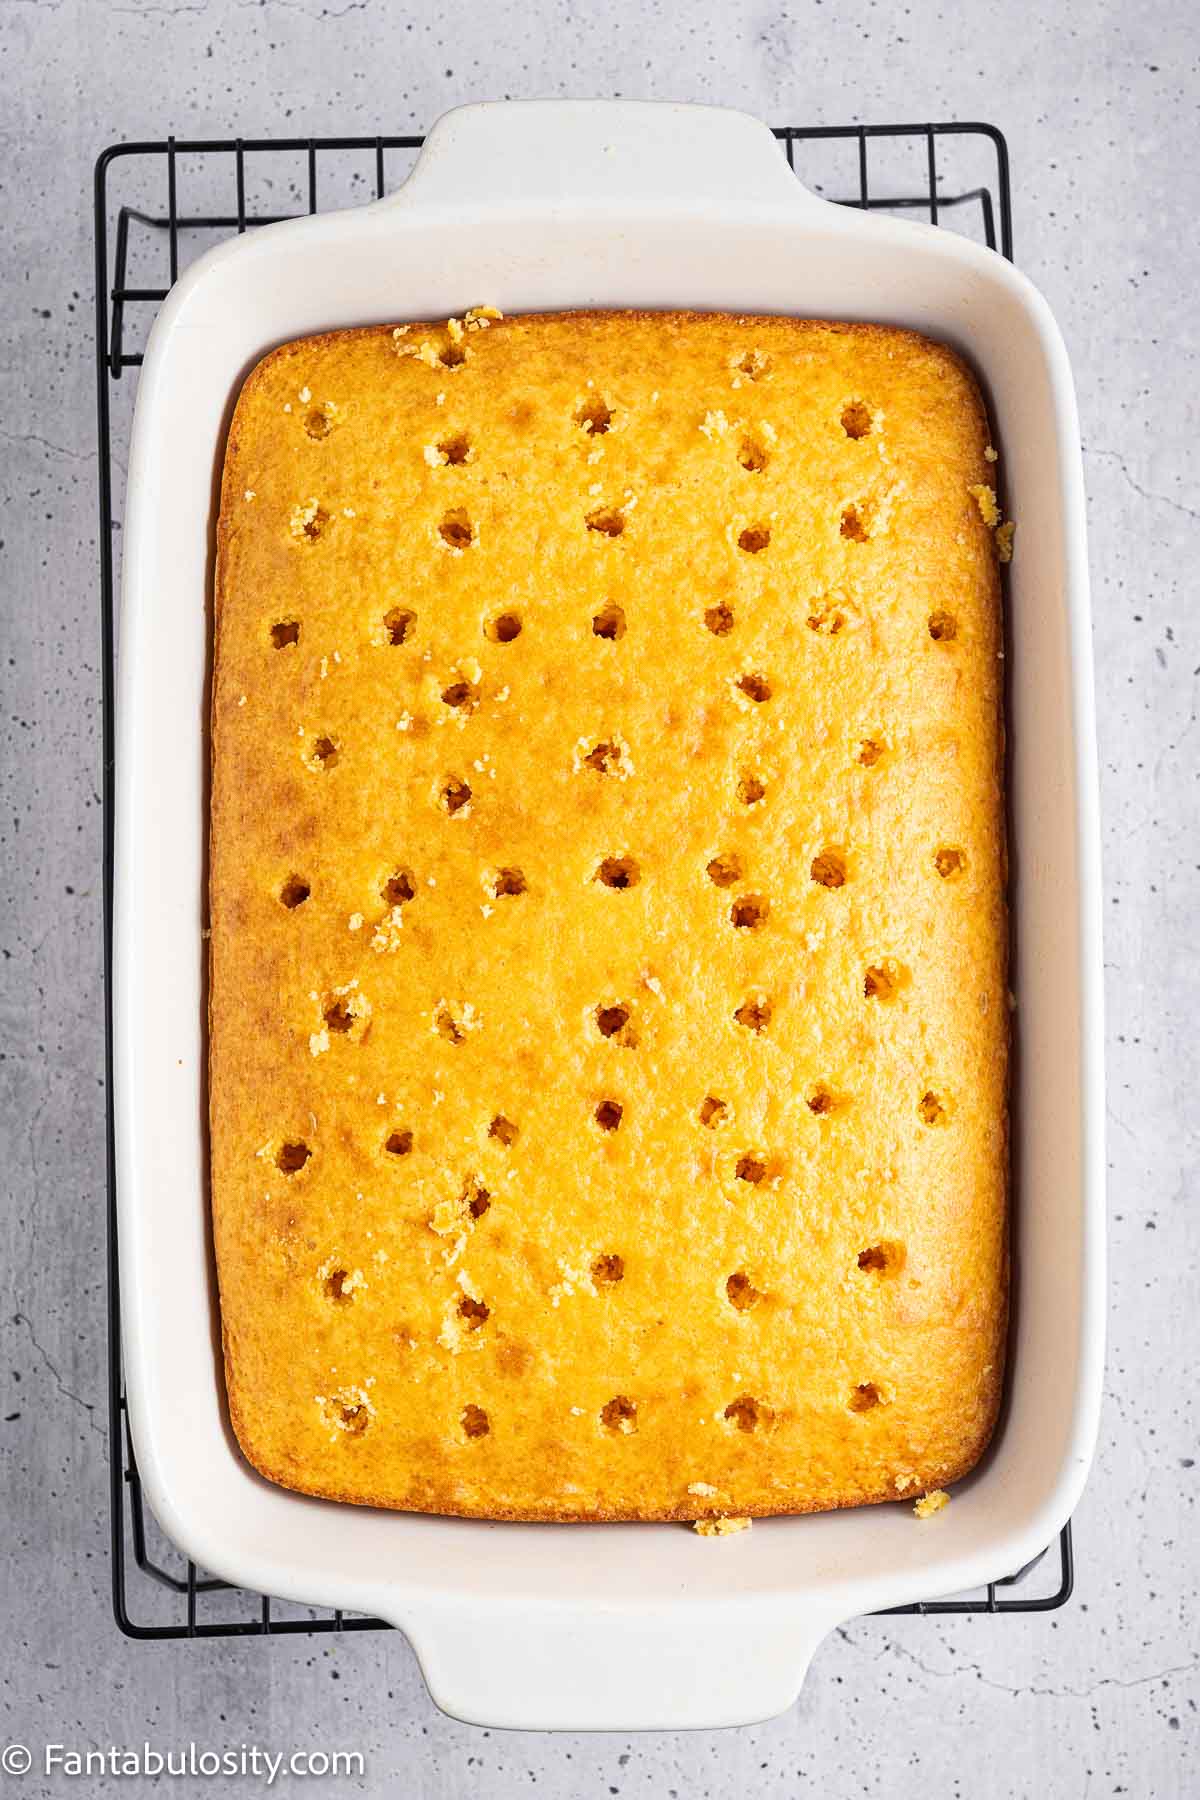
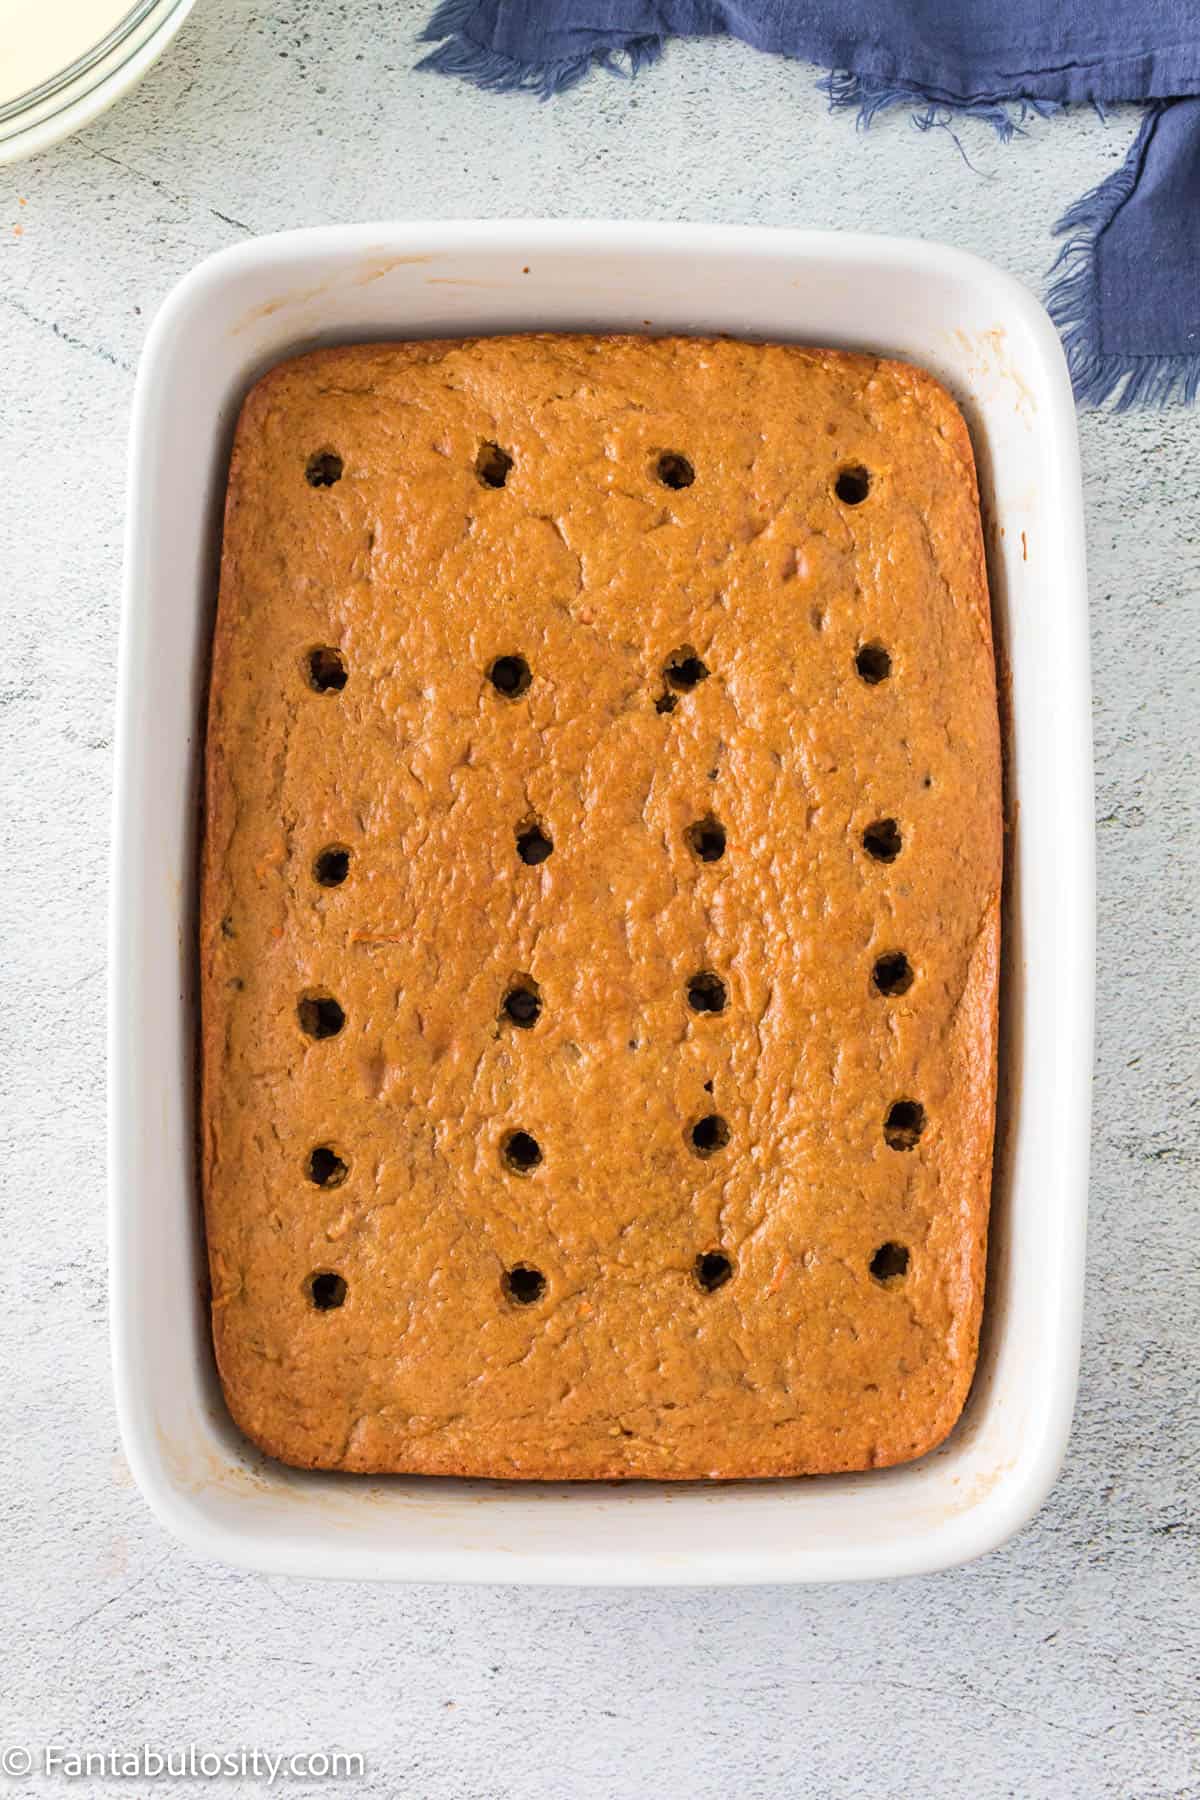
- For a smooth peanut butter layer, pipe it on in rows before spreading.
- Always chill the peanut butter before adding chocolate, so layers stay distinct.
- Melt chocolate in short bursts and let cool a bit before spreading-this prevents it from melting the peanut butter.
FAQs
Store in an airtight container in the refrigerator for up to 4 days. You can also bake the cake a day ahead-chilling actually helps the layers set beautifully.
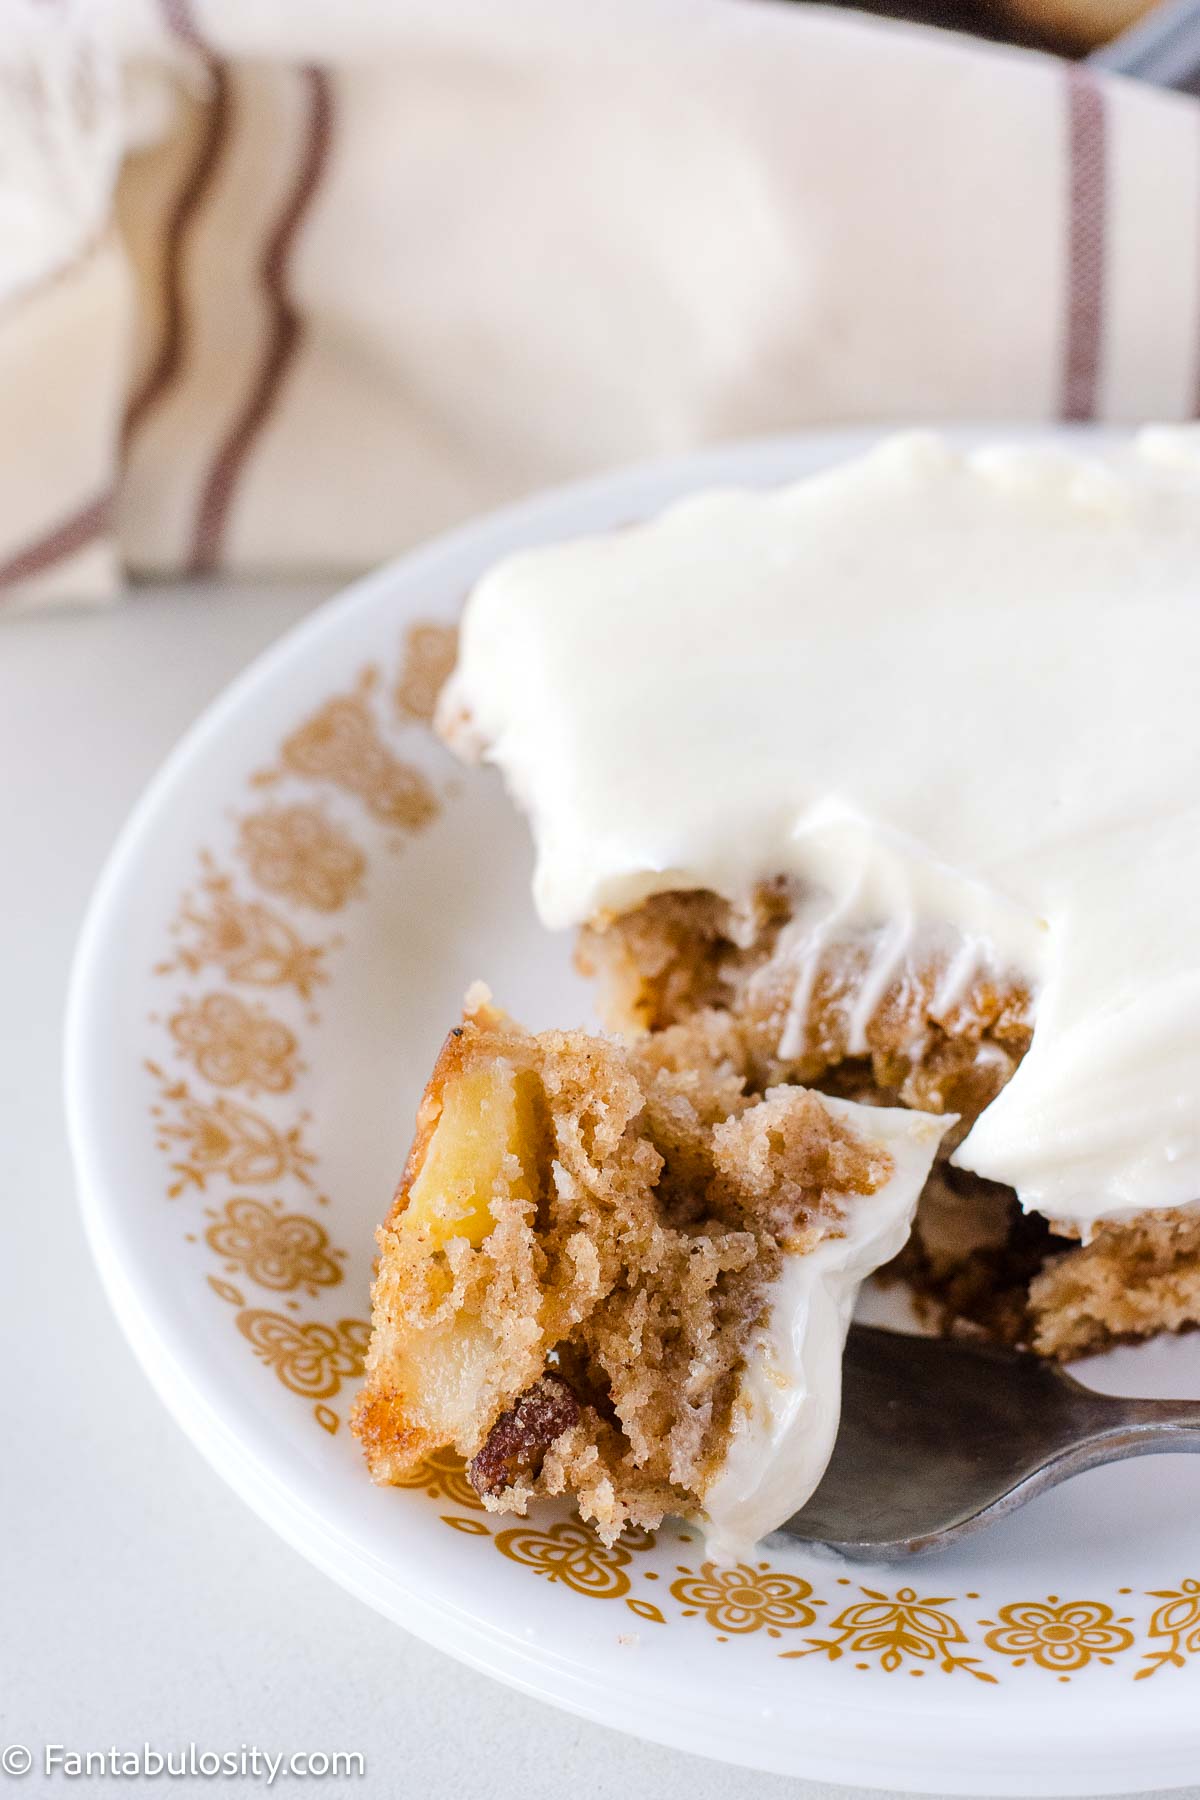
– Let the cake sit at room temperature for 15-20 minutes after chilling before slicing.
– Use a sharp, thin-blade knife.
– Wipe the knife clean between each cut (dip in hot water or wipe, then dry).
– You can even score the chocolate lightly while it's slightly soft (but mostly set) to guide clean cuts.
Storage & Freezing
- Refrigerate: up to 4 days in an airtight container.
- Freezing: Slice into squares, wrap individually in plastic wrap, then store in a freezer bag for up to 2 months. Thaw overnight in the fridge before serving.
Serving Suggestions
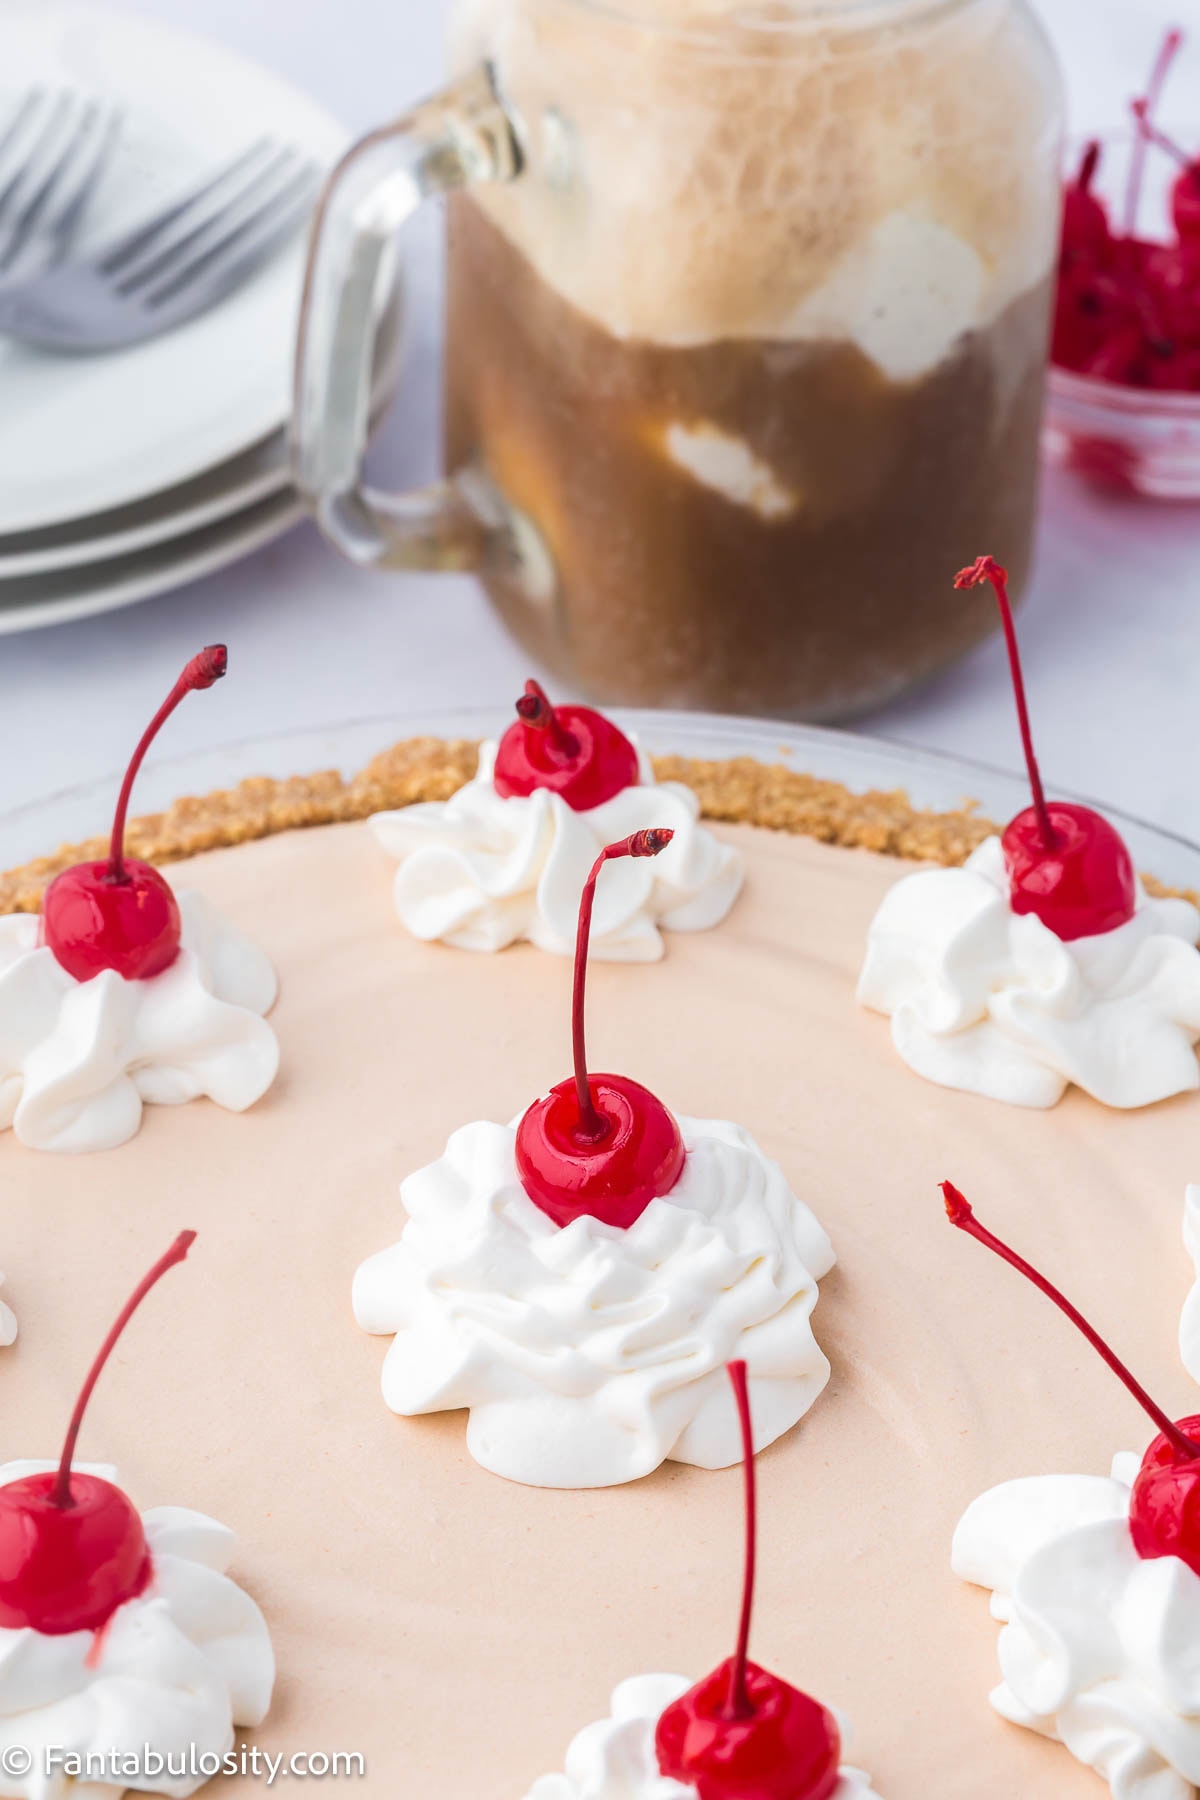
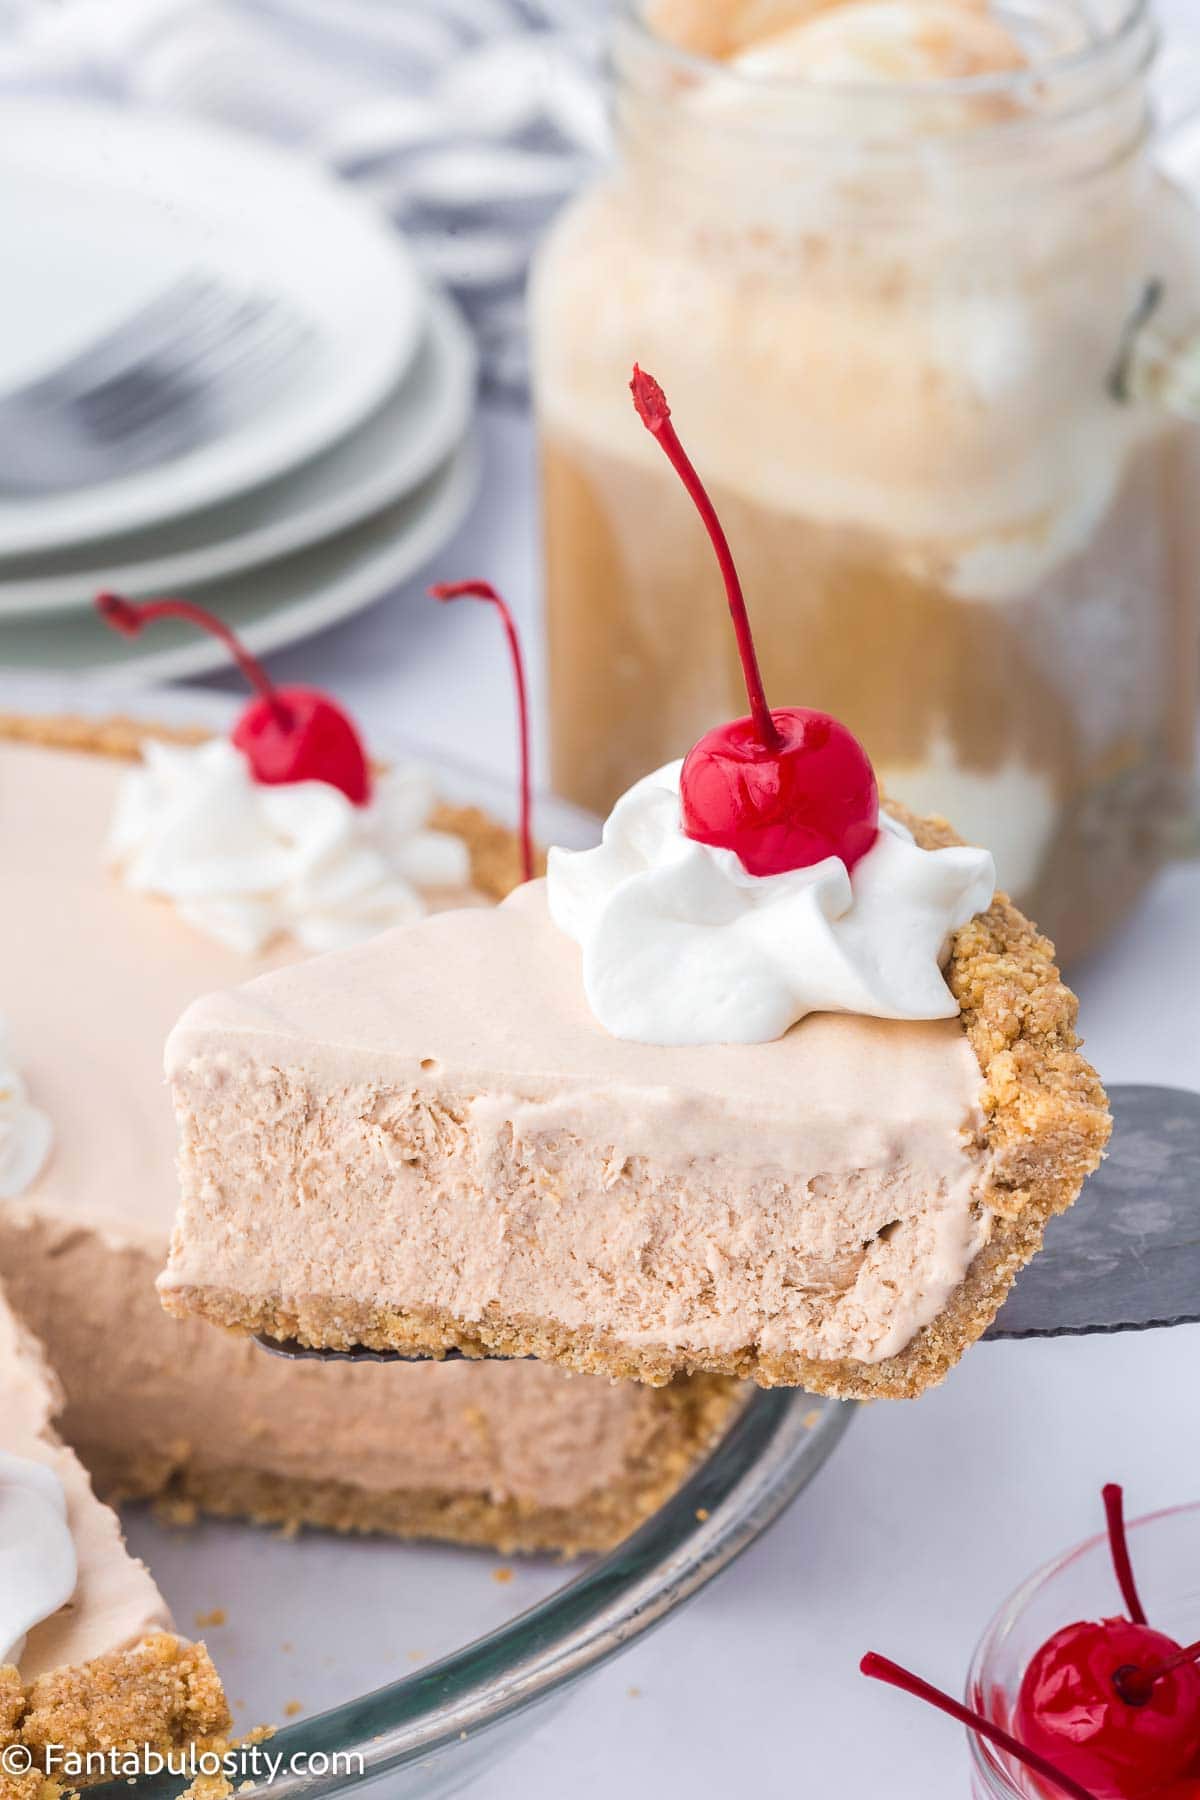
- Serve chilled for the neatest layers (like the original Tastykake version).
- Enjoy with a tall glass of milk or hot coffee.
- Slice into bite-sized squares for party platters or potlucks.

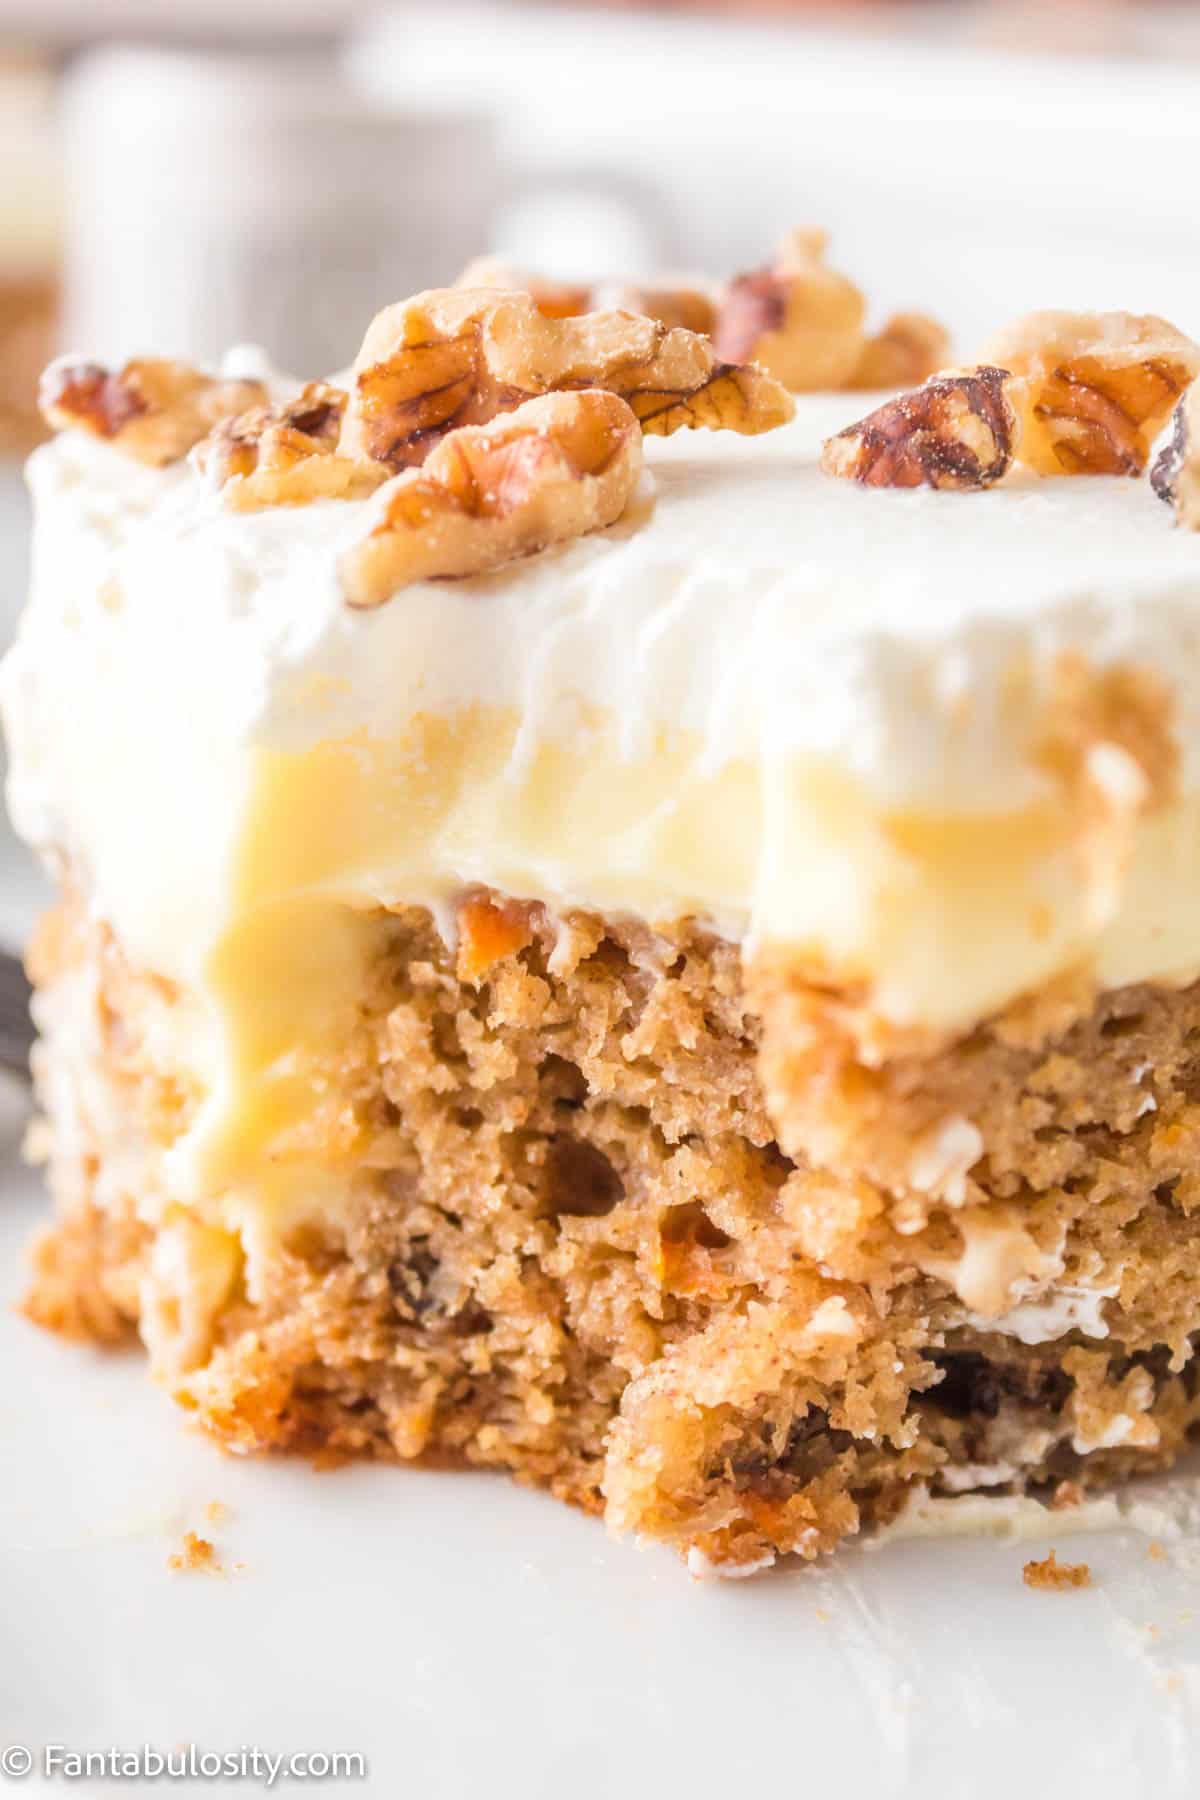
Whether you're recreating a childhood favorite or discovering Tandy Cake for the first time, this recipe will win over every sweet tooth at the table.
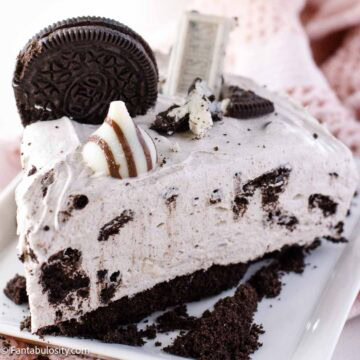
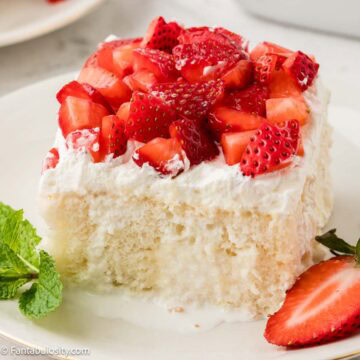
More Vintage Recipes
If you love vintage recipes like this one, you’ll also love these favorites:


Recipe

Tandy Cake
Ingredients
For the Cake:
- 2 cups all-purpose flour
- 1 ¼ teaspoons baking powder
- ¼ teaspoon kosher salt
- 2 cups granulated sugar
- 4 large eggs
- 2 teaspoons pure vanilla extract
- 1 cup whole milk
- ¼ cup unsalted butter
For the Peanut Butter Layer:
- 1 ¼ cups creamy peanut butter
- ½ cup powdered sugar
- ¼ cup unsalted butter softened
- ¼ cup heavy cream
- ½ teaspoon pure vanilla extract
For the Chocolate Layer:
- 6 1.5-ounce bars milk chocolate, chopped
- 2 tablespoons unsalted butter
Instructions
For the Cake
- Preheat oven to 350°F. Prepare a 9×13-inch baking pan with nonstick cooking spray or line with parchment paper for easier removal and clean up. Set the pan aside.
- In a medium bowl, whisk together 2 cups all-purpose flour, 1 ¼ teaspoon baking powder, and ¼ teaspoon kosher salt. Set aside.
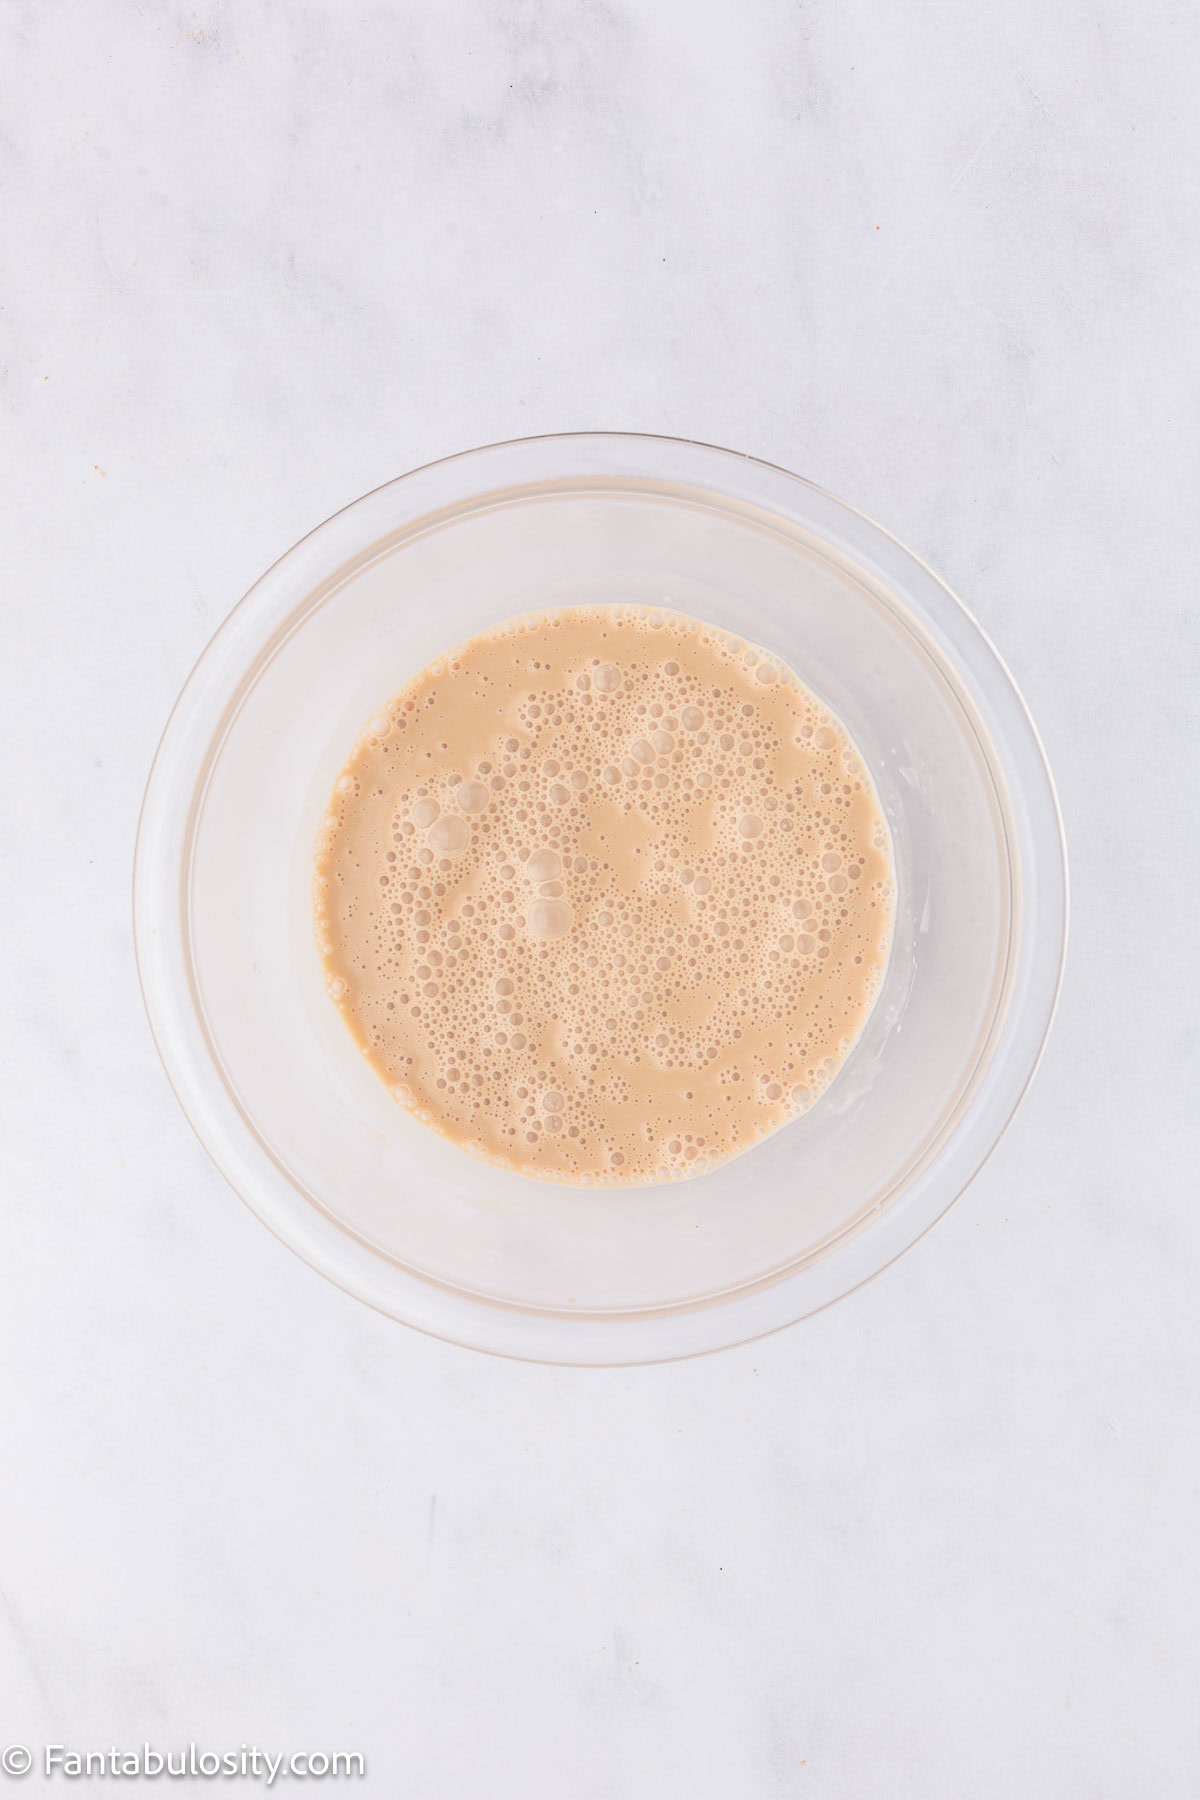
- In a large bowl, combine 4 large eggs, 2 cups granular sugar, and 2 teaspoons pure vanilla extract. Start mixing on low speed with a hand mixer just until the ingredients are combined, then increase to medium speed and continue beating for 3 minutes, or until the mixture is pale, thick, and slightly ribbon-like when you lift the beaters. This technique incorporates air evenly without creating large bubbles.
- In a microwave-safe bowl, combine 1 cup whole milk and ¼ cup unsalted butter. Microwave on high in 30-second intervals until the butter is melted and the milk is steaming. Do not let the milk boil. Set aside.
- Add the dry ingredients to the egg and sugar mixture and mix on low speed just until smooth, about 1 minute.
- Pour the warm milk and butter mixture into the batter. Mix on low speed just until the ingredients are incorporated, scraping down the sides of the bowl. Do not overmix the batter.
- Pour the batter into the prepared pan and smooth the top. Bake 25-35 minutes, or until a cake tester or toothpick inserted in the center comes out clean. The top of the cake will turn golden brown while baking. Allow the cake to cool completely on a wire rack.
Peanut Butter Layer
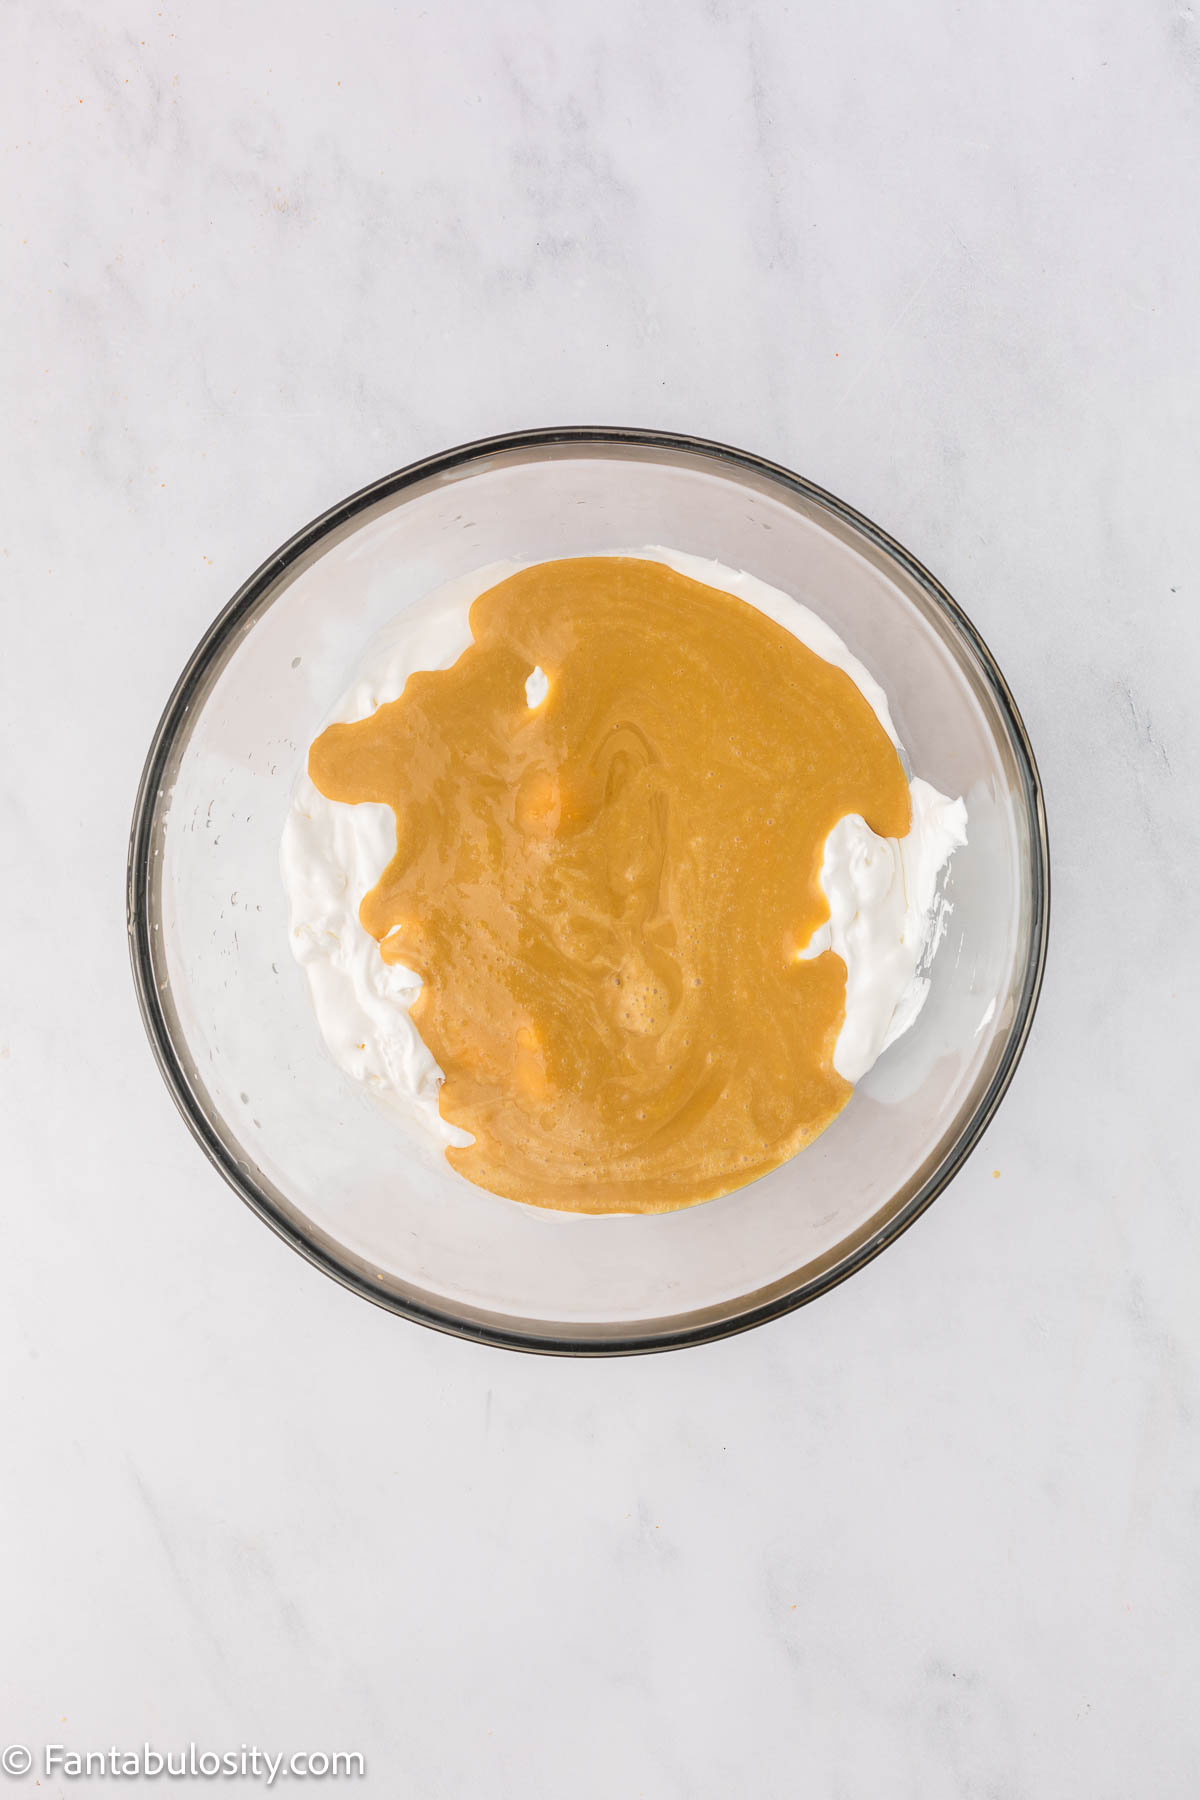
- For the peanut butter layer, beat together 1 ¼ cups creamy peanut butter, ½ cup powdered sugar, ¼ cup softened unsalted butter, ¼ cup heavy cream, and ½ teaspoon pure vanilla extract until creamy and smooth. Spread the mixture evenly over the cooled cake. Chill in the refrigerator for 30 minutes to set.
Chocolate Layer
- For the chocolate layer, melt (6) 1.5-ounce bars of milk chocolate and 2 tablespoons unsalted butter together in the microwave in 30-second intervals, stirring until smooth. Let cool slightly, then spread evenly over the peanut butter layer.
- Chill the cake for at least 1 hour to set all layers before slicing and serving. ENJOY!