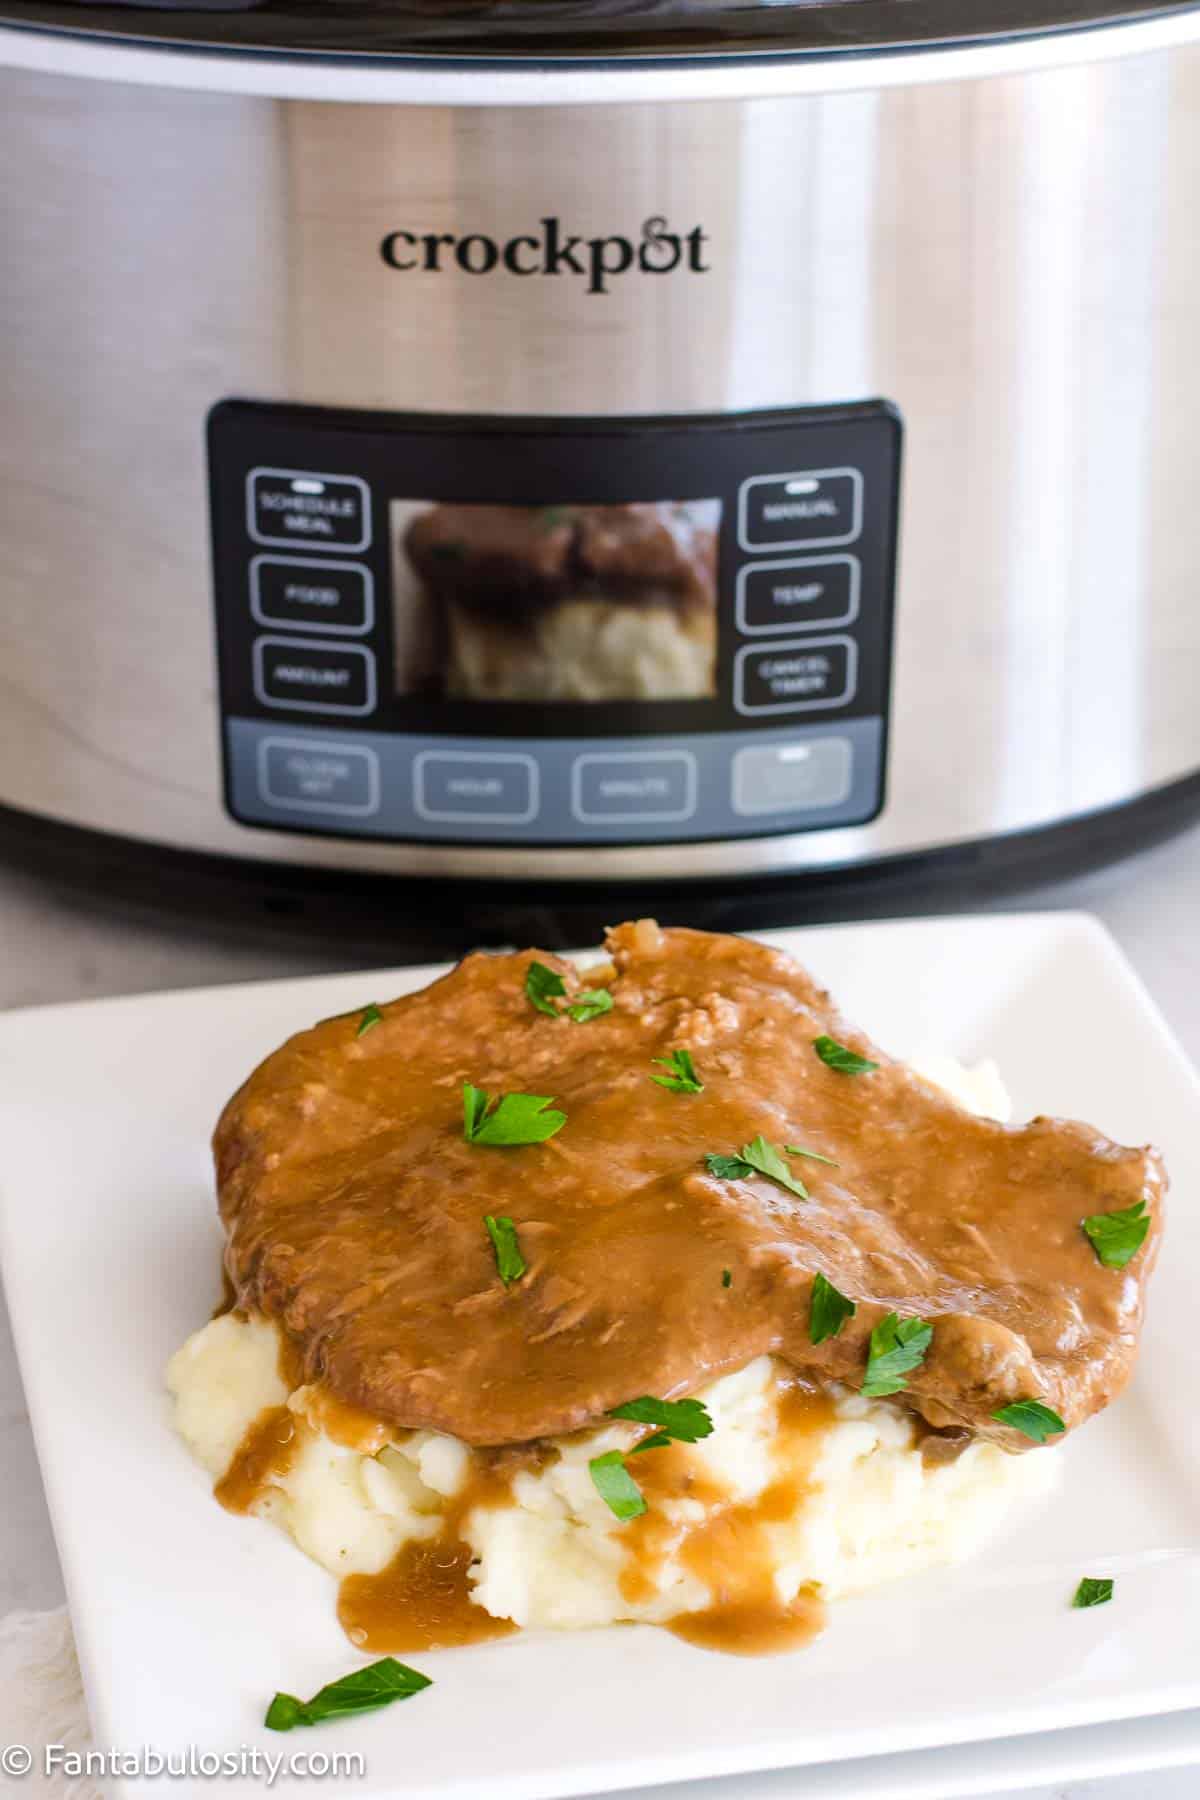
Comforting, classic, easy. Everyone loves when dinner hits those notes, and this Chicken and Stove Top Stuffing Casserole fits the bill! A few ingredients are all it takes and this dinner recipe is on the table, and is similar to the Crock Pot Stove Top Stuffing Chicken.

Chicken casseroles are so popular and it’s easy to see why. Another similar casserole, this chicken pot pie casserole, uses pre-made biscuits, and will be fun to switch in and out with this one!
Everyone is familiar with layering tater tots in chicken casseroles, but what about stuffing? It’s the ultimate comfort food, super easy carb that is a fan favorite. Adding chicken and cheese makes it ten times better.
If you aren’t a huge chicken fan, use up your leftover ham and make a ham and Swiss over noodles casserole. Honestly, I love casserole recipes for the fact they are easy or they use up what you have on hand.
[feast_advanced_jump_to]Why You’ll Love This Recipe
- It uses a few ingredients: With only 4 ingredients (not counting the S&P!), this recipe uses items that you may even have on hand.
- Use what you’ve got: Feel free to swap in differently seasoned stuffing or any cream soup in the pantry.
- Ready in an hour: An hour might seem long, but it’s only hands-on when cooking the stuffing and layering. Then you can get homework or housework done while it bakes.
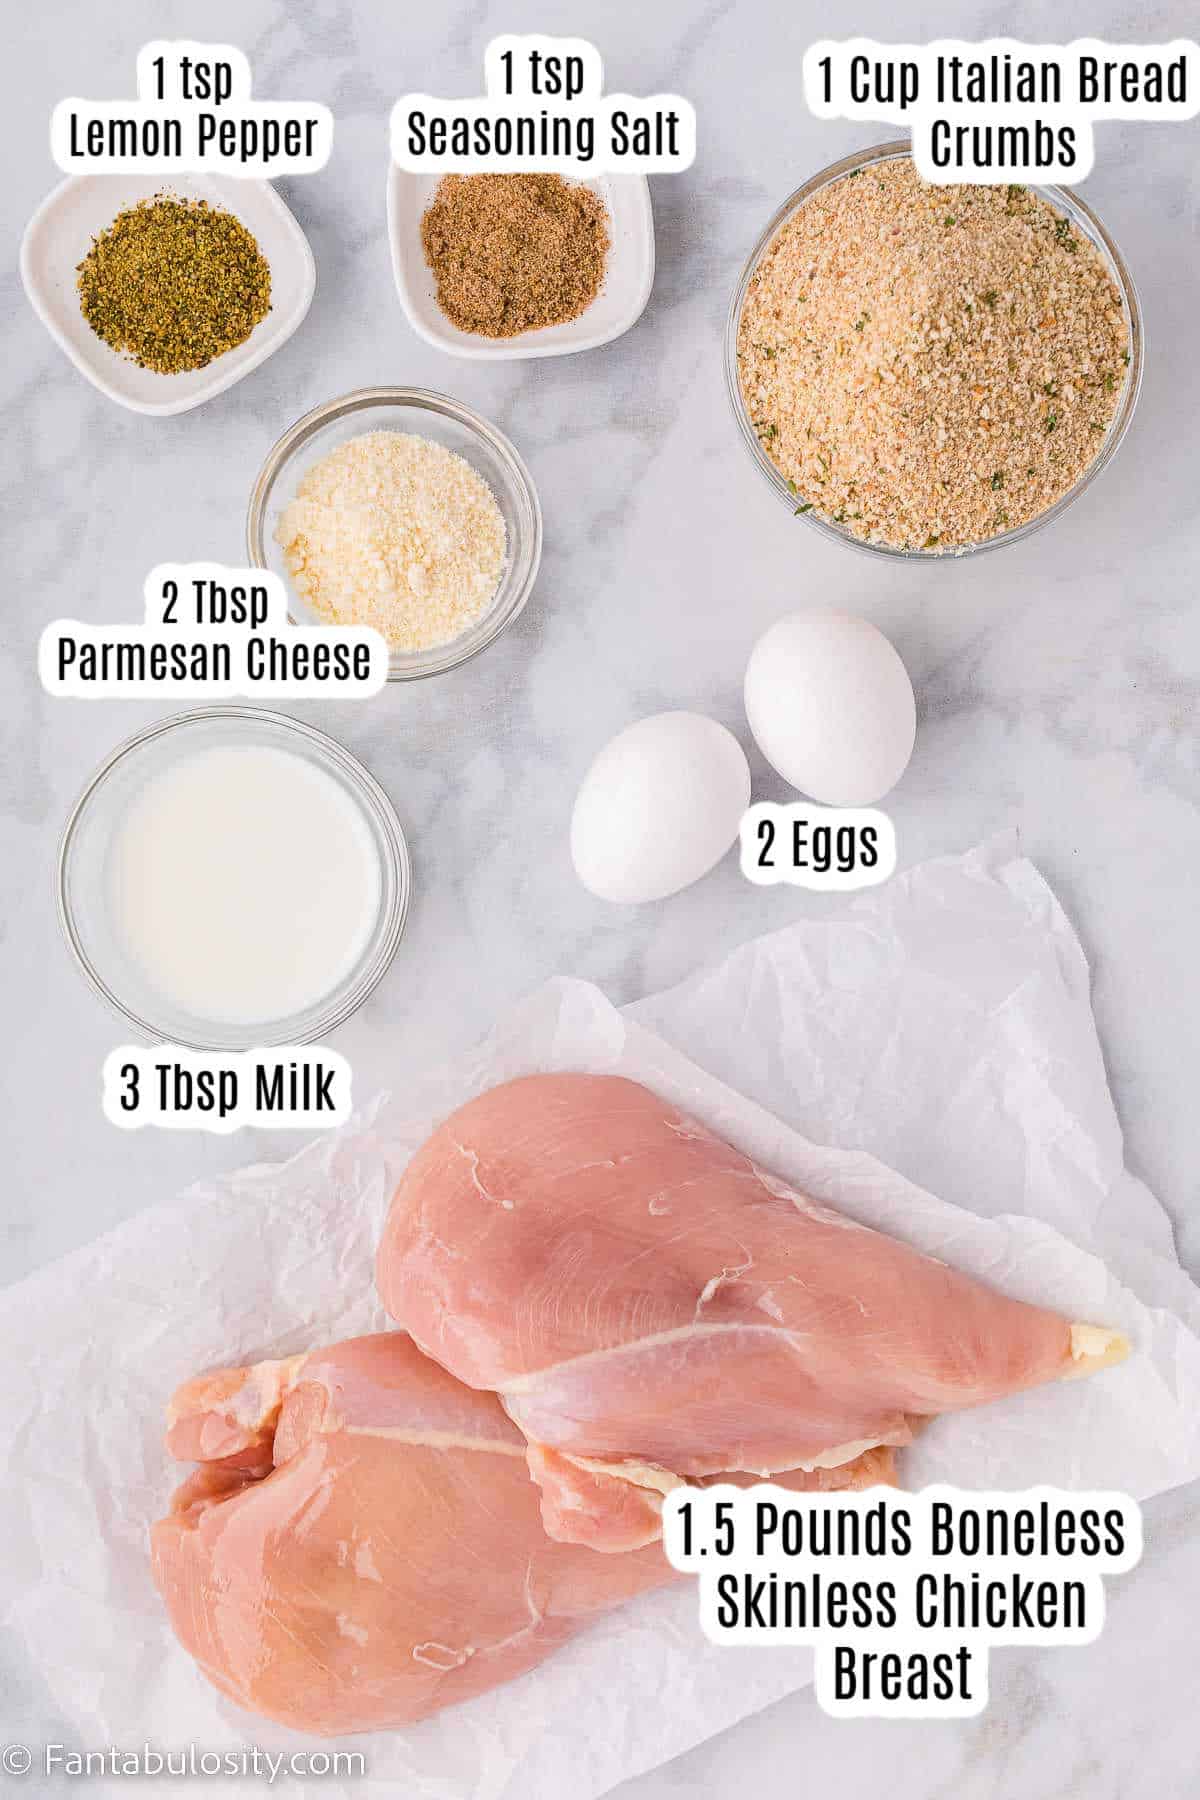
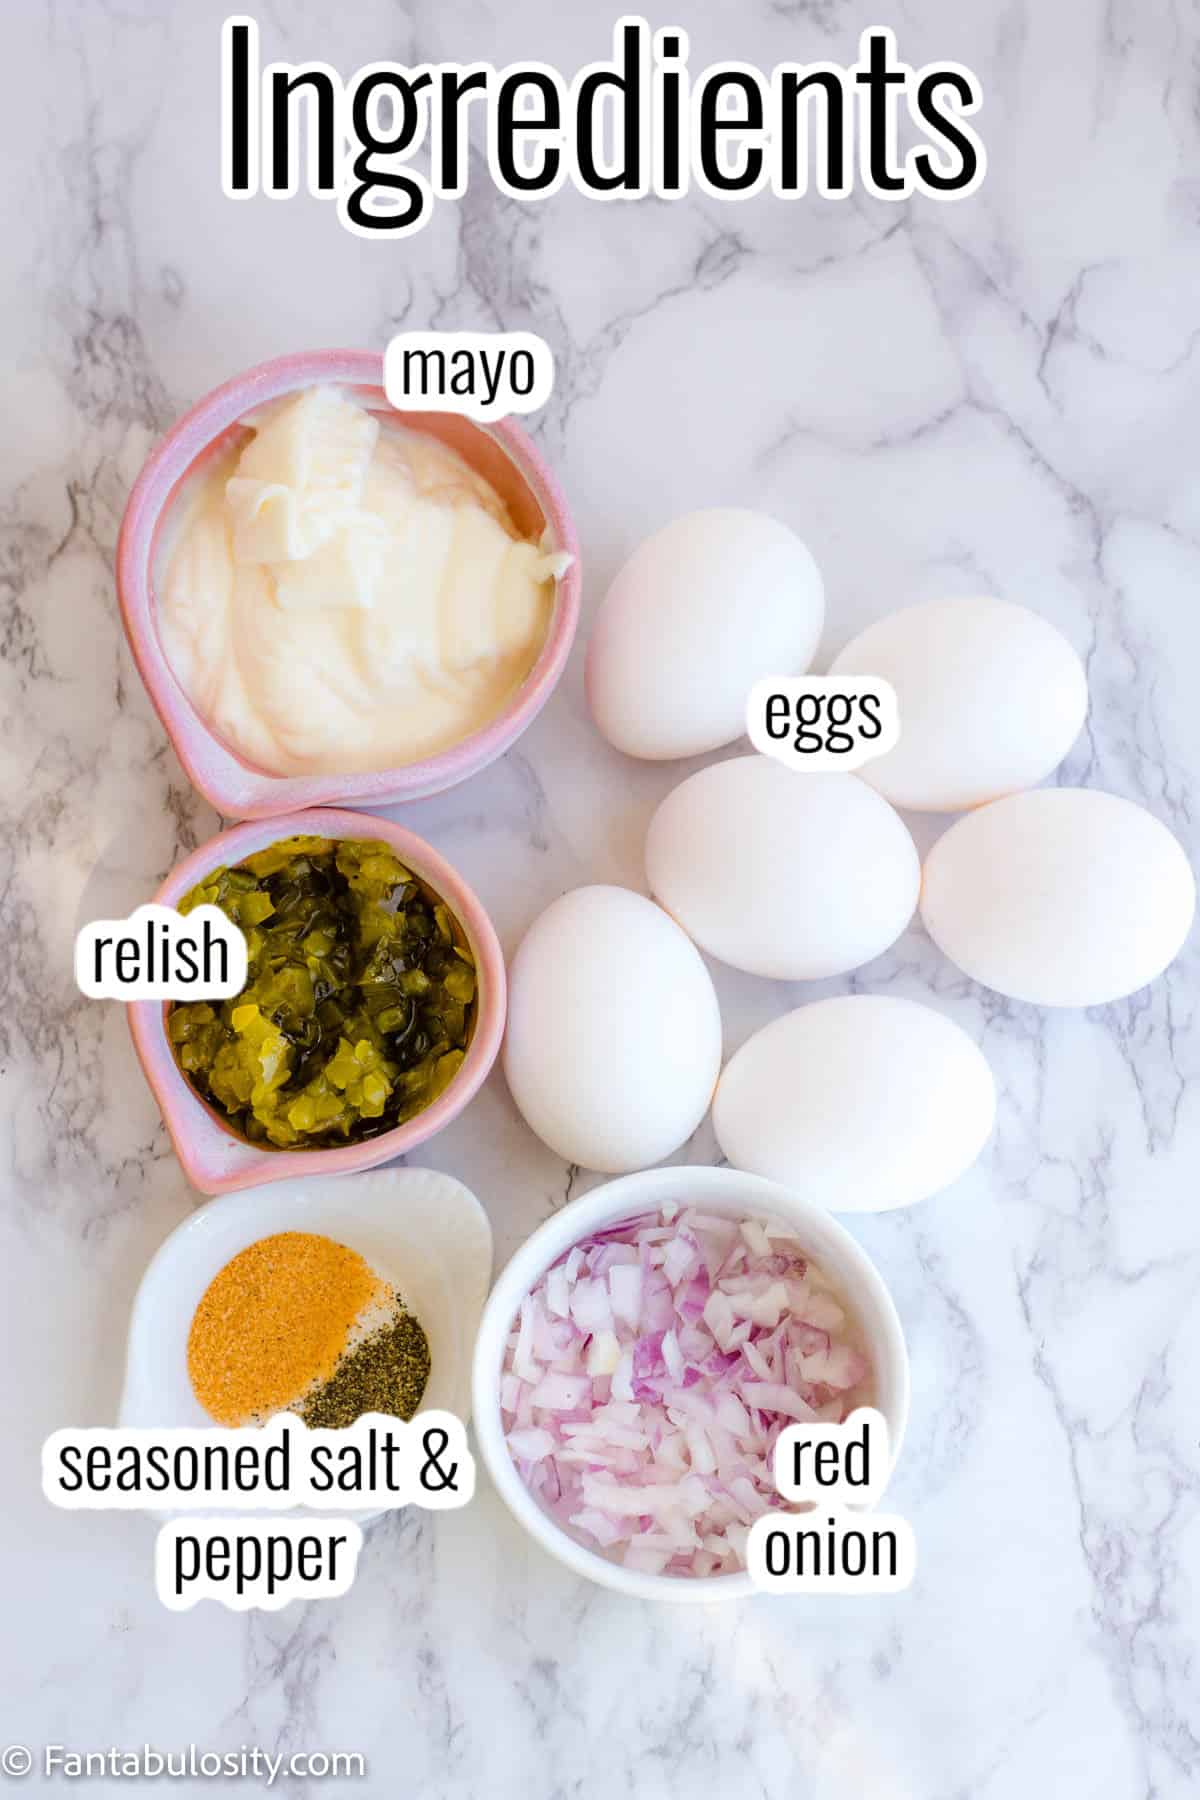
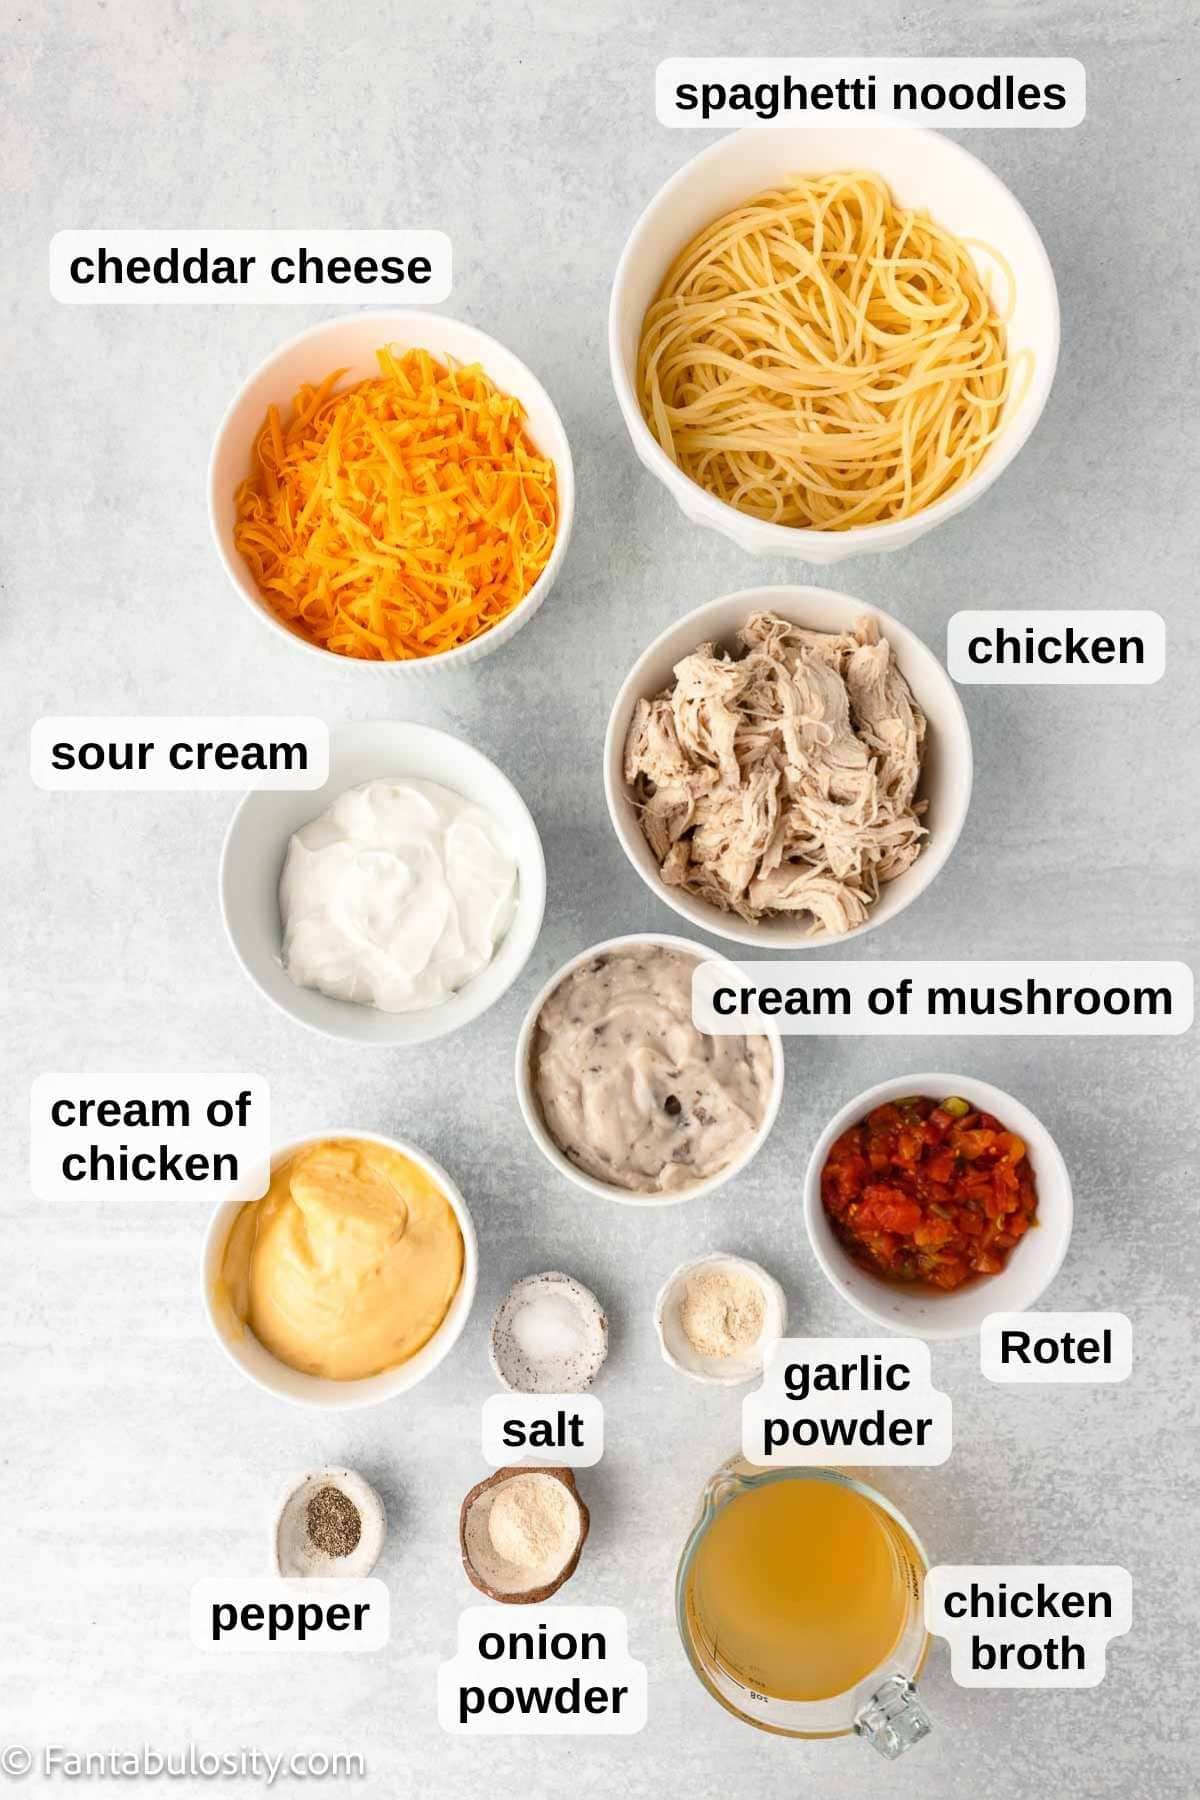
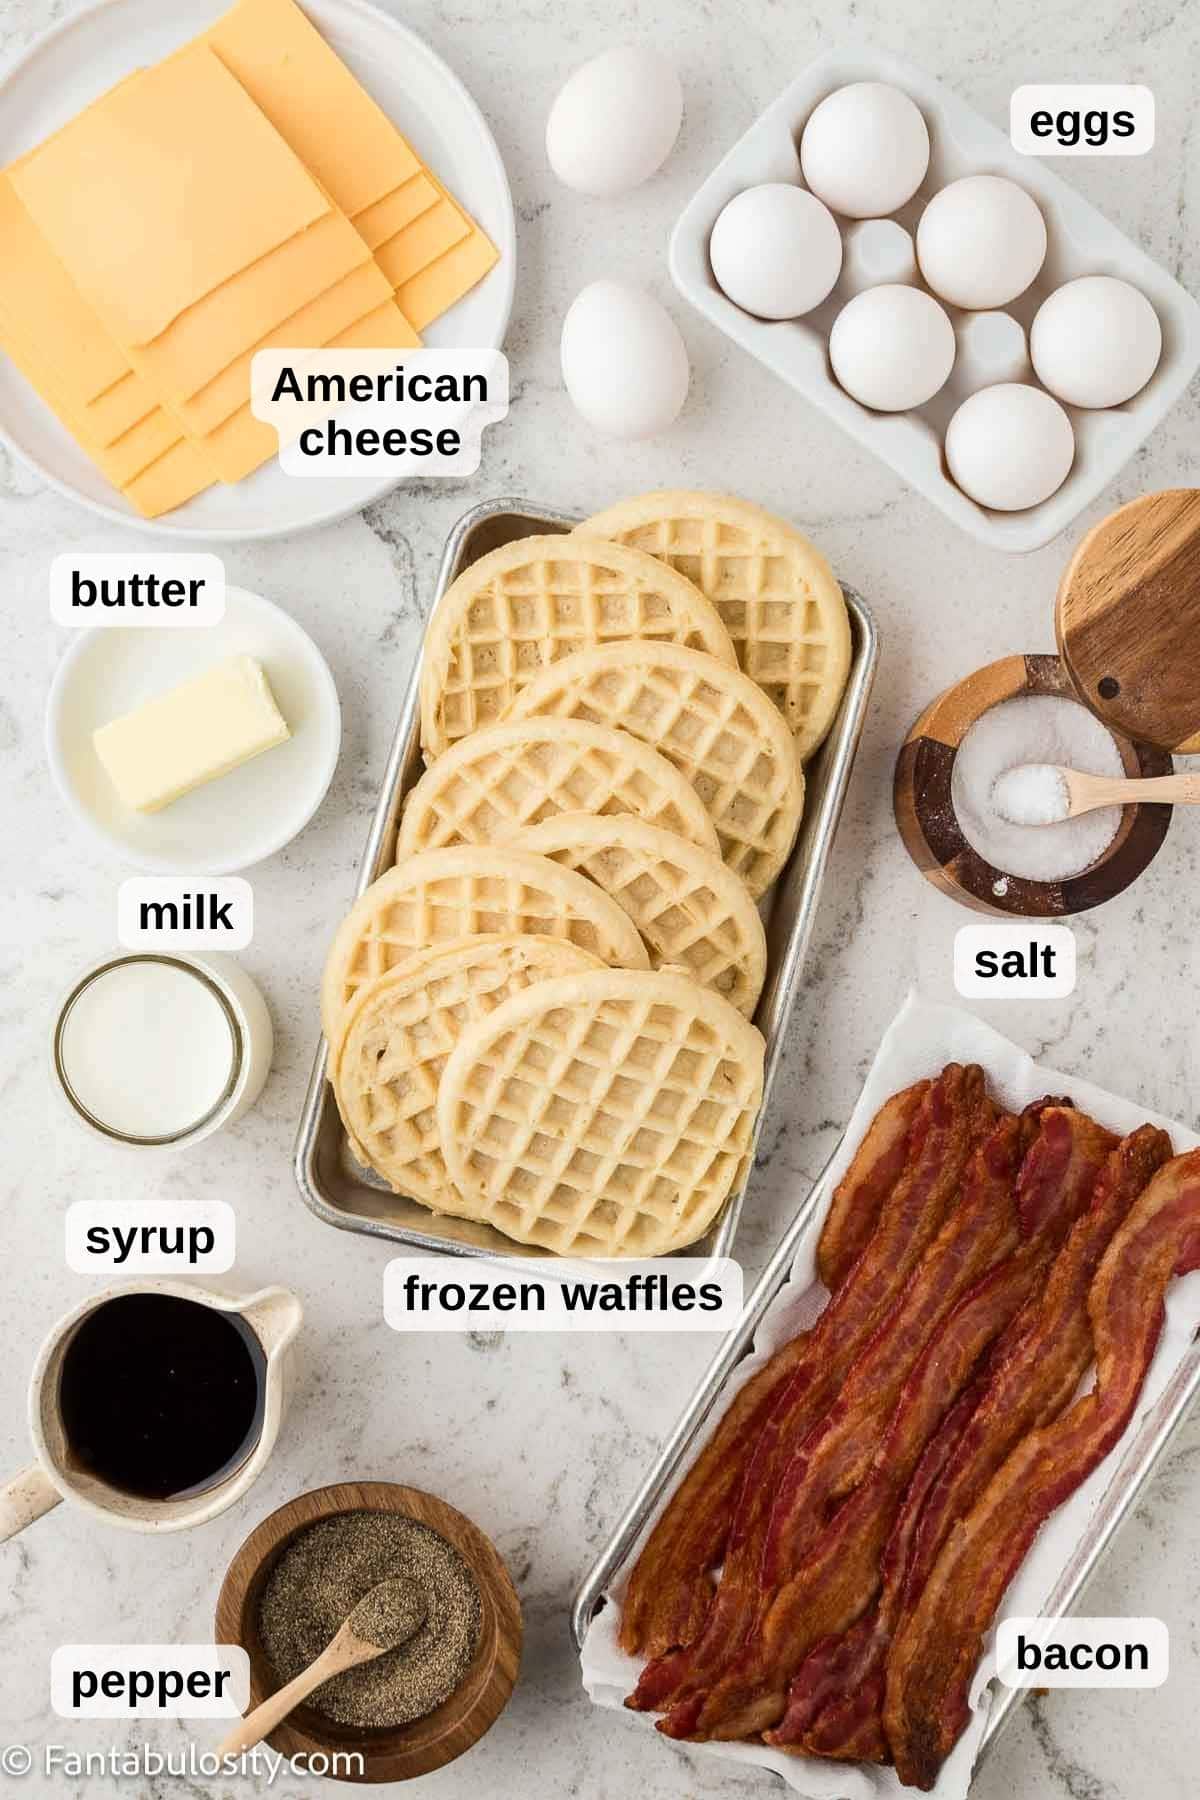
Stuffing Casserole Recipe Ingredients
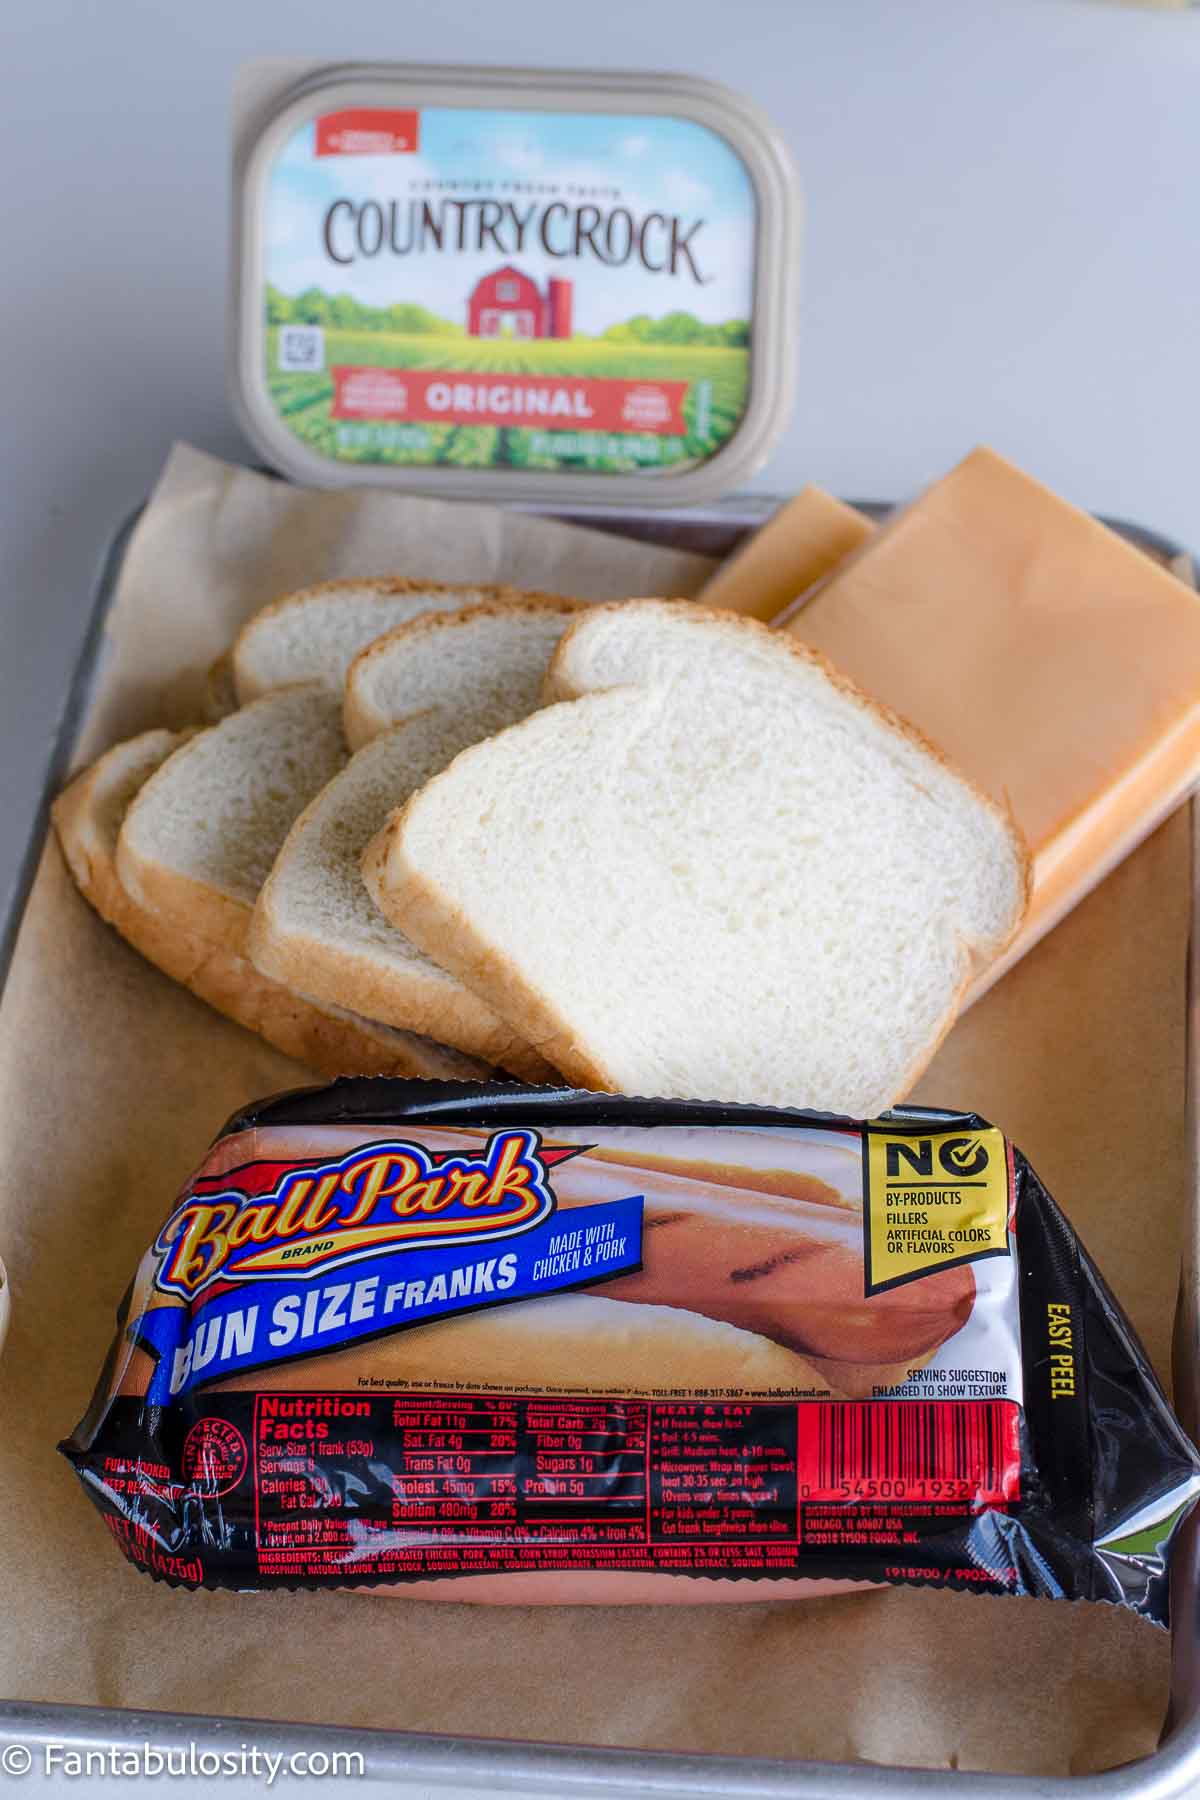
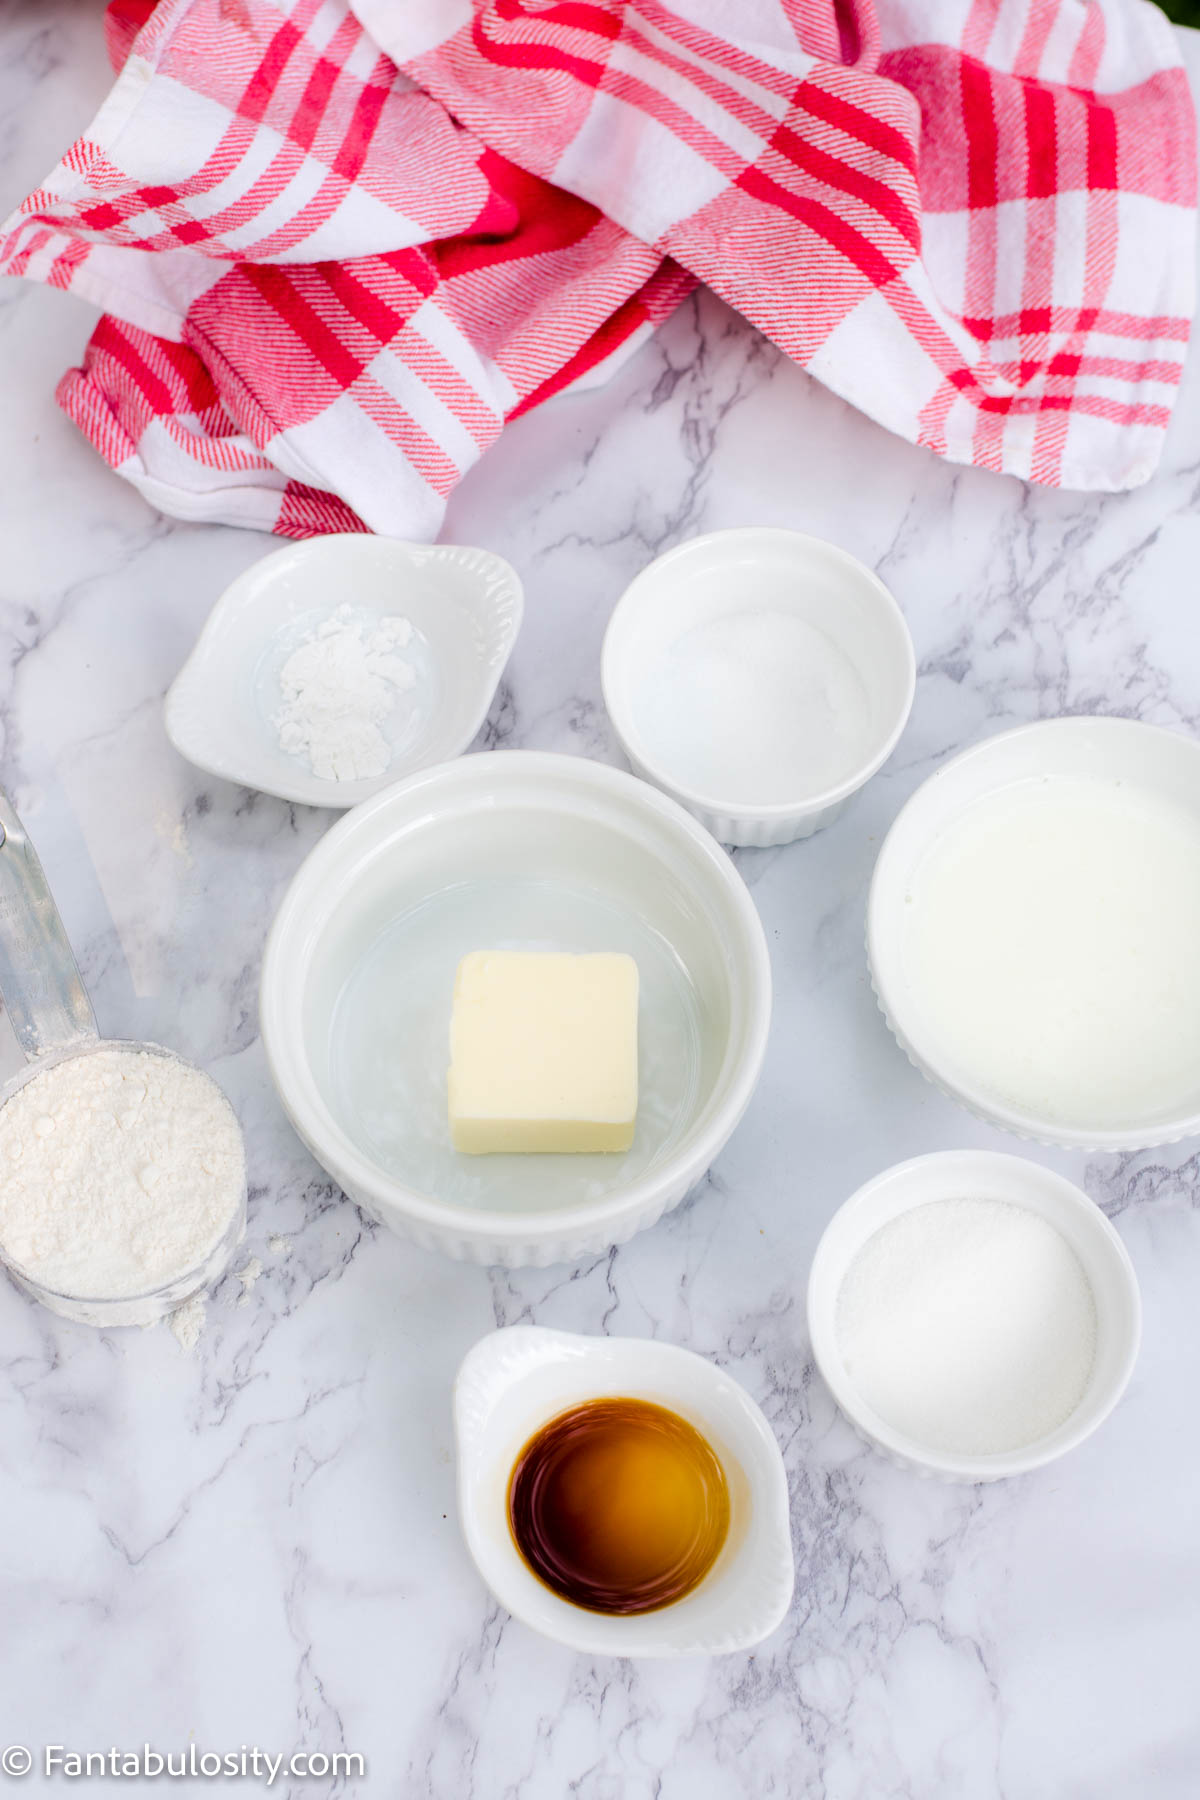
I’ve highlighted a couple of ingredients below with some relevant notes. Aside from this, the ingredients needed are pretty basic.
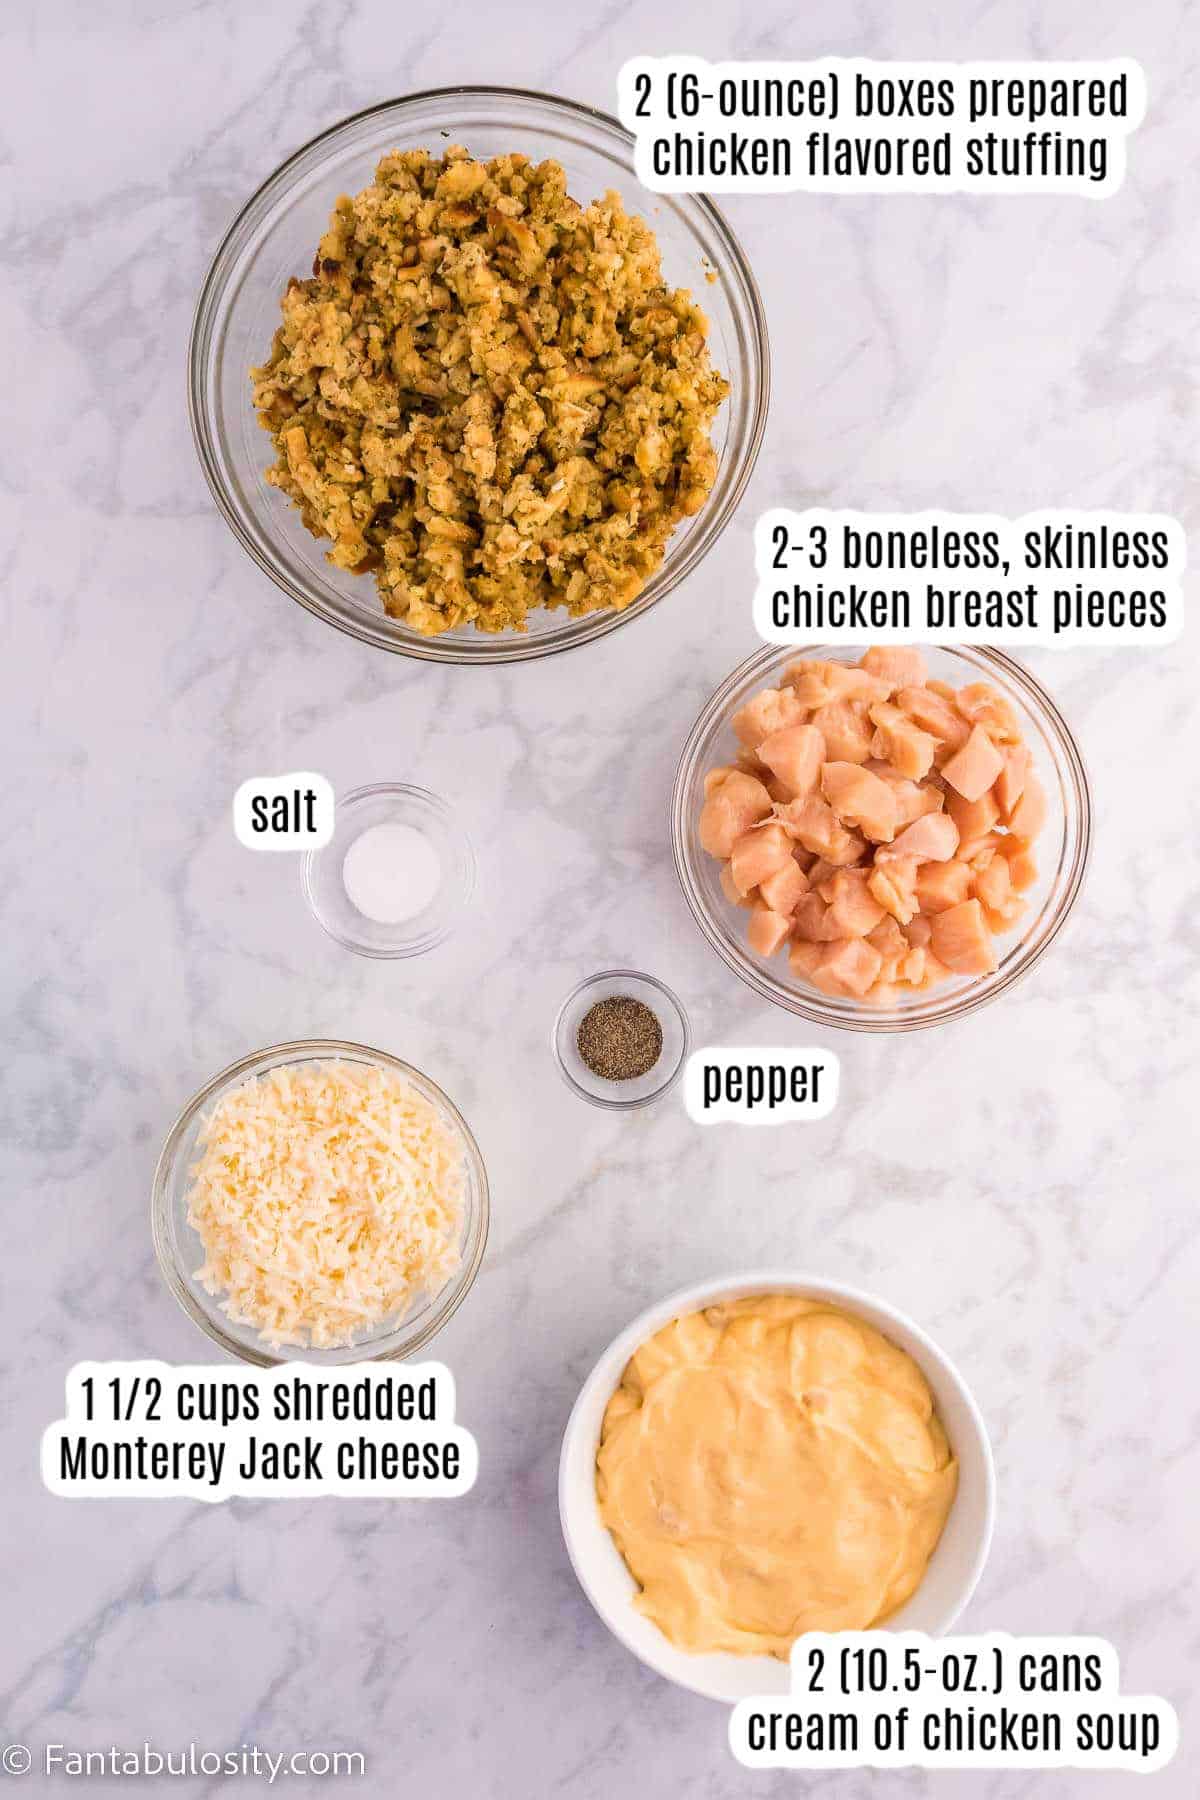
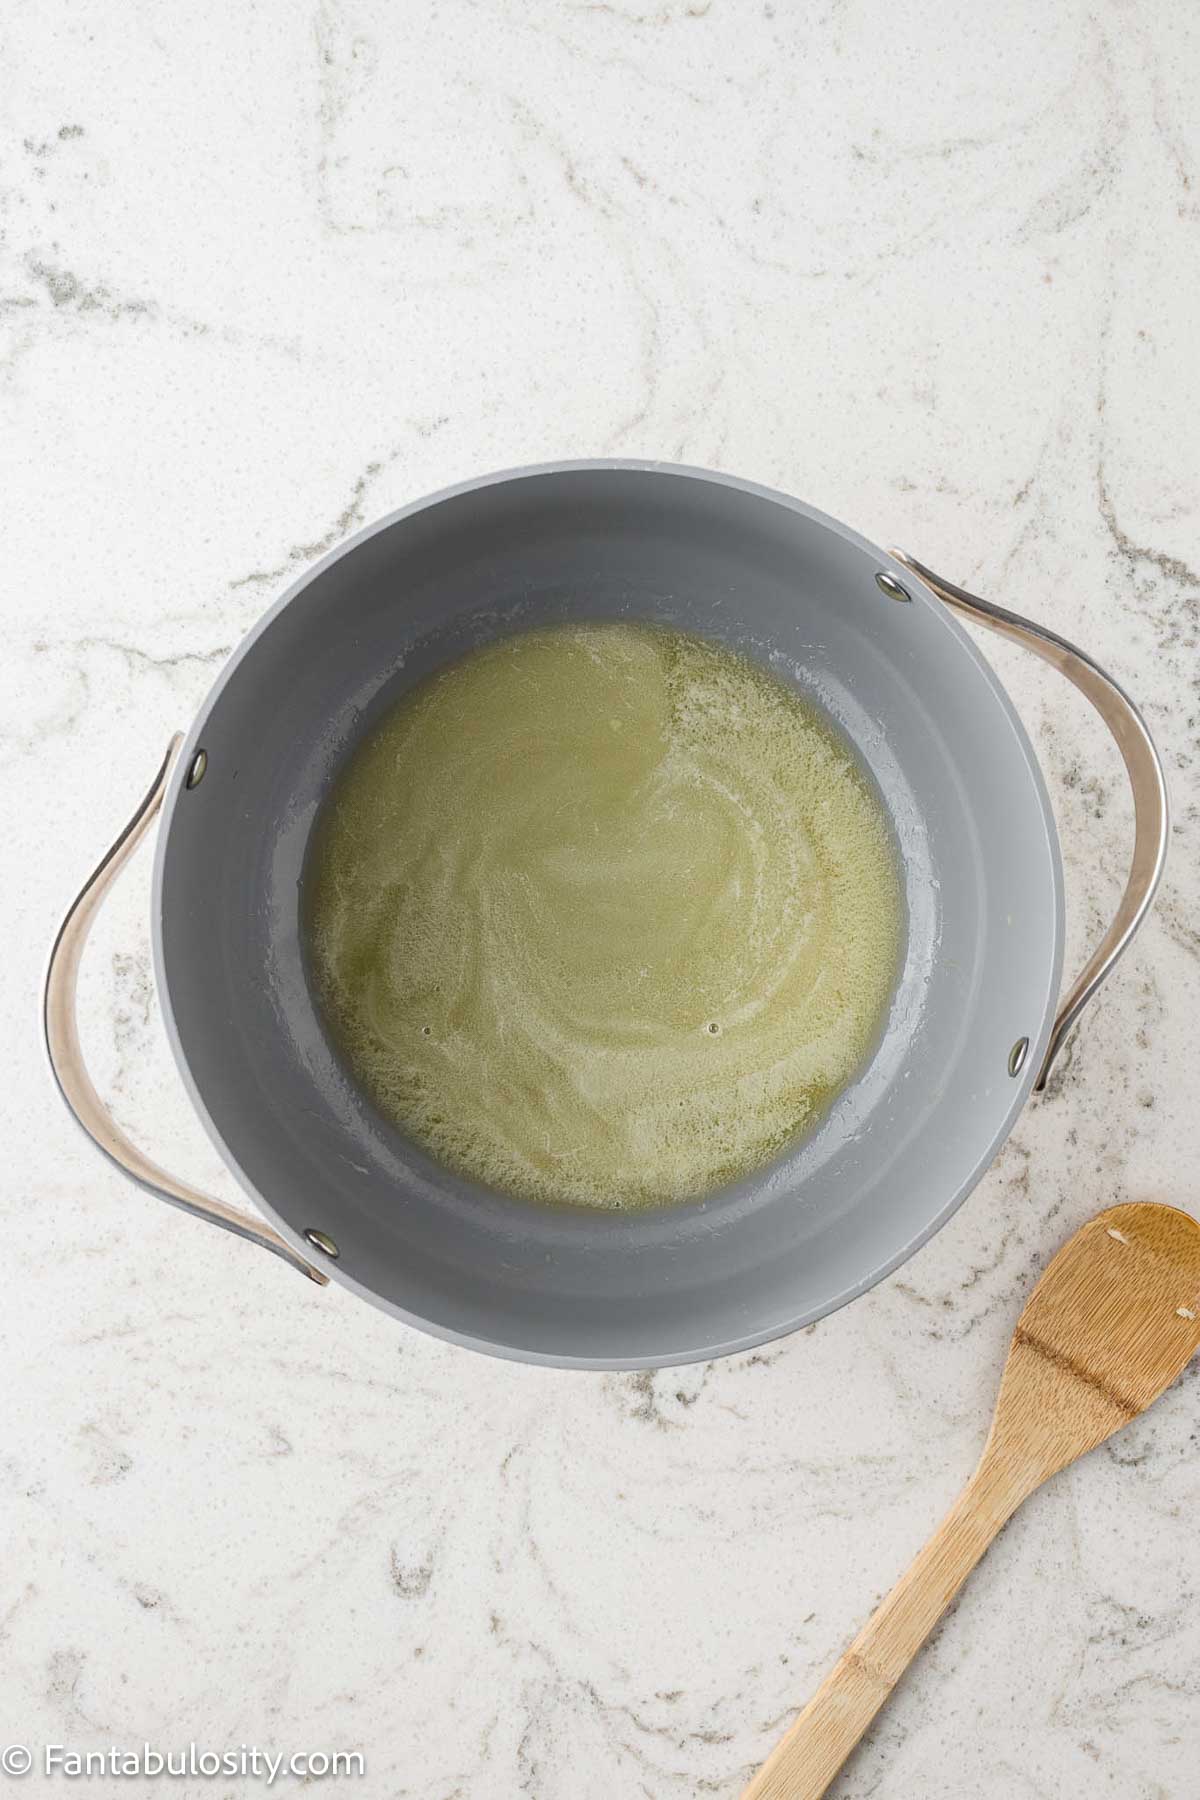
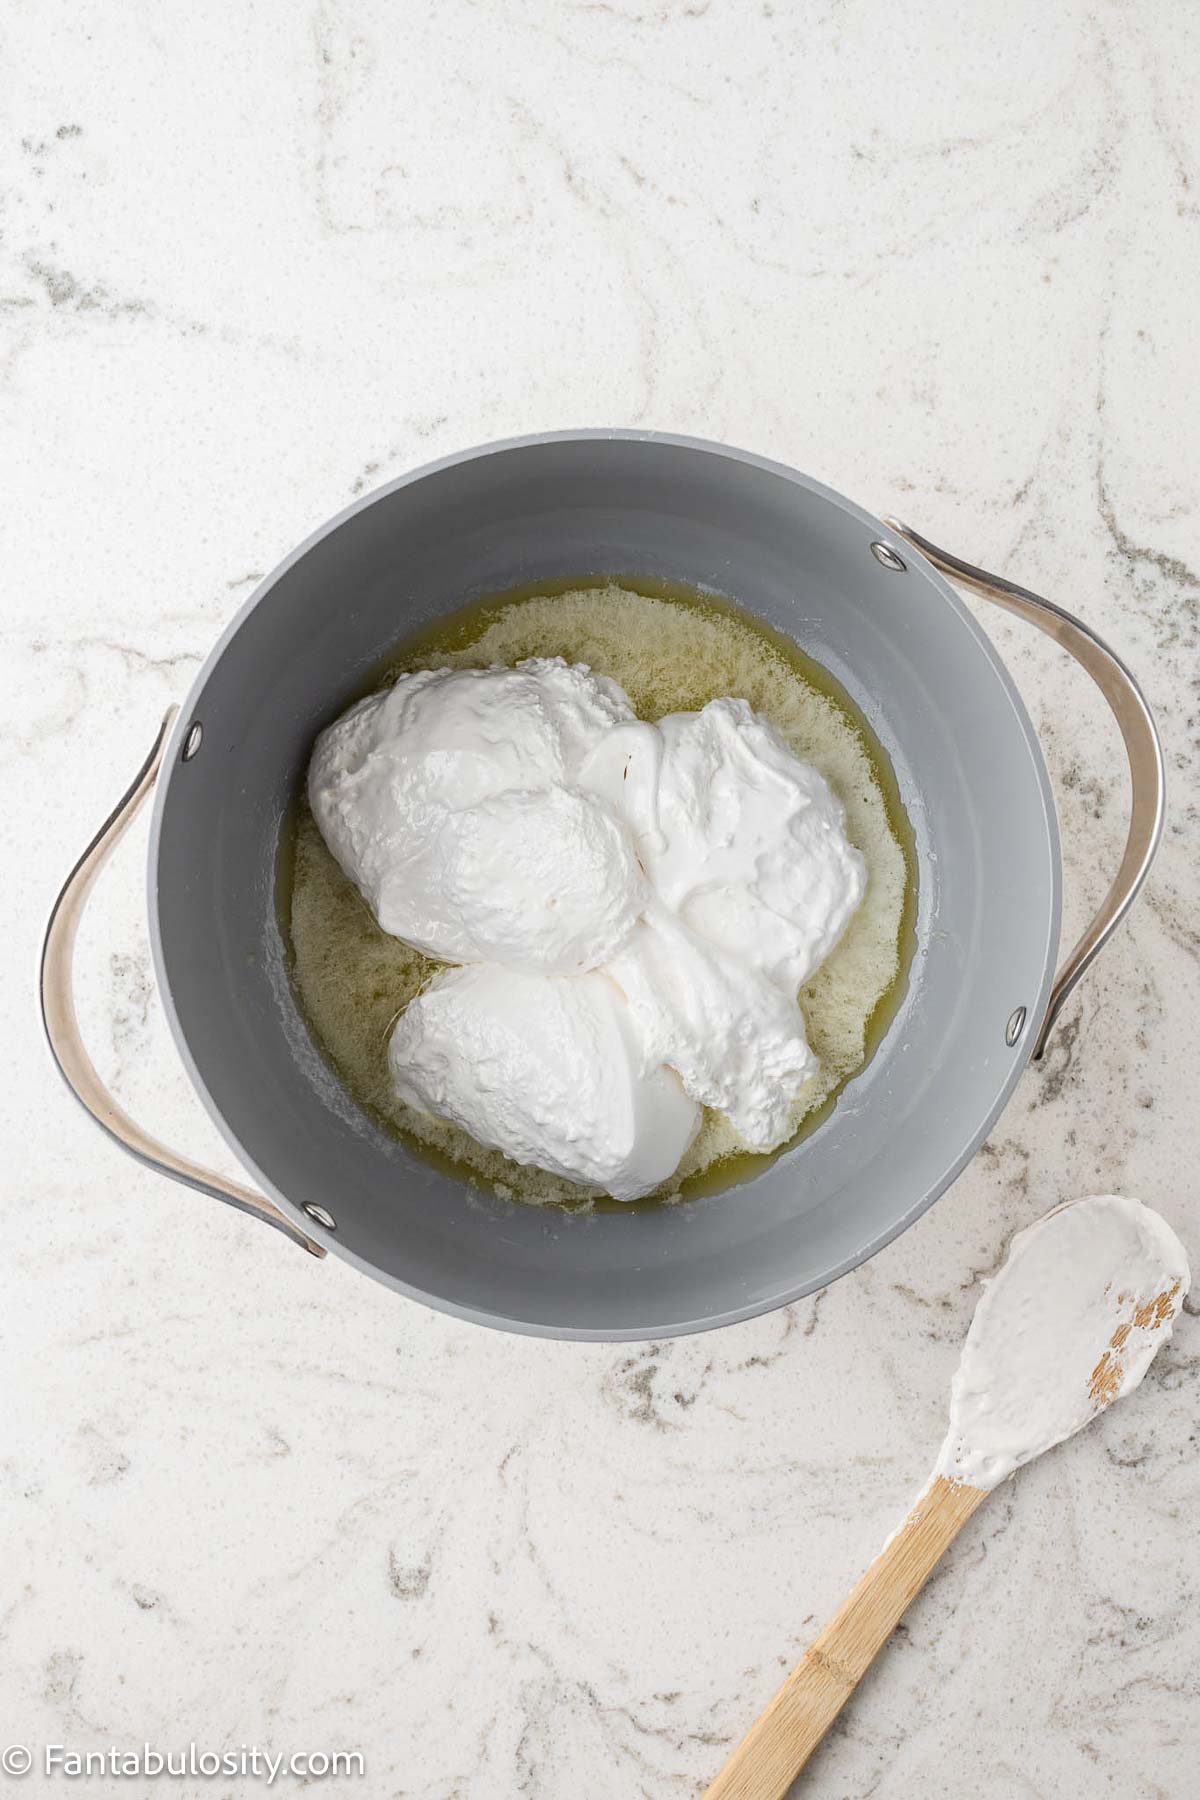
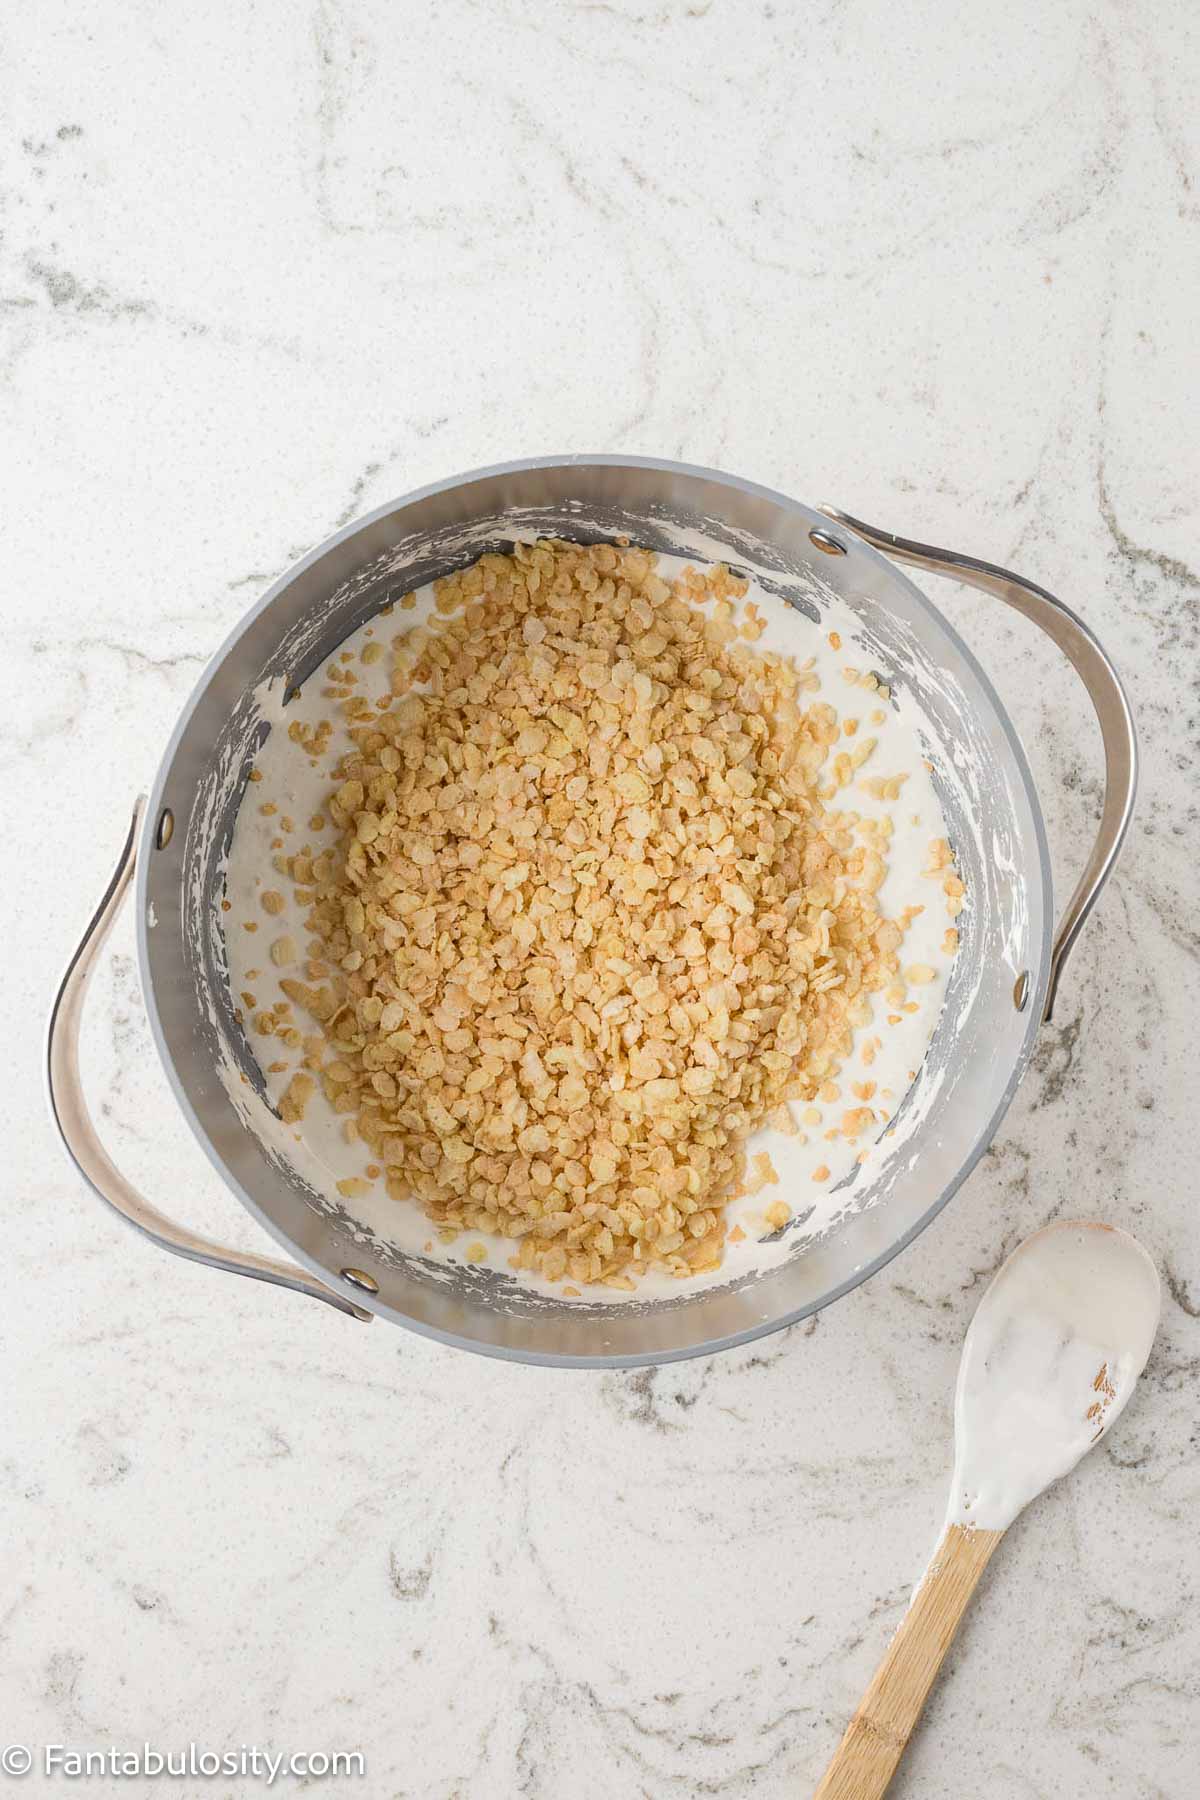
- Stuffing – I love regular chicken flavored Stove Top Stuffing Mix, but you can use any brand or flavor. Prepare to box directions. Buy an extra box and make this Meatloaf with Stove Top Stuffing tomorrow night!
- Chicken breast – Use boneless skinless breasts and dice into bite-sized pieces before tossing into your baking dish. You can also use chicken thighs if you prefer.
- Shredded cheese – Monterey Jack pairs nicely, and so would Swiss! Use your favorite.
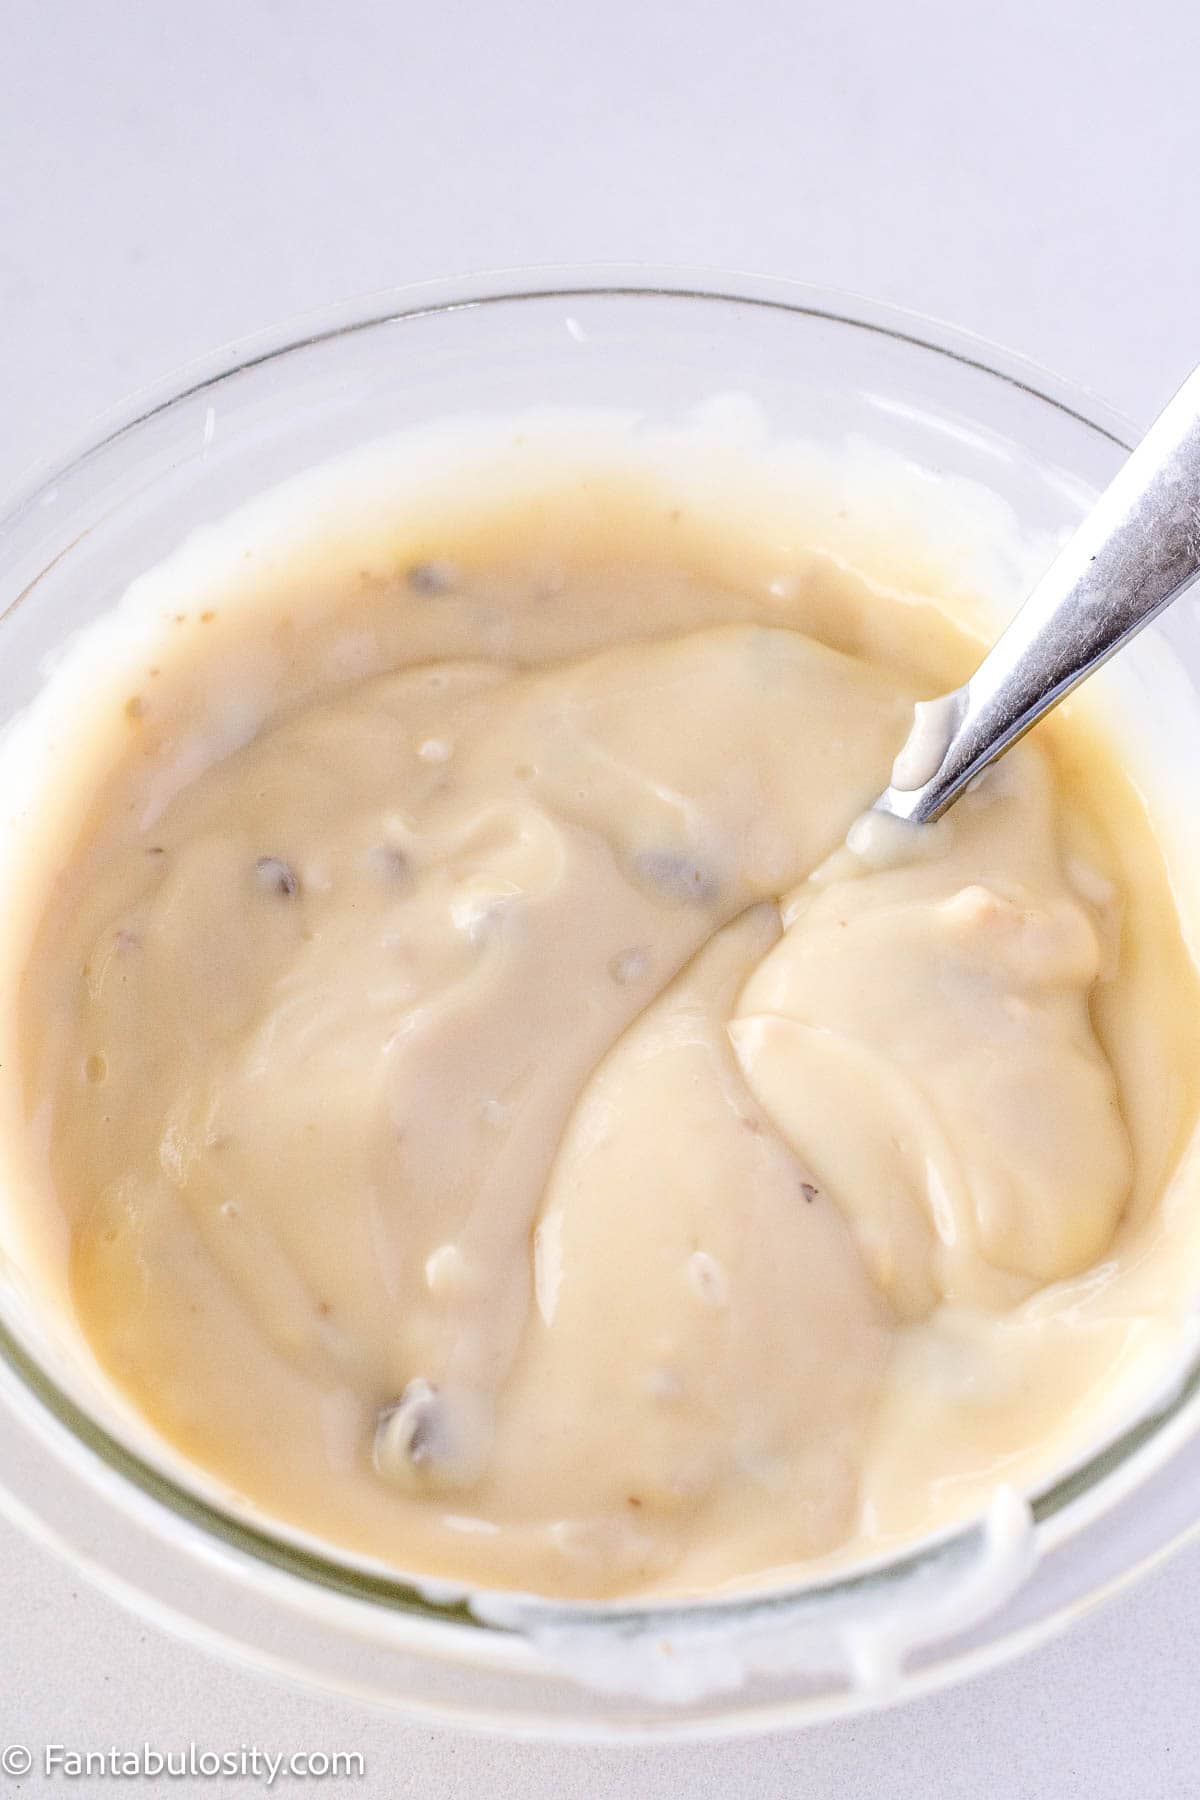
- Cream soup – Cream of chicken will keep the chicken flavor strong and give you a nice, comforting casserole.
Variations in Chicken Stuffing Bake
Just about everything can be switched up! This is a great casserole to play chef and make your own combinations.
Swap one can of soup out for cream of celery soup or cream of mushroom soup. Use cheddar for a stronger cheese flavor. Try herbed stuffing for more interest. Or even add veggies to sneak some vegetables such as peas and carrots in for the kids.
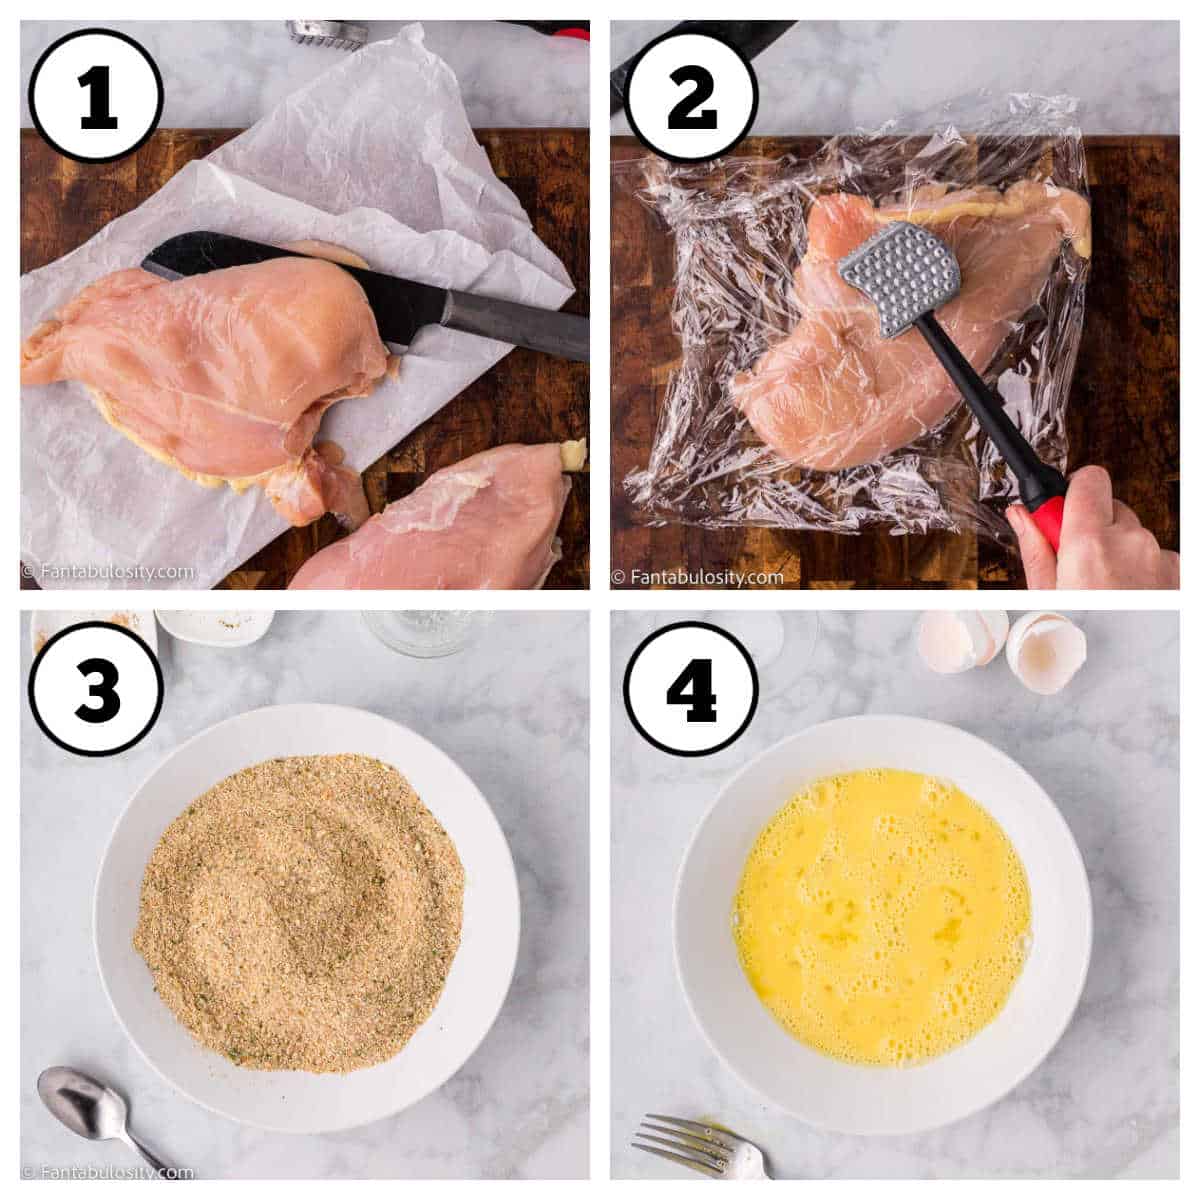
How to Make Easy Chicken and Stuffing Casserole
This is so simple to make, you can whip it up in 15 minutes and then let it bake. Simply make the stuffing while the oven preheats, layer, and go!
*Be sure to see the recipe card below for the full ingredients list & instructions!*
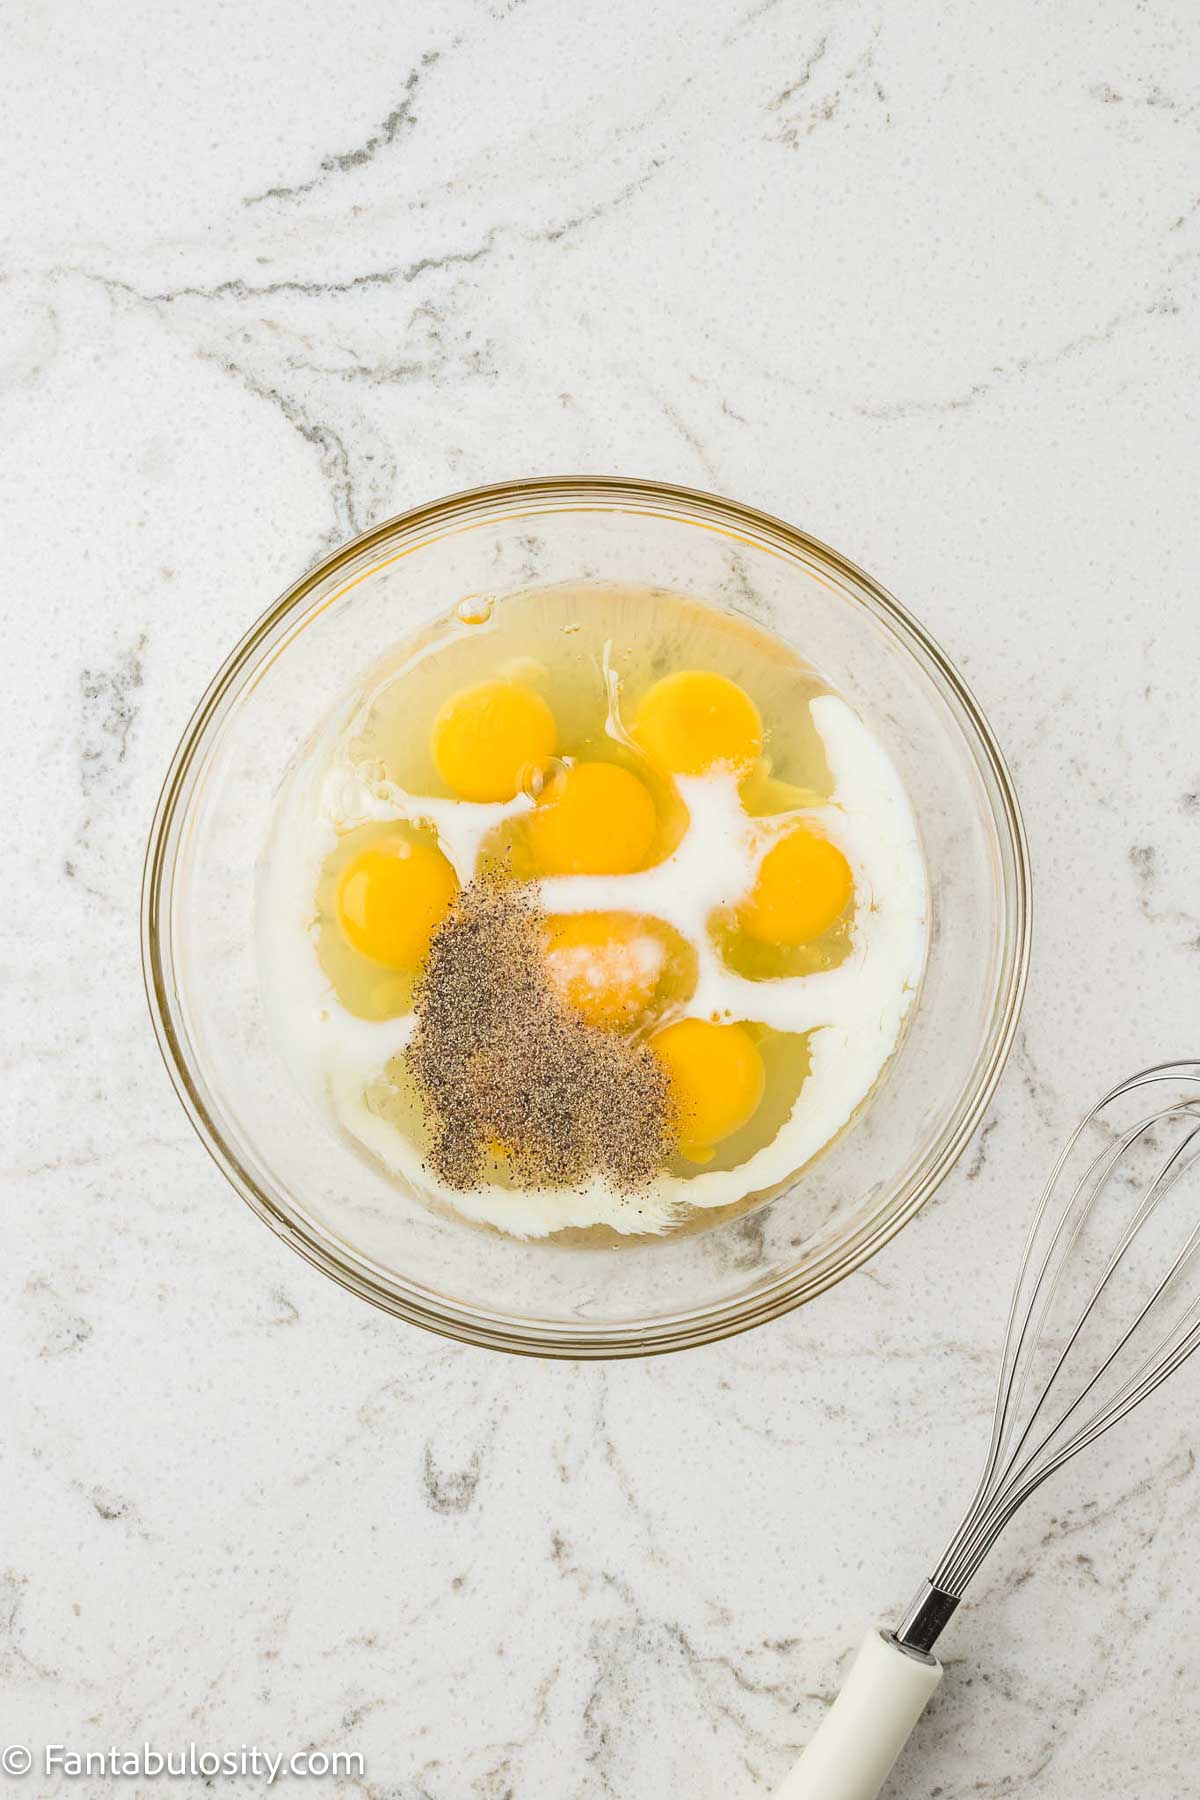
Preheat the oven and grease a baking dish before proceeding.
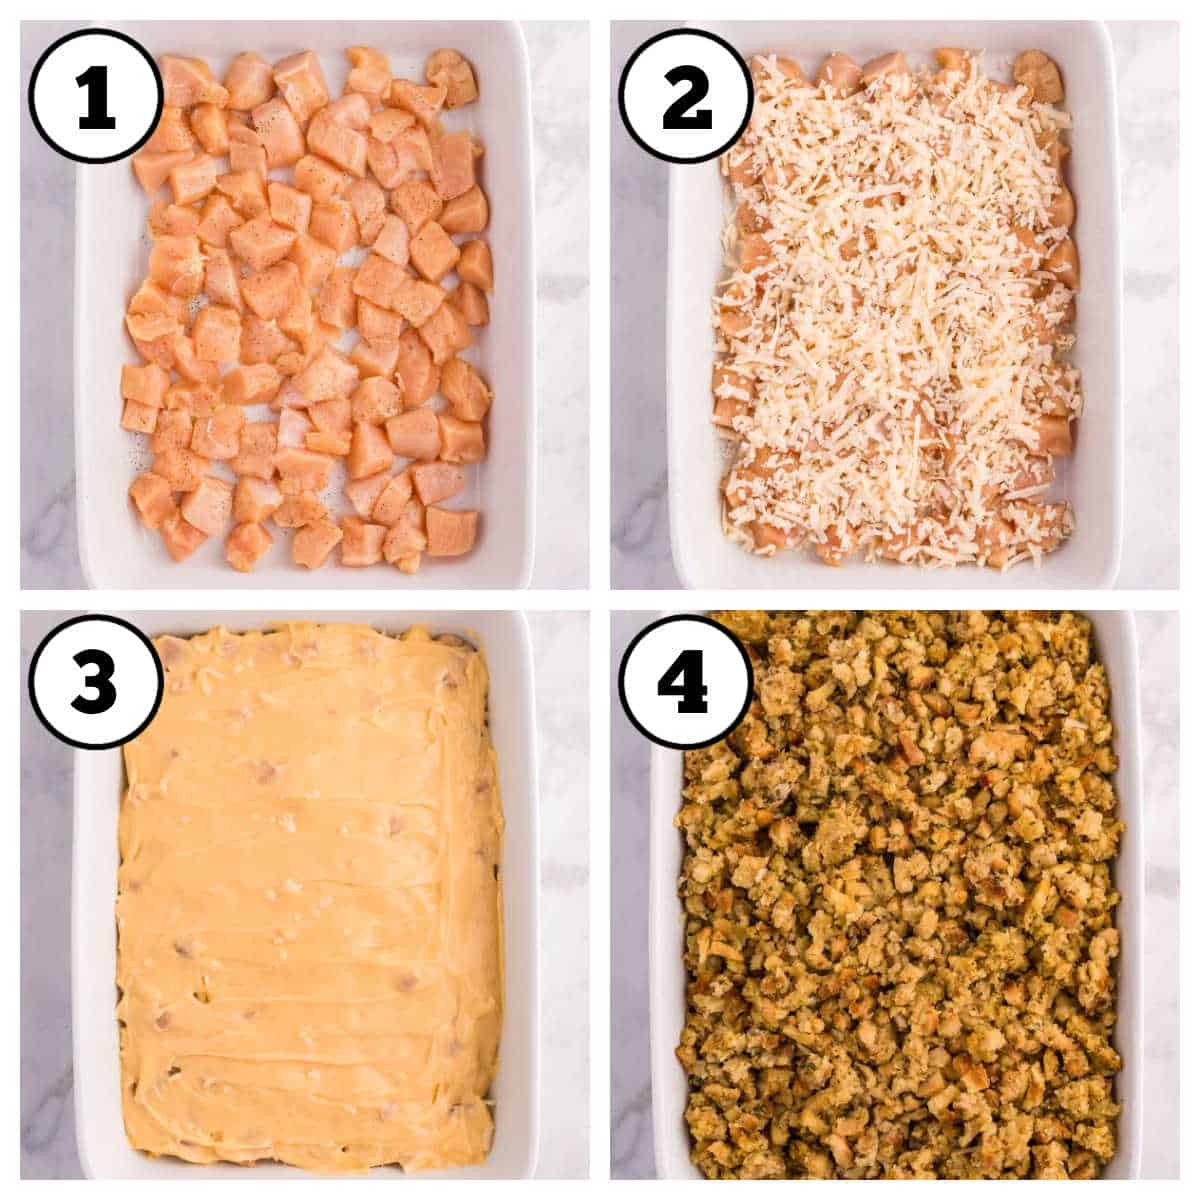
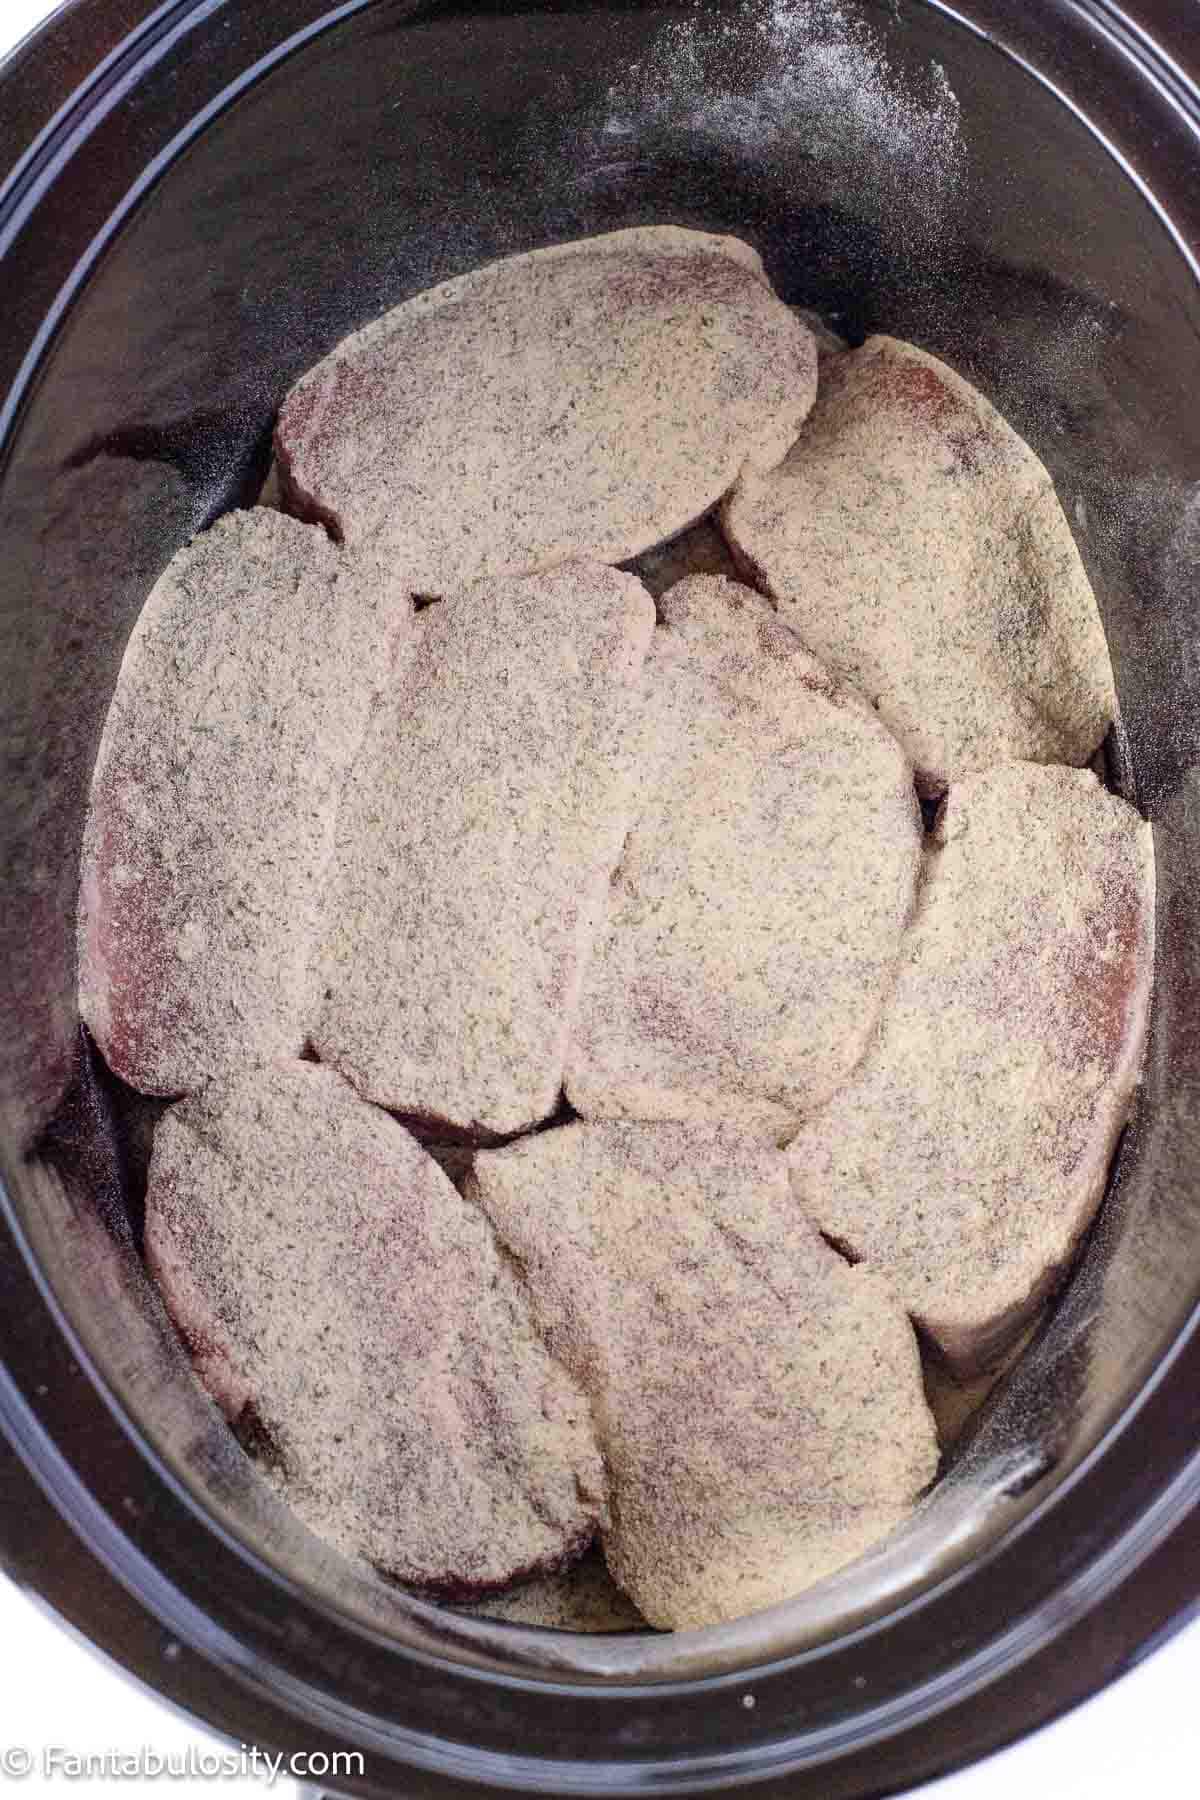
STEP 1. Dice the chicken. Cut the chicken into bite-sized pieces and layer to cover the baking dish. Sprinkle with salt and pepper to taste (Image 1).
STEP 2. Sprinkle the cheese. Layer the cheese evenly over the chicken (Image 2).
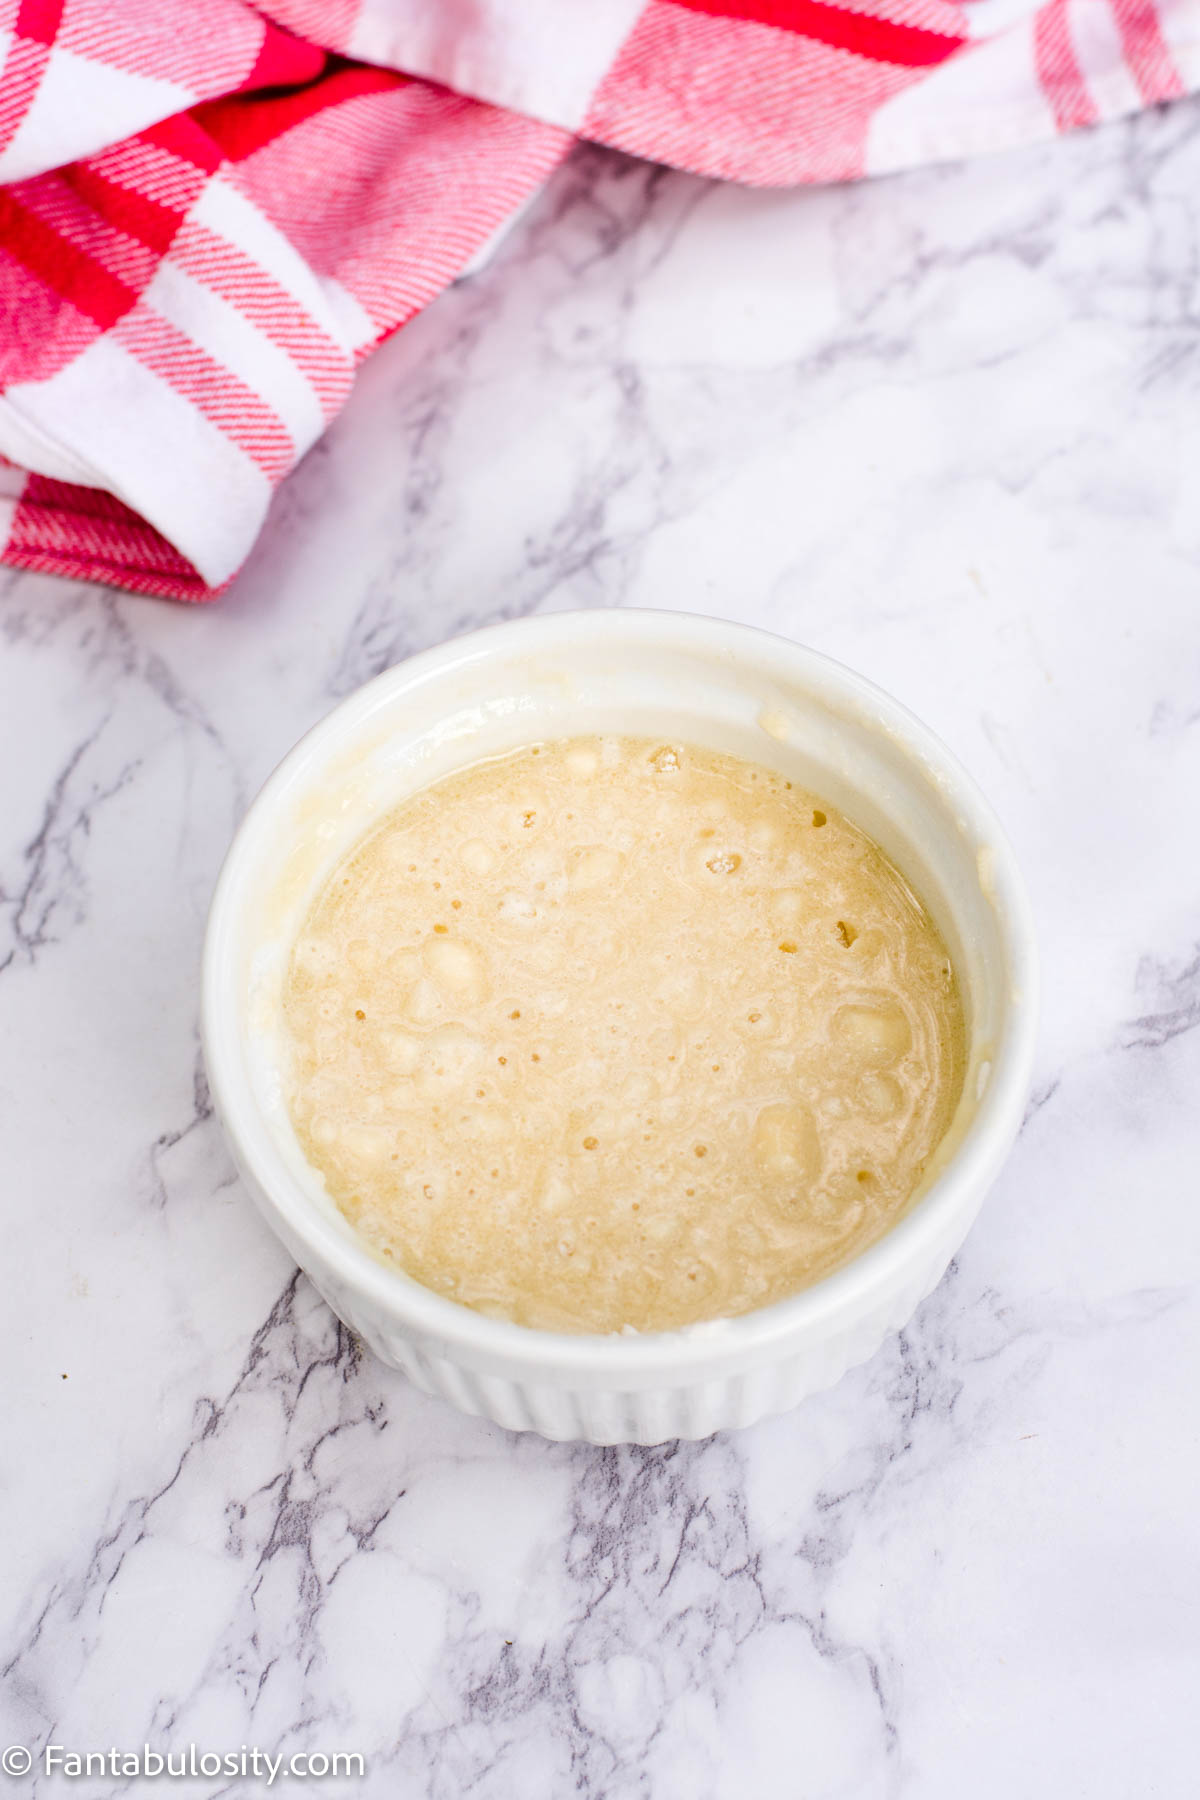
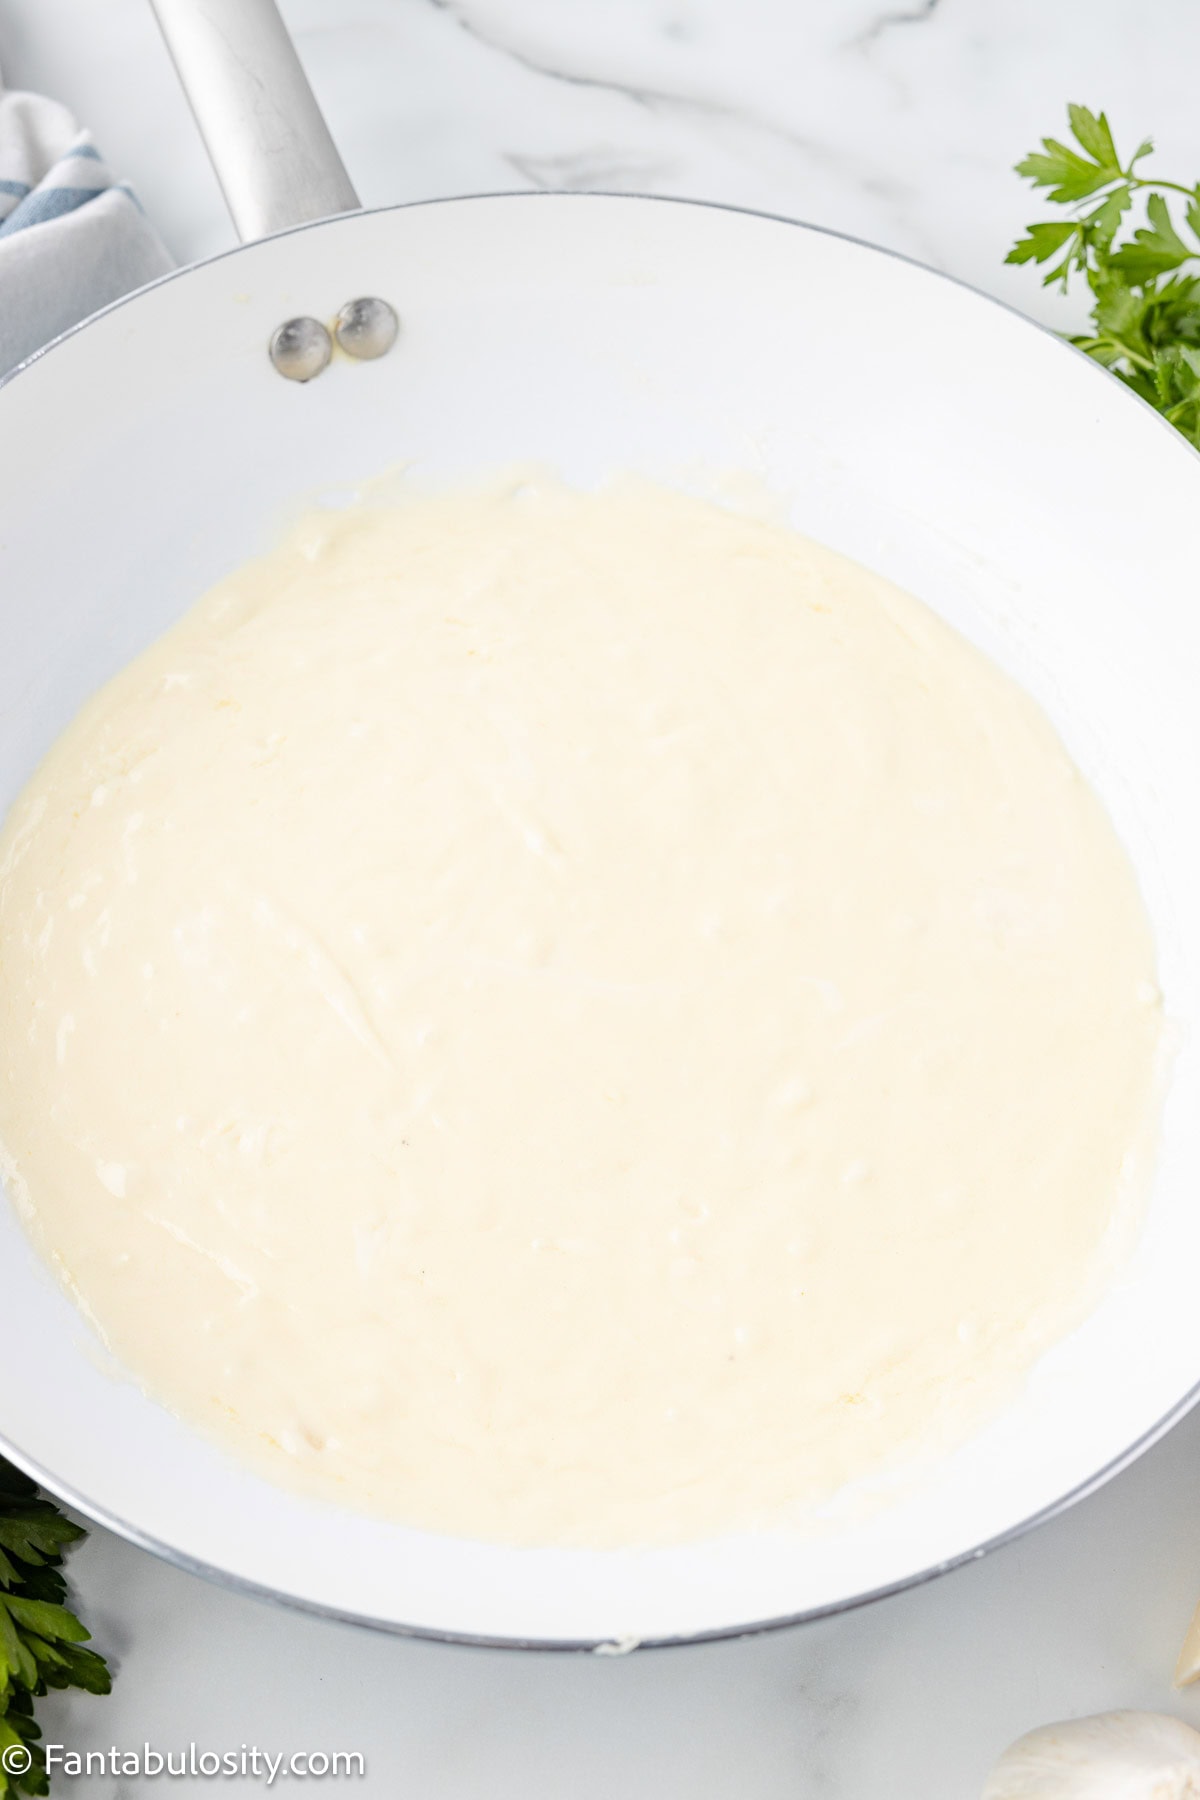
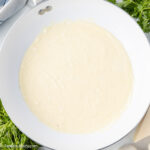
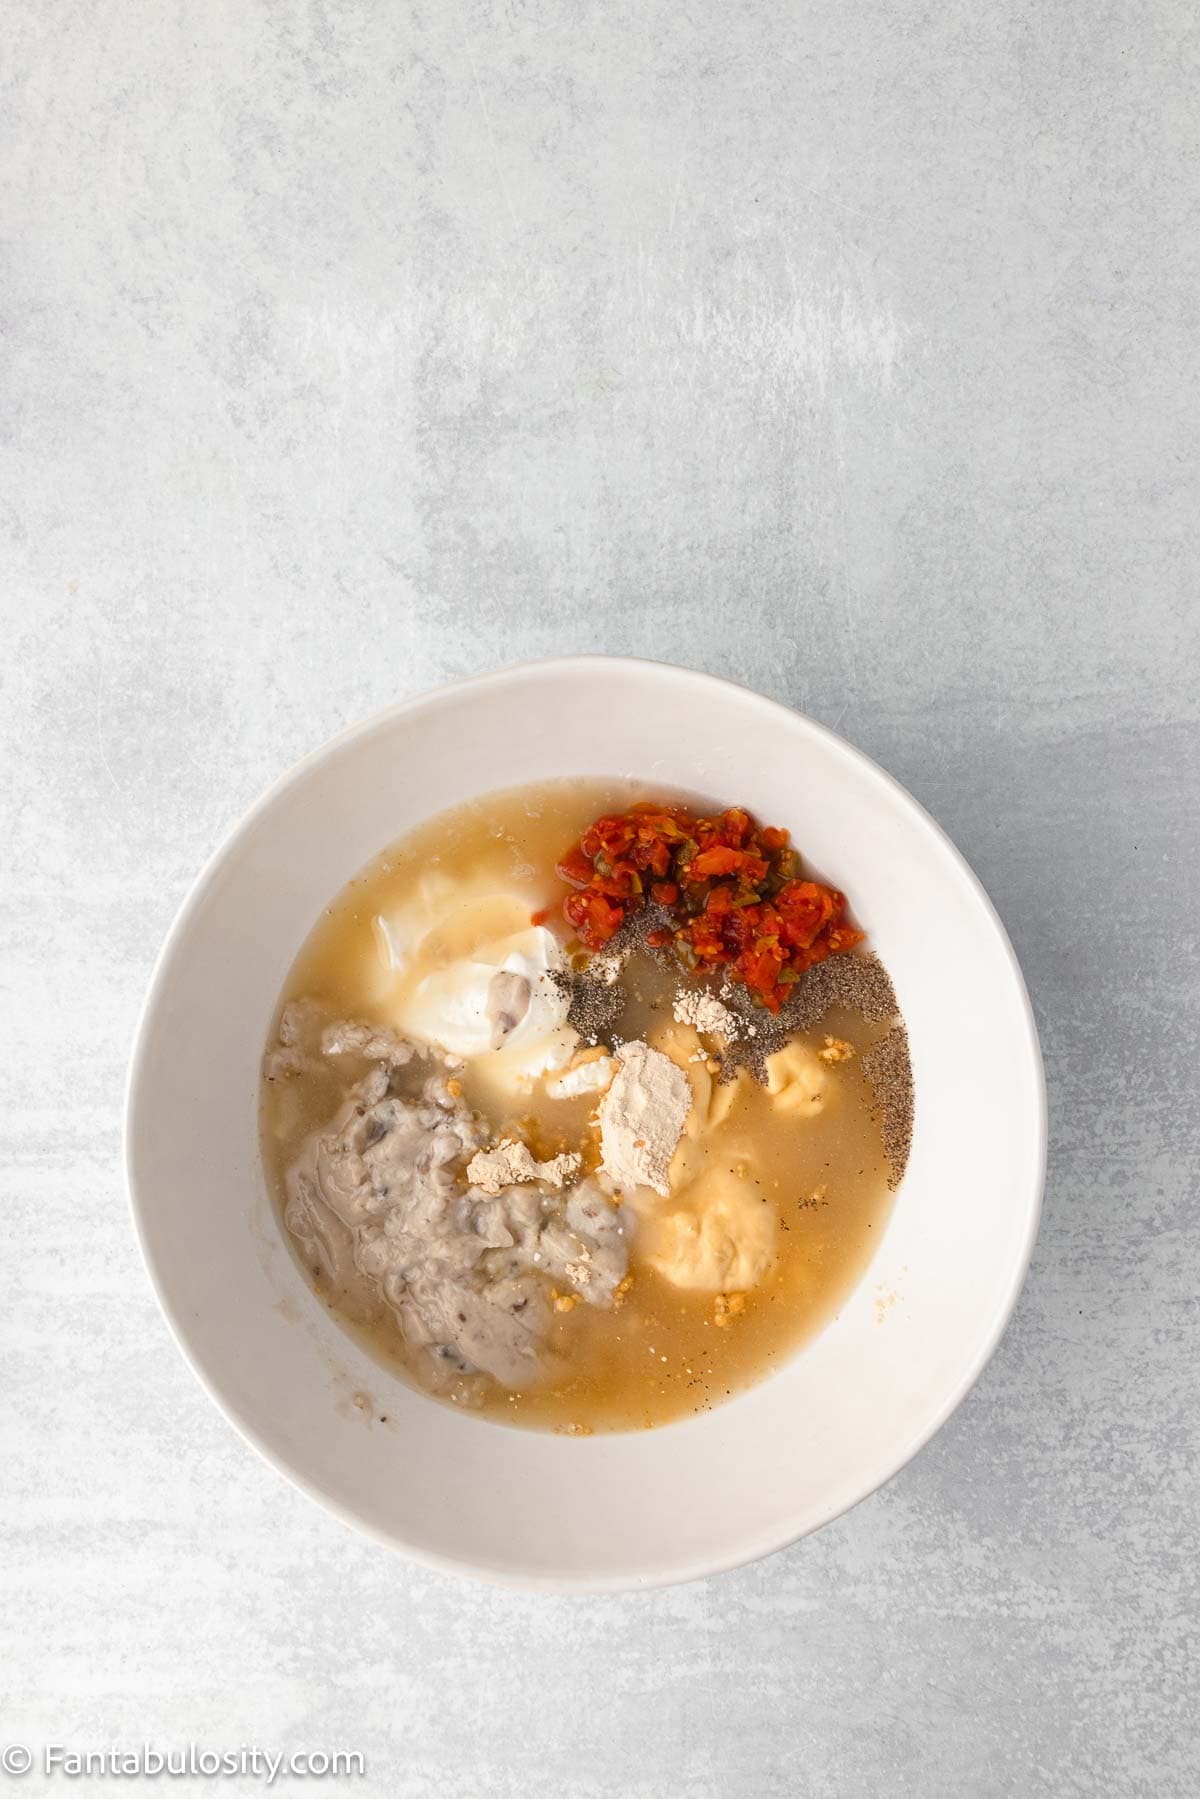
STEP 3. Spread the soup. Use a rubber spatula to carefully spread the condensed soup over the cheese (Image 3).
Tip: If it’s easier to spread the soup over the chicken and then sprinkle the cheese overtop, go right ahead! The order of these two layers isn’t super important.
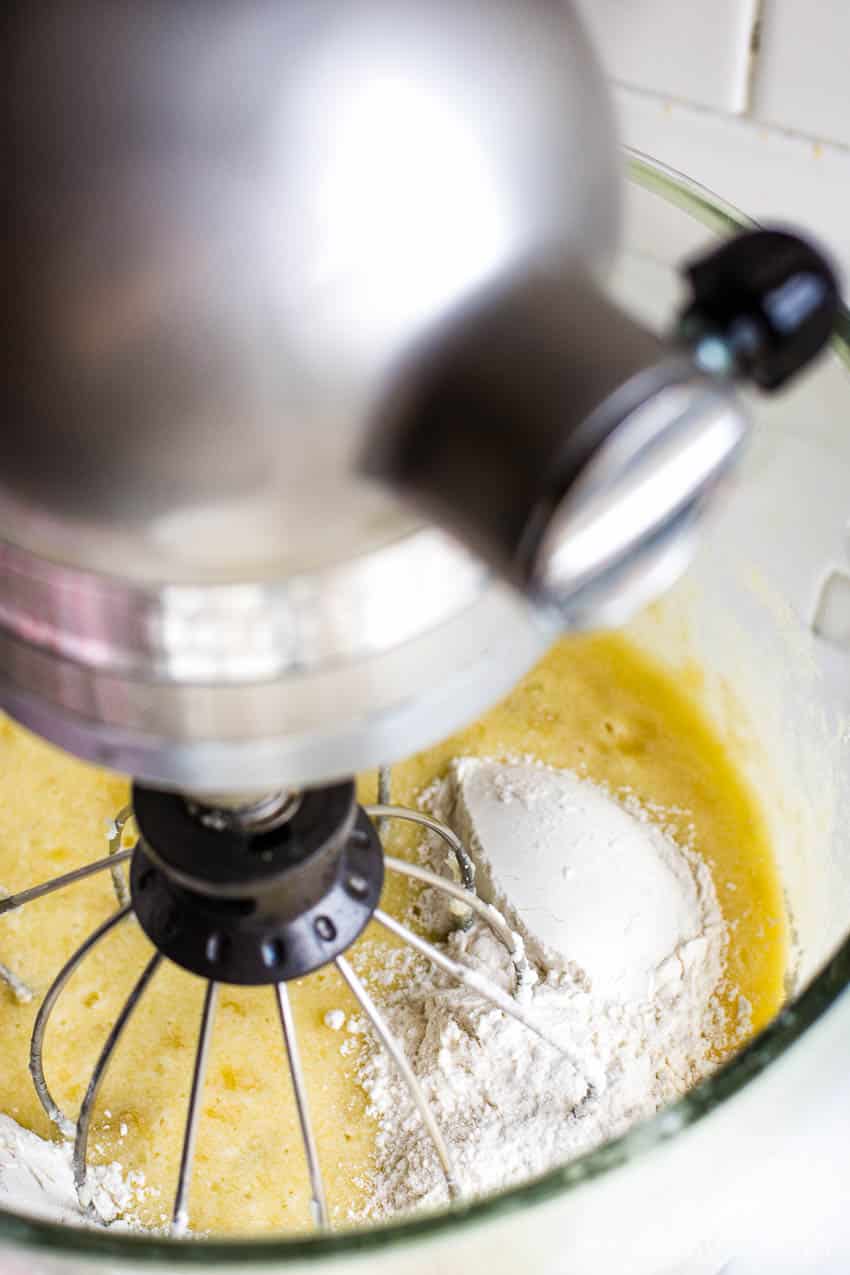
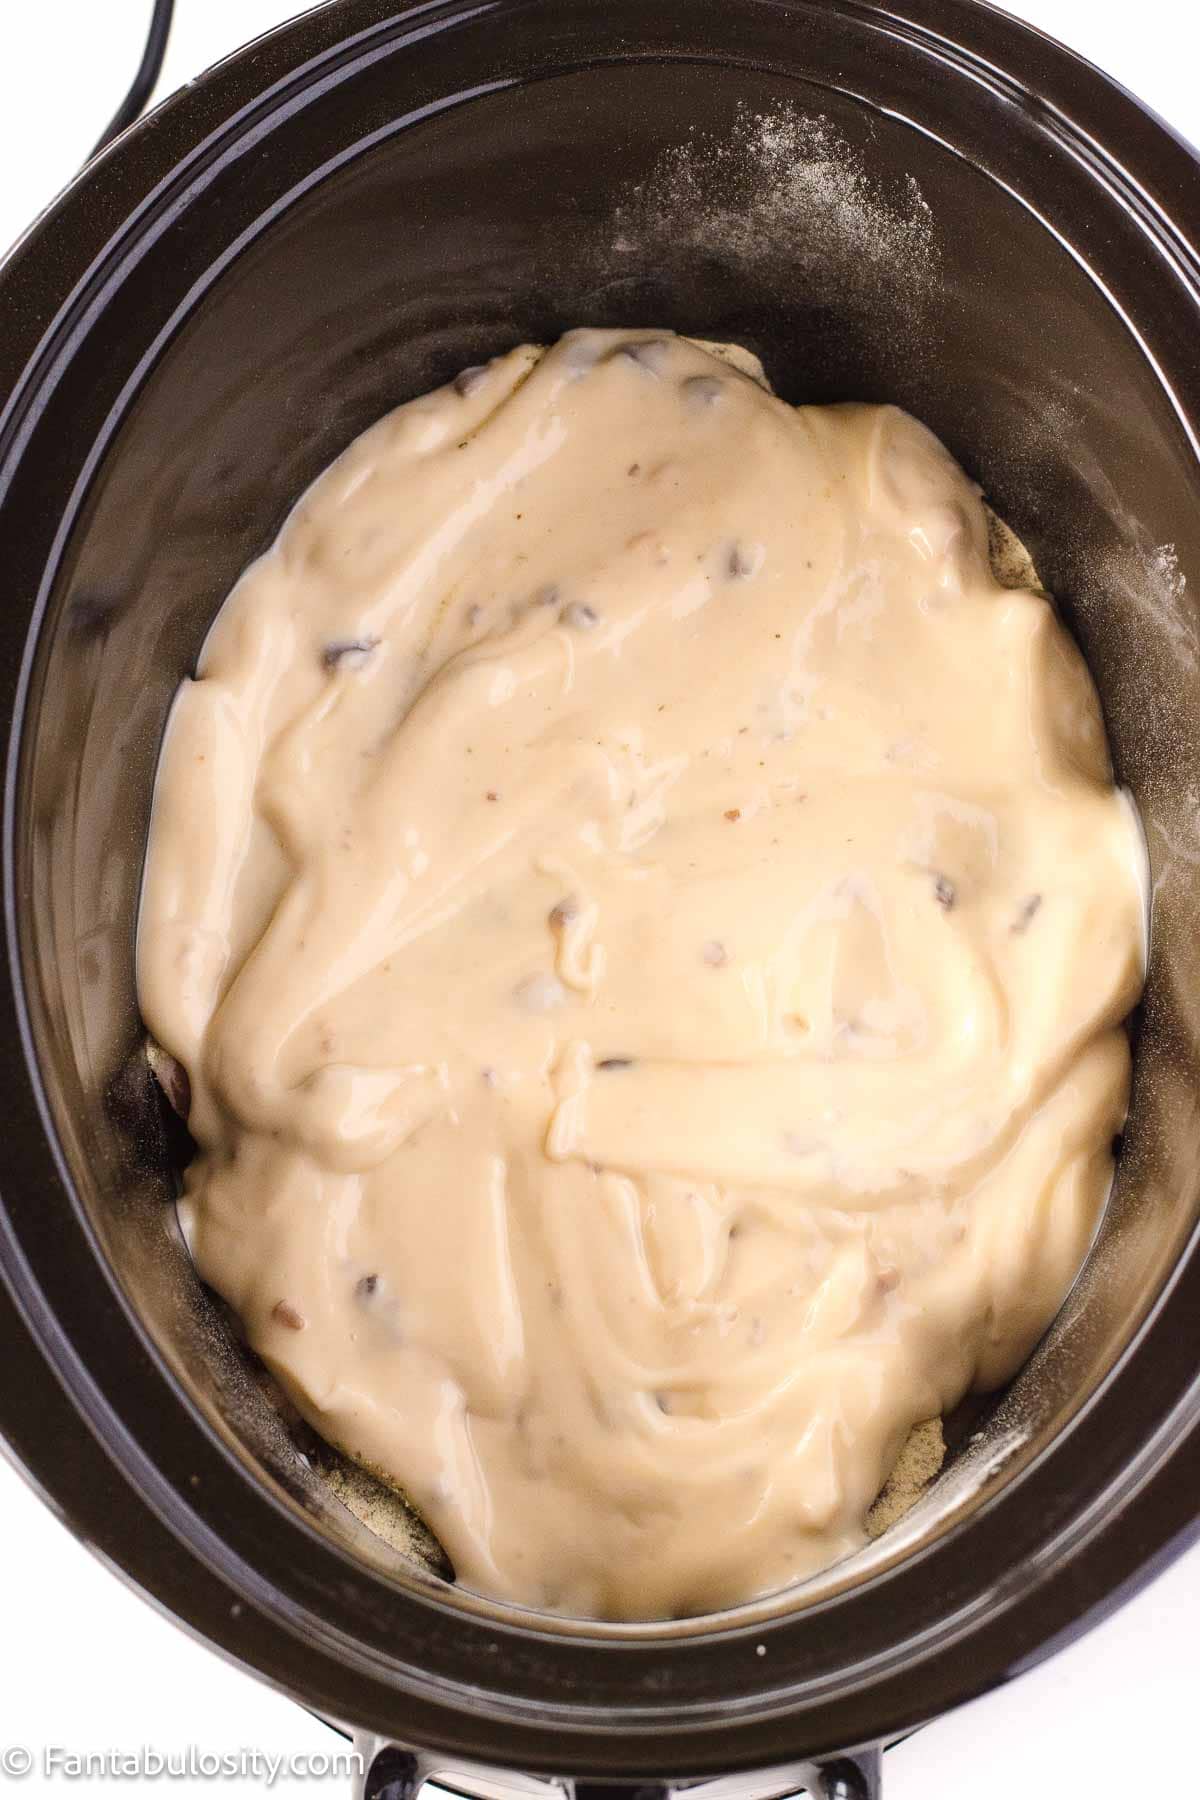
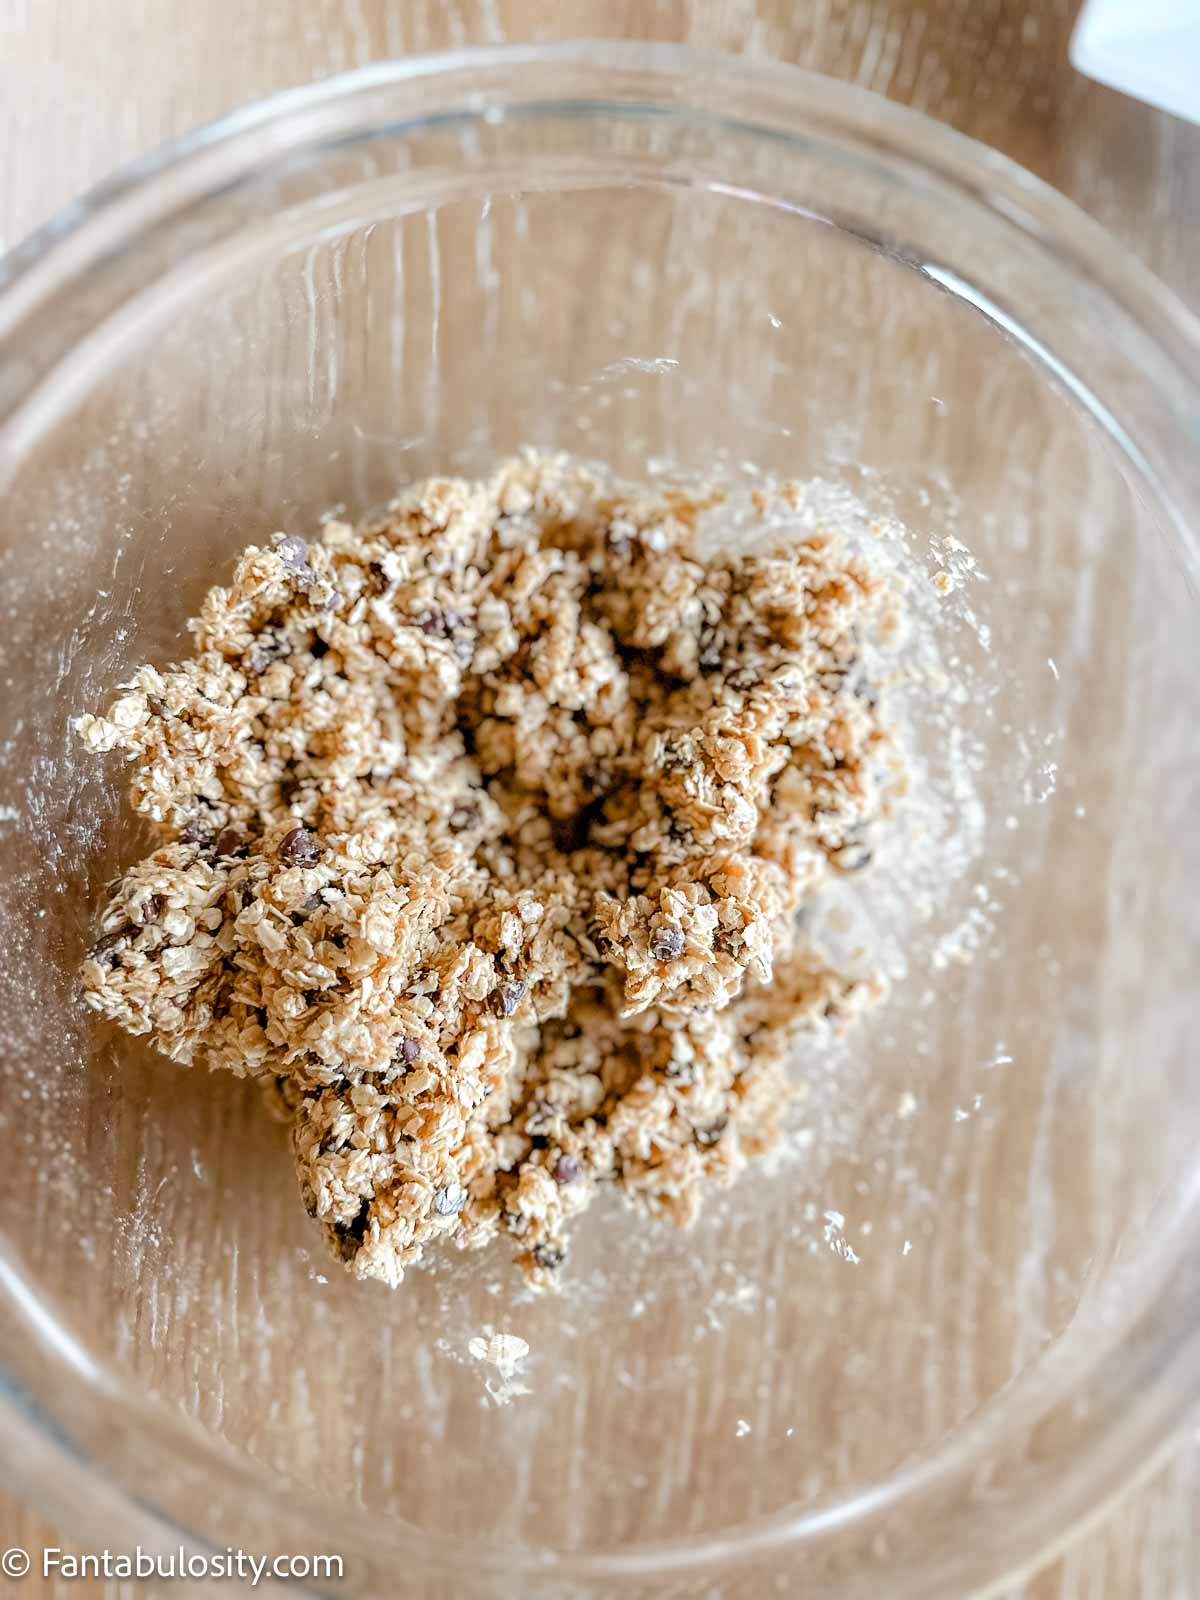
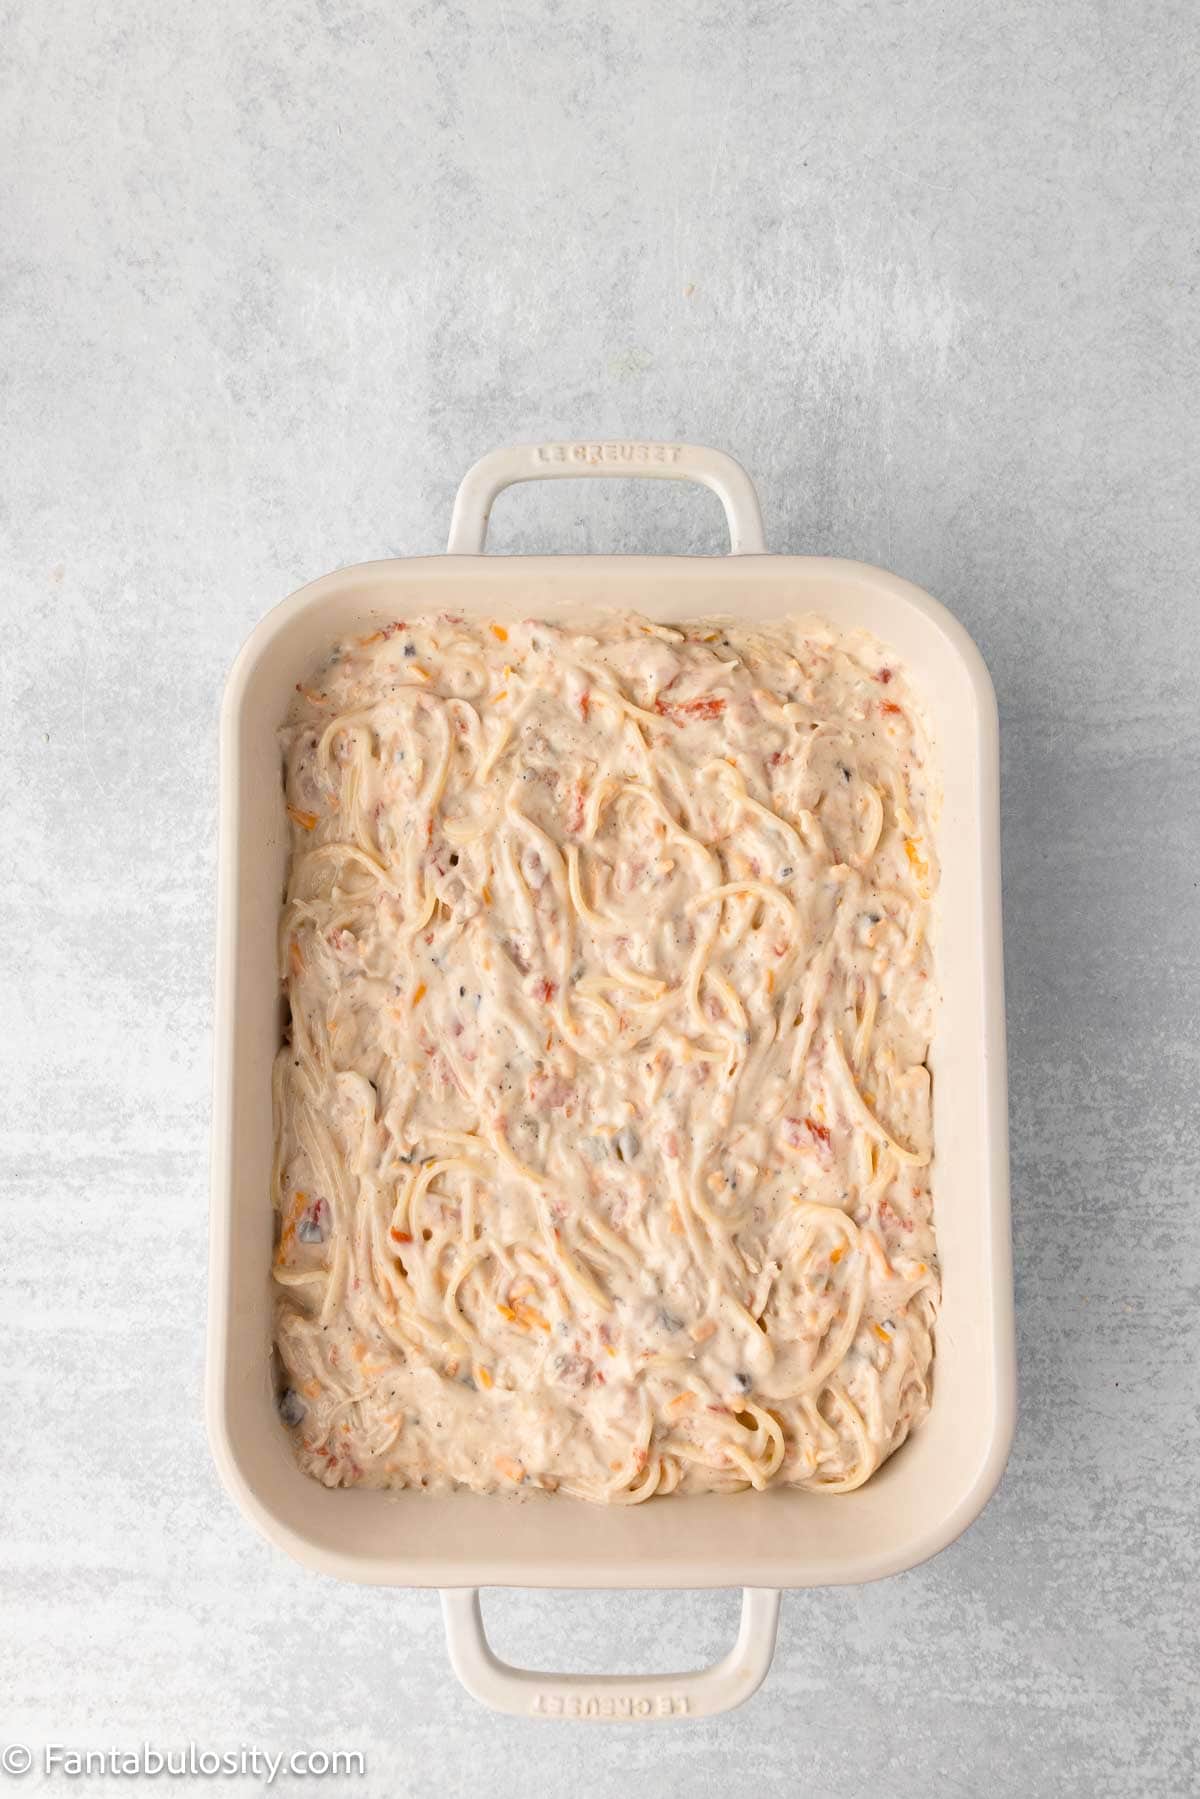
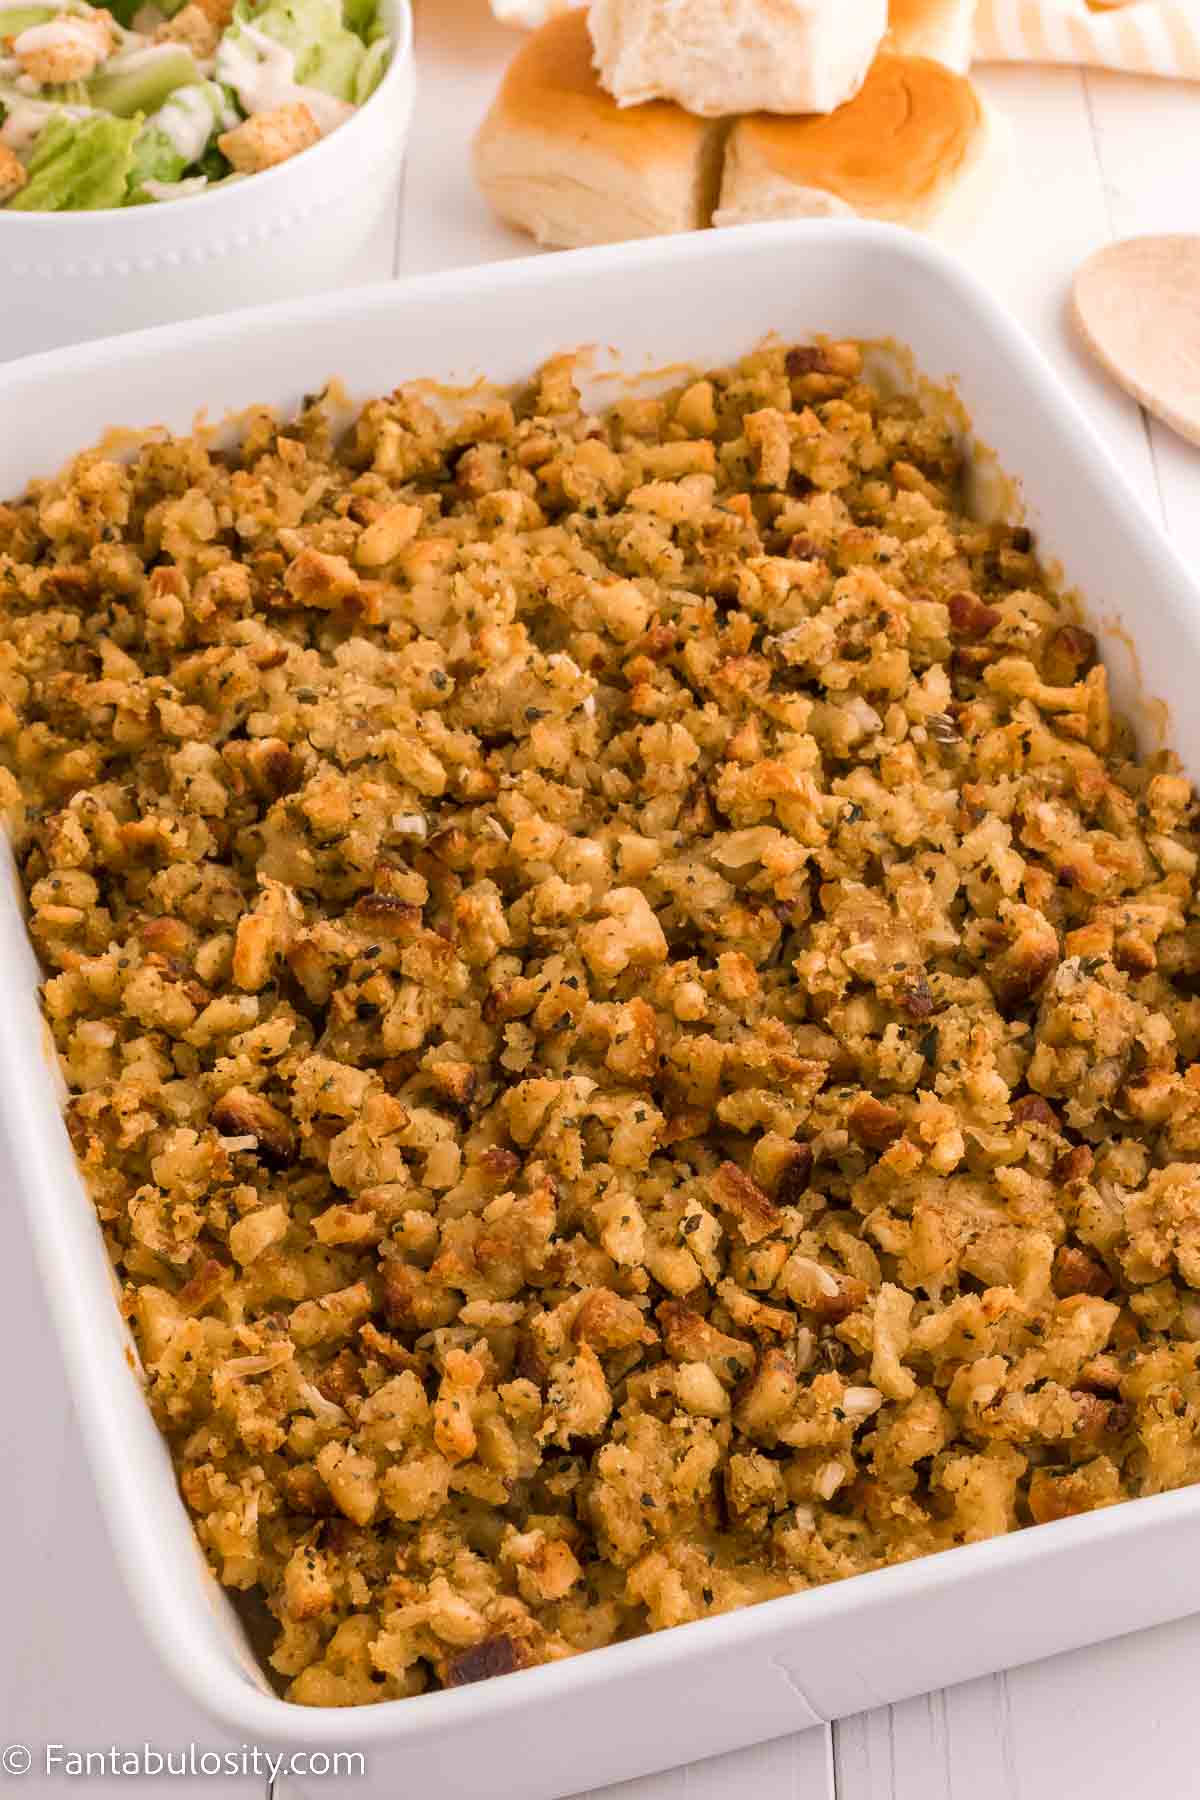
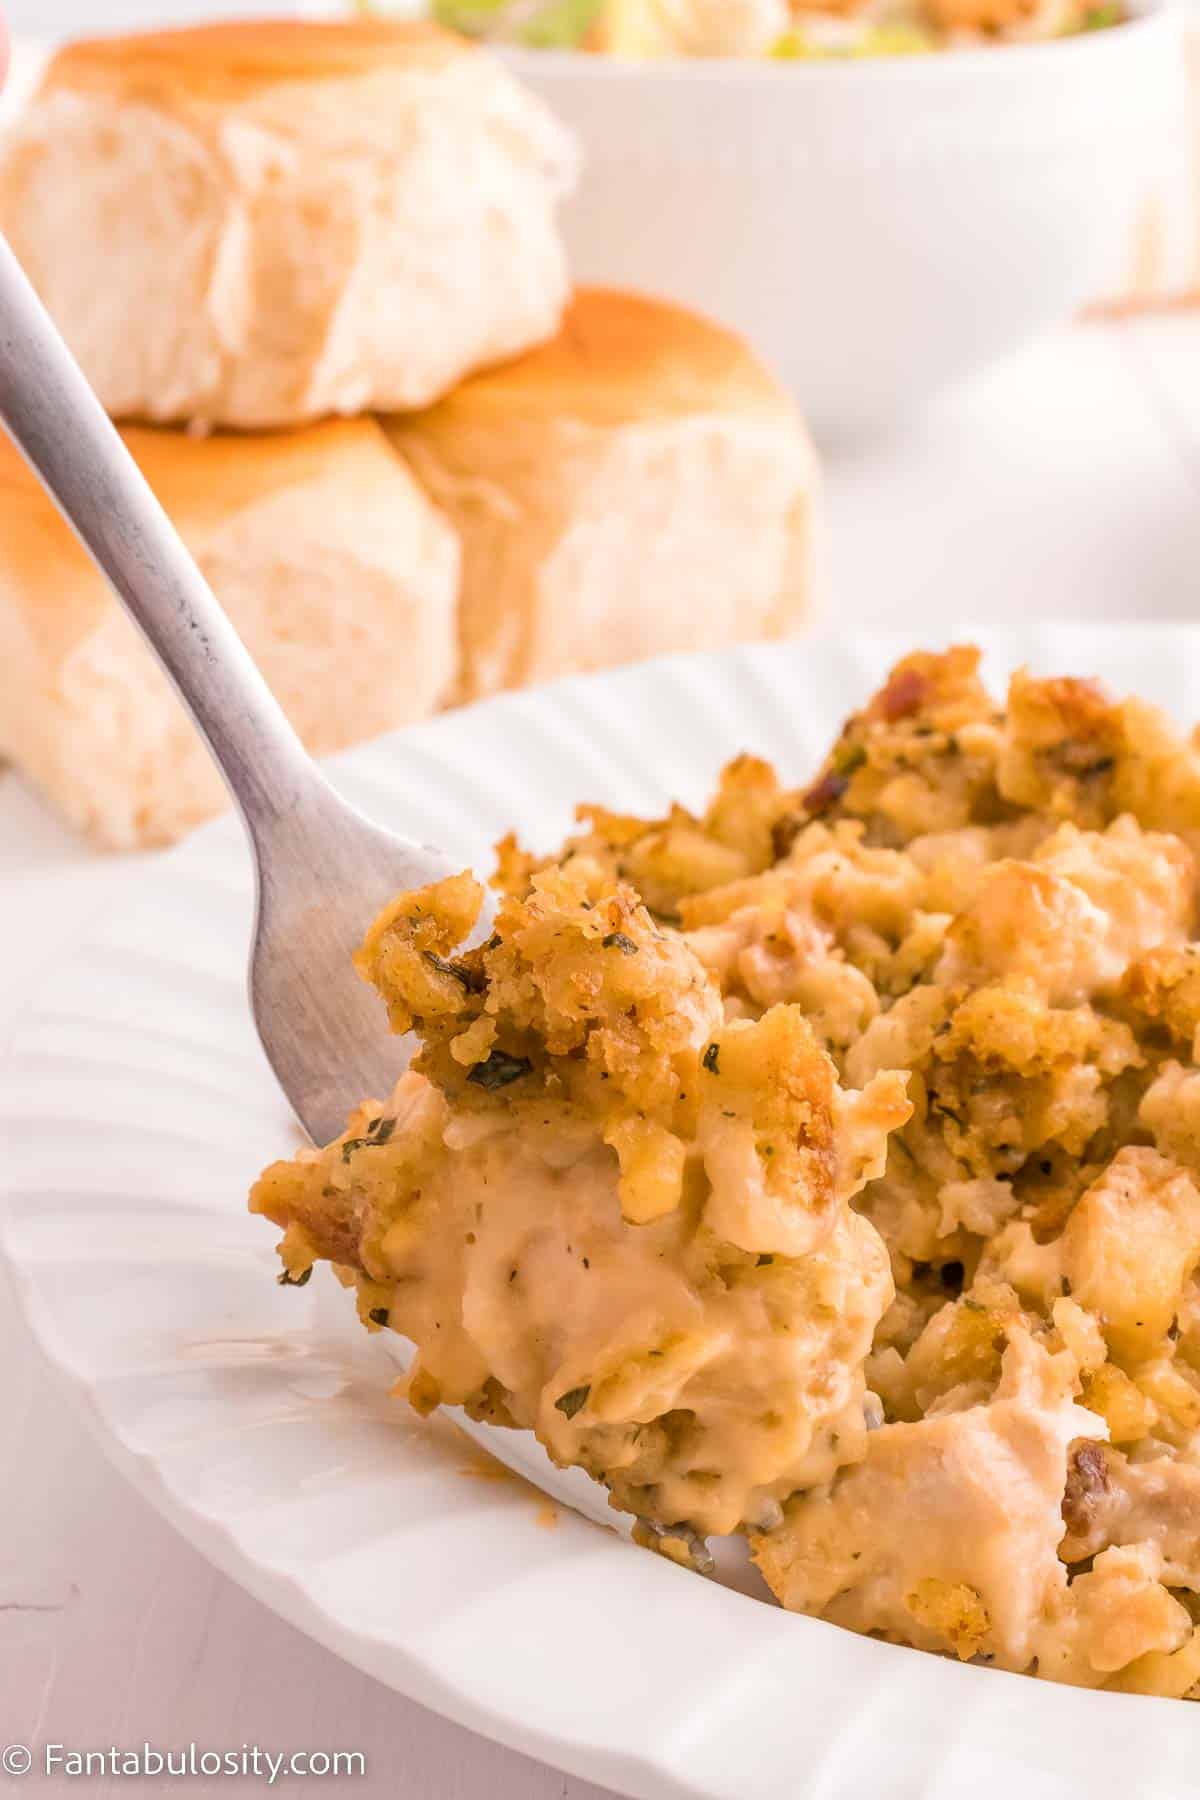
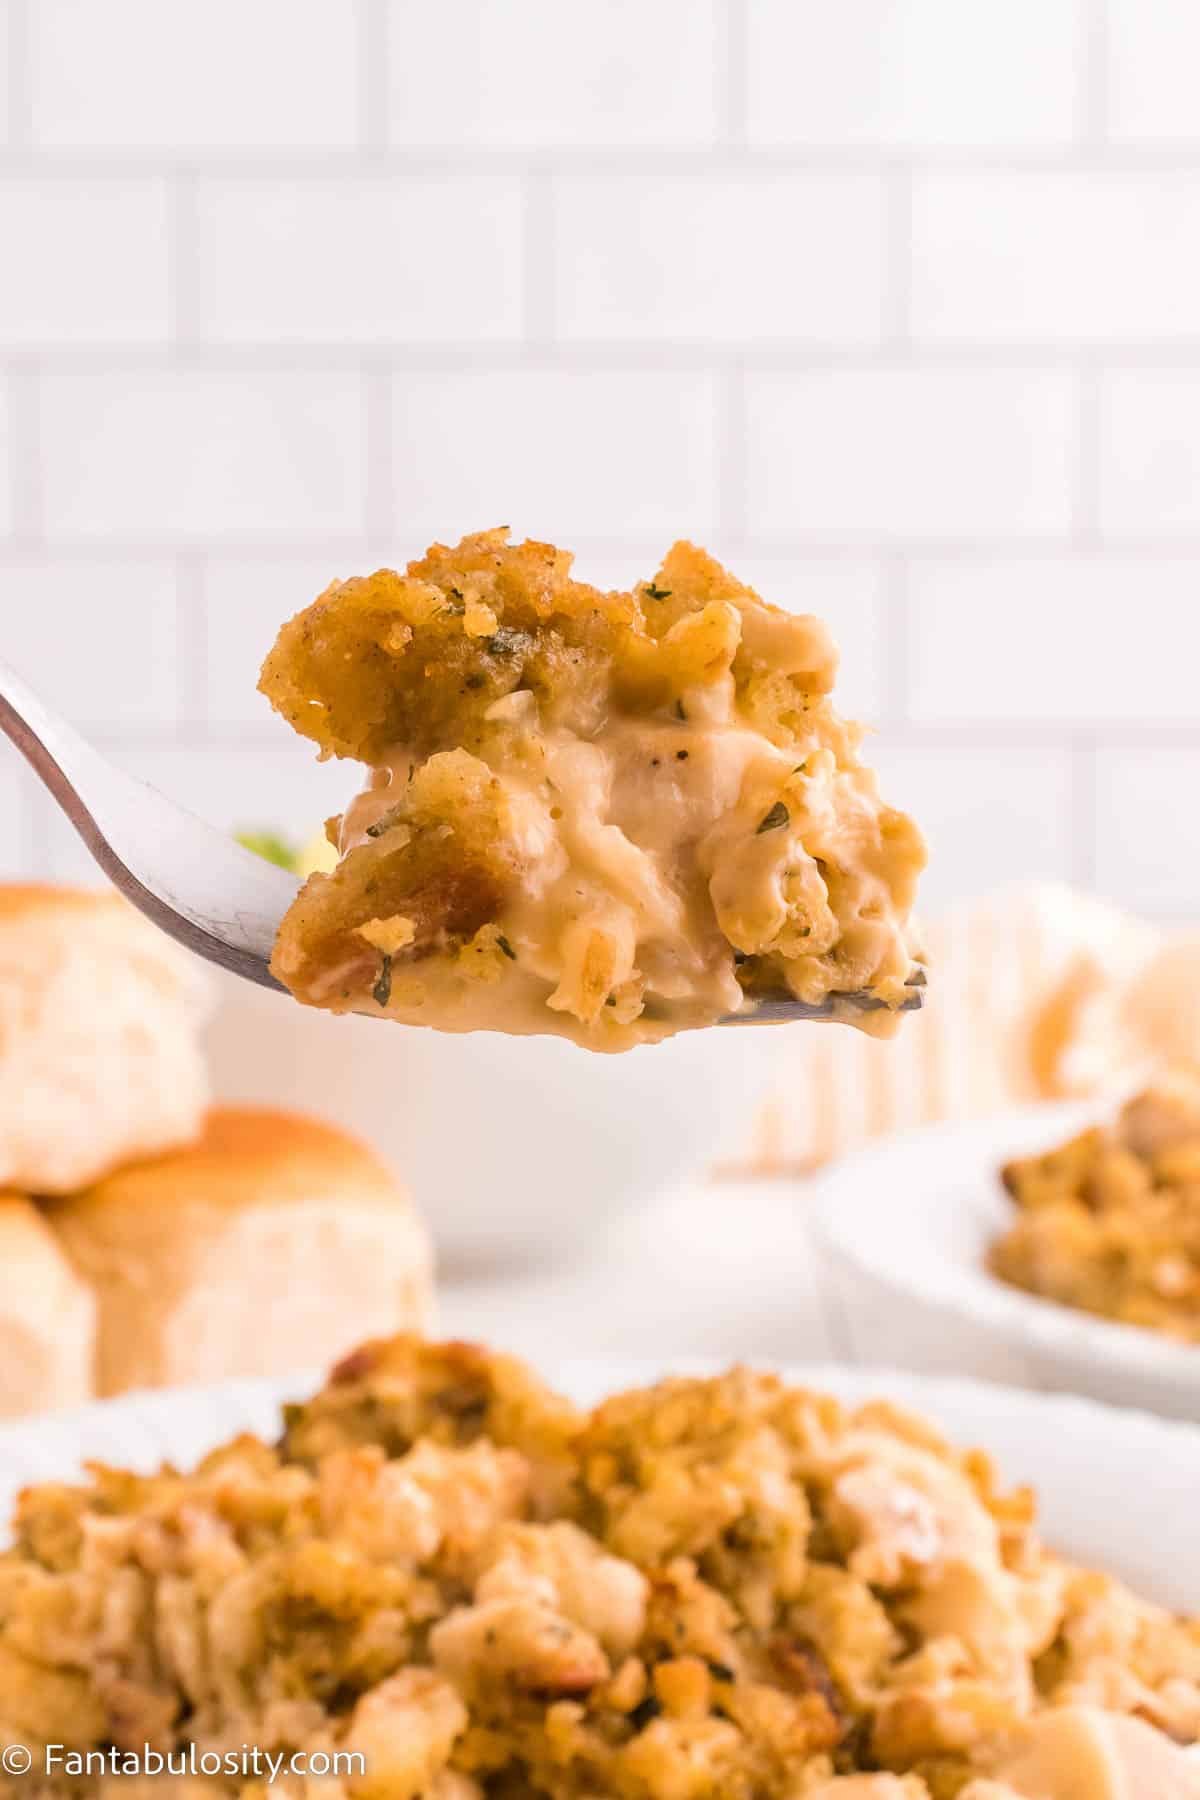
STEP 4. Add stuffing. Arrange the prepared stuffing mixture over the soup layer. Do not mix the layers together (Image 4).
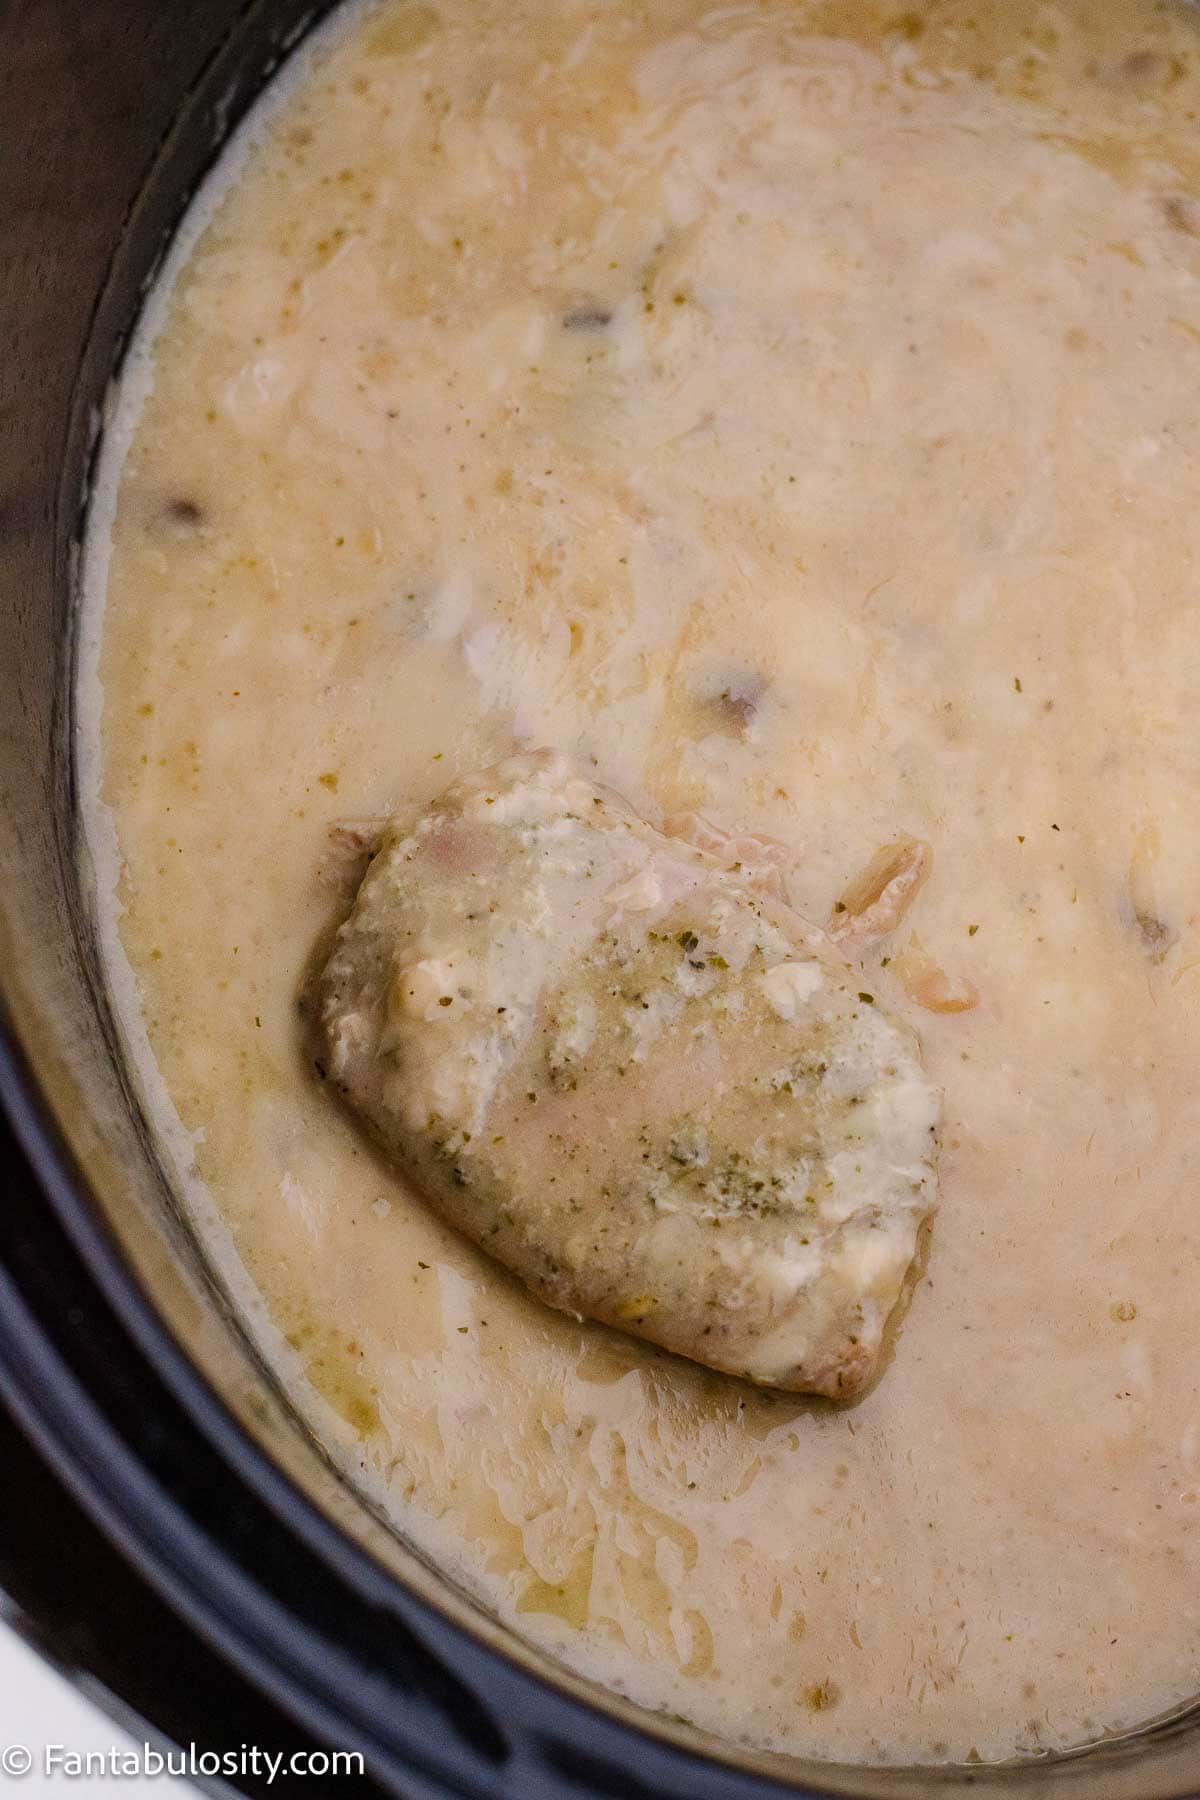
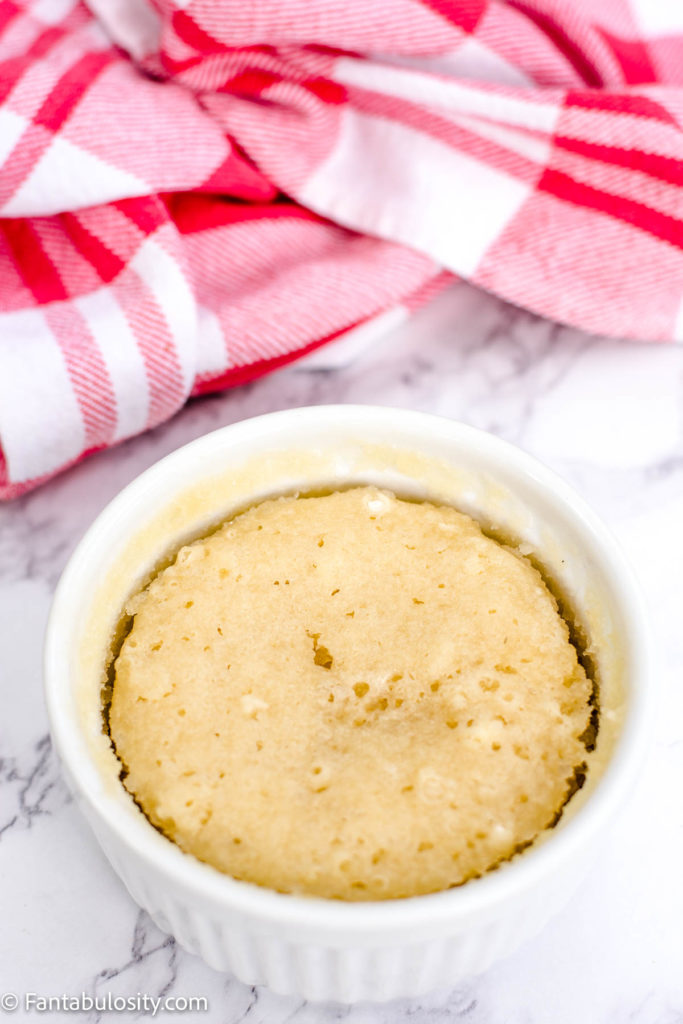
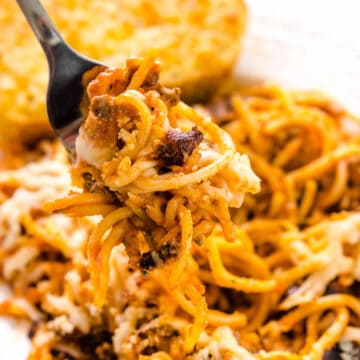
STEP 5. Bake. Bake the casserole until the chicken is fully cooked and the stuffing is browned.
Recipe Pro Tips
- Cover with foil. If the stuffing is browning too quickly, tent the dish loosely with foil while the chicken finishes cooking.
- More chicken. This recipe calls for 2 or 3 chicken breasts. The key is to have just enough to make a single layer of diced chicken in the bottom of the dish.
Recipe FAQs
Yes! It’s perfectly fine to layer raw chicken with prepared ingredients like stuffing because we are baking immediately. You would not want to layer everything and tuck it away for later. The safest way to use raw chicken is to layer it in the dish, then wash your hands thoroughly. Continue with the layers and bake. Use a thermometer to ensure the chicken is cooked through.
Yes, as stated above, we are cooking the casserole immediately in the oven so we are safe to layer the different temperature ingredients.
The box of stuffing mix generally calls for butter when preparing. If you are looking to use something else, give olive oil or vegan buttery sticks a try. Do keep in mind that the soup and cheese are of course dairy, so just swapping out the butter doesn’t make this dish dairy-free. Some just prefer to use other fats, such as margarine.
What to Serve with 4 Ingredient Stove Top Stuffing Chicken Casserole
I love a leafy green salad with a casserole. Hot and cold, and light vs. heavy really complements things well.
Serve up a green veggie on the side, like green beans or garlic roasted broccoli would also pair nicely. Kids often love carrots, so serve them raw or cooked.
Storage Instructions
Store any leftovers, once cooled, in an airtight container or cover the baking dish with foil or plastic wrap, in the fridge for up to 3 days.
The stuffing may be soggy when stored, so reheating in the oven is recommended. Only reheat the portion you will be eating – do not reheat the casserole more than once.
More Casserole Recipes You’ll Love


Did you make this? I’d be so grateful if you left a “star” rating below to let me know what you thought! Then, the next time you need a quick and easy recipe, come back to Fantabulosity to browse all of my easy recipes!
Recipe

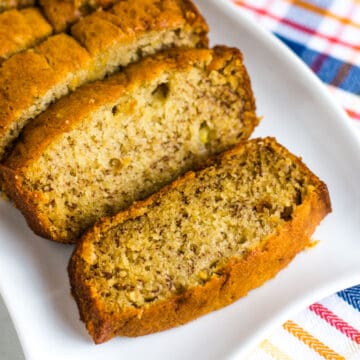
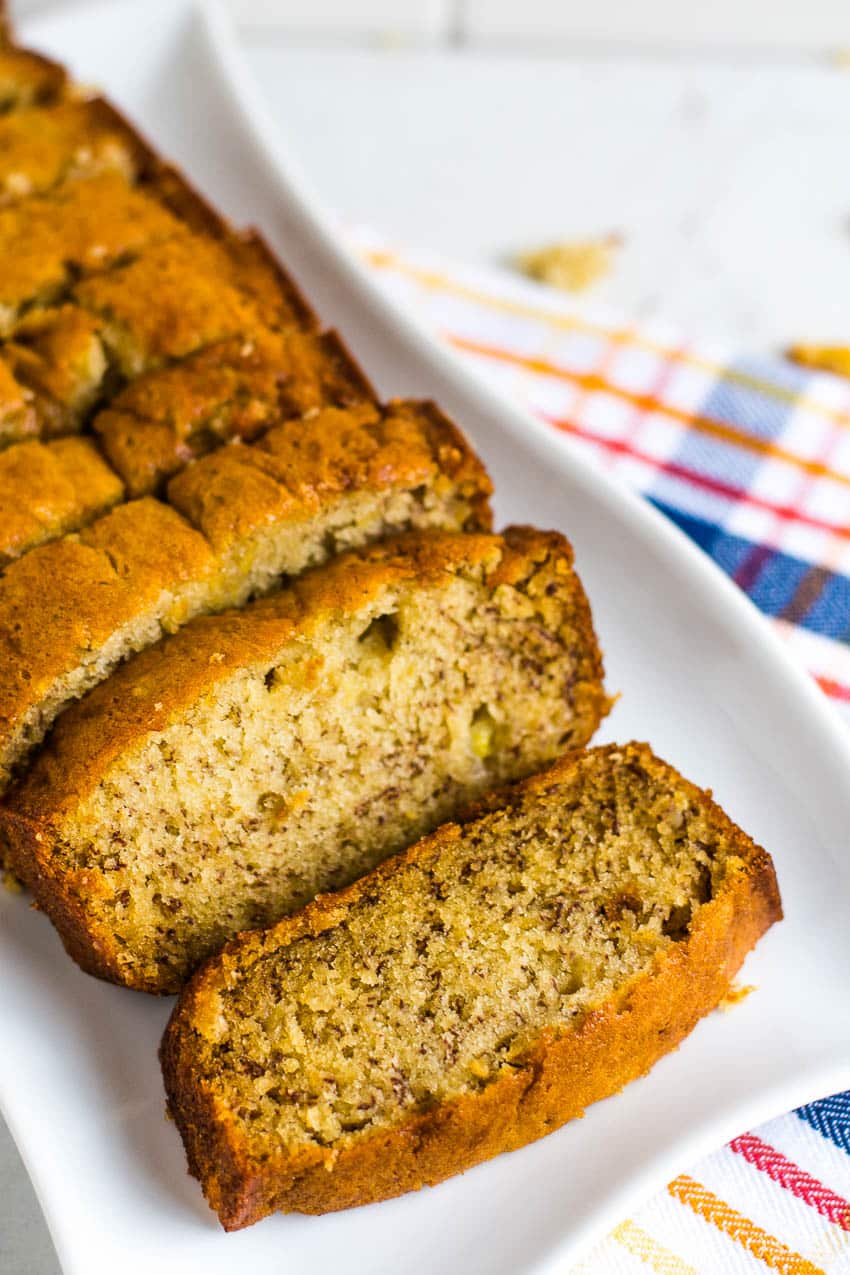
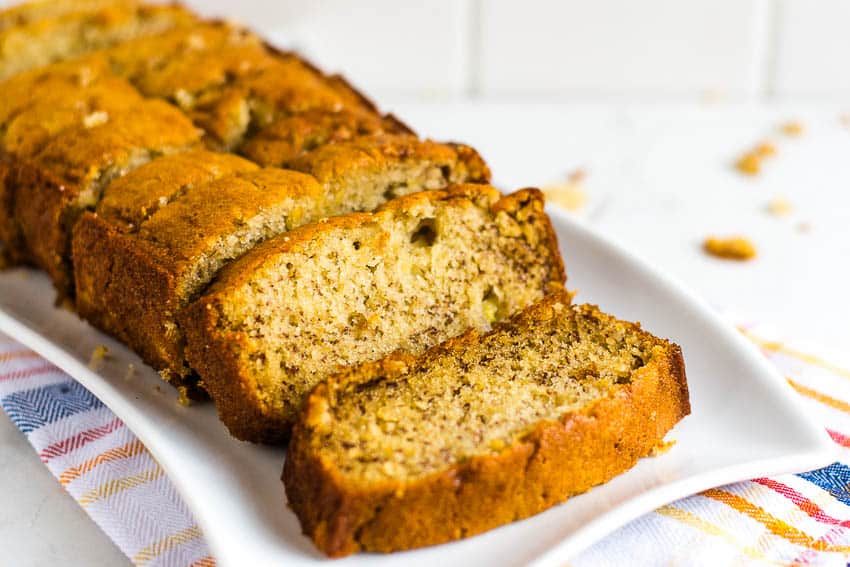
Stove Top Stuffing Chicken Casserole
Equipment
Ingredients
- 2-3 boneless skinless chicken breasts cut into bite-sized pieces
- Salt & pepper to taste
- 1 ½ cups shredded Monterey Jack cheese
- 2 cans cream of chicken soup 10.5oz each
- 2 boxes chicken flavored stuffing (I used Stove Top) 6oz each, prepared per box instructions
Instructions
- Preheat oven to 350°F. Coat a 9×13 baking dish with nonstick spray.
- Add the raw chicken breasts to the prepared dish and add salt and pepper to taste.2-3 boneless skinless chicken breasts, Salt & pepper to taste
- Next, layer the cheese evenly over the chicken. Spread the cans of soup over the cheese (do not add liquid).1 ½ cups shredded Monterey Jack cheese, 2 cans cream of chicken soup
- Top the dish with the prepared stuffing mix. Keep the ingredients in layers; do not mix together!2 boxes chicken flavored stuffing (I used Stove Top)
- Bake for 45 minutes or until the chicken reaches 165°F with an instant read thermometer and the stuffing is browned and crispy.
Notes
- If you don't want your stuffing to get too browned, cover the dish with tinfoil when there's 15 minutes left of baking. This is not required, however, because baking it uncovered gives the stuffing a little crunch.
- The number of chicken breasts used depends on the size. Just use enough chicken to mostly cover the bottom of the pan.