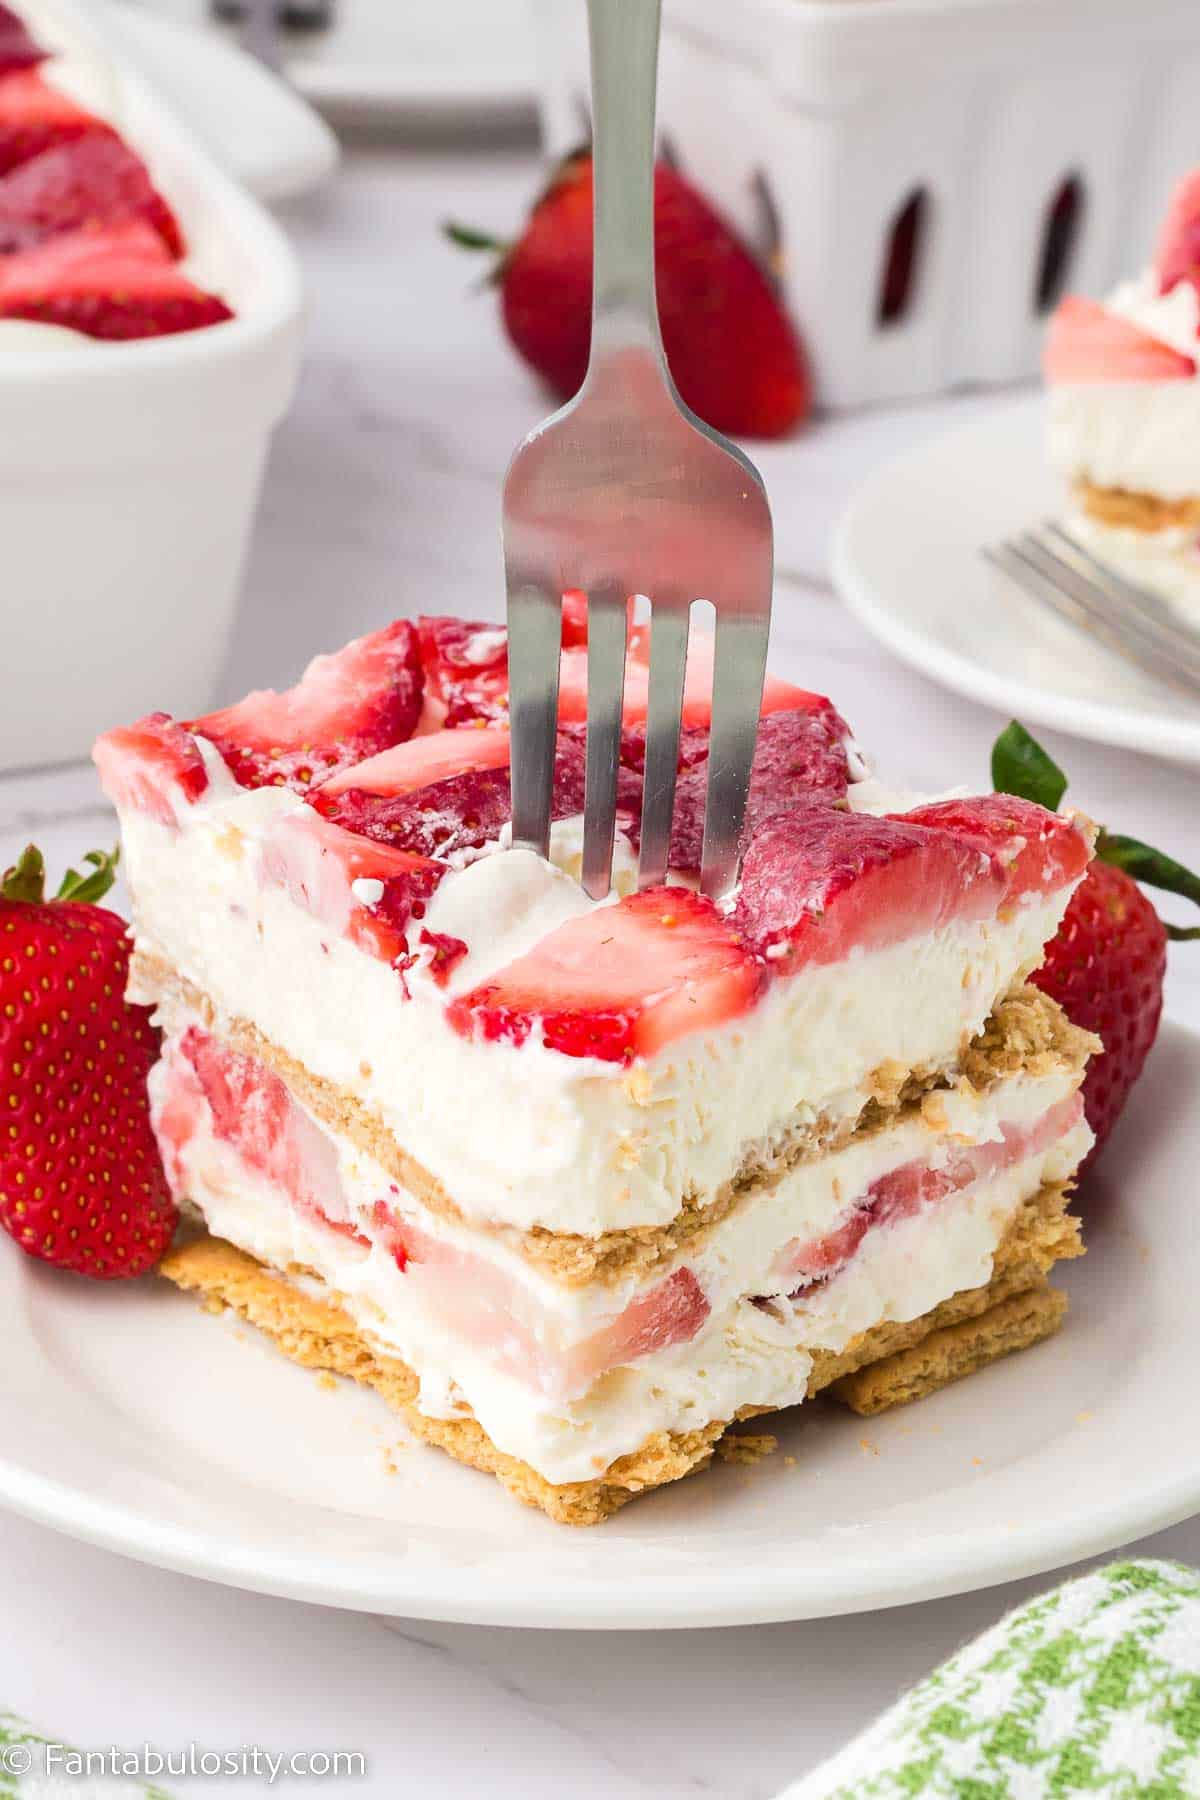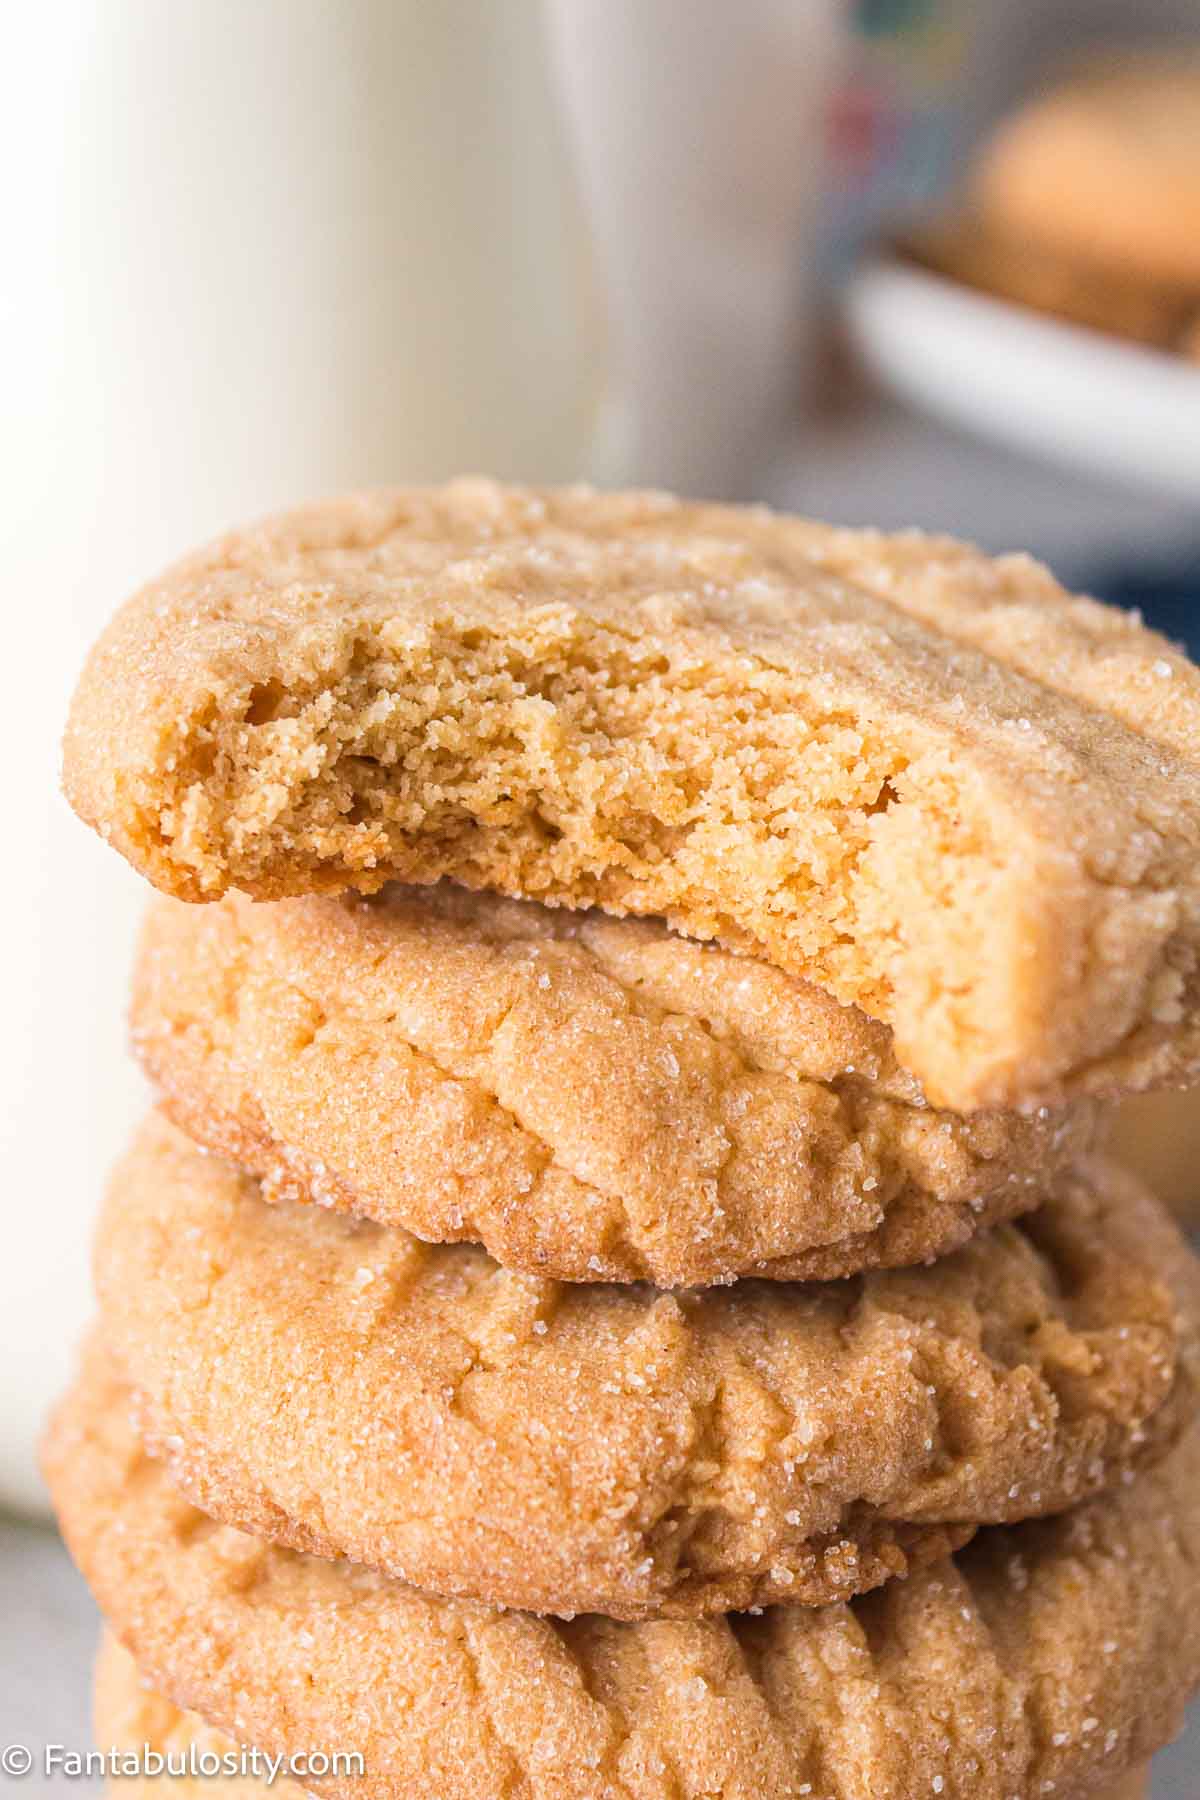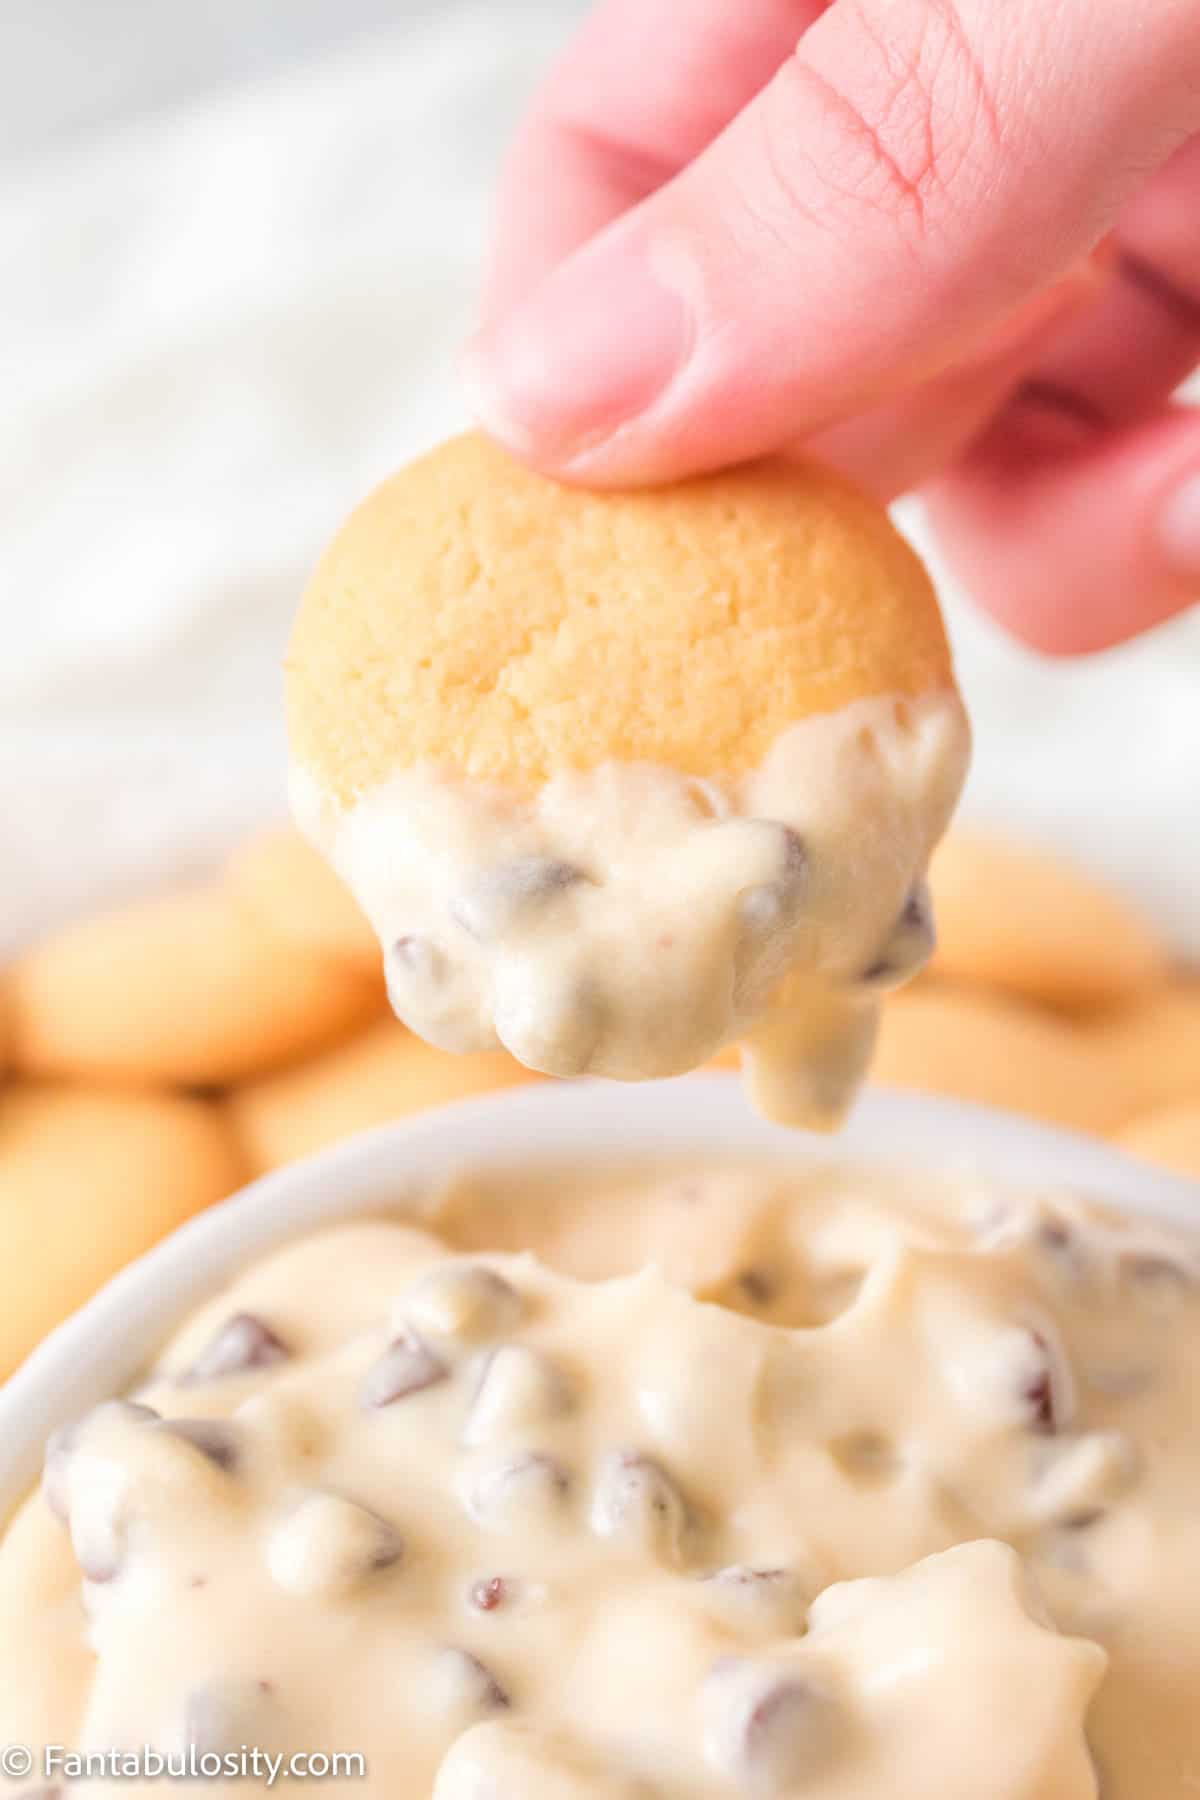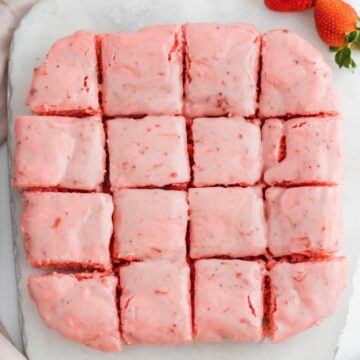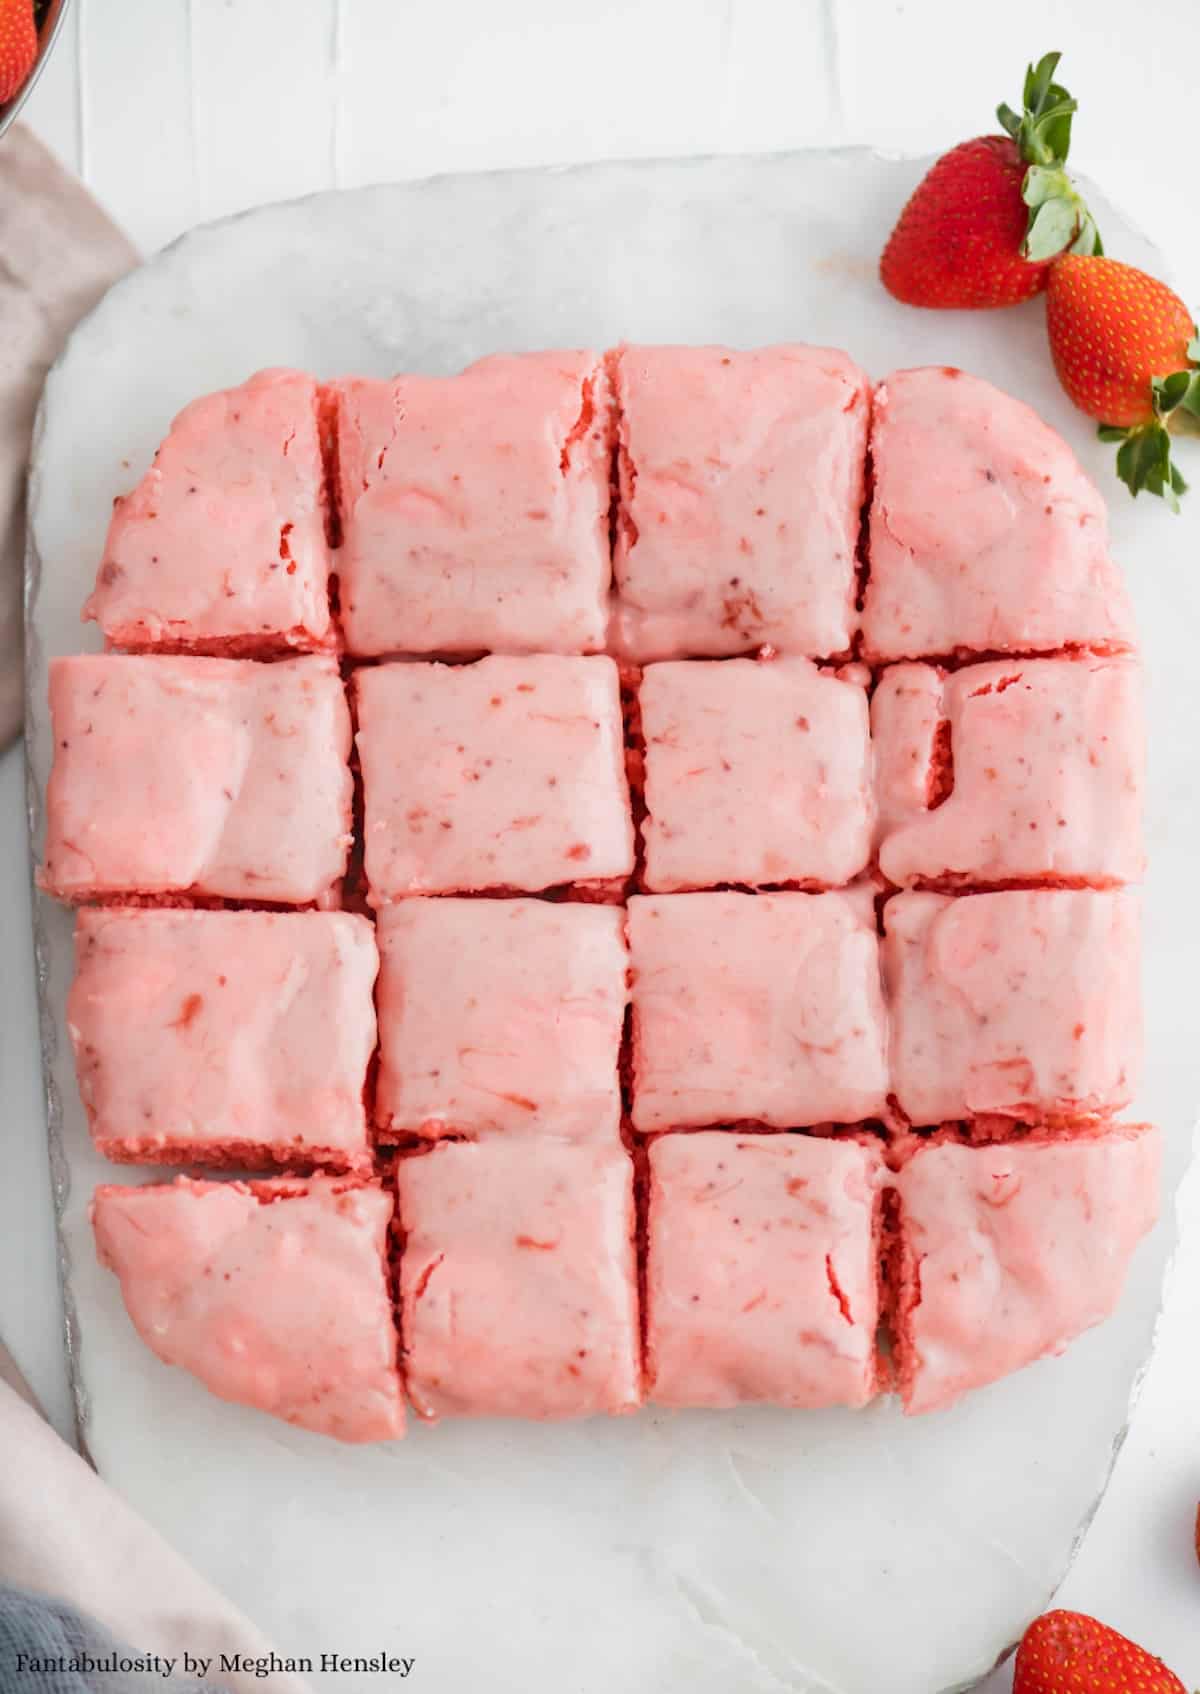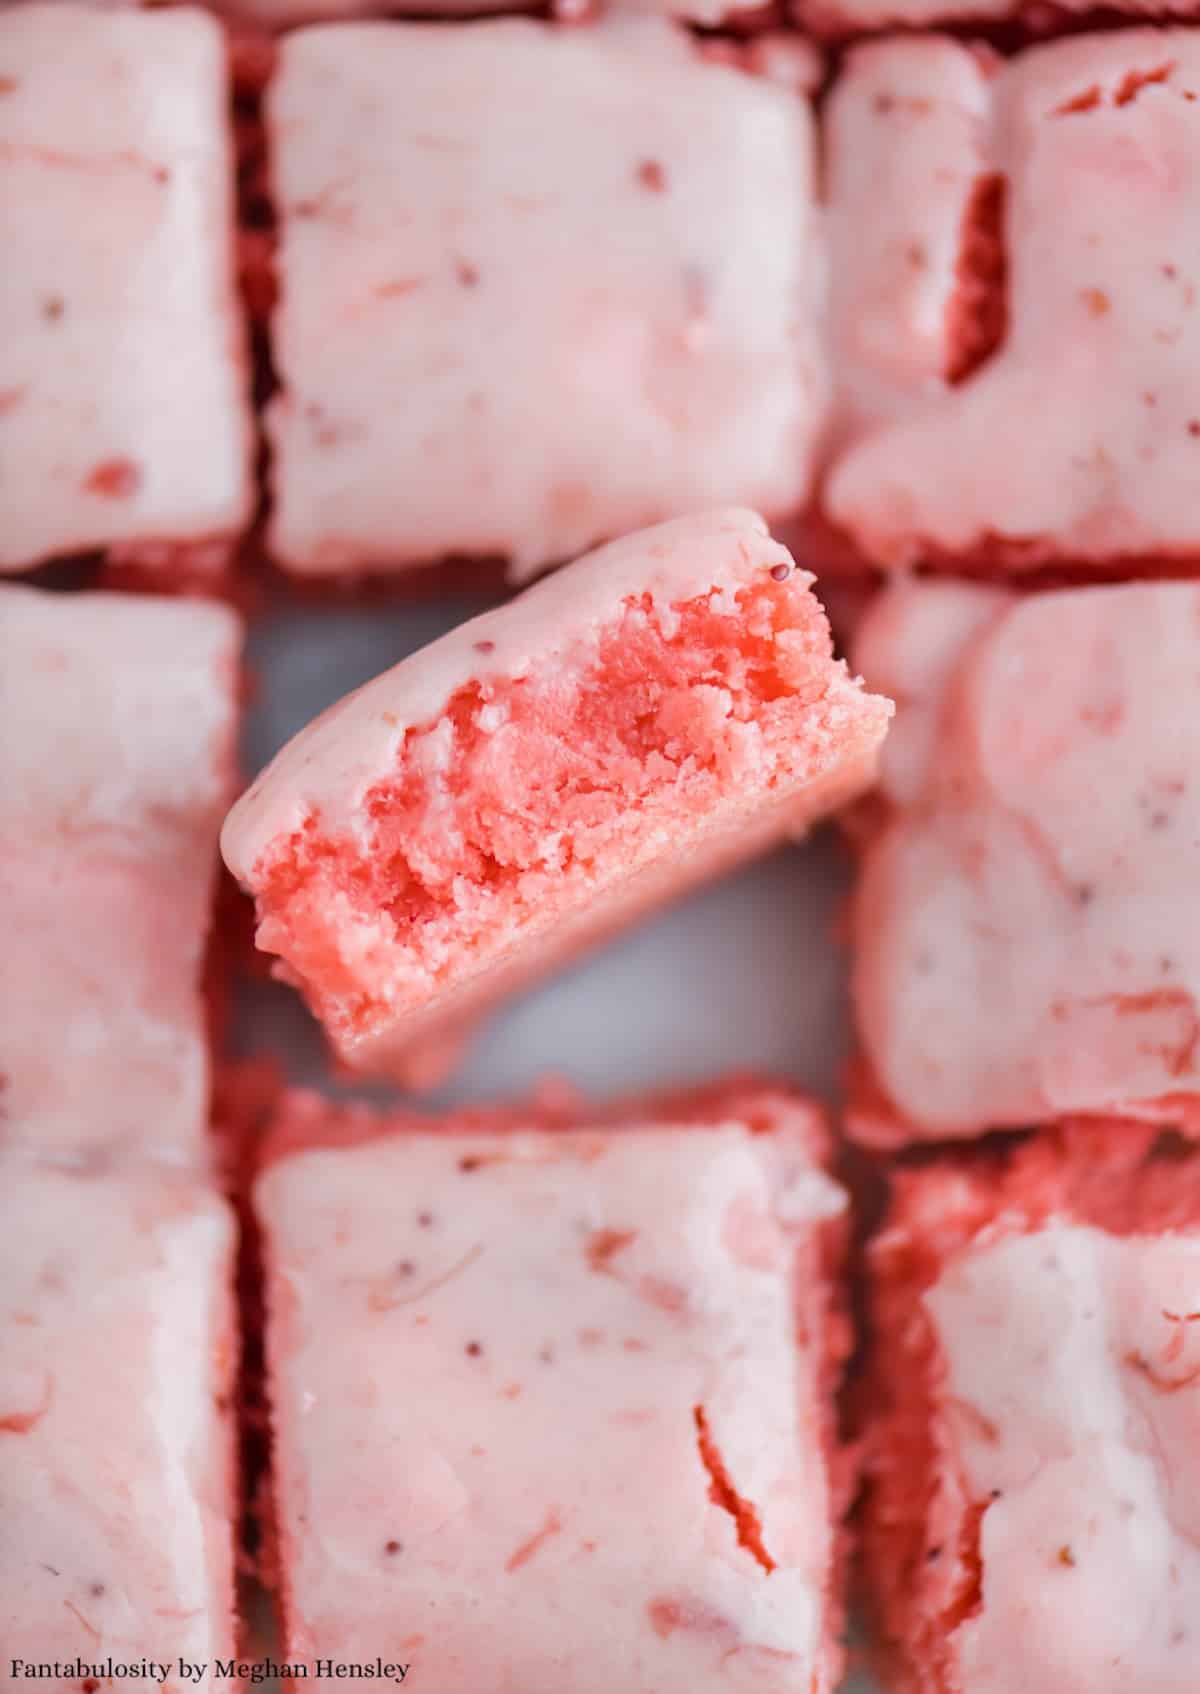
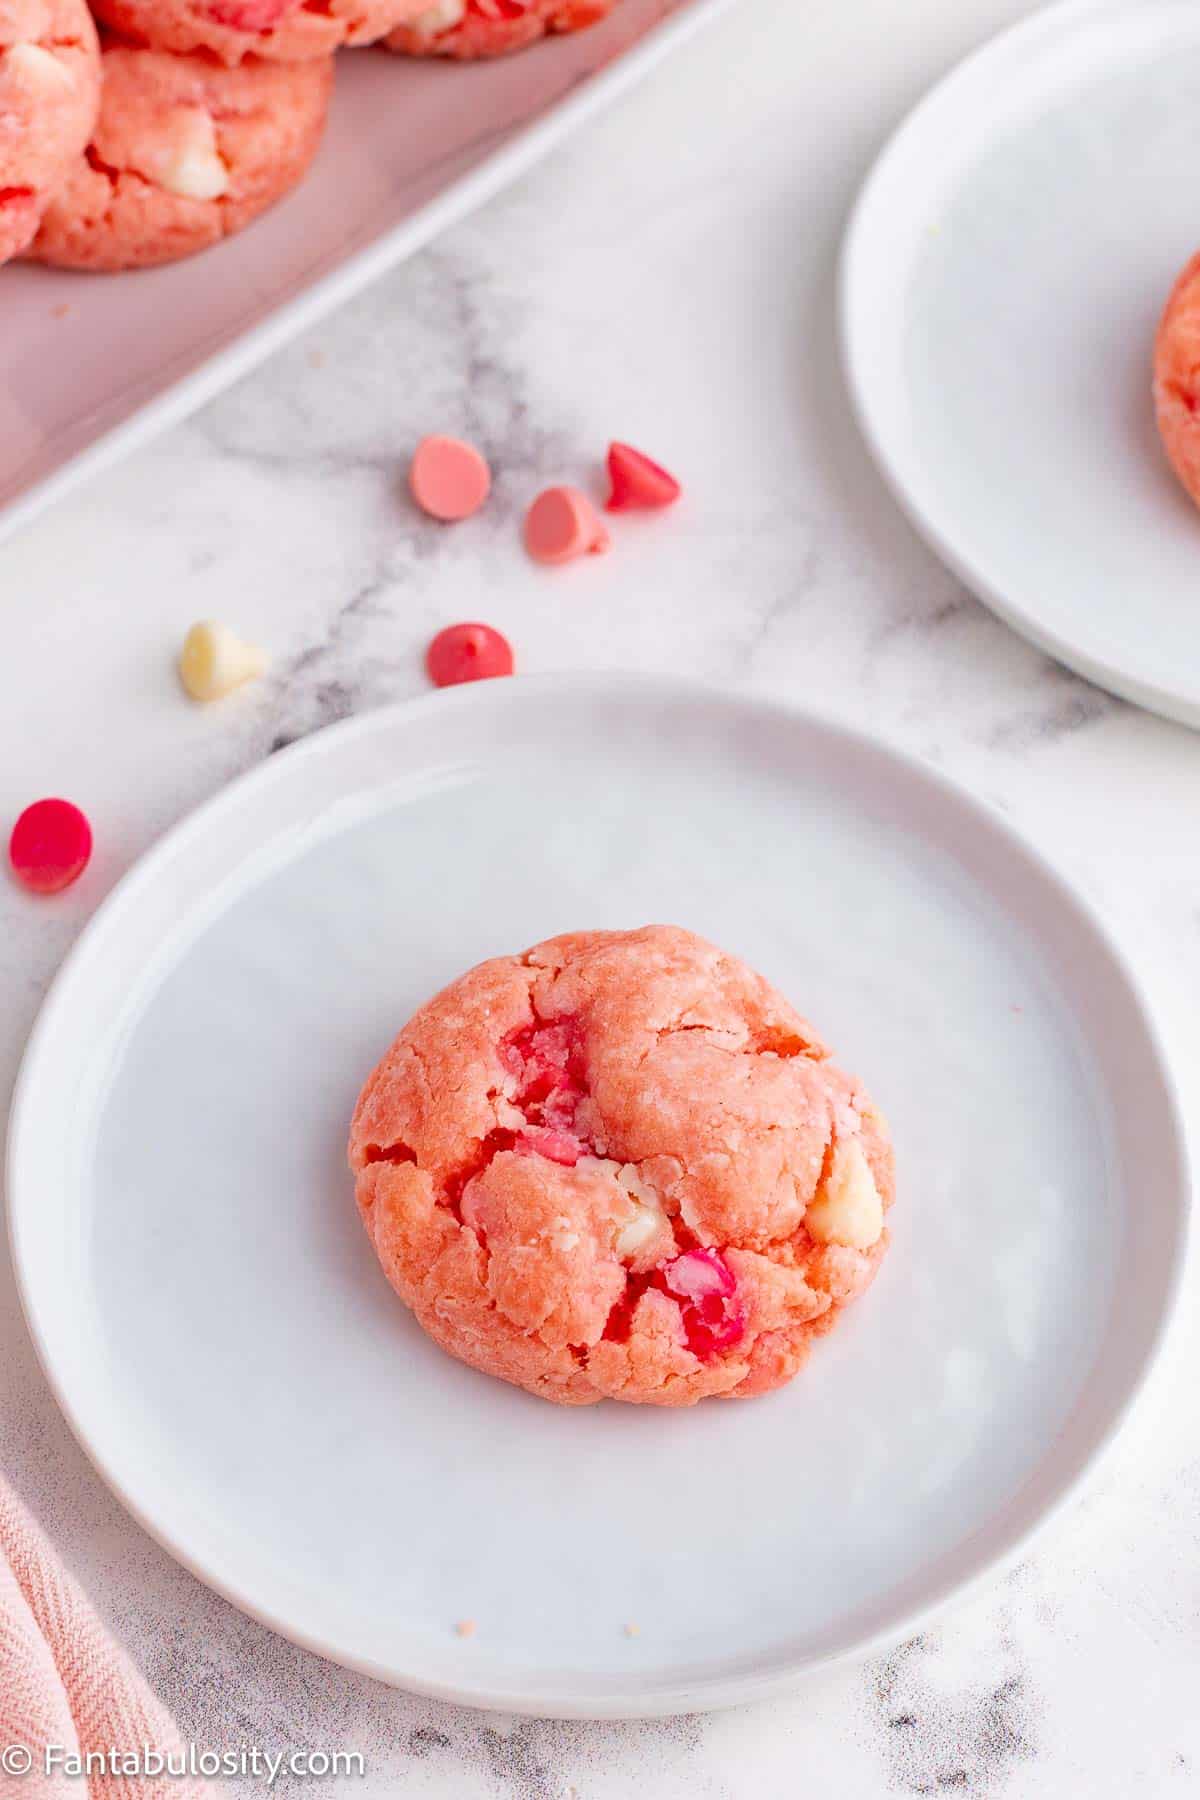
These delicious Strawberry Cake Mix Cookies are a delightful treat that combines the taste of fresh strawberries with the creamy sweetness of a classic cake mix.
They’re easy to make, soft, chewy, and bursting with flavor. Perfect for a summer picnic, a holiday dessert, Valentine’s Day, or just a casual day at home, this strawberry cake mix cookie recipe promises a mouthful of joy with every bite. We bet you can’t stop at just one!

Want to carry on the strawberry theme with more tasty recipes? A great recipe option is to make some brownies with this Strawberry Brownies Recipe. Another favorite in our house is Strawberry Crunch Cake which is easy to make and a gorgeous color.
[feast_advanced_jump_to]Why You’ll Love This Recipe
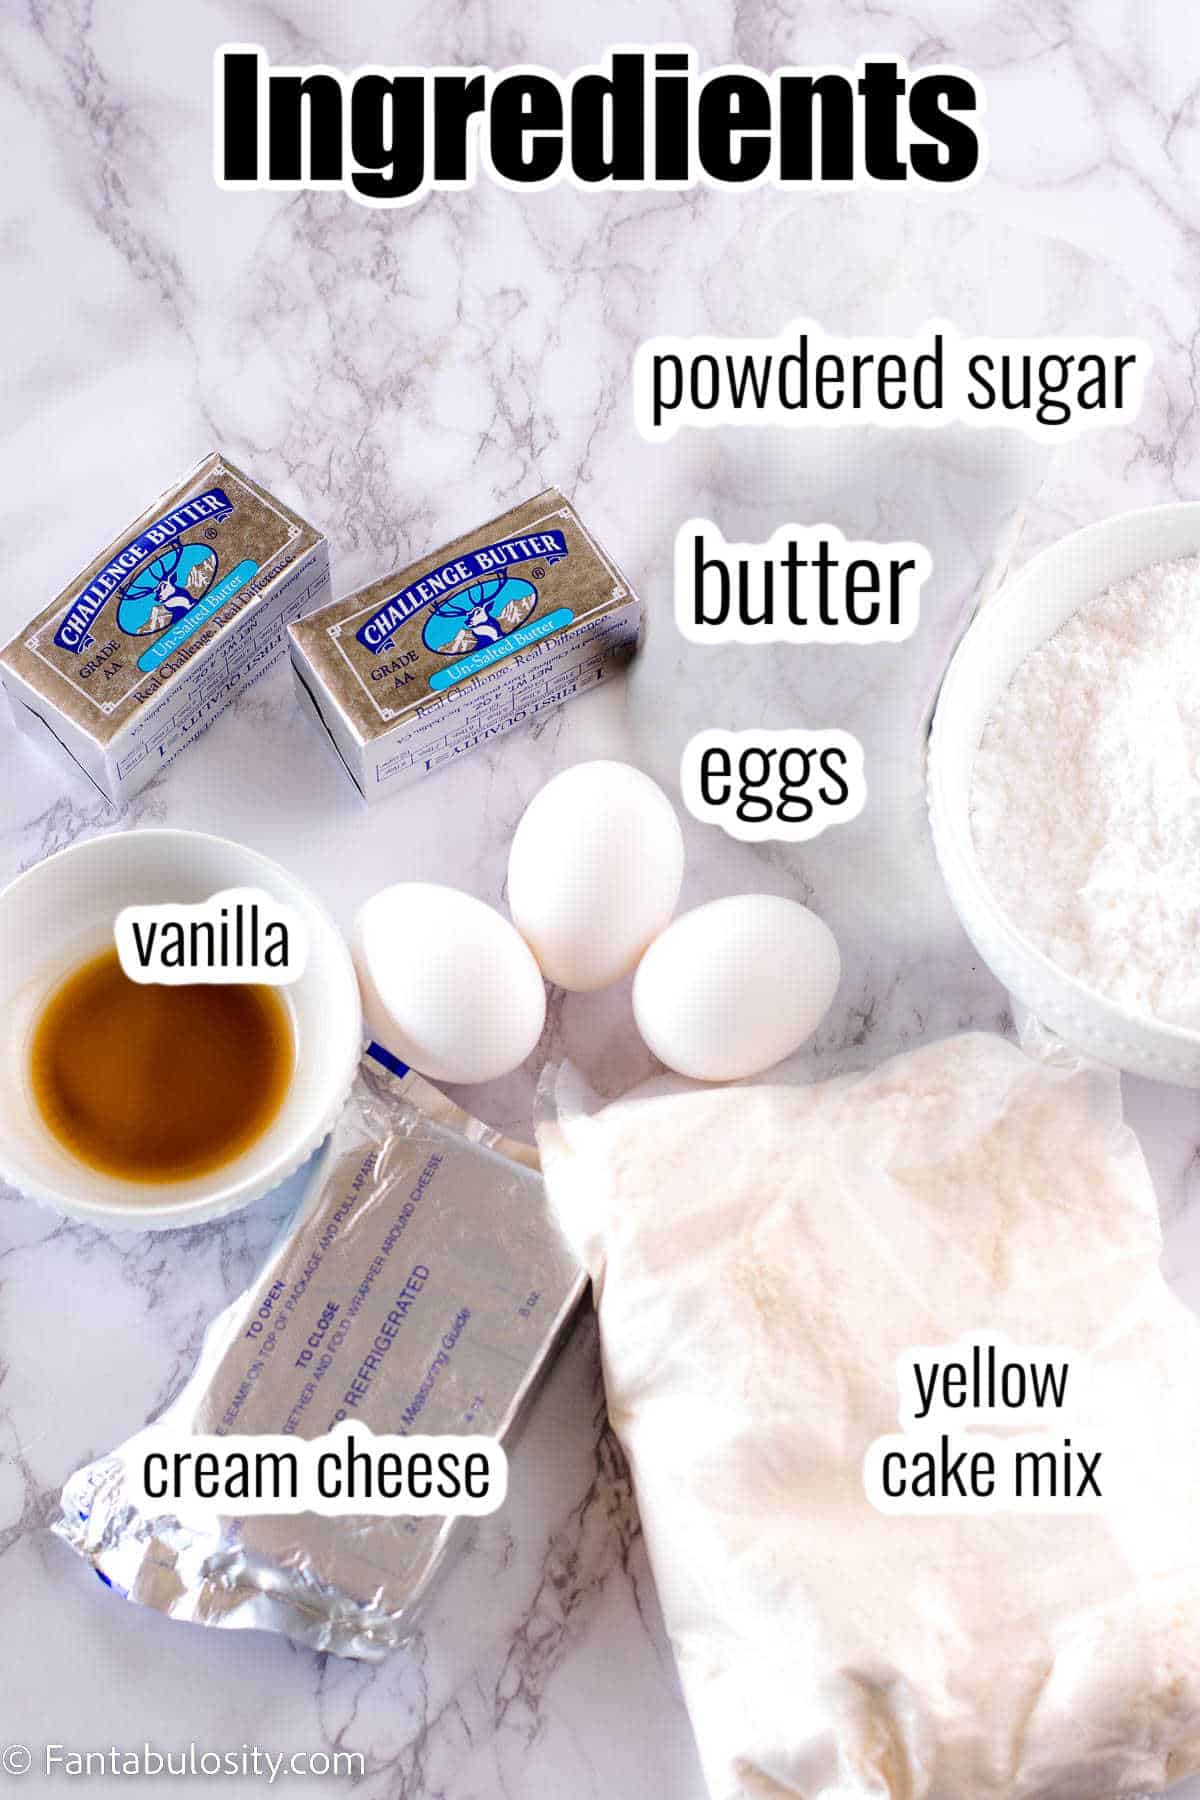
- It uses a few ingredients: With only 7 ingredients, this recipe uses items that you may even have on hand.
- Cake mix recipe: A lot of the work is done here by using a box of strawberry cake mix, so ideal for any level of experience.
- Ready in less than 30 minutes: This recipe, from start to finish, only takes less than half an hour for a quick and simple dessert option.
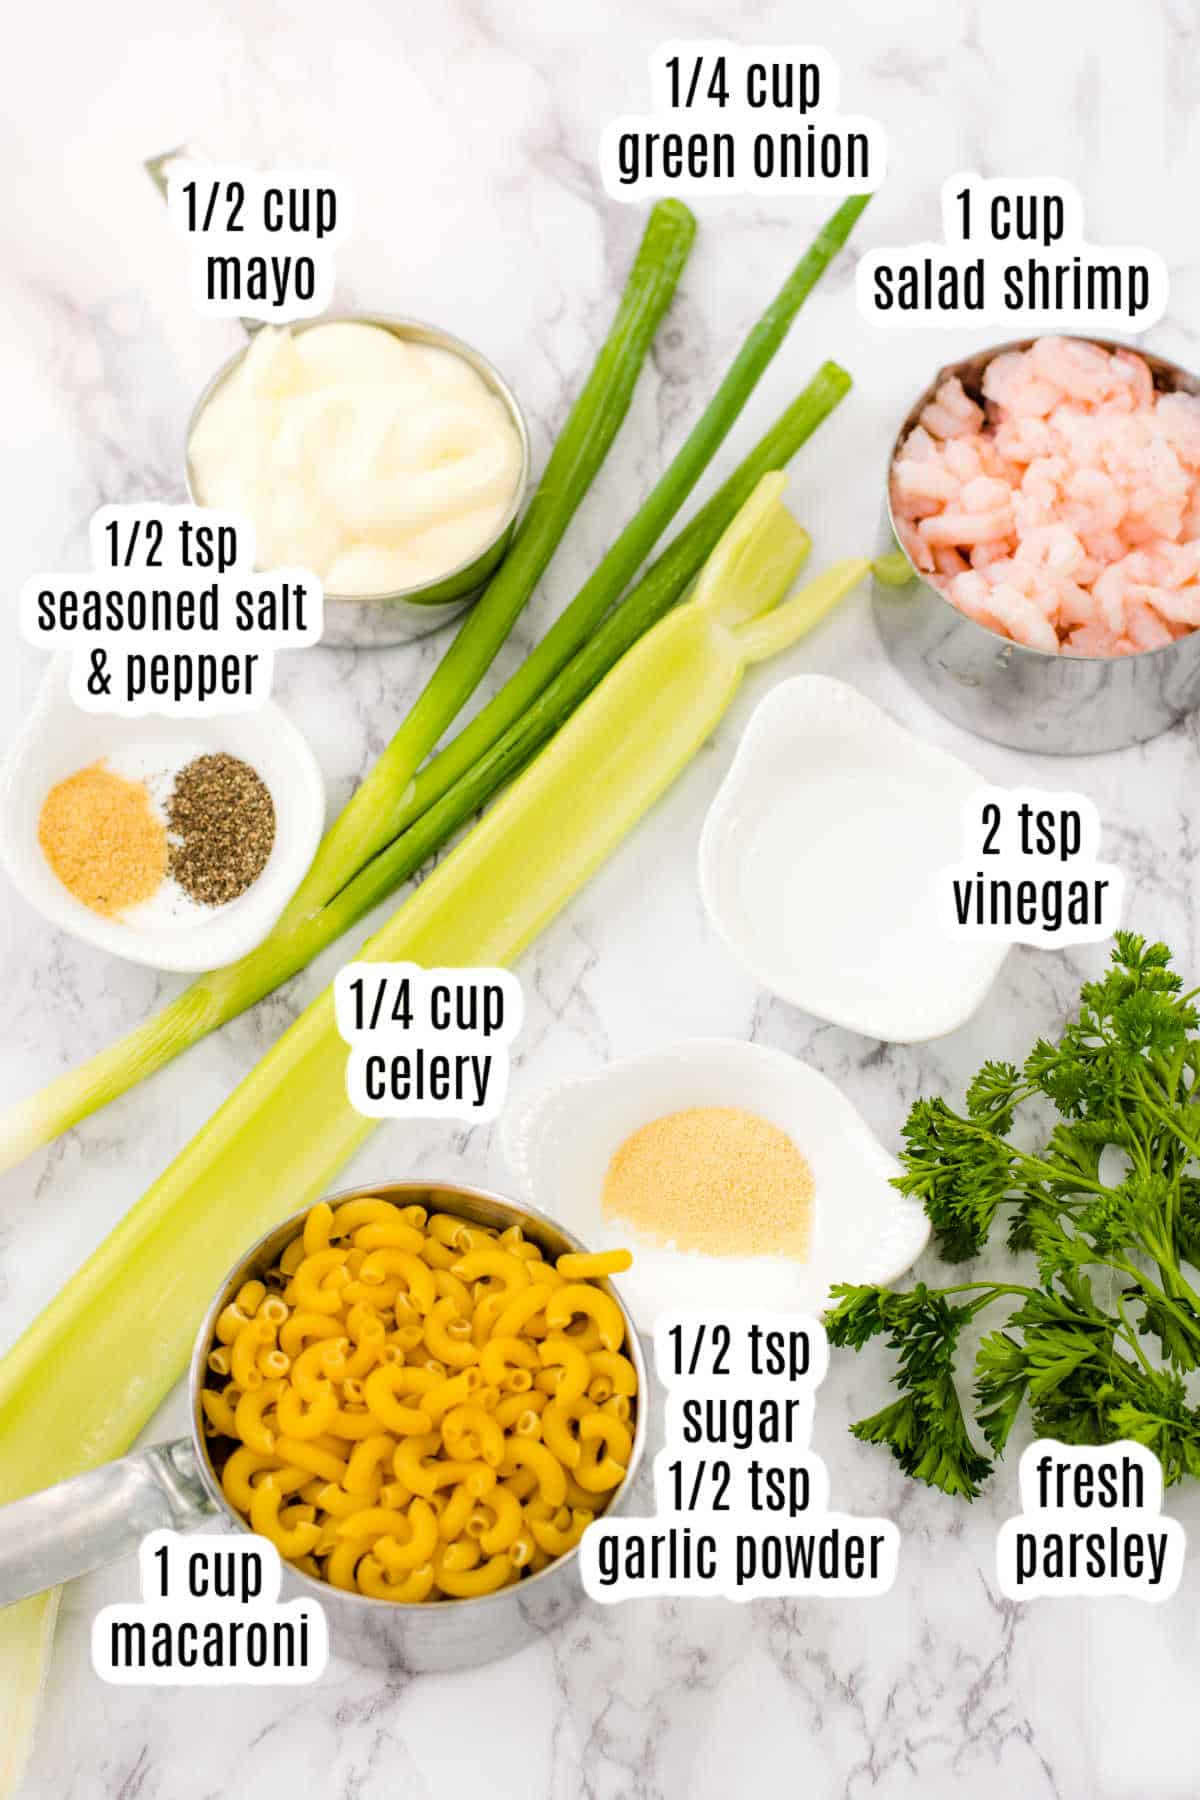
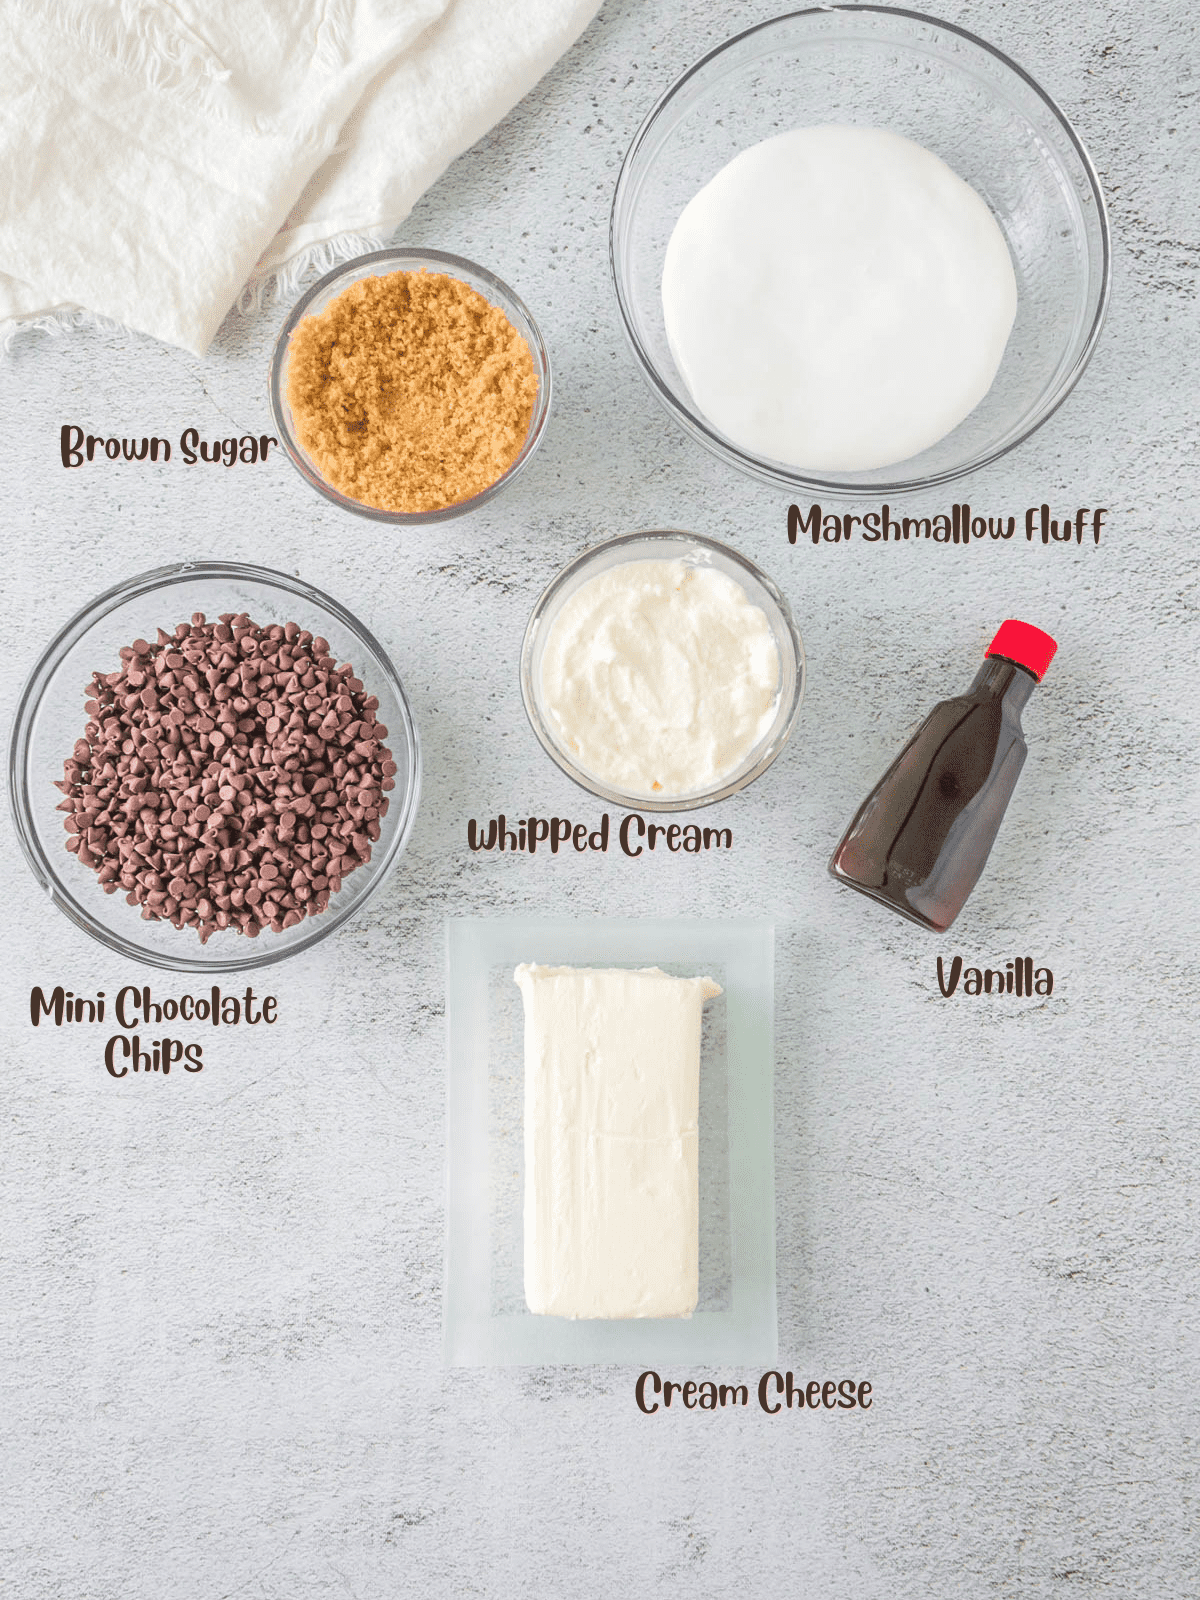
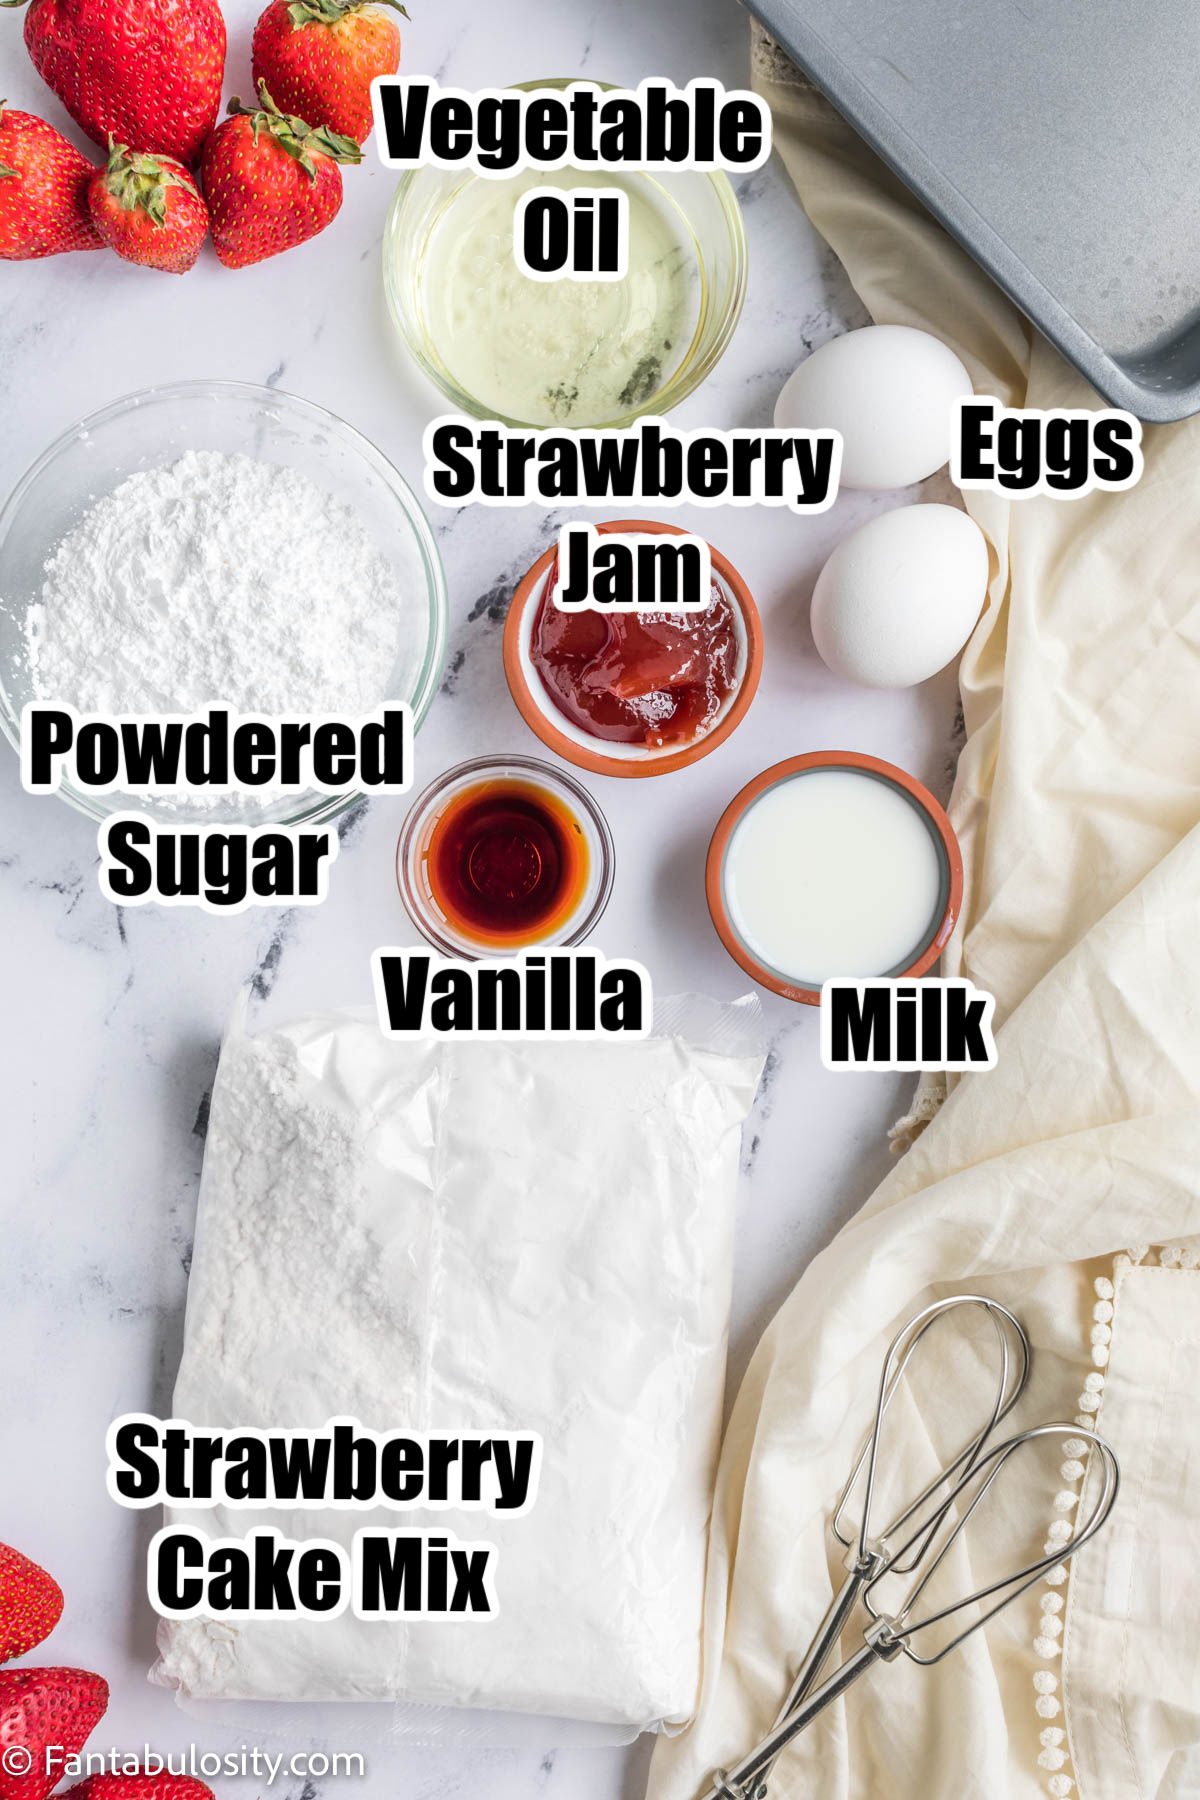
Ingredients Needed
I’ve highlighted a couple of simple ingredients with some relevant notes below. Aside from this, the ingredients needed are pretty basic.

- Butter – We use unsalted for this recipe, but you can use salted if you prefer. Just remember that you may want to reduce the amount of salt the recipe calls for if using salted butter.
- Cream Cheese – A crucial ingredient that lends a velvety touch to your perfect cake mix cookies. We recommend using full-fat cream cheese for a richer taste, but a low-fat variation could work if you’re watching your calorie intake.
- Chocolate Chips – The red, pink, and white chips were found at Michael’s but they seem to be out of stock. You can use a mixture of white and pink chocolate chips!
- Vanilla Extract – This ingredient enhances the flavors in your delicious cookie. Always opt for pure vanilla extract over imitation for a more authentic and robust flavor. If you’re feeling adventurous, you can even try using different extract flavors like almond or lemon for a unique spin.
Substitutions
Sometimes substitutions are necessary because of ingredients that are unavailable or needed for dietary restrictions. Here are some suggestions that can help:
- Cream Cheese: If you’re looking for a dairy-free or vegan option, try using tofu-based cream cheese. For those watching their fat intake, Greek yogurt is a great substitute.
- Vanilla Extract: If you’re out of vanilla extract, you can use maple syrup or honey. They also bring a unique flavor to your cookies. Alternatively, a vanilla bean can also be used; just scrape out the seeds.
- Boxed Strawberry Cake Mix: Lemon, chocolate, or yellow cake mix can be used if strawberry is not available. Please note using a different cake mix flavor will alter the flavor of the cookies.
- Powdered Sugar: If you’re reducing your sugar intake, you can use Stevia or Erythritol as substitutes. They are both natural sweeteners and won’t affect your blood sugar levels as much.
- Chocolate Chips: You can use milk chocolate or dark chocolate chips if you prefer. If you’re looking for a dairy-free option, try using vegan chocolate chips. Almond slivers or chopped nuts can also add a nice crunch if you’re seeking an alternative to chocolate.
Variations
- For a Festive Twist: Make these cookies more festive for the holidays by adding colored sprinkles or crushed peppermint candies to the dough before baking.
- For Chocolate Lovers: Modify the recipe by incorporating cocoa powder in the dough and topping the cookies with chocolate chips or drizzling them with melted chocolate.
- For a Nutty Flavor: Add a handful of chopped walnuts, pecans, or almonds into the dough for an extra crunch and a subtly nutty flavor.
- For a Tropical Feel: Include shredded coconut in the dough, and top your cookies with a dash of lime zest to evoke a tropical island vibe.
- For More Fruitiness: If you love fruits, consider adding dried fruits like cranberries or raisins to your cookies. They will lend a delightful chewy texture and natural sweetness.
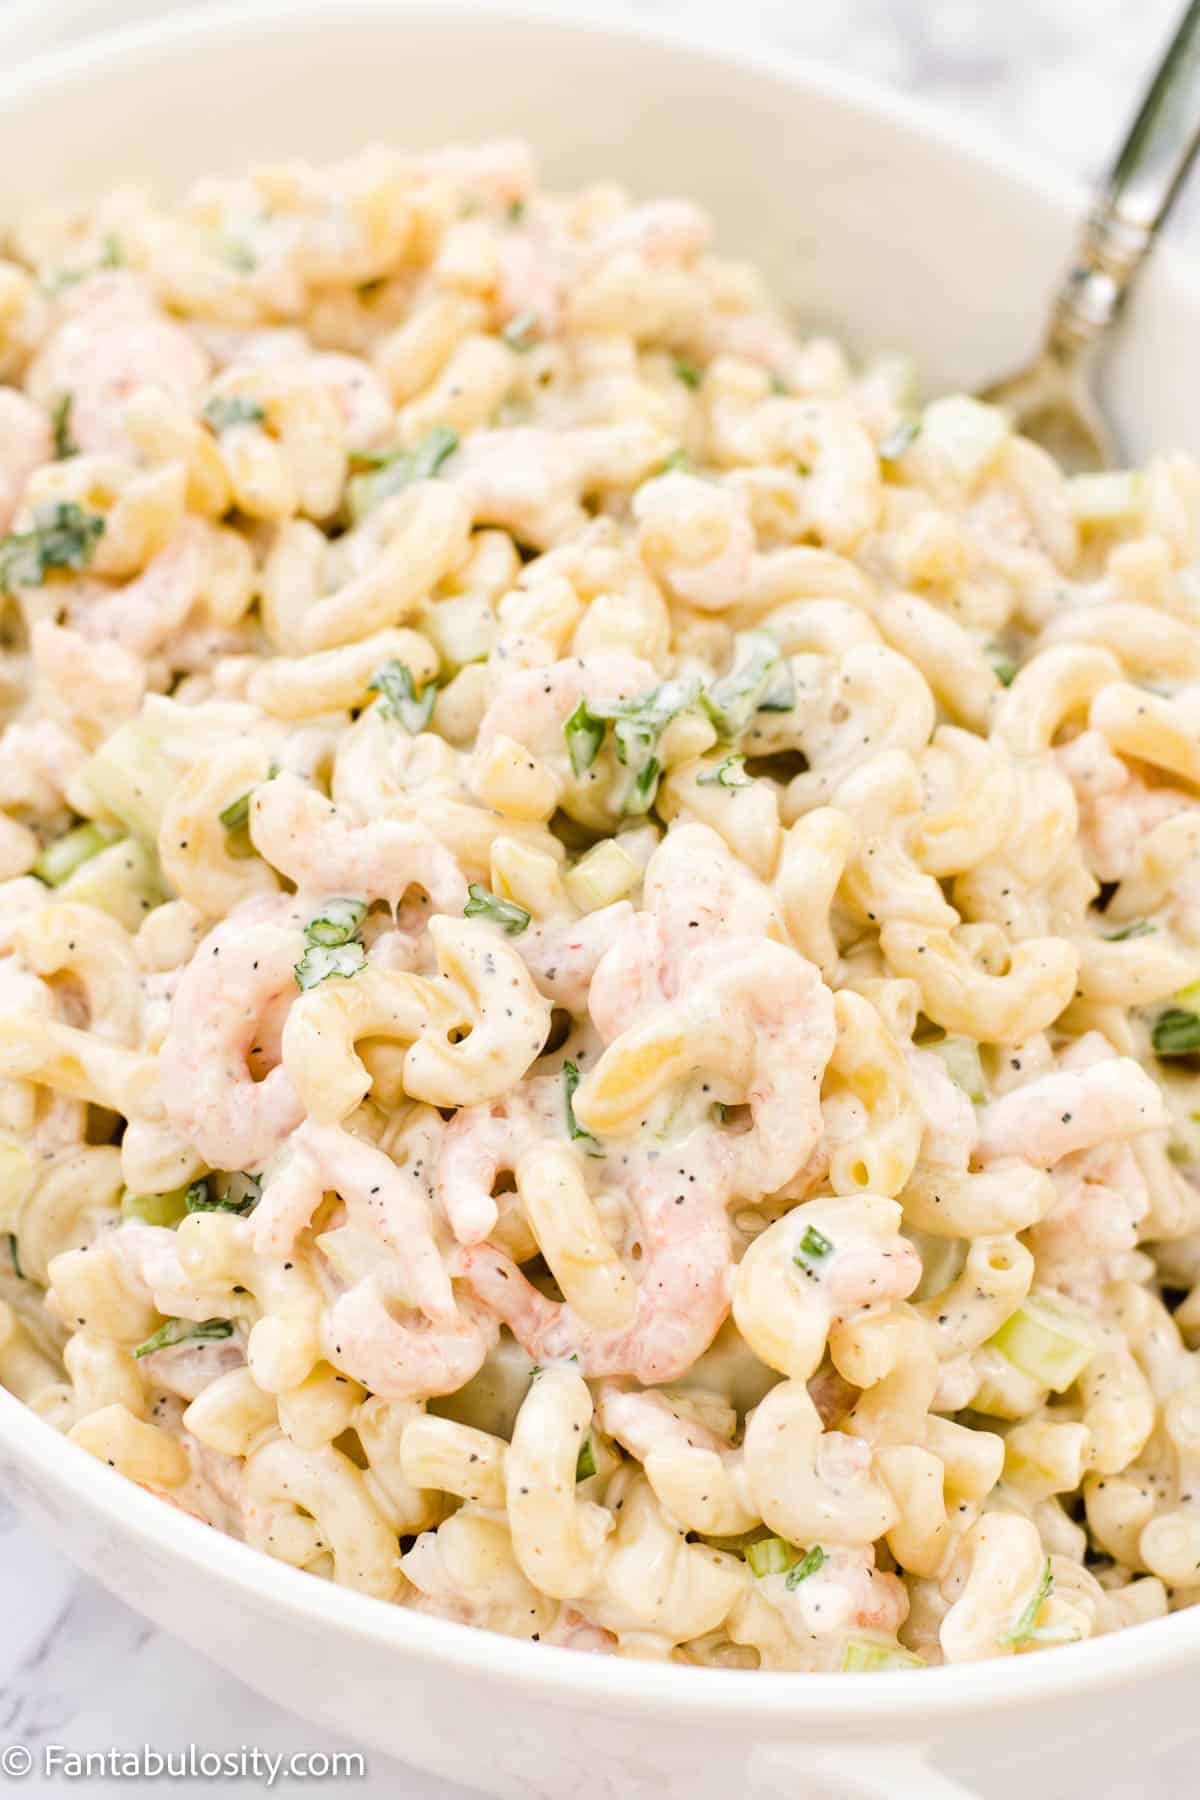
How to Make Strawberry Cake Mix Cookies
This easy strawberry cookie recipe is broken into 2 components:
- make the cake mix
- create the cookies and bake
*Be sure to see the recipe card below for the full ingredients list & instructions!*
STEP 1: Prepare the equipment. Heat oven to 350° and prepare a cookie sheet with a layer of parchment paper.
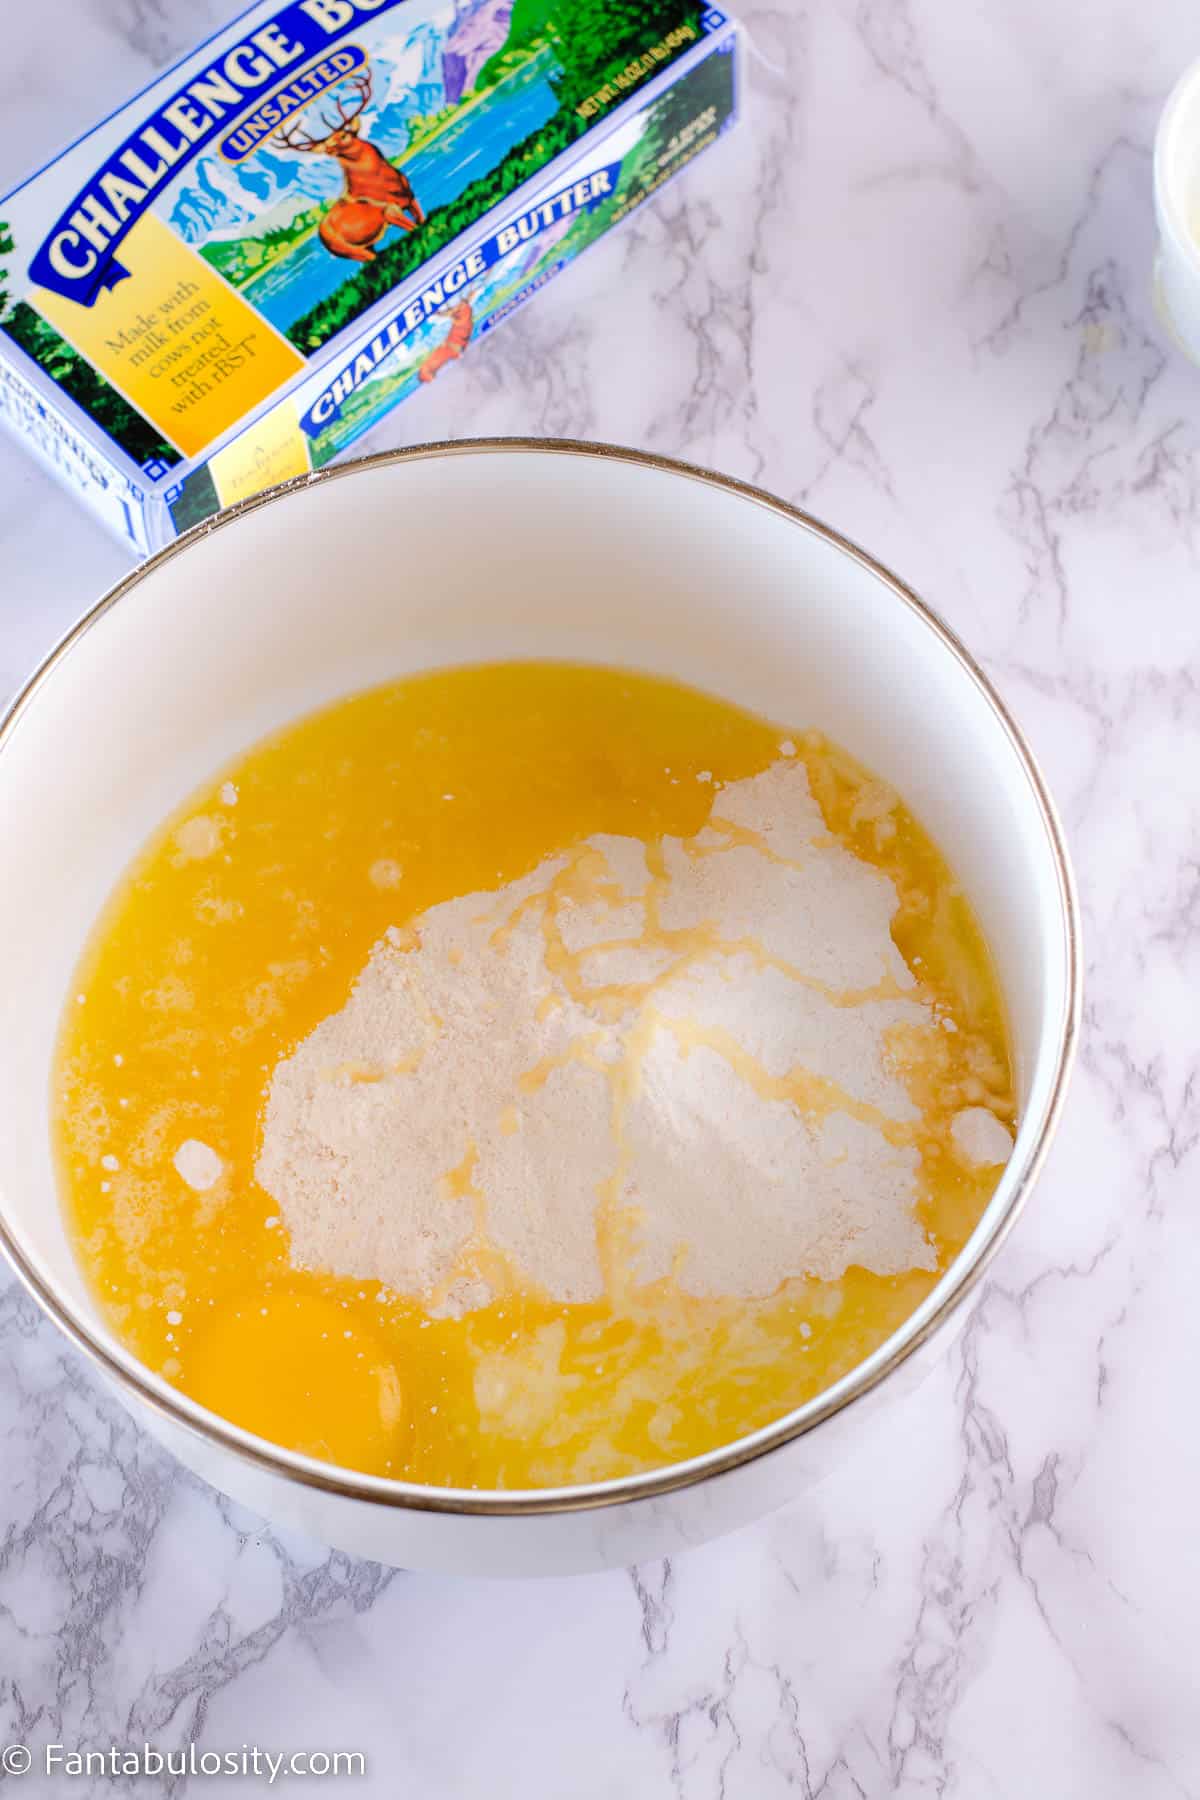
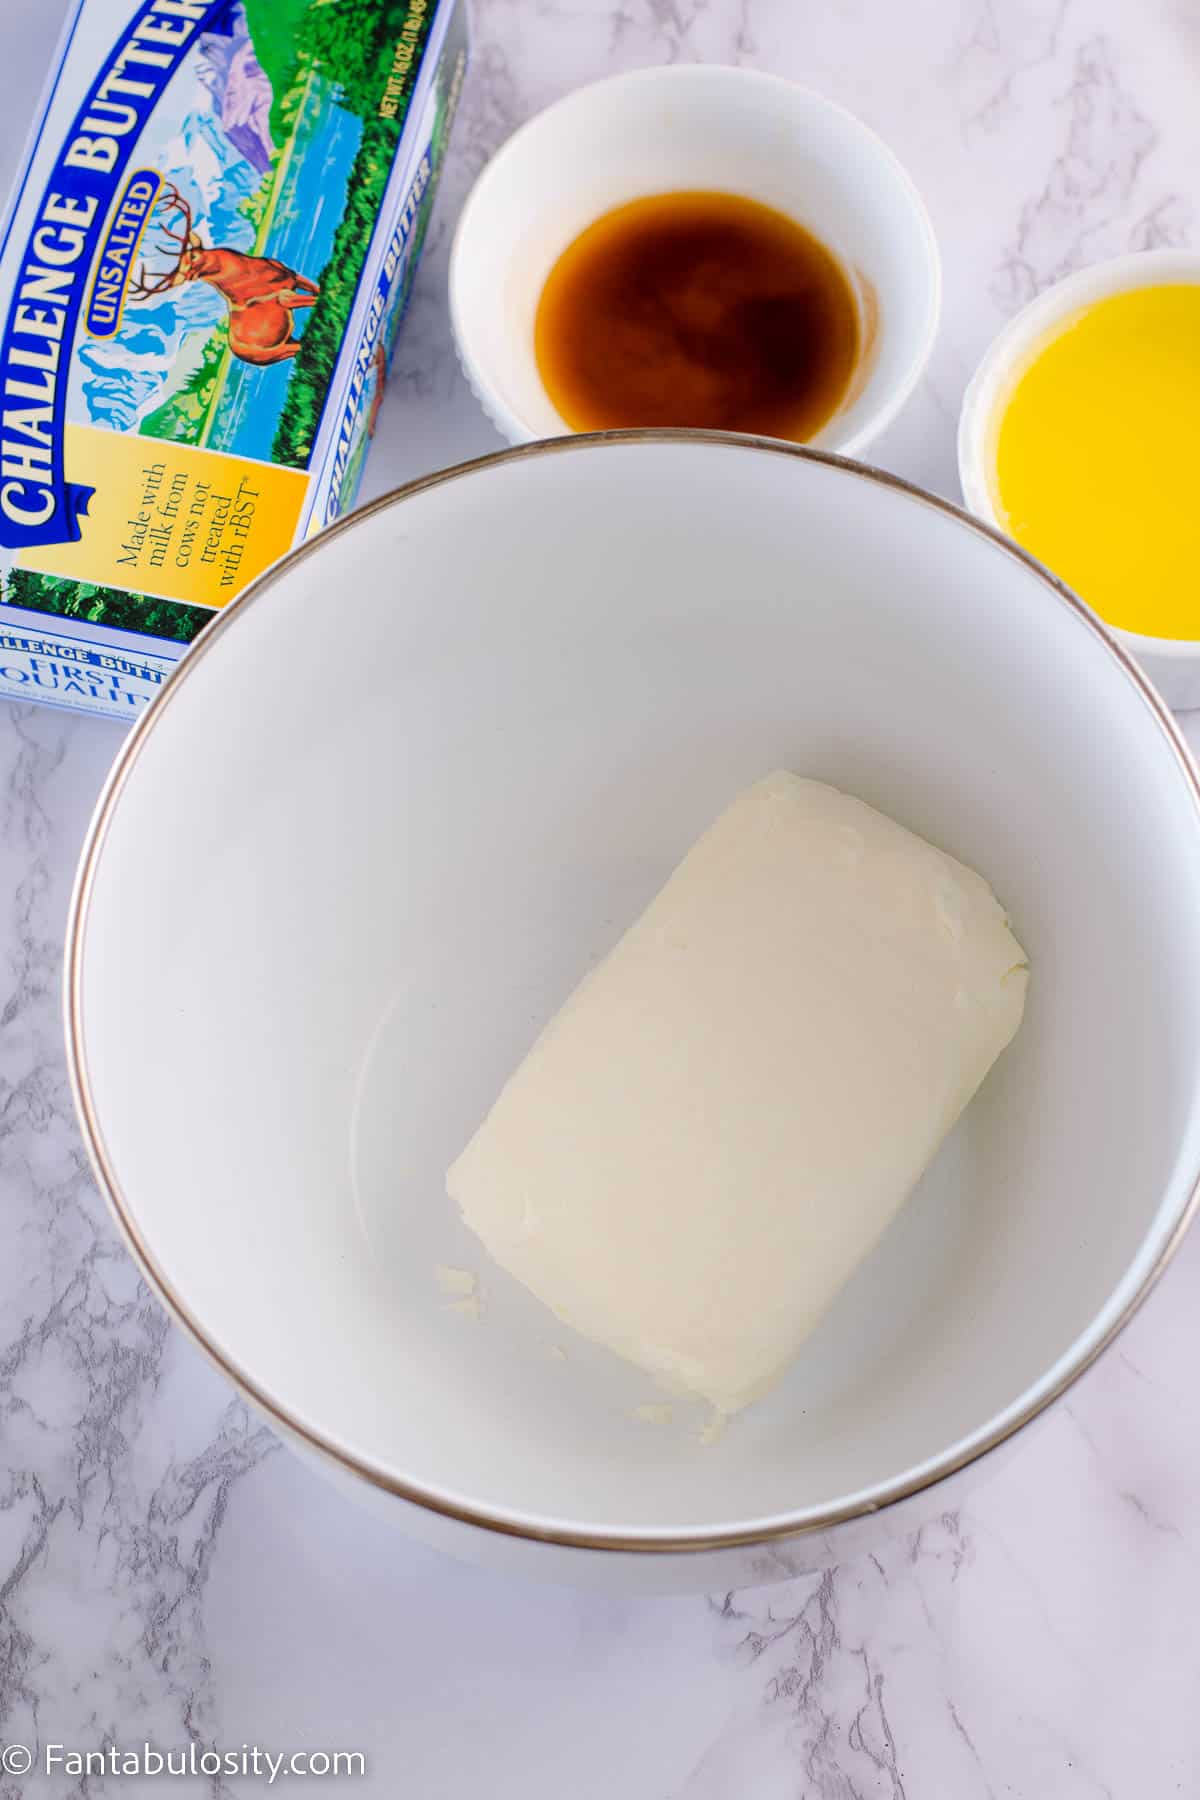
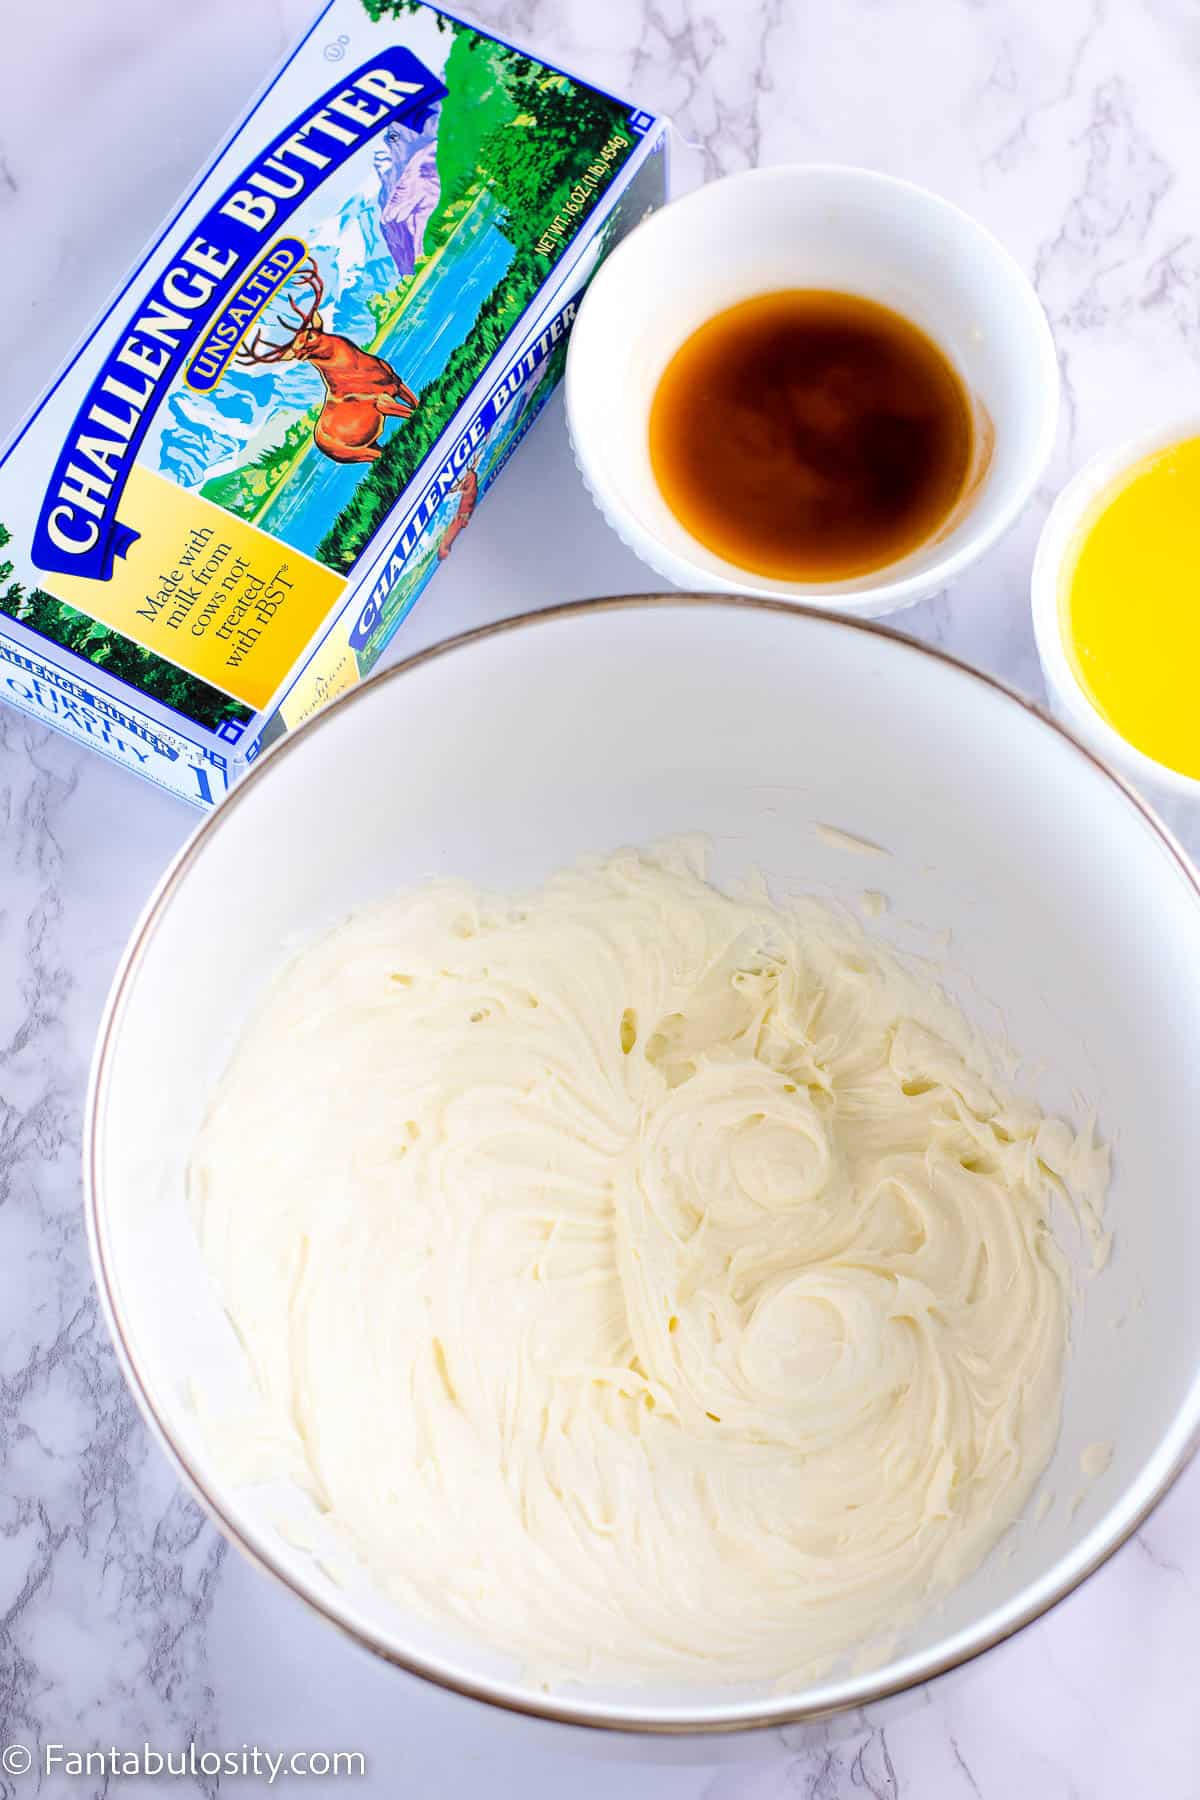
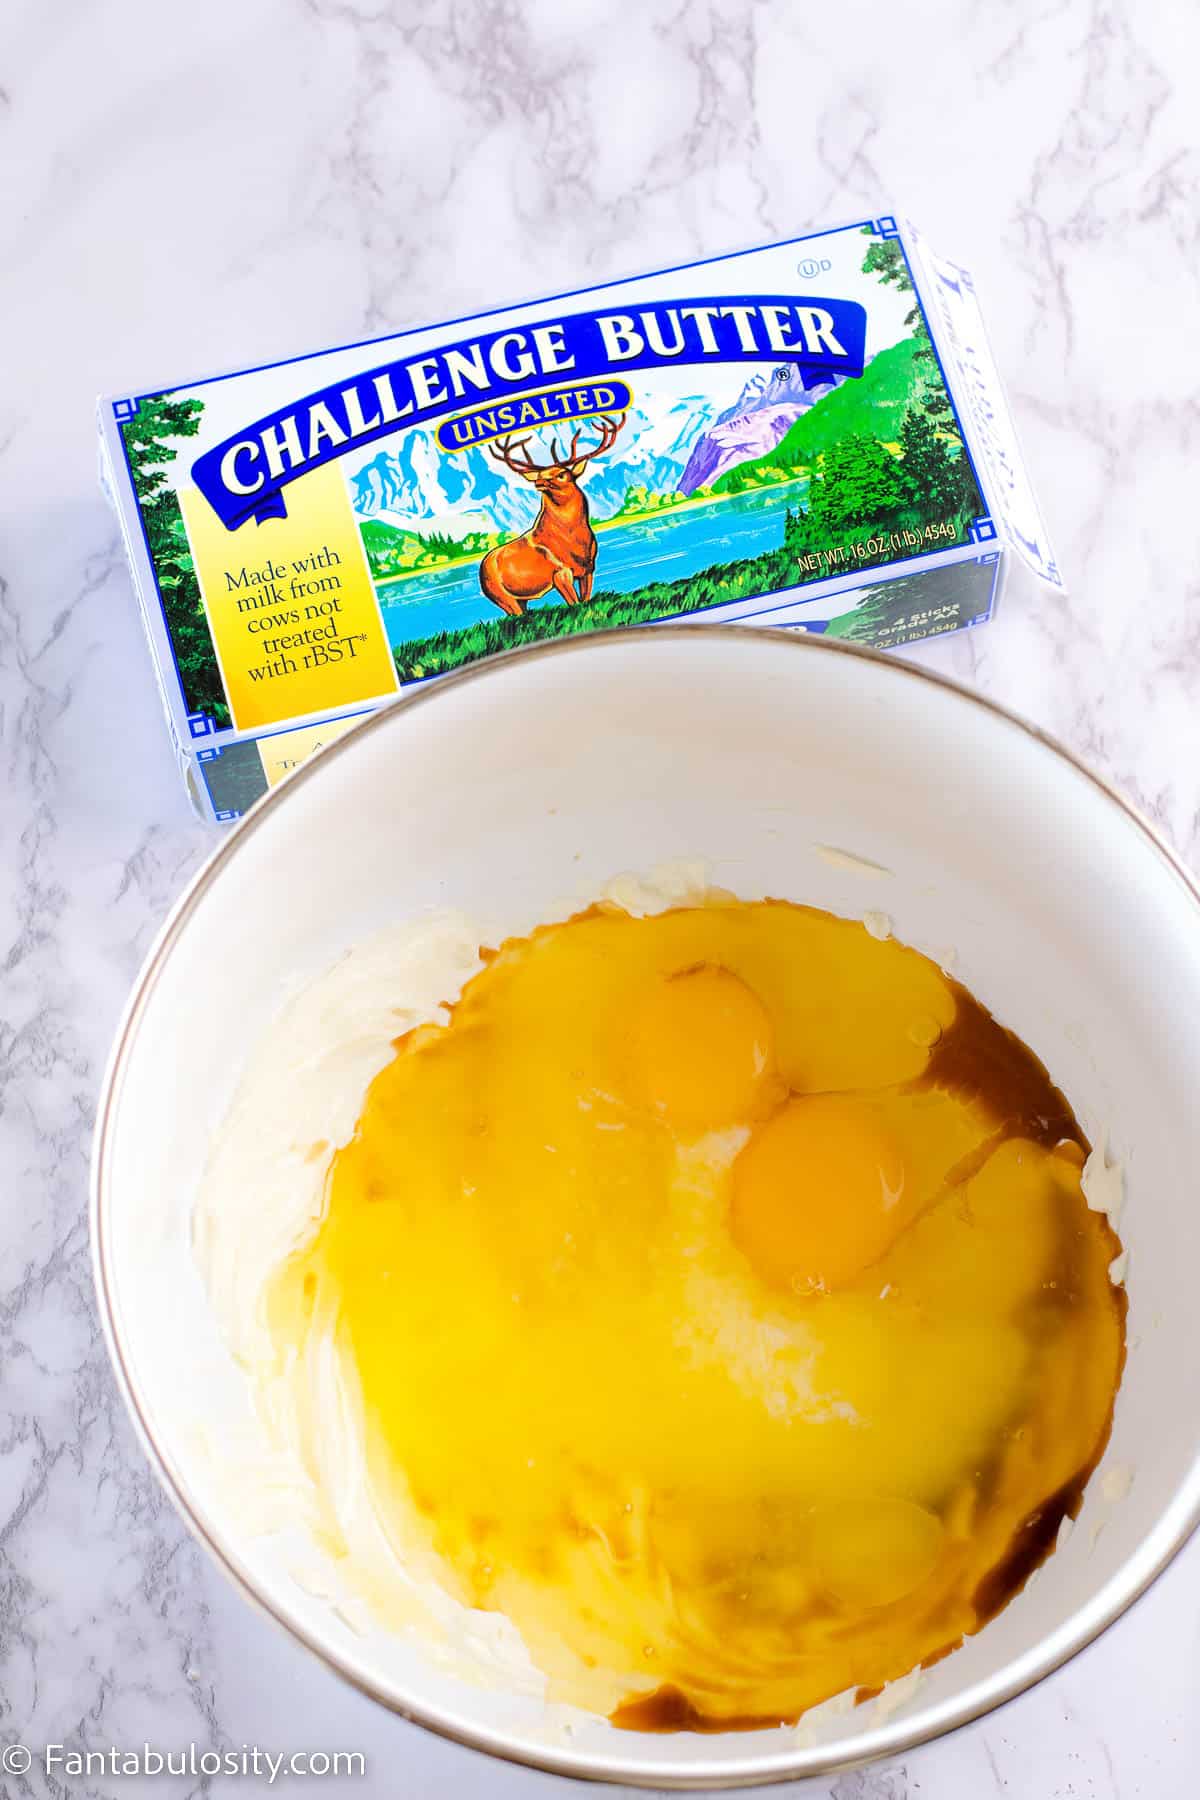
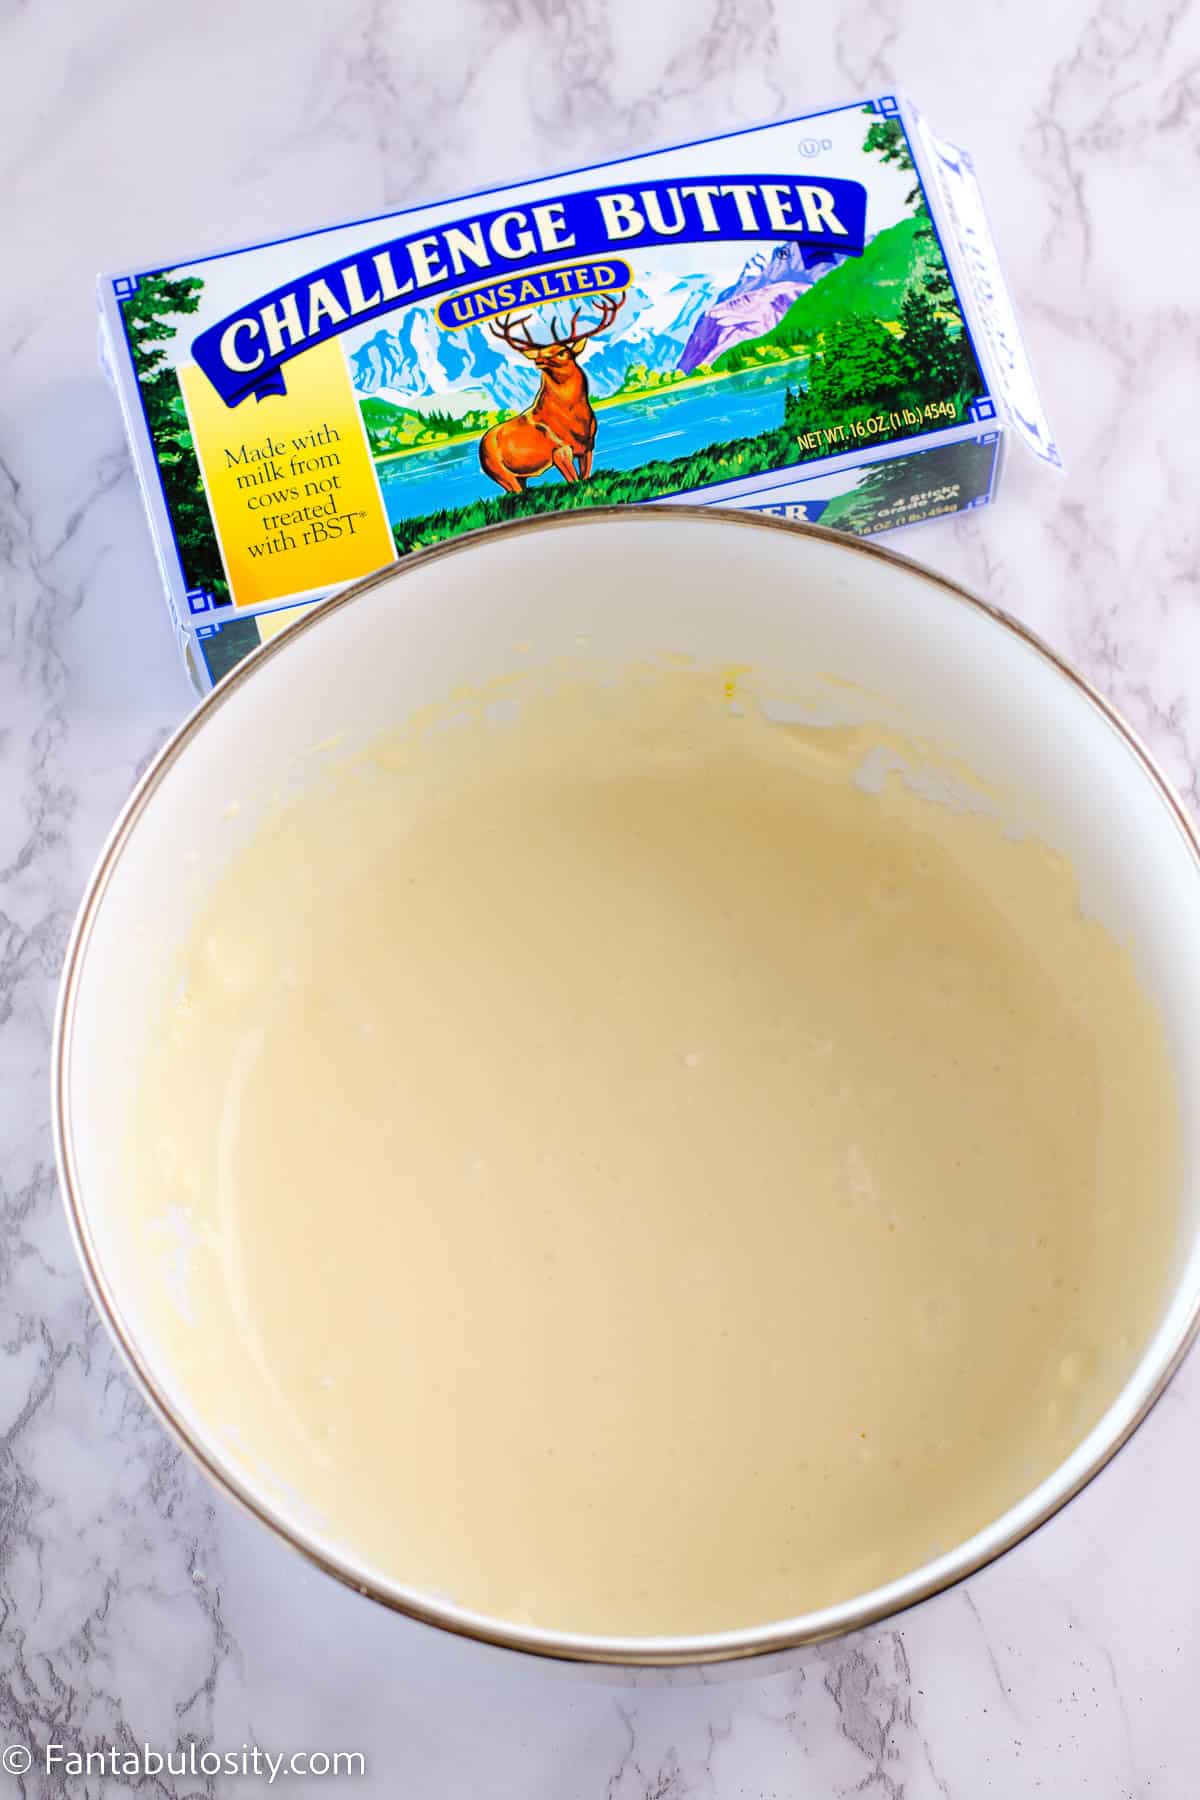
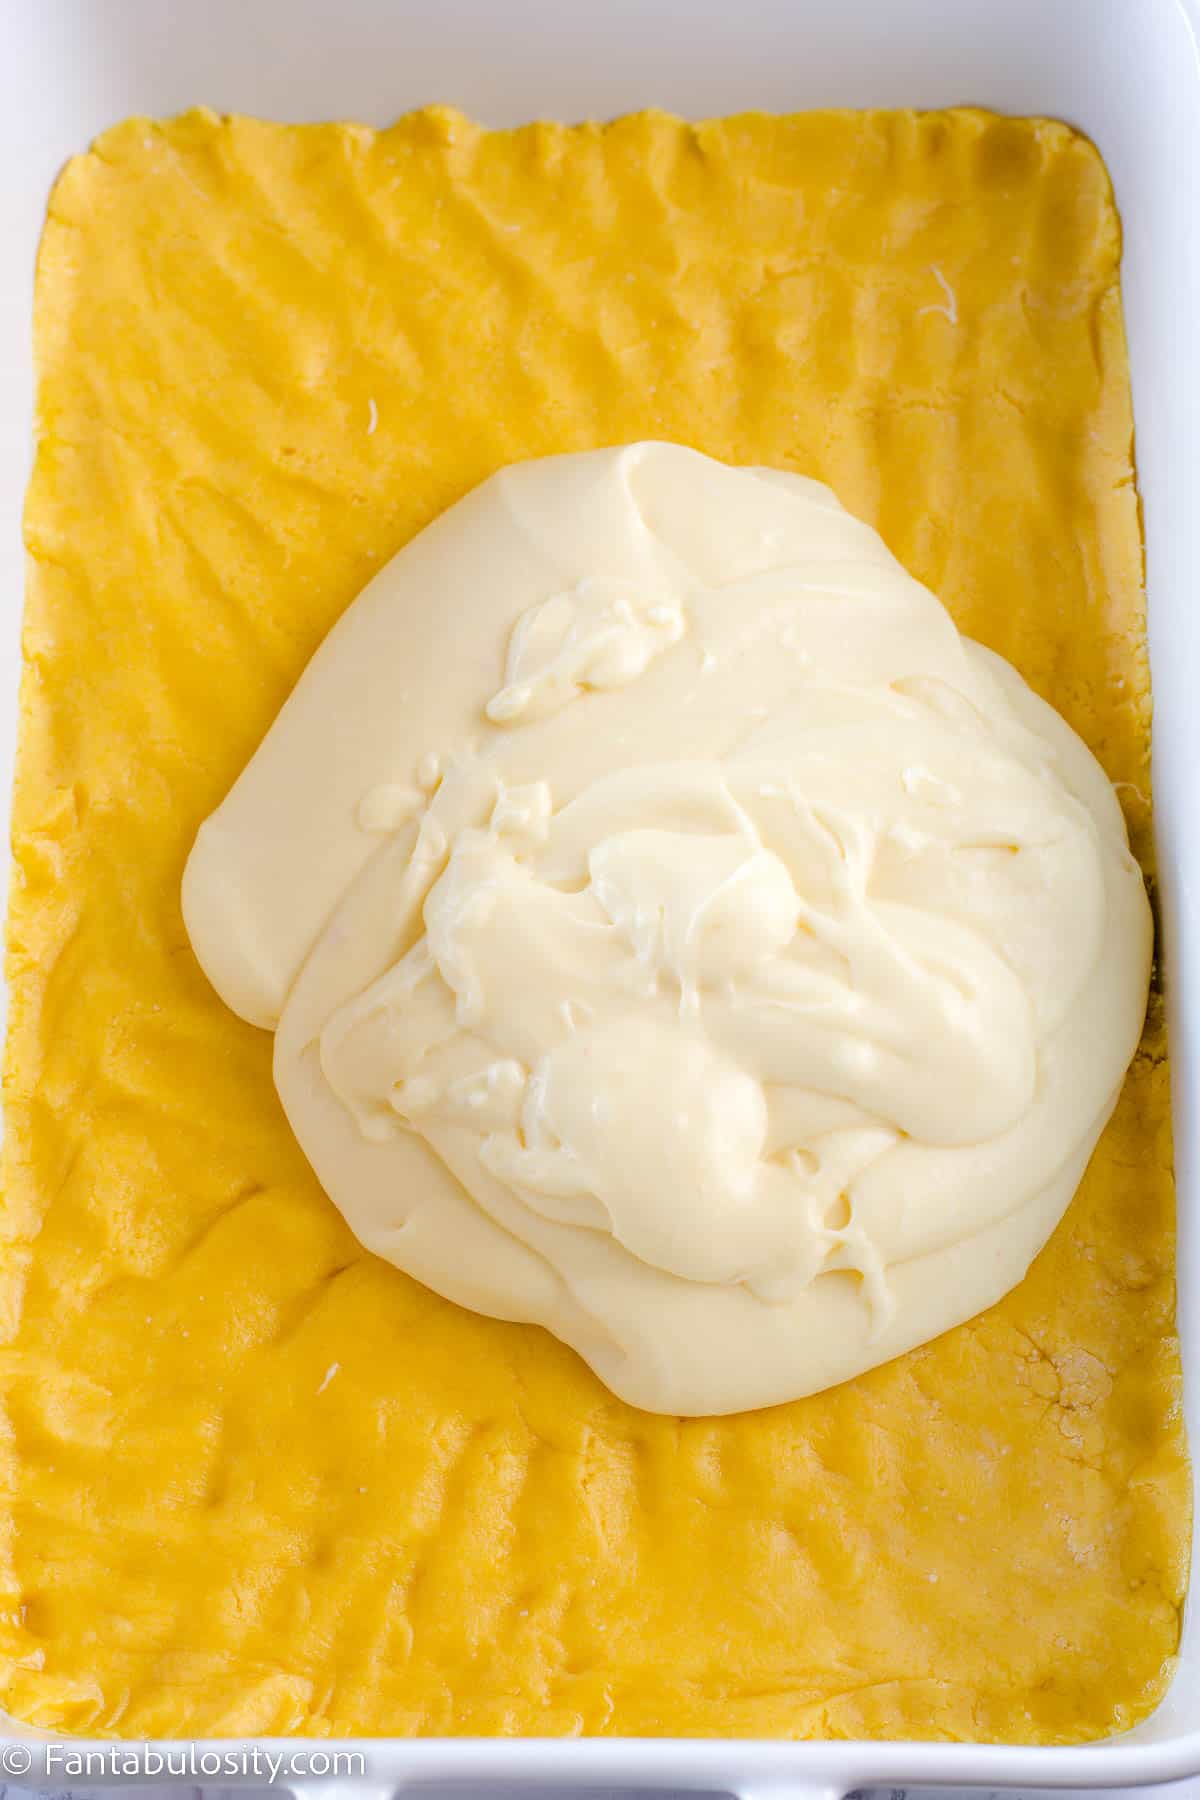
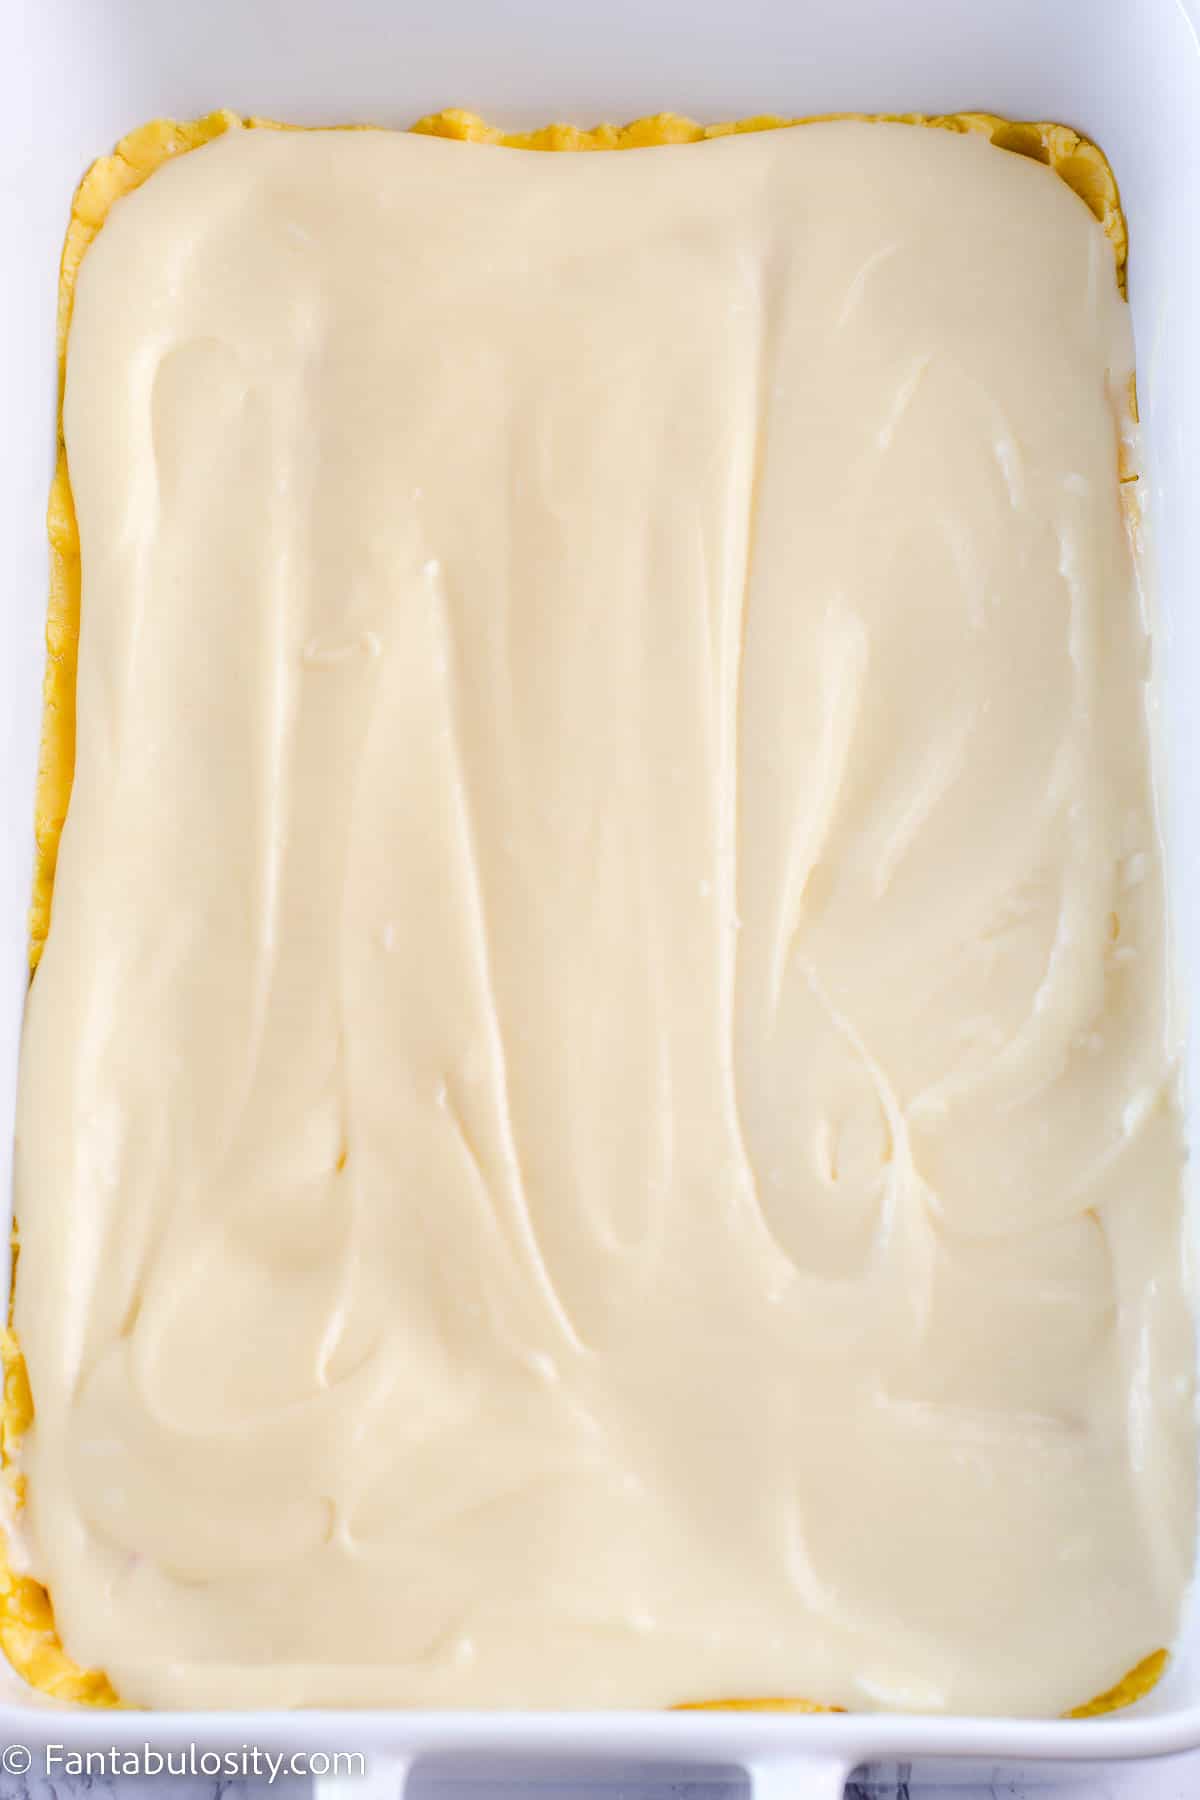
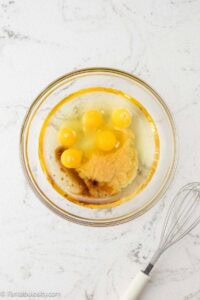
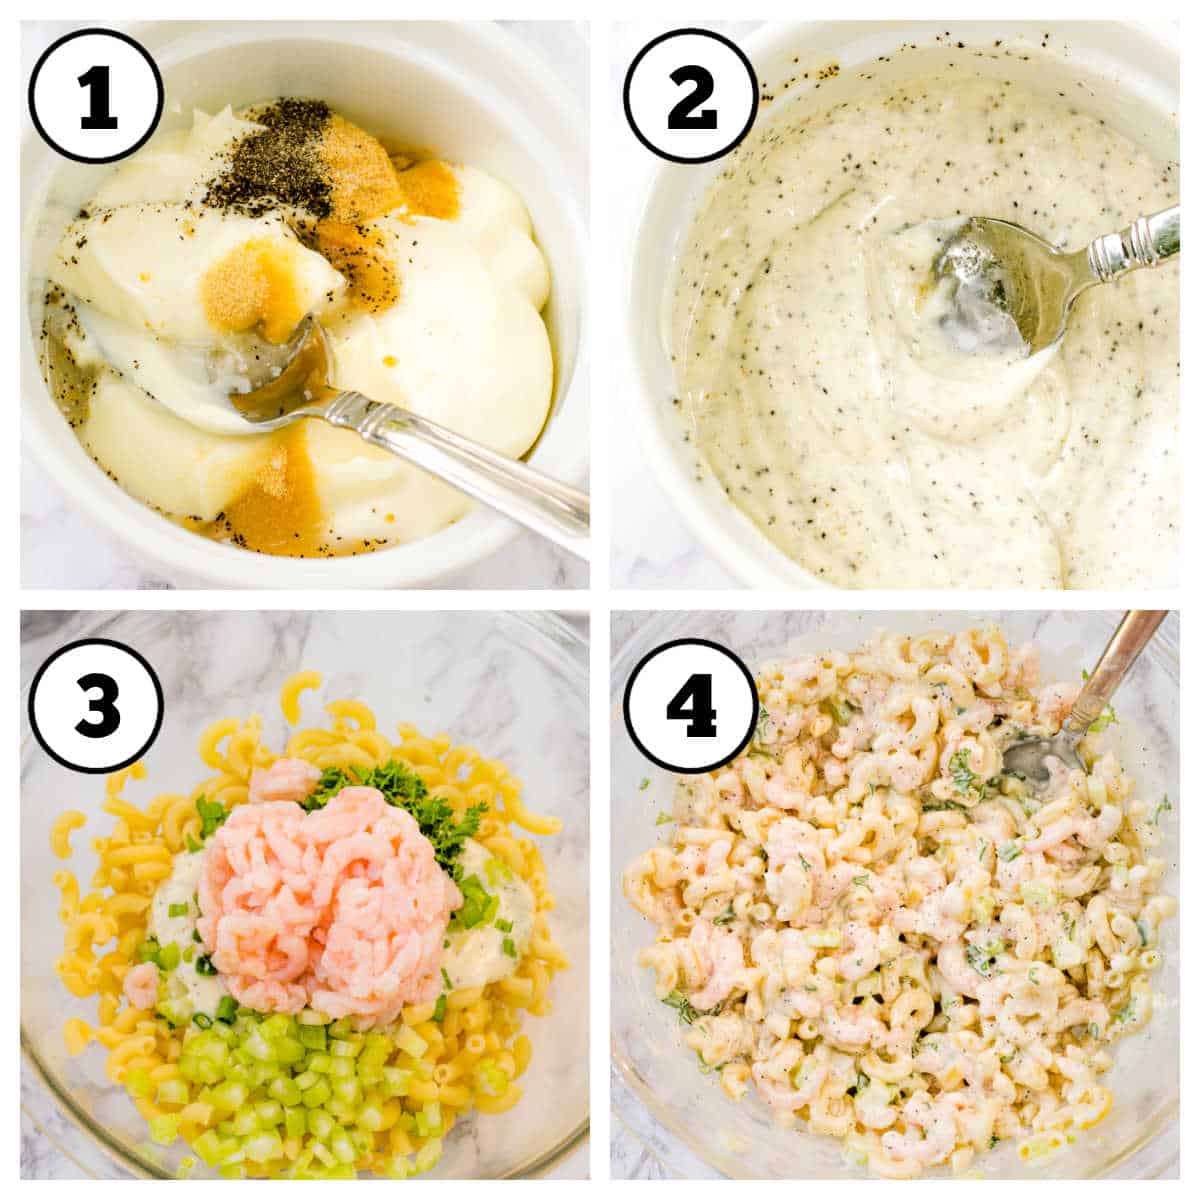
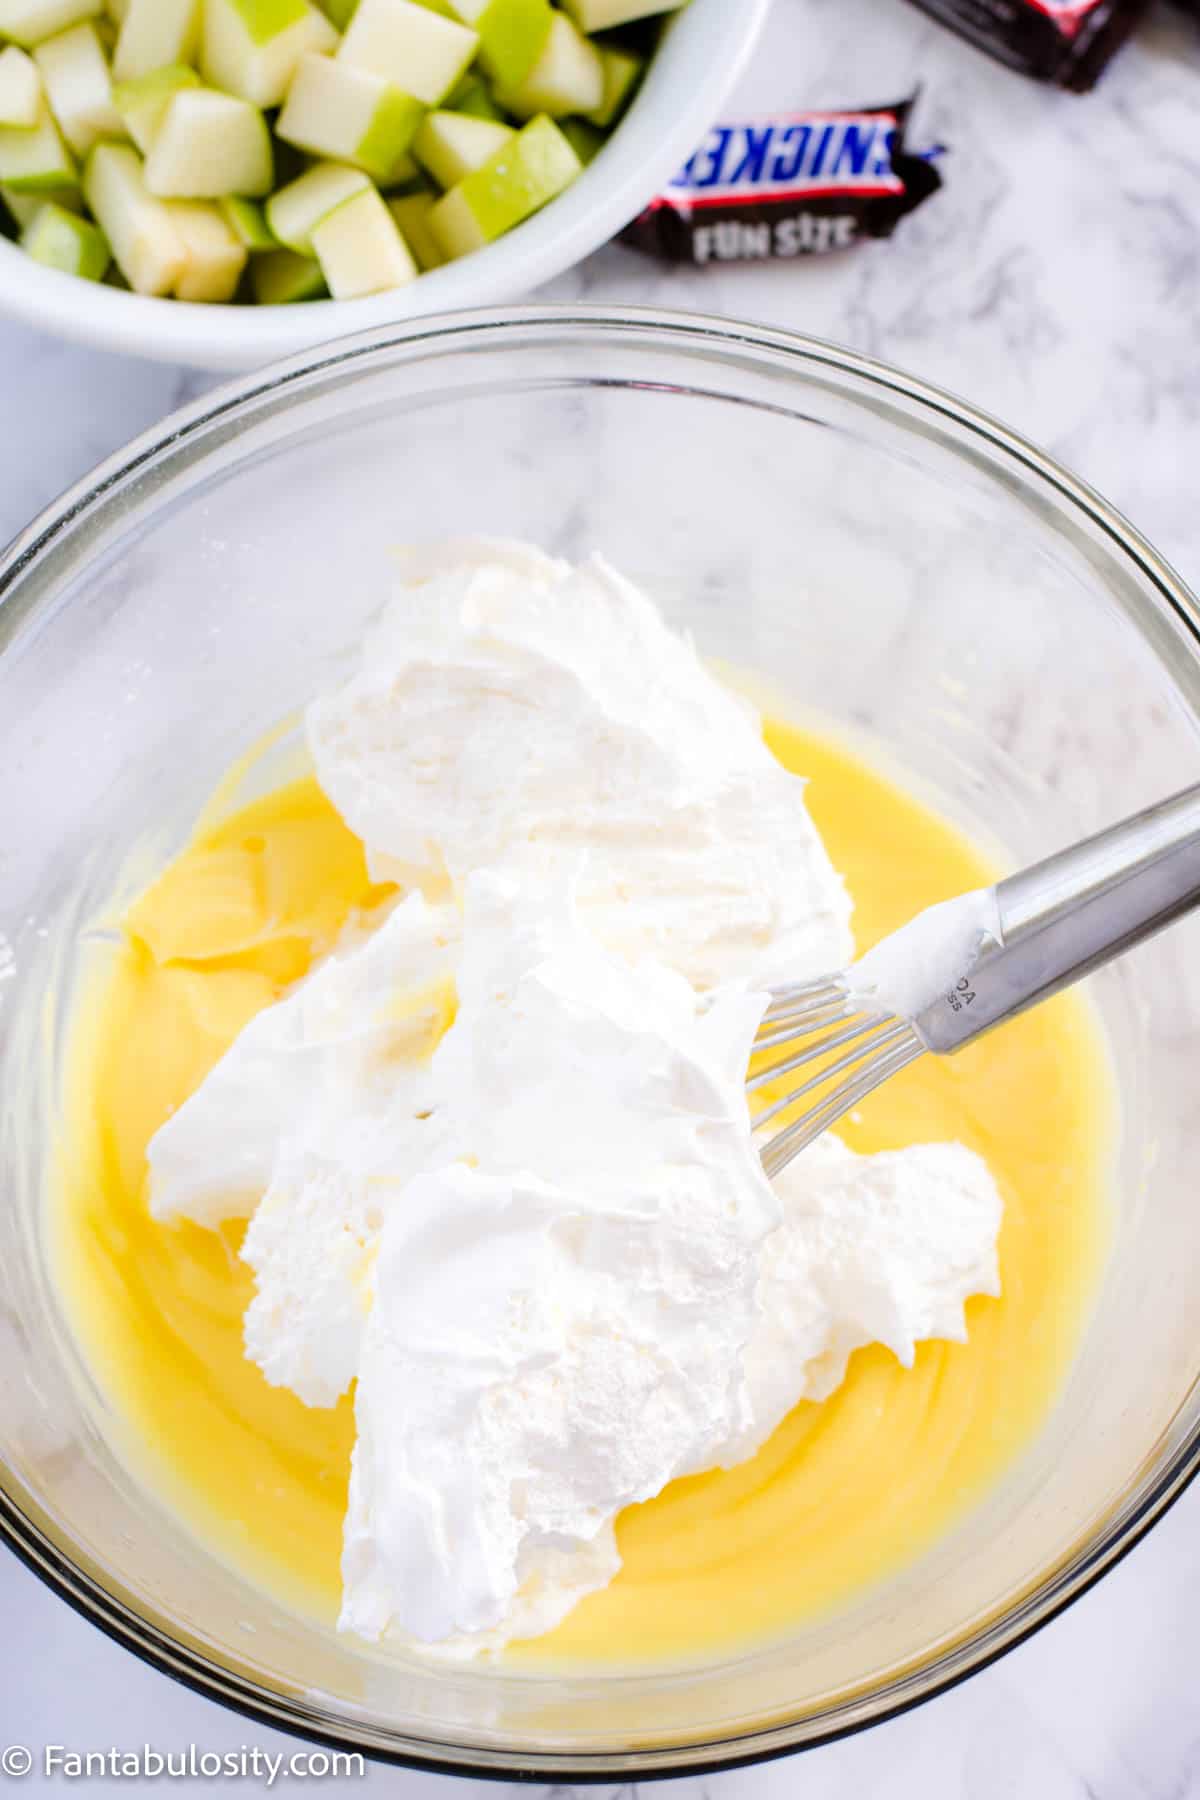
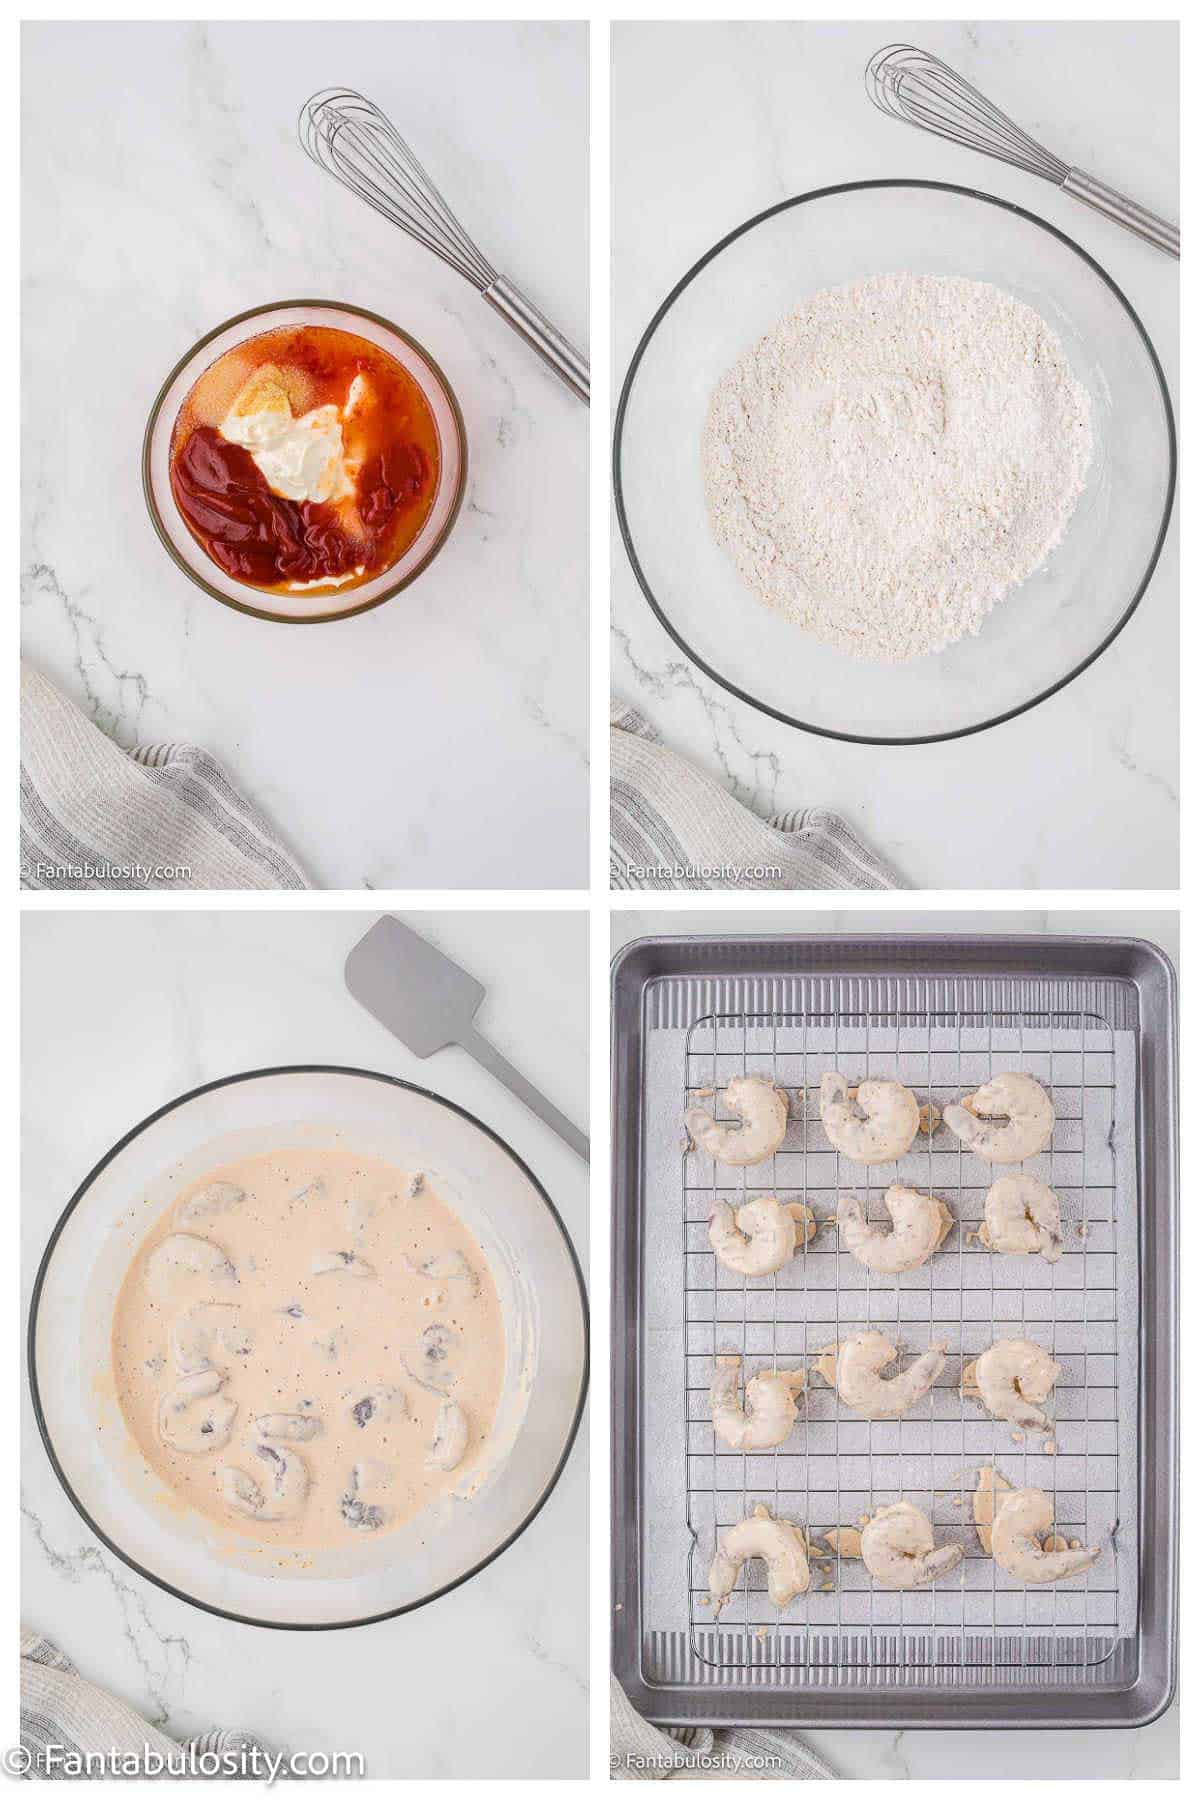
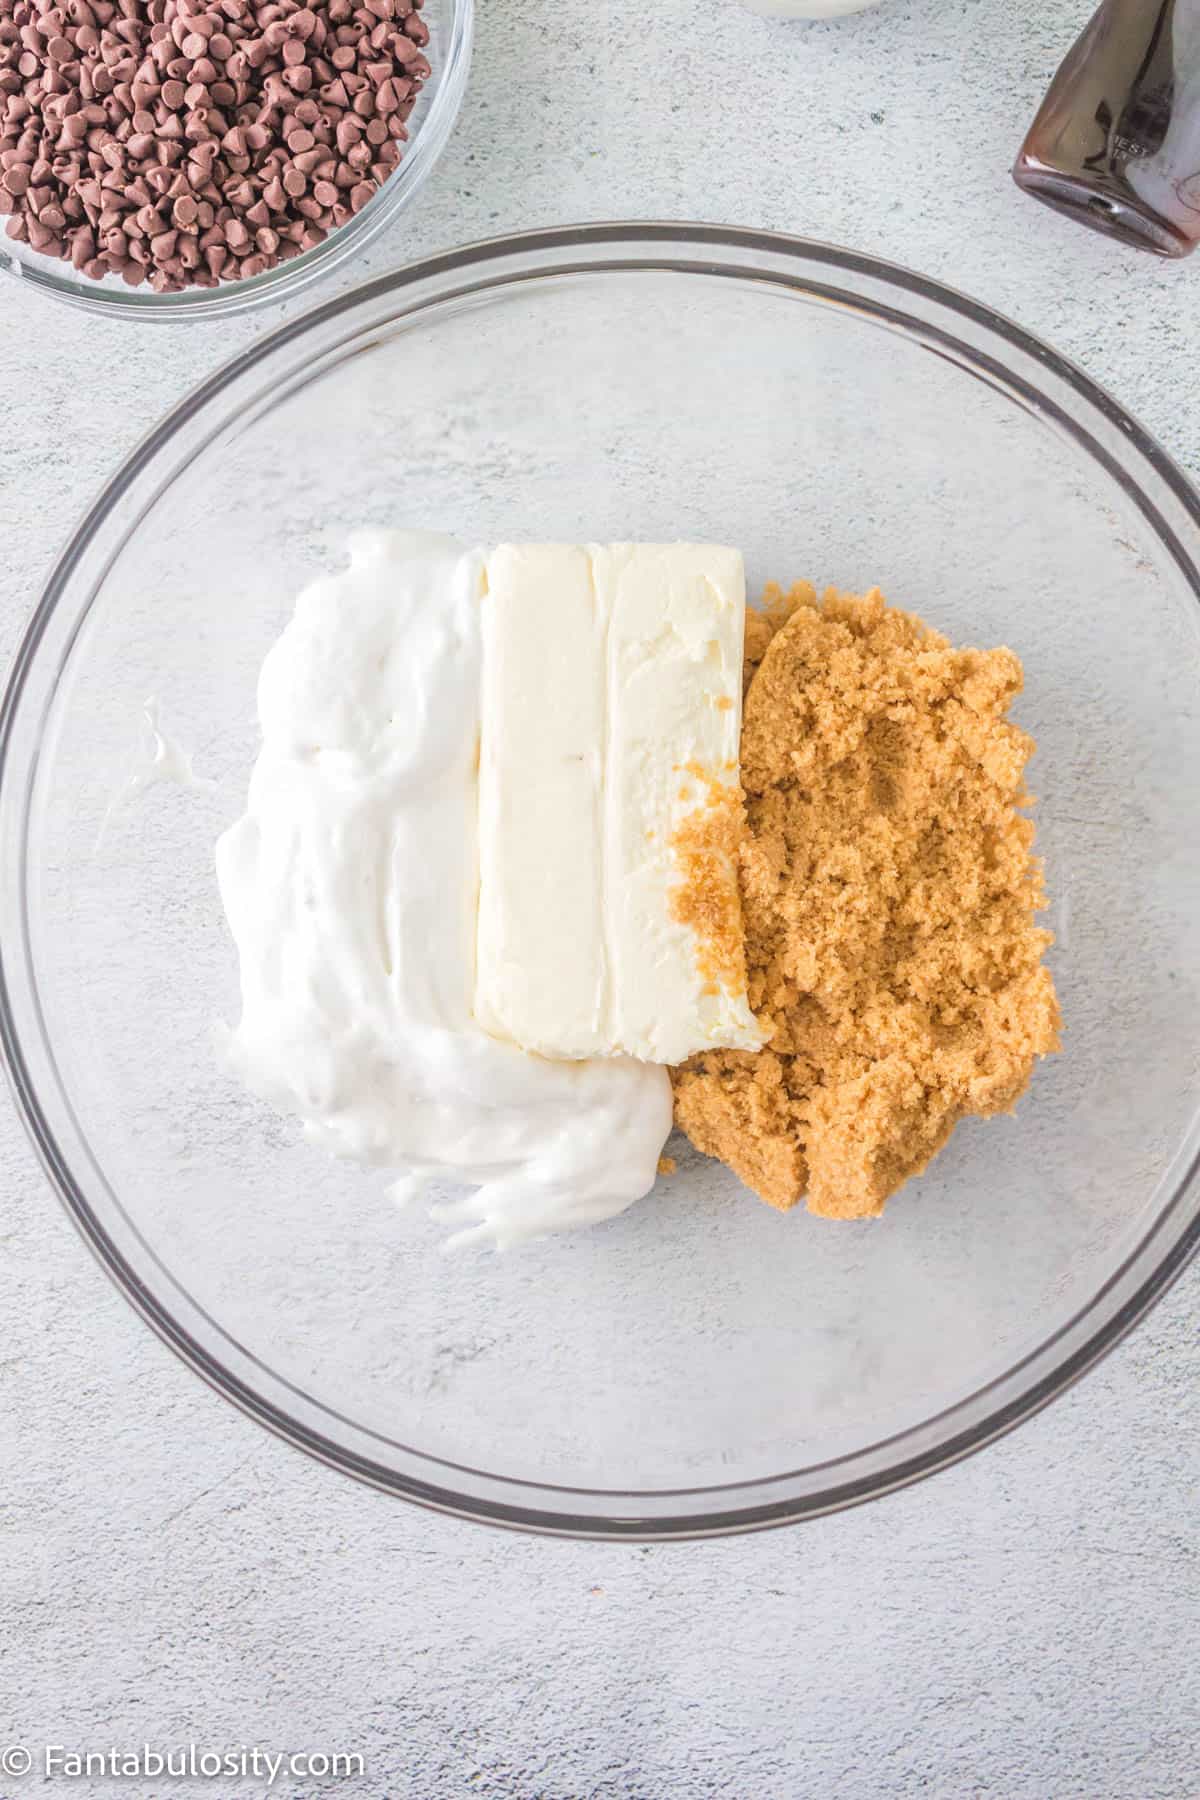
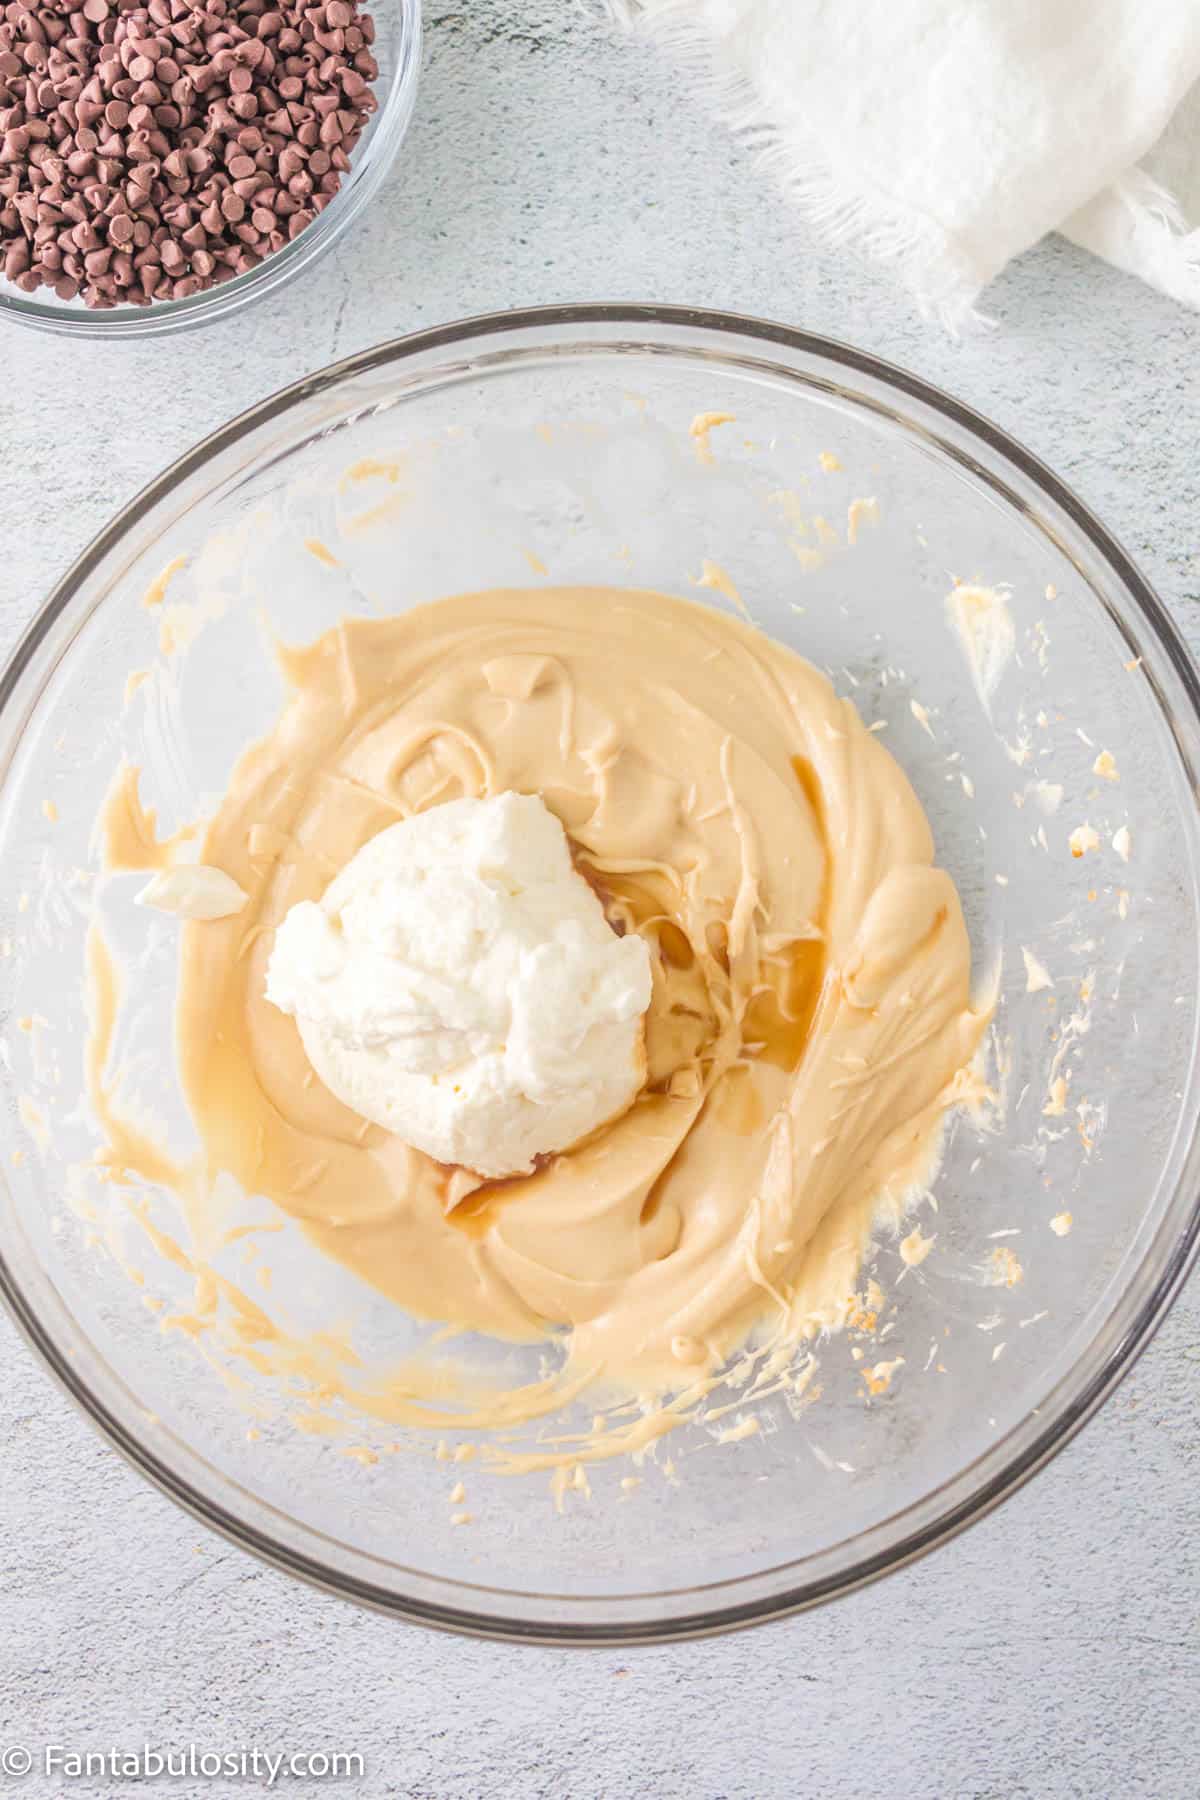
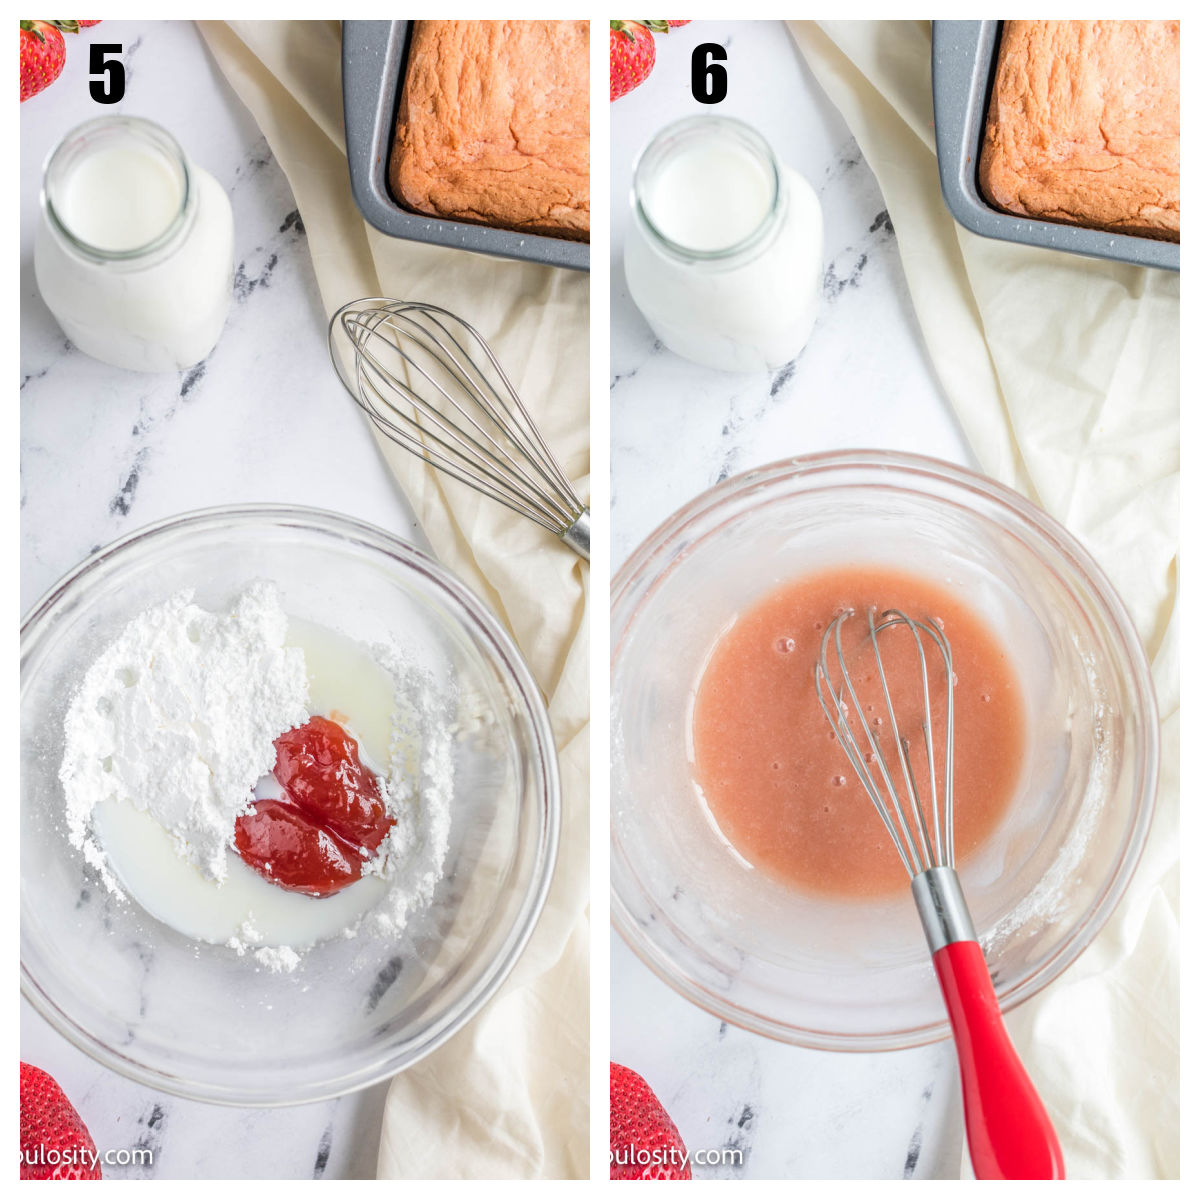
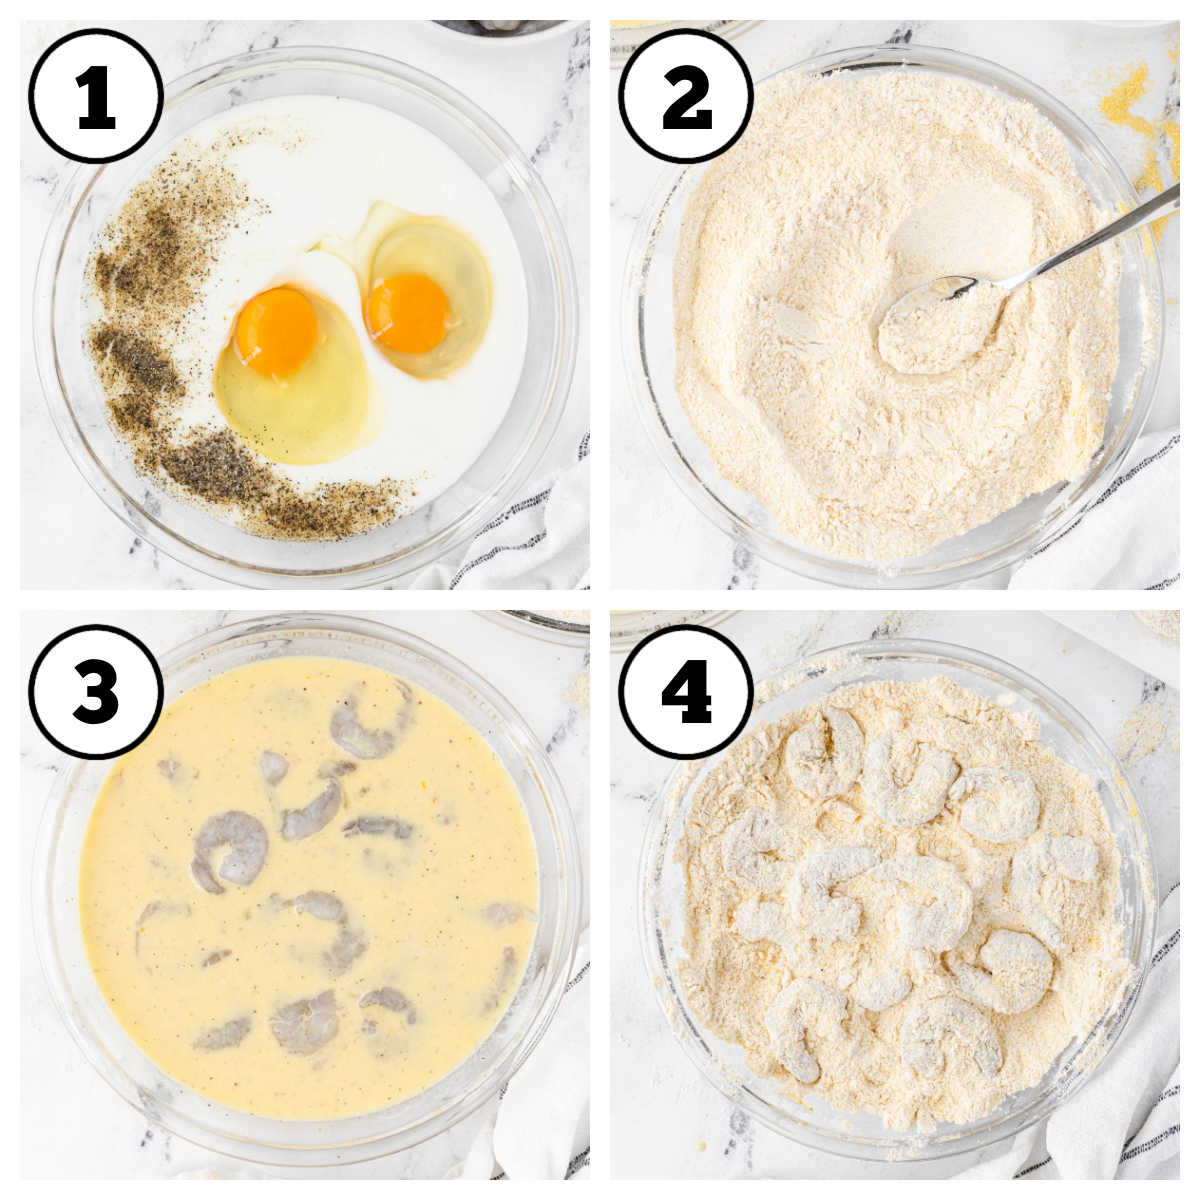
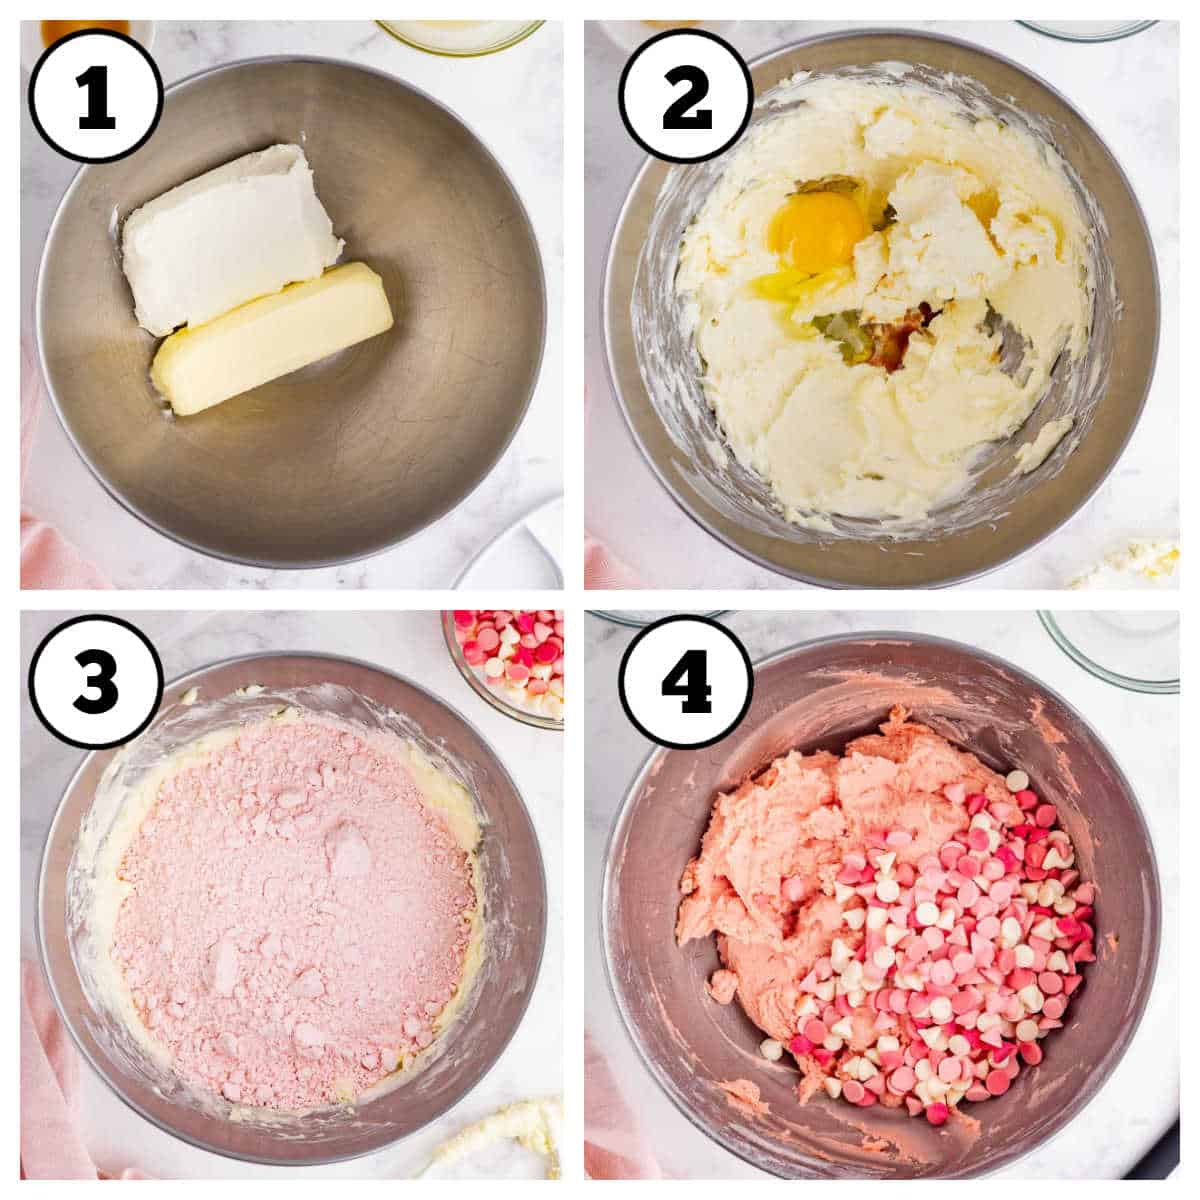
STEP 2: Cream the butter and cream cheese. In a large mixing bowl, blend the butter and cream cheese together with a hand mixer until smooth. Then mix in the egg and vanilla extract to the creamed mixture. (Images 1-2)
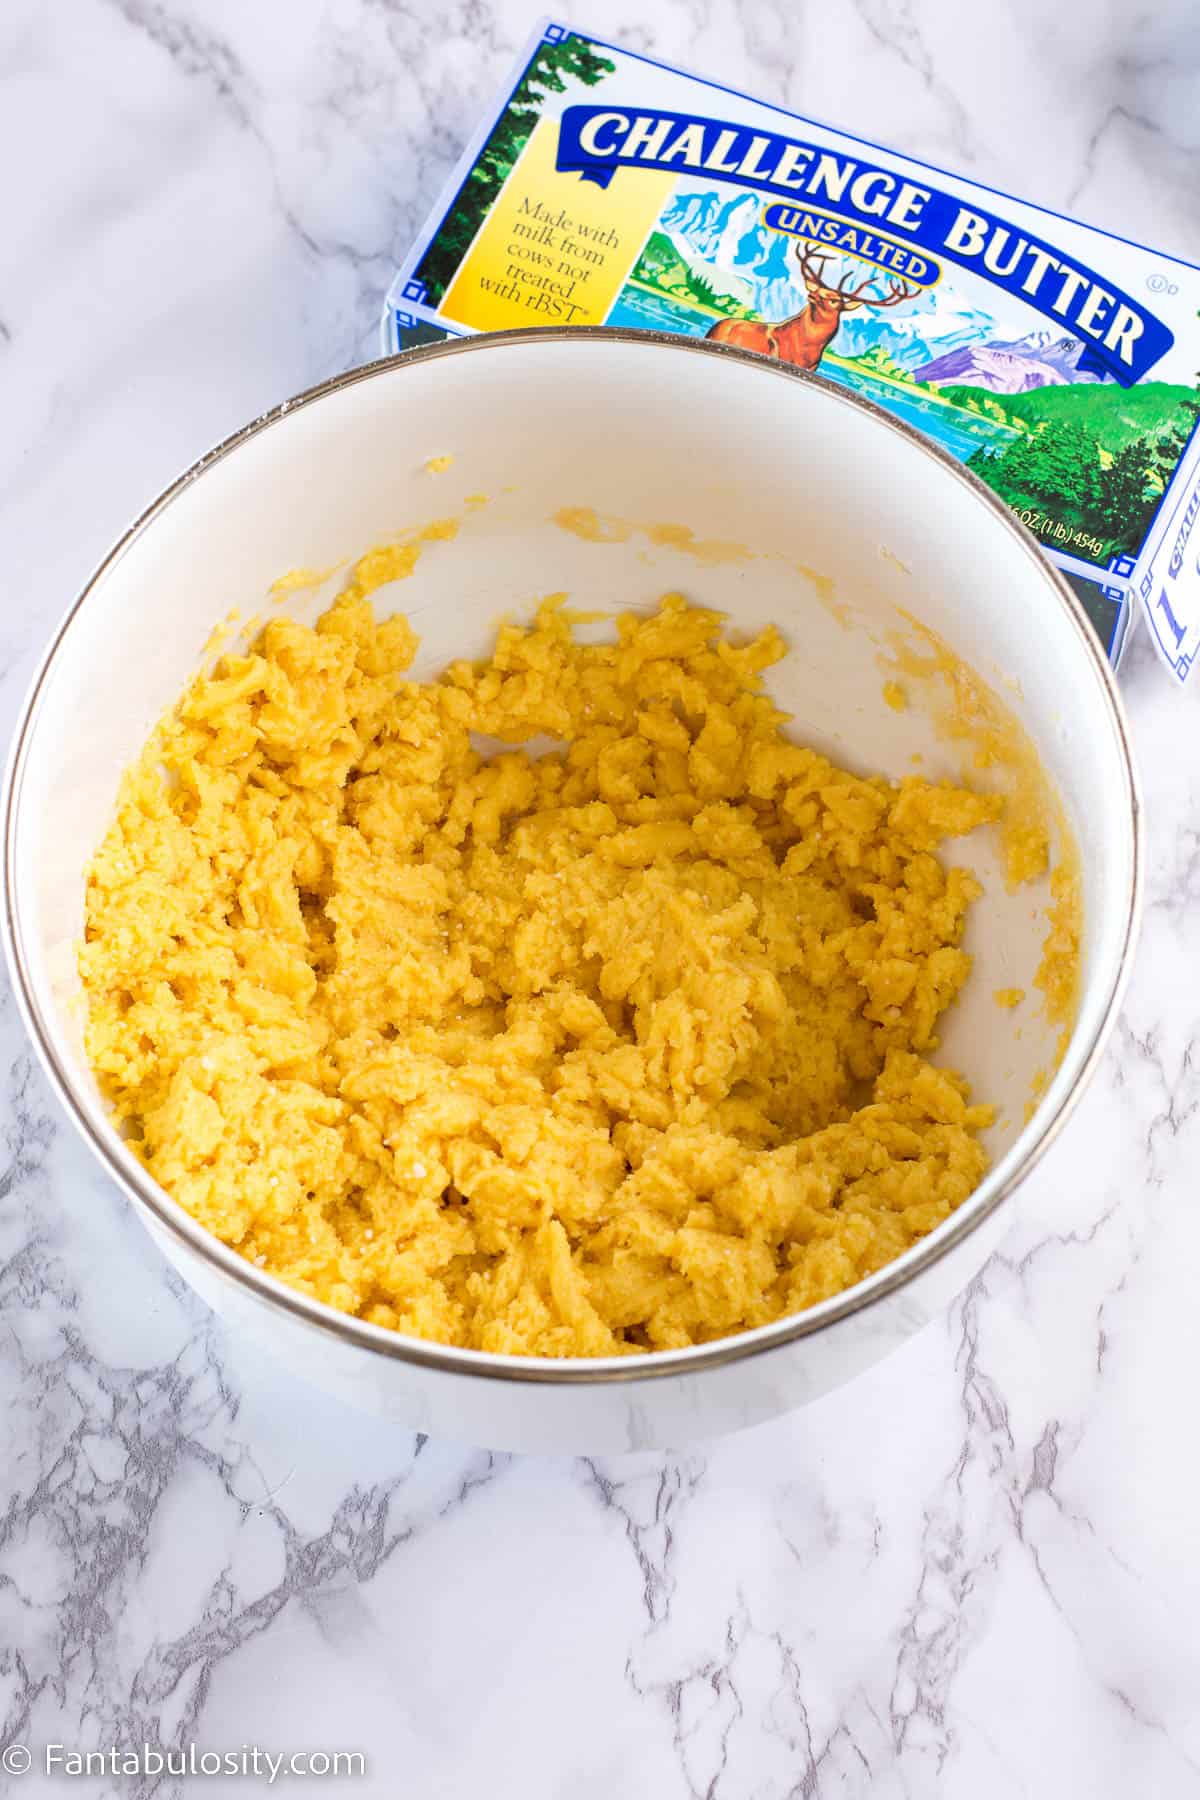
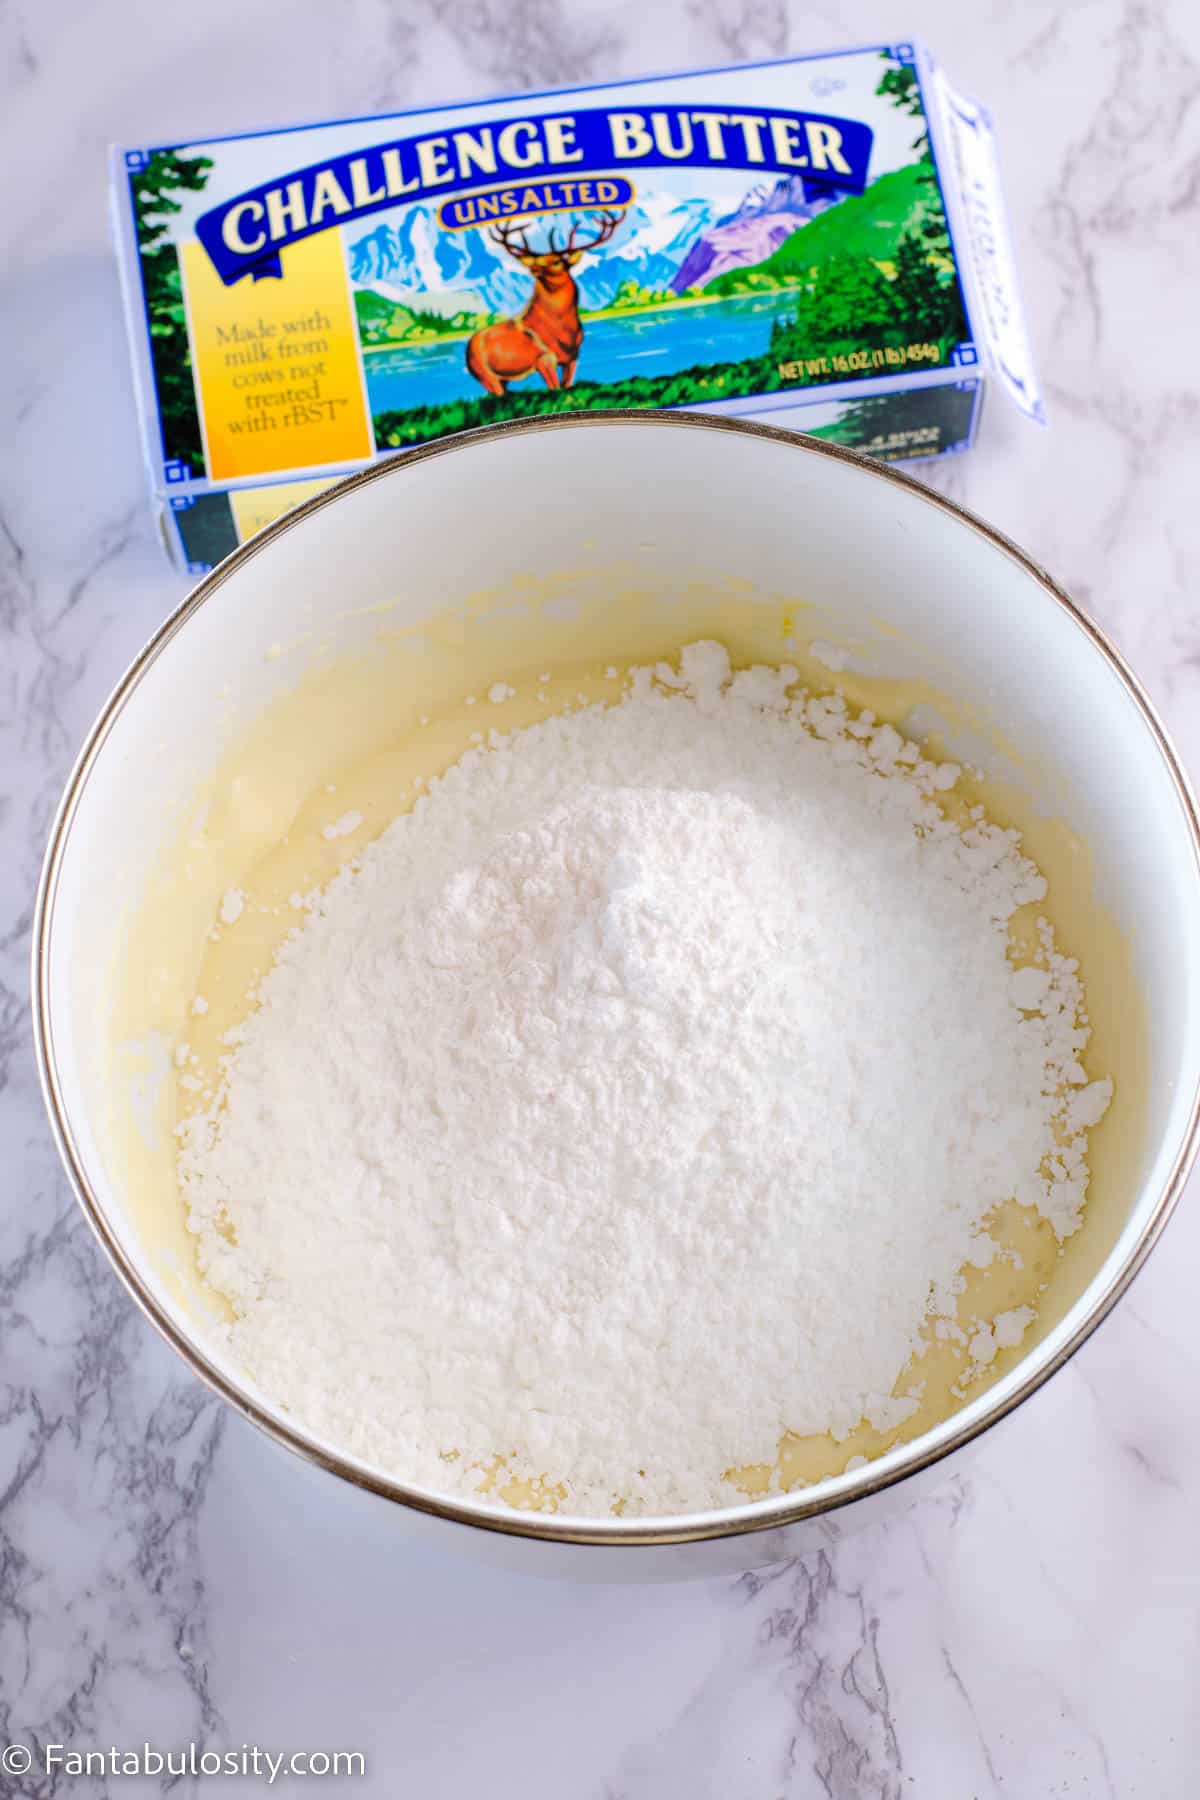
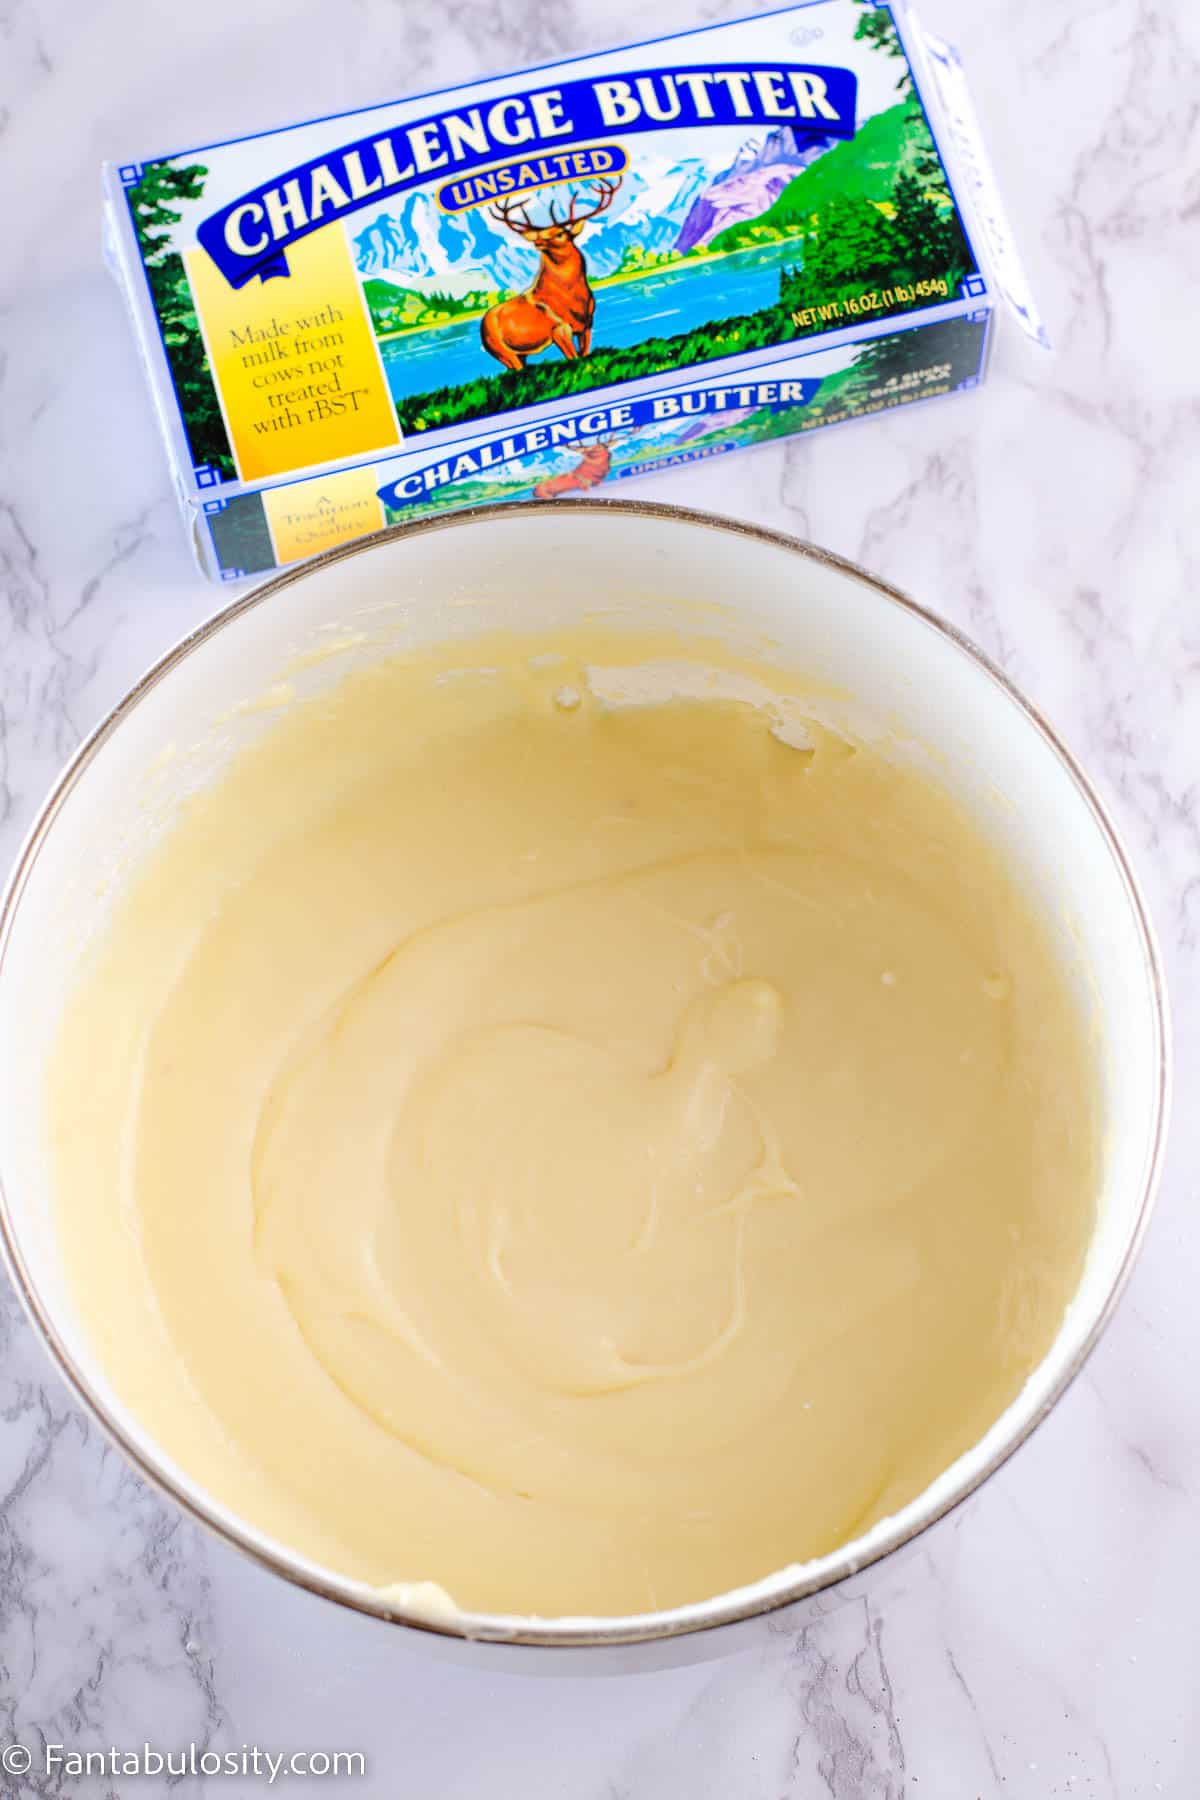
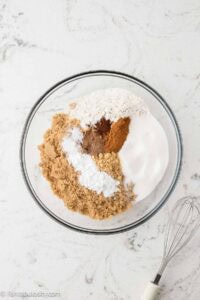
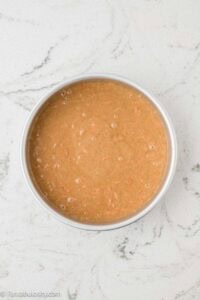
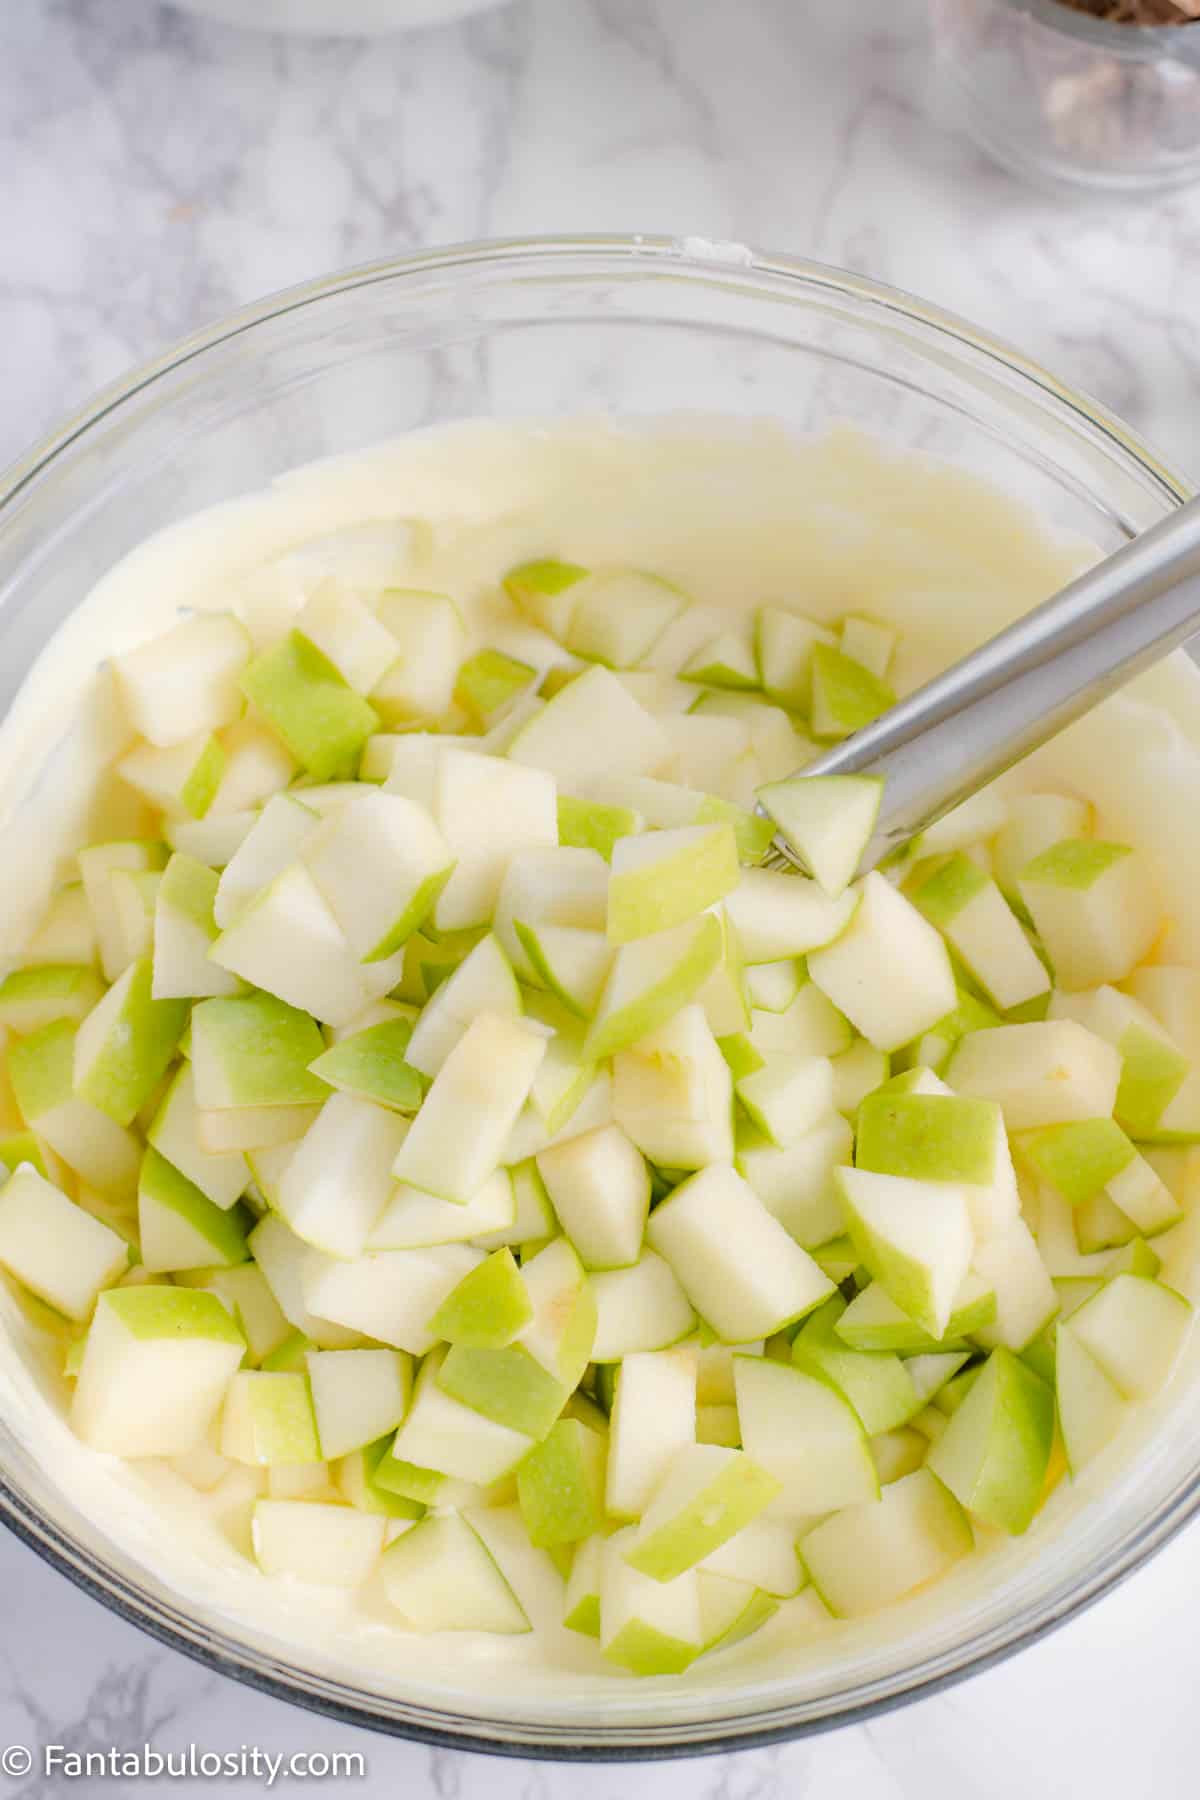
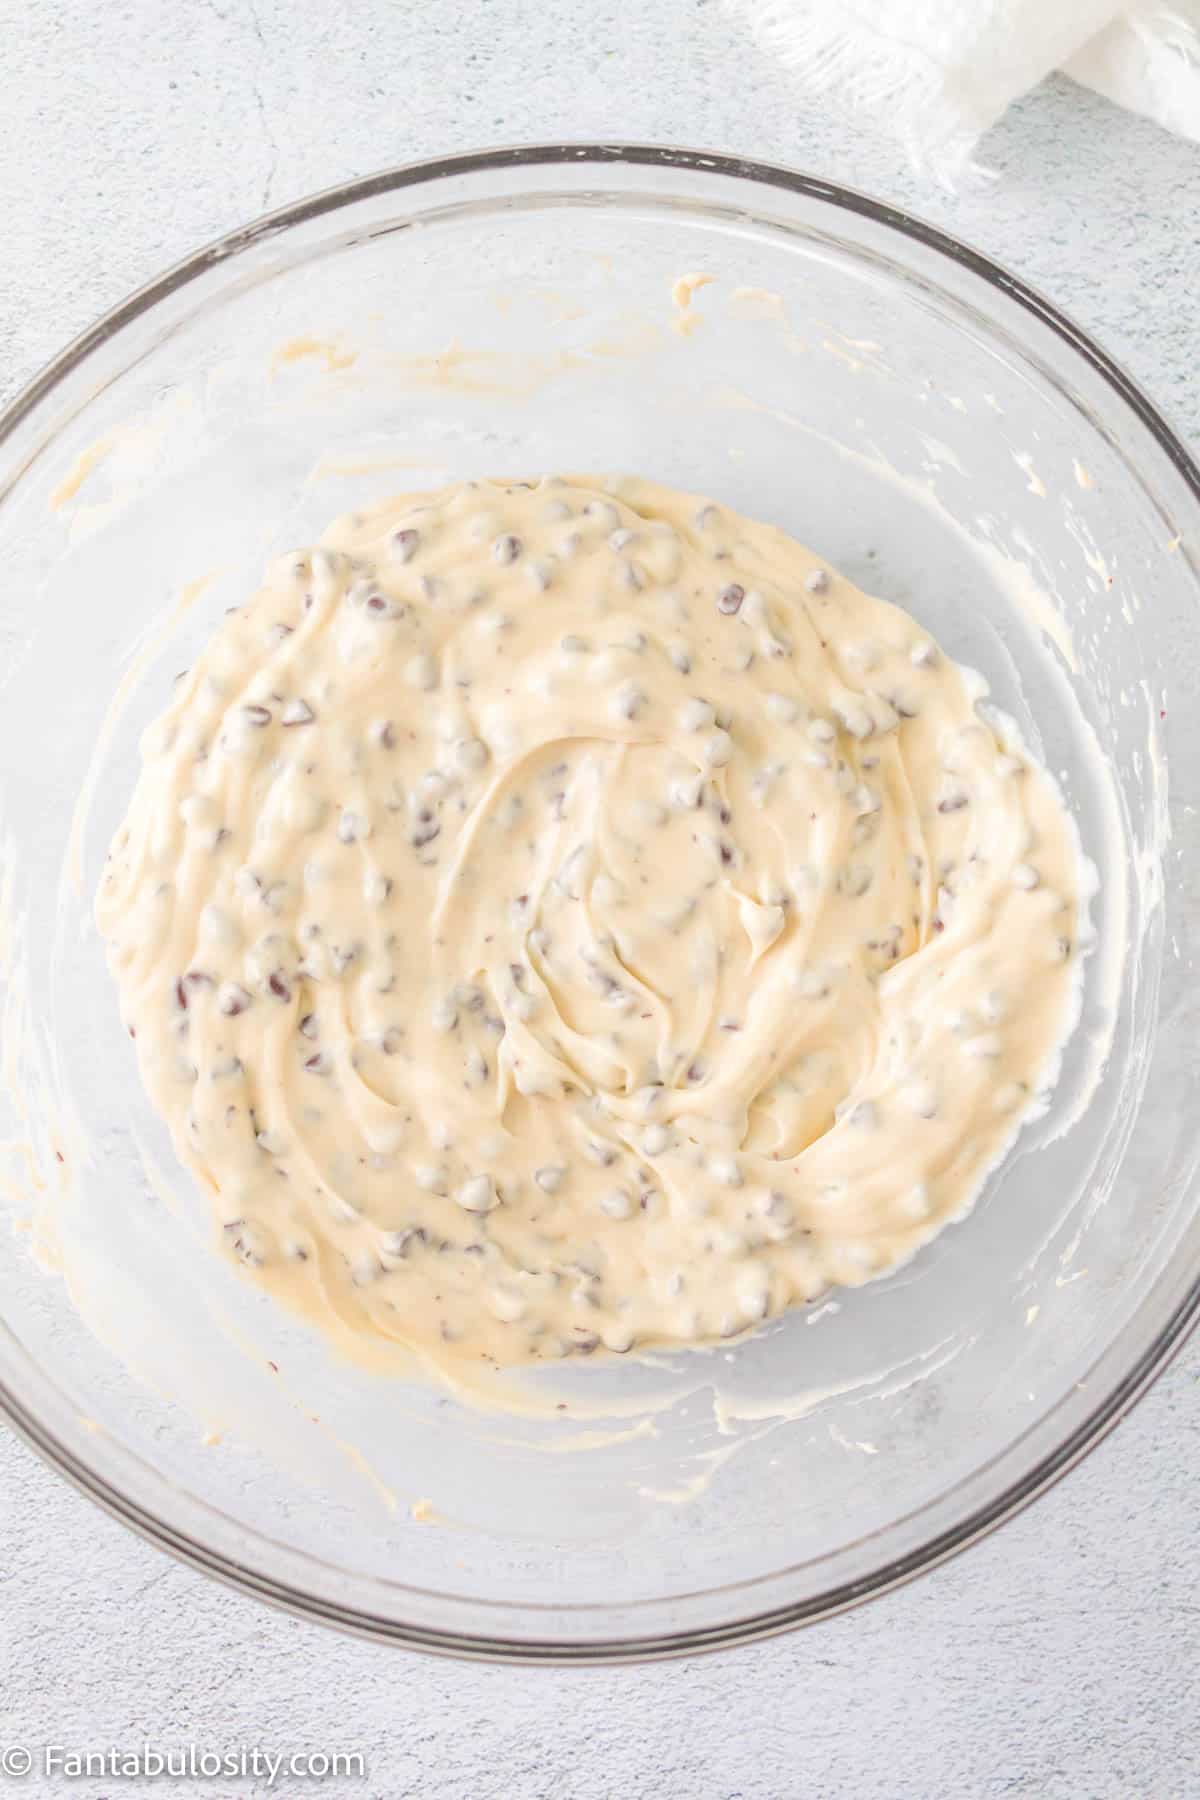
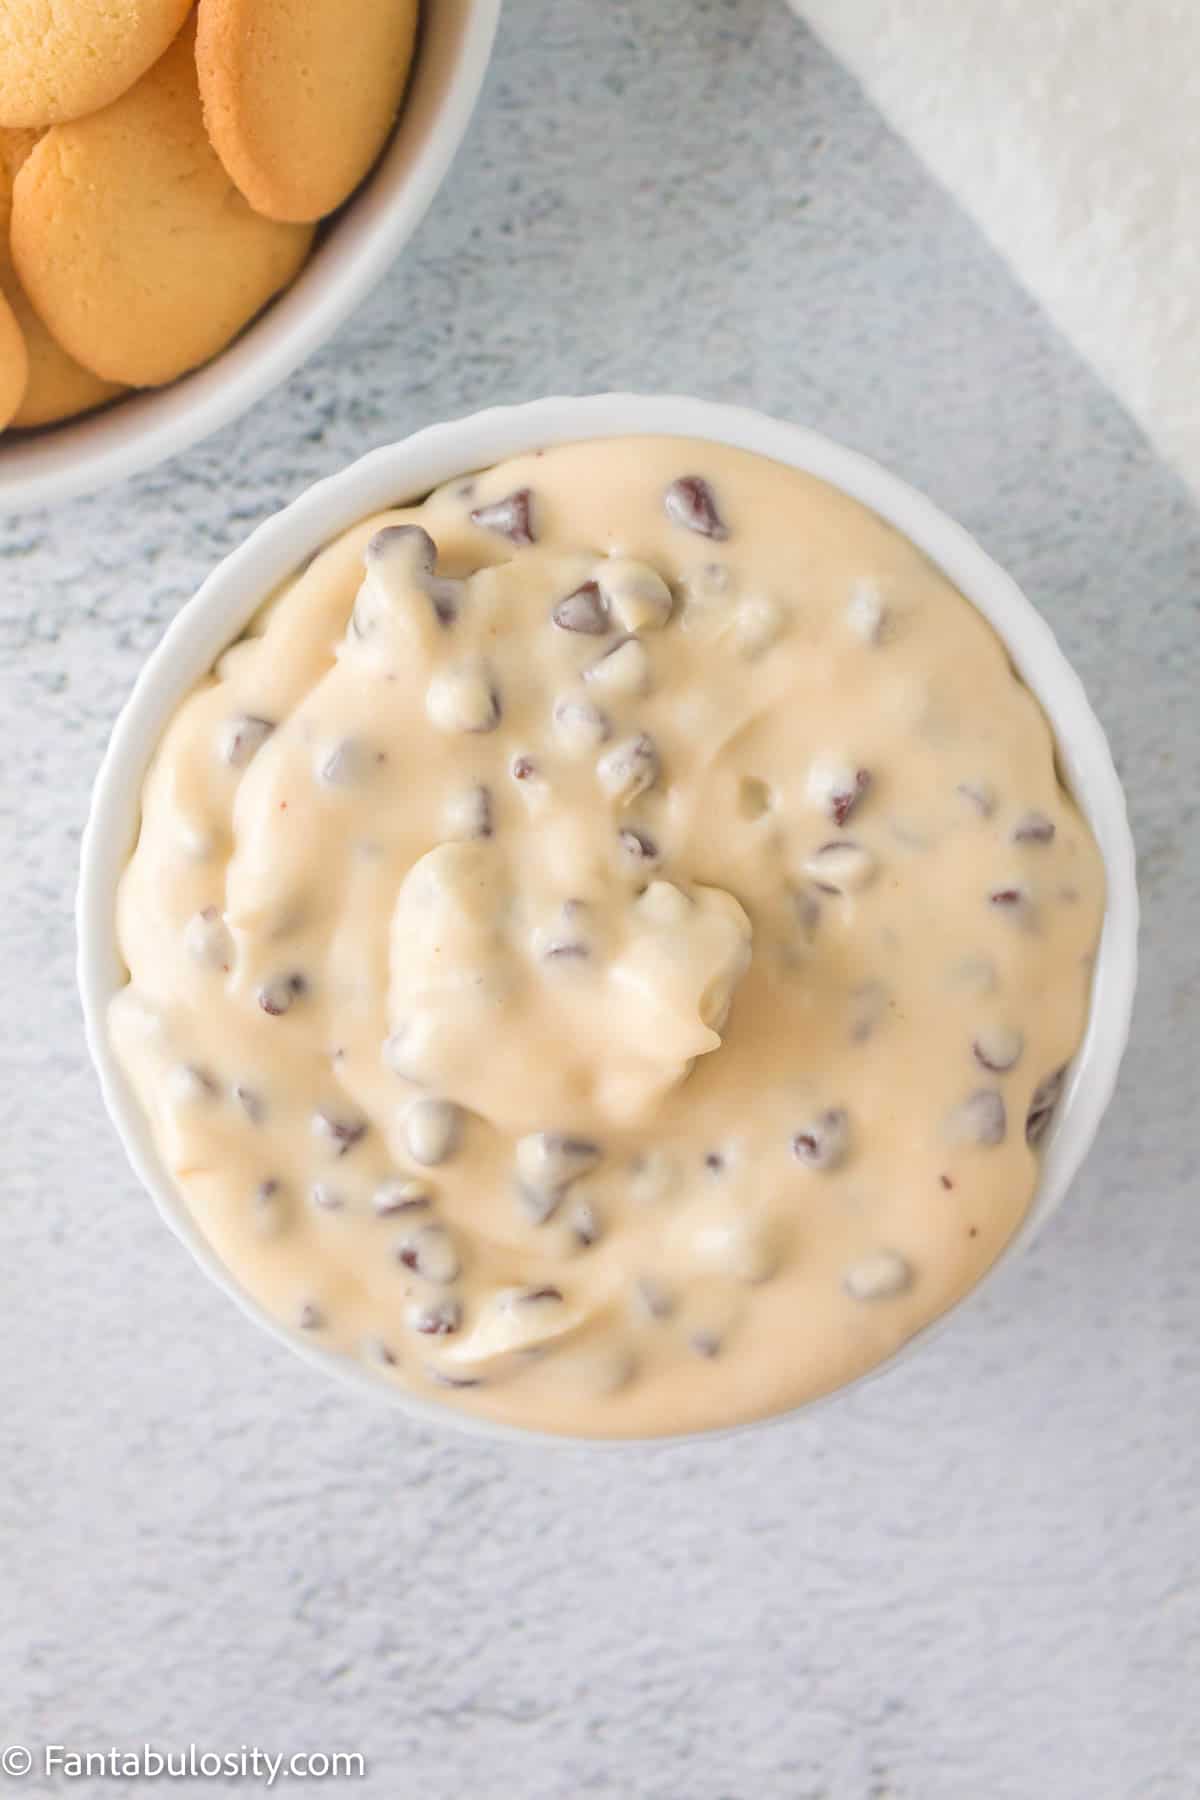
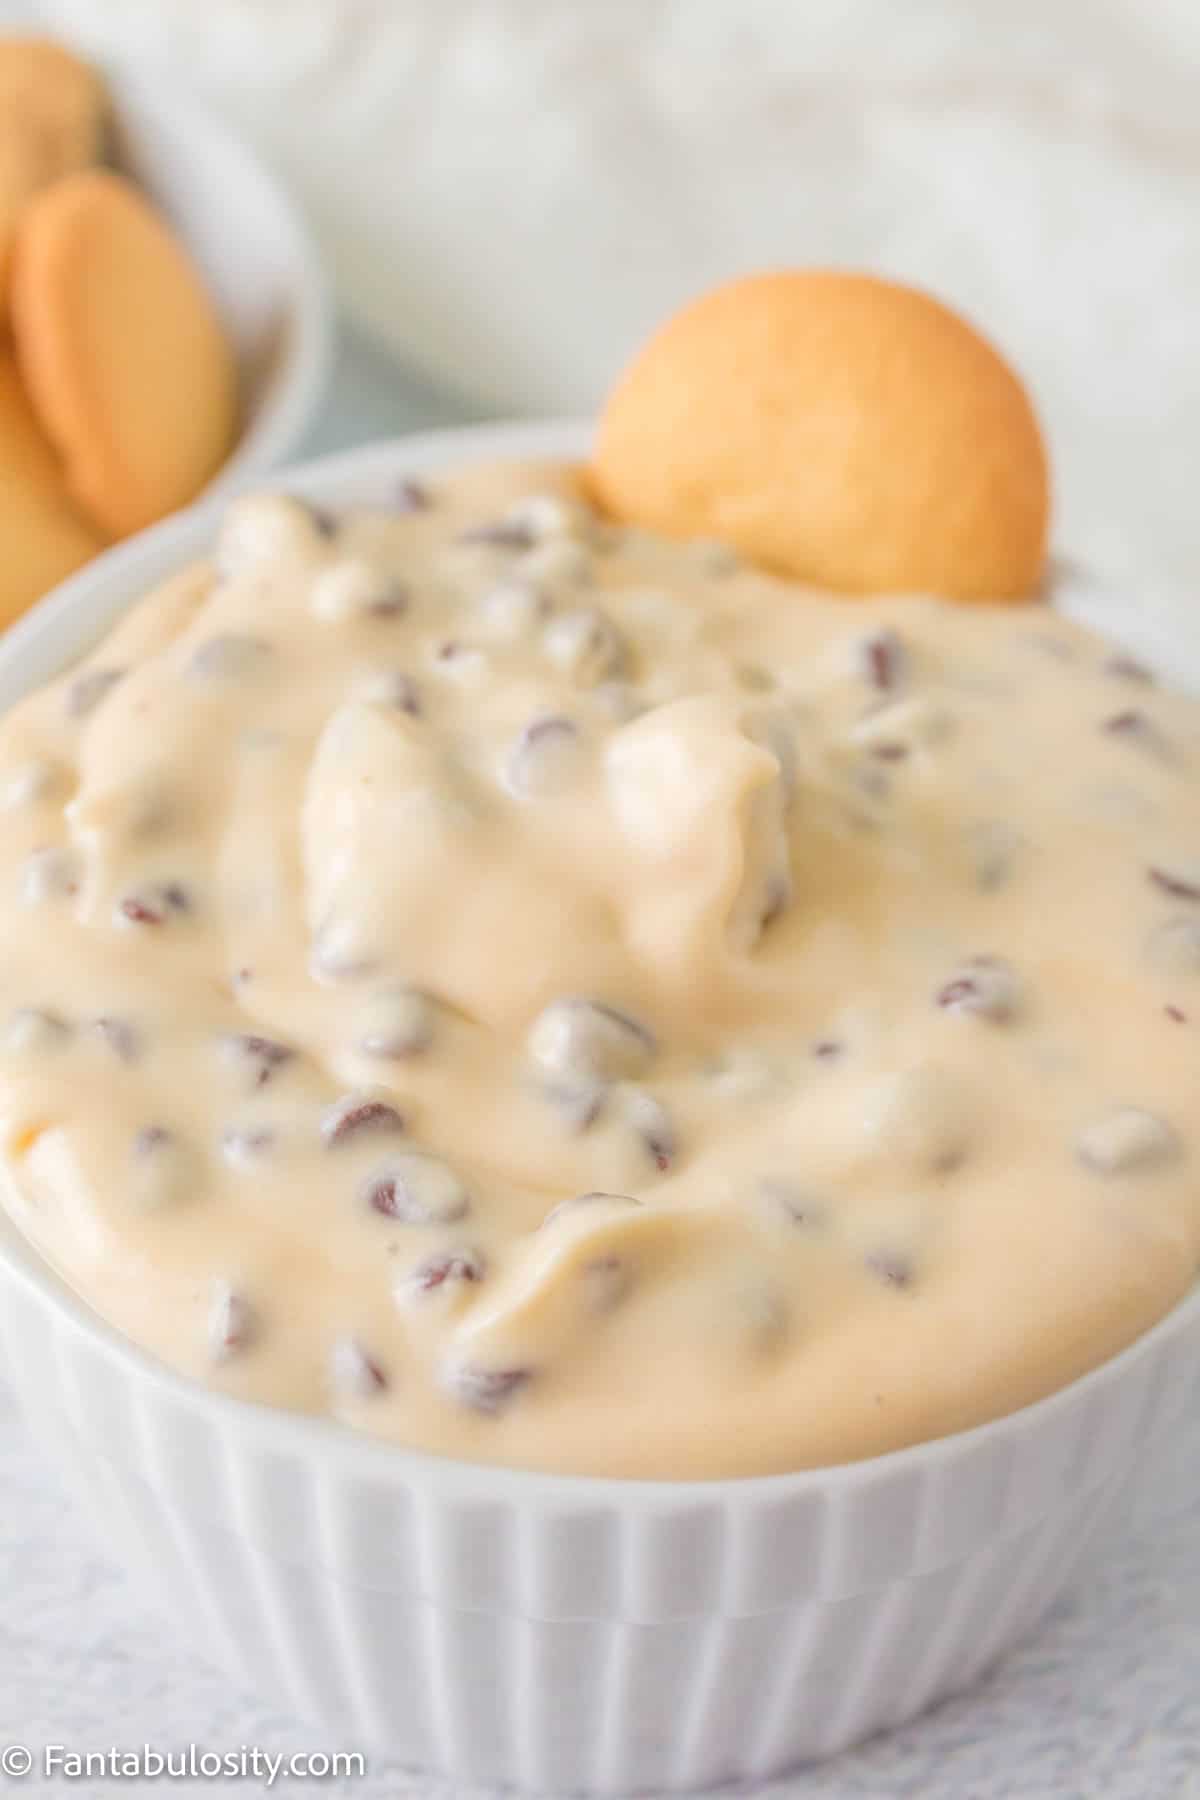
STEP 3: Add the cake mix and chocolate chips. Now, stir in the boxed cake mix, making sure it’s thoroughly combined with the other ingredients. Toss in the white chocolate chips, making sure they’re evenly distributed in the dough. (Images 3-4)
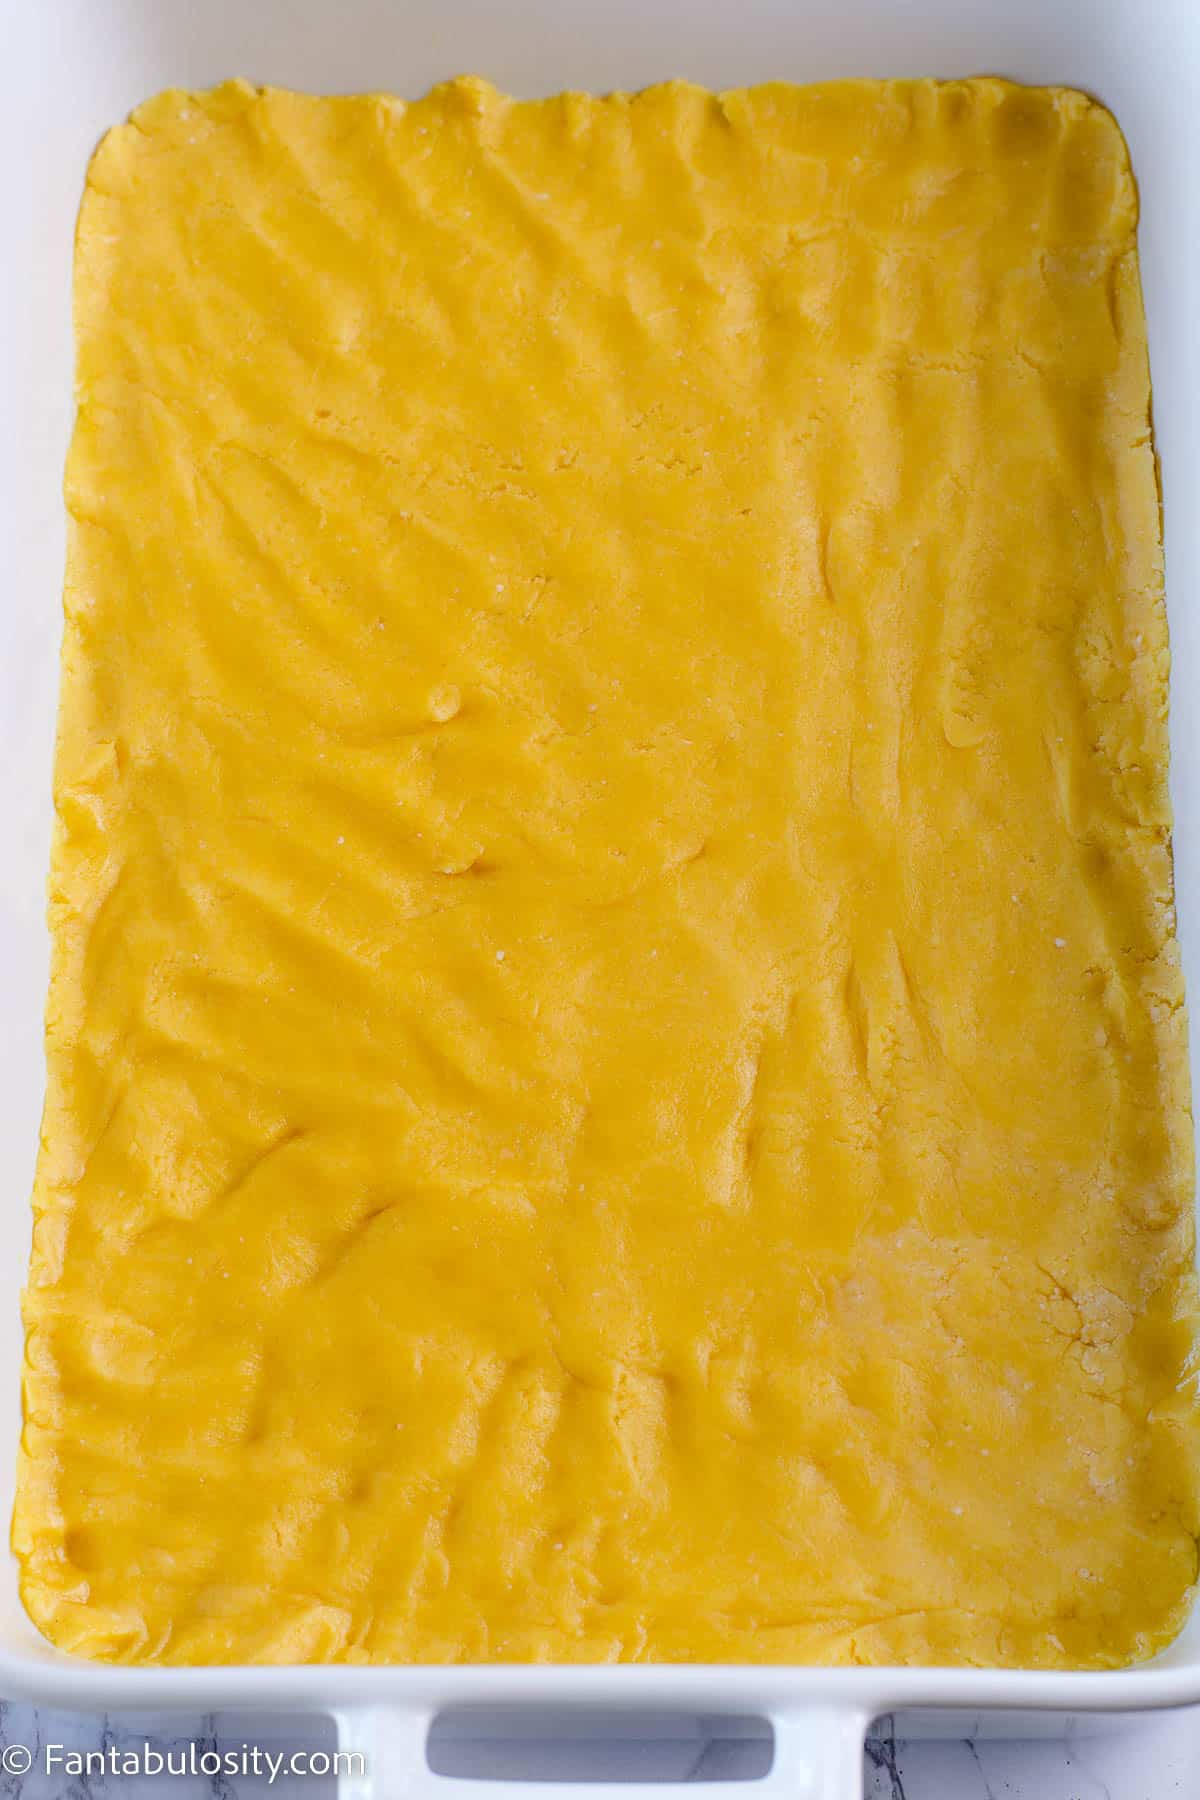
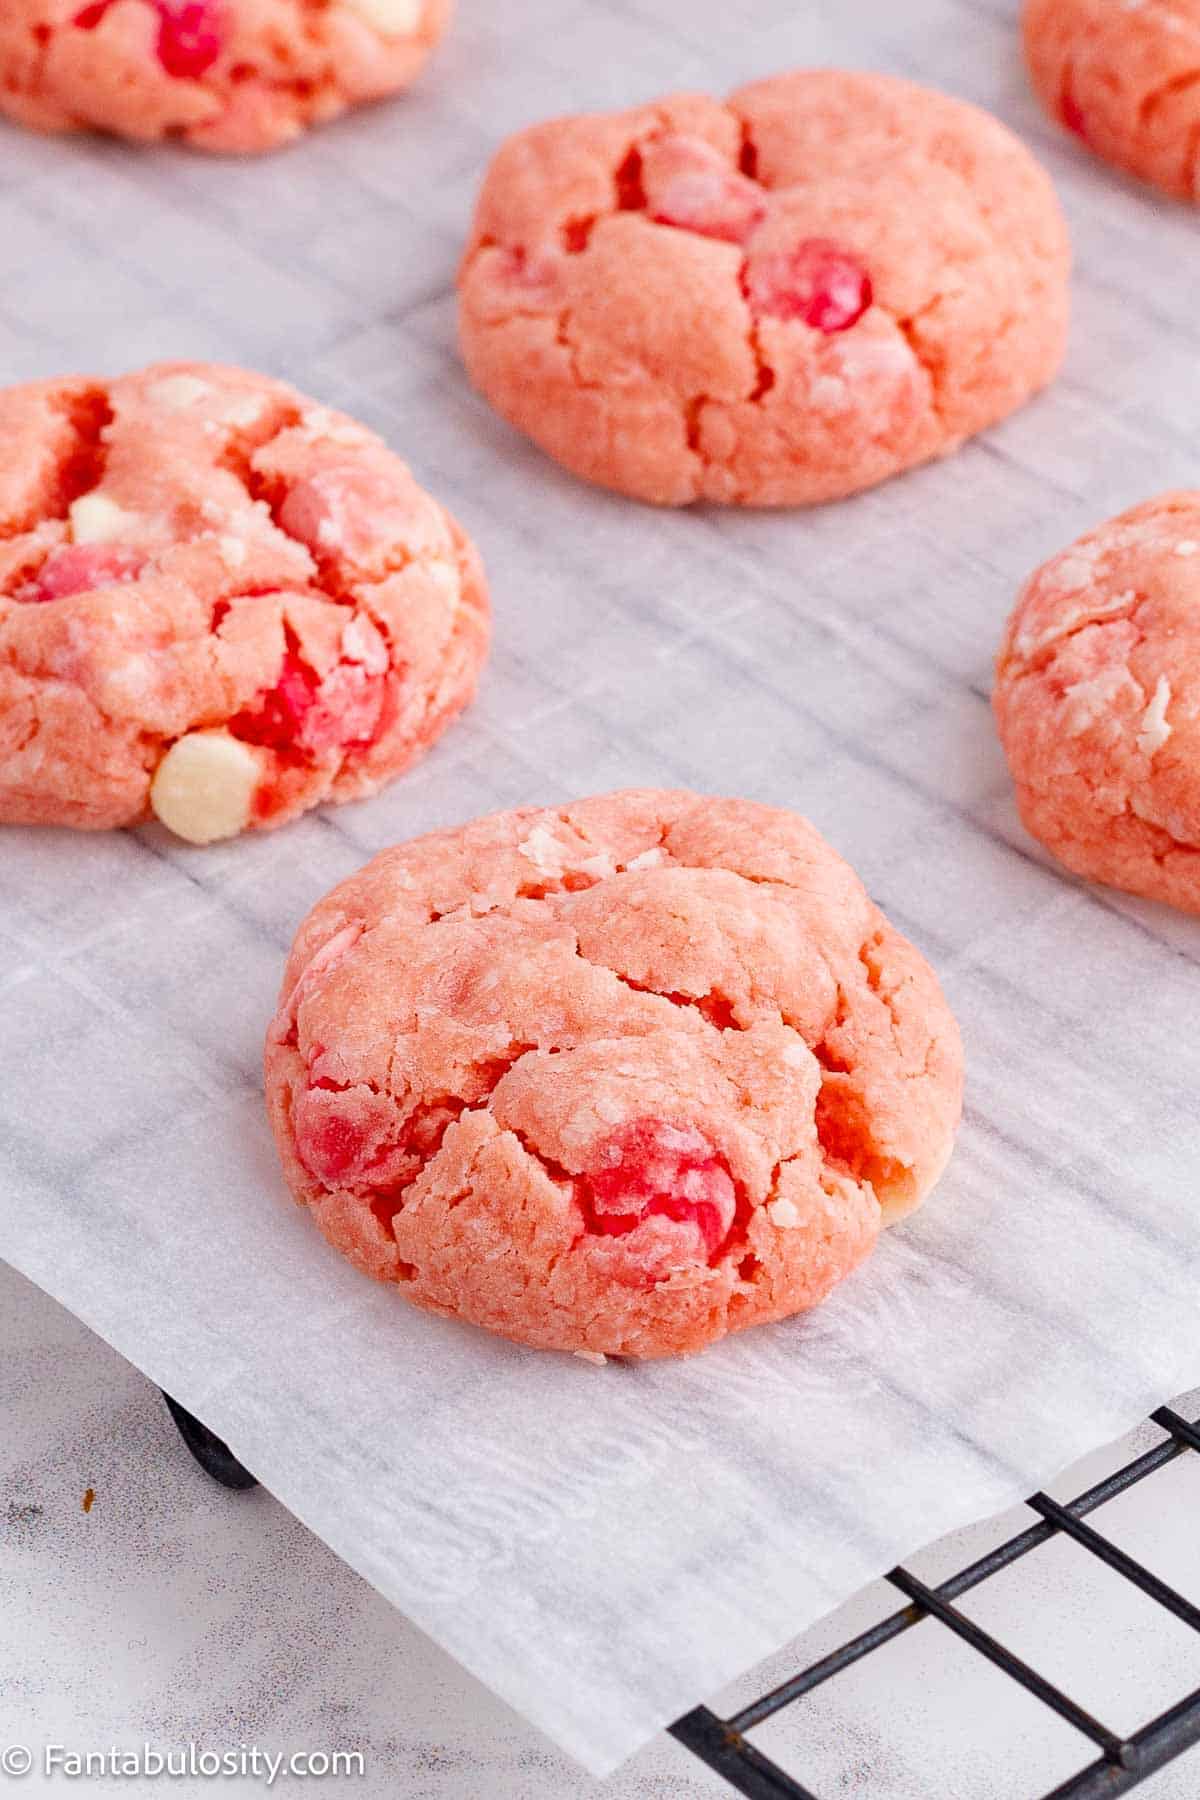
STEP 4: Make the cookies. Utilize a small cookie scoop to measure out the dough and shape it into balls that are about 1″ in diameter.
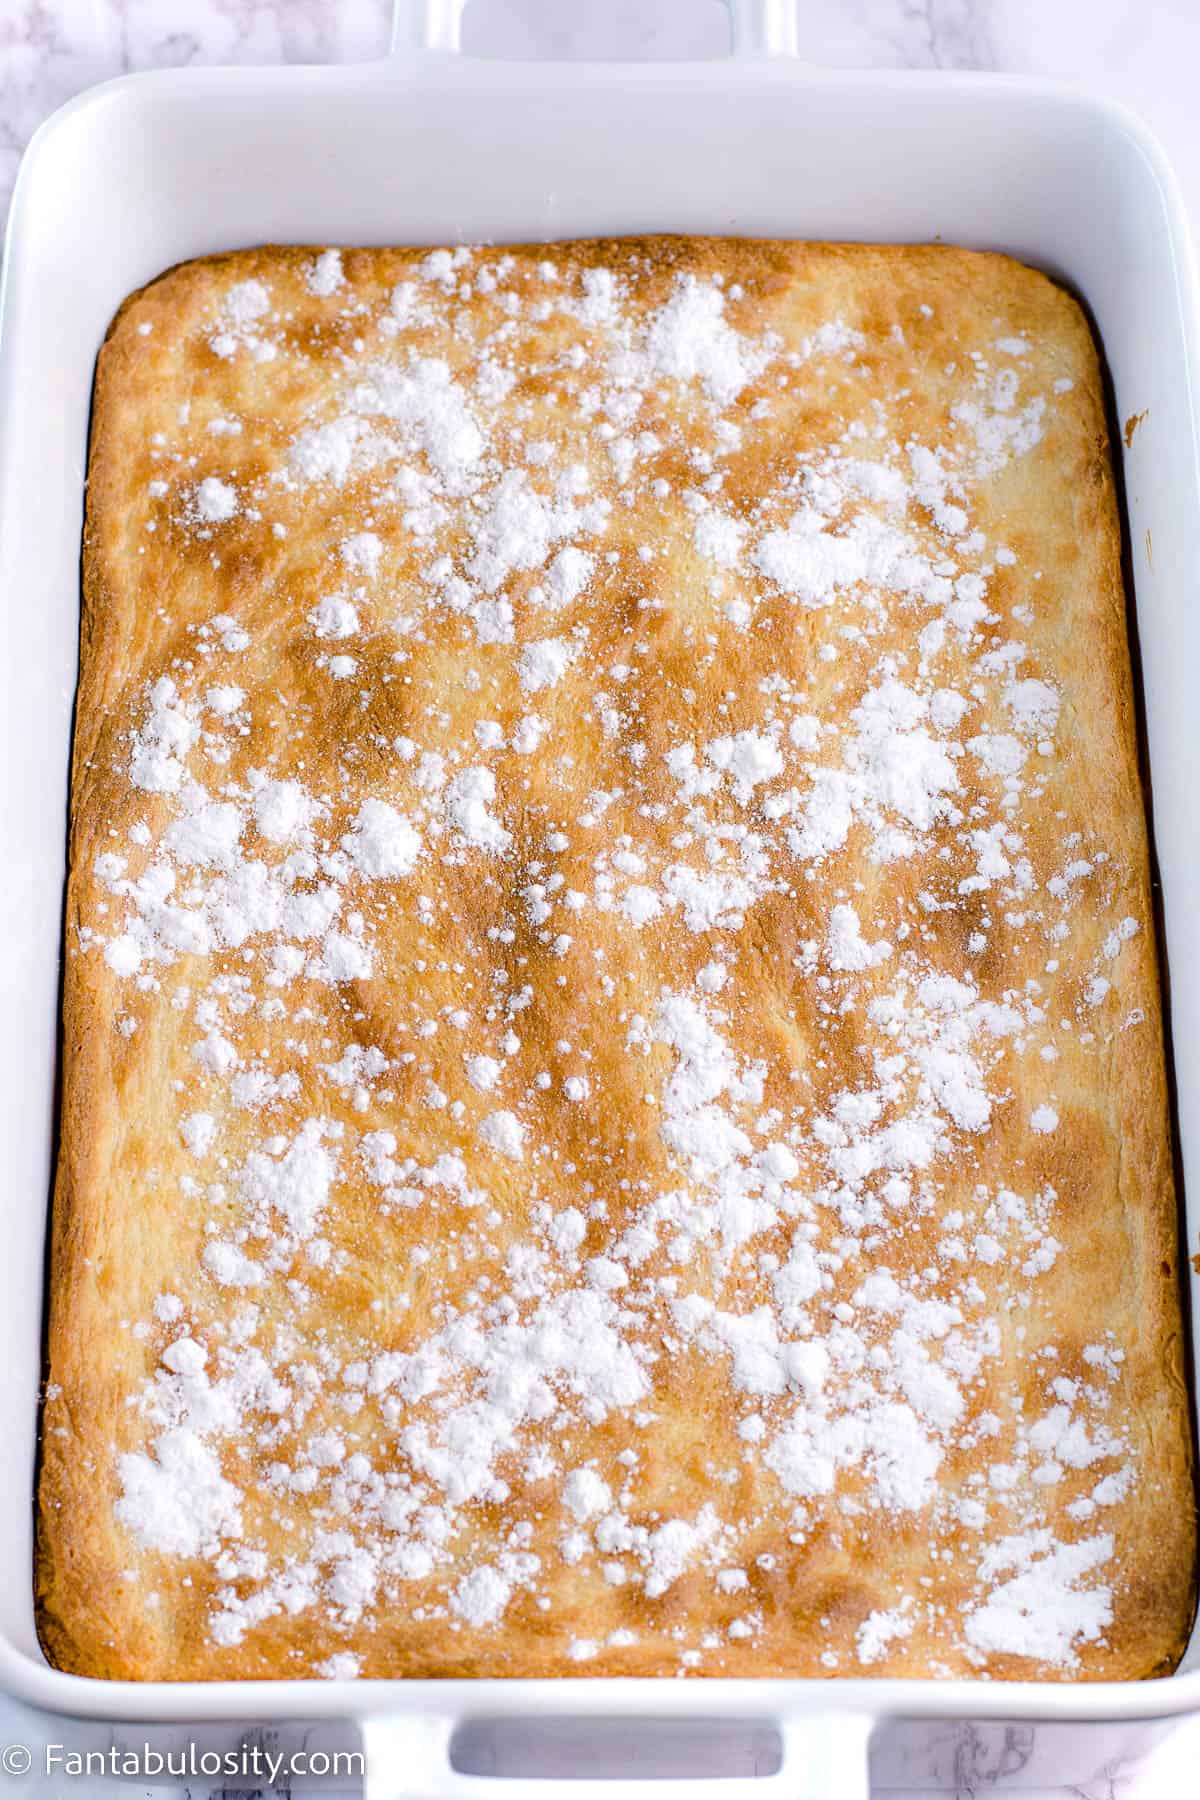
STEP 5: Coat in sugar. Roll these balls in powdered sugar until they’re fully coated, and then place them at least 2″ apart on the lined baking sheet.
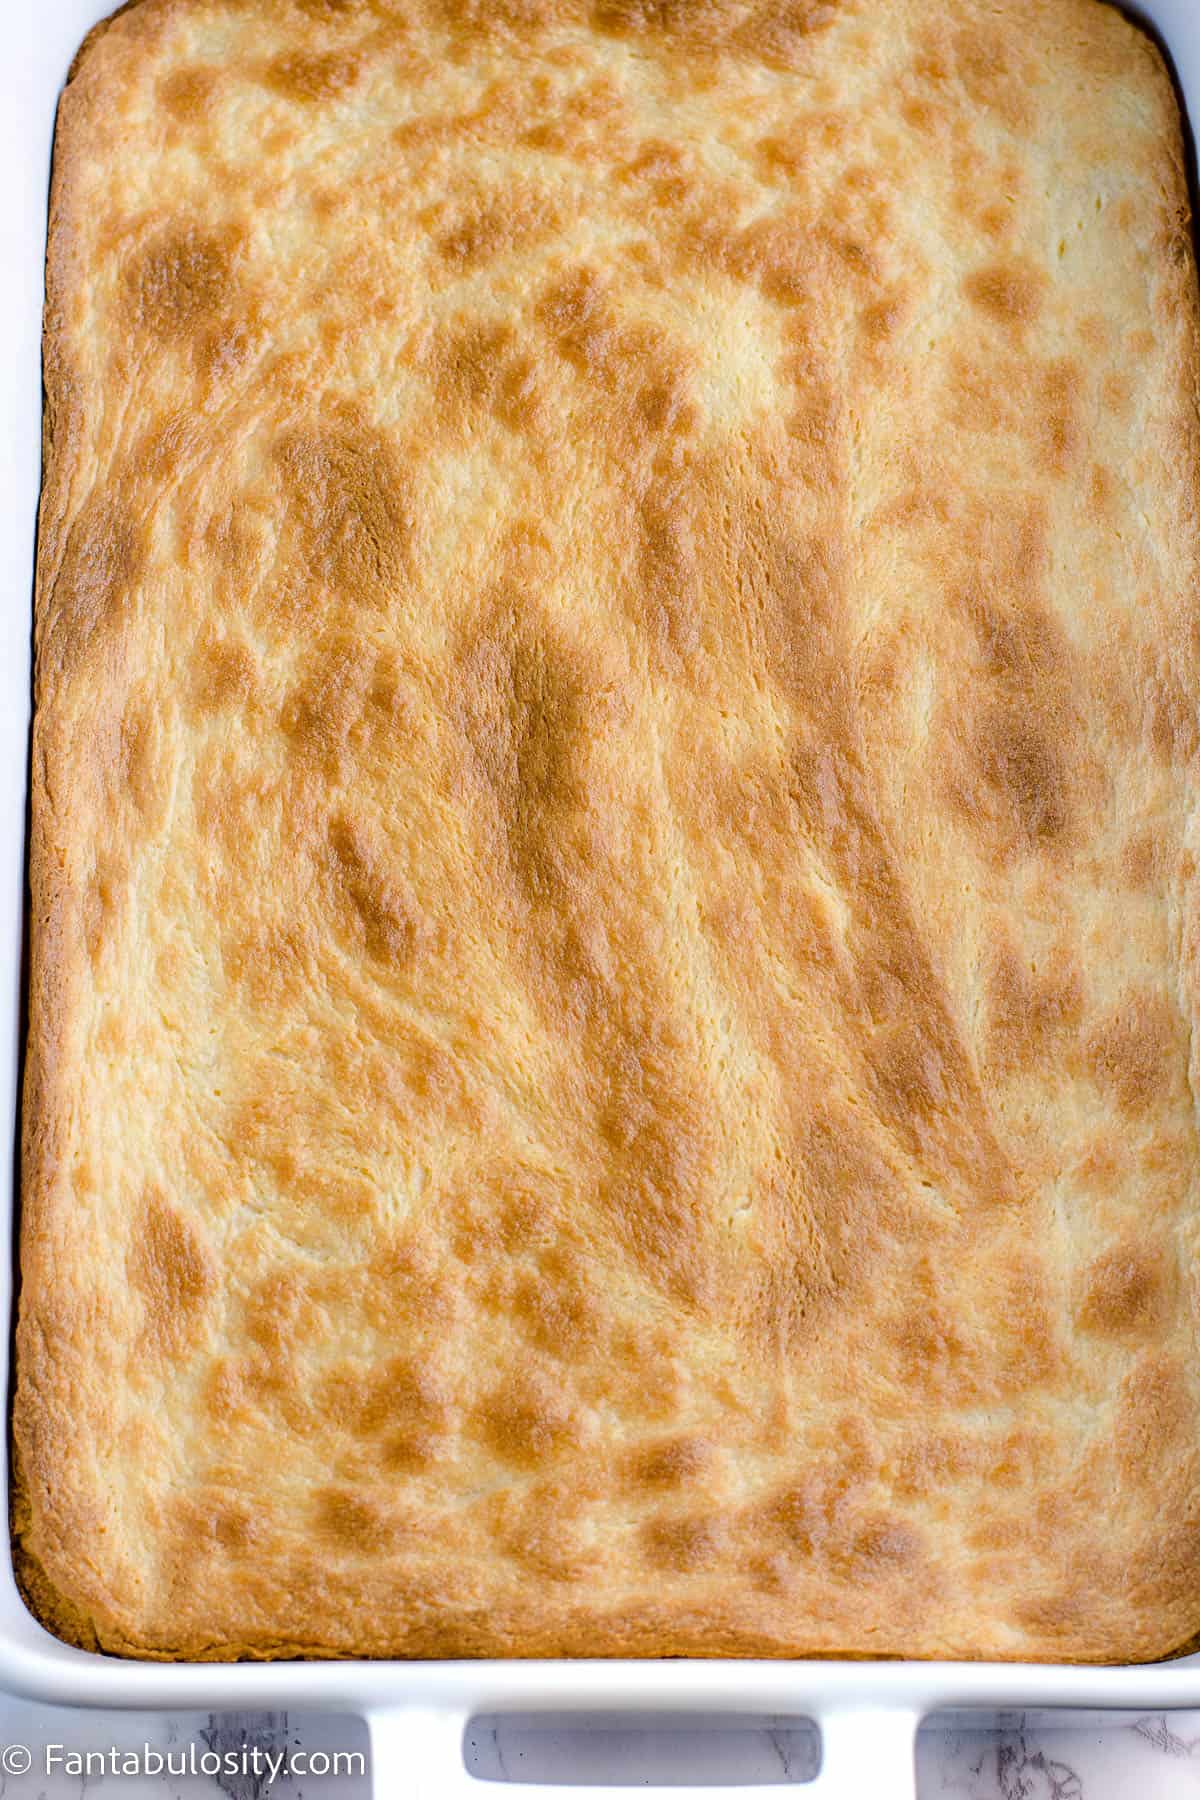
STEP 6: Bake and cool. Bake these for around 10-13 minutes. Once they’re baked, let them cool down for approximately 5 minutes on a wire rack.
Recipe Pro Tips
- When creaming the butter and cream cheese together, make sure they are at room temperature. This will help them blend smoothly and prevent chunks in the dough.
- Be careful not to overmix the dough when you add the cake mix. Mixing until just combined ensures a tender and soft cookie.
- If your dough is too sticky to shape into cookie dough balls, chill it in the refrigerator for about 30 minutes. This will make it easier to handle.
- Do not overbake the cookies. They might not look fully baked when you remove them from the oven, but they will firm up as they cool. Overbaking can result in a harder, drier cookie.
- Store the cookies in an airtight container to maintain their softness. They can be stored at room temperature for up to a week or in the freezer for up to three months. If frozen, let them defrost at room temperature before serving.
- Feel free to experiment with different flavor cake mixes and chips to create your own unique version of these cookies. How about trying chocolate cake mix cookies?
Recipe FAQs
Yes, you can certainly experiment with other flavors of cake mix. However, changing to a different flavor will modify the overall taste of the end result.
Absolutely! Freezing cookie dough is a great way to have fresh-baked cookies any time you want. Just scoop out the dough balls, freeze them on a baking sheet, then transfer them to a sealed container or bag. When you’re ready to bake, just add a couple of minutes to the baking time.
Yes, the powdered sugar is mainly for coating the cookies before baking for an added touch of sweetness and texture. If you don’t have any on hand, you can simply omit this step.
If you don’t have cream cheese or prefer not to use it, you can substitute it with the same amount of unsalted butter. Please note that this could slightly change the texture and taste of your cookies.
Definitely! The best part of this recipe is the ability to add in your favorite mix-ins. Some ideas could be nuts, dried fruits, or even sprinkles for a festive touch. Just be careful not to overstuff your dough, as it could affect the cookies’ structure and baking time.
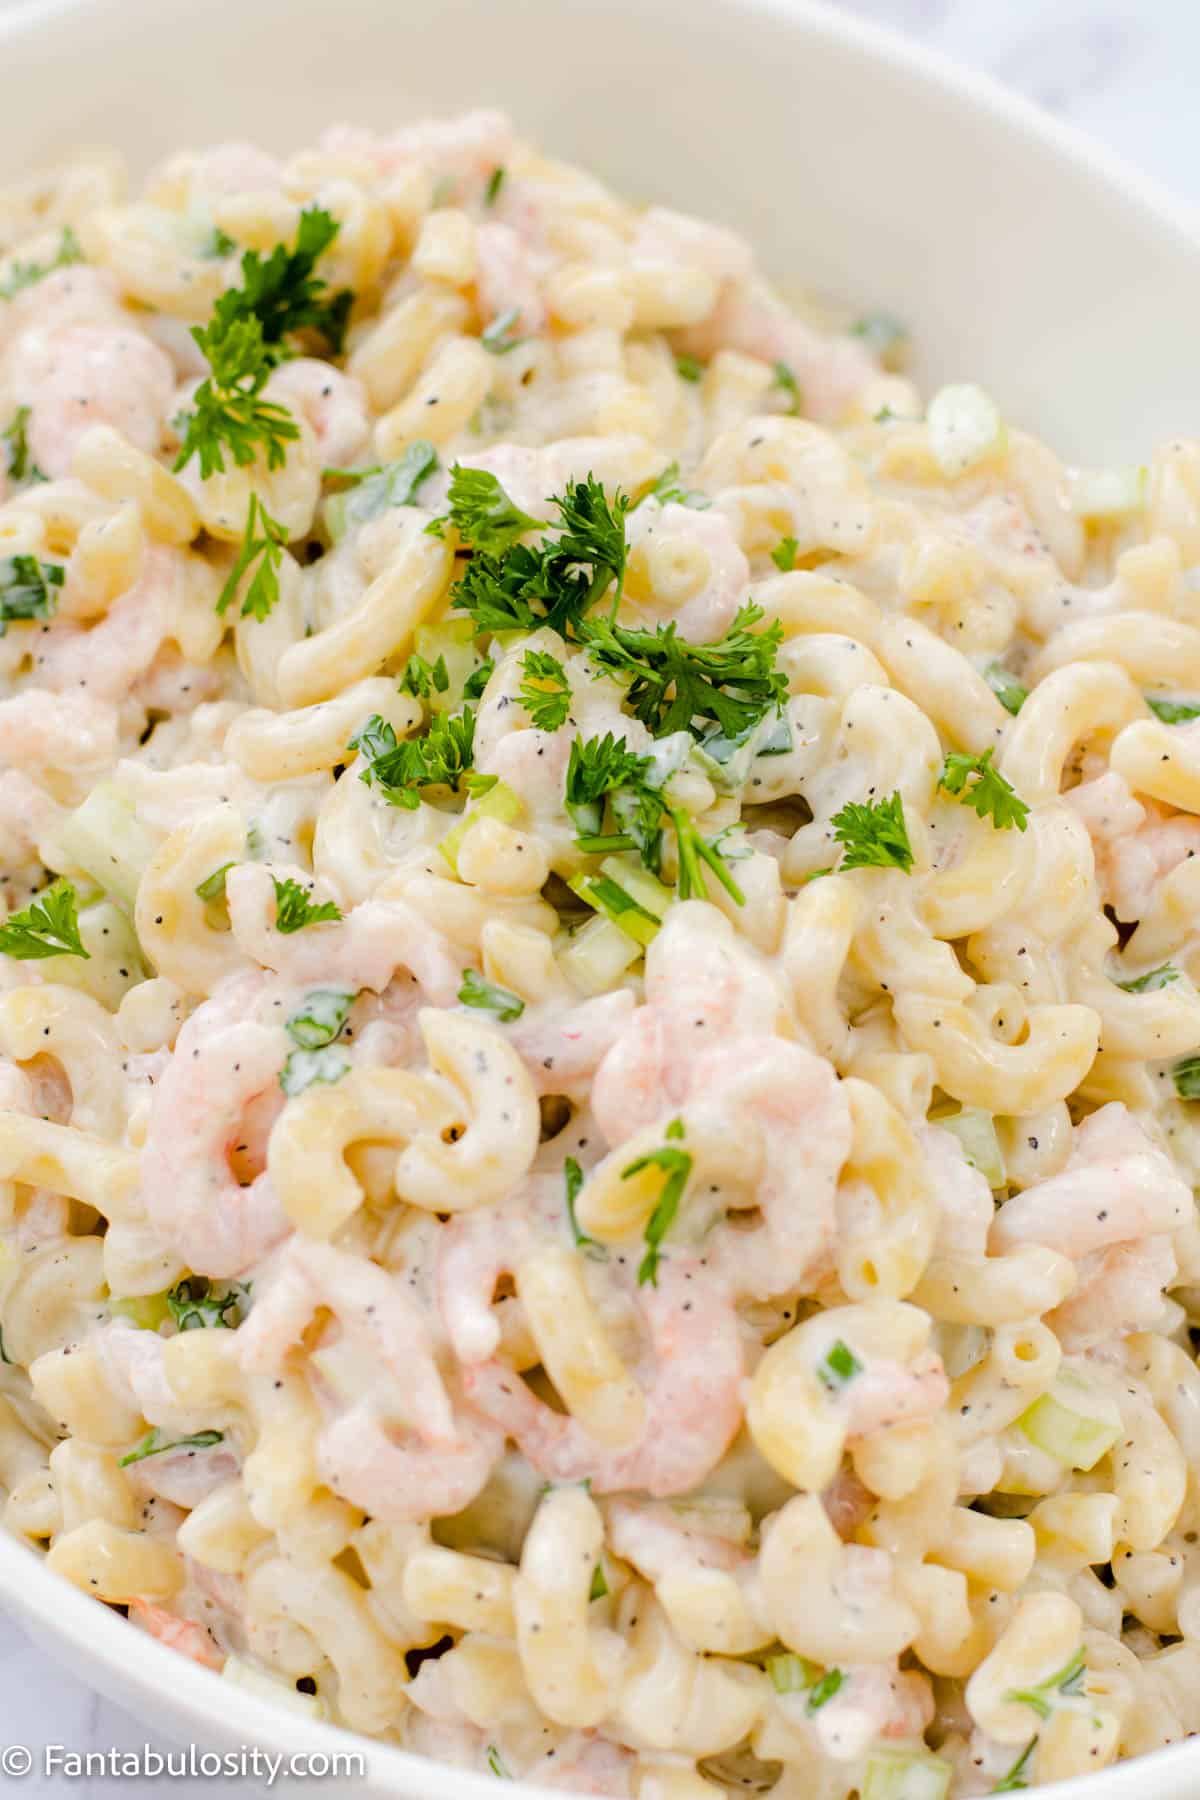
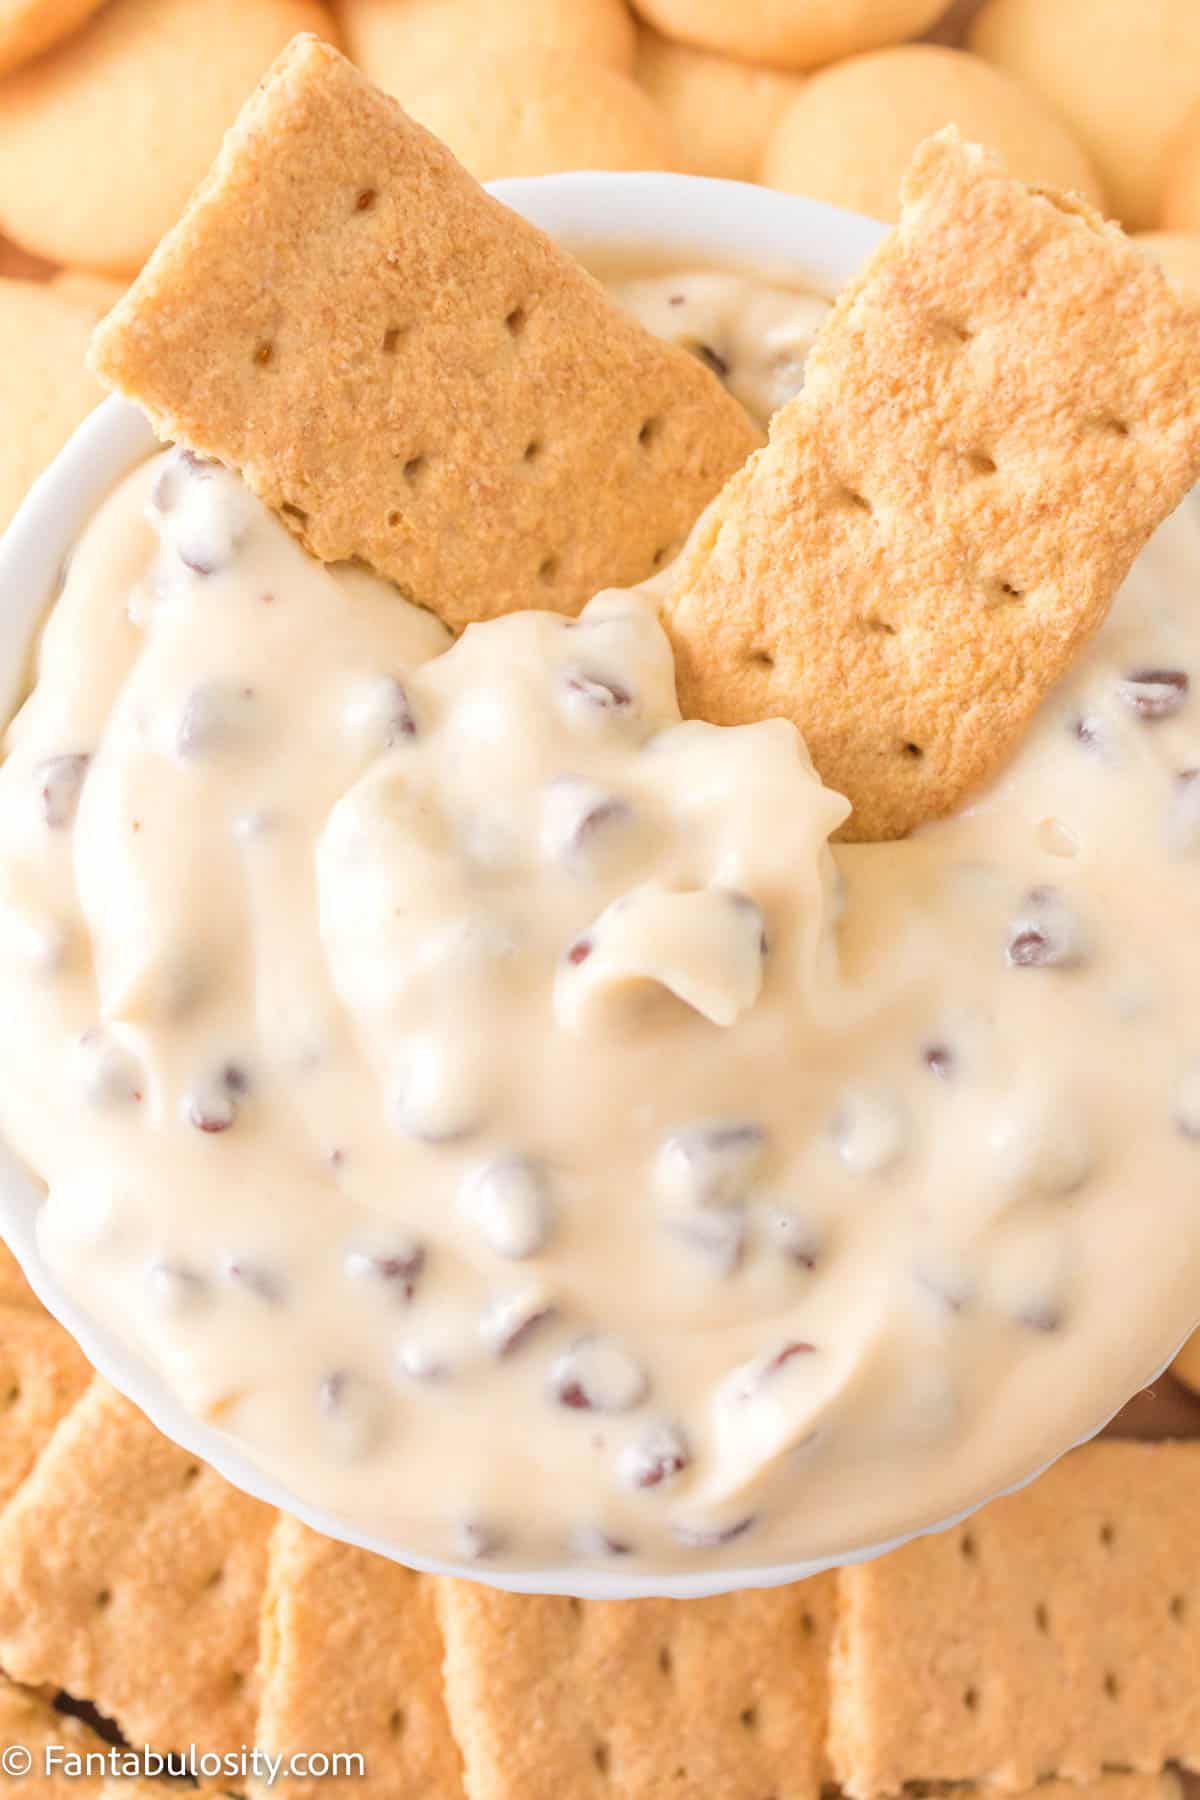
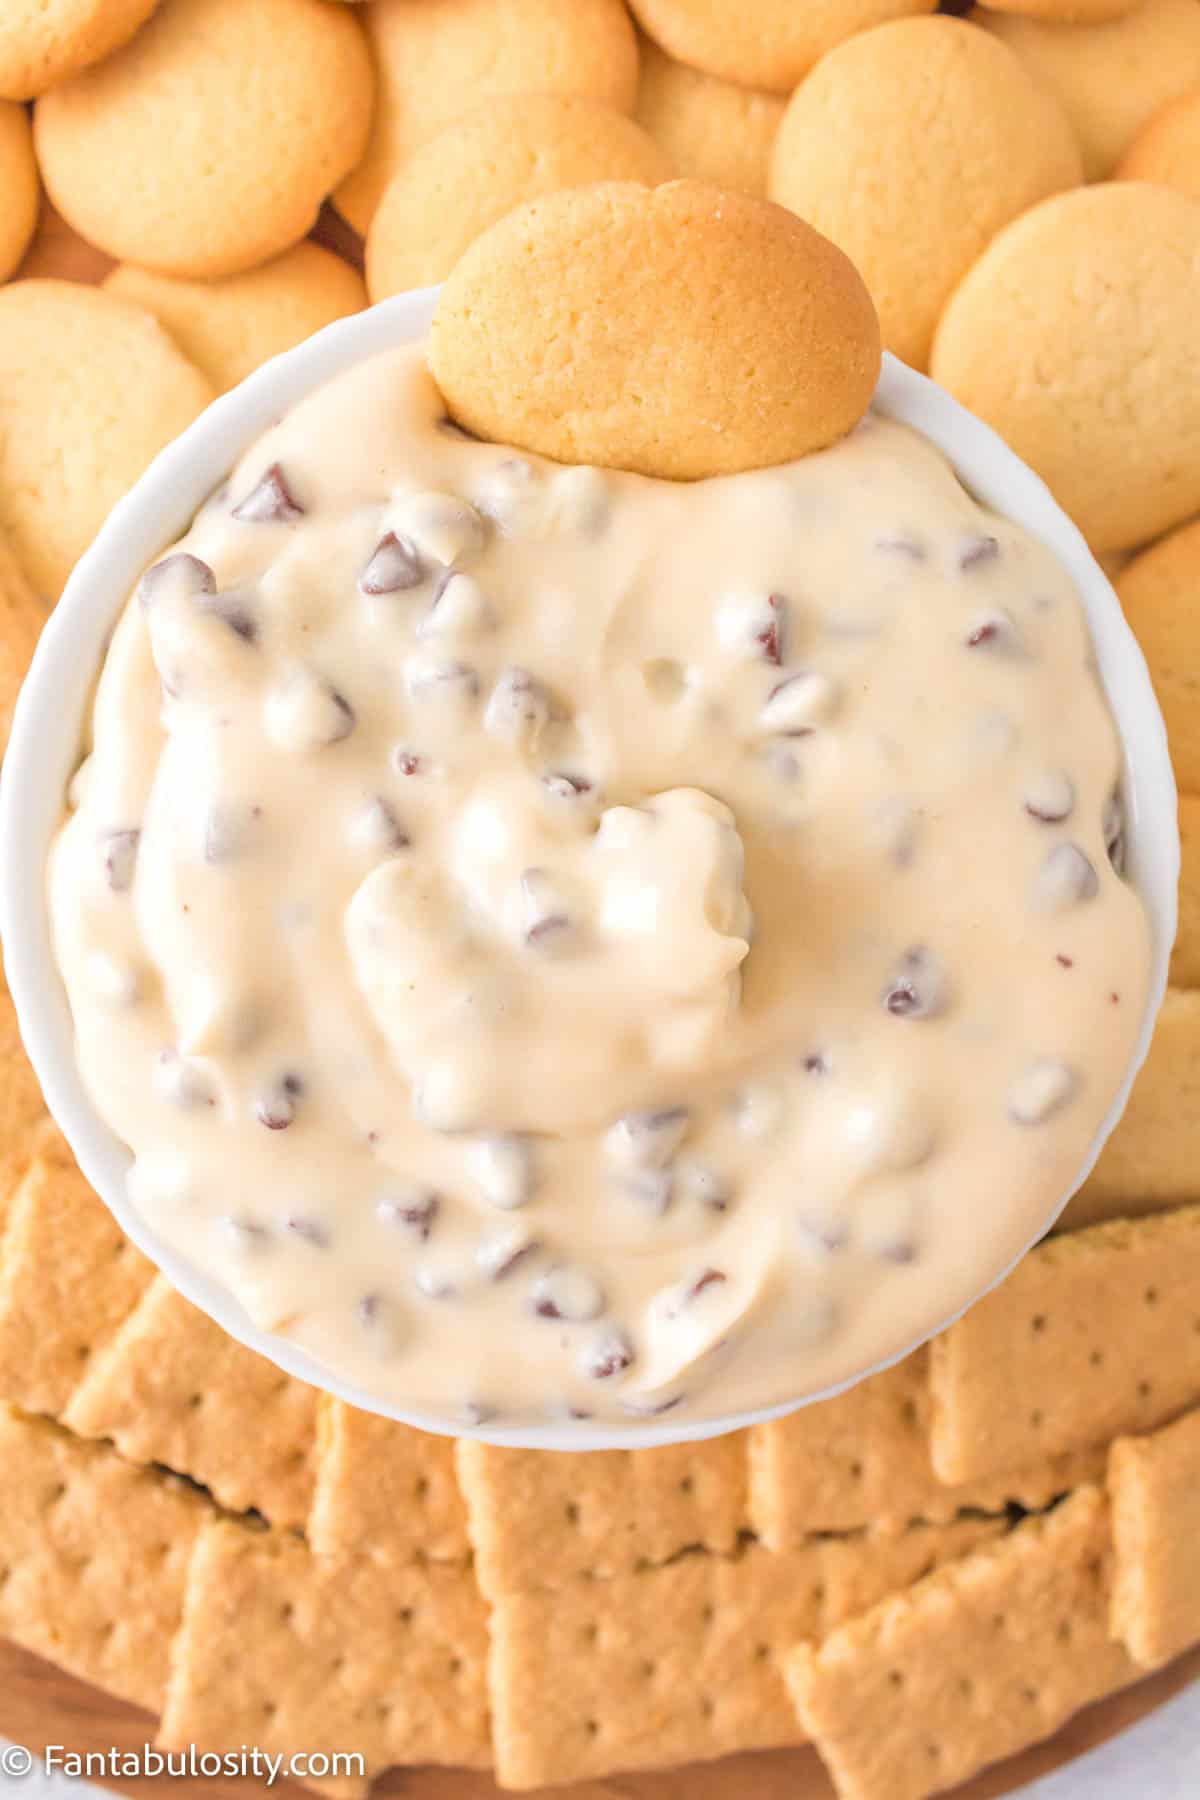
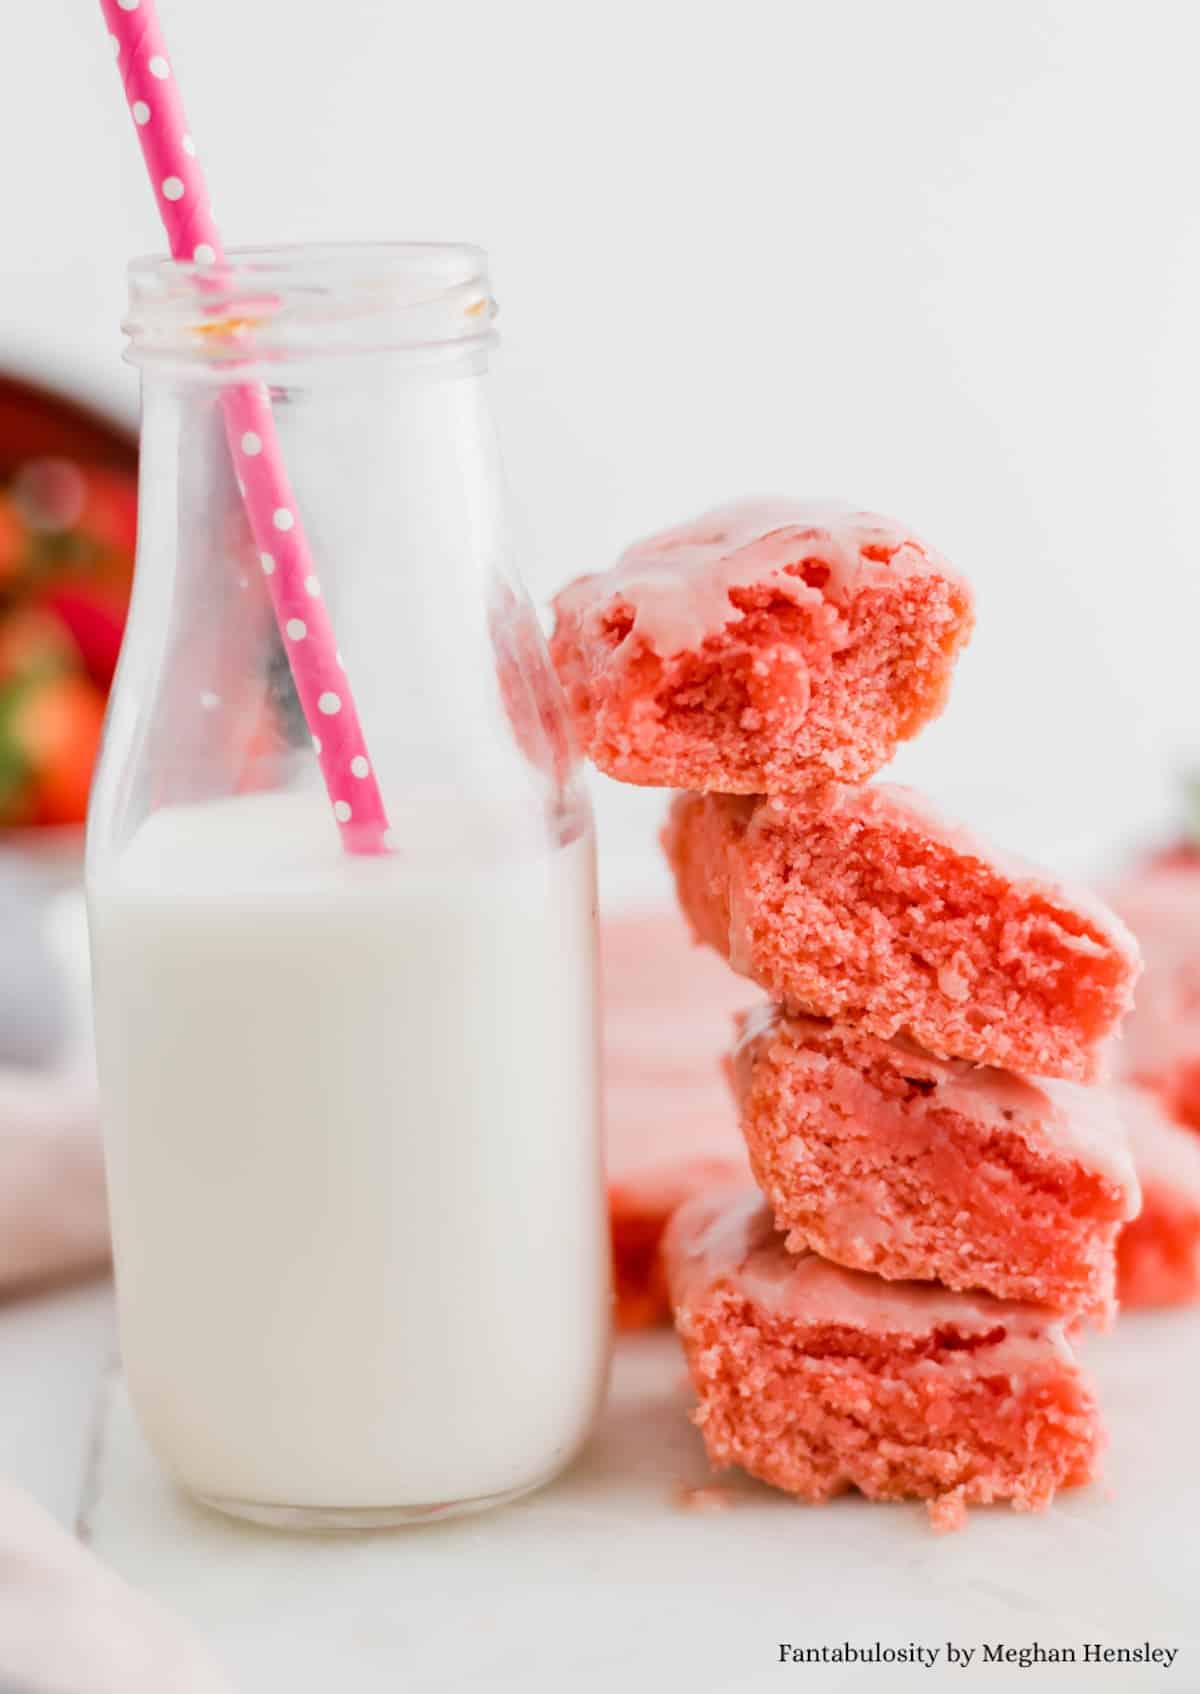
What to Serve with Strawberry Cake Mix Cookies
These Strawberry Cake Mix Cookies are a delightful treat on their own, but there are numerous ways to make them even more special. Serve them alongside a glass of cold milk or a hot cup of coffee for a classic combination.
If you’re in the mood for a dessert platter, consider adding a selection of fine cheeses and fresh fruits, which will complement the sweetness of the cookies. For a more decadent experience, serve them with a scoop of vanilla or strawberry ice cream.
Storage
These Strawberry Cake Mix Cookies can be stored in an airtight container at room temperature for up to one week. Ensure that the container is sealed properly to maintain the softness of the cookies.
If you have a surplus of cookies, you can freeze them for up to 3 months. To freeze the cookies, initially freeze them on a baking sheet to avoid them sticking together. Once frozen, transfer them into a zip-top freezer bag or airtight container.
When you’re ready to enjoy the frozen cookies, allow them to defrost at room temperature.
More Cookies Recipes You’ll Love
You can never have too many cookie recipes! So here are a couple of my other popular ones! For a birthday party, make some Funfetti Cake Mix Cookies, or try some of these just for fun:


Did you make this? I’d be so grateful if you left a “star” rating below to let me know what you thought! Then, the next time you need a quick and easy recipe, come back to Fantabulosity to browse all of my easy recipes!
Originally published: January 2024
Republished and updated with video: May 2025
Recipe

Strawberry Cake Mix Cookies
Ingredients
- ½ cup butter softened
- 8 ounces cream cheese softened
- ¼ teaspoon vanilla extract
- 1 egg
- 15.25 ounces Strawberry Cake Mix
- 2 cups powdered sugar
- White Chocolate chips
Instructions
- Preheat the oven to 350° and line a baking sheet with parchment paper.
- In a large mixing bowl, cream together butter and cream cheese.½ cup butter, 8 ounces cream cheese
- Add in vanilla extract and egg and combine.¼ teaspoon vanilla extract, 1 egg
- Next, add in cake mix and stir until well blended.15.25 ounces Strawberry Cake Mix
- Add in white chocolate chips. Fold until it's evenly corporated.White Chocolate chips
- Using a cookie scooper, scoop out the dough and form it into 1" ball.
- Drop them into the powdered sugar and roll them around until coated.2 cups powdered sugar
- Place them about 2" apart on the baking sheet.
- Bake for about 10-13 minutes.
- Once it's out of the oven, let cool for about 5 minutes.
Video
Notes
- Make sure the butter and cream cheese are at room temperature.
- Be careful not to overmix the dough when you add the cake mix.
- If your dough is too sticky to shape, chill it in the refrigerator for about 30 minutes.
- Do not overbake the cookies.
- Store the cookies in an airtight container to maintain their softness.