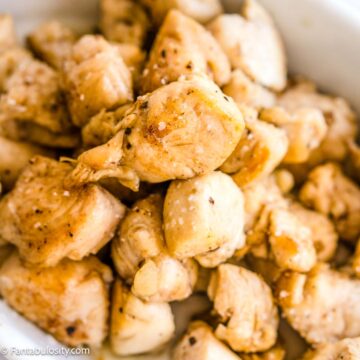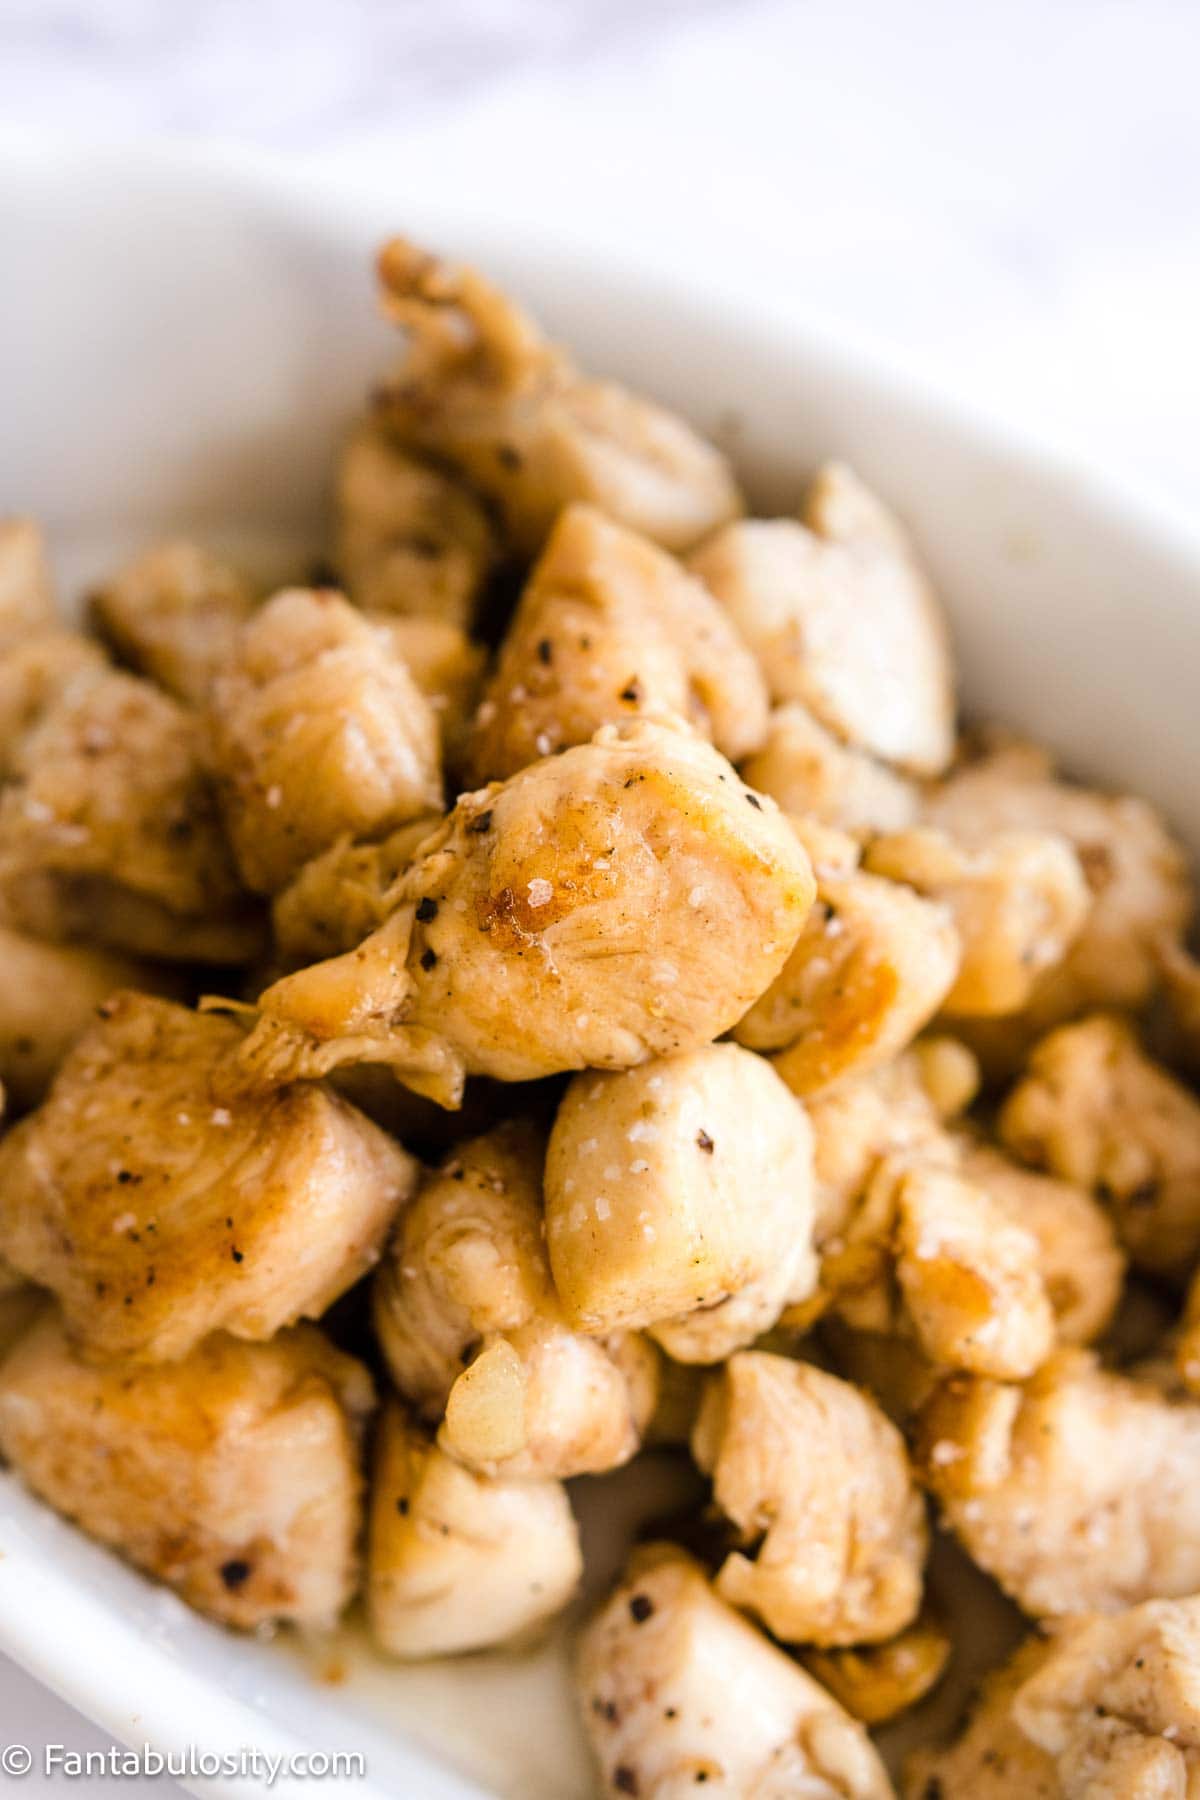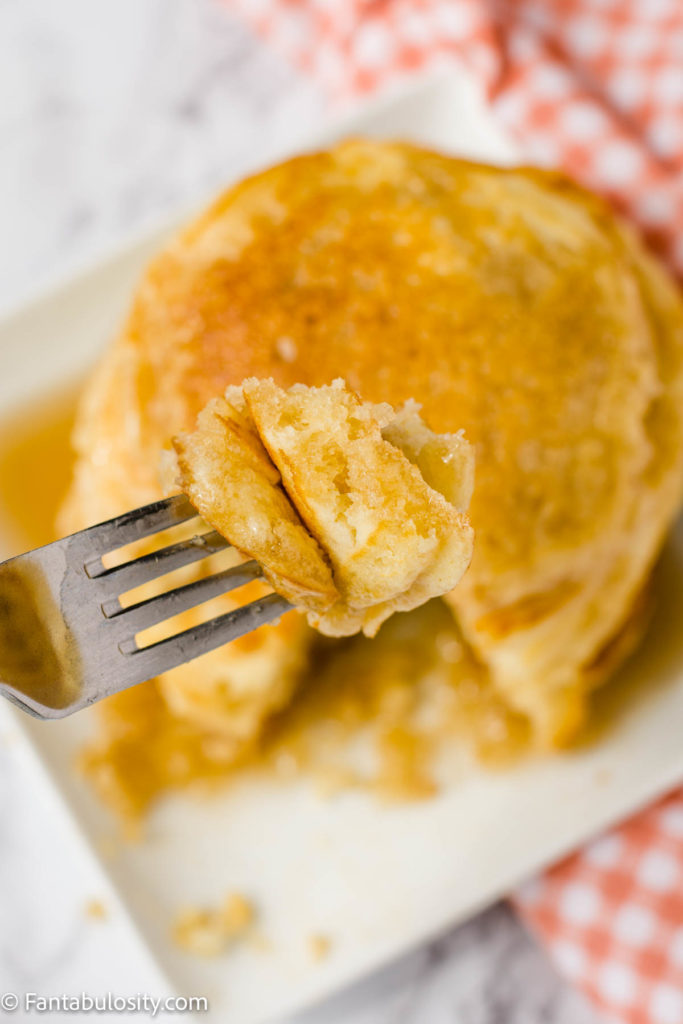
This crispy air fryer tofu is a great recipe to serve as an appetizer at a party or just to make on a weeknight at home, and can also be made vegan and gluten-free!
Cooking it in the air fryer allows the excess moisture and fats to drip down below to retain a crispy texture.
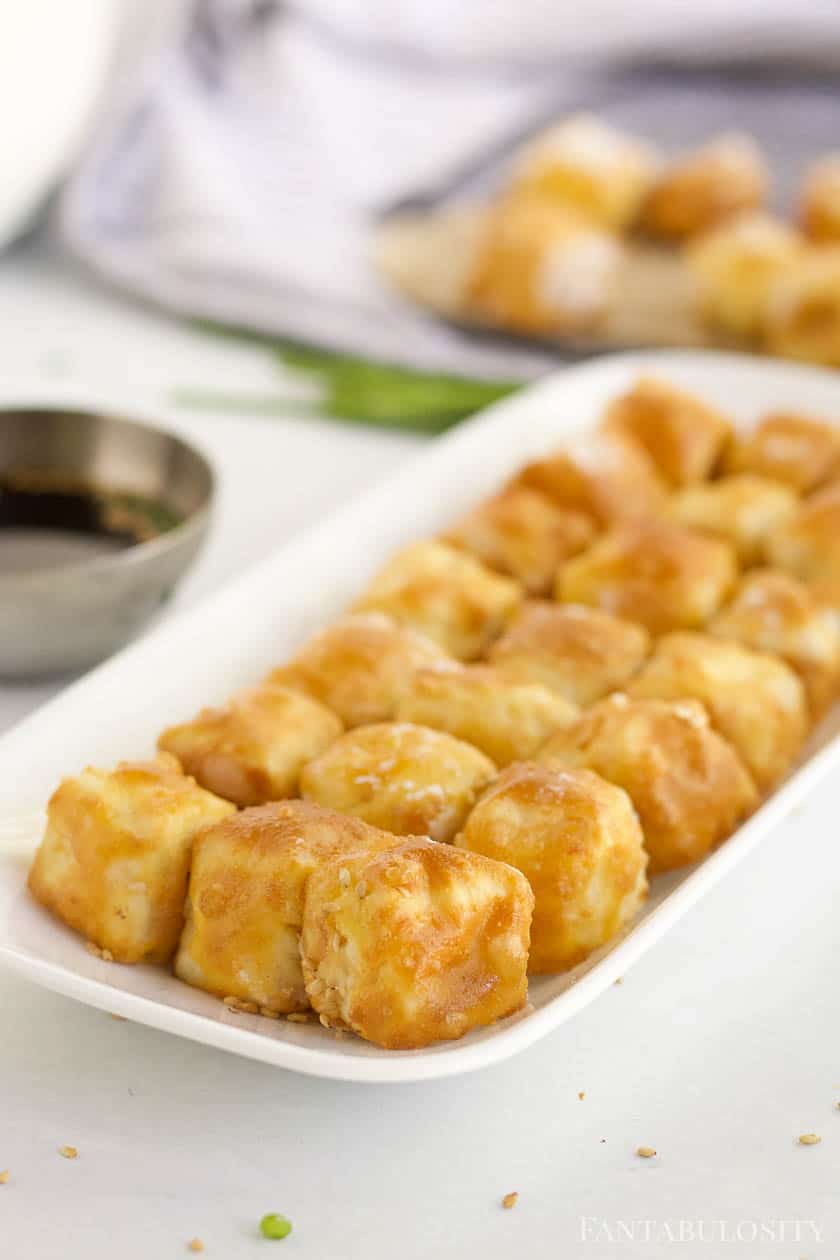
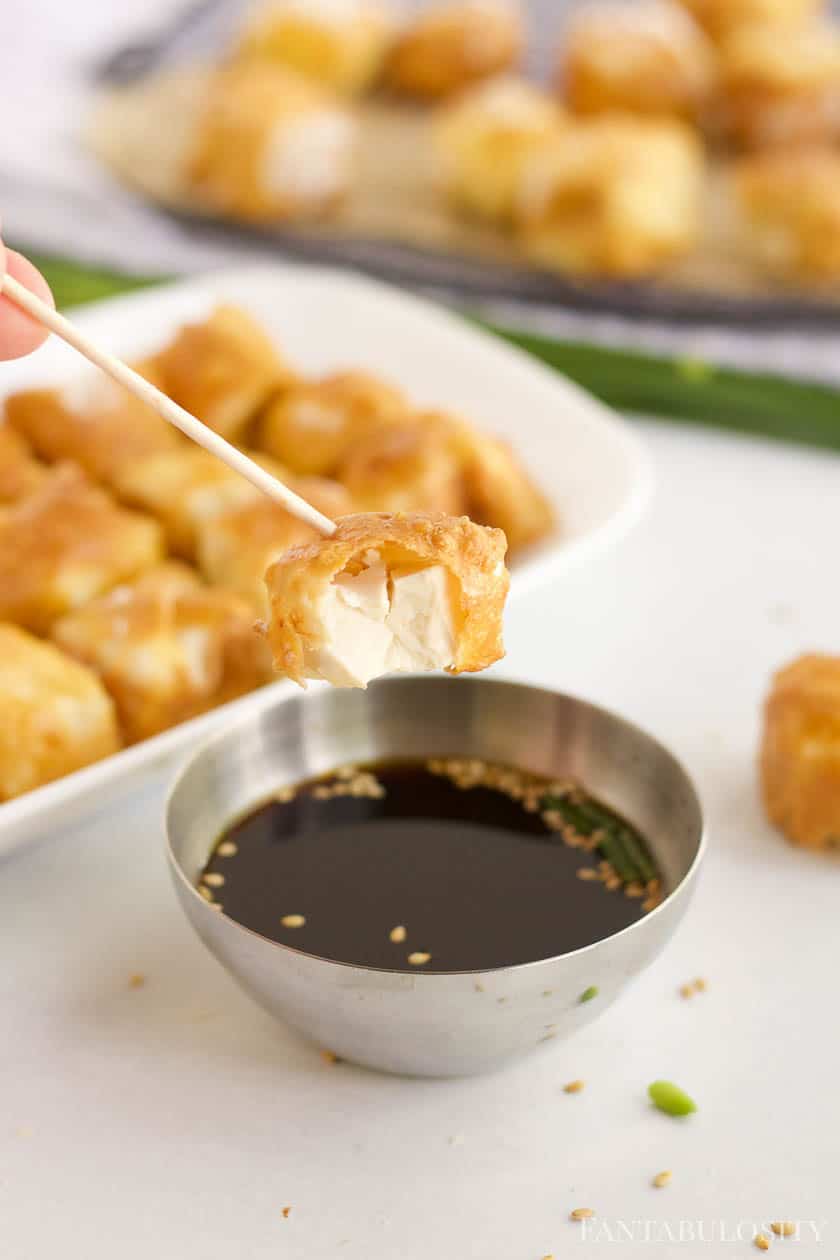
With only 5 simple ingredients, this easy air fryer tofu has a cooking time of only 12 minutes and can be served with dipping sauces such as soy sauce, ranch dressing (like our jalapeno ranch) BBQ sauce, chipotle mayo or your favorite sauce!
Can you cook tofu in the air fryer?
Yes! The next time you’re craving a crispy tofu, the air-fryer is a great option. It’s quick and gives that “fried” flavor you’re looking for, without the mess of vegetable oil splattering everywhere!
How long should you air fry tofu?
With the instructions below, using flour, salt, pepper, and egg, cook the tofu at 350 degrees for 12 minutes or until golden brown.
How do you make tofu crispy?
- Gently press the tofu between paper towels to remove excess water. A great way to do this is to line two plates with paper towels and place the tofu on one of them.
Top the tofu with the other paper-towel covered plate, (paper towel side down) and find a heavy object (like a can of vegetables) that can sit on top to gently press down on the tofu. The paper towels should “sandwich” the tofu and soak up the water. You may also consider a tofu press to make this job a little easier.
- The air fryer cooks the tofu by circulating hot air around it, while also keeping it separated from the fats and excess water that it would normally be sitting in. So this will help get healthy, crispy tofu that is evenly cooked in just 12 minutes!
How to Season Tofu
This recipe makes perfect classic breaded tofu, but if you’re looking to change things up you can add your favorite spices into flour.
To make the tofu spicy, try some onion powder, cayenne pepper and smoky paprika to the flour mixture.
If you want to make it a little more savory, add some Italian seasoning, garlic powder, or Cavenders to the flour.
This recipe is very forgiving and is a great base for experimenting in the kitchen.
How to Cook Tofu in the Air Fryer
It is incredibly easy and you only need a few ingredients to make crispy tofu in the air fryer.
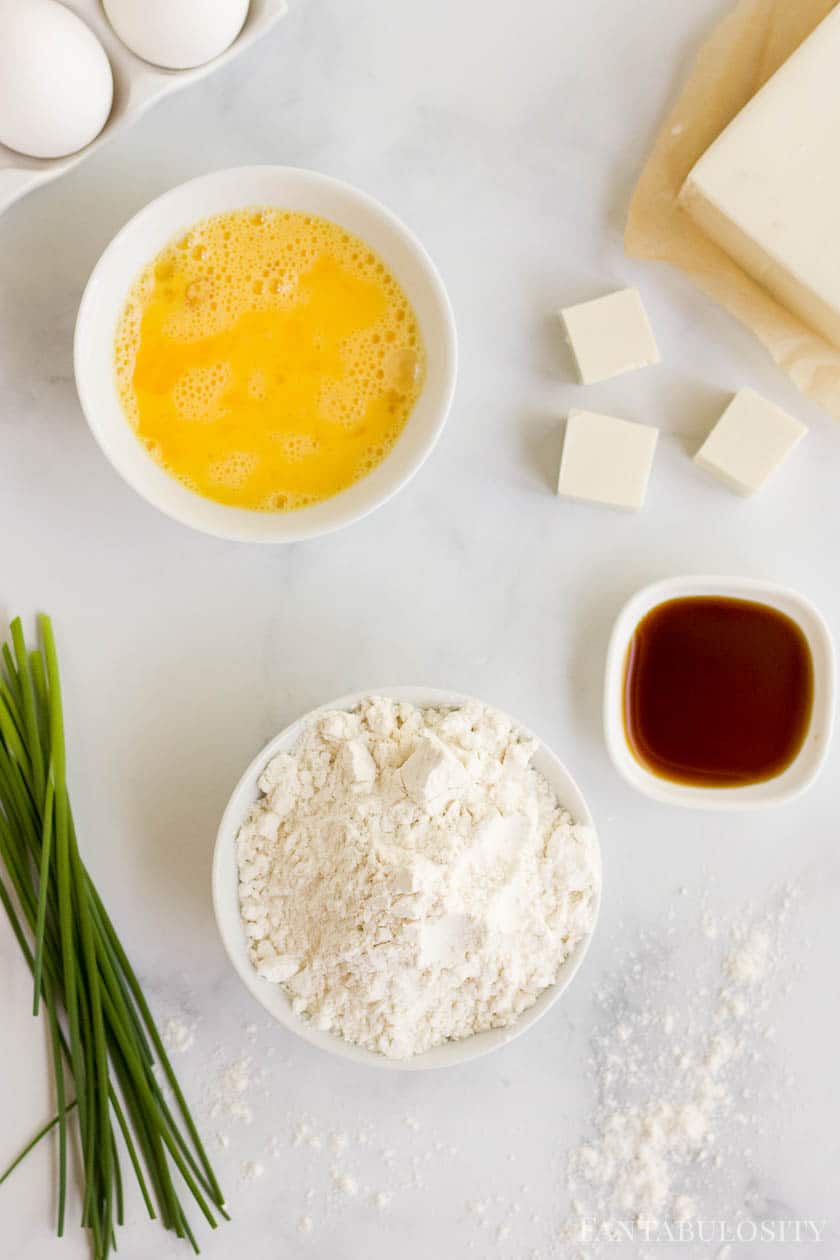
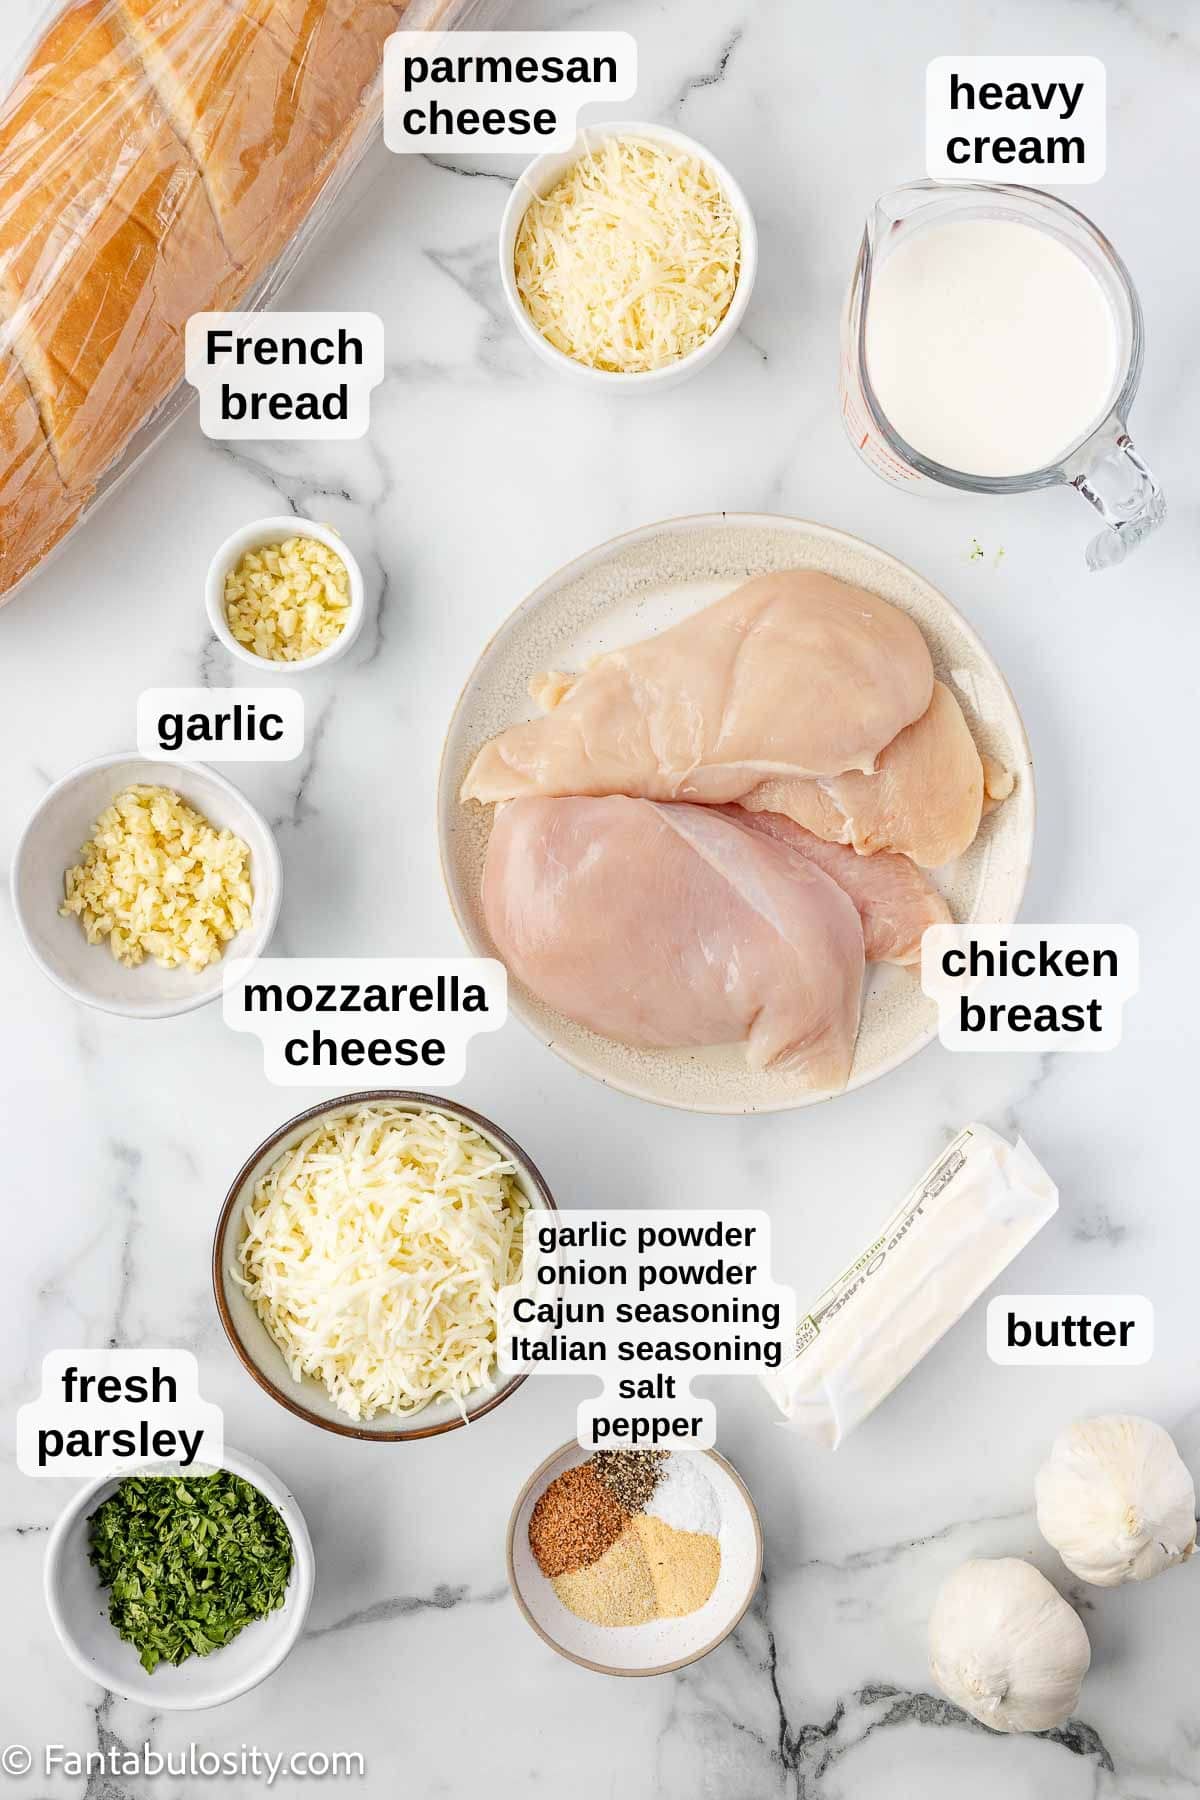
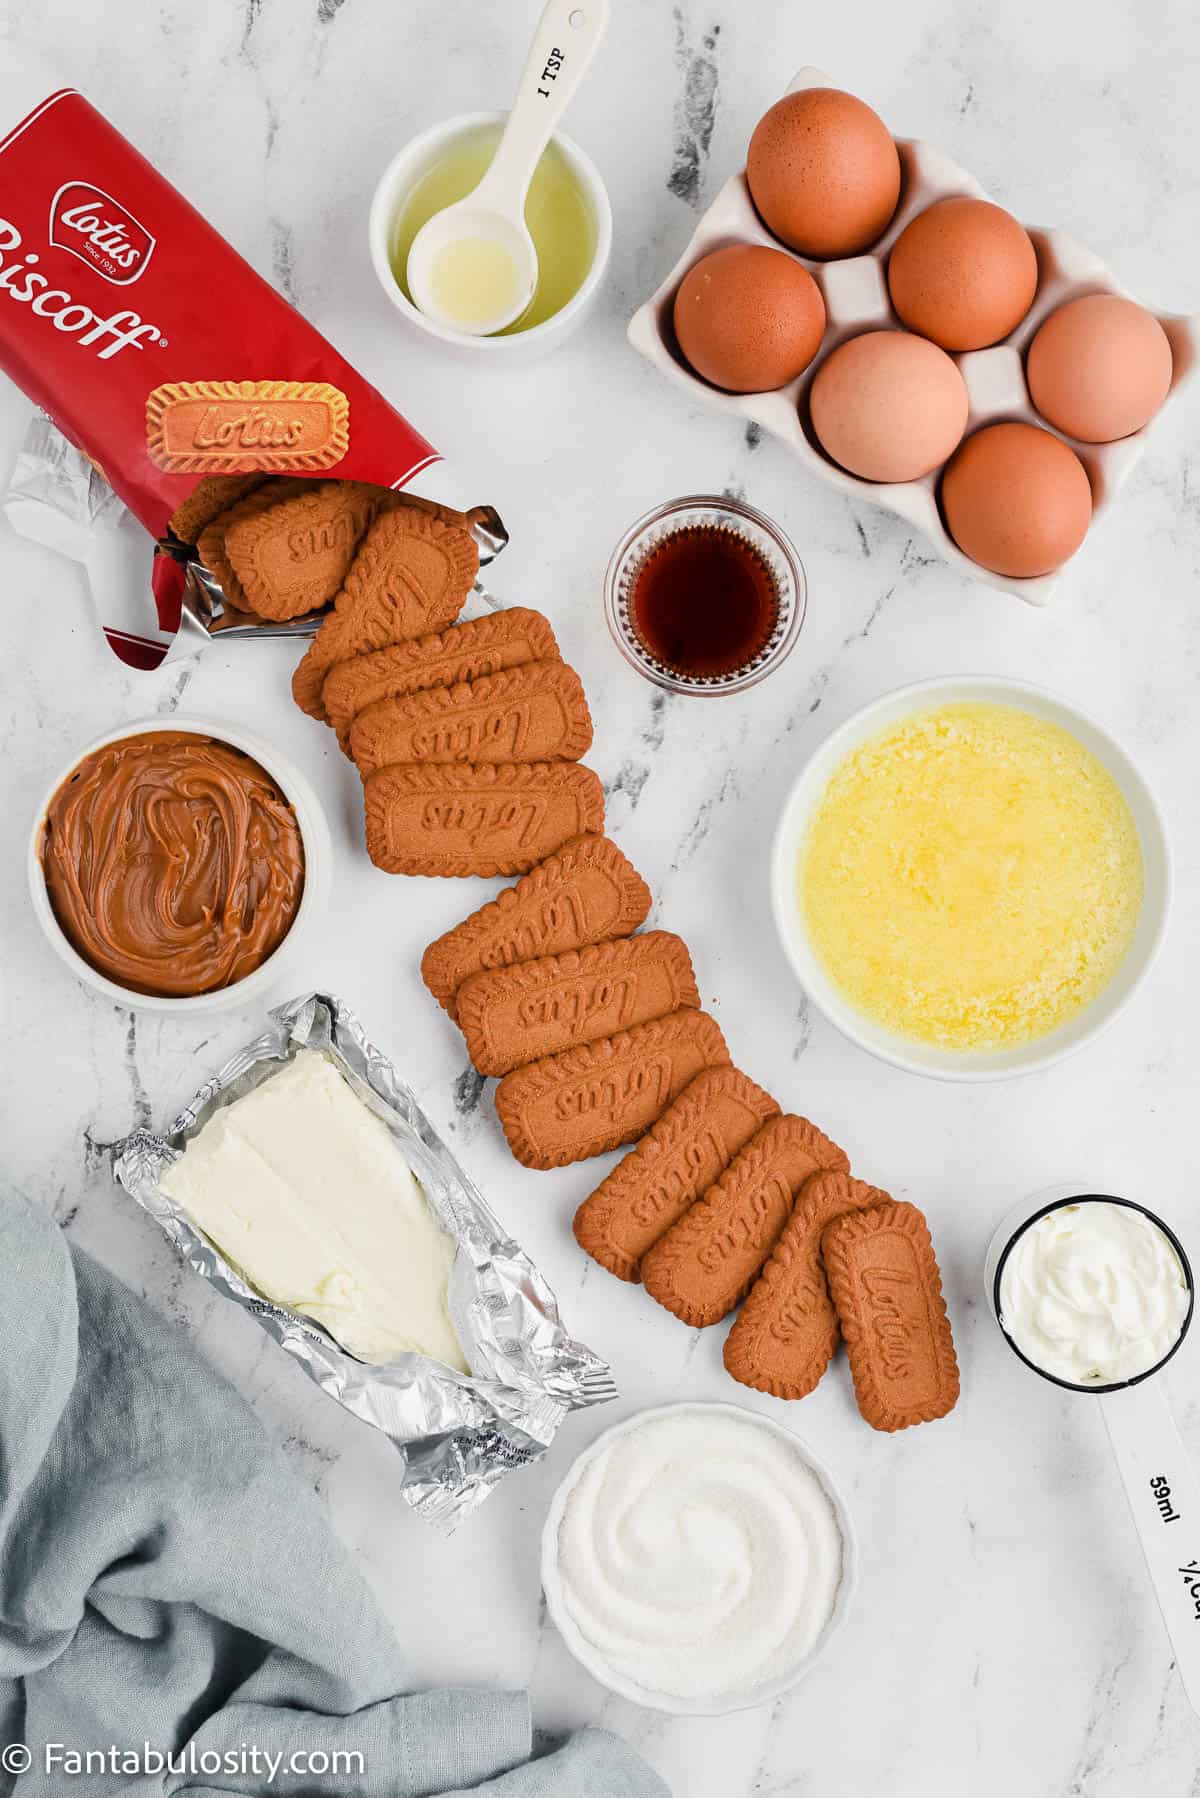
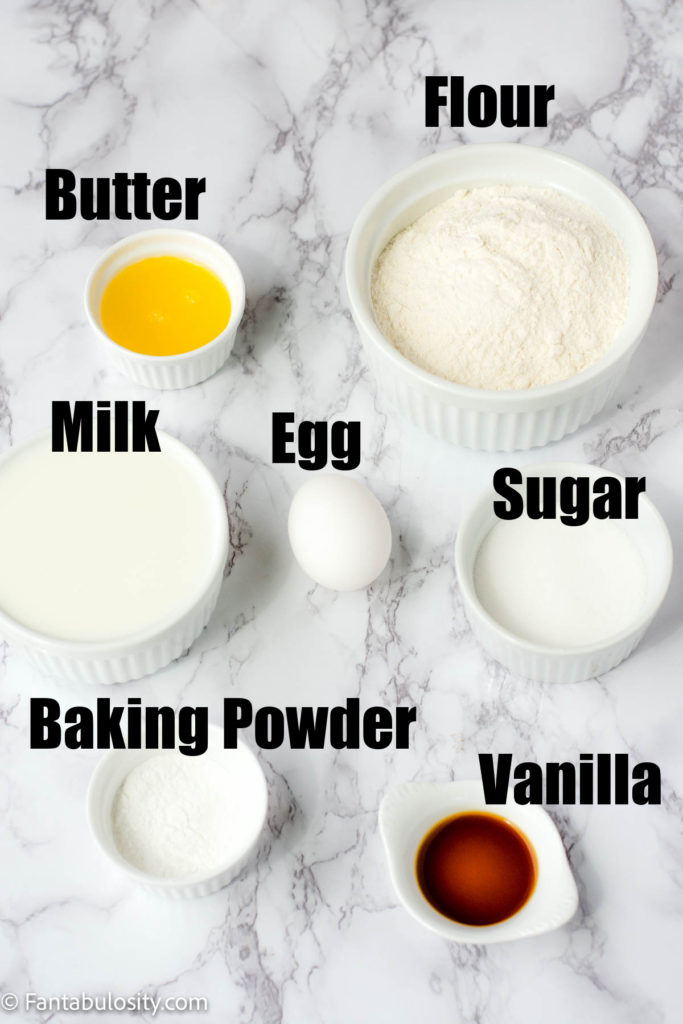
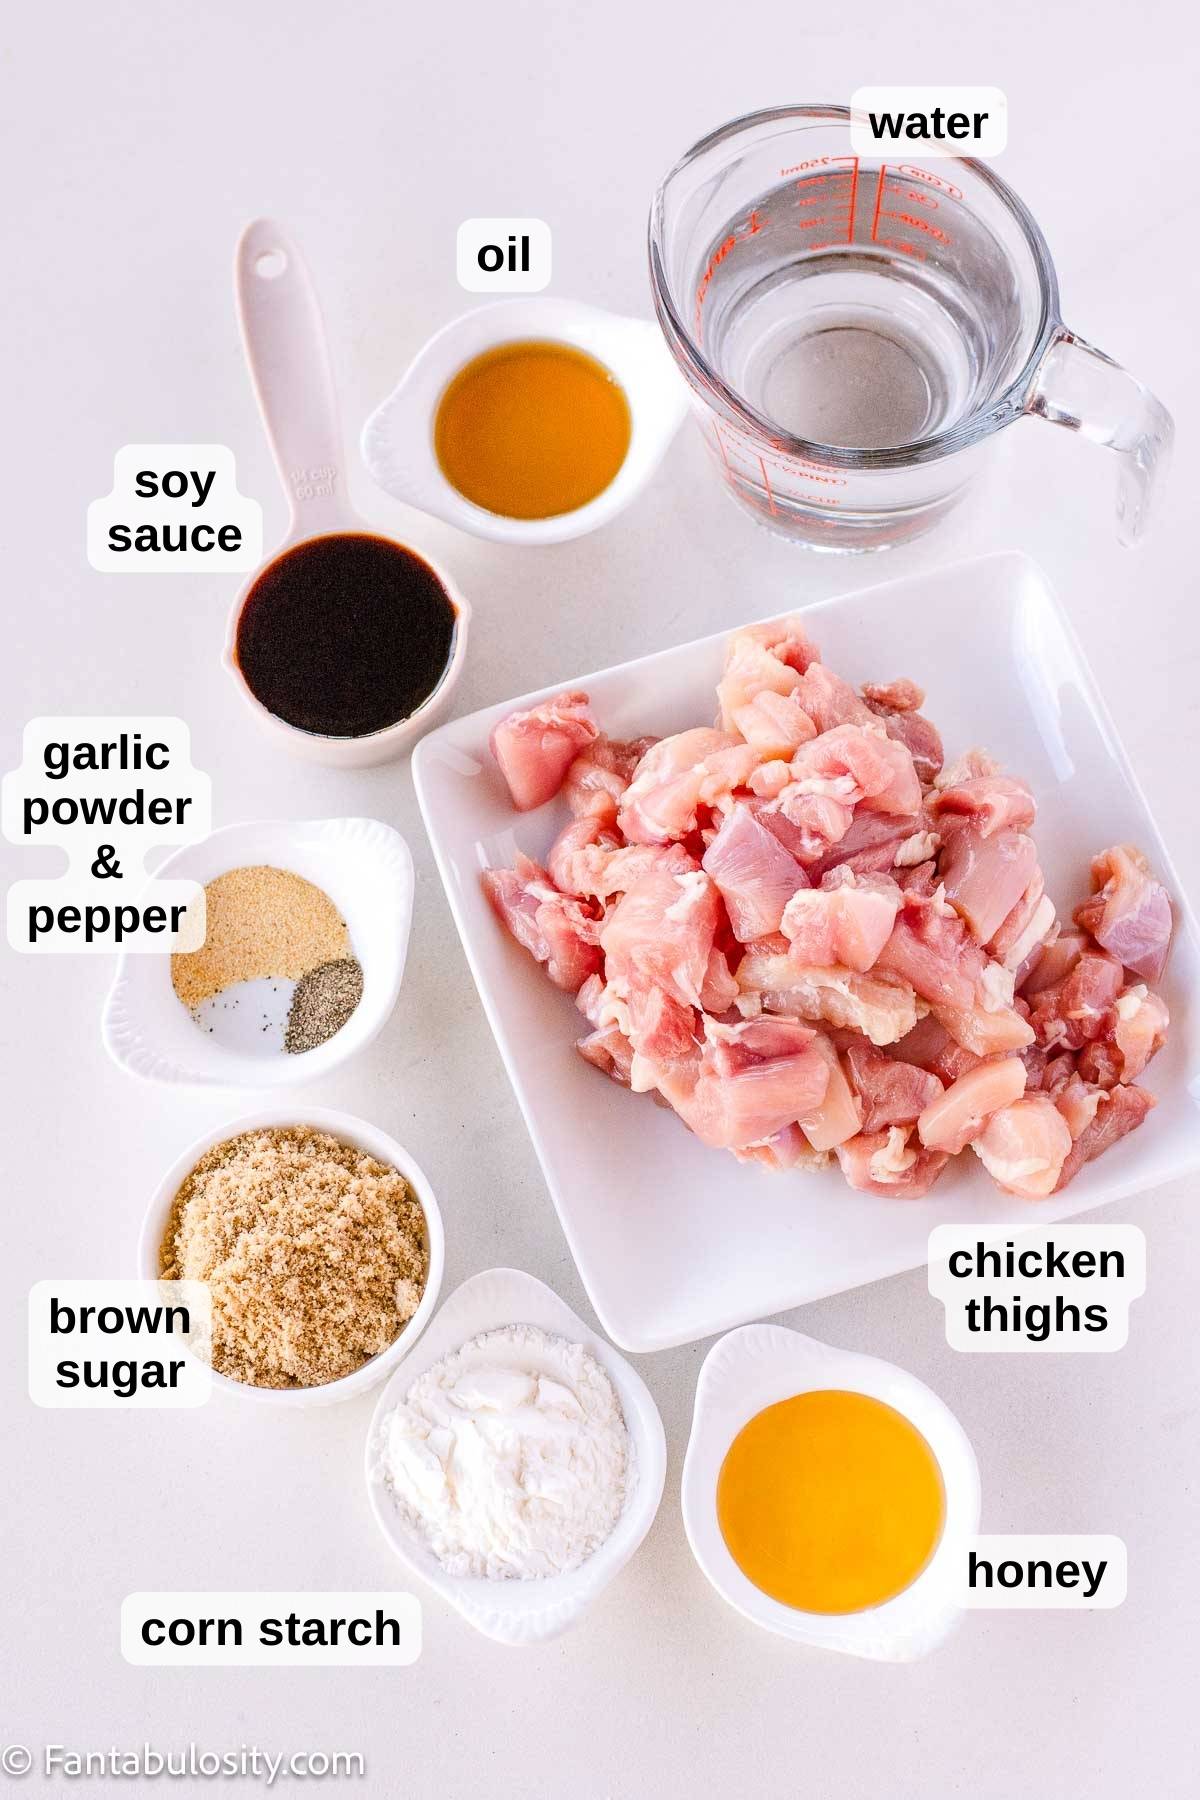
Key Ingredients
- 3 – 12.3 oz. packages of firm (or extra firm) tofu – don’t skip drying the tofu before cooking!
- 1⁄2 cup flour – all-purpose flour
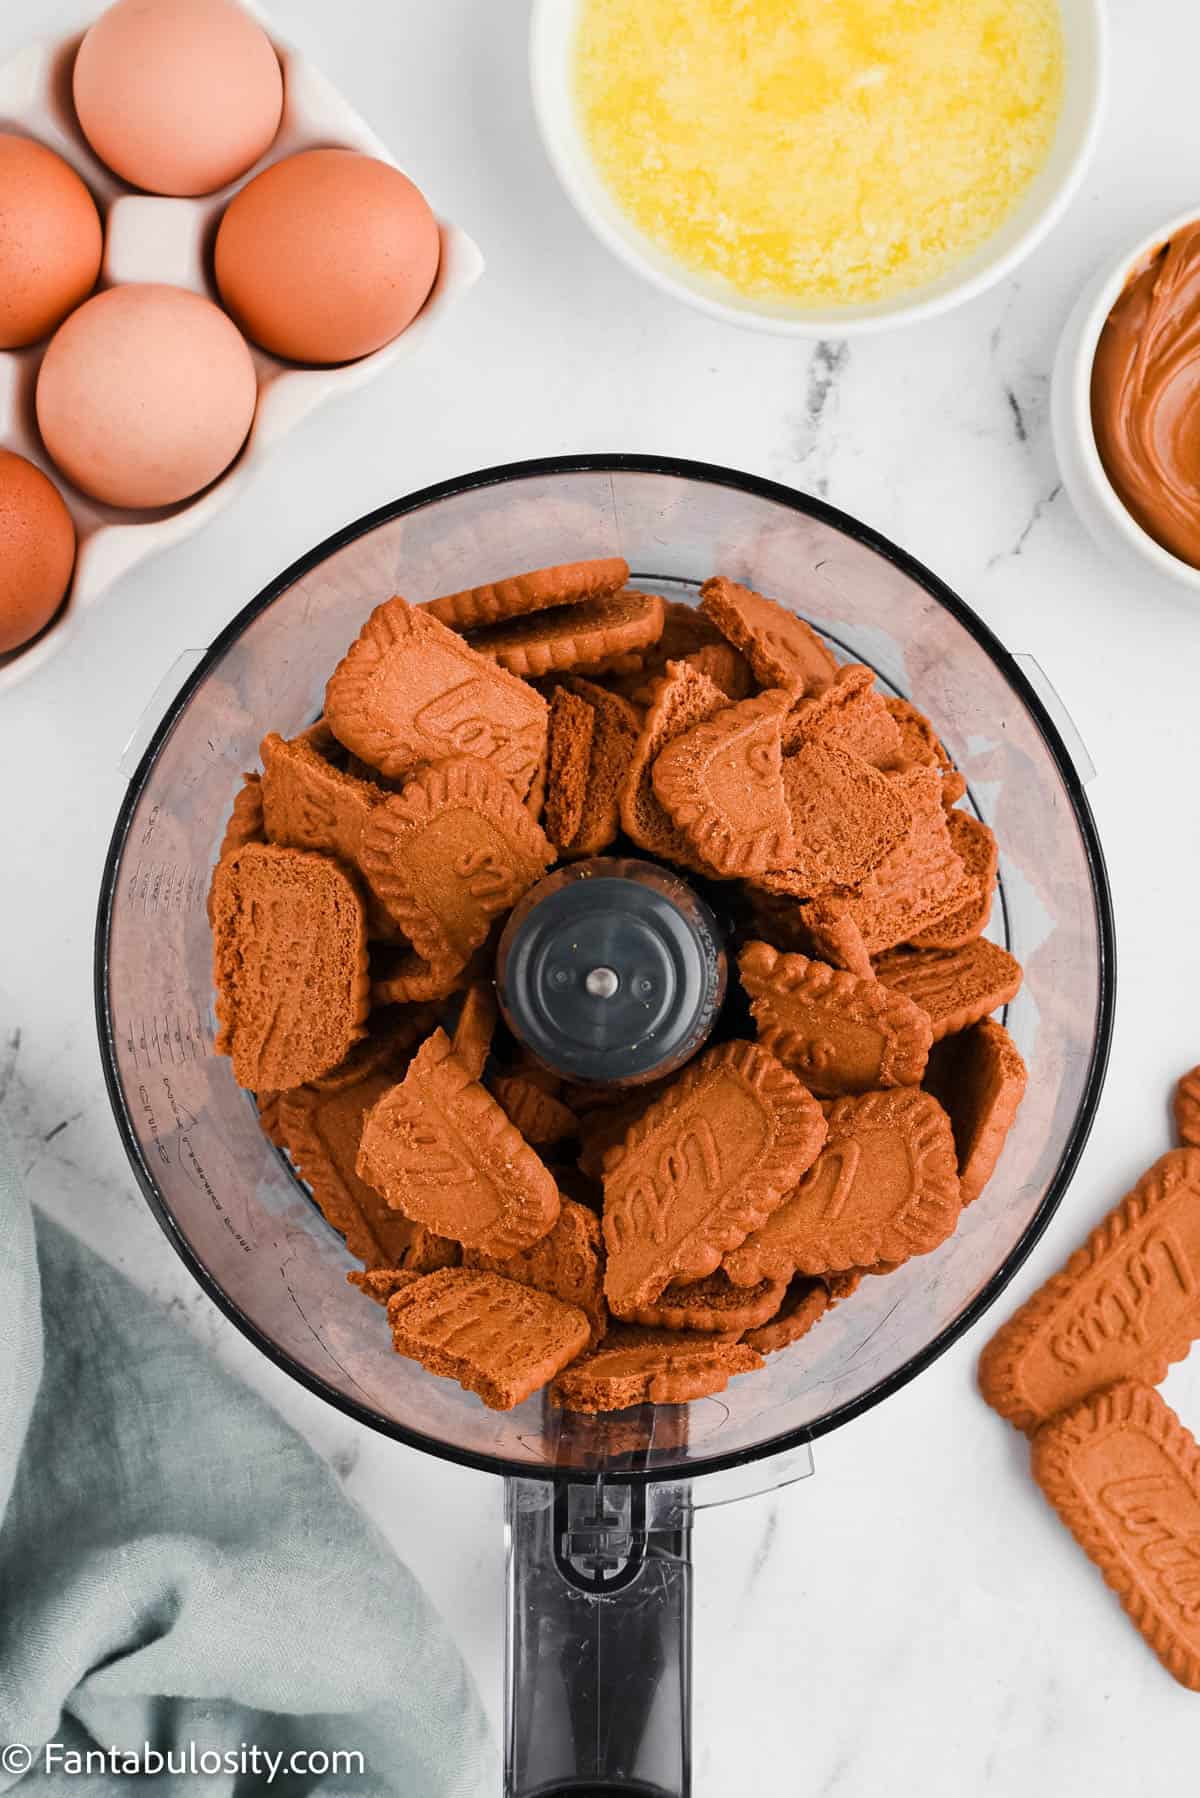
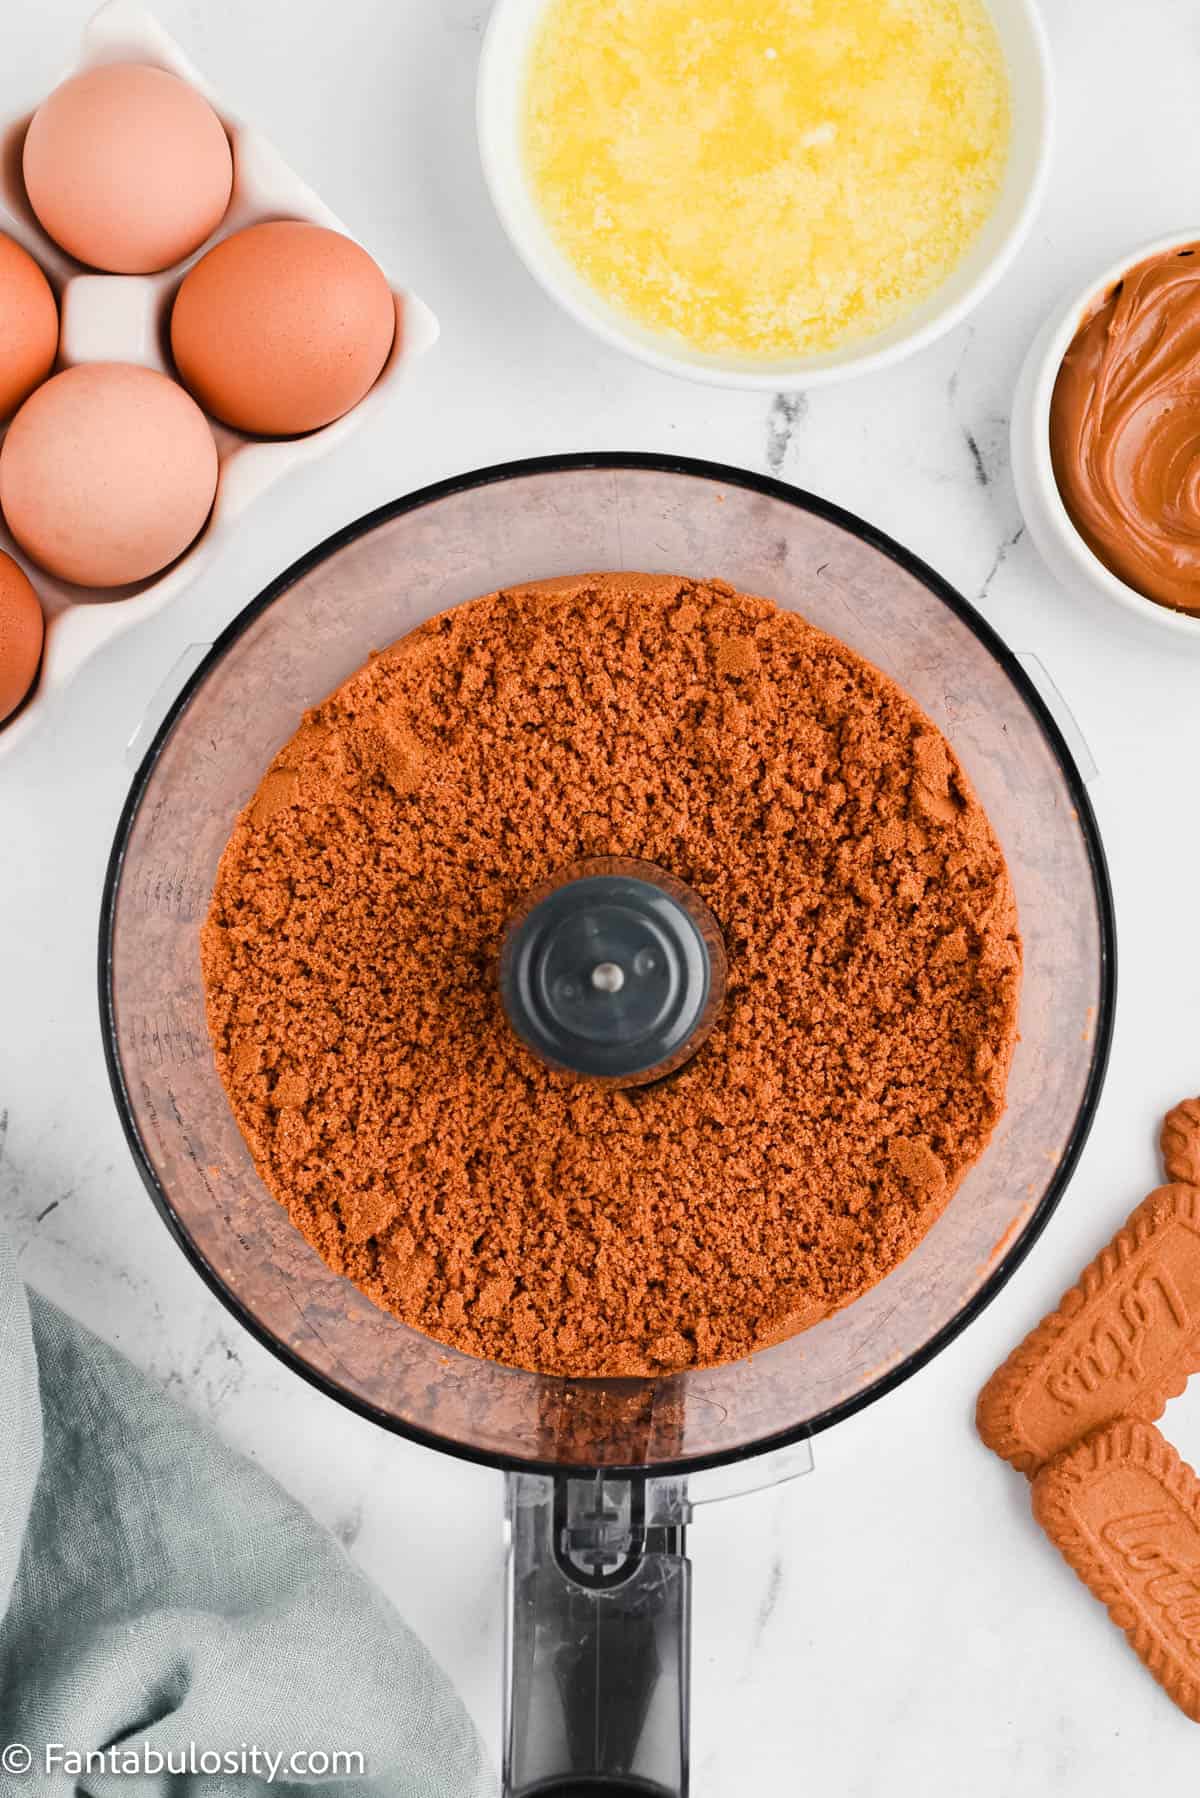
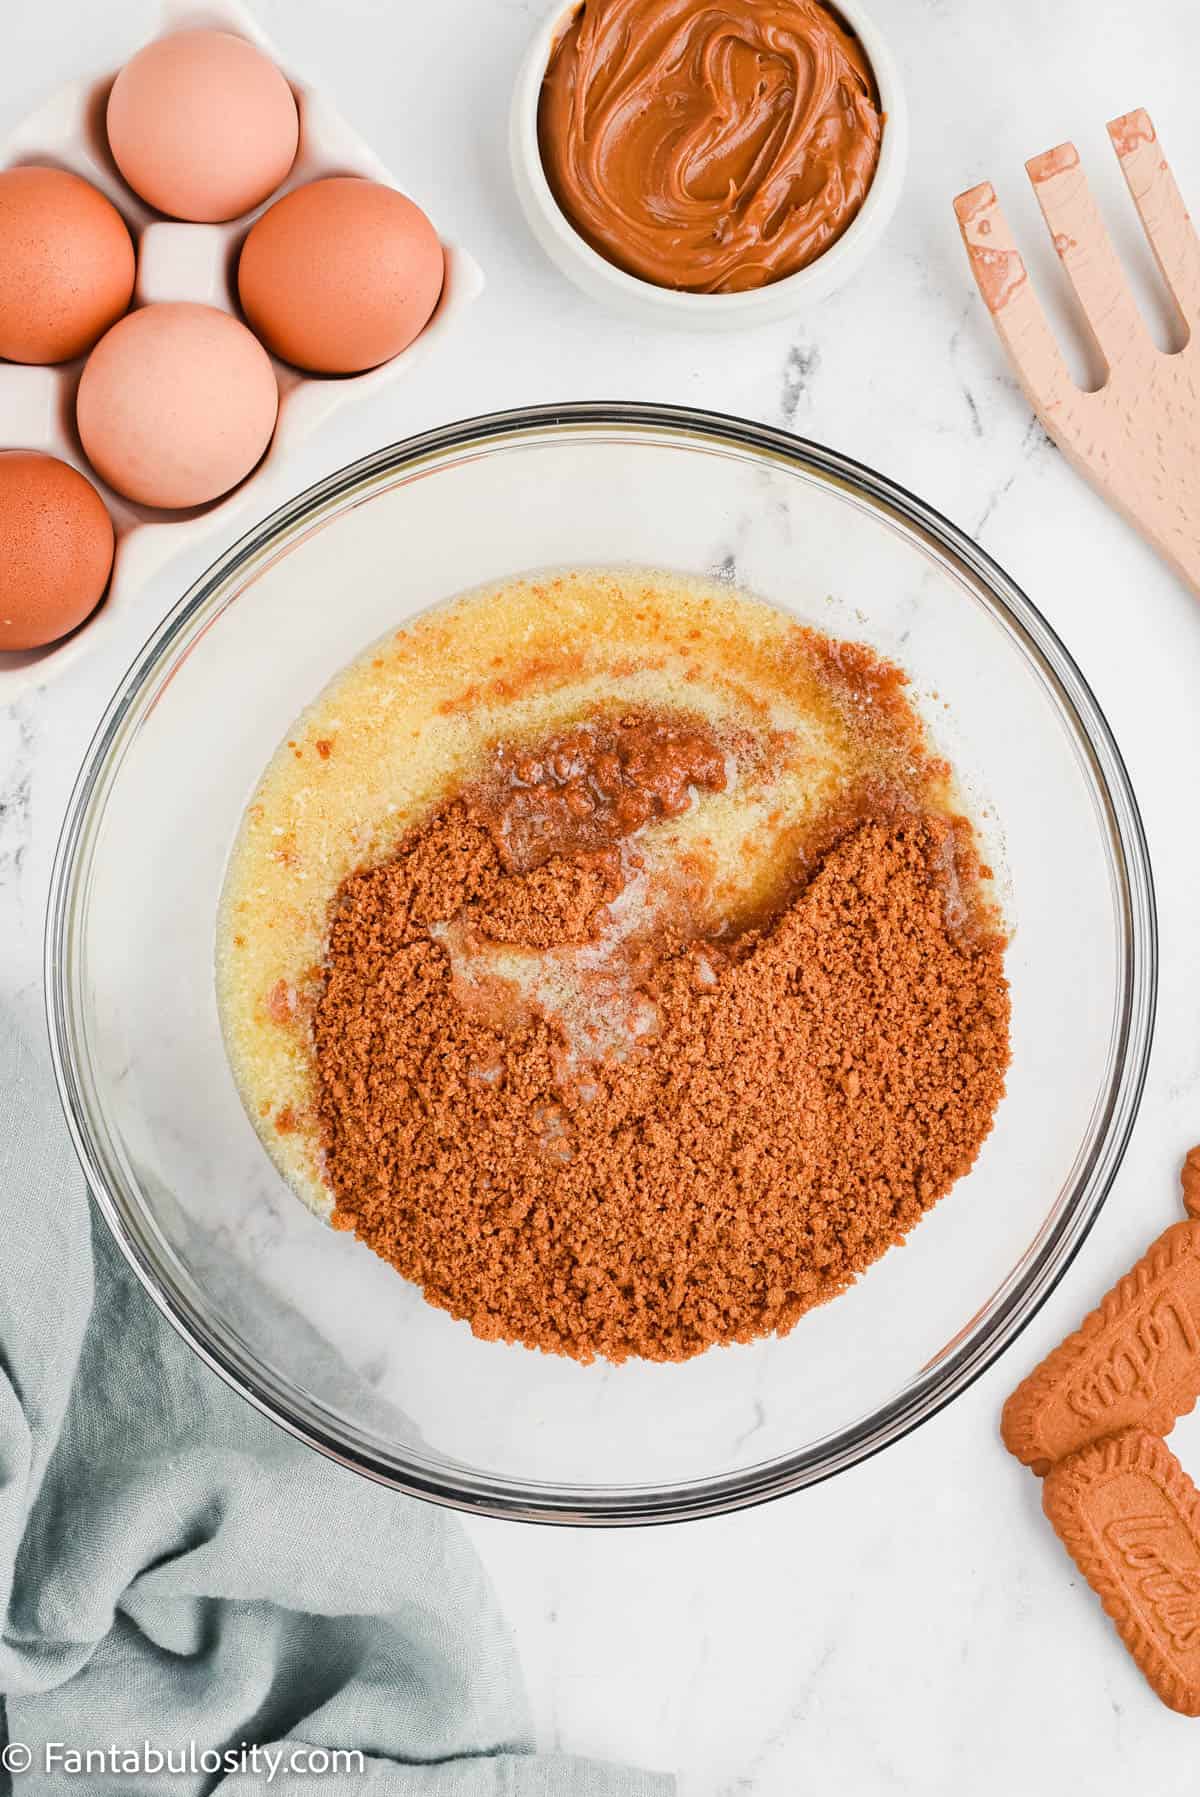
See the full list of ingredients and instructions in the recipe card below.
How to Cook Air Fryer Tofu
STEP 1: Start by preparing the tofu for cooking.
TIP: Remember, gently press the tofu between paper towels to remove excess water. A great way to do this is to line two plates with paper towels, and place the tofu on one of them.
Top the tofu with the other paper-towel-covered plate, (paper towel side down) and find a heavy object (like a can of vegetables) that can sit on top to gently press down on the tofu. The paper towels should “sandwich” the tofu and soak up the water.

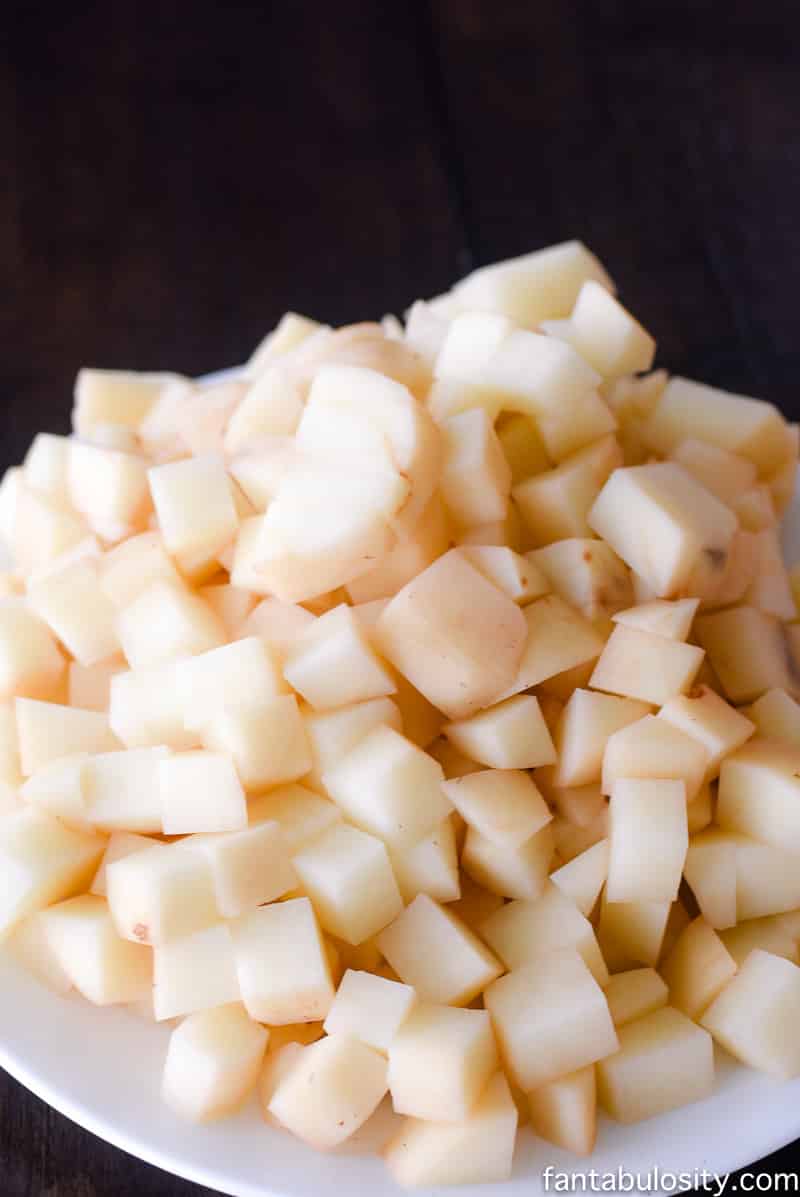
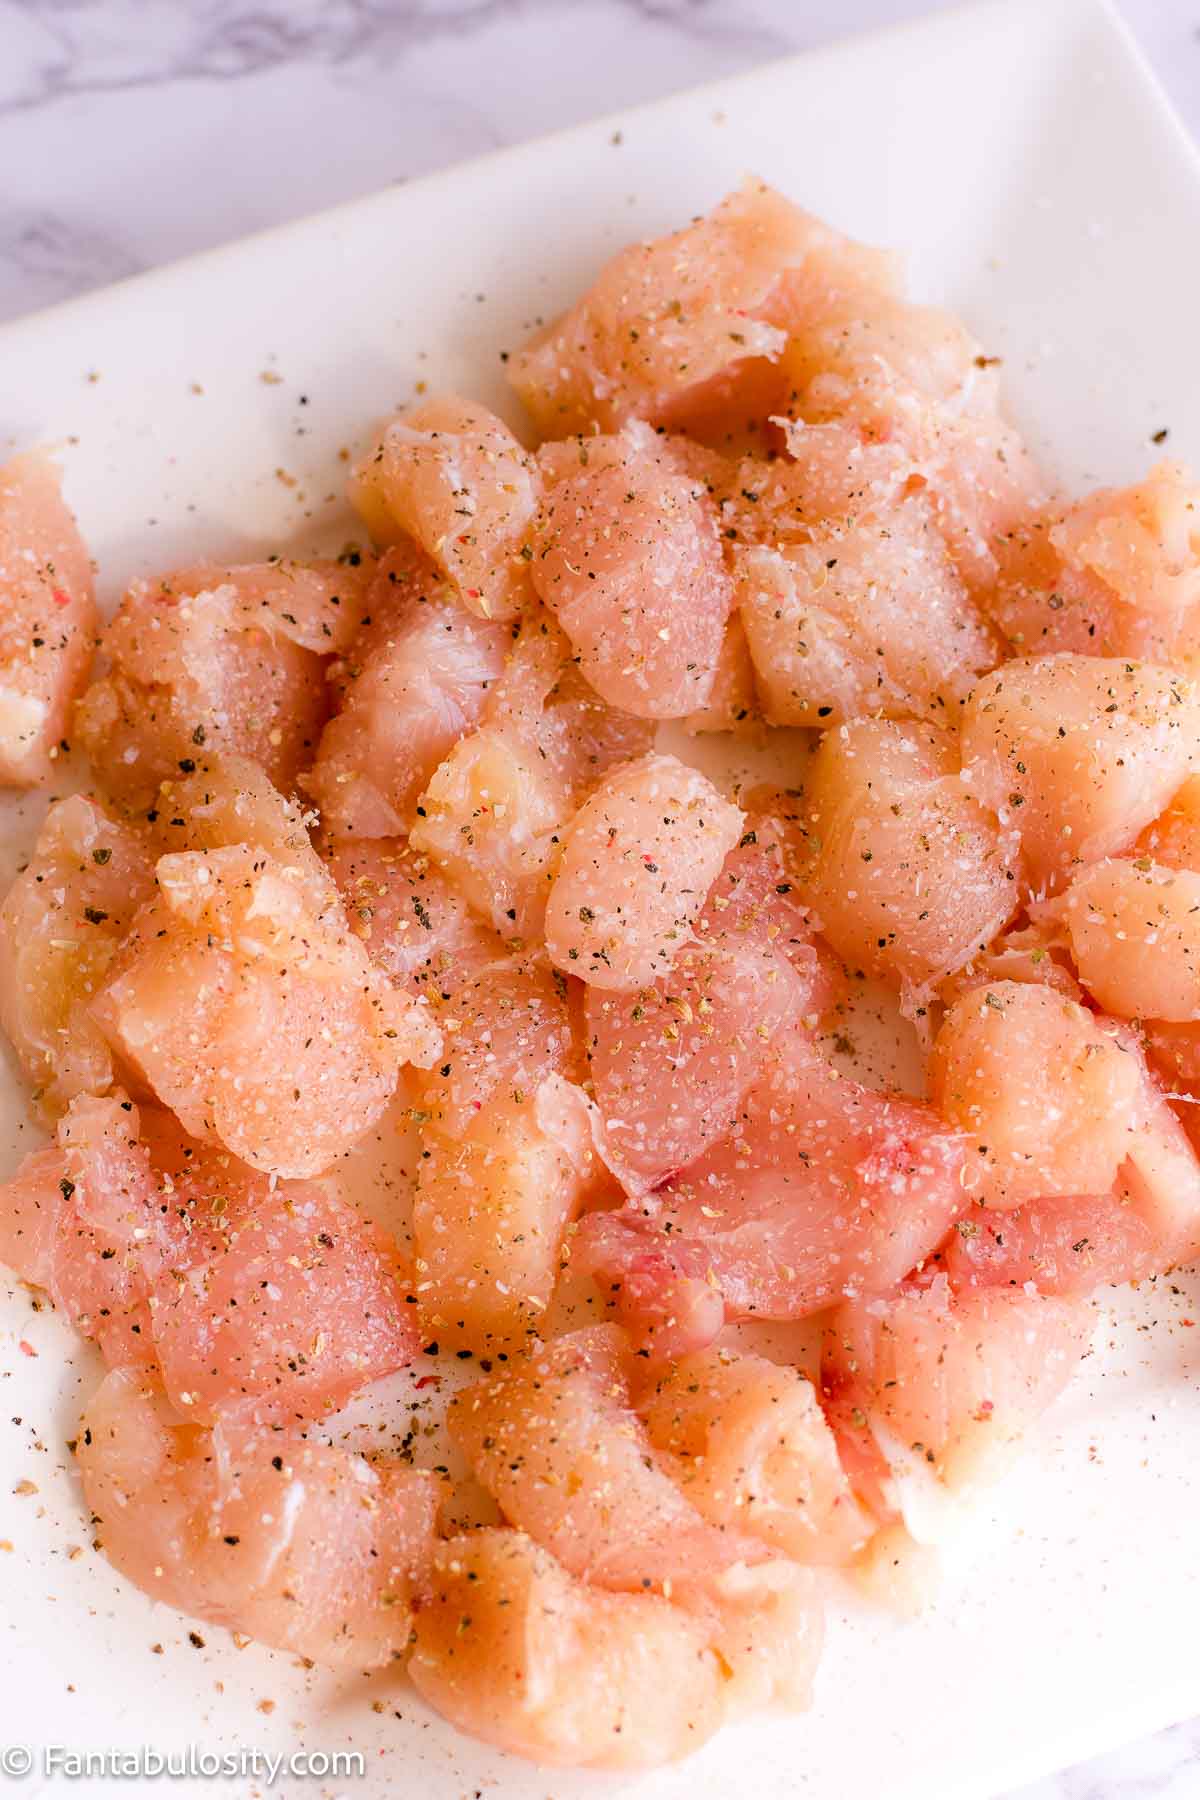
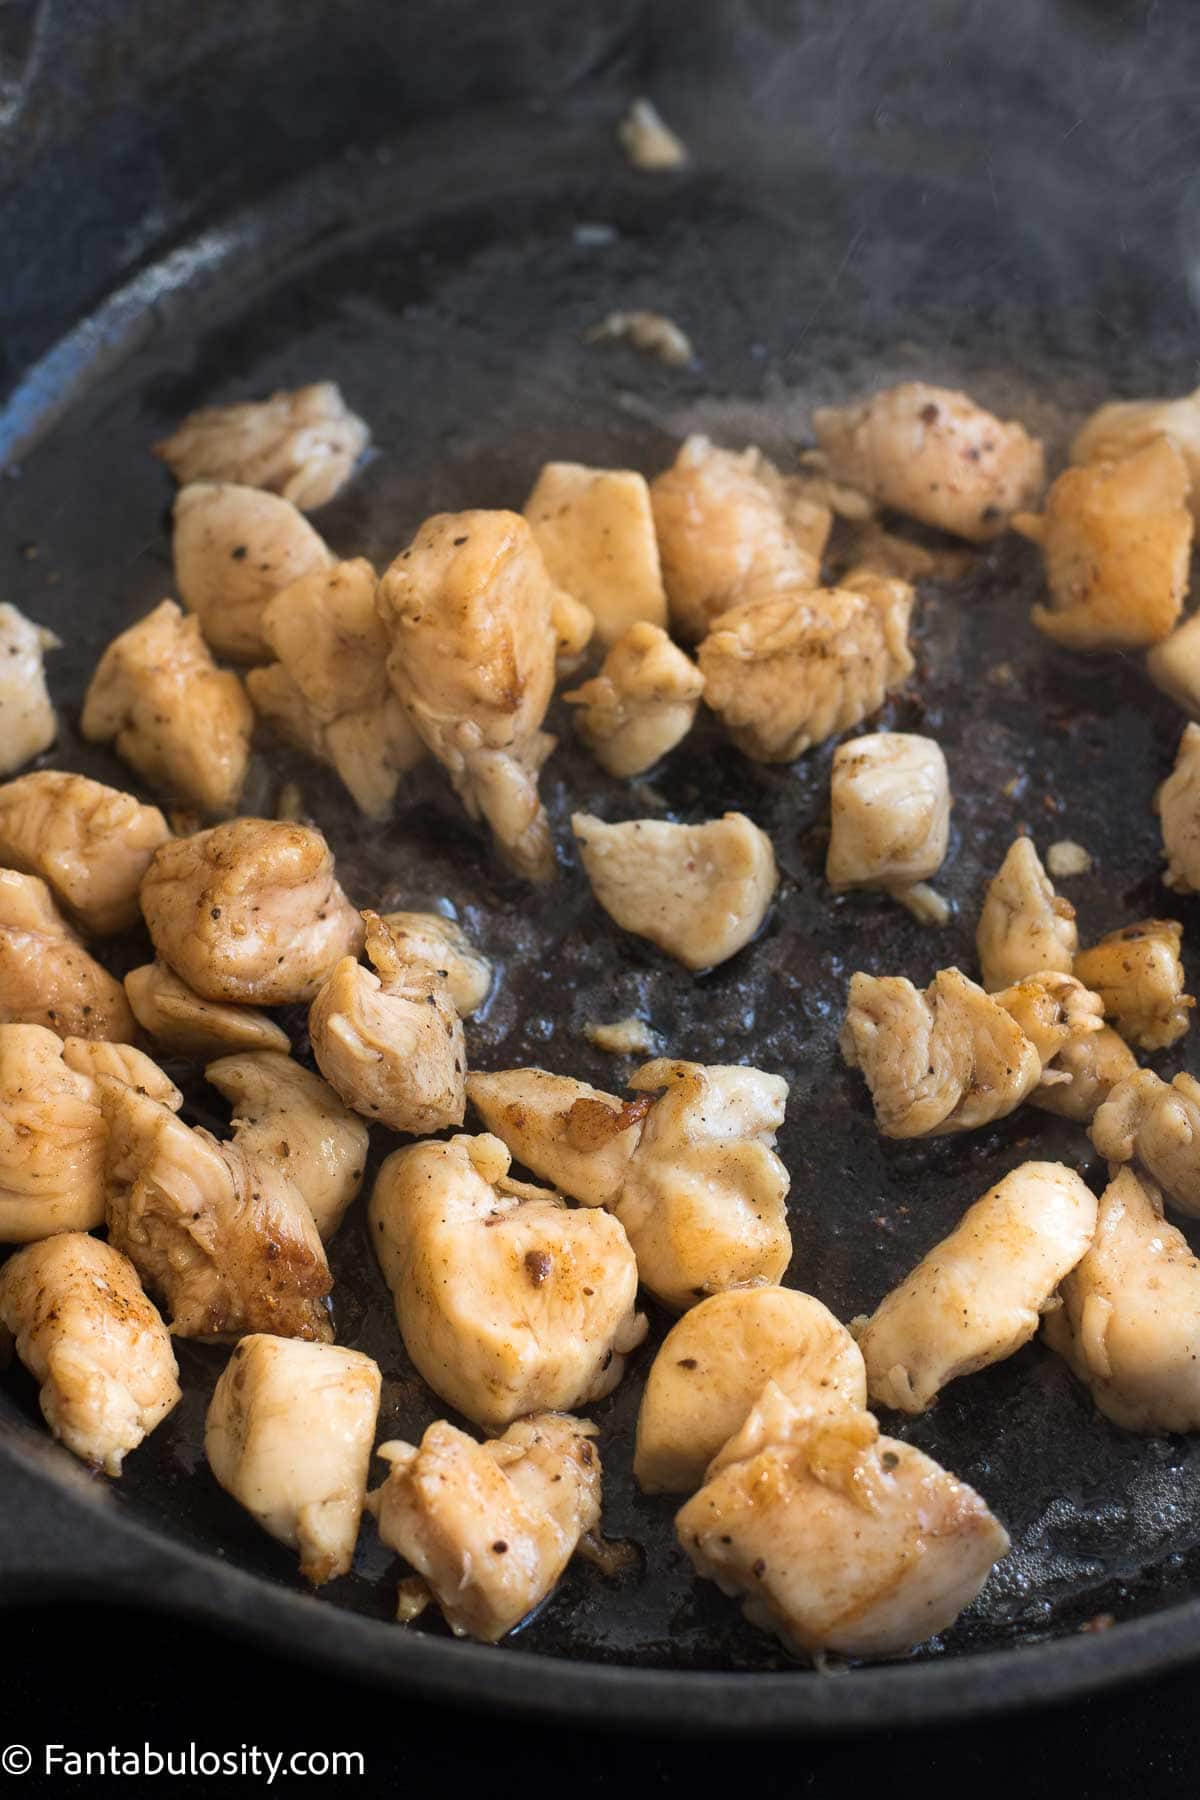
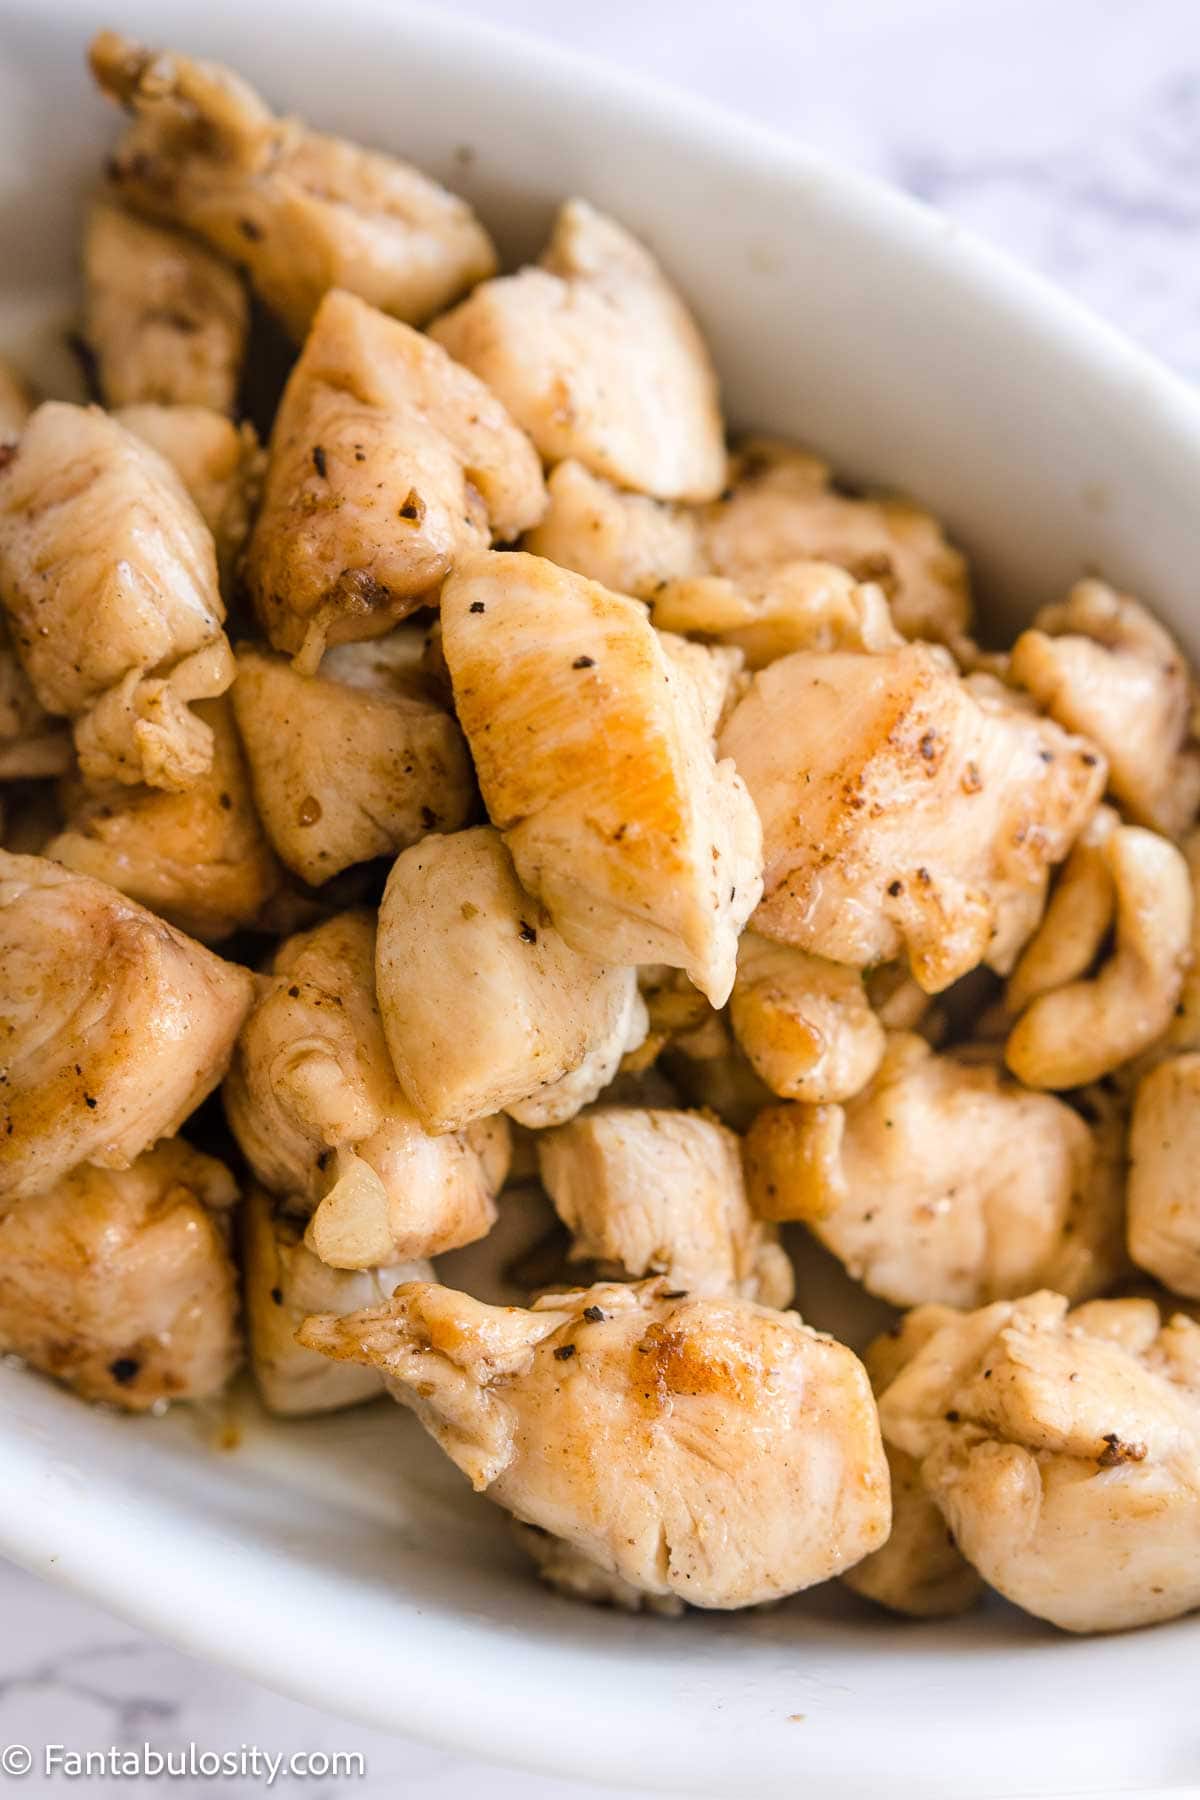
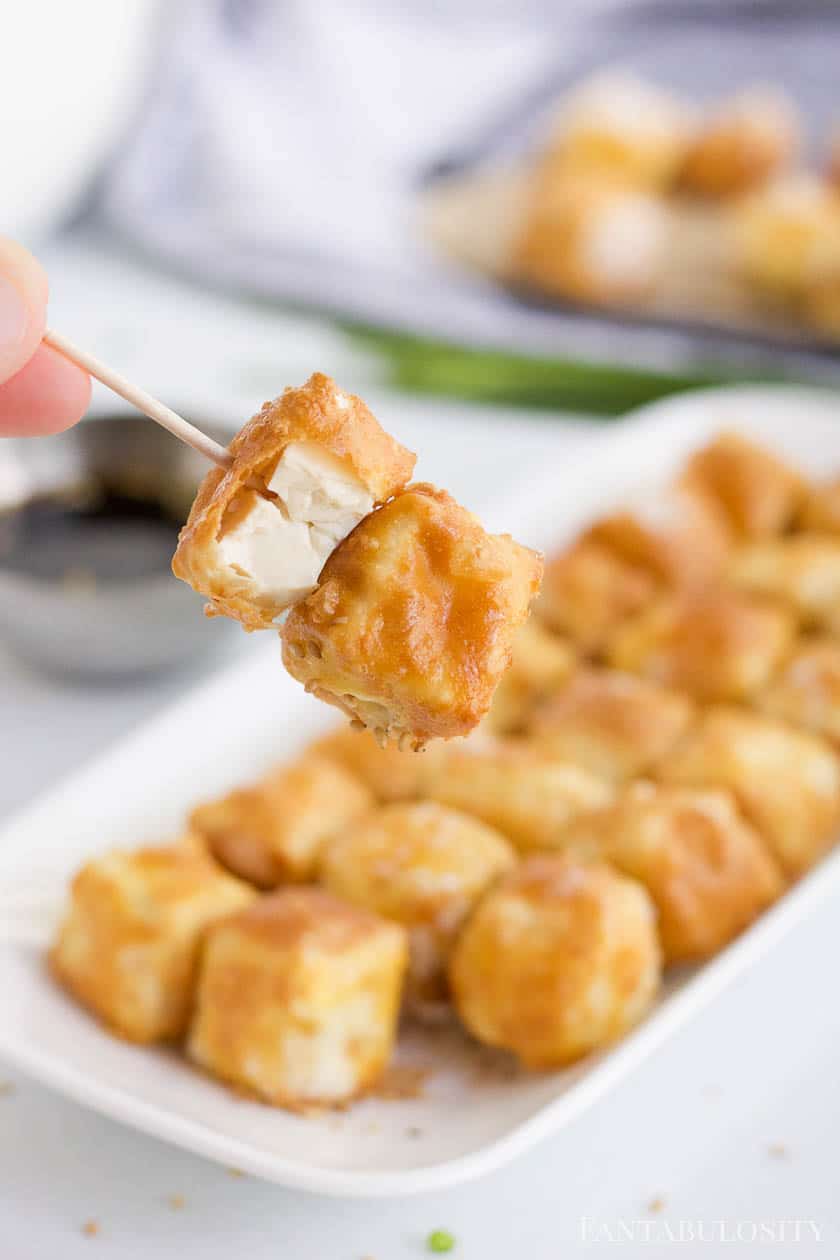
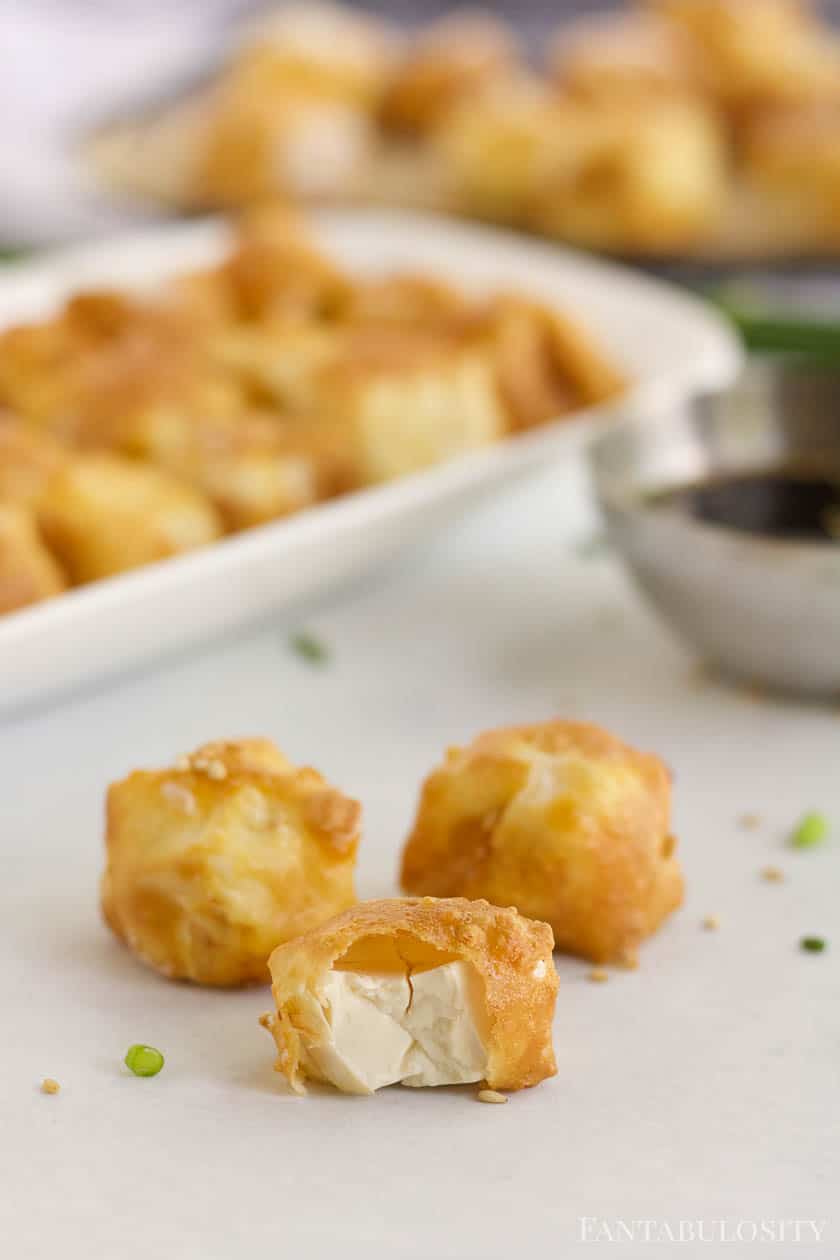
STEP 3: Cut the block of tofu into 12, even (bite-size) pieces. (For best results, try and make the cubes the same size so they cook evenly.)
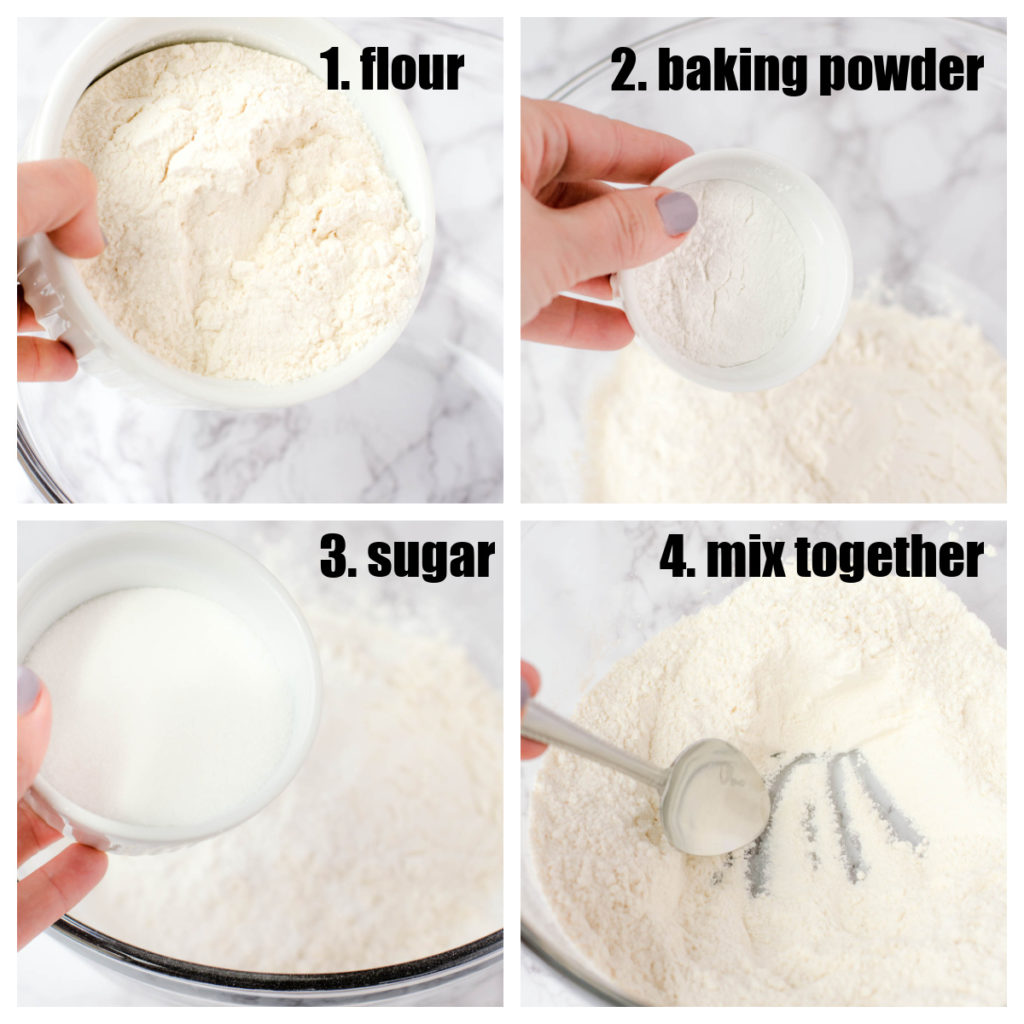
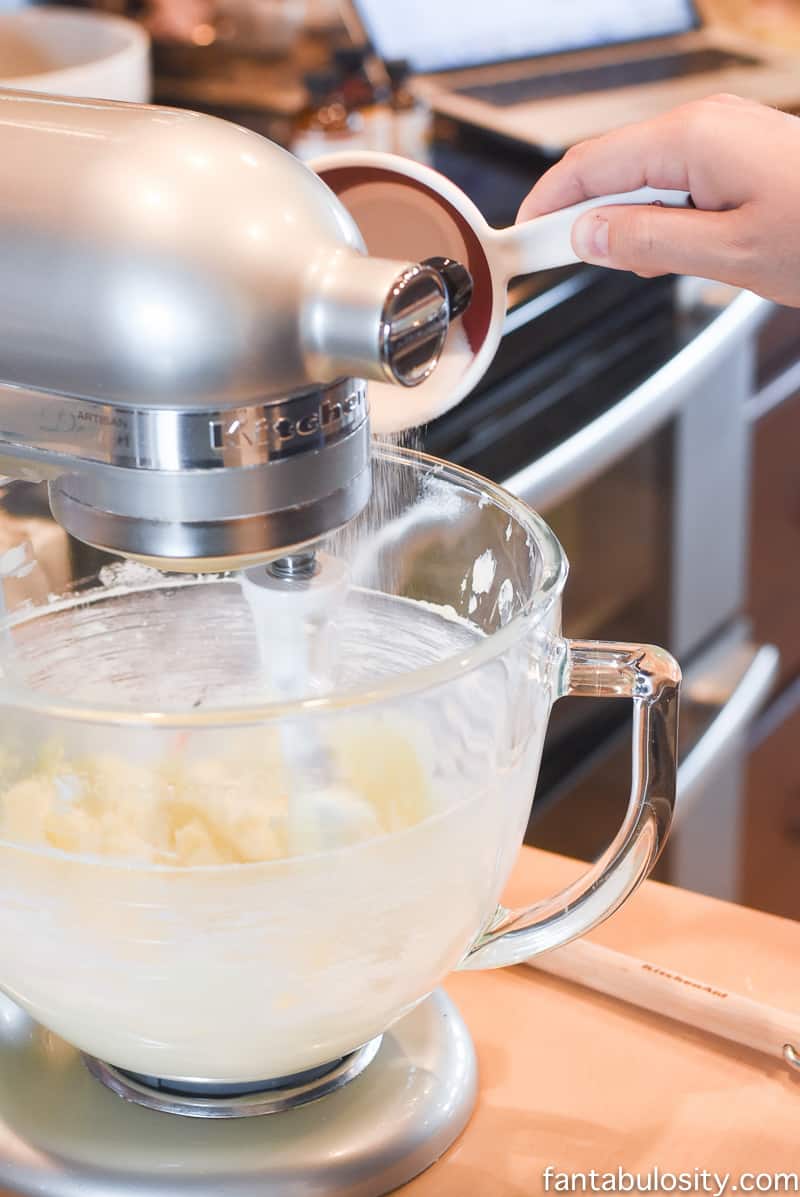
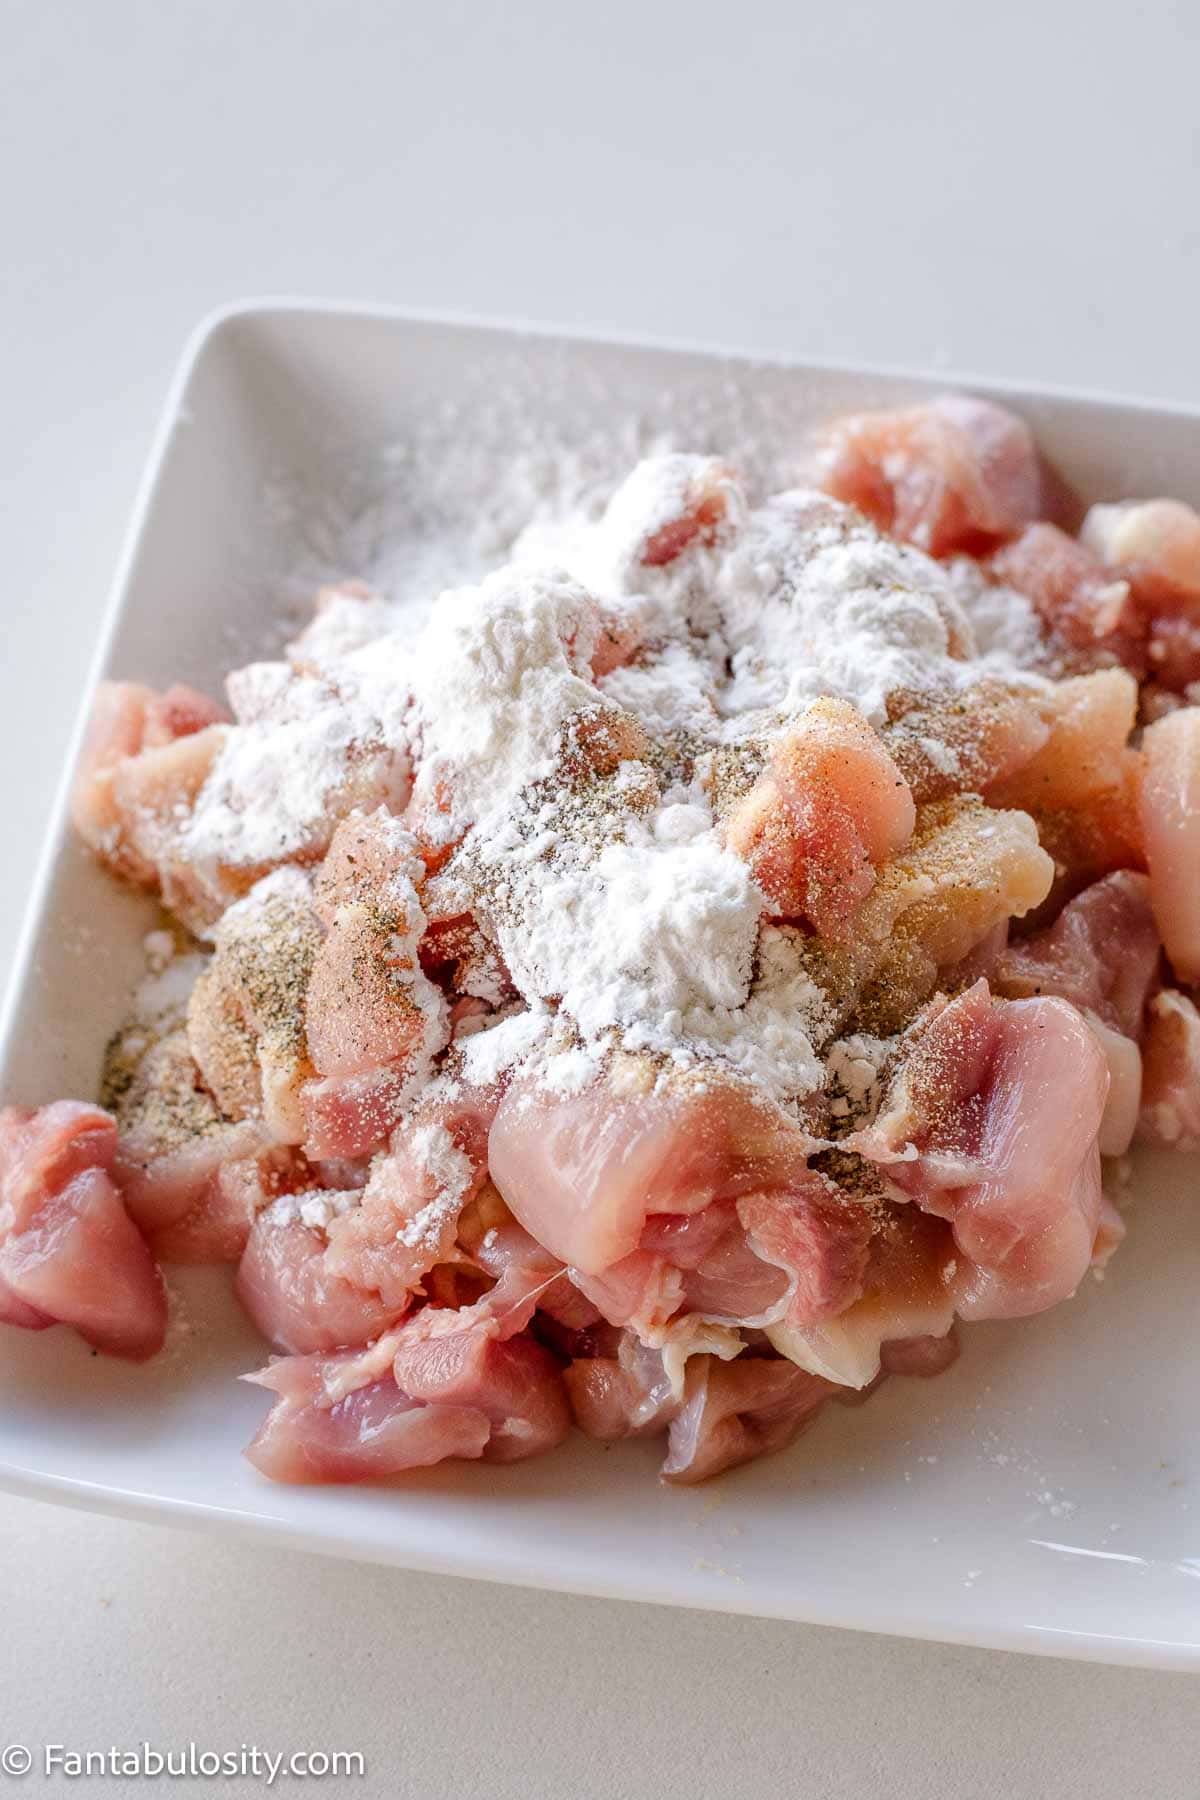
STEP 4: Next, in a small bowl, mix together the flour, salt and pepper.
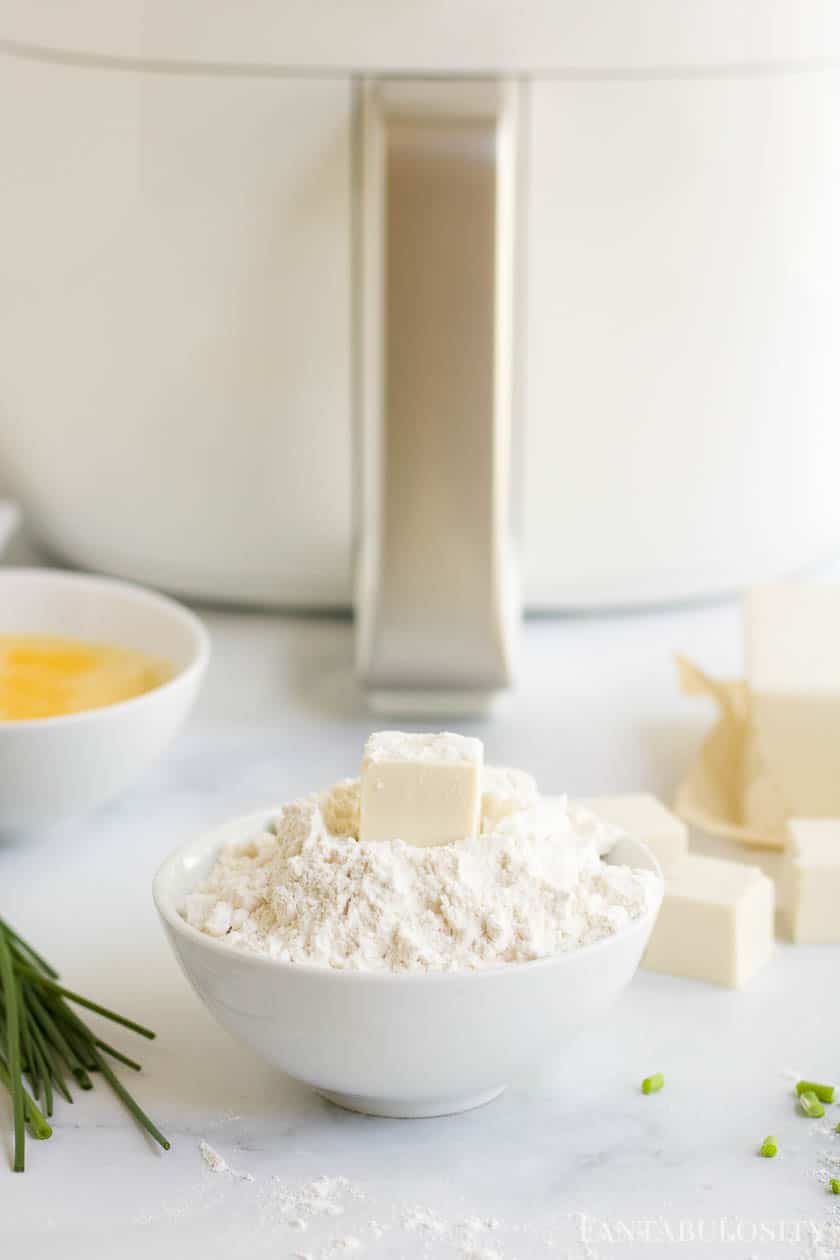
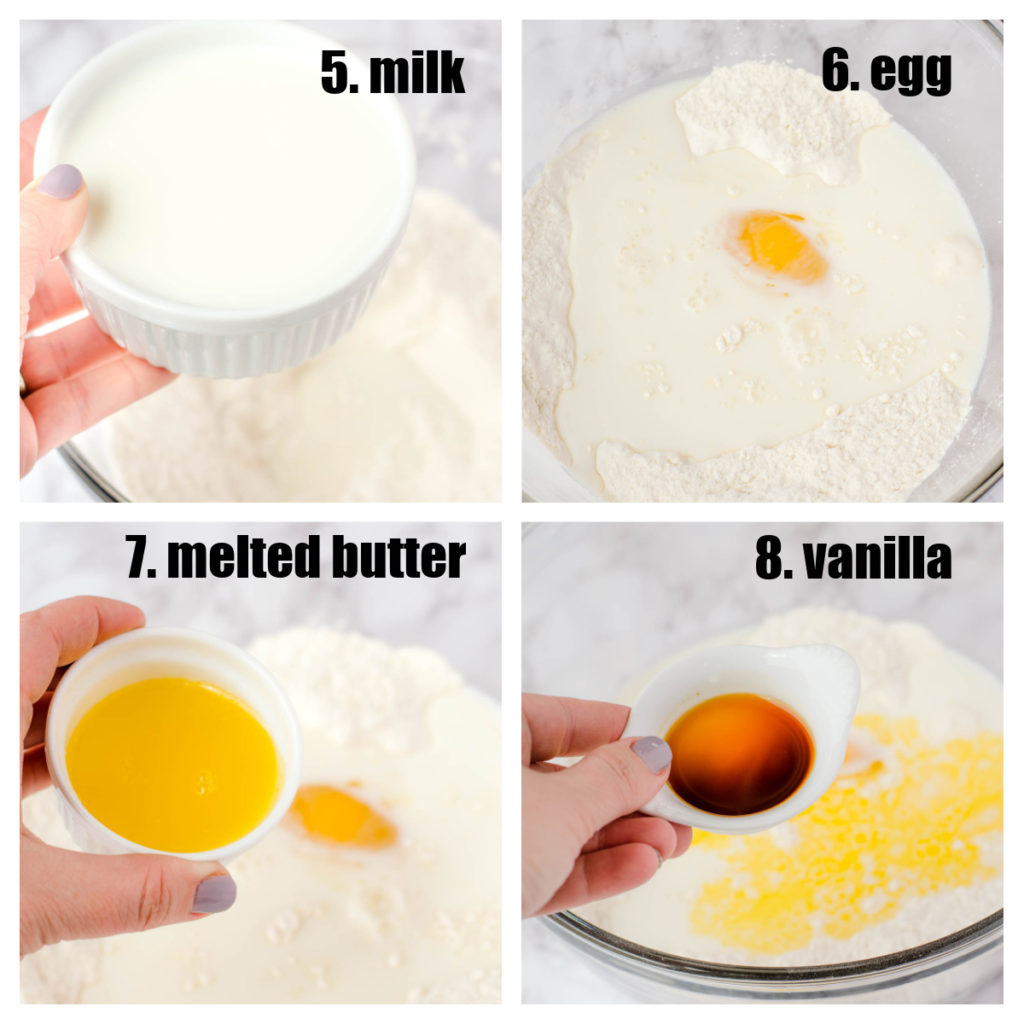
STEP 5: Dip each piece of tofu in the flour mixture. (This will give the egg something to cling to.)
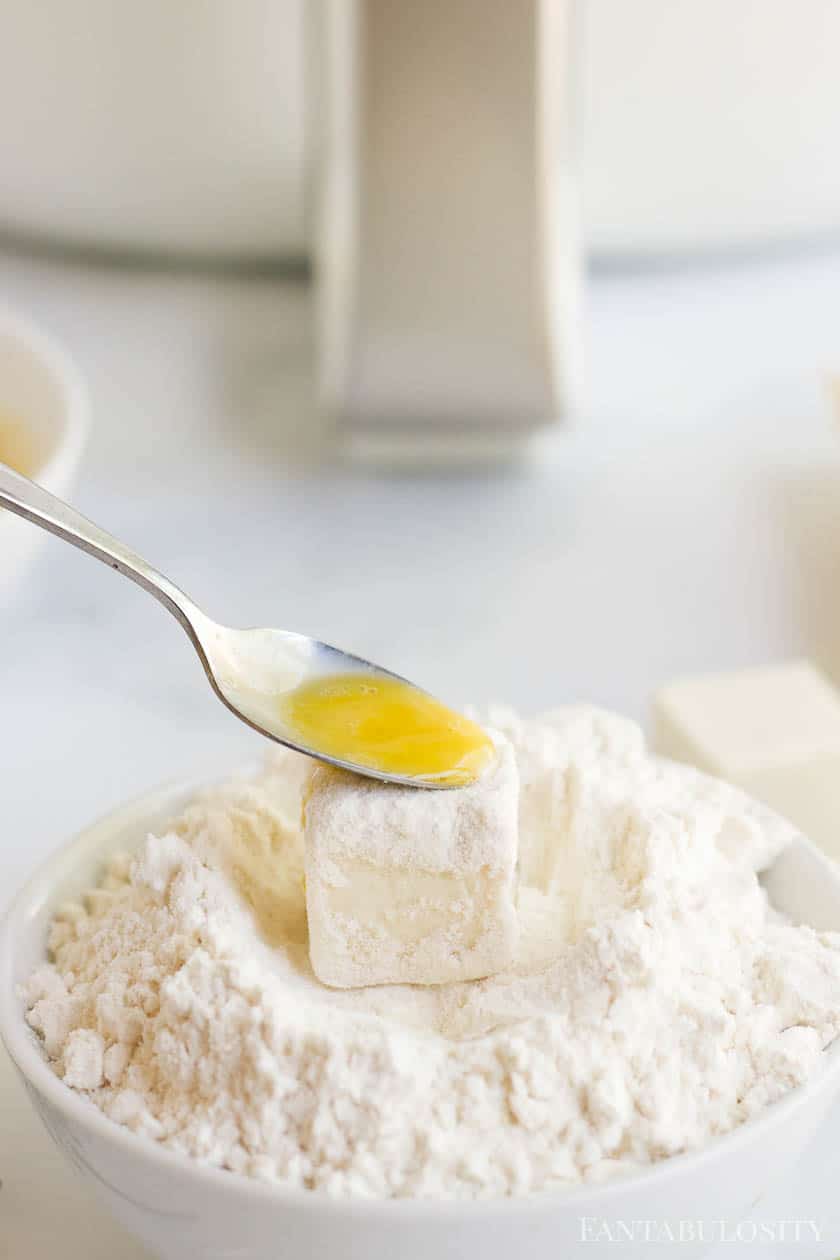
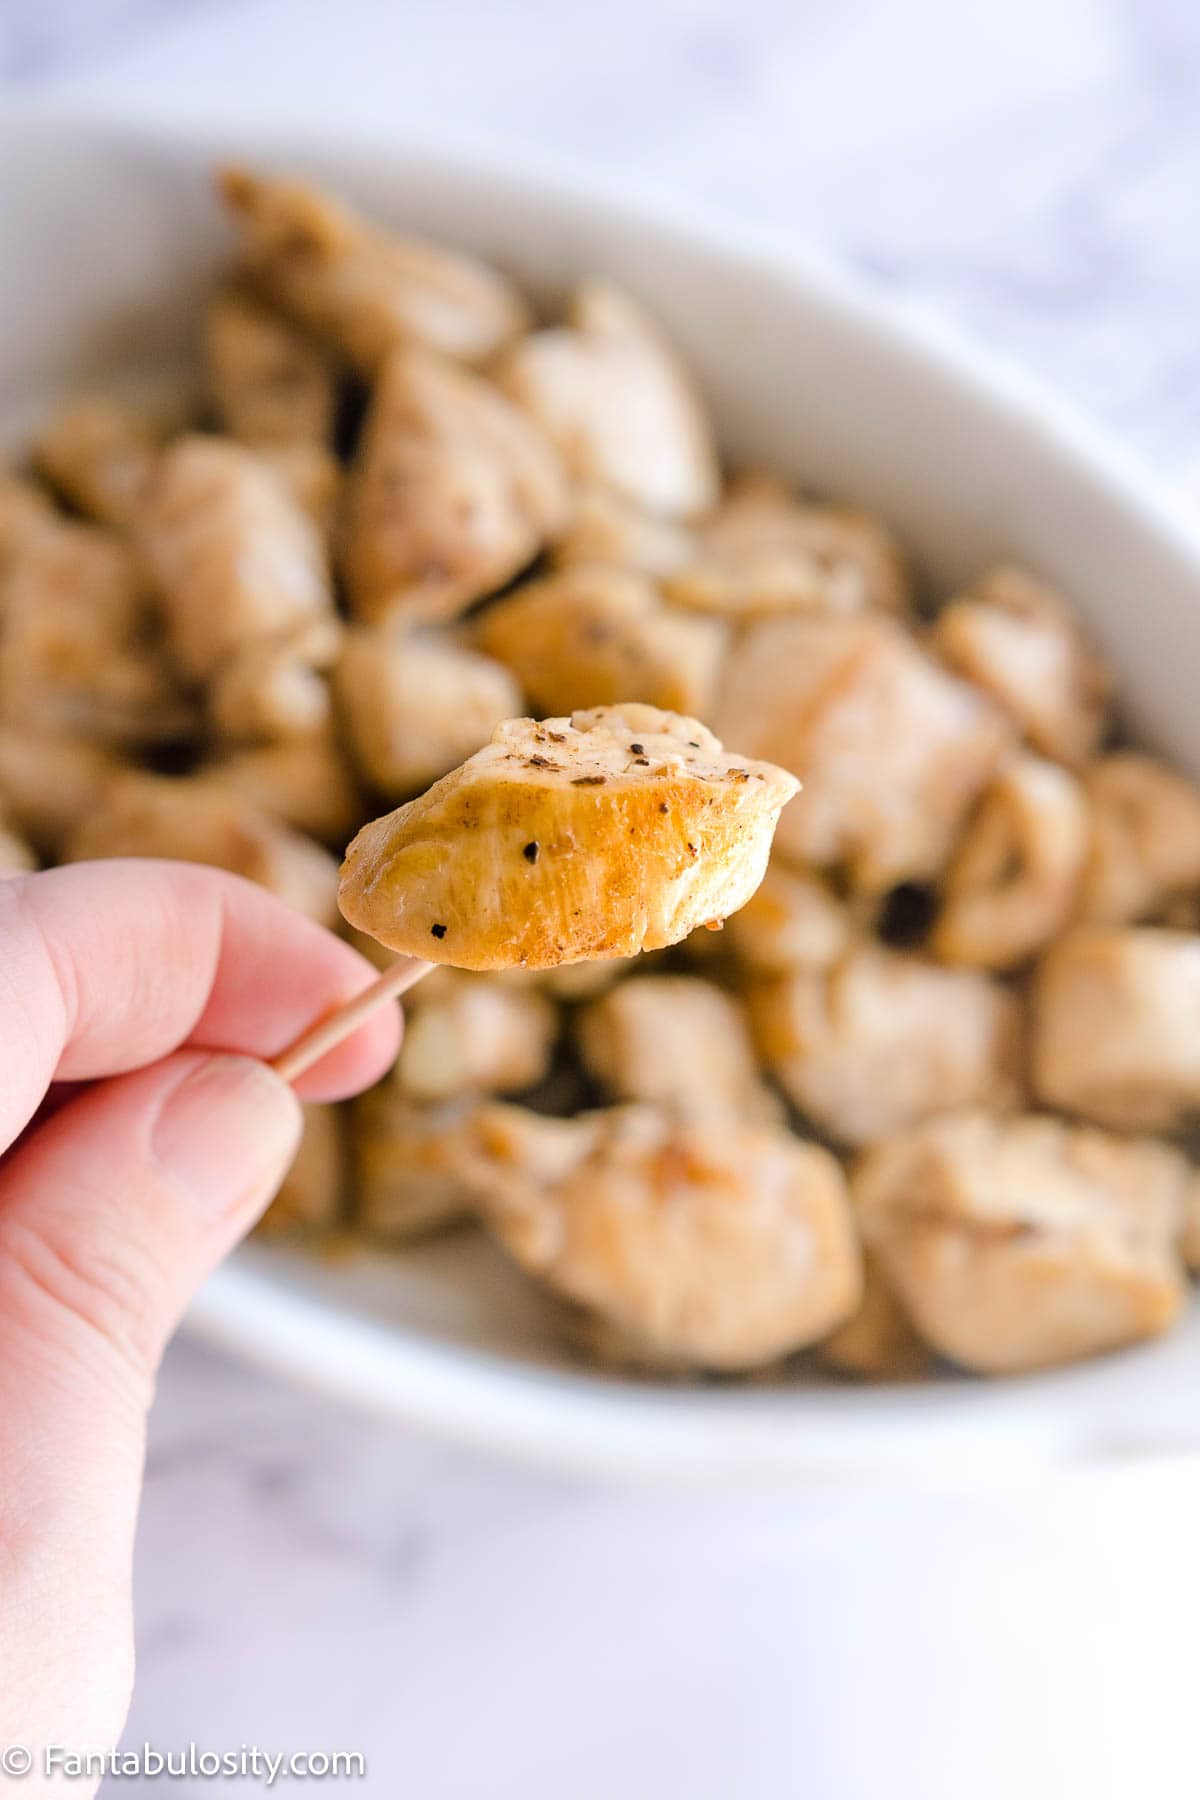
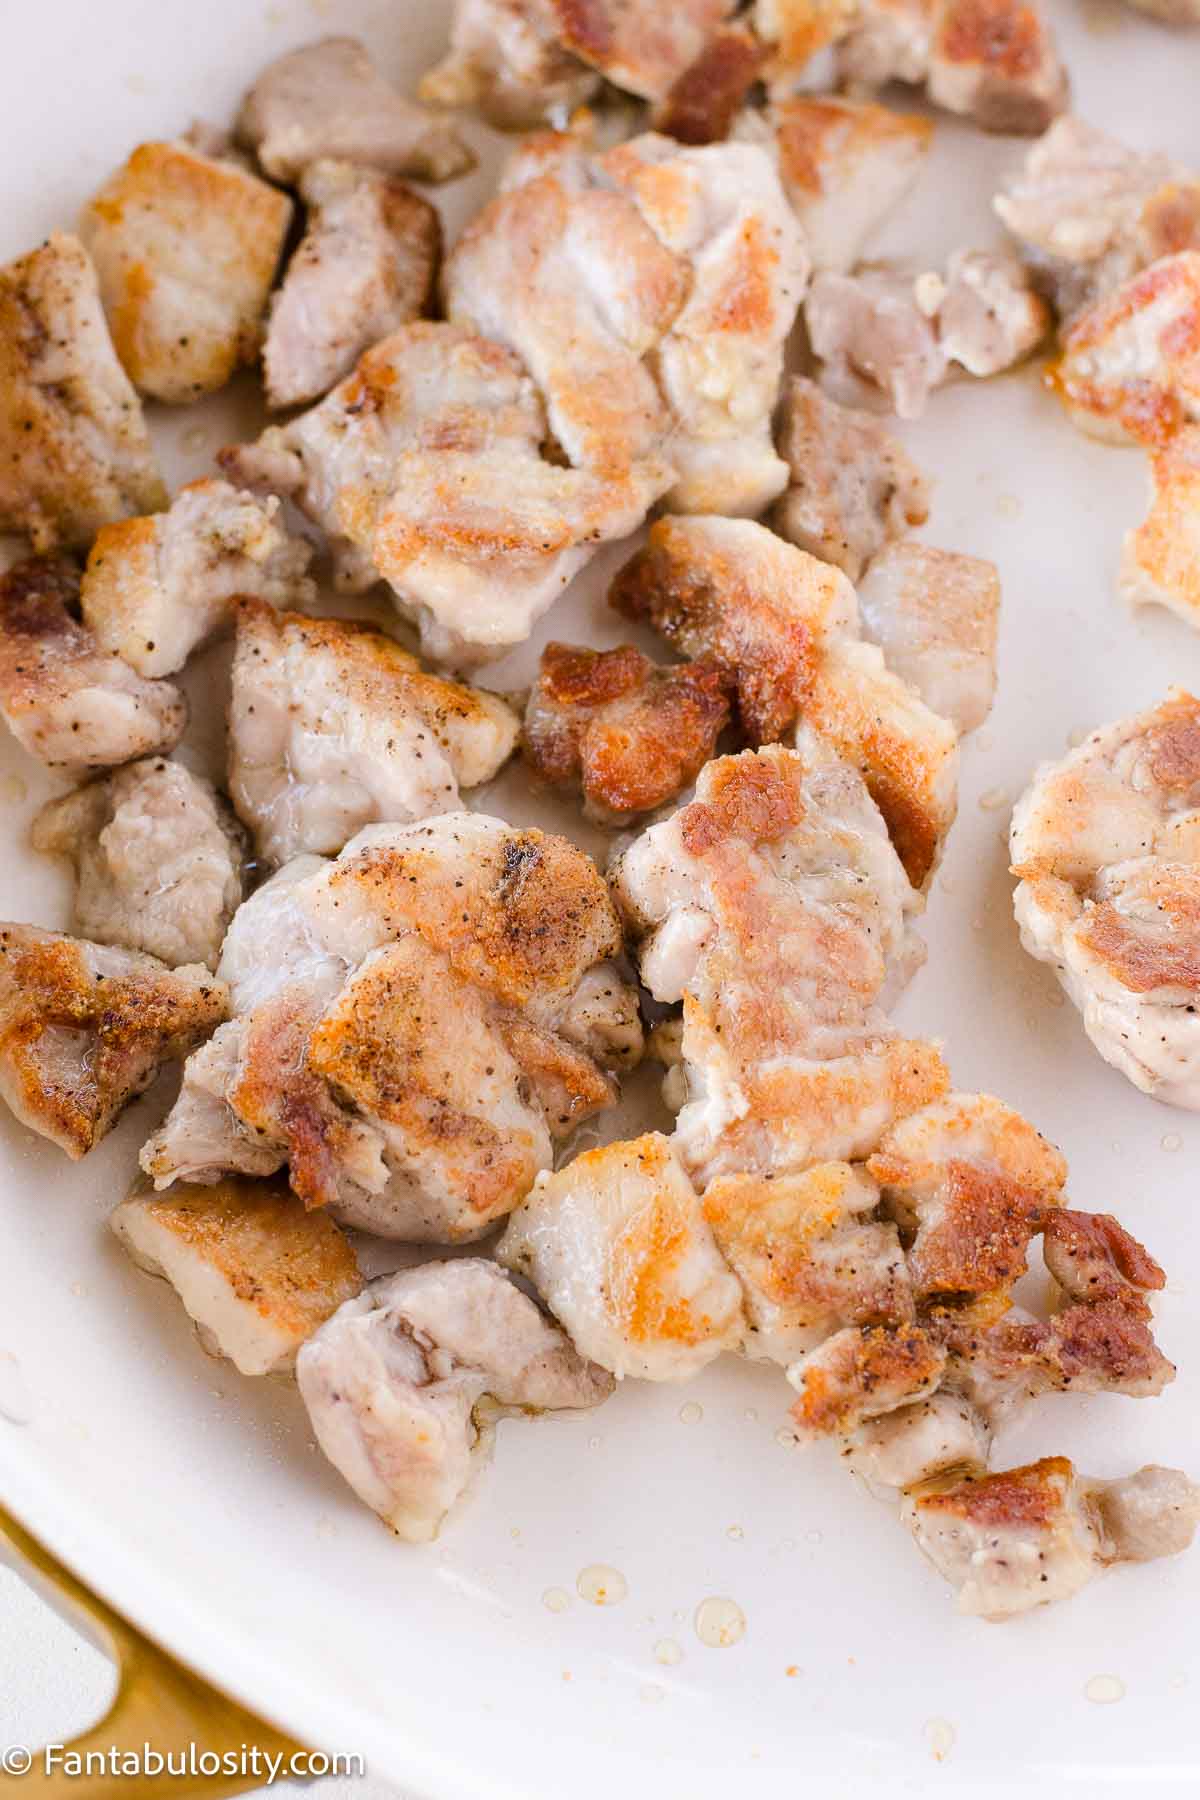
STEP 6: Finally, dip or brush each piece with beaten eggs which will give it a crunchy golden crust for the crispiest tofu!
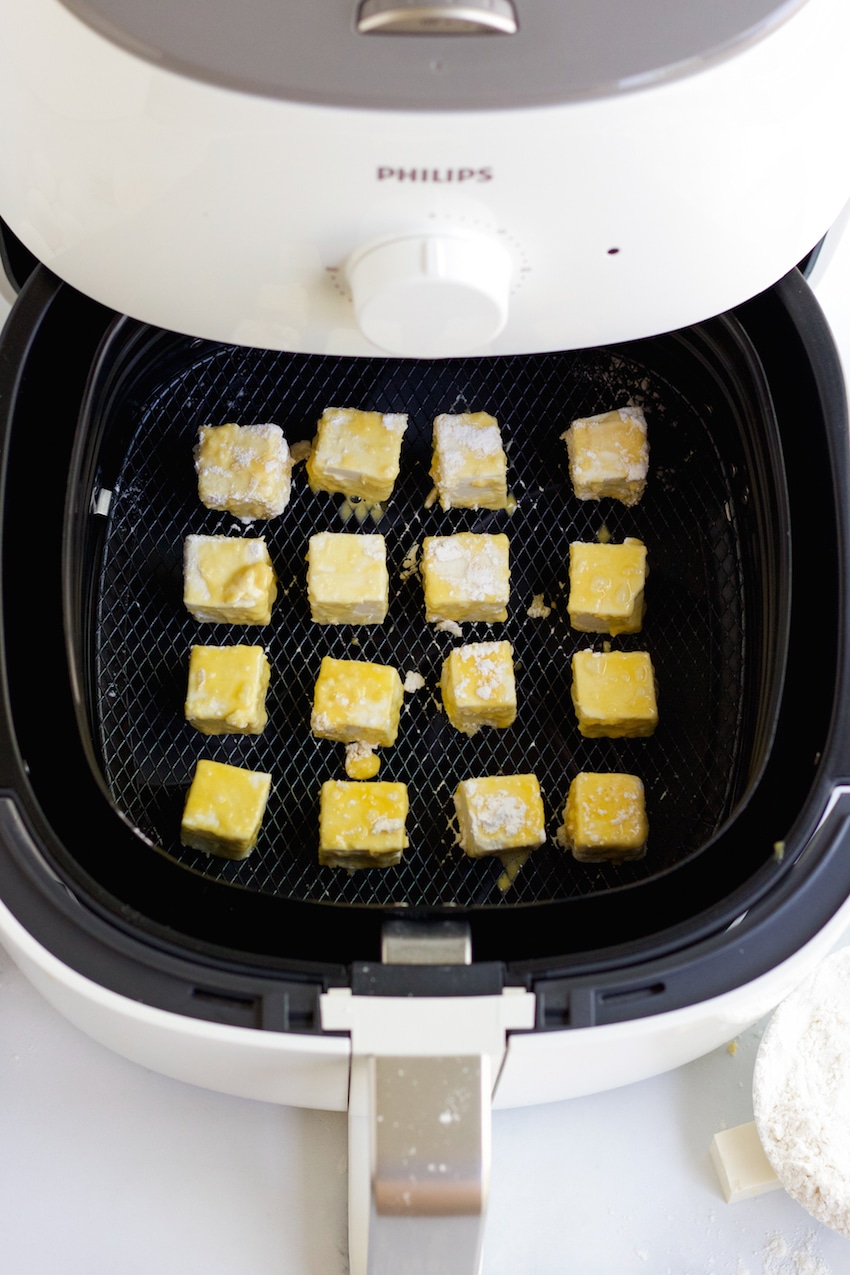
STEP 7: Place the tofu in a single layer in the air fryer basket.
You may need to make multiple batches, depending on the size of your air fryer basket.
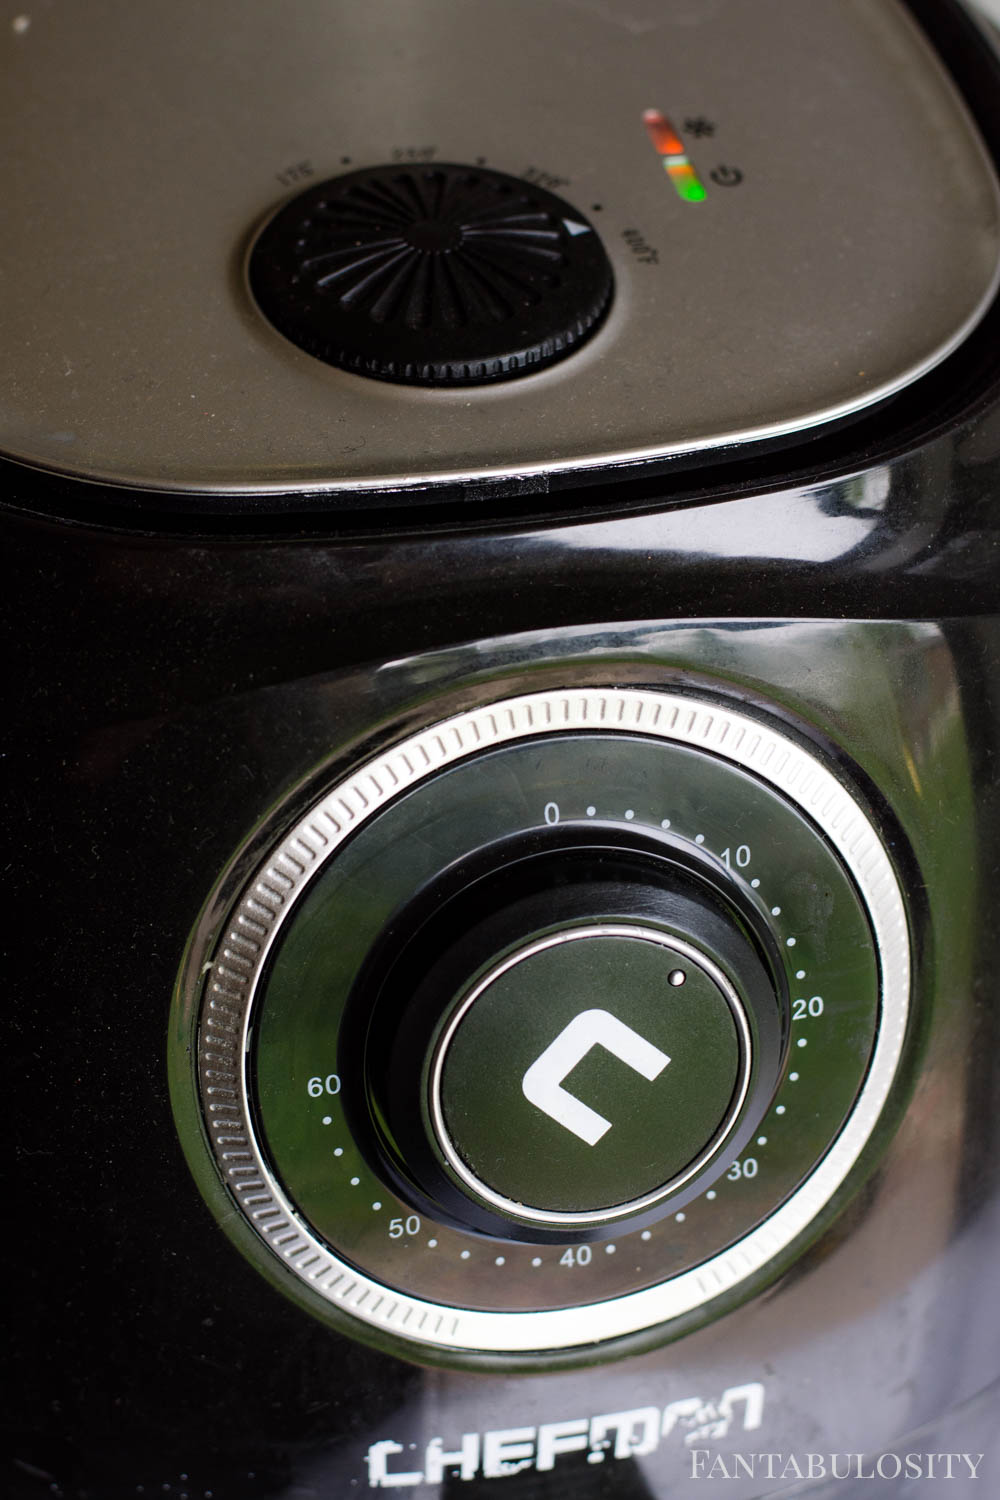
Cook at 350 degrees for 12 minutes.
Make it Gluten-Free
You can easily make this recipe gluten-free by using your favorite gluten-free flour. However, I find that an all-purpose, gluten-free mixture works best because they contain a blend of flours.
Make it Vegan
There are two ways to make vegan tofu in the air fryer.
- One way is to roll the tofu cubes in panko crumbs and skip the egg drizzle! The panko crumbs will still turn brown and crunchy.
NOTE: If you try to use flour without the eggs, you will wind up with white dusted tofu cubes. So skip the eggs and swap the flour for panko instead. - The second way to make vegan tofu in the air fryer is to completely omit the eggs and breading.
You can flavor the tofu cubes by marinating them in your favorite sauces or tossing them in seasonings and spices.
Still cook them at 350 degrees for 12 minutes!
How to Serve Air Fryer Tofu
You can either eat by itself, as a great appetizer (with a sauce, see below for ideas) or even as a side dish, like you would french fries.
However, some of the favorite ways to serve air-fried tofu, is with stir-fry or even brown rice.
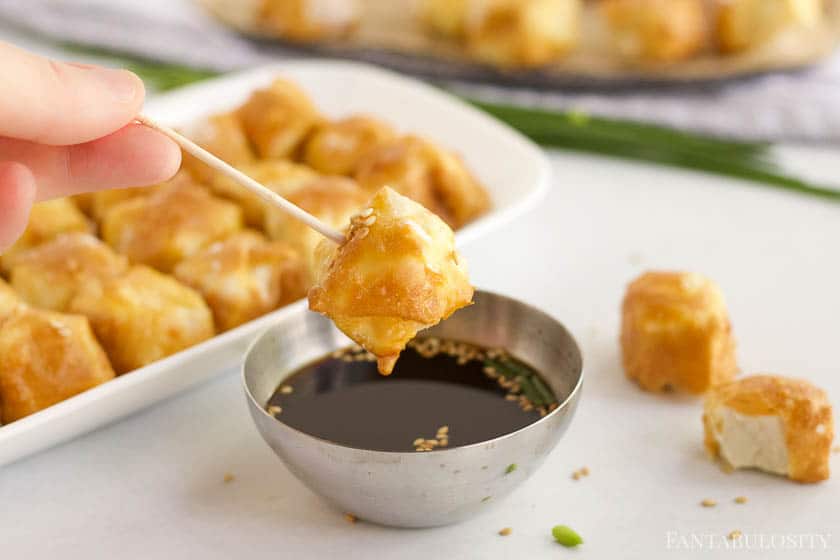
Dipping Sauces for Air Fried Tofu
Totally optional of course, but you can serve your favorite sauces alongside this fried tofu. Sauces such as:
- soy sauce (adding sesame seeds is fun too)
- fish sauce
- coconut aminos
- sweet chili
- bbq sauce
- ranch dressing
How to Store Leftover Air Fryer Tofu
Breaded tofu is best enjoyed immediately after cooking it. But if you do have leftovers you can store it covered in the refrigerator in an airtight container for up to 3 days.
The breading will likely become soft, so I recommend reheating it in the air fryer again to bring back some of the crispy breading.

More Air Fryer Recipes
If you love air fryer recipes, then you’ll also love these easy recipes:
- Air Fryer Eggplant Fries
- Air Fryer Zucchini
- Butternut Squash in the Air Fryer
- Apple Chips in the Air Fryer
Recipe

Crispy Air Fryer Tofu
Equipment
- air fryer
Ingredients
- 3 – 12.3 oz. packages of firm tofu
- ½ cup flour
- ¼ teaspoon salt
- ⅛ teaspoon pepper
- 2 eggs
- green onion chopped, if desired
Instructions
- Carefully remove the tofu from the packaging and cut evenly into 12 cubes. See blog post for tips on how to remove excess water, to help get a crispy crust.
- Mix together the flour, salt and pepper then dip each cube in the mixture. Be sure to cover each side.
- Brush, drizzle or dip the beaten eggs over each cube.
- Place the tofu in the air fryer basket, in a single layer, spacing them evenly apart. You may need to make multiple batches, depending on the size of your basket.
- Cook at 350 degrees for 12 minutes.
- Serve with your choice of dipping sauce and garnish with green onion if desired.