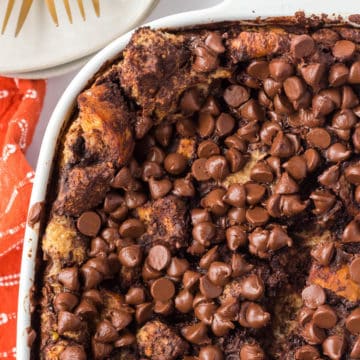
These easy Instant Pot brownies are so gooey, have a great balance of rich cocoa flavor and vanilla, and make things easy without heating up the oven. In about an hour, these thick, delicious brownies are ready to enjoy, making it one of my favorite Instant Pot recipes to date.

Whether for a late-night dessert or you’re looking to impress at a potluck, these brownies will be a hit!
Want to try more variations of the classic chocolate brownies? You could start with these dessert recipes: Cornflake Brownies for a tasty and crunchy option or, for something different, try these Lemon Cake Mix Brownies.
[feast_advanced_jump_to]Why You’ll Love This Recipe
- Versatile dessert: This Instant Pot Brownies recipe is perfect for any occasion. From casual family dinners to elegant gatherings, these brownies can serve as a mouthwatering treat everyone can relish.
- Steps are simple to follow: You don’t have to be a culinary expert to whip up this dessert. This fudgy brownie recipe is straightforward, making it suitable for novice cooks and baking enthusiasts alike.
- Regulates sweetness: The beauty of homemade desserts is in the control you have over the ingredients. With this recipe, you can adjust the level of sweetness to your preferences and dietary needs.
Are Instant Pot Brownies Different?
Instant Pot Brownies take the classic oven-baked treat to a whole new level. They’ve got this irresistible texture and richness that’s hard to resist.
Thanks to the Instant Pot’s unique cooking environment, every inch of these rich fudgy brownies is perfectly sticky. And guess what? They’re even made in a deep-dish style, so you’re in for a thick, decadent dessert packed with chocolatey goodness. Just a small piece is enough to satisfy your sweet tooth, making them perfect for those who like to keep an eye on portion sizes.
Ingredients Needed
I’ve highlighted a couple of ingredients with some relevant notes. Aside from this, the ingredients needed are pretty basic.

- Granulated Sugar – When measuring granulated sugar, ensure to level it off using the back of a knife for accurate measurements. Also, store it in an airtight container to prevent it from clumping due to moisture.
- Cocoa Powder – For a deeper, richer flavor, opt for unsweetened cocoa powder. Also, sift it before use to get rid of any lumps, ensuring a smoother mix into your batter.
- Chocolate Chips – Consider using a mix of milk and dark chocolate chips for a more complex chocolate flavor.
Substitutions
- Cocoa Powder – If you run out of cocoa powder, you can use the same amount of unsweetened baking chocolate by reducing the butter in the recipe accordingly. If the recipe calls for 3 tablespoons of cocoa powder, use one ounce of unsweetened chocolate and reduce the butter in the recipe by 1 tablespoon.
- Vanilla Extract – In case you’re out of vanilla extract, you can use an equal amount of maple syrup or honey. Alternatively, almond extract can also be used, but only half as much as it has a stronger flavor.
- Chocolate Chips – If you don’t have chocolate chips, you can chop up any bar of chocolate that you have on hand. If you’re looking to avoid chocolate, try using dried fruit, nuts, or seeds for a healthful twist. For a dairy-free or vegan option, opt for dairy-free chocolate chips.
Variations
- Nutty Brownies: Enhance the texture and flavor of the brownies by folding a handful of your favorite nuts into the batter. You can use chopped almonds, walnuts, or pecans for a delightful crunch.
- Salted Caramel Brownies: Drizzle some salted caramel over the brownies just before they’re done. The sweet and salty combination will take your brownies to a whole new level.
- Mocha Brownies: For a coffee-infused twist to your brownies, add two tablespoons of instant coffee or espresso powder to the batter.
- Fruity Brownies: Consider adding some dried cherries, cranberries, or orange zest to the batter for a fruity twist.
- Peppermint Brownies: Add a drop or two of peppermint extract to the brownie batter for a refreshing, minty flavor. This variation is particularly popular during the holiday season.
- Vegan Brownies: Substitute the eggs in this recipe with a flax egg (1 tablespoon ground flaxseed + 3 tablespoons water per egg) and use dairy-free chocolate chips for a vegan-friendly version.
Equipment
I have read that using a 3-inch high trivet keeps the brownies a bit less sticky and dense; however, I used the one that came with the Instant Pot and enjoyed them!
How to Make Instant Pot Brownies
*Be sure to see the recipe card below for the full ingredients list & instructions!*
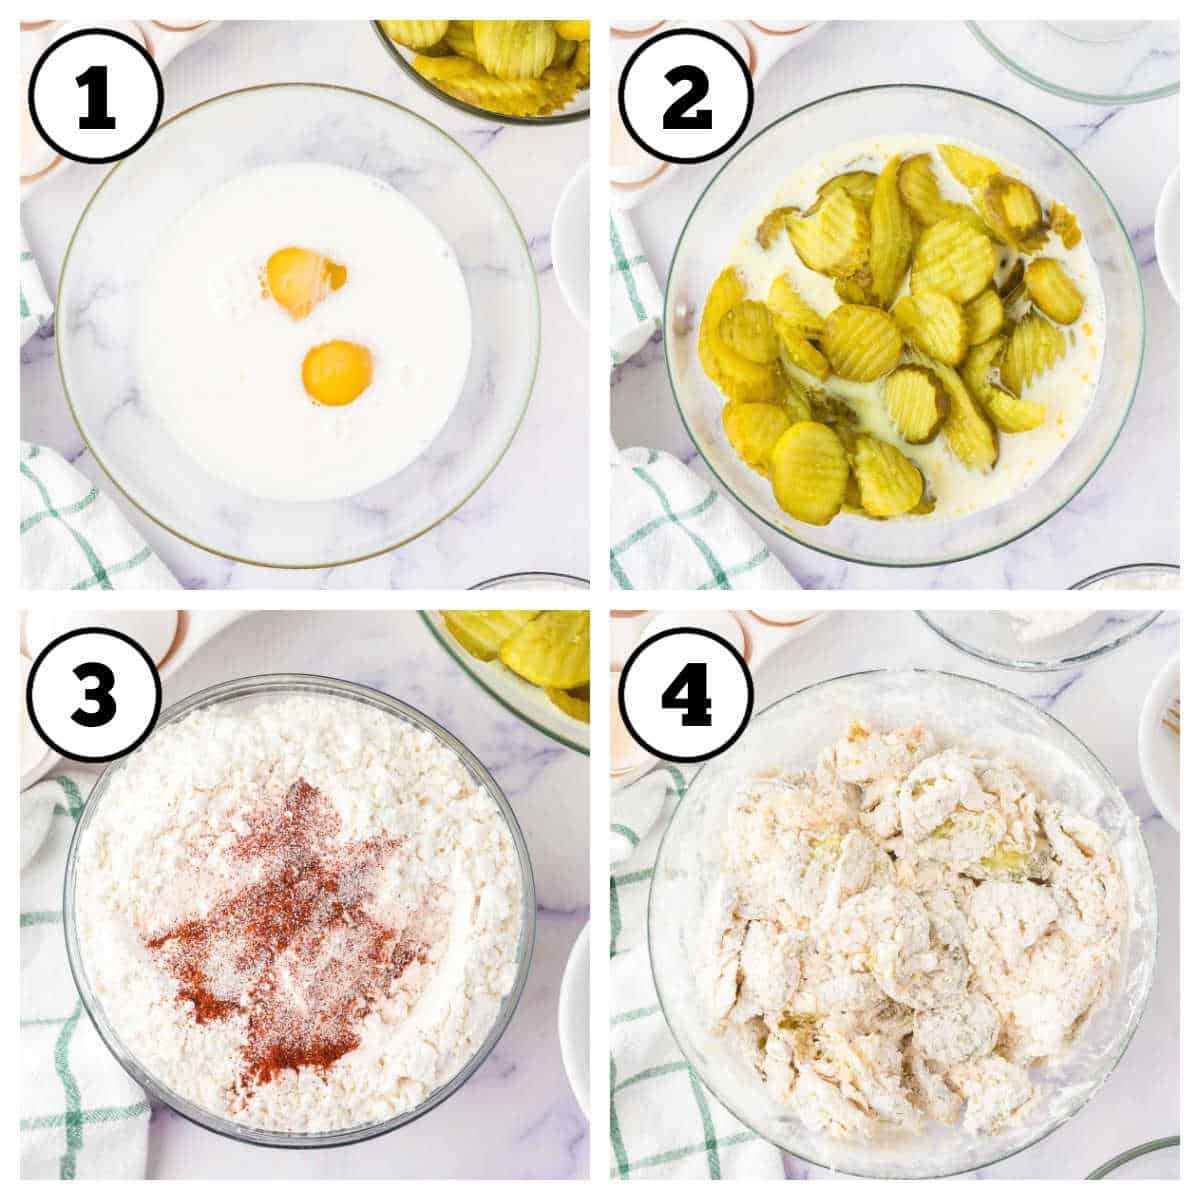
STEP 1: Cream the butter and sugar. Melt butter and blend with sugar in a medium bowl until a smooth consistency is achieved. Add cocoa powder and stir. (Image 1).
STEP 2: Add eggs. Add the eggs and vanilla extract into the mix. Ensure thorough mixing. (Image 2).

STEP 3: Mix in flour and chocolate chips. Add flour and salt to the mixture. Stir until a blend is achieved. Fold chocolate chips in gently with a wooden spoon. (Image 3-4).
STEP 4: Add mix to the pan. Pour batter into a 7" greased springform pan. Optionally, add more chocolate chips on top. Cover the pan tightly with tin foil. (Image 5).
STEP 5: Prepare the Instant Pot. Pour a cup of water into the bottom of your Instant Pot, situate the pan on top of the trivet, and lower it into the Pot. (Image 6).
STEP 6: Cook the brownies. Secure the lid of the Instant Pot, ensure the valve is set to sealing, and set the Pot to high-pressure cooking for 55 minutes of cook time. Permit for a 10-minute natural release for the remaining pressure. (Image 7).

STEP 7: Check the brownies. Open the lid, and inspect the brownies. Ensure no jiggling is present, and check for a firm center. If not firm, re-cook for an extra 5 minutes on high pressure and allow for a natural release. (Image 8).
STEP 8: Cool and serve. Allow the pan of brownies to cool completely before detaching the sides and cutting into square or wedge slices.

Recipe Pro Tips
- Check for doneness: For best results, use a toothpick to check if the brownies are fully cooked. Insert the toothpick into the center of the brownie. If it comes out clean or with a few crumbs clinging, the brownies are done.
- Let the brownies cool: Be patient and allow the brownies to cool completely before cutting. This will make them easier to cut, and they’ll hold their shape better.
- Grease the Pan Well: Make sure to thoroughly grease your prepared pan to prevent the brownies from sticking.
- Use Quality Ingredients: For the best flavor, use high-quality chocolate and cocoa powder. The quality of your ingredients can make a big difference in the final product.
- Perfect The Texture: For a fudgier texture, slightly undercook the brownies. If you prefer cake-like brownies, add an extra egg to the recipe.
- Mixing Matters: Don’t overmix the batter once the flour is added. Overmixing can lead to tougher brownies. Mix just until you don’t see any flour.
- Keep an Eye on the Instant Pot: Make sure the Instant Pot is sealed correctly before starting and check that the release valve is in the right position. This will ensure that steam doesn’t escape, which can affect the cooking time and texture of the brownies.

Recipe FAQs
Yes, you can double this great recipe. Just be sure that you have a pan large enough to accommodate the increased quantity.
Yes, you can make this recipe in the oven. The cooking time and temperature might need to be adjusted, though. You’ll likely need to bake the brownies at 350°F (180°C) for about 20-25 minutes but check them often to avoid overcooking.
Yes, you can substitute the sugar with a sugar substitute. However, the texture and taste might vary. It’s best to use a sugar substitute specifically designed for baking and follow the conversion instructions on the package.
A spring form pan makes it easier to remove the brownies once they’re cooked, but it’s not strictly necessary. You can use any pan that fits in your Instant Pot, just make sure to line it with parchment paper for easier removal.
If you’re looking for an egg substitute, you can use applesauce, mashed bananas, or flax eggs. However, the texture of the brownies might differ slightly.
What to Serve with Instant Pot Brownies
These delectable Instant Pot Brownies pair earnestly with a variety of accompaniments, offering a sweet finish to any meal.
A warm brownie with a scoop of creamy vanilla ice cream or a dollop of whipped cream can create an irresistible combination, while fresh berries or a dusting of powdered sugar provide simpler, yet equally satisfying options. Or make it extra chocolatey by adding some chocolate sauce on top of the brownie.
Storage
These brownies can be stored at room temperature in an airtight container for up to 3 days. If you want to keep them longer, you can refrigerate them, where they’ll last for about a week. Before storing, ensure that the brownies have cooled completely to prevent condensation, which can make them soggy.
As for freezing, yes, you can freeze these brownies. After they’ve cooled, cut them into individual squares and wrap them tightly in plastic wrap. Then, put the wrapped brownies in a zip-top bag or an airtight container and freeze for up to 3 months. The next time you want a delicious brownie, thaw at room temperature or warm up in the oven or microwave.
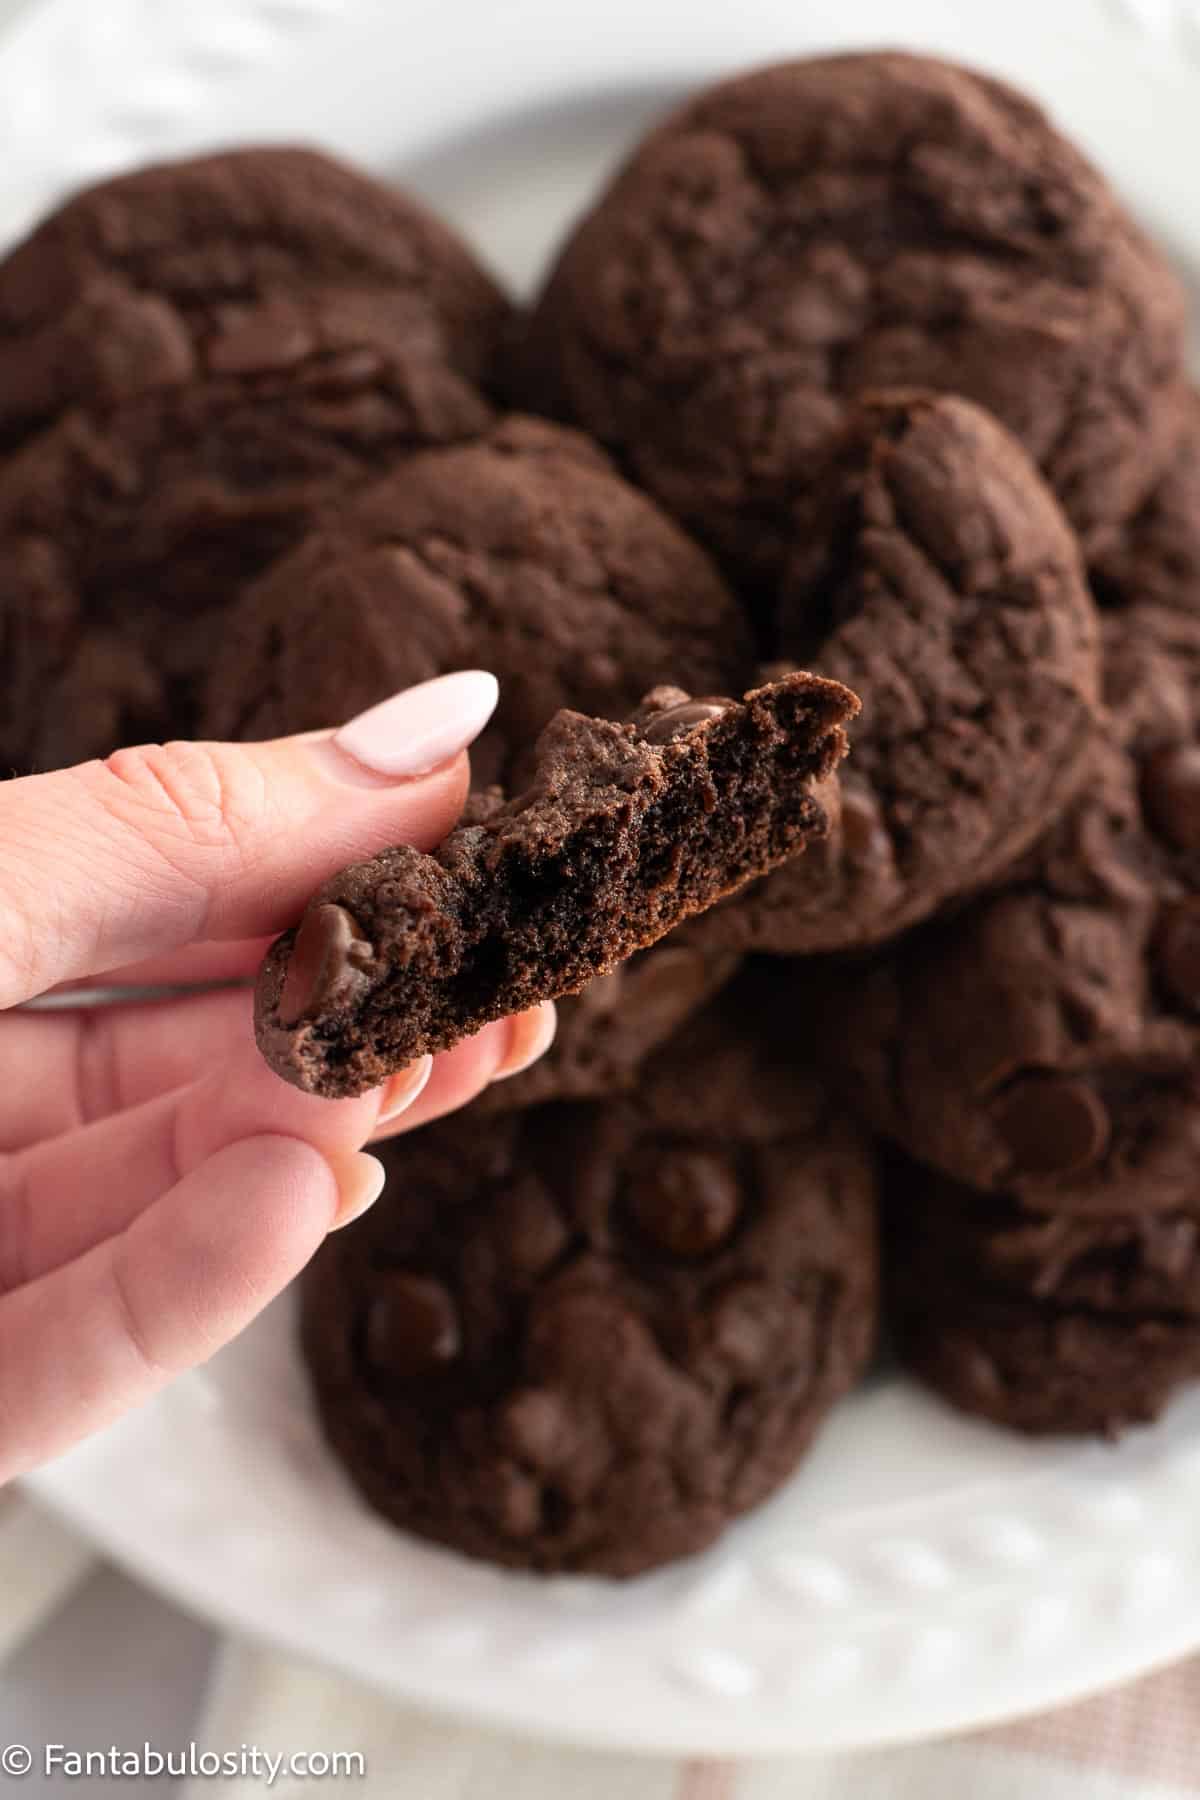
More Chocolate Recipes You’ll Love
If you have some chocolate chips left, there are plenty of delicious recipes you can make with them! If you don’t want to turn on the oven, then this No Bake Chocolate Pie is perfect. Or you could go for a great combination of chocolate and banana in these Banana Chocolate Chip Cookies,


Did you make this? I’d be so grateful if you left a “star” rating below to let me know what you thought! Then, the next time you need a quick and easy recipe, come back to Fantabulosity to browse all of my easy recipes!
Recipe

Instant Pot Brownies
Equipment
- 1 3-inch high trivet
Ingredients
- ¾ cup butter melted
- 1 ½ cups granulated sugar
- ½ cup cocoa powder
- 2 eggs
- 1 Tablespoon vanilla extract
- ¾ cup flour
- ¼ teaspoon salt
- 1 cup chocolate chips plus more for top if desired
Instructions
- Whisk together melted butter and sugar until smooth, then stir in the cocoa powder.
- Add the eggs and vanilla extract and stir well
- Stir in the flour and salt until just combined,
- then gently fold in the chocolate chips
- Transfer the batter to a greased 7" springform pan, add additional chocolate chips to top if desired, and cover tightly with tin foil
- Place 1 cup of water in the bottom of instant pot, the place the brownies on a trivet and lower into the pot
- Put on the lid, make sure valve is set to sealing and cook on high pressure for 55 minutes, and allow for a 10 minute natural release
- Open lid and check brownies, there should be no jiggling and the center should be firm to the touch. If not cook for an additional 5 minutes on high pressure and allow for a natural release
- Allow brownies to cool completely before removing the sides and slicing into squares or wedges