Bruschetta Recipe – The BEST recipe there is! Whether you’re serving this on a slice of bread, or on top of chicken, you’ll love the fresh flavors in this easy to make recipe!

I have a “go-to” appetizer recipe when I’m having guests over, and you’re lookin’ at it.
Easy Bruschetta Recipe
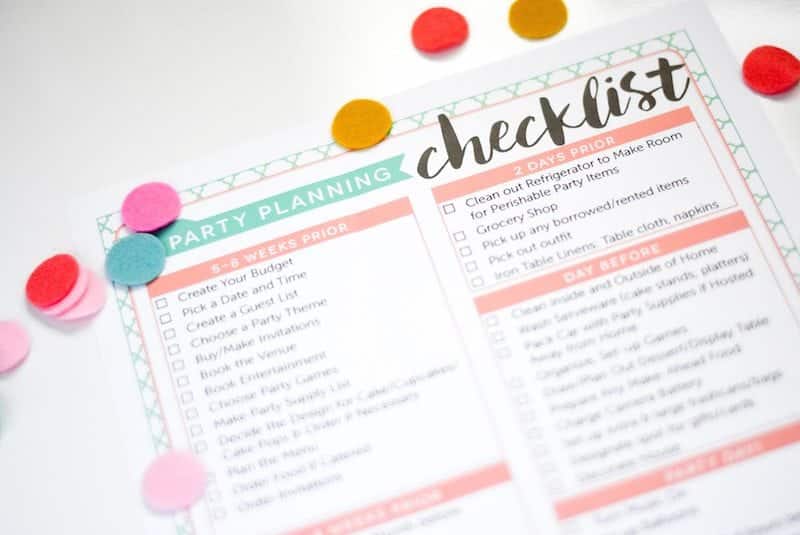
Bruschetta is one of the quickest & easiest appetizers to throw together when we are having people over, and if you’re having people over, don’t forget to save my free party planning checklist, to make sure you don’t forget the most important things!
Whether a small dinner party or a large crowd, this recipe is a hit. It’s classy, easy to pick up and eat, and the guests drool over its deliciousness.
I mean, look at this comment that sweet Kimberly said below in the comments on this recipe:
“Great for my Law School Study Group and Brunch At My Brother's!! Everyone raves about it. Each person ate no less than 4-6 each and thought I catered it. It was so pretty and so tasty!! I am your BIGGEST FAN & that of the BRUSCHETTA too, of course!!! Thank you so much. Please keep sharing!! We need you!!!”
The best part? It gives an impressive appearance that looks like it took a long time to prepare.
(But it doesn’t!)
More Easy Appetizer Recipes You’ll Love:
What is Bruschetta?
Well if you ask Wikipedia, it pretty much says that it’s toasted bread with olive oil, garlic, and tomatoes. Or you can even do a “breakfast” version and do an avocado tomato “bruschetta” toast!
The BEST Bruschetta Recipe
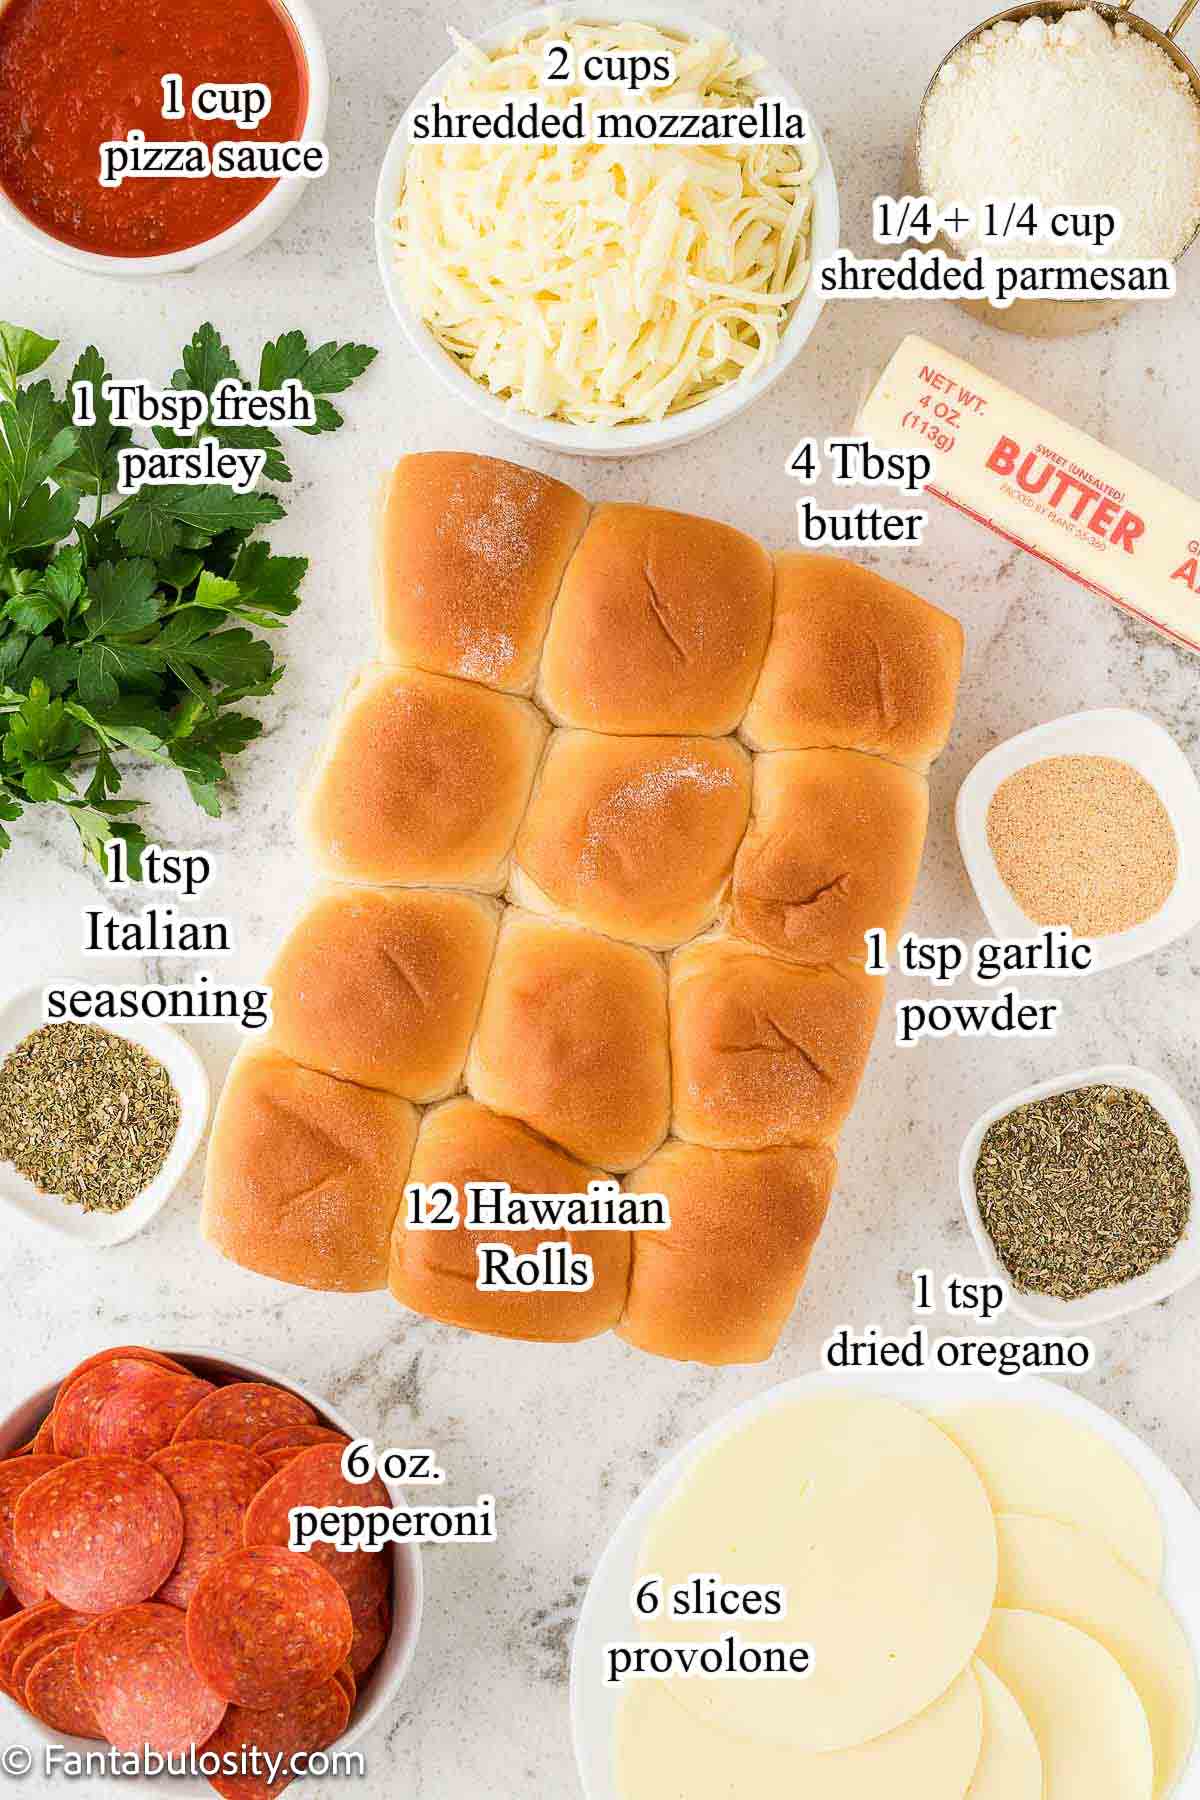
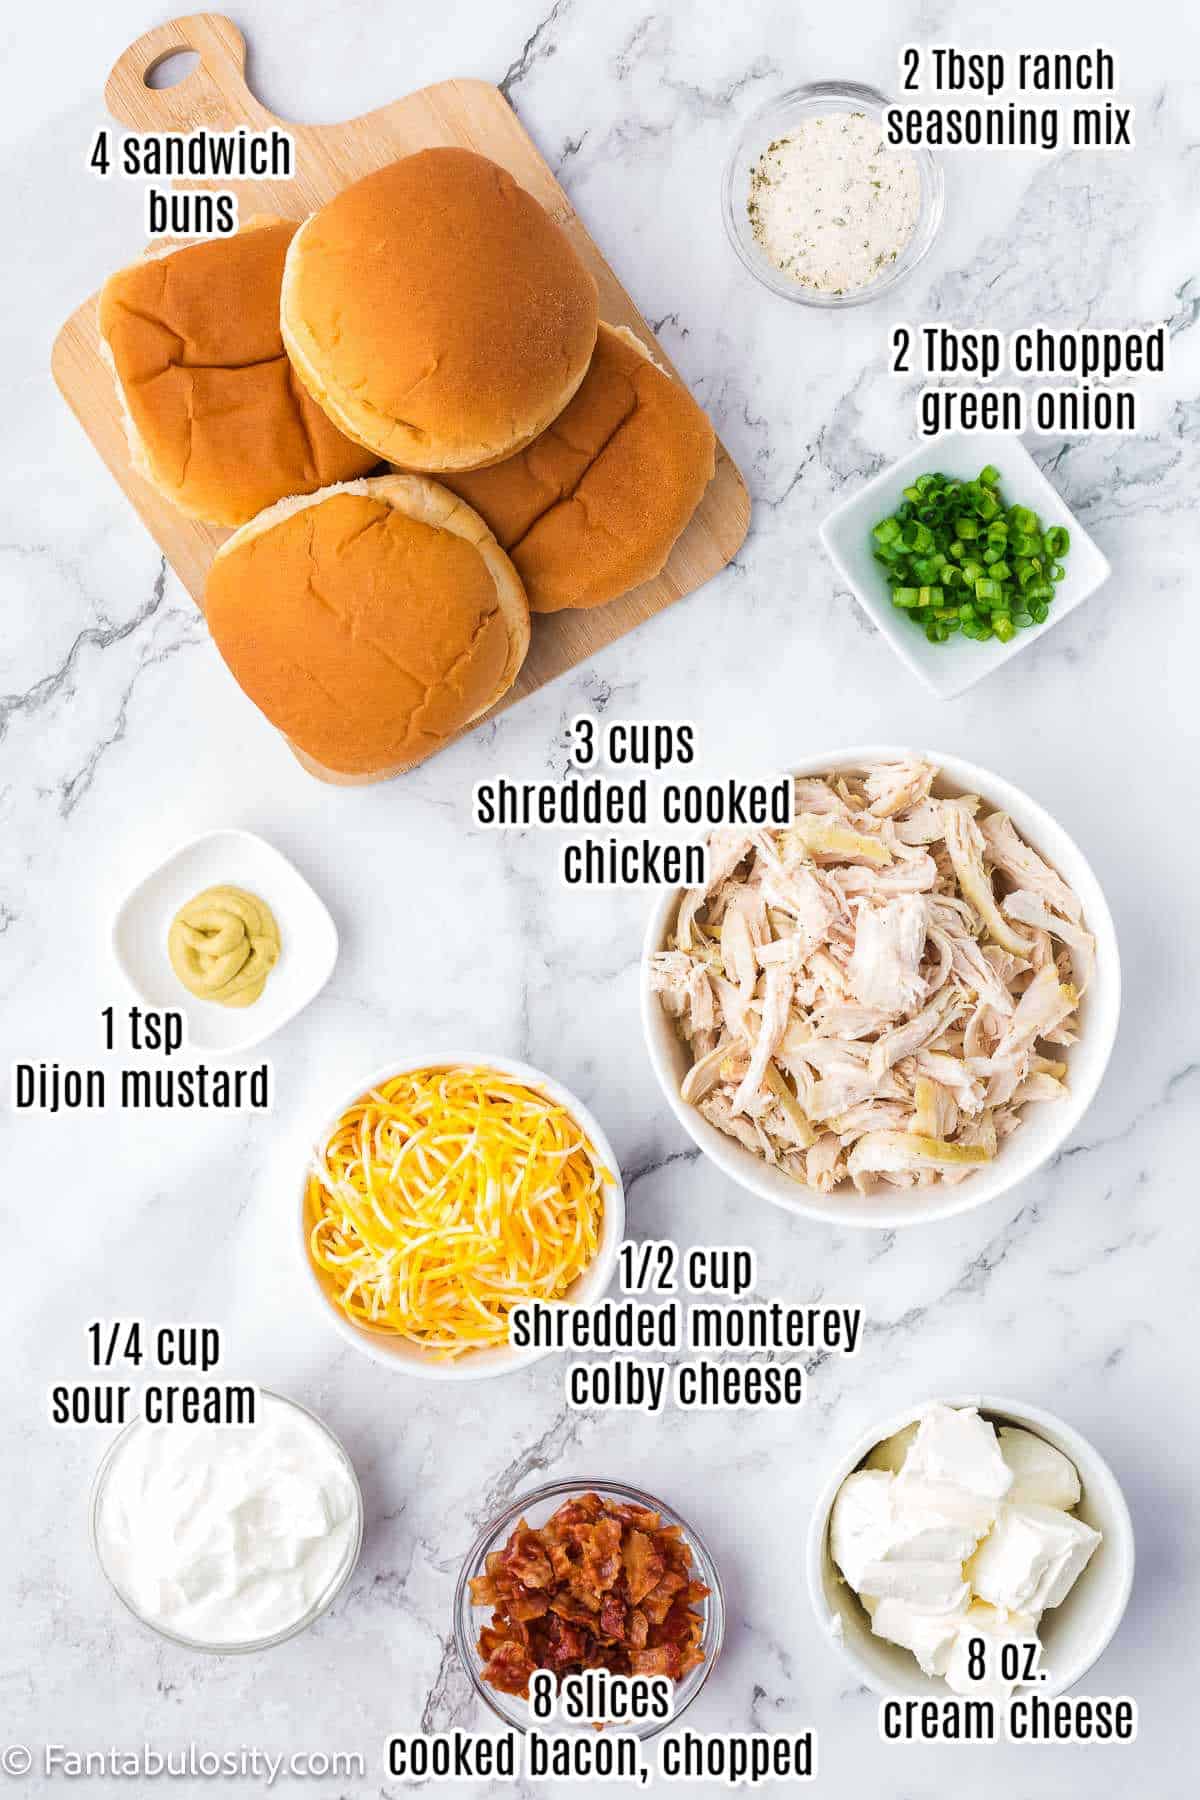
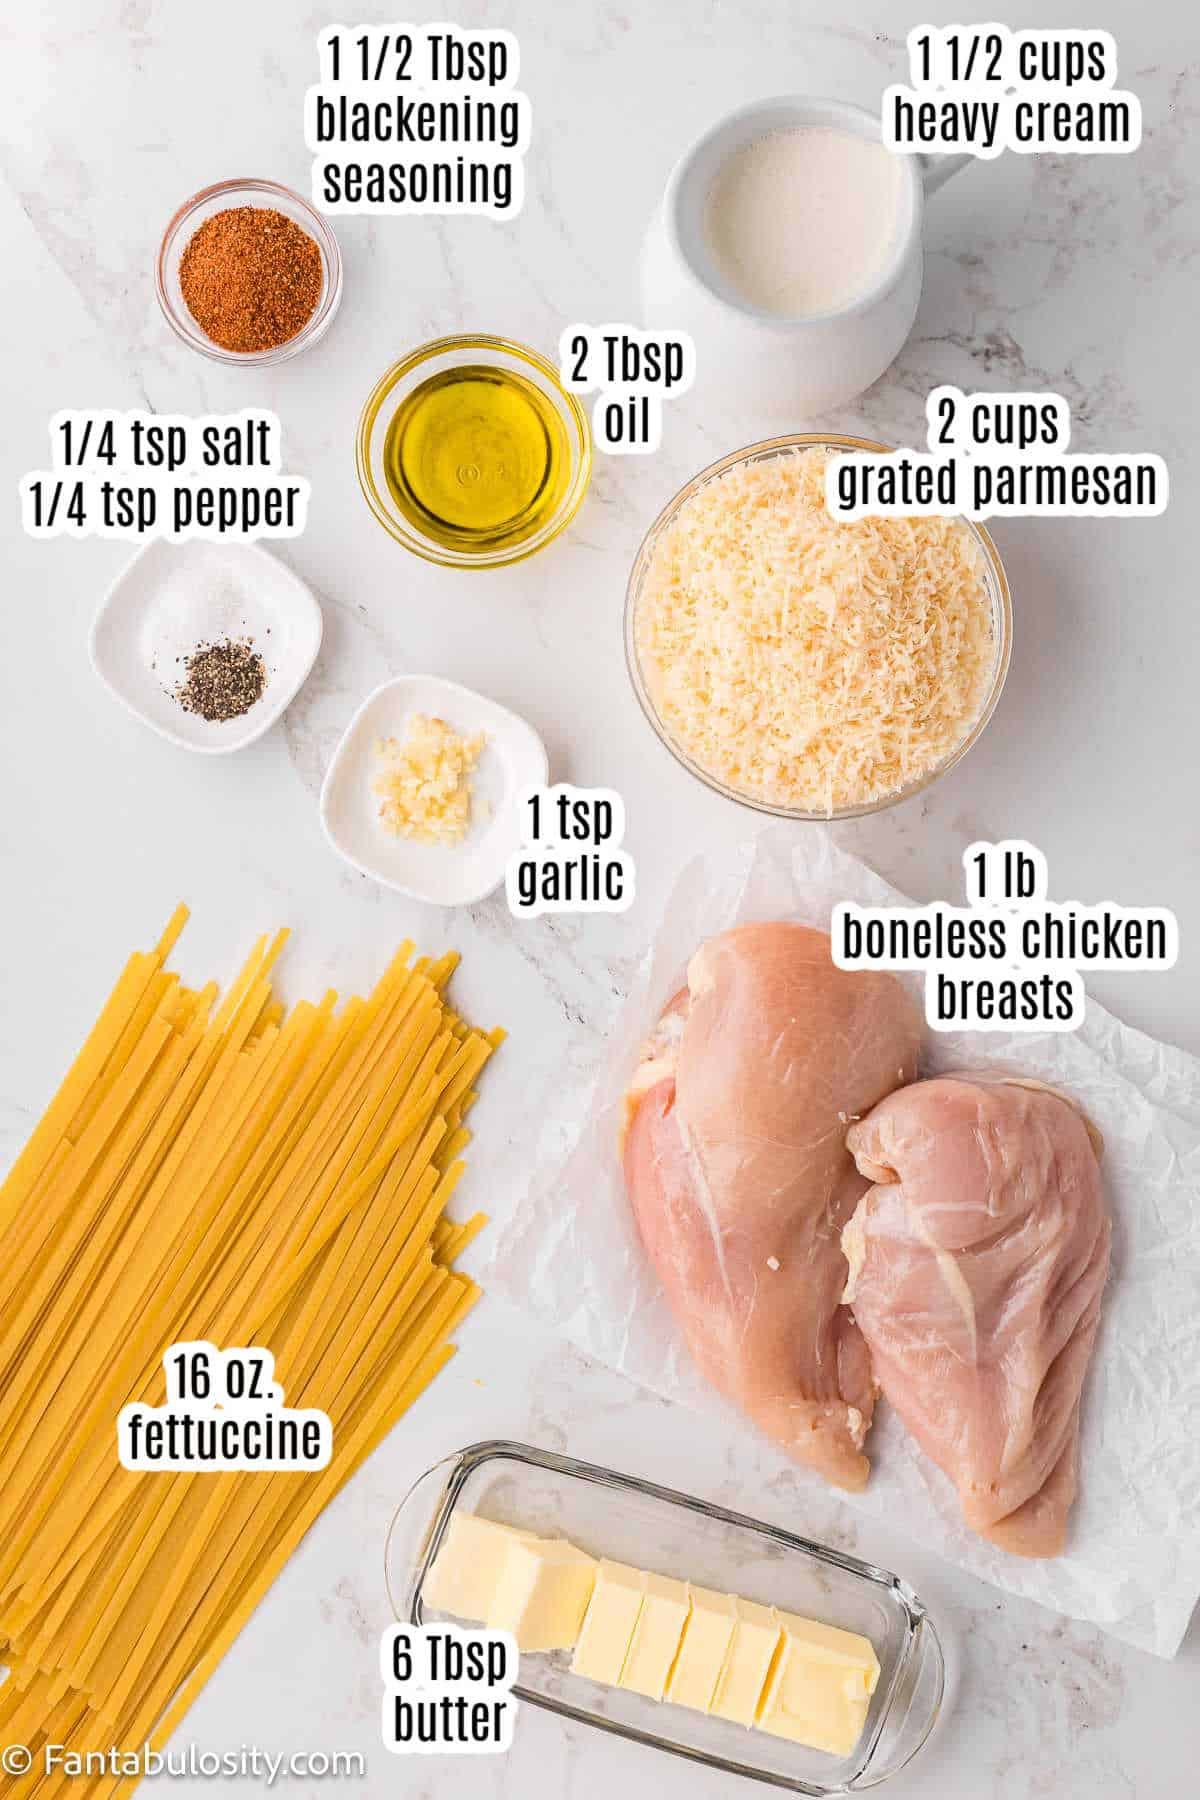
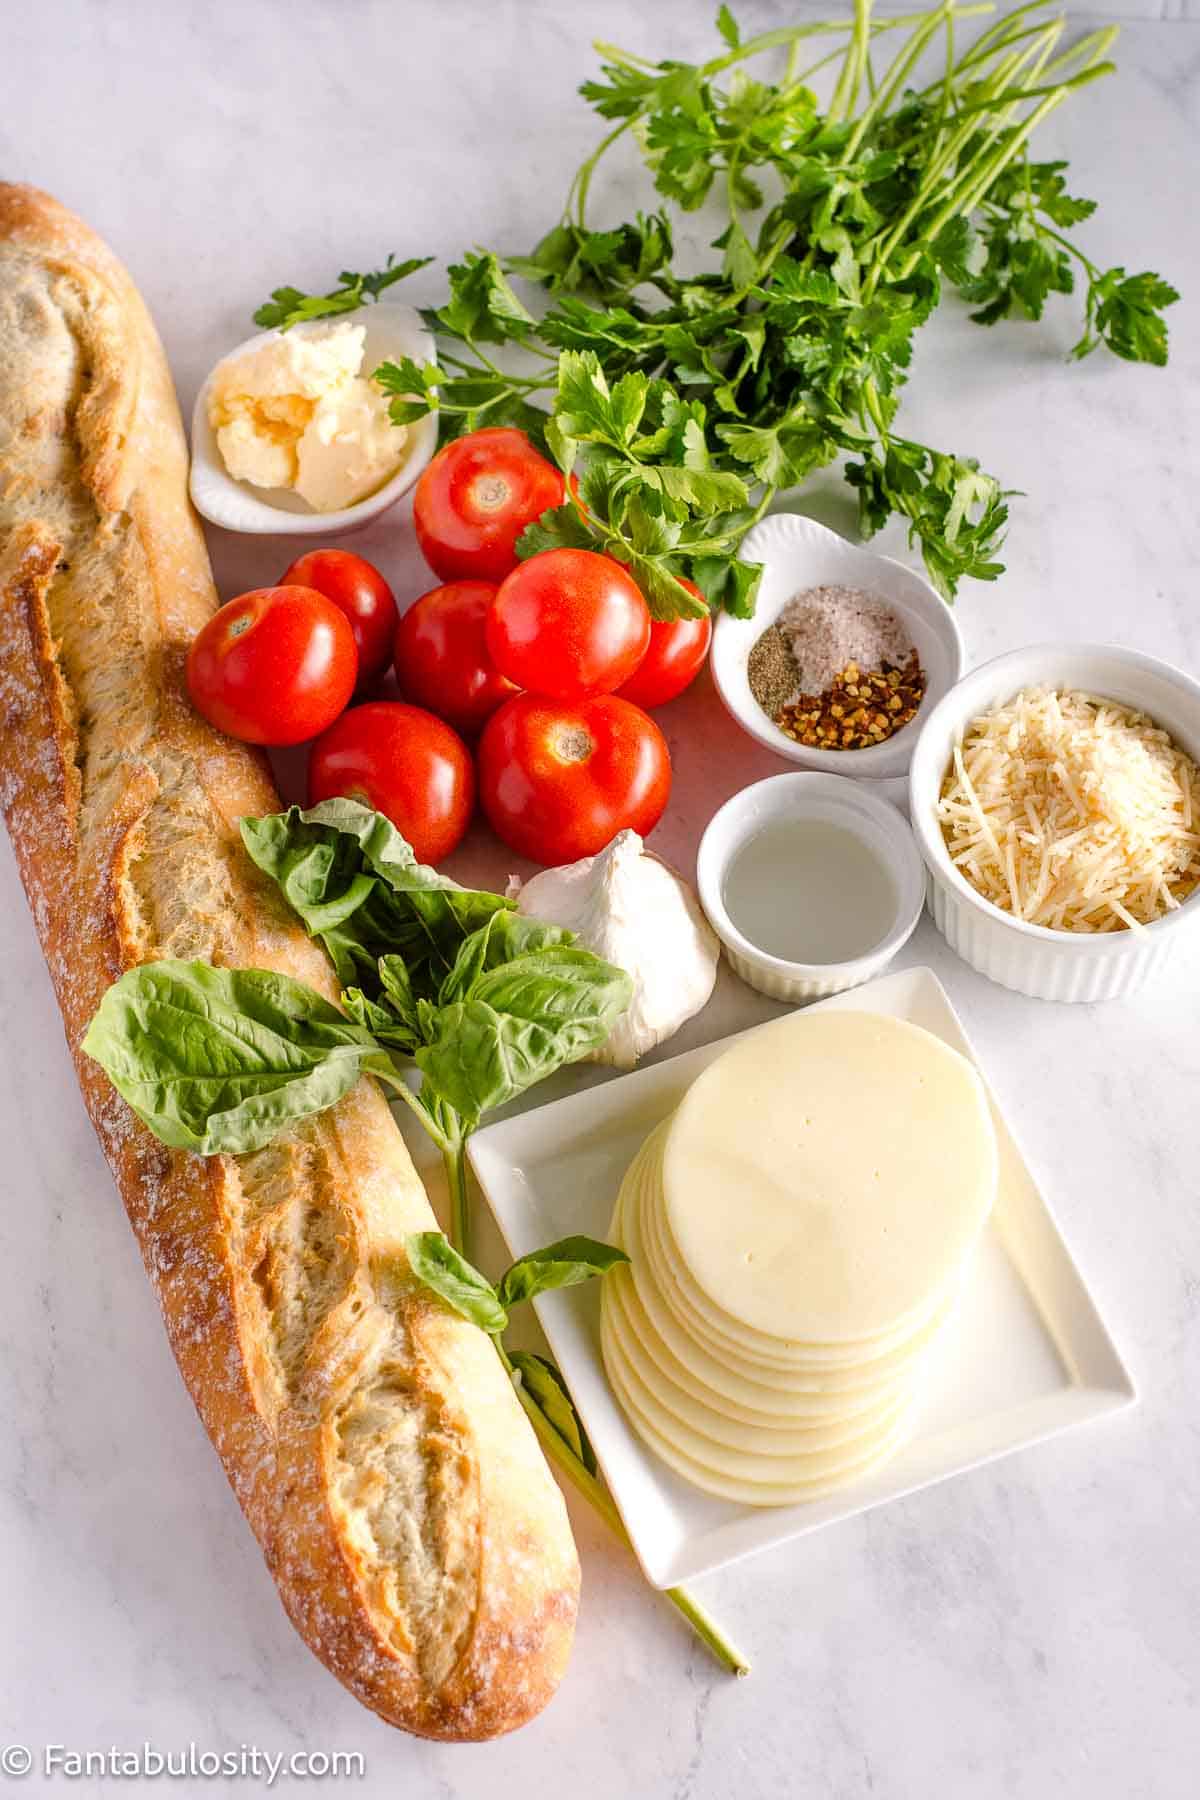
But if you ask me, the best bruschetta consists of a little butter, French bread, a little cheese (mozzarella, provolone, parmesan or whatever your favorite choosing is) spices and fresh herbs. Here’s what you’ll need:
(Full recipe card and instructions below!)
- Roma tomatoes
- Olive oil
- Fresh parsley
- Fresh basil
- Cloves of garlic
- Salt (I love using Kosher Salt, but table salt would work just fine)
- Crushed red pepper flakes (to add a slight kick)
- Black pepper
- Shredded parmesan cheese (grated works too)
- French baguette (or make this Italian bread recipe as it would be delicious too!) (
If buying store-bought, I use the mini loaves, for a smaller “bite-size” appetizer.) - Butter
Some love balsamic vinegar drizzled across their bruschetta, so feel free to do so… but I’m not a fan, so I leave that off and I’ve NEVER heard one of my guests wish they had it.
How to Make Bruschetta
It’s easy and perfect for any beginner in the kitchen! (Full recipe card and instructions at the bottom of this post!)
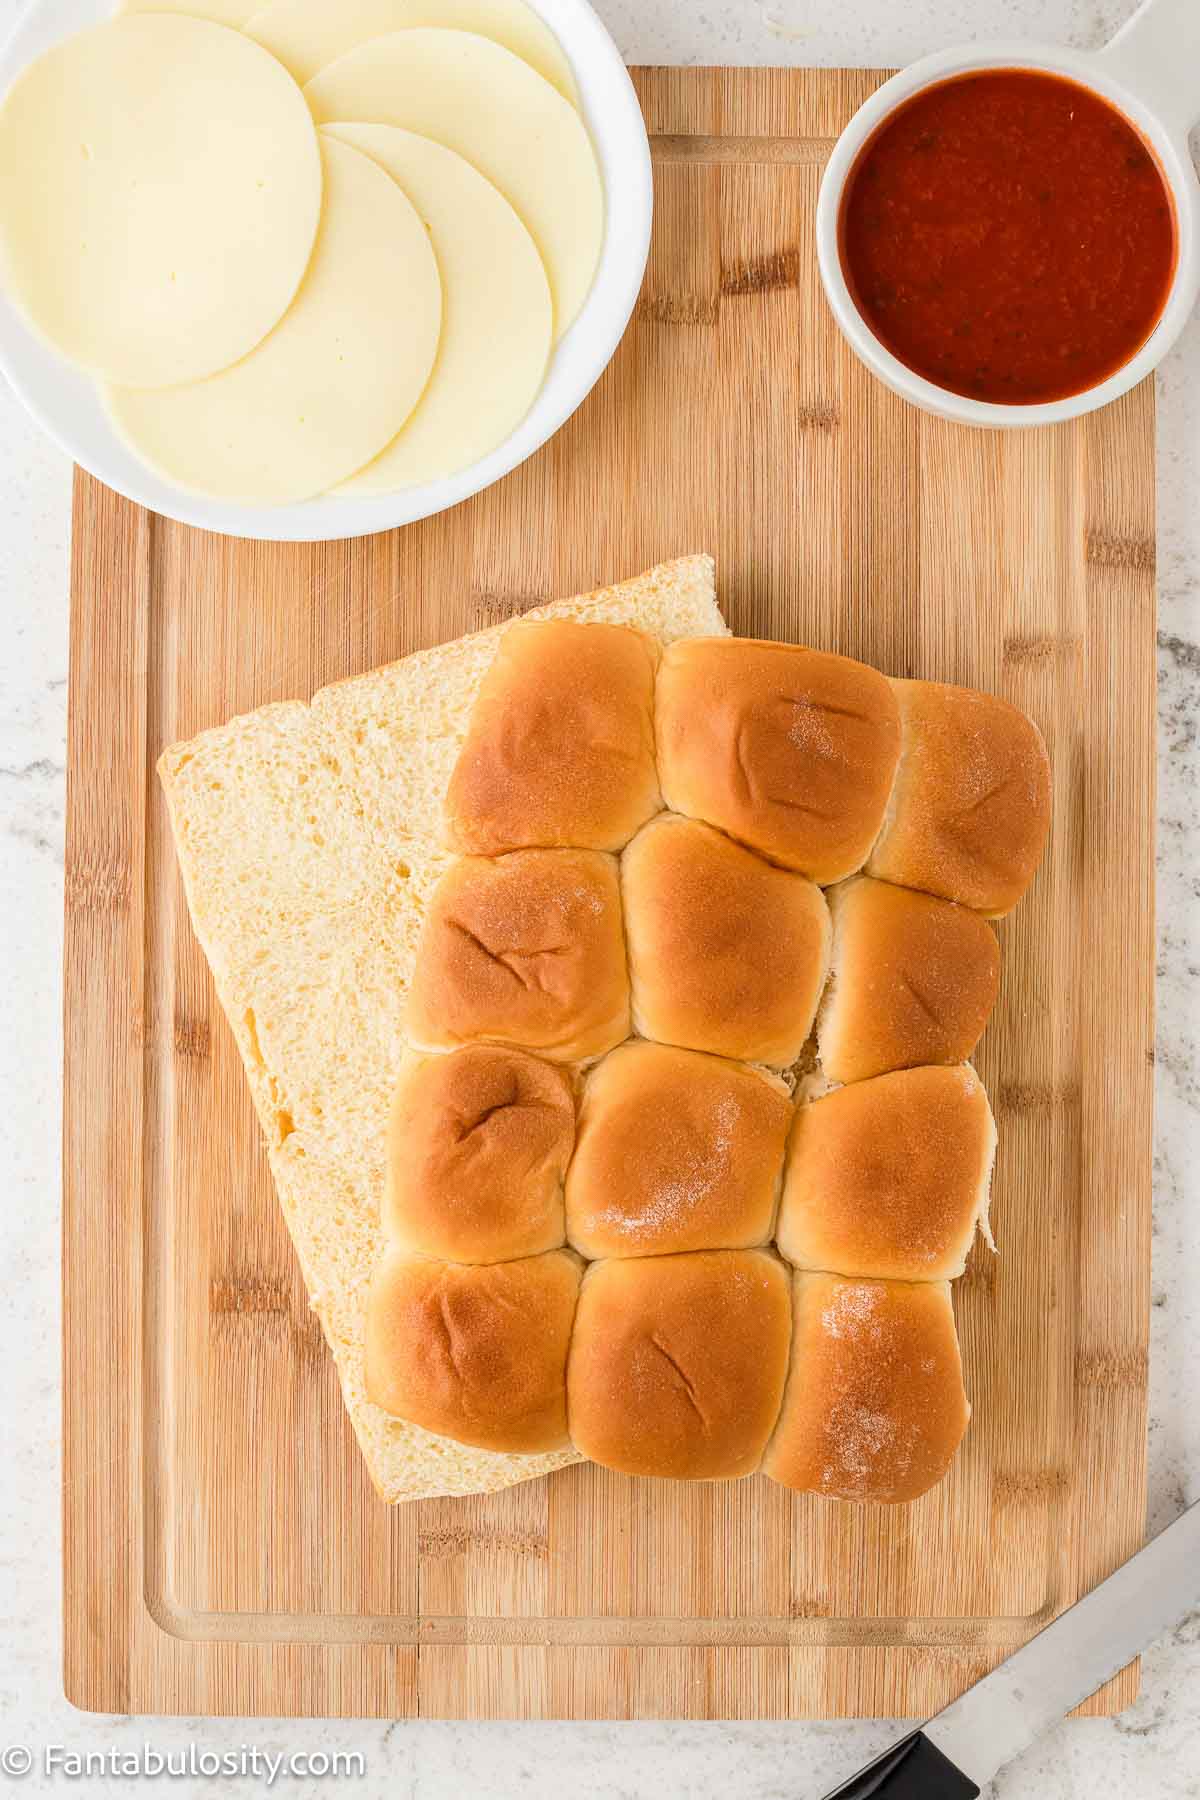
Toast Bread:
You’ll start by slicing your bread in to small pieces – about a half an inch thick but don’t measure too hard. Just a good size for biting.
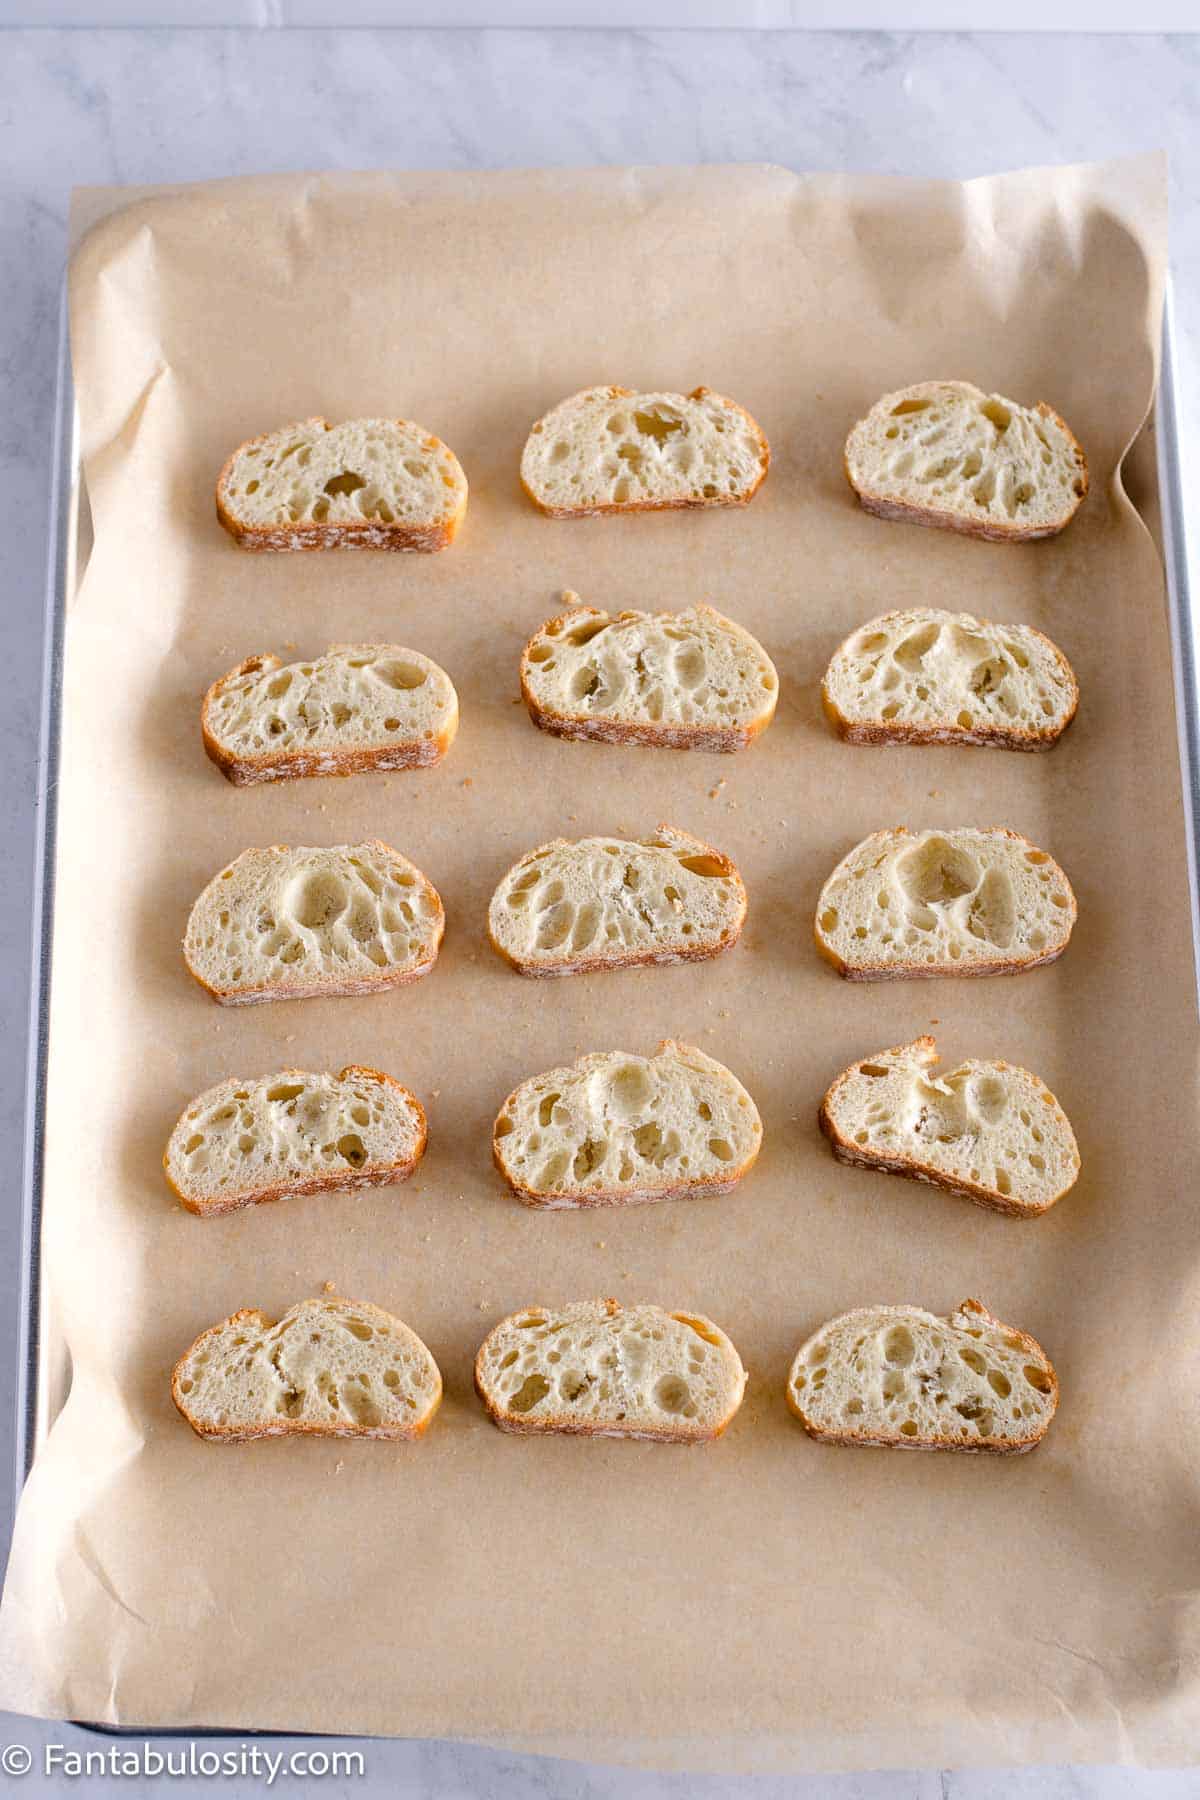
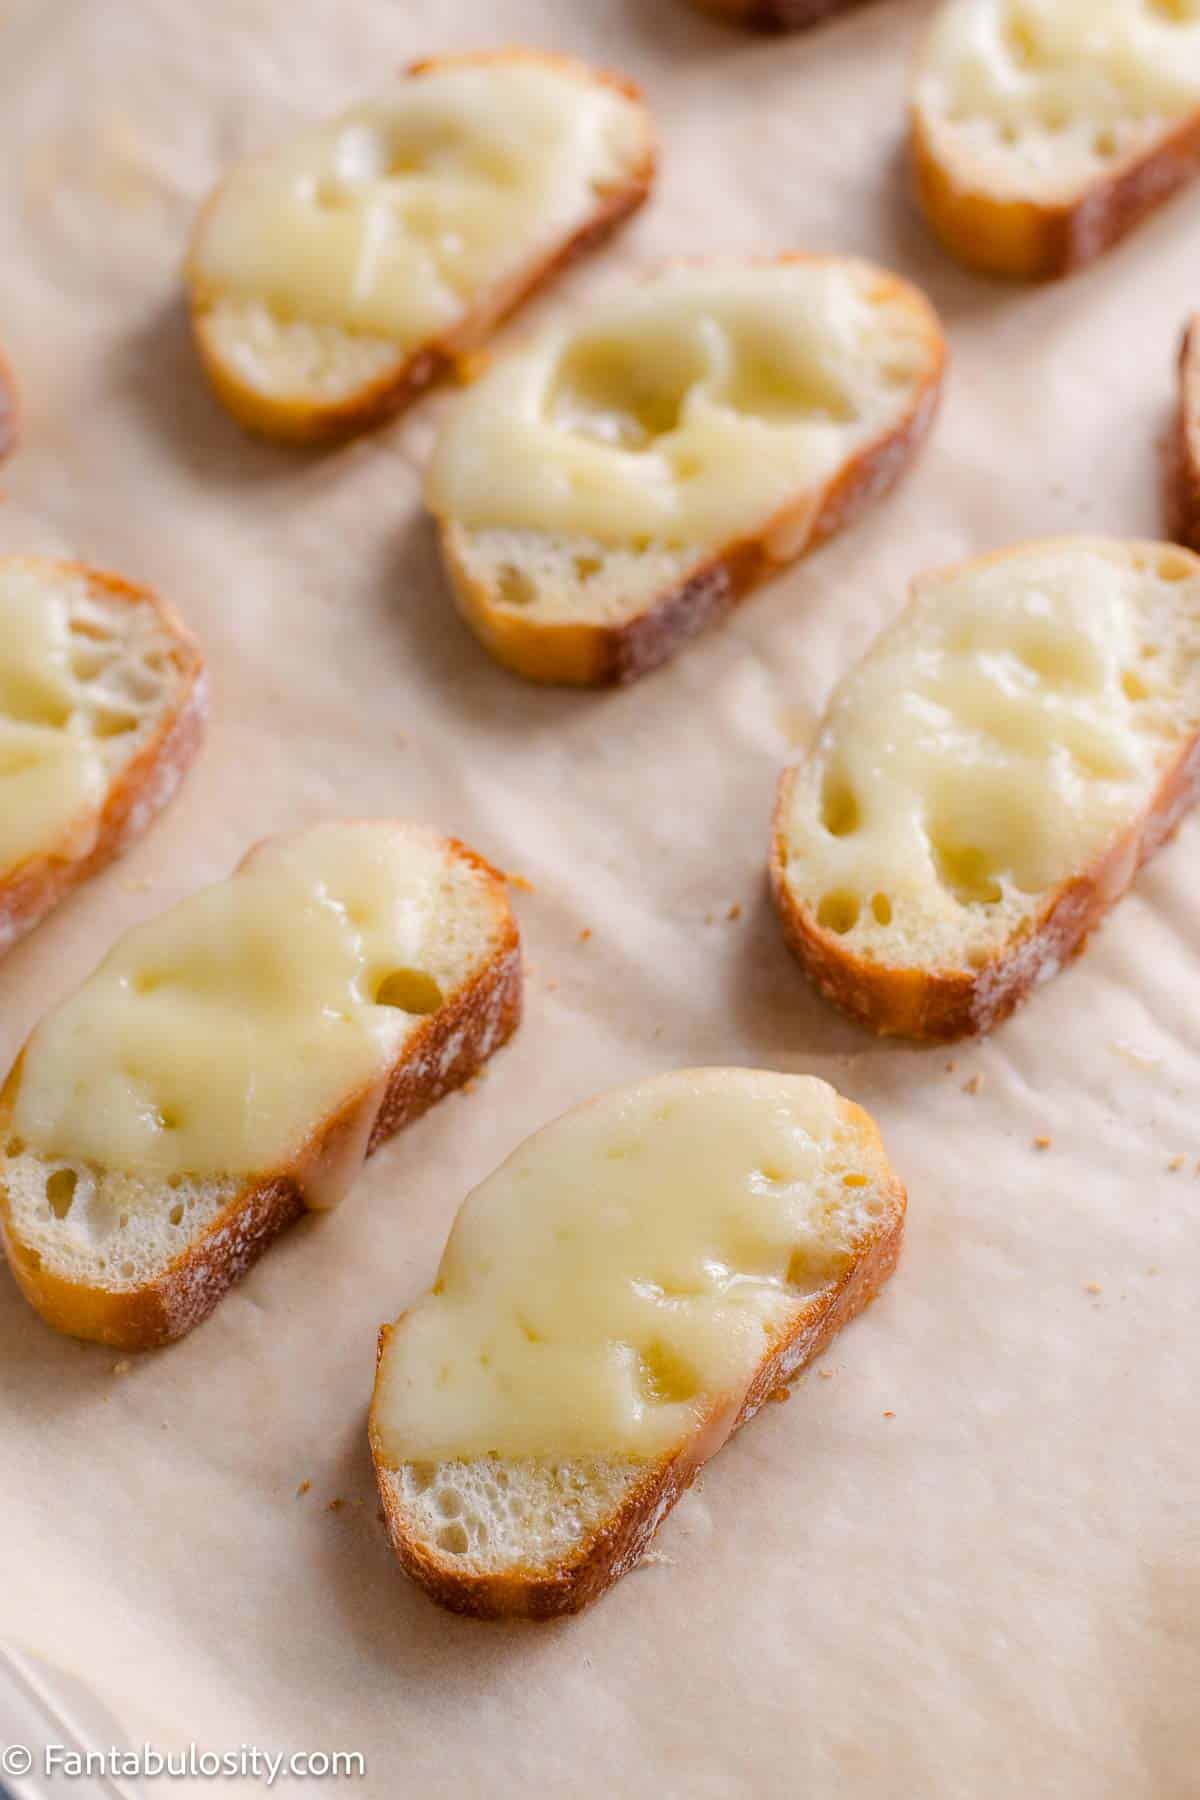
Toasting your French baguette with the butter and melted cheese. Set aside and let cool. (If you have any leftover bread, you should consider making cheese avocado toast the next morning!)
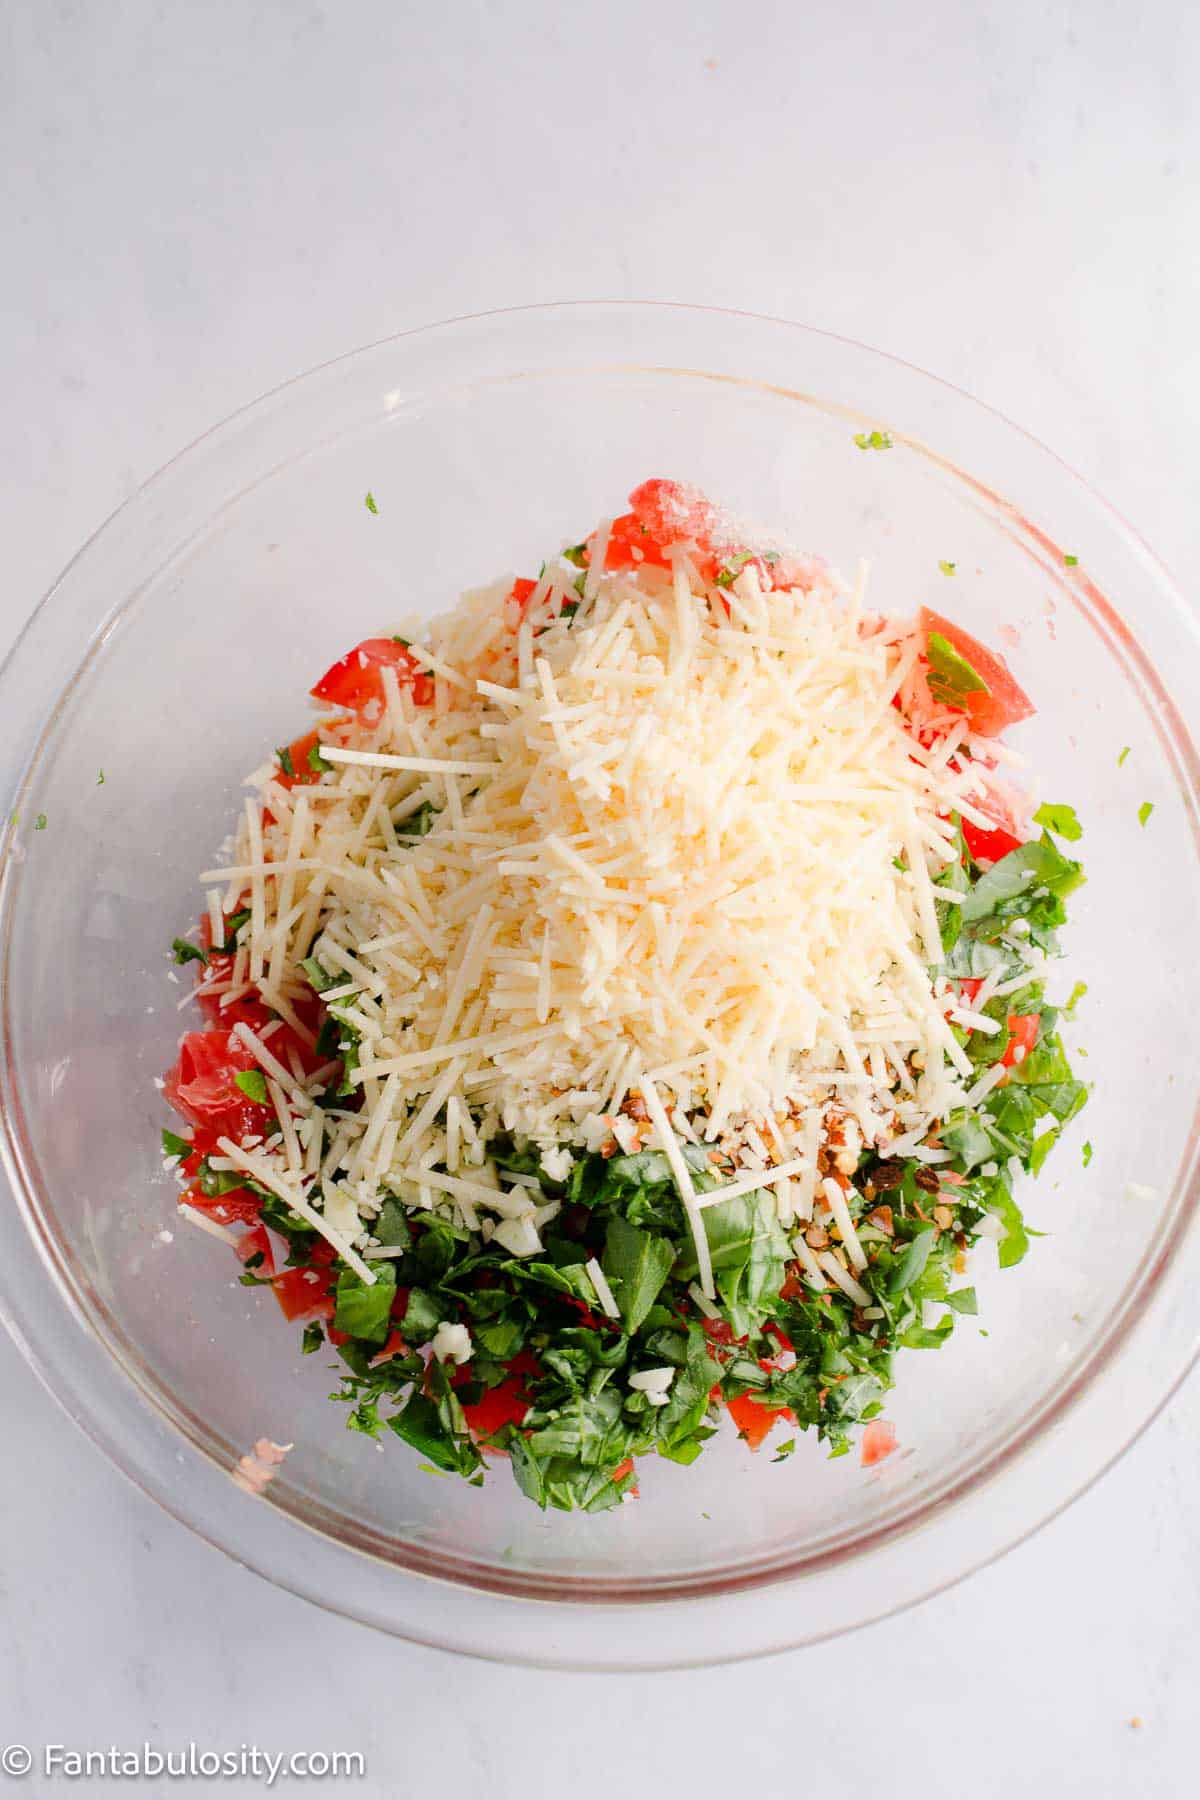
Chop and Mix Tomato Bruschetta Ingredients:
While cooling, this is the perfect time to chop and combine the ingredients for the bruschetta topping.
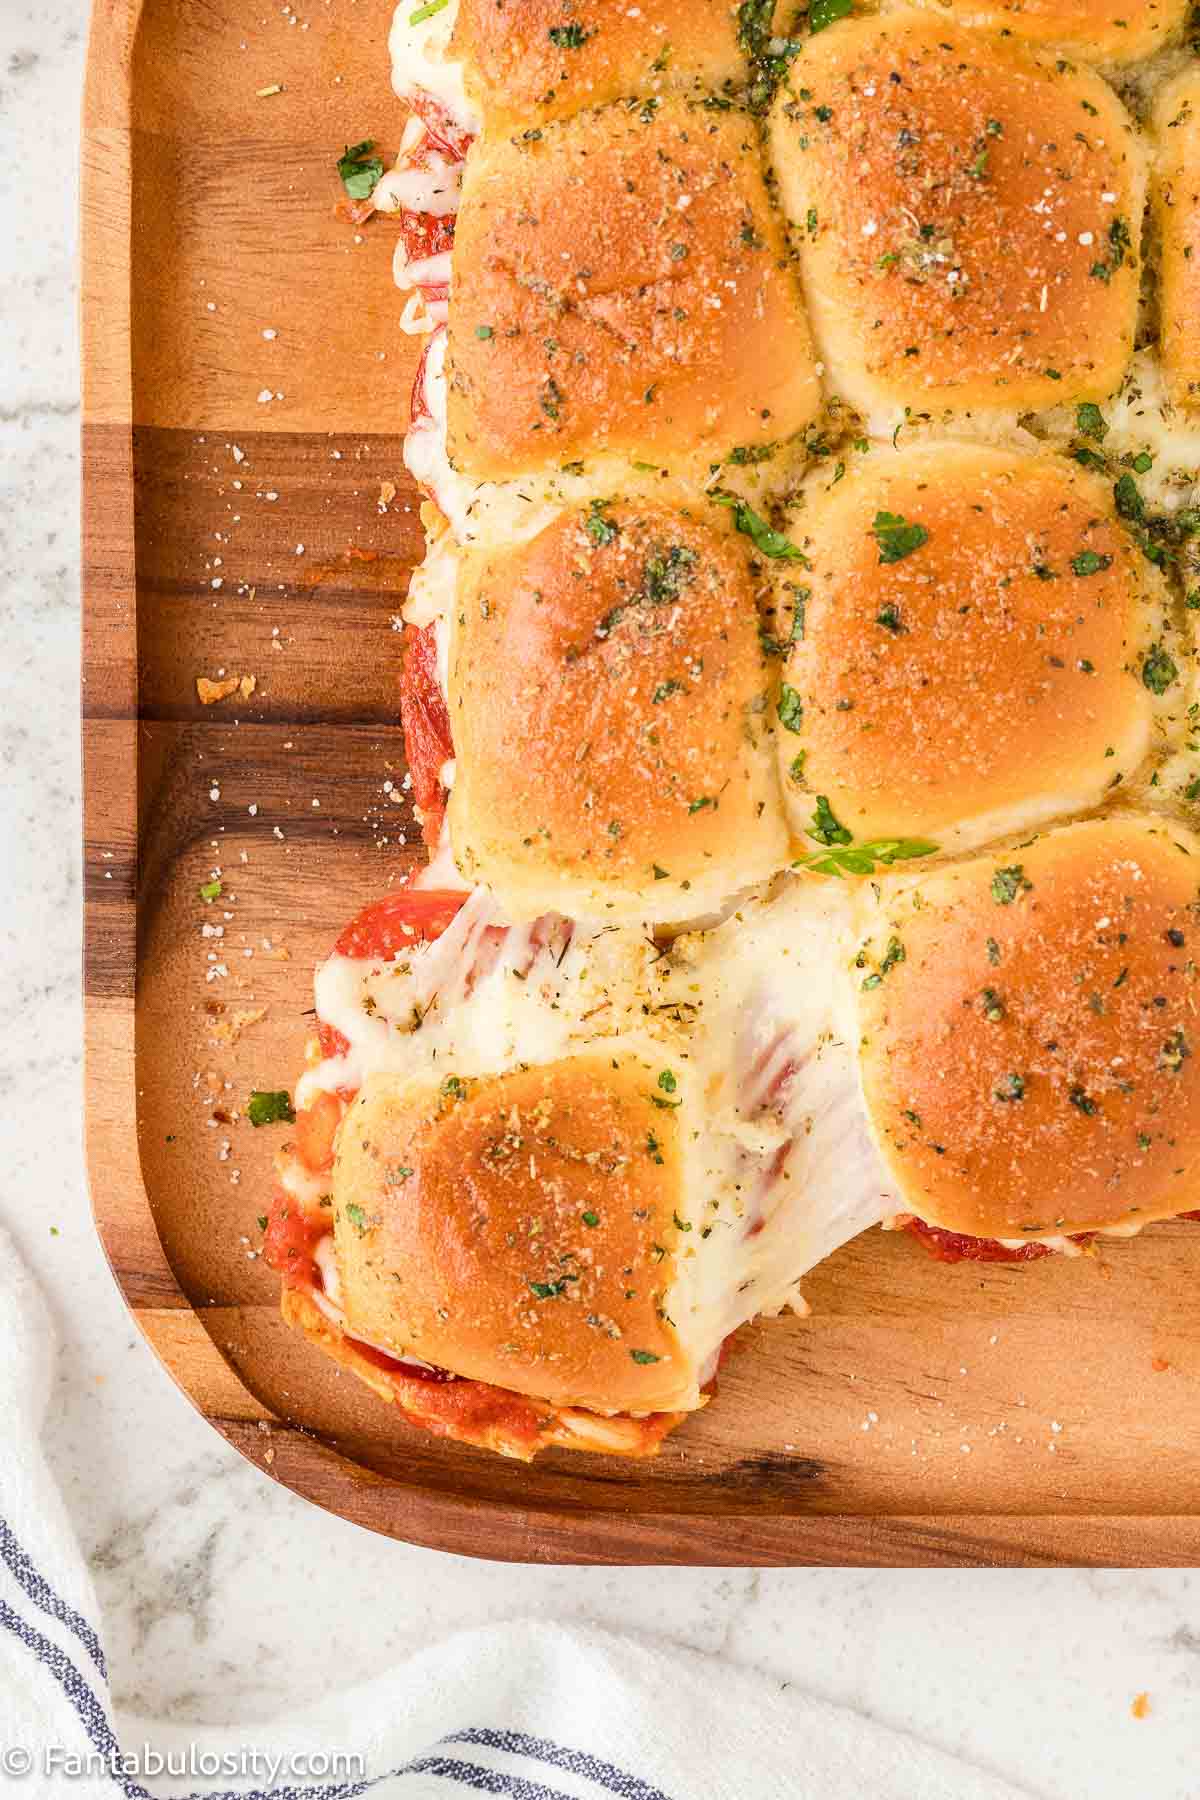
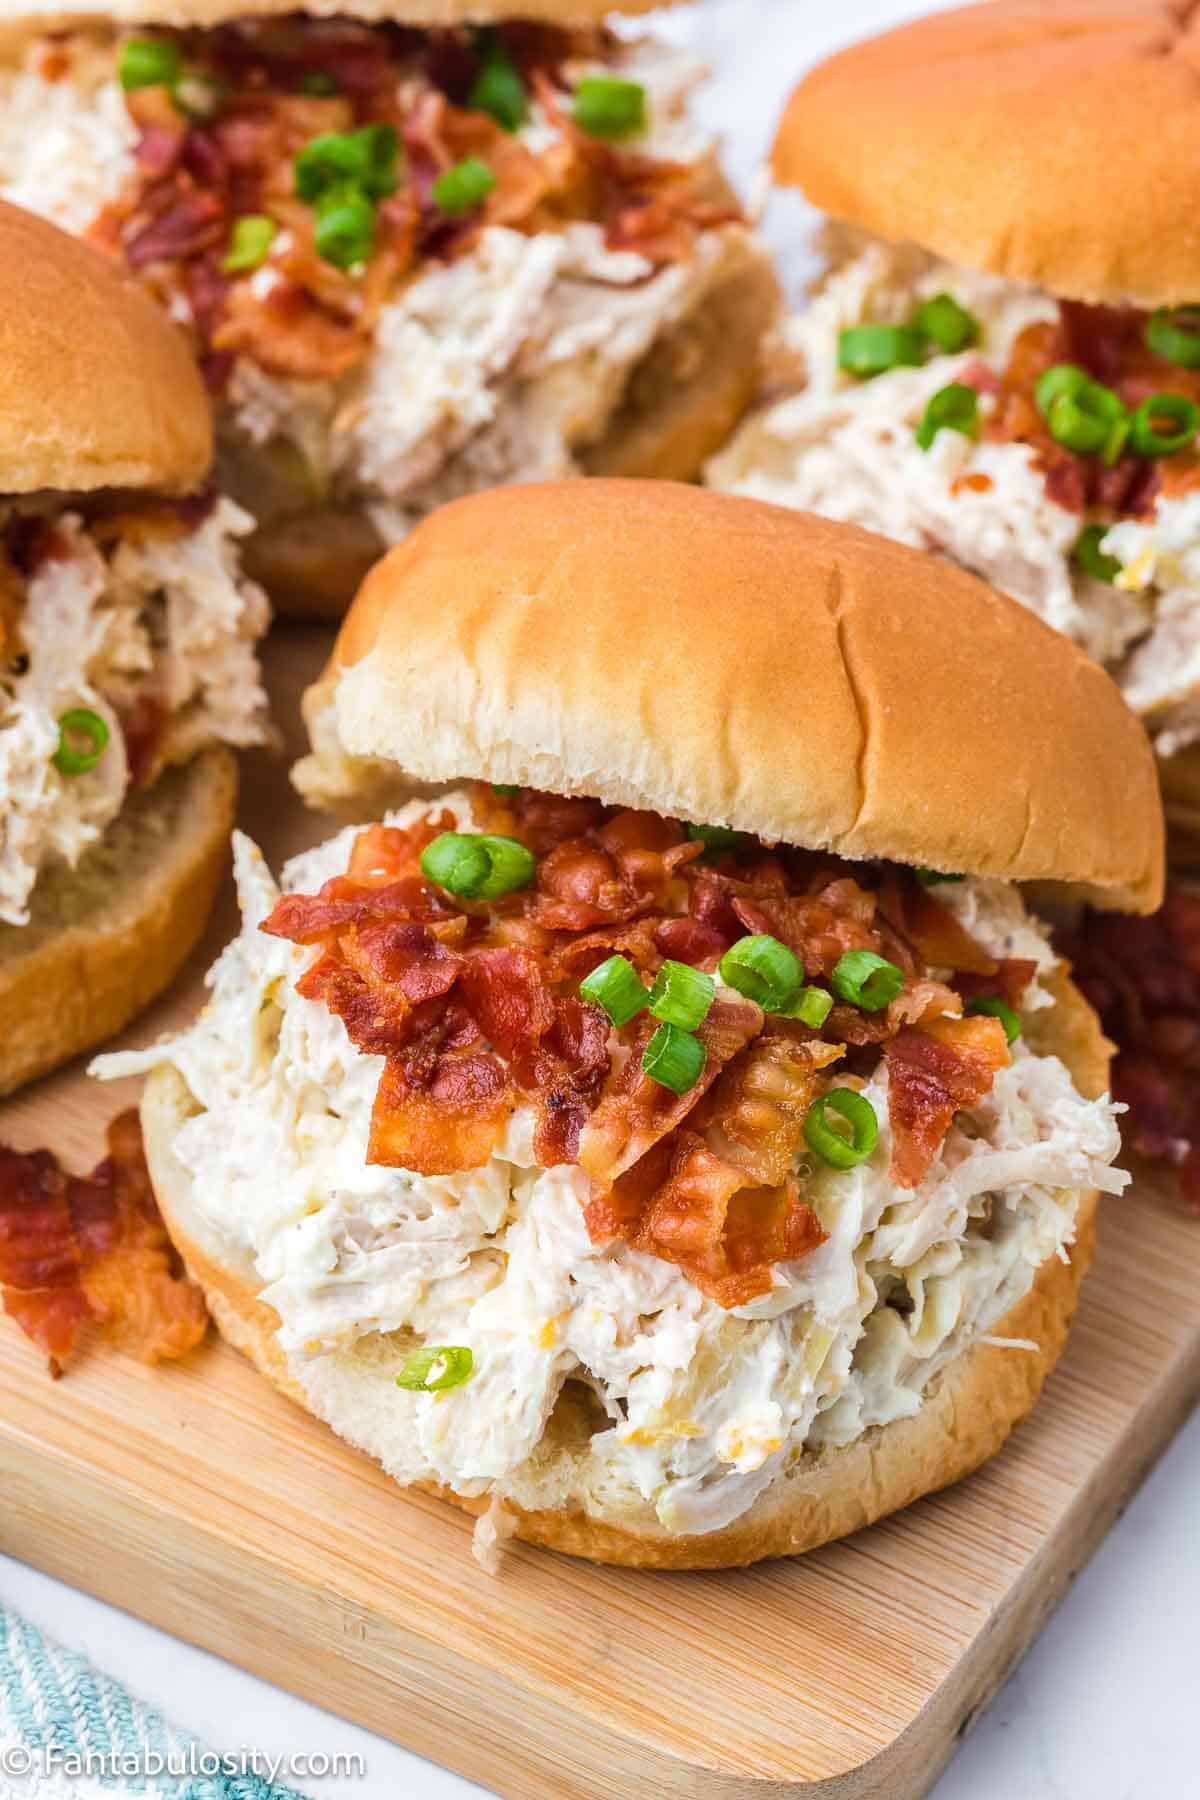
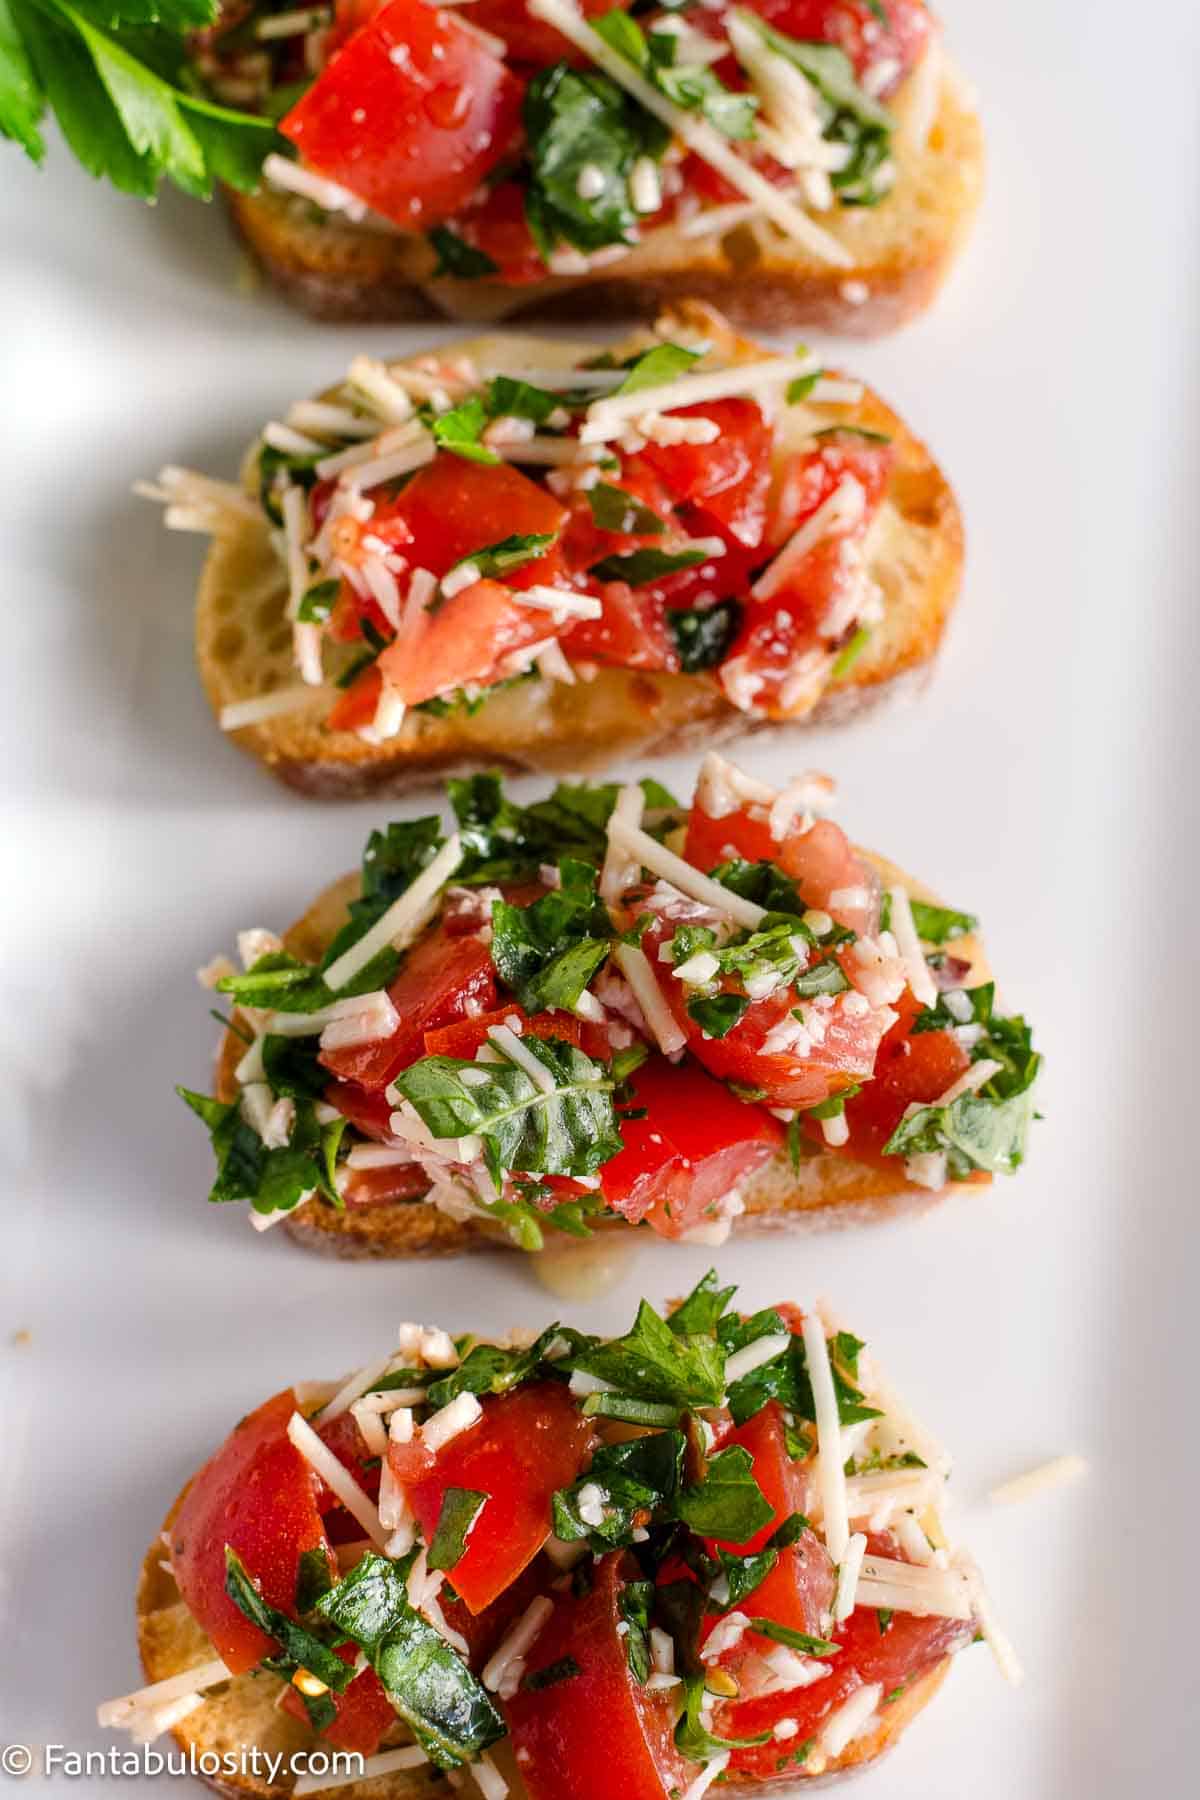
Easily Assemble Bruschetta:
Spoon a tablespoon or so of the bruschetta mixture on top of the golden brown toast.
TIP: Do not top bread with bruschetta mixture until right before serving, so it keeps from getting soggy!
Tip for Tomato Bruschetta
When it comes to the tomatoes, although it’s tempting to make ahead, refrigerating the tomato bruschetta mixture is not recommended. Refrigerating really takes the flavor out of the tomatoes.
“Can I Use Dried Herbs?”
You can, but if you’re able… the fresh herbs give this bruschetta recipe the BEST flavor.
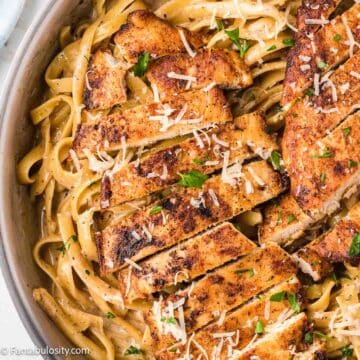
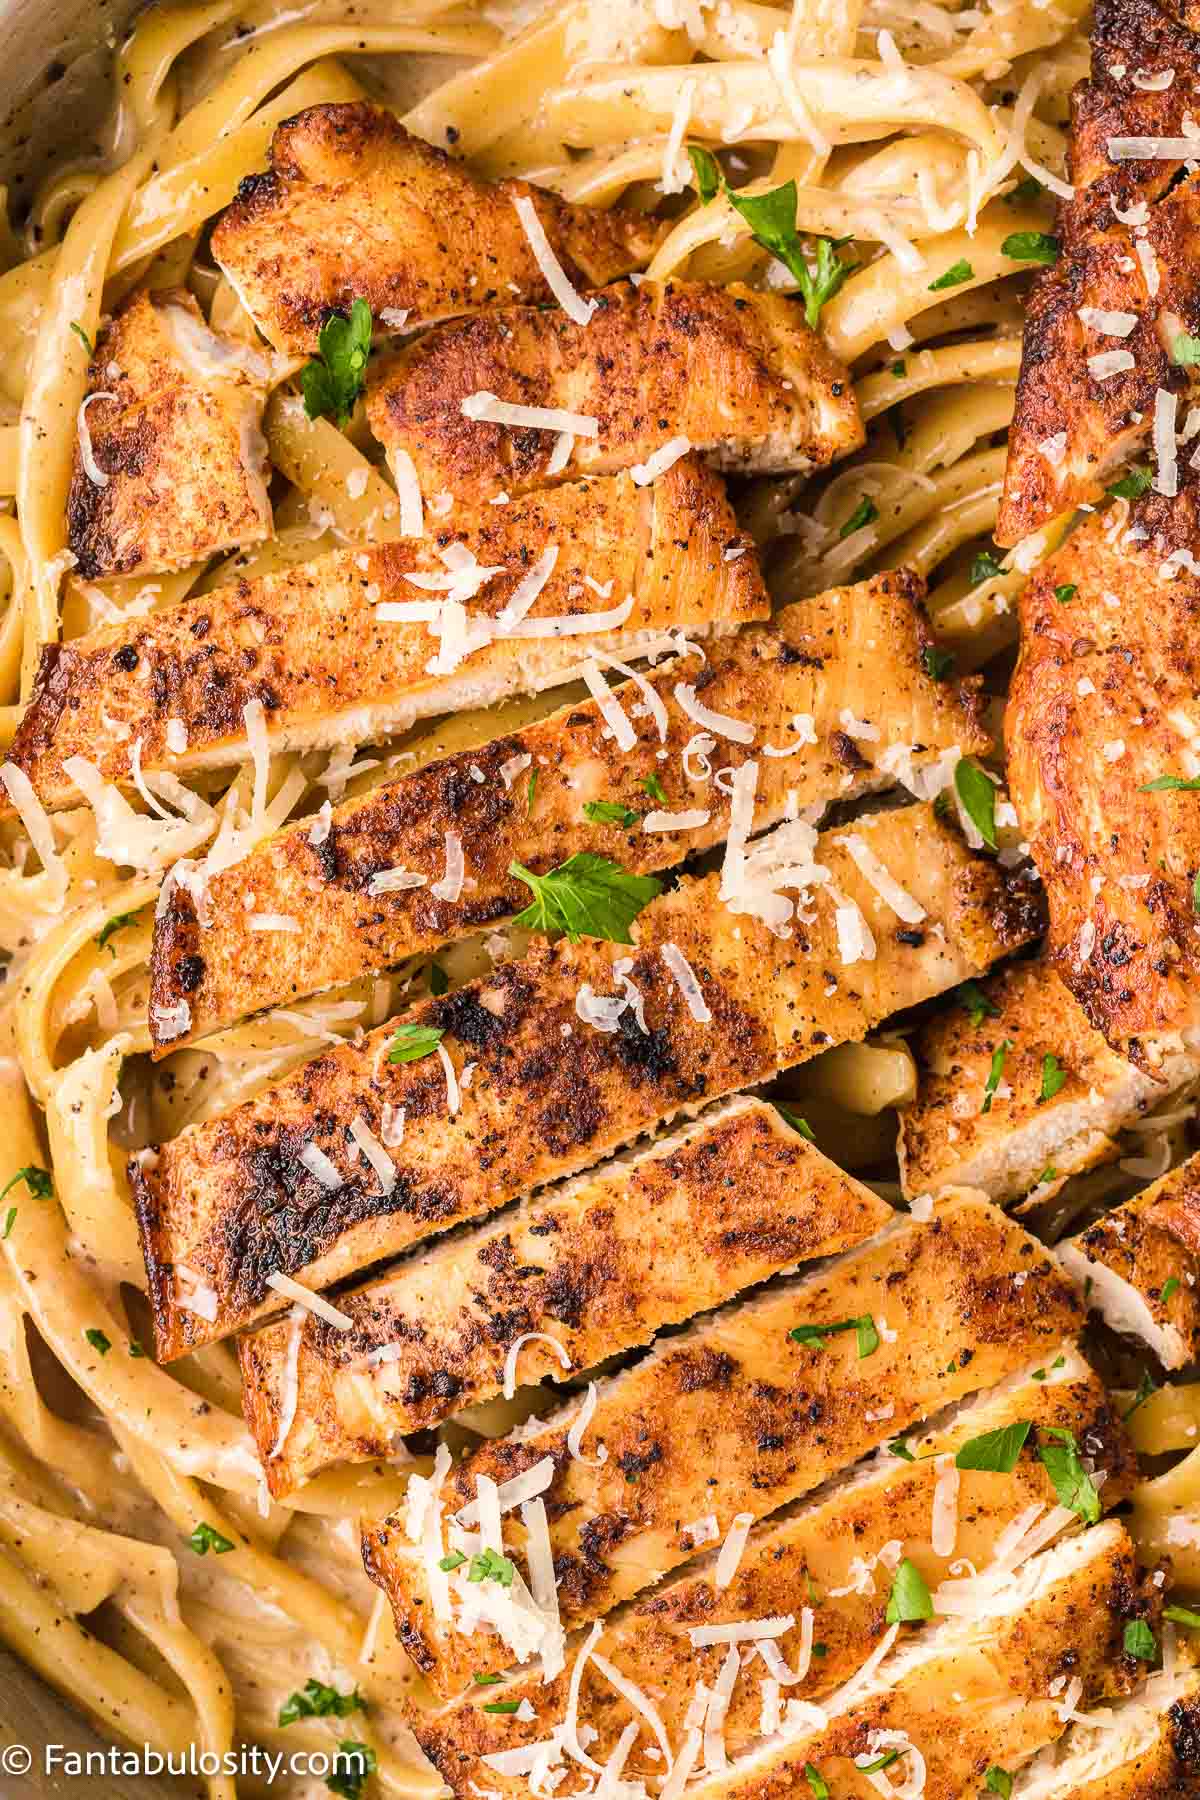
Bruschetta Chicken
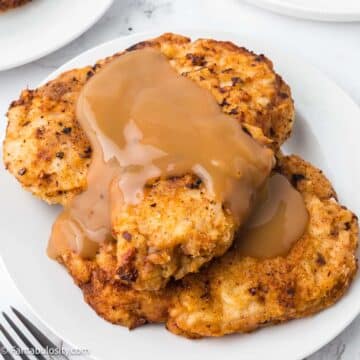
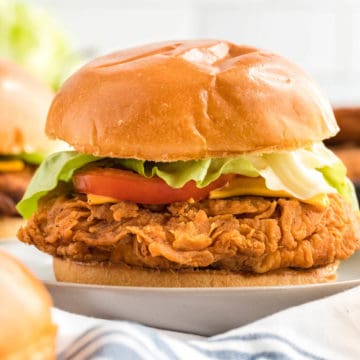
One of my favorite chicken recipes is the Salt & Pepper Chicken Bites that I shared with you. If you’re looking for low-carb and keto recipes, consider combining the tomato bruschetta mixture with the salt & pepper chicken bites for a fresh, quick and delicious dinner!
More Easy Appetizer Recipes
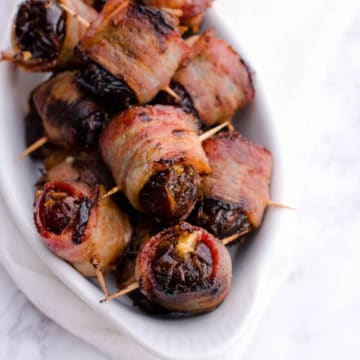
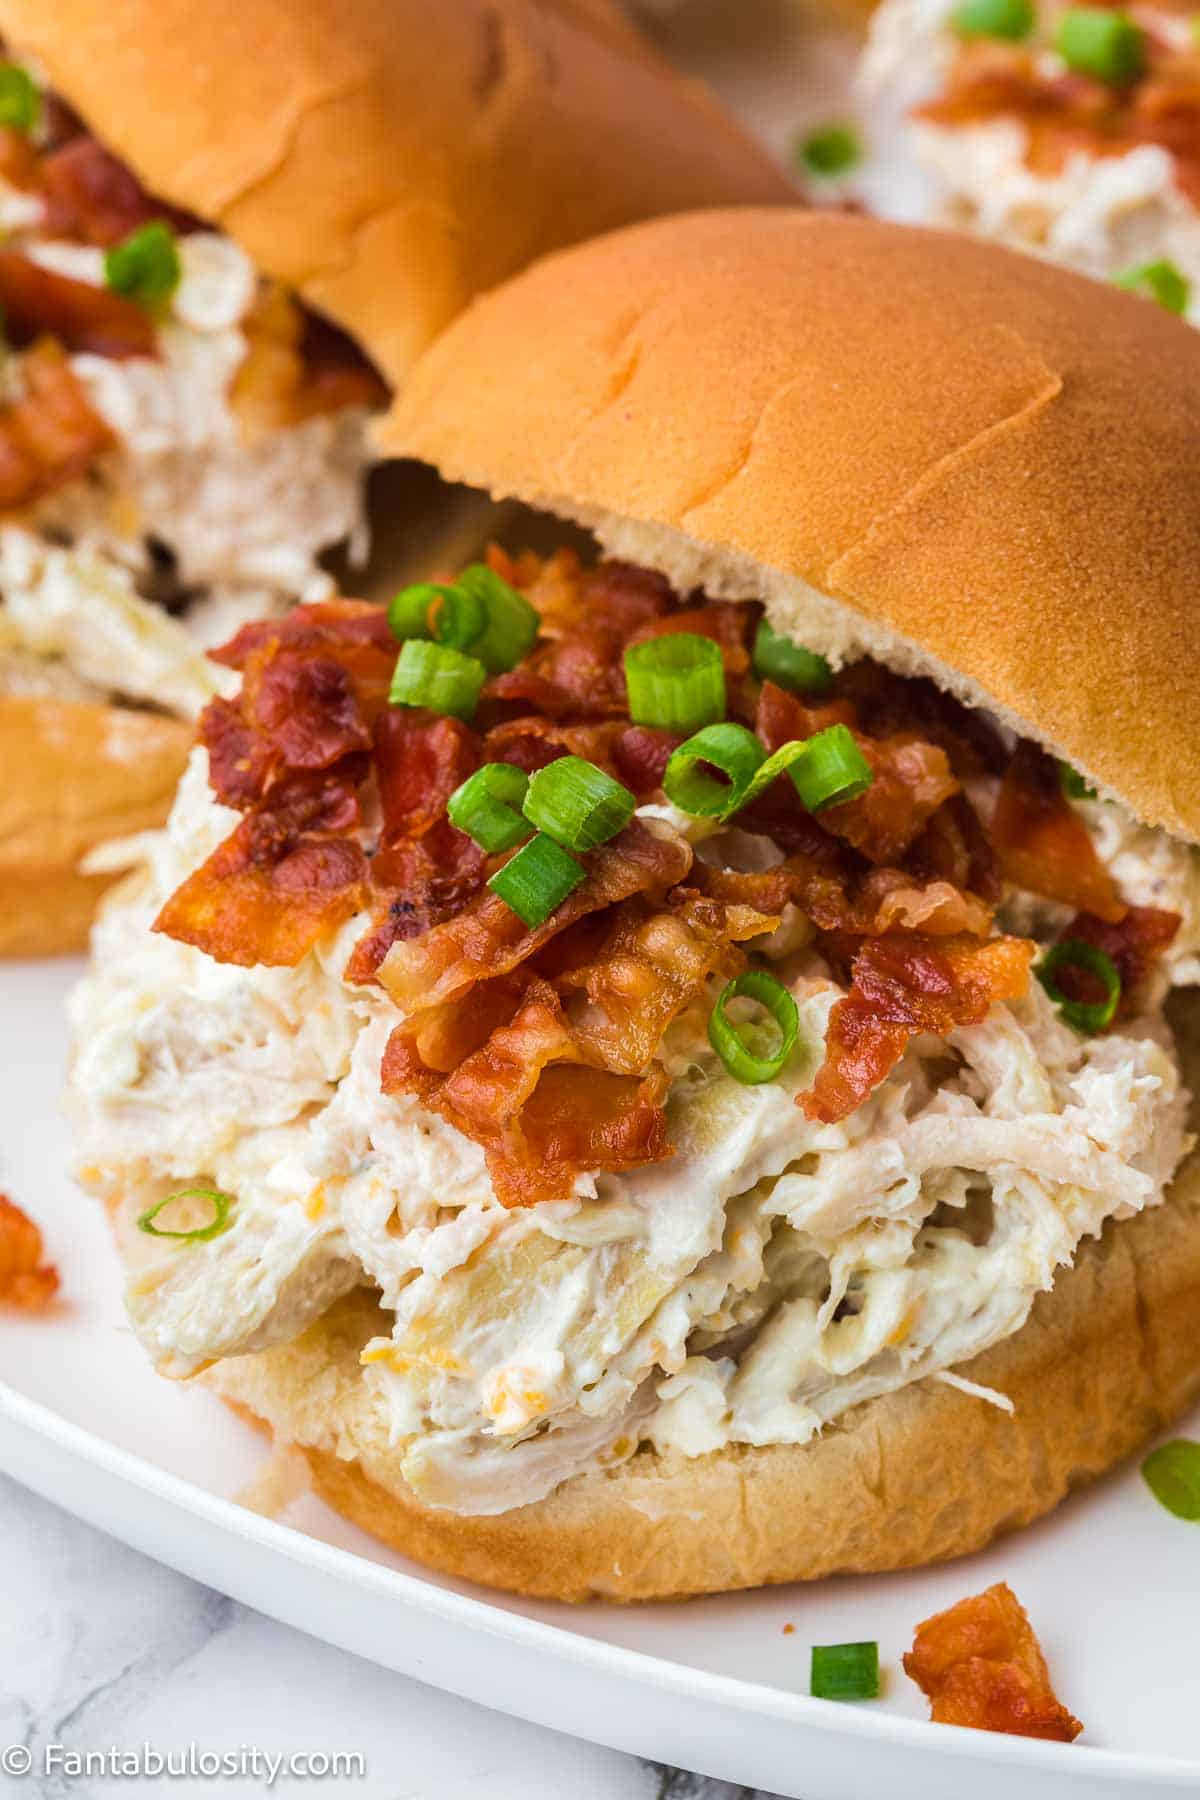
If you’re hosting and looking for more recipes to serve your guests, you’re going to LOVE these bacon-wrapped dates! The saltiness of the bacon, sweetness of the dates and the creaminess of the cheese, all combine to make a bite-size flavor that’s perfect for guests!
Rate This Recipe
Did you love it as much as we do?! We’d love to hear from you and see your “star rating” in the recipe card above!
For more, easy recipes, head to the archives and pin your favorites to your Pinterest boards to have them for your meal planning!
Recipe

Easy Bruschetta Recipe
Ingredients
Toasted Bread:
- 1 French baguette sliced into ½ inch slices (I use the mini loaves, for a smaller “bite-size” appetizer.)
- 2 Tablespoons butter for spreading not necessary but recommended
- 5 slices provolone cheese cut into fourths, can substitute with another white cheese
Bruschetta:
- 4 Roma tomatoes chopped, (or other type of tomato is fine!)
- 3 Tablespoons olive oil
- 2 Tablespoons fresh parsley minced
- ¼ cup fresh basil minced
- 3 cloves garlic minced and chopped
- ⅛ teaspoon salt I love using Kosher Salt, but table salt would work just fine
- ⅛ teaspoon crushed red pepper flakes or to taste
- ⅛ teaspoon black pepper
- ½ cup shredded parmesan cheese (grated works too)
Instructions
- Spread a small dab of butter on sliced baguettes, and top each baguette with a slice of the quartered cheese.
- Place the baguettes on an ungreased baking sheet, and broil in the oven for 1 minute (or until the cheese is melted, and the bread is slightly toasted.)
- Combine all ingredients for bruschetta.
- Top each baguette slice with about a Tablespoon of the tomato-herbed mixture, and serve immediately!