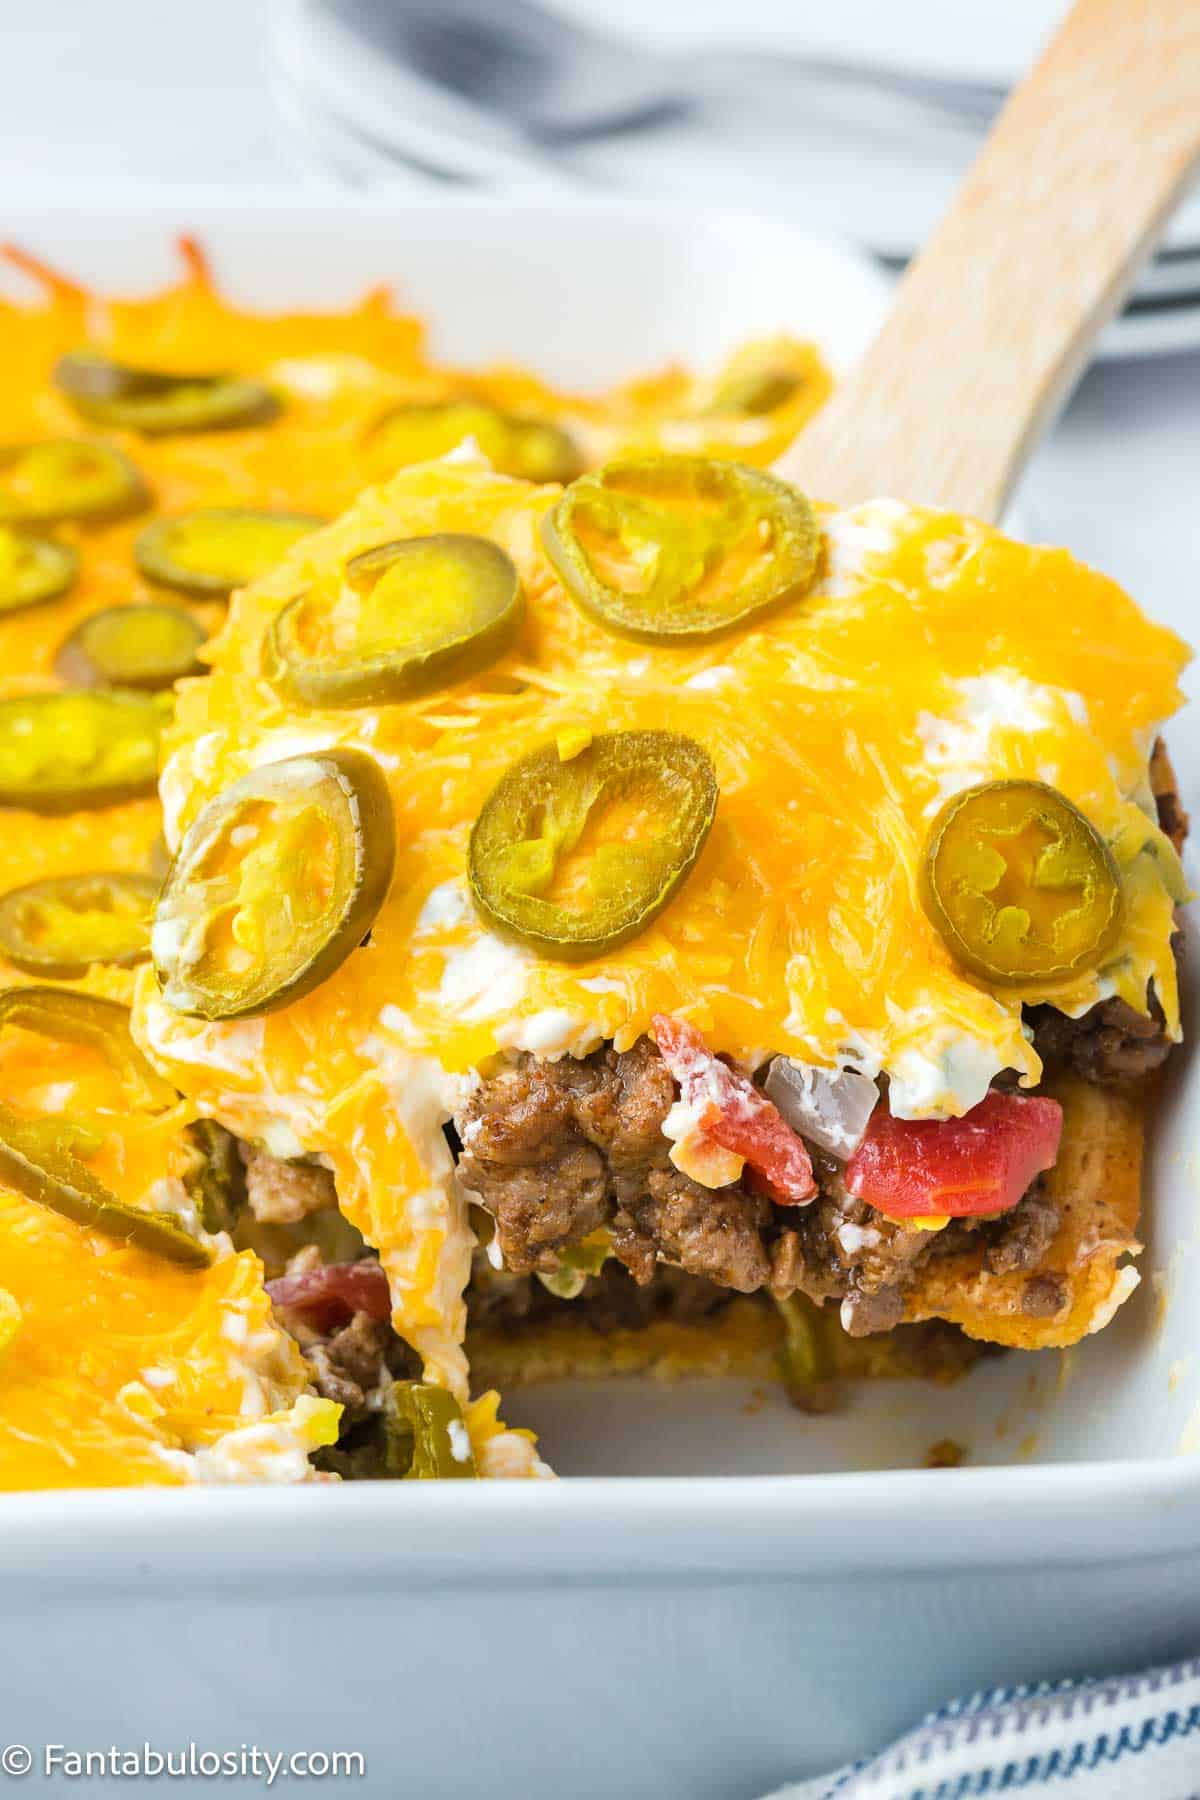
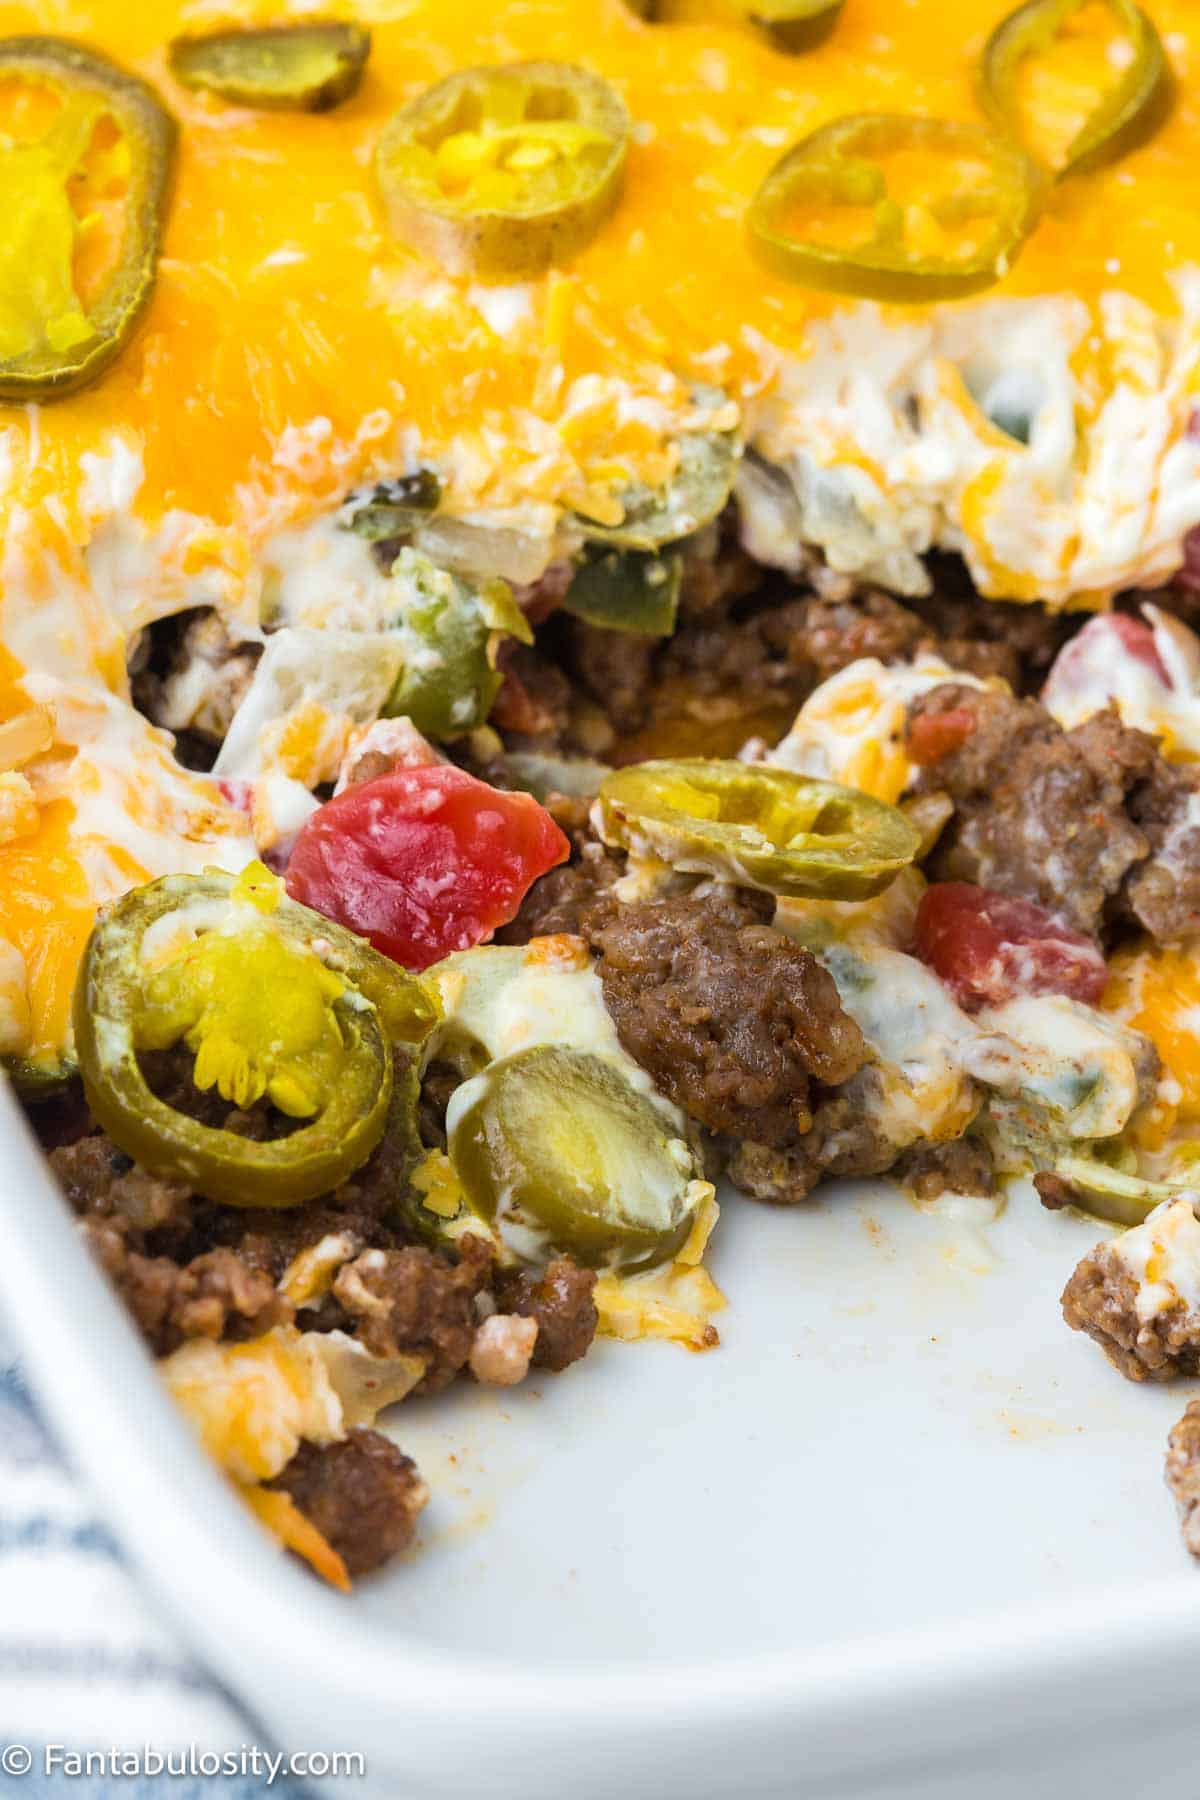
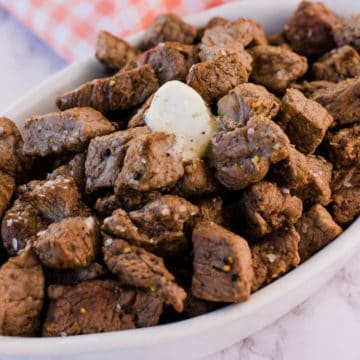
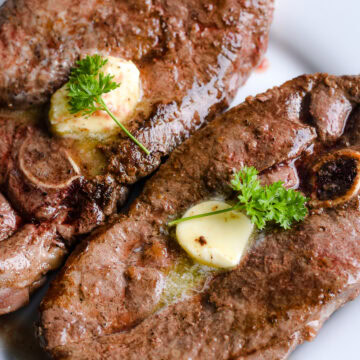
Cracker Barrel Country Fried Steak: If you cannot get enough of Cracker Barrel’s signature dish, you will love this copy-cat Cracker Barrel country fried steak recipe!
Ready in 40 minutes, this restaurant-quality country-fried steak recipe will surely impress for a delicious breakfast! The only thing this popular dish is lacking is a trip to the Cracker Barrel Old Country Store.

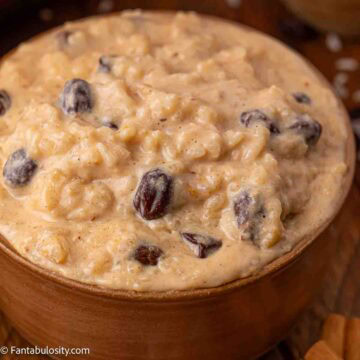
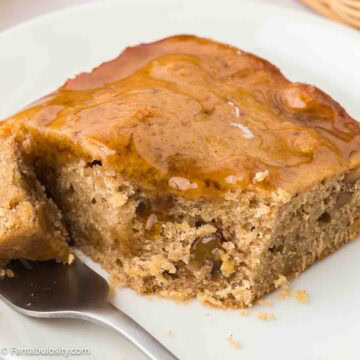
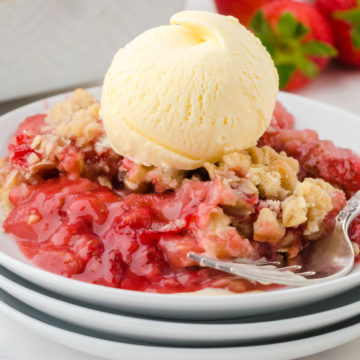
Looking for even more delicious, classic southern-style recipes? We highly recommend trying out our Biscuits and Gravy Casserole and our Southern Broccoli Casserole. Or, also save this recipe for a simple white gravy made with bacon grease, that you can also pour on these fried pork chops. Then of course don’t forget a good ole Southern Fried Chicken recipe that’s sure to please!
[feast_advanced_jump_to]Why You’ll Love This Recipe
- It is a classic: This recipe is based on a classic restaurant-quality breakfast recipe.
- It has simple ingredients: Odds are, aside from the cube steak, you already have most of the ingredients for this easy breakfast or dinner recipe!
- Ready in under one hour: Recipes ready in under an hour are perfect for when you want to make something special but don’t have hours to cook.
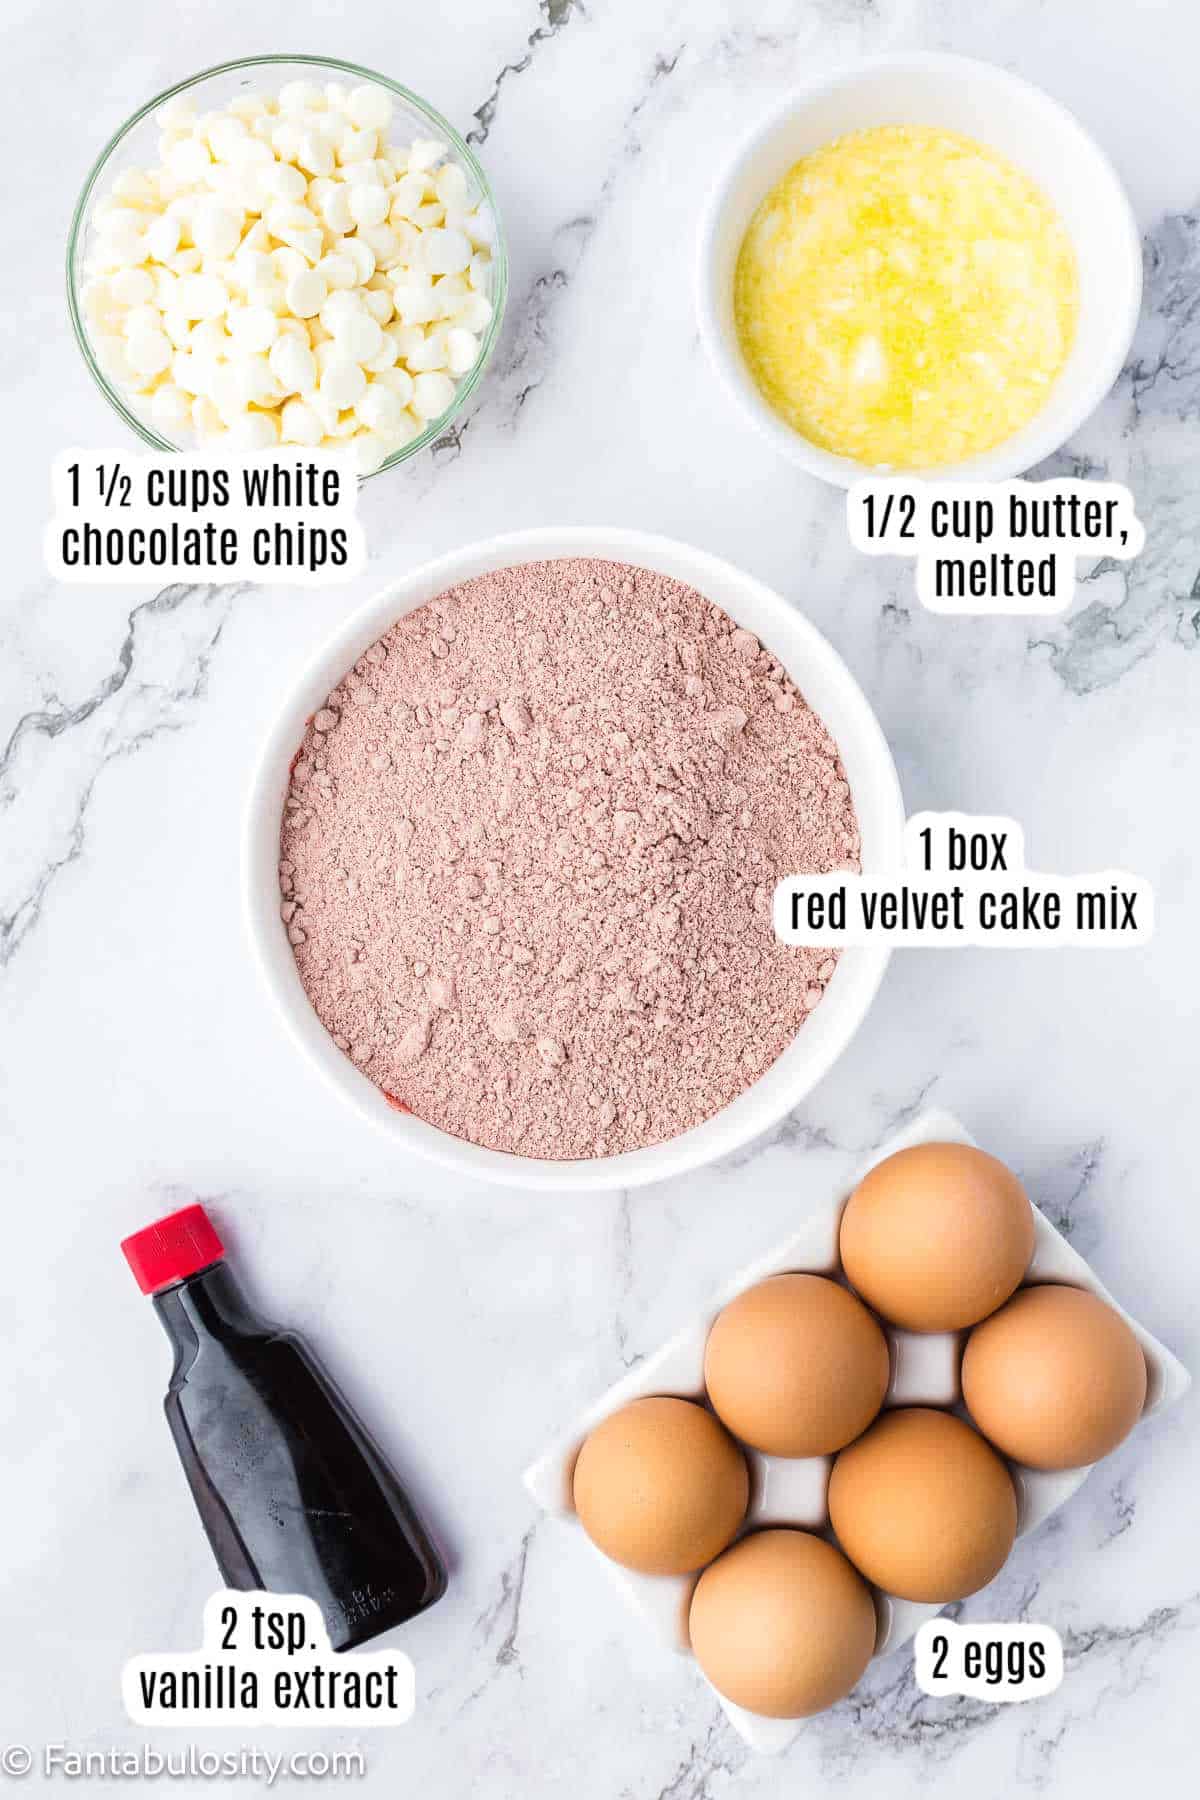
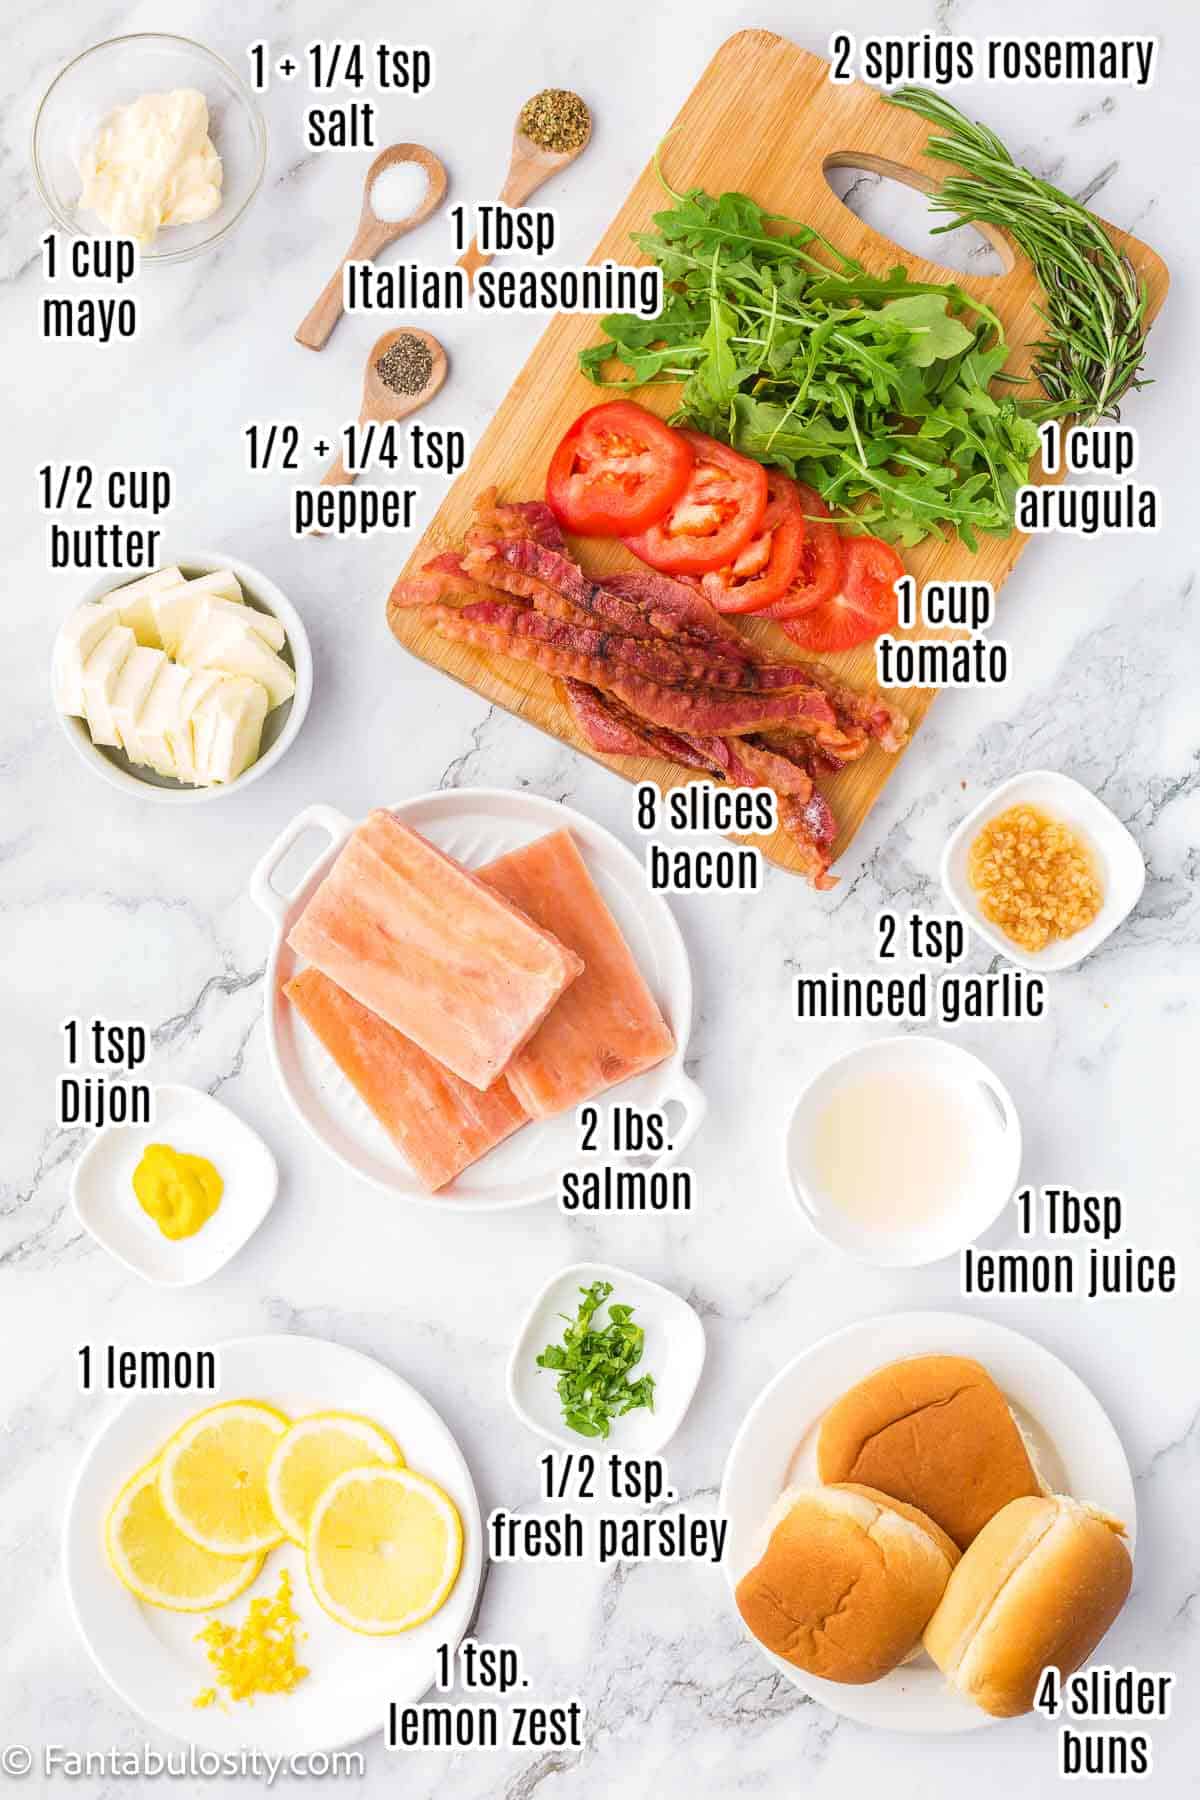
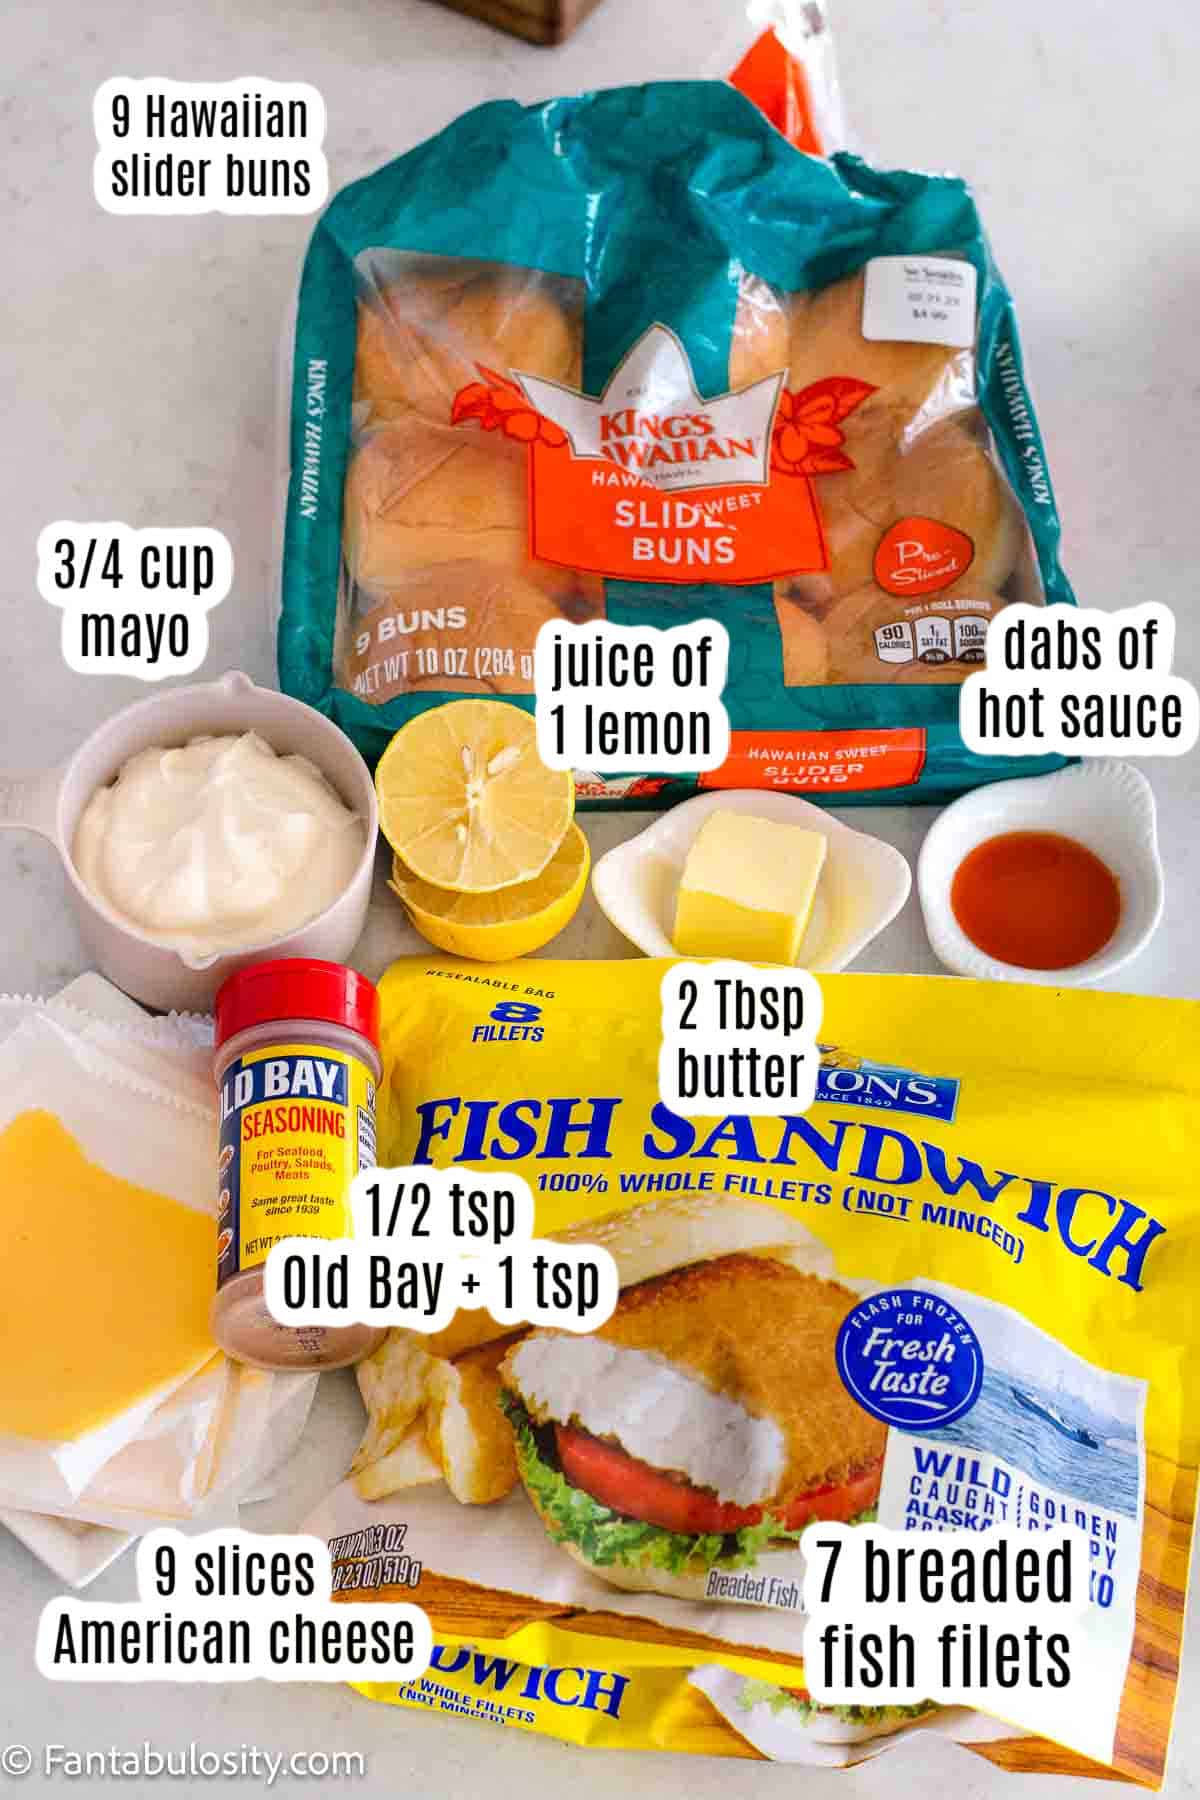
Ingredients Needed
I’ve highlighted a couple of ingredients below with some relevant notes. Aside from this, the ingredients needed are pretty basic.
For Country Fried Steak

- Cube Steak – Cube steak is a tenderized cut of beef that works best for country fried steak, however, you can use other cuts such as round steak or sirloin steak. Just make sure to tenderize the meat properly before cooking.
- Buttermilk – You can buy this from the store or make it yourself. You can make homemade buttermilk with just two common ingredients: whole milk and white vinegar or lemon juice. Simply combine and let sit at room temperature for 15-20 minutes. During this time, the acid (vinegar or lemon juice) will cause the milk to curdle and thicken, creating a buttermilk-like consistency.
White Gravy Recipe

Substitutions
Sometimes substitutions are necessary because of ingredients that are unavailable or needed for dietary restrictions. Here are some suggestions that can help:
- Vegetable Oil – if you would prefer using butter for this recipe instead of vegetable oil, you can! Or, I like to use ⅓ cup or so of the drippings/oil from cooking the country fried steak.
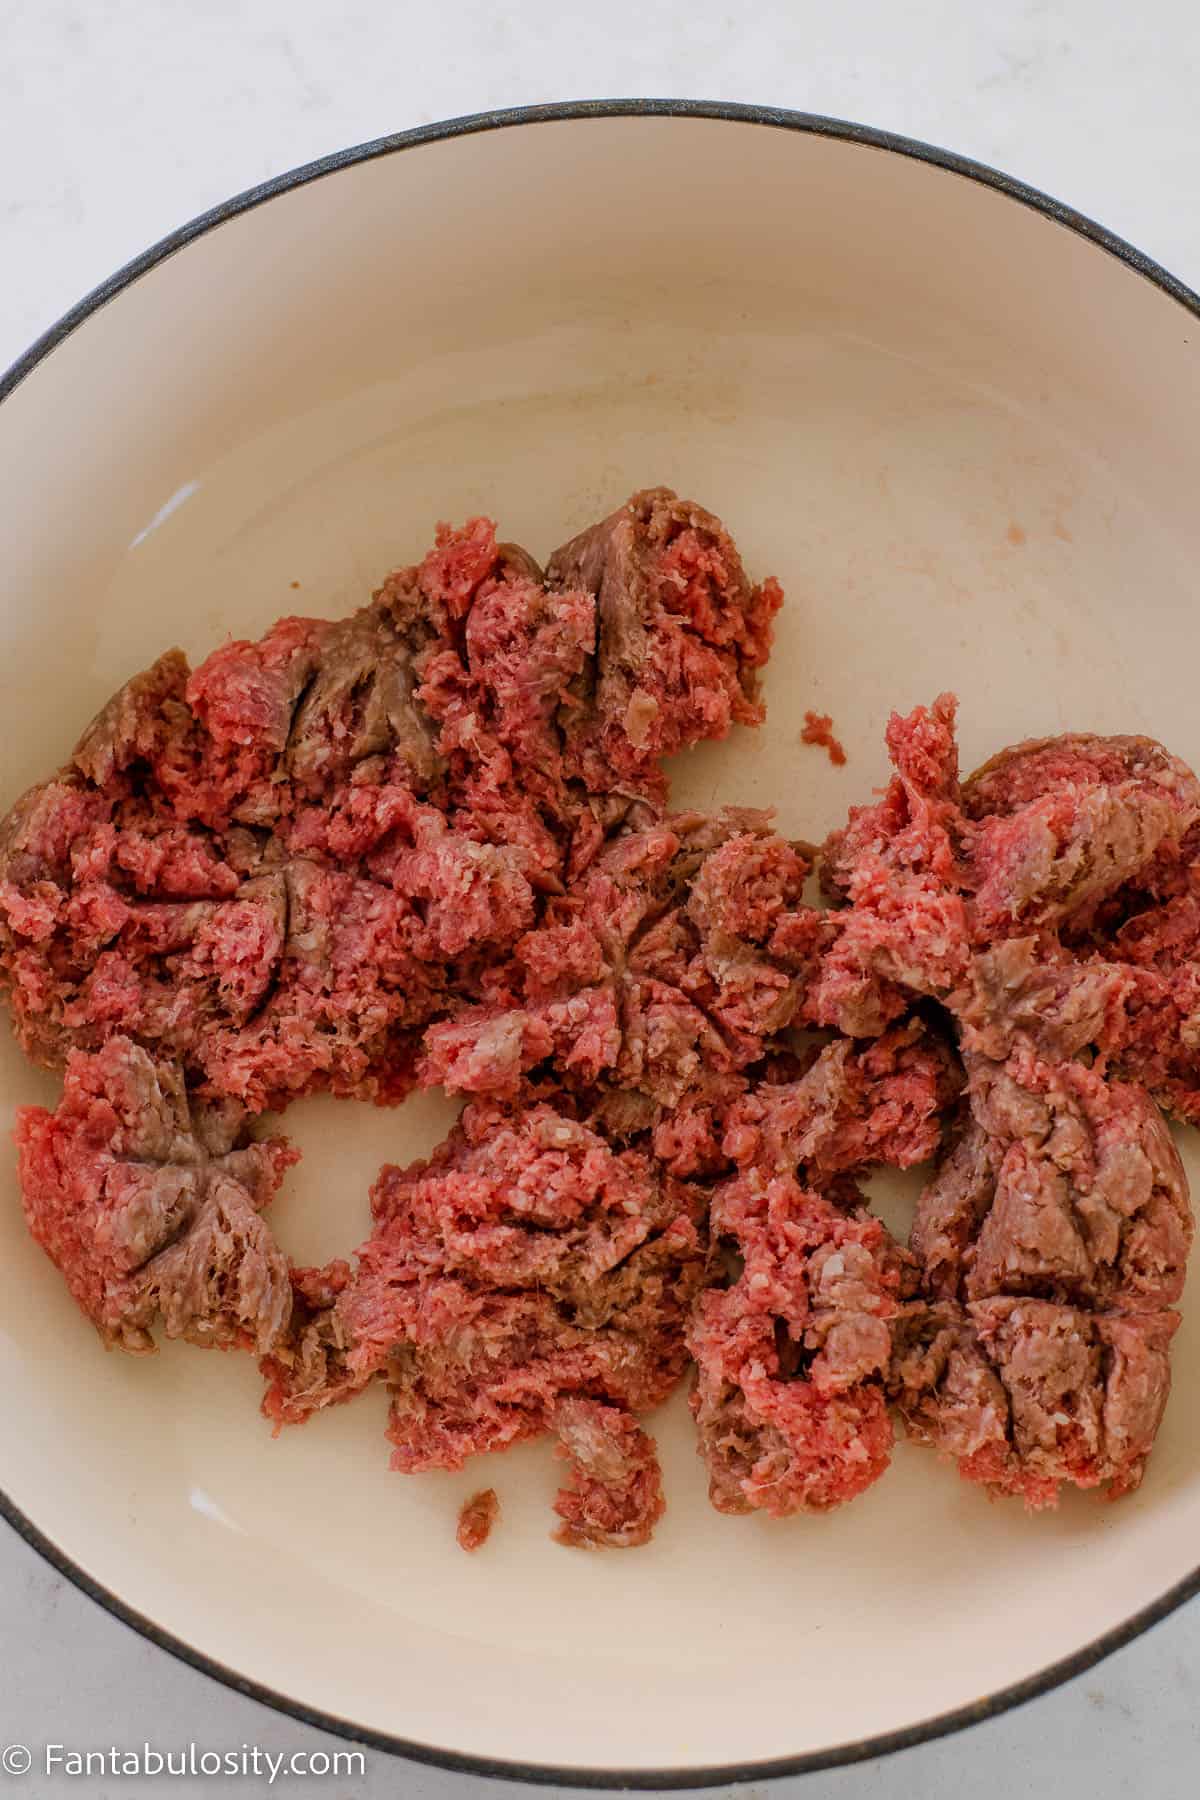
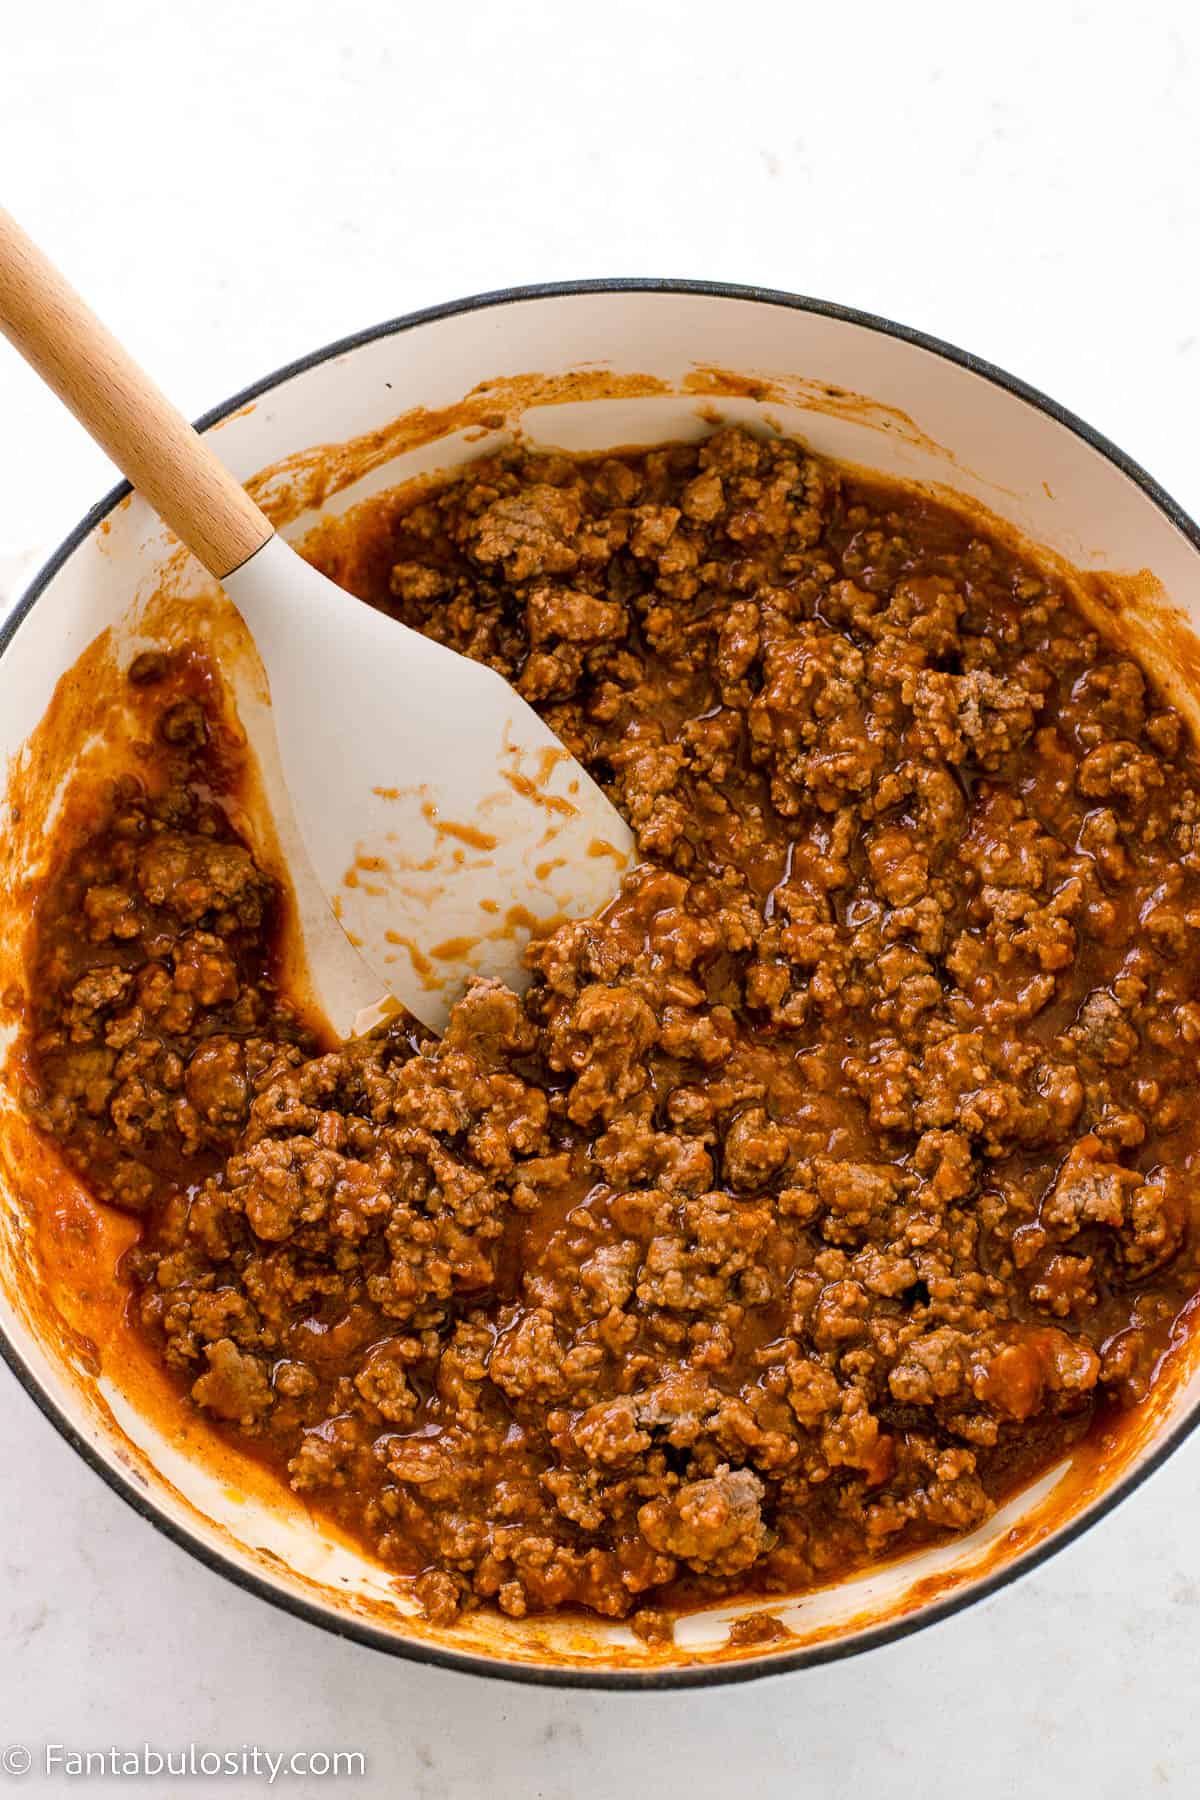
- Meat – while cube steak is the best option for this recipe, you can make ‘poor man’s country fried steak with regular ground beef. Keep in mind that it will have a slightly different texture and not cook the same. You could also use other cuts of meat and use a meat tenderizer to flatten them and make tender steaks.
Variations
We do not suggest editing this recipe beyond potentially changing the meat or oil used. Using non-dairy milk, for example, will not yield the same classic Cracker Barrel country fried steak result. Stick to this recipe for the best copycat Cracker Barrel country fried steak.
How to Make Copycat Cracker Barrel Country Fried Steak
Making this Cracker Barrel country fried steak dupe recipe is pretty simple.
This Cracker Barrel country fried steak is broken into 3 components:
- preparing the steaks
- frying the steaks
- making the gravy
I recommend making the gravy once all of the steaks are done so that you have the freshest gravy possible for topping.
*Be sure to see the recipe card below for the full ingredients list & instructions!*
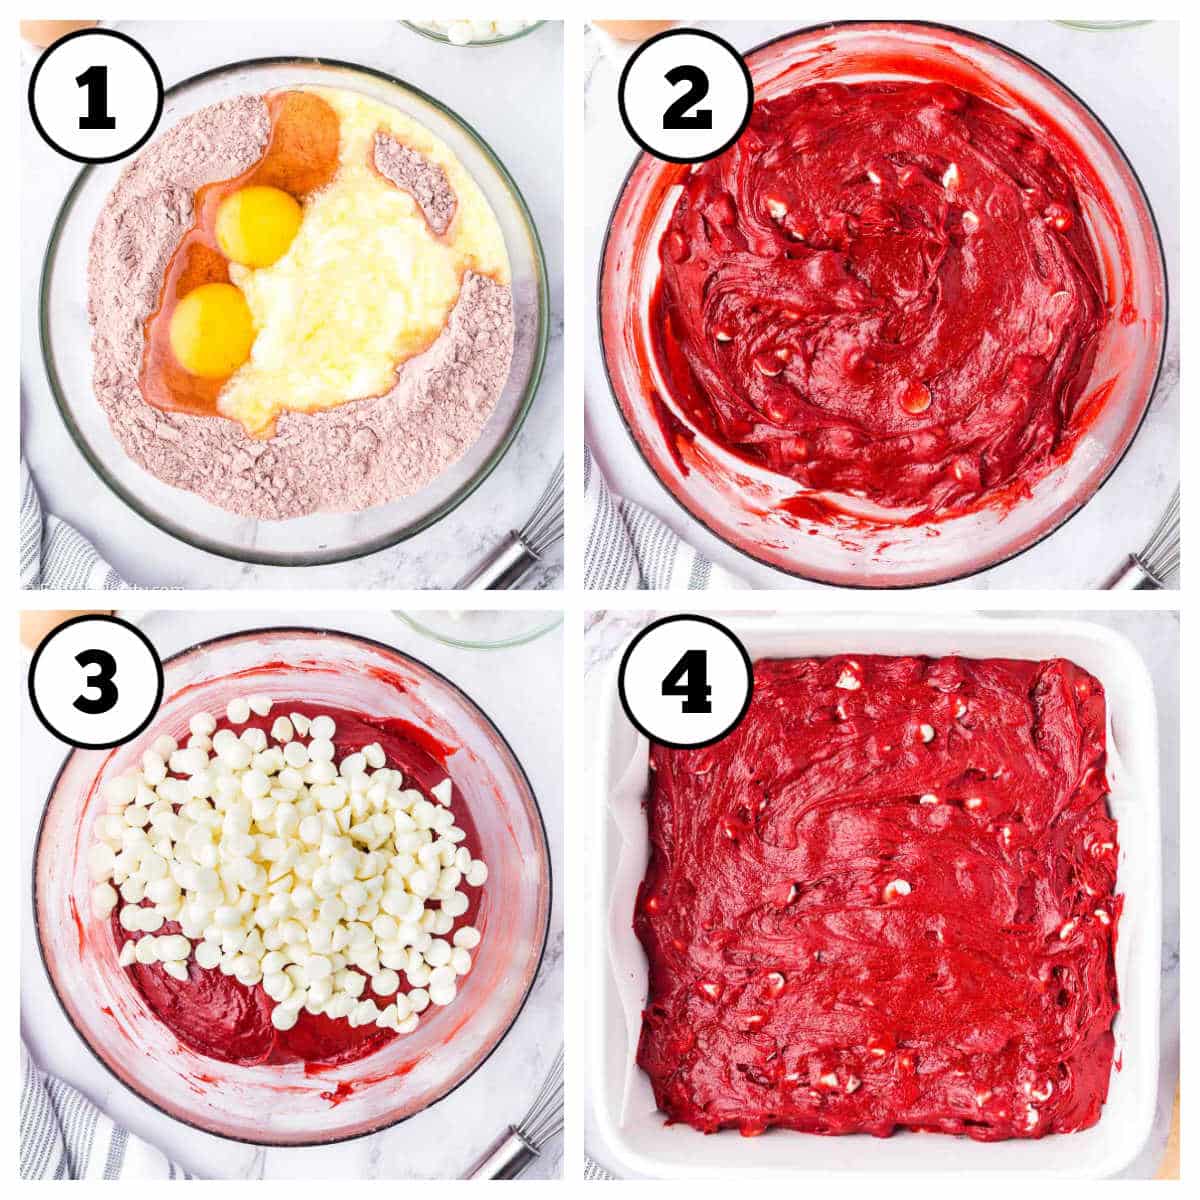
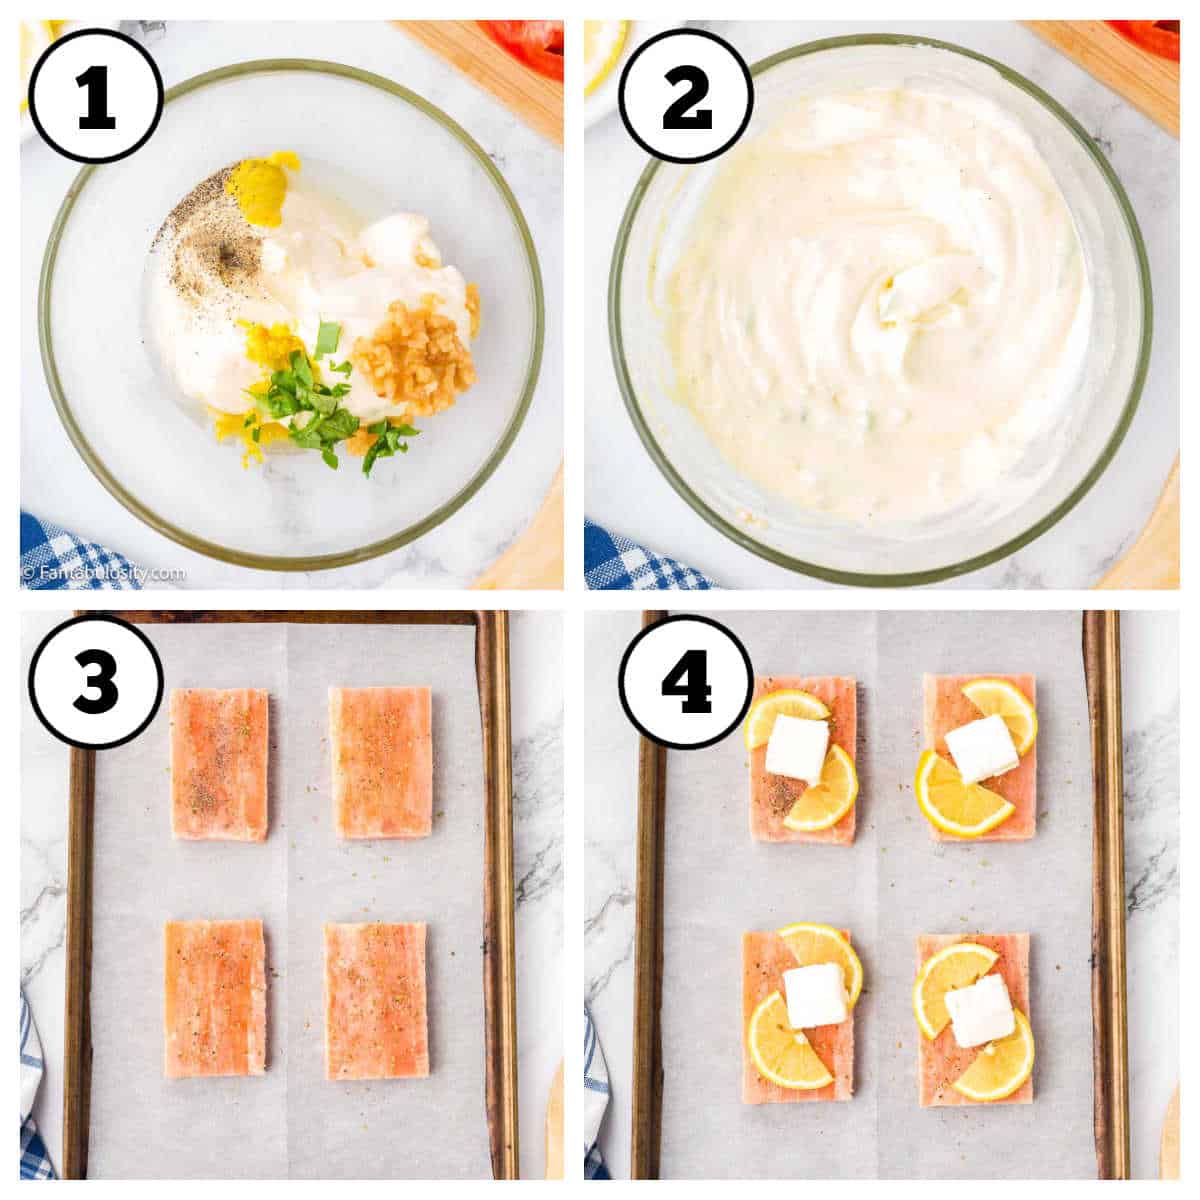
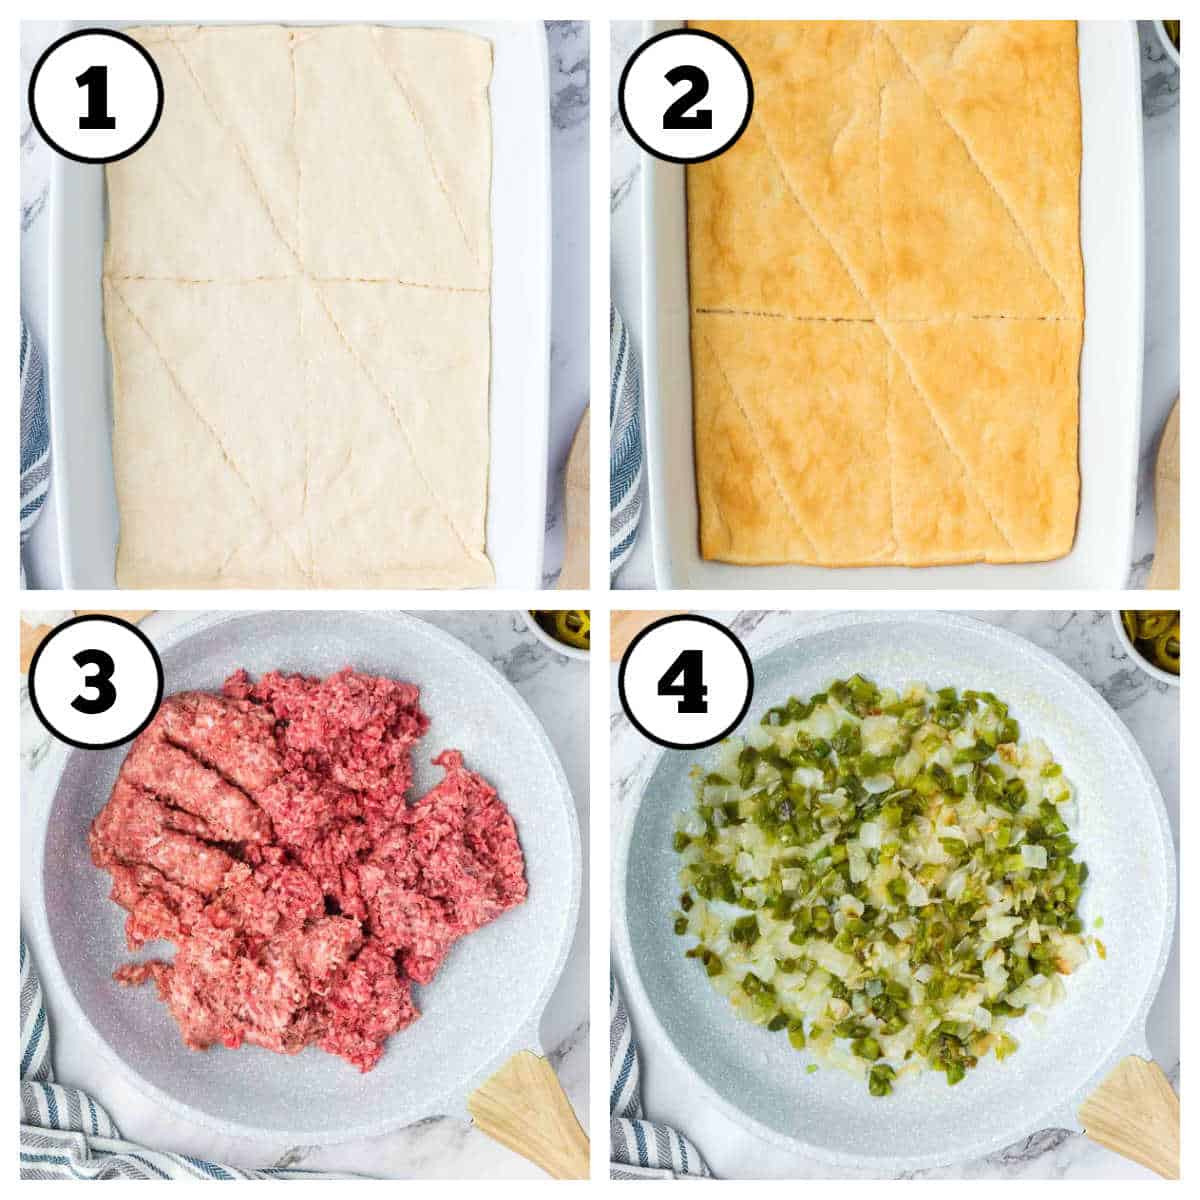
You are going to begin this copycat Cracker Barrel recipe by making up the flour and egg mixtures in a shallow bowl.

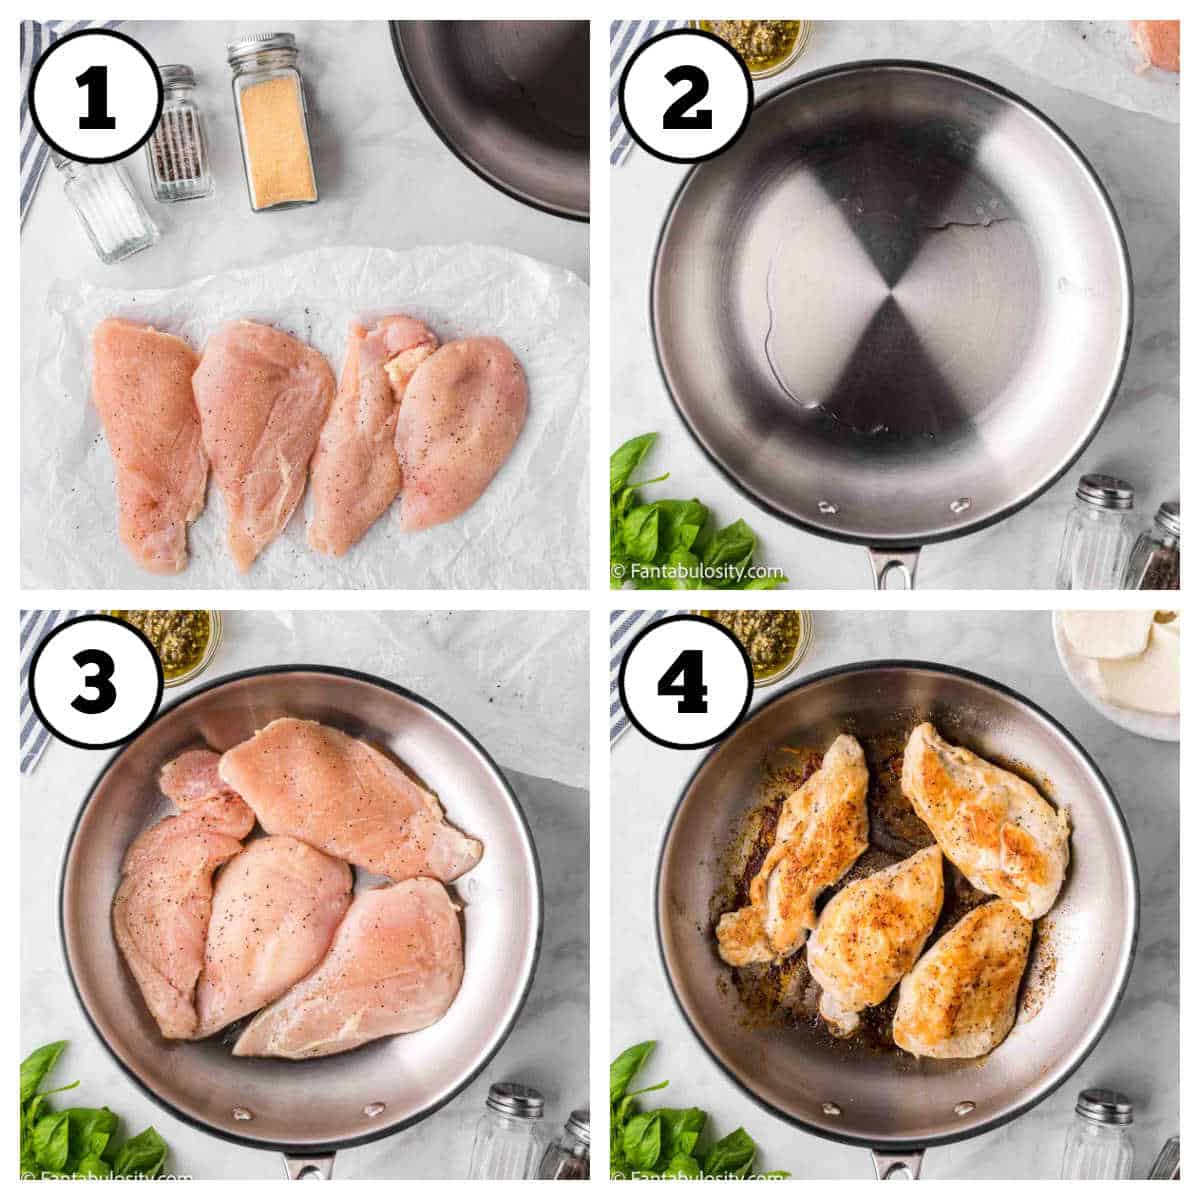
STEP 1. Make the flour mixture. Start your breading station and in a shallow dish, combine the flour, paprika, garlic powder, onion powder, black pepper, and salt. Mix well. (Image 1).
STEP 2. Make egg mixture. In a separate bowl, beat the eggs and buttermilk together. (Image 2).
STEP 3. Prepare the pan. Heat about ½ inch of vegetable oil in a large frying pan over medium-high heat. (Image 3).
STEP 4. Coat the first steak with the flour mixture. Take one piece of cube steak and dredge it in the flour mixture, making sure to coat it evenly. Shake off any excess flour. (Image 4).
Tip: Coat the steaks as you fry them. Do not coat it and then stick it back on a cutting board, waiting to be fried.

STEP 5. Coat the first steak in the egg mixture. Dip the coated steak into the egg and buttermilk mixture, then dredge it in the flour mixture again, gently pressing the mixture onto the meat. Repeat with the remaining steak pieces. (Images 5 & 6).
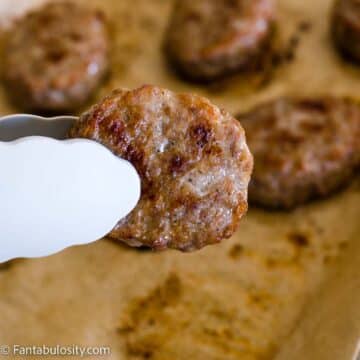
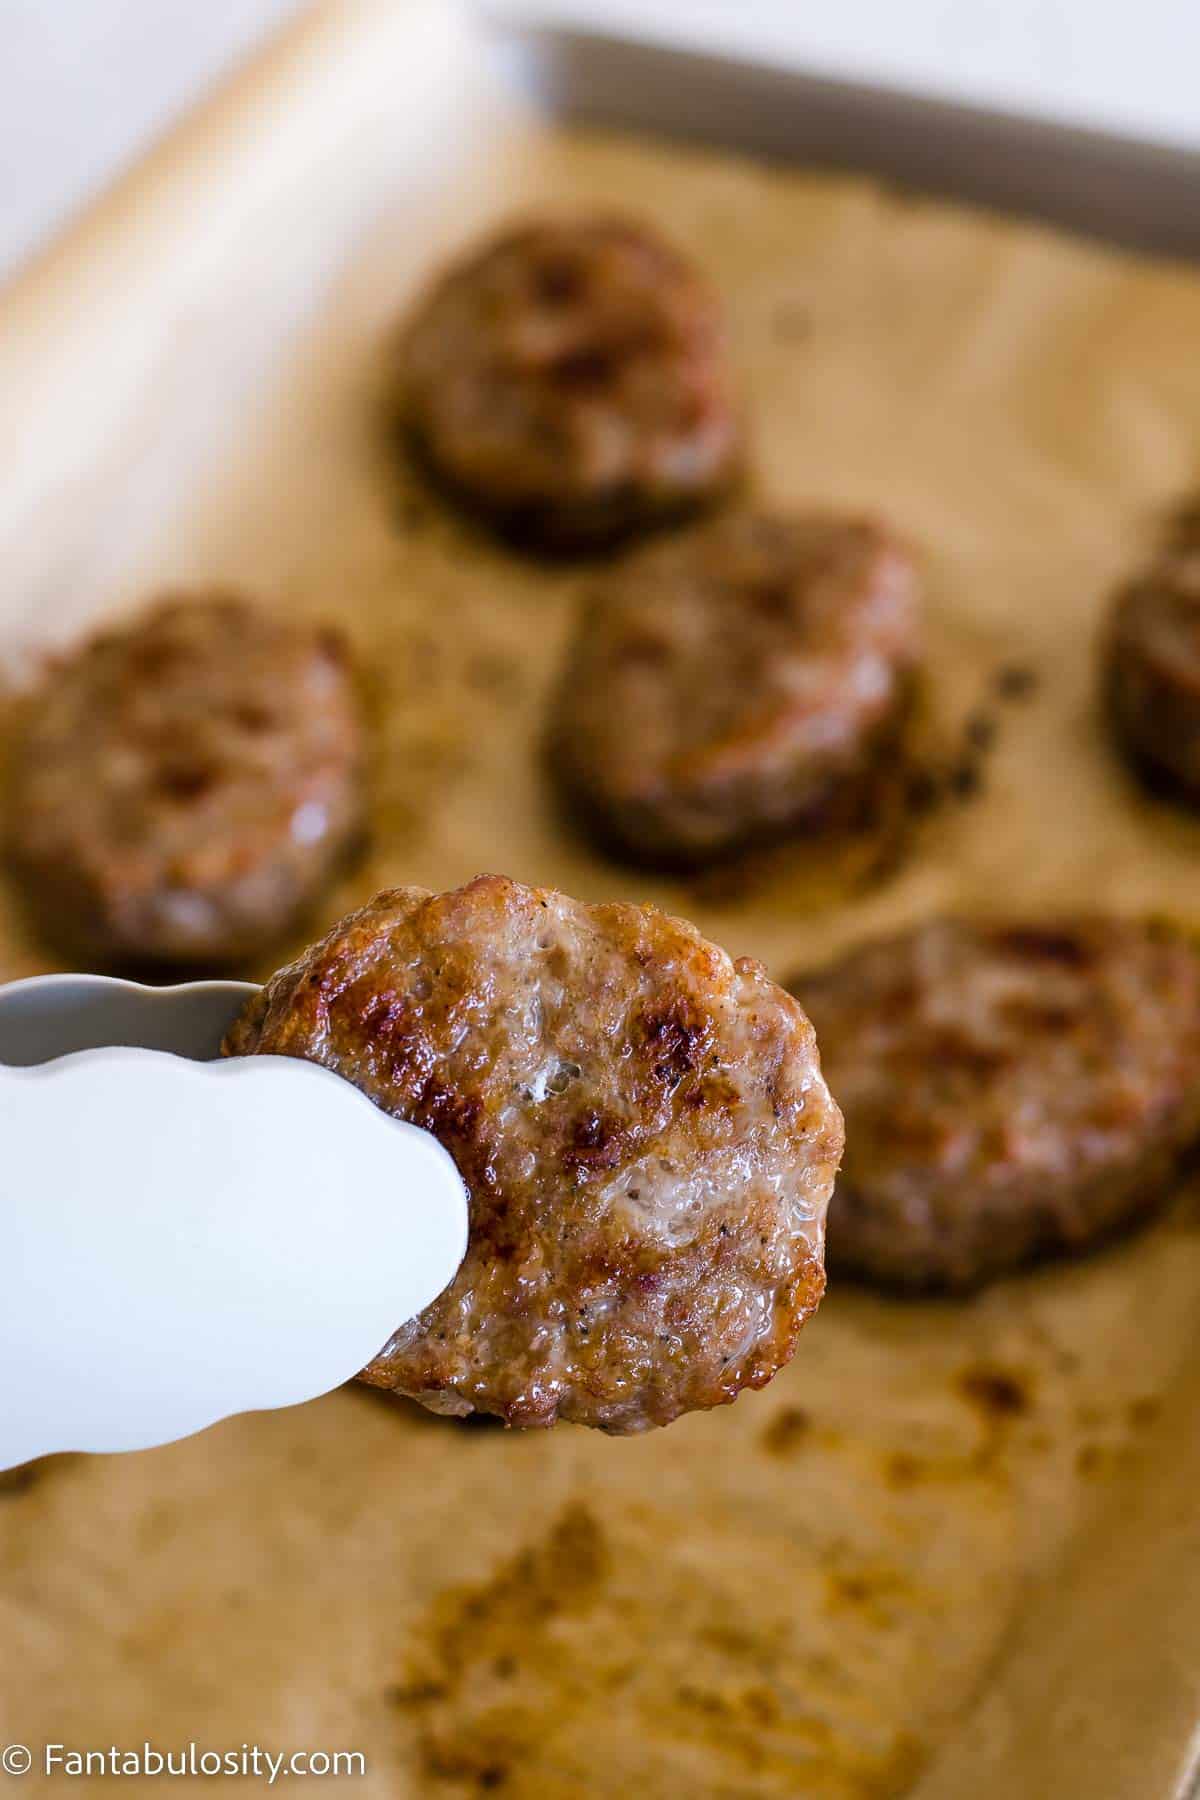
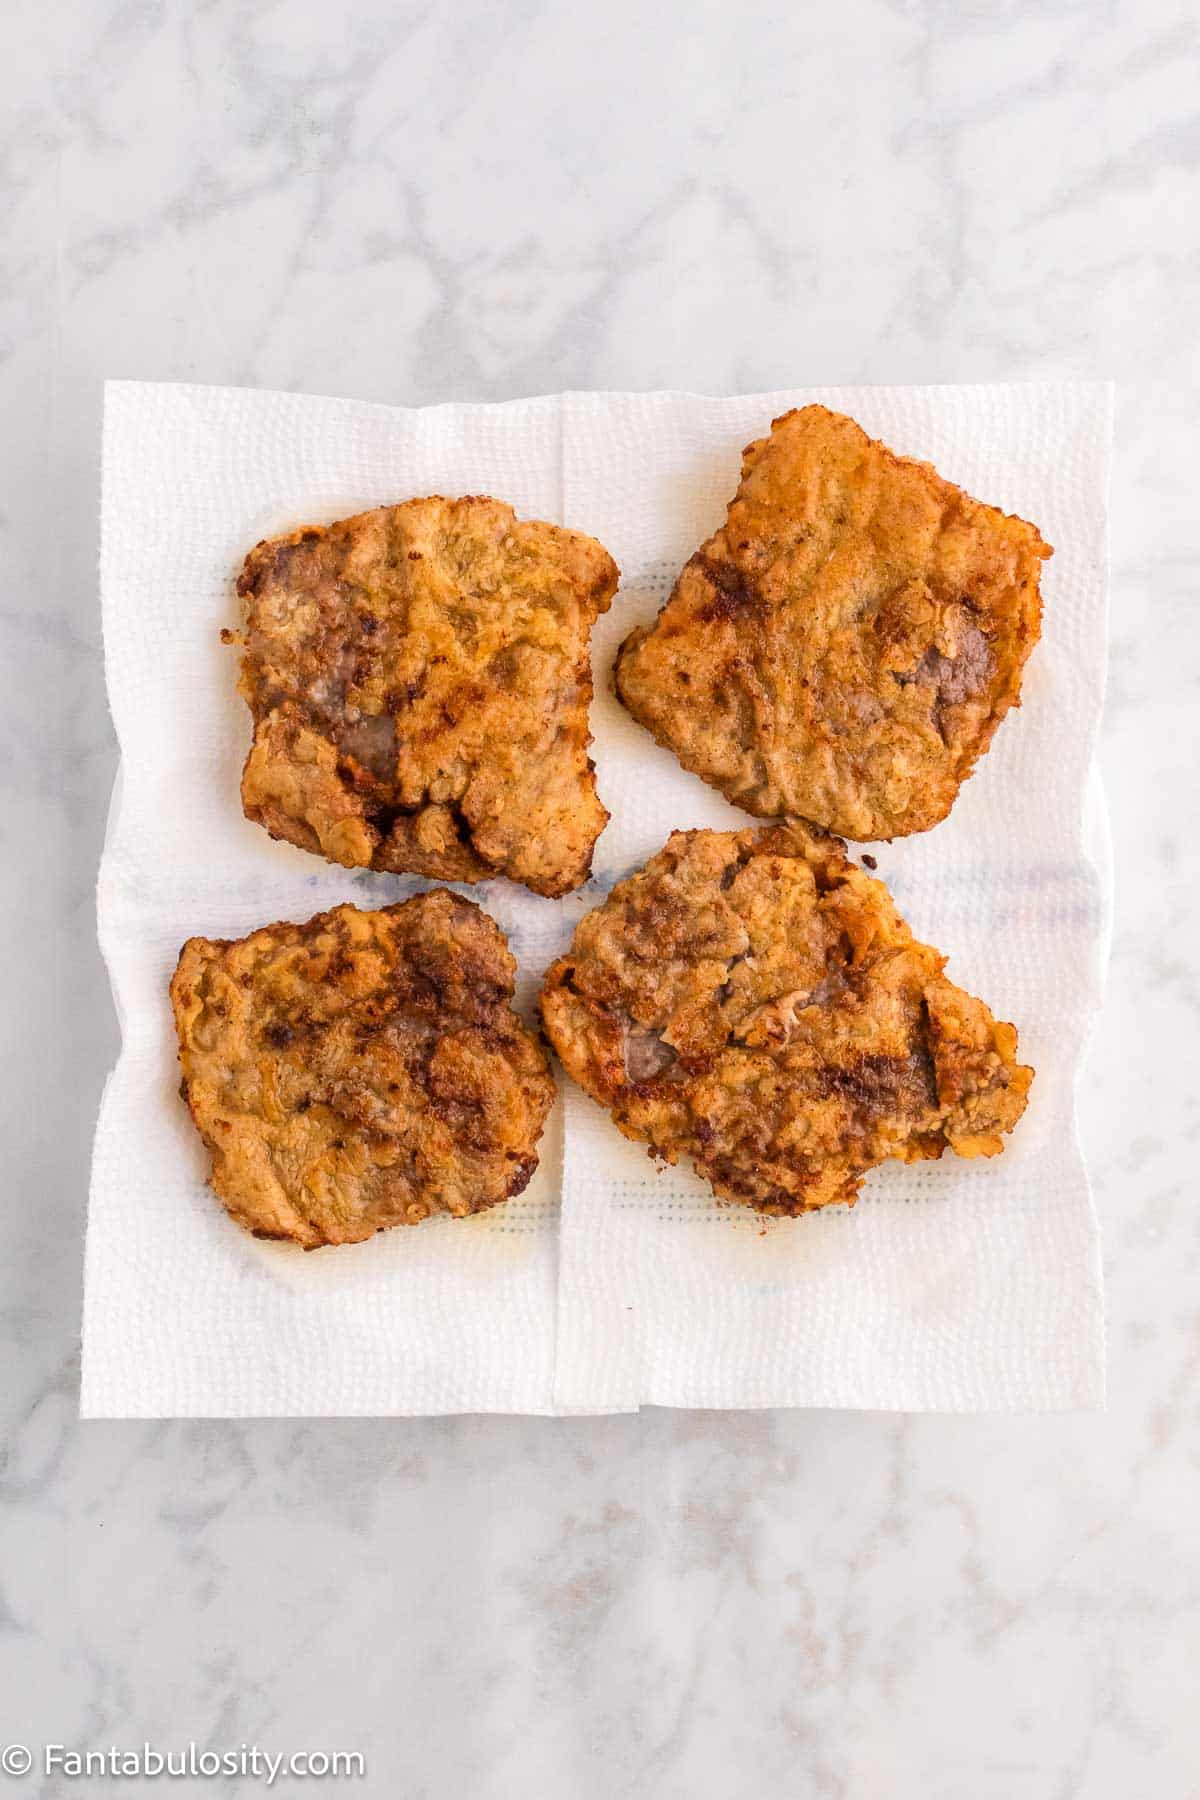
STEP 6-8. Fry the steaks. Use tongs to carefully place the coated steaks into the hot oil and fry for about 4-5 minutes on each side or until golden brown. You may need to cook them in batches depending on the size of your skillet. Remove the cooked steaks from the skillet and place them on a paper towel-lined plate to drain excess oil. (Images 7 & 8).
How to Make White Gravy for Country Fried Steak

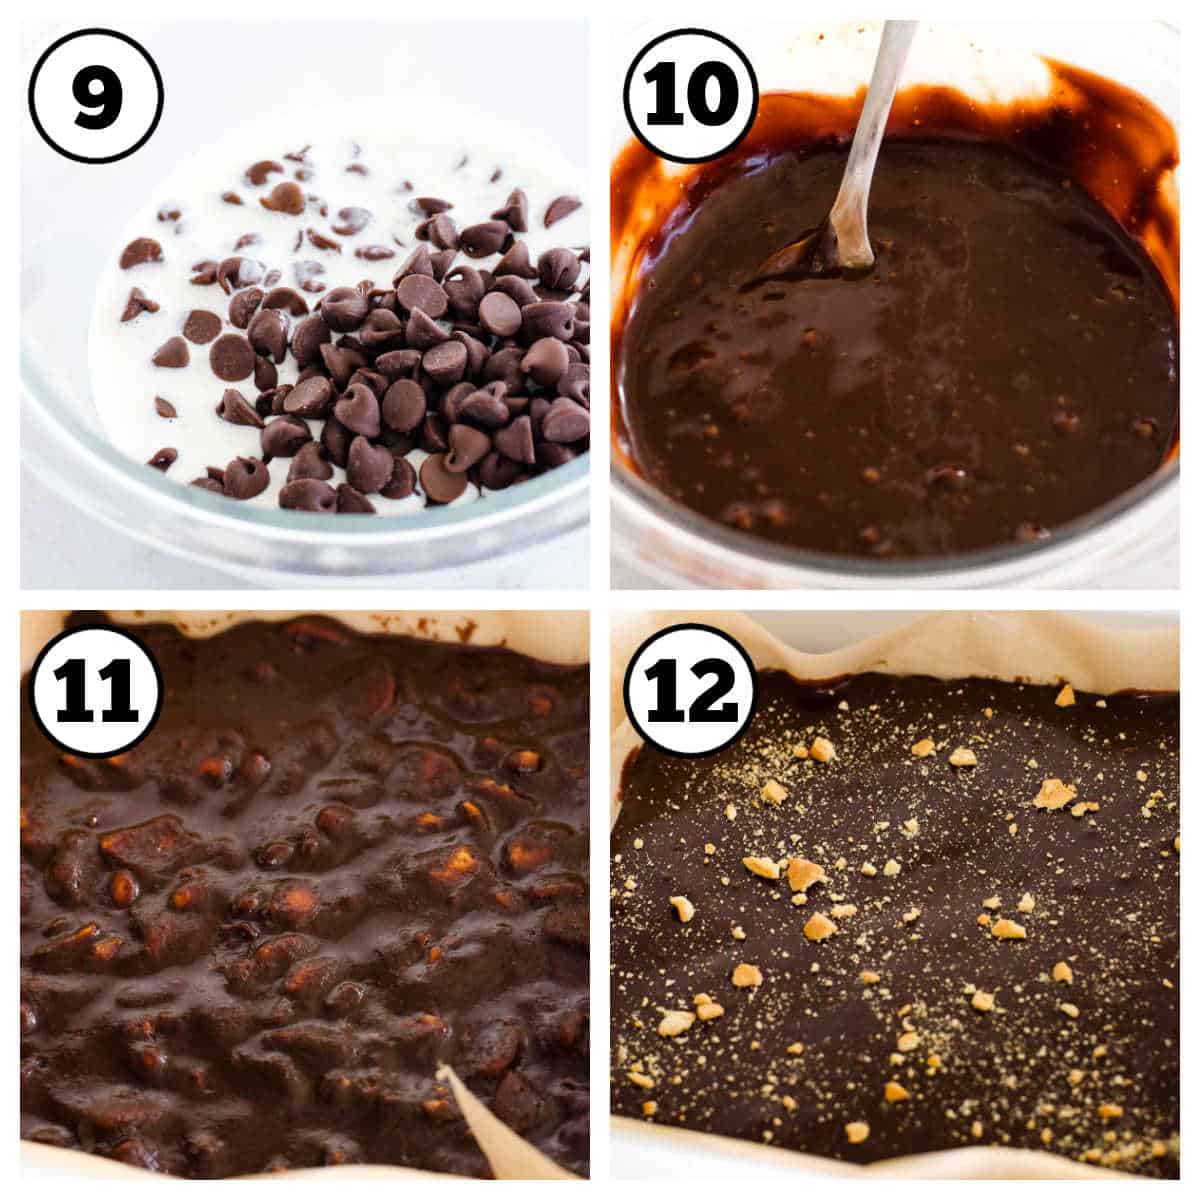
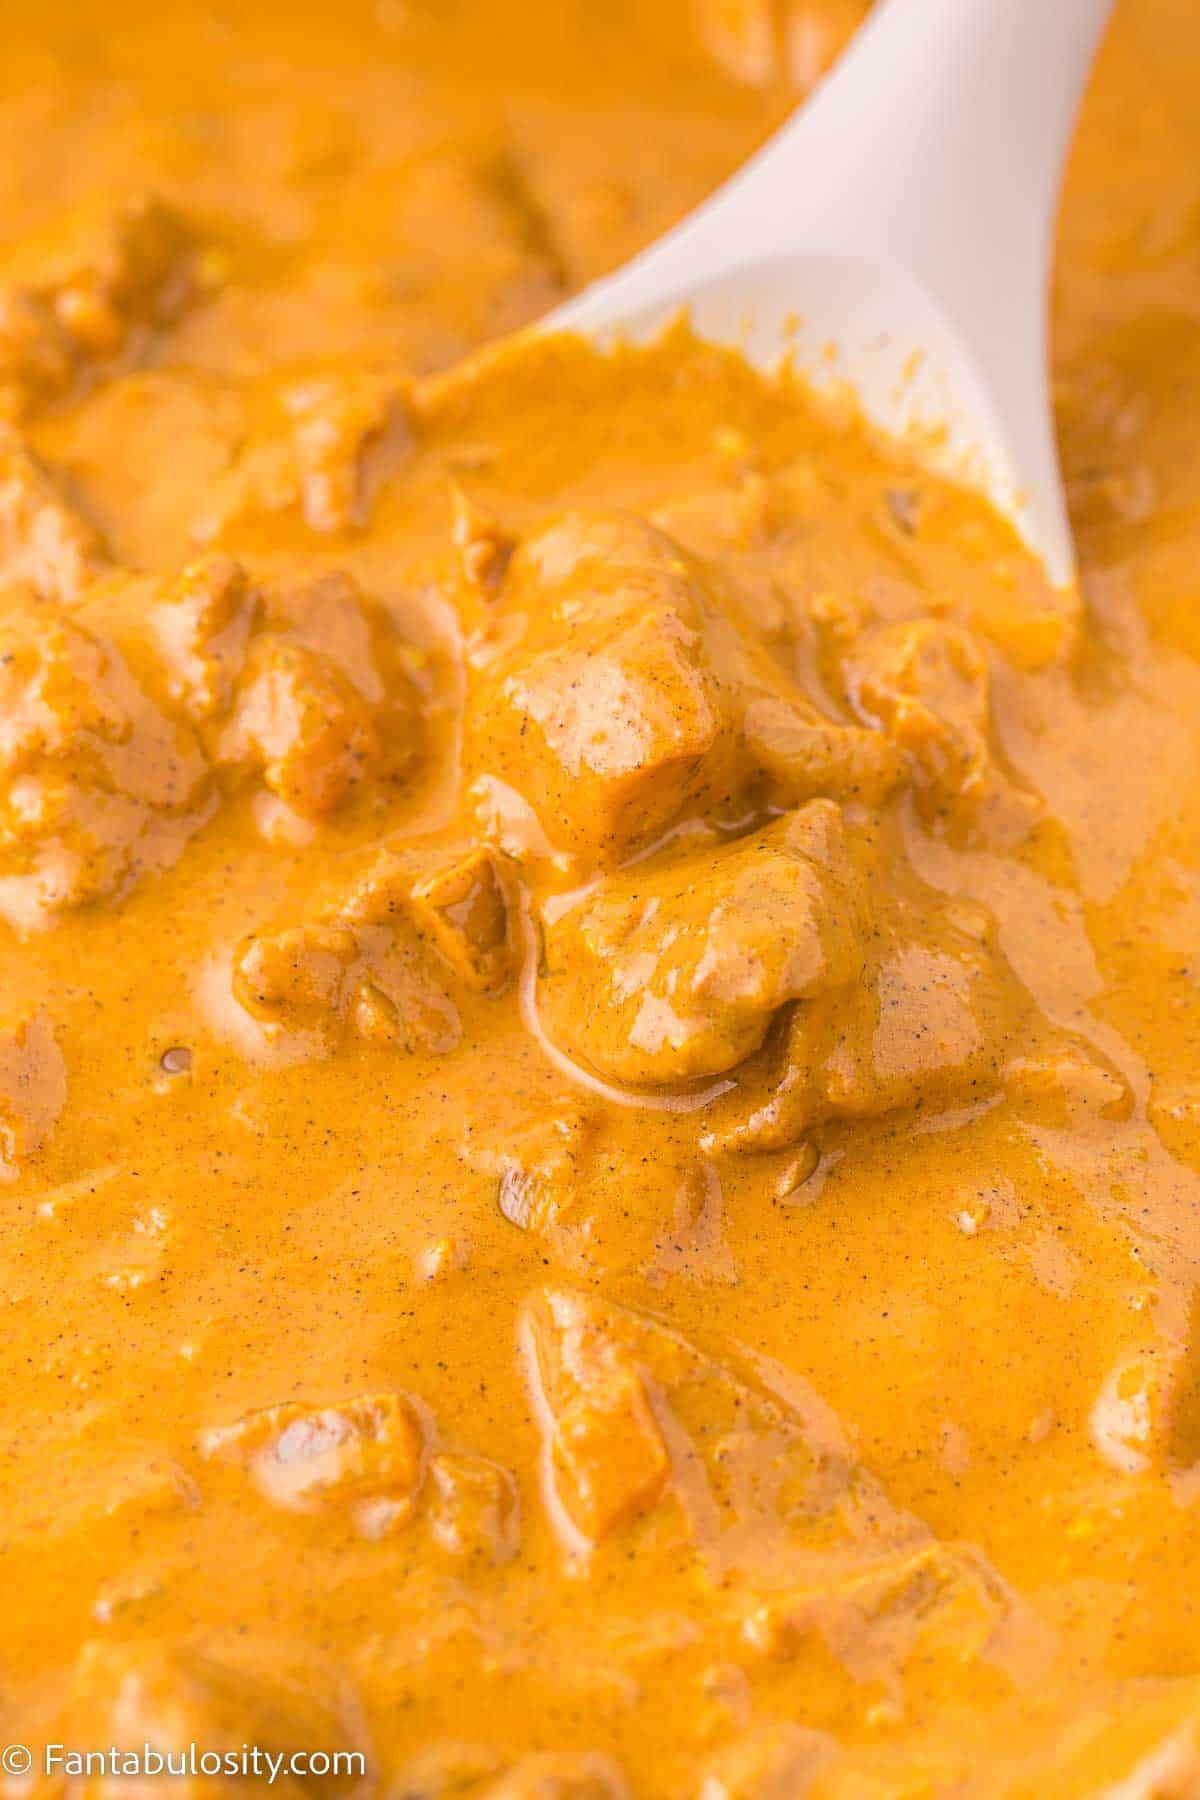
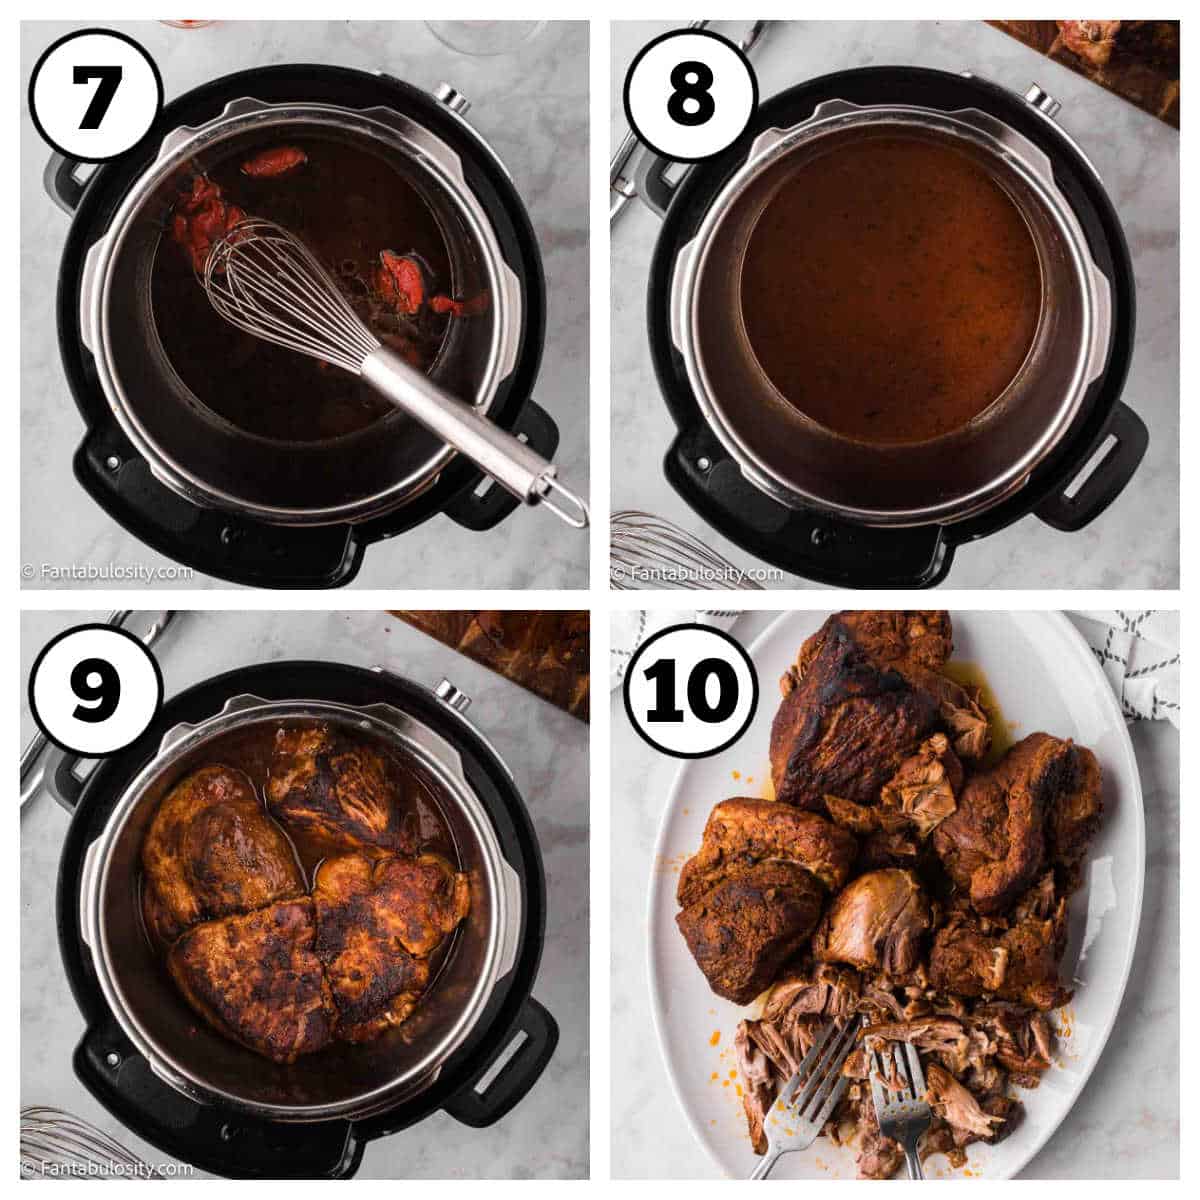
STEP 9 & 10. Begin the gravy. To make the gravy, in a separate saucepan, heat the vegetable oil over medium heat. Add the flour and whisk constantly for about 1 minute to make a roux. (Images 9 & 10).
TIP: Sometimes I like to just use ⅓ cup or so of the oil/drippings from the country fried steak to make the gravy, in the same skillet.
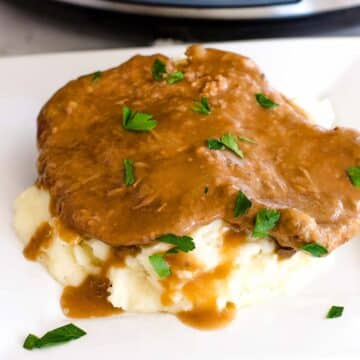
STEP 11 & 12. Complete the gravy. Gradually pour in the milk while whisking continuously to avoid lumps. Cook the gravy until it thickens and reaches your desired consistency. Season with salt and black pepper to taste, and add a dash of ground nutmeg. The gravy will continue to thicken once removed from the heat. (Images 11 & 12).
Recipe Pro Tips
- Make the gravy last. Prepare the gravy once the steaks are done so that you have fresh gravy to serve with them.
- Serve right away. Country fried steak is best served right away.
- Serve with hot sauce for a kick.

Recipe FAQs
Cube steak is a tenderized cut of beef that works best for country fried steak, however, you can use other cuts such as round steak or sirloin steak. Just make sure to tenderize the meat properly before cooking.
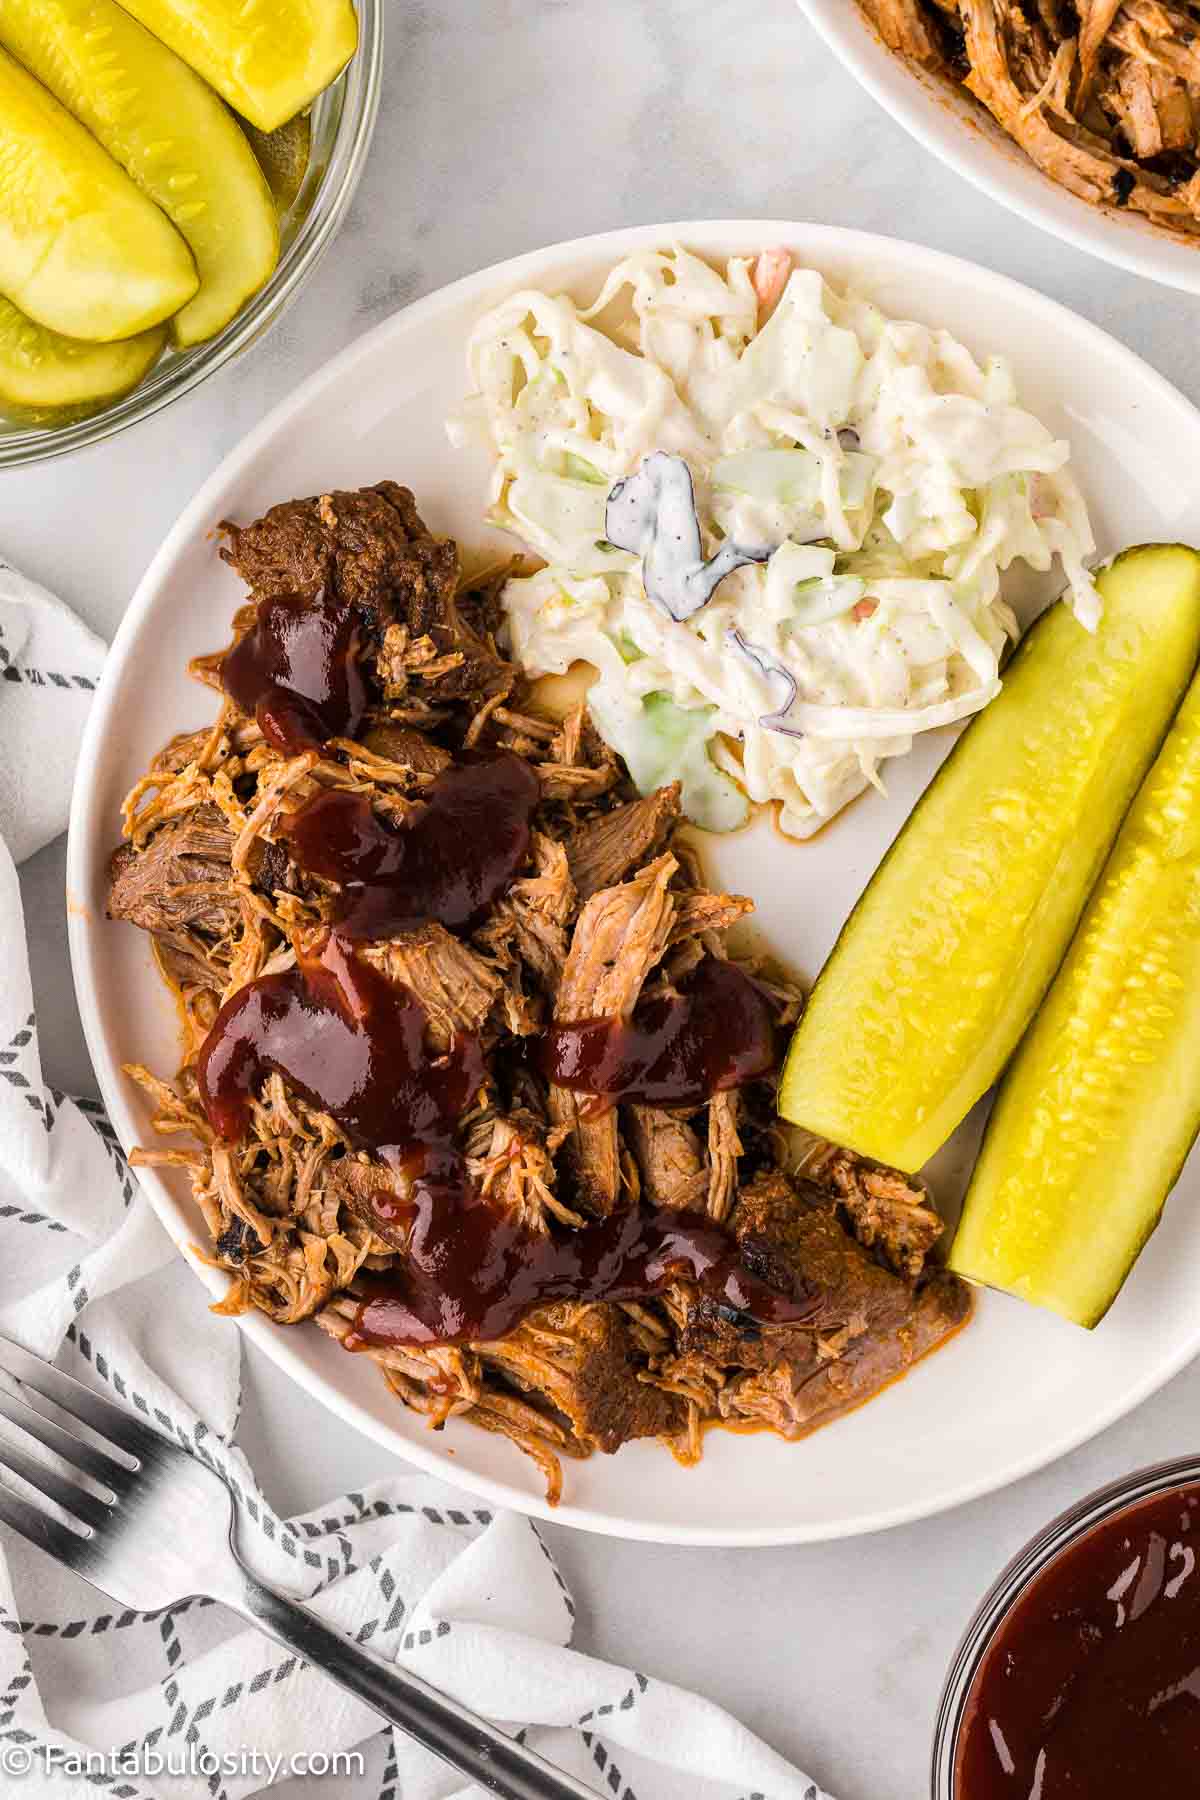
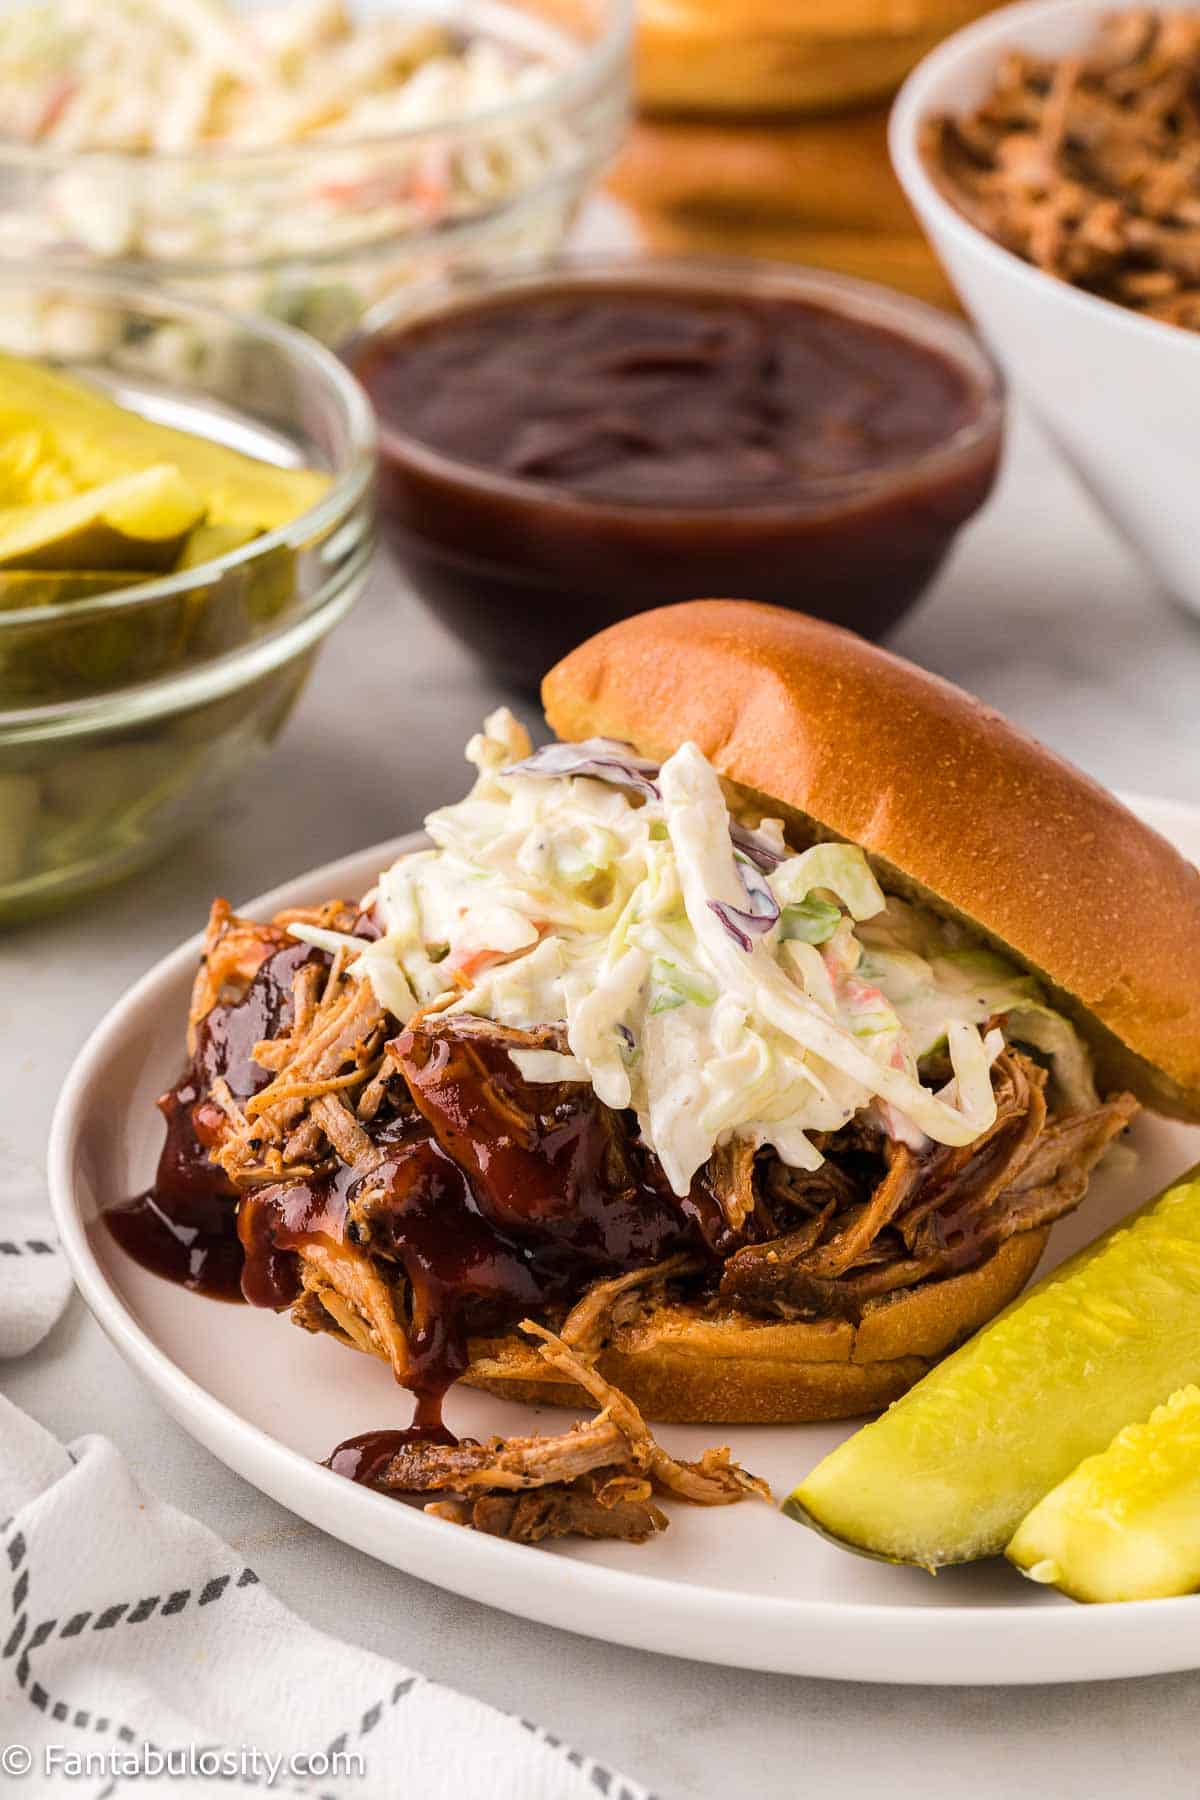
If you are serving it for dinner, it pairs well with various sides such as mashed potatoes, biscuits, coleslaw, crack green beans, corn on the cob, or macaroni and cheese. You can also serve it with a side salad for a lighter option.
Chicken fried steak and country fried steak are similar dishes, both typically made from a breaded and fried piece of cube steak. The main difference is that chicken fried steak is often served with a cream gravy, while country fried steak may be served with a brown or white gravy, however, most people use the names interchangeably.
Yes, you can cook country fried steak in the air fryer. We suggest cooking at 400°F for 8-10 minutes, flipping them halfway through.
You should fry country fried steaks over the stovetop for 4-5 minutes in hot oil over medium-high heat.

What to Serve with Cracker Barrel Country Fried Steak
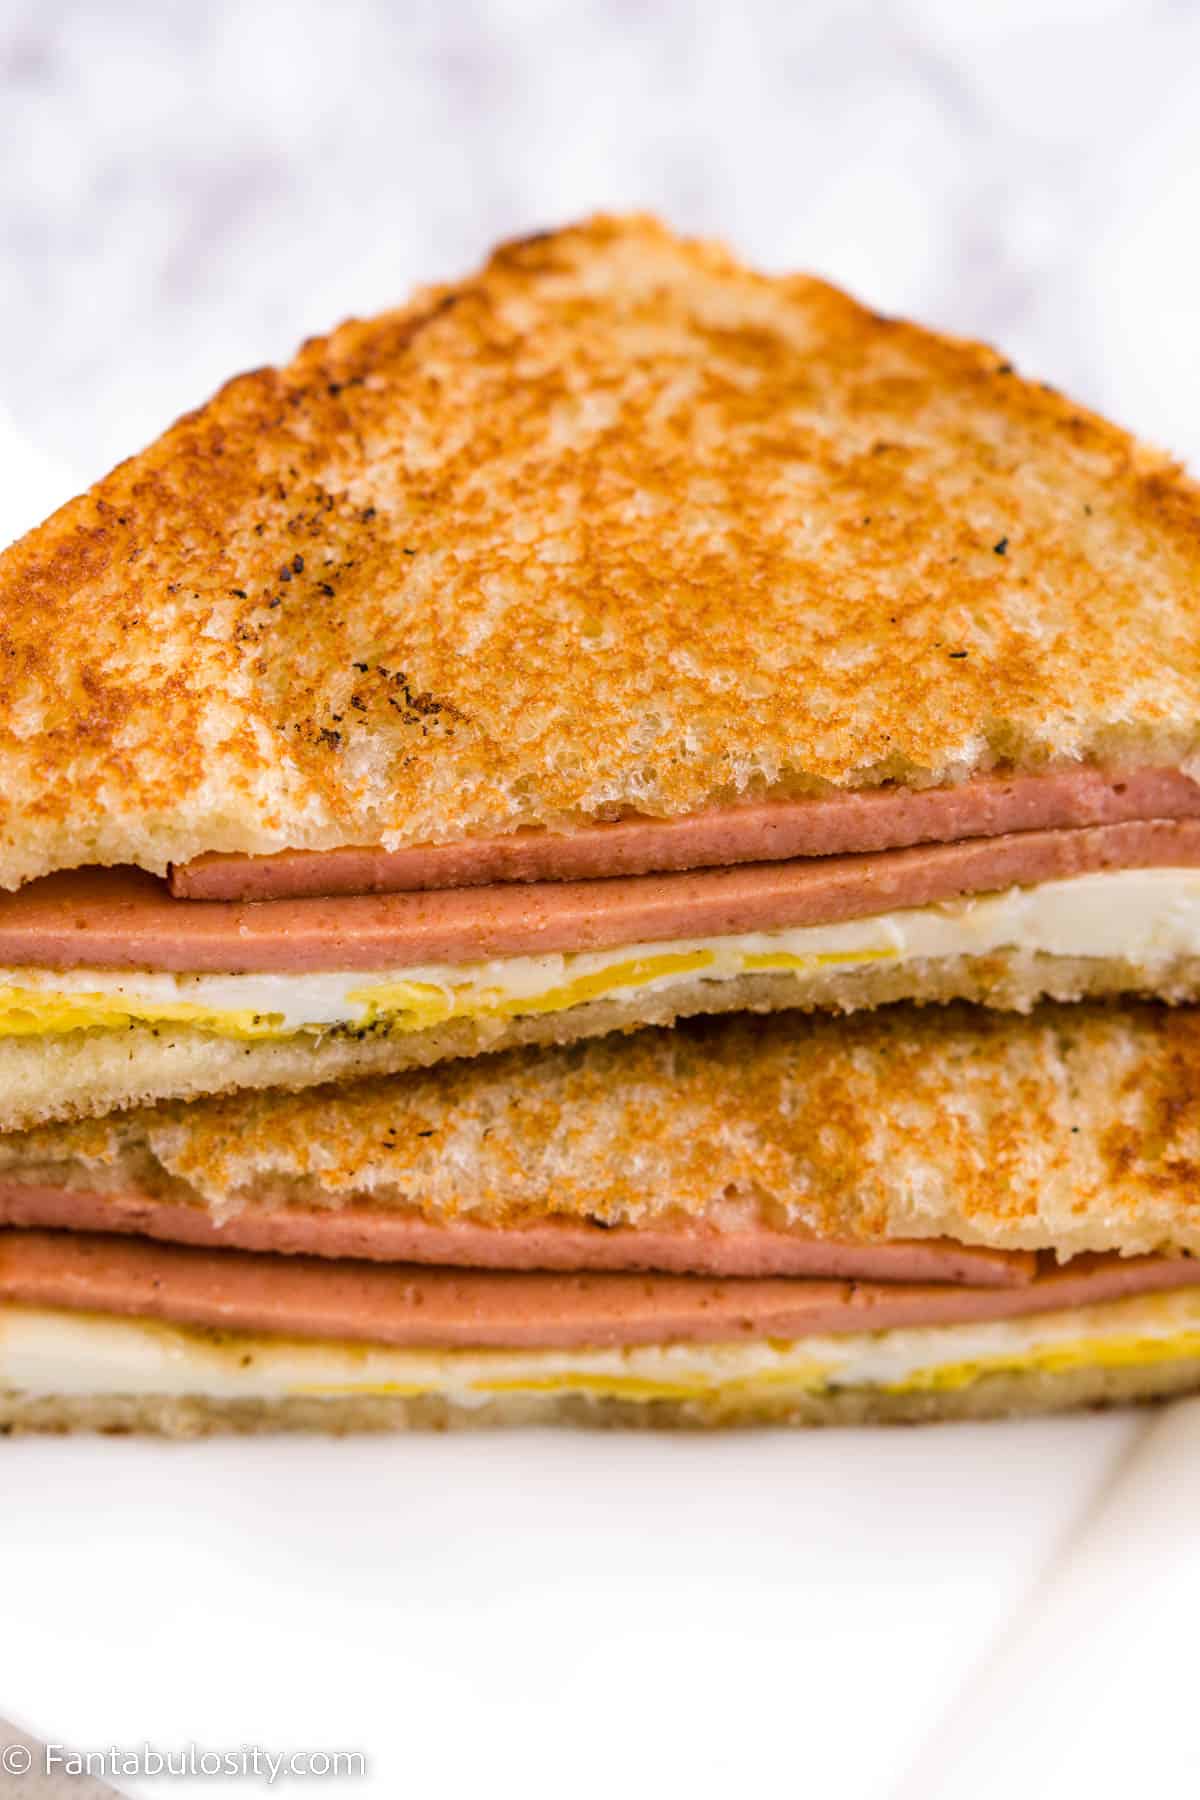
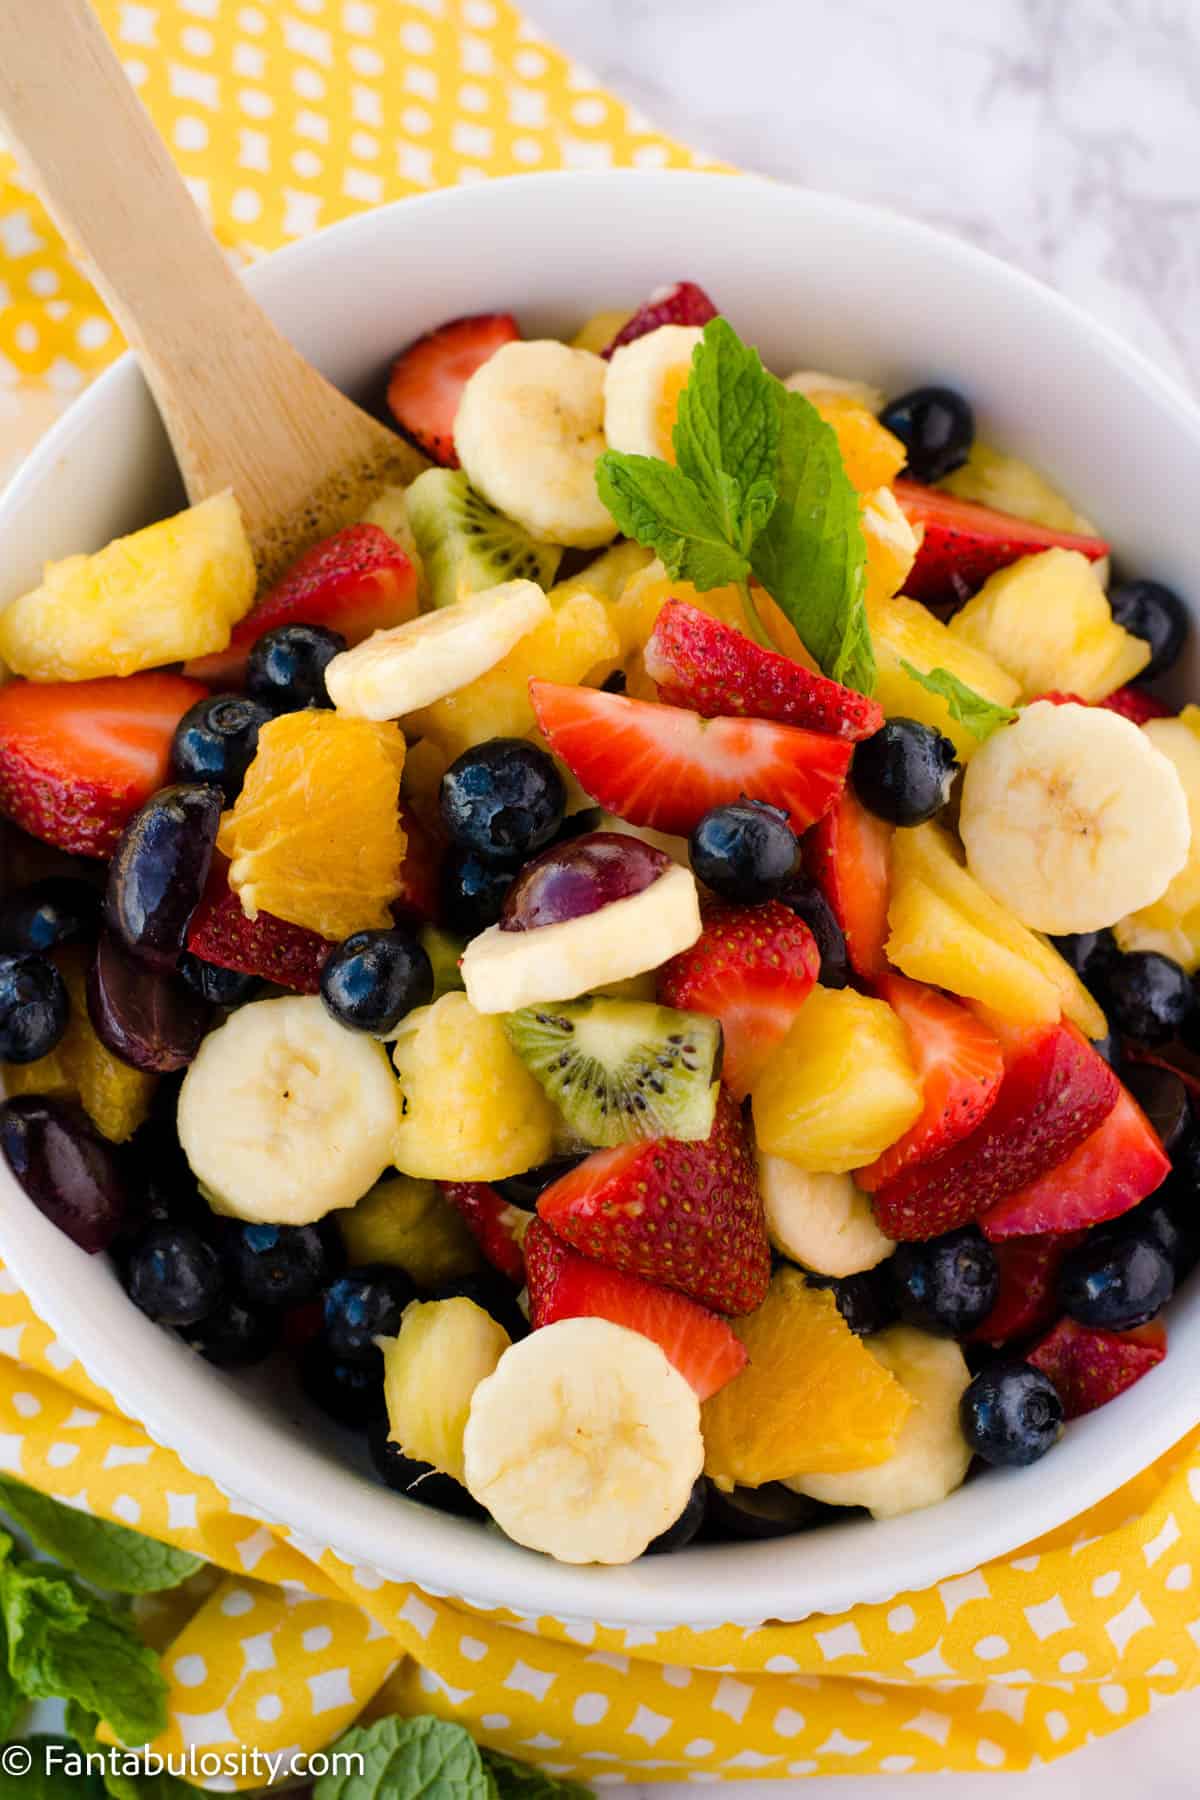
For Breakfast: Country fried steak for breakfast pairs well with honey lime fruit salad, fluffy pancakes from scratch, or a sausage and egg casserole.
For Dinner: Country fried steak pairs well with various sides such as mashed potatoes (or even fried potatoes), easy homemade biscuits, coleslaw, crack green beans, corn on the cob, or macaroni and tomatoes. You can also serve it with a side salad for a lighter option.

Storage
Store leftover country-fried steak and gravy separately in airtight containers in the refrigerator. They should be consumed within 2-3 days. Reheat the steak in the oven or toaster oven to maintain its crispiness.
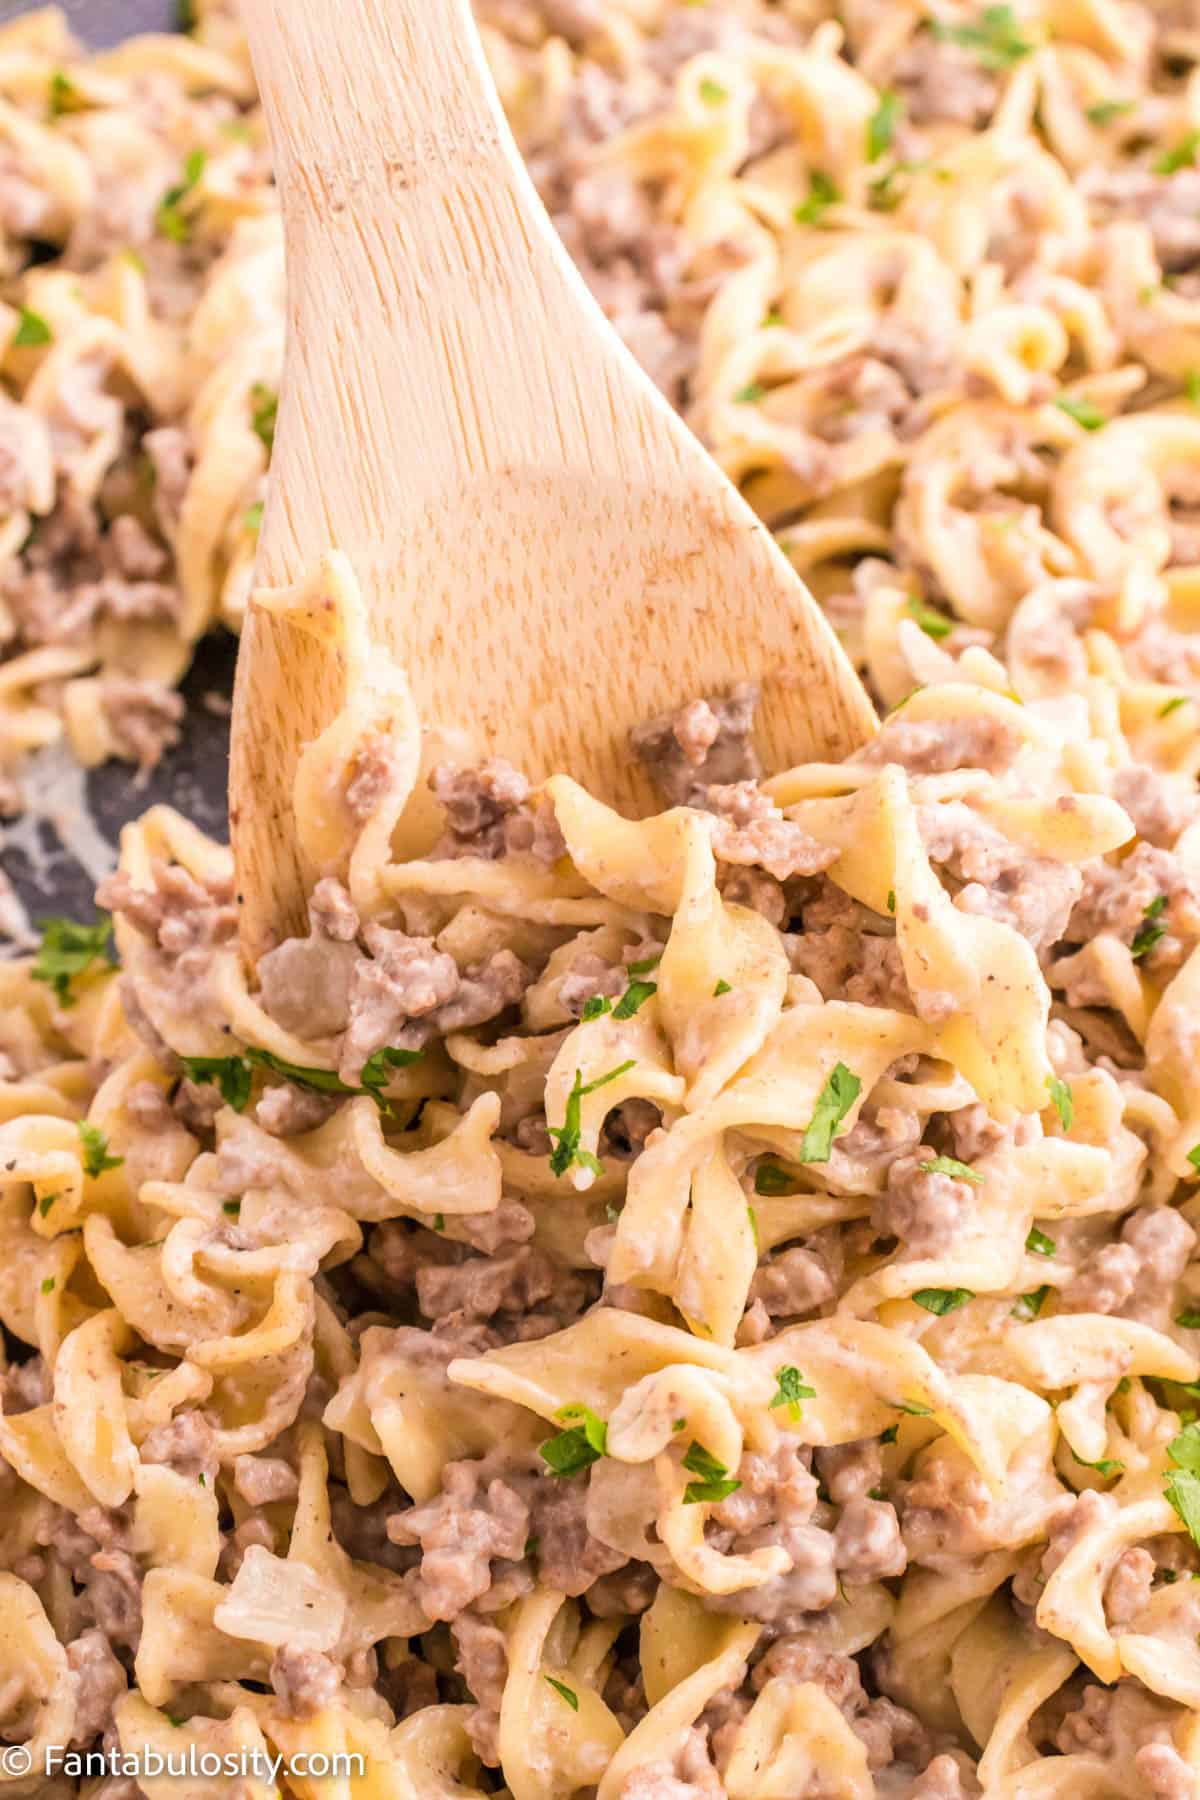
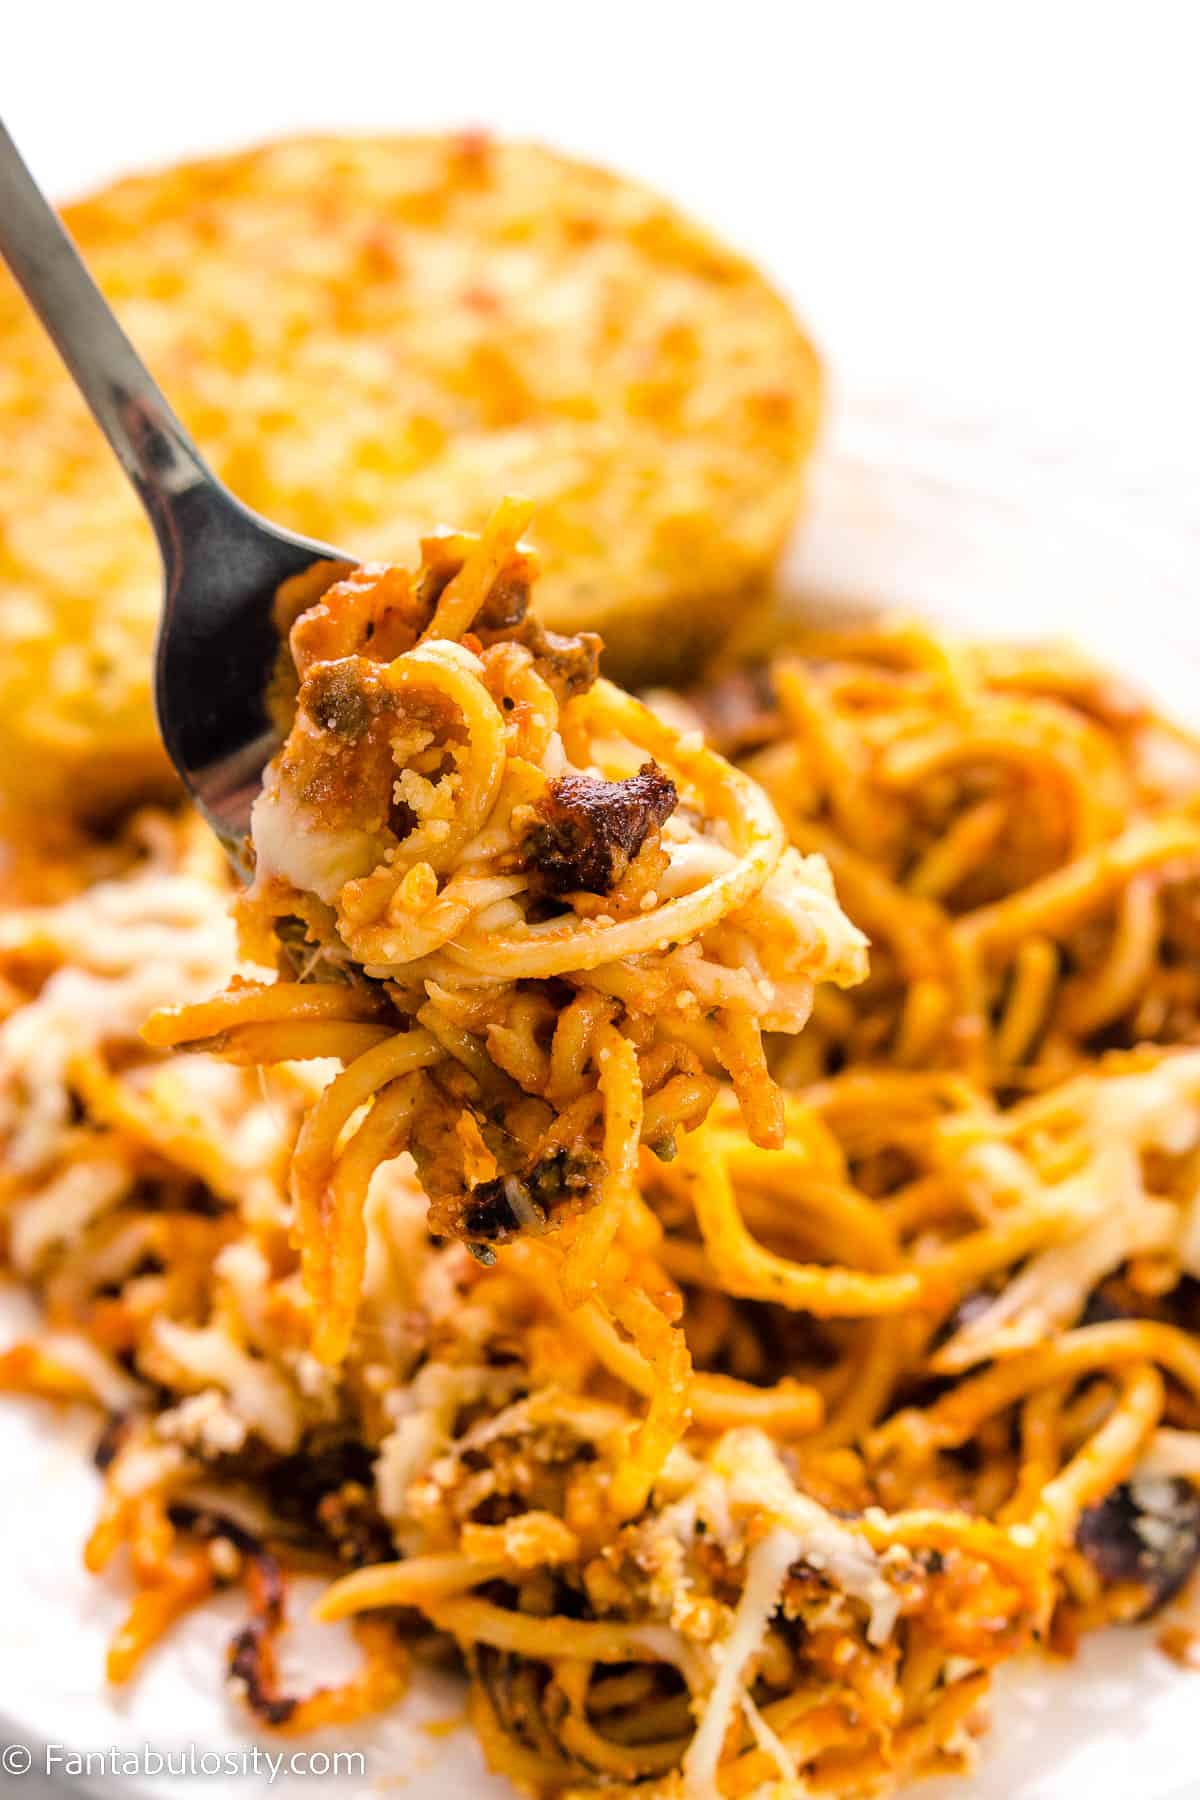
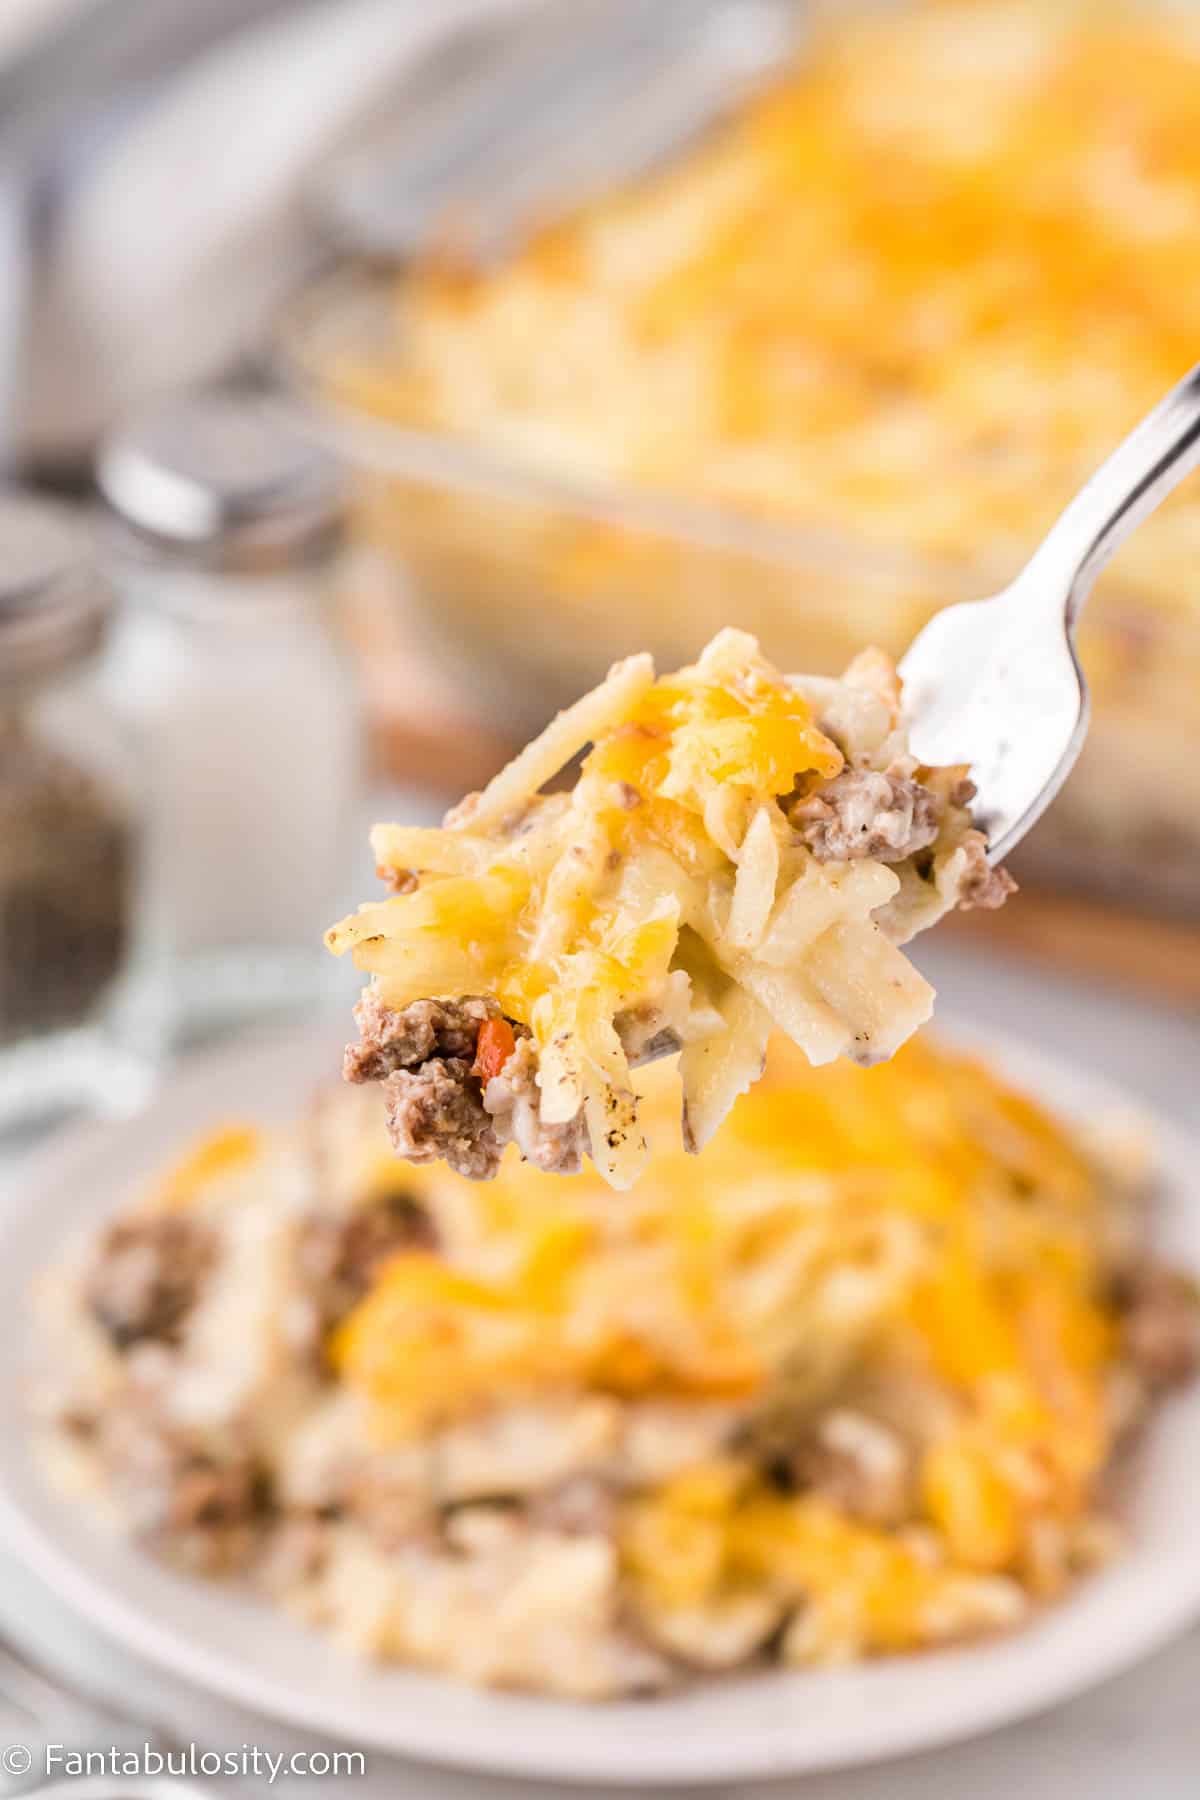
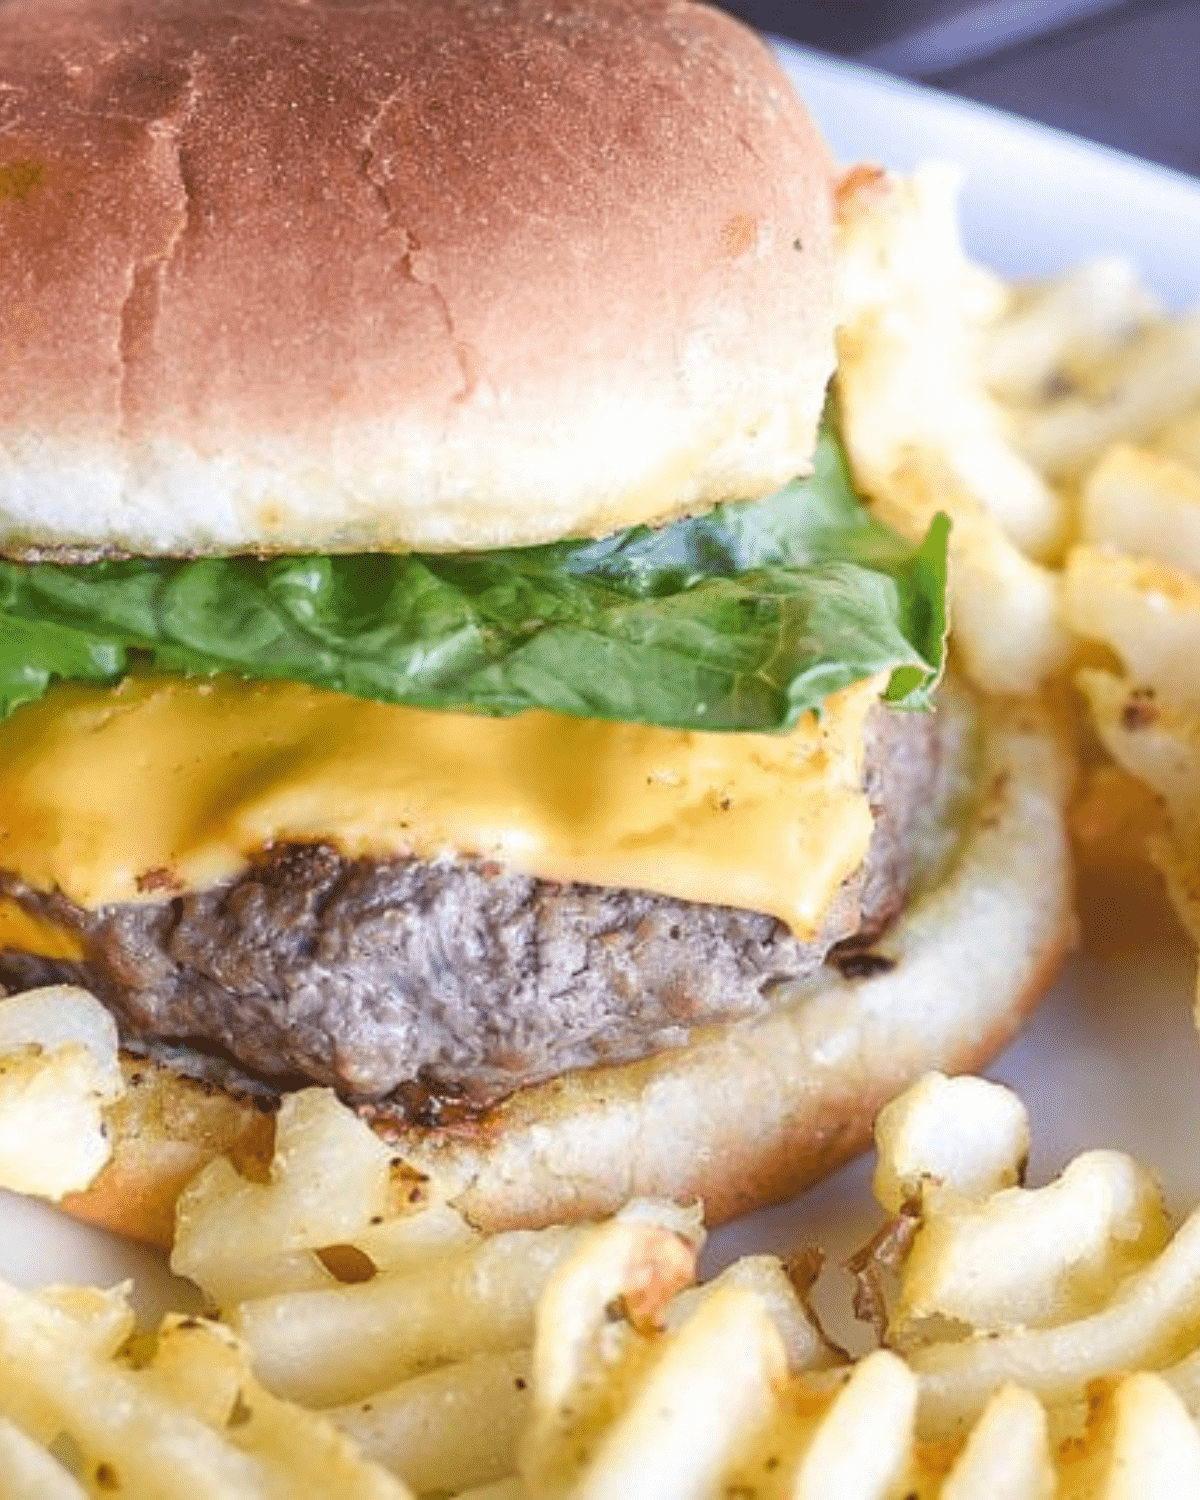
More Steak Recipes You’ll Love
For more classic recipes using beef cuts, check out these yummy recipe ideas!
Did you make this? I’d be so grateful if you left a “star” rating below to let me know what you thought! Then, the next time you need a quick and easy recipe, come back to Fantabulosity to browse all of my easy recipes!
Recipe

Cracker Barrel Country Fried Steak
Ingredients
- 4 pieces beef cube steak about 4 ounces each
- 1 cup all-purpose flour
- 1 teaspoon paprika
- 1 teaspoon garlic powder
- 1 teaspoon onion powder
- ½ teaspoon black pepper
- ½ teaspoon salt
- 2 large eggs
- ½ cup buttermilk
- vegetable oil for frying
White Gravy
- ⅓ cup vegetable oil or use ⅓ cup drippings/oil from country fried steak
- ½ cup flour
- 3 cups milk
- Salt and pepper to taste
- Dash of ground nutmeg
Instructions
- In a shallow dish, combine the flour, paprika, garlic powder, onion powder, black pepper, and salt. Mix well.
- In a separate bowl, beat the eggs and buttermilk together.
- Heat about ½ inch of vegetable oil in a large skillet over medium-high heat.
- Take one piece of cube steak and dredge it in the flour mixture, making sure to coat it evenly. Shake off any excess flour.
- Dip the coated steak into the egg and buttermilk mixture, then dredge it in the flour mixture again, gently pressing the mixture onto the meat. Repeat with the remaining steak pieces.
- Carefully place the coated steaks into the hot oil and fry for about 4-5 minutes on each side or until golden brown. You may need to cook them in batches depending on the size of your skillet. Remove the cooked steaks from the skillet and place them on a paper towel-lined plate to drain excess oil.
- To make the gravy, heat the oil over medium heat either in the same skillet as the steak or in a different one. Add the flour and whisk constantly for about 1 minute to make a roux.
- Gradually pour in the milk while whisking continuously to avoid lumps. Cook the gravy until it thickens and reaches your desired consistency. Season with salt and black pepper to taste, and add a dash of ground nutmeg. The gravy will continue to thicken once removed from the heat.
- Serve the country fried steaks with the creamy gravy poured over the top. They pair well with mashed potatoes, green beans, or biscuits.
Video
Notes
- Cook gravy last in order to have freshly made gravy for the Cracker Barrel country fried steaks
- Serve immediately