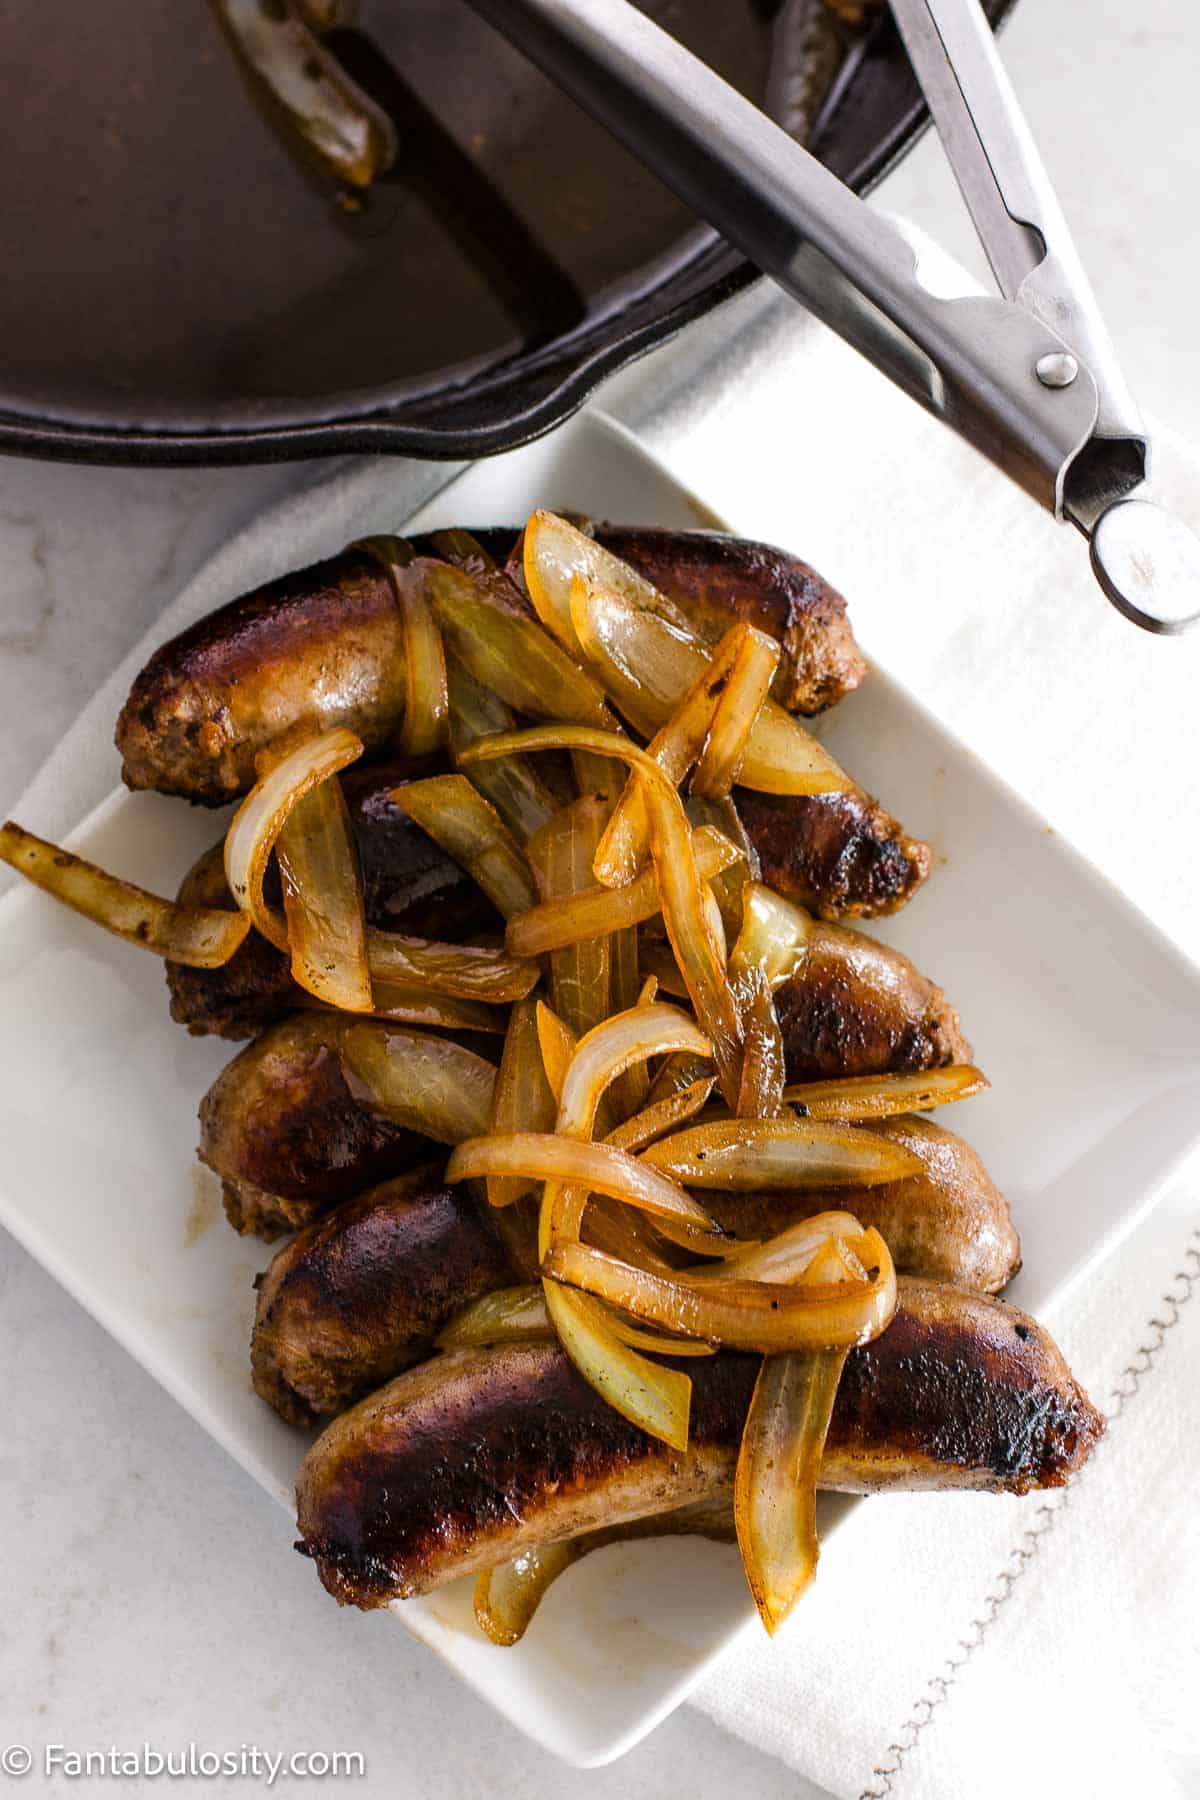
Feeling like brats but too cold to fire up the grill? You can achieve amazing flavor in no time when you cook brats on the stove! Stovetop recipes can mean a quick and easy dinner, and this recipe is no different!

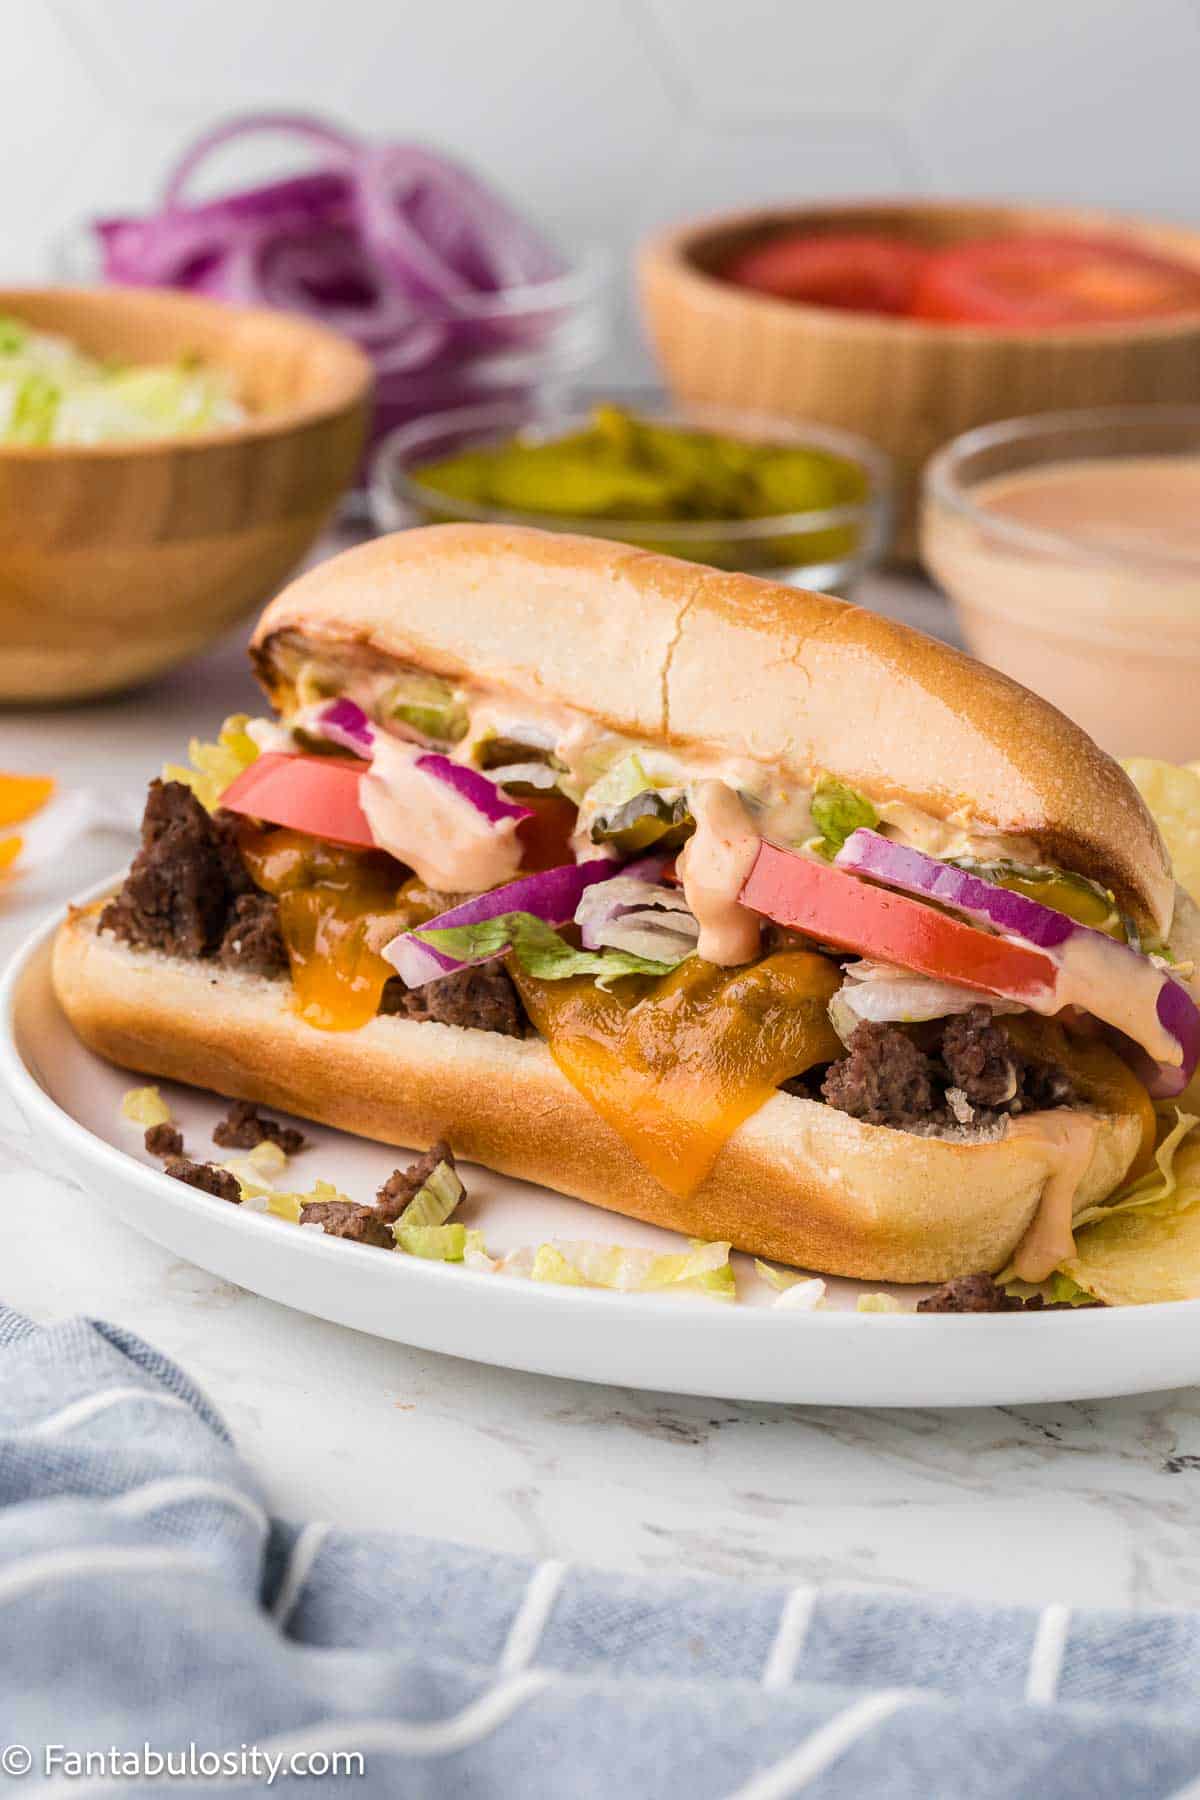
We love brats! On a bun with all the fixings, or you can enjoy these on a plate of noodles with fried white onions. Any way you slice it, brats are a classic dinner that can be enjoyed year-round.
Looking to contain the mess? You can simply pop your brats right into the air fryer for a totally hands-off meal! Got a bit more time? Brats also cook up in the oven, which is perfect if you are already turning it on to make some sides.
[feast_advanced_jump_to]Why You’ll Love This Recipe
- No need to grill: Whether it’s too cold out OR you don’t yet own a grill, you can still enjoy brats indoors!
- Ready in 30: Slice the onions while the pan heats and then you’ll be done cooking just 15 minutes later.
- Cook for the week: This is a great meal prep option! I find the family will readily eat leftovers all week if they have cooked brats in the fridge.
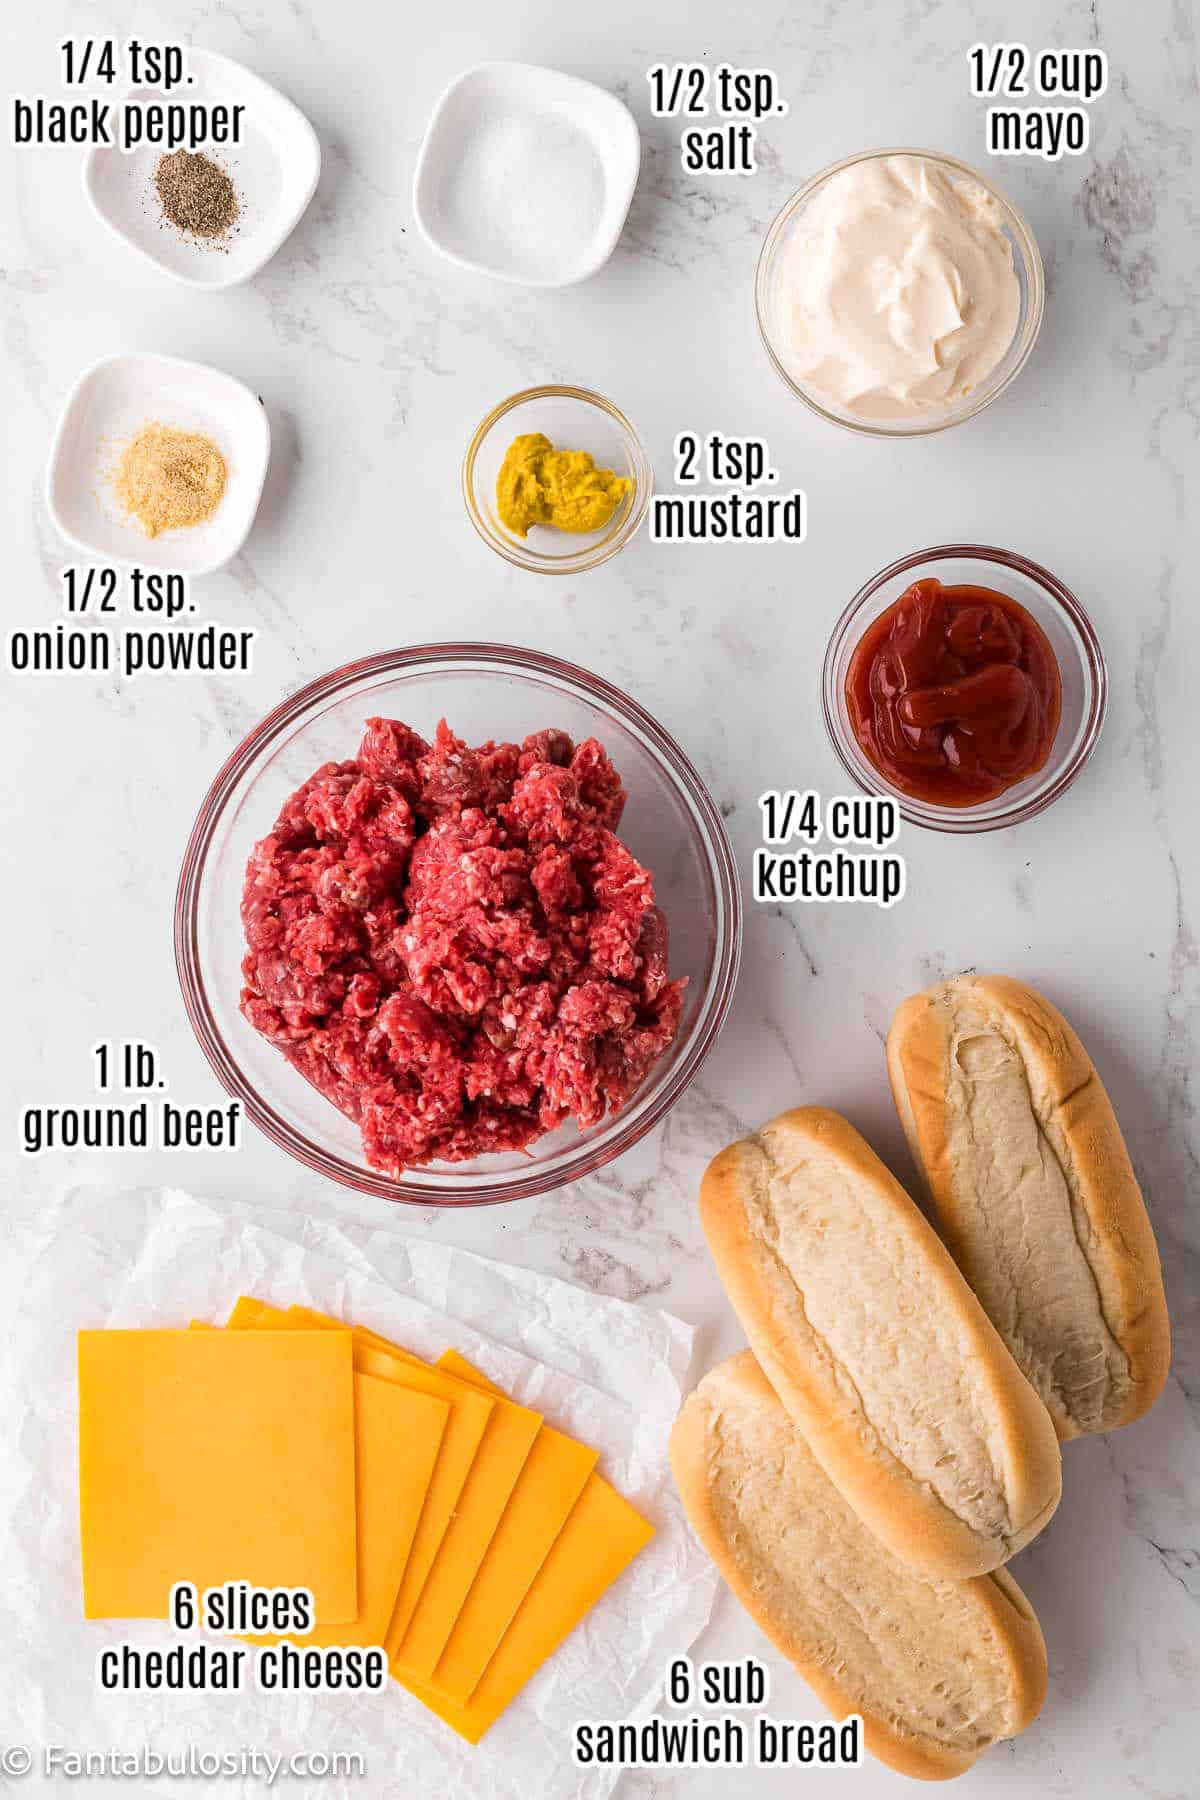
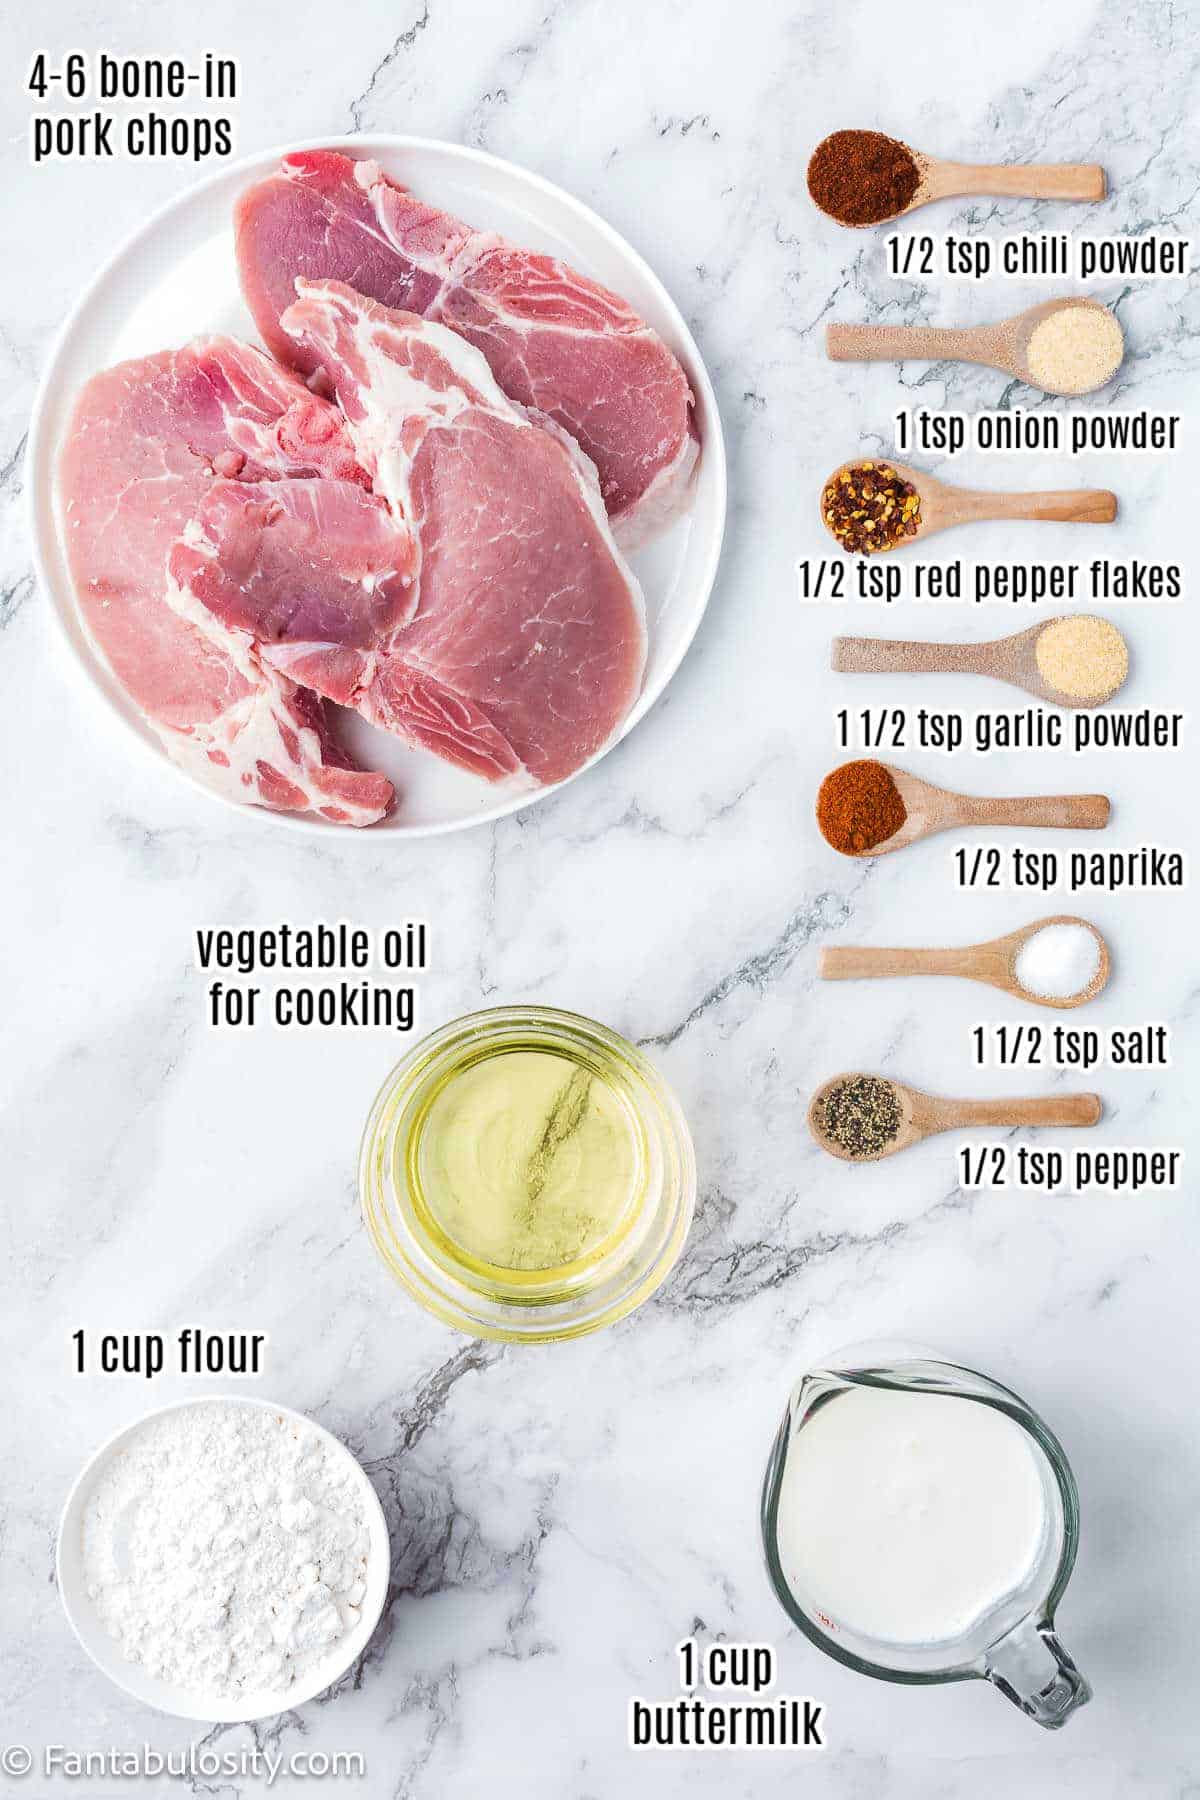
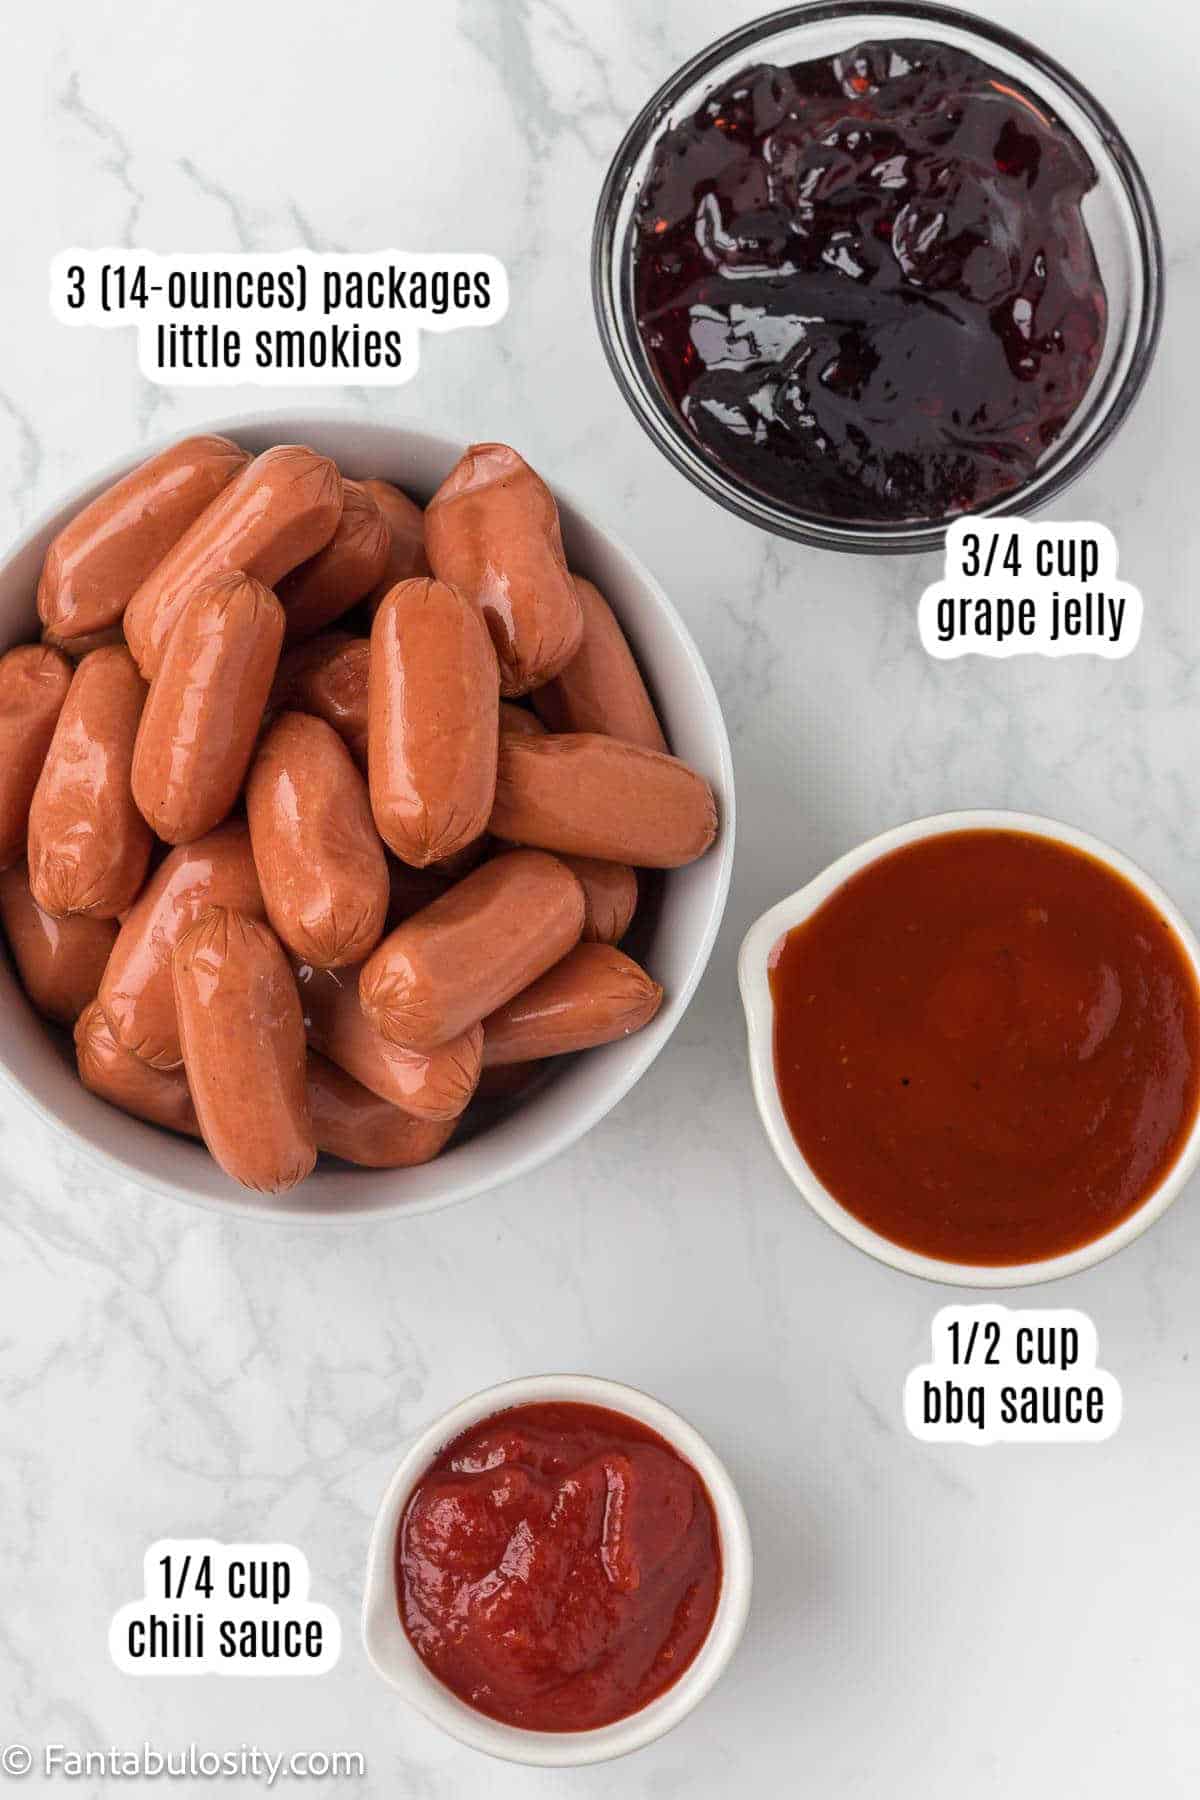
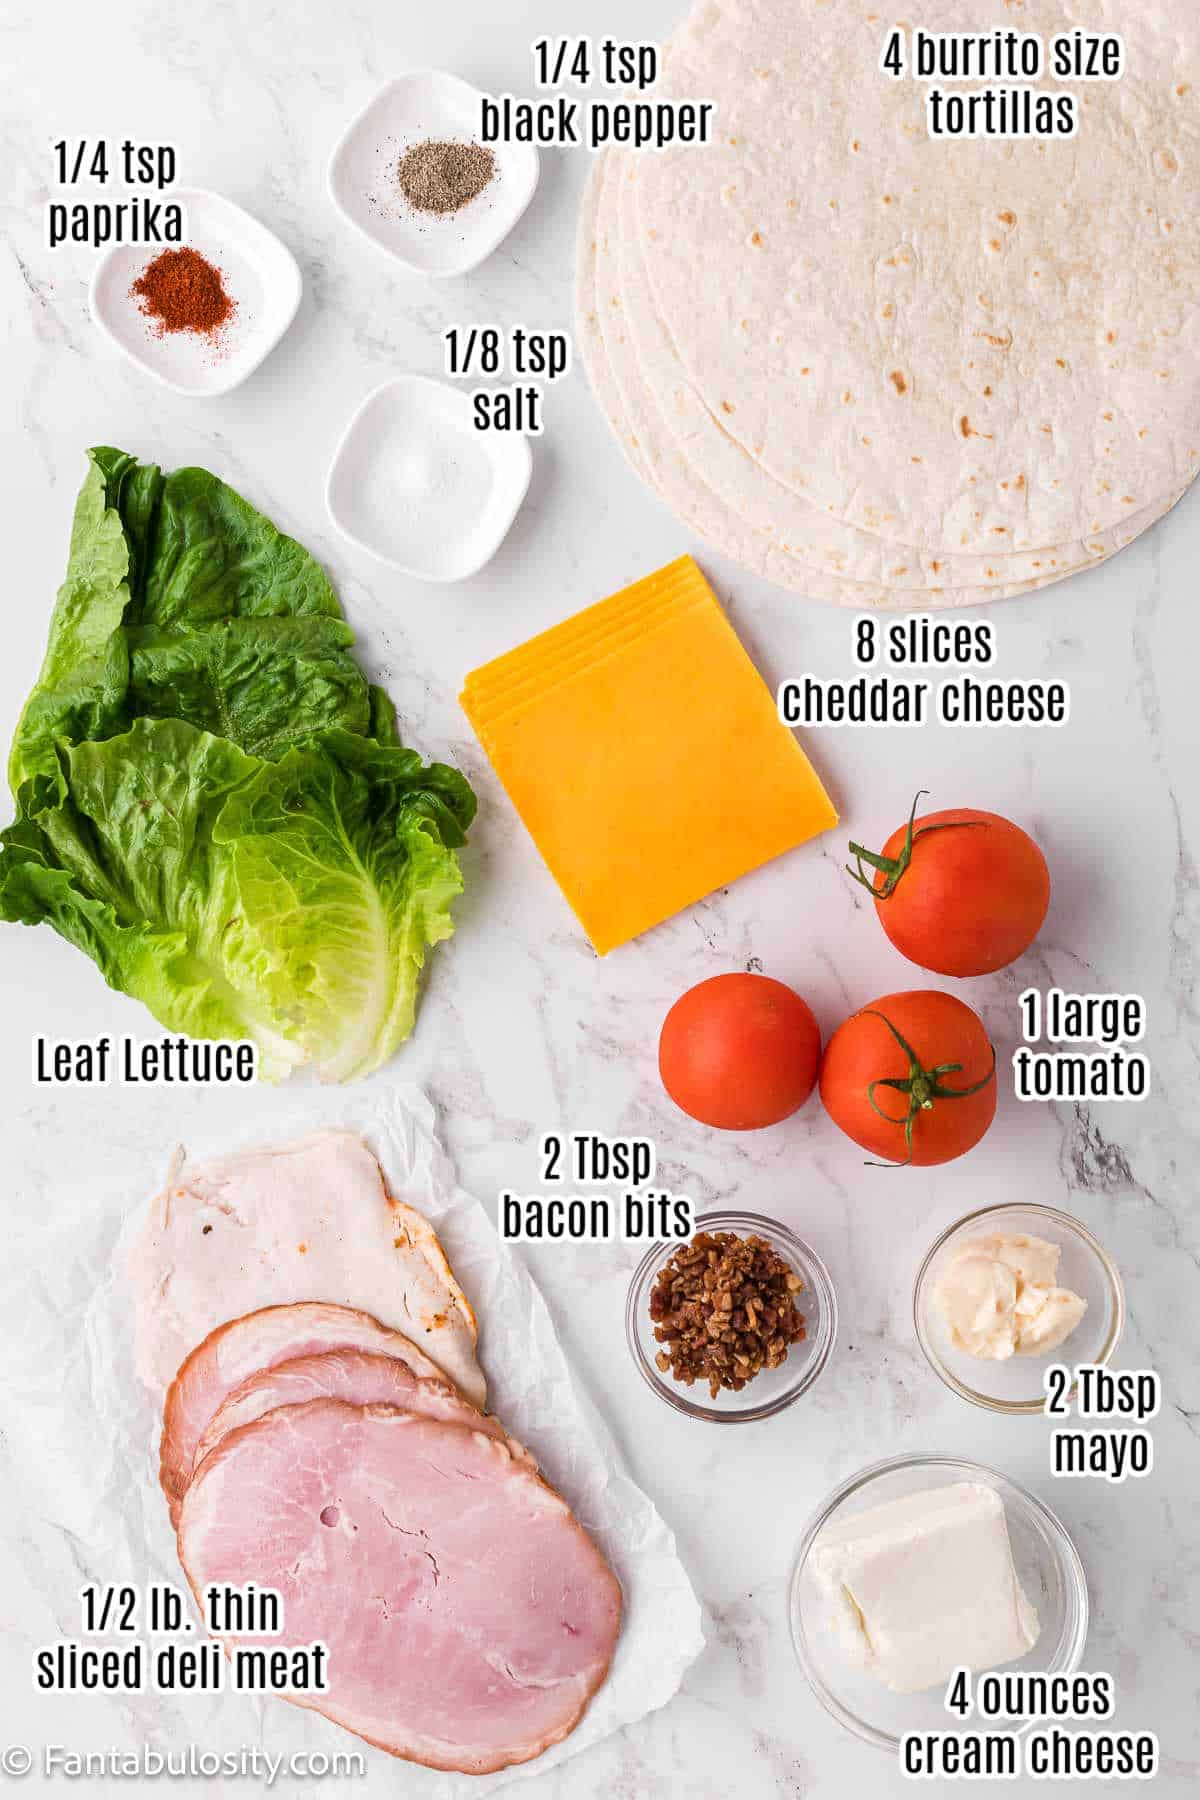
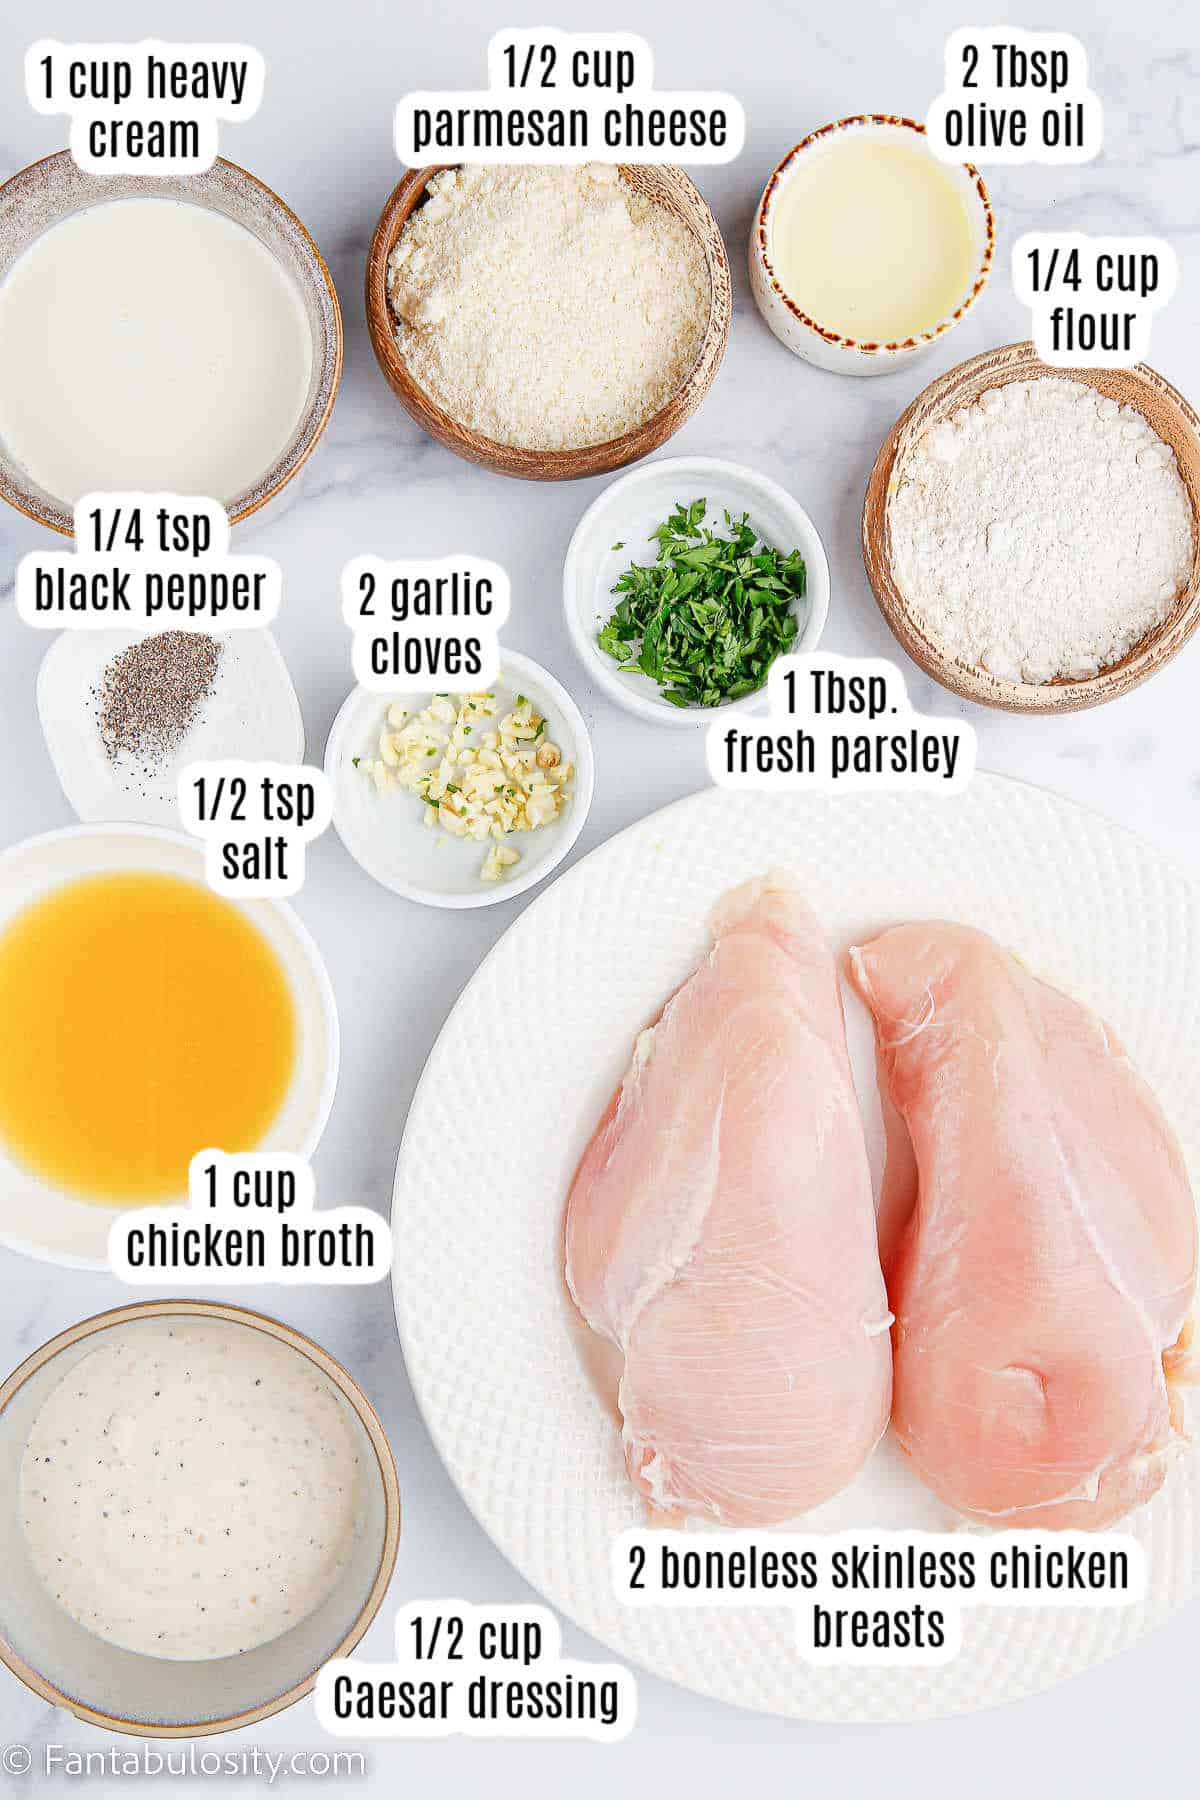
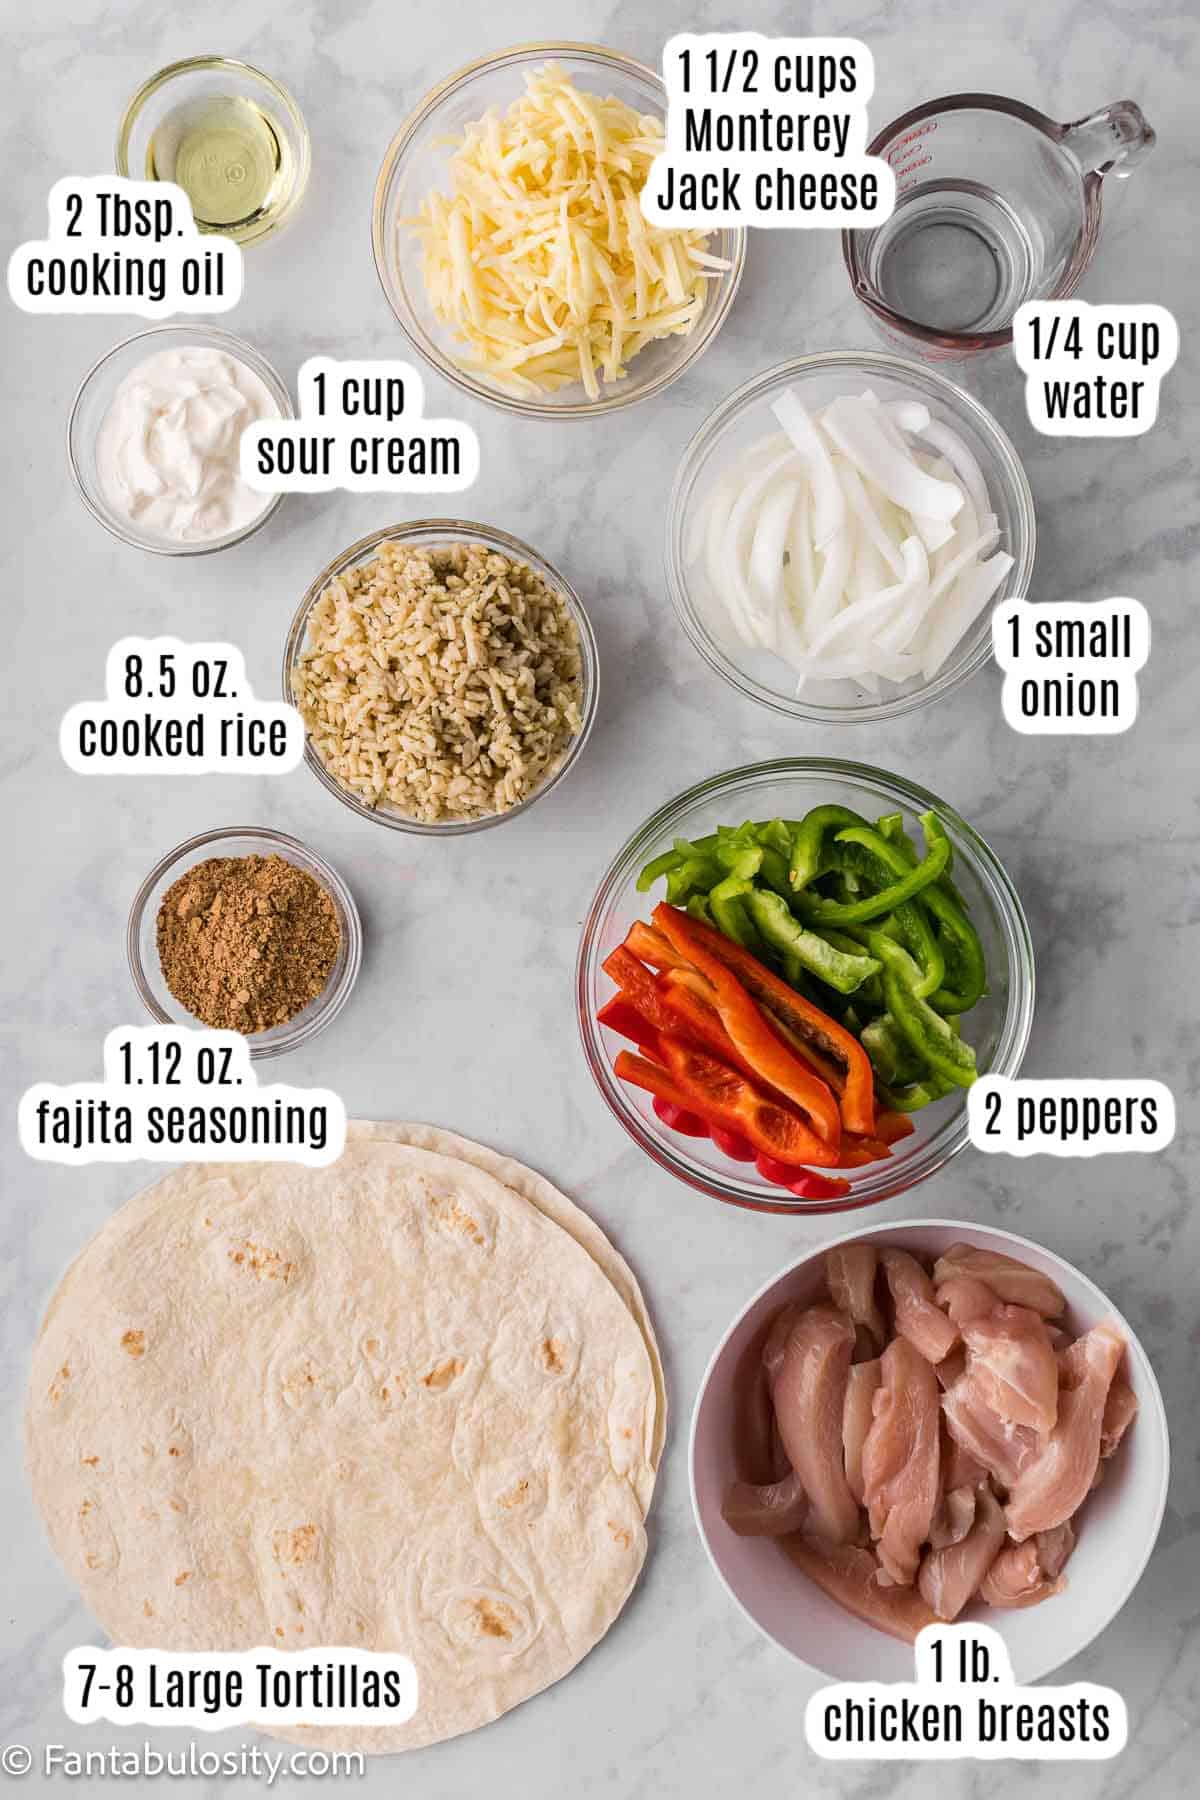
Ingredients Needed
I’ve highlighted a couple of ingredients below with some relevant notes. Aside from this, the ingredients needed are pretty basic.
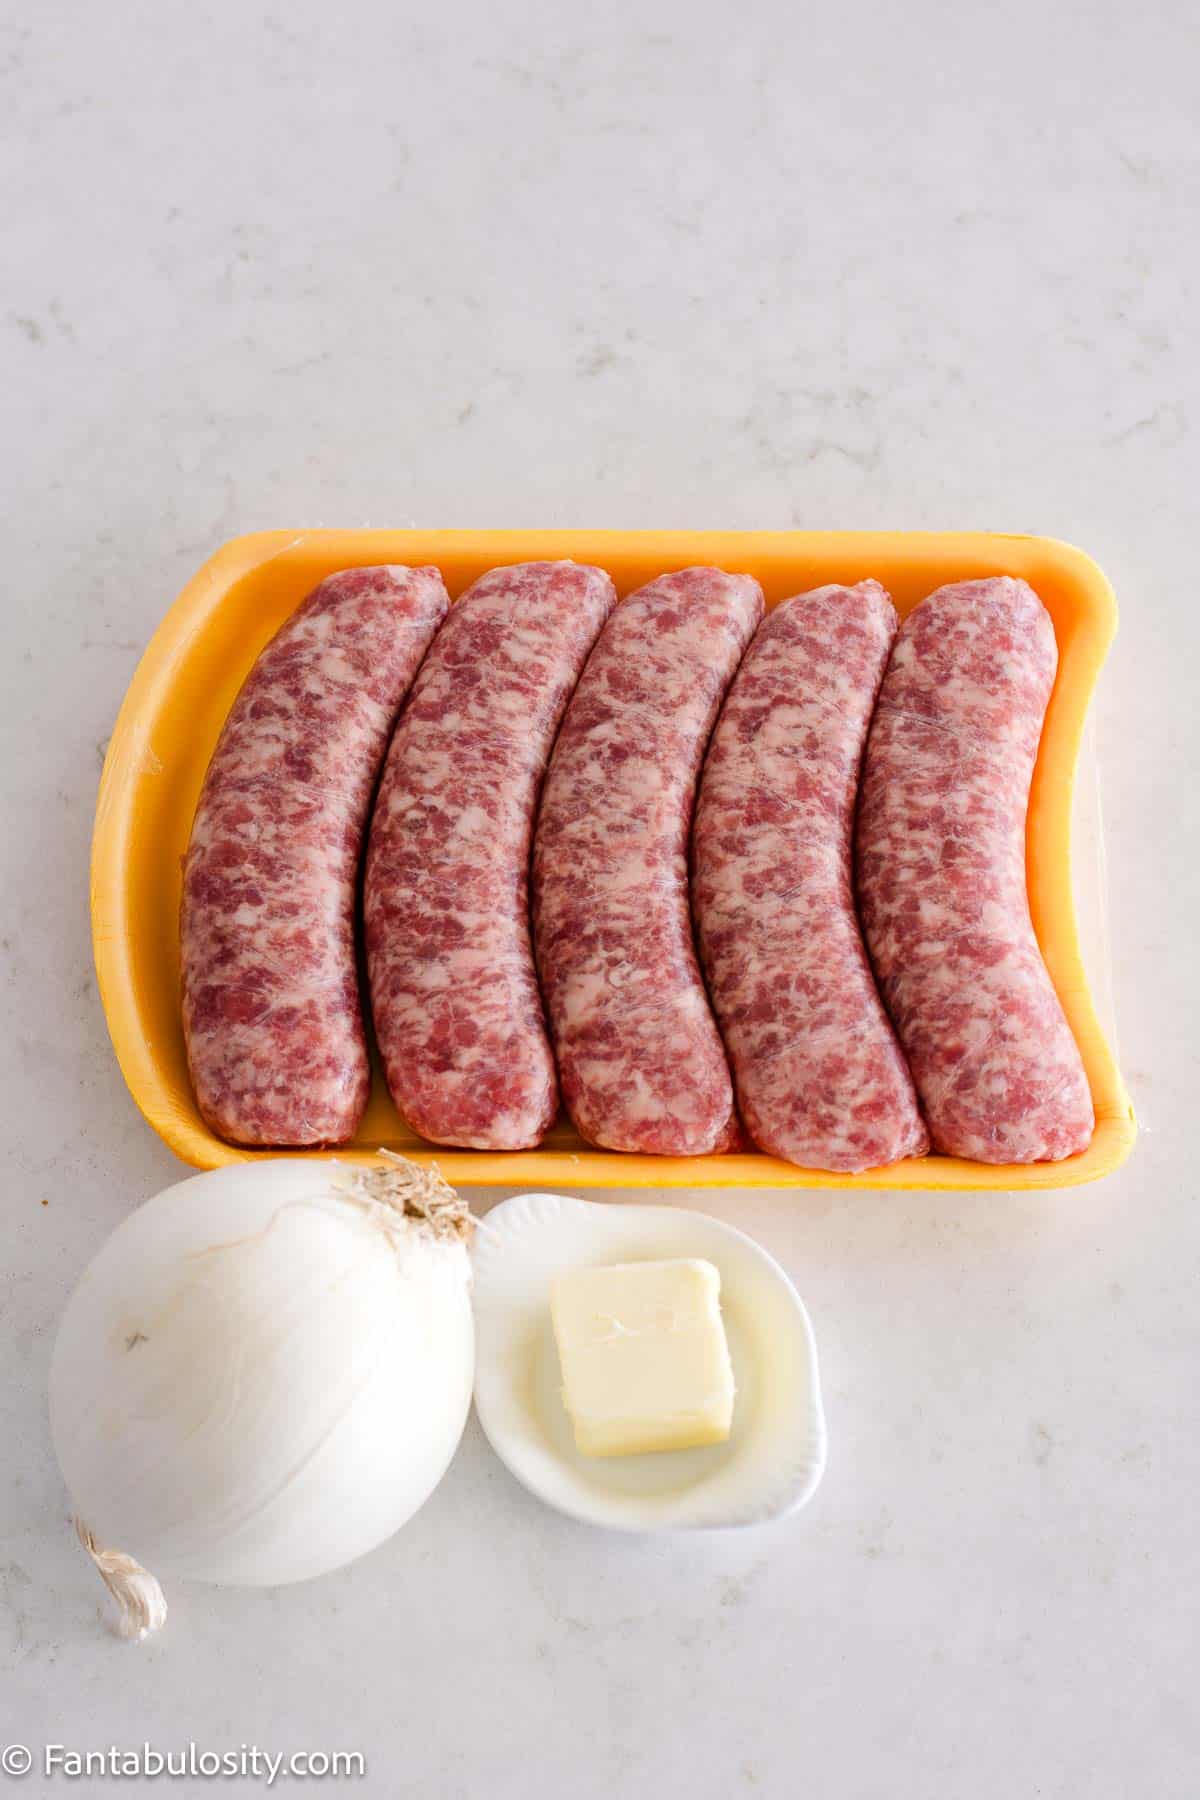
- Brats – Select your favorite brand and flavor, whether it’s beer, cheese, etc.
- Onion – This helps to add a layer of flavor to the pan, similar to how we use them in this fried potatoes recipe.
- Butter – Perfect for frying onions and locking in the flavor on the brats.
Substitutions
Sometimes substitutions are necessary because of ingredients that are unavailable or needed for dietary restrictions. Here are some suggestions that can help:
- Onion – feel free to use yellow or sweet onions if that’s what you get at the store. And if you really love onions, nothing is stopping you from using the entire thing! Just keep in mind you may need to use more butter.
- Liquid – I love to cook brats in a pan on the stove with water; the butter and onions do all the flavoring. However, if you’re looking for a bit more oomph, you can use beef broth or beer as your liquid.
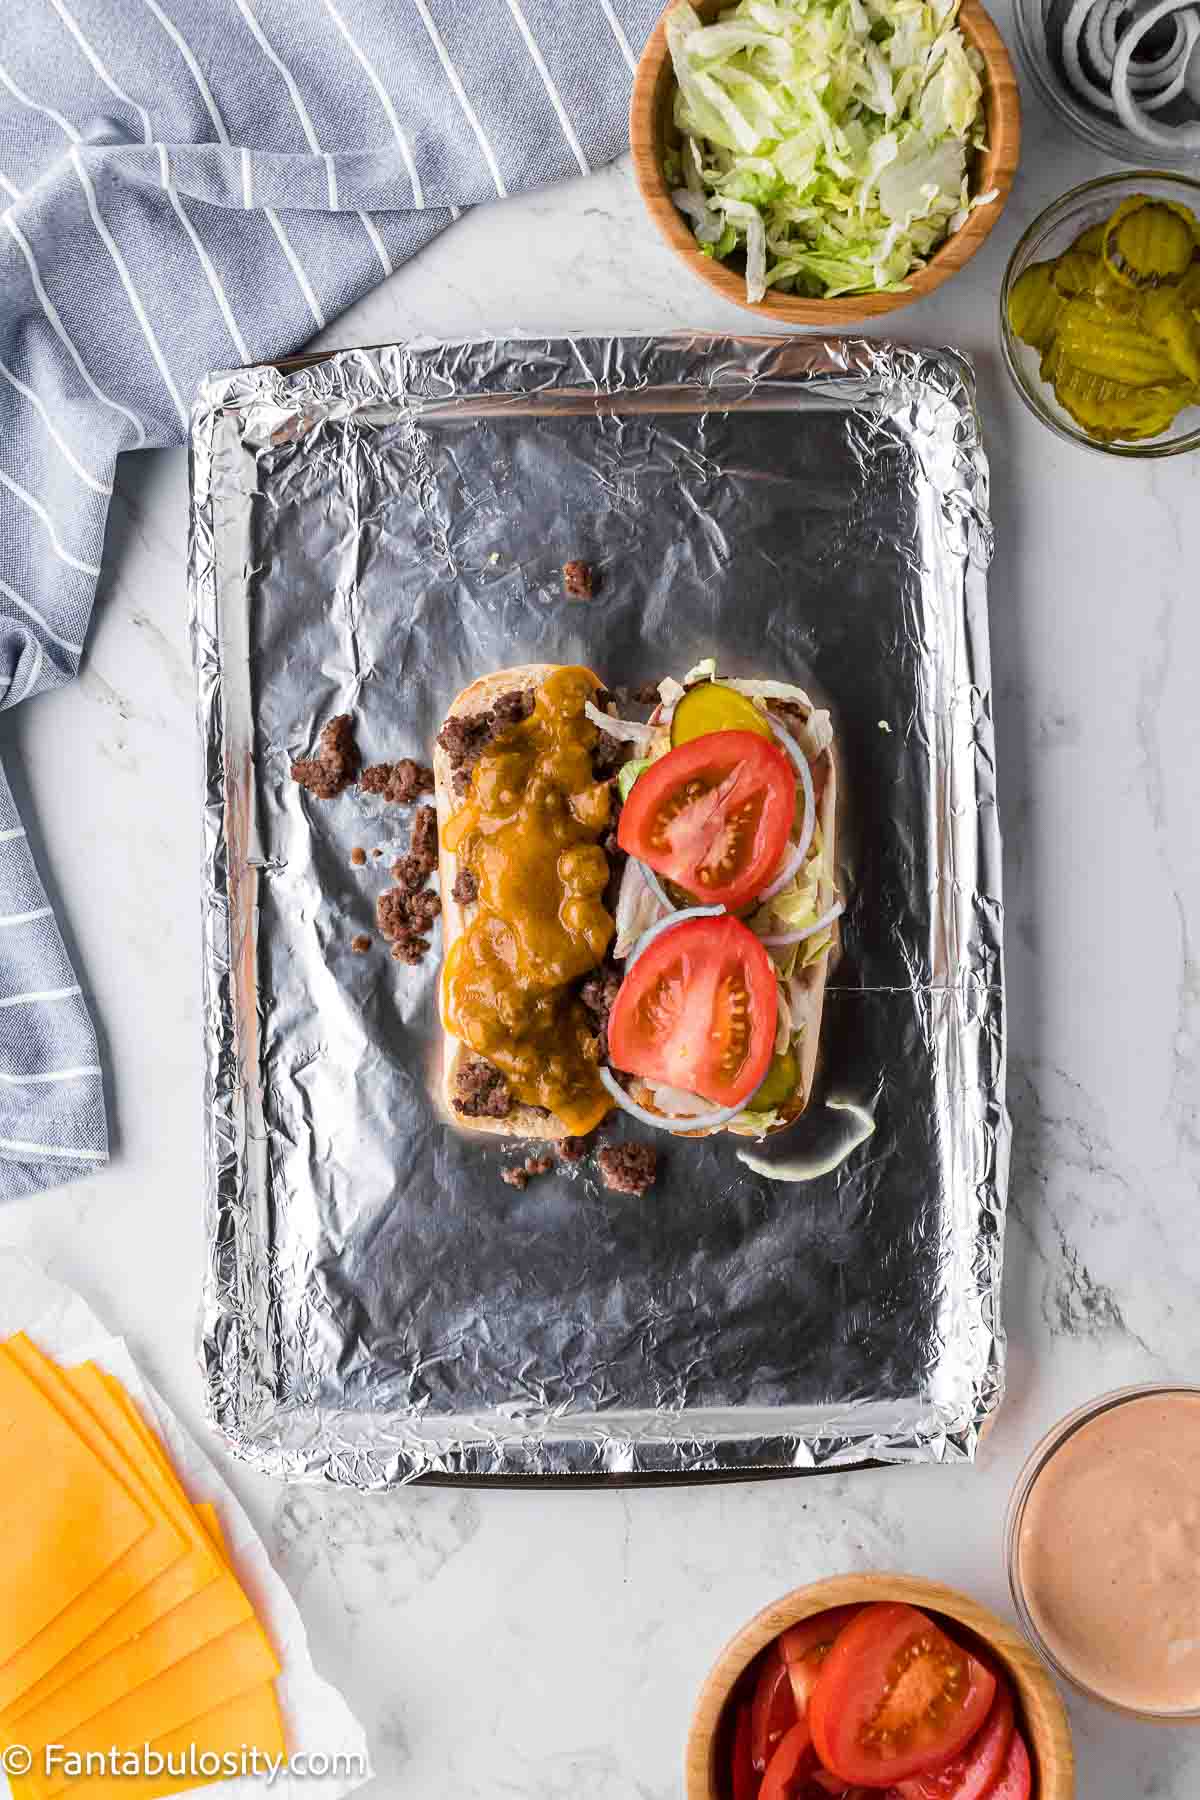
How to Make Brats Indoors
*Be sure to see the recipe card below for the full ingredients list & instructions!*
Select your favorite skillet! Nonstick or stainless is fine, but I always reach for cast iron. Mine is seasoned really well plus we are using butter, so the brats won’t stick and tear.
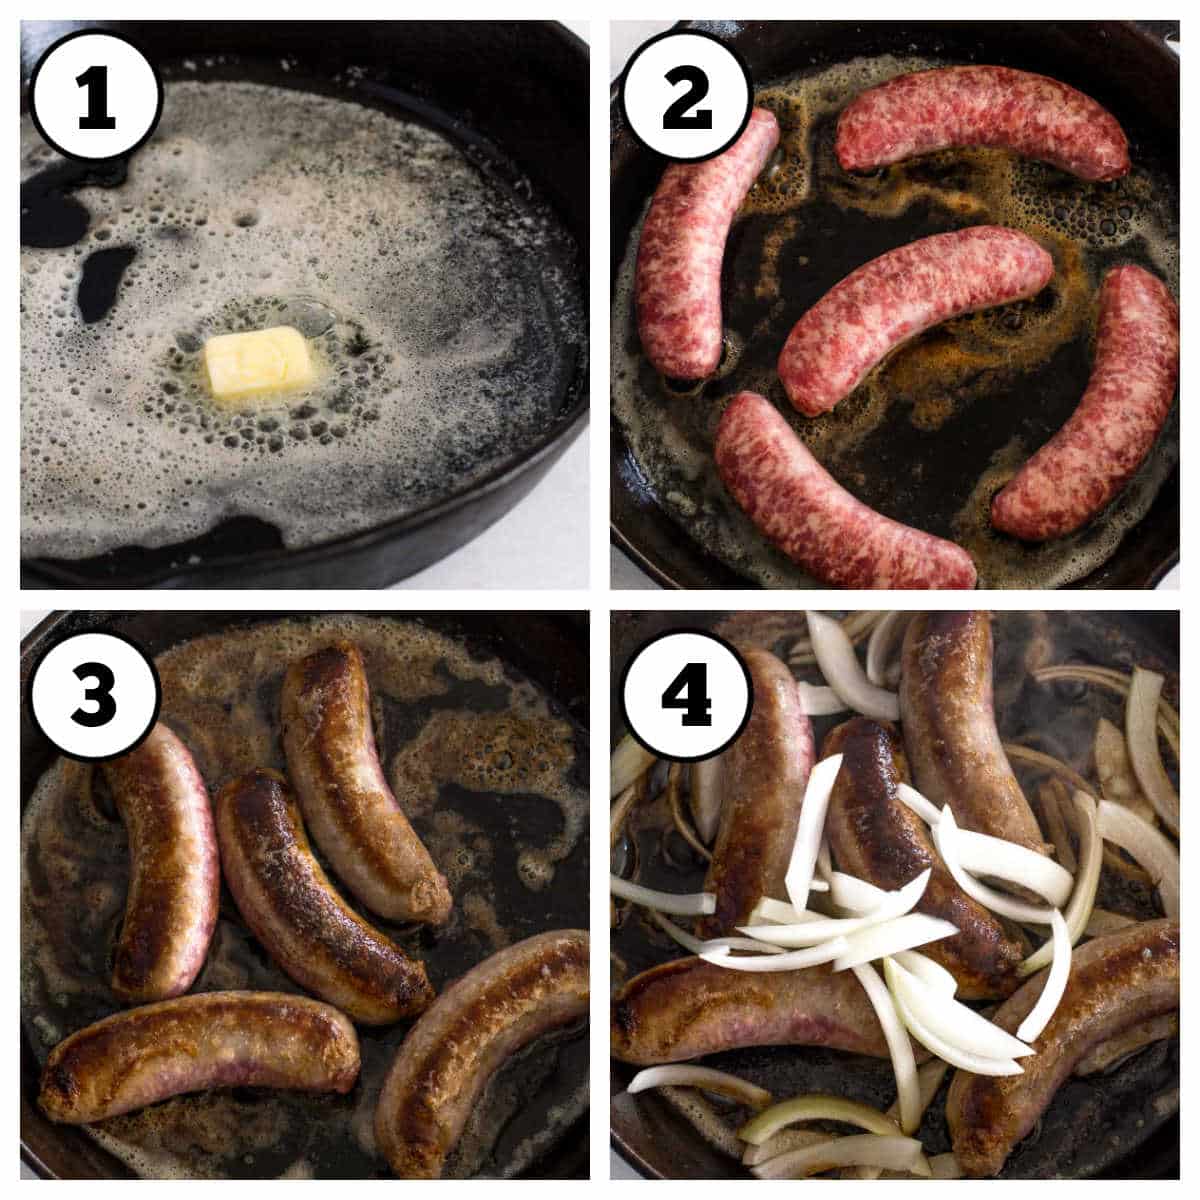
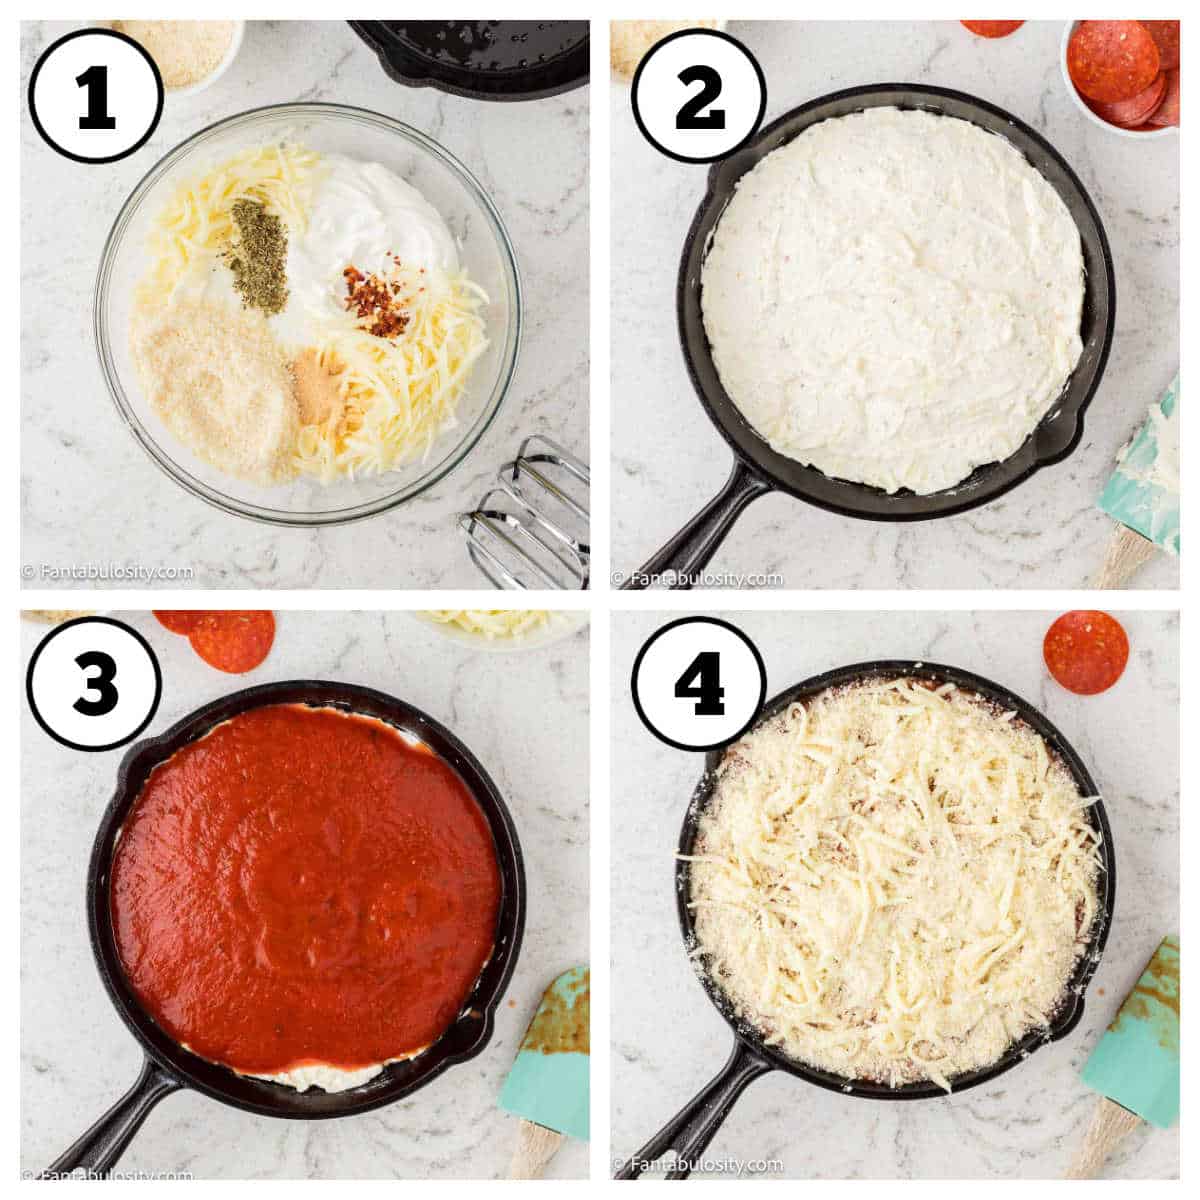
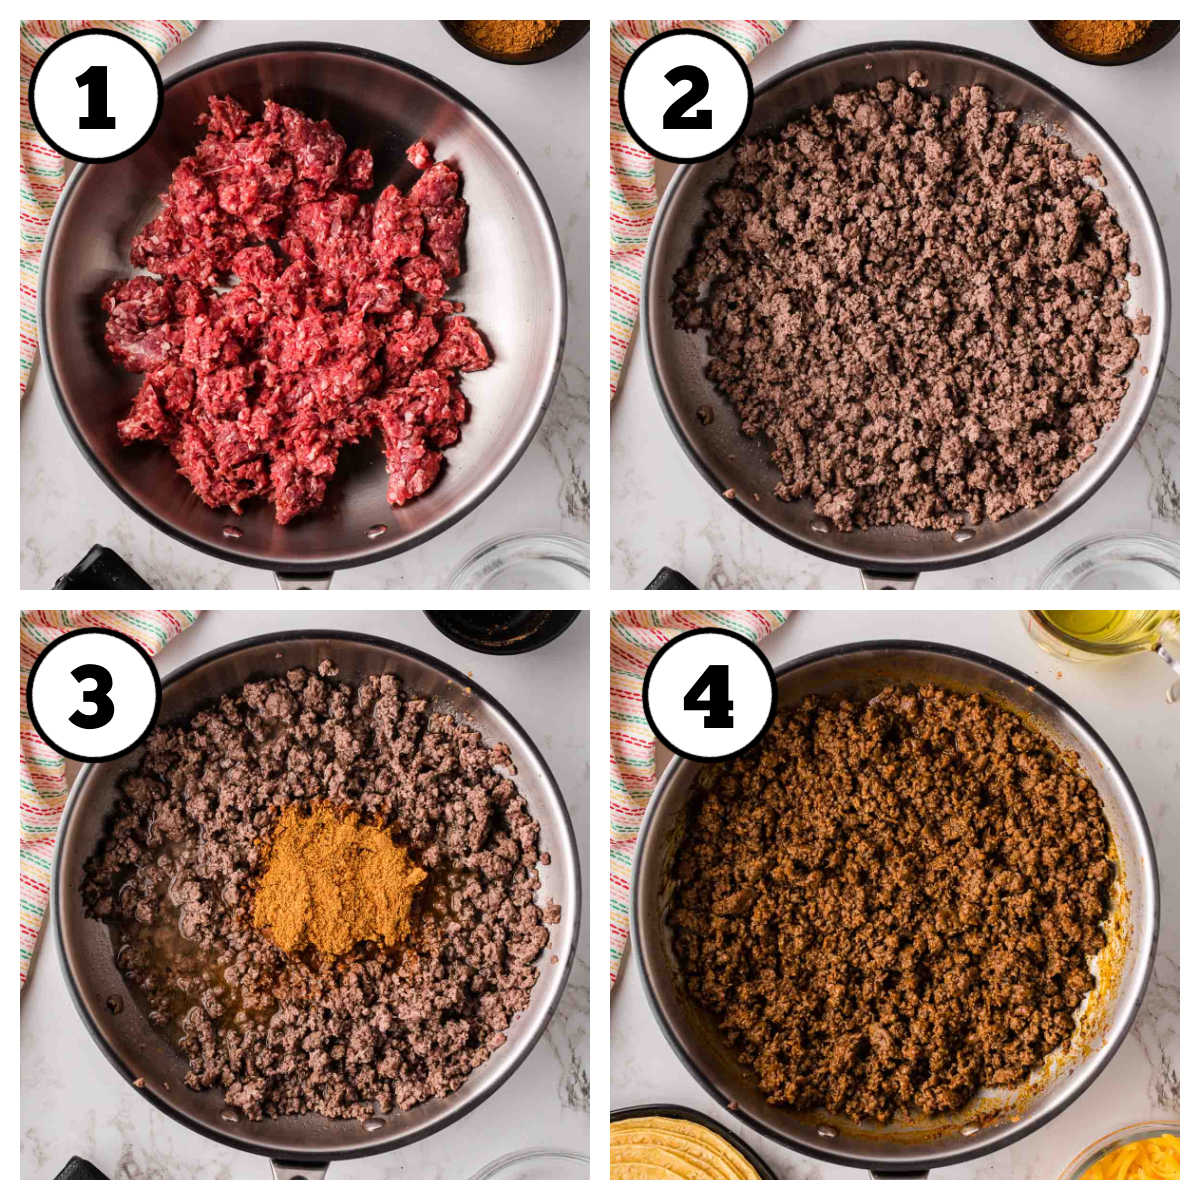
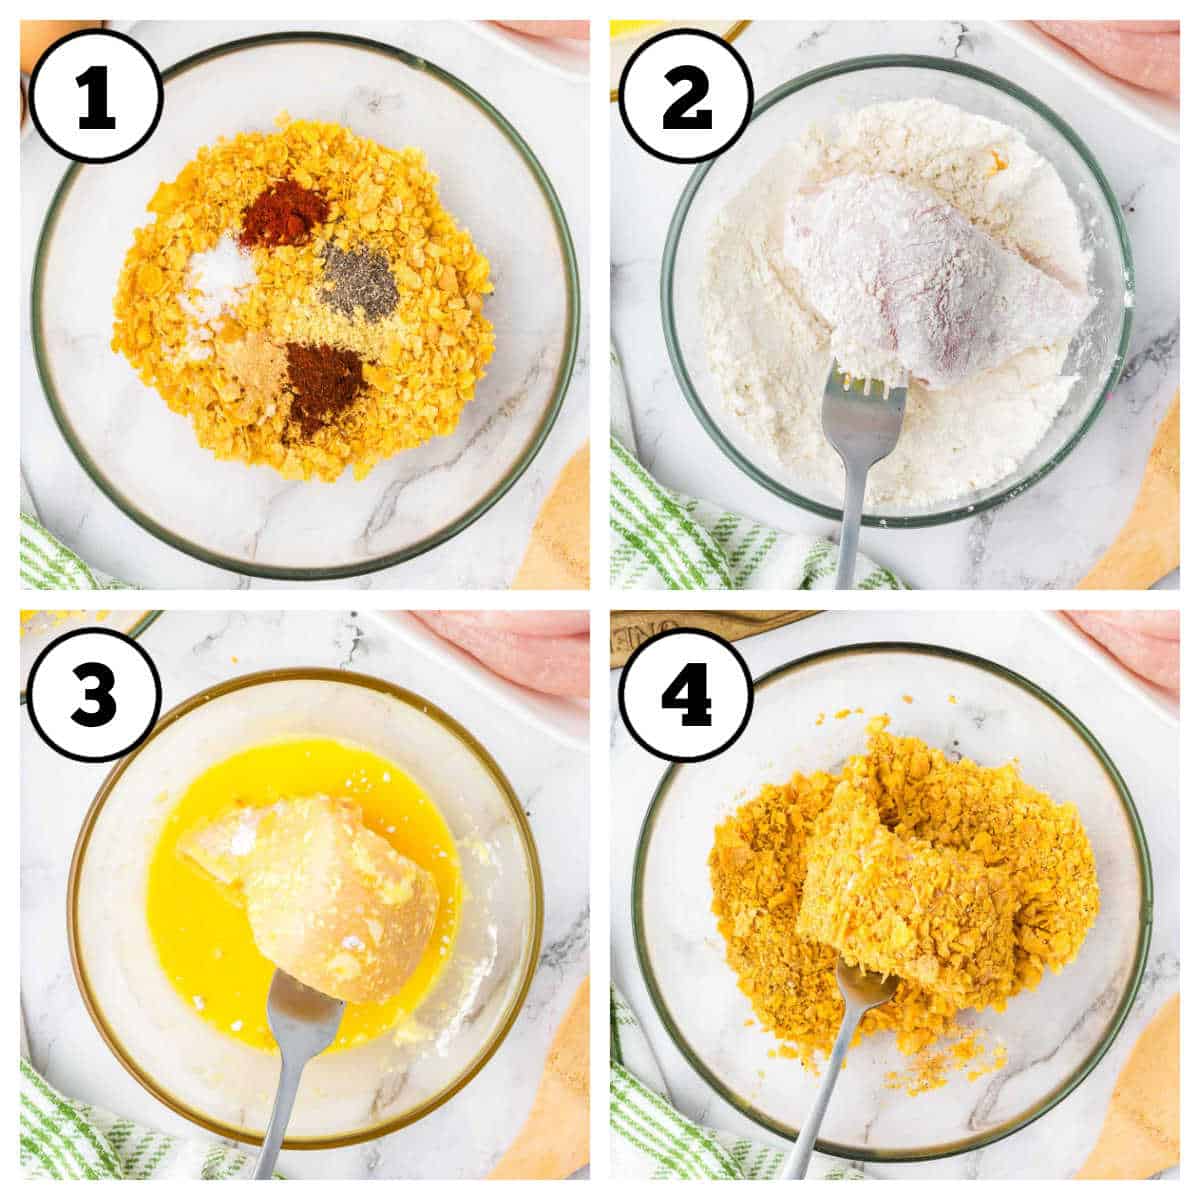
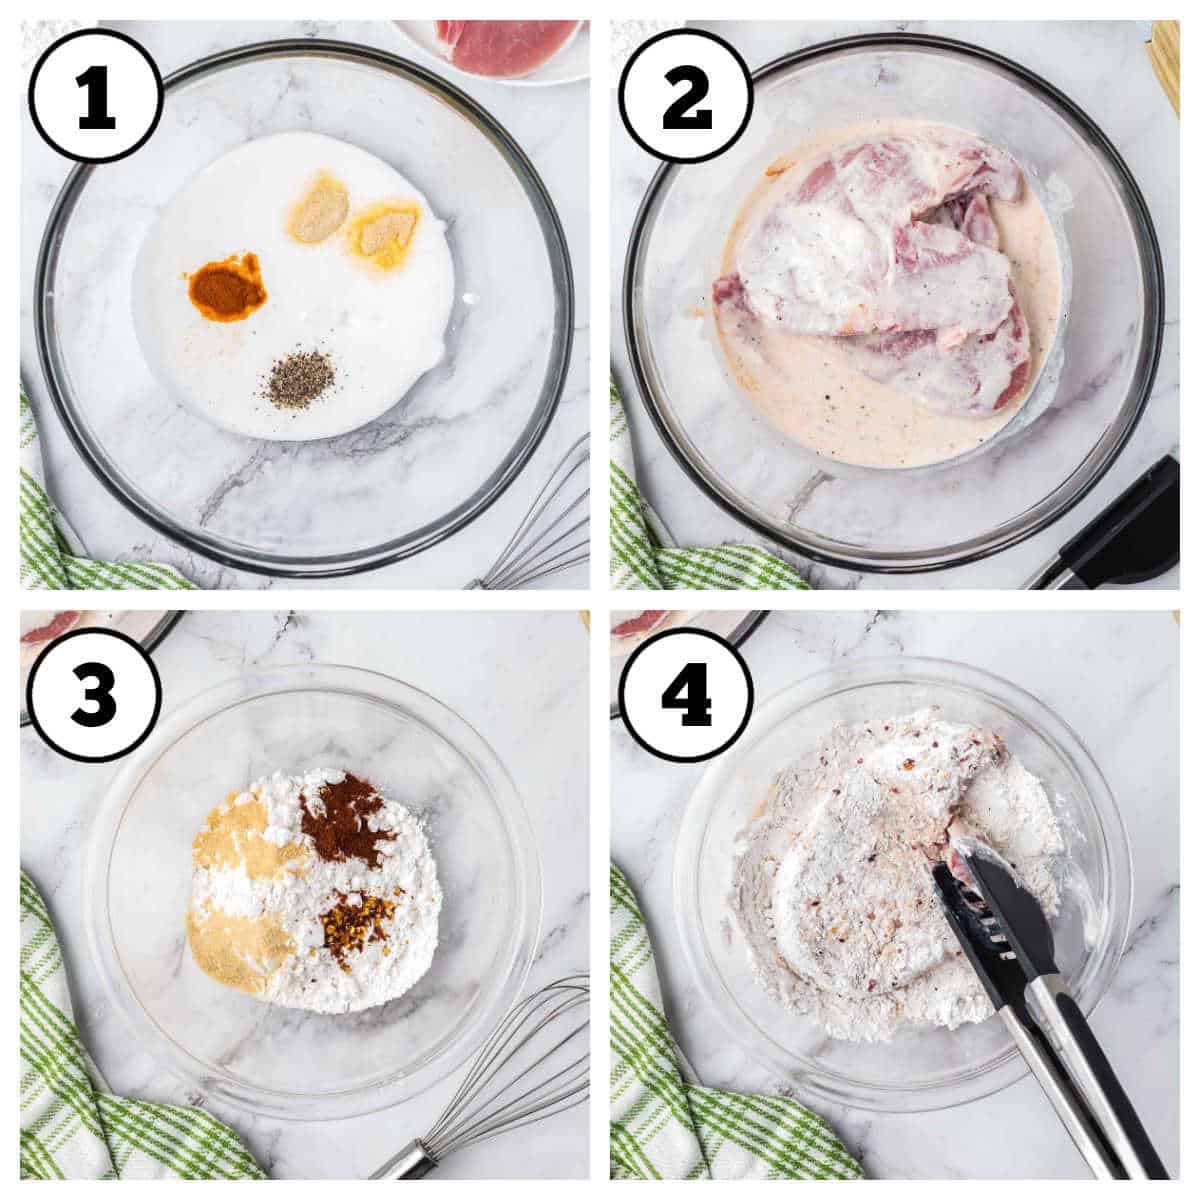
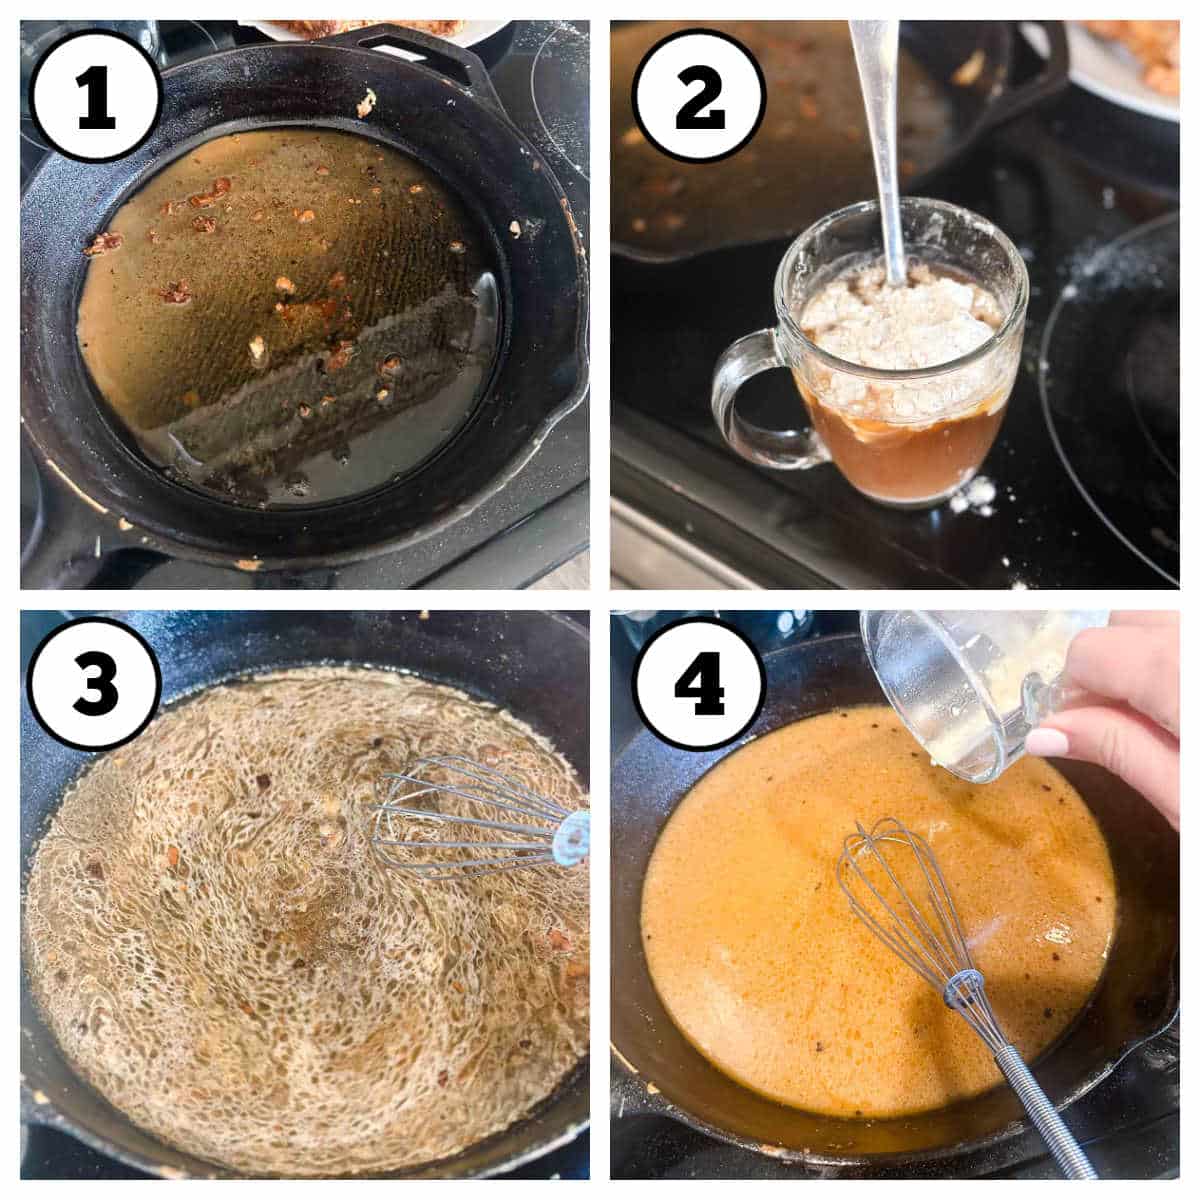
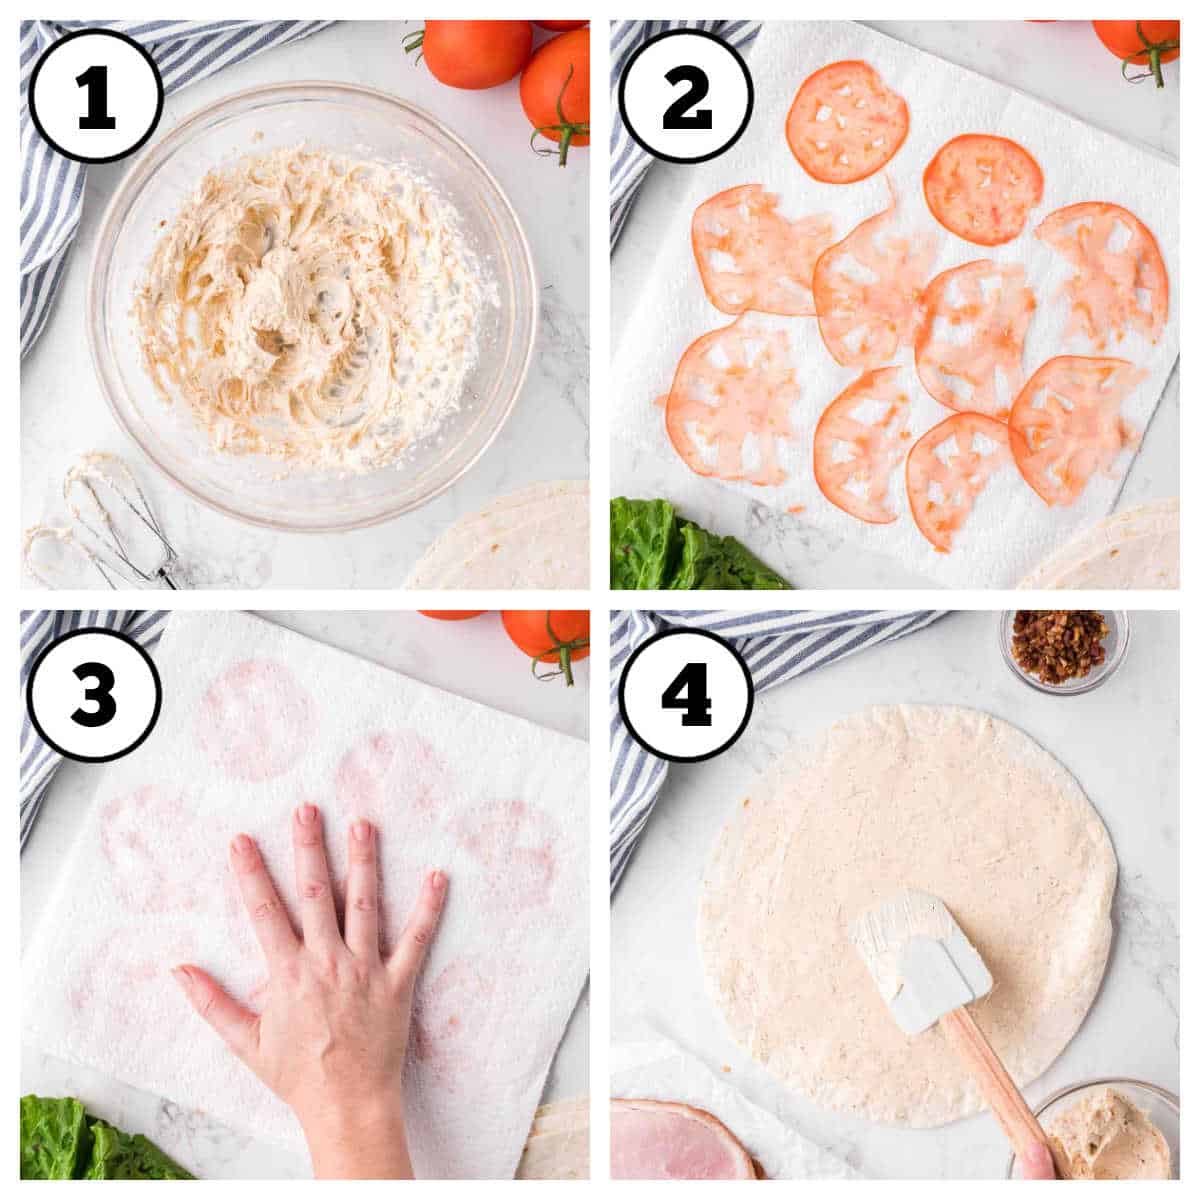
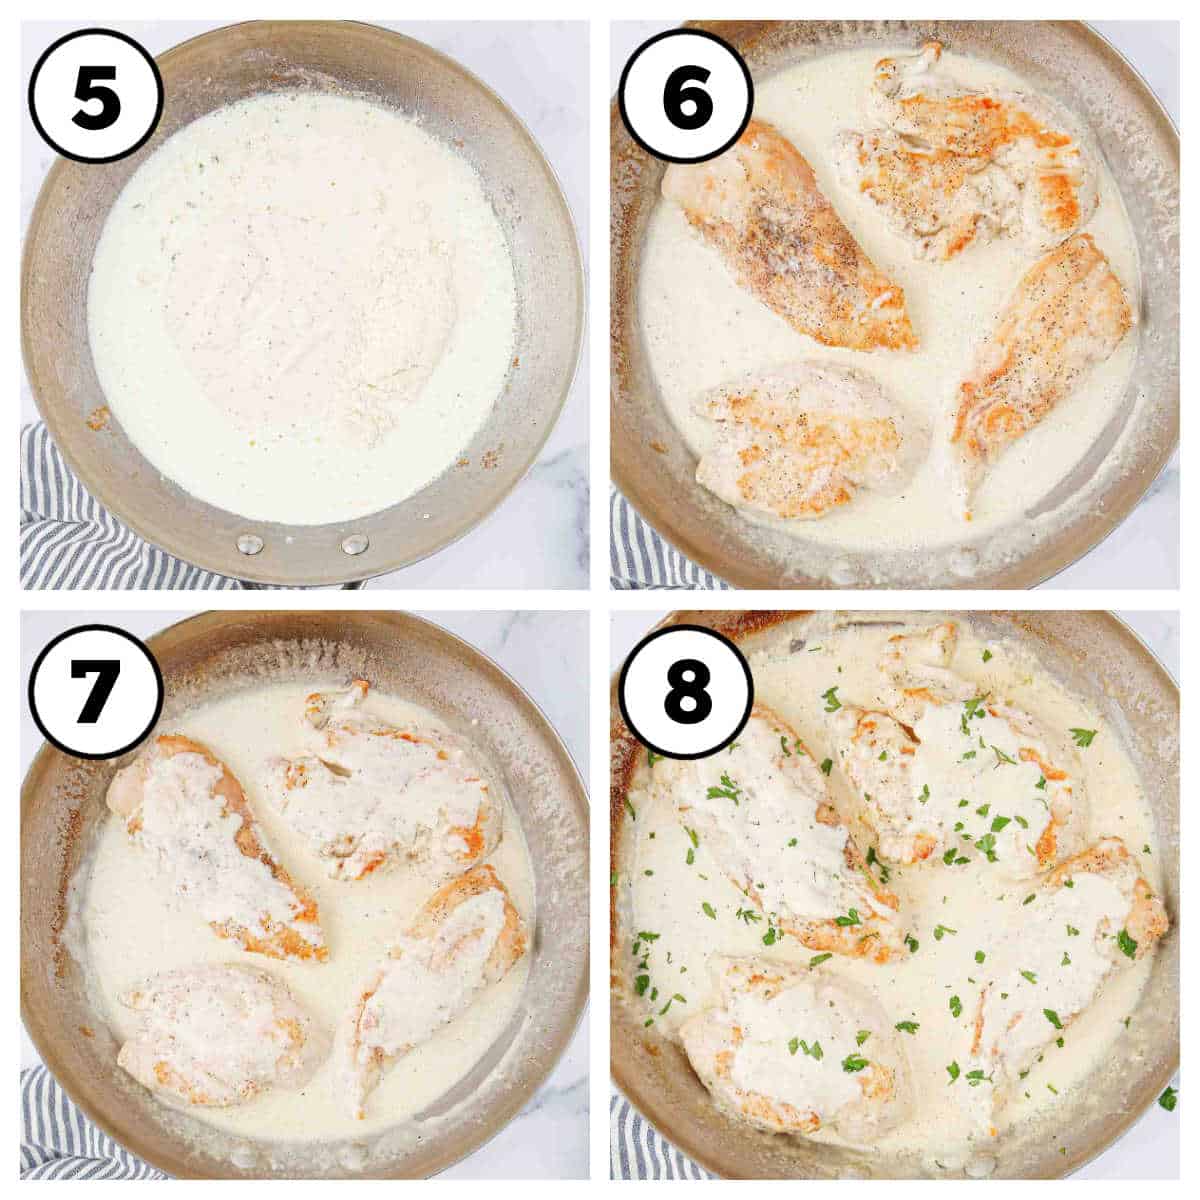
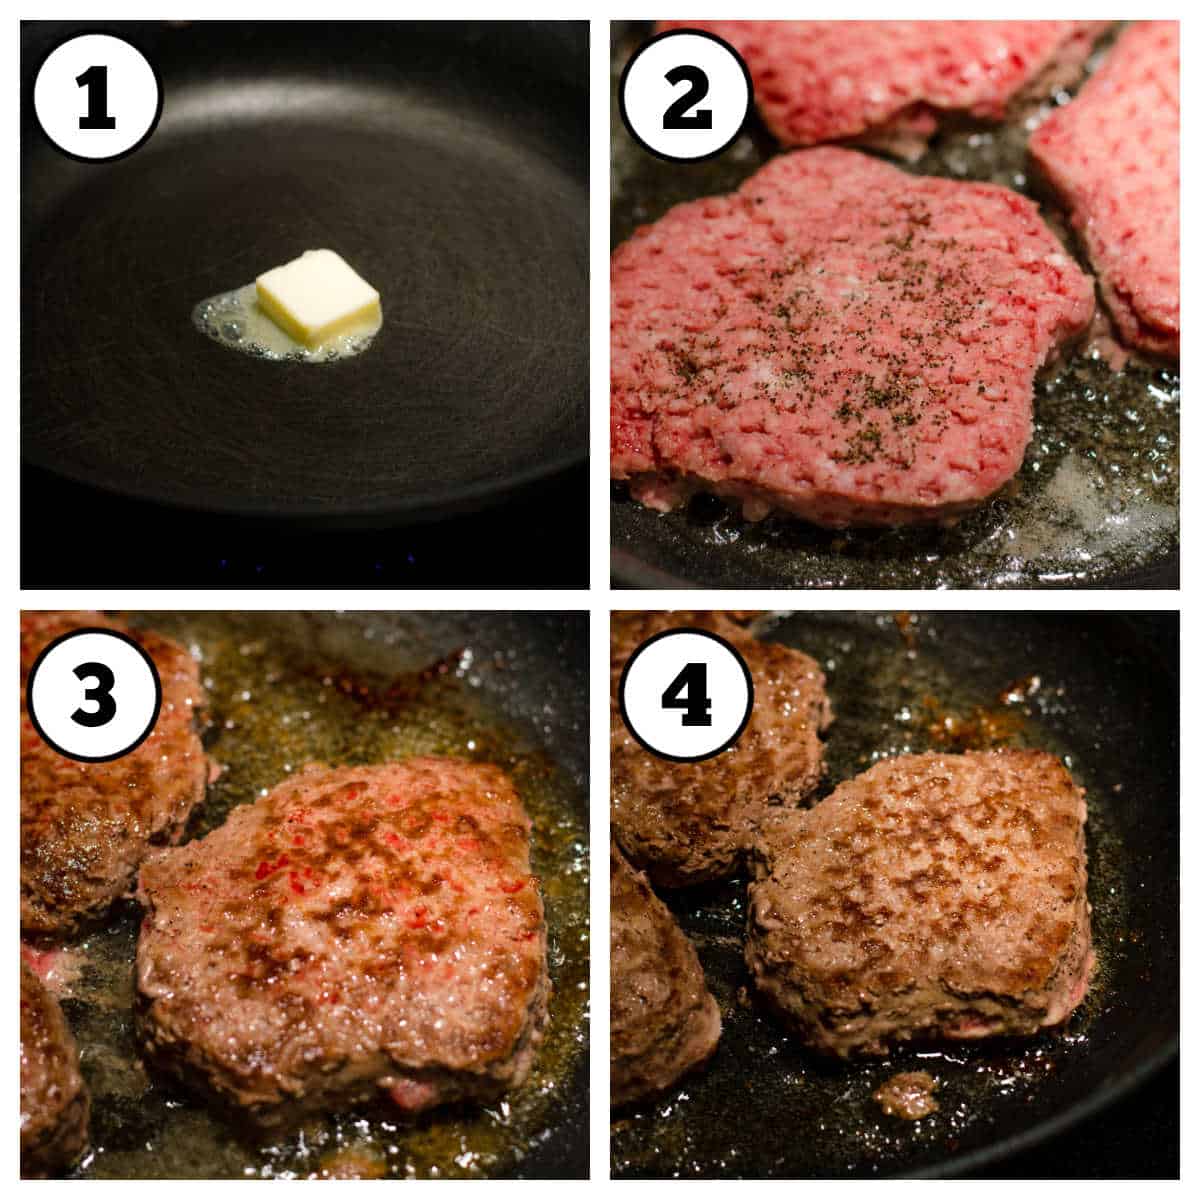
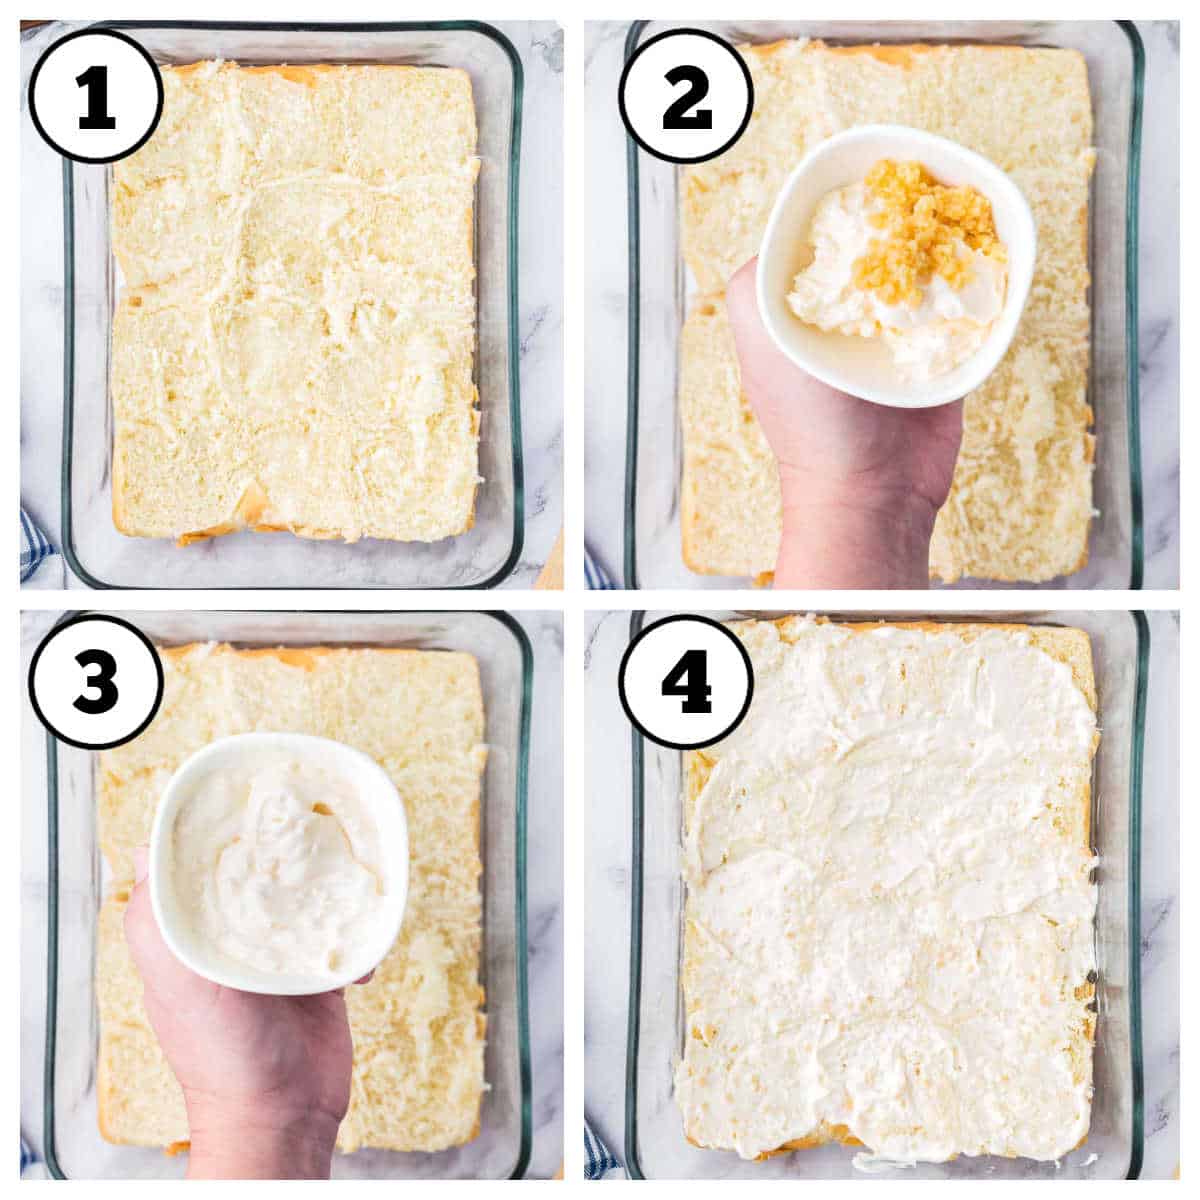
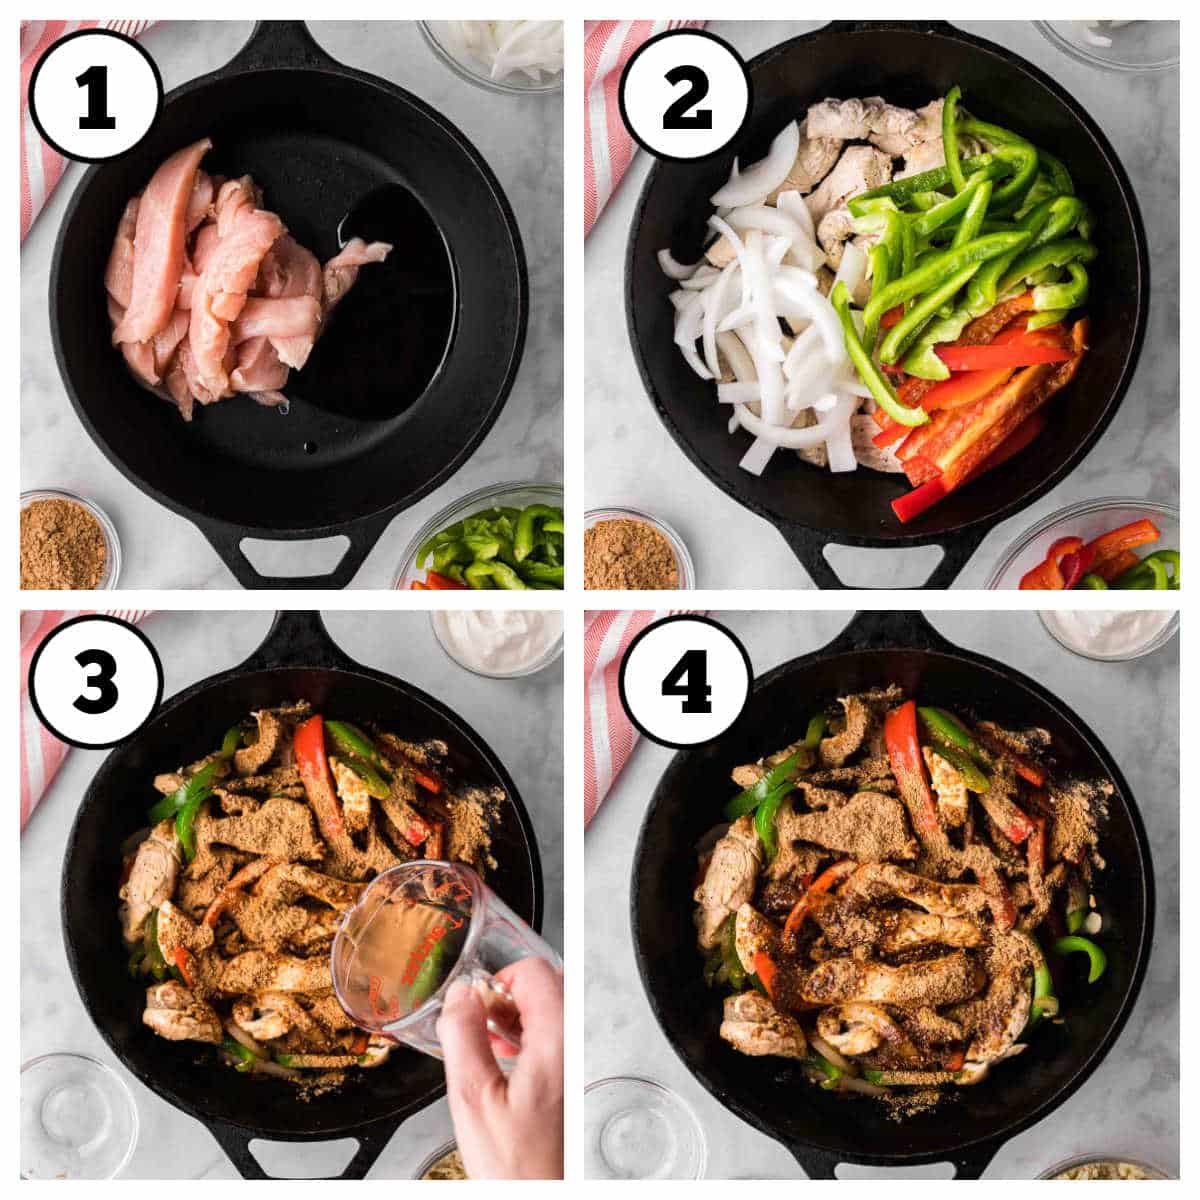
STEP 1. Melt butter. Melt the butter over medium-high heat(Image 1) then add the brats to sear on the first side (Image 2).
Tip: Don’t slice the onions too thinly. They will be cooking in liquid with the brats and you don’t want them to melt away into nothing.
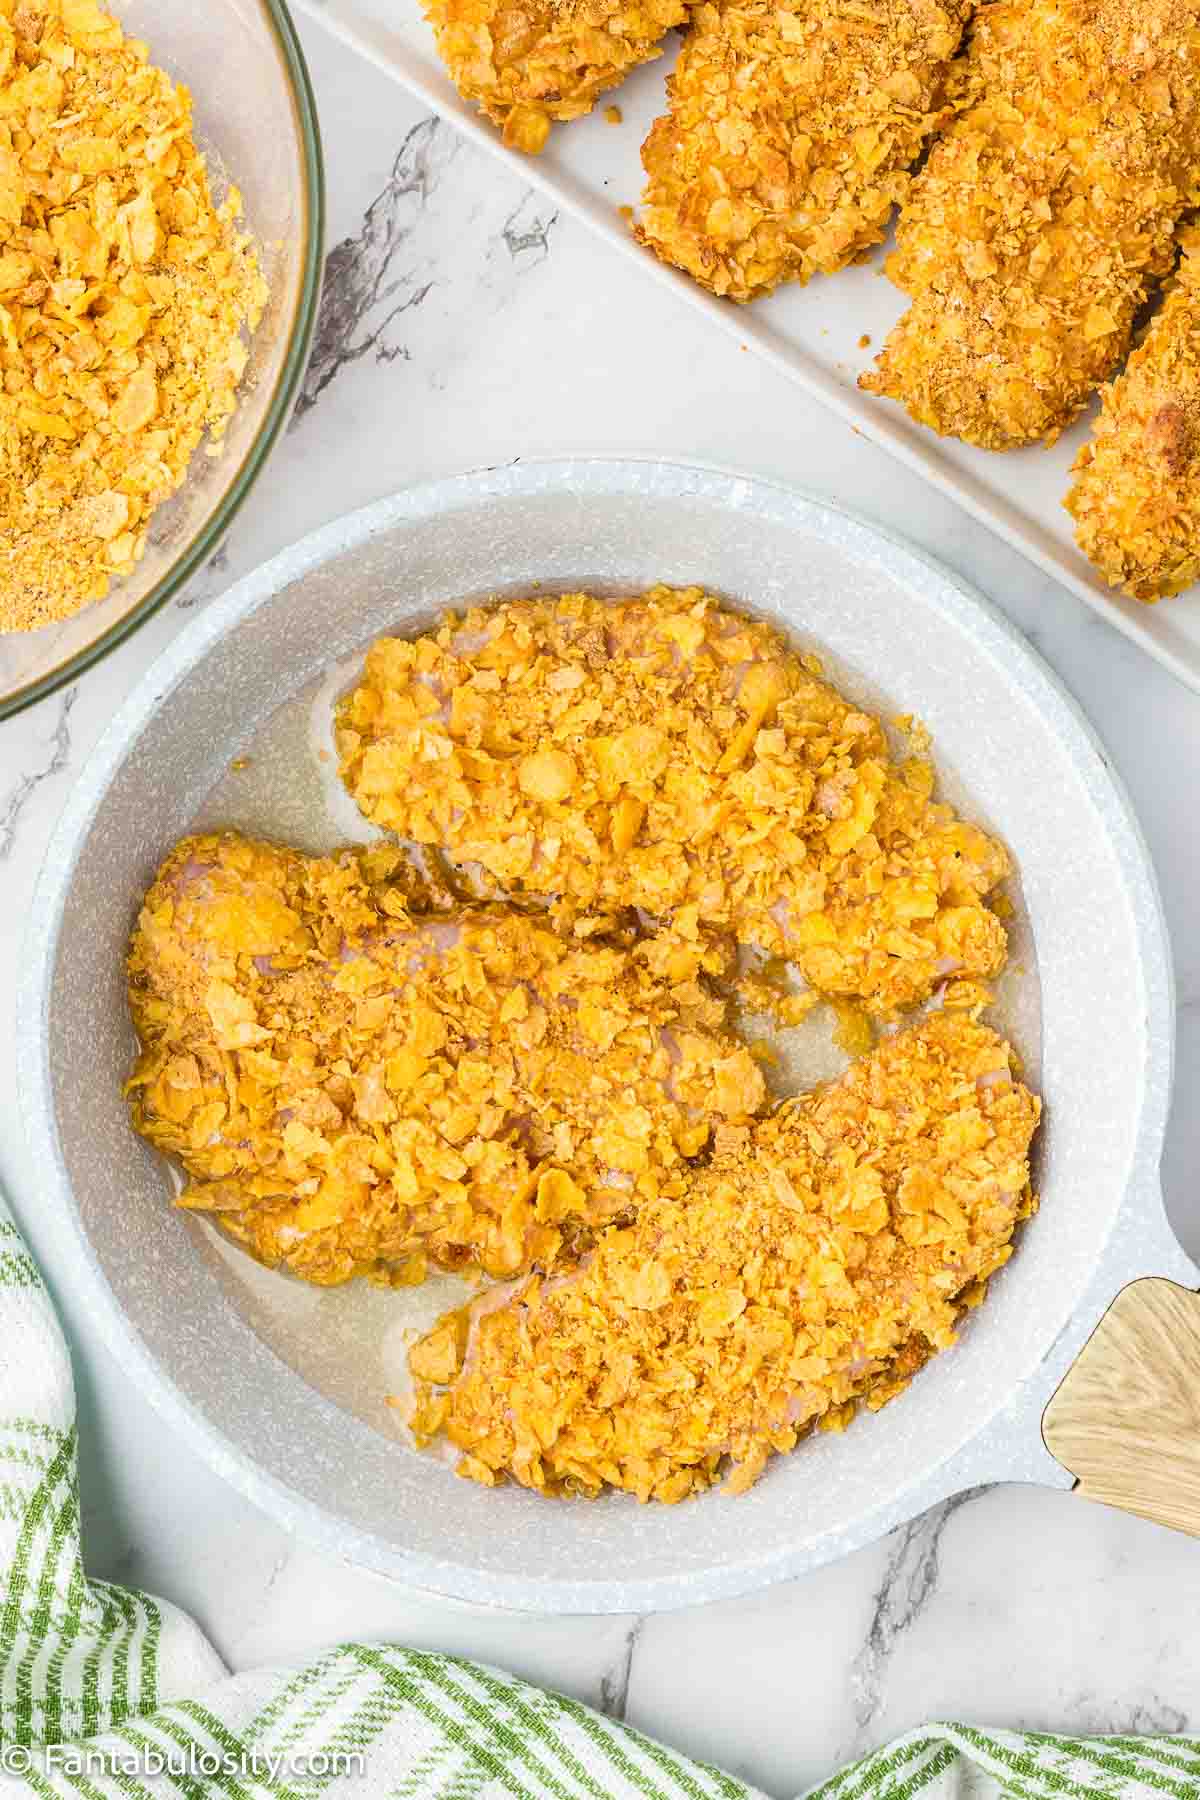
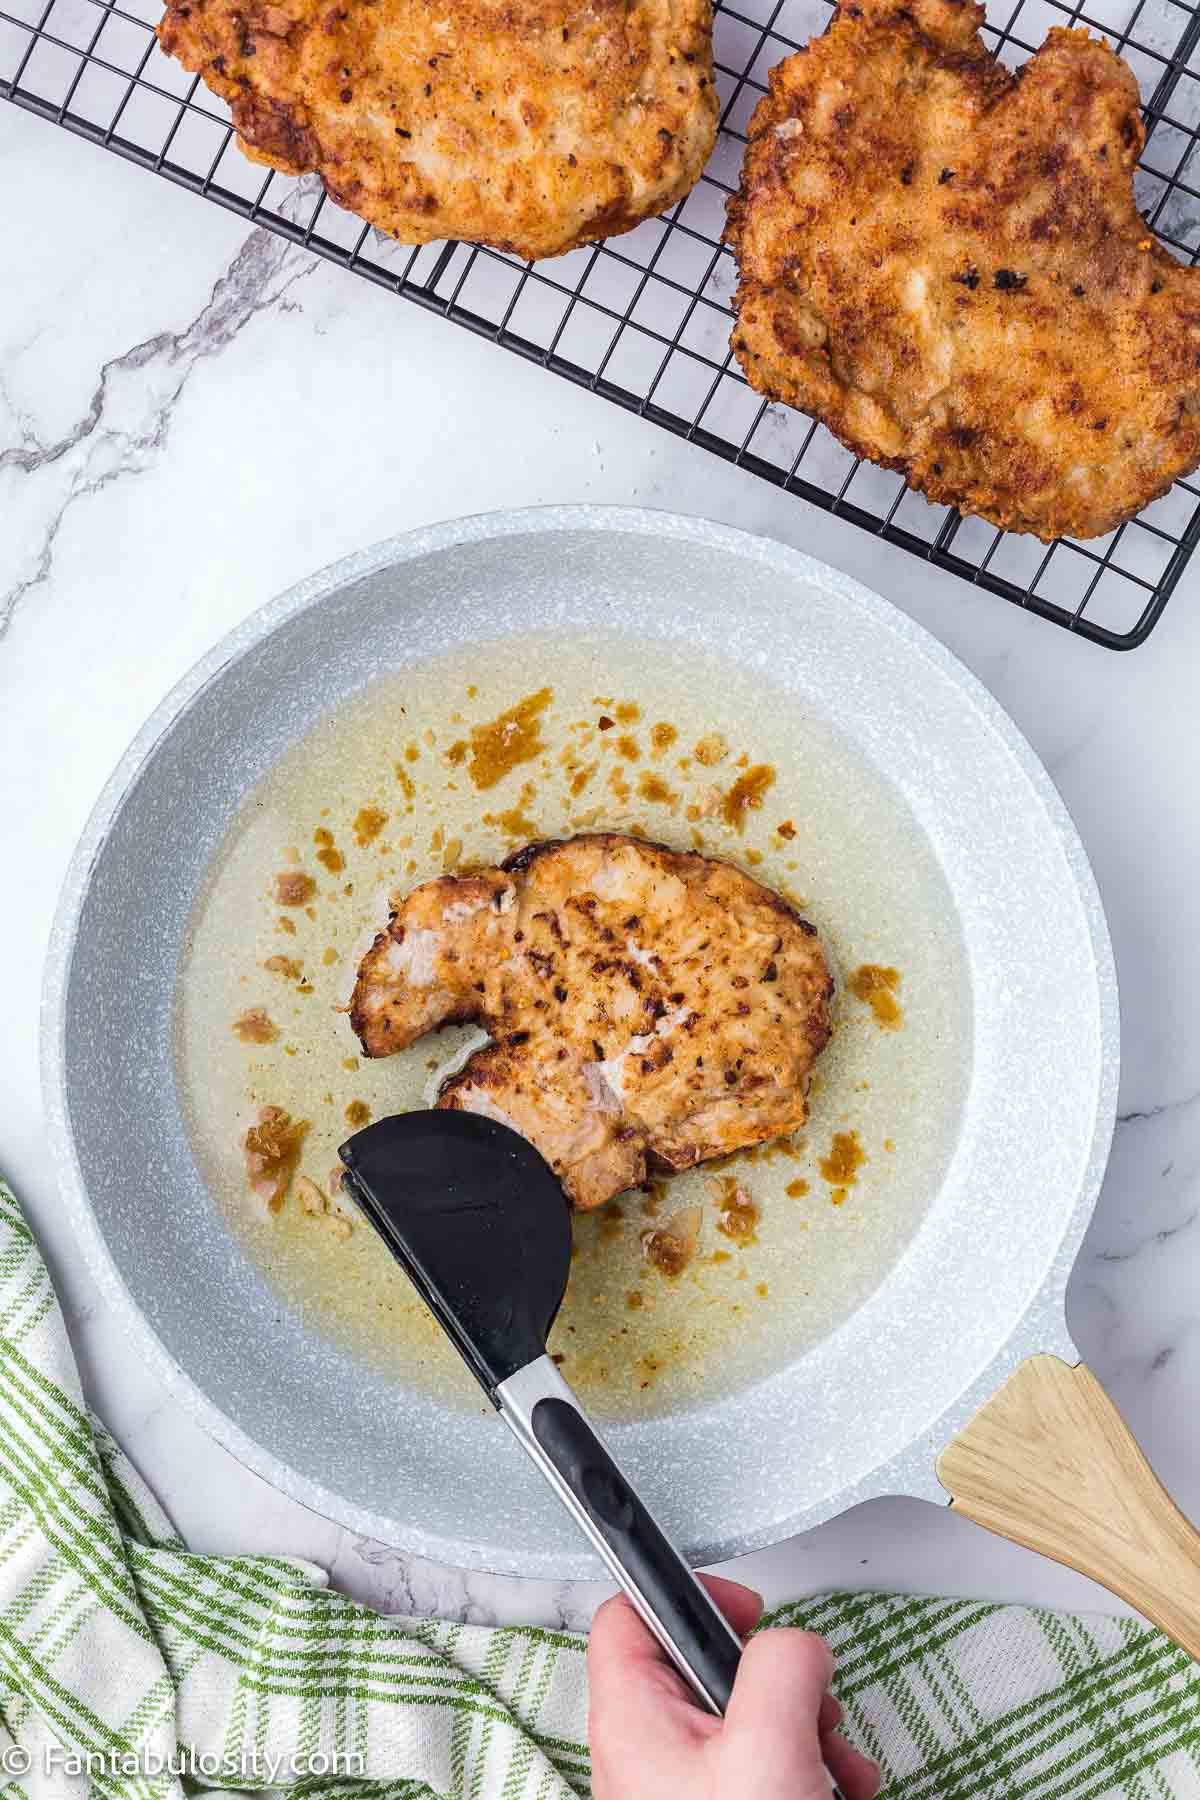
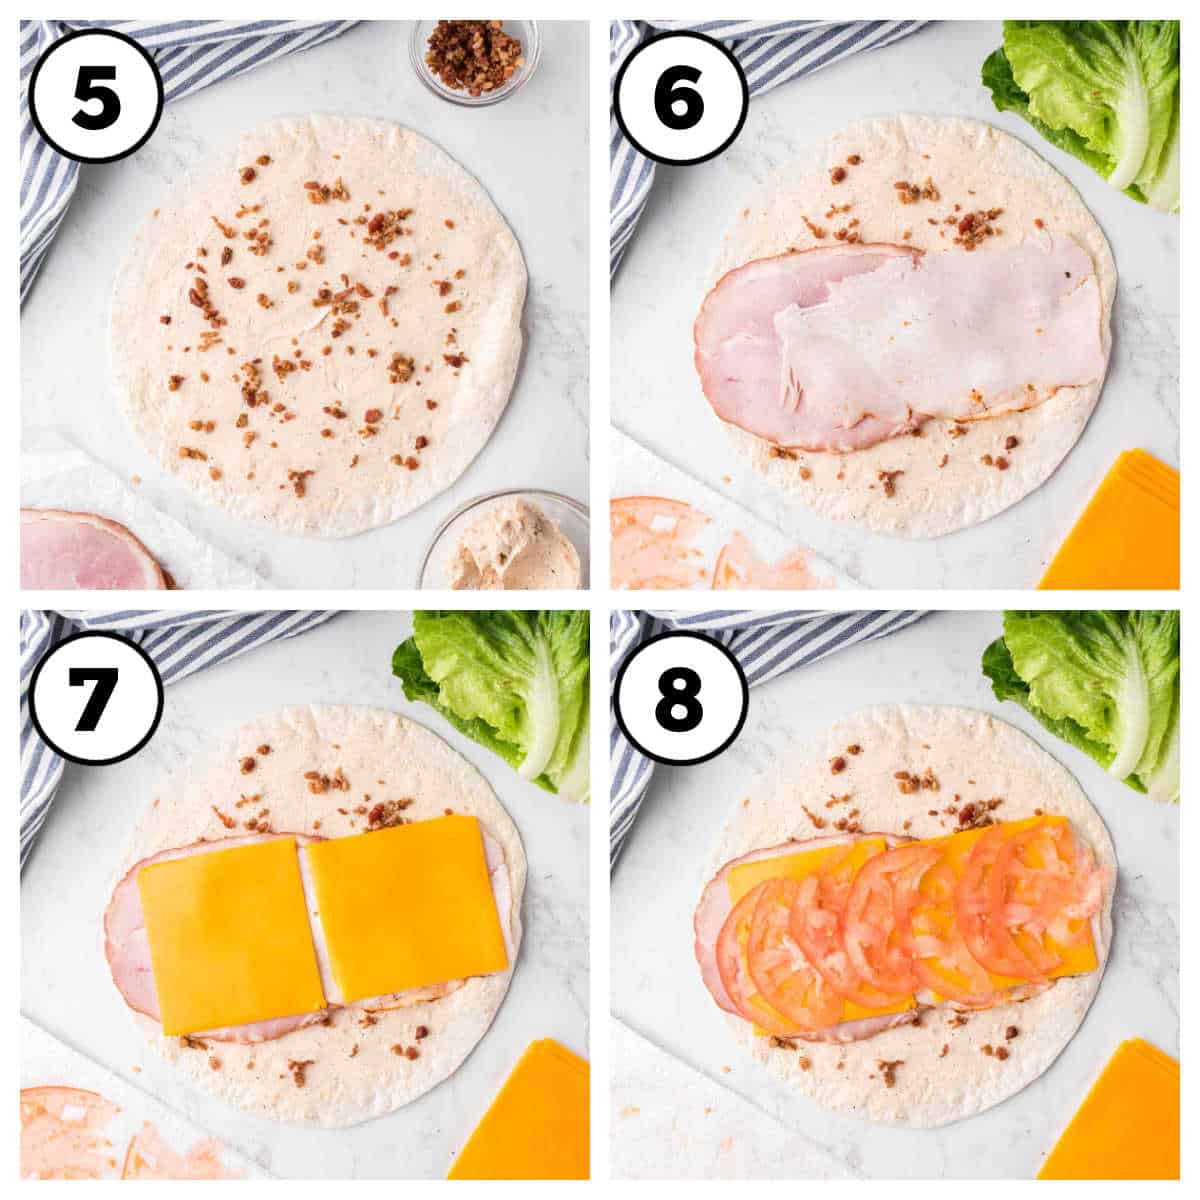
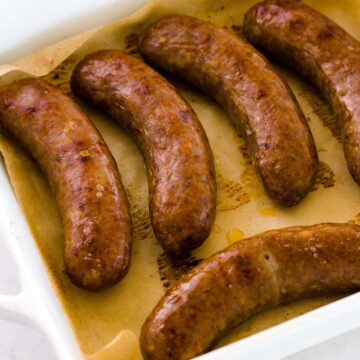
STEP 2. Brown. Brown the brats on their second side (Image 3). Make sure you’ve got great color all around!
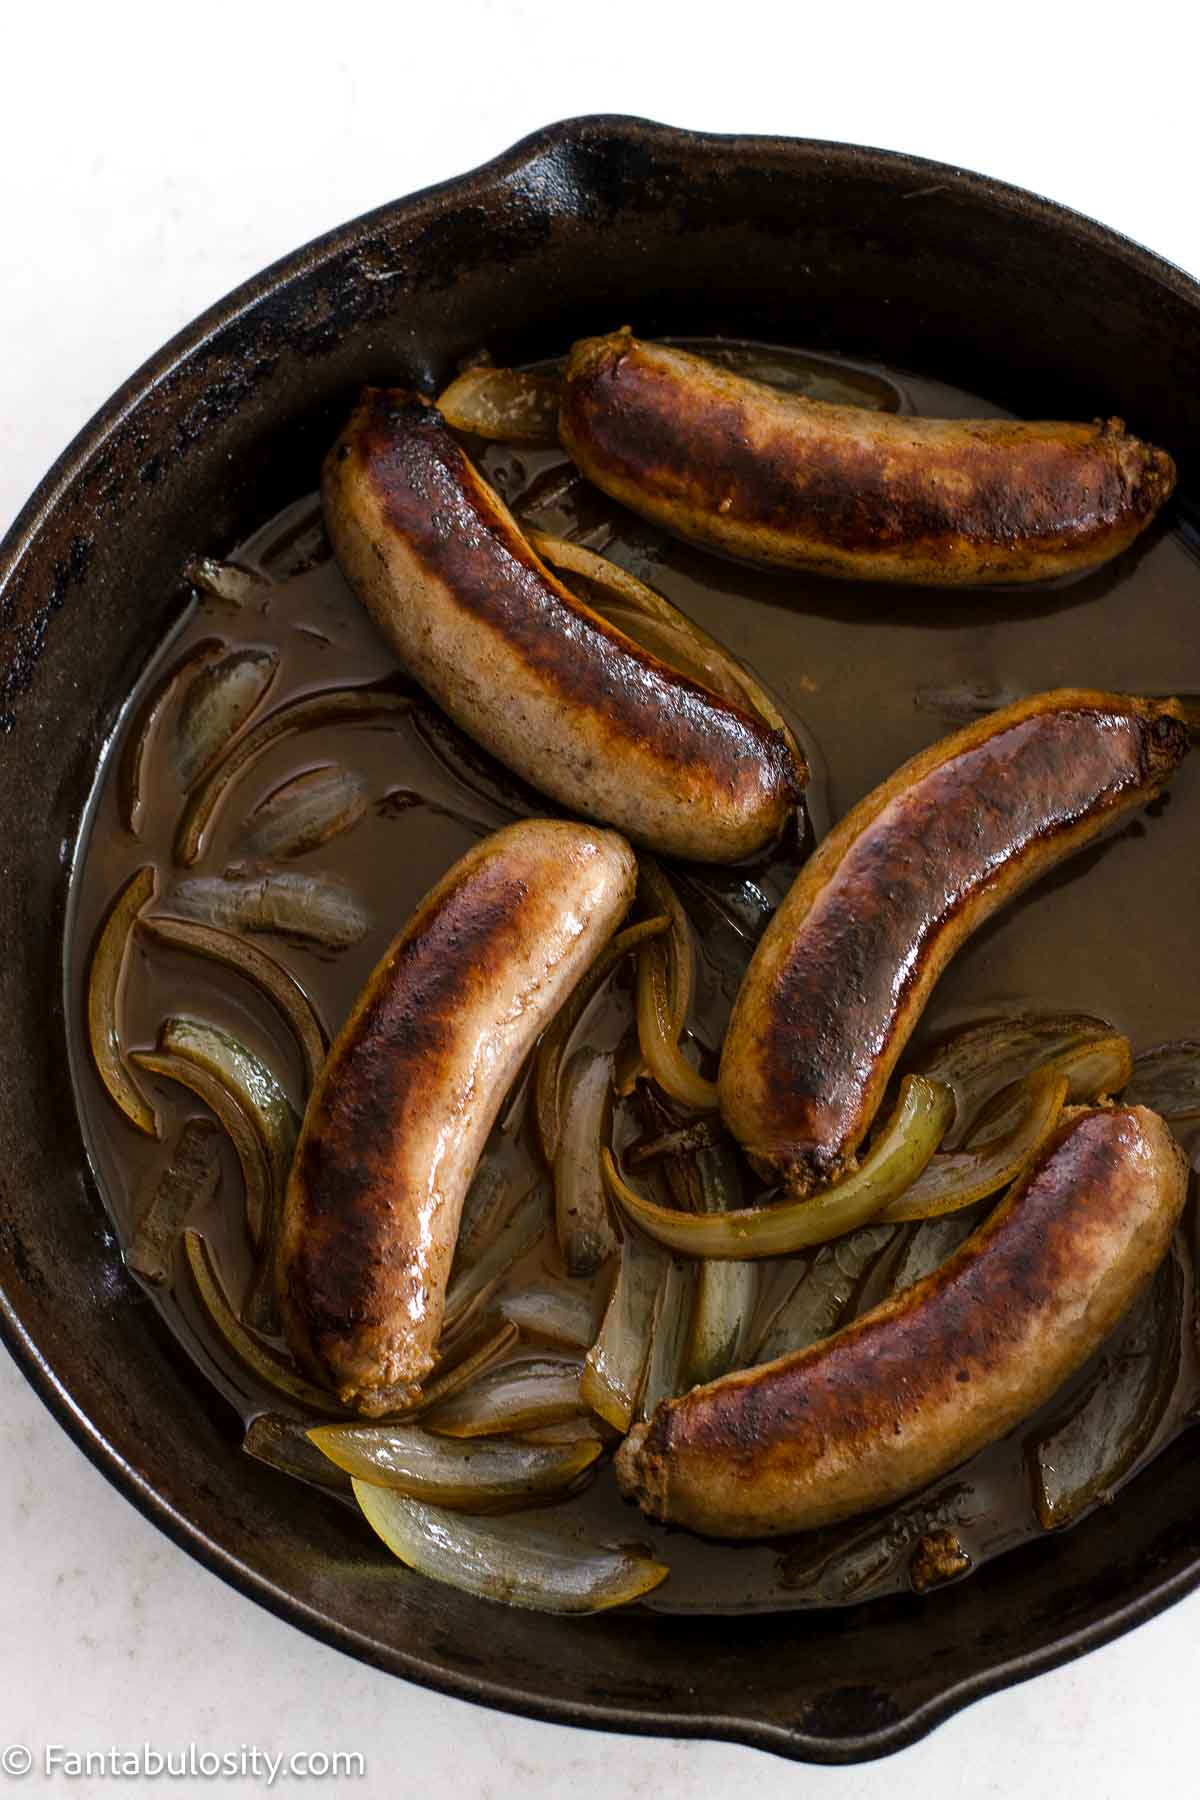
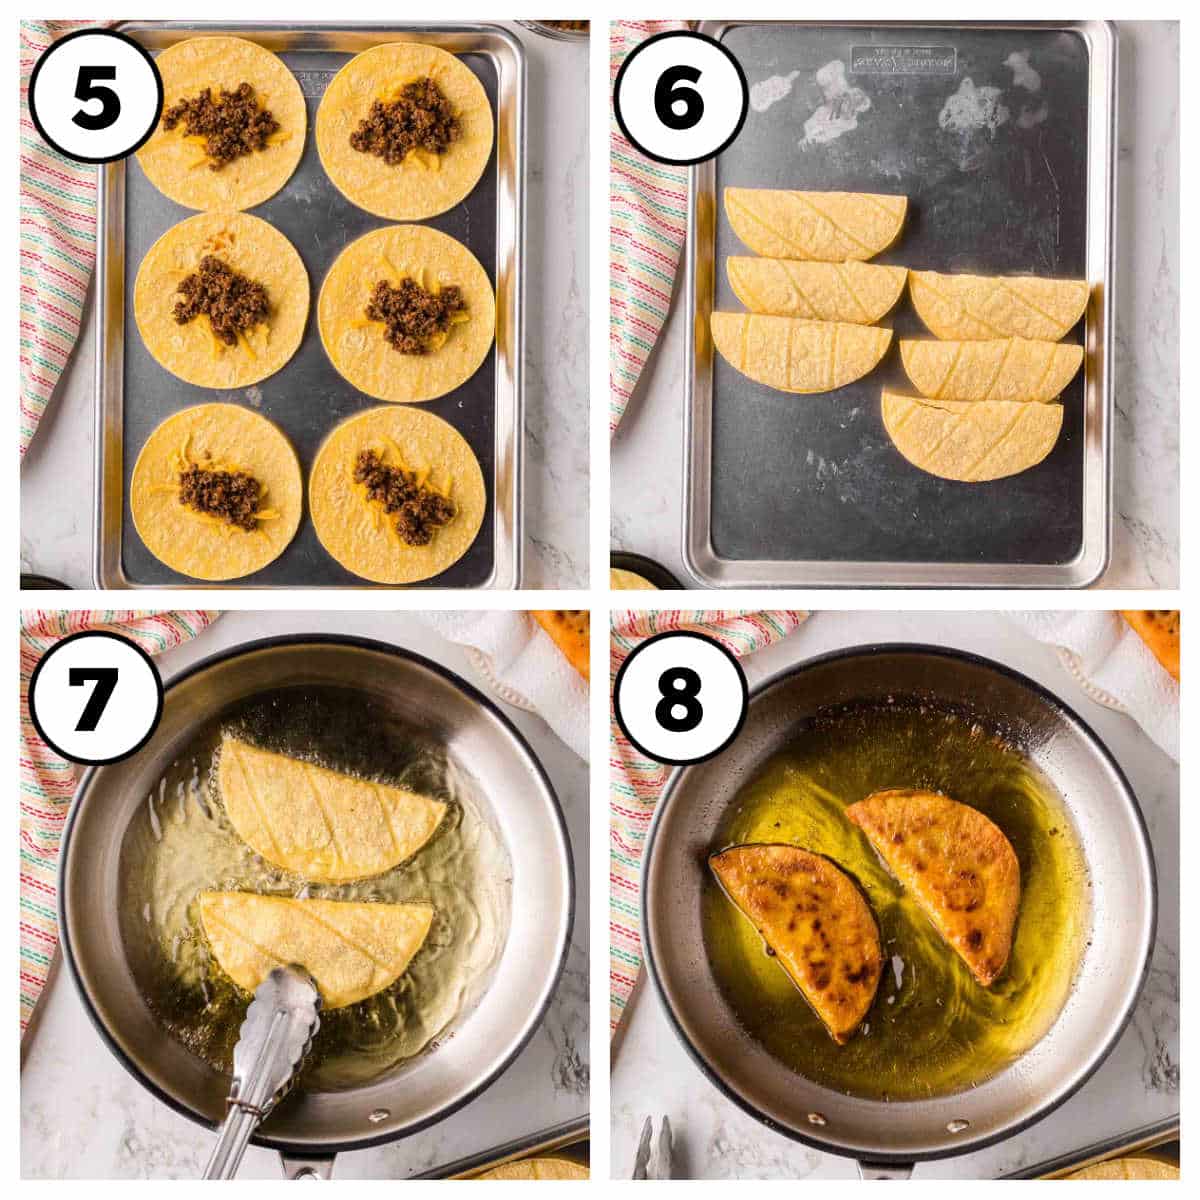
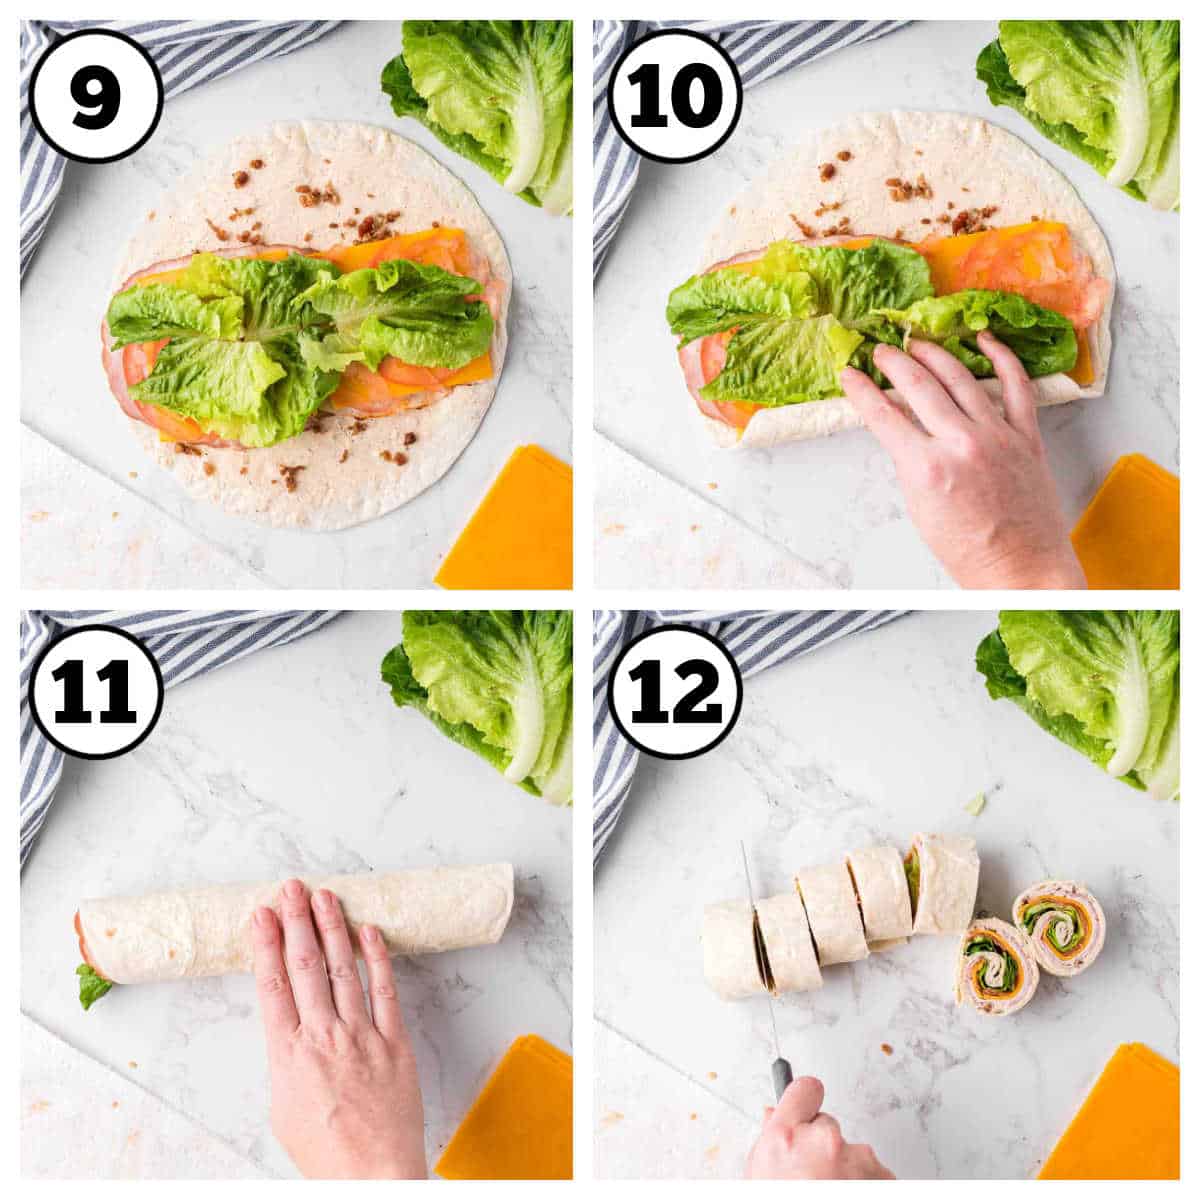
STEP 3. Build flavor. Add the sliced onion and toss to coat, then add liquid and cover (Image 4). Simmer until cooked through.
Recipe Pro Tips
- Watch the temp. Ensure your heat isn’t too high while the brats simmer so they don’t burst.
- Correct temperature. A true instant-read thermometer is your friend. This is the best way to make sure your brats are cooked through to a safe temperature.
Recipe FAQs
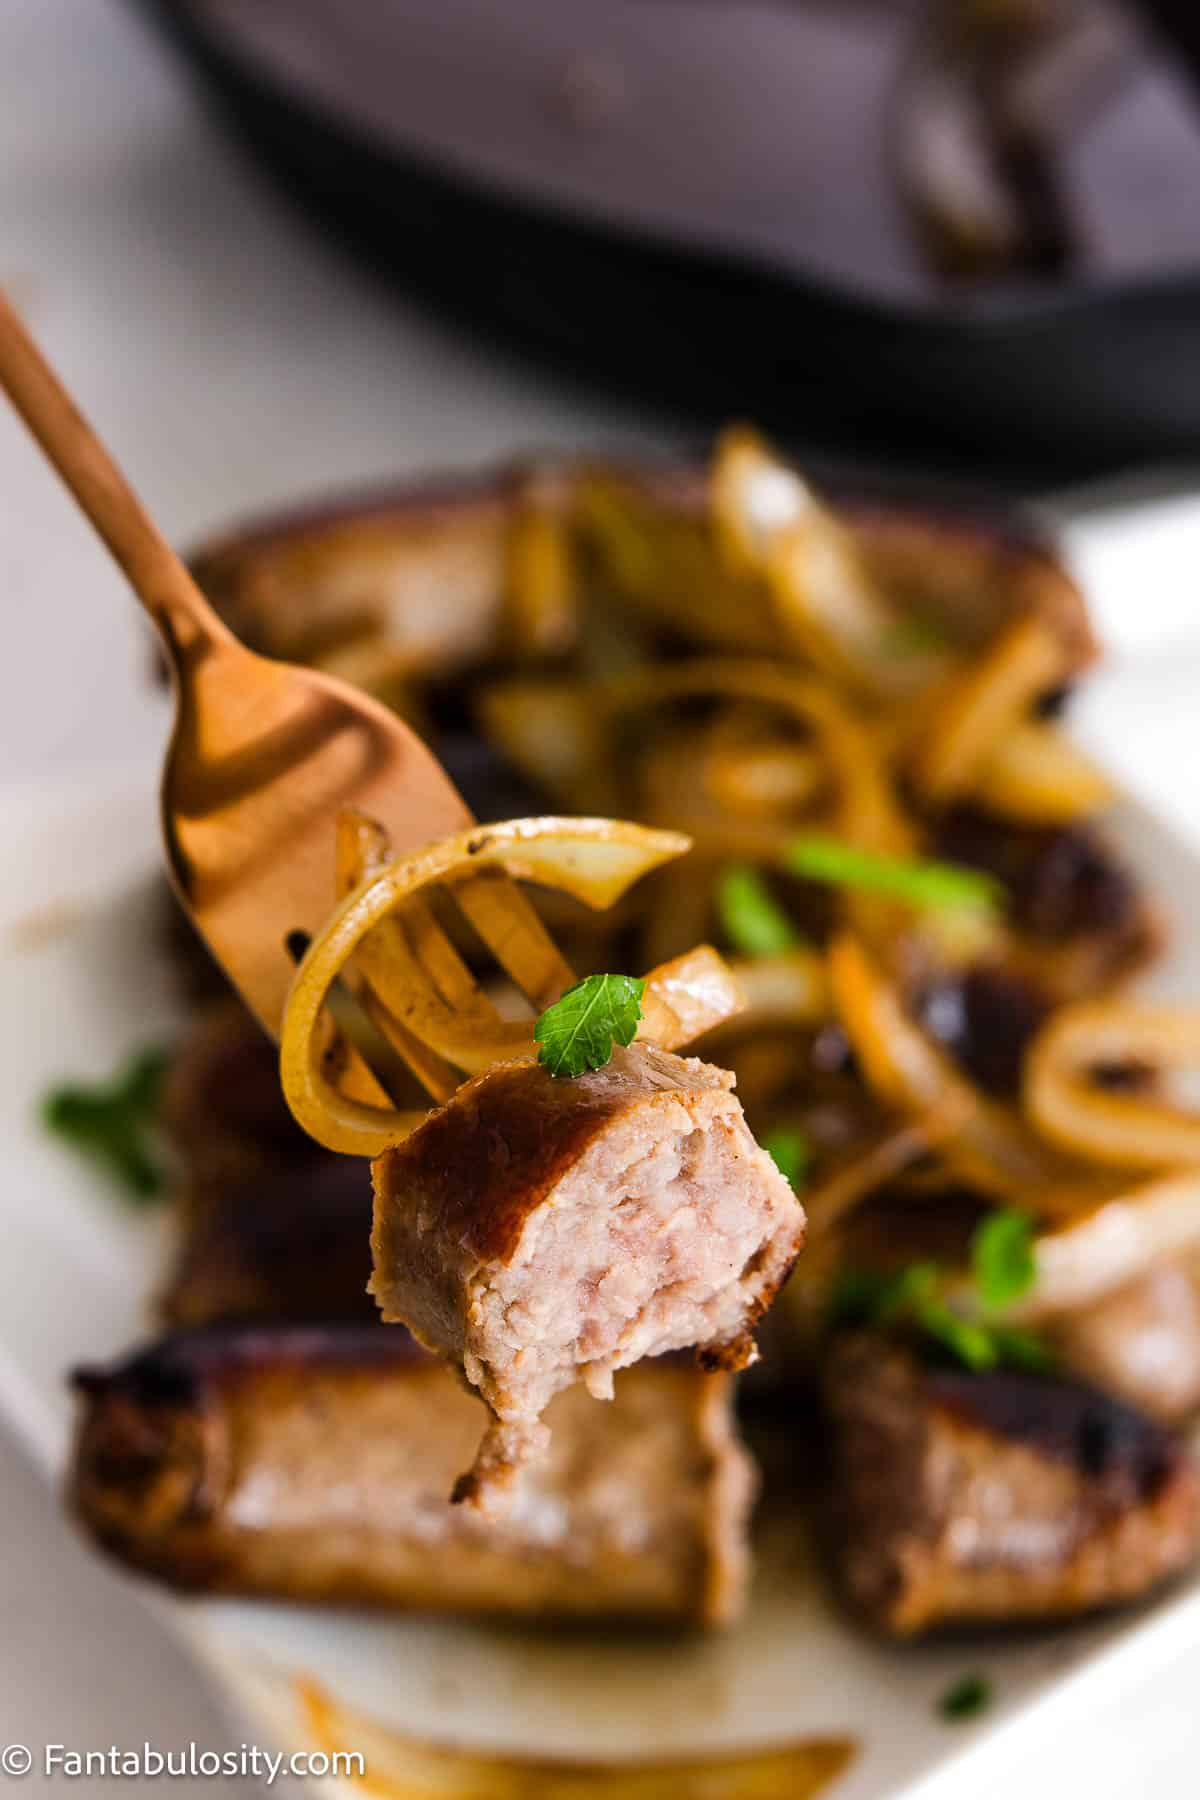
After browning, brats take anywhere from 10-15 minutes to cook through. You can’t go by color alone, but rather should use a thermometer to ensure they have reached 160°F in the centers.
Nope! I find that only makes them lose flavor – you aren’t consuming that cooking liquid and that’s where all the flavor went! Cooking “low and slow” is what allows them to cook through without burning or bursting and is why I use just a little bit of liquid to more steam than boil.
I love my cast iron skillet! Adding a bit of butter ensures they don’t stick to the pan. Also make sure and give them time to fry up on the first side, because that beautiful crust is what releases them from the pan without tearing!
What to Serve with Stovetop Brats
So many good choices – and potatoes feature prominently! You can go with a classic red potato salad, roasted potato wedges, or pop some sweet potato fries in the air fryer.
Also serve up a quick green side salad and you’ve rounded out your plate!
Storage
Keep in the fridge for up to 3 days. They will lose some of their “bite” when reheated but still taste great.
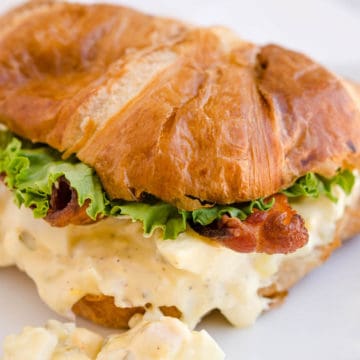
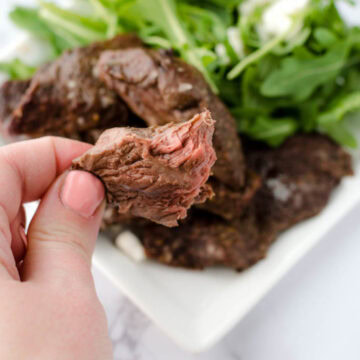
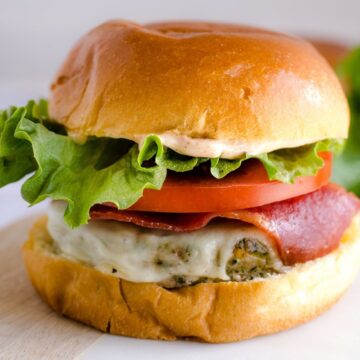
More Meaty Favorites You’ll Love

Did you make this? I’d be so grateful if you left a “star” rating below to let me know what you thought! Then, the next time you need a quick and easy recipe, come back to Fantabulosity to browse all of my easy recipes!
Recipe

How to Cook Brats on the Stove
Ingredients
- 5 brats
- ½ white onion sliced
- 2 tablespoons butter
- ½ cup water optional (or could do broth, beer)
Instructions
- Melt butter in skillet, add brats and sear both sides over medium heat, turning to brown both sides - a total of about 5 minutes.
- Add sliced onions, toss brats and onions and cook over medium heat for 2 minutes, turning often. Turn heat to low and add ½ cup water, cover and let simmer for 12 minutes or until internal temperature of brats reach 160 degrees.
Video
Notes
- You CAN do without the water if desired, but the water helps "steam" and allow the brats to cook through.