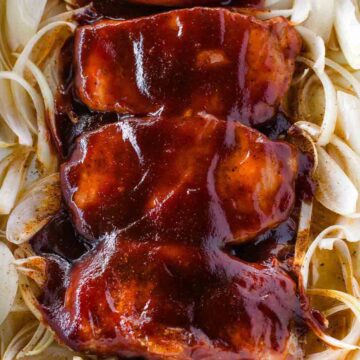
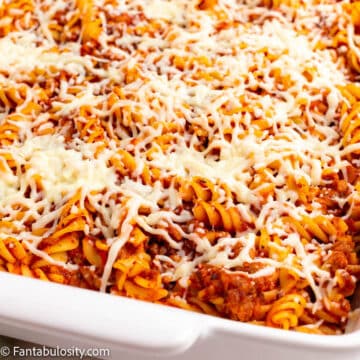
Smoked Chicken Tenders: 1 way to cook, 3 ways to season! You choose which rub to use and let the smoker be the hero of flavor!
When you can cook something SO easy, like chicken on a smoker… mixing up the seasonings can add variety to your meal planner even when you’re cooking the same things over and over again.
I can’t wait to share with you our favorite ways to season chicken tenderloins below.
[feast_advanced_jump_to]Why You’ll Love This Recipe
All types of chicken can be made on the smoker: breasts, legs, wings, thighs, and even whole chickens. But even after trying almost all of these, chicken tenders may just be my absolute favorite. For a few reasons…
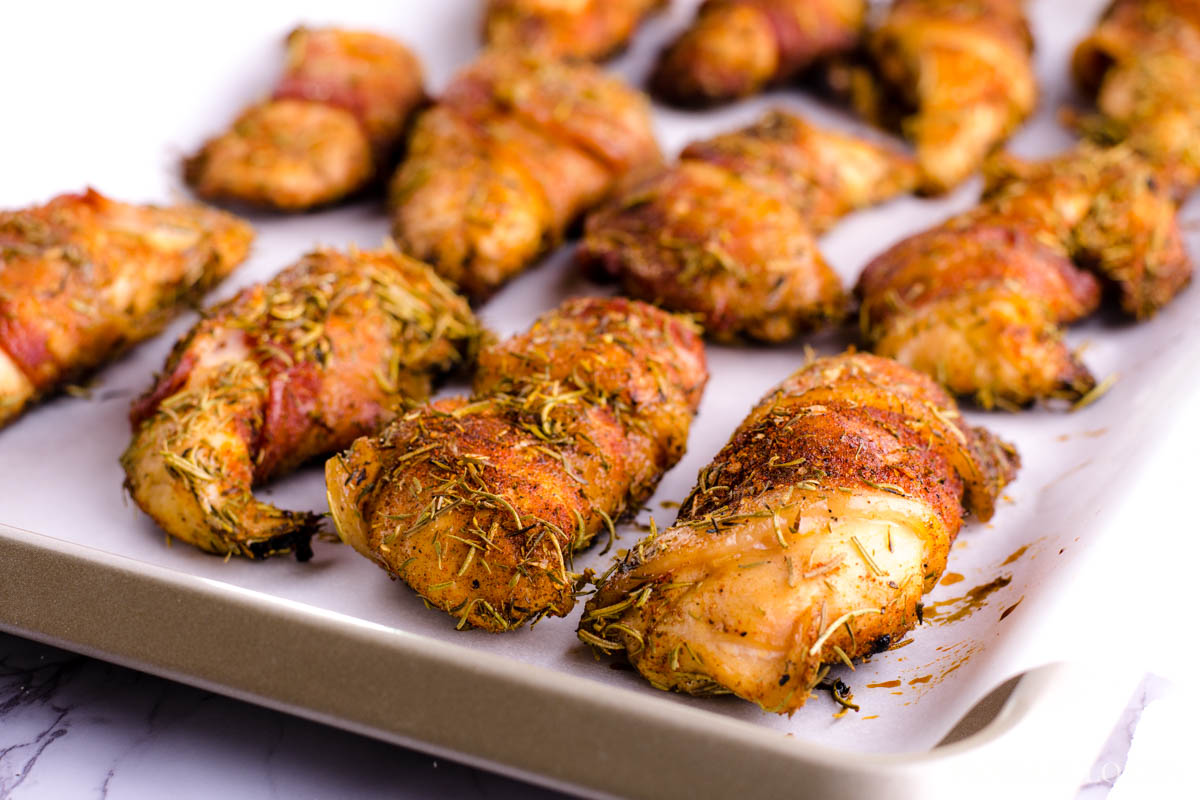
Chicken tenders cook much faster, they’re juicy (when cooked on the smoker) and they’re easy to wrap bacon around!
Three Favorite Ways to Season
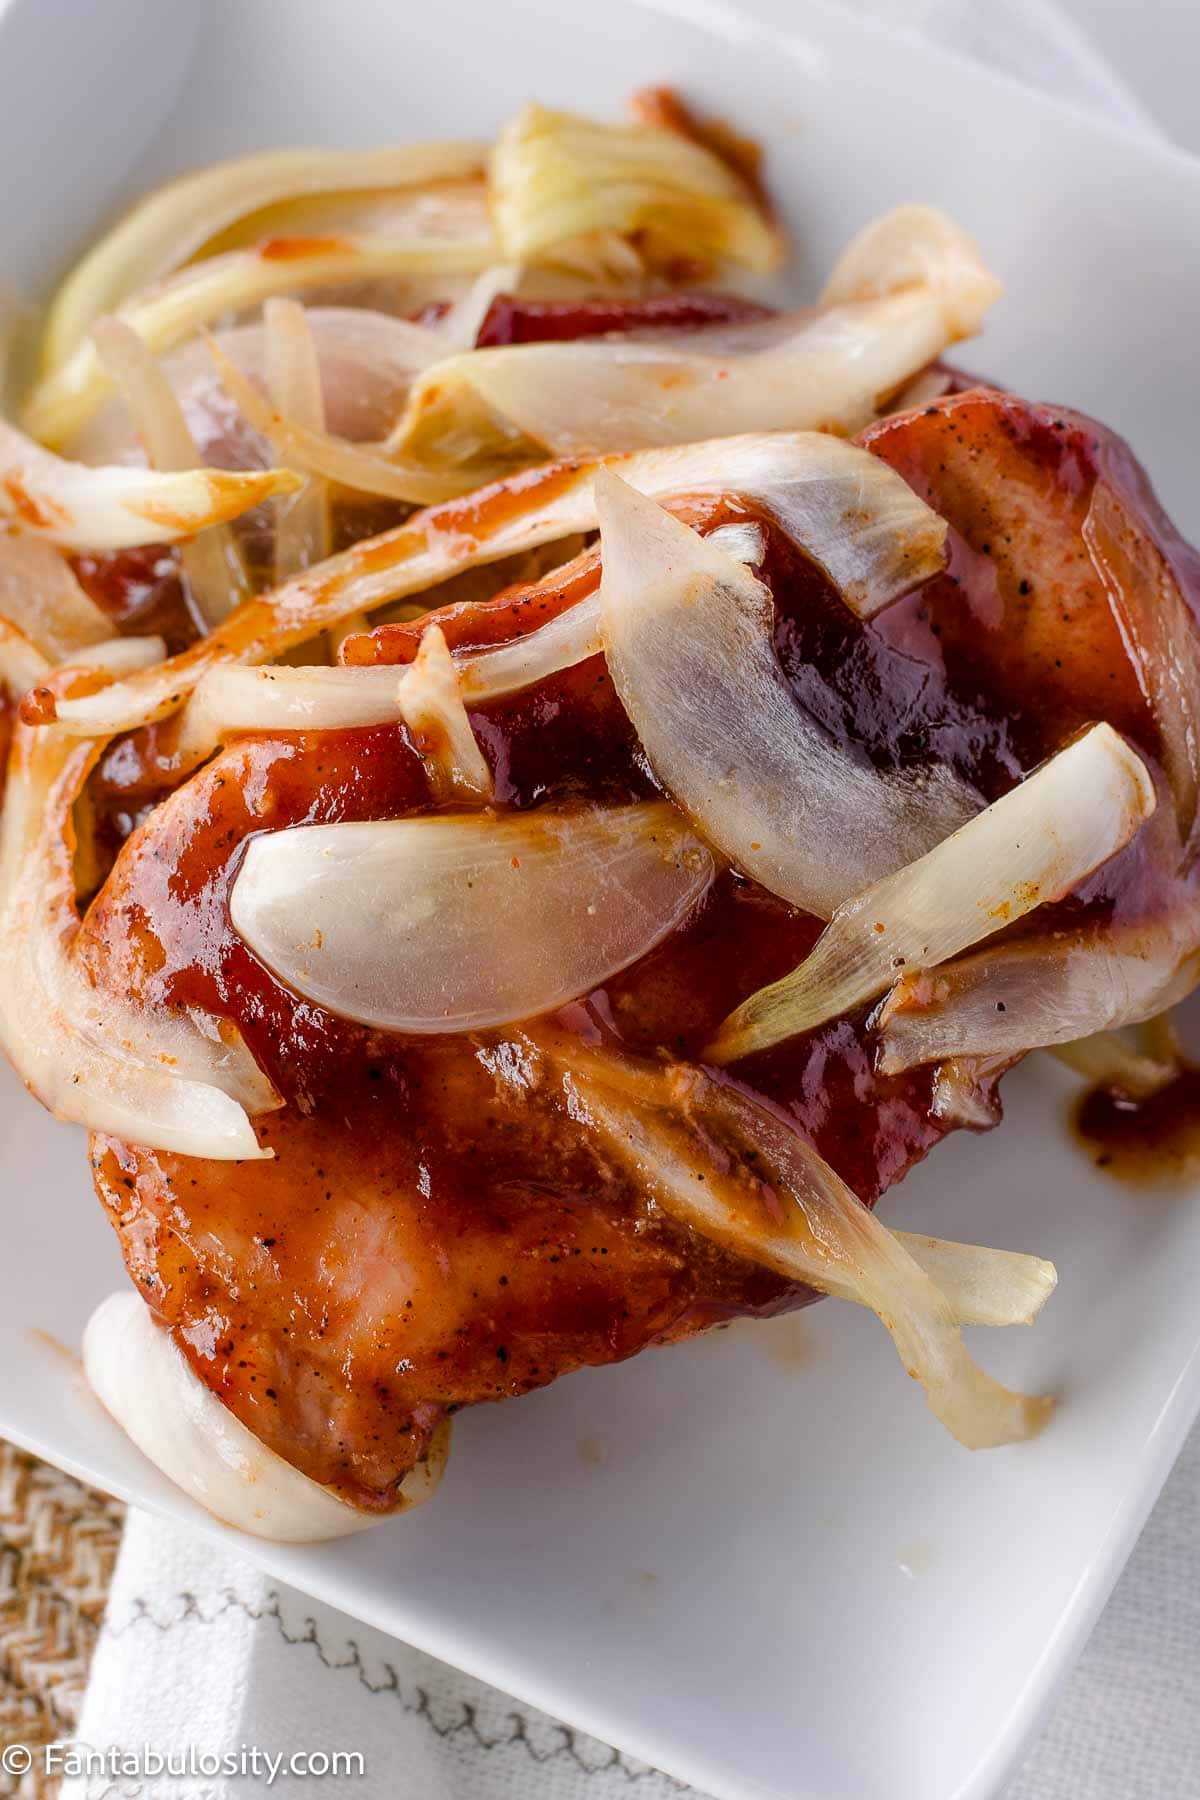
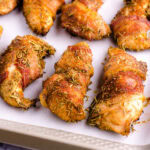
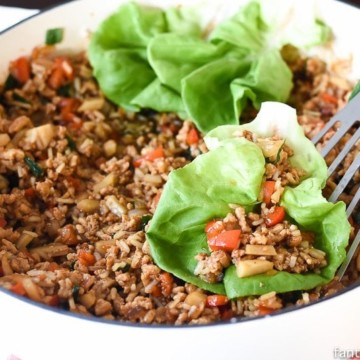
There are MANY different ways that you can season chicken and no matter which one we choose that day, a “must” for us is to start by wrapping bacon around each piece of chicken. And if you have time, letting your chicken sit in this amazing chicken brine is an extra bonus of flavor!
However, when it comes to the “rub” or “seasoning” we’ve found that we have 3 different favorite ways…
- With Strawberry’s BBQ Seasoning
(We fell in love with this a long time ago and use it on SO much. It’s hard to find in the store but you can find it online, and I doubt you’ll regret it.) - Brown Sugar Garlic Rub – it’s hard to go wrong with brown sugar and garlic on chicken that’s wrapped in bacon. It uses easy ingredients that are typically “on-hand” and it’s a crowd favorite.
You can find this recipe option in the recipe card below - The “Braxton” Rub – this is the homemade rub that we always use on the beef tenderloin recipe but we like using it on chicken too!
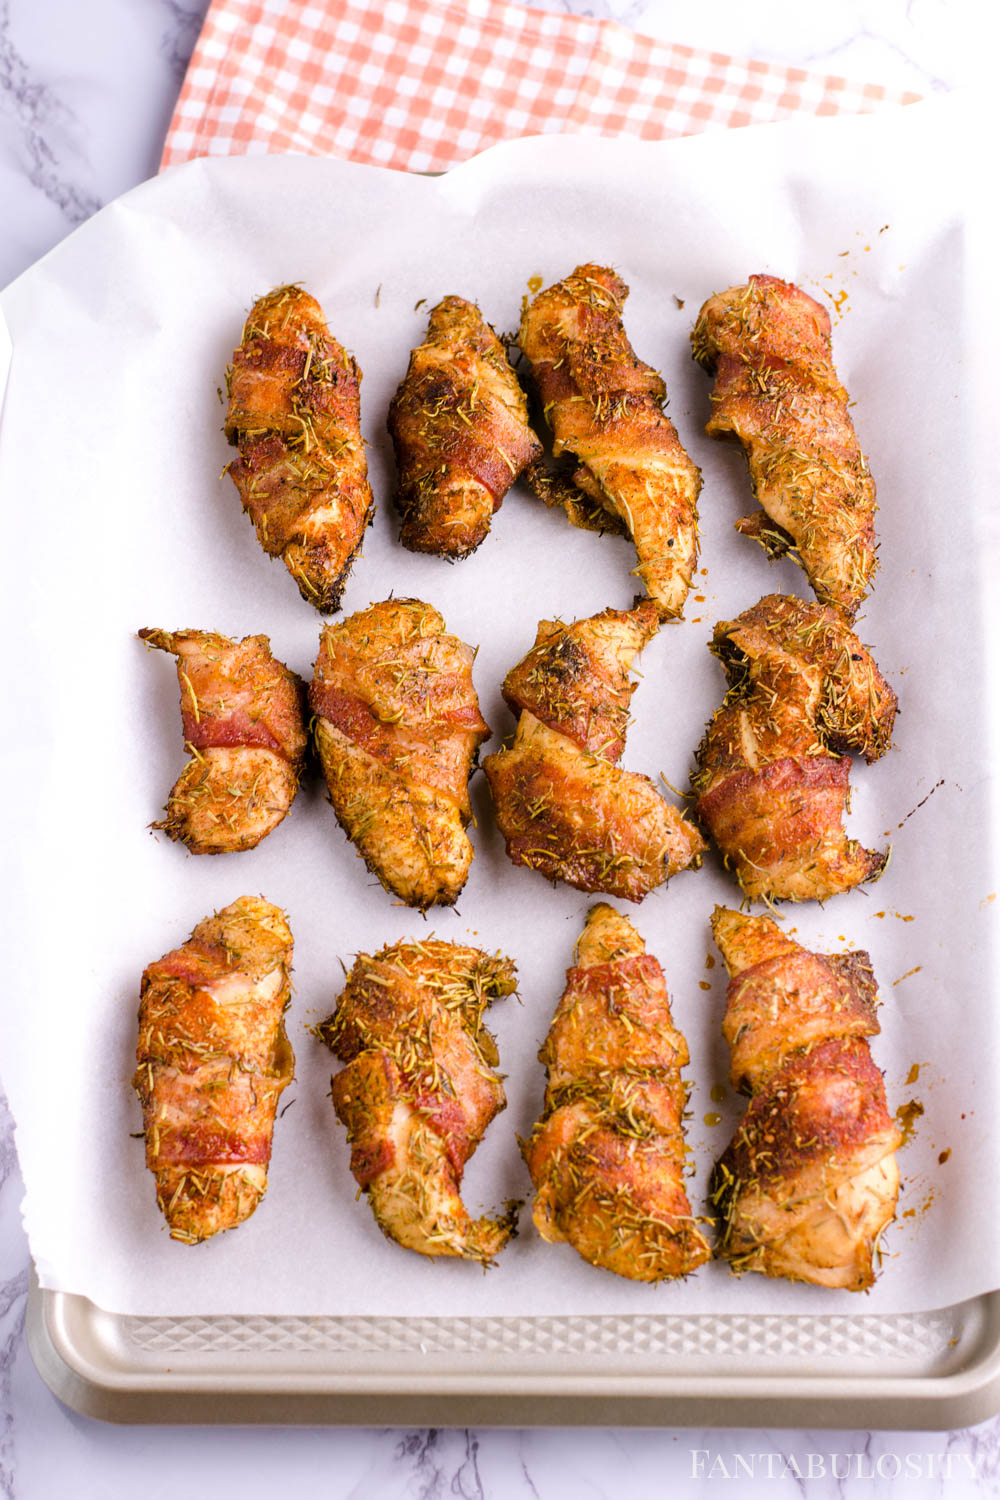
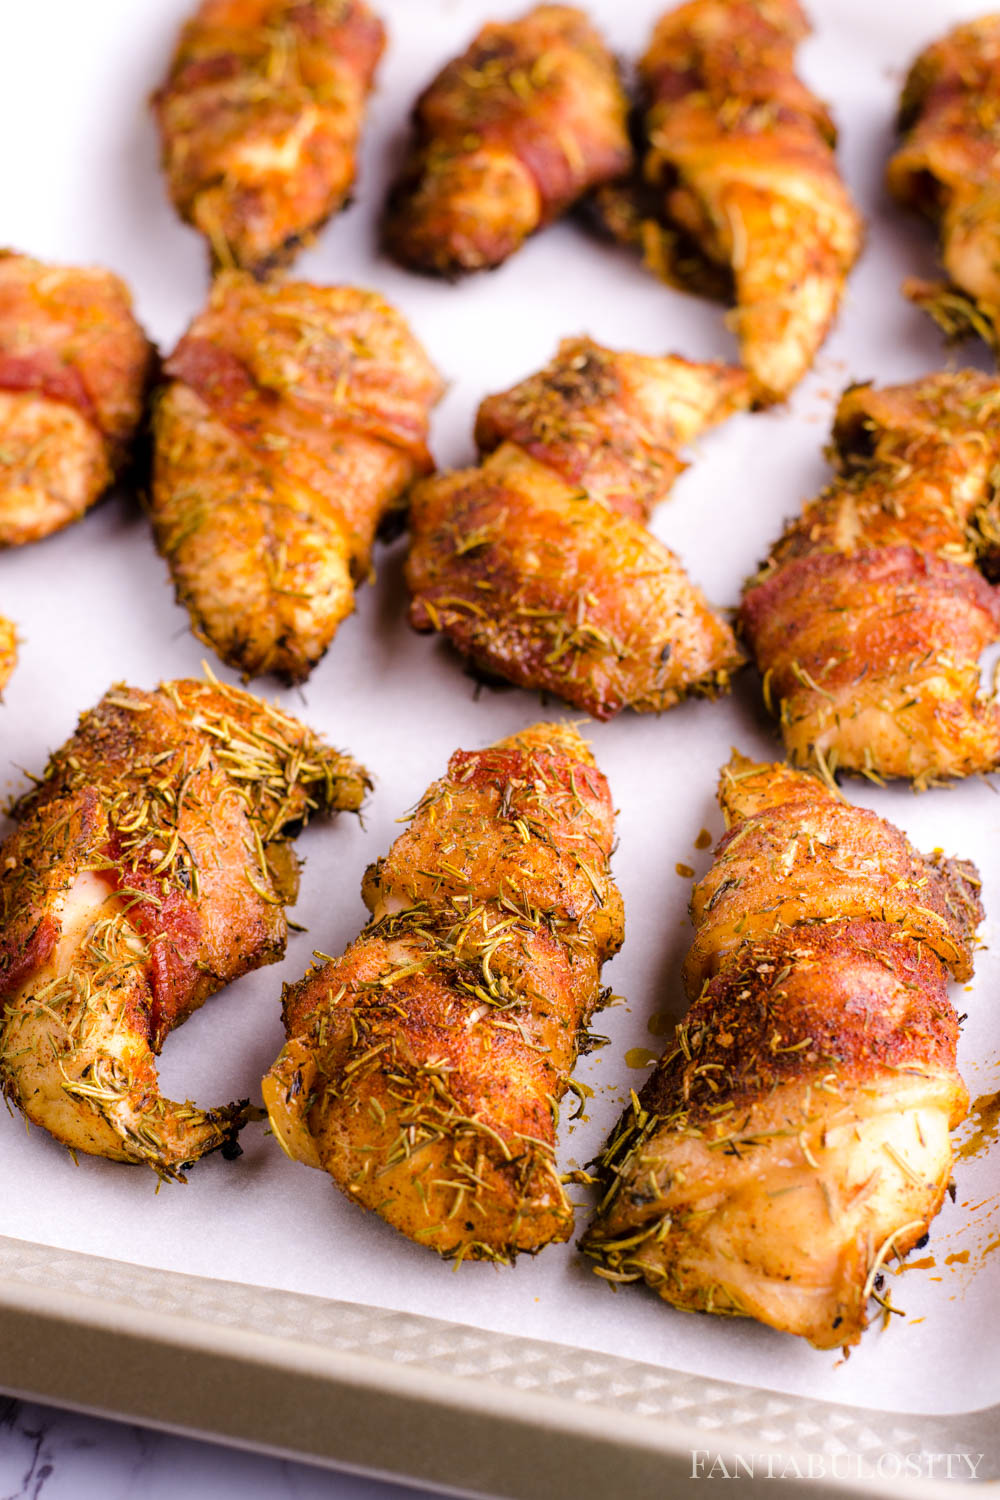
You’ll see that this is the spice rub that we used in the photos and recipe card below!
No matter which seasoning or “rub” that you choose to use on the chicken, the cook temperature and time will remain the same for this recipe.
Recipe FAQs
Chicken cooked at 225° needs to be cooked at least 1 hour and possibly 1.5 hours, or until it reached the internal temperature of 165°.
Cooking it on “low” (for example, at 225°) and “slow” will help keep your chicken moist. But also wrapping it in bacon helps and also adds an amazing flavor.
Hickory pellets (or wood) works amazing for chicken but feel free to use a different flavor if that’s what you have on hand.
How to Make Smoked Chicken Tenders
If smoking meat isn’t something you’re familiar with, no worries because this is one of the easiest recipes!
Smoker Temperature
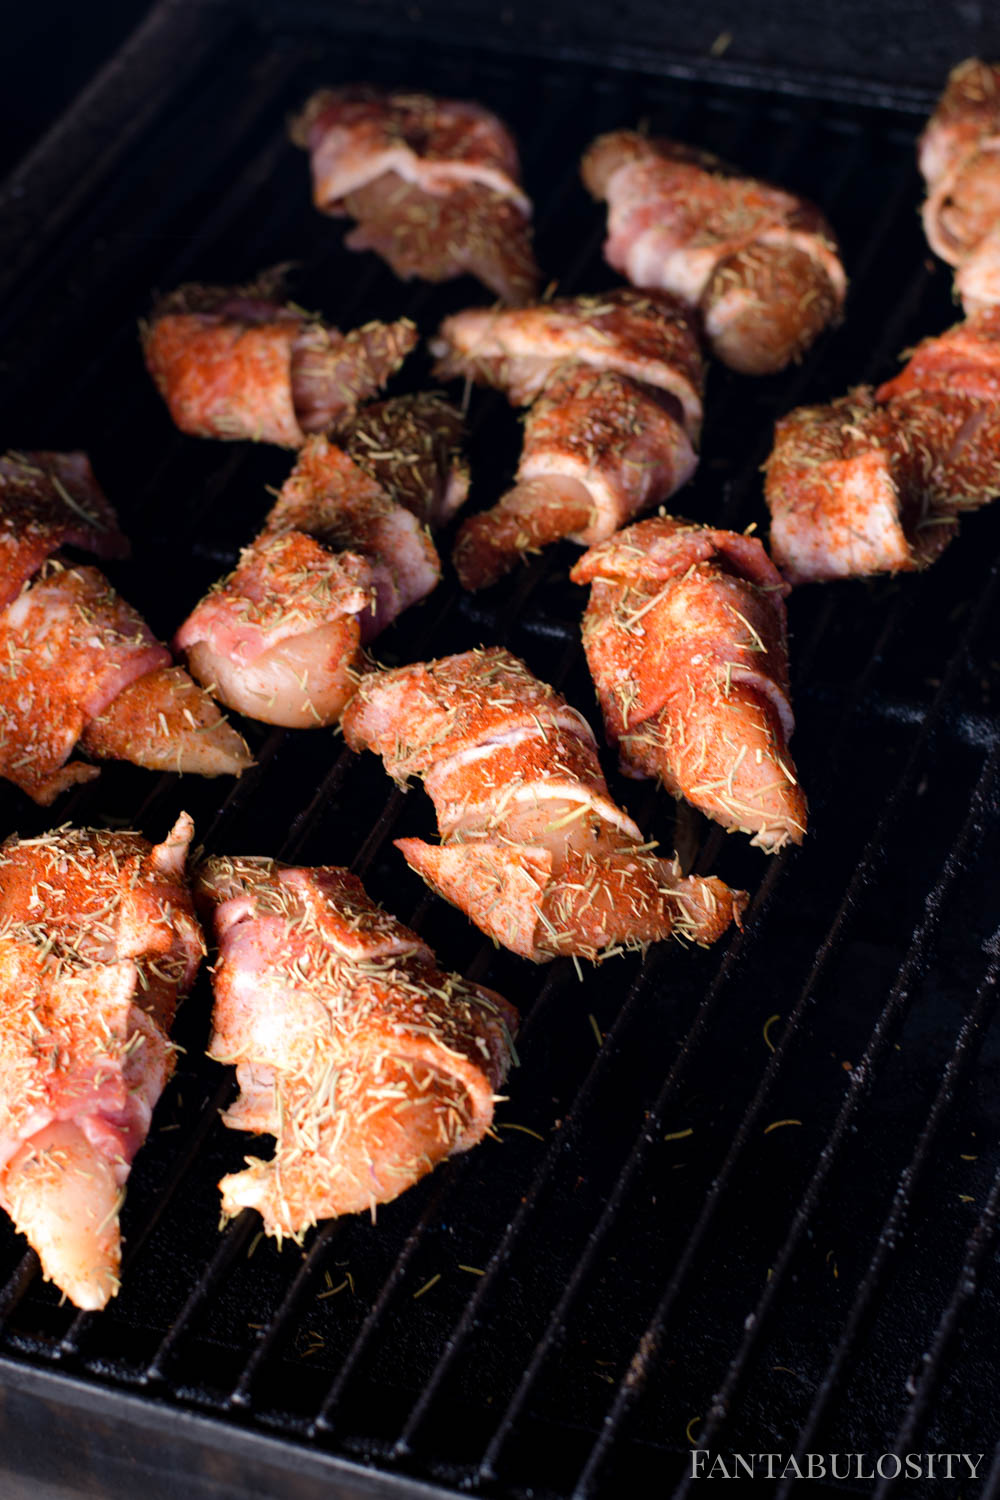
Preheat the smoker to 225°.
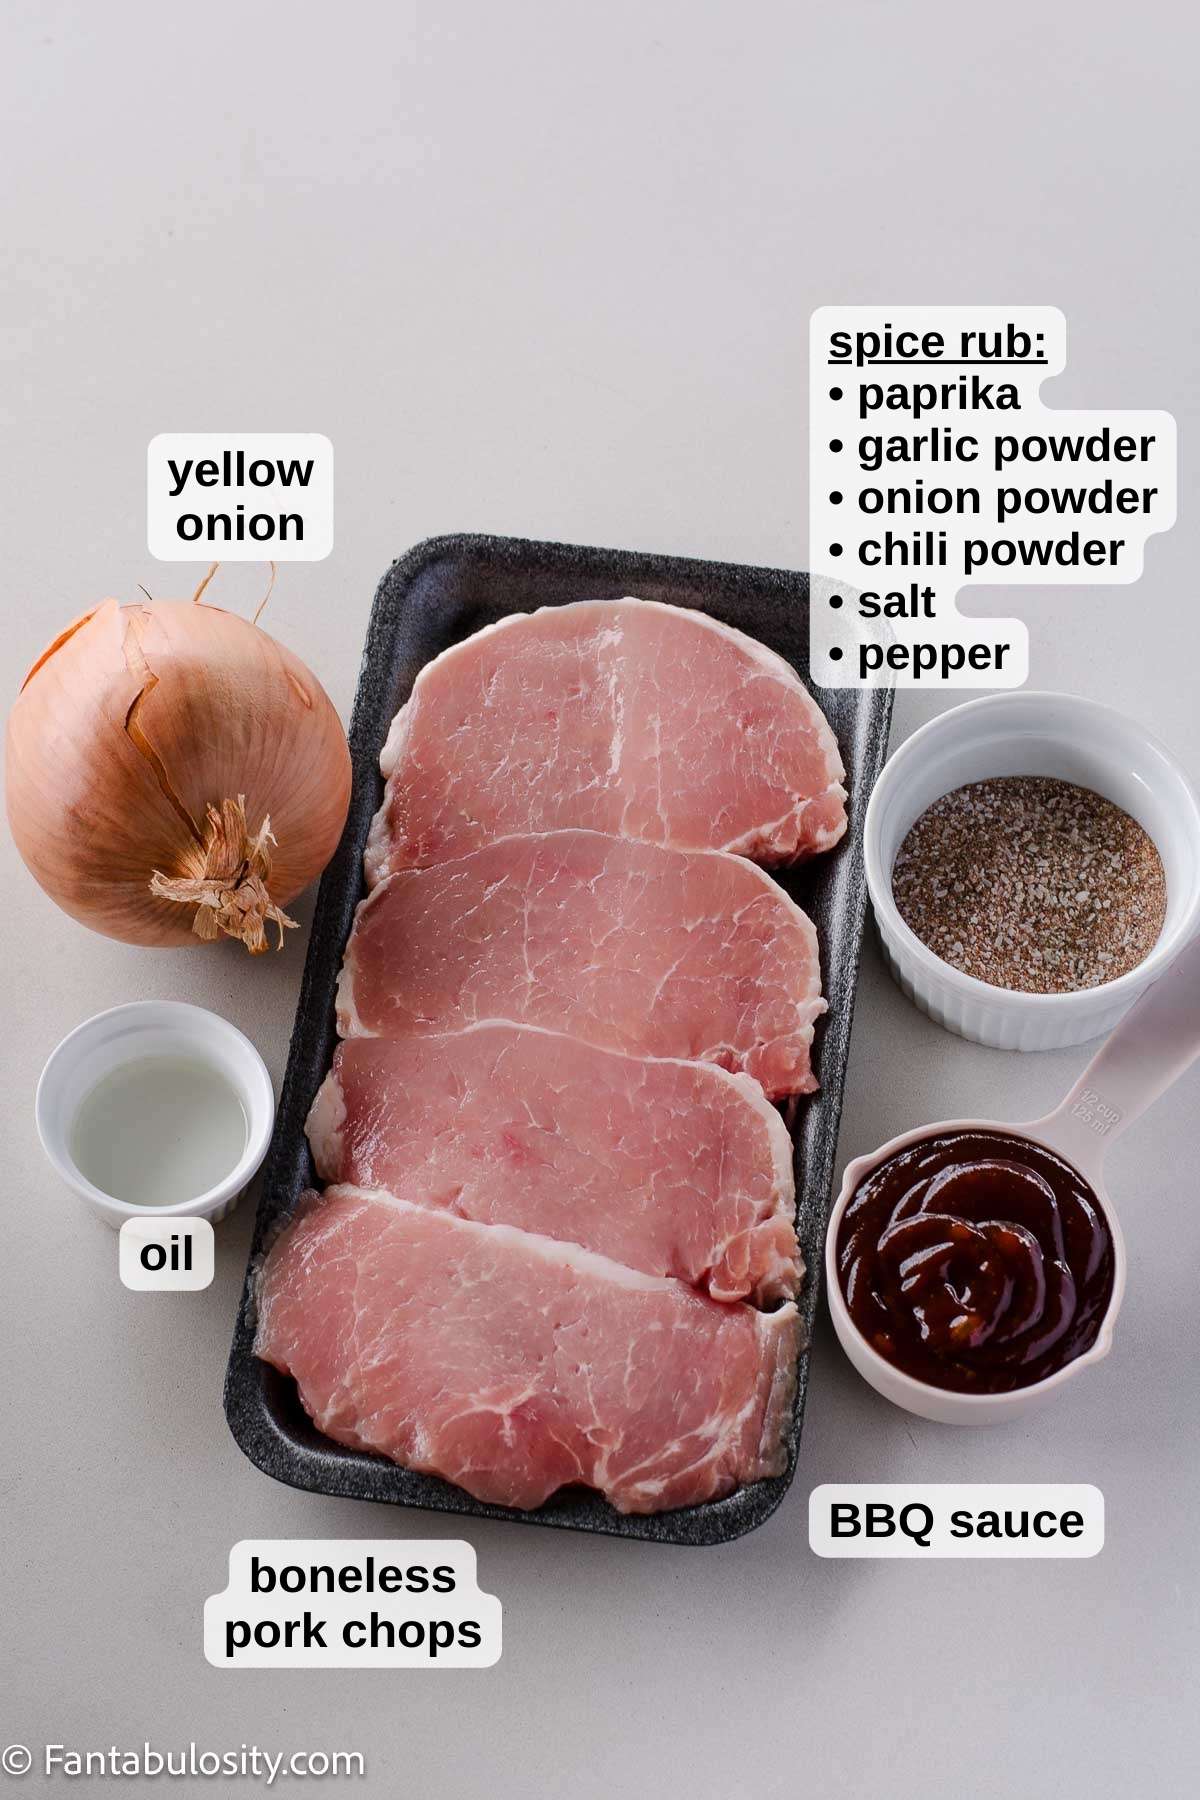
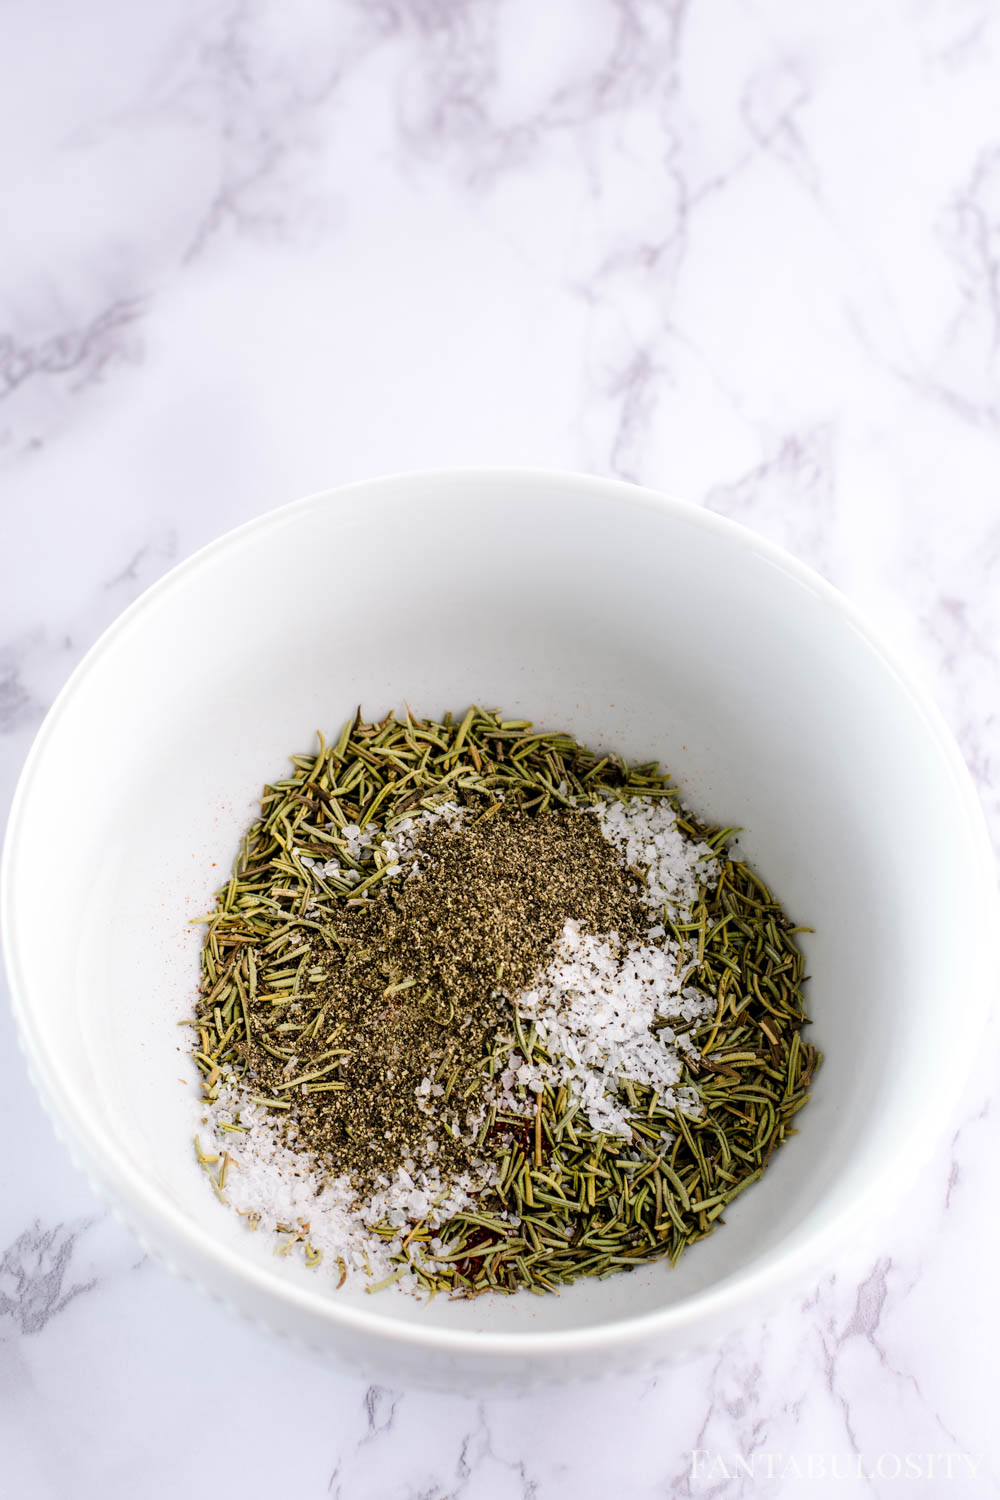
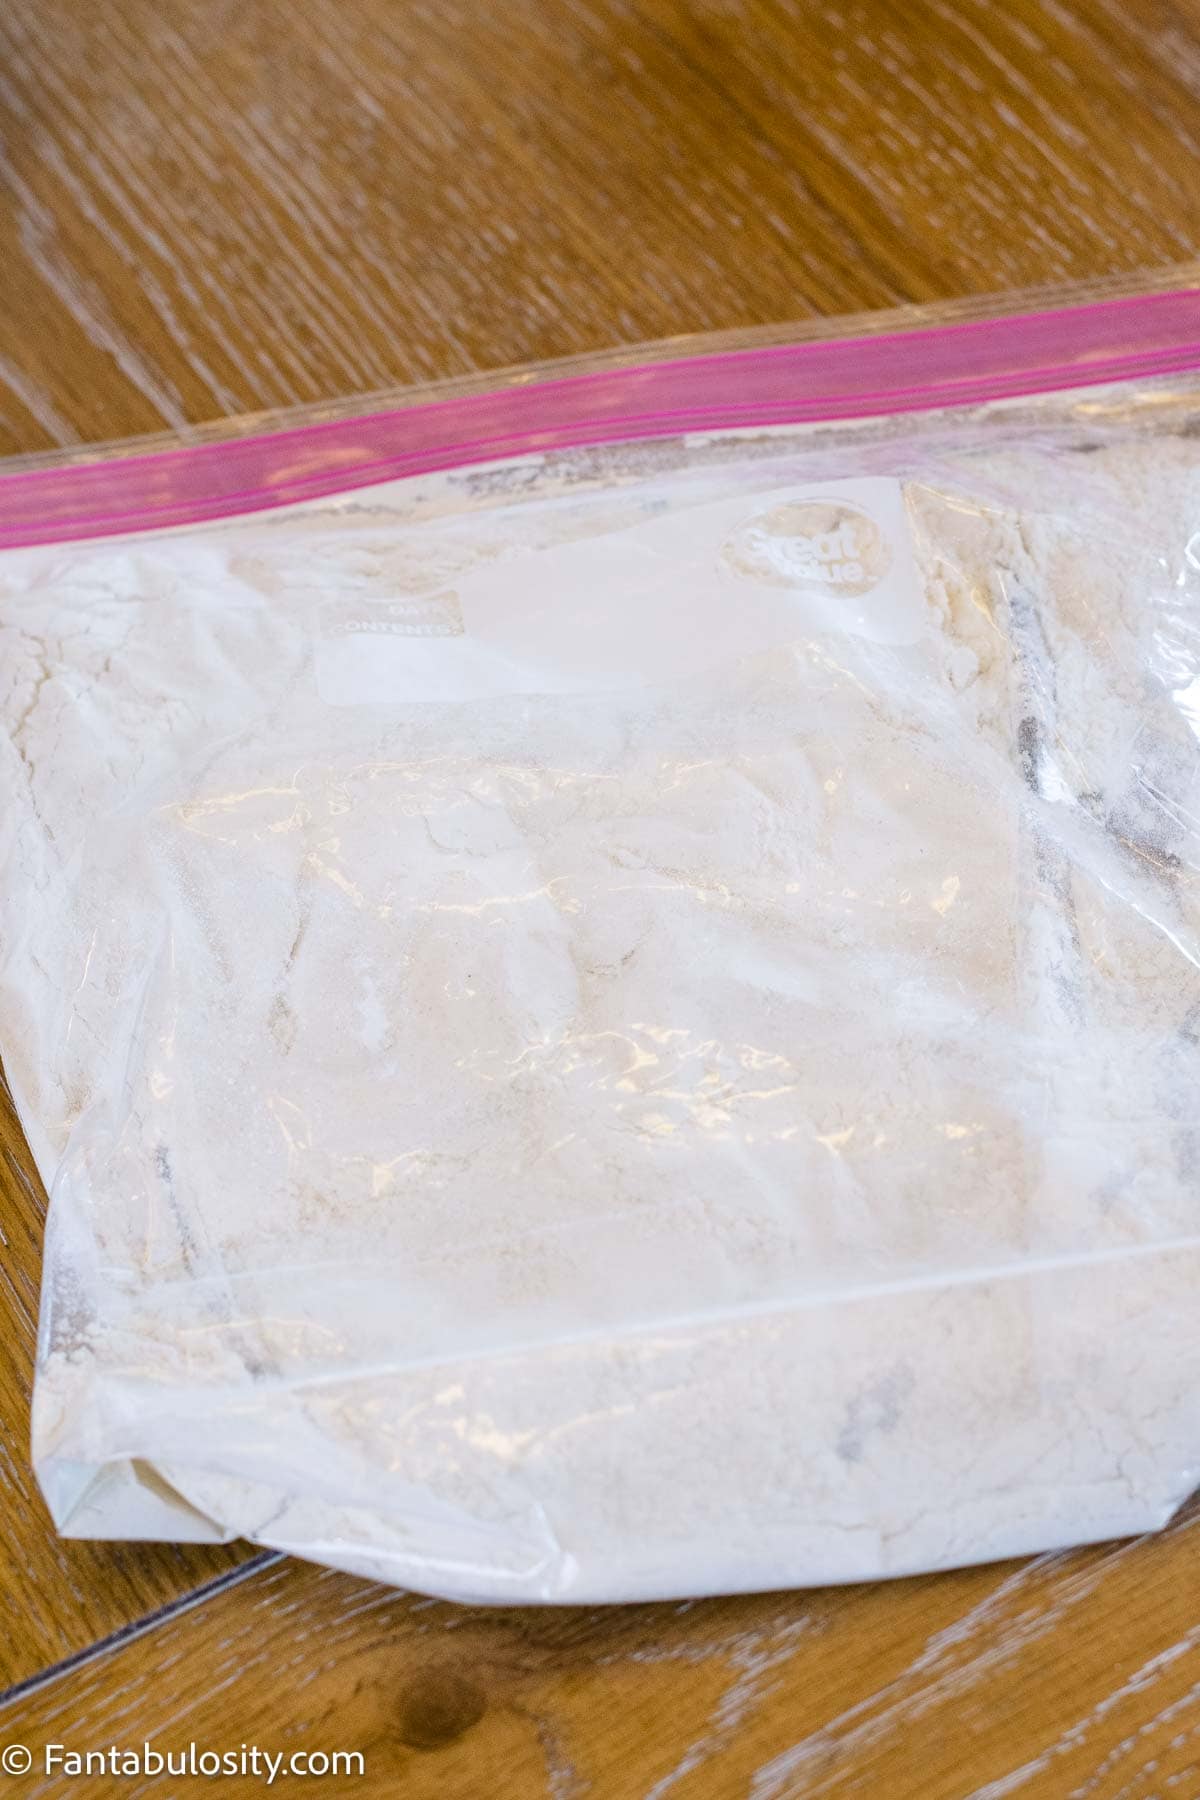
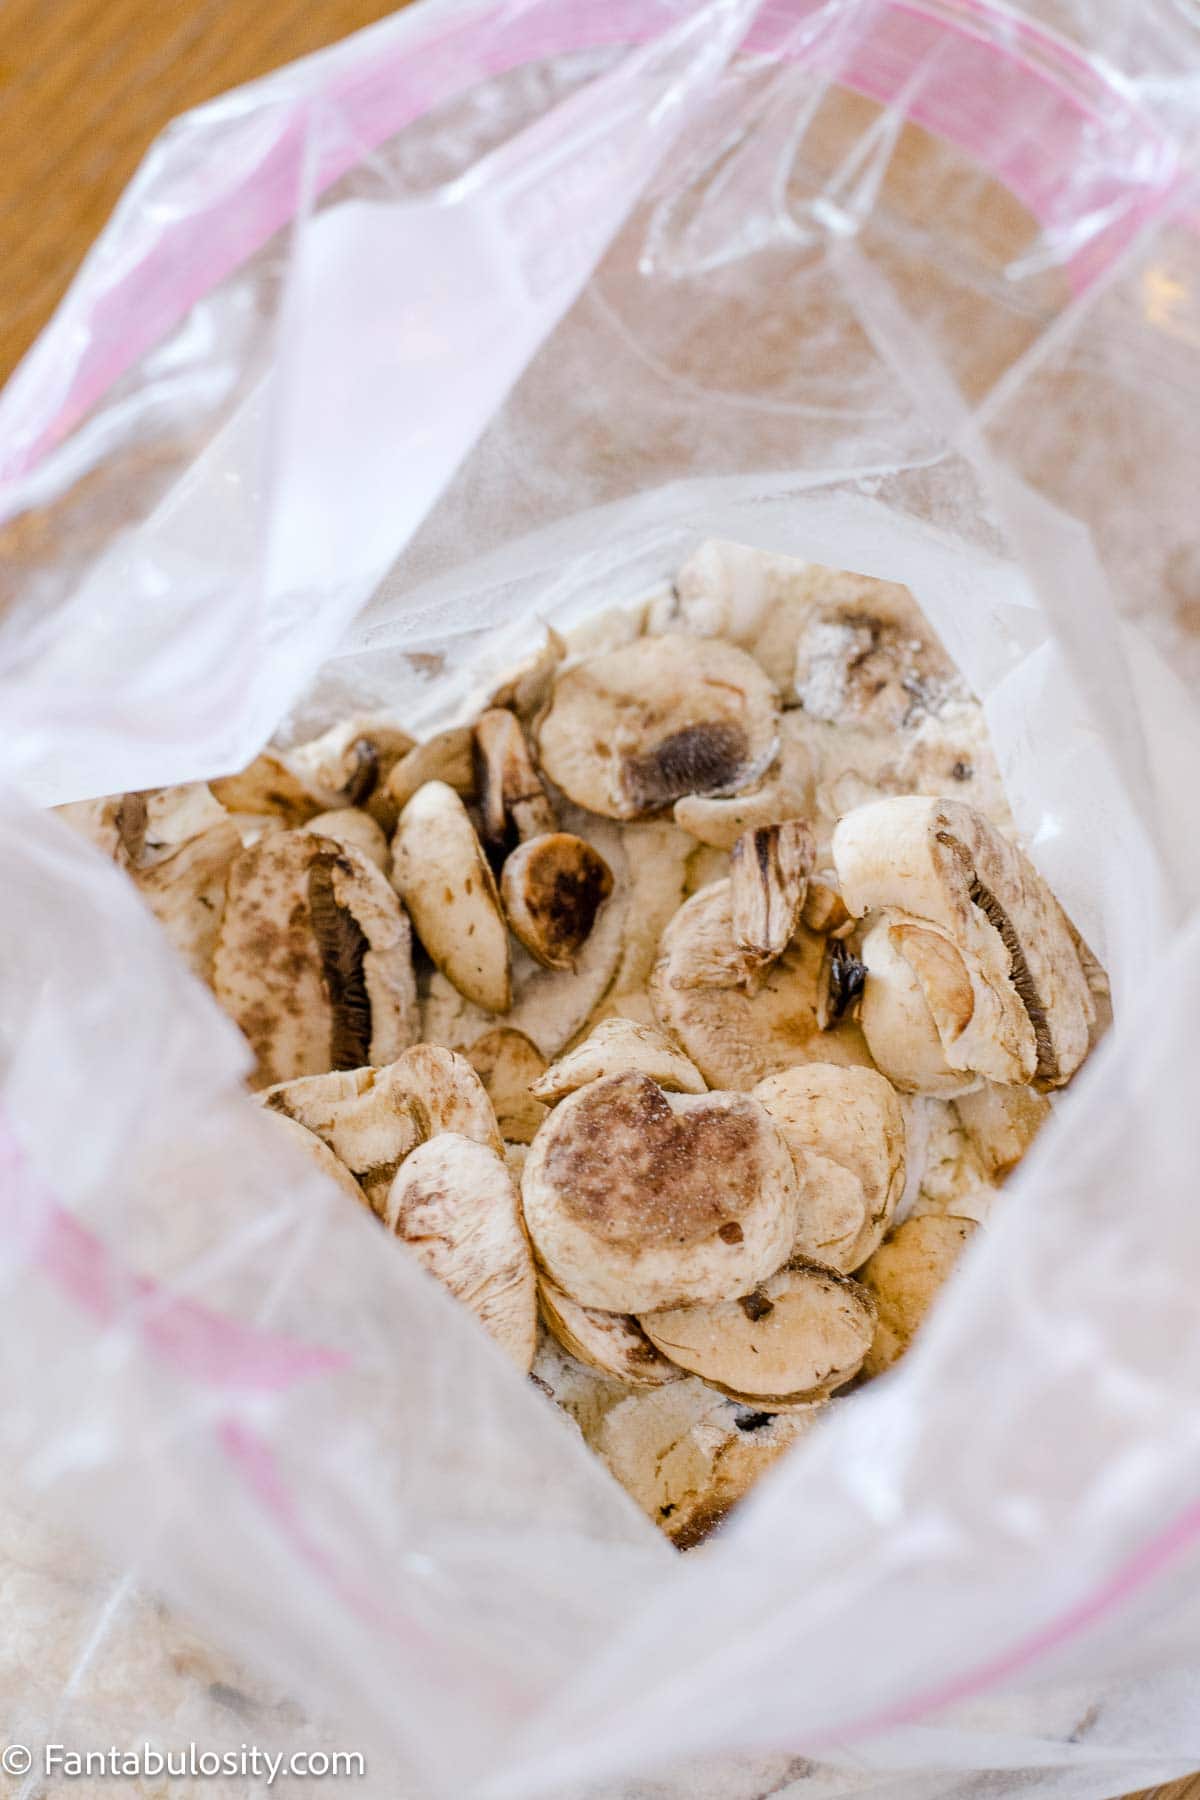
Spice Blend
Mix together a spice blend of your choice. (You’ll see the three recipes or seasonings you can use below for a guide if you prefer.)
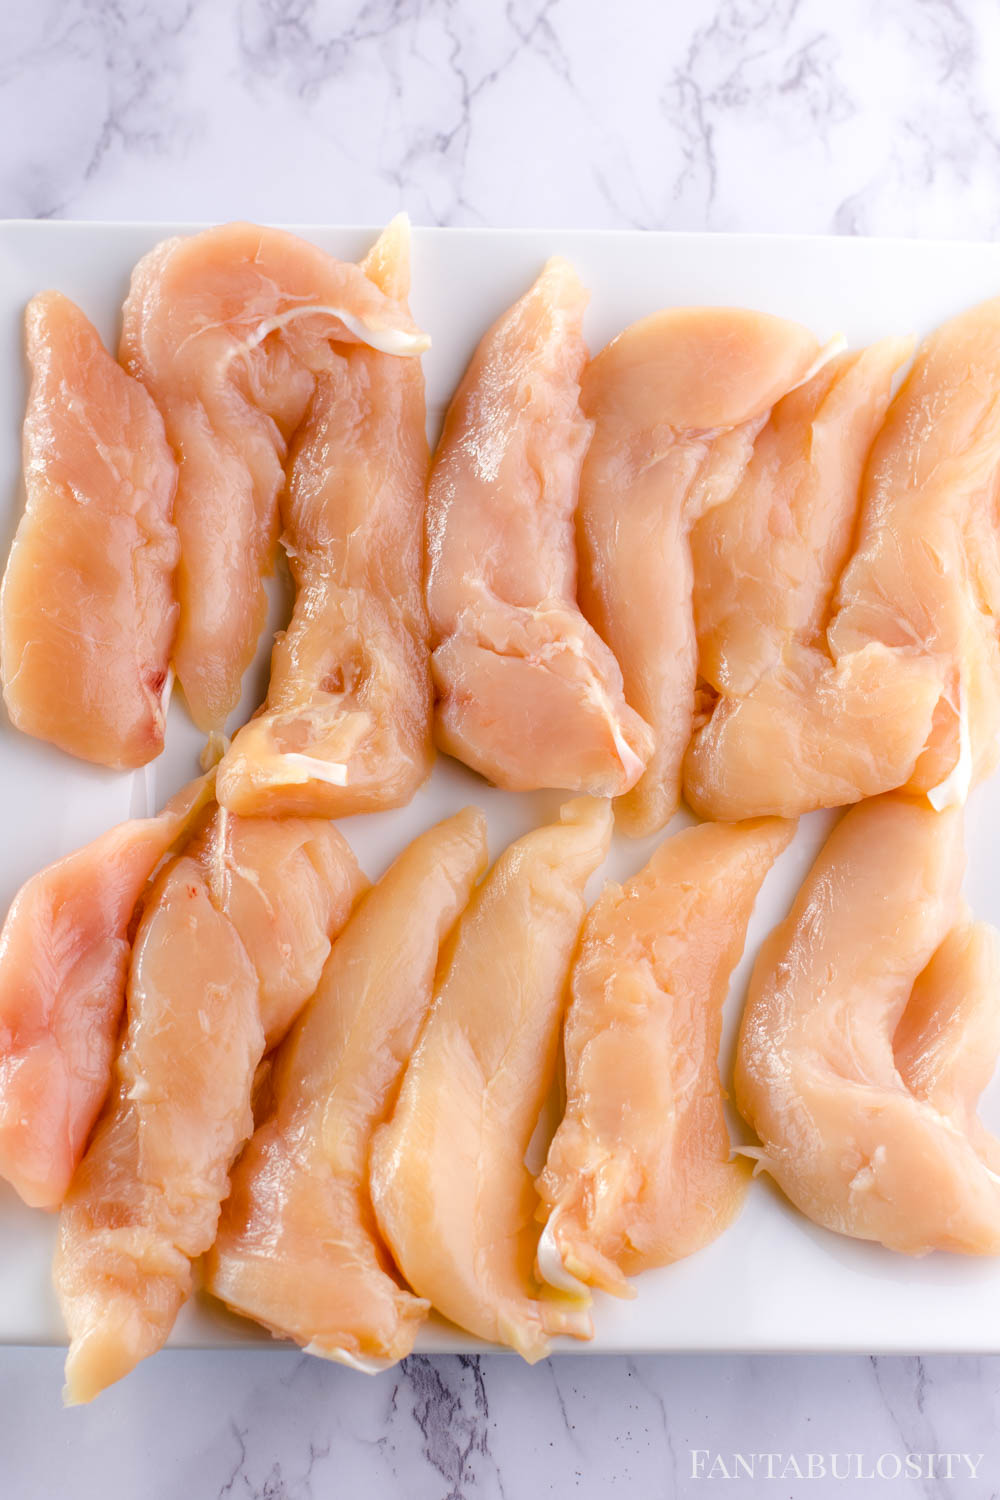
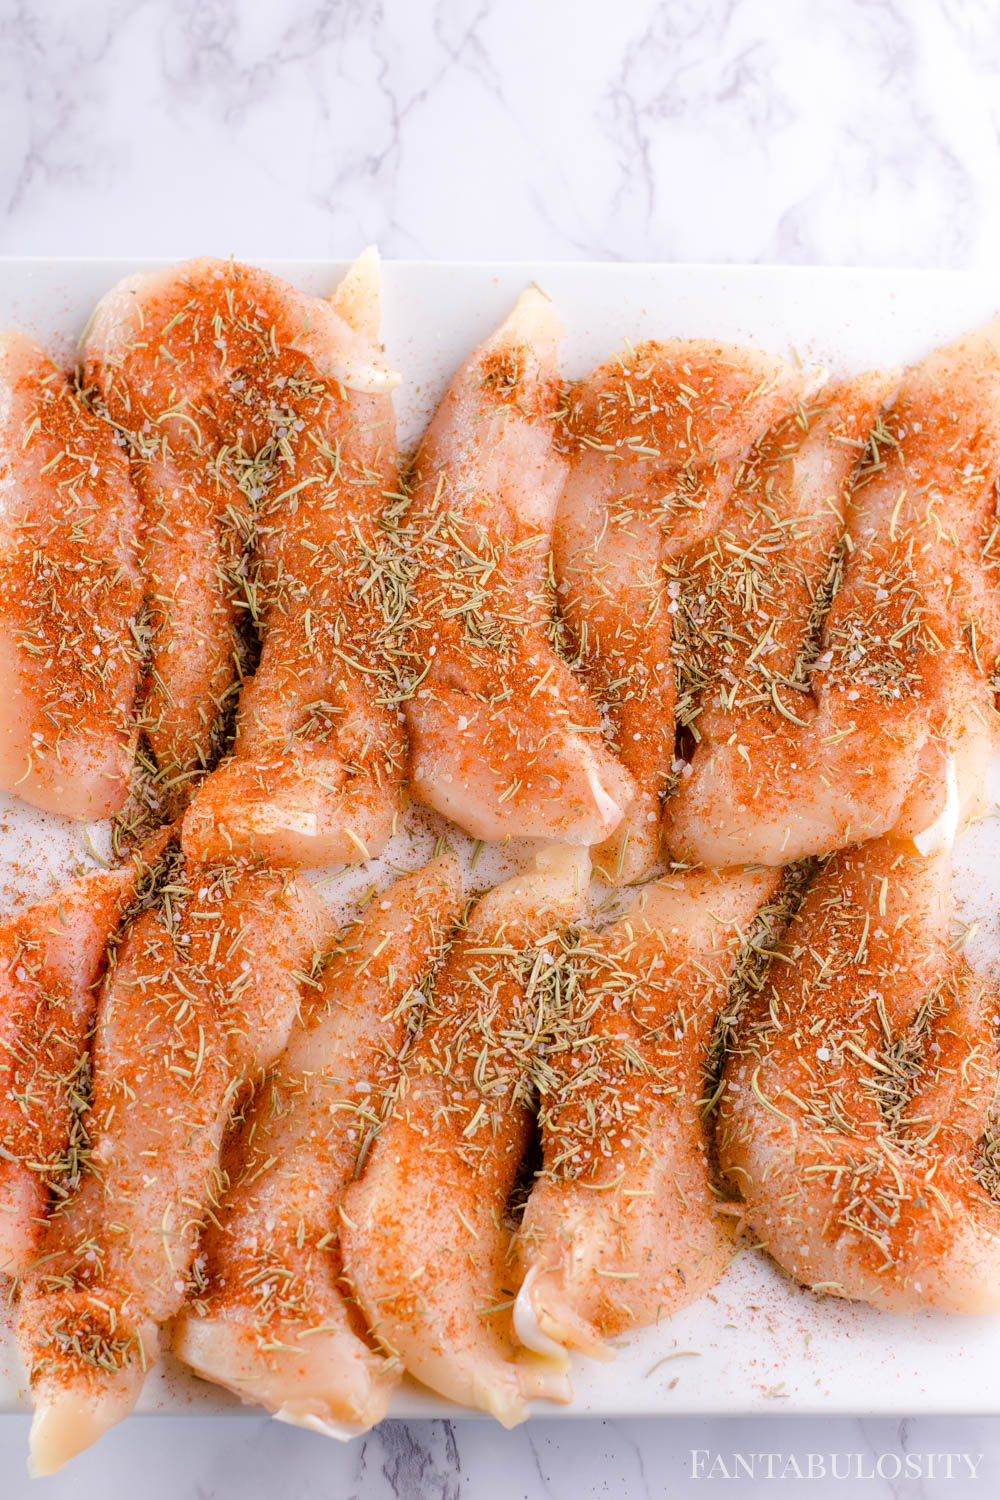
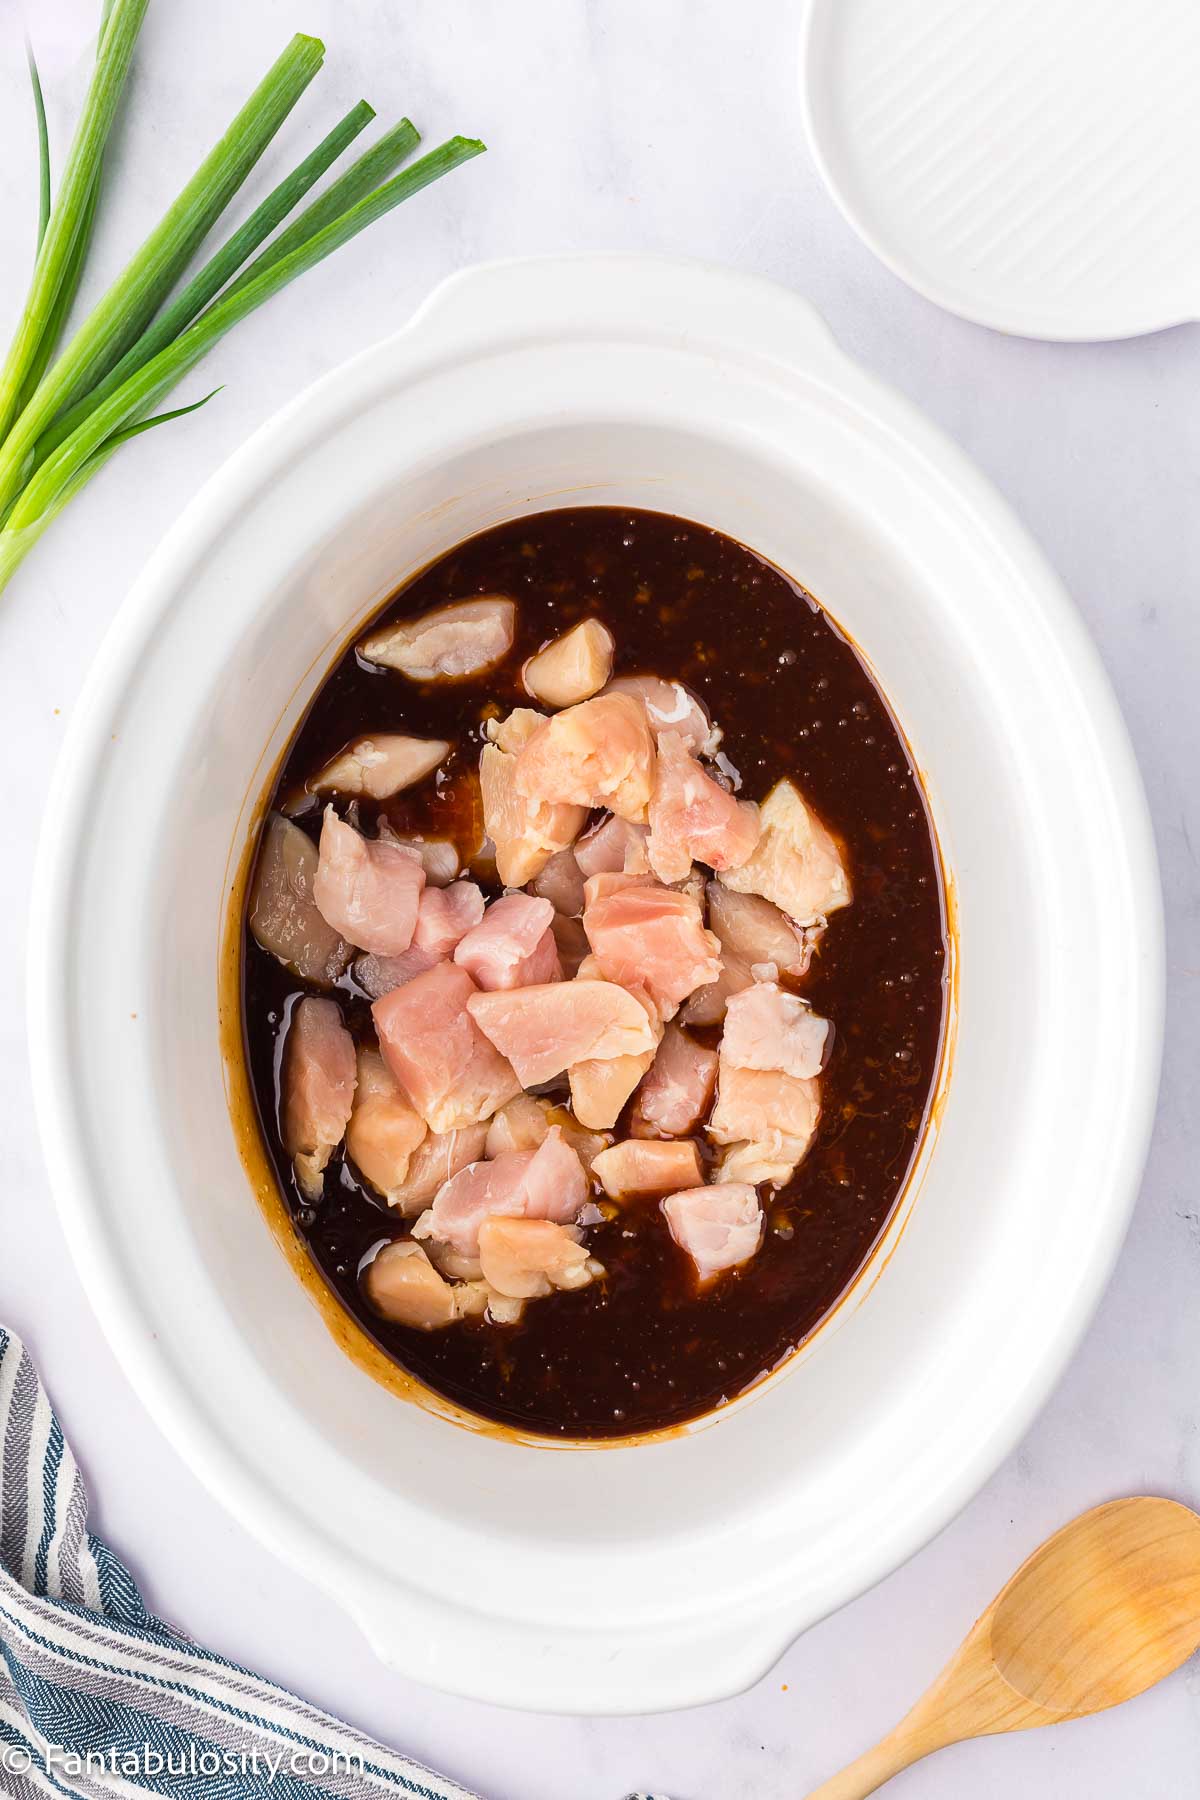
Uncooked Chicken Tenderloins
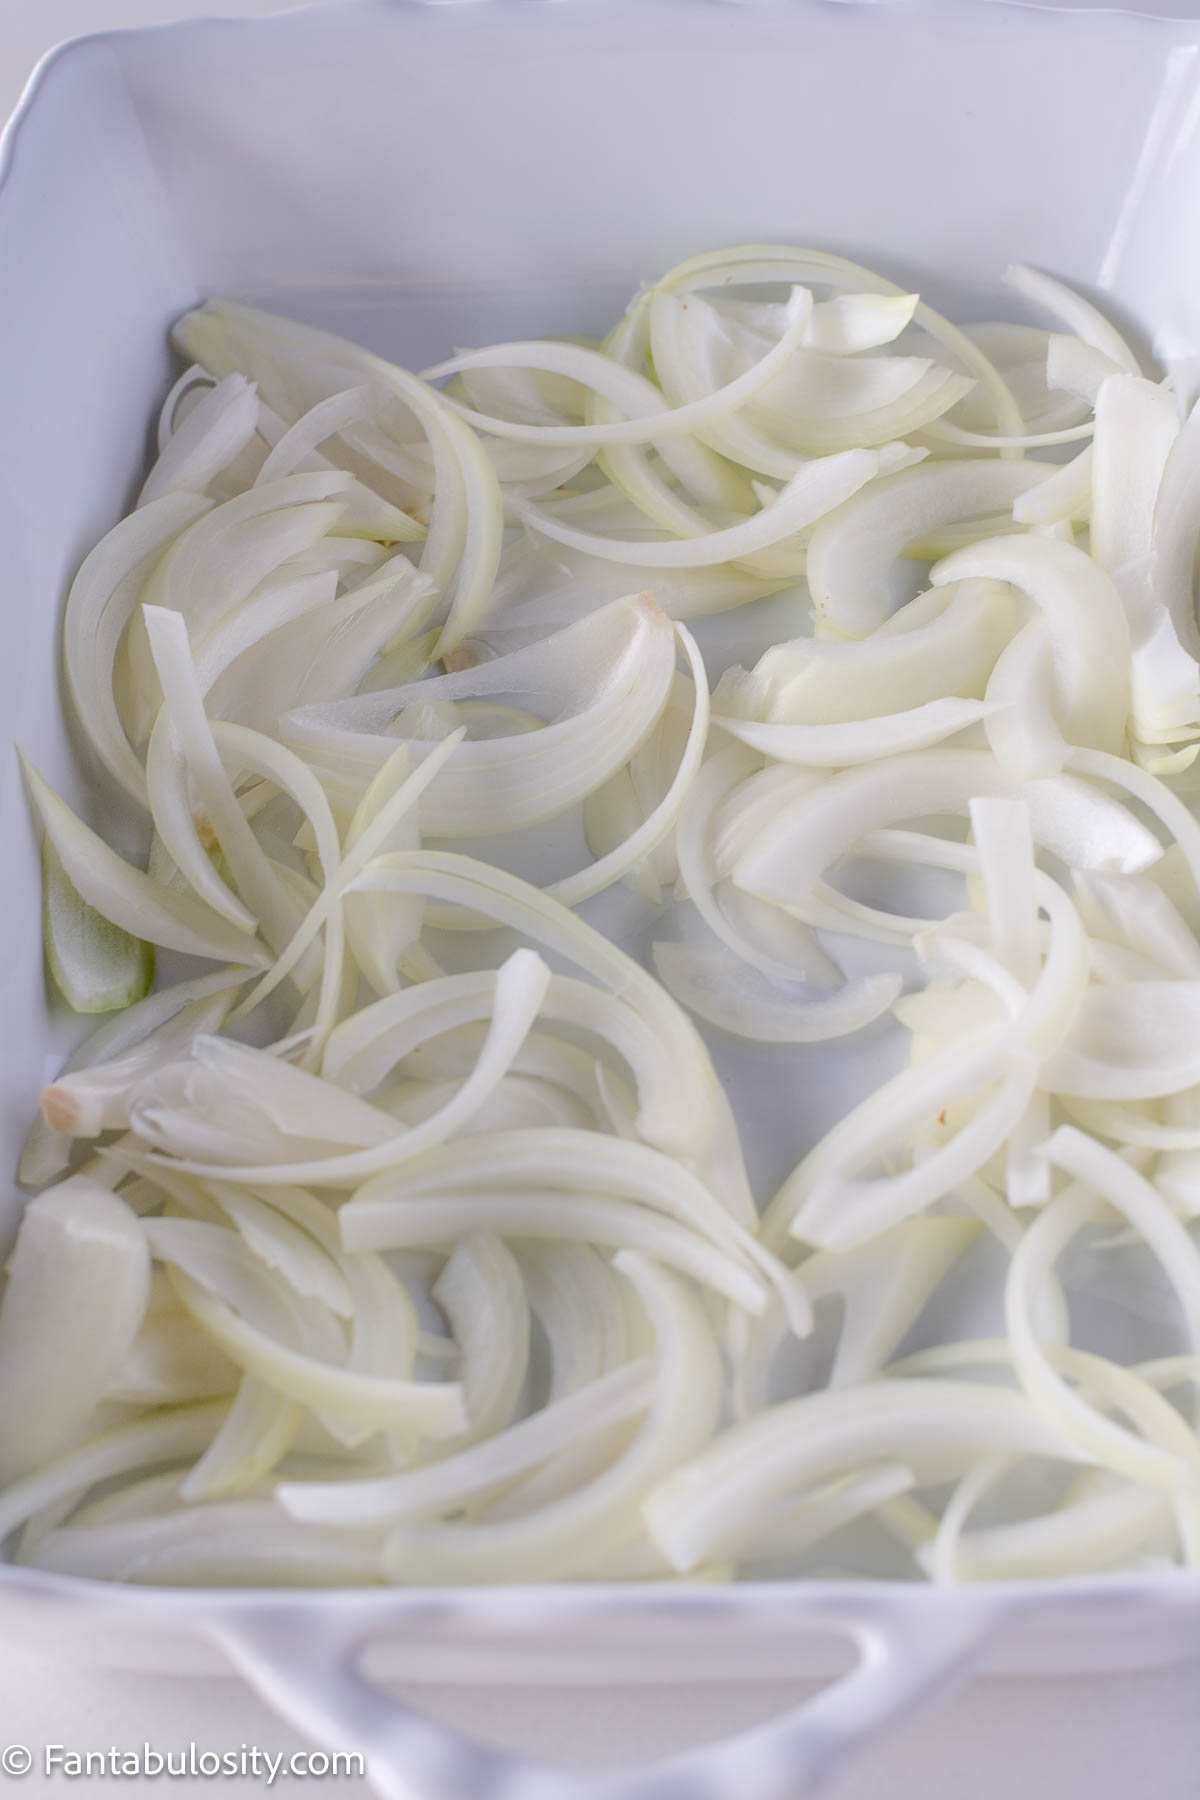
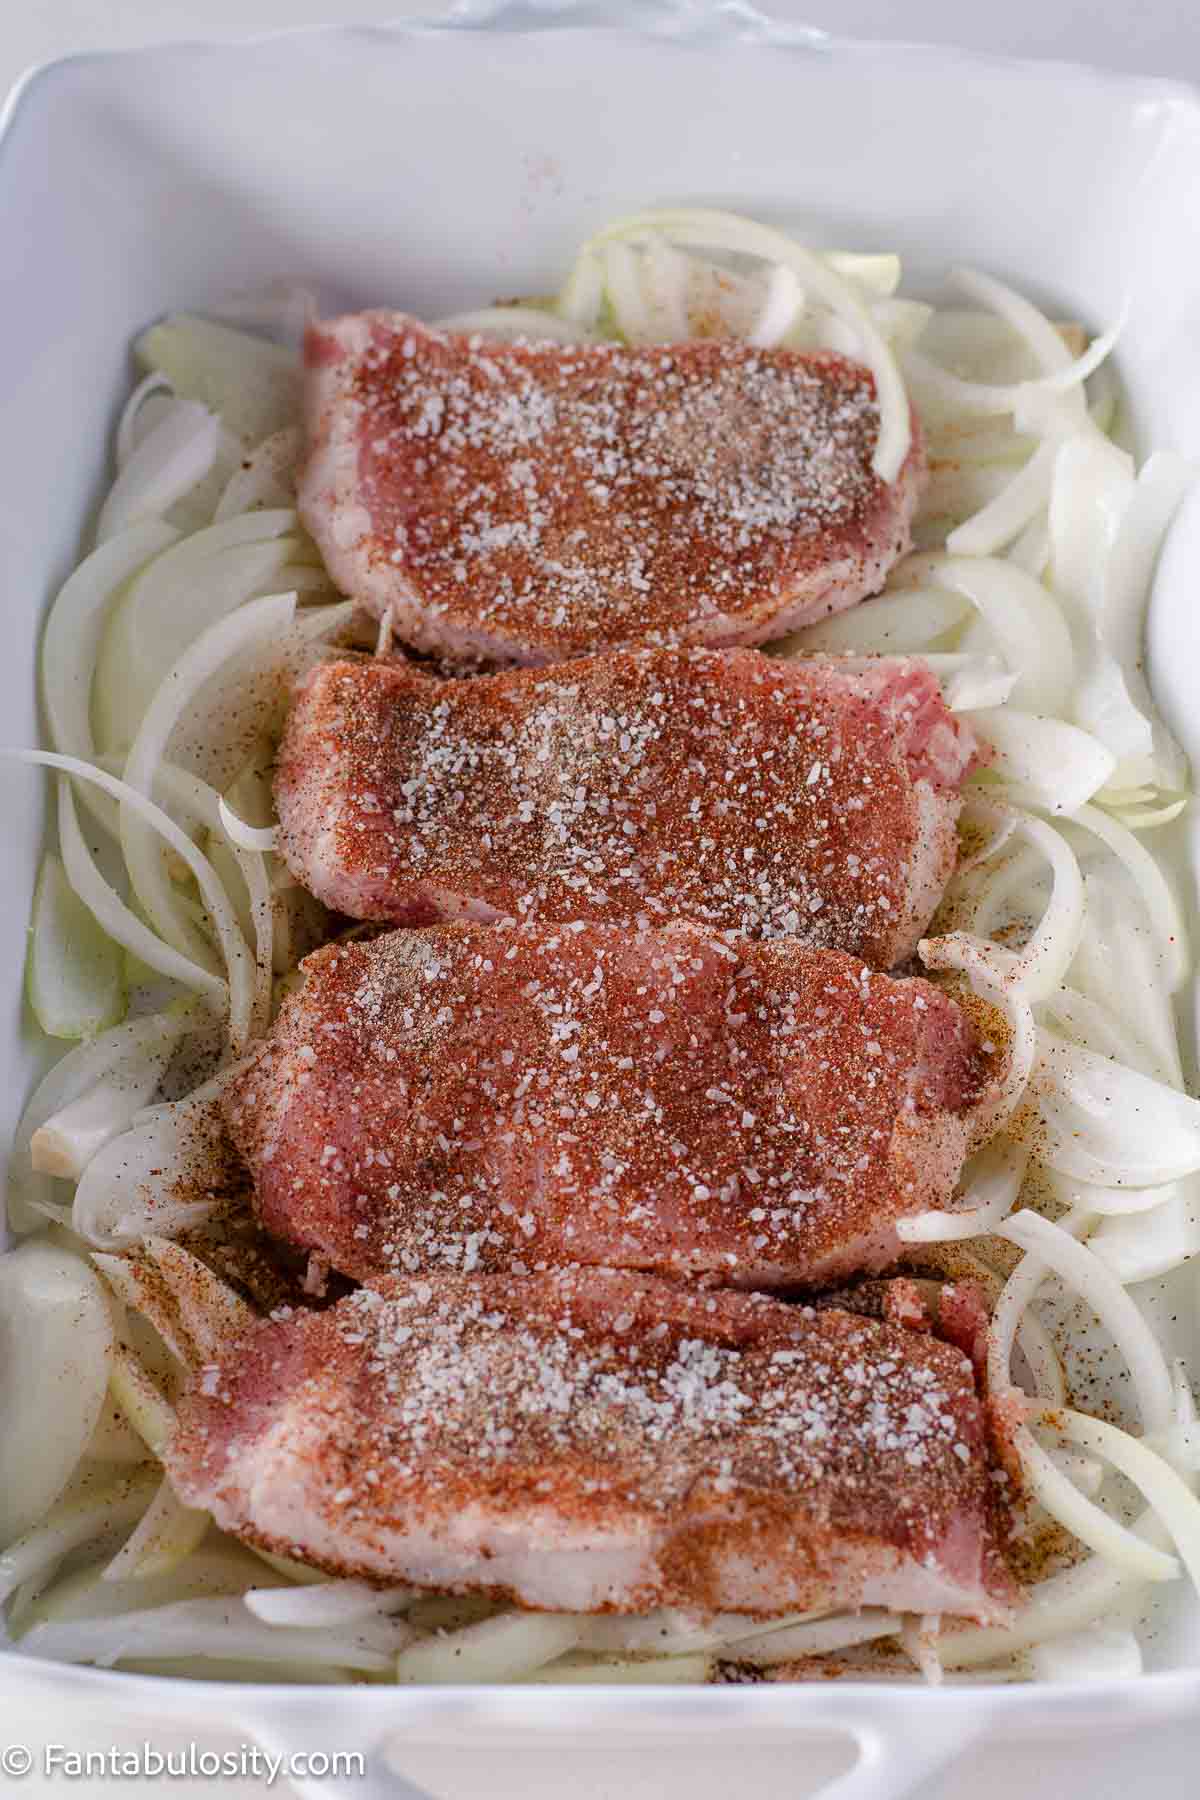
To make it easy to season, place the chicken in a single layer on a large dish. I usually buy the 2 pound package of tenderloins for our family of four and do occasionally have a few leftovers to use in a salad recipe the next day.
Season
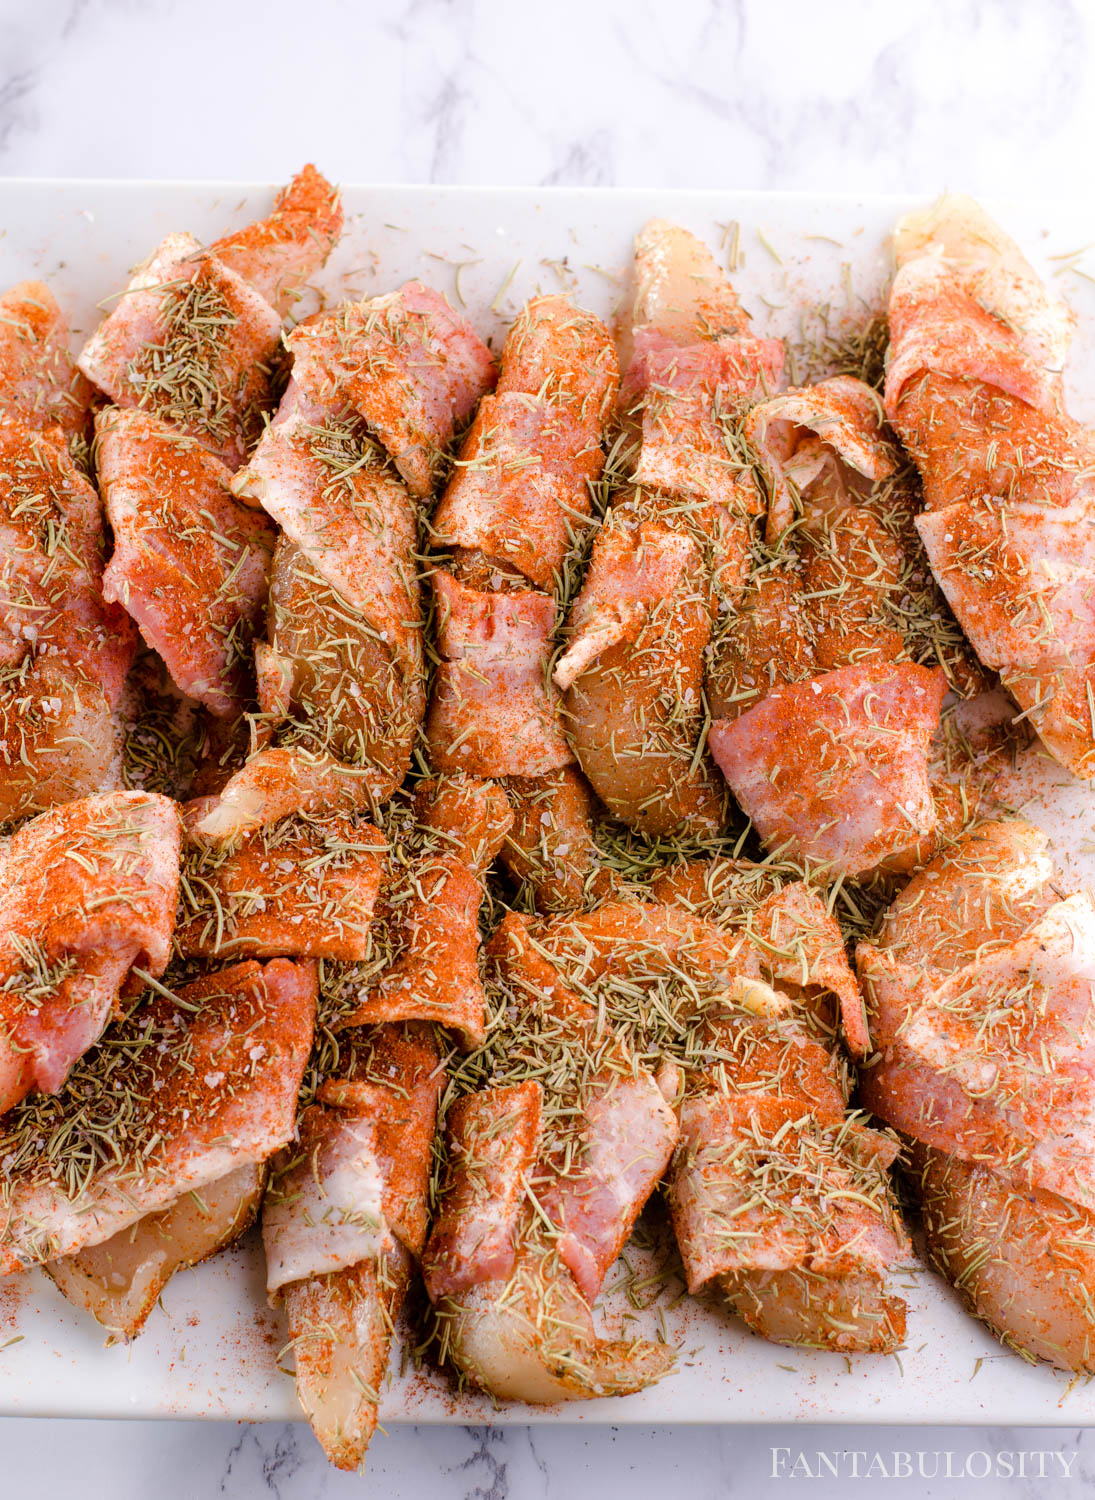
You can season the chicken before wrapping with bacon, after or both. How much will depend on if you’re seasoning only once or both.
Wrap with Bacon
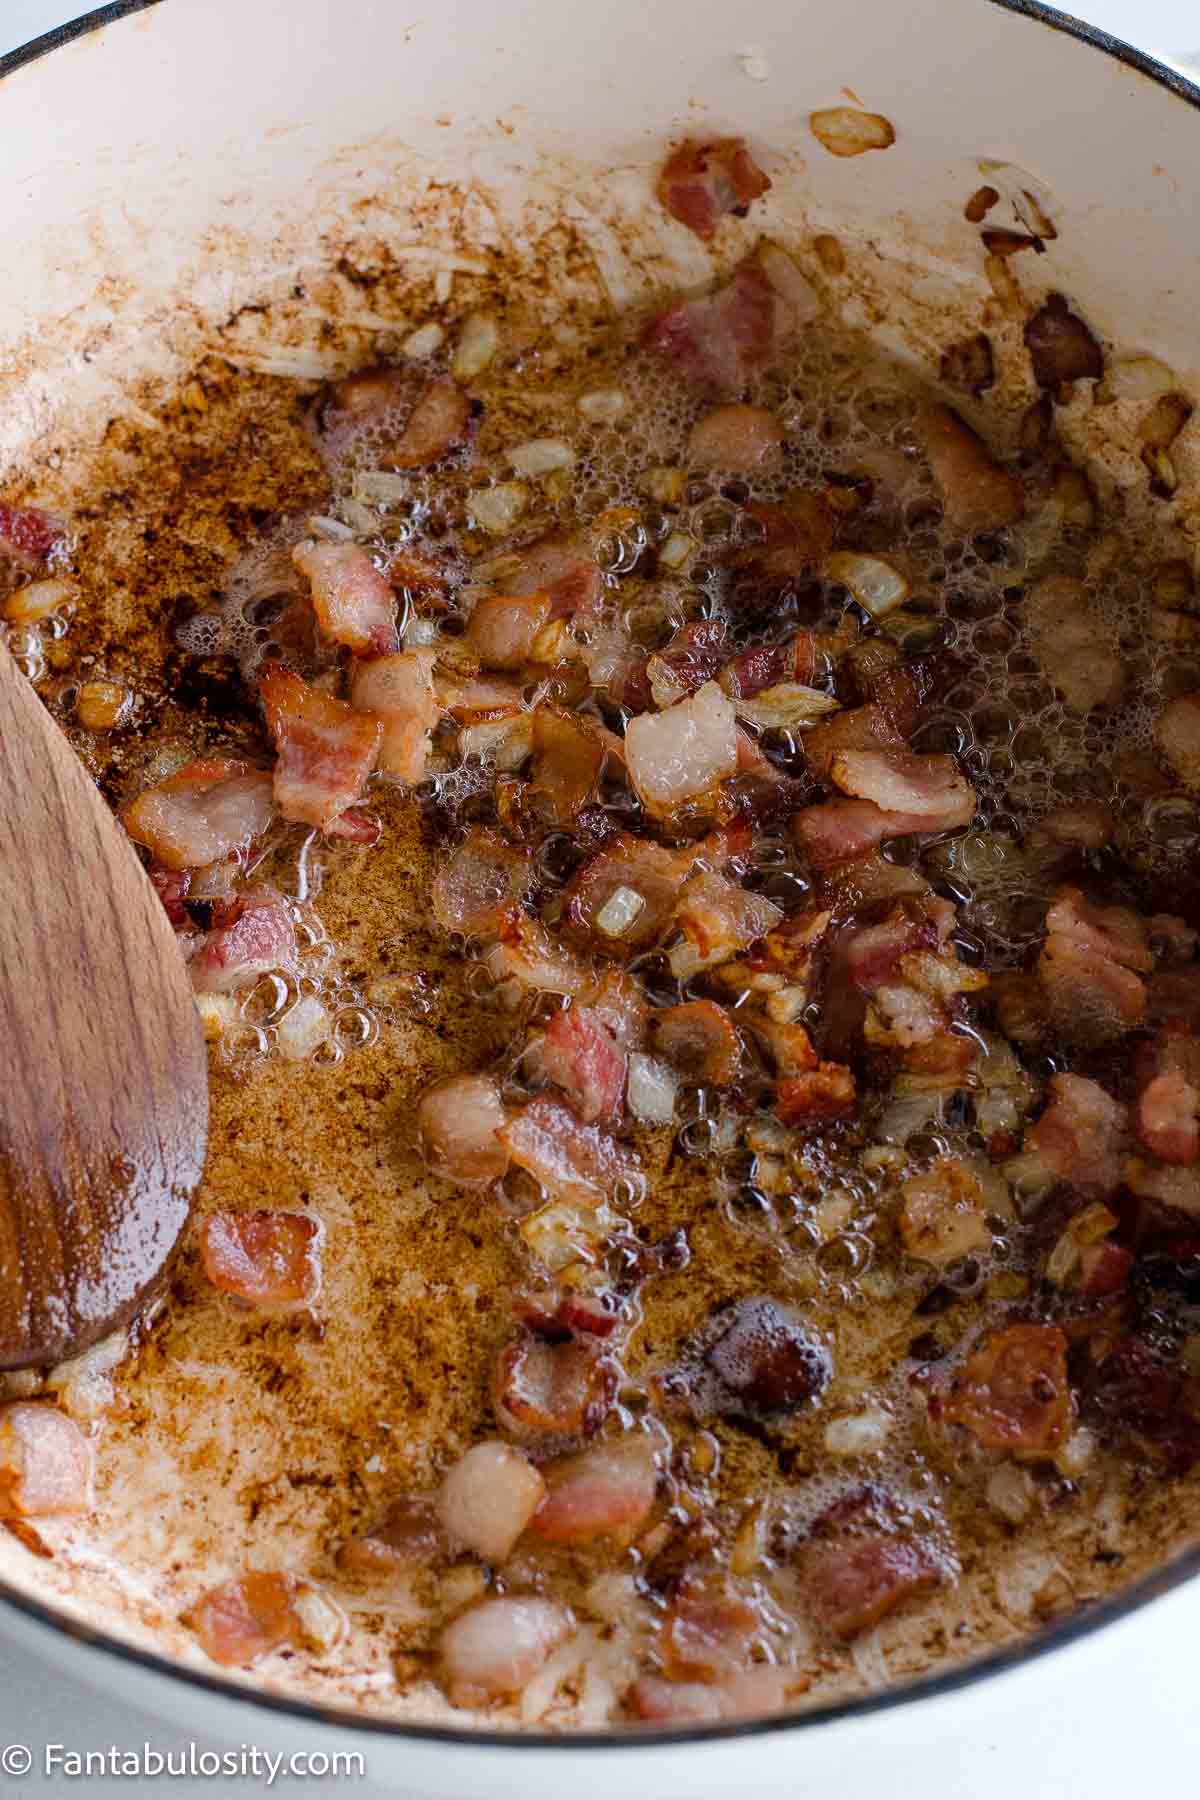
If you REALLY like bacon like we do, wrapping one full piece of bacon (we really like the “thick-cut” but “regular cut” bacon holds better) around each chicken tender is delicious. However, if you don’t have enough or want just a small piece of bacon on each piece, it can be cut in half.
Wrap the chicken with bacon, and if needed, secure with a toothpick.
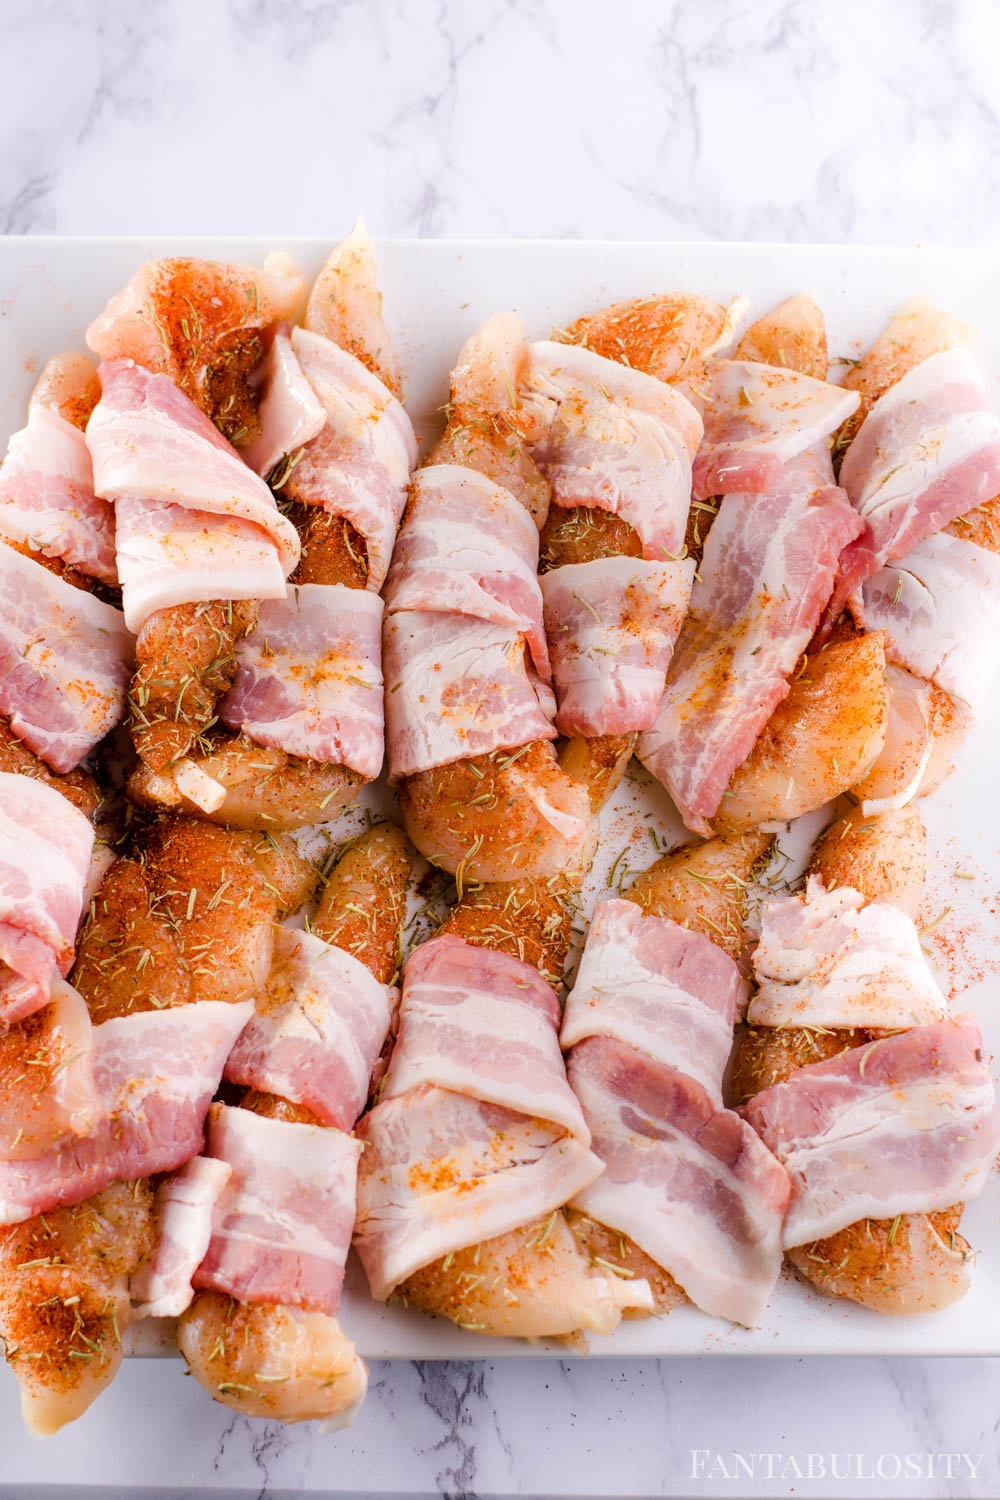
If you choose to season again, this is the time to season.
Note: Seasoning too much can actually happen, especially if using a salty blend.
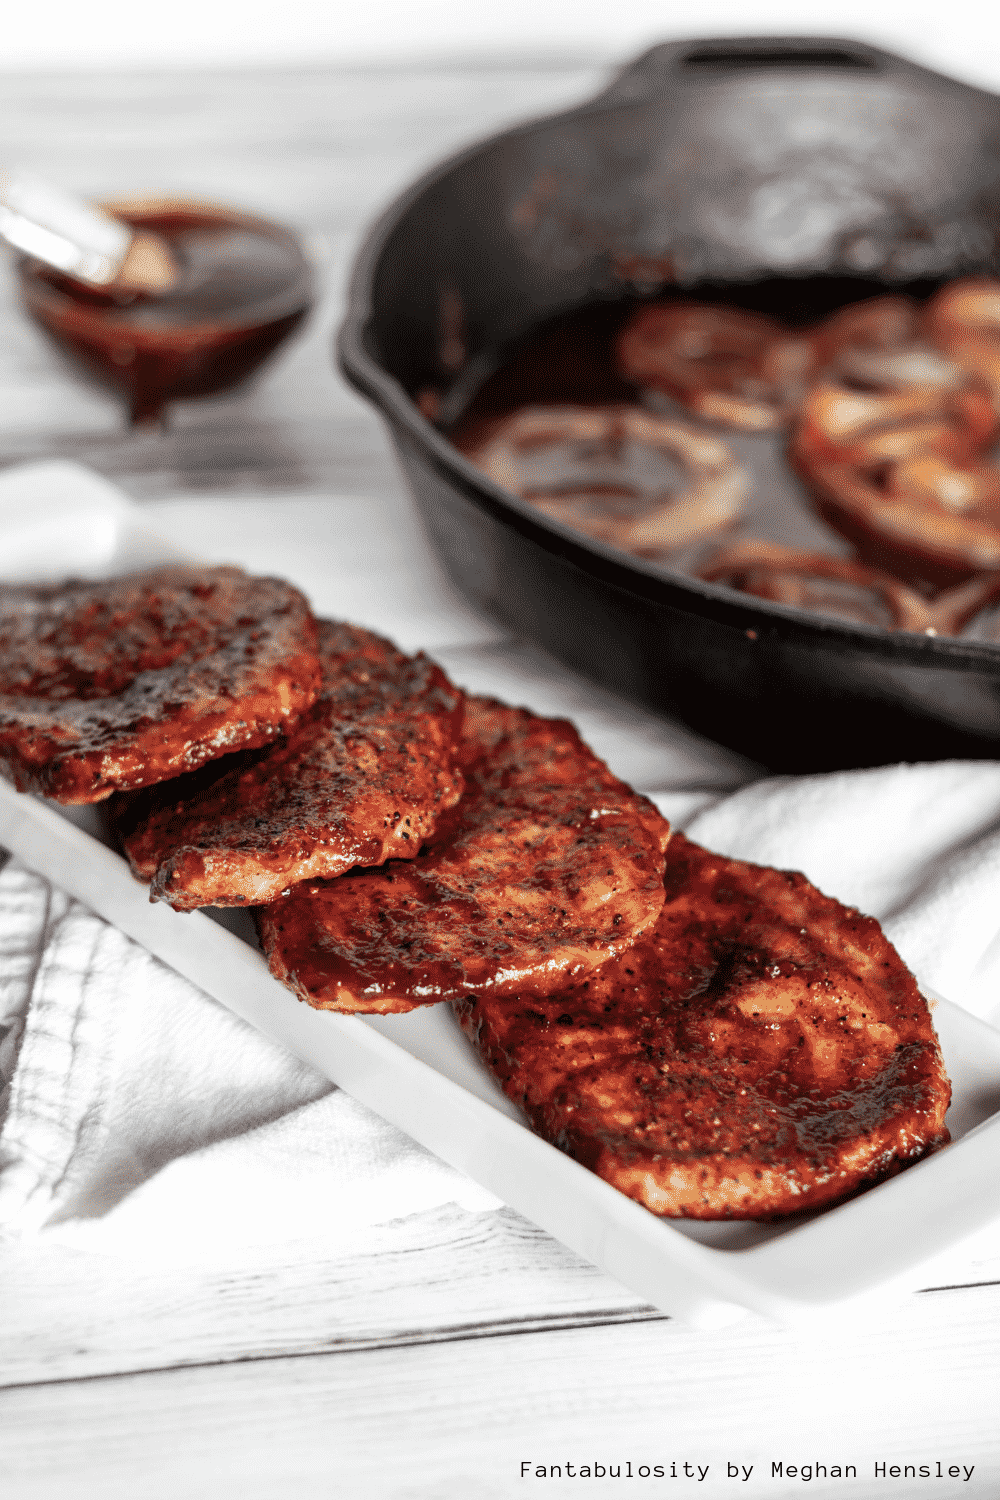
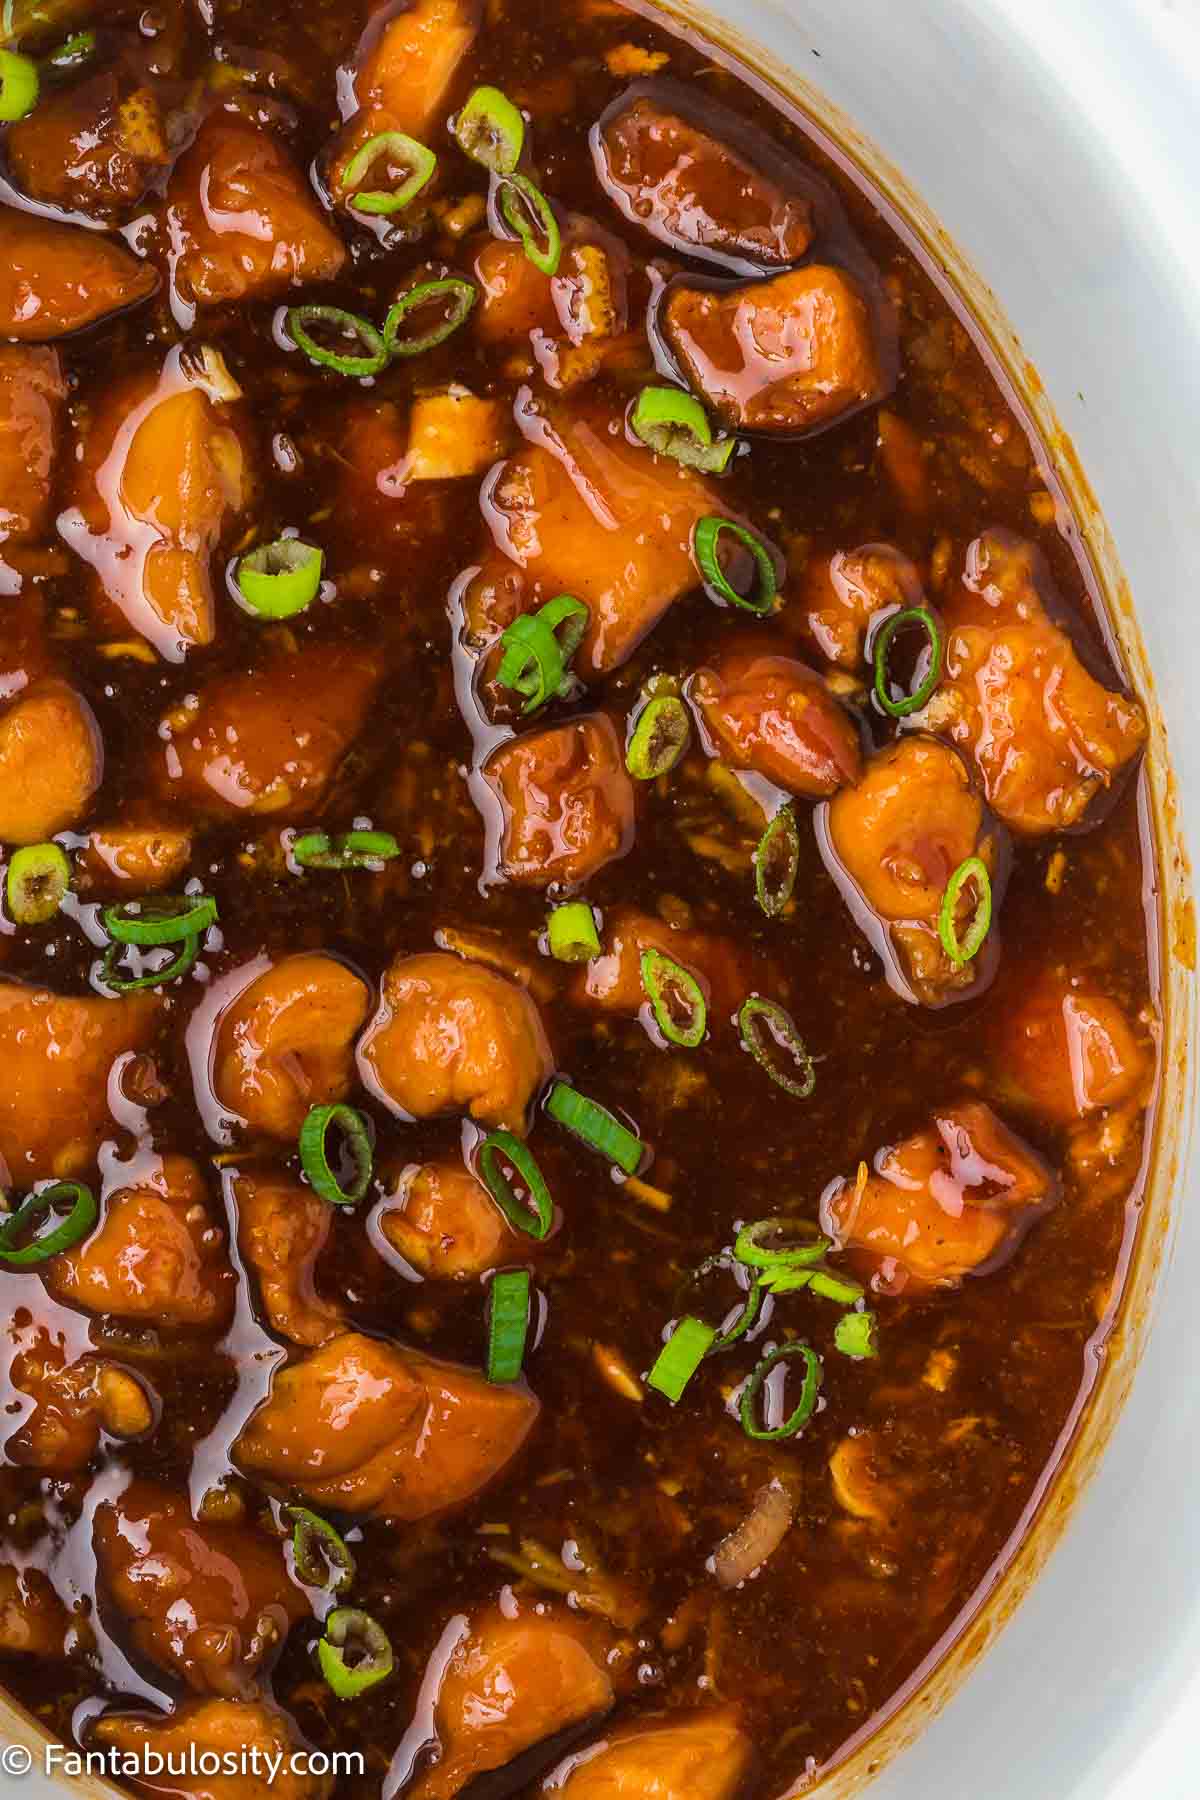
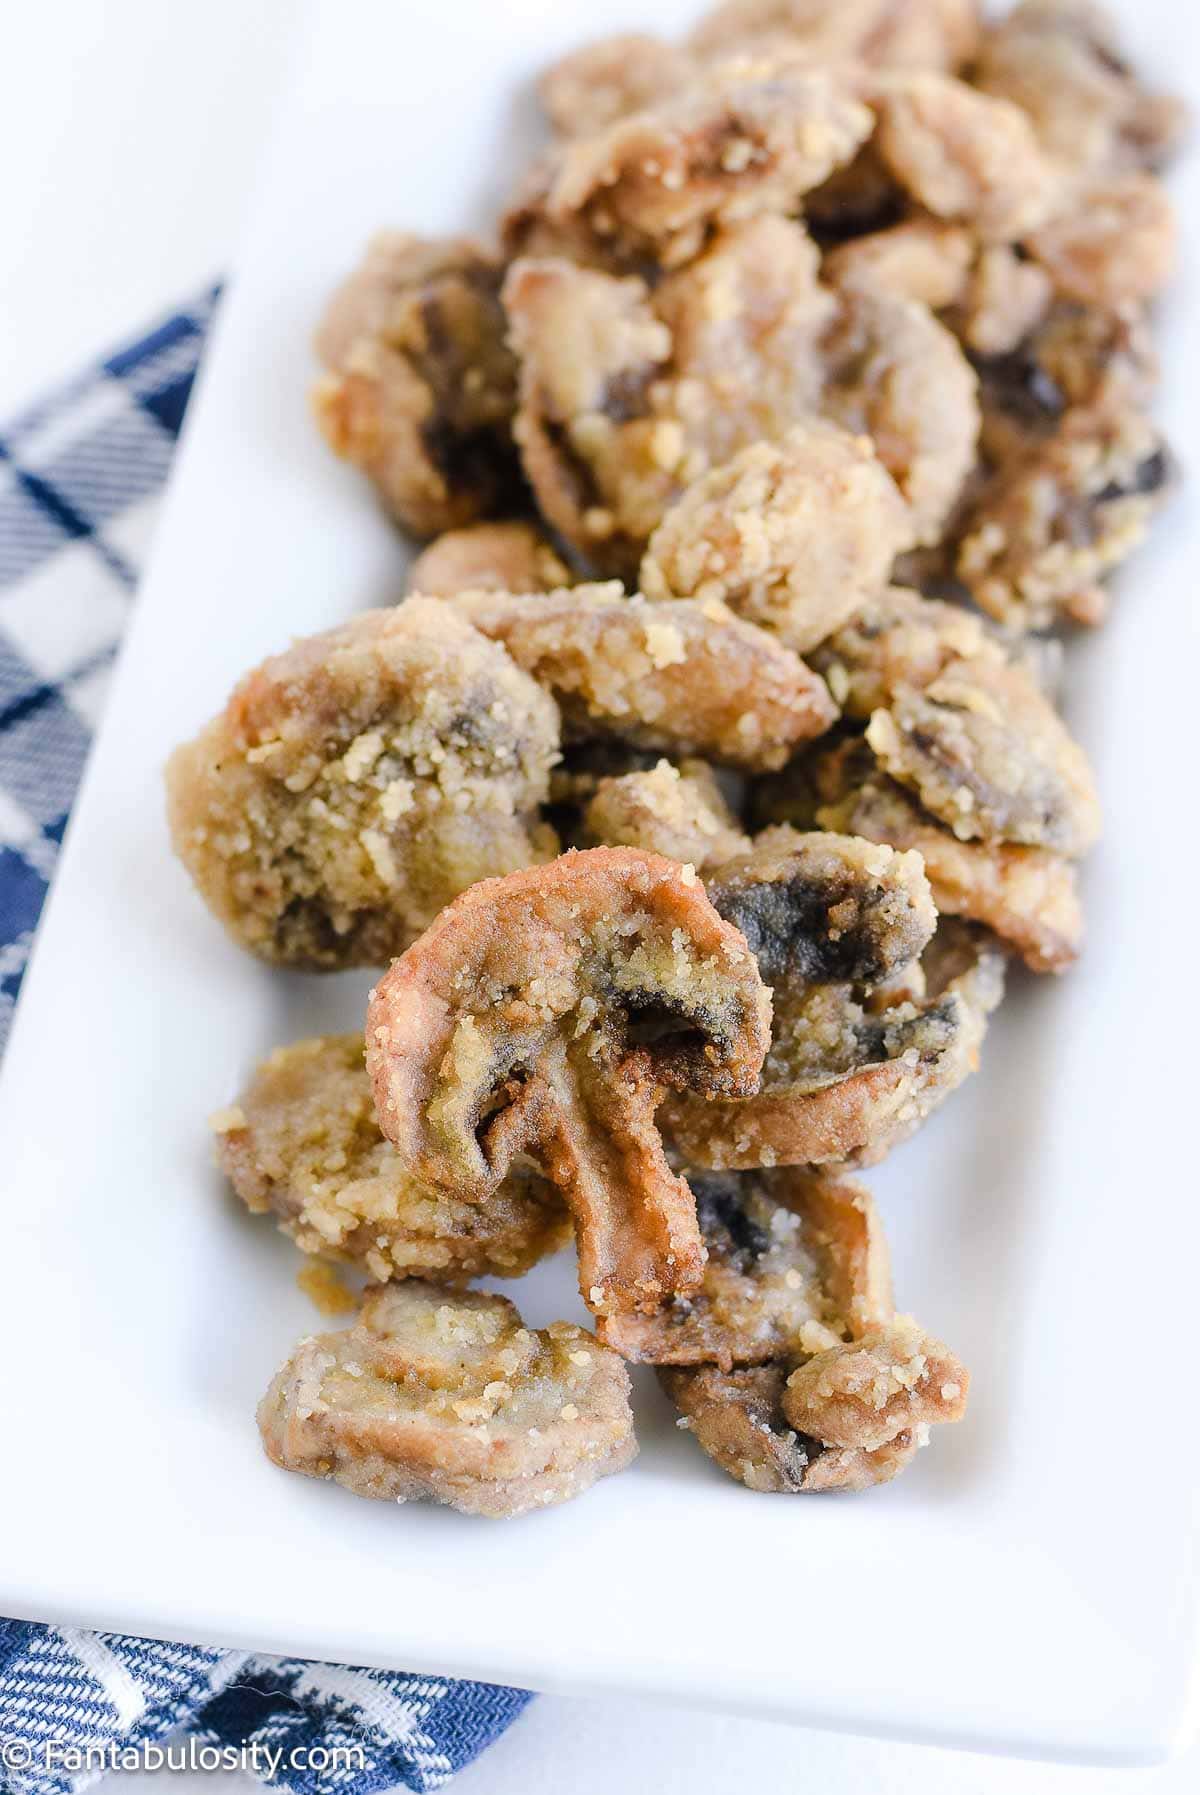
Smoke at 225° for One Hour until Internal Temp is 165°
Place tenders on smoker racks, not touching one another, and cook at 225° for 1 to 1.5 hours, or until the internal temperature reaches 165°.
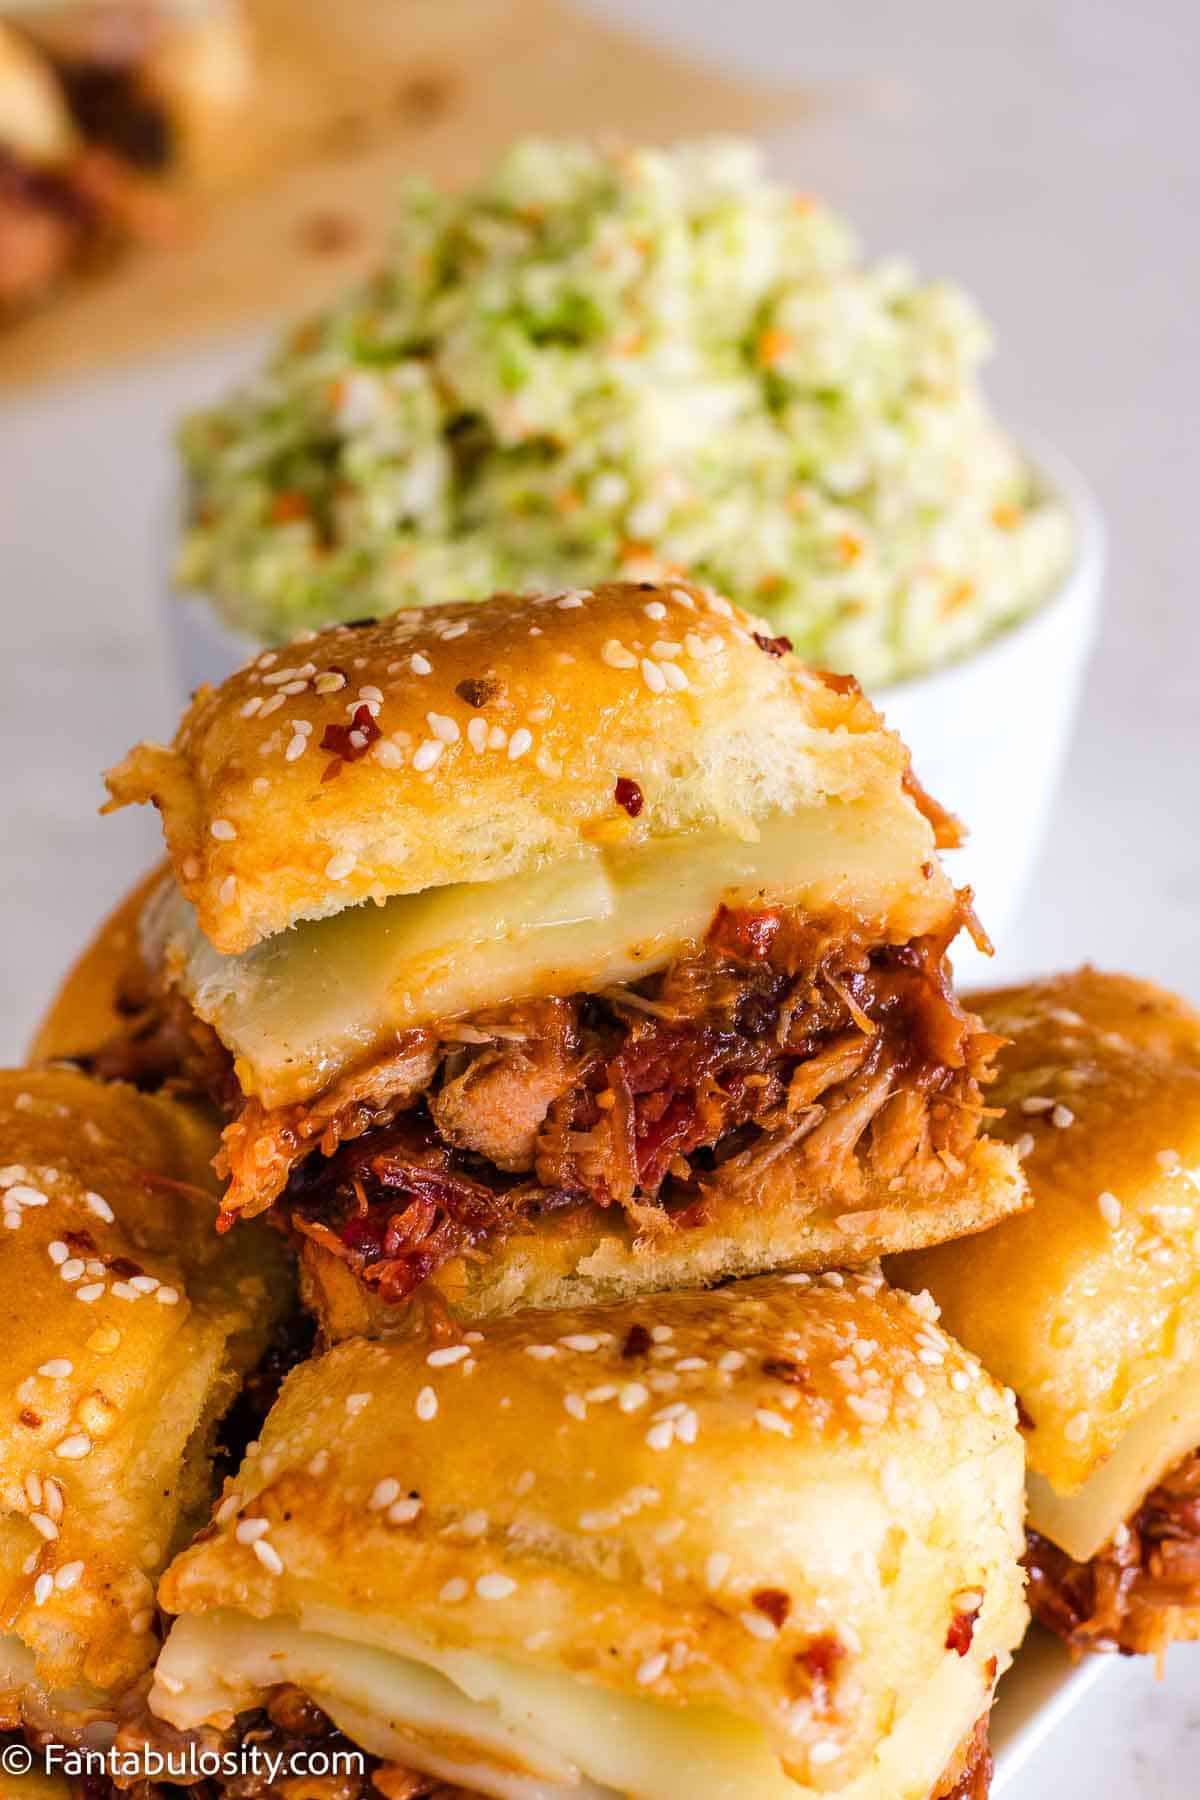
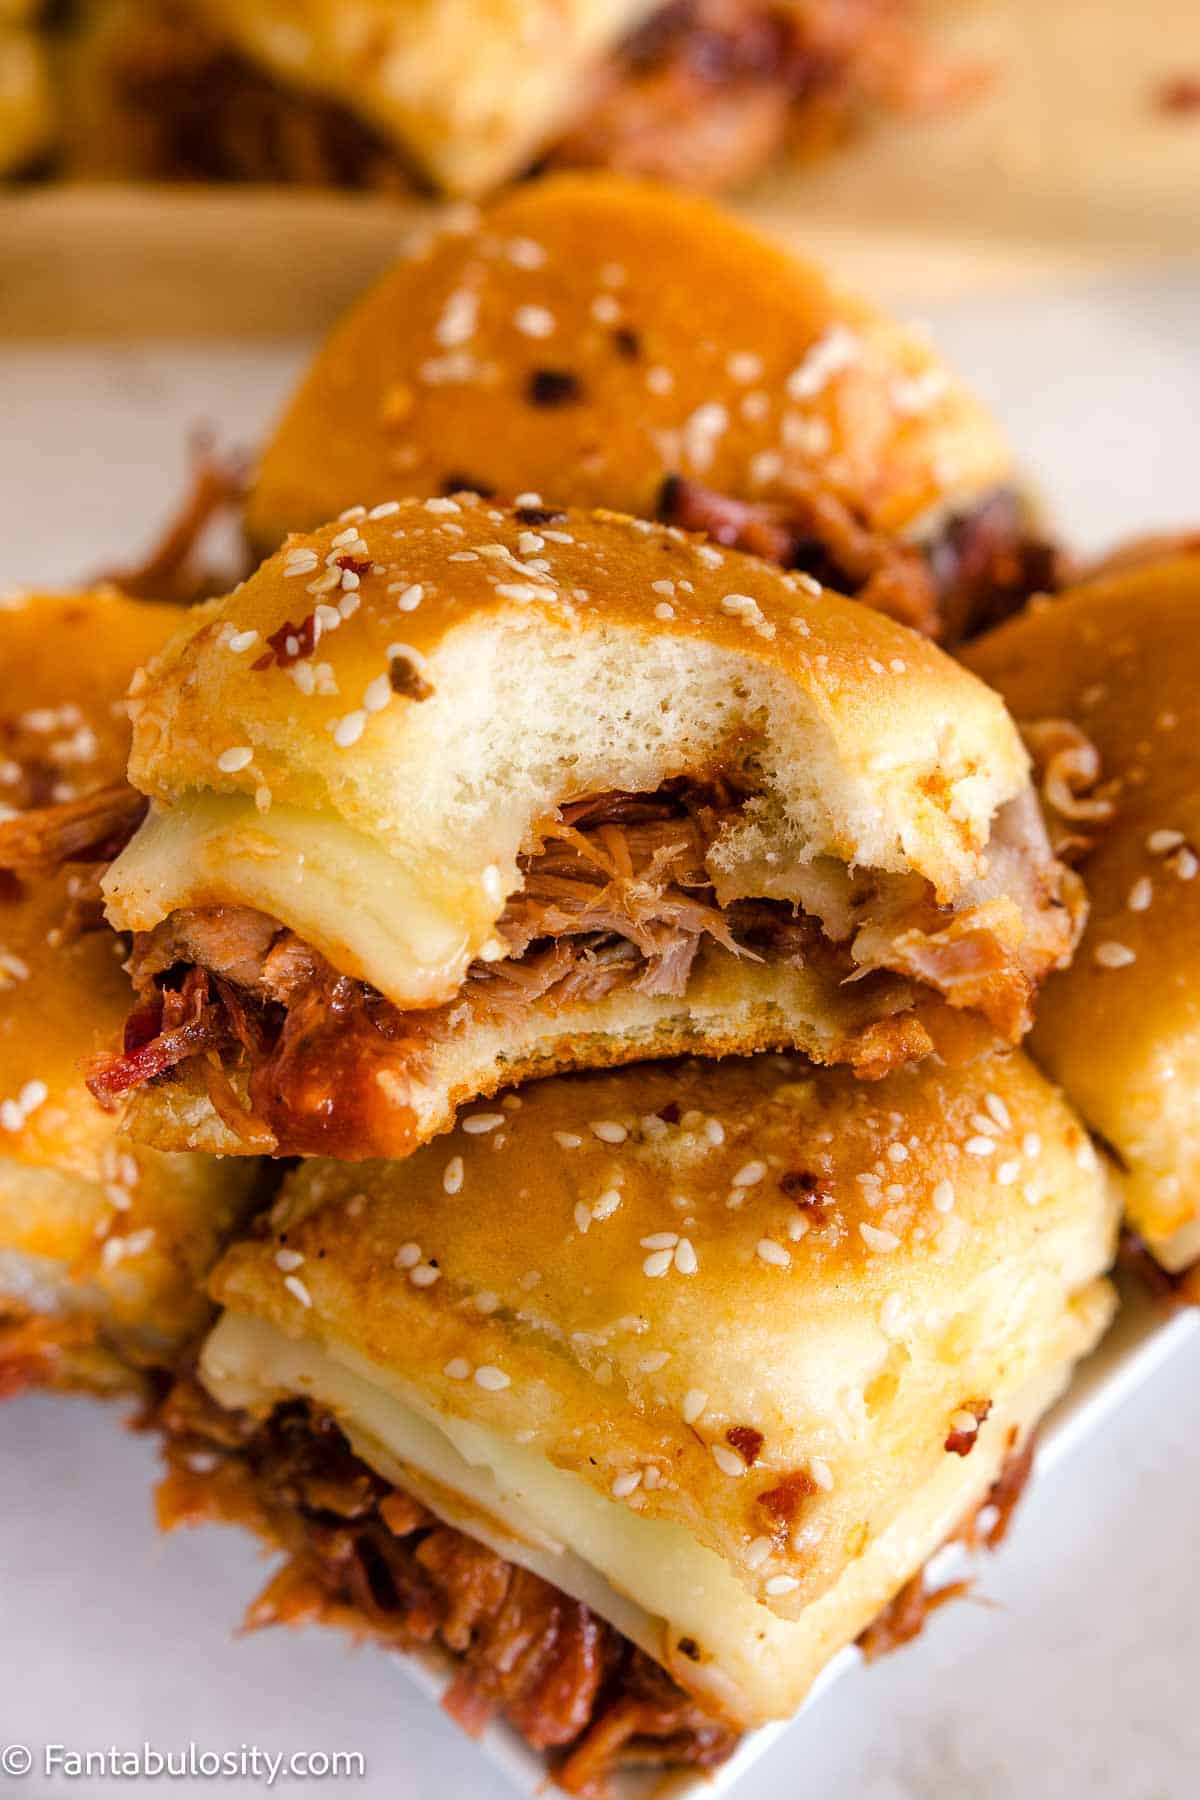
Serve
When tenderloins reach 165°, remove from smoker and serve!
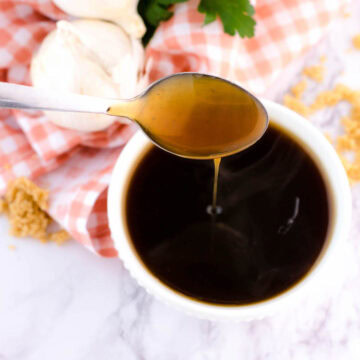
Dipping Sauces for Chicken
Although these are flavorful just as they are, and don’t NEED a dipping sauce, sometimes it just sends things over the top! Here are dipping sauce ideas that you can serve with it:
- ranch or jalapeno ranch dressing
- honey mustard
- bbq sauce
- homemade teriyaki sauce
- Chick-fil-A sauce
Smoked recipes are some of our favorites around here because when you can “set it” and almost forget it… we can work on the other side dishes and desserts to go along with dinner! If you’re new to smoking meats, I have no doubt that you’ll feel the same way!
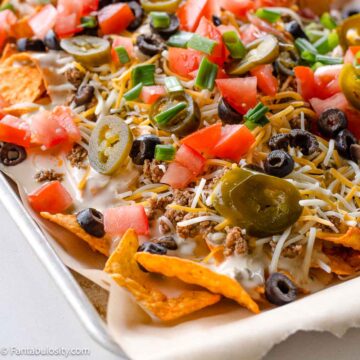
More Cook “Out” Recipes
“Cookout” recipes don’t actually have to be cooked outside to have the same vibe! These baked pork steaks are an absolute winner and perfect even if you don’t have a grill!
But if you do want to cook “out”, here are some of our favorite recipes for the grill:
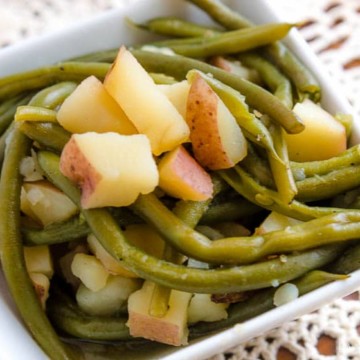
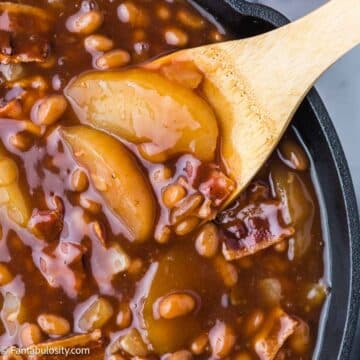
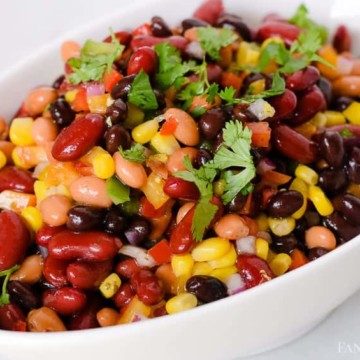
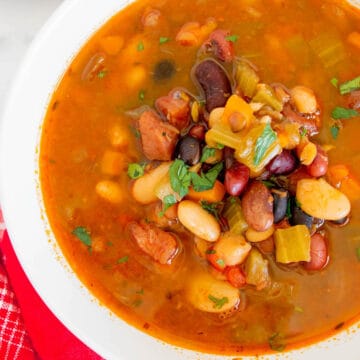
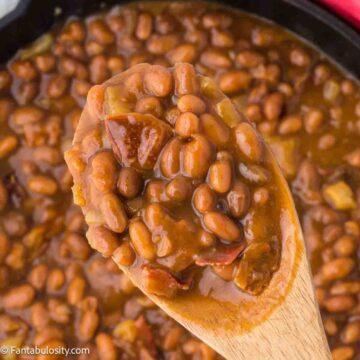
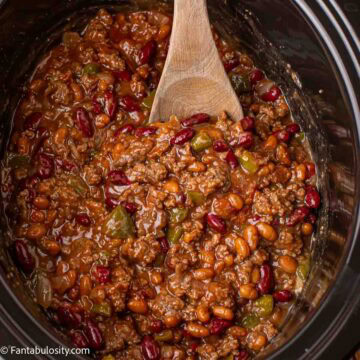
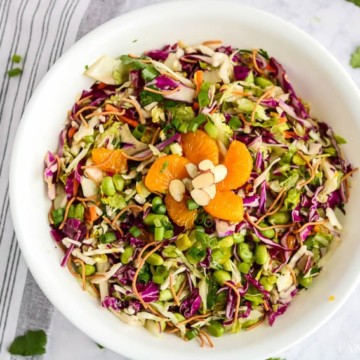
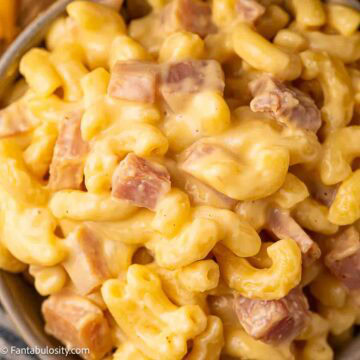
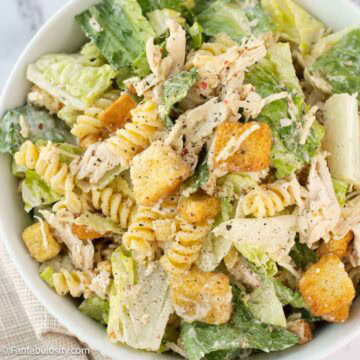
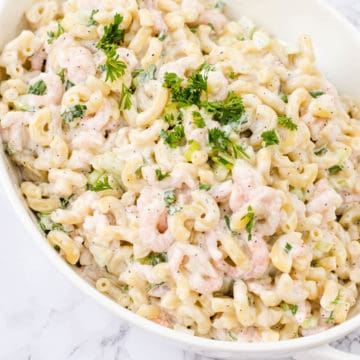
Side Dishes for Chicken
With a main dish as easy as this, it makes sense to keep the side dishes just as easy!
Here are some great side dishes to go with this recipe:

Did You Make This?
Snap a pic and hashtag it #Fantabulosity - I love to see your creations on Instagram and Facebook.
Recipe
Smoked Chicken Tenders
Equipment
- smoker
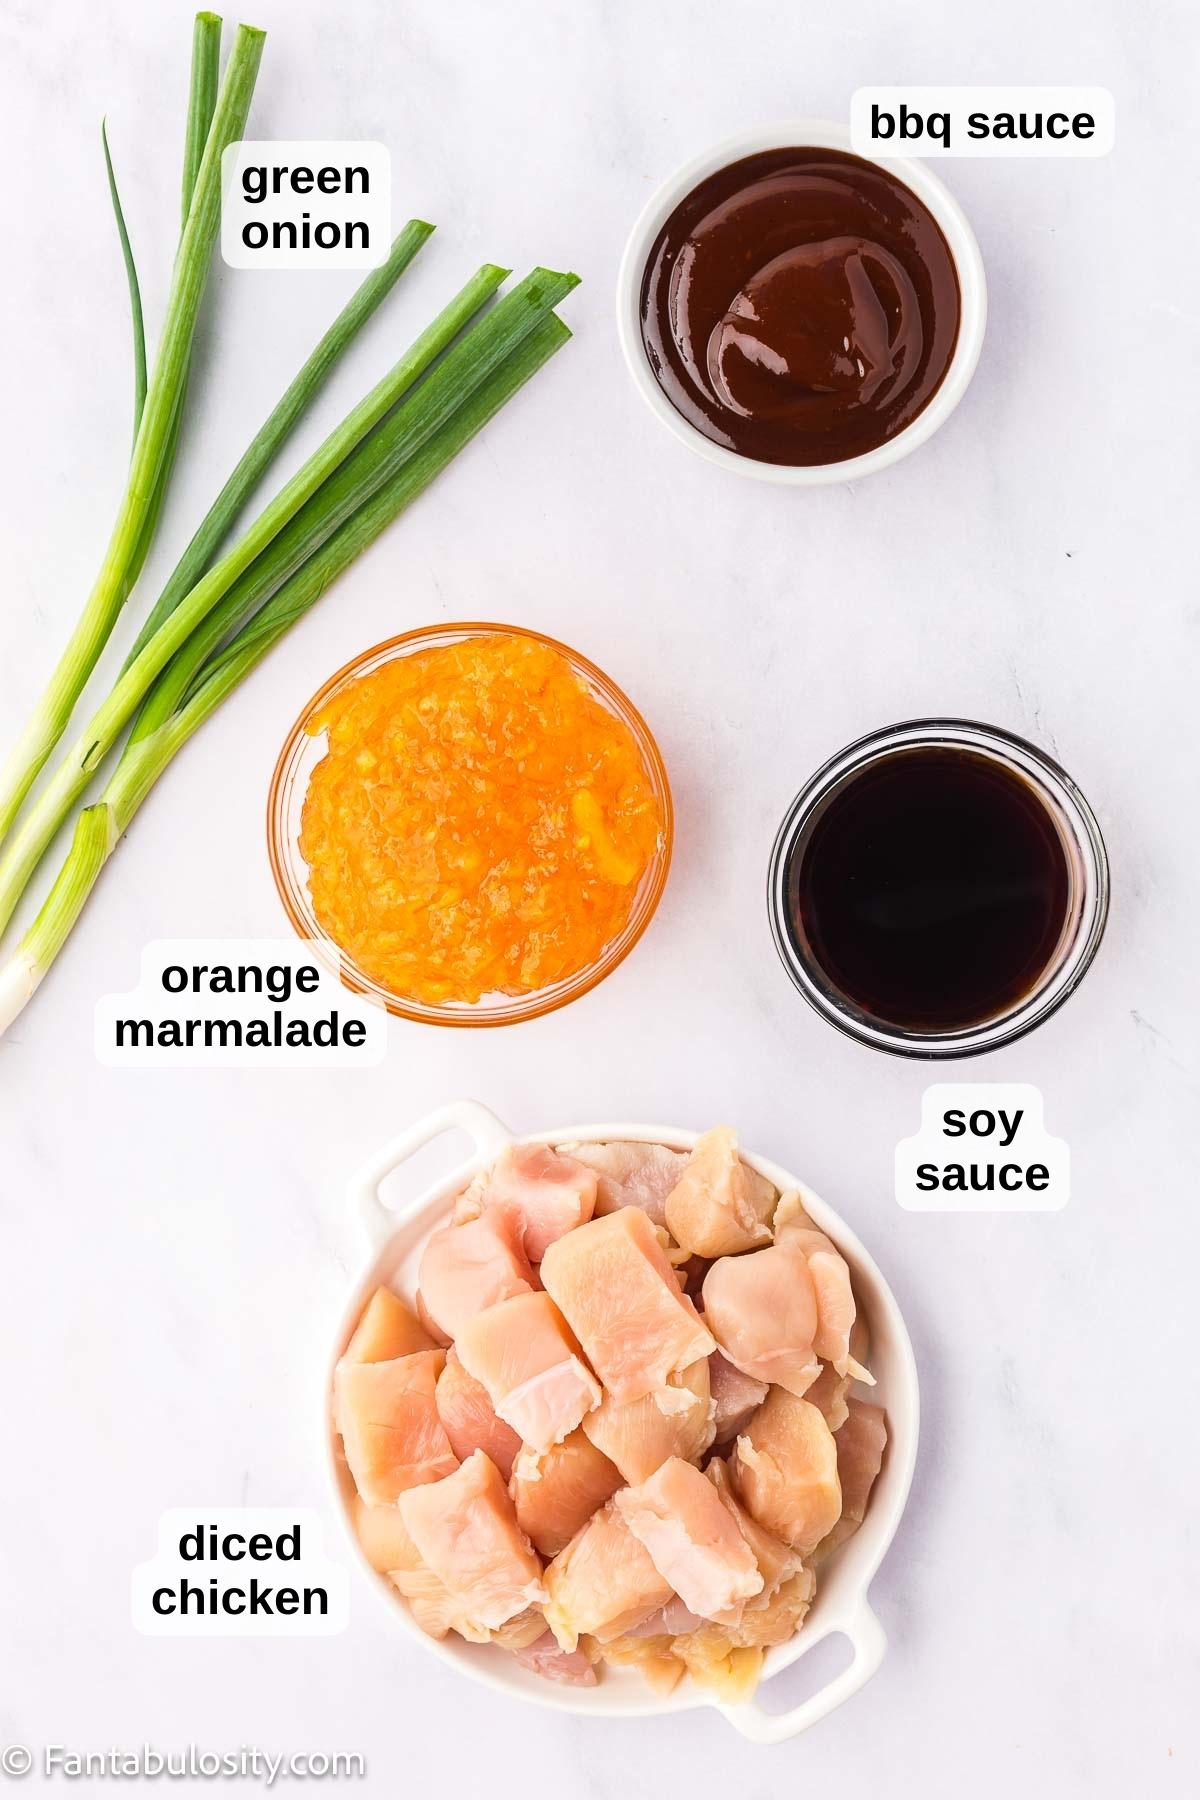
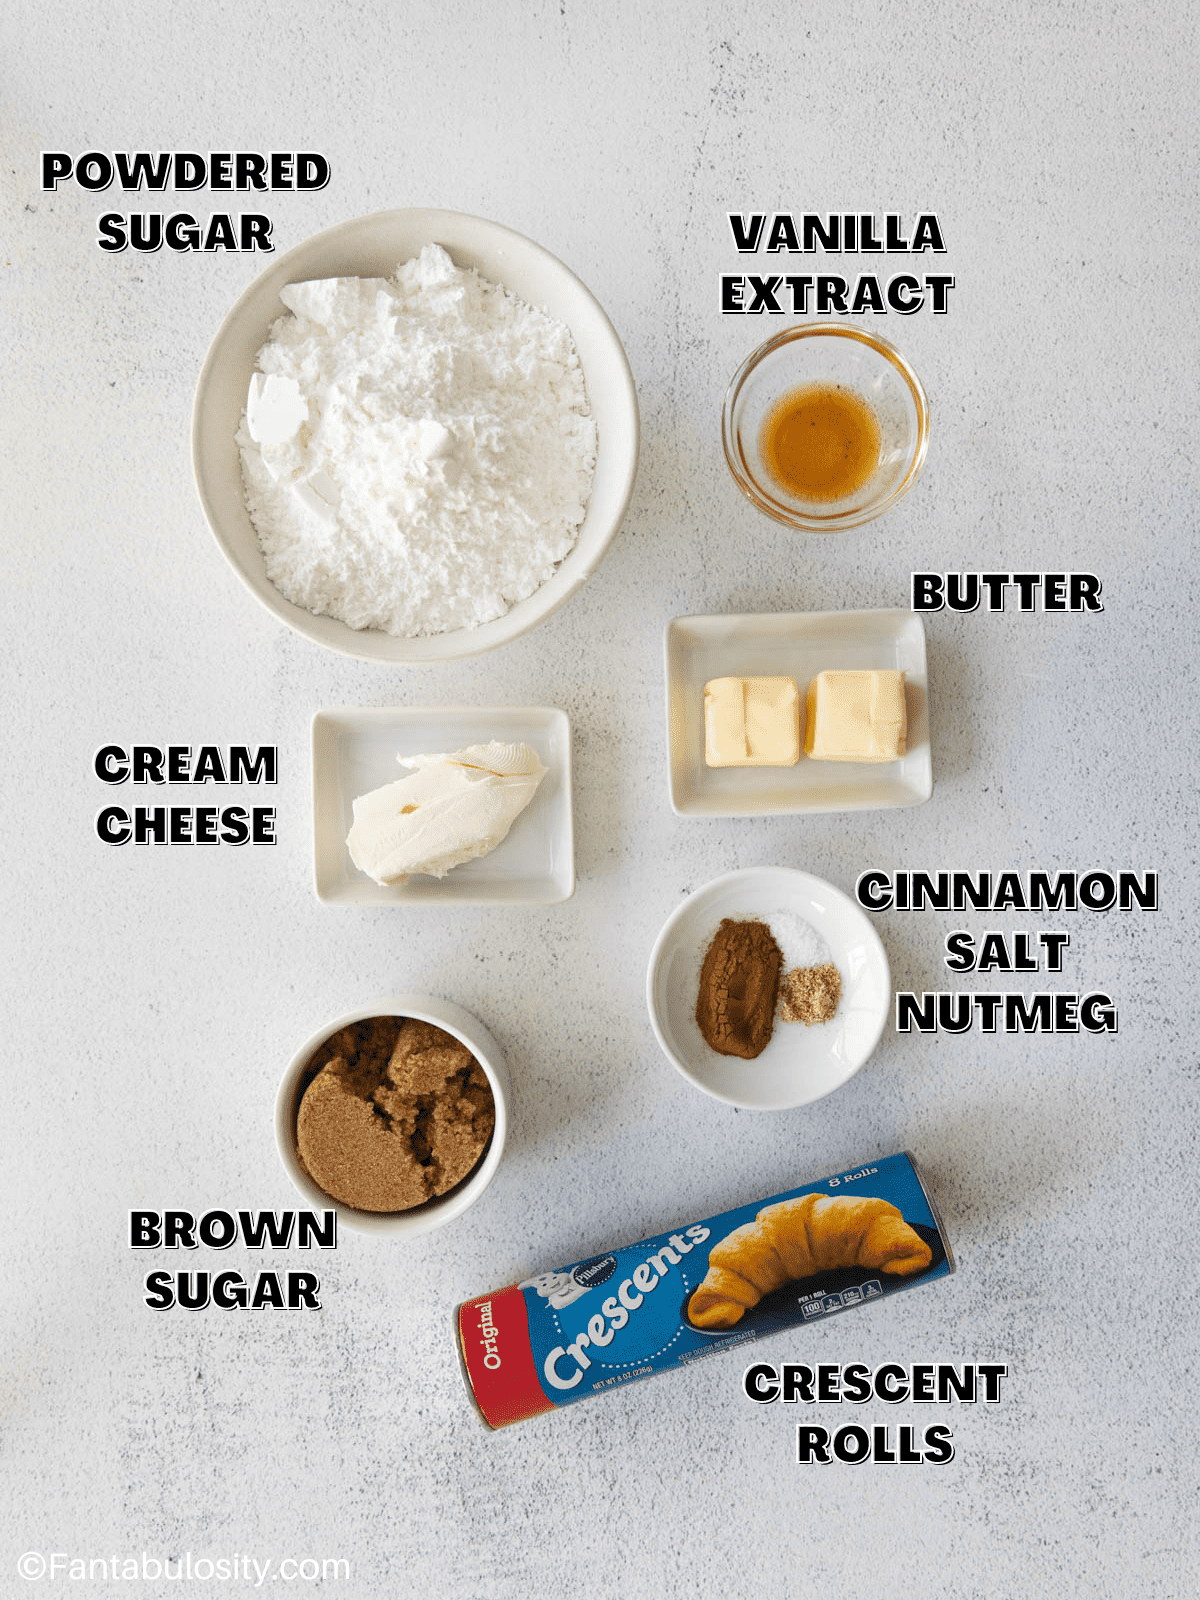
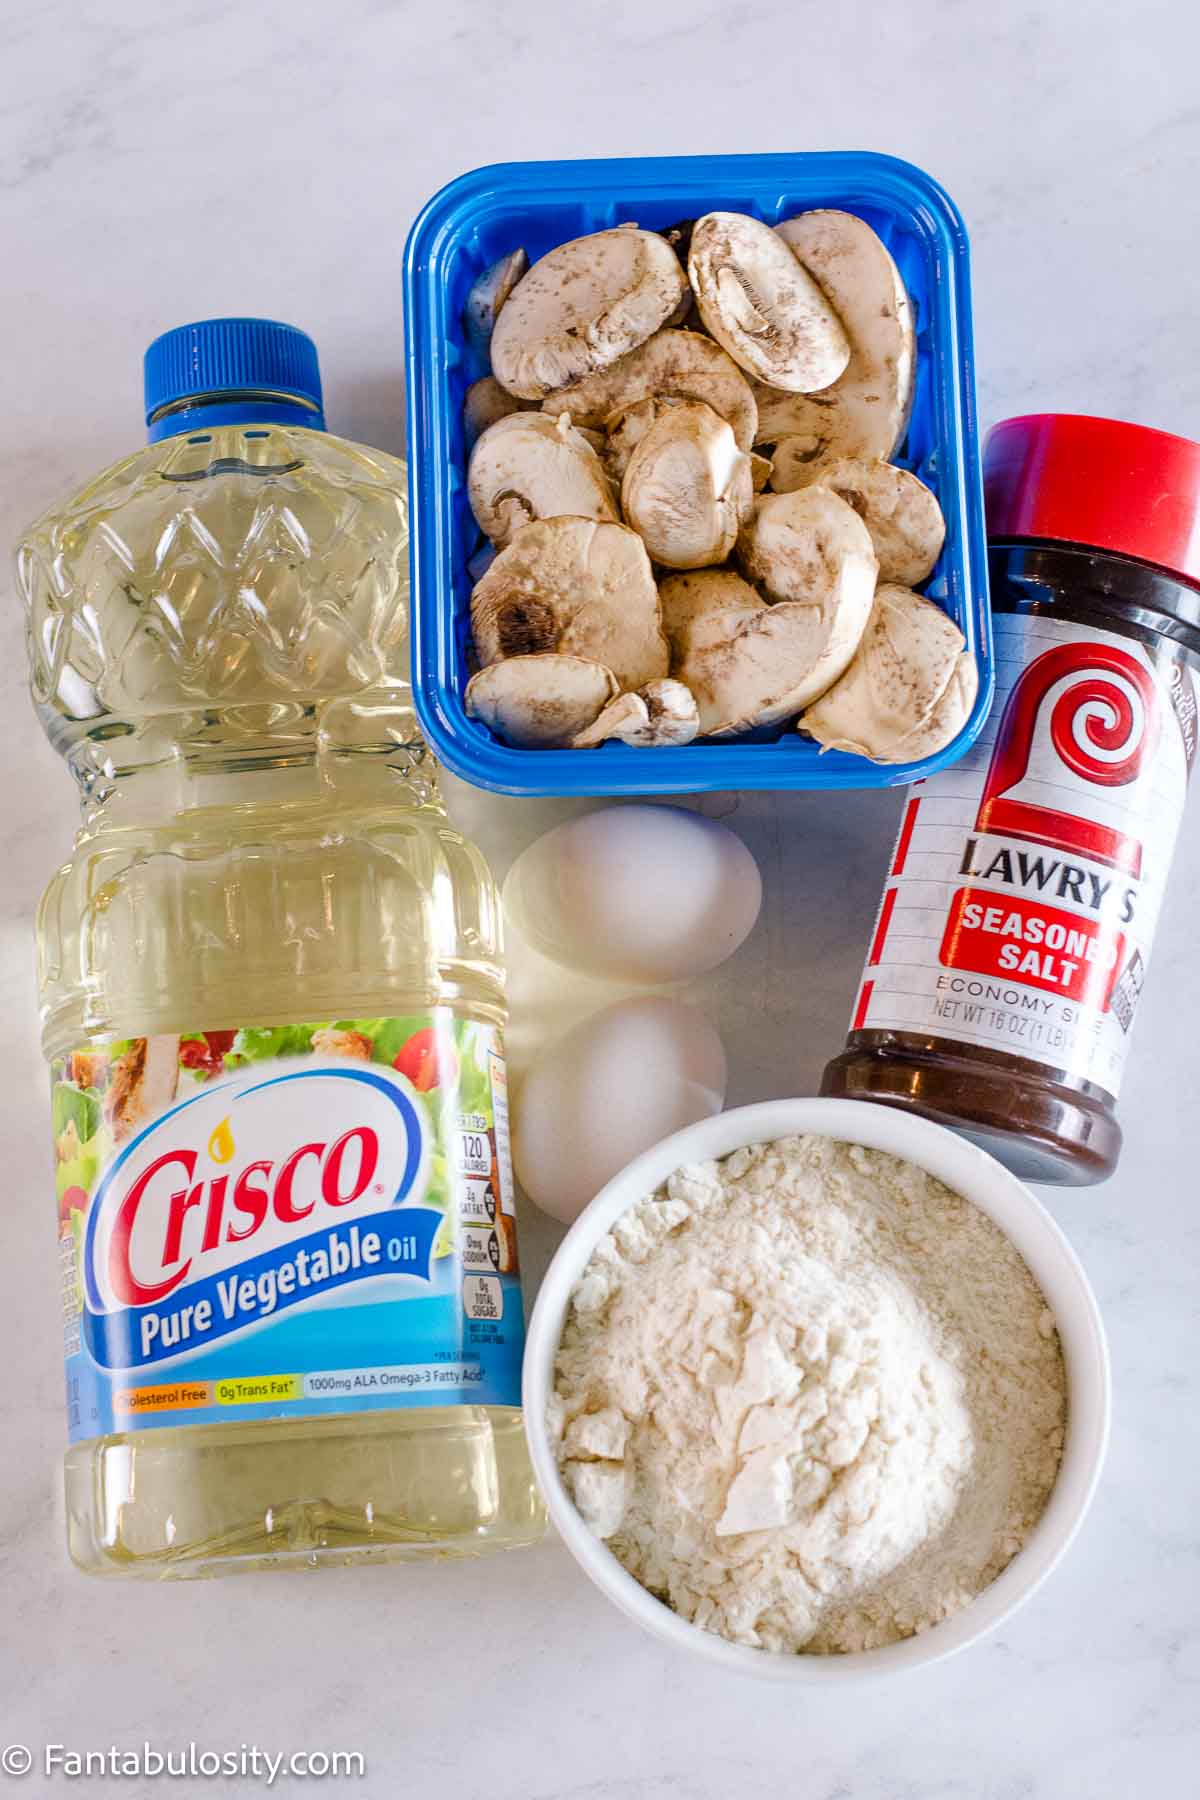
Ingredients
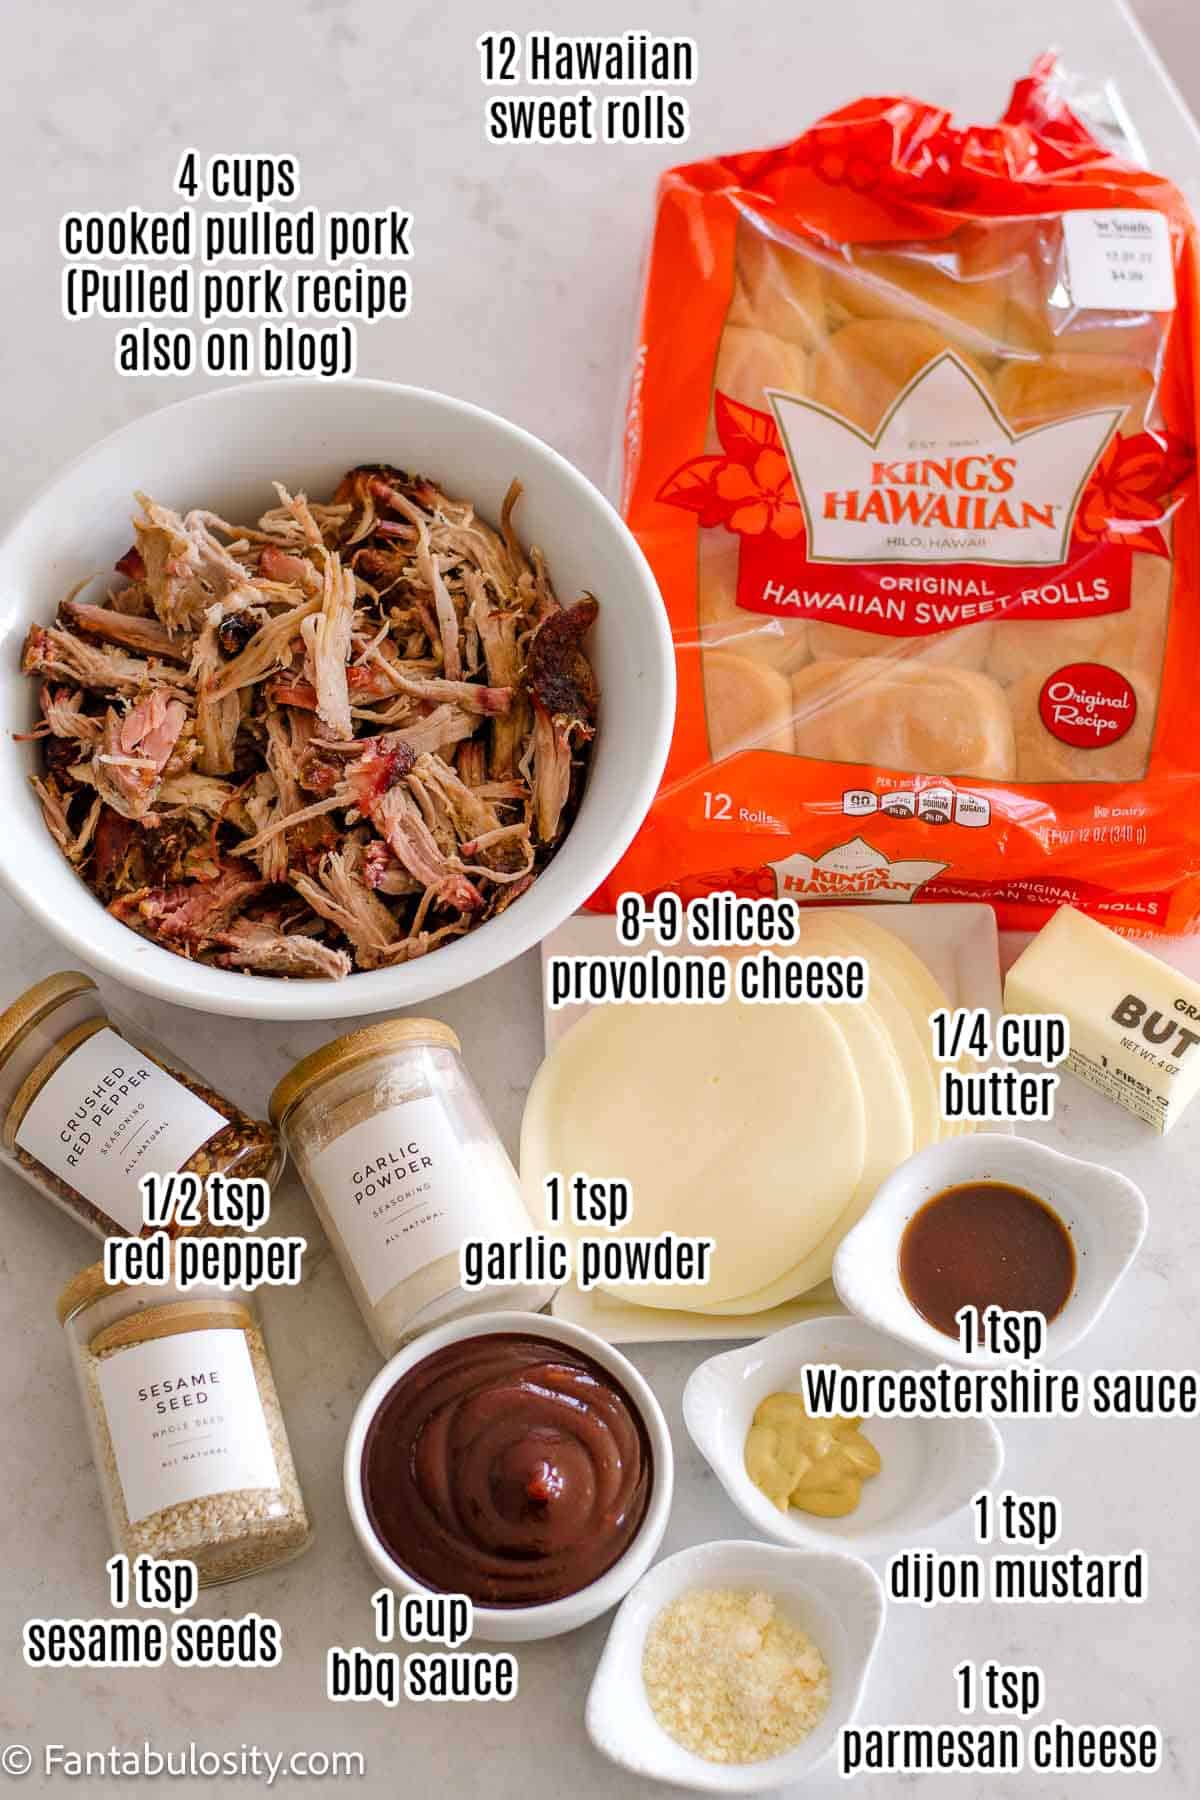
- 14 uncooked chicken tenderloins (almost 2 pounds)
- 12 ounces bacon
Braxton Rub Spice Blend Option
- 2 Tablespoons dried thyme
- 2 Tablespoons dried rosemary
- 1.5 Tablespoons paprika
- 1 teaspoon salt
- ½ teaspoon pepper
For Brown Sugar Garlic Spice Blend Option
- ½ cup brown sugar
- 1 teaspoon garlic powder
- 1 teaspoon paprika optional
- 1 teaspoon oregano optional
- ¼ teaspoon salt
- ¼ teaspoon pepper
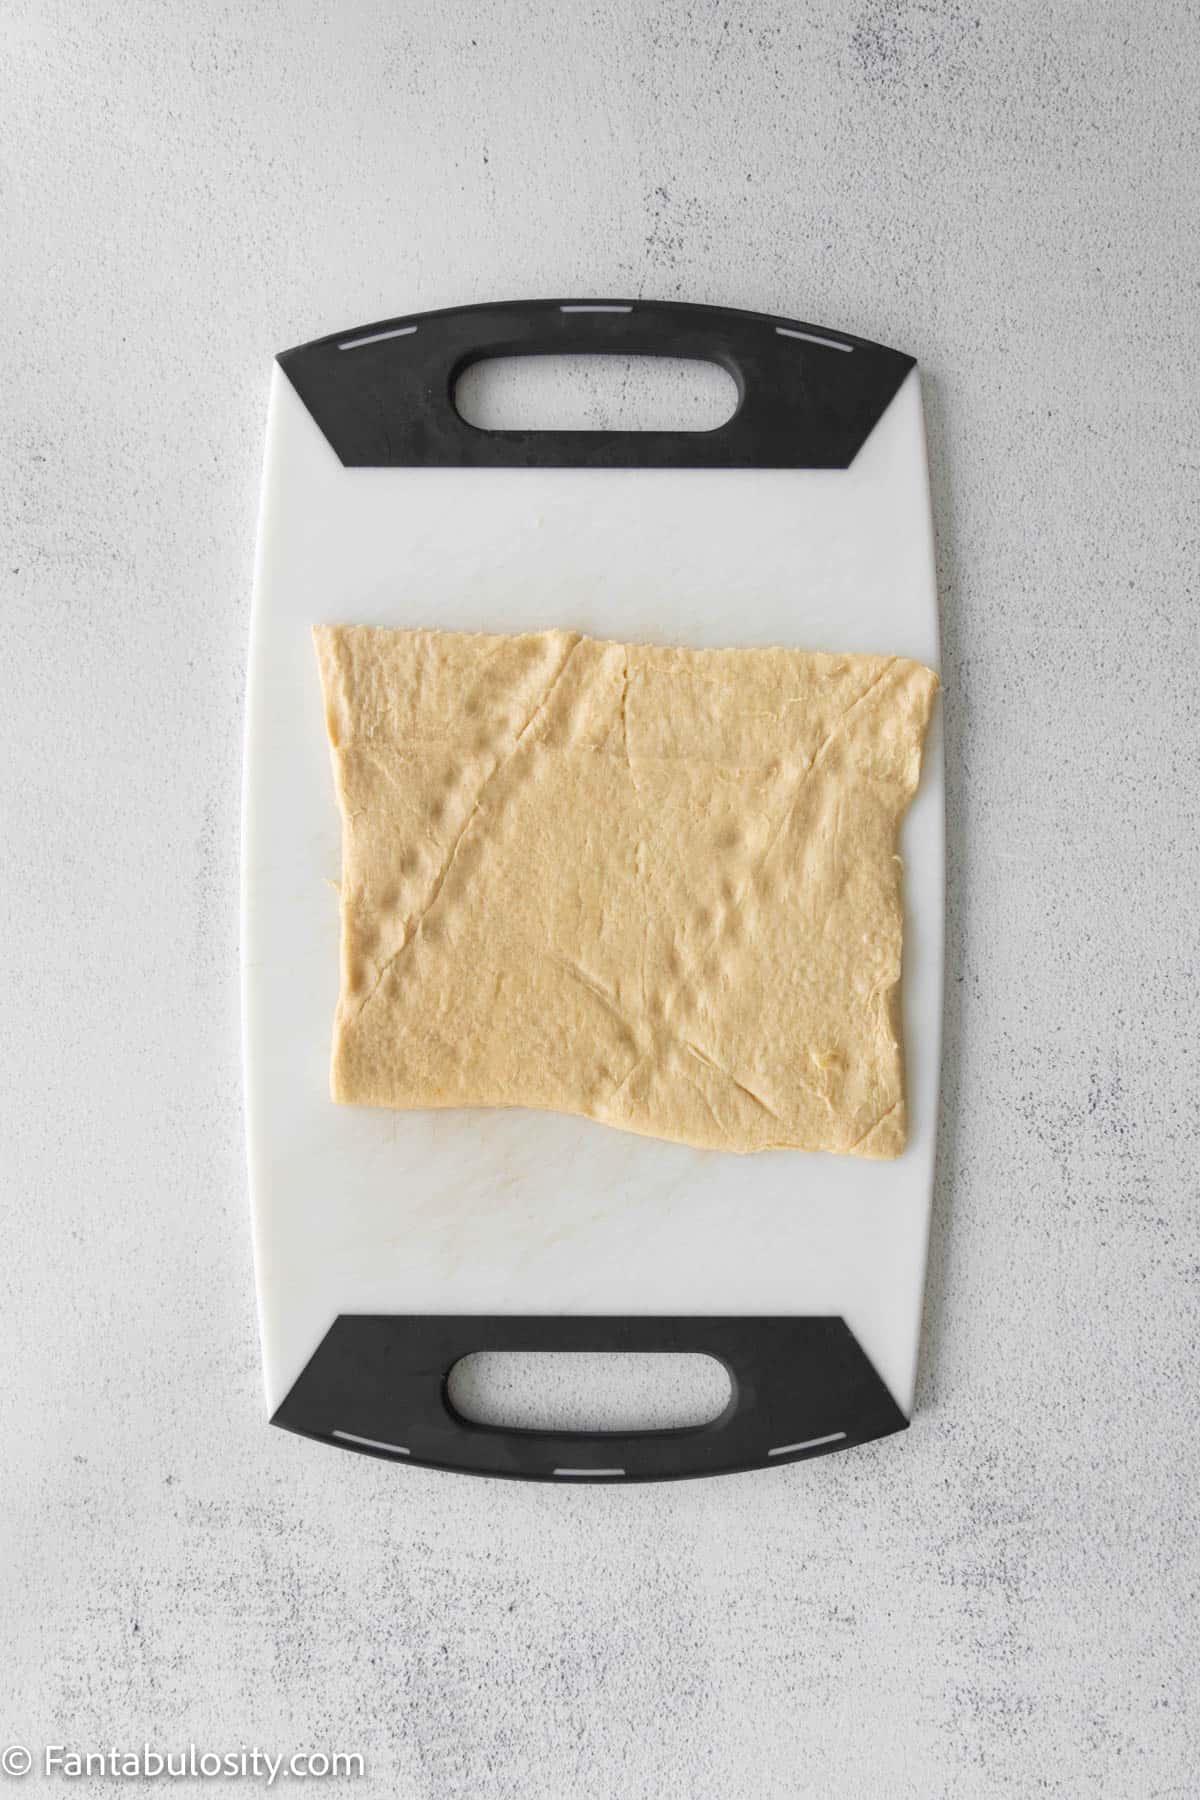
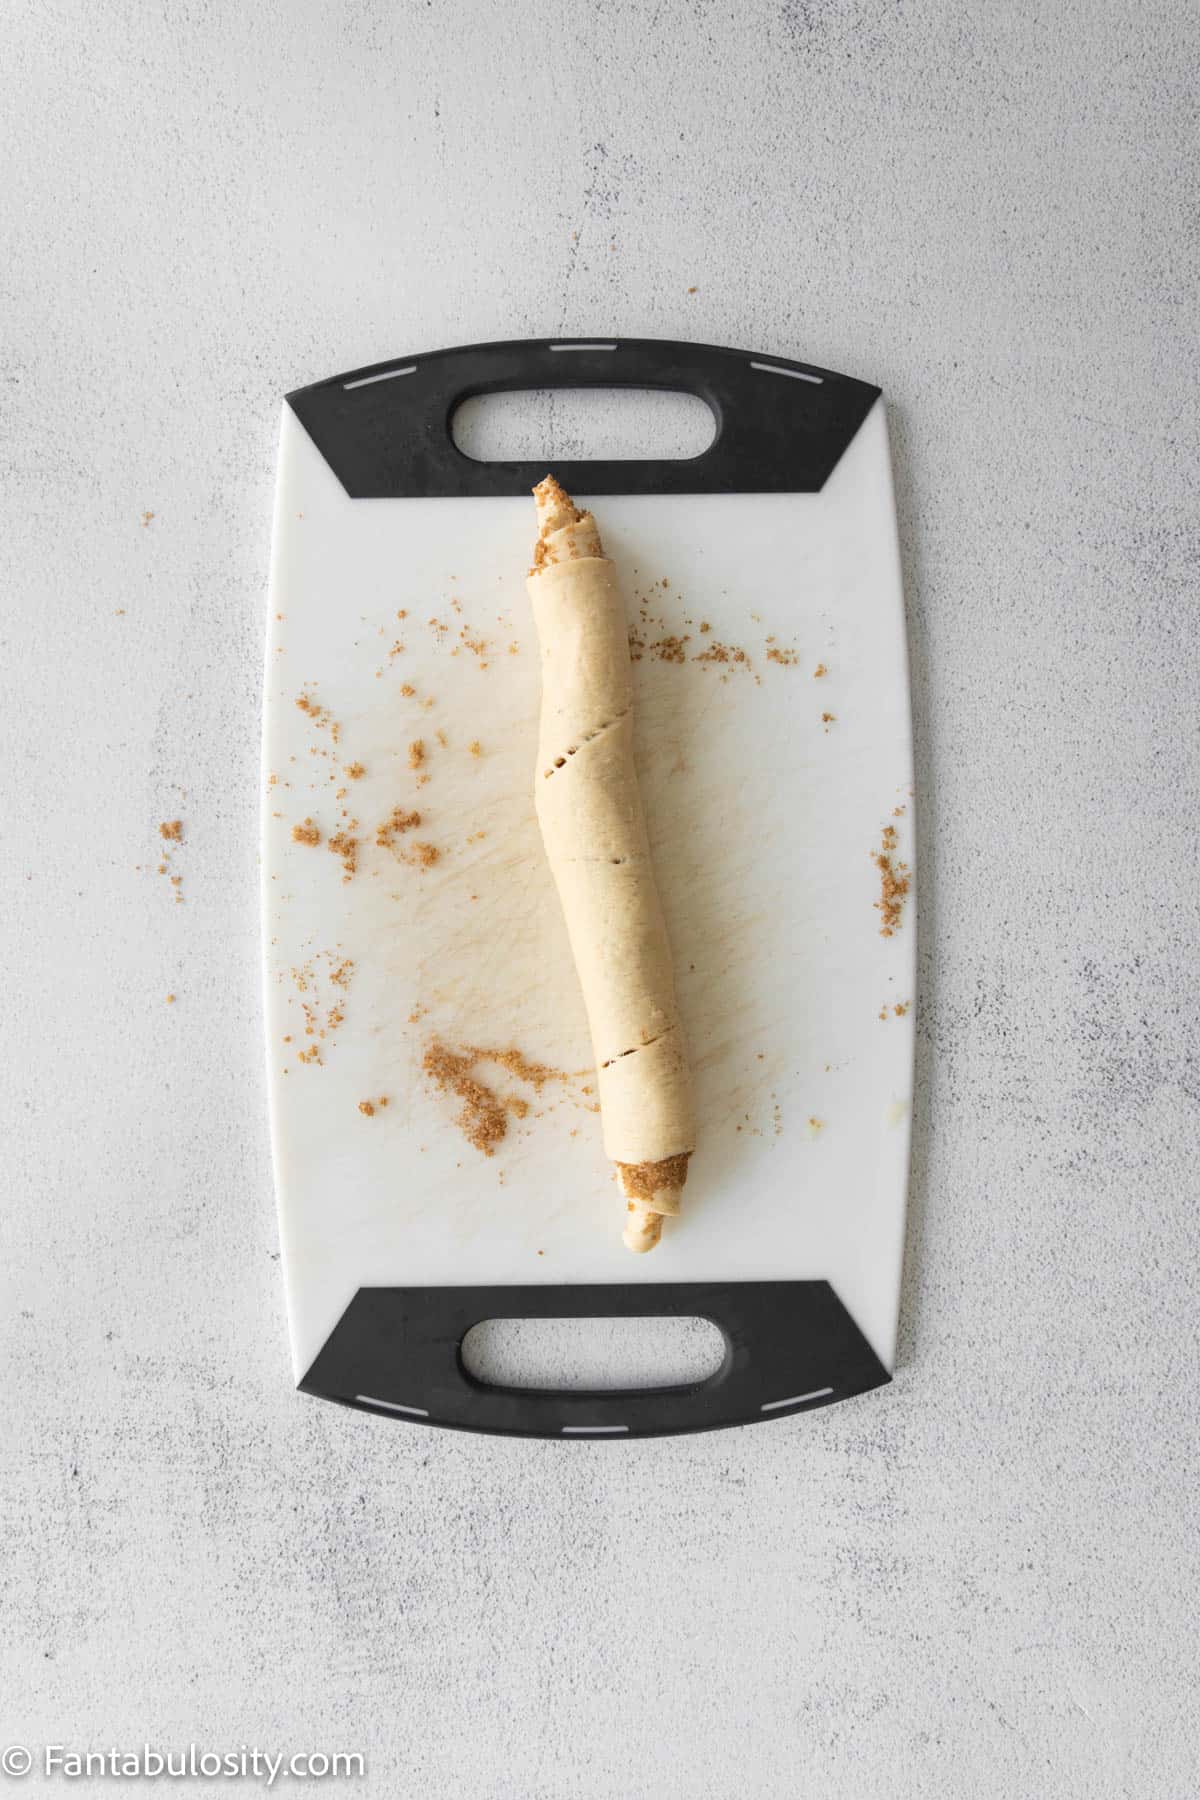
Instructions
- Preheat smoker to 225°
- Wrap each piece of chicken with one piece of bacon, securing with a toothpick if needed.
- Season chicken with desired "rub" recipe above. (See notes in blog posts for options)
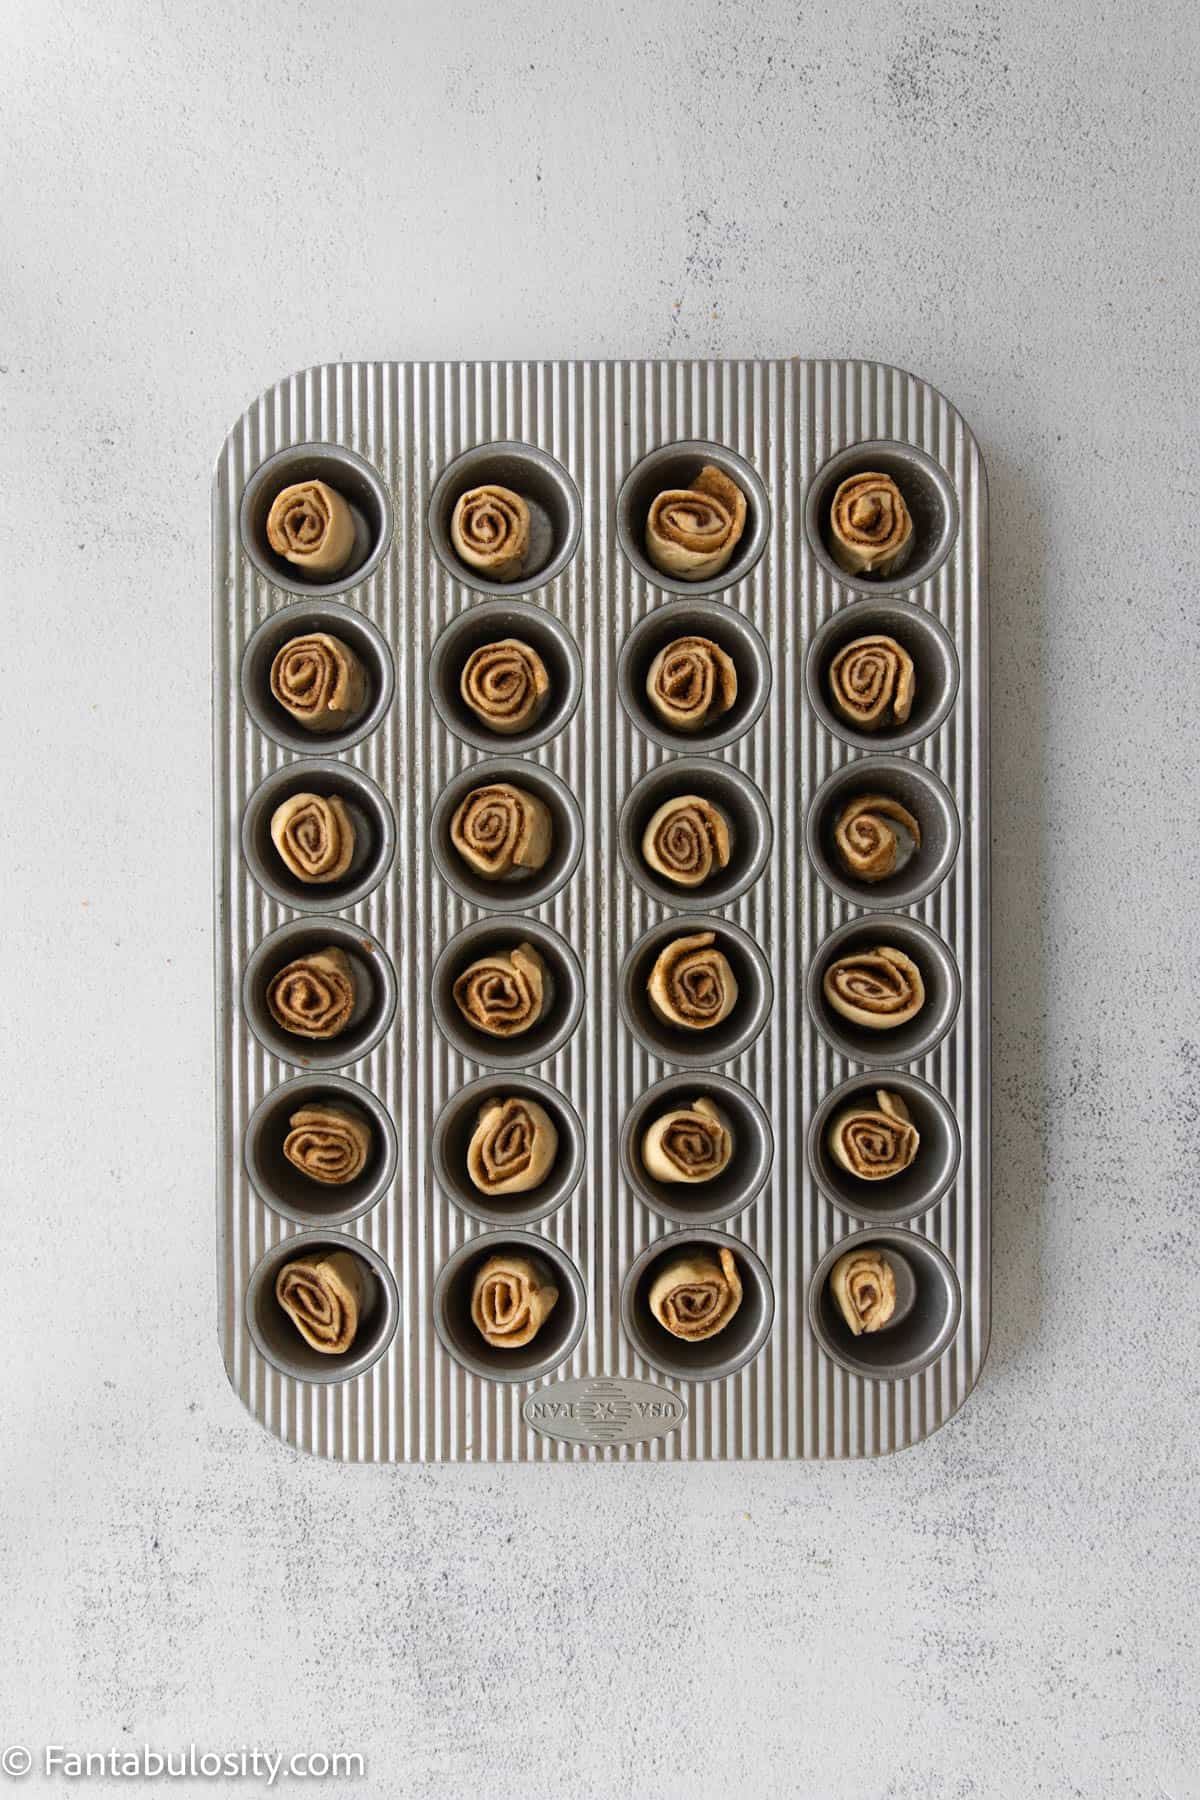
- Cook chicken on smoker at 225° for 1 to 1.5 hours or until the internal temperature of the chicken reaches 165°.
- Remove from smoker and serve! (See post for dipping sauce ideas and side dish recipe suggestions!)


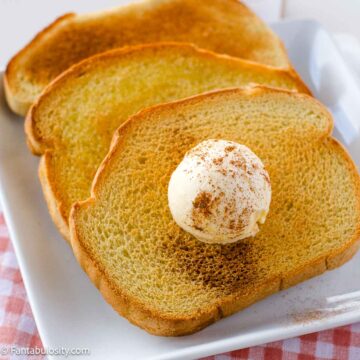
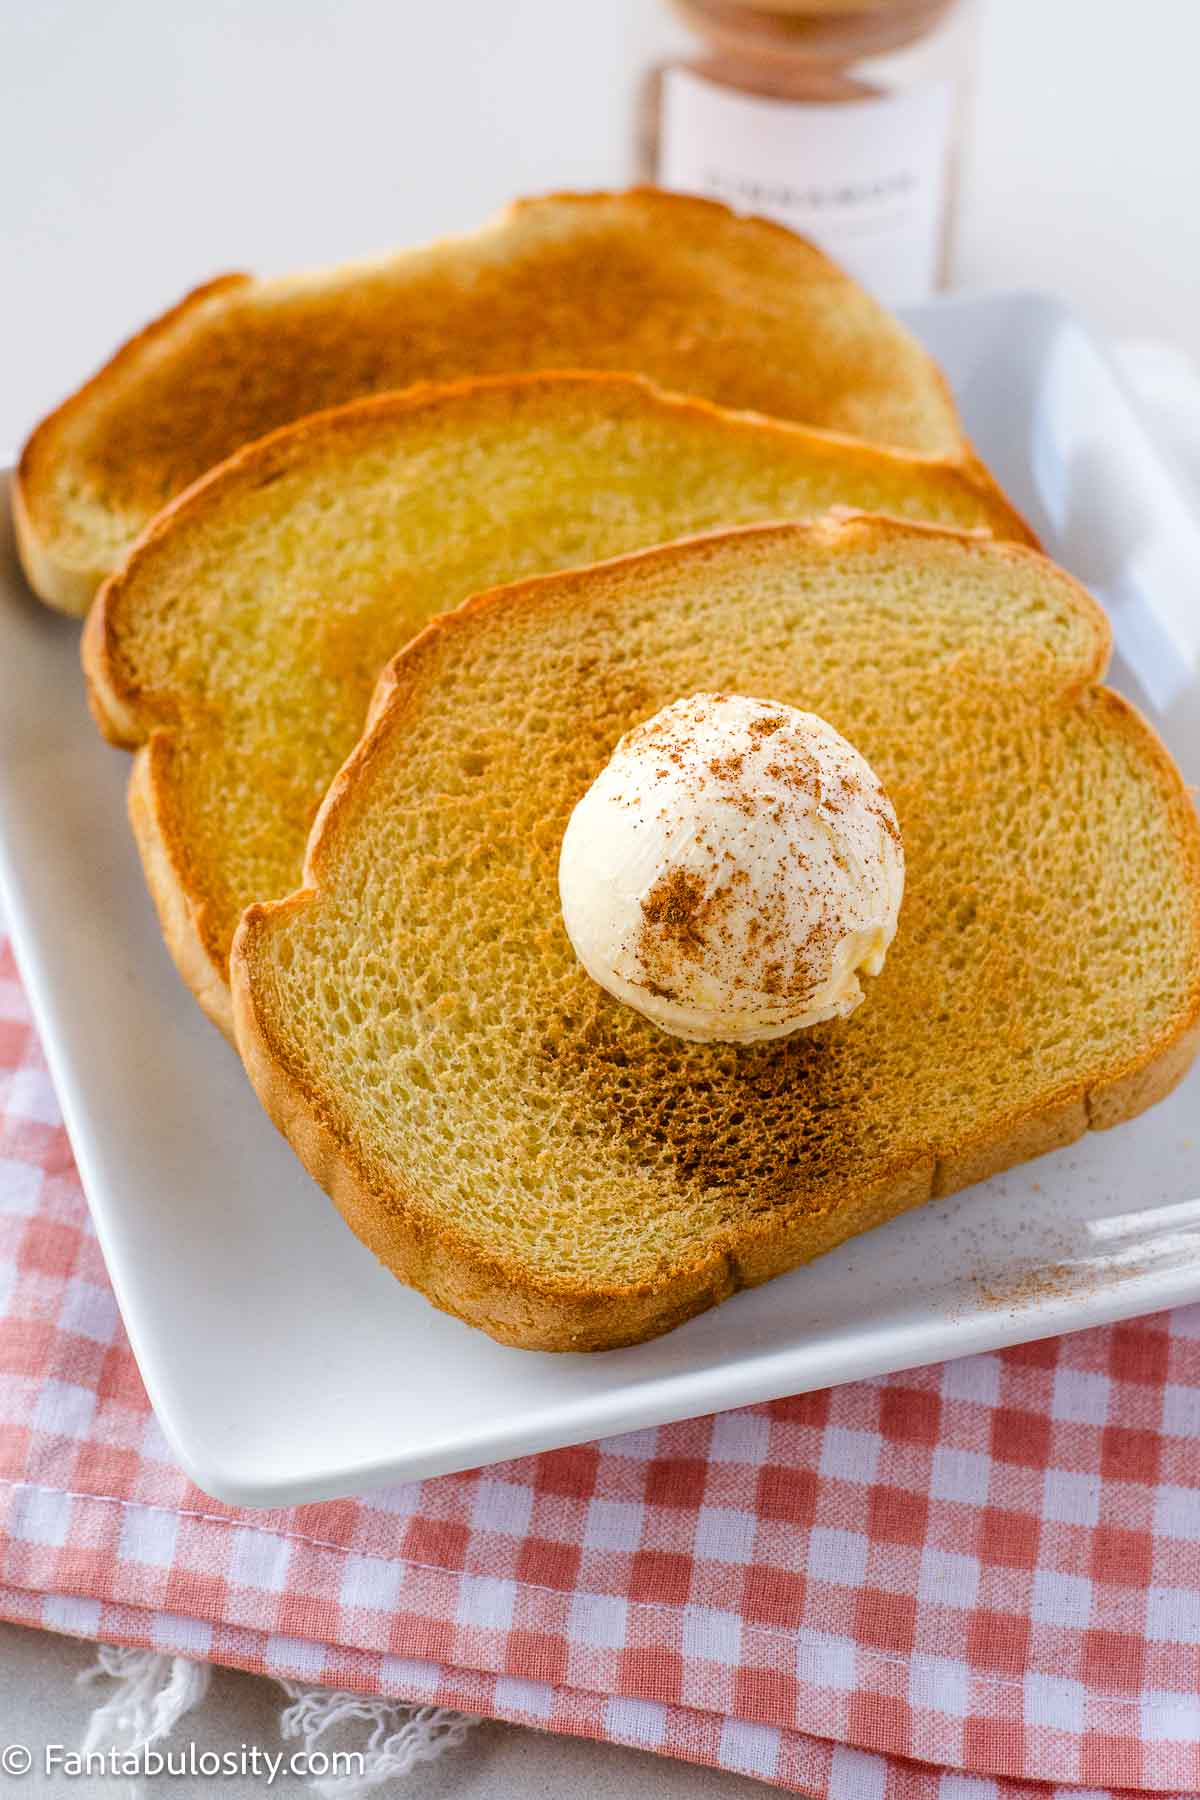


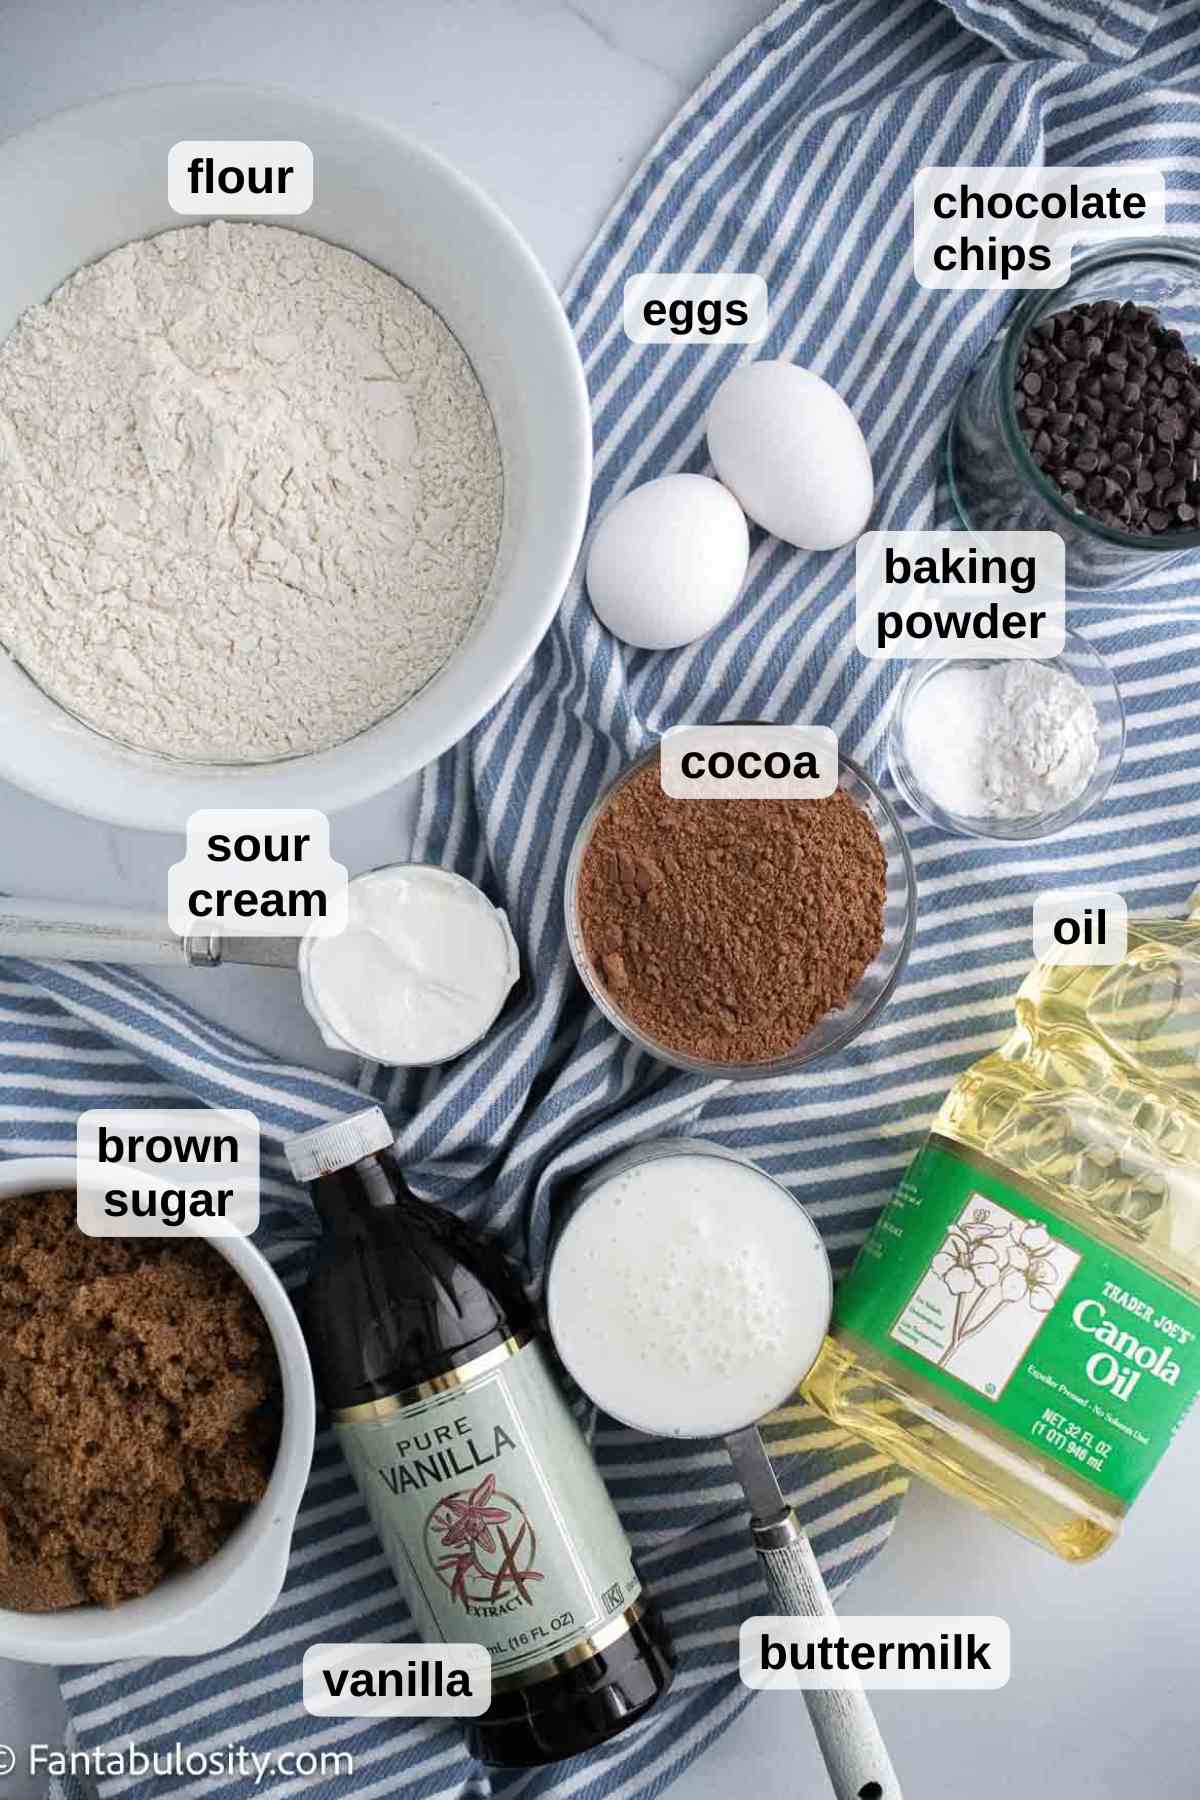
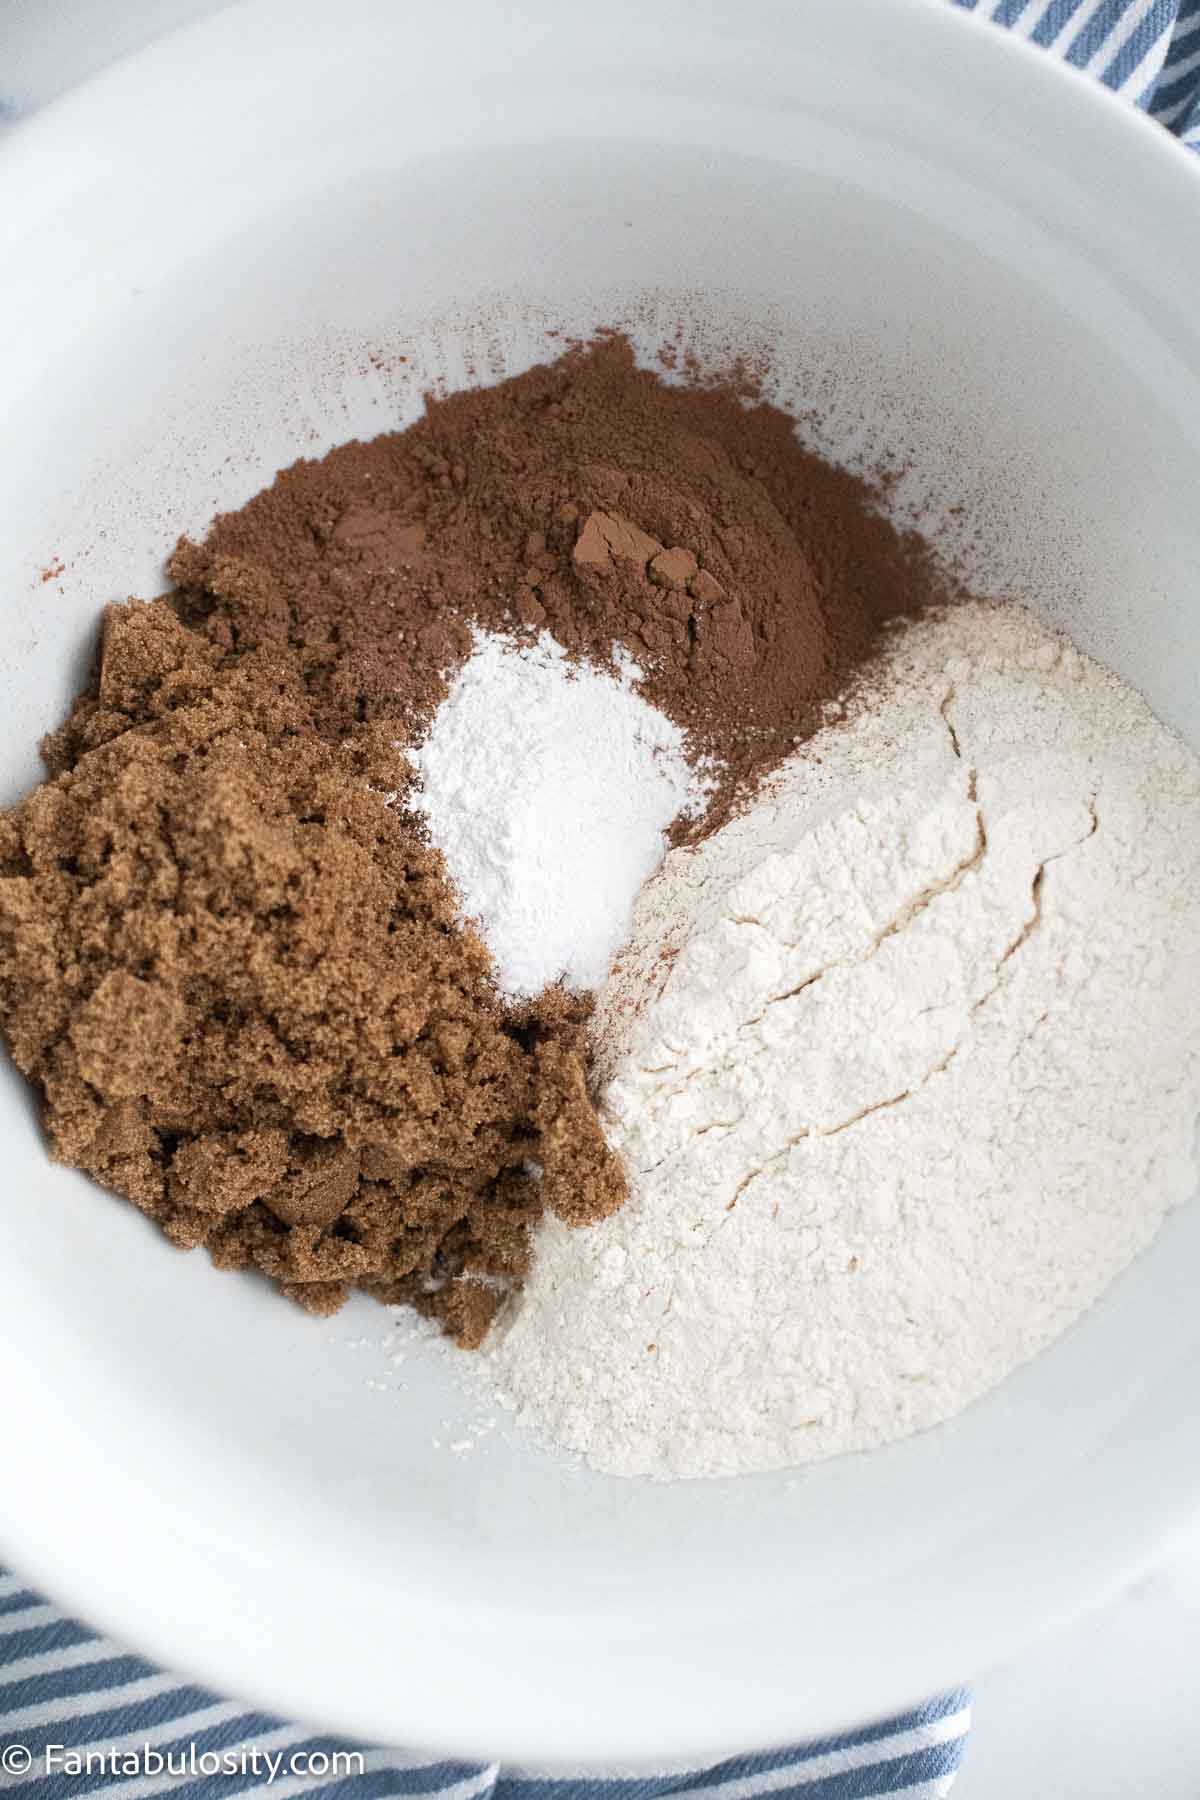
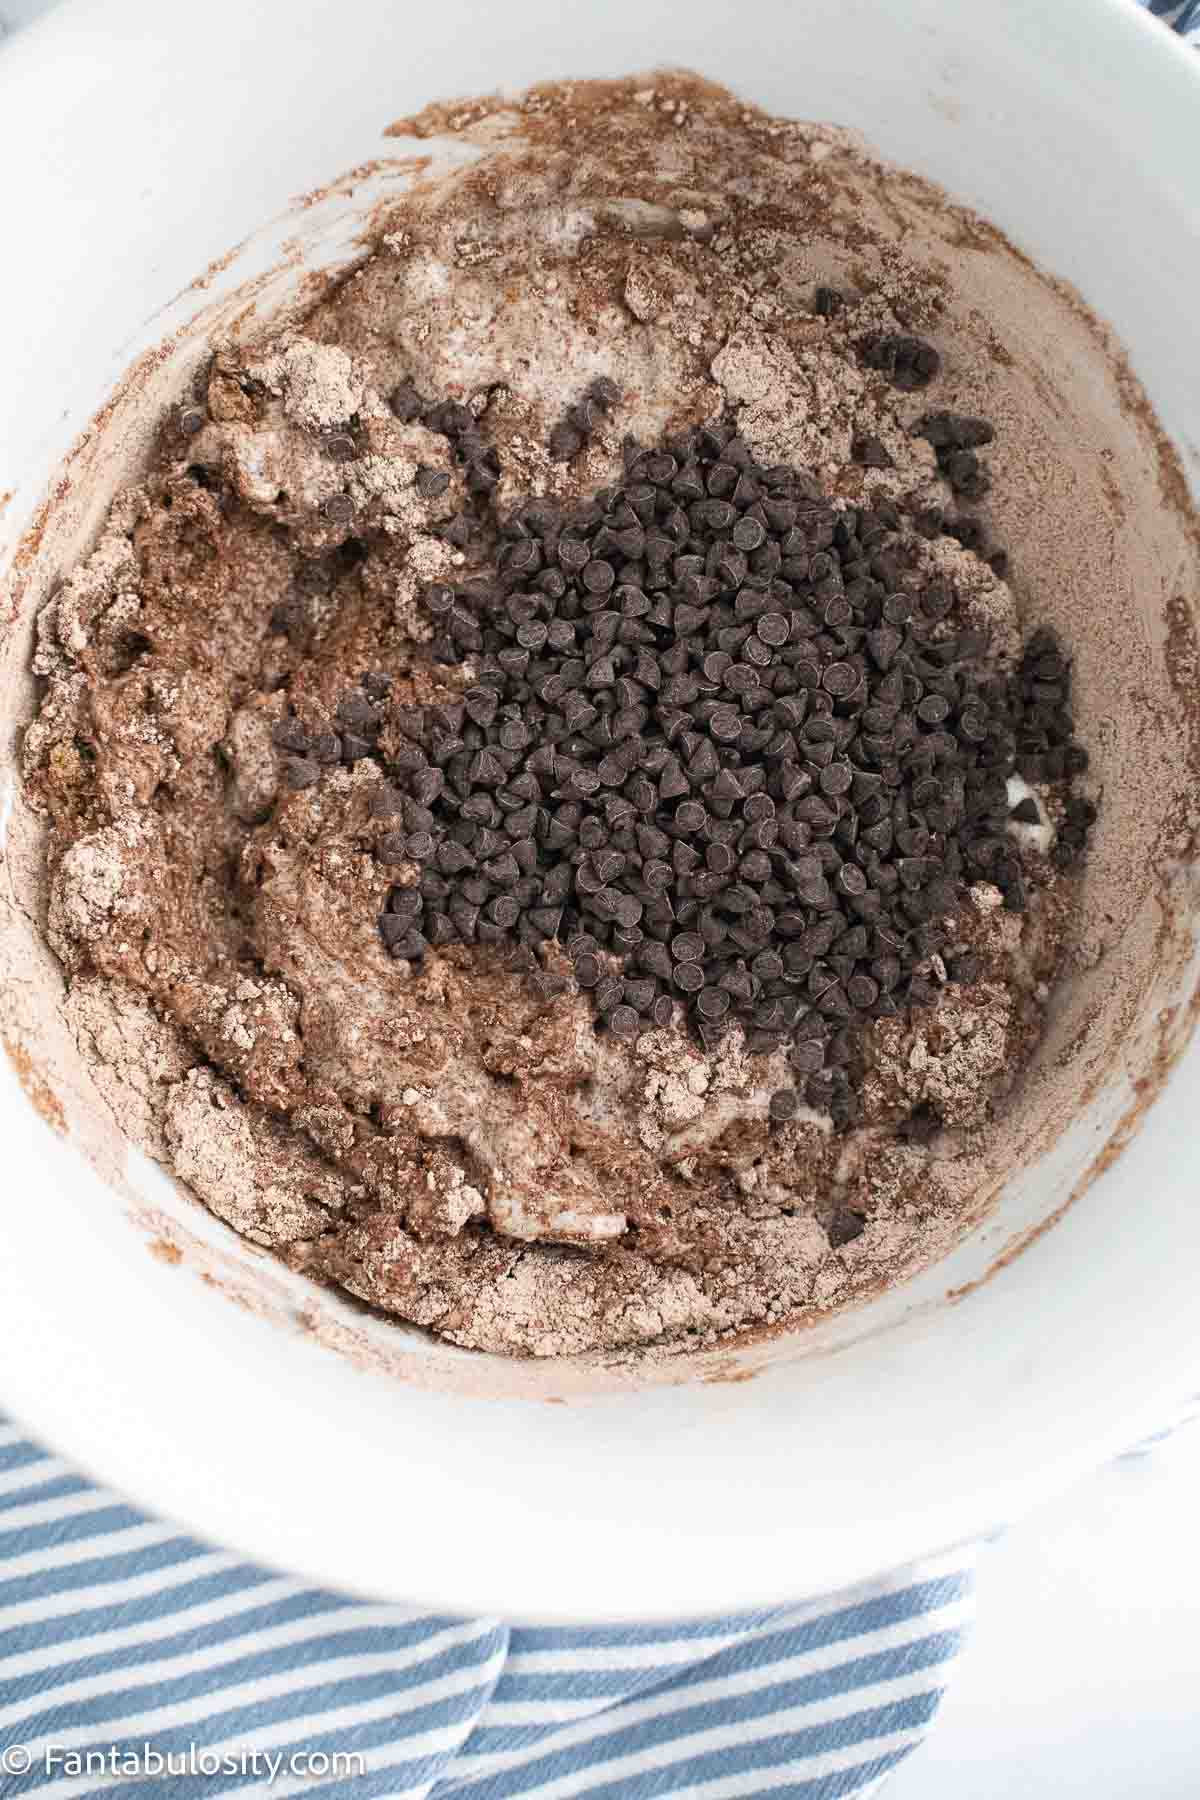
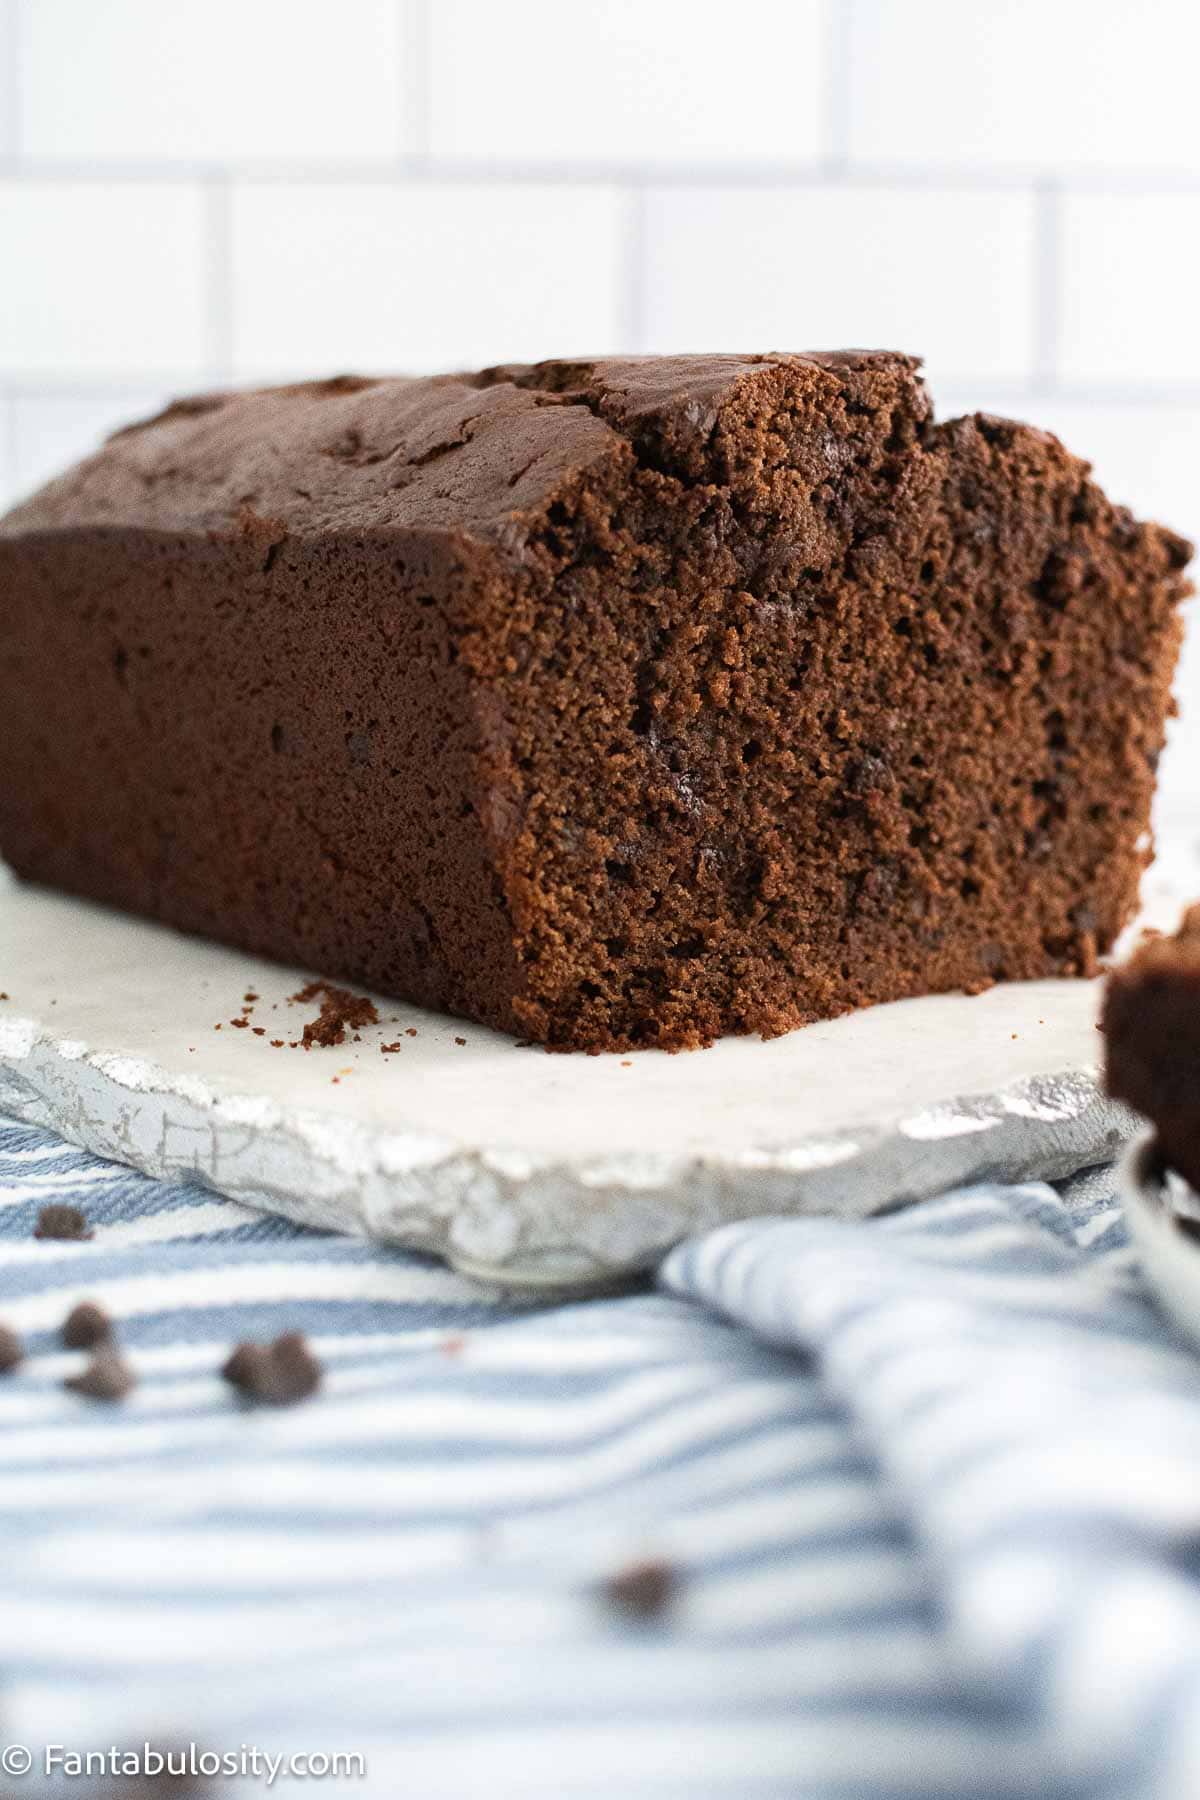


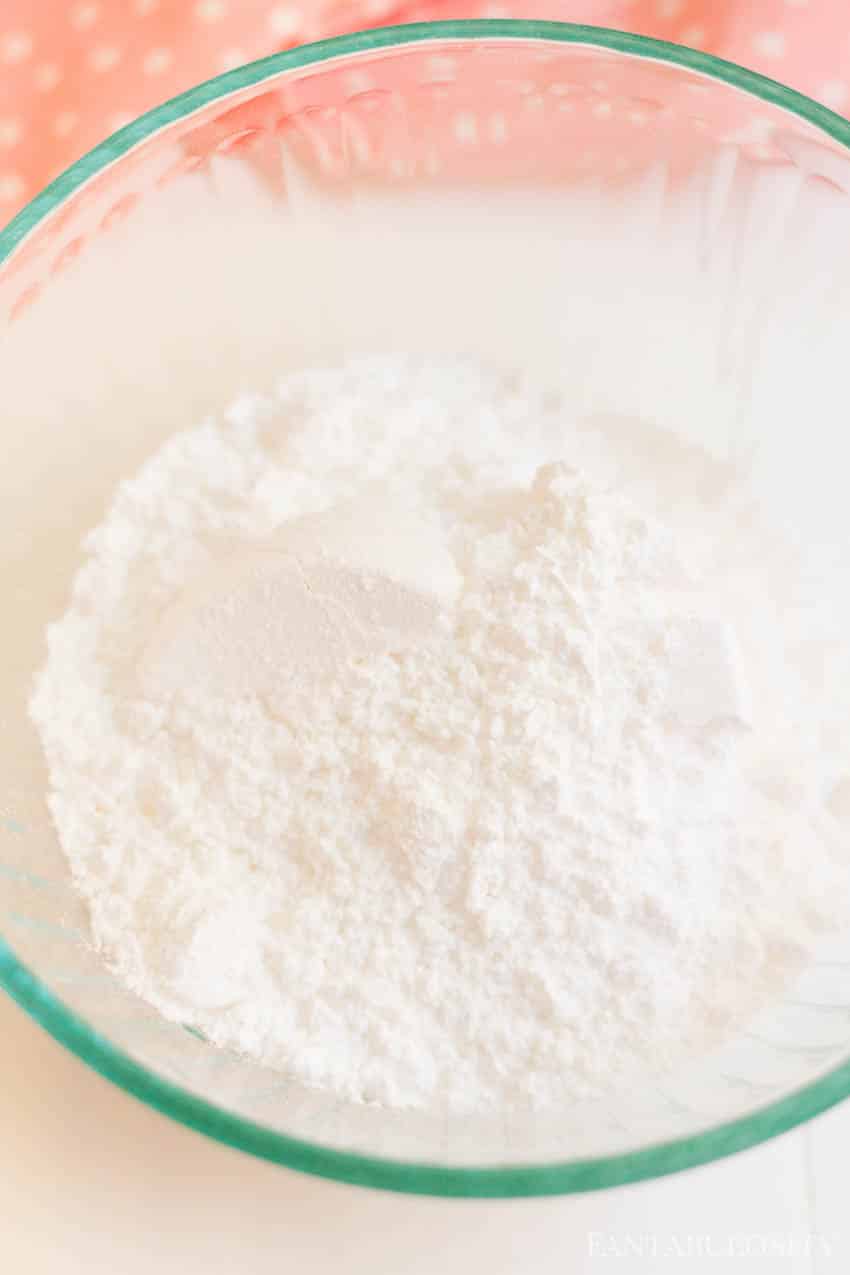
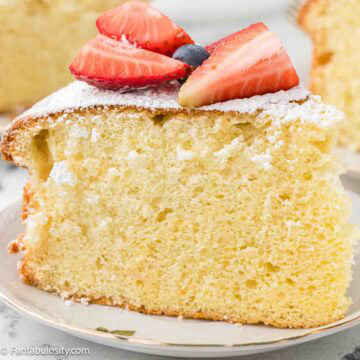
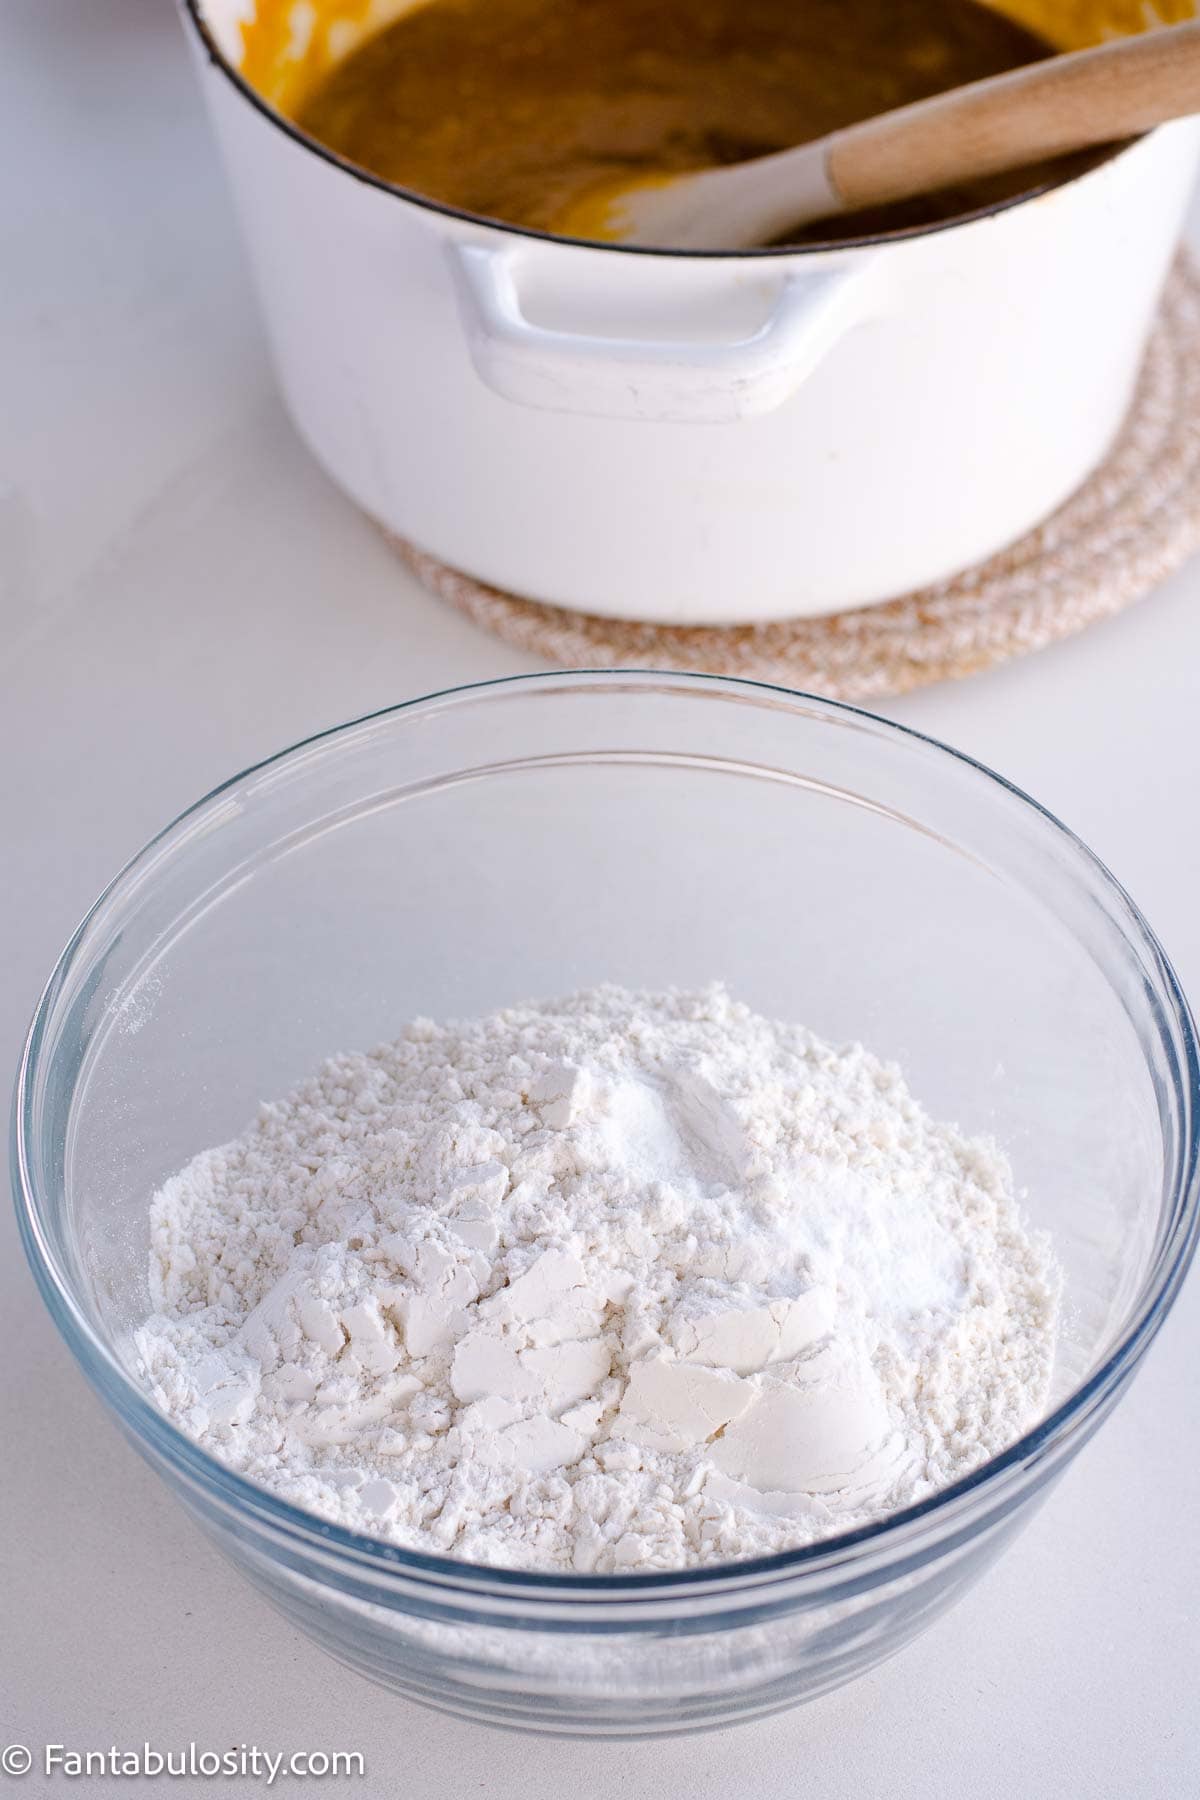
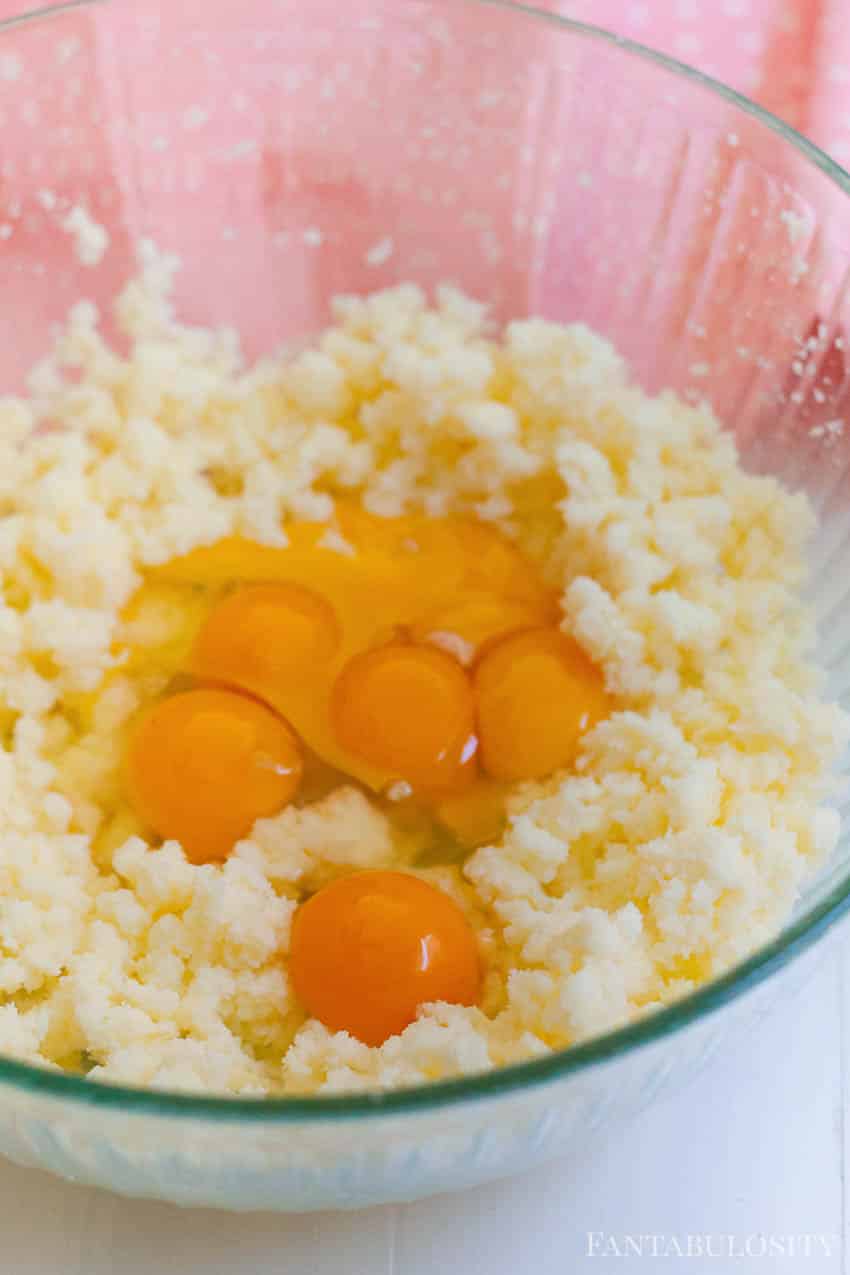 Next, in a separate bowl, sift together the flour, baking powder, and salt.
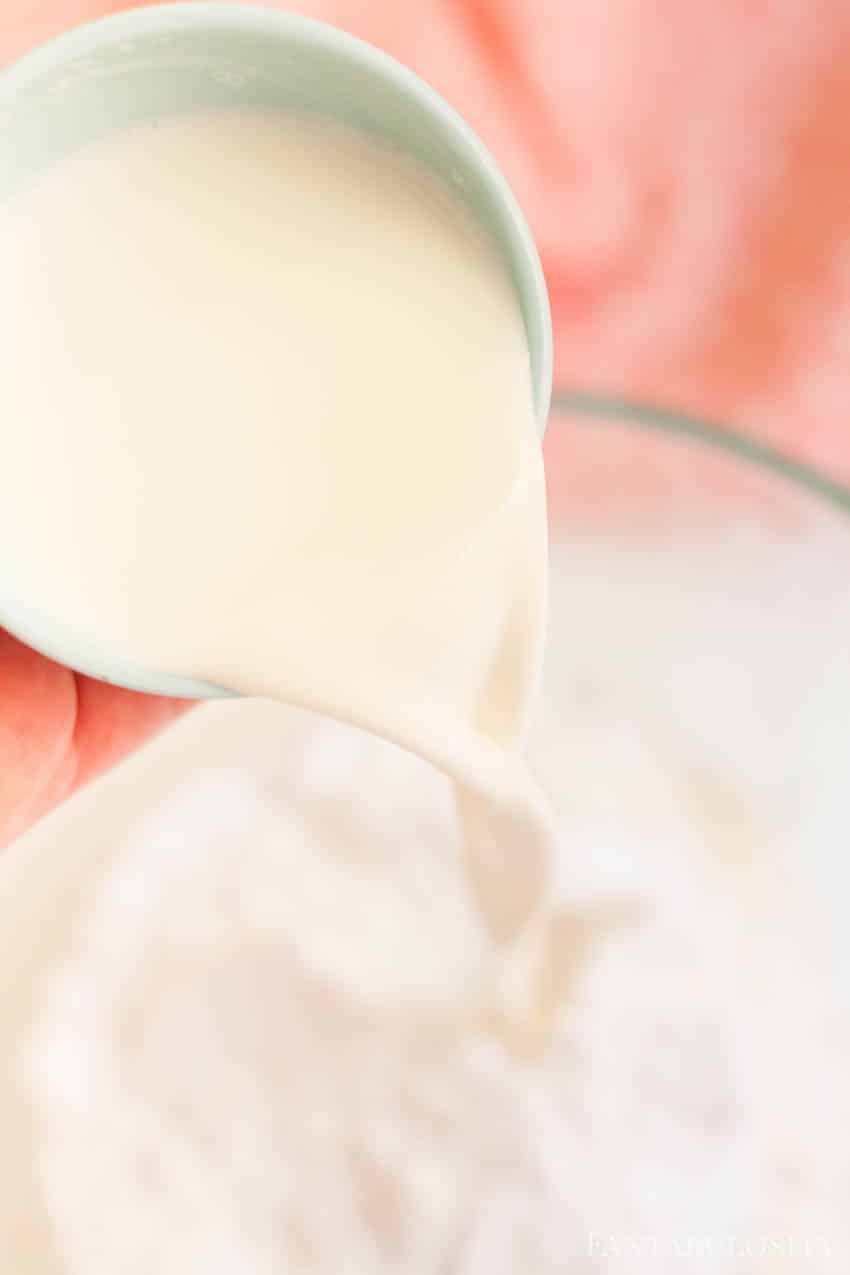
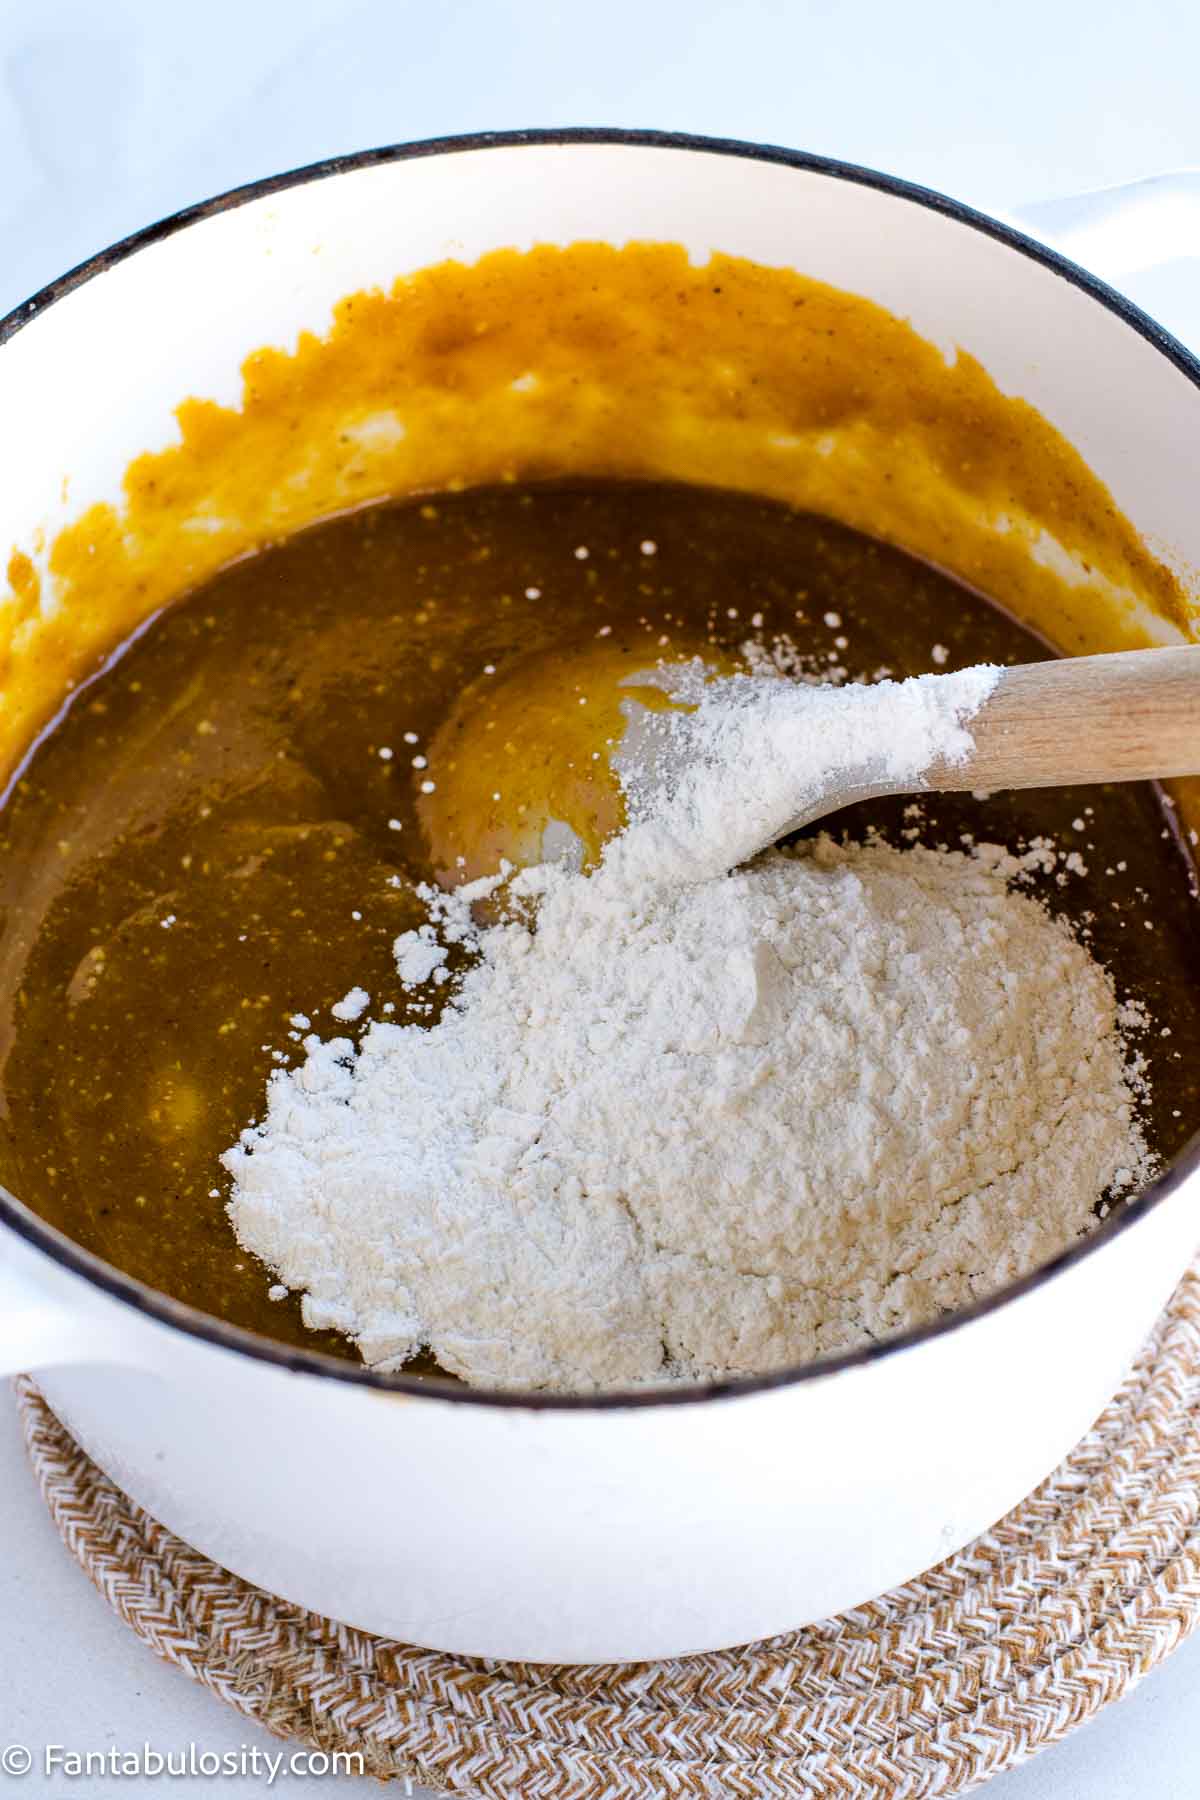
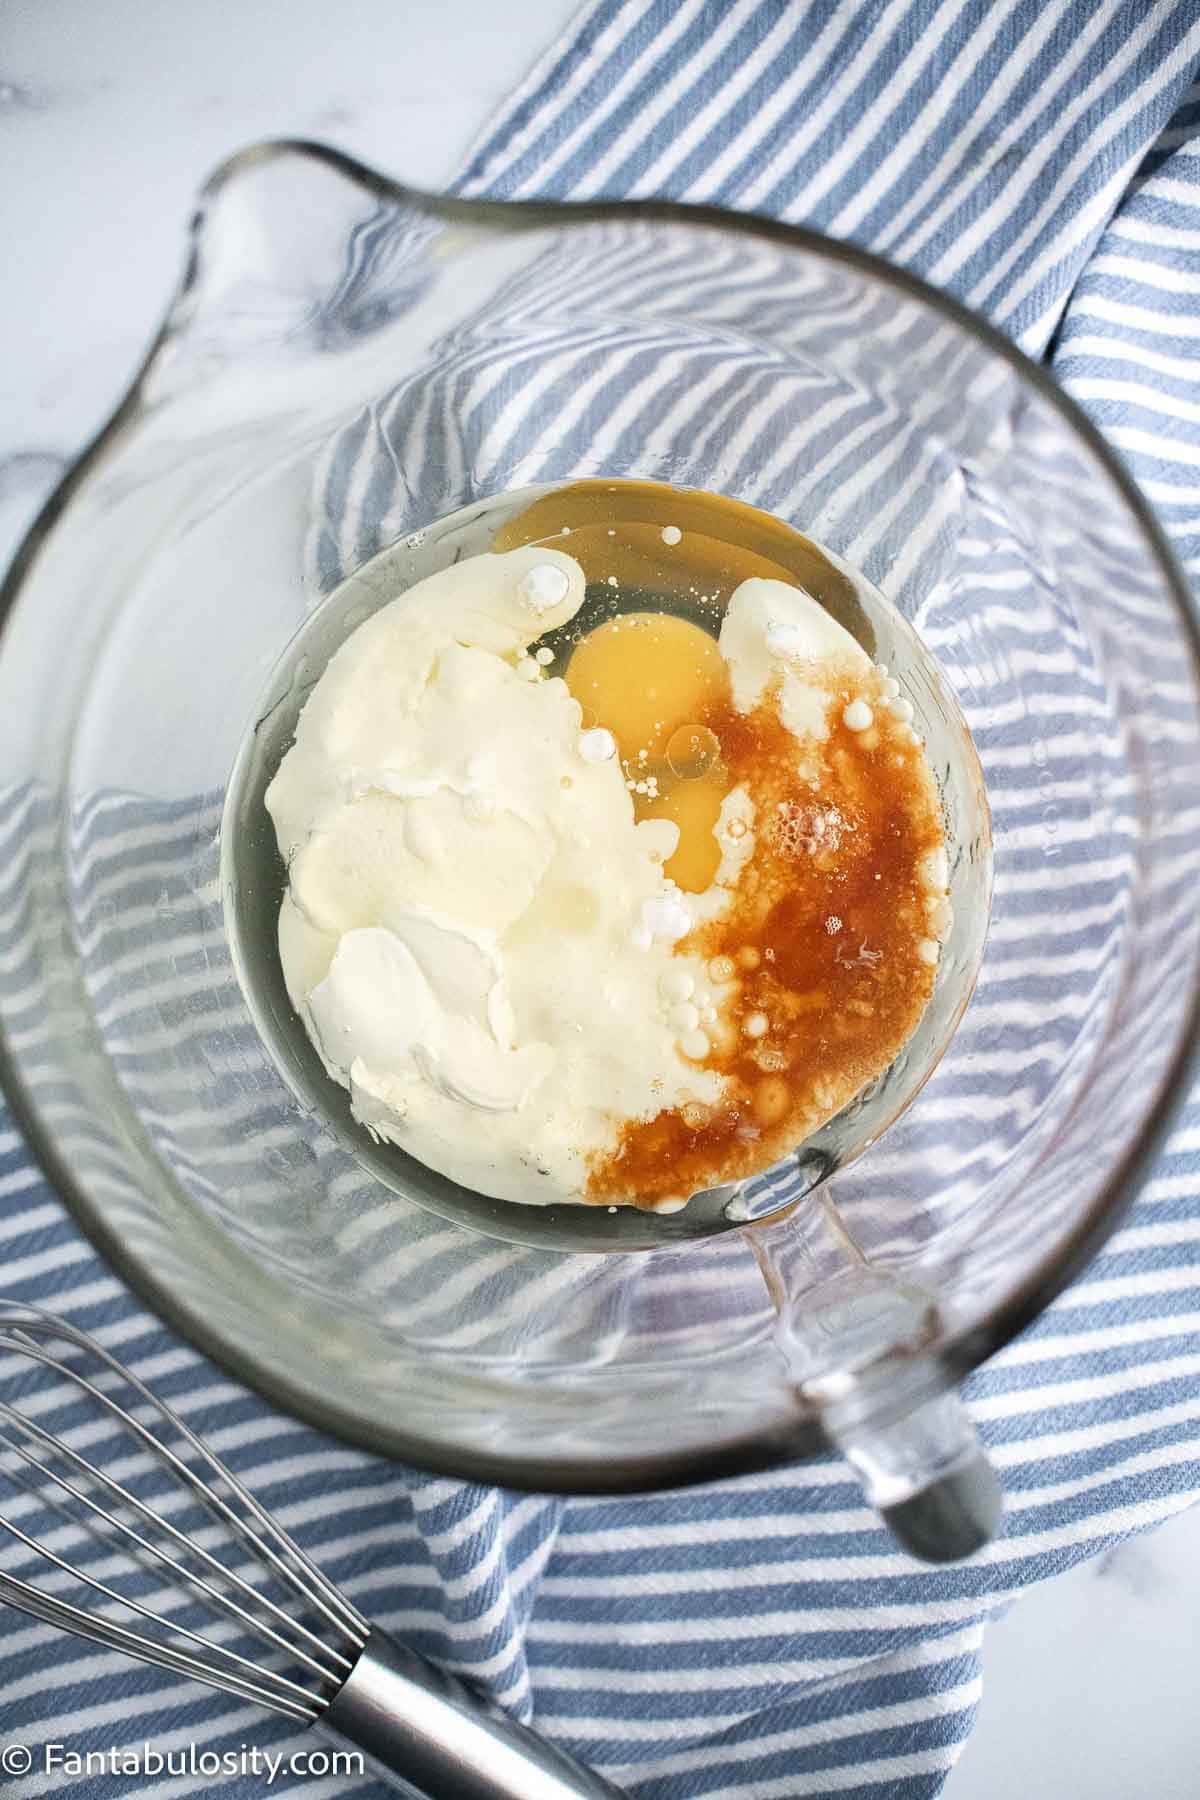
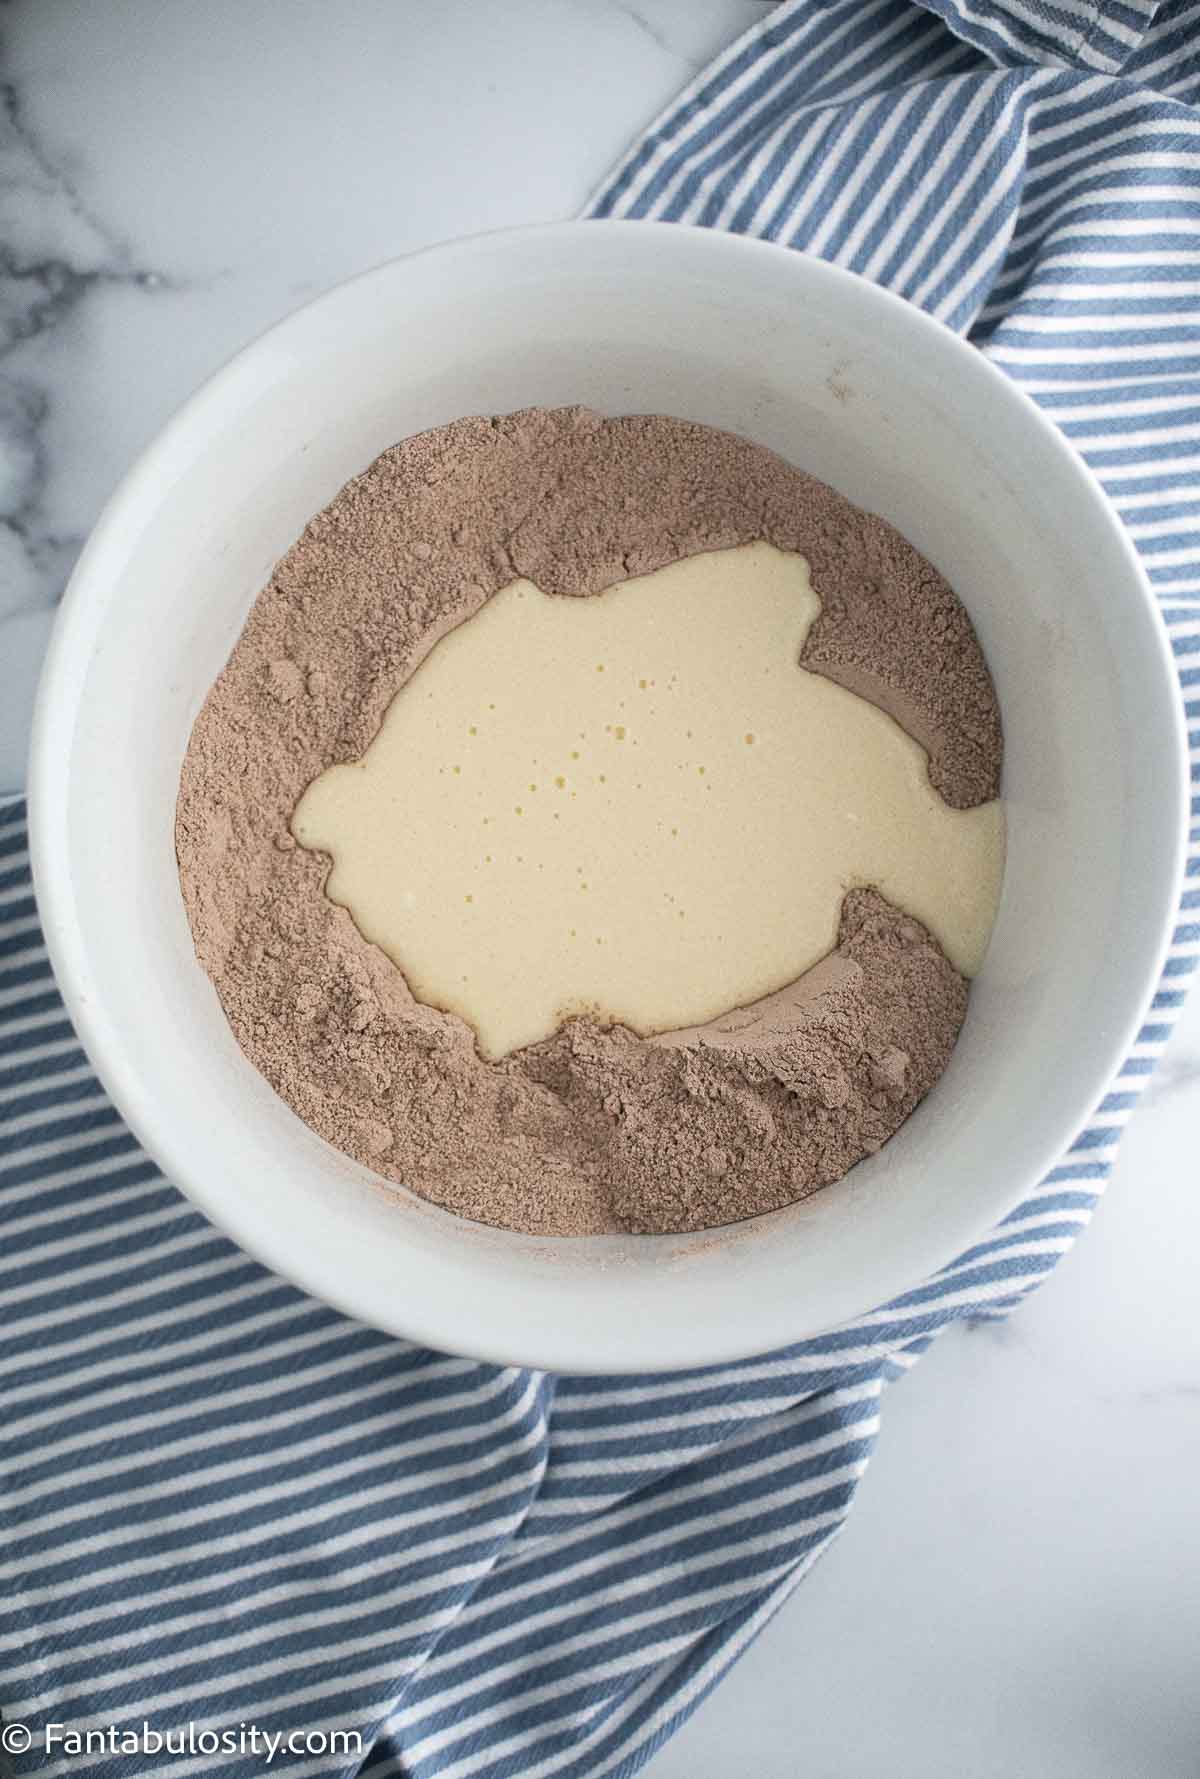
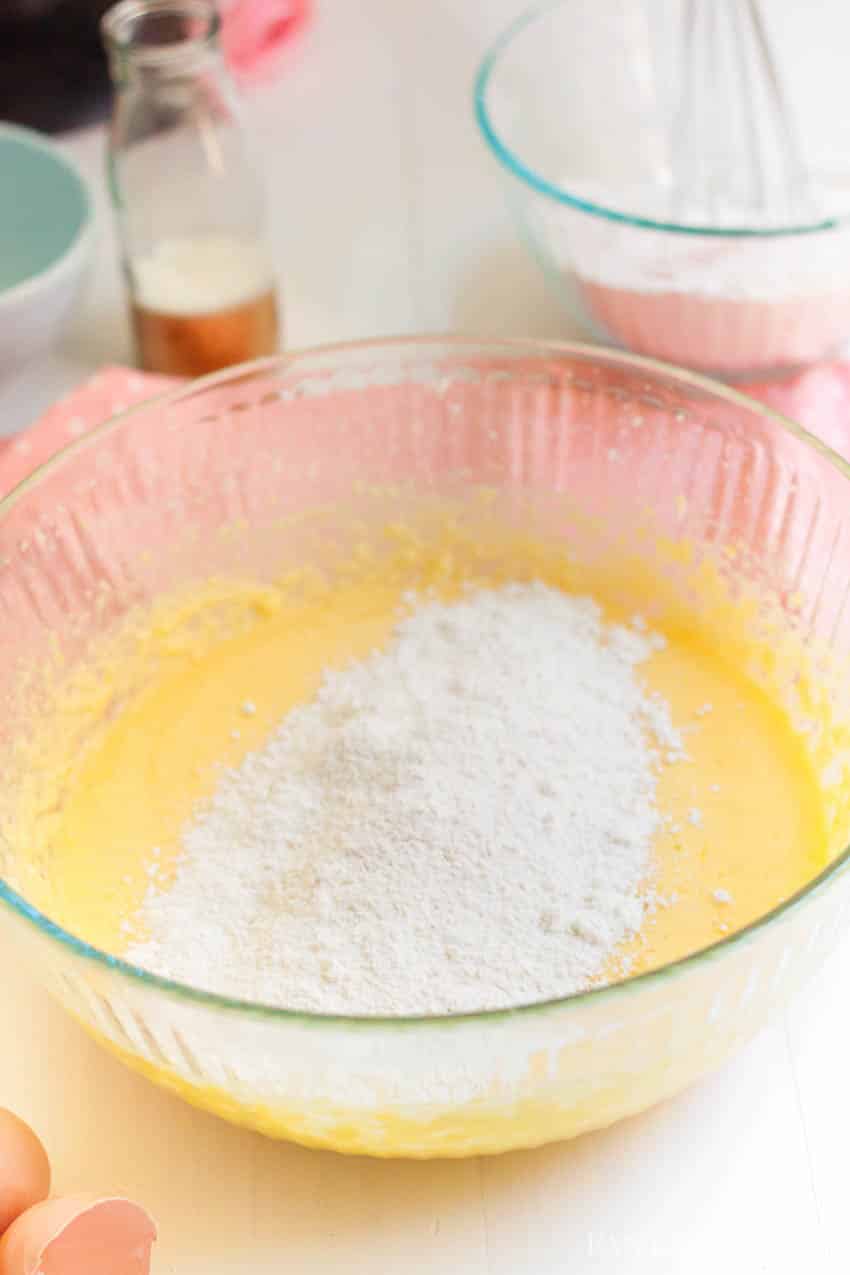 Reduce mixer speed to low, and add half of the flour mixture and half the milk to the butter/sugar mixture, and mix for 5 minutes.
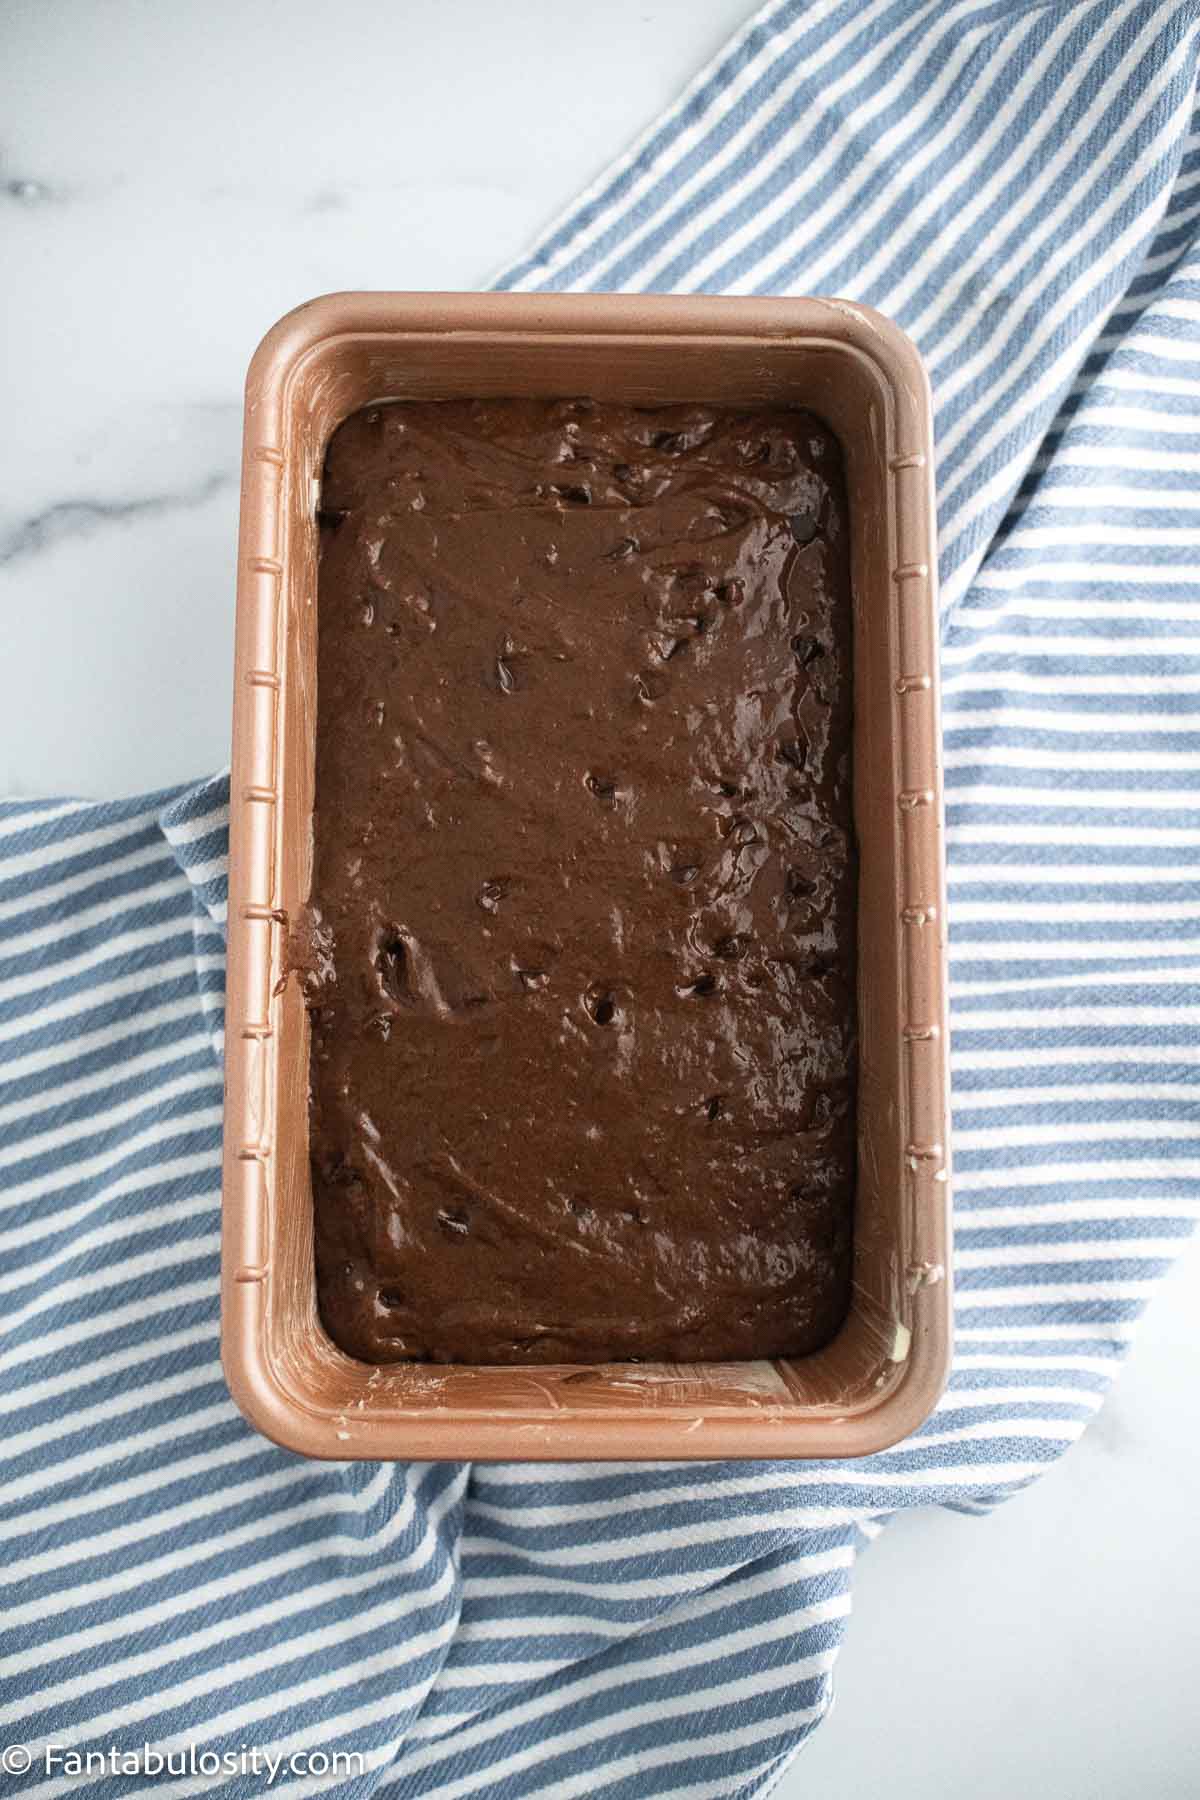
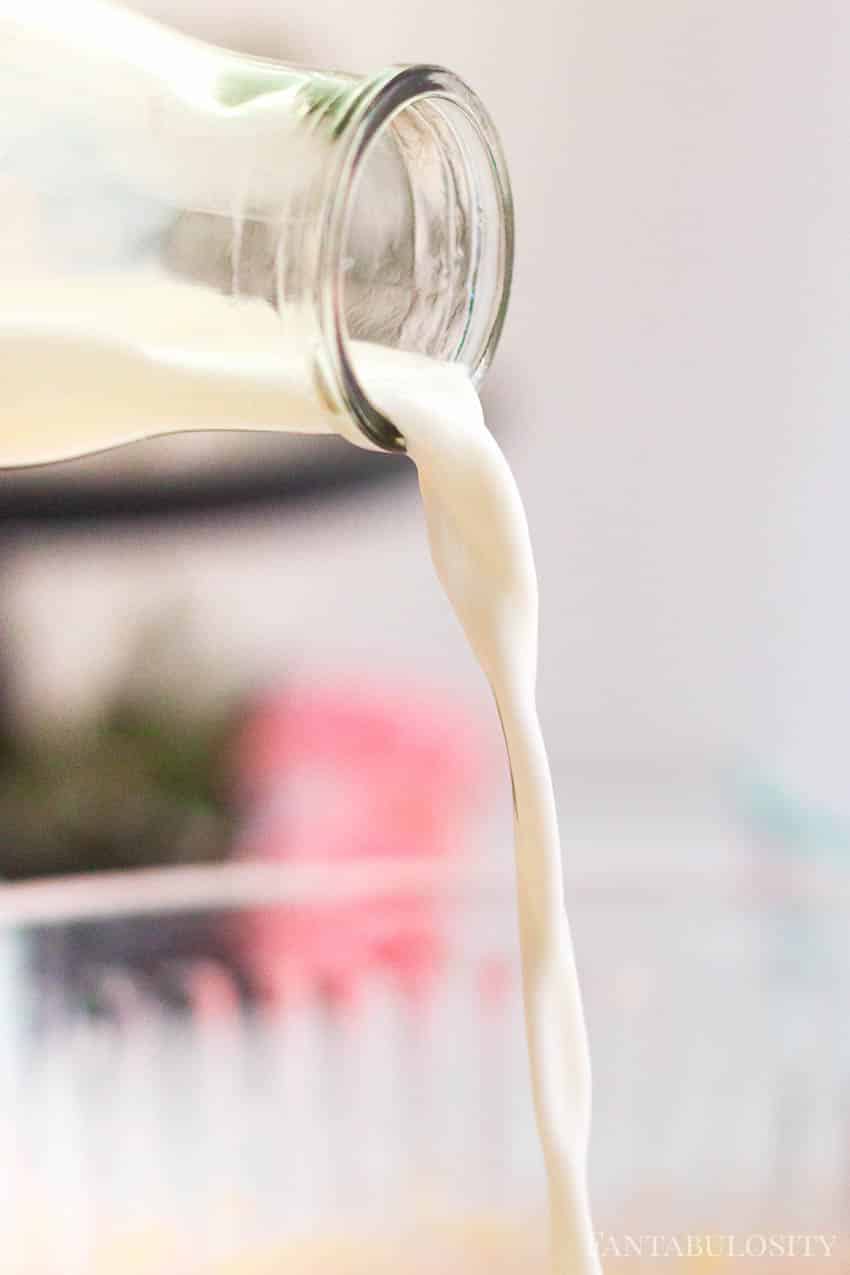 Add the second half of flour mixture and milk… and mix for 5 minutes.
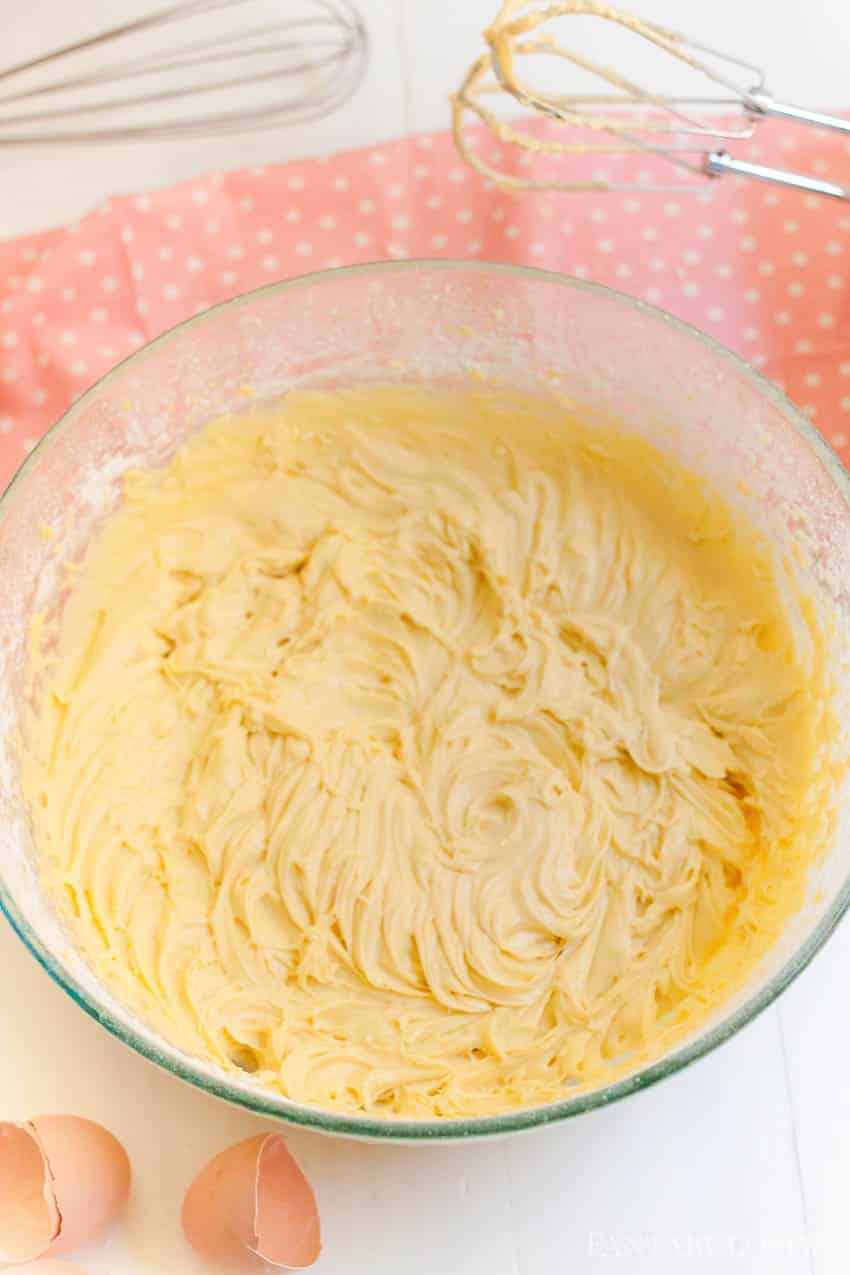
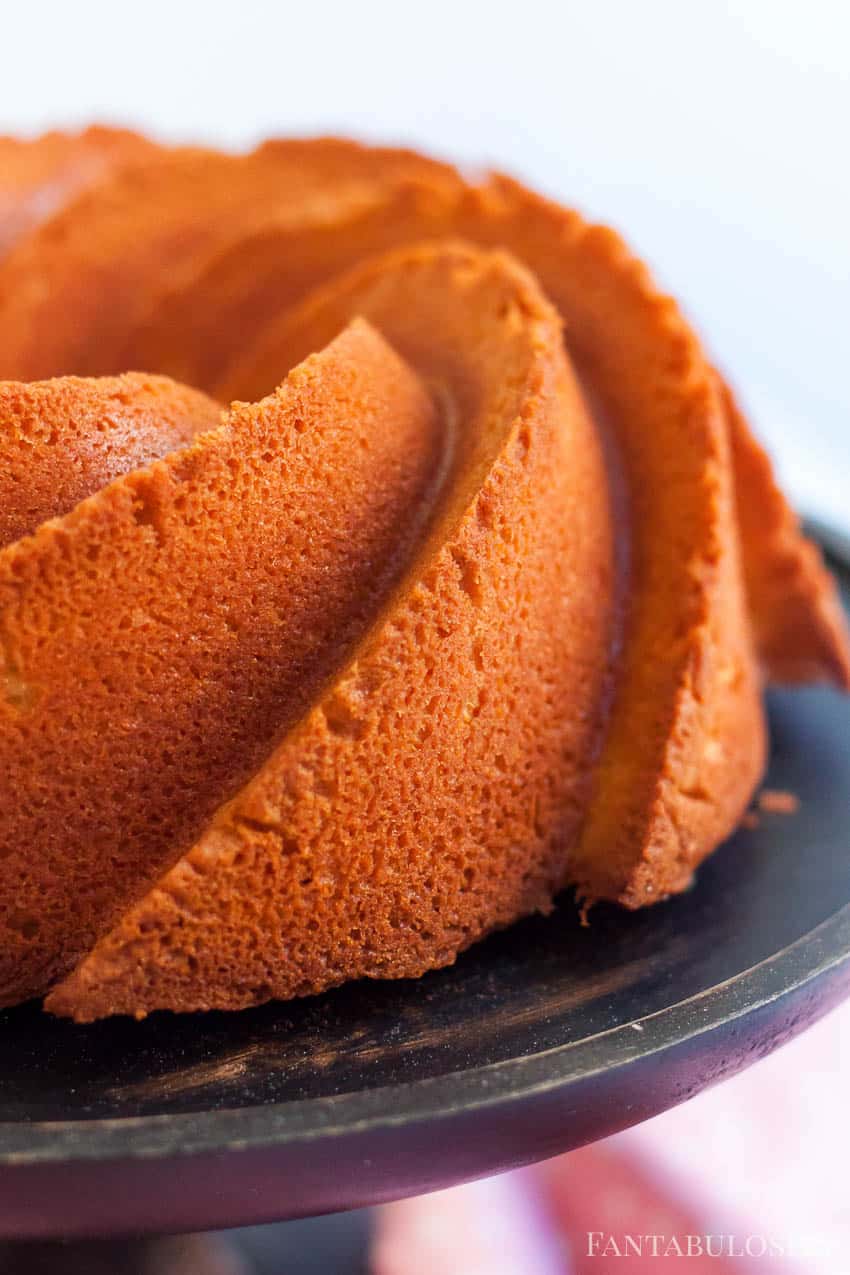
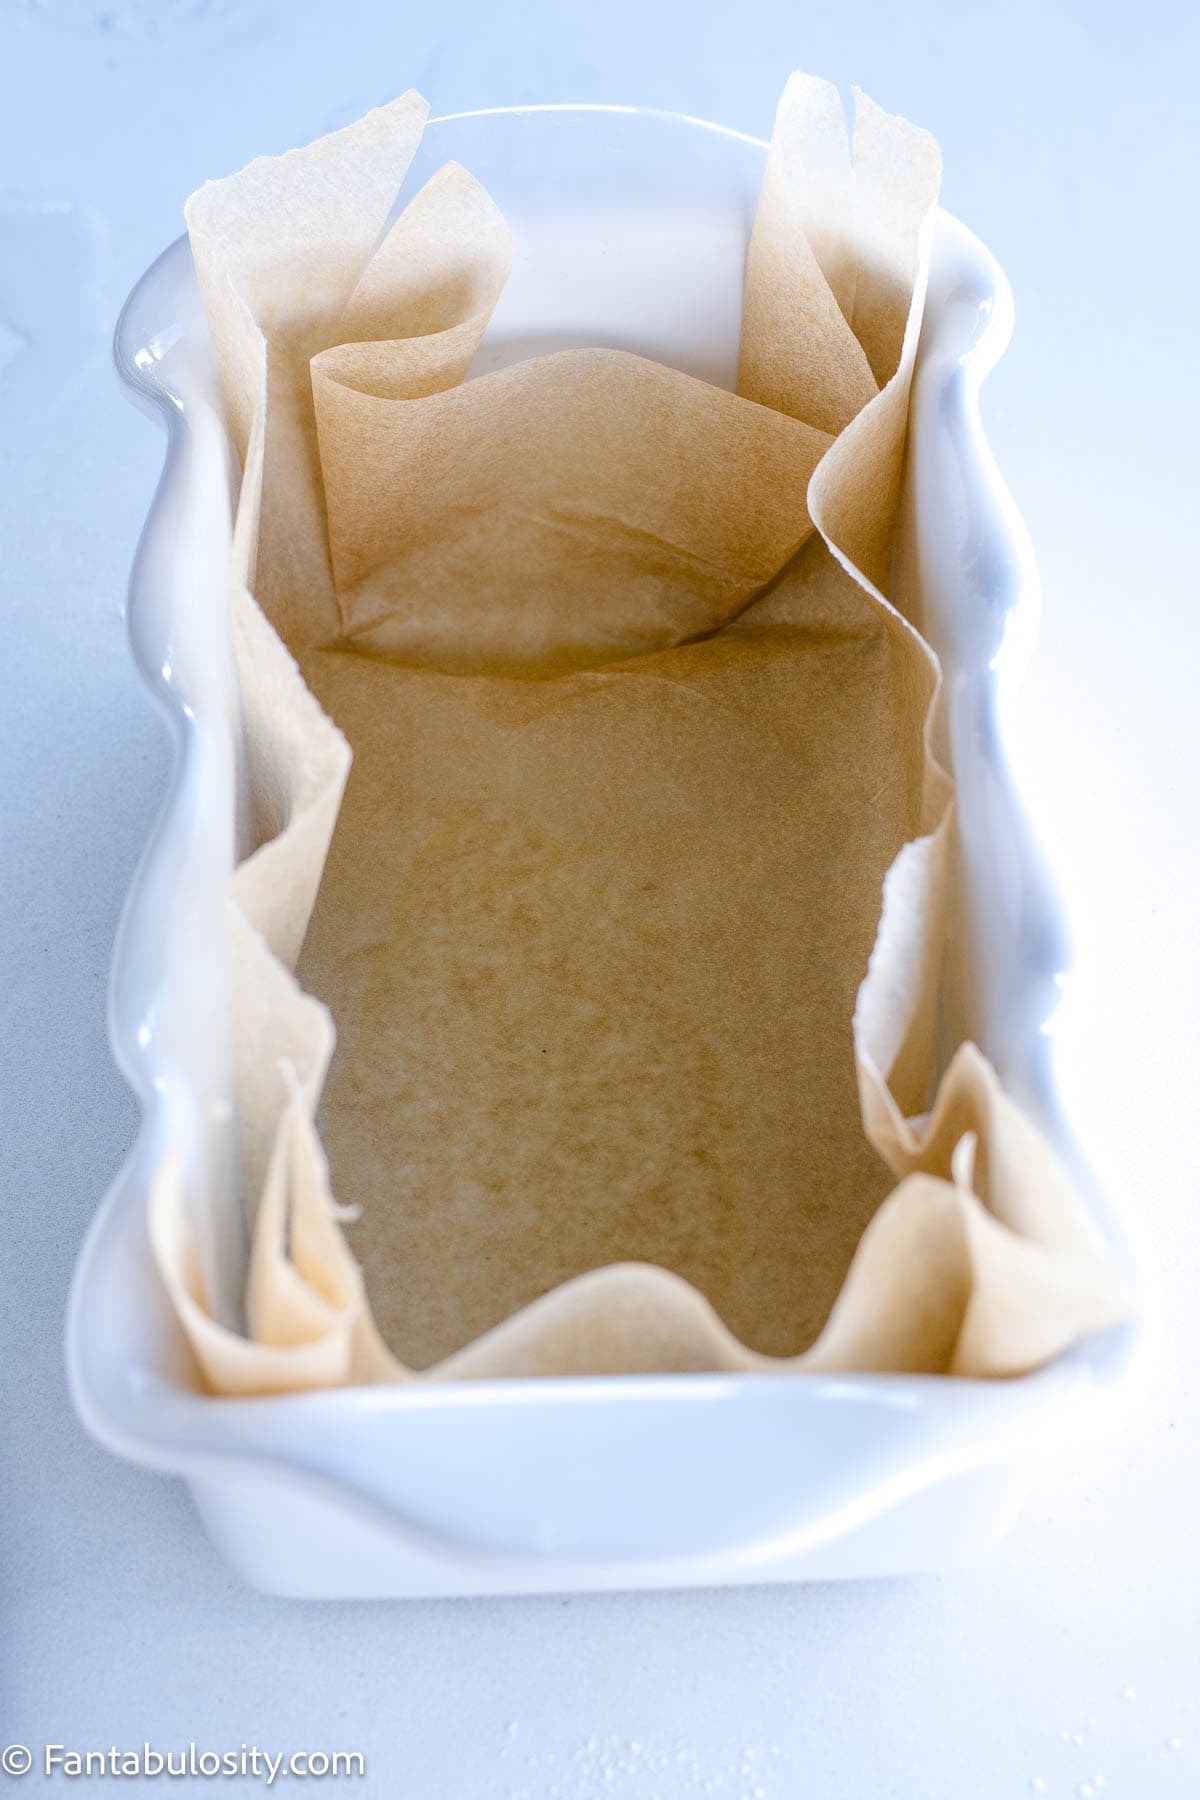
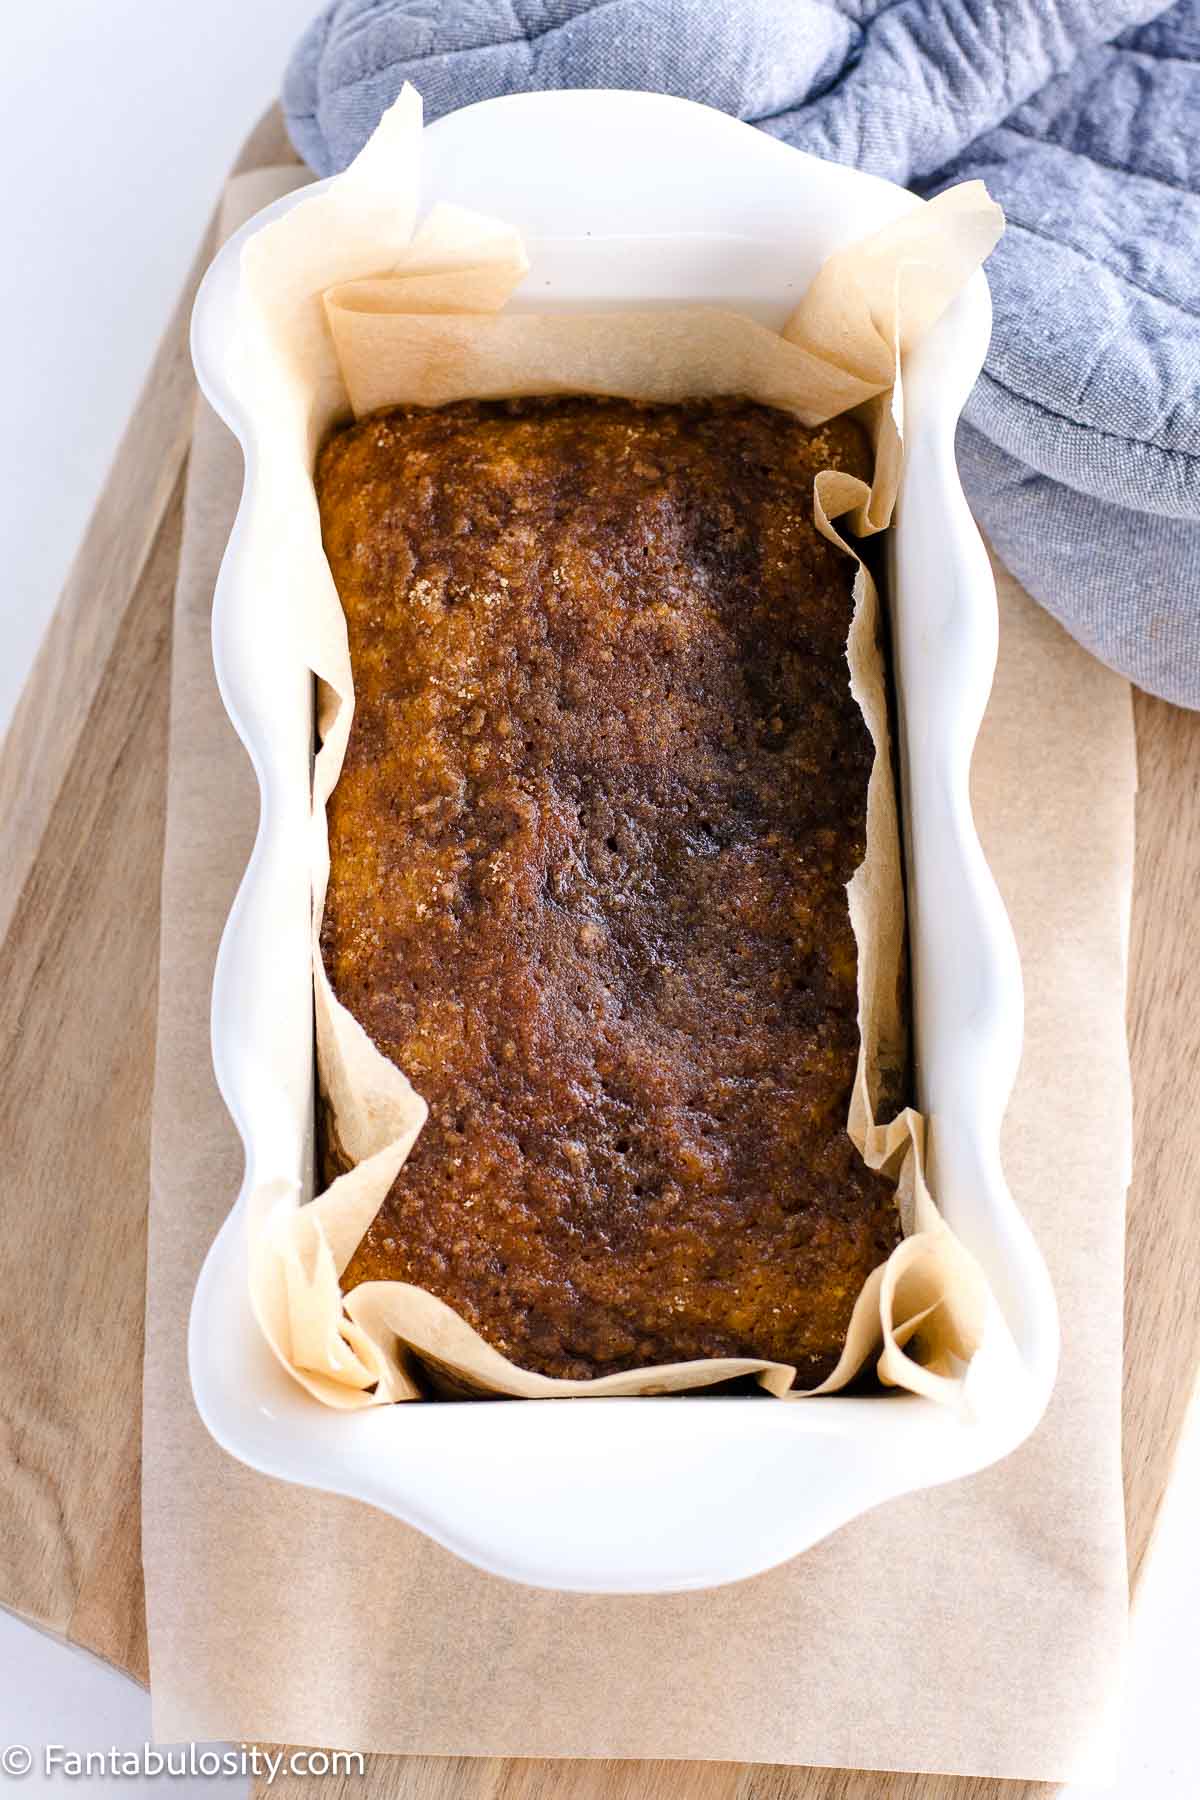
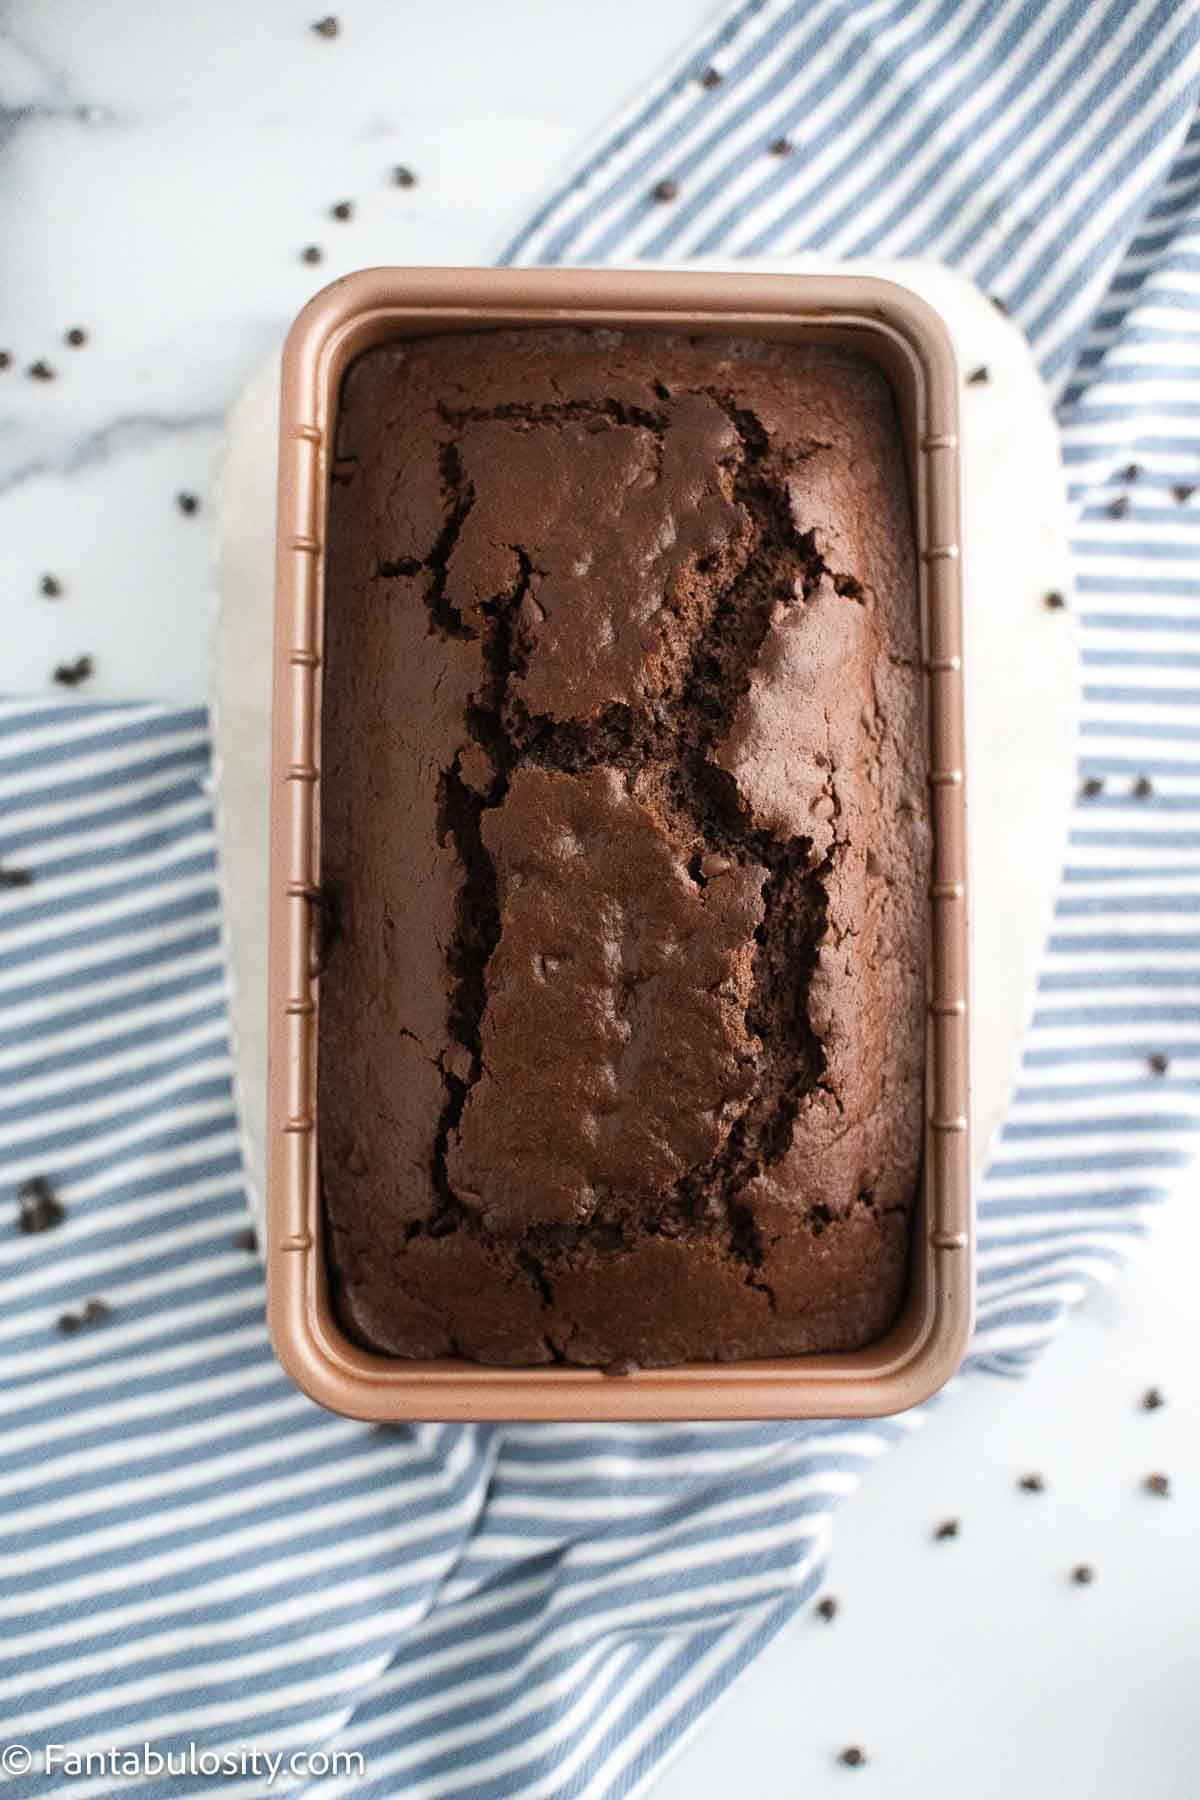
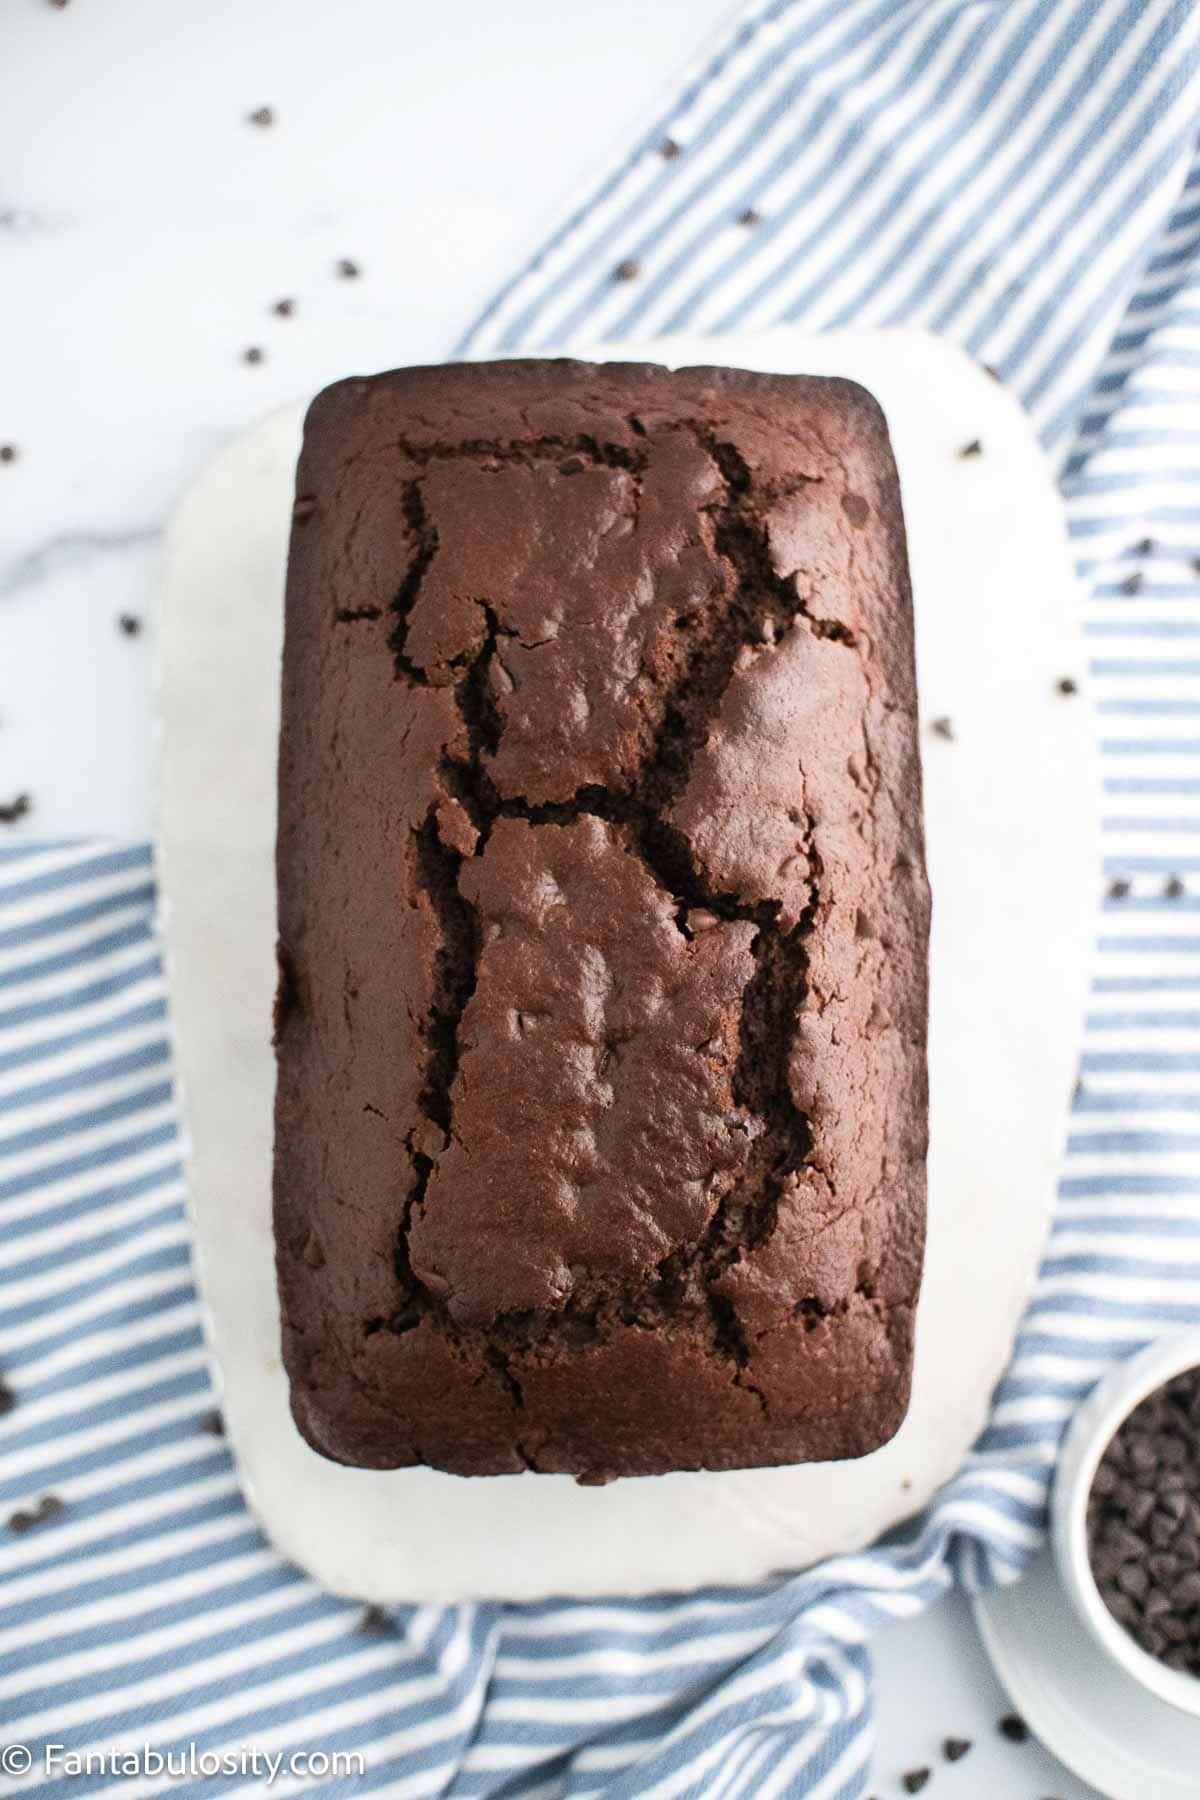
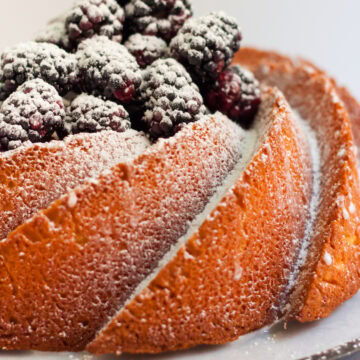
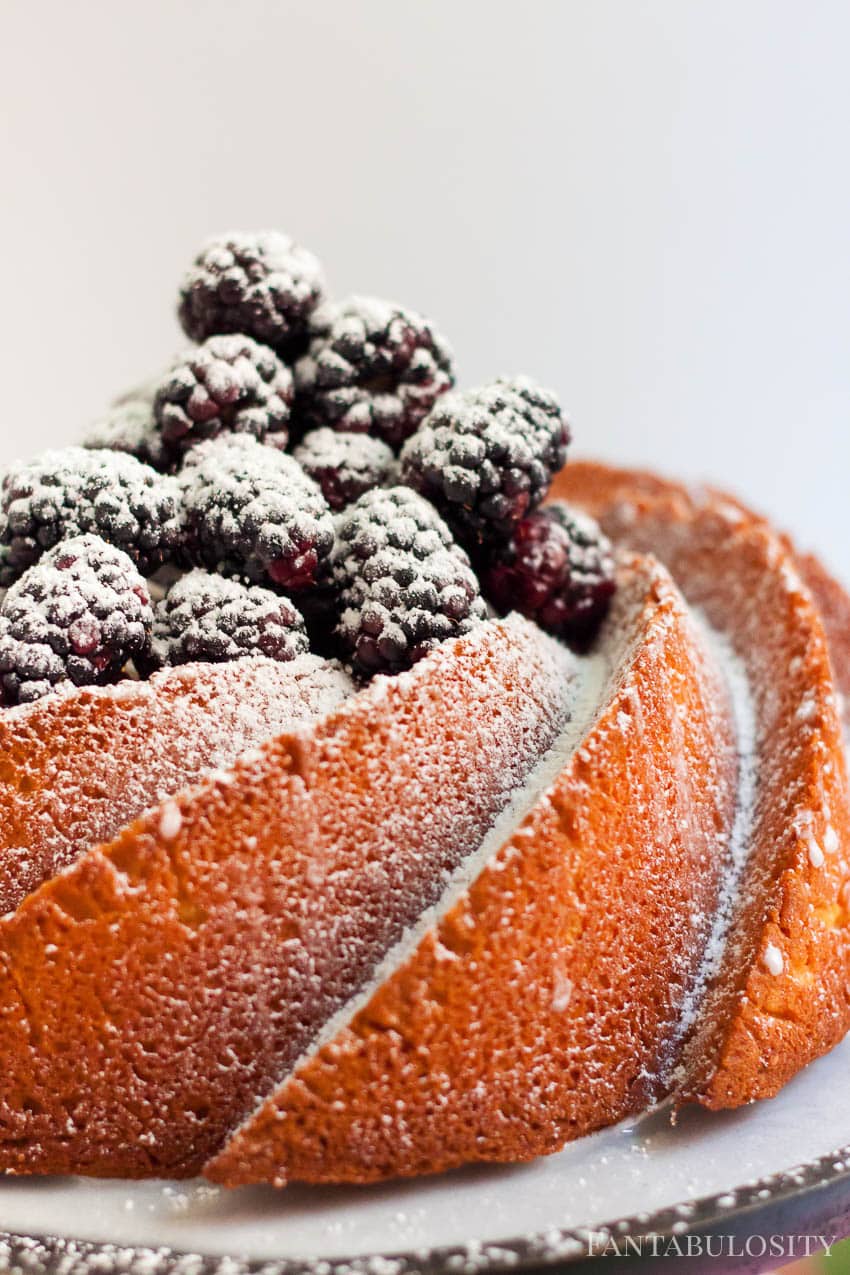
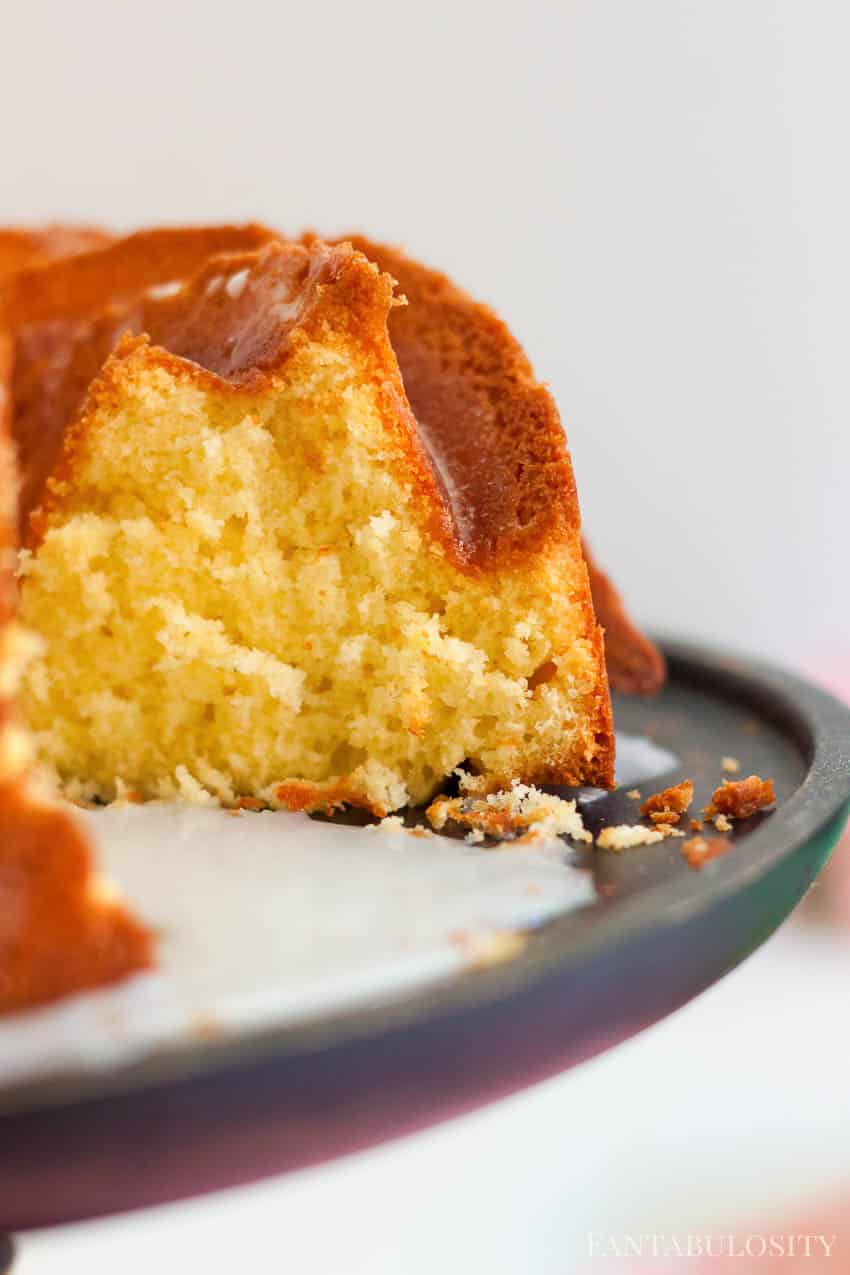
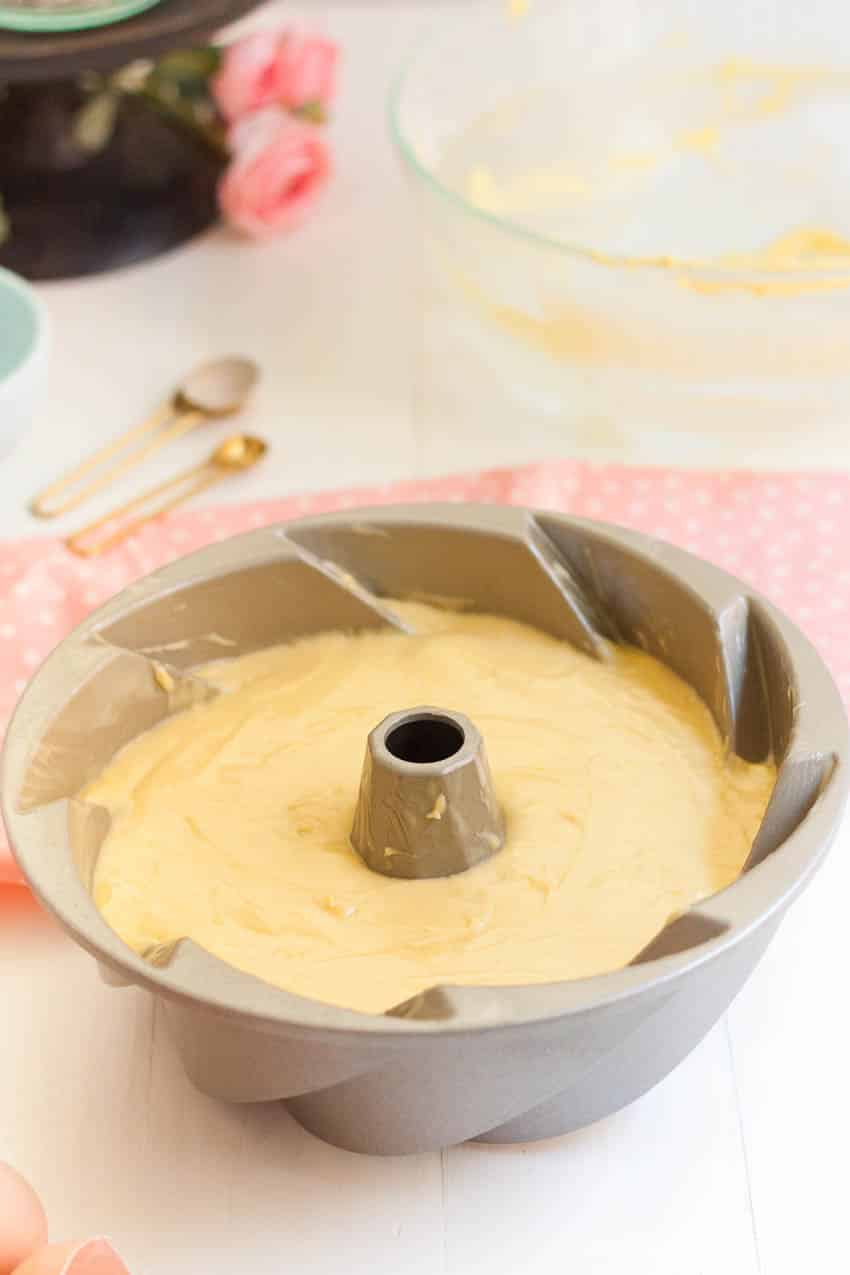 Place the pan in a cool oven and set the temperature to 350℉ and bake for 1 hour.