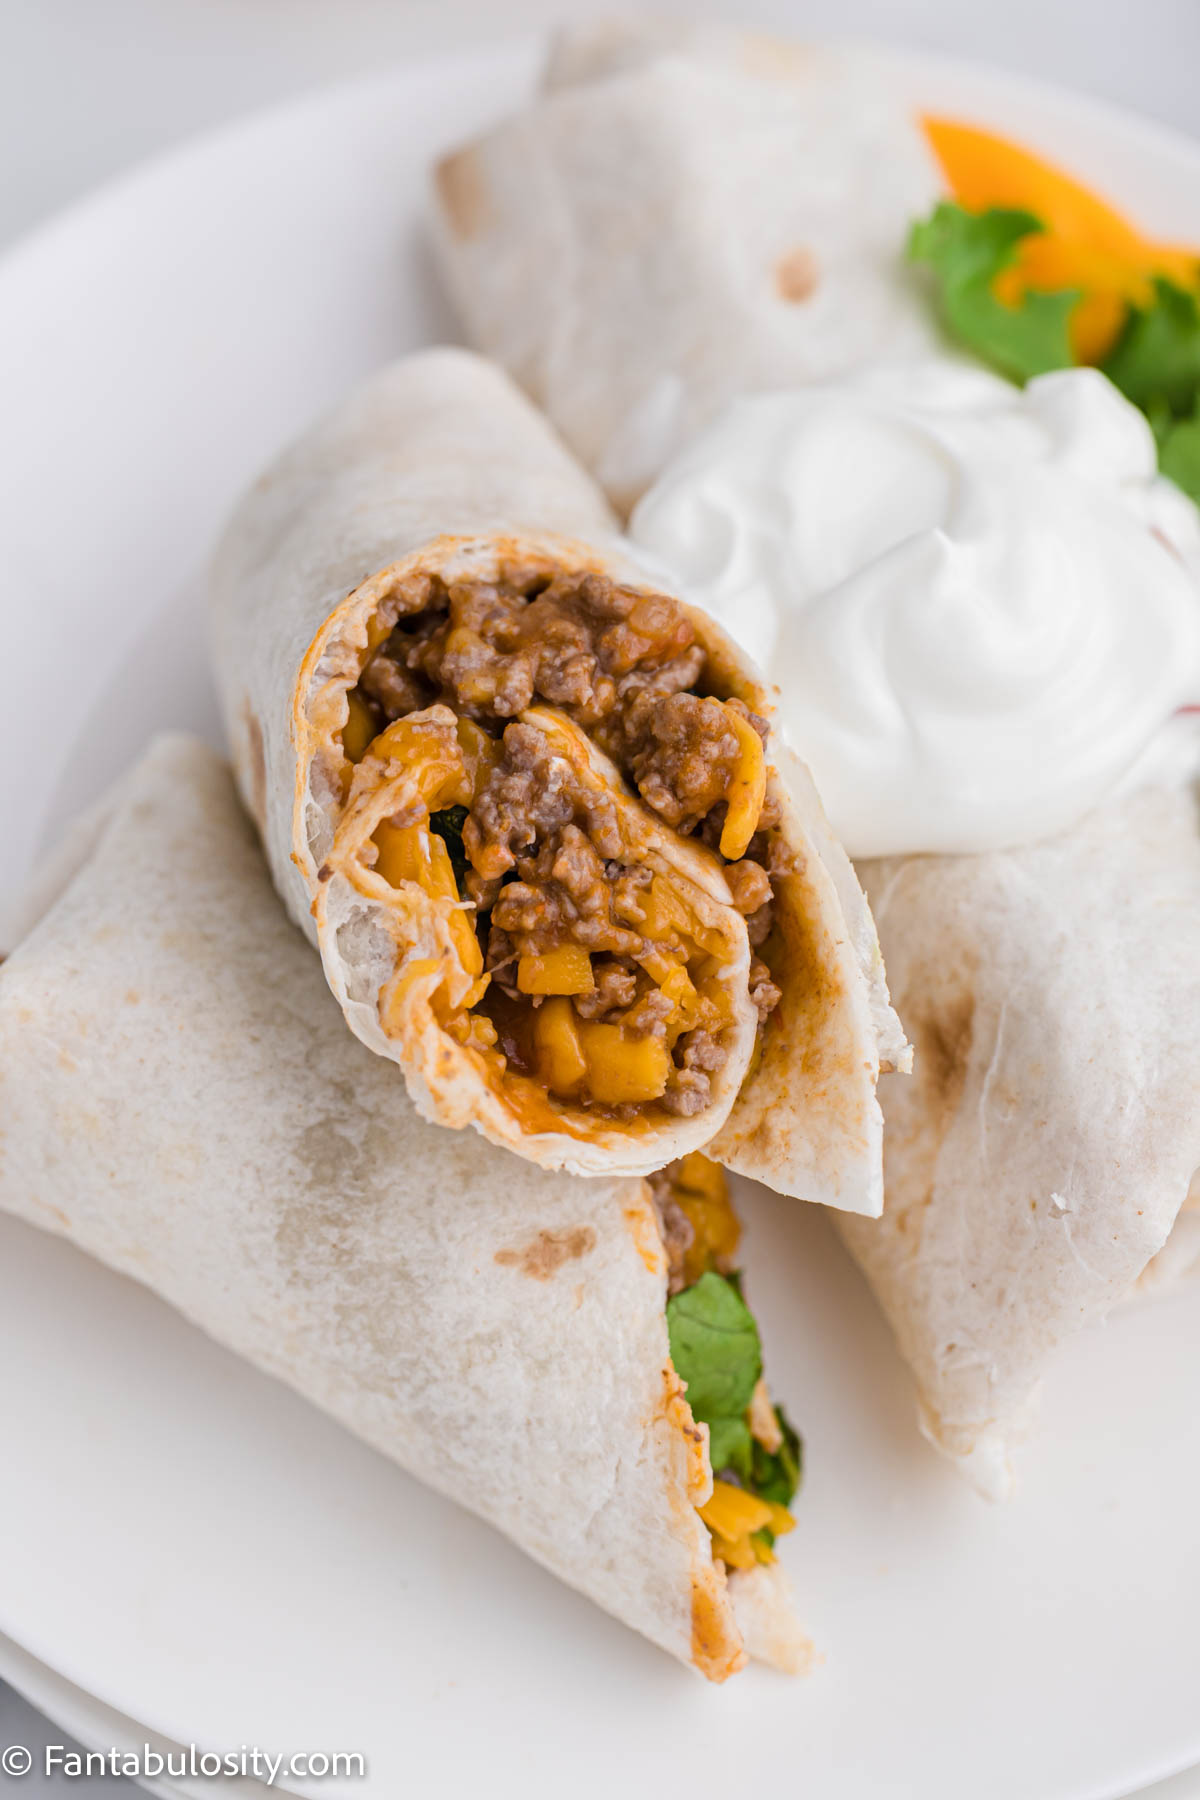
This recipe for Burger Bombs with a delicious dipping sauce is a dream come true for burger lovers seeking a fun twist on their favorite meal. The process is easy and the ingredients are simple, making it an ideal dish for both weekday dinners and weekend get-togethers.
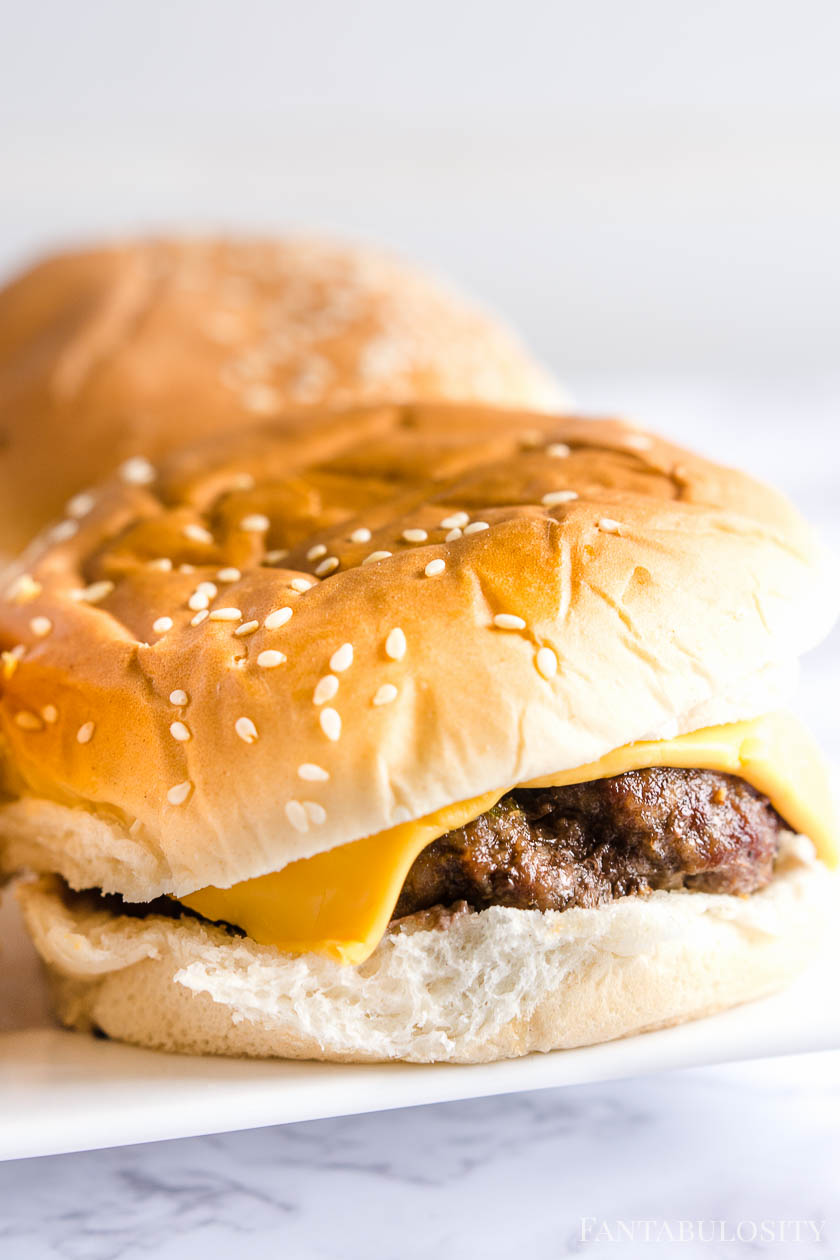
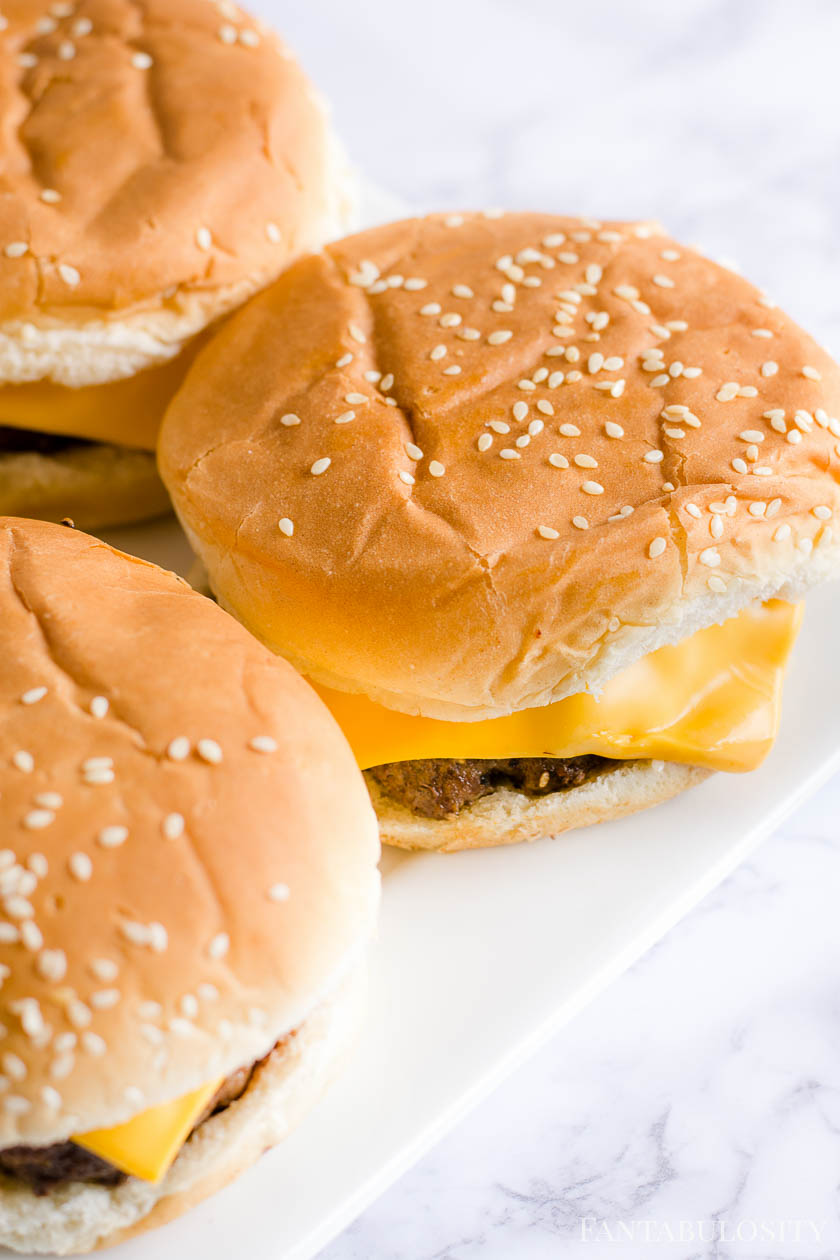
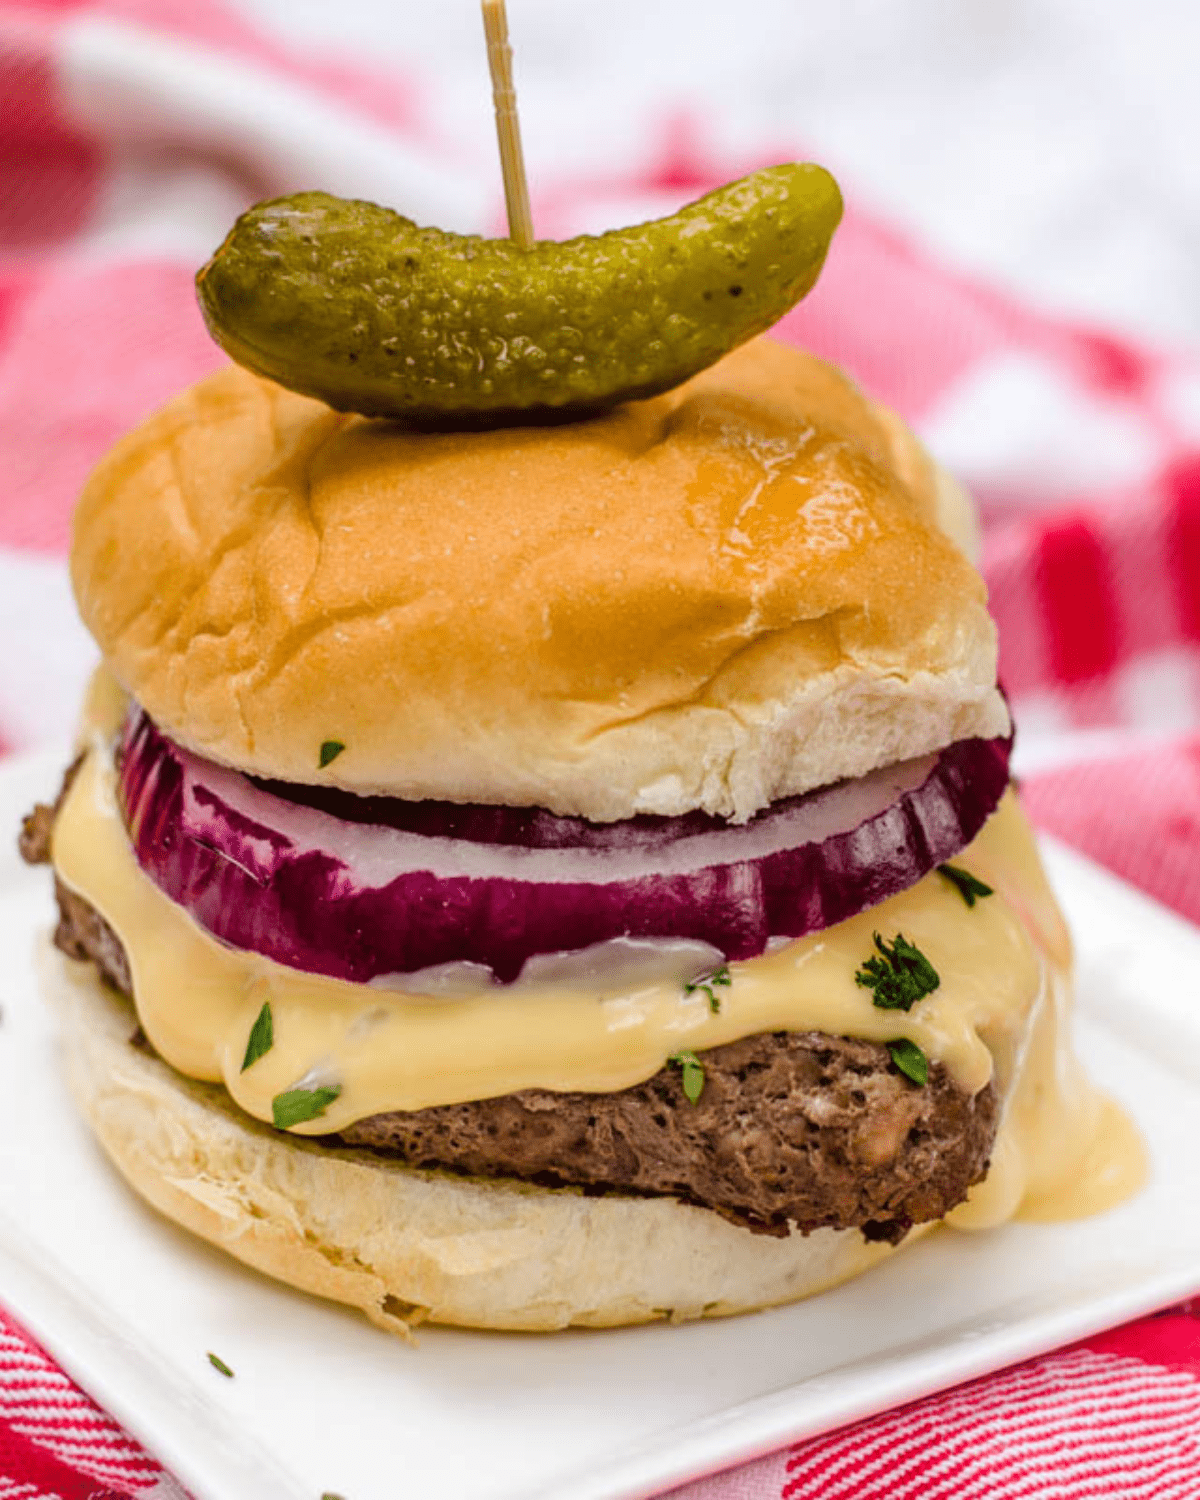
You love our baked cheeseburgers and our cheeseburger sliders, so we knew that adding burger bombs to our favorite burgers was a must!

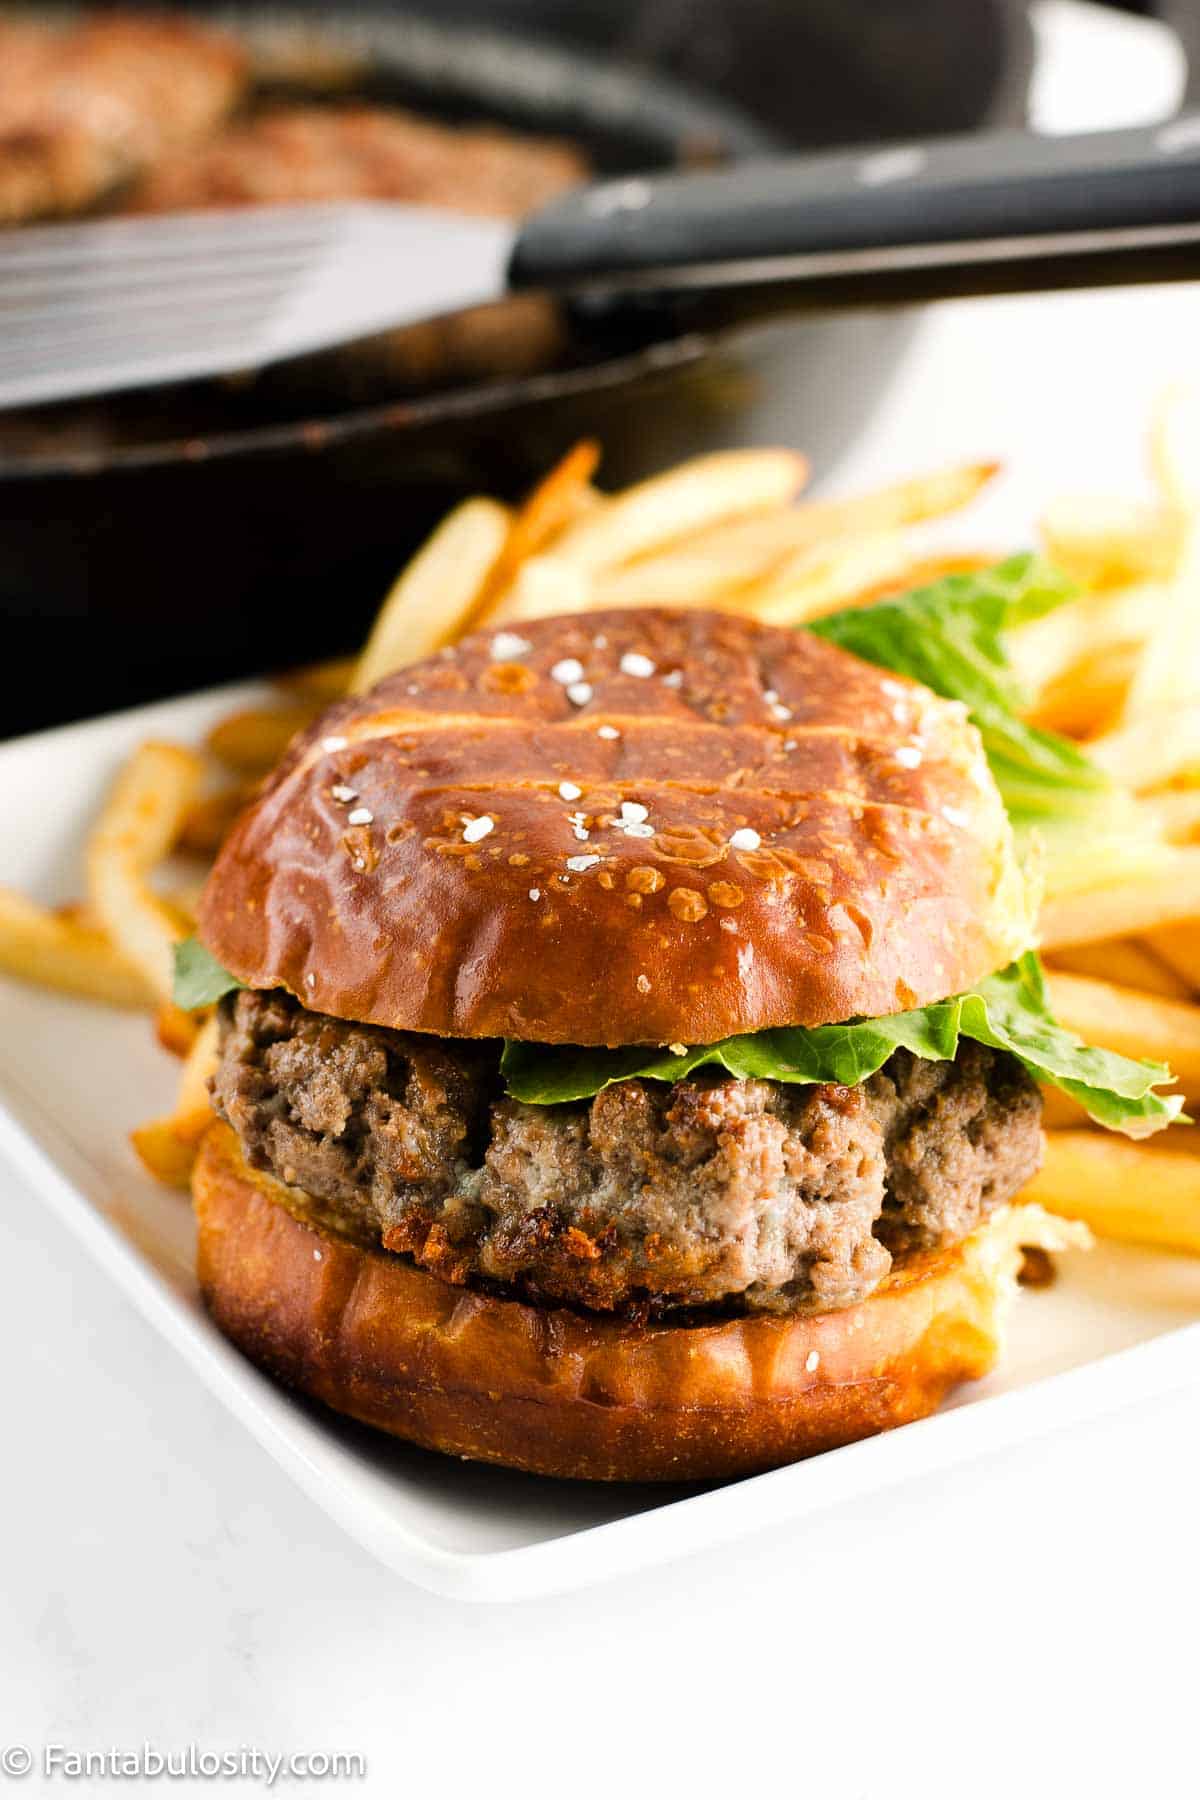
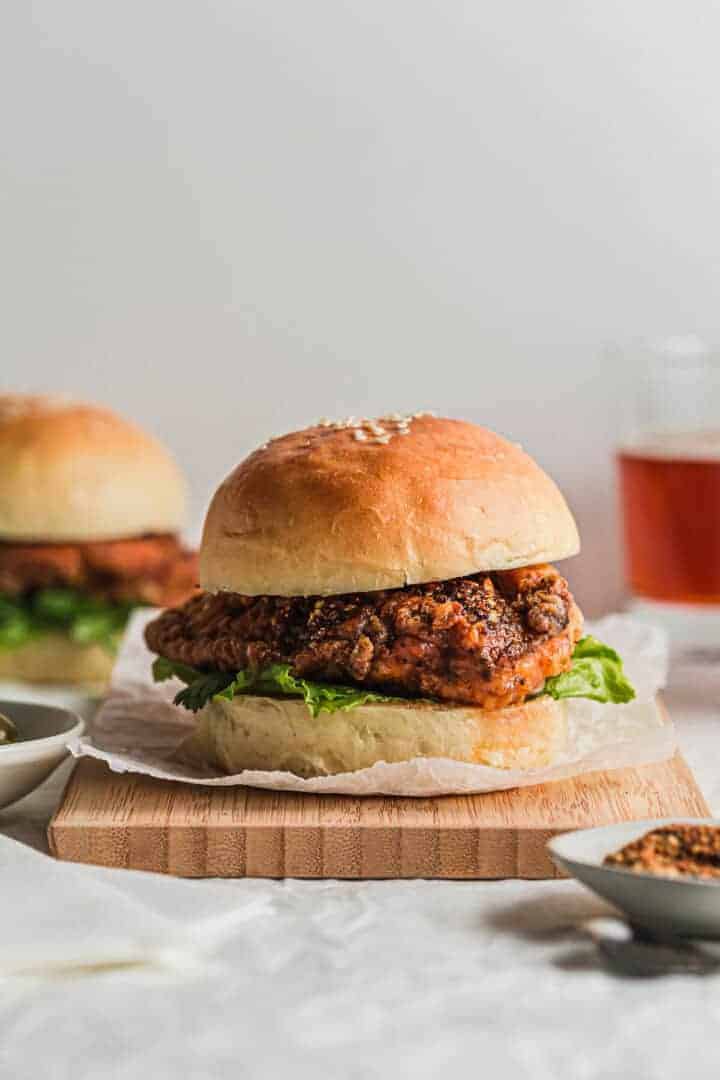
Inspired to make more fresh burgers? Why not try these Burger Bar Ideas for Your Next Party and make the burgers the food star of the show? Or you could try these Aloha Burgers that are a great change from the classic cheeseburger we all love.
[feast_advanced_jump_to]❤️ Why You’ll Love This Recipe
- Easy to customize: The recipe is really easy to customize to what you like or what you have around the house.
- Feed the whole family: If you are feeding the whole family and a few extras, this is a great recipe that makes 20 rolls.
- Ready in only 40 minutes: With 20 minutes to prepare and the same for cooking time, this recipe doesn’t take long to make
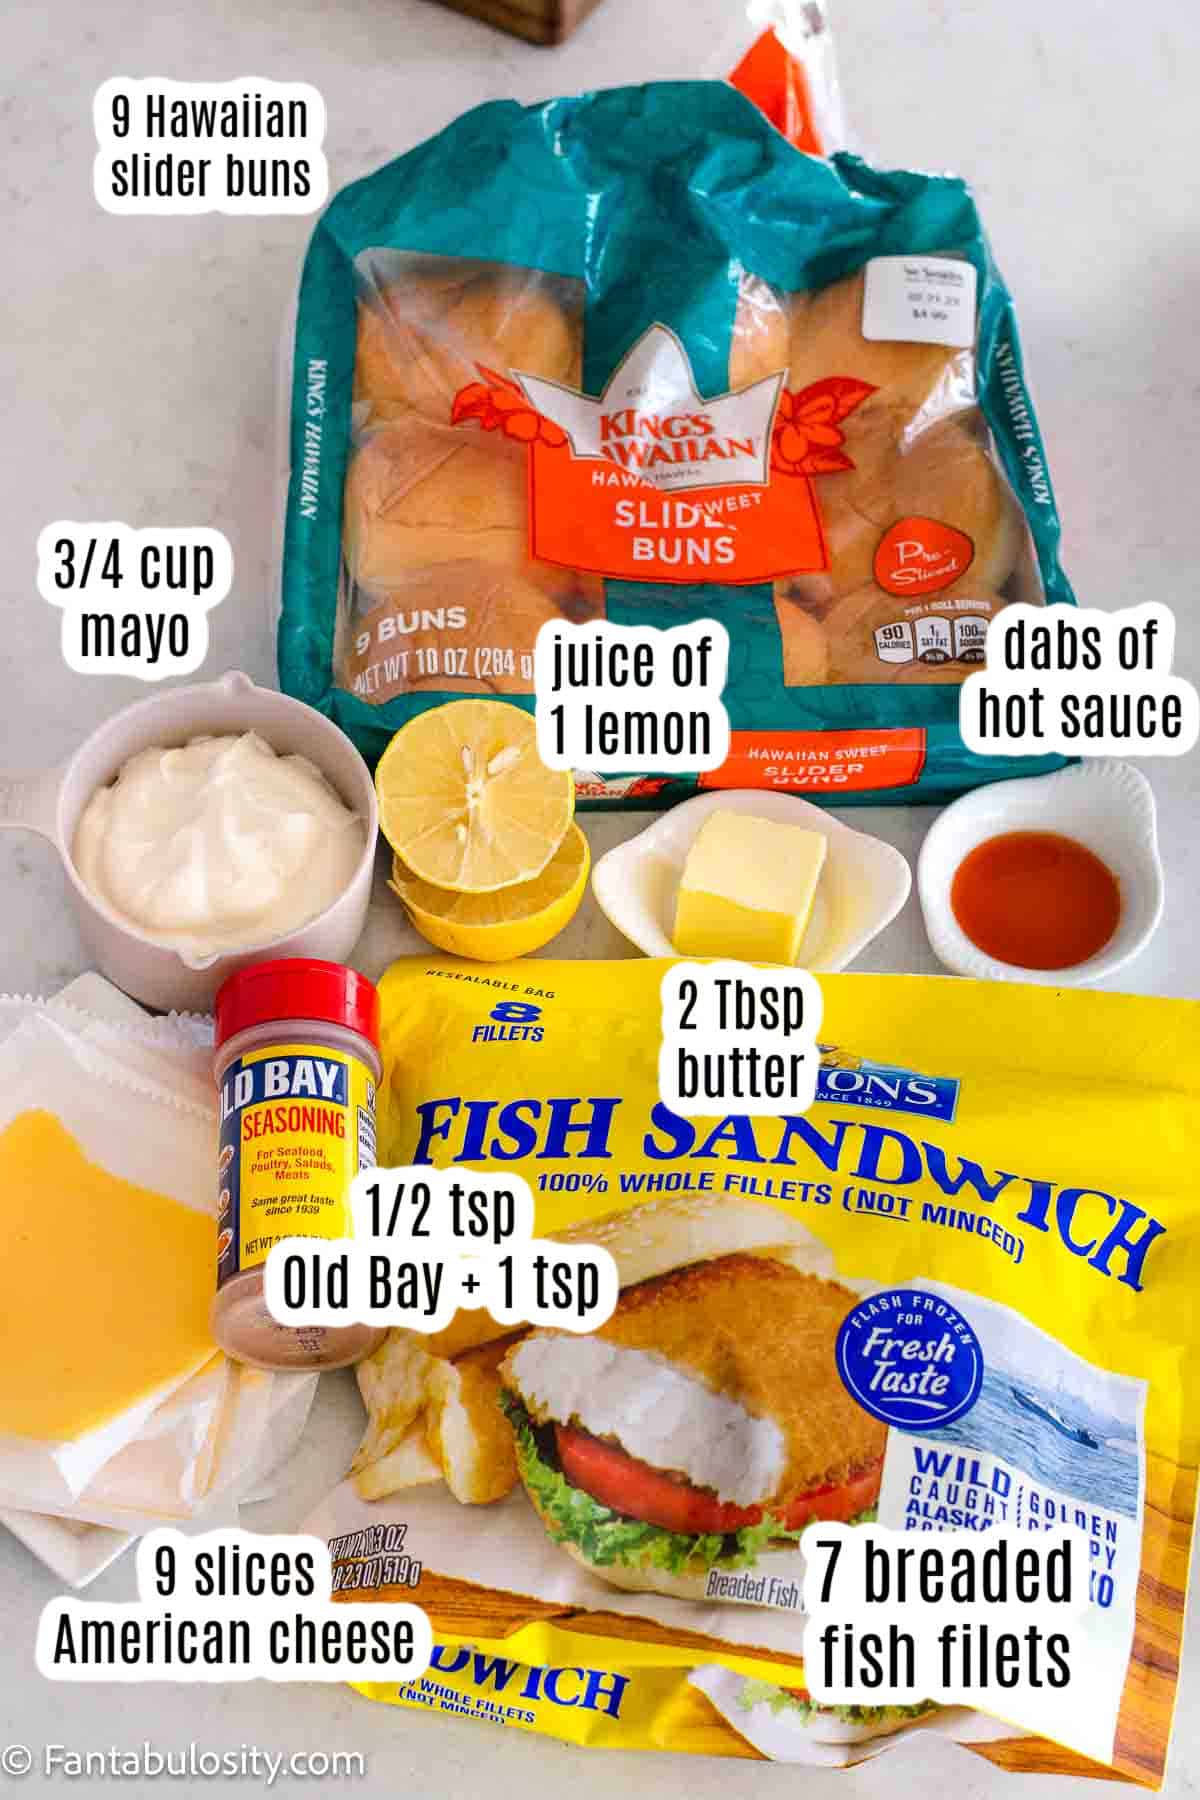
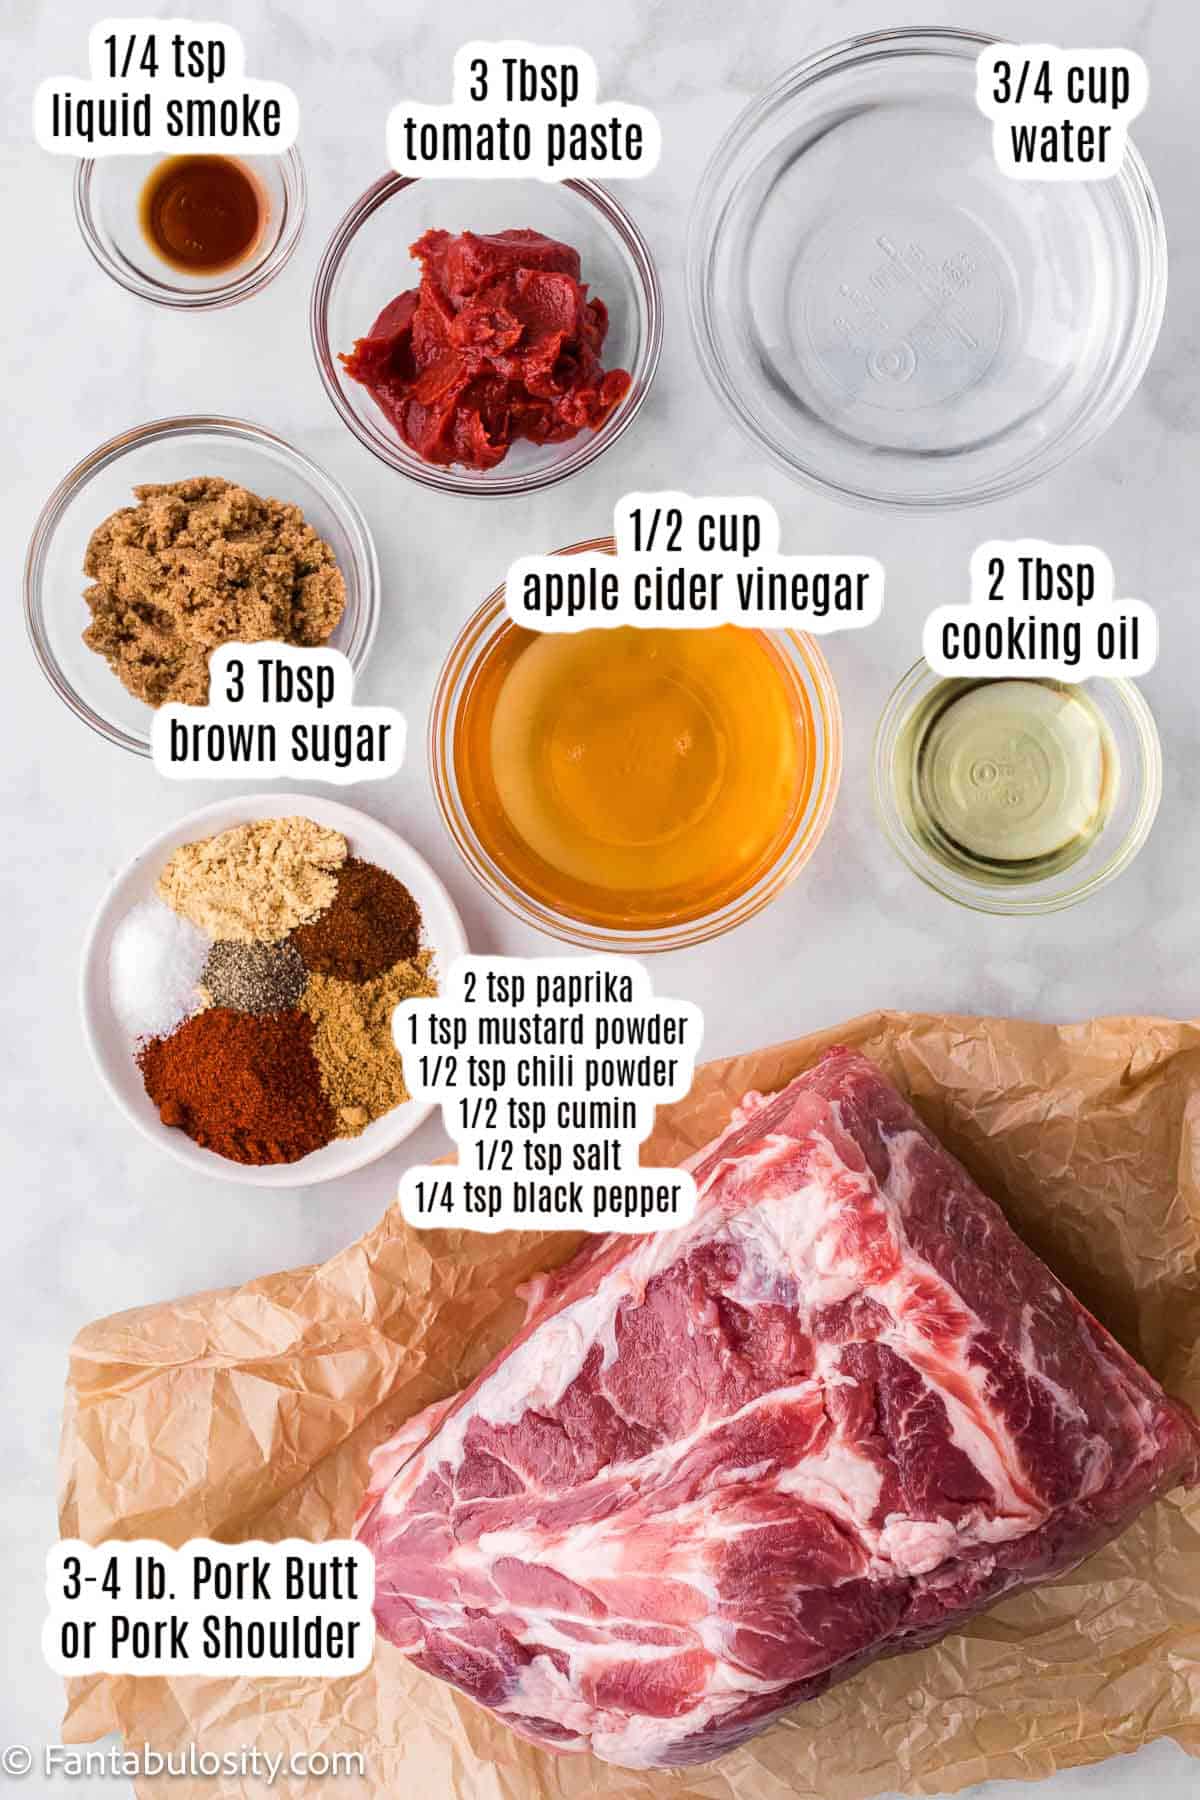
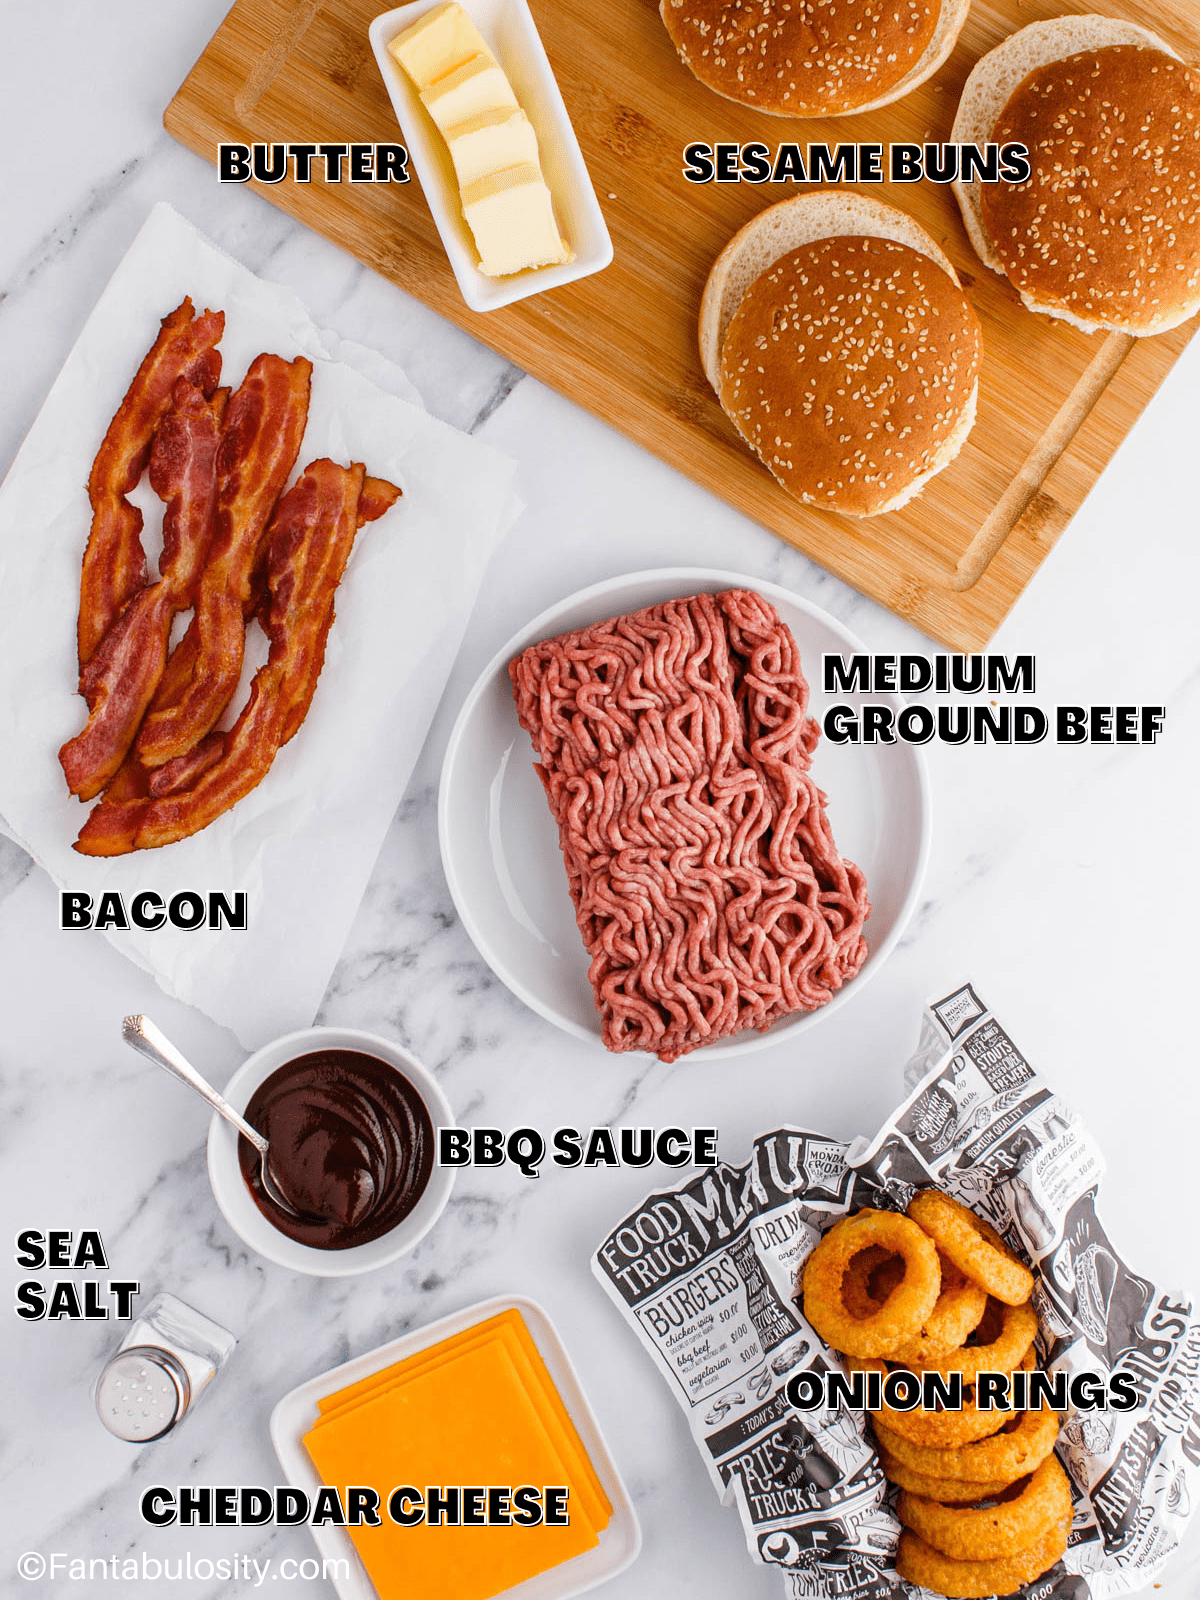
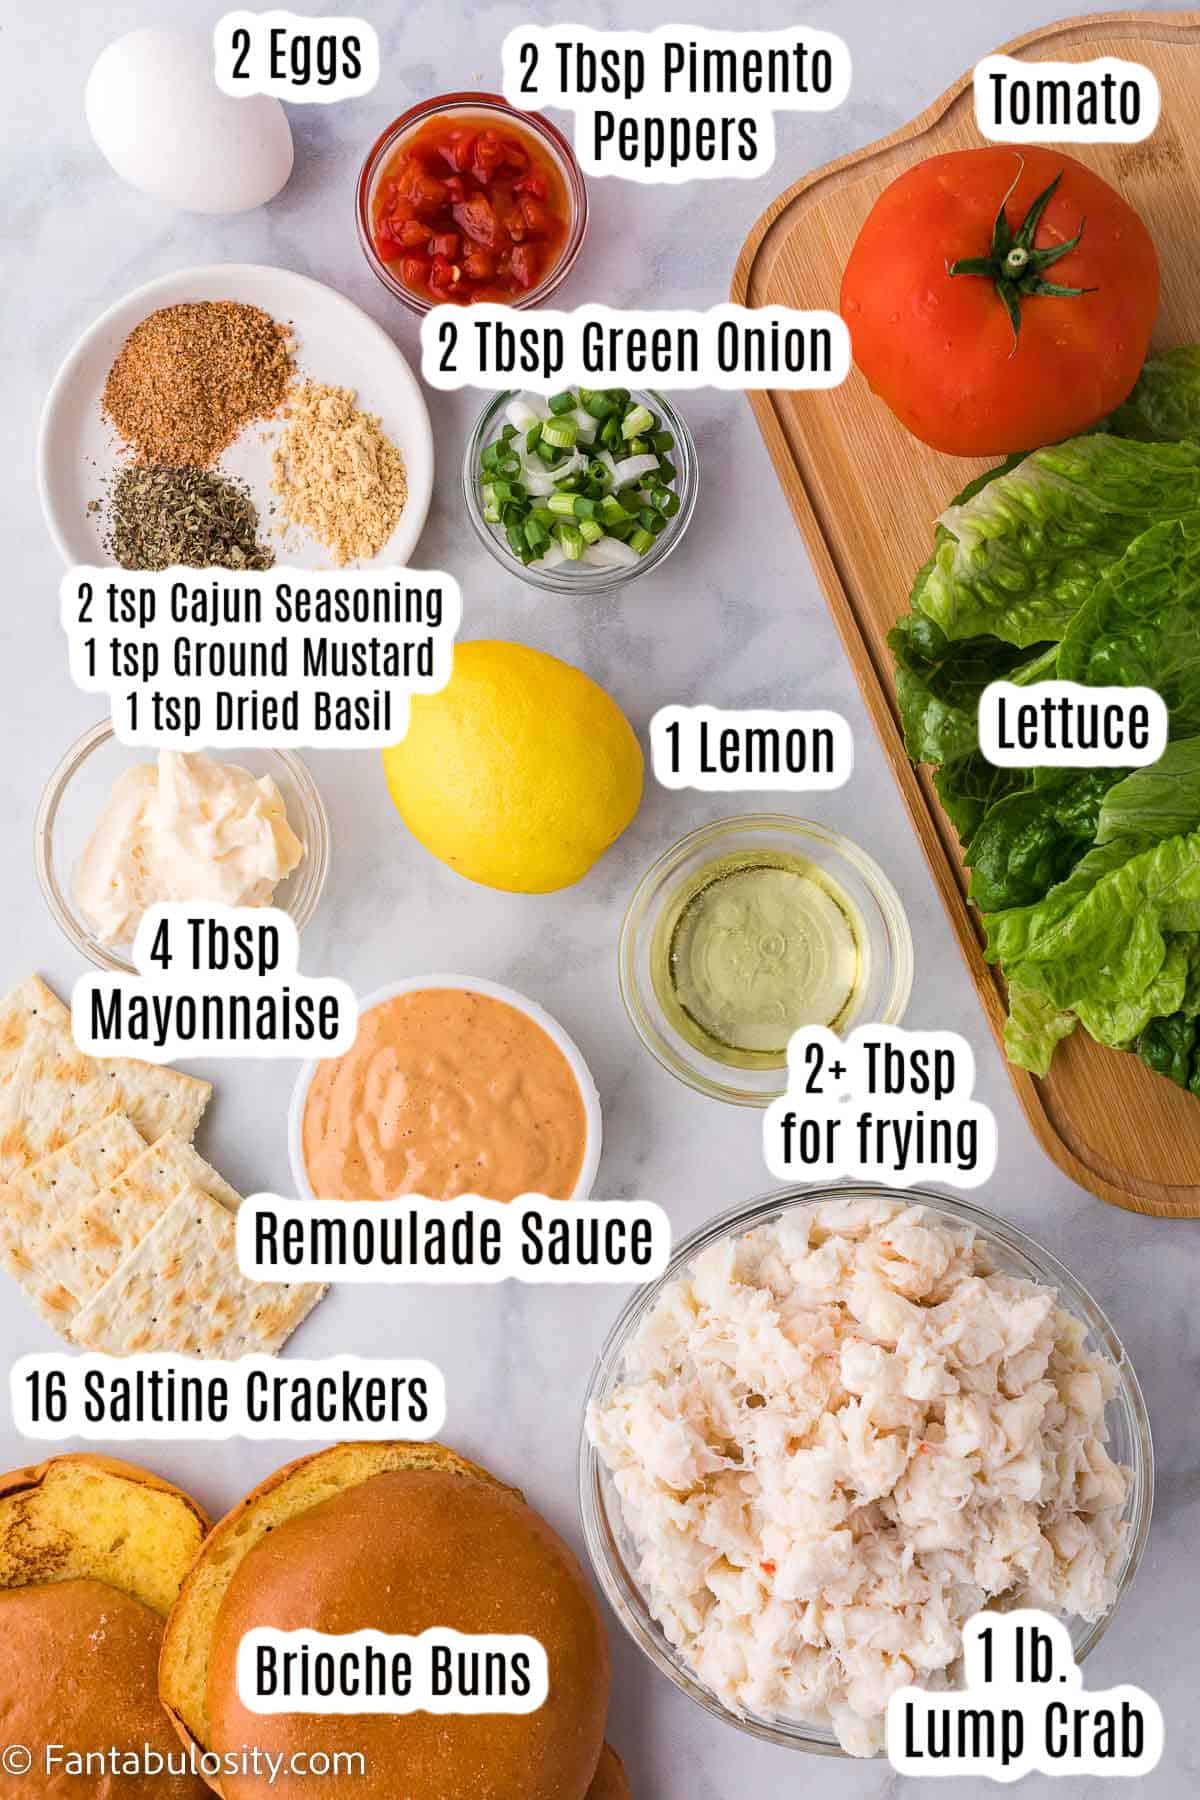
🧾 Ingredients Needed
I’ve highlighted a couple of ingredients with some relevant notes. Aside from this, the ingredients needed are pretty basic.

- Beef – You’ll want juicy ground beef for this recipe as it is easy to work into the right shape for the burger bites.
- Seasoning – We use steak seasoning to add to the meat to give it a great flavor or you can use seasoning salt.
- Rolls – Frozen dinner rolls work perfectly for this recipe, just let them thaw first before you start adding ingredients.
📖 Substitutions
Sometimes substitutions are necessary because of ingredients that are unavailable or needed for dietary restrictions. Here are some suggestions that can help:
- Ground Beef: You can substitute ground beef with ground turkey or chicken for a leaner option. For a vegetarian alternative, try lentils or a plant-based meat substitute.
- Minced Garlic: If fresh minced garlic is not available, you can use ⅛ teaspoon of garlic powder in place of each clove, or jarred minced garlic at a 1:1 ratio.
- Steak Seasoning: In the absence of steak seasoning, you can create your own blend with a mix of salt, black pepper, paprika, garlic powder, onion powder, and a pinch of cayenne.
- Cheddar Cheese: Feel free to replace cheddar cheese with any melt-able cheese of your preference. Gouda, Monterey Jack, or mozzarella can work well. For a dairy-free option, try a vegan cheese substitute.
📖 Variations
- Vegetarian Burger Bombs: Substitute the ground beef with a mix of sautéed mushrooms, bell peppers, and onions. Pair with a vegan cheese to create a delicious vegetarian version of these burger bombs.
- Gluten-Free Burger Bombs: Use gluten-free dinner rolls and ensure all other ingredients including the steak seasoning and Worcestershire sauce are gluten-free.
- Spicy Burger Bombs: Add a finely chopped jalapeno pepper to the beef mixture for an extra kick, and also consider adding a dash of hot sauce to the dipping sauce.
- BBQ Burger Bombs: Substitute the ketchup and Dijon mustard in the beef mixture with your favorite BBQ sauce for a smoky flavor twist.
- Cheese-Stuffed Burger Bombs: Instead of mixing the cheese in with the beef, place a small cube of cheese in the center of each burger bomb for a melty, cheesy surprise when bitten into.
- Bacon Cheeseburger Bombs: Add your favorite cheese and bacon for this classic family favorite.
👩🏻🍳 How to Make Burger Bombs
These burger bombs recipe is broken into 3 components:
- Prepare the rolls
- Make the burger bites and cook
- Make the sauce and serve
Ensure that the dough has been thawed and allowed to rise halfway. Flatten and stretch it into a wide circle for filling.
*Be sure to see the recipe card below for the full ingredients list & instructions!*
STEP 1: Prepare the rolls. Place the rolls on a baking sheet lined with parchment paper and lightly cover them with a towel. Let them thaw and rise until they have expanded by about half.
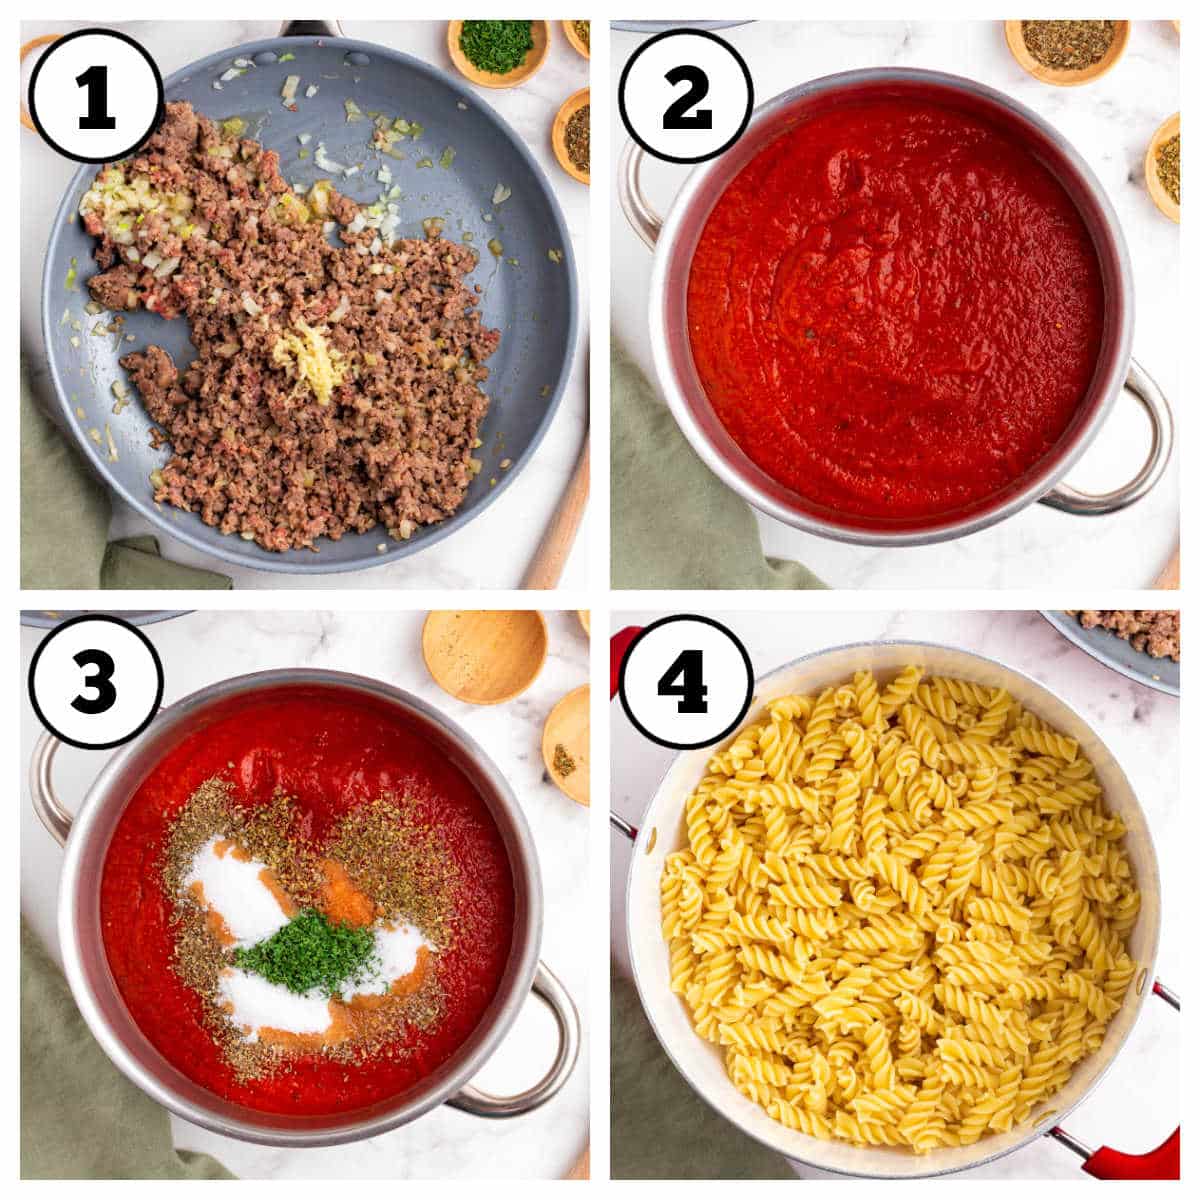
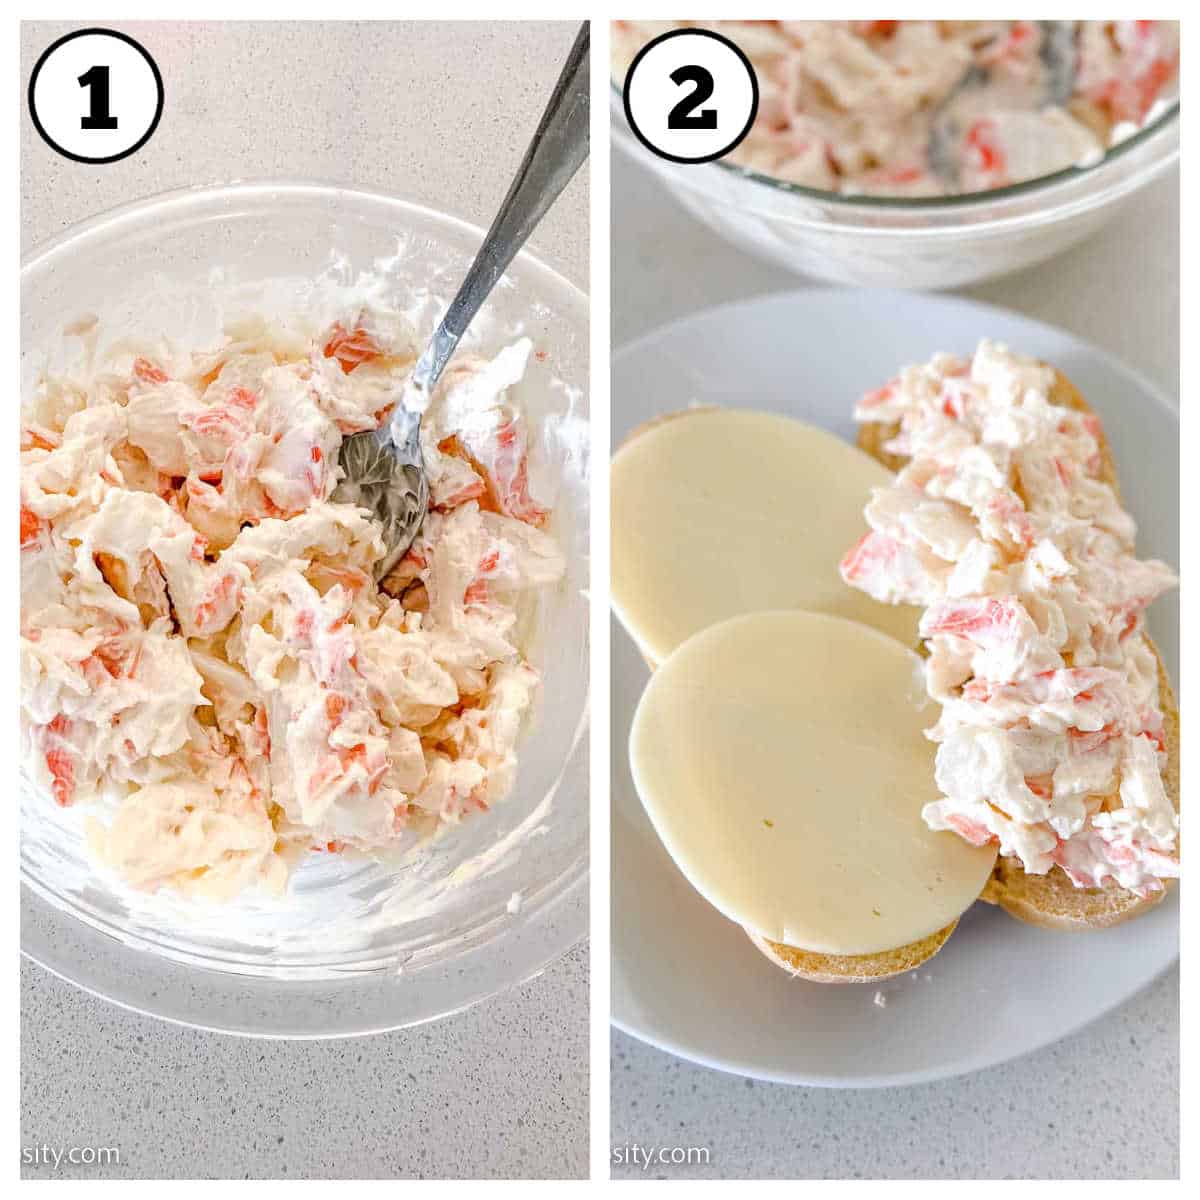
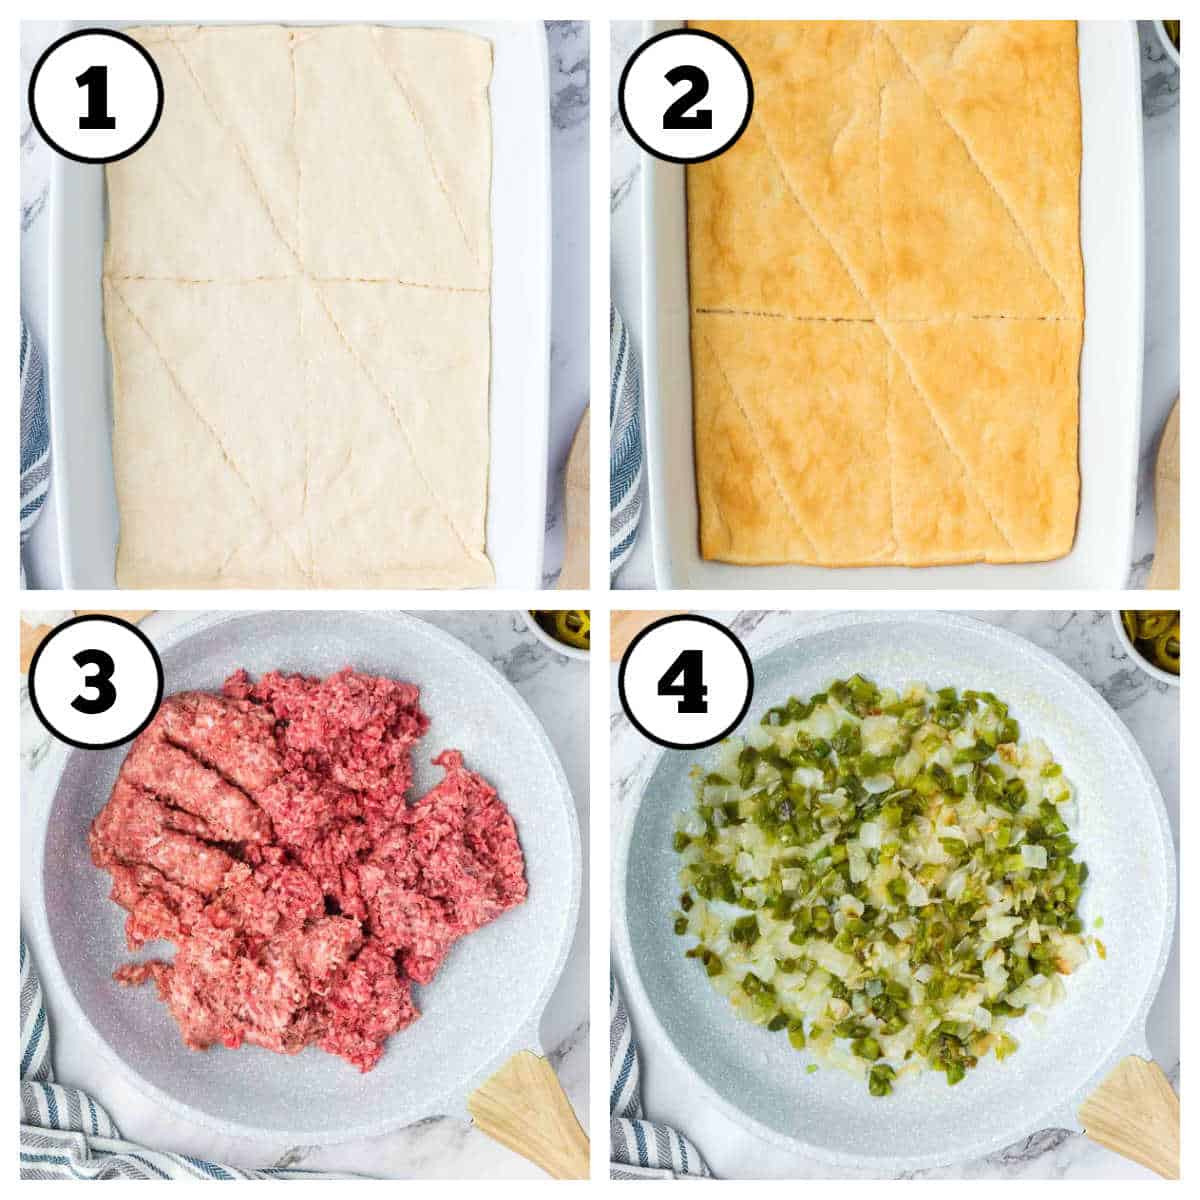
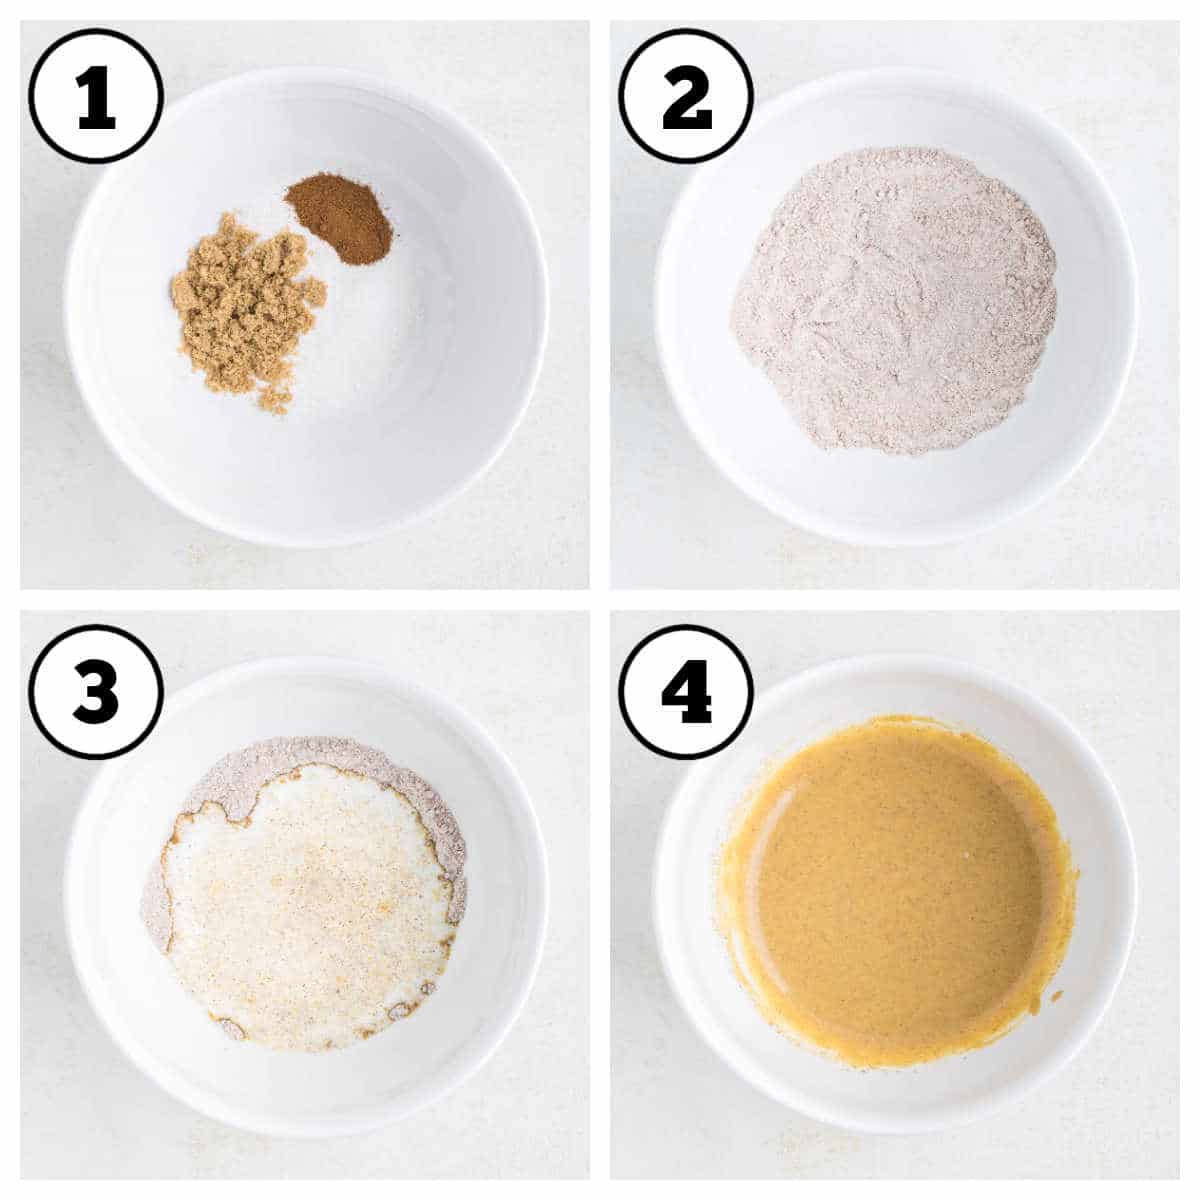
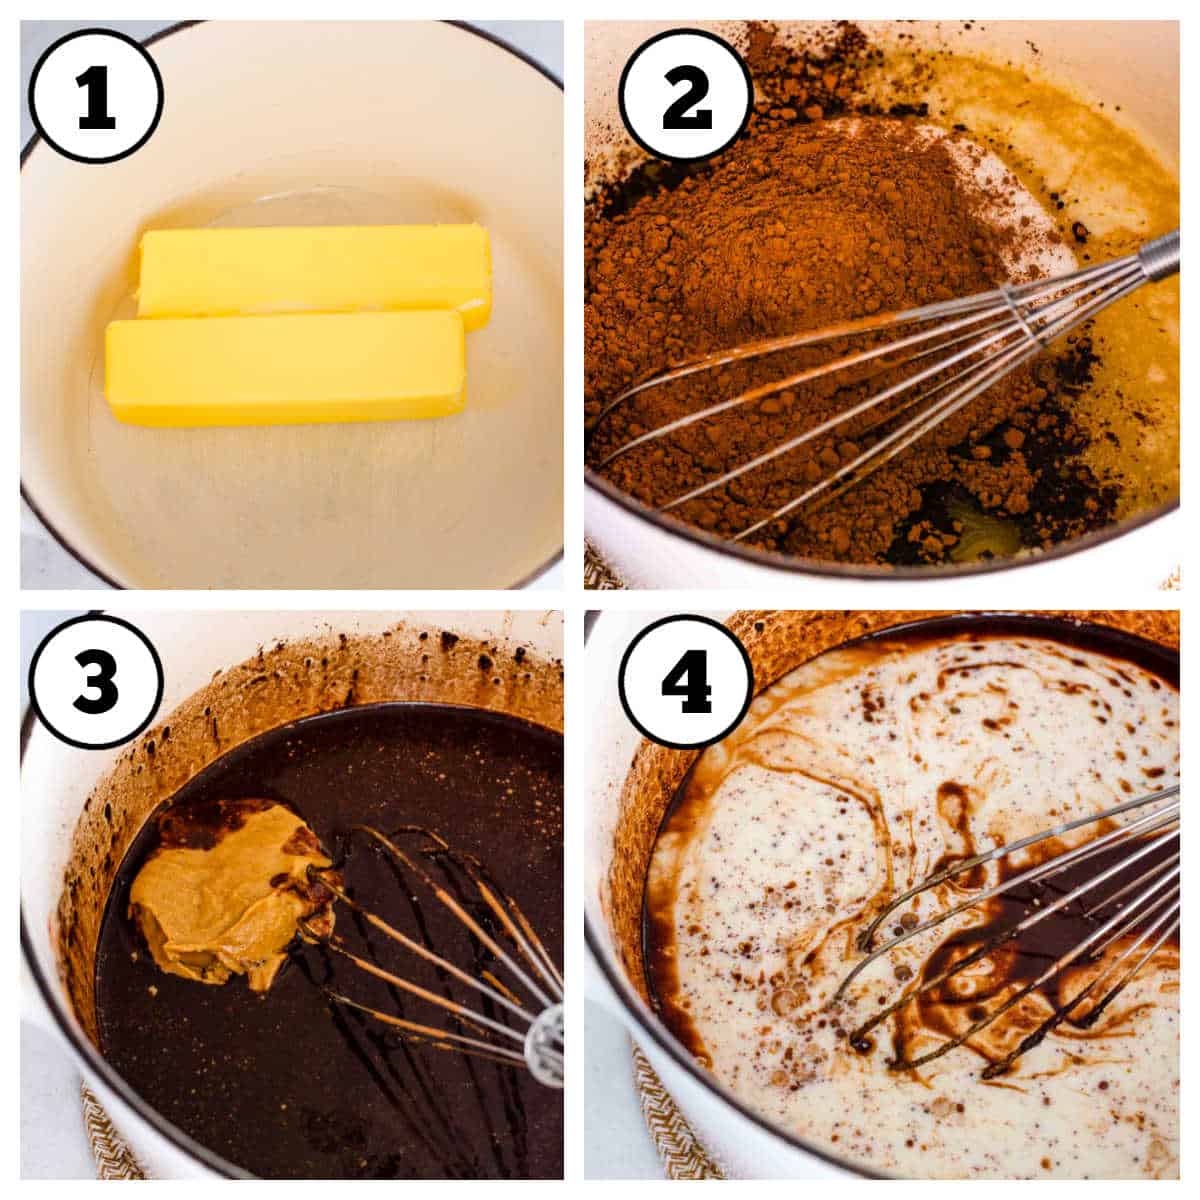
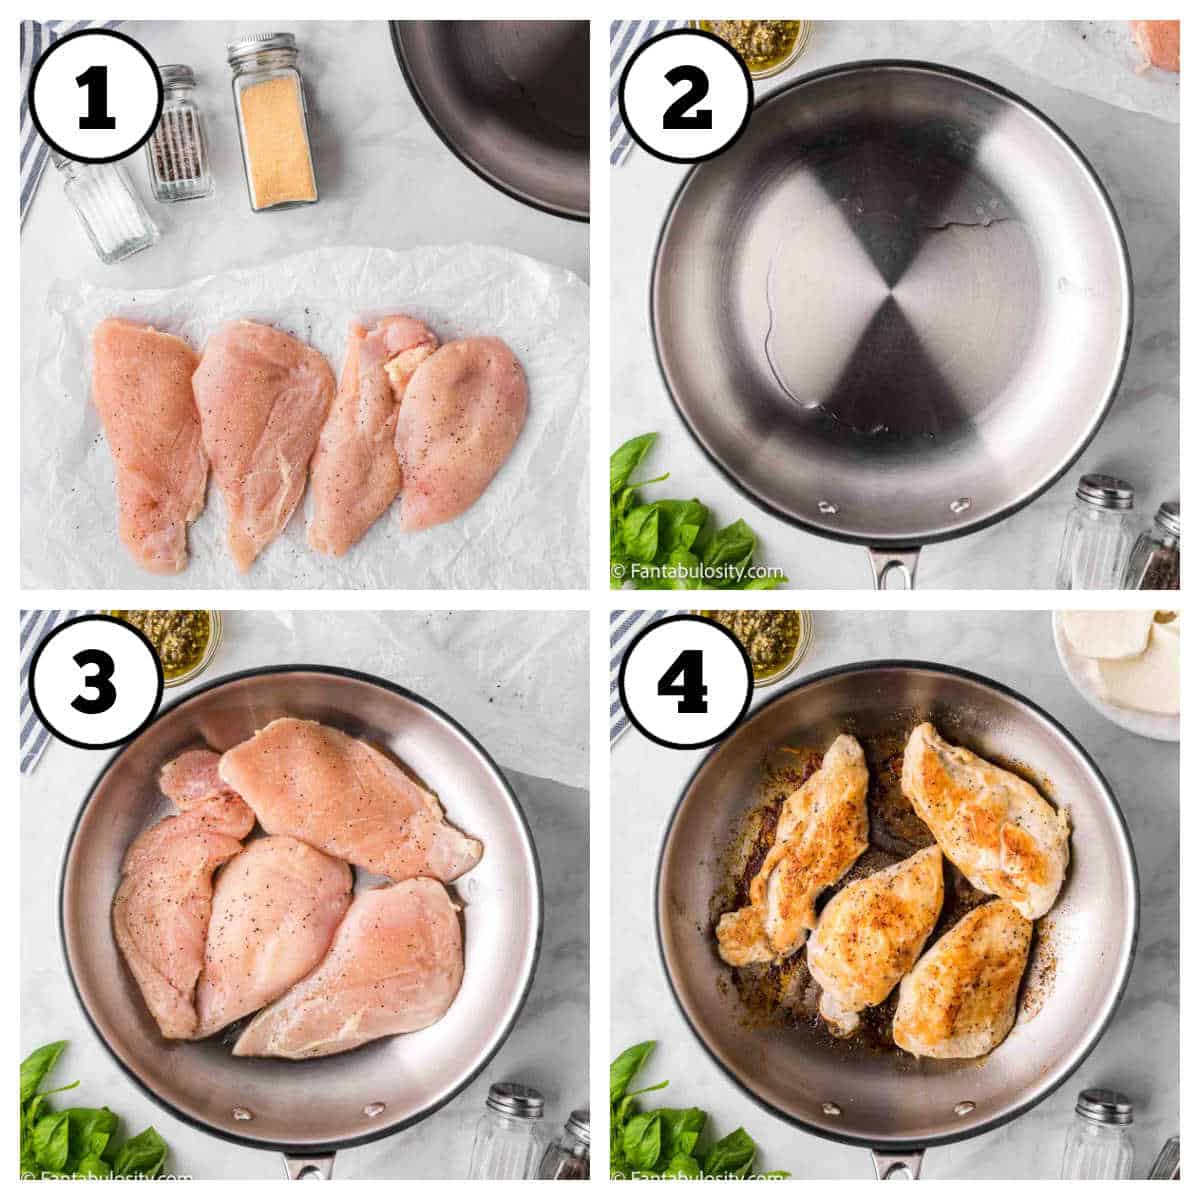
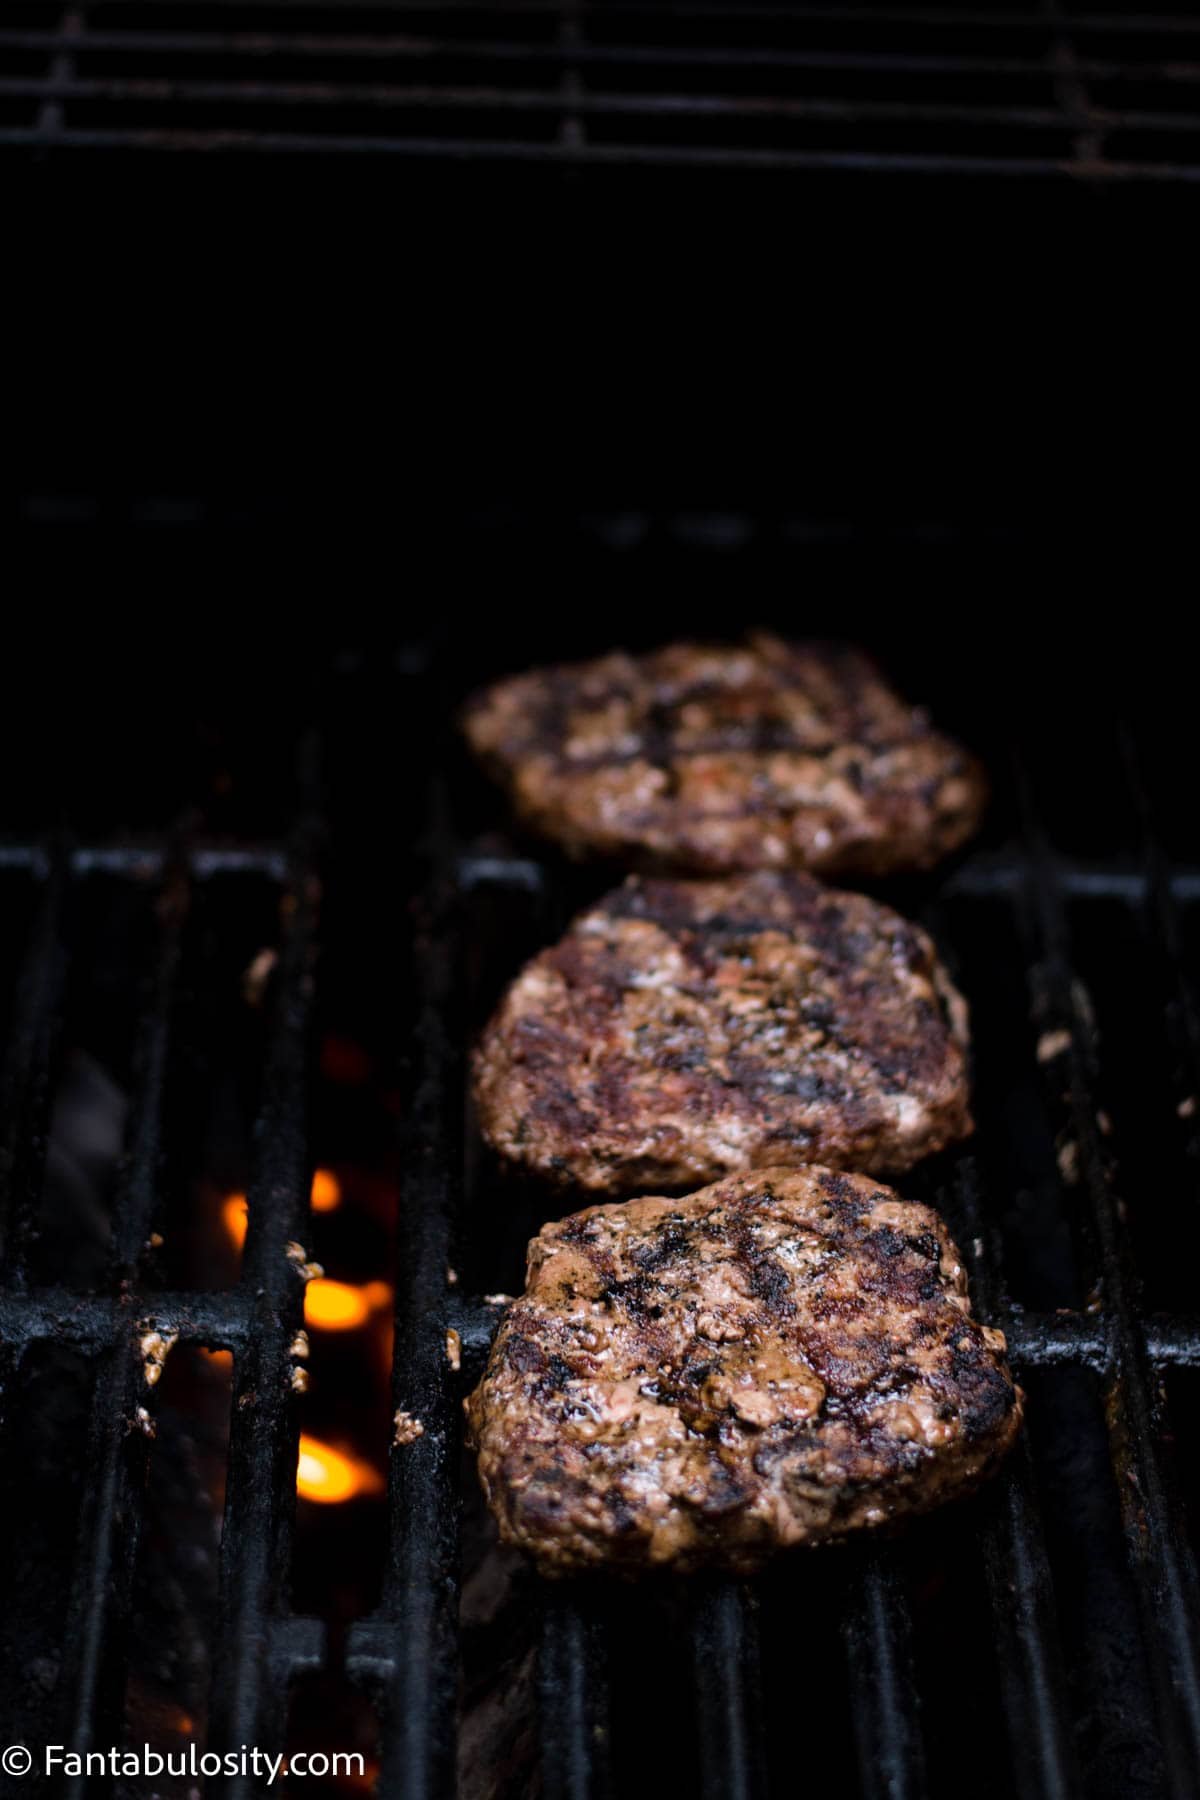
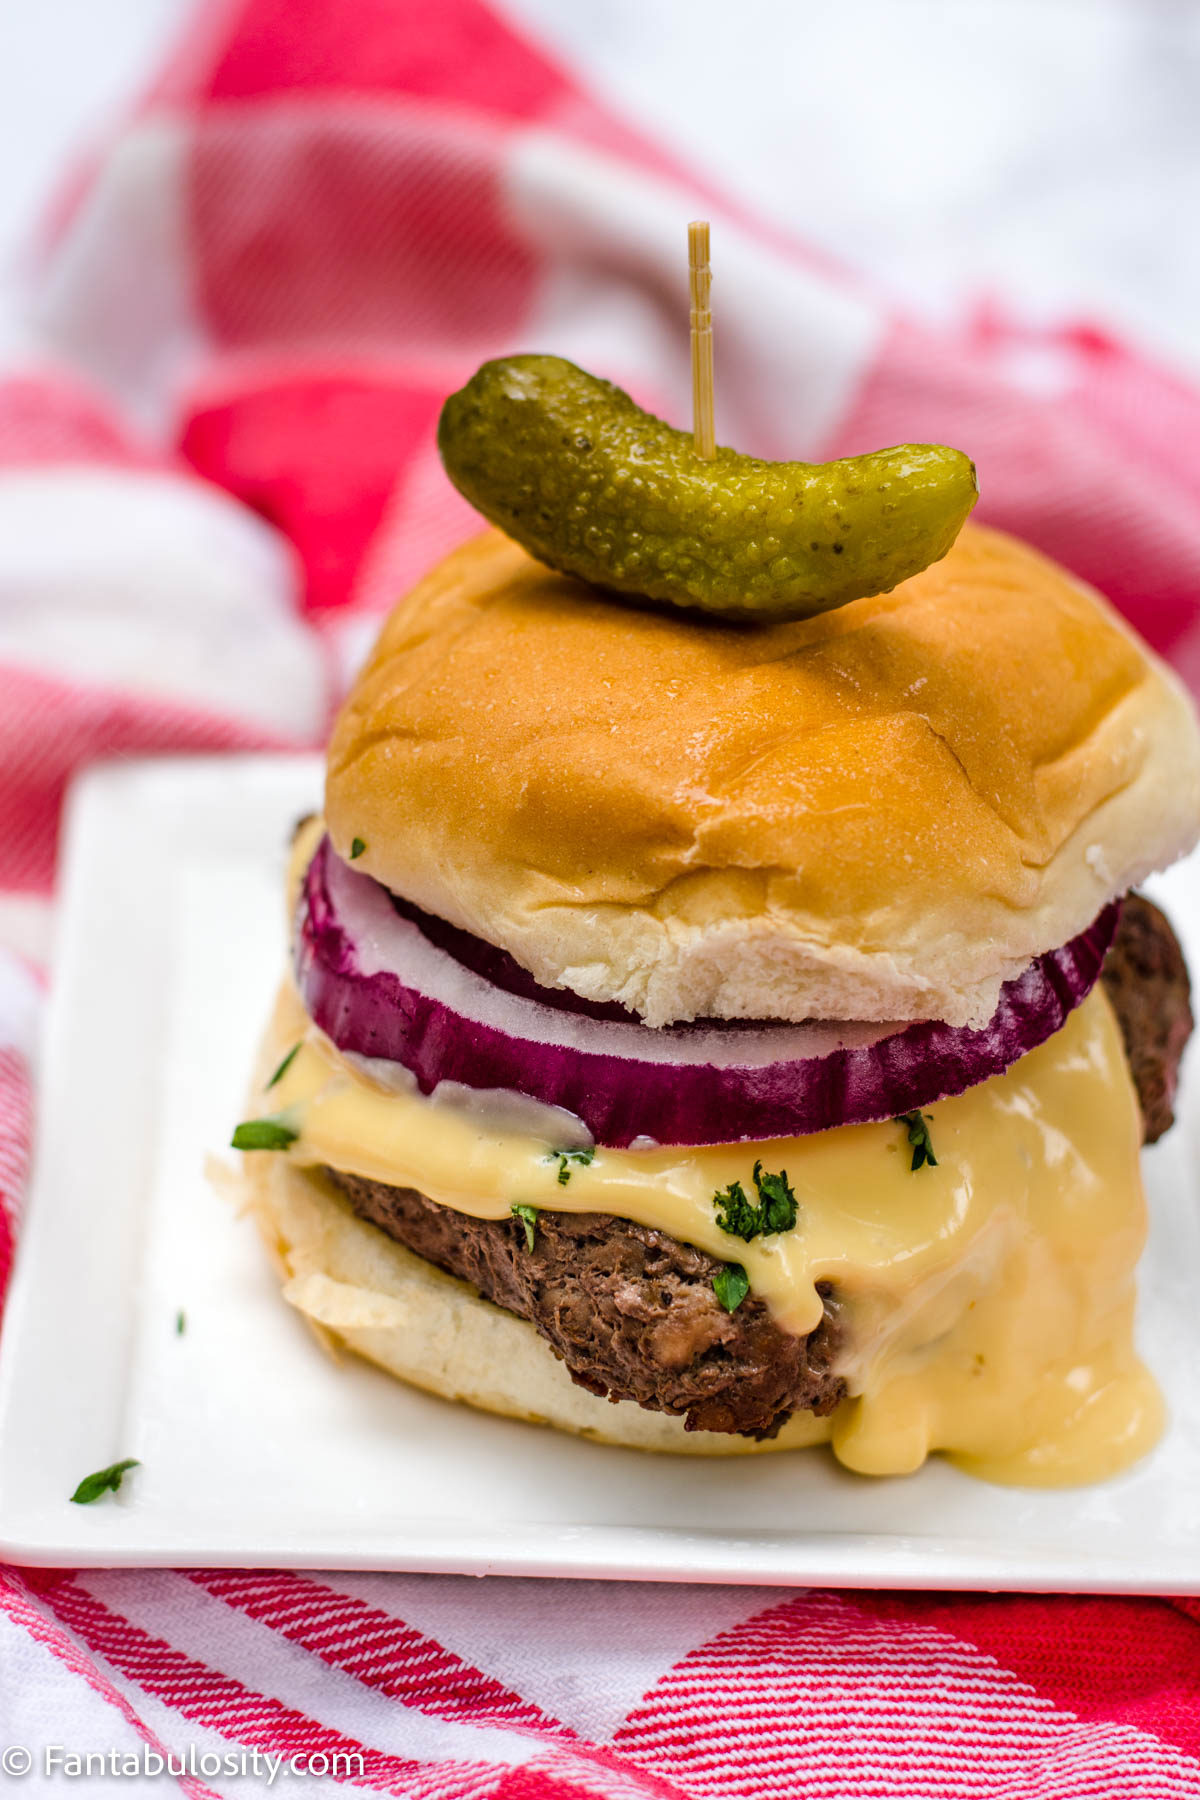
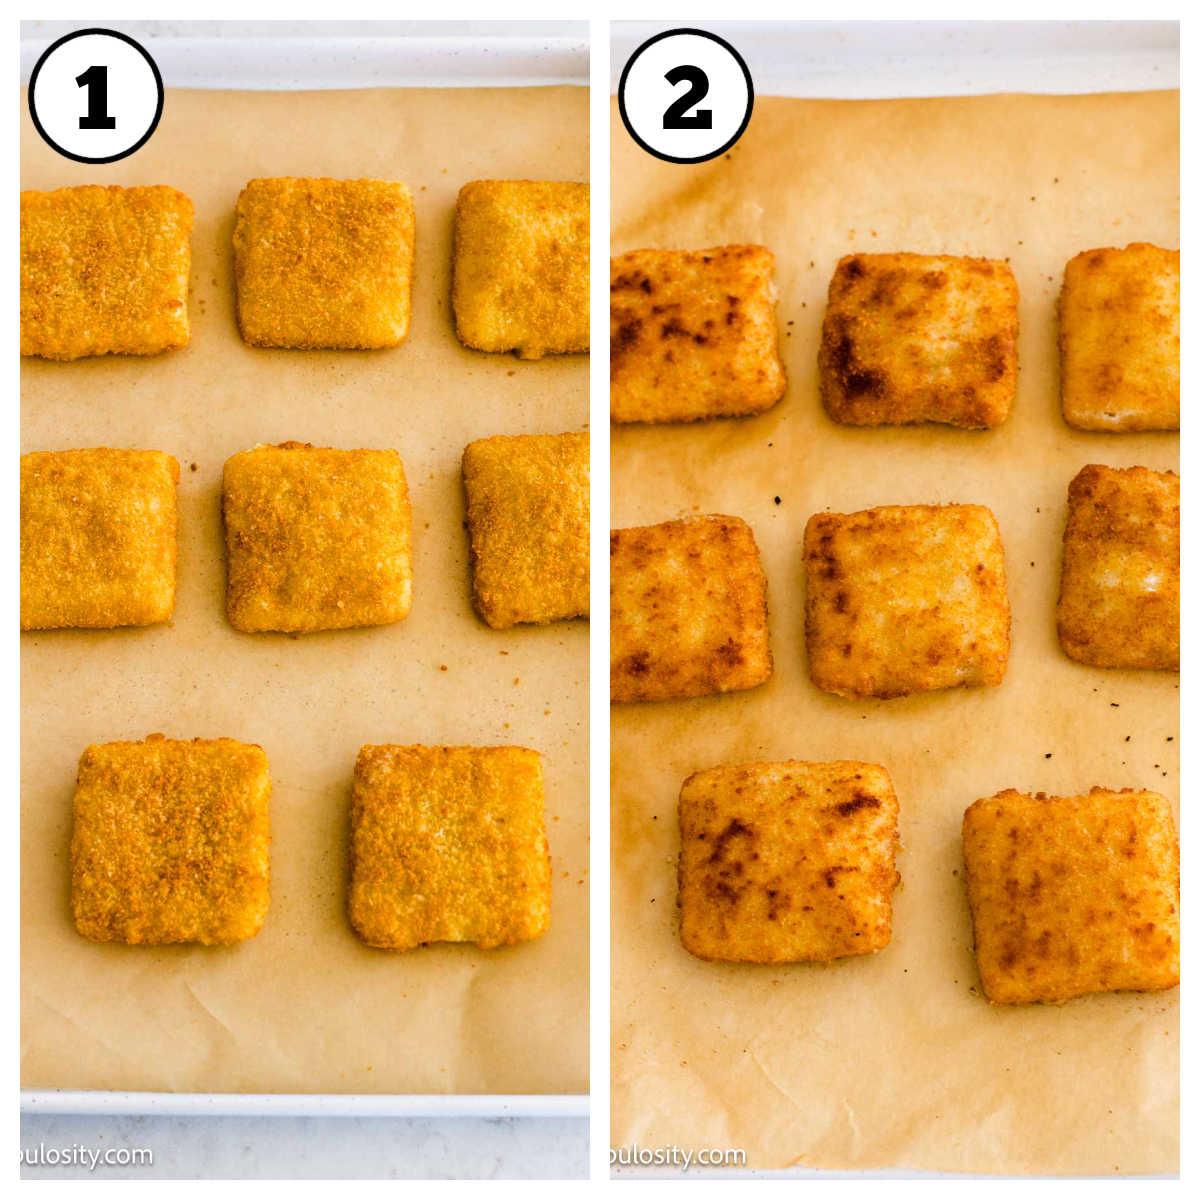
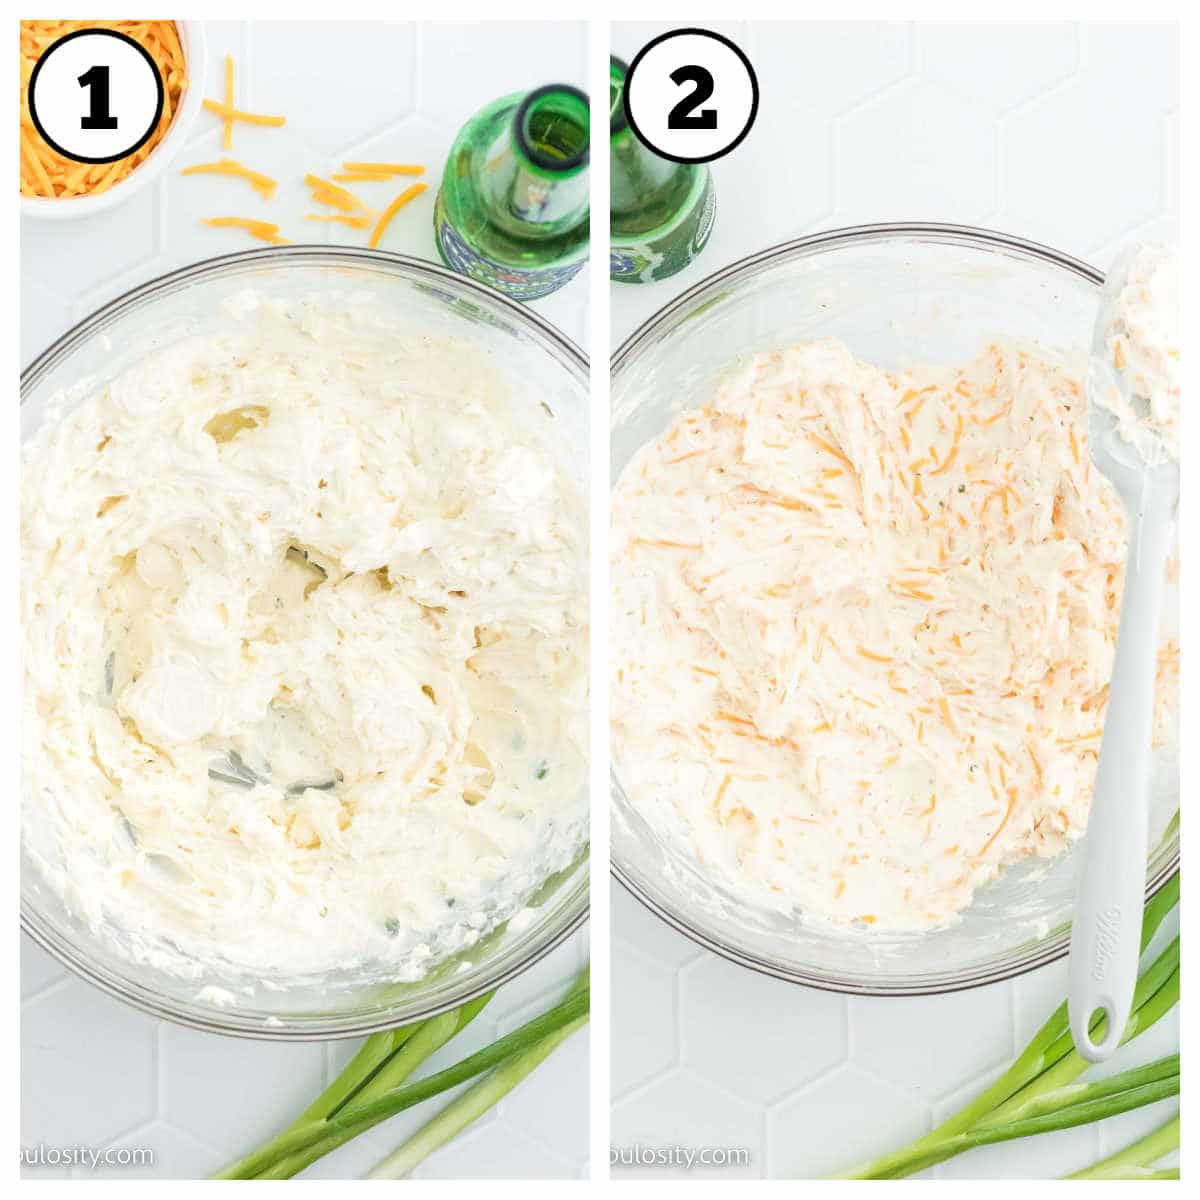
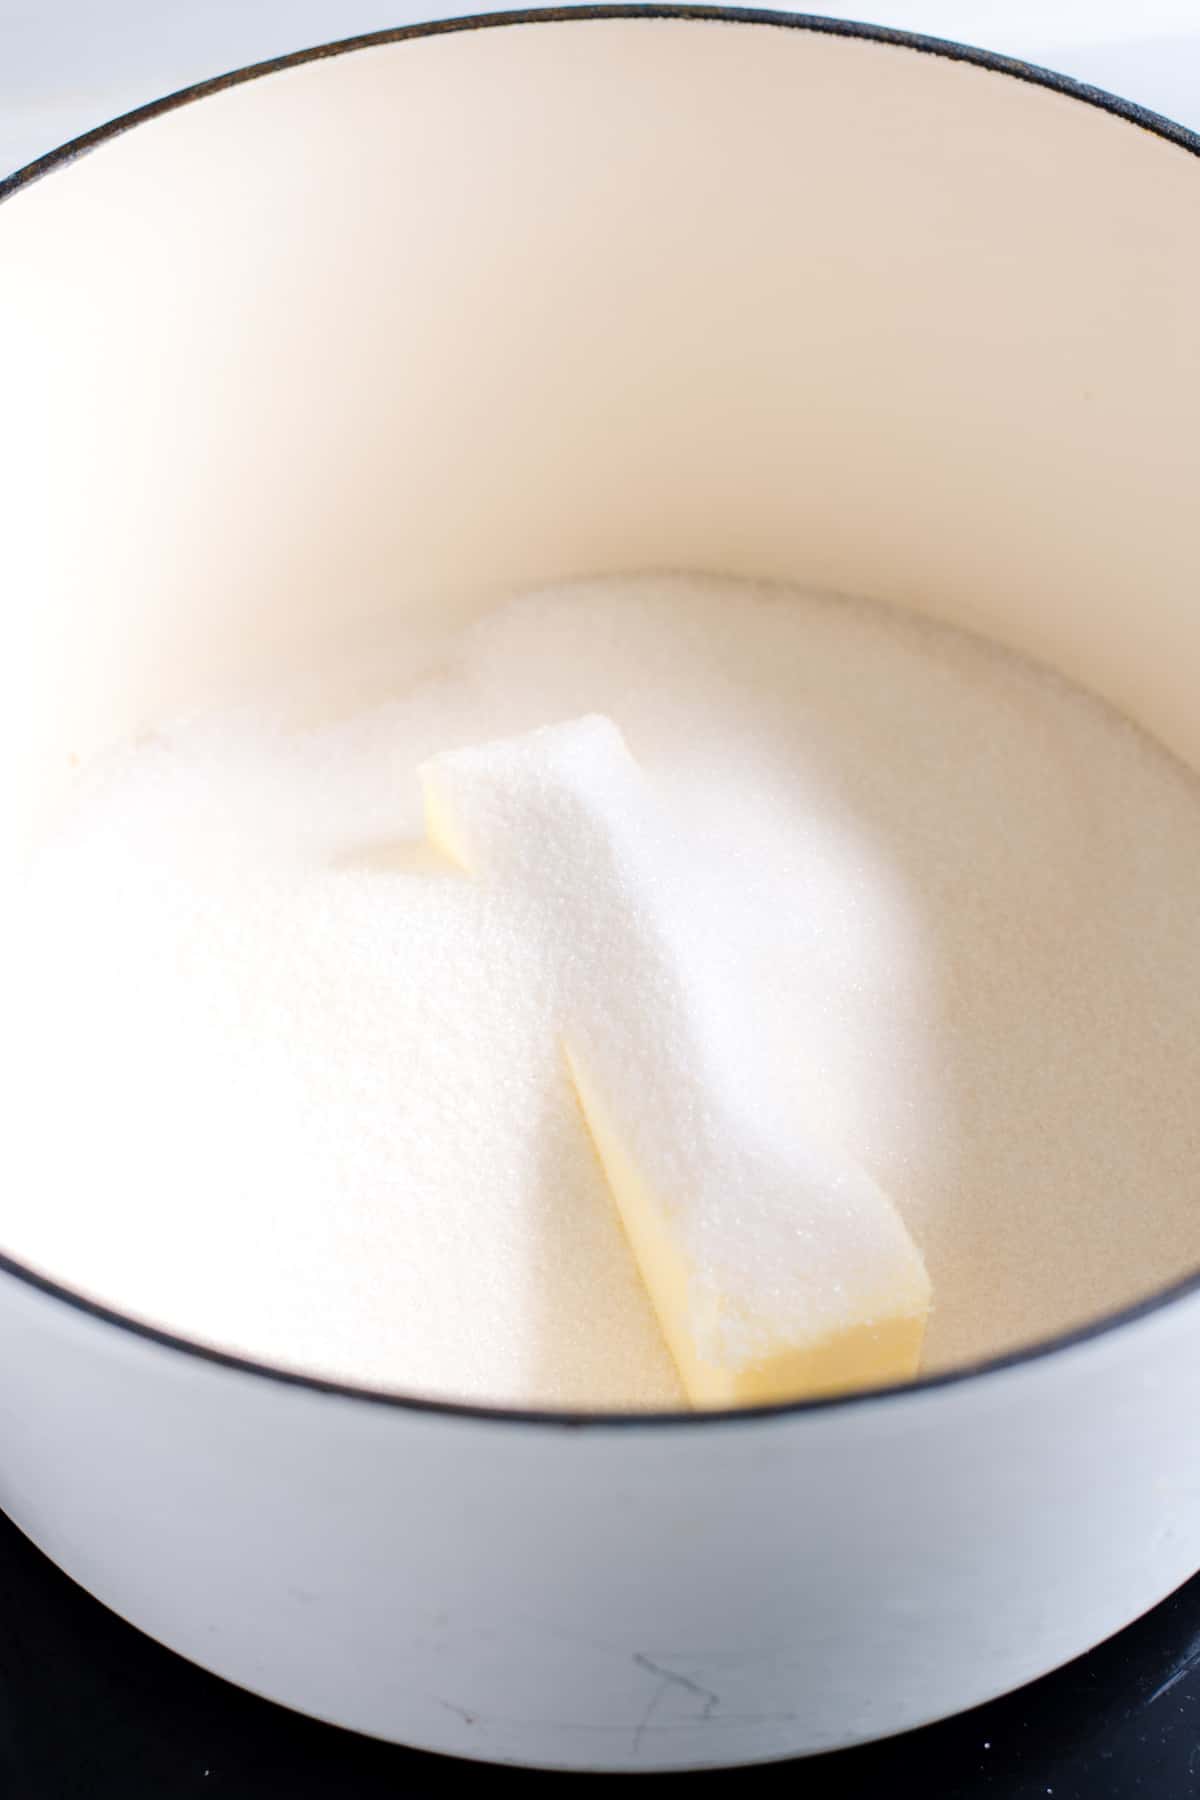
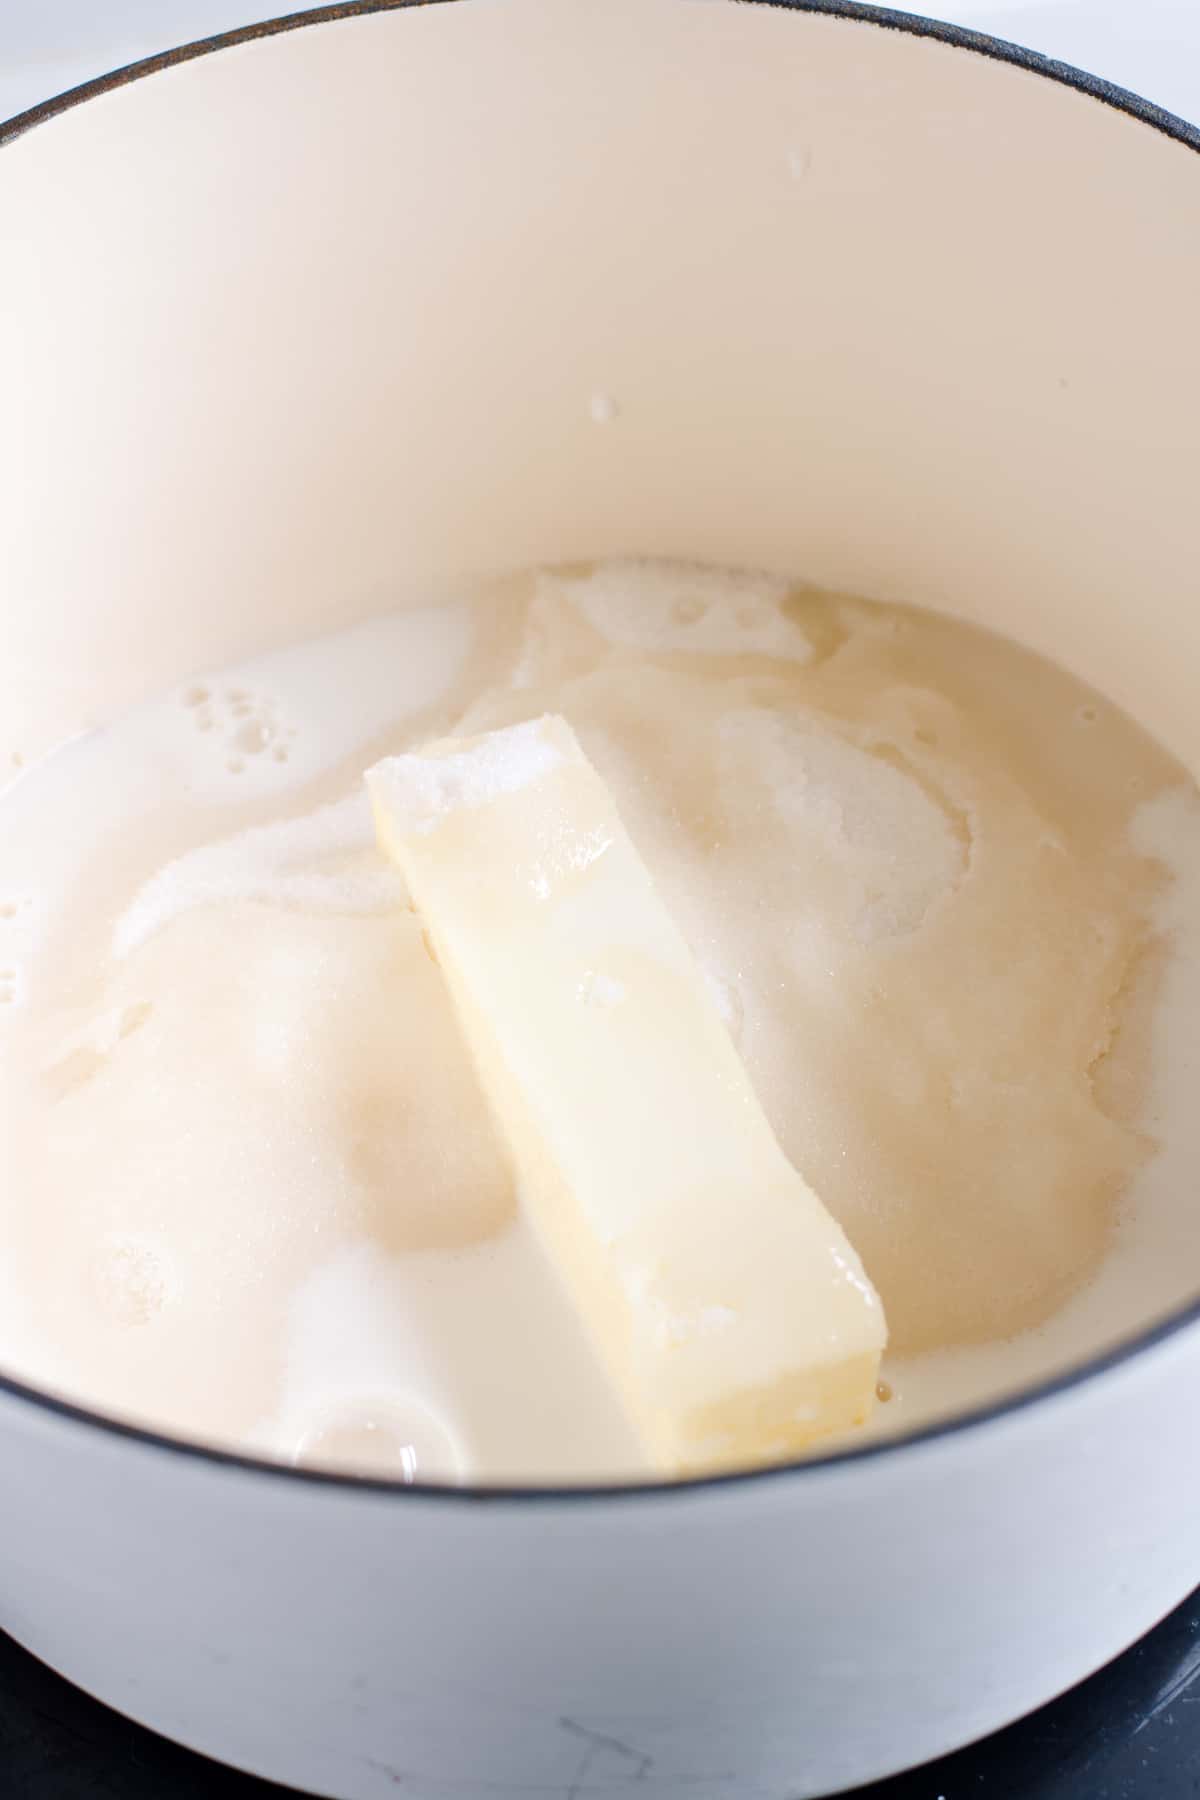
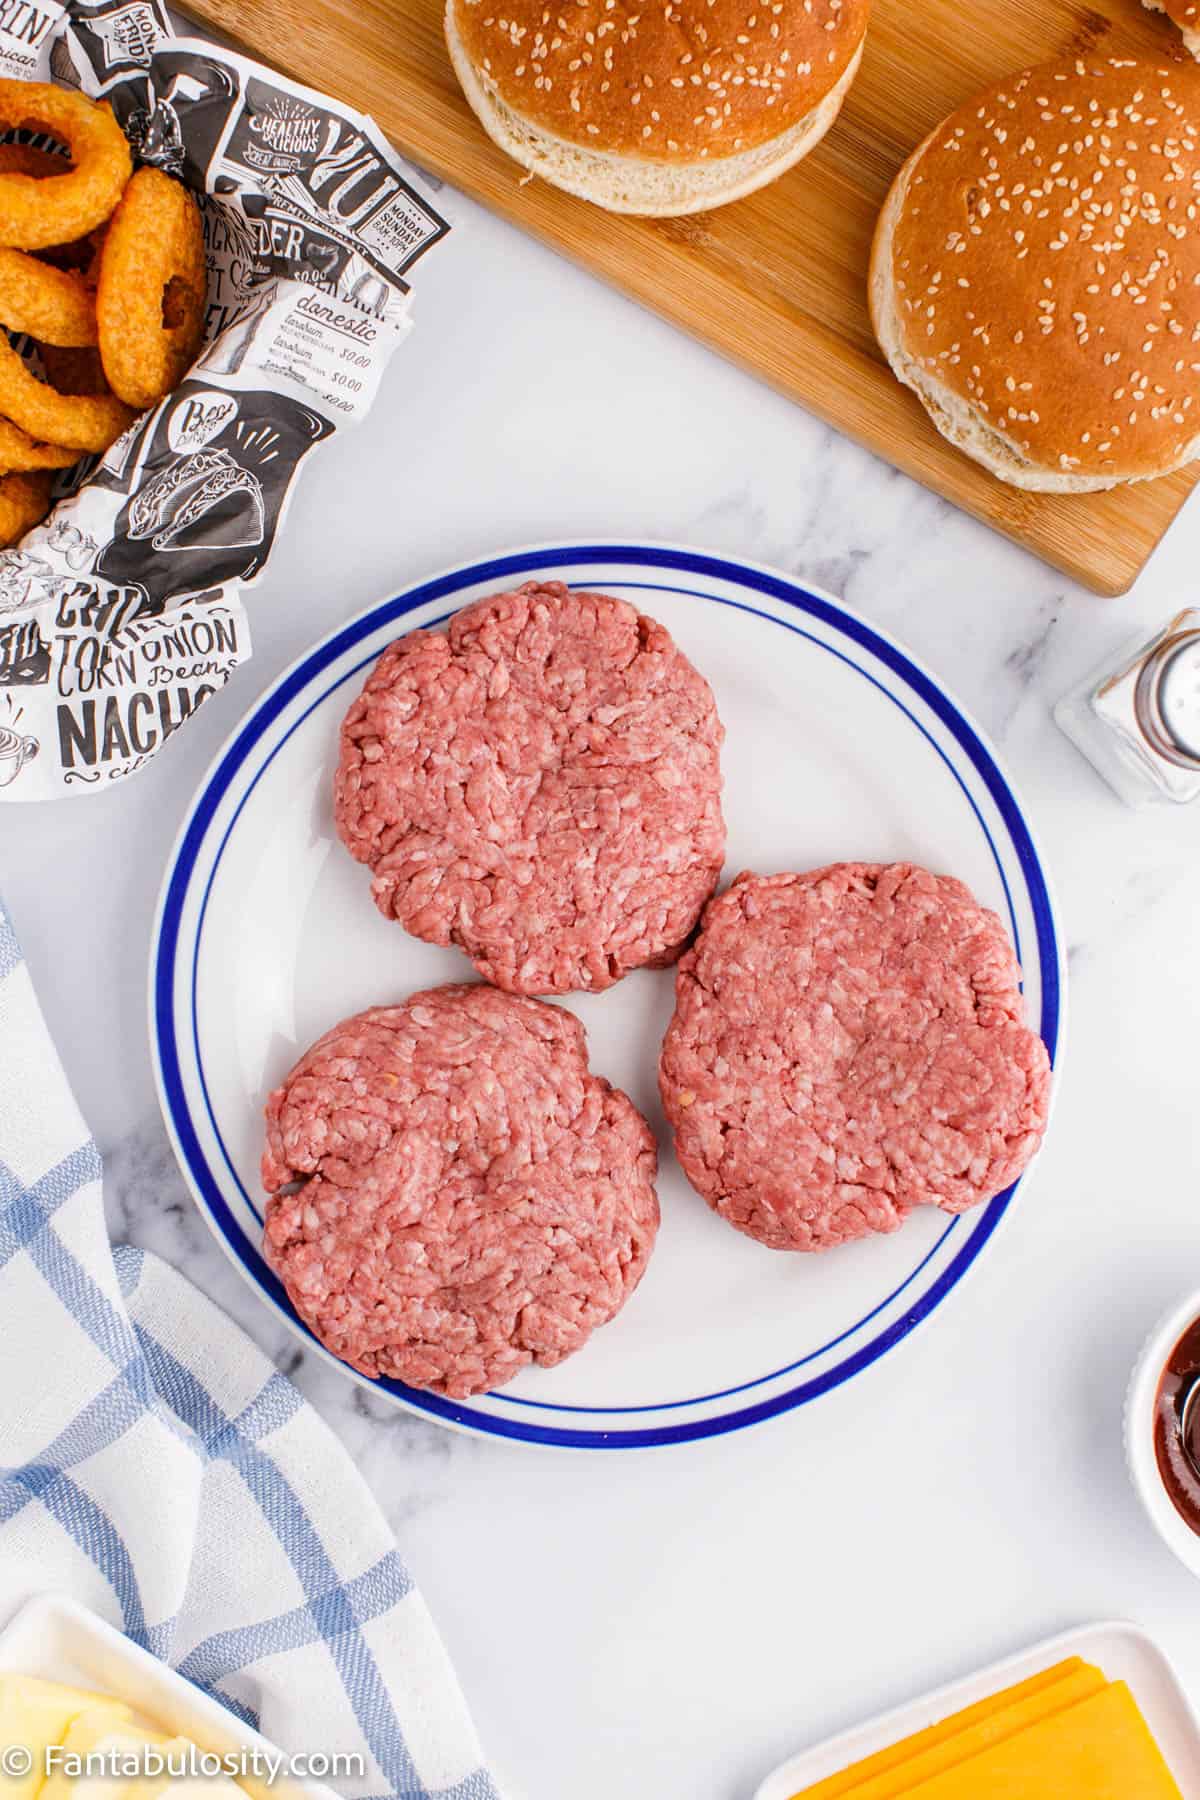
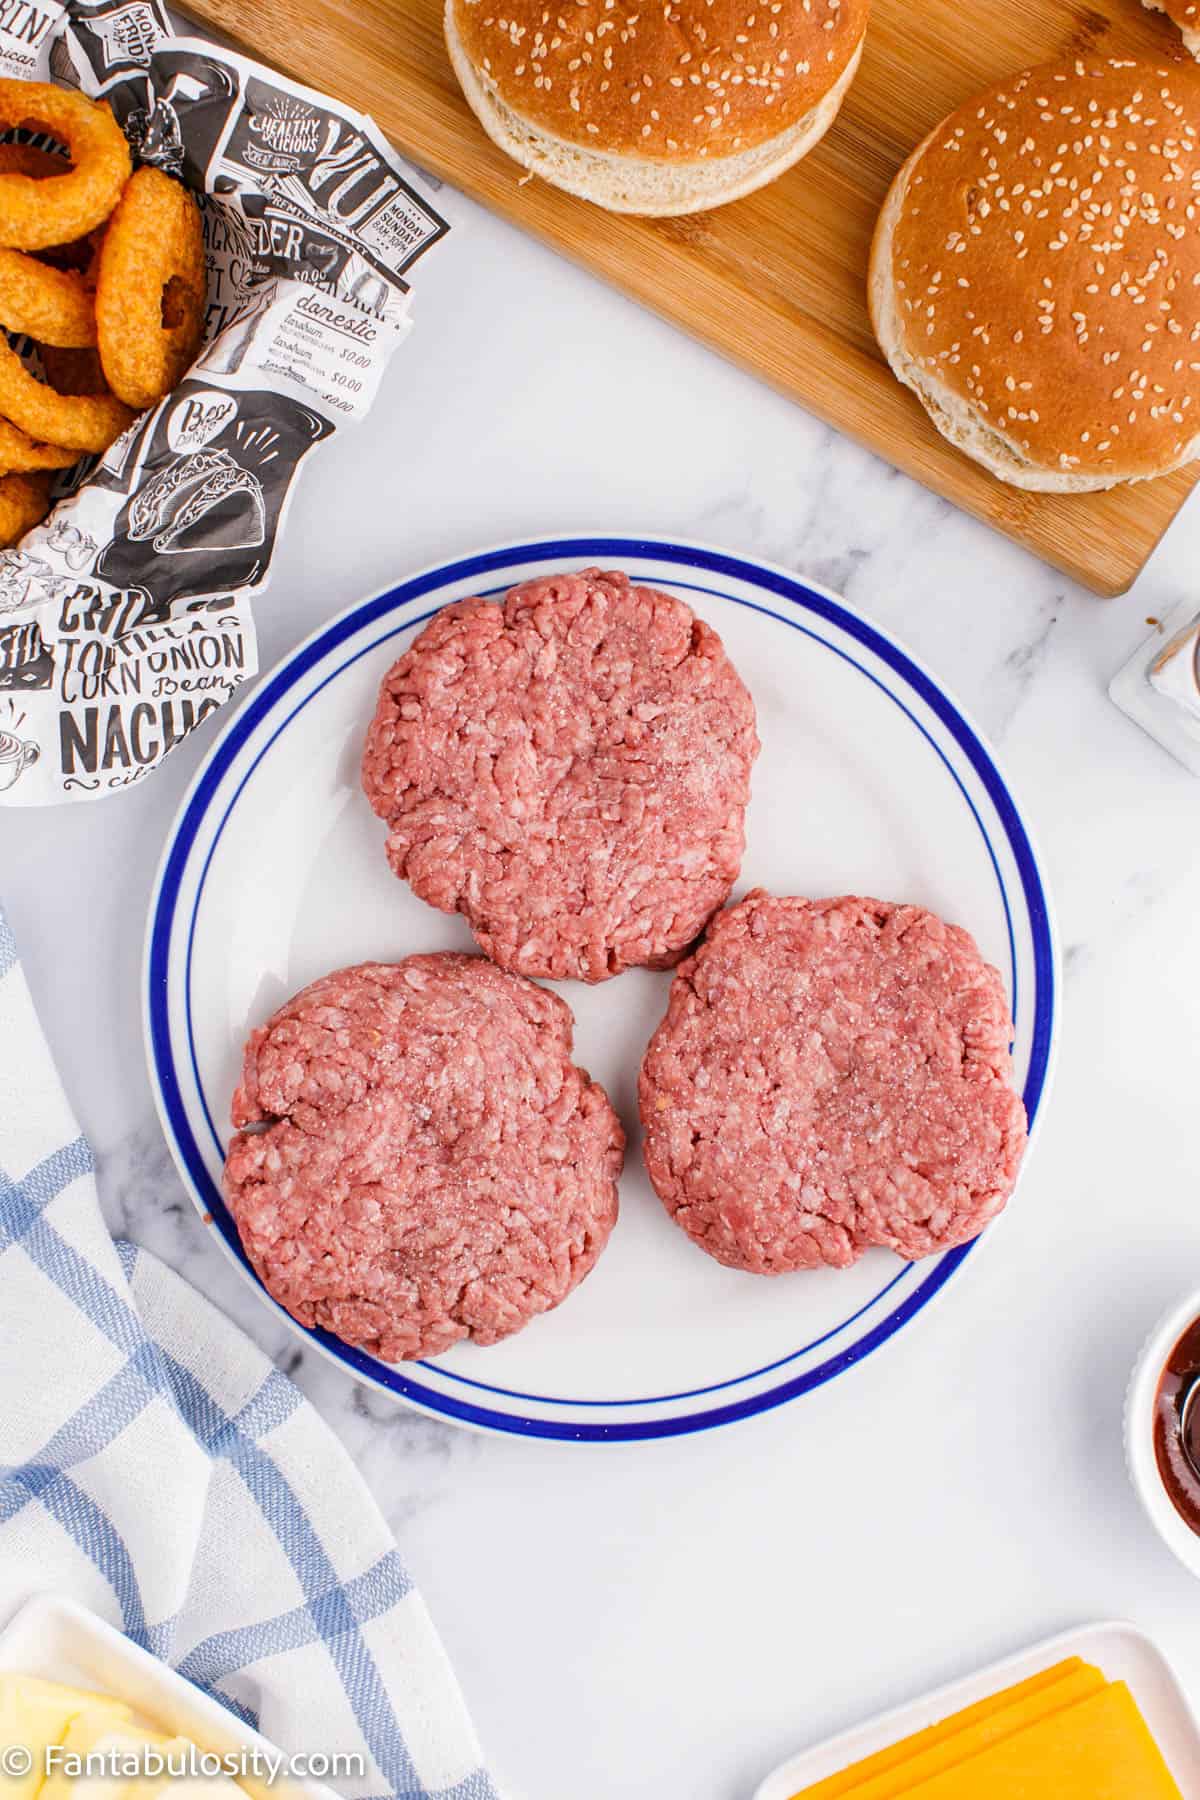
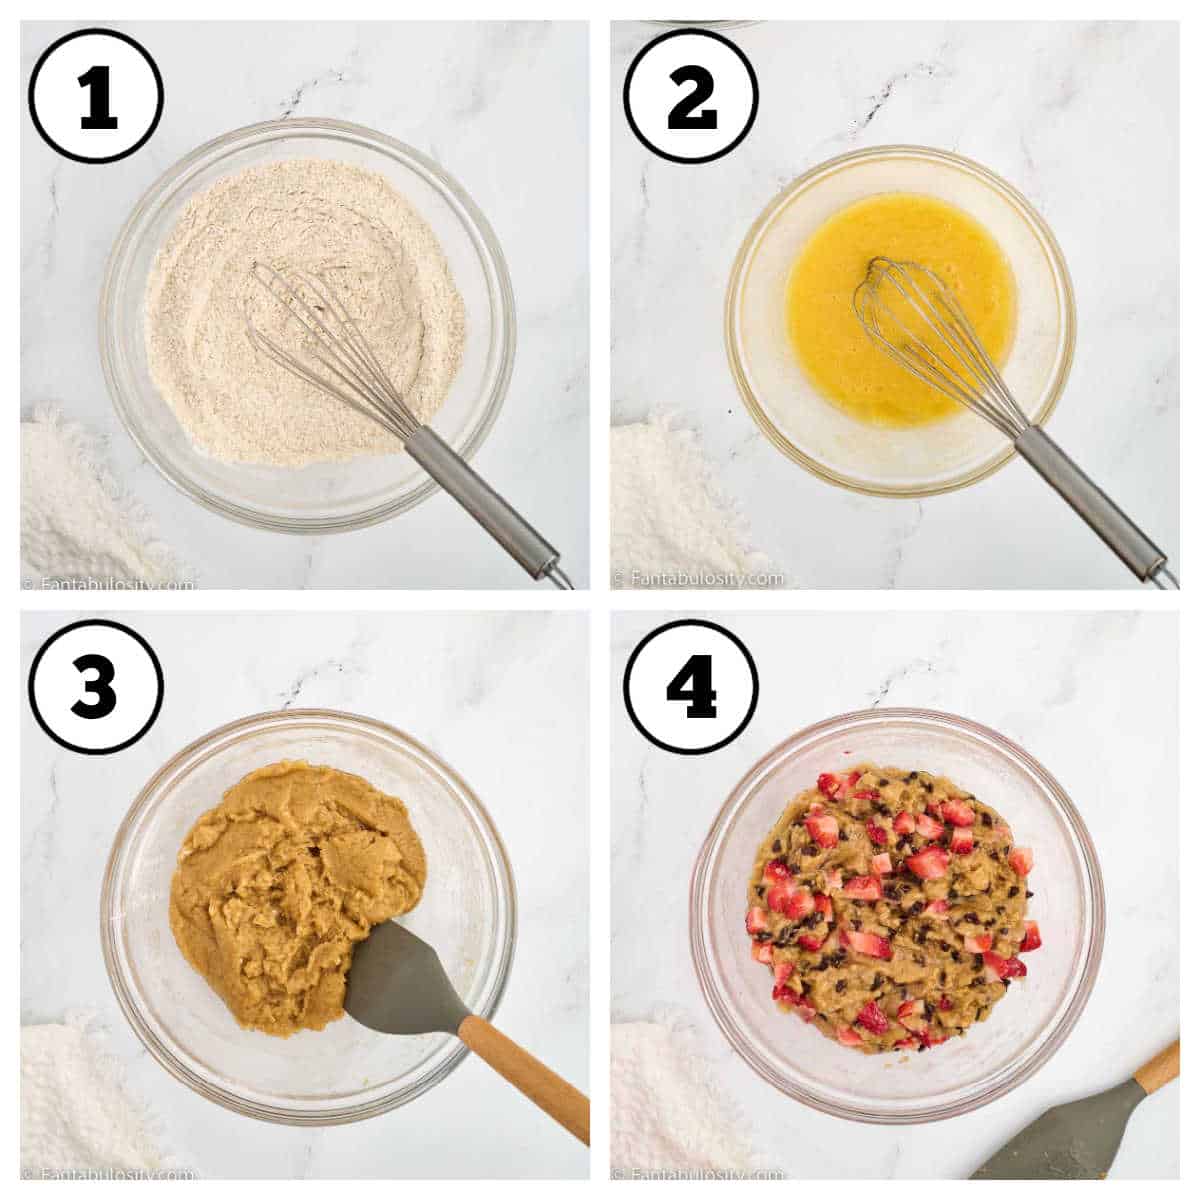
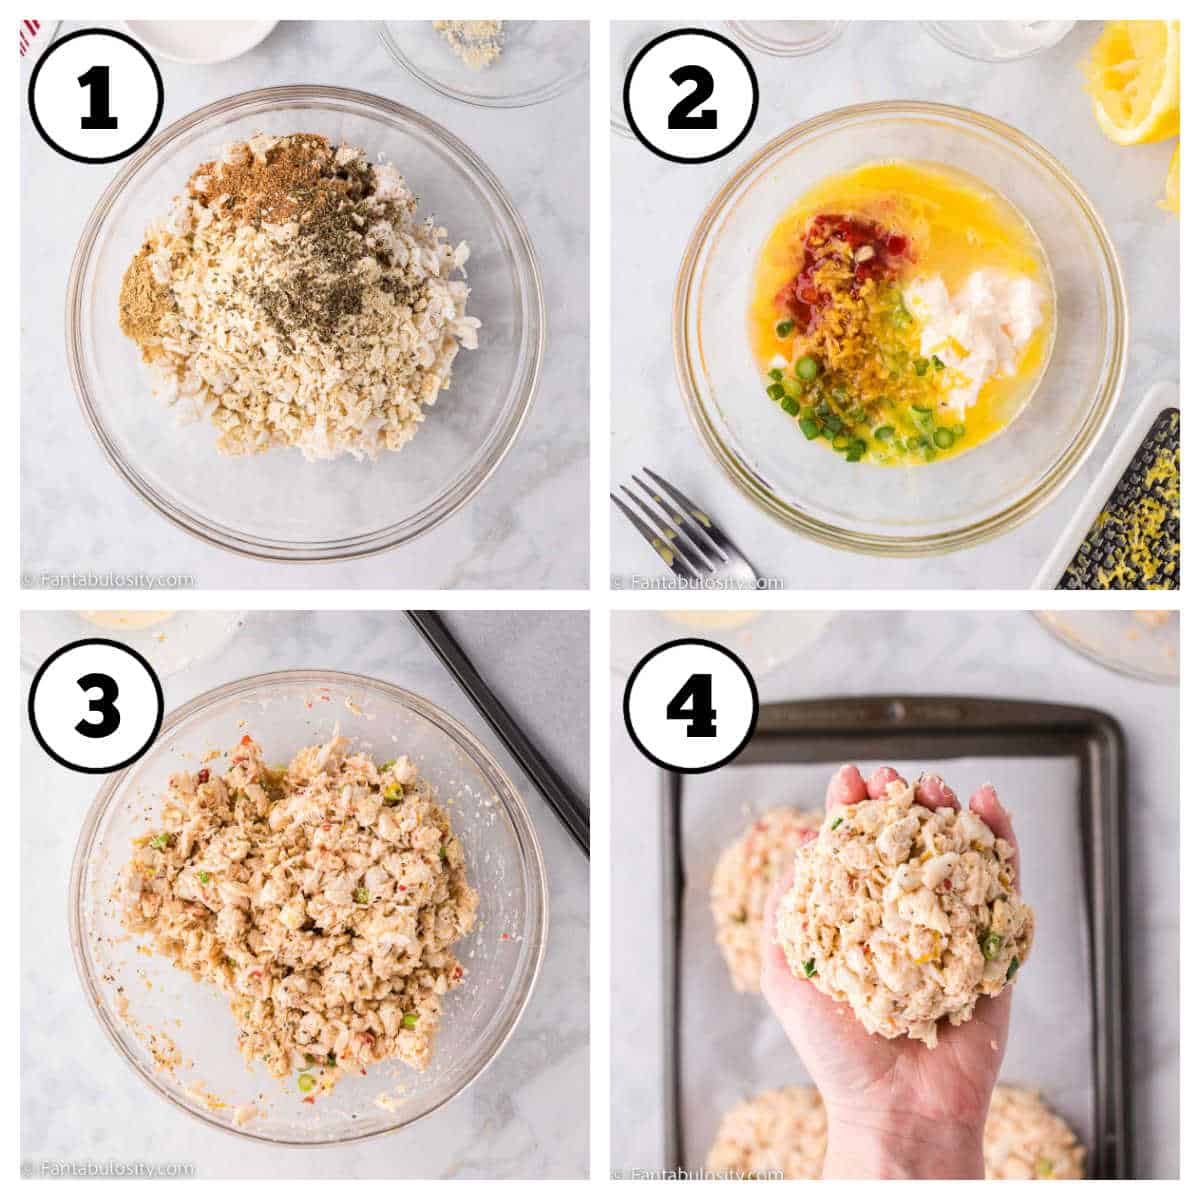
STEP 2: Cook beef. Sauté the beef, onions, and garlic in a large skillet over medium heat until the meat is no longer pink. Drain fat. Season with steak seasoning and Worcestershire sauce for added flavor. (Images 1-2)

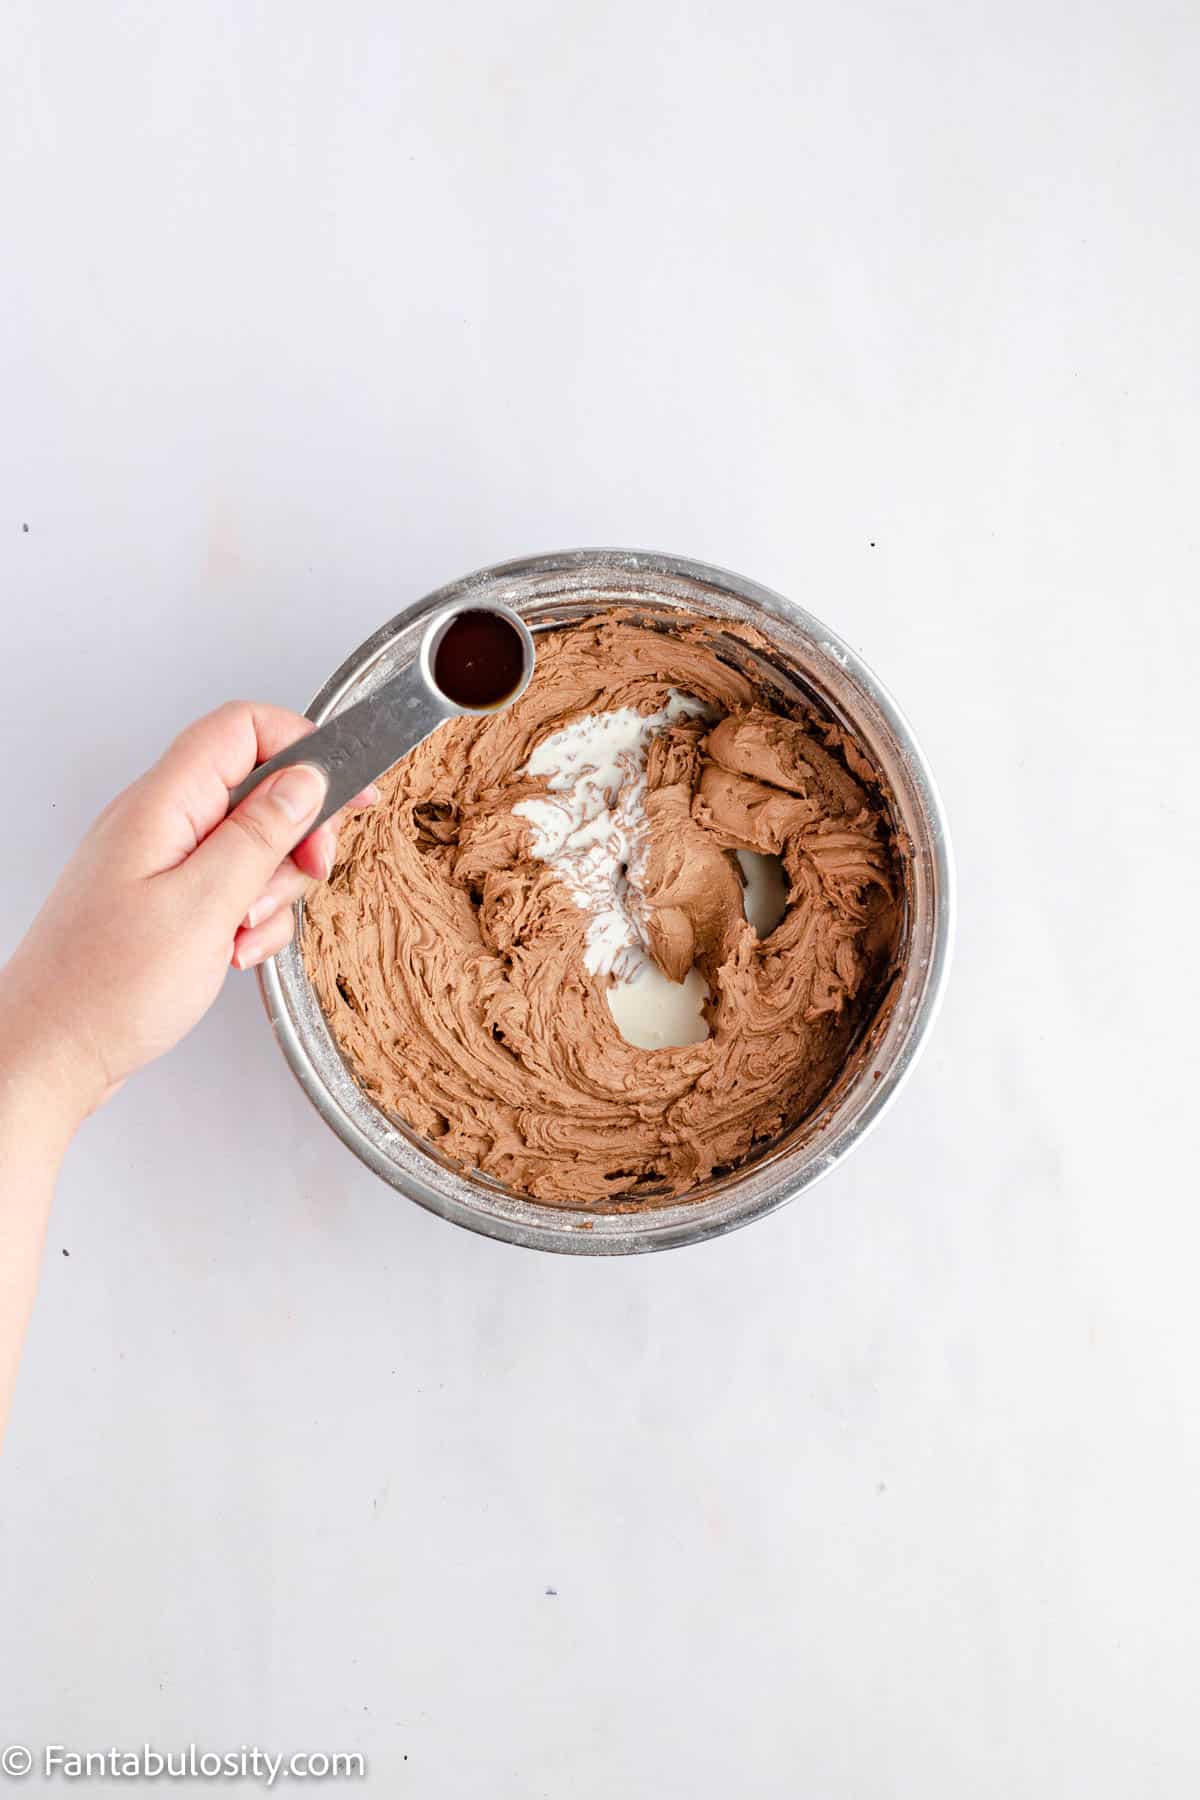
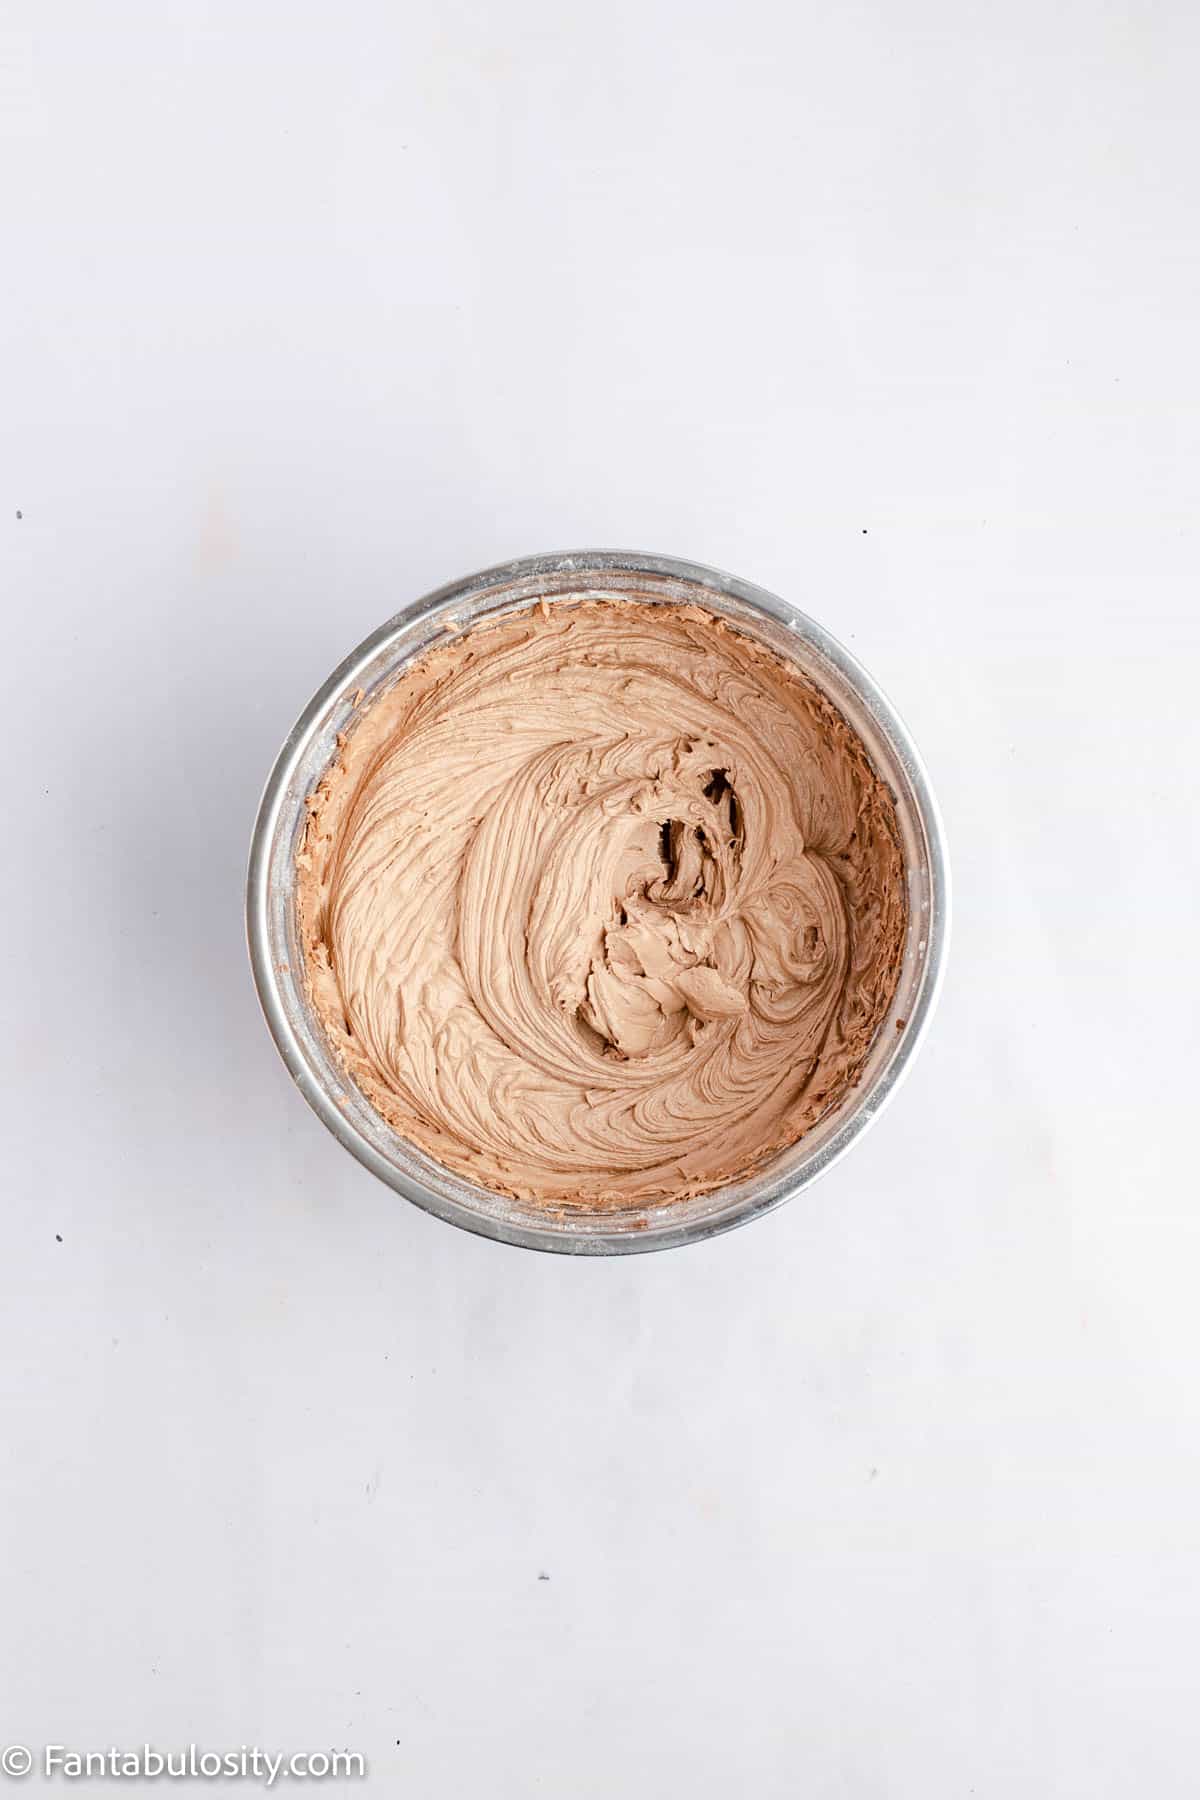
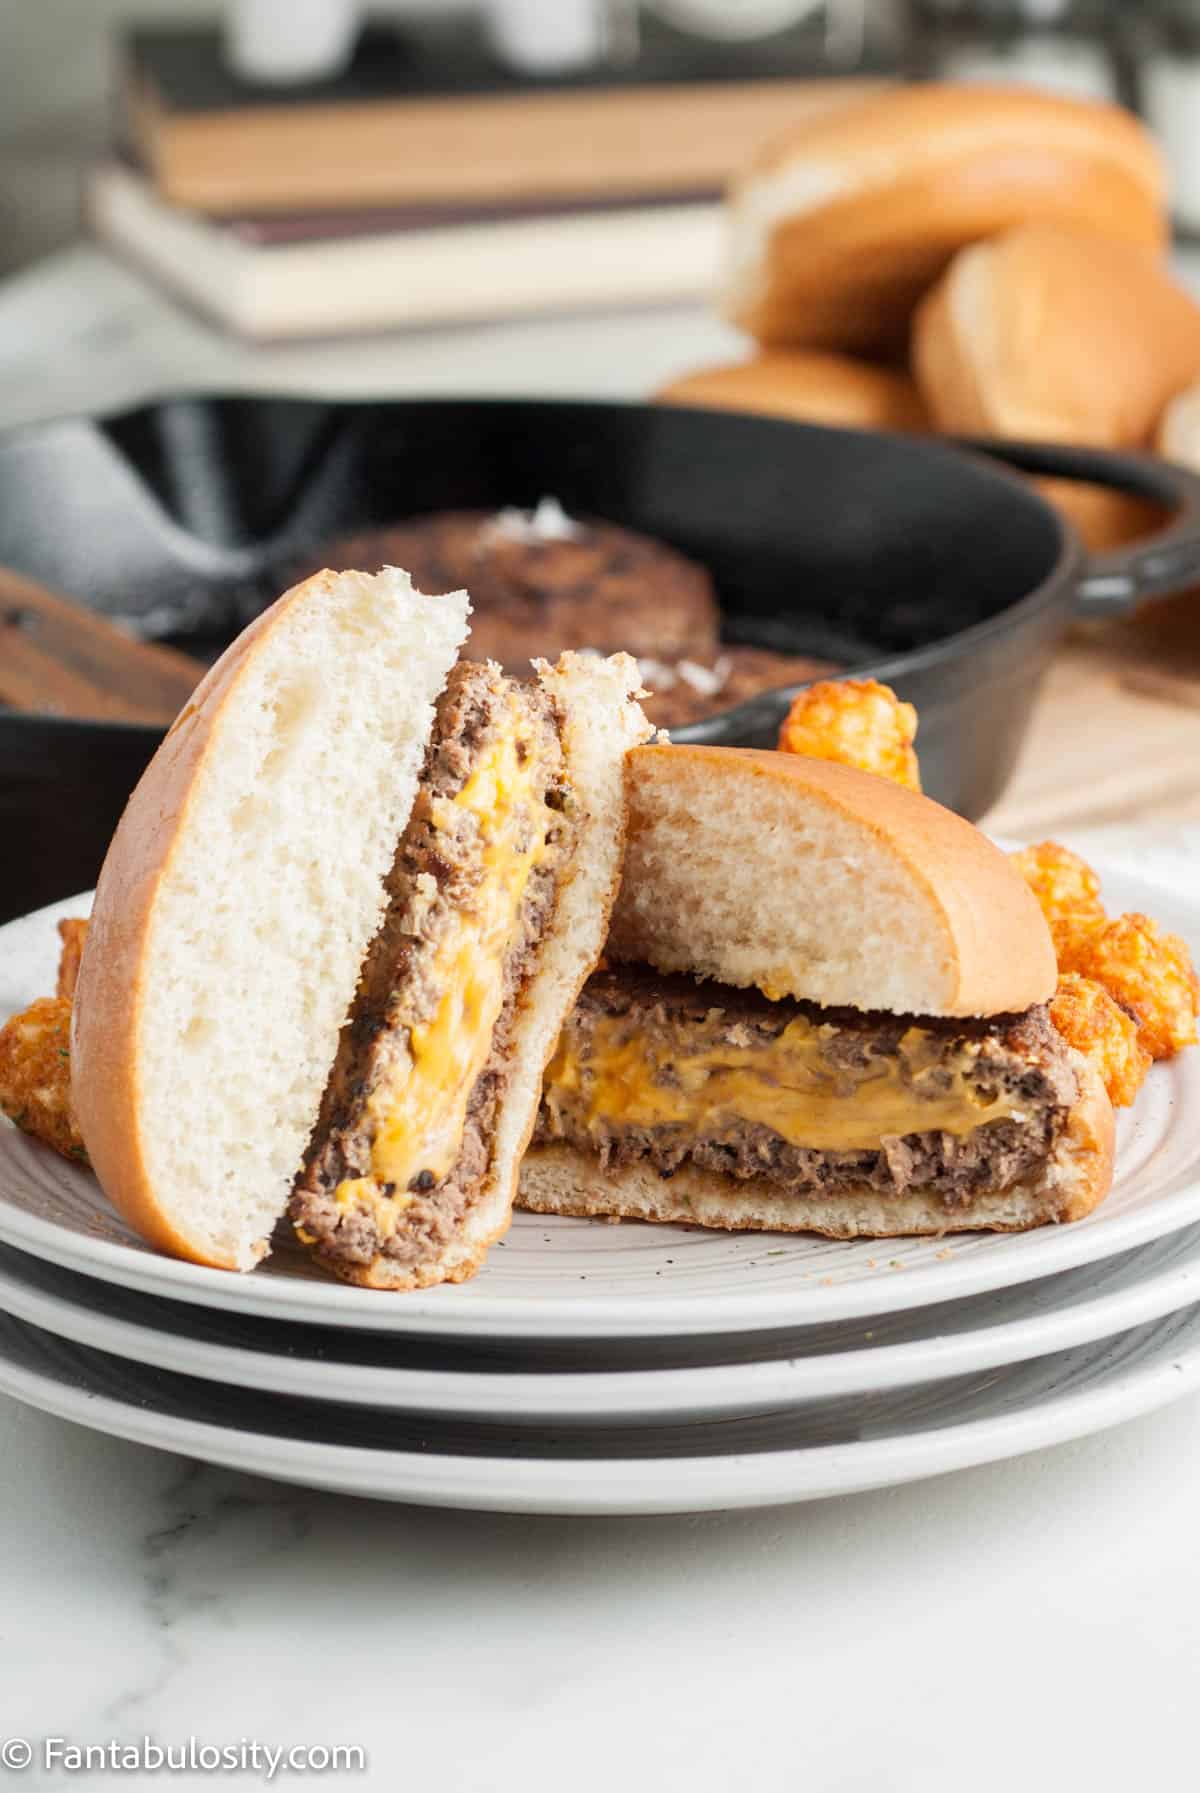
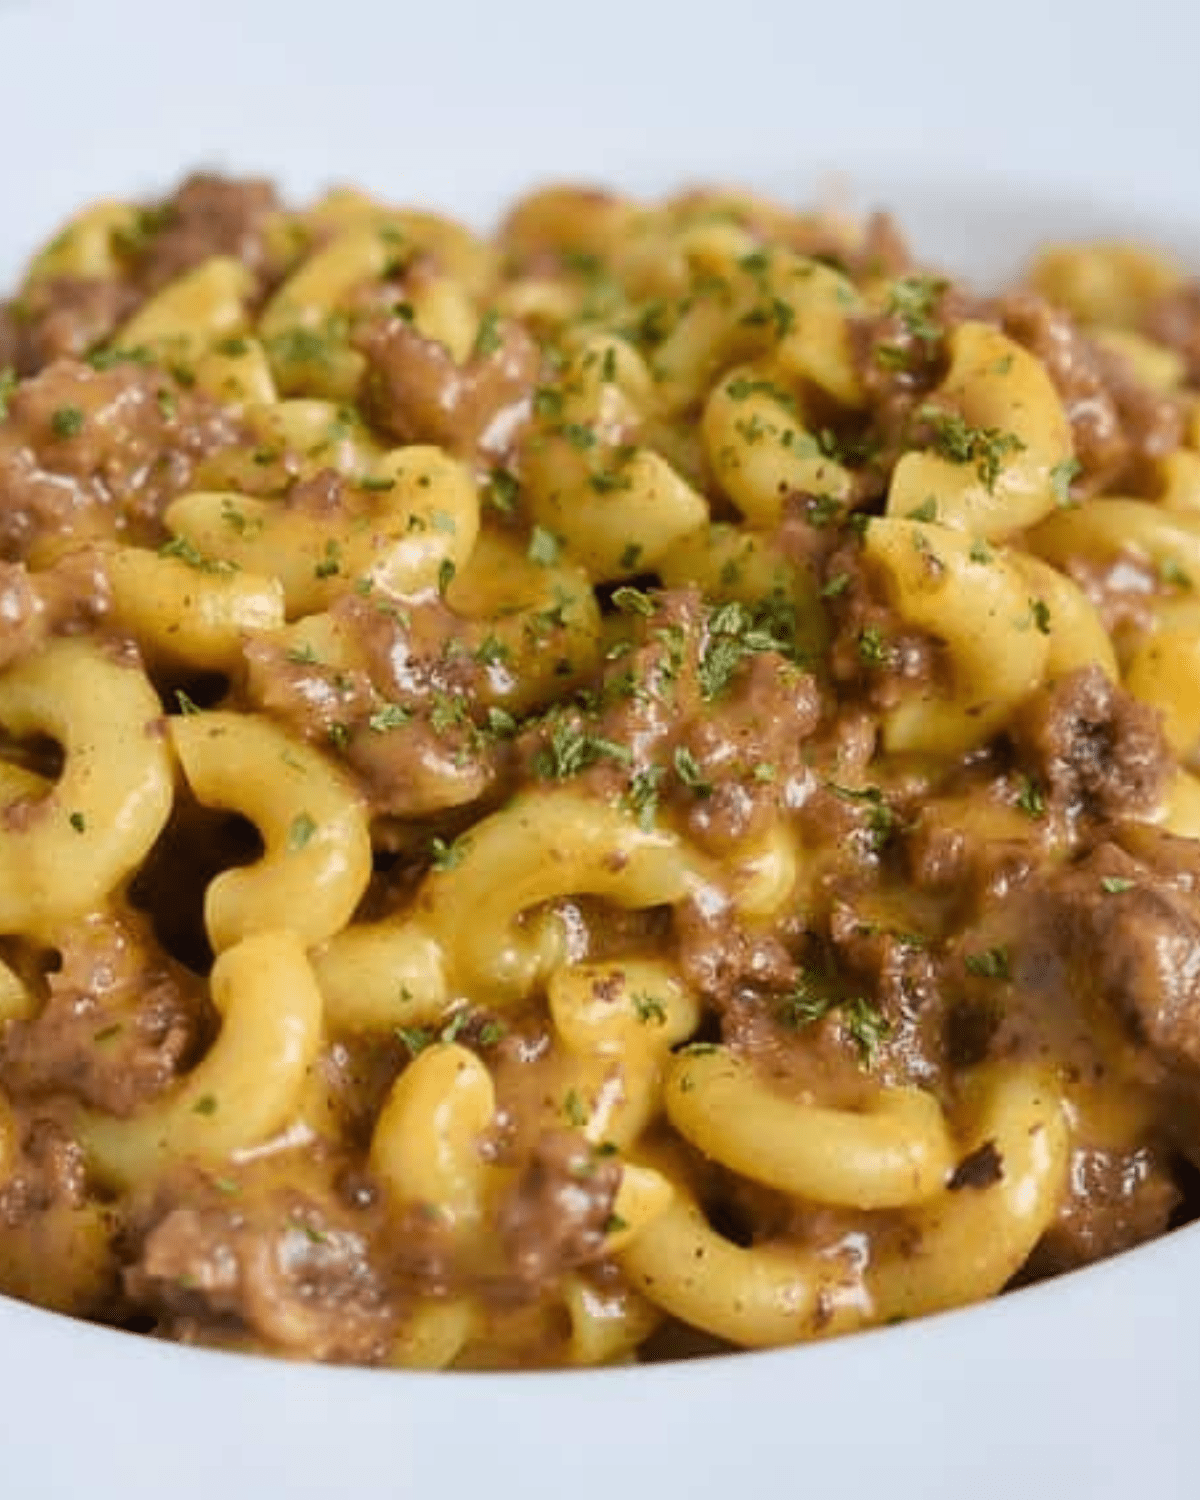
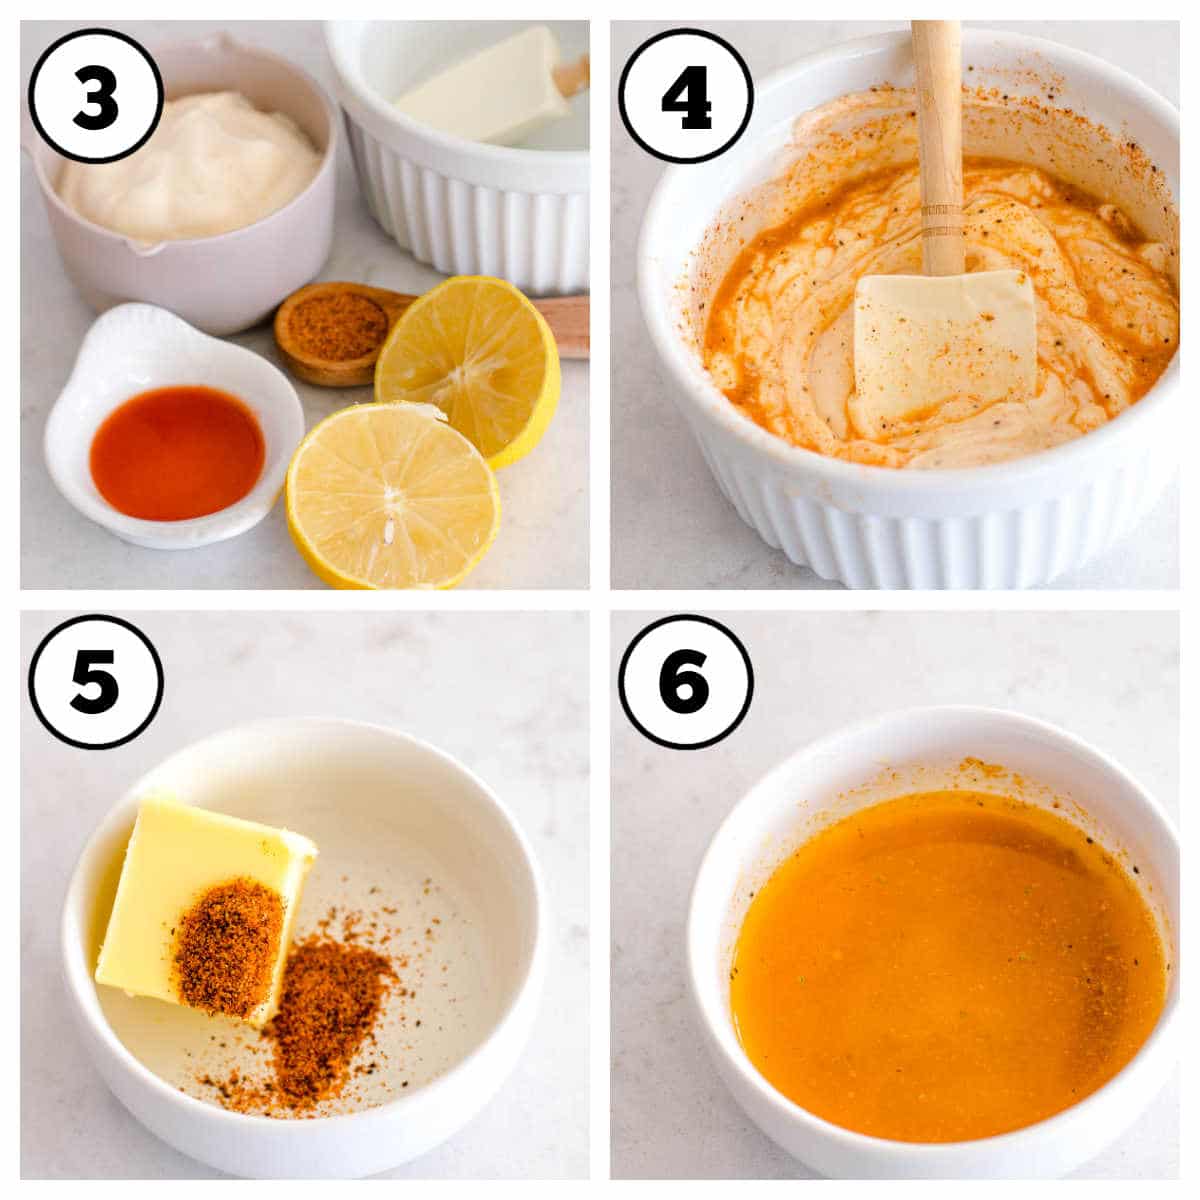
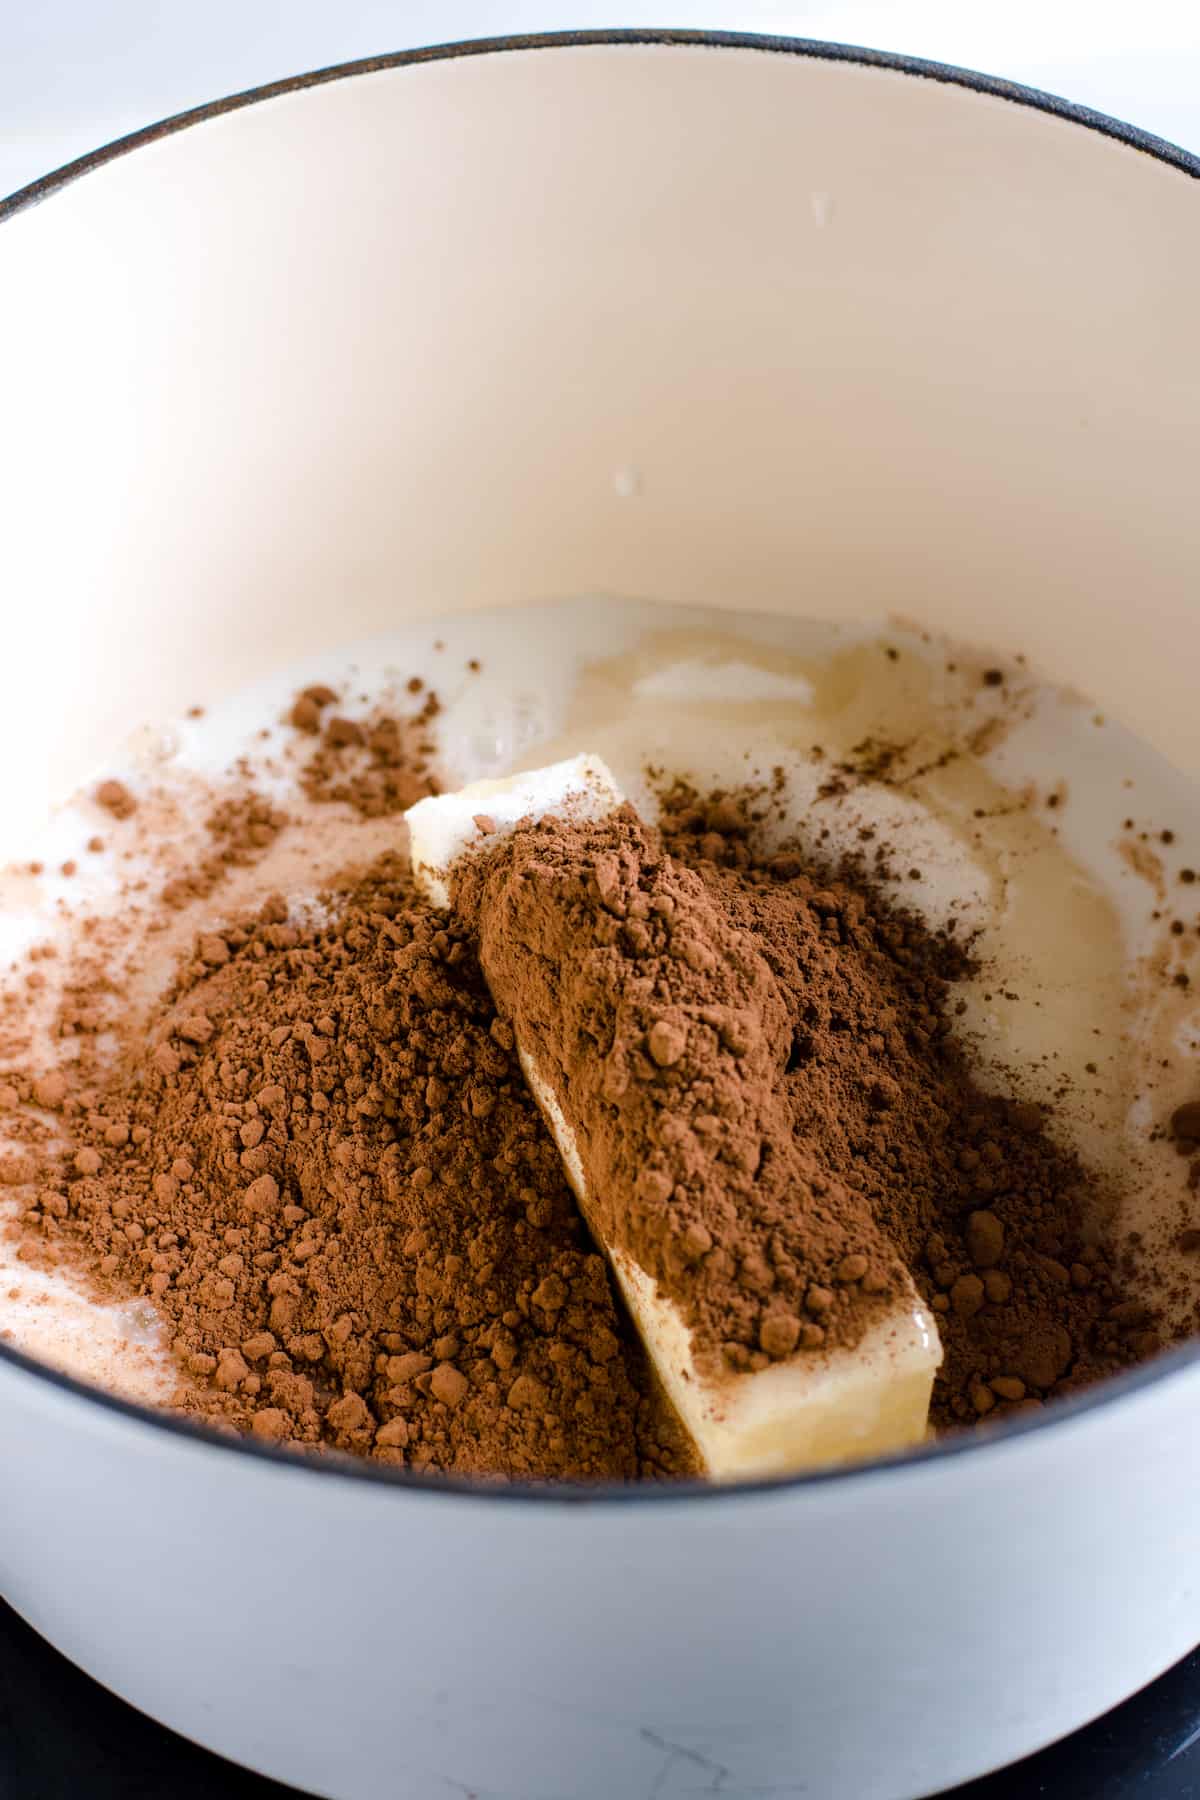
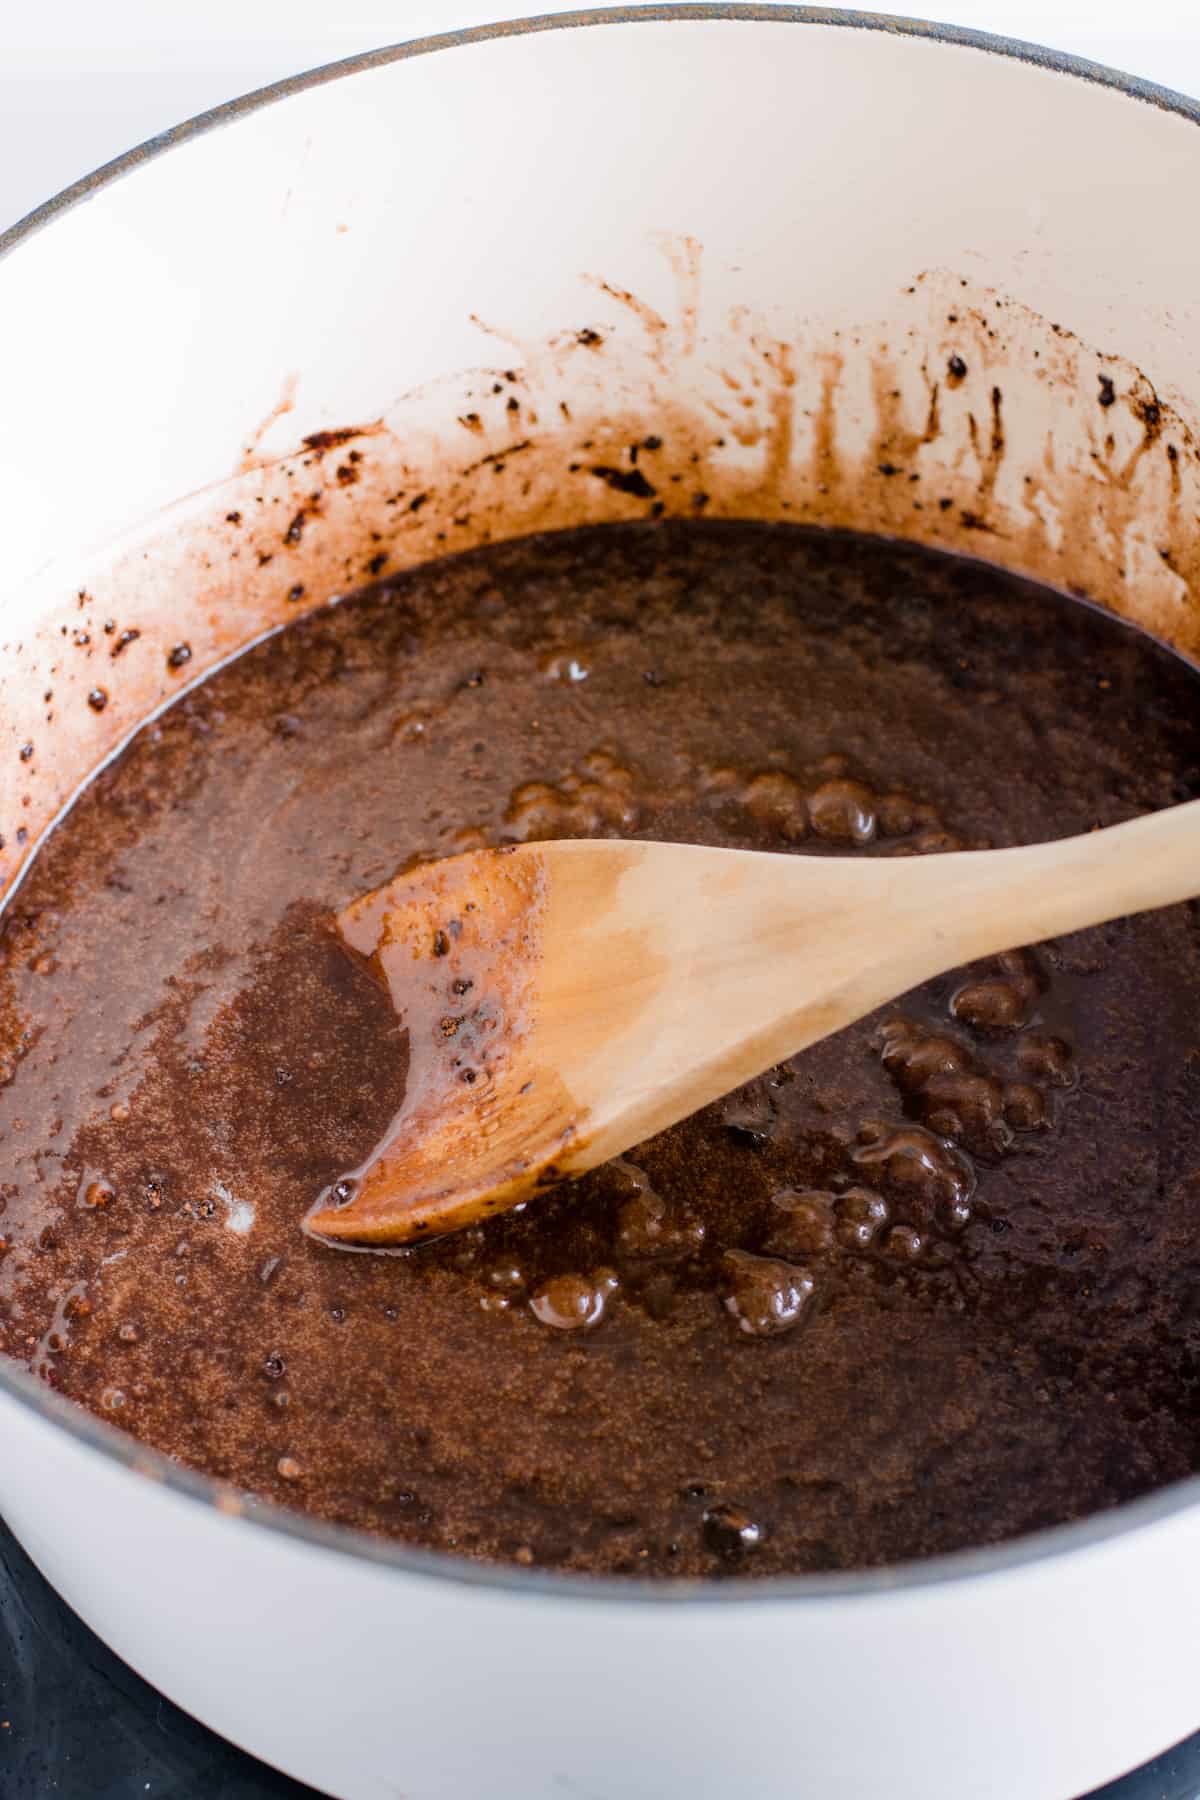
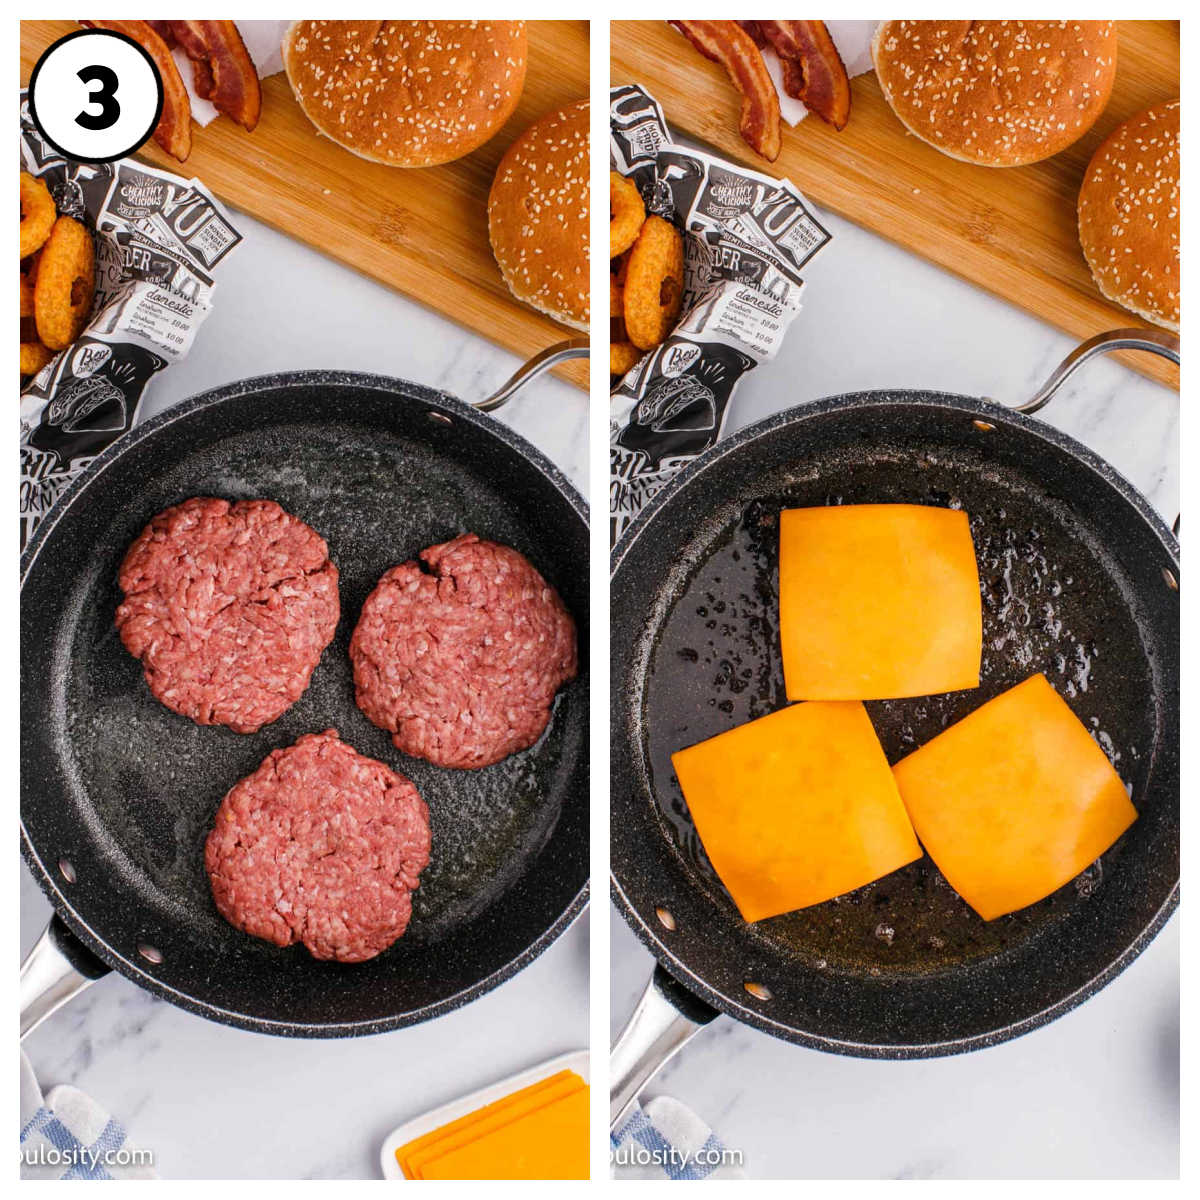
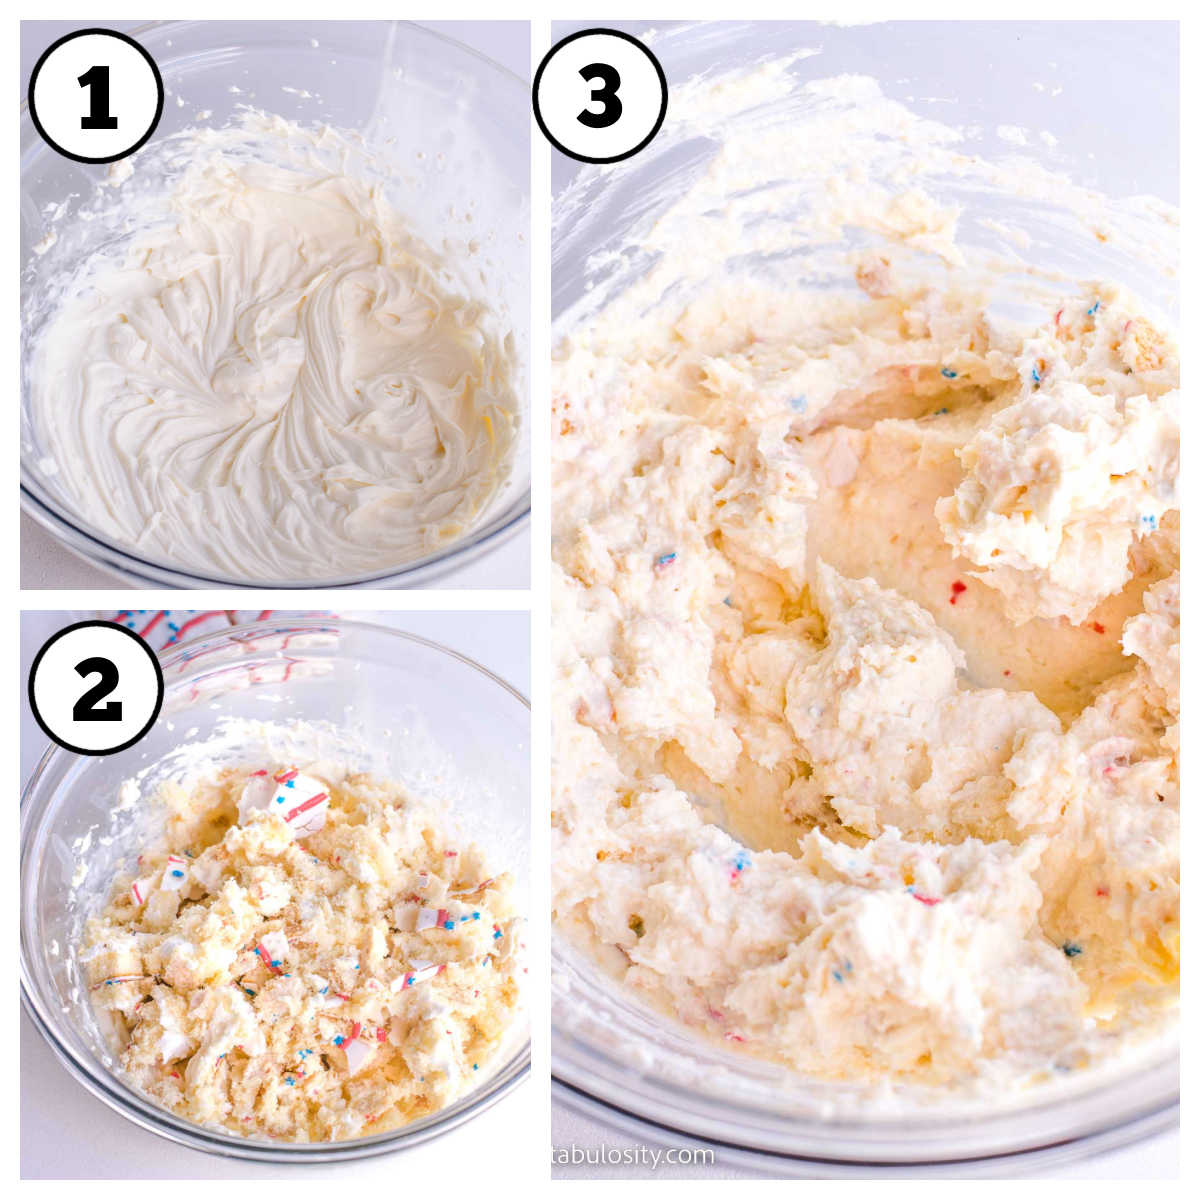
STEP 3: Mix the other ingredients. Combine cheese cube, cream cheese, crisp bacon, chopped pickles, ketchup, and Dijon mustard together. (Images 3-4)
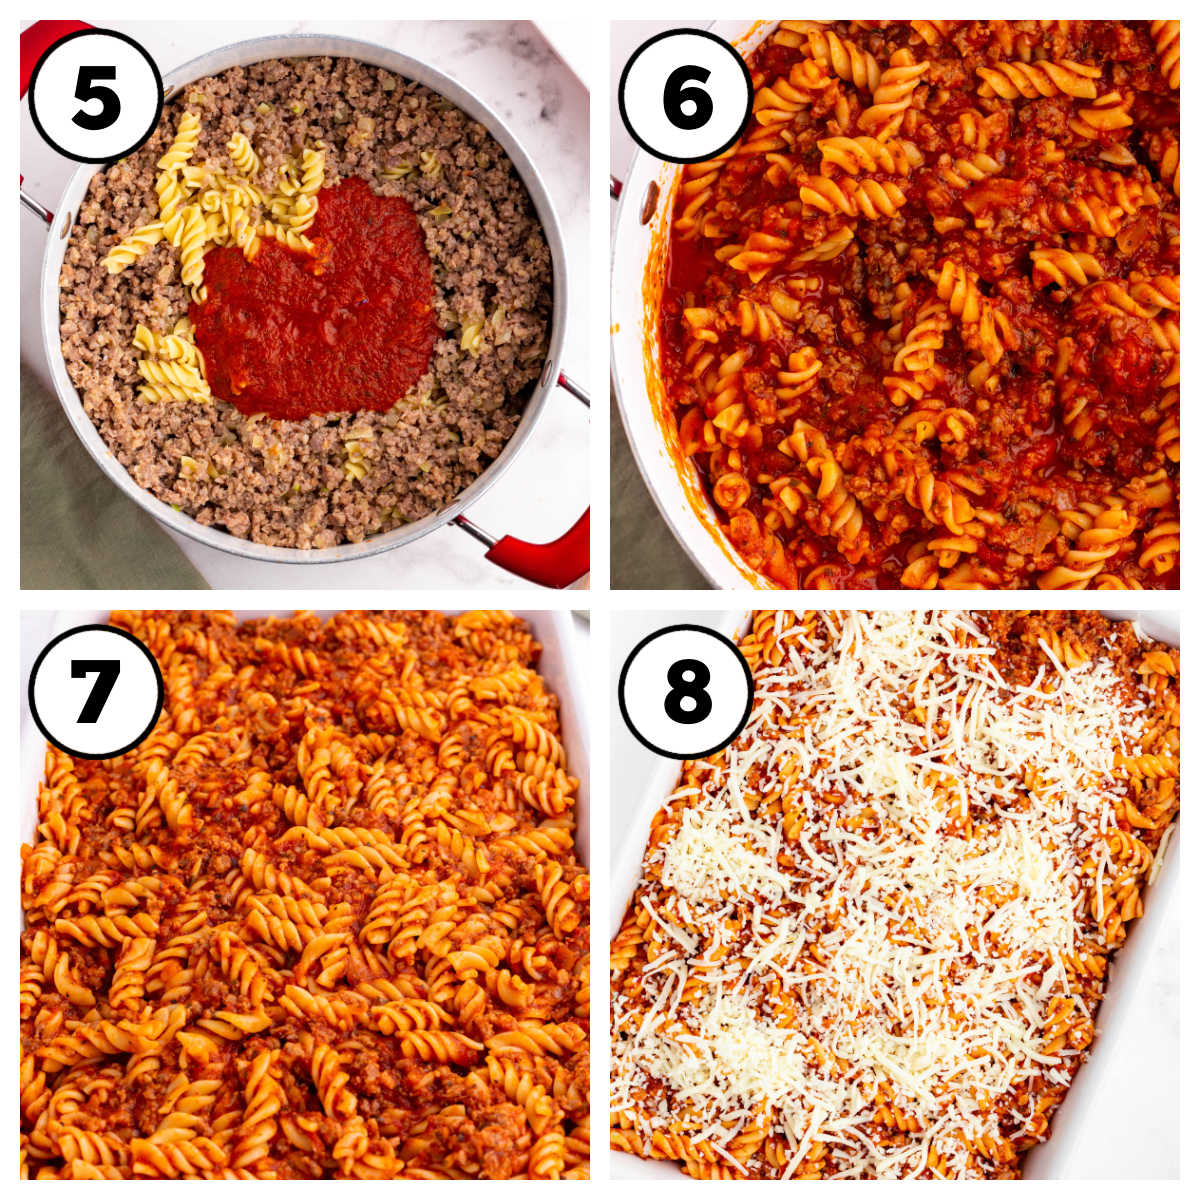
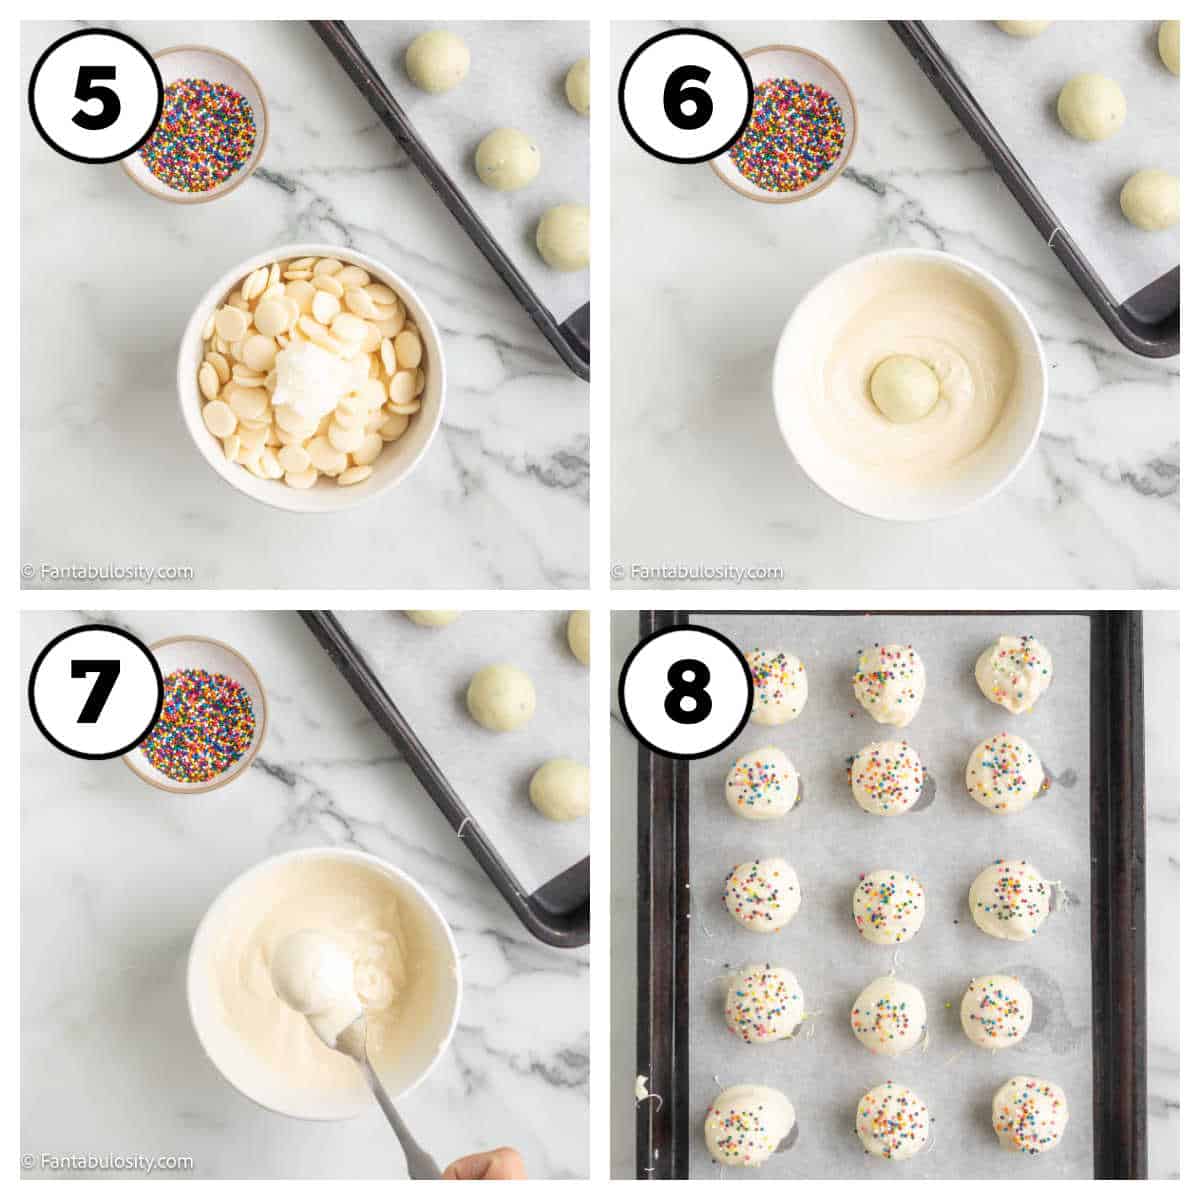
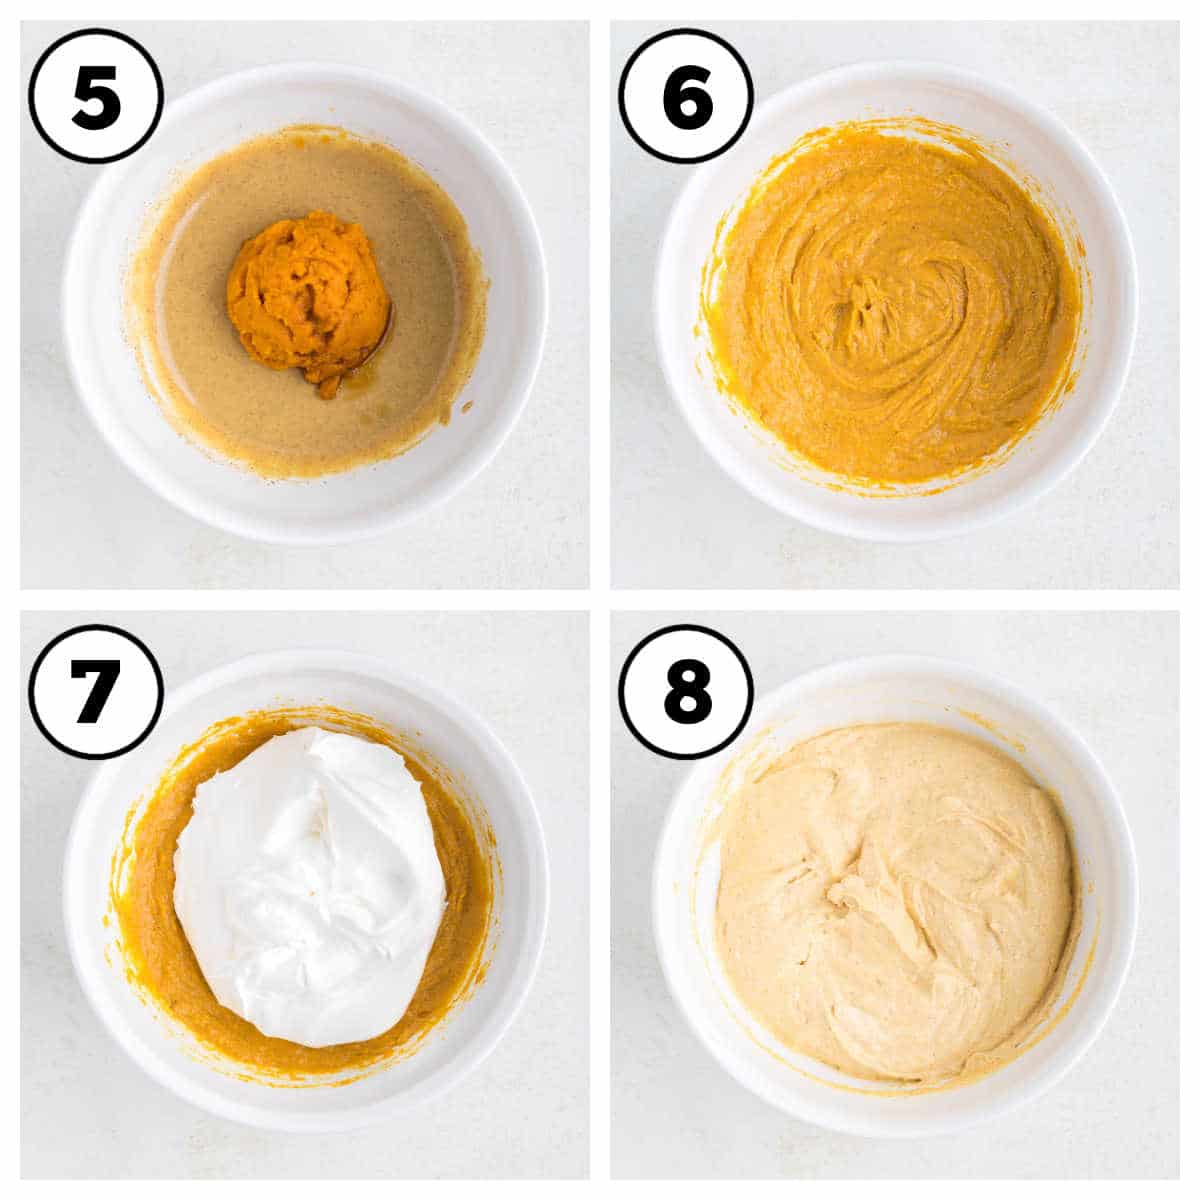
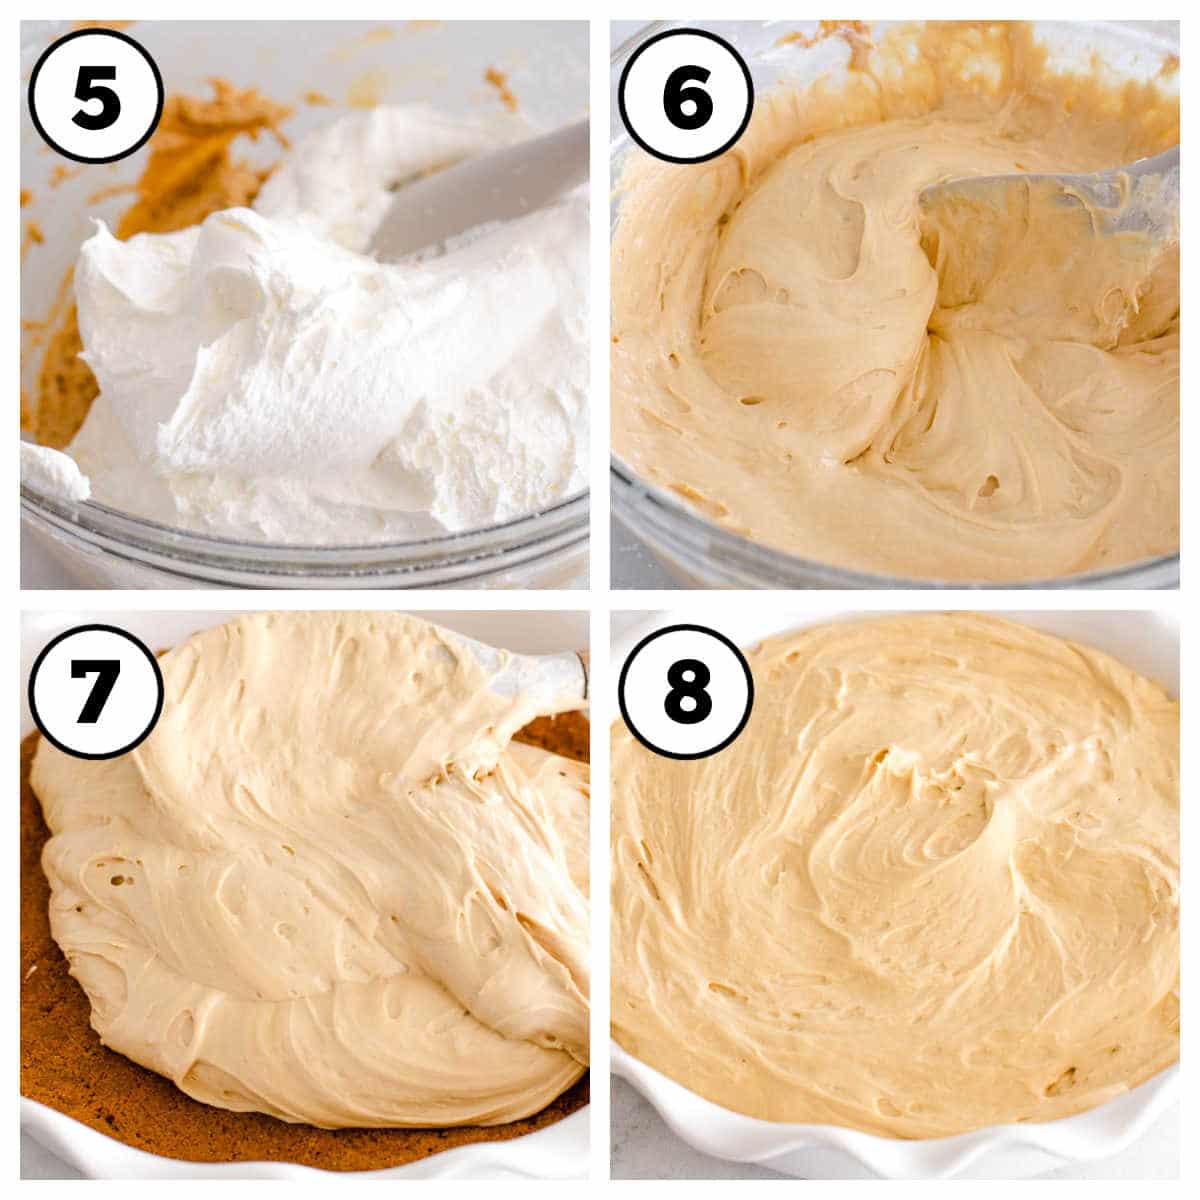
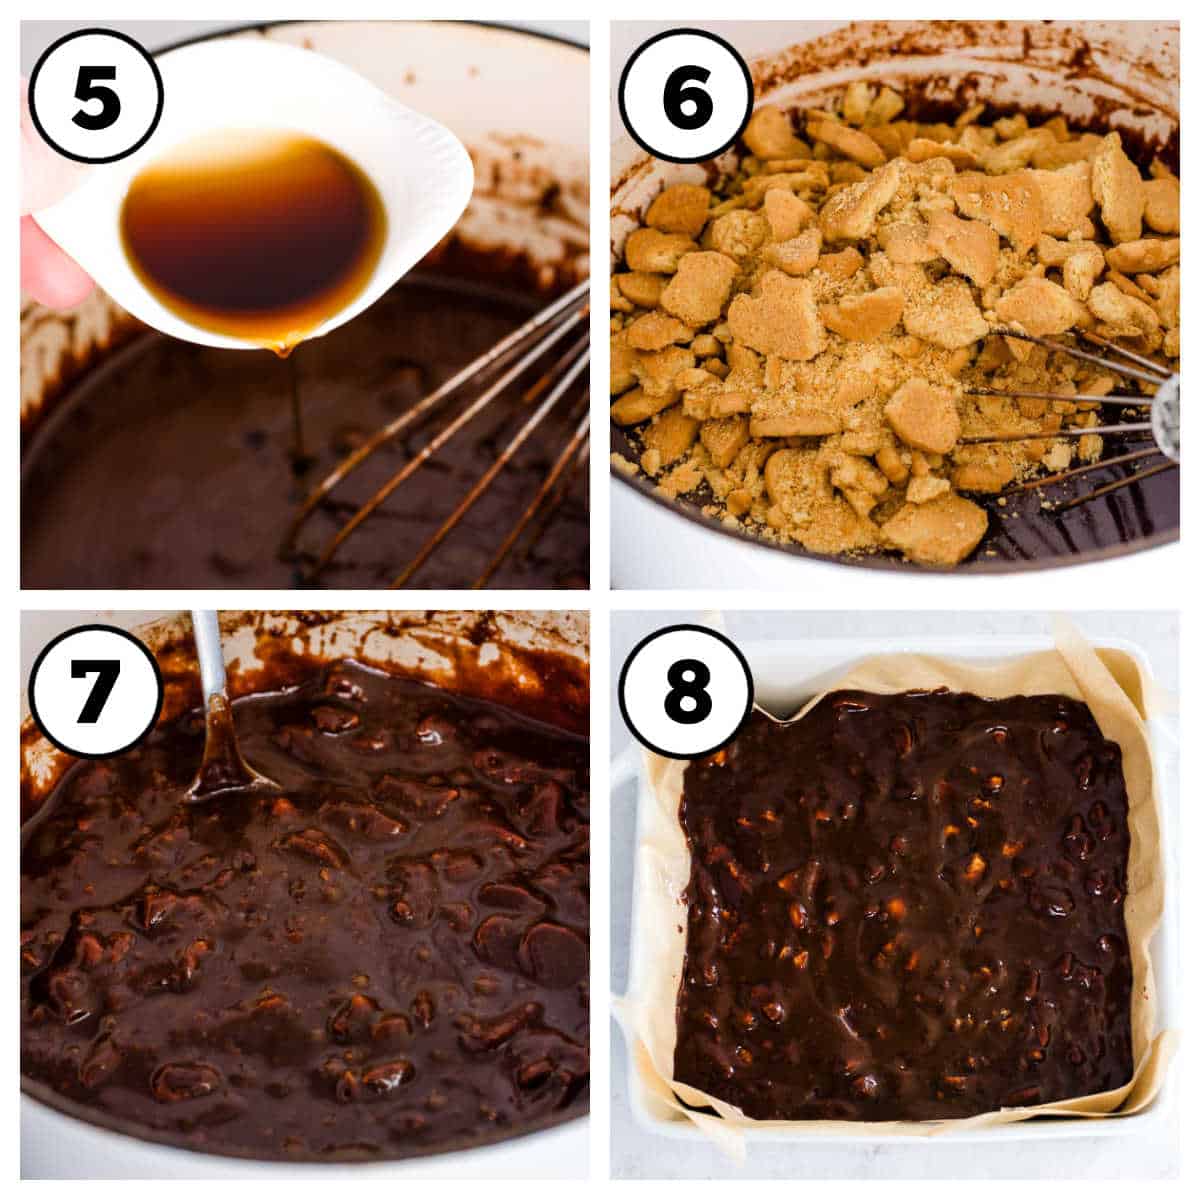
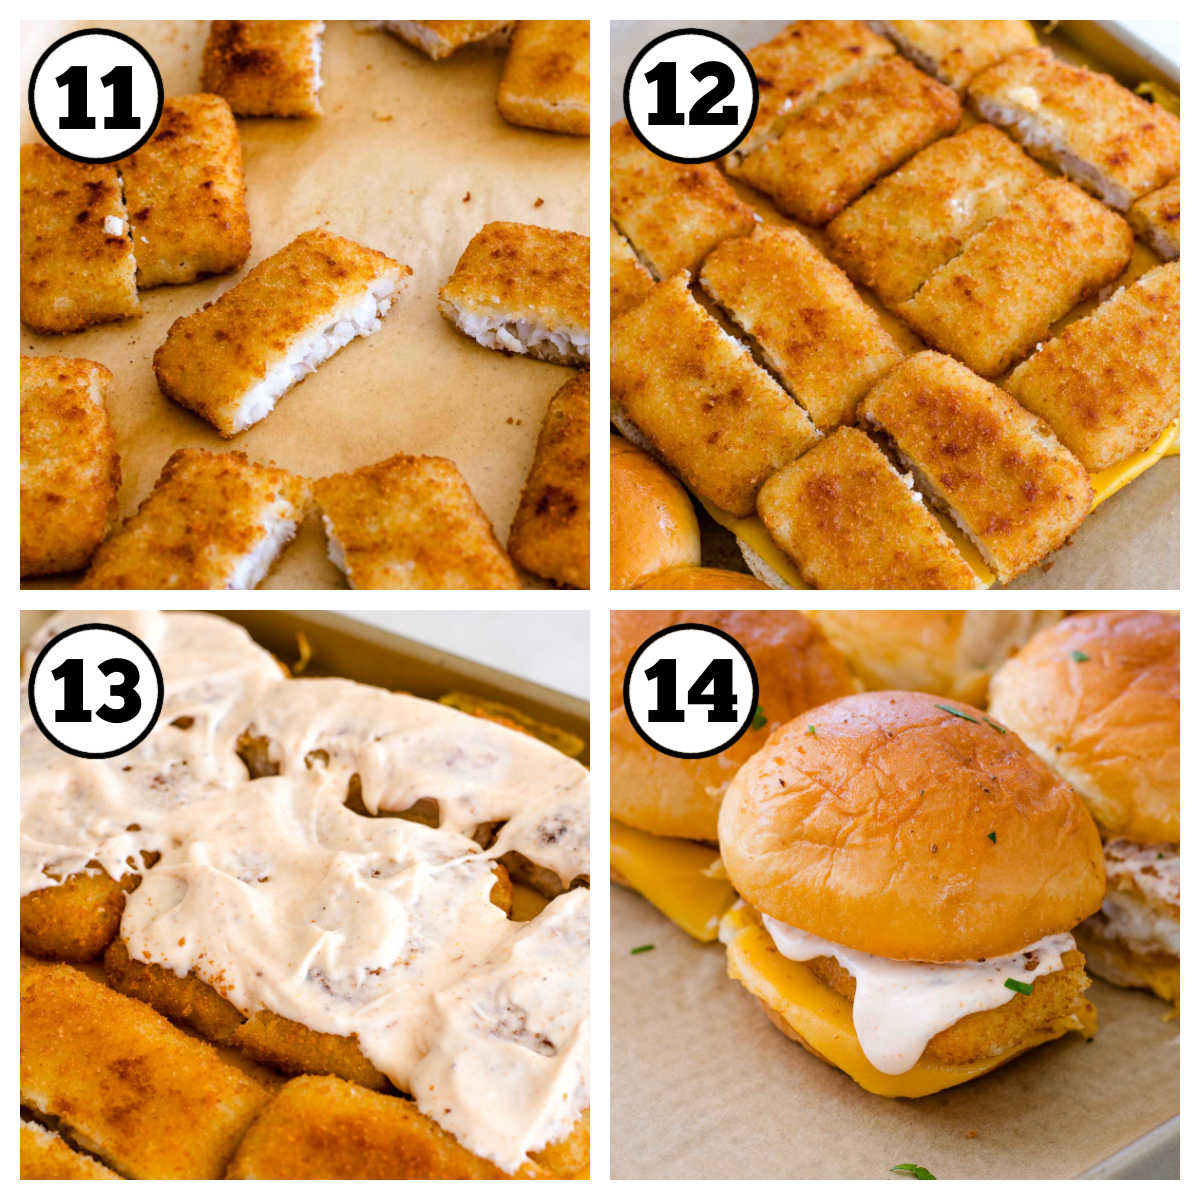
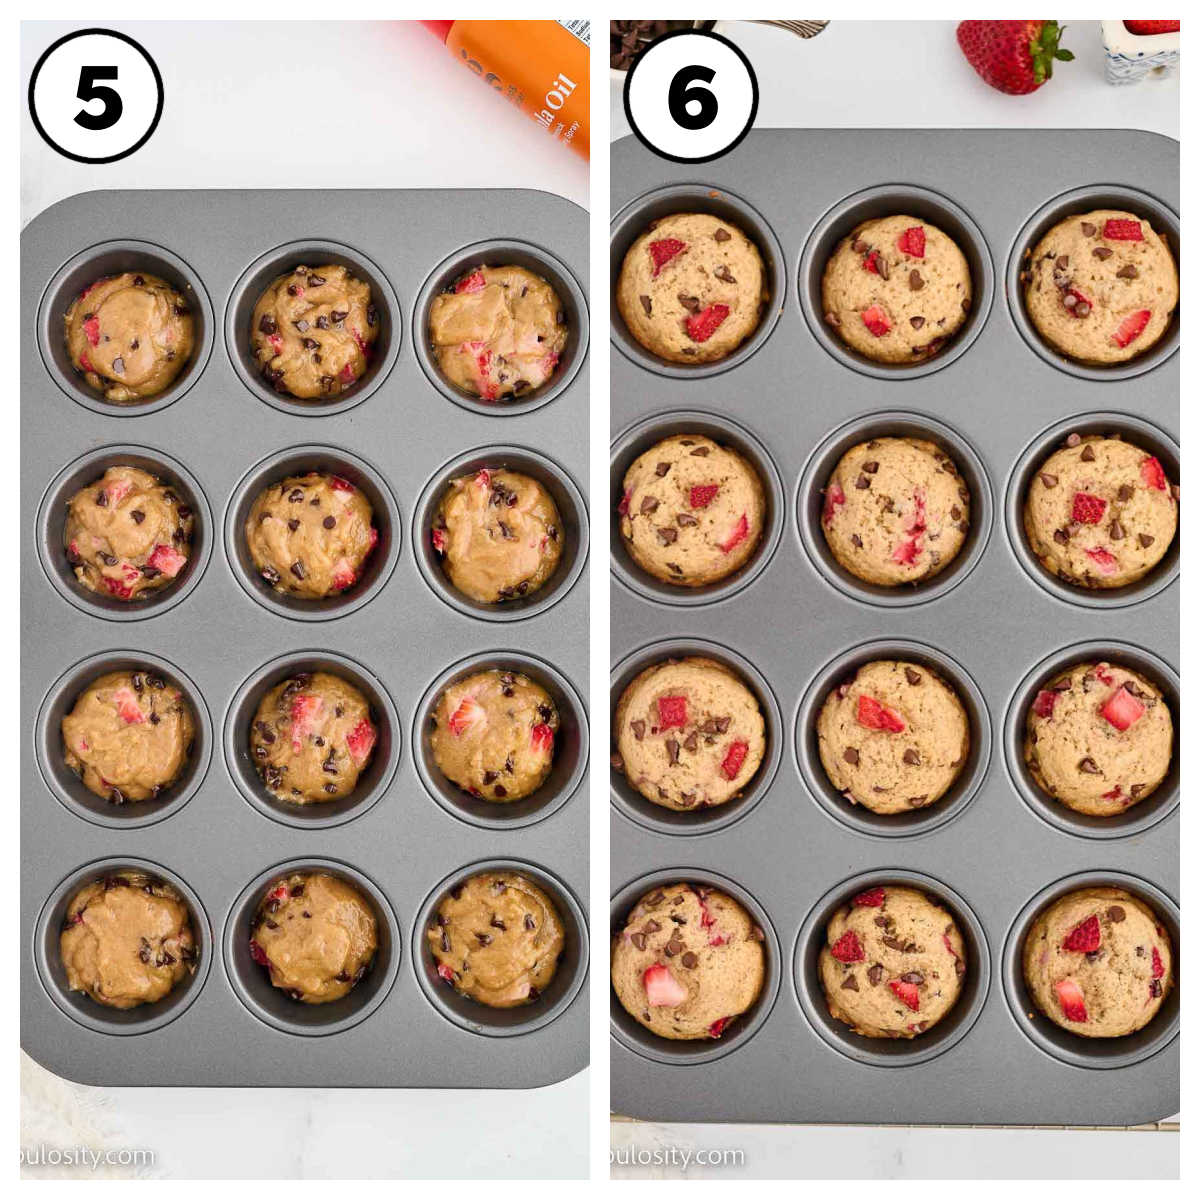
STEP 4: Fill the rolls. Take one roll at a time and gently flatten it into a round circle. Next, generously spoon a tablespoon of the savory meat filling onto the center. Carefully fold and seal the sides of the roll, ensuring a secure closure. Shape the roll into a perfect round ball. (Images 5-6)

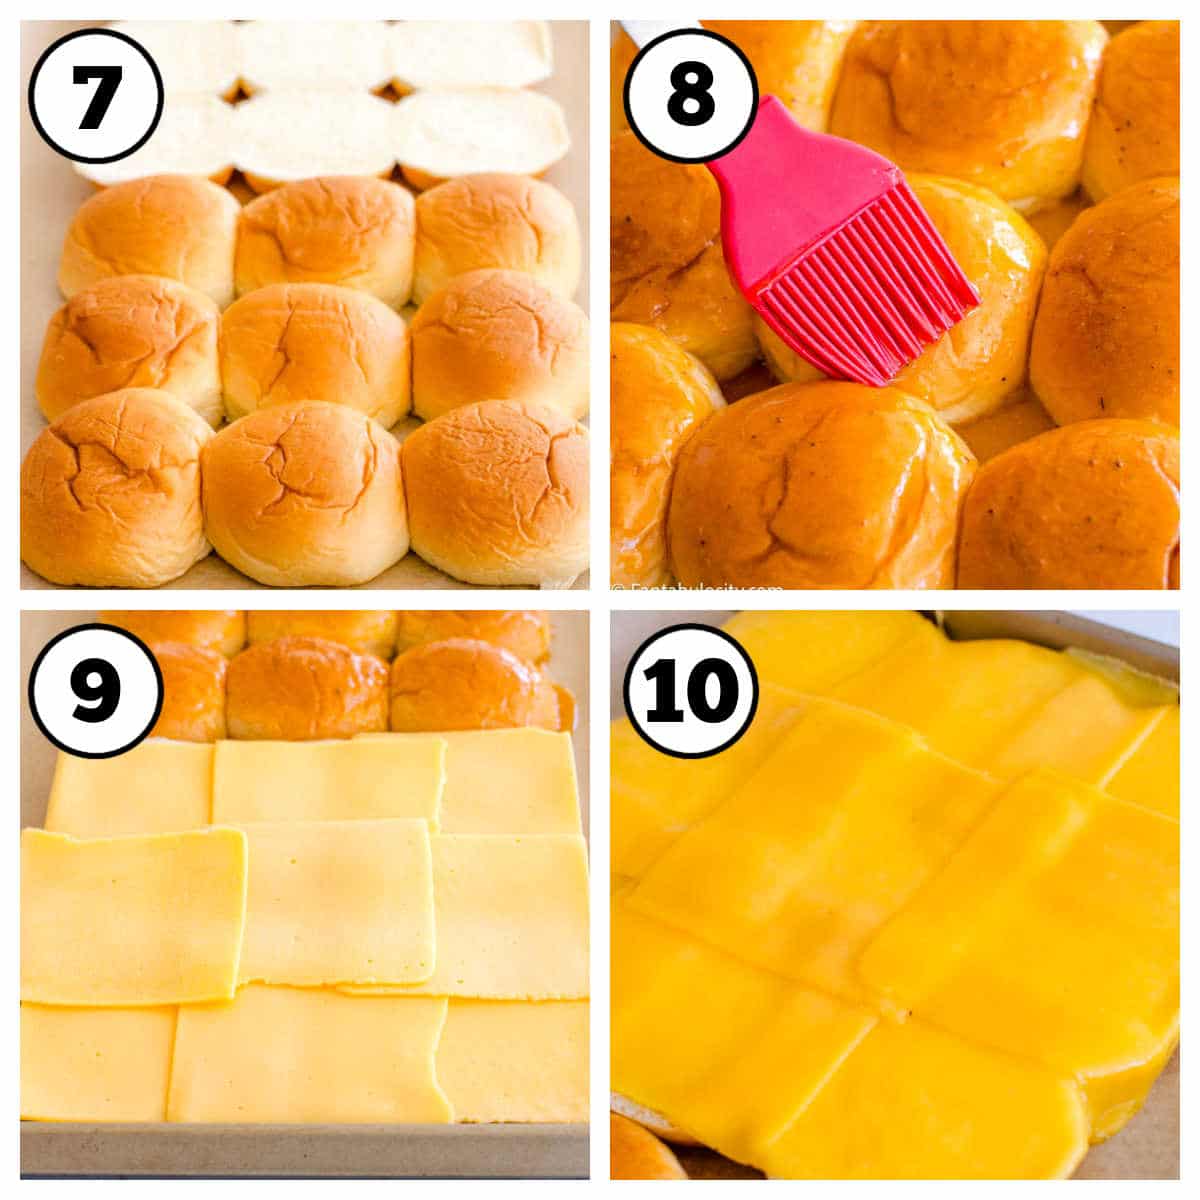
STEP 5: Egg wash the rolls. Arrange the rolls on the baking pan and continue until all rolls are filled. Gently brush the rolls with the beaten egg and a sprinkle of water, then generously sprinkle sesame seeds on top. (Image 7)
STEP 6: Leave the dough to rise. Let the dough rise for a duration of 15 minutes. (Image 8)
STEP 7: Cook the rolls. Preheat the oven to 375 degrees. Allow the rolls to bake for approximately 20 minutes until they turn a golden brown color.

STEP 8: Make the sauce. While the rolls are in the oven, mix the sauce ingredients together in a medium bowl and stir thoroughly to combine.
STEP 9: Cool the rolls and serve. Allow the rolls to cool for 5 minutes, then serve alongside the dipping sauce.
💭 Recipe Pro Tips
- Keep an eye on the rolls in the oven to prevent over-browning. If they start to get too dark, you can cover them with a sheet of aluminum foil for the rest of the baking time.
- Make sure to seal the rolls properly so the filling doesn’t leak out during baking. Spend a little extra time ensuring each roll is completely closed.
- Feel free to experiment with different kinds of cheese, seasonings, and sauces for the filling to create your own unique version of these tasty burger bombs.
- These burger bombs can be made ahead of time and kept in the refrigerator until you’re ready to bake them.
- If you prefer a crunchier exterior, sprinkle the tops of the rolls with sesame seeds or poppy seeds before baking.
- It’s important to let the rolls cool down slightly before serving, as the filling will be very hot. To maintain their warmth while cooling, cover them with a clean kitchen cloth.

📋 Recipe FAQs
Absolutely! Ground turkey can be a leaner alternative to beef. Keep in mind, however, that turkey might provide a slightly different flavor and texture.
Yes, preparing the filling in advance can save you time. Simply store the filling in the refrigerator overnight in an airtight container. When you’re ready to make your Burger Bombs, take the filling out of the fridge and let it come to room temperature before using.
To make this recipe vegetarian, substitute the beef with a plant-based meat alternative. You can also use a mixture of cooked, finely chopped vegetables like mushrooms, bell peppers, and onions.
Leftover dipping sauce can be stored in an airtight container in the refrigerator for up to a week. Be sure to stir the sauce before using it again.
🍽 What to Serve with Burger Bombs
Burger Bombs make for a delightful and filling dish on their own, but they also pair wonderfully with various side dishes to complete your meal.
- Crisp Salad: A refreshing green salad with a tangy vinaigrette can balance the richness of the burger bombs.
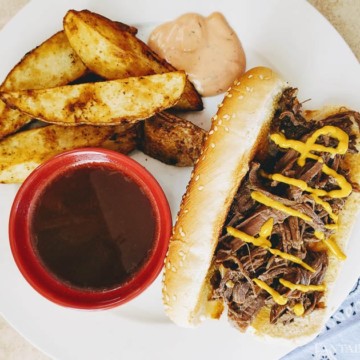
- Potato Wedges or Fries: Classic pairings like crispy oven-baked fries or seasoned potato wedges complement the burger bombs perfectly.
- Coleslaw: The creaminess and crunch of a good coleslaw can offer an interesting textural contrast.
- Grilled Vegetables: Grilled vegetables brushed with a light seasoning can be a hearty and healthy companion to this dish.
- Pickles: Extra pickles can add a tangy crunch that cuts through the richness of the meat and cheese.

❄️ Storage
Burger Bombs are perfect for storing and enjoying later! If you have leftovers, ensure they are cooled completely, then store them in an airtight container. They can be kept in the refrigerator for up to 3-4 days.
To reheat, simply place them in a preheated oven at 350°F until warmed through.
As for freezing, Burger Bombs freeze beautifully. Once cooled, place them on a baking sheet and freeze until solid. Once frozen, transfer them to a freezer-safe bag or container. They can be stored in the freezer for up to 3 months. When ready to enjoy, thaw them overnight in the refrigerator and reheat in your oven at 350°F. Remember, they may require a few extra minutes of heating time from frozen.
🥩 More Ground Beef Recipes You’ll Love
Still have some ground beef left to use? You’ll love this incredible list of ground beef dinner ideas.


Did you make this? I’d be so grateful if you left a “star” rating below to let me know what you thought! Then, the next time you need a quick and easy recipe, come back to Fantabulosity to browse all of my easy recipes!
Recipe

Burger Bombs with Dipping Sauce
Ingredients
Ingredients:
- 20 frozen dinner roll dough thawed
- 1 pound ground beef
- ½ cup onion chopped
- 1 teaspoon minced garlic
- 1 tablespoon steak seasoning or seasoning salt
- 1 tablespoon Worcestershire sauce
- 1 cup cheddar cheese shredded
- 2 ounces cream cheese softened
- 4 tablespoons chopped cooked bacon
- ¼ cup dill pickles chopped
- ¼ cup ketchup
- 2 tablespoon Dijon mustard
- 1 egg beaten with 1 teaspoon cold water
- 2 tablespoons sesame seeds
Sauce:
- ½ cup mayonnaise
- 1 teaspoon mustard
- 2 teaspoons ketchup
- 1 teaspoon worcestershire sauce
- ½ teaspoon garlic powder
- ½ teaspoon onion powder
- 1 tablespoon sweet pickle relish
Instructions
- Lay the rolls on a parchment lined pan and cover lightly with a towel. Allow to thaw and rise about halfway.
- Cook the beef, onions and garlic in a pan over medium-high heat until the meat is no longer pink. Season with steak seasoning and Worcestershire sauce.
- Add the cheese, cream cheese, bacon, chopped pickles, ketchup and Dijon mustard.
- Flatten the rolls one at a time into round circles and place a heaping tablespoon of the meat filling in the middle. Pinch the sides of the rolls up in the middle and seal well. Make sure they are shaped into a round ball.
- Place the rolls on the pan and repeat until all the rolls are filled. Brush the rolls with the beaten egg and water. Sprinkle with sesame seeds.
- Allow to rise for 15 minutes.
- Heat the oven to 375°. Bake the rolls for 20 minutes until golden brown.
- While the rolls are baking combine the sauce ingredients together in a bowl and stir well.
- Let the rolls cool for 5 minutes, then serve with the dipping sauce and enjoy.