Cooking burgers on the stove-top in a frying pan can be a quick and easy way to get an easy dinner on the table, FAST! Cook from fresh OR frozen with this easy recipe!
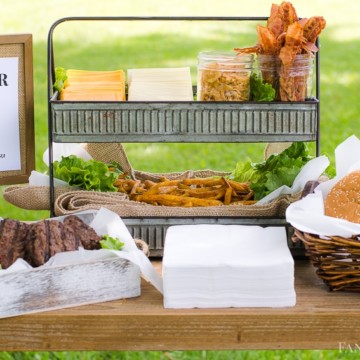
Hamburger recipes are a great, easy dinner recipe, especially when you can mix things up with toppings, ways to cook them, and more! You can even make them for a burger bar and let everyone create their own!
Baking burgers in the oven is our favorite way to cook cheeseburgers… but sometimes cooking them in a frying pan is must faster and a little more convenient. (Especially when you don’t want to heat up the kitchen with the oven – which, is when we may also make some of these delicious sloppy joes that we love so much.)
So whether or not you have fresh ground beef patties or you have frozen burgers on hand (such as Bubba’s Burgers) here is how you can easily make a juicy burger on the stove!
[feast_advanced_jump_to]Ingredients
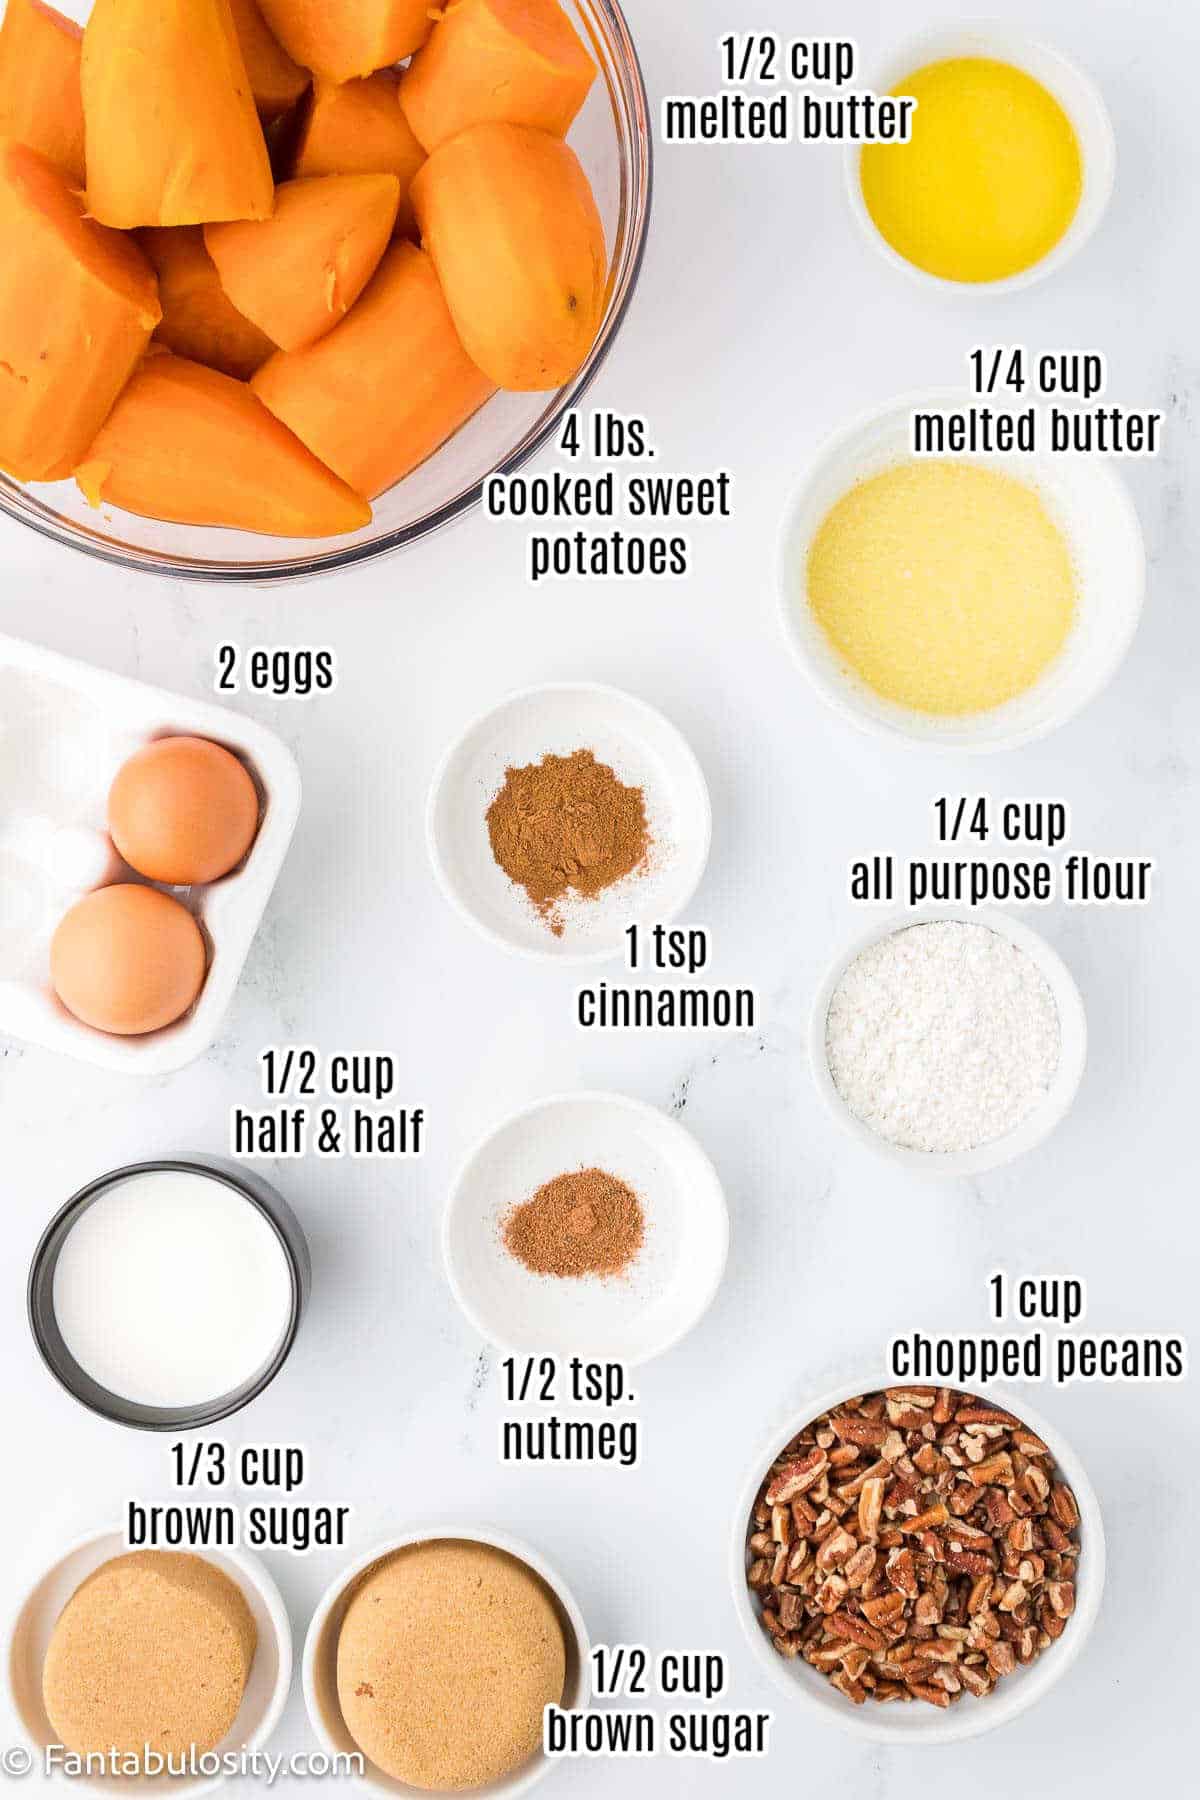
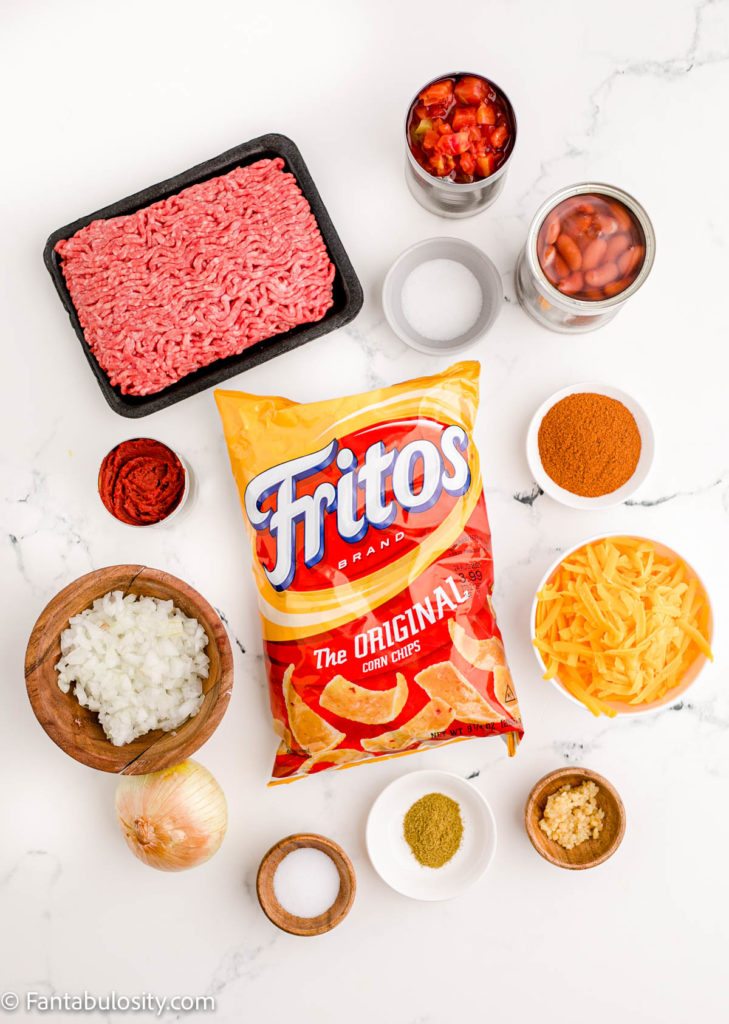
All it takes for a standard burger on the stove is ground beef (or pre-made hamburger patties) and a little salt and pepper.
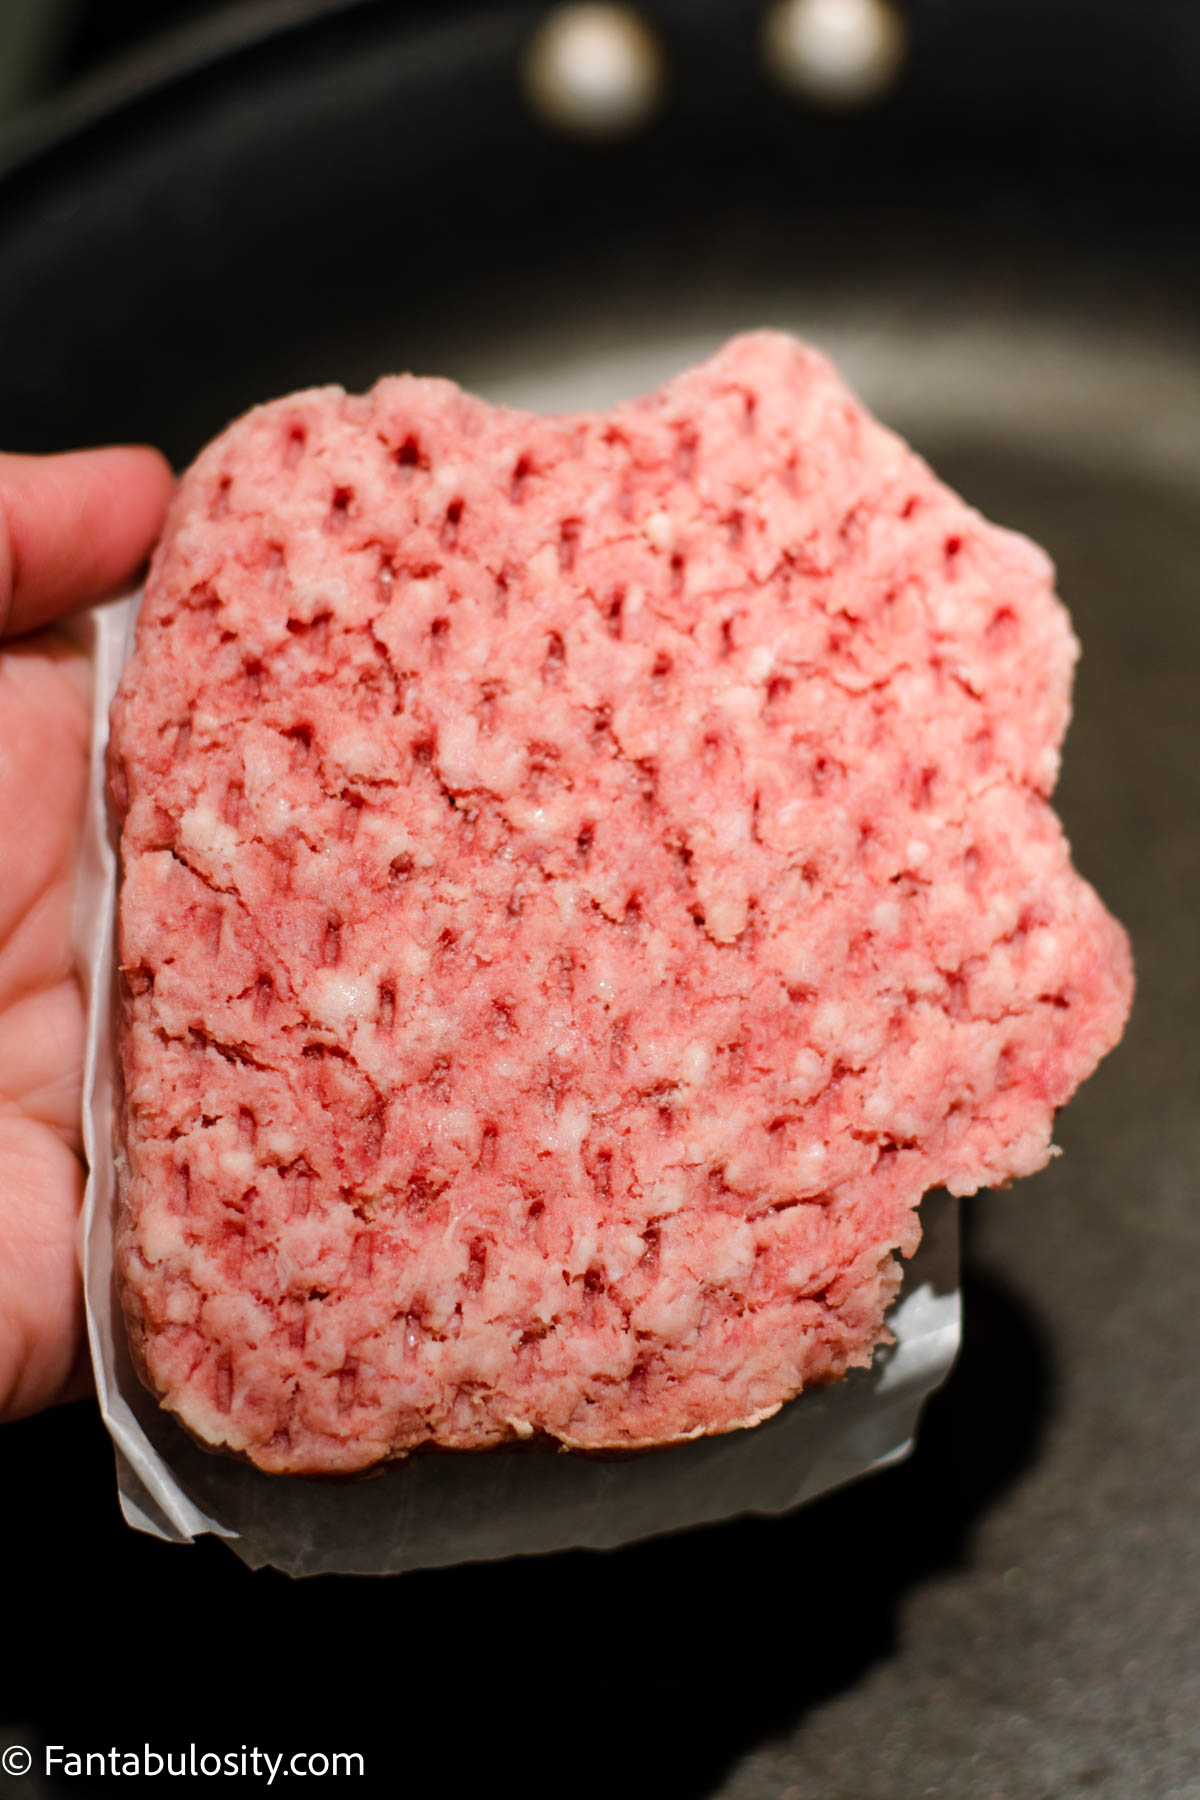
- 3 burger patties (or 1 lb. ground beef, shaped in to 3 patties)
- salt
- black pepper
See the full recipe card at the bottom of the post for ingredients and measurement suggestions.
You can also add your favorite toppings after cooking as well! (See the list below of our favorite burger topping ideas.)
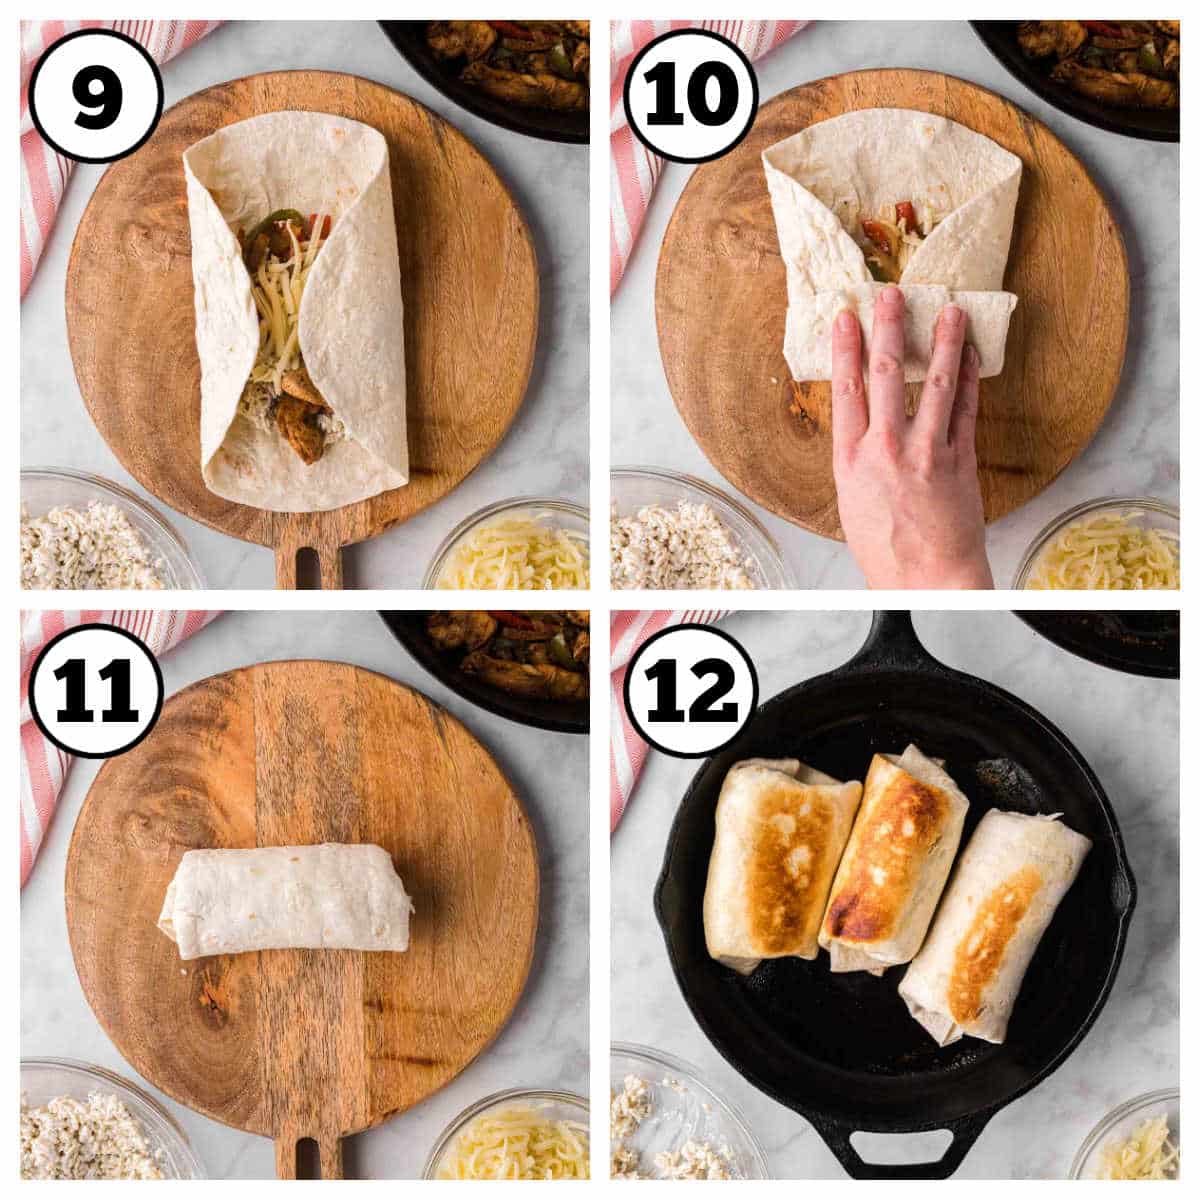
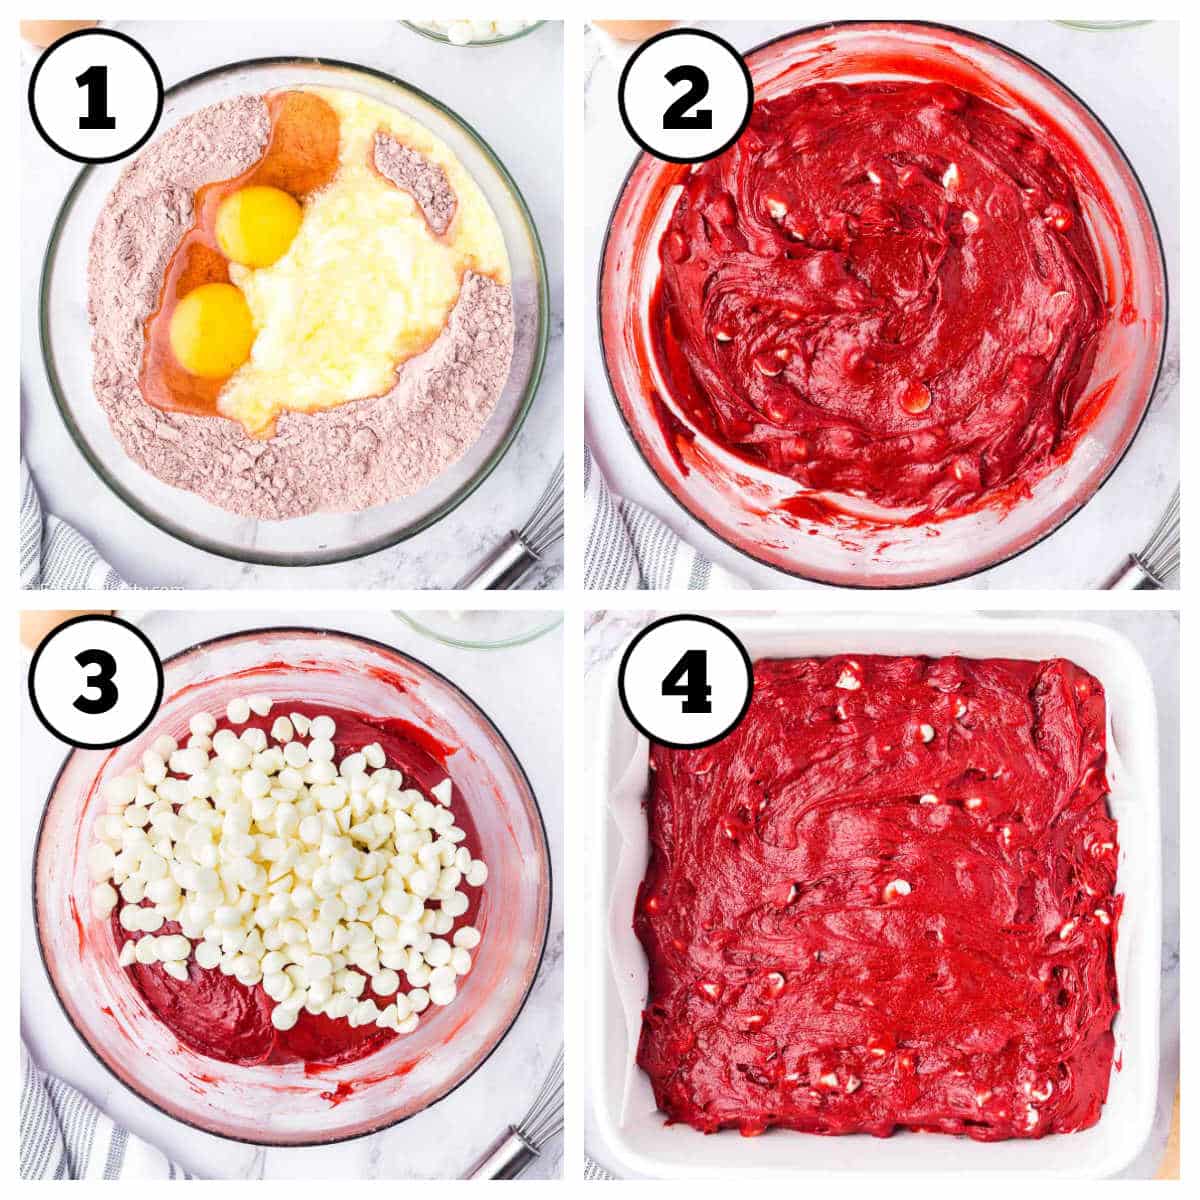
Step by Step Instructions
Cooking burgers on the stove-top can be done with fresh or frozen burger patties.
For Fresh Hamburger Patties
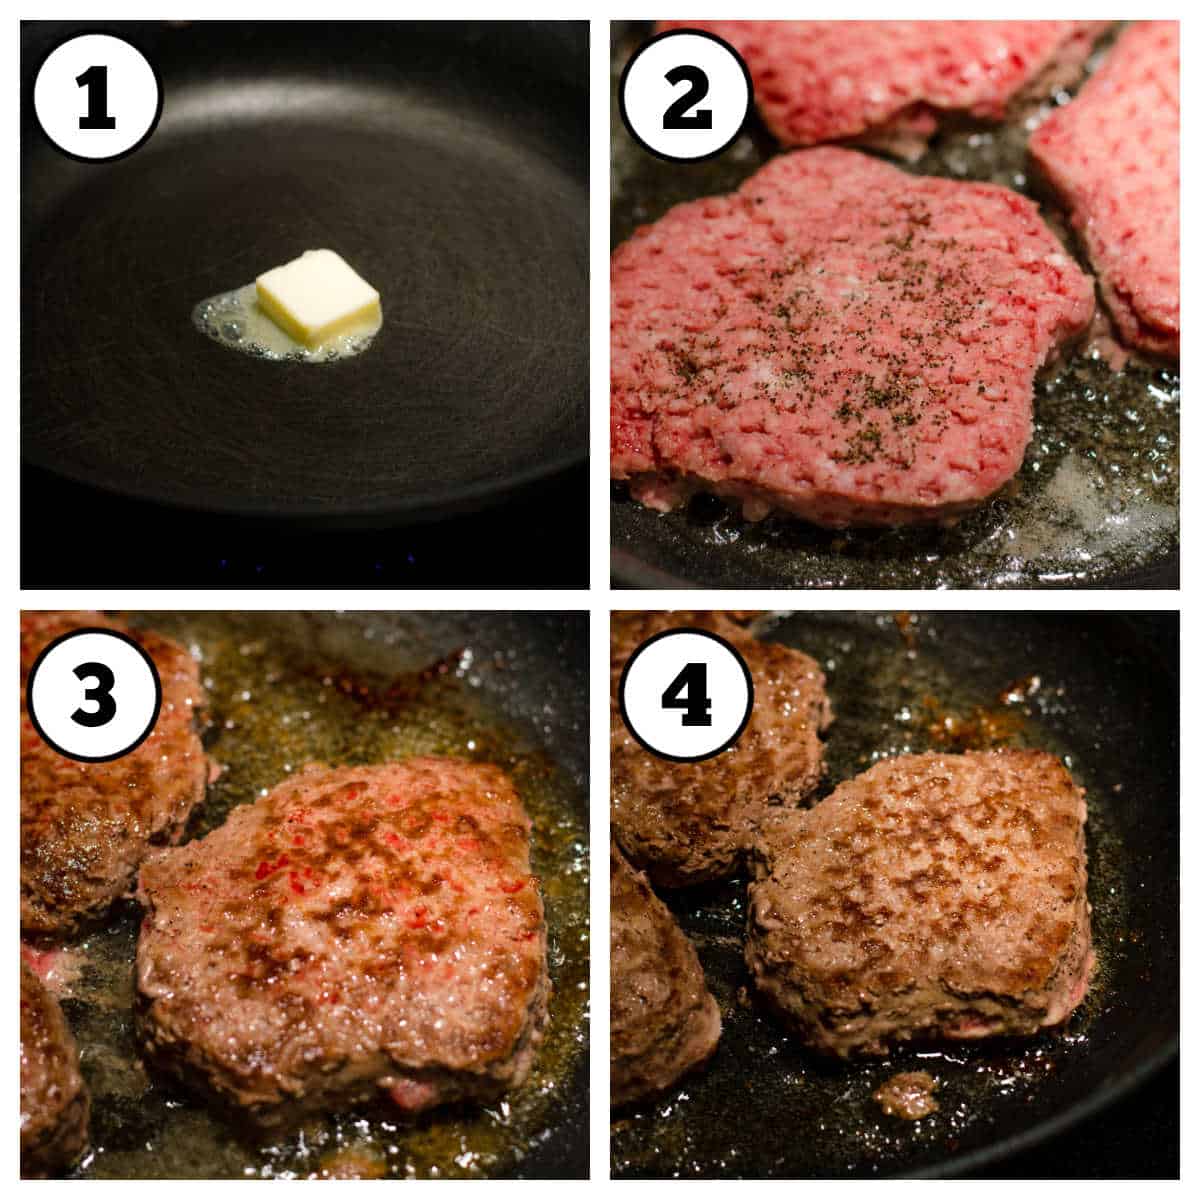
- Season fresh hamburger patties, on both sides, with salt and pepper.
- Over medium heat, melt 1 tablespoon of butter in a skillet large enough to hold all of your burger patties.
- Place seasoned burgers in skillet and cook for 3-5 minutes and then flip.
- Cook for an additional 3-5 minutes or until the juices run clear.
Remove from skillet and place on buns and top with your favorite ingredients.
For Frozen Hamburger Patties (Like Bubba’s Burgers)
- Over low-medium heat, melt 1 tablespoon of butter in a skillet big enough to hold all of your burger patties.
- Place frozen patties in skillet and after a couple of minutes, season with salt and pepper. (You wait just a bit so the burger thaws some, so it can soak in the salt and pepper seasonings.)
- Cook on first side for about 5-6 minutes and then flip.
- After flipping, flip again when red juices have formed at the top.
- Continue flipping every couple of minutes for about 15 minutes or until the juices run clear.
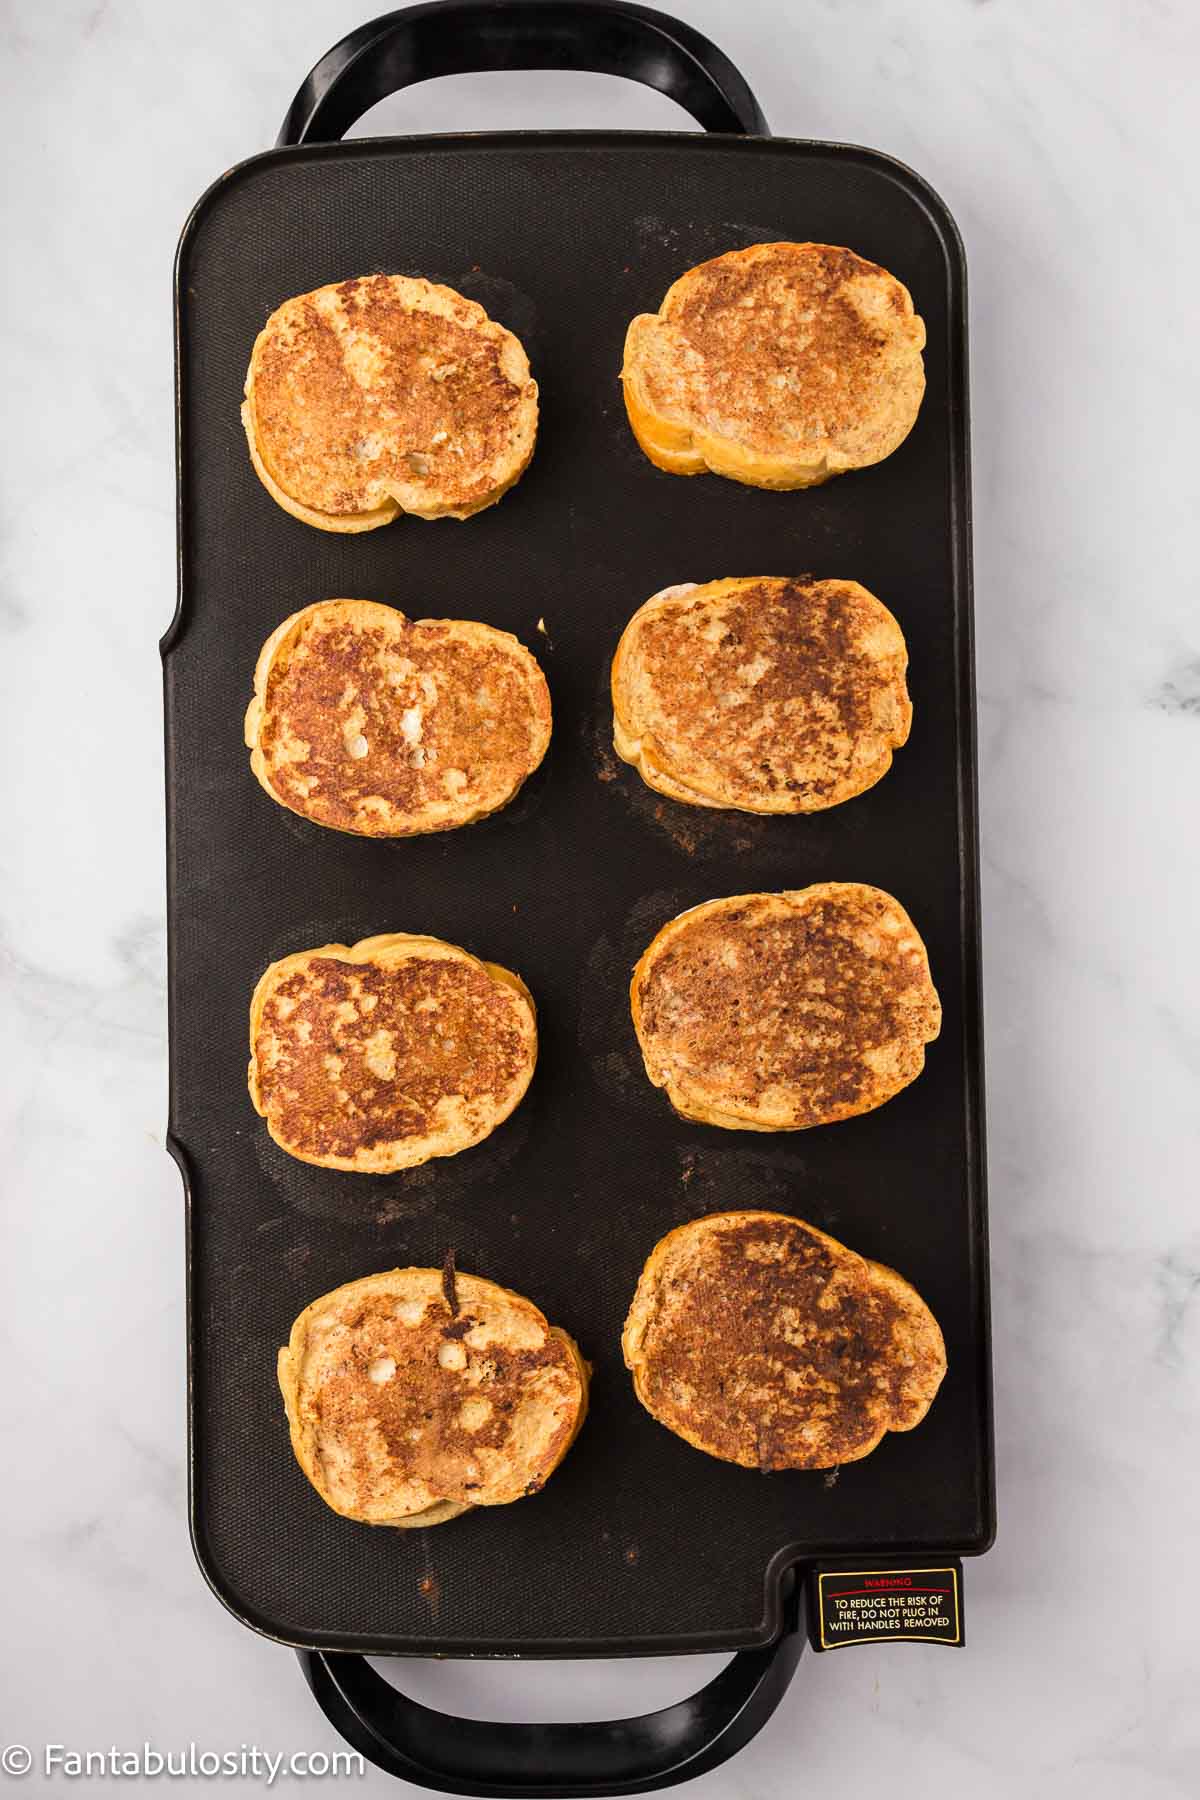
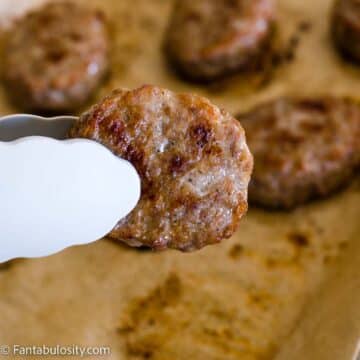
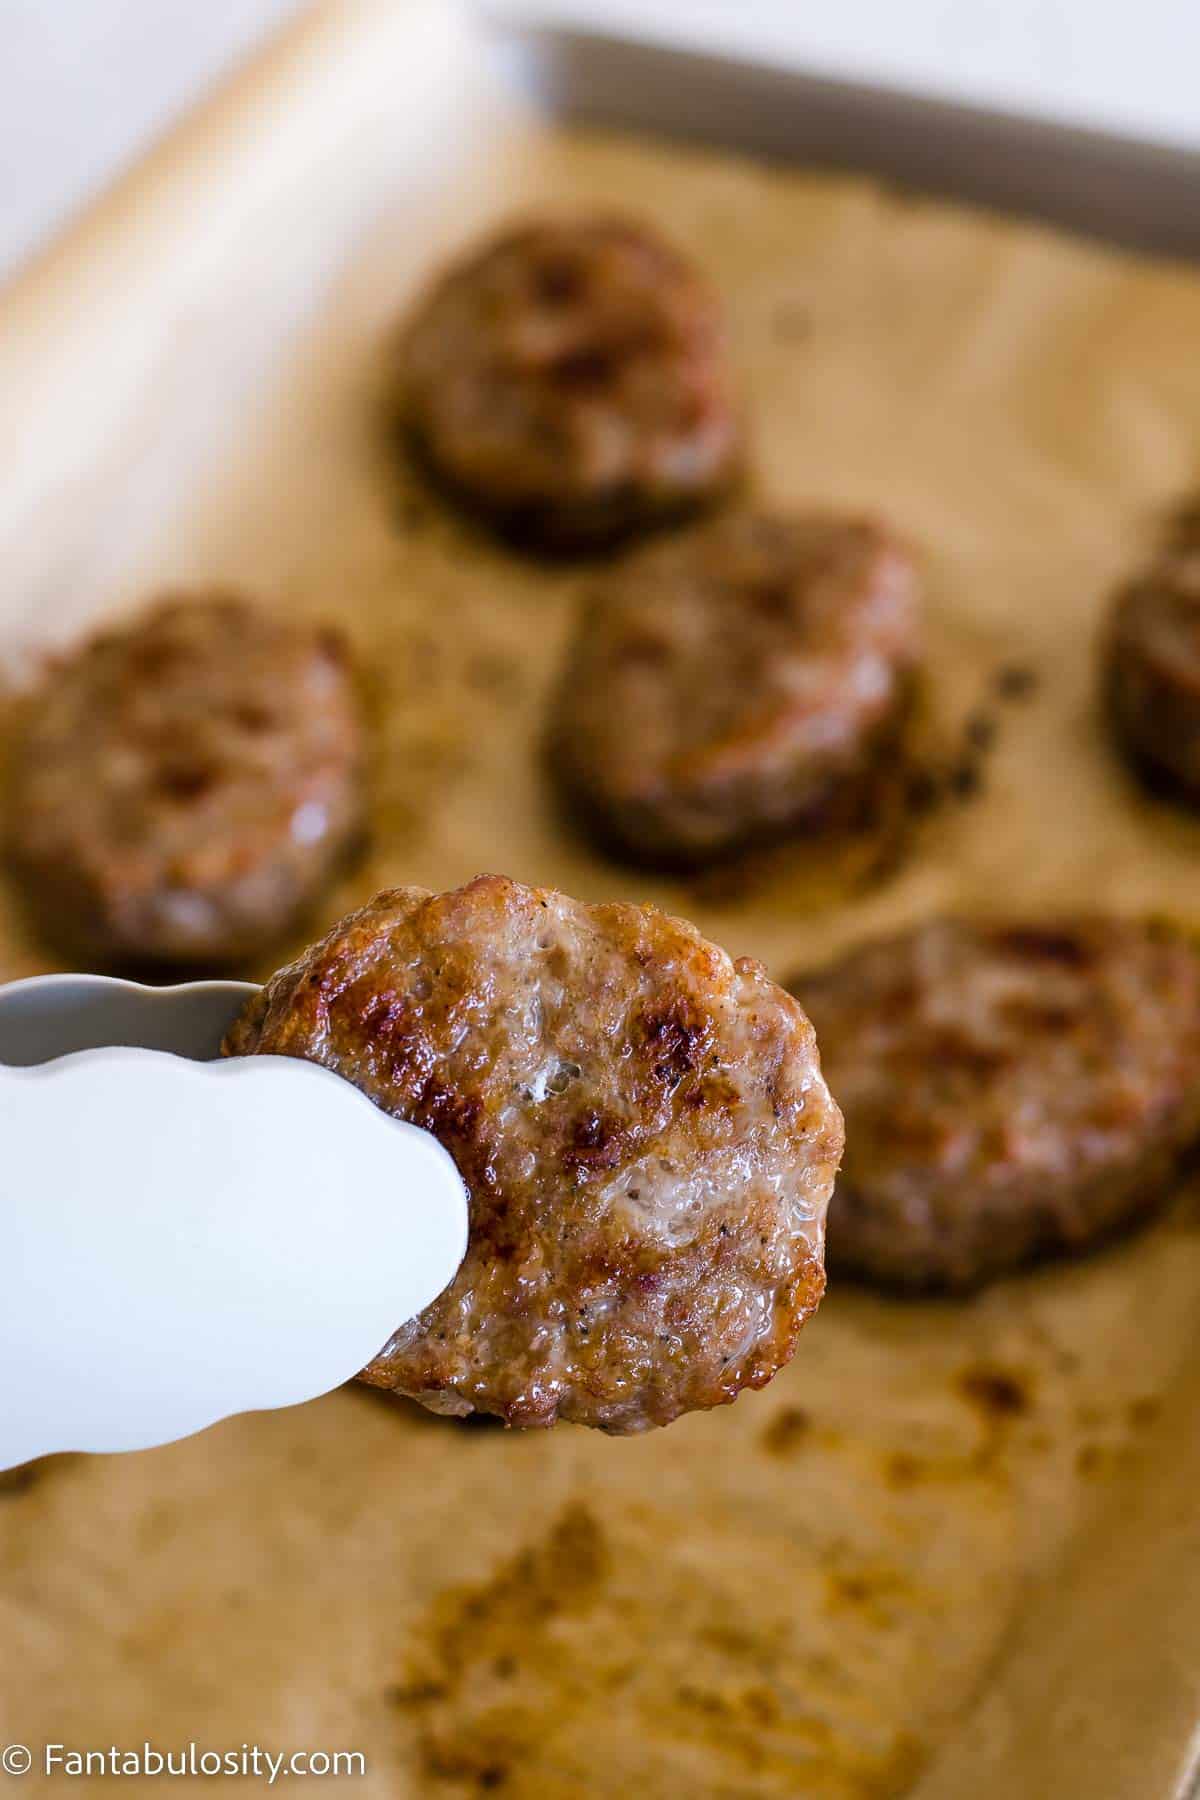
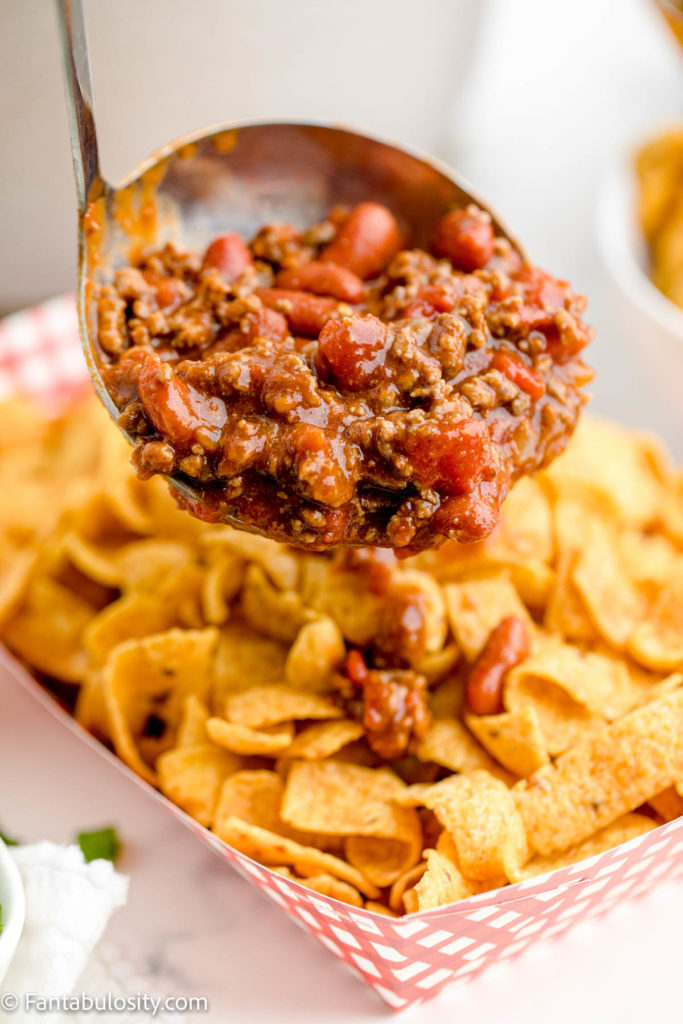
As you can see in photo #3 above, there are still red juices forming at the top. When they are “clear” your burger is ready to pull off of the frying pan.
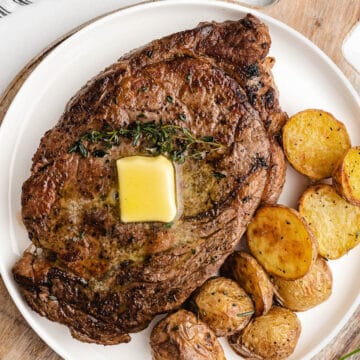
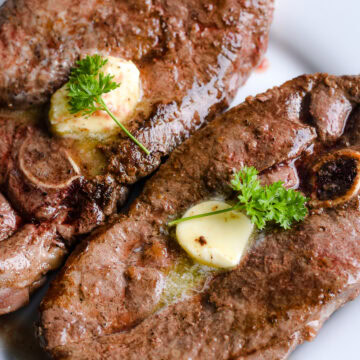
Hint: we love using a cast-iron pan to cook burgers in, like when we make our oven-baked steak but it’s not necessary. You can use a regular, non-stick skillet if that’s what you have on hand!
Substitutions
This recipe is for ground beef patties but you can also cook turkey burgers or veggie burgers if you prefer. Here’s how:
For baked turkey burgers, you will cook them for 5-6 minutes on each side, or until internal temperature reaches 155°.
For veggie burgers, heat 1-2 tablespoons of oil in a skillet and cook veggie burgers over medium-high heat for 4-6 minutes or until heated through.
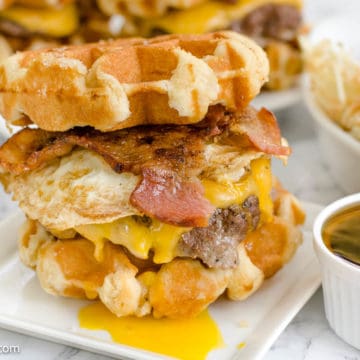
Kick things up a notch and make these donut burgers using glazed donuts or these waffle burgers for the buns!
Want to substitute the red meat completely? Then try these crispy chicken burgers (or zinger burgers) next time!
Burger Topping Ideas
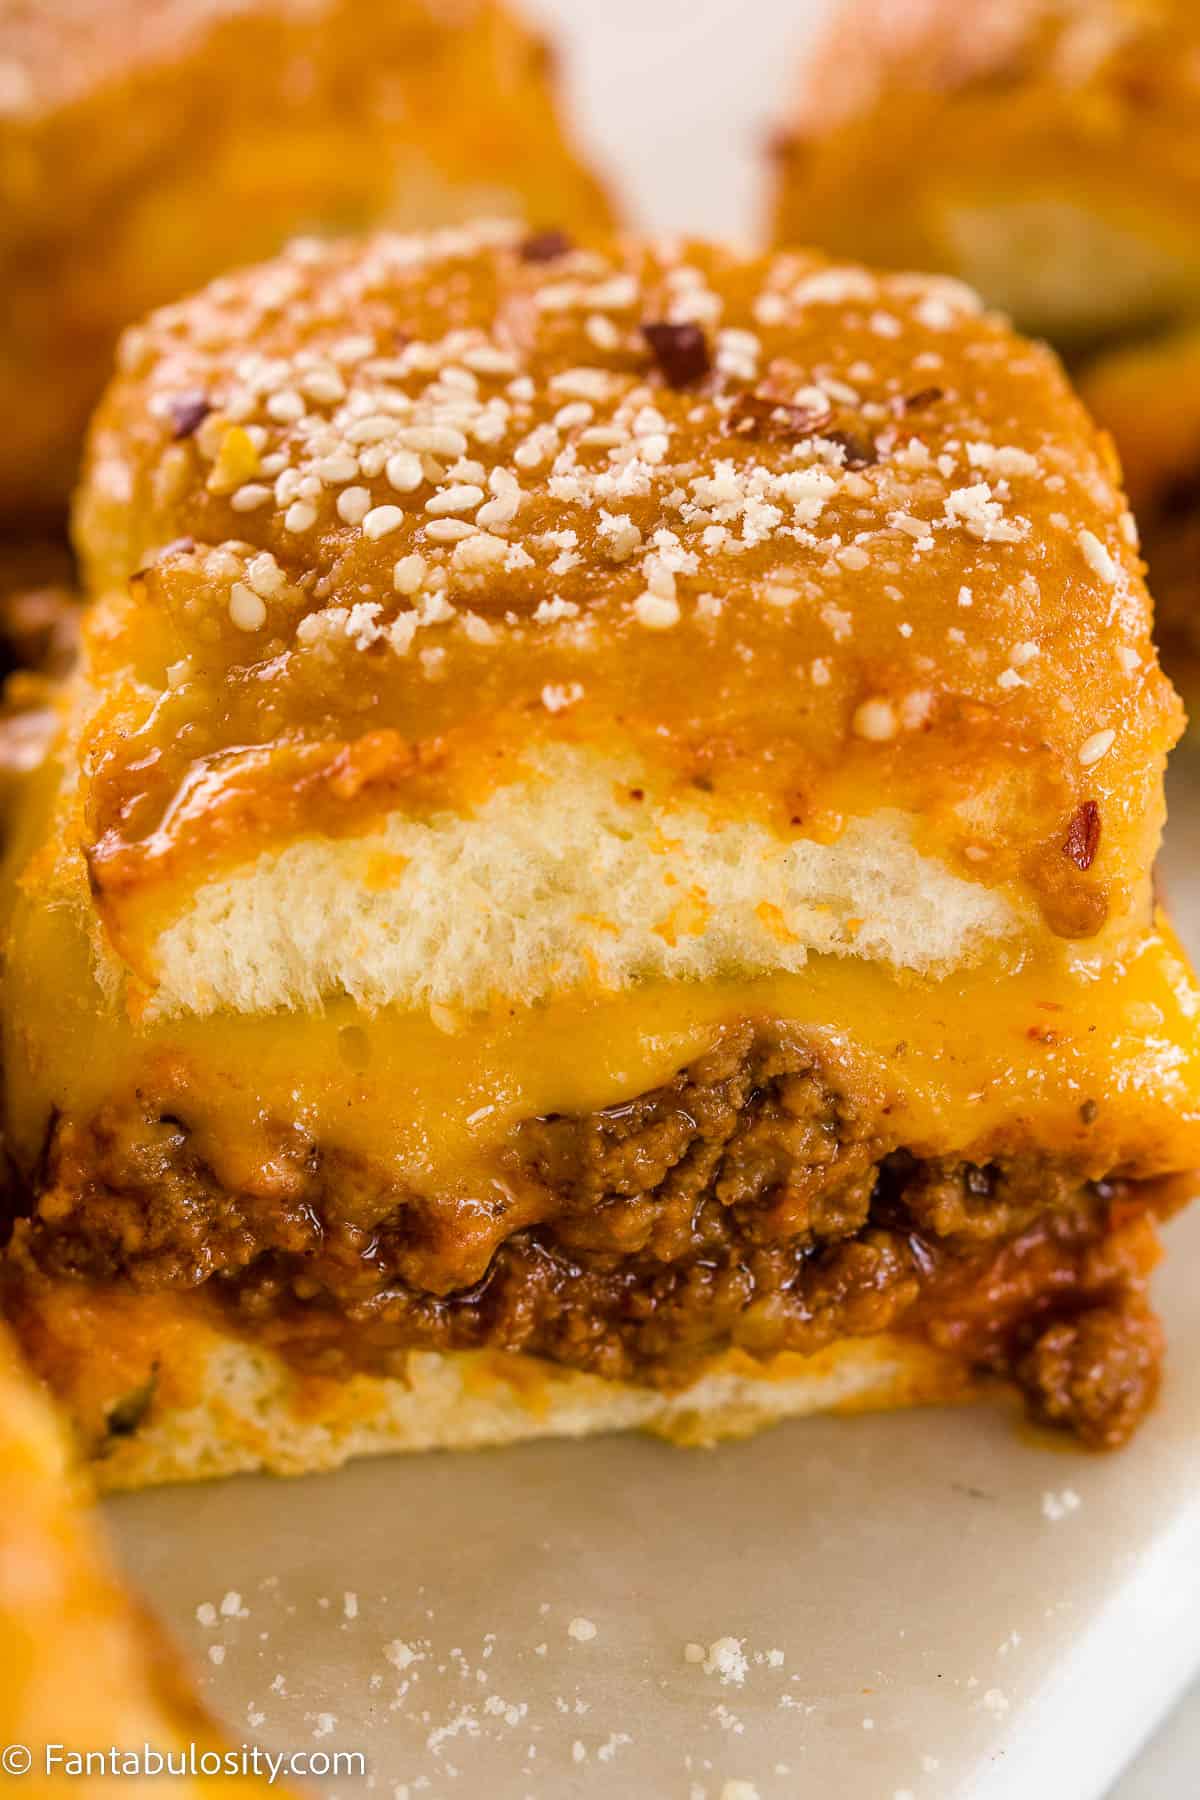
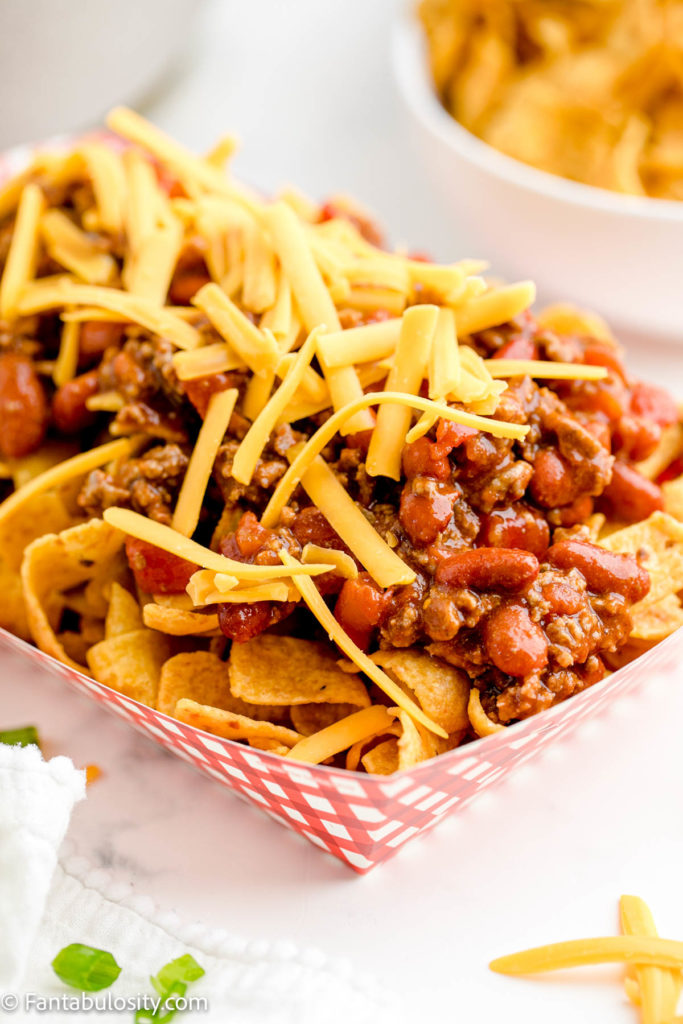
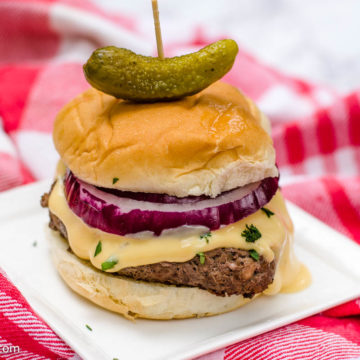
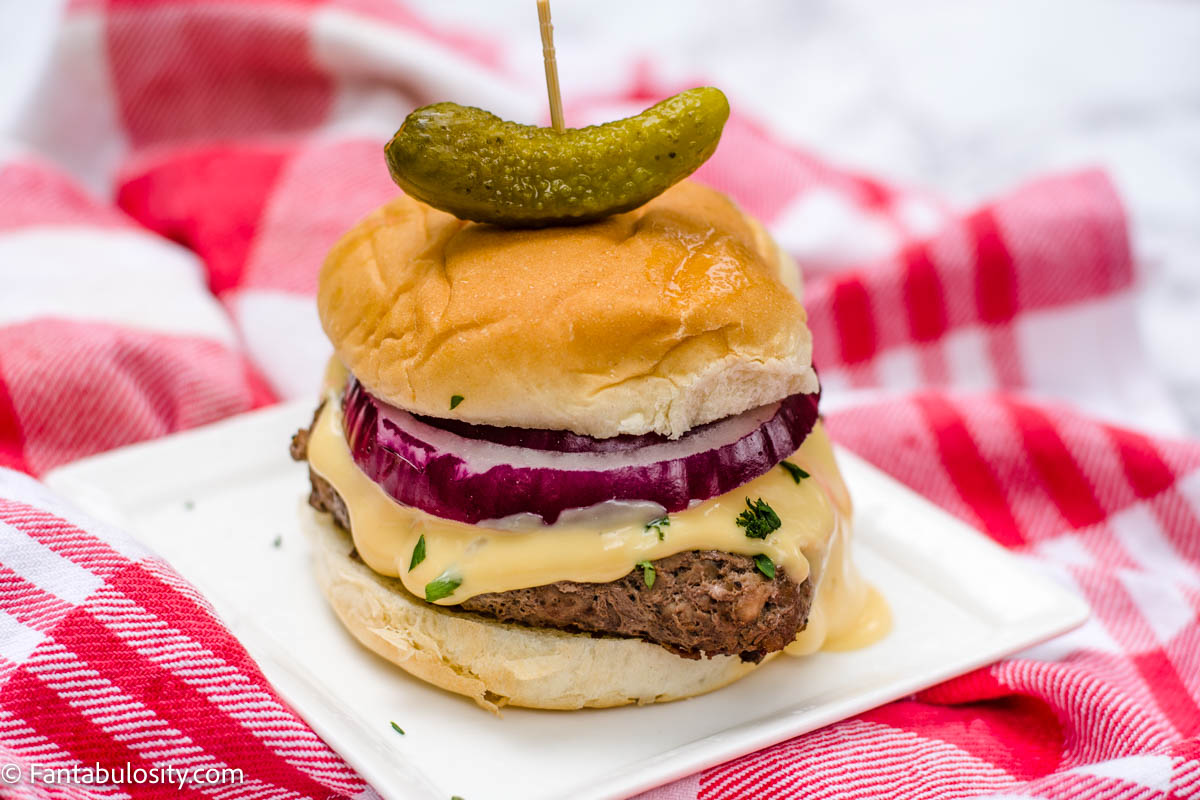
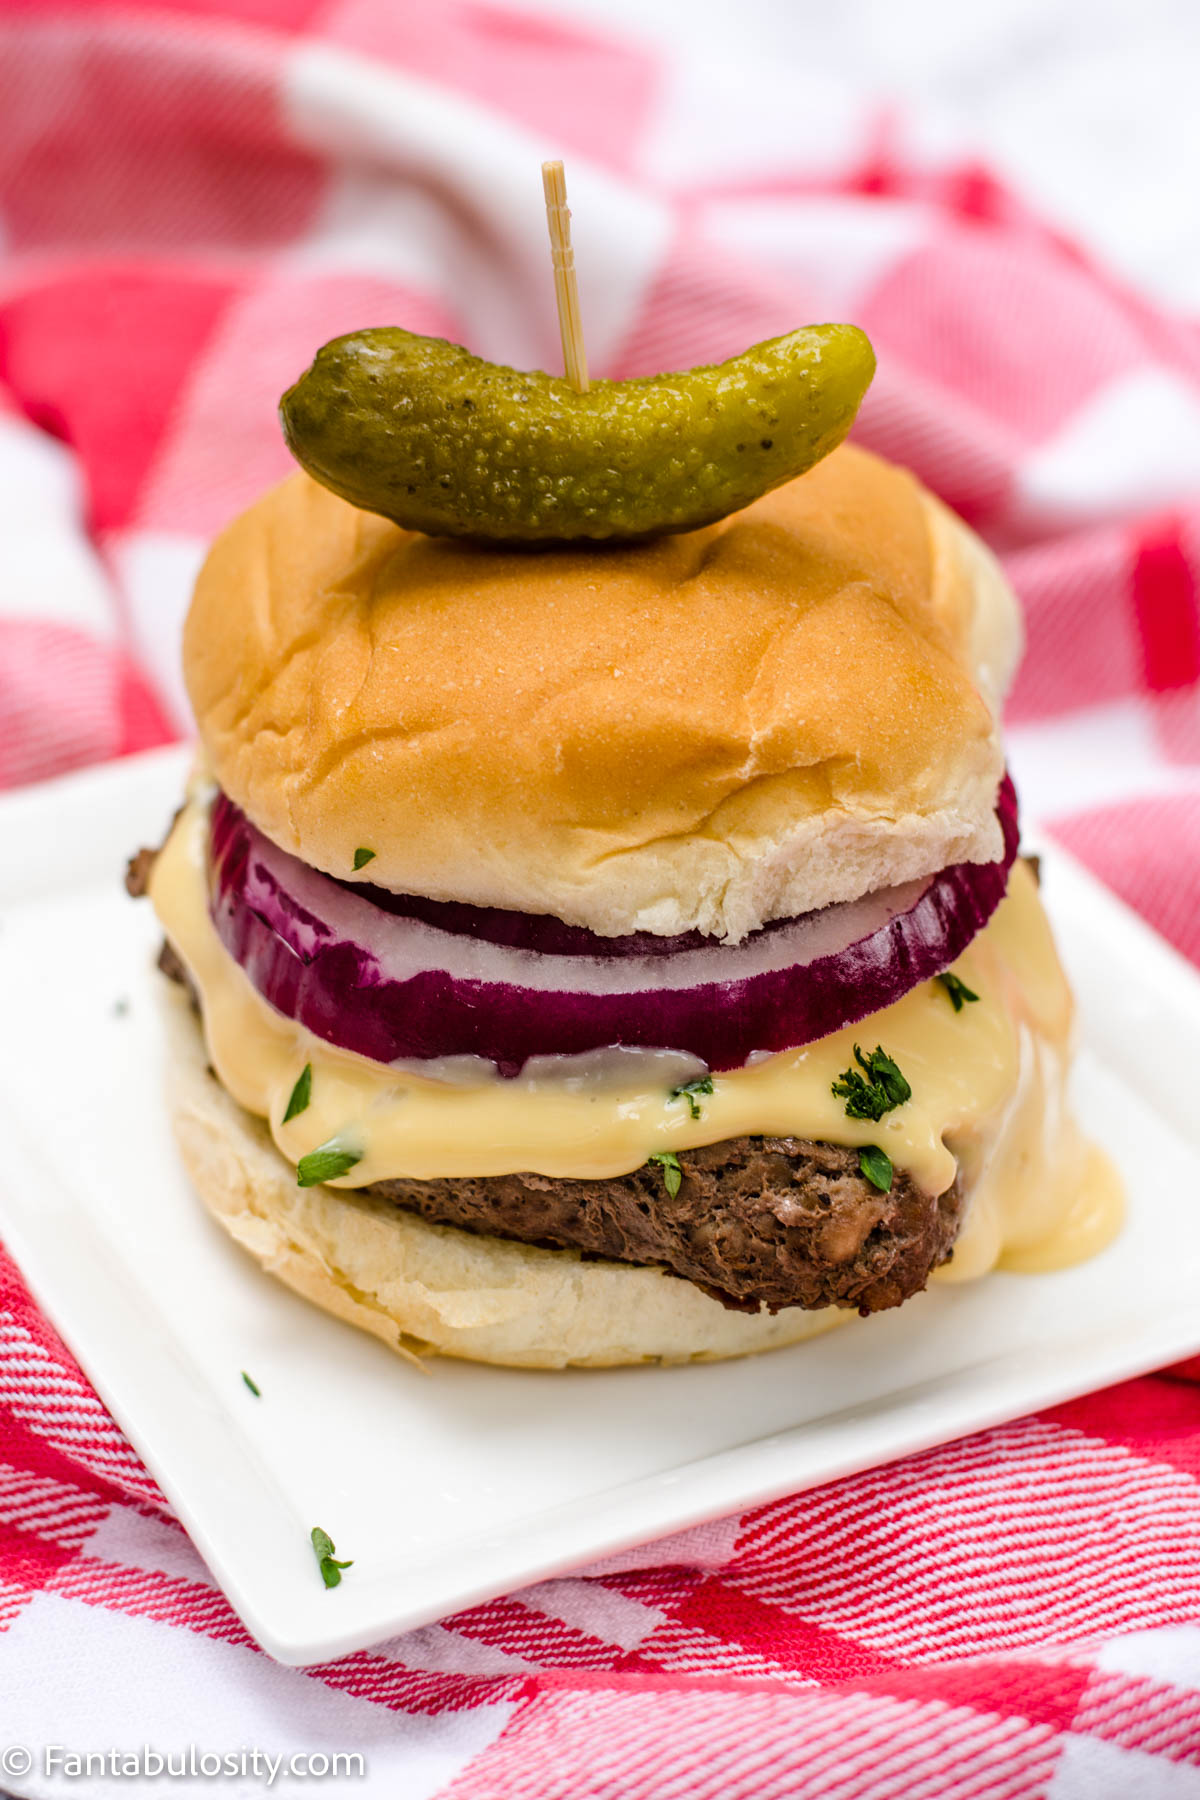
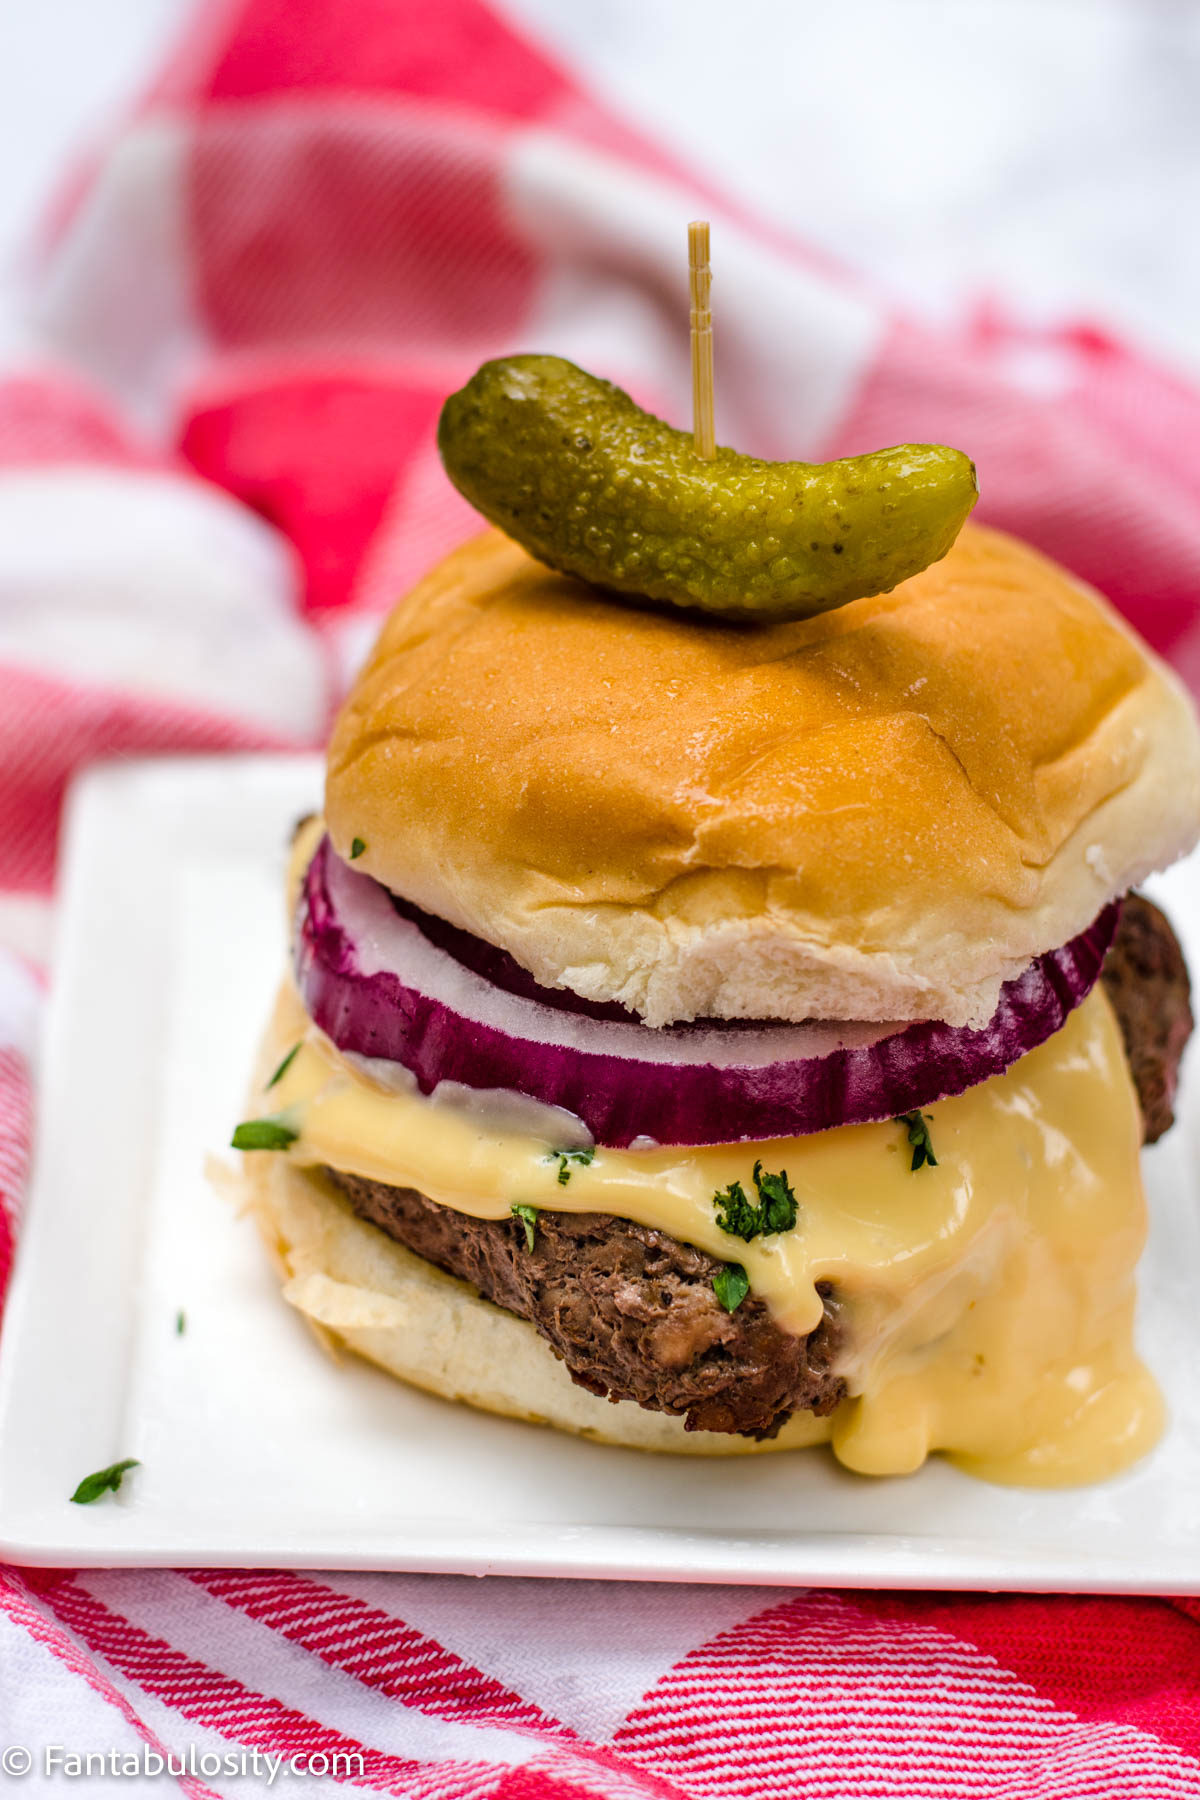
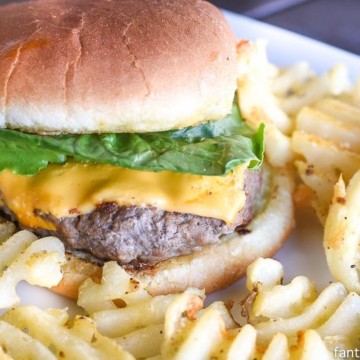
For the burger that you see here, we used:
- nacho cheese (Rico’s canned nacho cheese)
- sliced red onion
- baby gherkin pickle
- chopped fresh parsley
Other burger topping ideas:
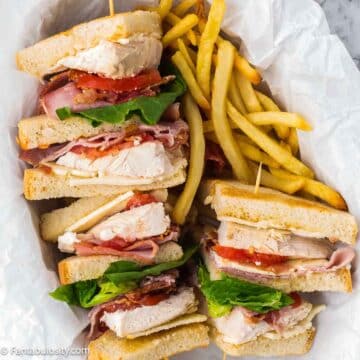
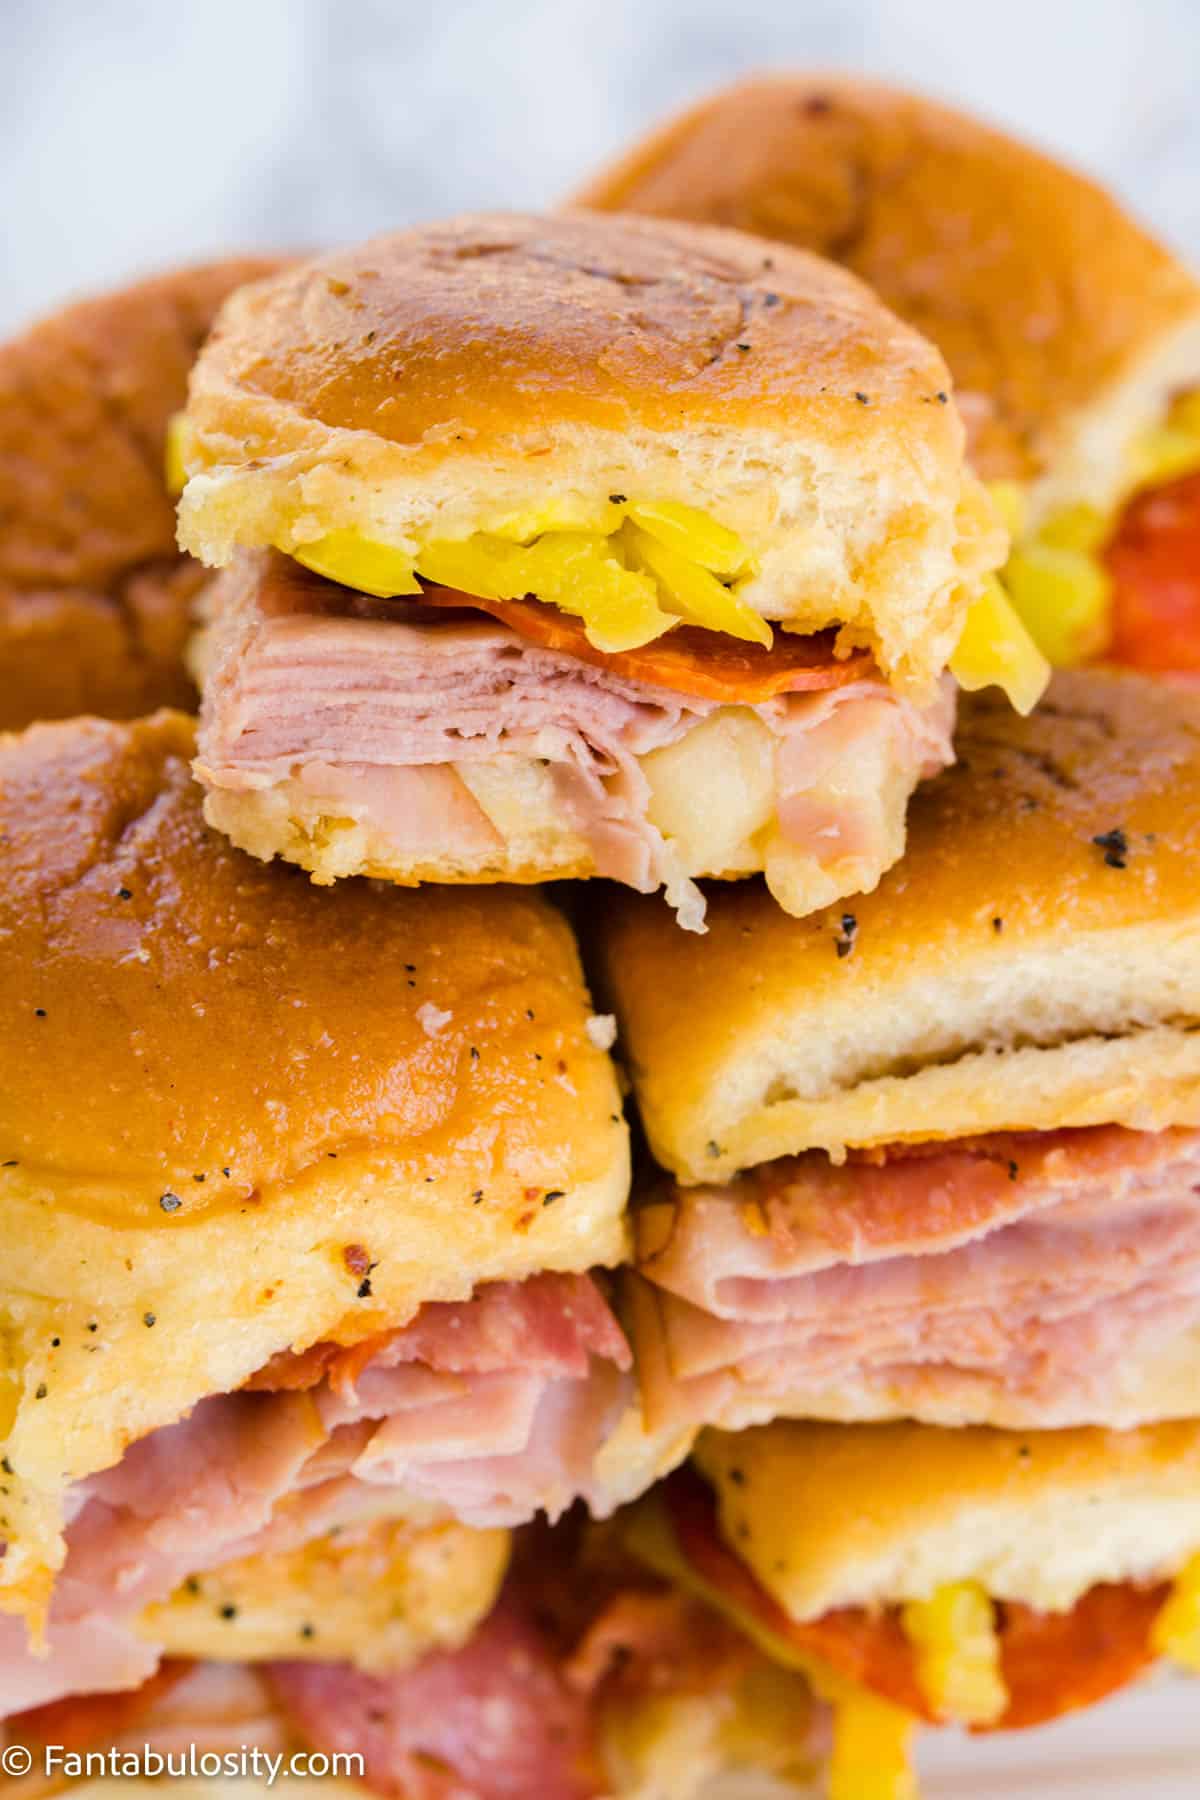
We went wild on our cheeseburger subs with toppings, so you’ll want to check those out too! But here are other toppings you may like for these stovetop burgers:
- mustard
- ketchup
- white onion
- sliced cheese
- sliced pickles
- make this easy guacamole recipe
- bacon – cooking bacon in the oven is a great way!
- lettuce
- pineapple (like we used on our Aloha Burgers!)
Storage
If you have leftover pan-fried hamburgers, you can store them in an airtight container, in the refrigerator for 3-4 days.
To reheat, you can place them back in a skillet and reheat over low-medium heat for about 3-5 minutes or until heated through.
Or, another great way is to reheat leftover burgers in an air fryer for 3-5 minutes!
More Burger Recipes
Love hamburgers as much as we do? You’ll love these ideas below, as well as our burger sliders that are super fun for parties or grilling frozen burger patties for a quick dinner!


Did you make this? I’d be so grateful if you left a “star” rating below to let me know what you thought! Then, the next time you need a quick and easy recipe, come back to Fantabulosity to browse all of my easy recipes!
Recipe

How to Cook Burgers on the Stove
Equipment
- Stove Top
Ingredients
- 4 burger patties (frozen or fresh – see instructions for different times)
- 1 tablespoon butter
- ½ teaspoon salt or preferred amount
- ½ teaspoon pepper or preferred amount
Instructions
For Fresh (Thawed) Hamburger Patties
- For fresh burger patties, season each patty on both sides, with salt and pepper
- Over medium heat, melt 1 tablespoon of butter in a skillet large enough to hold all of your burger patties
- Place seasoned burgers in skillet and cook for 3-5 minutes and then flip. Cook for an additional 3-5 minutes or until the juices run clear.
For Frozen Hamburger Patties on the Stovetop
- Over low-medium heat, melt 1 tablespoon of butter in a skillet big enough to hold all of your burger patties.
- Place frozen patties in skillet and after a couple of minutes, season with salt and pepper. (You wait just a bit so the burger thaws some, so it can soak in the salt and pepper seasonings.)
- Cook on first side for about 5-6 minutes and then flip. After flipping, flip again when red juices have formed at the top.
- Continue flipping every couple of minutes for about 15 minutes or until the juices run clear.
Steaming the Buns
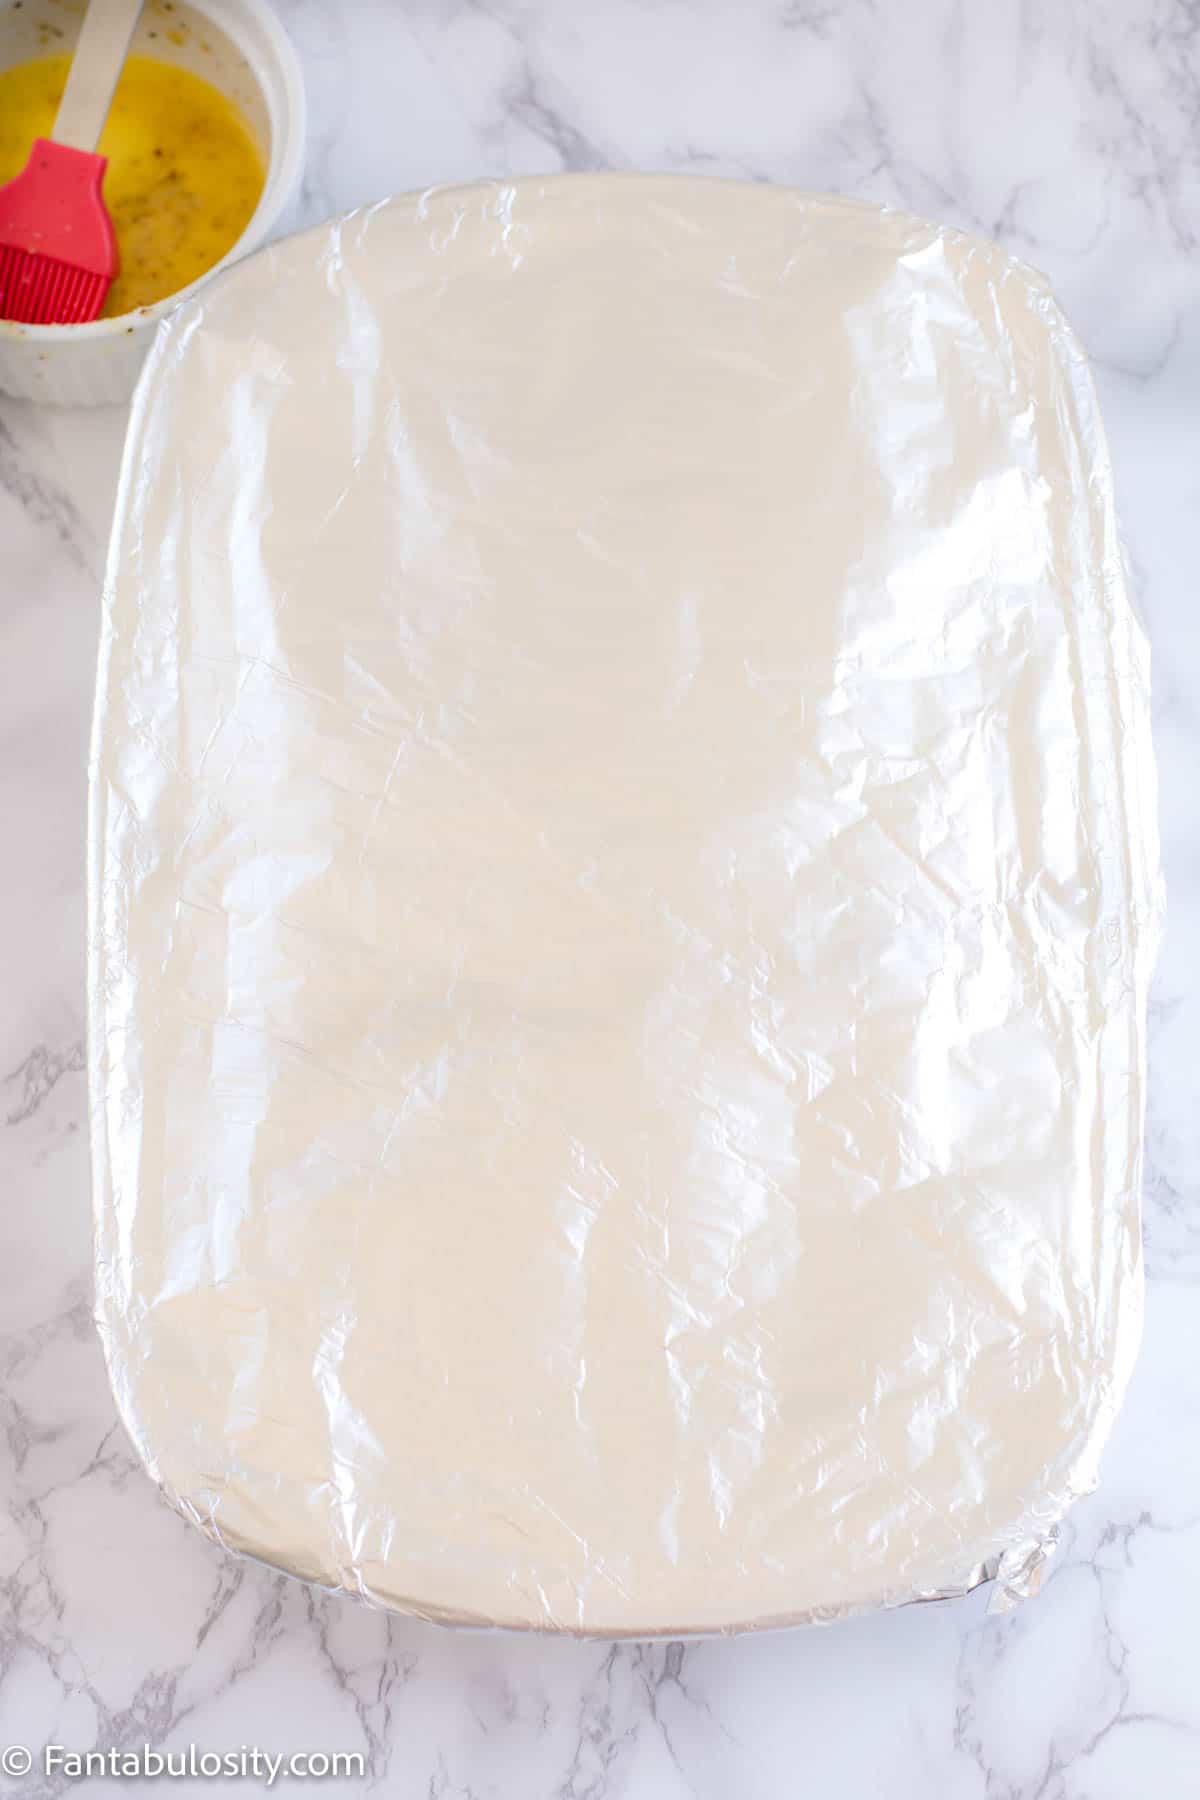
- Place the burgers (or cheeseburgers if you prefer) on buns, and wrap individually in aluminum foil, as I did with my burgers in the oven, to send these over the top!