Taco Party and Taco Bar Ideas: A great and easy way to feed your guests for any event! Get the free printable list of taco bar items below!
Hi! My name is Bethany from Southern Couture and I’m so glad to be here on Fantabulosity today! It is my pleasure to throw this fiesta for you!
These simple taco bar party ideas are not just for Cinco de Mayo but a perfect food bar idea for any family game night, birthday parties or a fun in-home dinner to change things up a bit.
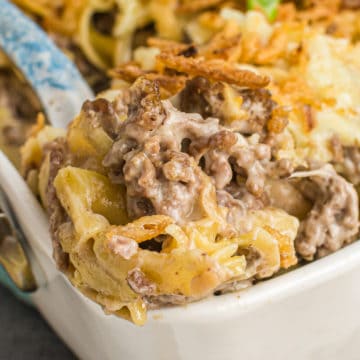
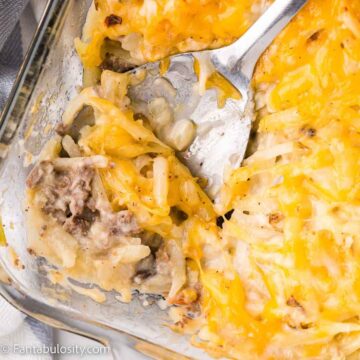
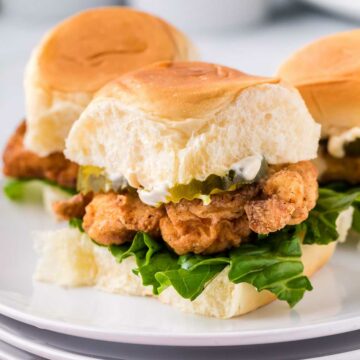
Plus, if you have a lot of leftover taco meat… that’s not such a bad thing. There’s a great list of ways to use leftover taco meat if you make too much!
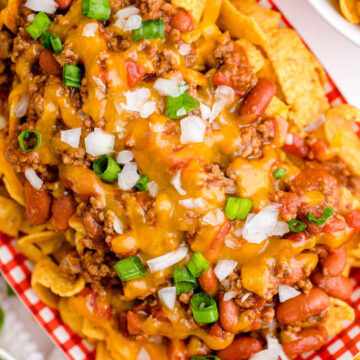
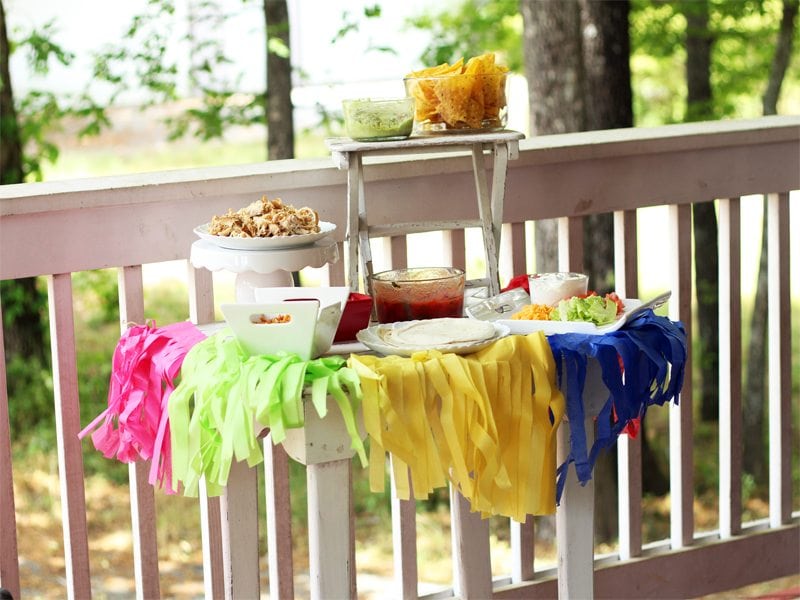
Combine a Taco Bar with a Nacho Bar Party as Jessica styled below, and you’ll be the hit of the town with your guests:
See the Nacho Bar Party HERE!
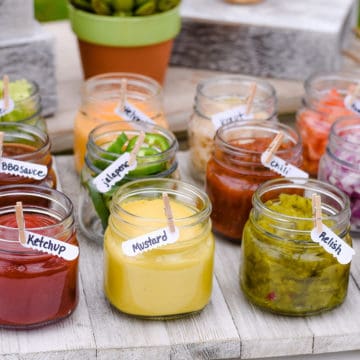
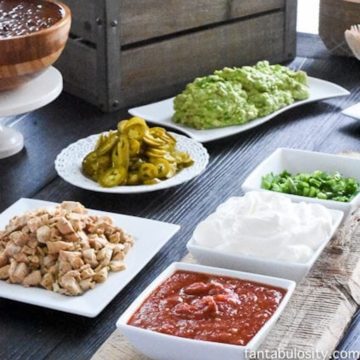
Taco Bar Topping Ideas
Note from Jessica: “I’ve actually created a free printable that you can print off, in case it would be easier for you to take it with you to the store while you’re shopping for ingredients! You can download the Taco Bar Topping Ideas list or you can just check out the list of topping ideas below!”
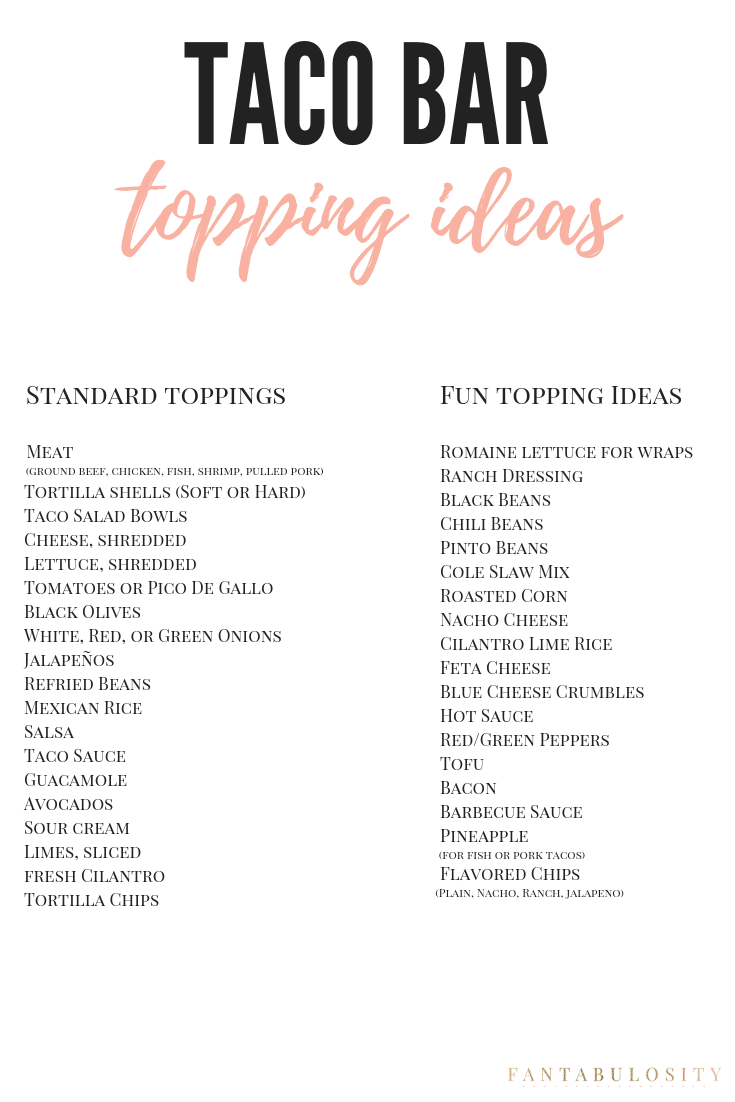
Here’s the list in case you would rather copy & paste them into your grocery shopping list! 🙂
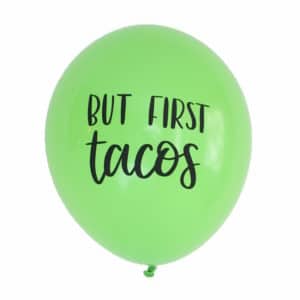
But First, Tacos!
UPDATE: I found “But First, Tacos!” balloons while browsing online and I HAD to share them with you in case you want to spiff up your taco bar with these…
Standard Toppings for your Taco Bar:
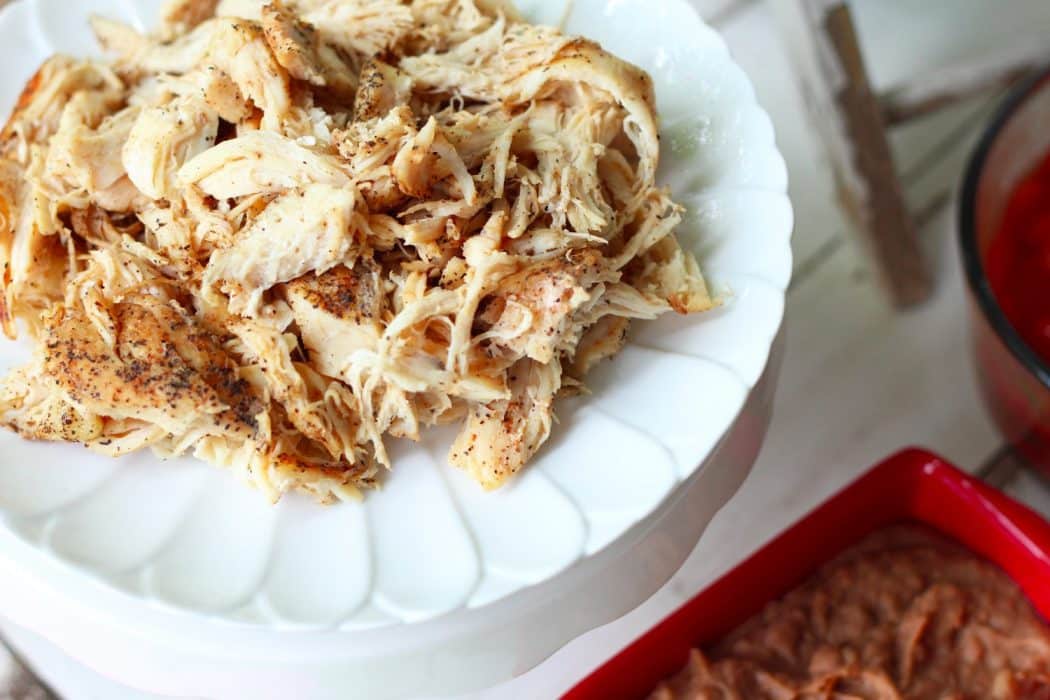
- Meat of choice (ground beef, chicken for chicken street tacos, fish, shrimp, crock-pot pulled pork)
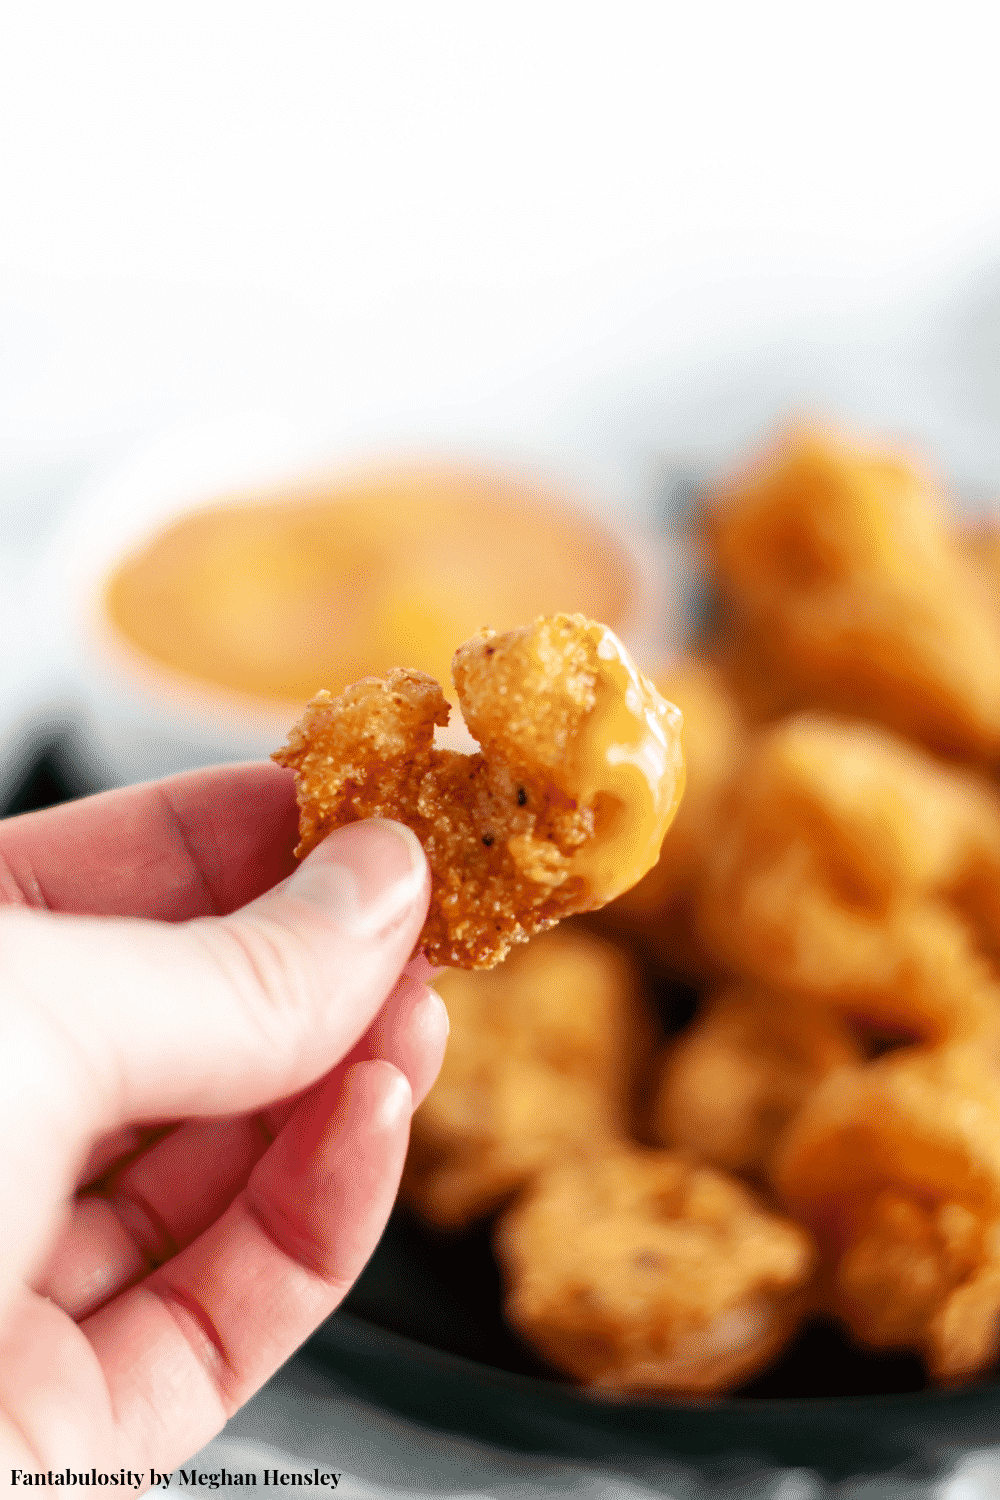
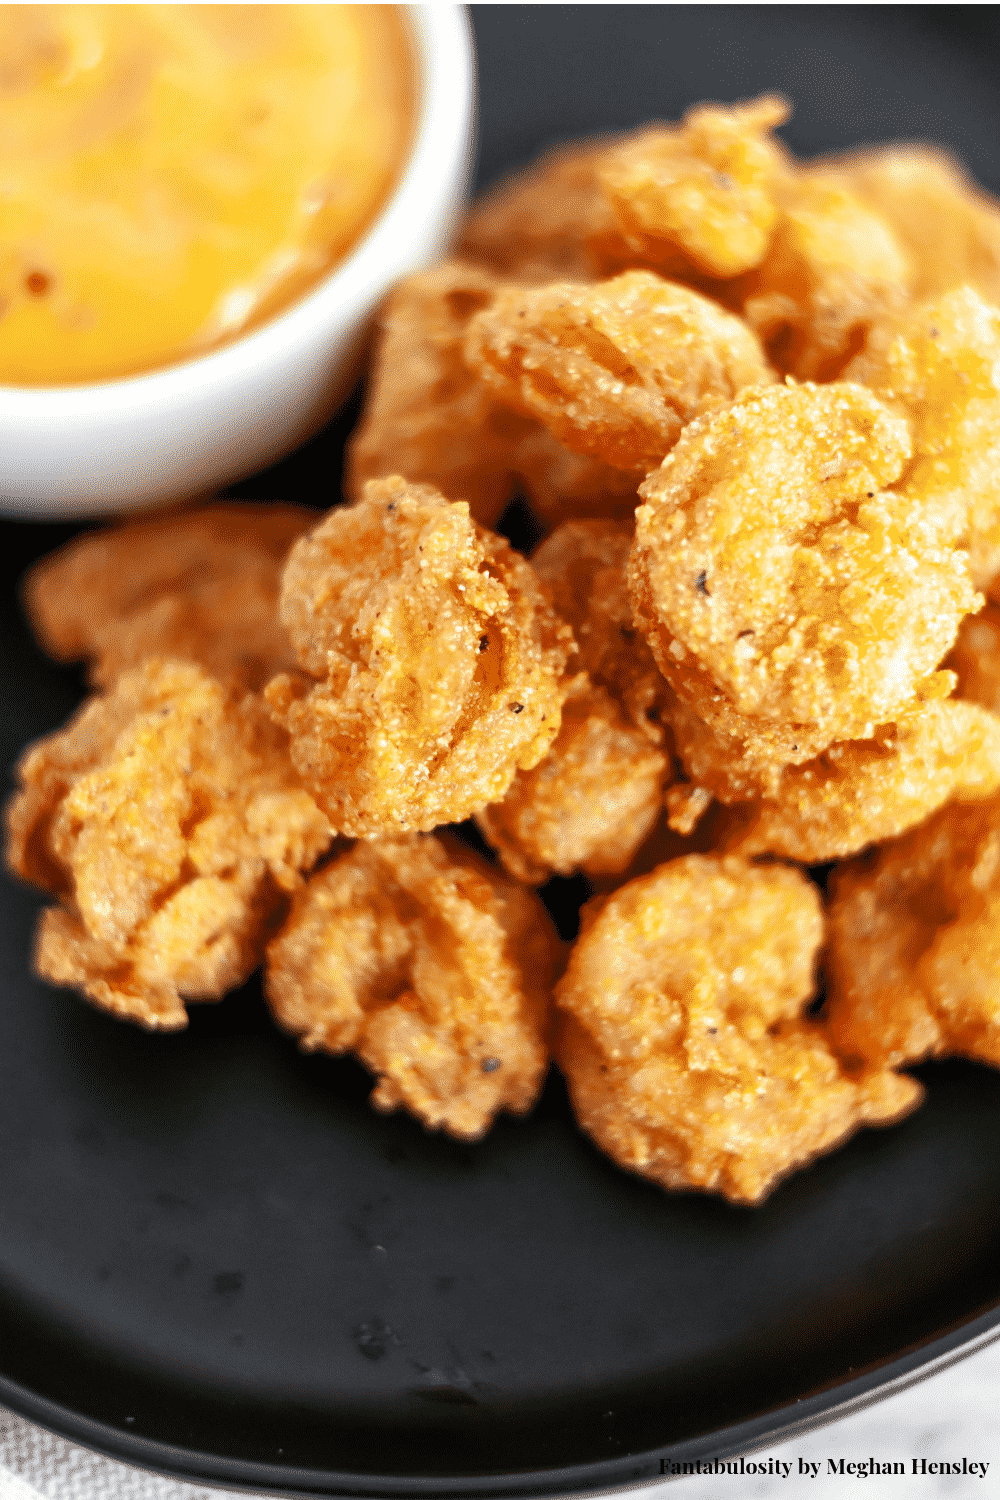
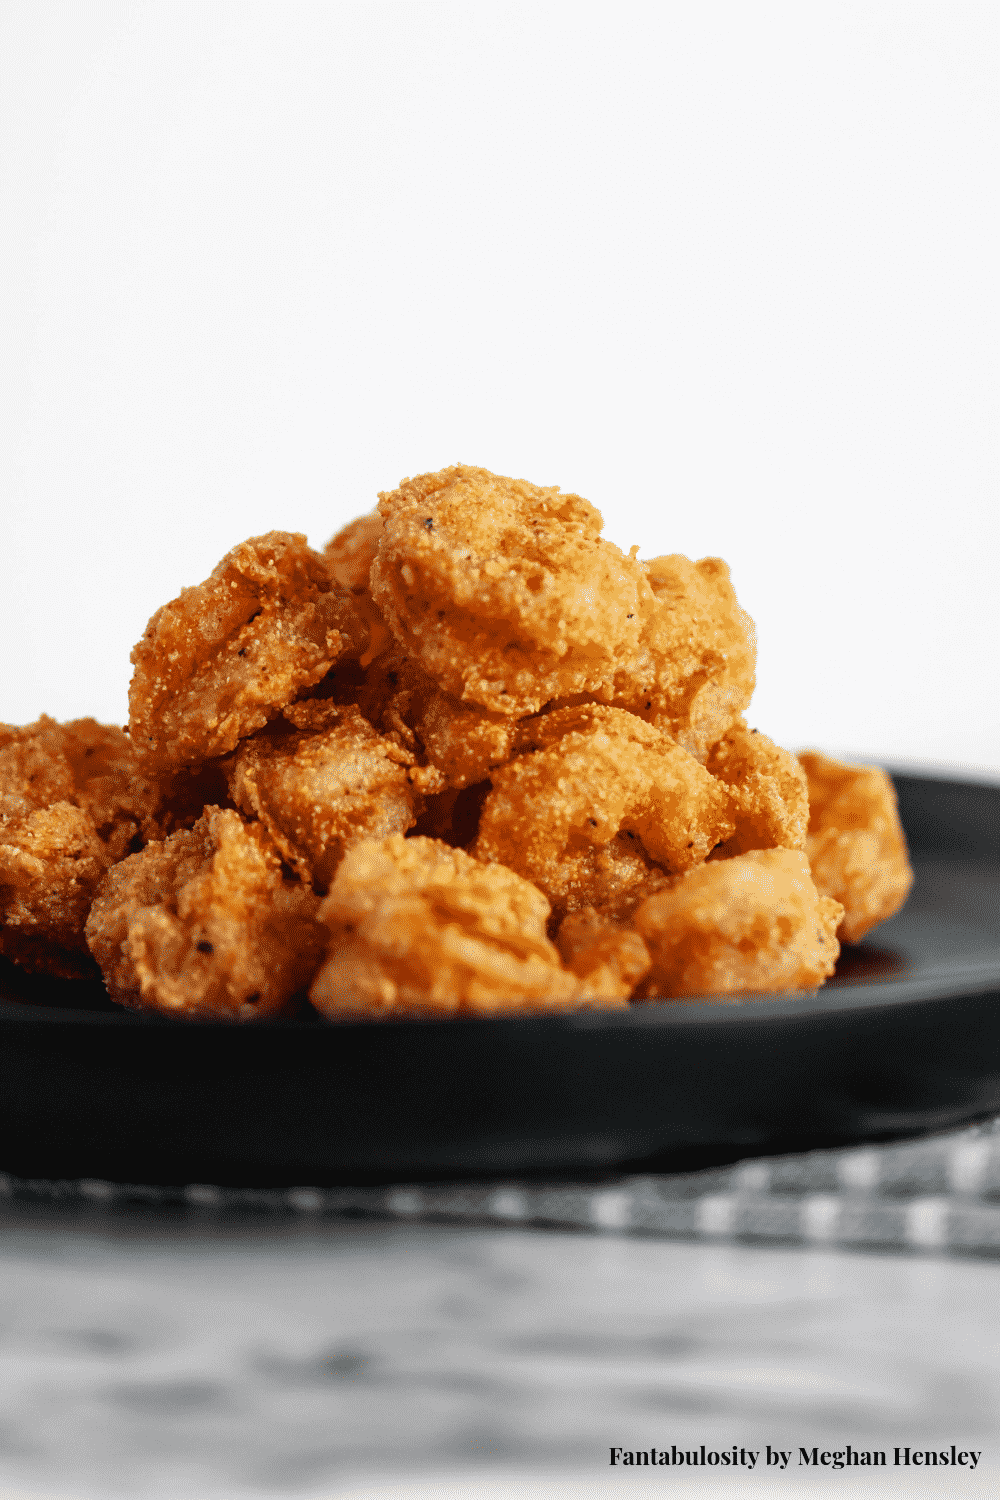
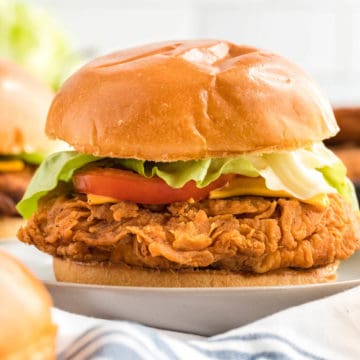
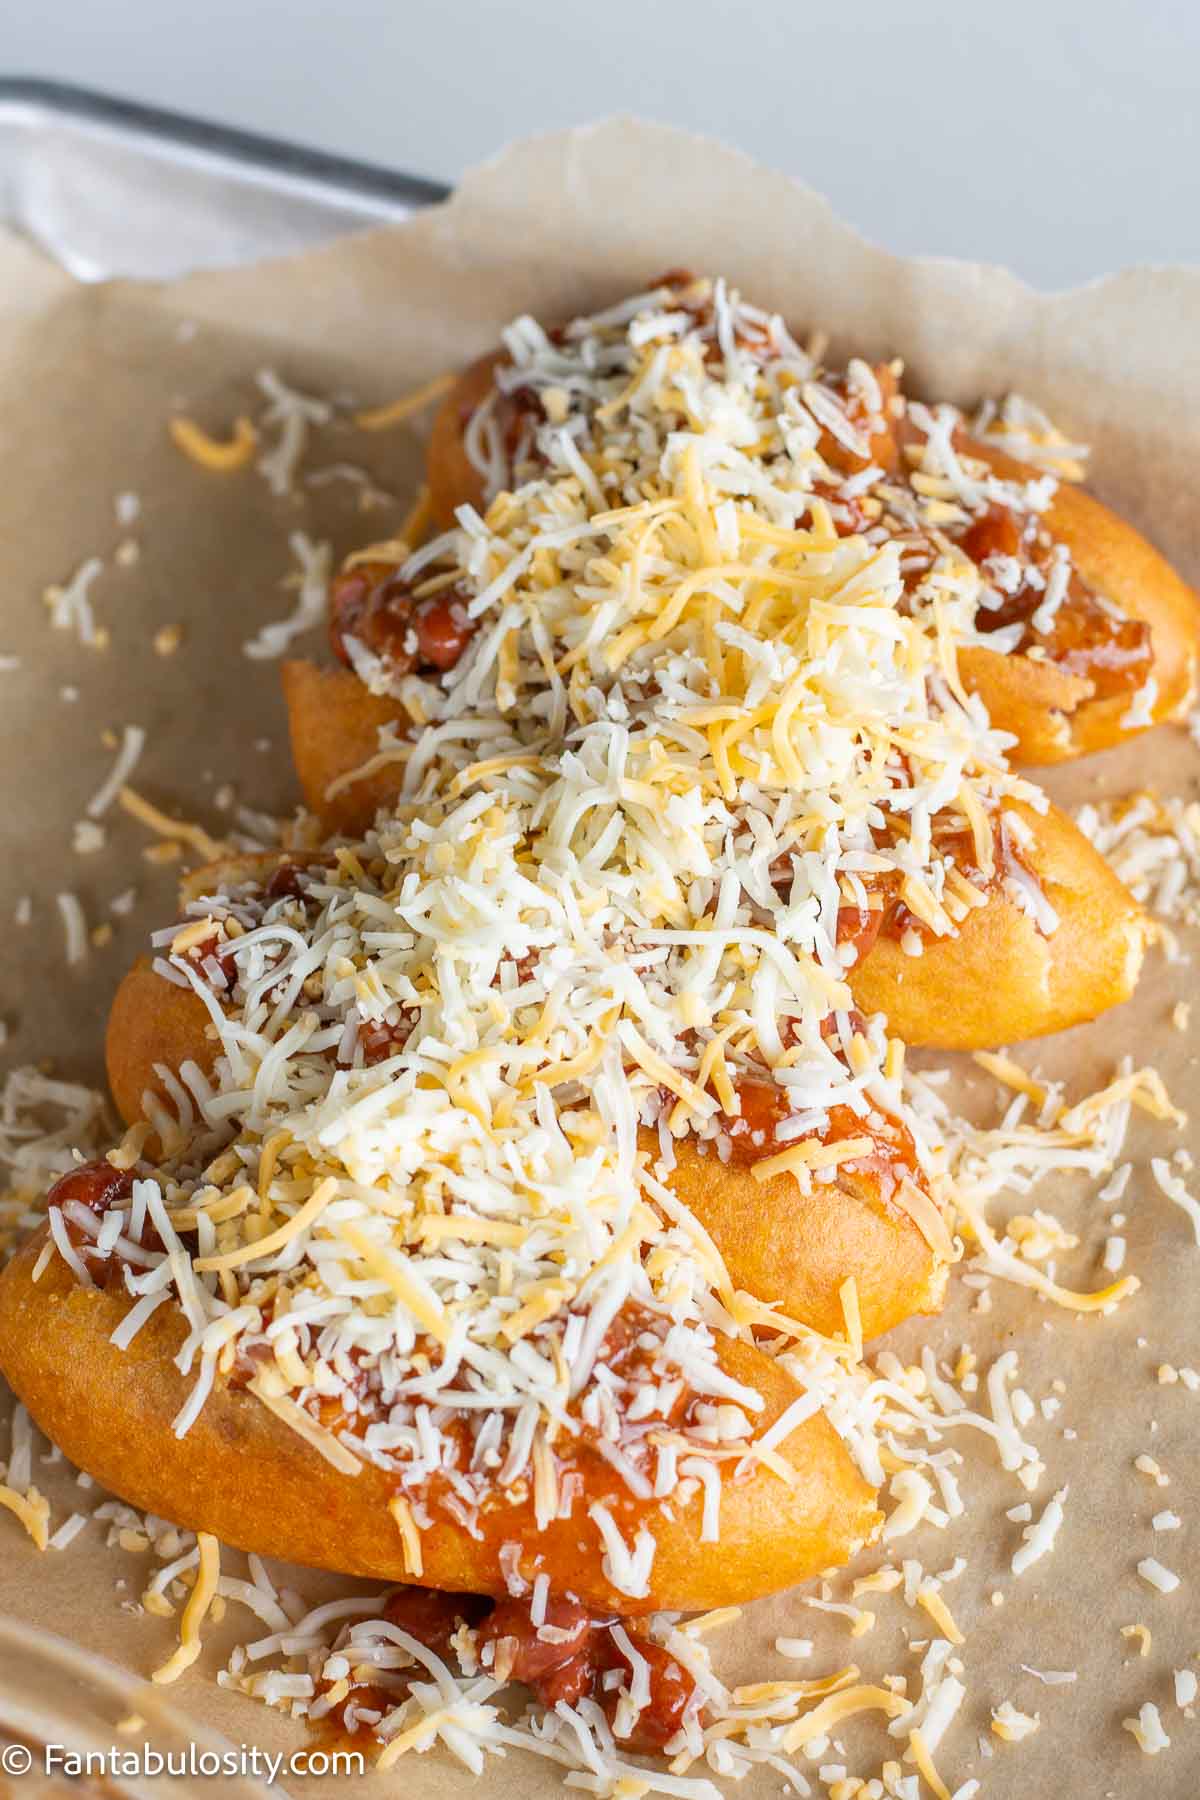
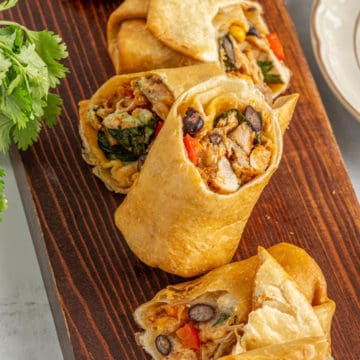
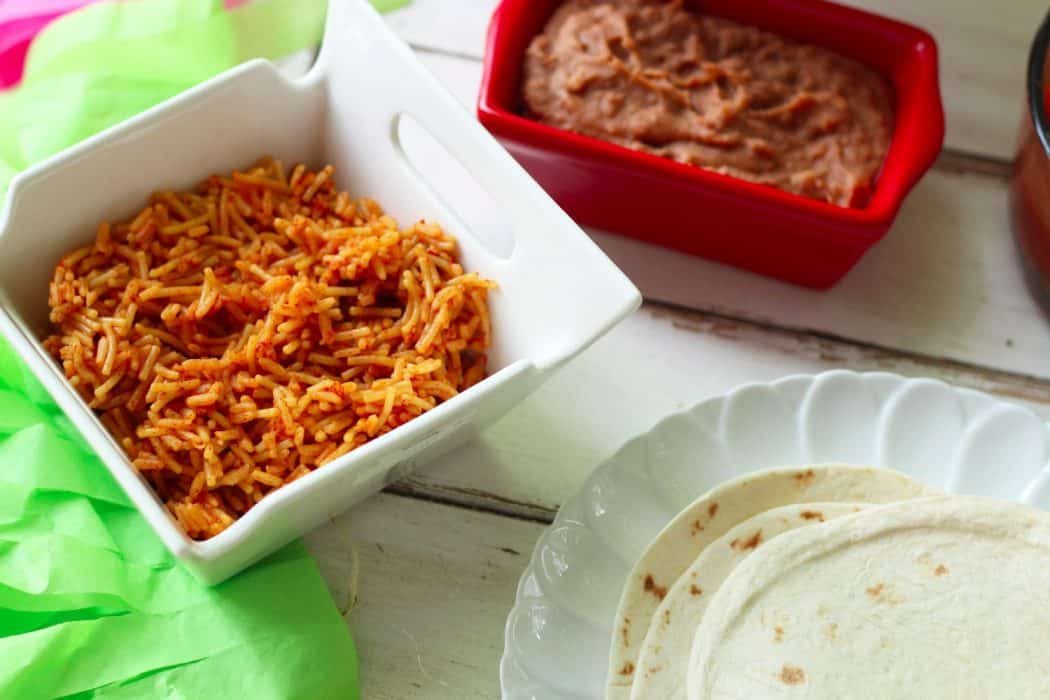
- Tortilla shells (Soft or Hard) – or even something like these fried tacos!
- Taco Salad Bowls
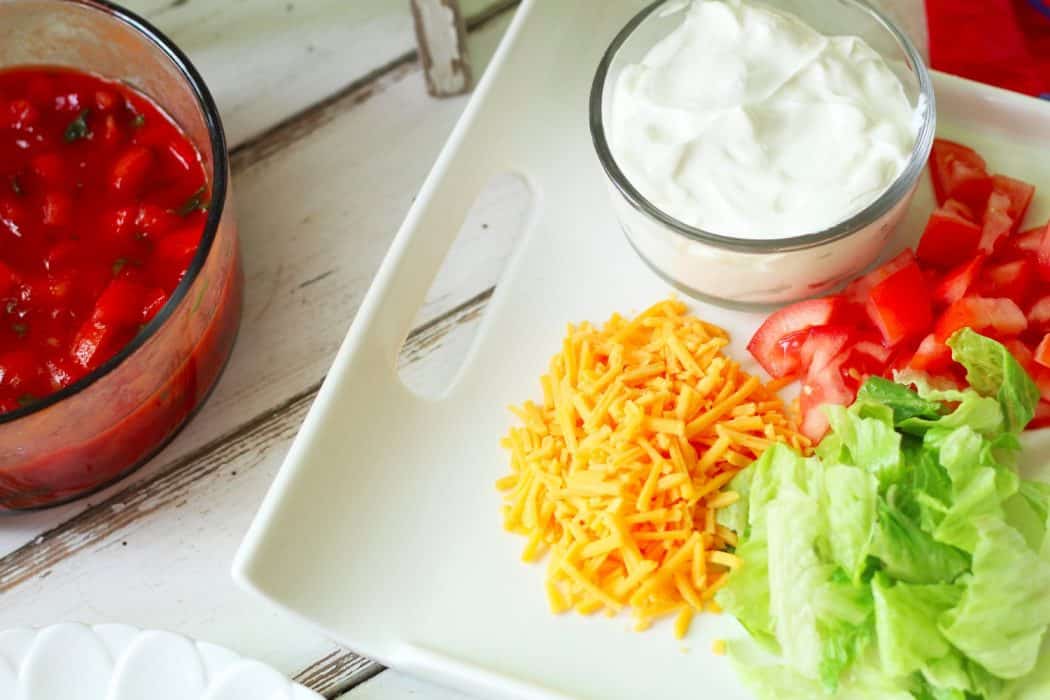
- Cheese, shredded
- Lettuce, shredded
- Tomatoes or Pico (get the best pico de gallo recipe!)
- Black Olives
- White or Green Onions
- Jalapenos
- Refried Beans
- Mexican Rice
- Salsa
- Taco Sauce
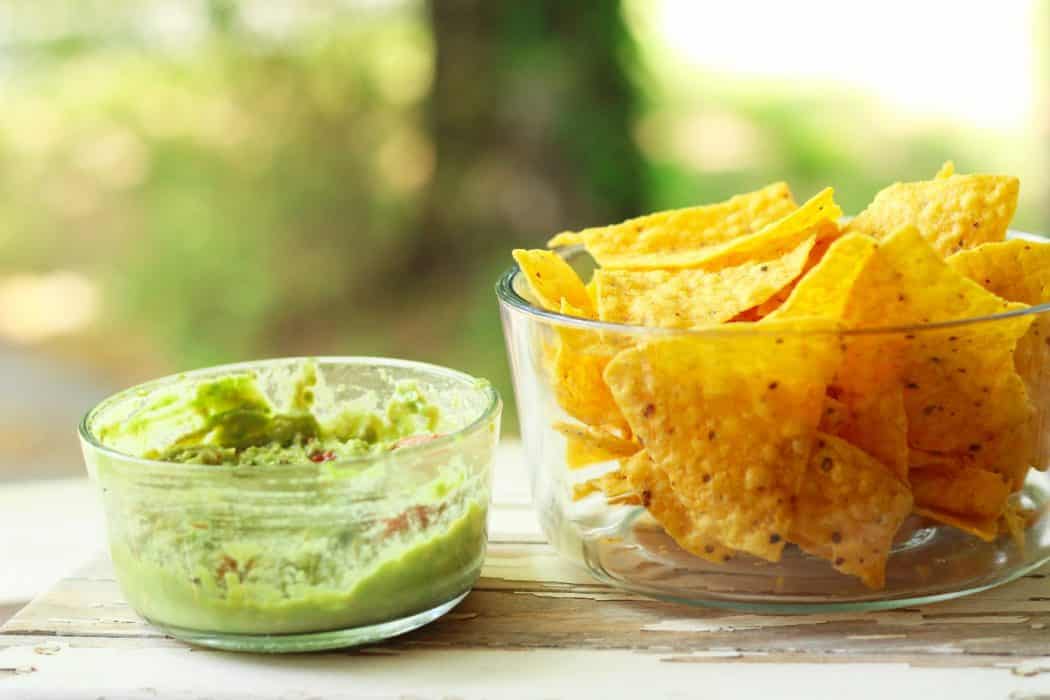
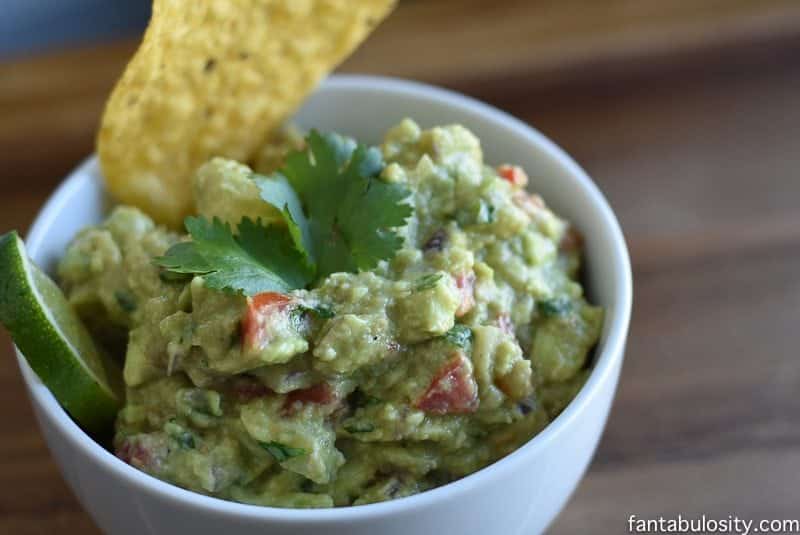
- Guacamole (easy and our favorite guacamole recipe!)
- Avocados
- Sour cream
- Limes, sliced
- Cilantro
- Tortilla Chips
Fun – Out of the Box Taco Topping Ideas:
- Romaine lettuce for wraps
- Ranch Dressing
- Black Beans
- Chili Beans
- Pinto Beans
- Cole Slaw Mix
- Roasted Corn
- Nacho Cheese
- Cilantro Lime Rice
- Feta Cheese
- Blue Cheese Crumbles
- Hot Sauce
- Red/Green Peppers
- Tofu
- Bacon
- Barbecue Sauce
- Pineapple
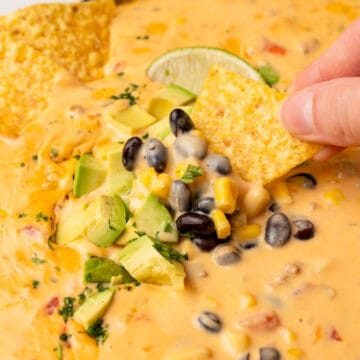
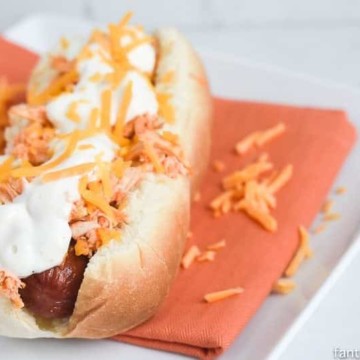
- Serve a hot taco dip to go along with the tacos!
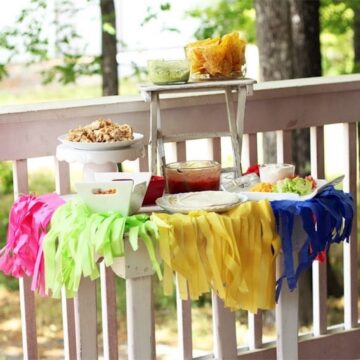
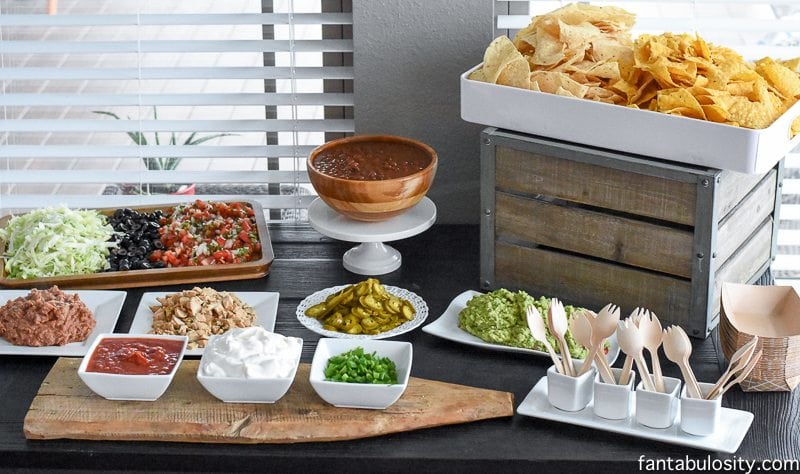
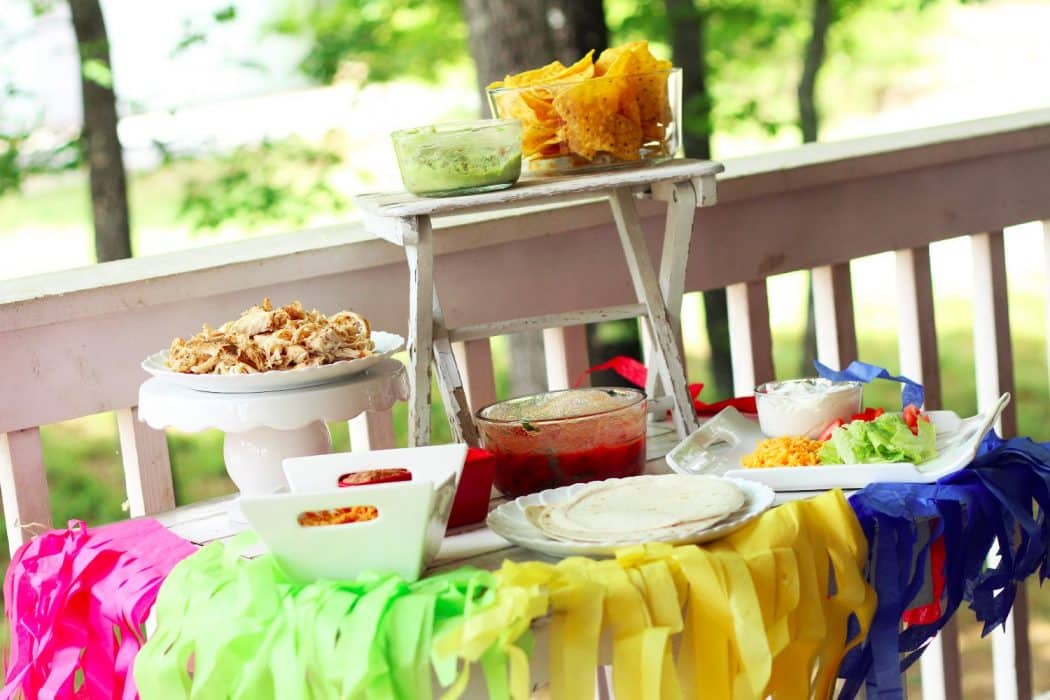
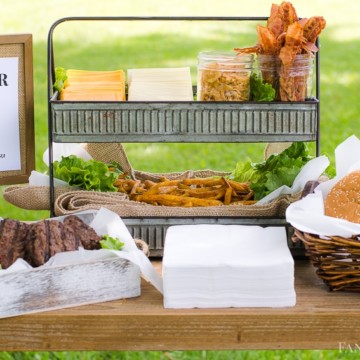
Taco Bar Decorating and Styling Ideas
I usually just start with an empty table and start building from there with a tablecloth or no tablecloth depending on how I feel. For this party, I decided on no tablecloth and to keep it simple. With the temps warming up, I moved it outdoors on our back porch for a little more fun.
Simple Taco Bar Set-Up
Move It & Label It
I start placing all of my ingredients into different serving dishes and then place them on the table moving things around until I'm happy with the results.
To label each item (even though we know what everything is, it's just more fun), you could also place chalkboard stickers on the table beside each dish and then write with a chalk marker what each one is.
Different Heights:
Be sure to add different heights on your table as well for not only looks but also to make it easier when guests are trying to reach for all the deliciousness.
Pops of Color:
To really add a pop of color, try making sombrero decorations made from terra cotta pots and pom-poms or even some tissue paper banners that are perfect for a fiesta.
You can find them on my blog where I shared my Cinco de Mayo Party: Decorations and Recipes. I hung some of the tissue paper banners around the table for some extra color.
Premade = Easy
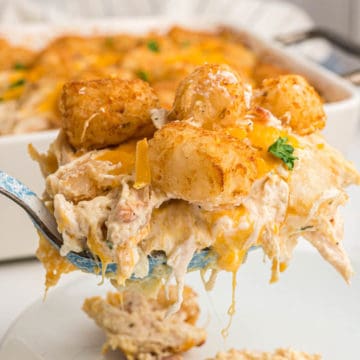
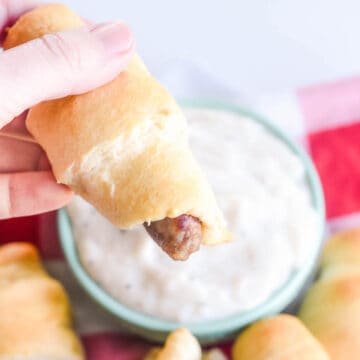
And if that isn't enough goodness, the great news about a taco bar is that you can usually just buy everything you already need premade to make your life so much simpler and just place it in serving trays if you are pressed for time. You could even make this walking taco casserole to add to the table so they can scoop a big helping in to their plates!
A Couple “Must-Know” Taco Recipes
If you’re looking for something else that’s easy to serve next to a taco bar, we love these easy crock pot enchiladas!
Salsa Recipe:
For my salsa, I love a good, easy, homemade salsa recipe.
Guacamole Recipe:
I recommend Jessica’s best guacamole recipe. It is delicious and so easy to make. I highly recommend it!
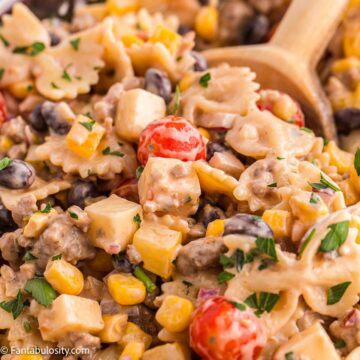
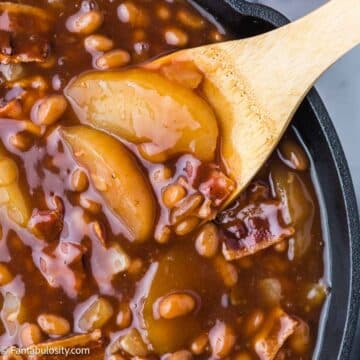
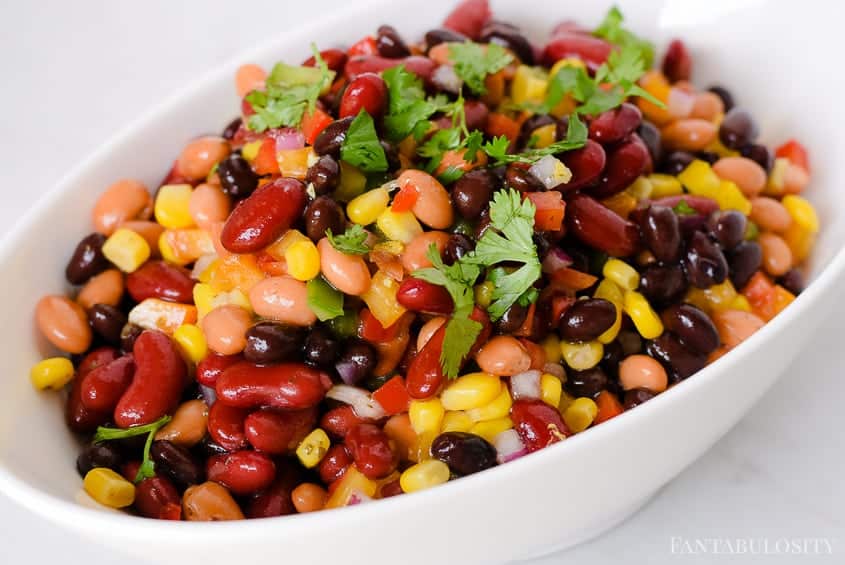
3 Bean Salad – Mexican Style
Serve on the side, or serve on the taco bar so guests can pile this Mexican 3 Bean Salad on as a topping!
Then just for fun…
If you’re hosting friends, I think it would be super fun to wear this shirt that I found.
Thanks so much for having me over for this fiesta and I hope you enjoy your Cinco de Mayo! Be sure to eat an extra taco for me too.
Want More Party Ideas?
Then you won’t want to miss my favorite party posts, especially my easy party appetizers post where I share my favorites!

Originally published: April 2016
Updated photso and republished: March 2025